Thanks for checking out the full article!
Full video build is below, followed by detailed instructions with tools and measurements! You can subscribe to our YouTube channel by clicking here!
I was in Mammoth back in May of 2016 and happened to come across a tree that had been cut down into a bunch of stumps sitting on the side of the road. They seemed awesome, so I snagged a few for future projects. After letting them dry out for the better part of a year and losing most of their weight in water, I finally decided to make something of them. This was part one of the stump projects!
MATERIALS
1 x Stump (I think it's oak)
3 x 10" Hairpin Legs
9 x wood screws (size 8)
Semi Gloss Polyurethane
Bleach (to clean the wood)

Here is the stump as it was before starting. It was in great shape and cut nearly flat already which was a huge bonus. If you don't have a stump that is already flat, you can flatten it using either a hand planer or, if you have access to one and feel comfortable using it, a chain saw.
I think this is oak wood...but I really don't know.
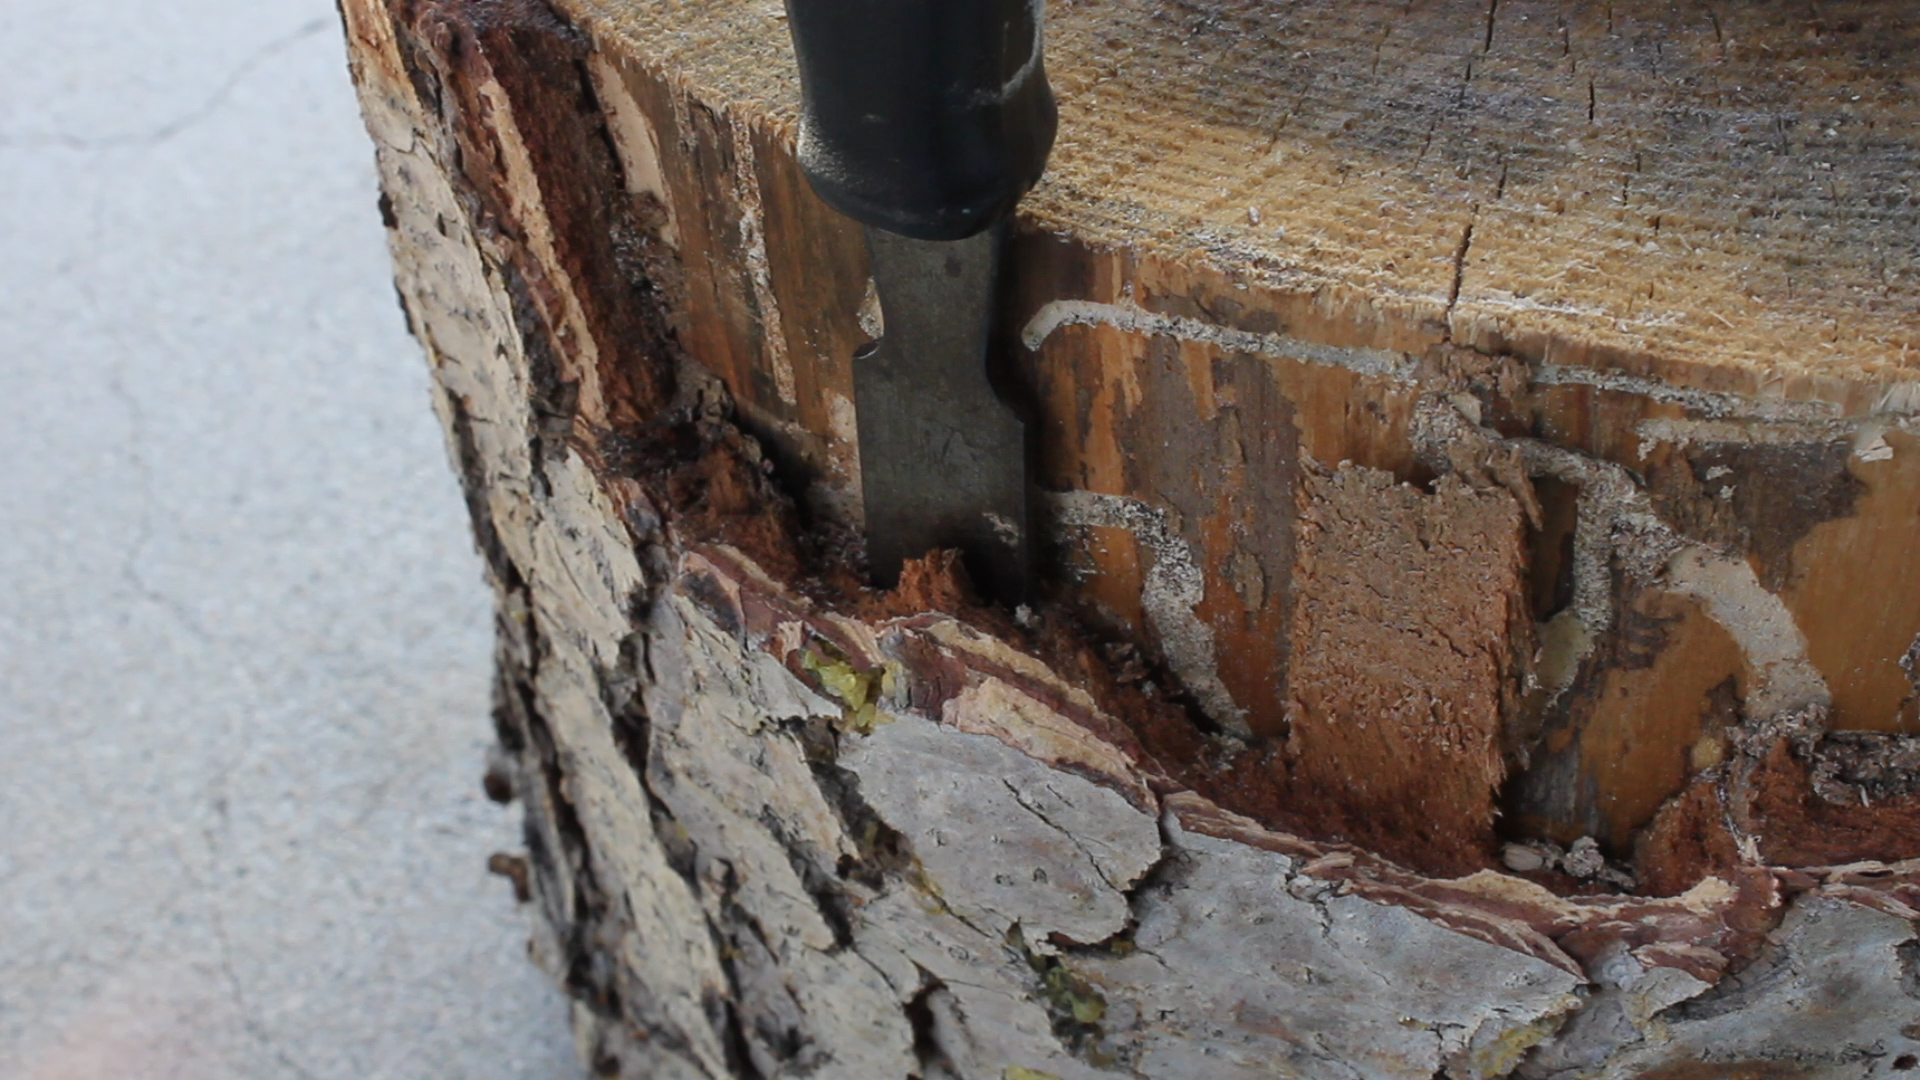
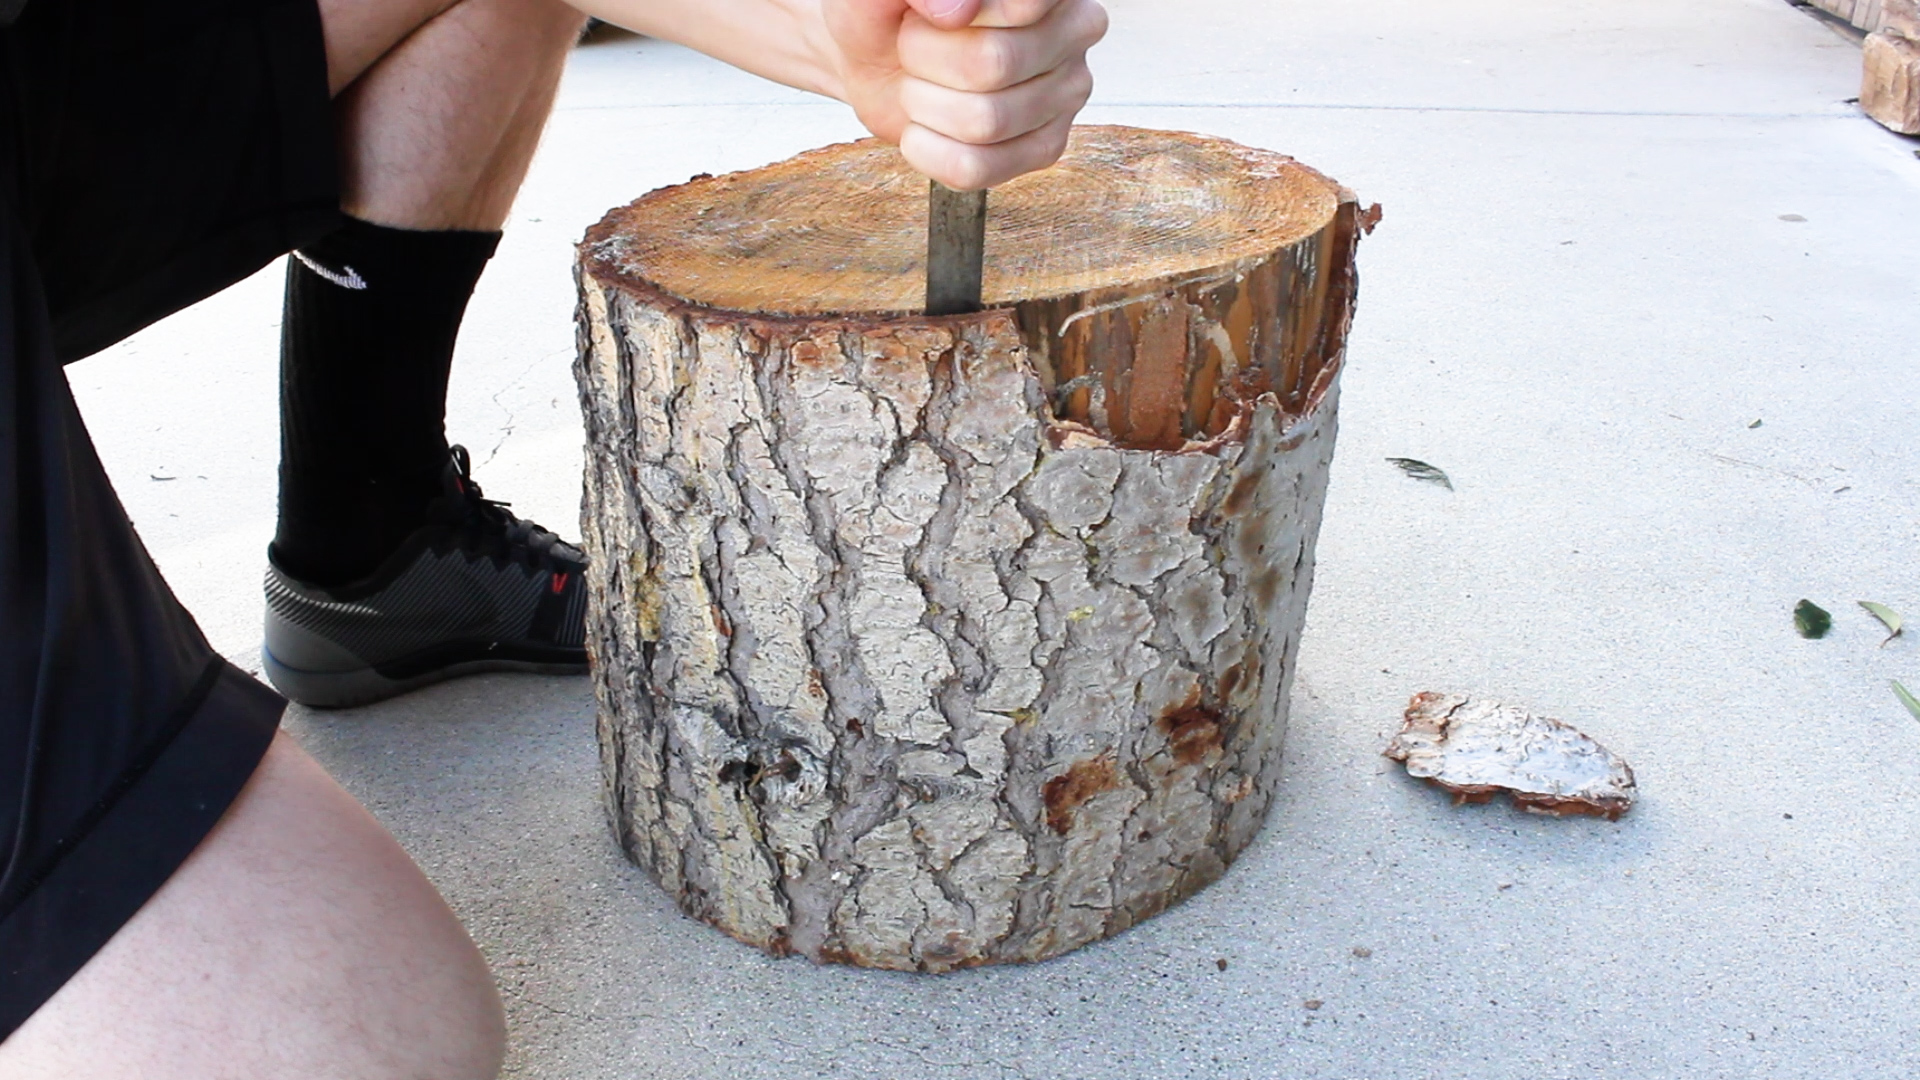
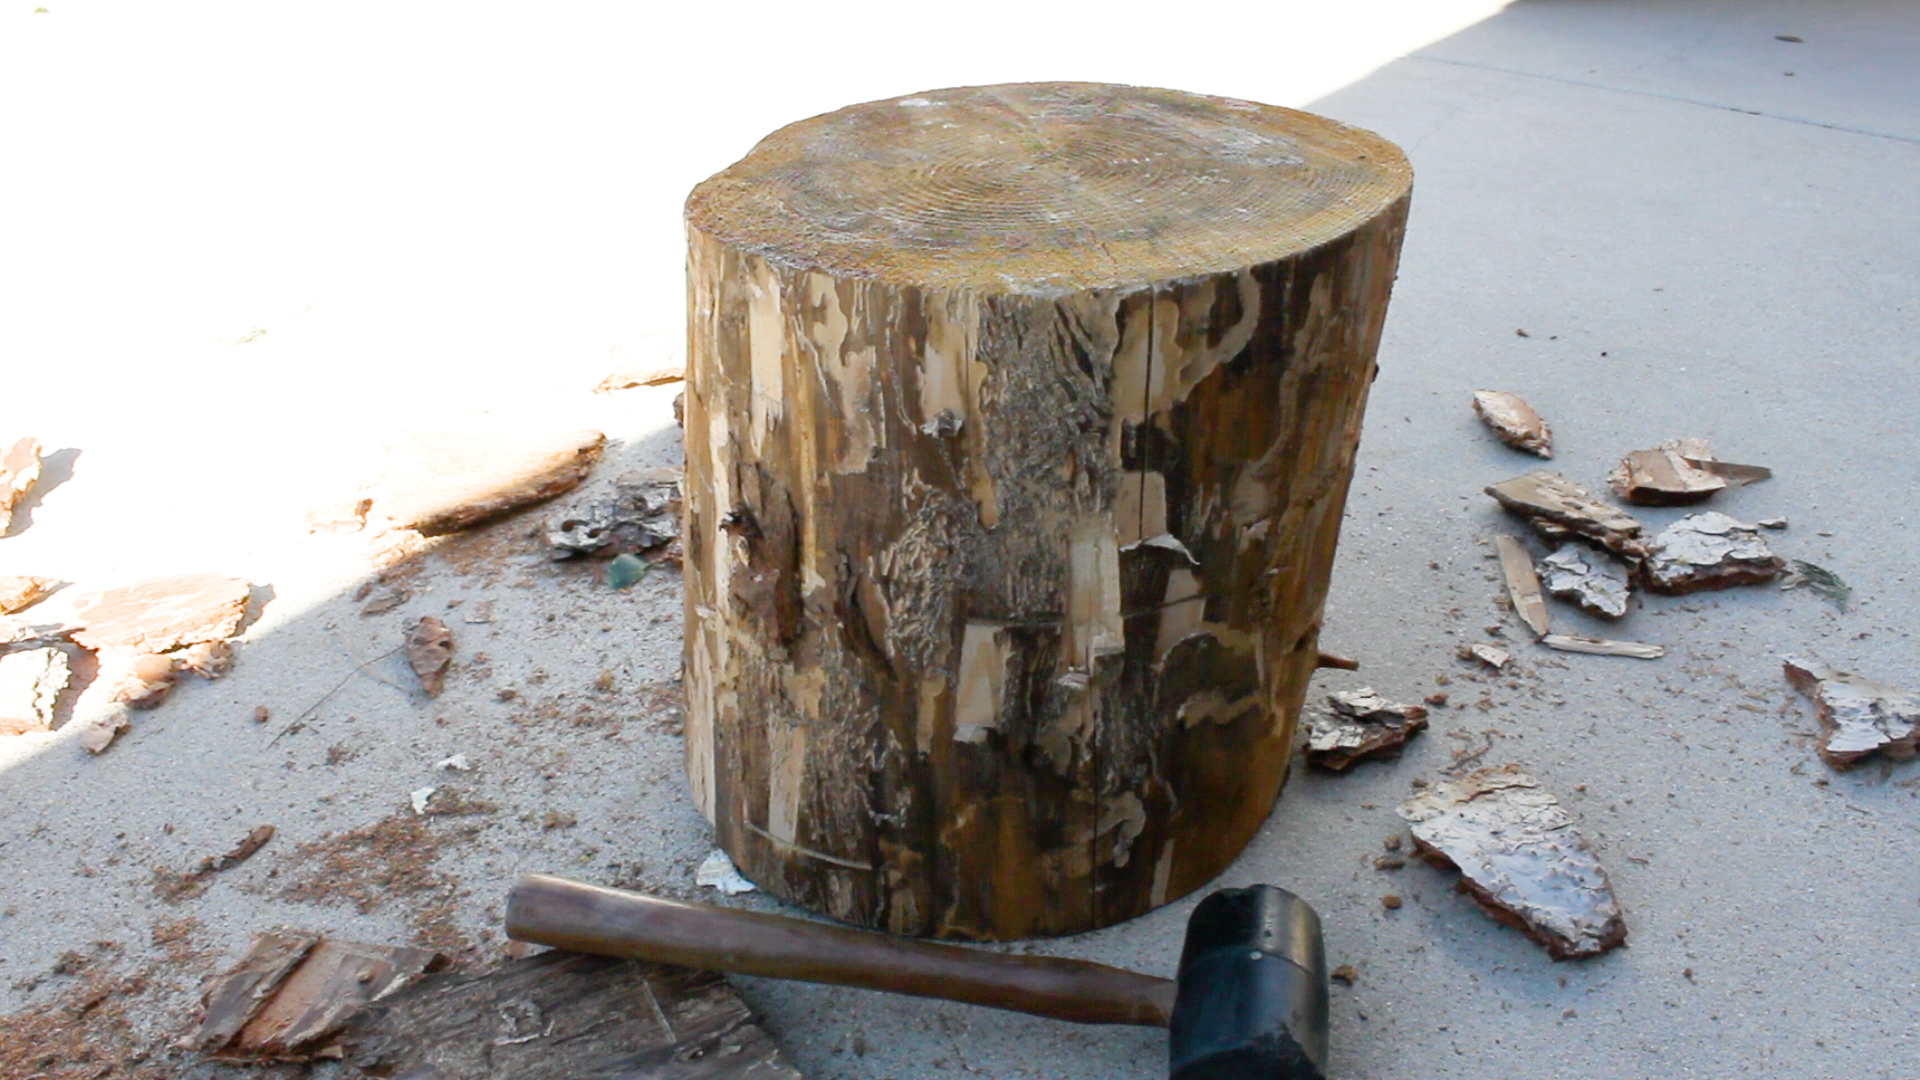
I spent a good half hour using a chisel and mallet to debark the stump. My back hurt a lot after this. You can see in the up close that this tree was likely already dead due to the bark beetle infestation plague California, thus why it was likely cut down for scraps in the first place. Oh well, at least I got something out of it...
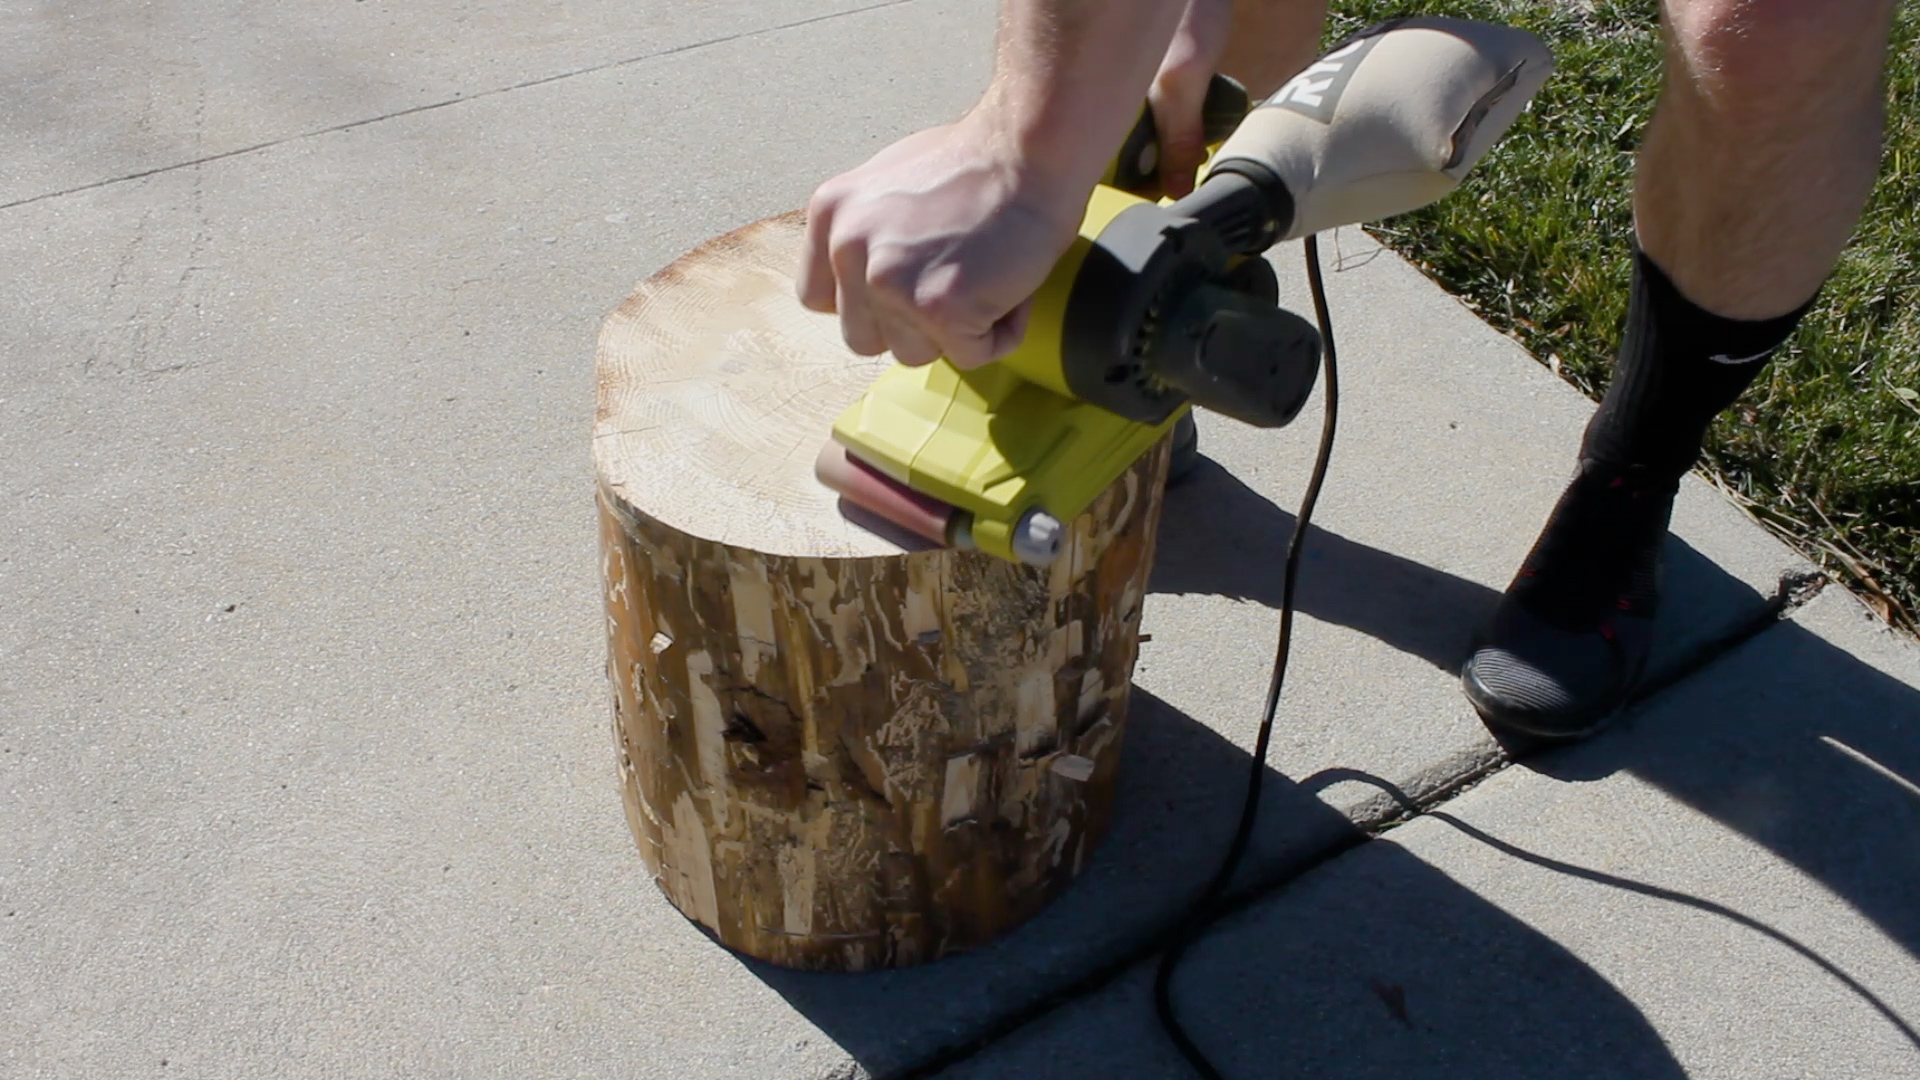
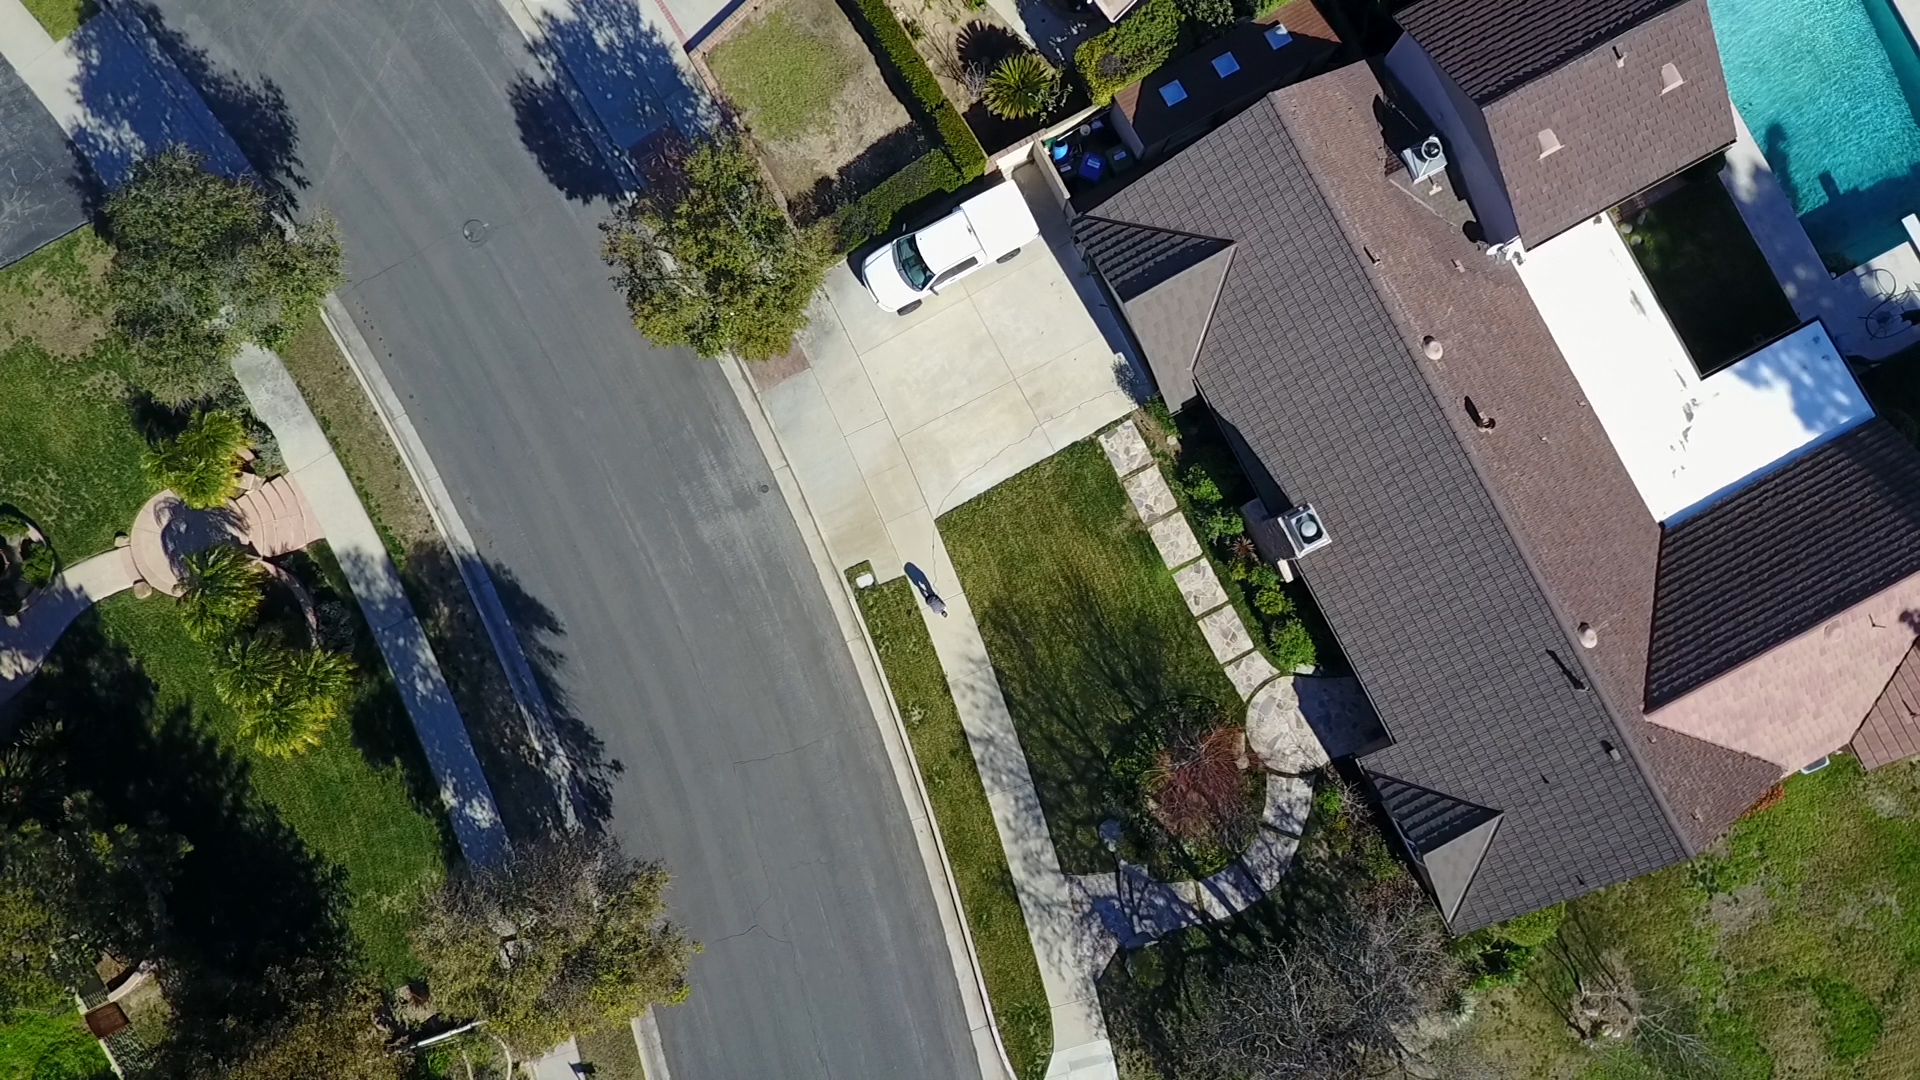

Then it was on to sanding. I used my belt sander at 60 grit to take off most of the rough stuff. Drone shots of sanding are a must!
This took a considerable amount of time given how rough this log was. For anyone looking to their own DIY project, it is completely up to you on how much you want to take down the roughness of your stump as each person might want something slightly different for their home.
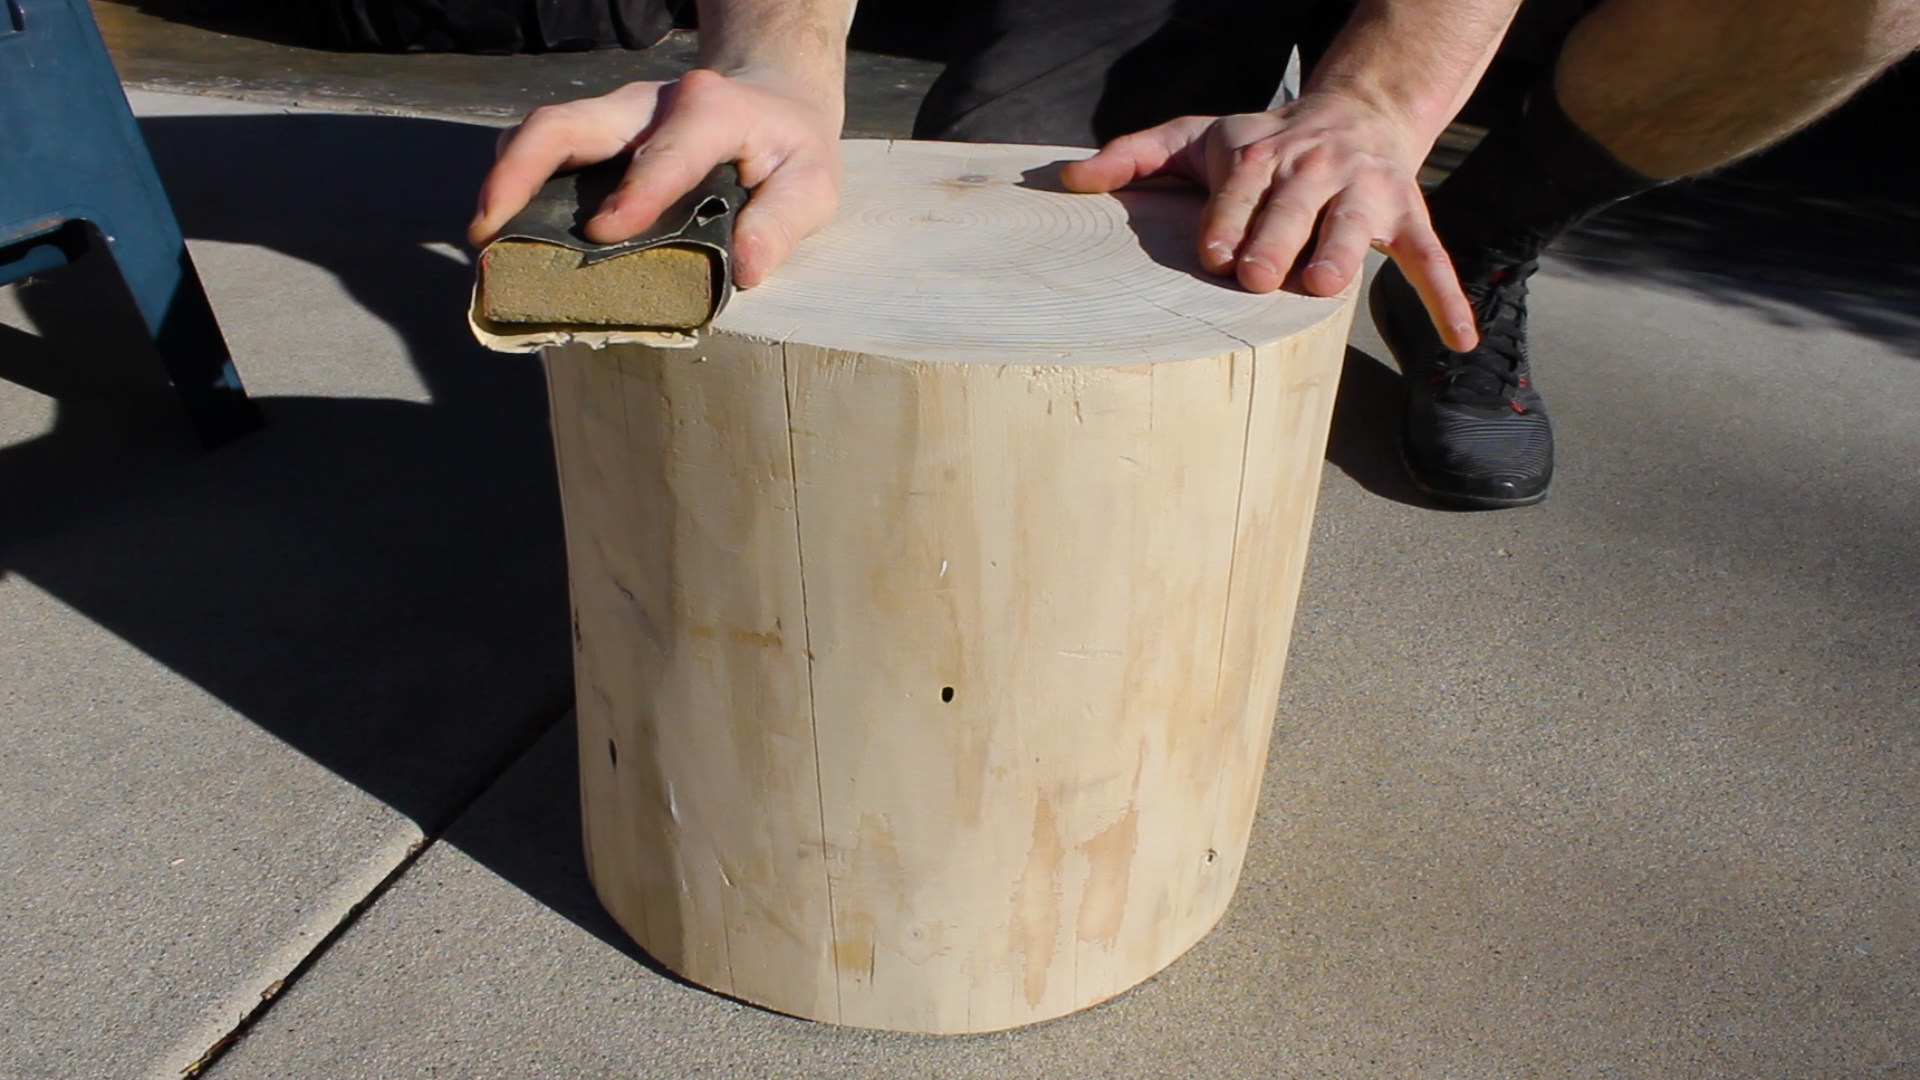
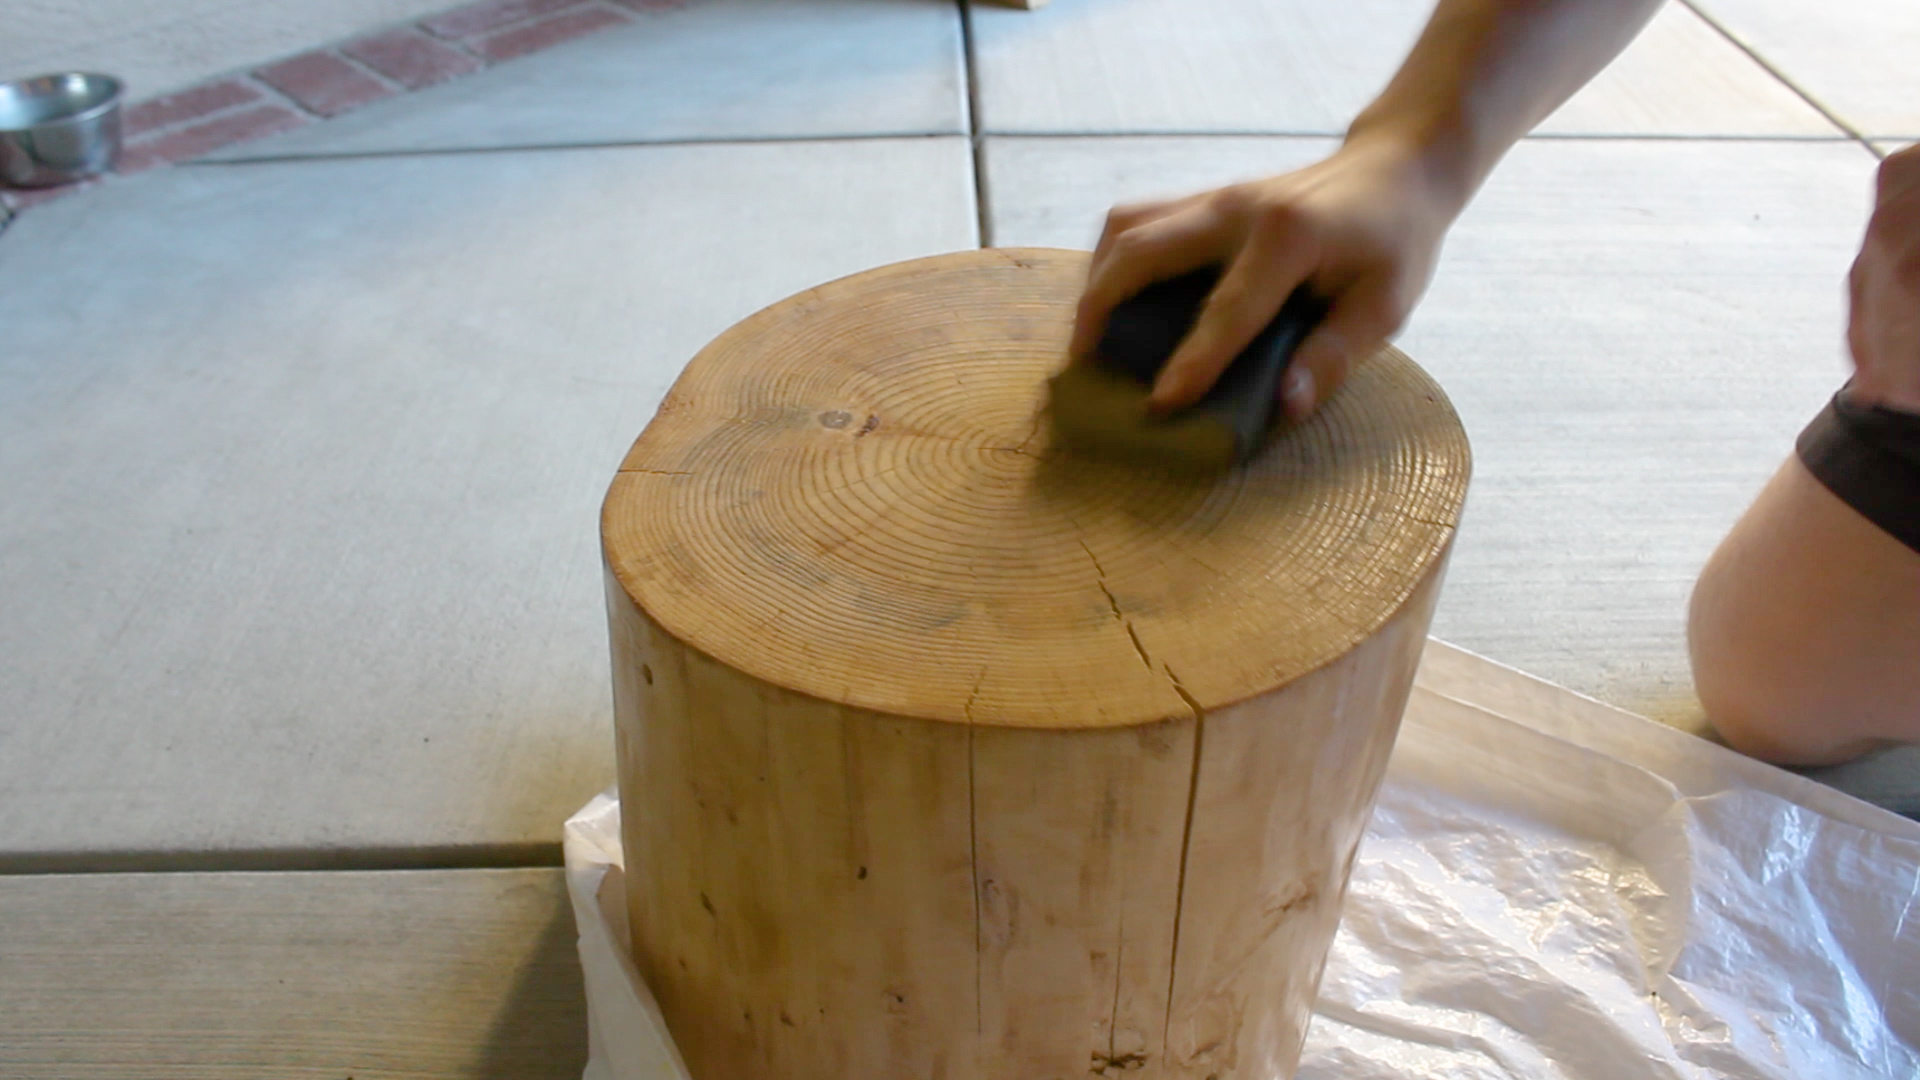
After using the belt sander, I used my orbital sander at 90 grit to begin rounding the edges, followed by a pass with my sanding block at 120 and 200 grit to get a good smooth finish.
I also lightly wiped bleach, washed it off, and let it dry again as there were parts of the wood that had a bit of stain due to small amounts of mold from sitting around for so long - not necessary for every project, but this is a method I read about for keeping the wood healthy long term.
I also did a round of wet sanding in this to raise the grain and smooth further.

I had two stumps, so here is a difference between my smoothed down stump and a stump I had only debarked. Crazy right? The right stump would still have made for a cool looking project in this form!
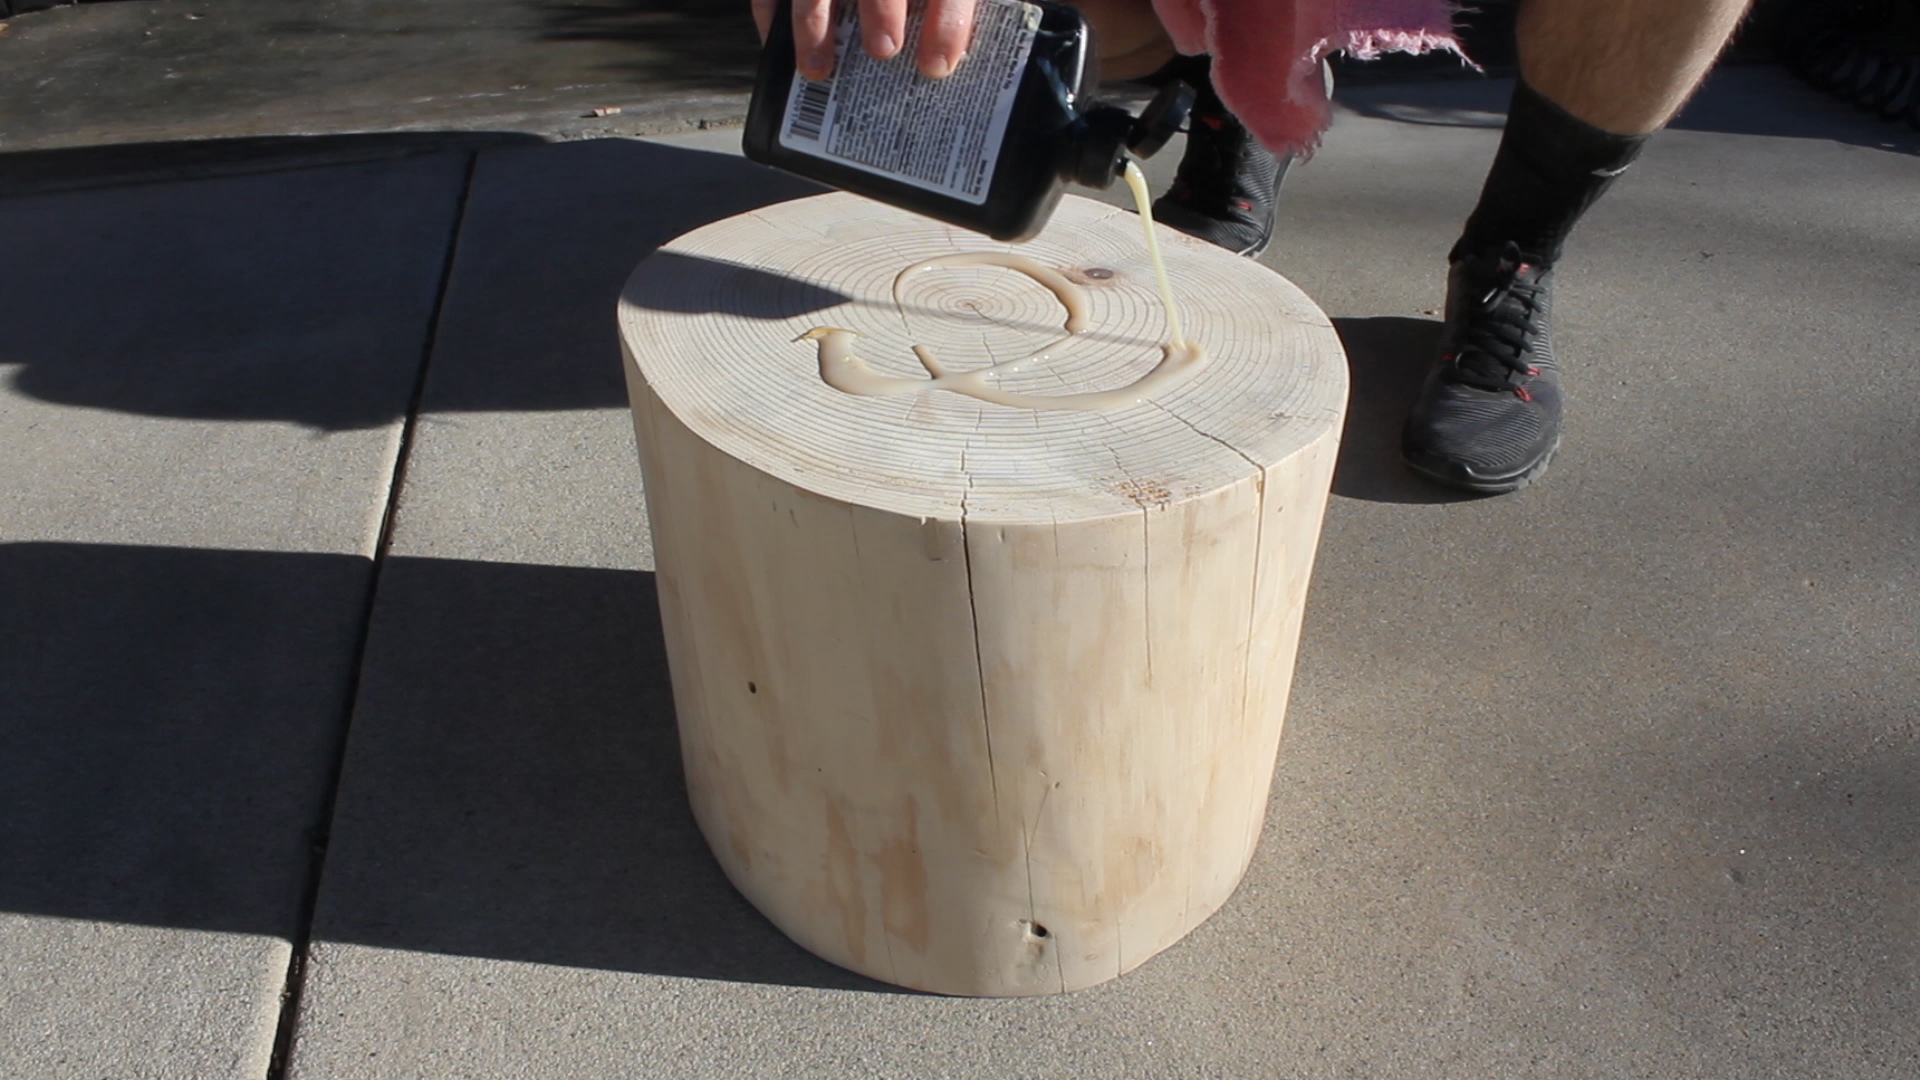
I then moved to finishing. I have tried various methods for stump projects, but had stumbled upon a really cool (old) website that seems like it is no longer updated that had a cool gallery of naturally finished stump projects. I wanted to avoid oils or stains, so I chose instead to just use a semi gloss poly finish to bring out the grain and make the stump shine using just it's natural look.
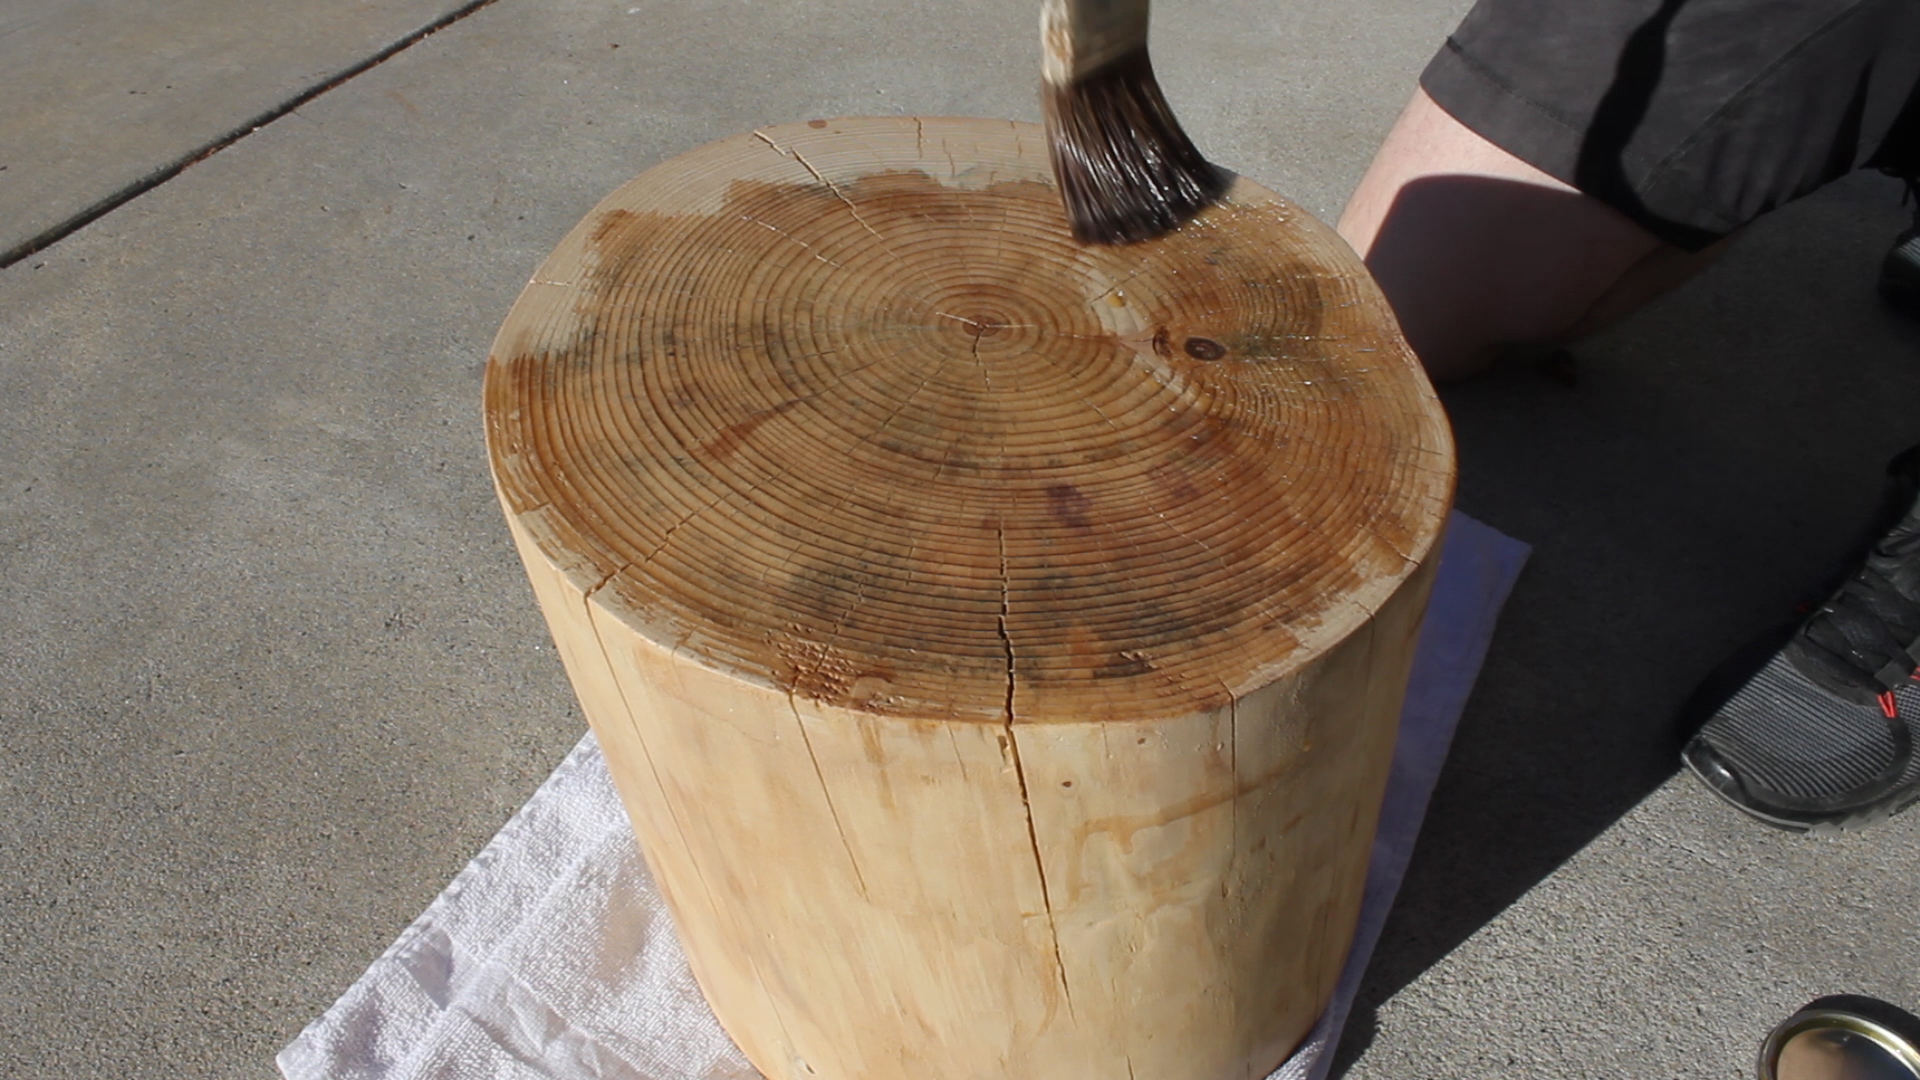
I started with a coat of wipe on poly, but then quickly switched to brush on poly as it wasn't very thick nor was it doing the job of bringing out the beauty I wanted.
I applied four total liberal coats of poly onto my stump in total, letting each one dry properly then sanding down with 120 an 220 grit sandpaper in between each coat to keep it smooth and clean. After my final coat, I upped my sanding further using 320 and 420 grit paper. These things were VERY smooth!
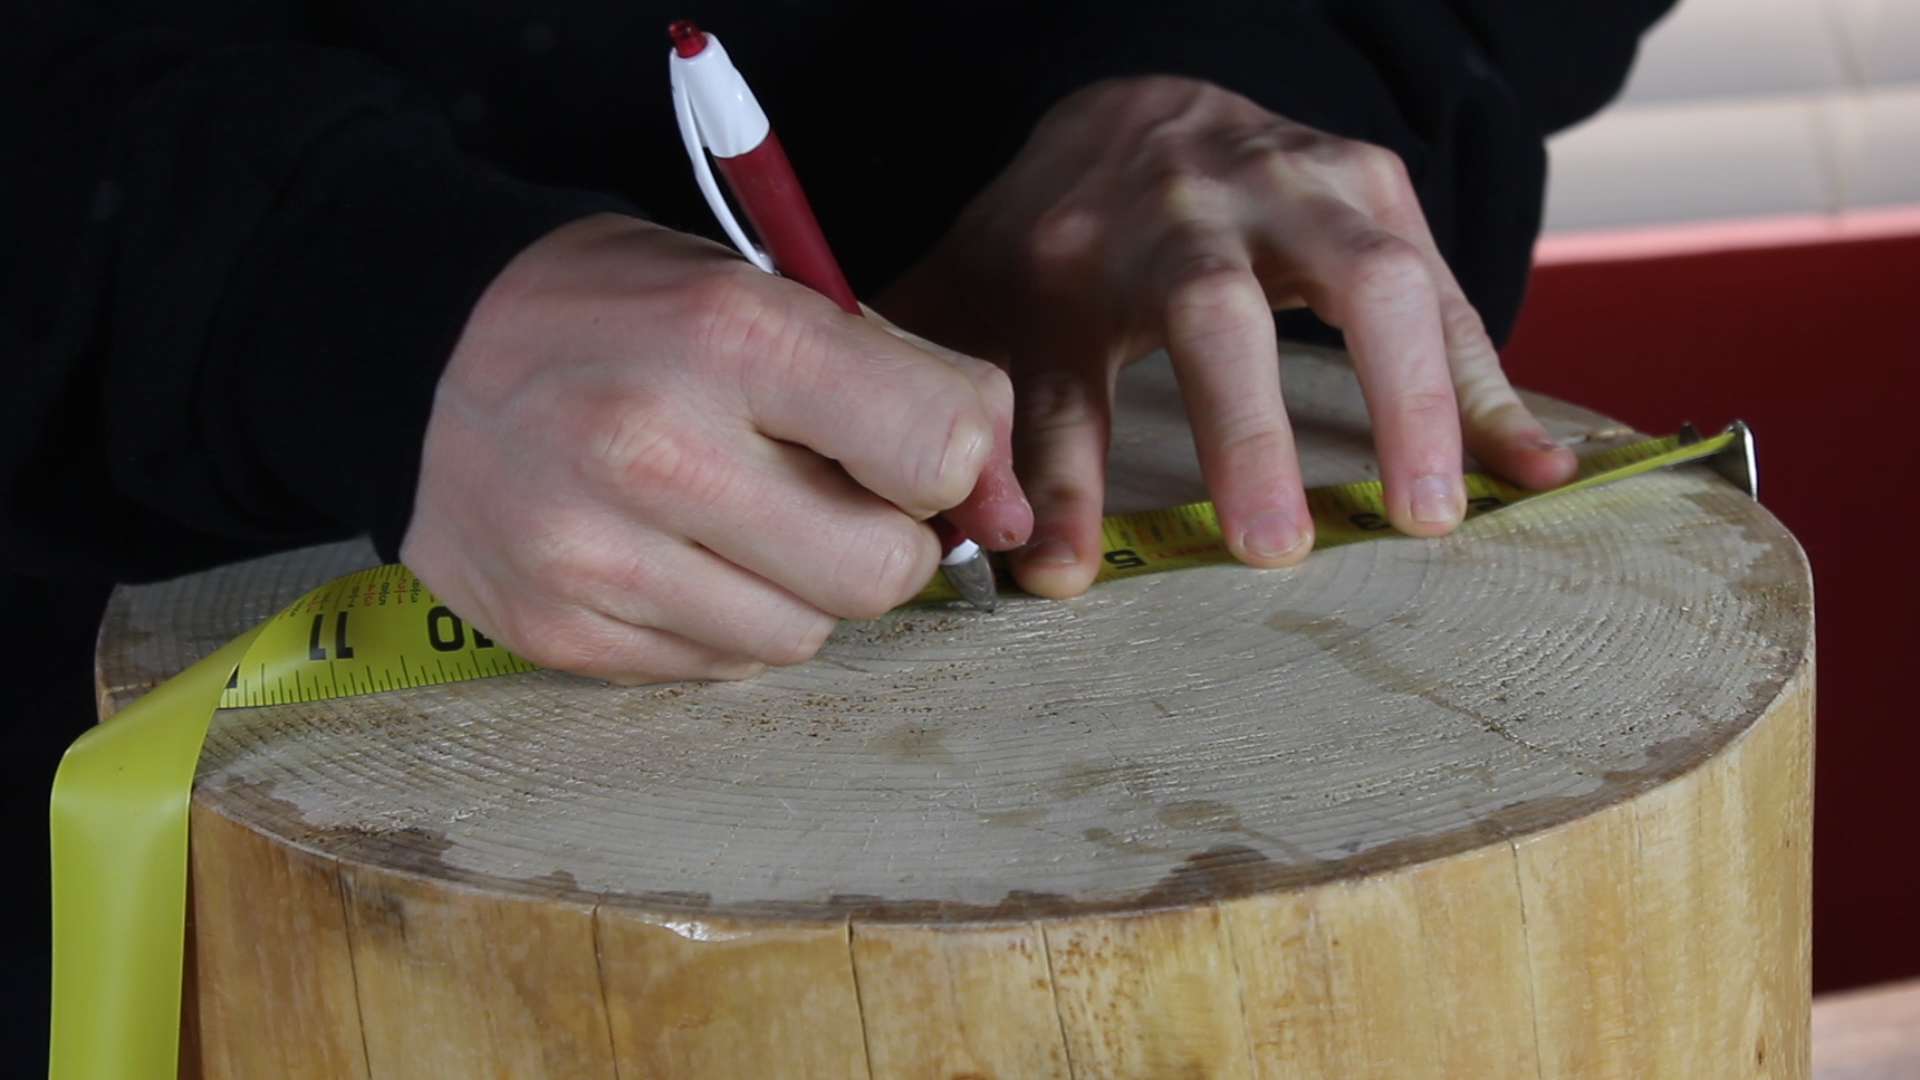
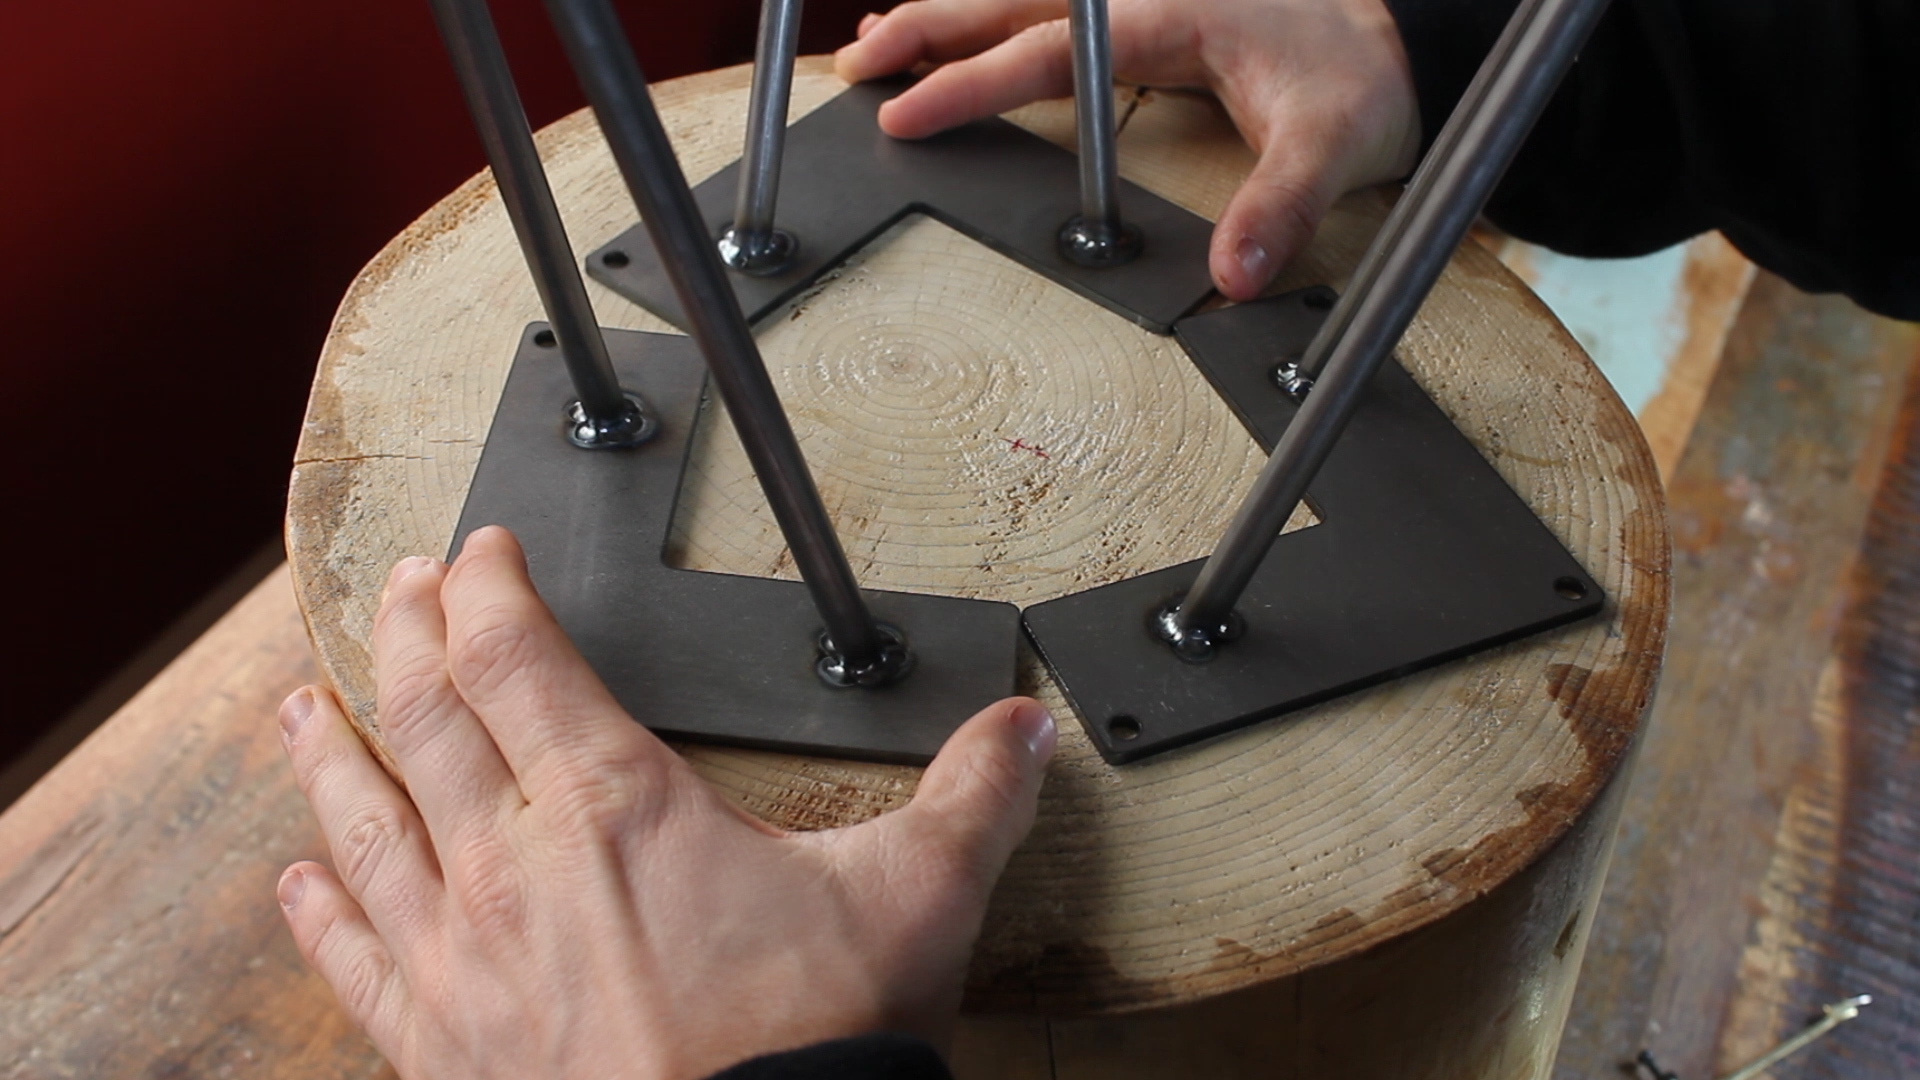
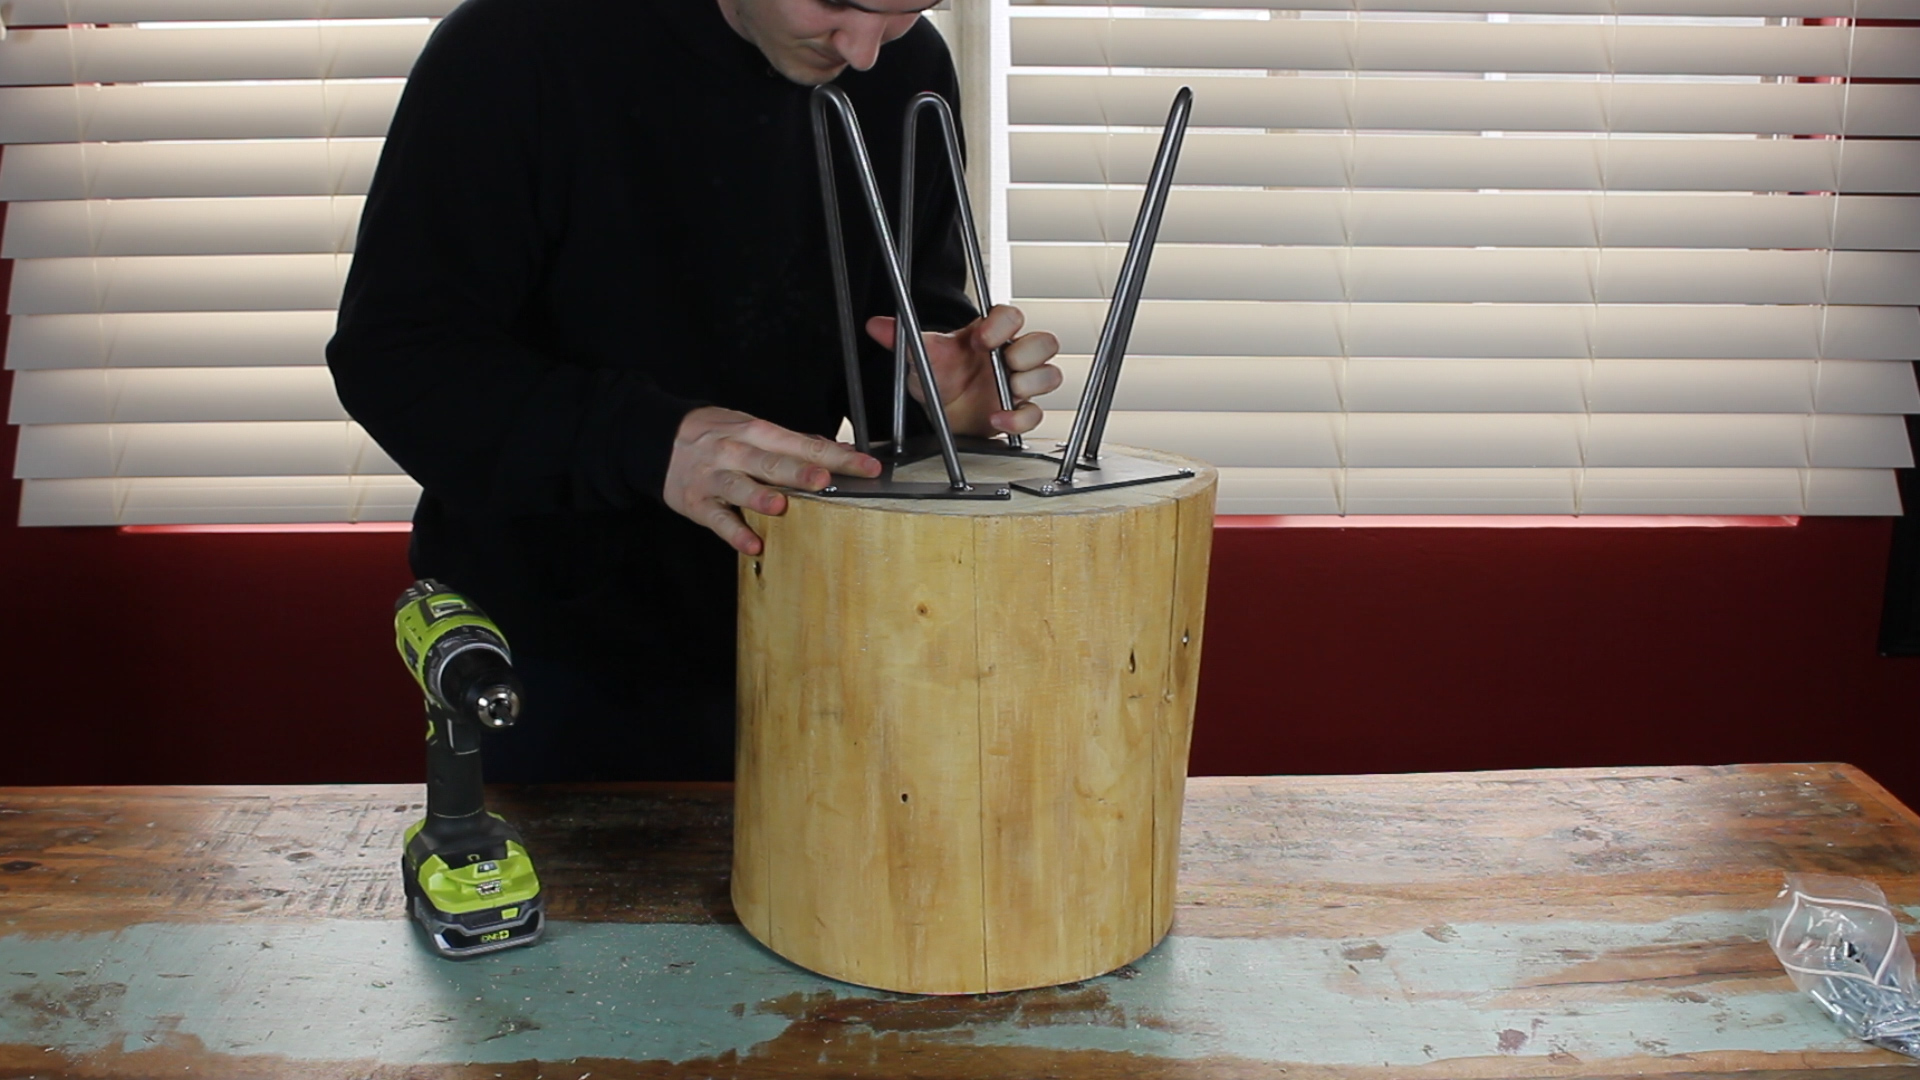
Lastly, I added a set of three hairpin legs (10" in my case) to the bottom. I chose 10" because I wanted my table to be a certain height. Each project will have individual needs.
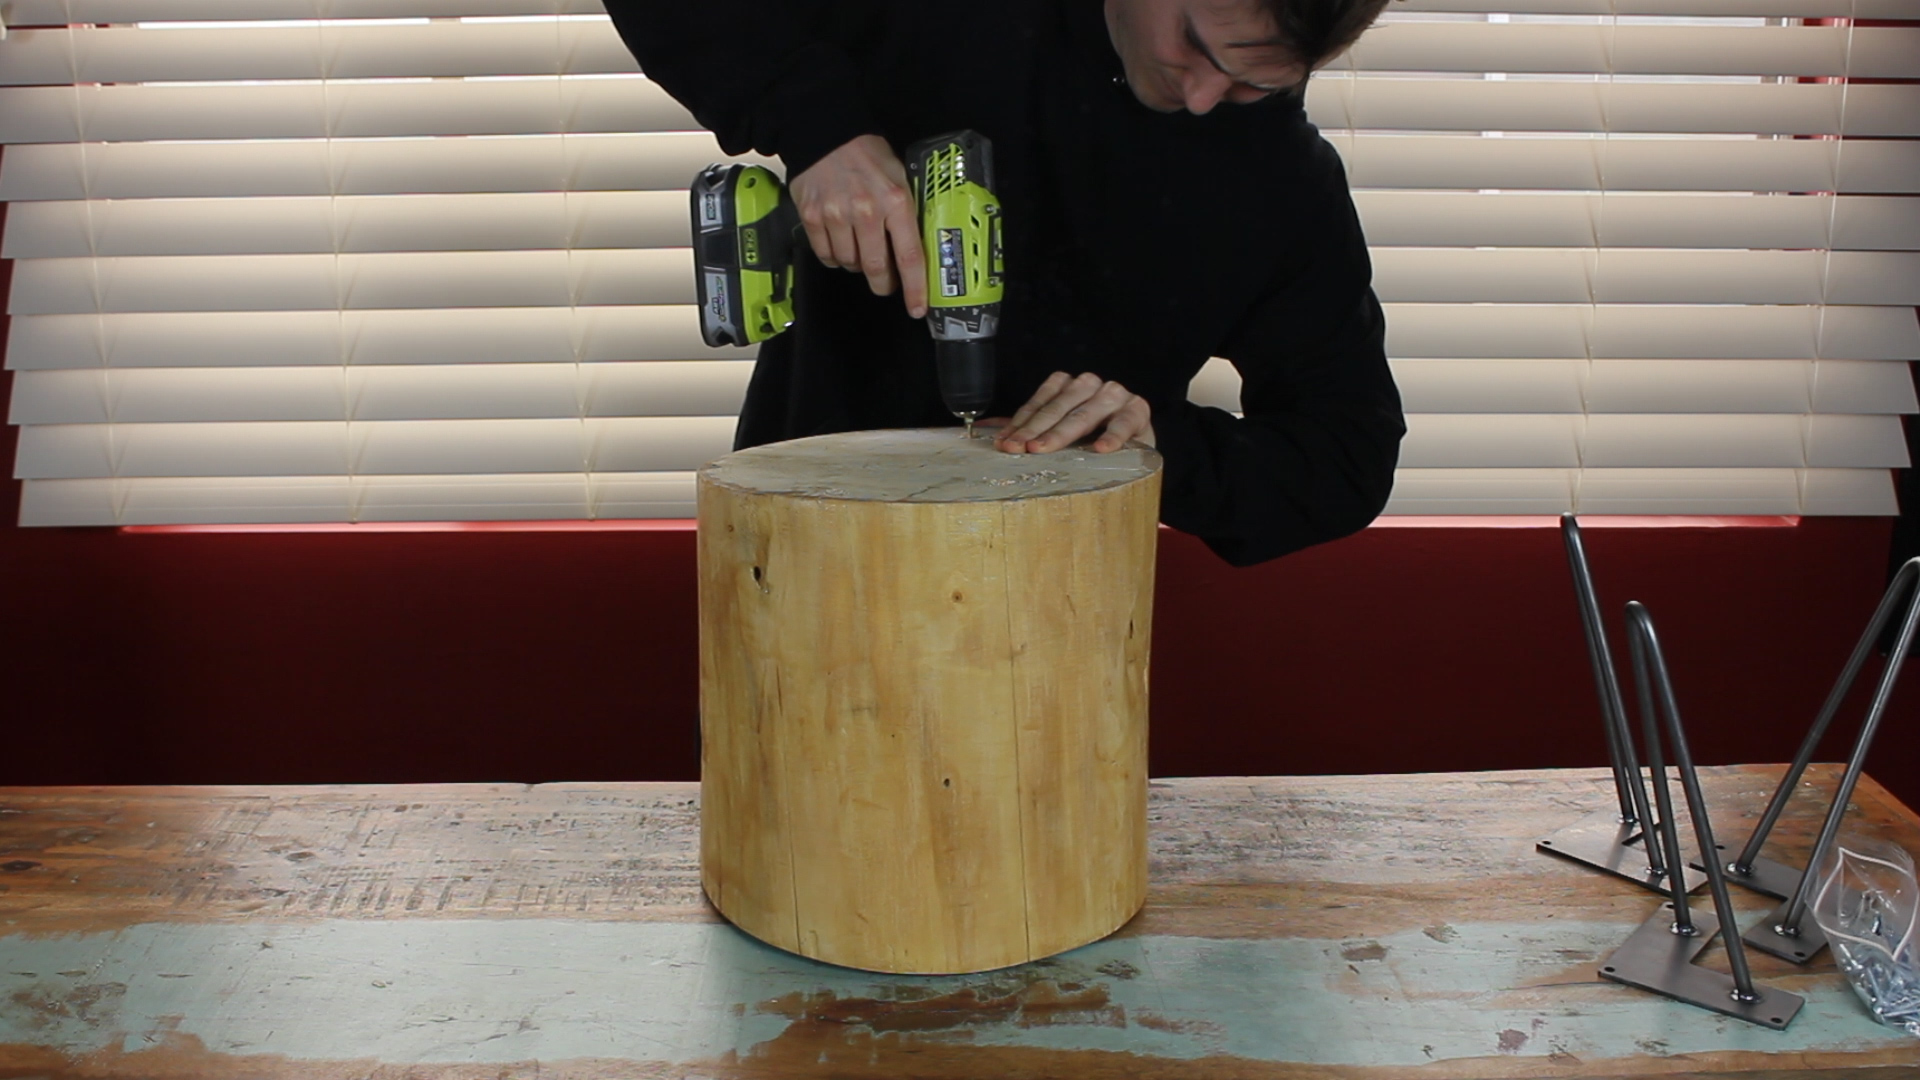
To do this, I marked out where I'd want my legs to go - in this case, it was just around the center and was relatively easy to line up things. I then marked and predrilled holes for my screws, and then secured the hardware using 3 x wood screws for each hairpin legs.
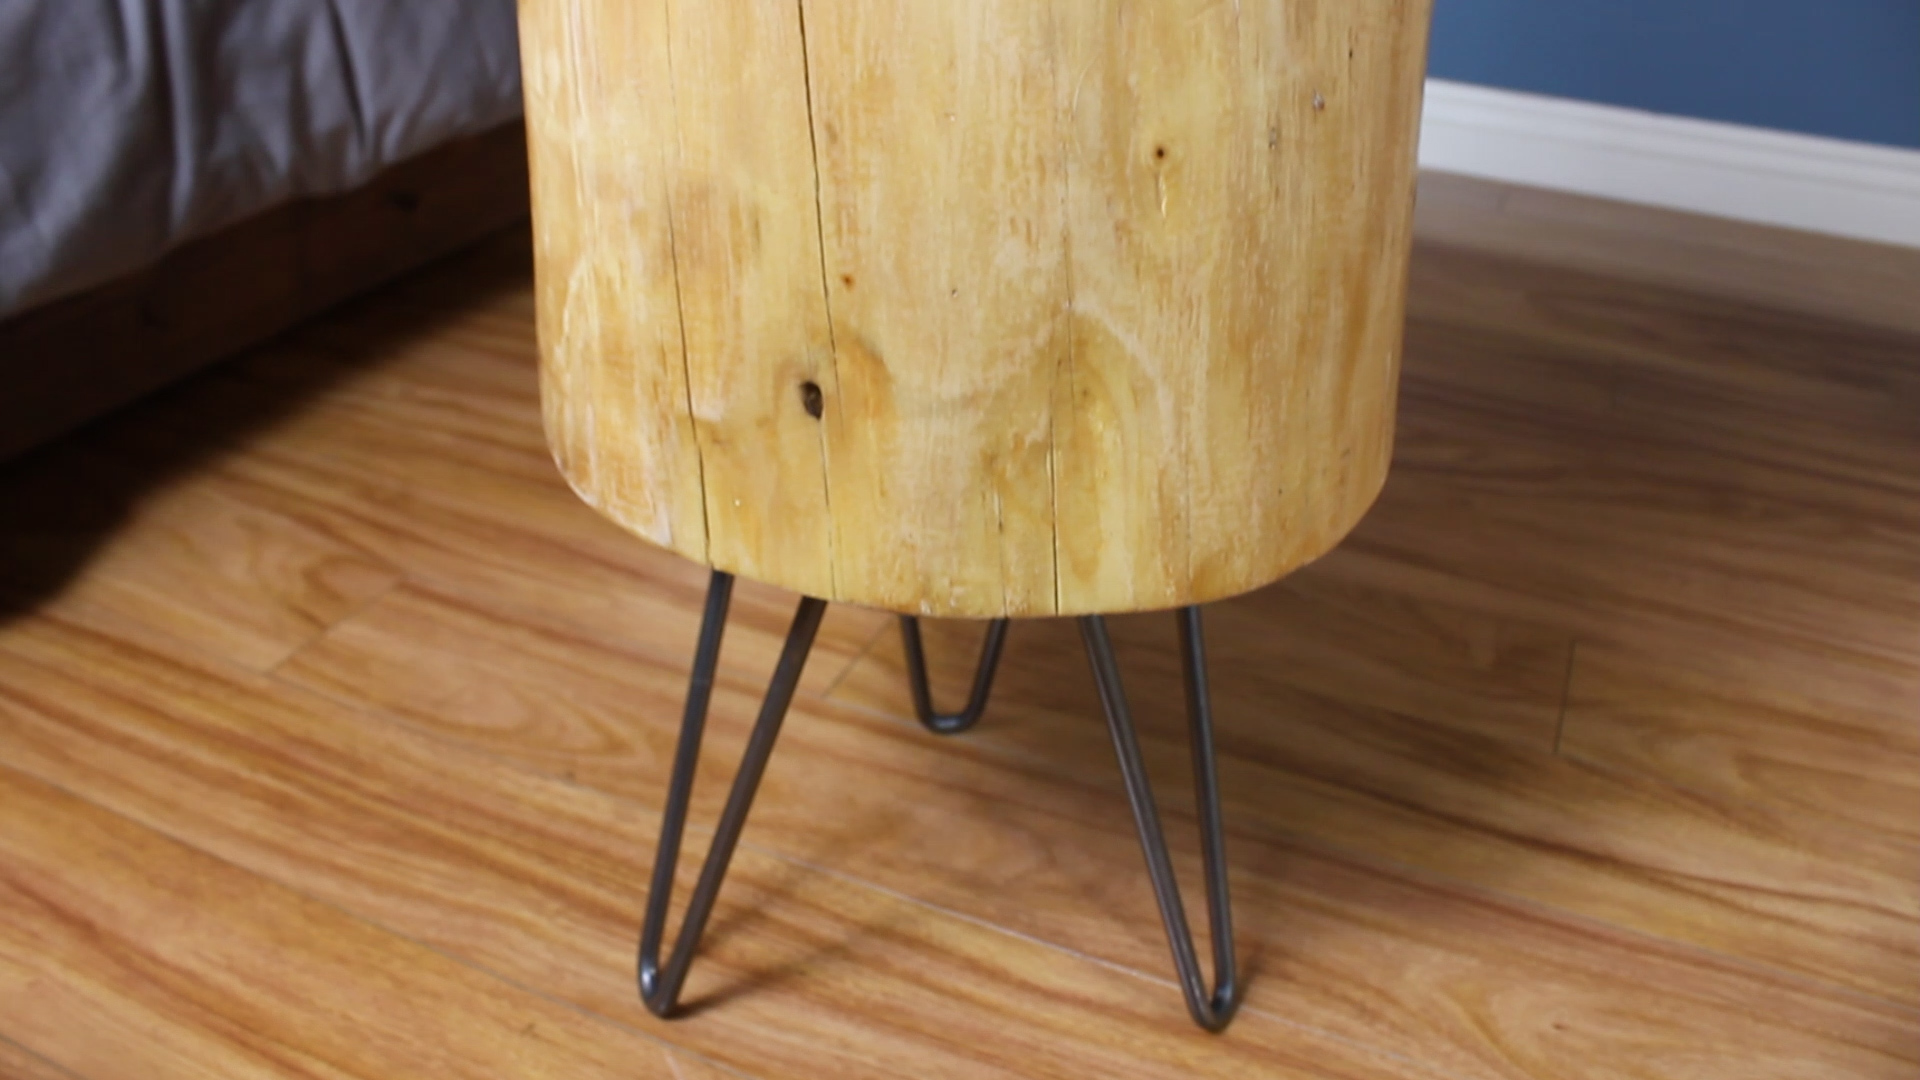
I love the look of this type of hardware - it literally can take any DIY wood project and up its coolness factor immedietely.

Final picture of the stump. Up close, the wood grain looks awesome and the shiny smooth finish of the poly brings out the natural finish of the tree in an amazing way.
I love knowing I took something dying and left for scrap firewood and made something fun and unique out of it.
TOOLS
RYOBI Cordless Orbital Sander
RYOBI Belt Sander
RYOBI Power Drill
RYOBI Drill Bit Set
Rubber Mallet
Hand Sanding Sponges (120, 220, 320, and 420 grit)
Chisel
5-Gallon 4.5 Peak HP Wet Dry Vacuum
Tape Measure
Paint Brush
Air Compressor
FILM / EDIT EQUIPMENT:
Canon Rebel EOS T2i:
Canon EF-S 18-55mm f/3.5-5.6 IS II Lens
Rode Microphone
Voice Recording
Adobe Premiere (Editorial)
Thanks for reading! I would be so grateful if you could please subscribe to my new Youtube Channel for future projects. I put out videos every two weeks.
Cheers!
Zach