For my fiancé's bridal shower, she received a Kindle Fire tablet for the kitchen. She had been wanting one of these for some time now - as she can use it for recipes, to watch shows, to set timers and alarms, etc. Now, she needed a proper stand for it, so I decided to tackle the project on a whim with some wine oak wood I had. Below is a video of my build, followed by full instructions, including materials and steps.
Below are all materials and tools for the project. Note - if you have thin strips of hardwoods - you can get away without using a planer - you'll just need an orbital sander to flatten and smooth after glue ups.
MATERIALS
4 x Oak Slats (about 3 feet long, 1/4" thick, 2.5" wide)
TiteBond II Wood Glue: http://amzn.to/2peRFus
Mineral Oil: http://amzn.to/2p1hu2N
TOOLS
SAWSTOP
SAWSTOP Contractors 30” Saw: https://amzn.to/2Luh91q
RYOBI
10 in. Sliding Compound Miter Saw: http://amzn.to/2q1klHw
Miter Saw Stand: http://amzn.to/2p1072e
Stationary Bench Sander: http://amzn.to/2q1Cq8k
RIDGID
RIDGID 13” Thickness Planer: http://amzn.to/2u7YrmK
Other
Many clamps...
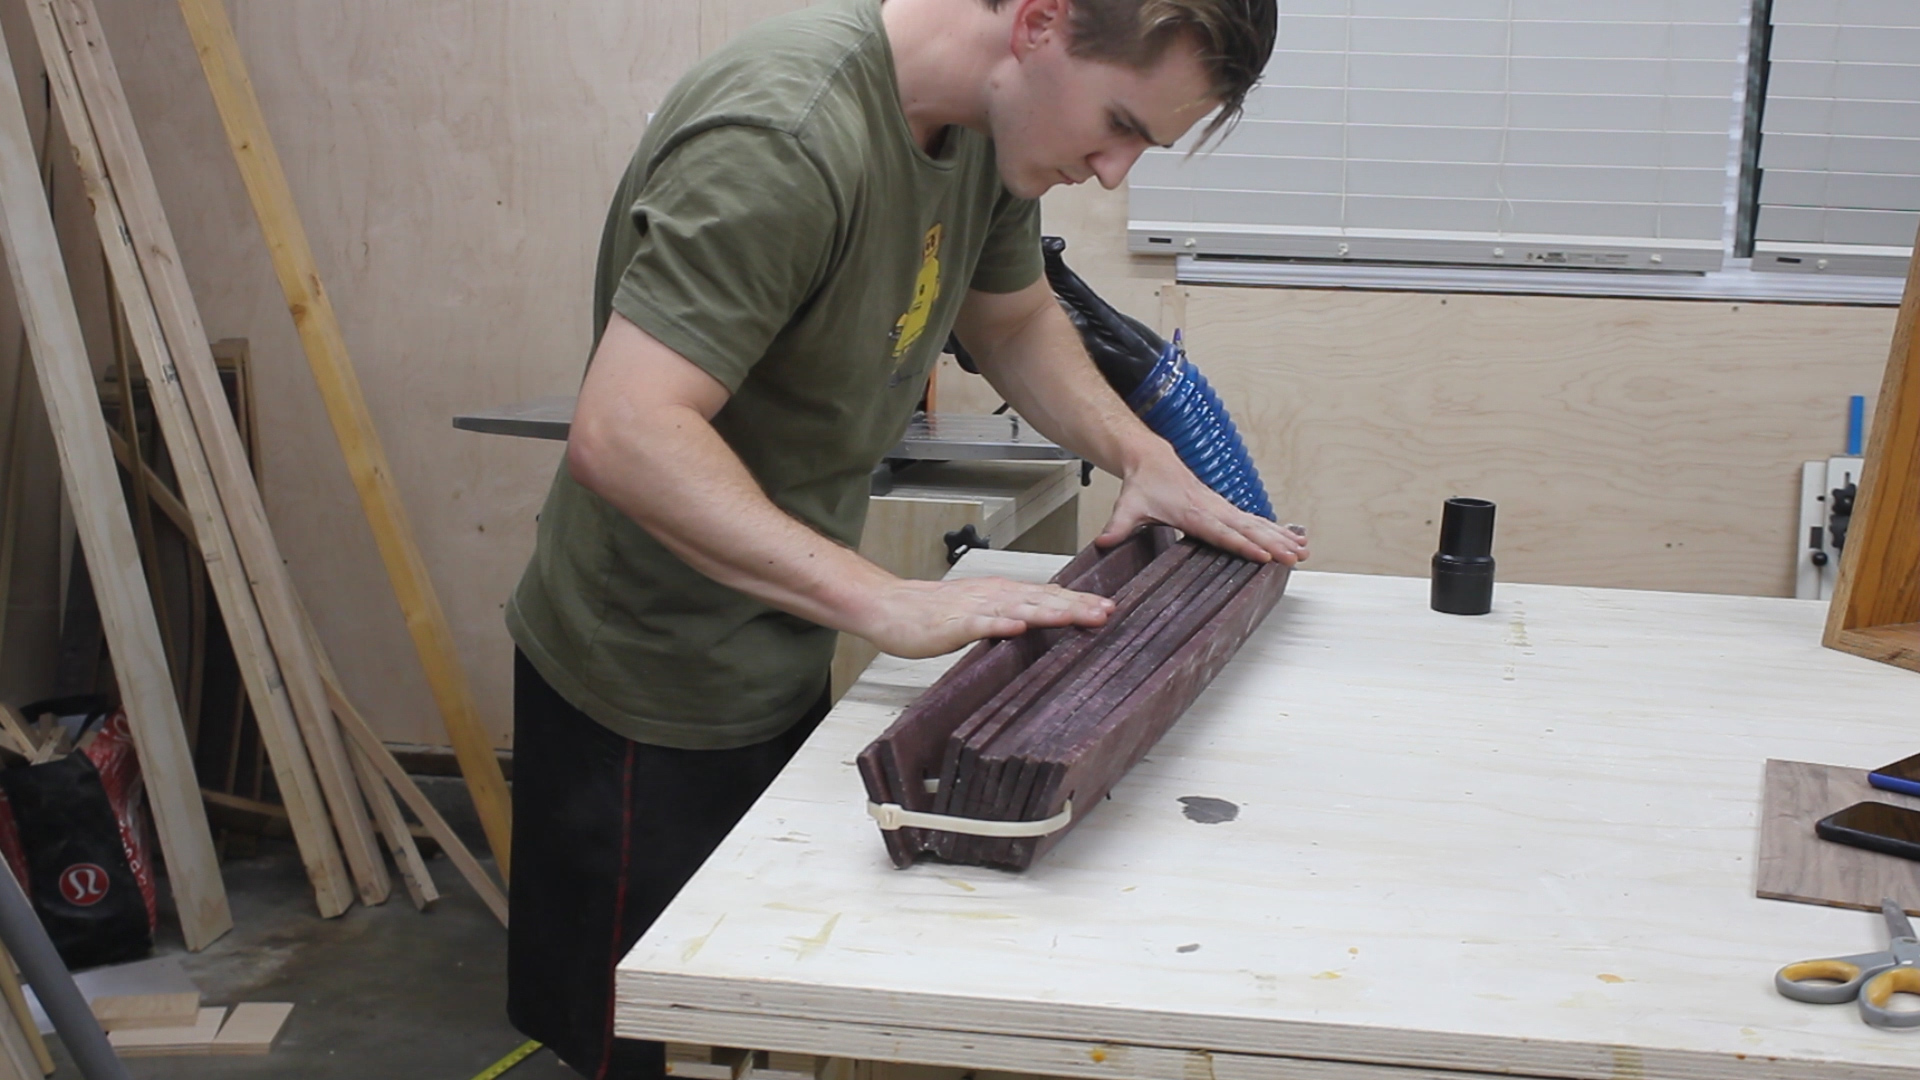

My father-in-law does wine barrel revival art. He acquired a massive stack of this oakwood that is placed inside of steal vats while wine is fermenting. This allows wineries to ferment wine in large quantities without using barrels but without sacrificing the oak flavor.
You can see how in all three pictures the wine is crystalized purple with sugar - it smells incredible. They are zip-tied together in groups of 10 or so - I do not know how many are placed inside of a vat at once or for how long - but clearly these have been in the game for a long time.
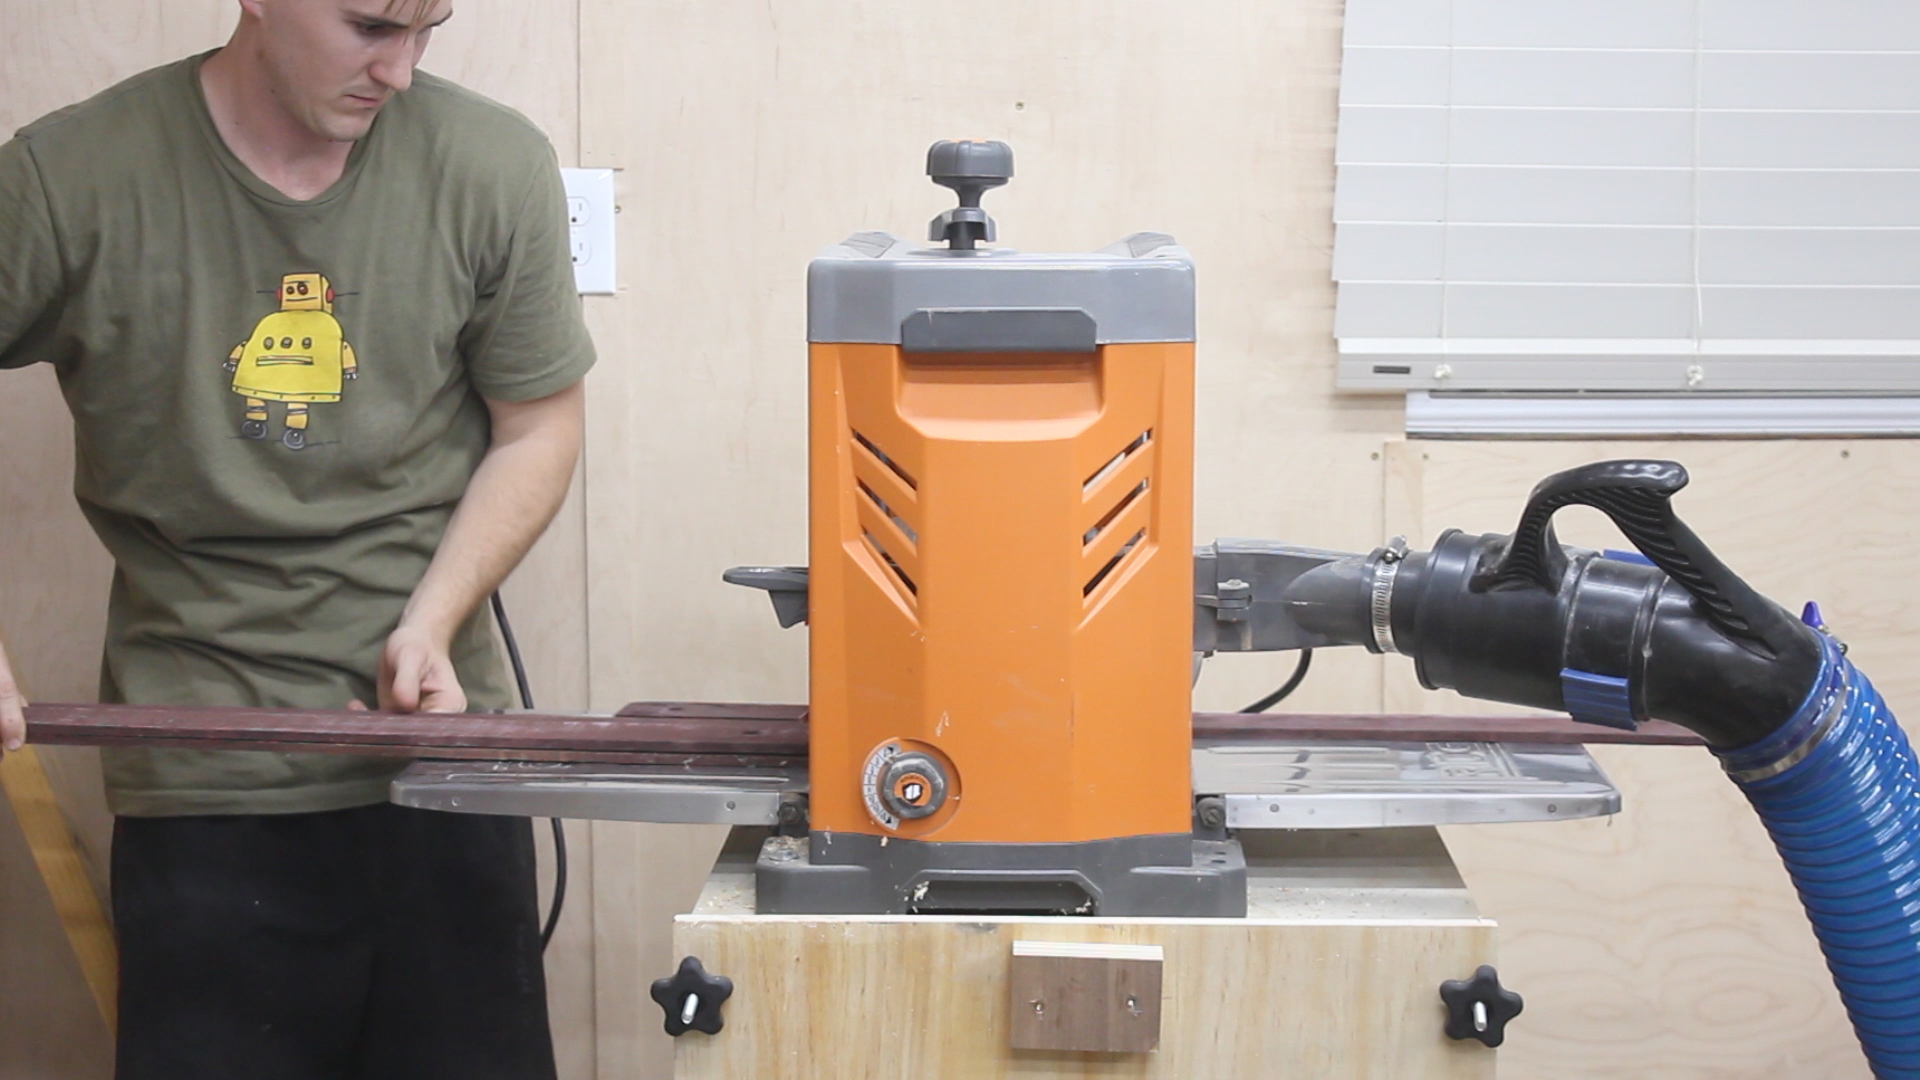
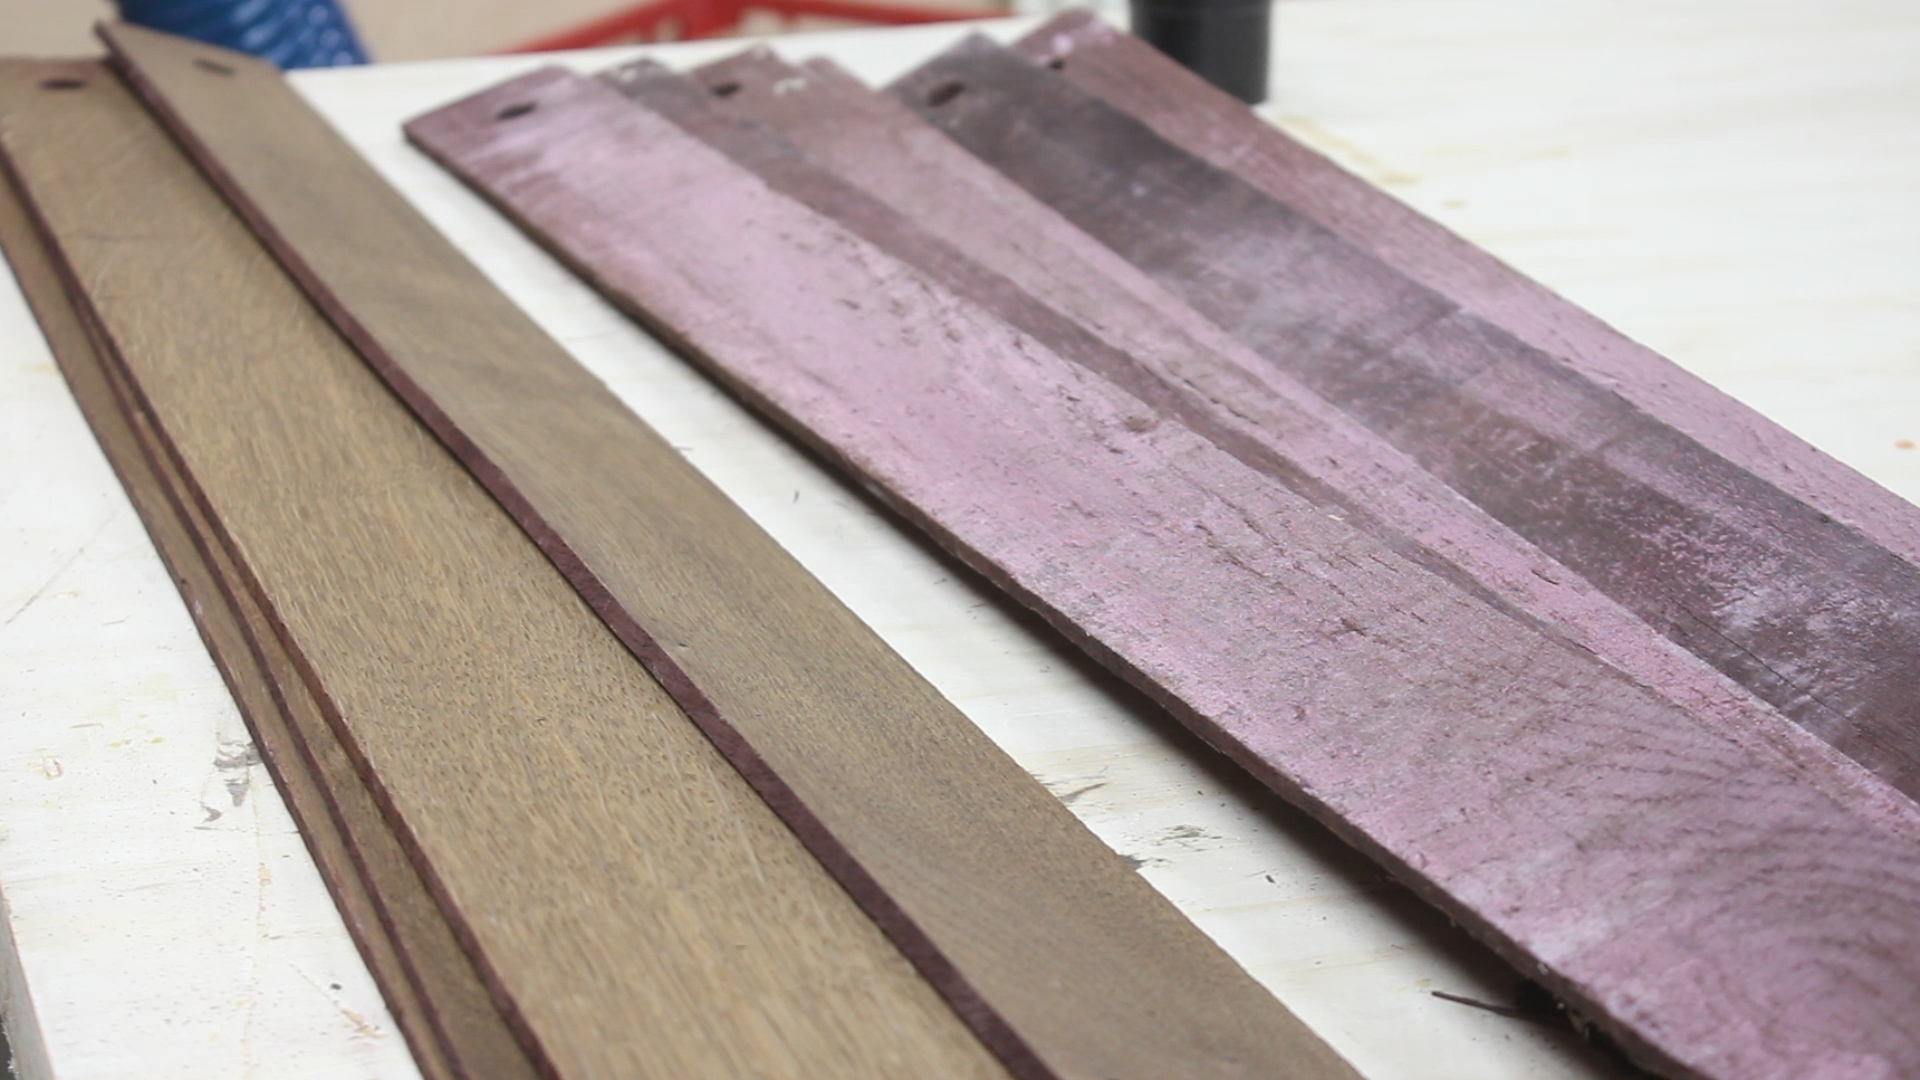

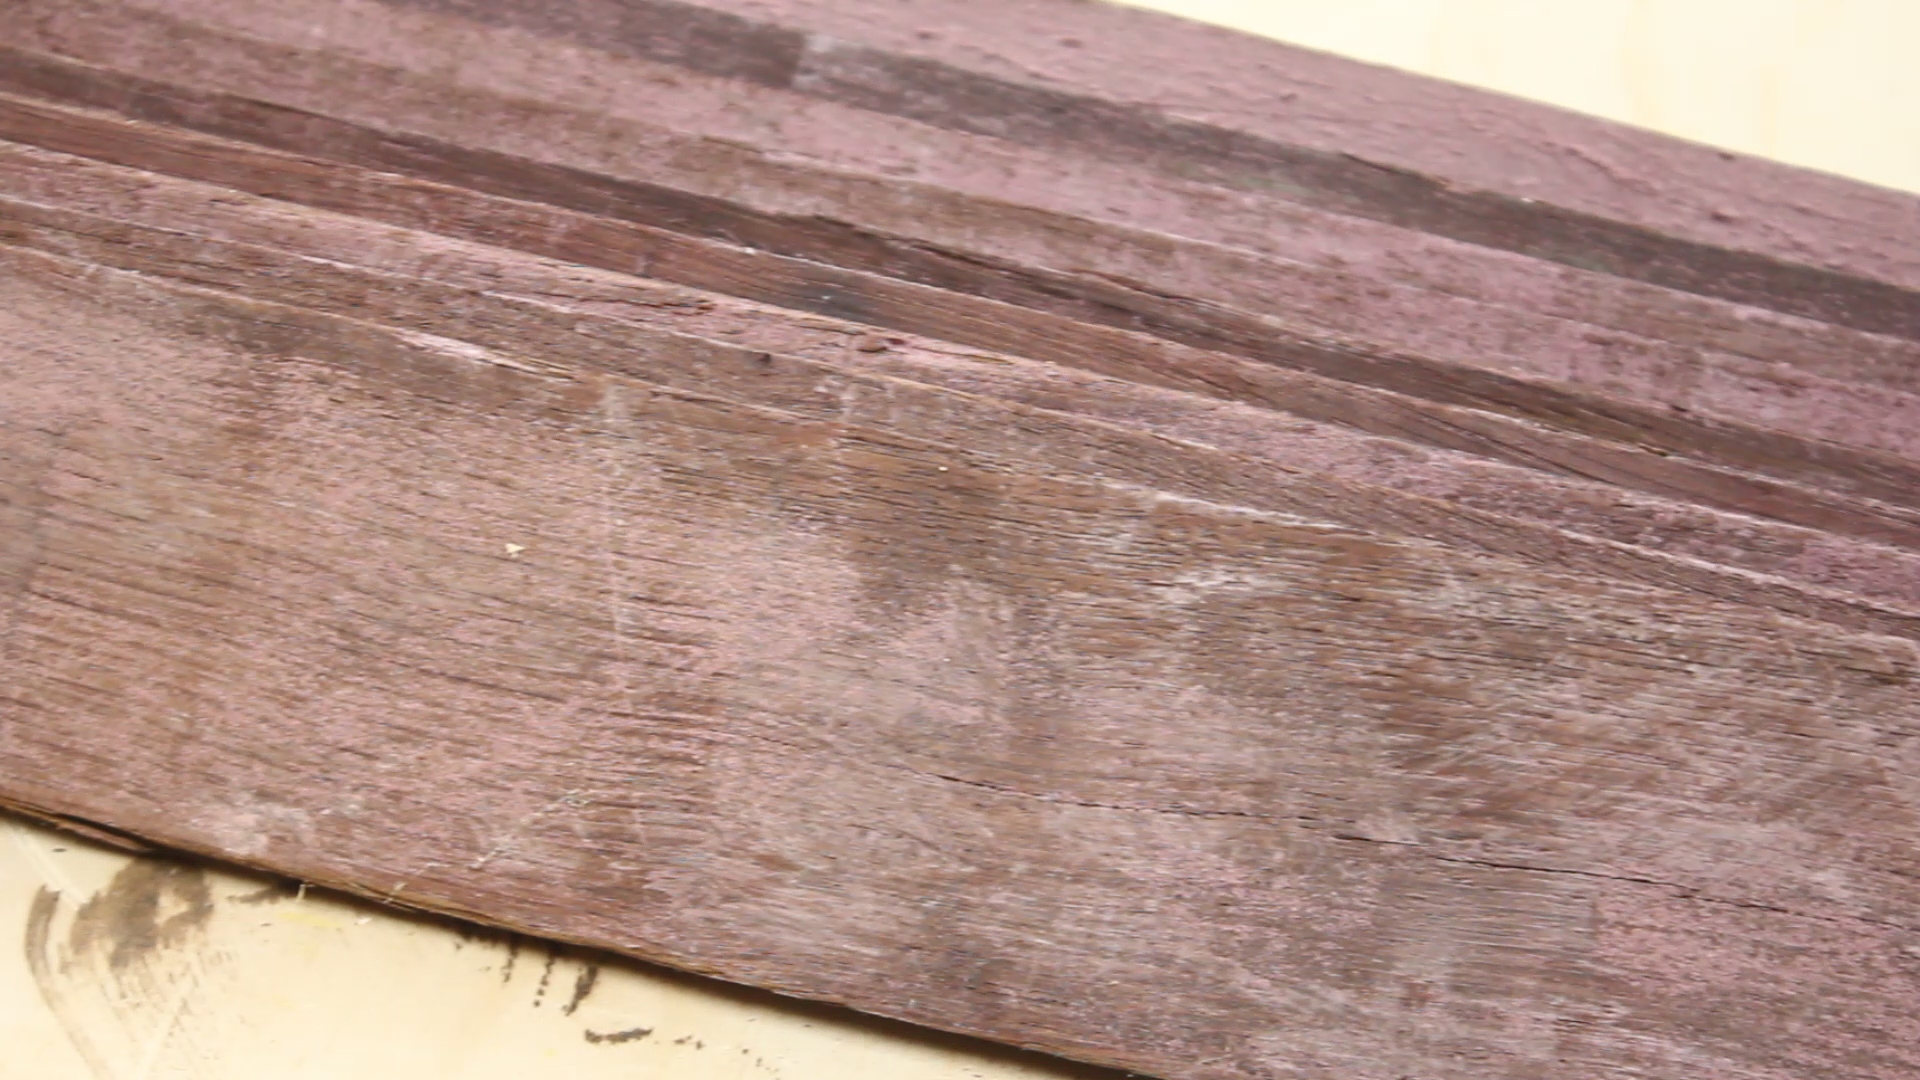
Underneath the sugar is very nice oakwood that is colored in a beautiful brown after years of being used for wine making. Pics 1-2 show me planing down the sides of each piece to reveal that wood. Pic 3 show the difference in sugar wine v. the oak wood underneath - pretty amazing right? I tried to preserve as much thickness as possible in this step.
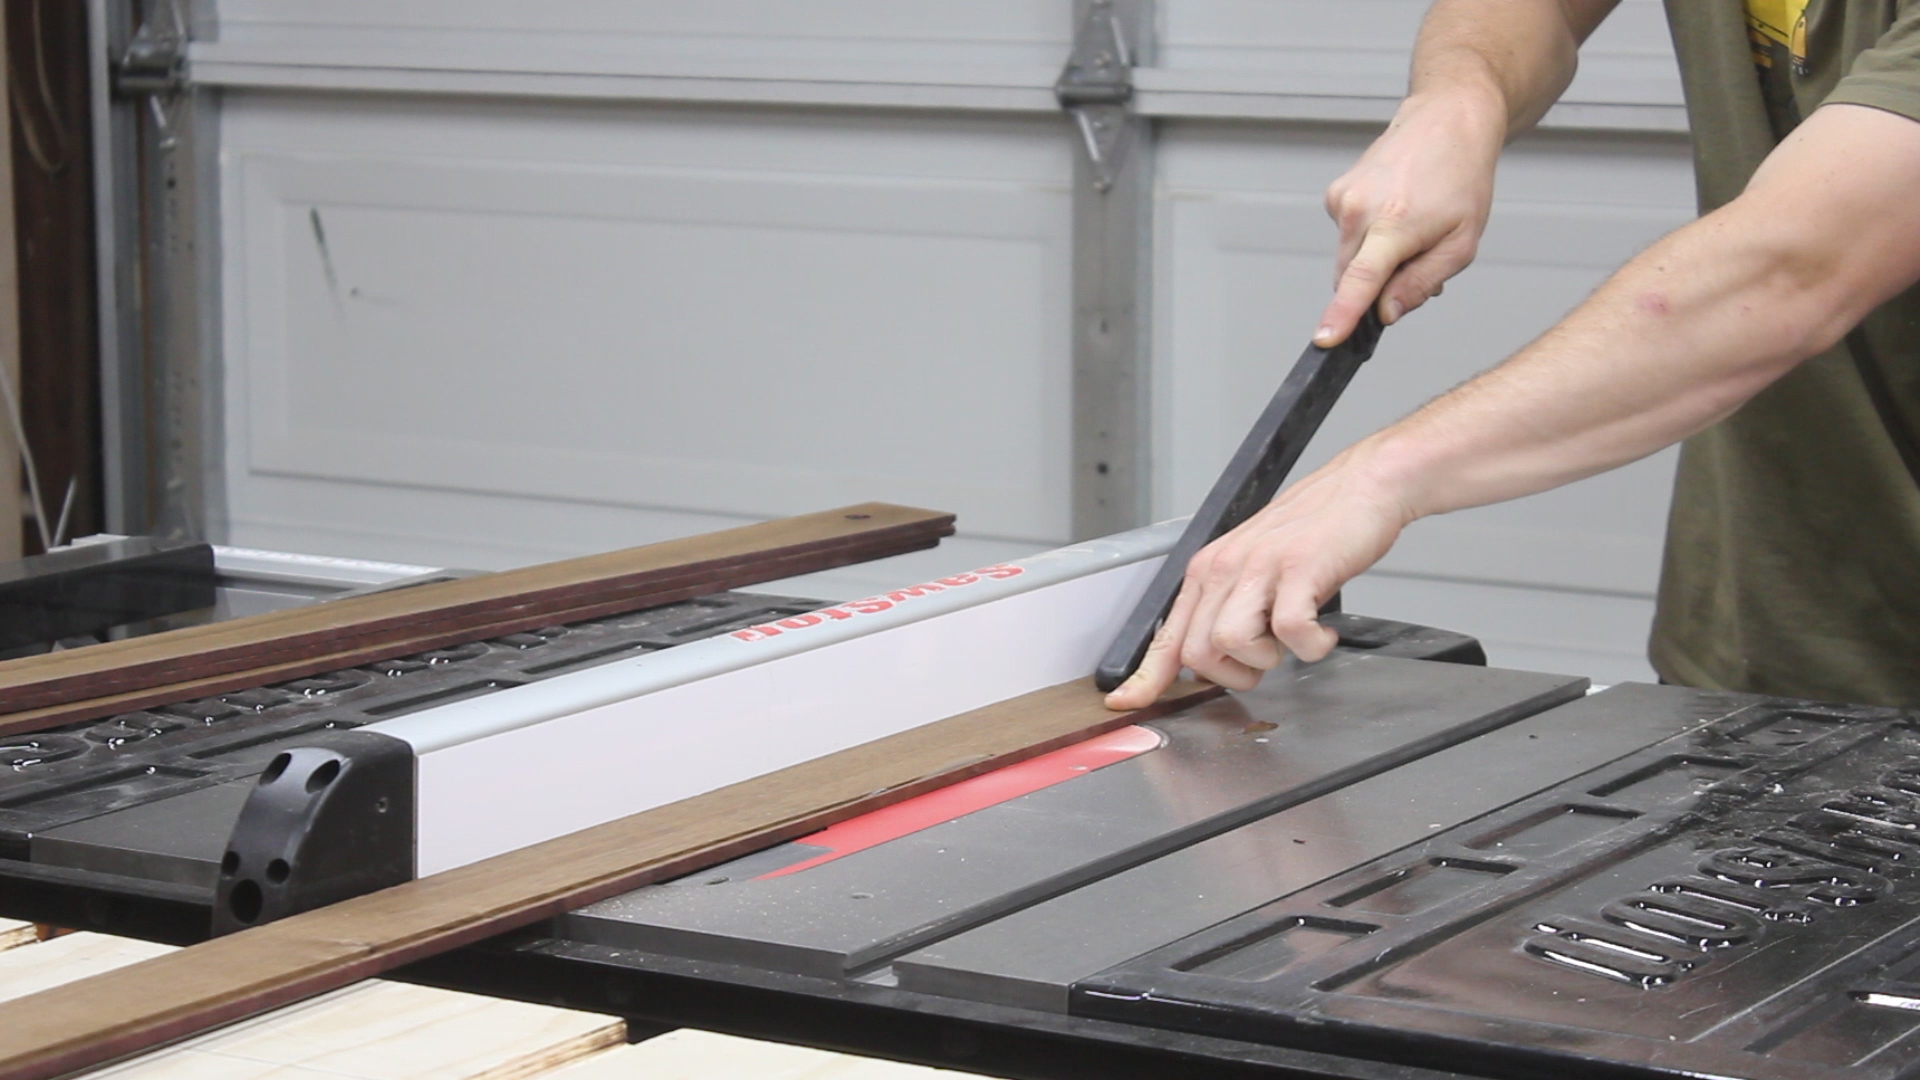
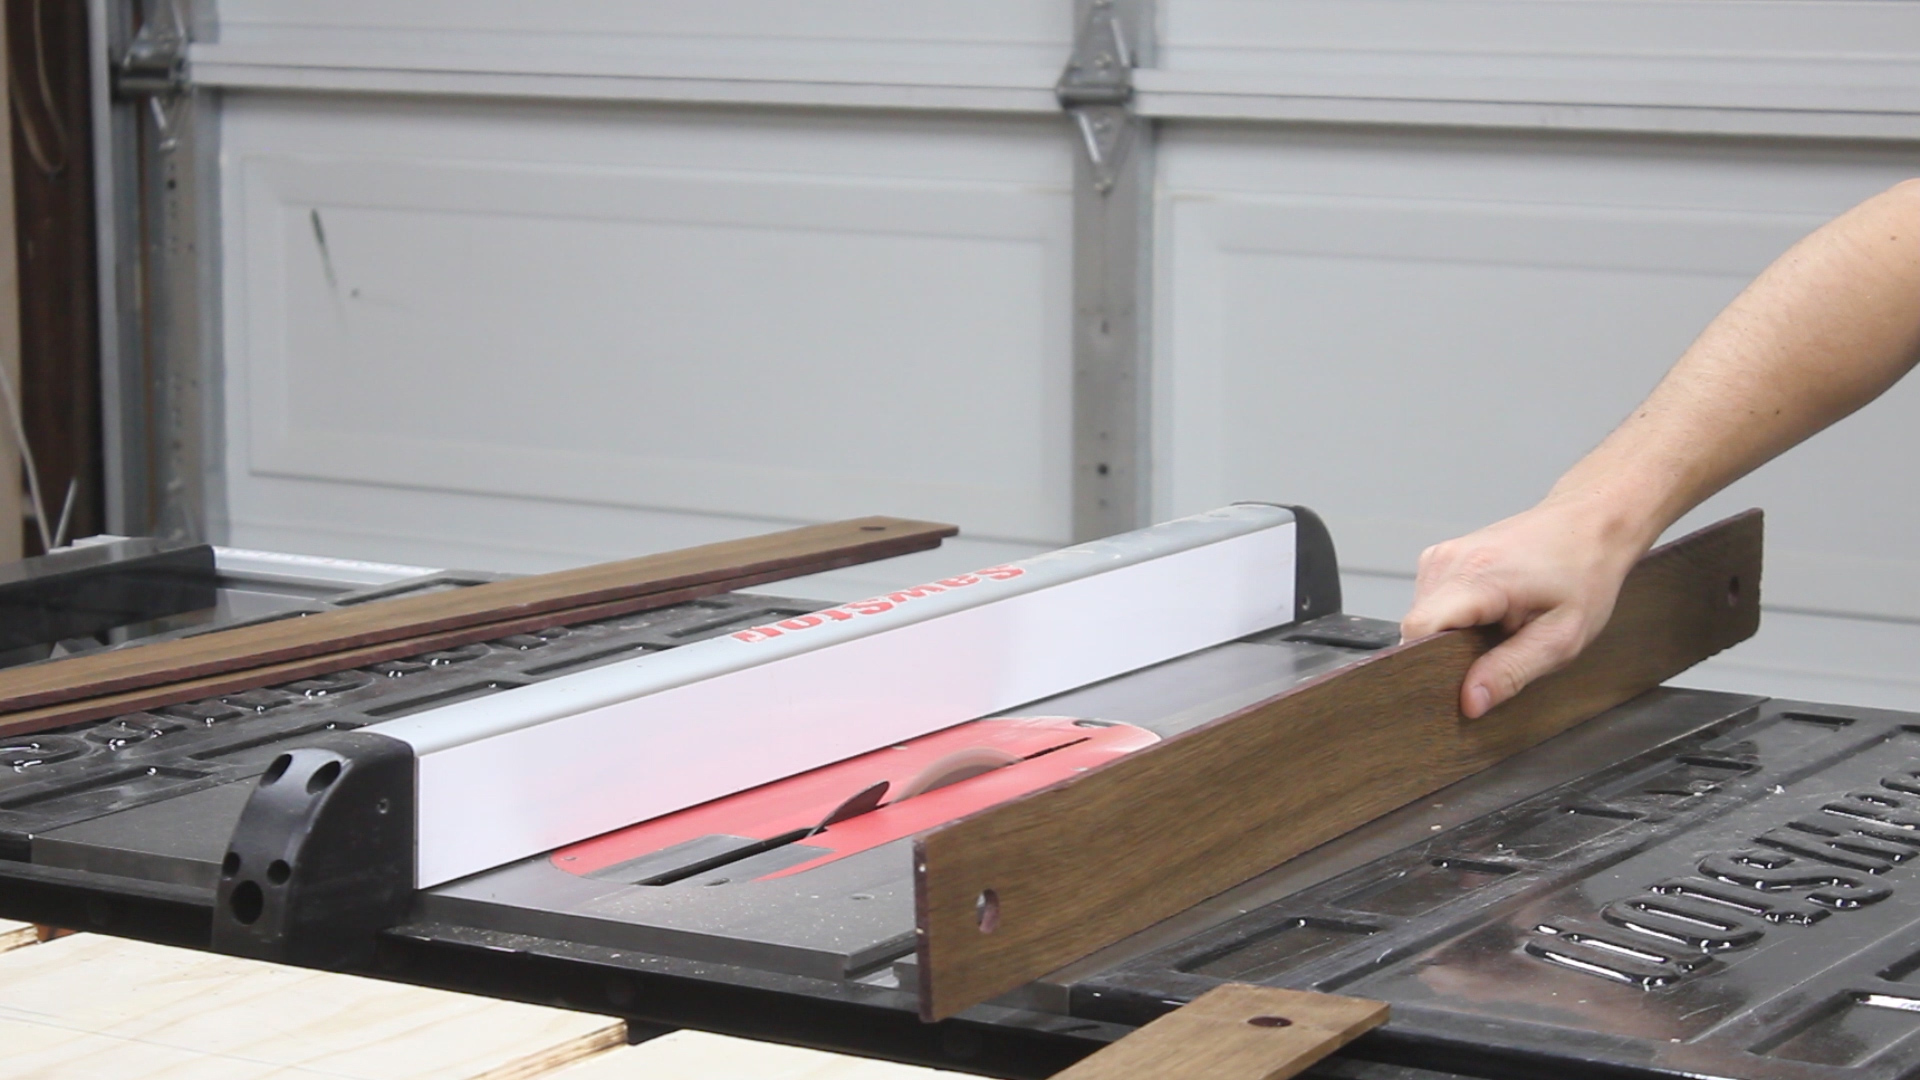
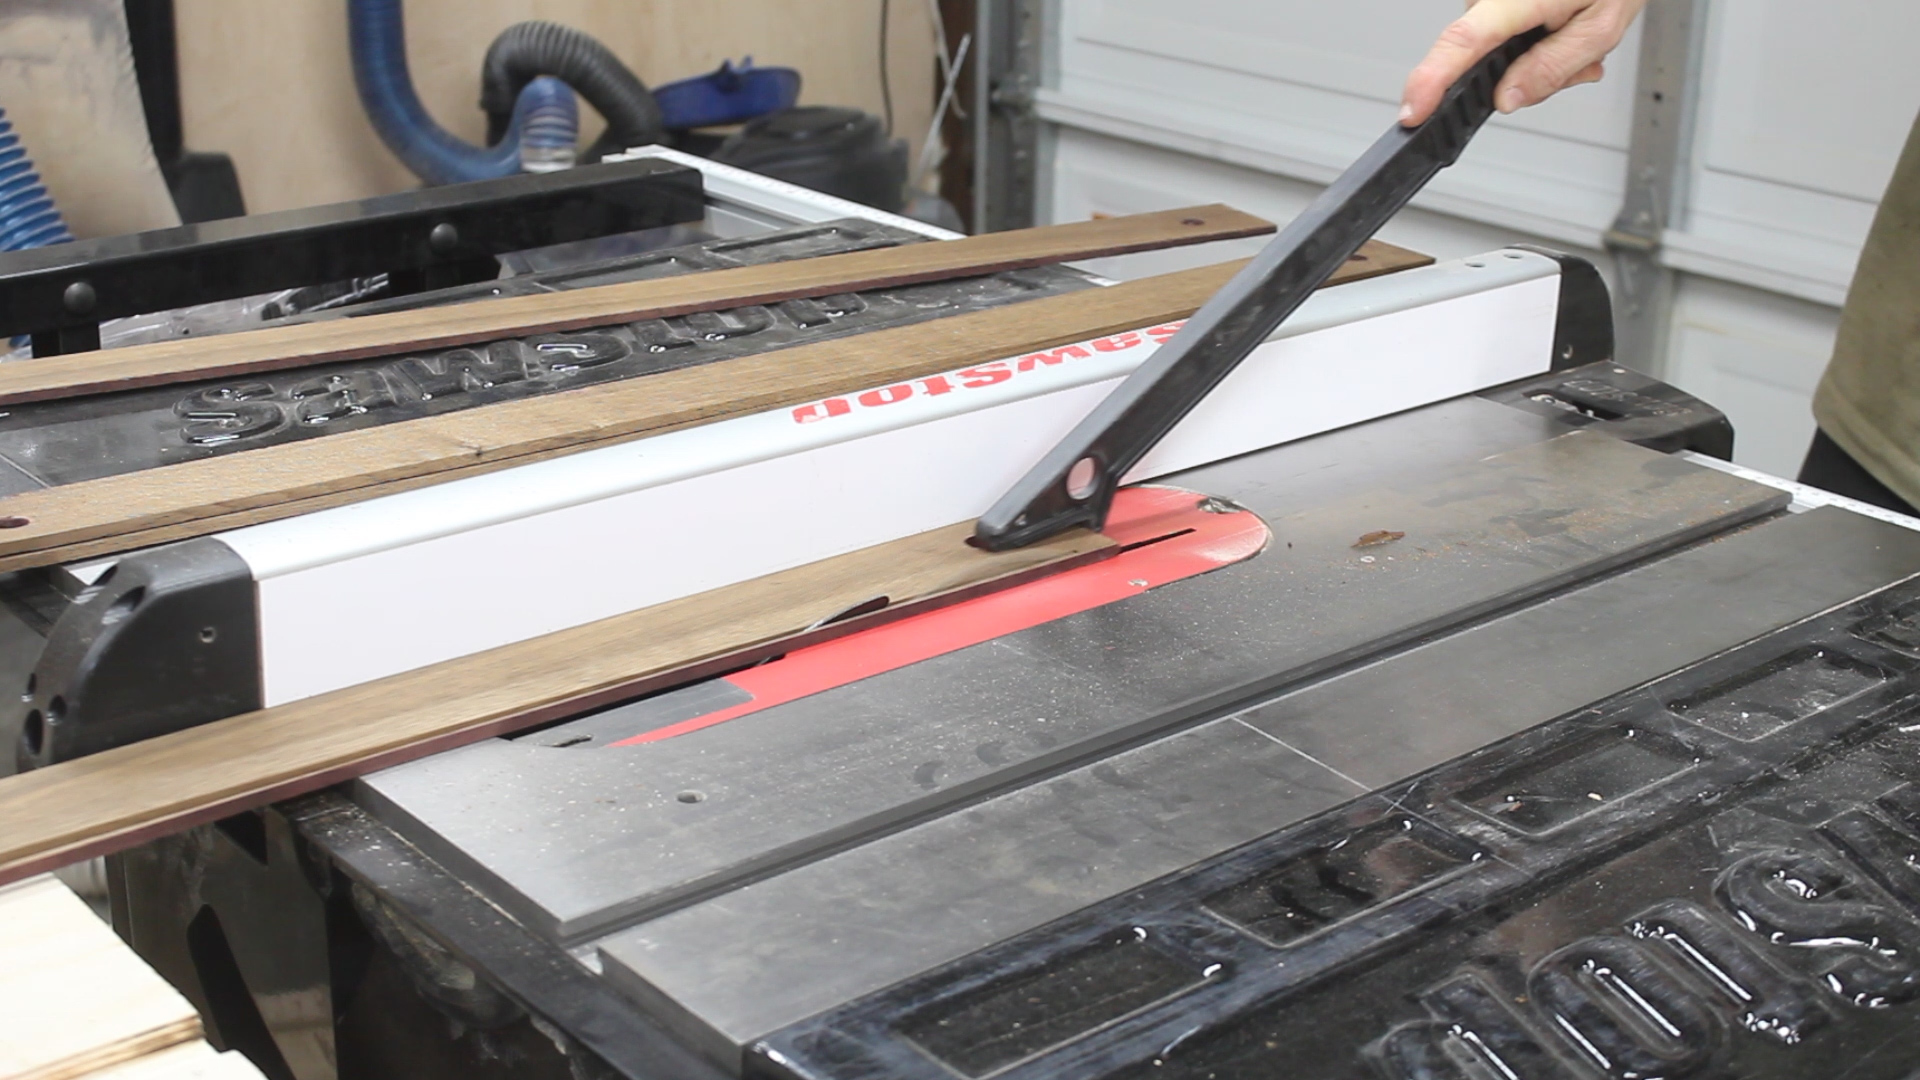
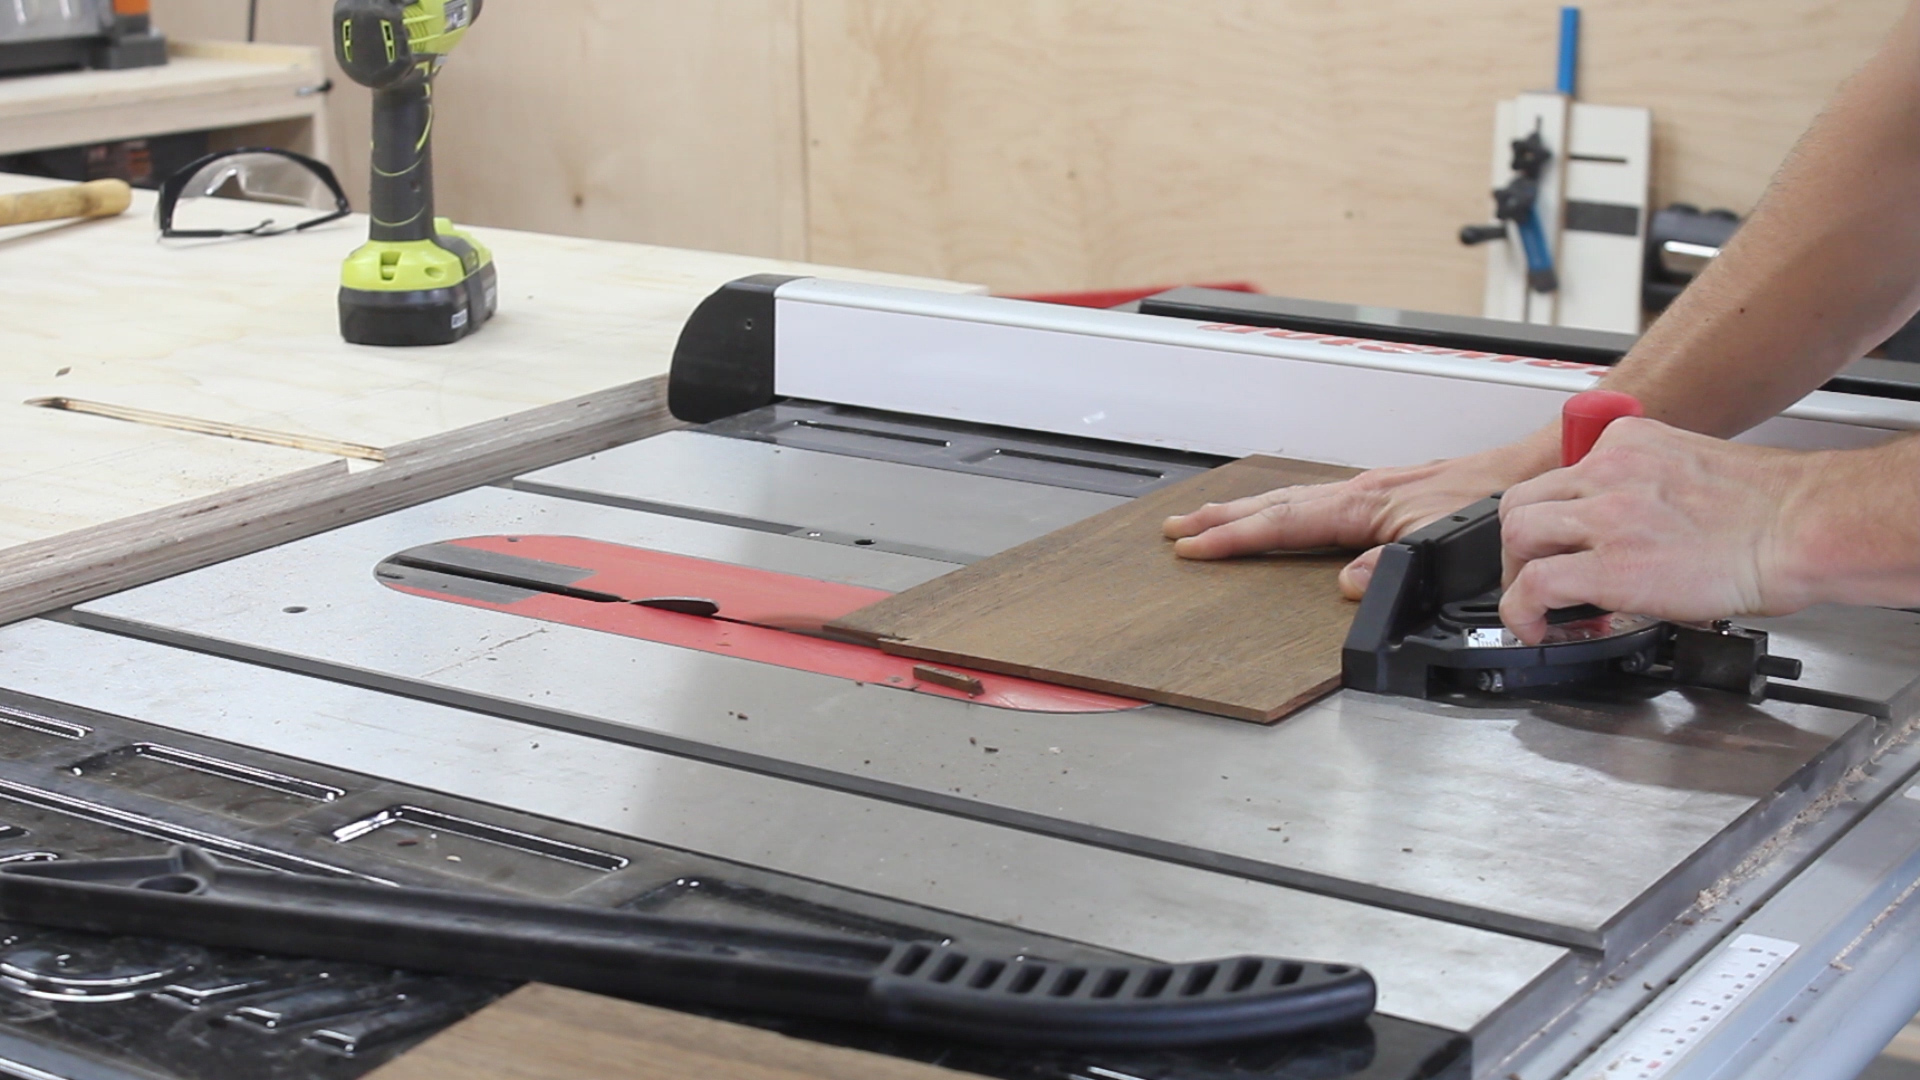
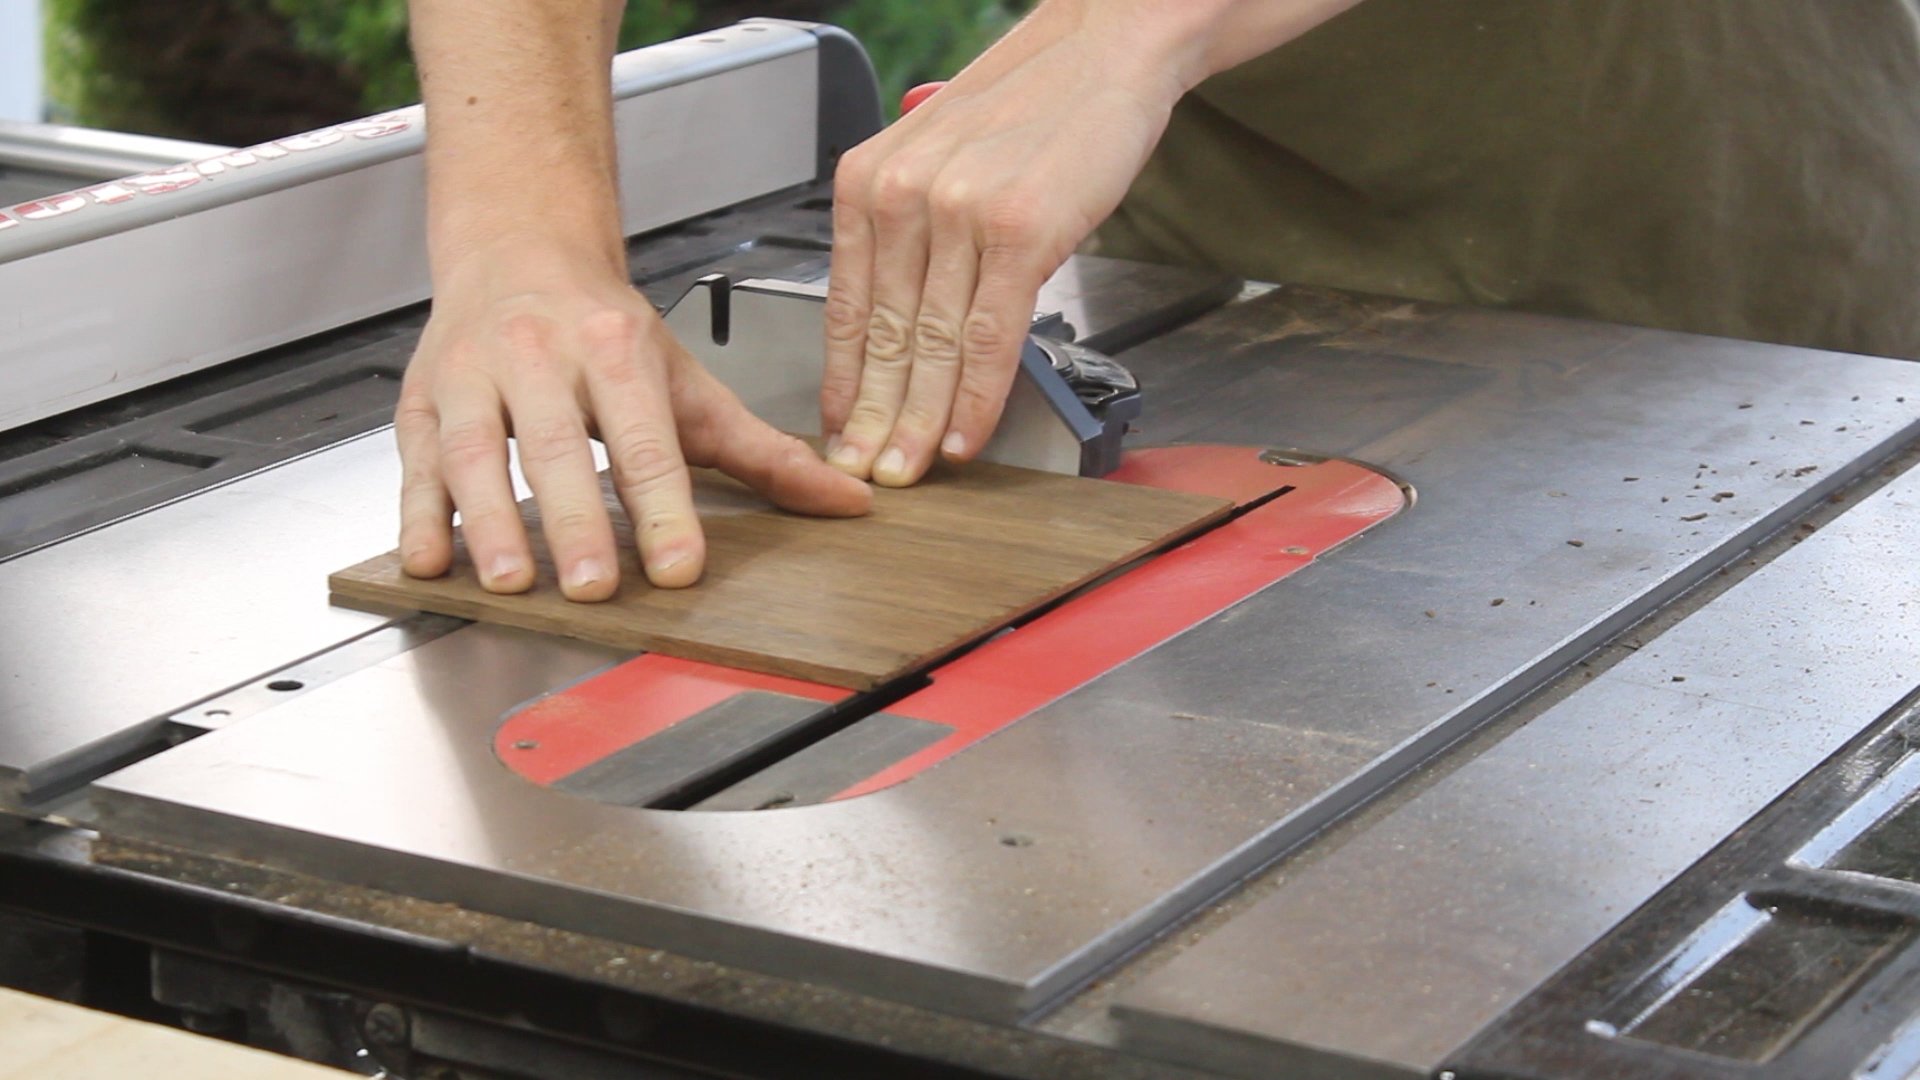
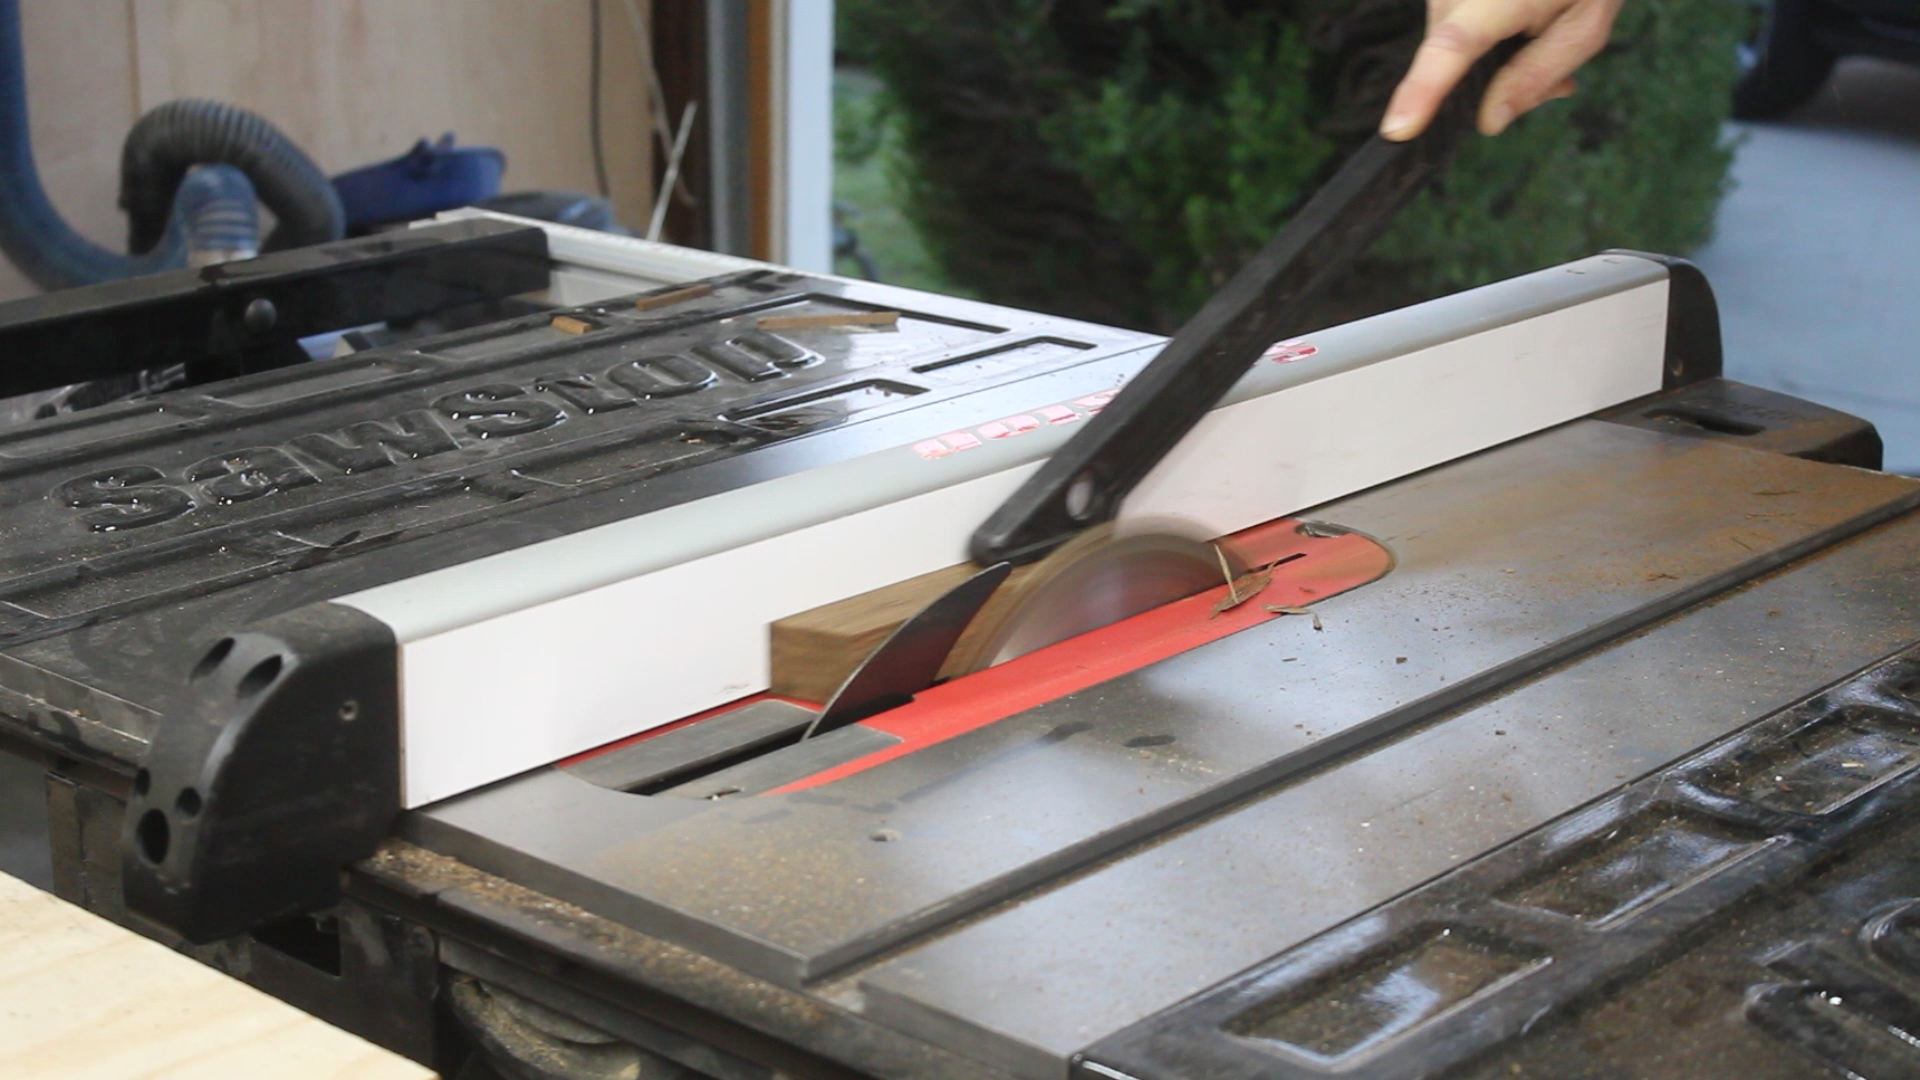
I don't own a jointer so to get these sides flat I first ran a piece through my able saw - and then checked how much bow there was too it - becuase I don't have a very straight reference this wasn't as flat as could be (Pics 4-5). Then, I could flip the piece, run it through the table saw to give me to square sides (Pic 6) and then flip it back over to the original side to square up the side (Pic 7) - so 3 passes in total - alternating each time, to get to a square flat piece ready to be glued up.
In Pic 8-9, I cut off the ends of each piece as they had holes cut in them for zip ties, and then cut them in half.
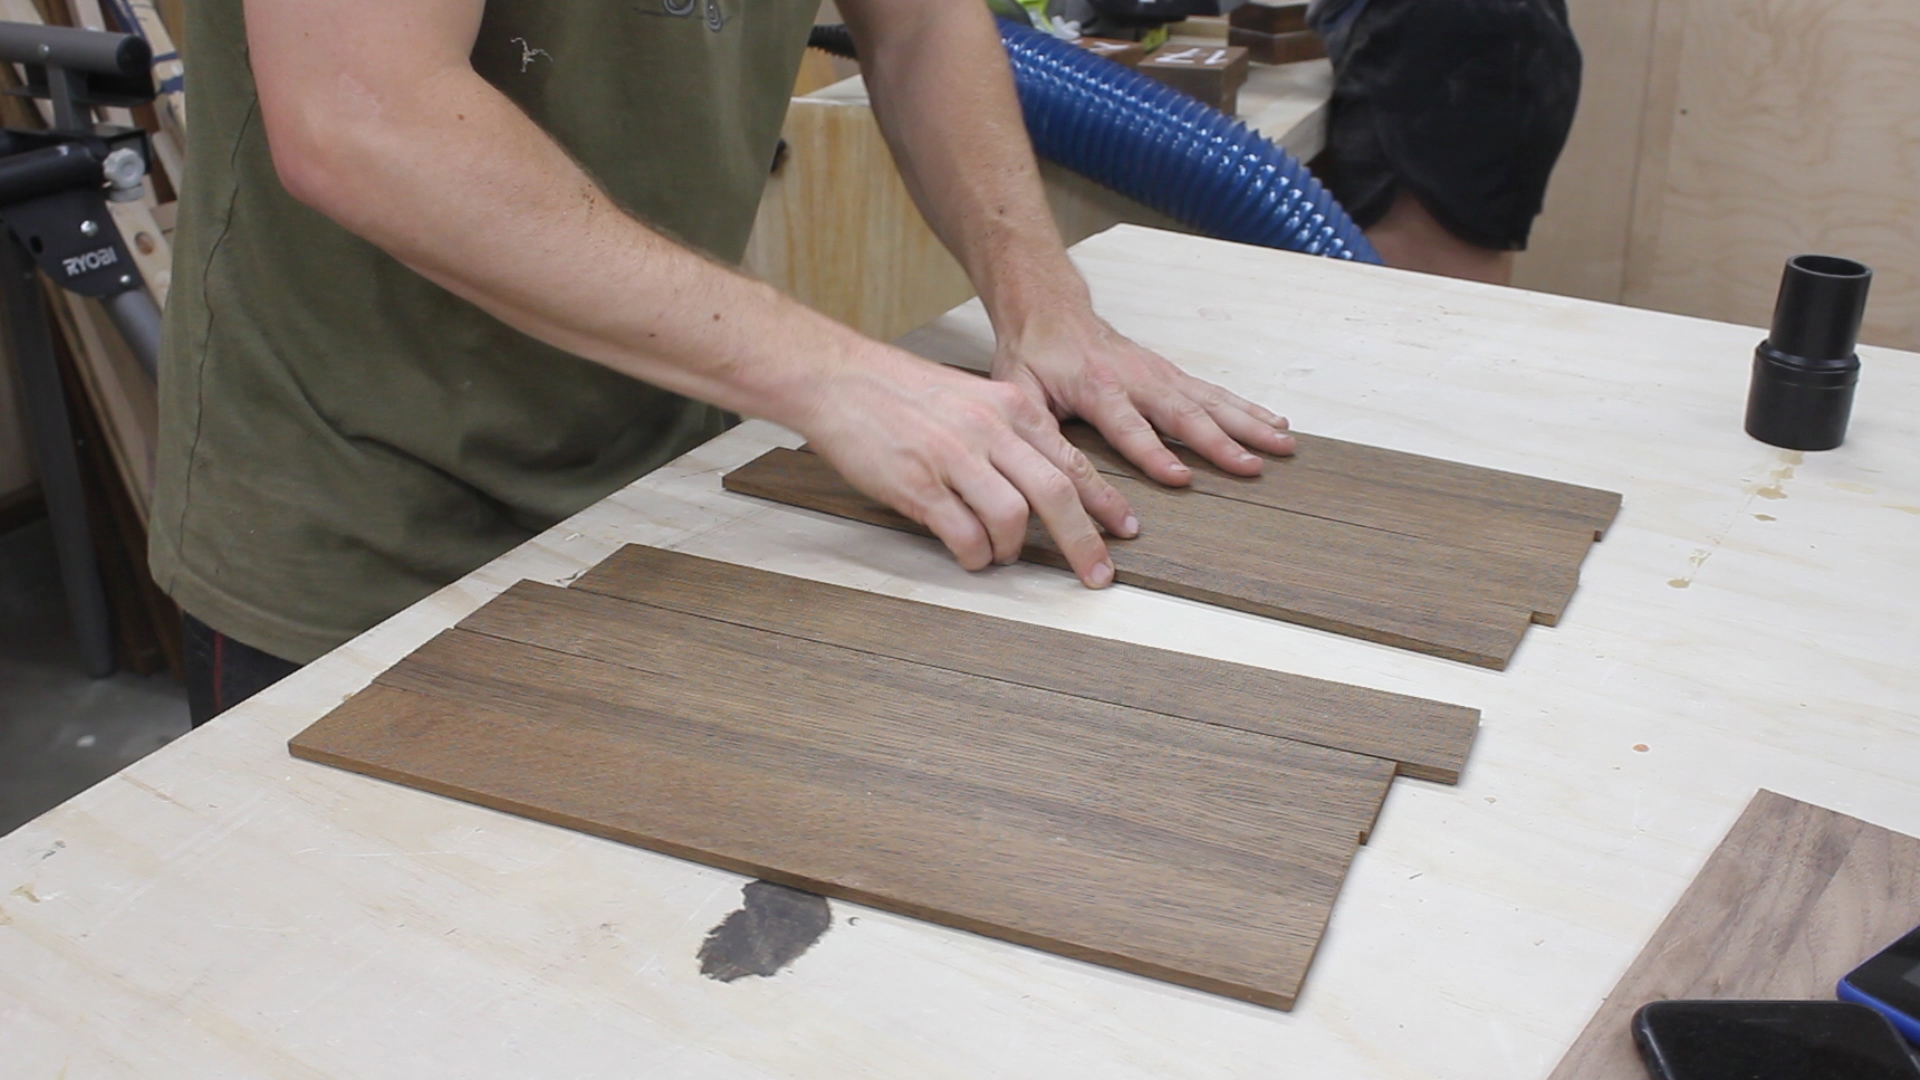
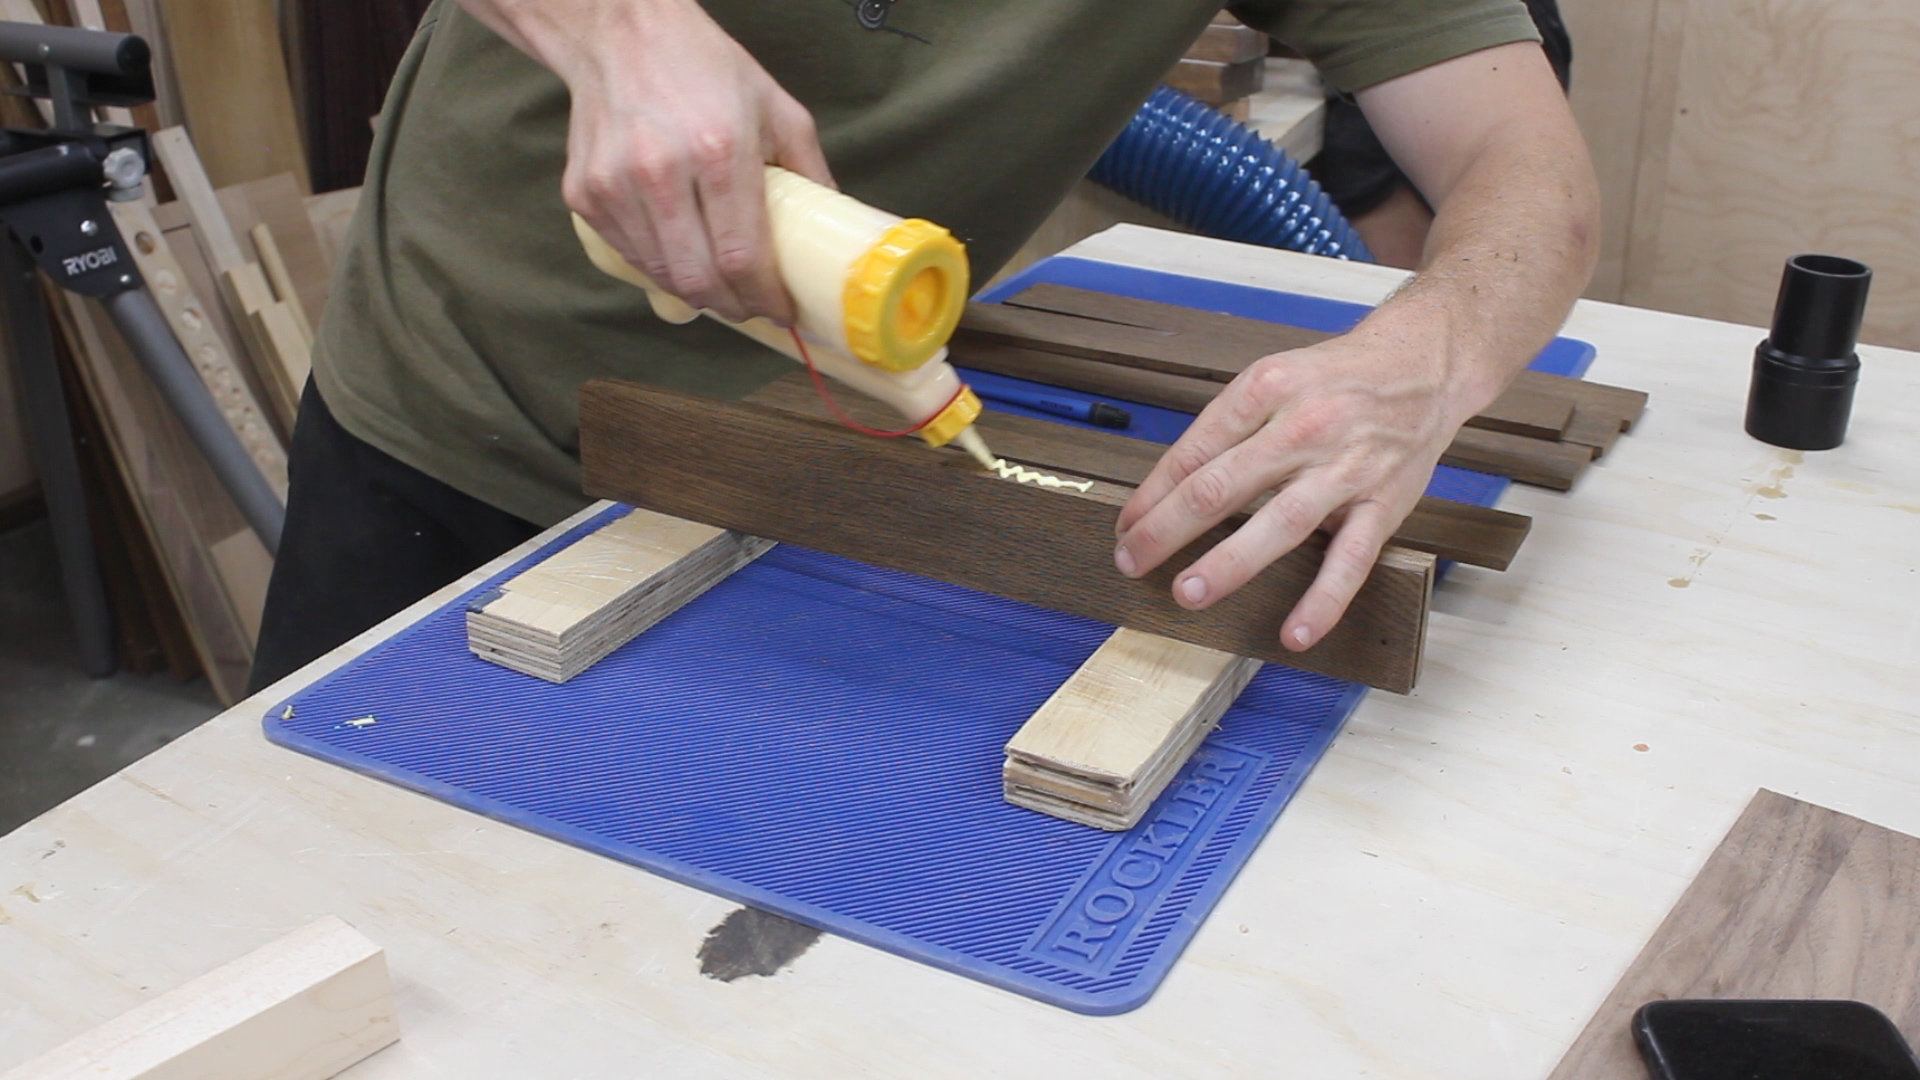
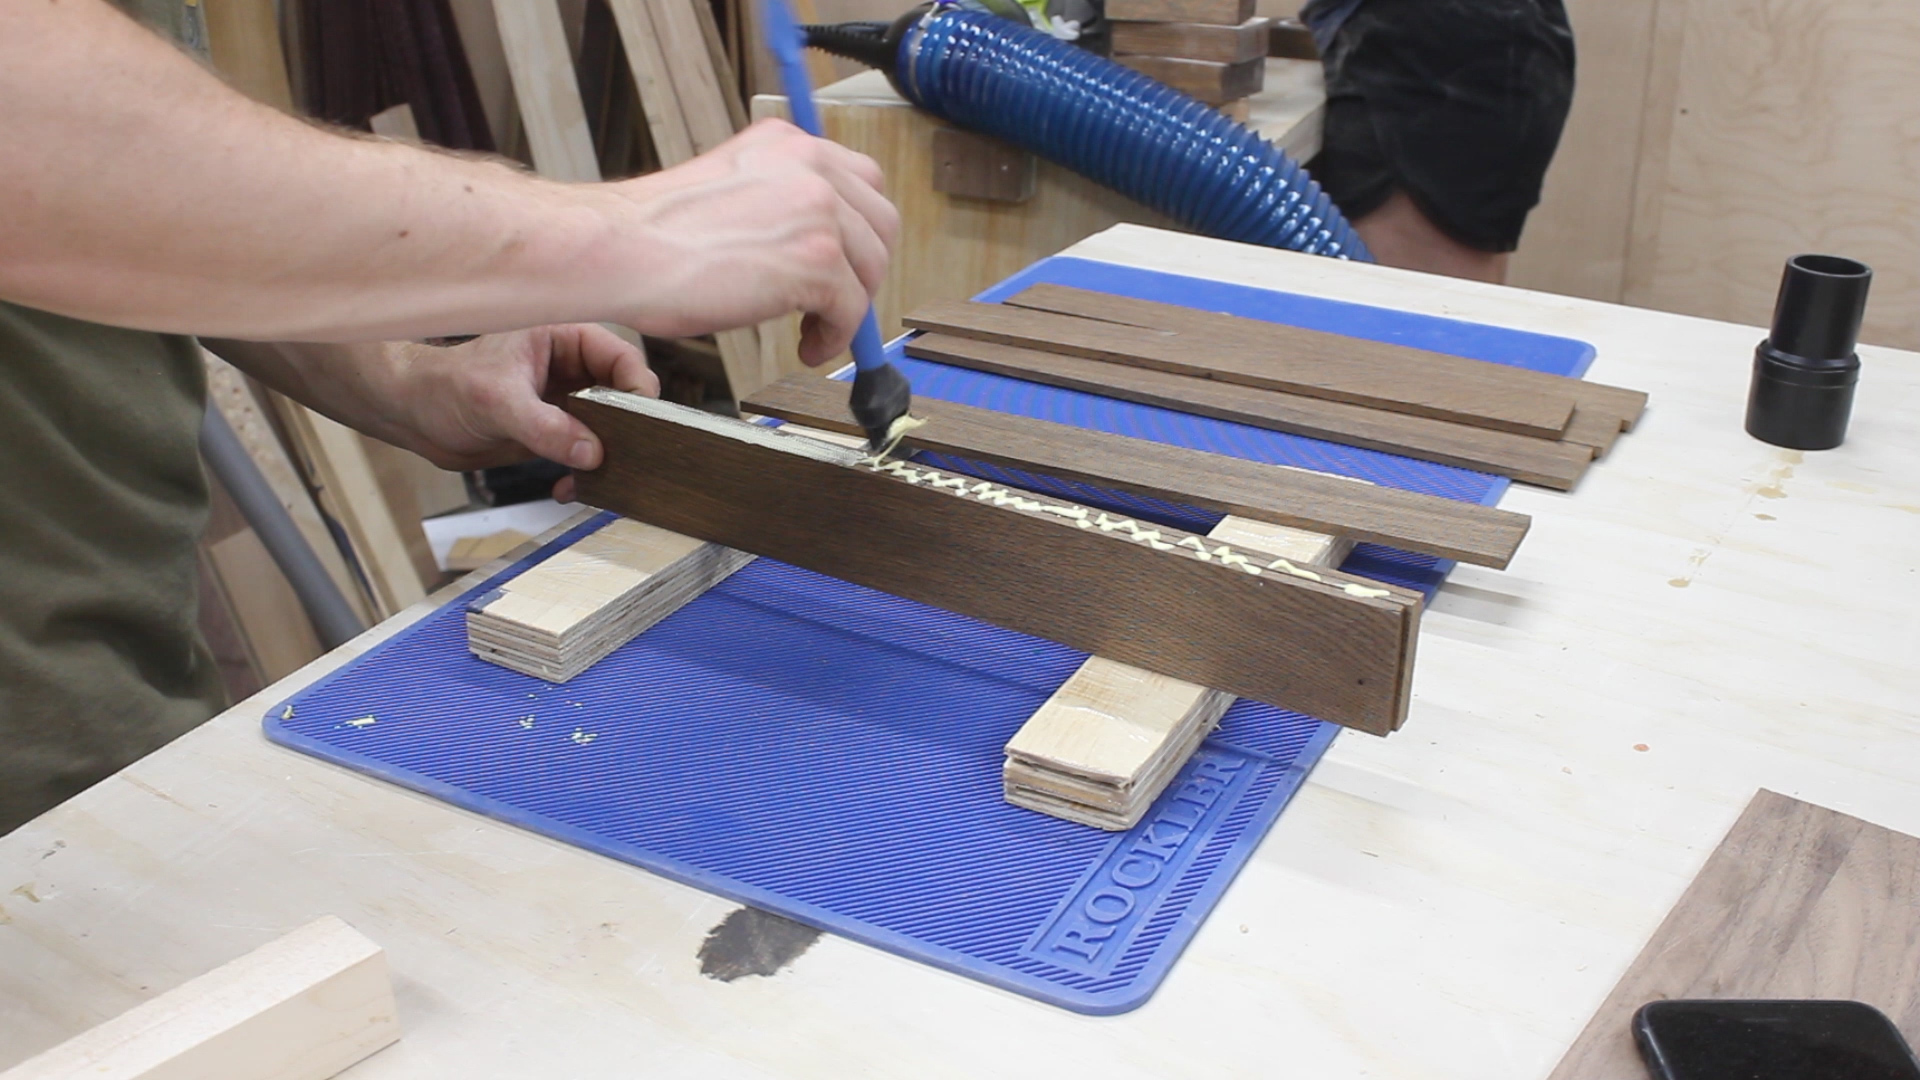
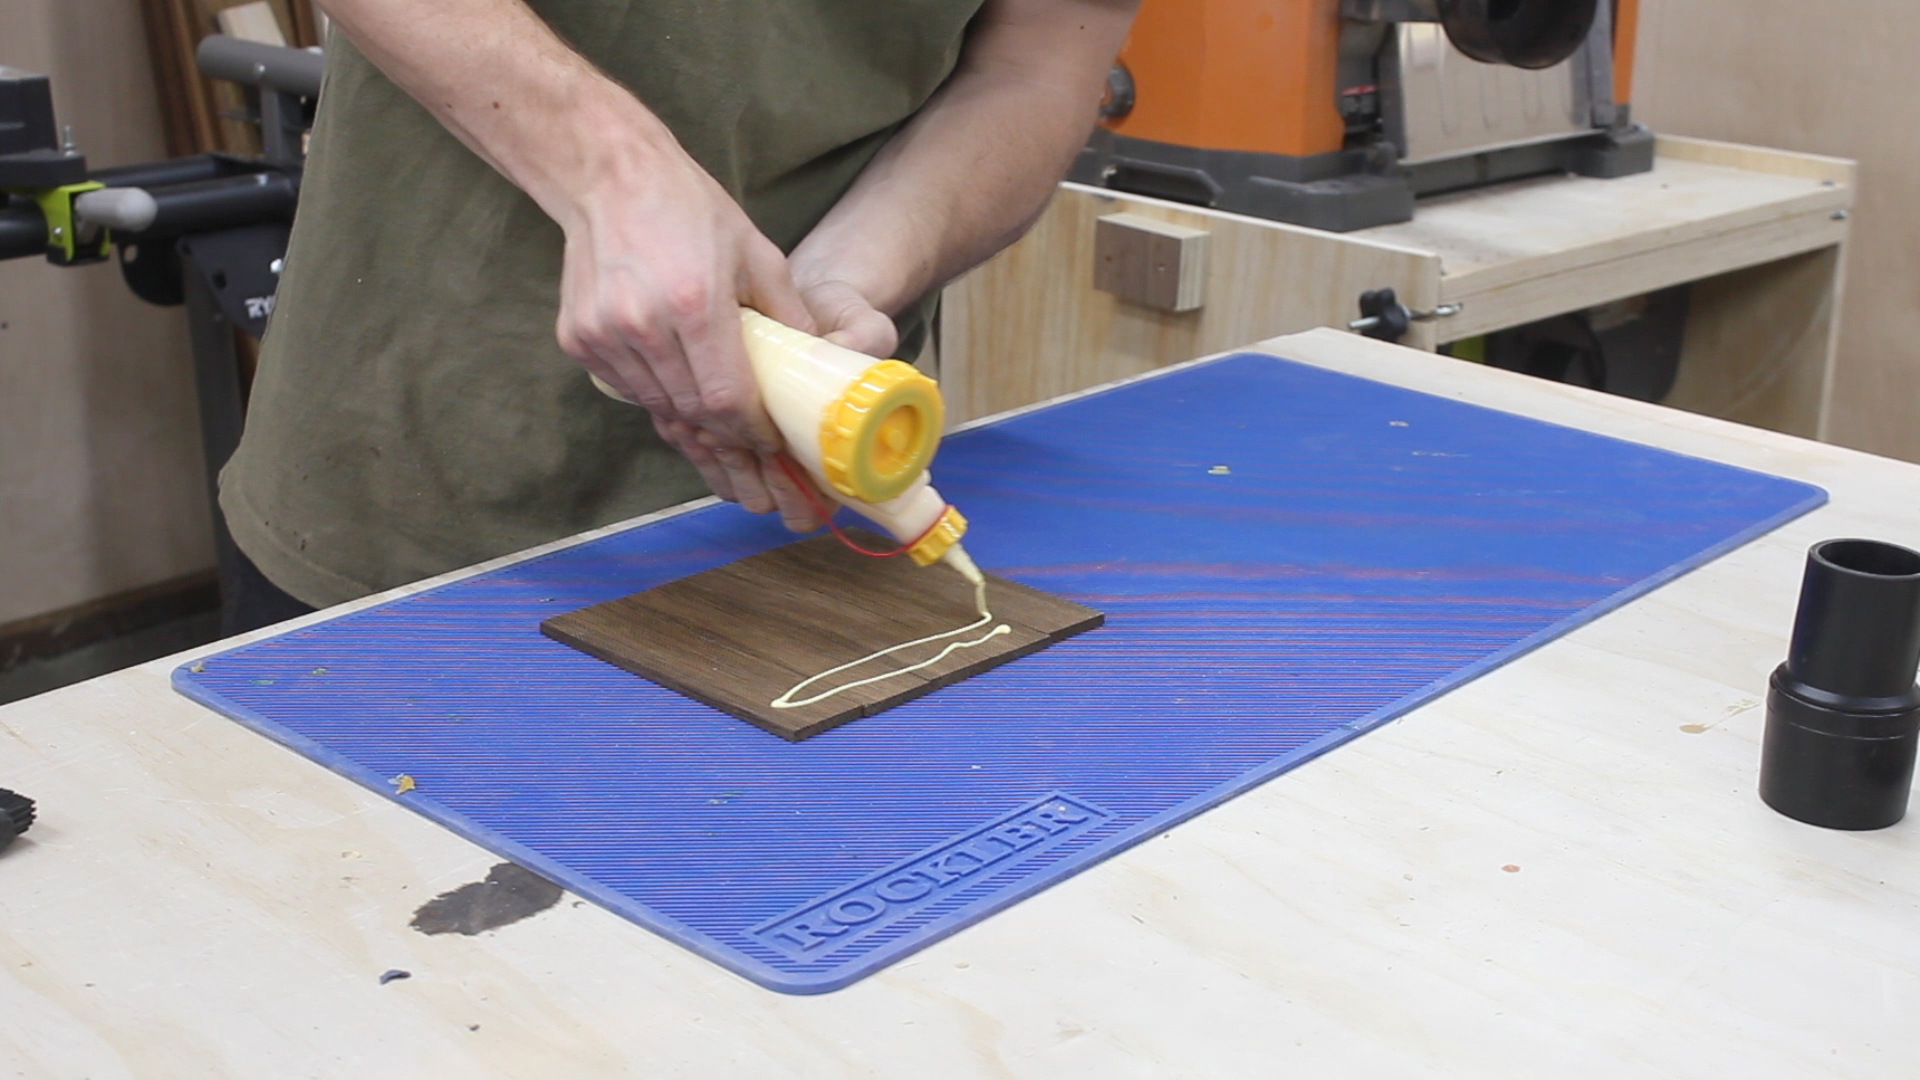
This left me with 8 equal pieces (Pic 1) that I could divide into two sets of four - doing some rearranging to get a grain pattern I liked. Then, I could glue them up (Pics 2-3) - making sure glue was spread evenly and that there was a bit of squeeze out in the process.
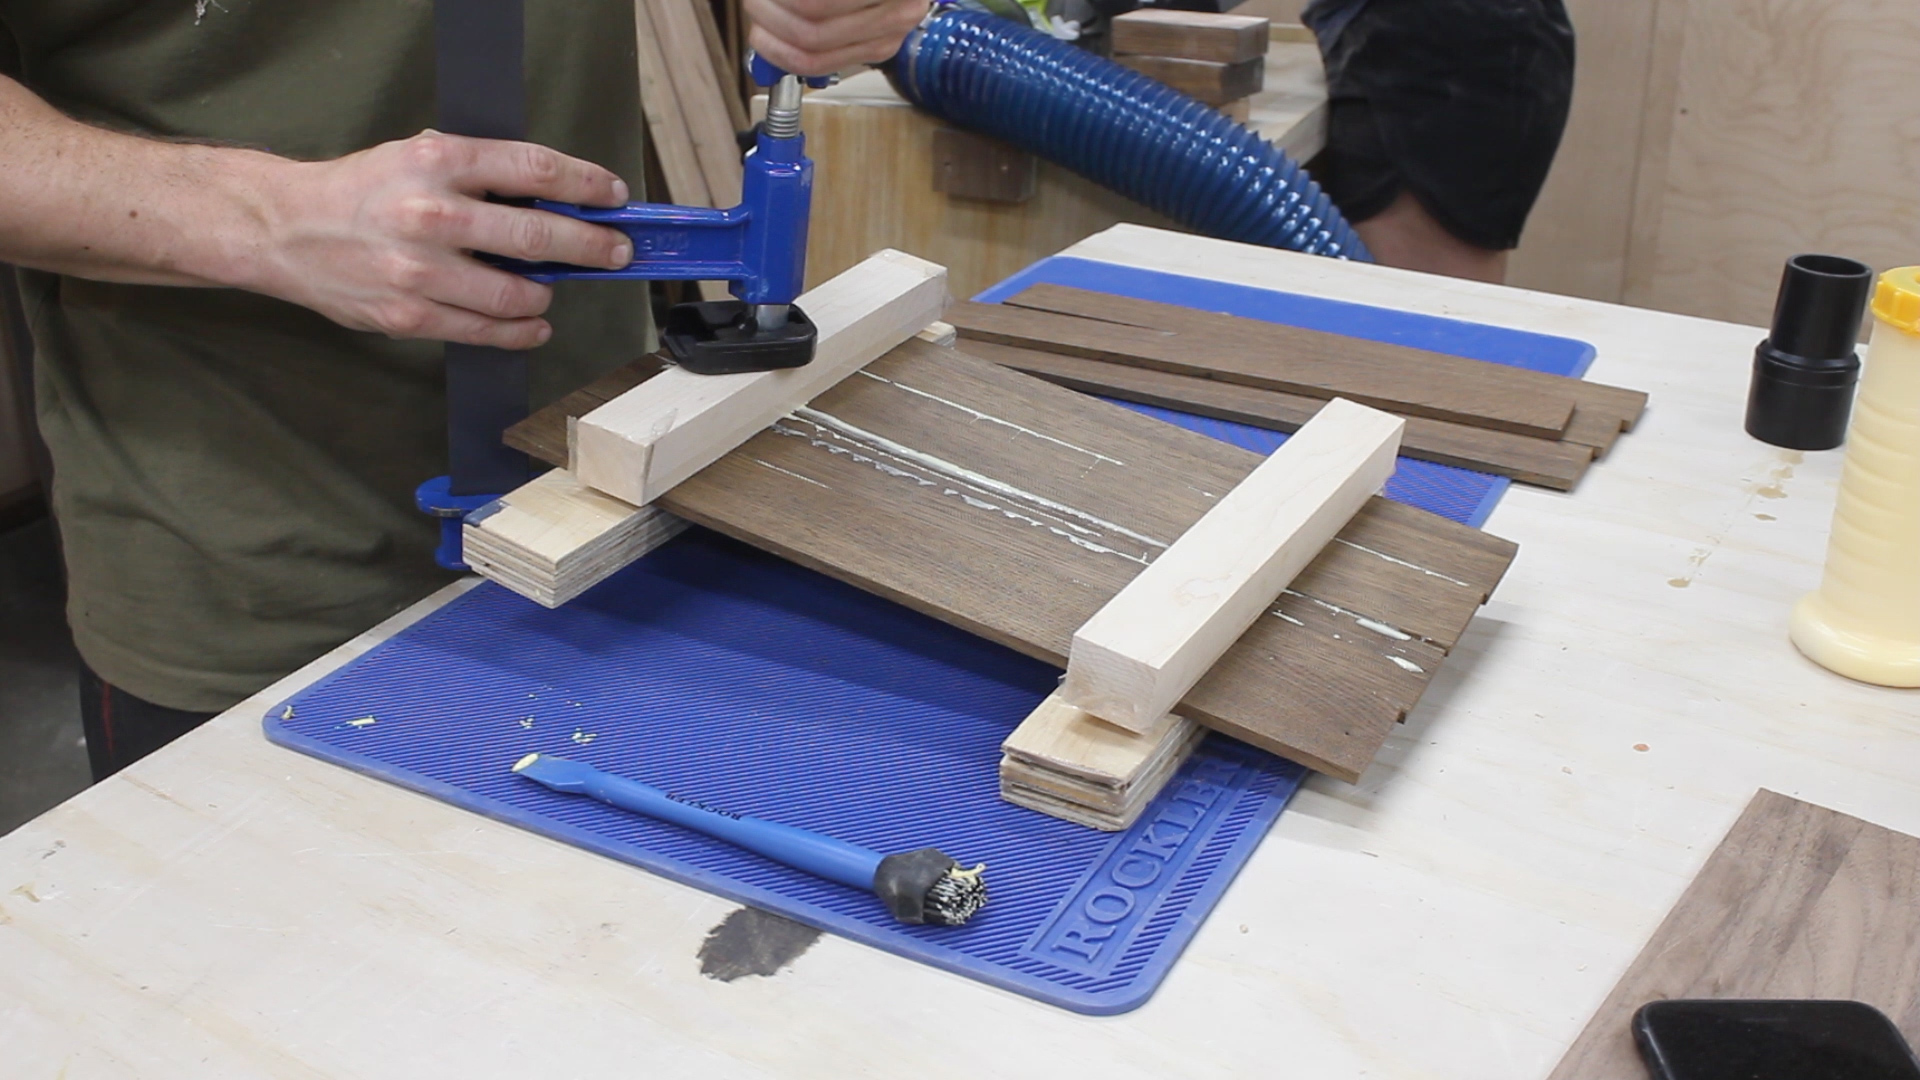
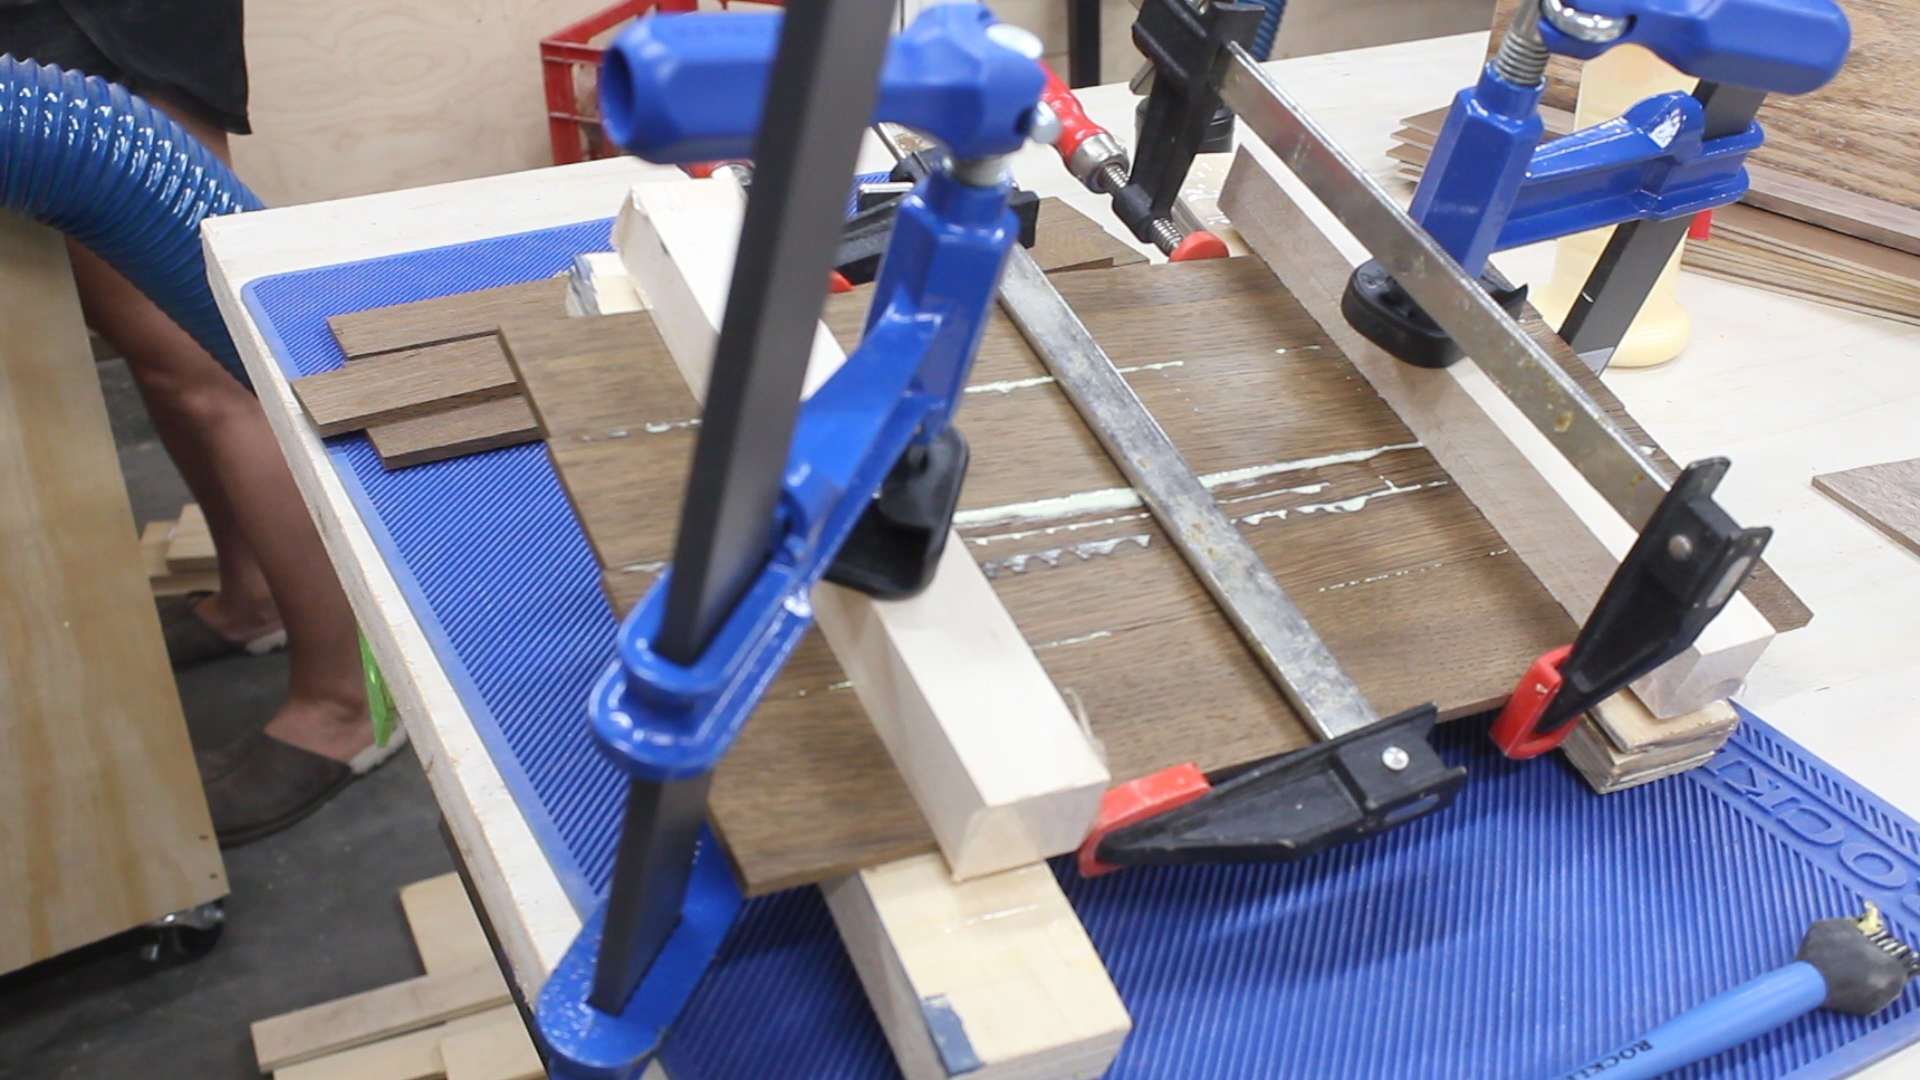
In Pic 4, I used these beefy clamps from Rockler to squeeze cauls into place to keep things flat - the clamps let you rotate the handle 90° so you can get more leverage out of them, and then applied clamps horizontally (Pic 5) to bring it all together - I then let it cure overnight.
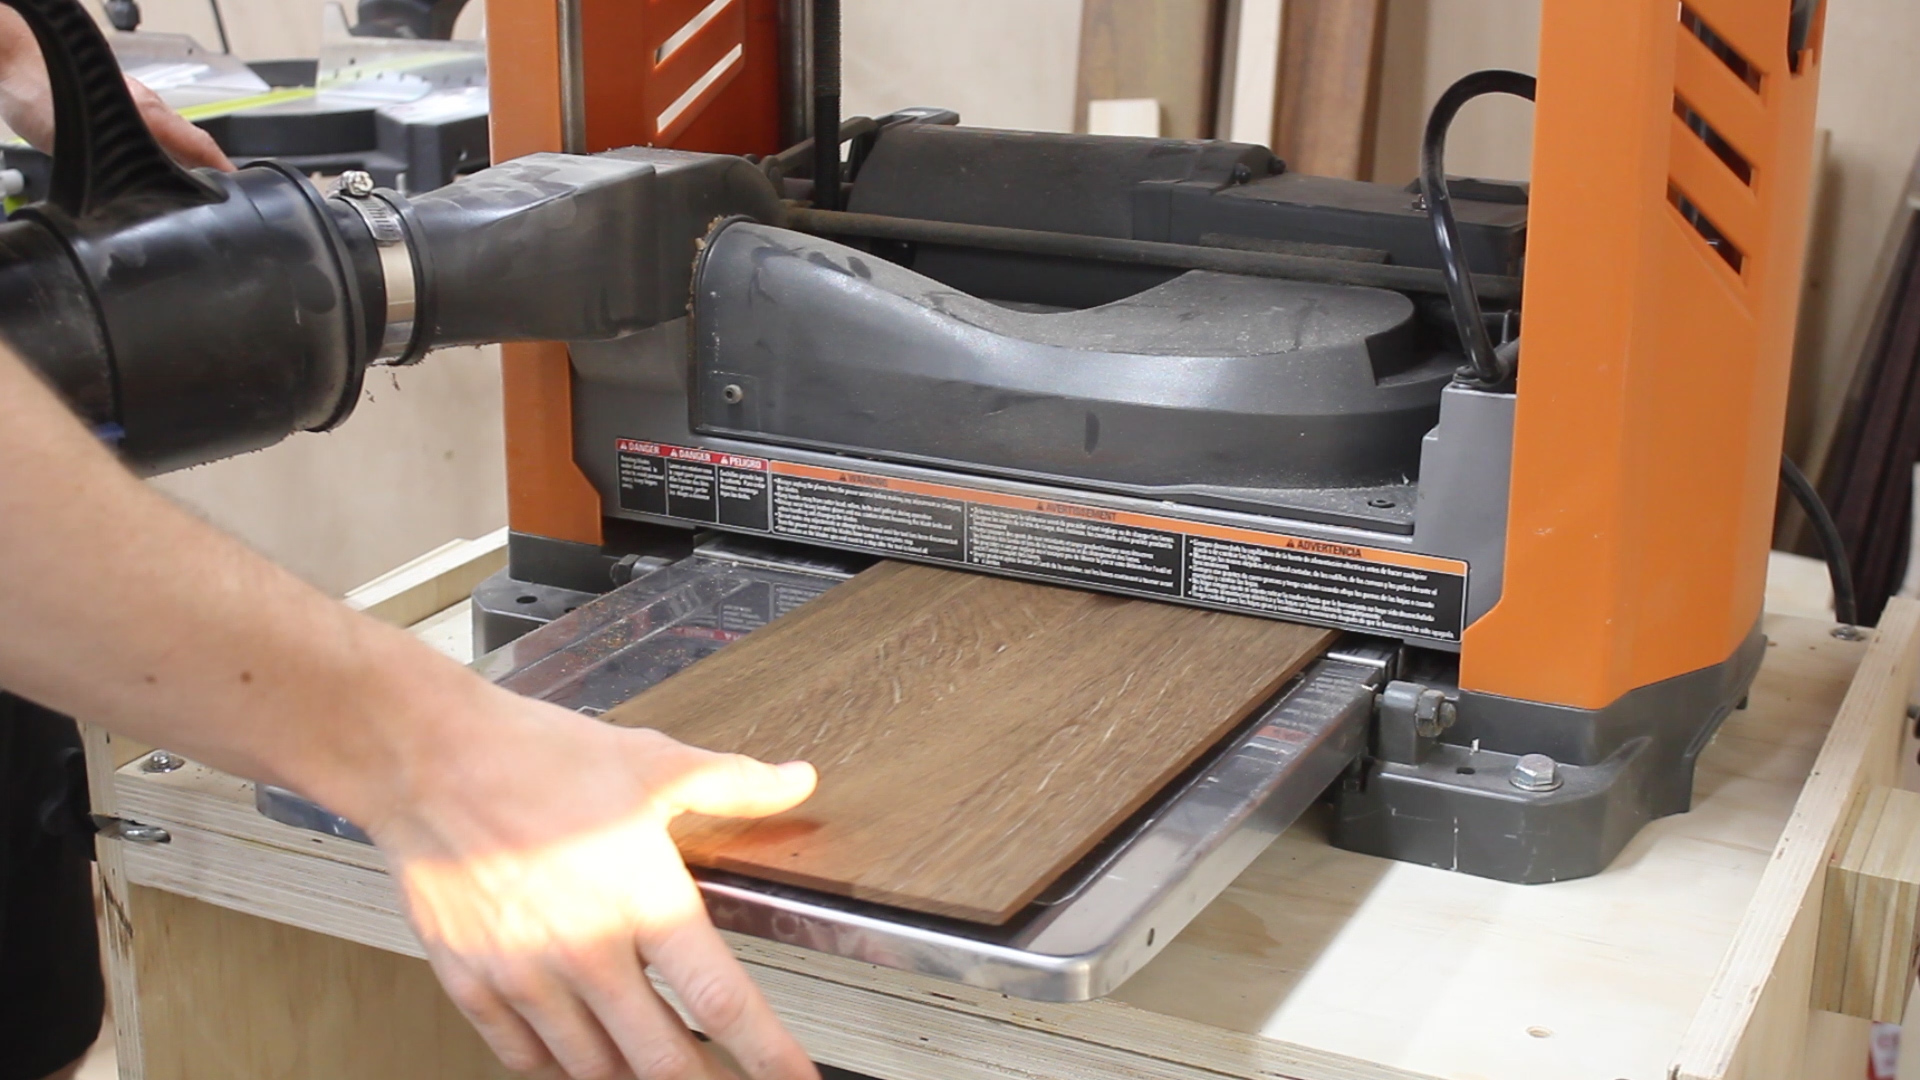
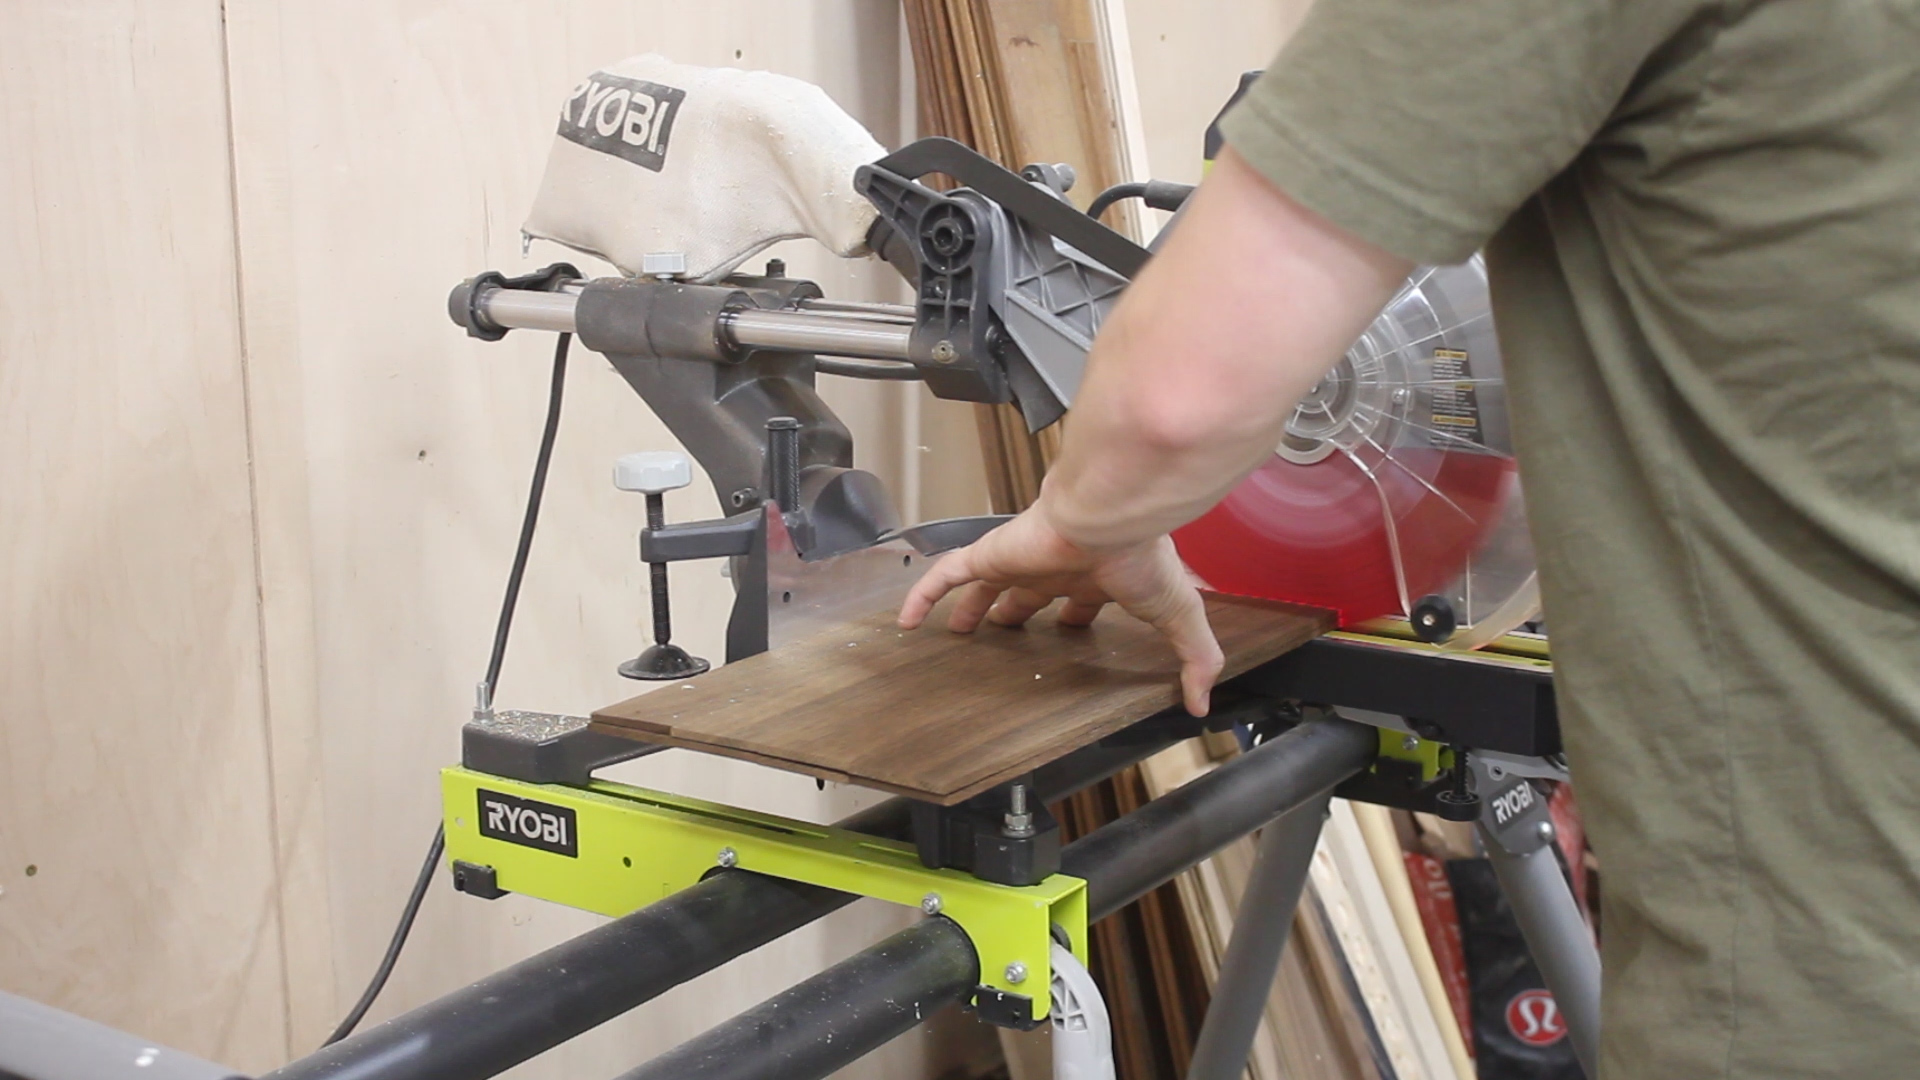
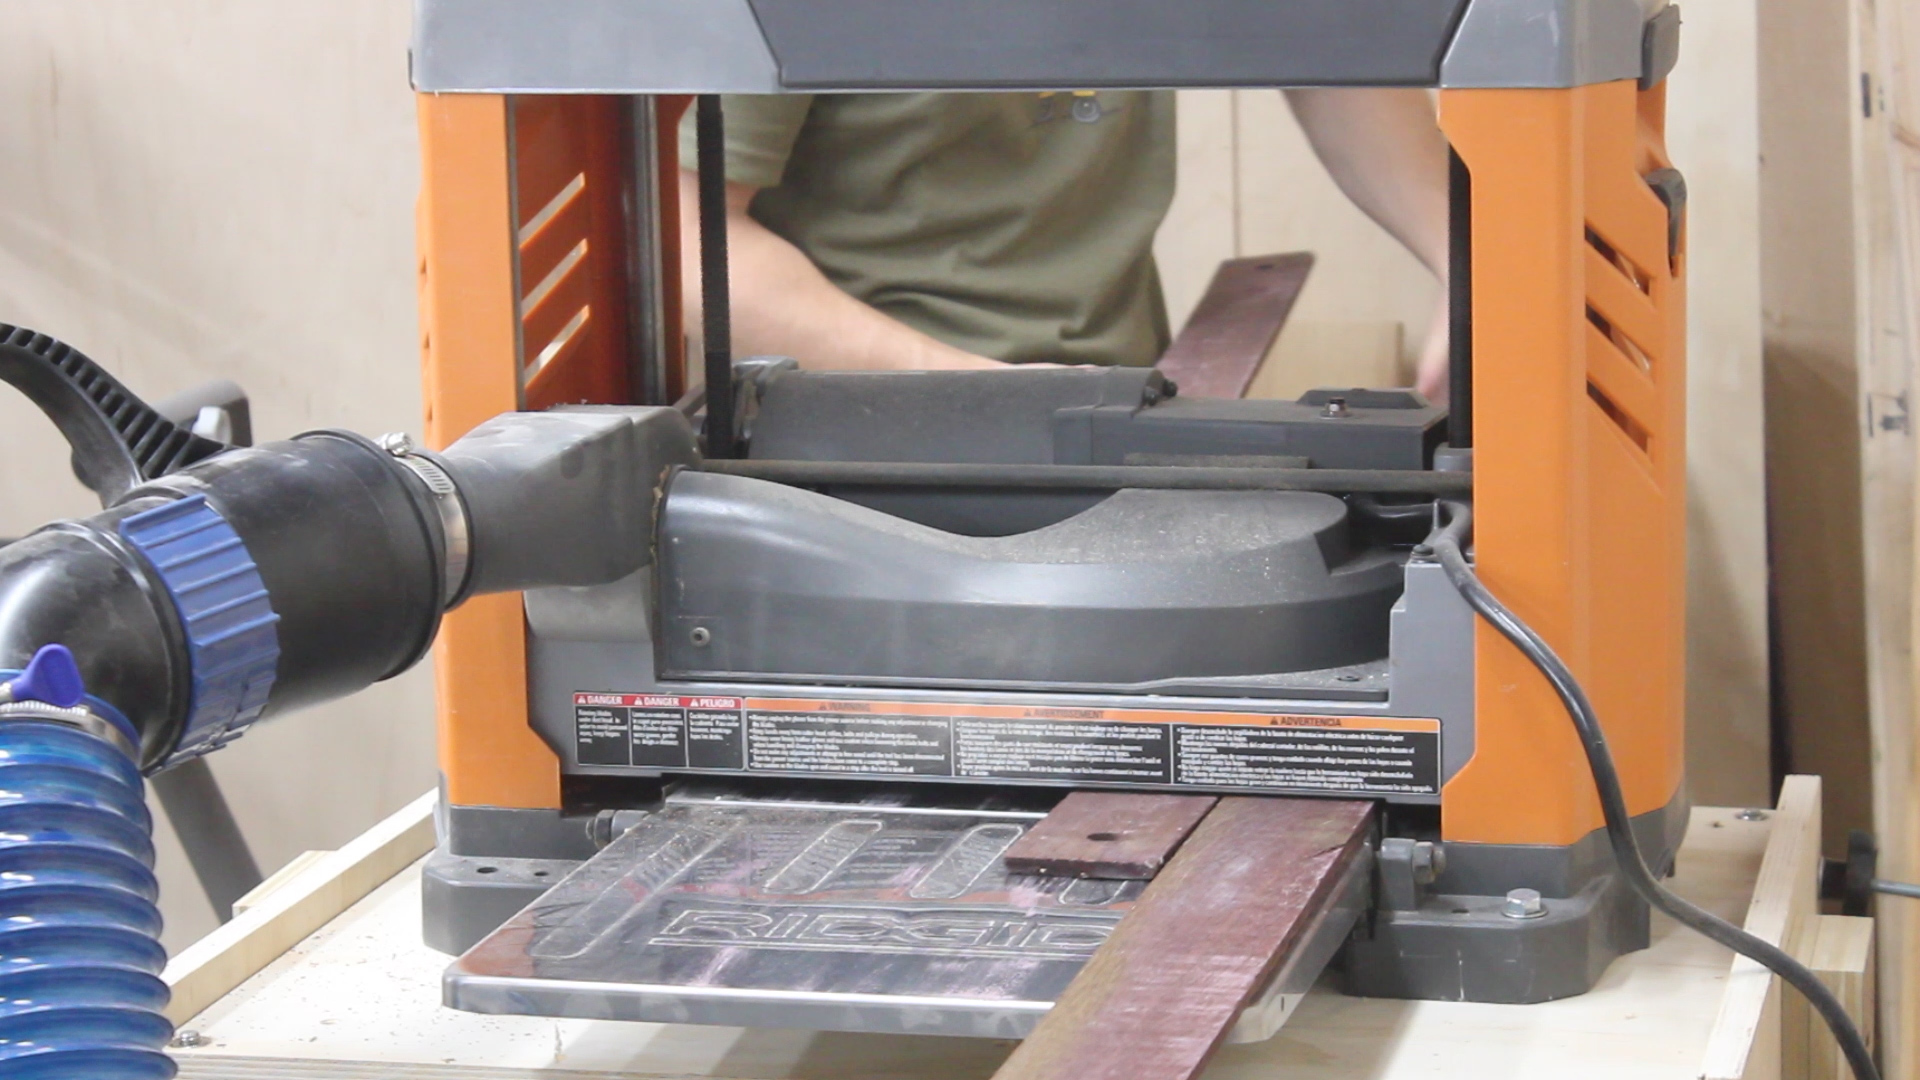
The next day, I skip-planed down each side of the piece - this was only to clean up glue - not remove material - they were already thin and I didn't want to sacrifice any more material (Pic 1).
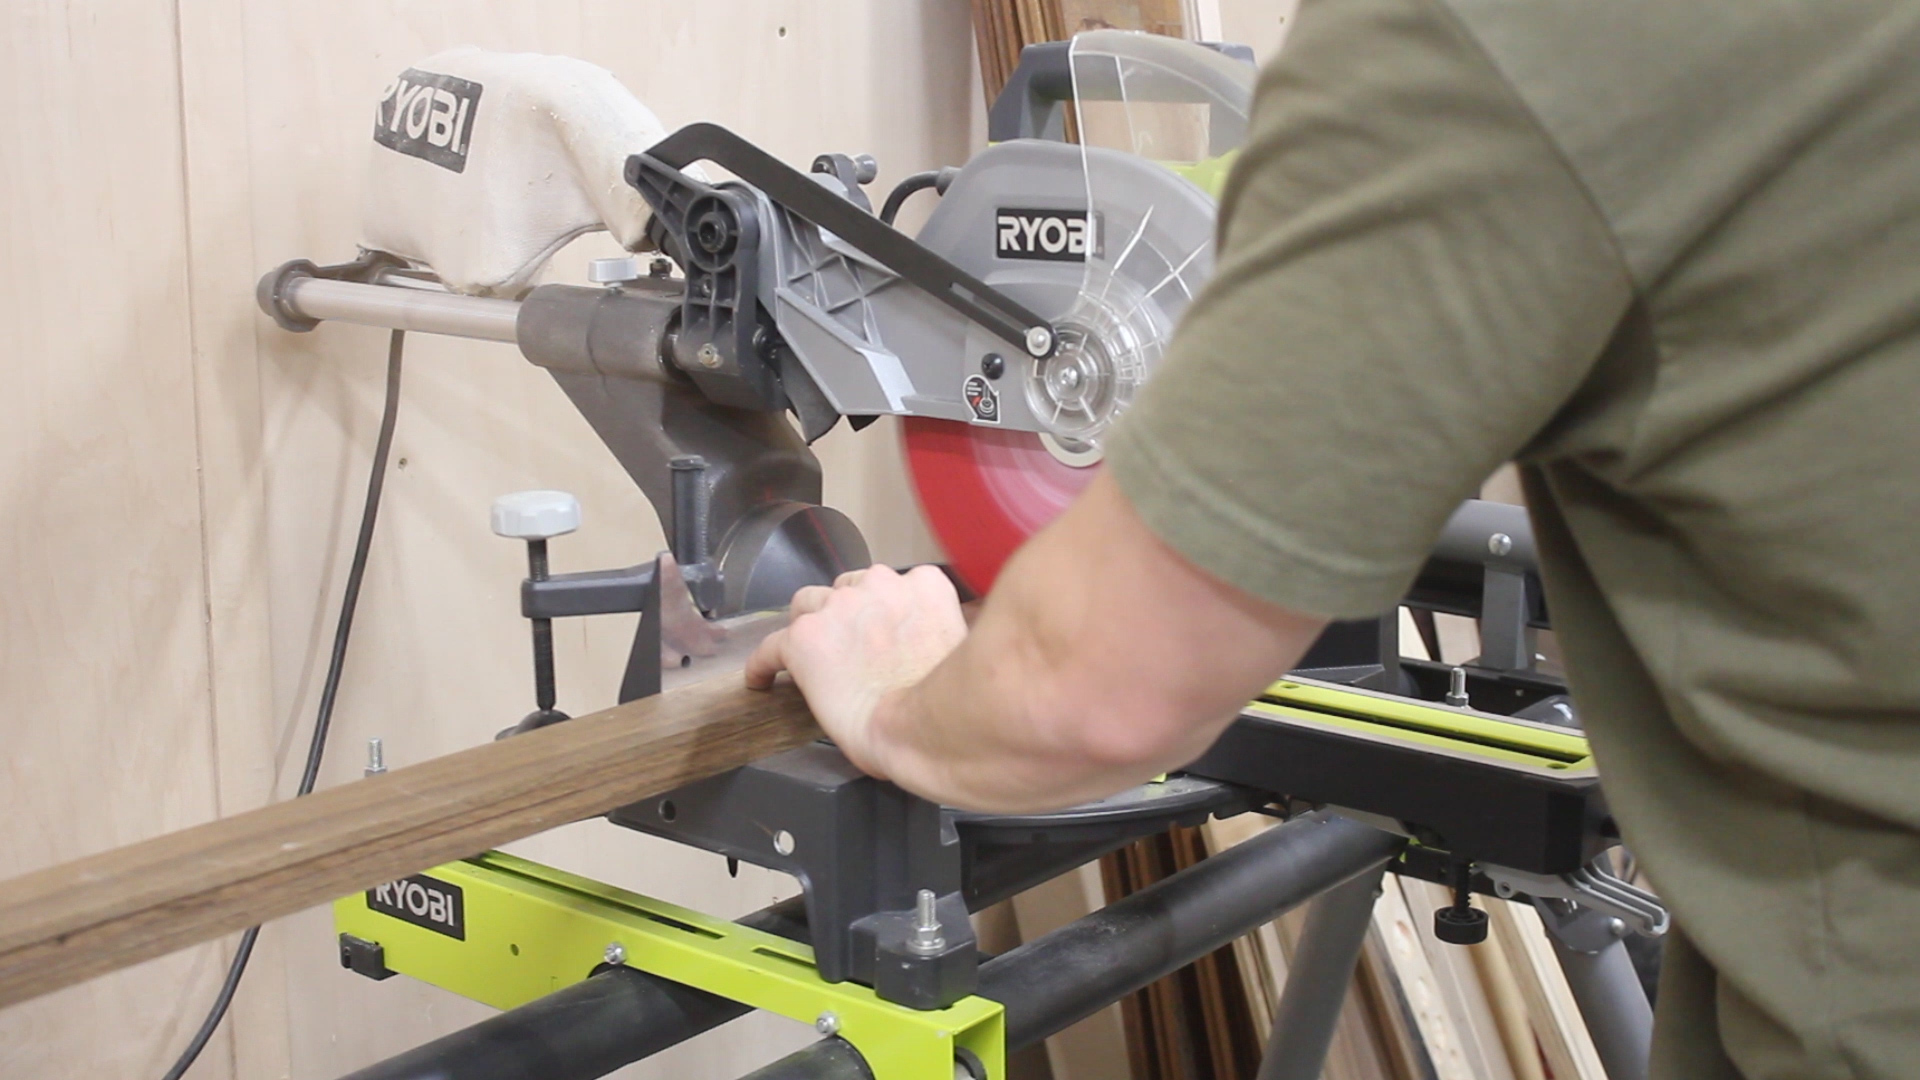
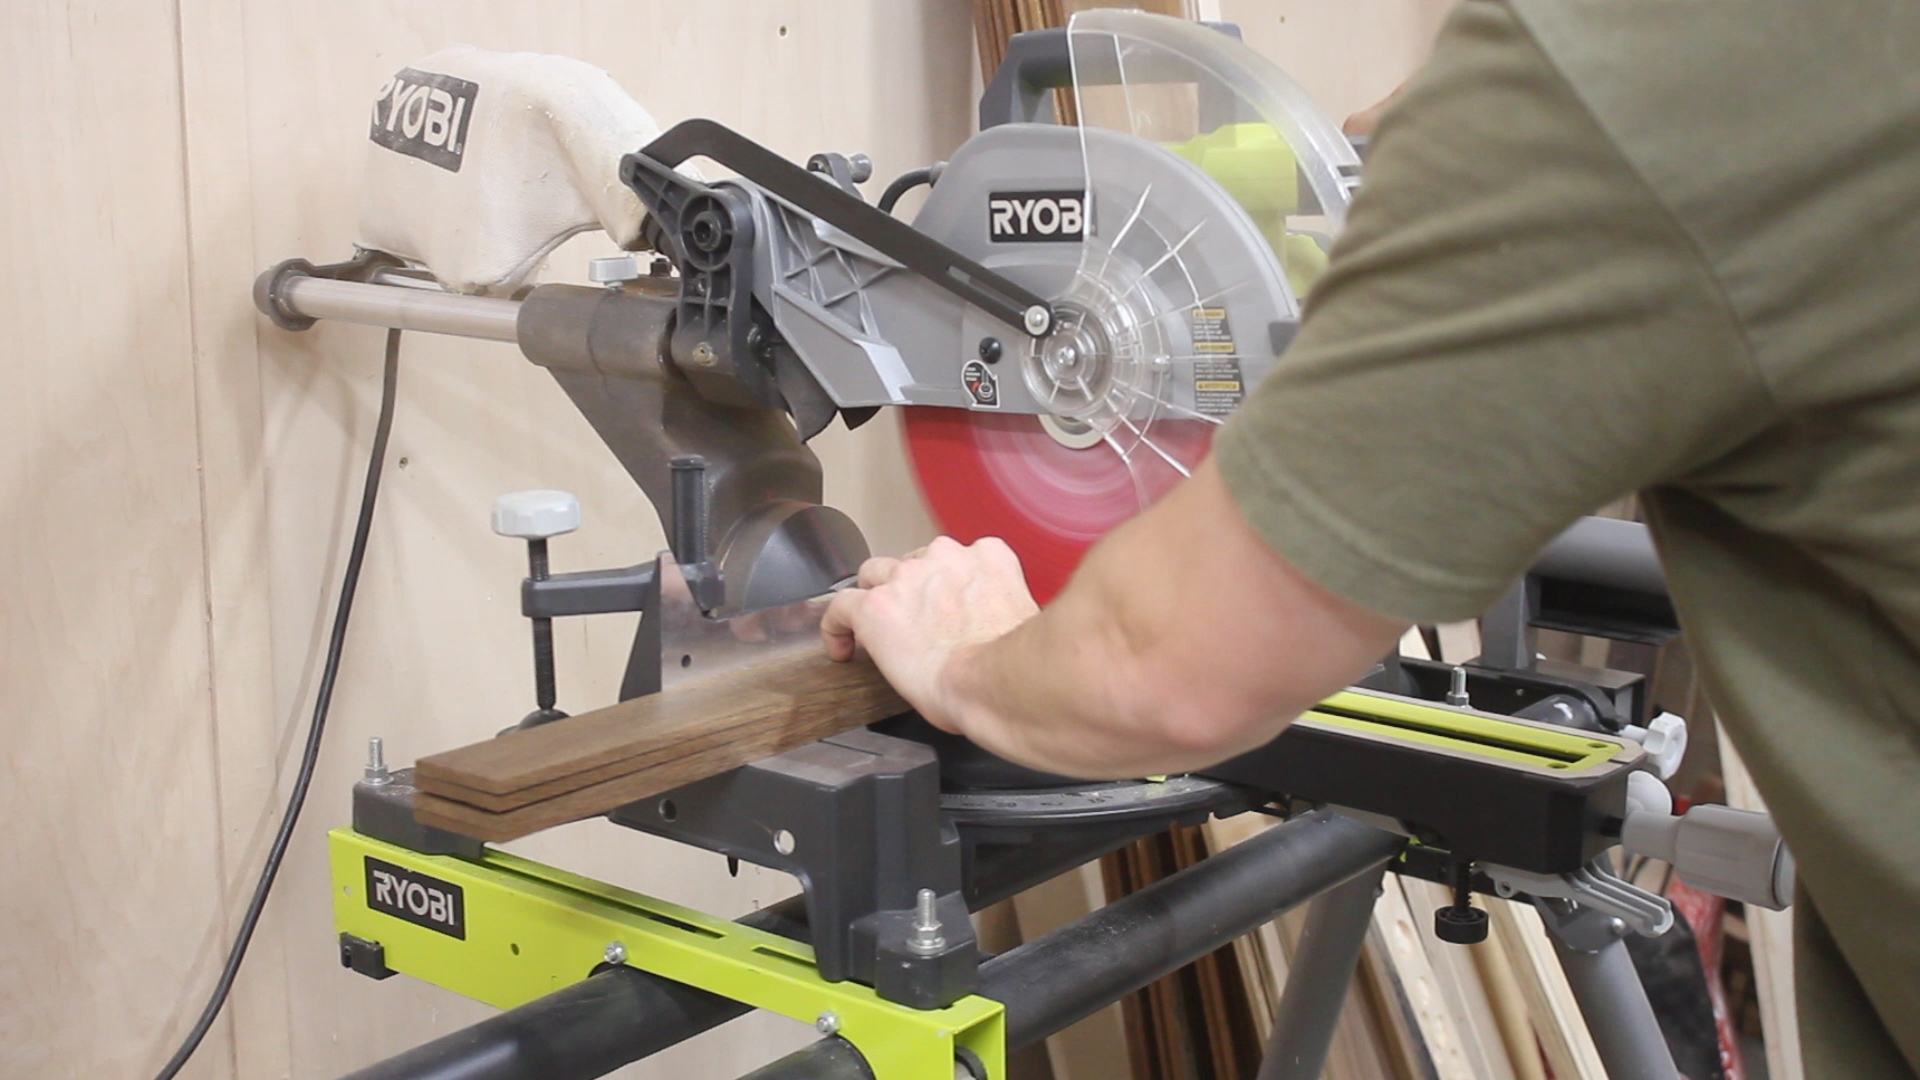
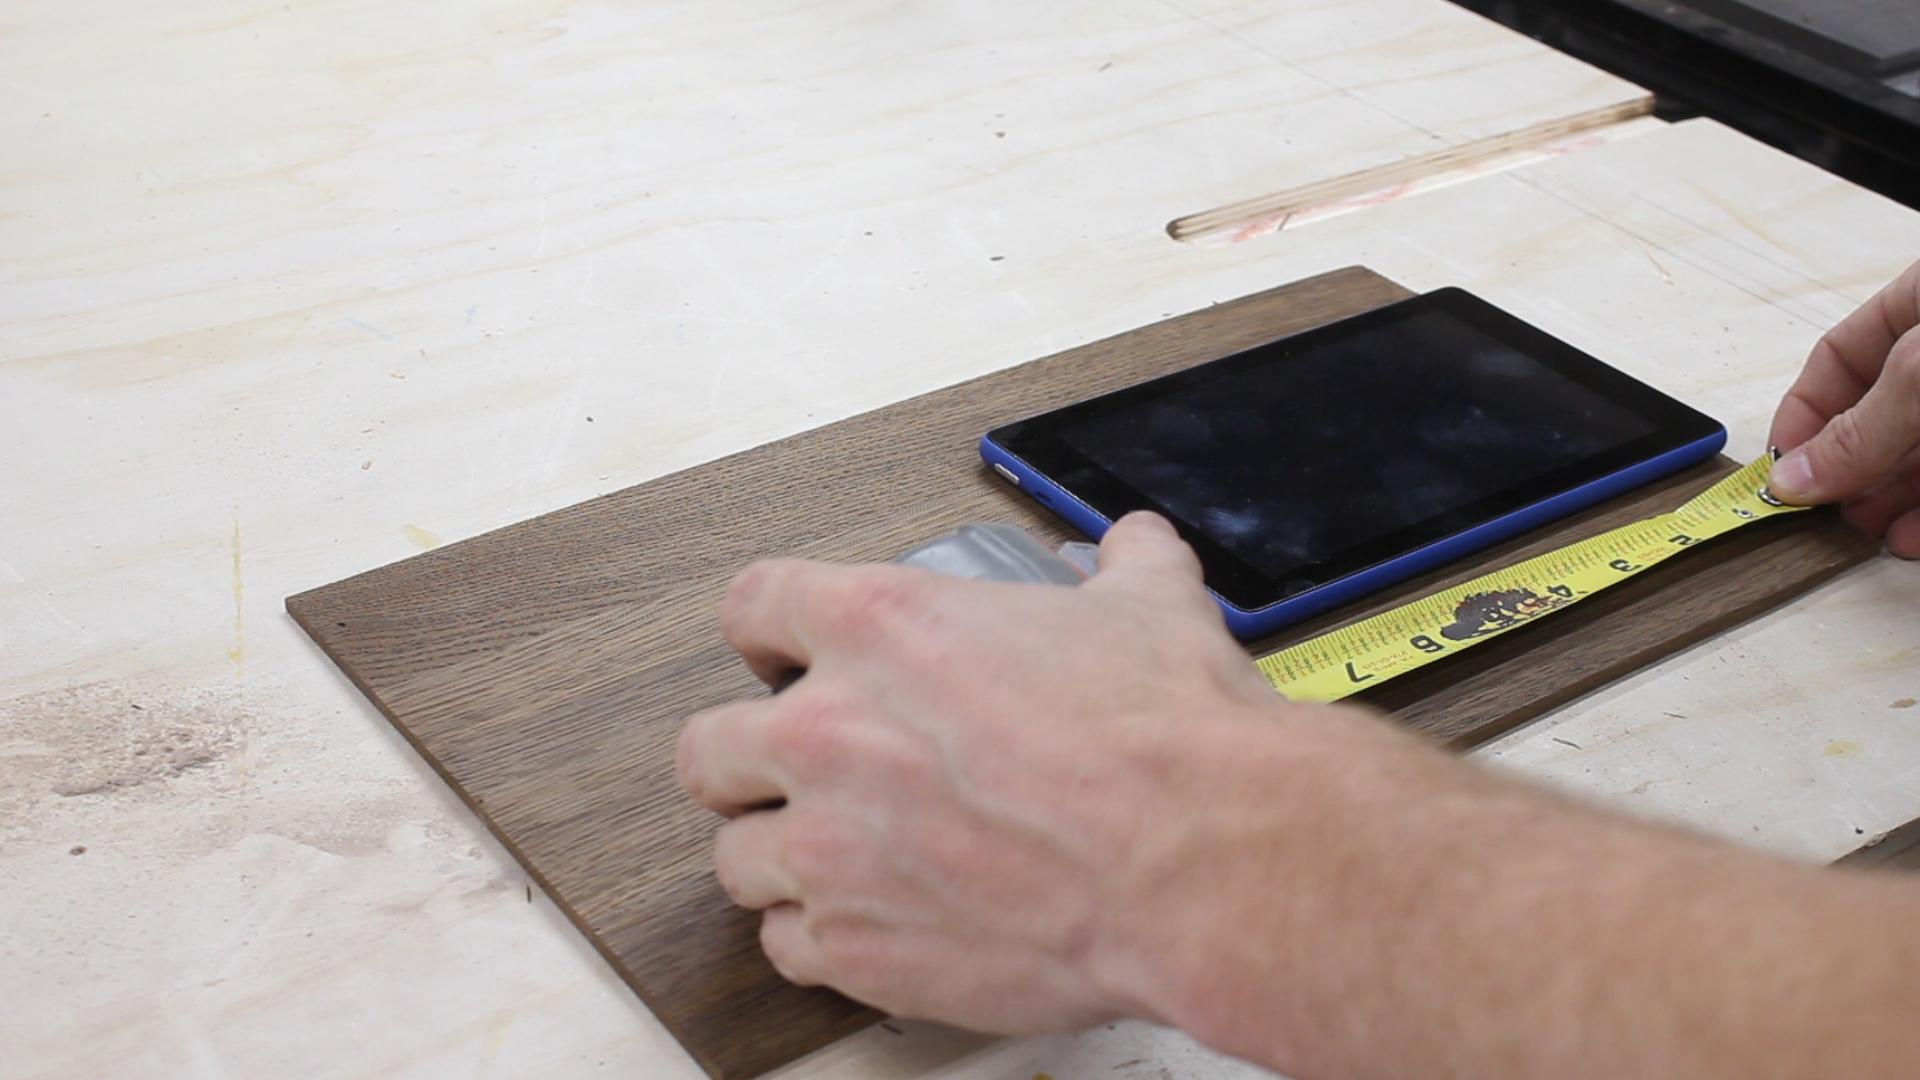
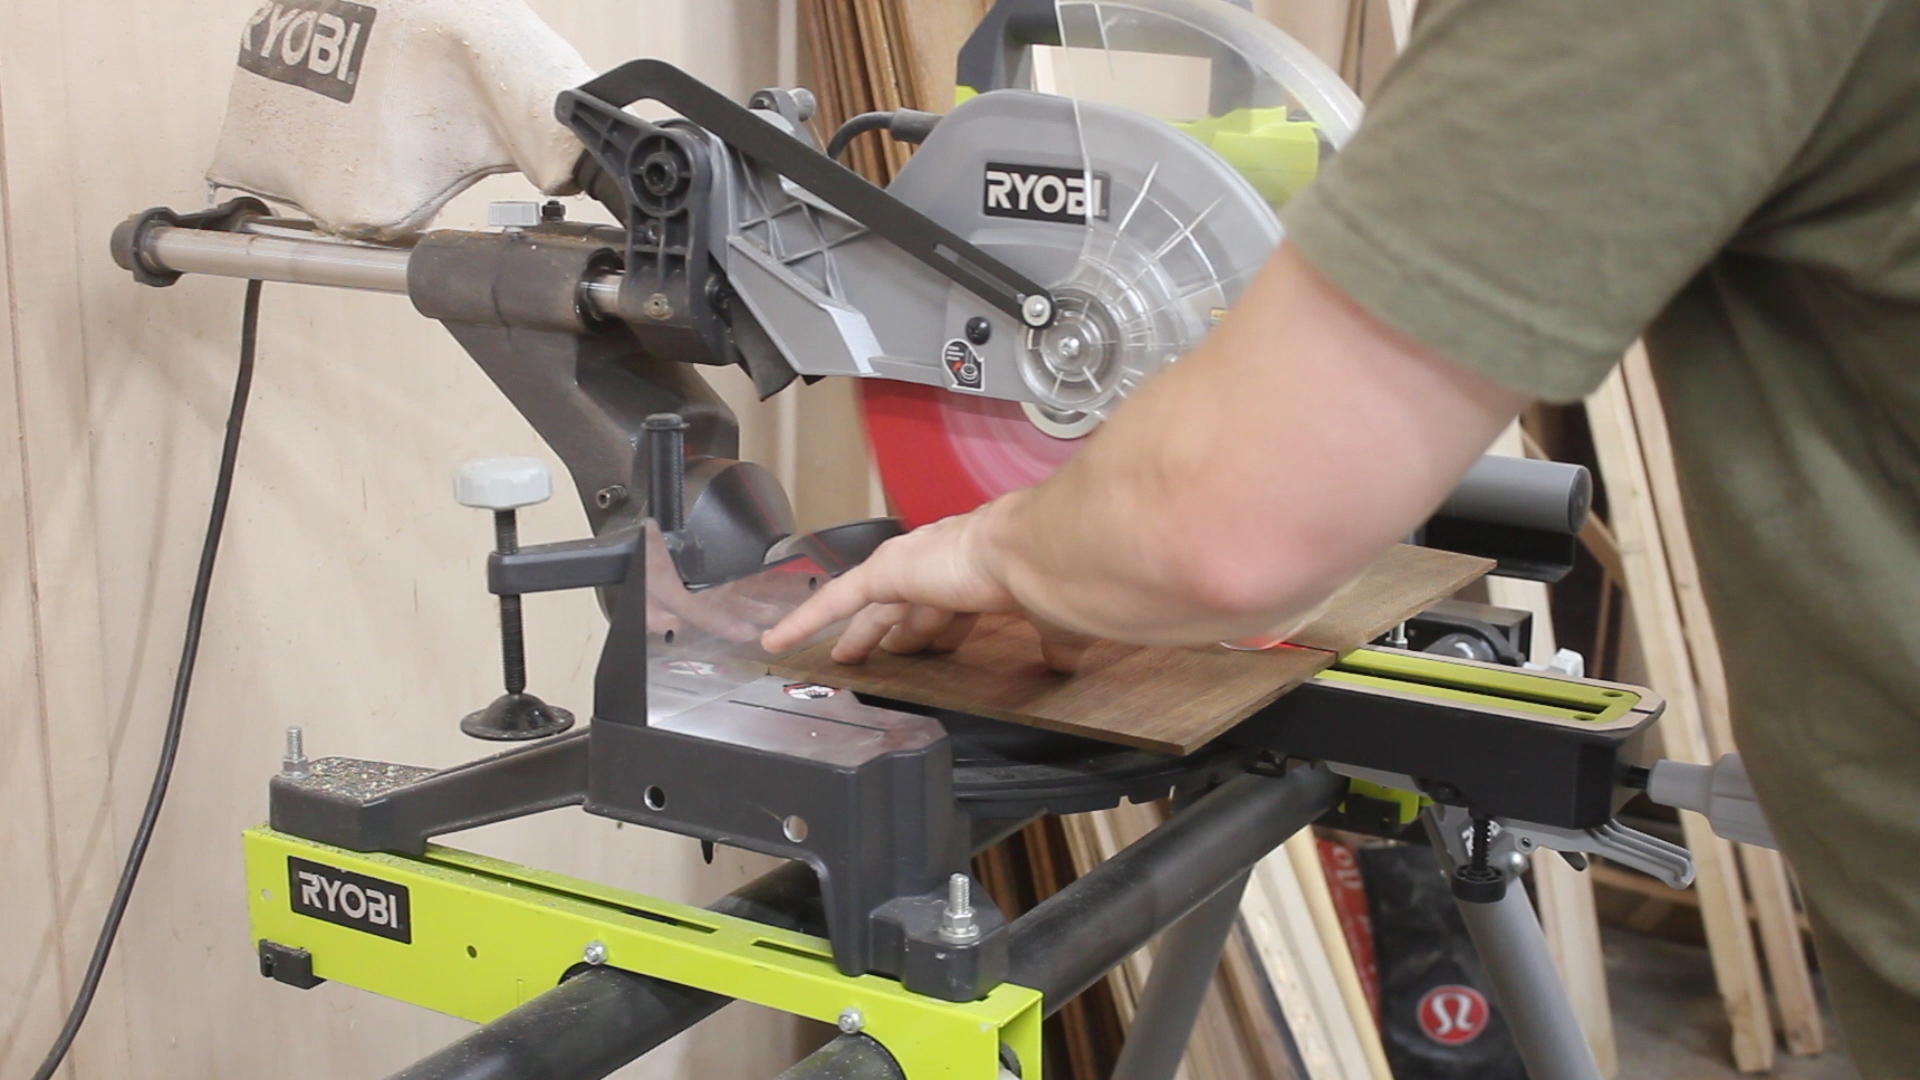
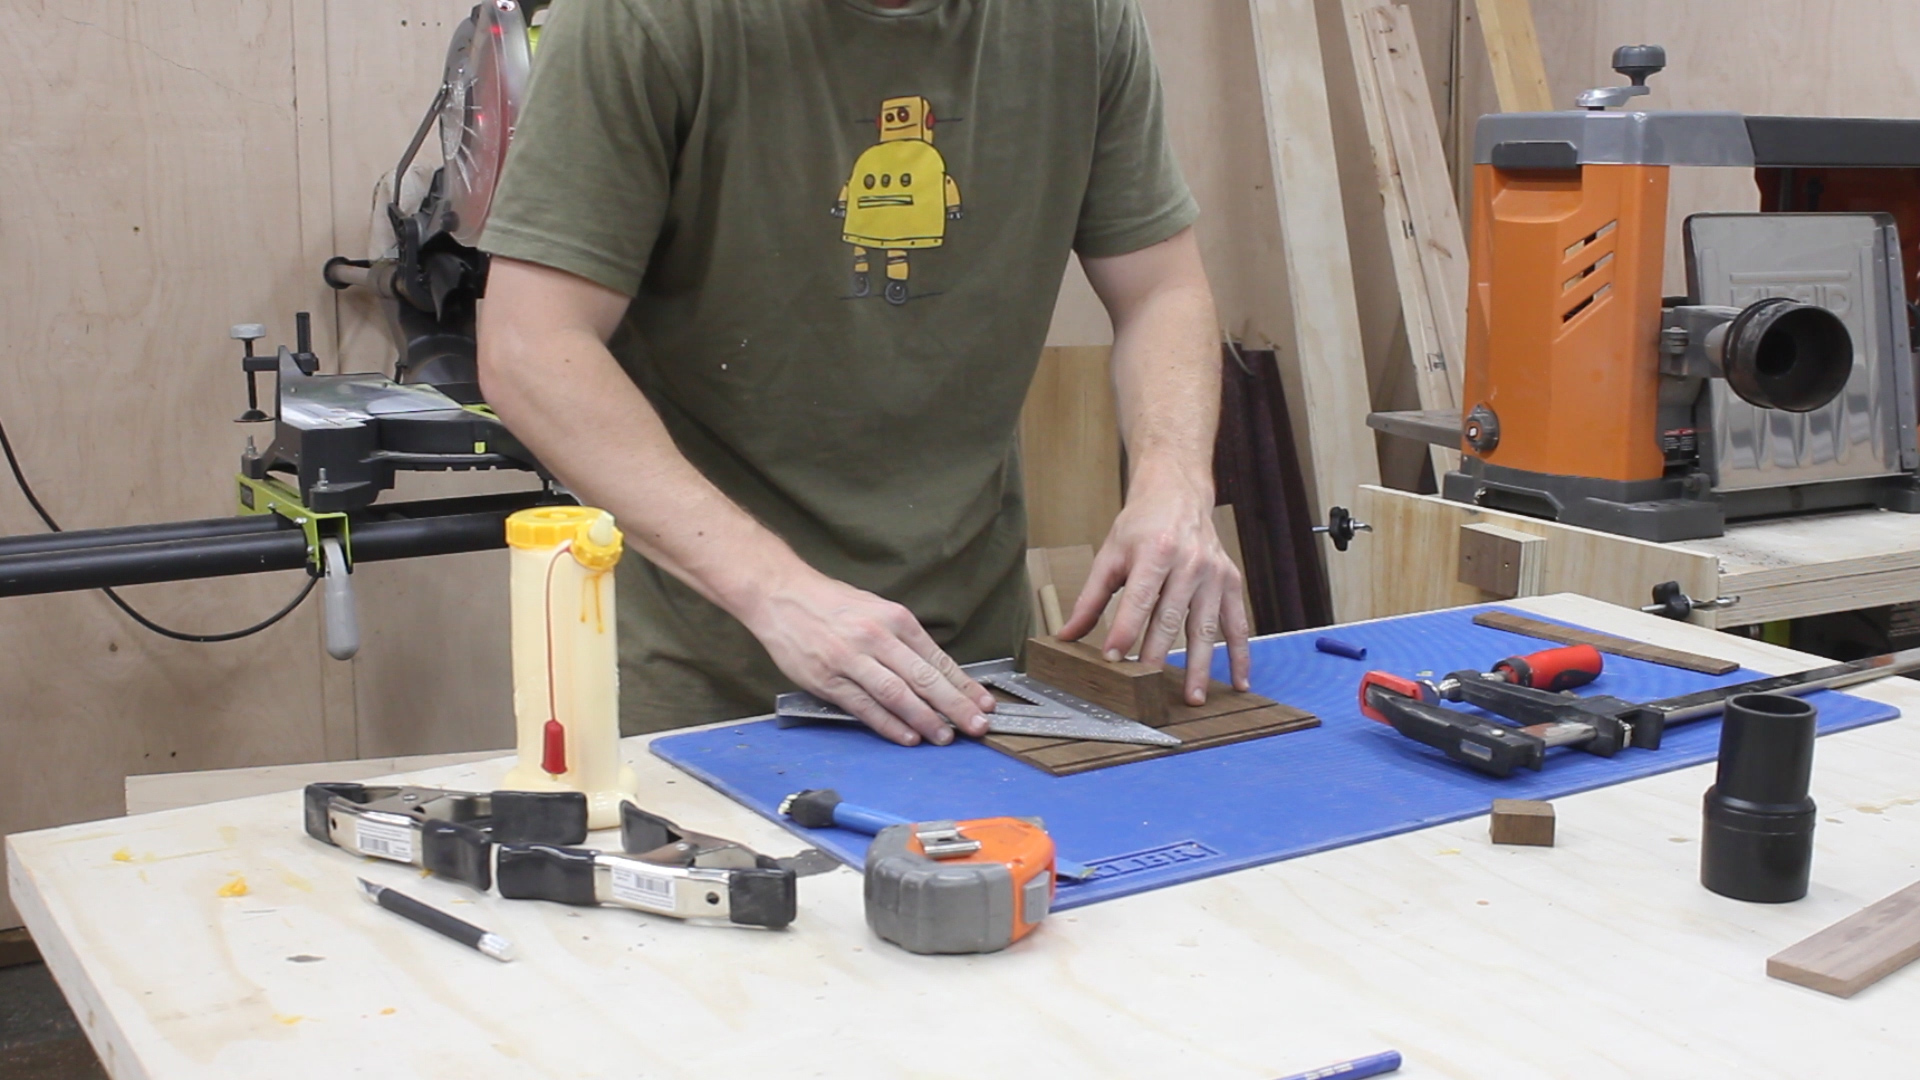
I then squared up one end on the miter saw (Pic 2), and then went back to my workbench and used my tape measure and the table to figure out a final height for the piece (Pic 3). My thought process was making sure that the height was tall enough to house the tablet when it rested vertically.Then I cut it to length on the miter saw (Pic 4).
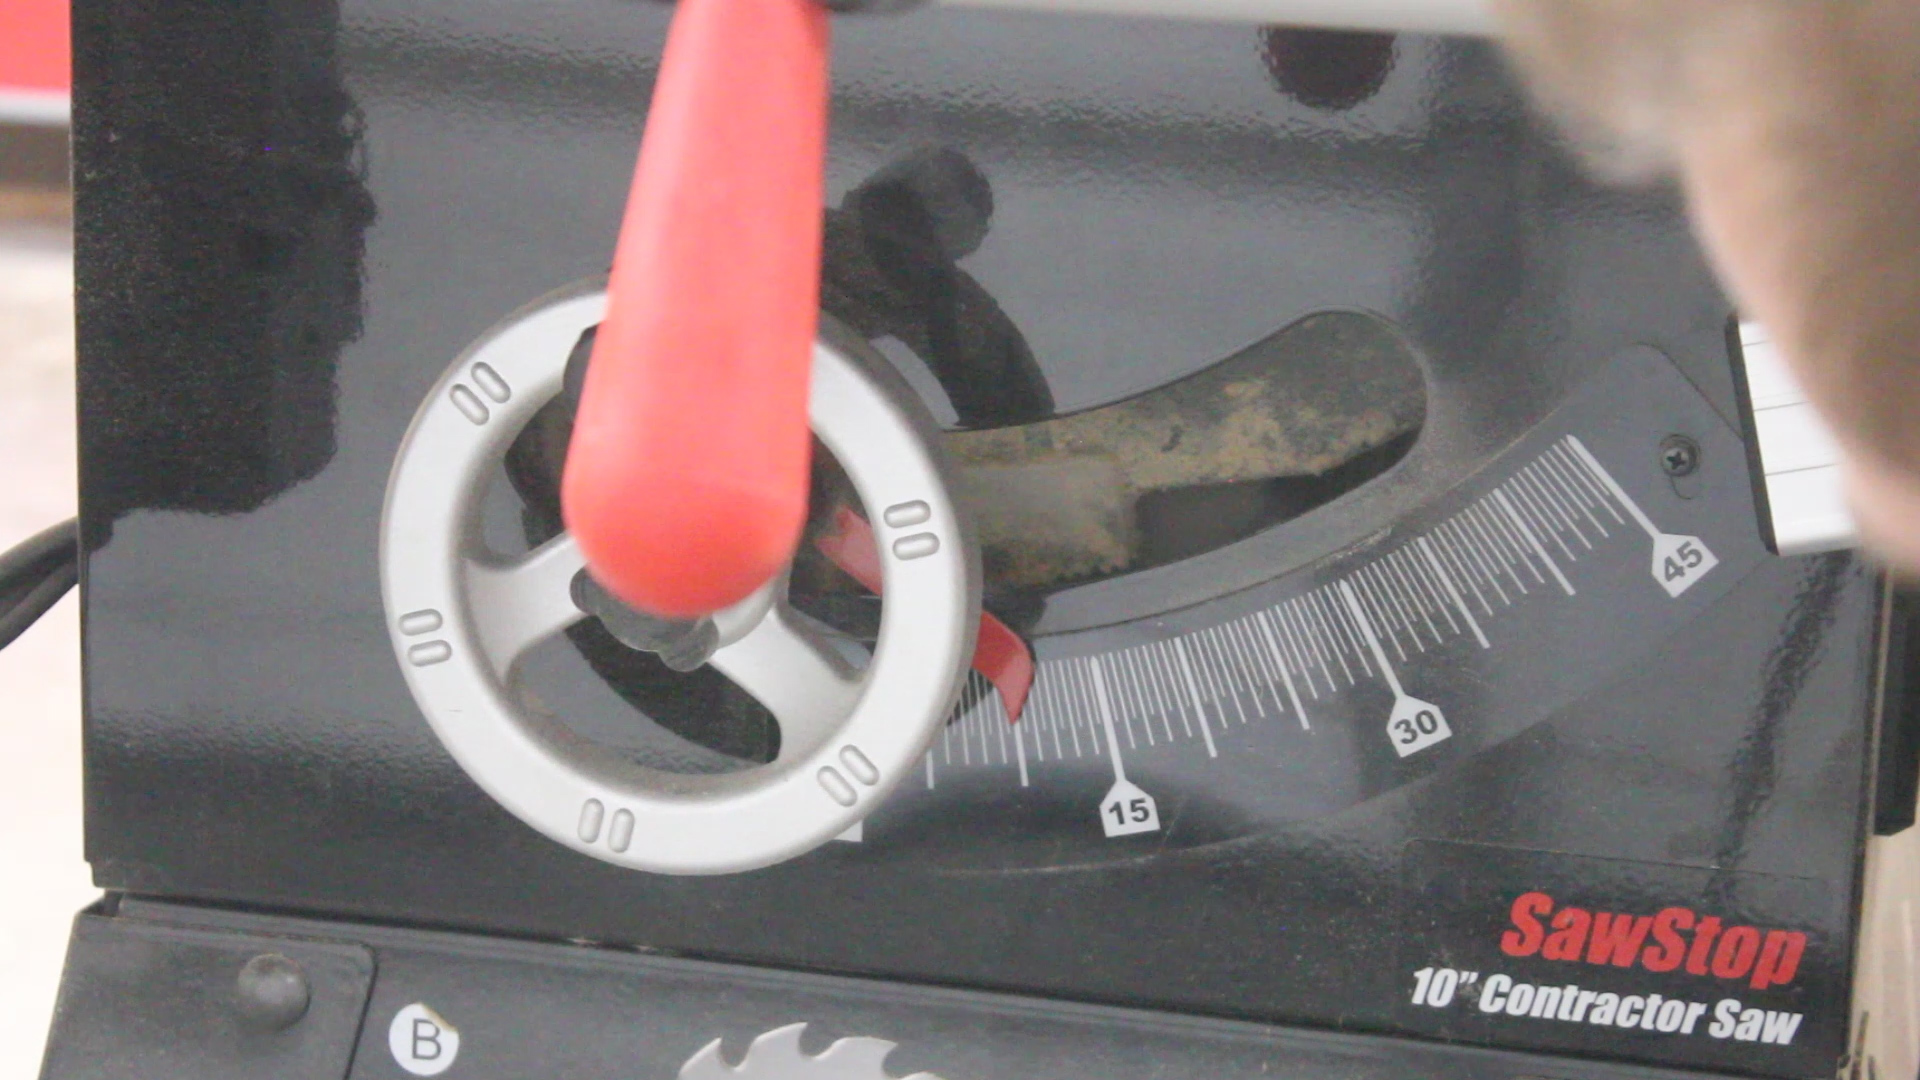

This next step was a bit of an experiment. I figured out what angle I wanted my table to rest off camera using a speed square, and then tilted by blade (Pics 1-2) to 15° on the table saw. I then cut the front of the base to have that angle, as well as the bottom part of the vertical piece that would house the tablet (Pic 3).
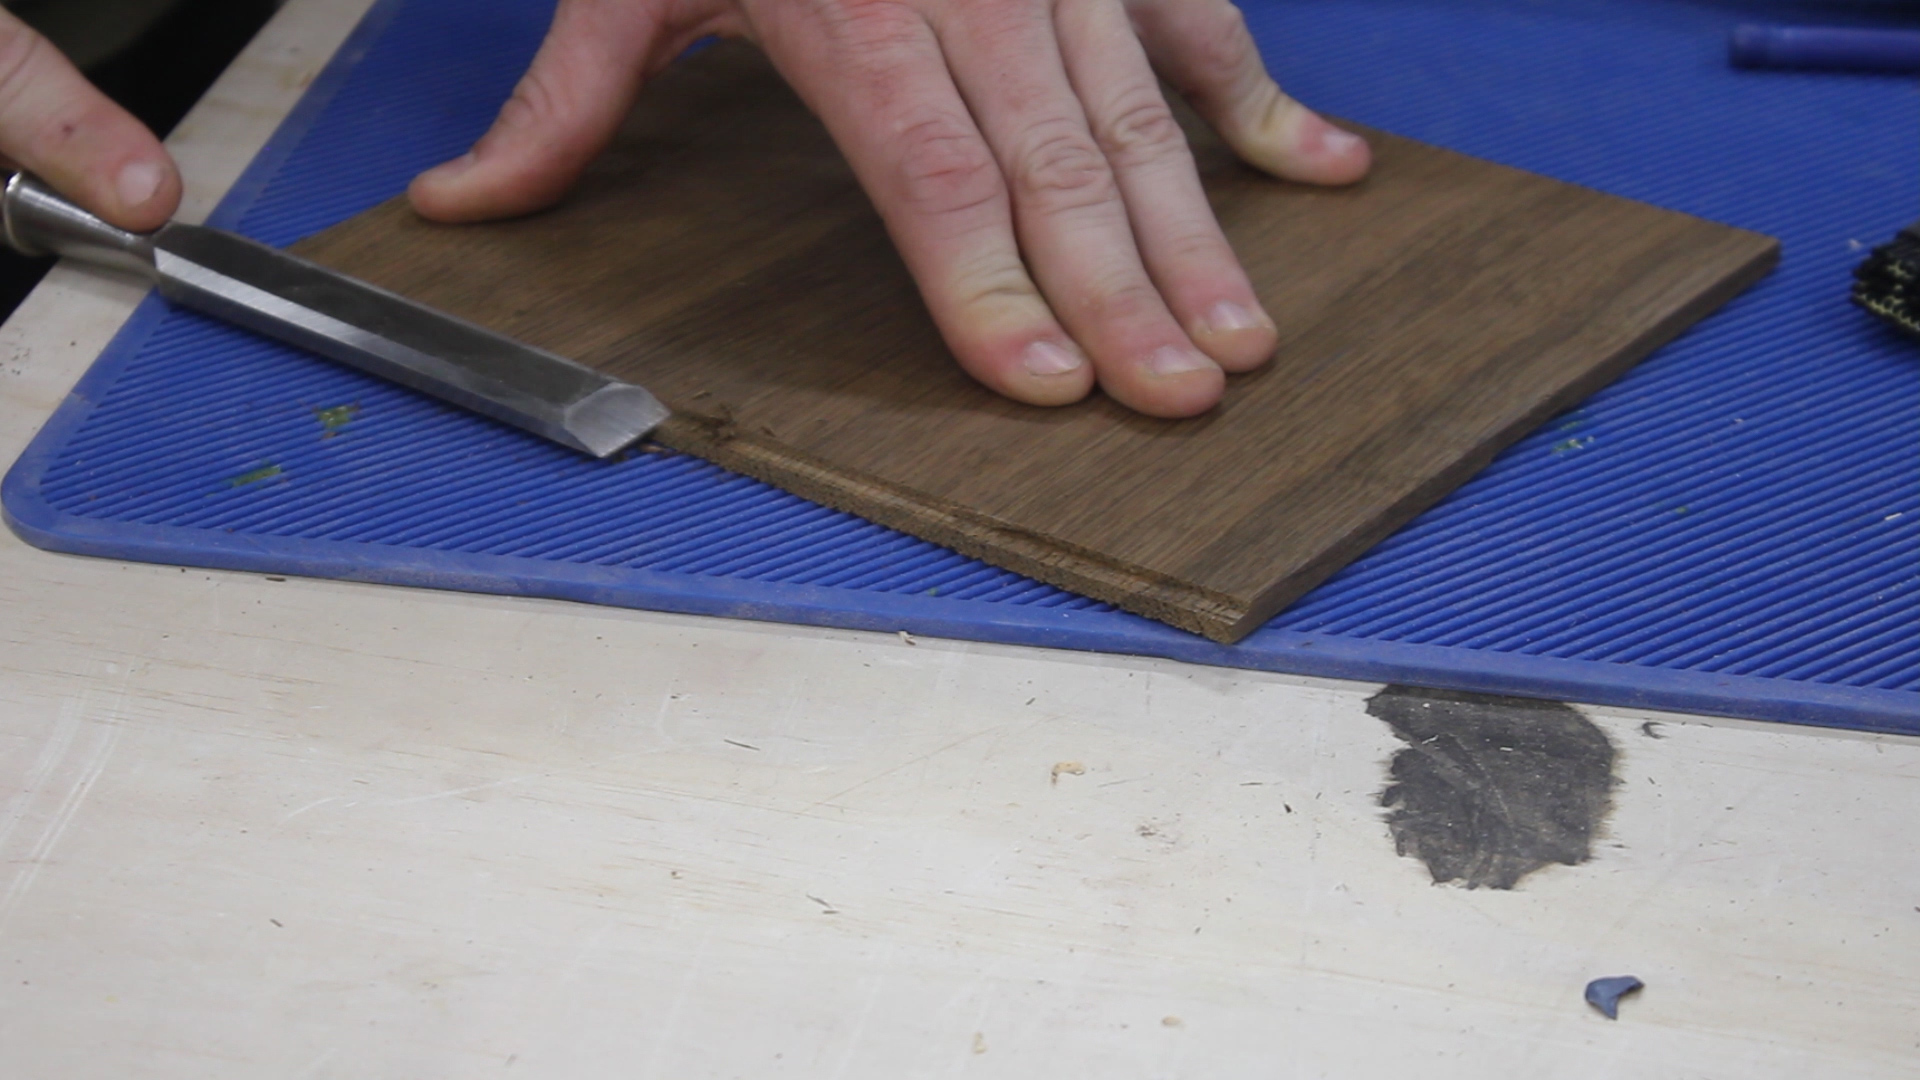
Then, I lowered my blade to half the thickness of my base support and made multiple passes over the blade to cut a dado in the front of the base and one inch back. These dados would accept as mall front lip to prevent the tablet from sliding, as well as the back piece that actually held up the tablet (Pic 4). Lastly, I used a chisel to clean up the saw cuts (Pic 5).


Before moving on to assembly, I ripped excess oak wood I had glued up and cut off (this is why I ultimately made 2 of these panels in the beginning as it gave me some wiggle room in the cuts to experiment with what the right sizes were without fear of making a cut too short and ruining something.
I cut the piece into five strips about 1.25" wide on my table saw (Pic 1), and then glue them together in a stacked format (Pics 2-3). This essentially gave me a thick block of wood to use as support in the rear.
After it cured, I then ripped the front face to the same 15° angle as I did the stand pieces (Pic 4) using my miter gauge, then cleaned up the other four sides by making passes through the table saw blade set back to 90° (Pic 5)


Pic 1 shows how it will all go together. The components are:
- A base with dados cut in the front and back at 15°
- A front piece about one inch tall to form a lip (this would go in the front dado)
- A back piece about 9" tall that would serve as the actual stand (this would go in the middle dado)
- A support piece in the back (previous step) to serve as structural support to the back piece
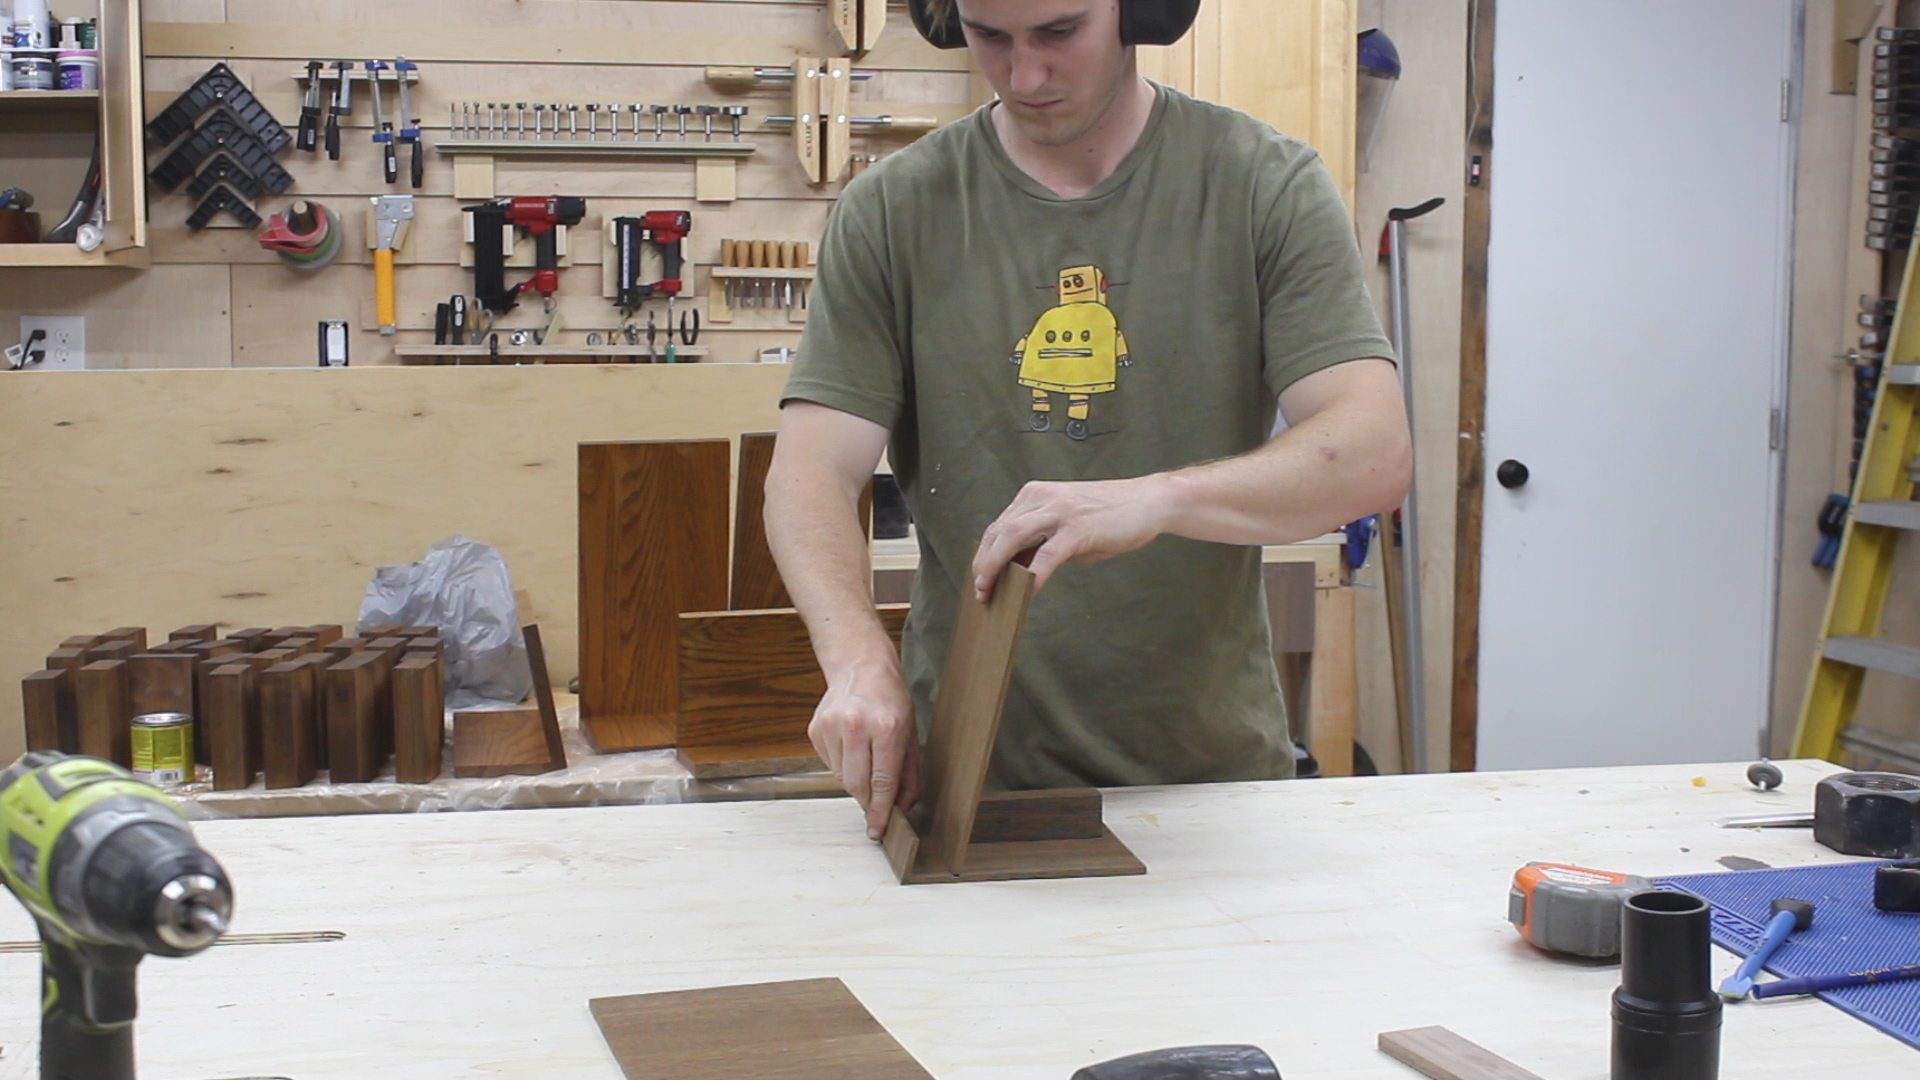
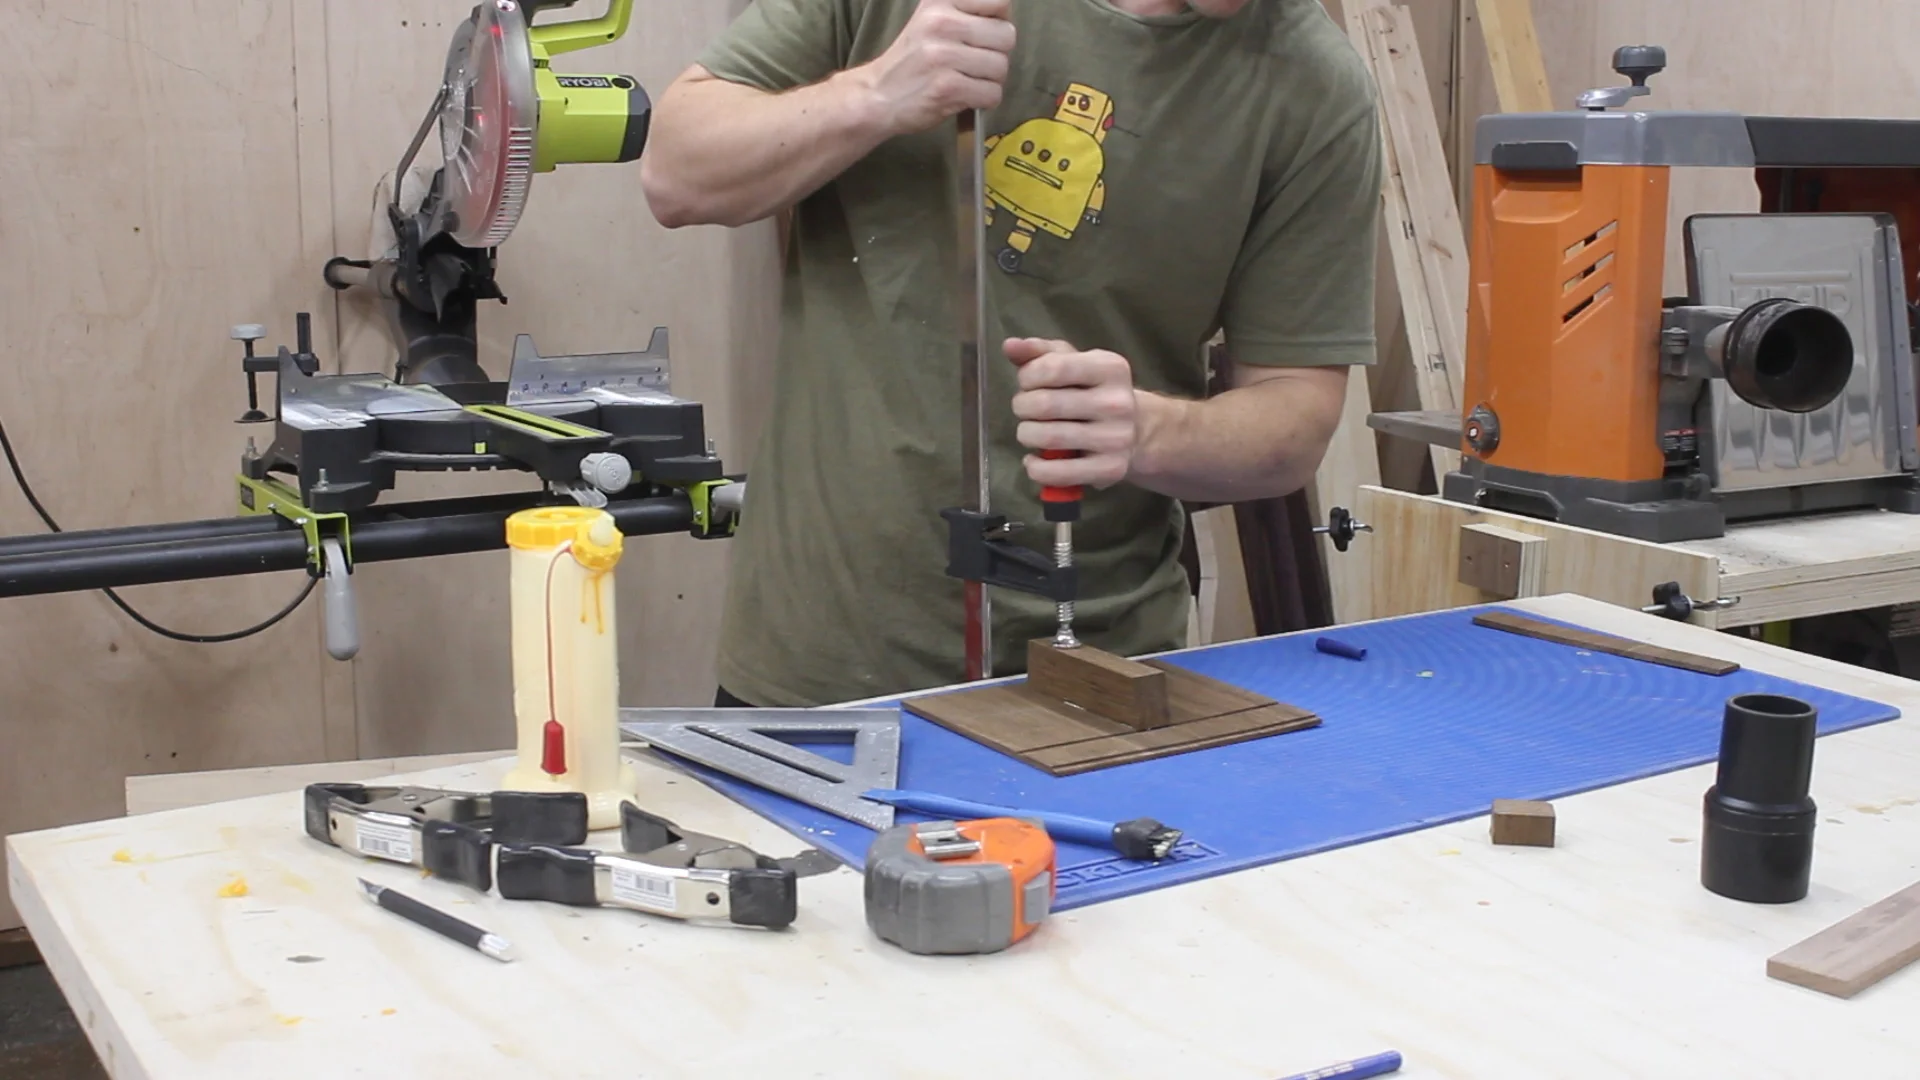
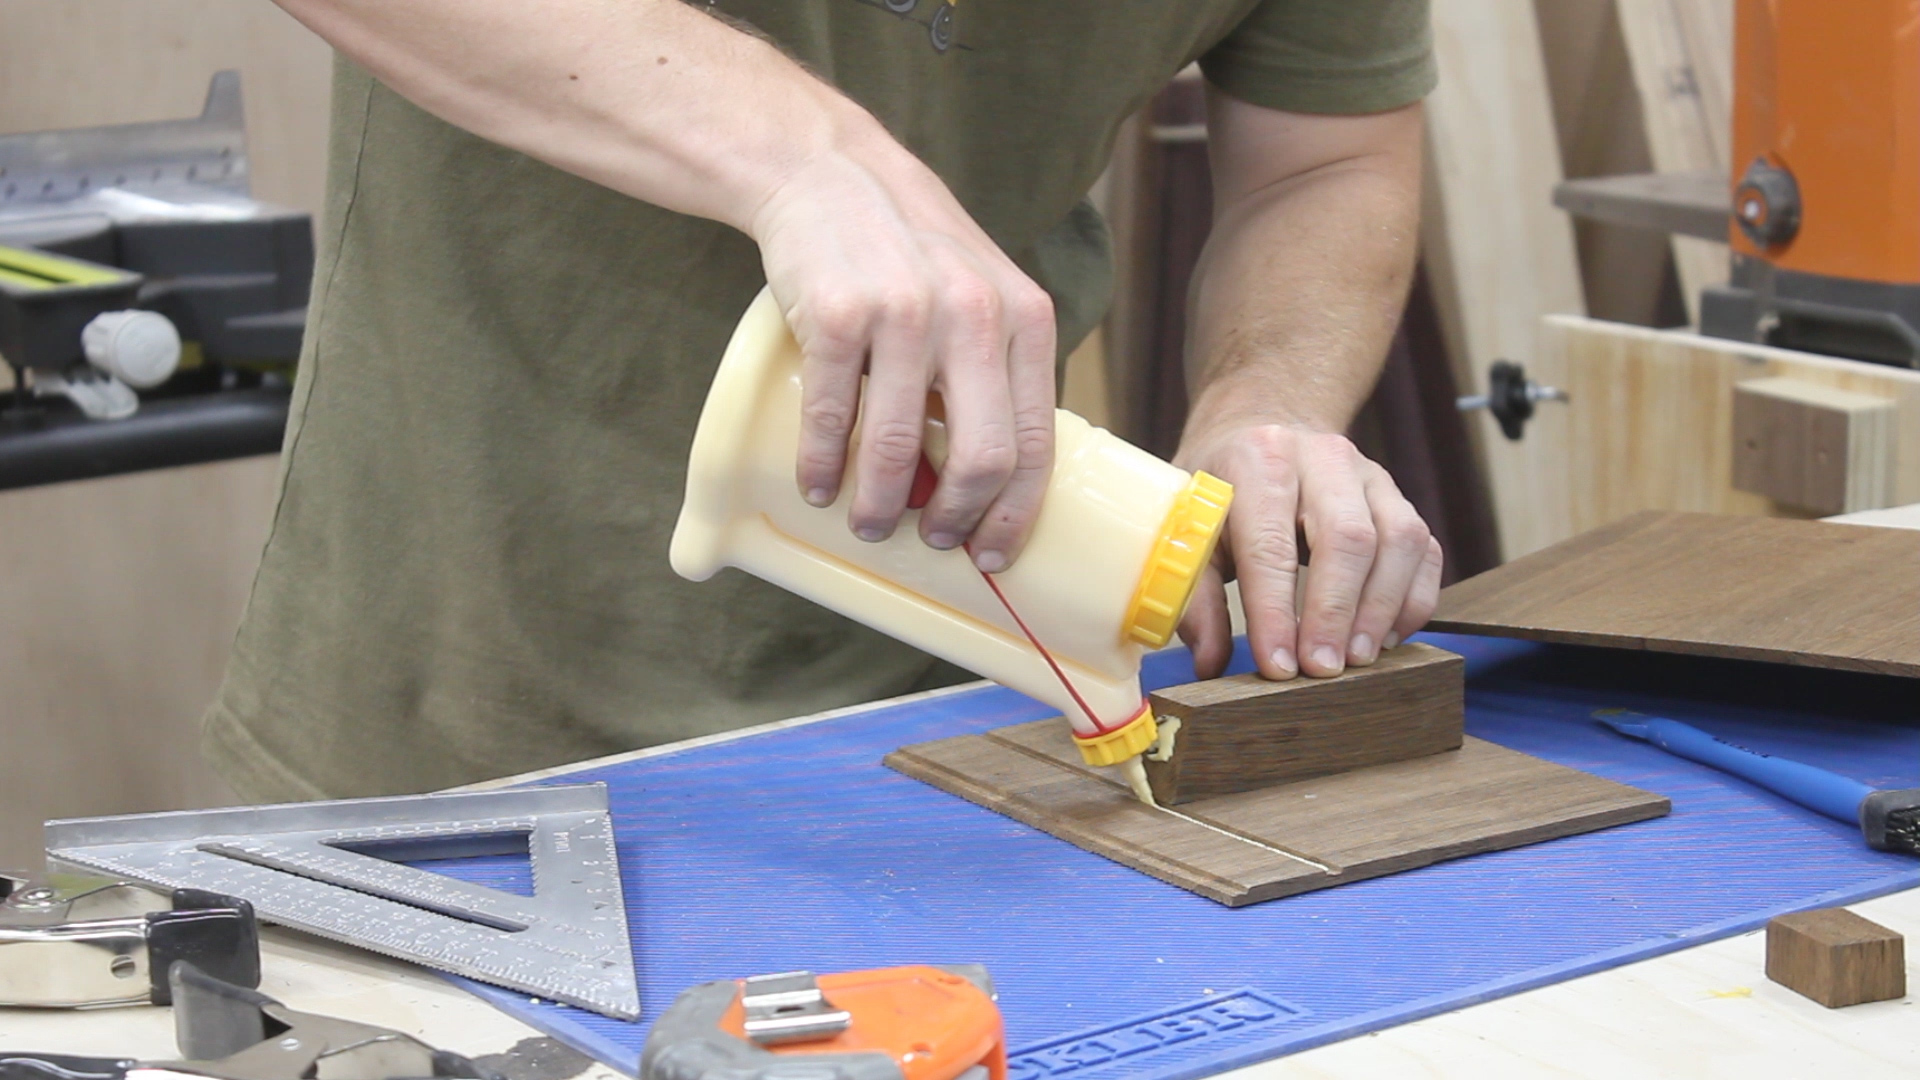
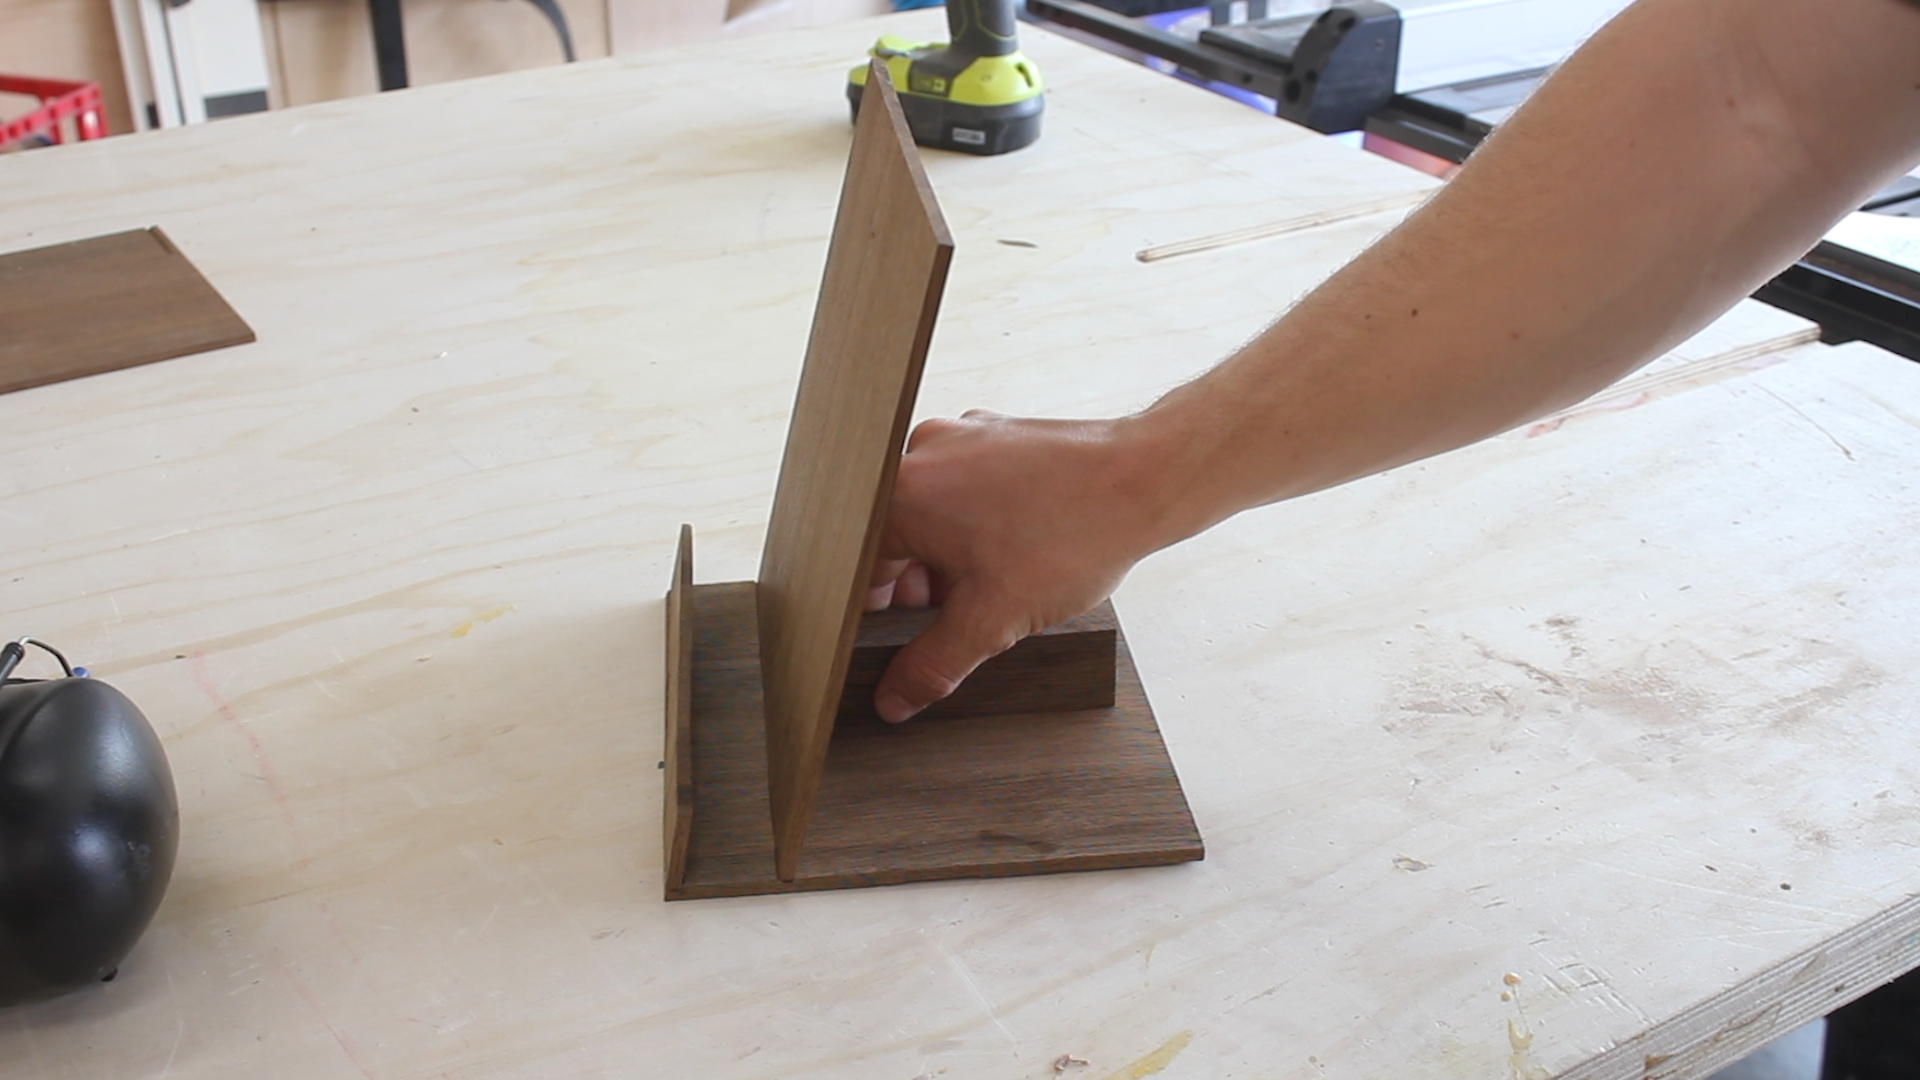
I began by gluing up the support piece (Pic 2), using a scrap piece to line it up properly with the middle dado (Pic 3), and then checking to make sure it is square (Pic 4). I then clamped it in place for about 30 minutes to cure (Pic 5).
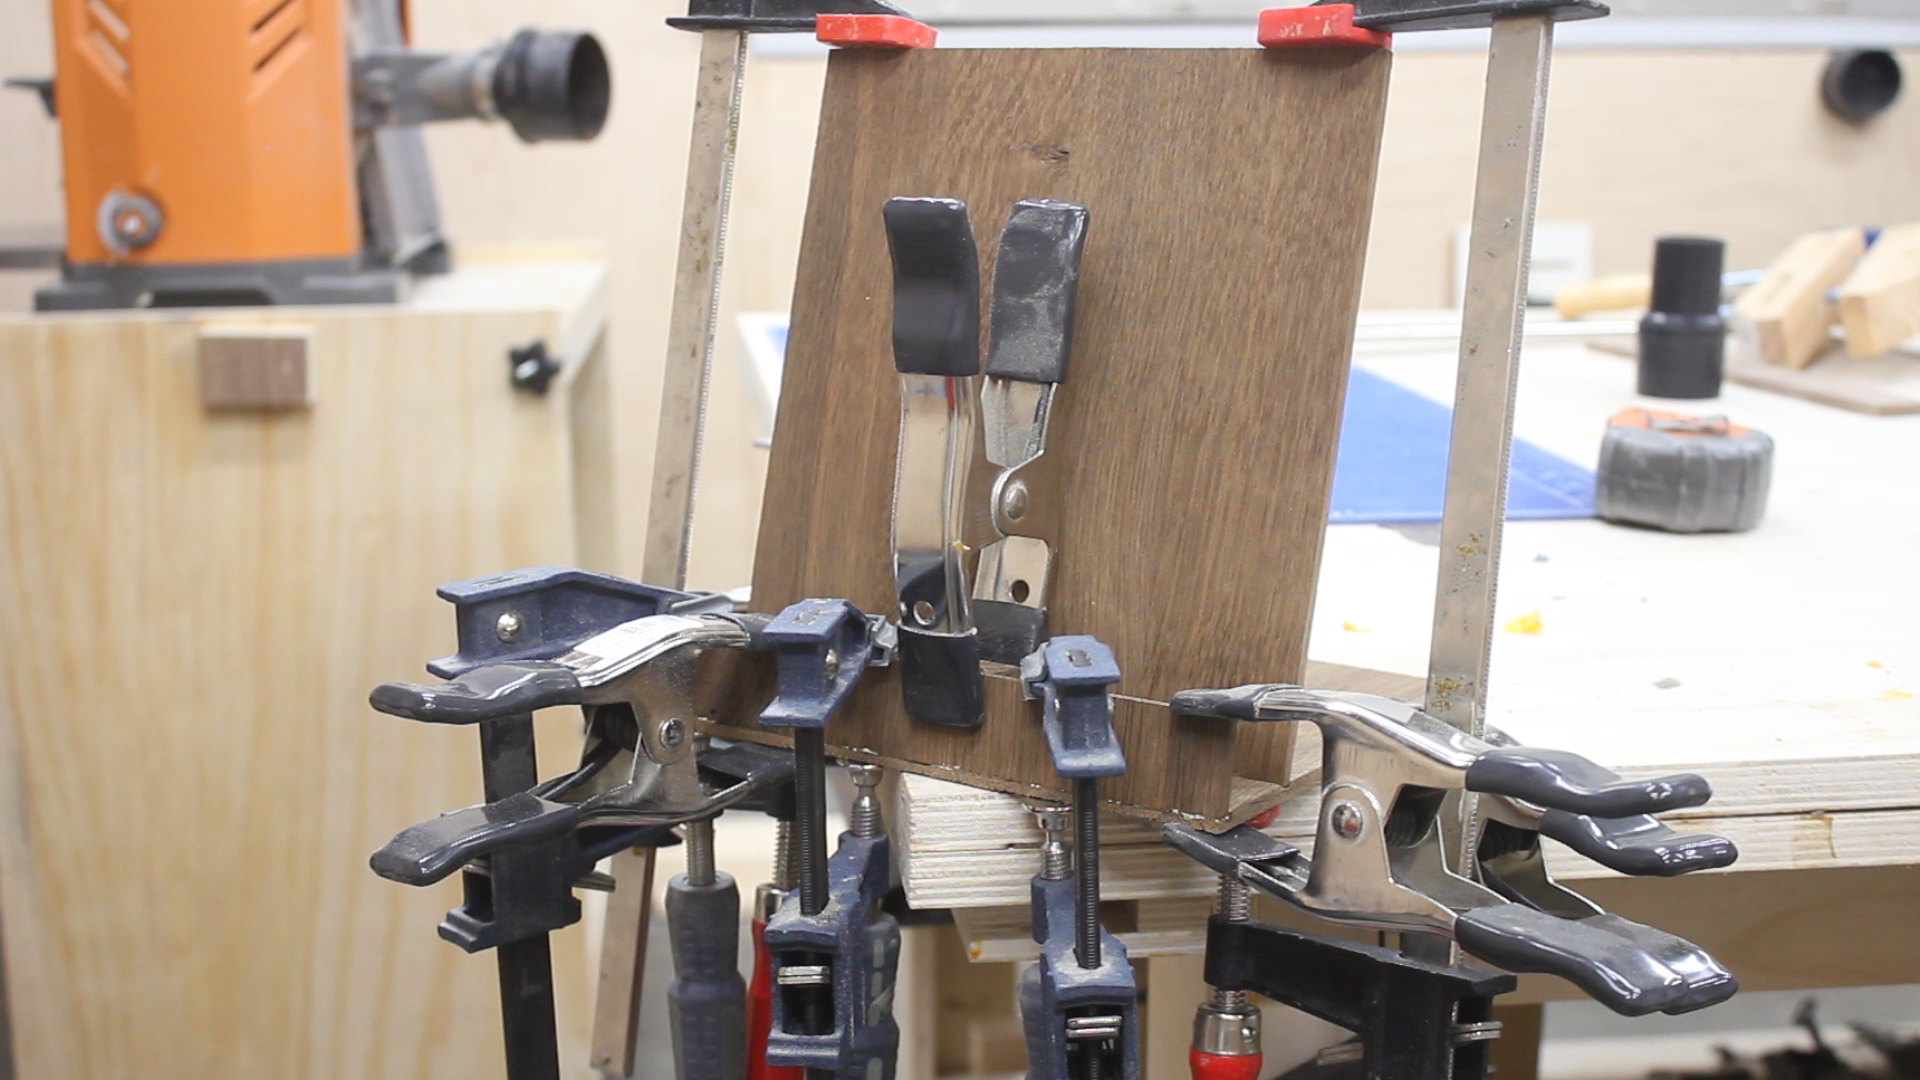
Next I could add in the back piece (Pic 6), which was a little tricky to clamp but I found having the back support piece in place and then clamping both sides down to my work surface worked best (Pic 7).
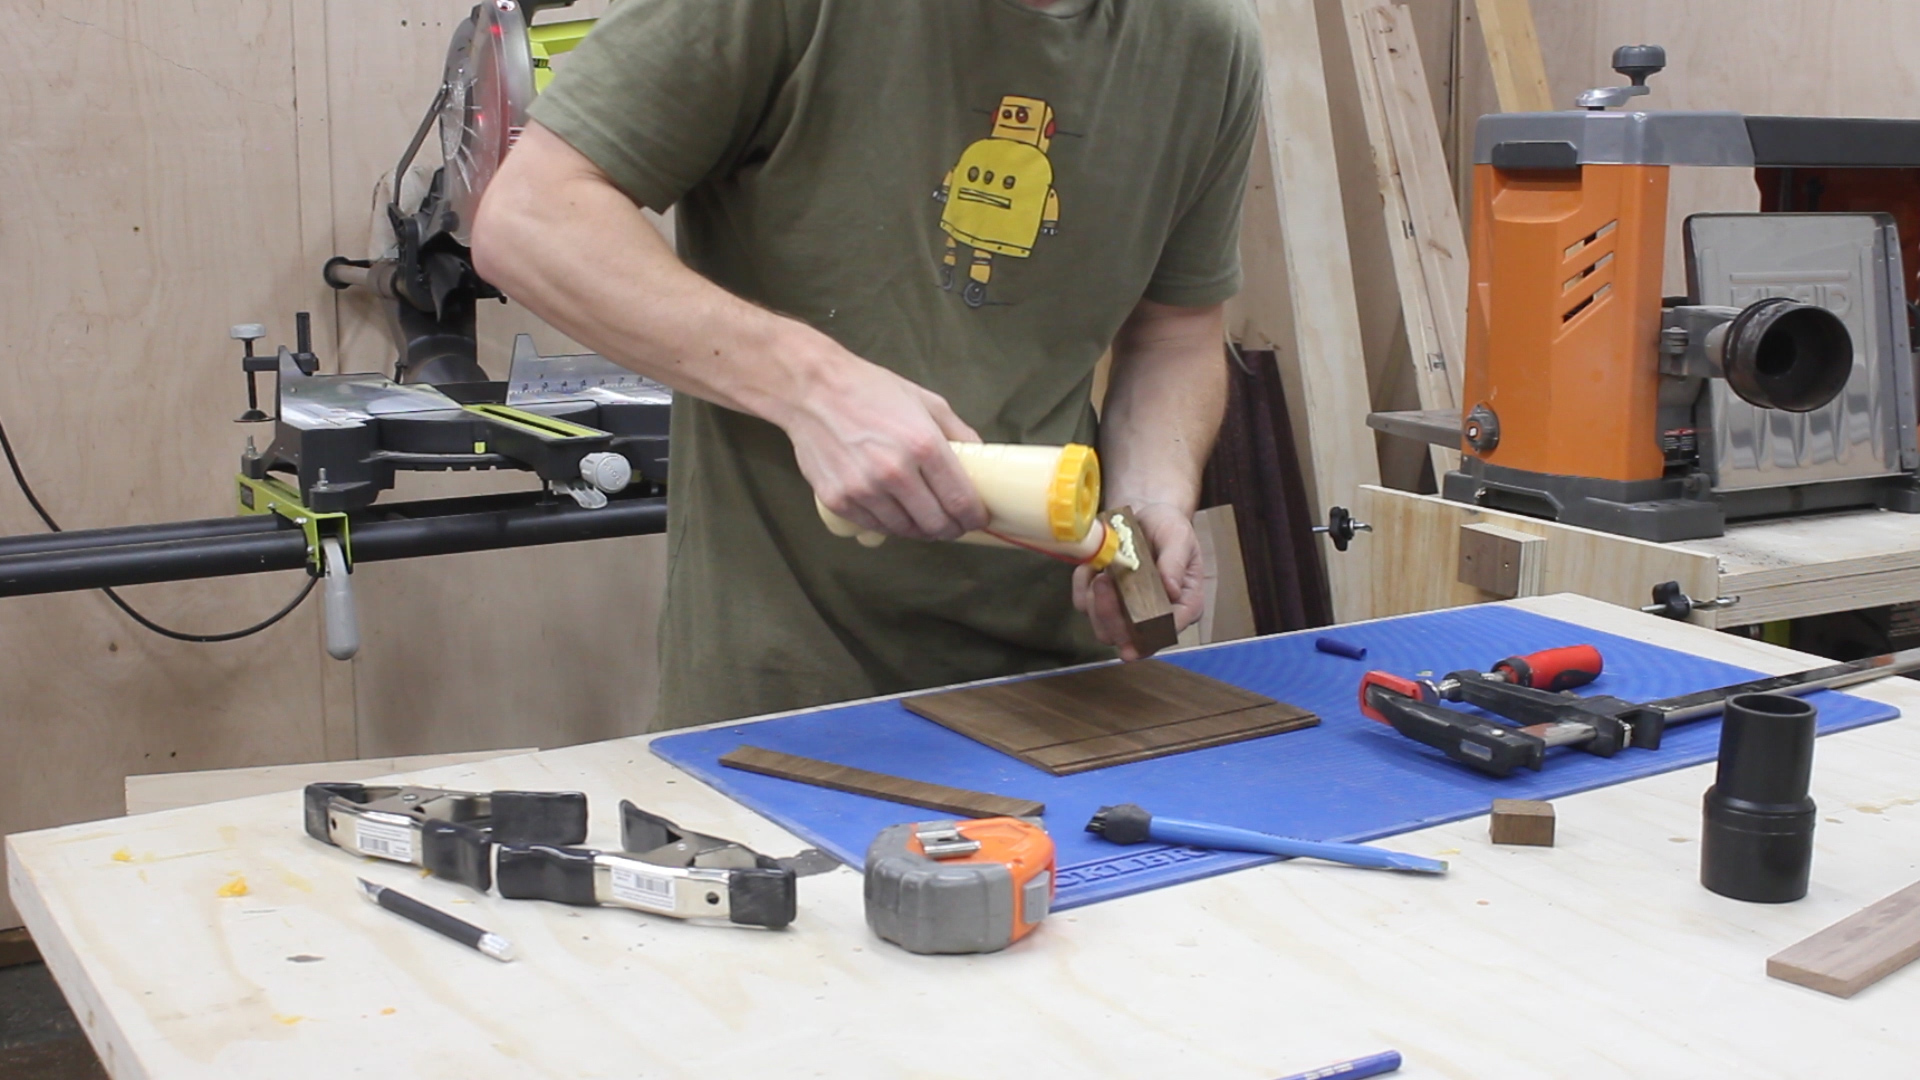
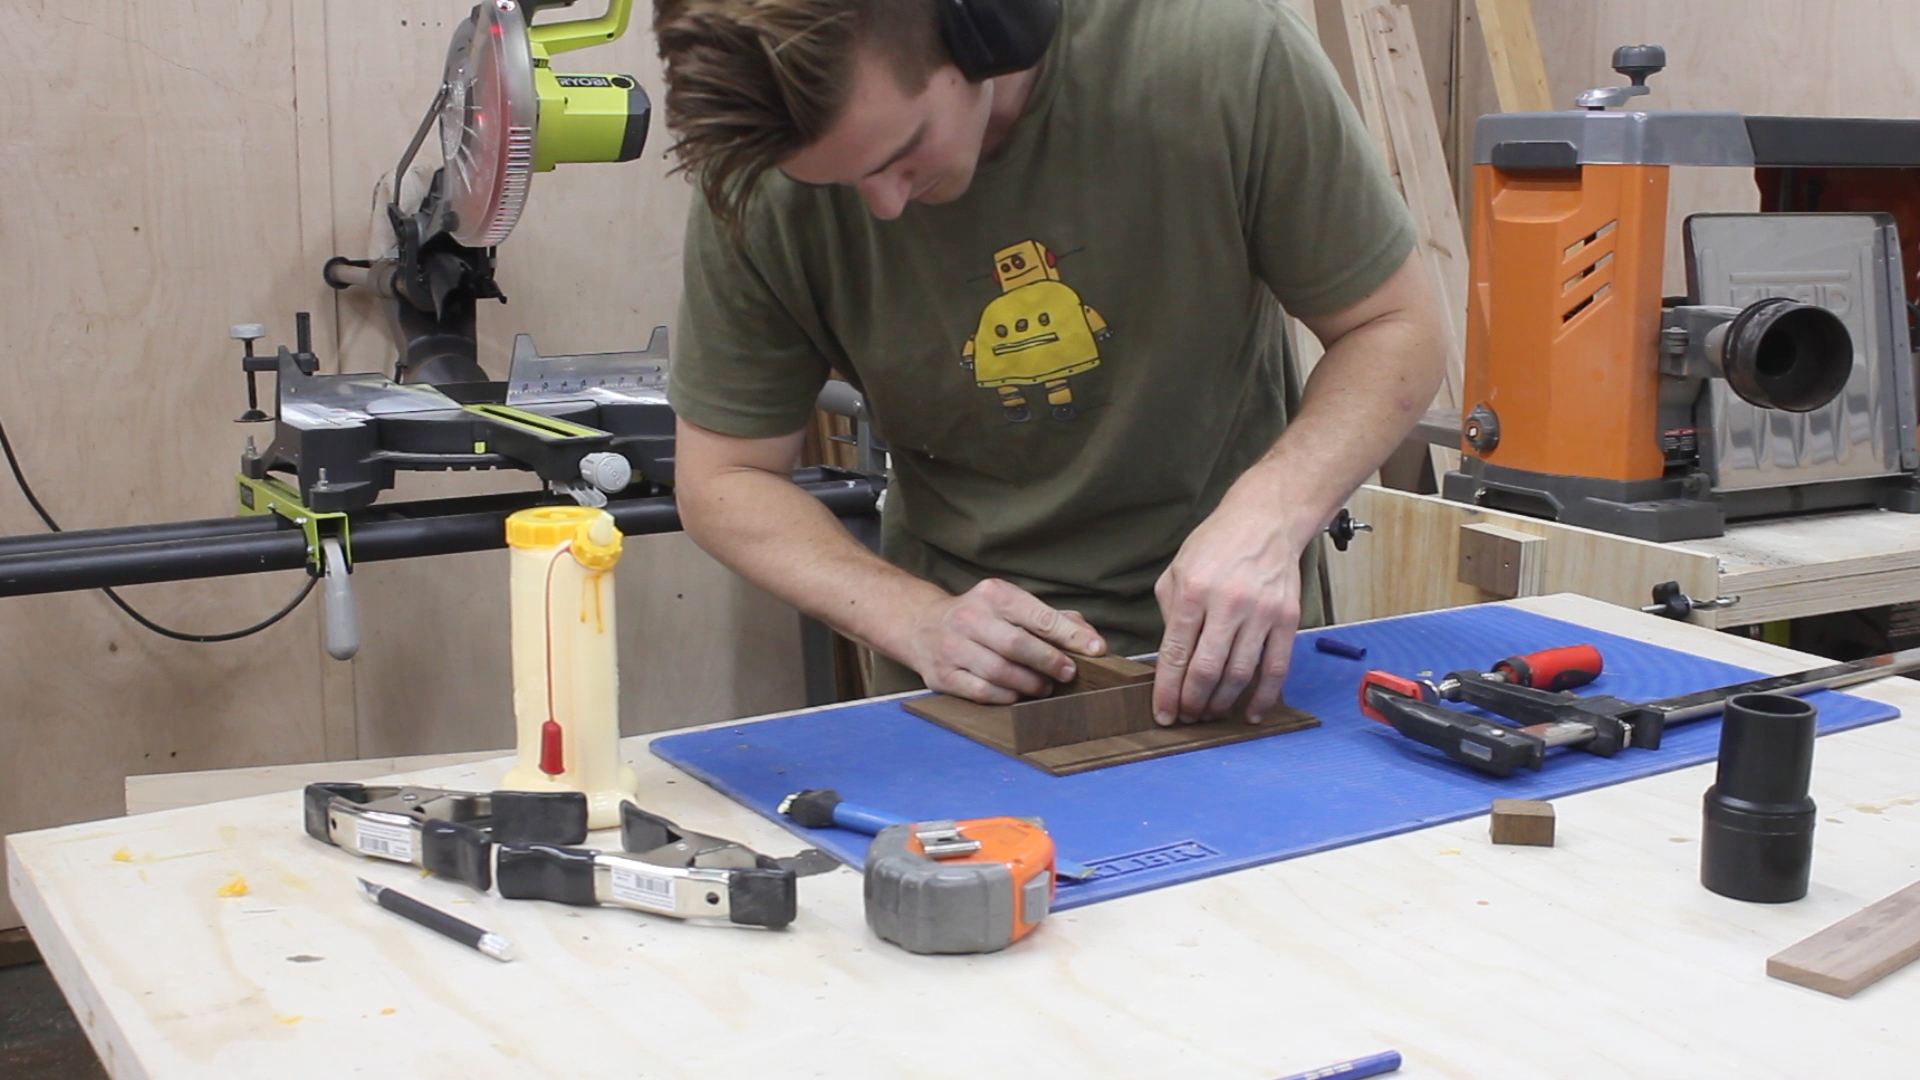
Lastly, I glued in the front piece. This was a bit trickier - I ended up using a little excess block to clamp the front piece too (Pic 8) with a squeeze clamp, and then gently applying other clamps all around it - just enough pressure to not break it or mess things up (Pic 9).
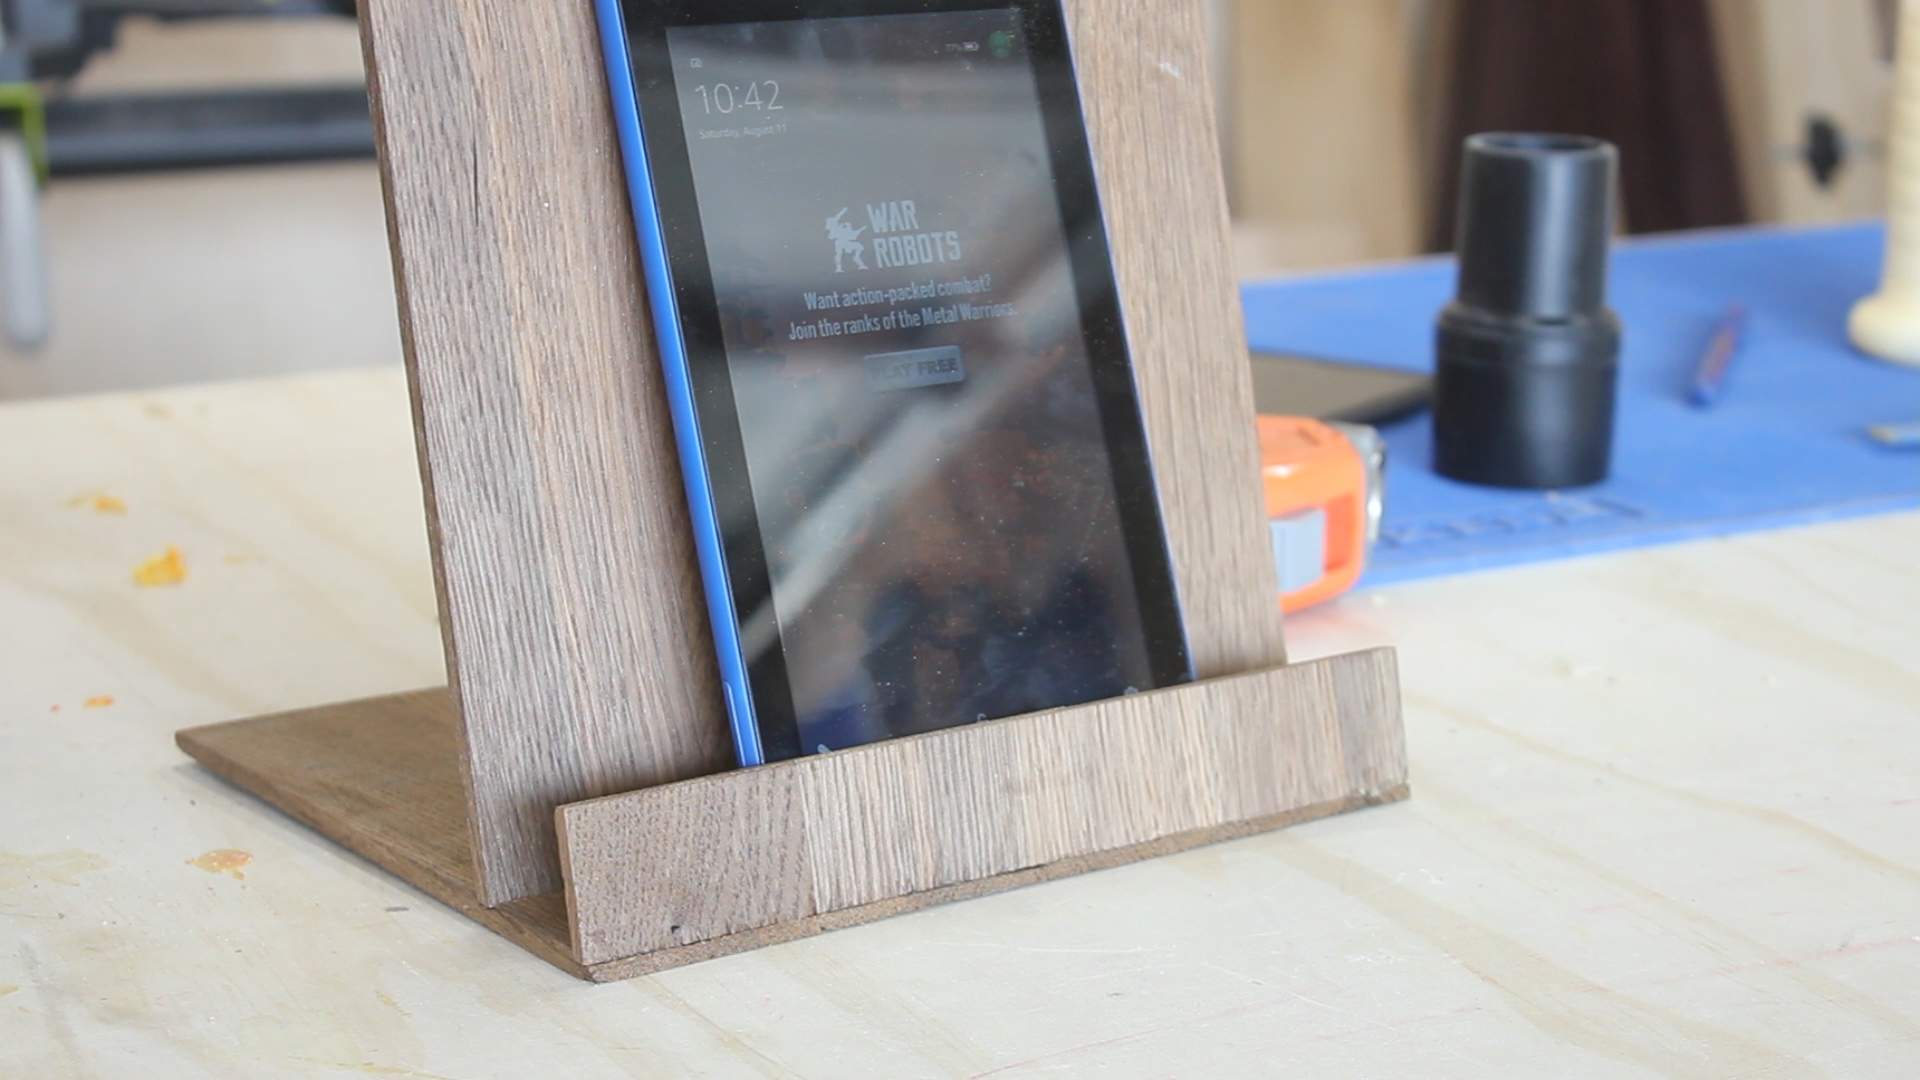


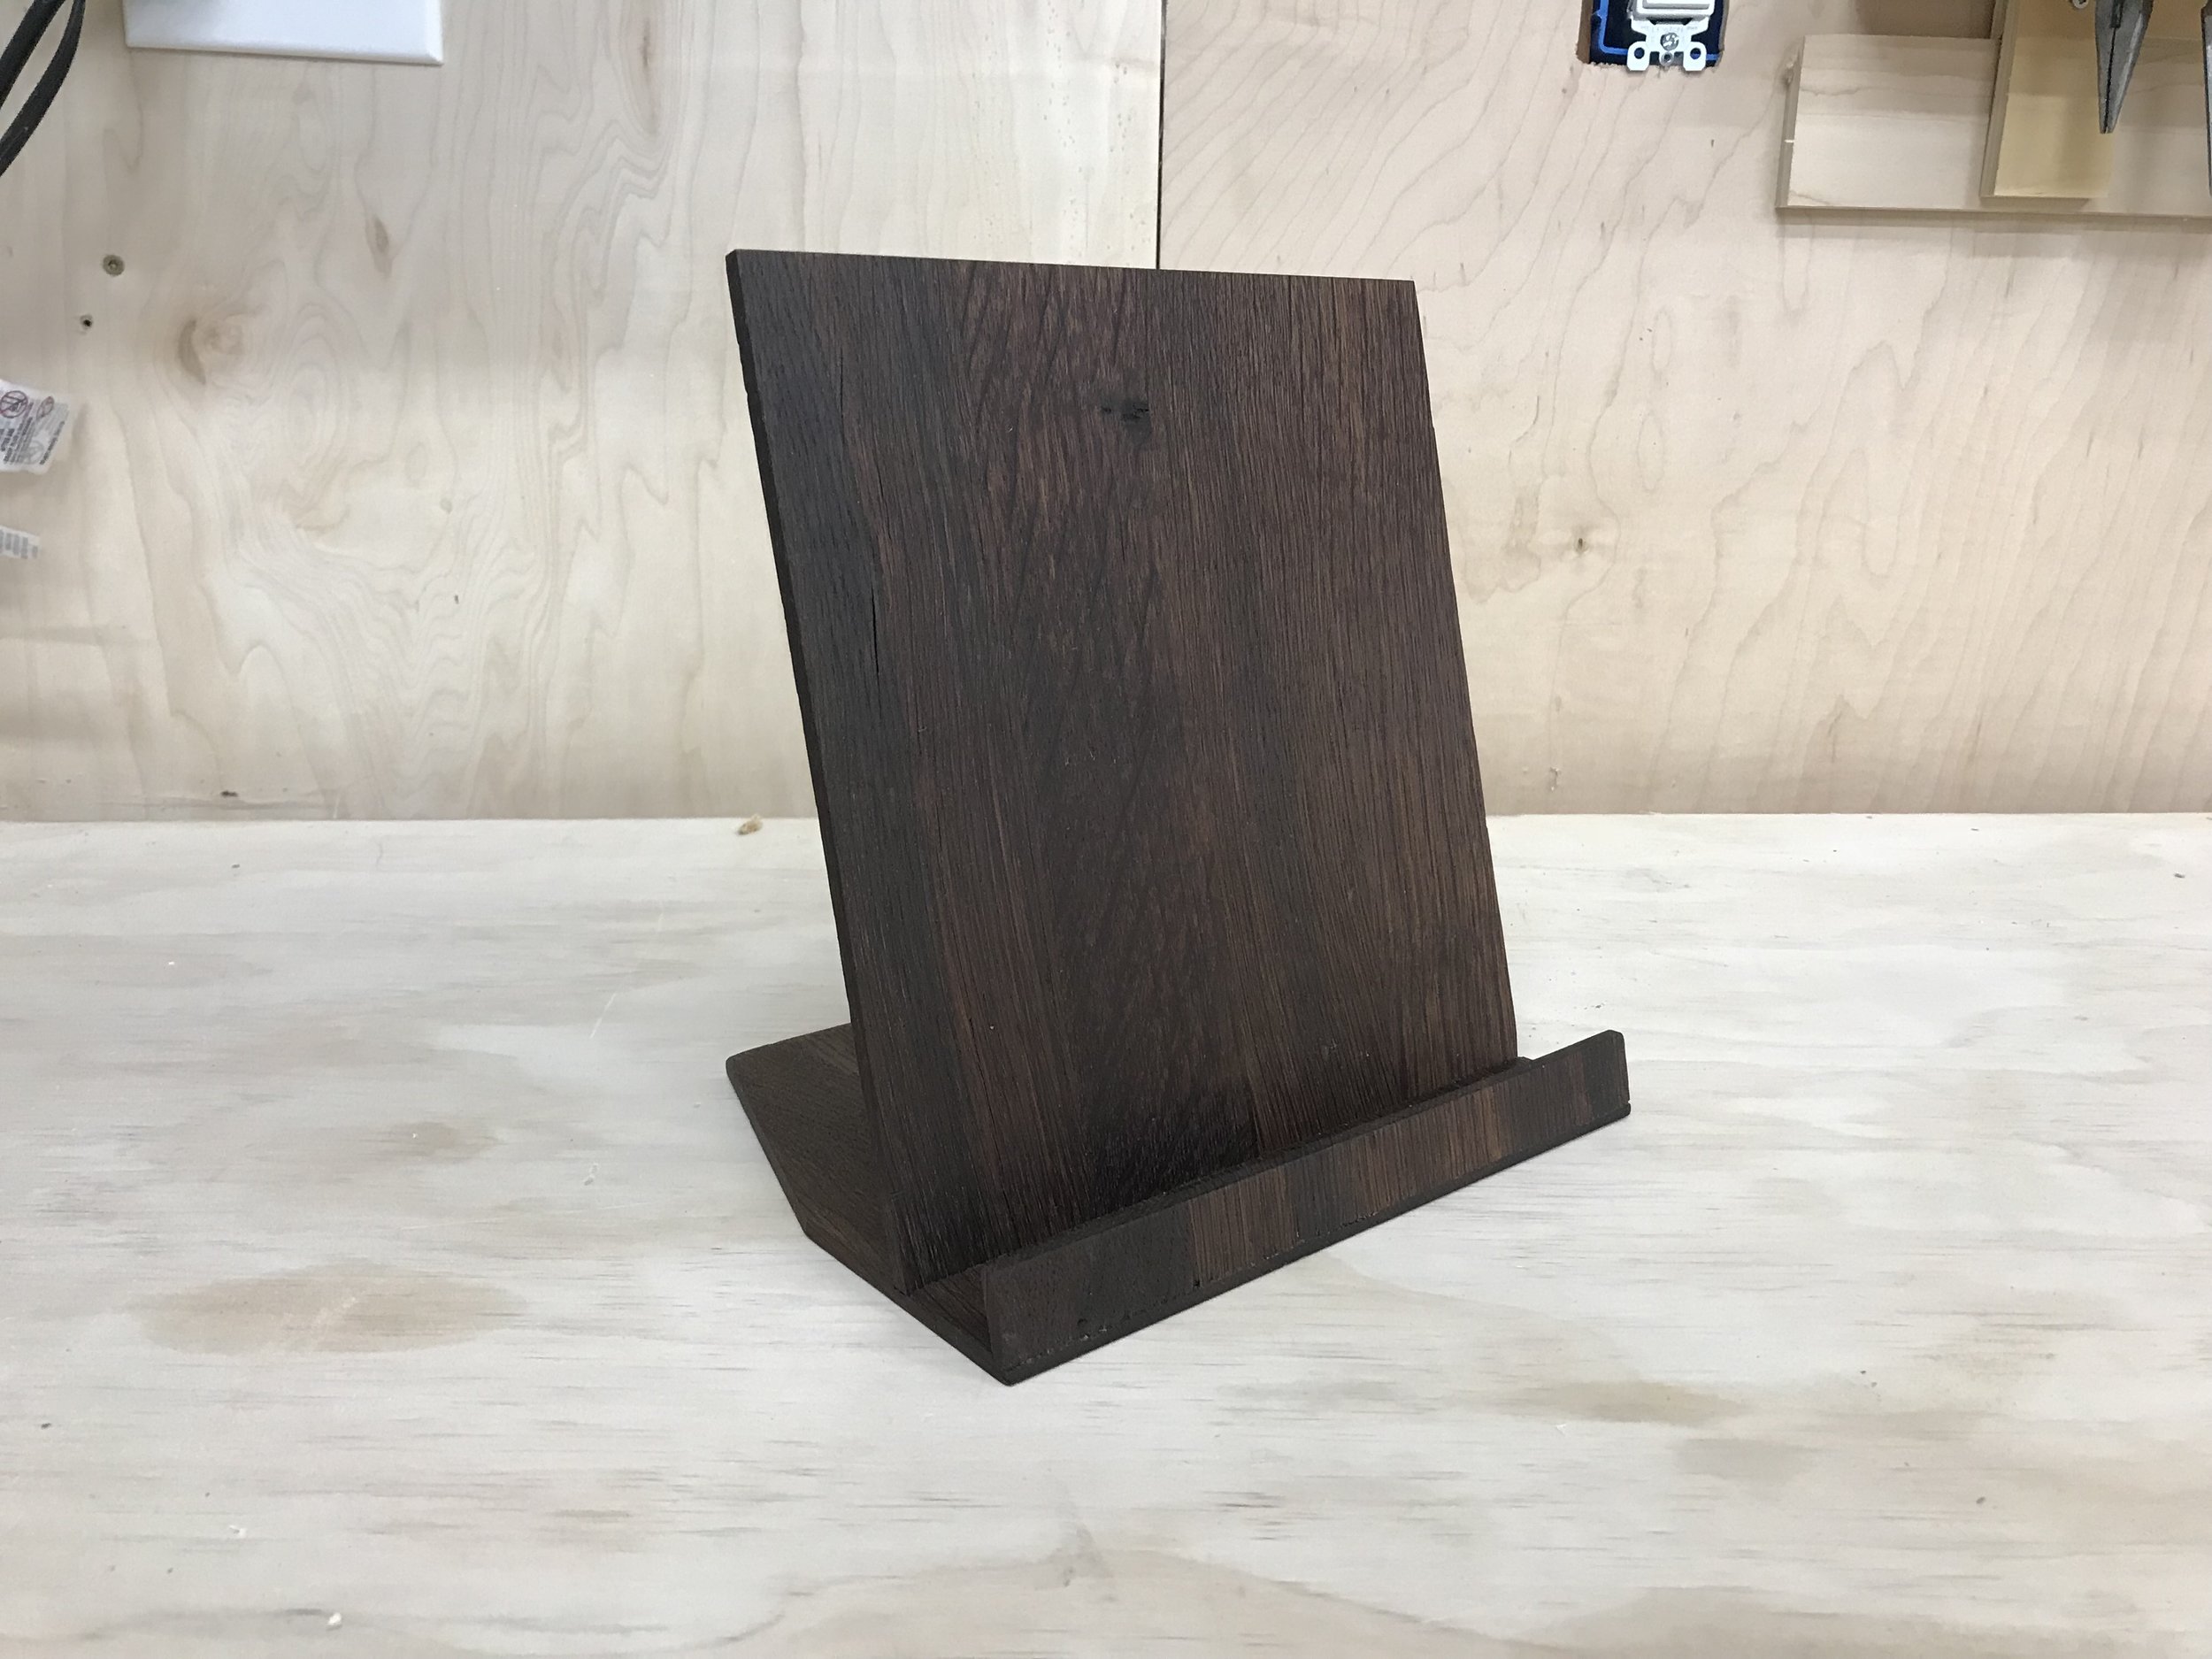
Pic 1 shows how everything came together. I thought it was a bit "block" after seeing it in this form.
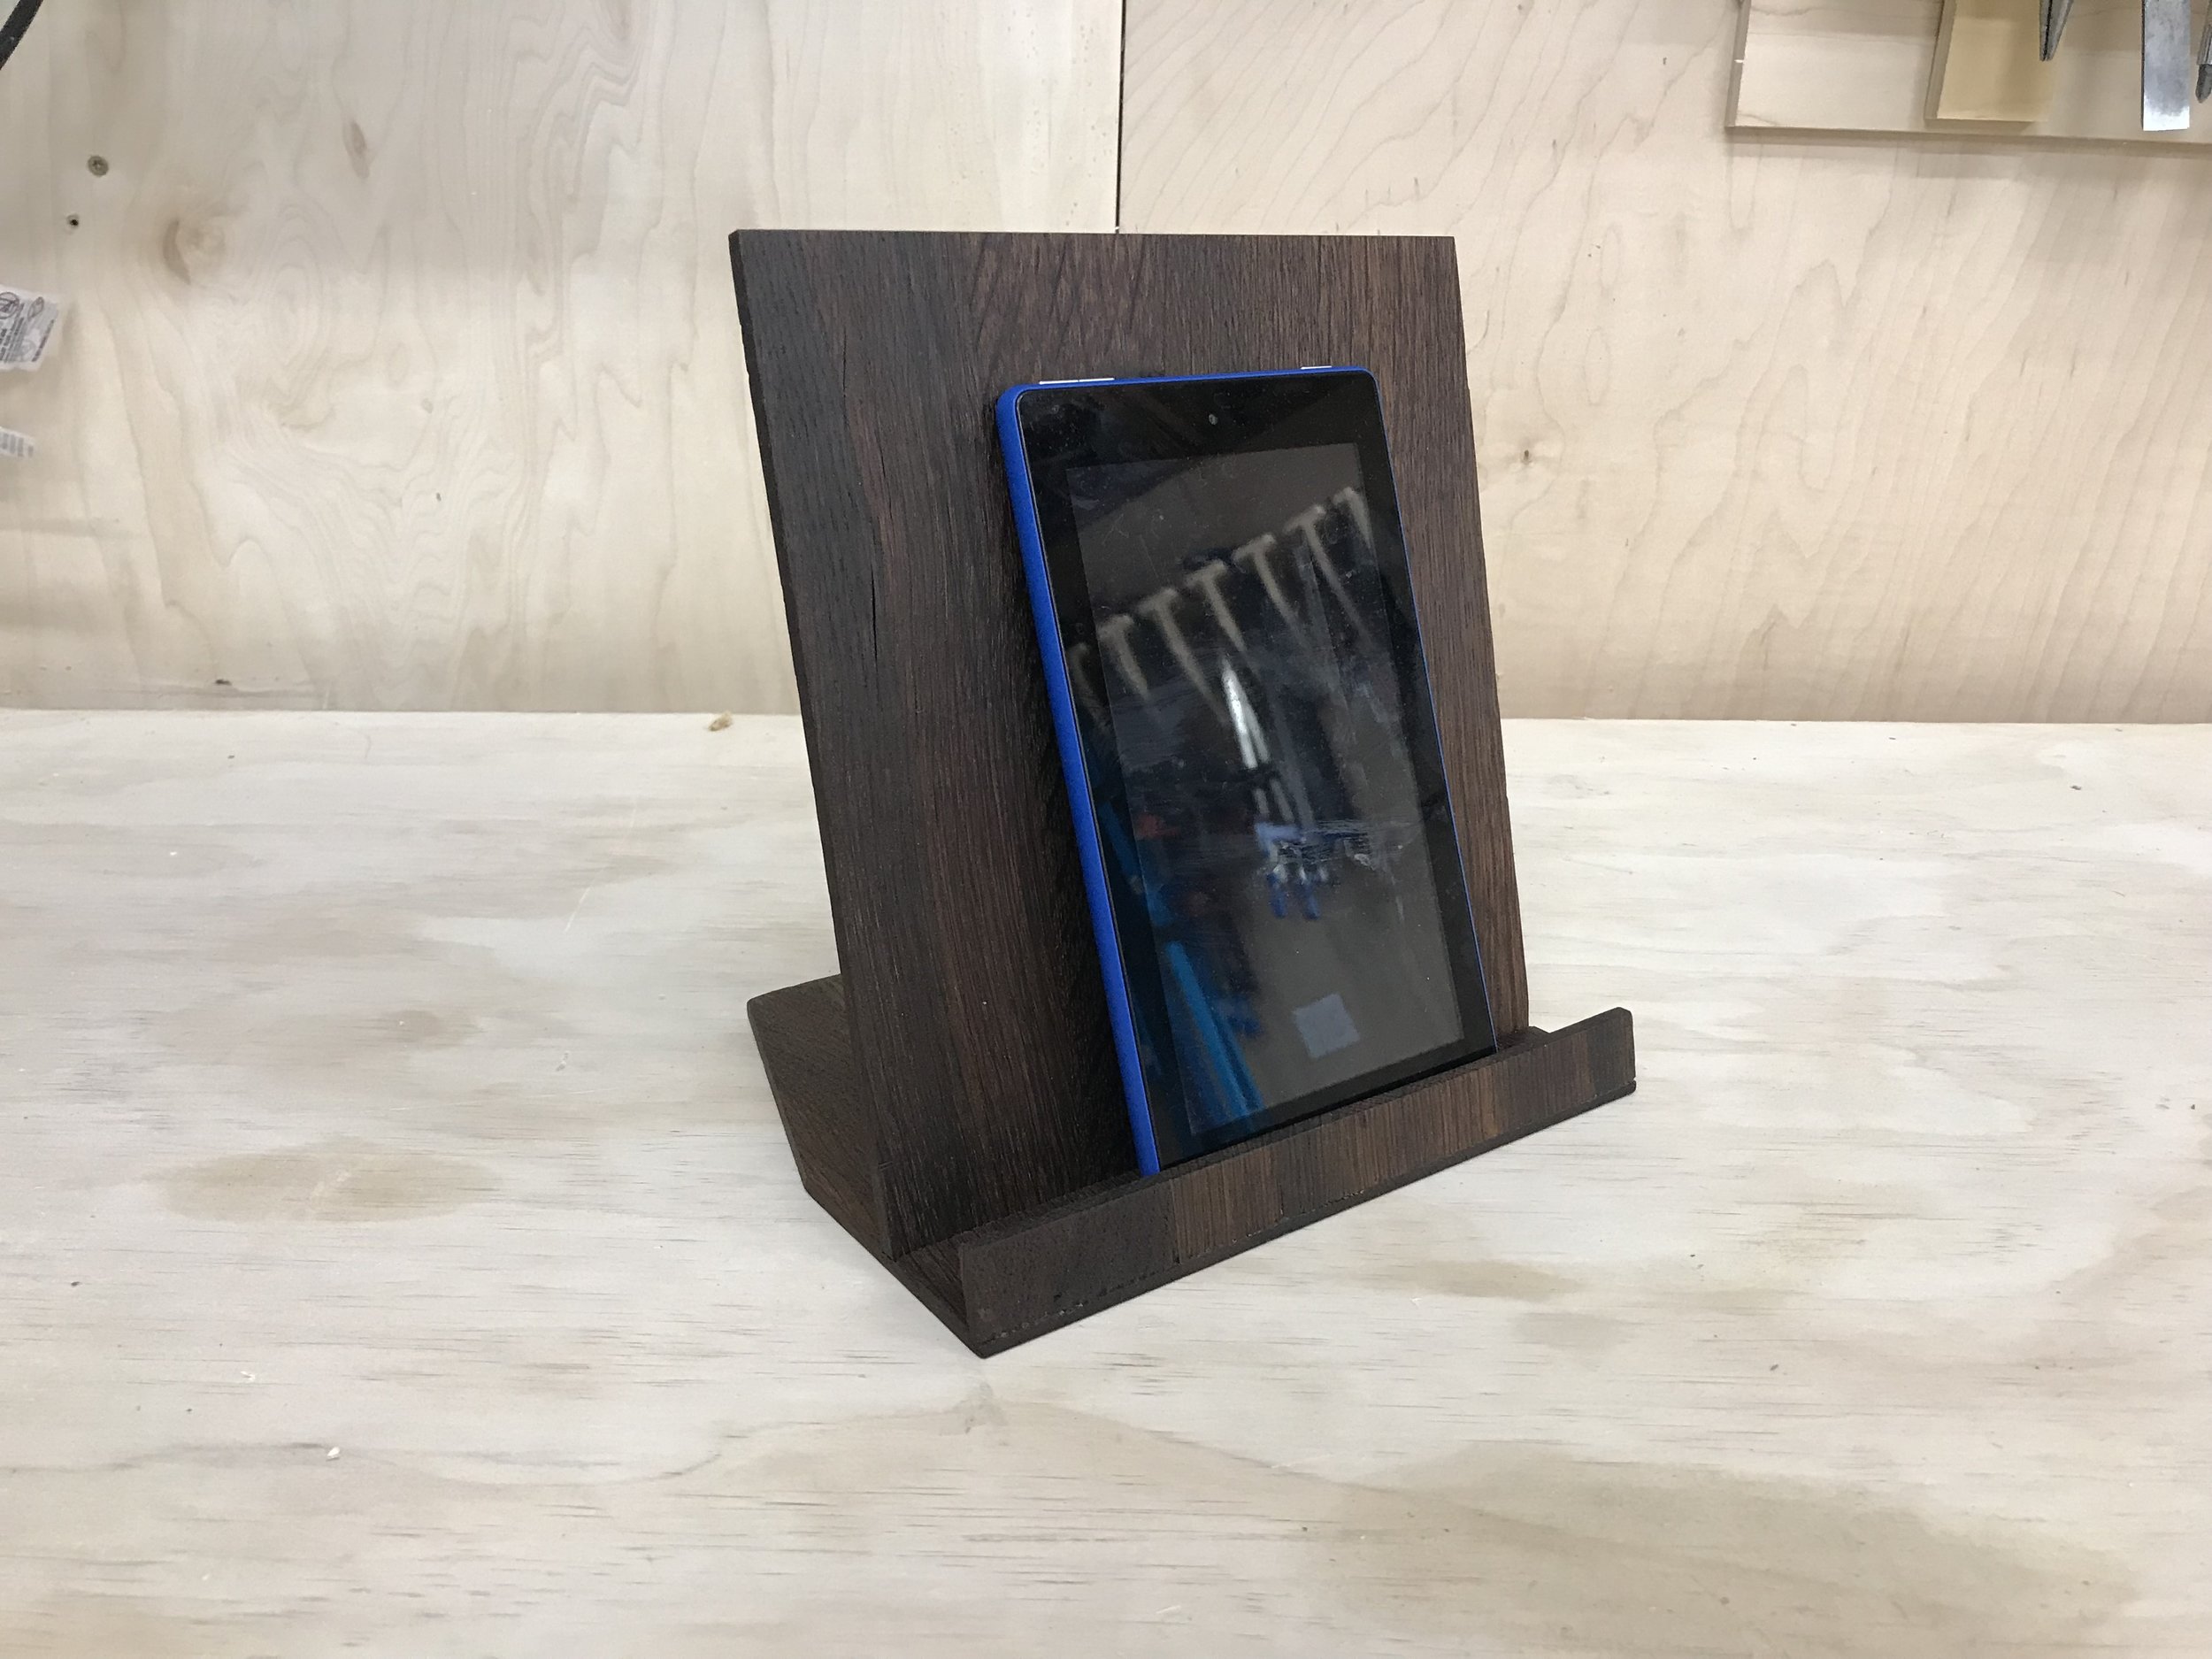
In Pic 2, I tested it out and realized my front piece was about 1/2" too tall and it was blocking the bottom of the screen - no point in having a custom Kindle Fire stand that doesn't fit!
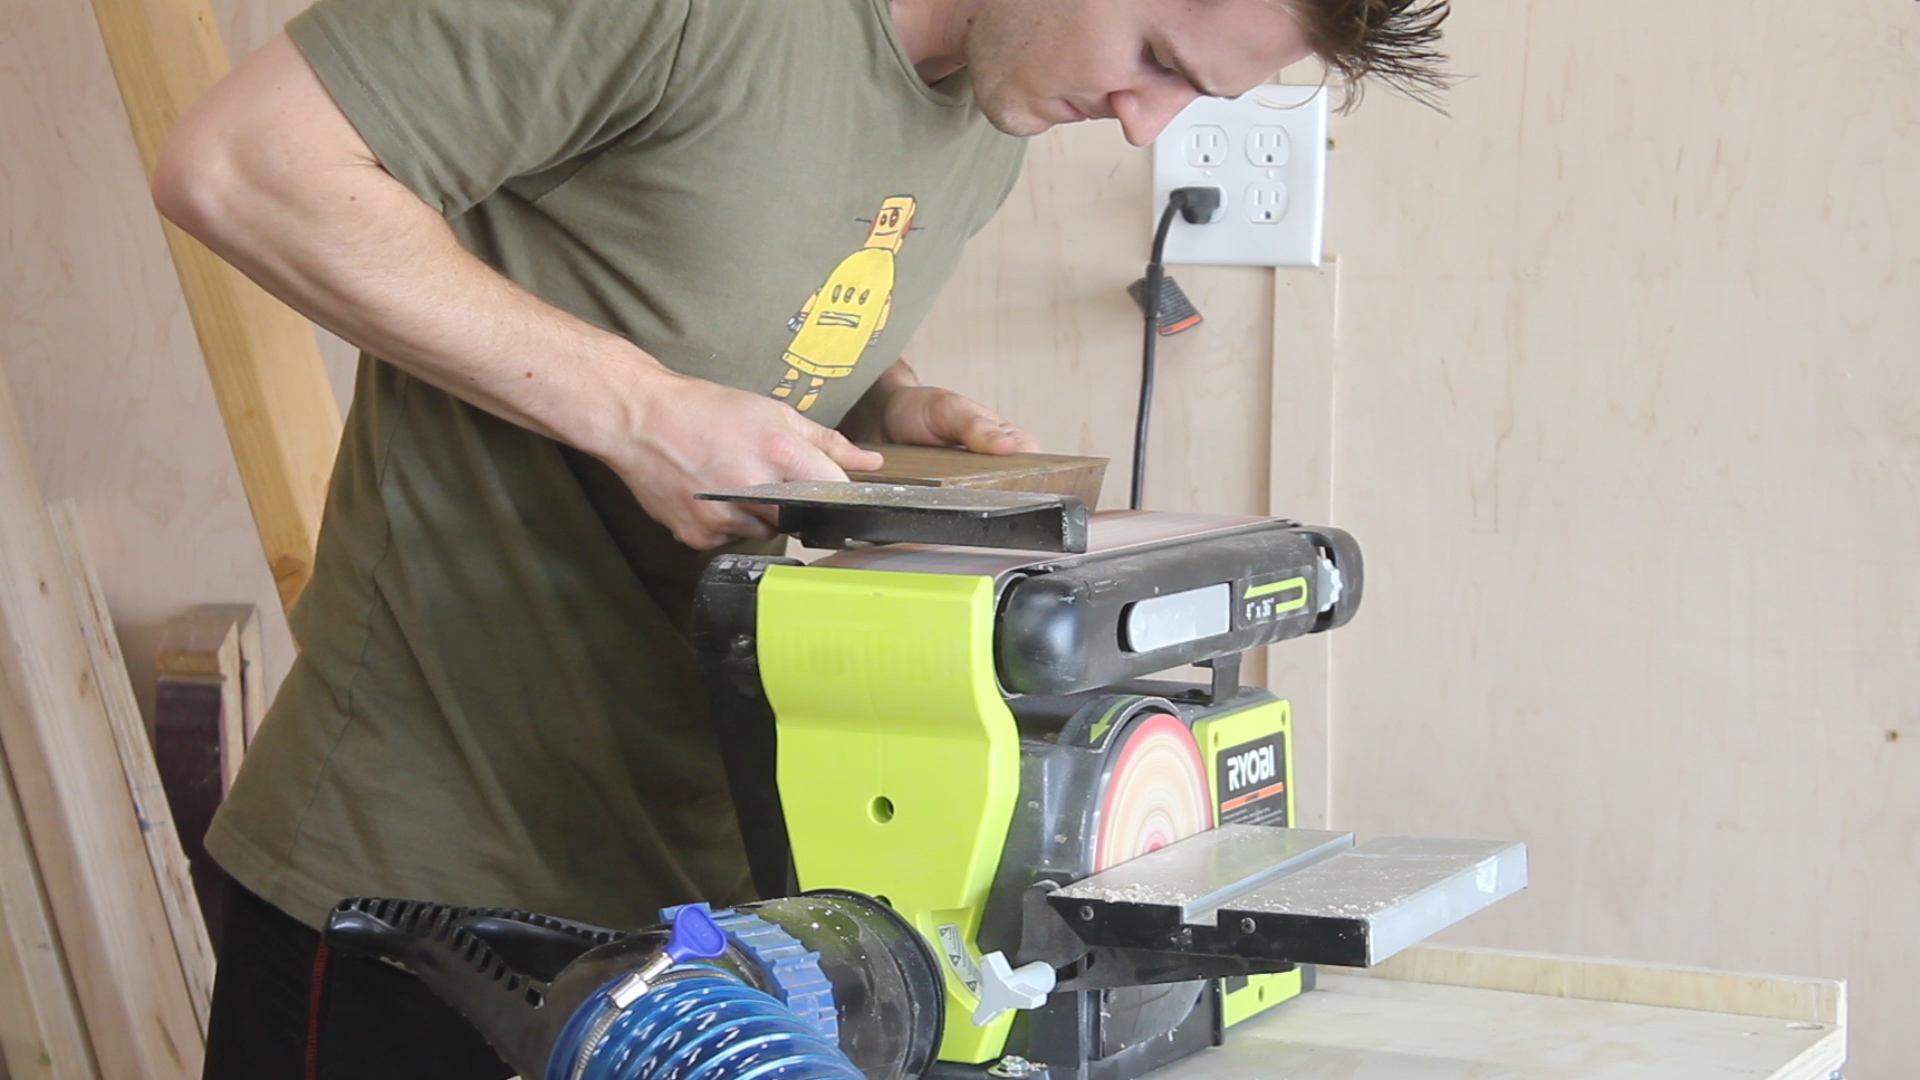
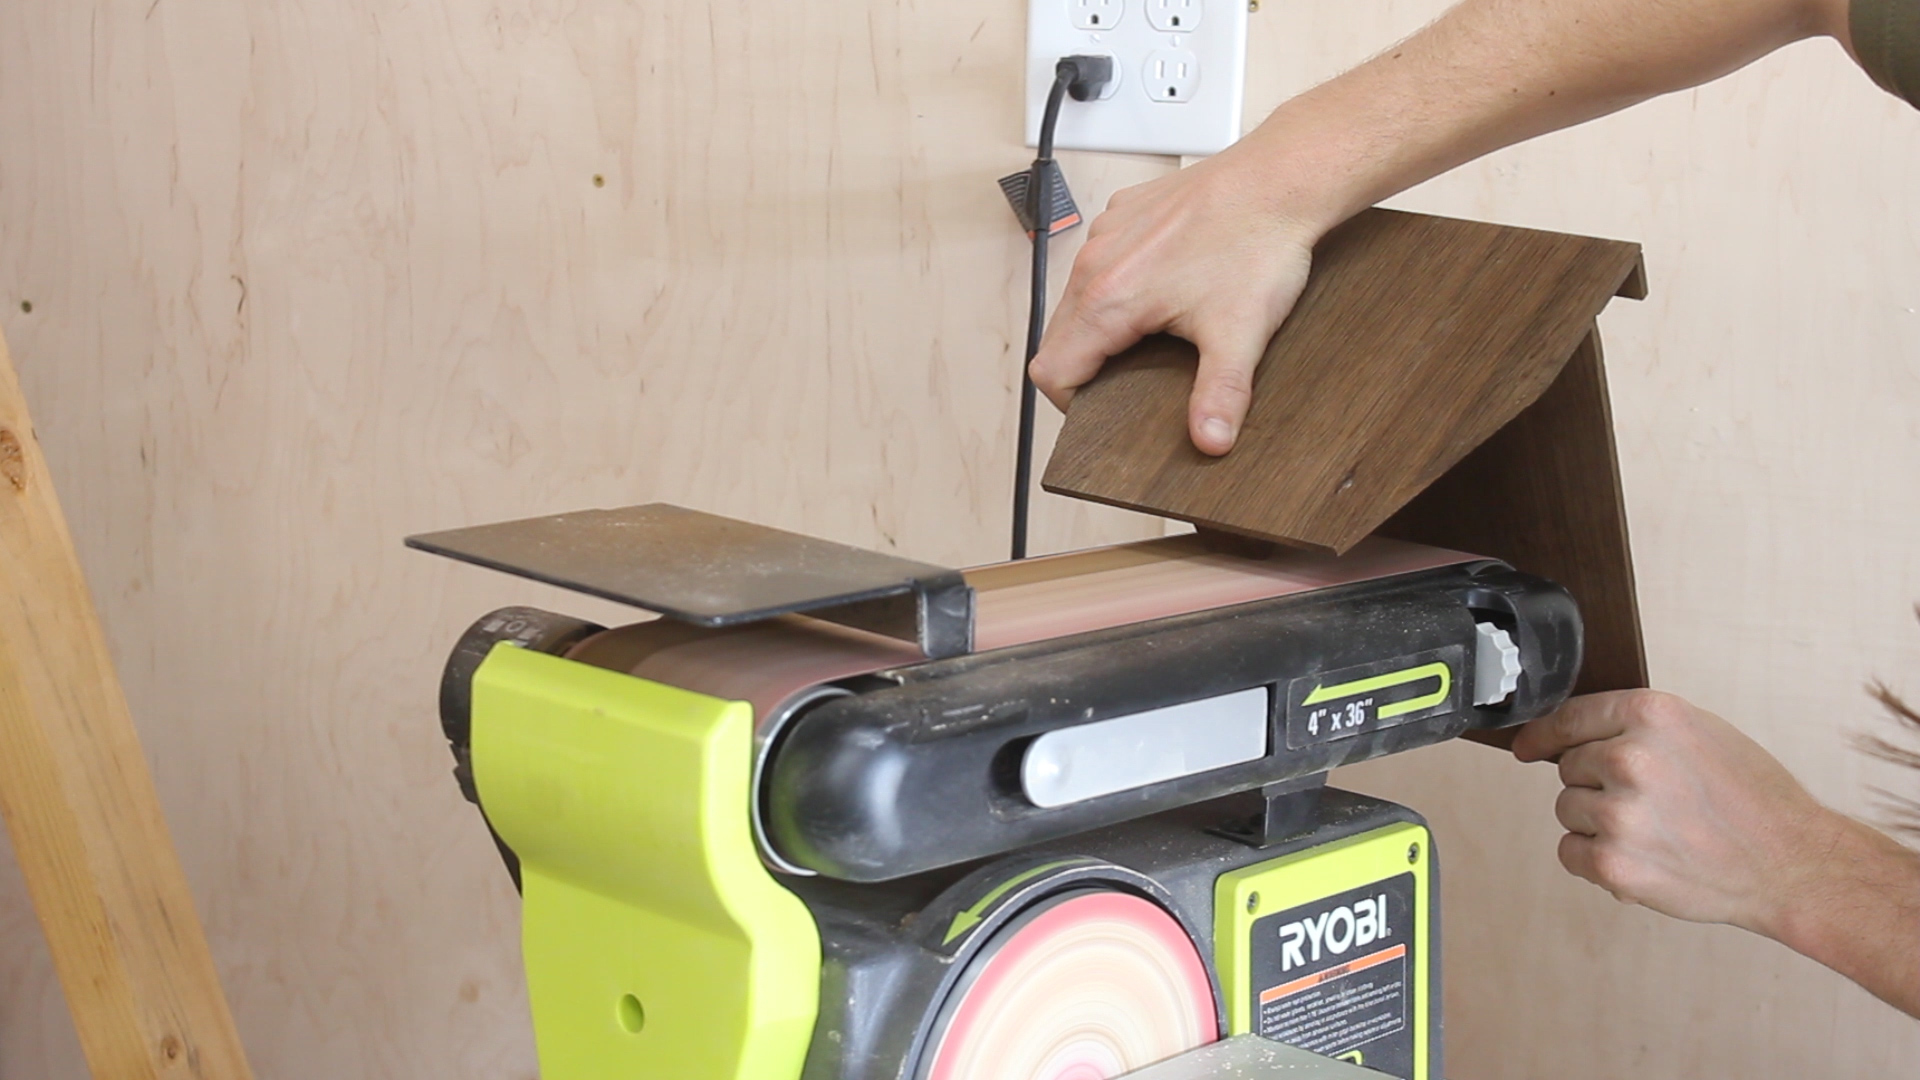
I went over to my disc sander and sanded down that front piece, as well as clean up all of the edges to be square and smooth (Pics 3-4).
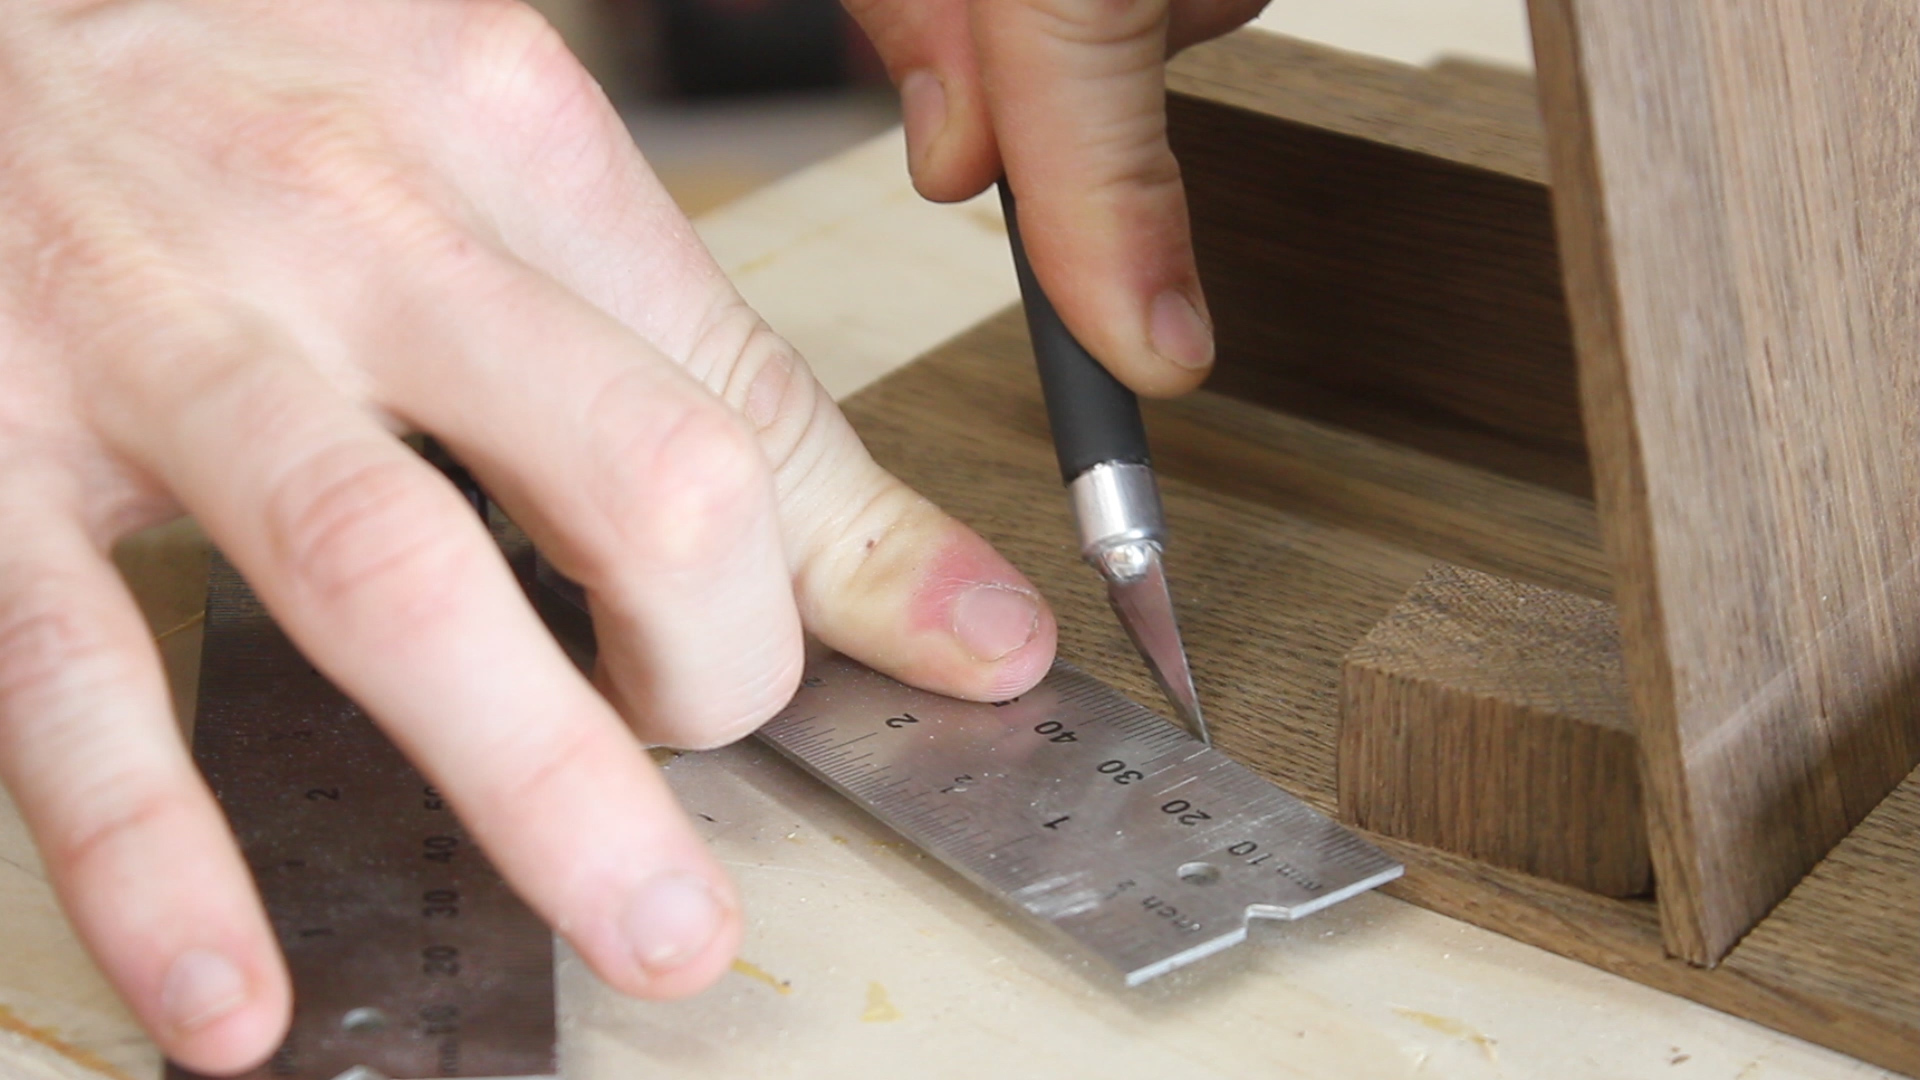
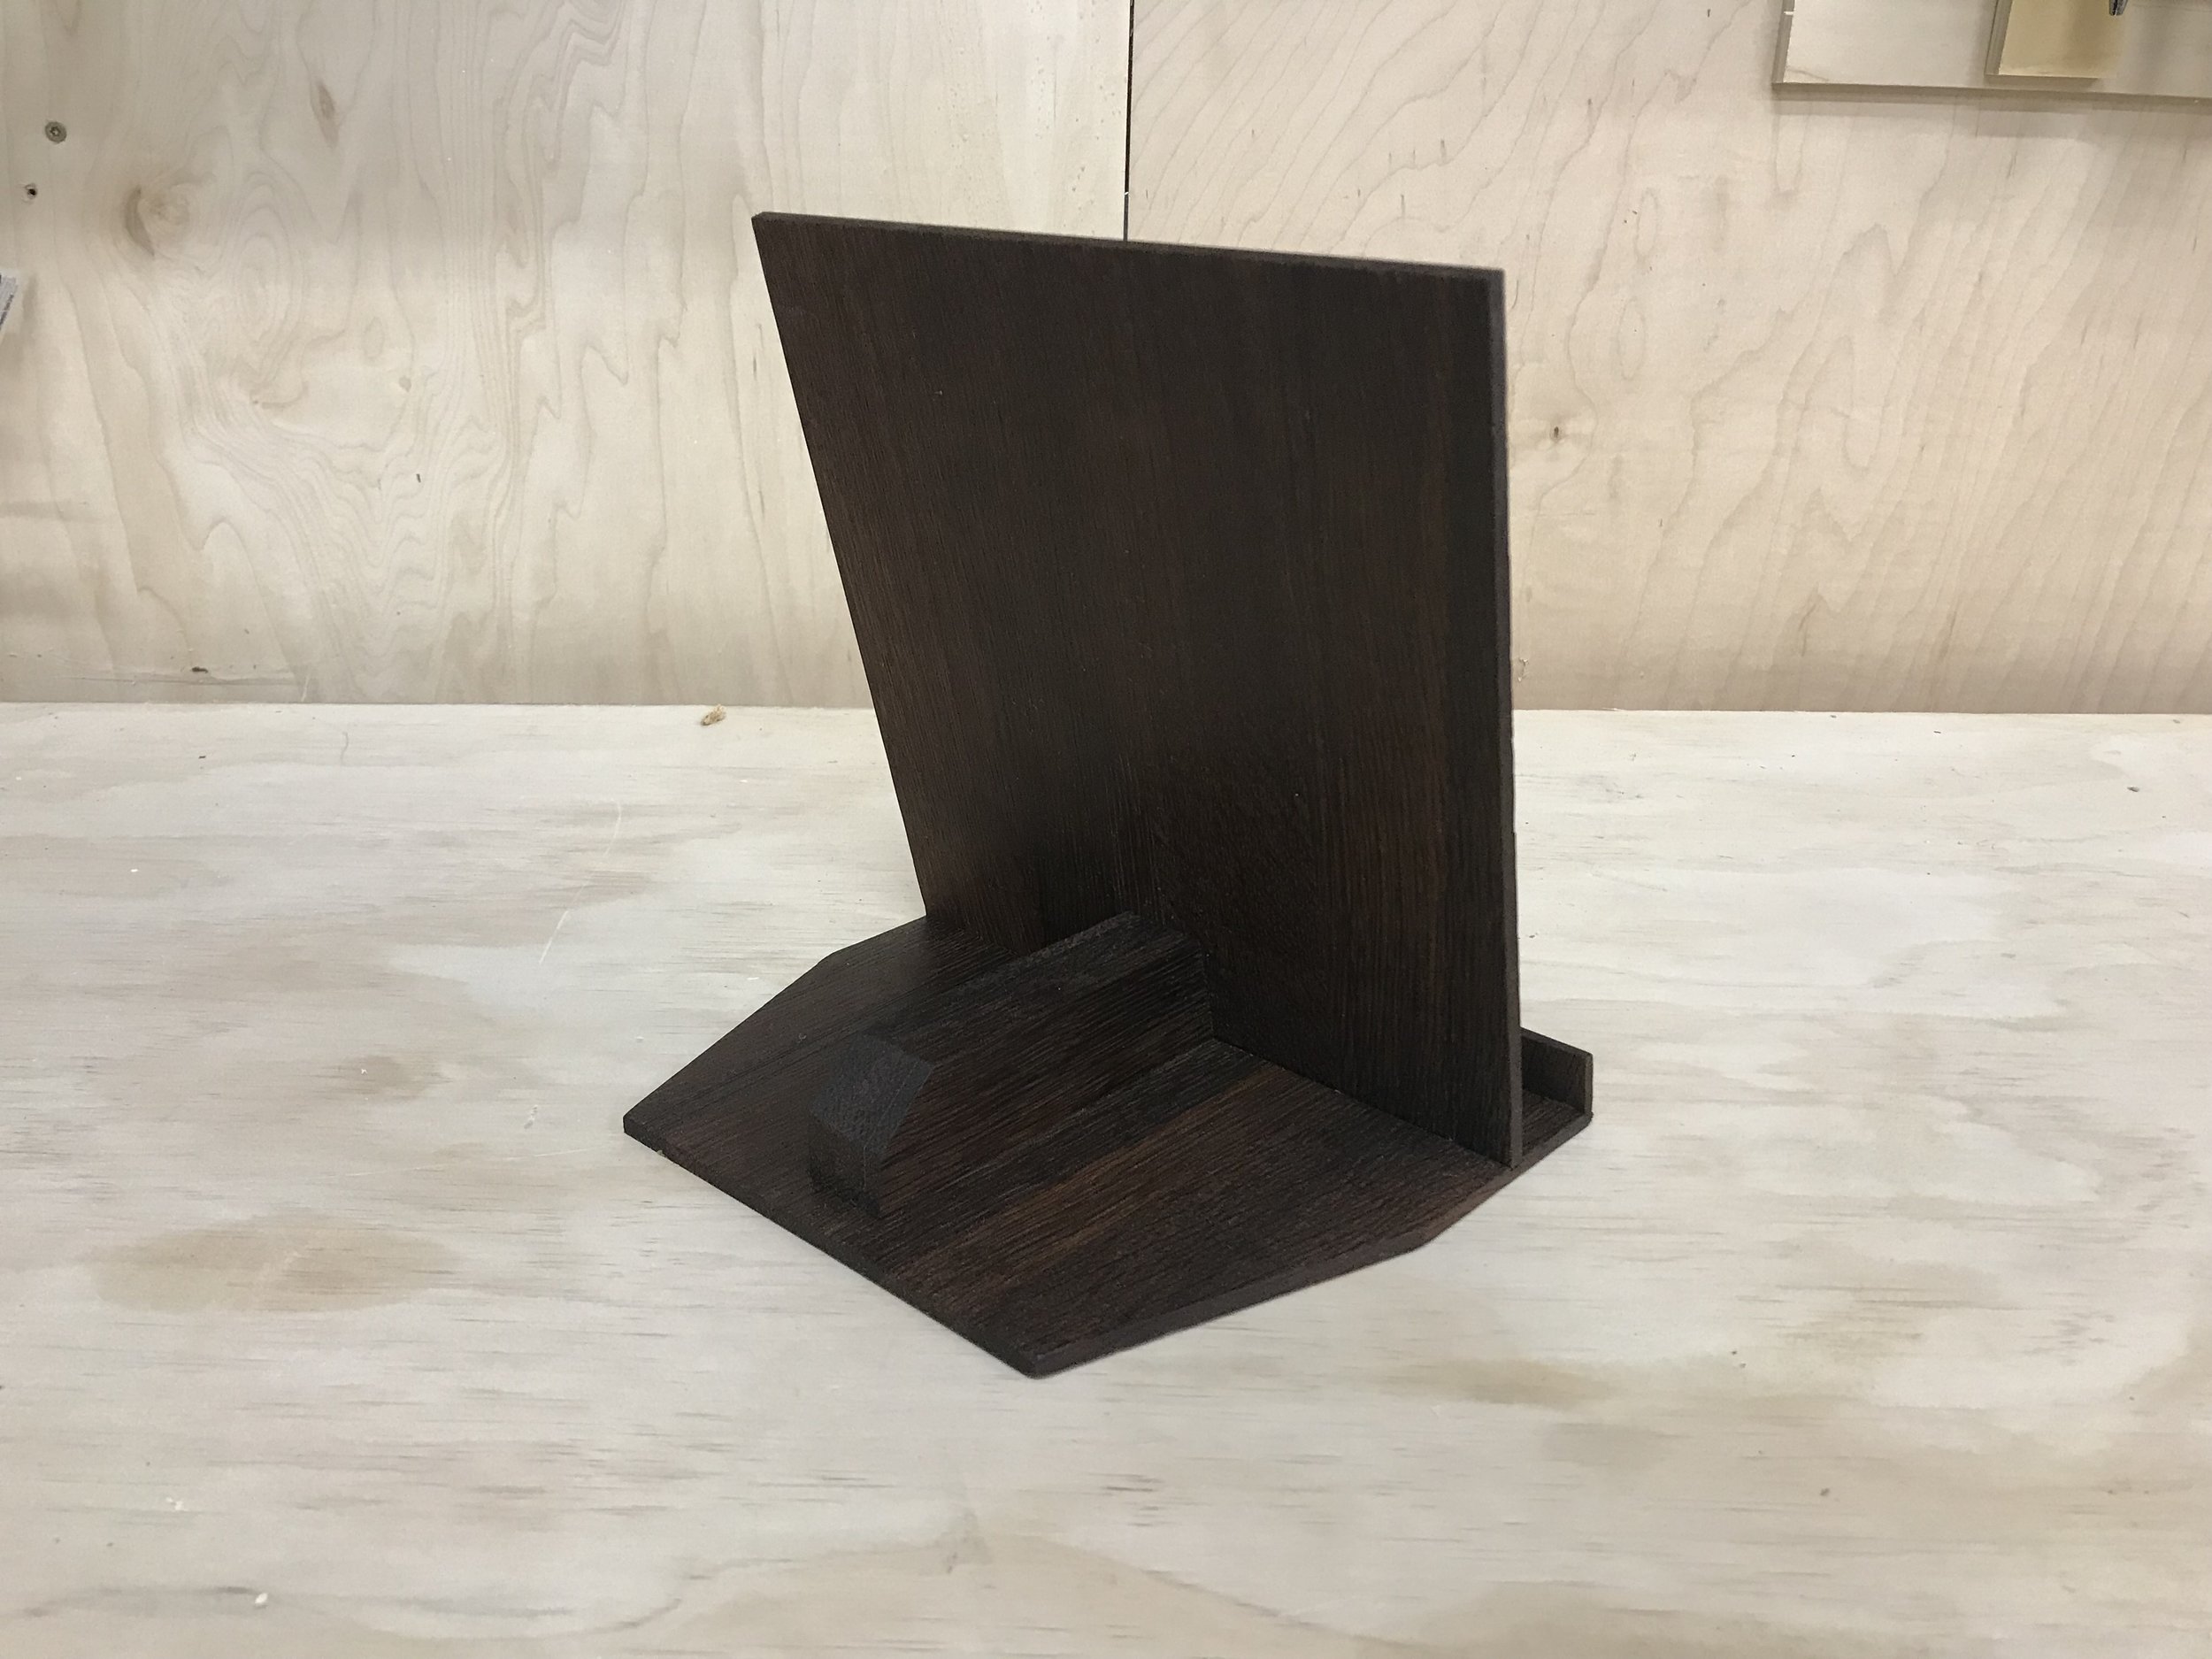
I wanted to remove some of the blockiness of the piece, so measured out and marked an arbitrary angle to give it more shape (Pic 5). I then used my miter gauge set at that angle to make a pass on each side of the piece to cut those angles safely (Pic 6). Lastly, I added a bevel to the back support piece (Pic 7). Again, no set measurement - just trying to give this thing some angles.
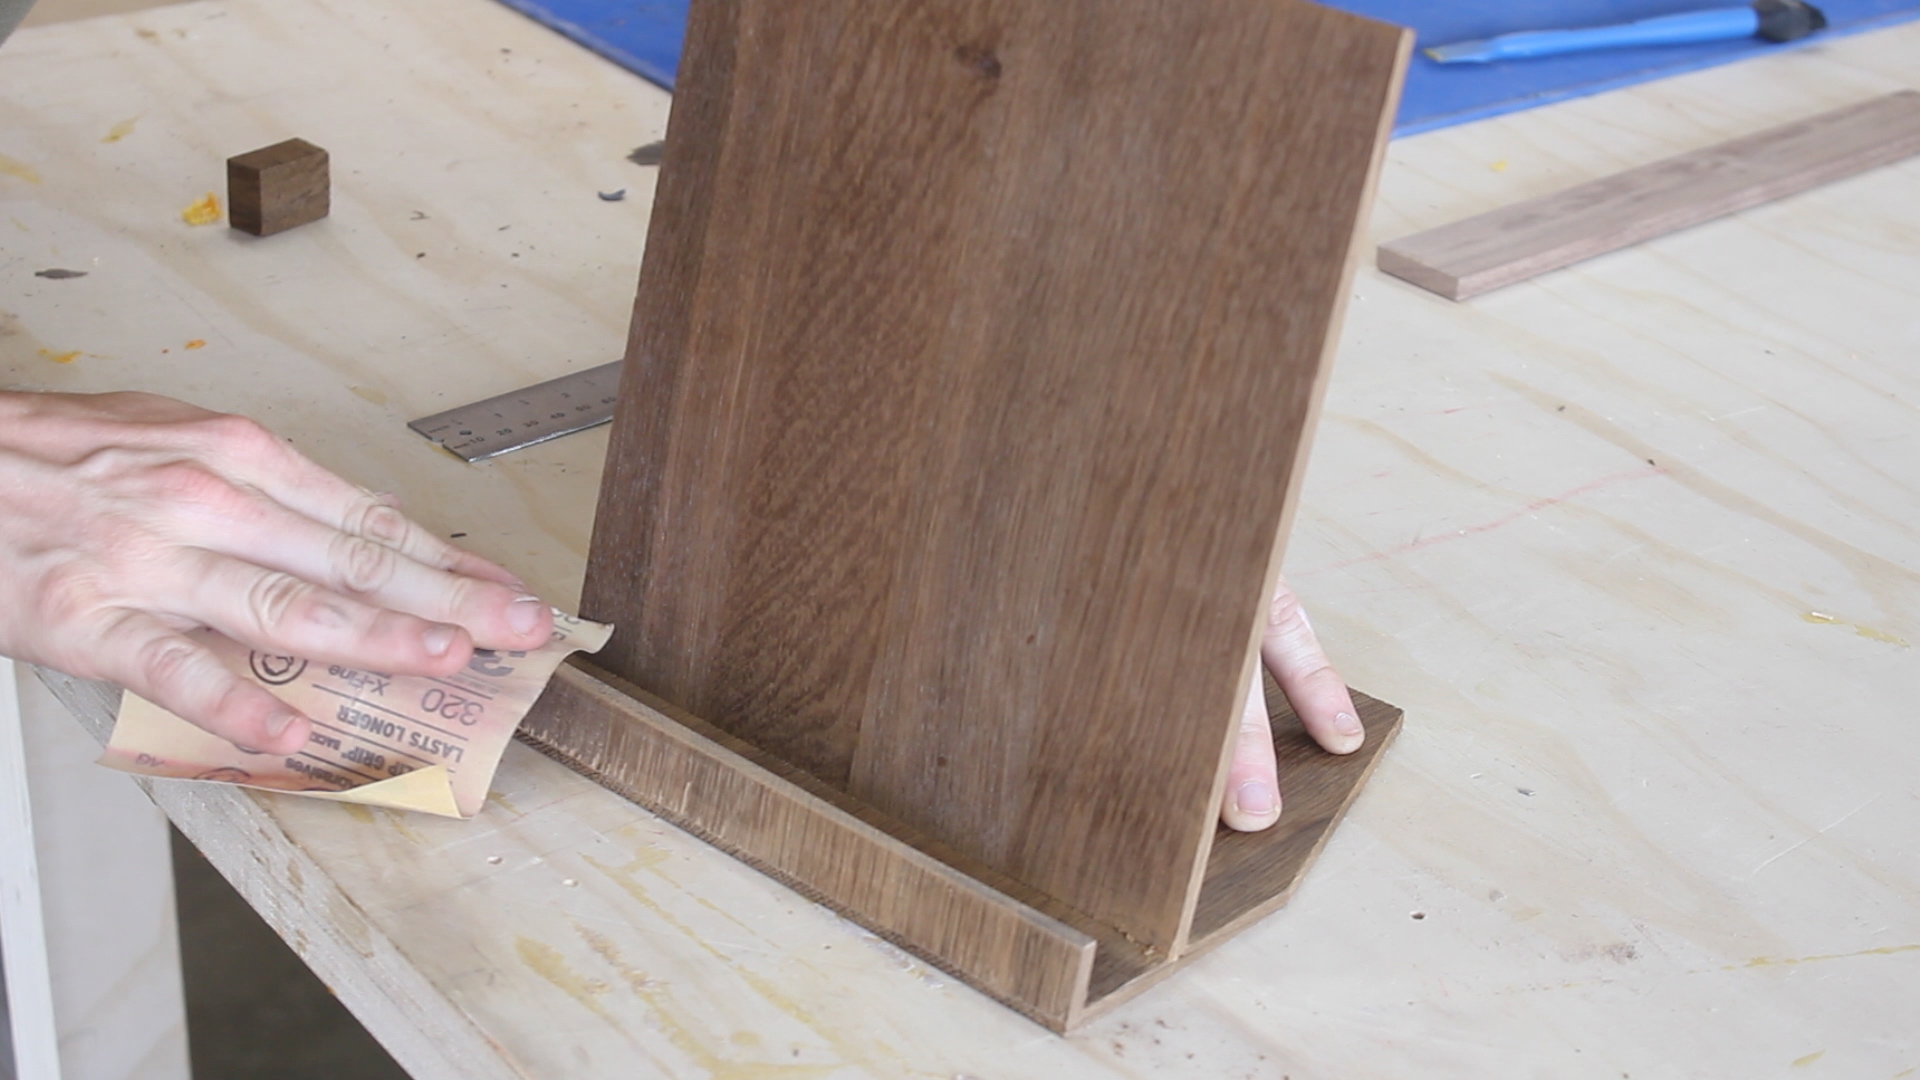
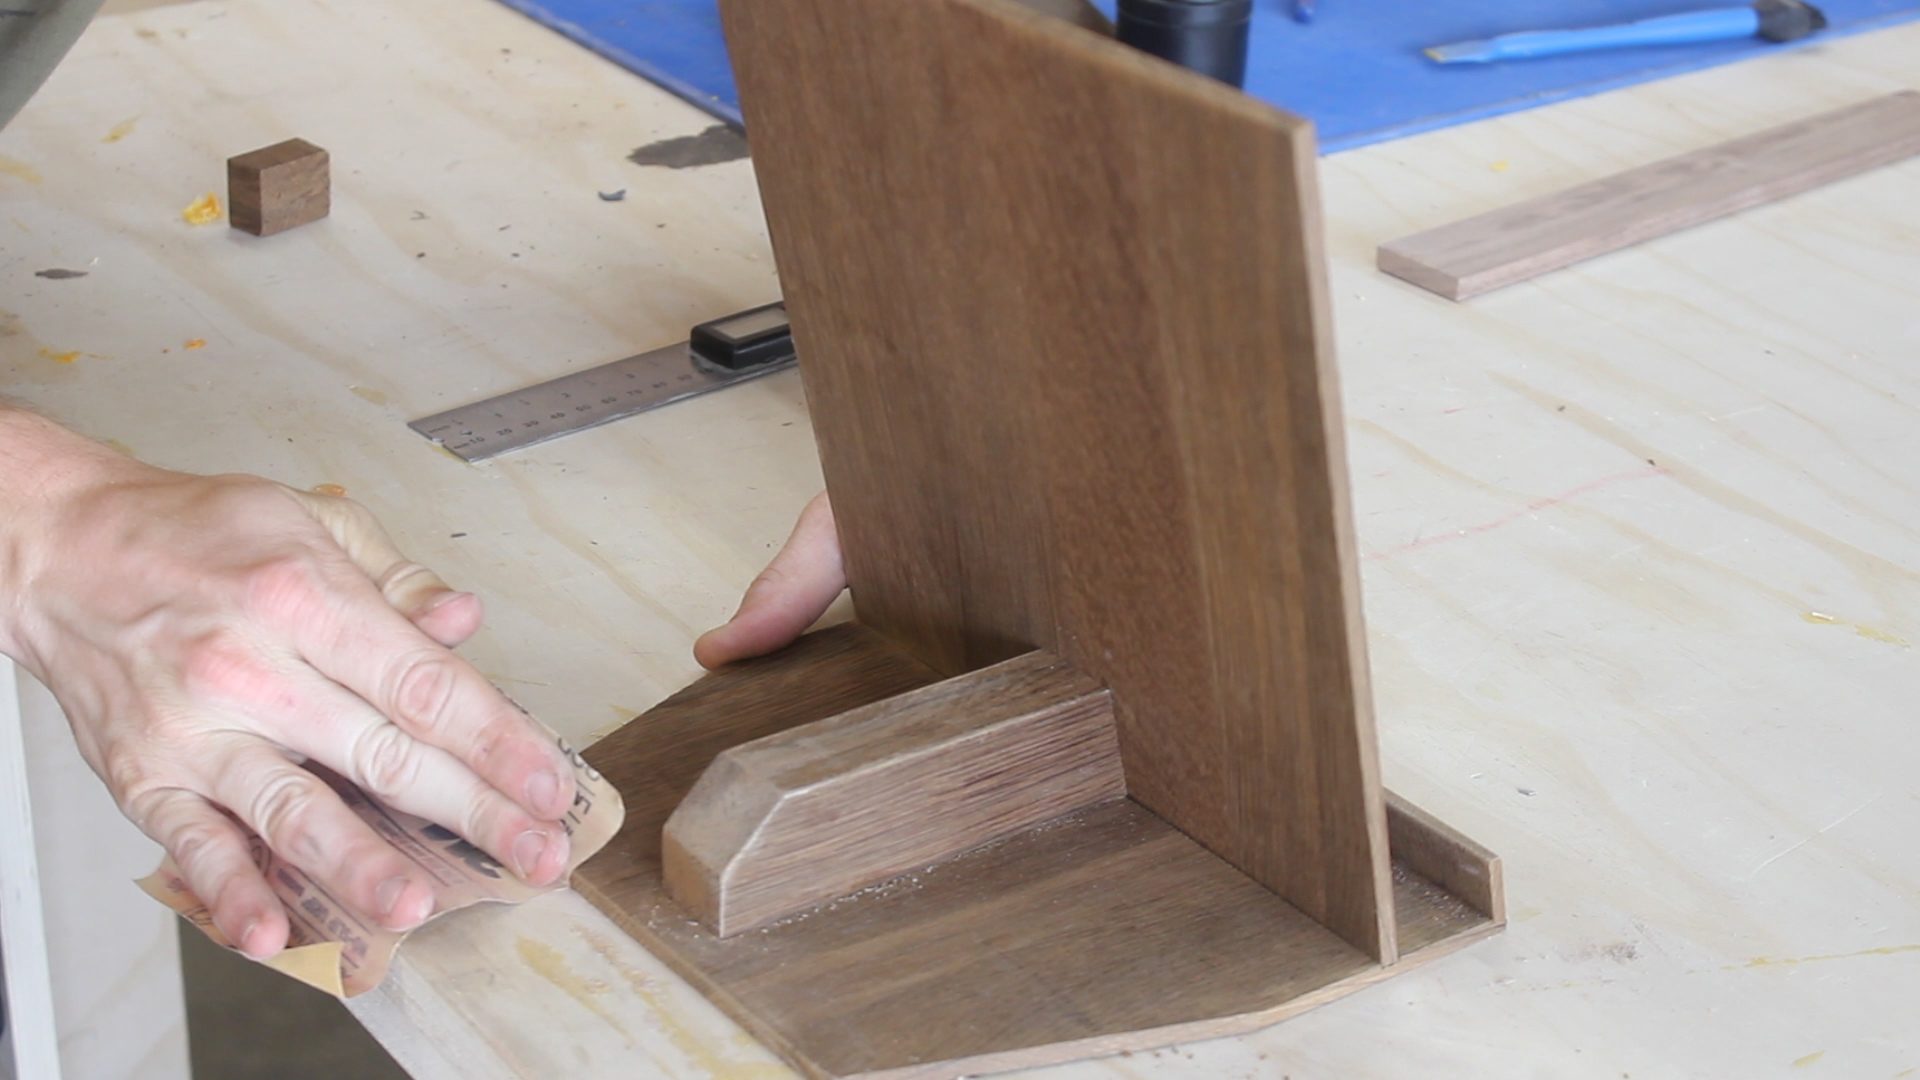
I used some 320 grit paper in Pics 1-2 to sand down all of the edges and surfaces to their final form. Off camera, I cleaned off the piece with some compressed air. These photos show the results of adding the angled cuts on the back as well as the rear bevel.
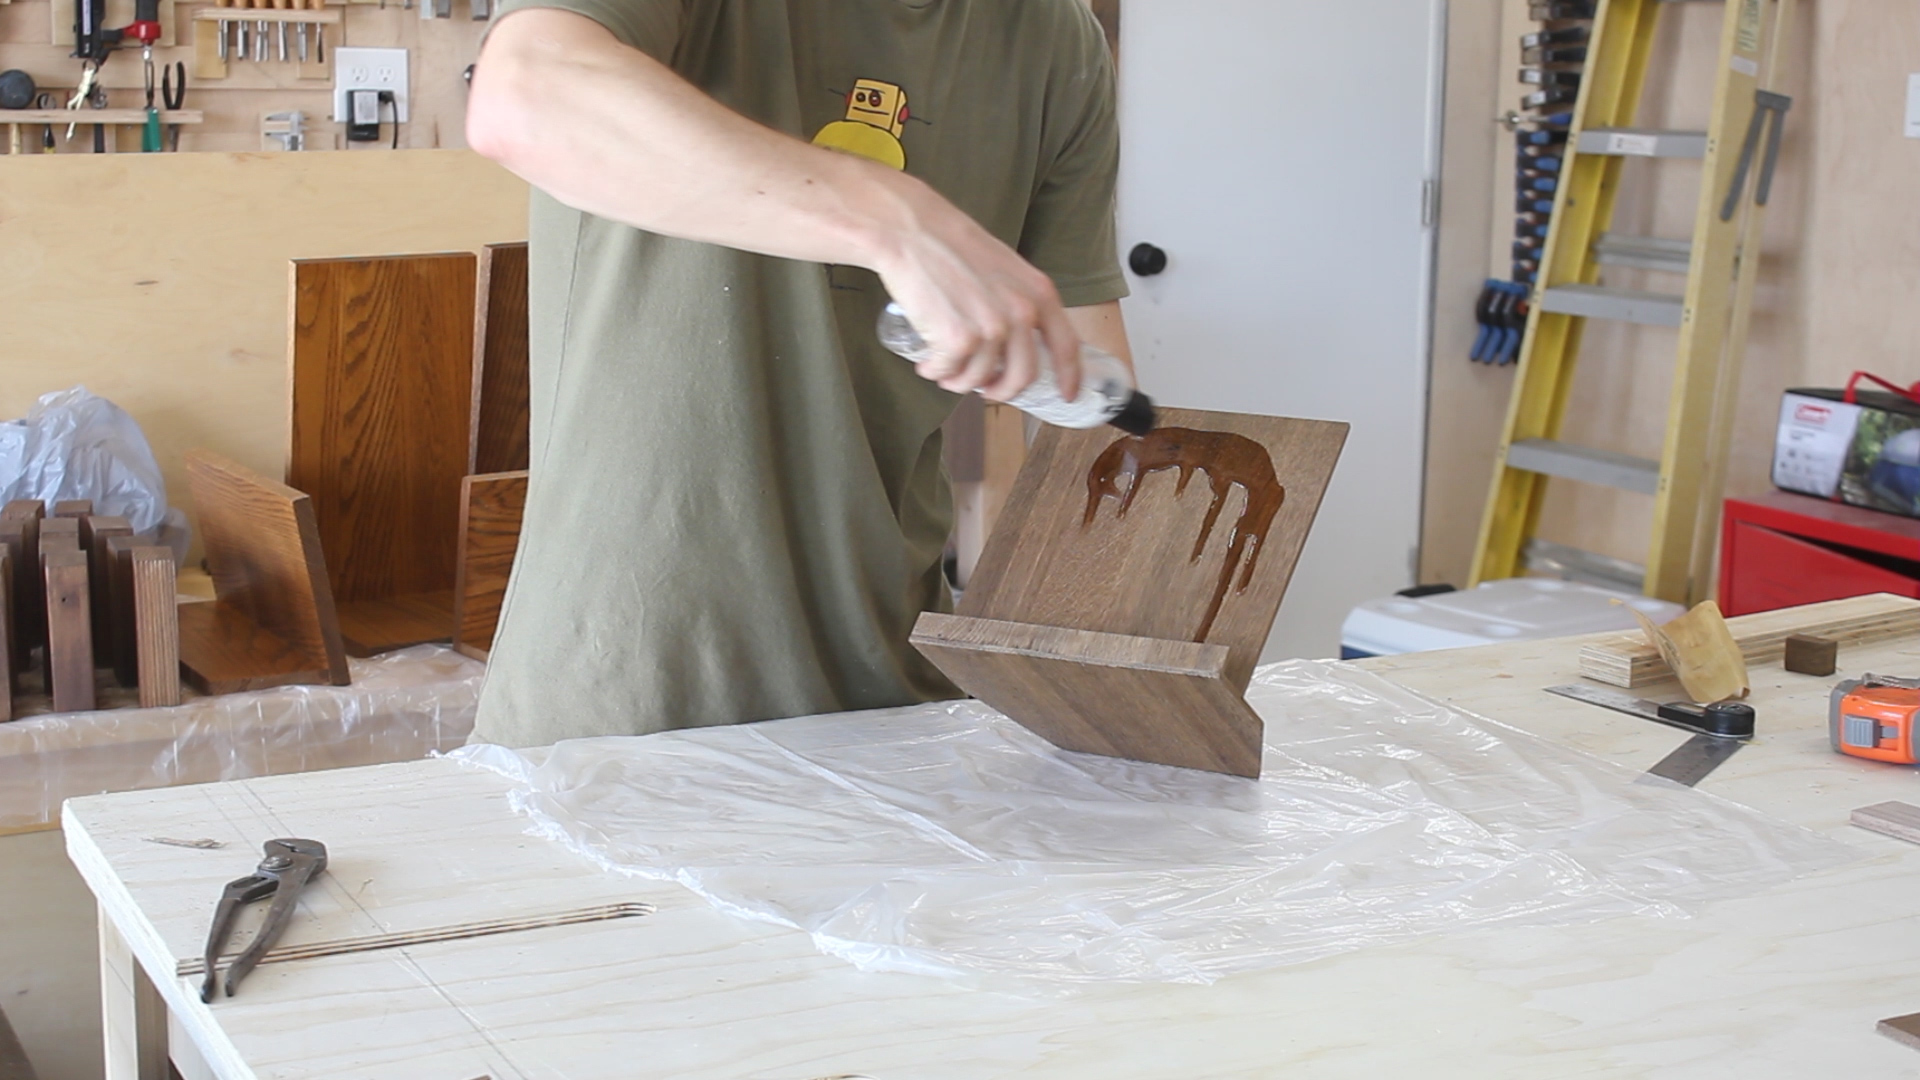
Last up, I added some food safe mineral oil to bring out the color and grain - and it was beautiful and finished (Pics 3-4)!
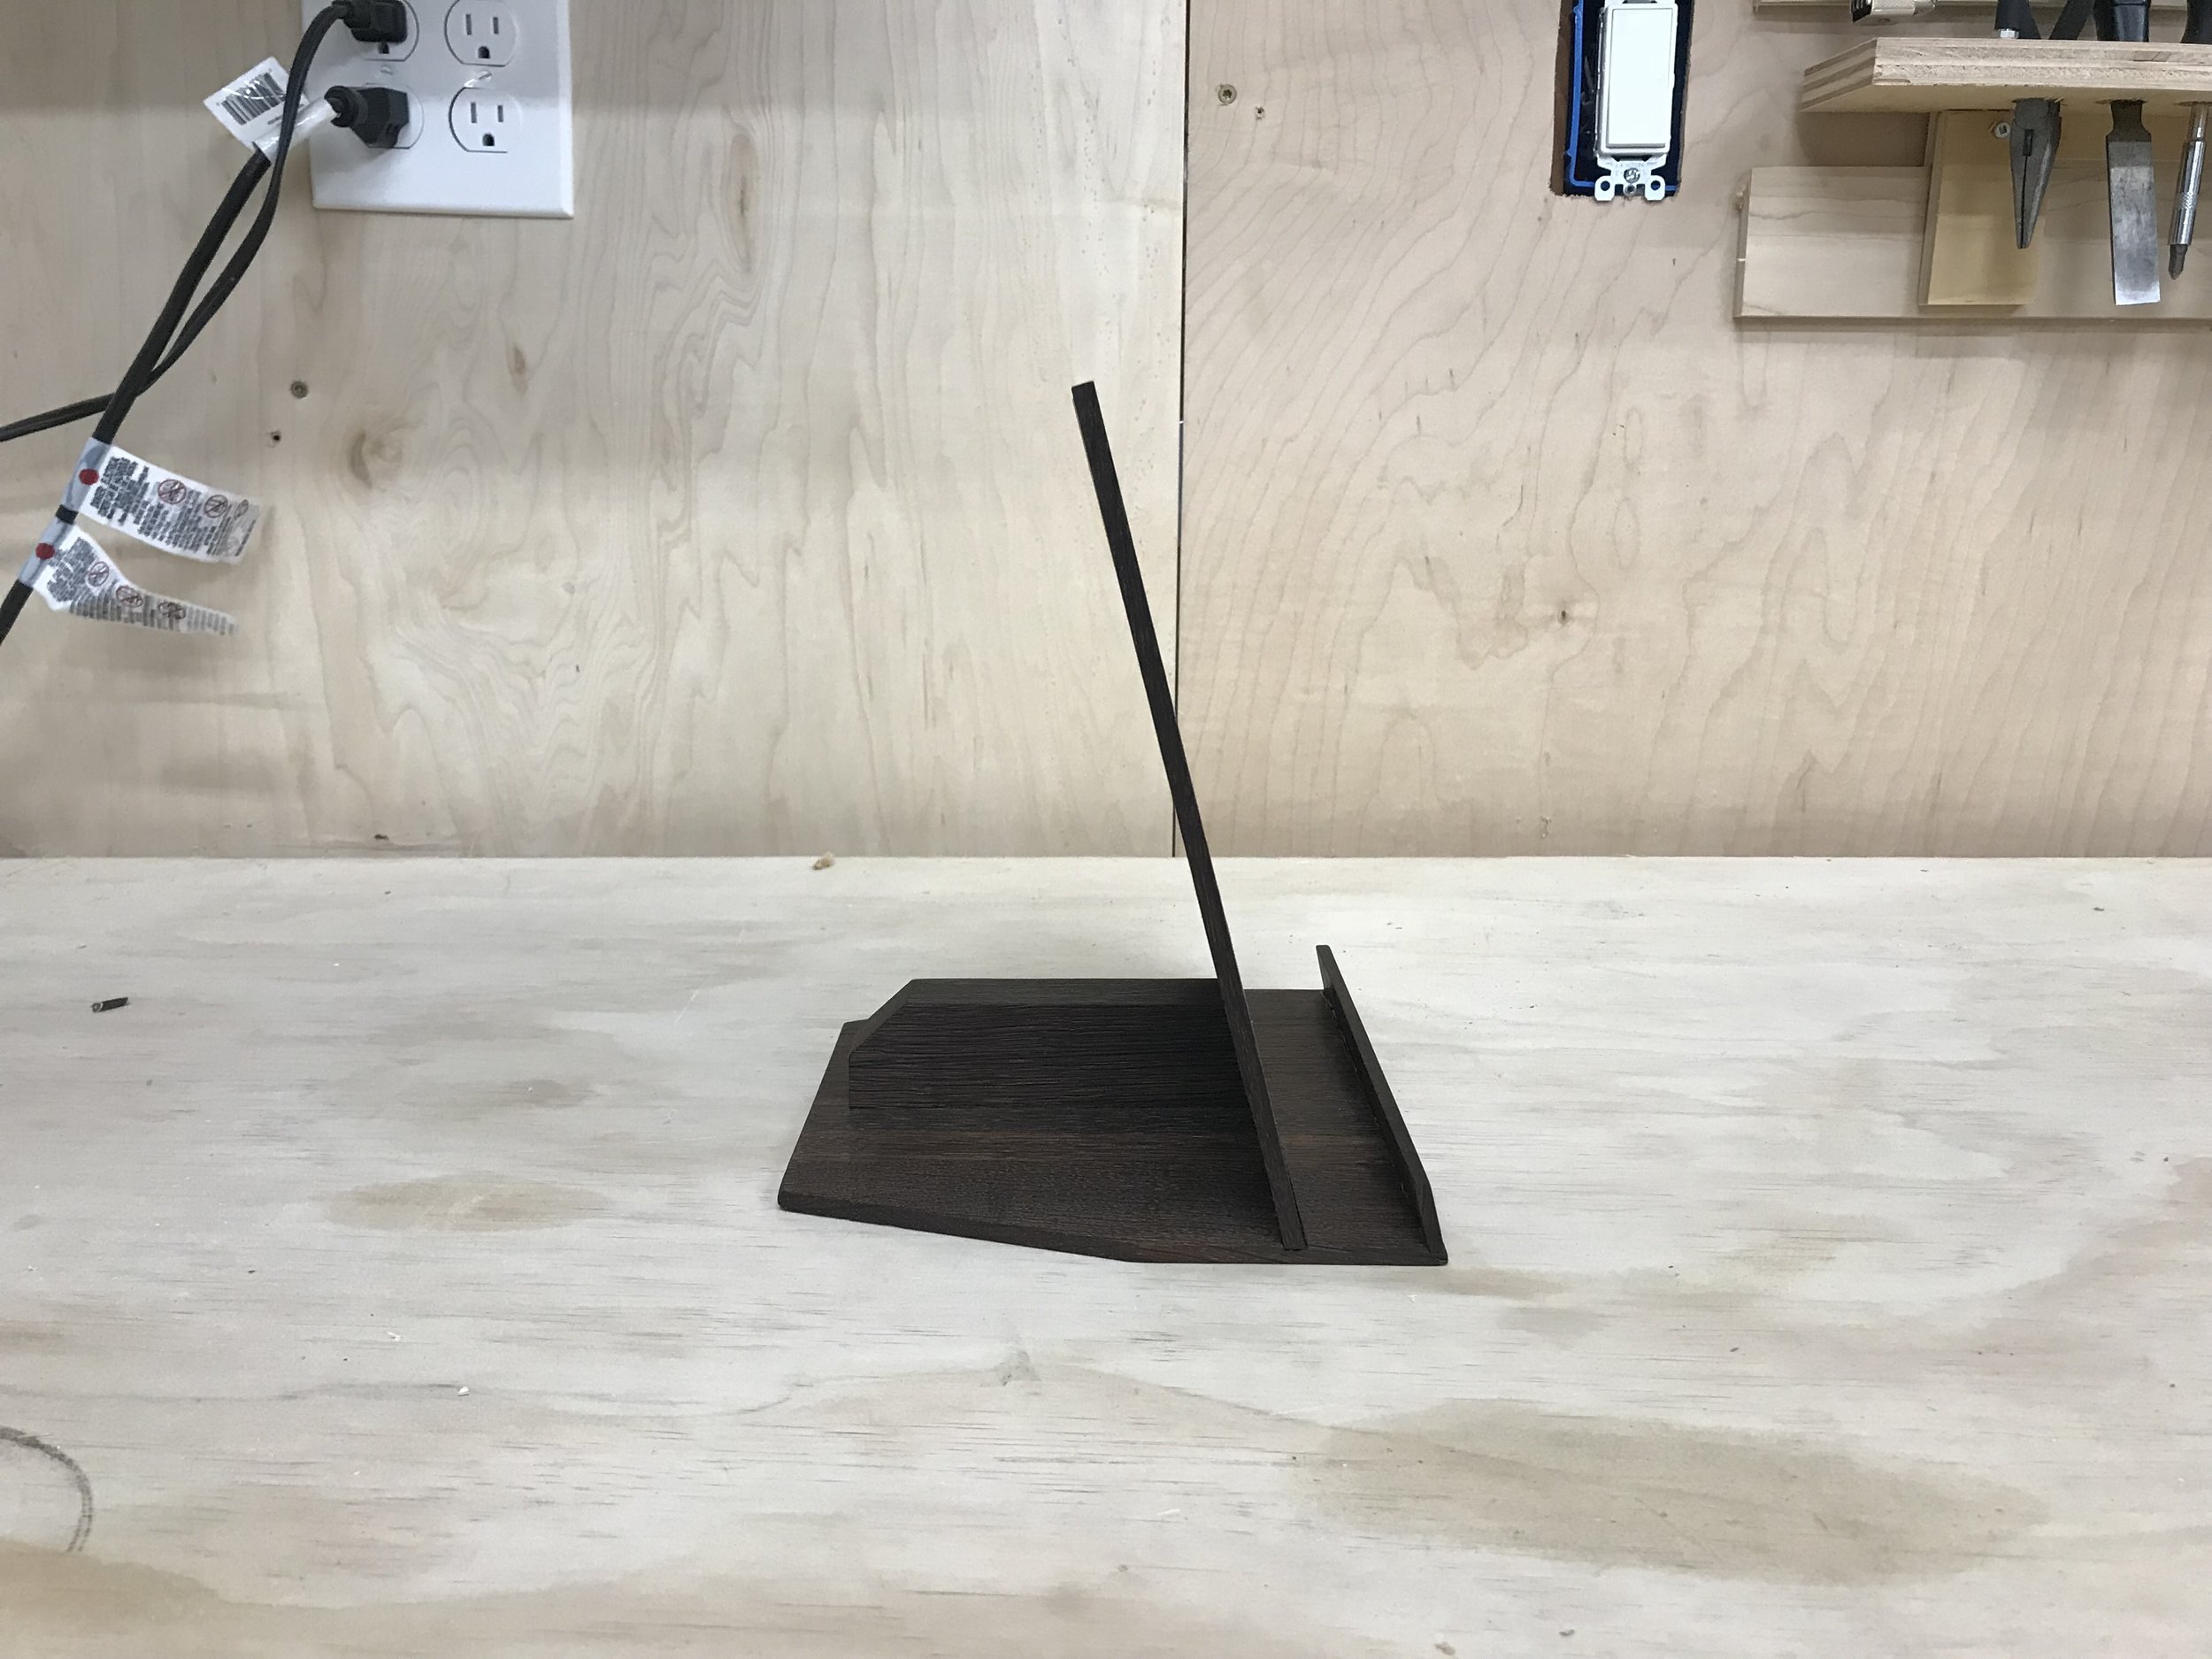
And then the tablet stand was done. This wood is beautiful and it has such a unique smell to it and the functionality of it in the kitchen will have a daily benefit to us moving forward. It's super fun to take something old and turn it into something you'll use everyday!
As always, thank you for reading! I would be so grateful if you could please subscribe to my Youtube Channel for future projects.
I put out videos every few weeks.
Cheers!
Zach