I wanted to make my mom something special for Christmas. I landed on this fancy looking (but actually rather simple) zipper-style cutting board. Hope you like!
MATERIALS
4/4 Walnut, Maple, Zebrawood, and Padauk
Butcher Block Finish
Wood glue
TOOLS
SAWSTOP Contractors 30” Saw: https://amzn.to/2Luh91q
Orbital Sander: http://amzn.to/2oICOaP
Thickness Planer: http://amzn.to/2u7YrmK
Router Table (full set up from Rockler) w/Rabbeting bit
Bench Cookies: http://amzn.to/2q1qjYZ
Glue Gun: http://amzn.to/2uLJt7V
Lots of clamps!
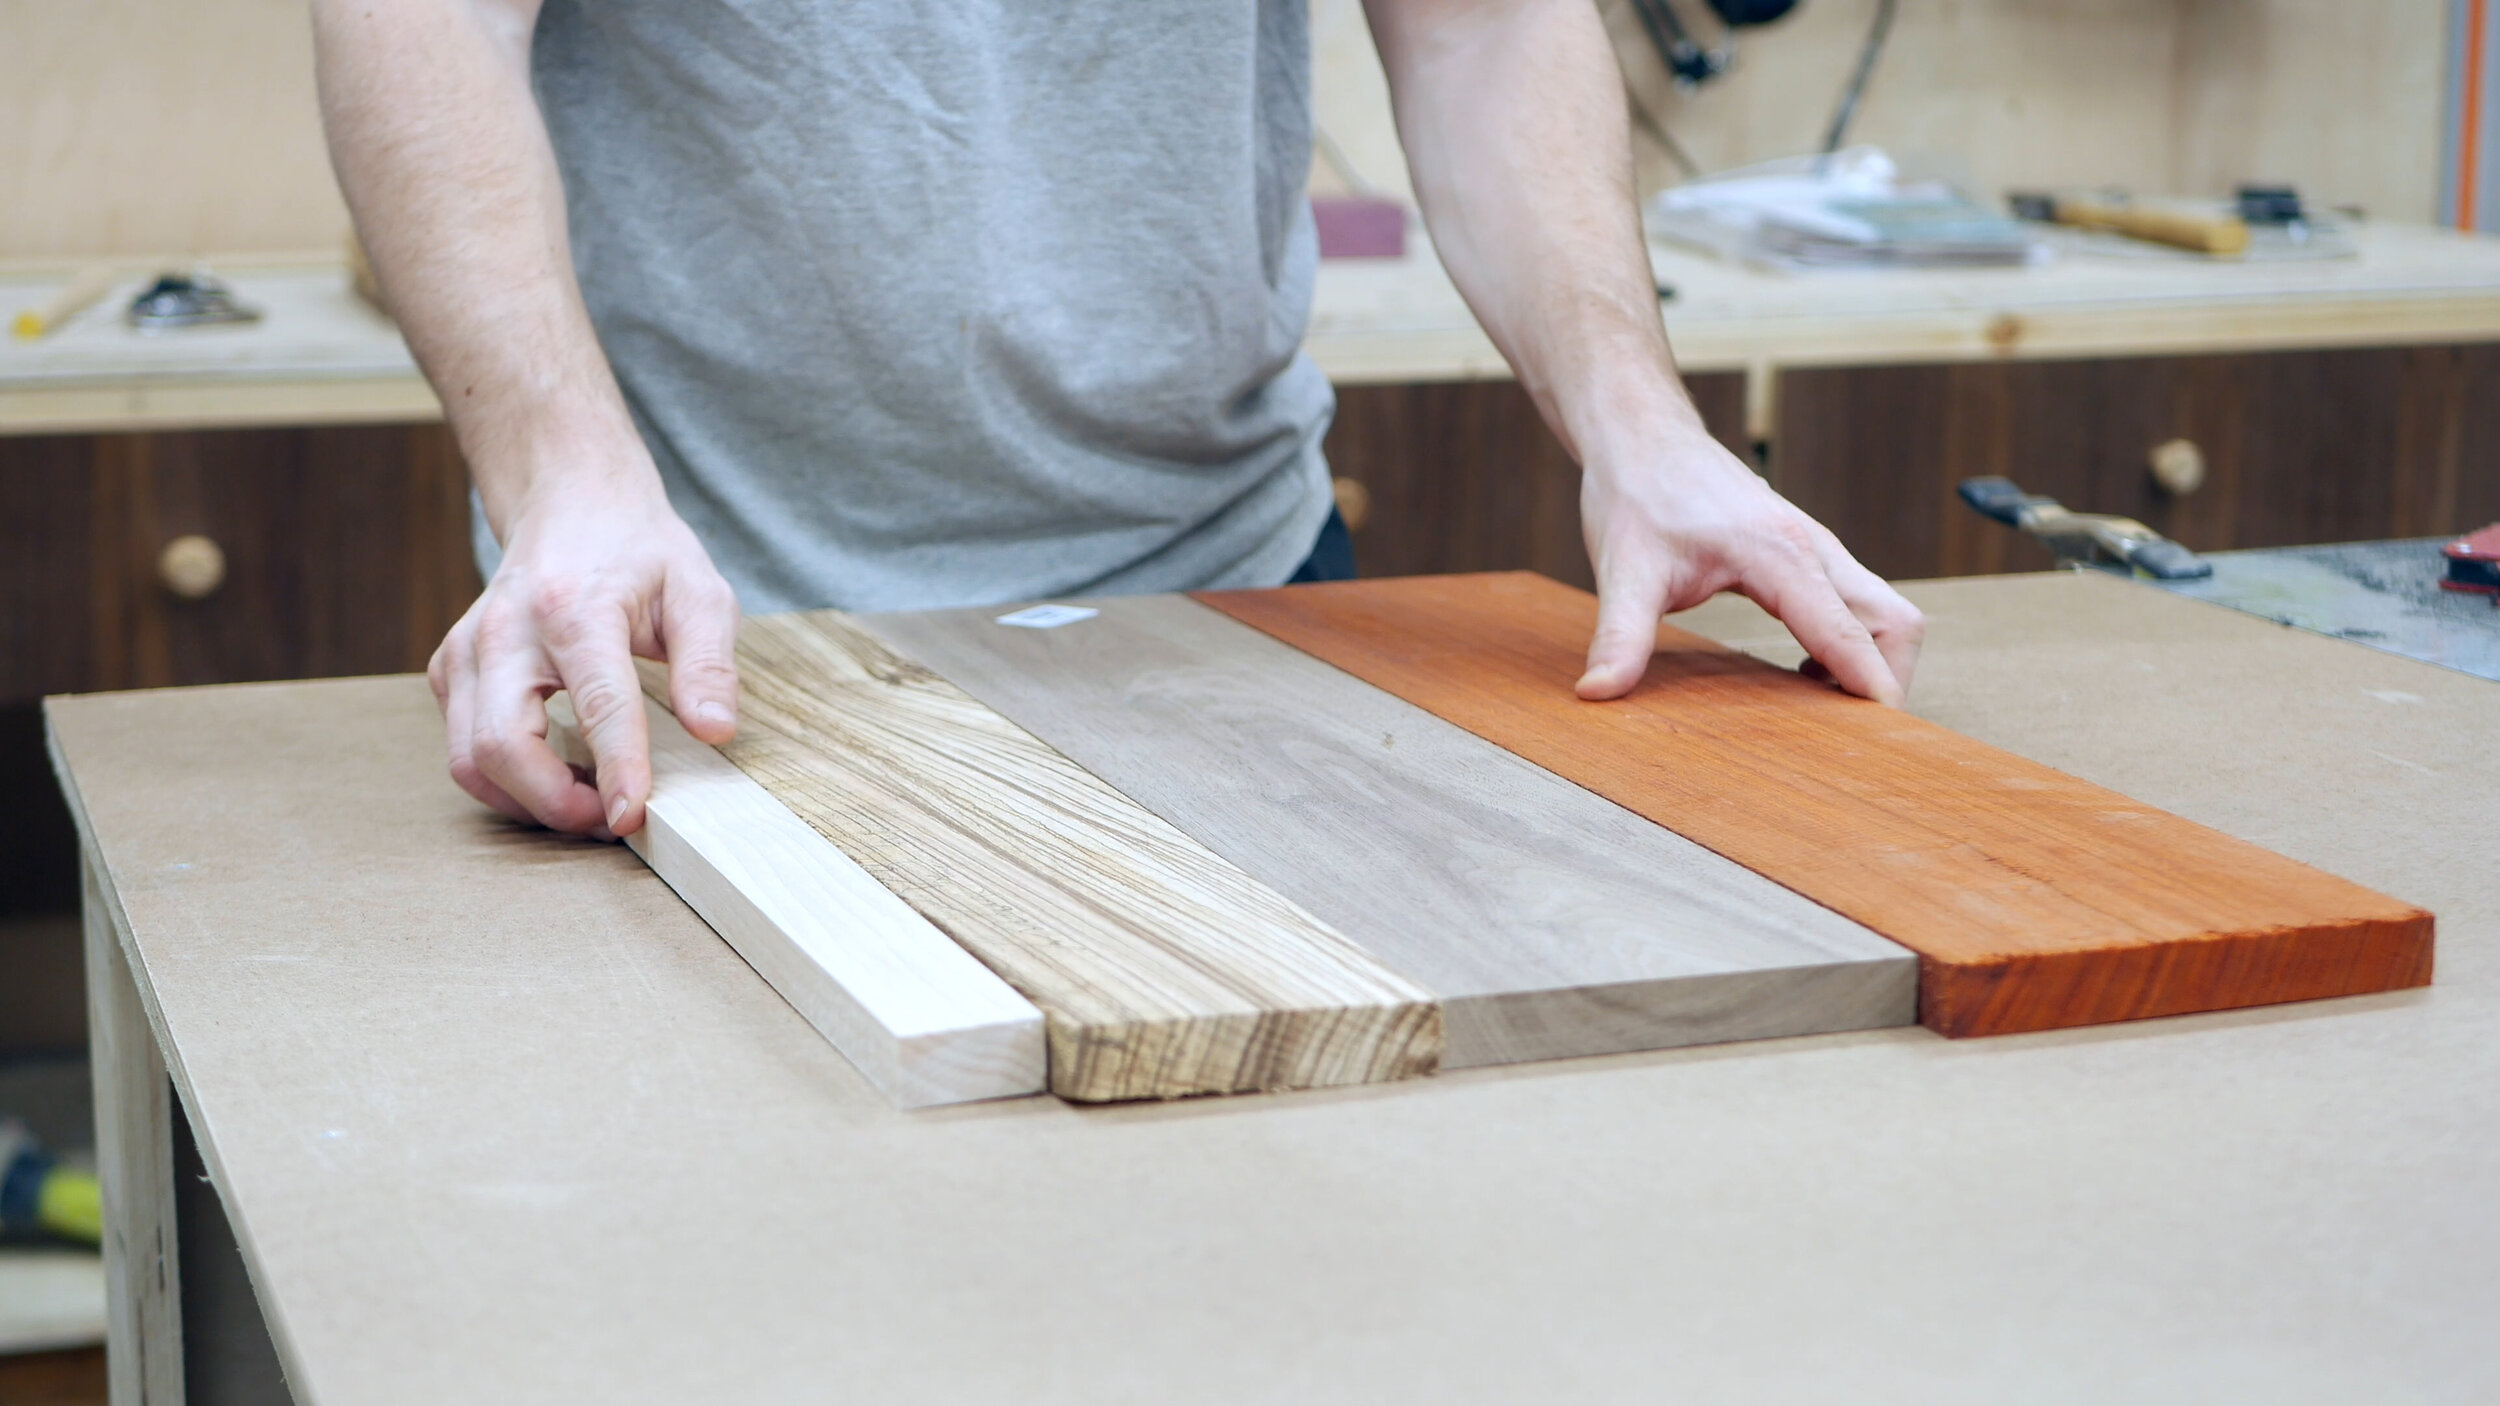
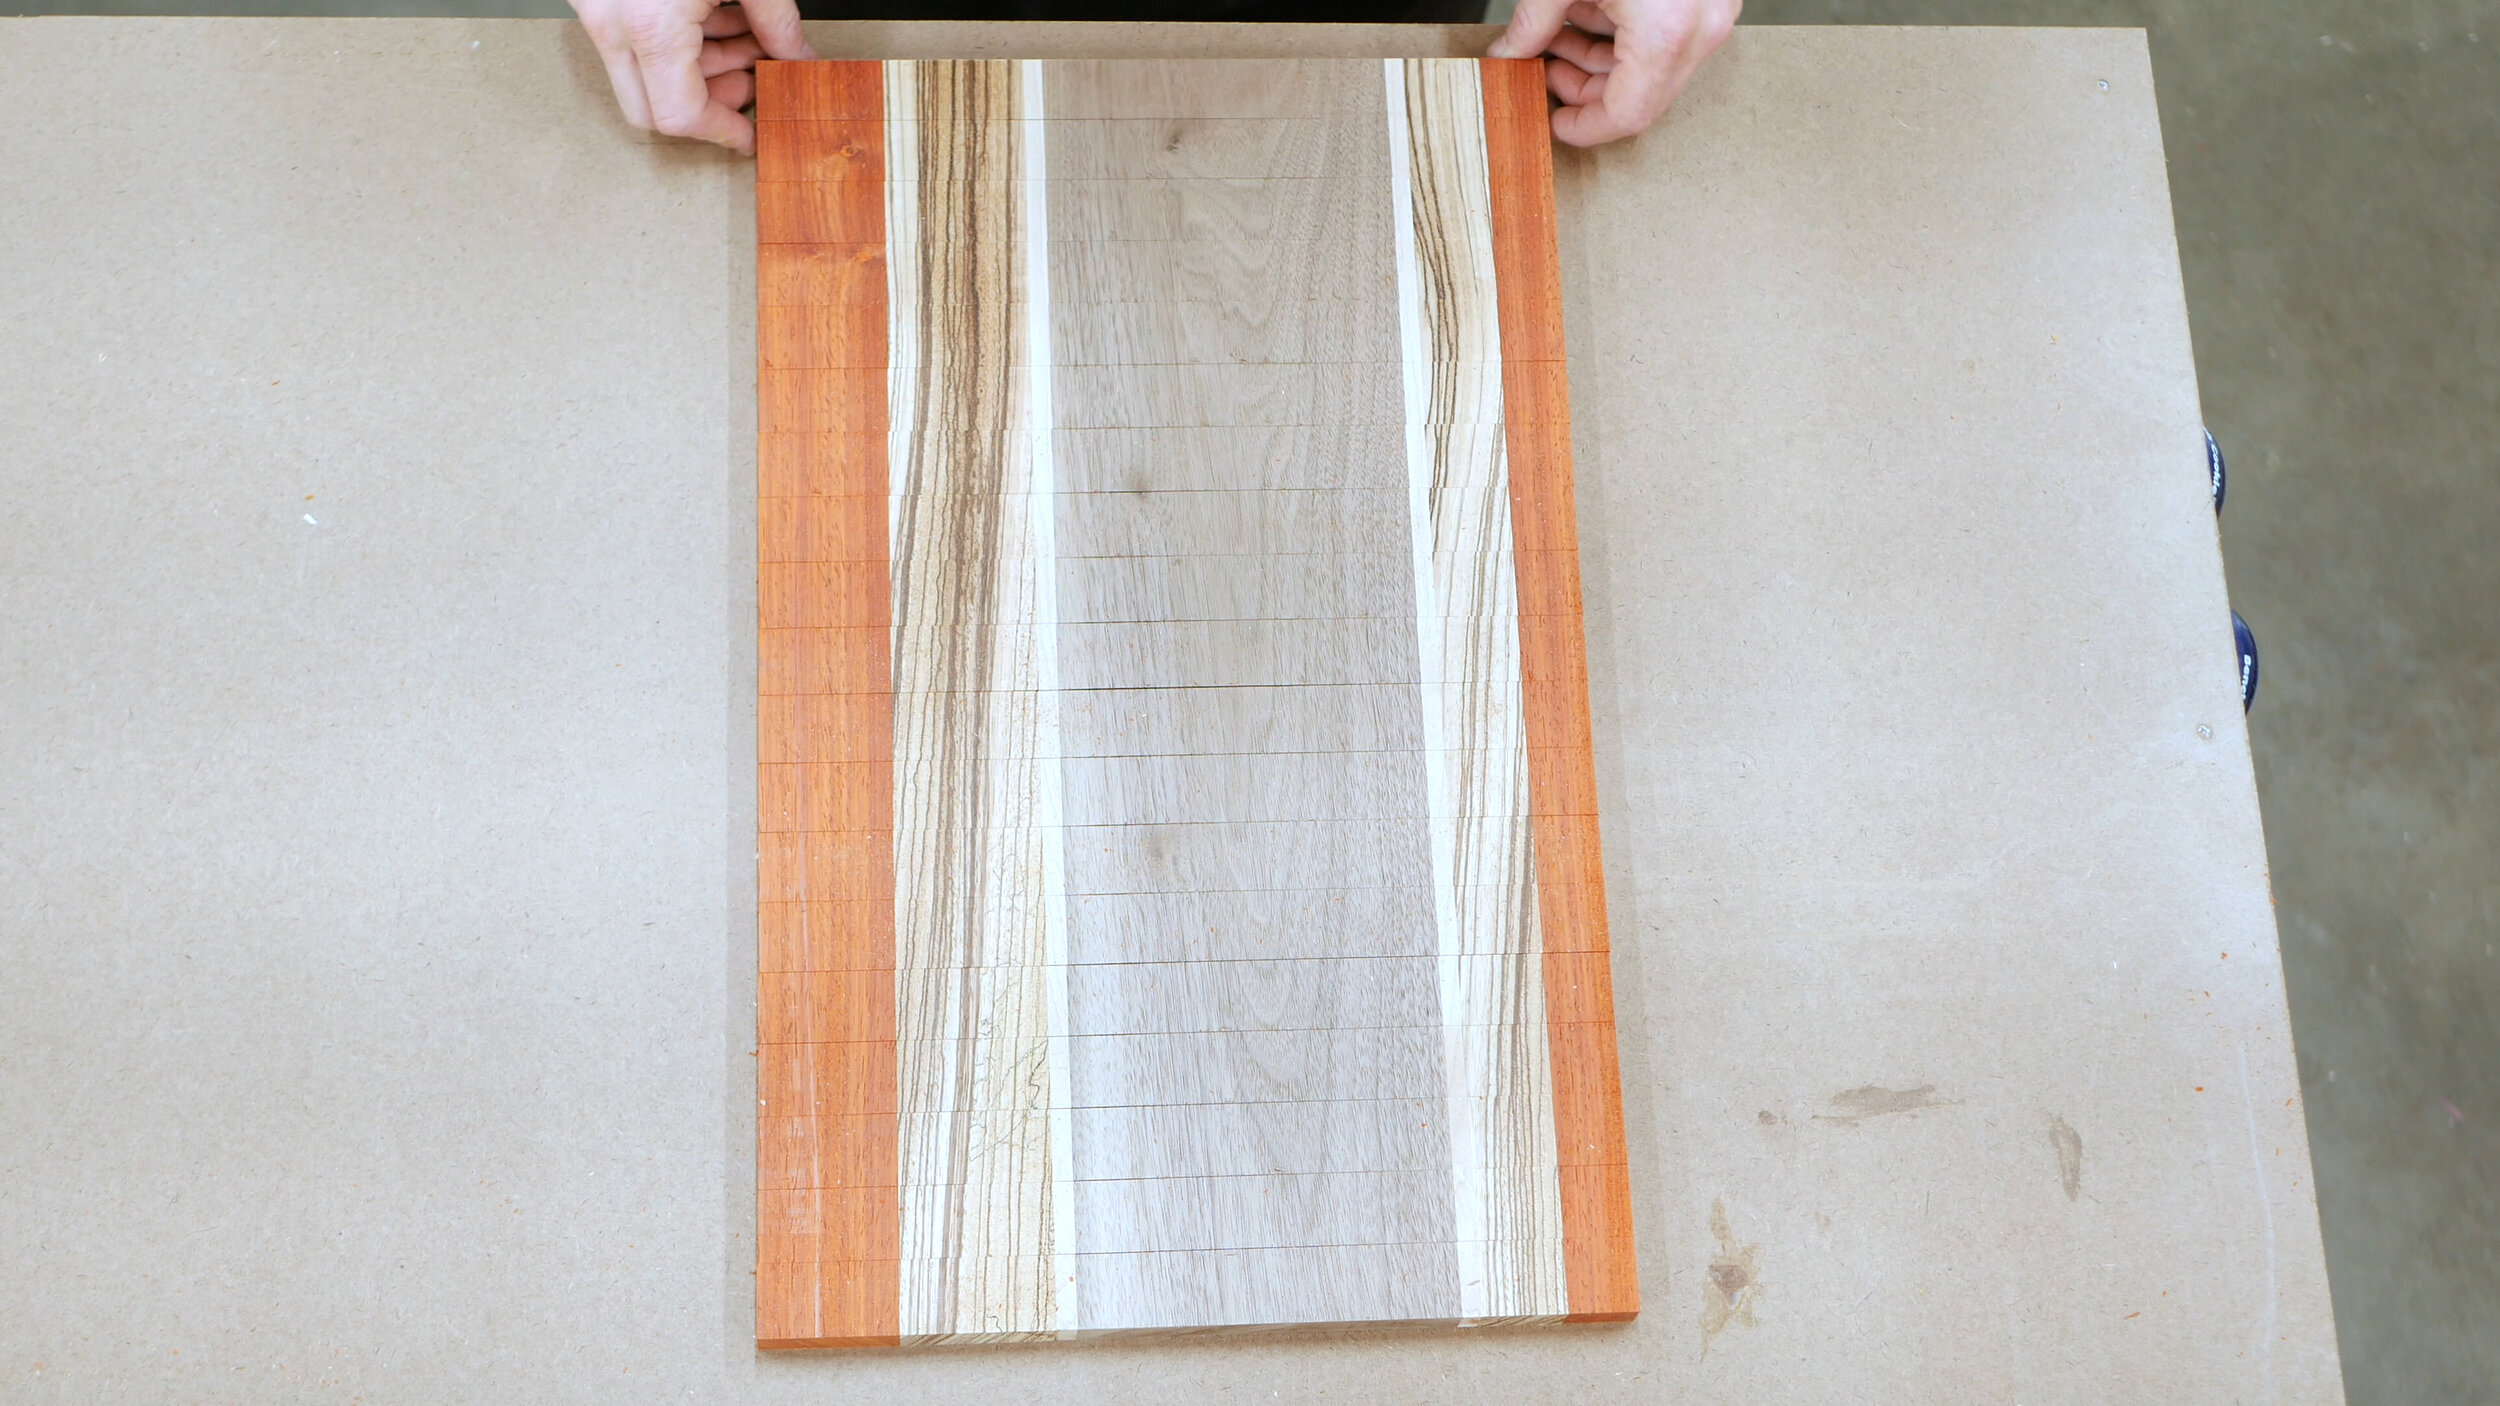
For this build, you’ll need 4 different species of wood - try to make them as colorful and distinct as possible so you get the best effect. I chose maple, zebra wood, walnut, and padauk. Beaty!
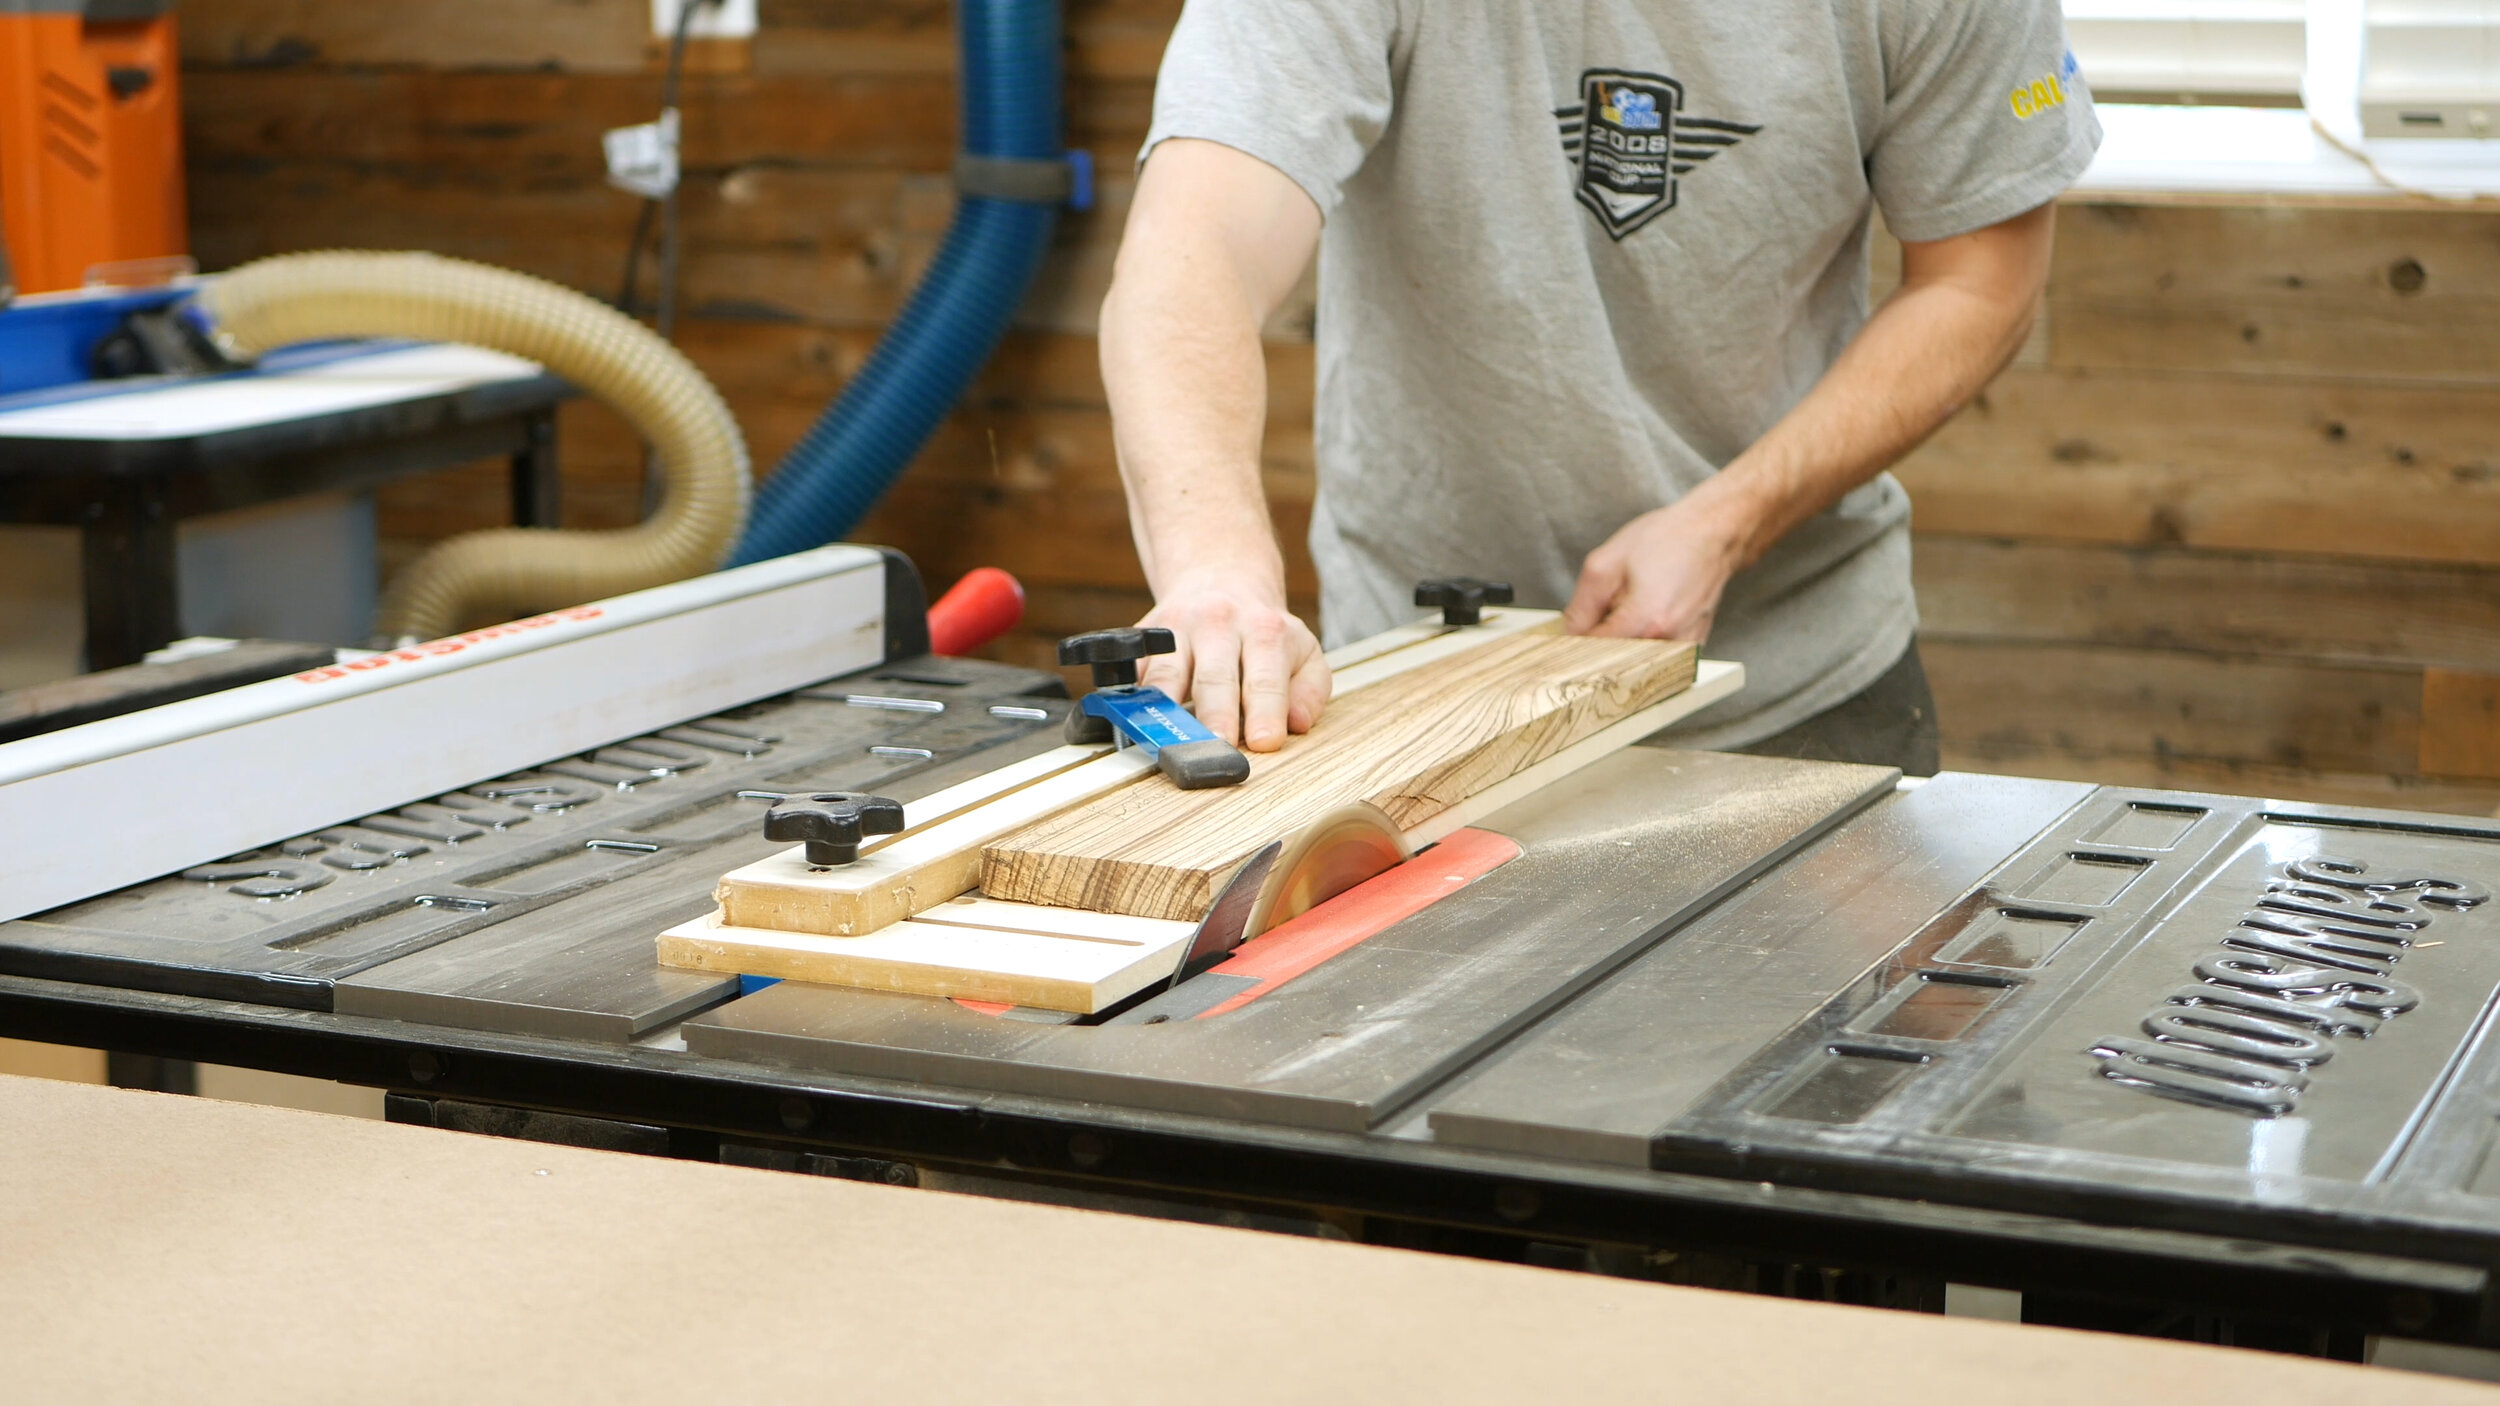
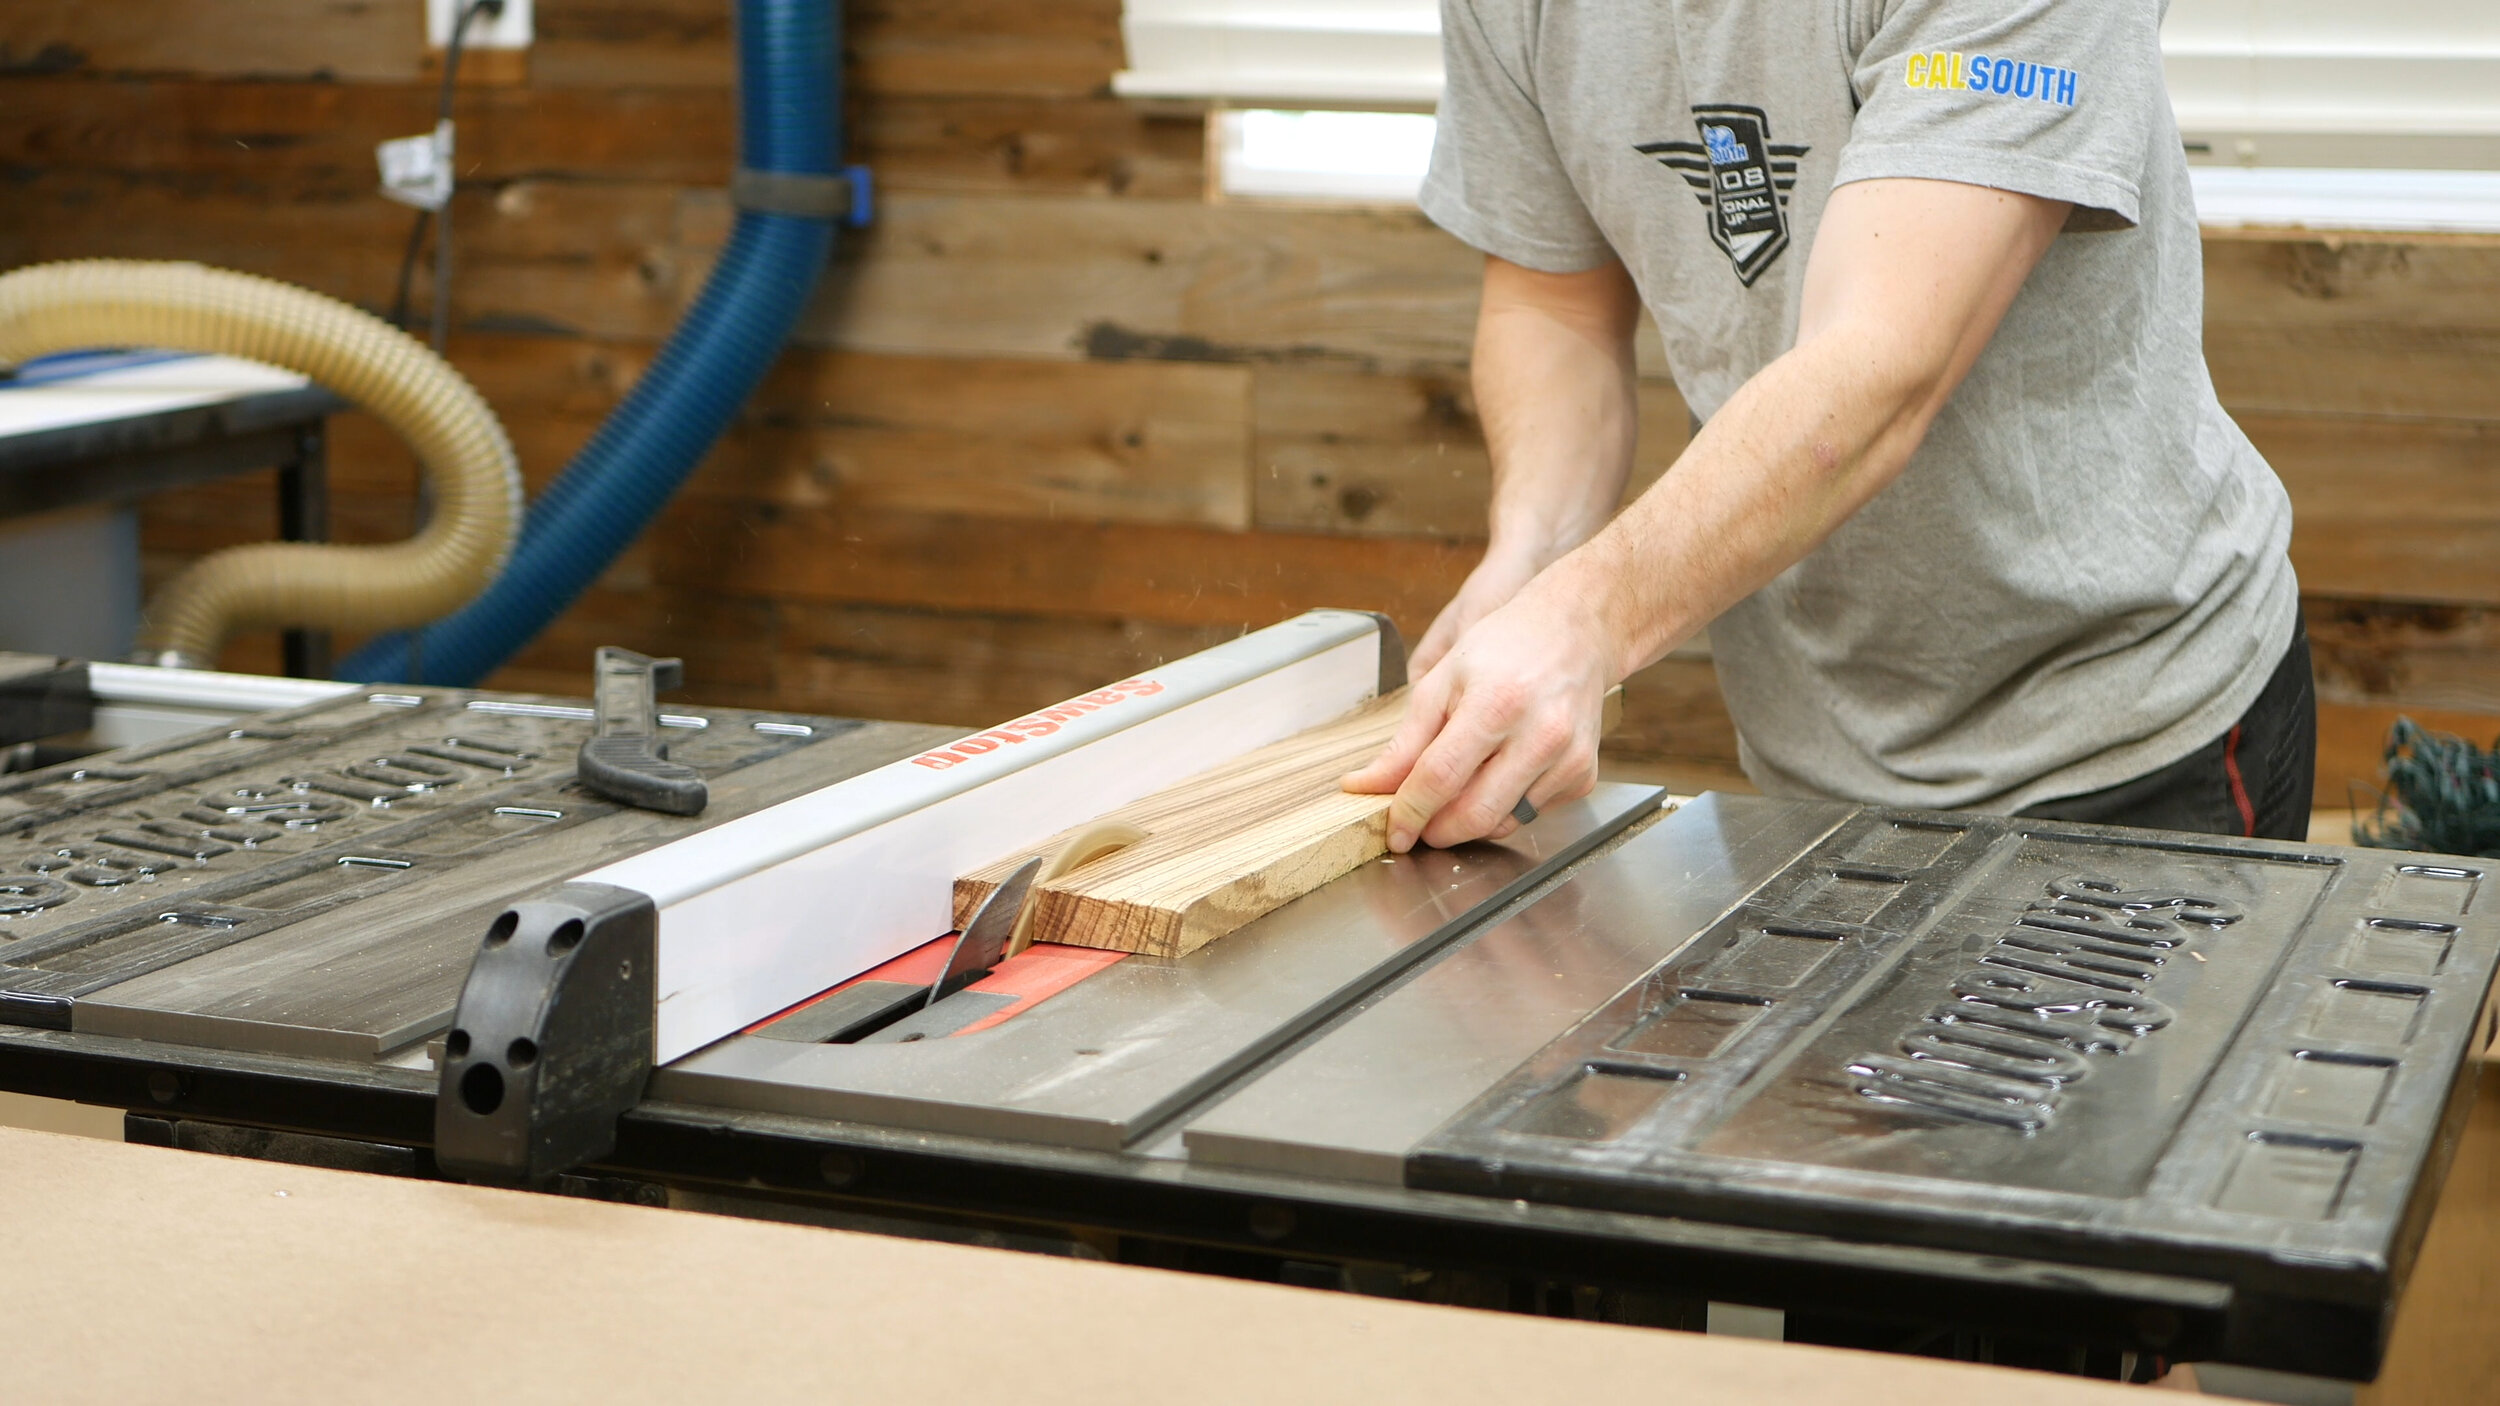
Cutting boards require the straightest edges for the best glue ups. Step 1 was to mill the lumber using my taper jib and table saw to get the straightest edges. The zipper cutting board will require the outside piece (in my case, padauk) to be different widths so that when you flip the pieces down the line, they are offset.
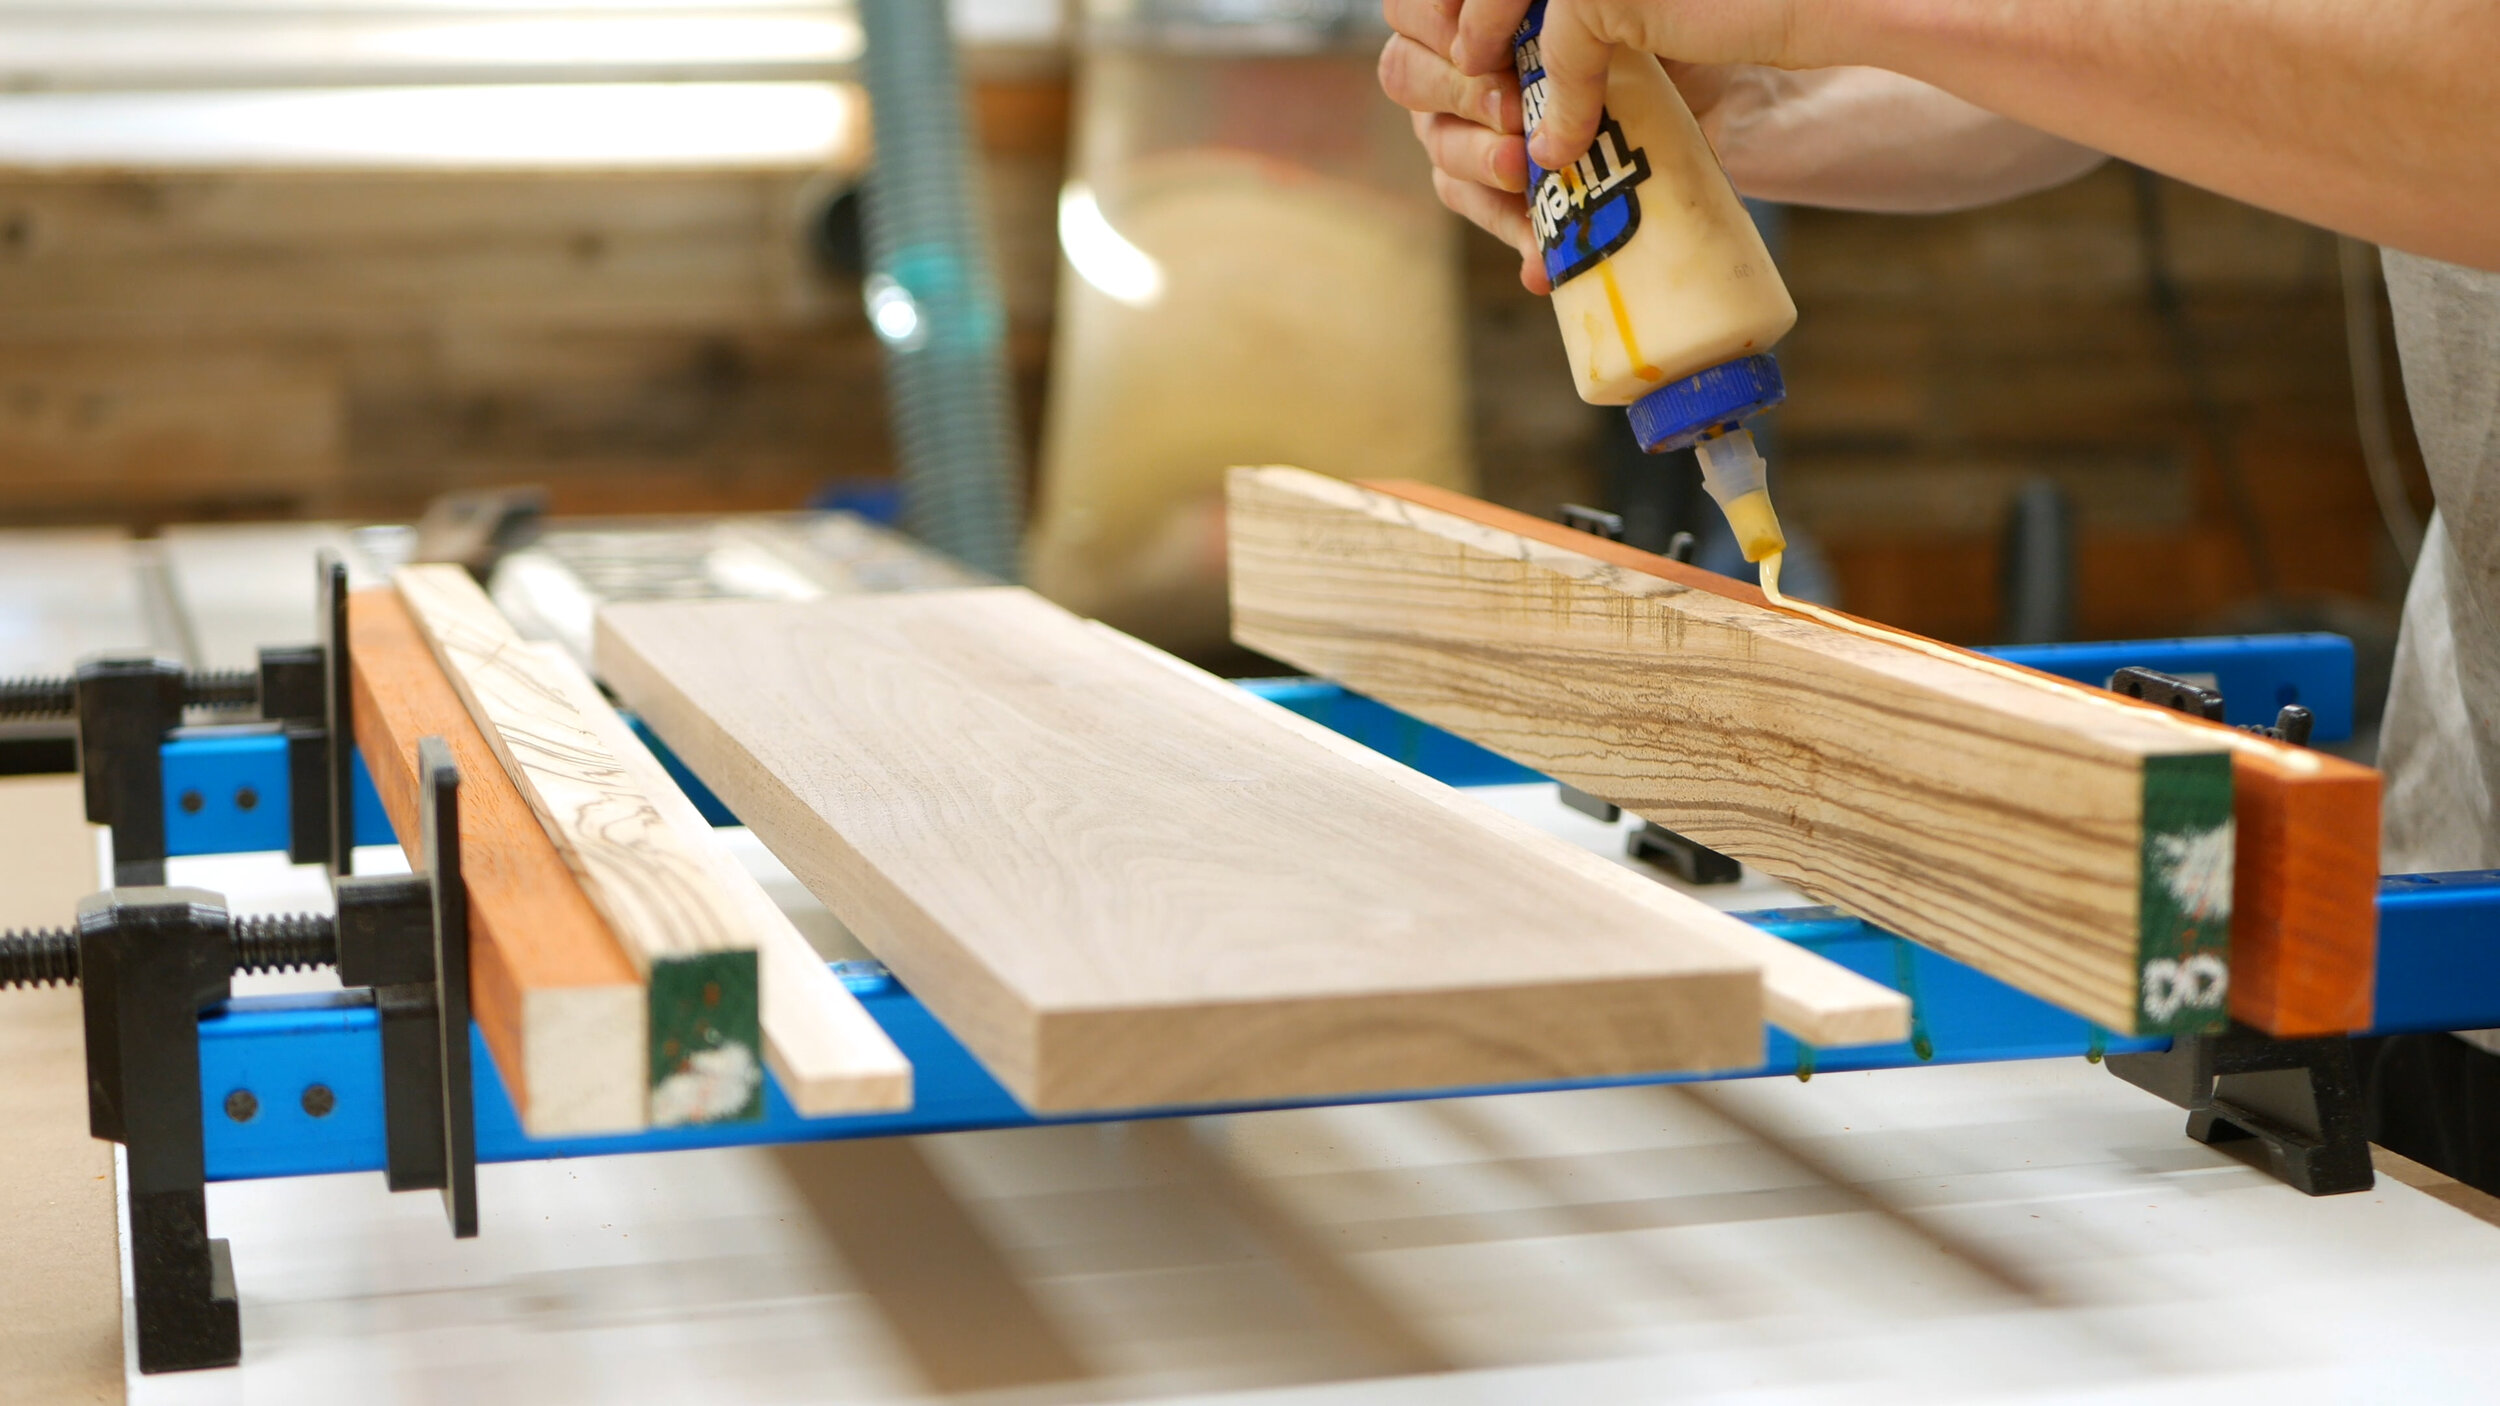
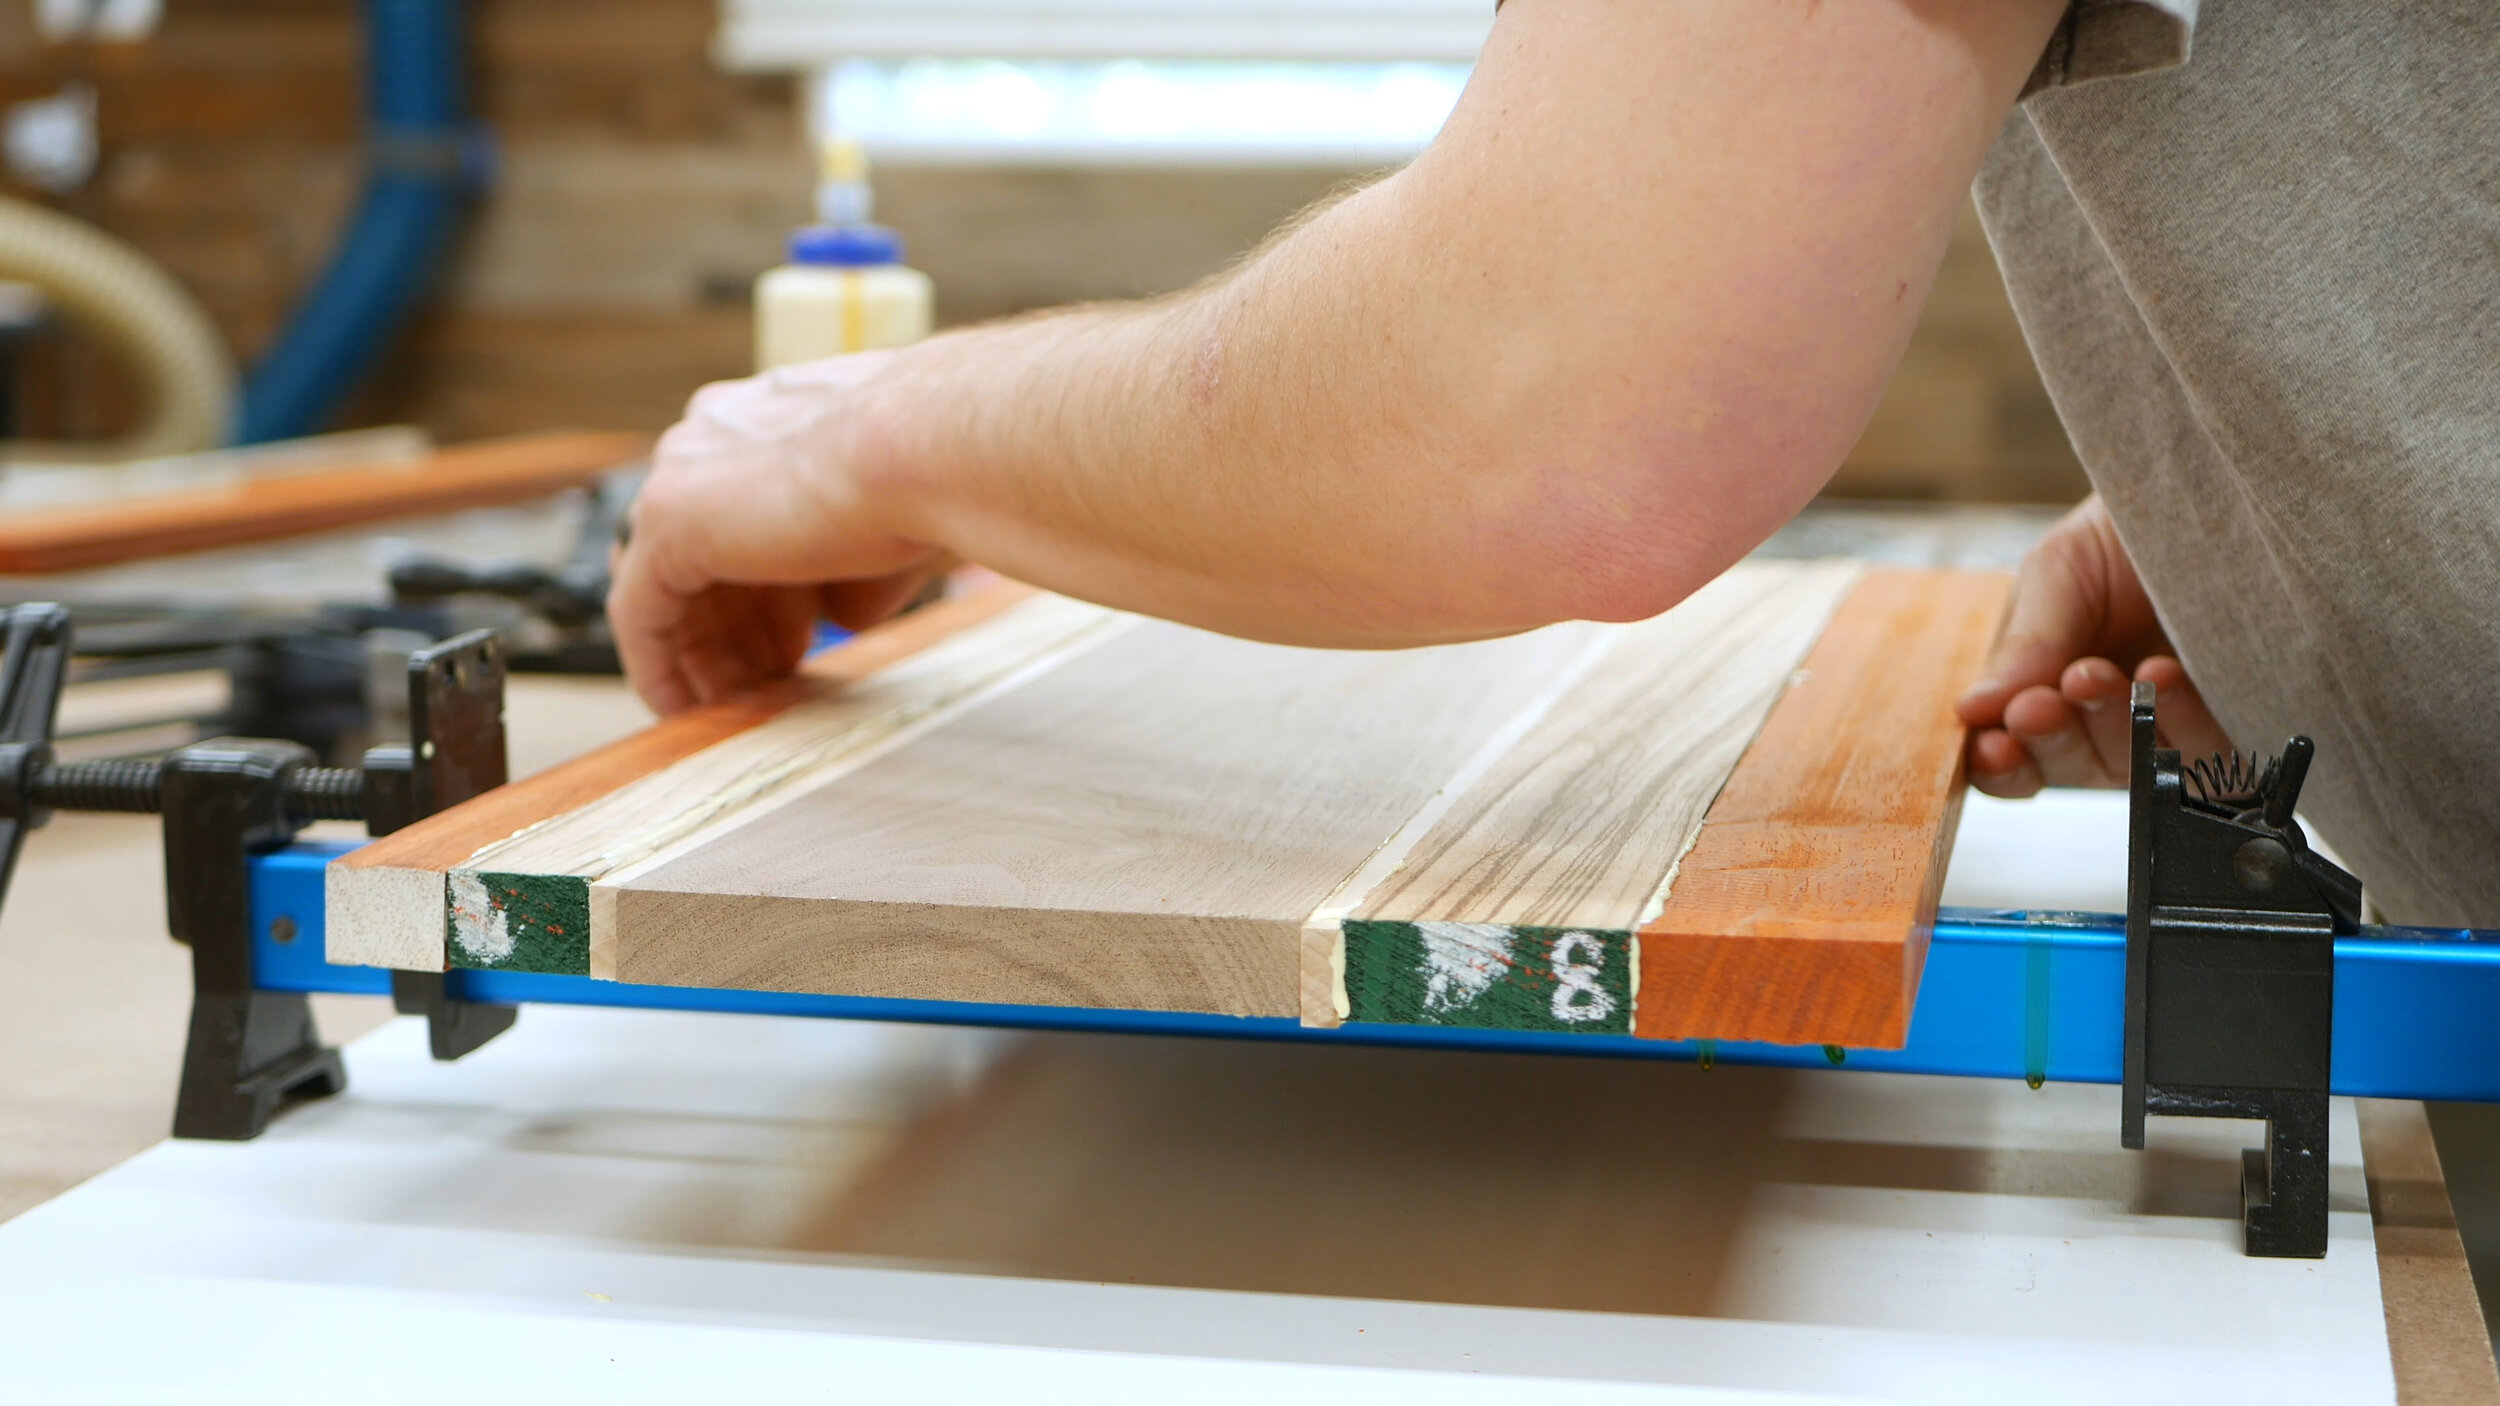
I’m using Titebond II glue for this - water resistant so should be fine! I applied glue to my edges and glue up in a set of bar clamps. I added a few clamps from the top and bottom to keep everything flat.
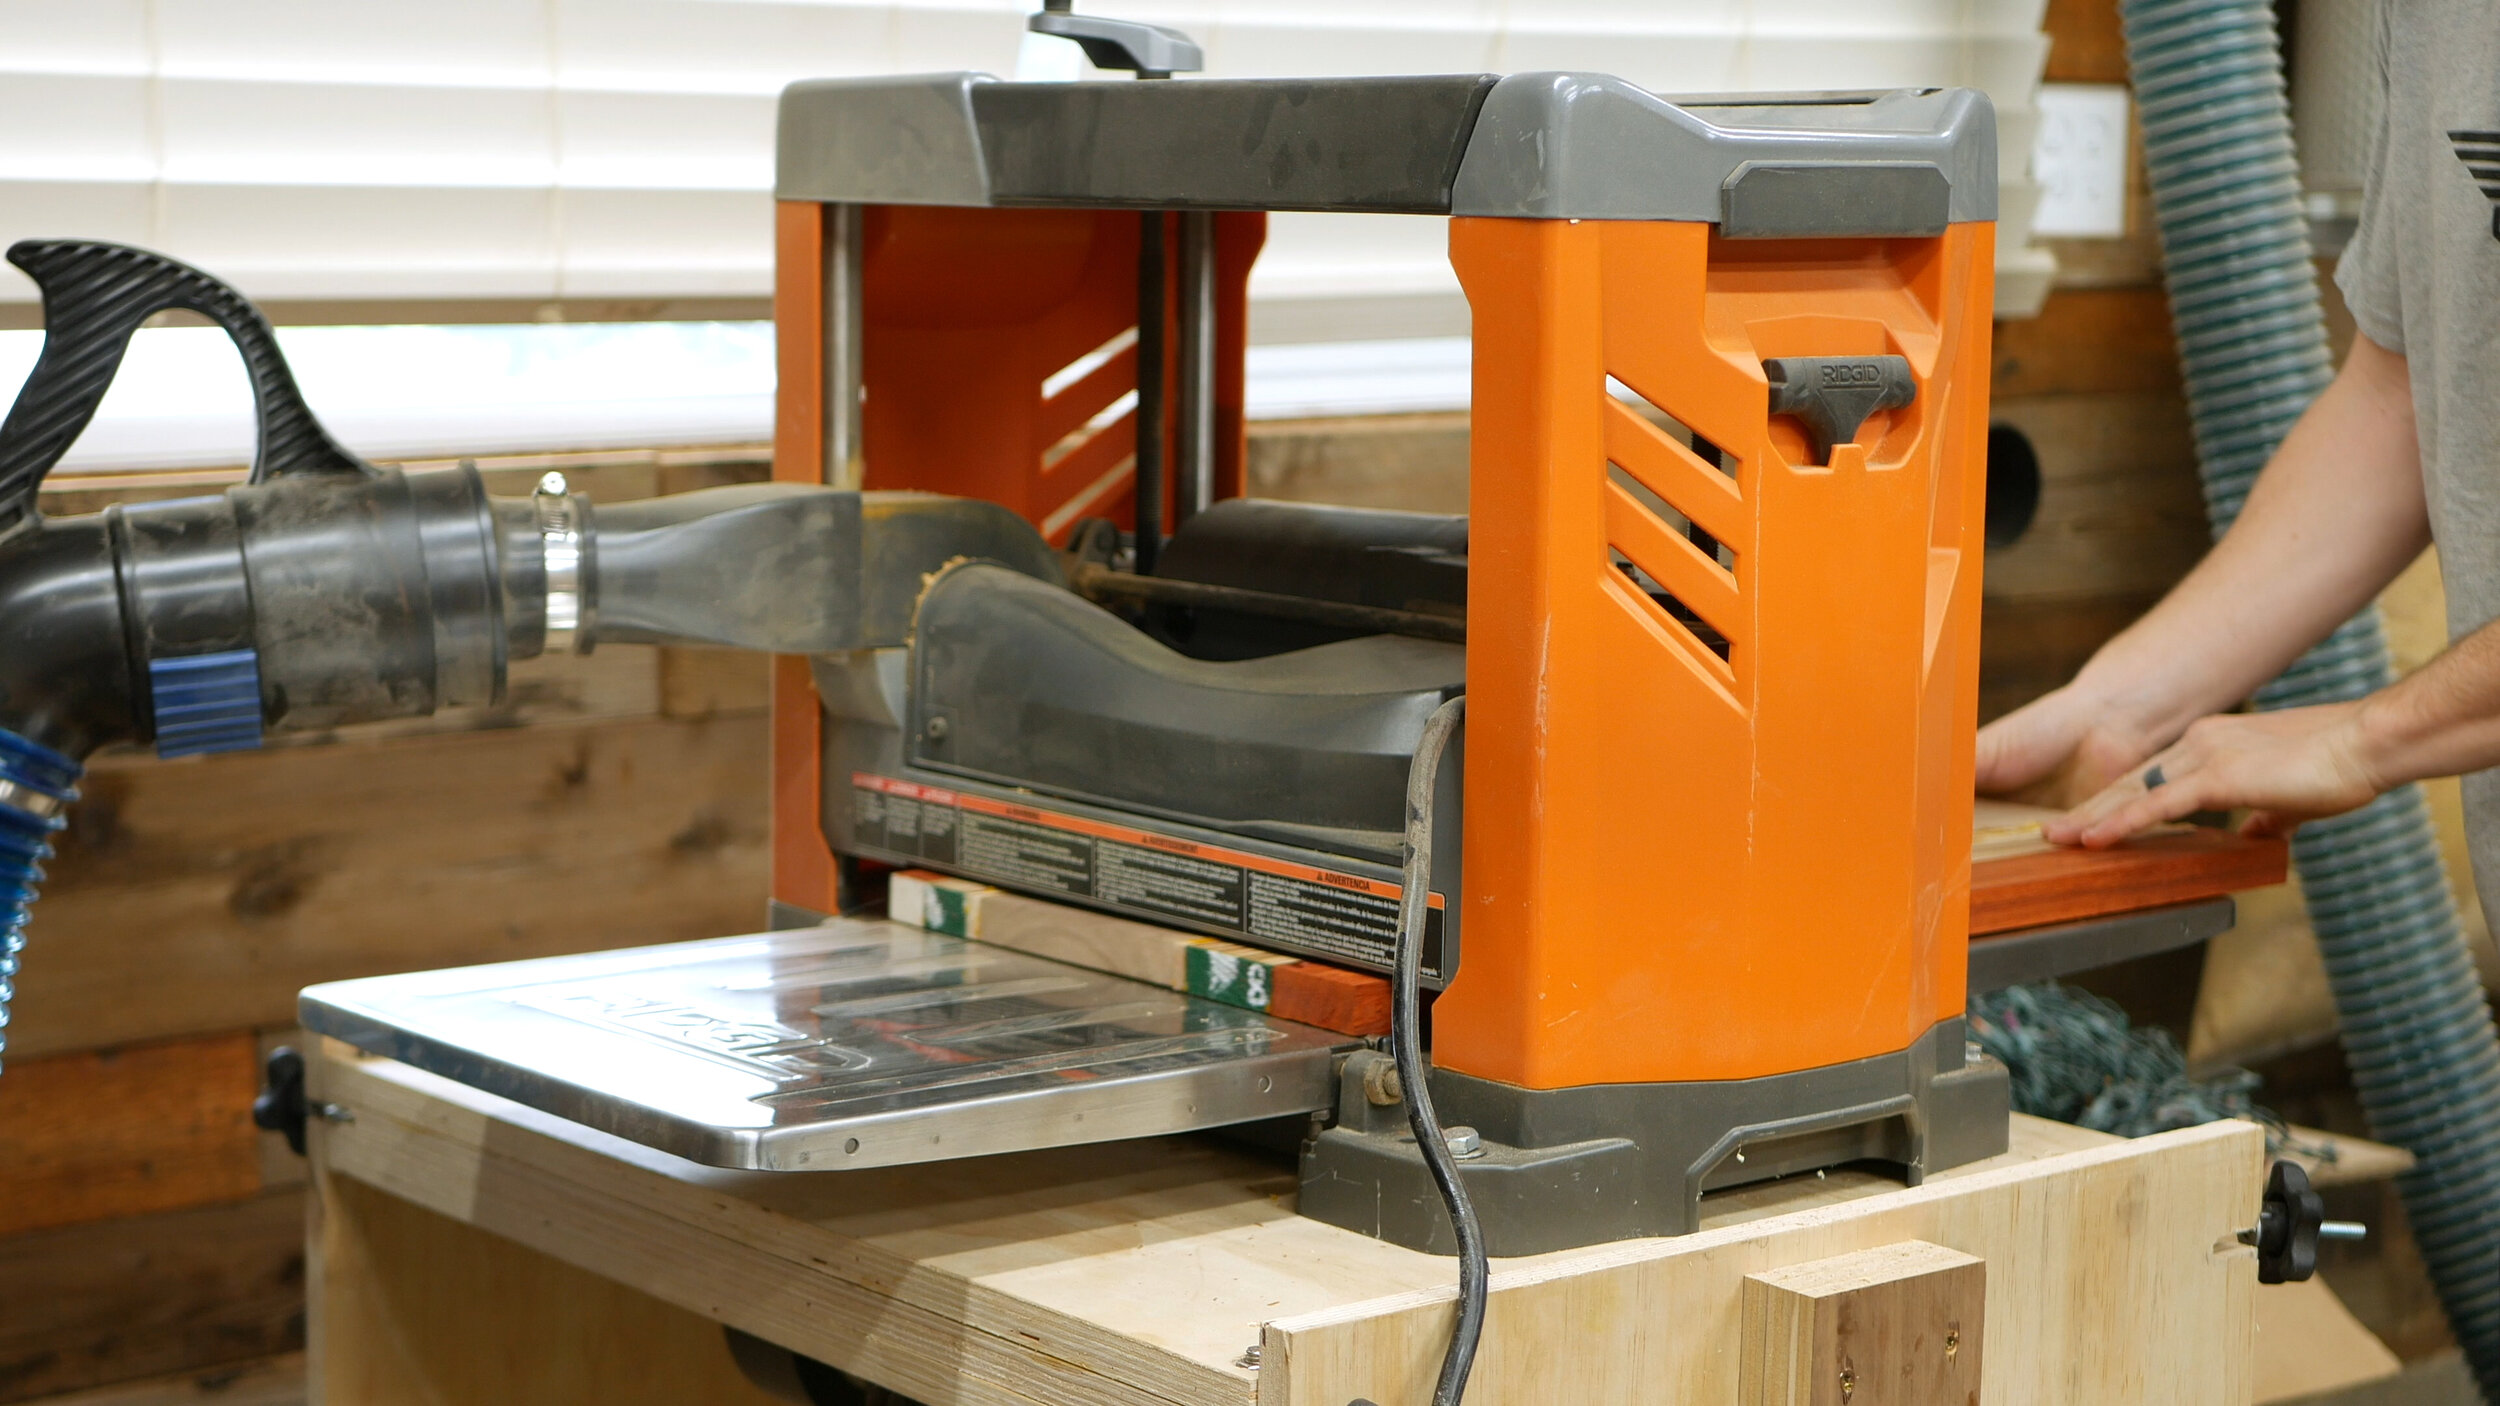
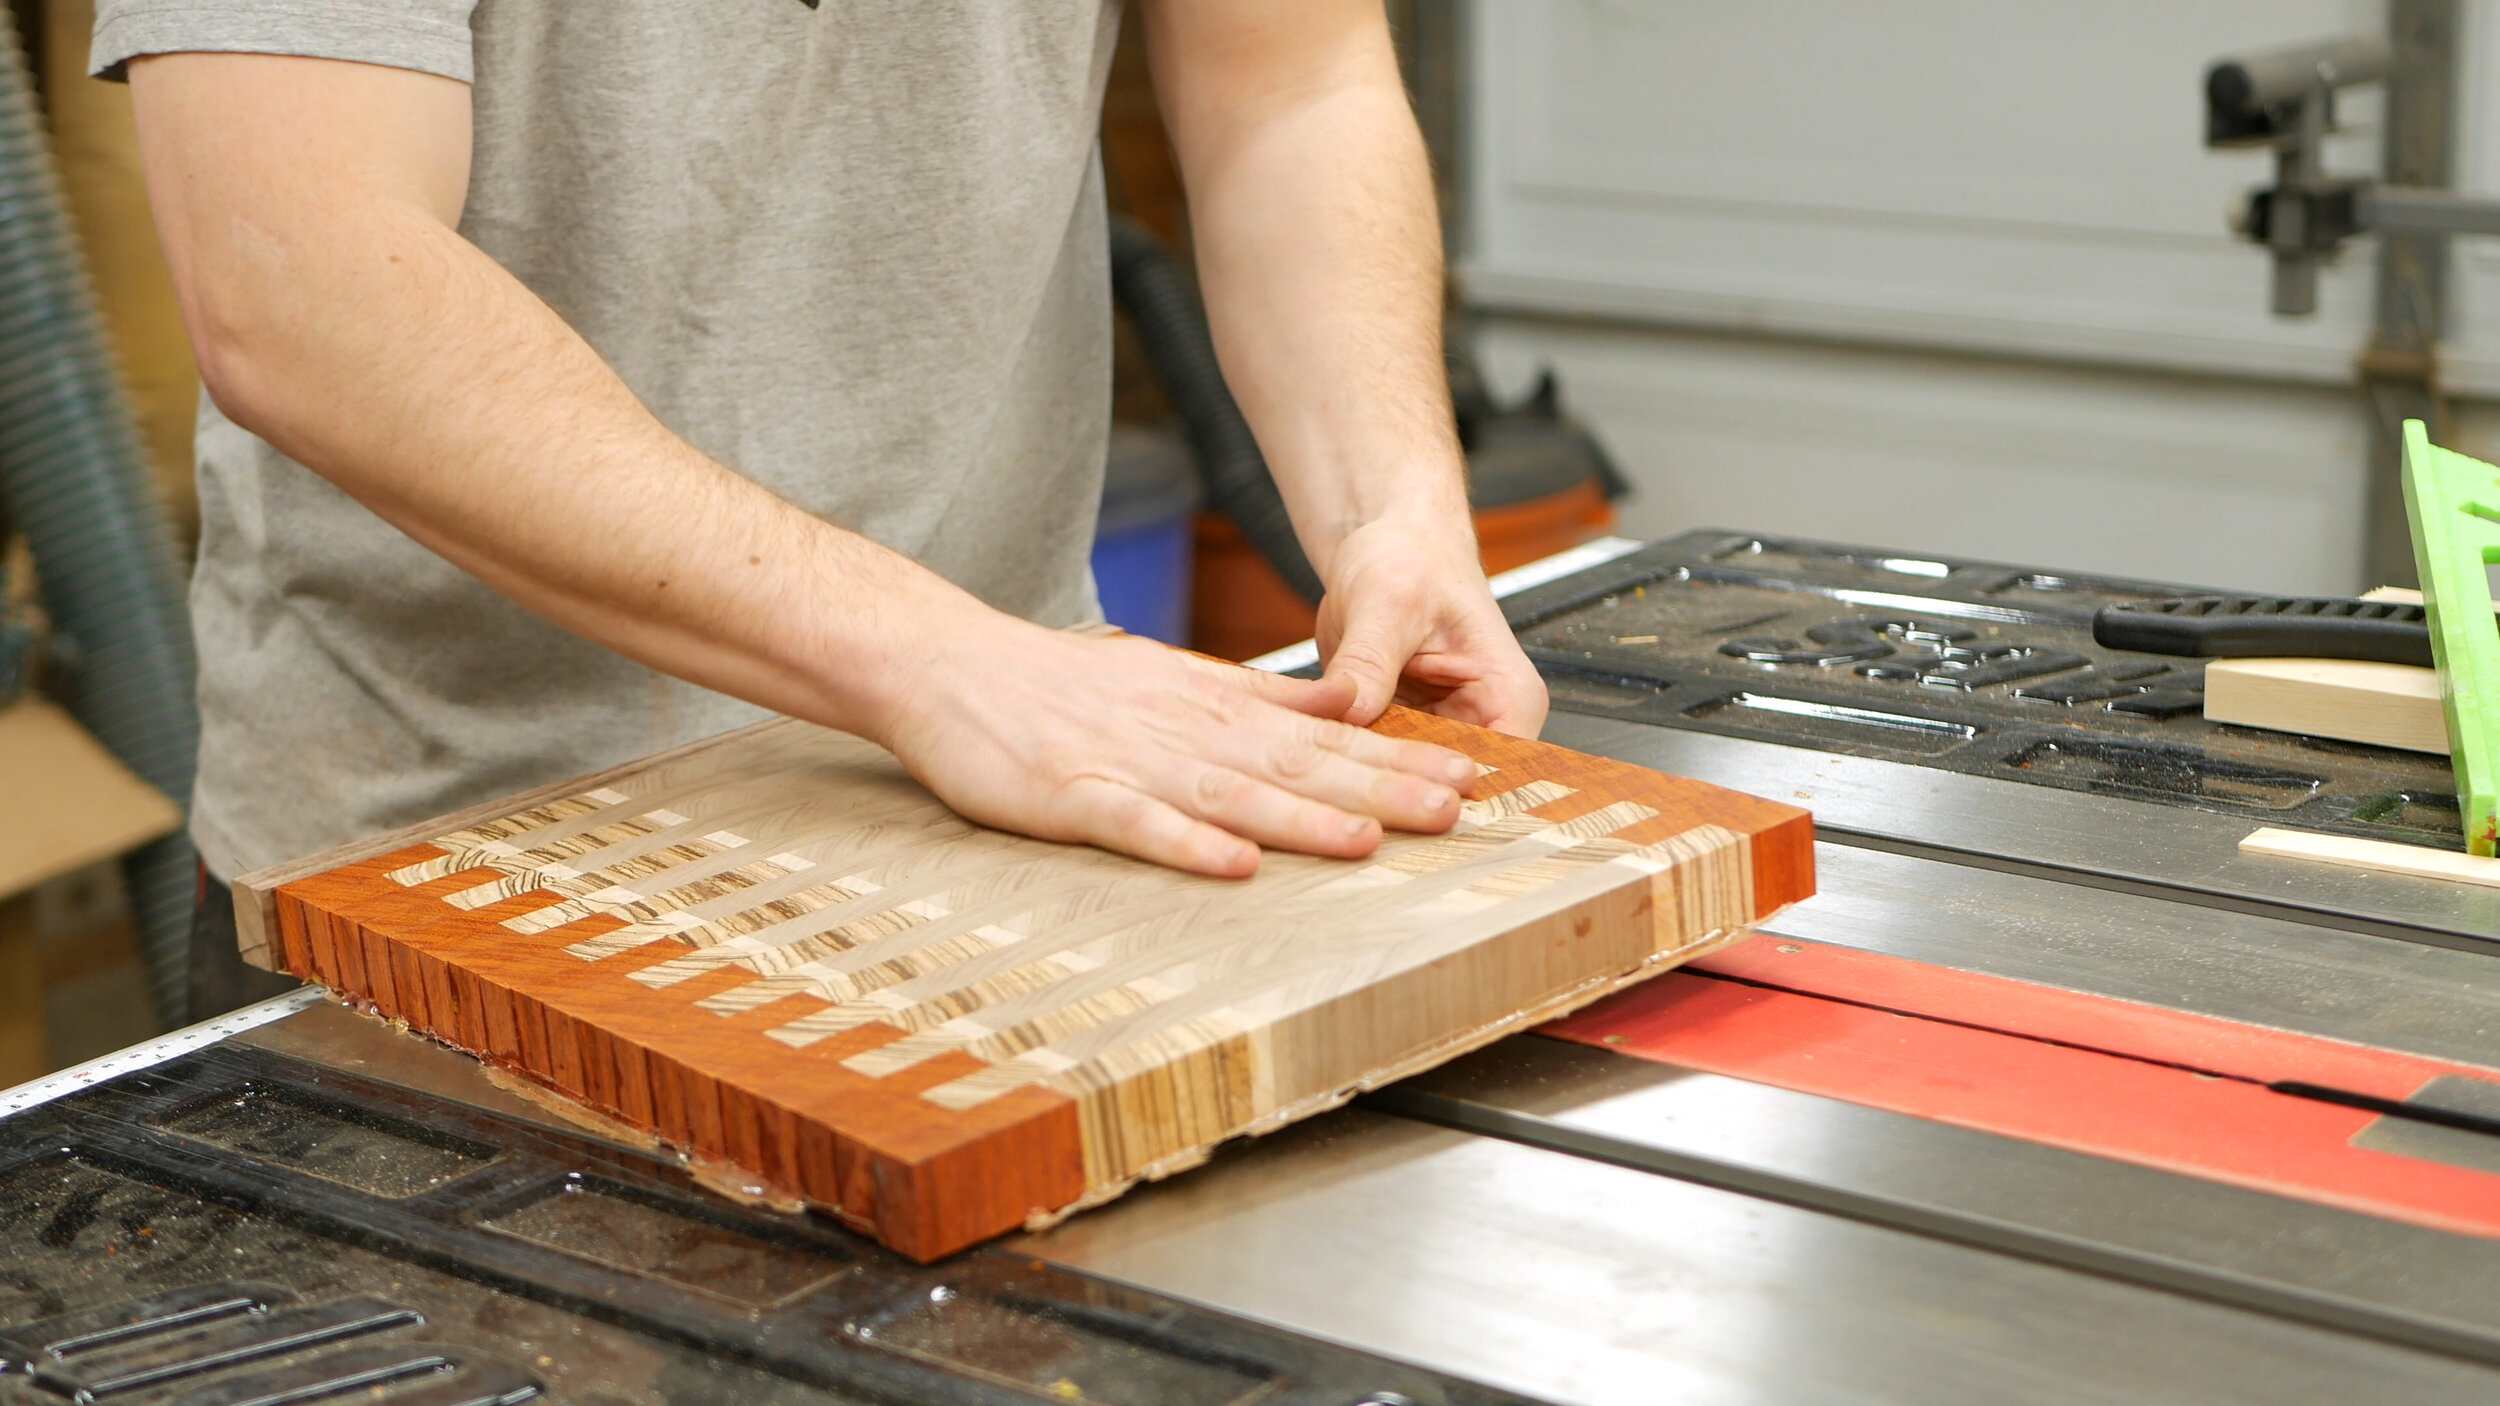
After letting the glue up cure overnight, I could turn to the planer to clean up and flatten the piece, and then trim off the edge of the piece so size using the table saw and sled.
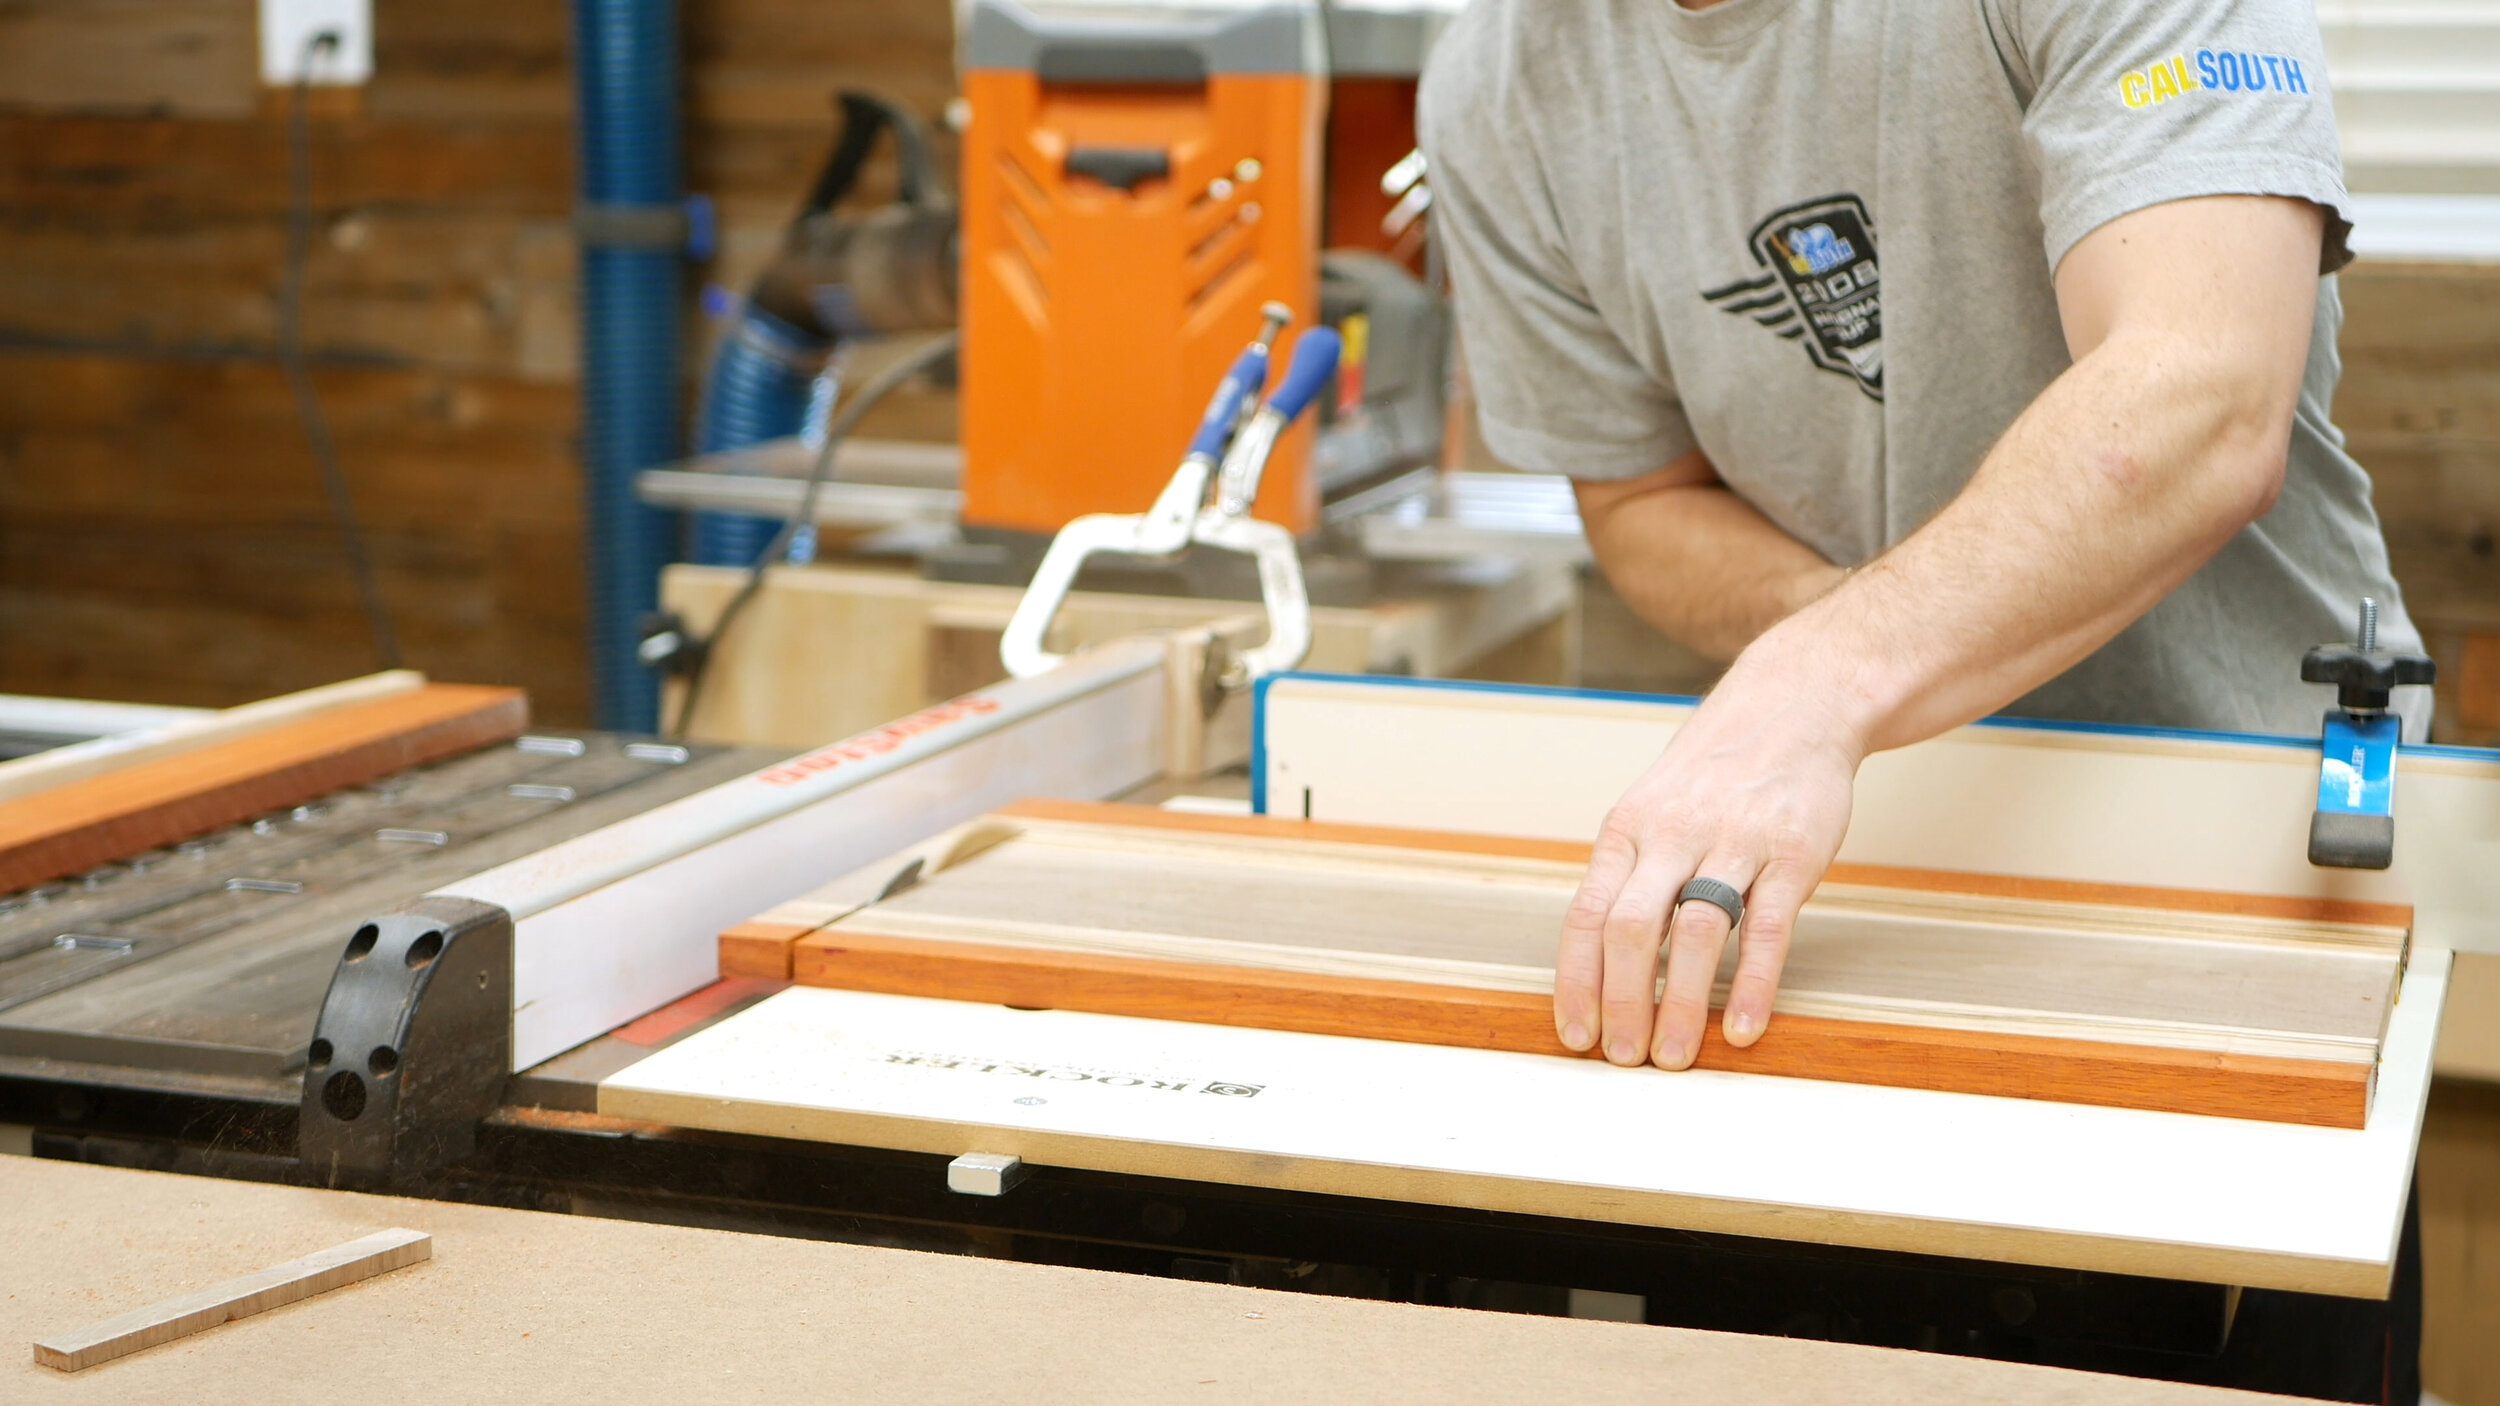
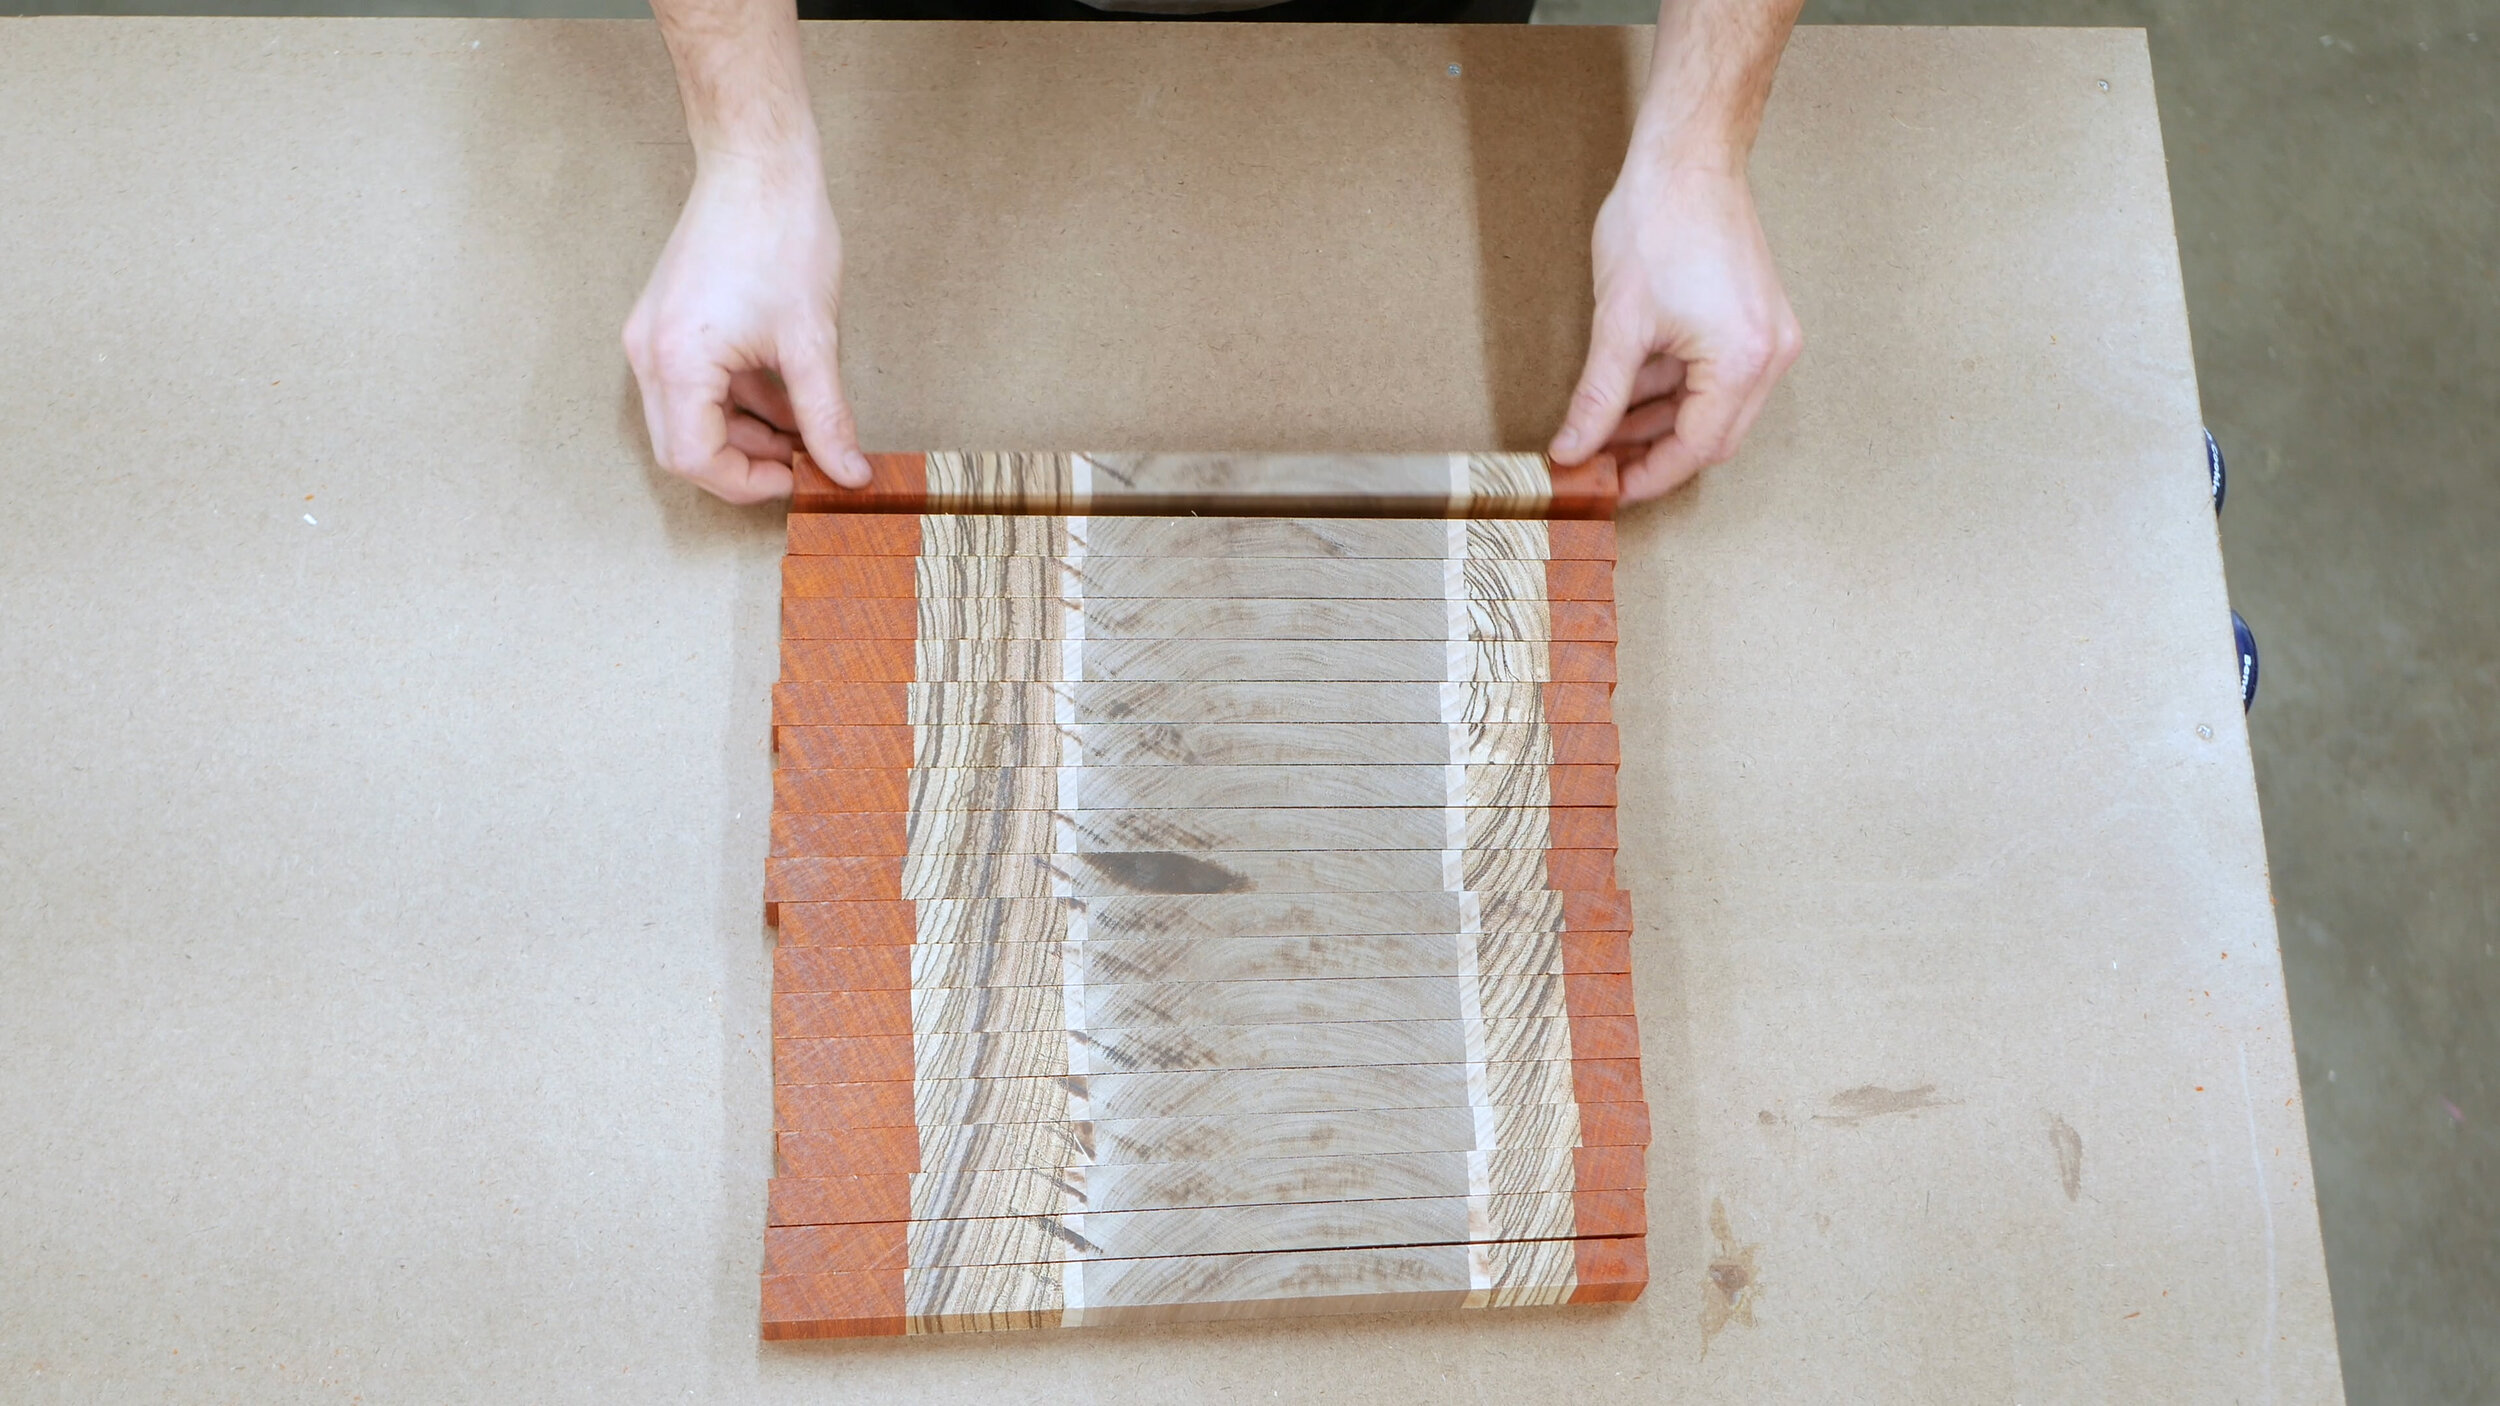
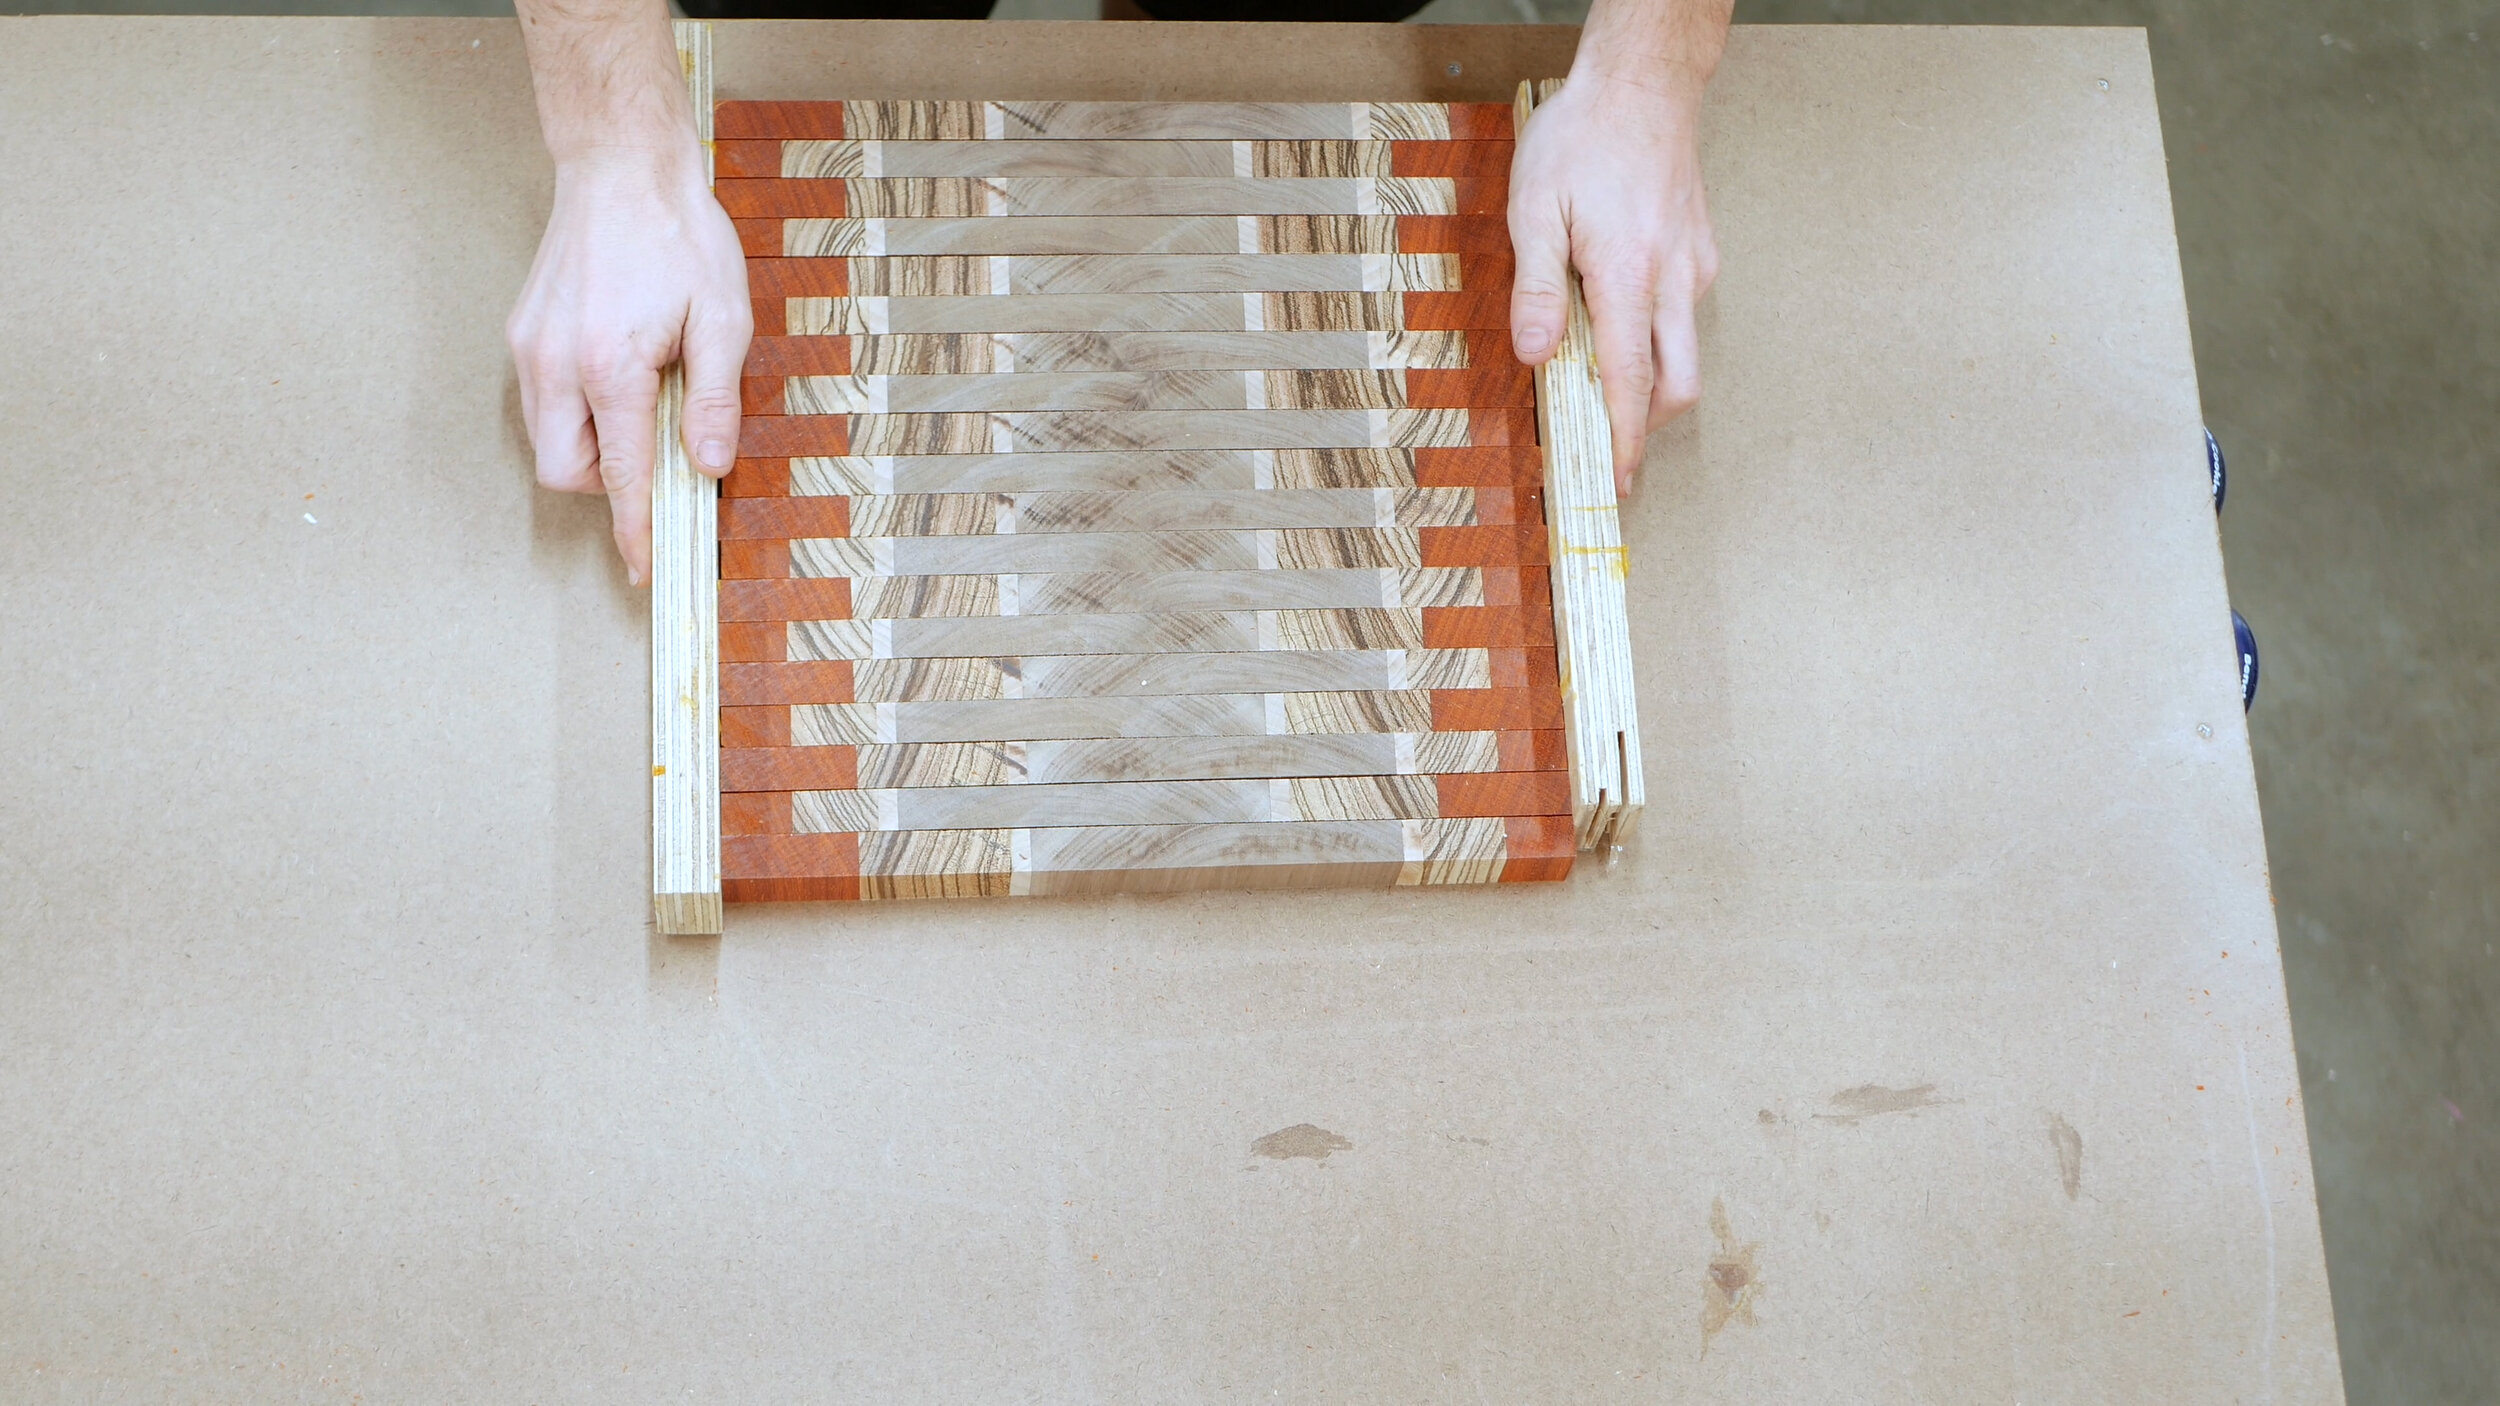
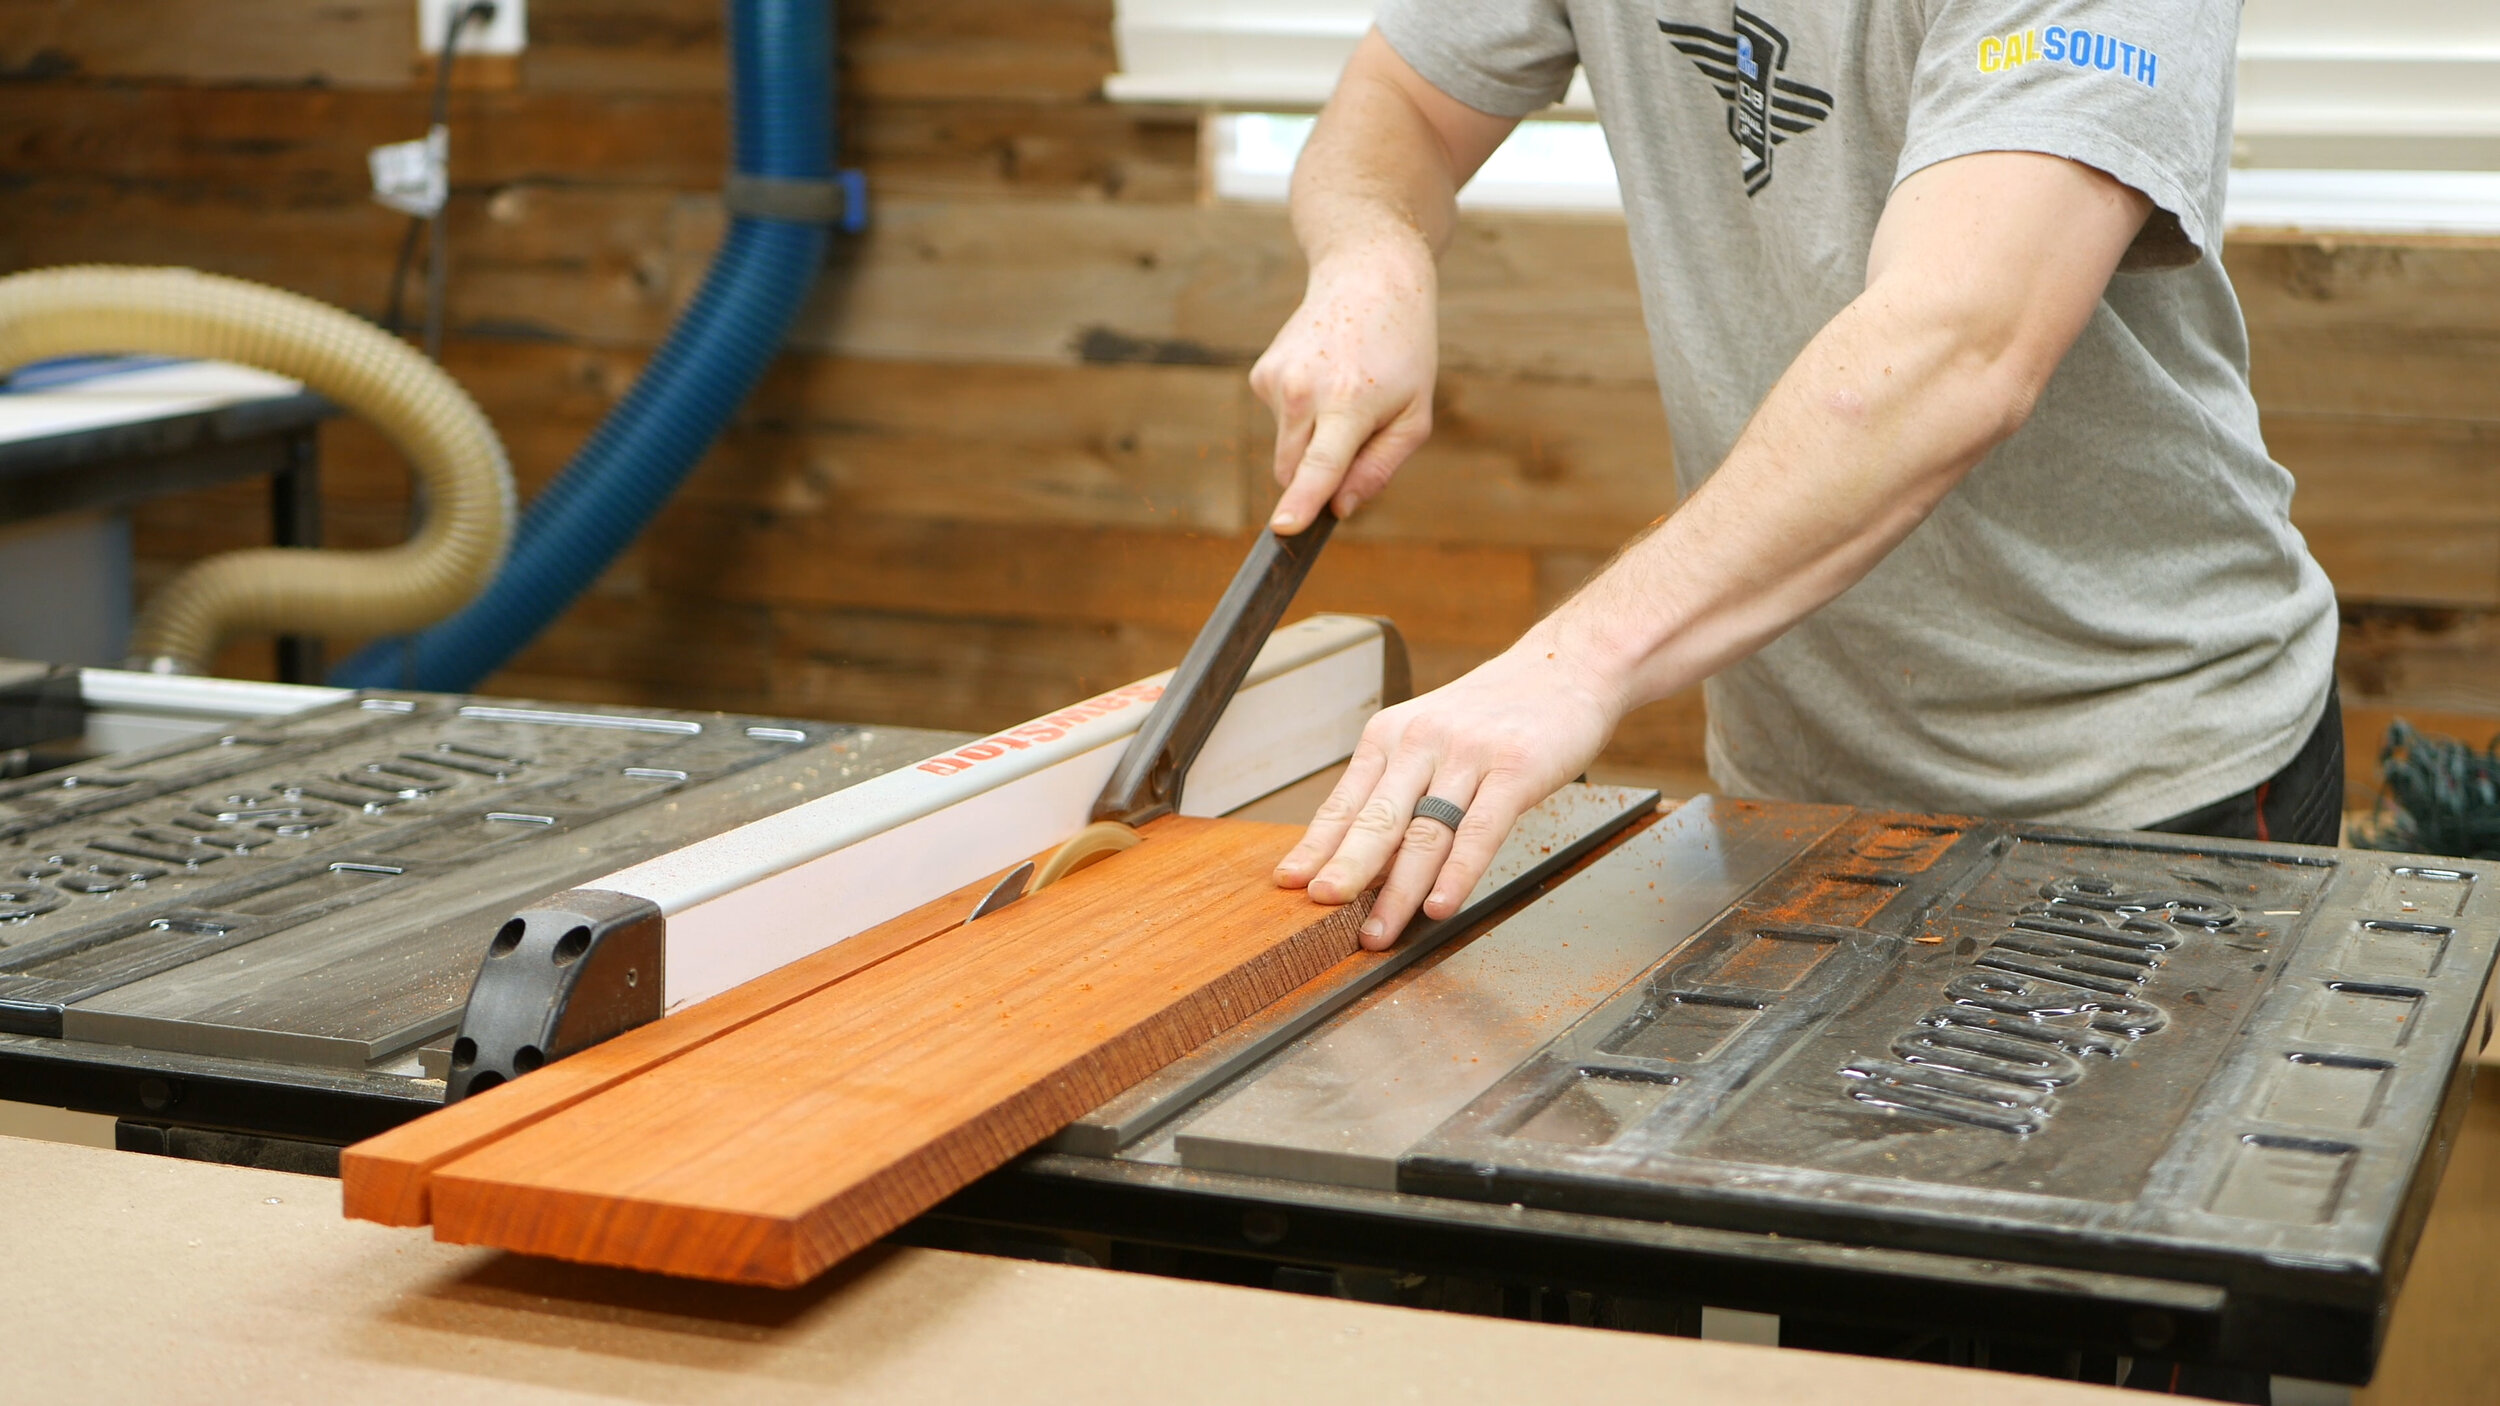
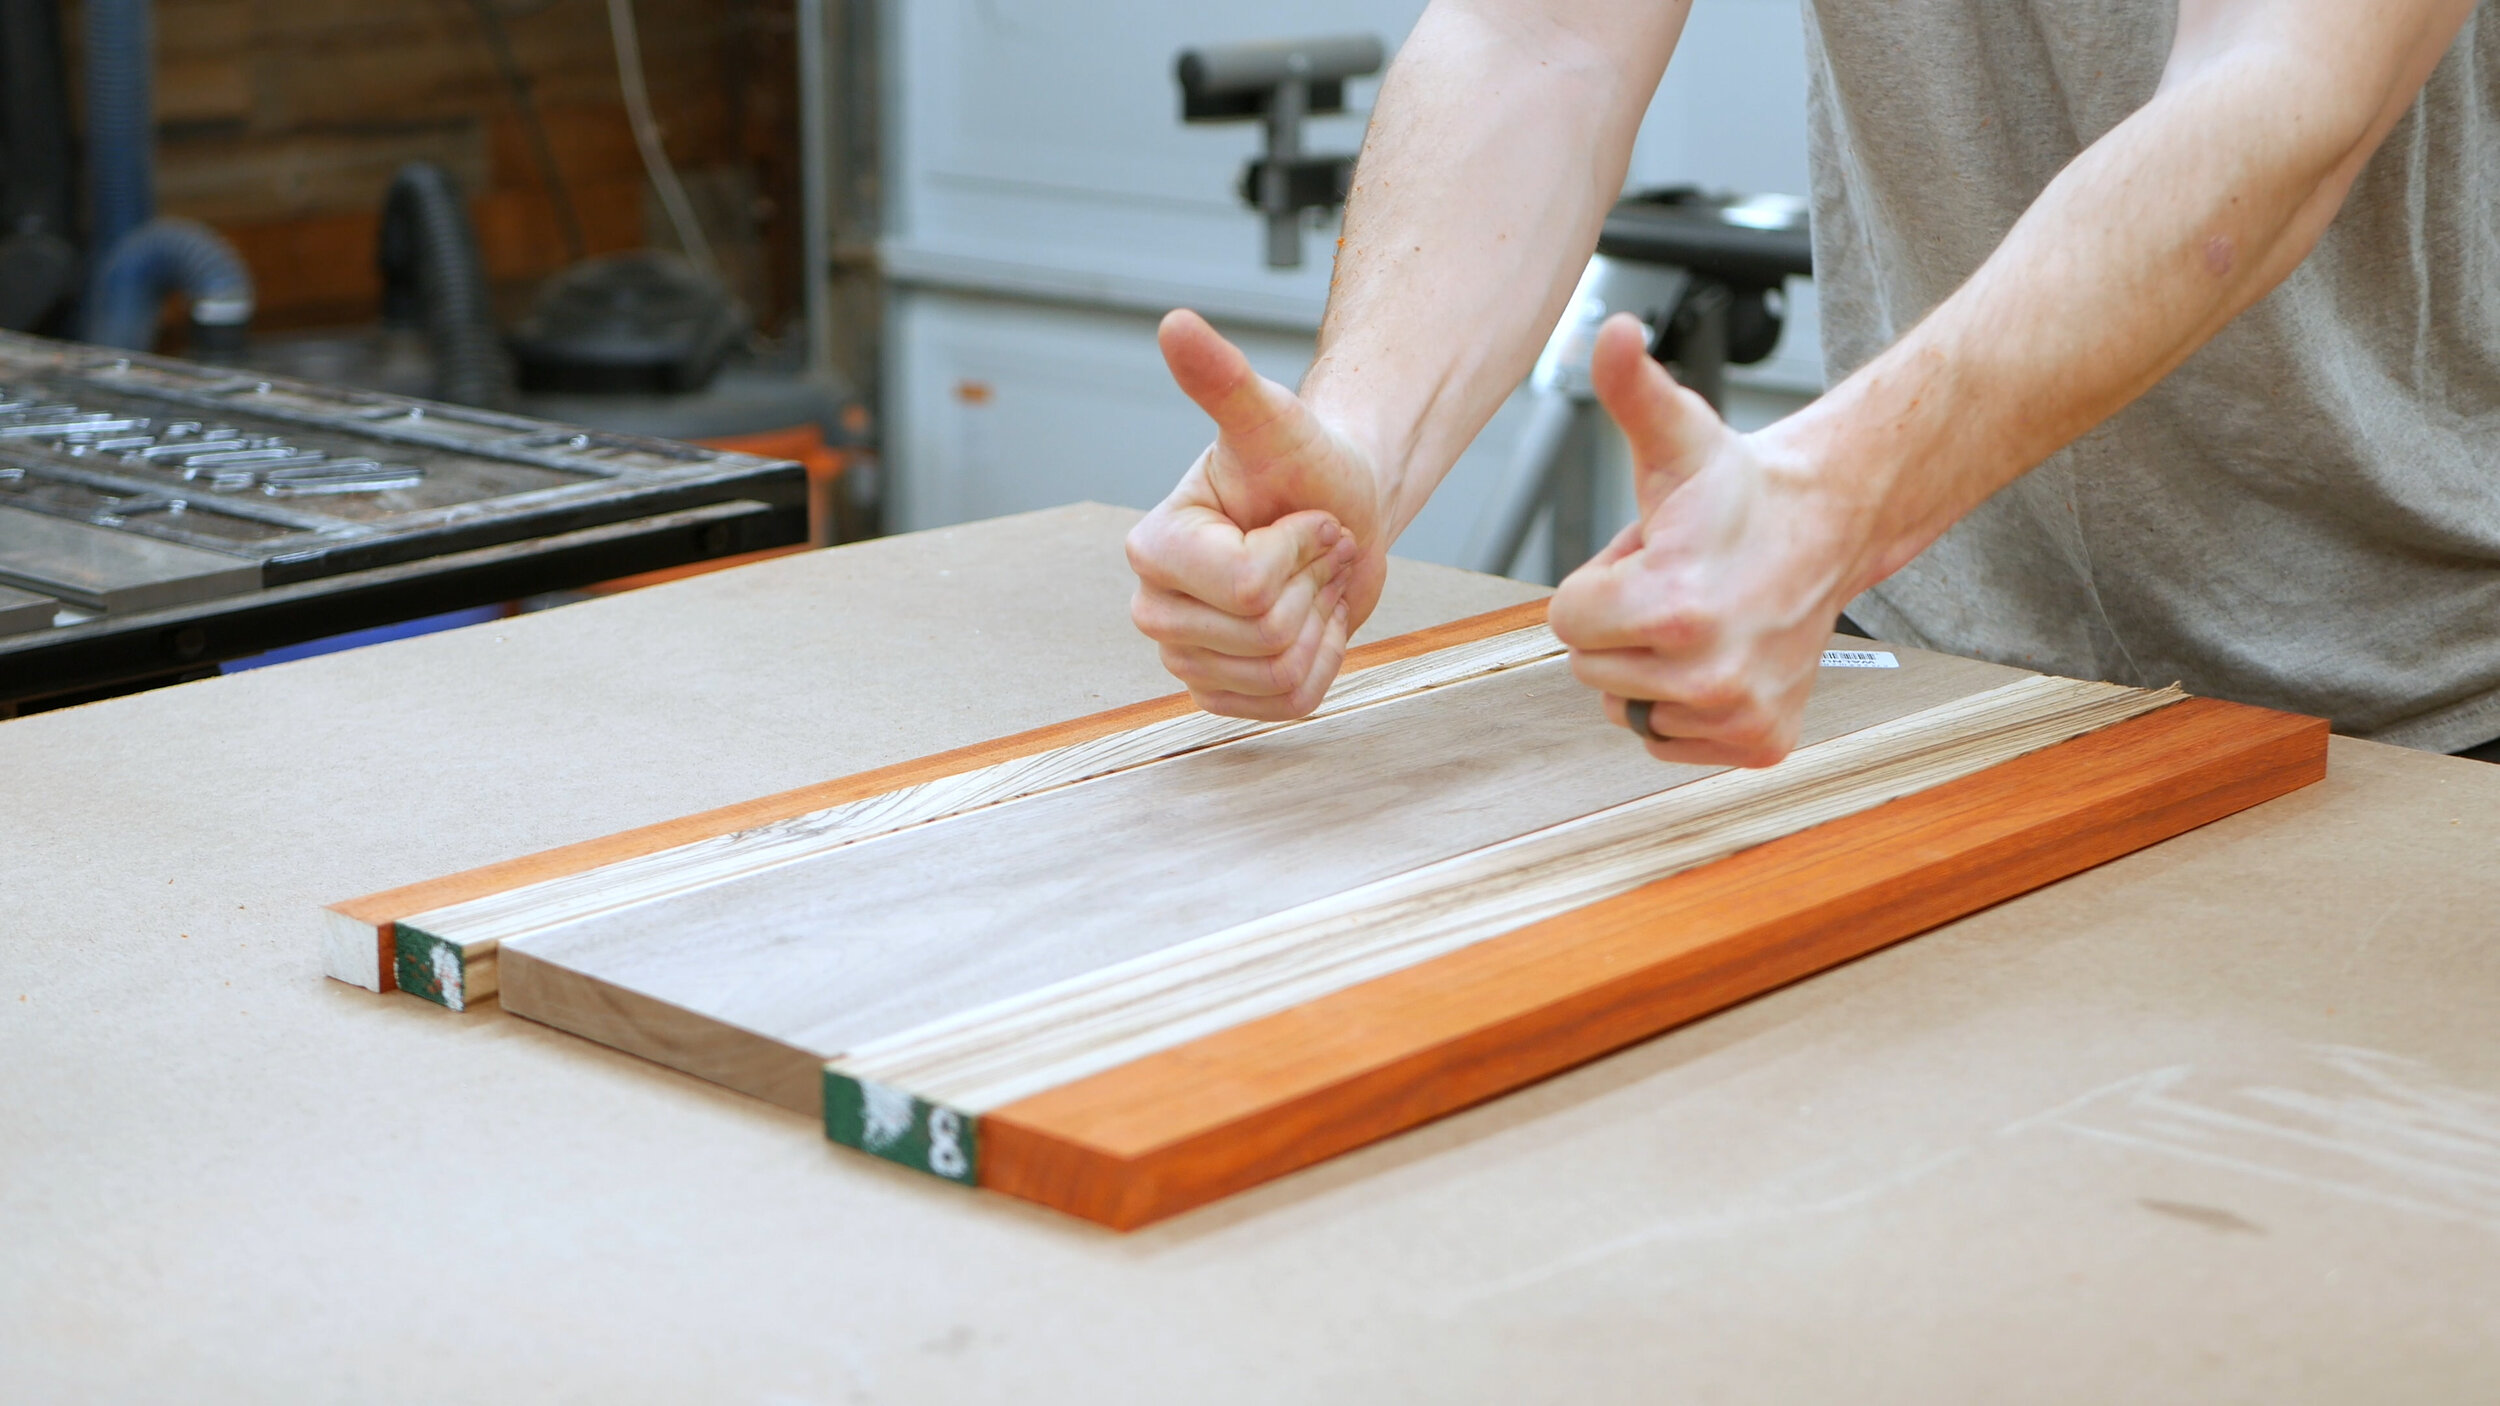
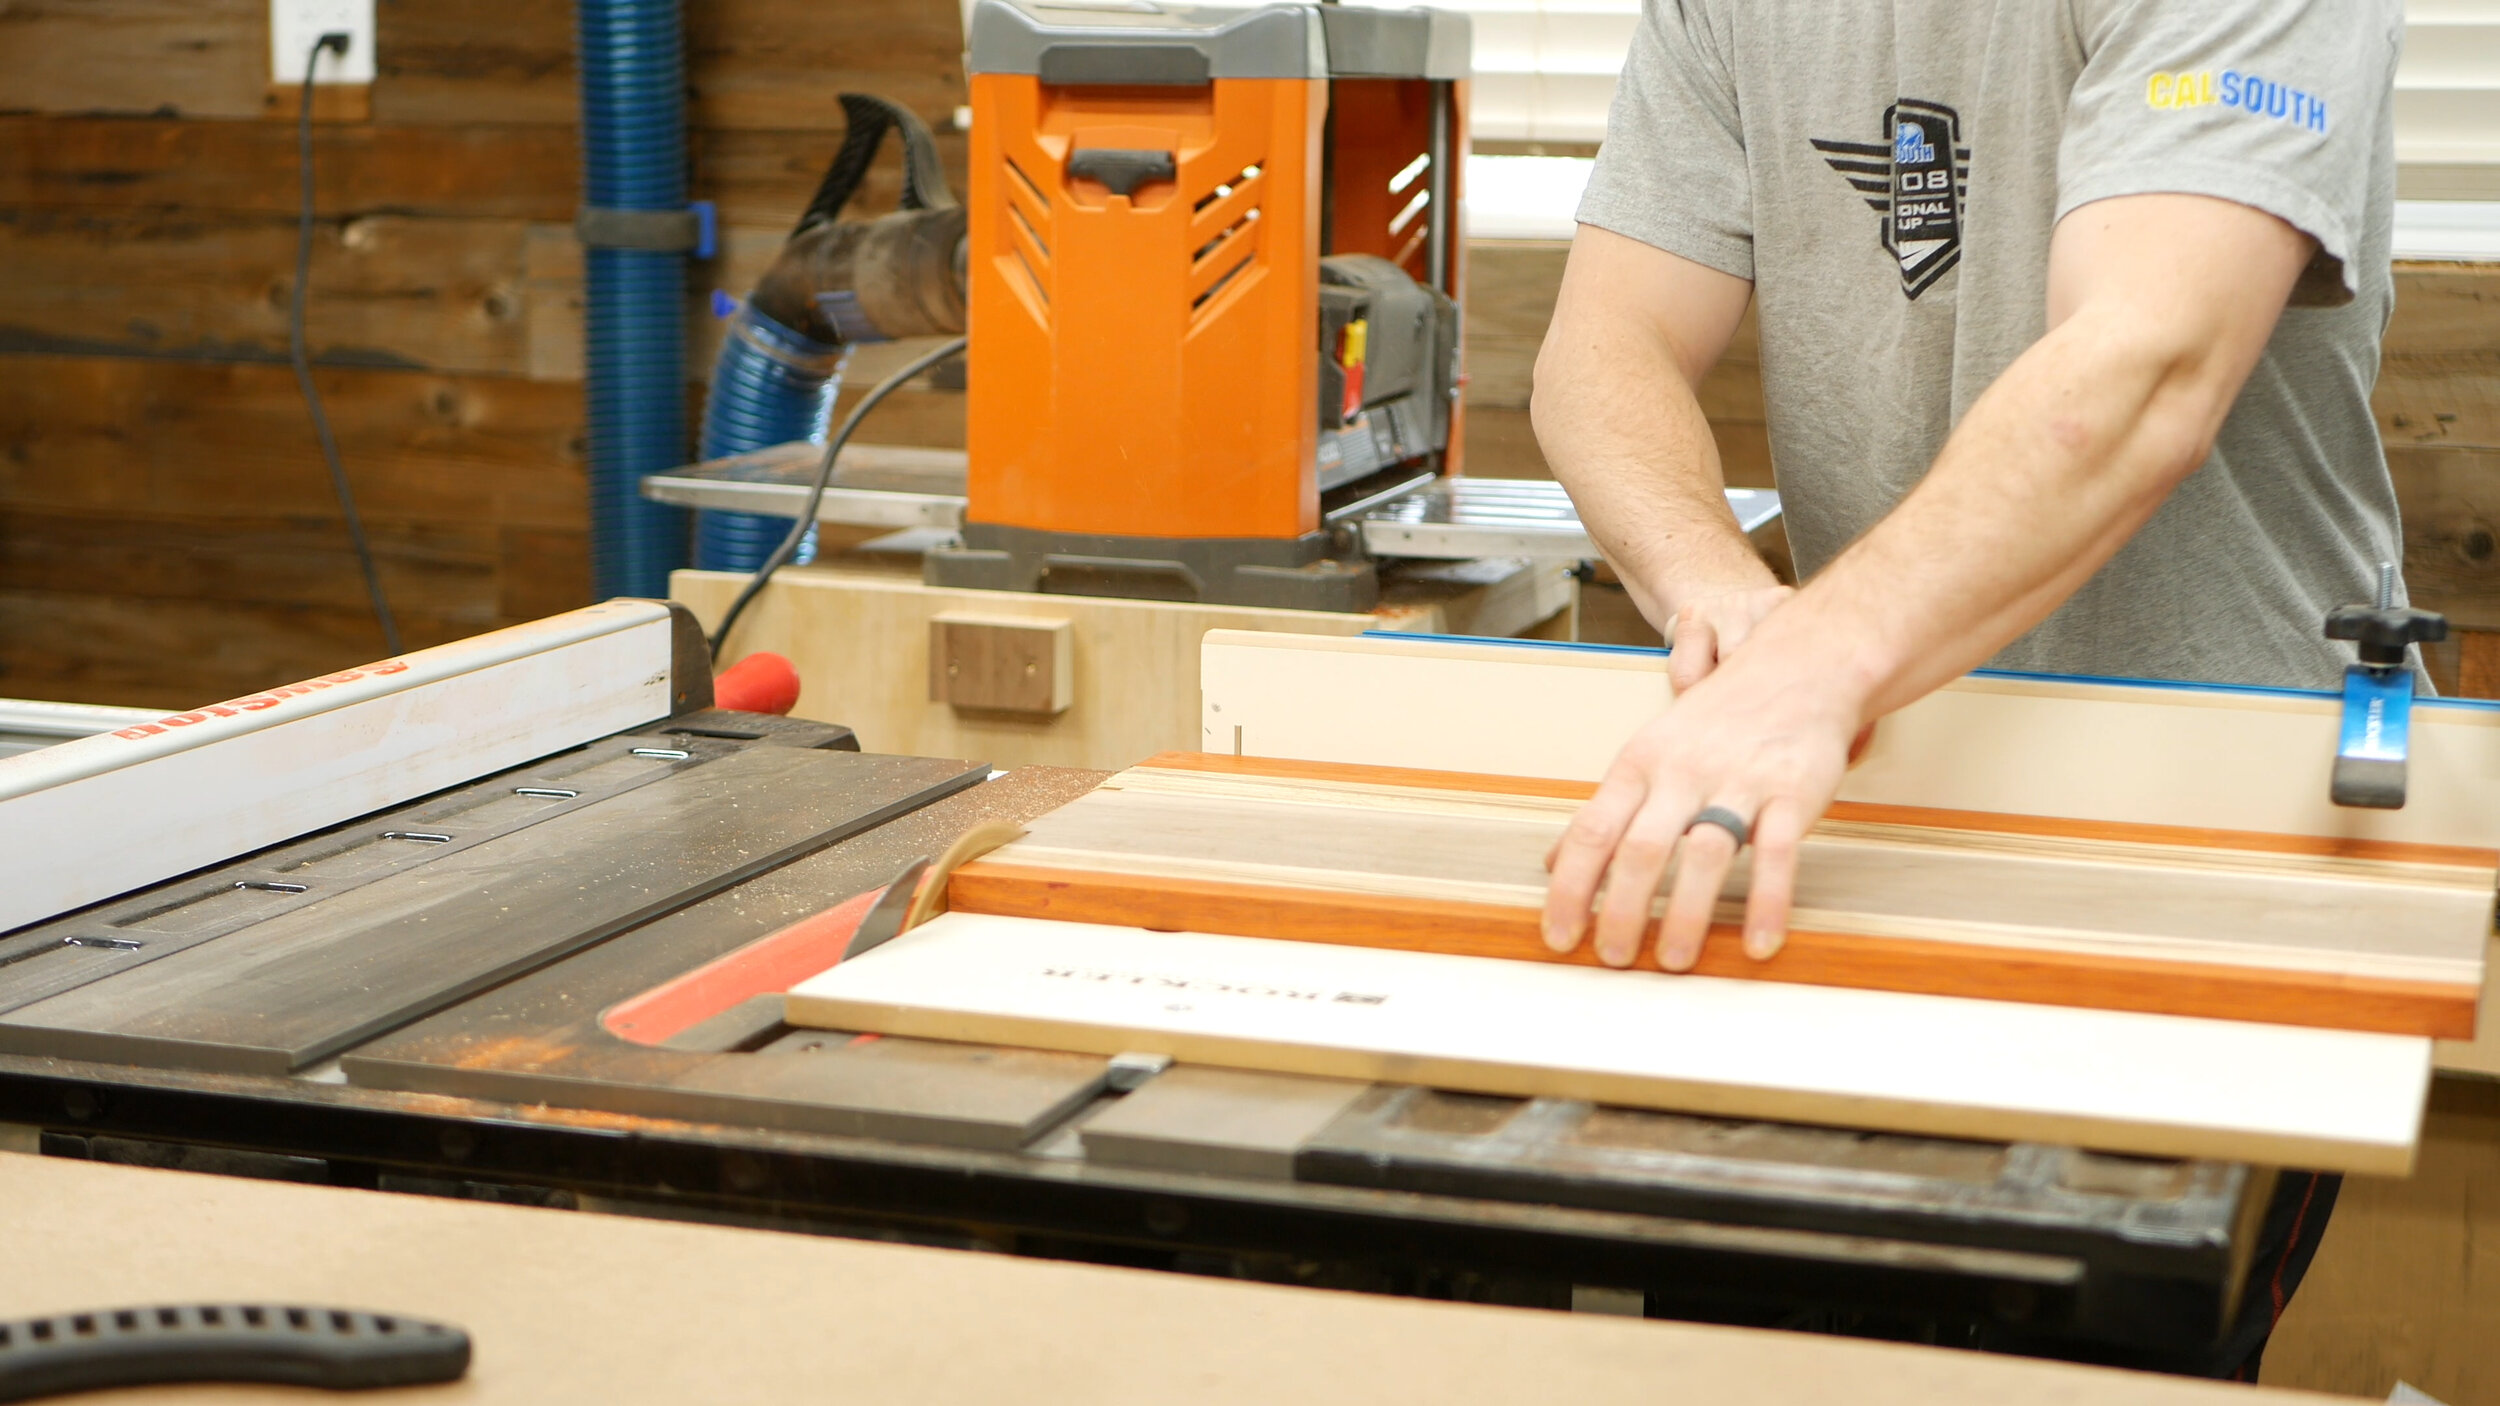
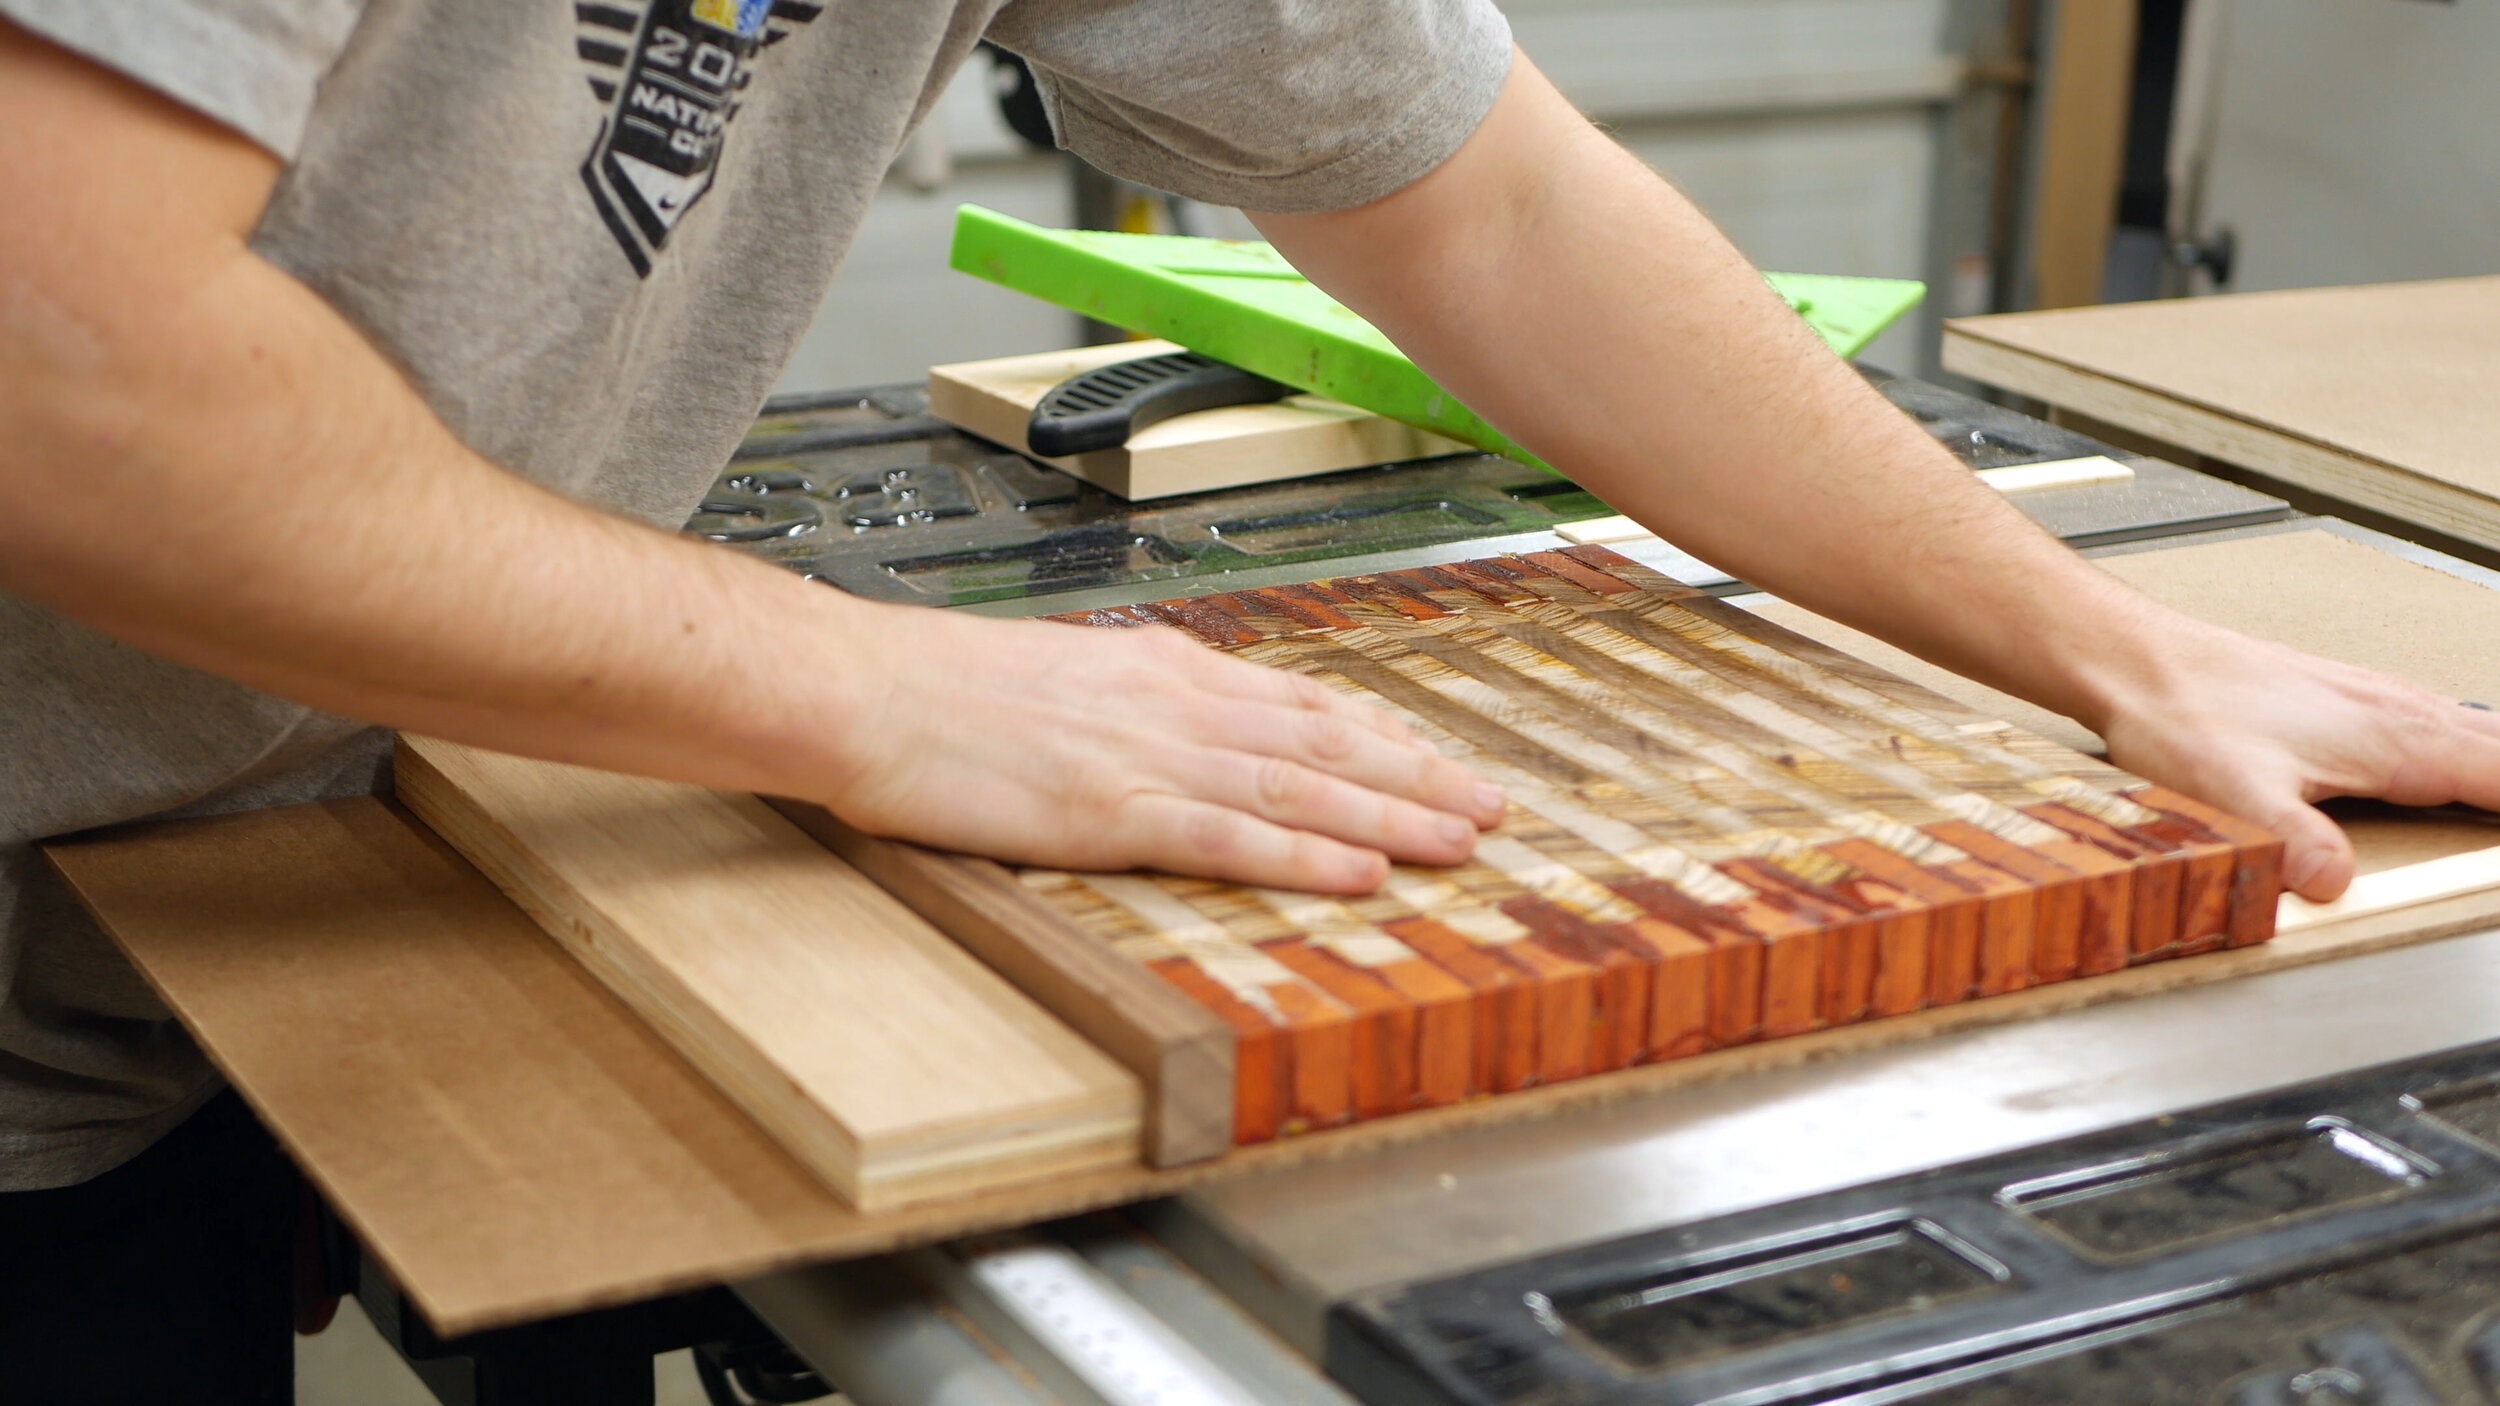
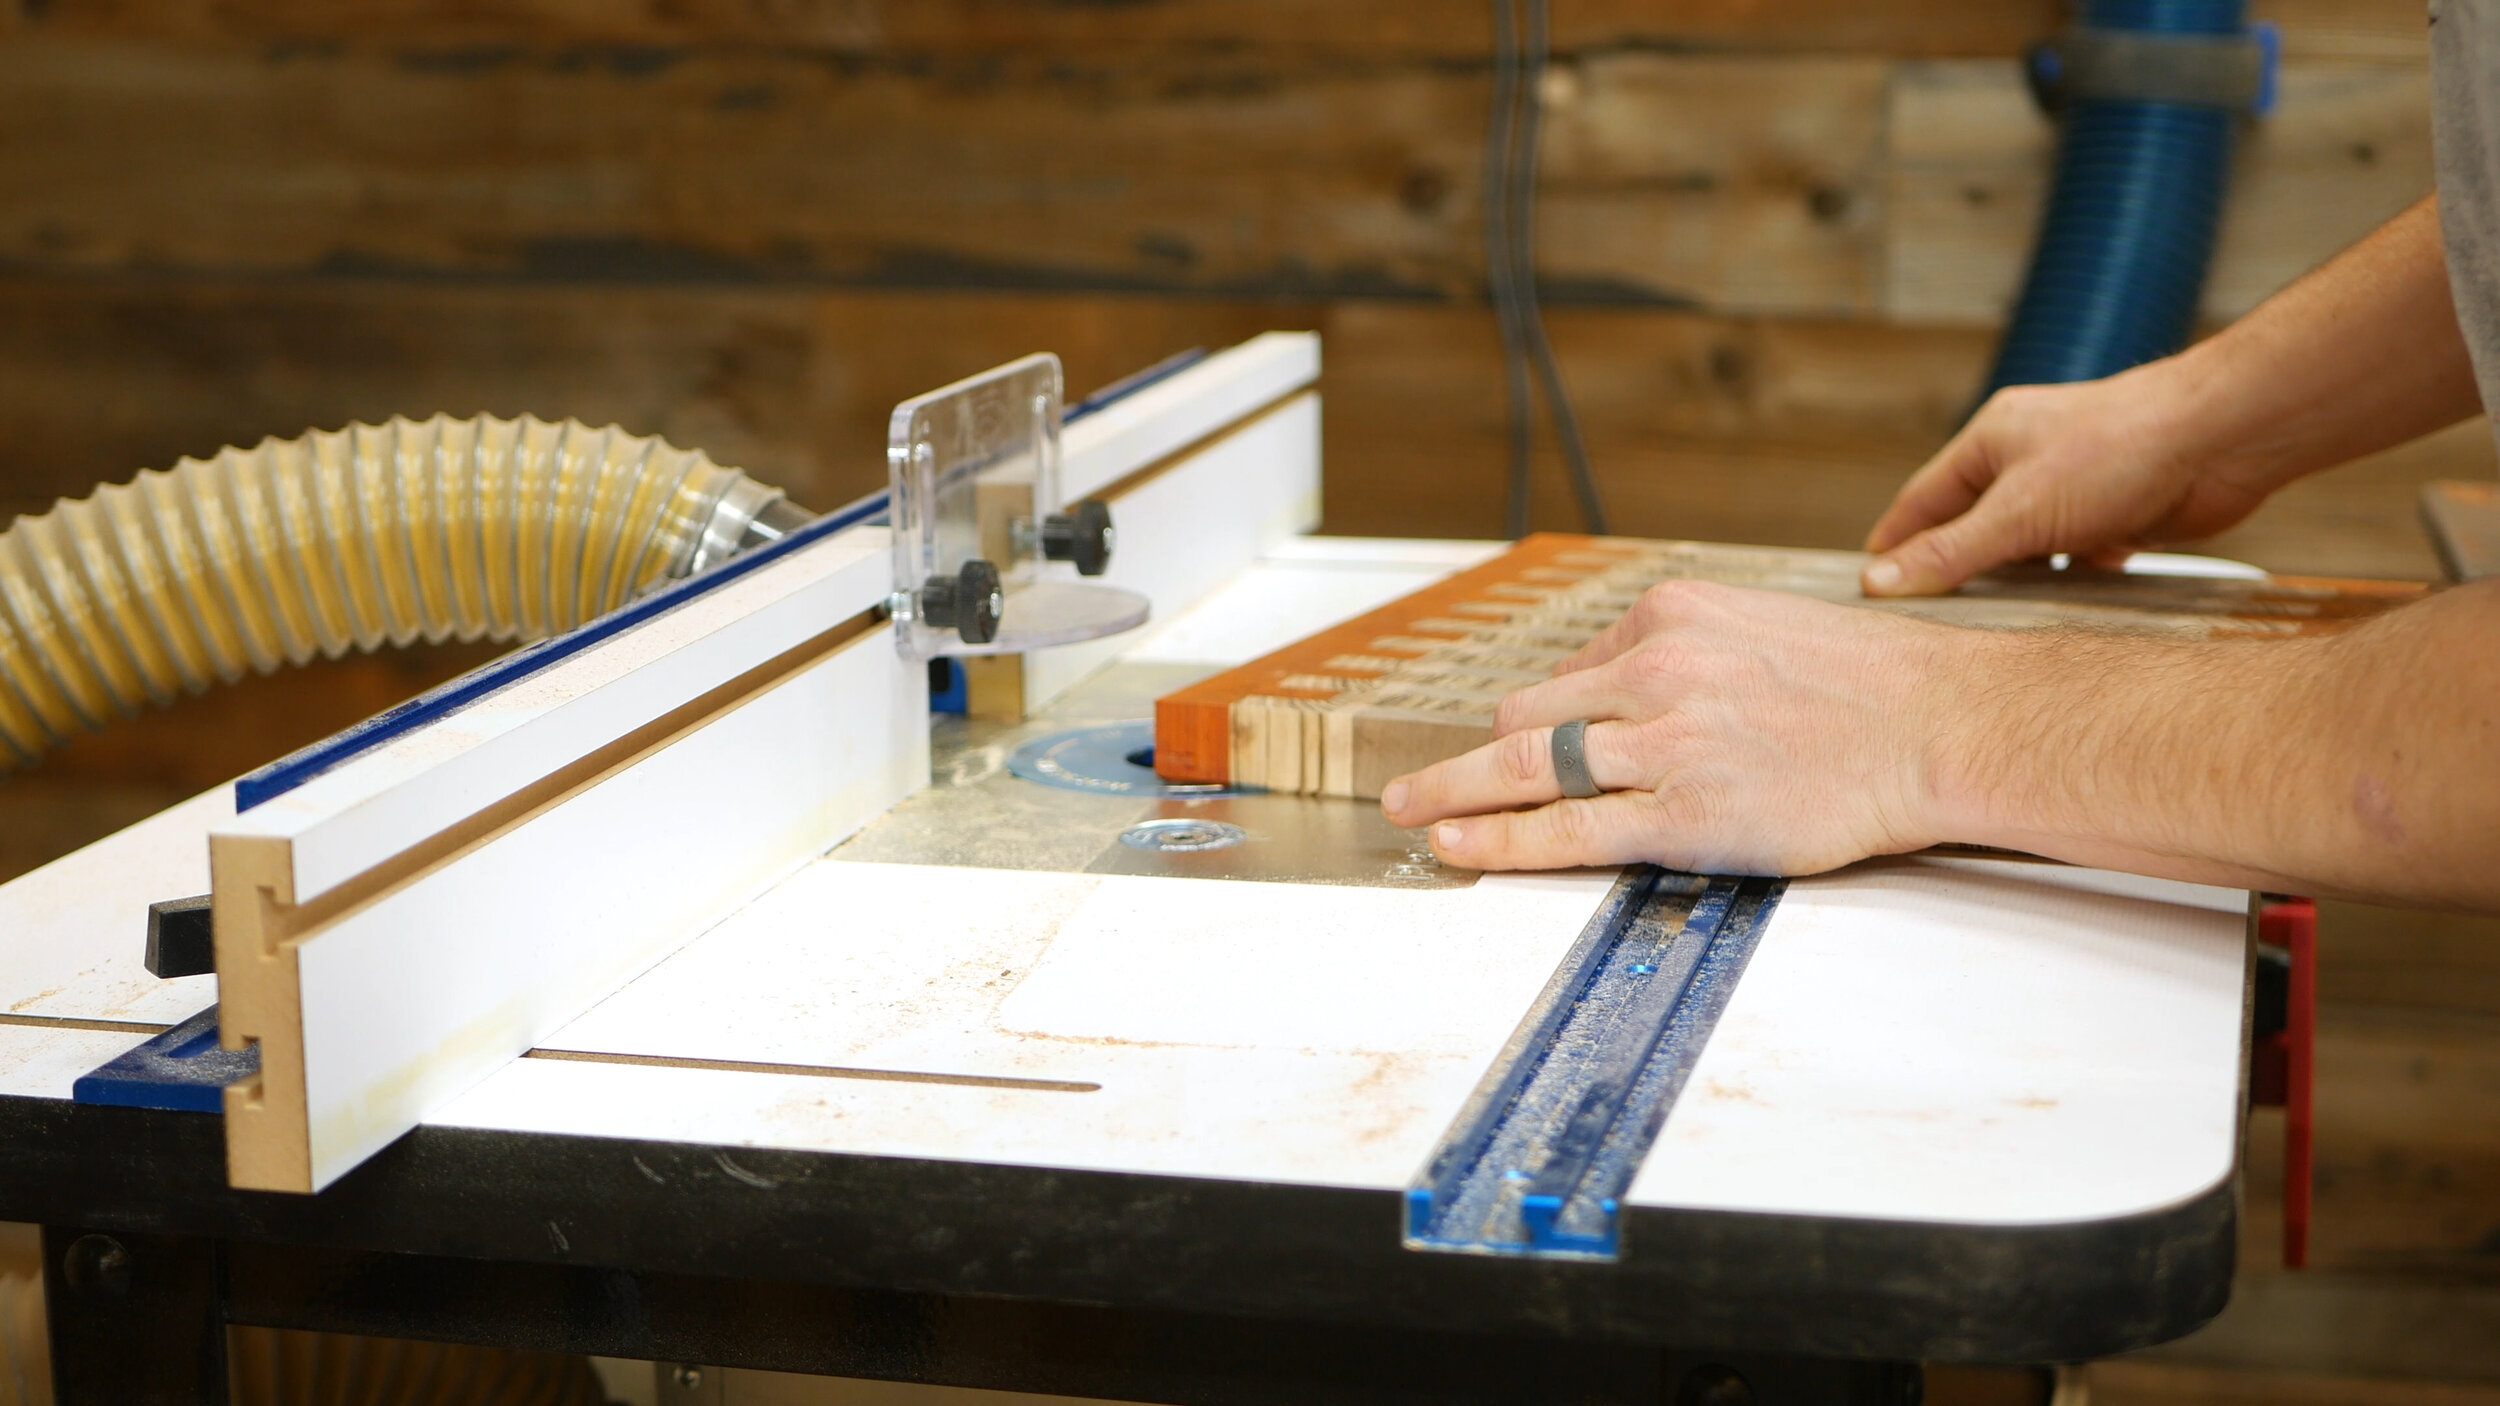
Once the piece was flat, I could then begin cutting strips again using the table saw and sled. I had a stop on the fence to keep things even and safe. I then could lay them all out on the workbench, and rotate every other piece.

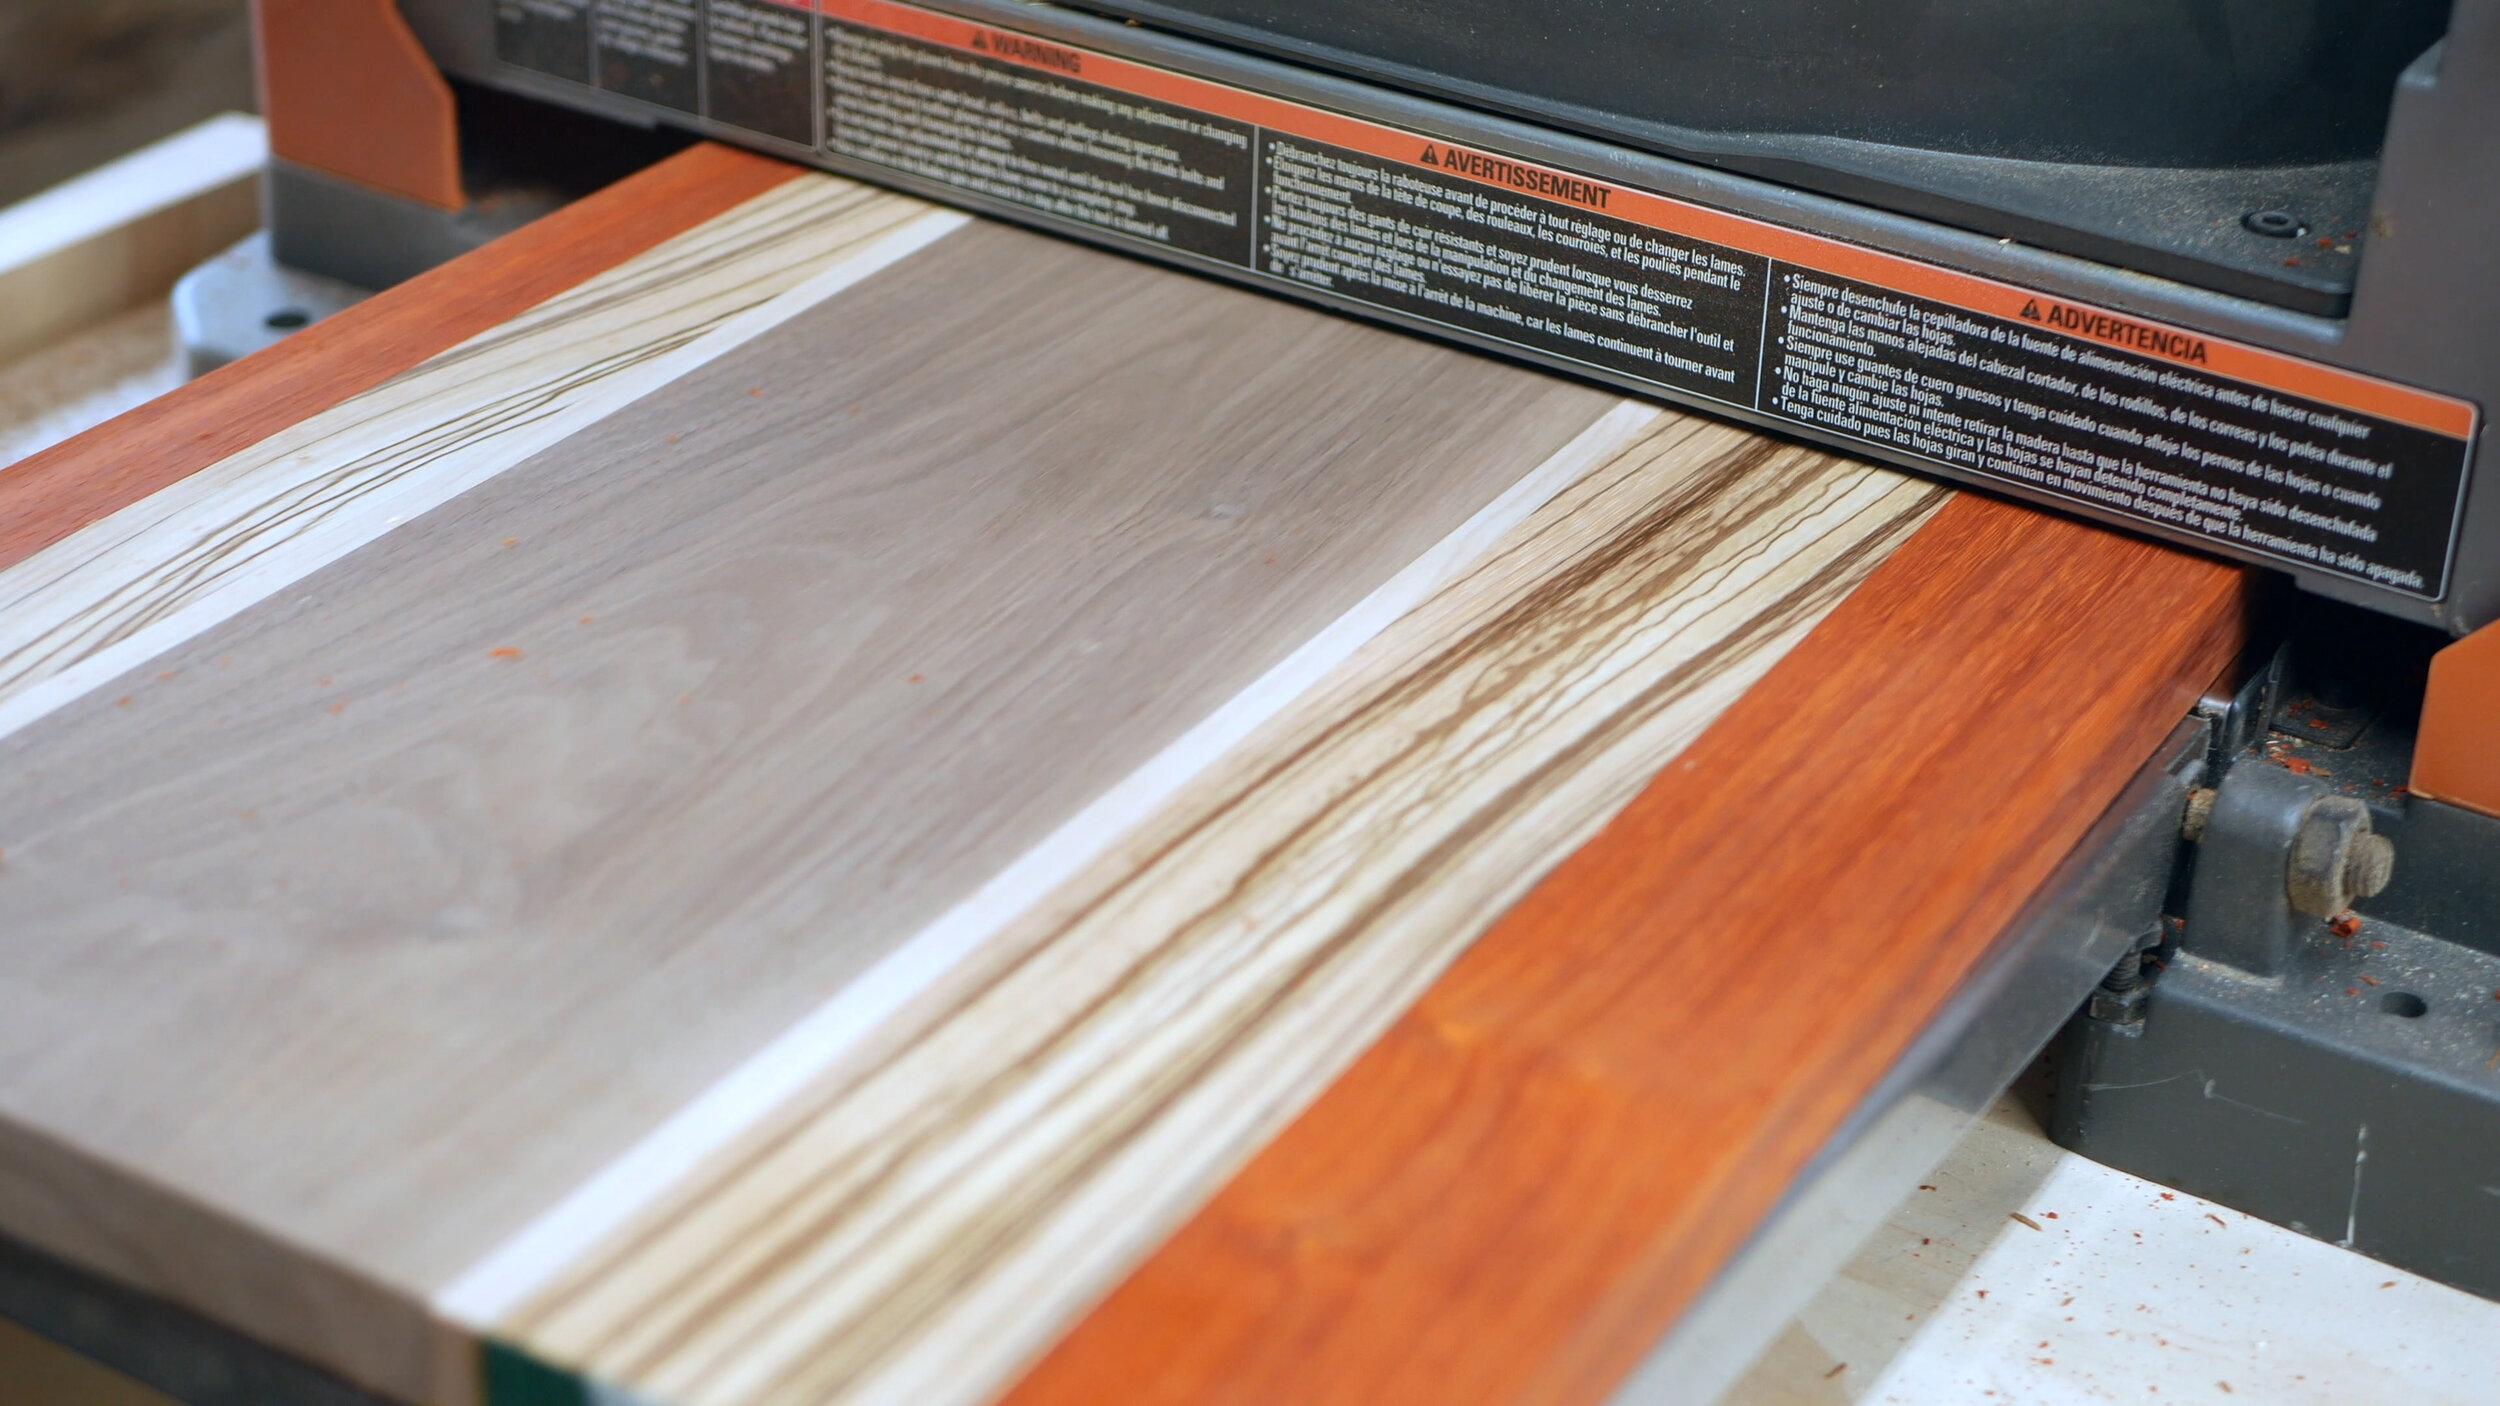
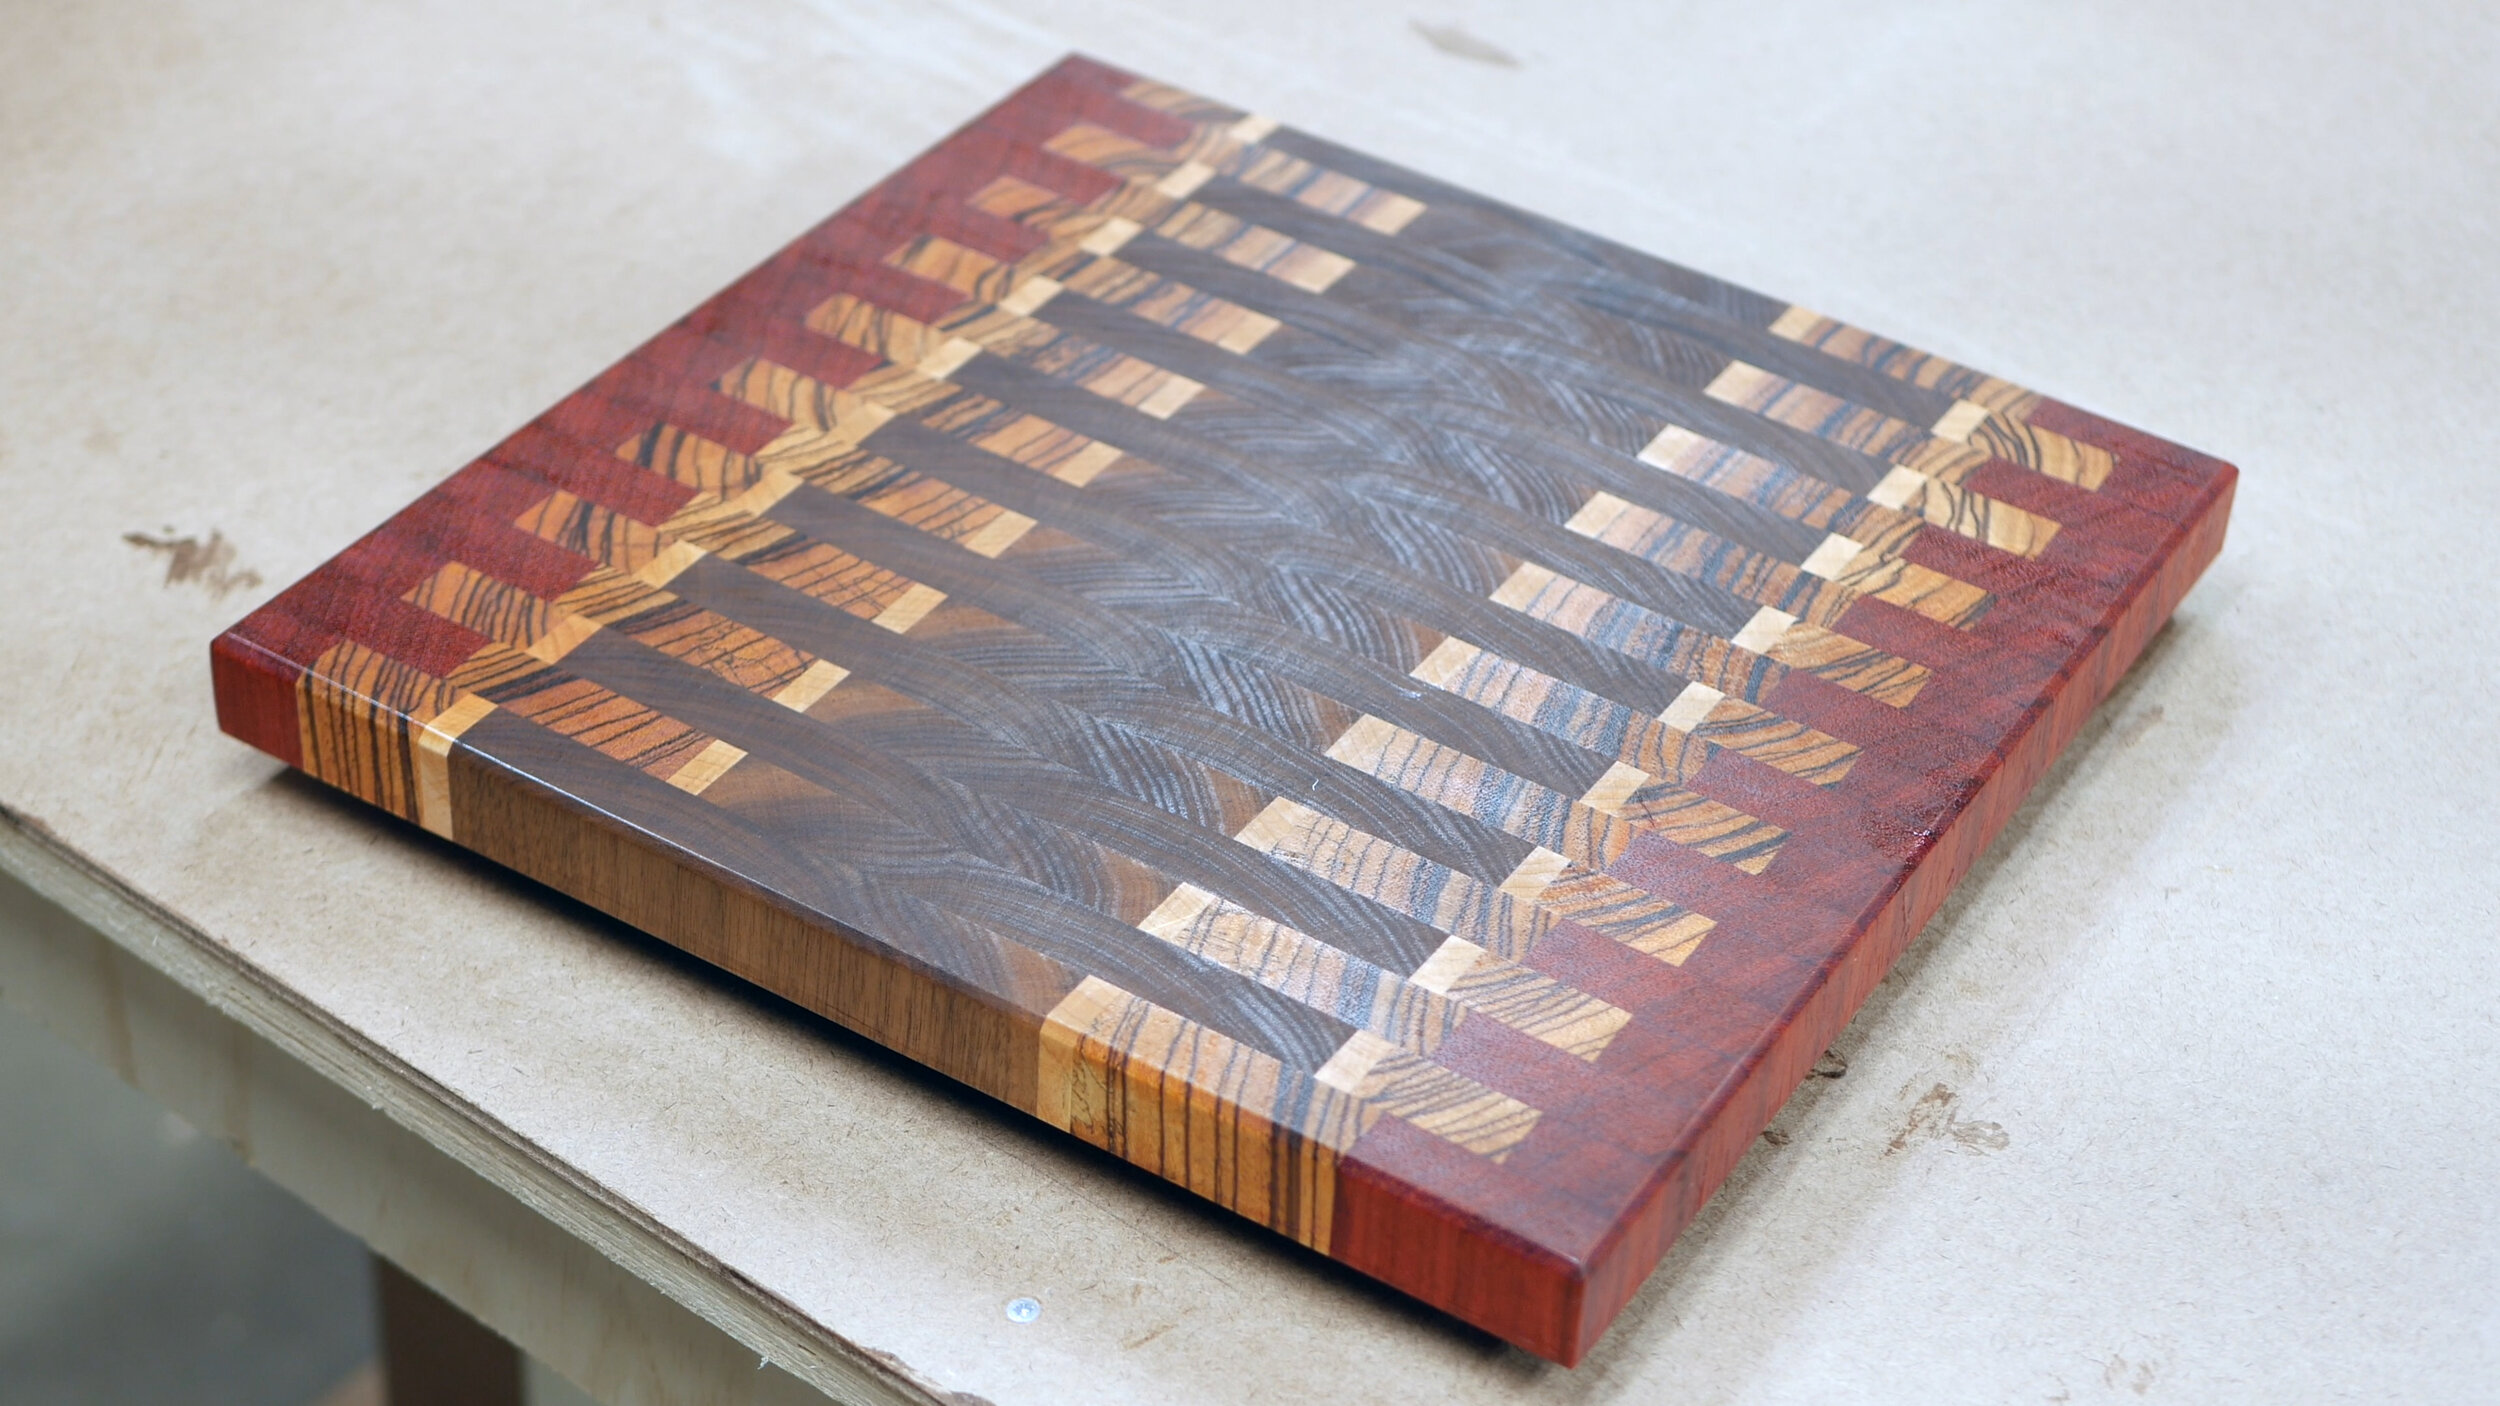
You can see how the different sized padauk pieces lead to an offset zipper look. Pretty sweet!
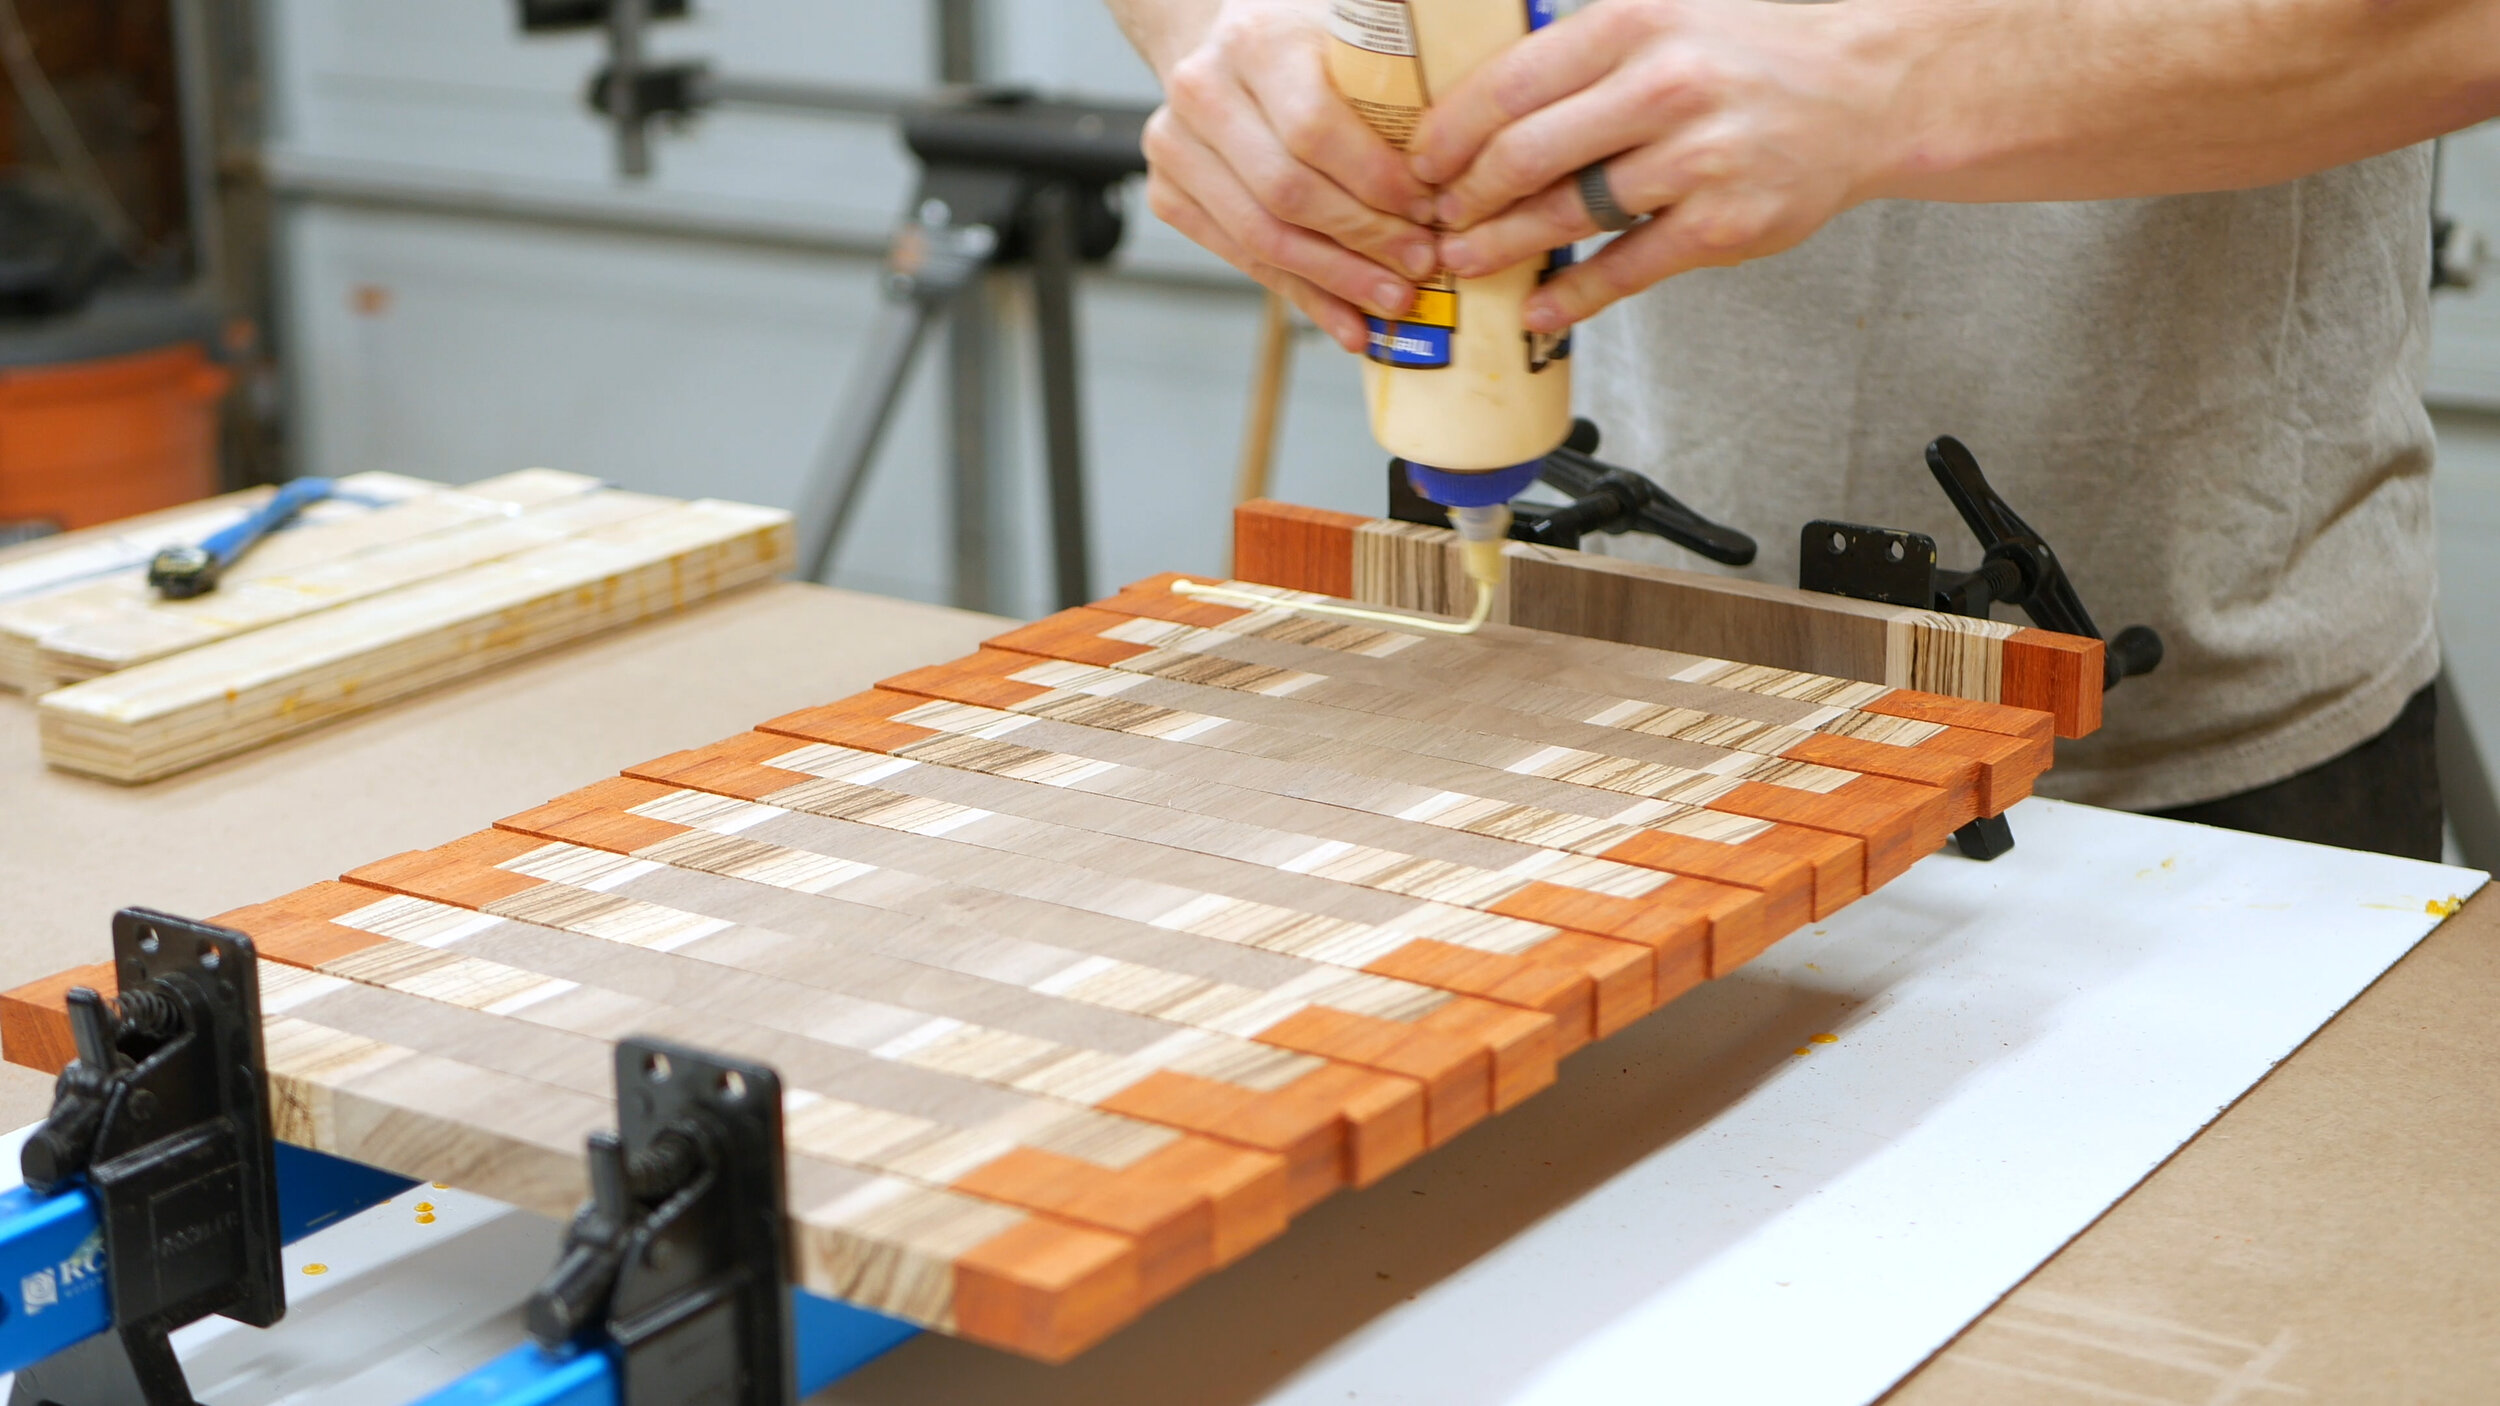
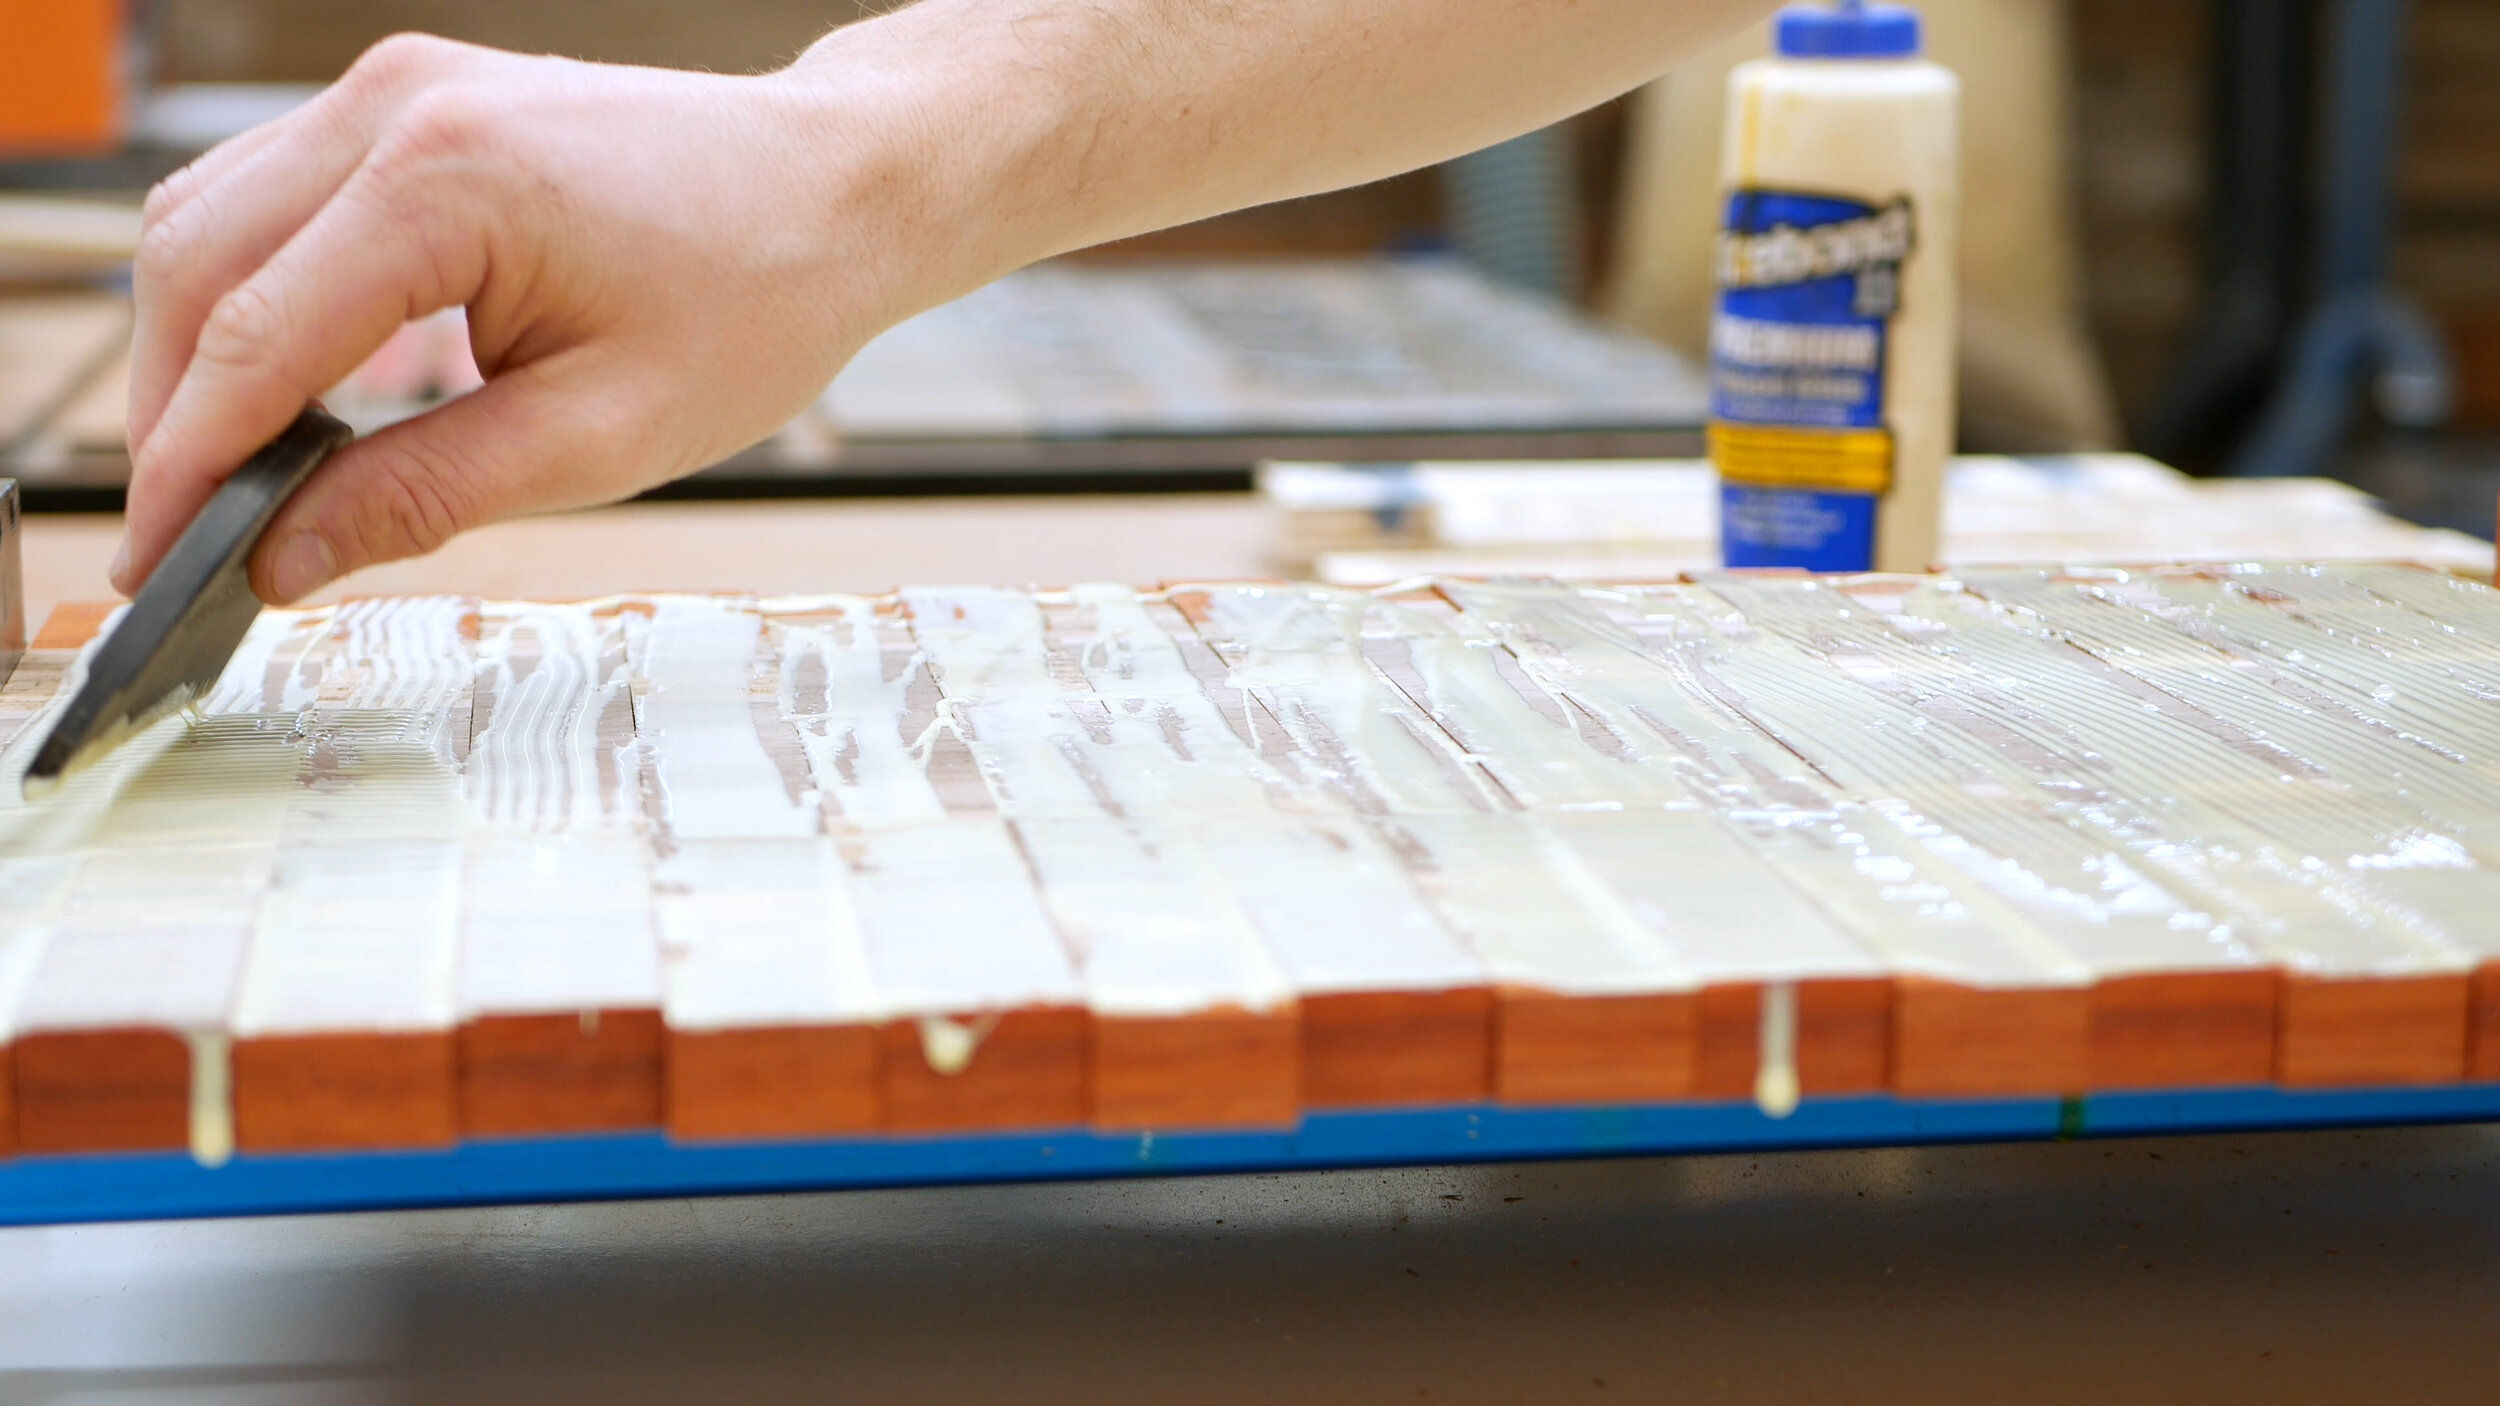
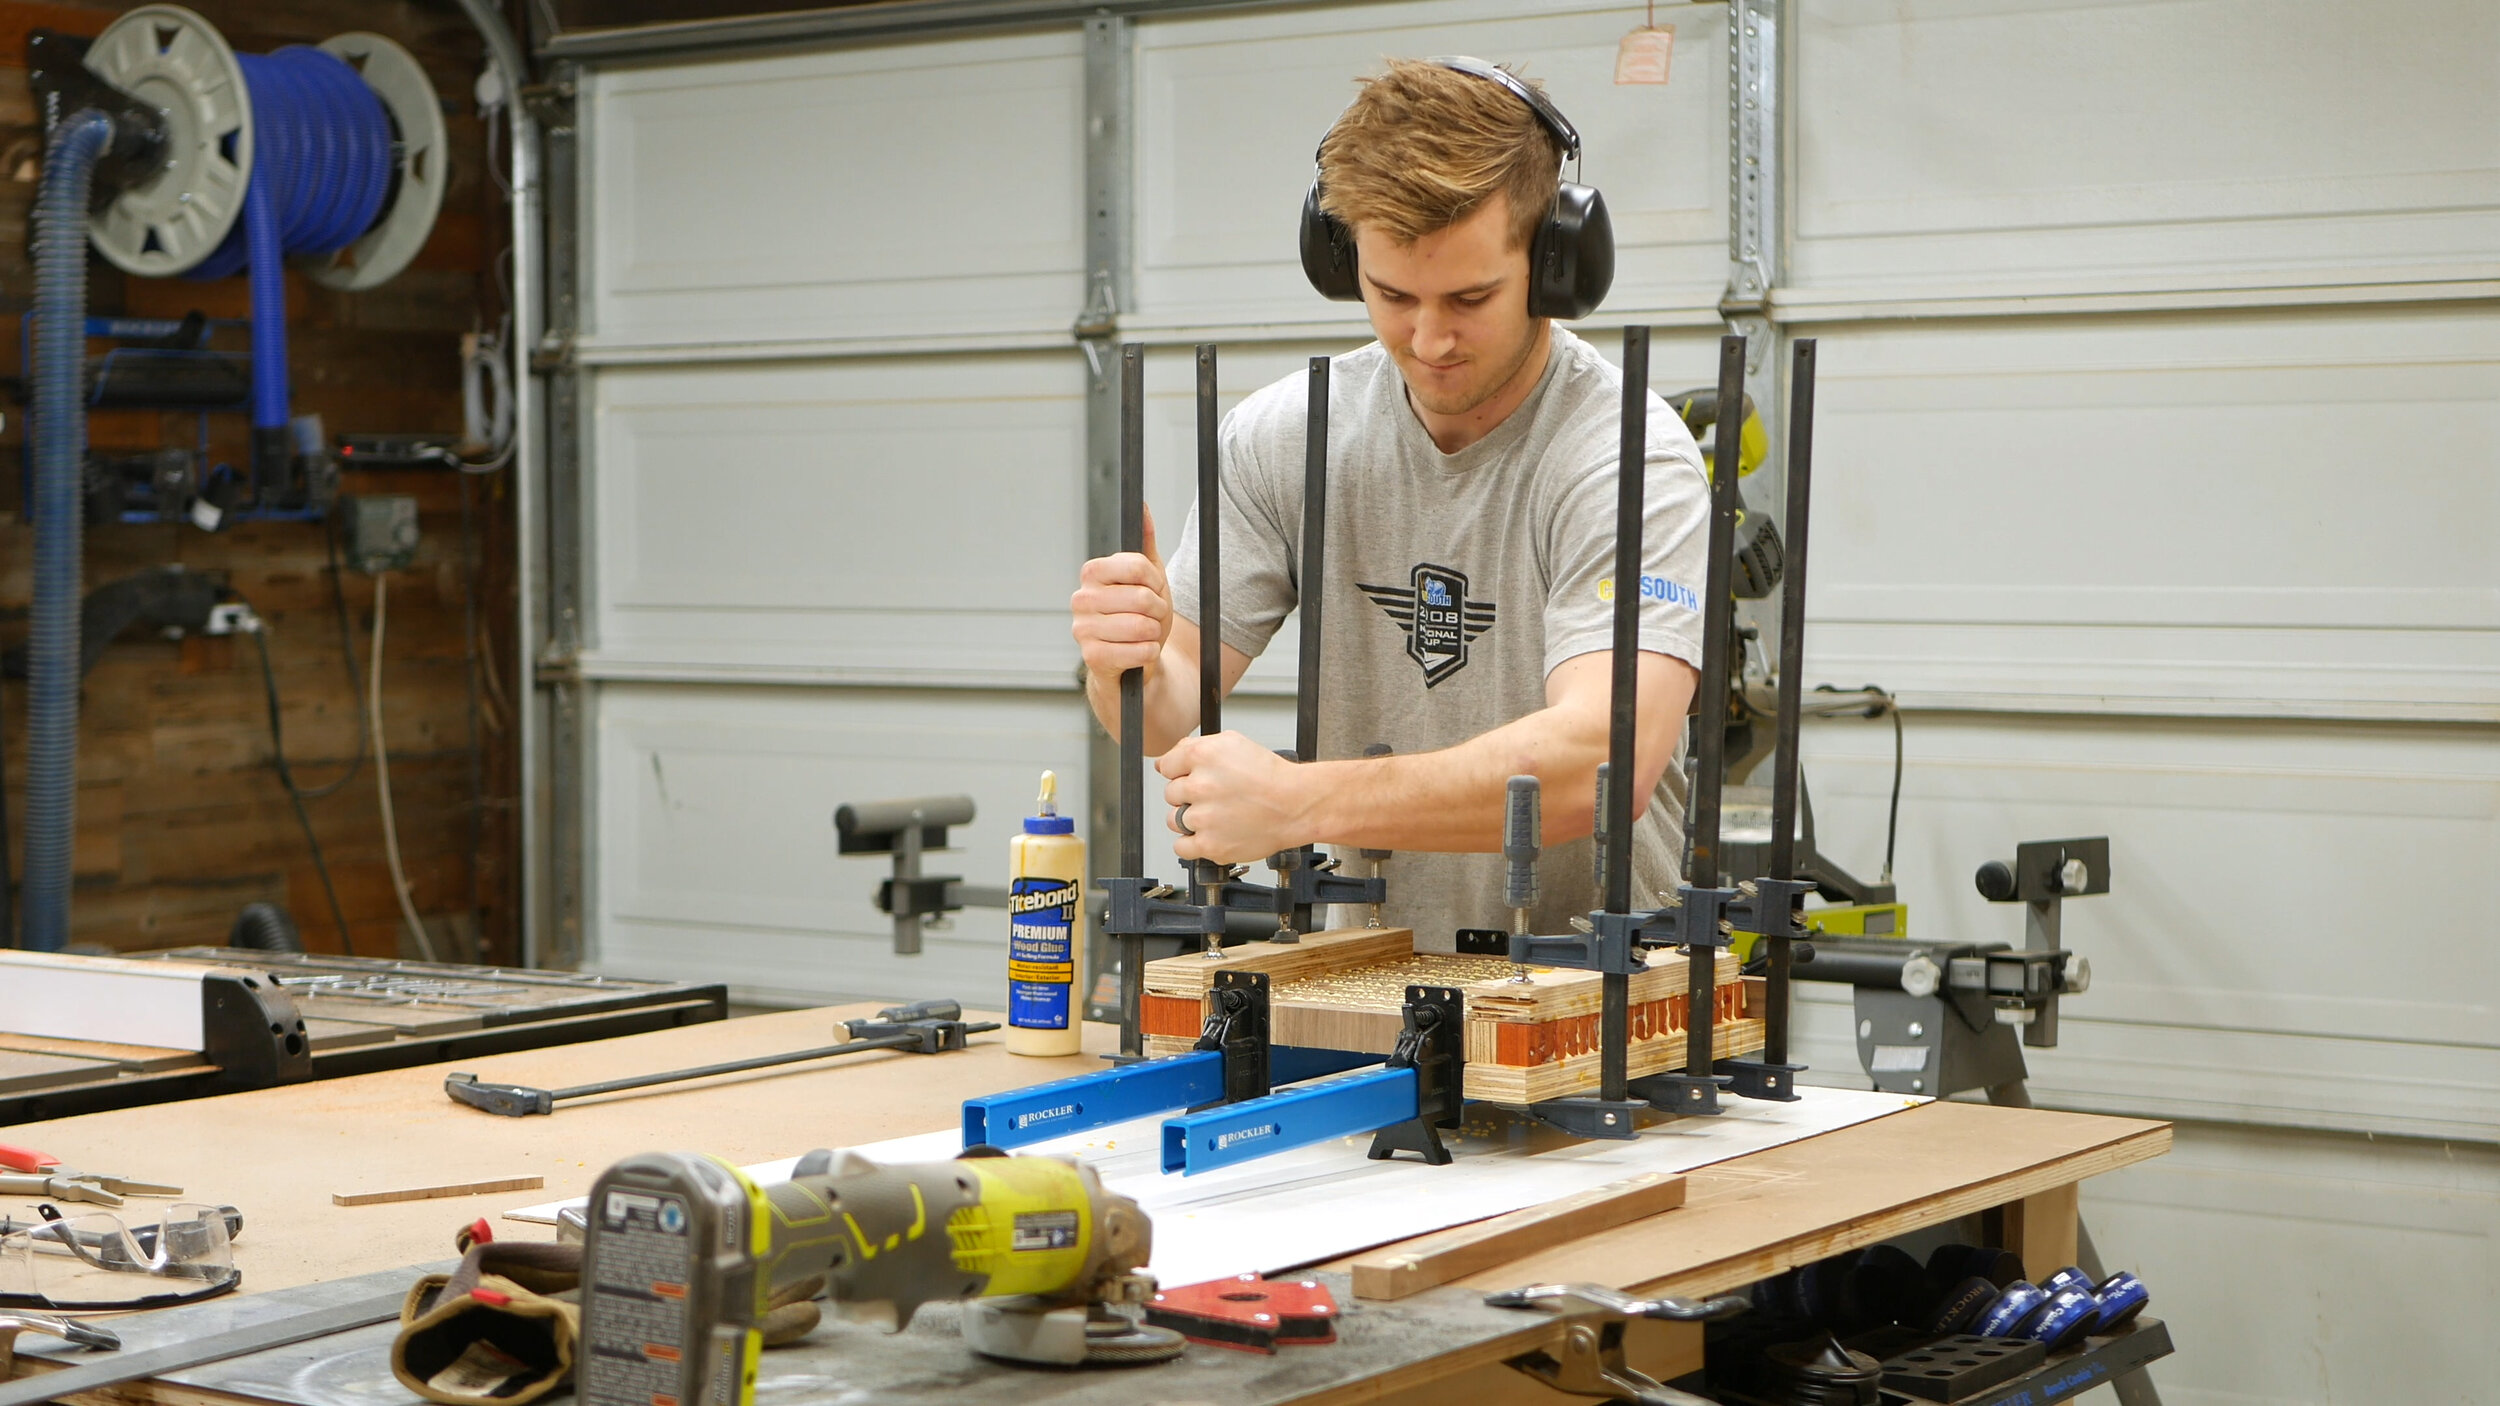
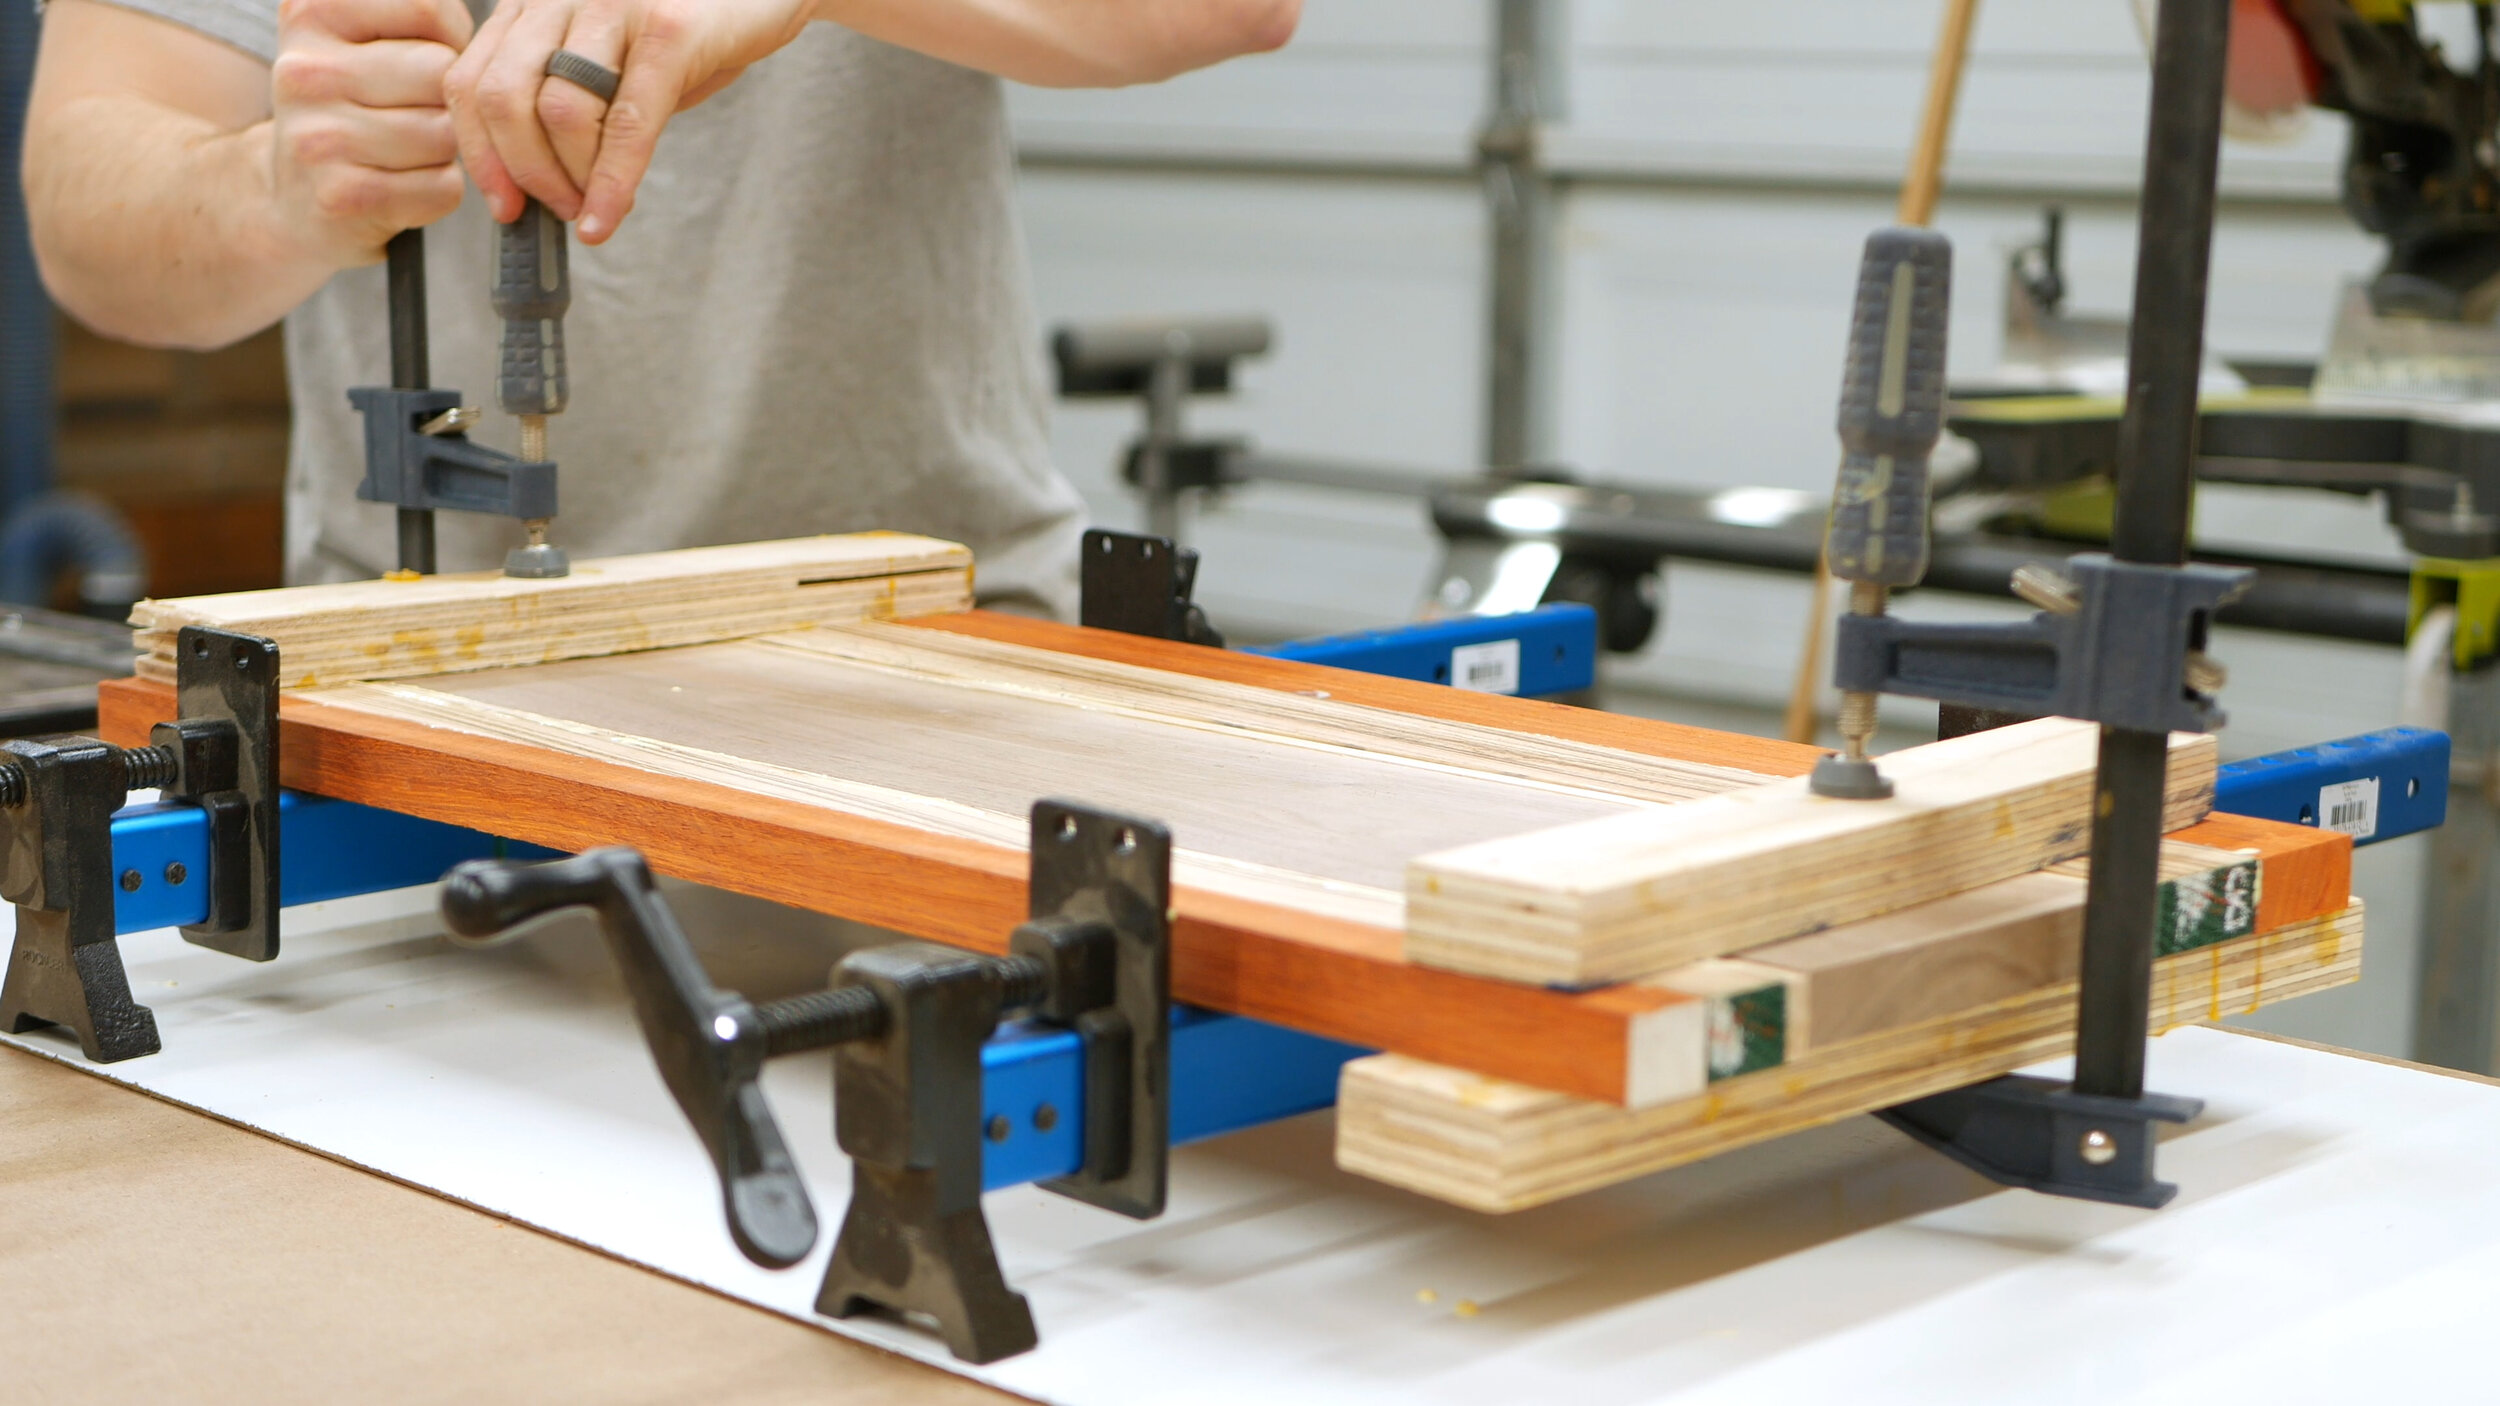
Next was glue up round 2. Make sure to take your time on this one, spread glue evenly, and use a ton of clamps and cauls to keep as flat as possible.
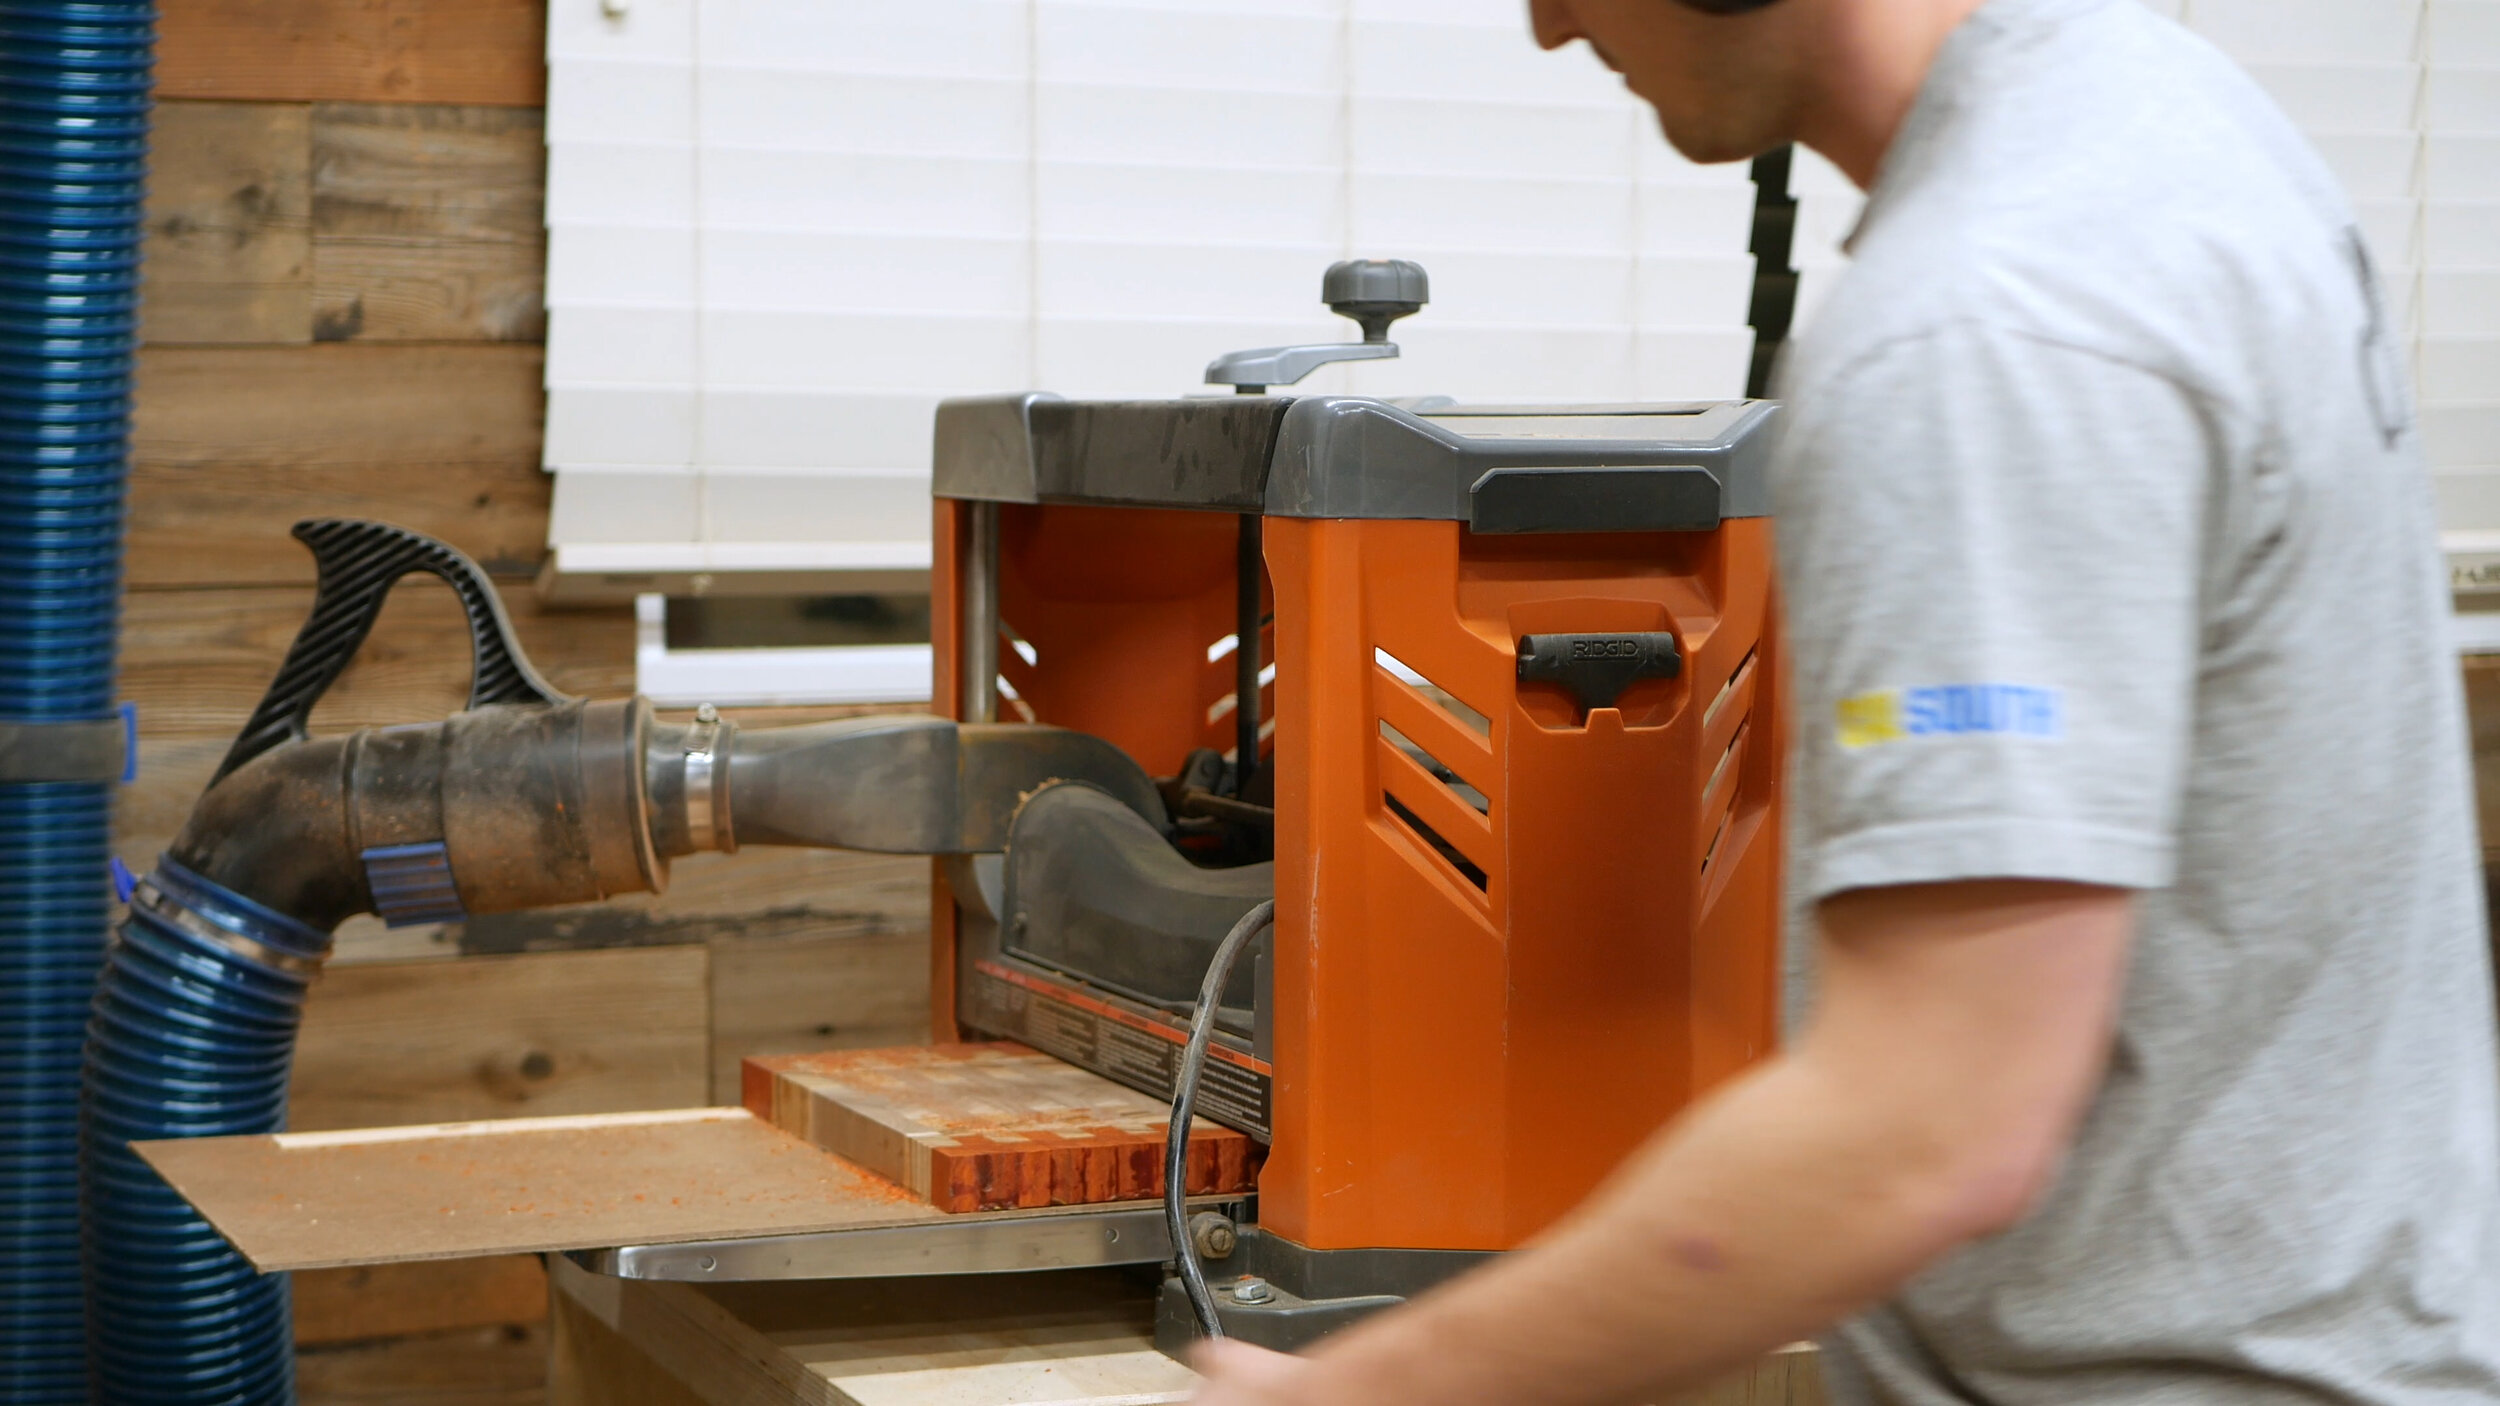
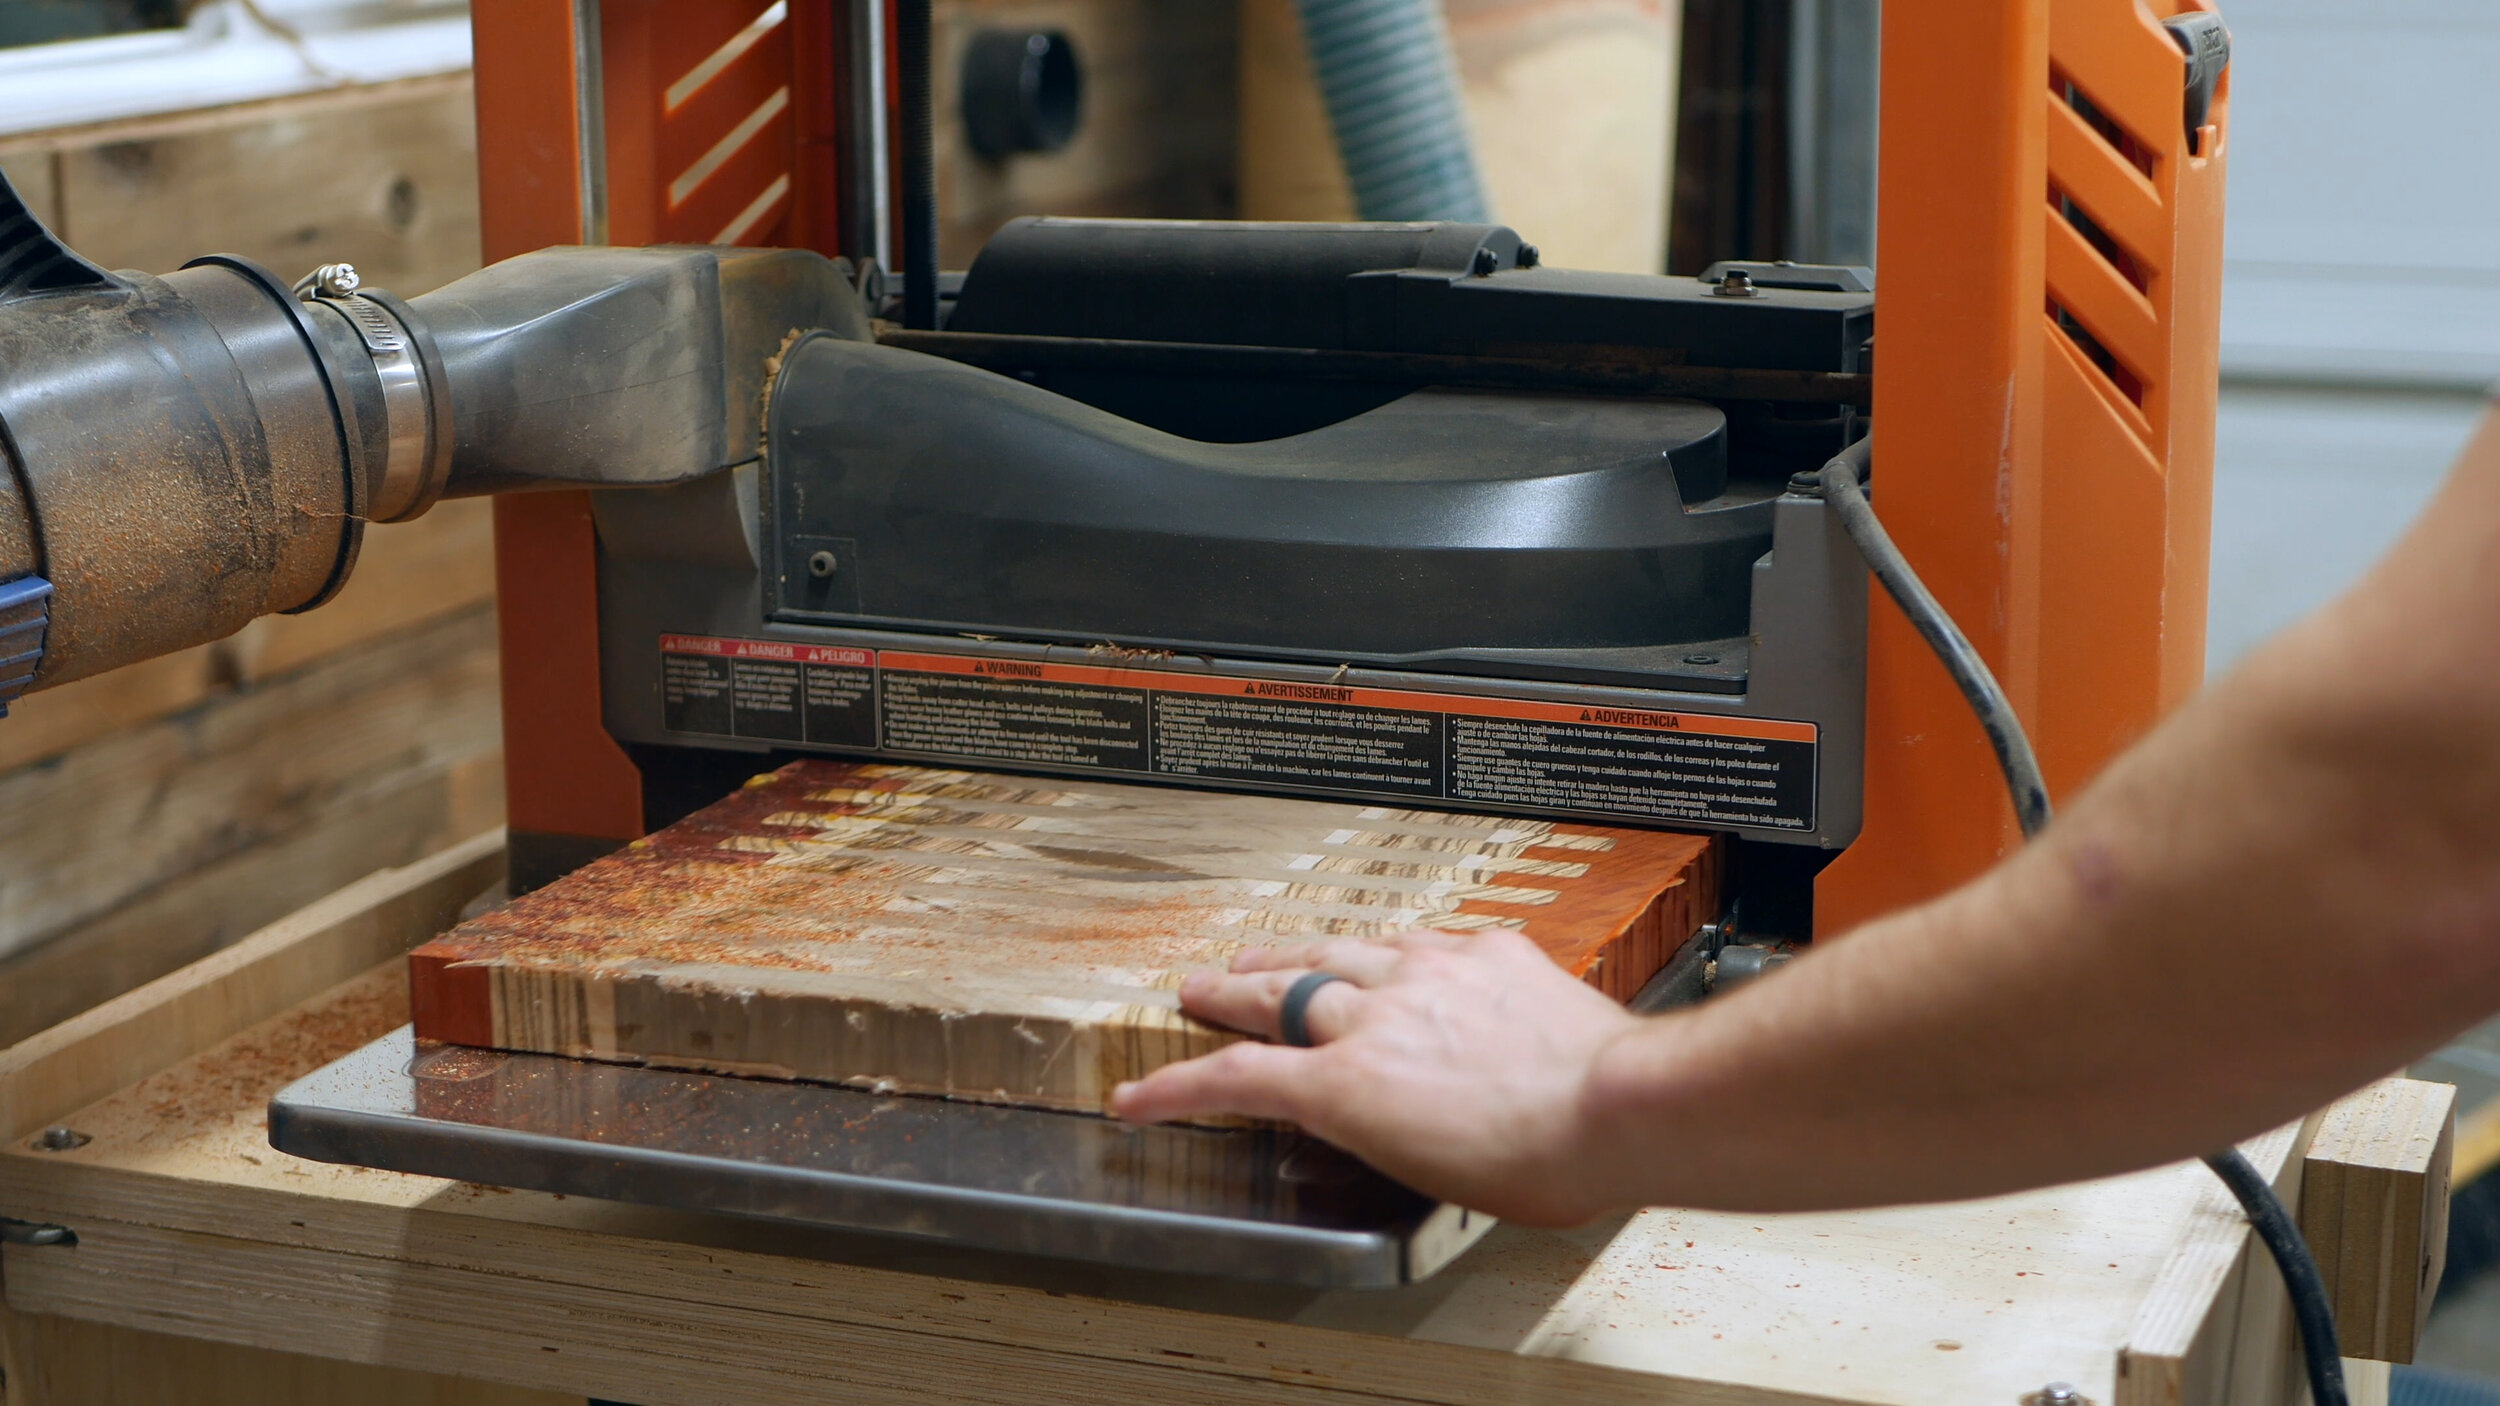
Planing end grain is a controversial topic. I do it but I take steps to do it properly. I use a sled with support for the piece as well as a sacrificial piece, and I remove as little material as possible which prevents the planer from overworking. Using the sled helped establish a flat surface, which then allowed me to flip over and flatten the other side, creating two very flat surfaces.
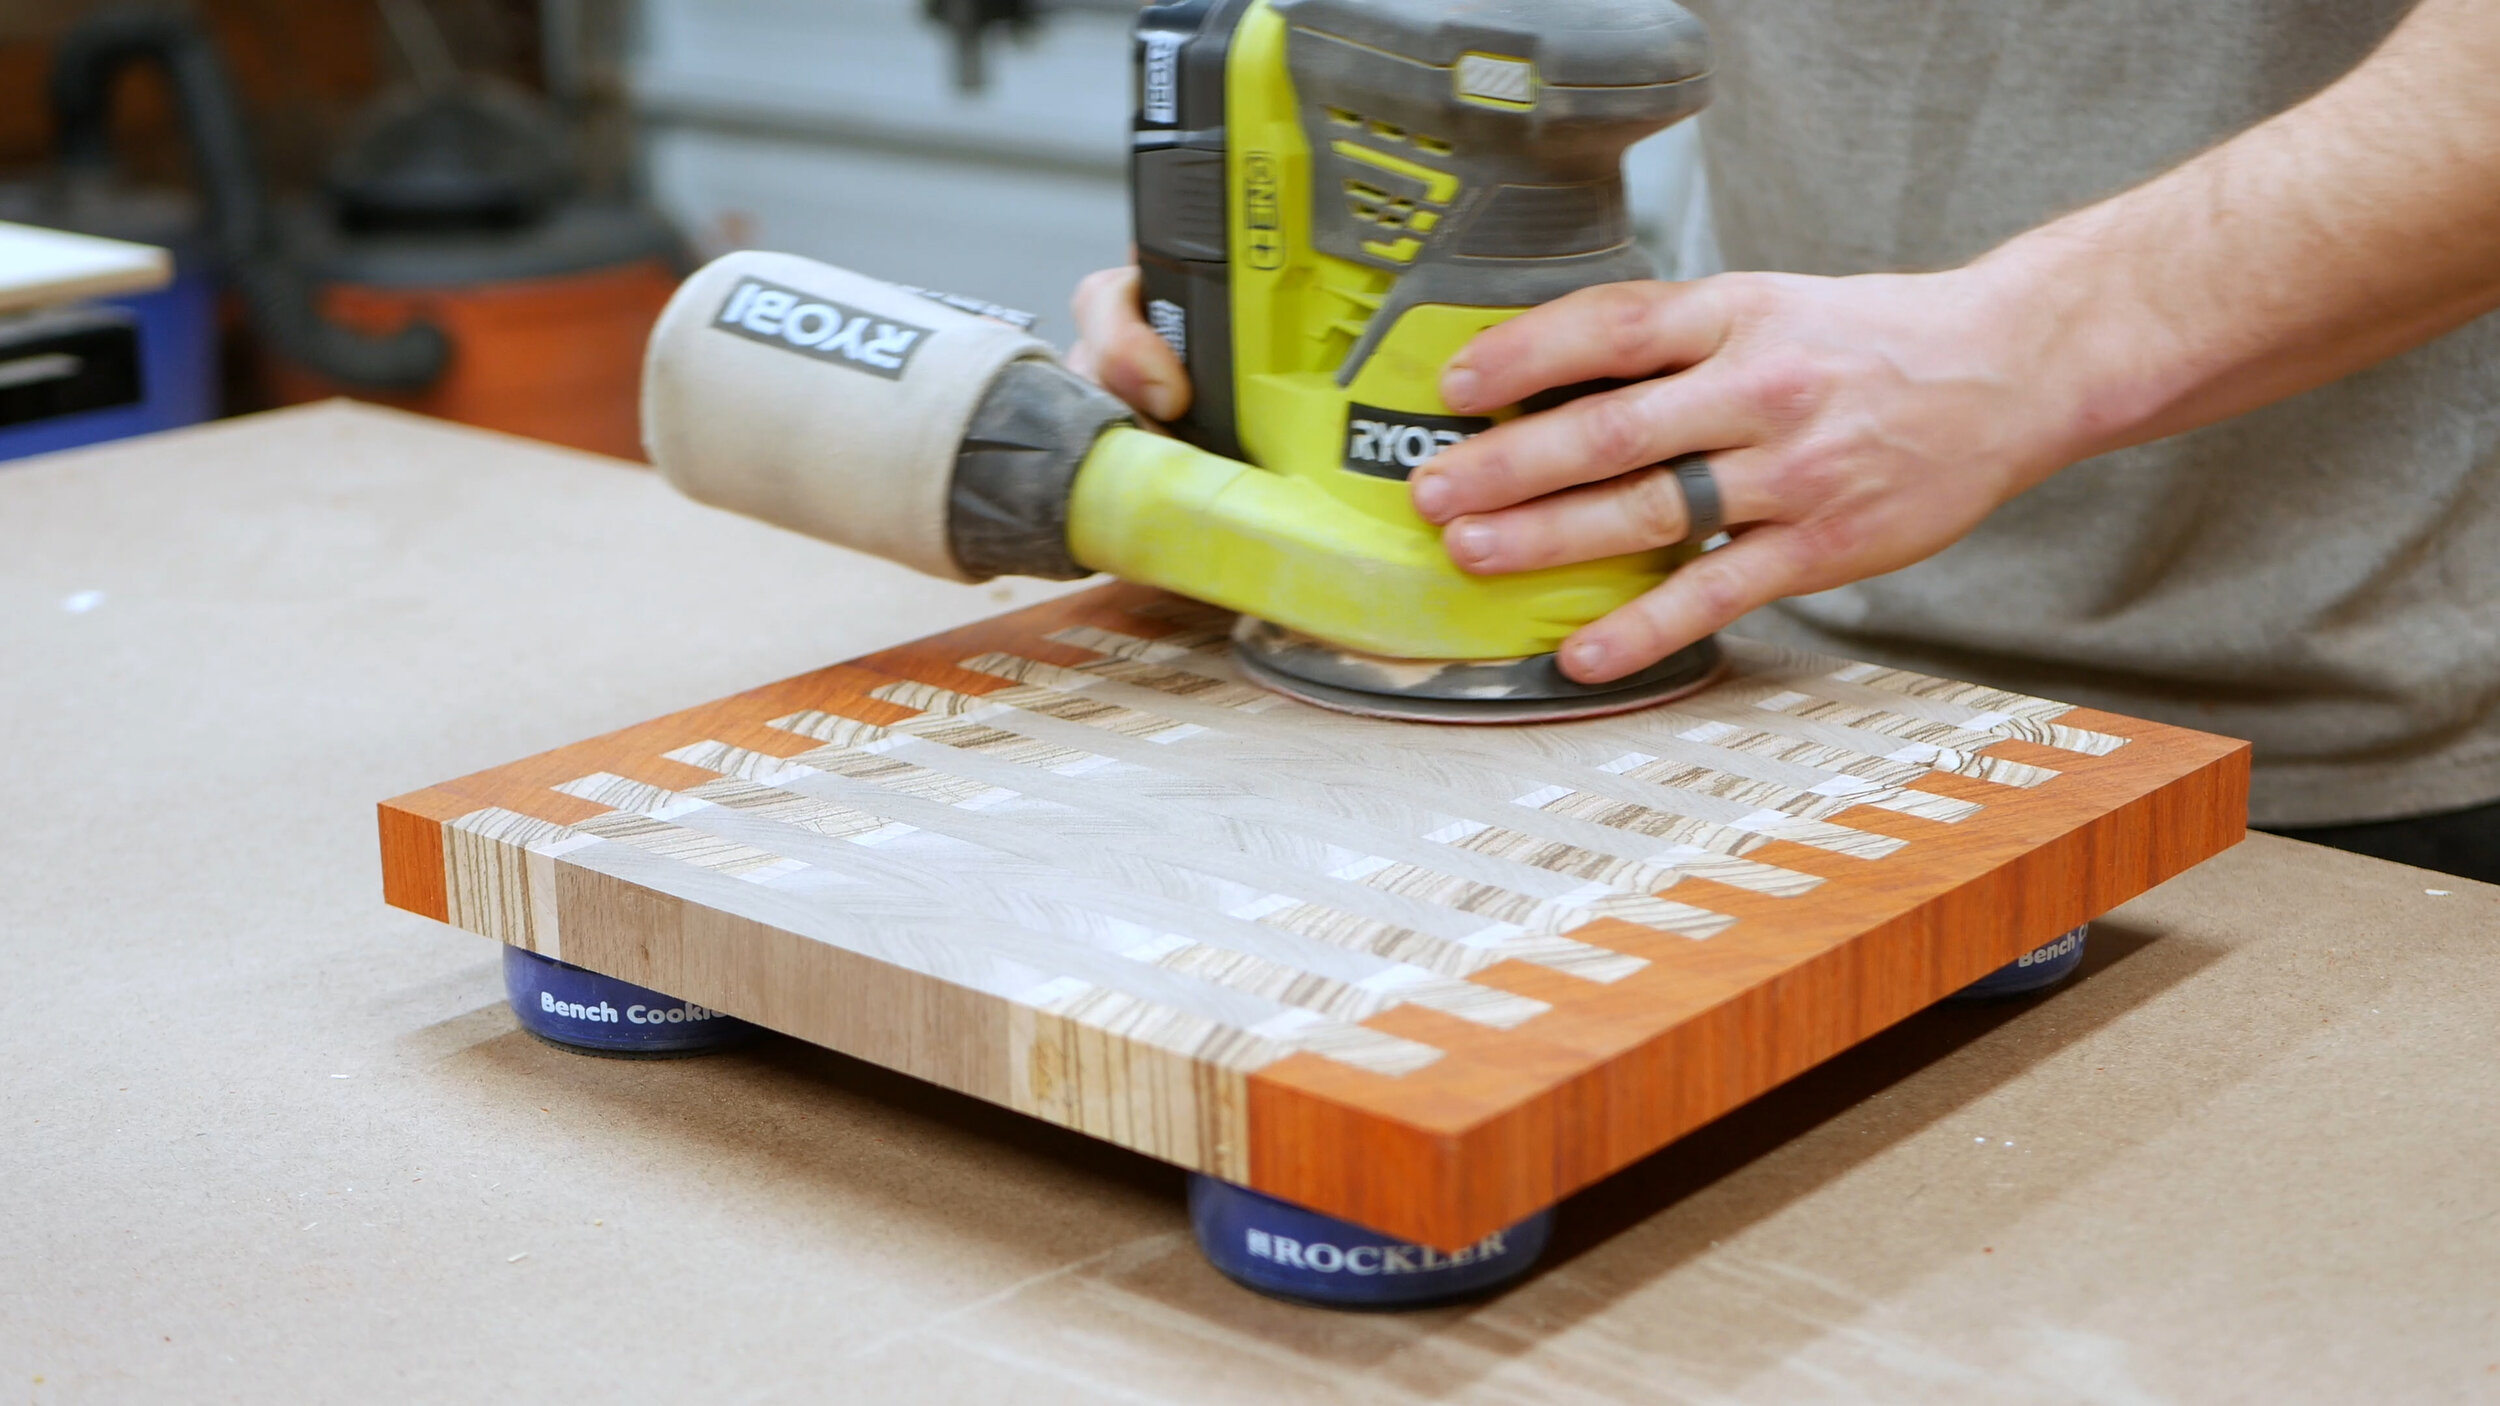

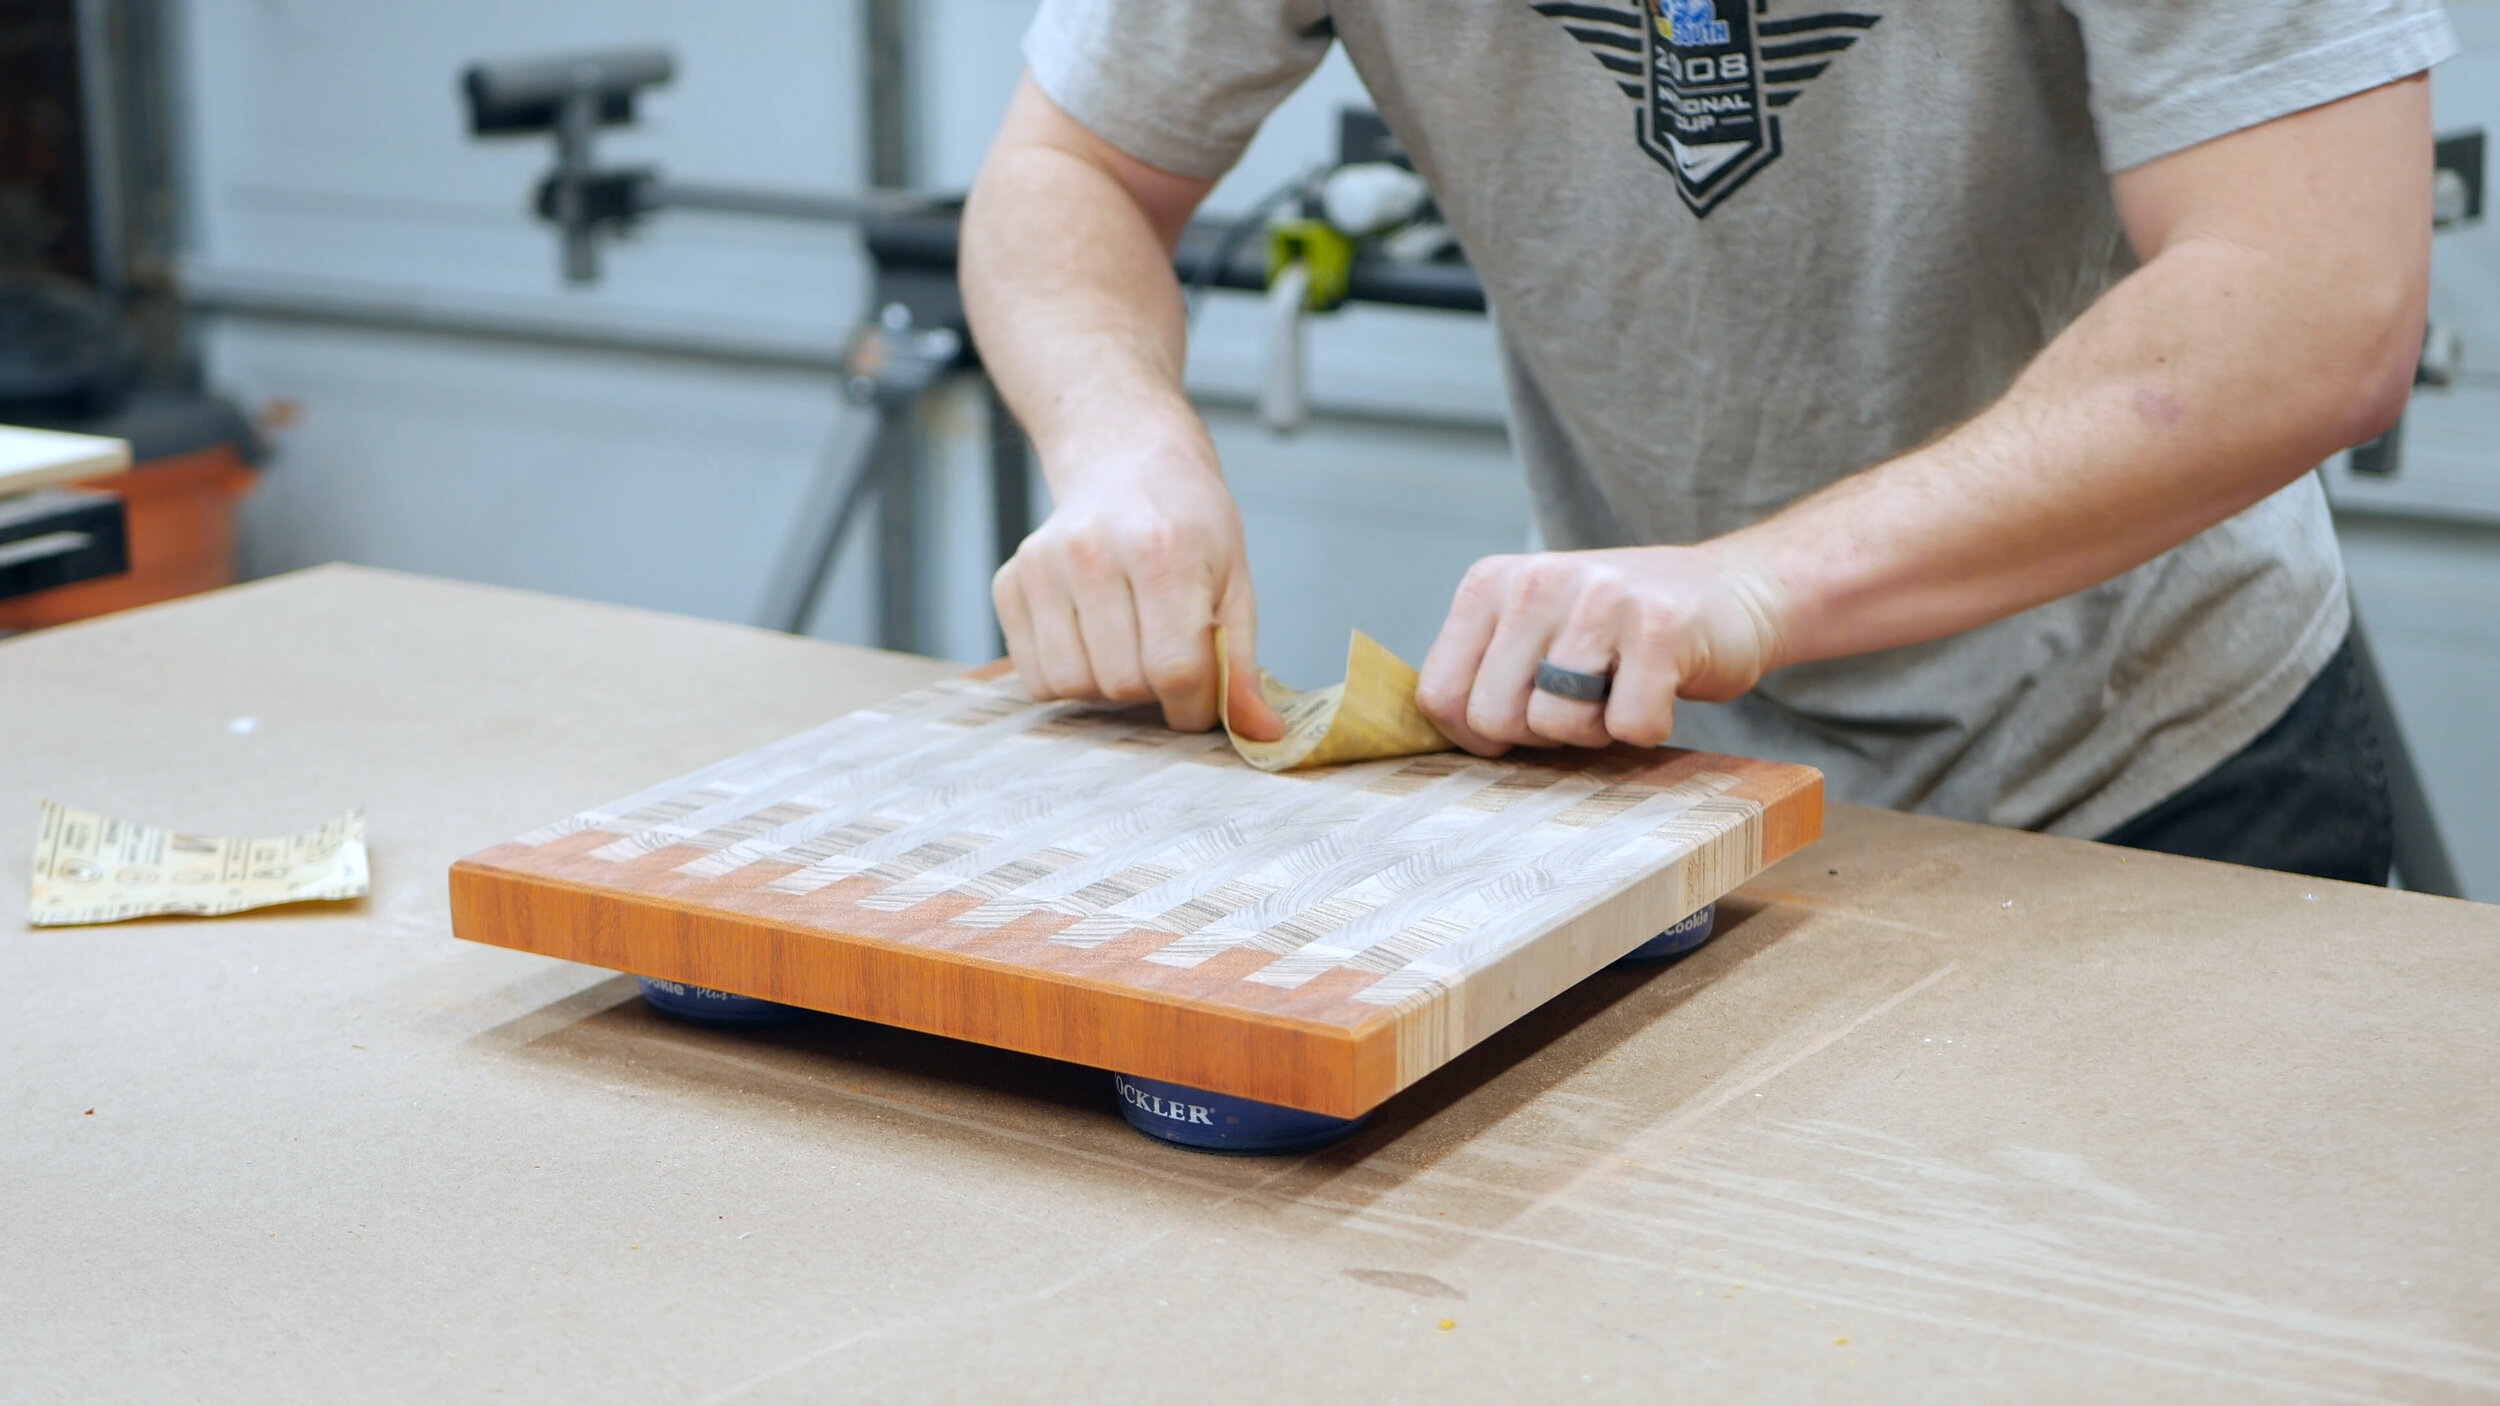
Then - lots of sanding, as well as routing a small chamfer on the edge of the piece. I sanded up to 220 grit on this one.

Harley came in to check out the progress. She signed off on the build.
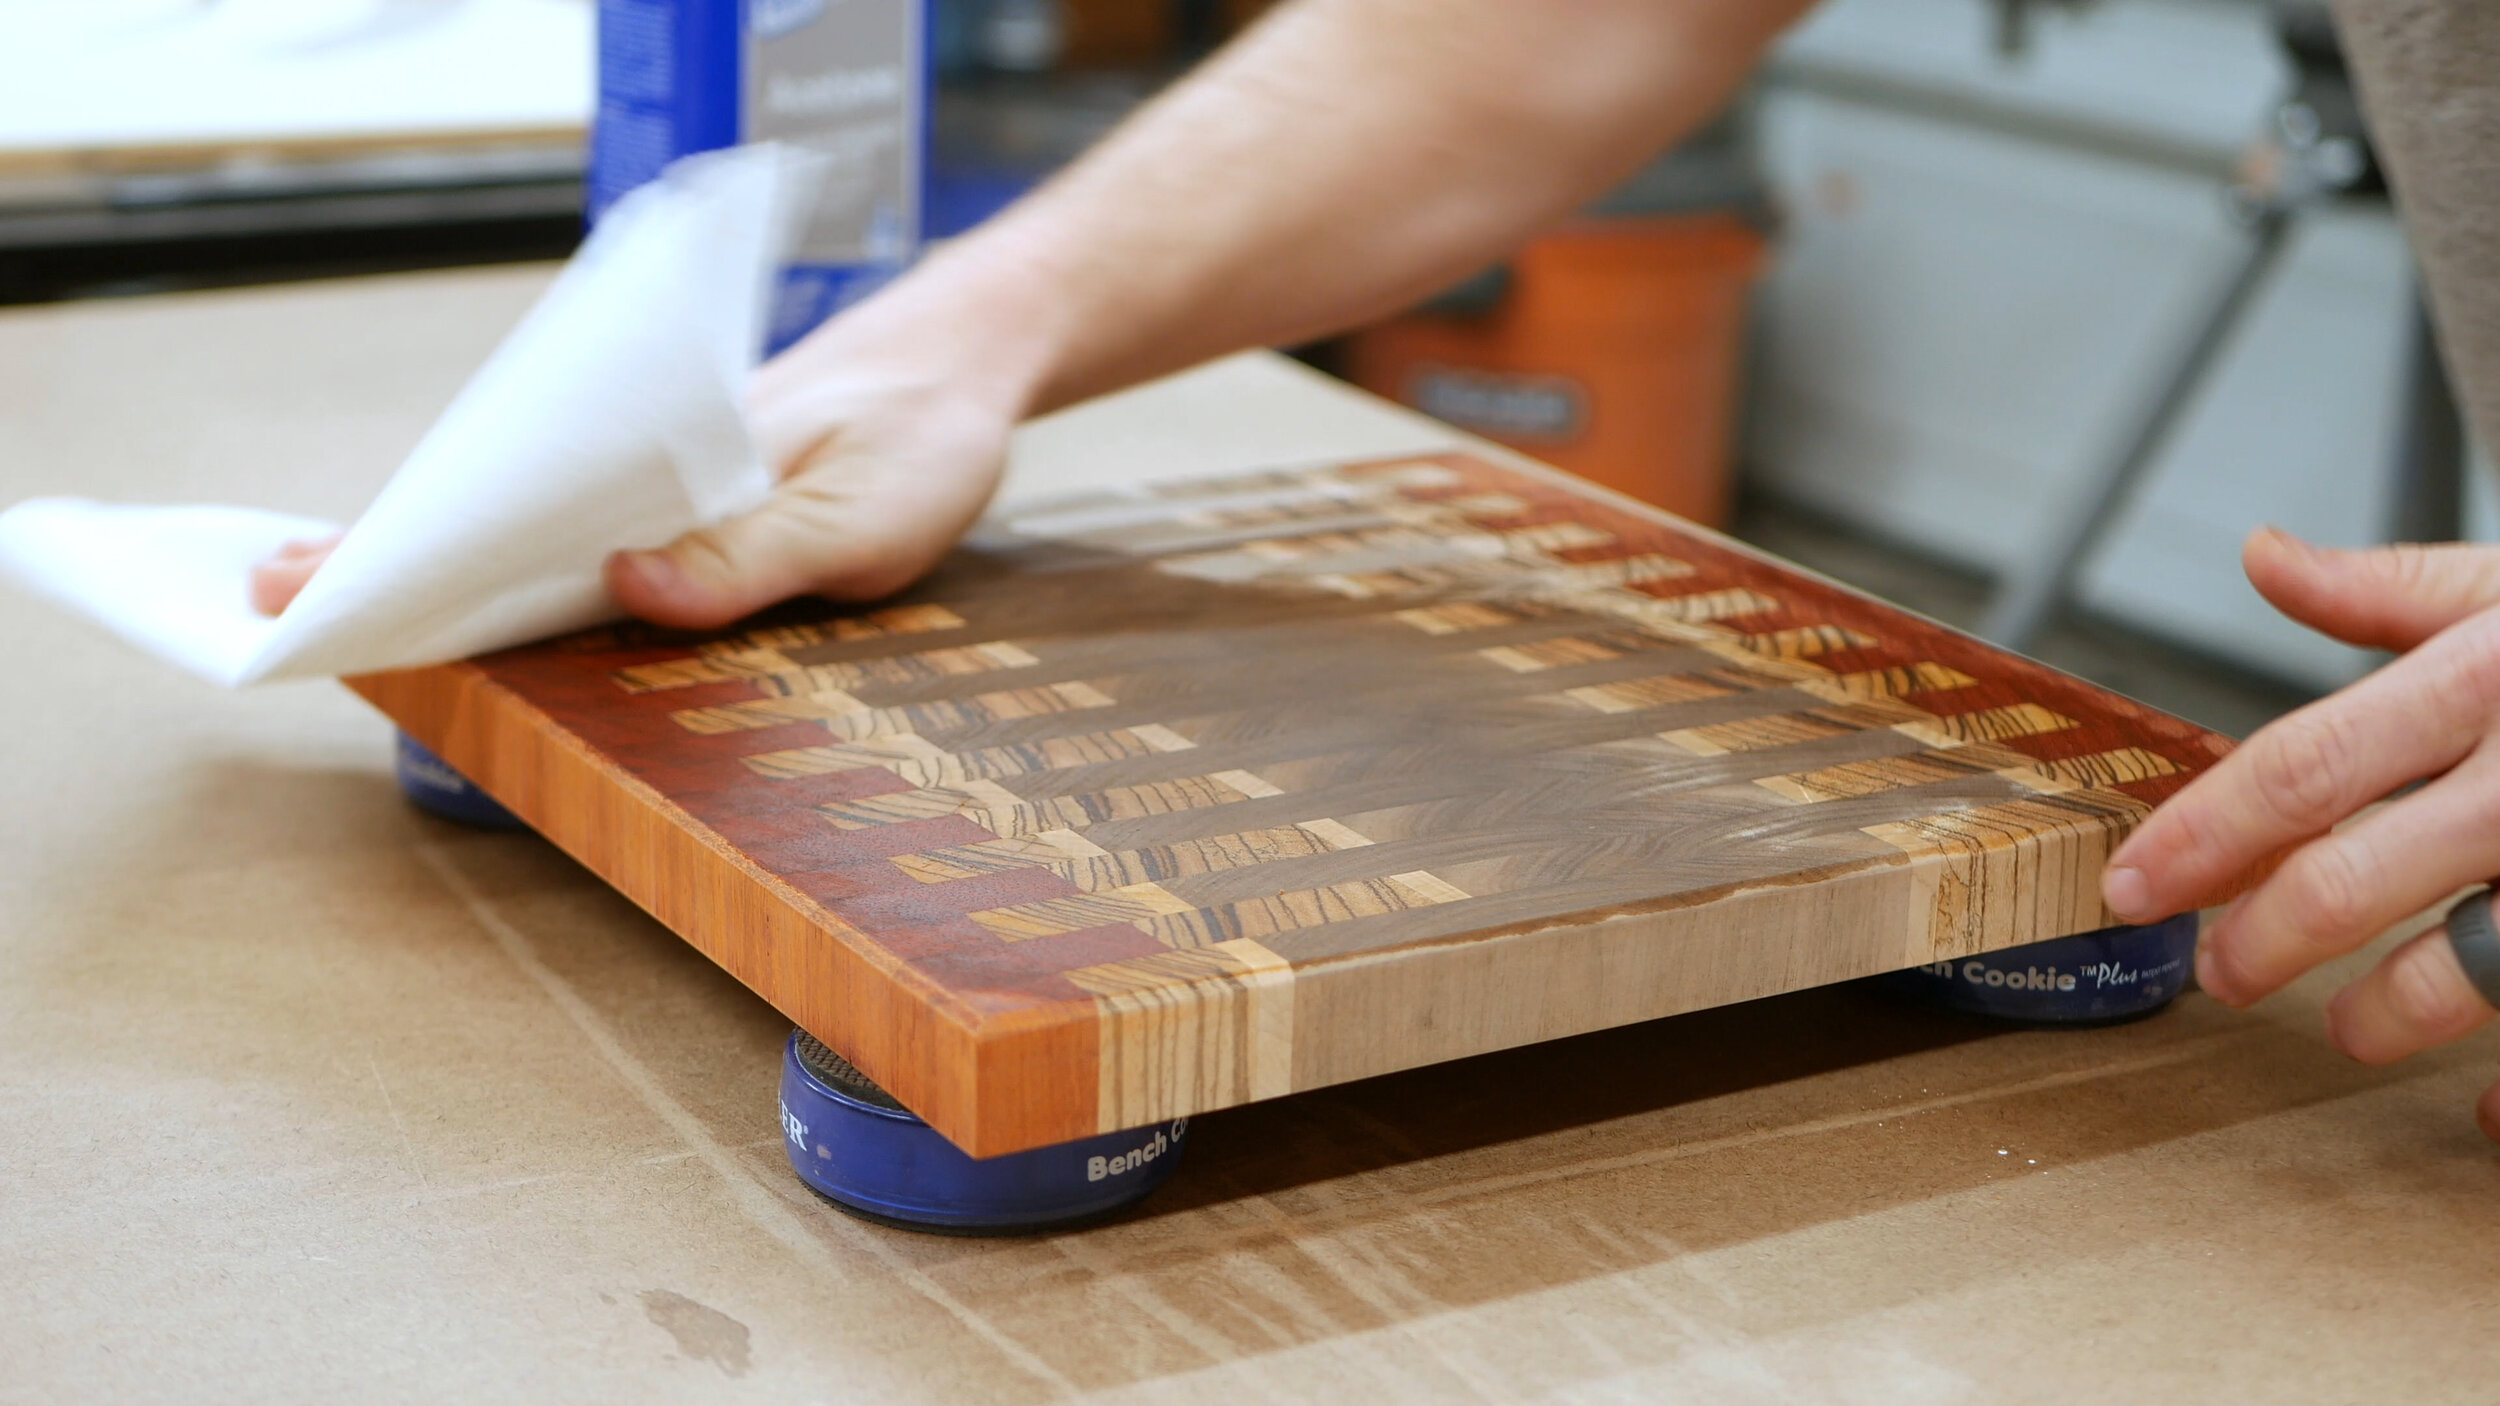
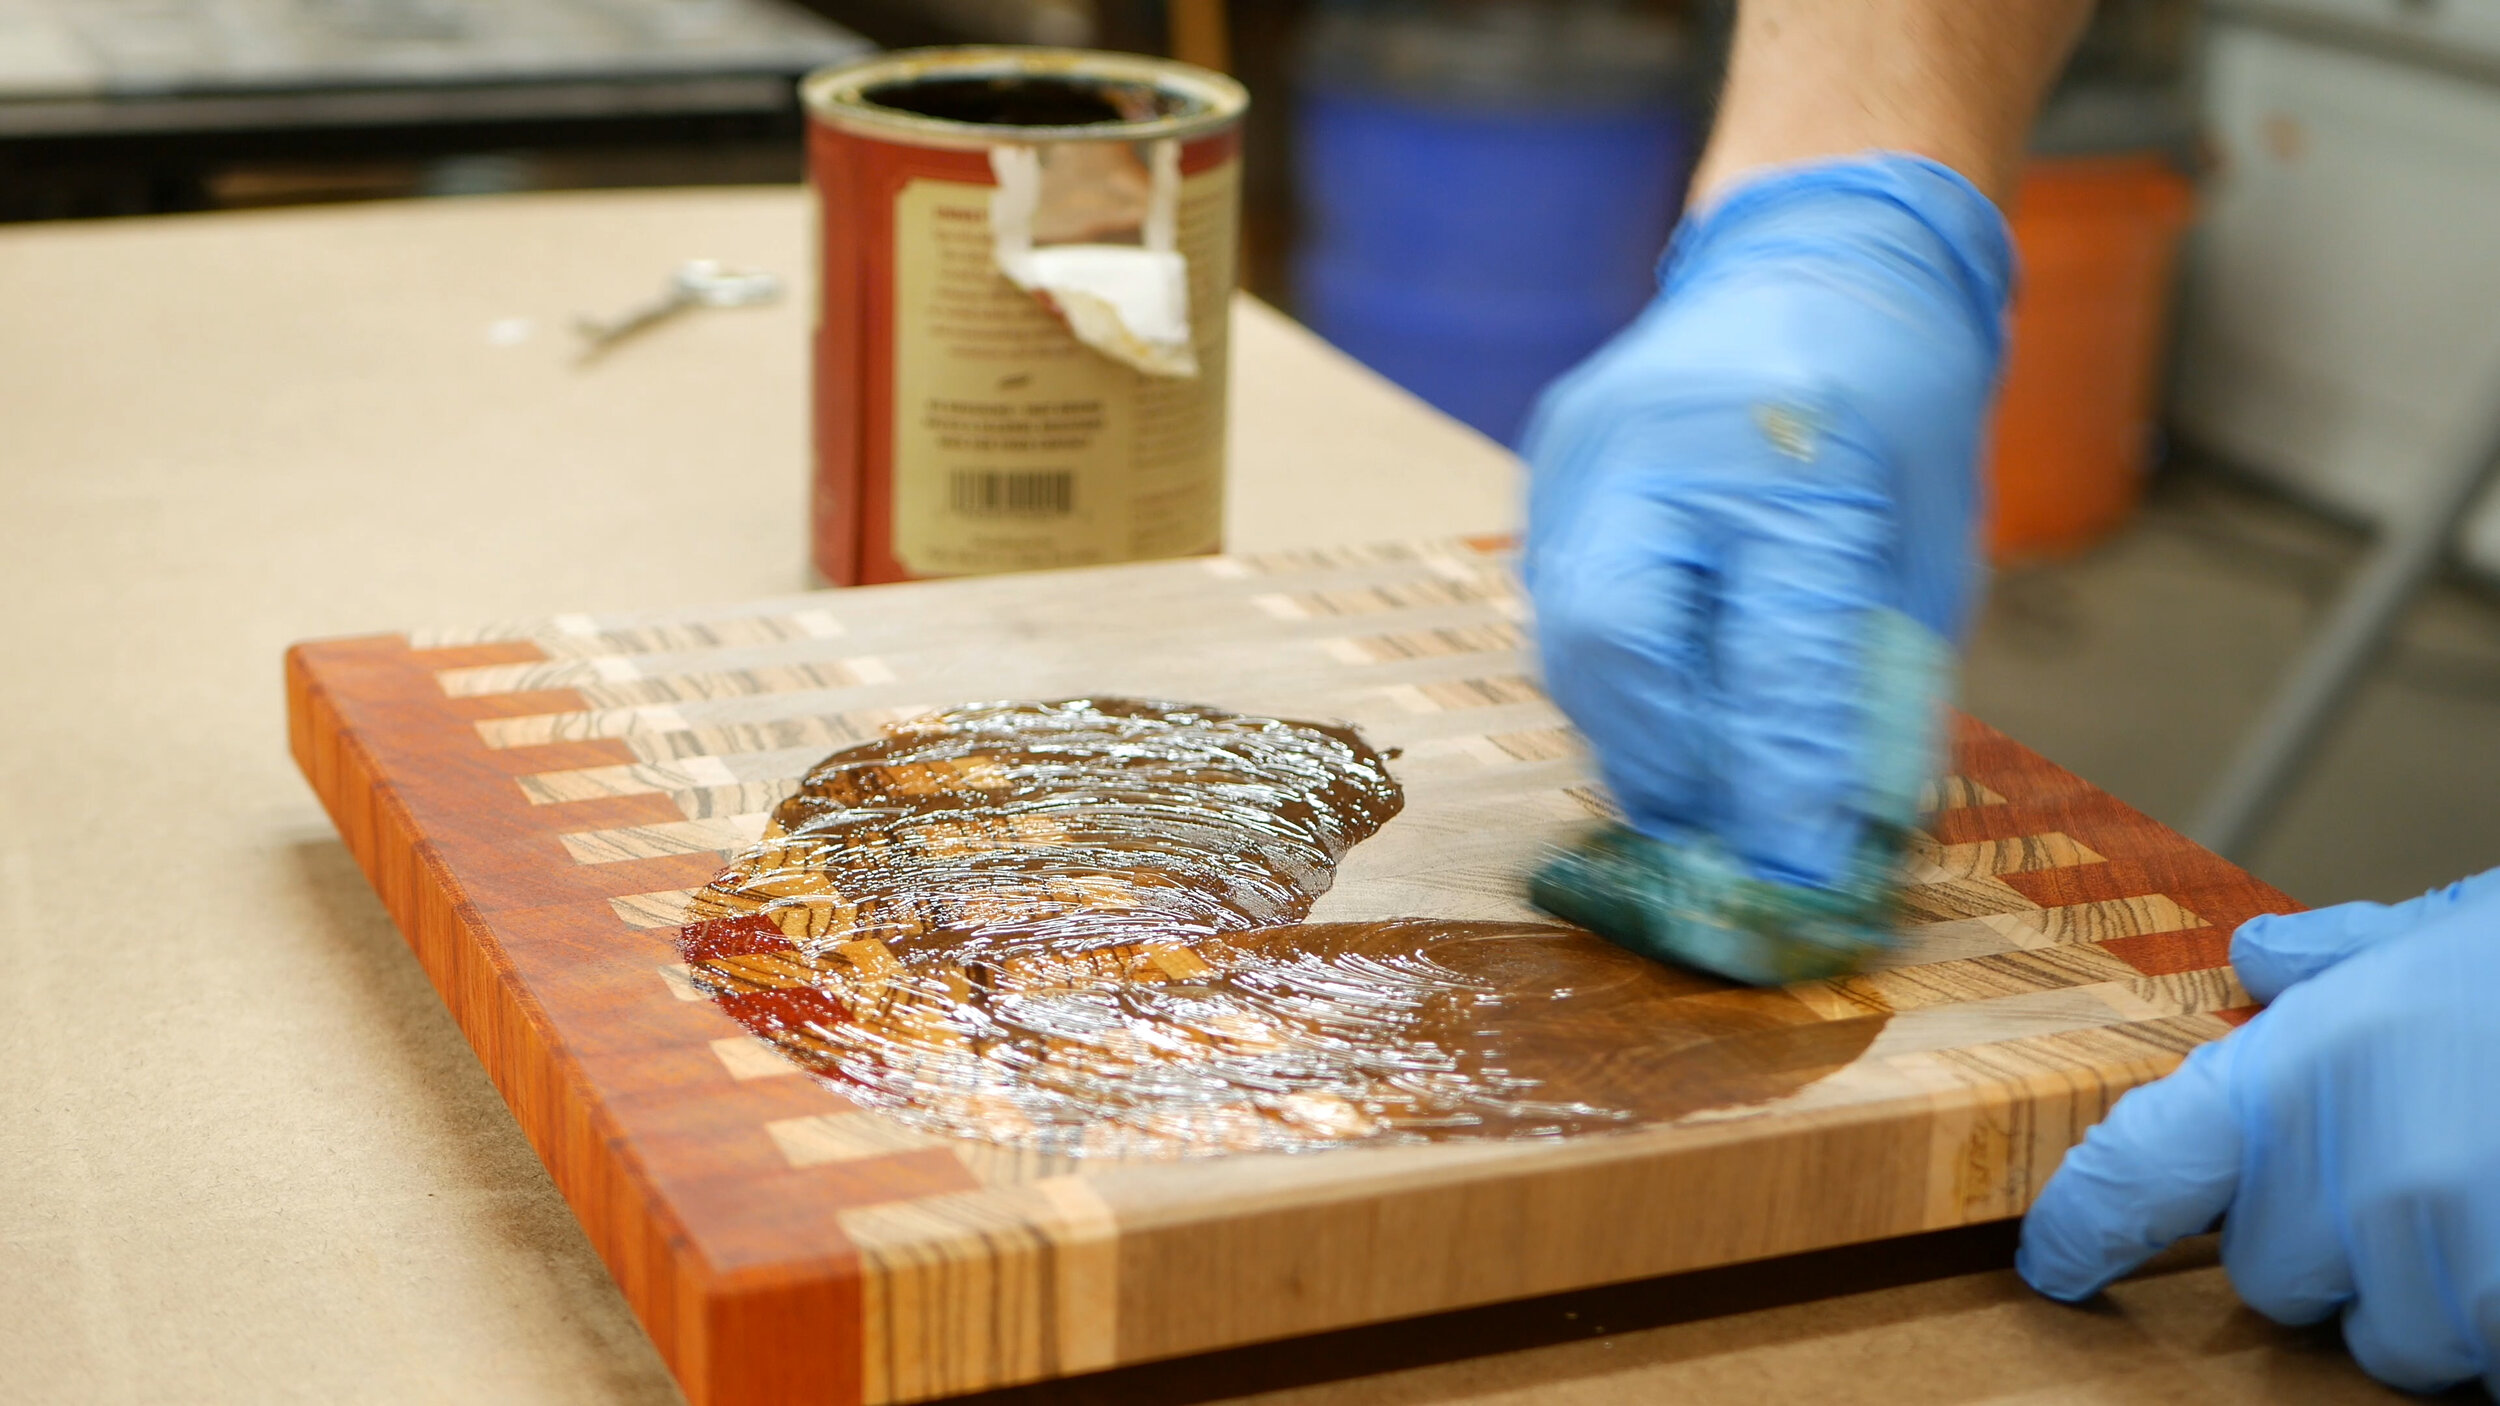
For finishing, I used my favorite finish for butcher blocks and cutting boards - Emitts Good Stuff. Incredible. Protective. Super easy to apply. Before applying, I cleaned off the surface with compressed air and acetone. I applied an even coat of the Good Stuff using a rag, rubbed it in, and then came back after 5 minutes to wipe off the excess. So pretty!

All done! Mom loved it. She’s afraid to cut on it because of how pretty it is.
Oh well ¯\_(ツ)_/¯
Thanks for reading - make sure you check out the video in the first step on my YT channel!
See you around!
Zach