THANKS FOR CHECKING OUT THE FULL ARTICLE!
PLEASE SUBSCRIBE TO OUR YOUTUBE CHANNEL BY CLICKING HERE.
My full video of the build is below, followed by detailed instructions with tools, materials, and measurements!
I'm slowly moving into doing finer woodworking / crafting. It means more precision, more attention to detail, and using tools I am still a beginner with. It means going slower in the process, but creating something I'm proud of. My mom wanted me to make her a few wine bottle / wine glass holders as future Christmas gifts. I saw it as a fun opportunity to work with lots of hardwood species!
MATERIALS
- See the photo below for wood species!
- TiteBond II Wood Glue: http://amzn.to/2peRFus
- Mineral Oil: http://amzn.to/2p1hu2N

Use any material you want. I wanted variety, and I knew what tools I had on hang, so I went with five different species for my build. I had Ipe and Walnut scraps, and I purchased Maple, Mahogany, and Poplar. All wood is about 4/4 stock in thickness and 2 feet in length.

I didn't have a huge amount of methodology to how I ripped my strips, other than that no piece would be wider than 2" and no thinner than 1/4", and I would try to mix up the variety as much as possible.

Once you have all your strips cut and the surfaces are clean for gluing (should be fine coming off the table saw), mix them up how you want to and get ready for the glue up.

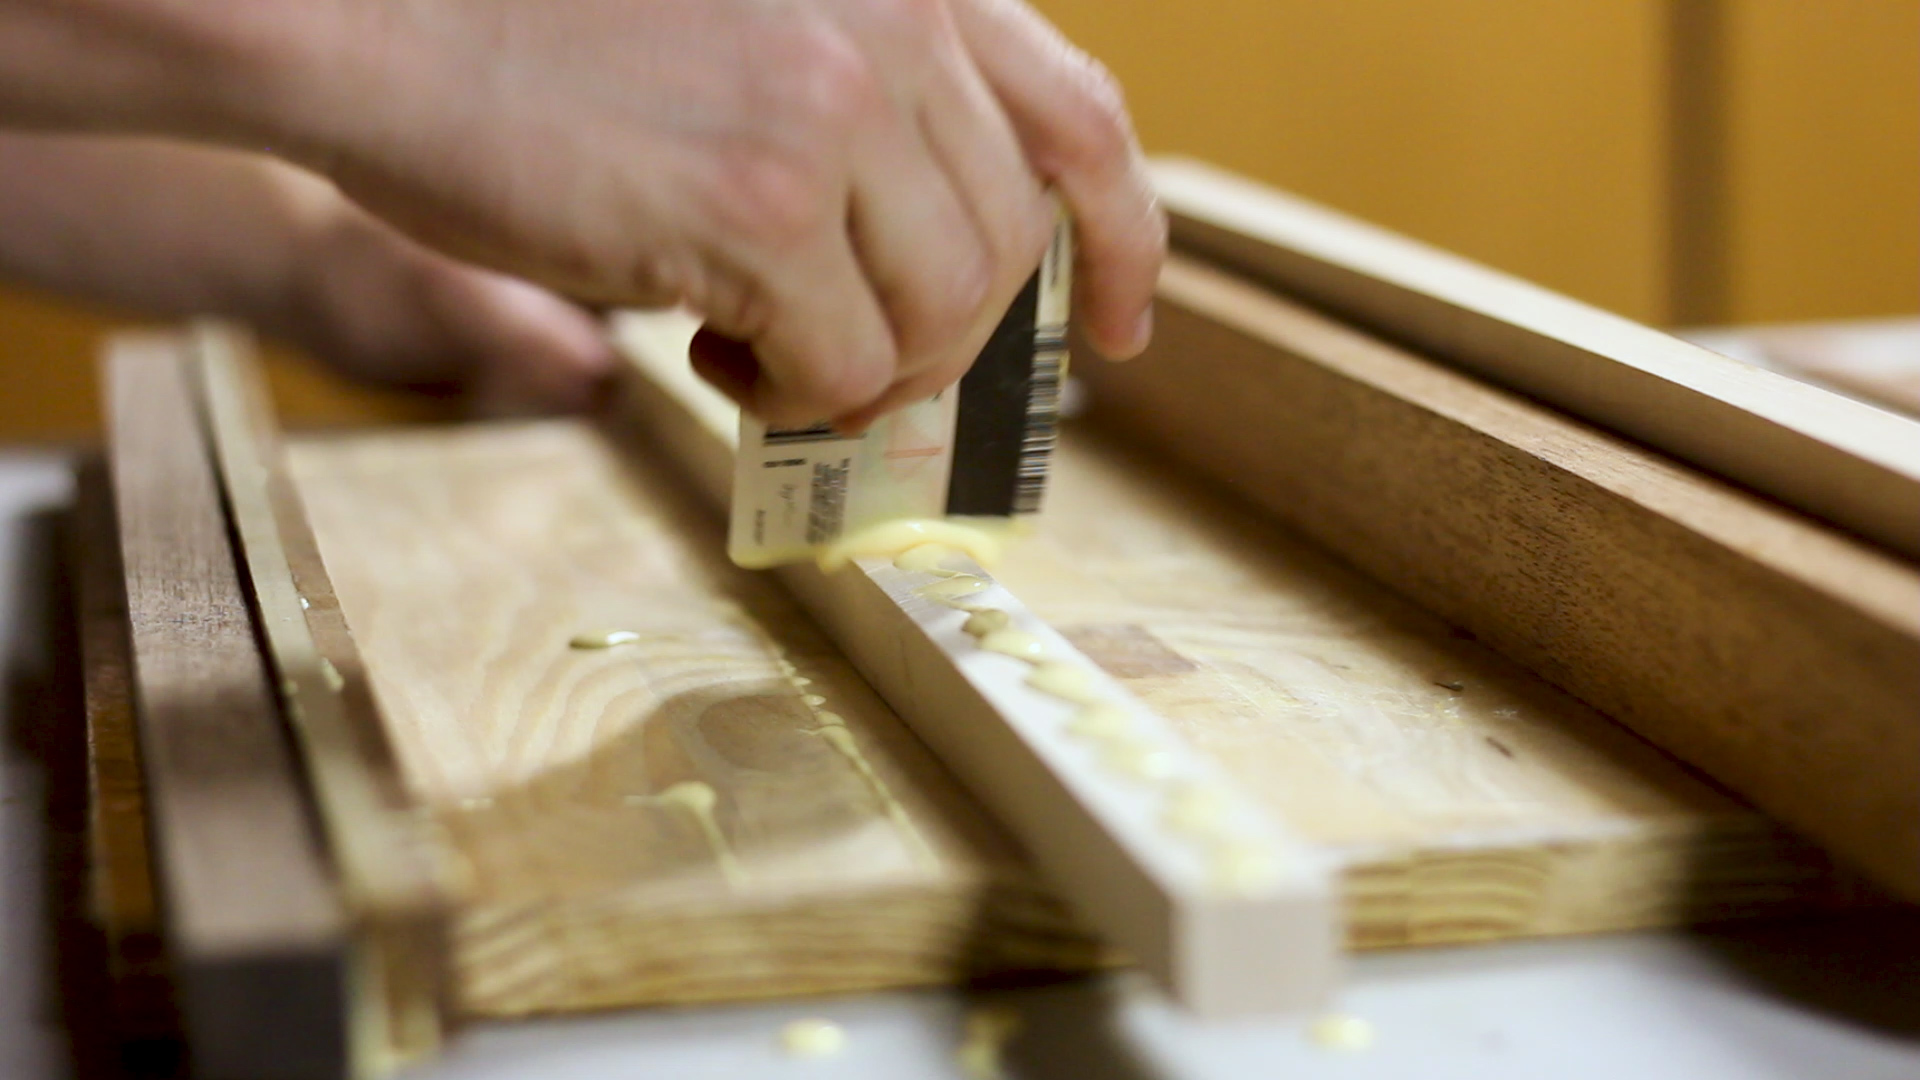
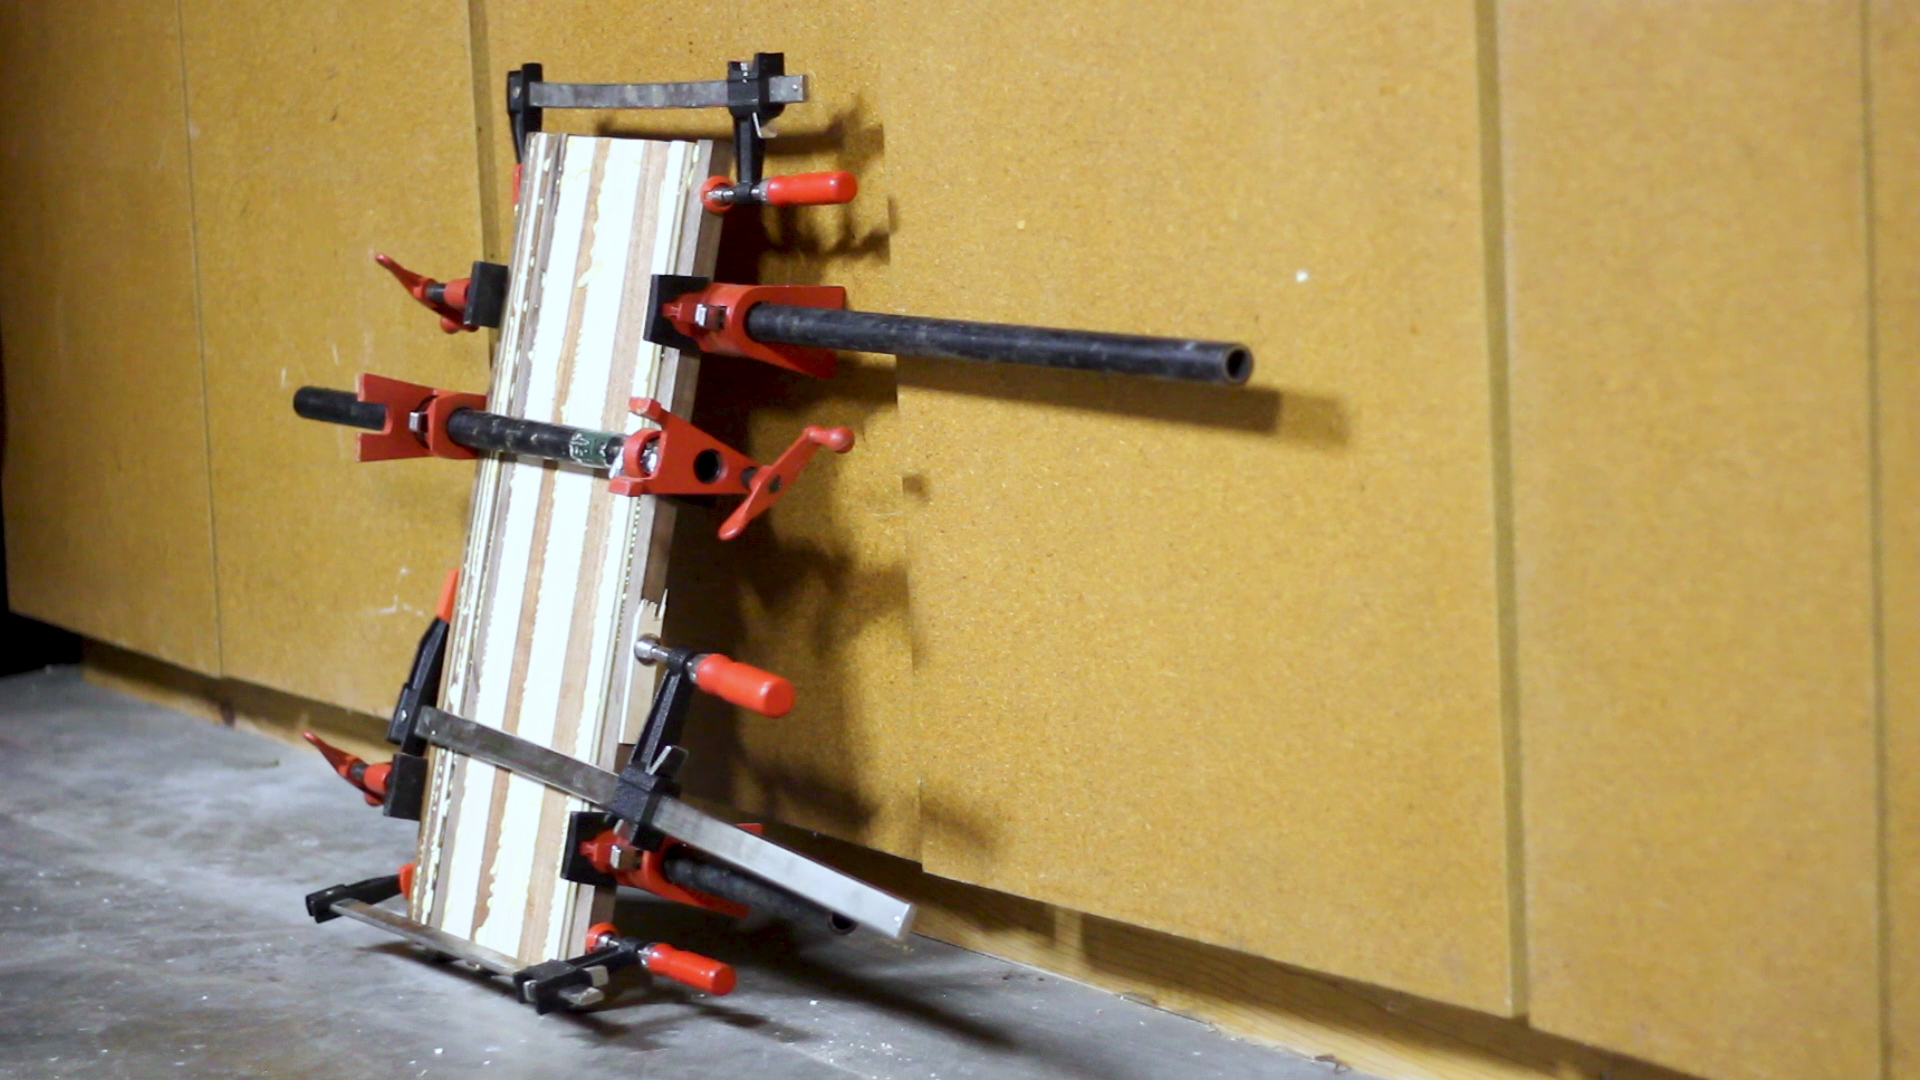
Nothing special here. I applied enough glue to spread out and cover all of my surfaces. Keep it flat as you clamp up, and let it dry overnight. I used an old card to spread my glue, and I do my glue ups on top of a flat piece of plywood covered in masking tape to avoid any sticking.
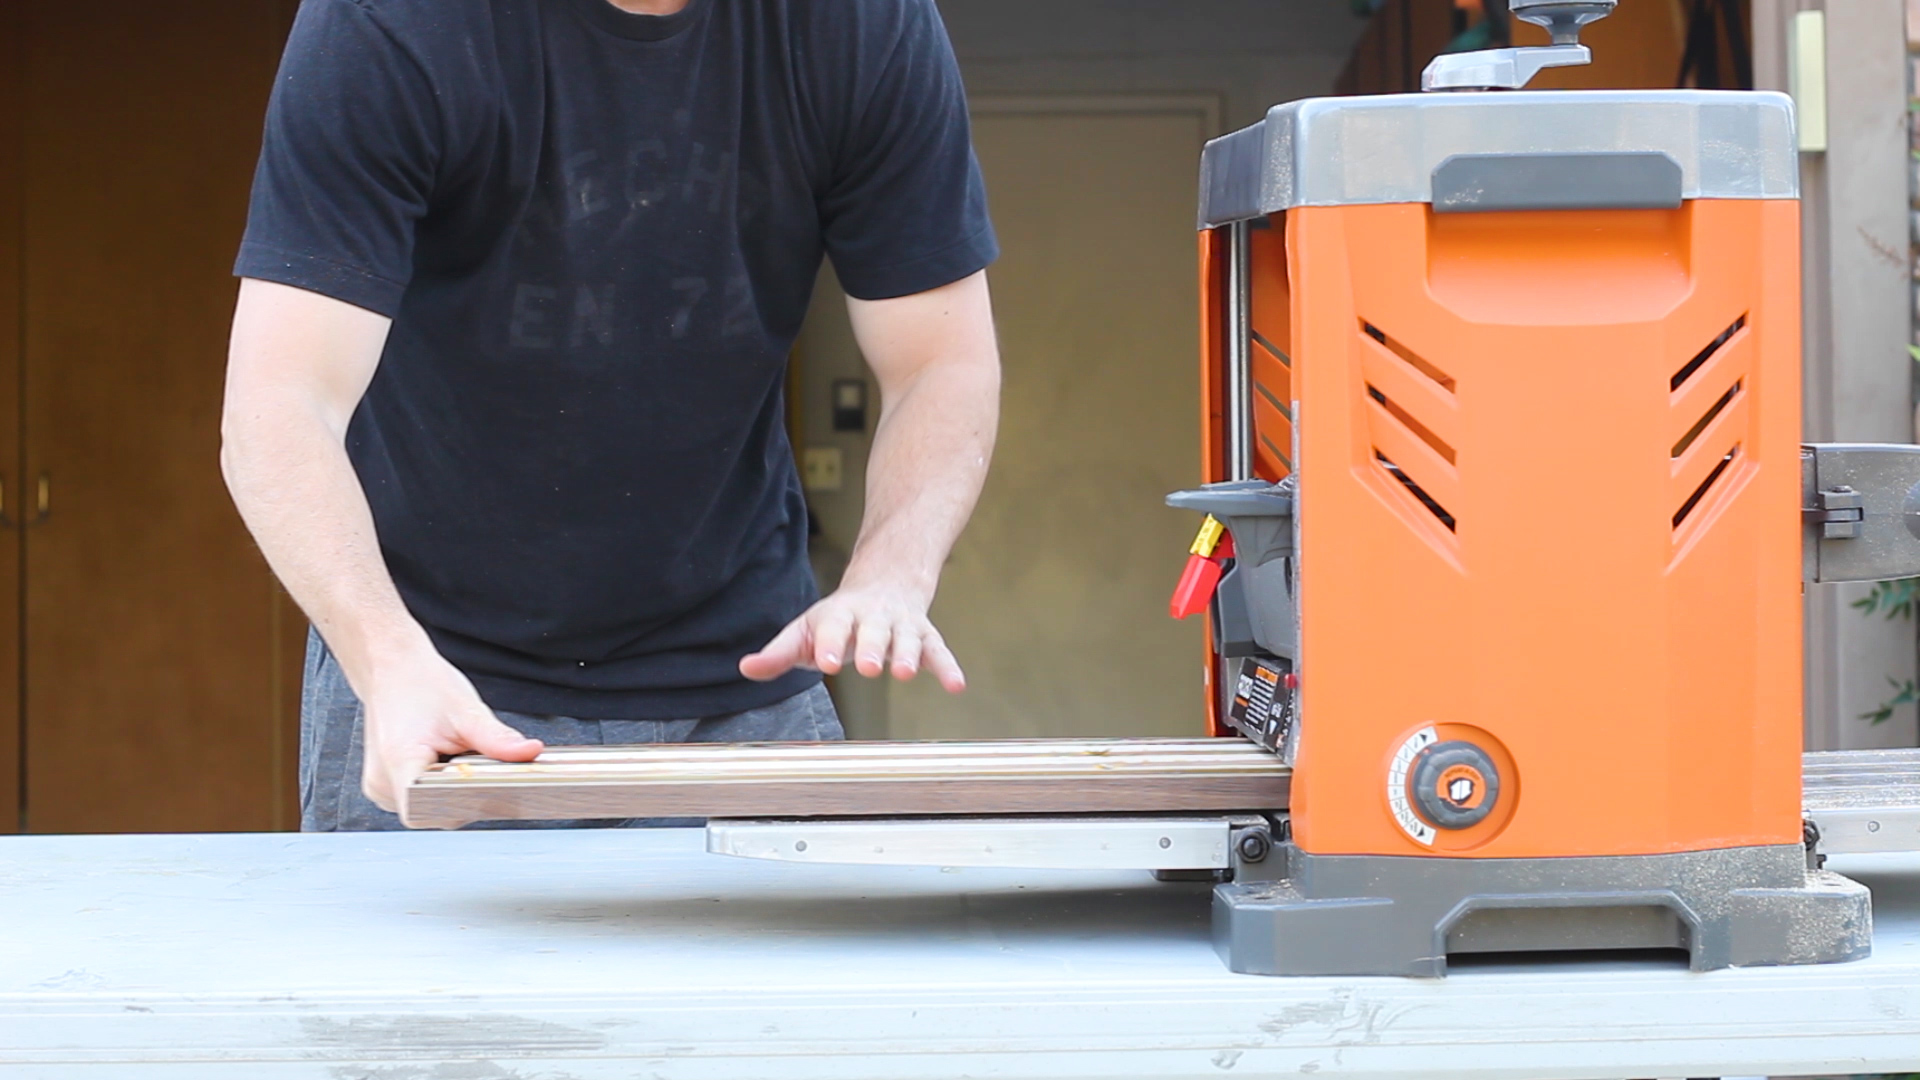
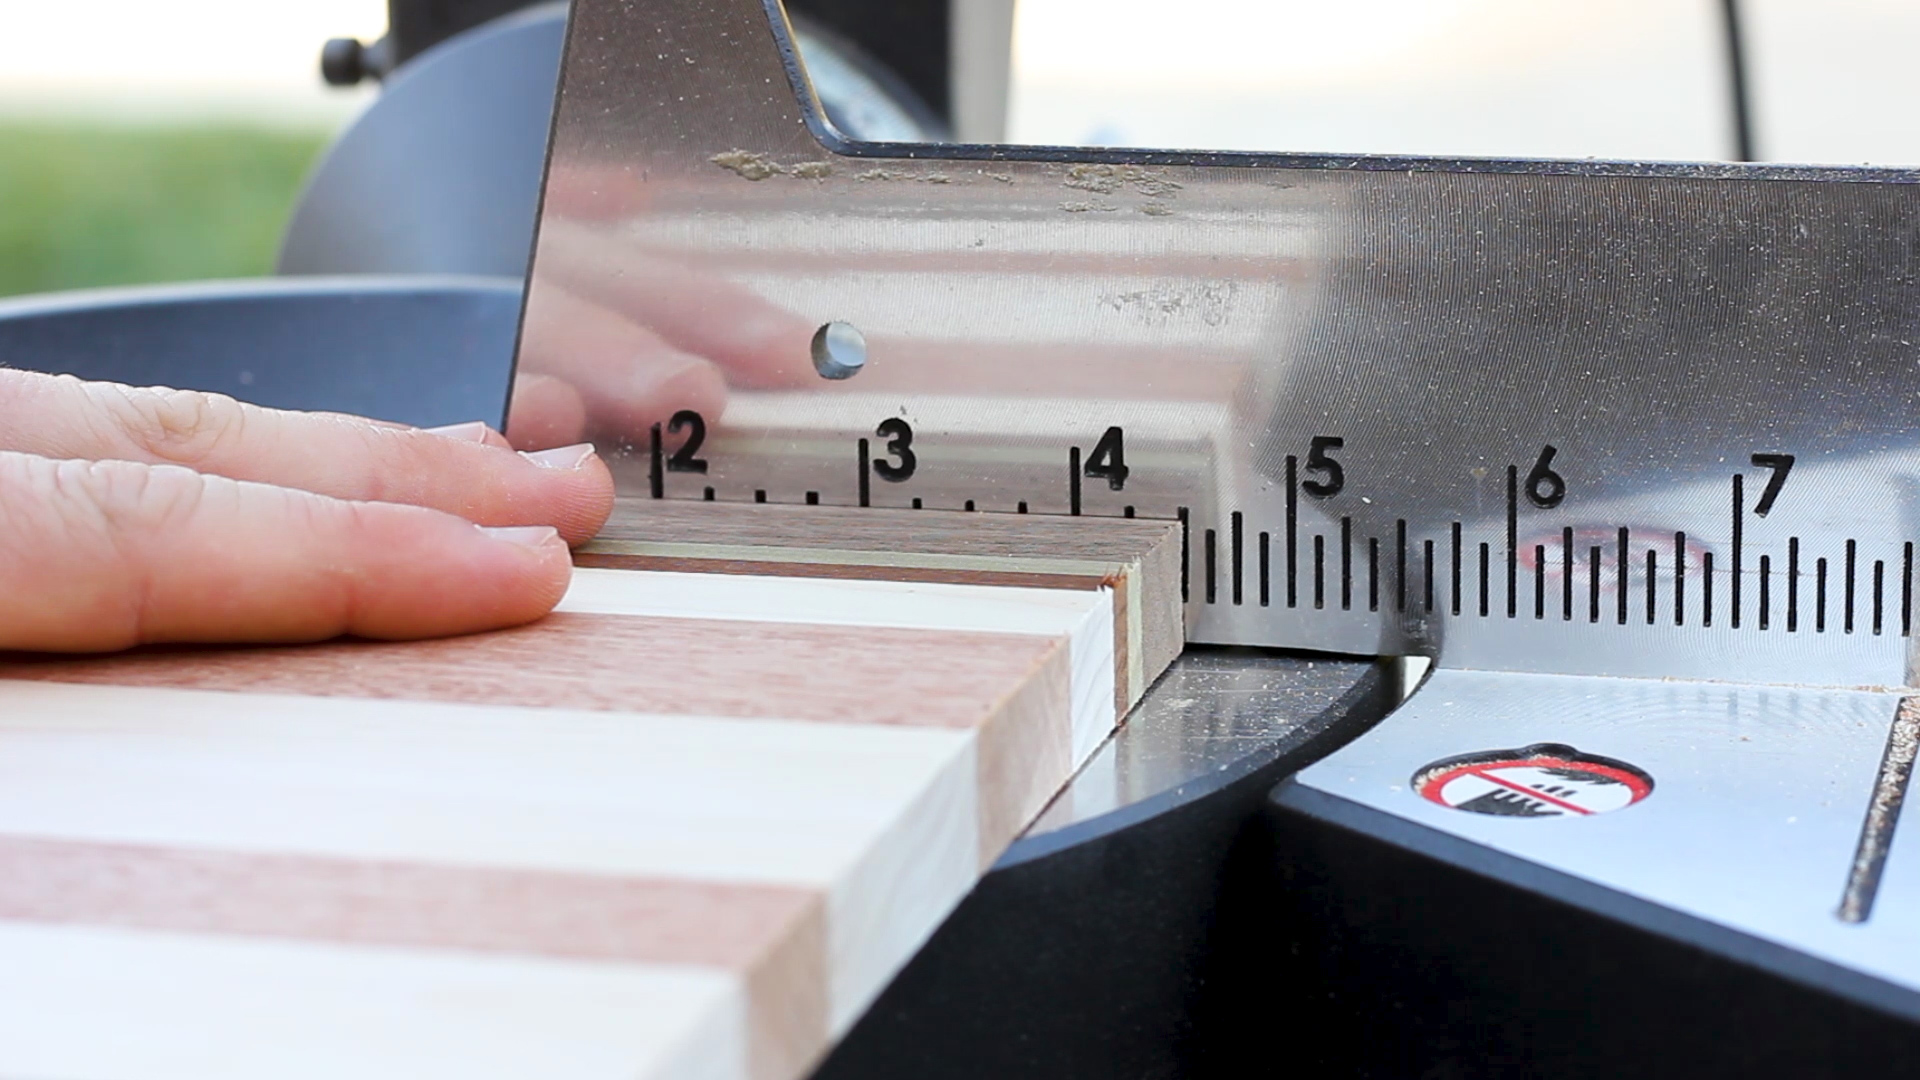
After your glue up dries, you can run it through the planer a few times to clean up all of your surfaces. I tried to keep the final thickness at least 1/2", but that will be based on your starting material size. Next, I cleaned up one edge of the large blank and I ripped my blank into four pieces, all 4.5" wide.
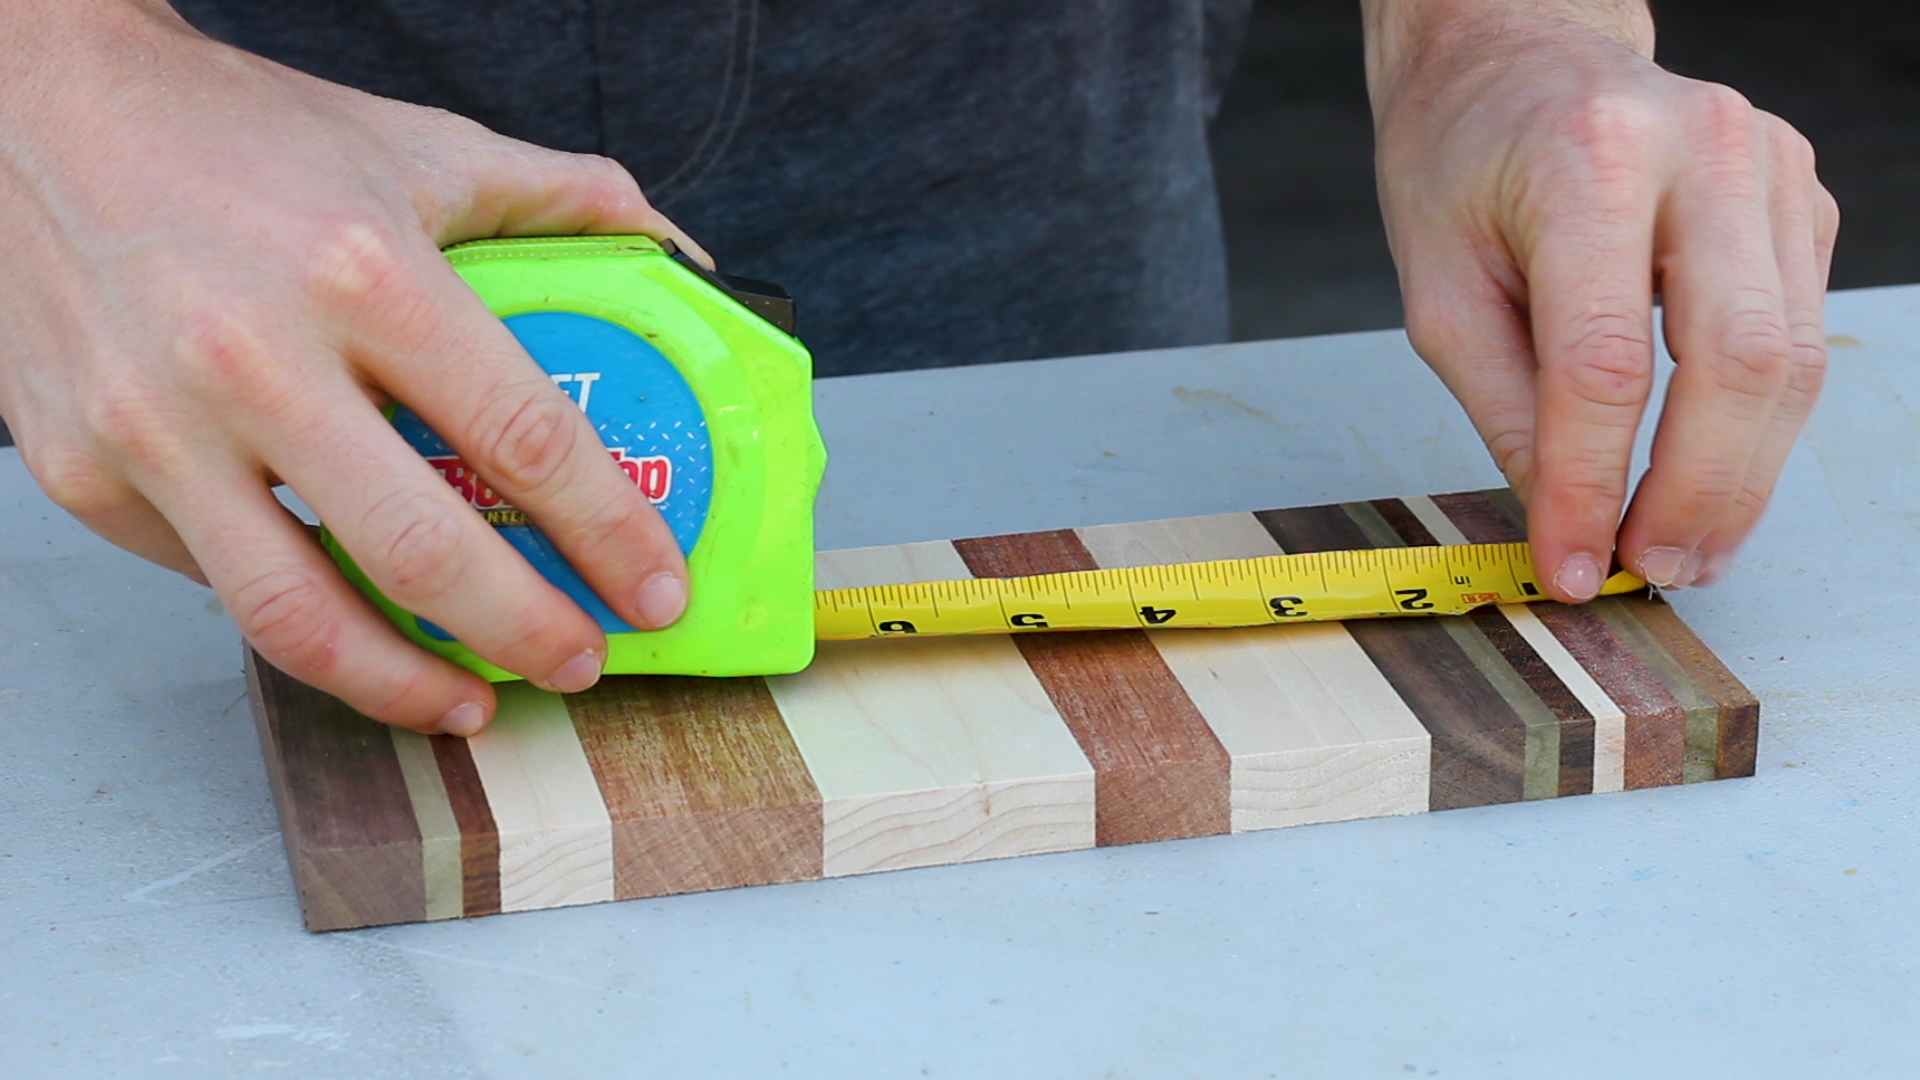
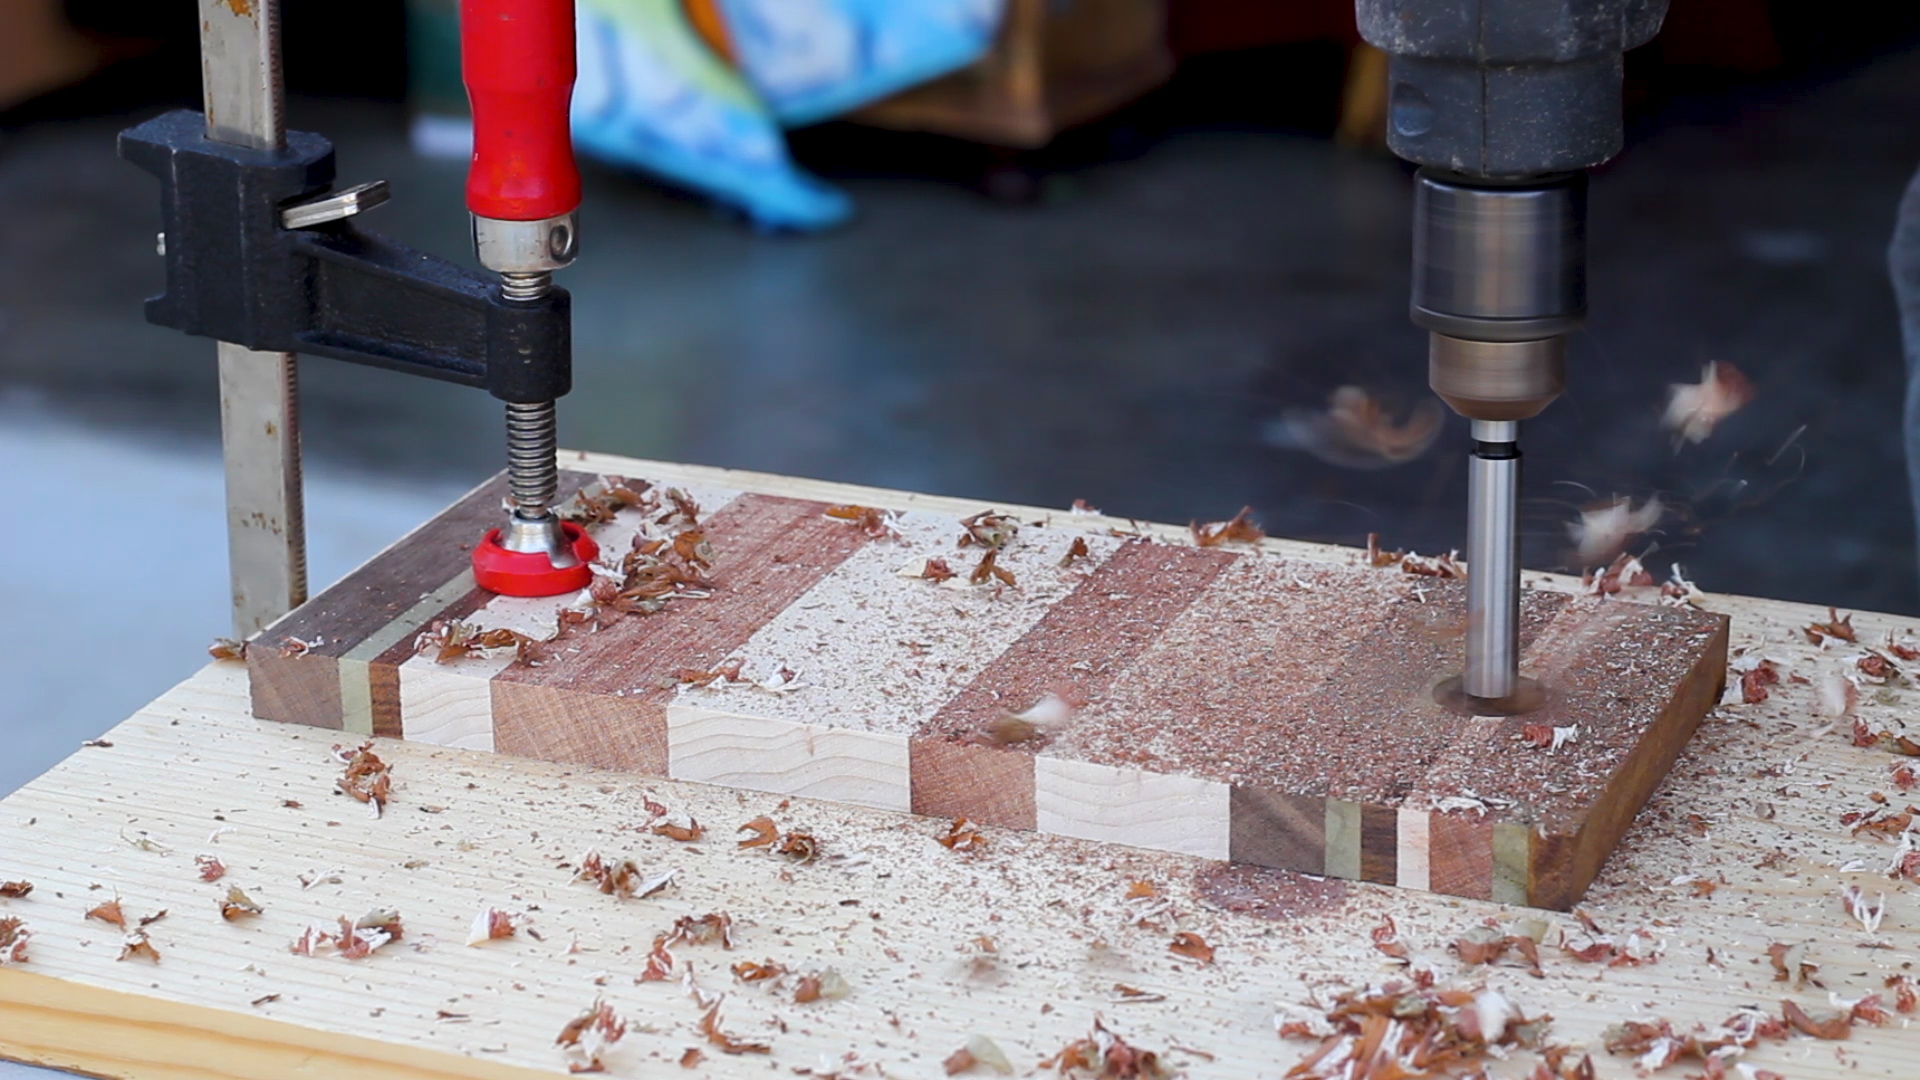

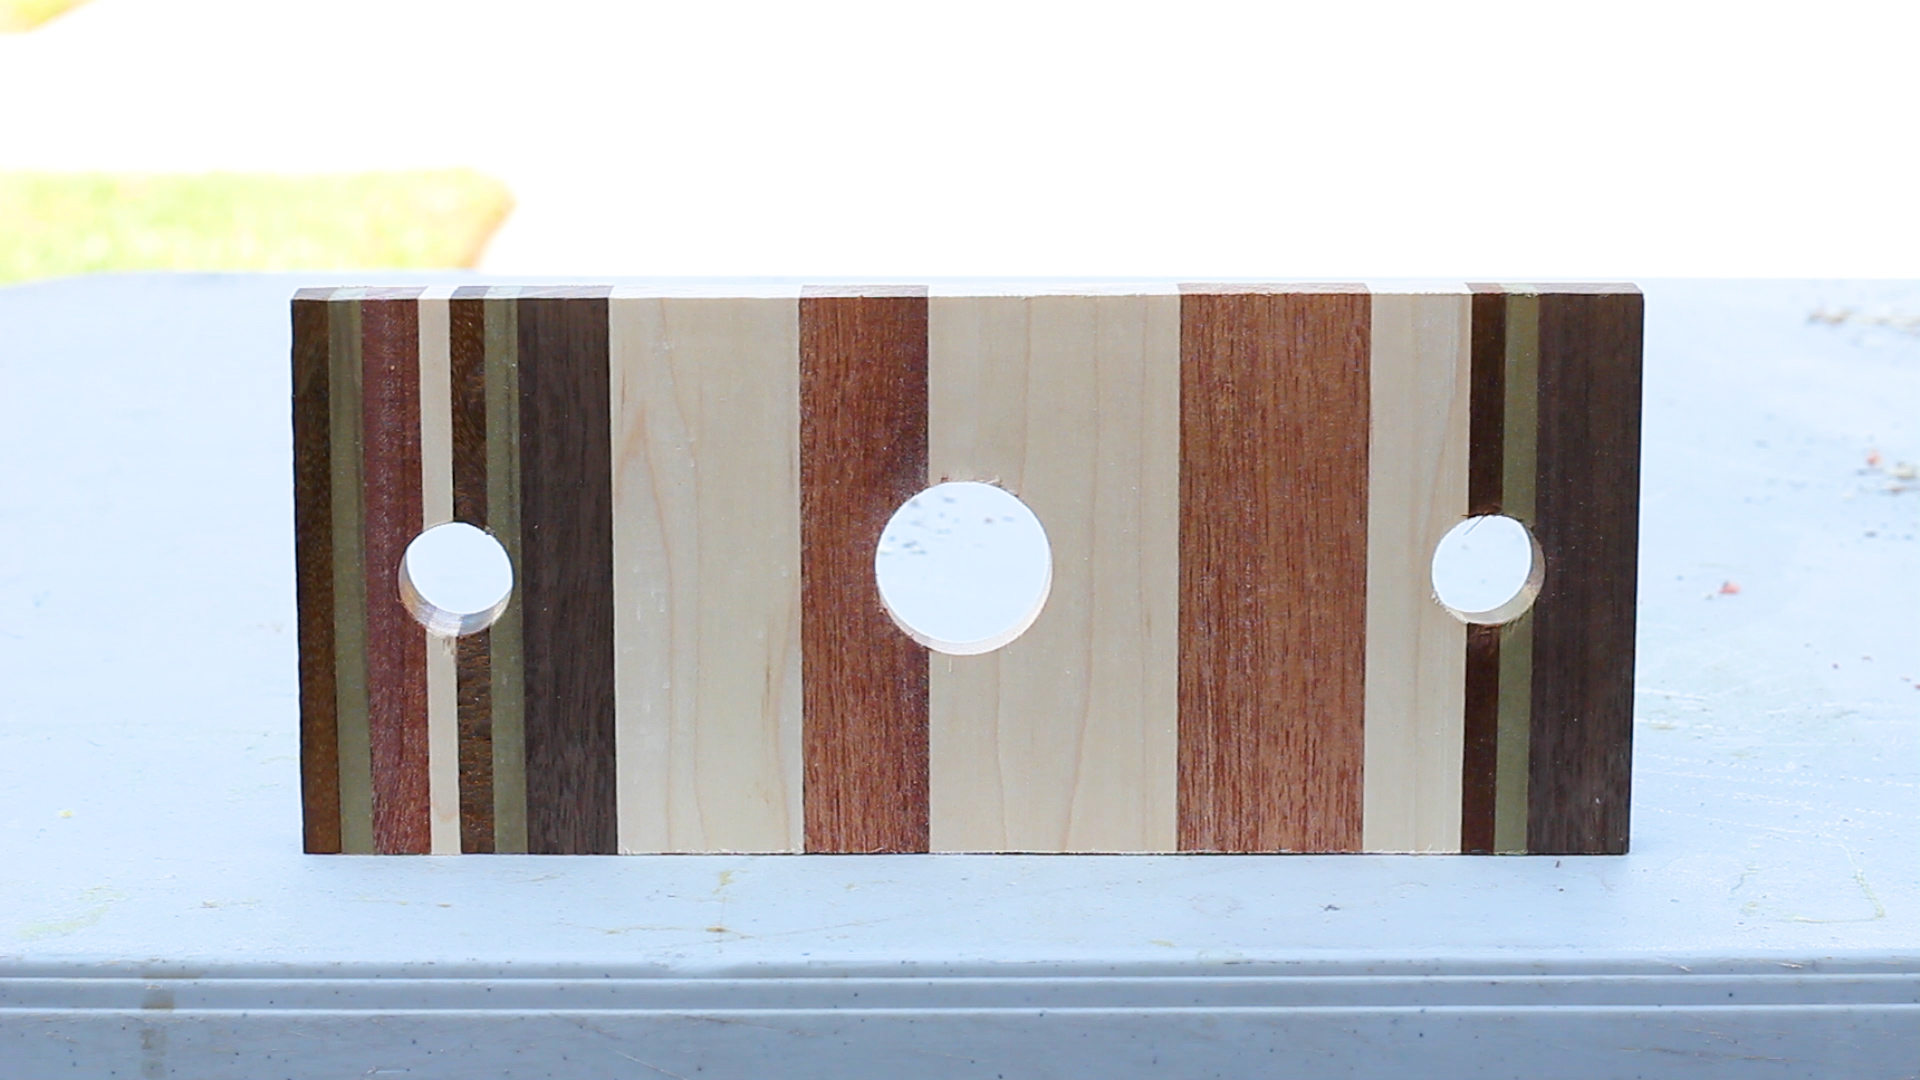
I marked out a center hole and two holes on each end that would accept a wine bottle and wine glasses, respectively. The center of the two outside holes were 1.25" in from the outsides, and I used a 7/8" forstner bit to drill those holes. Make sure you secure your piece firmly to your surface with a clamp.
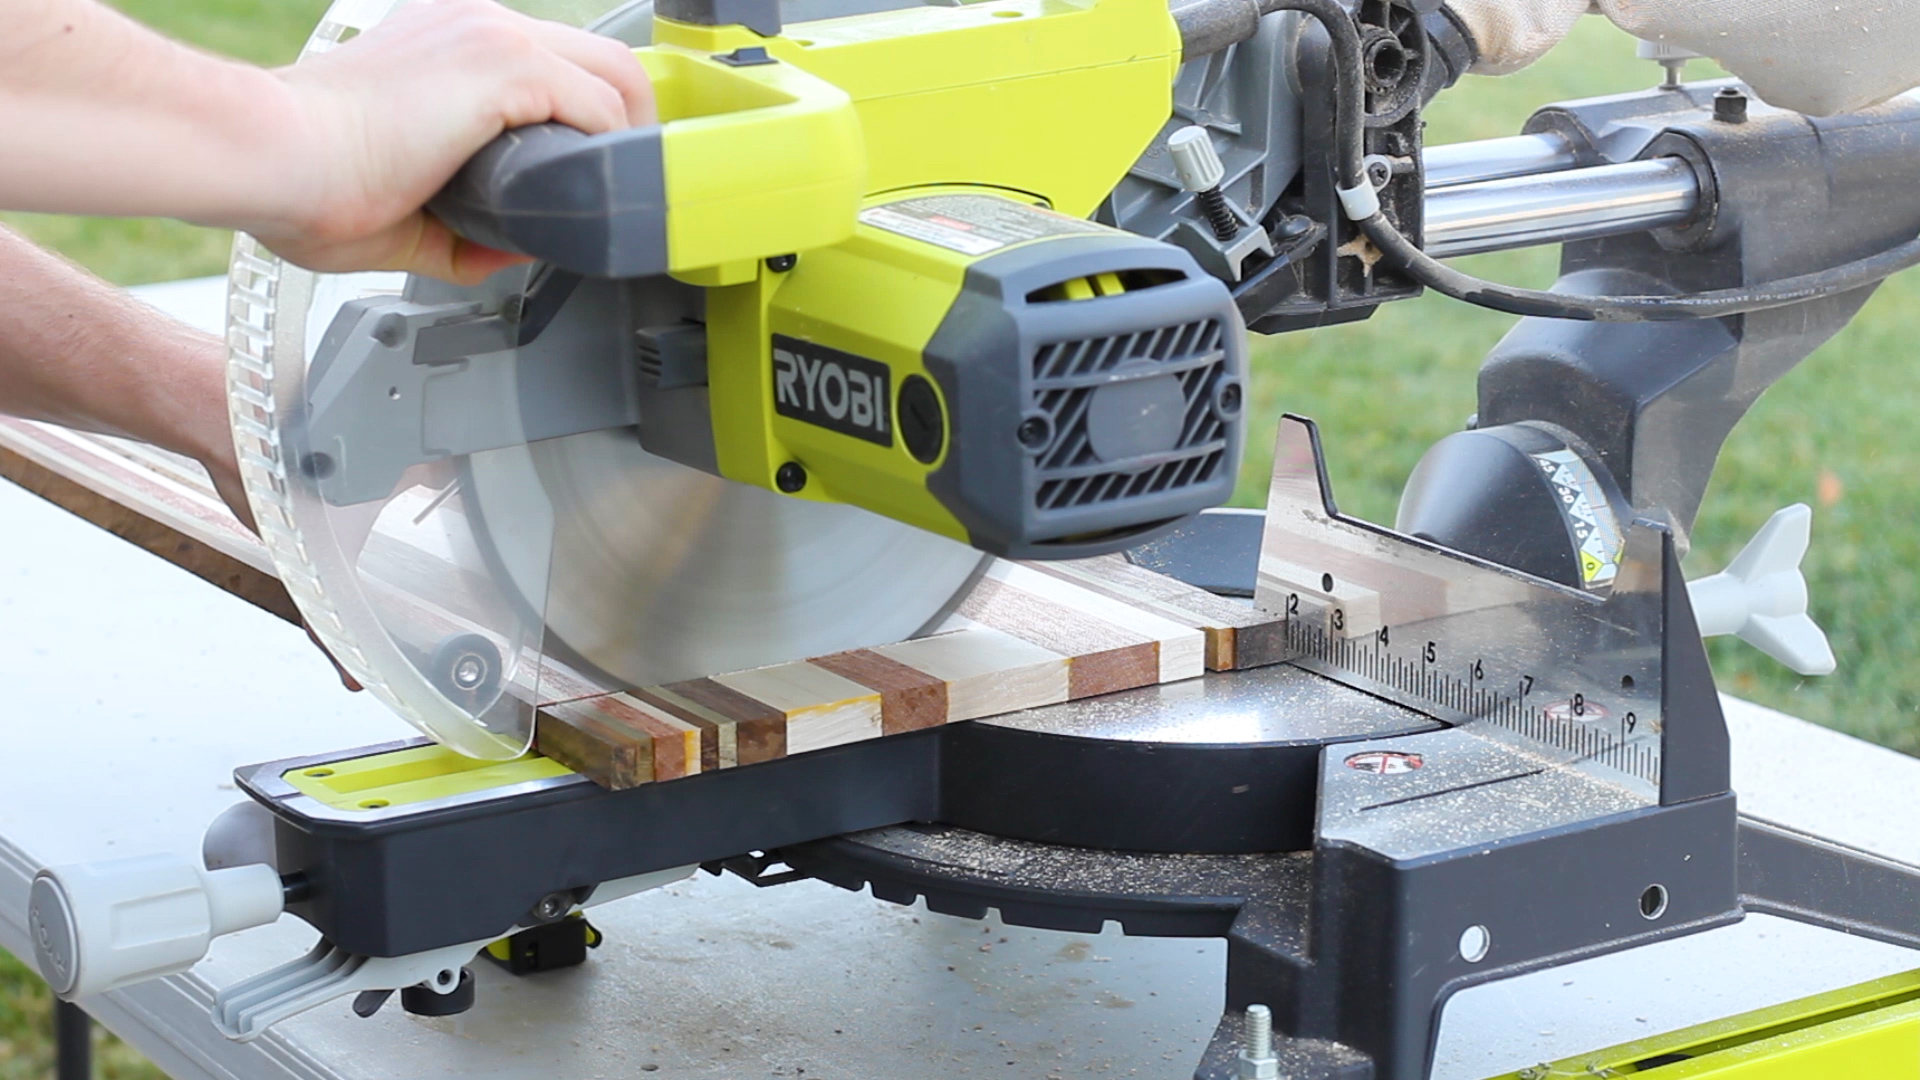
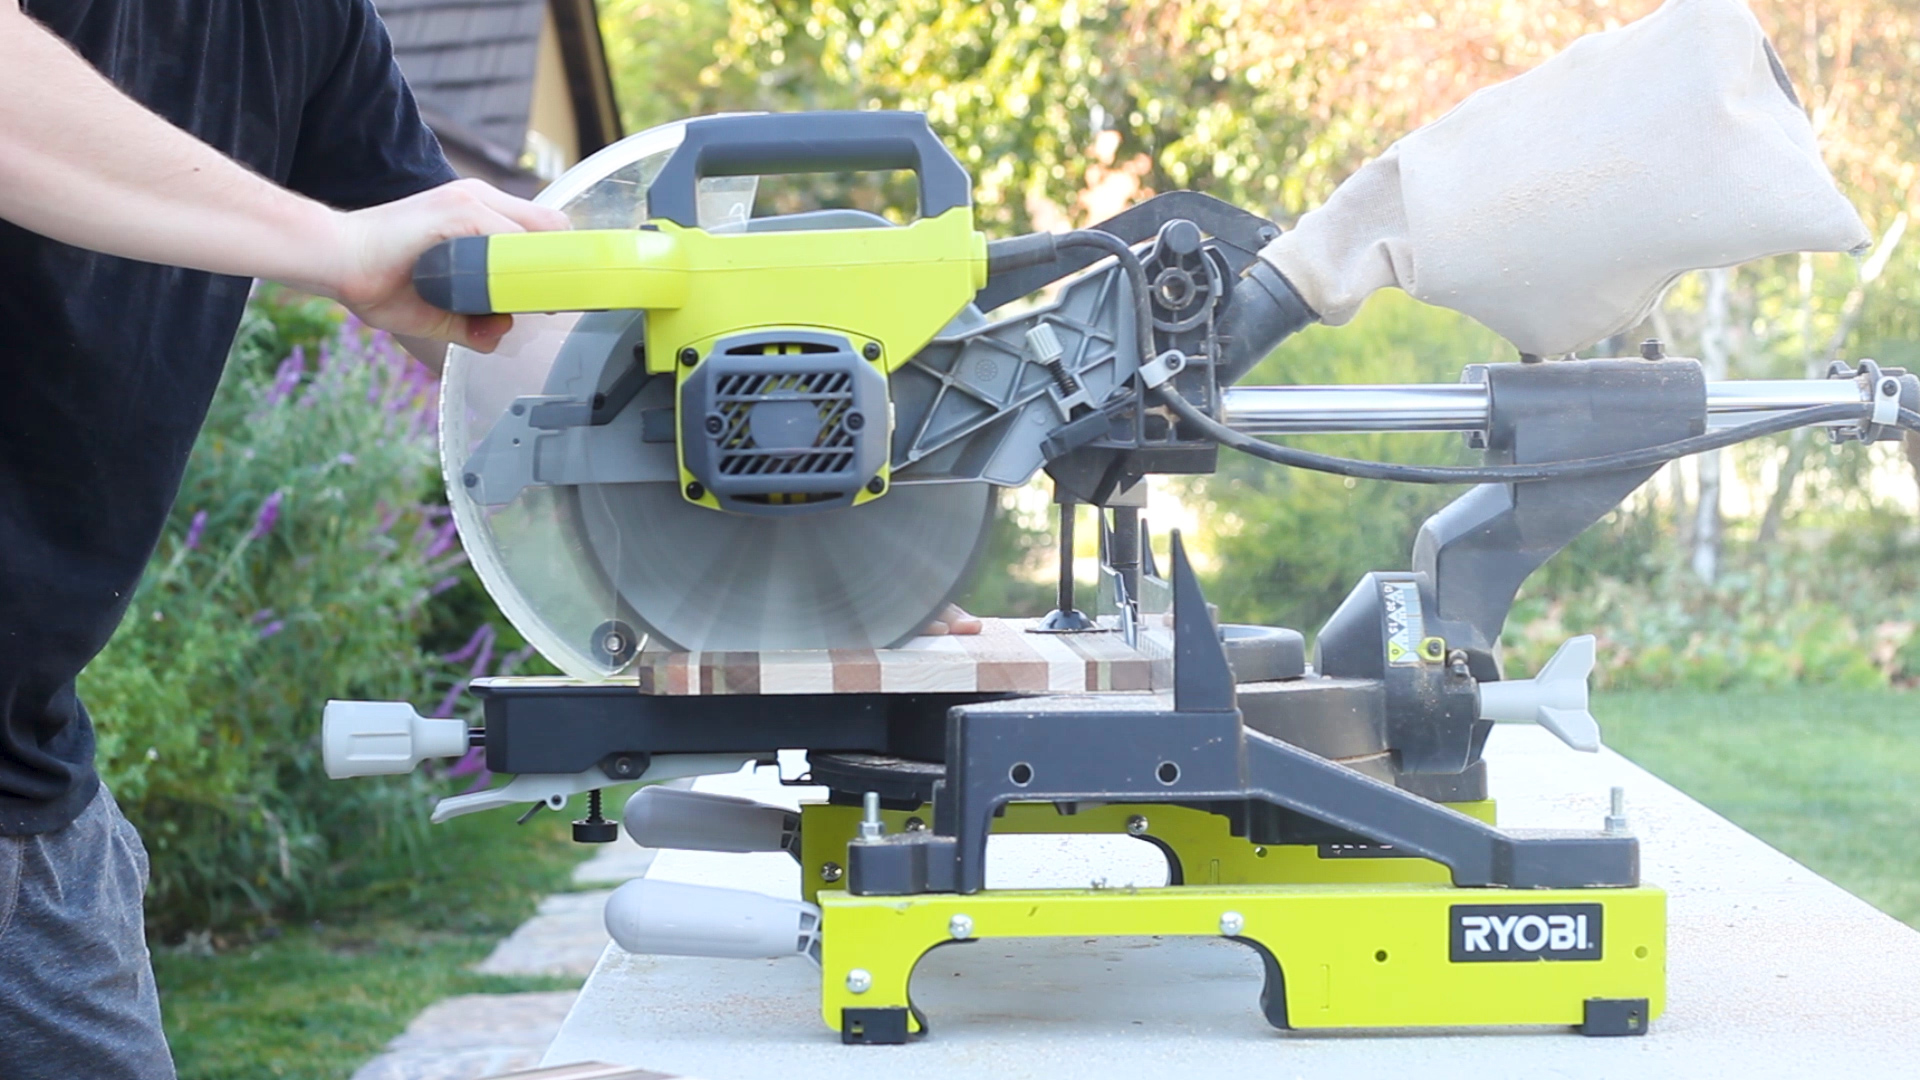
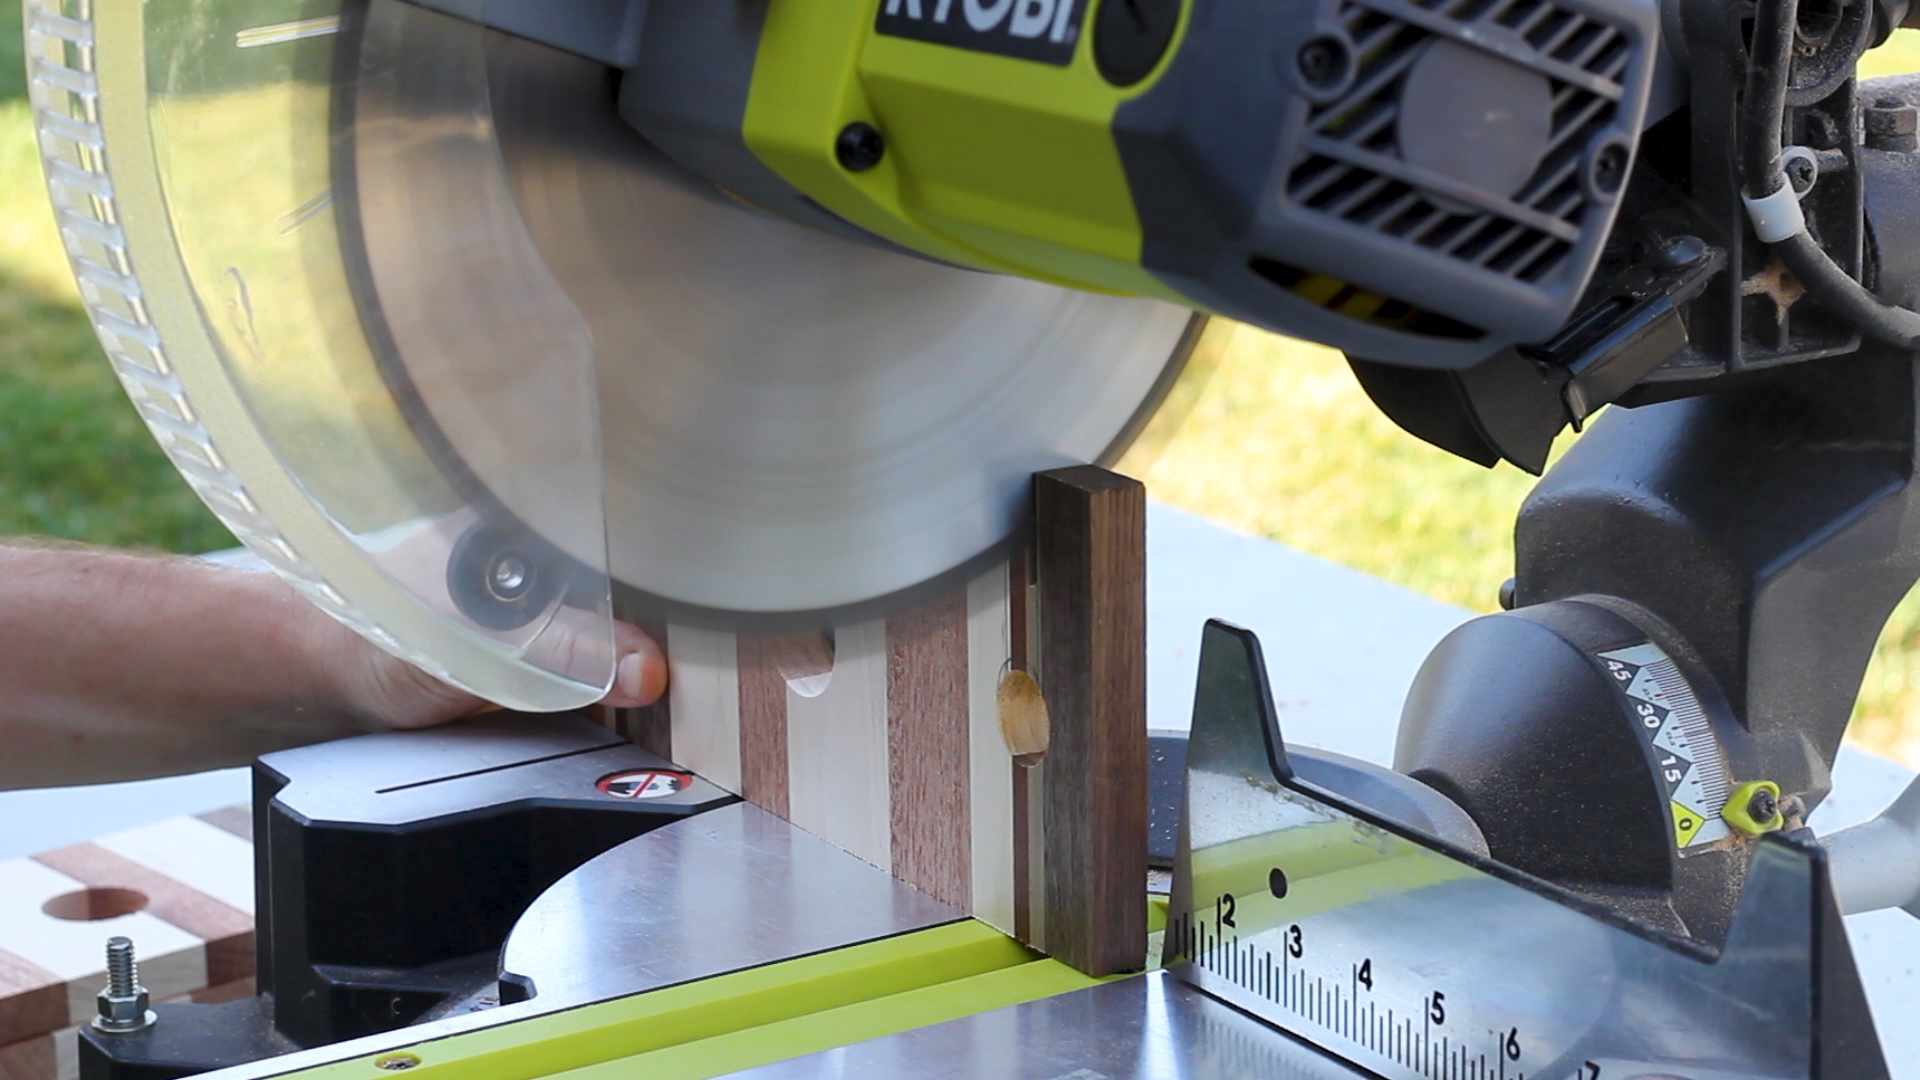
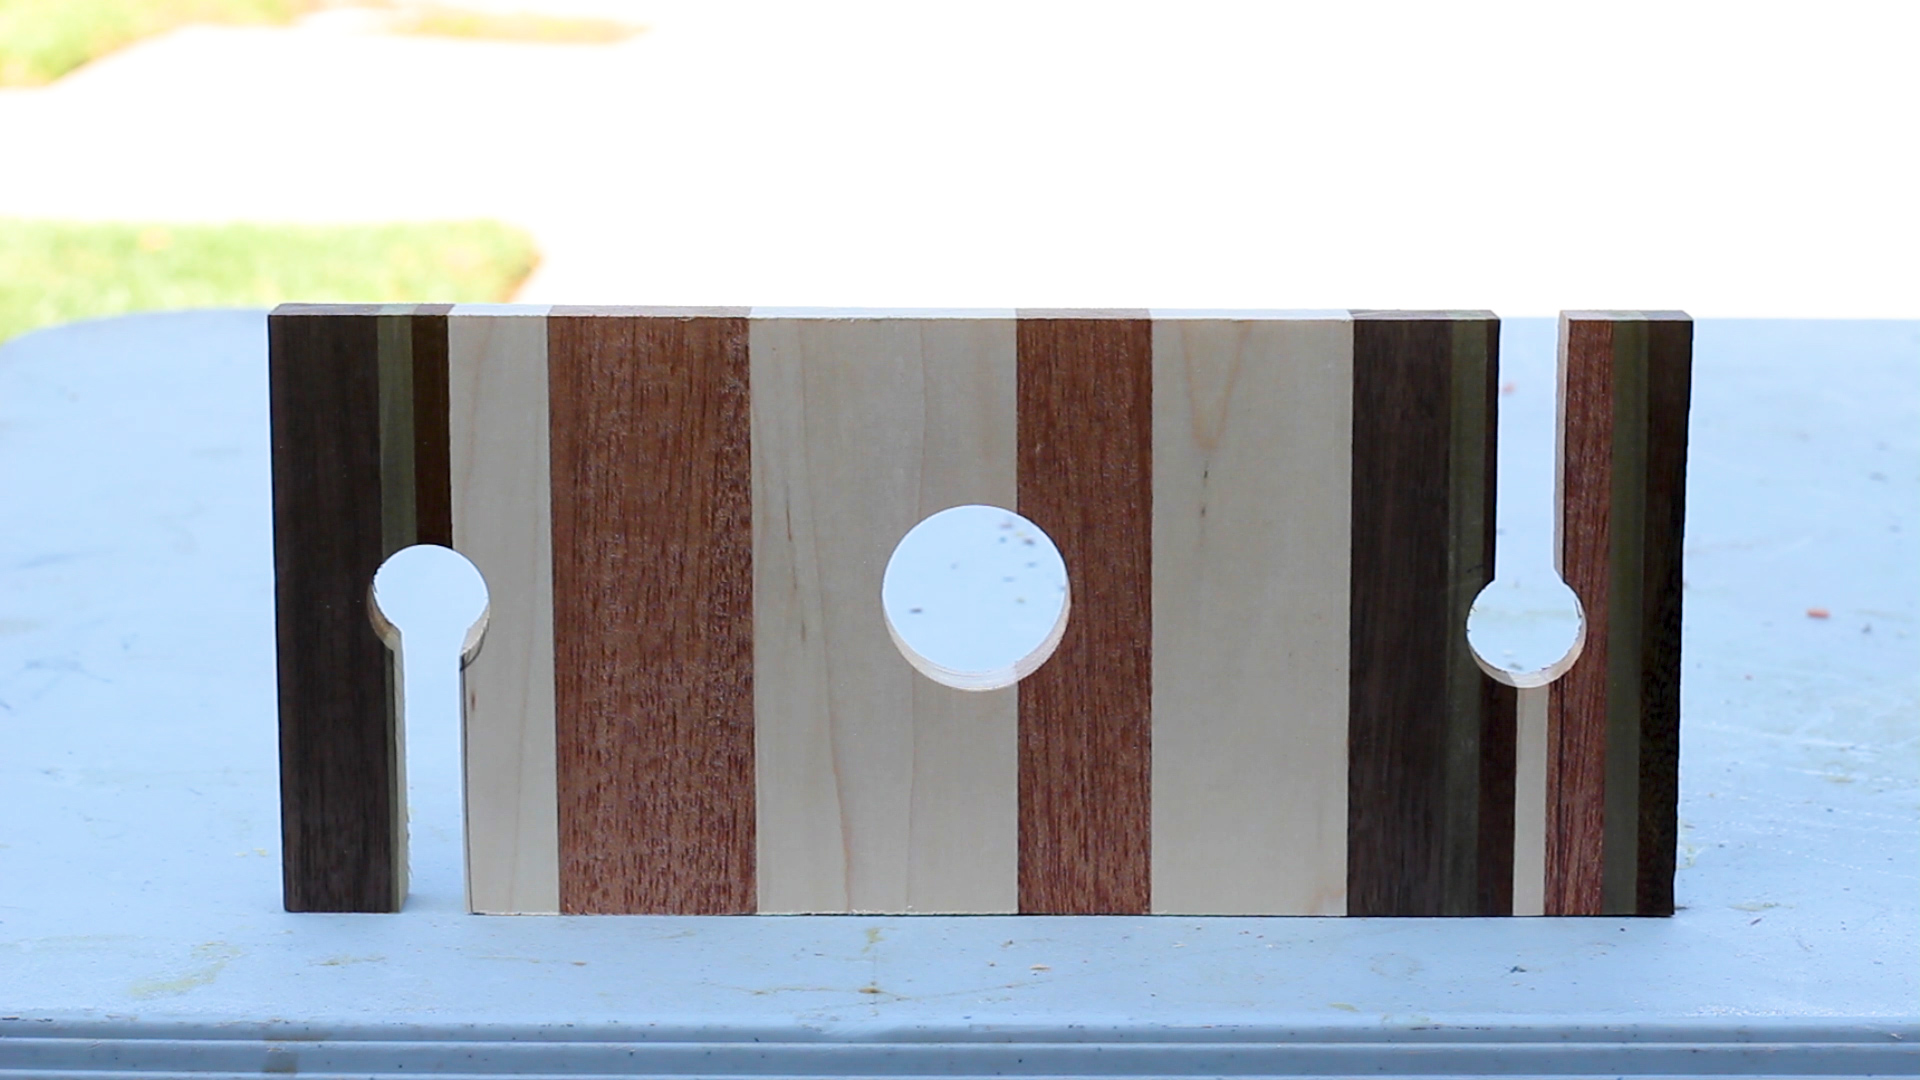
I then drilled the center hole with a 1.125" forstner bit. Once all of my holes were drilled, I use my miter saw to make two cuts, creating alternating grooves to the two wine glass holes. Pretty straight forward, just make sure you're piece is secured and you take the cuts slow. You can see in the last picture how those grooves come together.
NOTE - If you plan to route your edges, make sure that you cut these slits wide enough so that your router bit and bearing can travel through it cleanly.
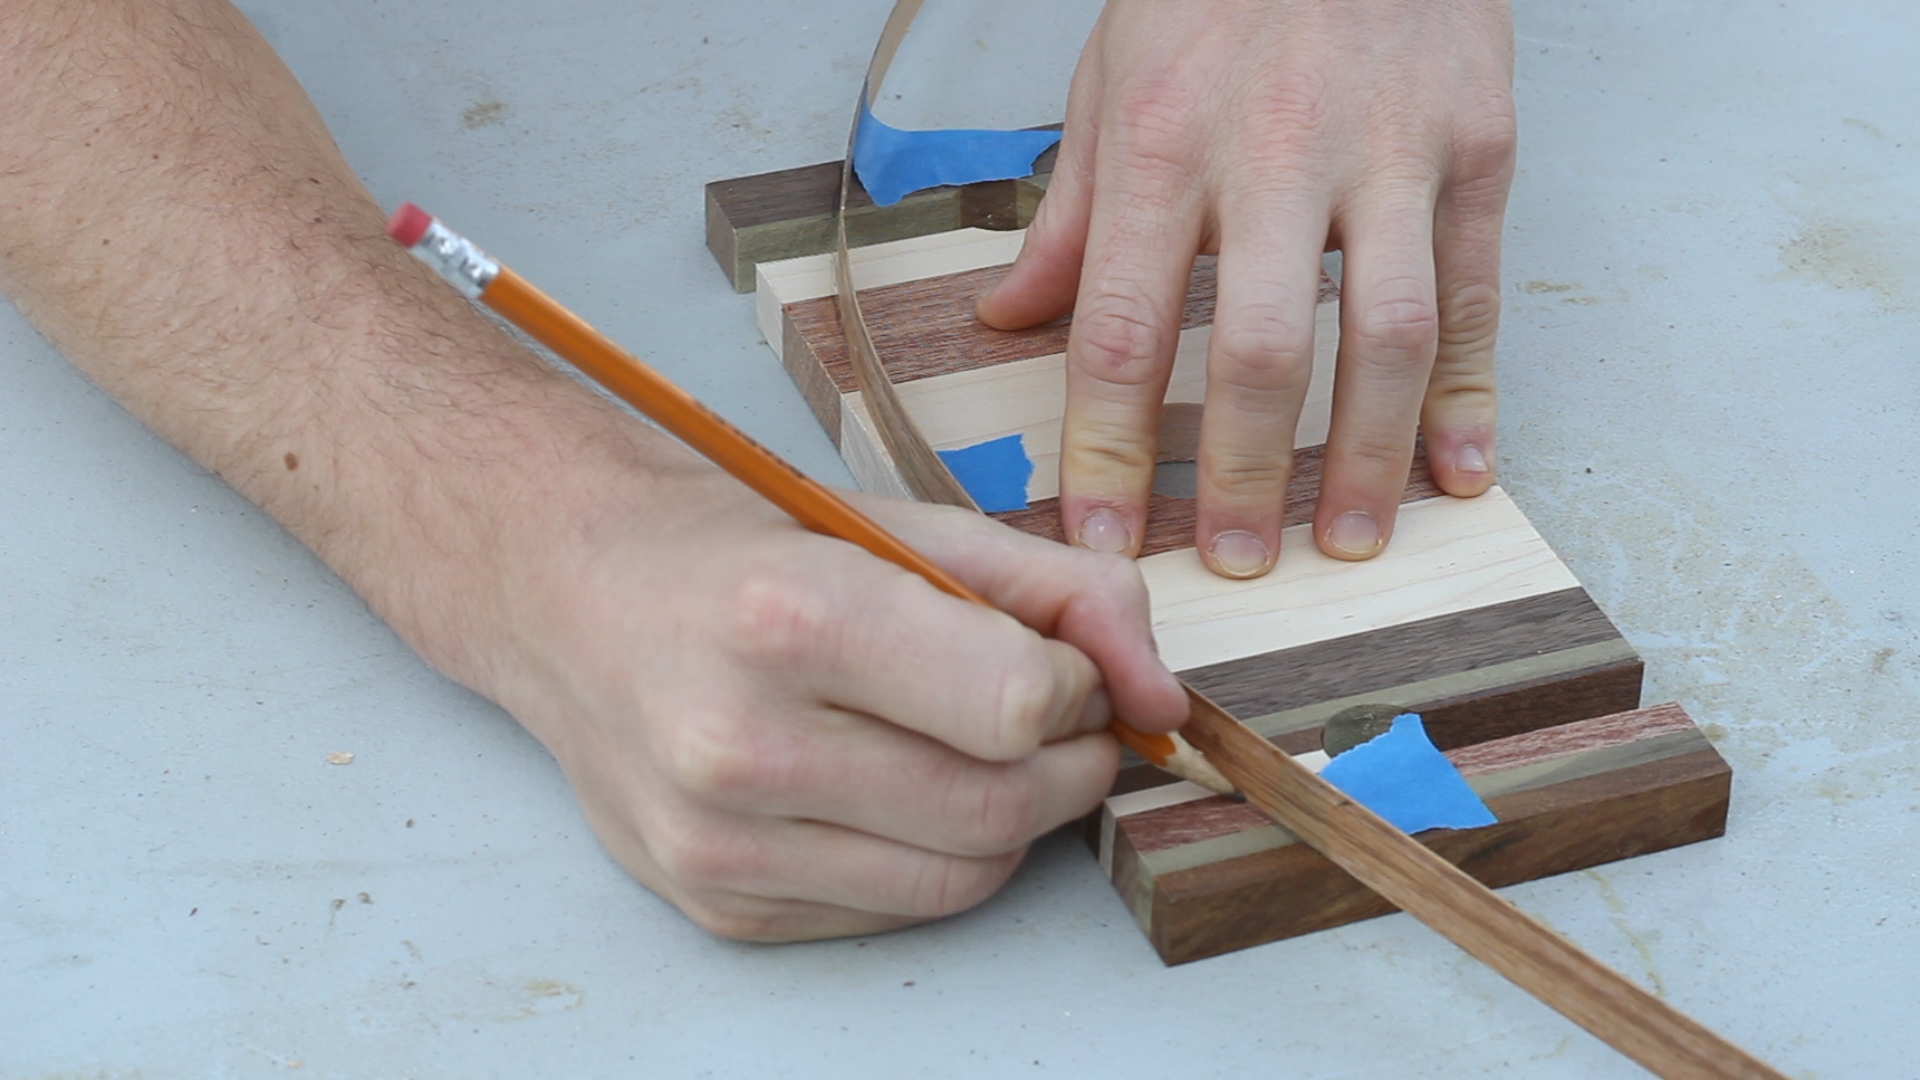
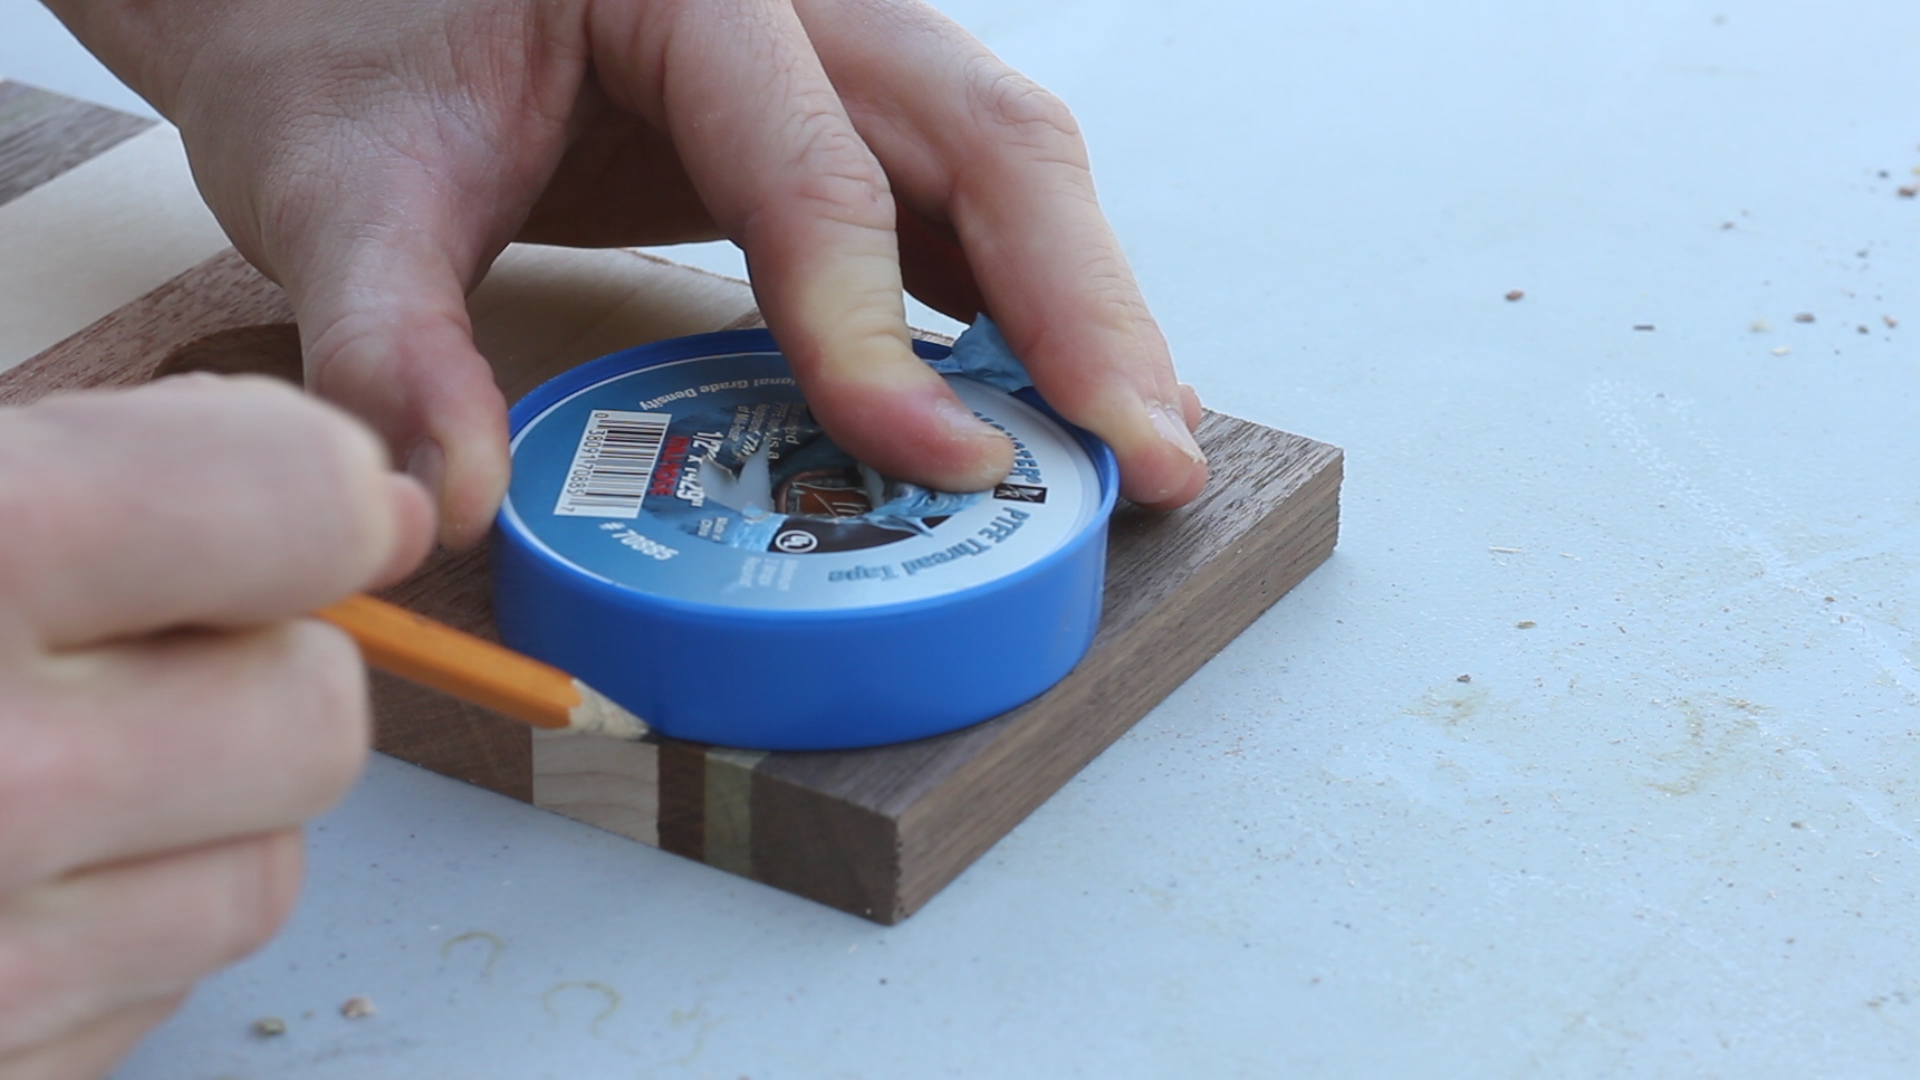
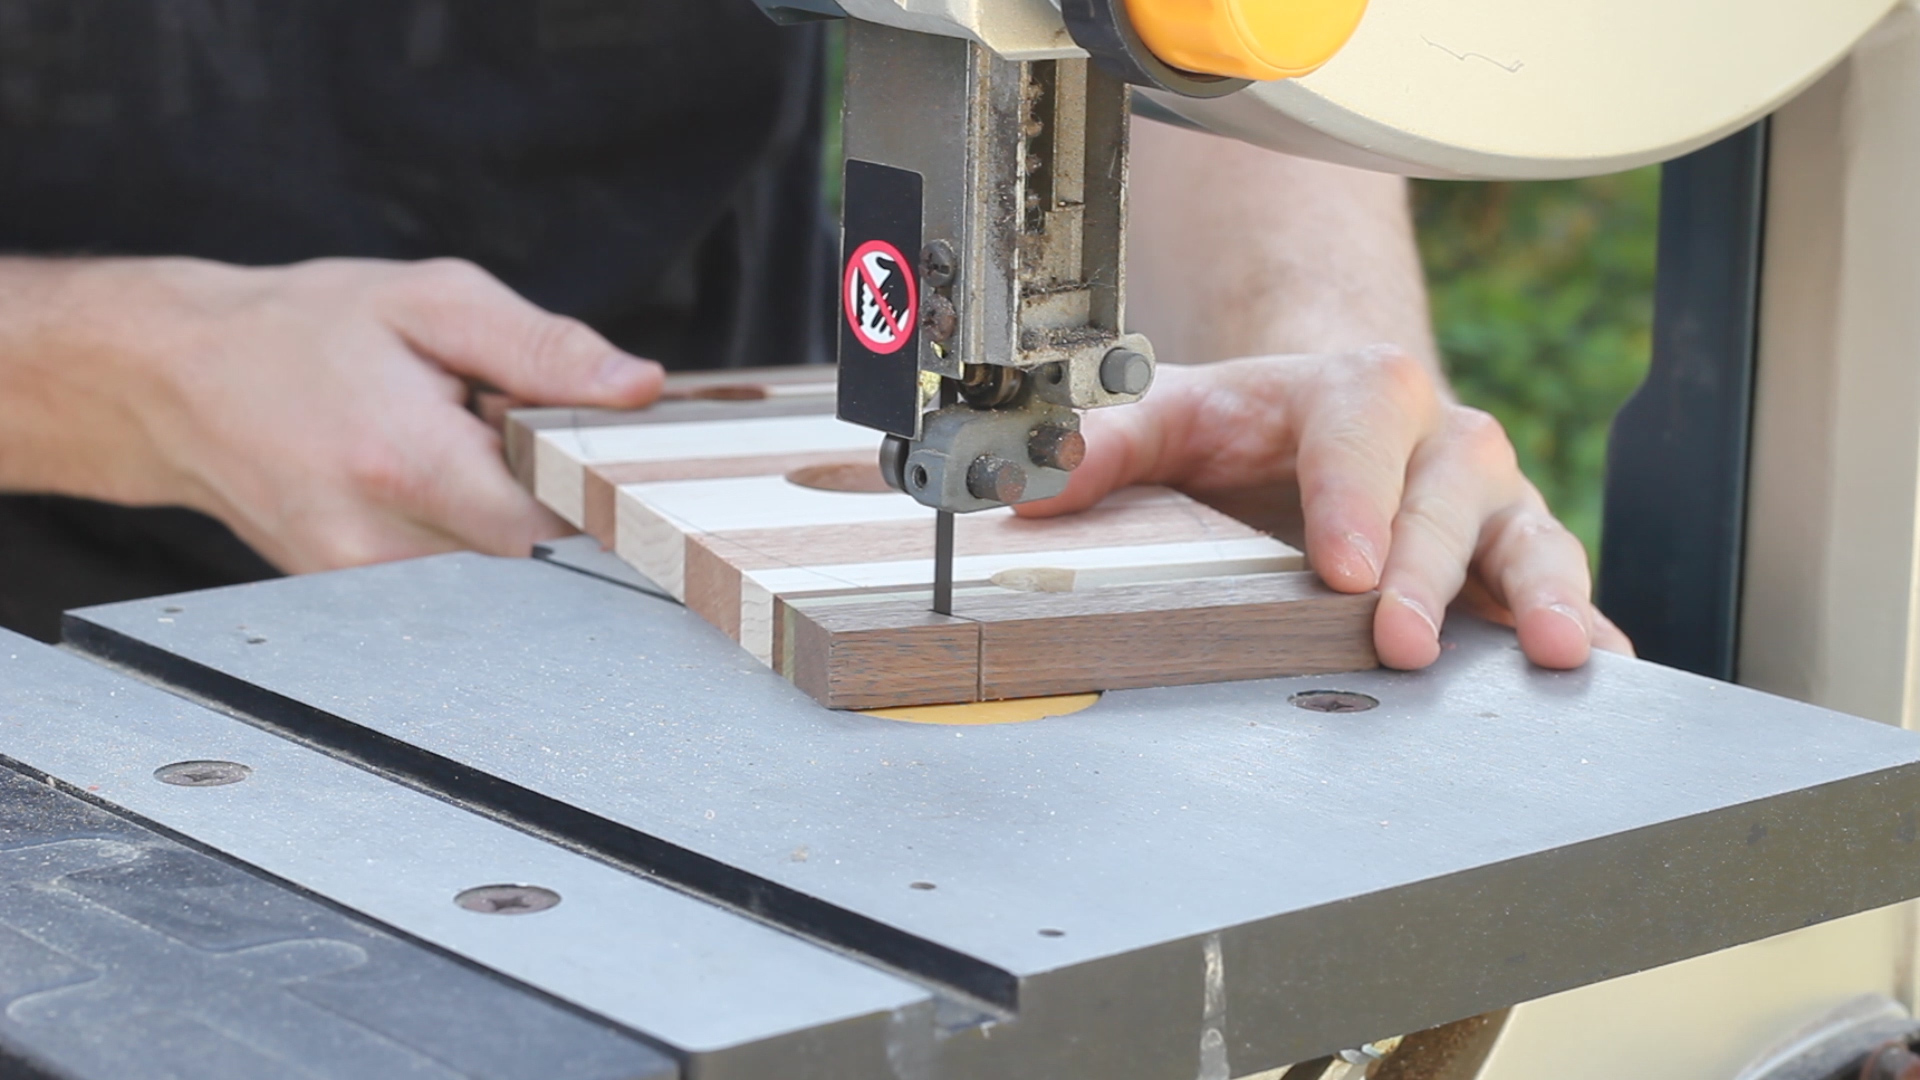
You can make these any shape you want. Pic 1 shows me using some scrap edge banding and tape to create a smooth line to cut later. Pic 2 shows me using a circle to create rounded edges. I then roughed everything out on my super awful band saw that I need to replace (Pic 3).
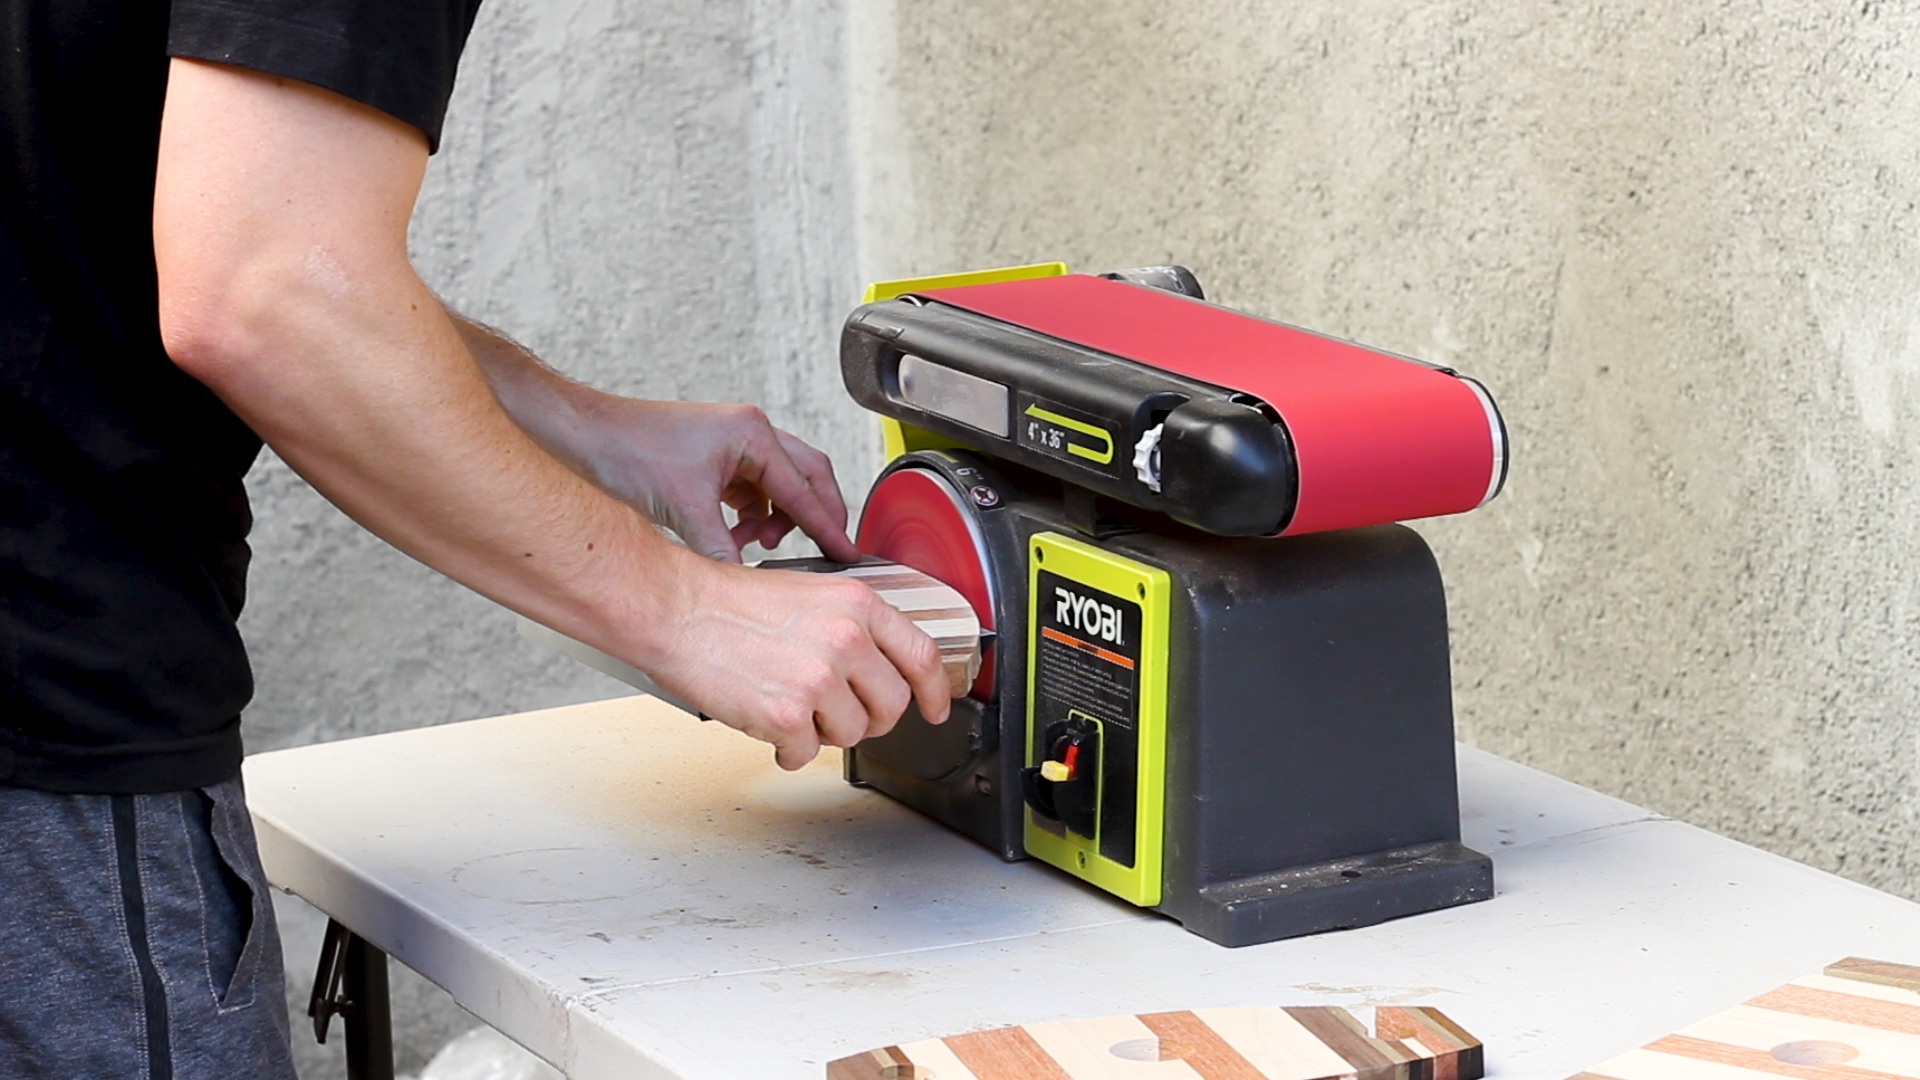
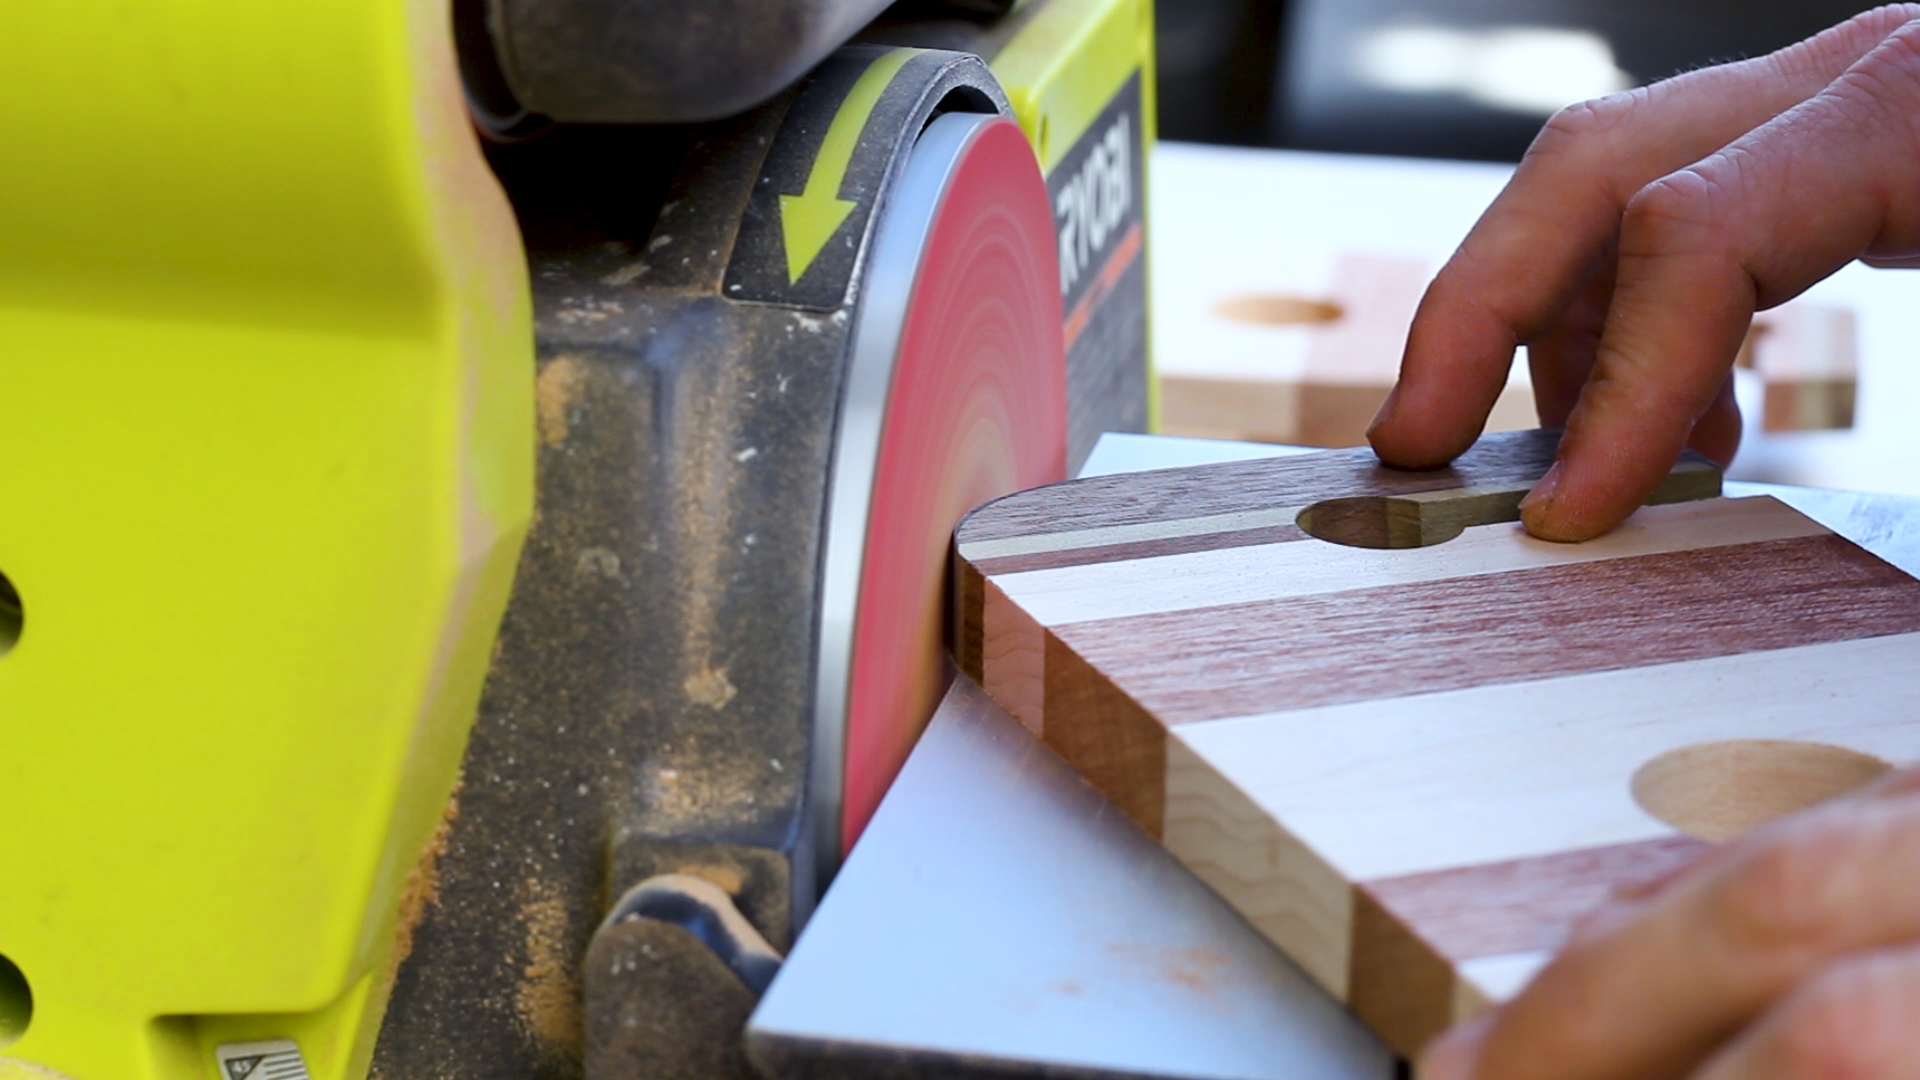
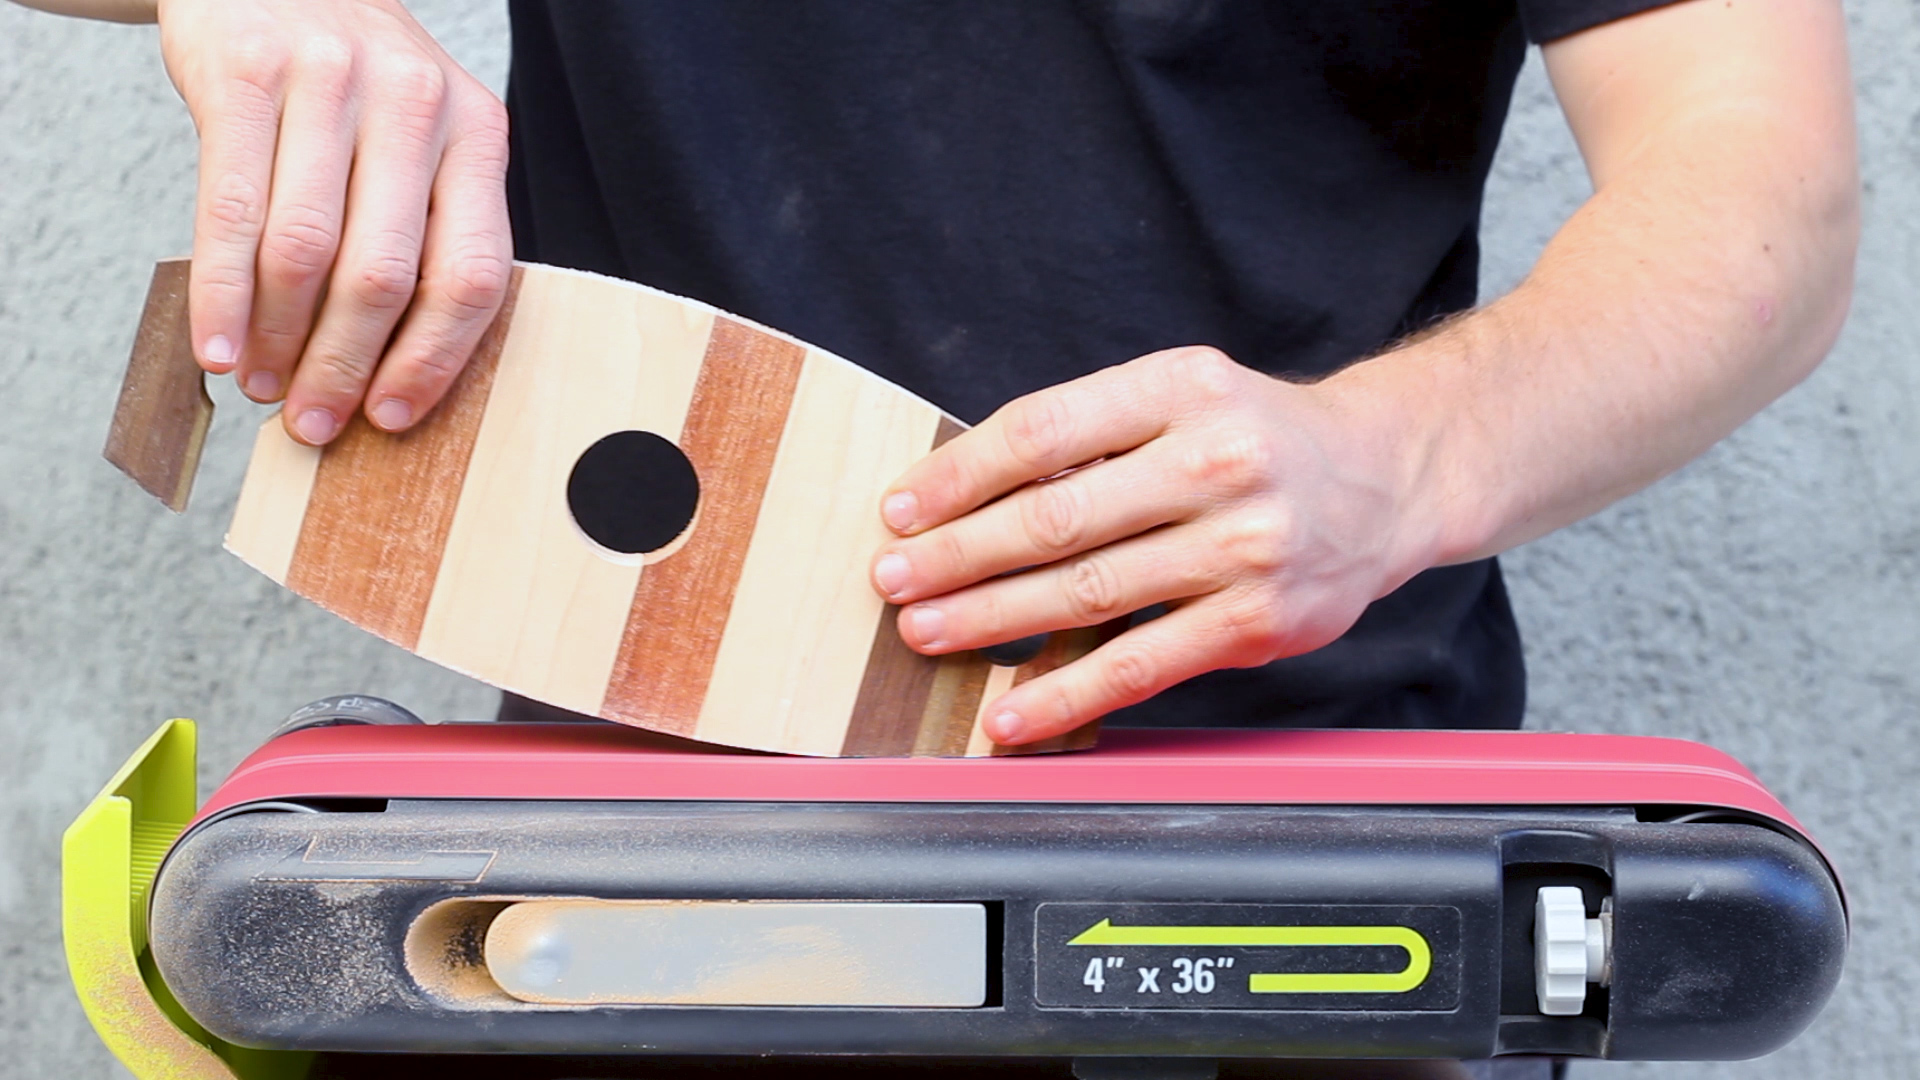
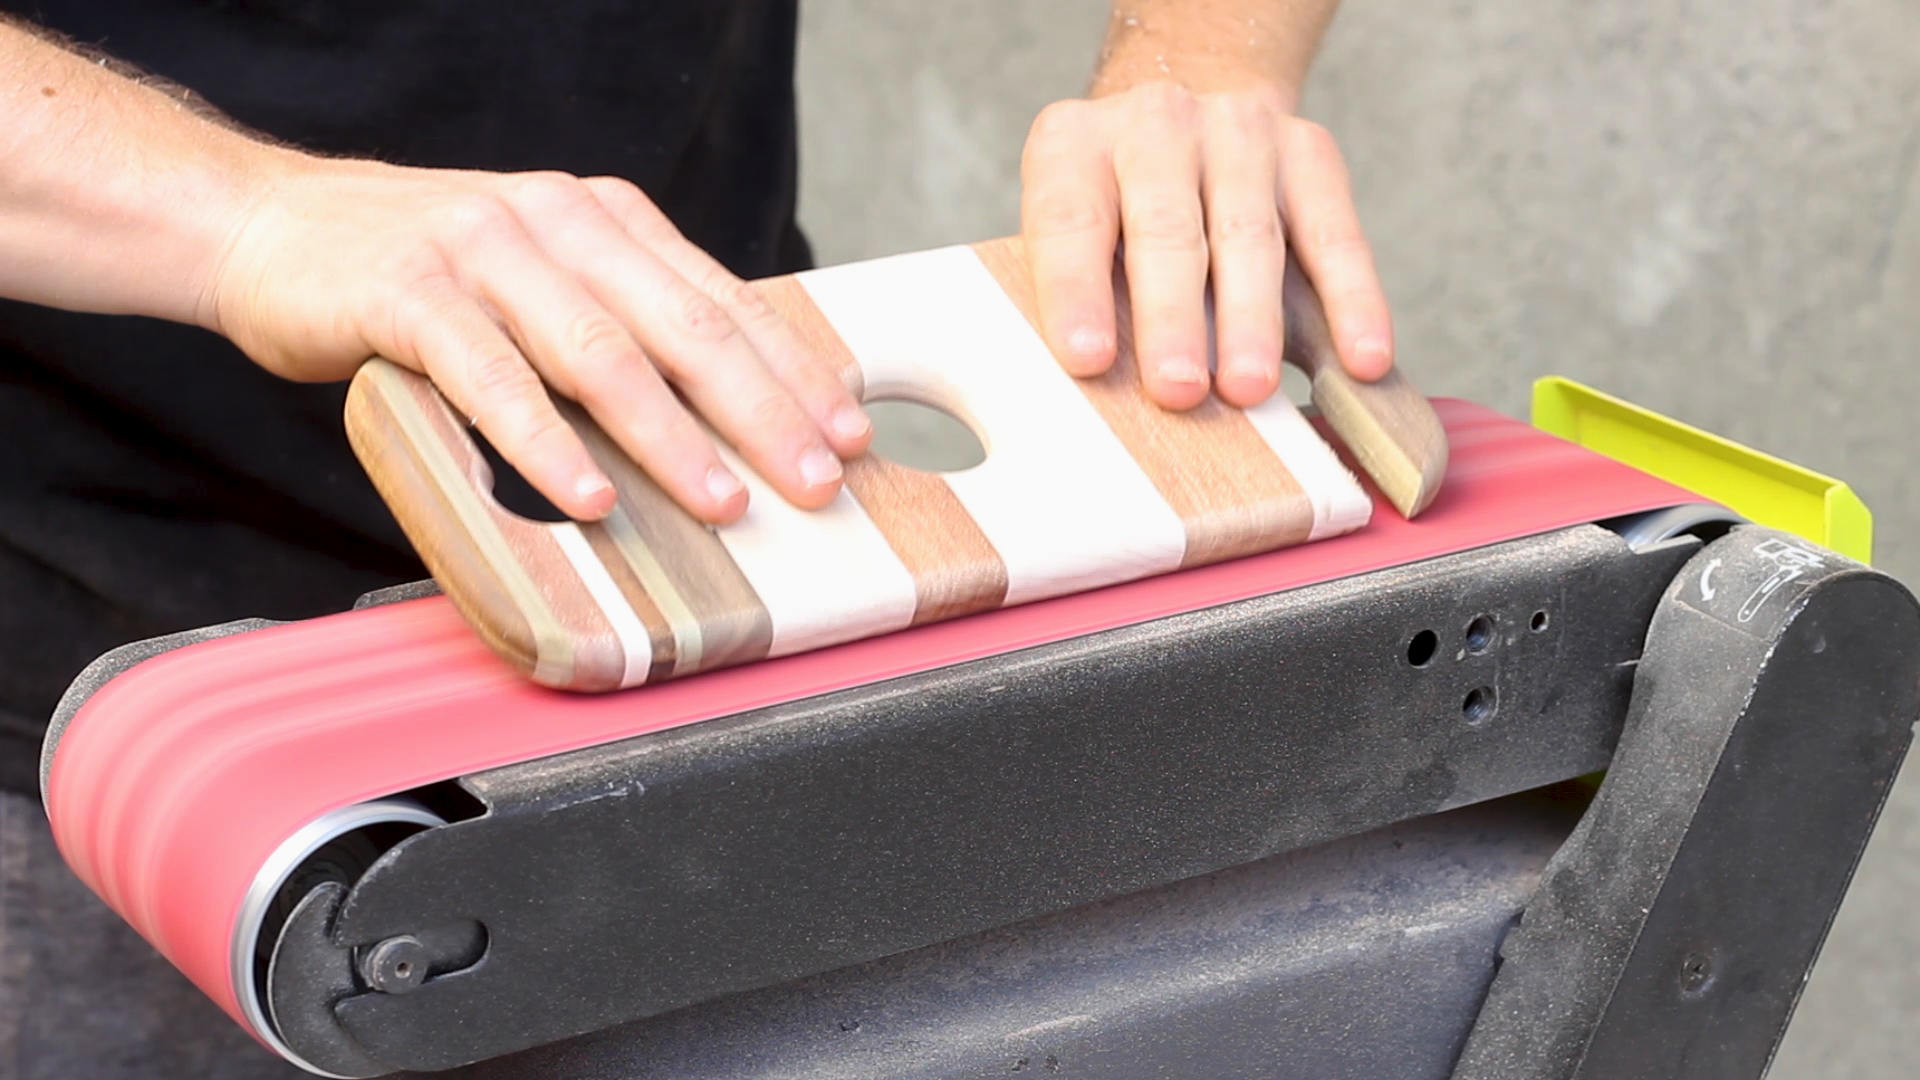
I then switched to my stationary belt sander in Pics 4-6 and smoothed over all of the edges, corners, and surfaces using 80 grit on the sanding disc and 120 grit on the belt. I also used new discs and belts for this - something I learned makes the world of a difference for just a few bucks!
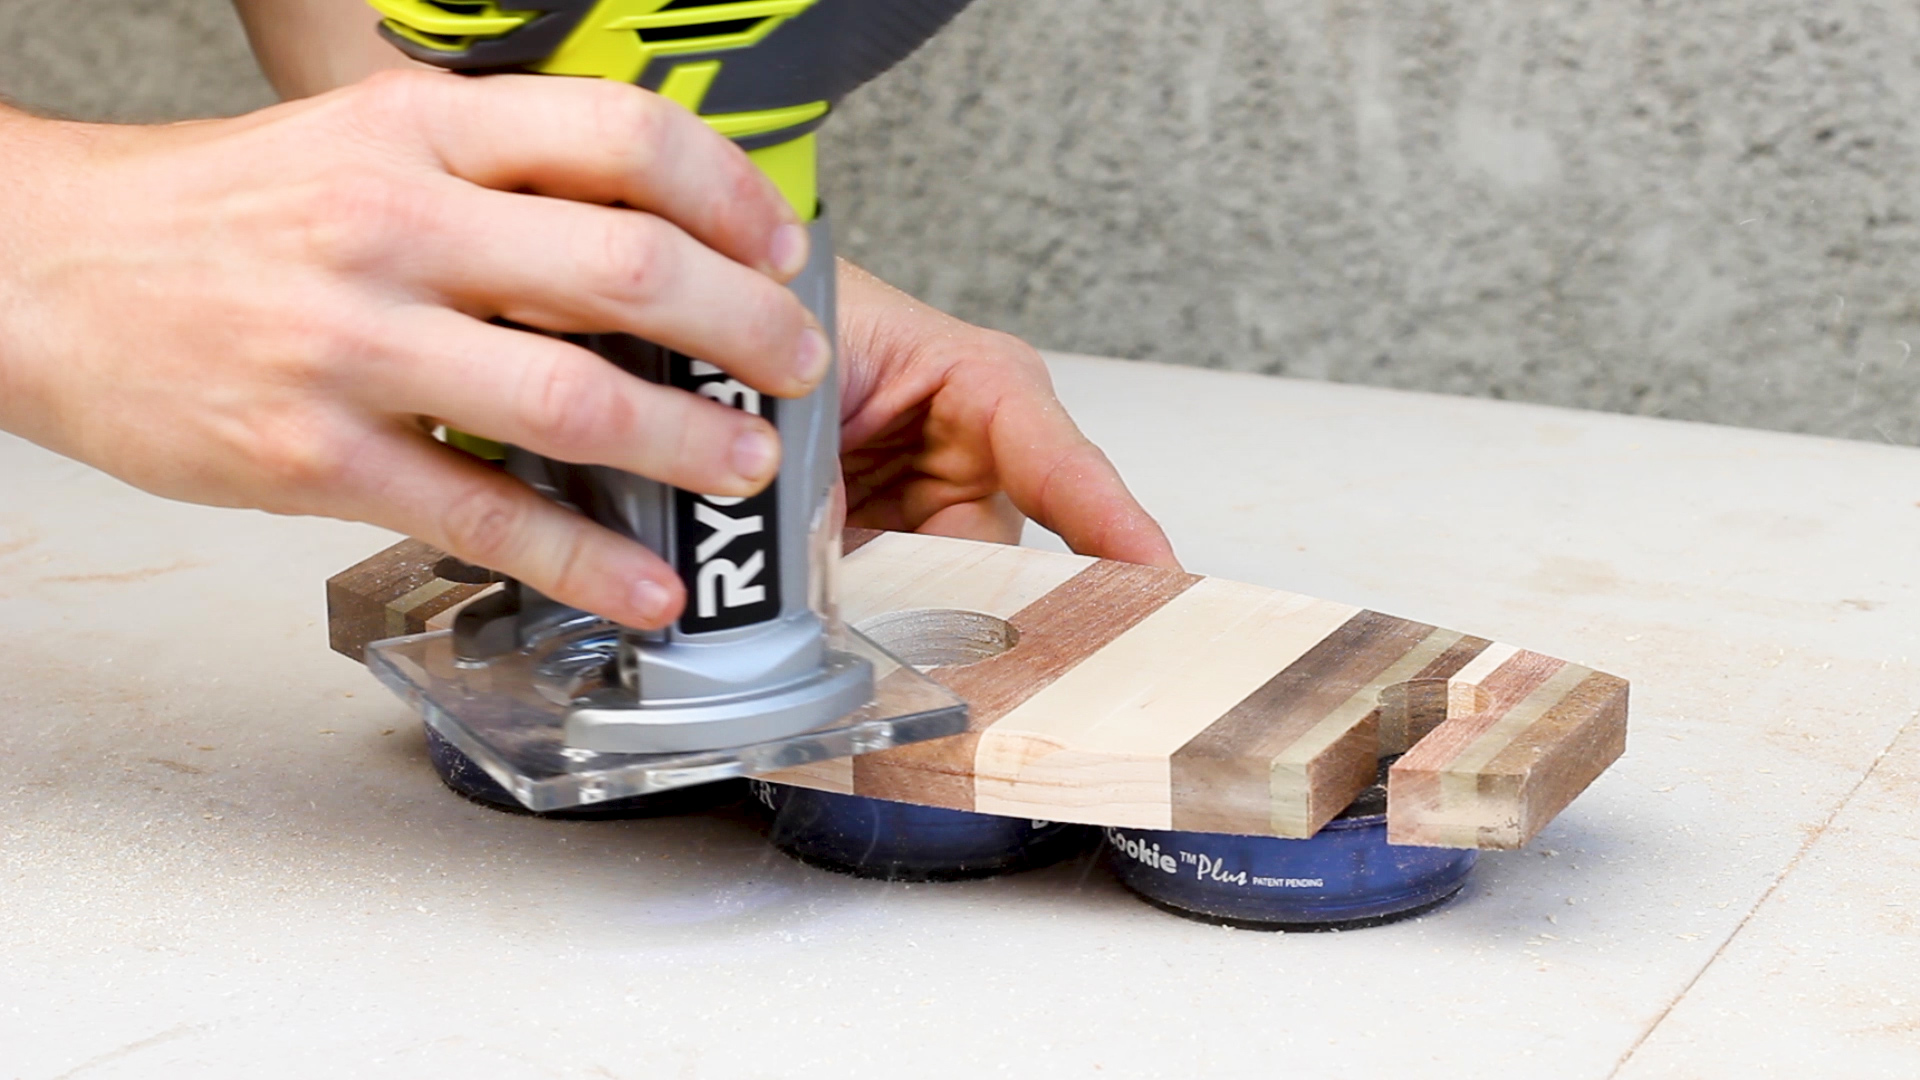
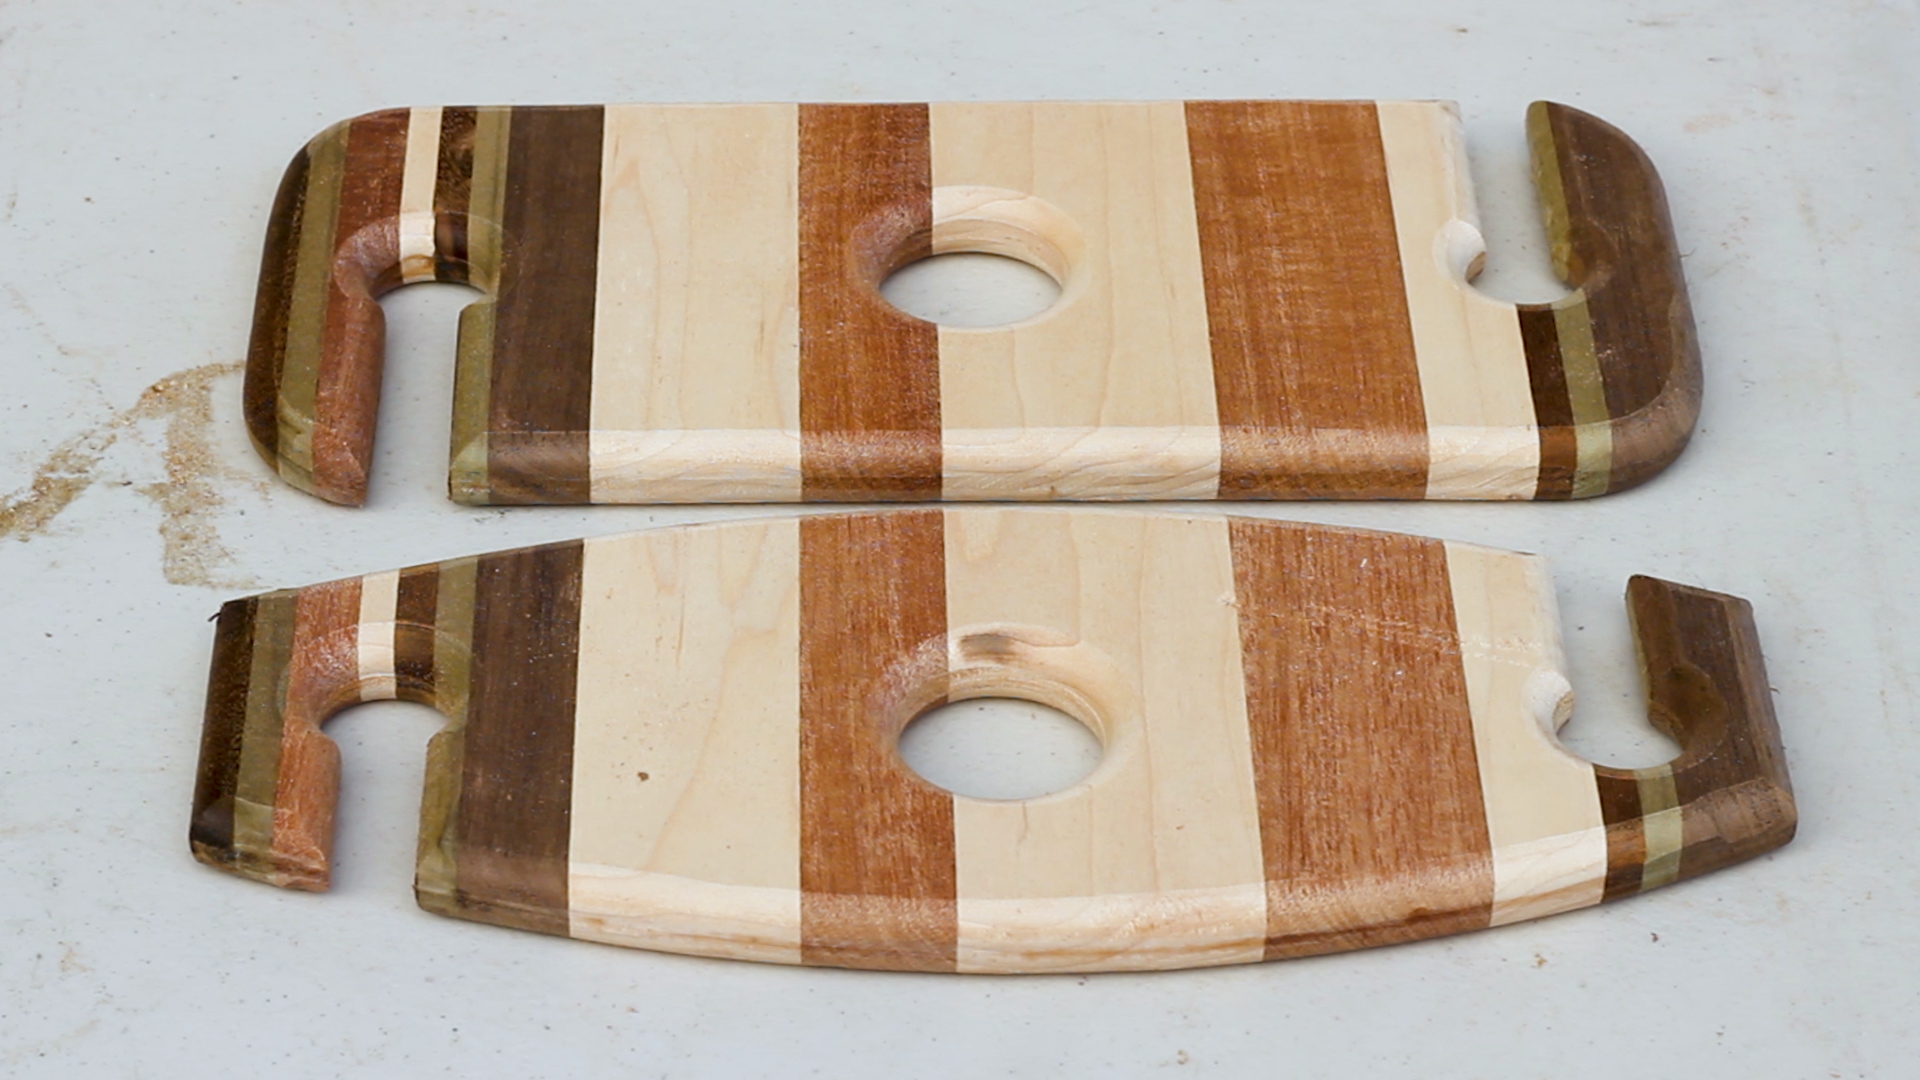
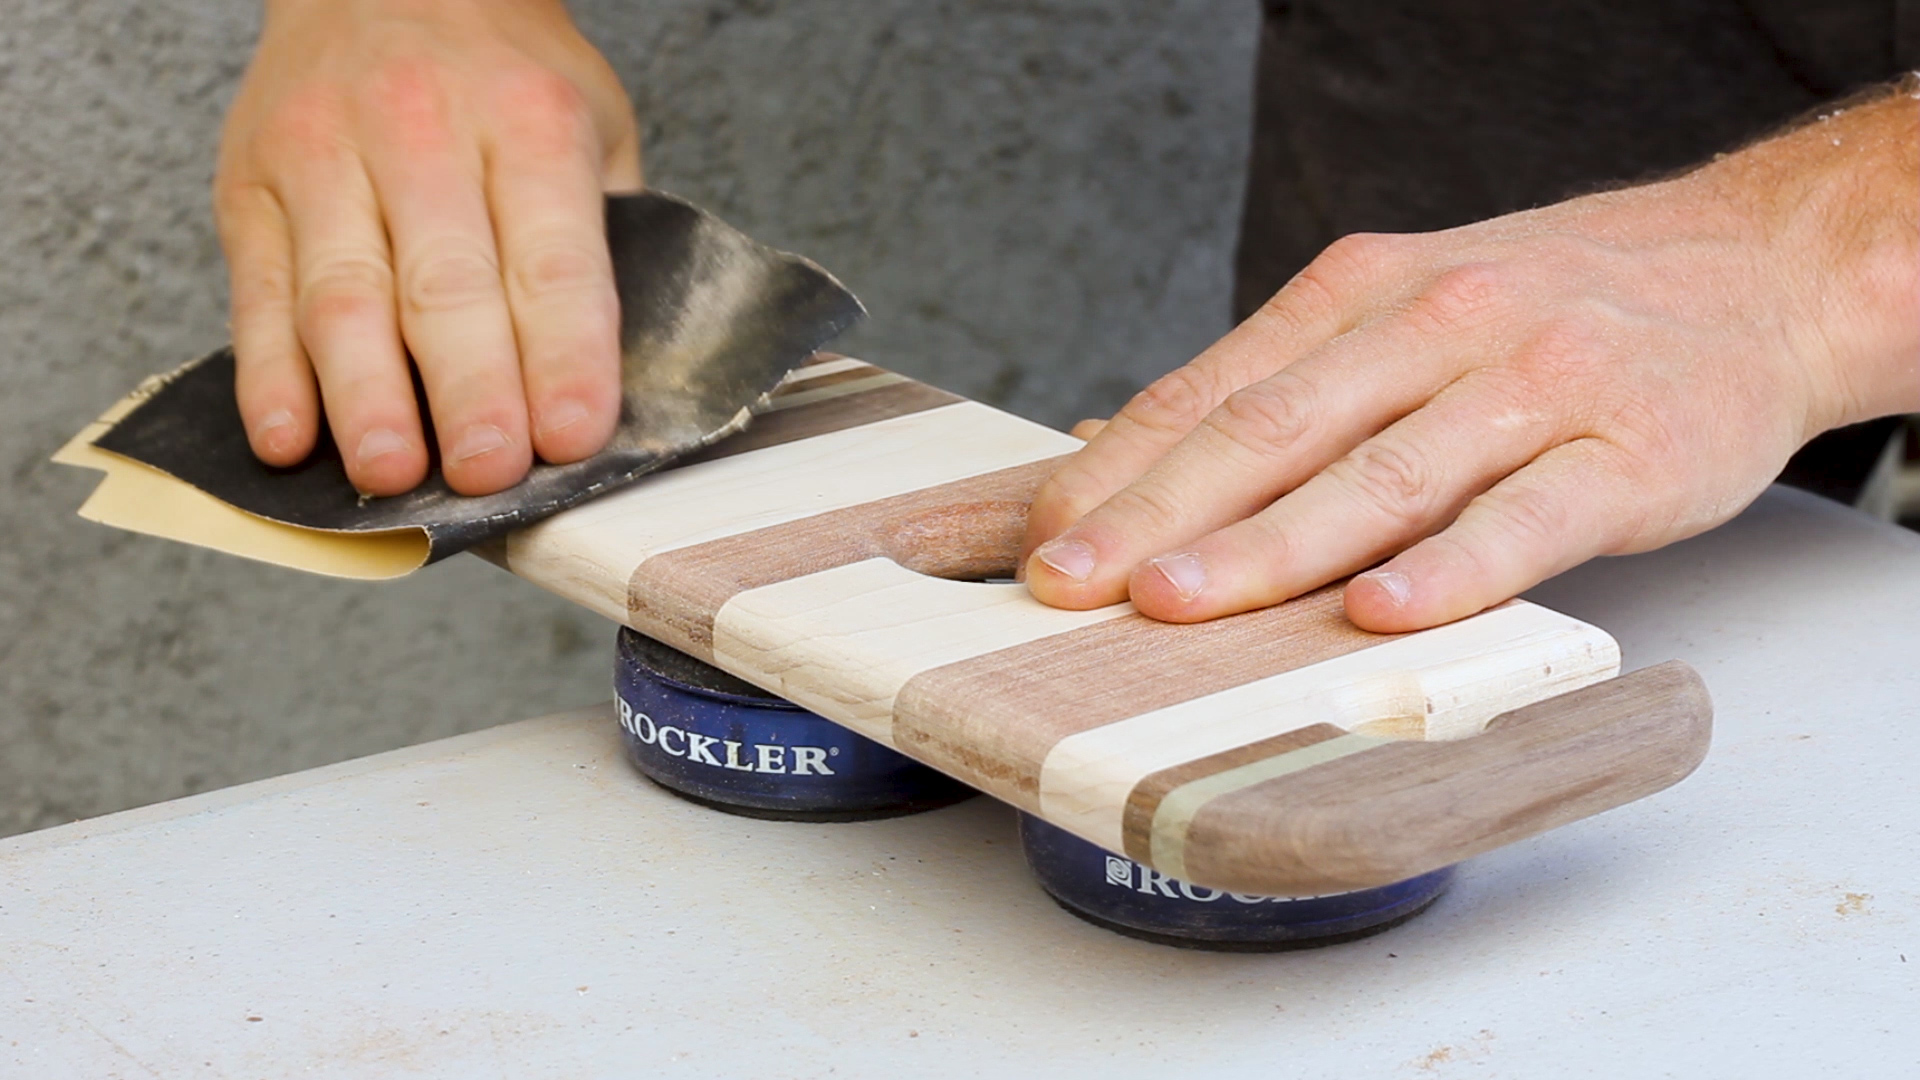
I used a 1/4" round over bit and my palm router (Pic 1) to break all of the edges. Pic 2 shows all the edges routed and the two shapes I created from my blanks in the previous step. I then did some final belt sanding of the rounded edges (Pic 3) and some wet and dry hand sanding (Pic 4) to finish these guys off.
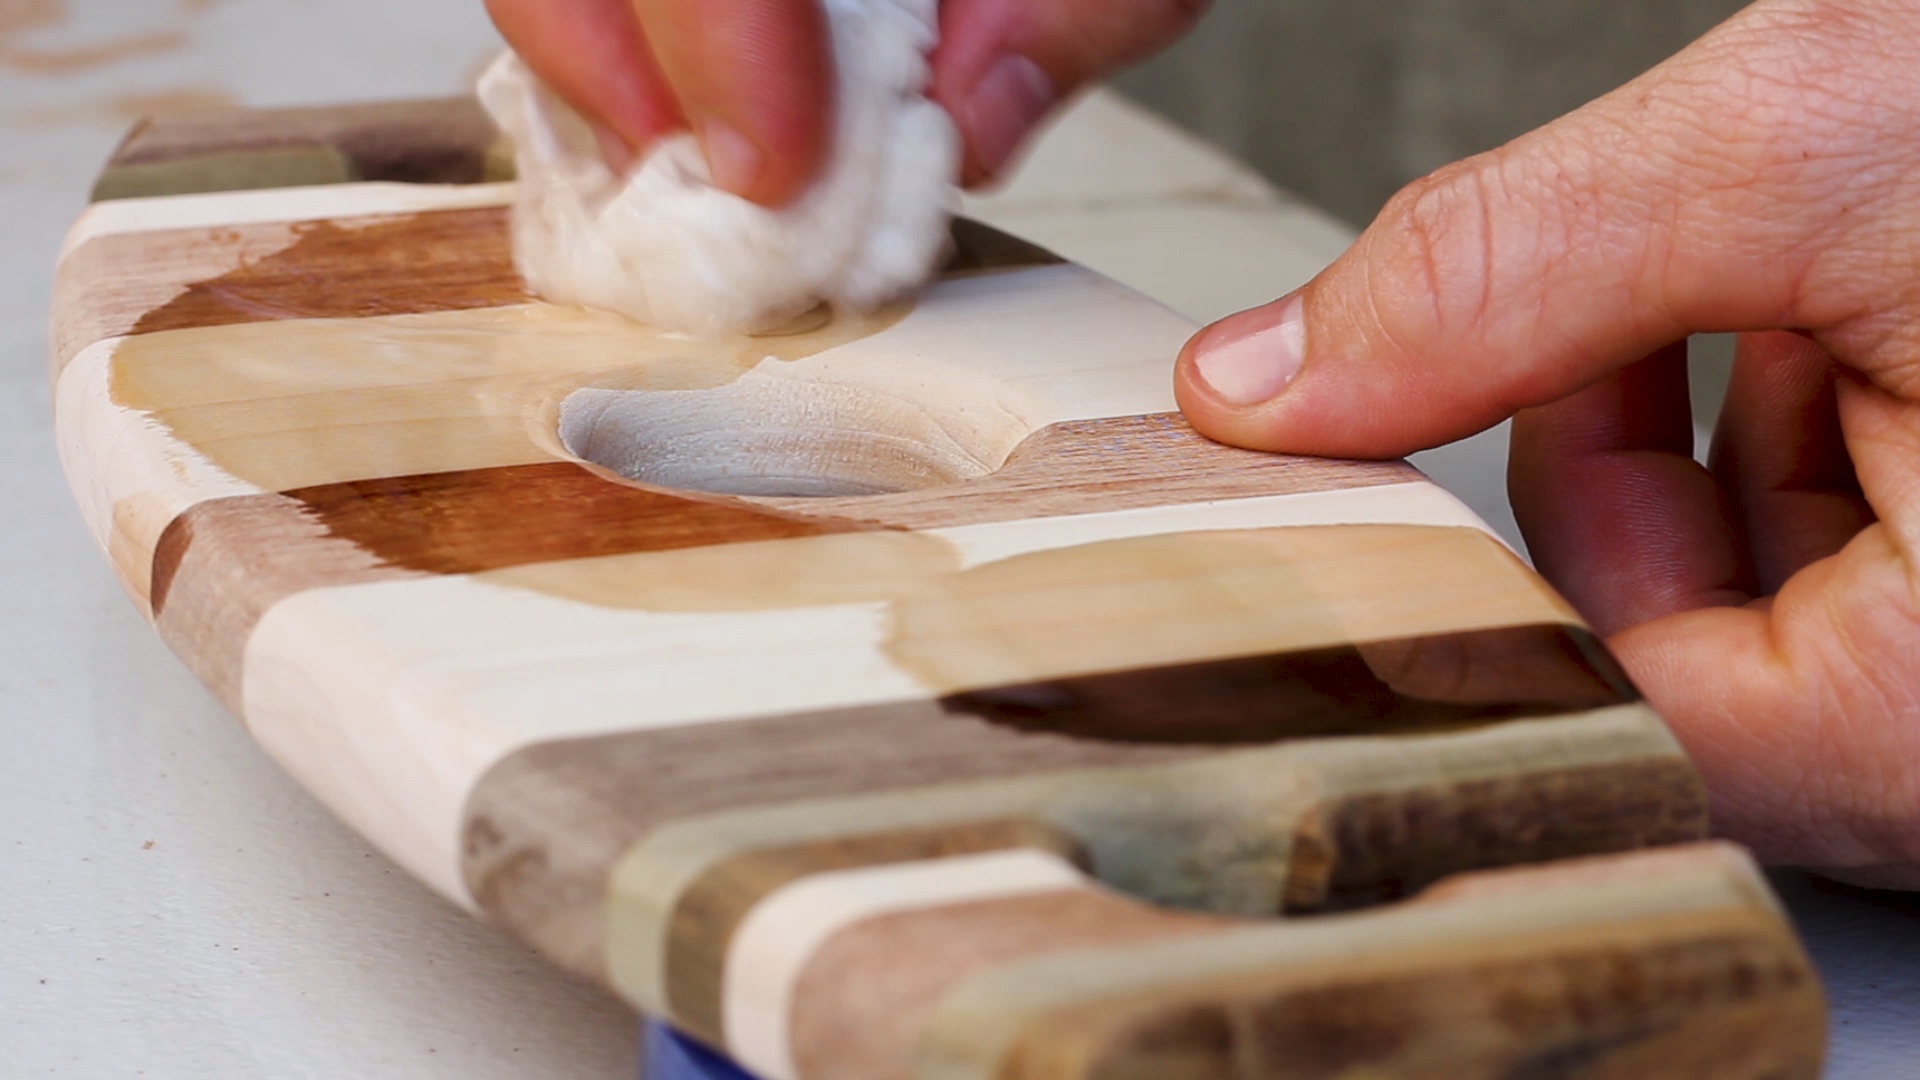
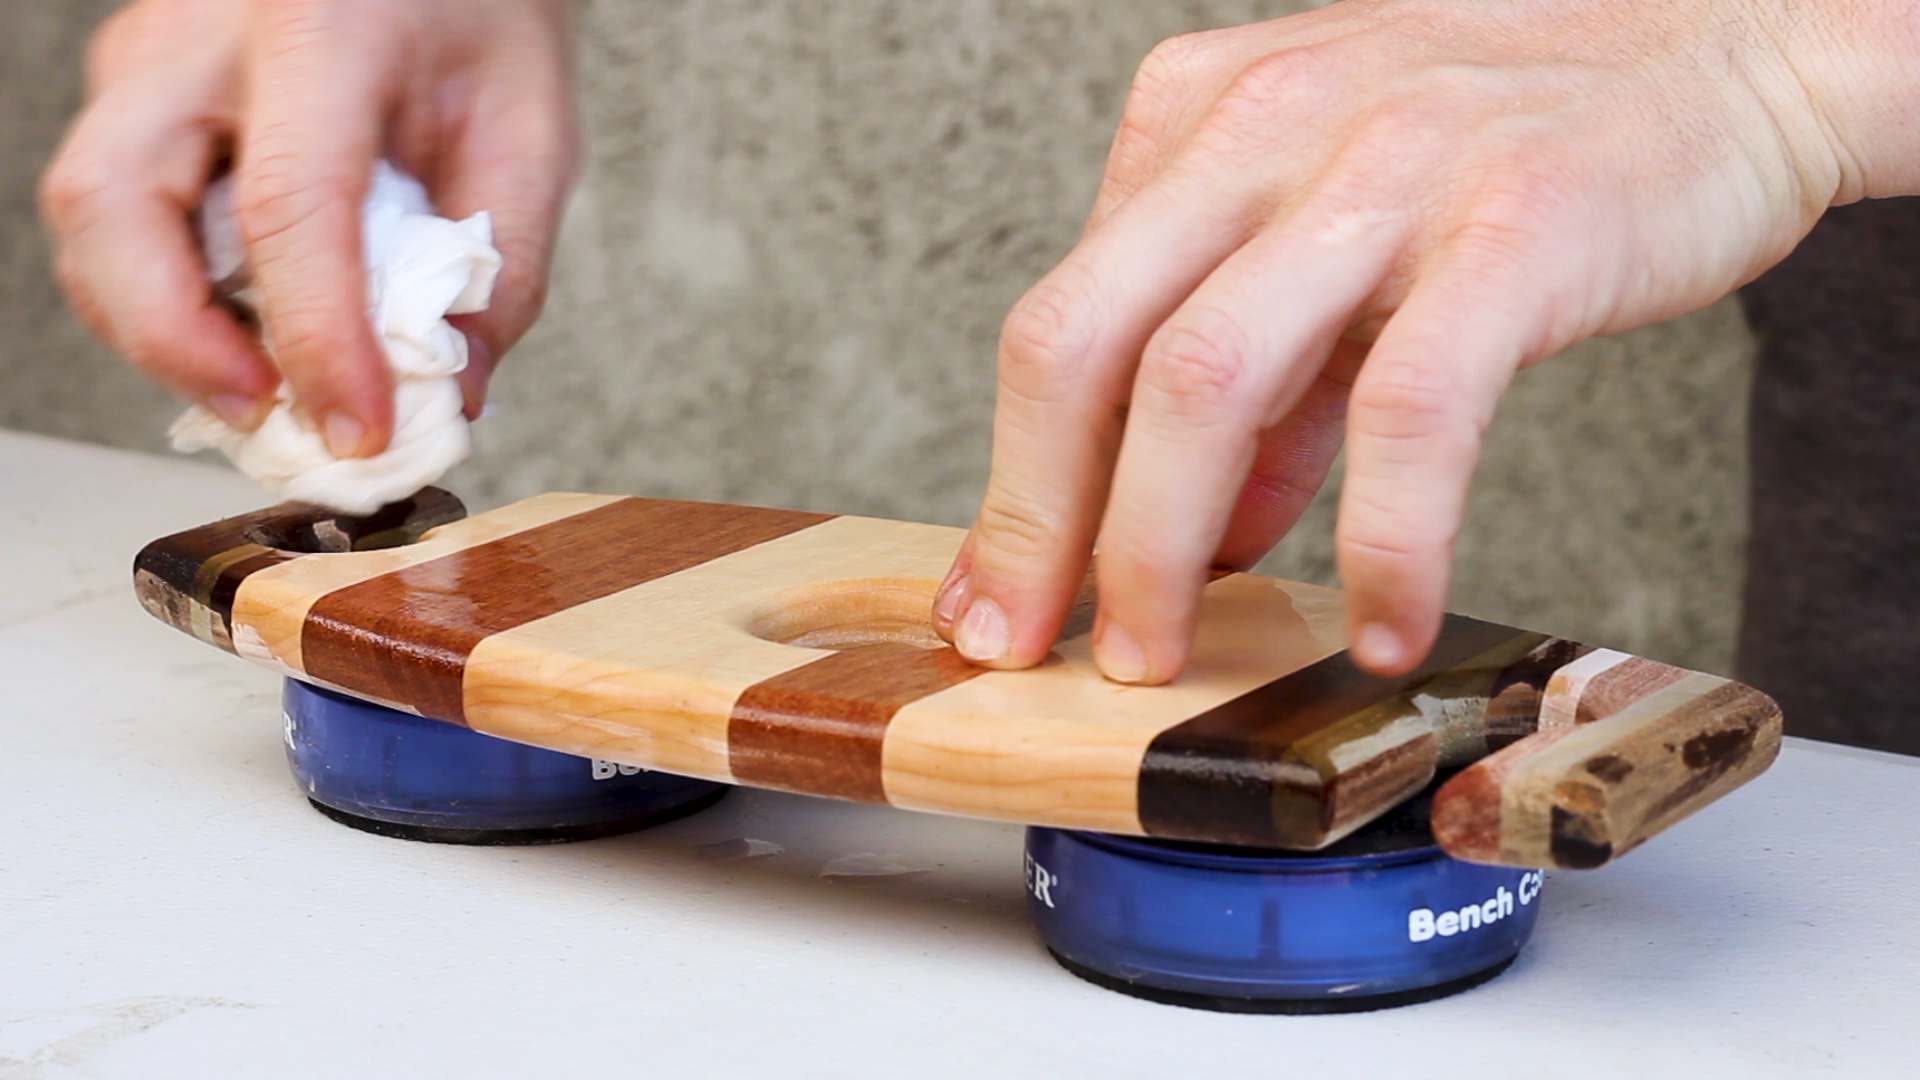
I cleaned my surfaces with mineral spirits and then applied thick coats of mineral oil to all the surfaces to finish them off and bring out all of the colors. They looked beautiful!
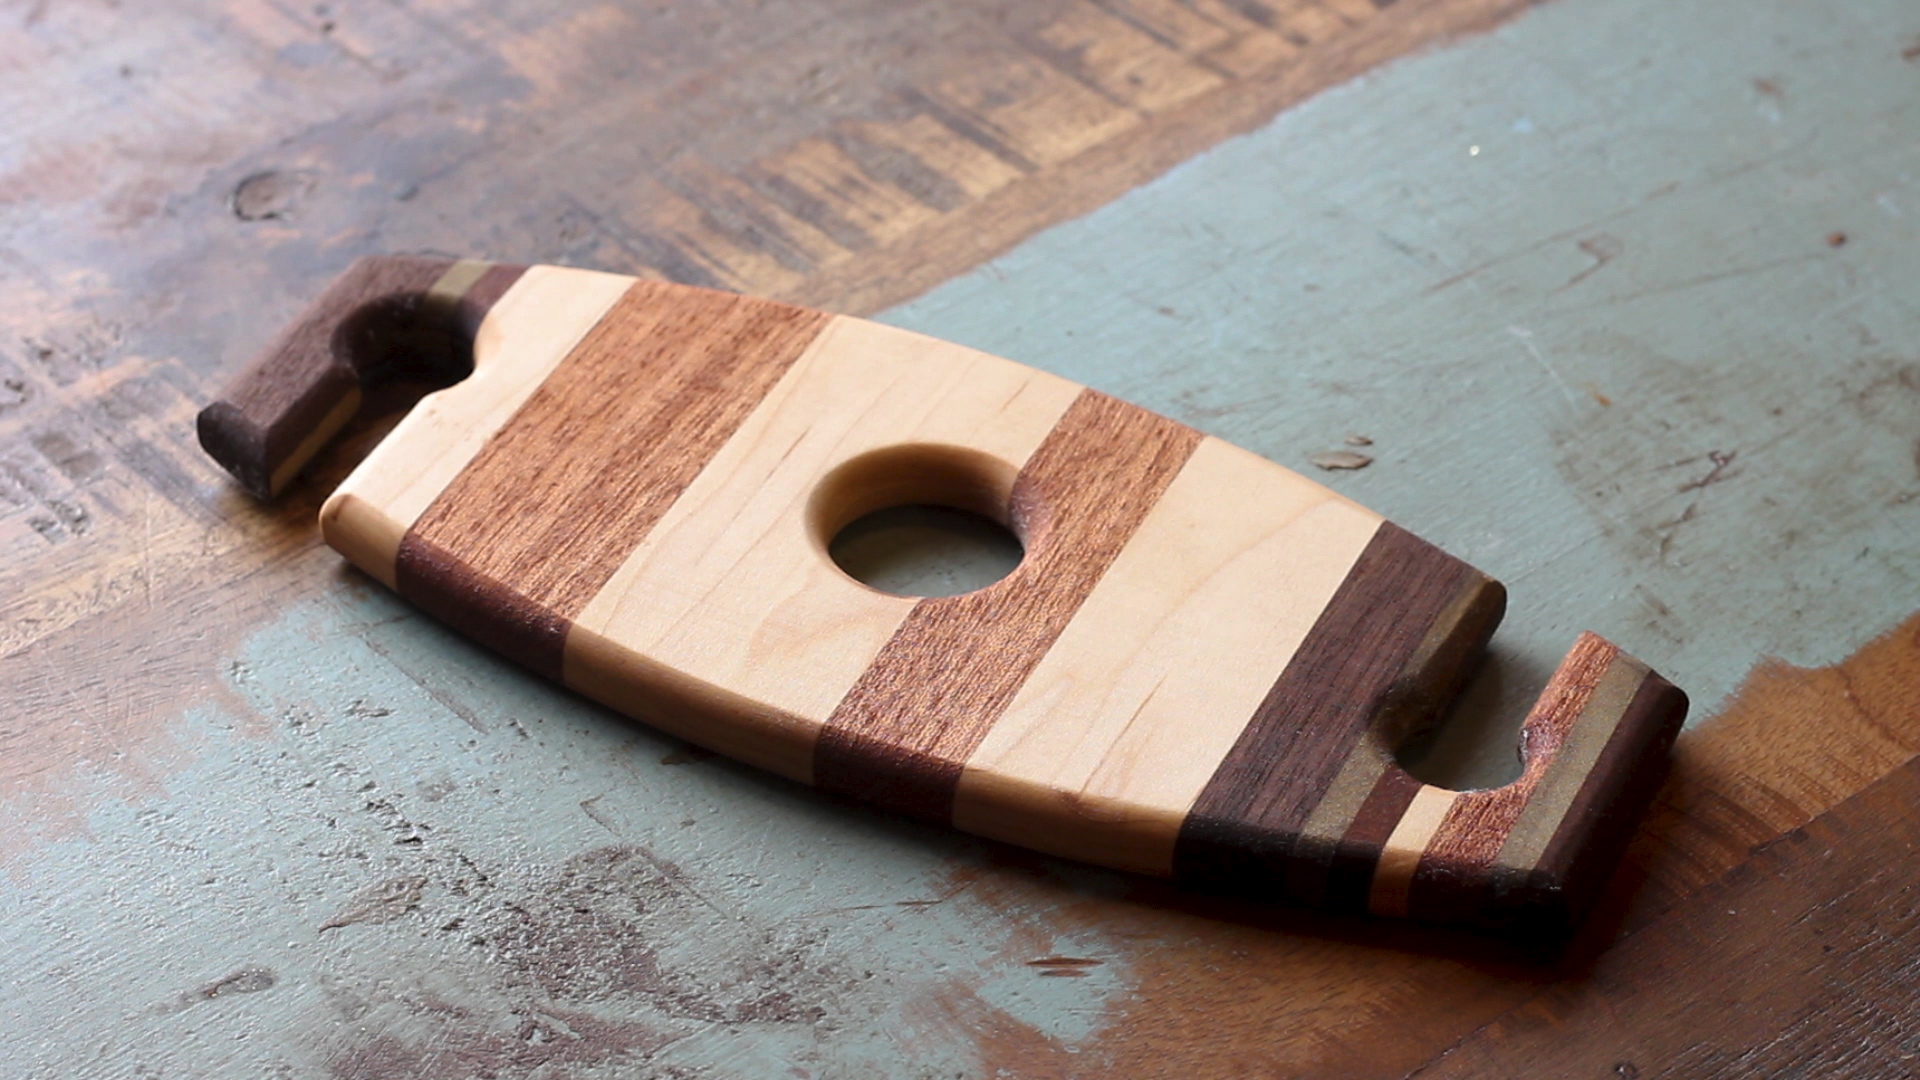
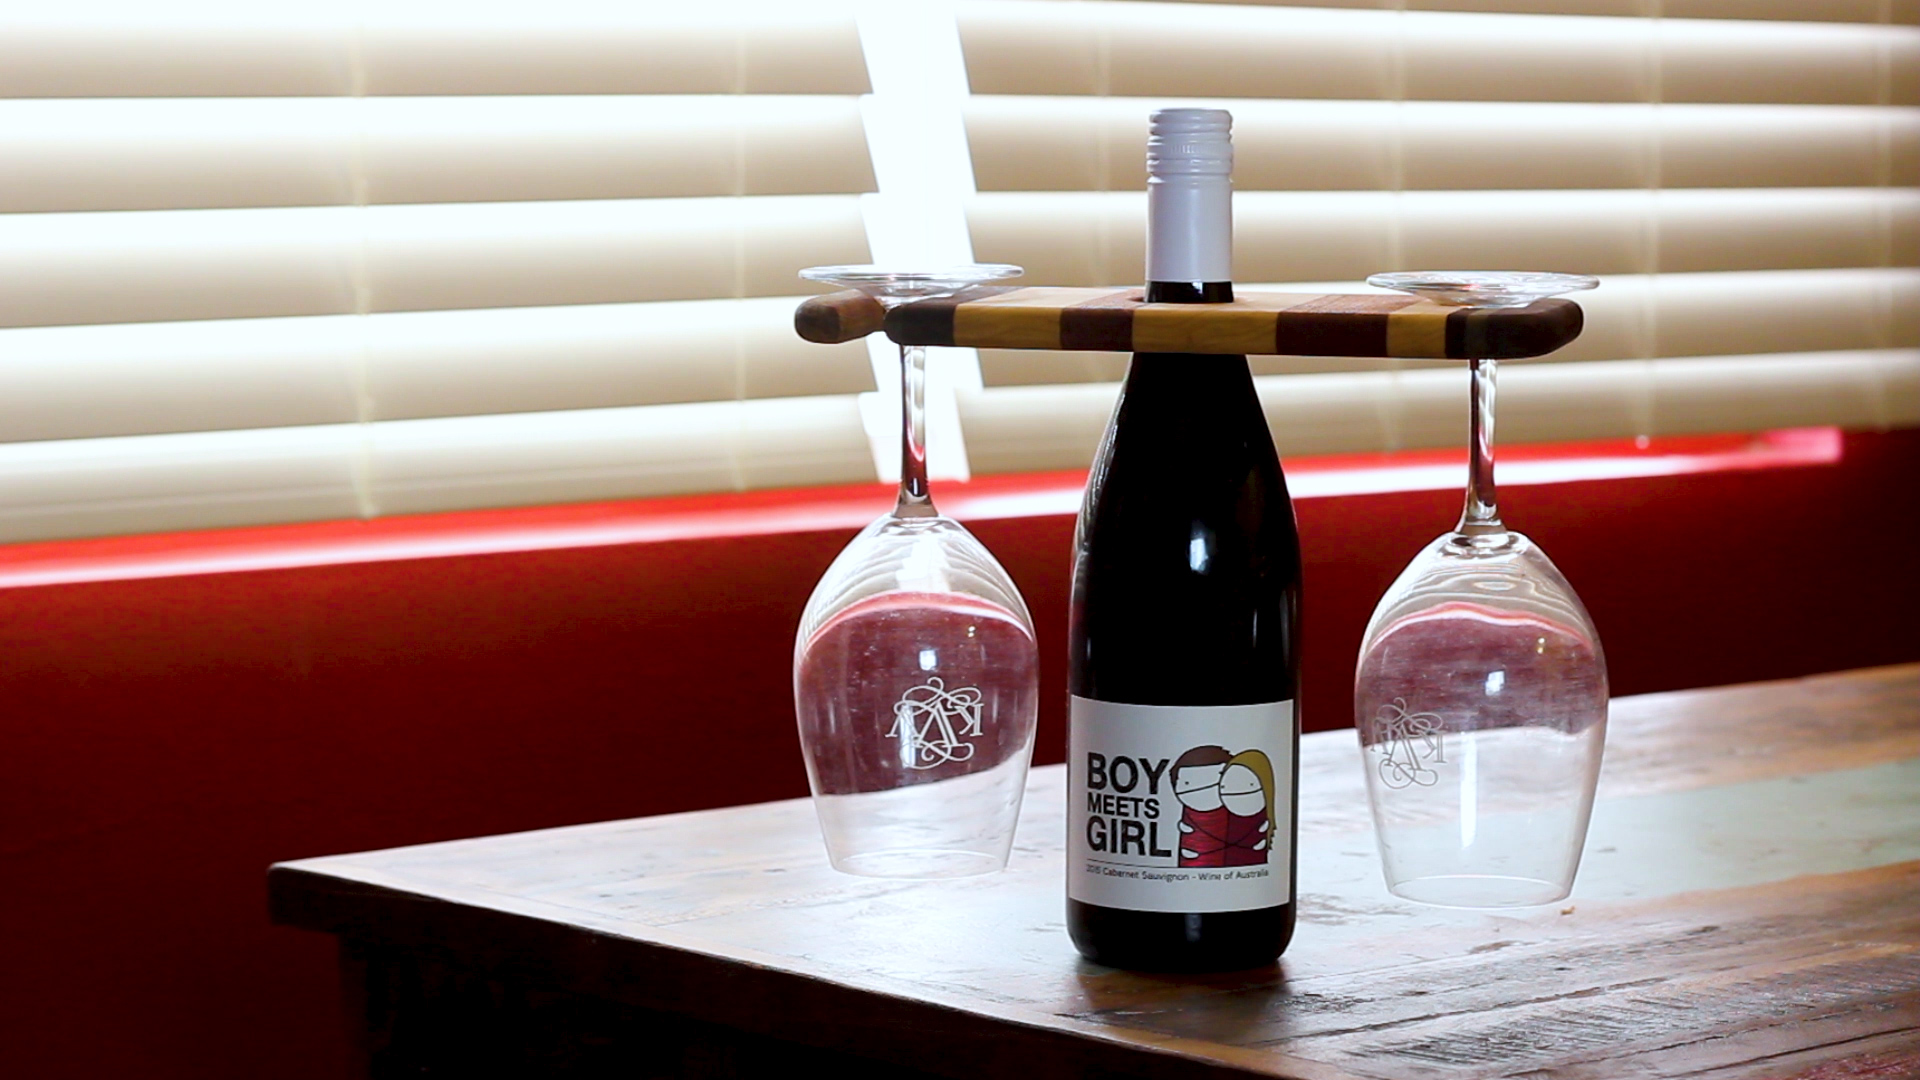
Pic 1 shows the final wine bottle / wine glass holder (or at least one version), and Pic 2 shows how it functions!
Perfect for any date night or table / kitchen counter!
TOOLS
- RYOBI 10 in. Sliding Compound Miter Saw: http://amzn.to/2q1klHw
- RYOBI Miter Saw Stand: http://amzn.to/2p1072e
- RYOBI Table Saw: http://amzn.to/2h6ZQc4
- RYOBI Band Saw: http://amzn.to/2rYzJF8
- RYOBI Power Drill: http://amzn.to/2q1l5wn
- RYOBI Stationary Bench Sander: http://amzn.to/2q1Cq8k
- RYOBI Palm Router: http://amzn.to/2vsYkYD
- RIDGID 13” Thickness Planer: http://amzn.to/2u7YrmK
- BESSEY Economy 2.5” x 12” Clutch Clamps: http://amzn.to/2oIJGVy
- BESSEY Economy 2.5” x 24” Clutch Clamps: http://amzn.to/2osNm1x
- Tape Measure: http://amzn.to/2qMtJ1c
- ROCKLER Bench Cookies: http://amzn.to/2q1qjYZ
- 8 Piece Forsnter Bit Set: http://amzn.to/2u7zAzk
- Hand Sanding Papers
FILM / AUDIO EQUIPMENT
- Canon Rebel EOS T2i: http://amzn.to/2pwwlDI
- Main Lens: Canon EF 50mm f/1.8 STM Lens: http://amzn.to/2zt0jKR
- Secondary Lens: Canon EF-S 18-55mm f/3.5-5.6 IS II Lens:http://amzn.to/2pwmuhi
- Rode Microphone: http://amzn.to/2oIExg3
- Studio Lighting Equipment: http://amzn.to/2rtrkg0
- H4N Zoom Mic (VO Recording): http://amzn.to/2uMeVWL
As always, thank you for reading! I would be so grateful if you could please subscribe to my Youtube Channel for future projects.
I put out videos every few weeks.
Cheers! Zach