Here is a quick link to my new YouTube Channel.
First ever full how-to video is below, followed by my usual full written article.
This was the first project I have ever filmed while building. I prepped and planned for about three weeks before tackling this specific project and launching the channel. For those curious, prep included logo design, video format decisions, Run of Show style, and shooting techniques, practice shoots, lighting/interview set ups and trial runs, project design, music research, learning a new editing software (formerly on FCP, switched to Premiere), material gathering, and then finally execution and post production.
MATERIALS
2 x 1" x 6" x 8' whitewood
1 x 1" x 6" x 4' whitewood
1.25” Pocket Hole Screws
Wood Screws (1.25”)
Minwax Special Walnut
Paint (I had 4 colors leftover from other projects)

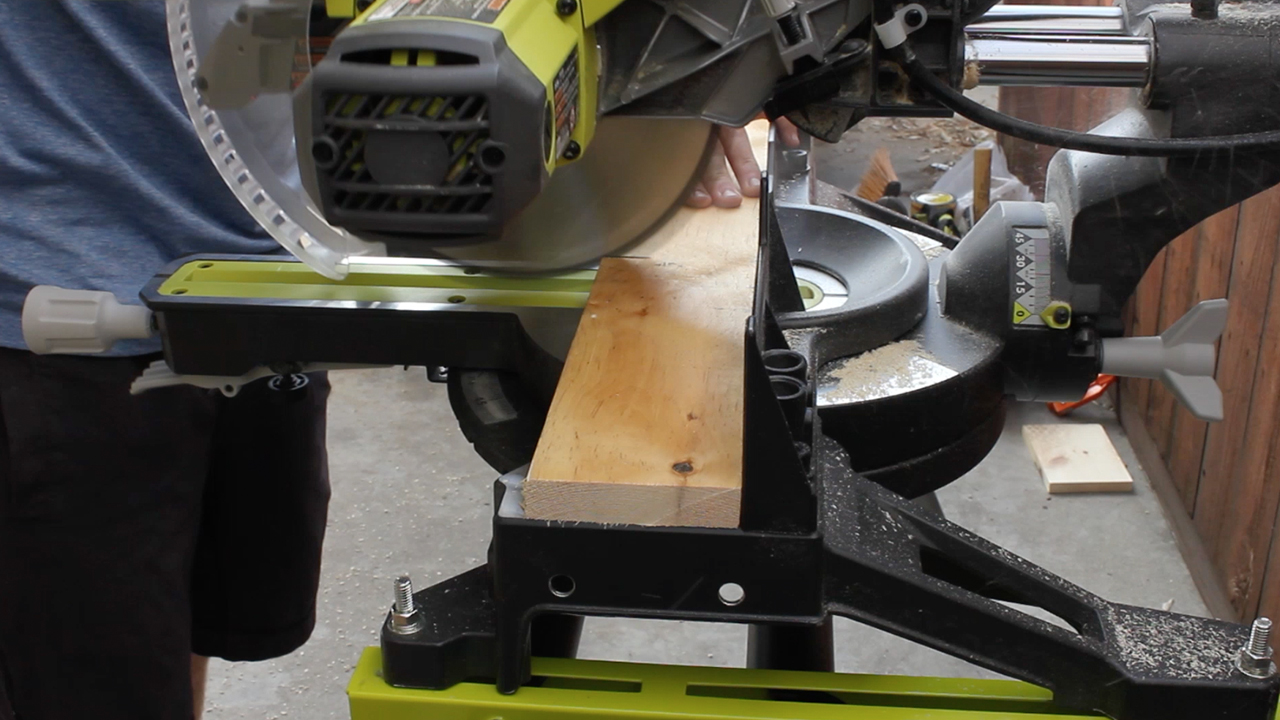
I set up my miter stand and sliding miter saw to cut my whitewood pieces. I needed to make 12 total of these as I'd be making 4 total holders for my customer.

All finished! I cut 12 pieces at 17.5" each. Using the stand w/a stop block made cutting super quick and efficient.

Next, I drilled three pocket holes roughly equal length apart in 8 of the 12 pieces to in preparation to connect three of them together. If you don't have a pocket hole jig, you can also connect using biscuits or dowel joints. Pocket holes are just the easiest technique for me given the project type.

Next, I sanded down all the pieces using my orbital sander w/60 grit paper to take off a lot of edge and give them a weathered down look.
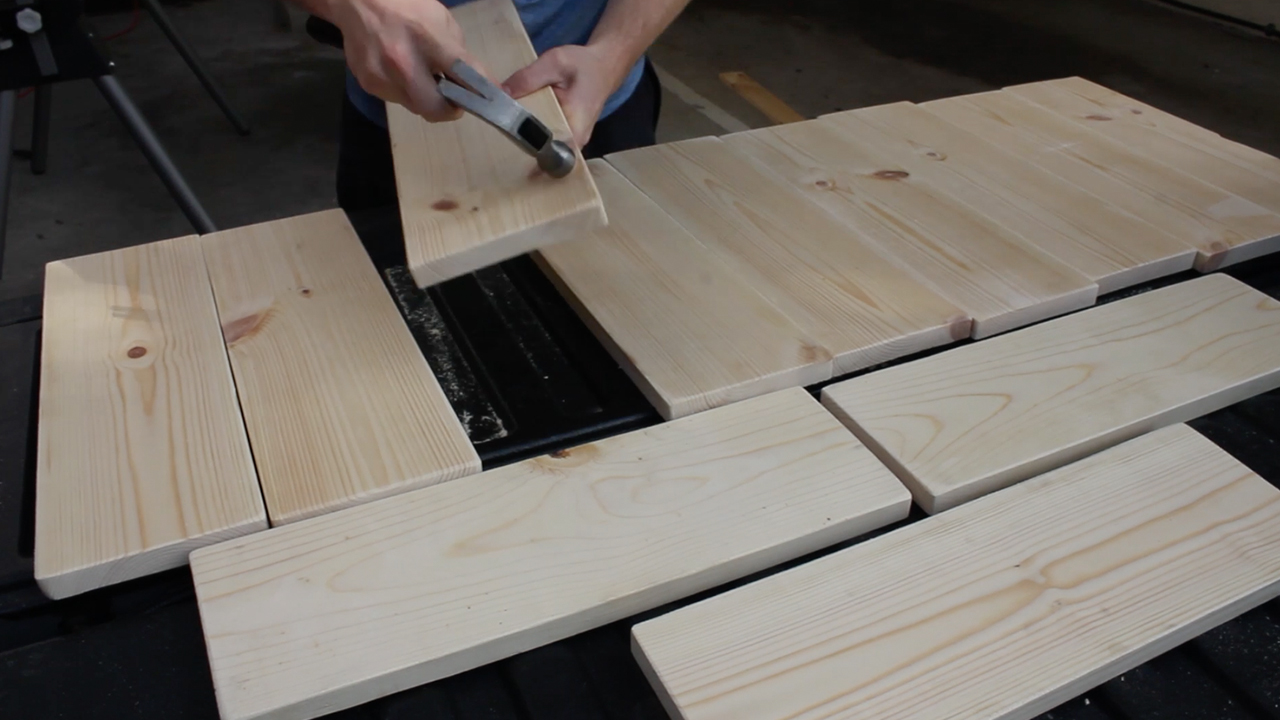
Then, I beat up with a hammer to further distress the wood.

Next, I stained all 12 pieces using Minwax's Special Walnut color.
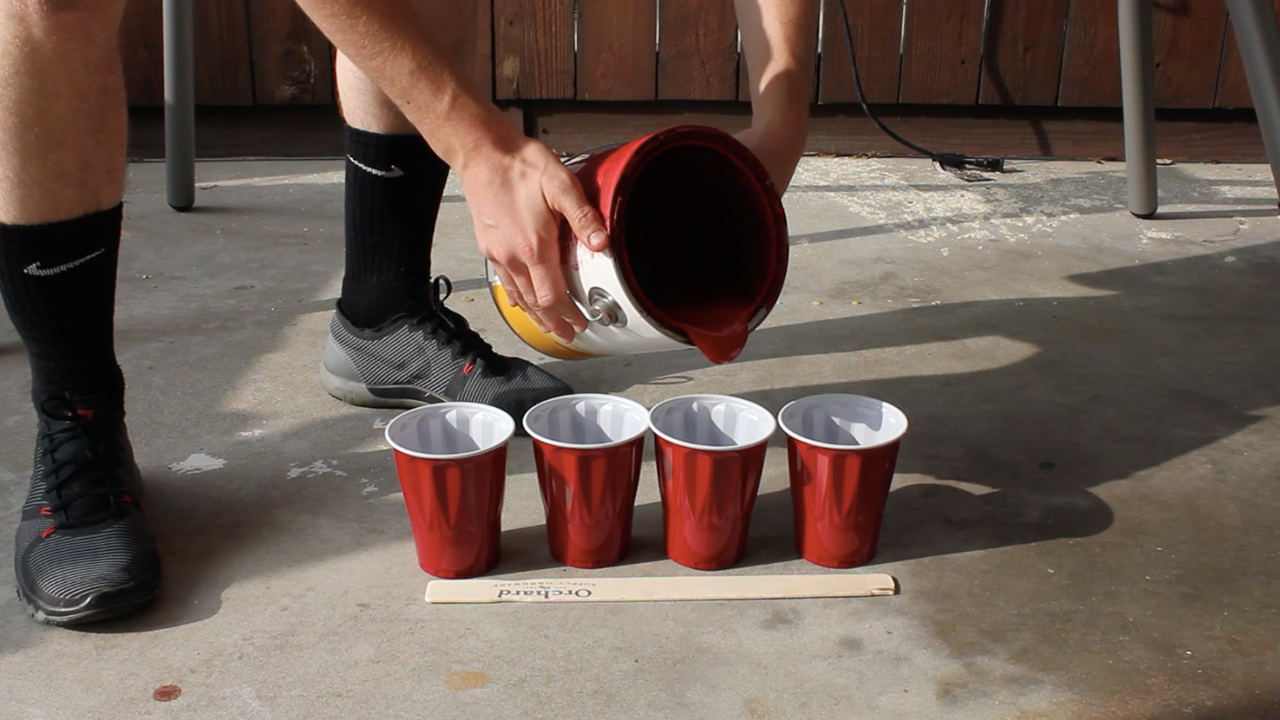
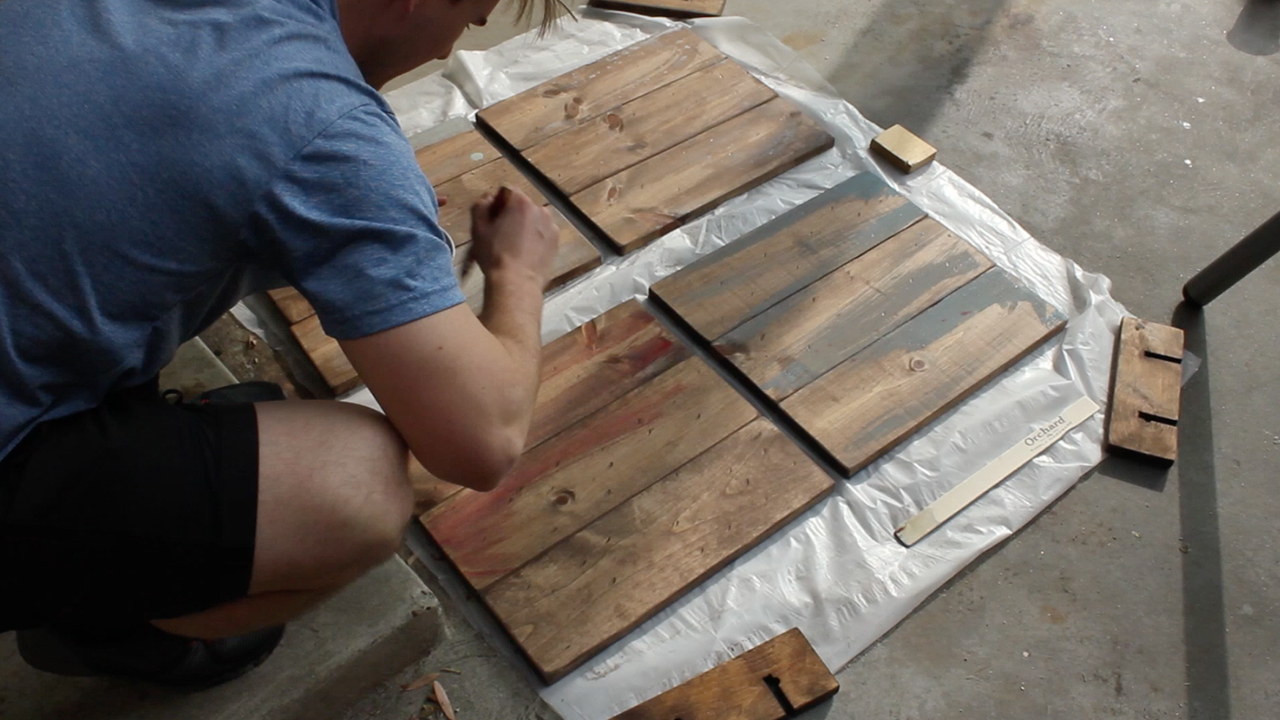
I wanted each holder to look slightly different, so I mixed up water paint solutions (red, green, blue, and white) and painted them on my boards. The watery solutions helps show the stain through the paint better. Came out great!
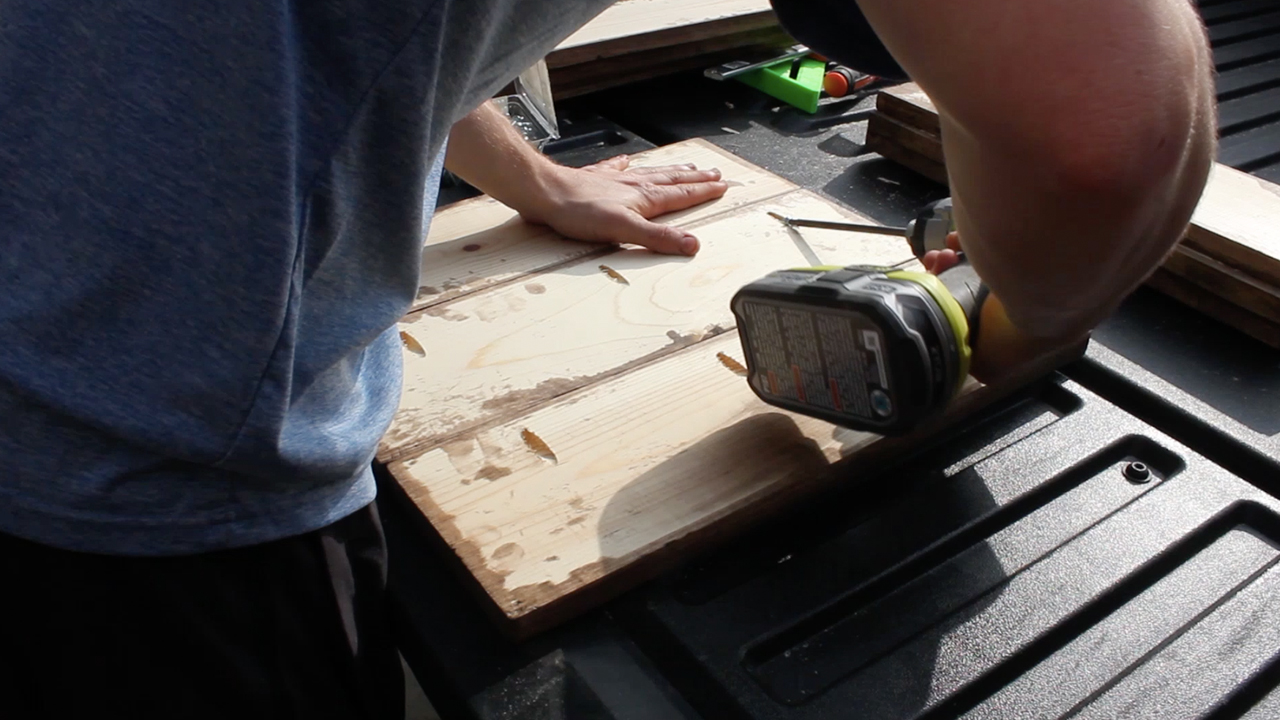
Now that everything was dry, I could assemble the boards together using my 1.25" pocket hole screws and my impact driver. You definitely need an impact driver for this - a regular power drill won't cut it for pocket holes.
While the boards dried, I cut the wine glass holder pieces to length on the miter saw again. I cut my pieces at 9.75".

Next, I sanded down those pieces using 60 grit paper to also give them a worn down look.

Then, I clamped them together to drill pilot holes for the wine glasses using a 3/8" drill bit. This is where having a drill press would be VERY useful! I drilled my holes 2.5" inward on each end and directly down the middle vertically.

I then set up a stop on my miter saw (I had never tried this before) so that I could cut to a certain depth and eliminate the remaining wood. Think of this as a long version way of making dado cuts in wood for the slits. Wasn't perfect, but I learned something in the process for future projects!
Also note - you should always use a spare piece in the back for this, both to avoid tear out as well as so that your blade cuts all the way through the pieces you want to cut. Otherwise, you end up with cuts that are not all an even depth. Hard to explain, but you'll get it the second you try it.
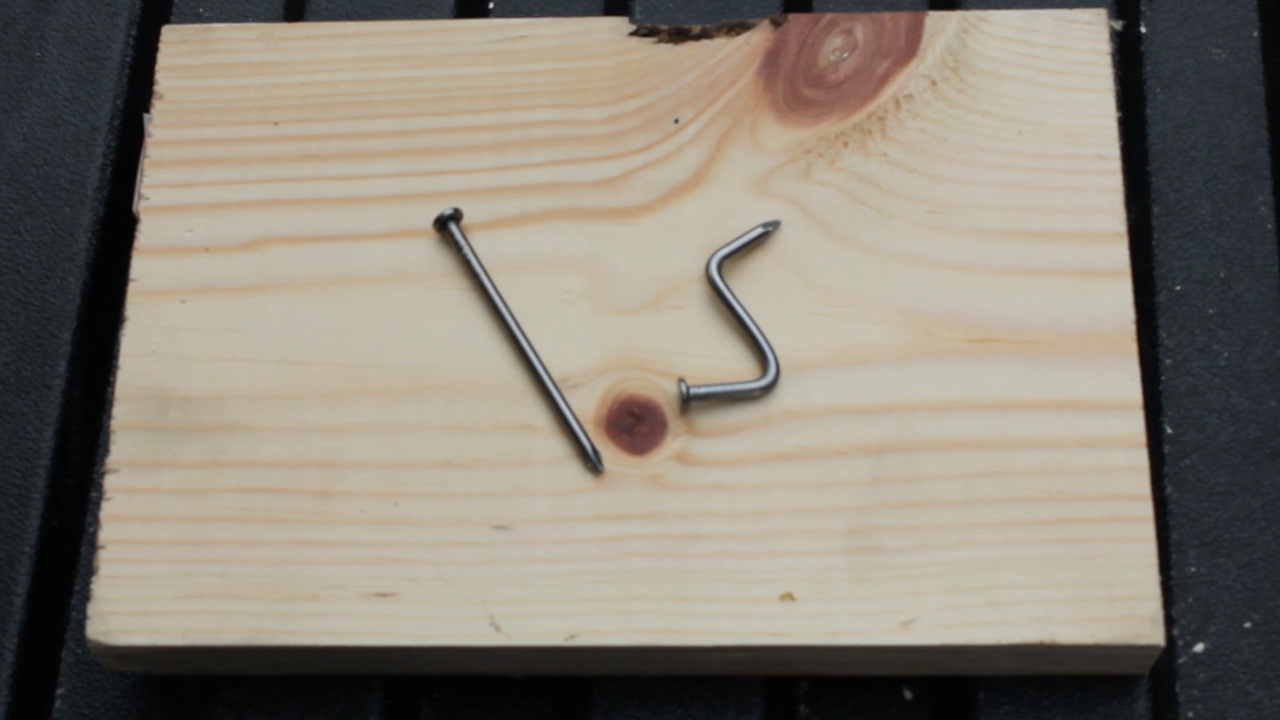
While I waited for the holders to dry from the stain, I switched gears to bend 8 x 2.5" nails to make the hooks. I did this by using a stationary vice clamp and my vice grip clamps. You can see the before and after above.

Time to attached the wine glass holders. I attached it backwards the first time accidentally. Don't do what I did...

I then drilled small pilot holes and nailed in the coffee mug hooks.
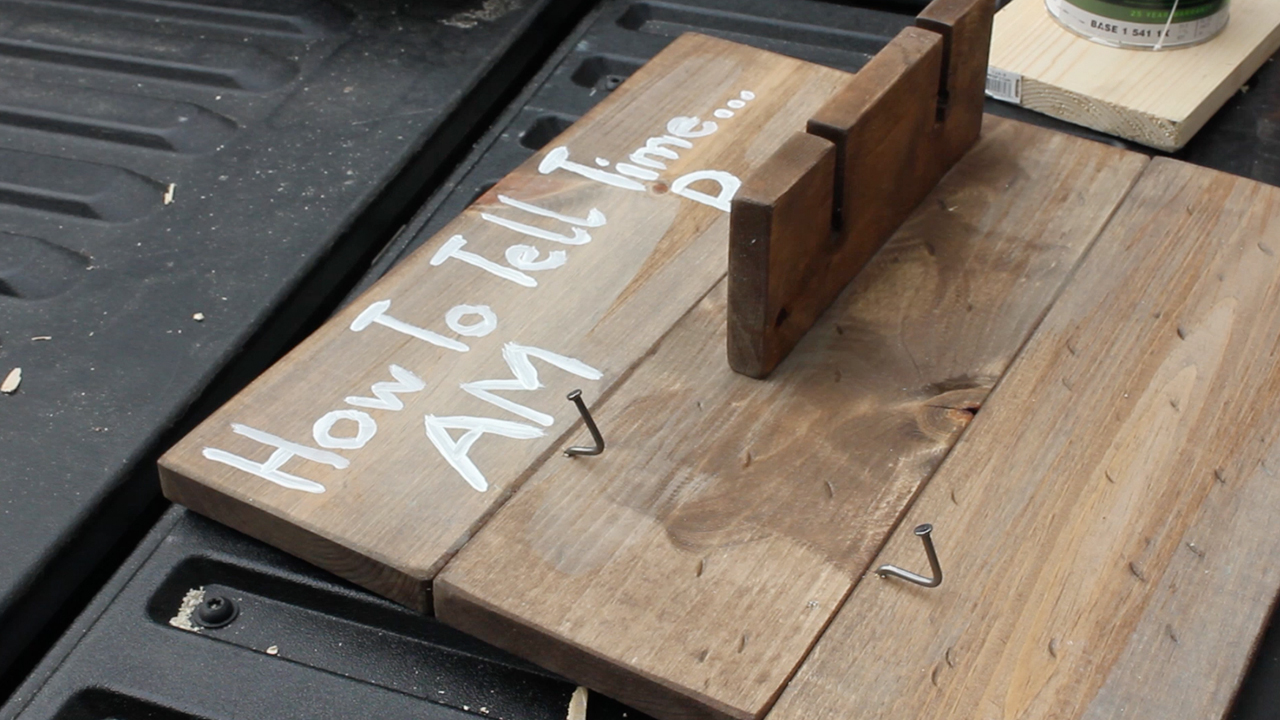
Last, I painted on the message using some left over white primer paint. Not my design, but quite cheeky...
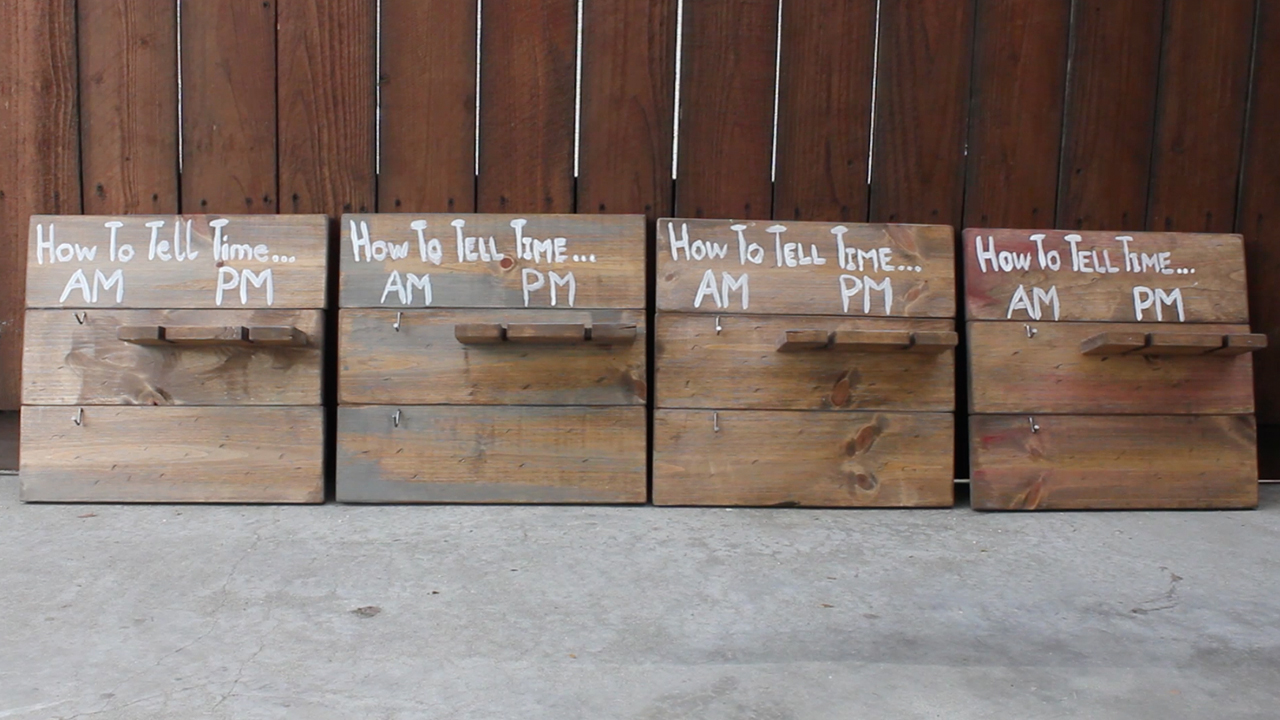
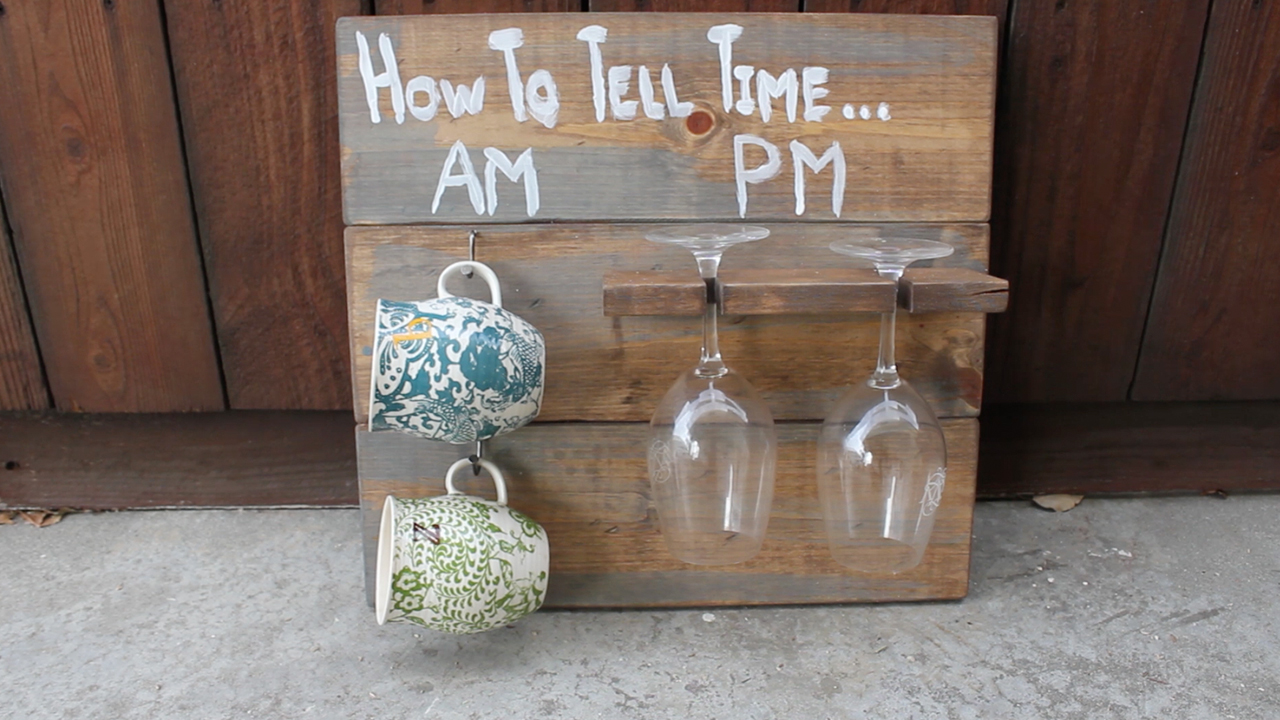
And I was done! Final pics above for reference. I love how they came out. This was not my design, but rather something I saw on Etsy. Each one cost $50 online...I think for materials overall, I spent maybe half of that on each one and about 4-5 hours of total time building these. Worth it!
TOOLS
RYOBI 10 in. Sliding Compound Miter Saw
RYOBI Miter Saw Stand
RYOBI Cordless Orbital Sander (60 Grit)
RYOBI Power Drill
RYOBI Impact Driver
KREG K5 Pocket Hole Jig
Hand Sanding Sponges (120 Grit)
BESSEY Economy 2.5” x 12” Clutch Clamps
BESSEY Economy 2.5” x 24” Clutch Clamps
12” Rafter Square
Hammer
FILM / EDIT EQUIPMENT:
Canon Rebel EOS T2i:
Canon EF-S 18-55mm f/3.5-5.6 IS II Lens
Rode Microphone
Voice Recording
Adobe Premiere (Editorial)
Thanks for reading! This was the biggest project overall I've ever undertaken and I learned so much about filming content in the process. I would be so grateful if you could please subscribe to my new Youtube Channel for future projects. I put out videos every two weeks.
Cheers!
Zach