Thanks for checking out the full article!
Please Subscribe to our Youtube Channel by clicking here.
My full video of the build is below, followed by detailed instructions with tools, materials, and measurements!
I always have messy hair. So in this episode, I used some scrap pieces of wood I had to make a comb - it was a fun two day simple project and the result was pretty amazing.
Shout out to Mike at ModernBuilds for providing the template (which I modified)
MATERIALS
Scrap Hardwoods (IPE, Maple, Mahogany)
TiteBond II Wood Glue
Cutting Board Mineral Oil
Spray Adhesive

Step one was to take my scraps and cut them to length - I cut them all about 12-15 inches depending on the available materials.
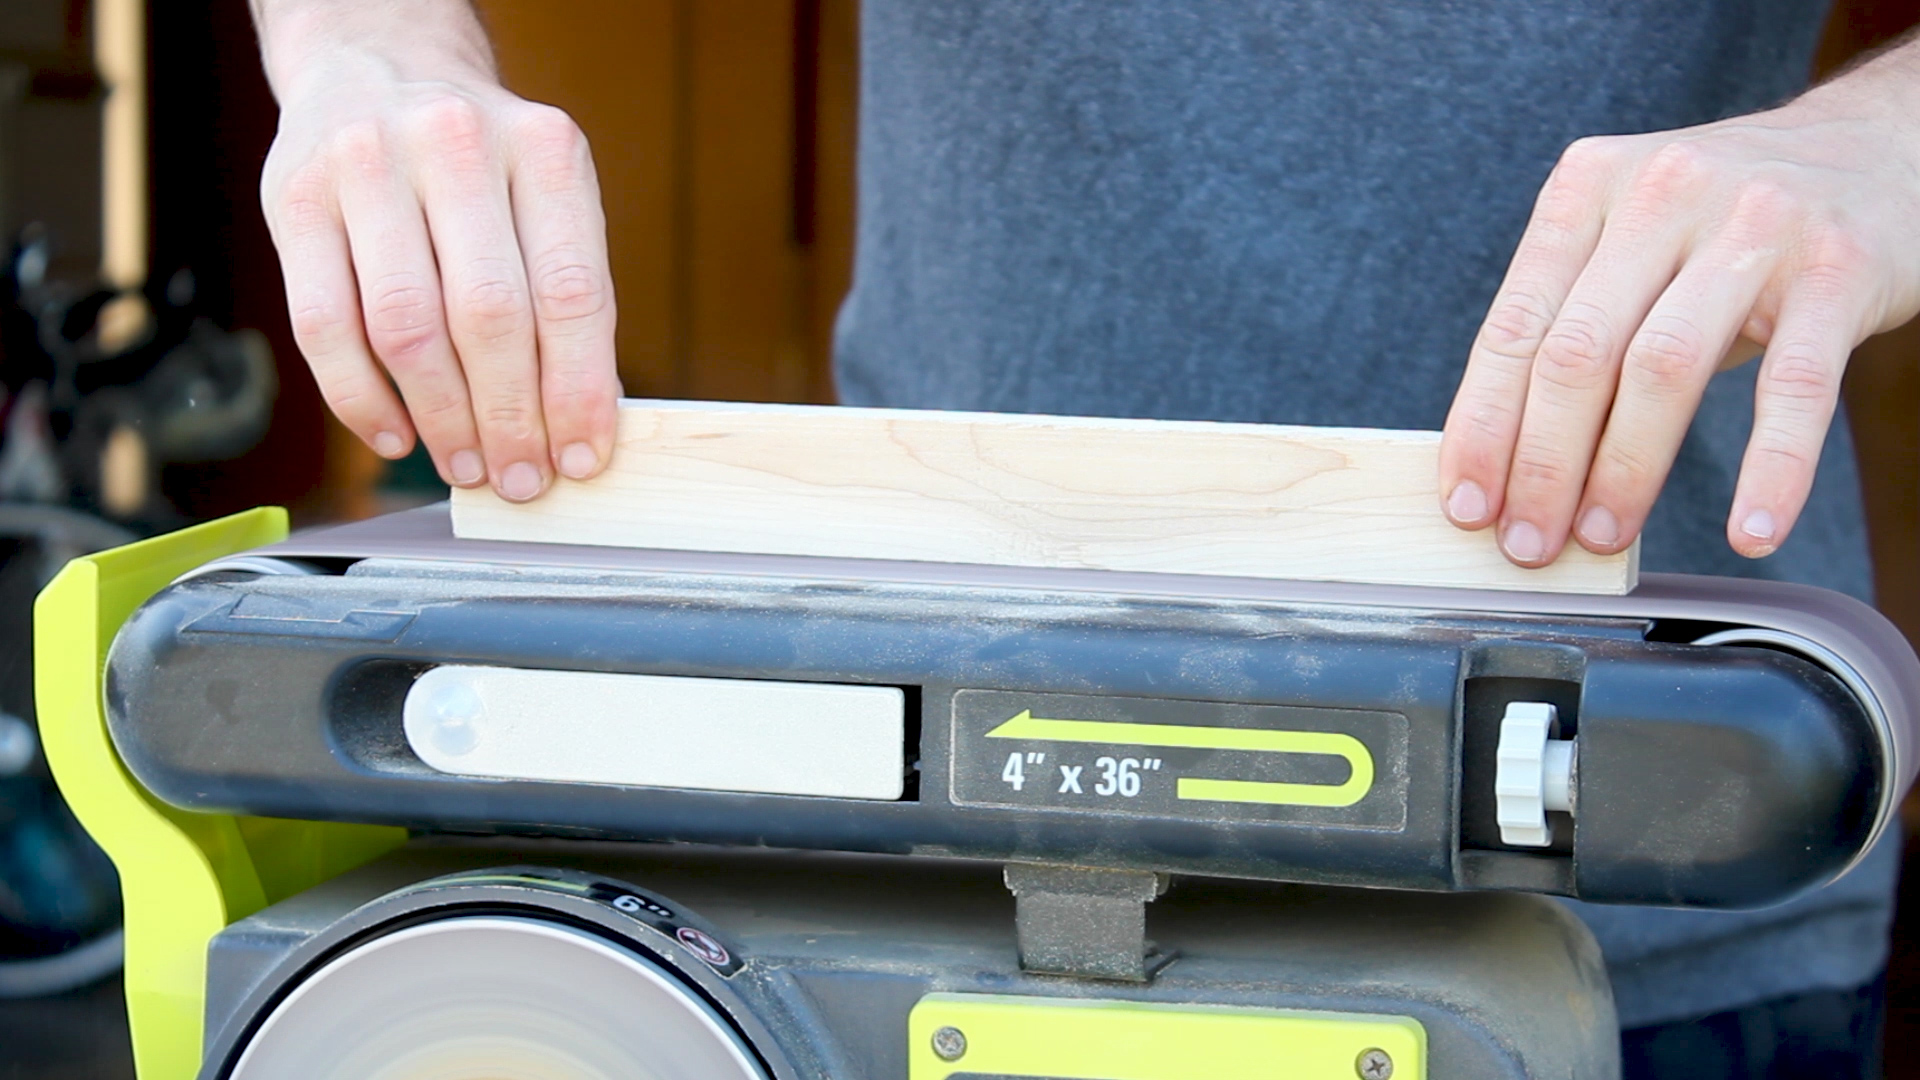

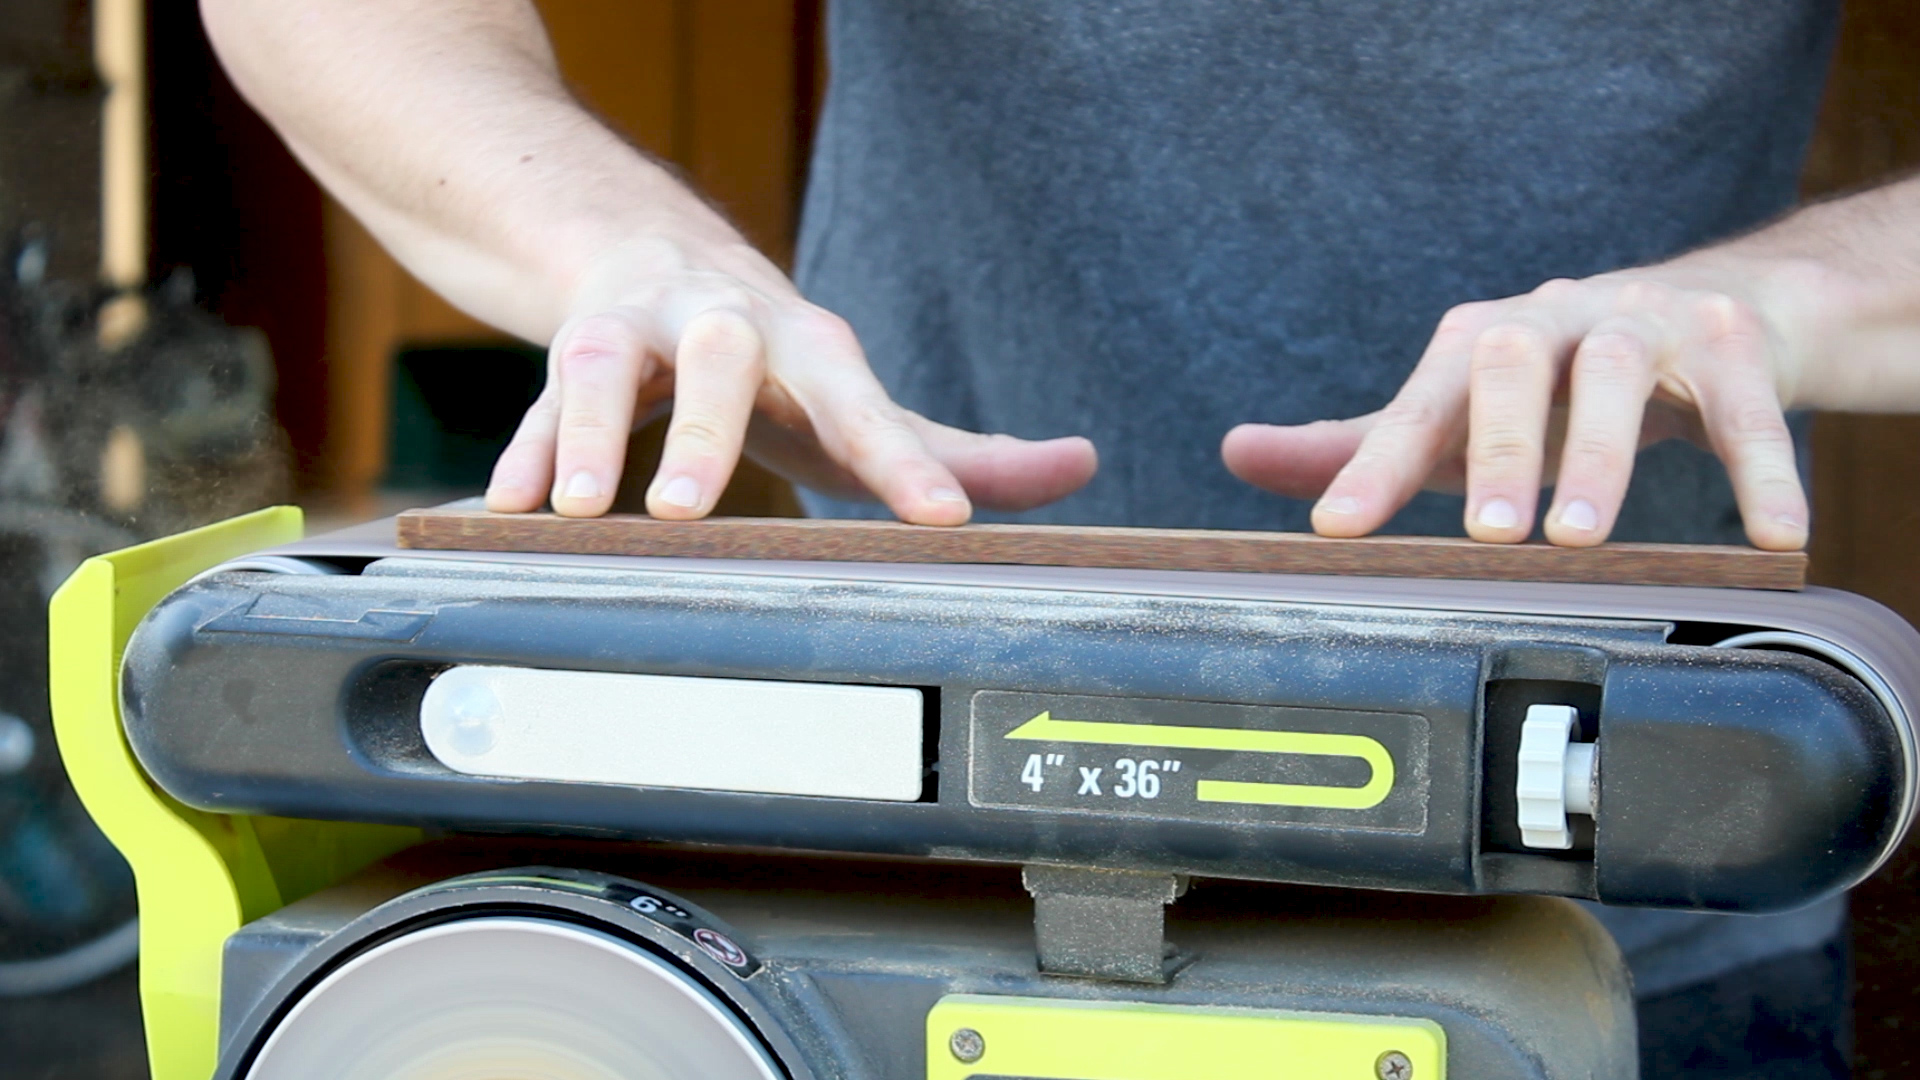
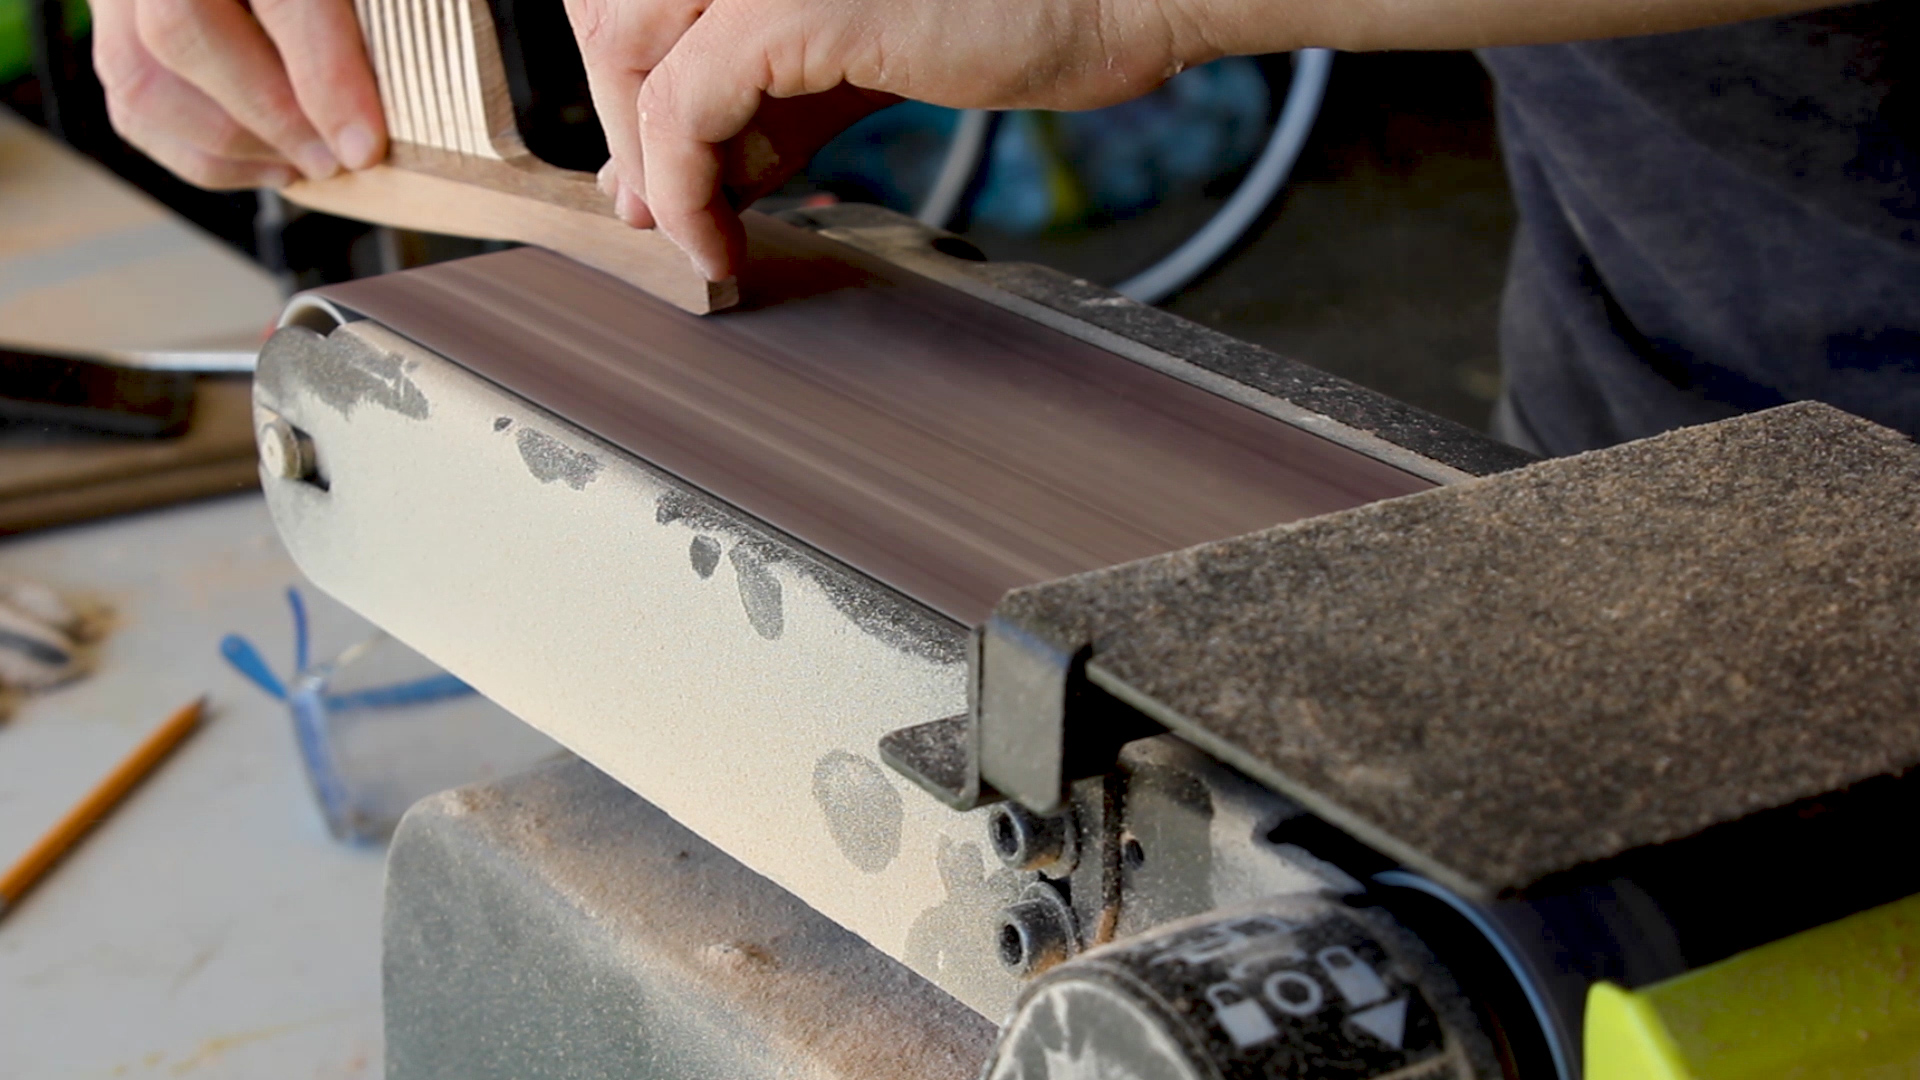
I then cleaned up everything on my stationary belt sander which had a 120 grit belt on it - this would make gluing up much easier and cleaner.
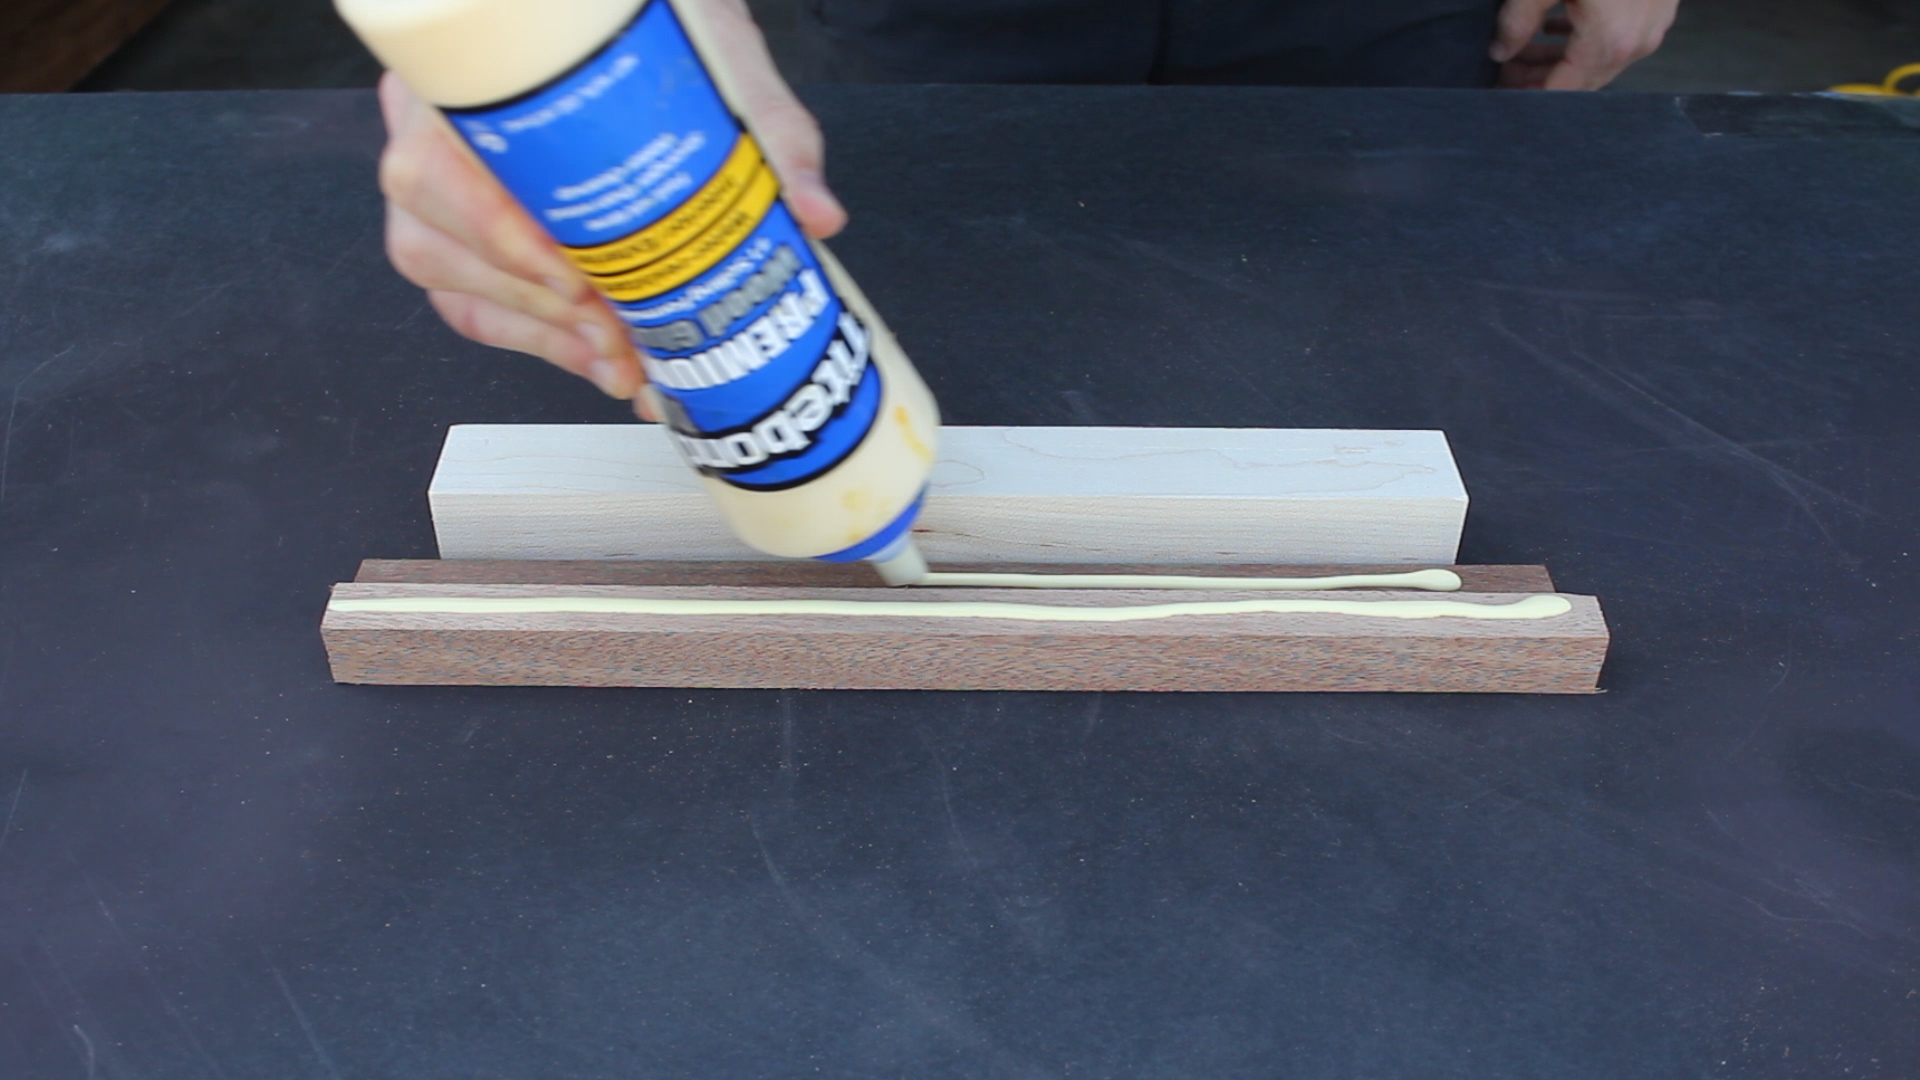
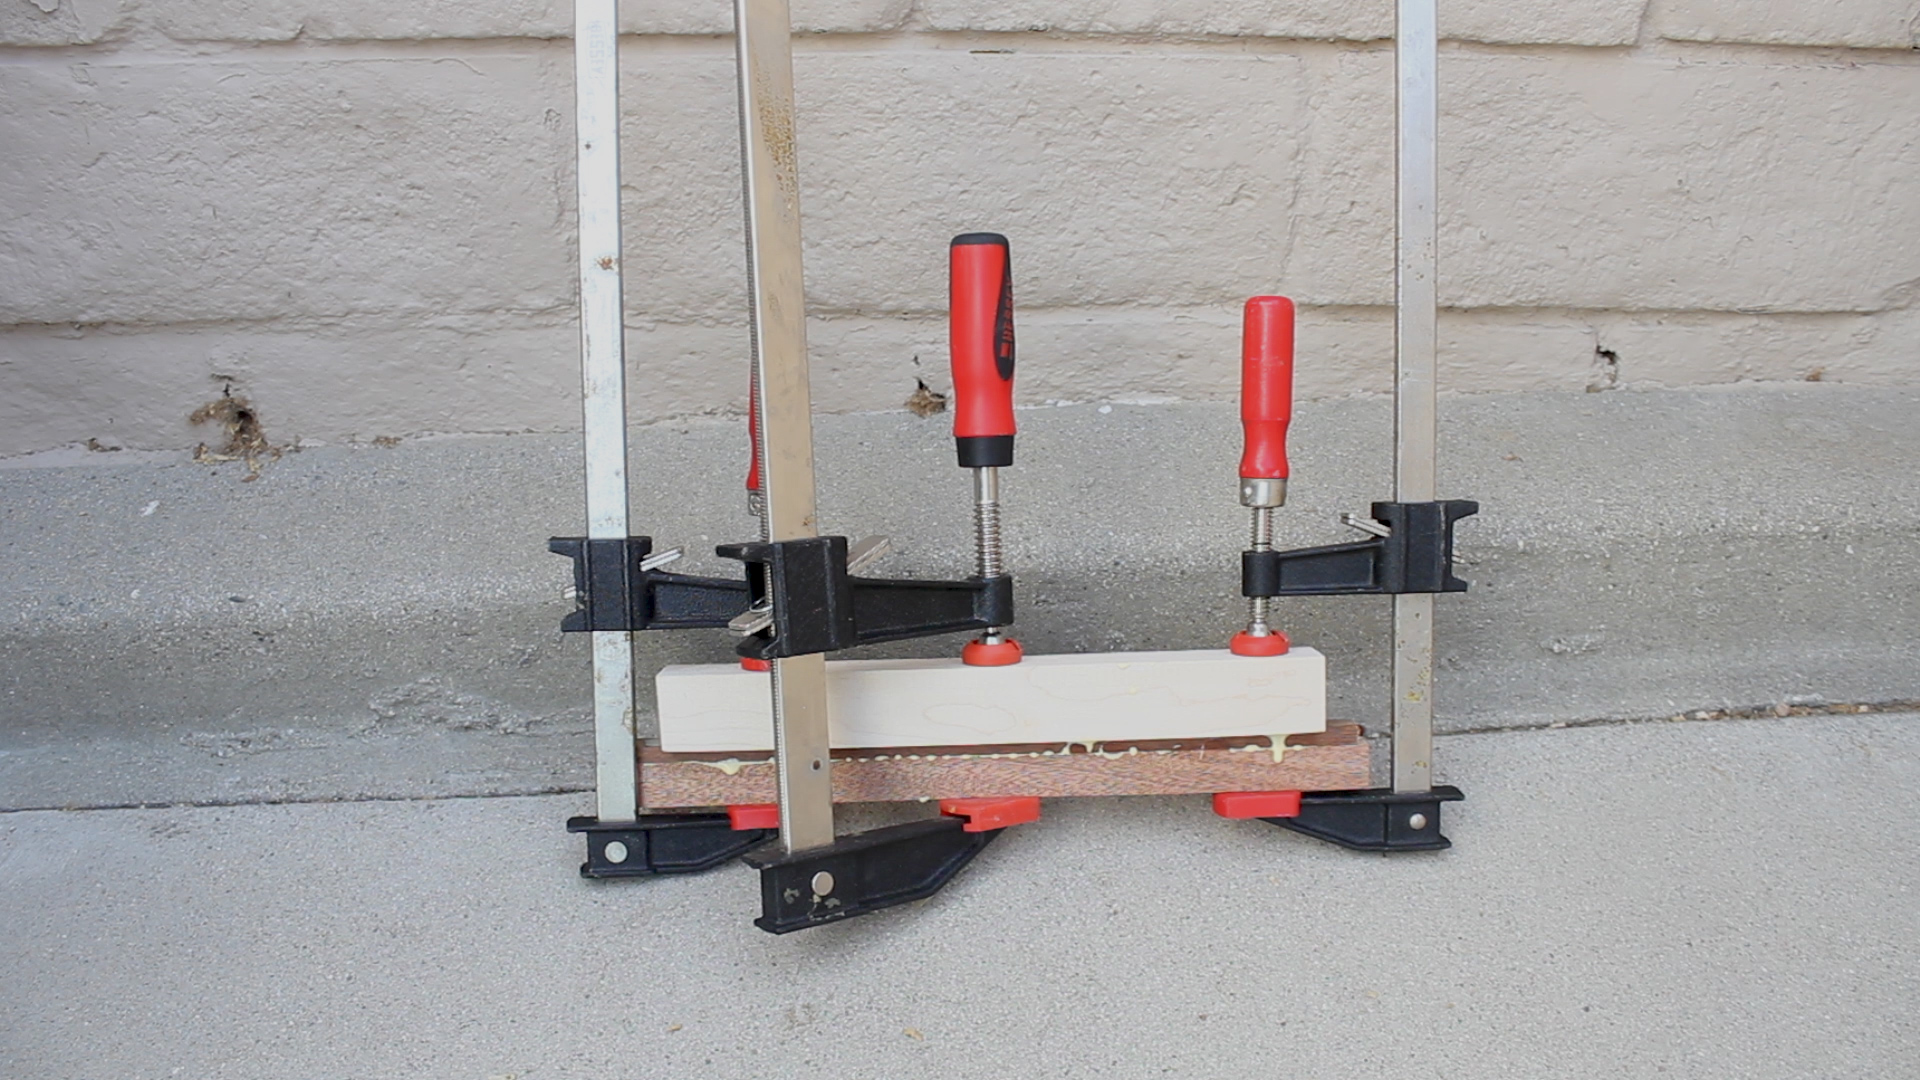
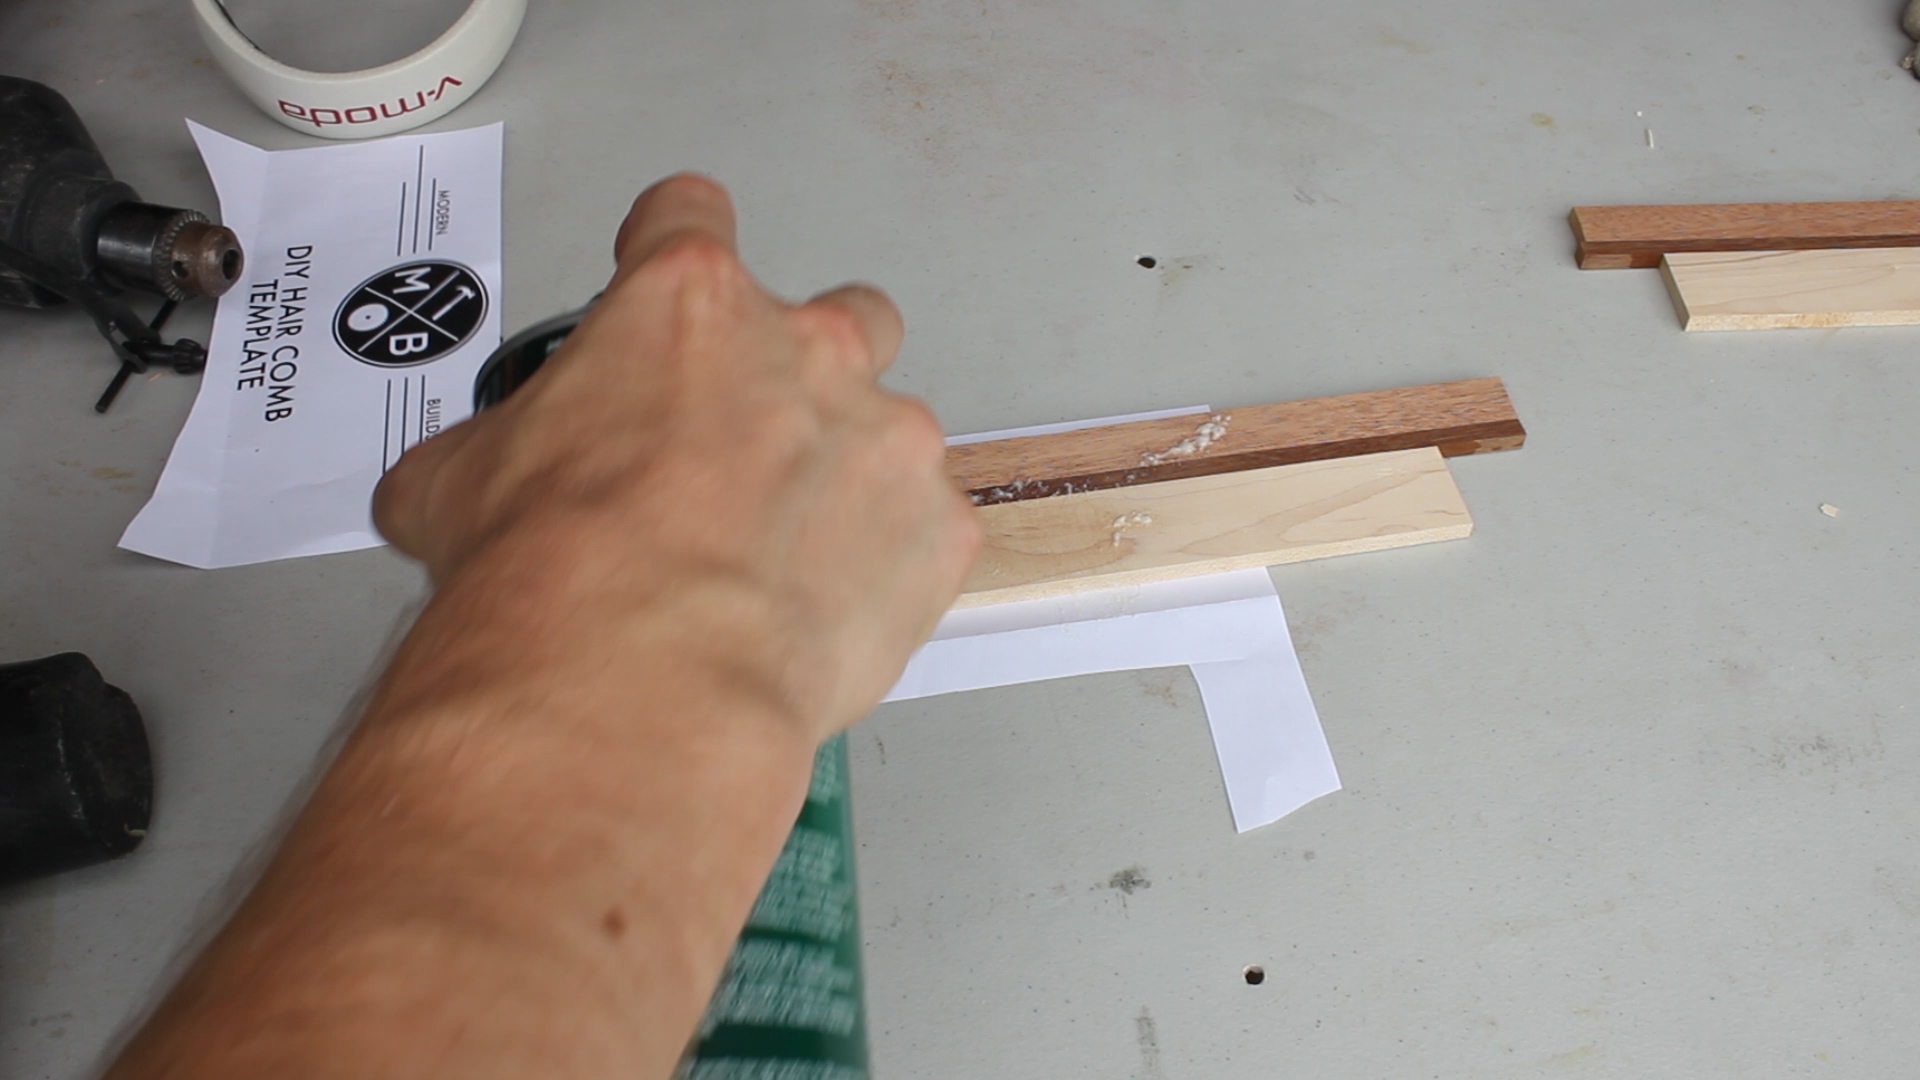
Once I had my strips, I could glue them up and let them cure overnight. And incase I botched the project the next day, I made a back up blank as well.
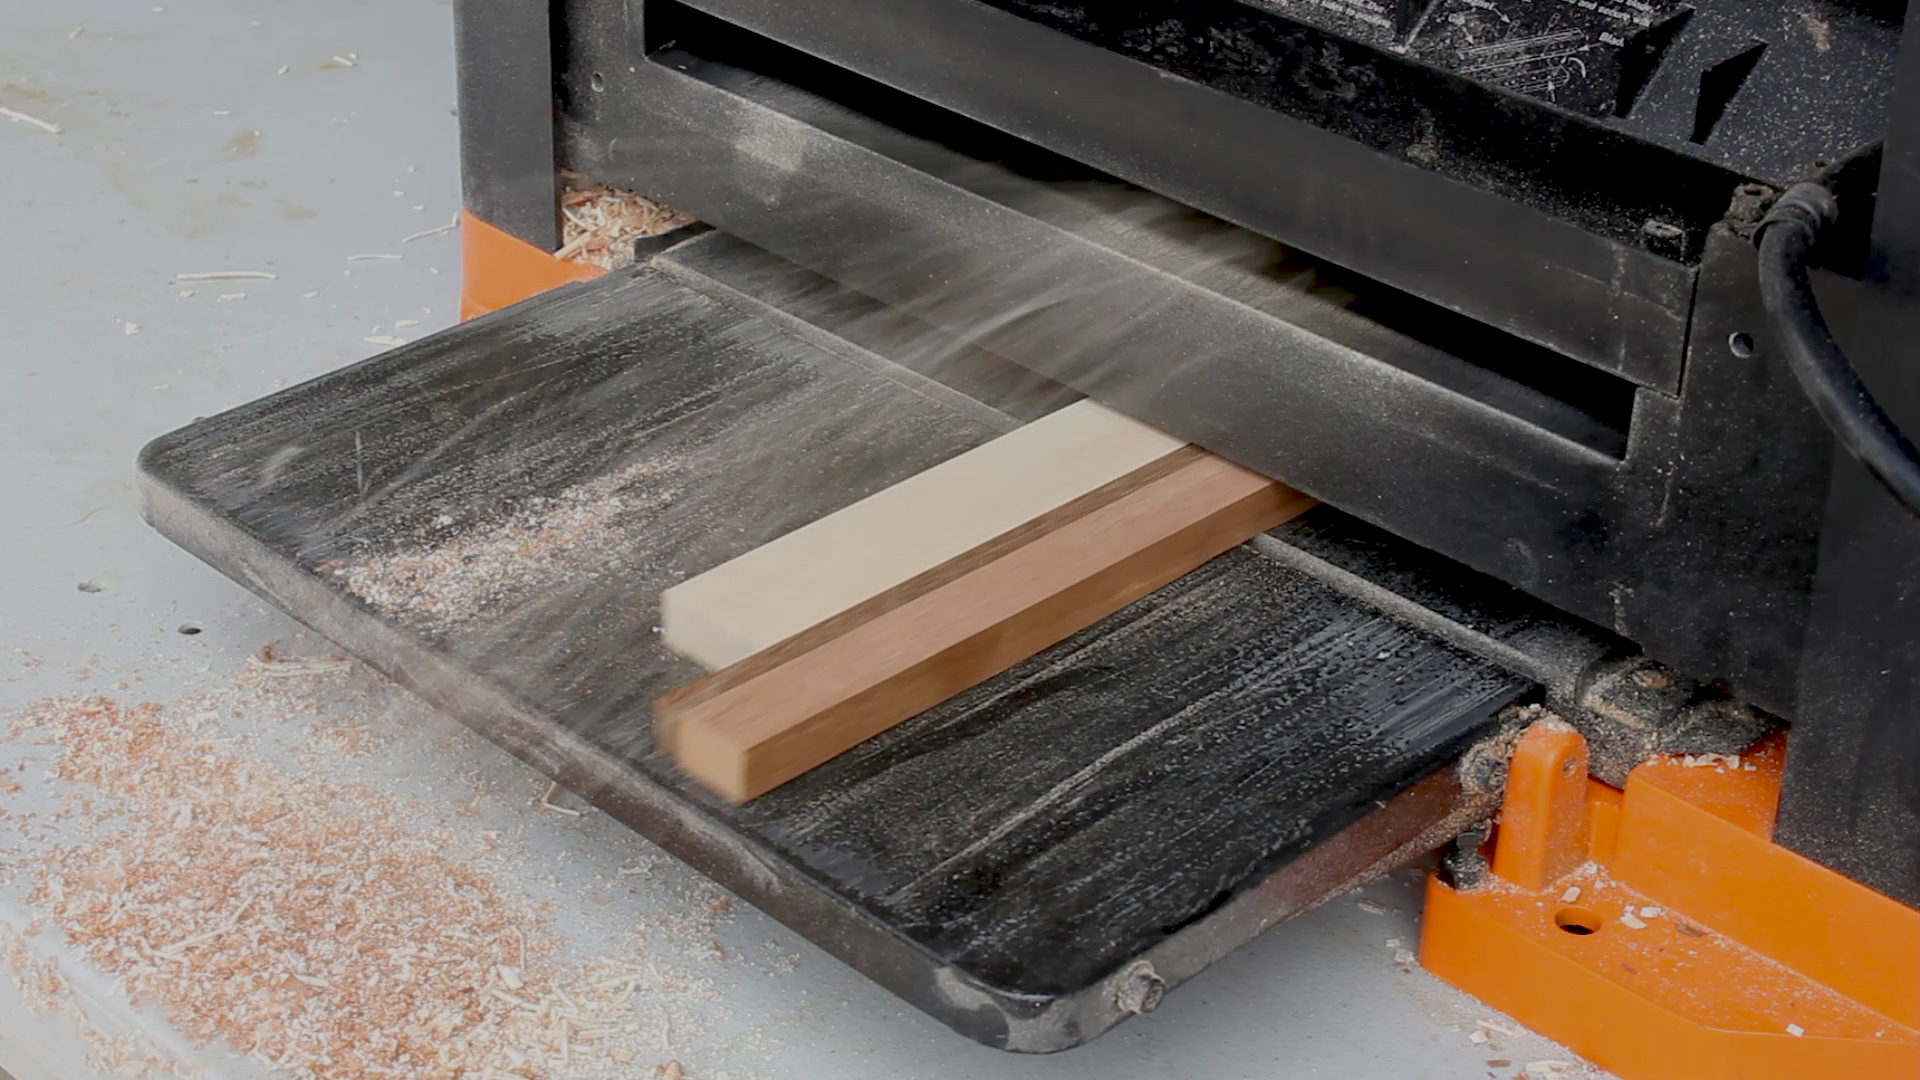
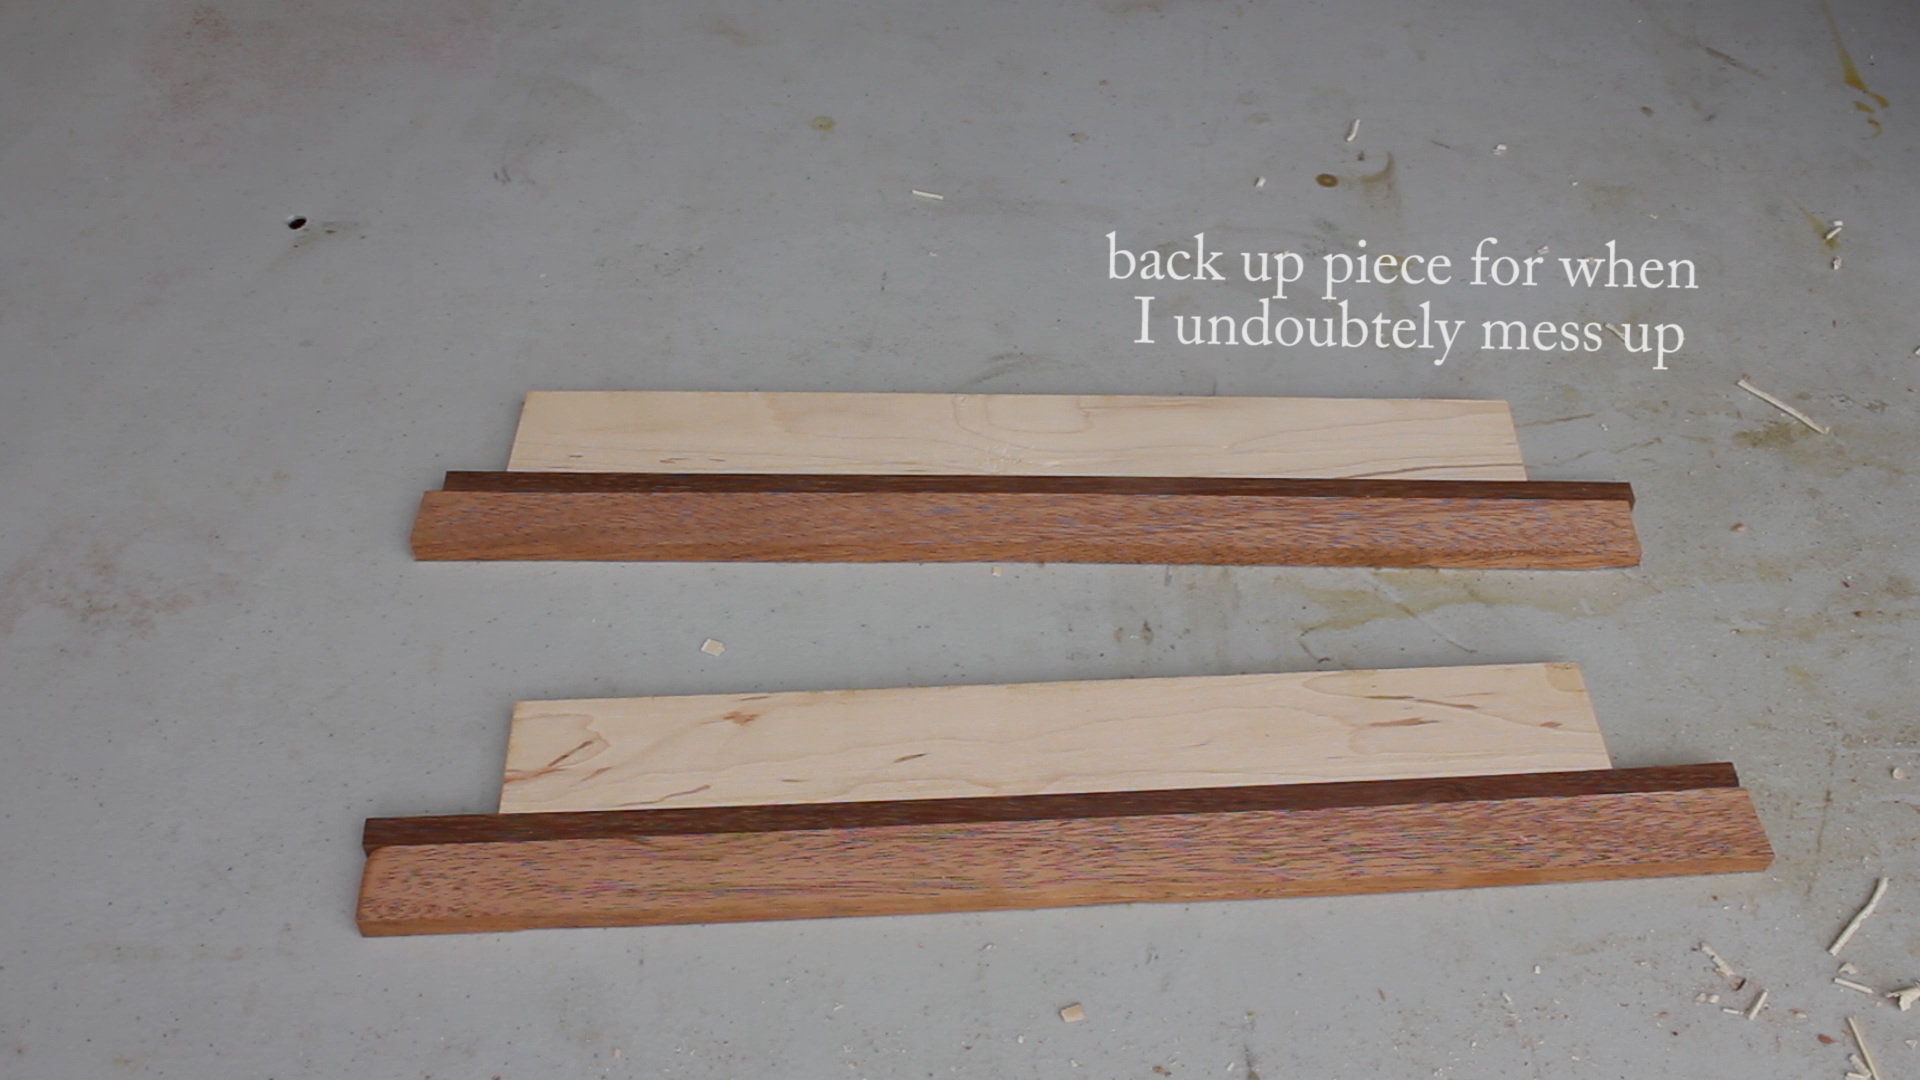
The next day, I could plane it down to my desired thickness. I eye-balled this, but it was maybe 3/8" thick. You can see the two final blanks in the second photo.
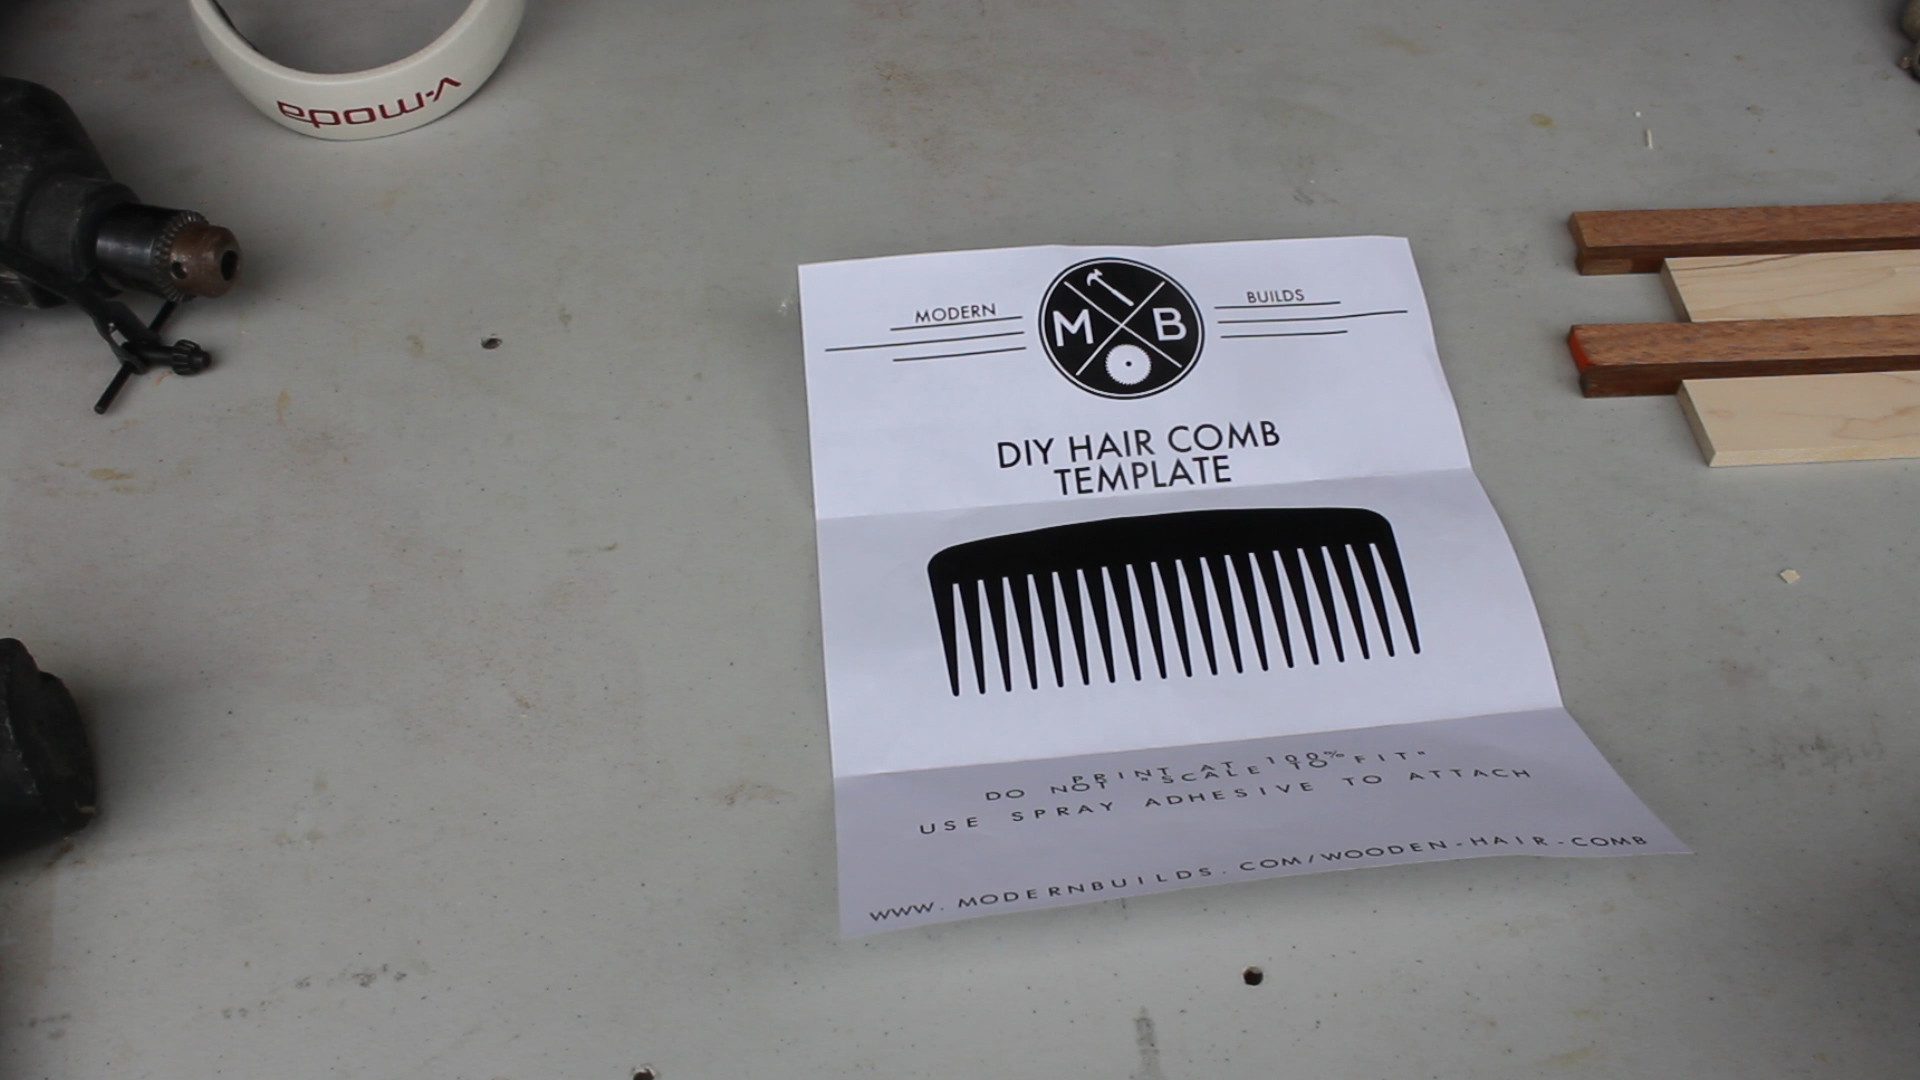


I then cut out and glue on the template to my blank using spray adhesive. I then modified it so my comb would have a handle.
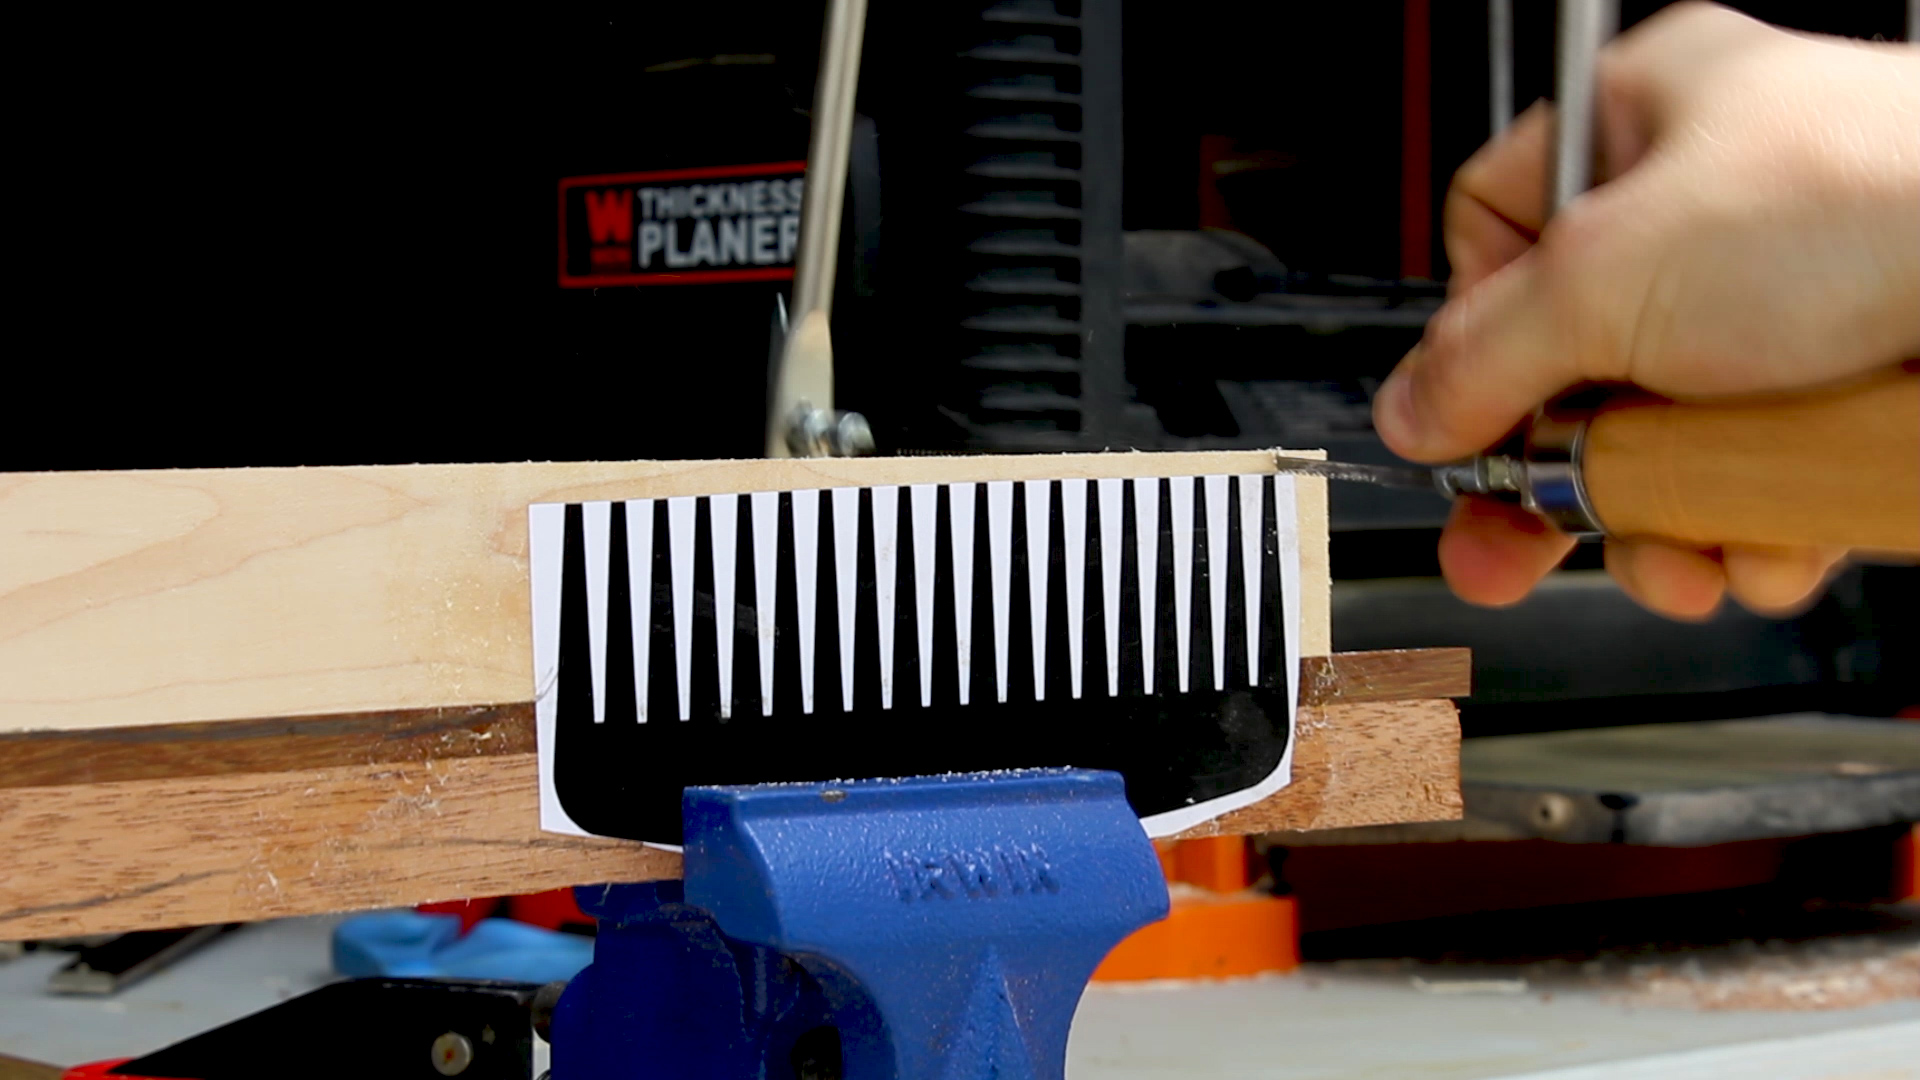
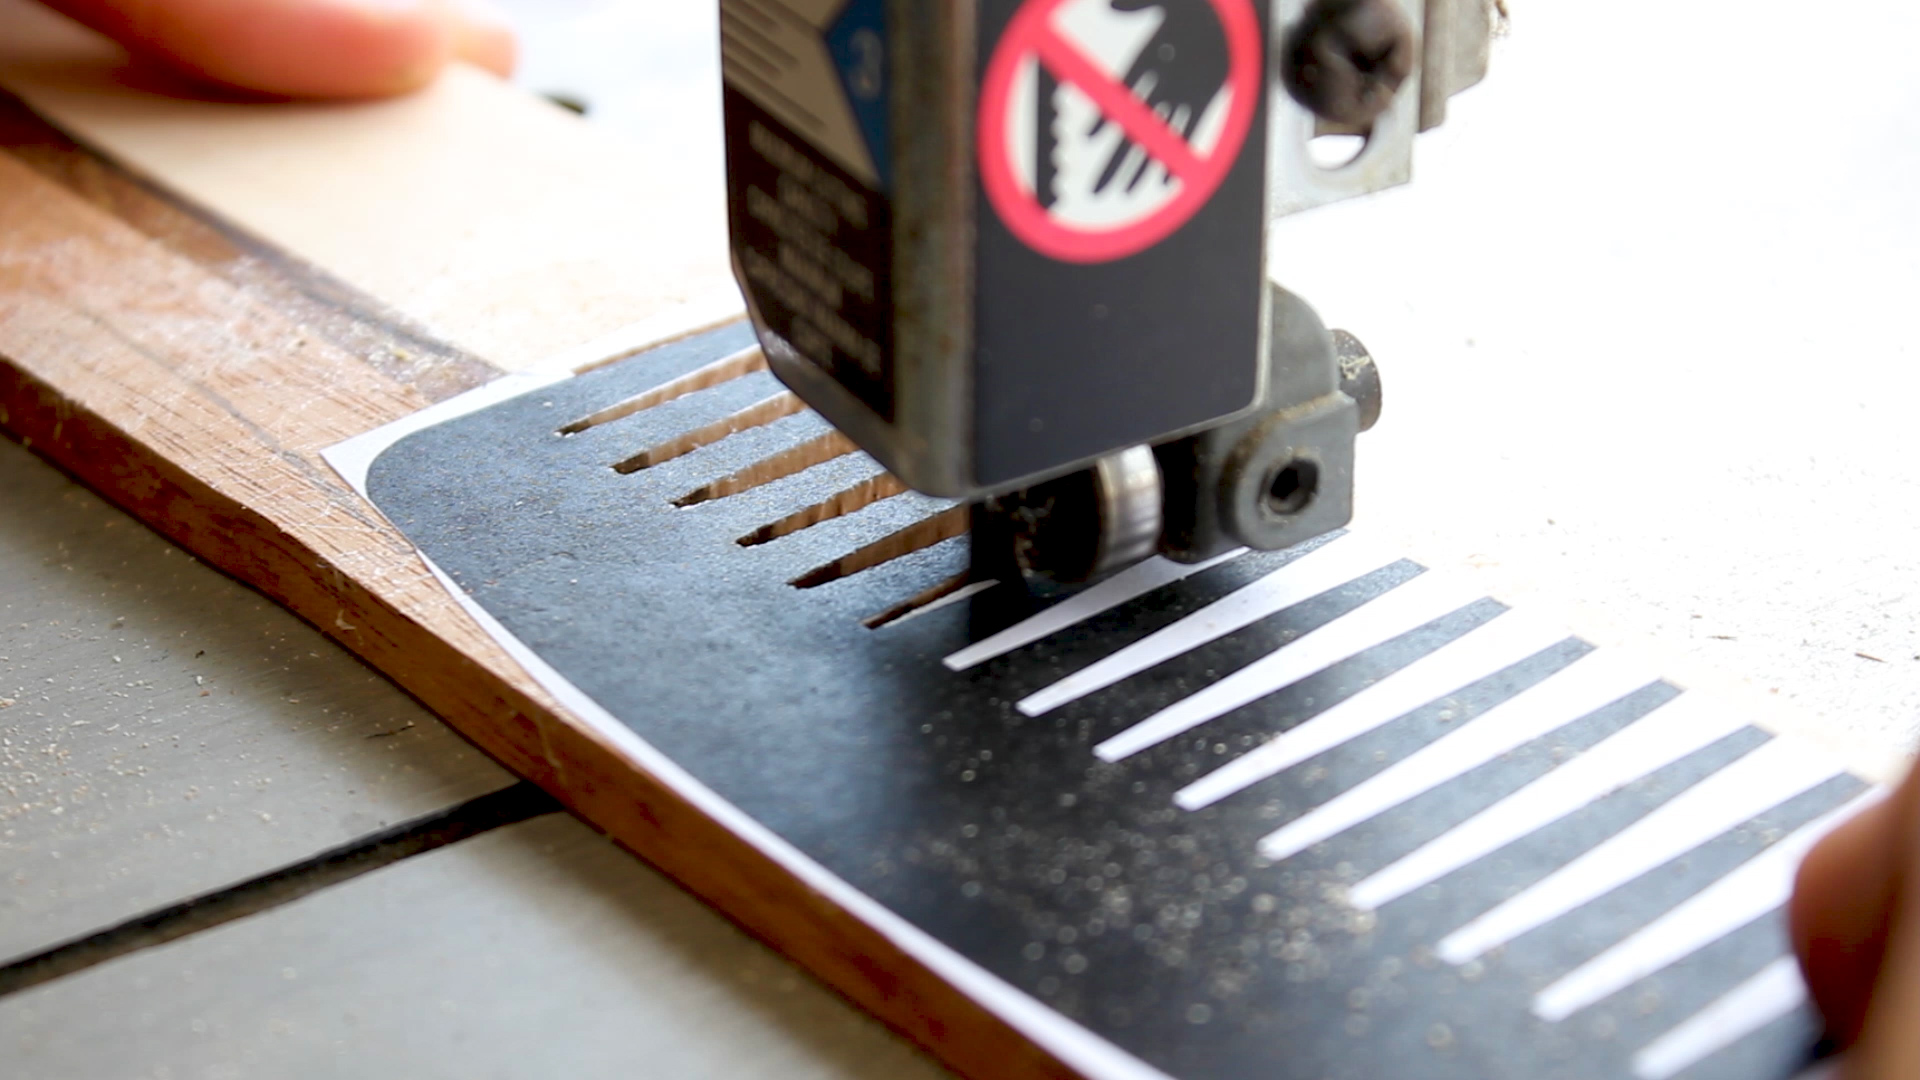
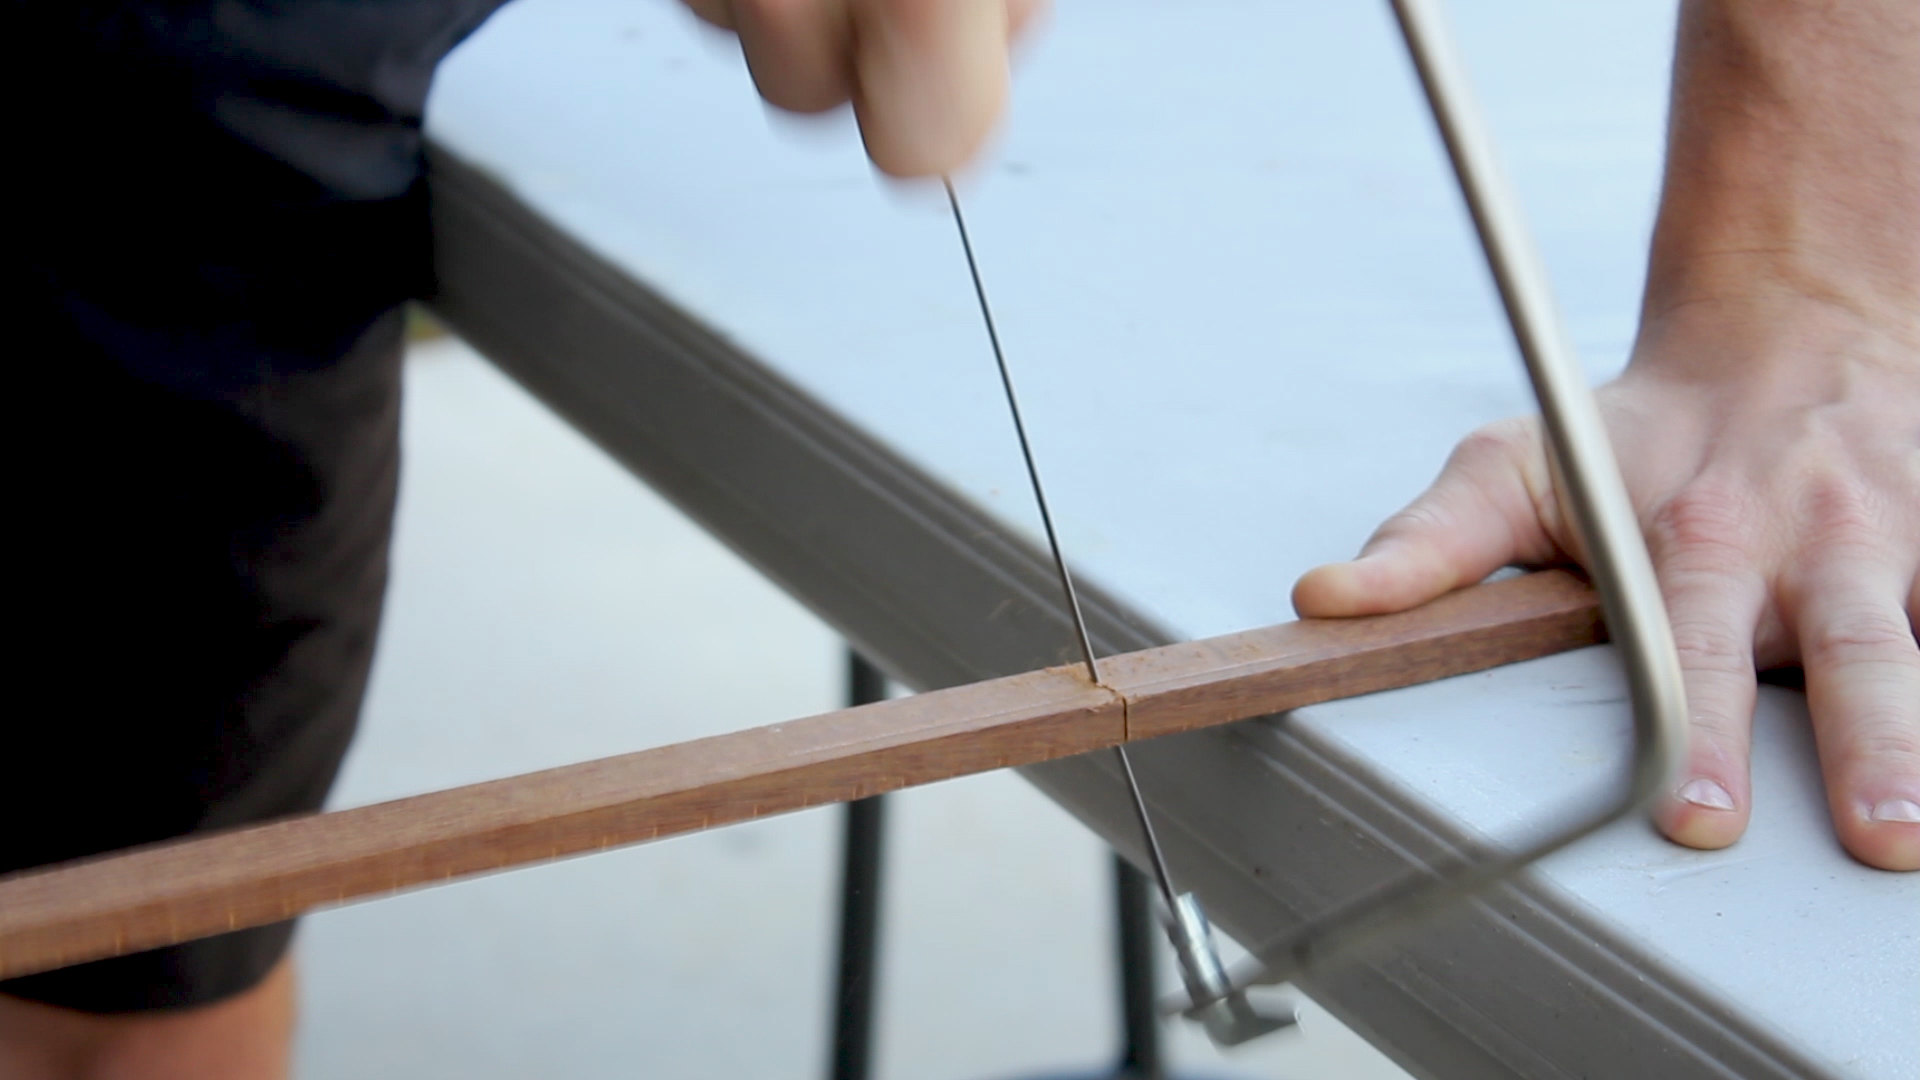
I then went to cut out my shape. I was super ambitious and thought a coping saw in a vice would be the best route, but I gave up after about 9 seconds of sawing and getting no where and went with my newly purchases (used) bandsaw. It worked great - just take your time with it!
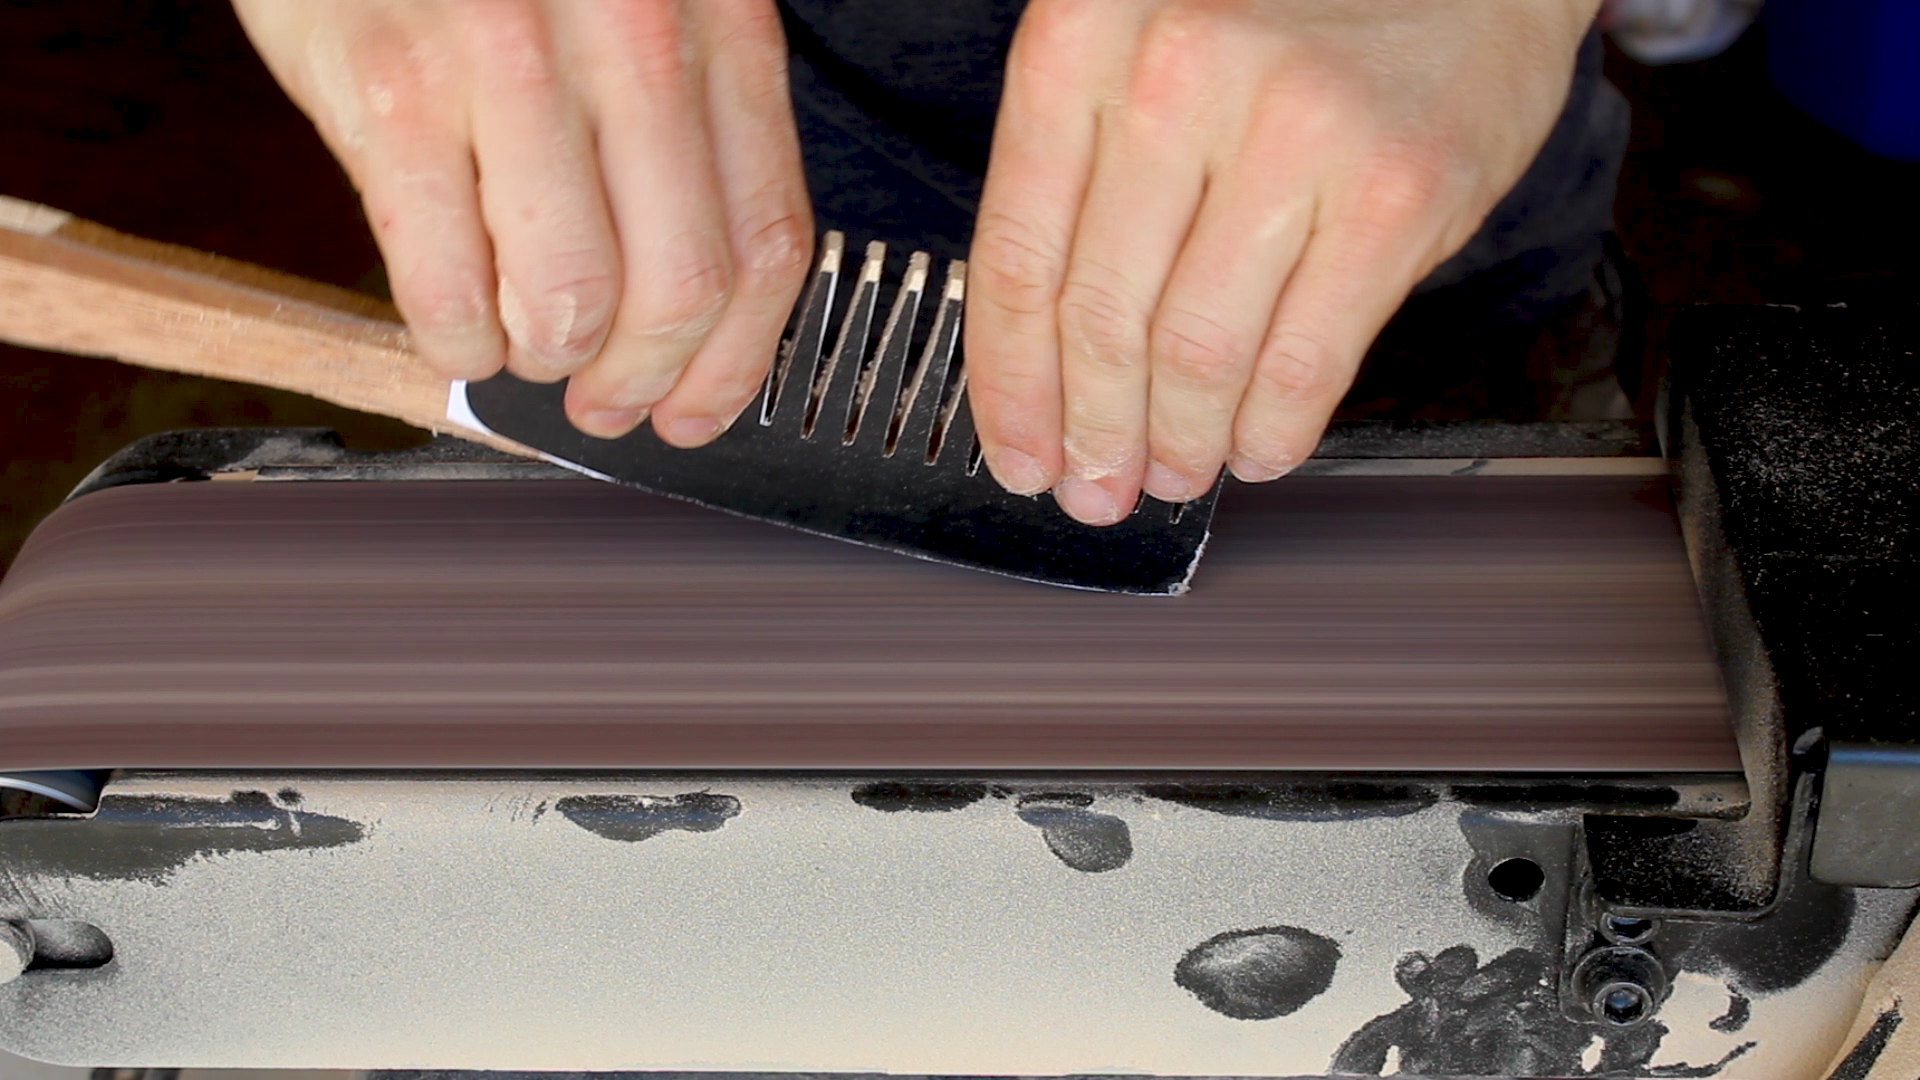
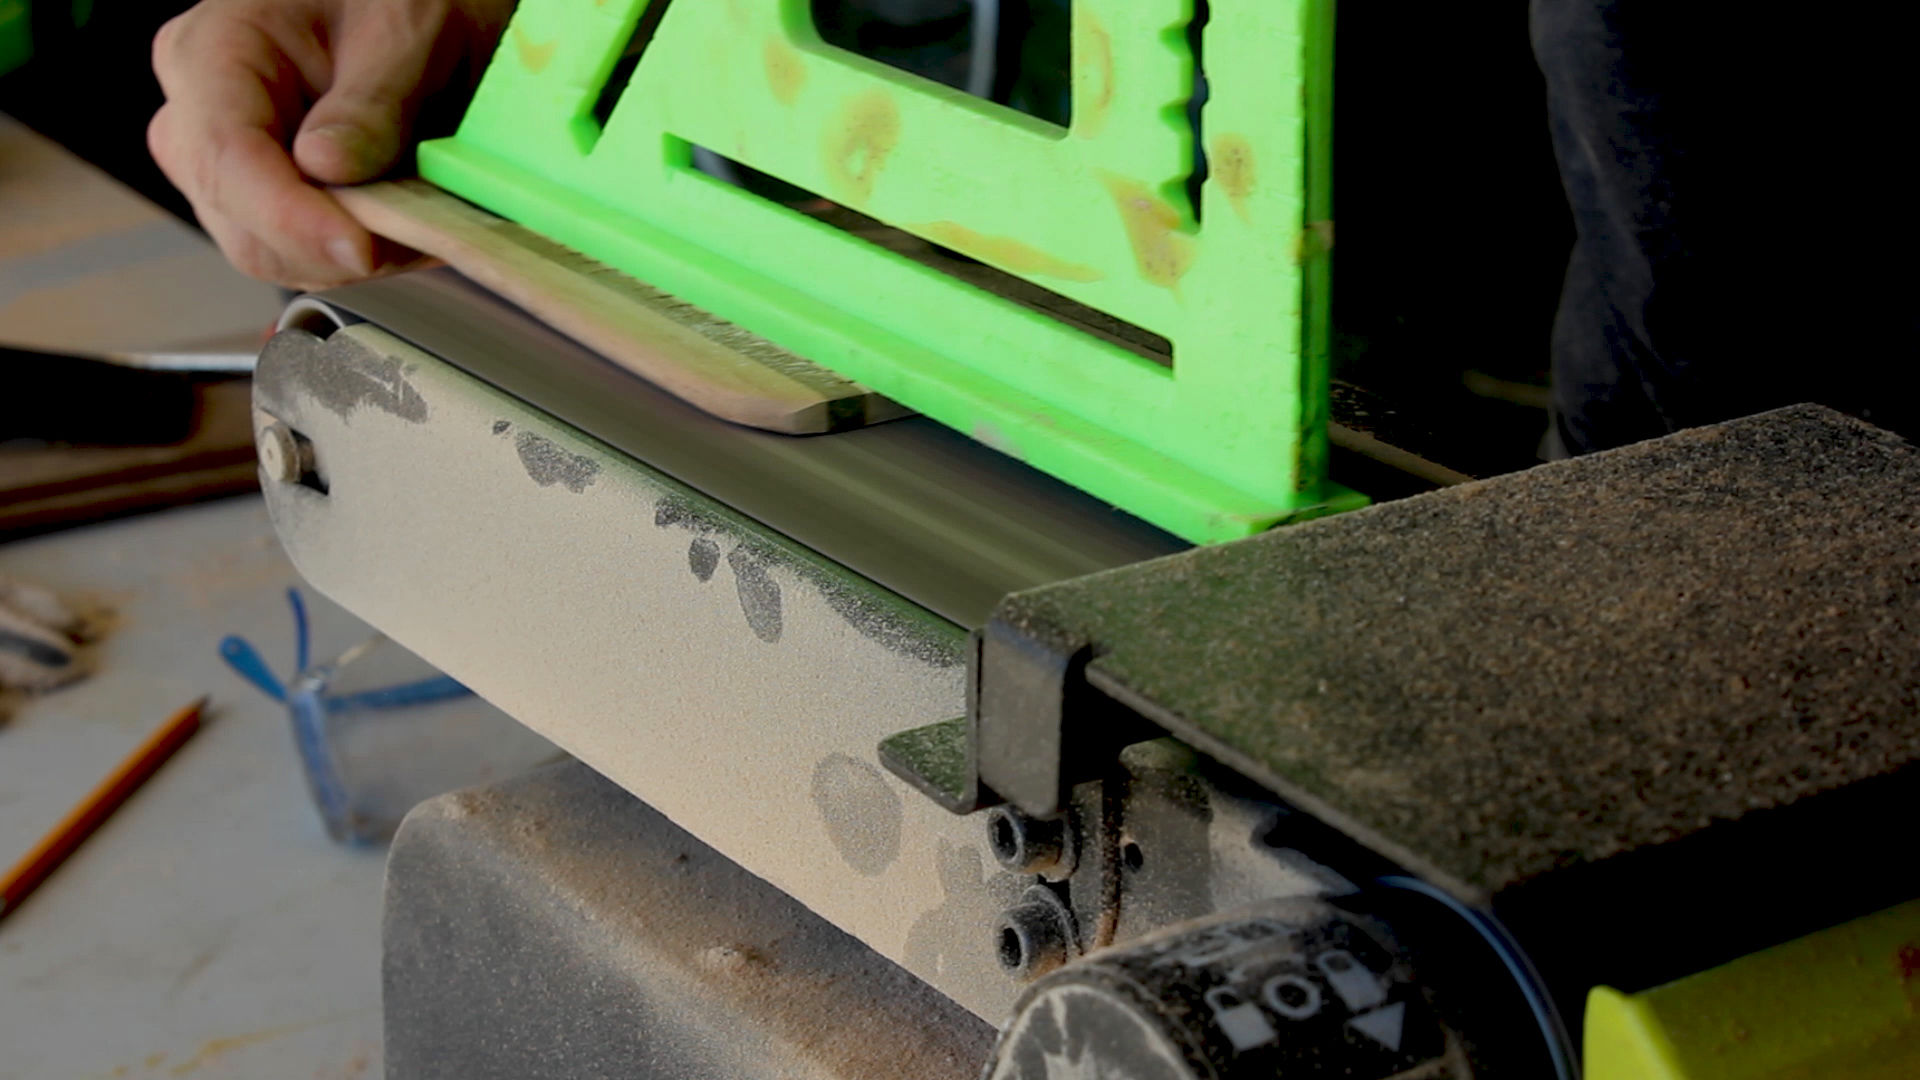
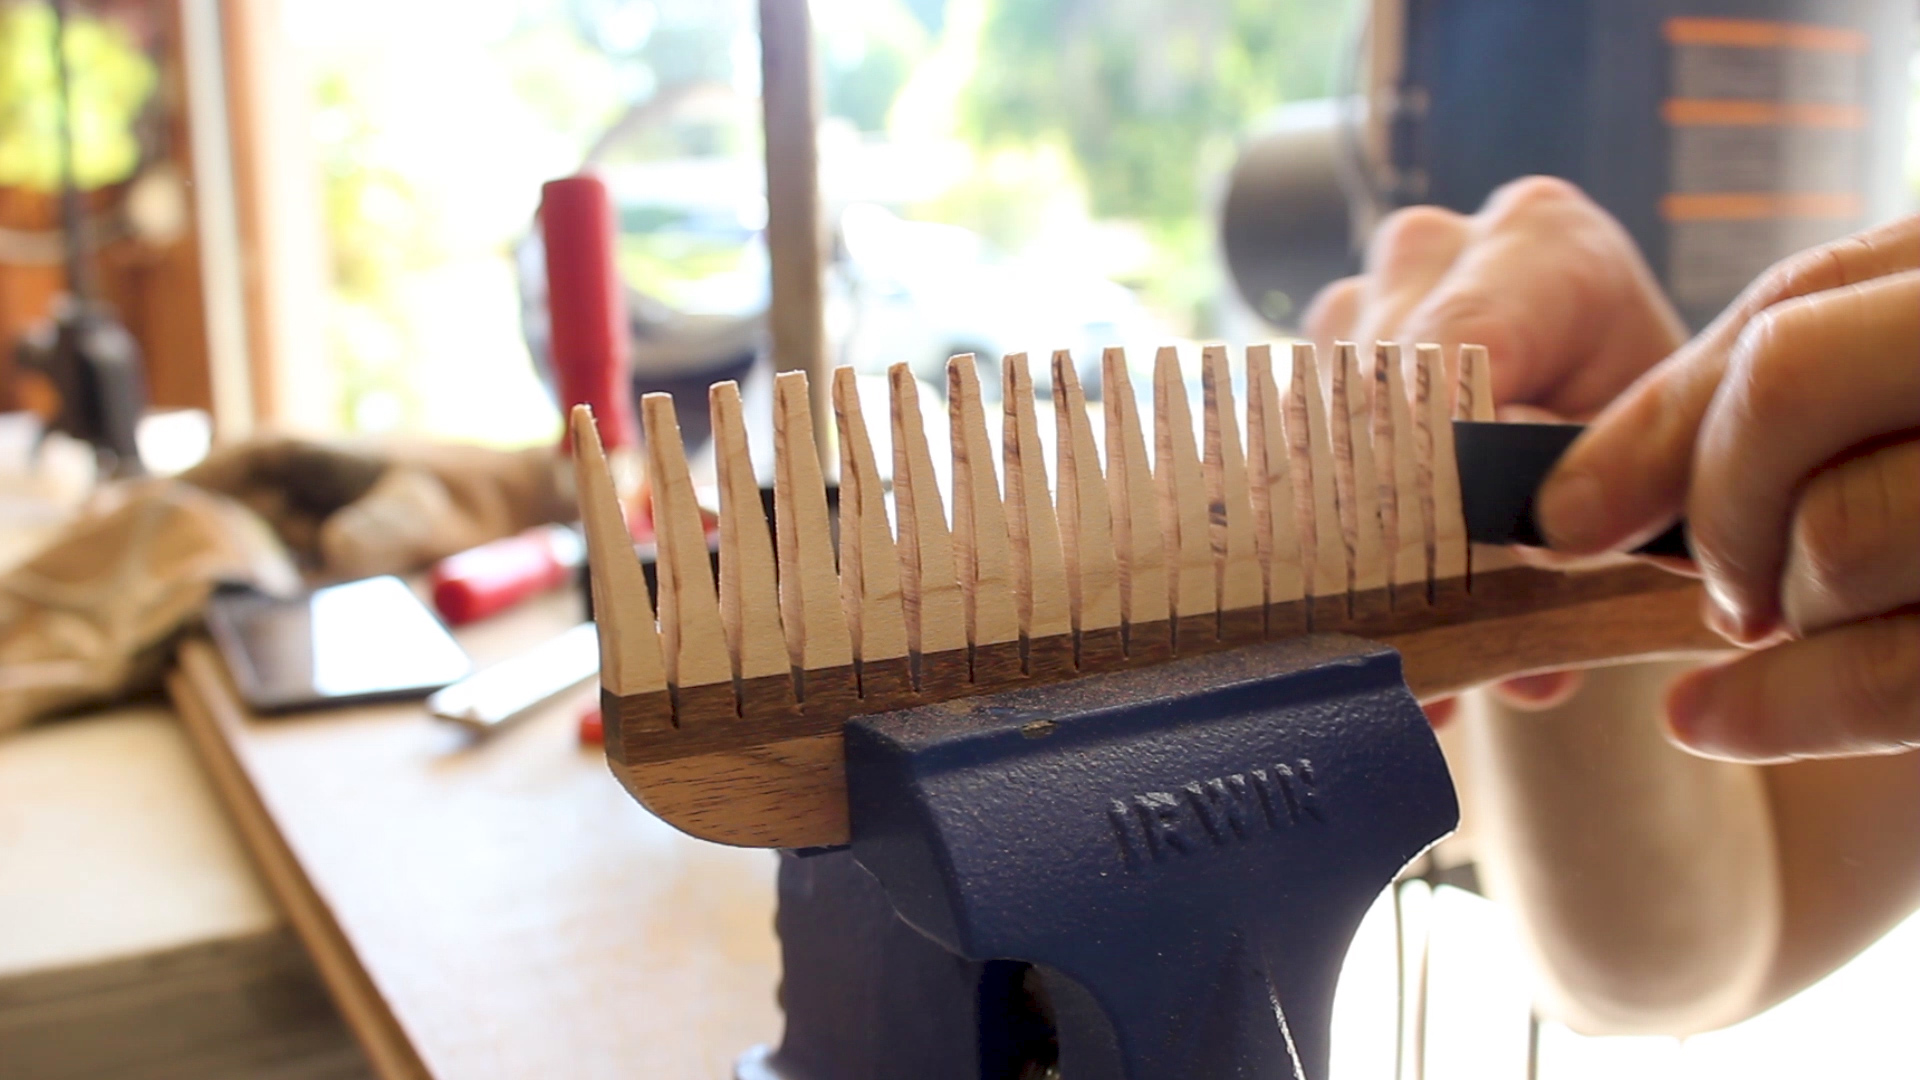

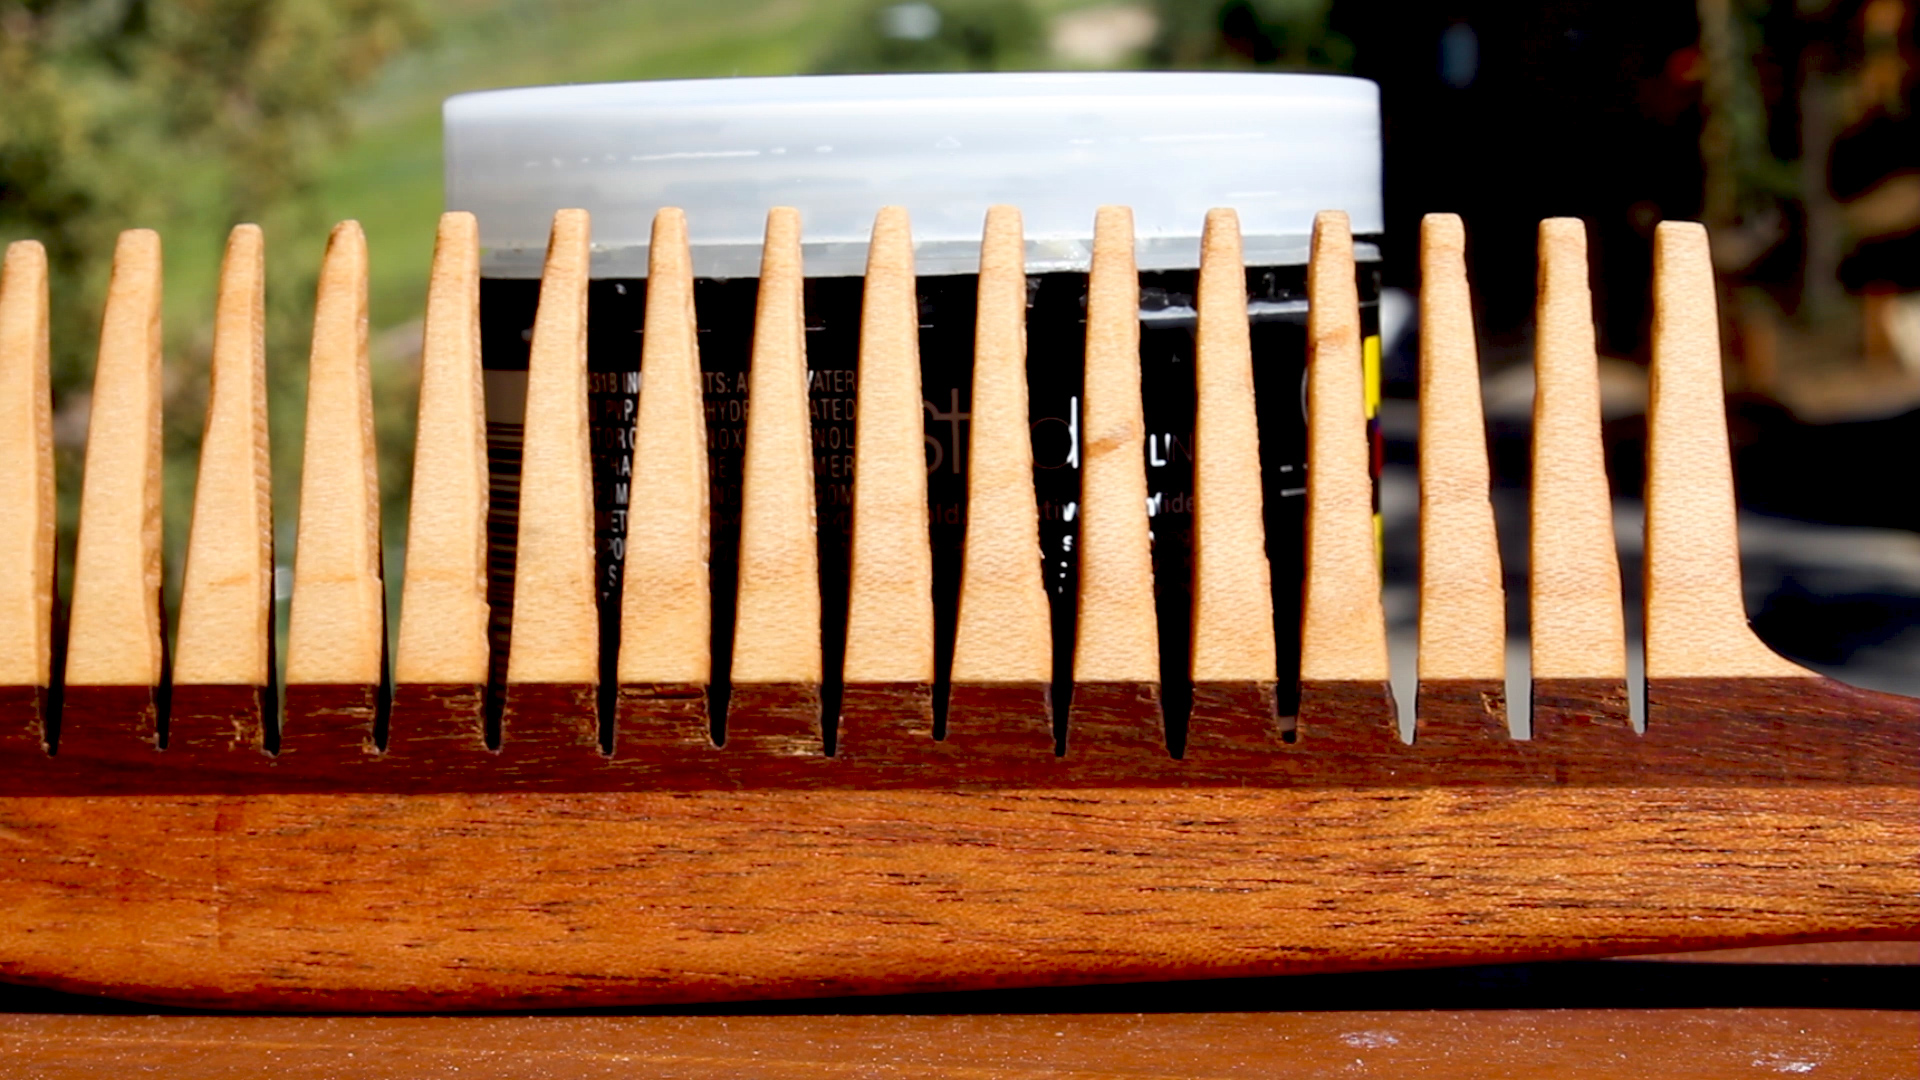
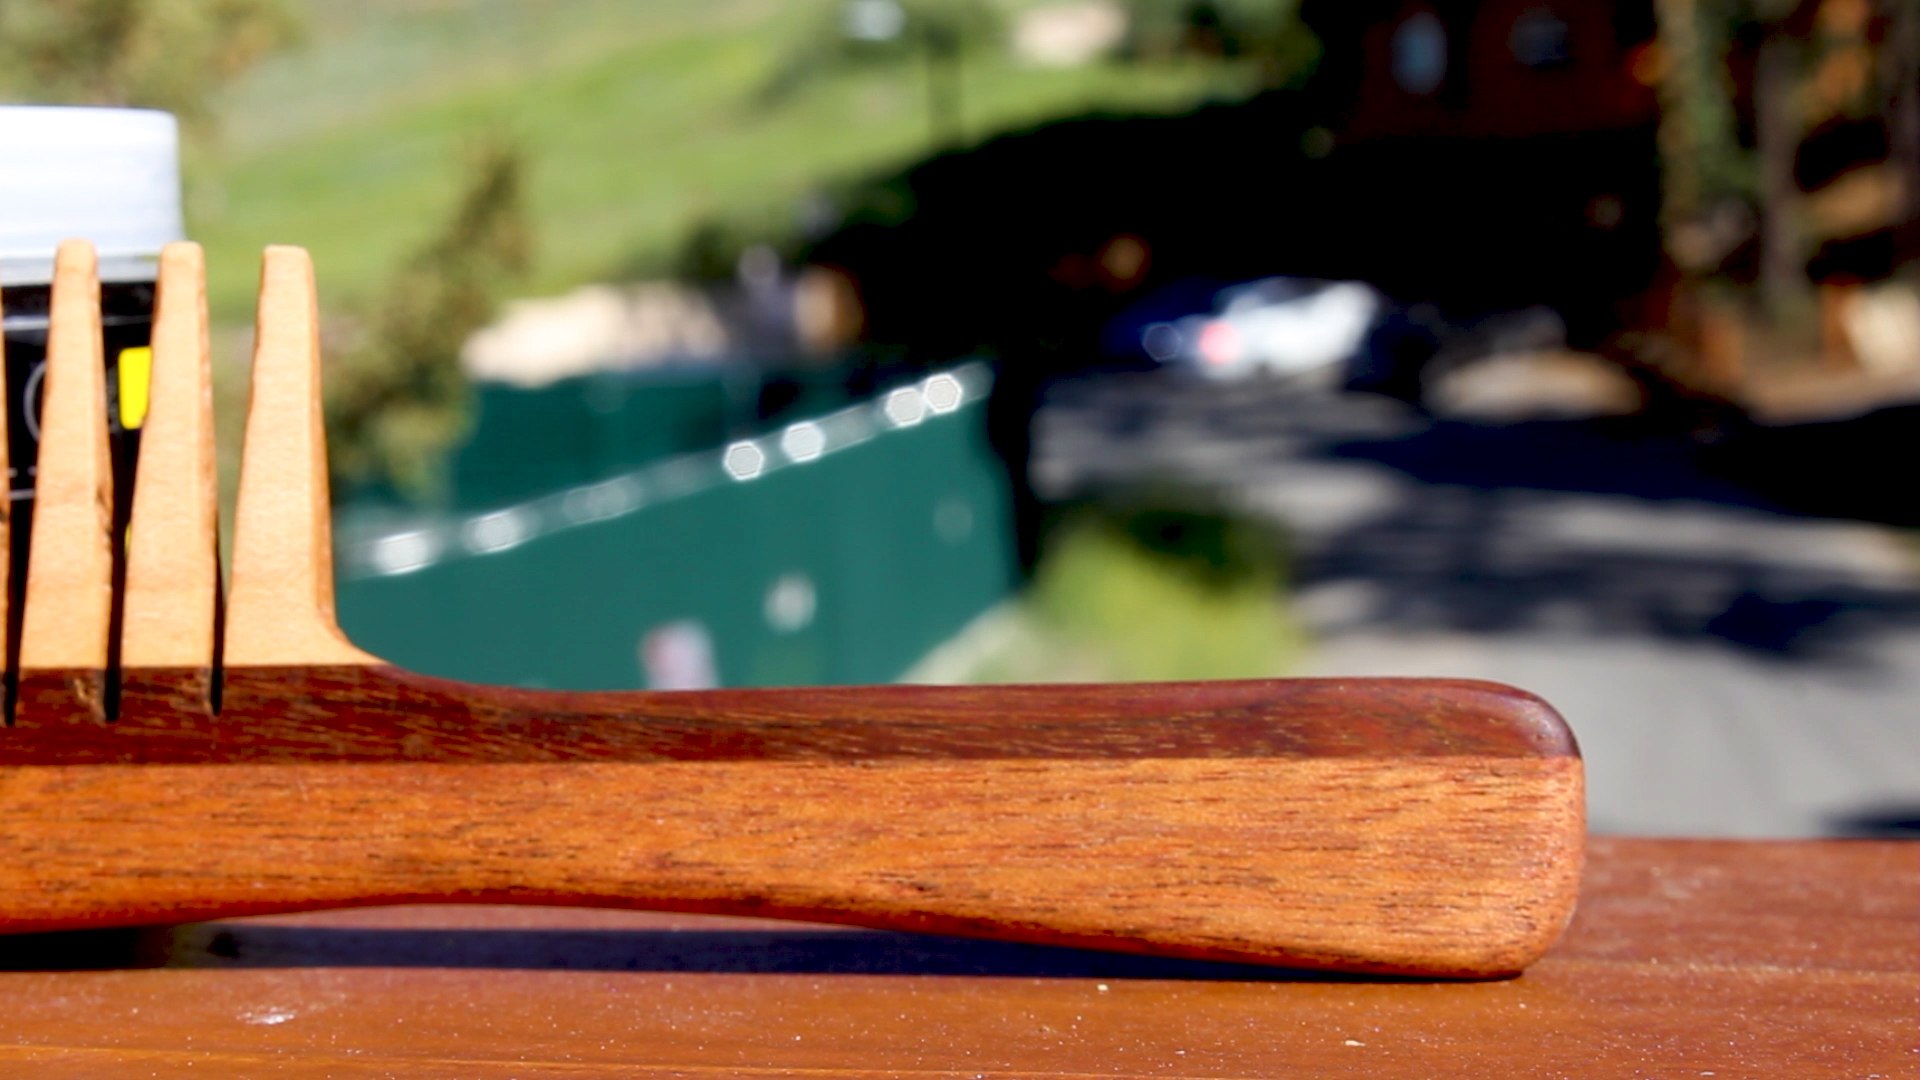
I then went back to my stationary belt sander to round over all of the edges and tape the bristles. Take this slow but also be forceful at the same time. Using a rafter square to press all the bristles down at the same time makes it super easy to give you a nice taper using 120 grit paper.
I then used a strip of 120 and 220 grit to individually round over all of my bristles on each side and then fine tune all of the outside curves. Was looking good!

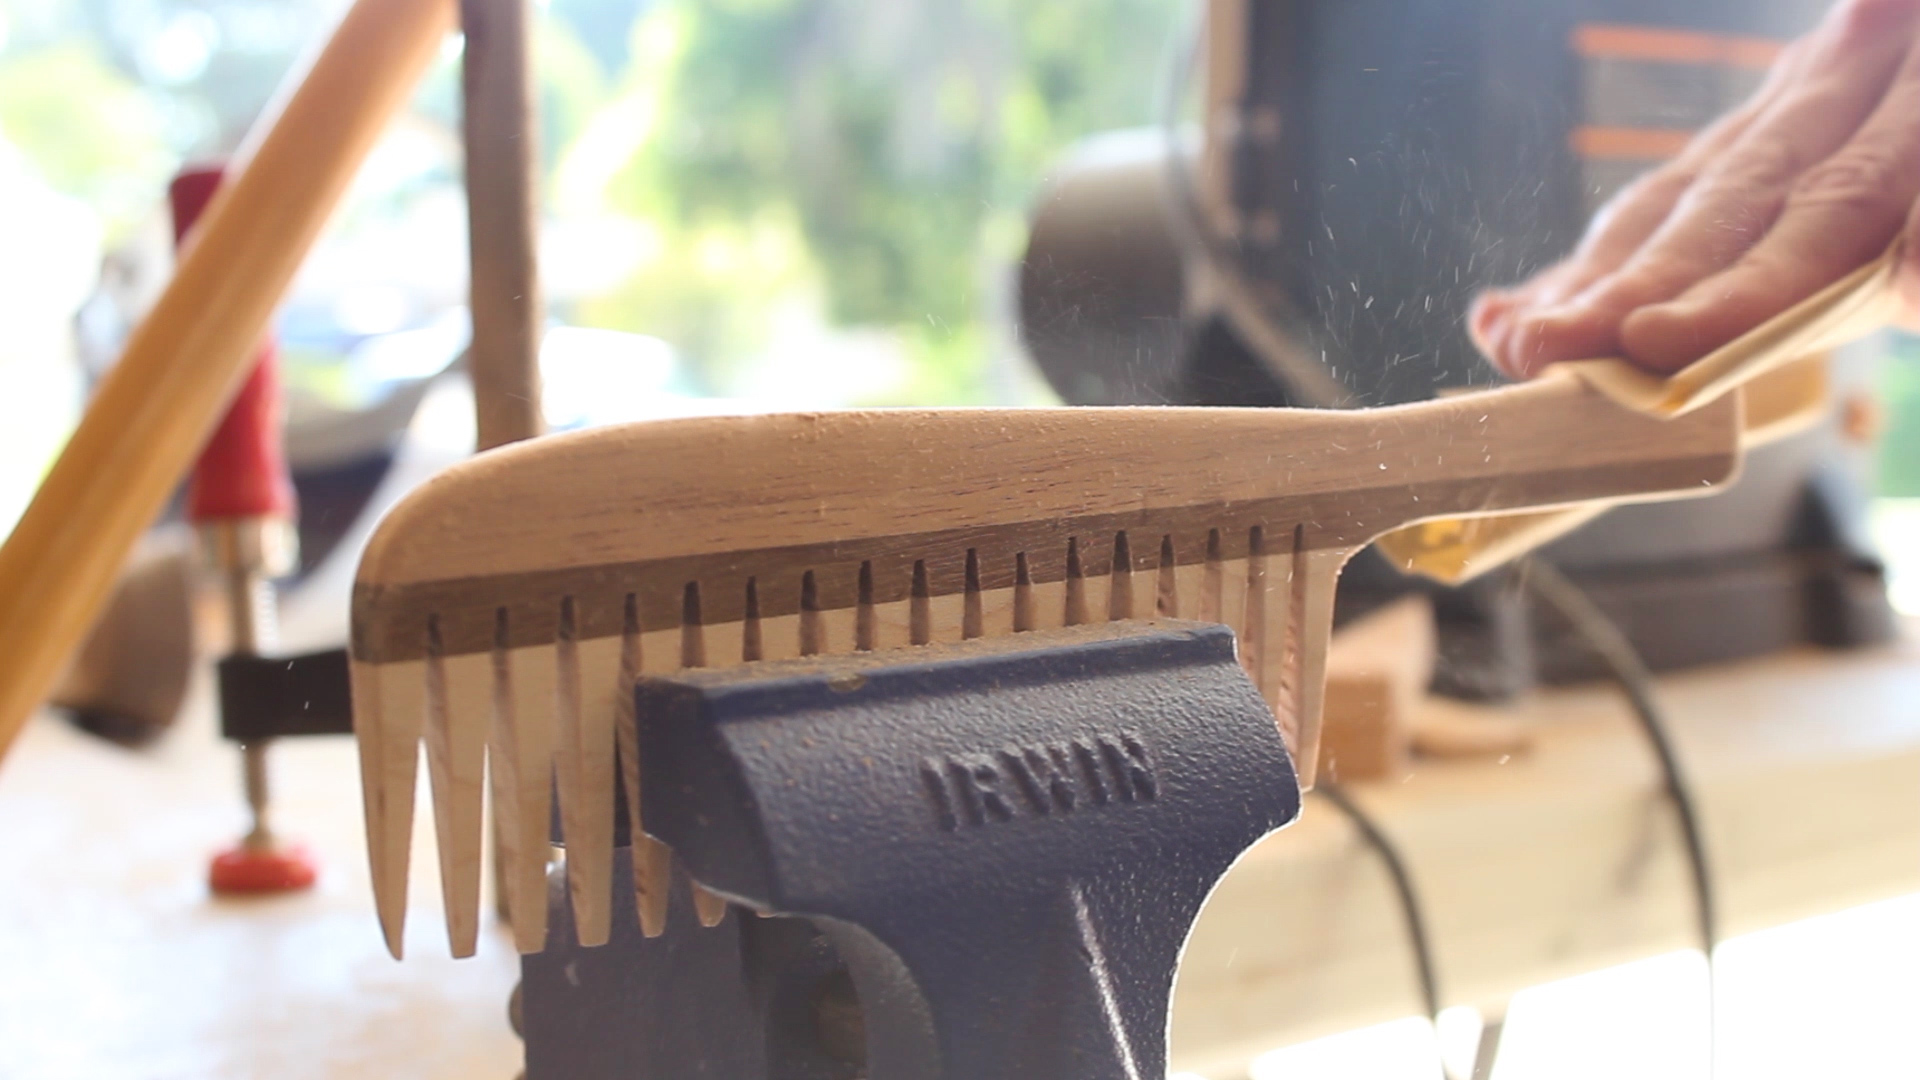
Last up, I applied mineral oil to finish the project and bring out the grain and color. I'm sure there are other finishes, but this worked great for my case.
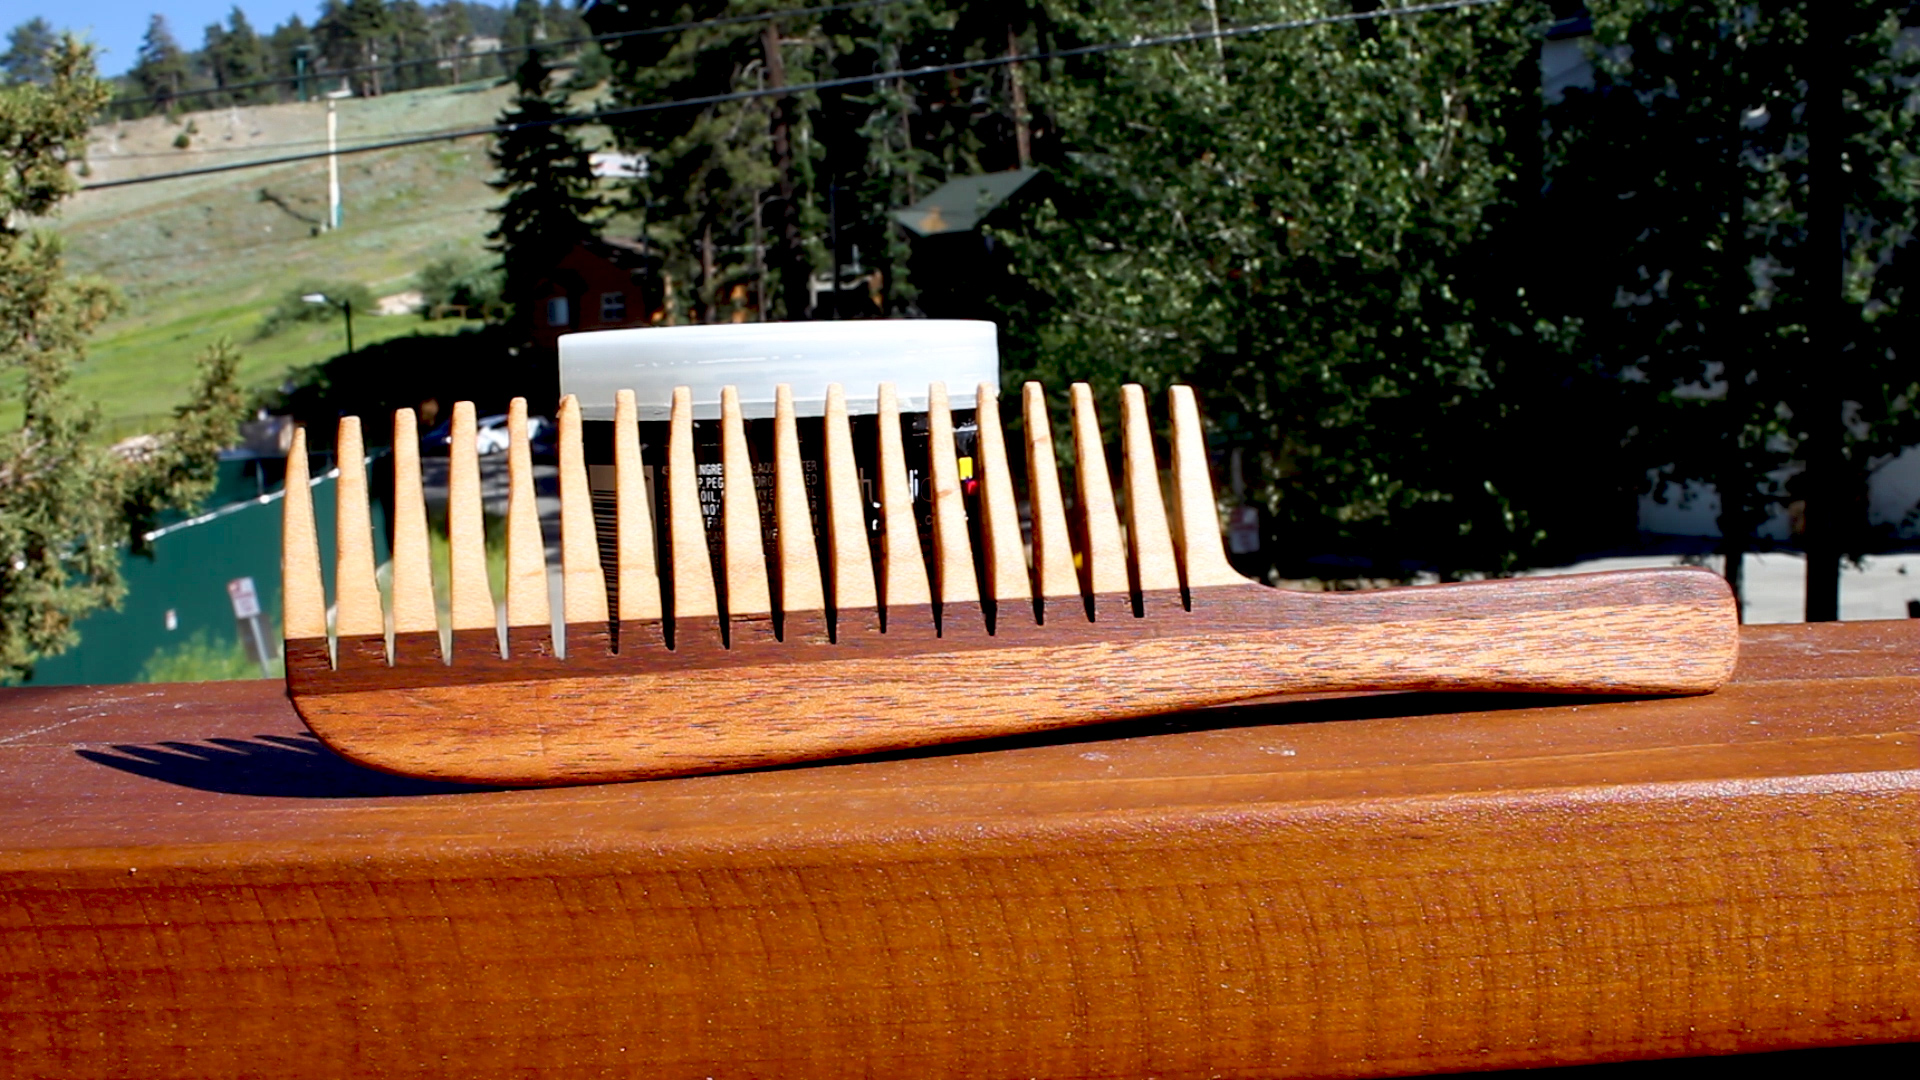

Then I was done! I tested it out and it worked great and I'm super happy with the result!
TOOLS
RYOBI Stationary Bench Sander
RYOBI Band Saw
Wen 12.5” Thickness Planer
Coping Saw
Vice Clamp
BESSEY Economy 2.5” x 12” Clutch Clamps
Tape Measure
Hand Sanding Sponges (220 and 320 Grit)
Sand Paper (120, 220, 320)
FILM / EDIT EQUIPMENT:
Canon Rebel EOS T2i
Canon EF-S 18-55mm f/3.5-5.6 IS II Lens
Studio Lighting Equipment
Rode Microphone
Voice Recording
As always, thank you for reading! I would be so grateful if you could please subscribe to my Youtube Channel for future projects. I put out videos every few weeks.
Cheers!
Zach