Thanks for checking out the full article!
Full video build is below, followed by detailed instructions with tools and measurements! You can subscribe to our YouTube channel by clicking here!
This was a really fun project I made for my friend's home bar. He had sent me a reference link to something he saw at a bar and asked if I could do it - it looked relatively straight forward but, as all projects usually are, turned out to be much more complicated and time consuming than it looked!
MATERIALS
5 x Standard Size Pallet (Heat Treated, not Chemically)
1 x 3'x 4' x 3/8" Plywood
1 x 1" x 2" x 8' Whitewood
3/4" Wooden Dowel
TiteBond II Wood Glue
1.5” Brad Nails
Minwax Golden Oak
Minwax Wipe On Satin Polyurethane
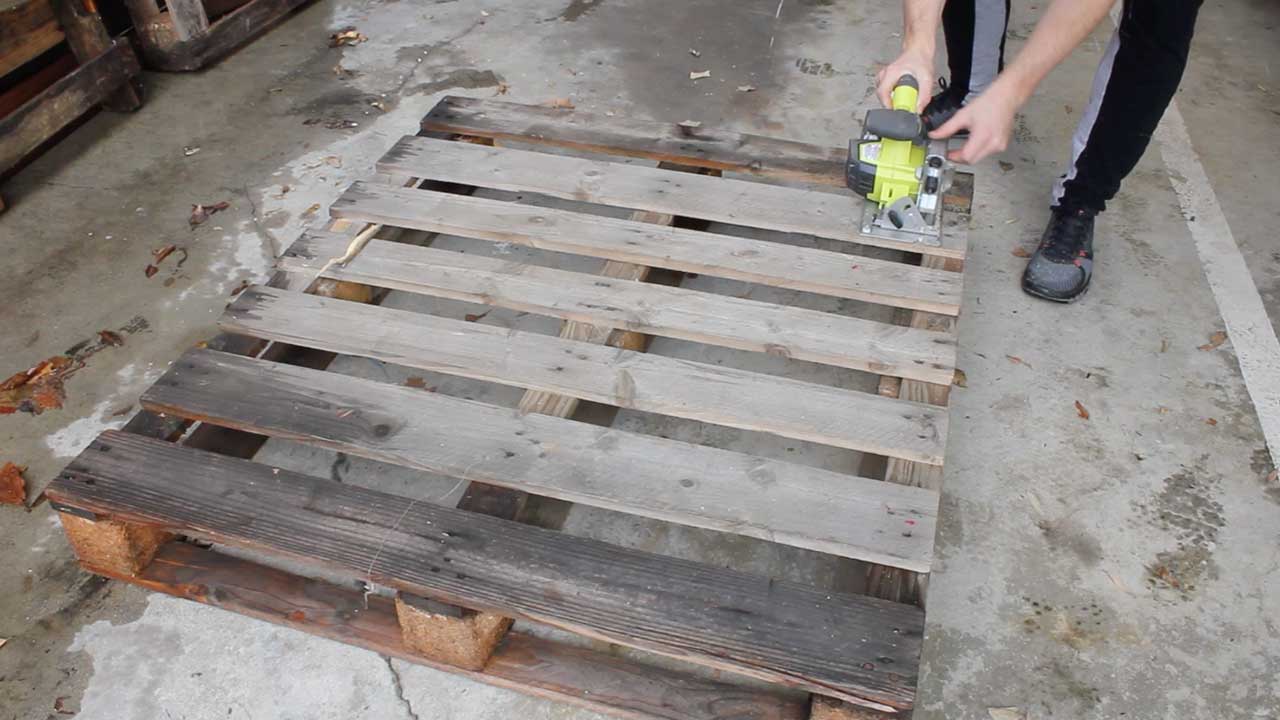
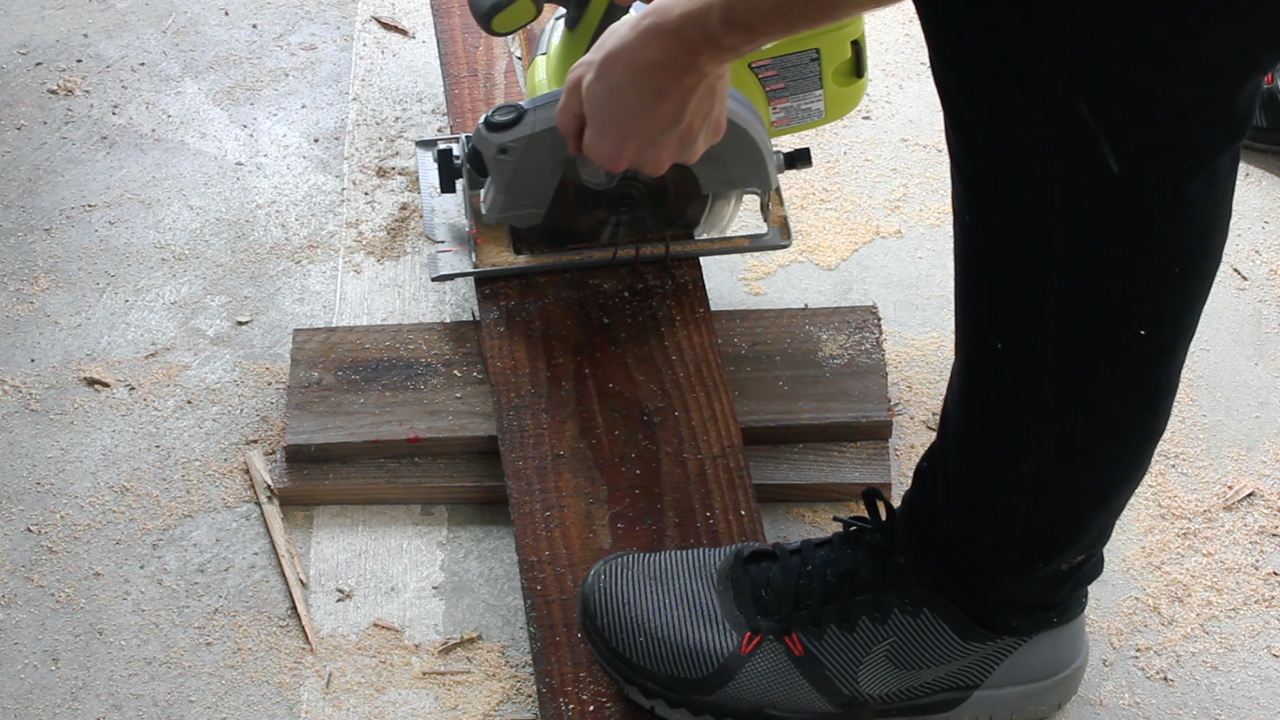
Ripping apart pallets can take forever and be a huge pain in the ass. For this project, I was lucky to be able to cut my pallets versus having to rip them all apart and remove tons of nails.
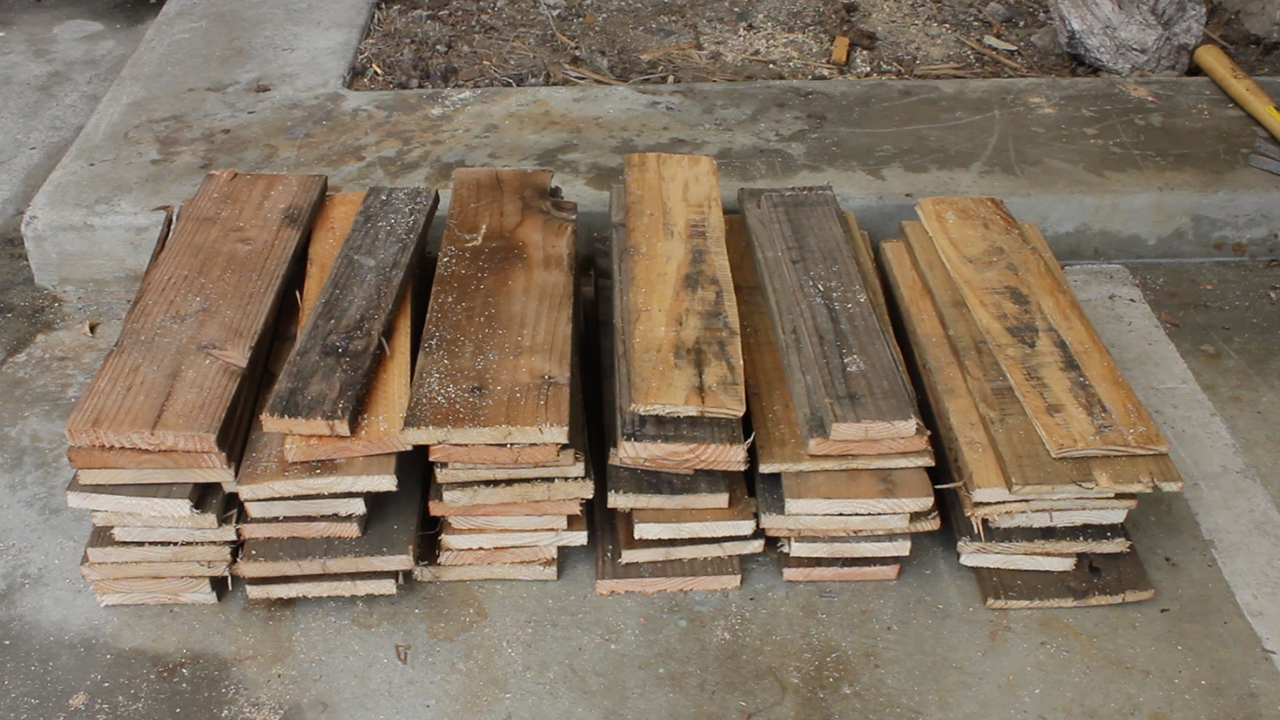
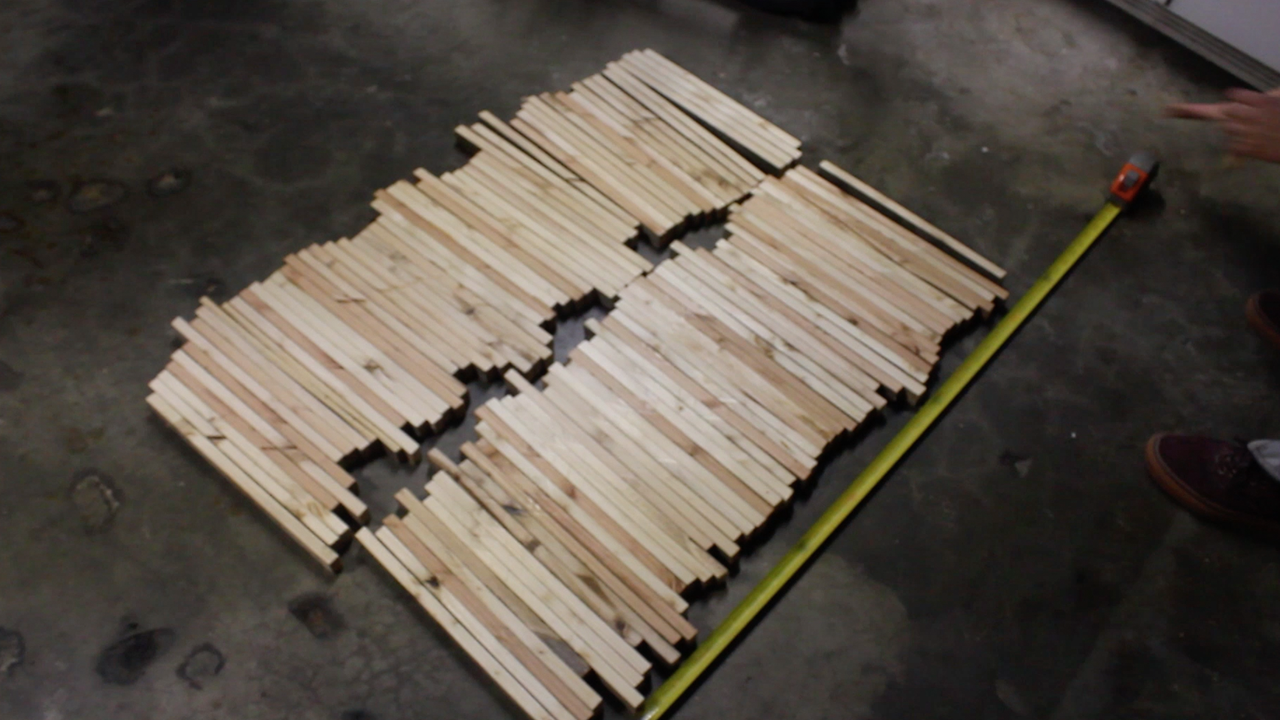
For other projects, I have had to do this - it is not always the most fun and can leave you with a ton of lower back pain, but stick with it as you'll be very satisfied with the final product. I ripped apart 5 pallets for this, using mostly my circular saw to cut roughly 13-15" strips of all different widths.
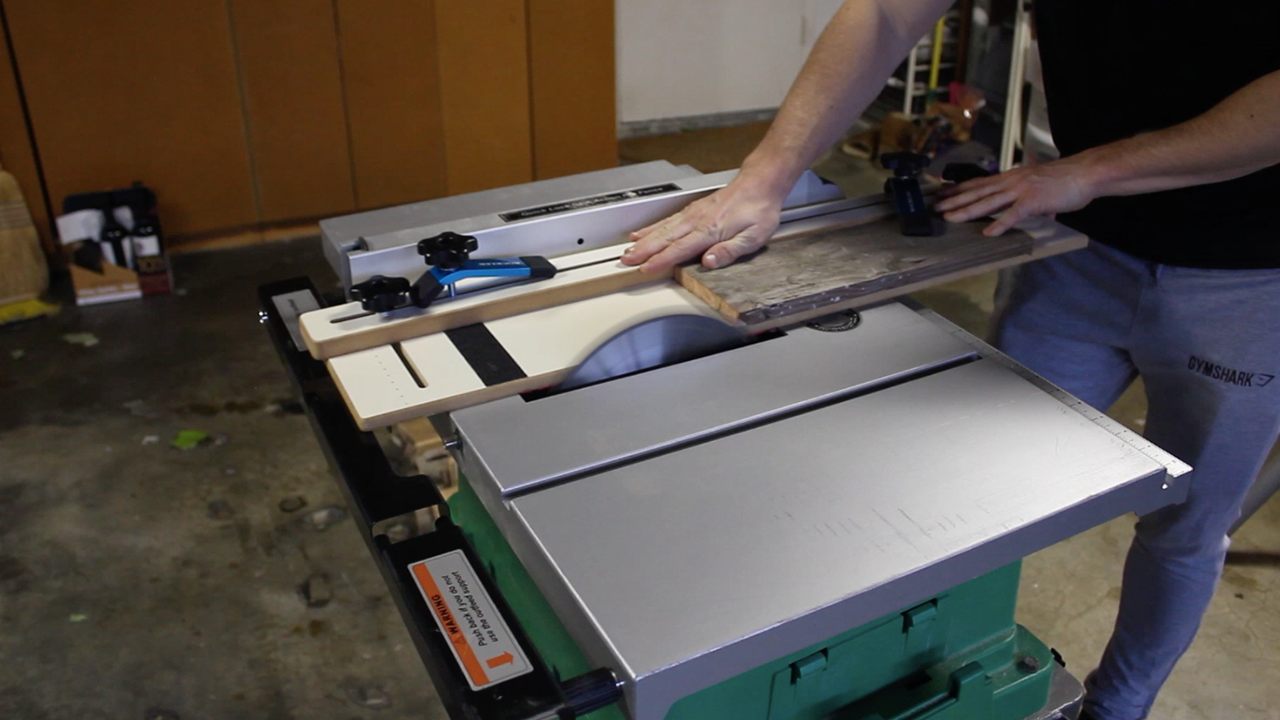
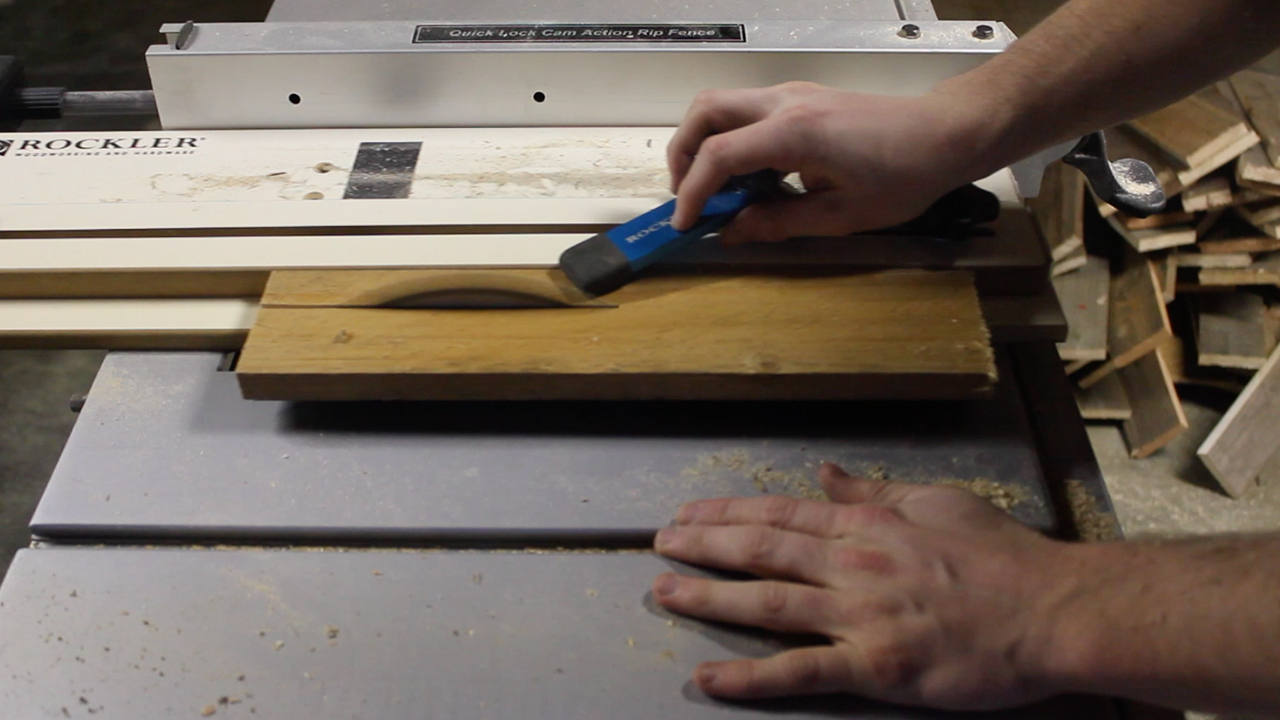
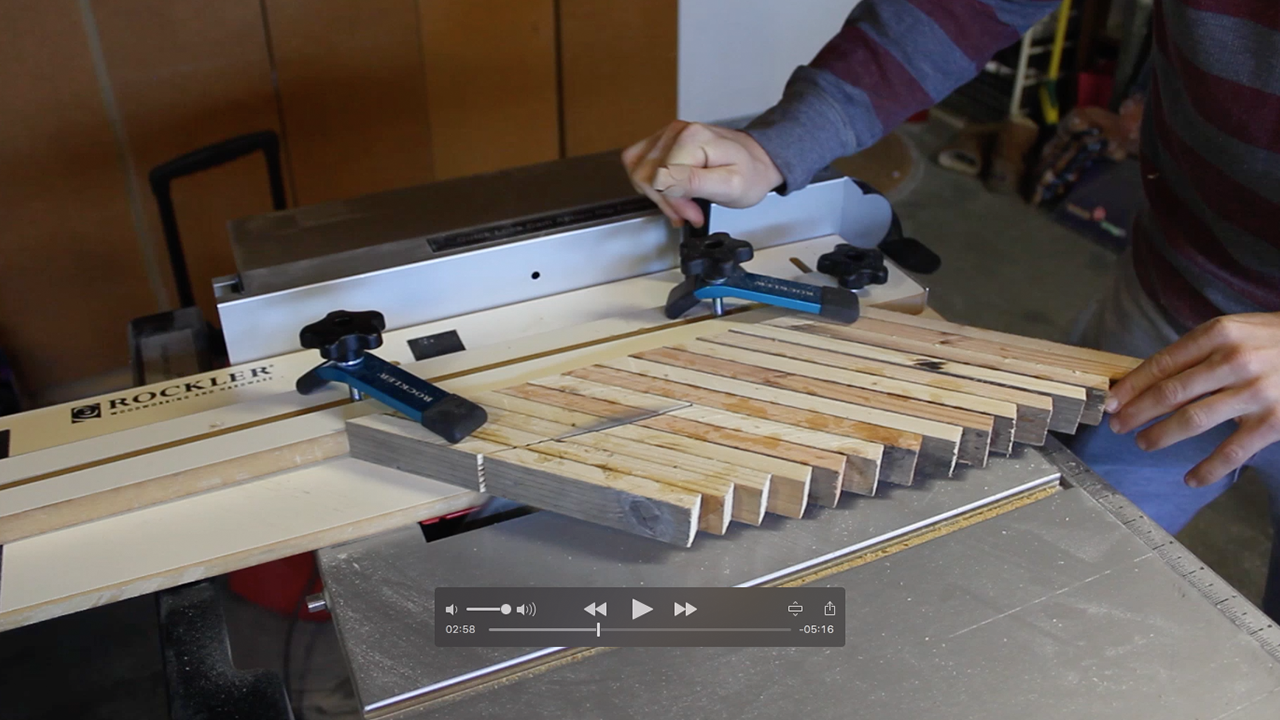
Next, I used my taper jig to square up one side of the pallet and then cut 1.25" strips - as you can see I cut a ton of them on the table saw.
FYI - always be extremely careful on a table saw - use a guard if you can and keep all fingers completely out of harms way - a taper jig will help out a ton for this!
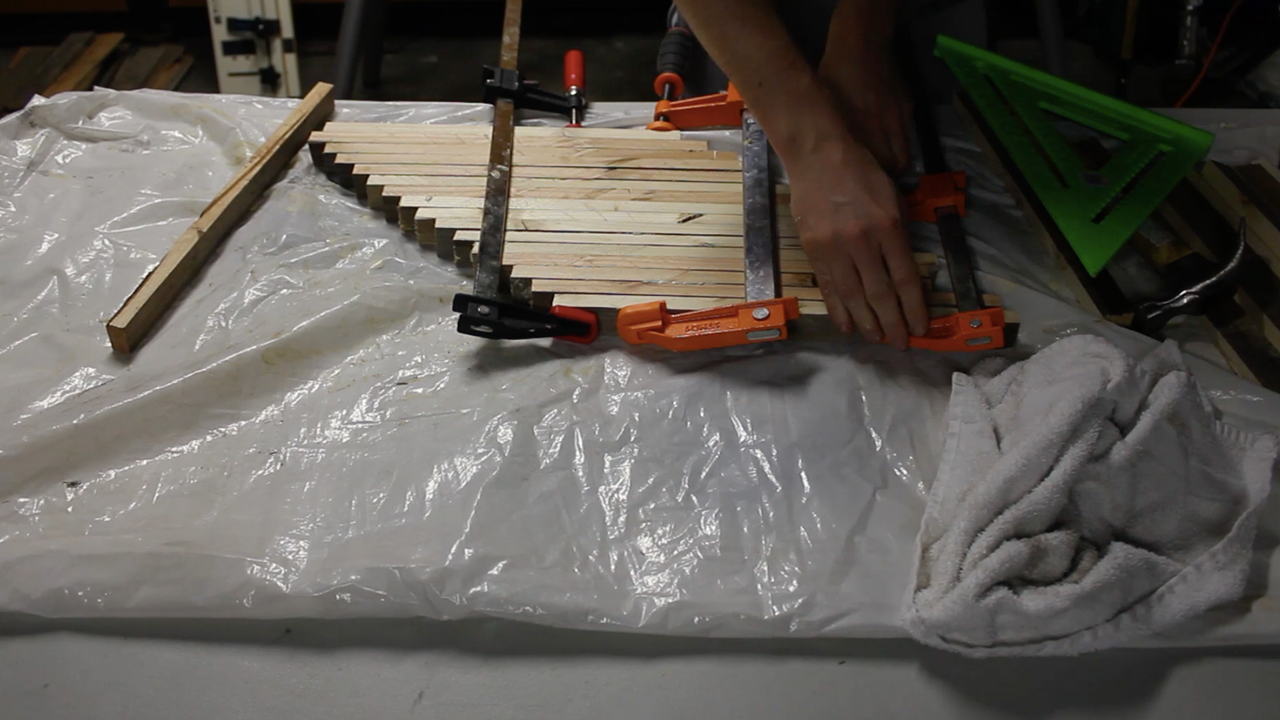
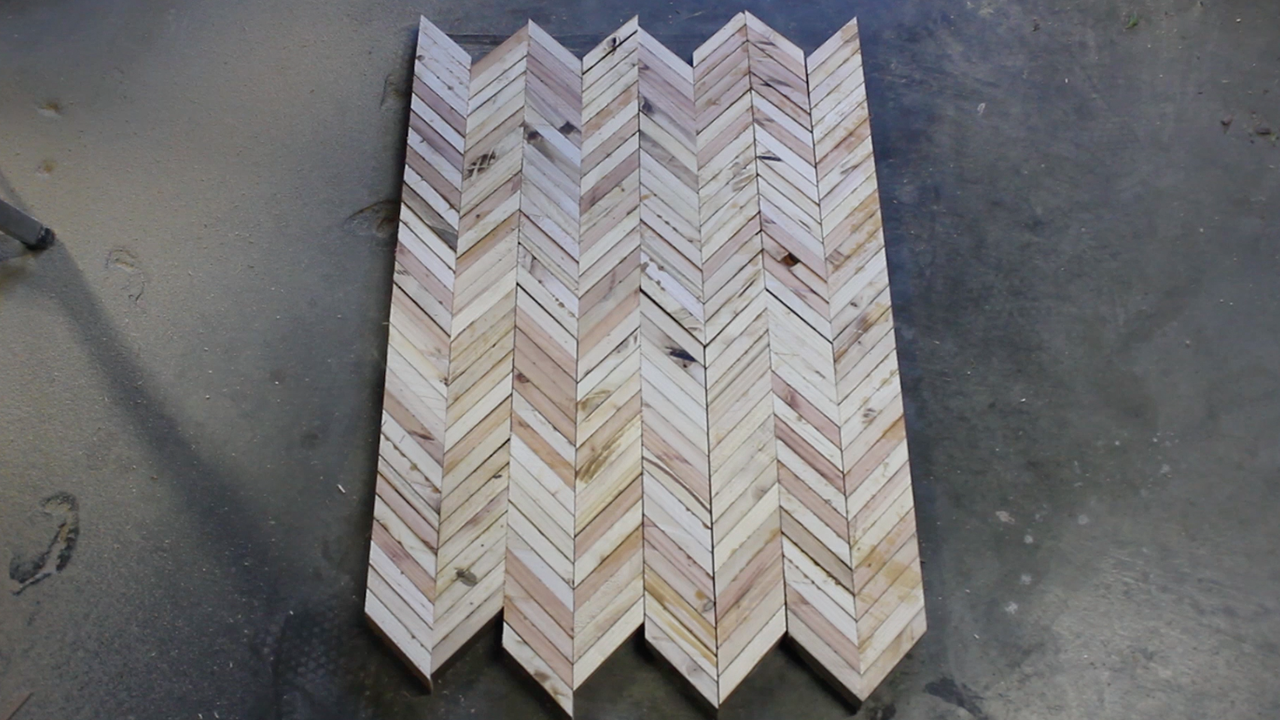
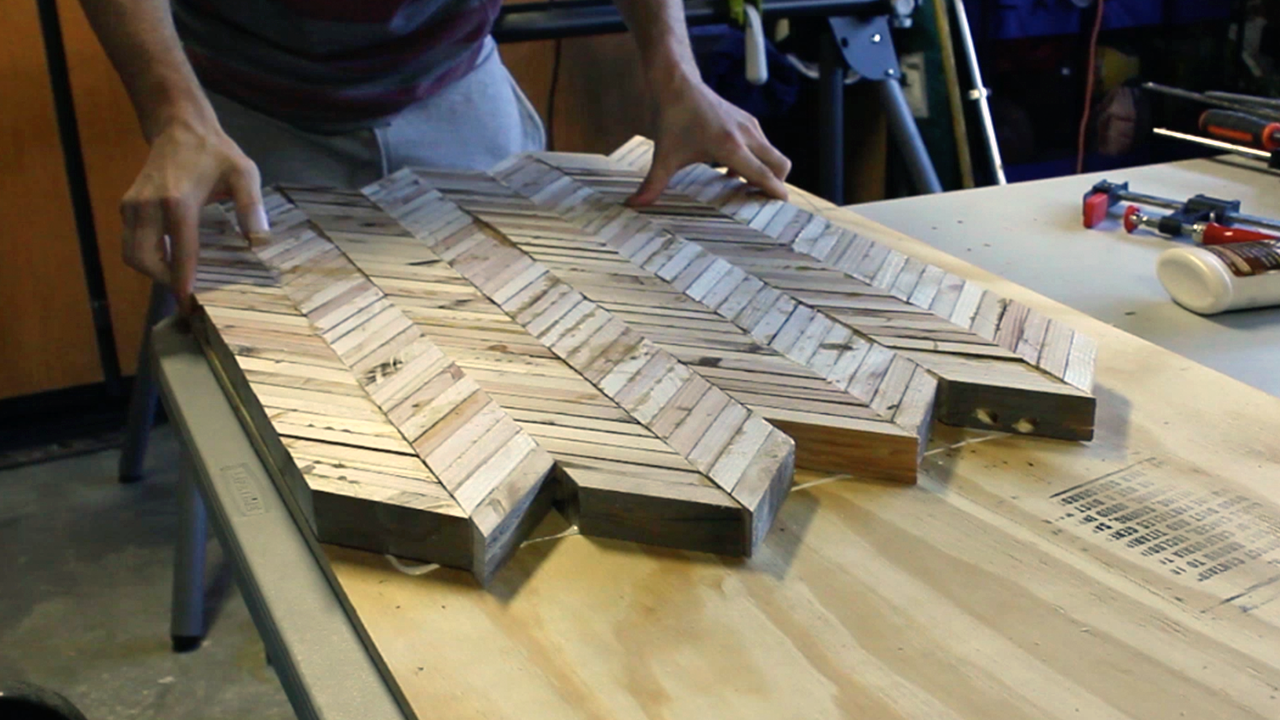
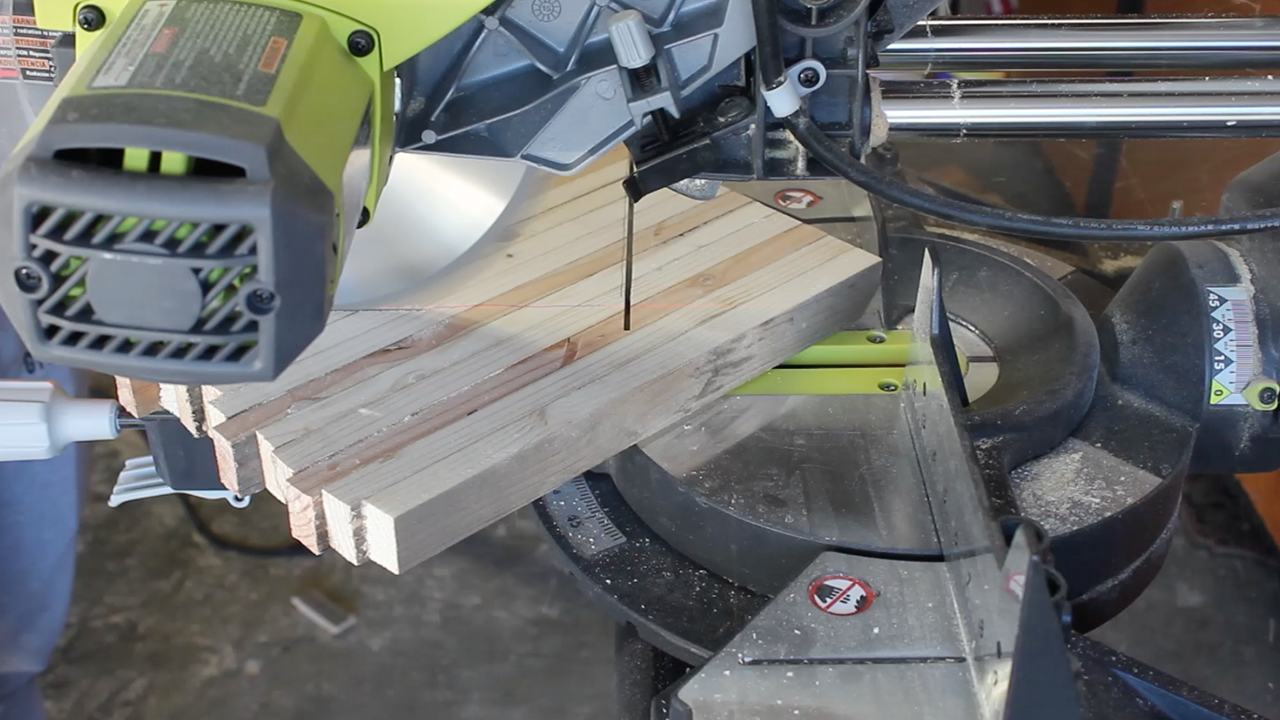
Next, I glued up my strips overnight. Since I new I'd be cutting my future strips at 45° eventually to make chevrons, I glued up everything at 45°. This was actually a bit more complicated than I initially thought as, with all woodworkers, I never have enough clamps!
Make sure you use a ton of glue - I made the mistake of not spreading it out, which lead to some pieces falling apart even after fully dry. And, instead of using pocket holes to connect everything, I took my strips (all cut to 2.5" wide) and glued them to a scrap piece of 3/8" plywood. I used 100+ pounds of weight to hold it down while it dried - my one regret is not coming up with a process to squeeze everything together horizontally - you live and you learn!
It helps a lot to build things at your parents - they always seem to have that one tool or material you seem to forget or think you won't need!

While that dried, I glued together more strips to make a piece that would become my martini glass portion and let that dry.
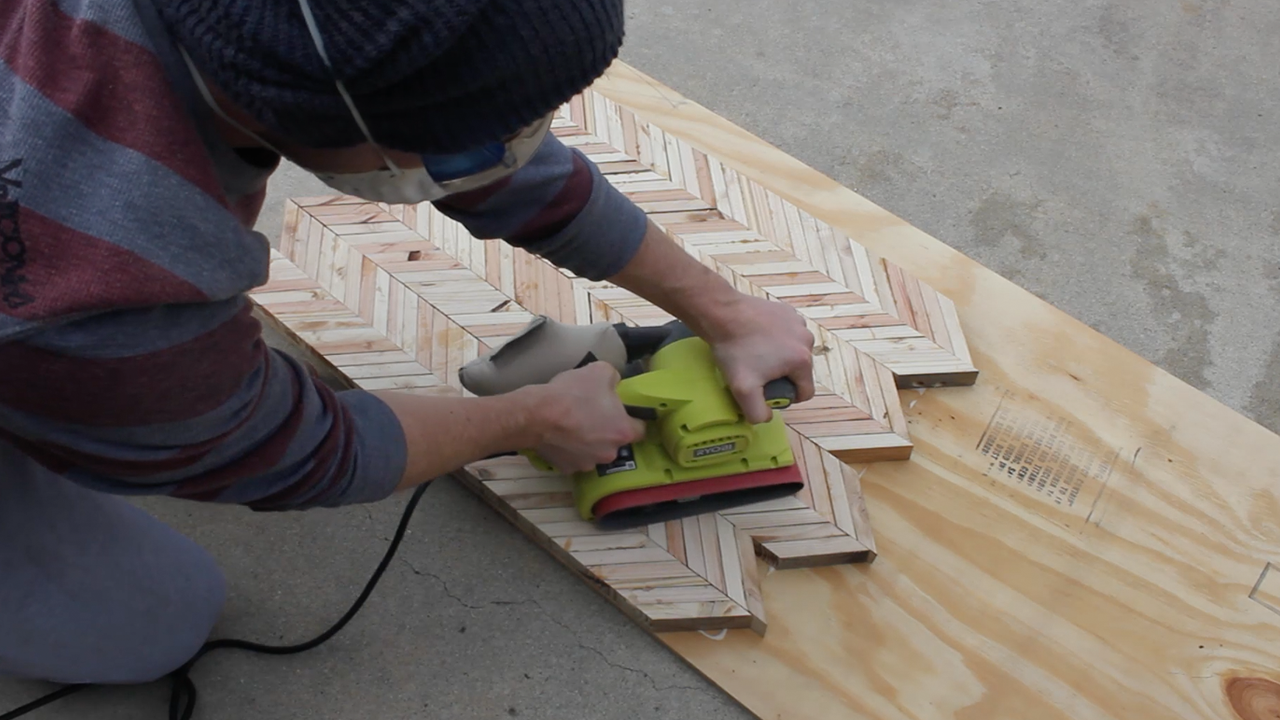

Once dried, I sanded down the entire piece using my belt sander and 60 grit sandpaper - this actually worked really well. I cleaned it up further with a hand sanding block and 120 paper. I used compressed air to clear out all of the saw dust - which was an absurd about.
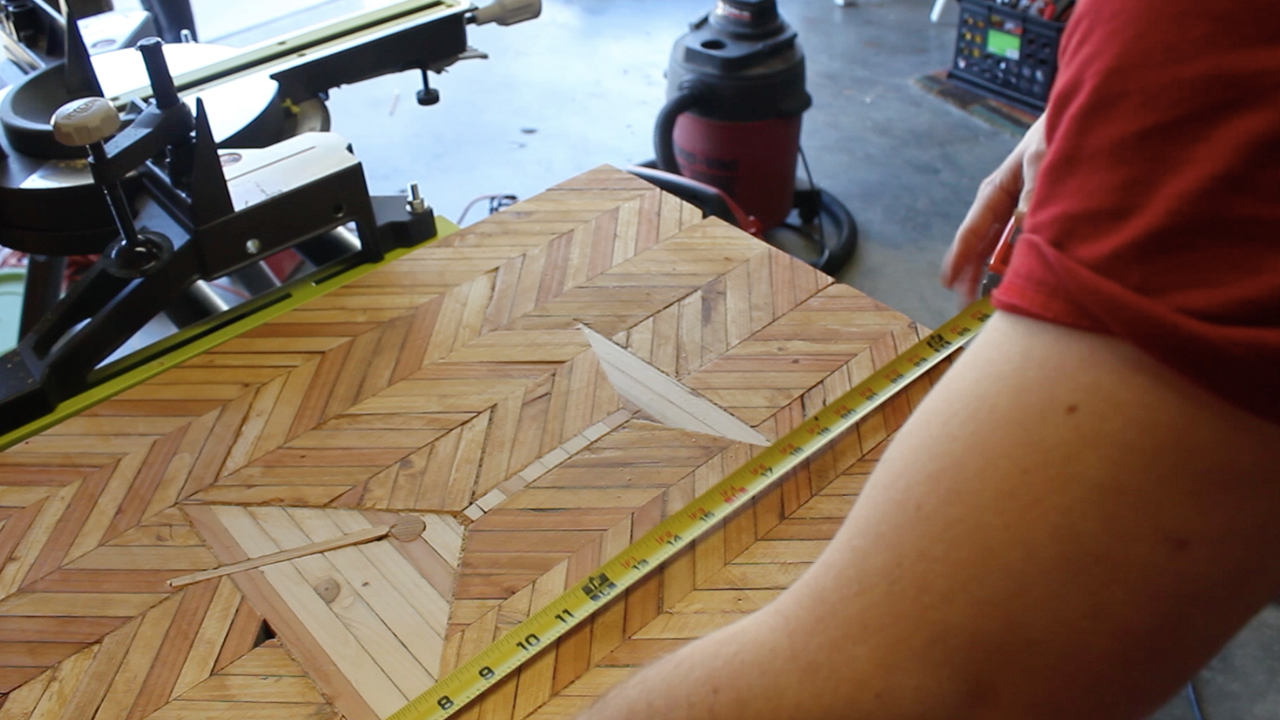
I then had my dad help me cut my entire piece to its final width and length. Partners help so much on these projects!
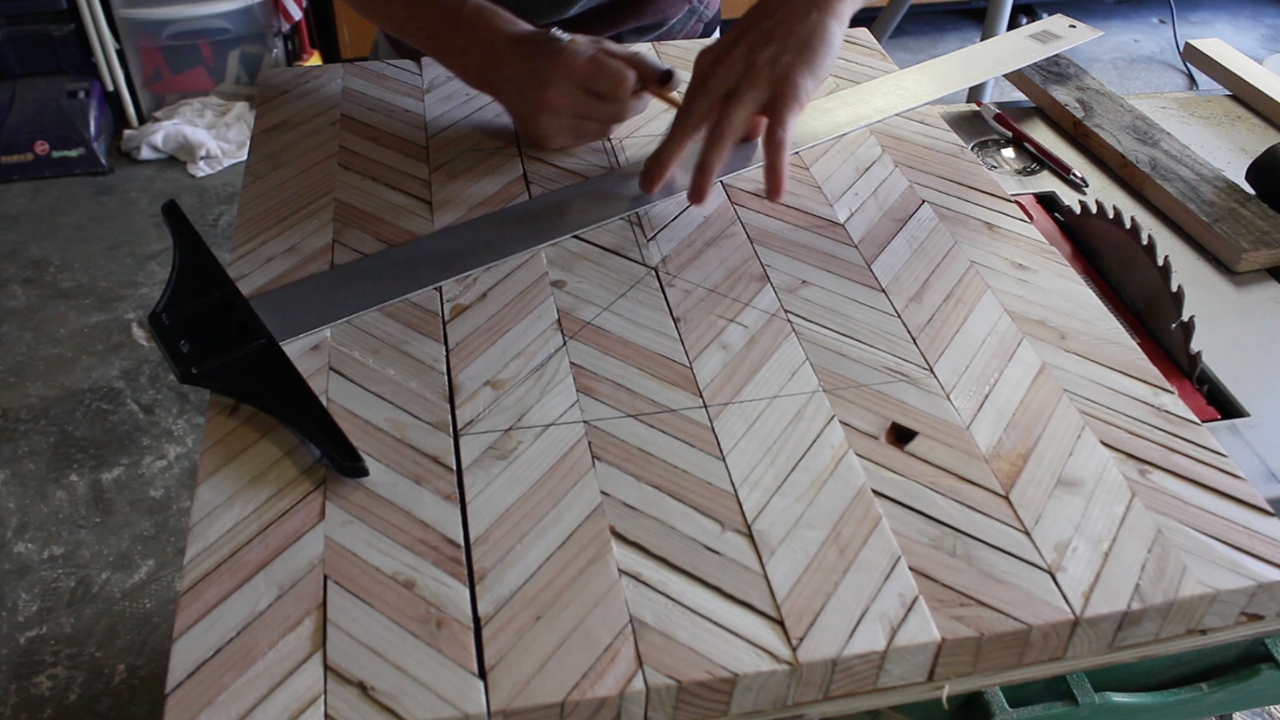
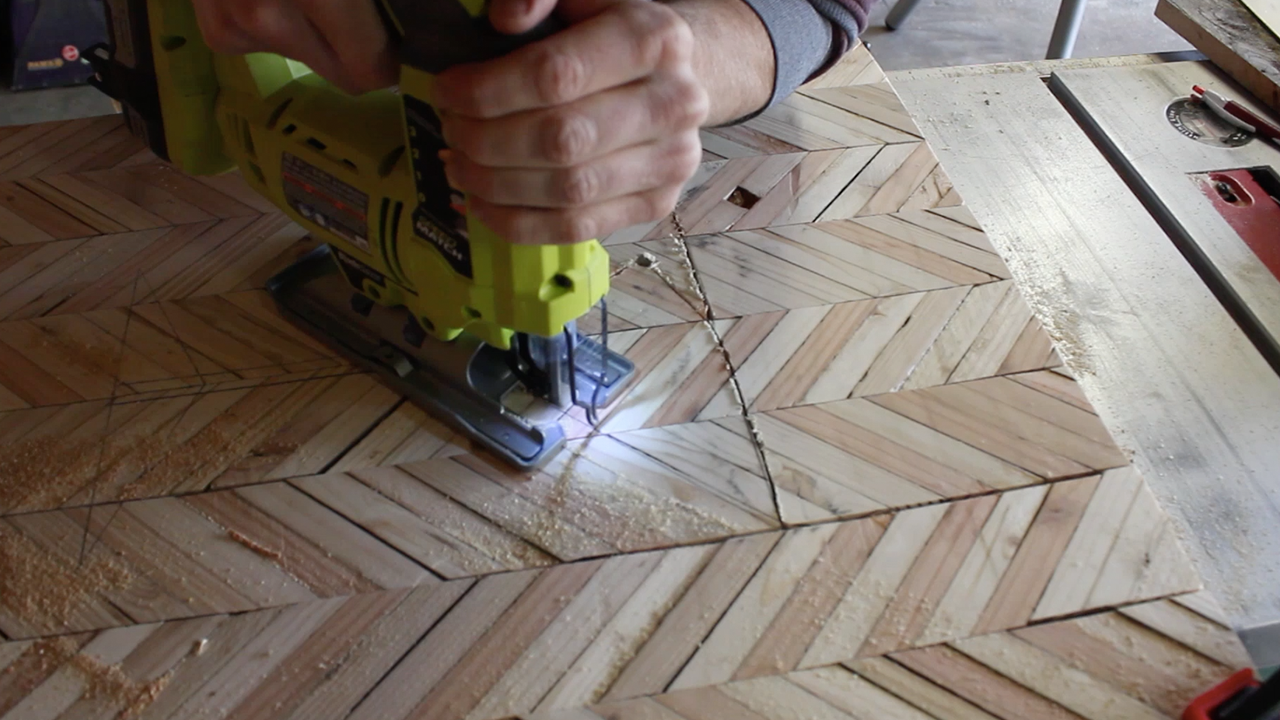

Next, I took to measuring out and cutting out (with my jigsaw) my martini glass space on my main piece, and then cutting out my martini glass piece and hammering it into place. This took a bit of finesse to make everything fit. It ended up being so snug and tight that I didn't need to use glue. Feel free to obviously!
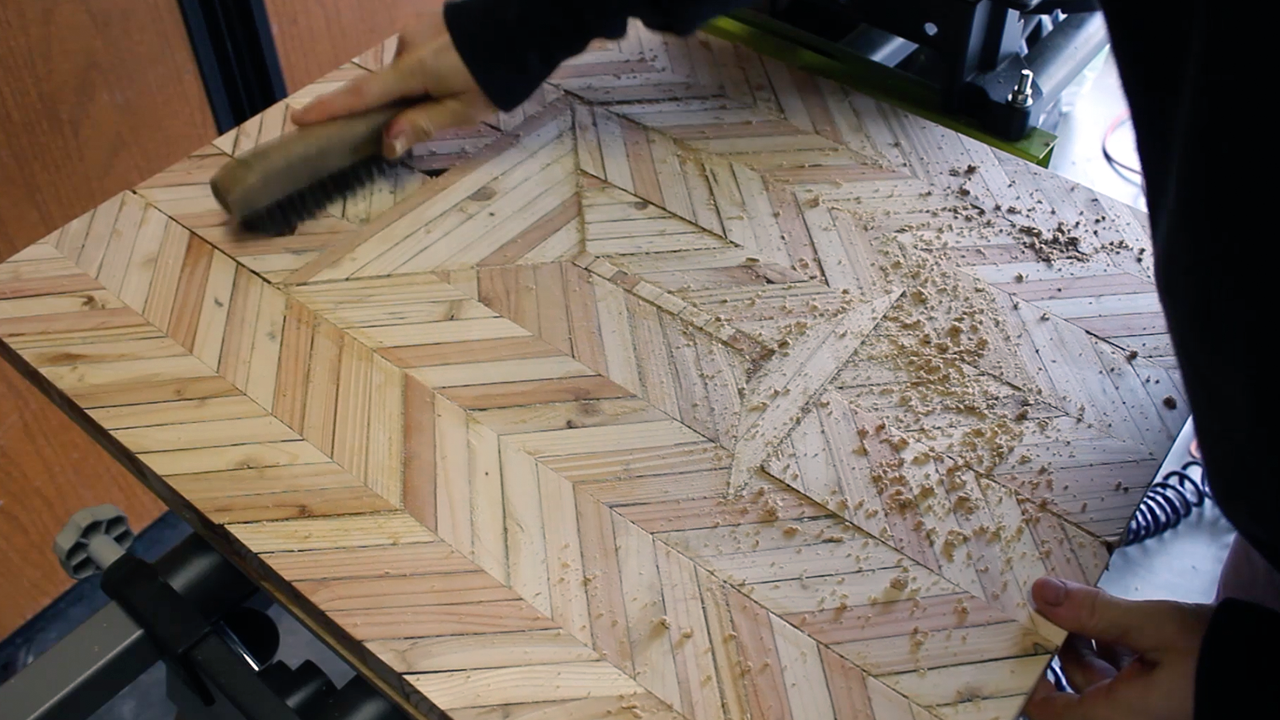
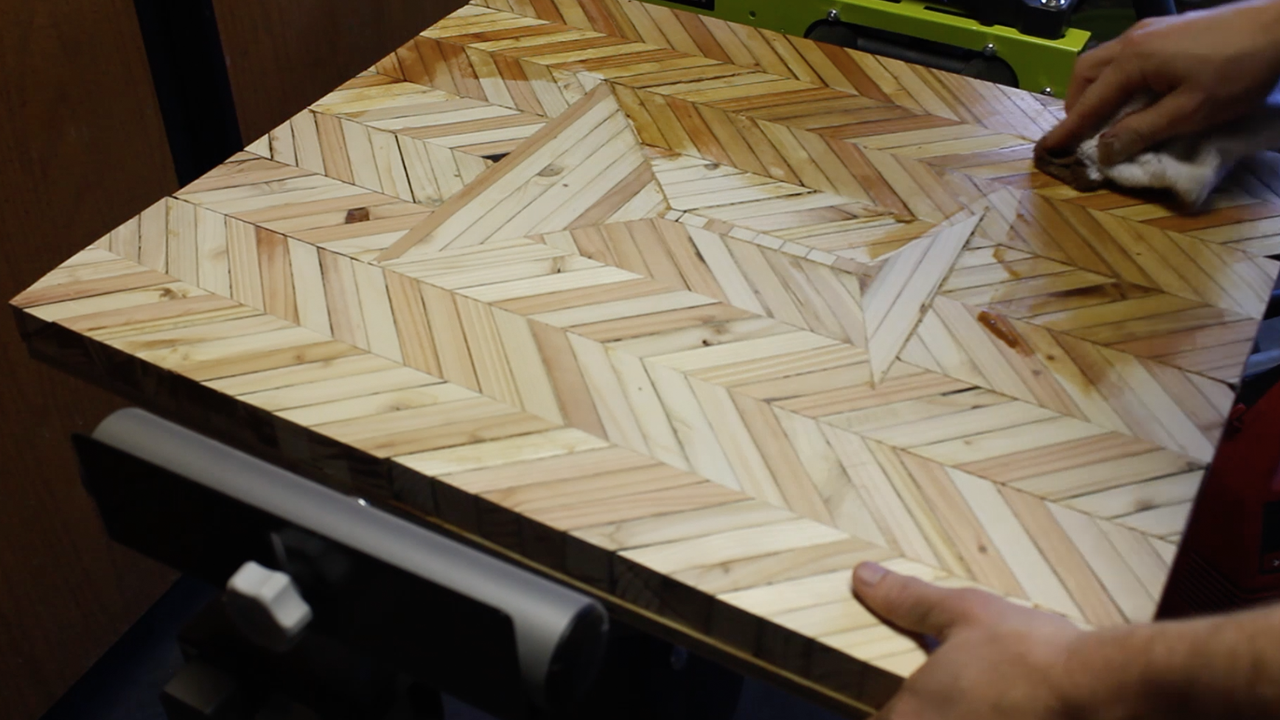
I then used wood glue and saw dust to fill in any gaps. I premixed my solution, but I actually recommend adding a ton of glue to your cracks then rubbing in saw dust - it is a bit easier to apply. Once I added the mix and let it dry, I scraped off the excess with a firm wire brush, sanded down again, and added a thin coat of Minwax's Summer Oak stain to help make the glass and background stand apart better. It came out great!
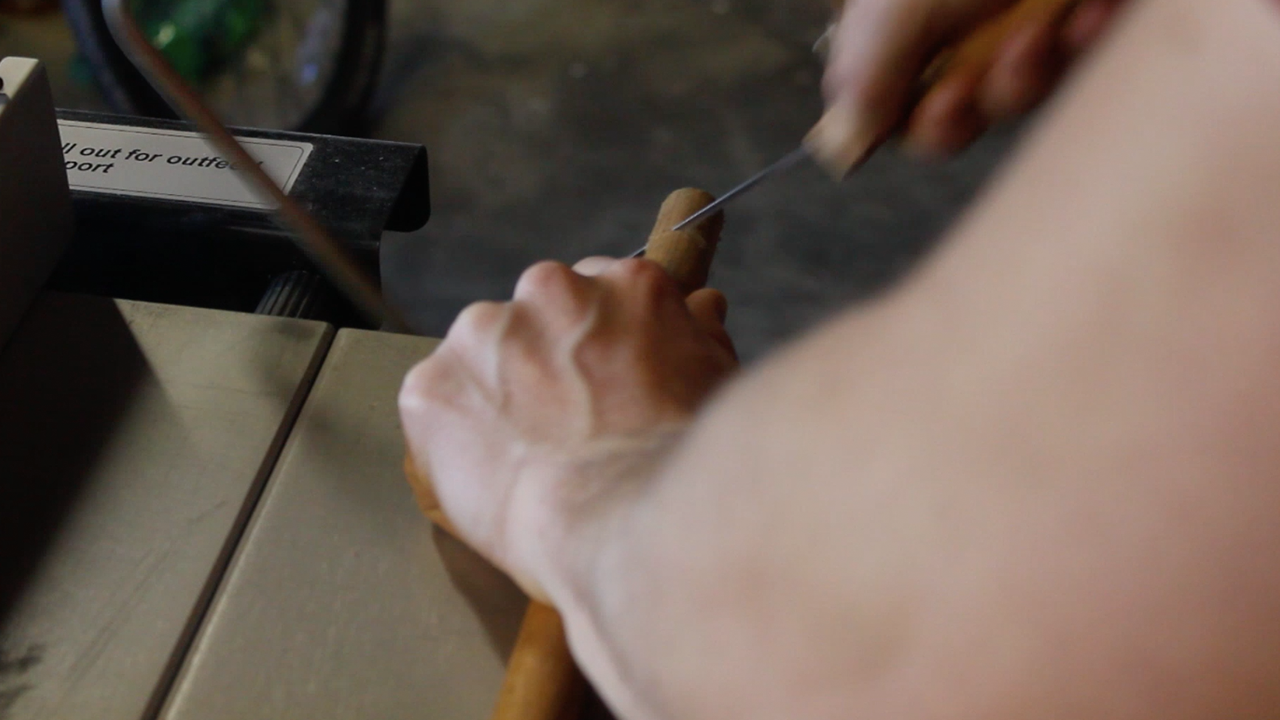
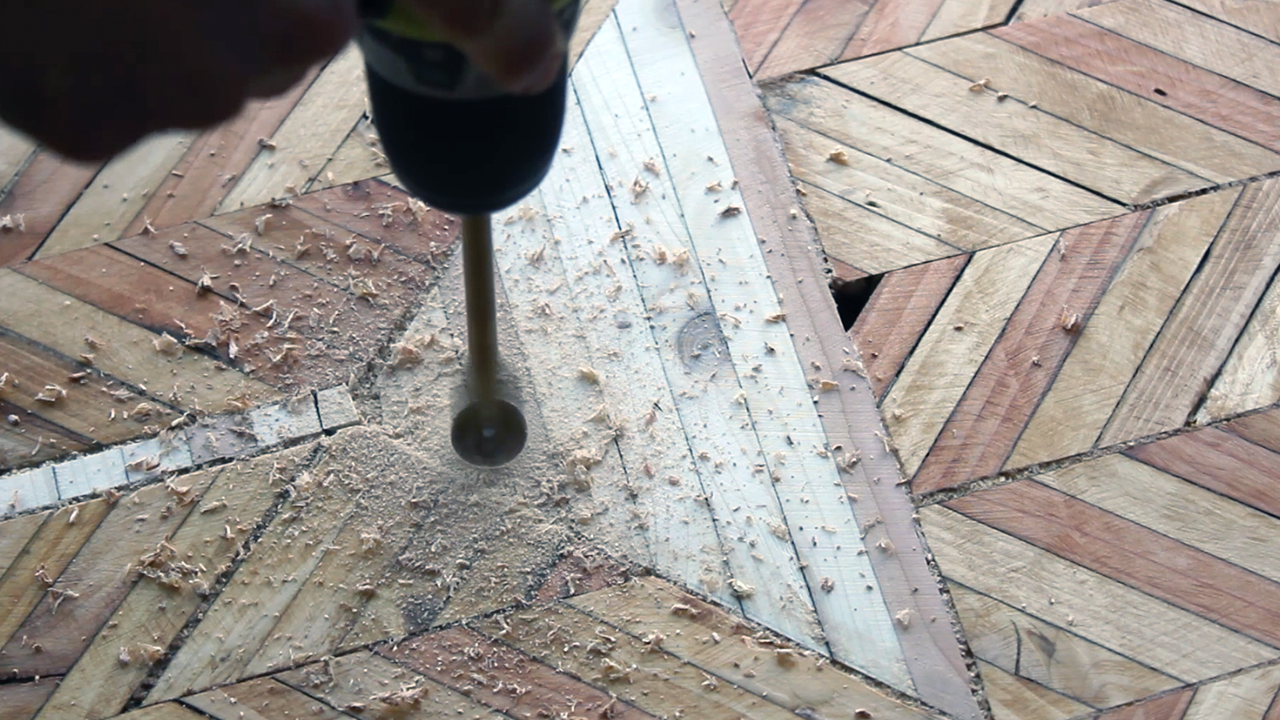

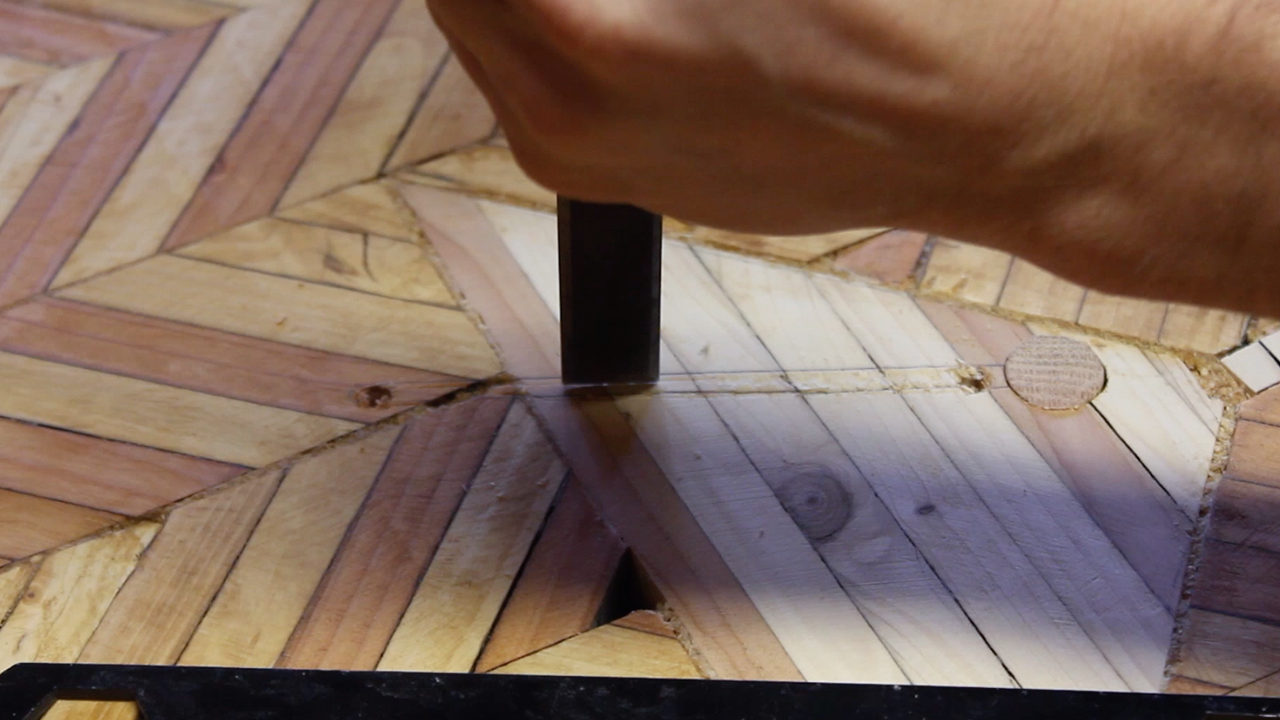
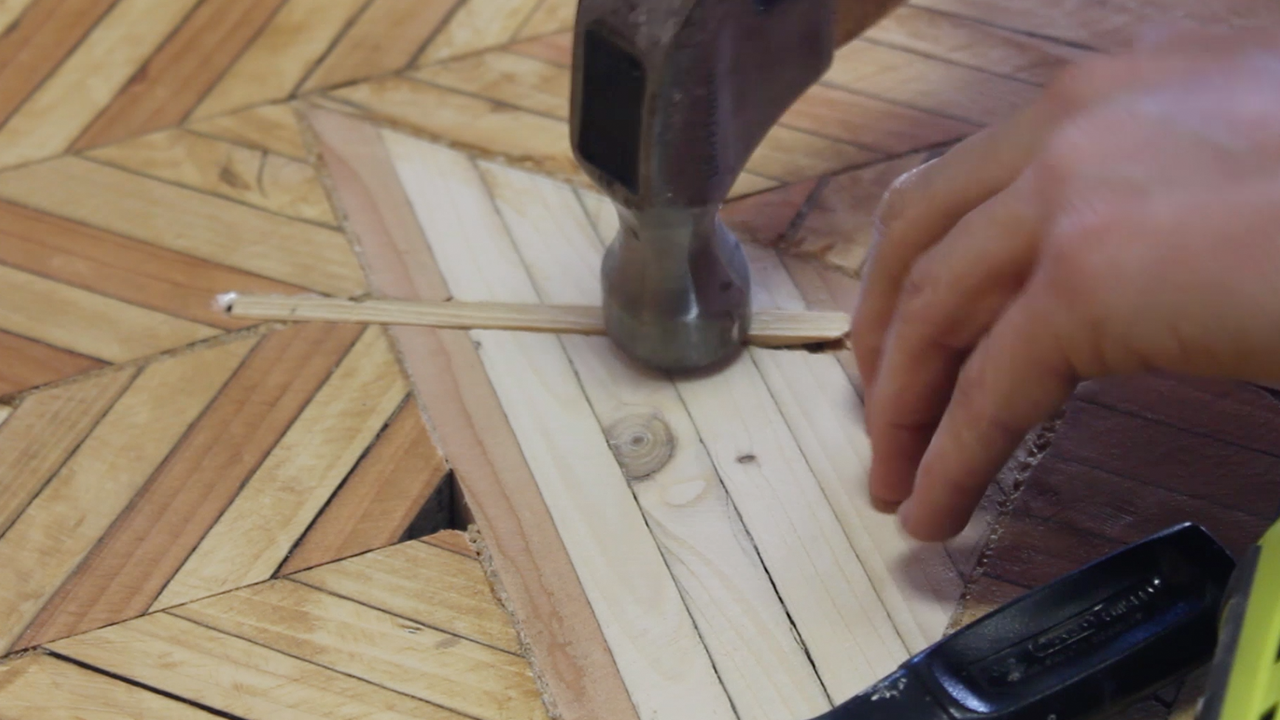
While the stain dried, I cut off my 3/4" dowel for my olive, cut out the pilot hole with my 3/4" spade bit, hammered it into place, and then proceeded to do the same thing with my toothpick using a thin piece of scrap wood and a chisel. Again - this takes a bit of patience and finesse, so keep at it!

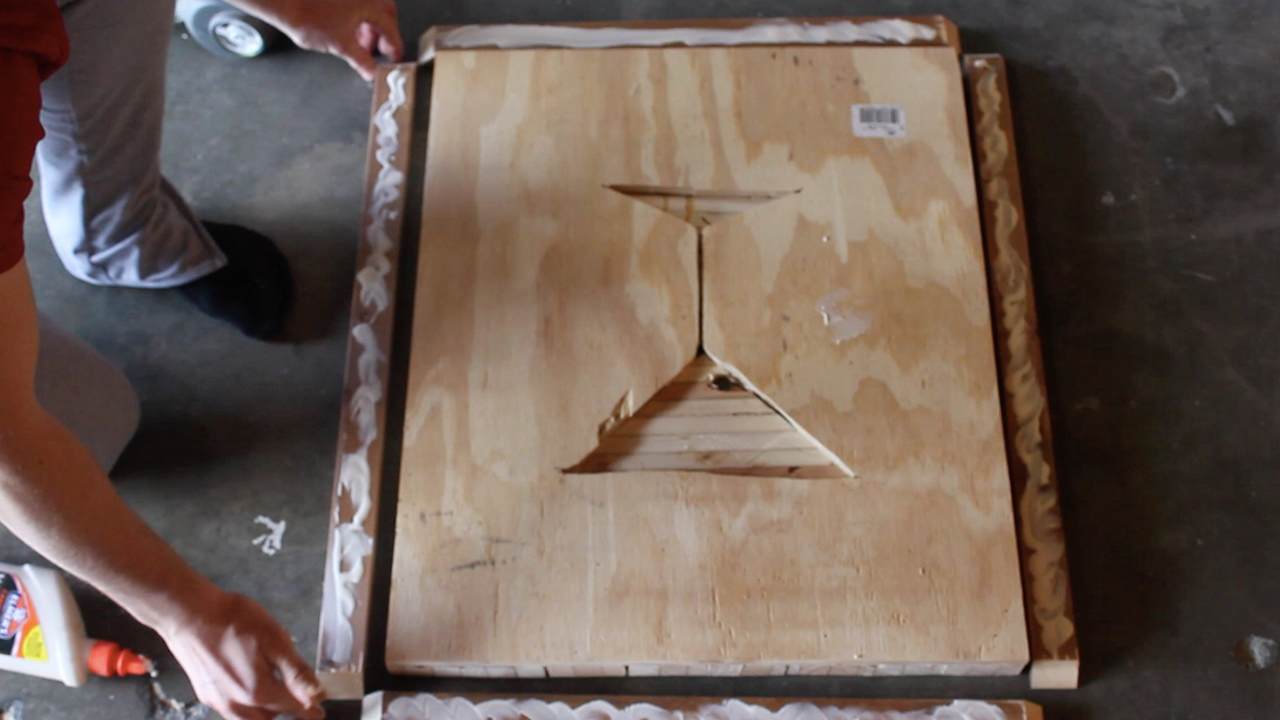
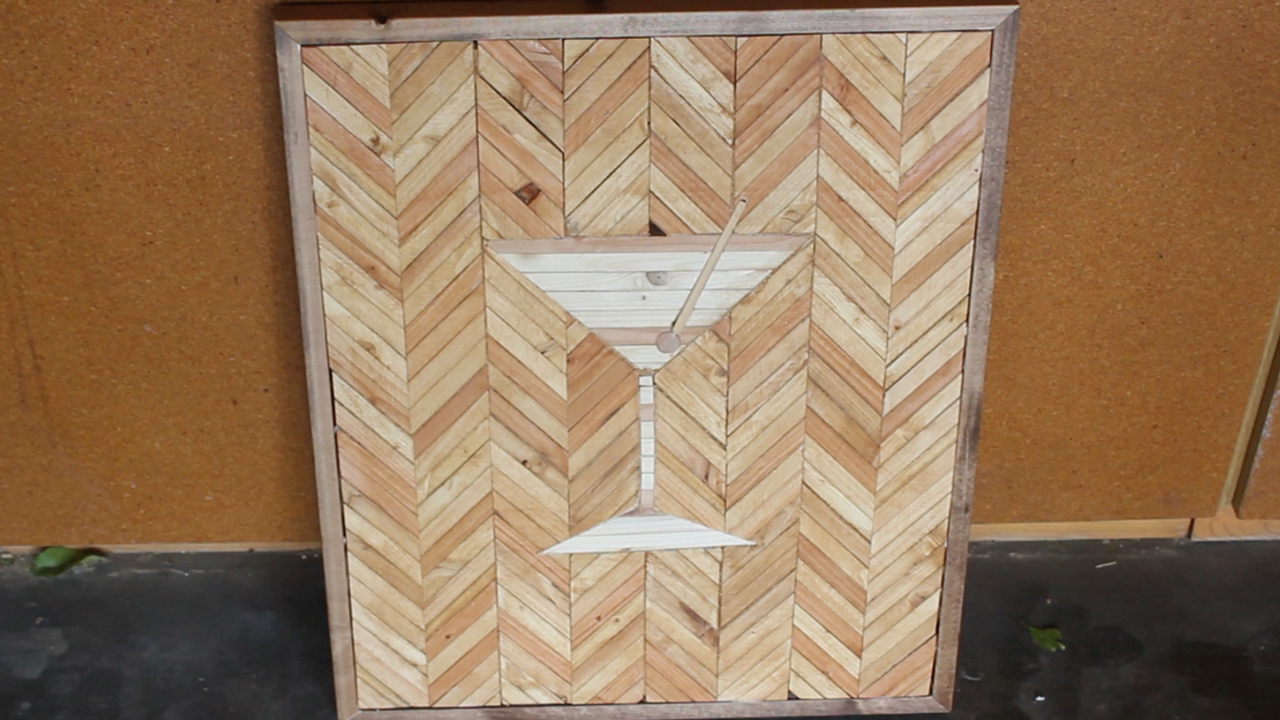
Lastly, I measured out my final length and width and cut a 1" x 2" piece of whitewood that I had pre-stained with Minwax's American Walnut stain with mitered edges to serve as a boarded. I glued it on tightly with Titebond II and held it in place with 1.5" finish nails using my brad nailer.
Yea - this think came out fantastic and I'm super stoked on it!

As a last minute addition, I painted on some clear polyurethane to part of the glass to give the appearance of a clear liquid in it - it is subtle but I think it actually looks pretty sweet!


And then I was done and placed in its final home - this was soooo much work but as a unique piece of pallet art, you can't really get much more custom and unique.
TOOLS
RYOBI 10 in. Sliding Compound Miter Saw
RYOBI Miter Saw Stand
ROCKLER Taper Jig
HITACHI Table Saw
RYOBI Circular Saw
RYOBI Cordless Orbital Sander
RYOBI Belt Sander
RYOBI Cordless Brad Nailer
RYOBI Drill Bit Set
BESSEY Economy 2.5” x 12” Clutch Clamps
BESSEY Economy 2.5” x 24” Clutch Clamps
12” Rafter Square
Hammer
Rubber Mallet
Hand Sanding Sponges (120 grit)
5-Gallon 4.5 Peak HP Wet Dry Vacuum
Tape Measure
Air Compressor
FILM / EDIT EQUIPMENT:
Canon Rebel EOS T2i:
Canon EF-S 18-55mm f/3.5-5.6 IS II Lens
Rode Microphone
Voice Recording
Adobe Premiere (Editorial)
Thanks for reading! I would be so grateful if you could please subscribe to my new Youtube Channel for future projects. I put out videos every two weeks.
Cheers!
Zach