Thanks for checking out the full article!
Full video build is below, followed by detailed instructions with tools and measurements! You can subscribe to our YouTube channel by clicking here!
We have a gallery wall in our apartment, and my fiance wanted a set of floating shelves to put her books on. Simple and cheap project, many ways to do it, and a great final result for the average DIYer
MATERIALS
1 x 1" x 8" x 8' Whitewood
TiteBond II Wood Glue
Minwax Golden Oak
1” Brad Nails
Frog Tape
Angle Bracket Hardware (your choice!)
I built these shelves two ways, with different tools, to make it easier for the average DIYer.
Method 1
Miter Saw + Table Saw
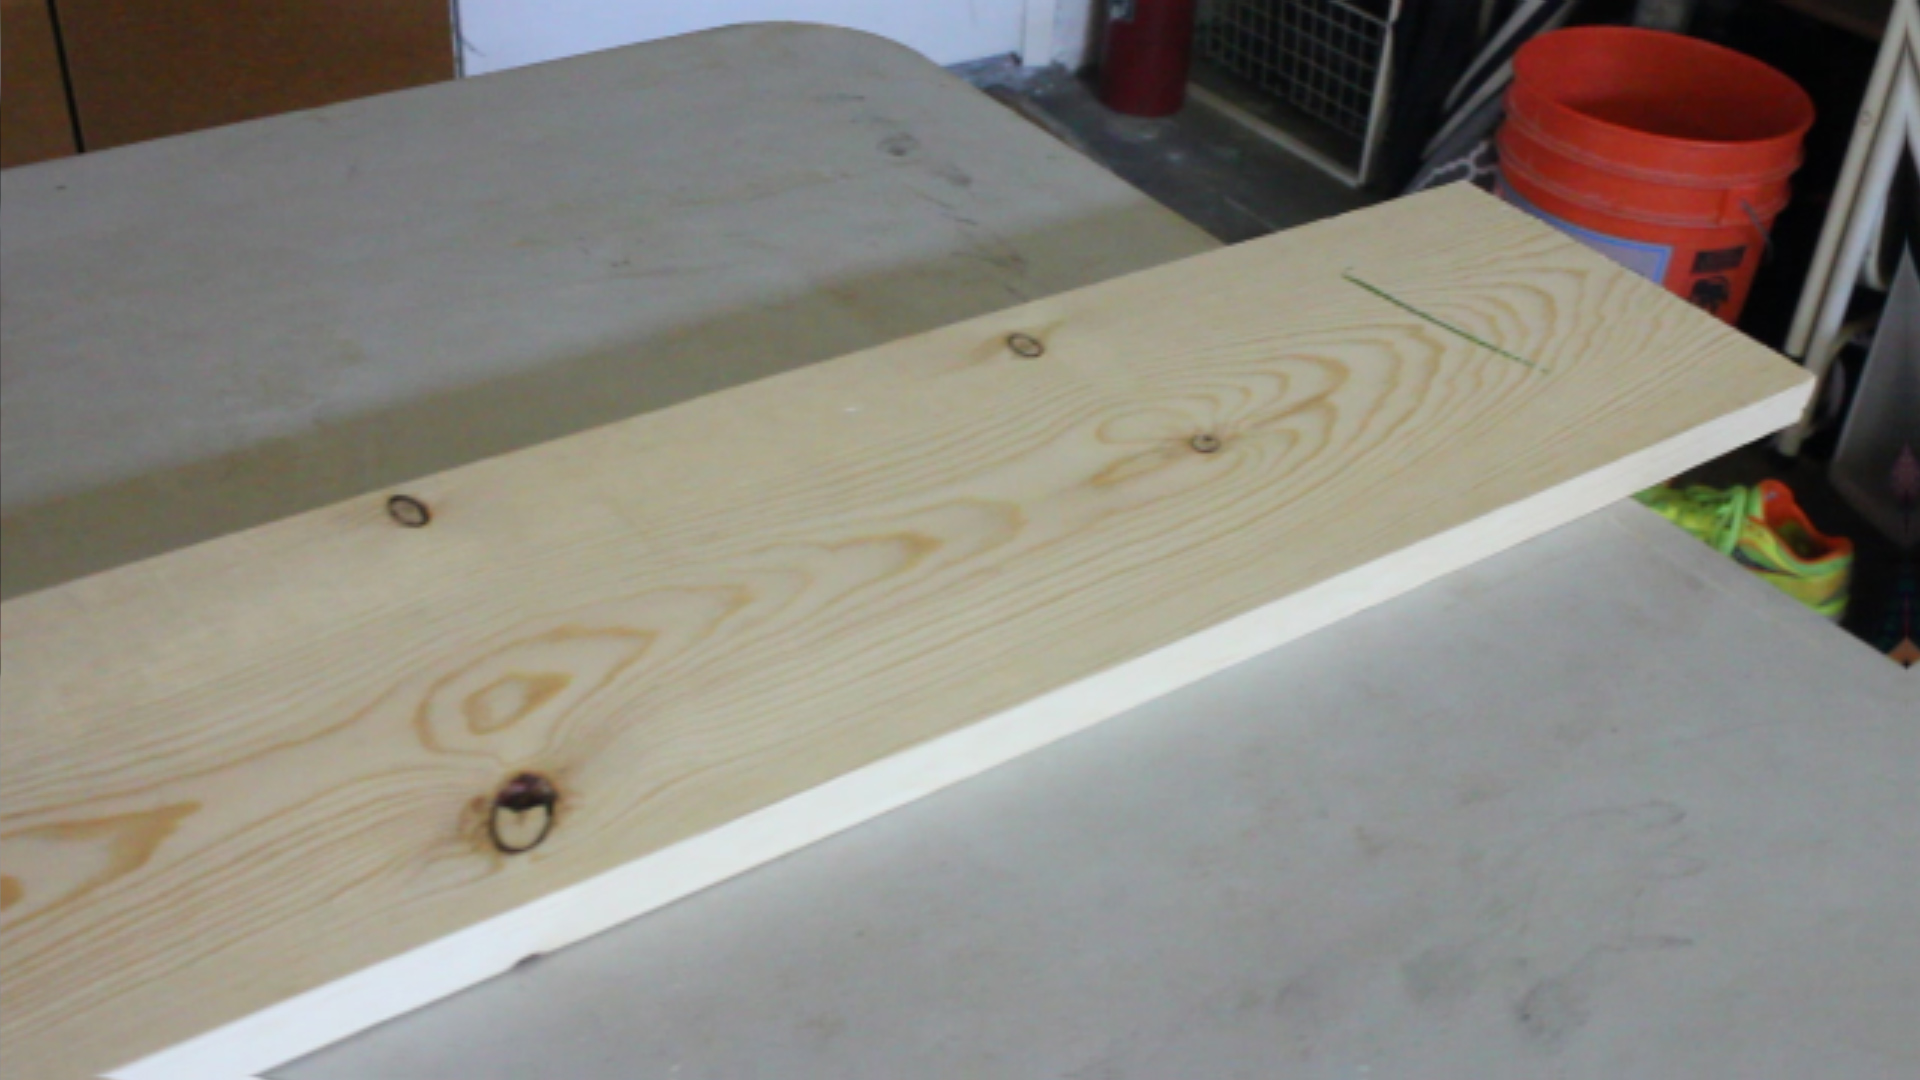
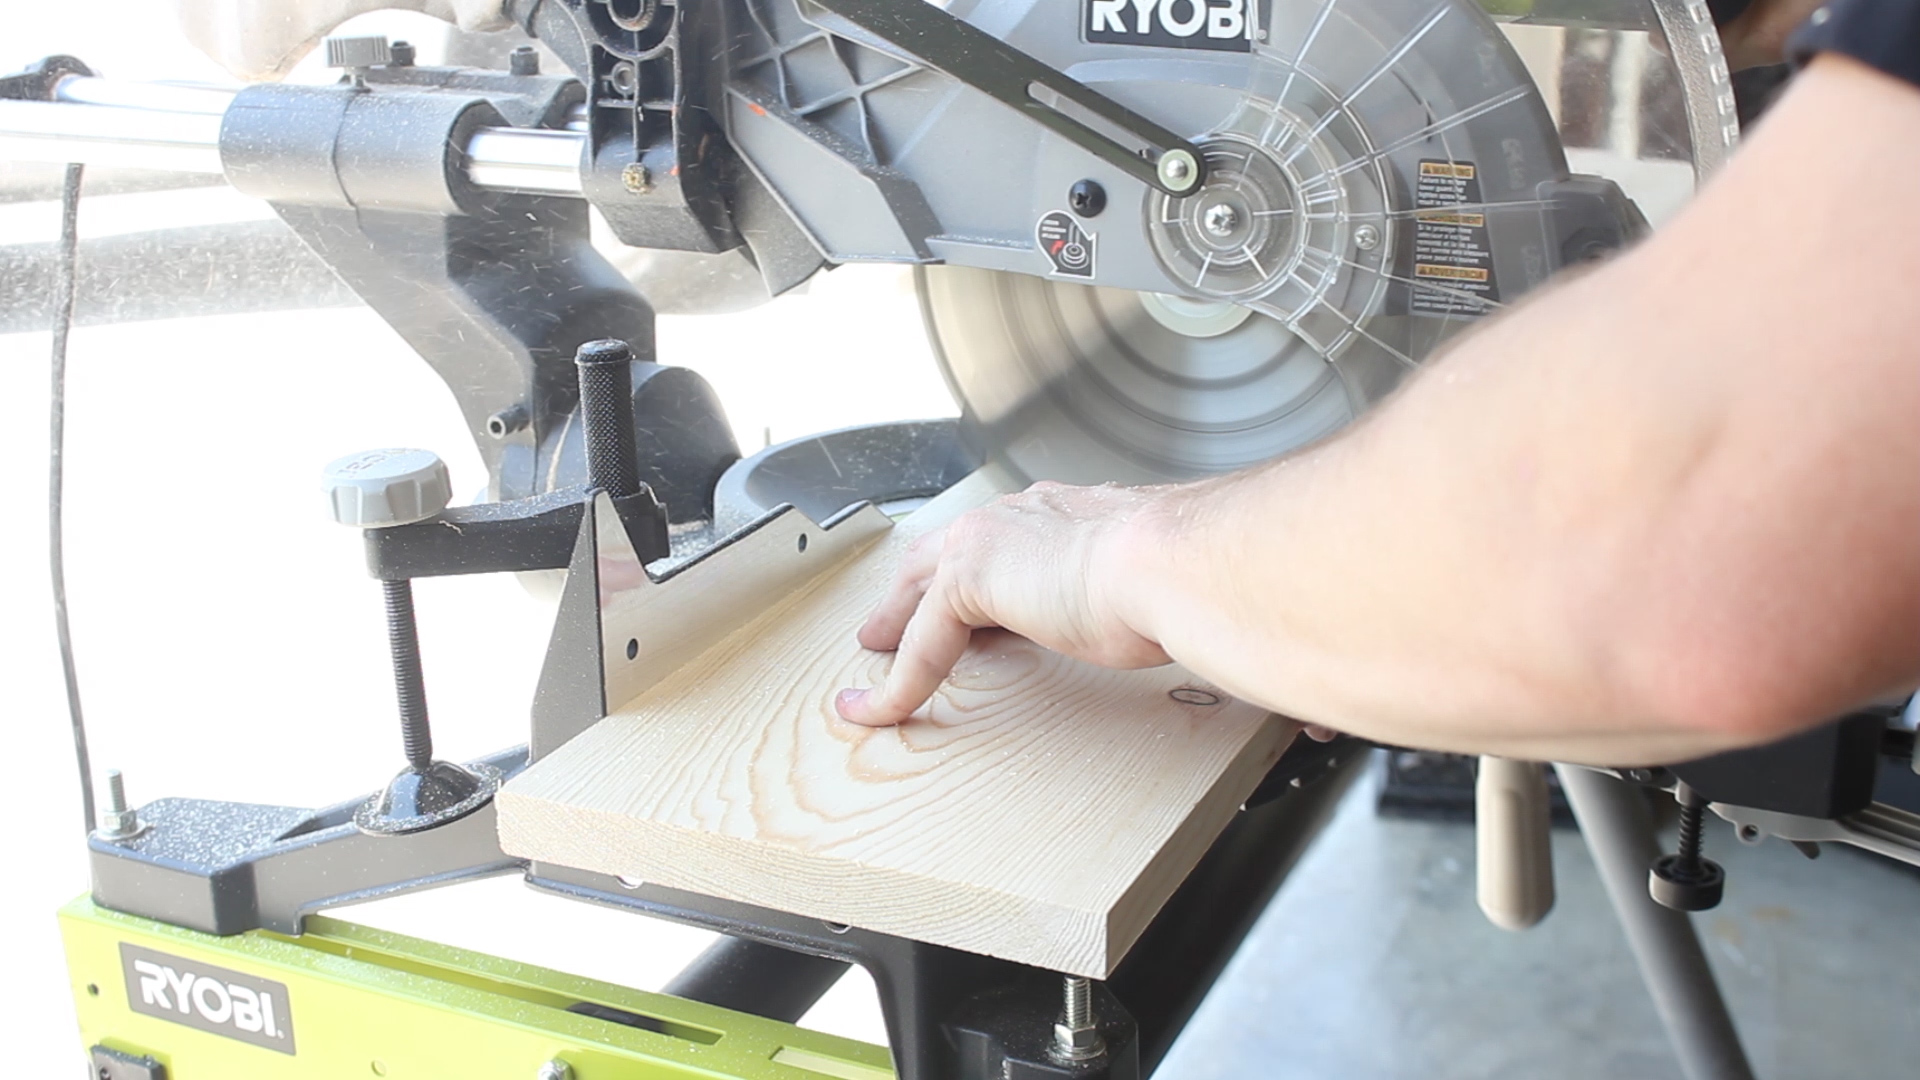
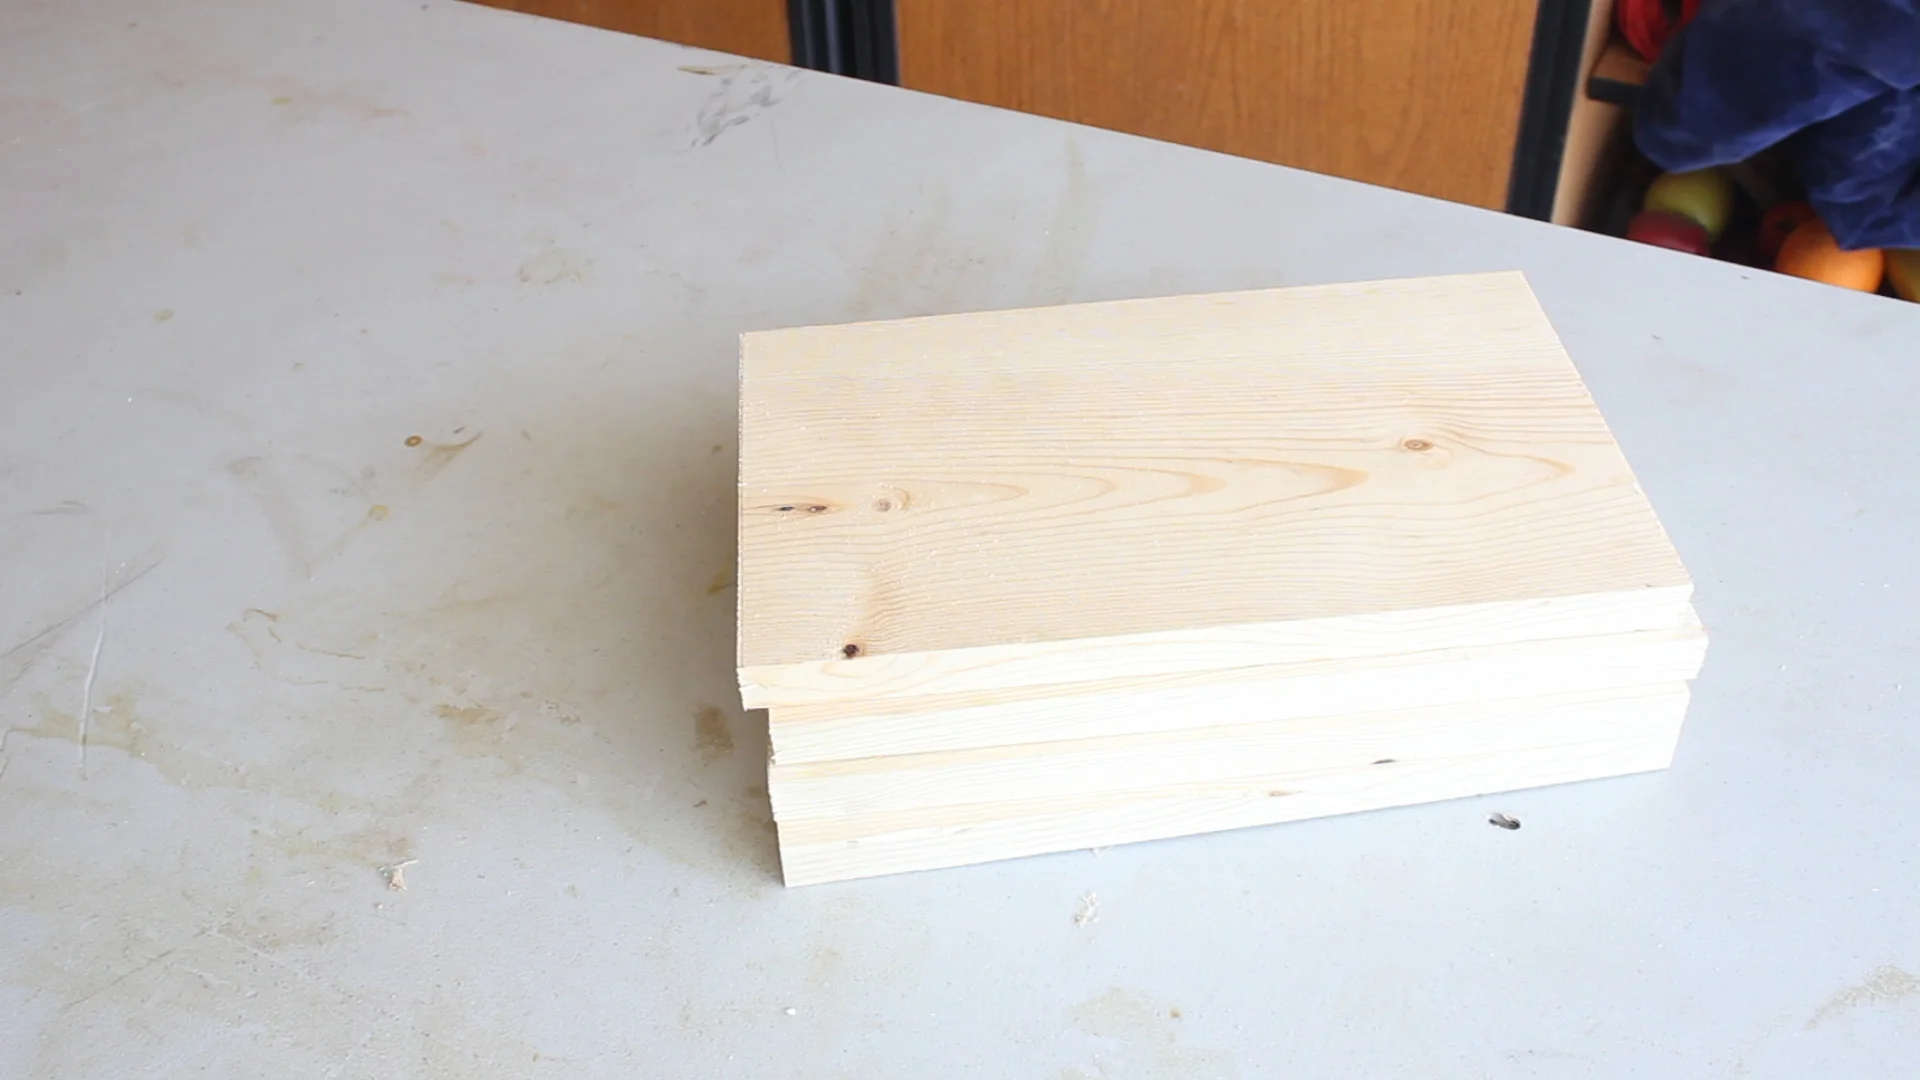
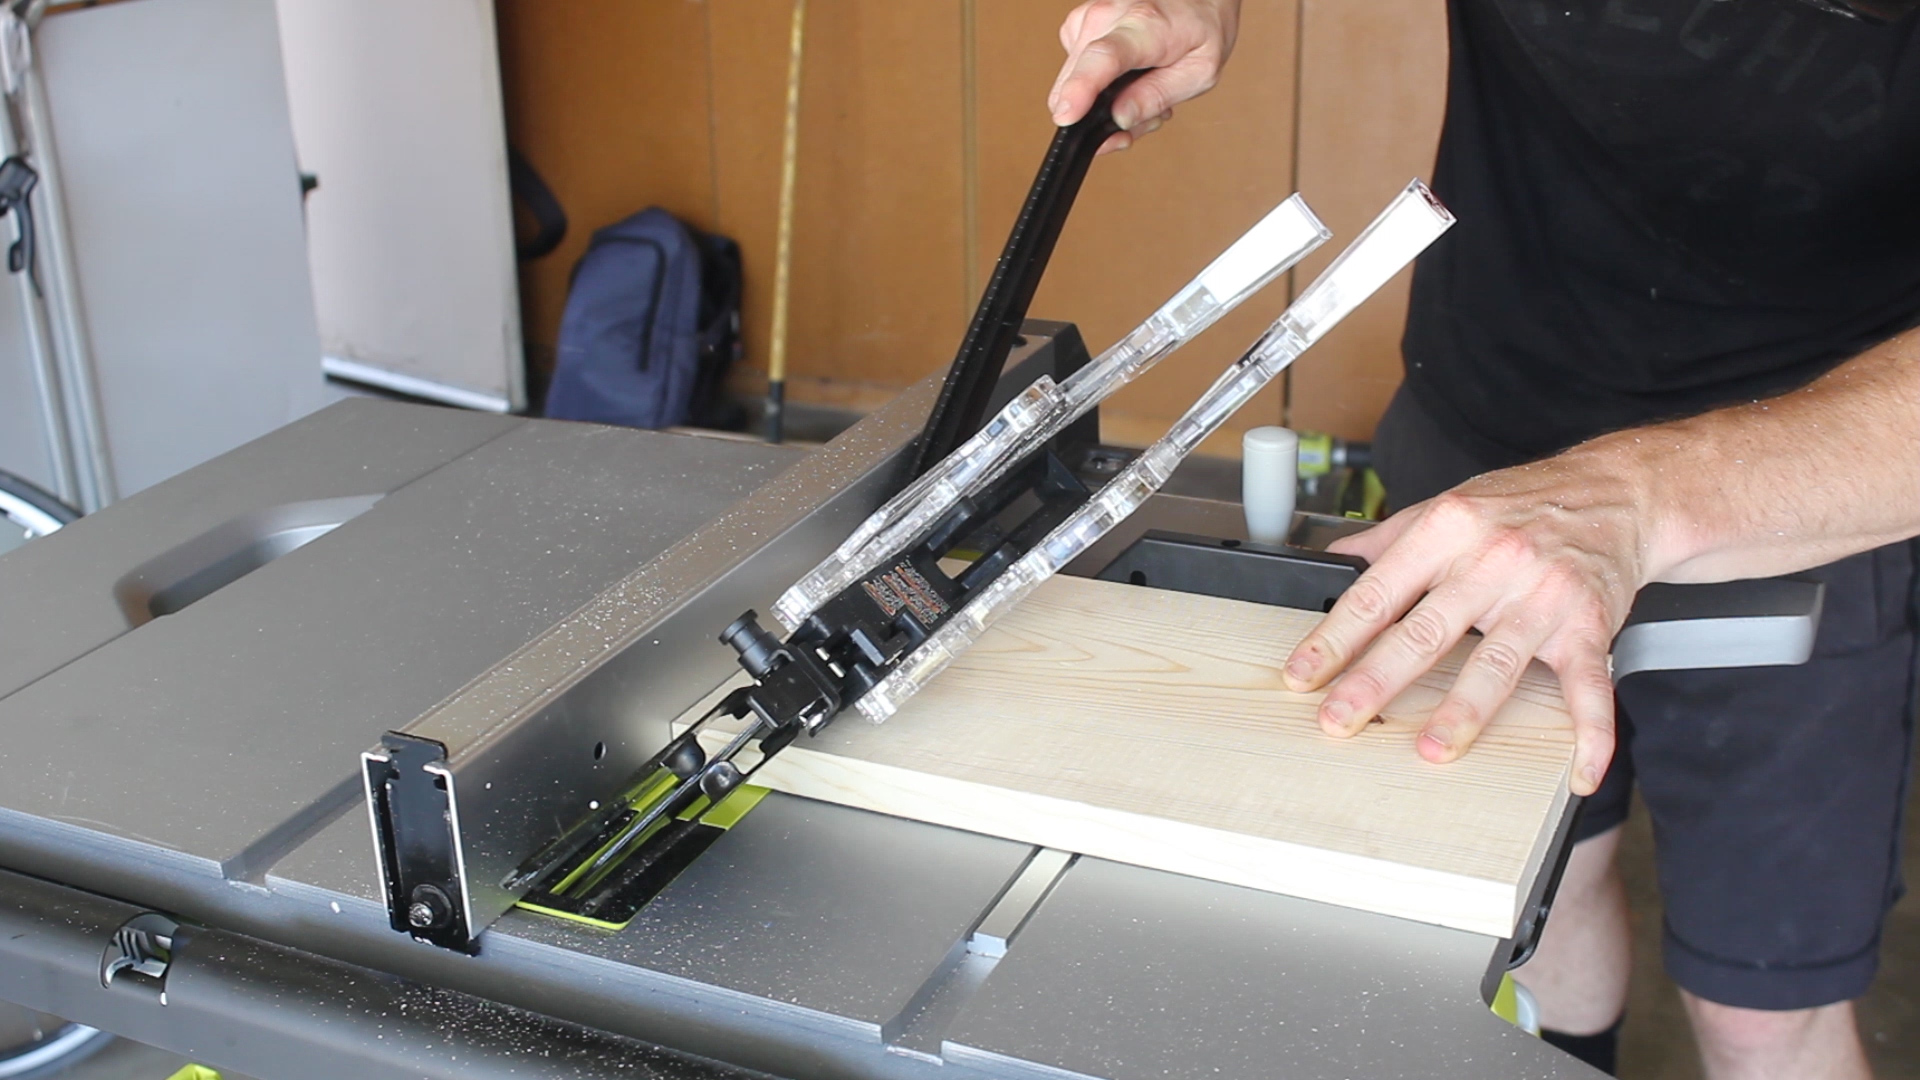
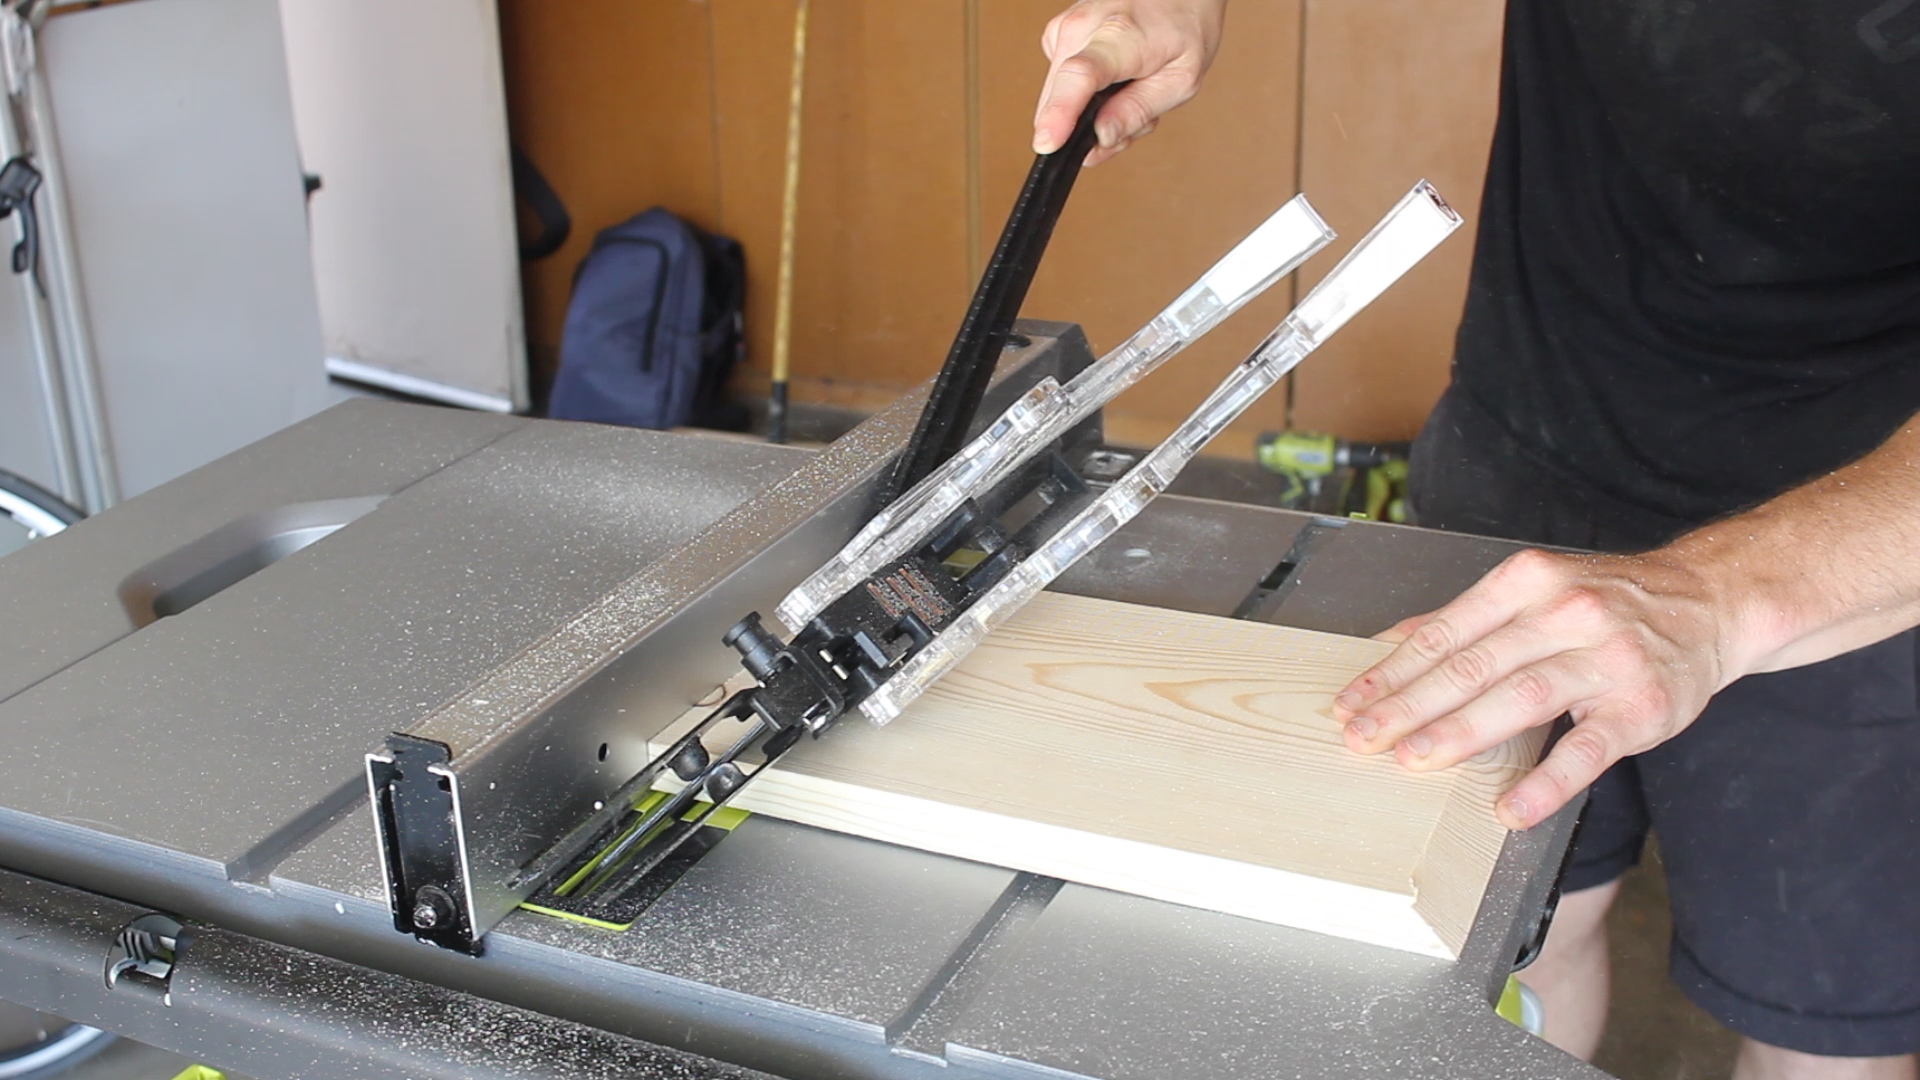
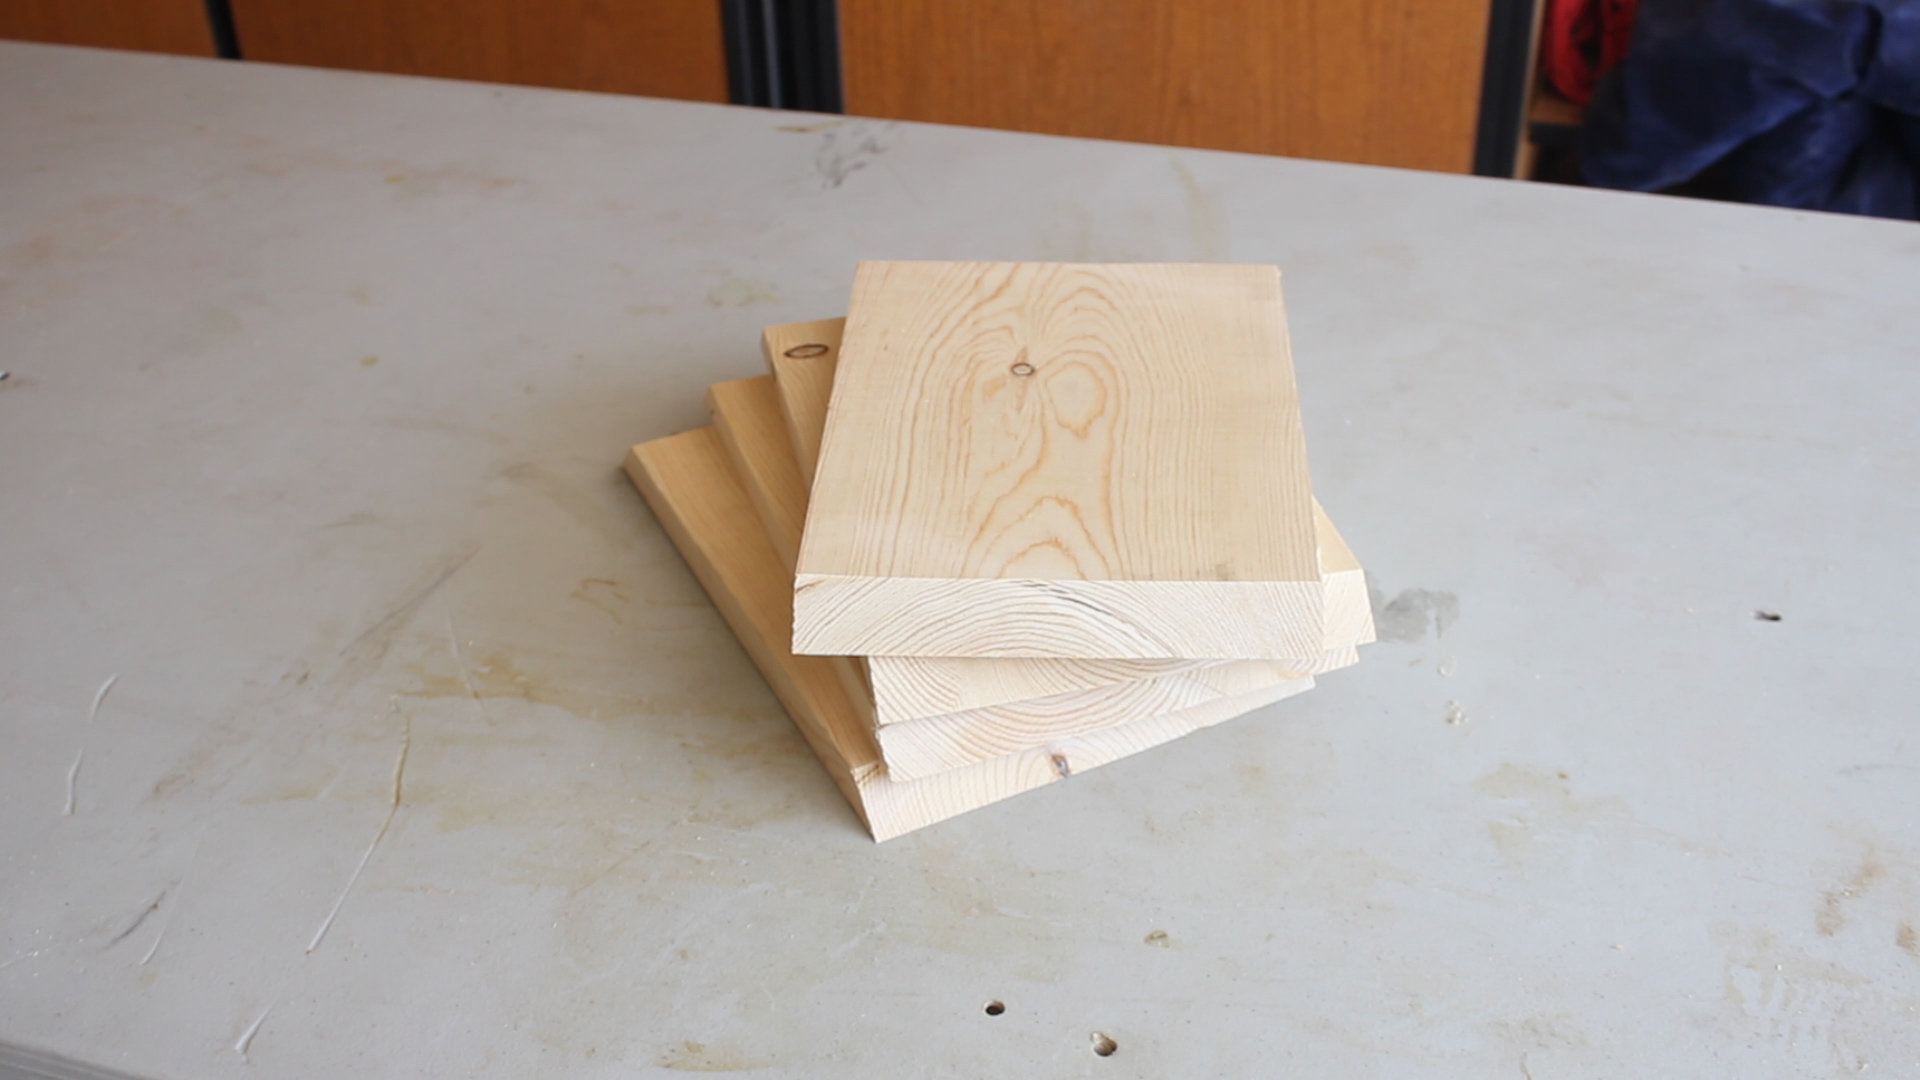
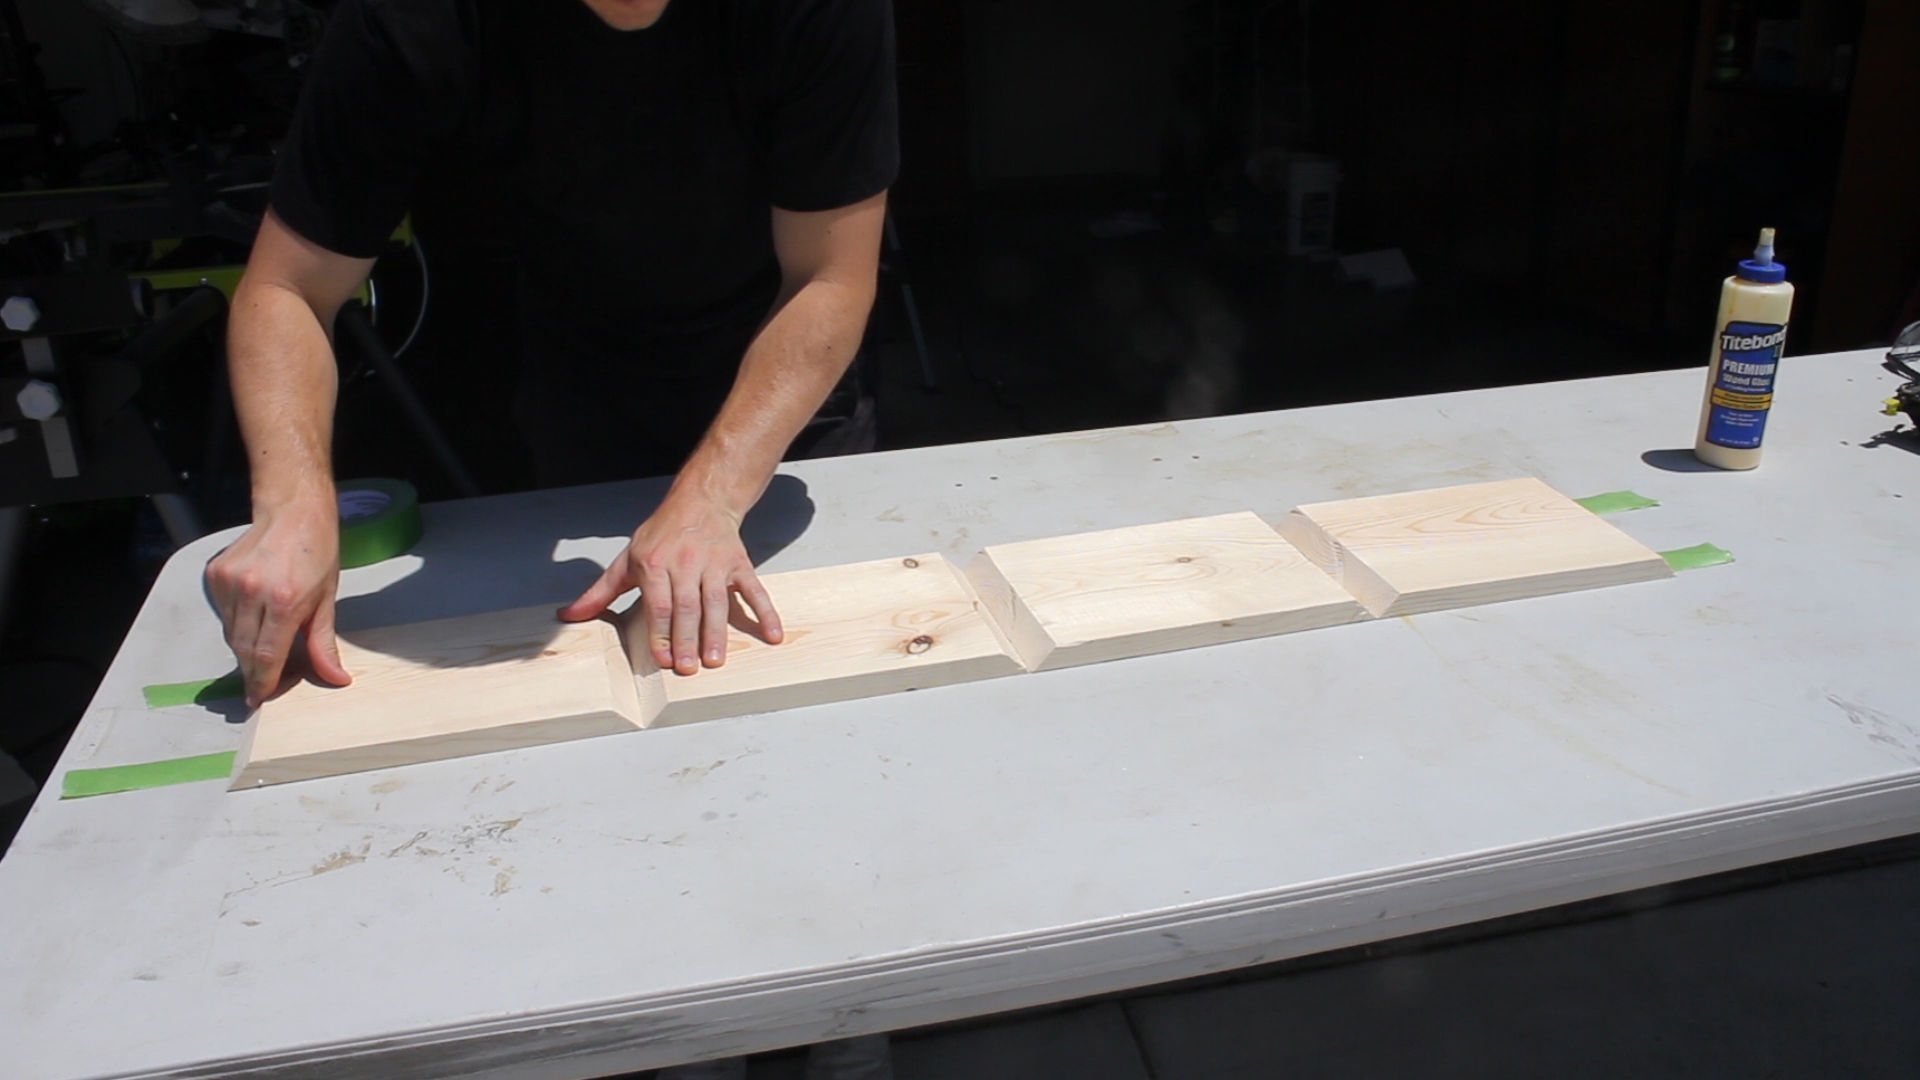
For the project, I'm just using a 1x8 piece (8 feet long), so I measured out 11.5 inch pieces and cut them to length on my miter saw, resulting in a set of four pieces (Pic 3). I then set my table saw blade to 45° and ran each piece through the saw to give each edge a clean mitered corner.
The reason I didn't do this all on my miter saw is that it does not cut 100% straight, which is then amplified as I do miter/beveled cut.
Method 2
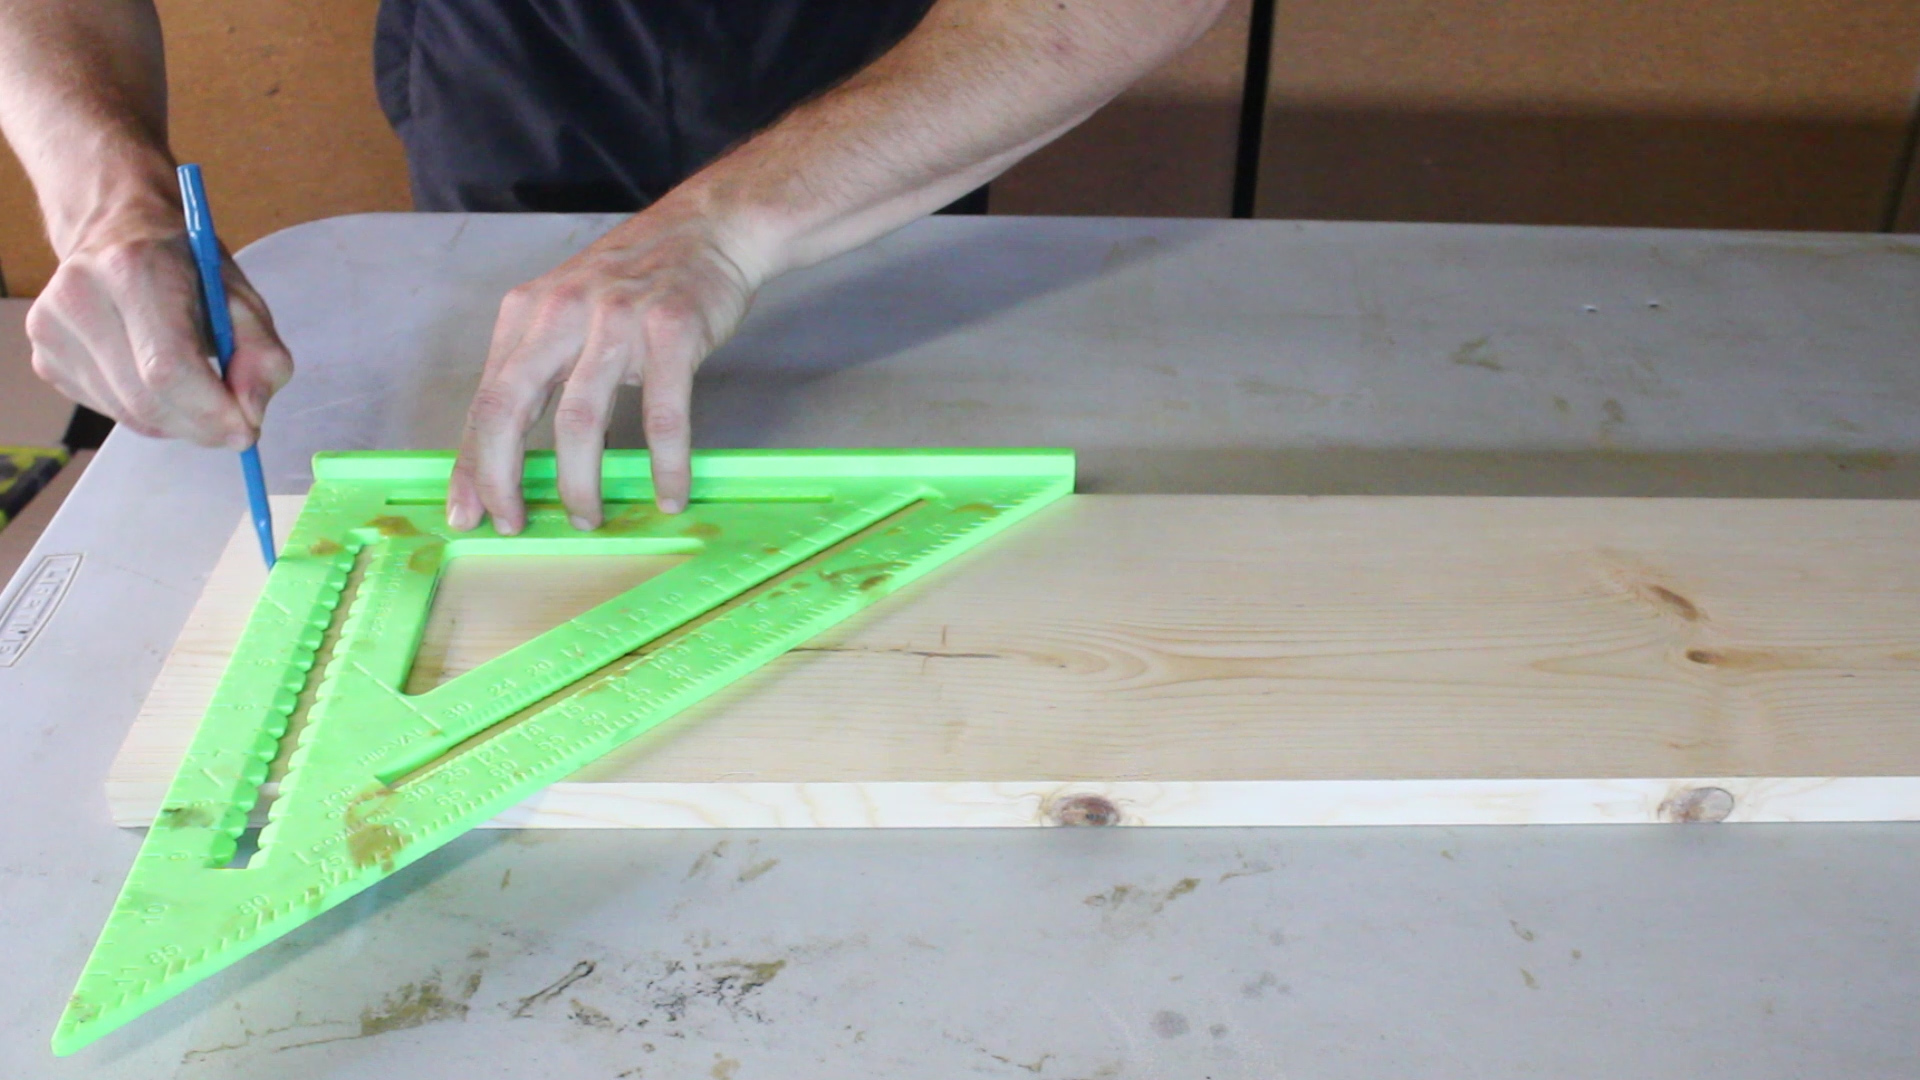
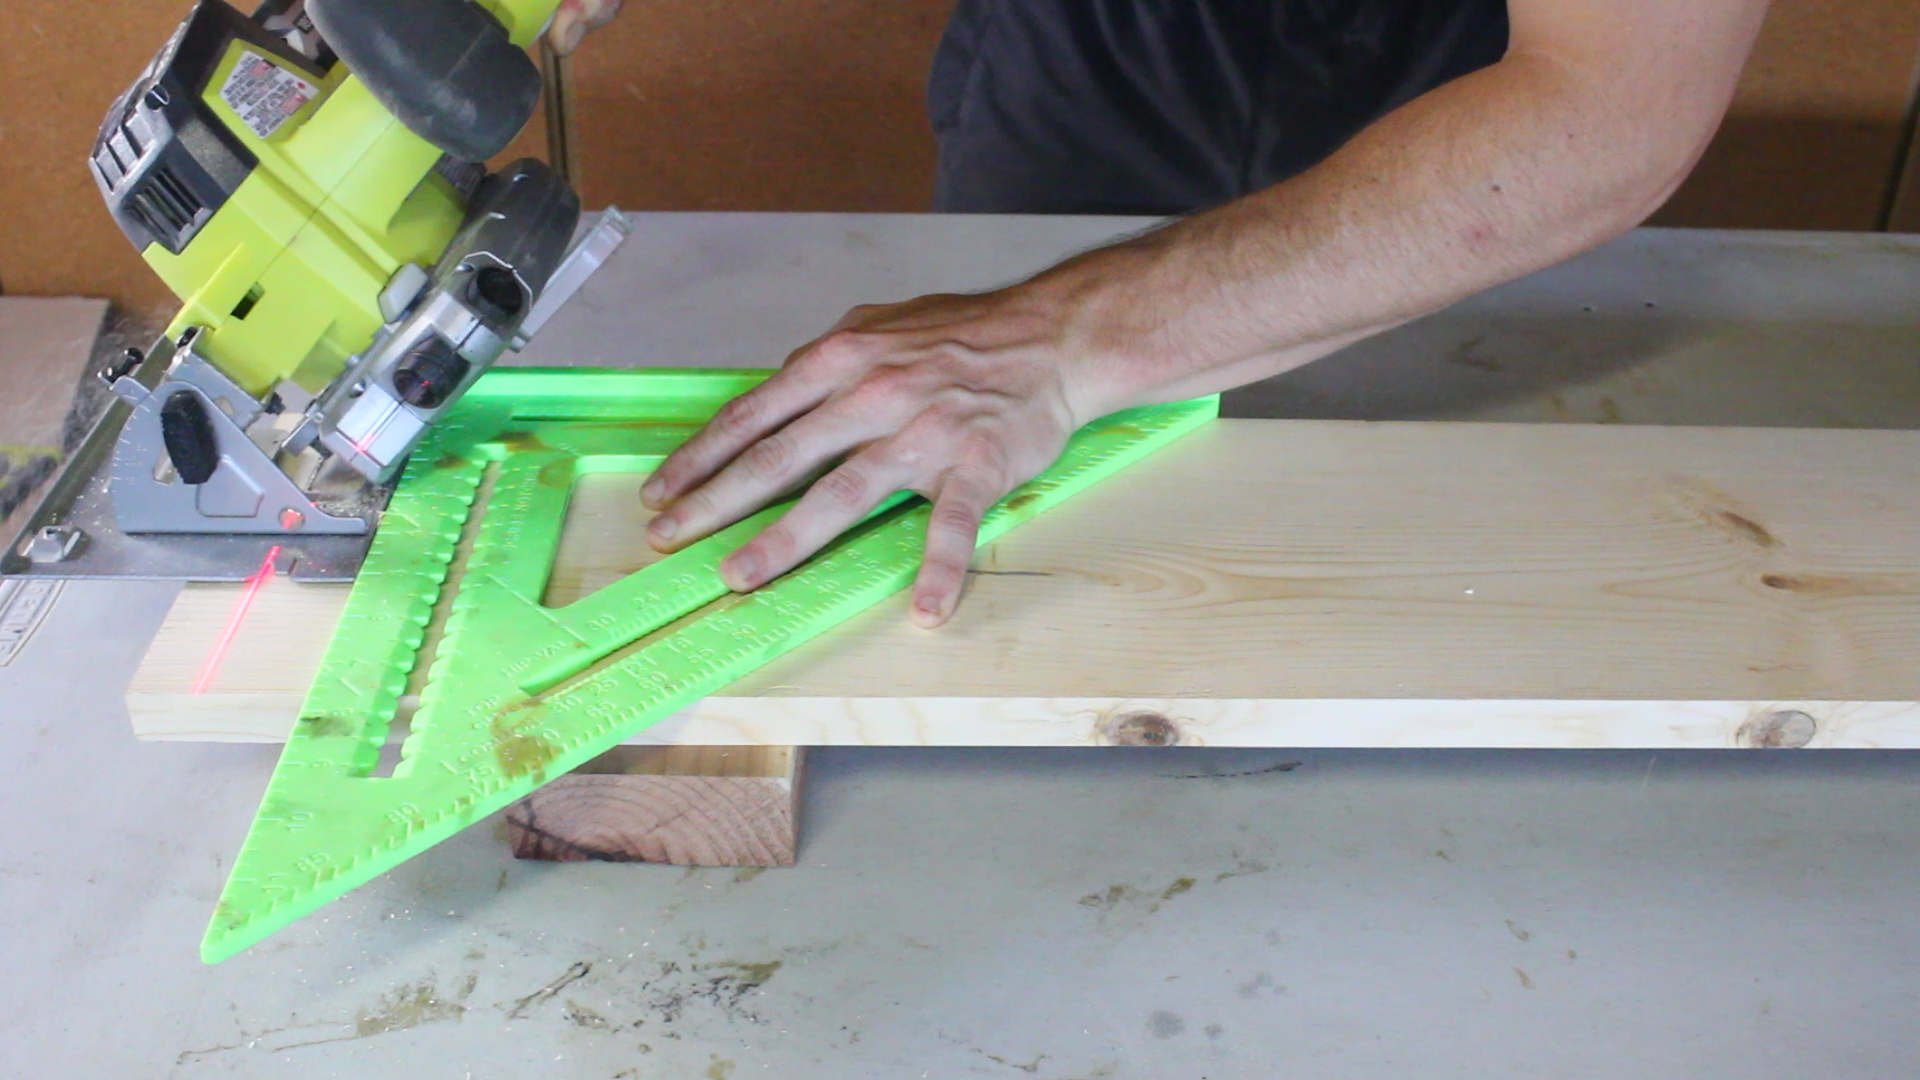
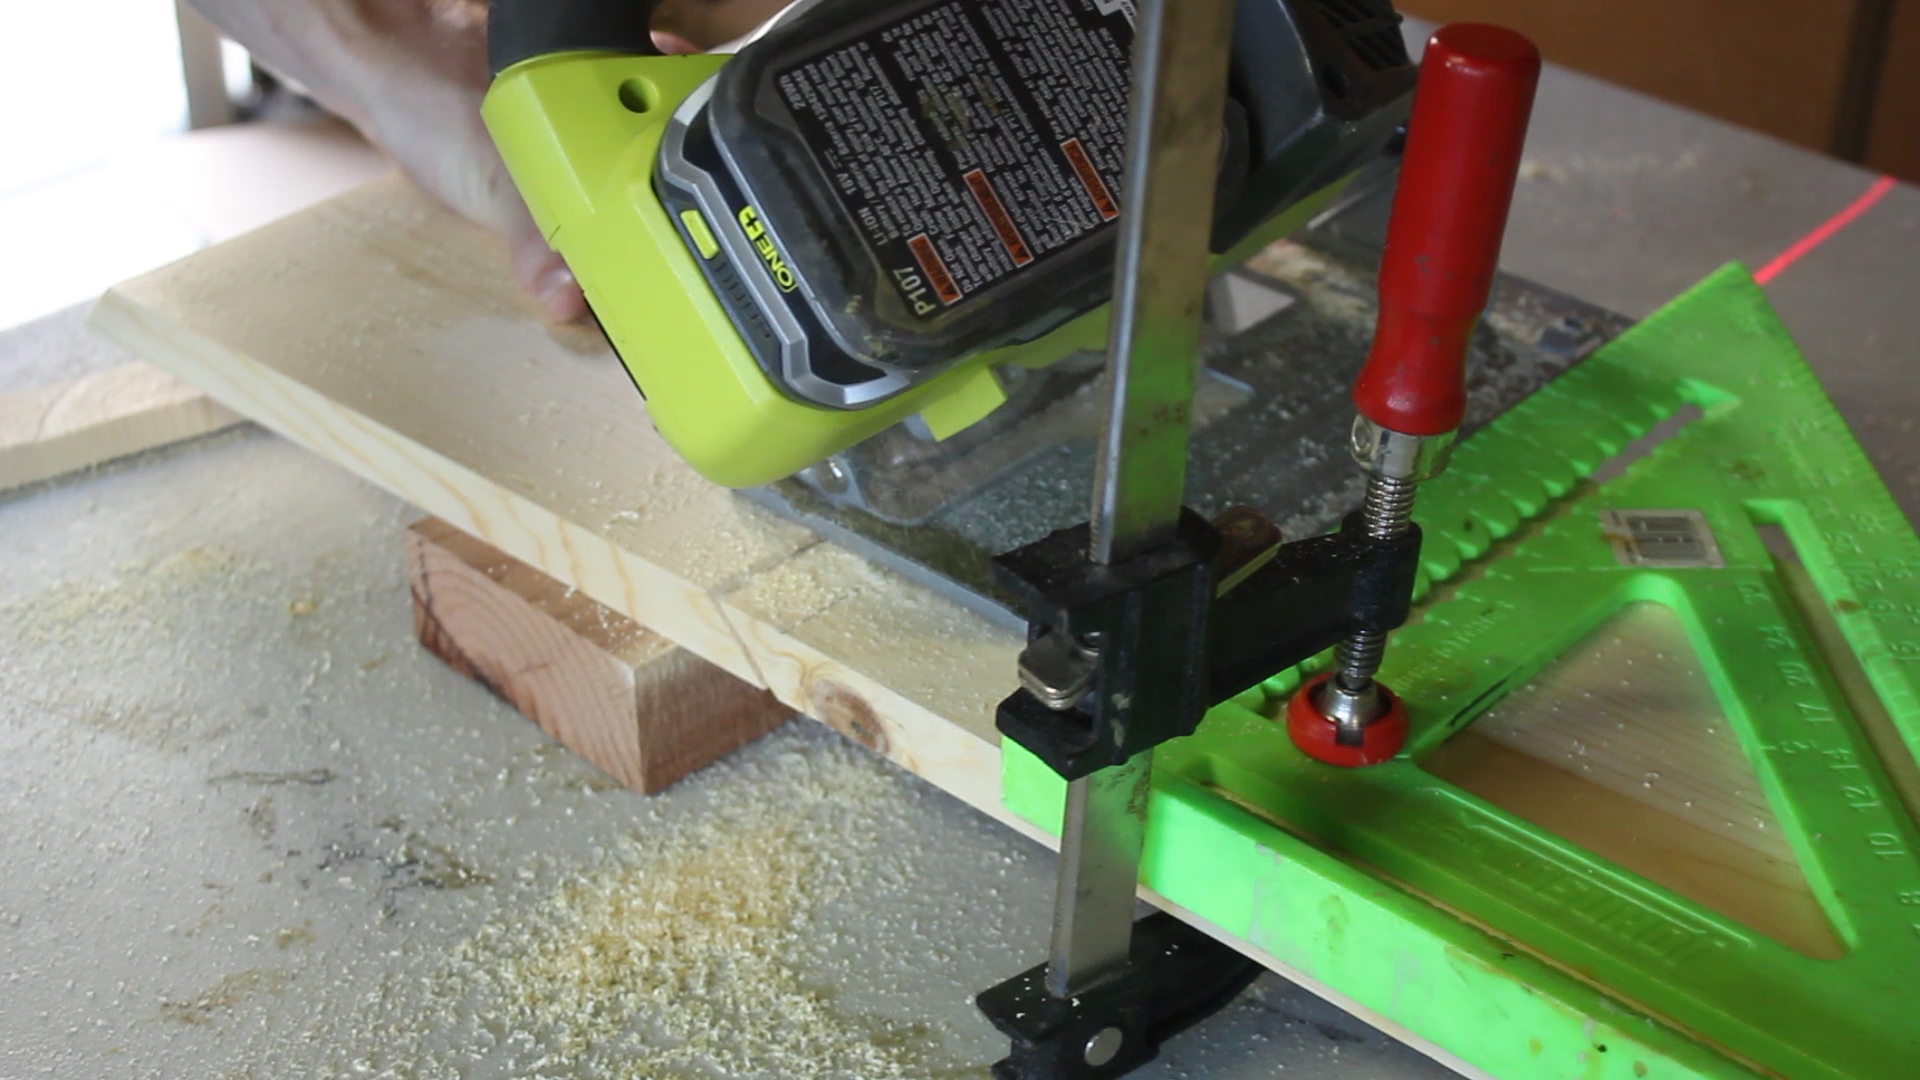
Circular Saw + Straight edge
If you only have a circular saw, you can carefully mark / measure out your lines, set your saw blade to 45°, and cut then rotate and repeat the cut to give you the exact same piece. Take your time, be careful with your measurements, and it will be great!
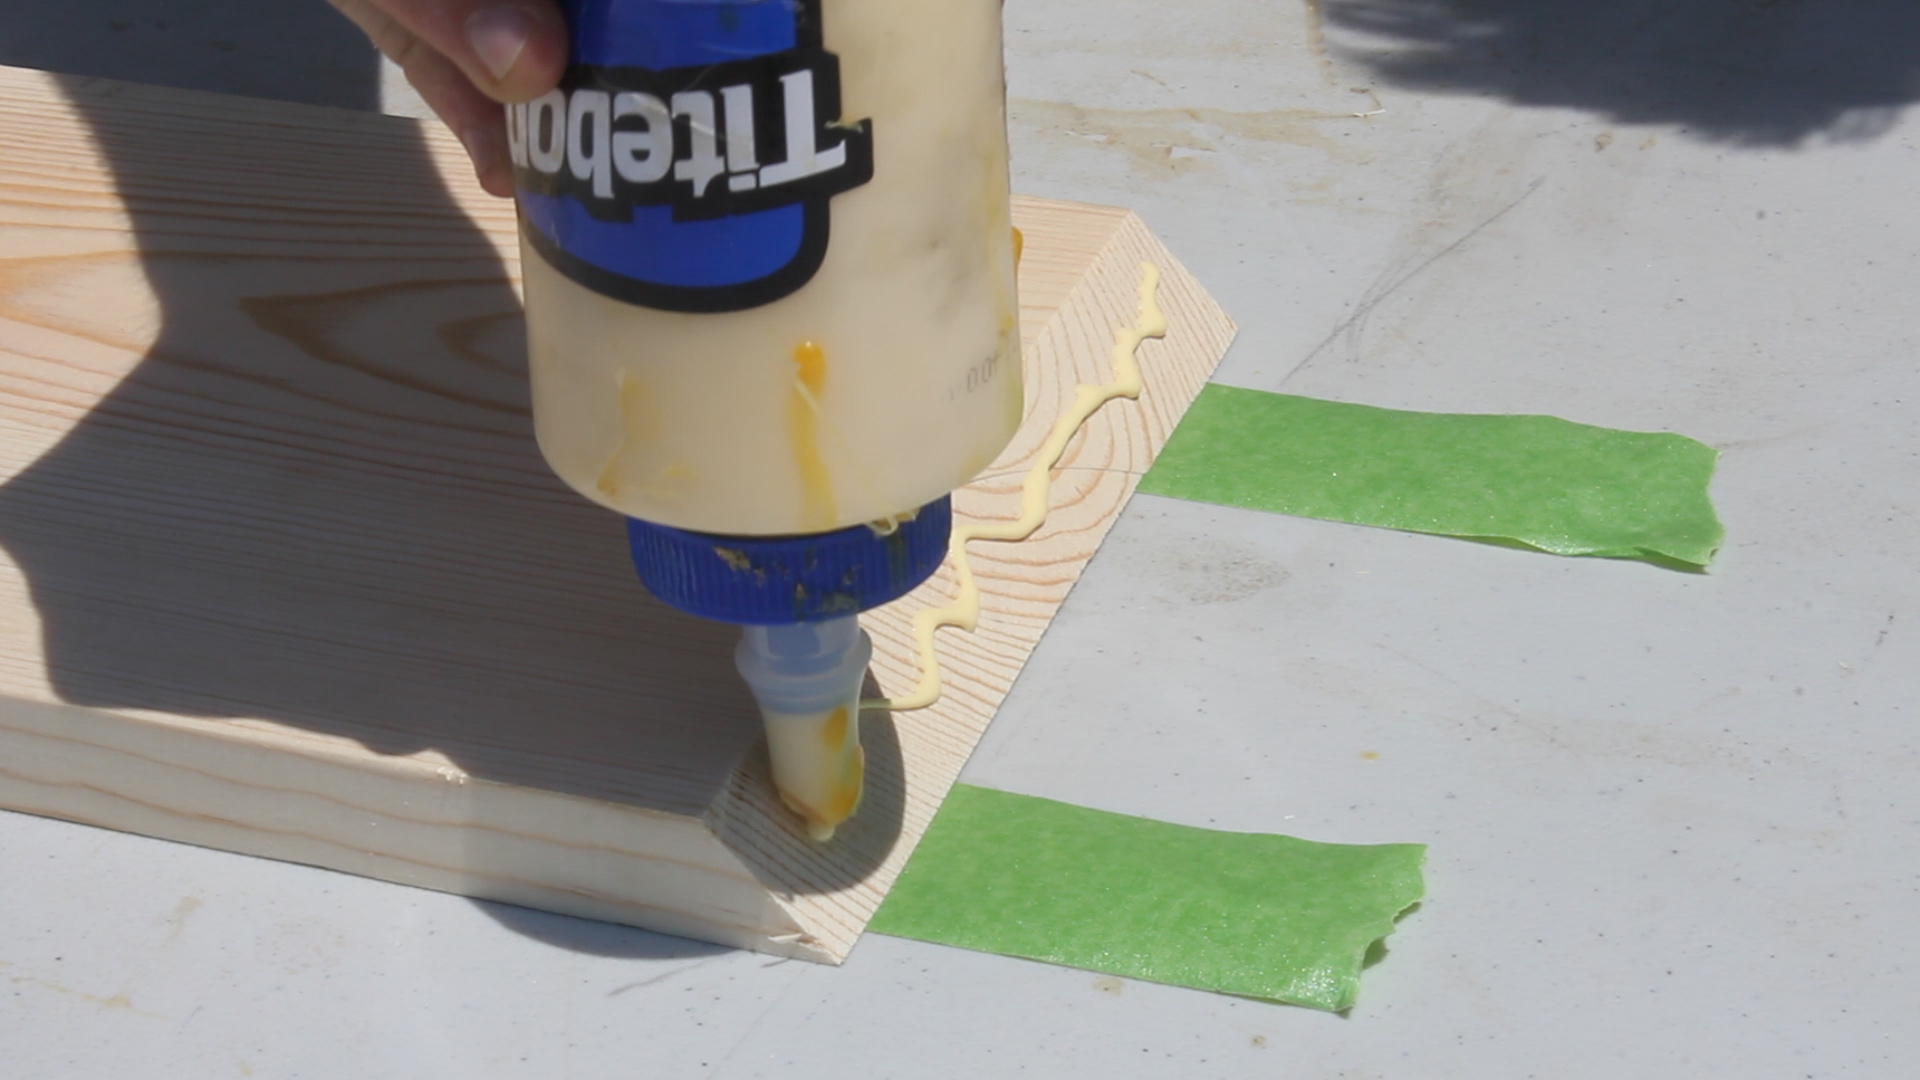
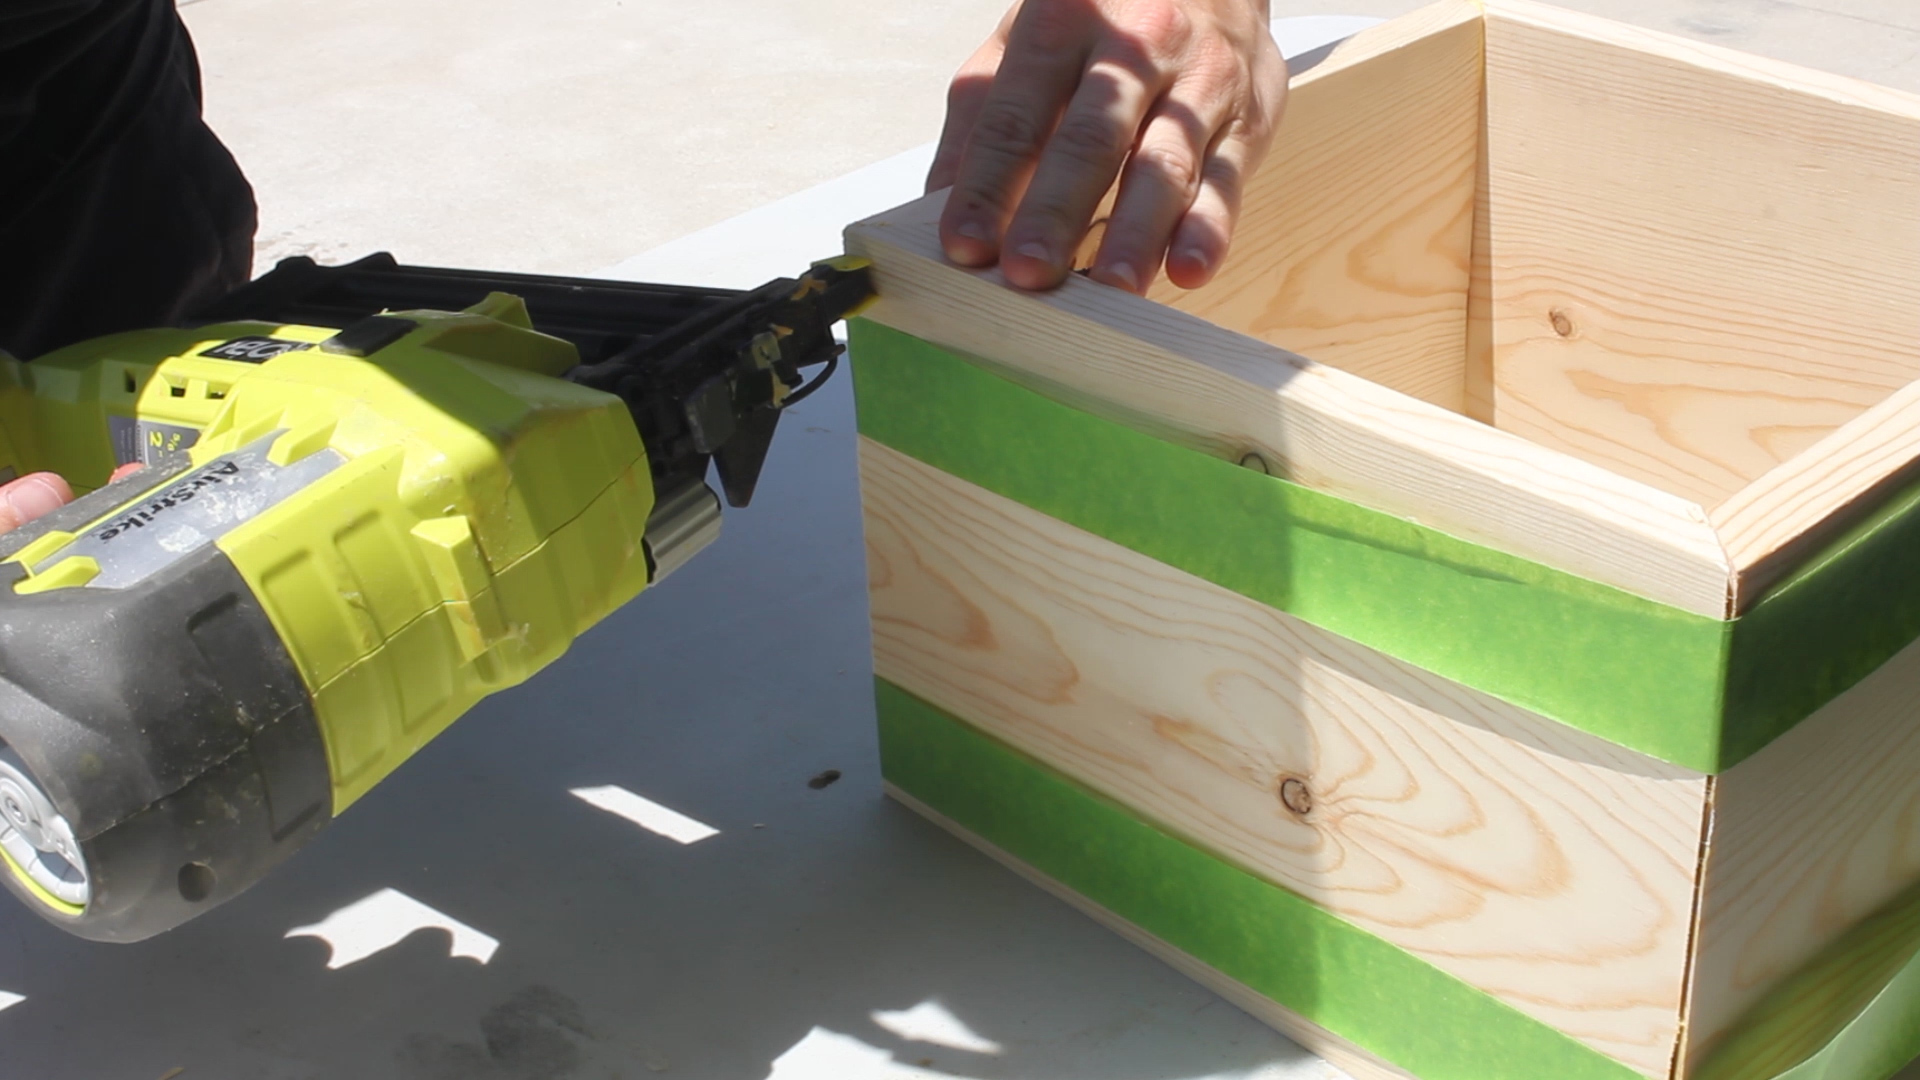
I used the "masking tape" method to glue these up. However, given that it was about 107° out that day, the tape wouldn't stick to my material, and although it kind of worked, it didn't really. So, after lining up the pieces on the tape and applying glue, I folded them up, and then used brad nails to hold them in place. If I could go back, I'd just clamp all four sides and the joints would be clean, strong, and not require any nails.
As such, I did use brad nails as it expedited my process as I had limited clamps at the time of the build.
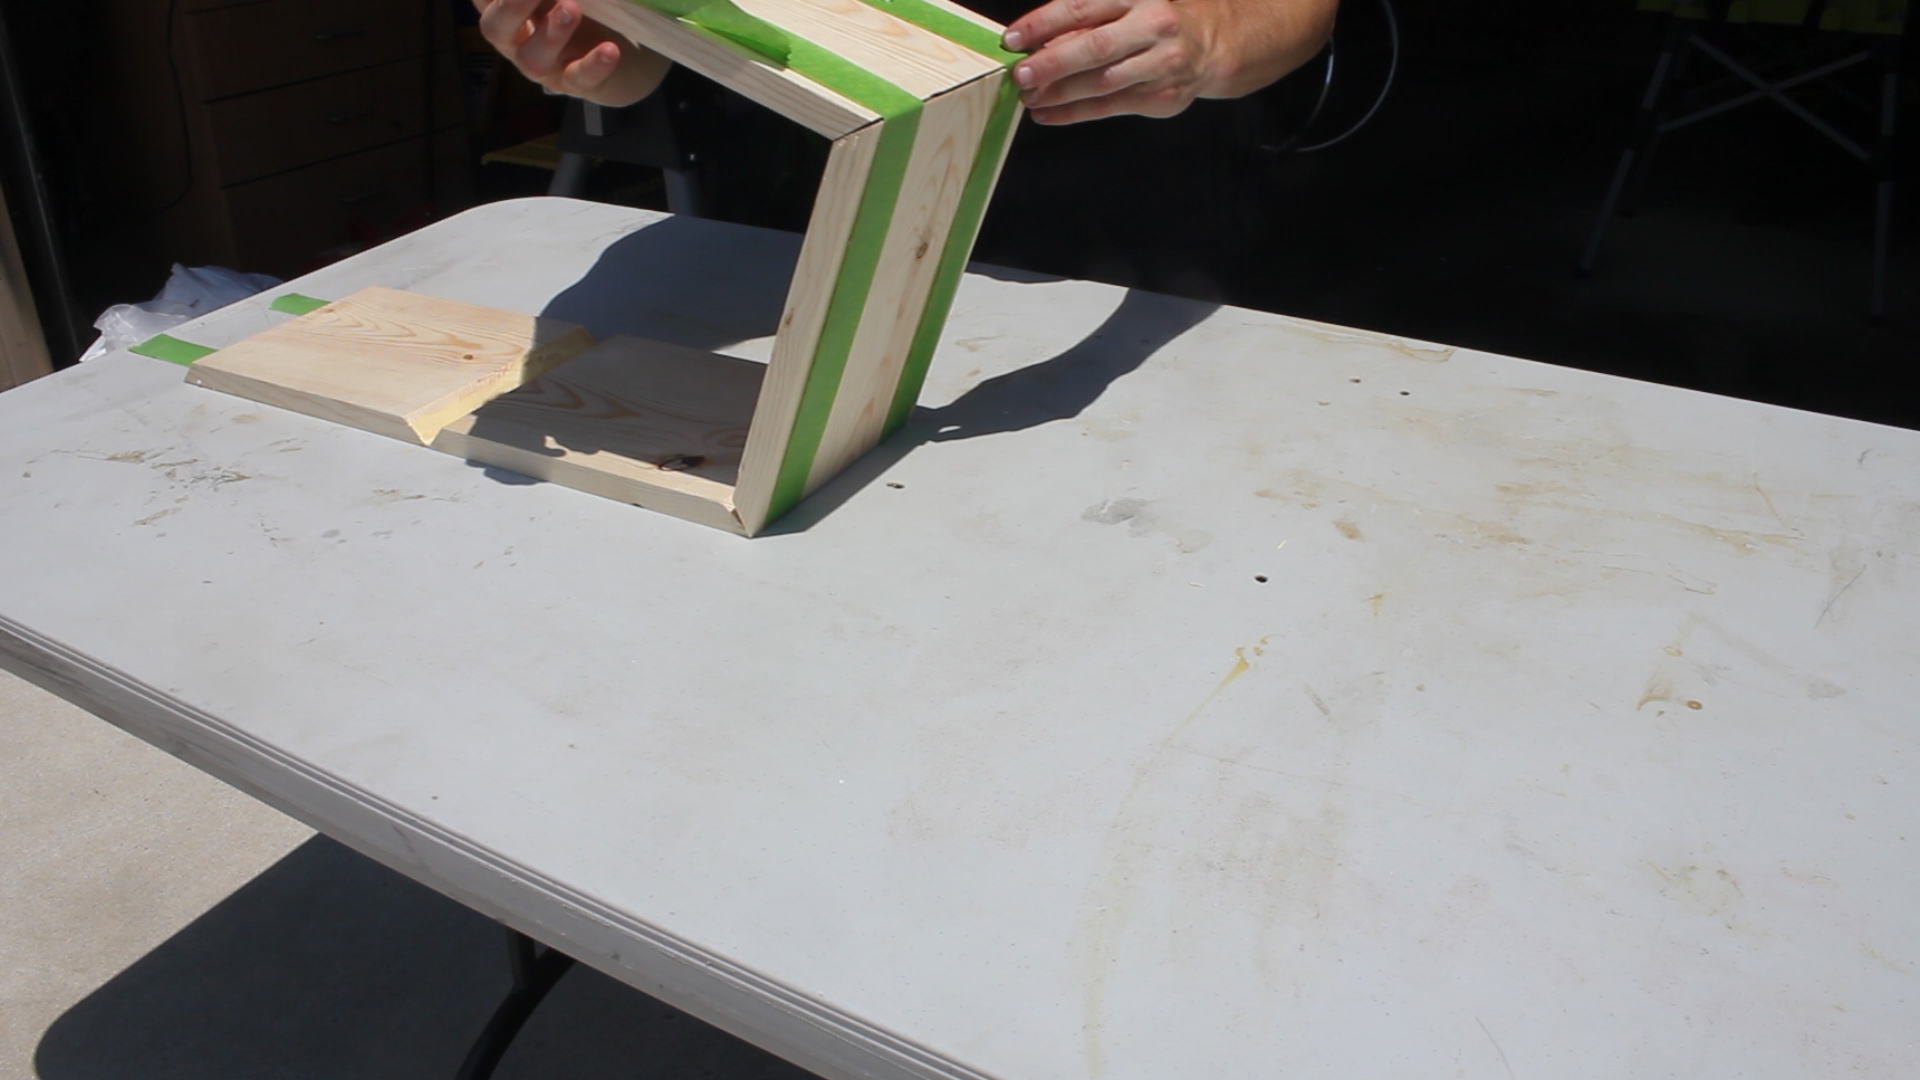
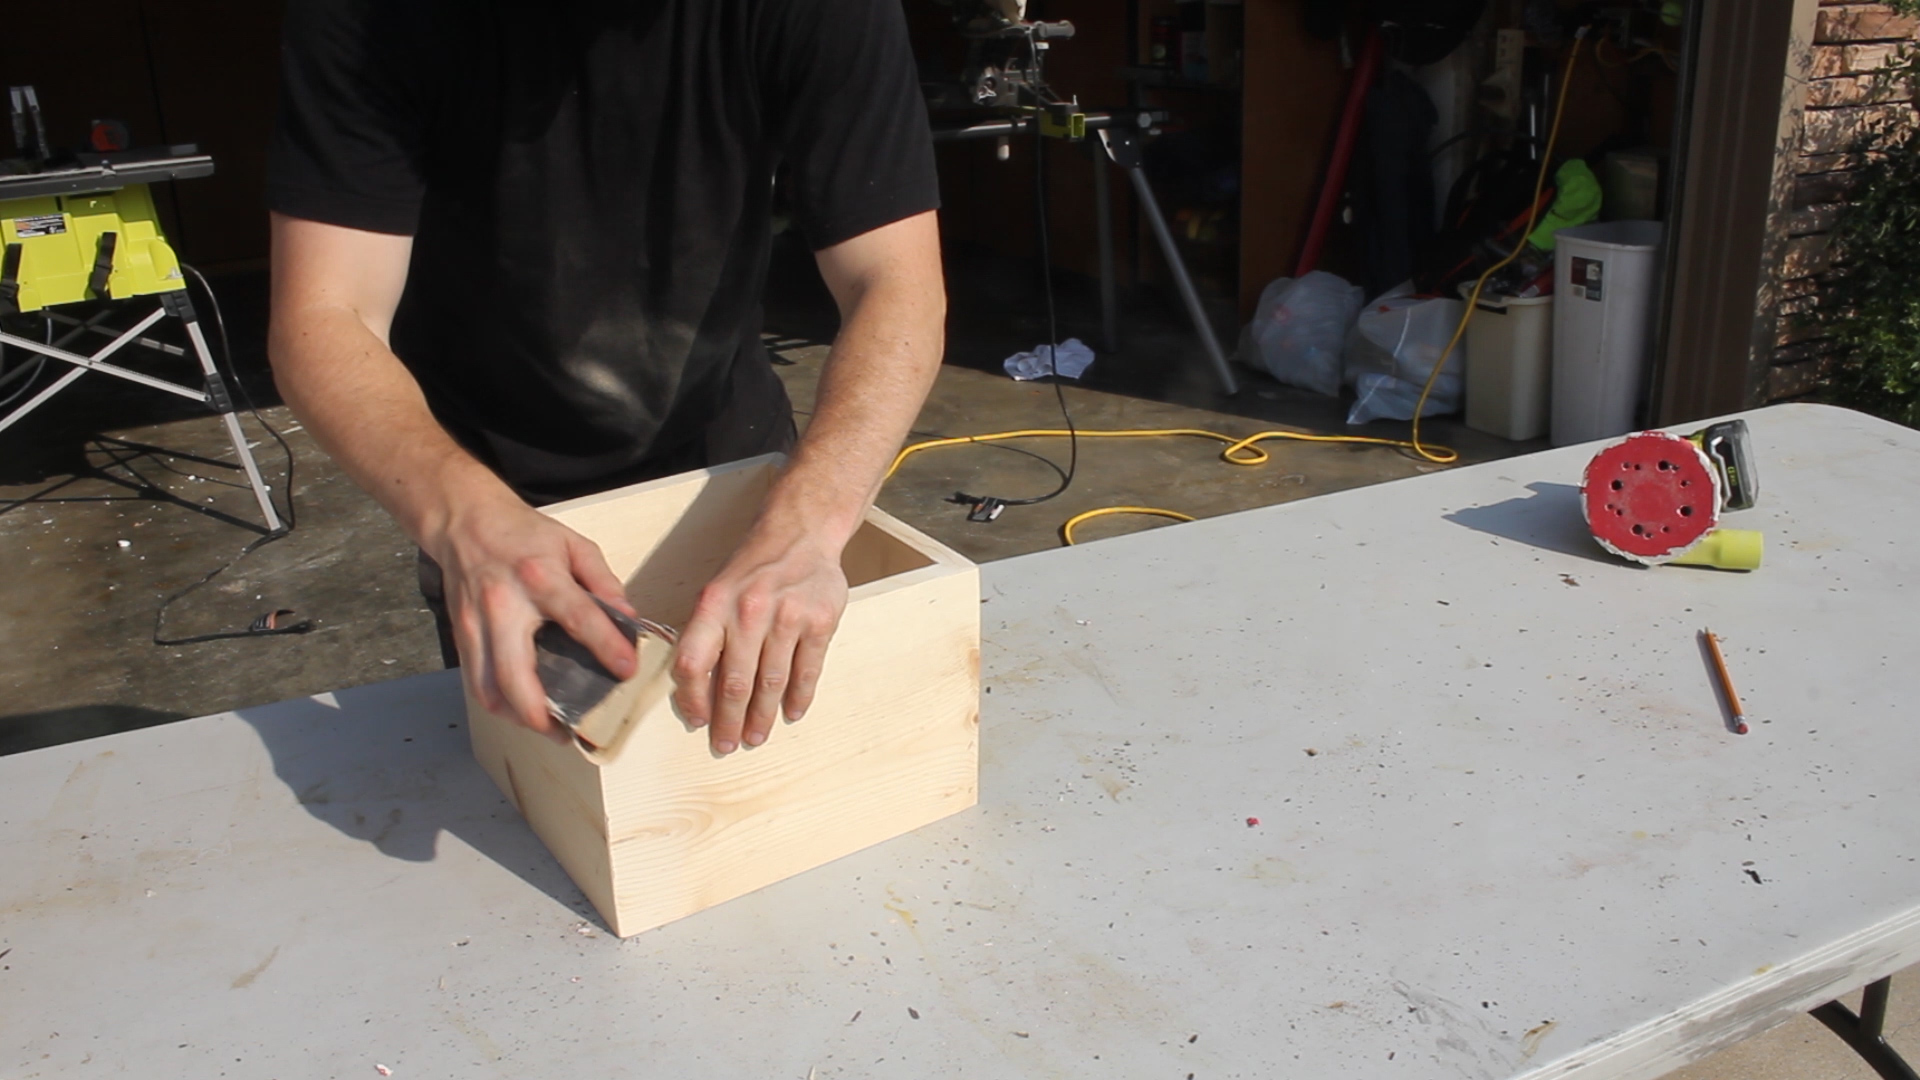
Once it dries, you're left with a sweet looking box, like this

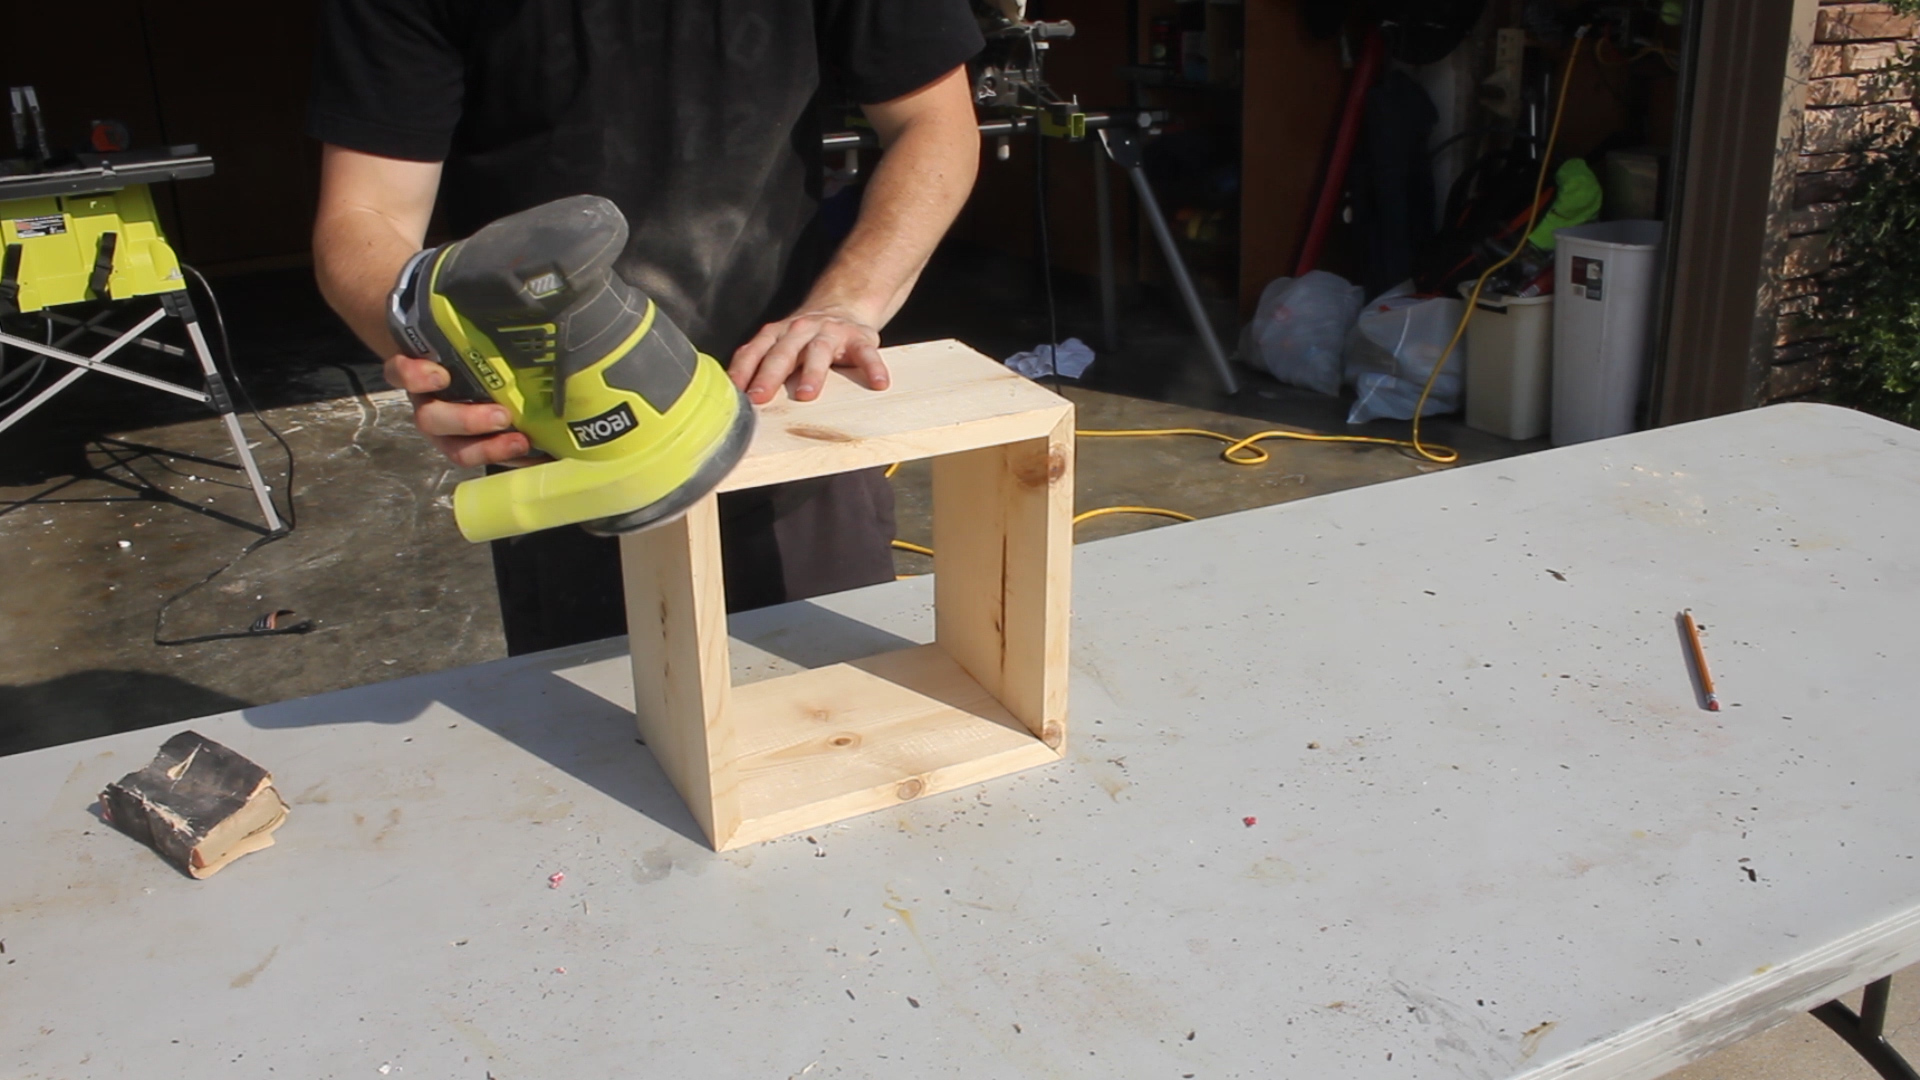
Next up, I sanded down the edges of the boards using an orbital sander at 80 grit followed by hand sanding at 120 - no splinters!
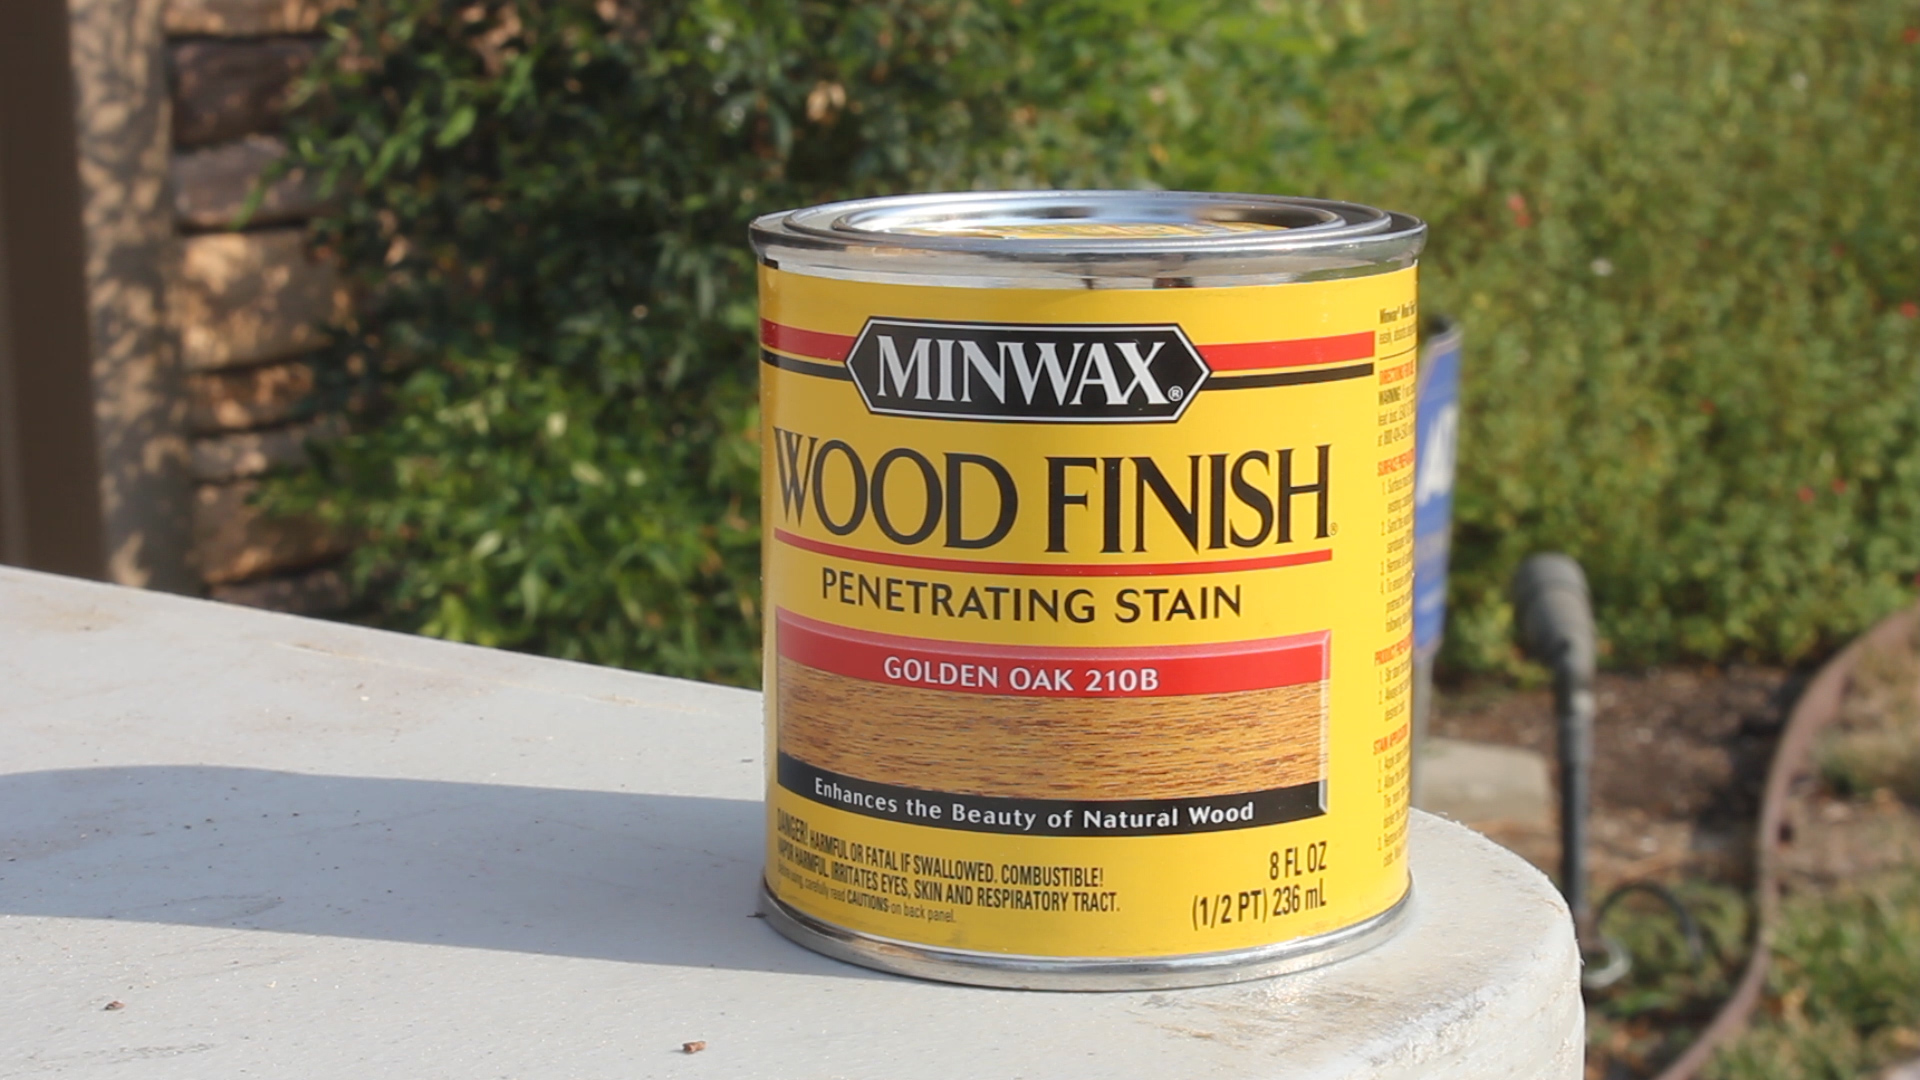
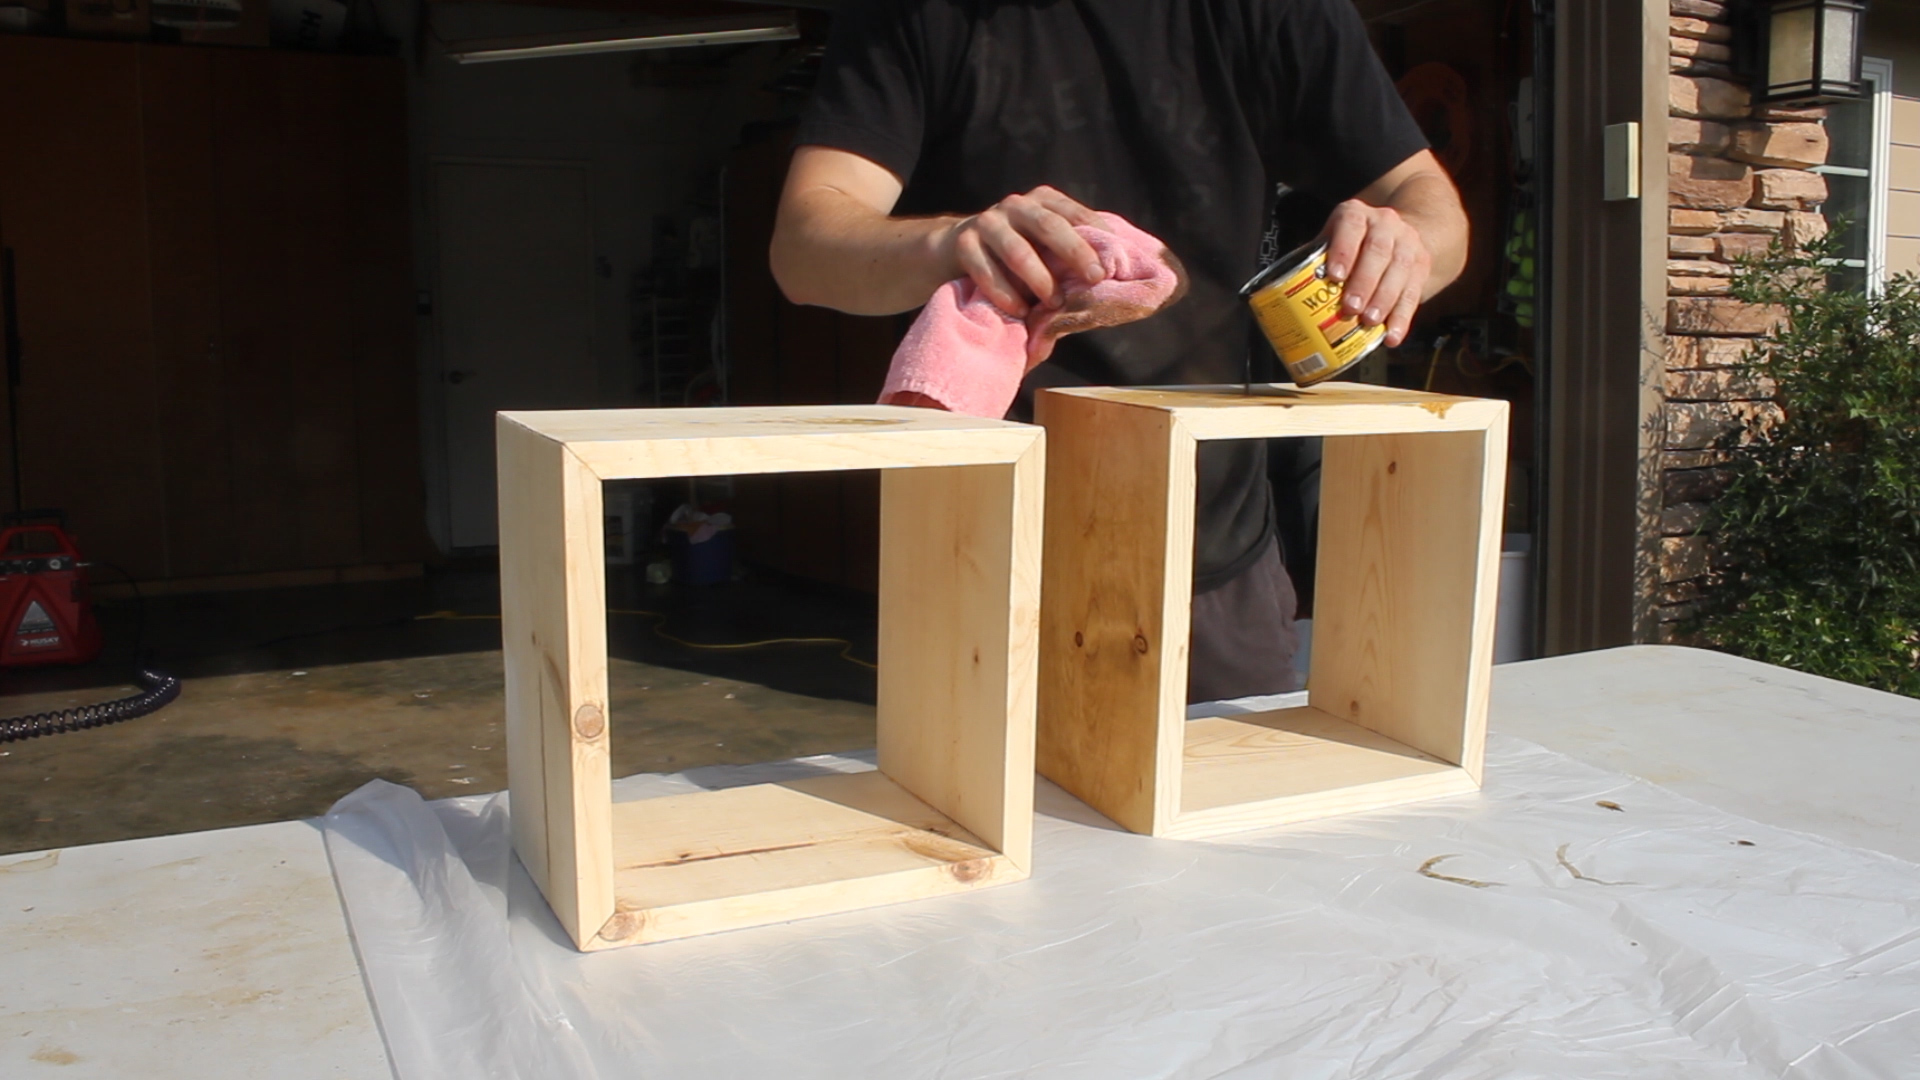
Last up, I stained my shelves using Minwax's Summer Oak stain - no pre-conditioner or anything. This stain in particular soaks in well, and I'm always satisfied with the result.
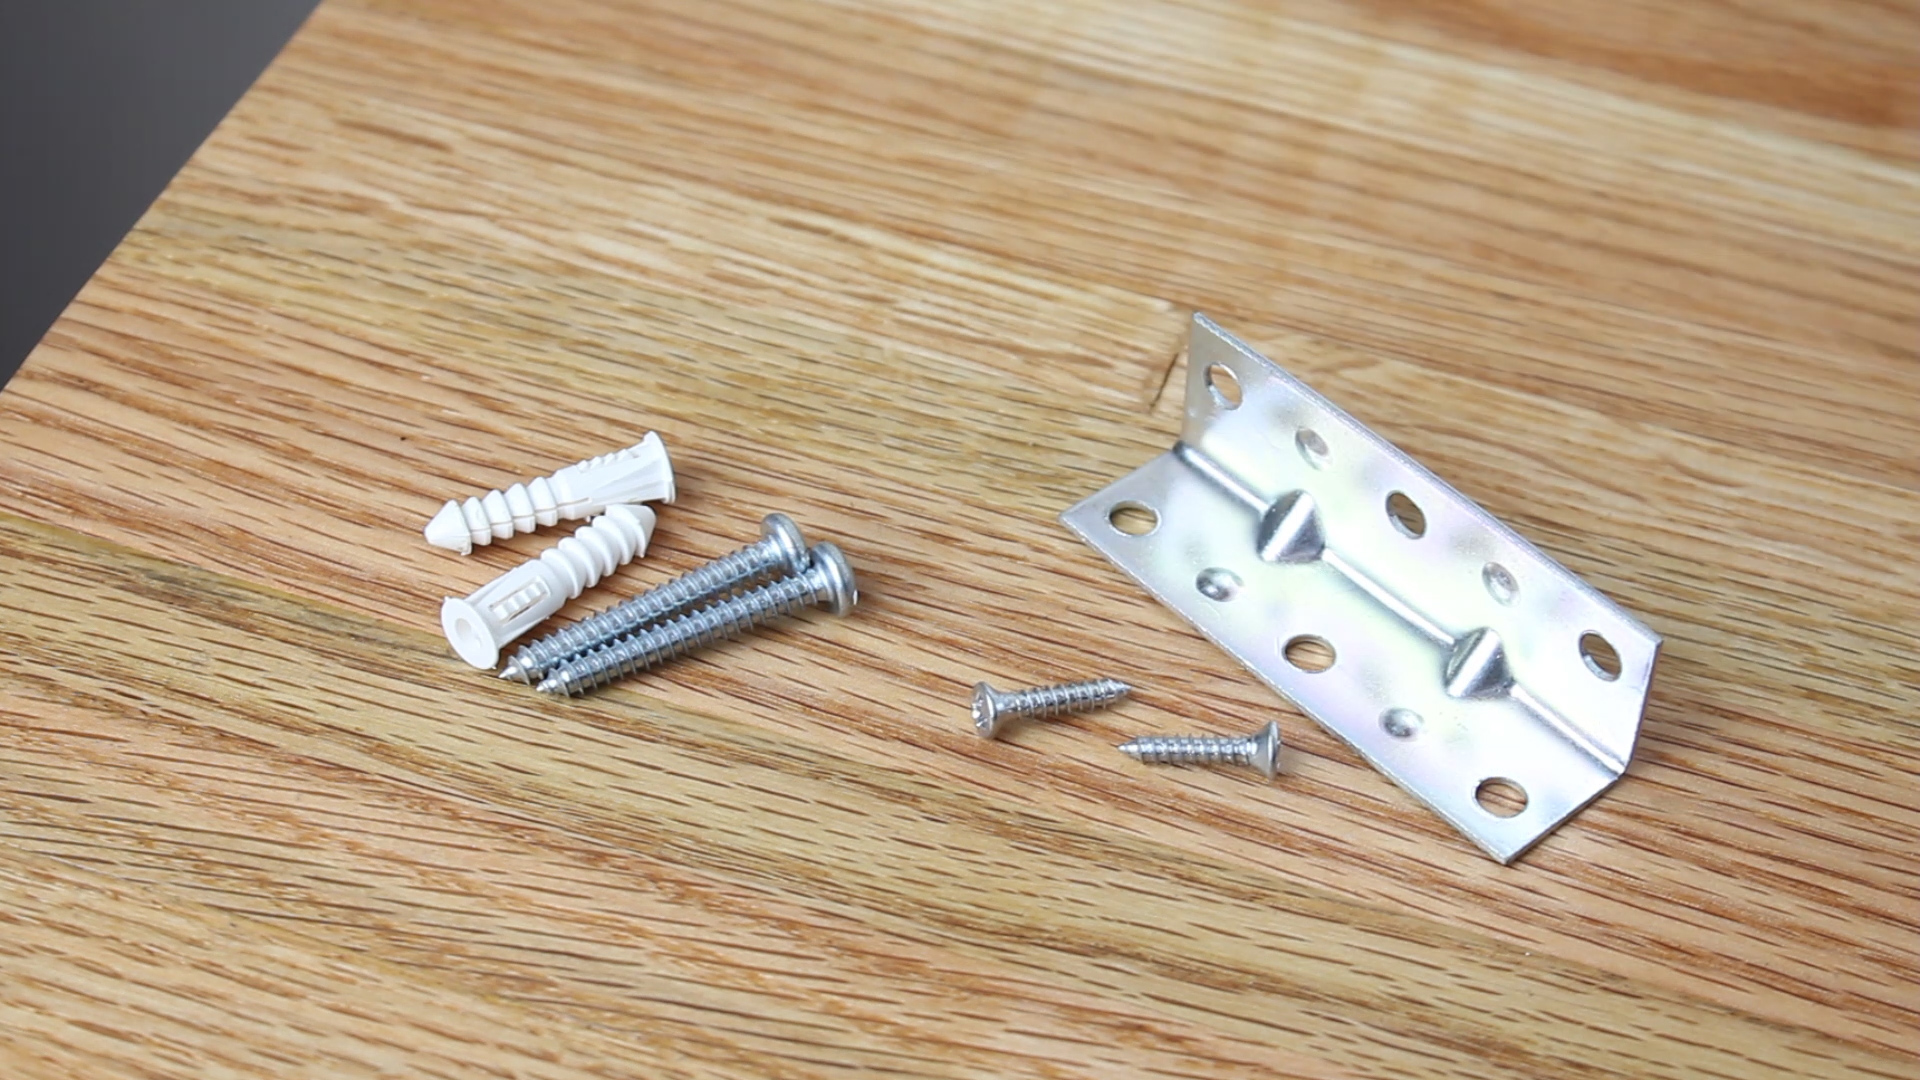
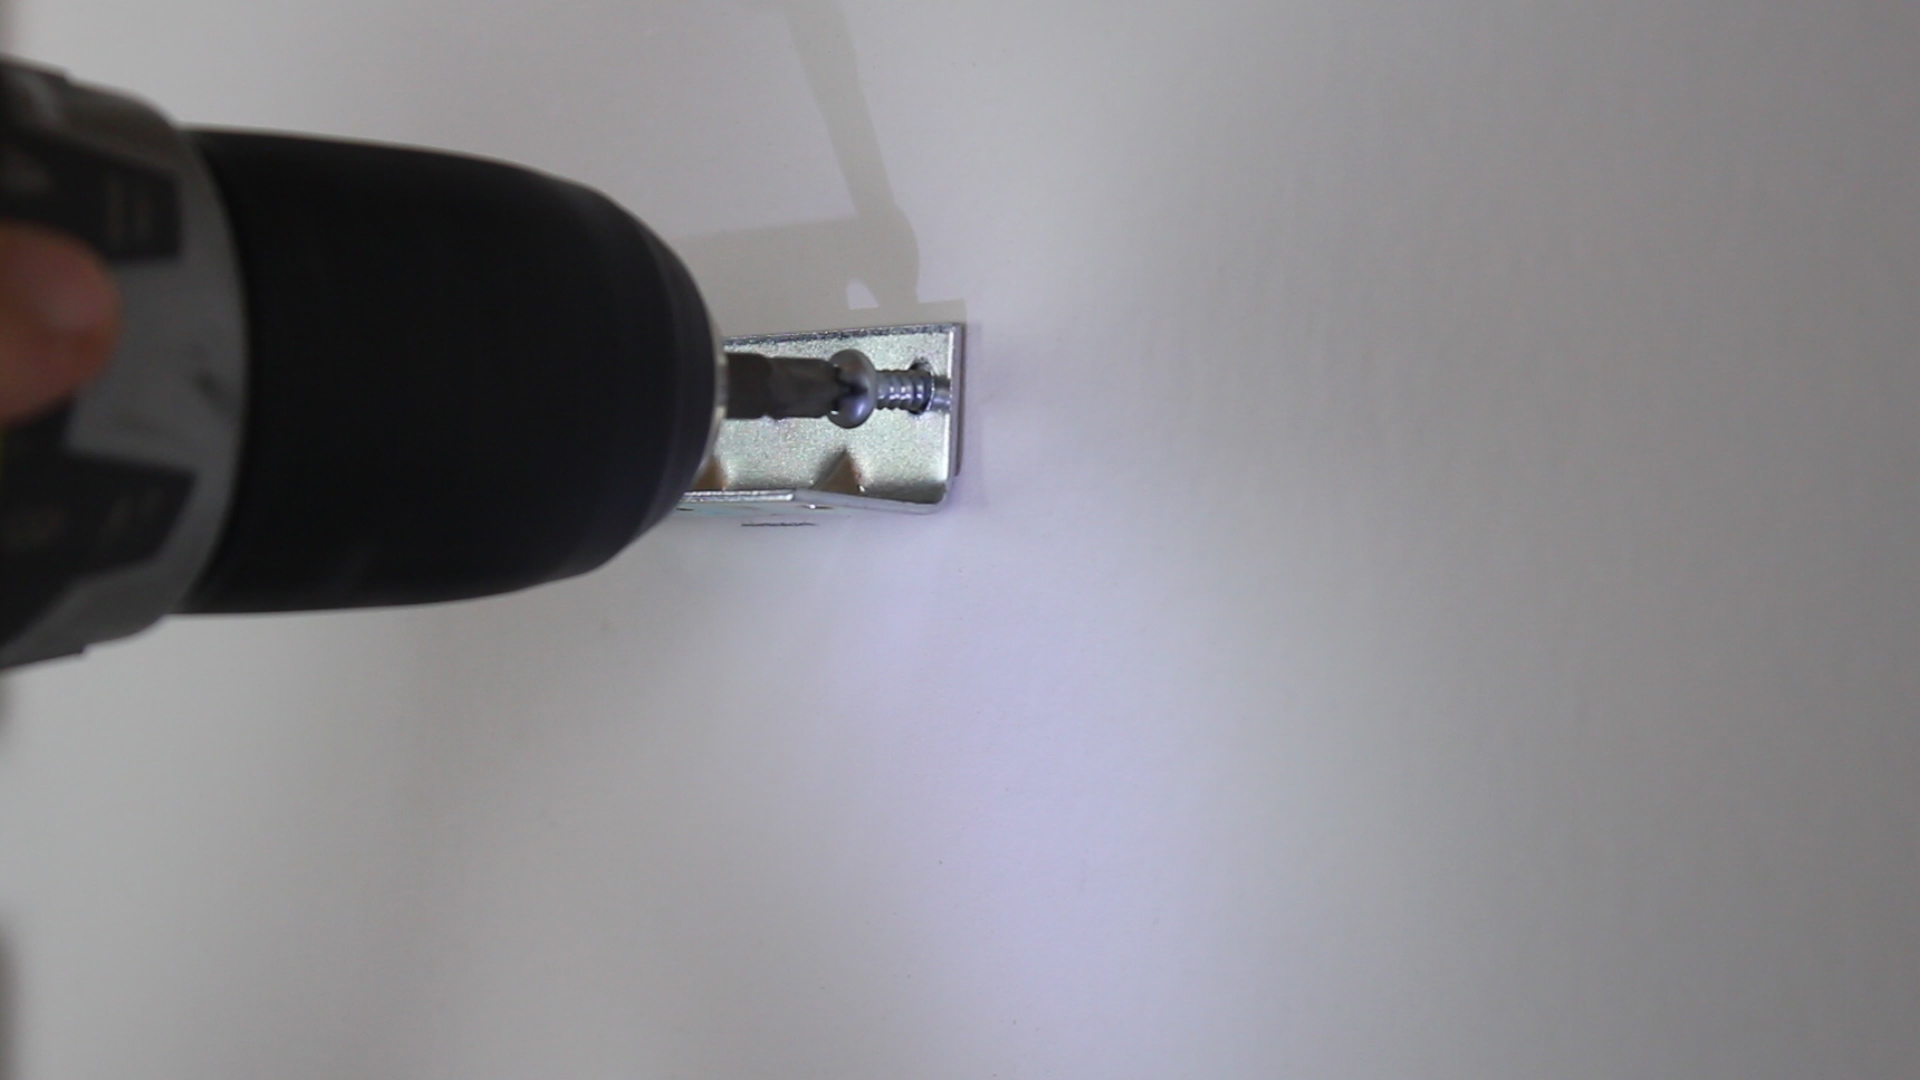
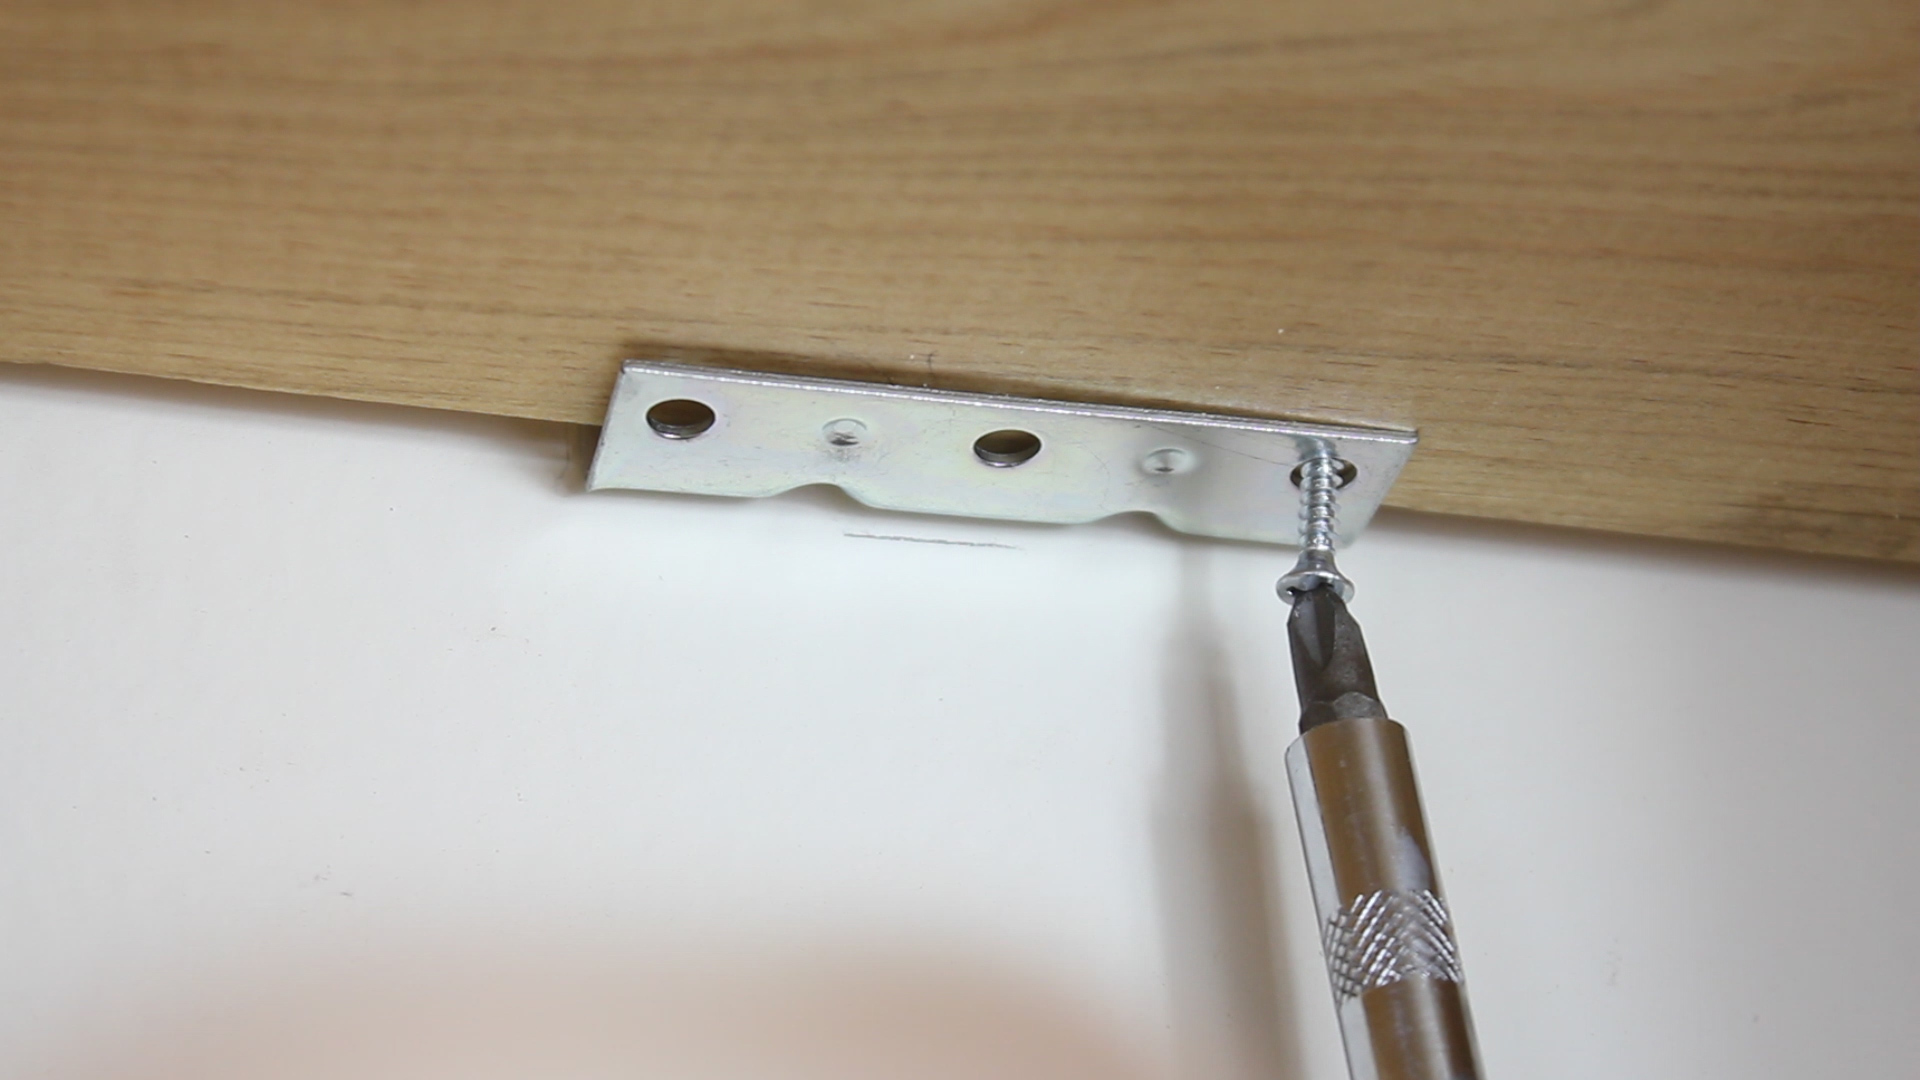
I'll be using the below hardware to hang my shelves. The hardware on the left is for mounting to drywall (anchor and screw), and the right is for attaching to the wall and the shelf.
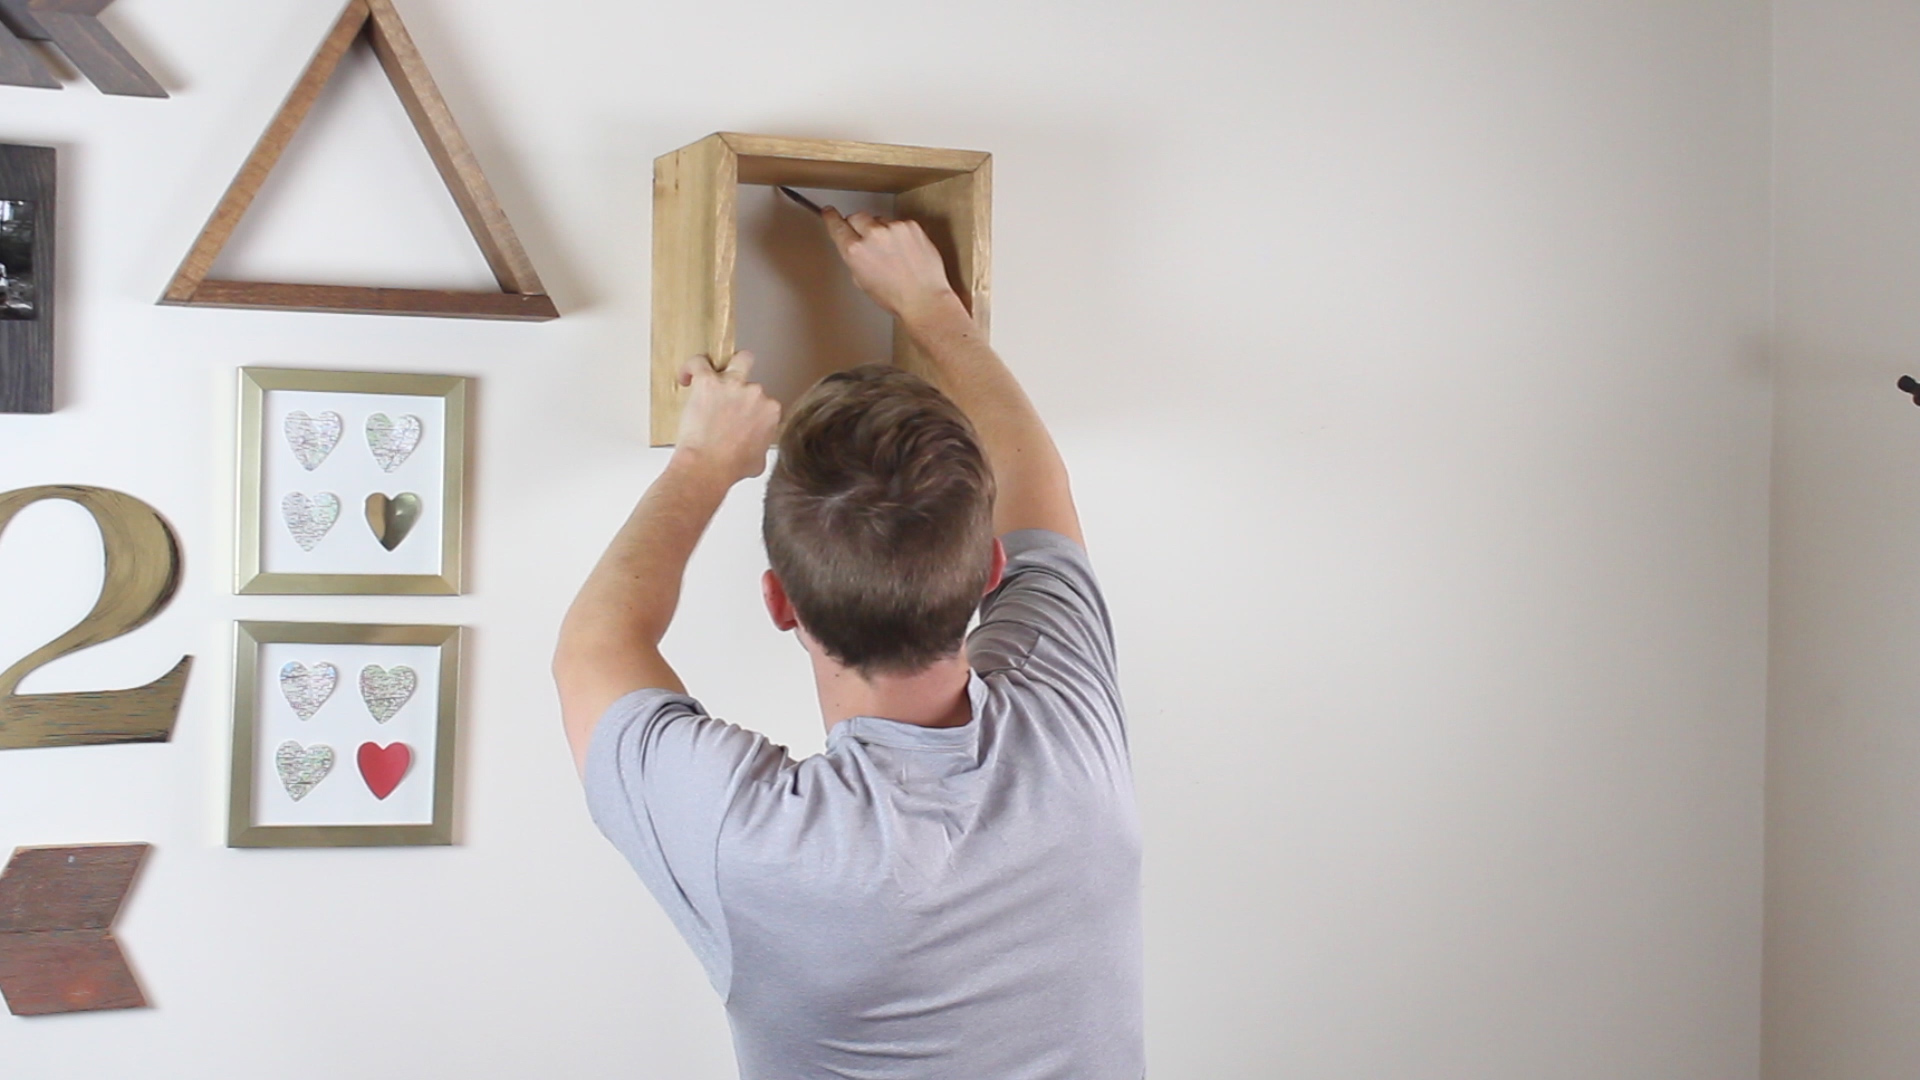
Then, I did the following to hang my shelves:
- Place my shelf where I thought it would look good
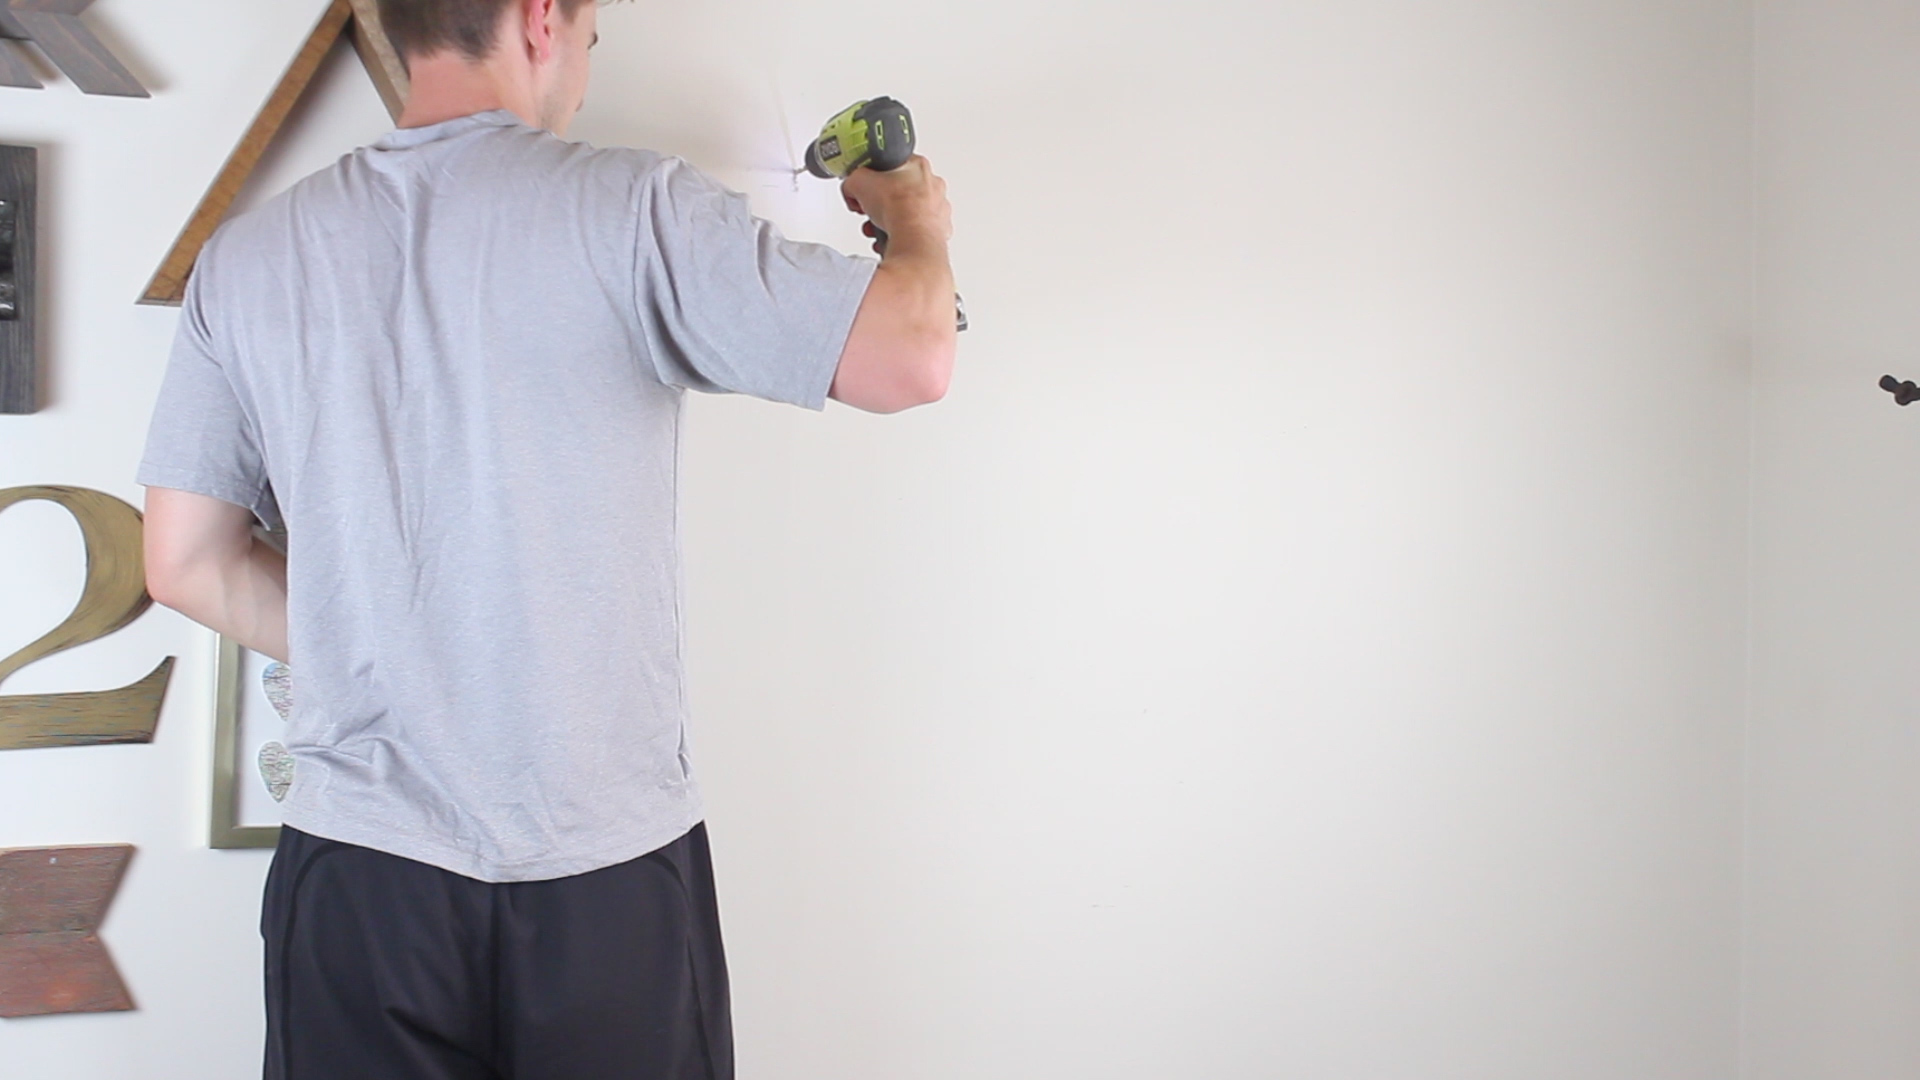
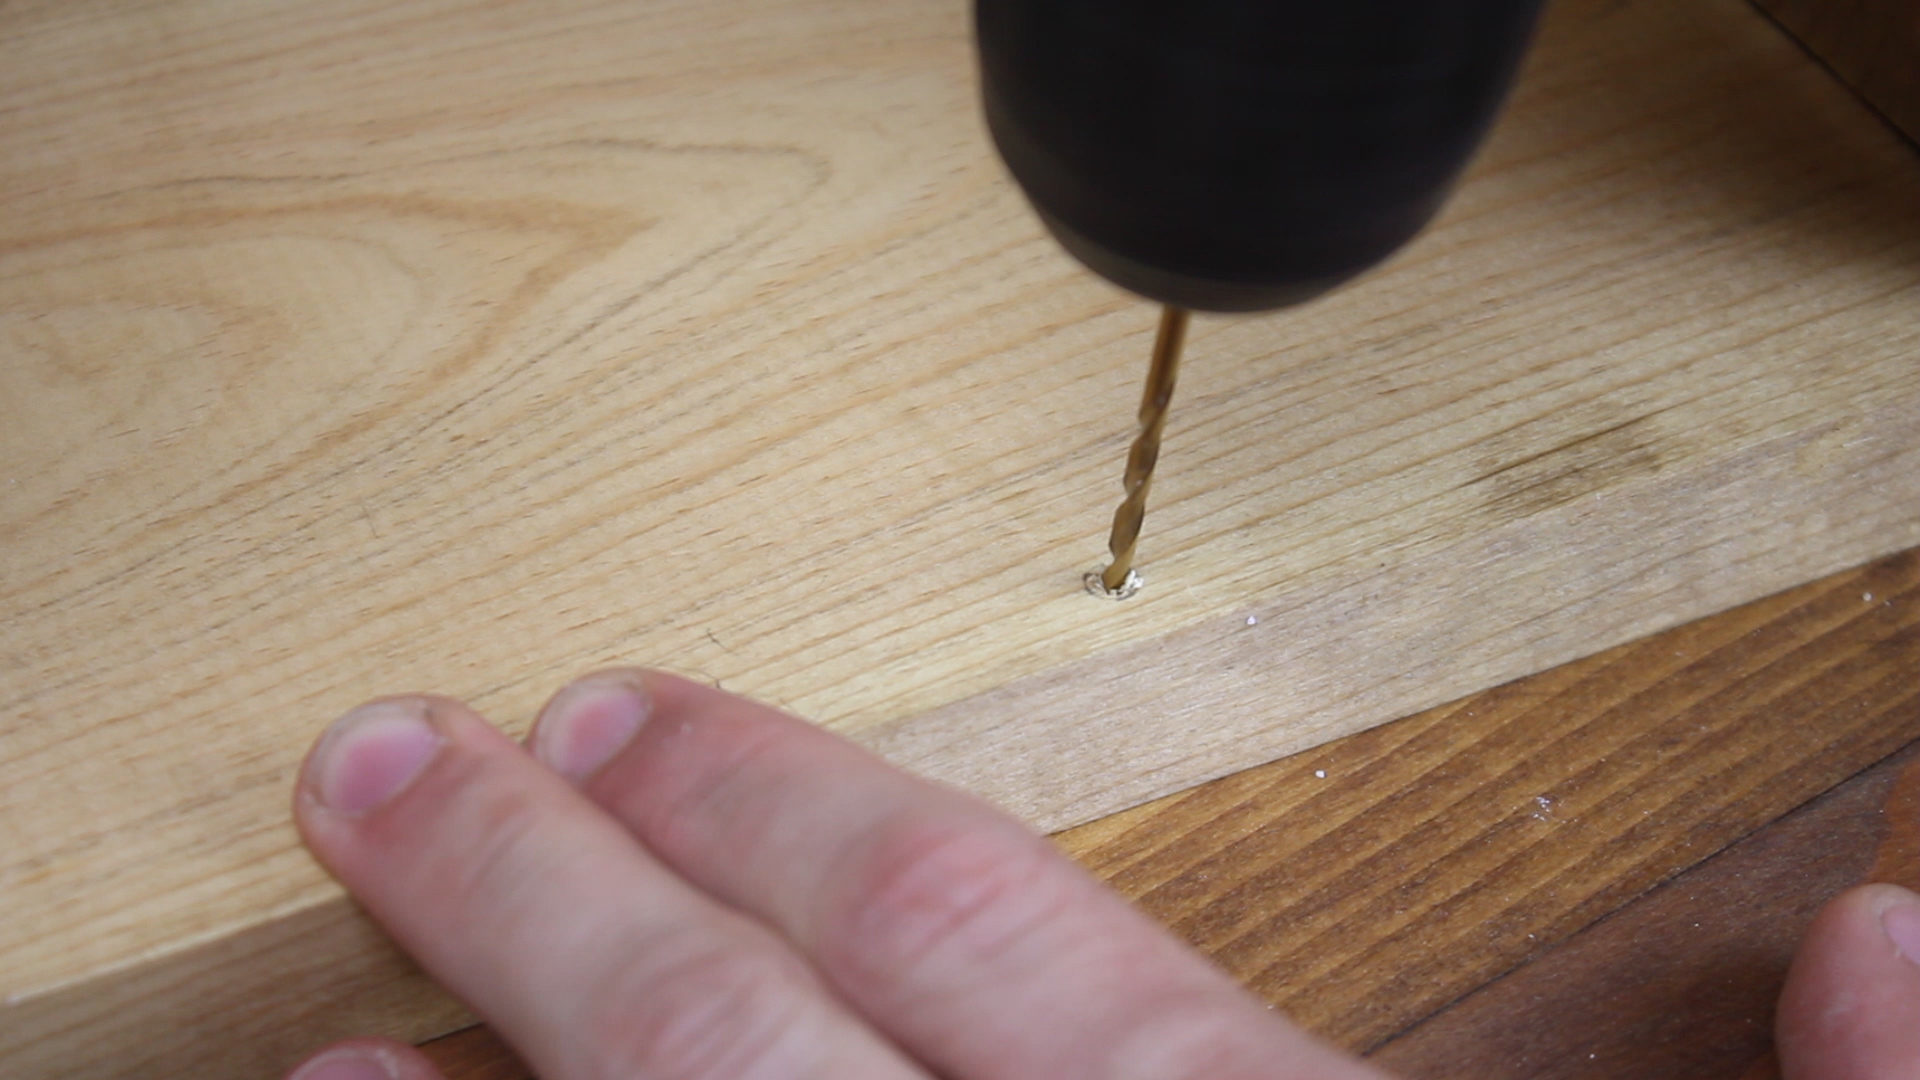
- Mark and measure out the spaces where your holes will go, using a level to make sure things...are level
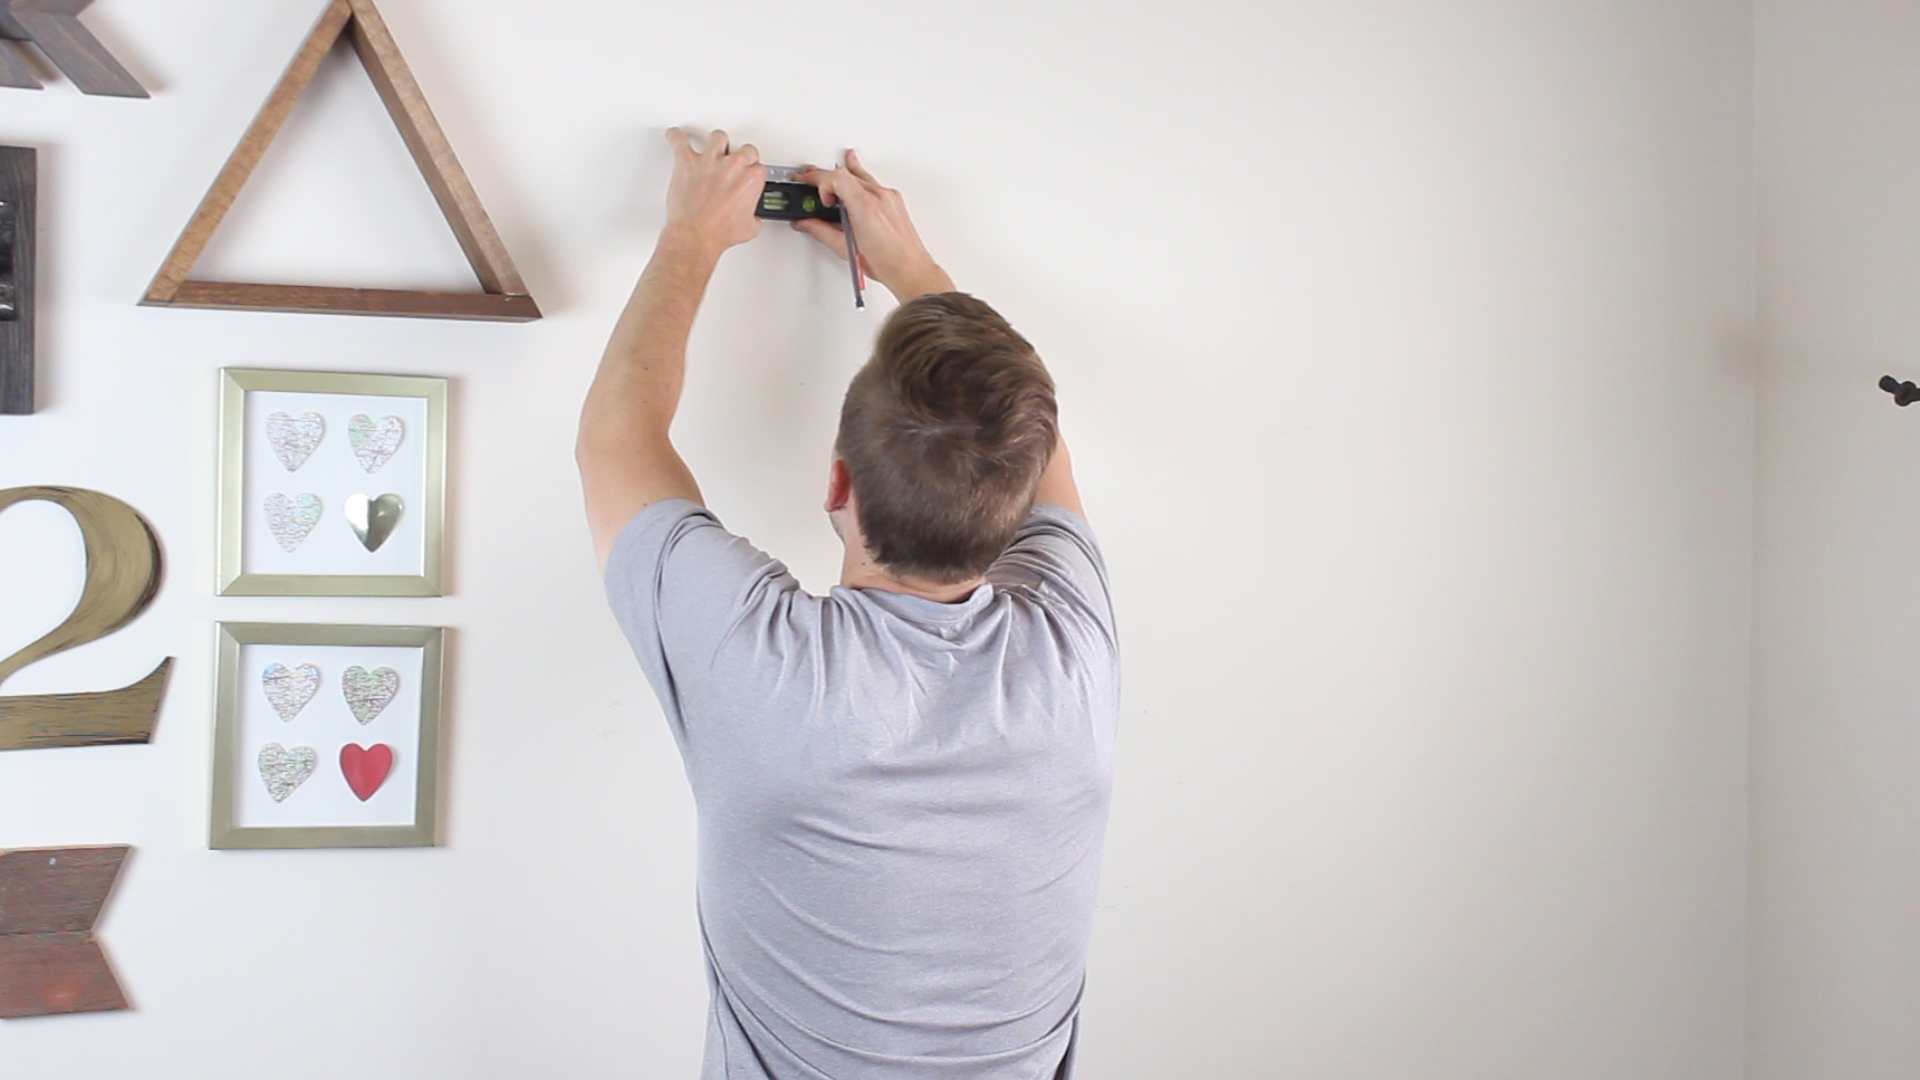
- Pre drill holes based on your screw size
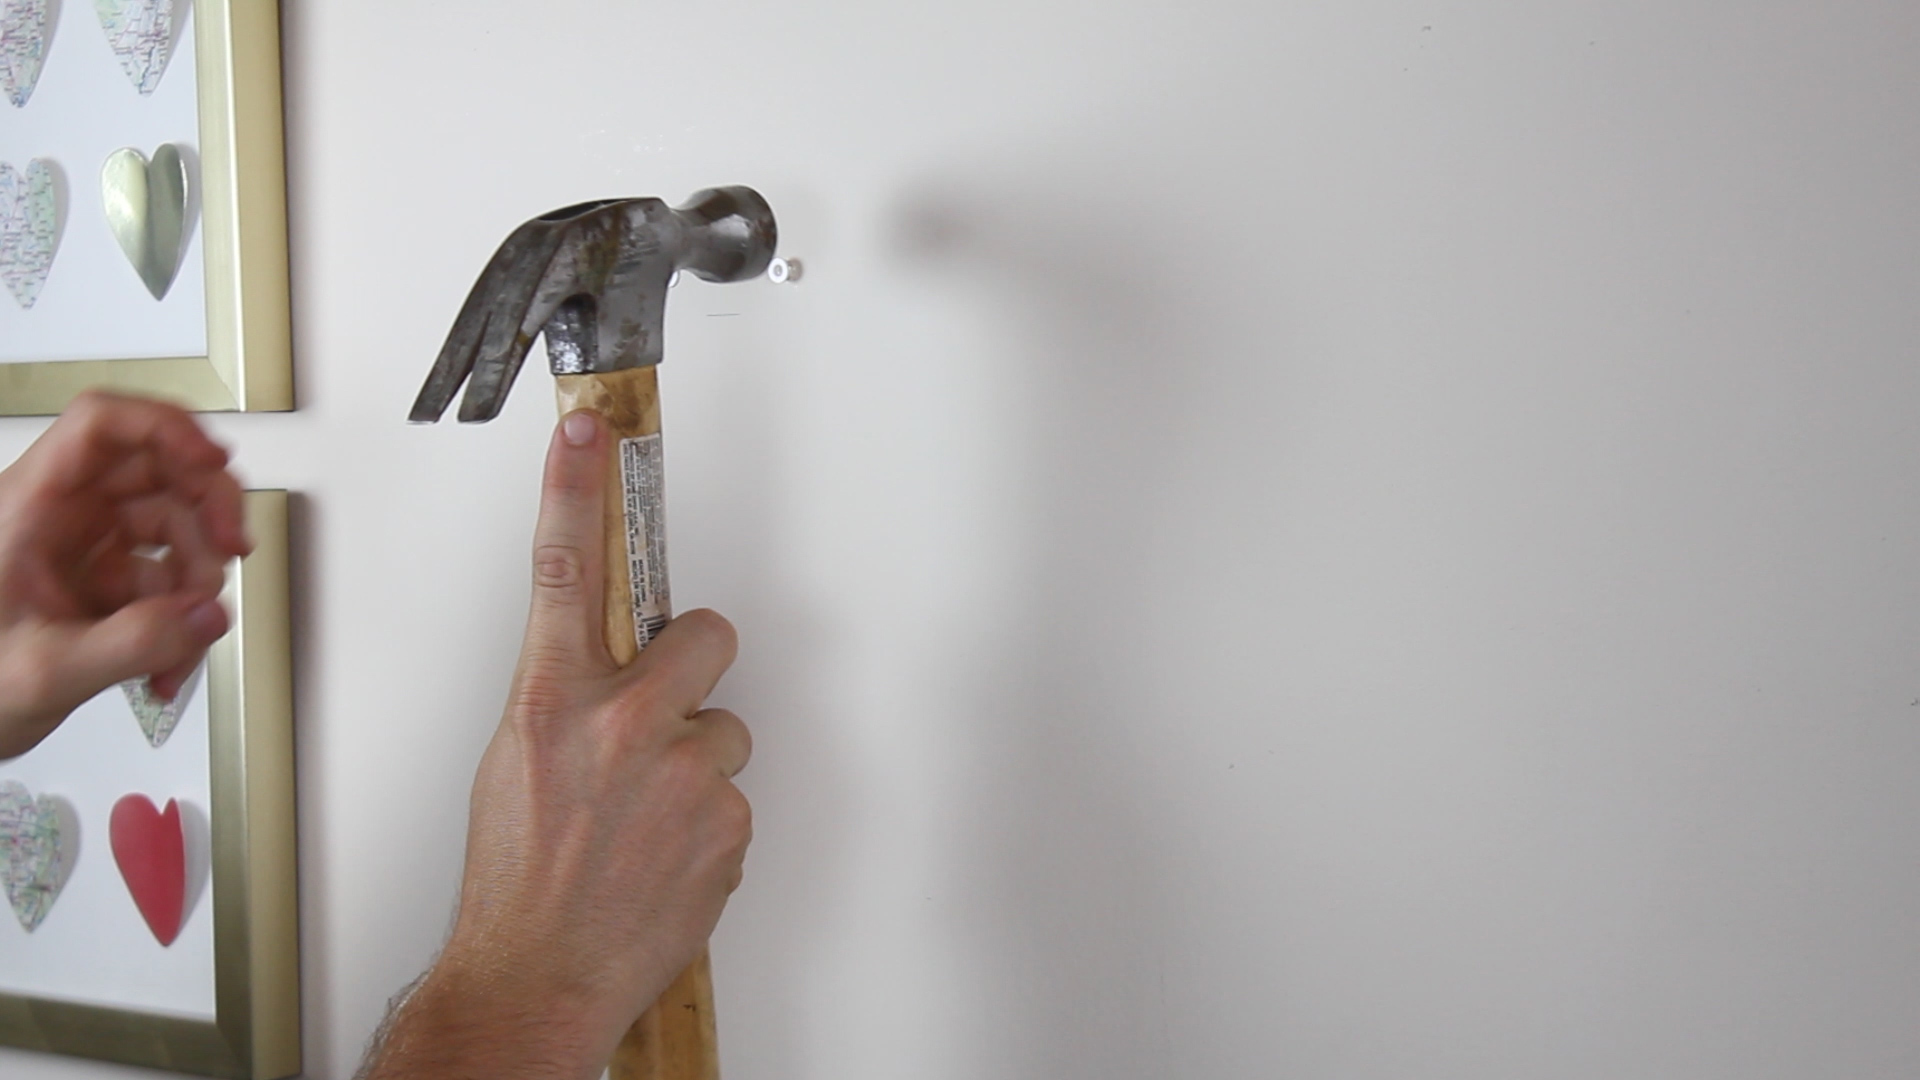
- Lightly hammer in your anchors
- Drill in and attach your angle brackets
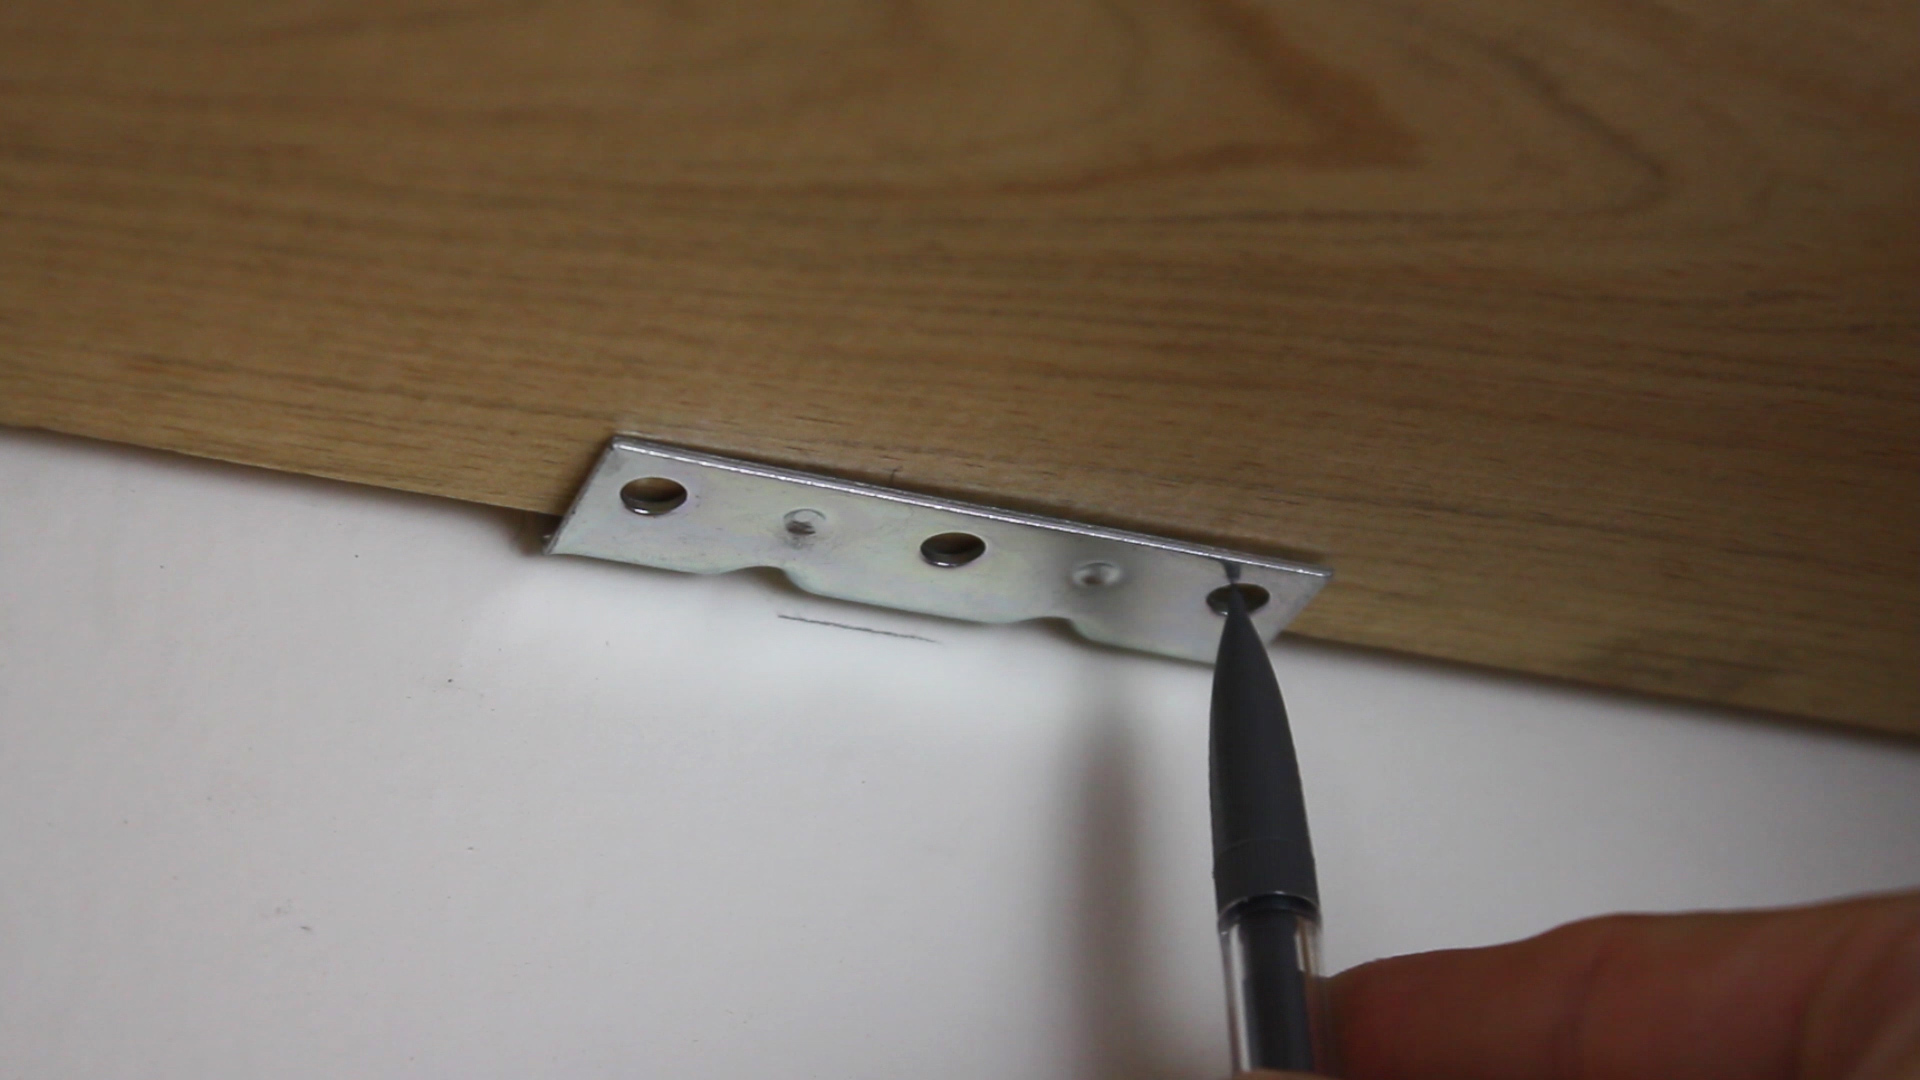
- Mark the location of where your shelves will attach to the brackets
- Pre drill holes for the screws
- Hang up and hand screw in the screws
And then they were hung! And I put them to use!

Thanks for reading! I hope you're inspired to go build your own. Remember, you don't need much to make it happen!
TOOLS
RYOBI 10 in. Sliding Compound Miter Saw
RYOBI Miter Saw Stand
RYOBI Table Saw
RYOBI Circular Saw
RYOBI Power Drill
RYOBI Cordless Orbital Sander (80 Grit)
12” Rafter Square
RYOBI Drill Bit Set
Level (24’)
Hammer
Hand Sanding Sponges (120 Grit)
FILM / EDIT EQUIPMENT:
Canon Rebel EOS T2i:
Canon EF-S 18-55mm f/3.5-5.6 IS II Lens
Rode Microphone
Voice Recording
Adobe Premiere (Editorial)
LIGHTING
Studio Lighting Equipment
I would be so grateful if you could please subscribe to my new Youtube Channel for future projects. I put out videos every two weeks.
Cheers!
Zach