Thanks for checking out the full article!
Please Subscribe to our Youtube Channel by clicking here.
My full video of the build is below, followed by detailed instructions with tools, materials, and measurements!
MATERIALS
8 x Wine Barrel Staves (Similar width)
~30 x Wood Screws

Above is a picture of the 8 x Oak Wine Barrel Staves I have. They have a ton of character and are so awesome and I was so stoked to make something with them. The thing to note is that, if possible, you should get staves that are of similar width and thickness to make the project easier.
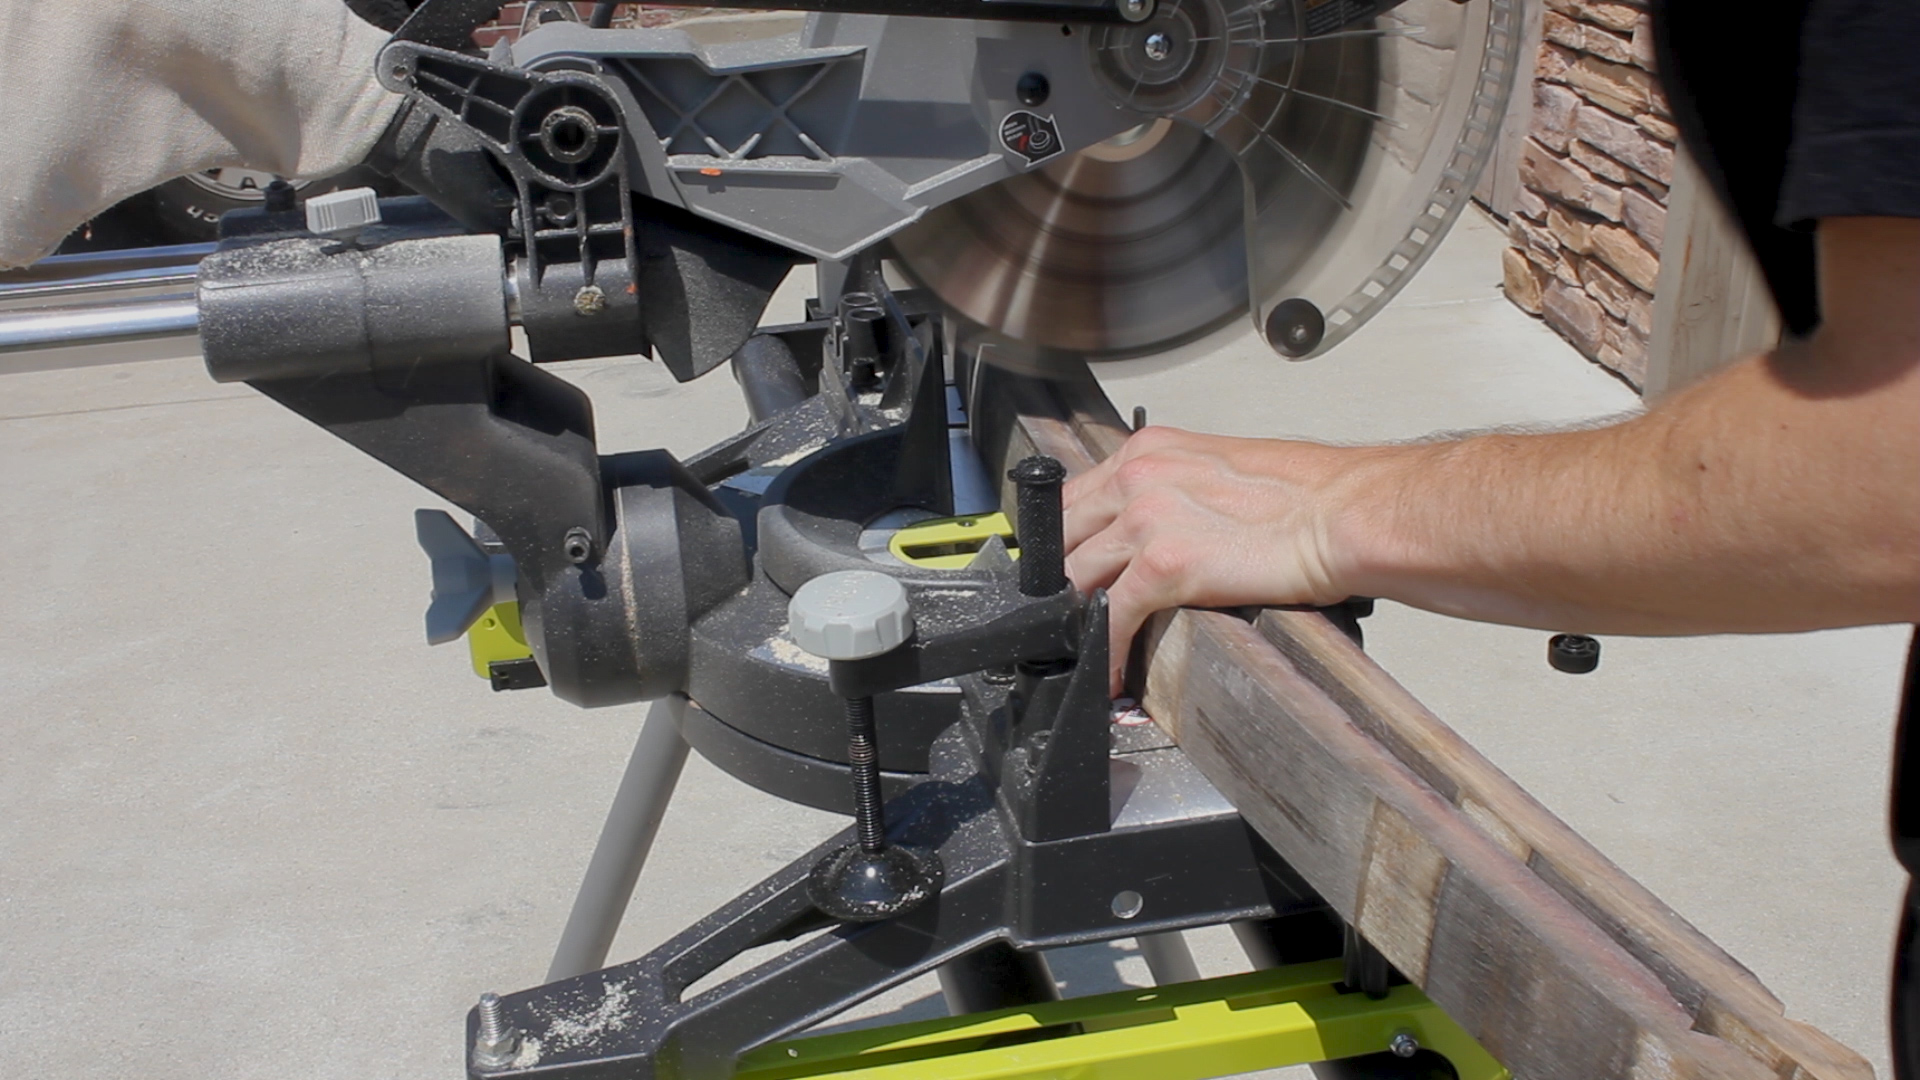
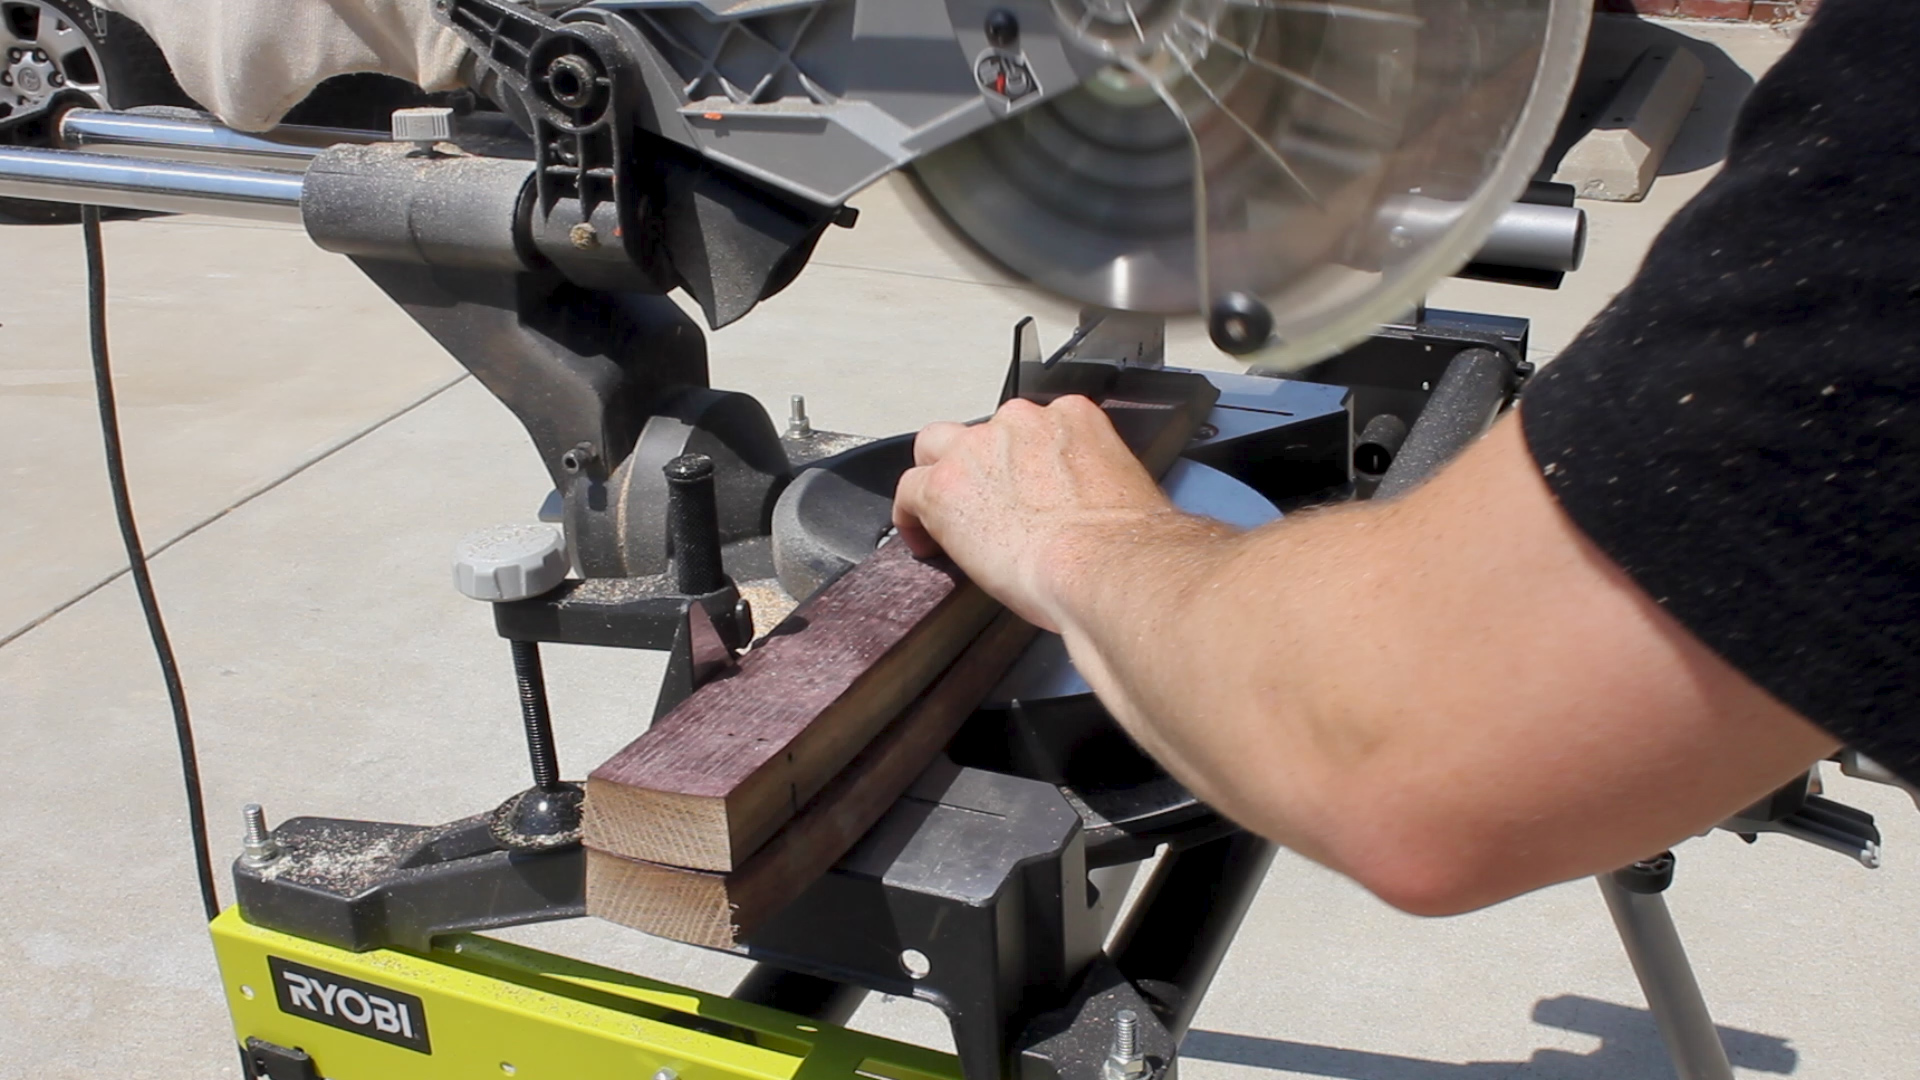
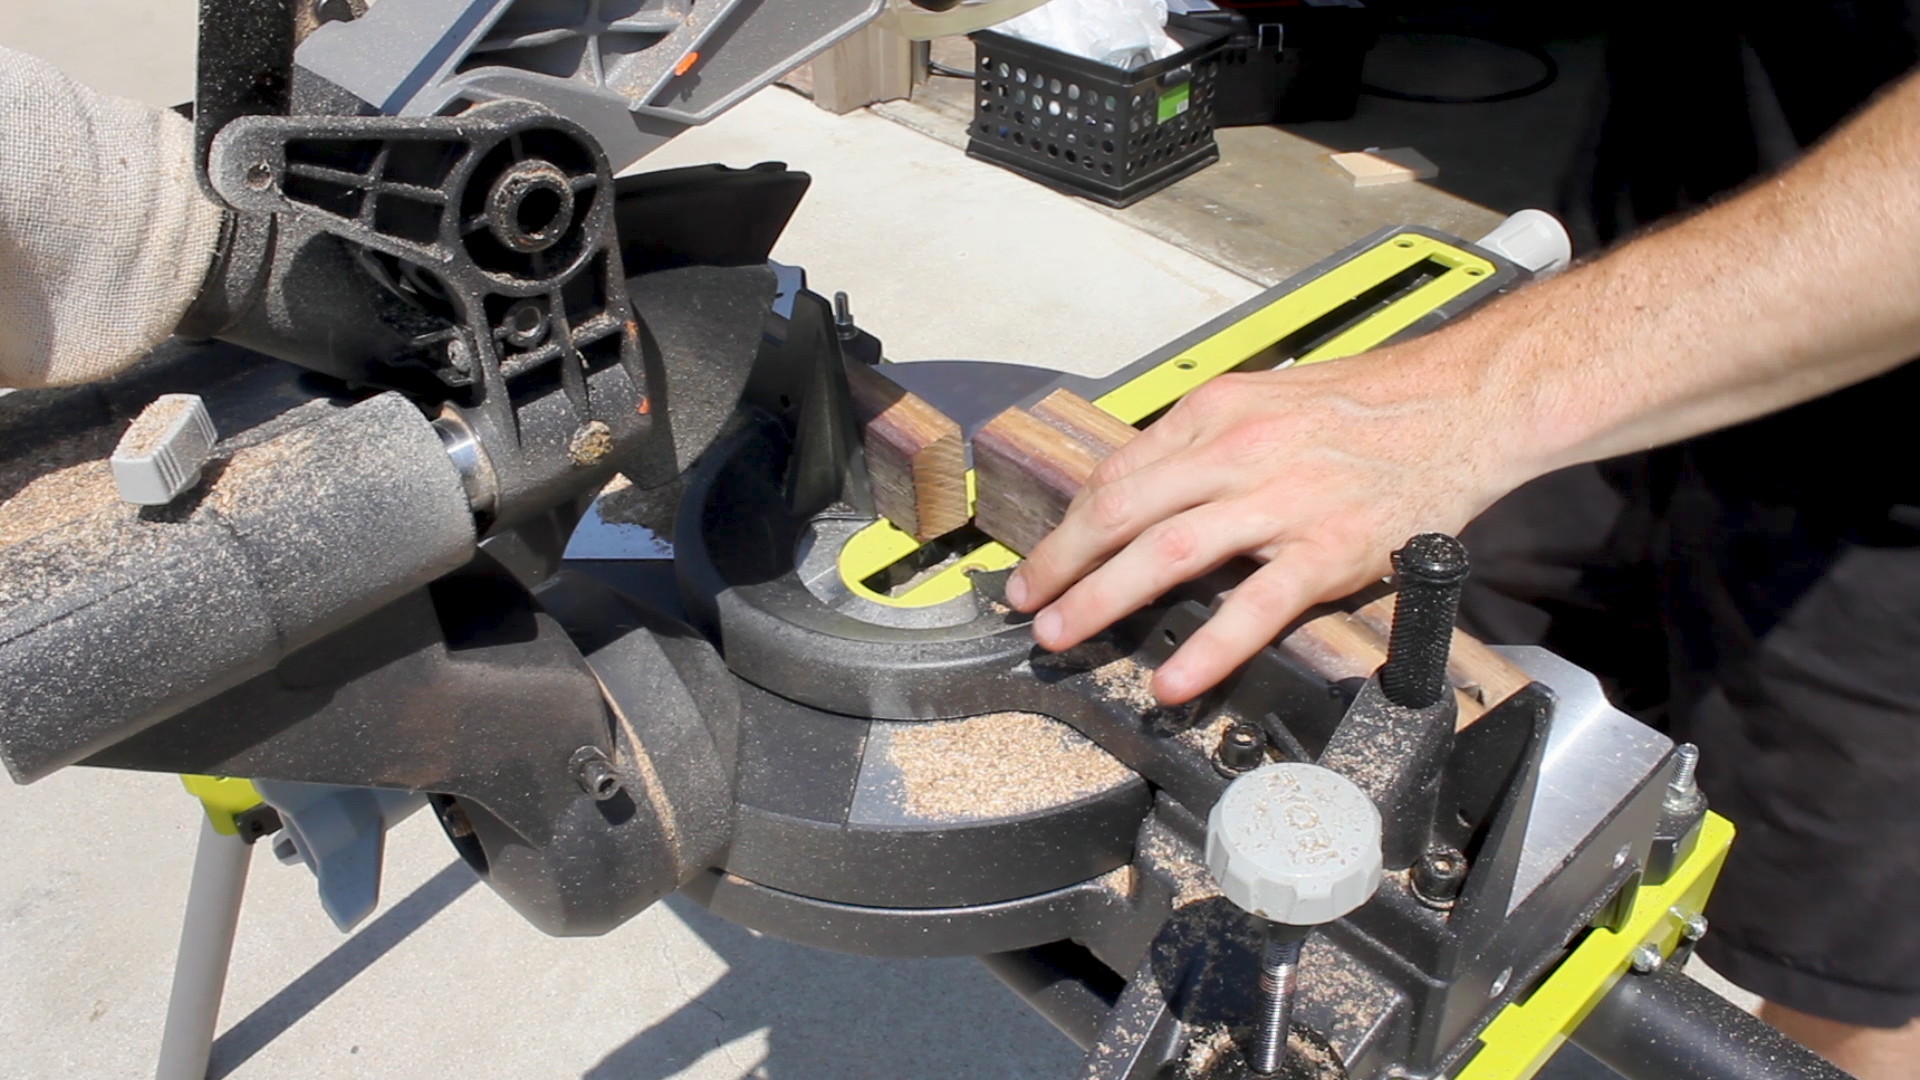
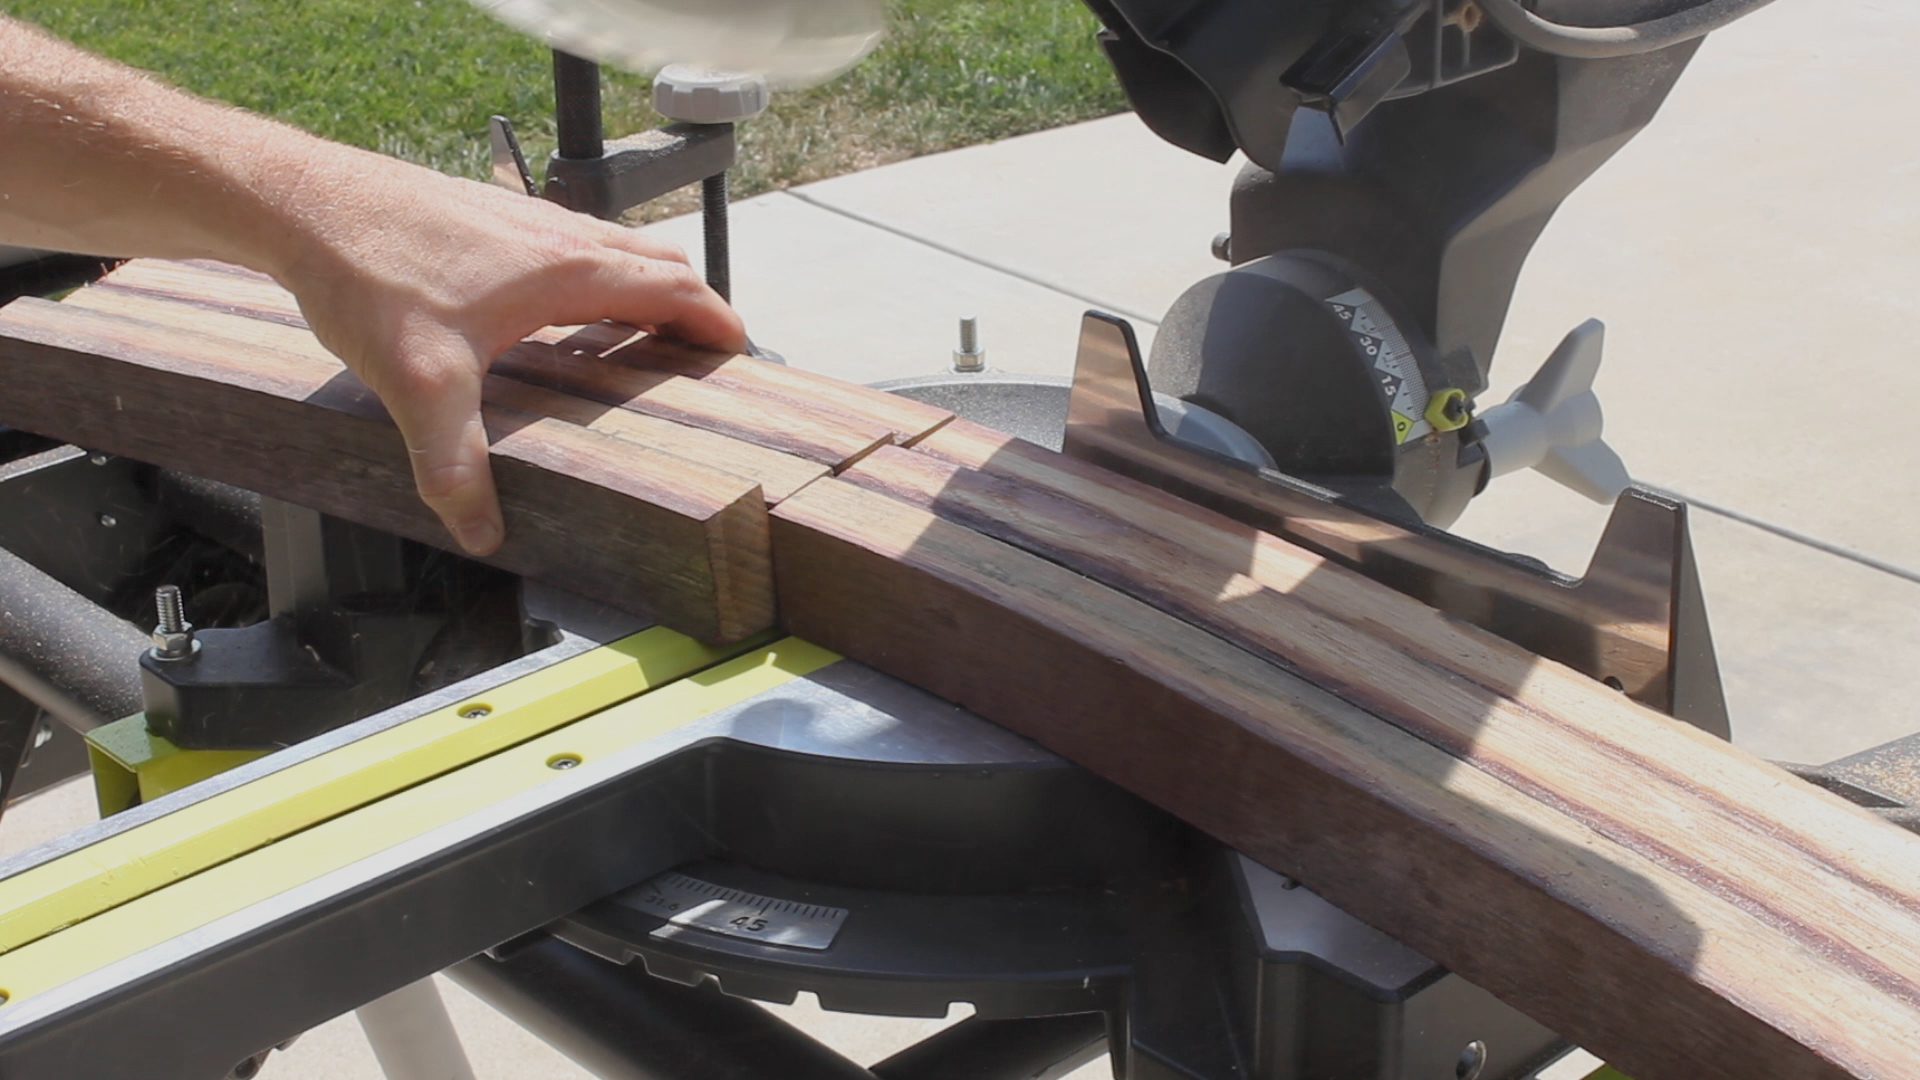
I had seen a cool / simple design for a barrel stool and I did some math in my head and figured out that I had enough material to make it (this was just based on a picture - no designs or measurements, so I just went with what I thought would work and made my stool the size that made sense with the material I had). So I made my cuts!
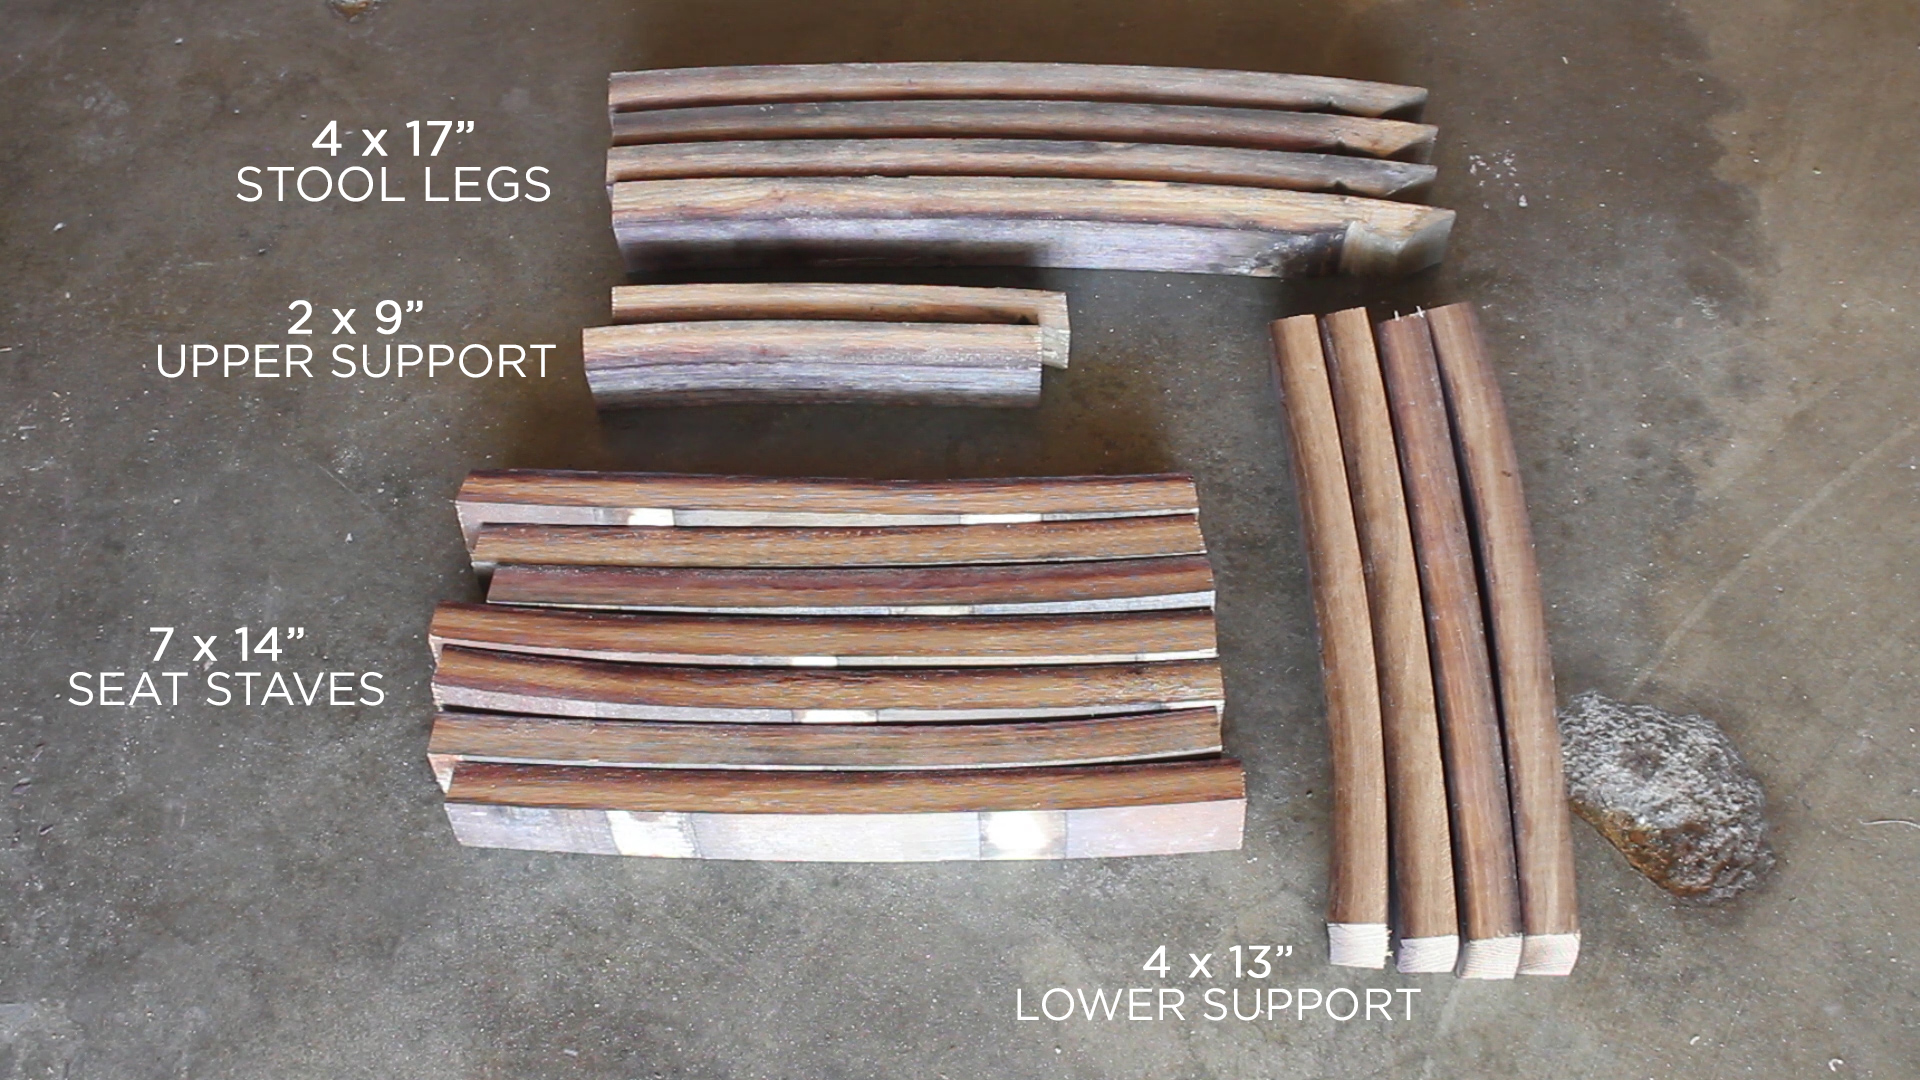
Here are my cuts with rough measurements which I cut on the spot based on my own mental design:
- 4 x Legs (about 17" each) made from 2 x Staves
- 2 x Upper Supports (about 8-9") made from half of 1 x Stave
- 4 x Lower Supports (about 14") made from 2 x Staves
- 7 x Seat Staves (about 14") made from 3.5 x Staves
Now it is Assembly Time!
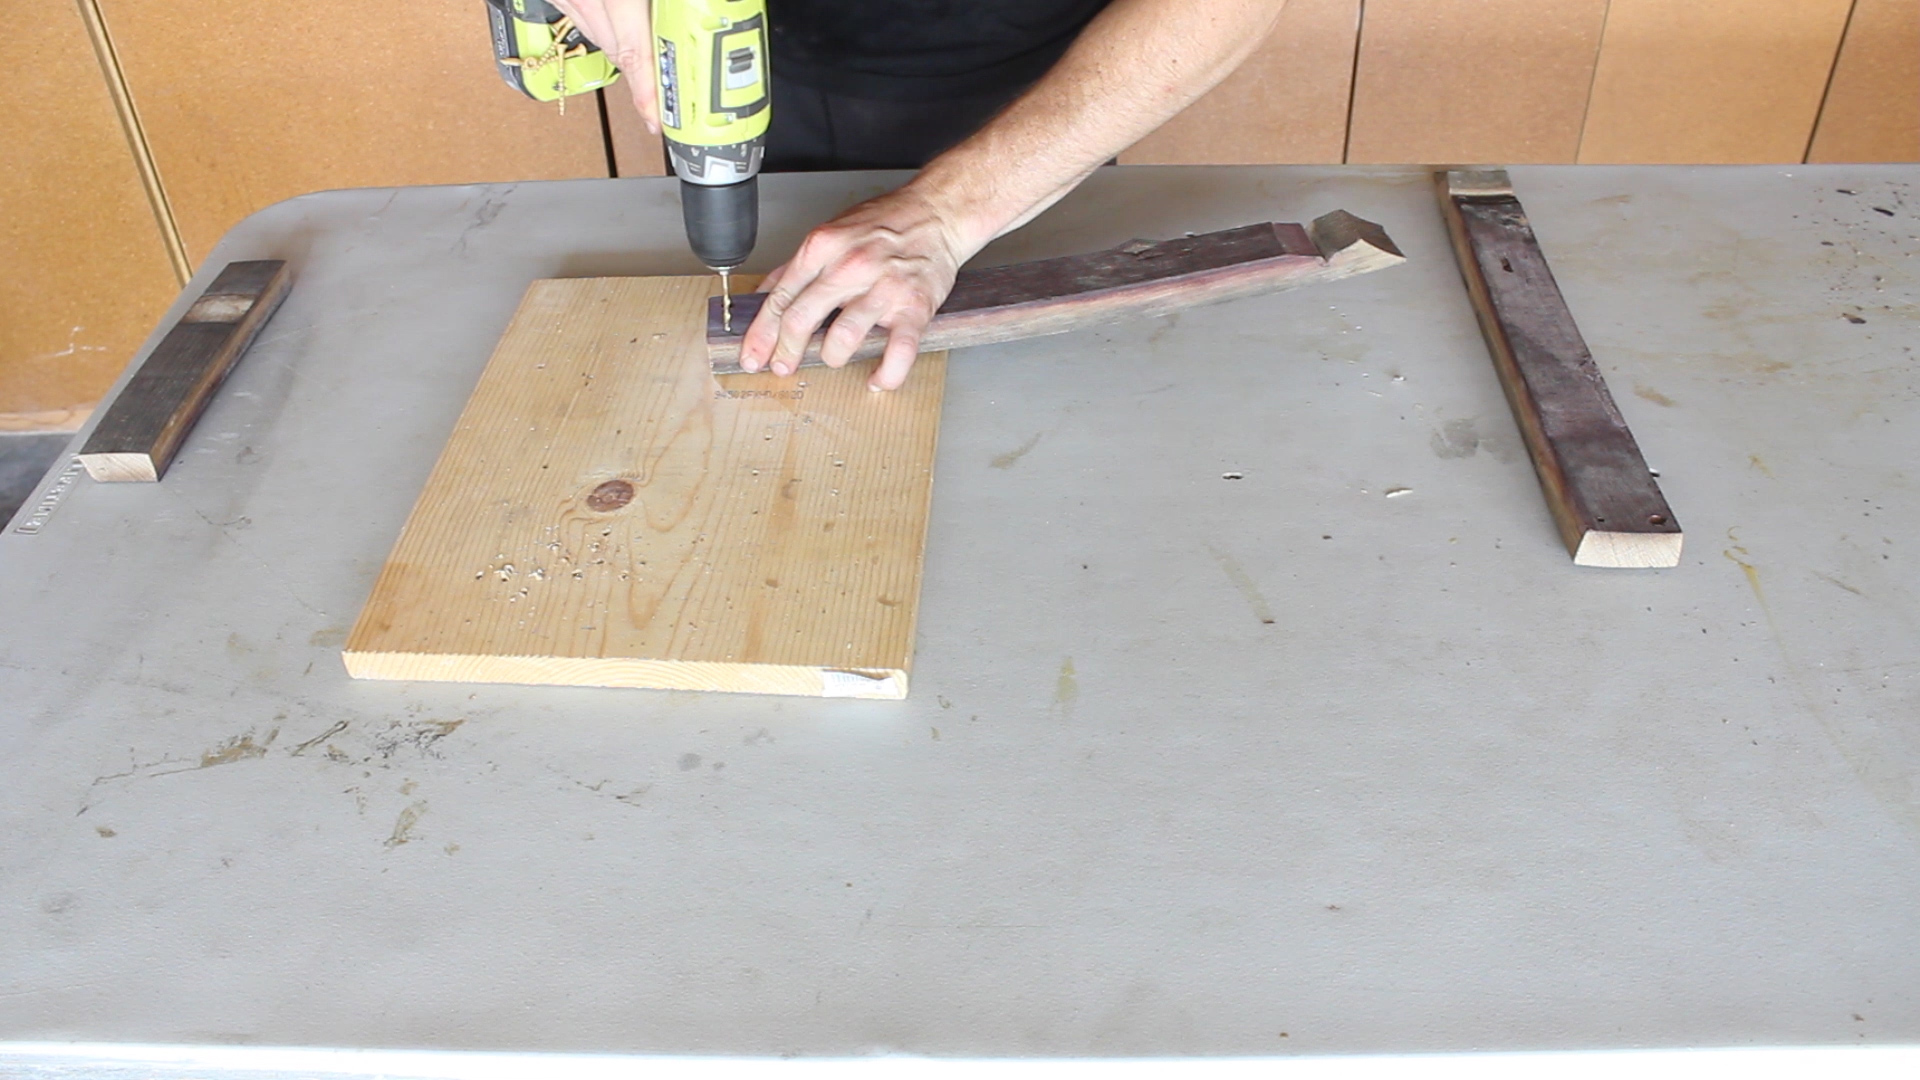
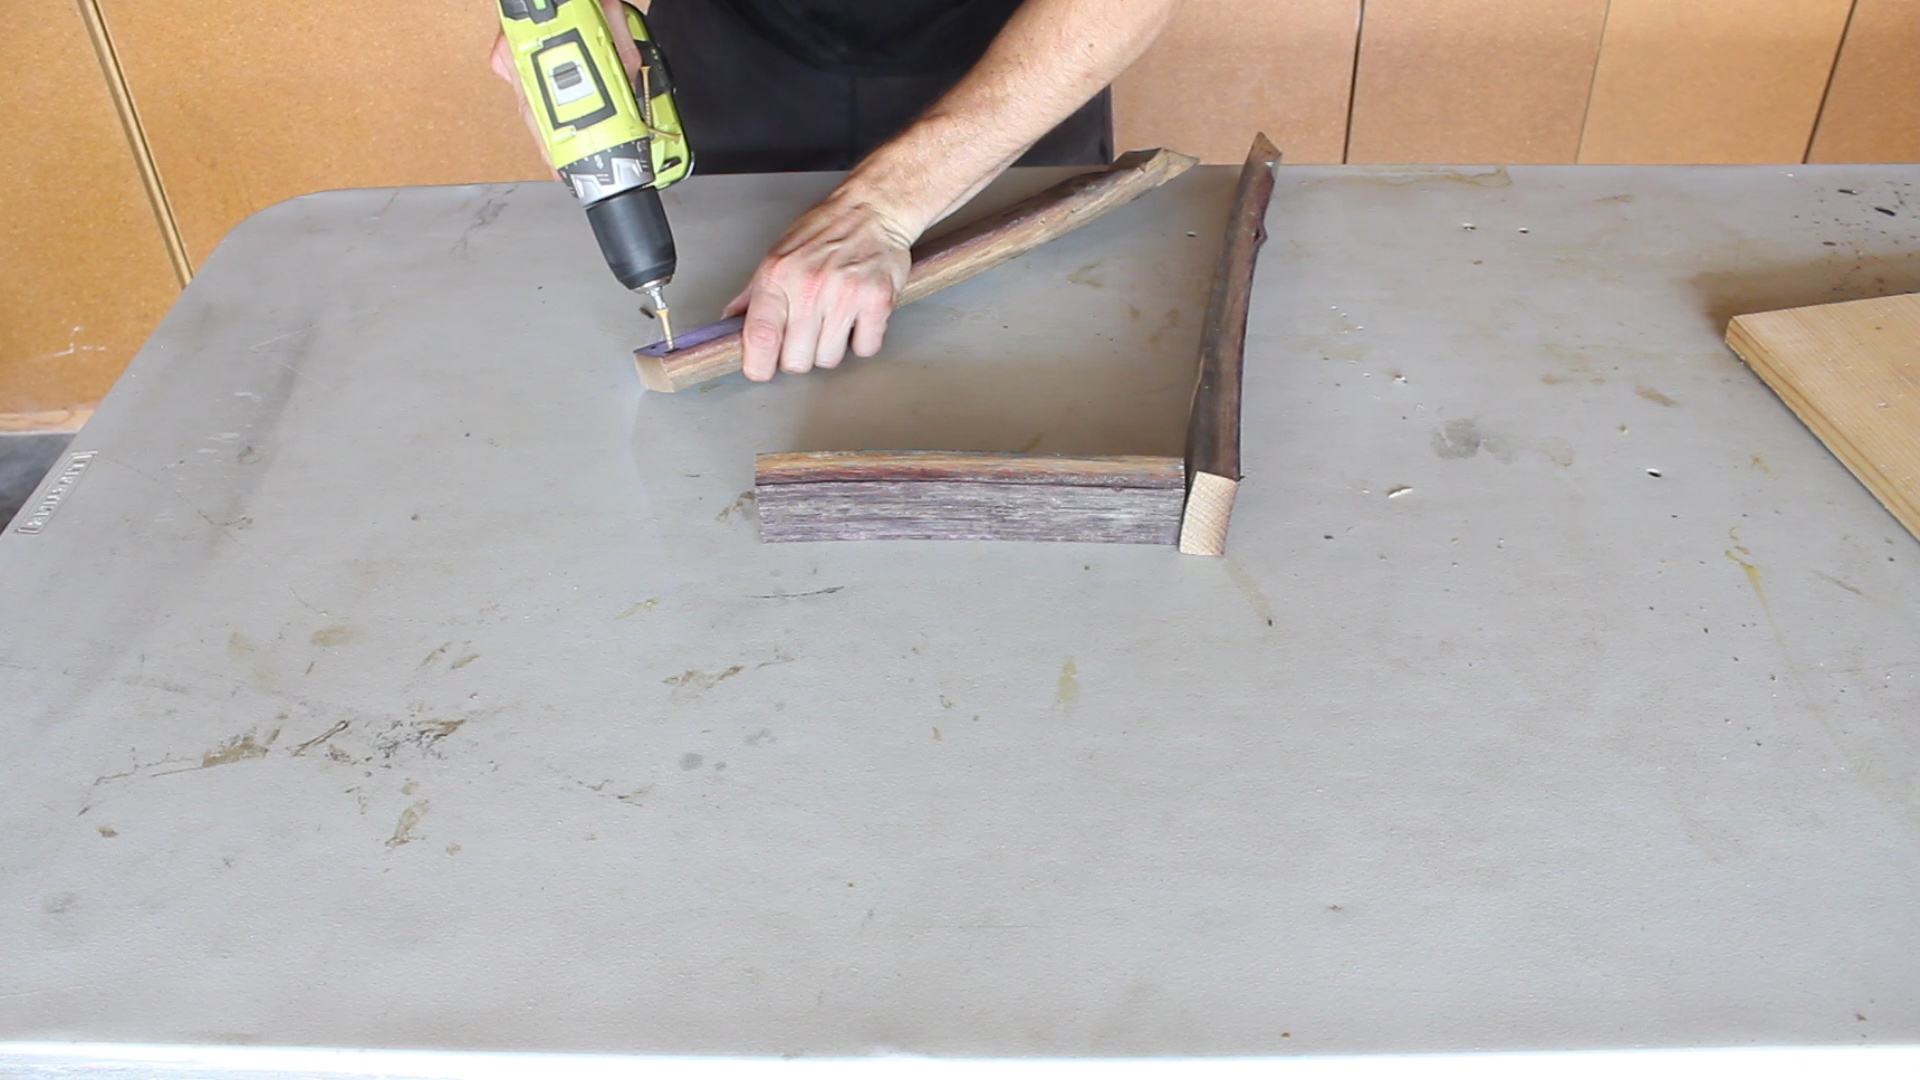
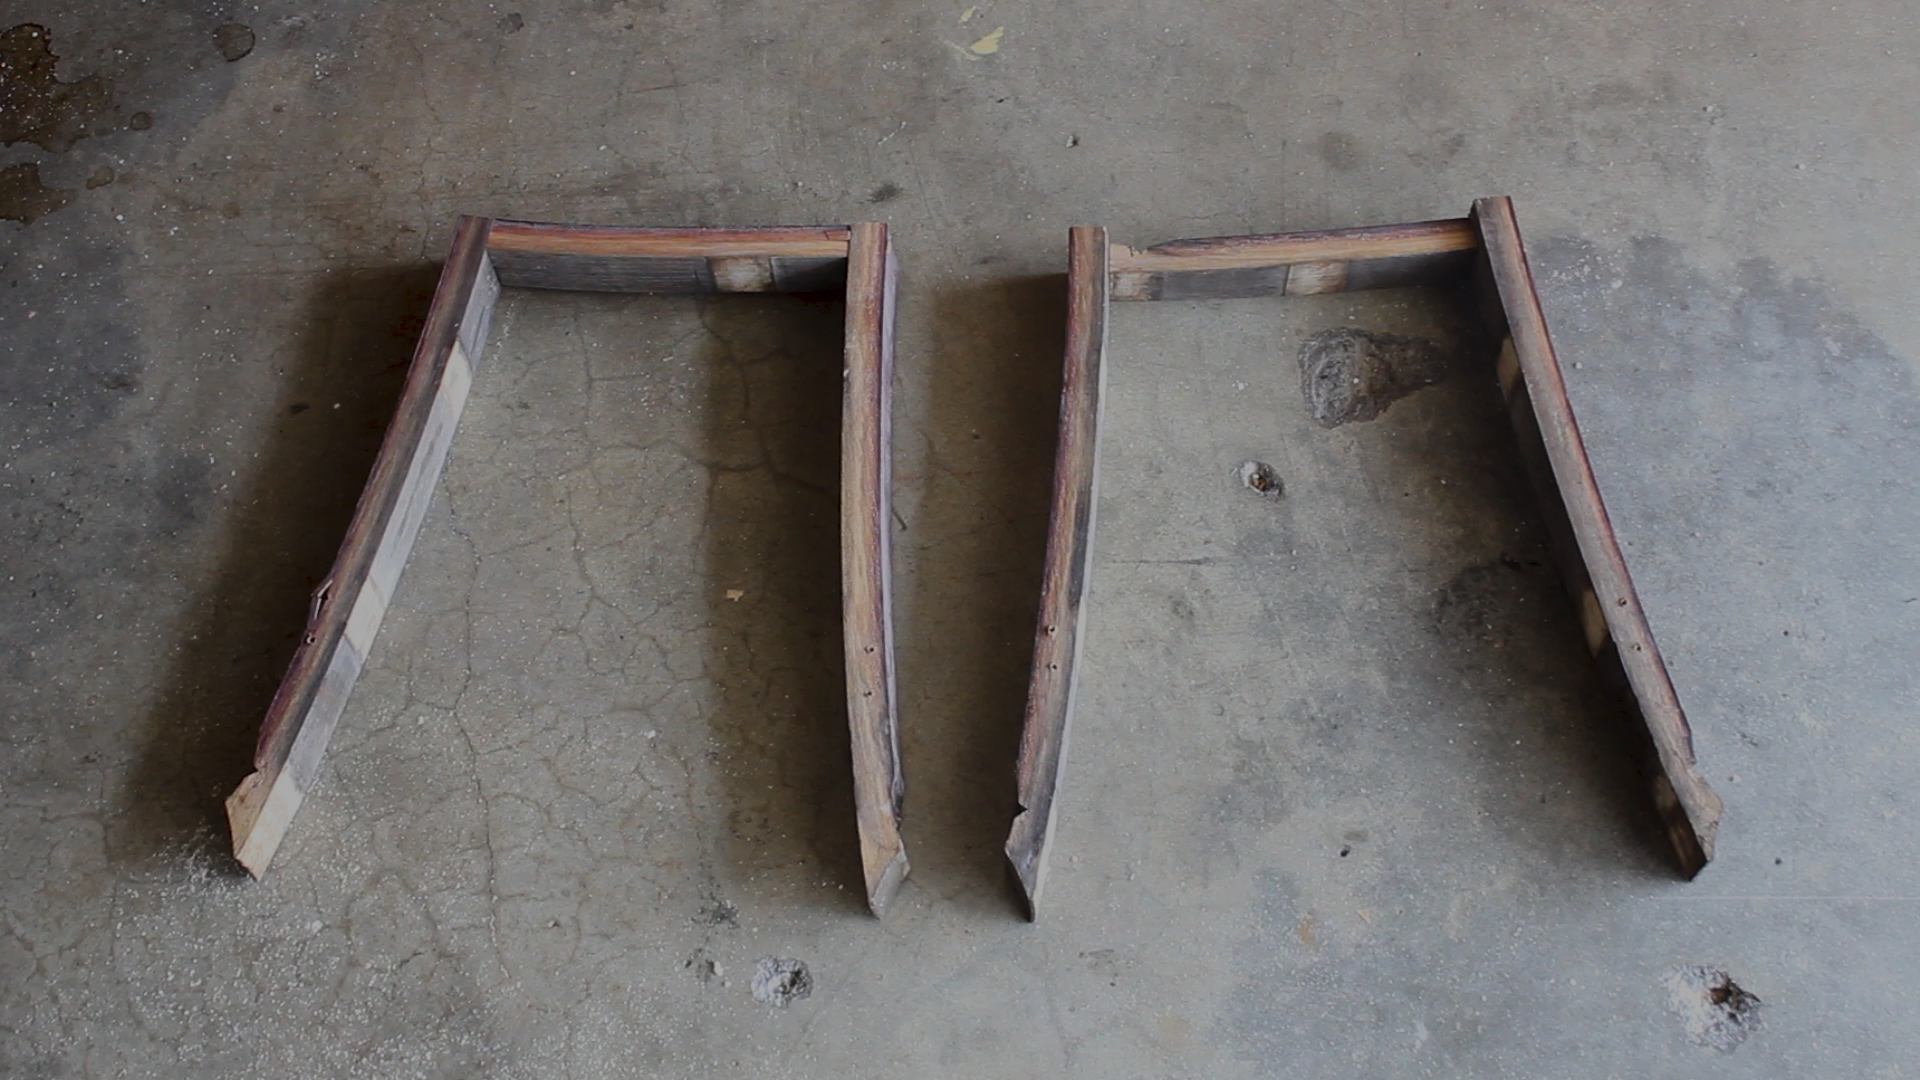
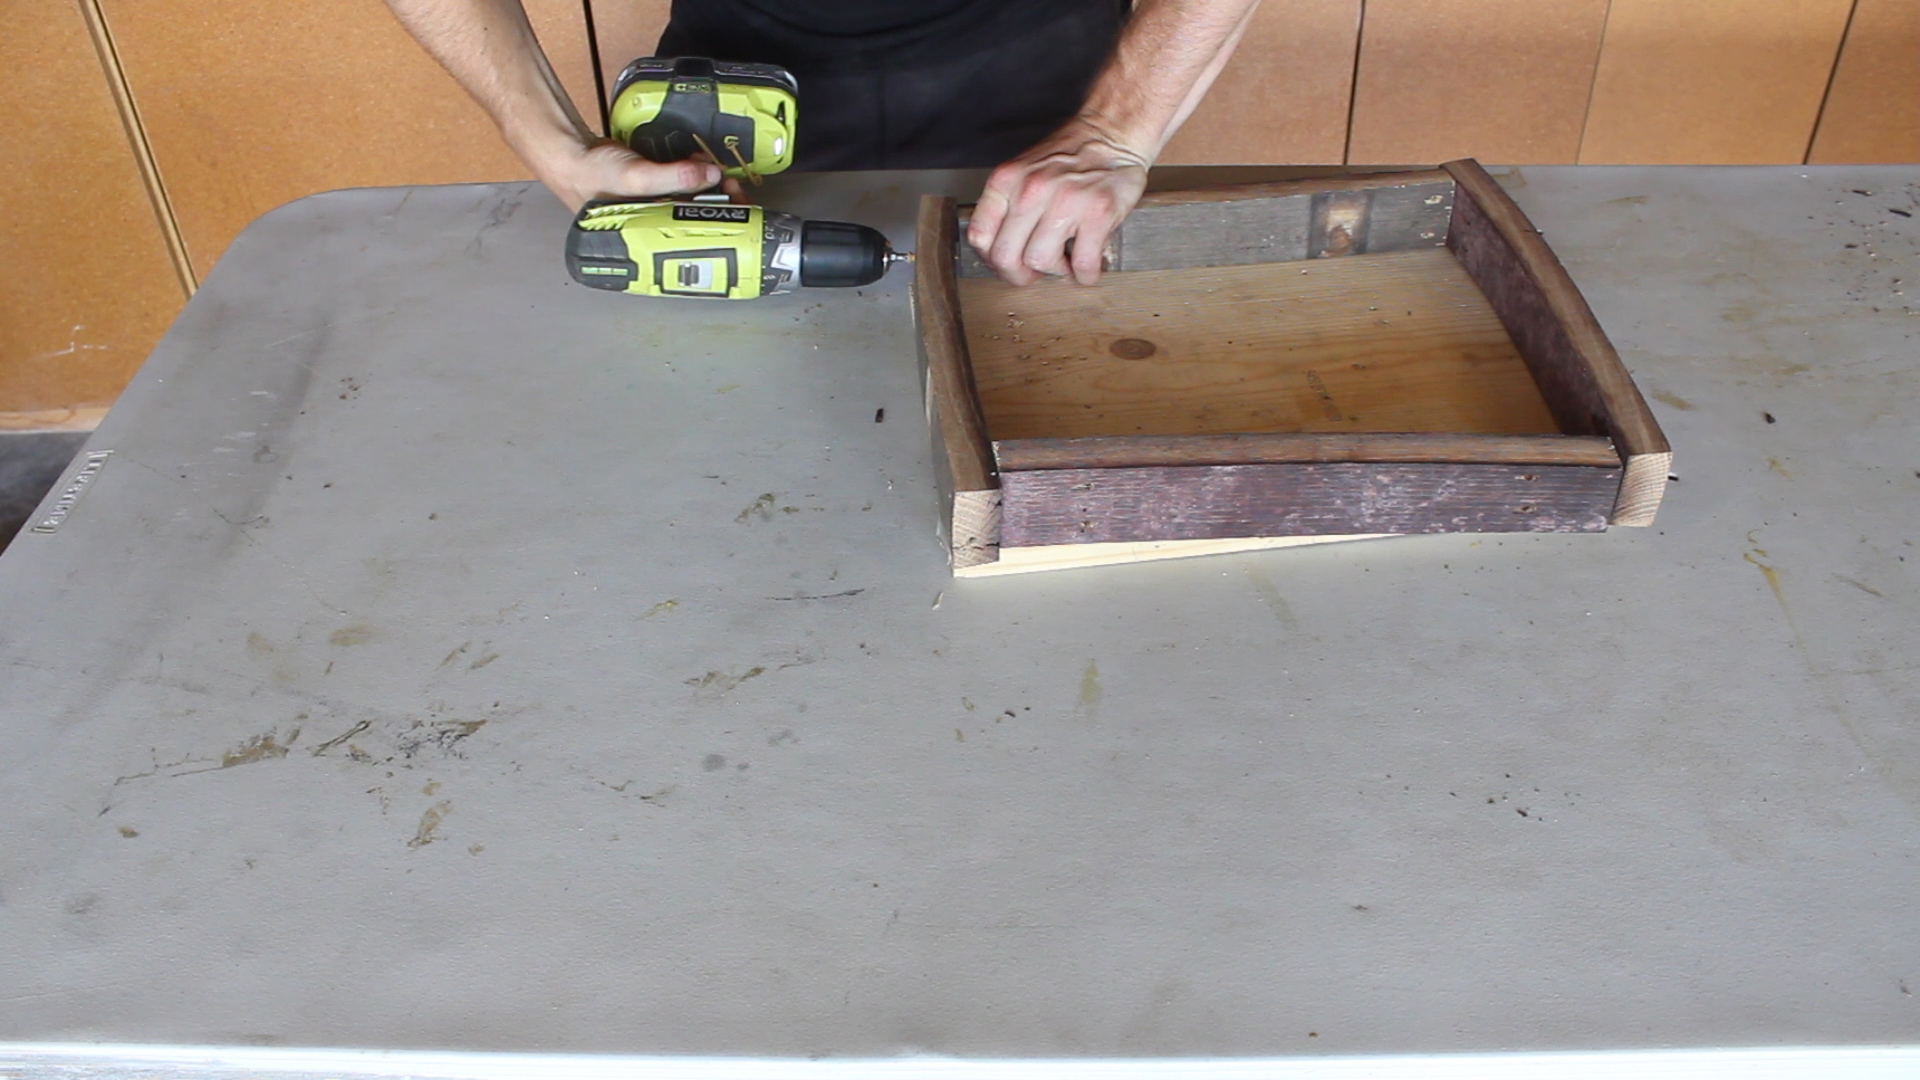
Note - I pre drilled all of my holes before screwing in screws to avoid the wood splitting. It's old - didn't want to risk it. I started by making my to legs pieces using one upper support and two legs for each piece. The last picture shows the final design.

Assembly Part 2.
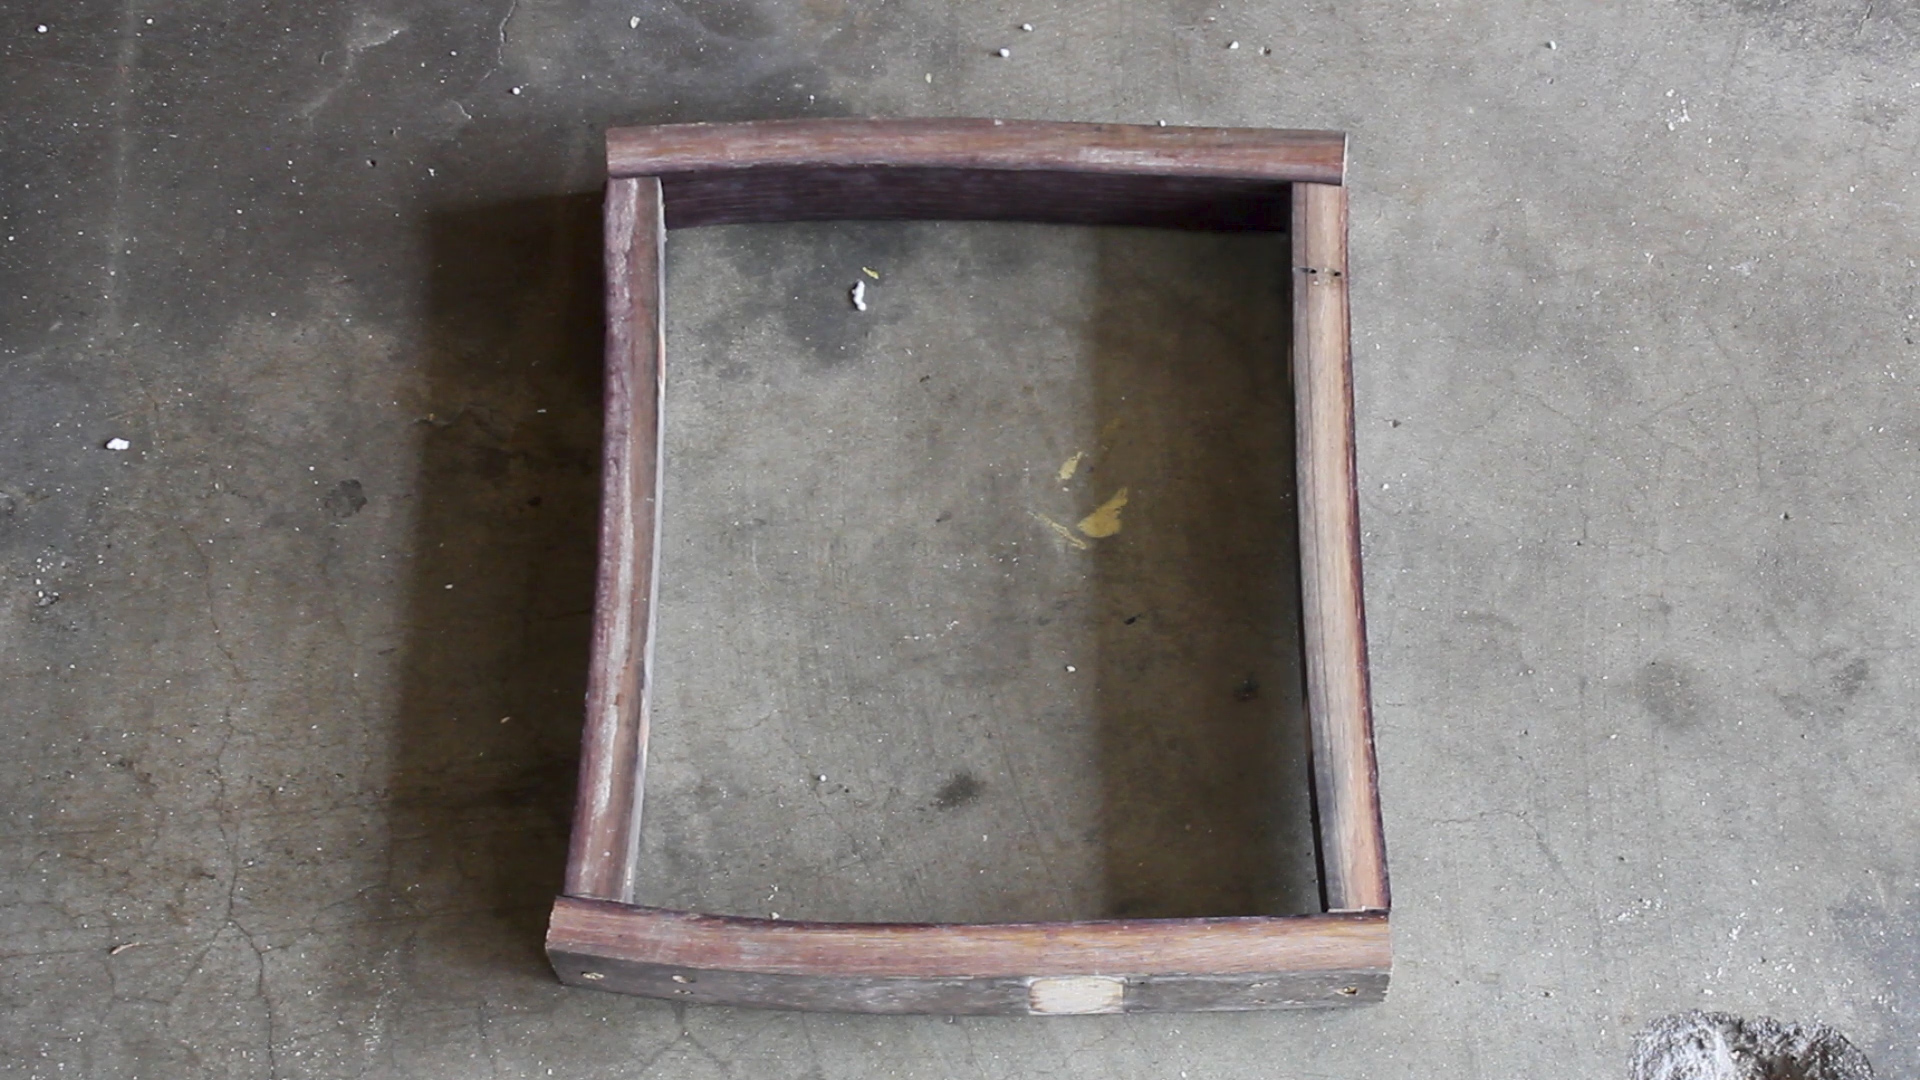
I took my four lower supports and assembled them. Two pieces were turned out, two were turned in - this was to make the bottom supports fit around the legs - see the next step for clarity.
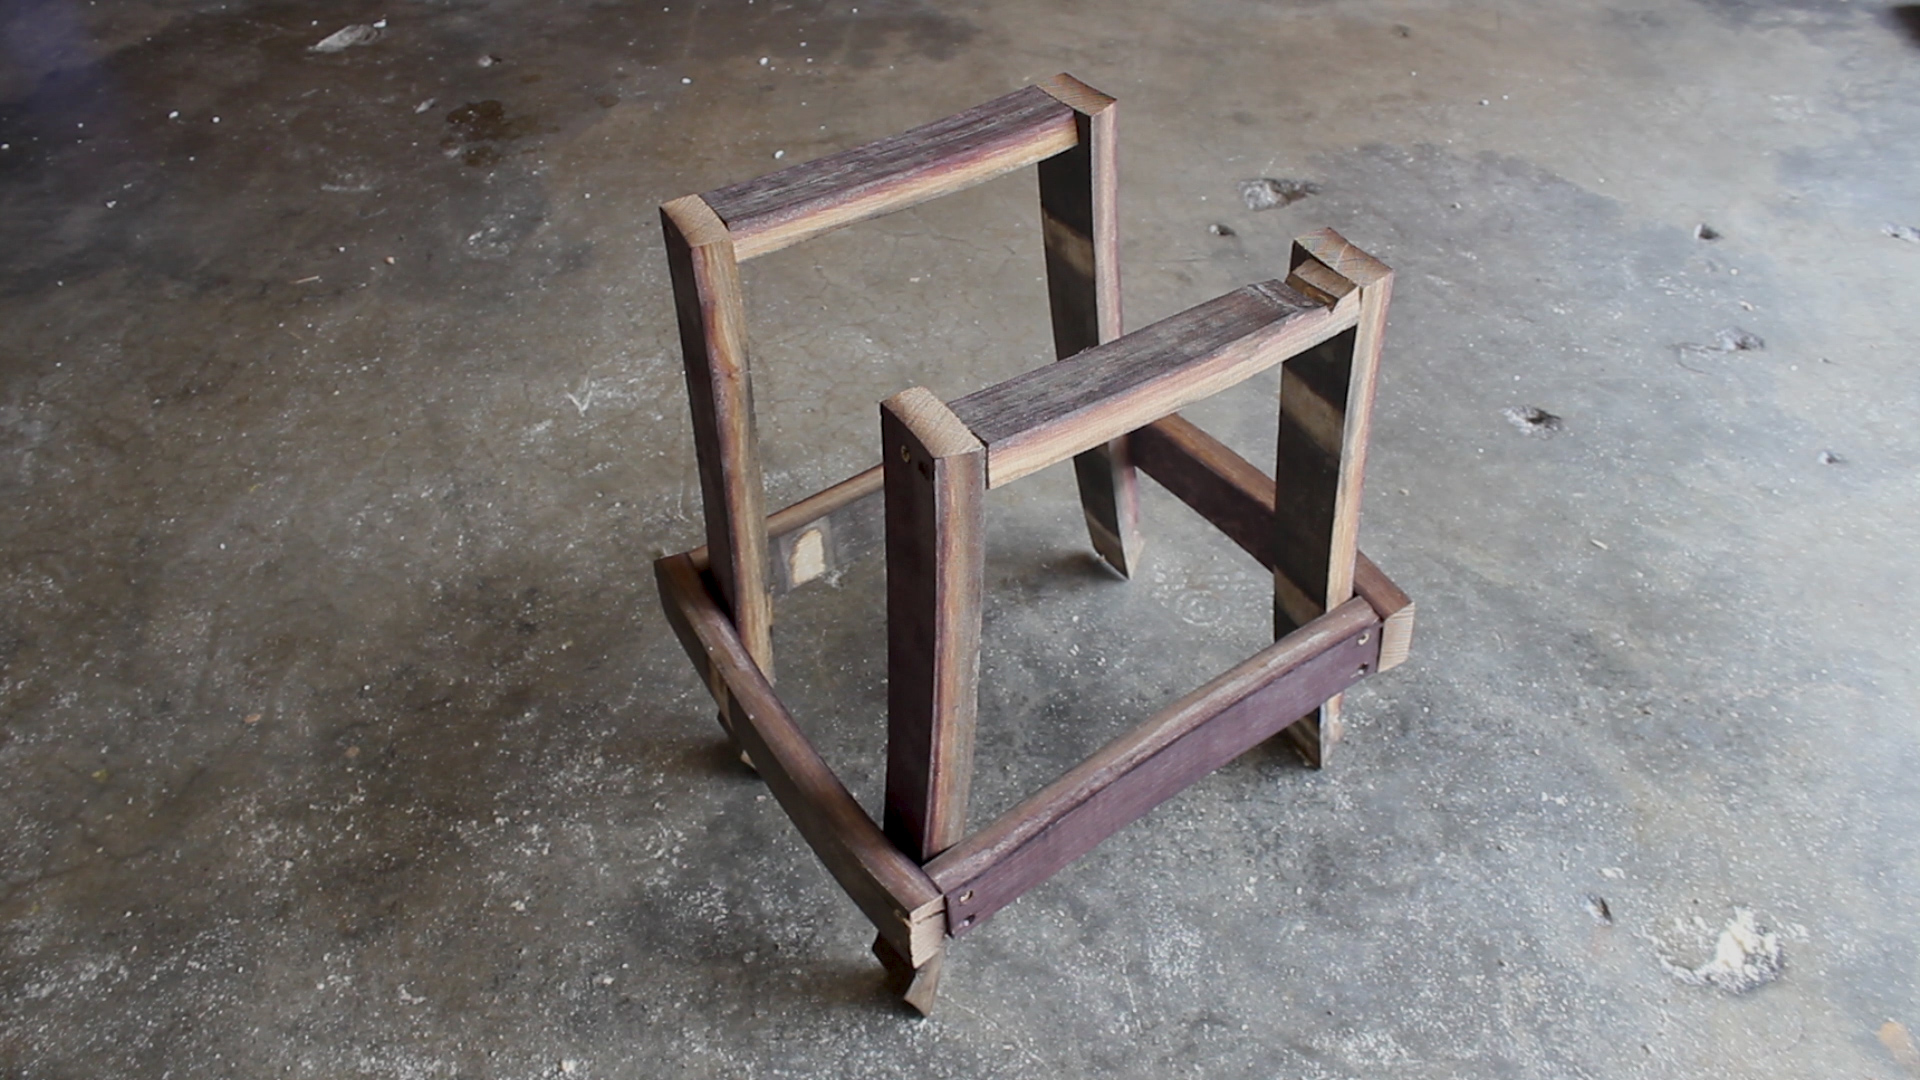
Assembly Part 3.
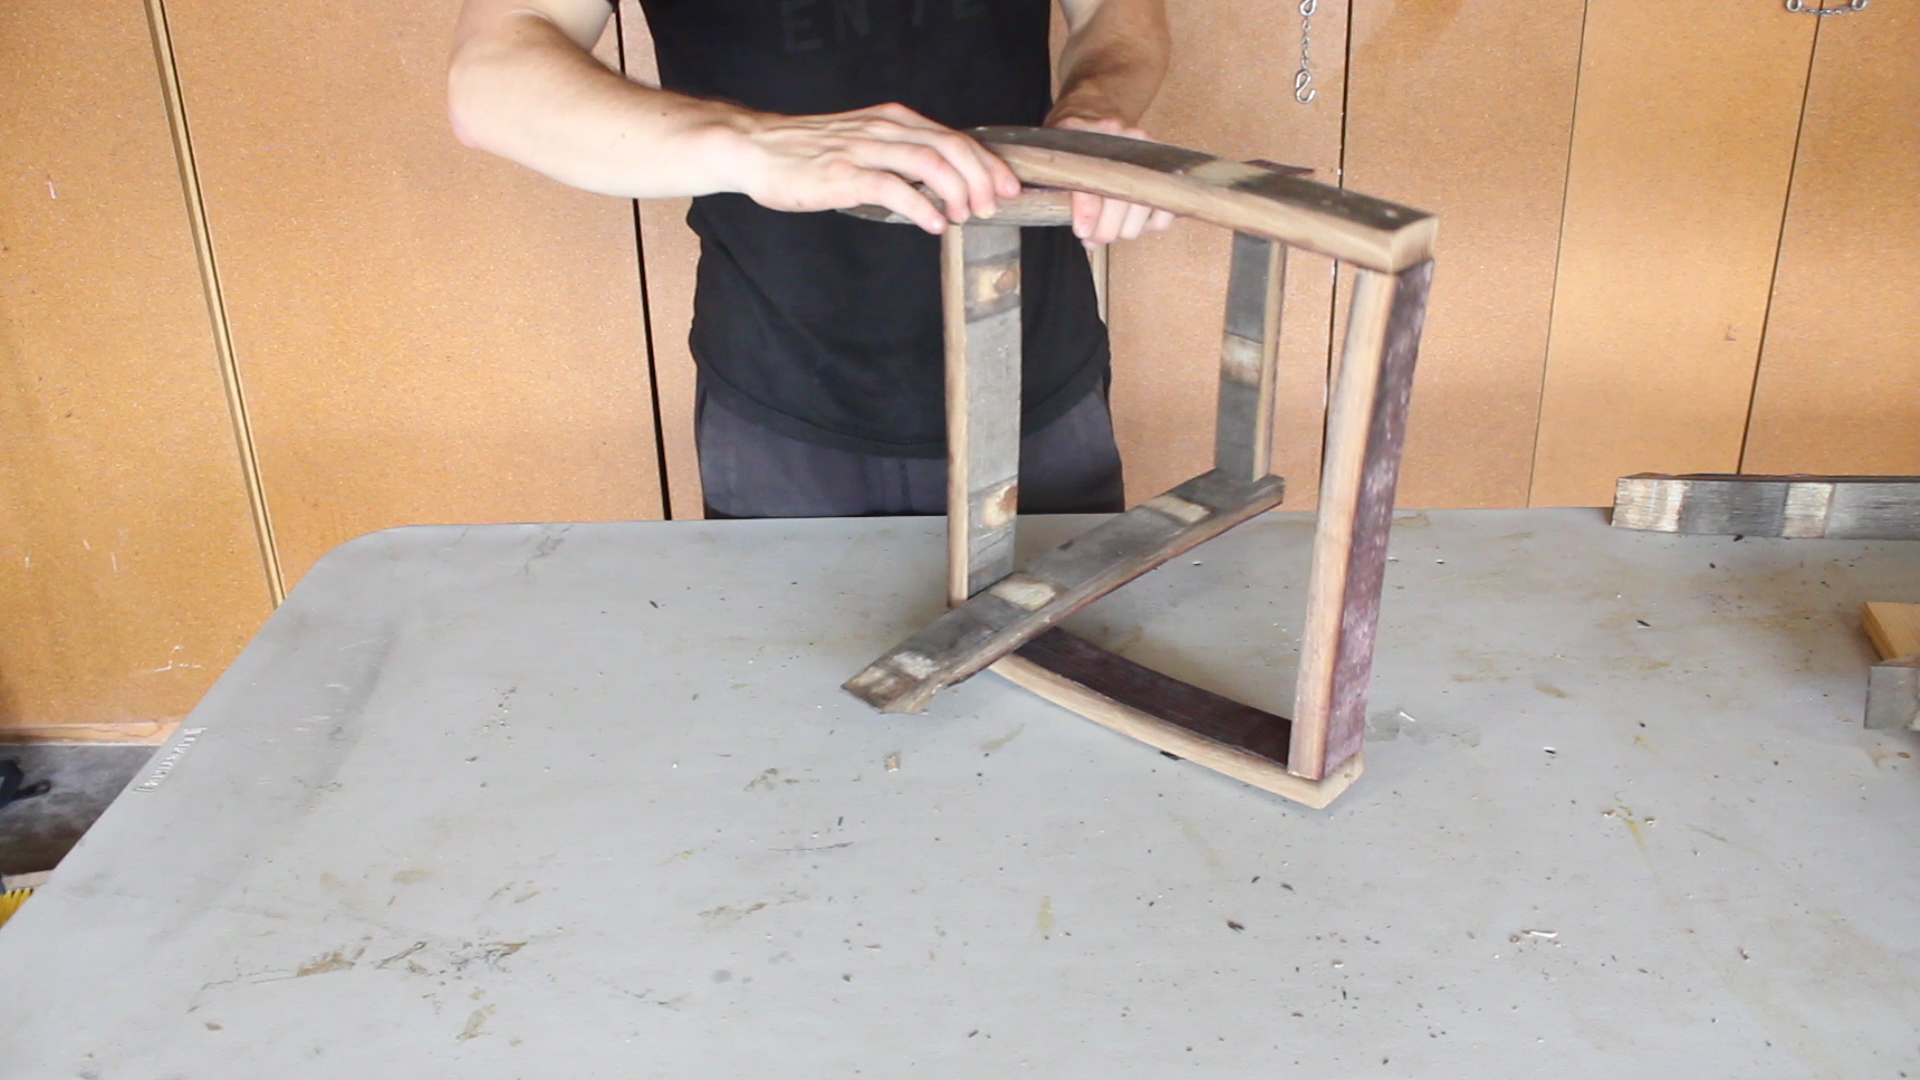
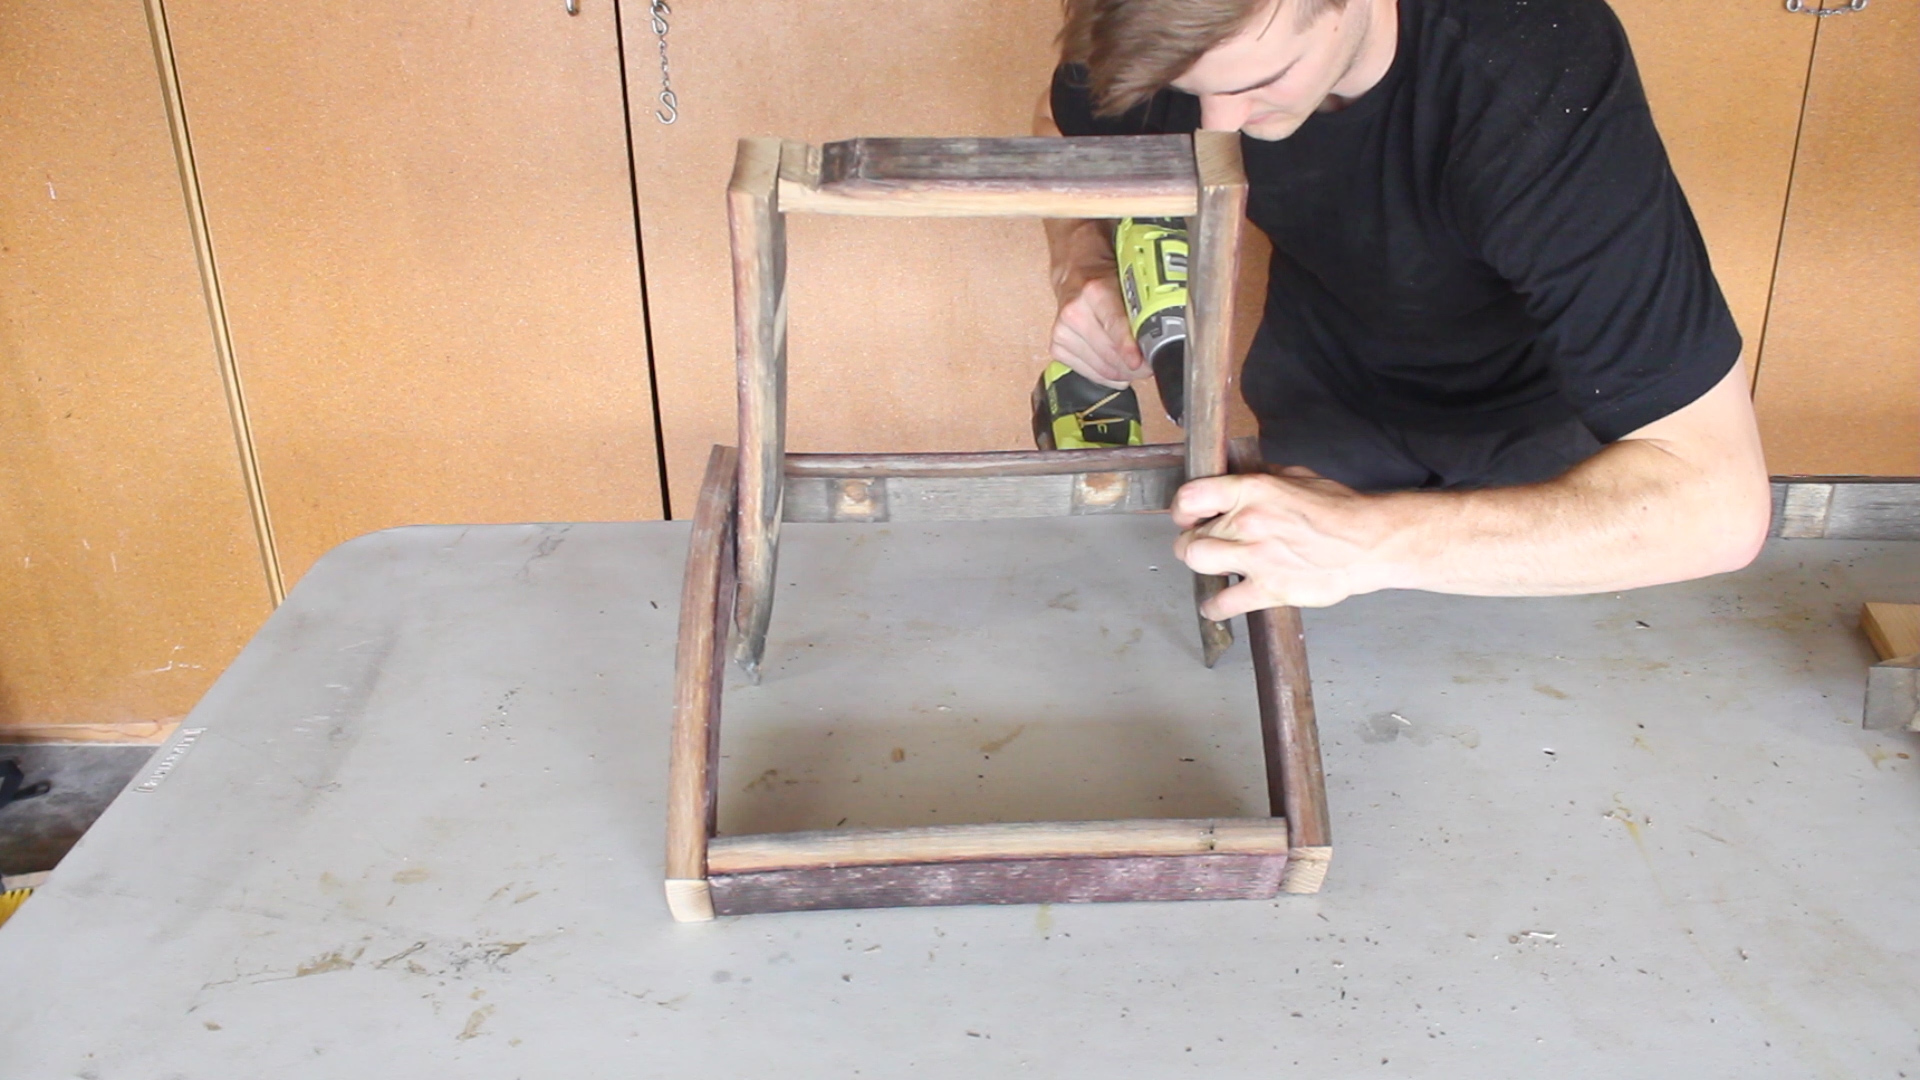
I then combined Assembly Steps 1 and 2 as such. You can see that the legs pieces were wedged in between the bottom supports with the wider part of the leg faces facing the inward facing staves. This is how the design comes together to be very strong and even.
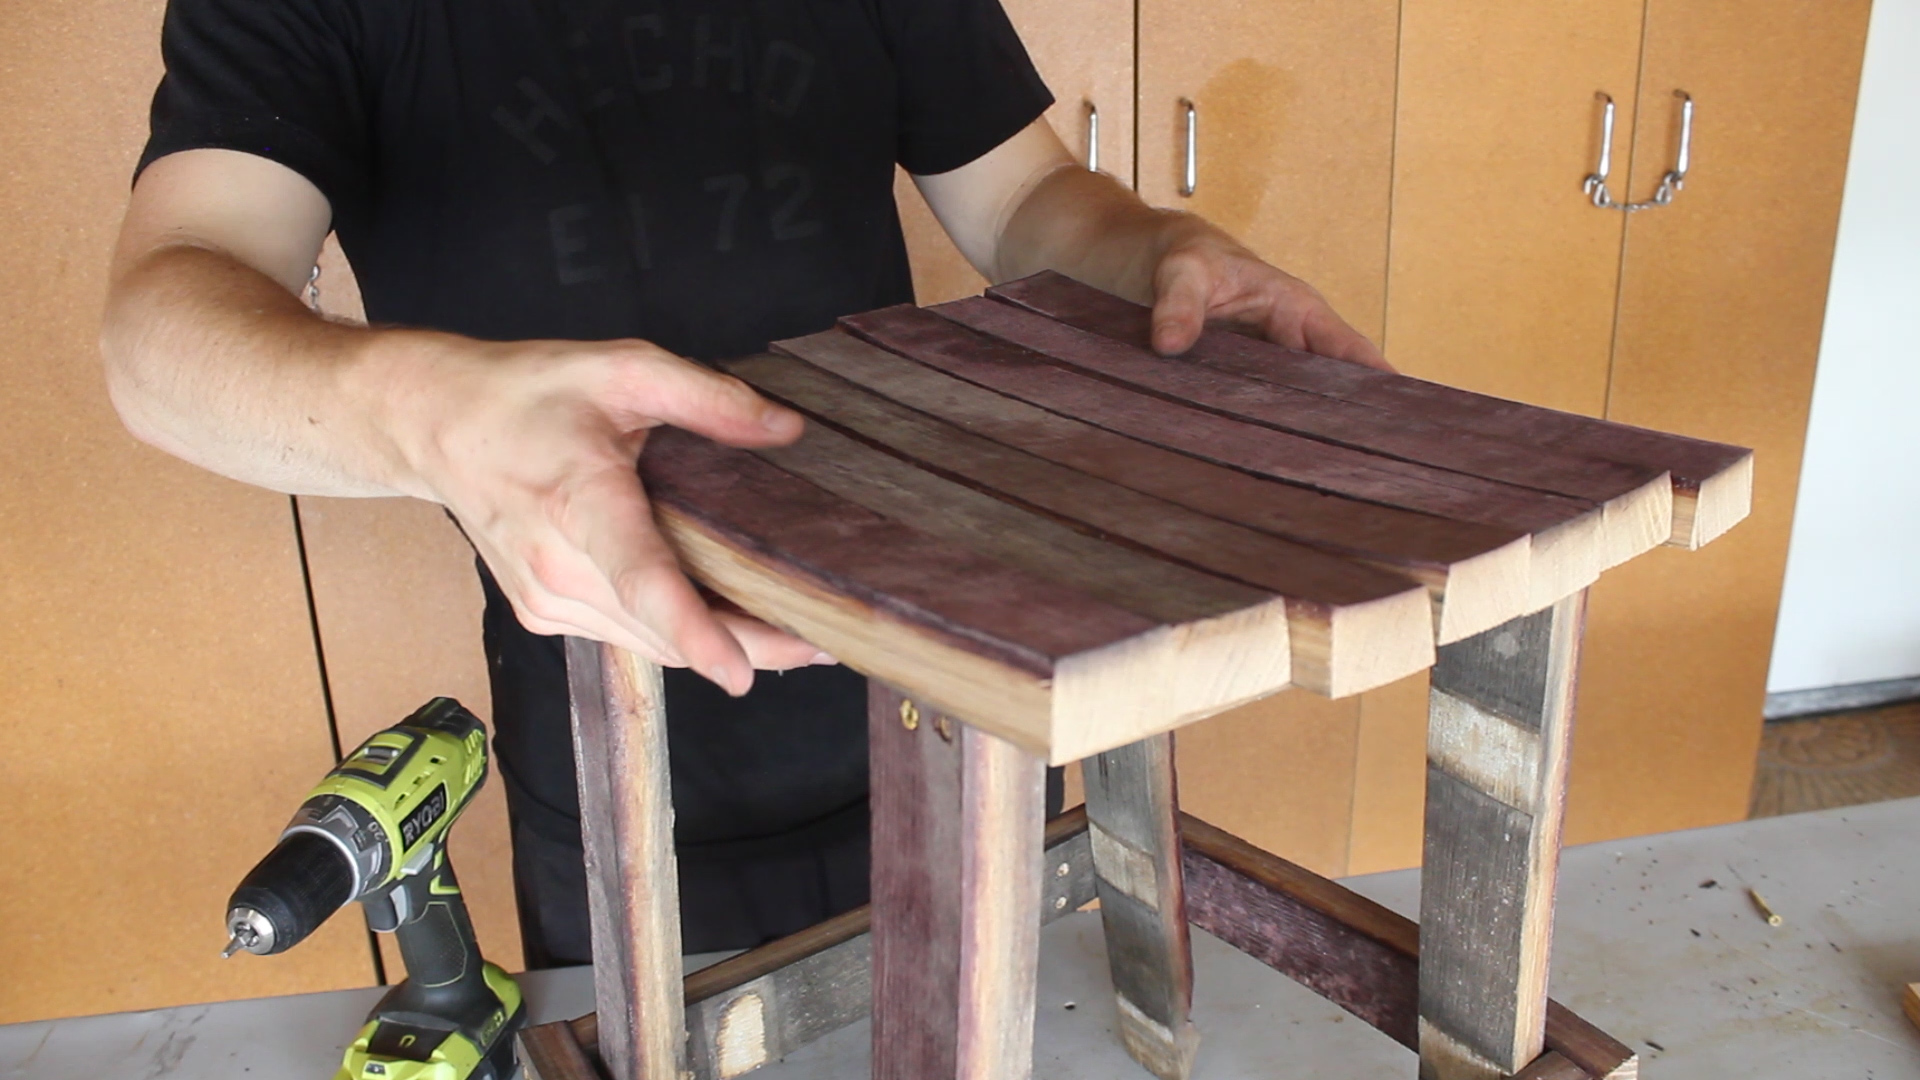
Assembly Part 4.
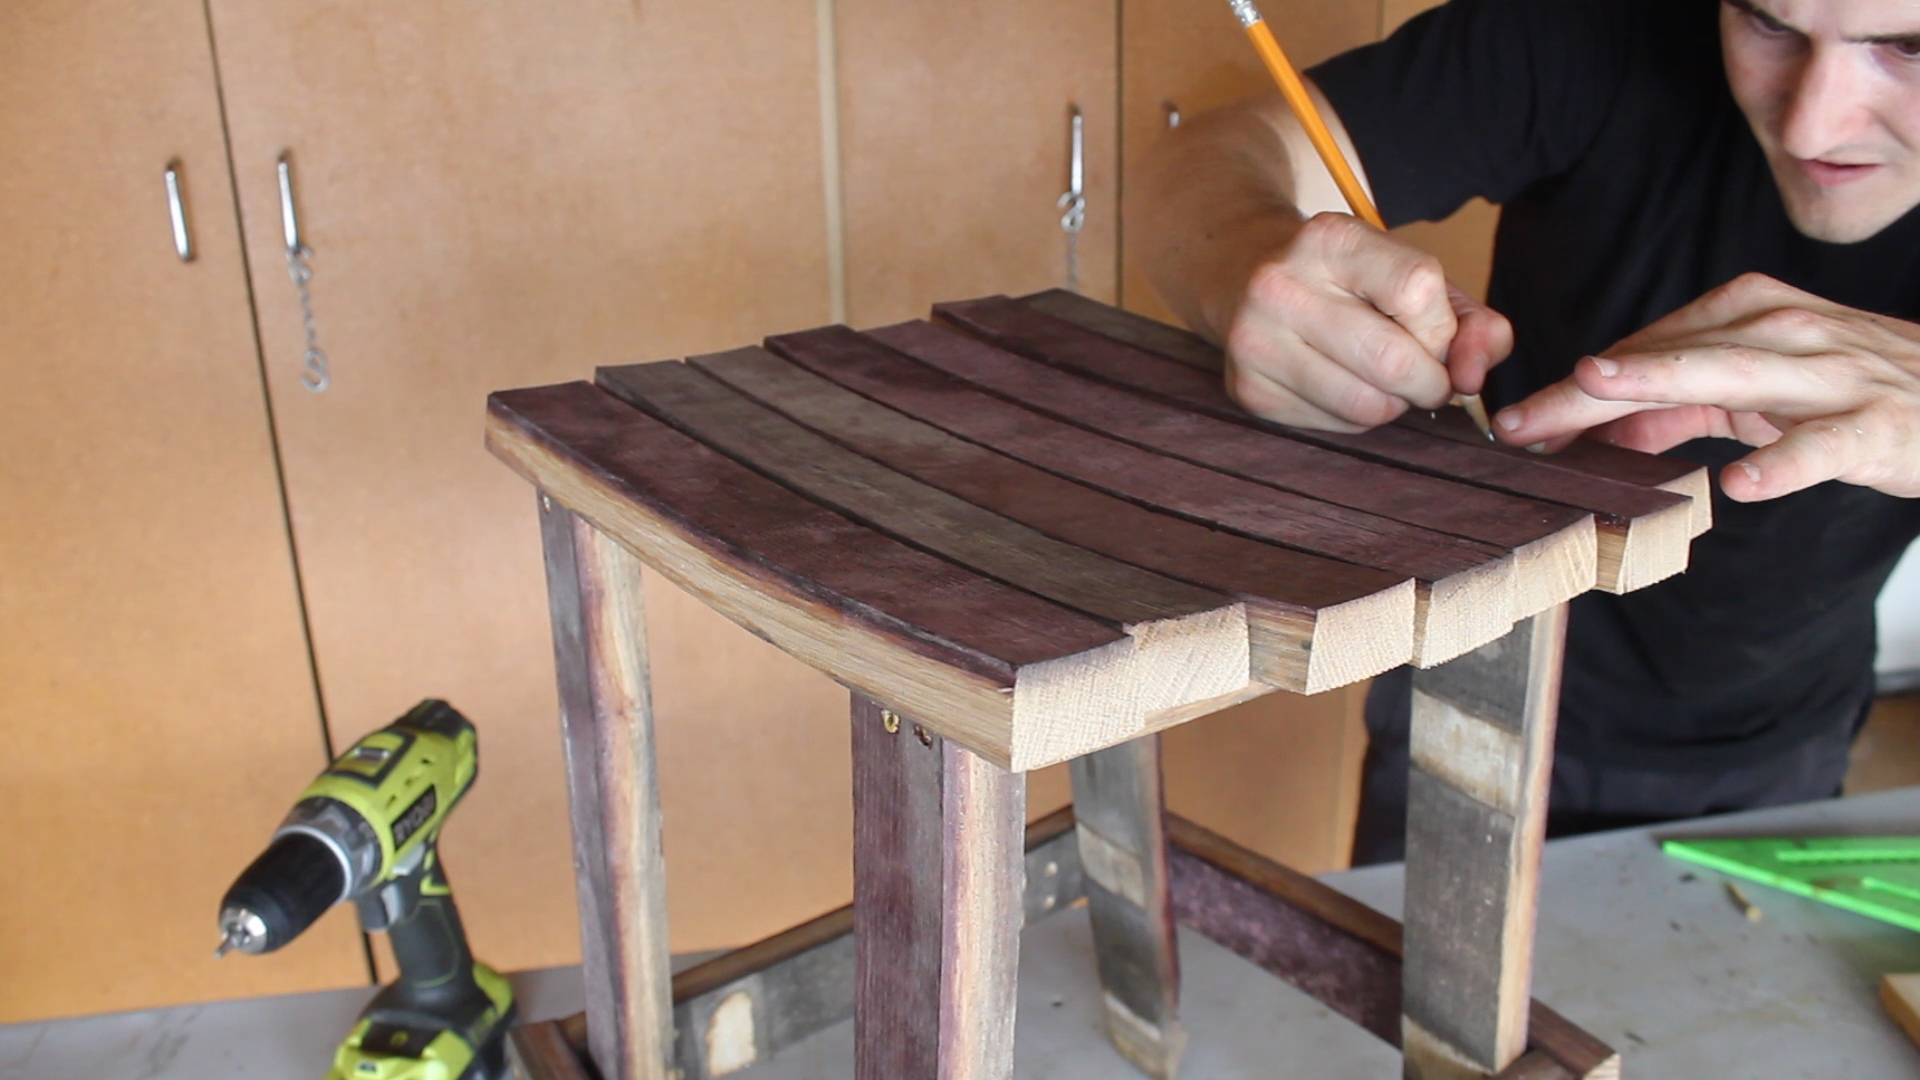
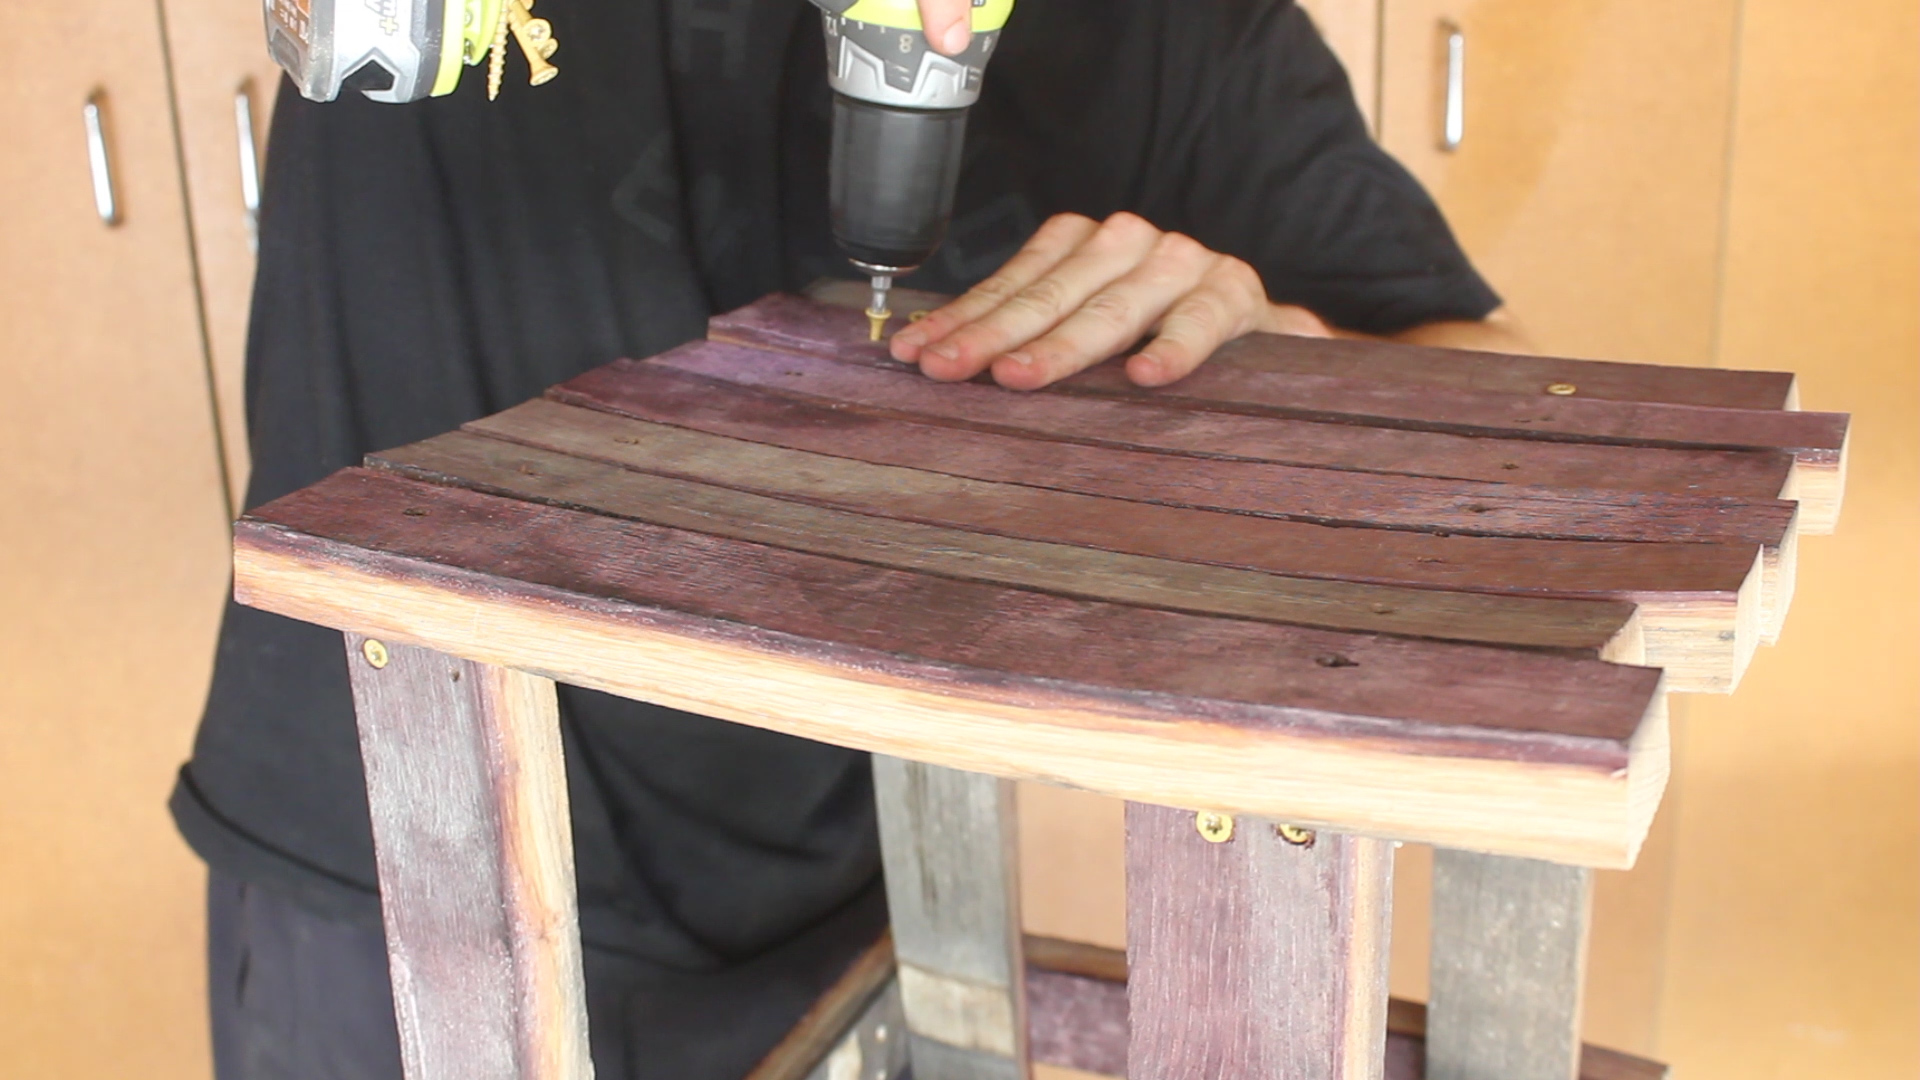
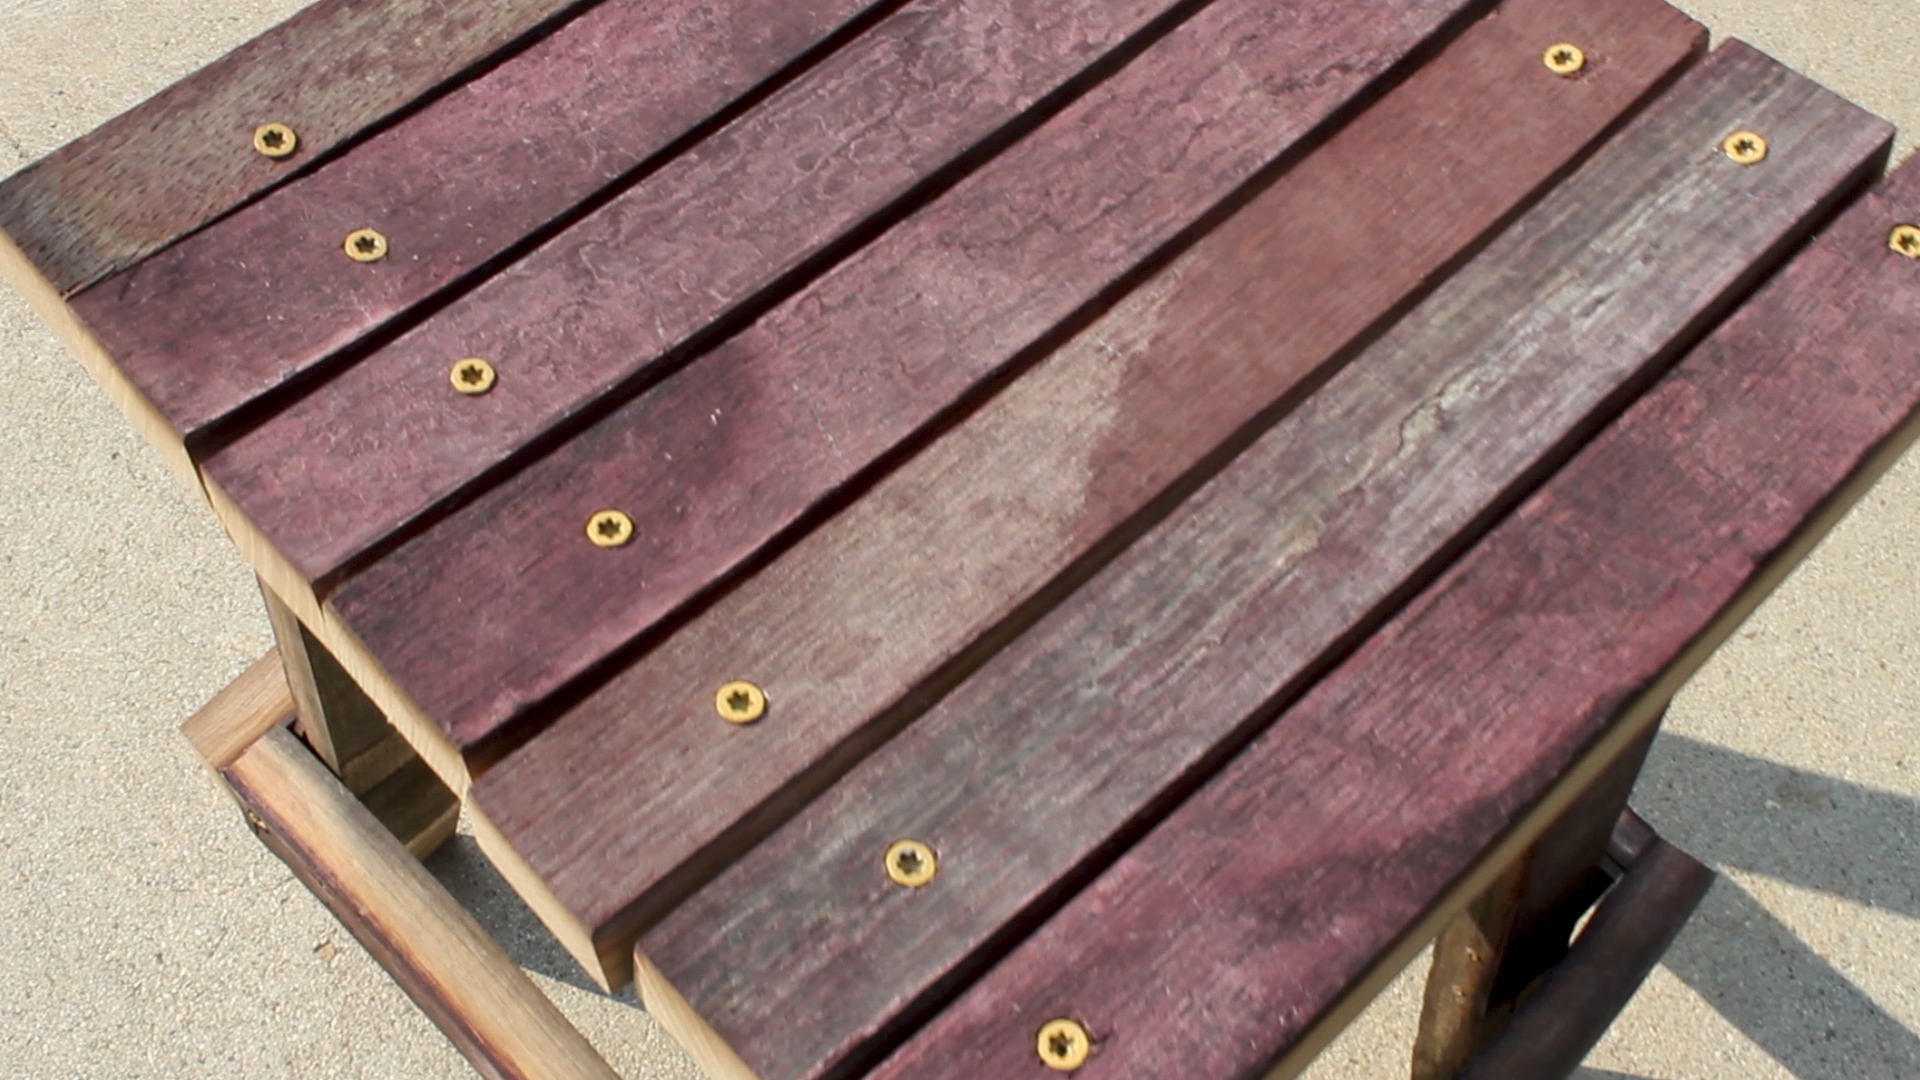
I attached my 7 x Seat Staves to the top of the legs using pre drilled holes and the asme wood screws. I made sure to square up one side so that I could just square up the other with a circular saw once it was all attached. The staves are not going to be the same sizes, so just run with it - it will be unique - just like you!
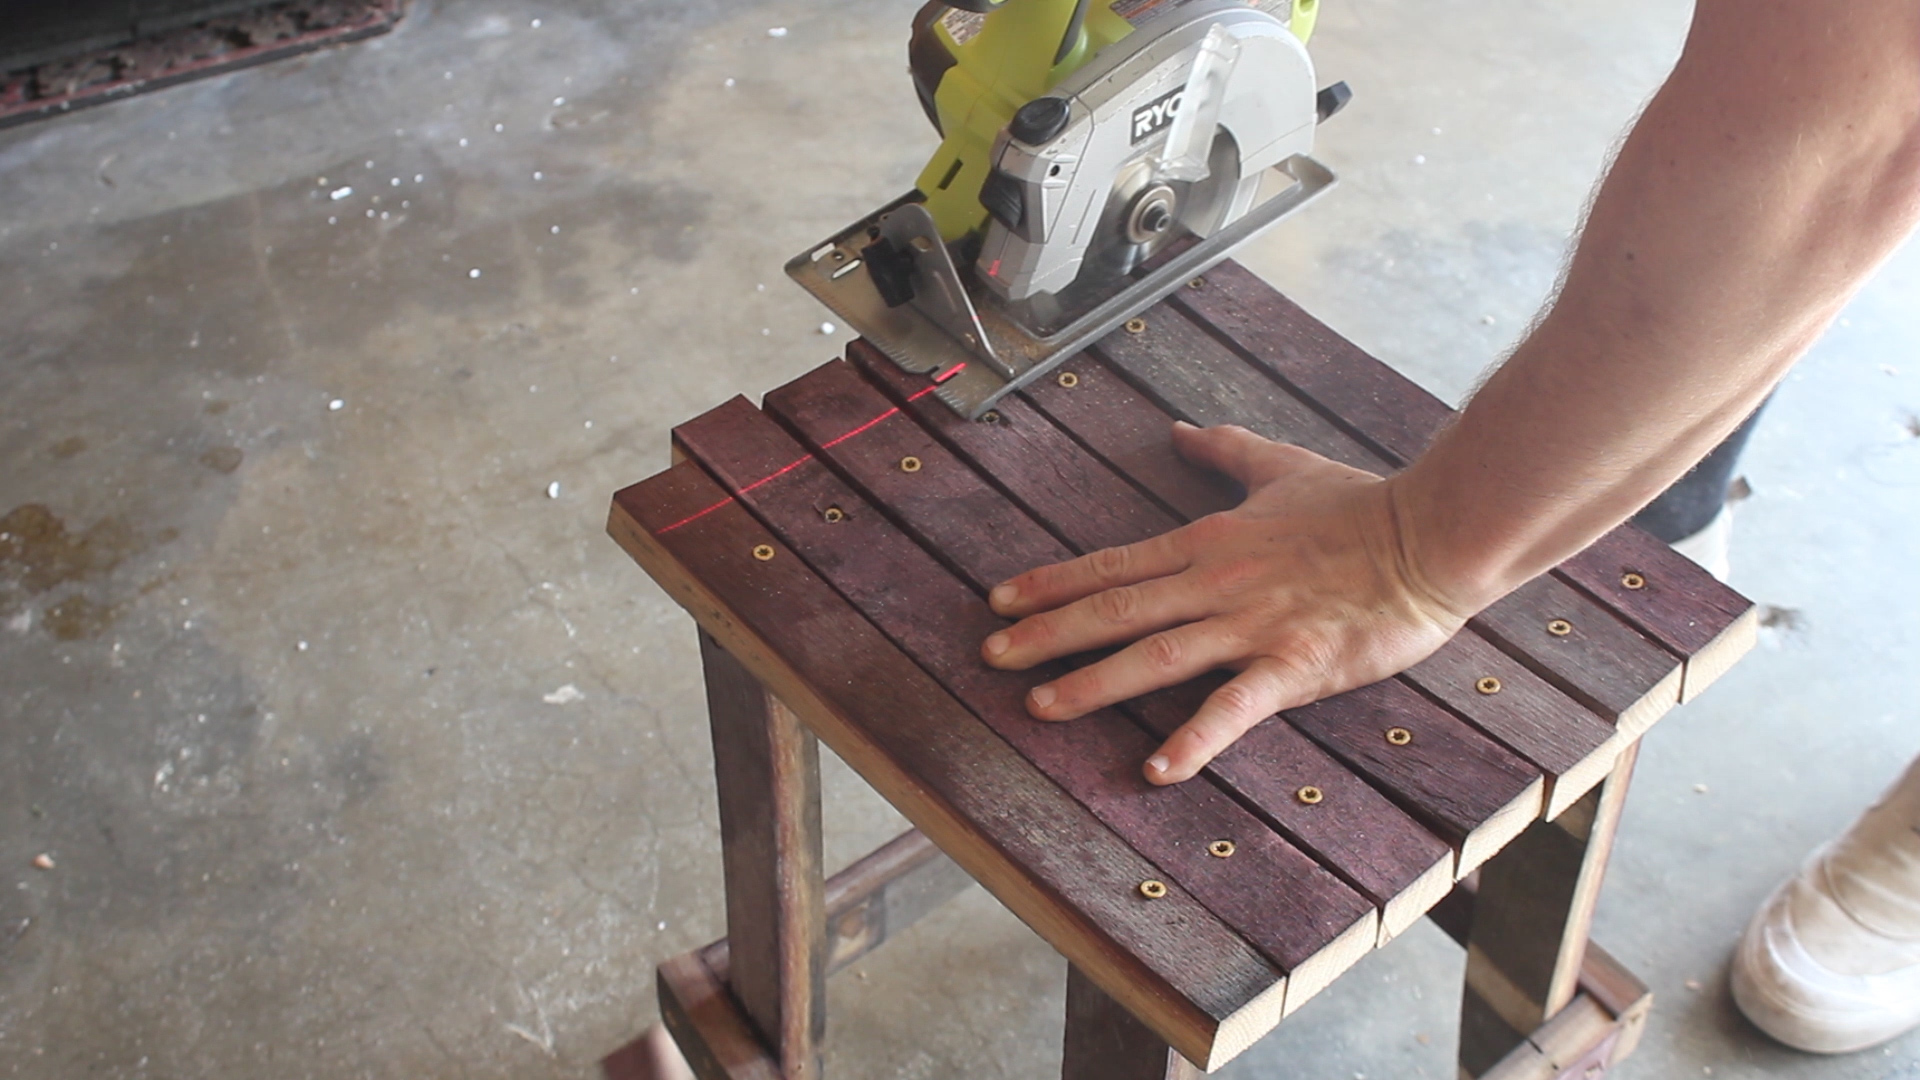
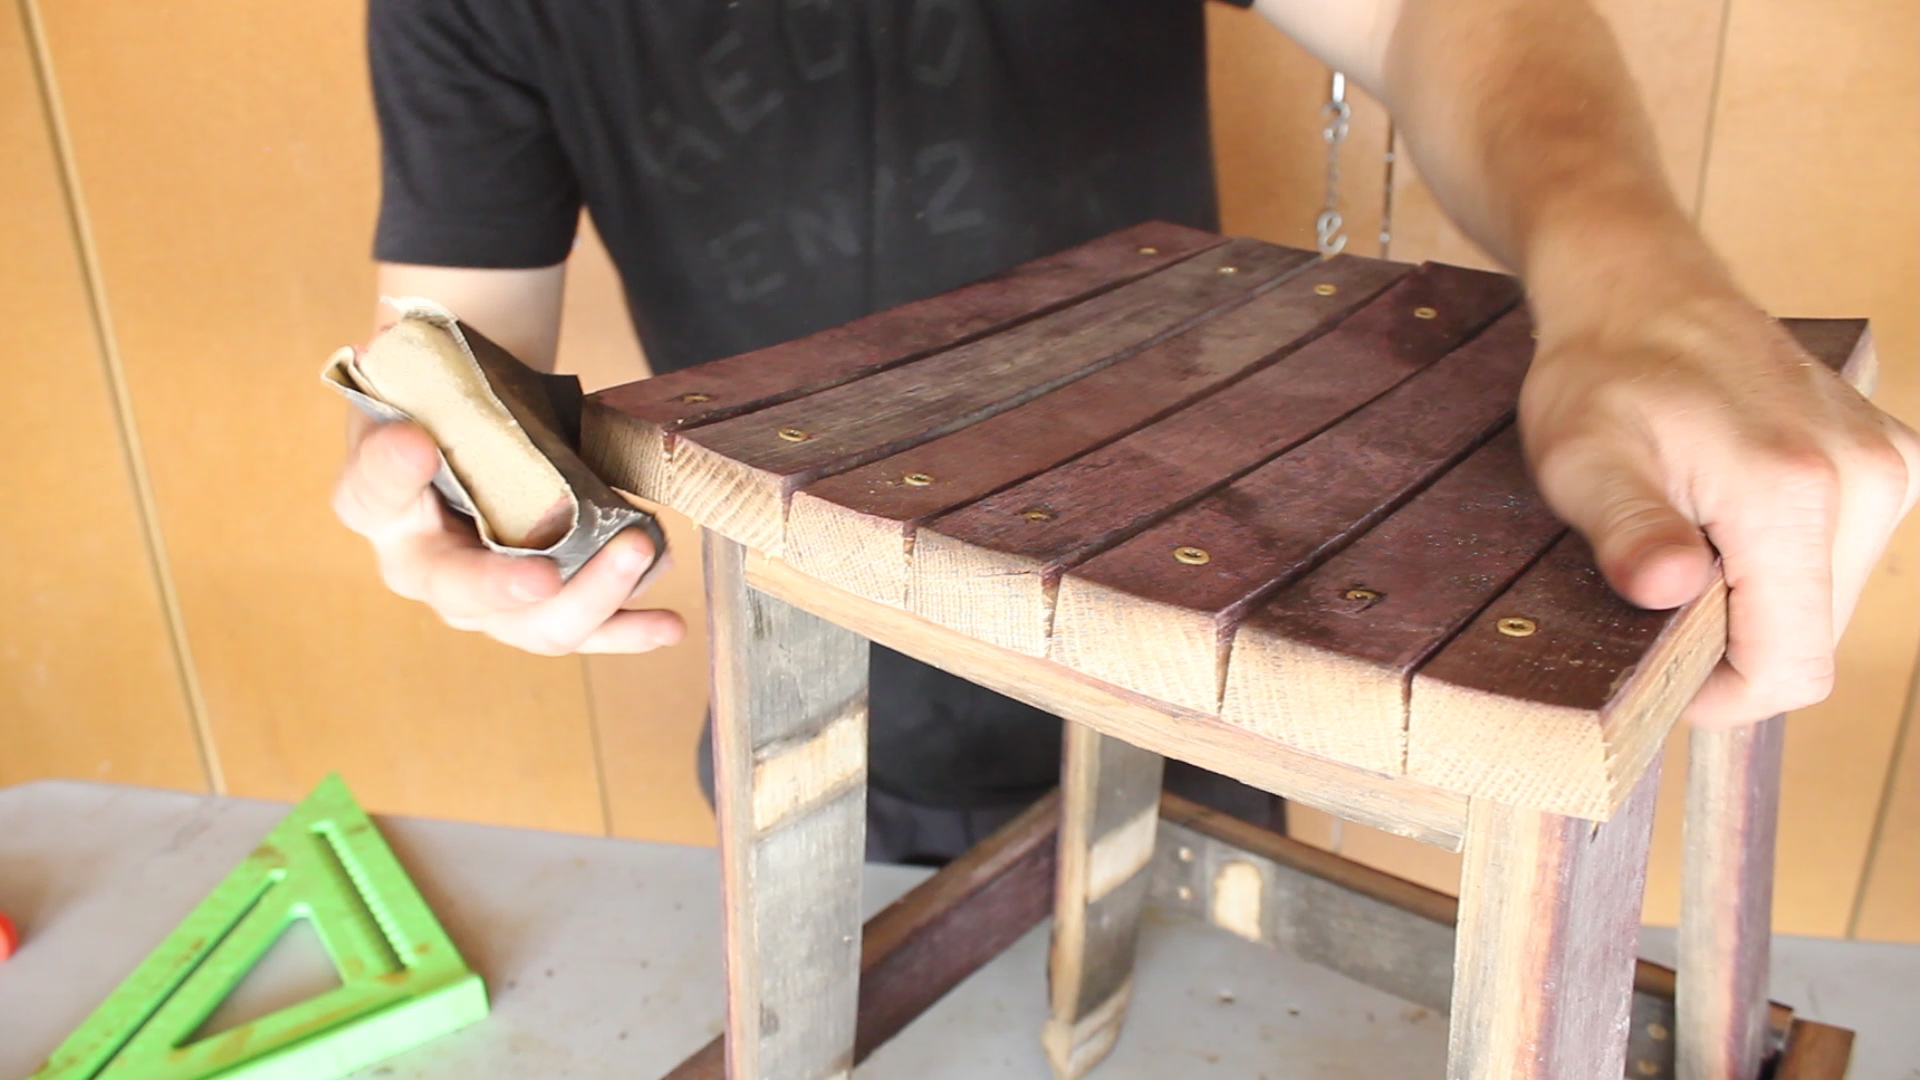
As stated before, I then used my circular saw to square up the other size and lightly sanded down my edges with some 120 grit paper.
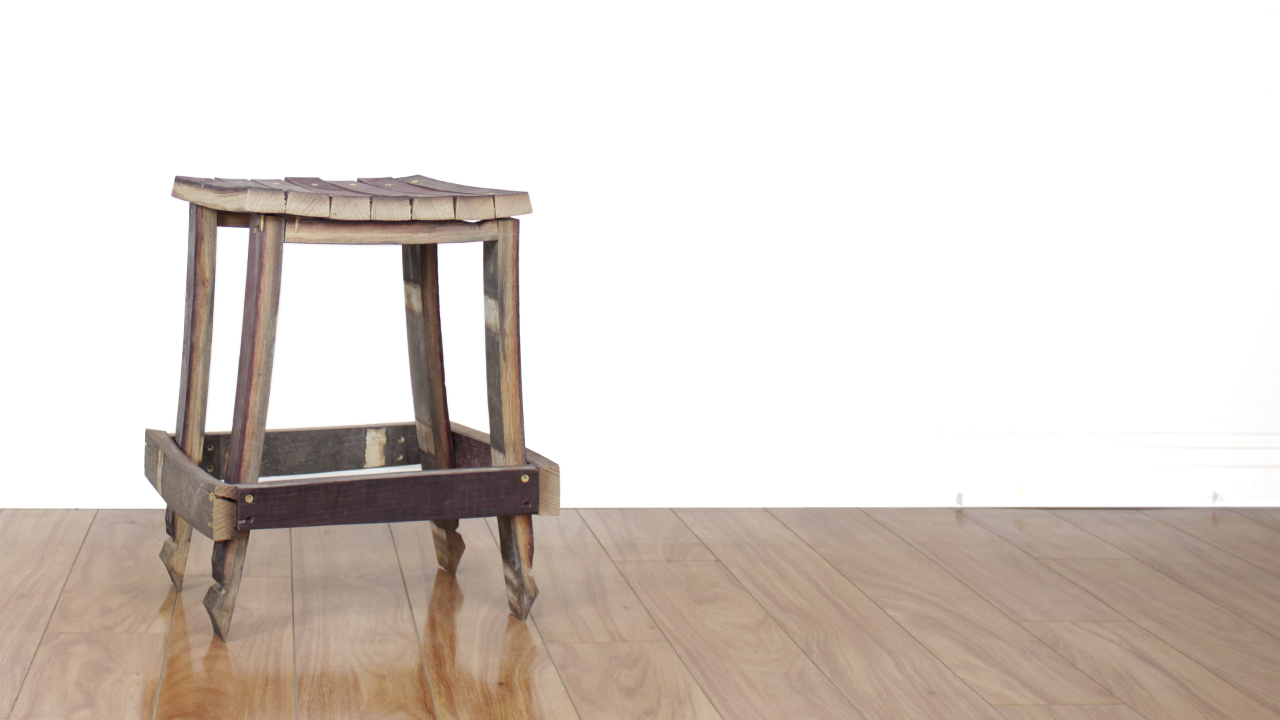
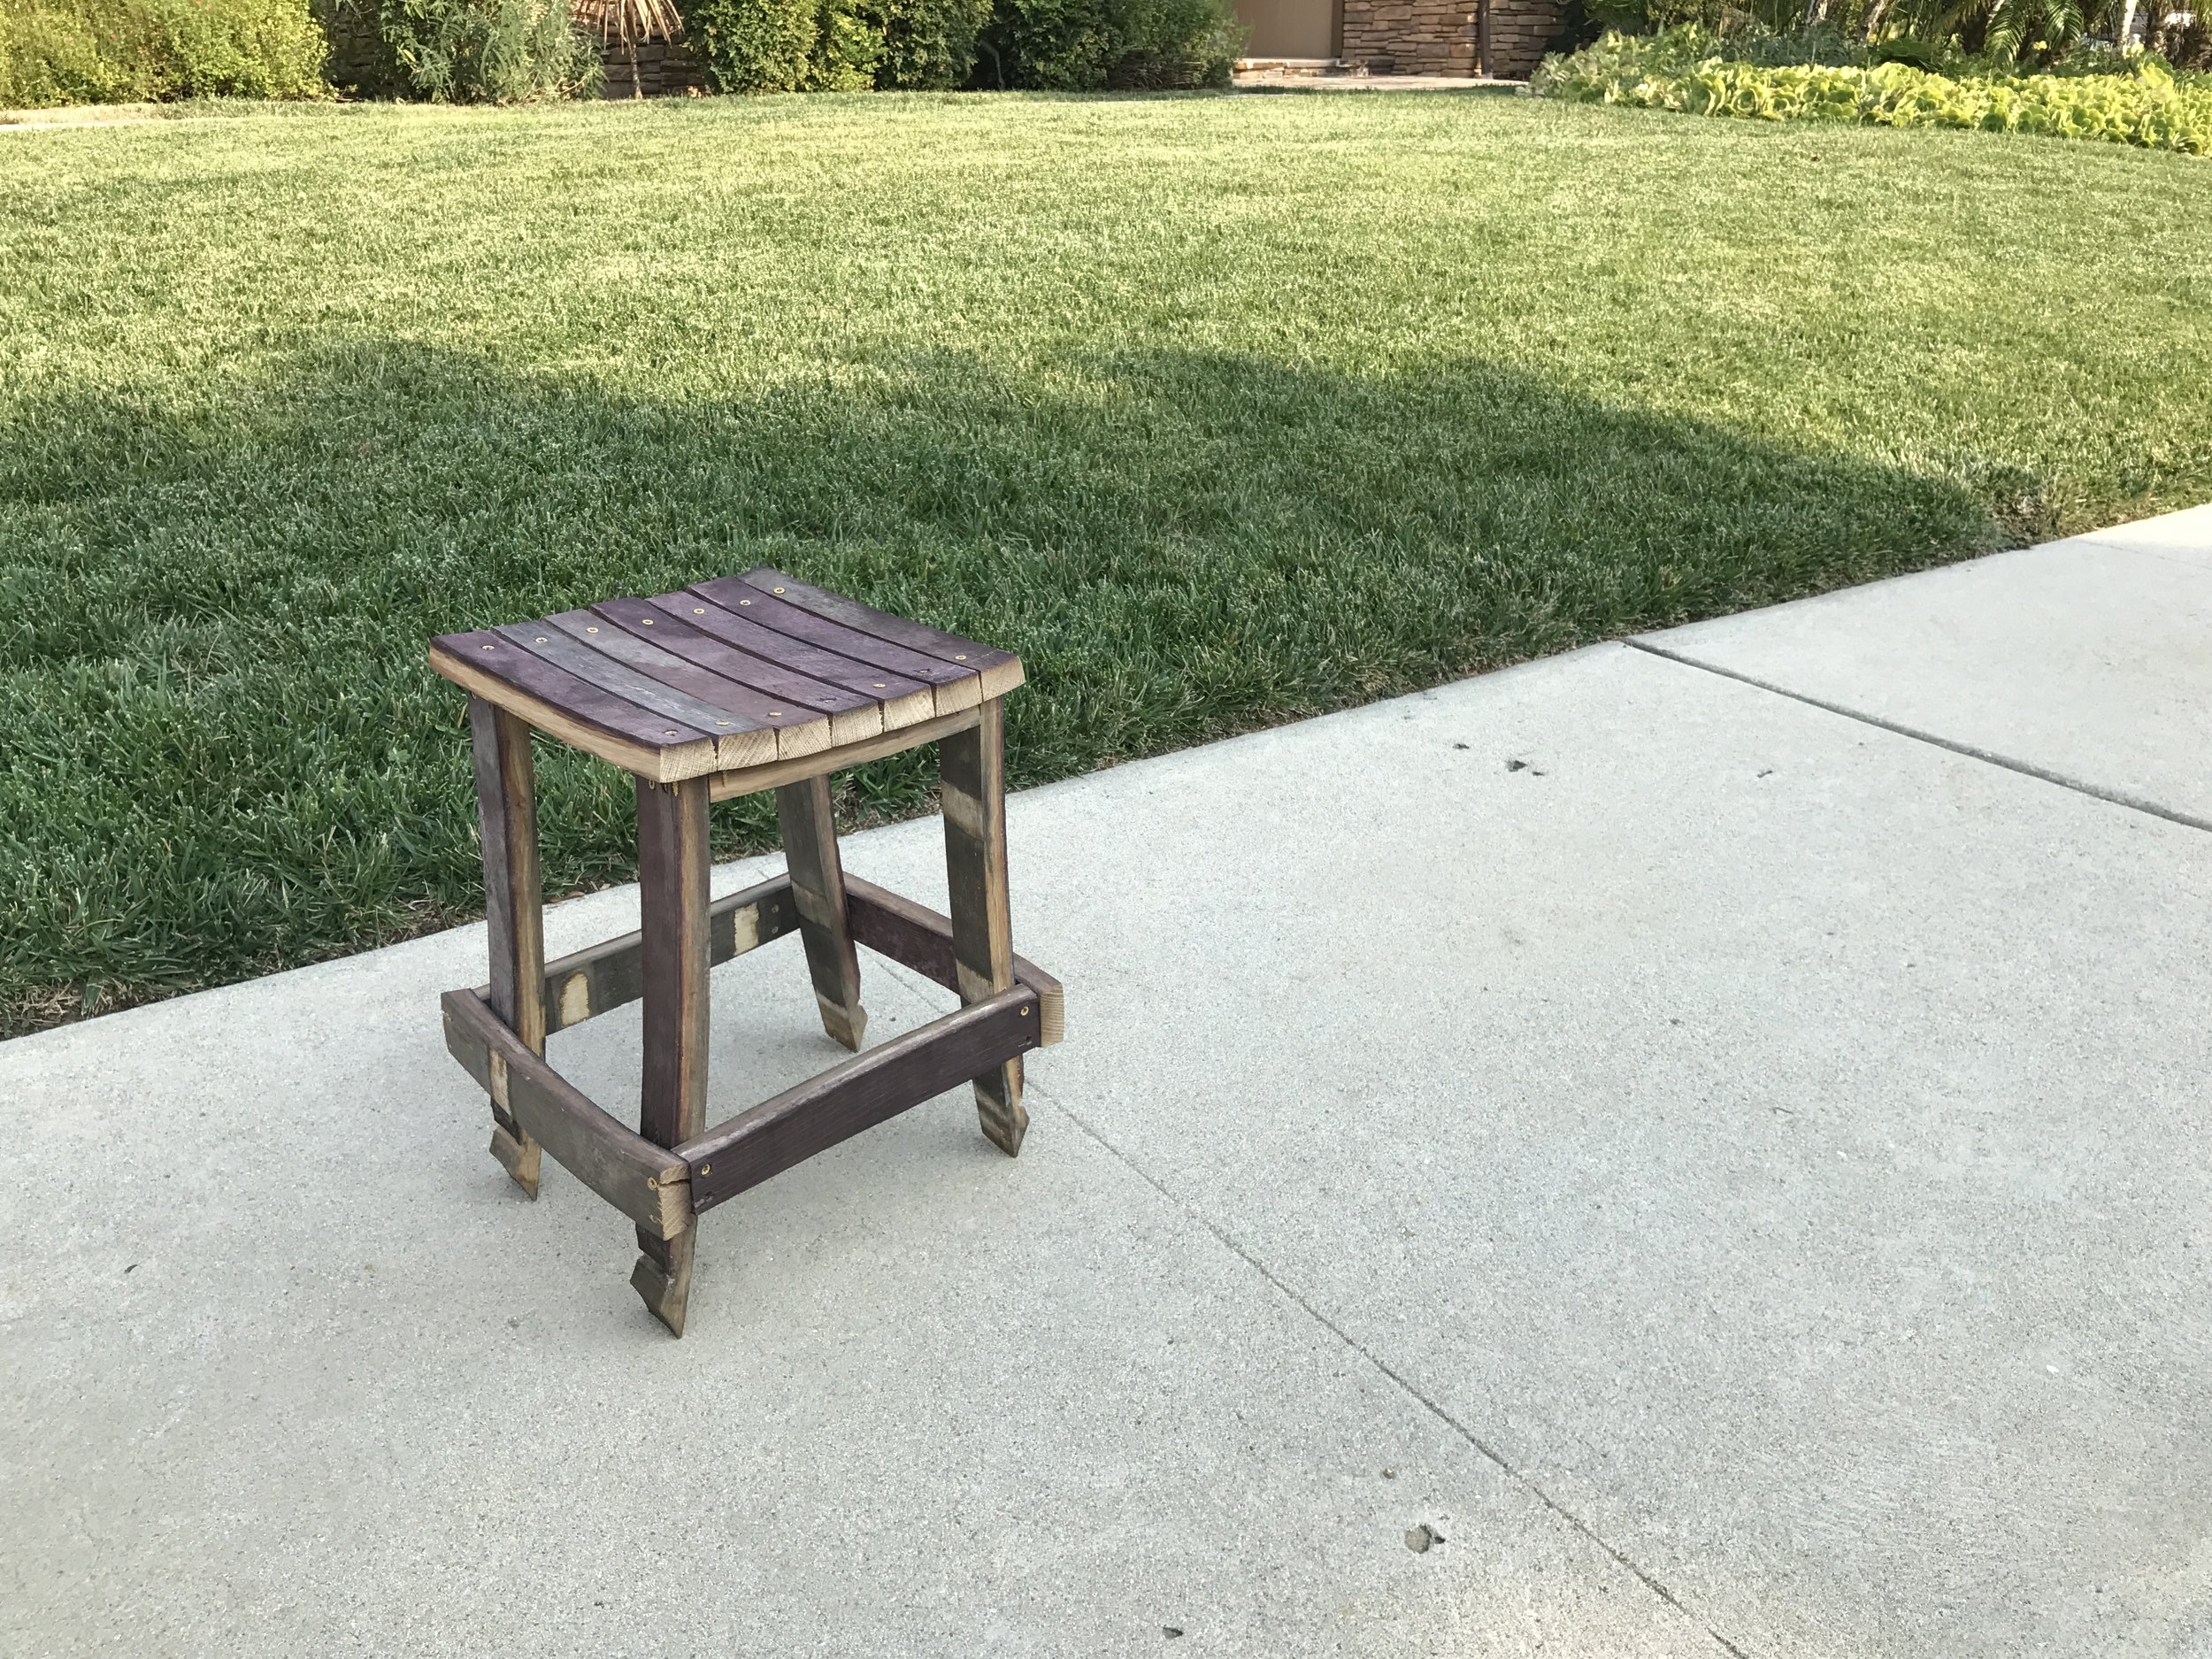
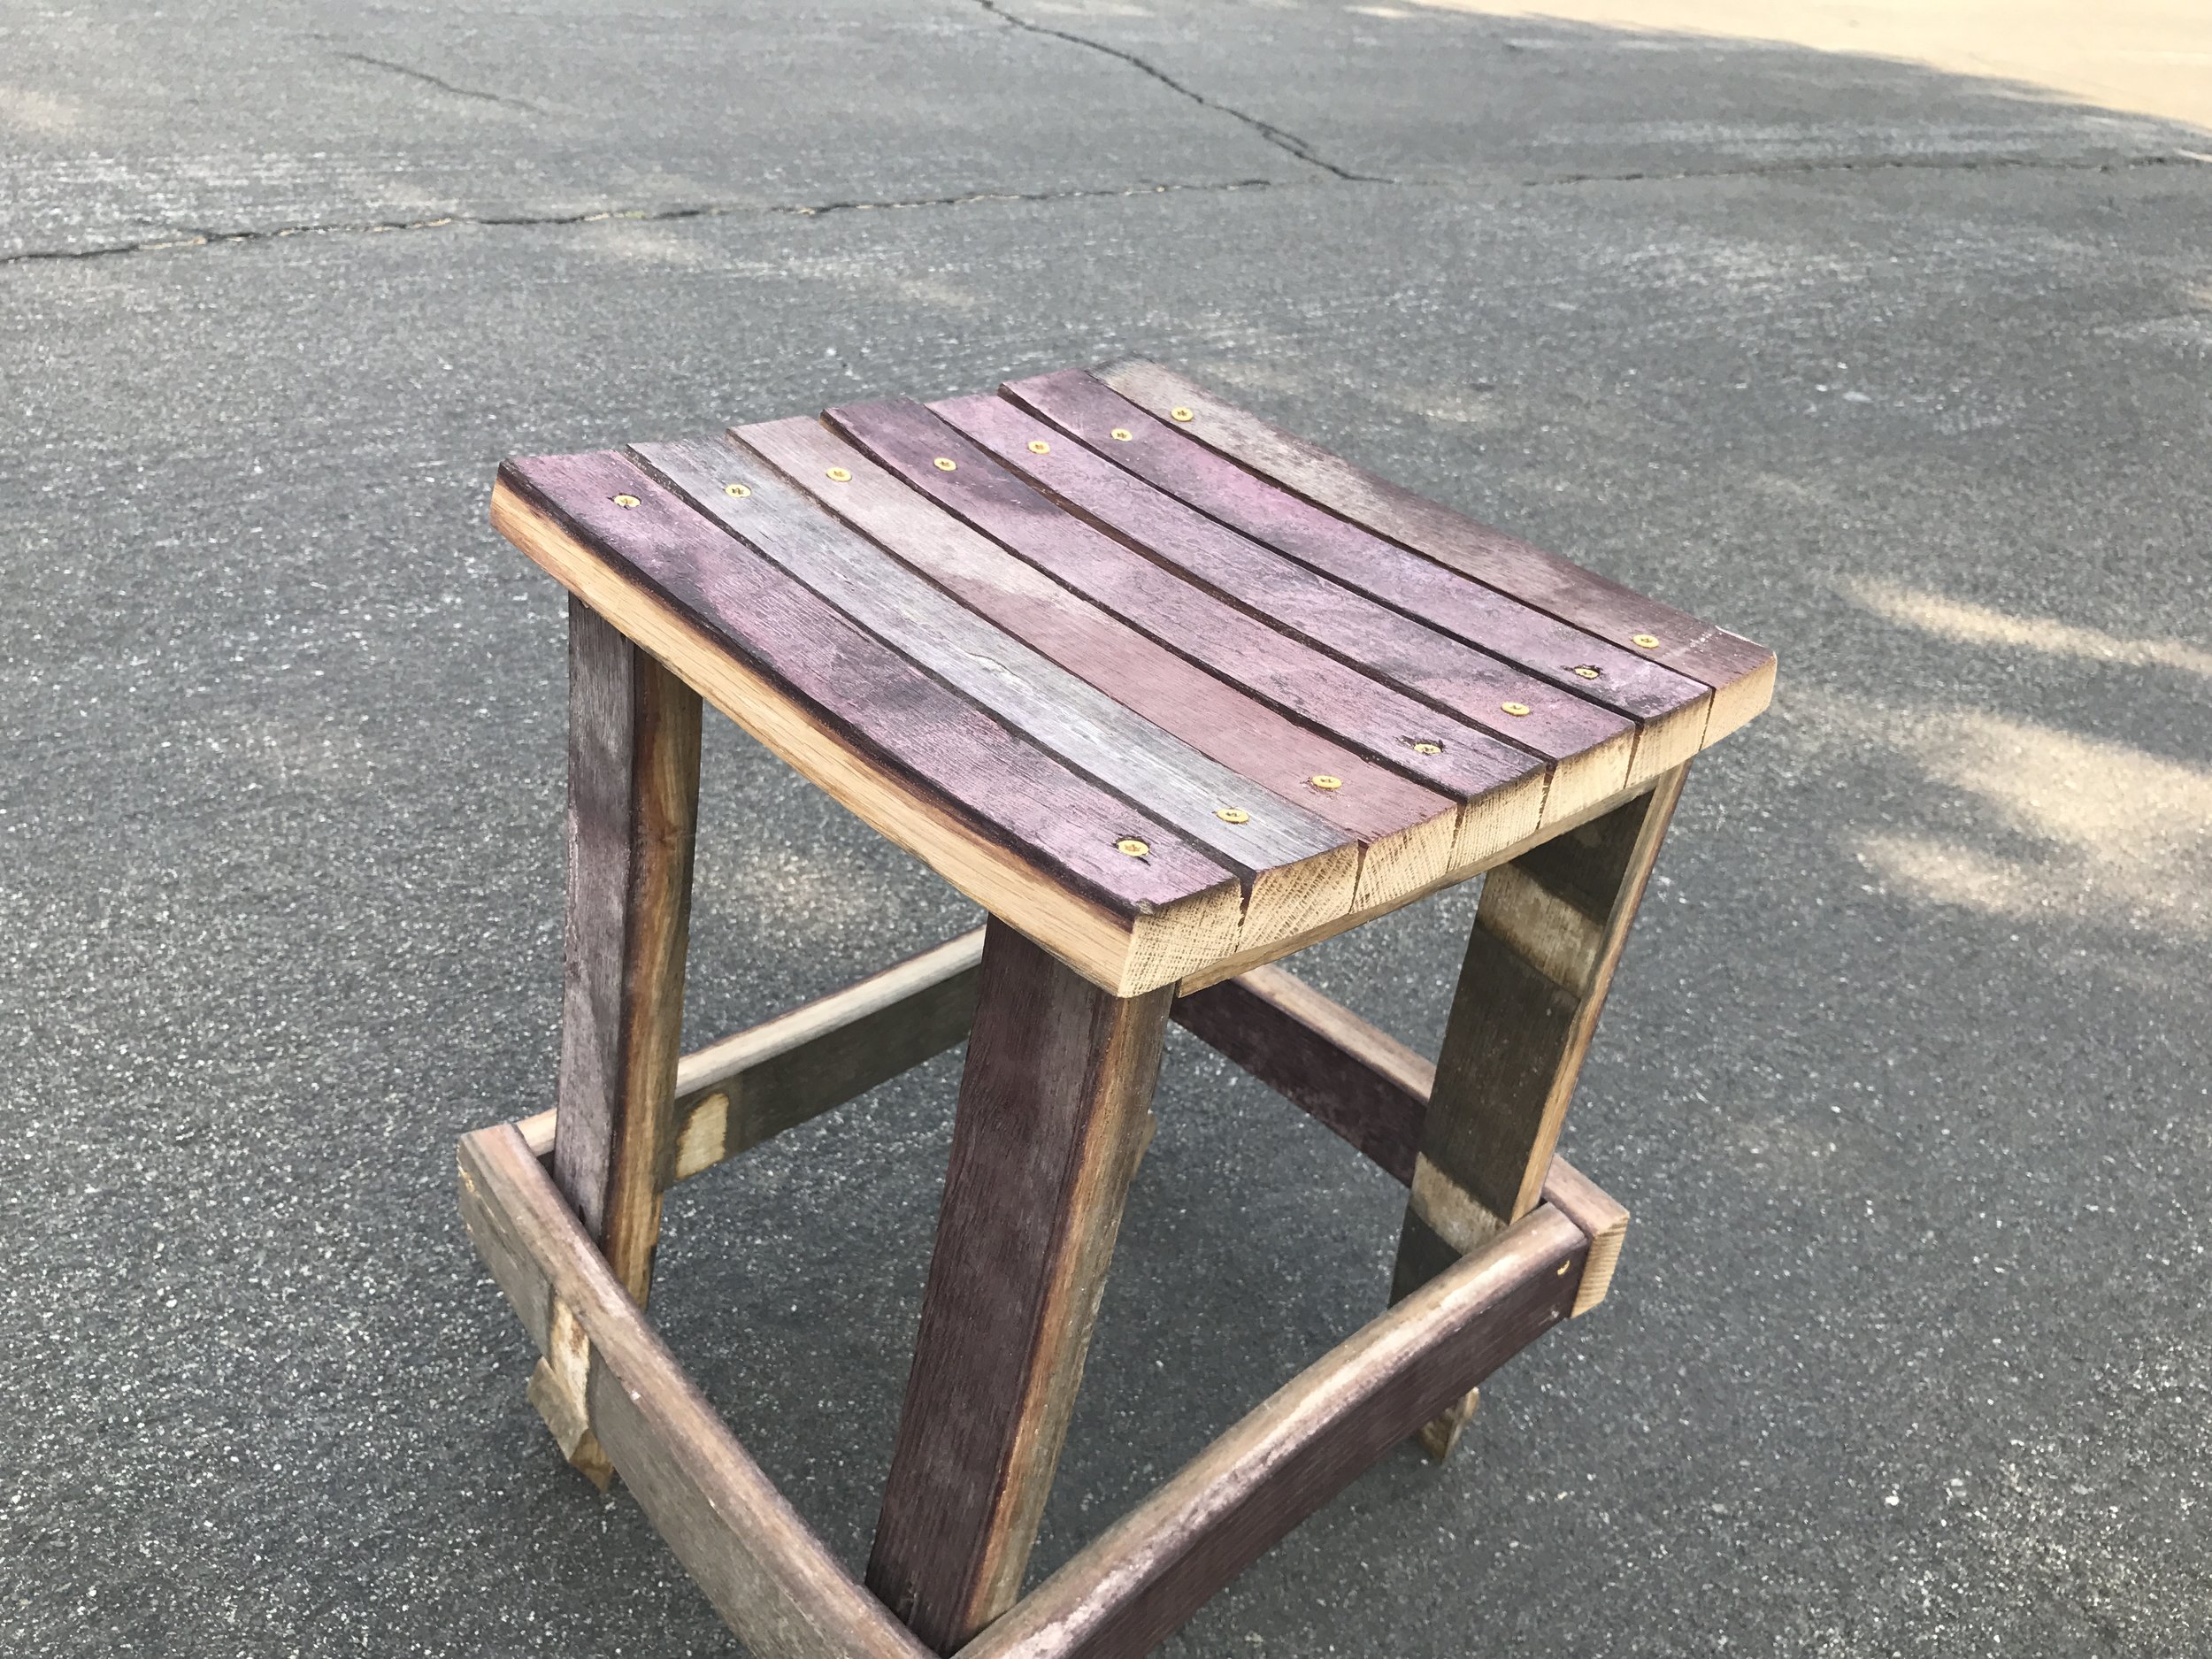
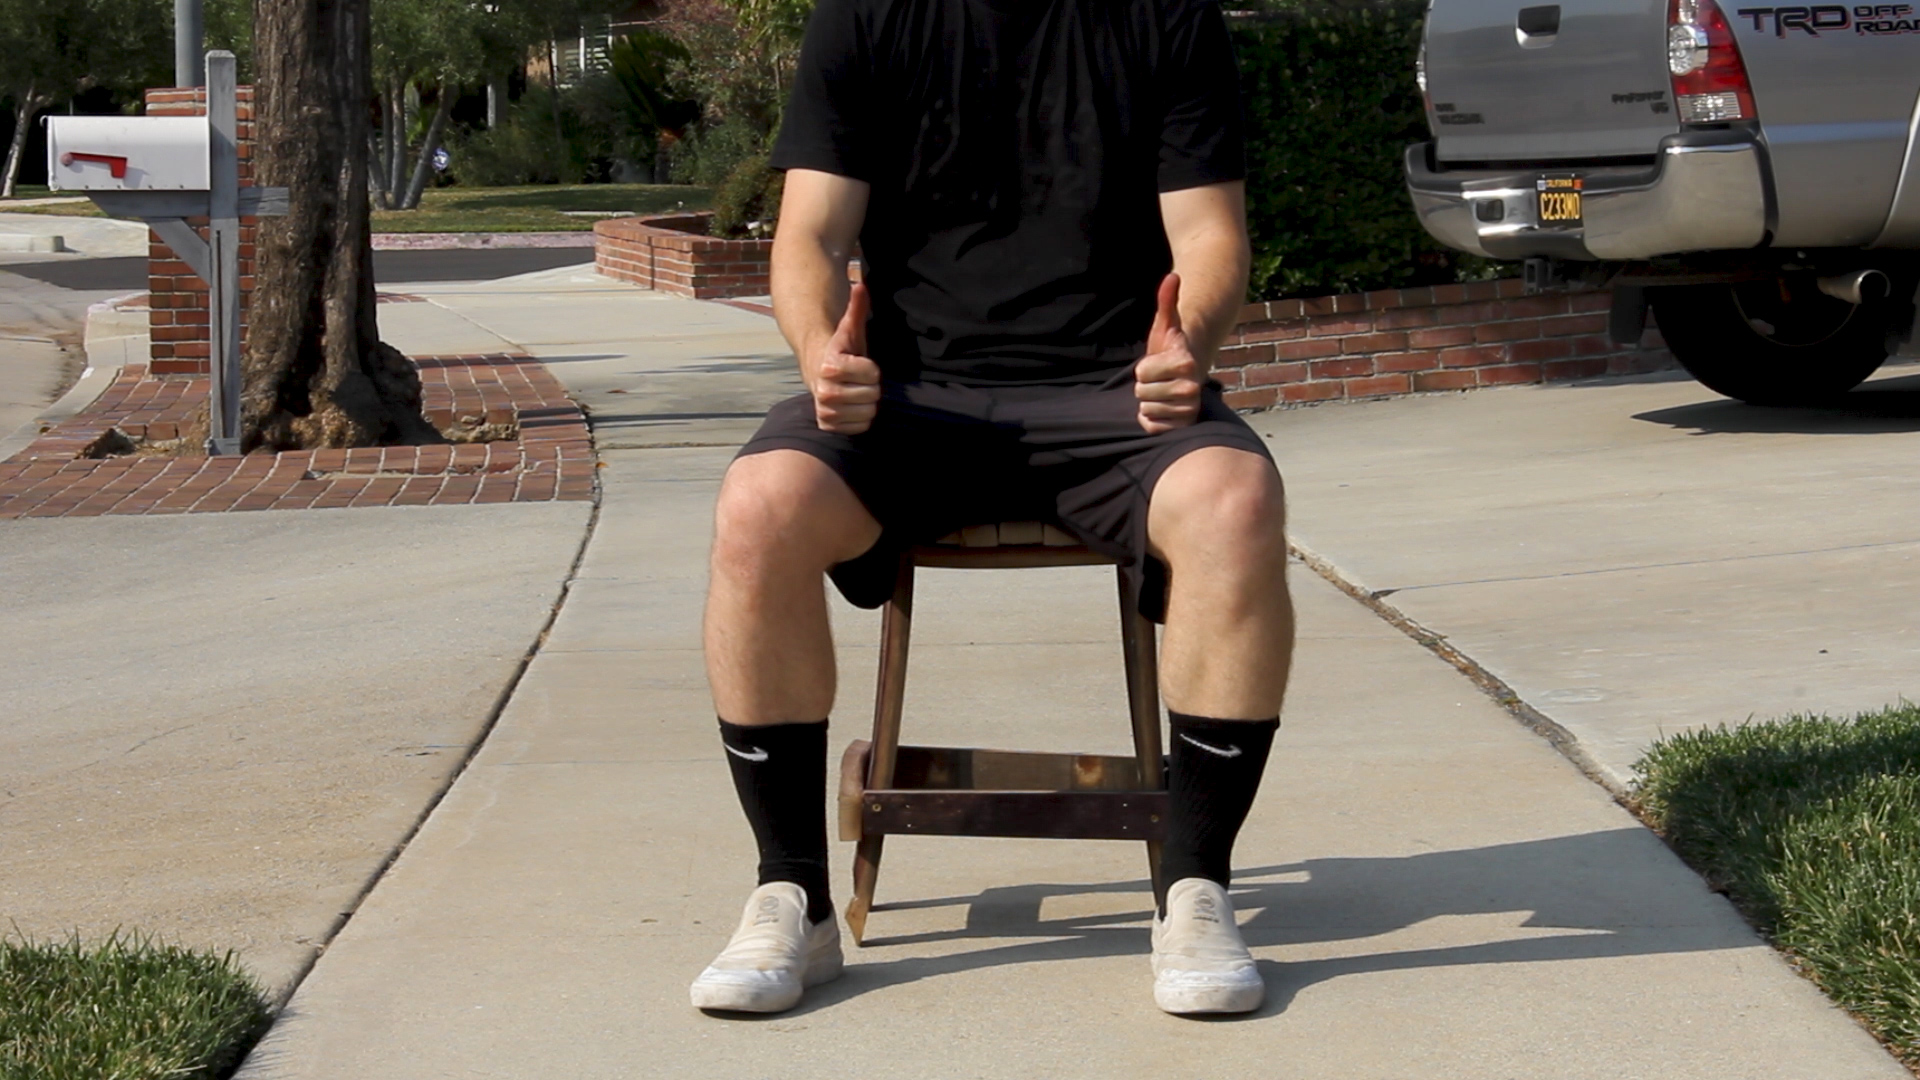
At this point, the stool was done. There are a few things I could do to it additionally, such as put a sealant on it or really round over the edges. I might do that at some point, but for now, the stool looks great, is very sturdy, and I'm proud of my afternoon project!
Final pics below!
TOOLS
RYOBI 10 in. Sliding Compound Miter Saw
RYOBI Miter Saw Stand
RYOBI Power Drill
12” Rafter Square
RYOBI Drill Bit Set
Hand Sanding Sponges
As always, thank you for reading! I would be so grateful if you could please subscribe to my Youtube Channel for future projects. I put out videos every few weeks.
Cheers!
Zach