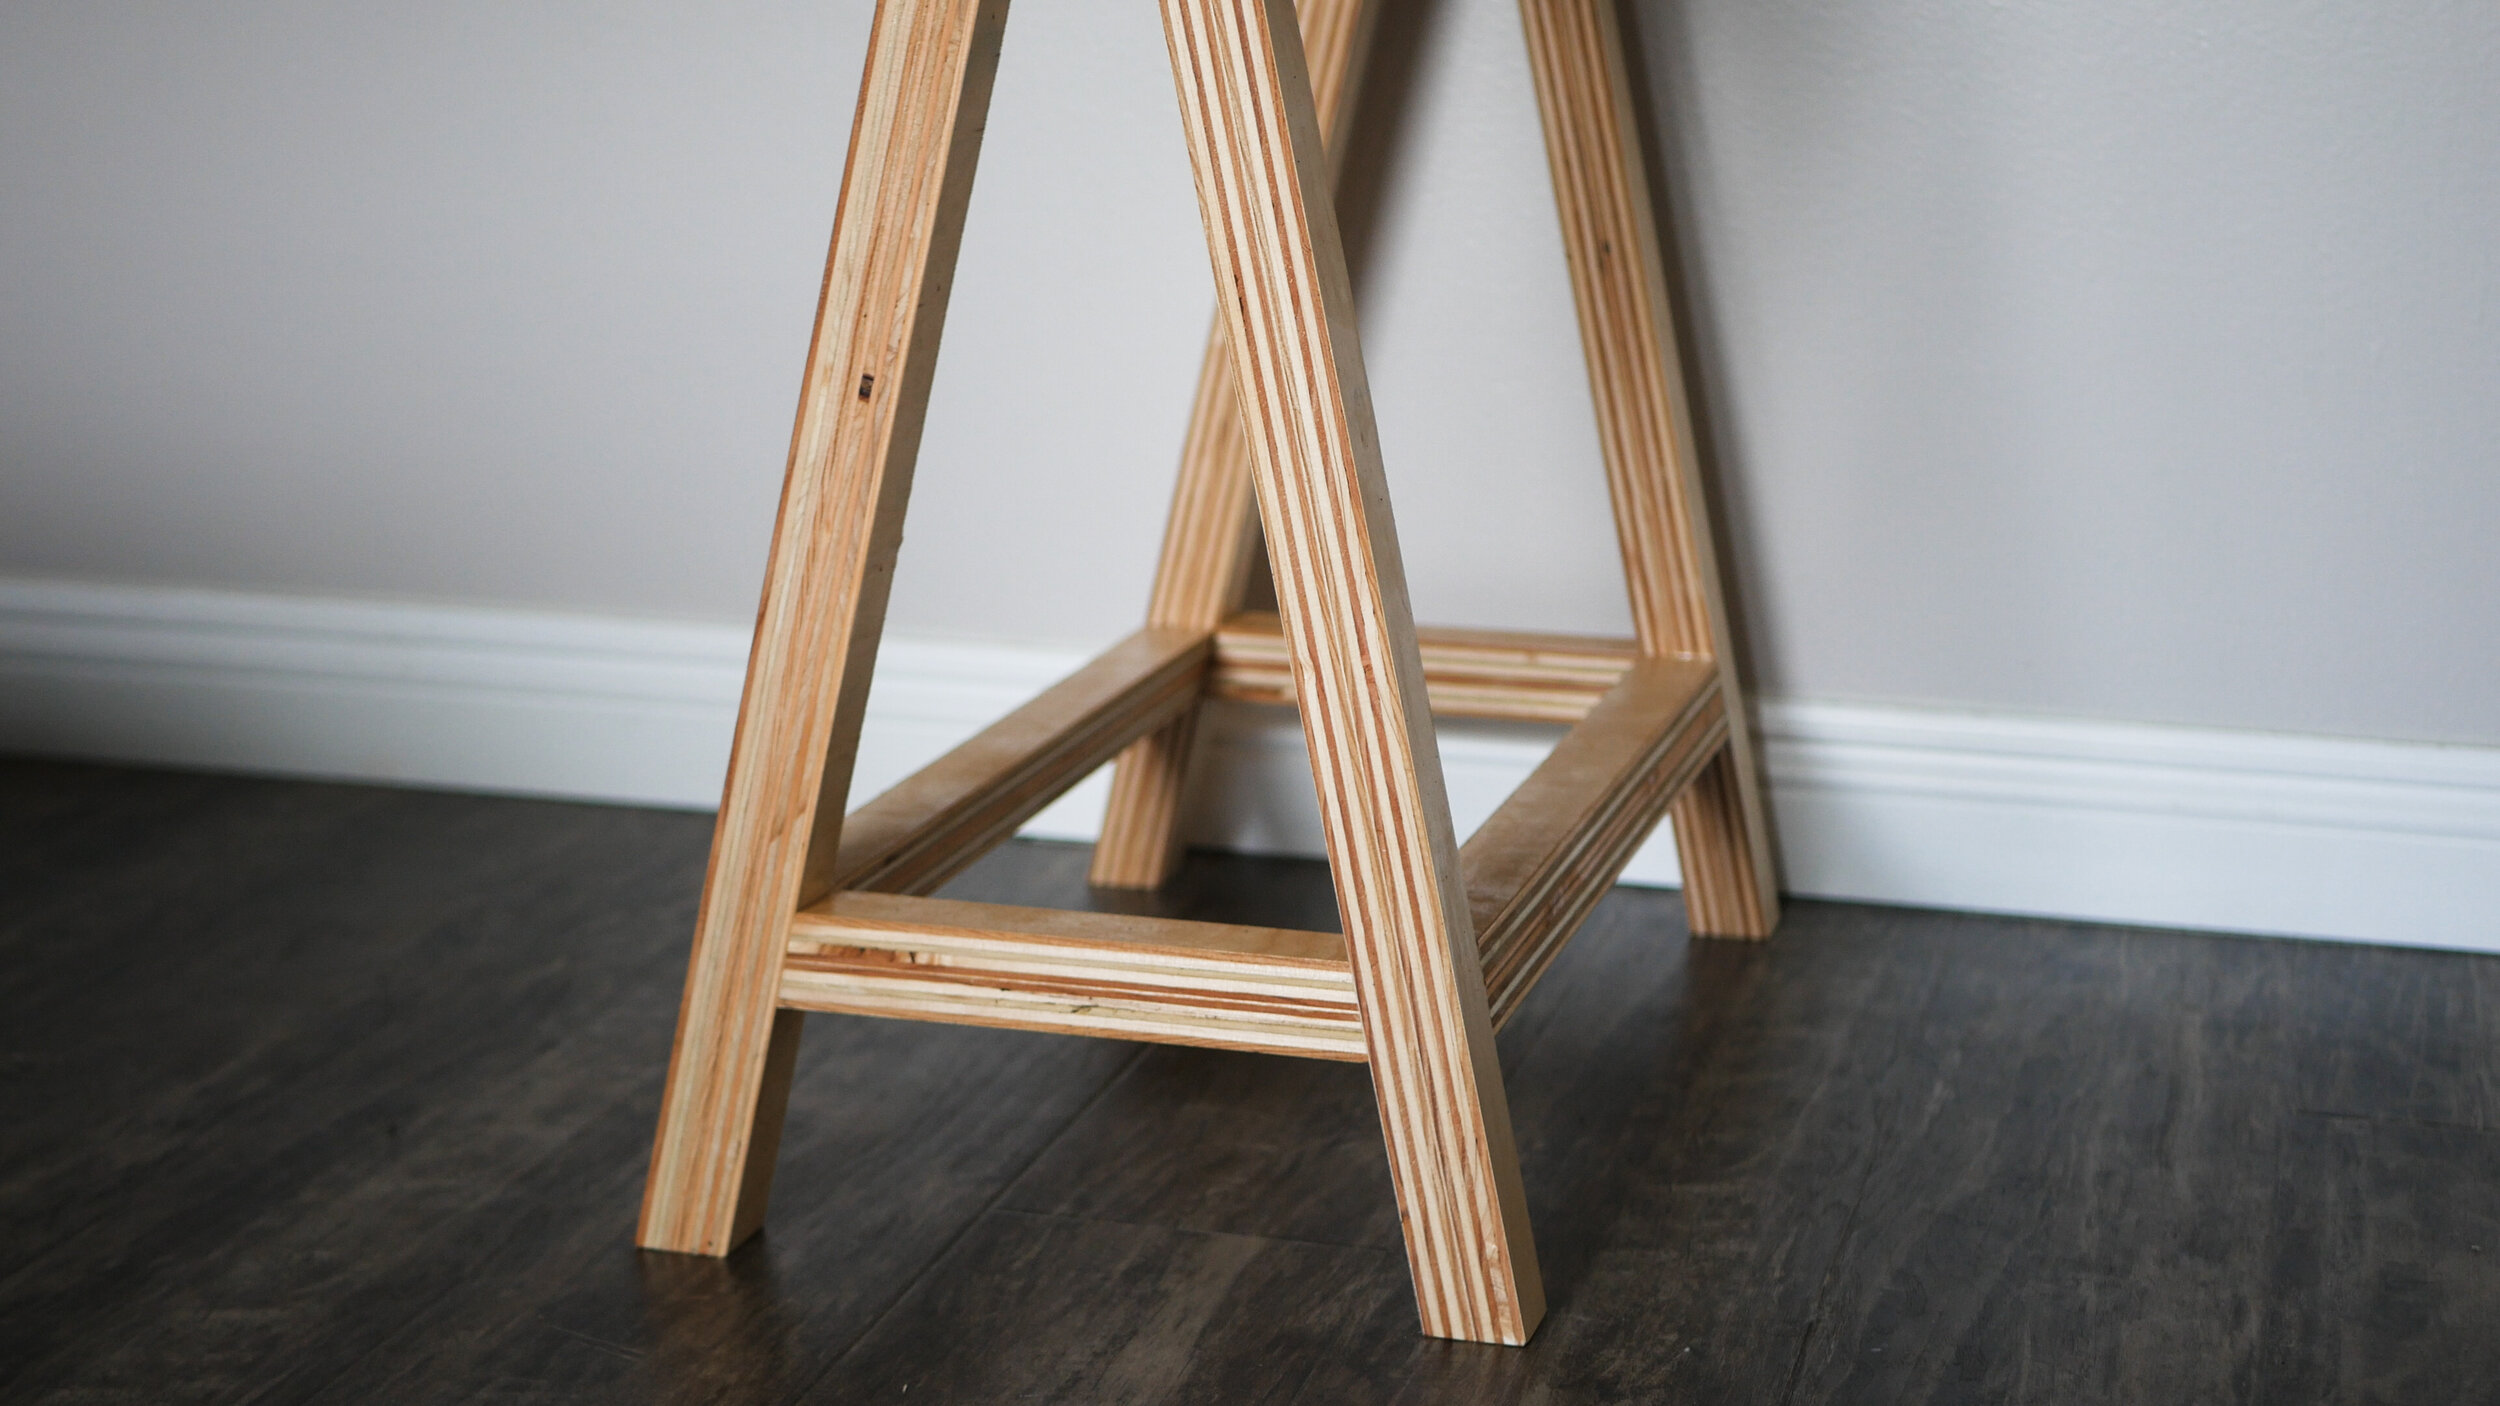
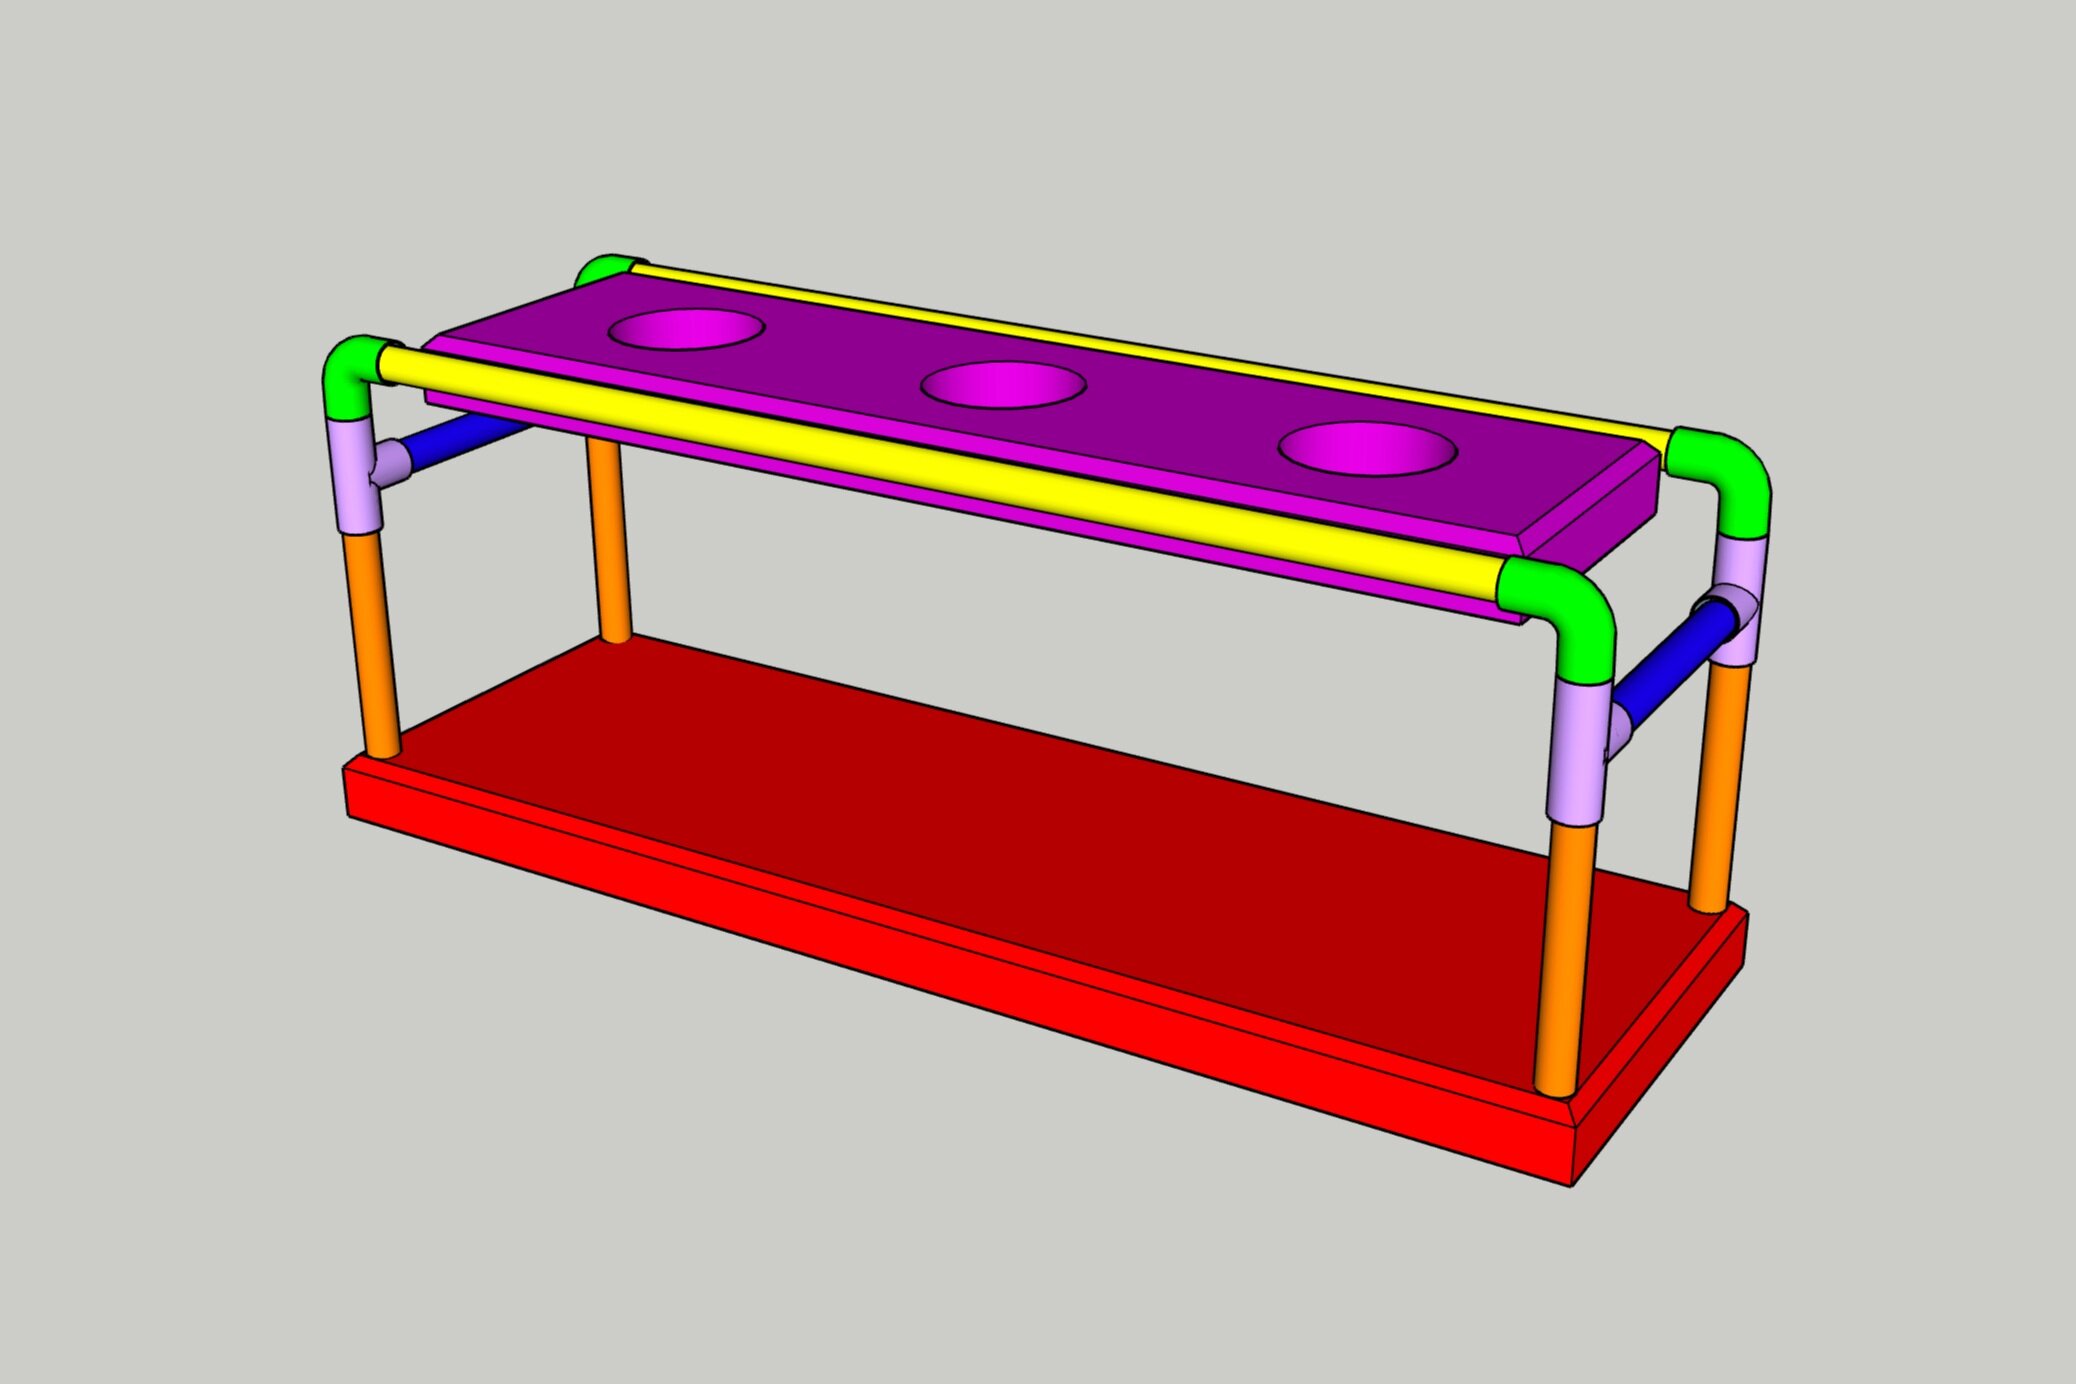
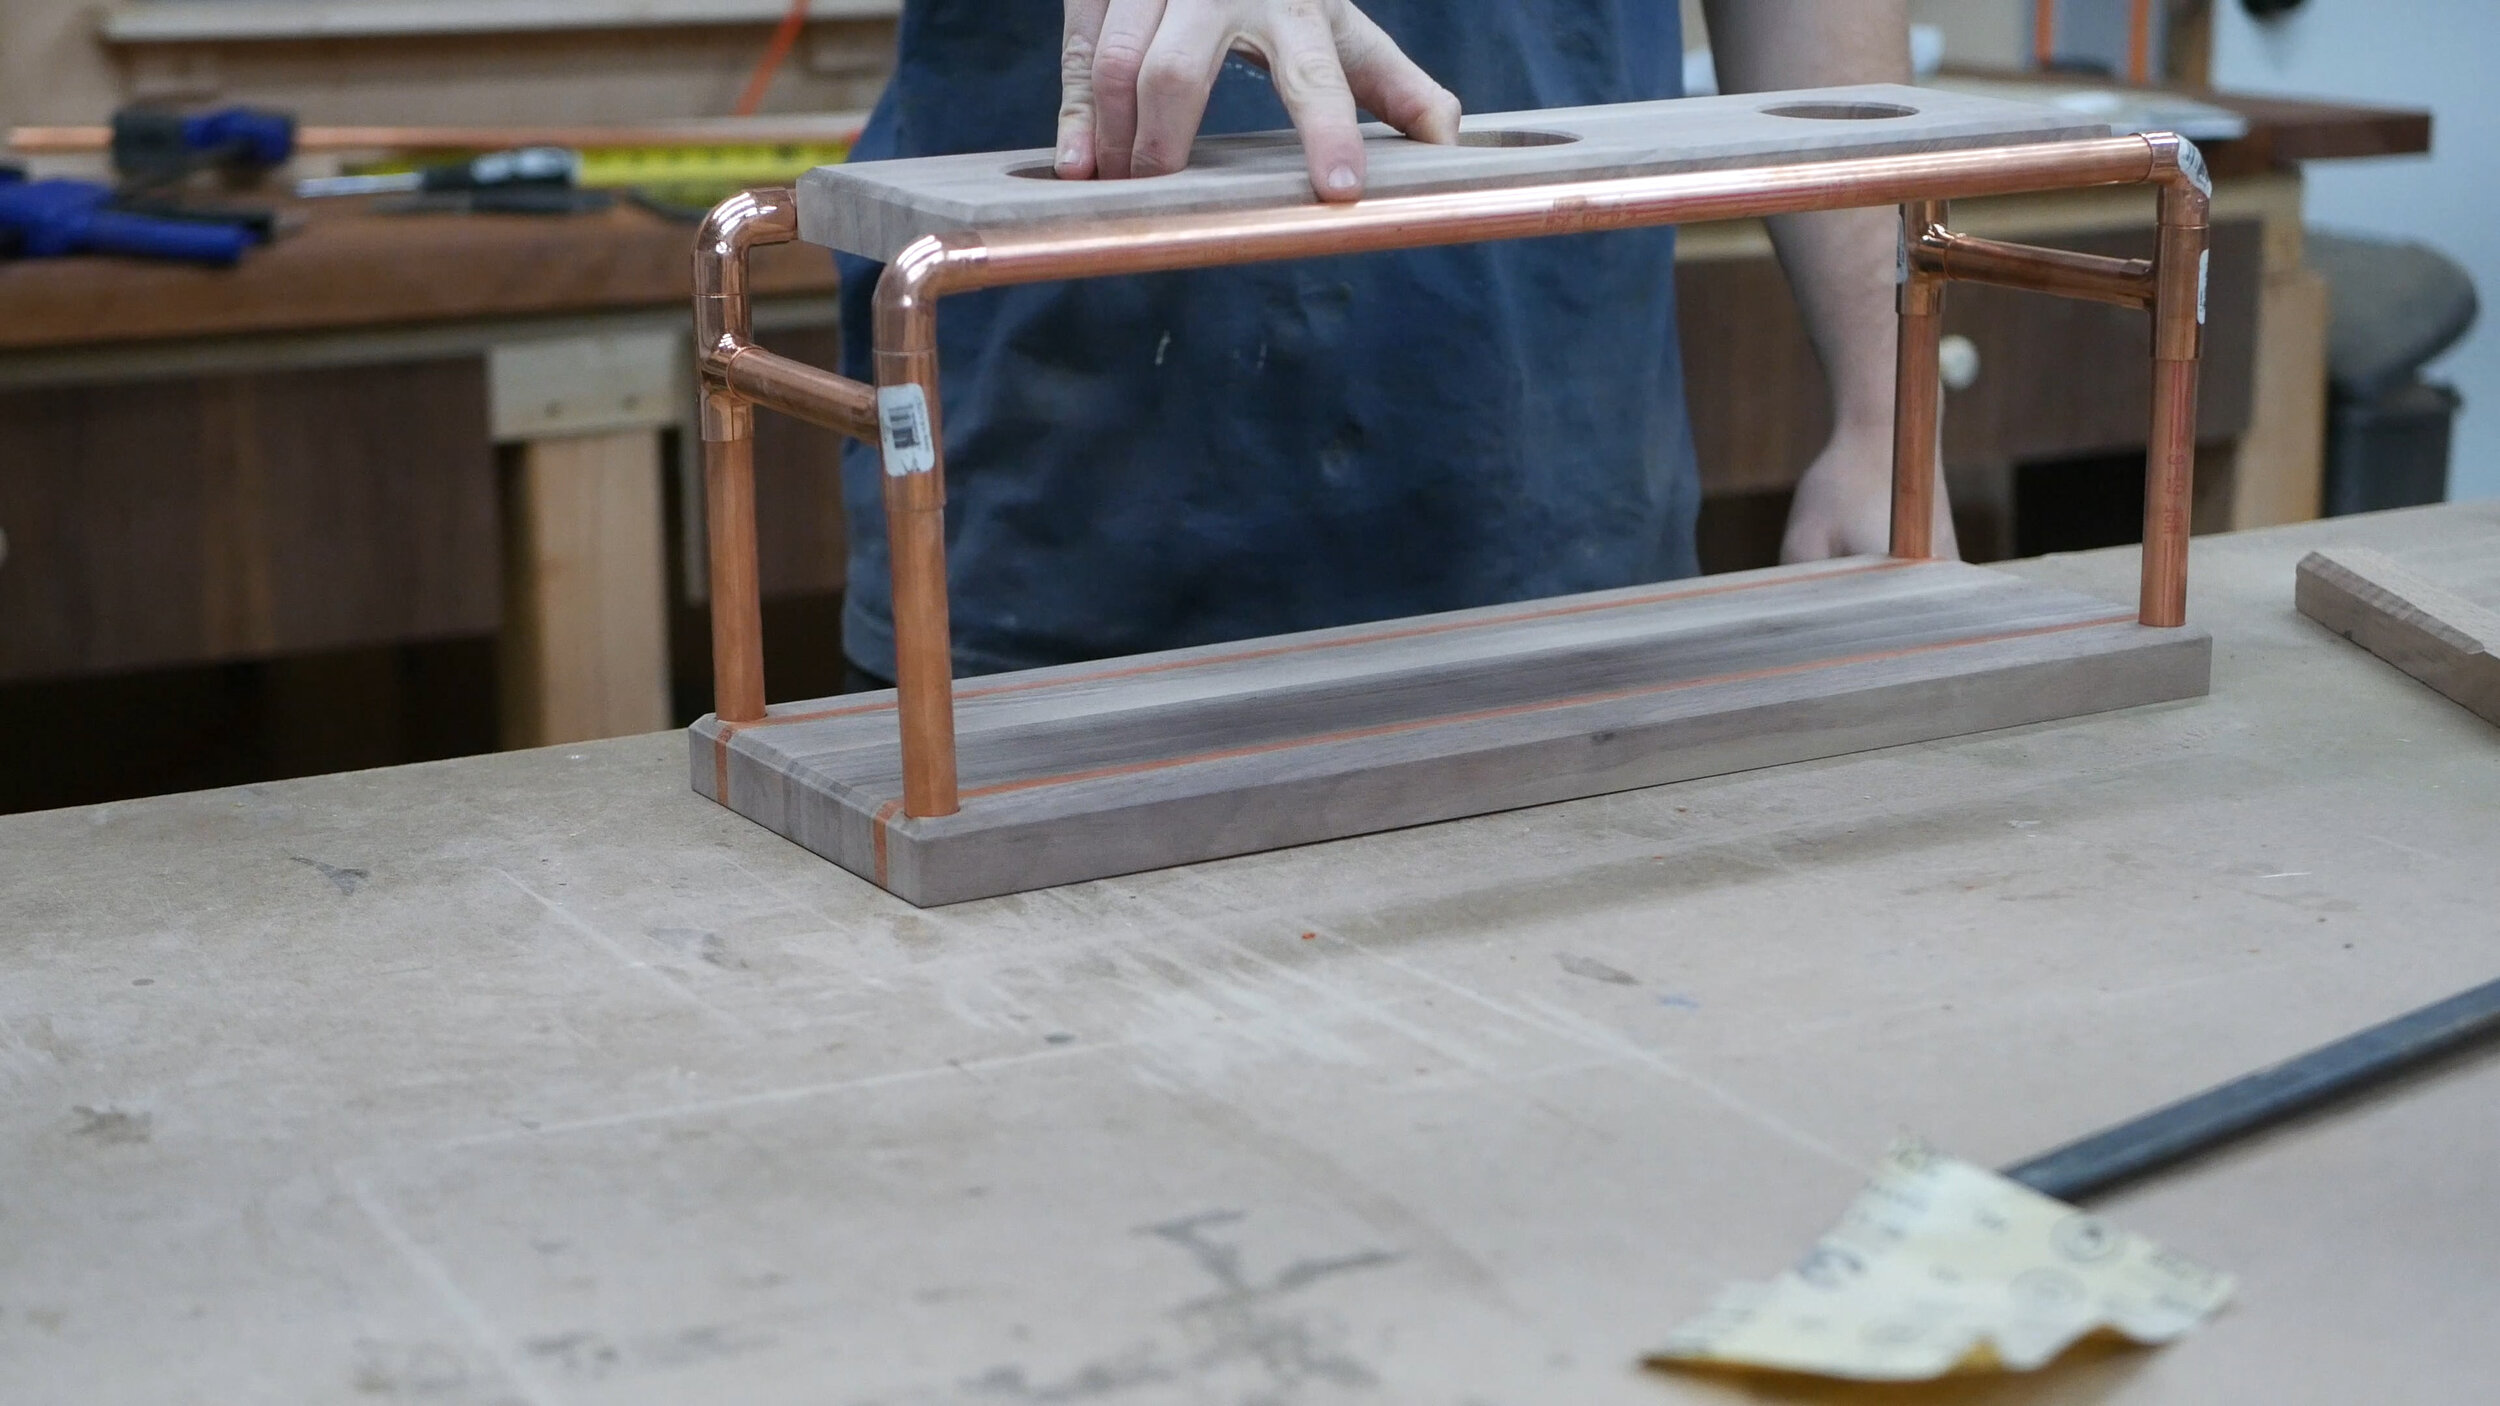
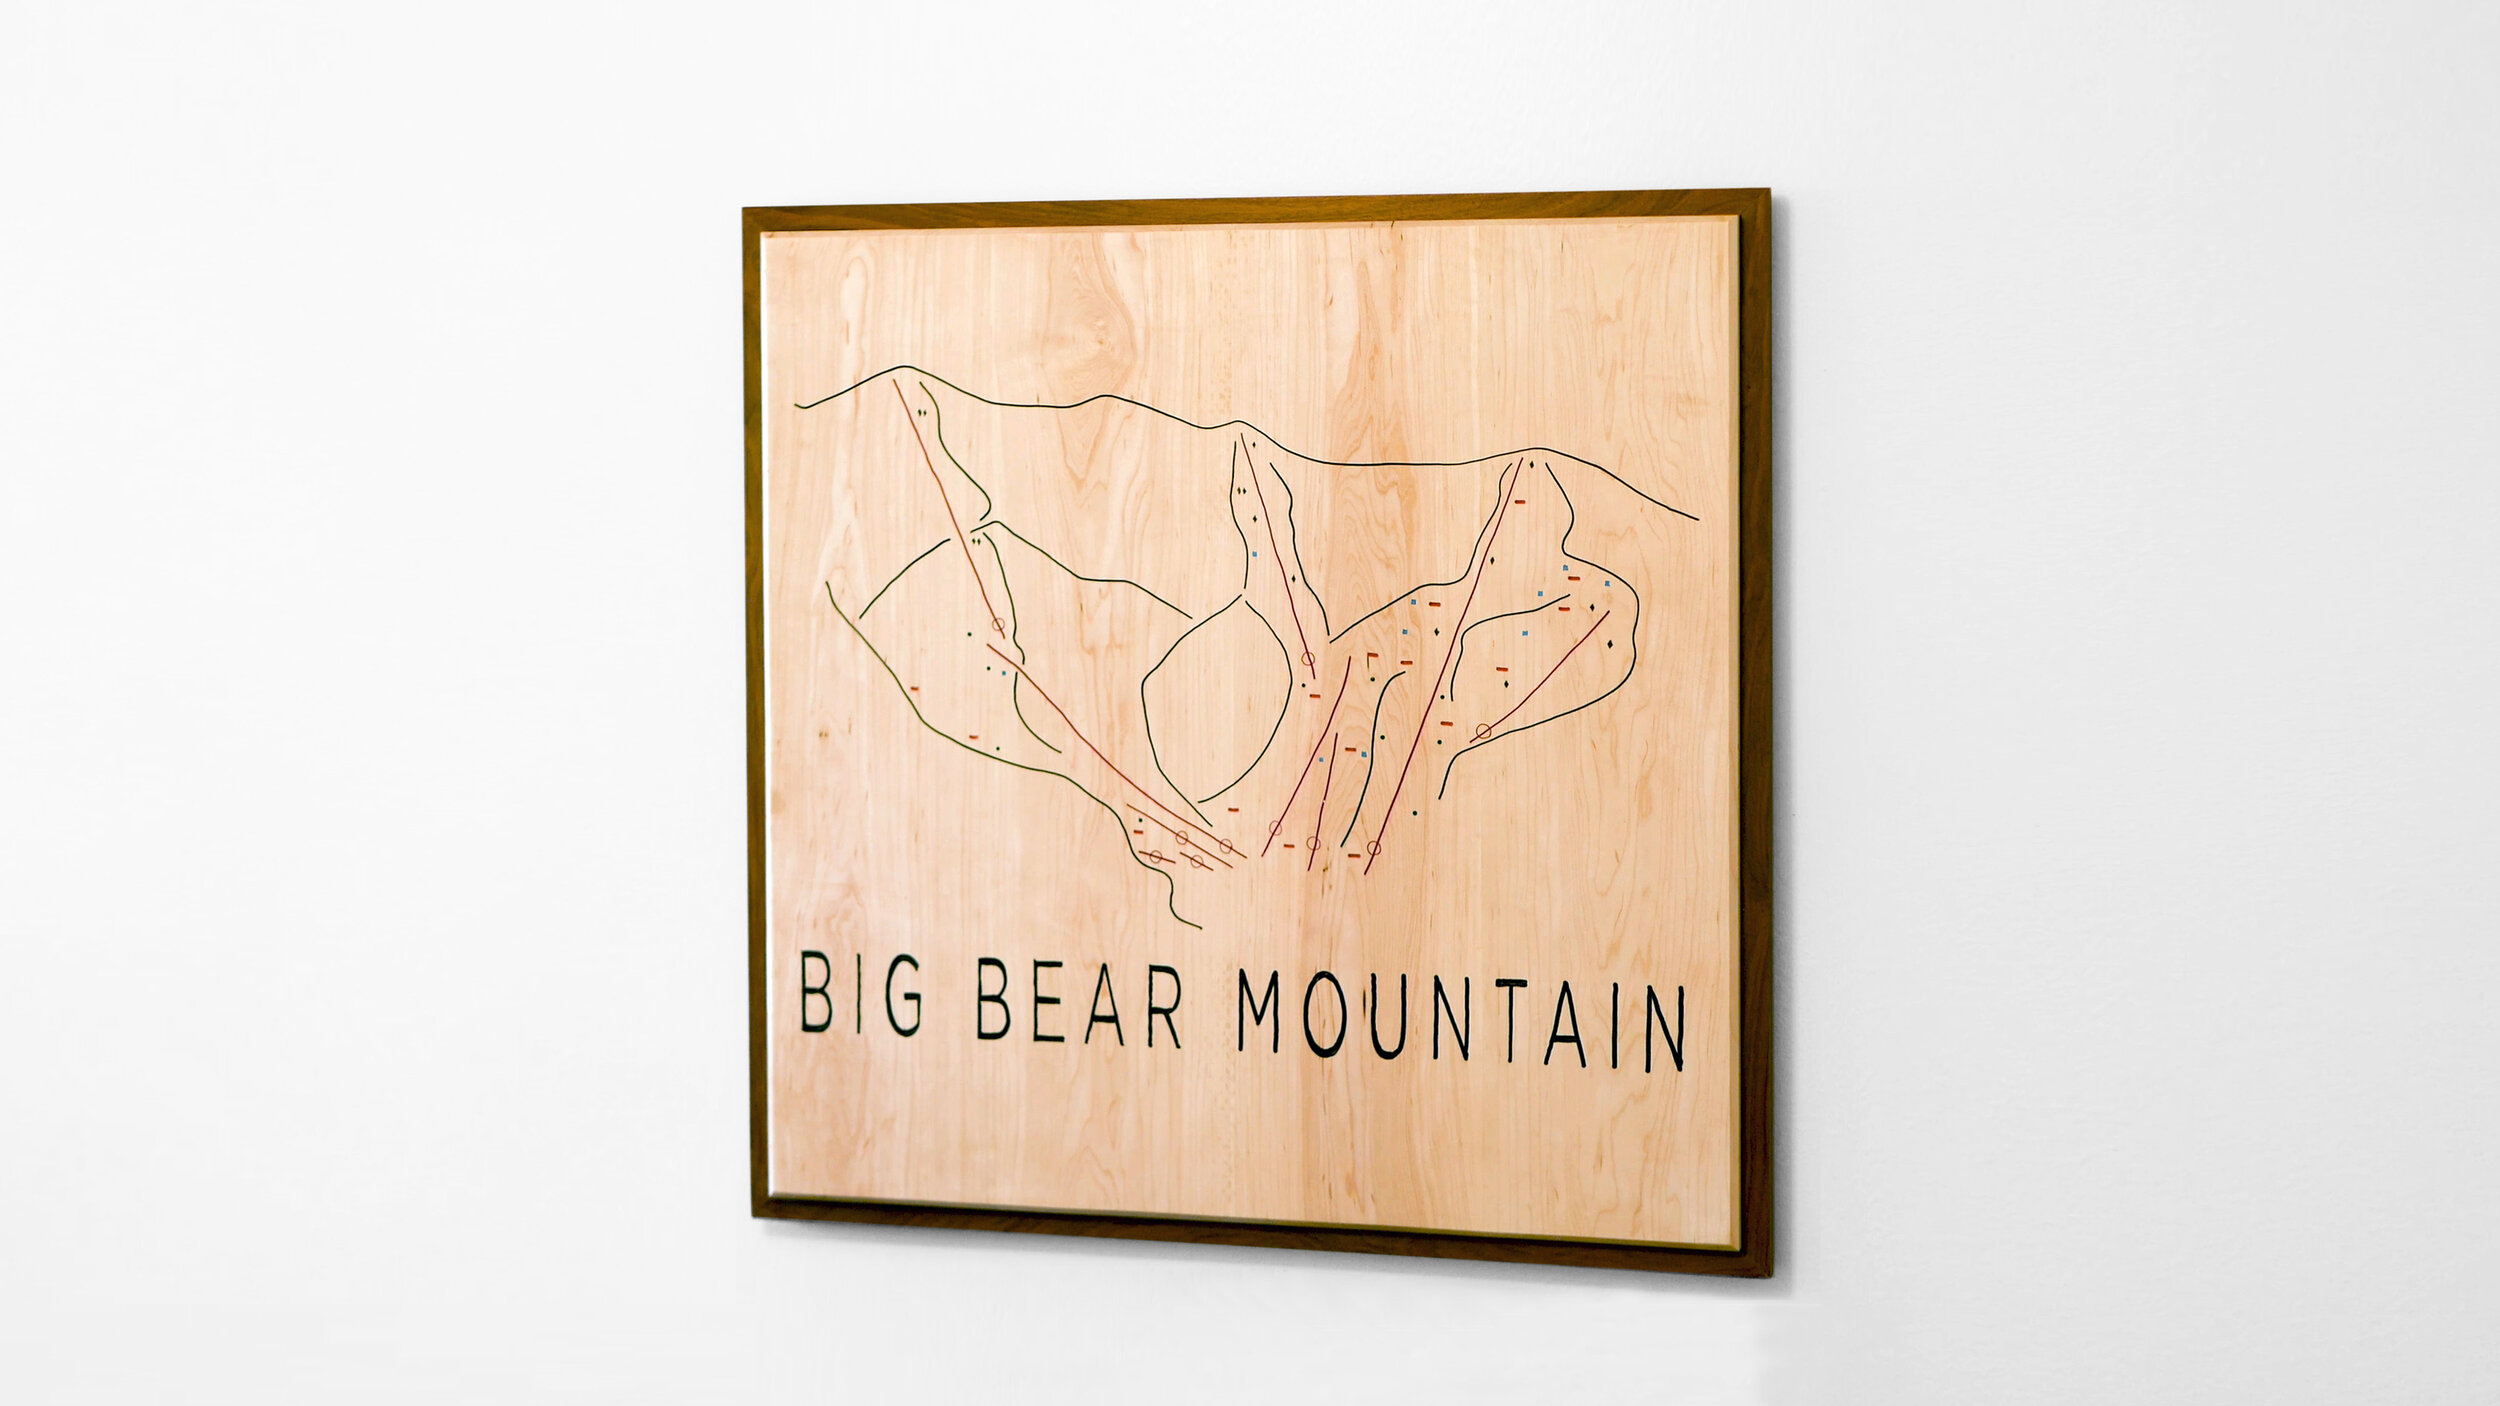
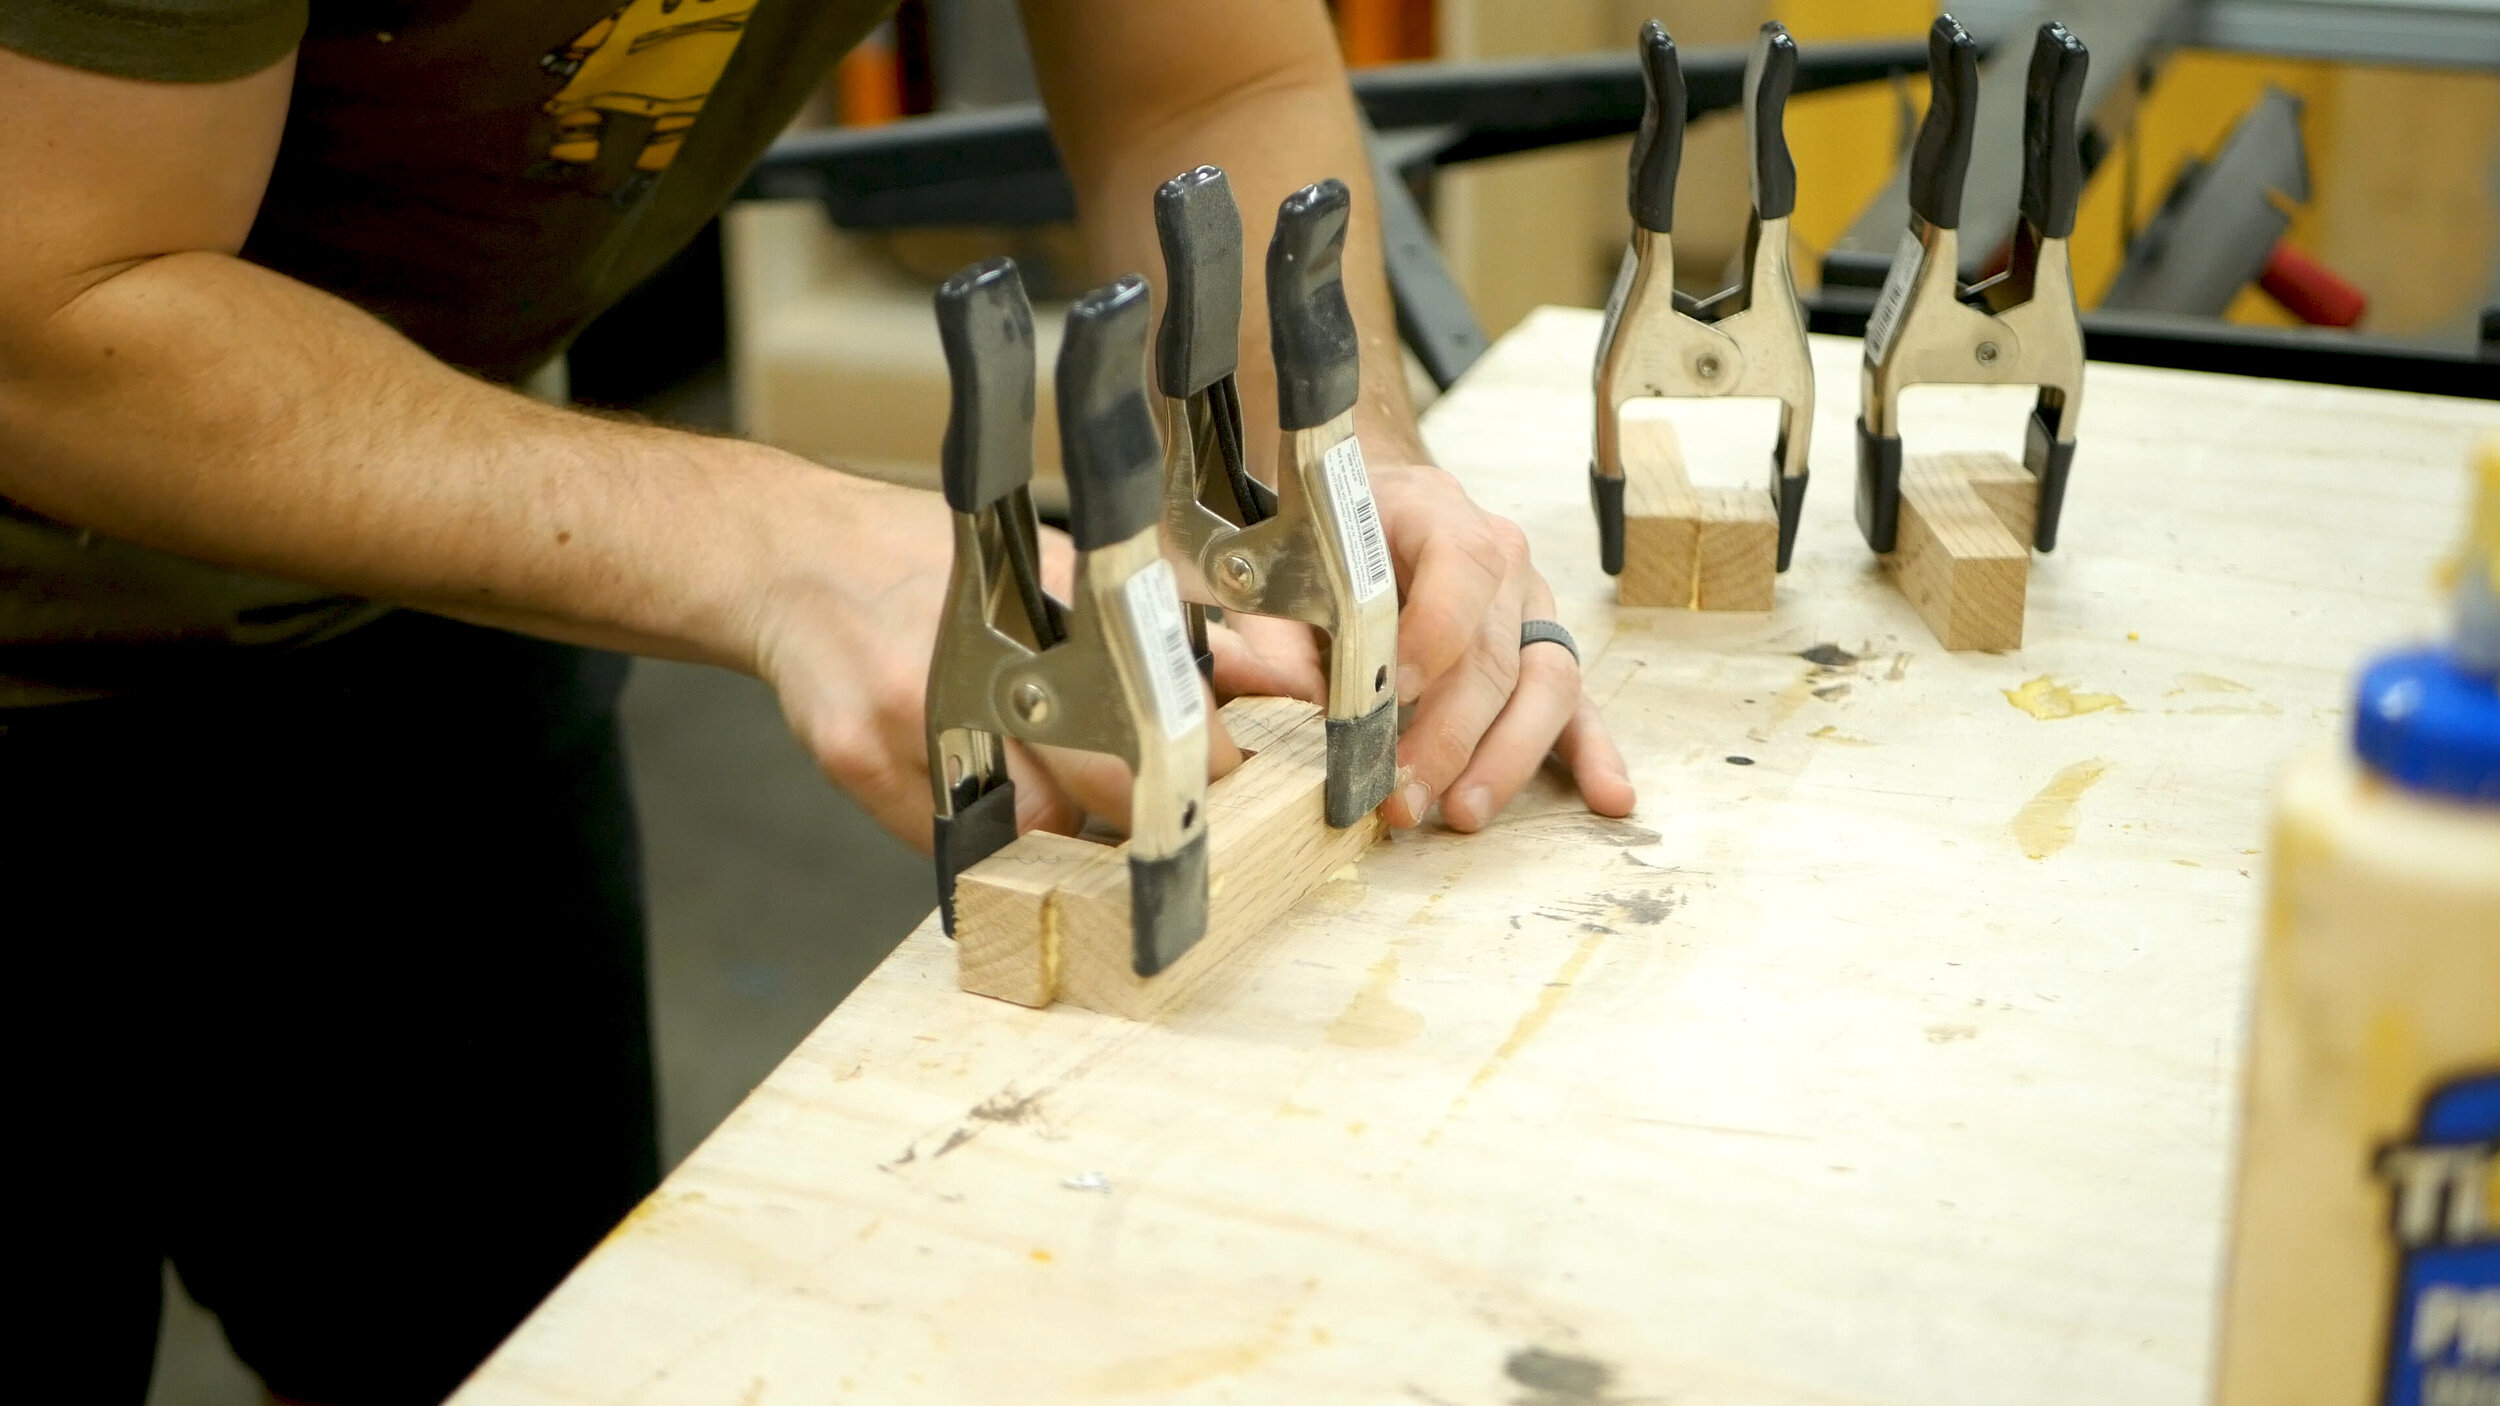
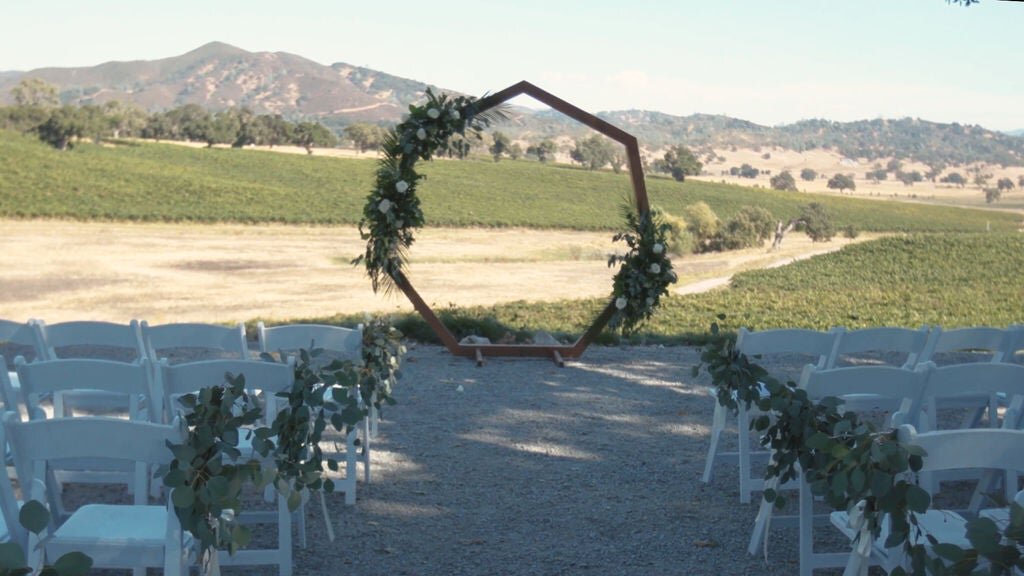
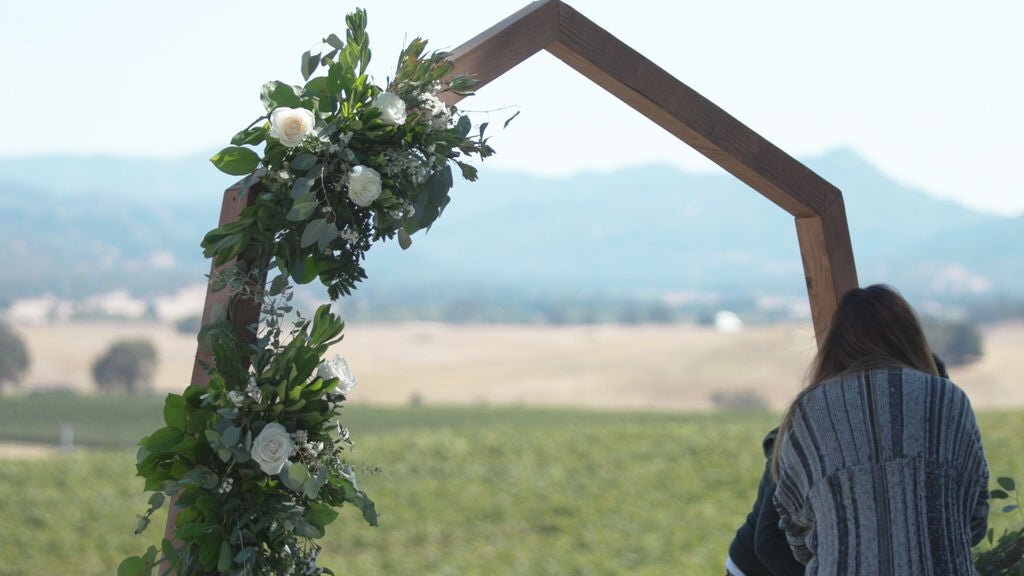
We wanted something minimal for the stand - as to look good but not actually take away from the arbor itself (or us!). We also didn't want it to fall over.
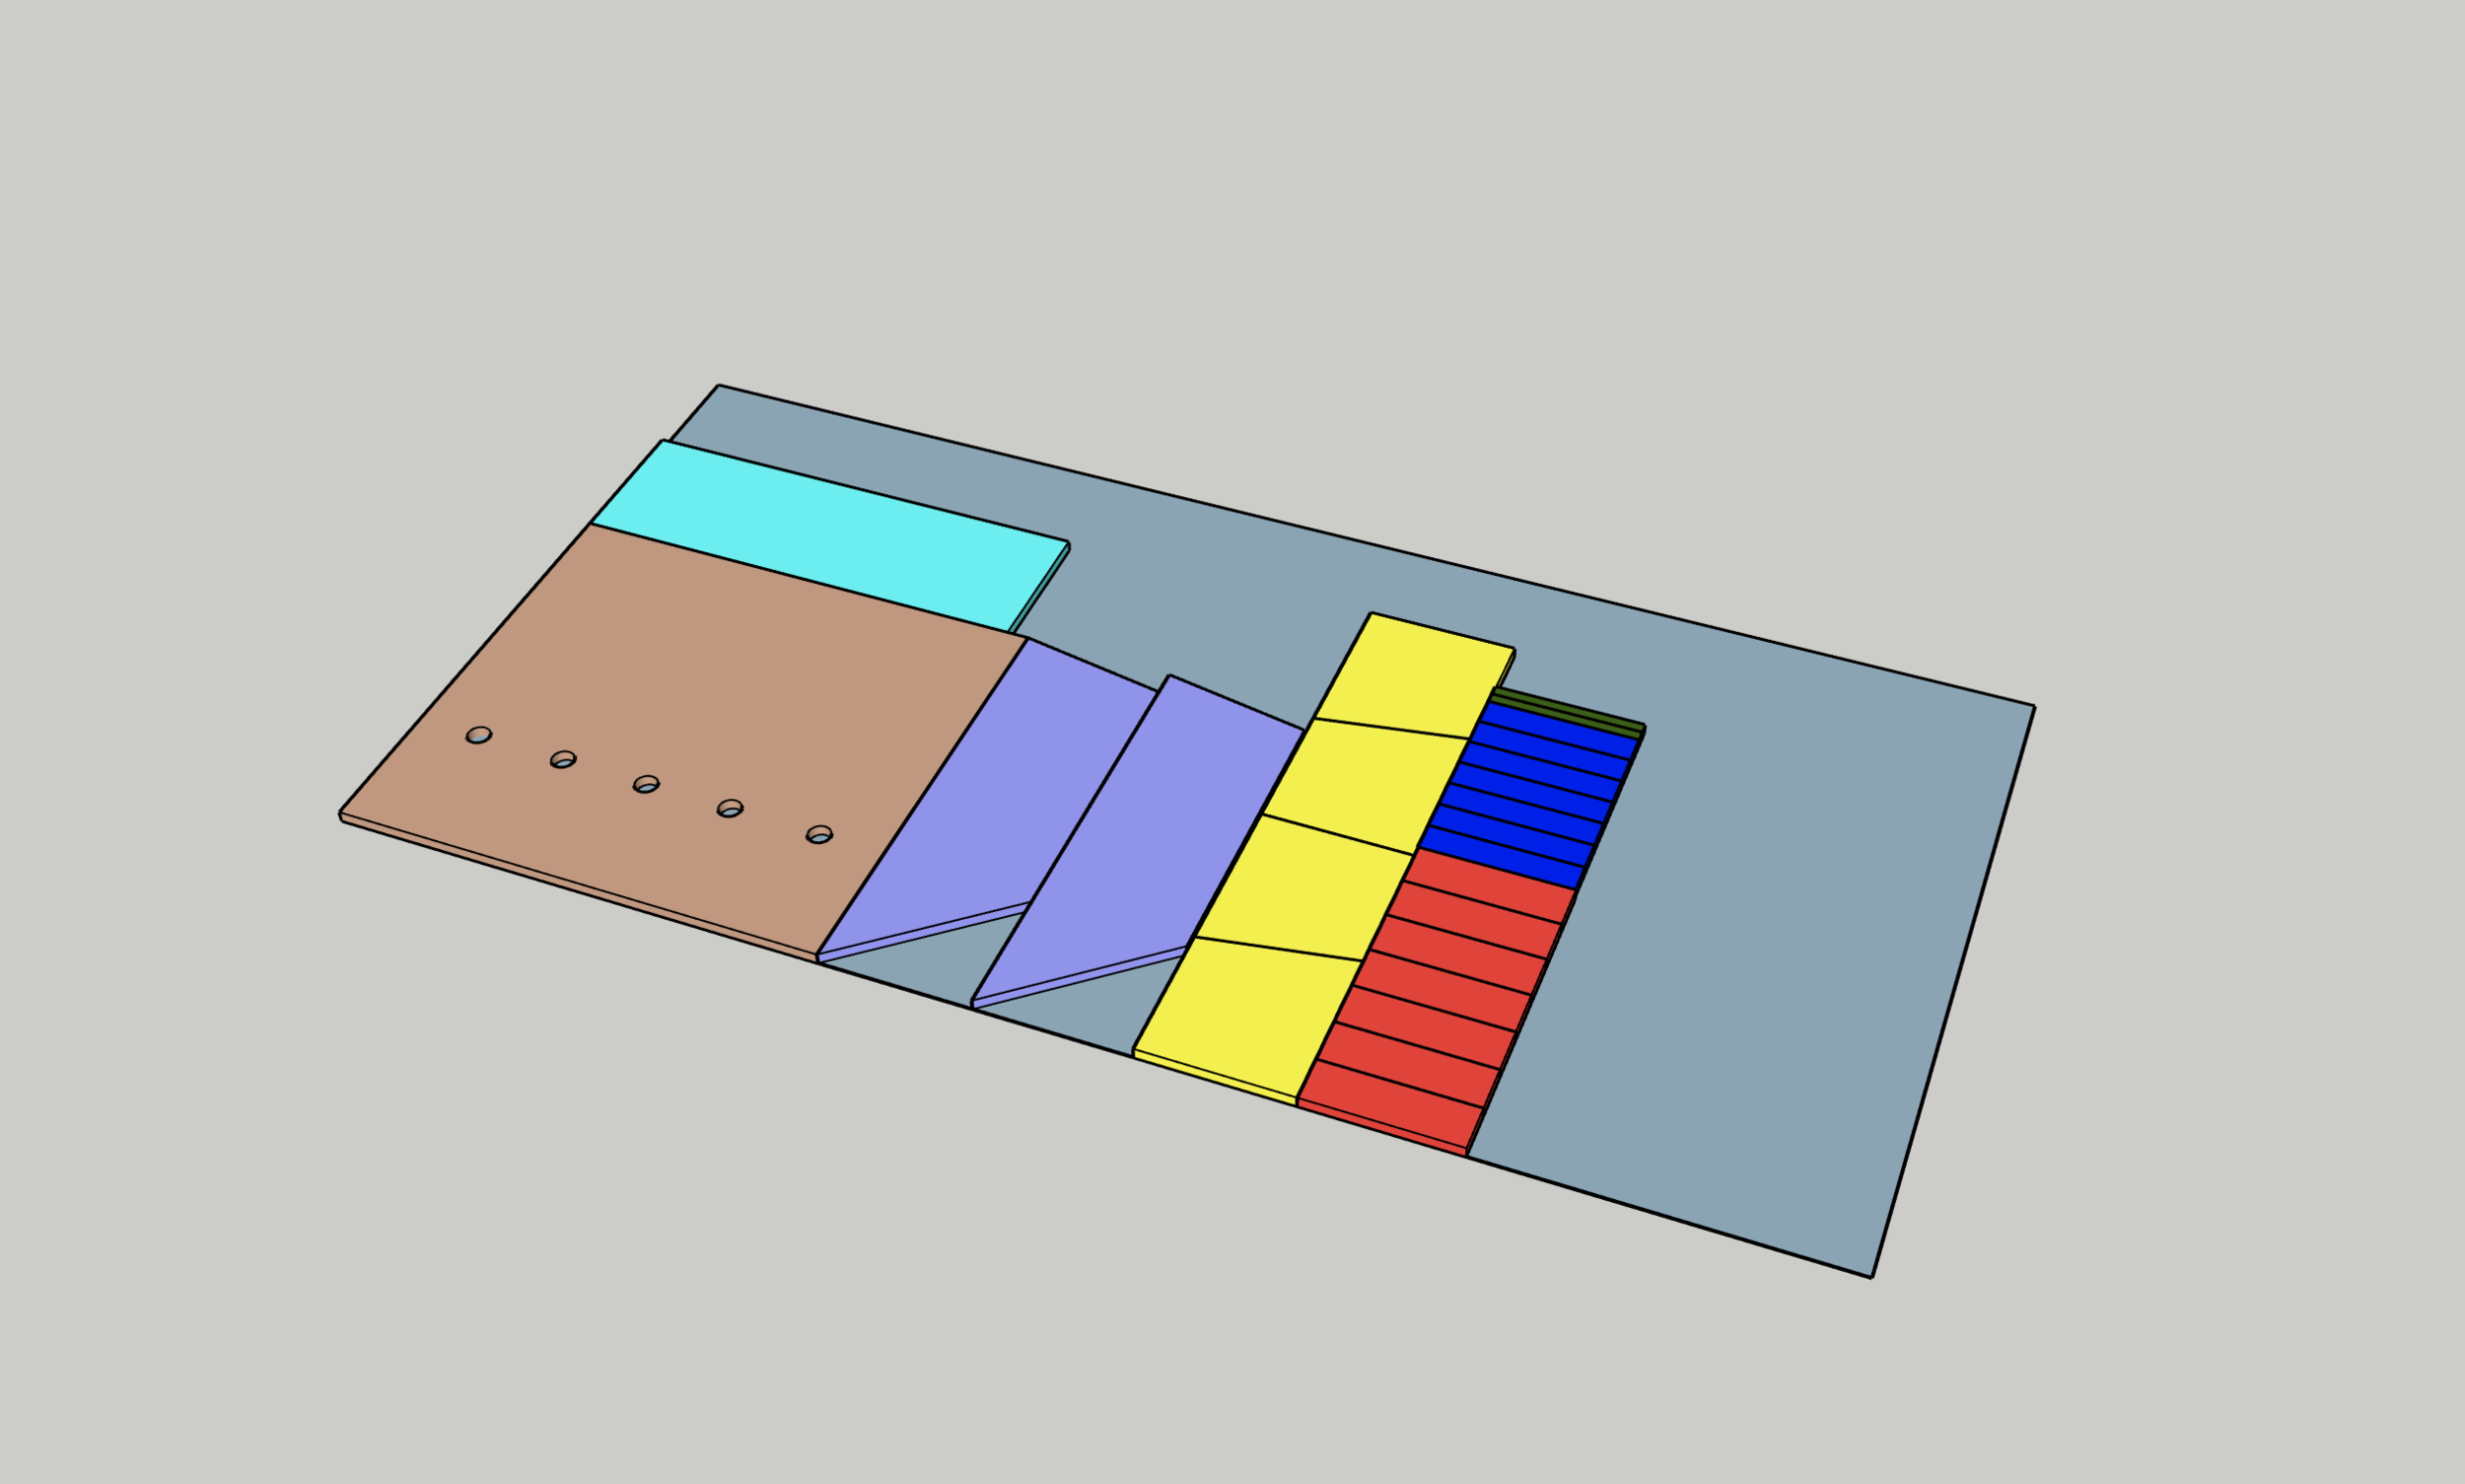
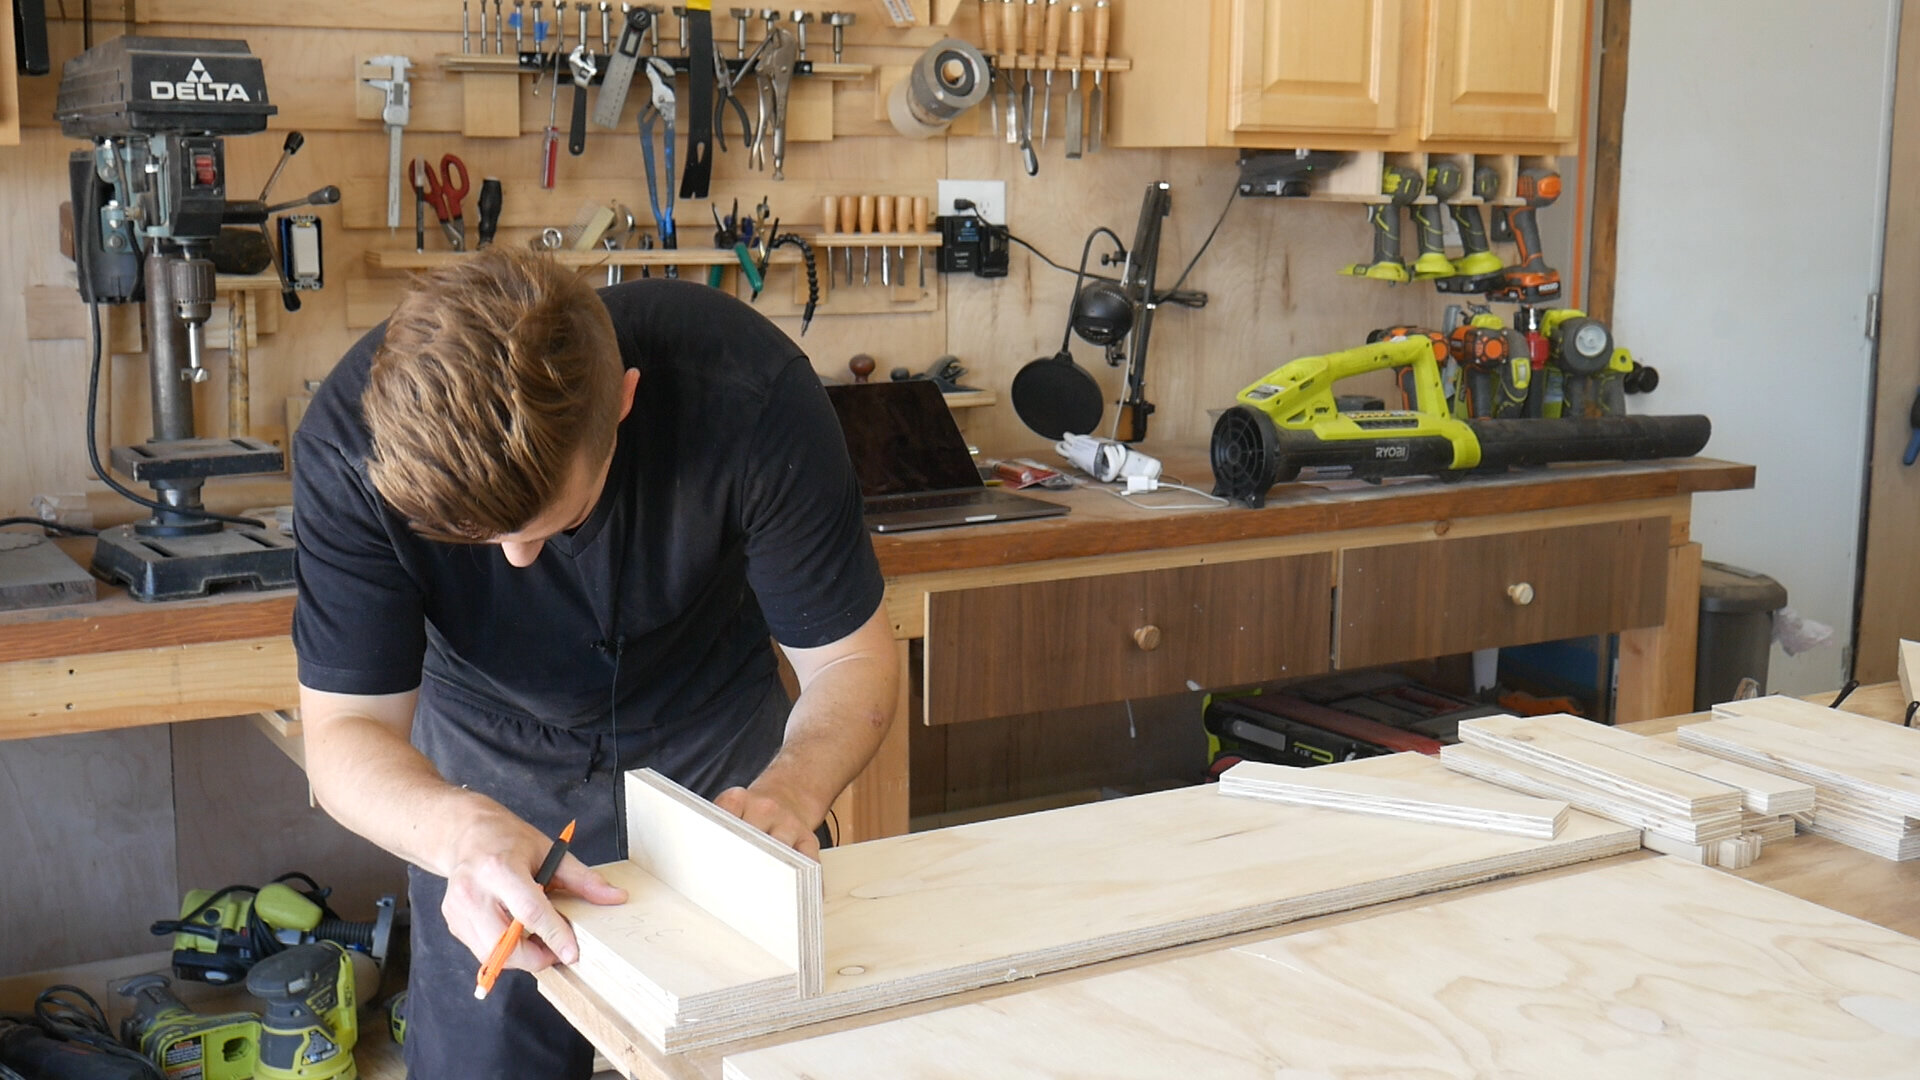
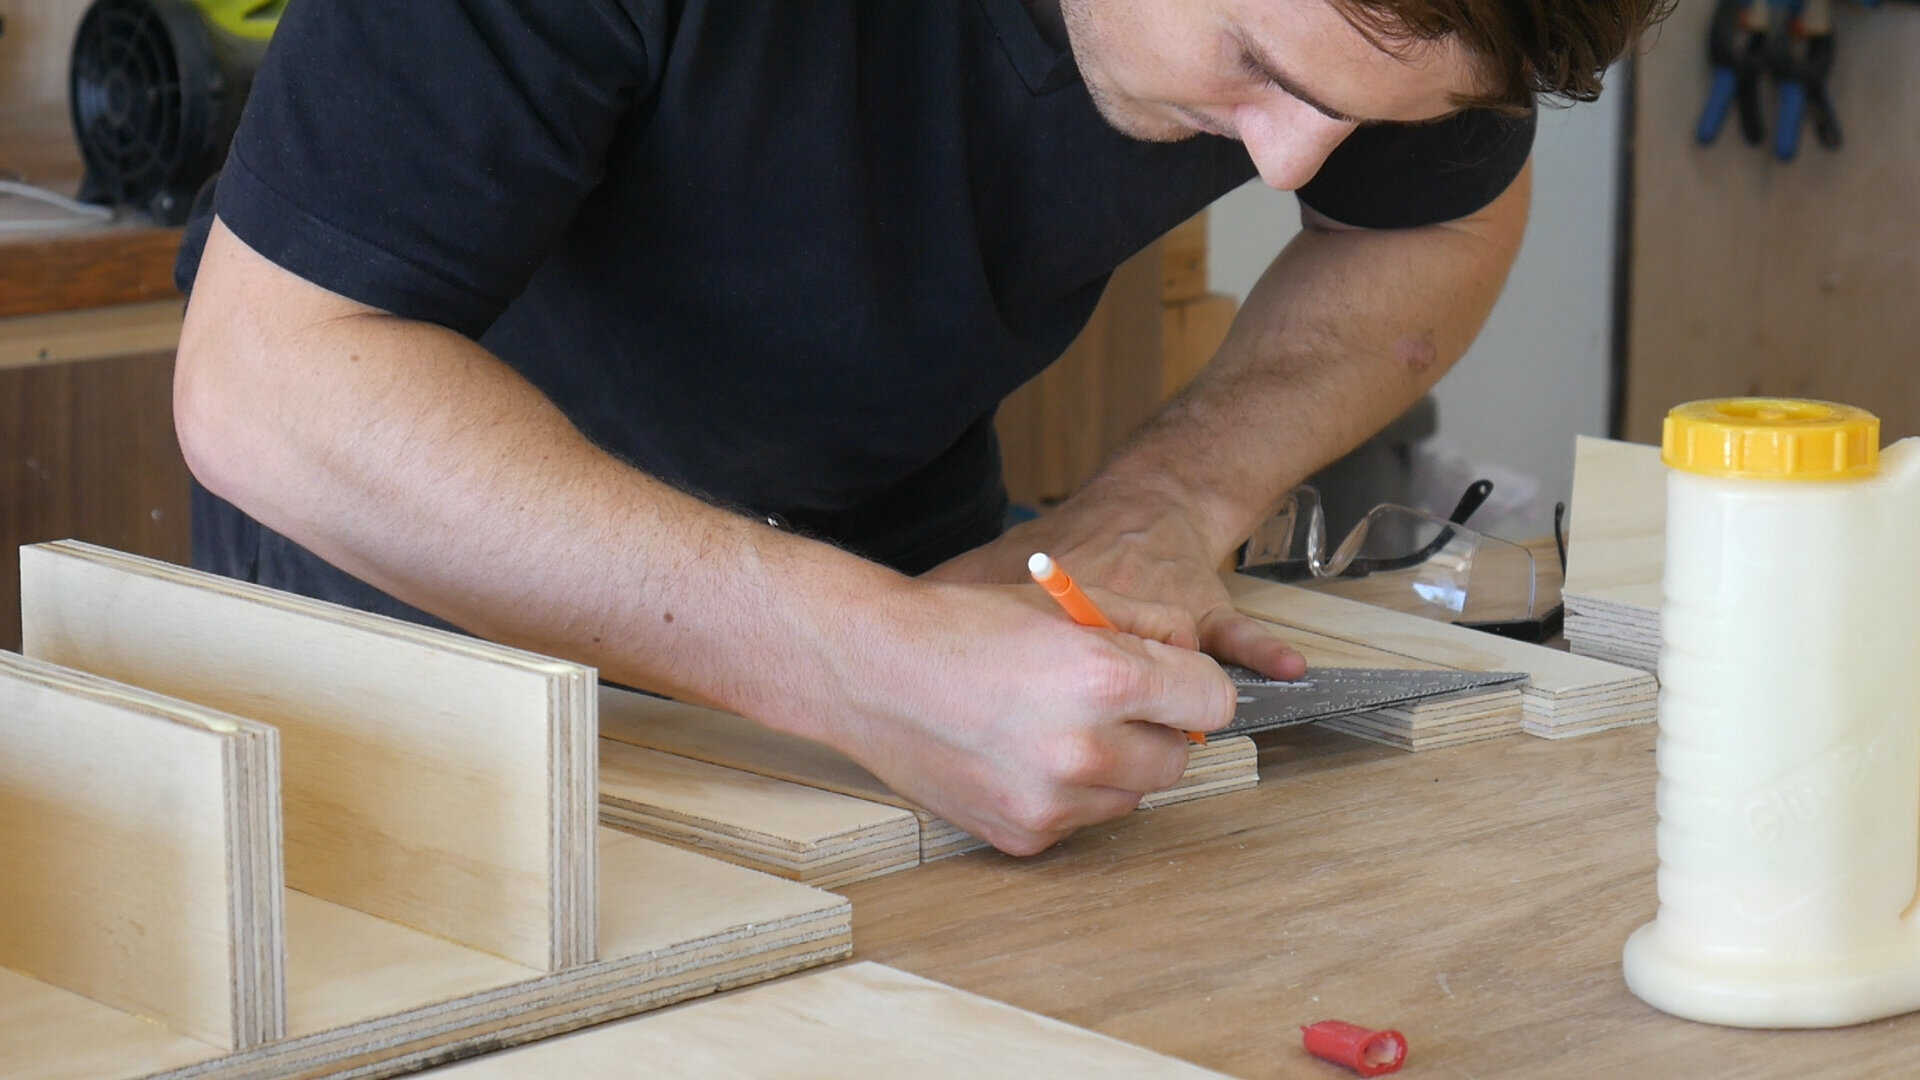
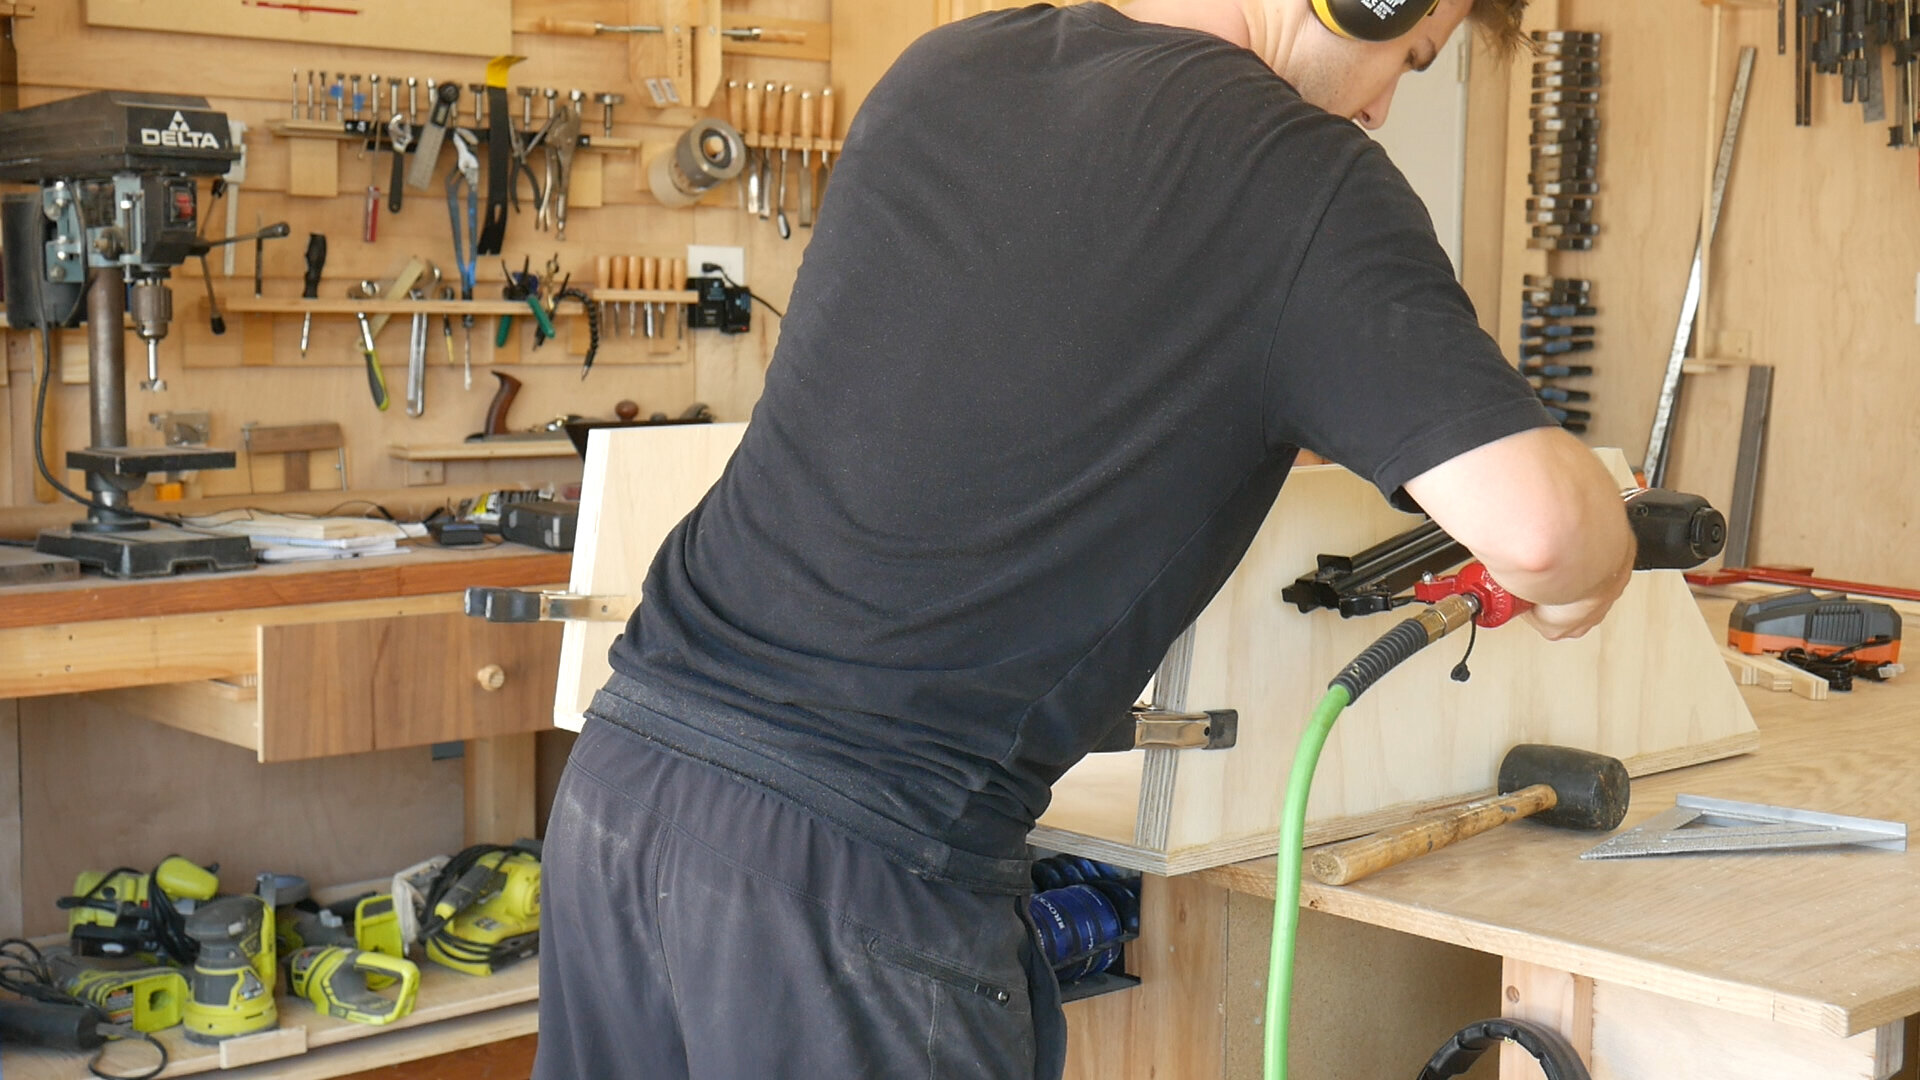
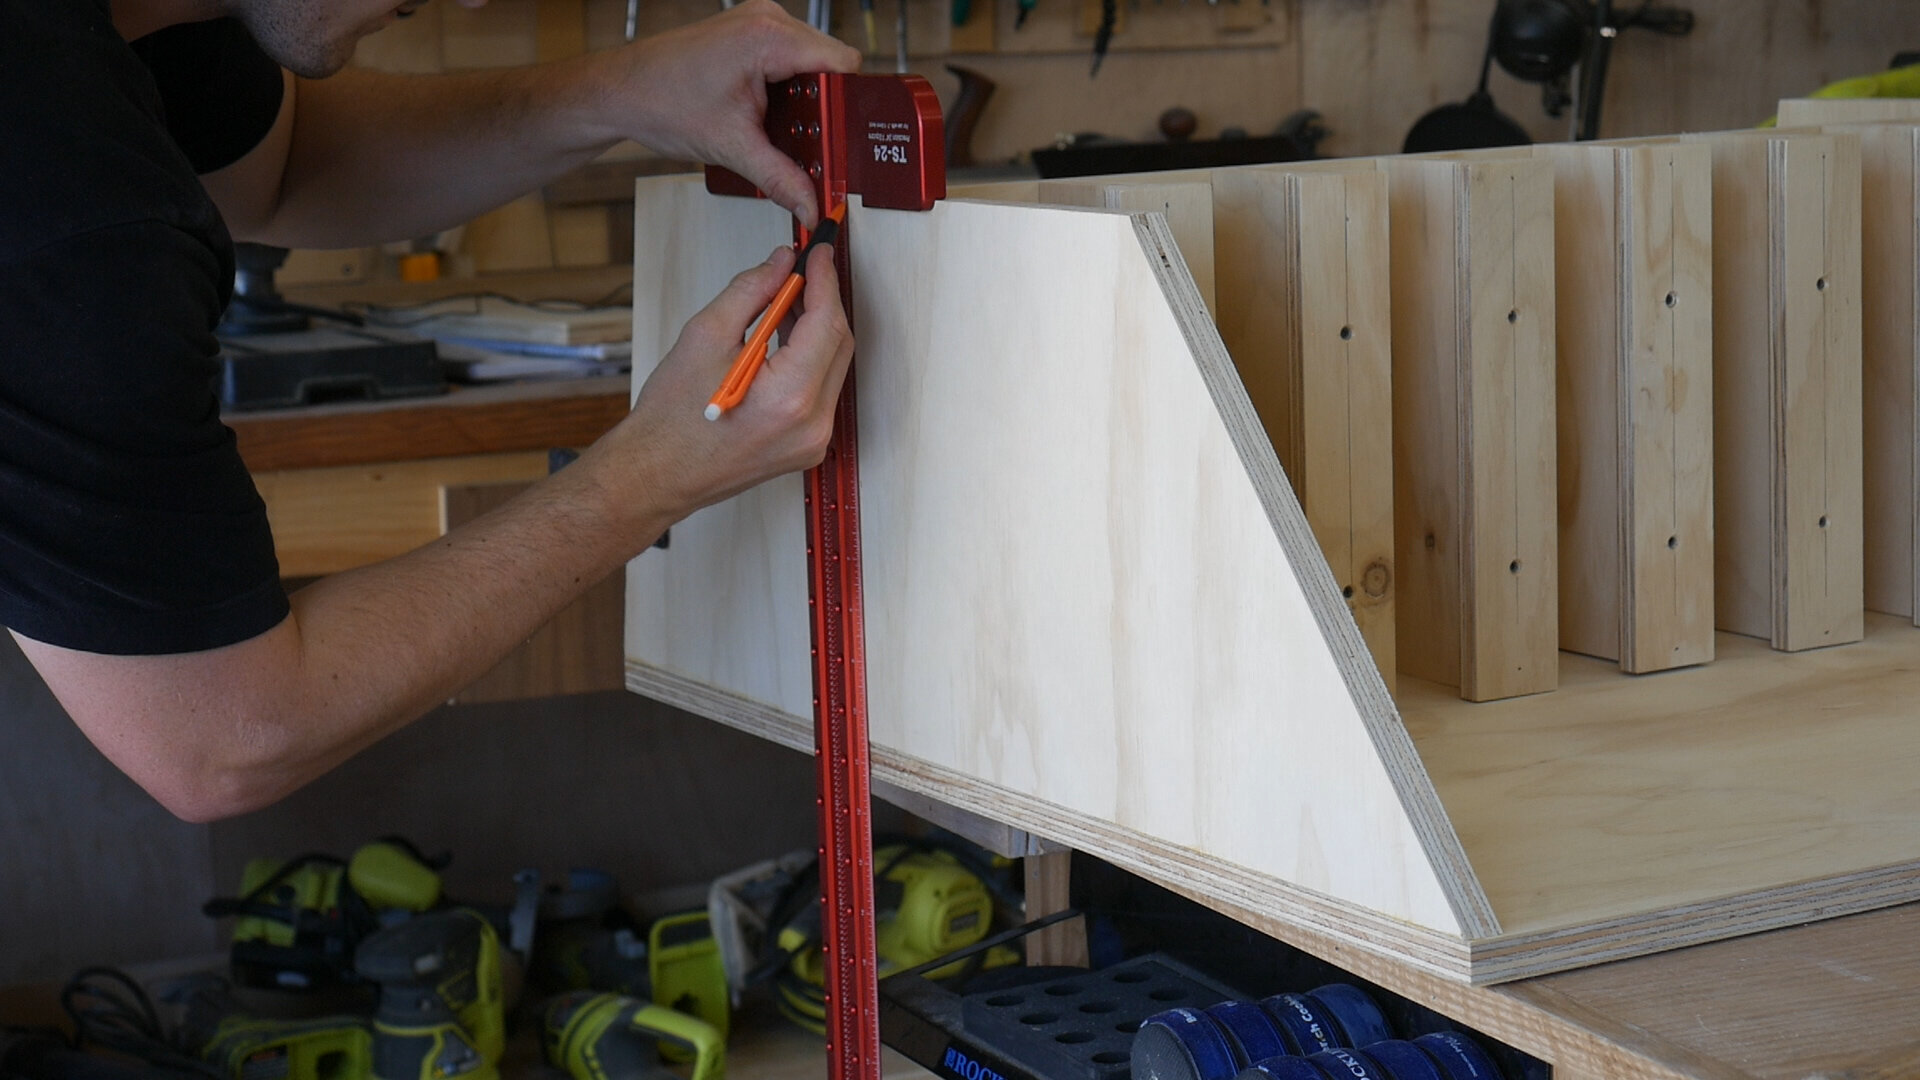
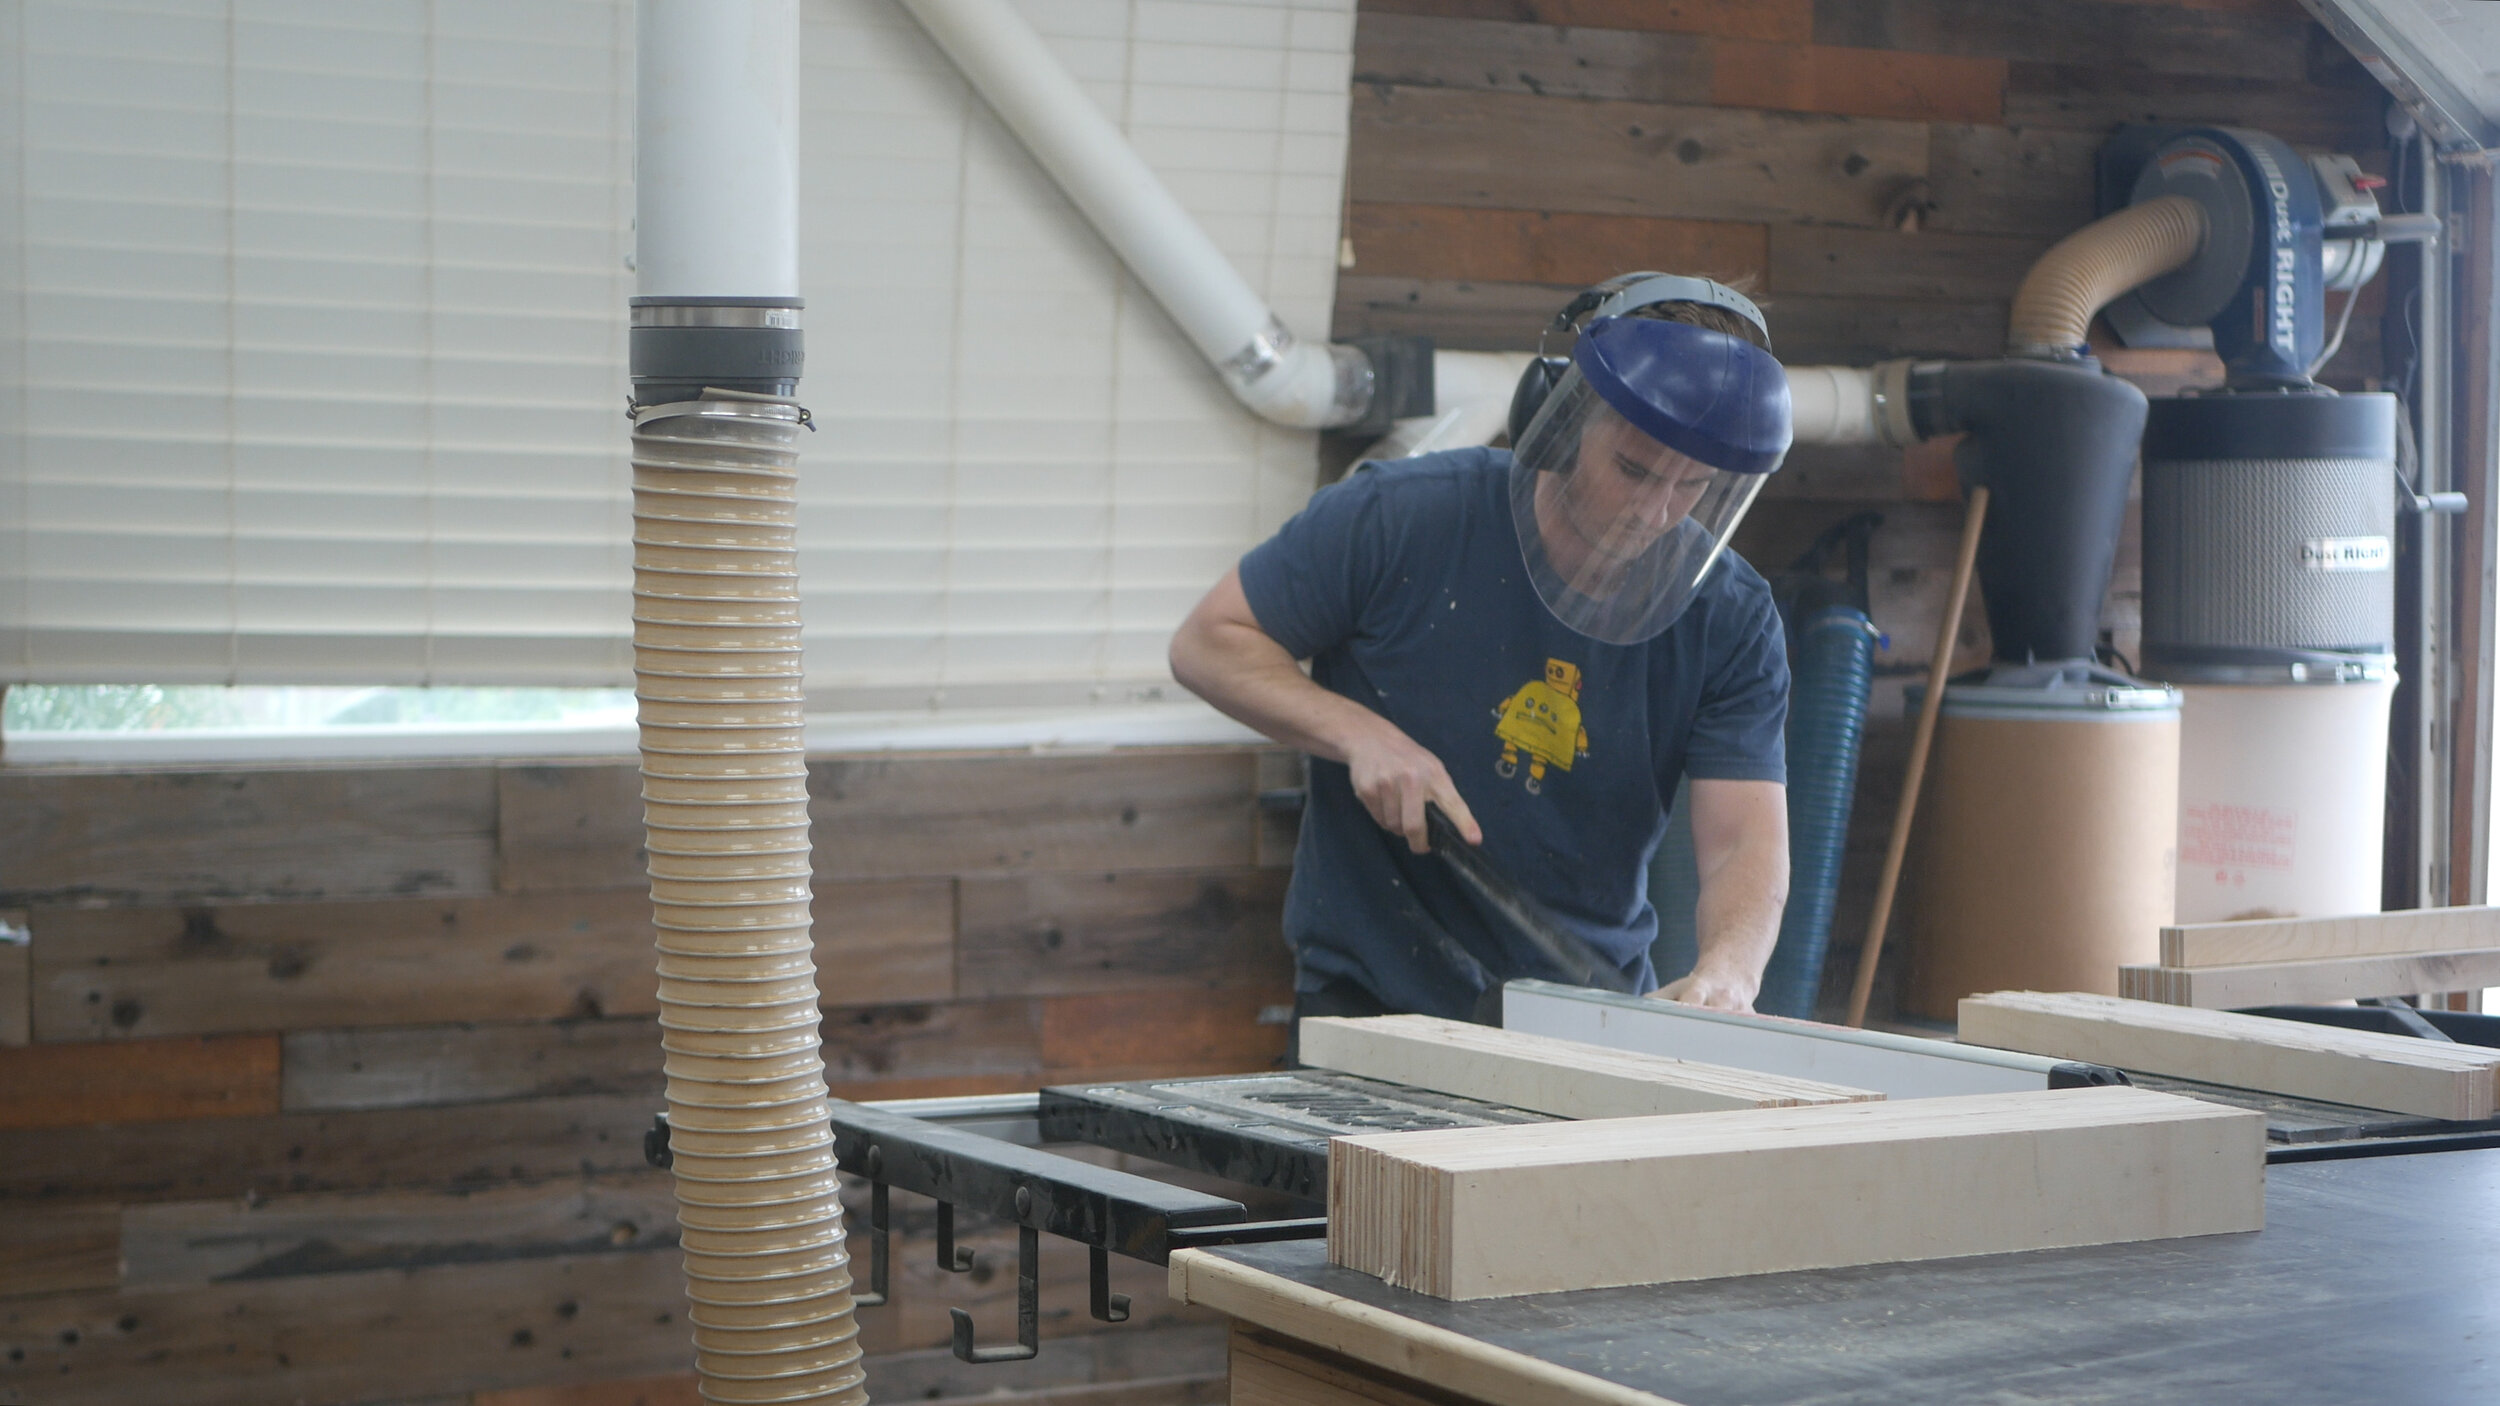
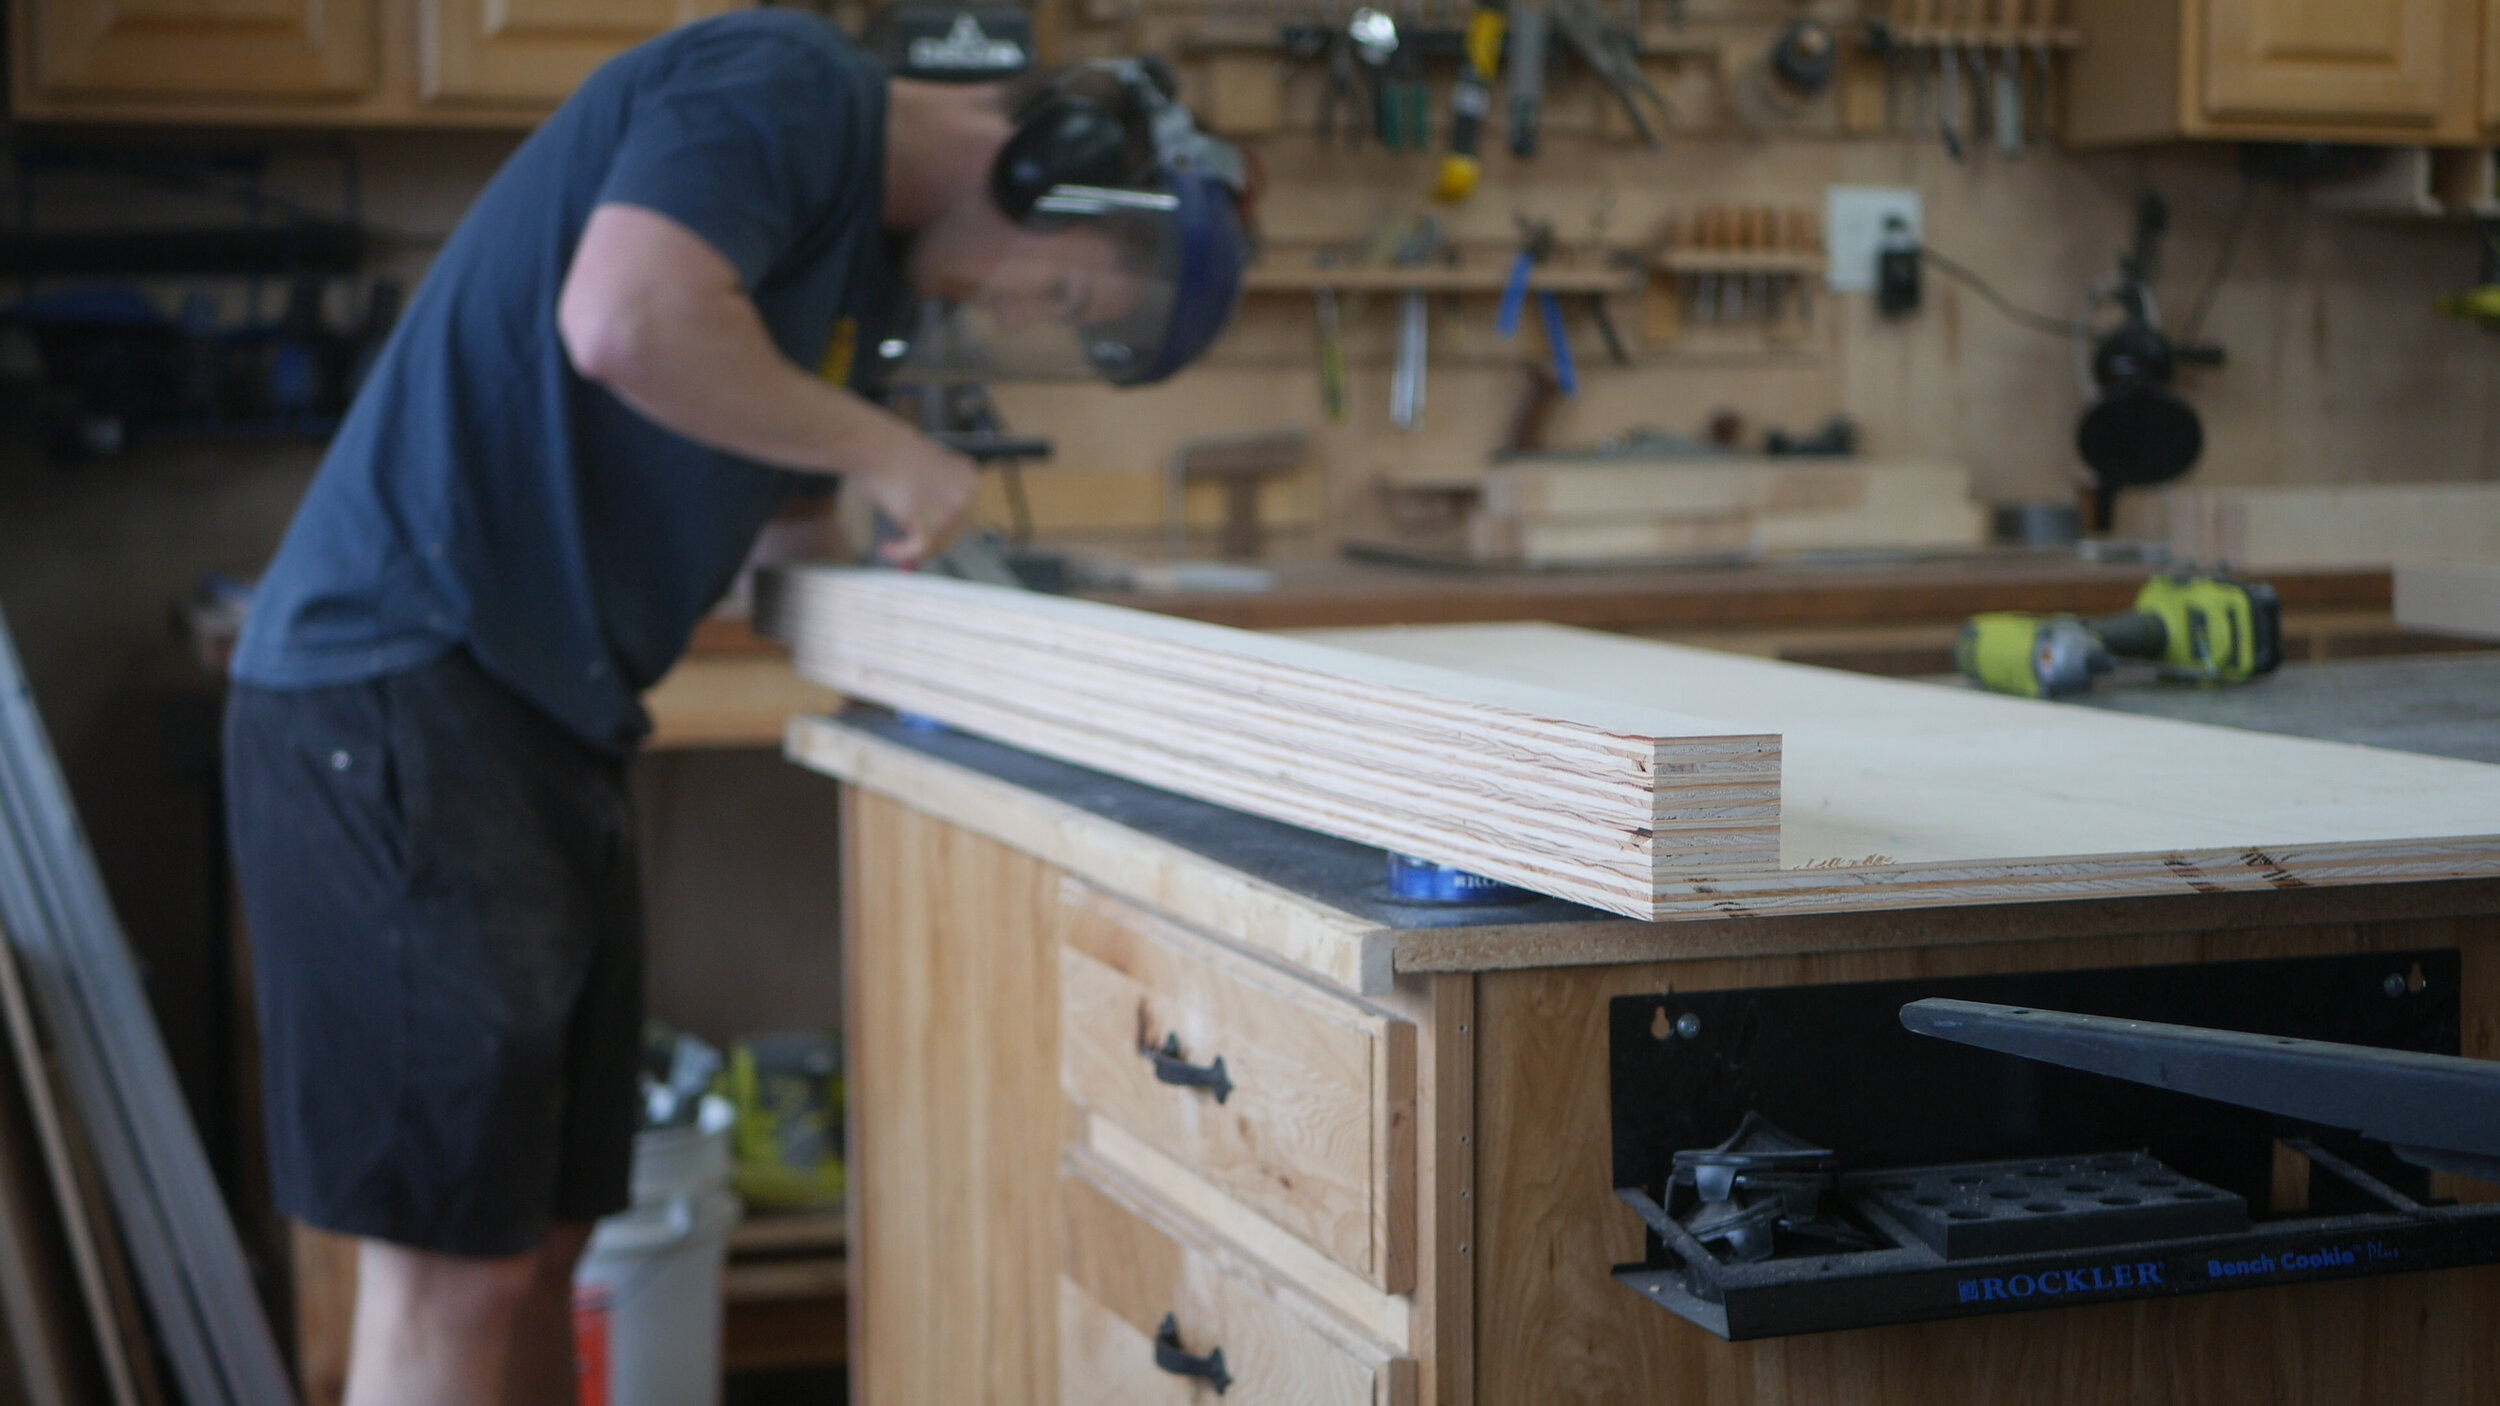
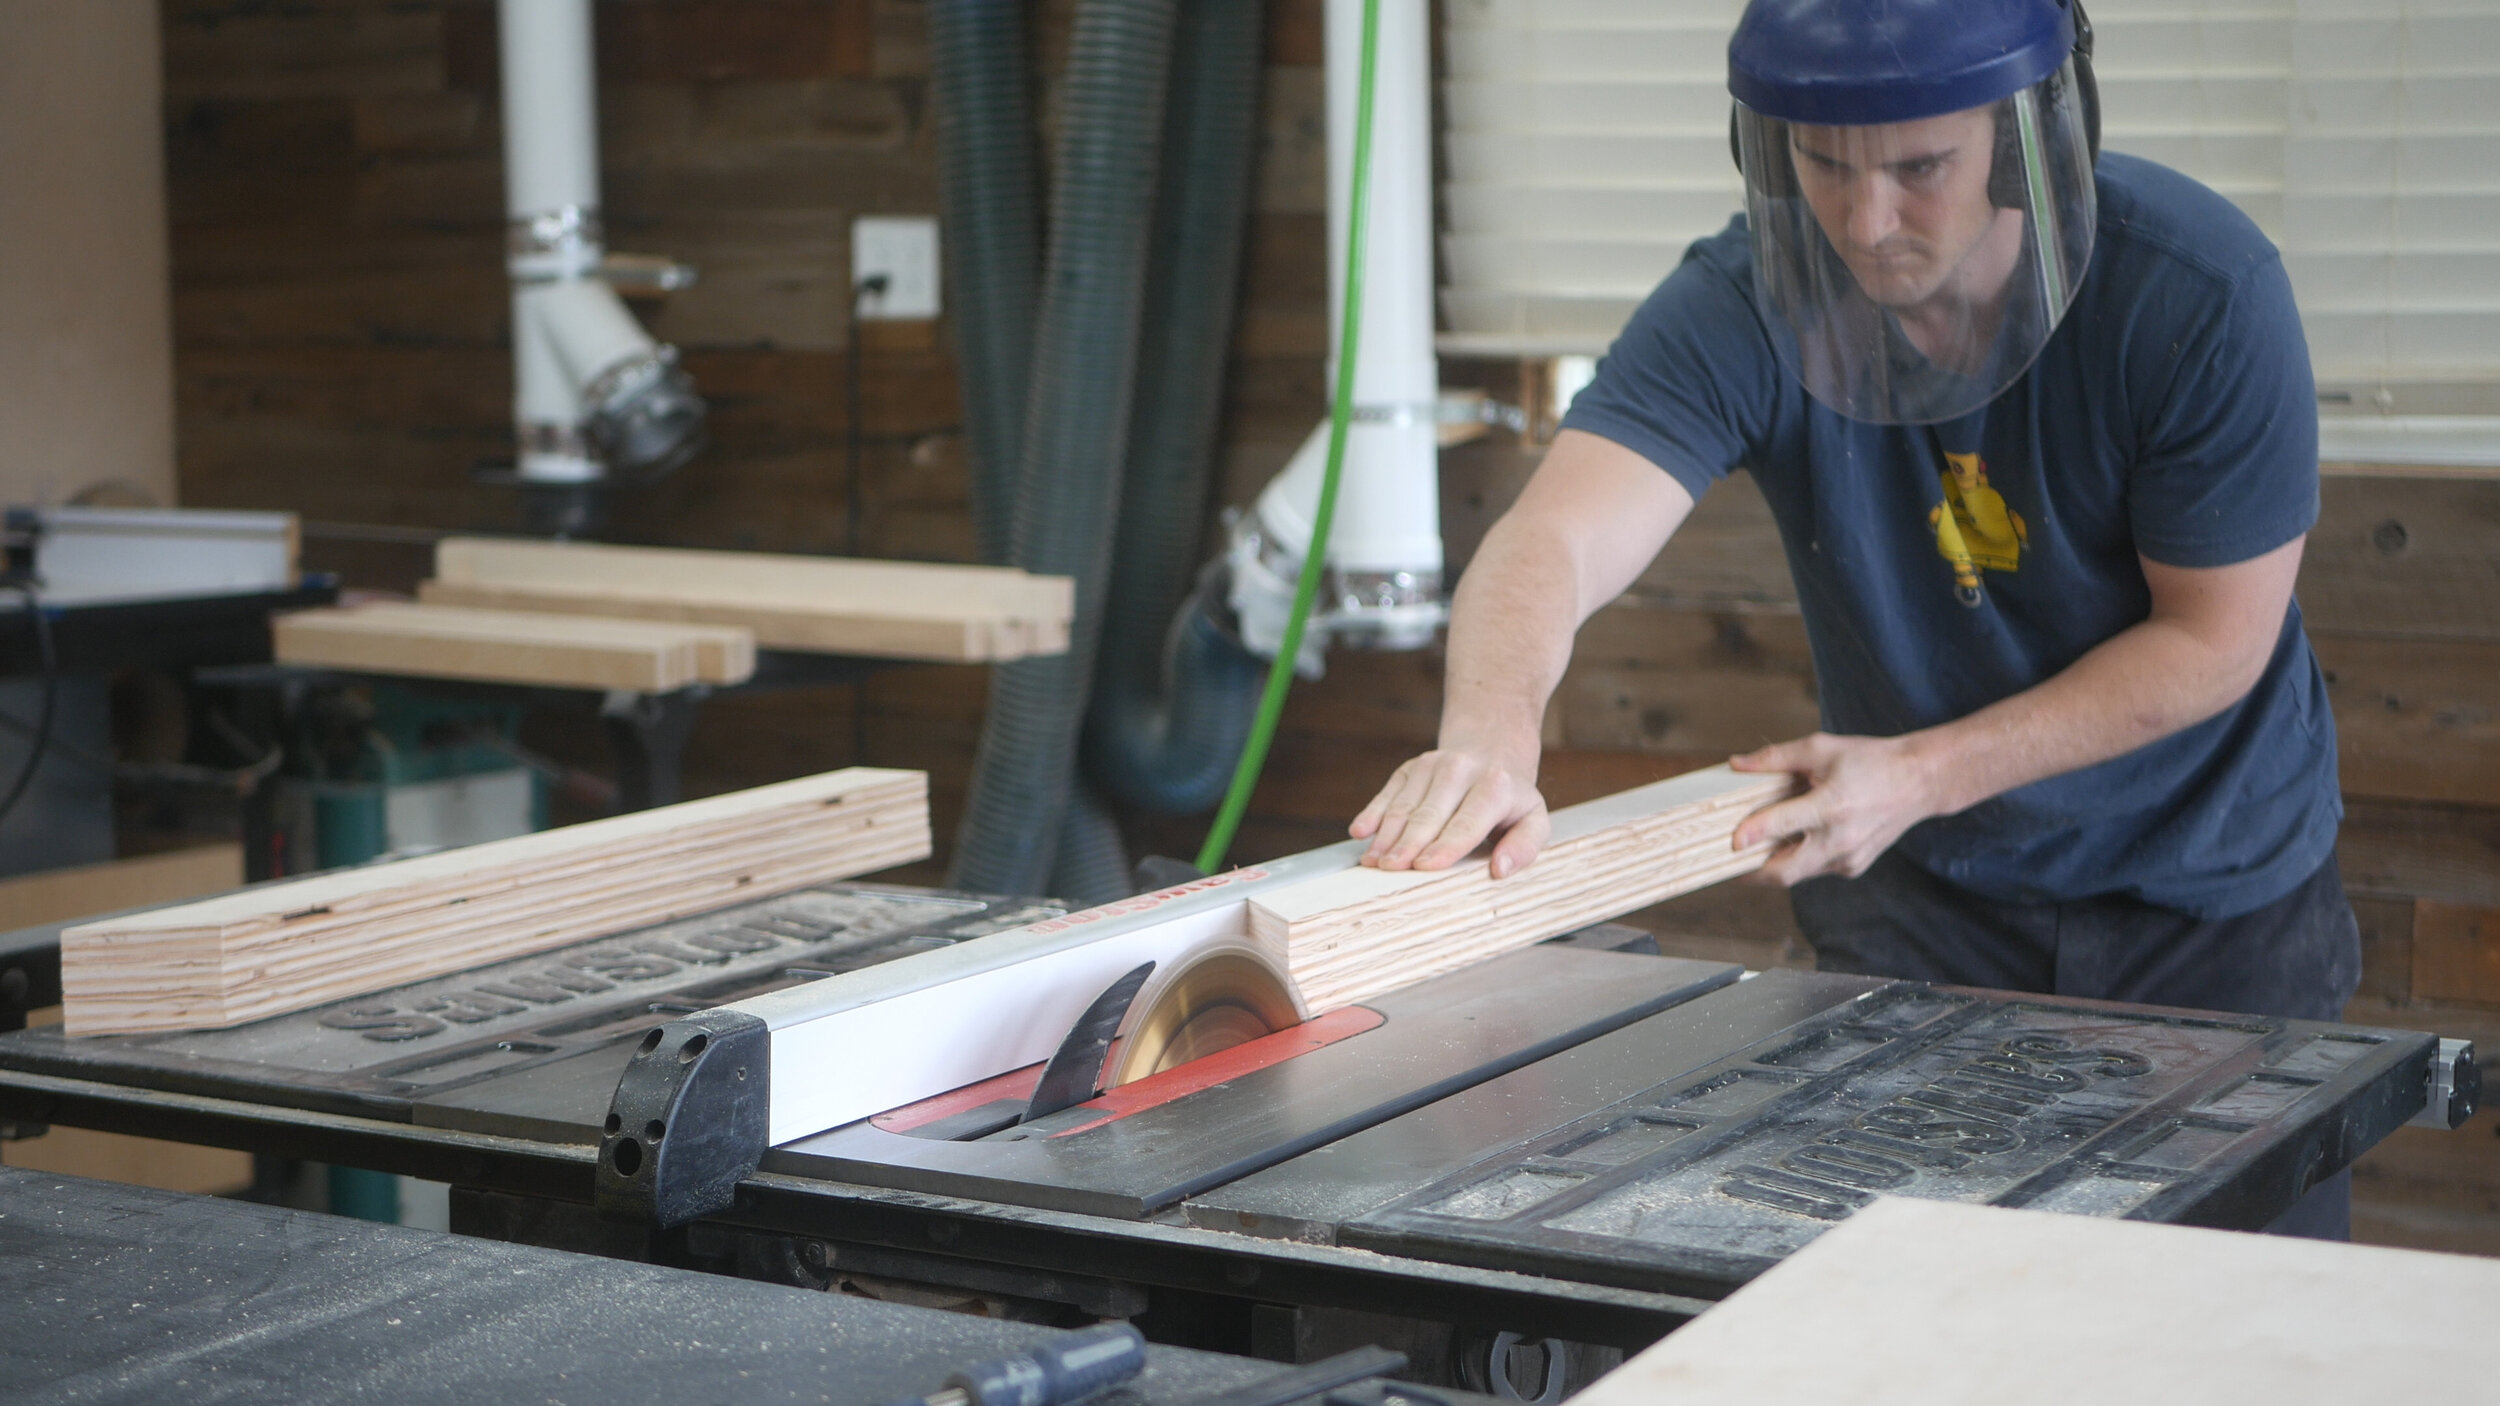
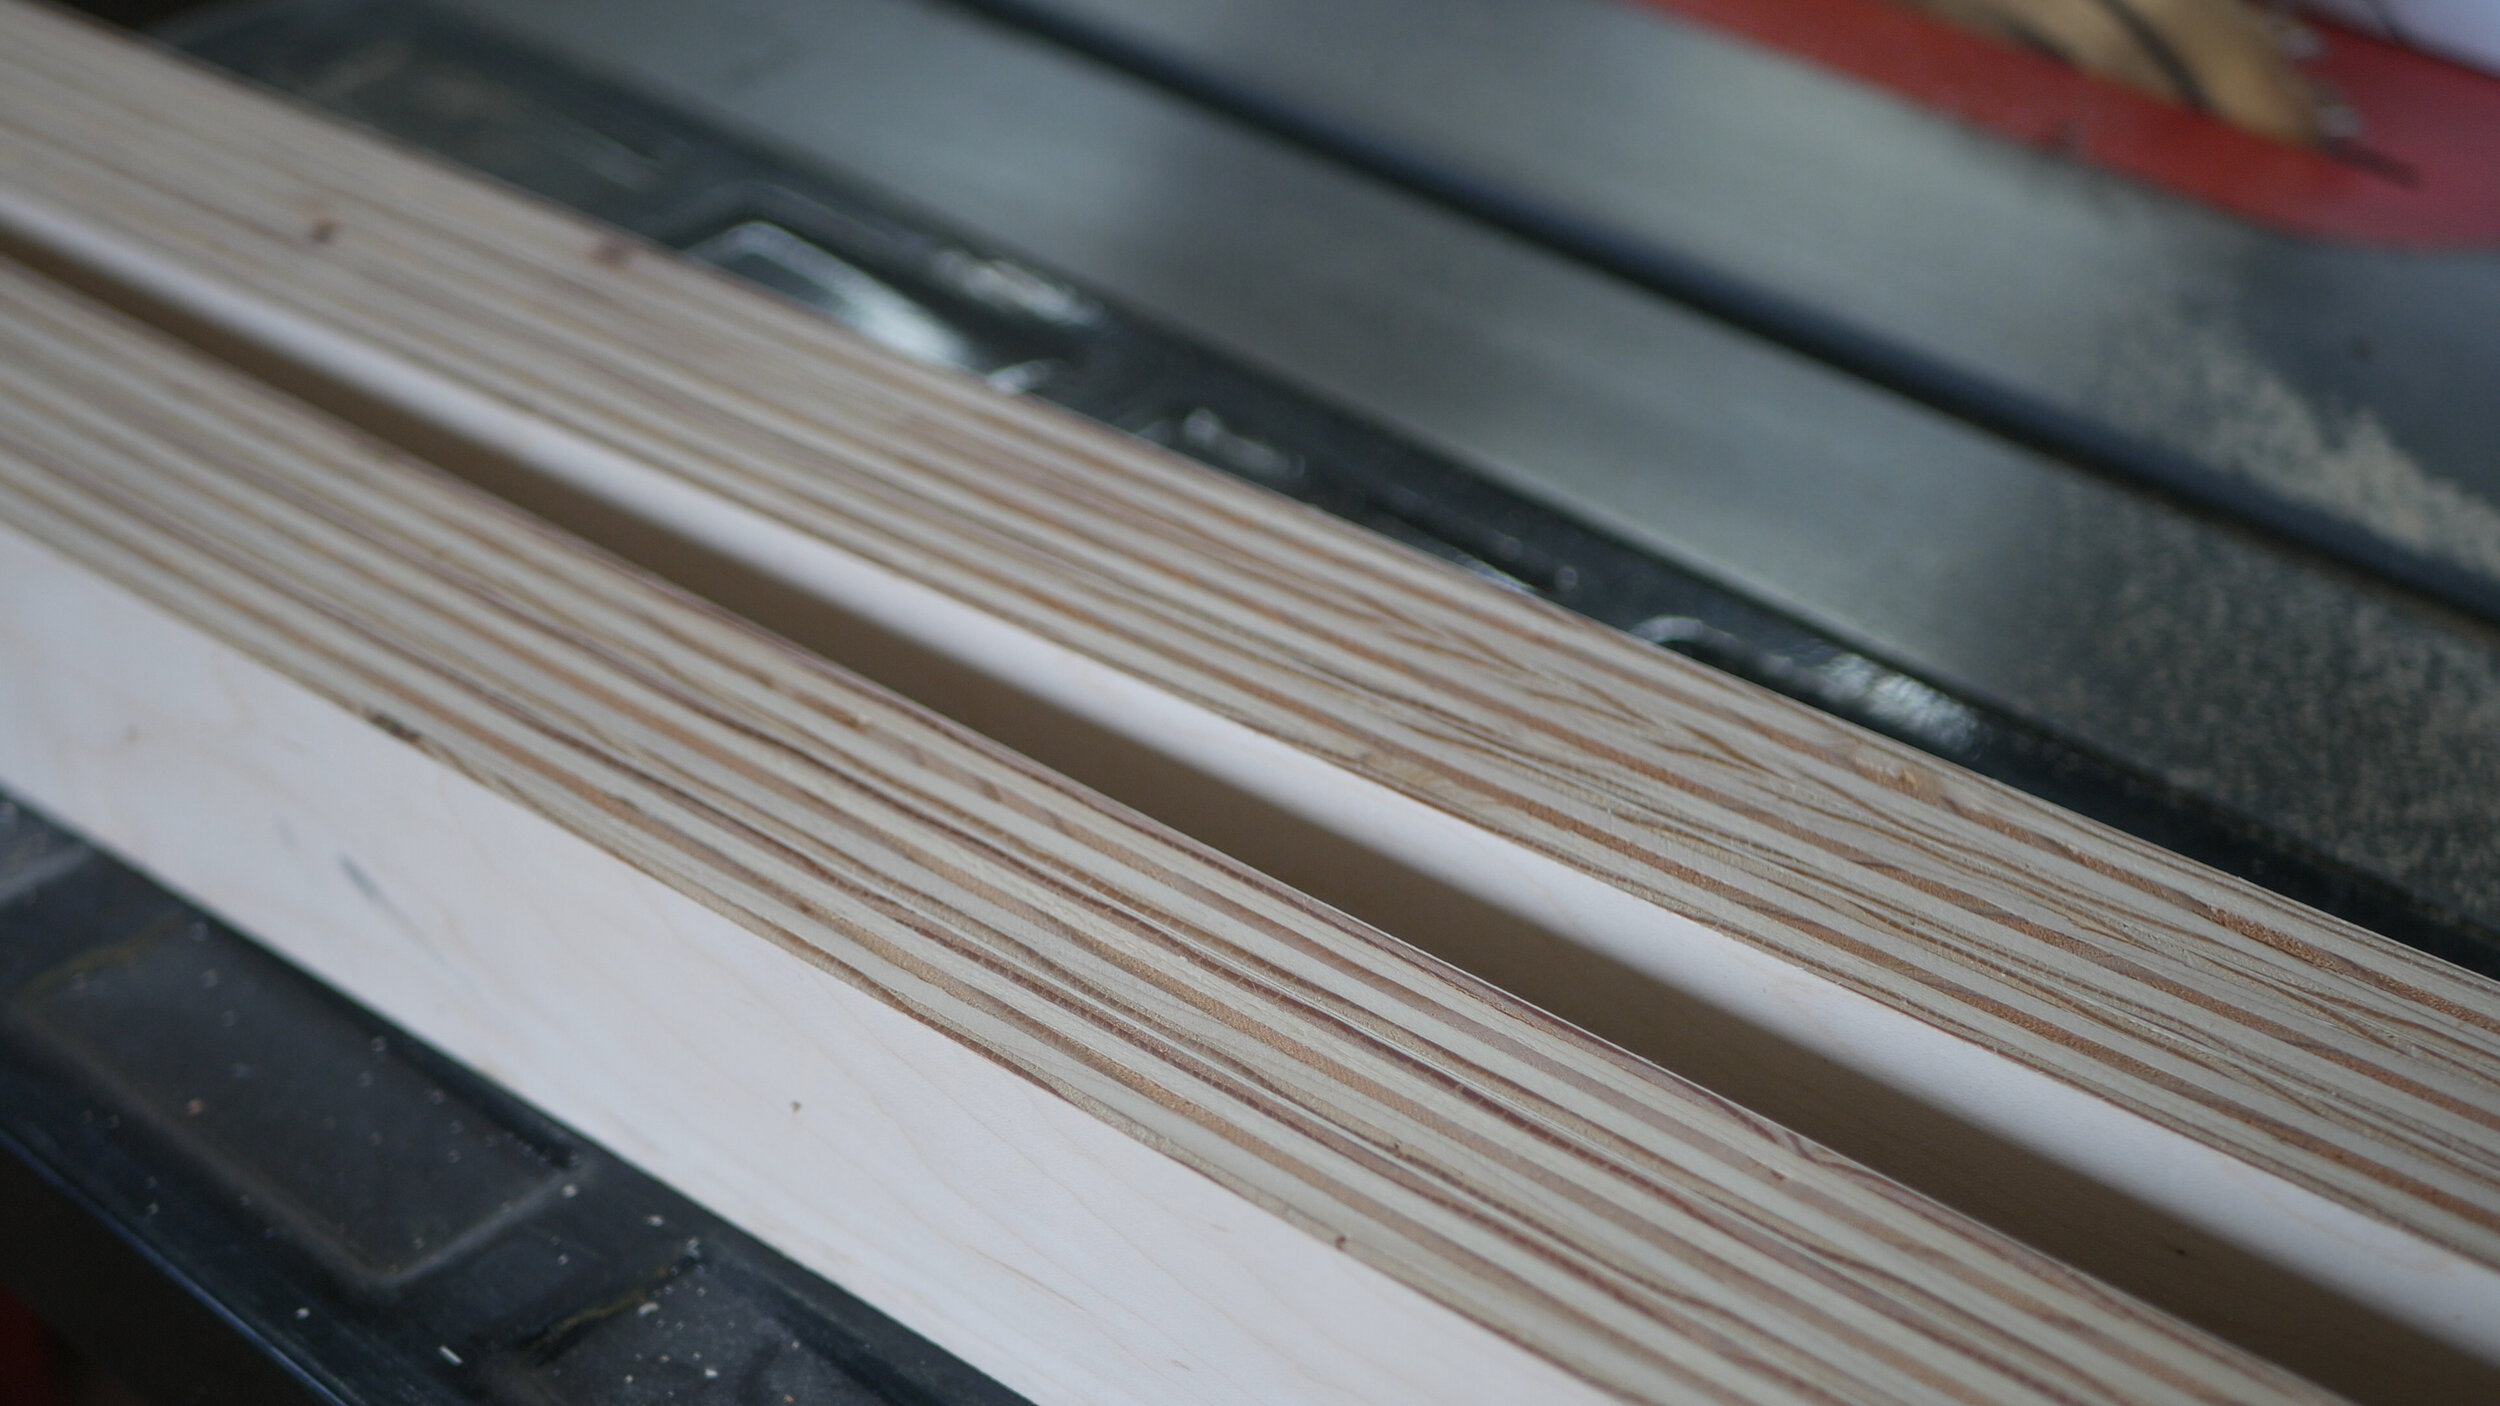
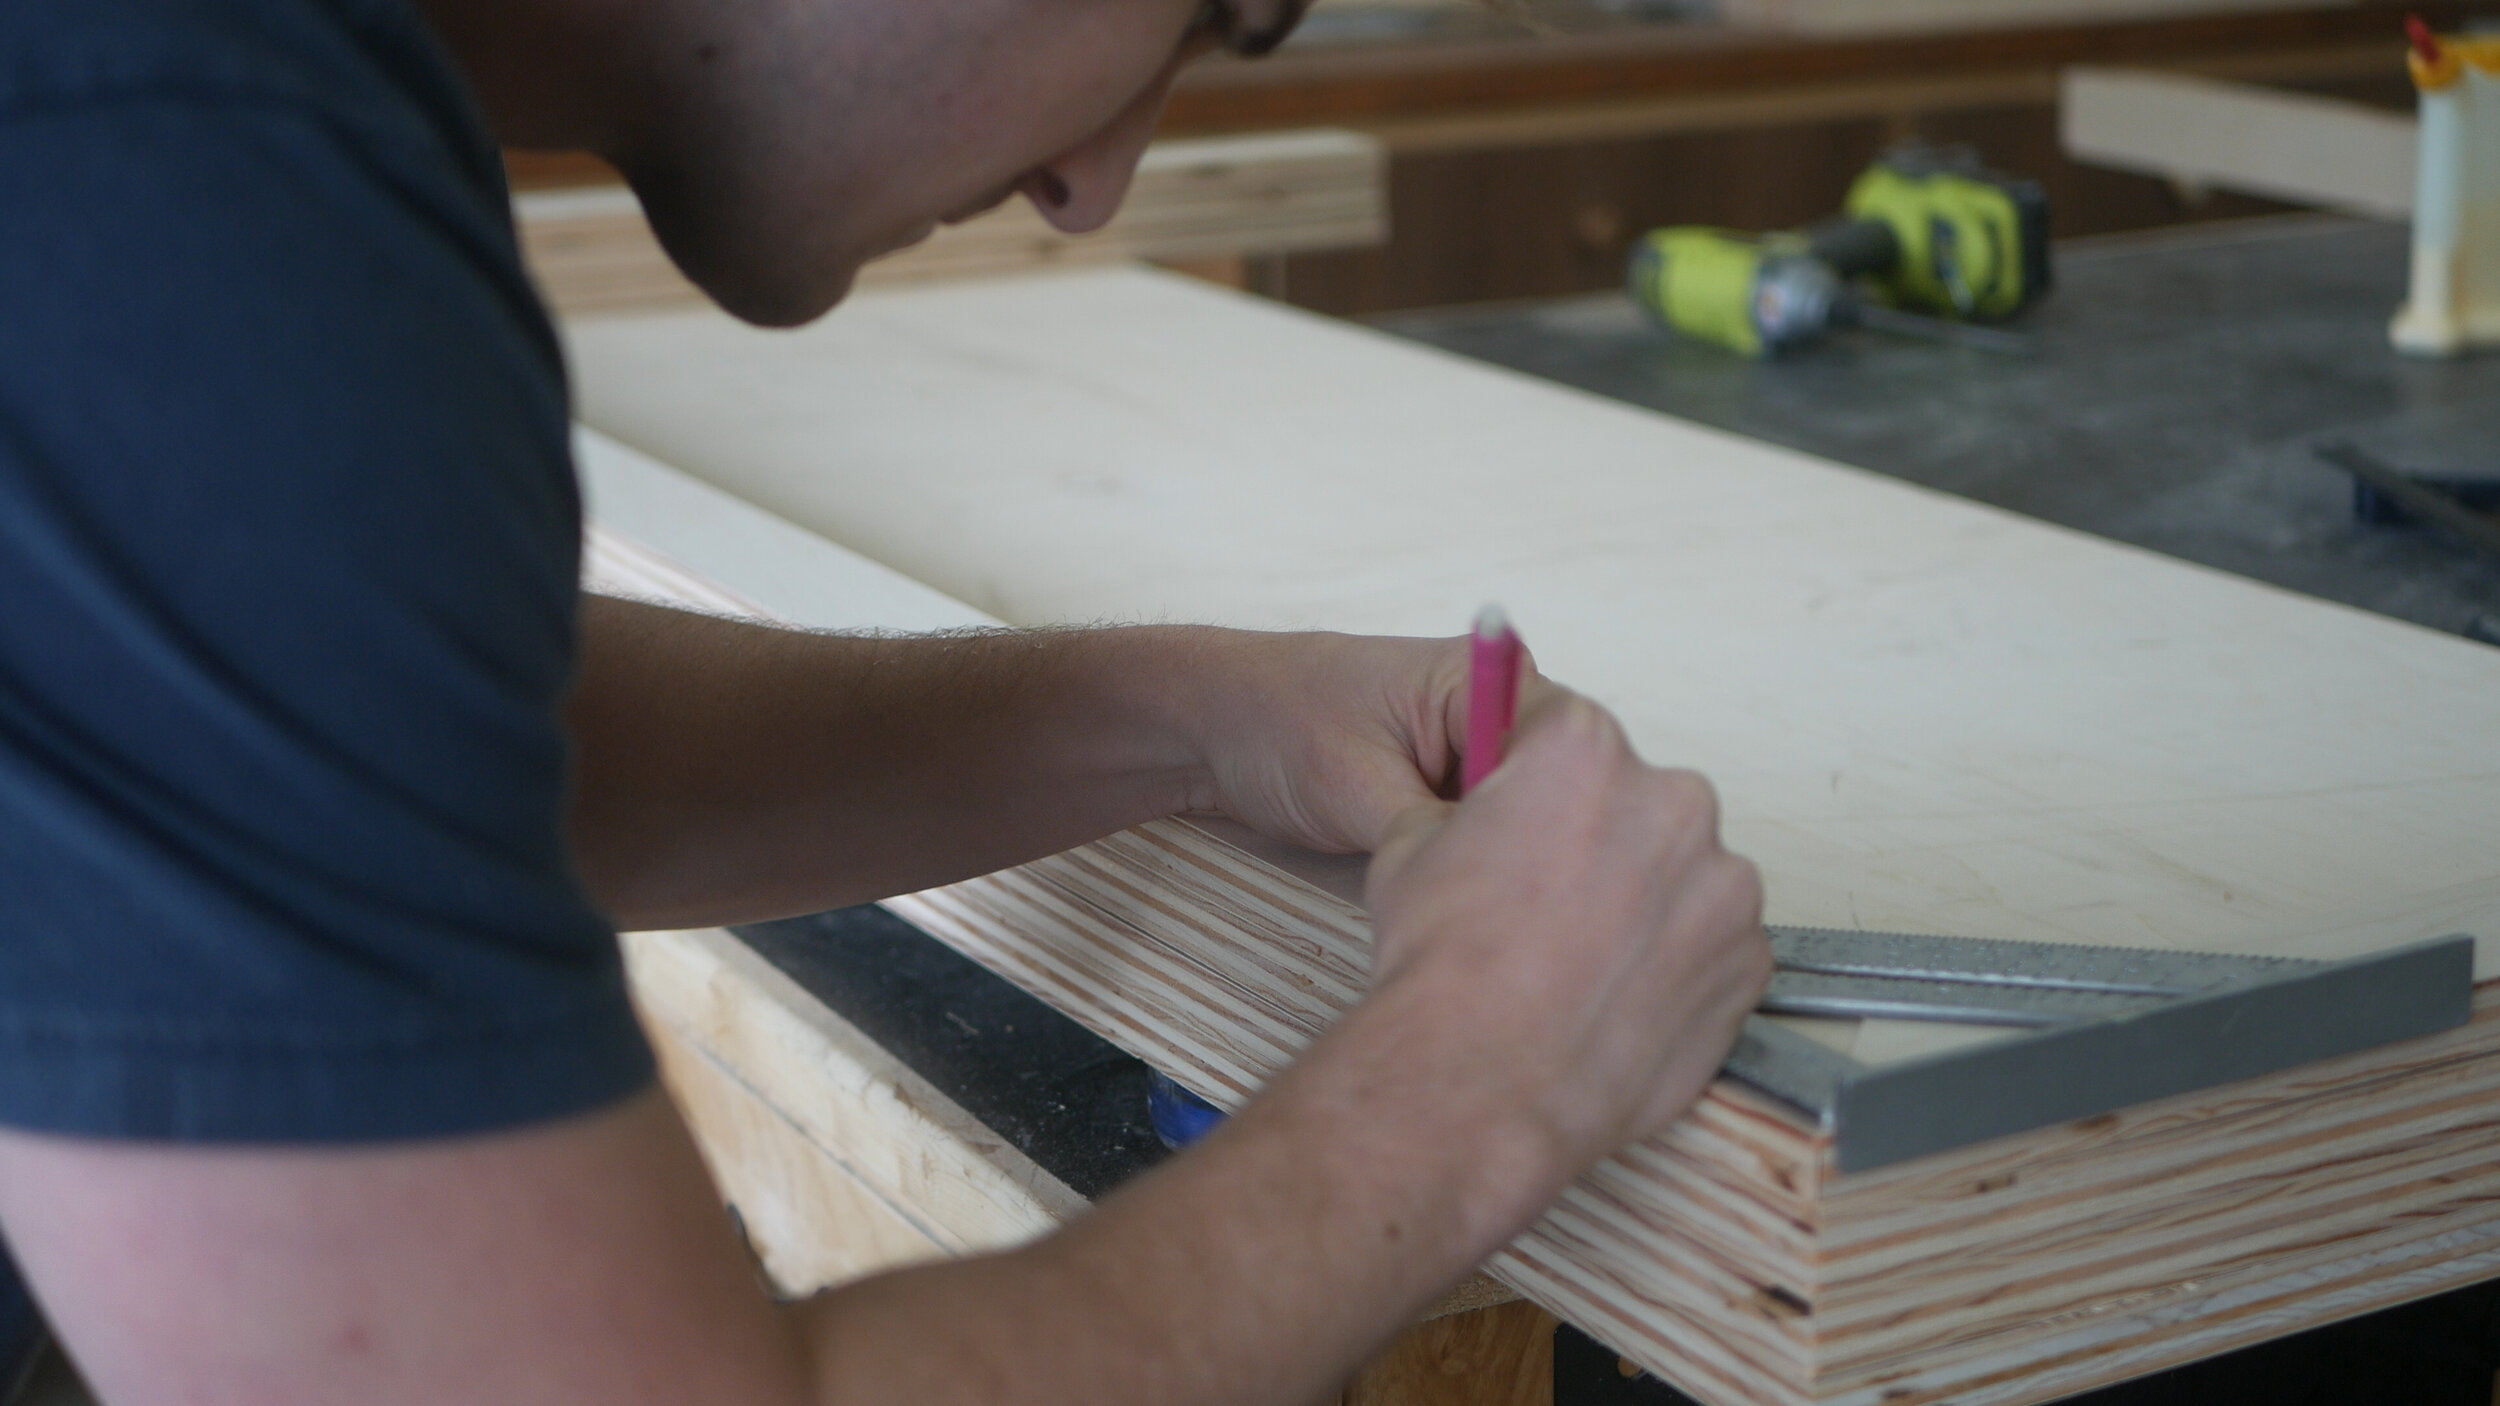
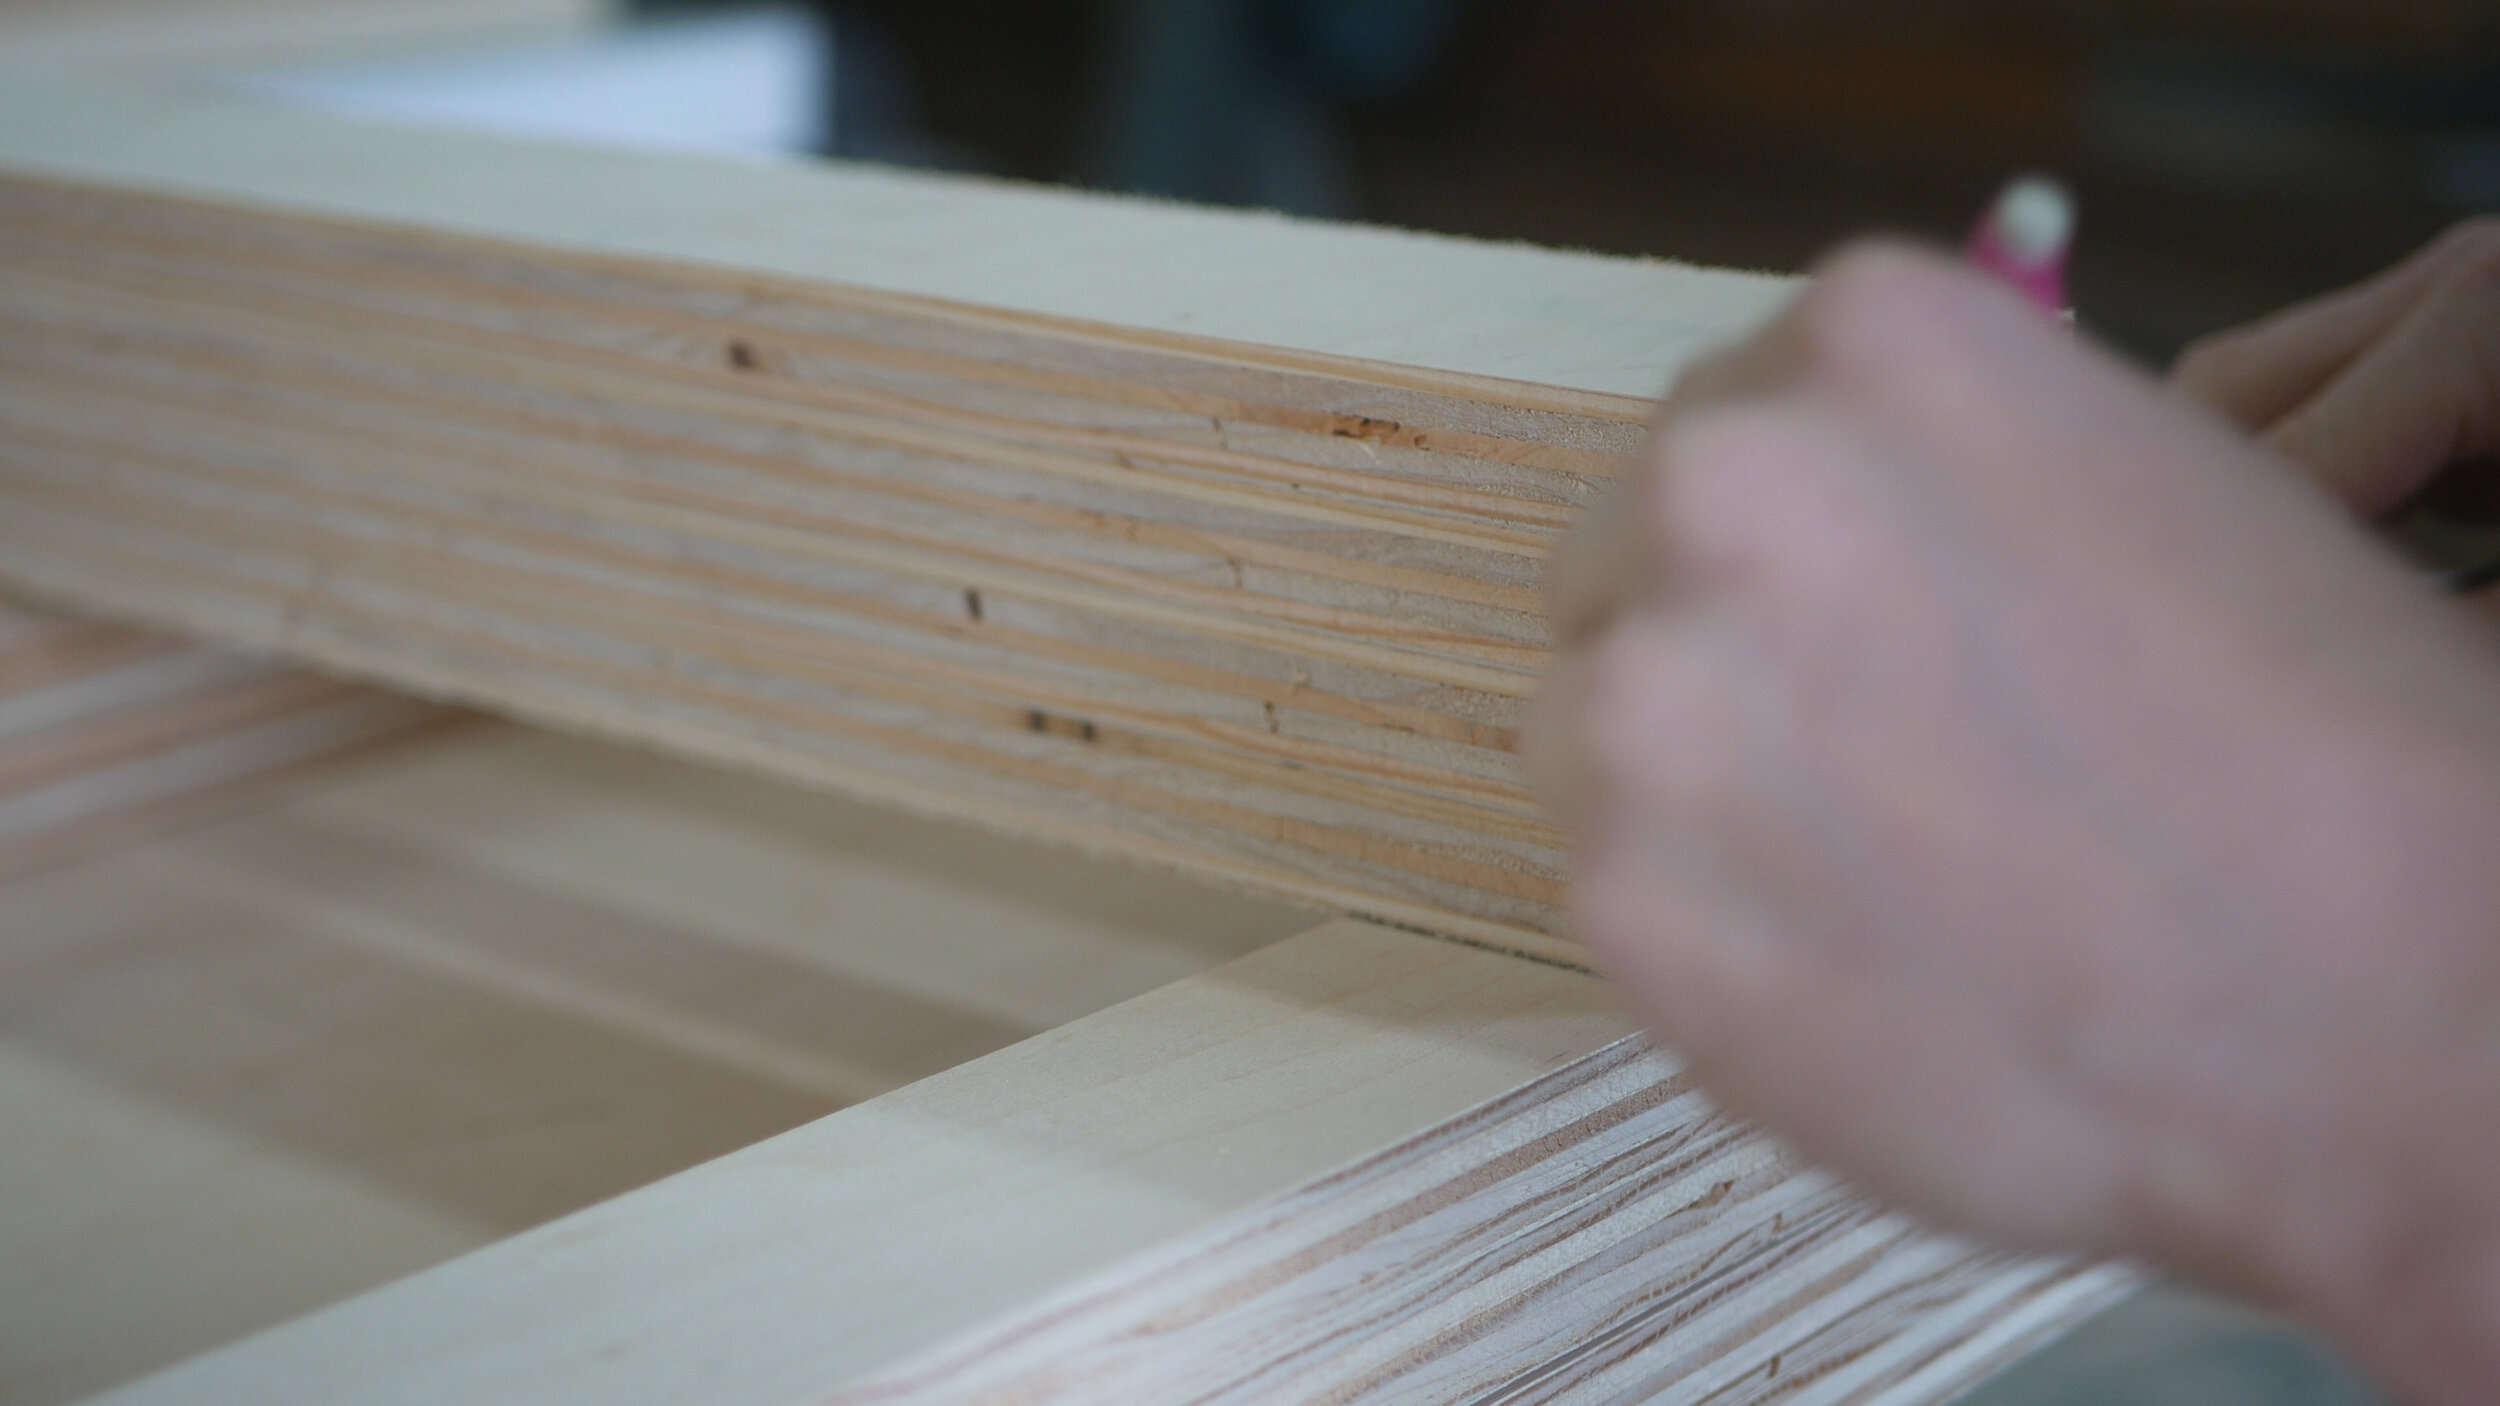
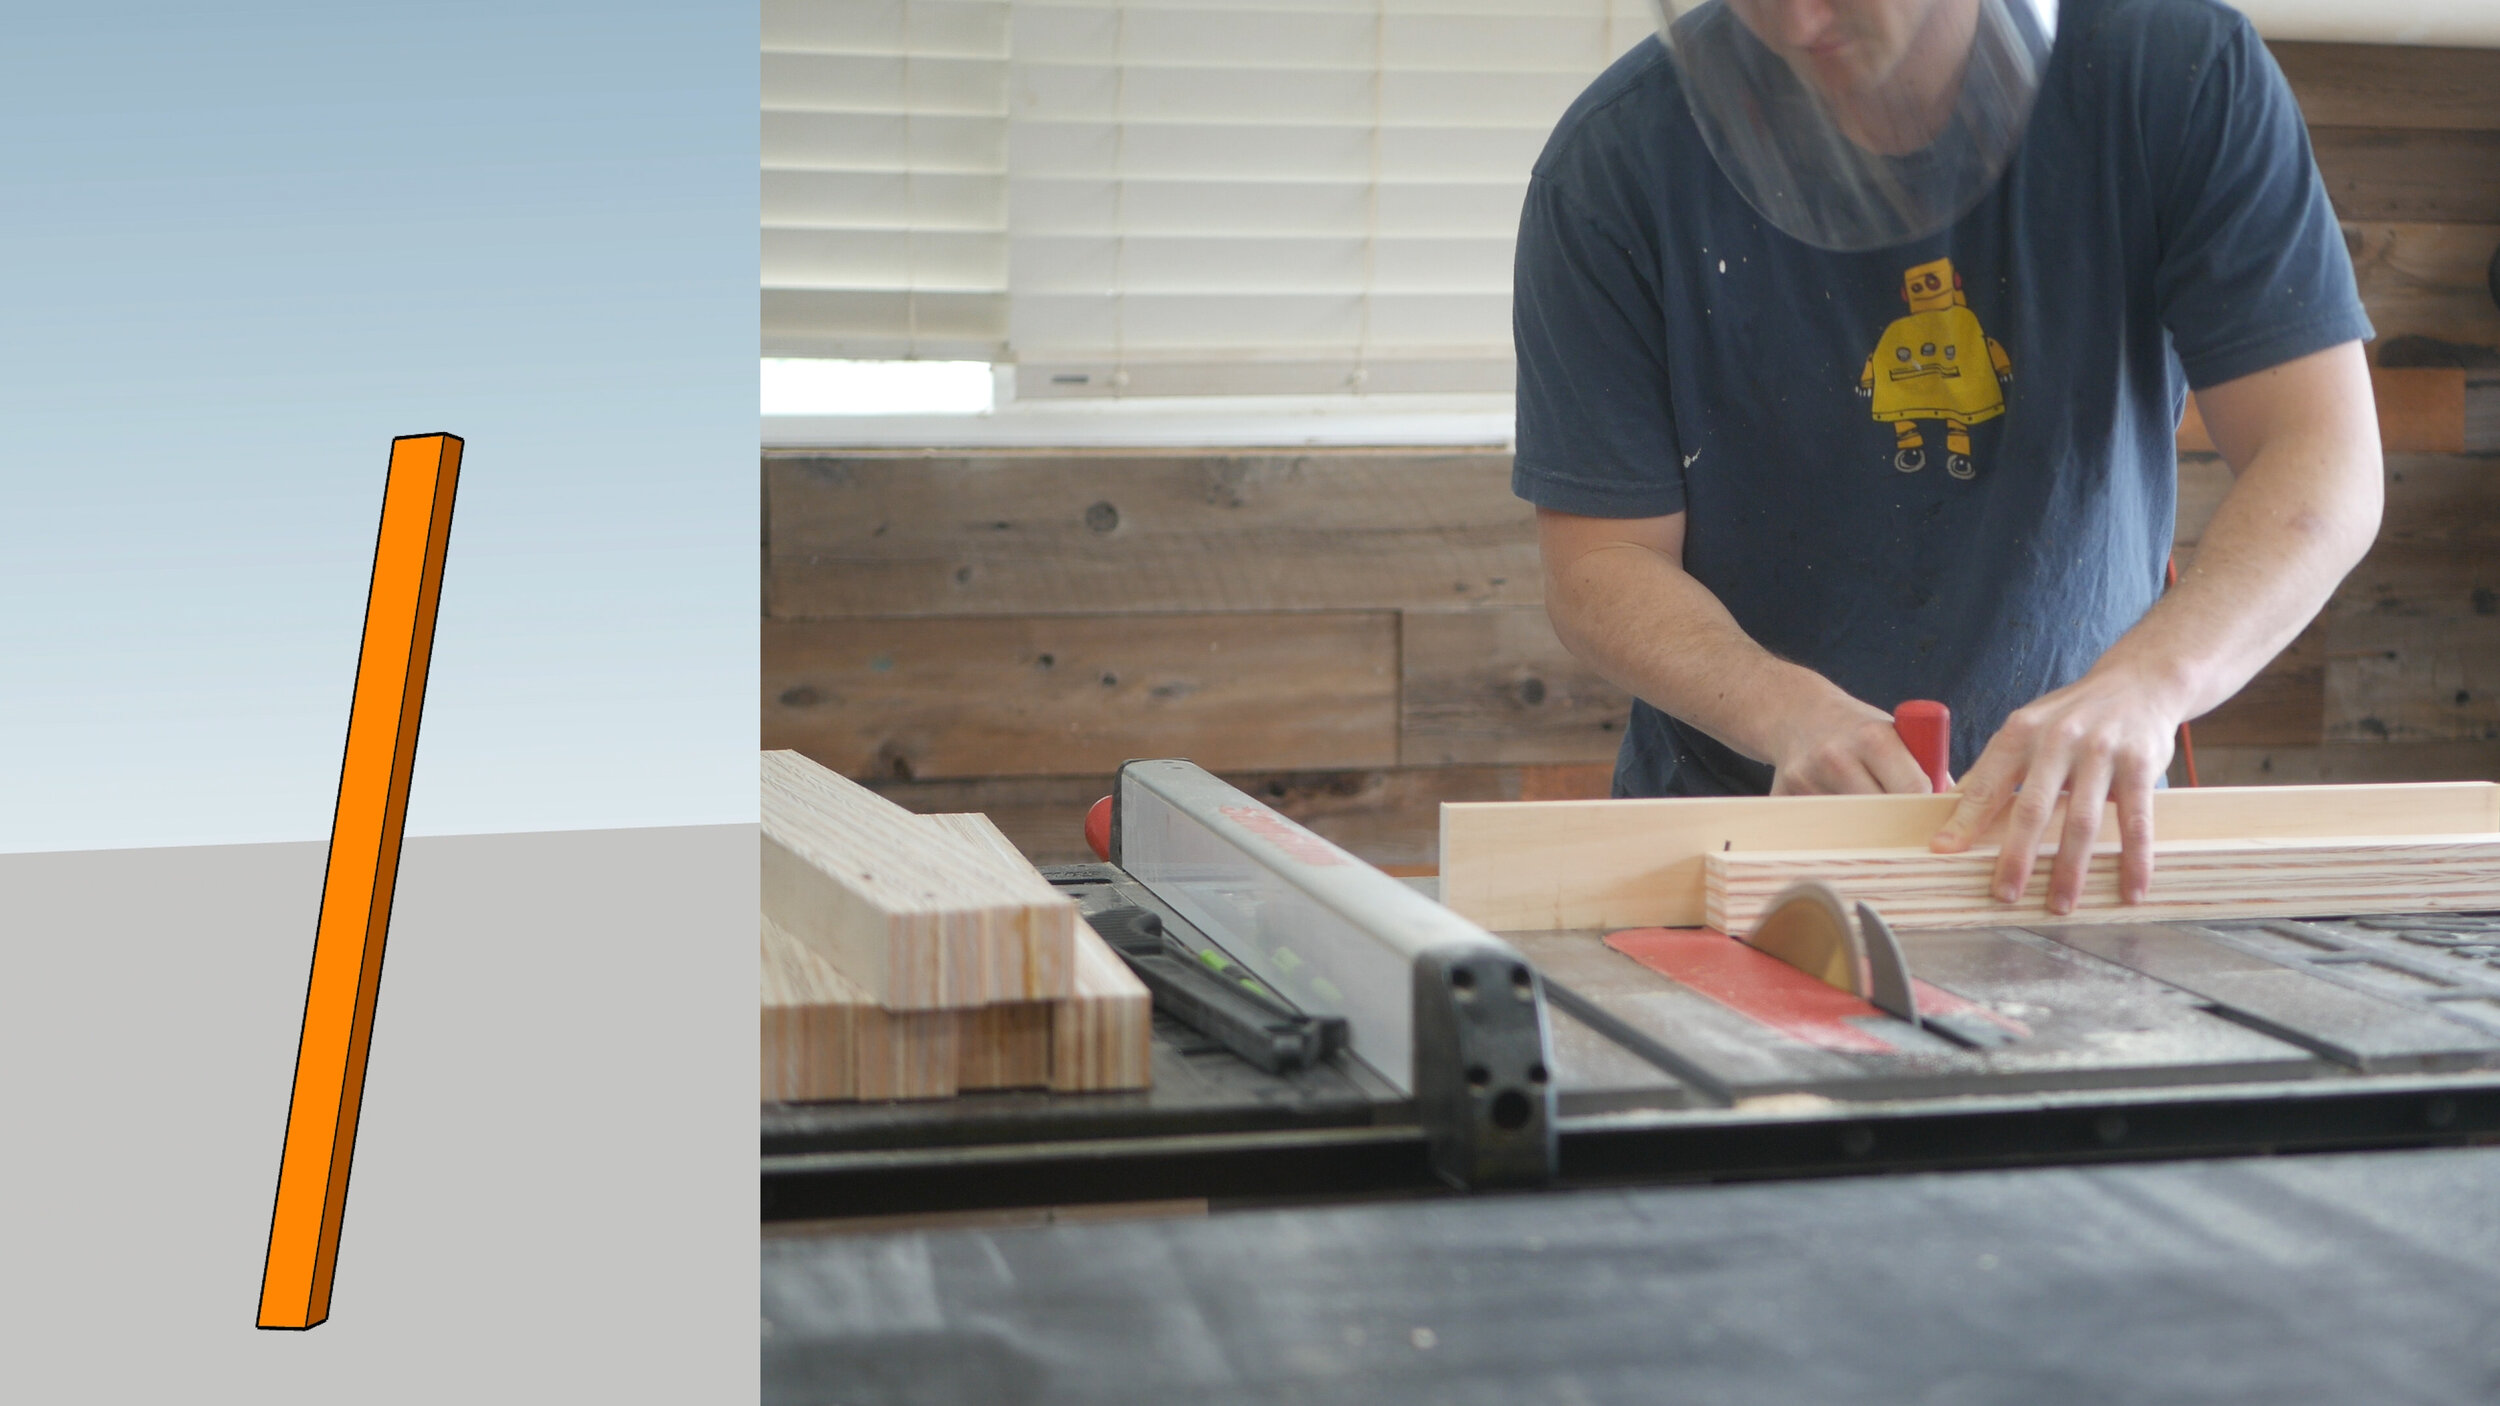
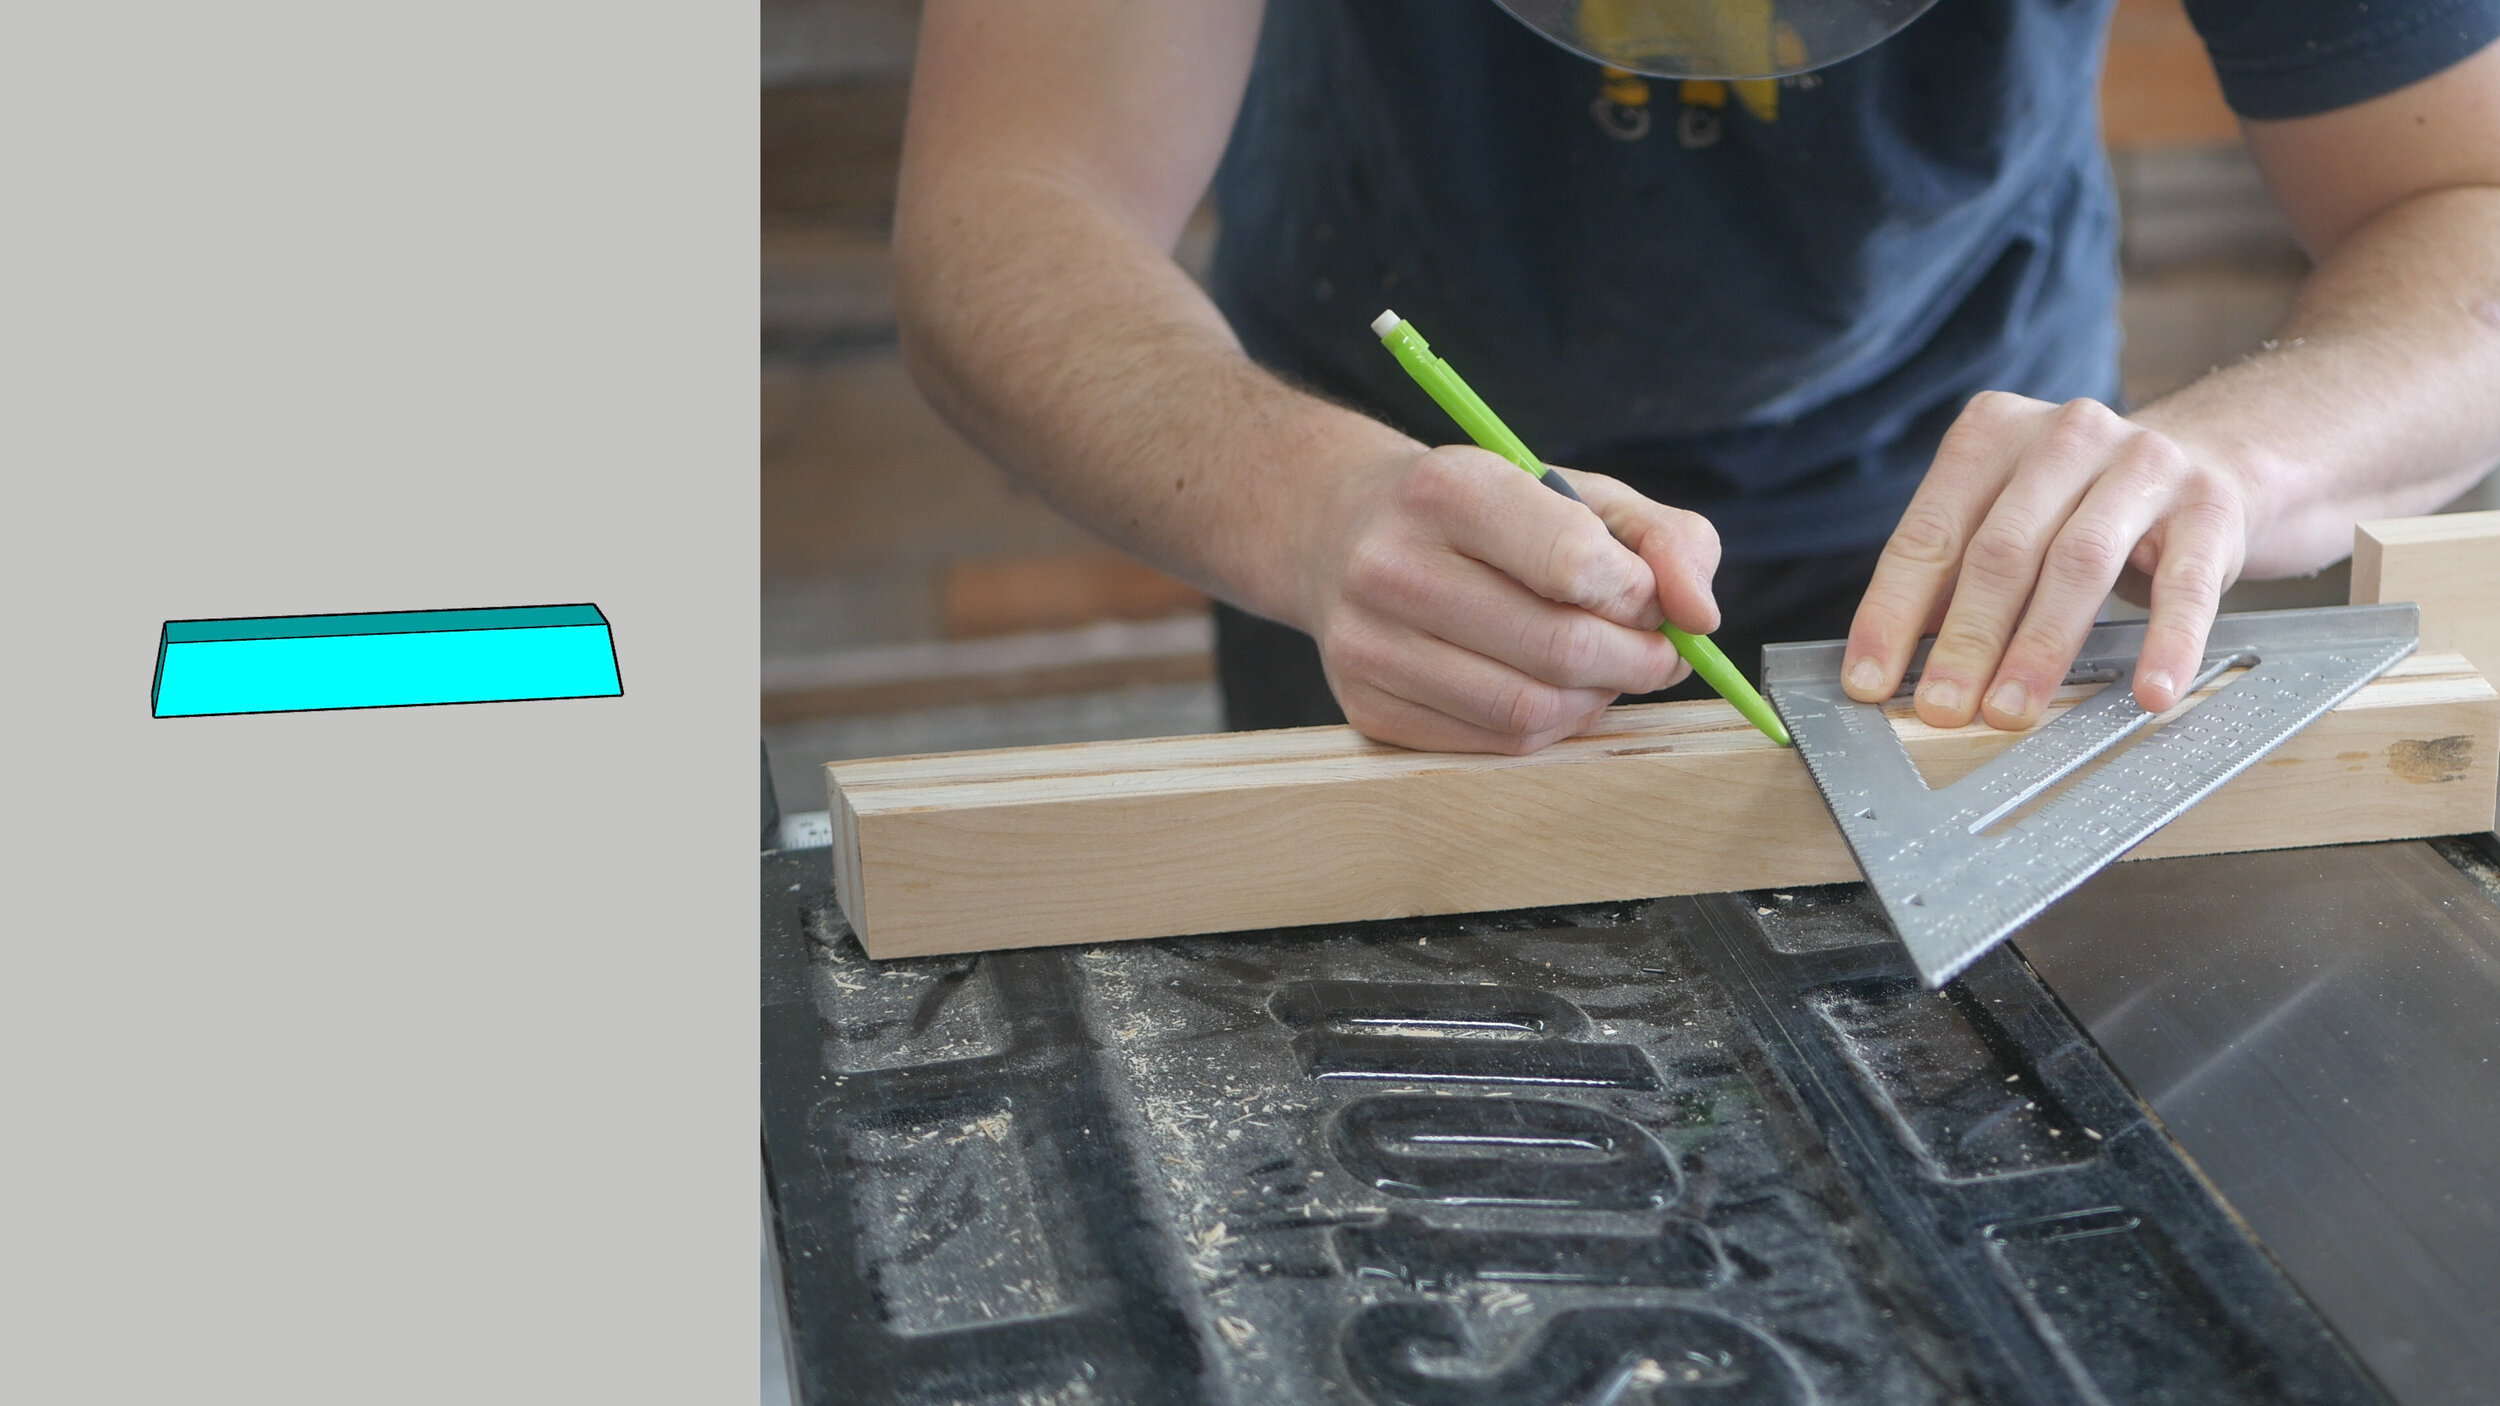
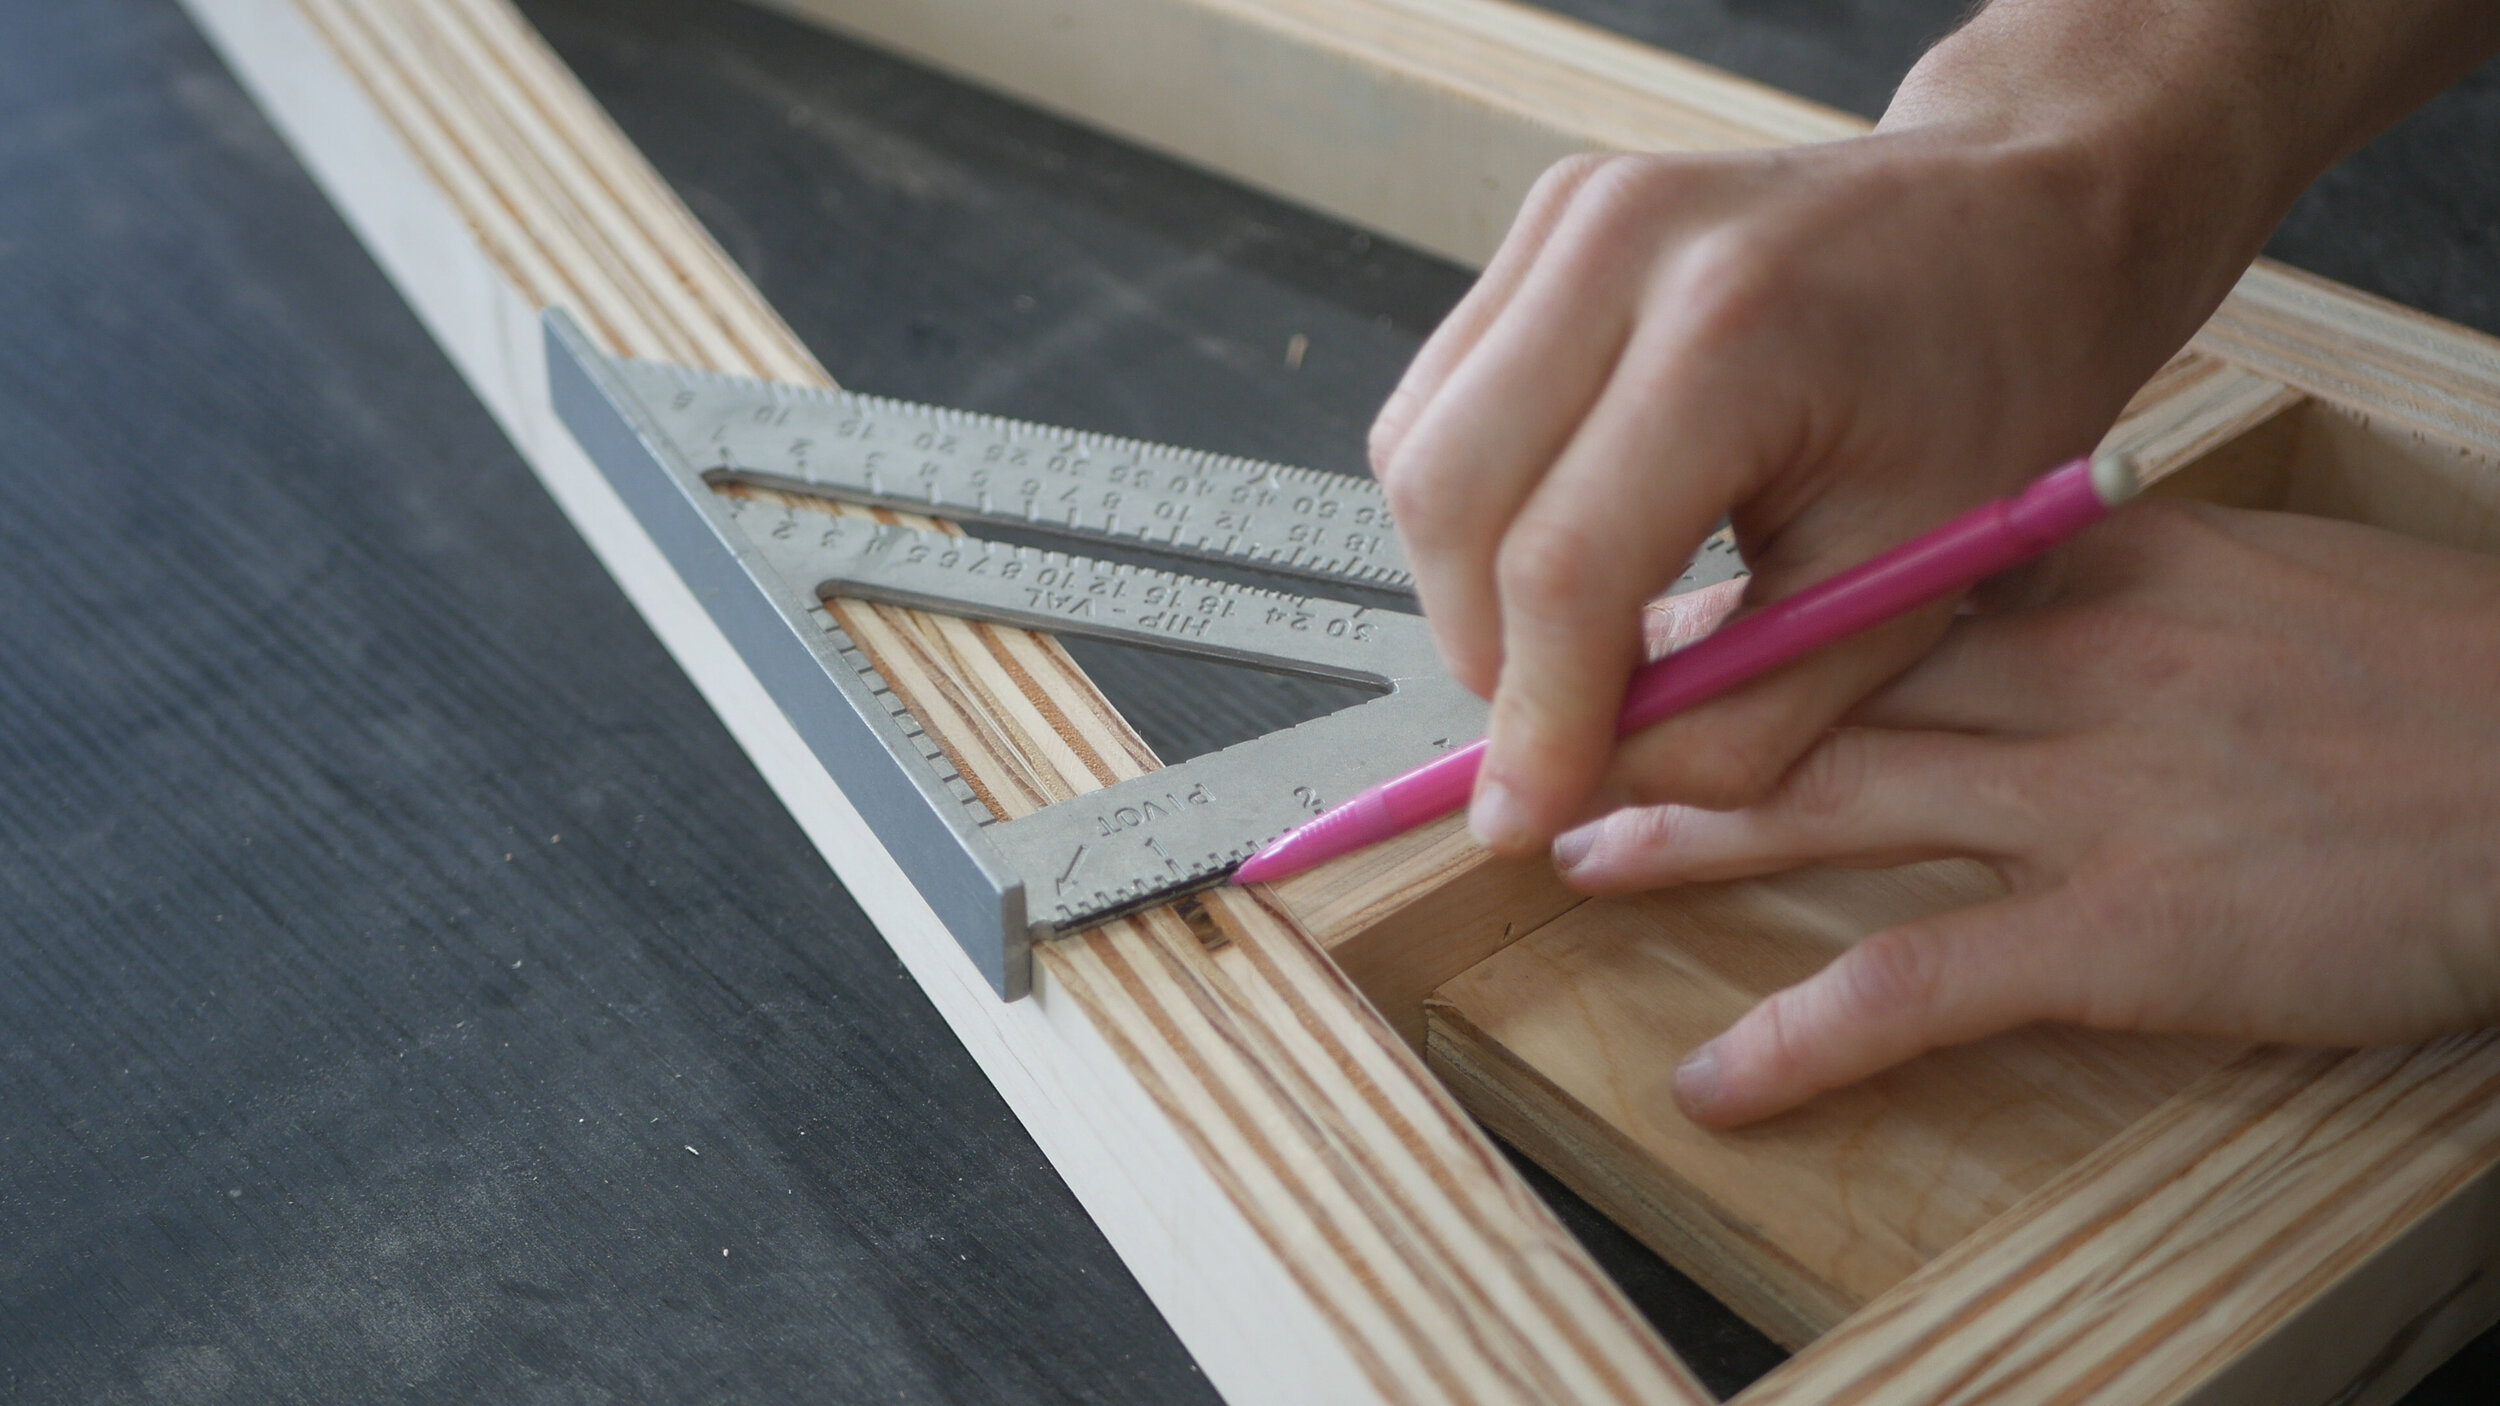
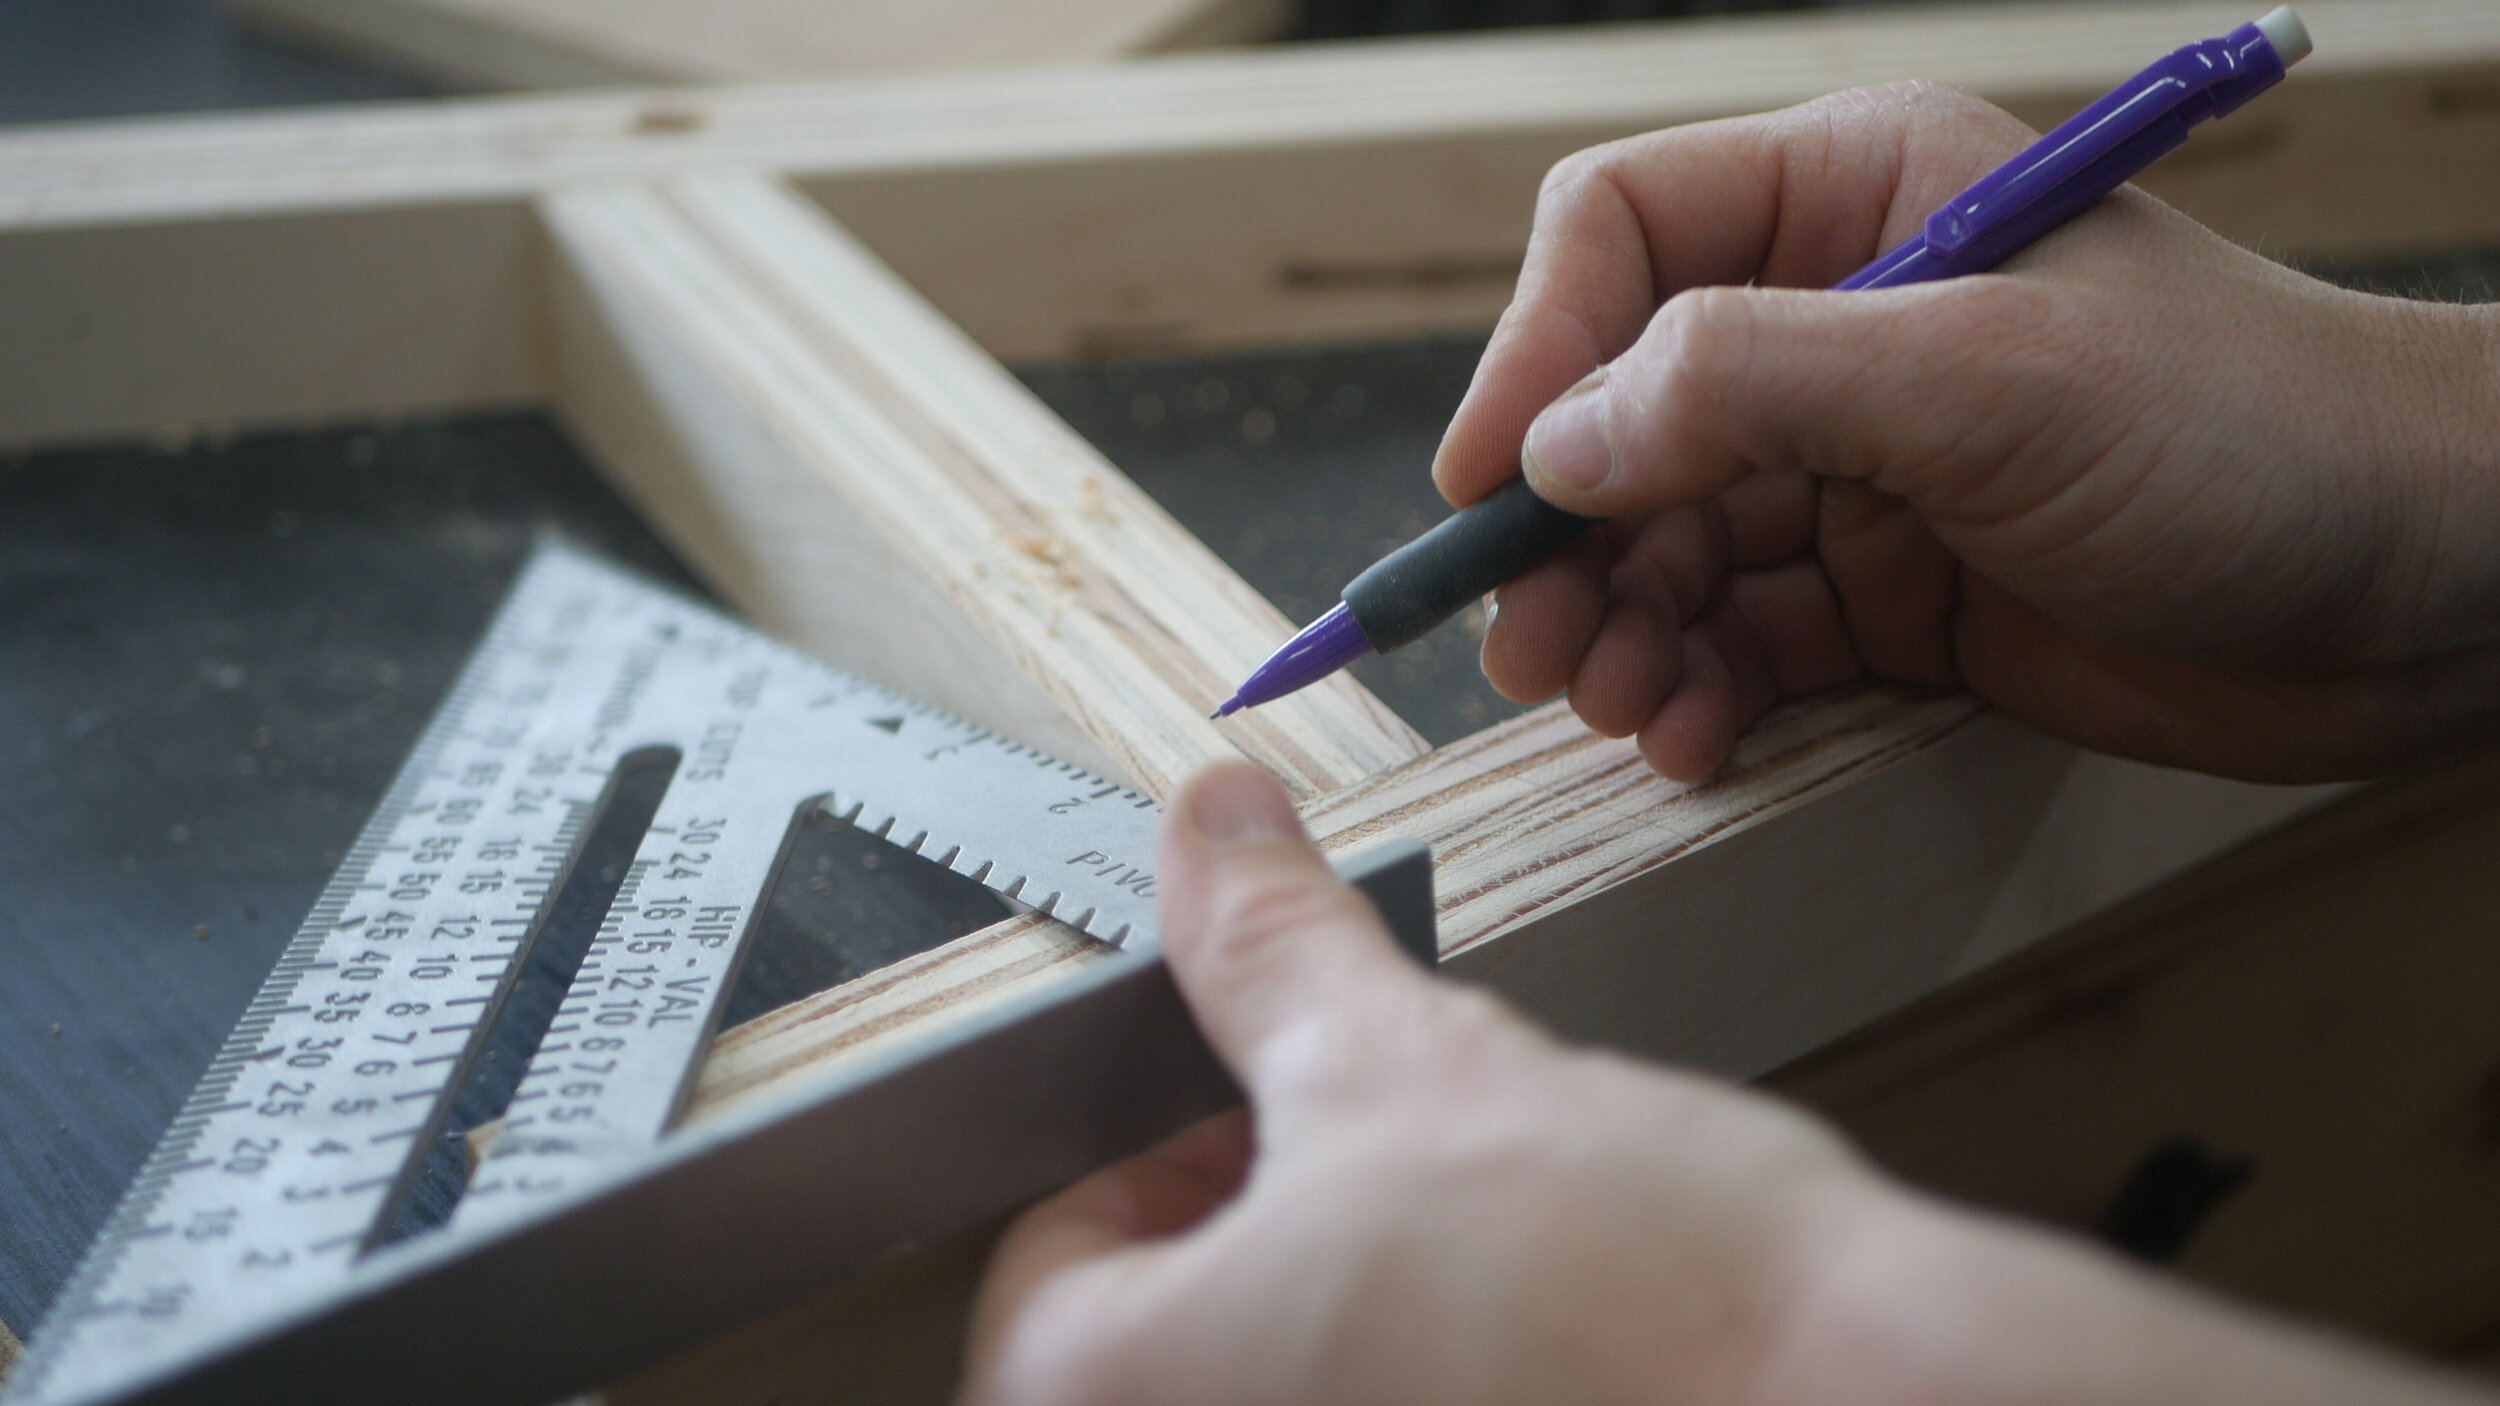
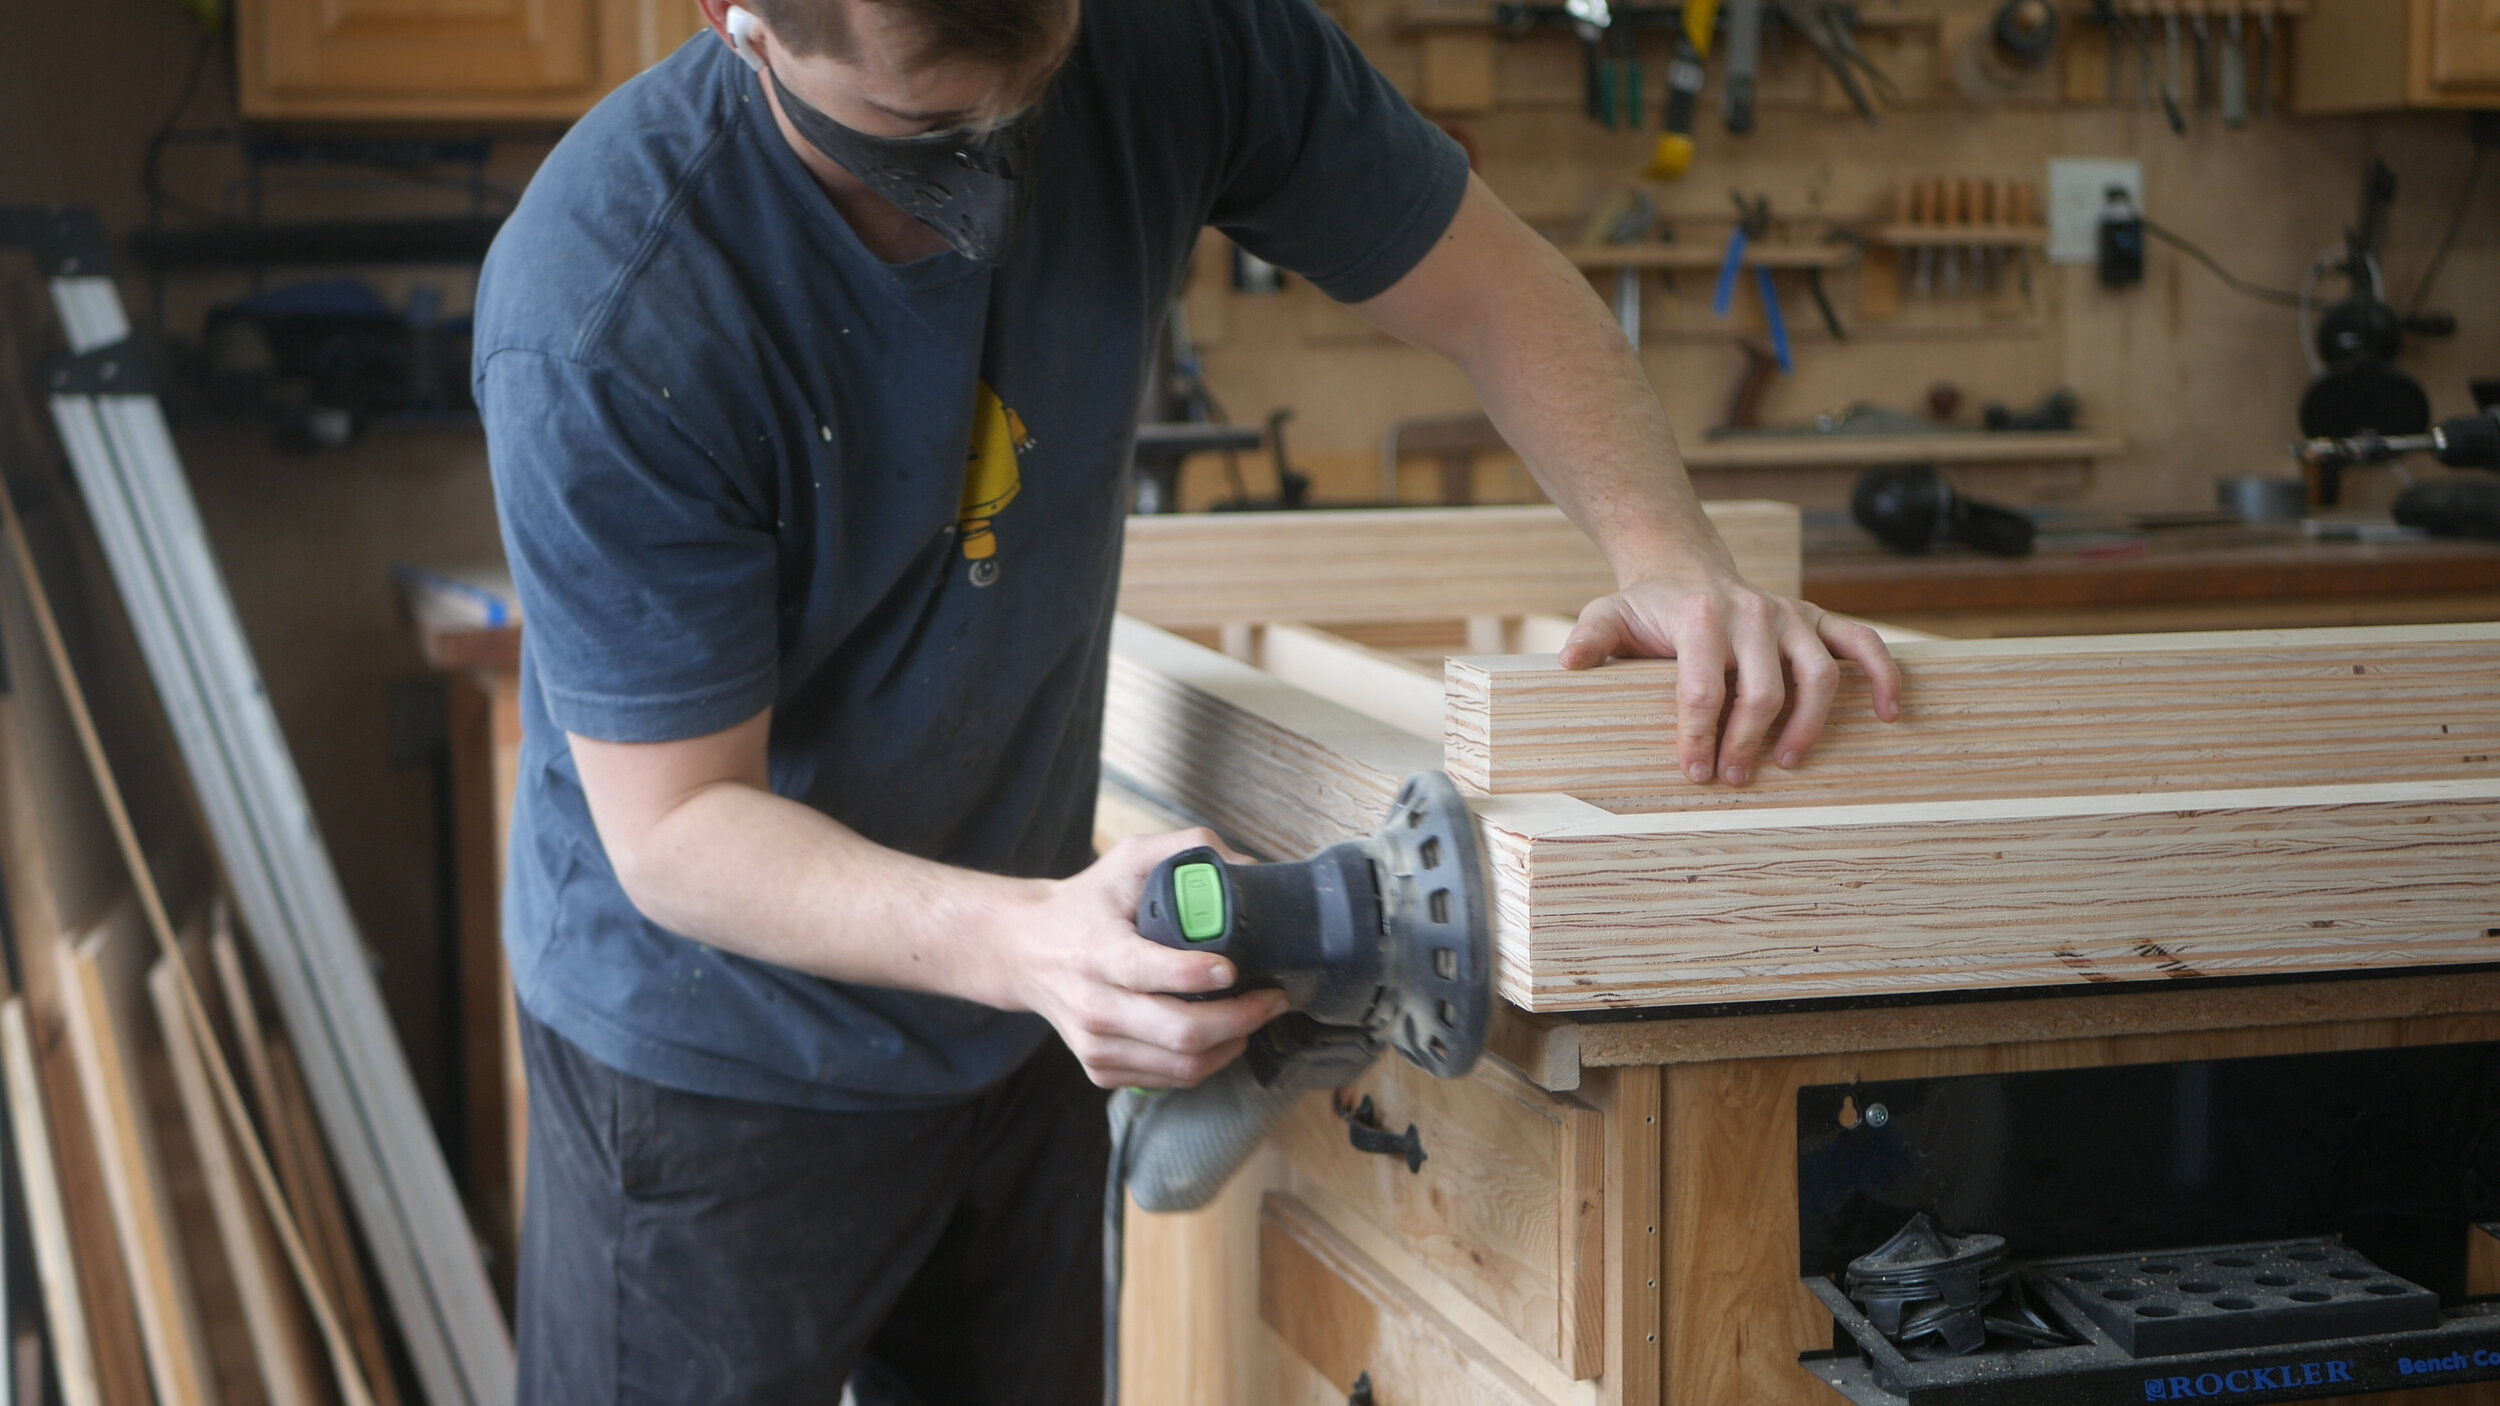
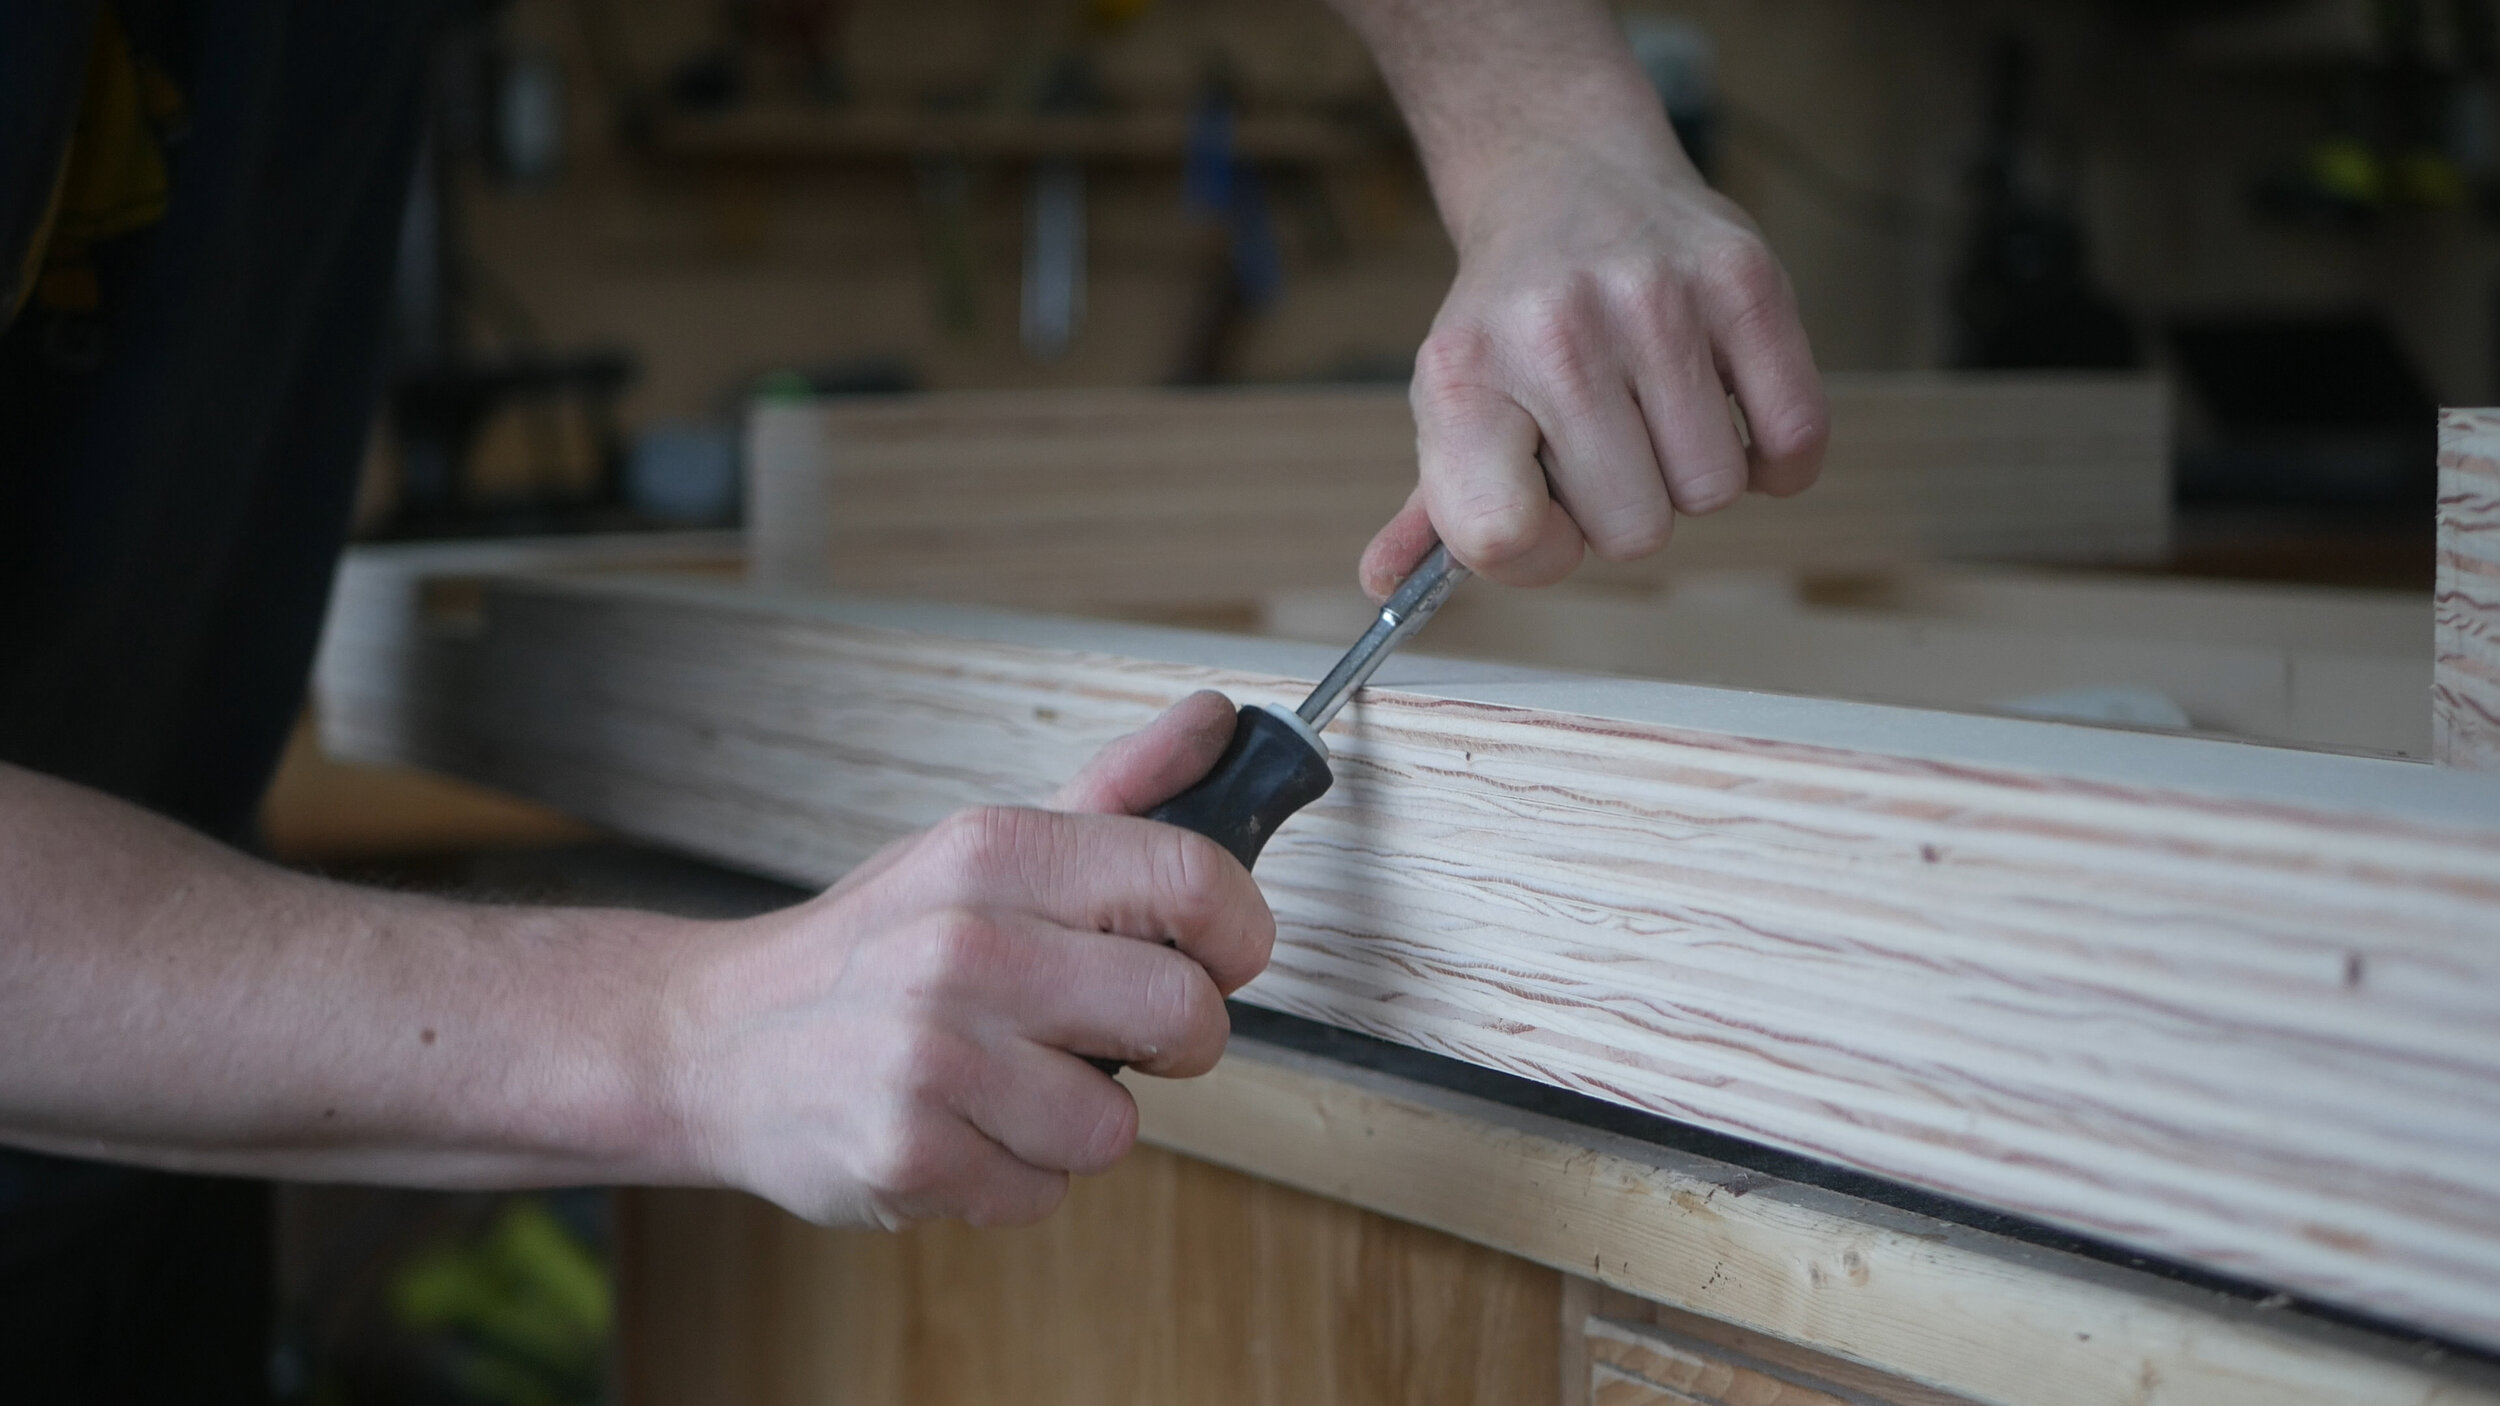
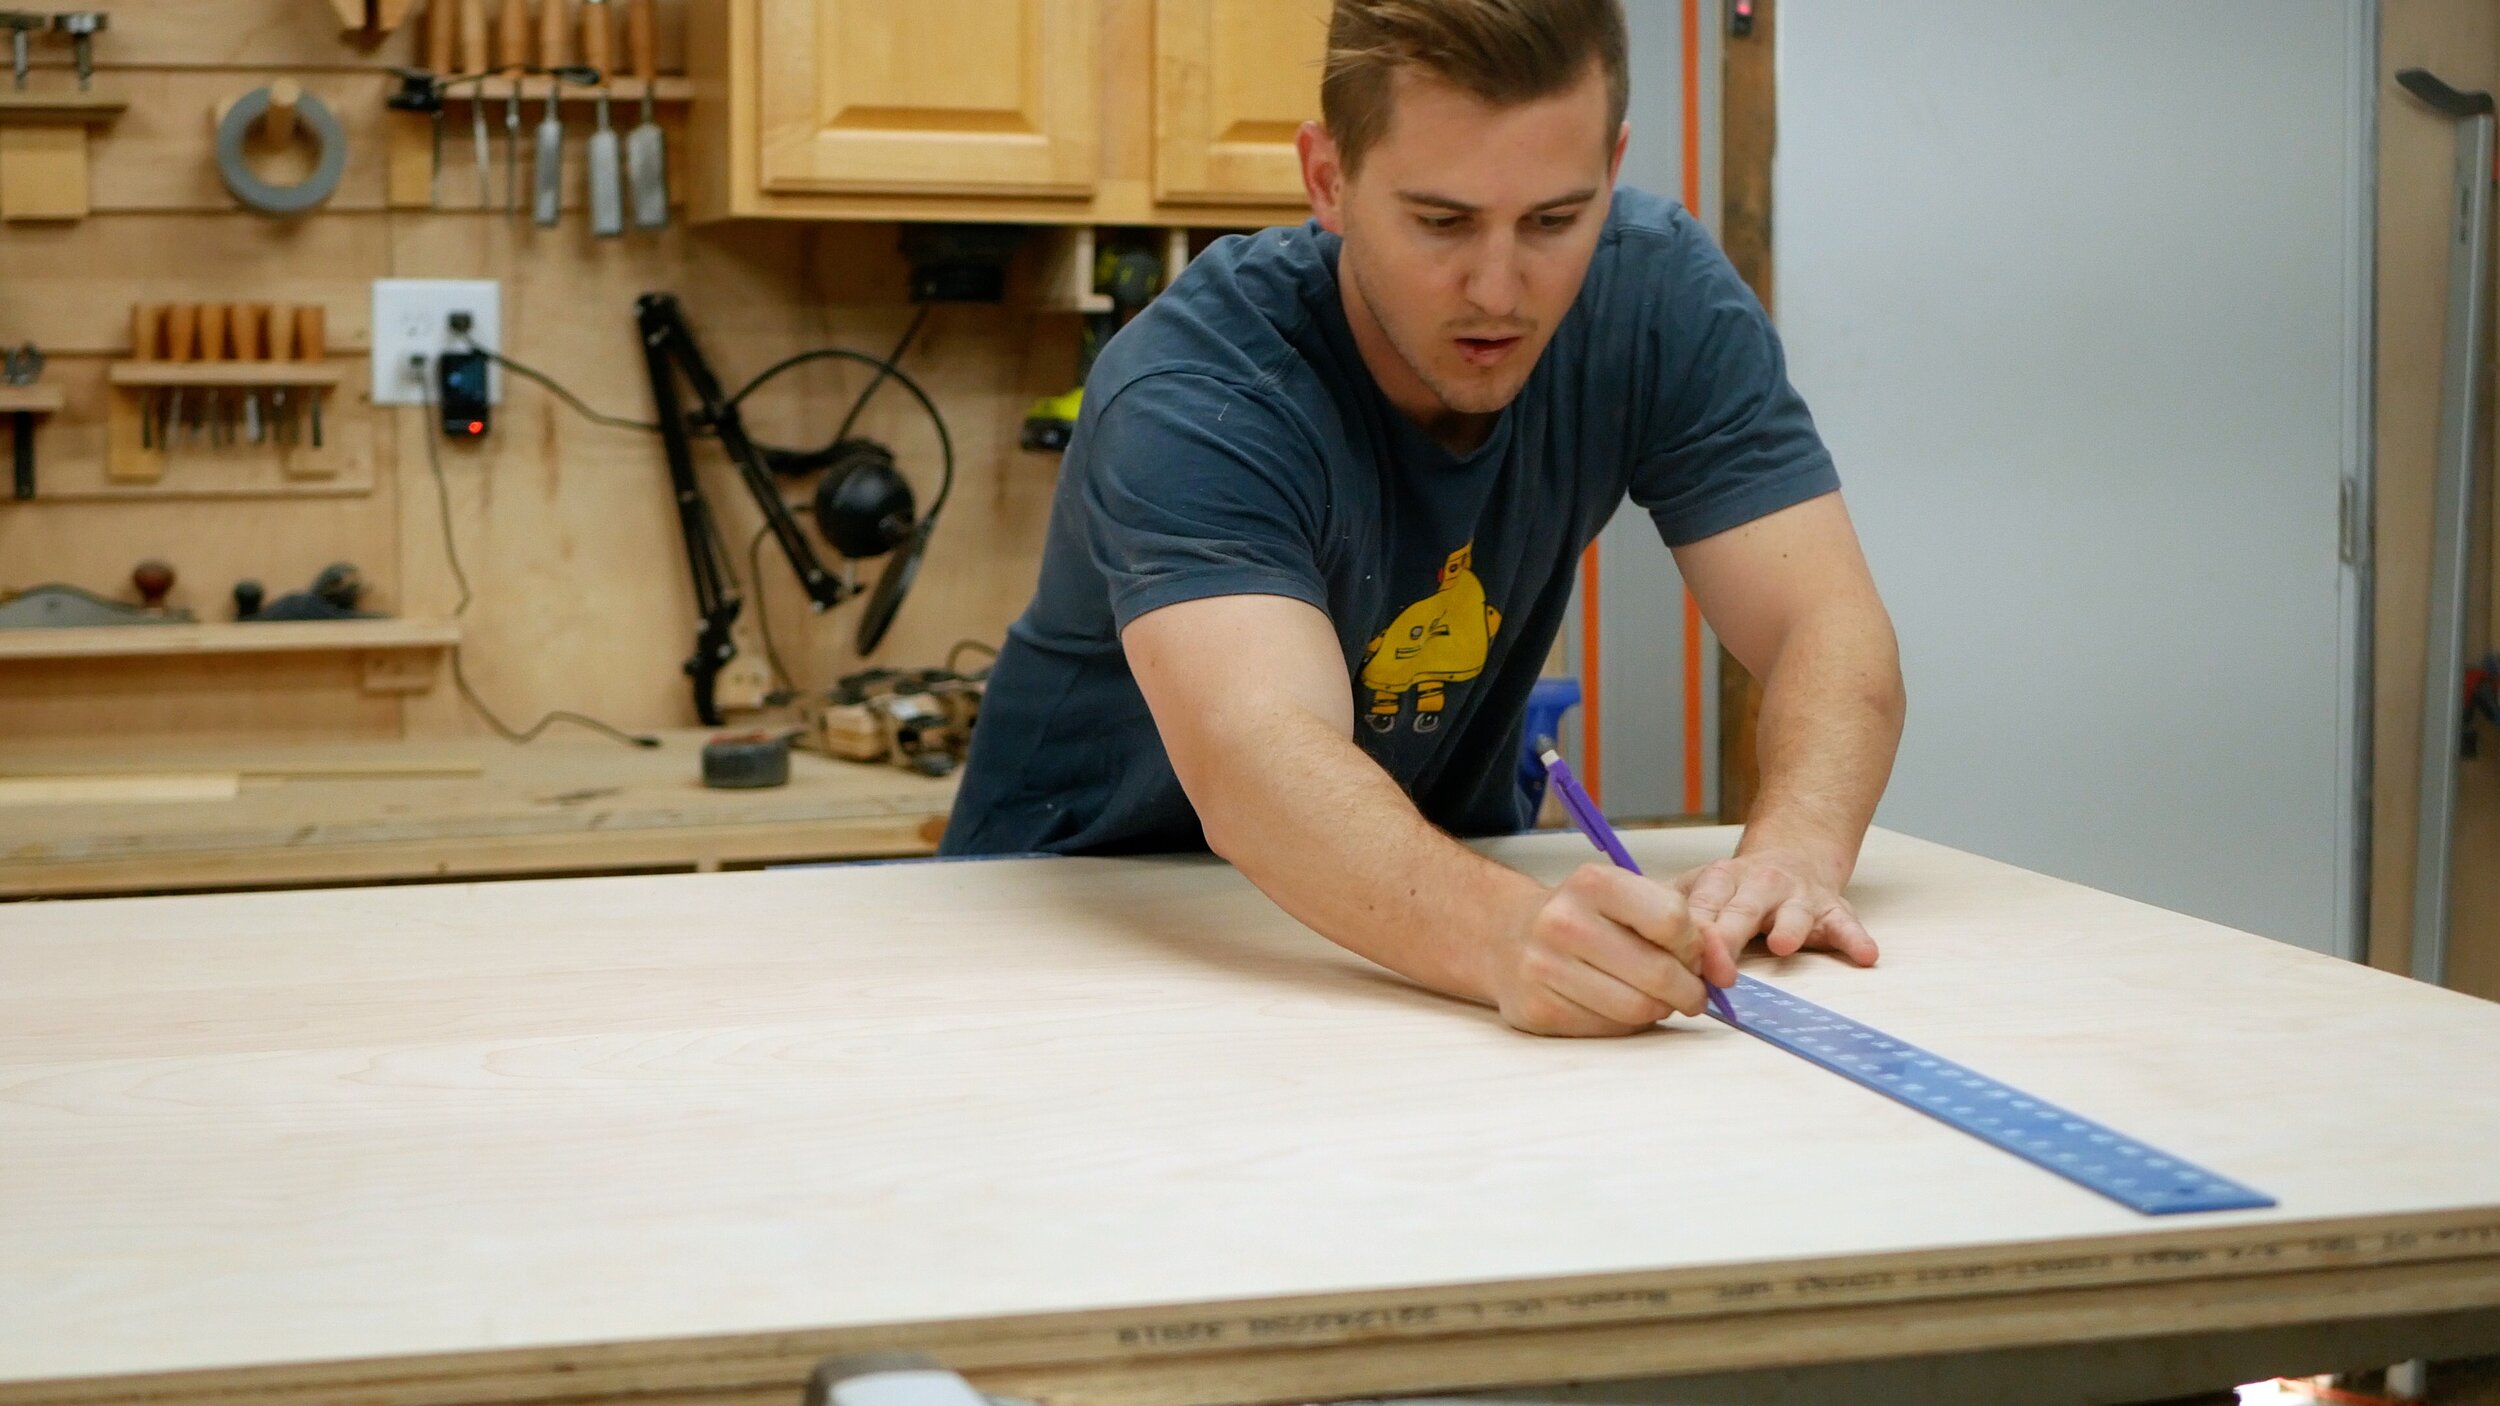
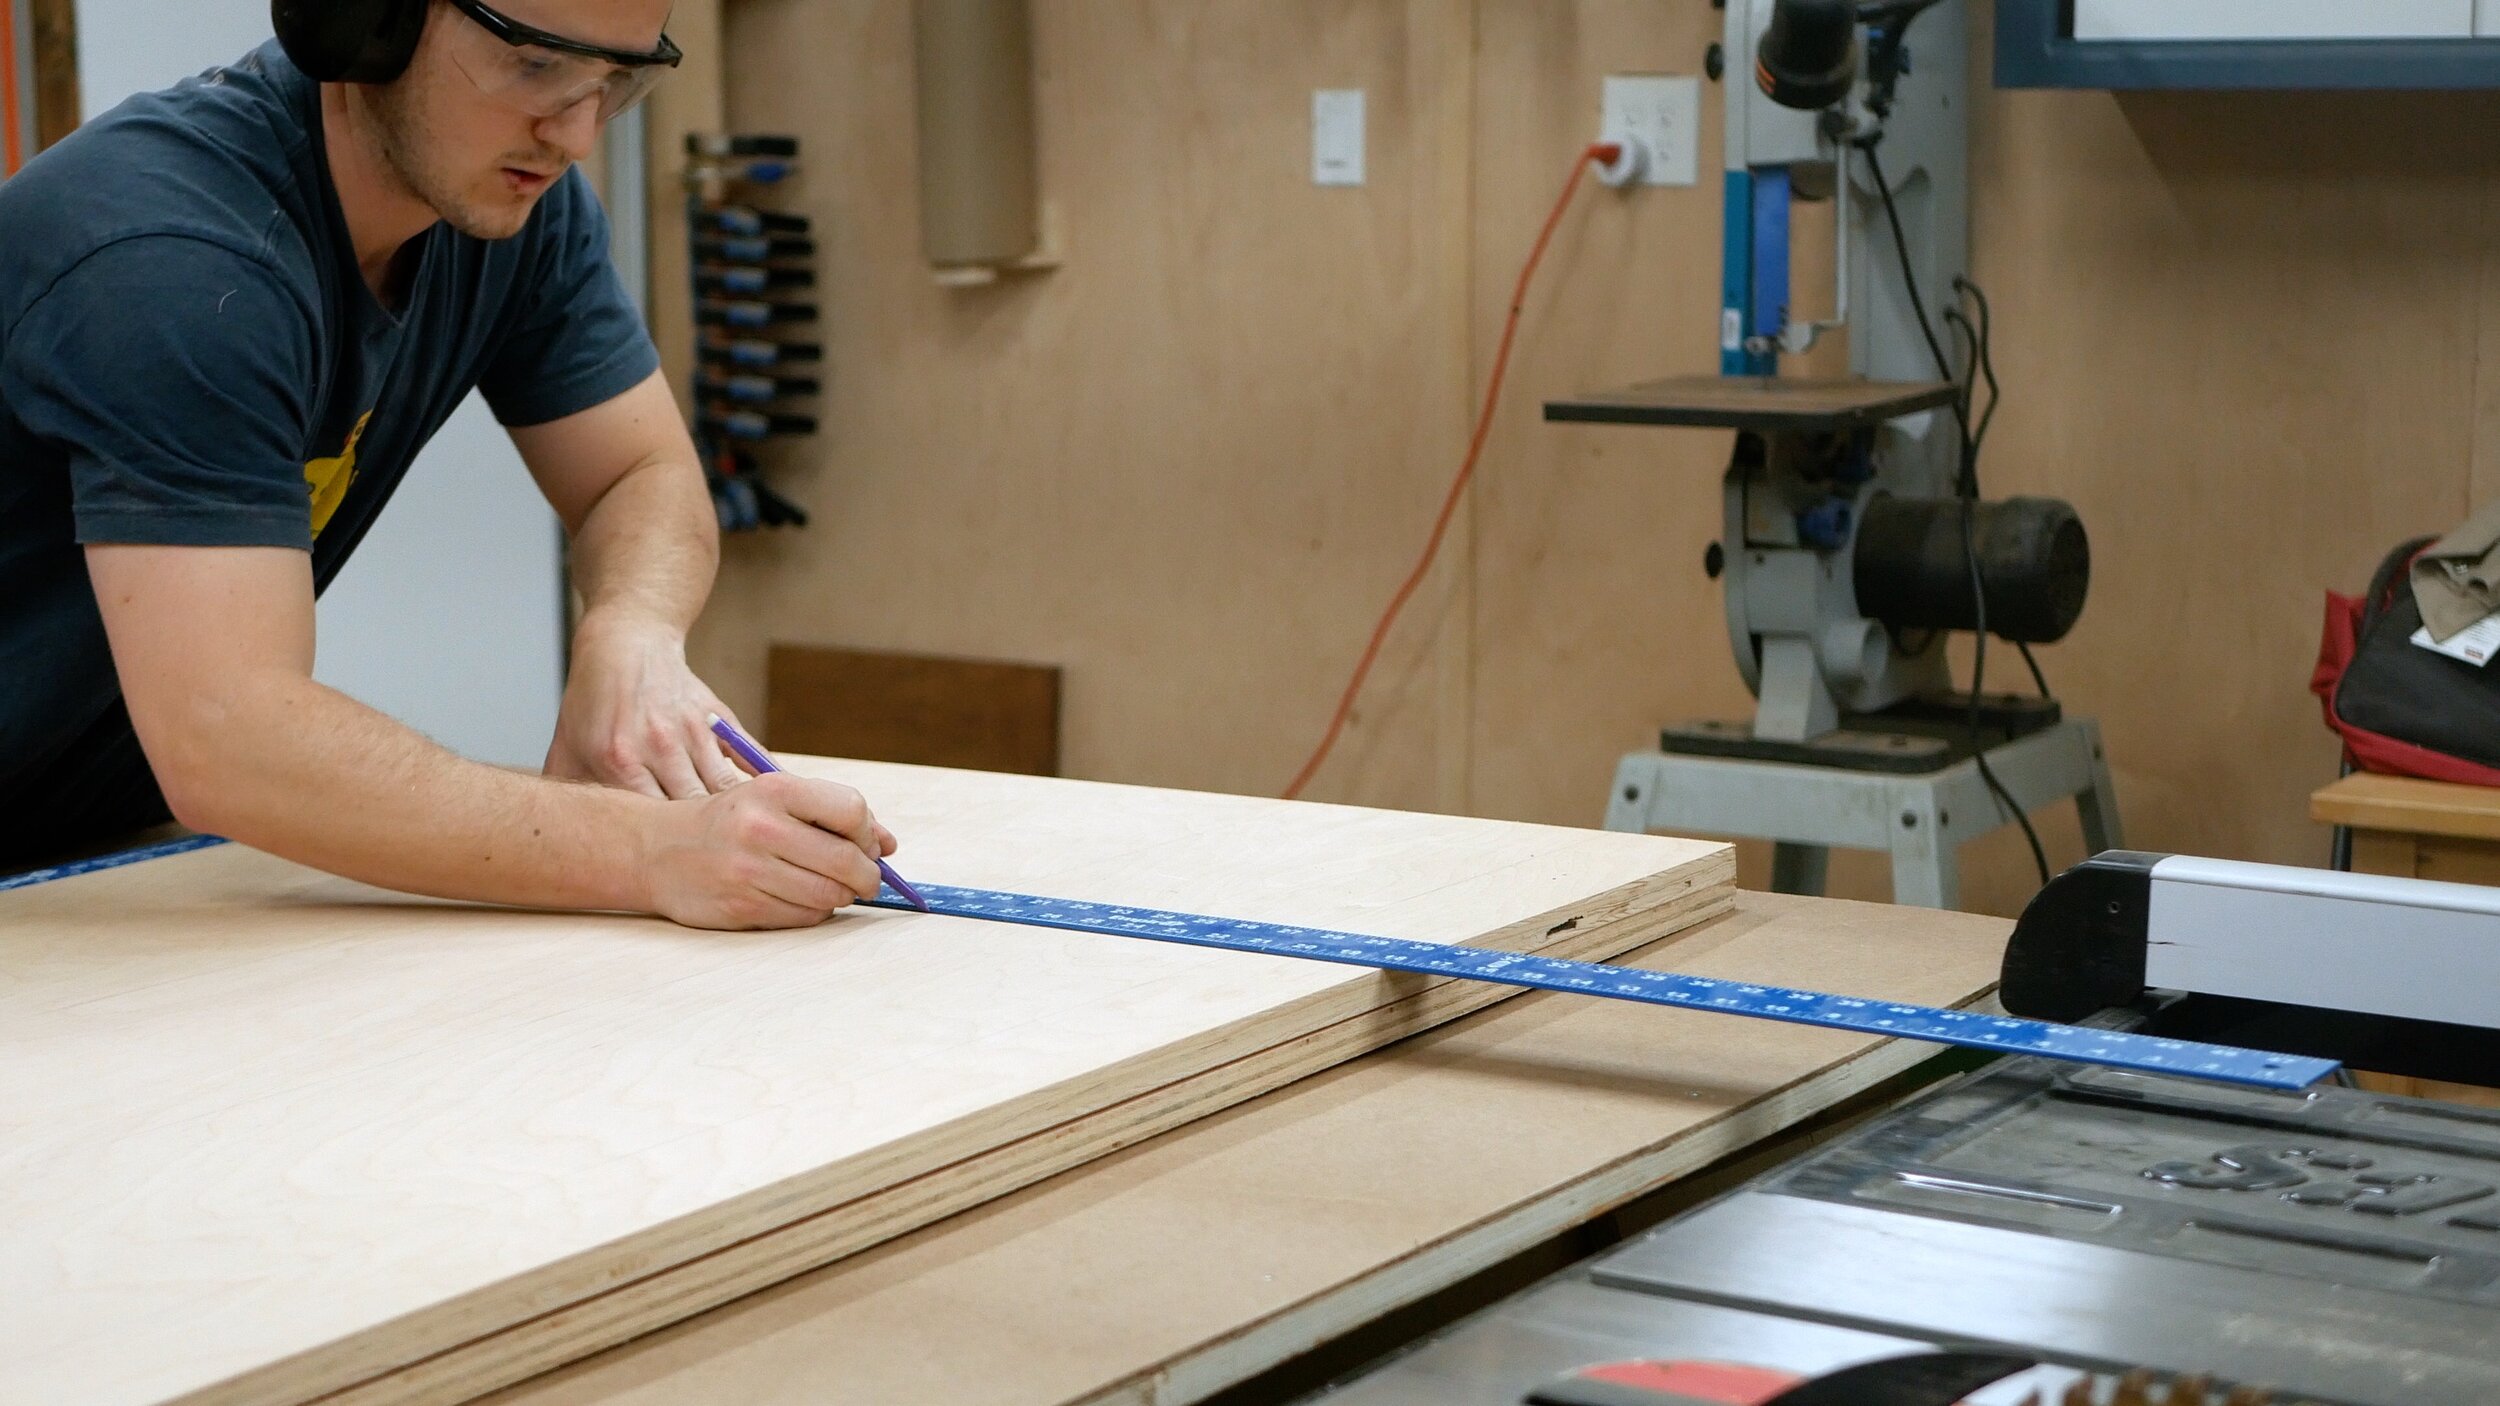
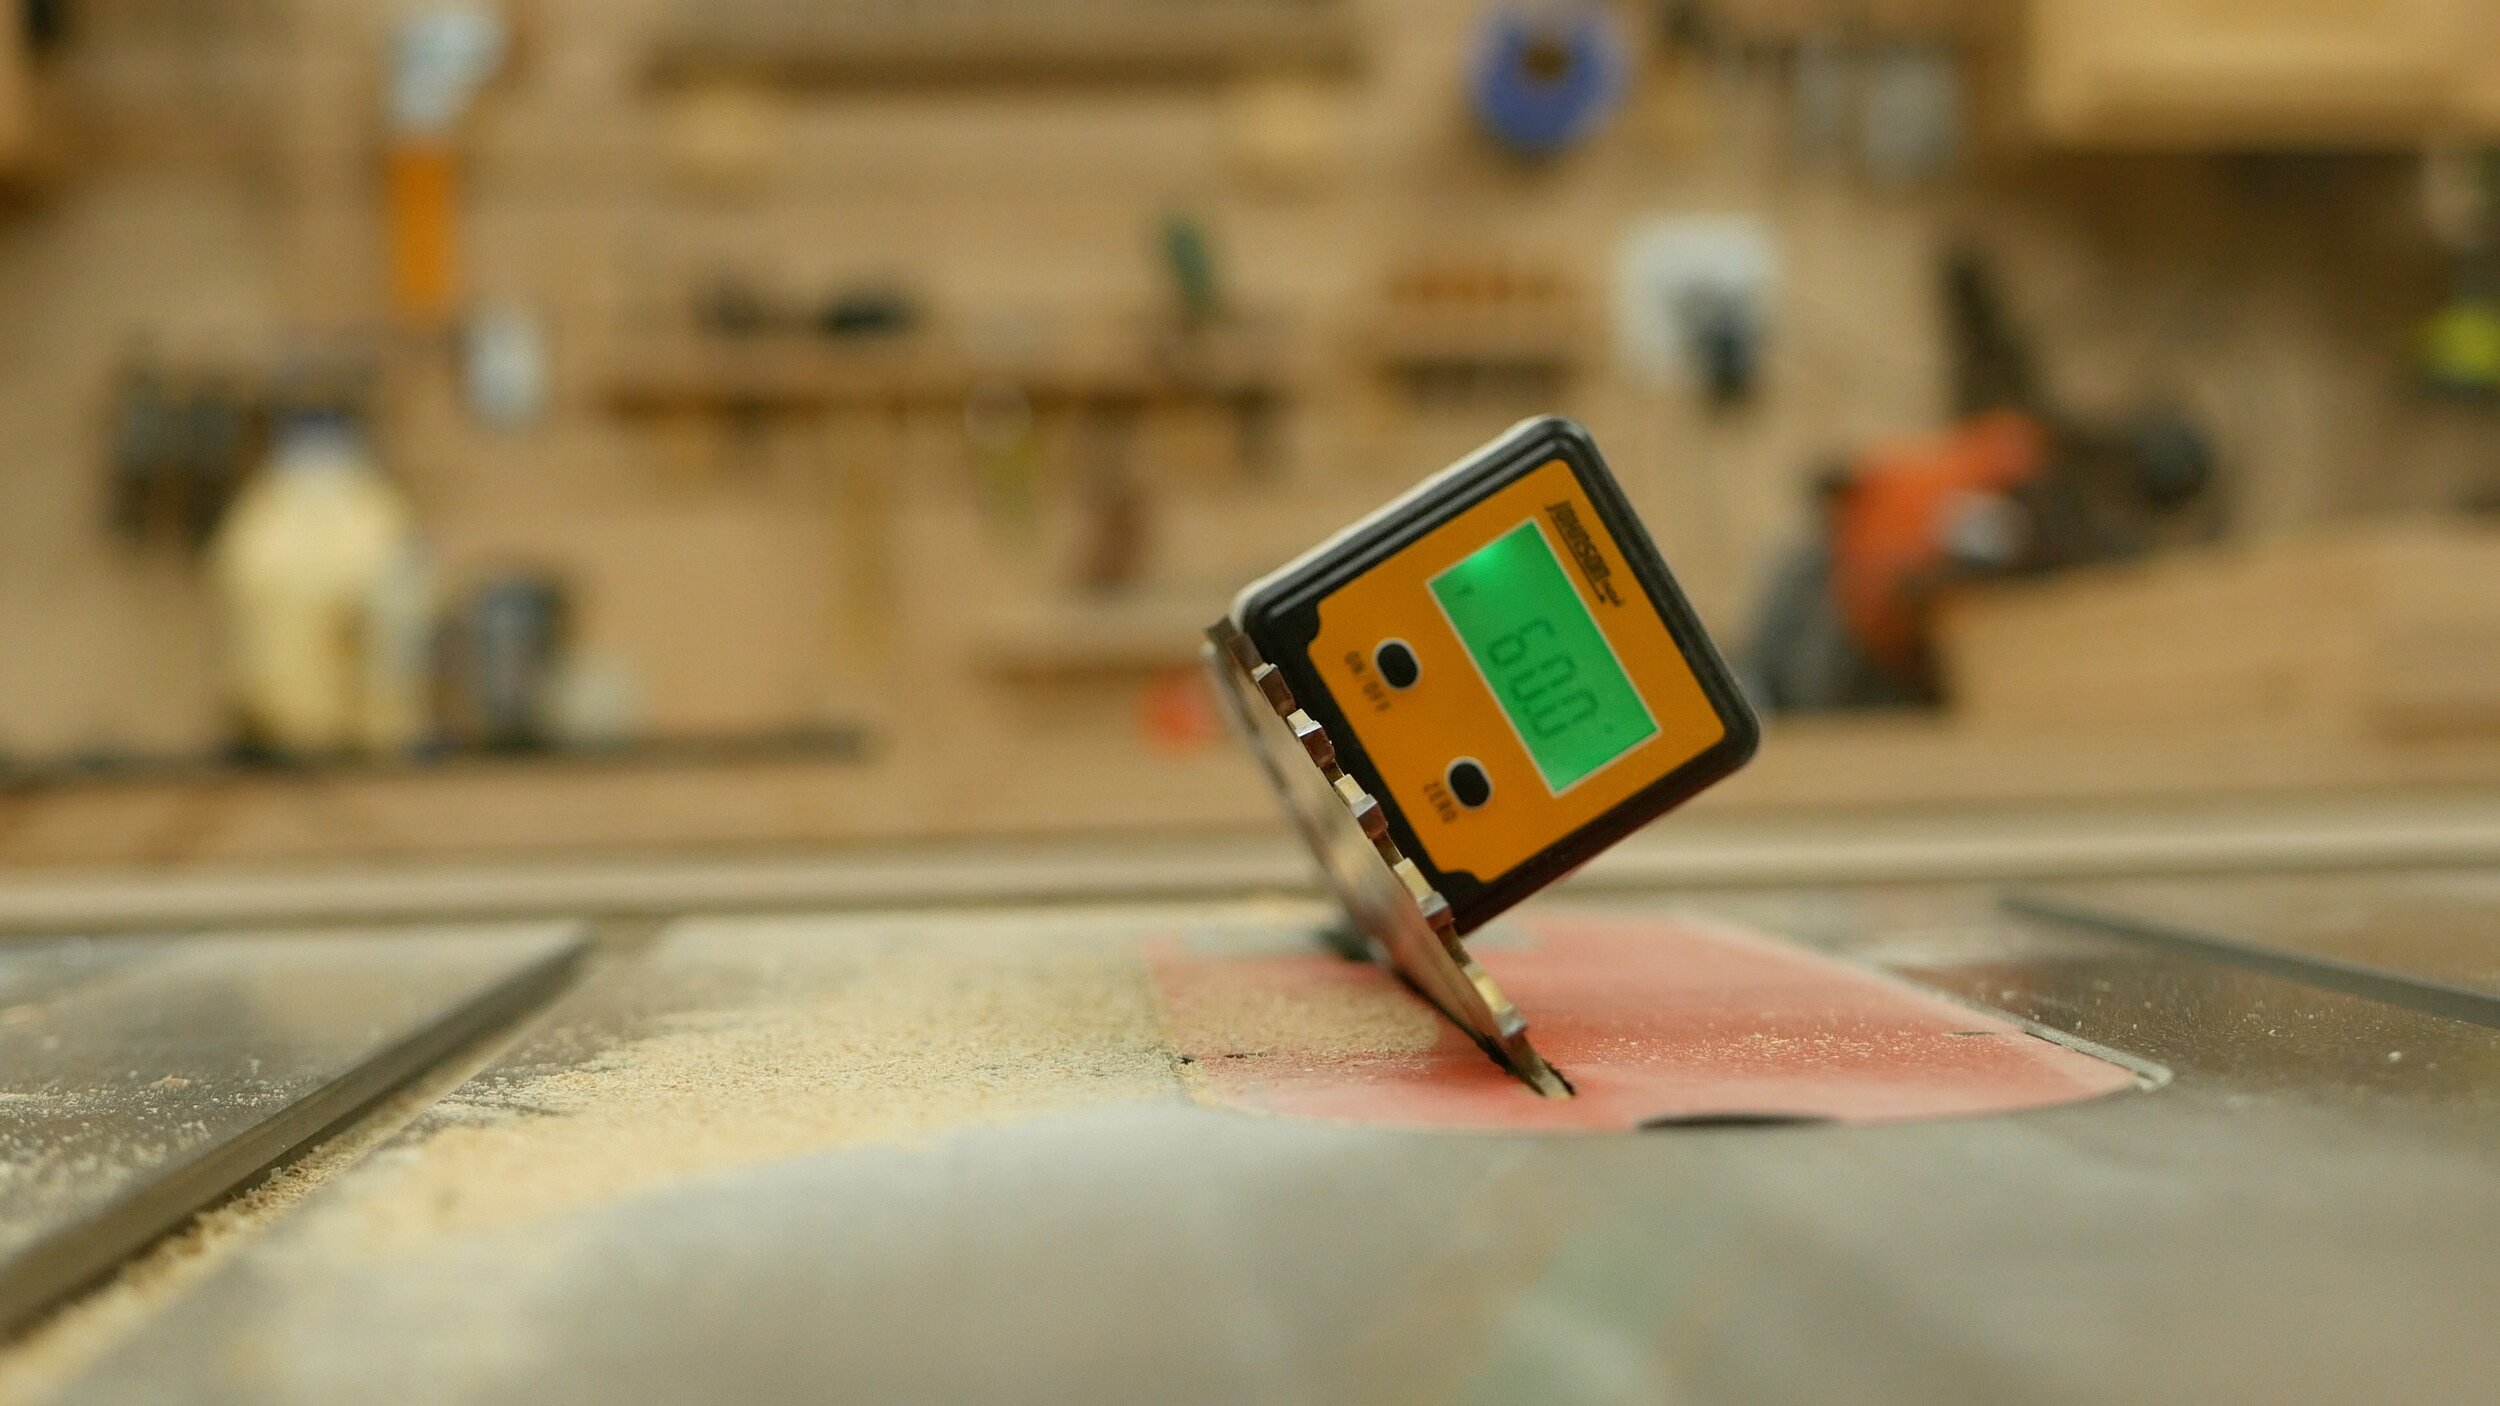
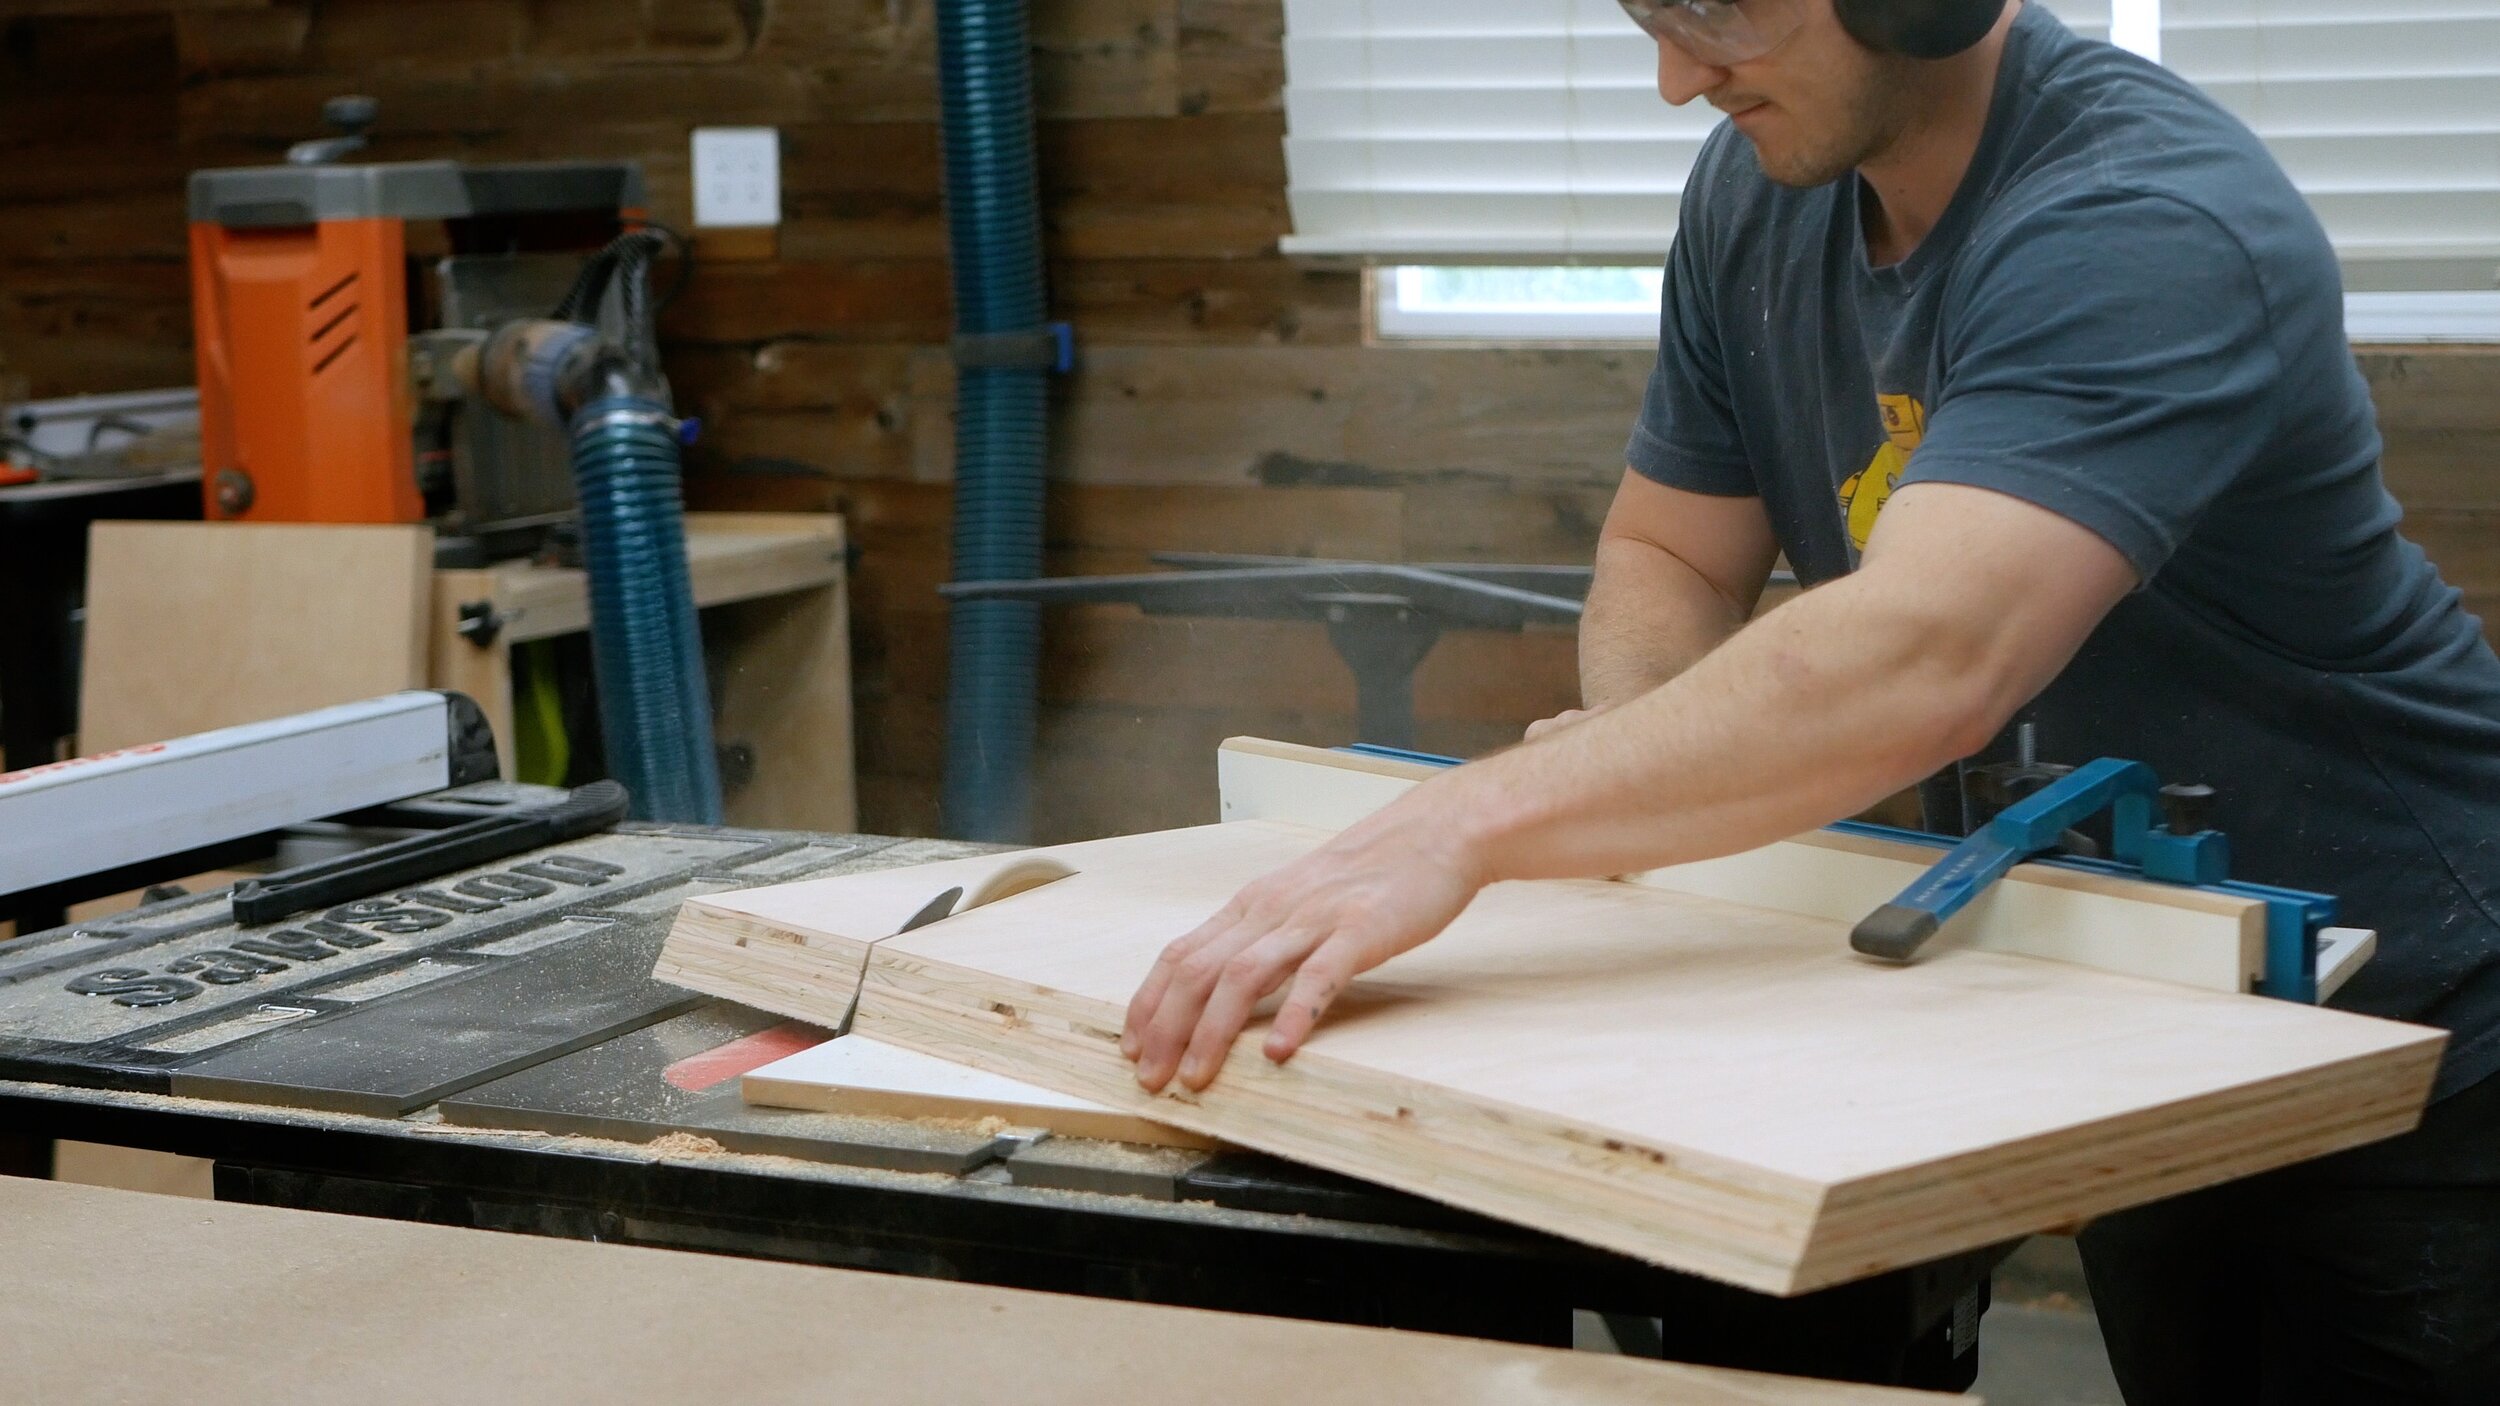
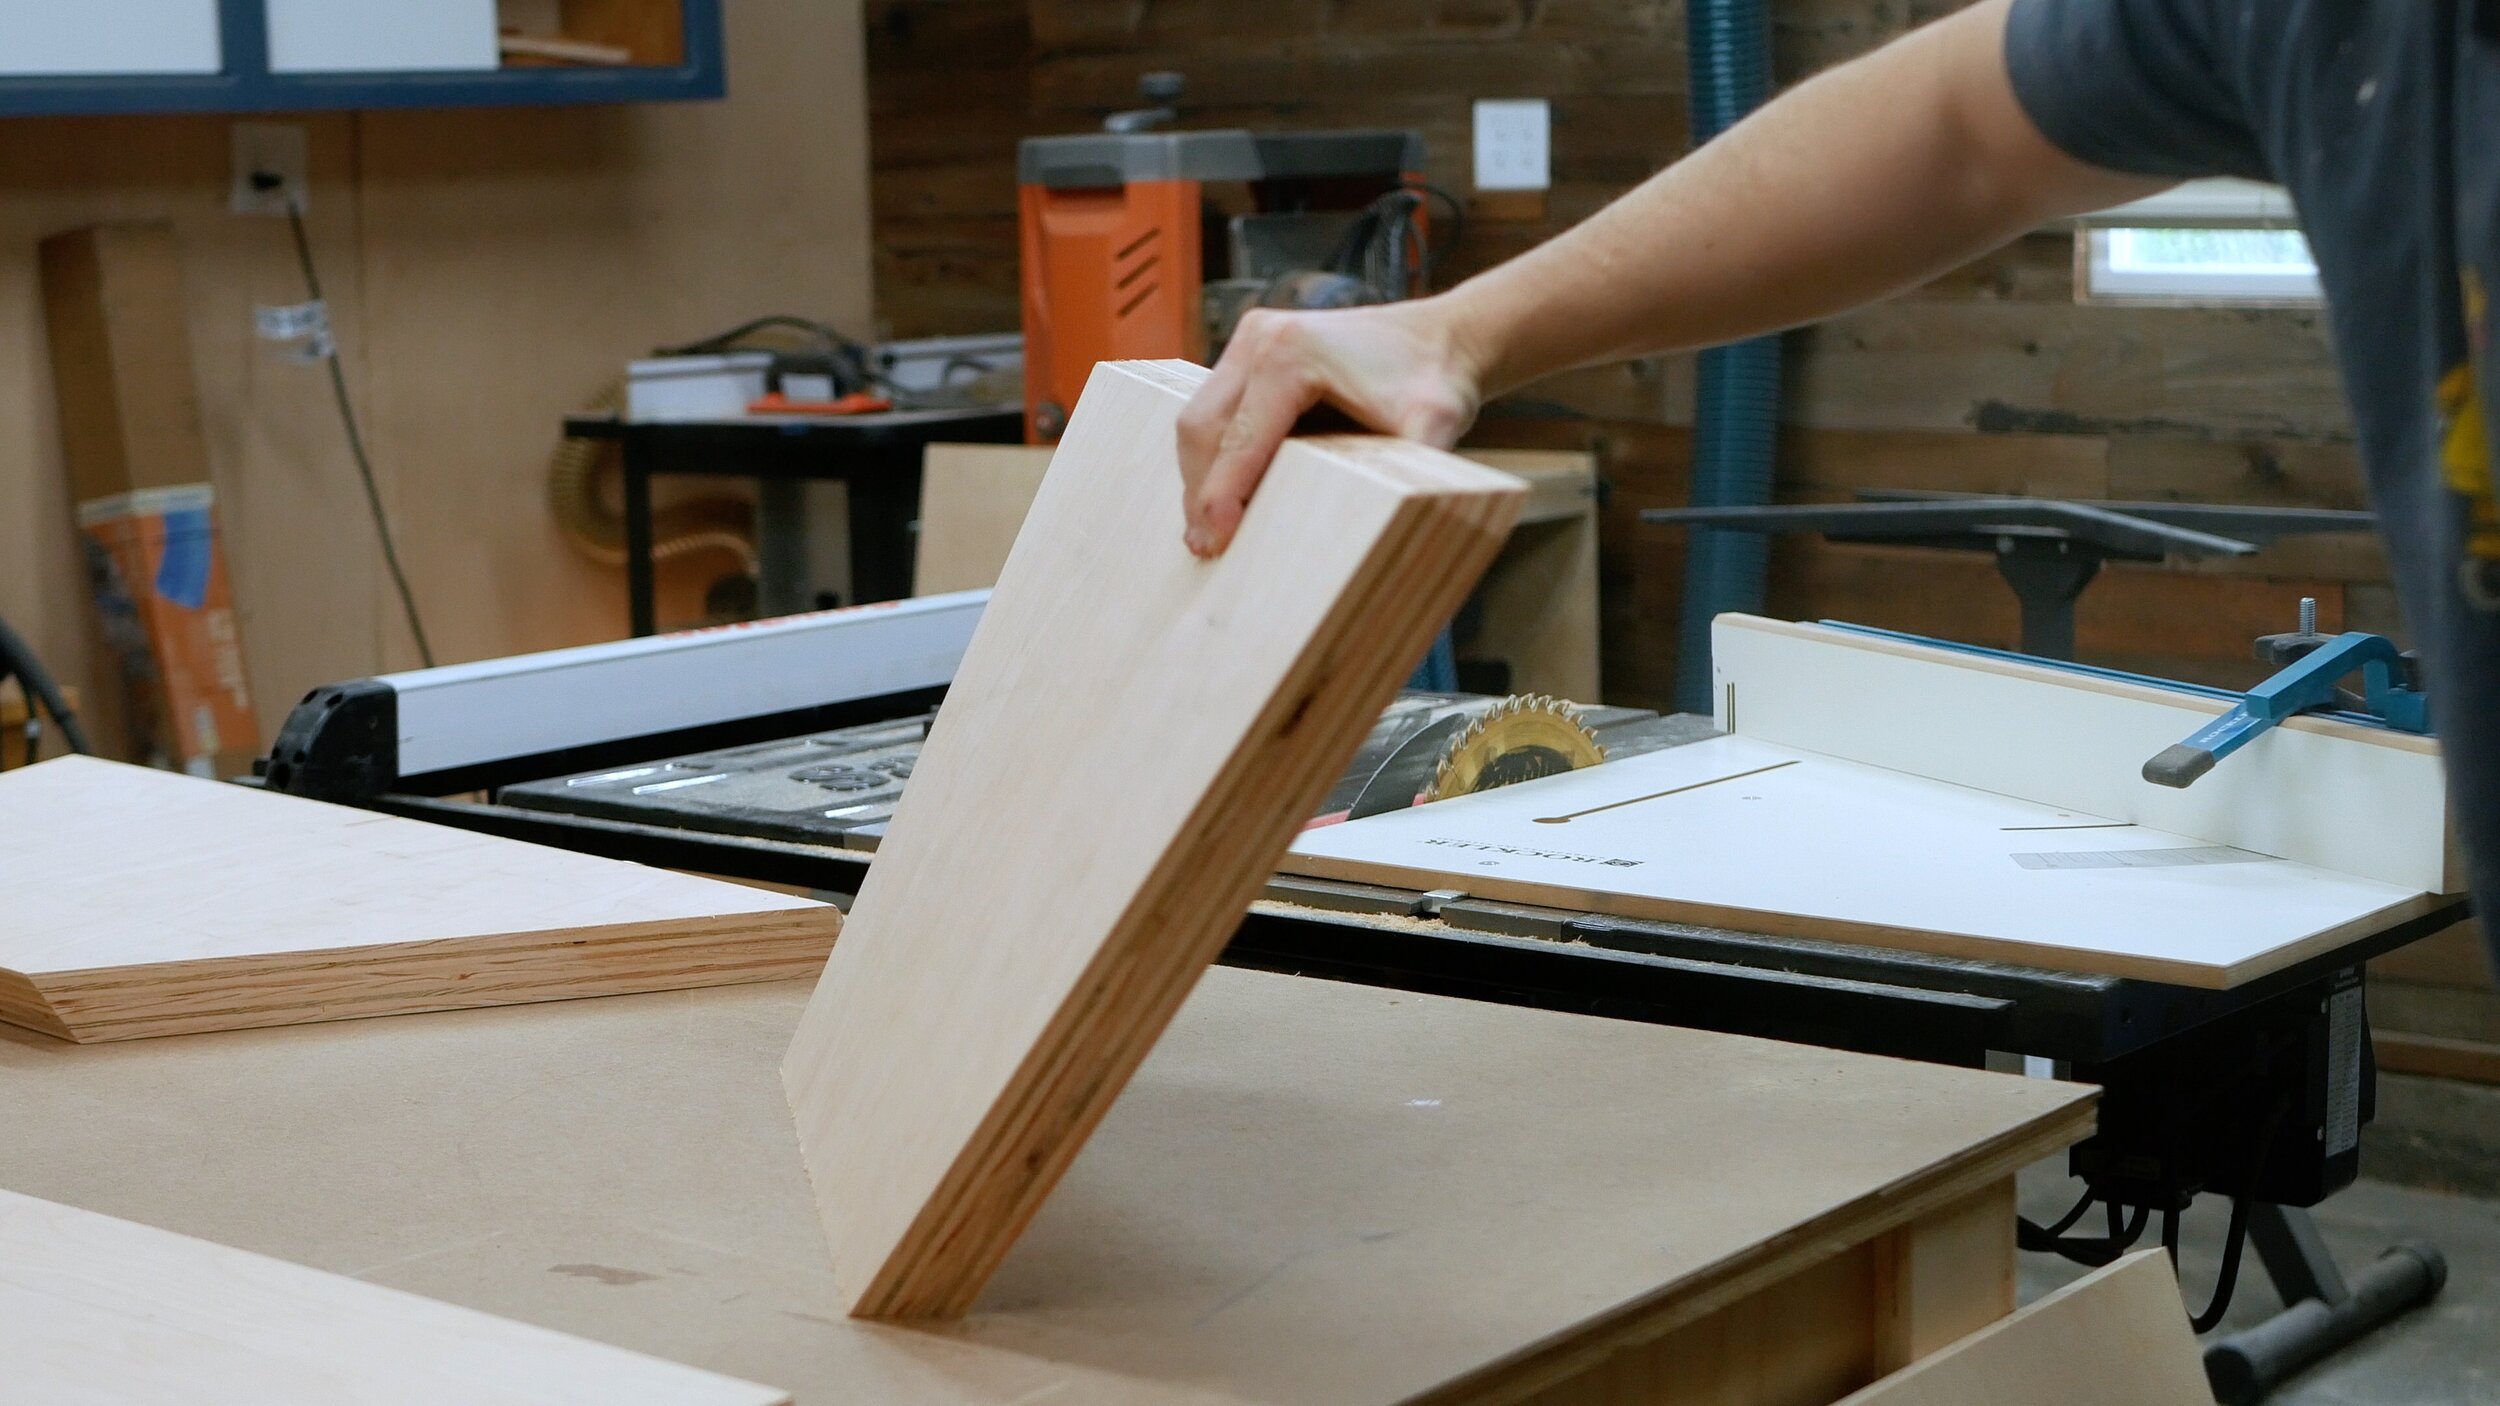
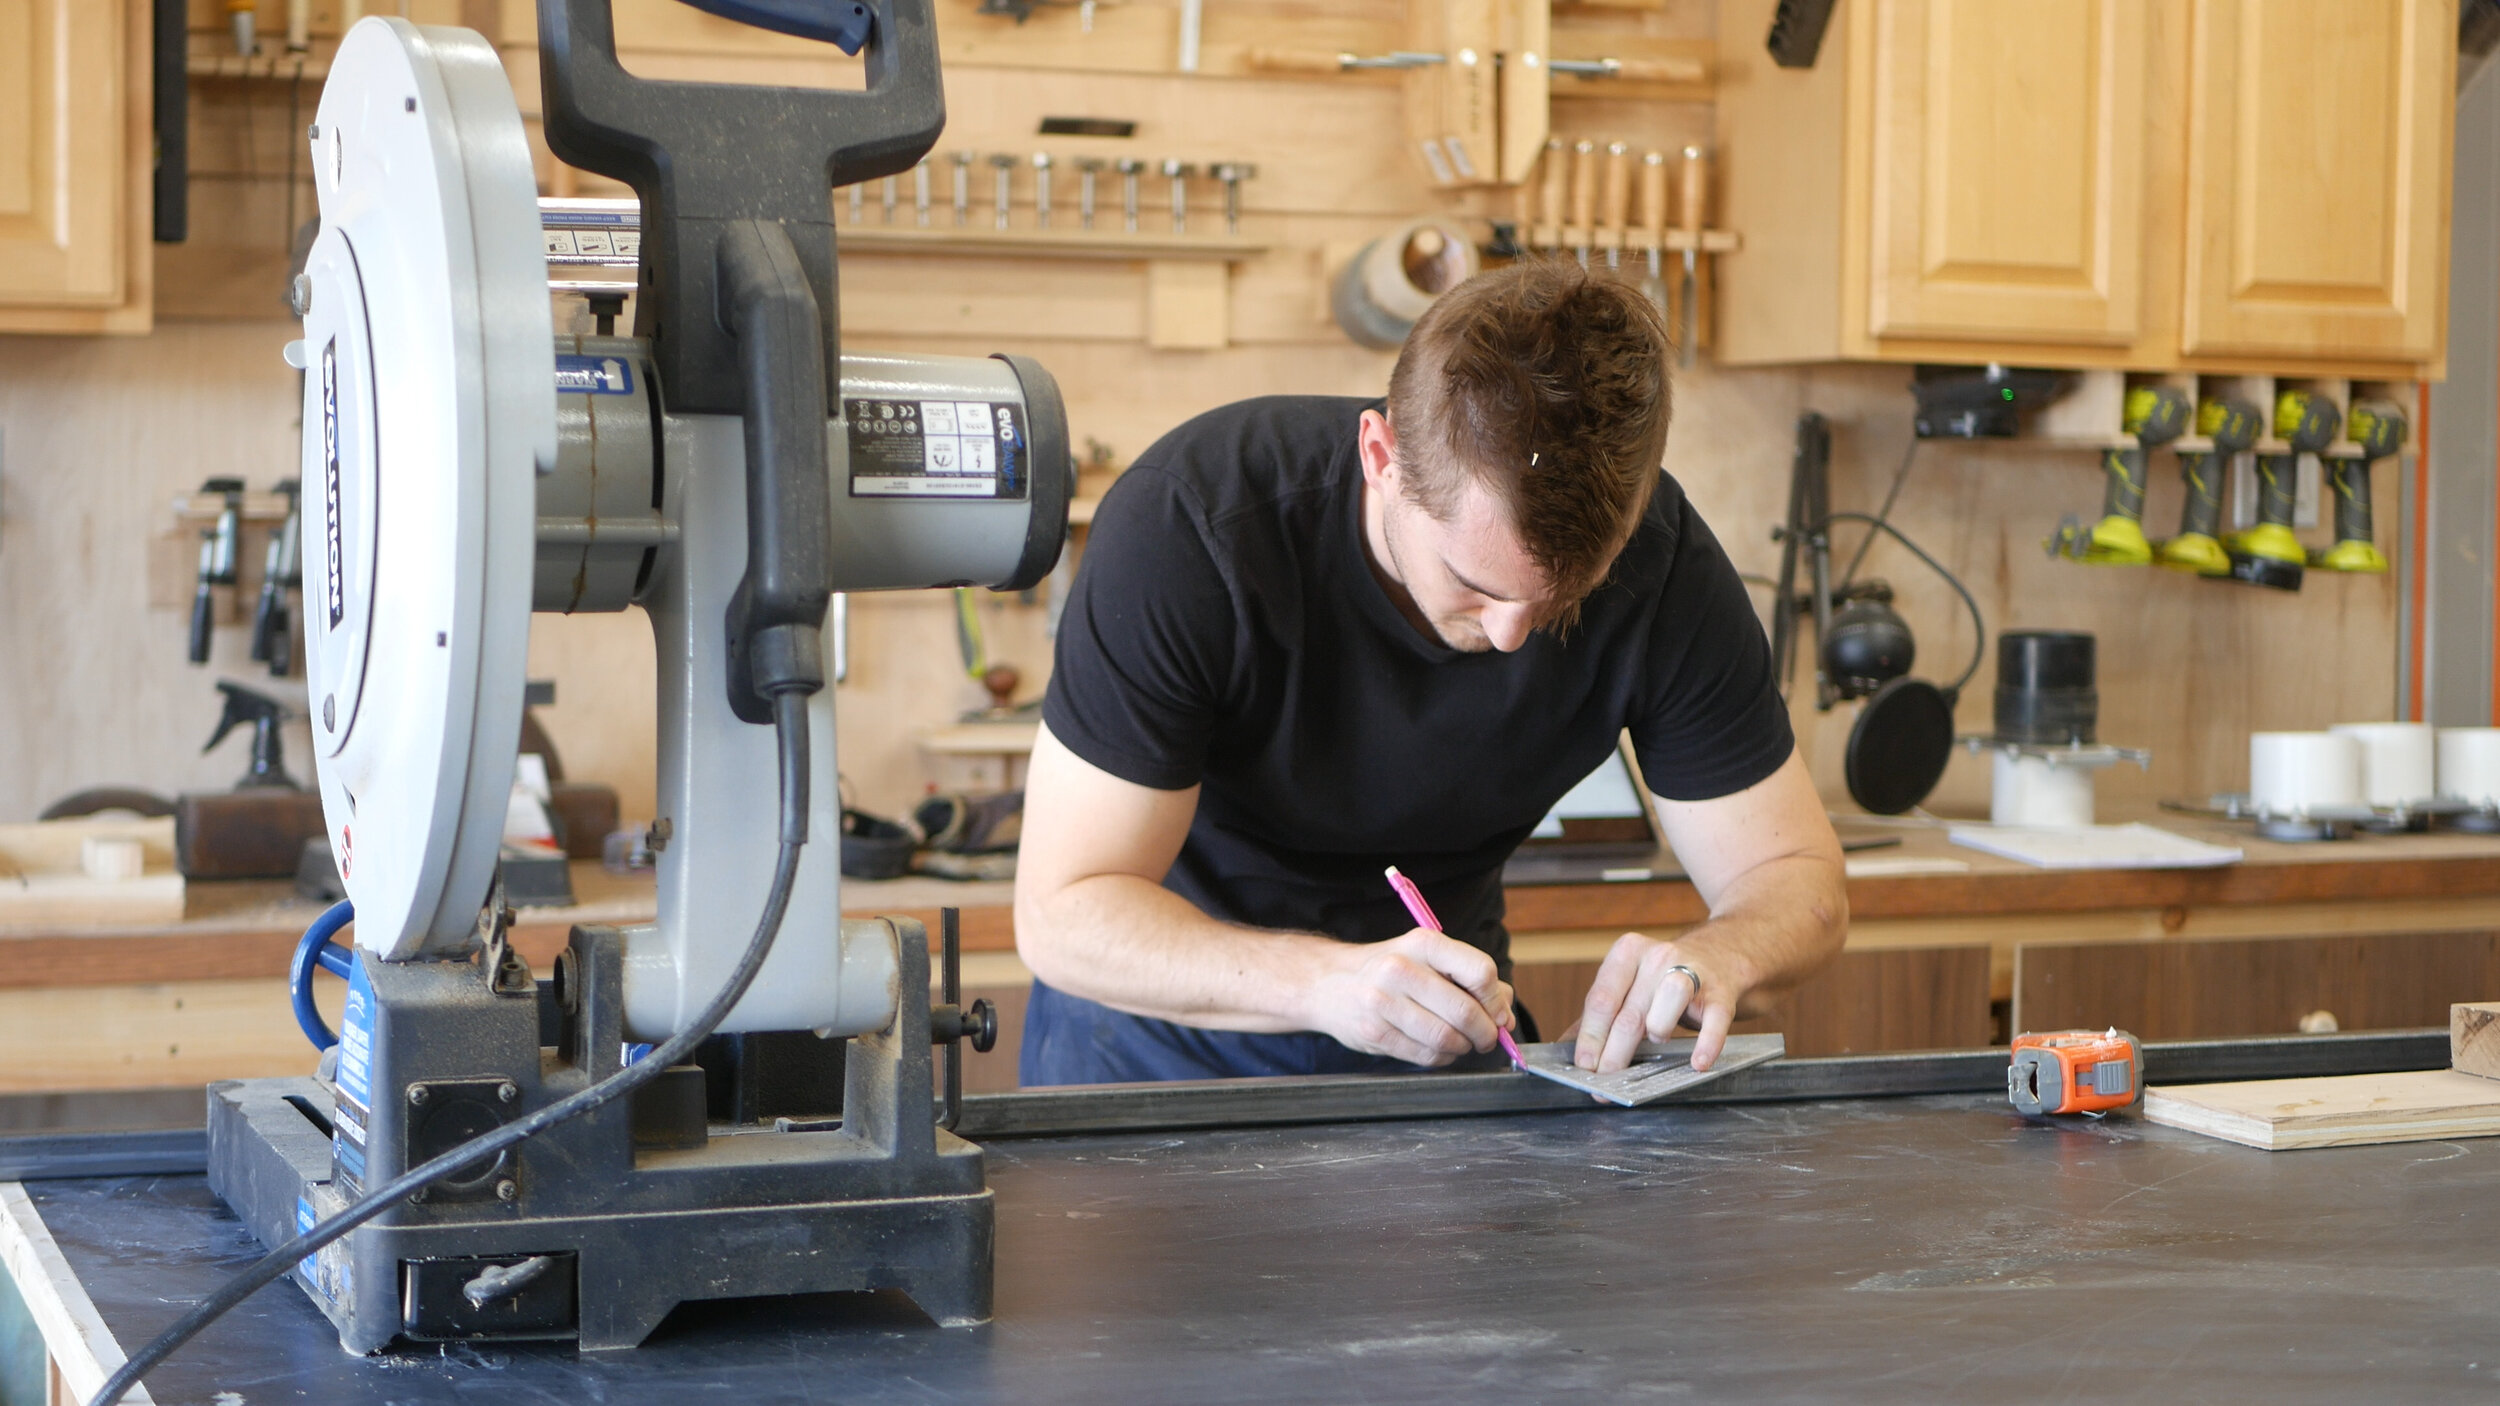
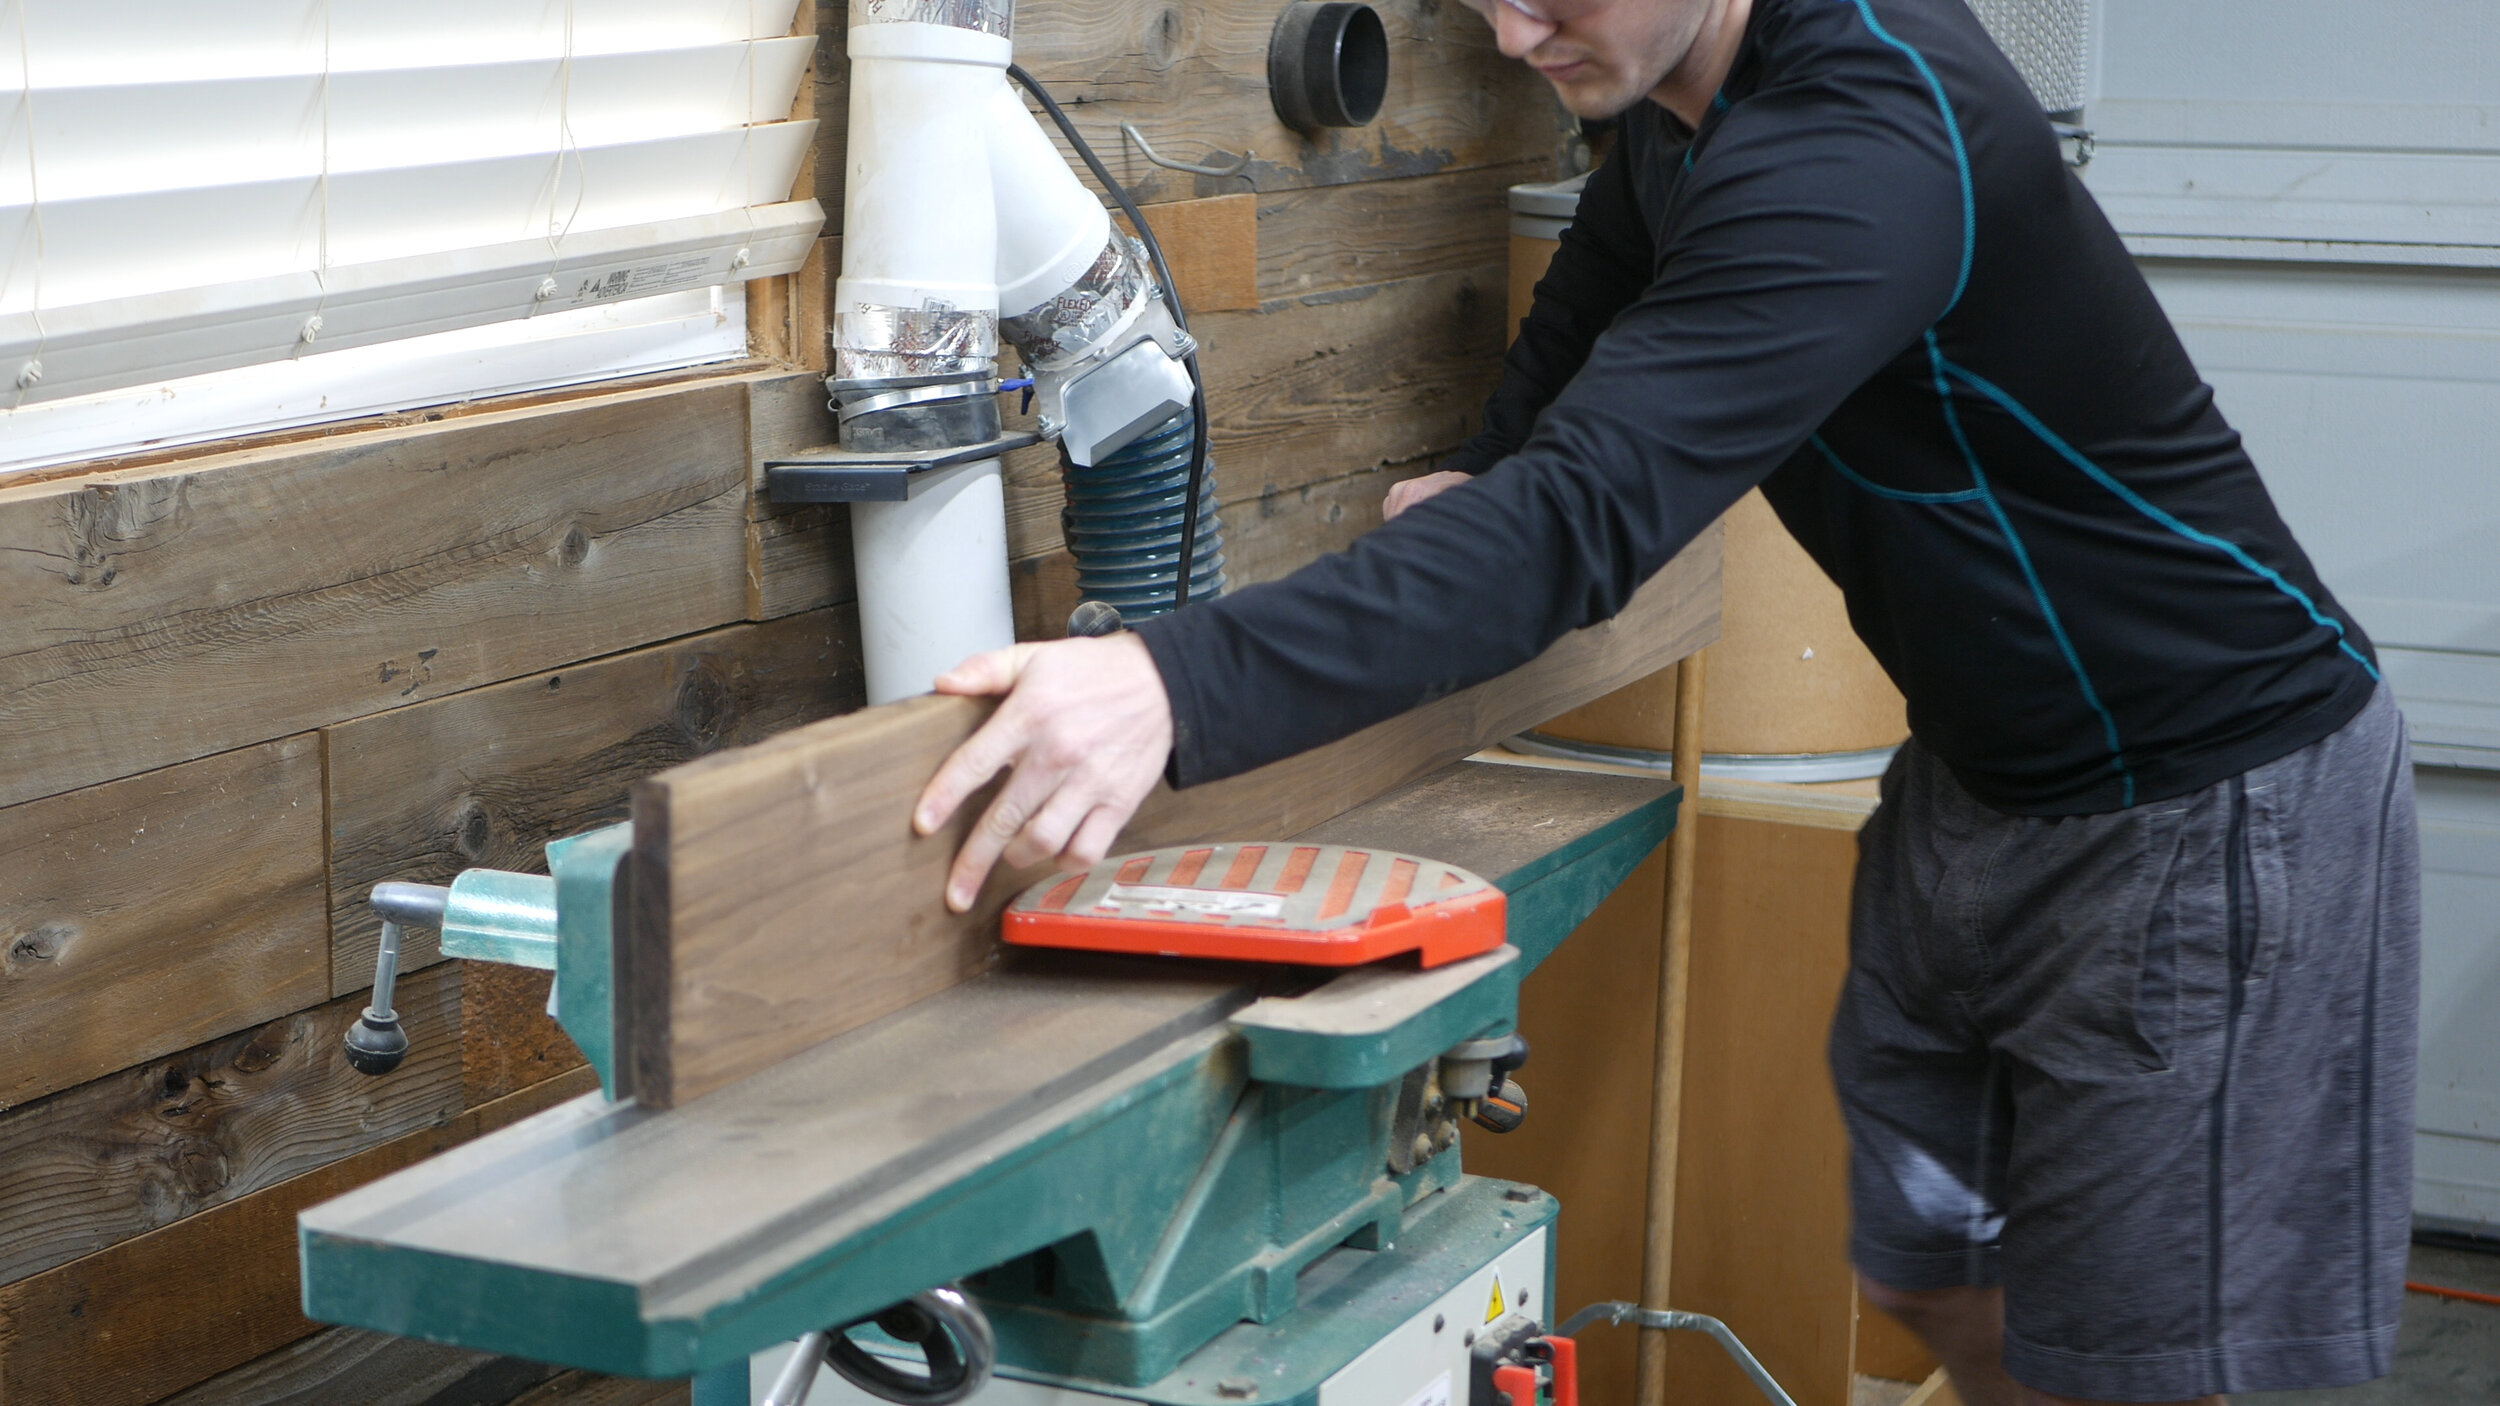
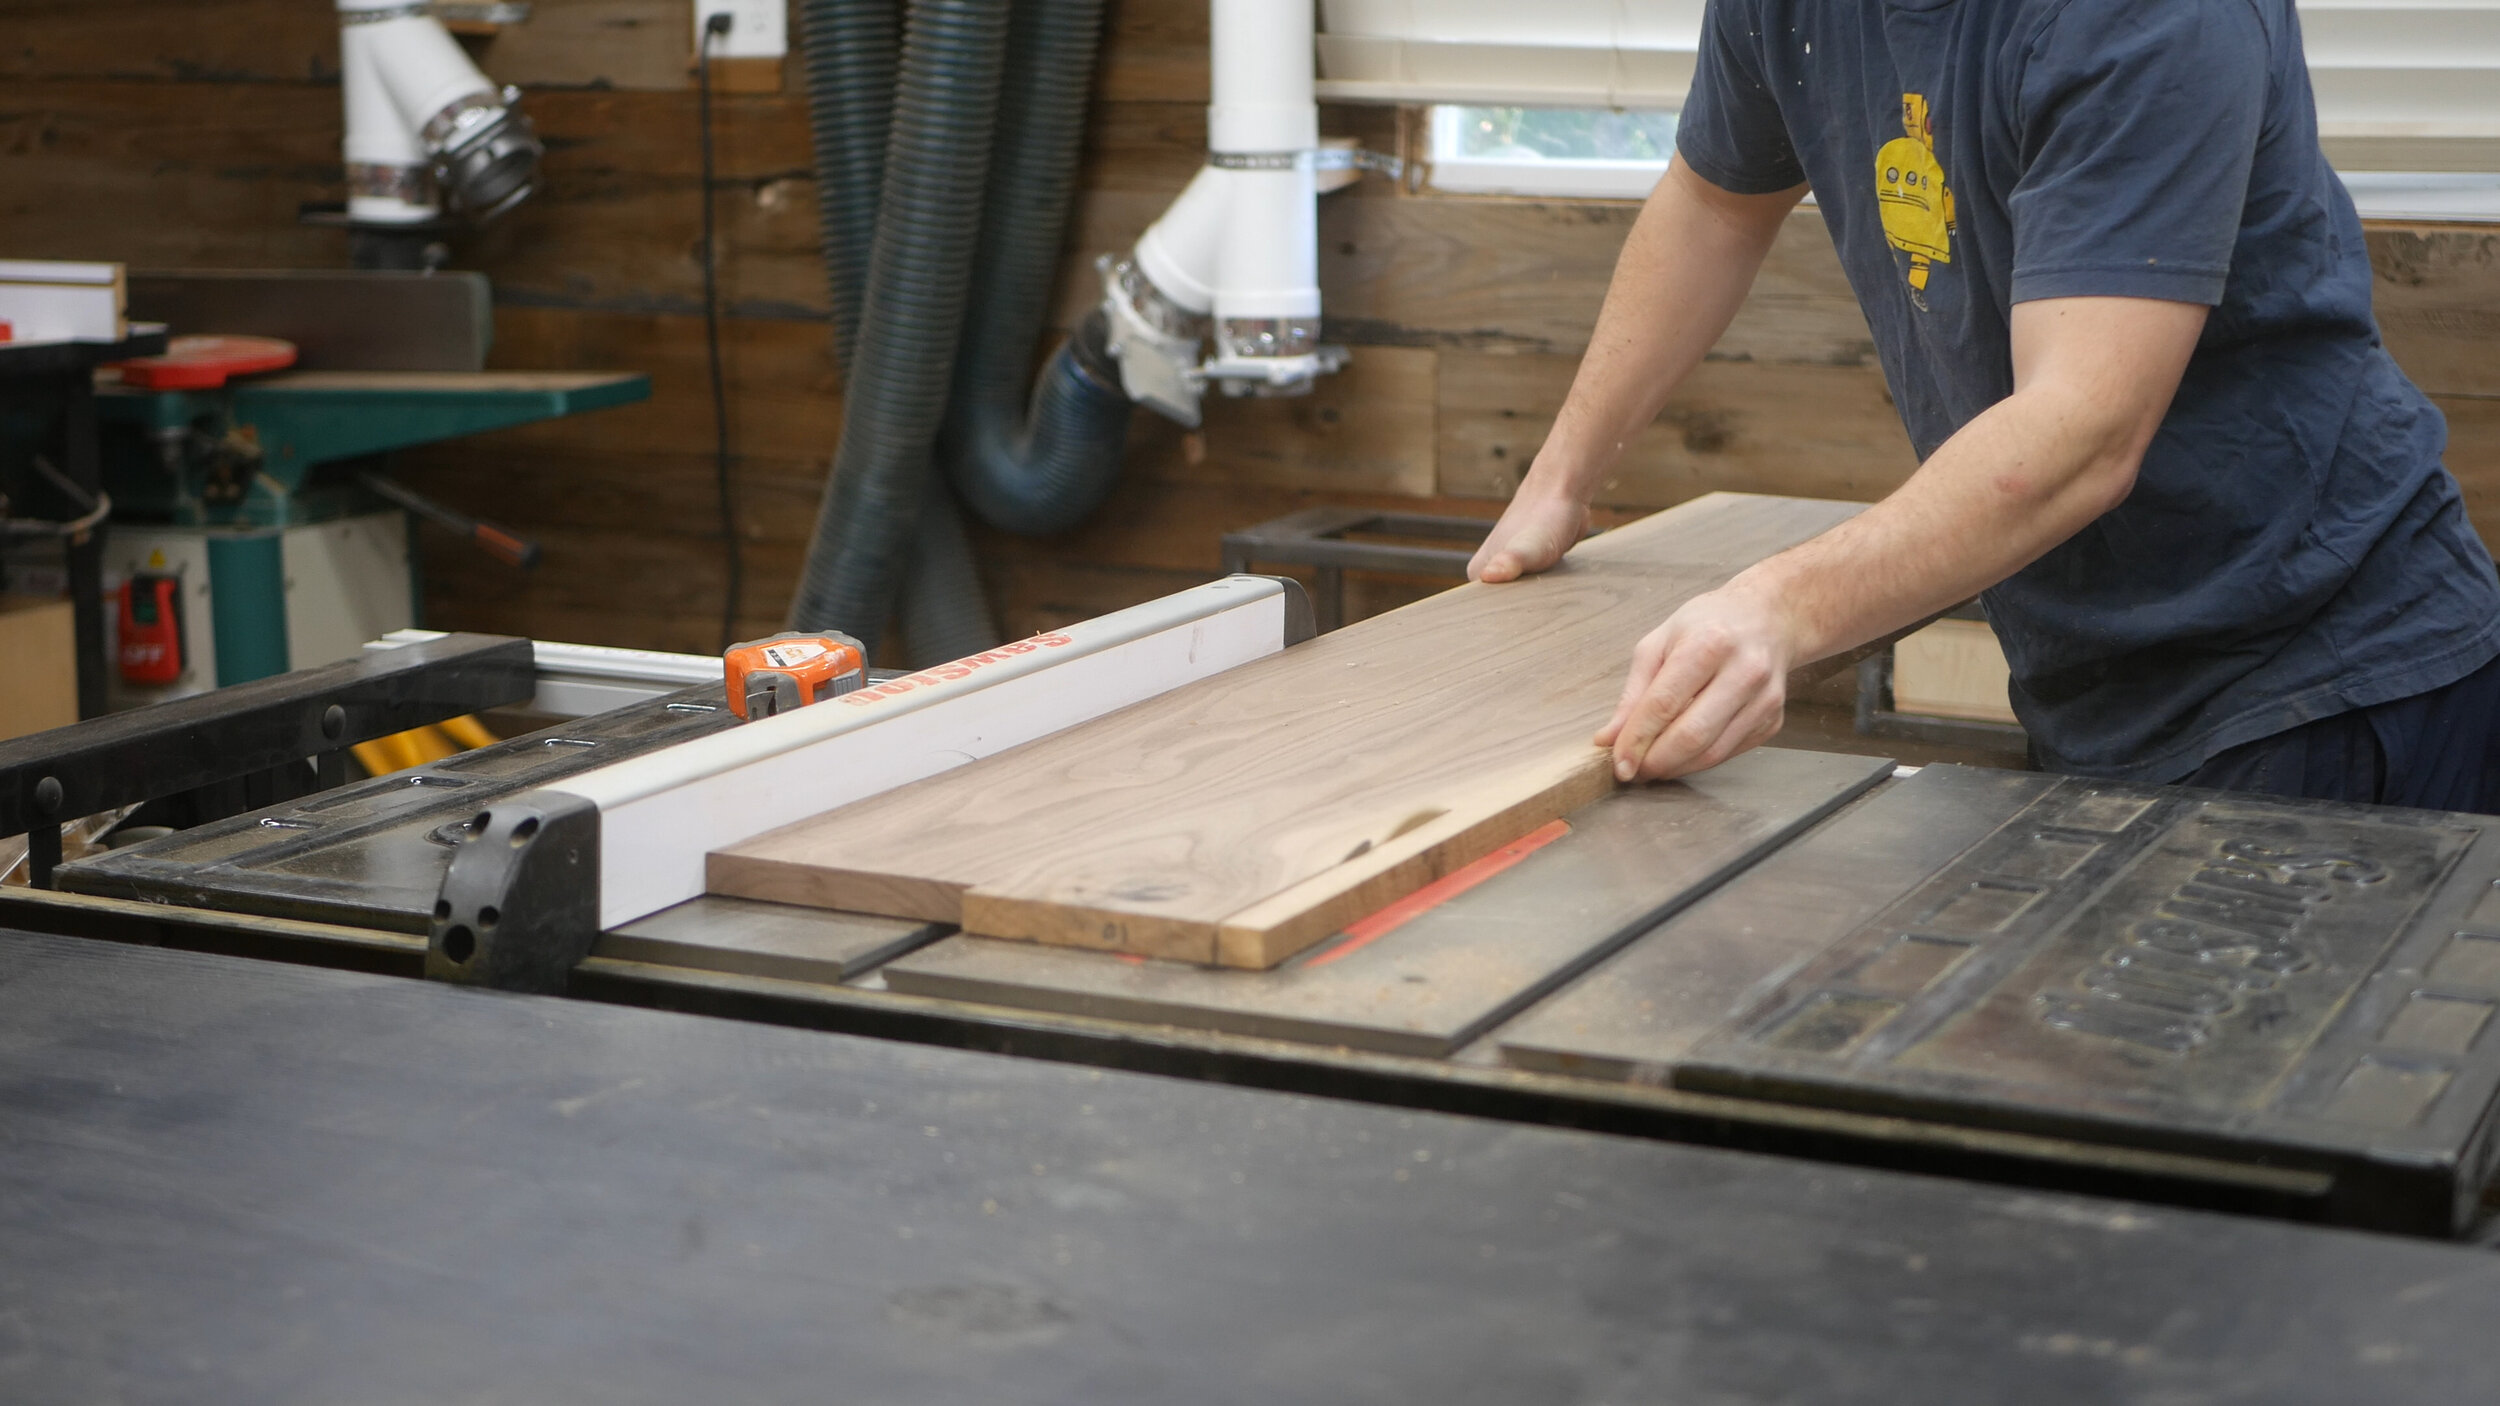
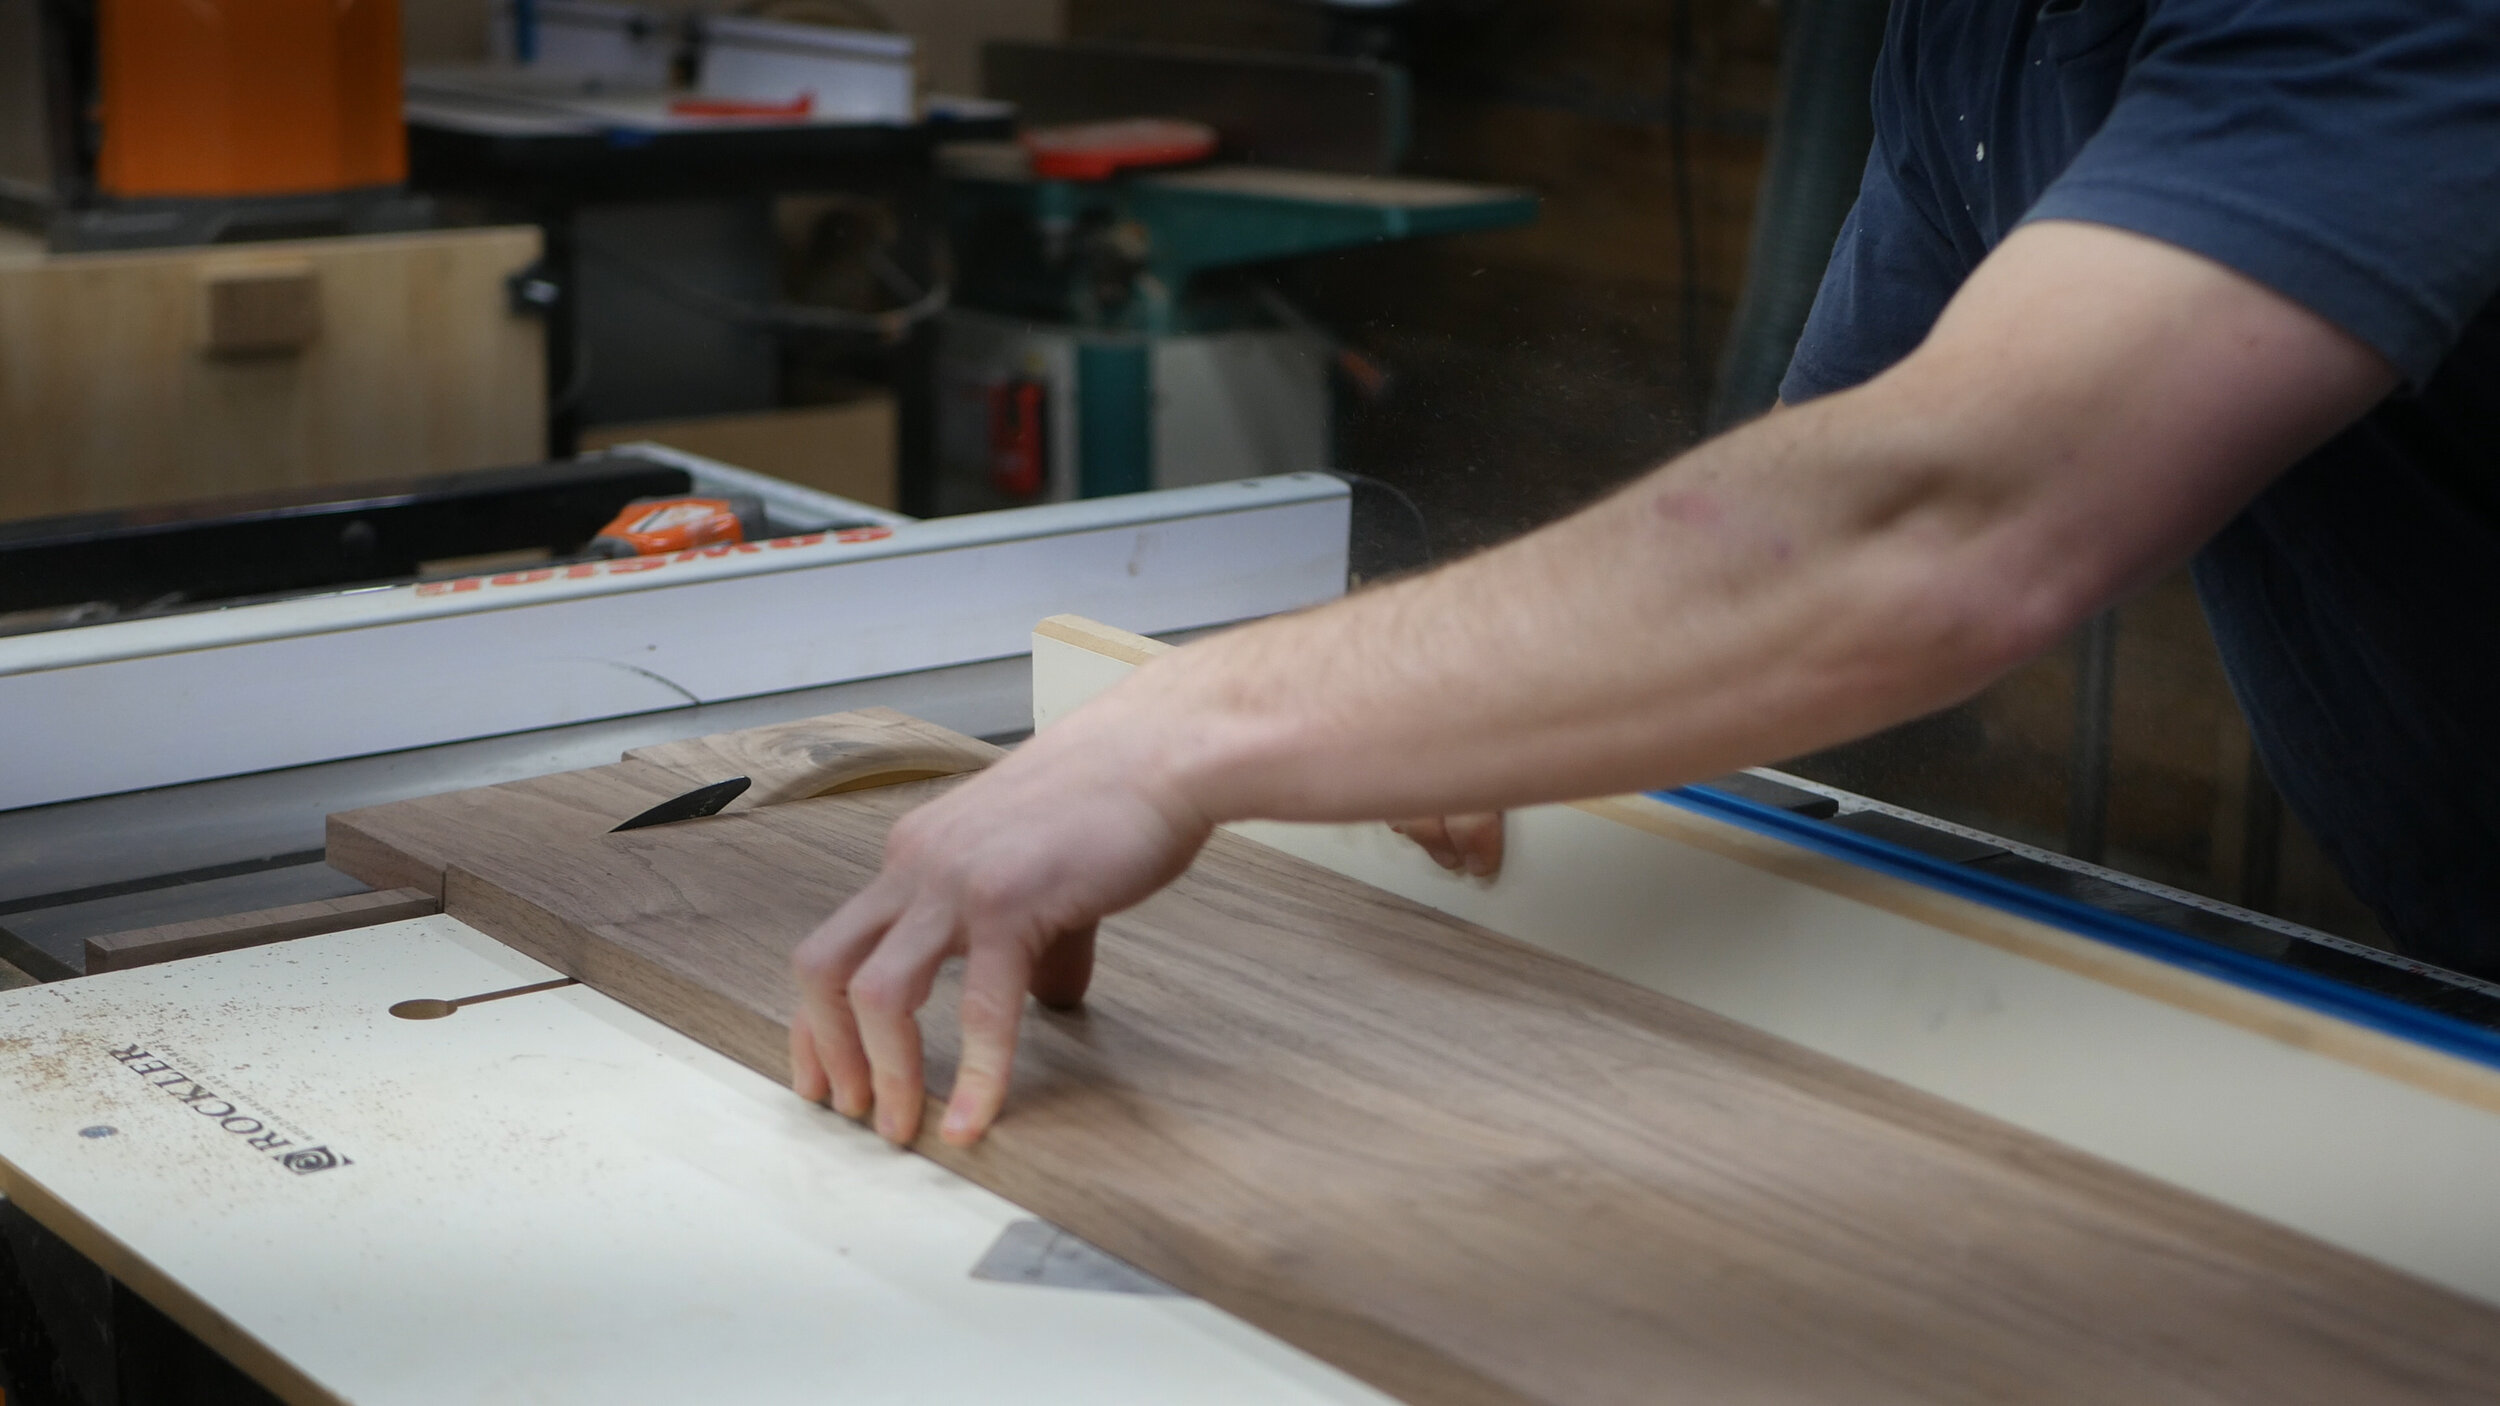
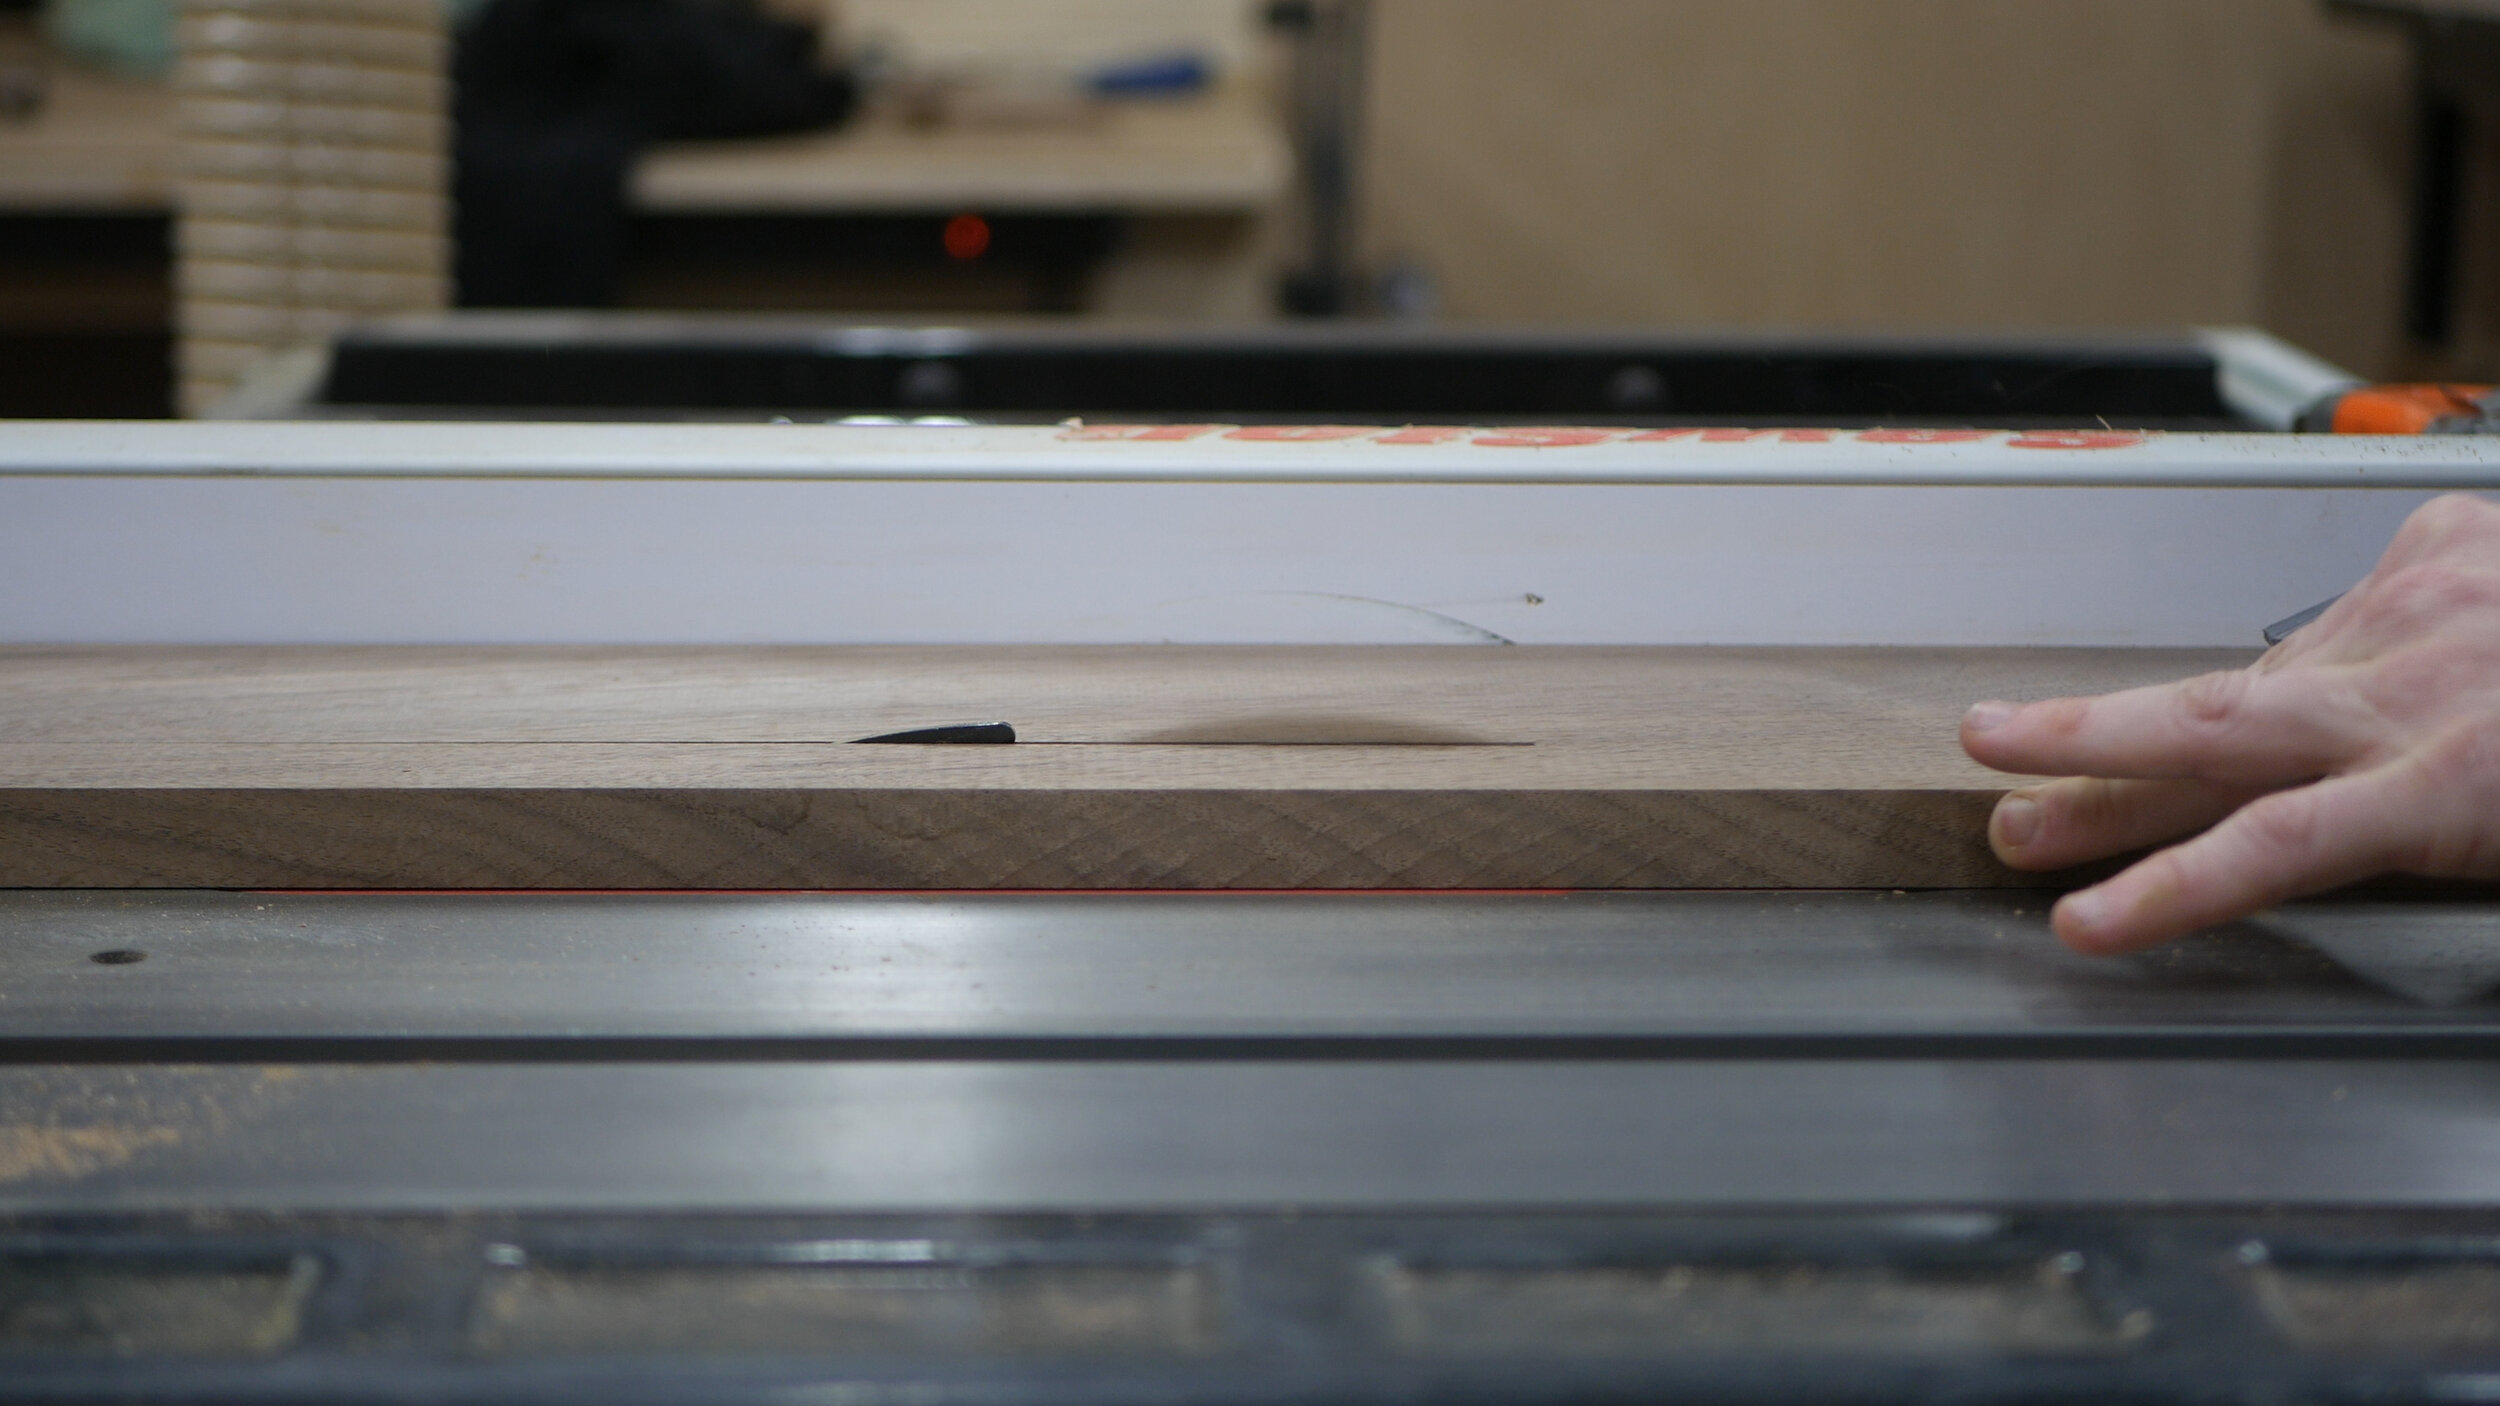
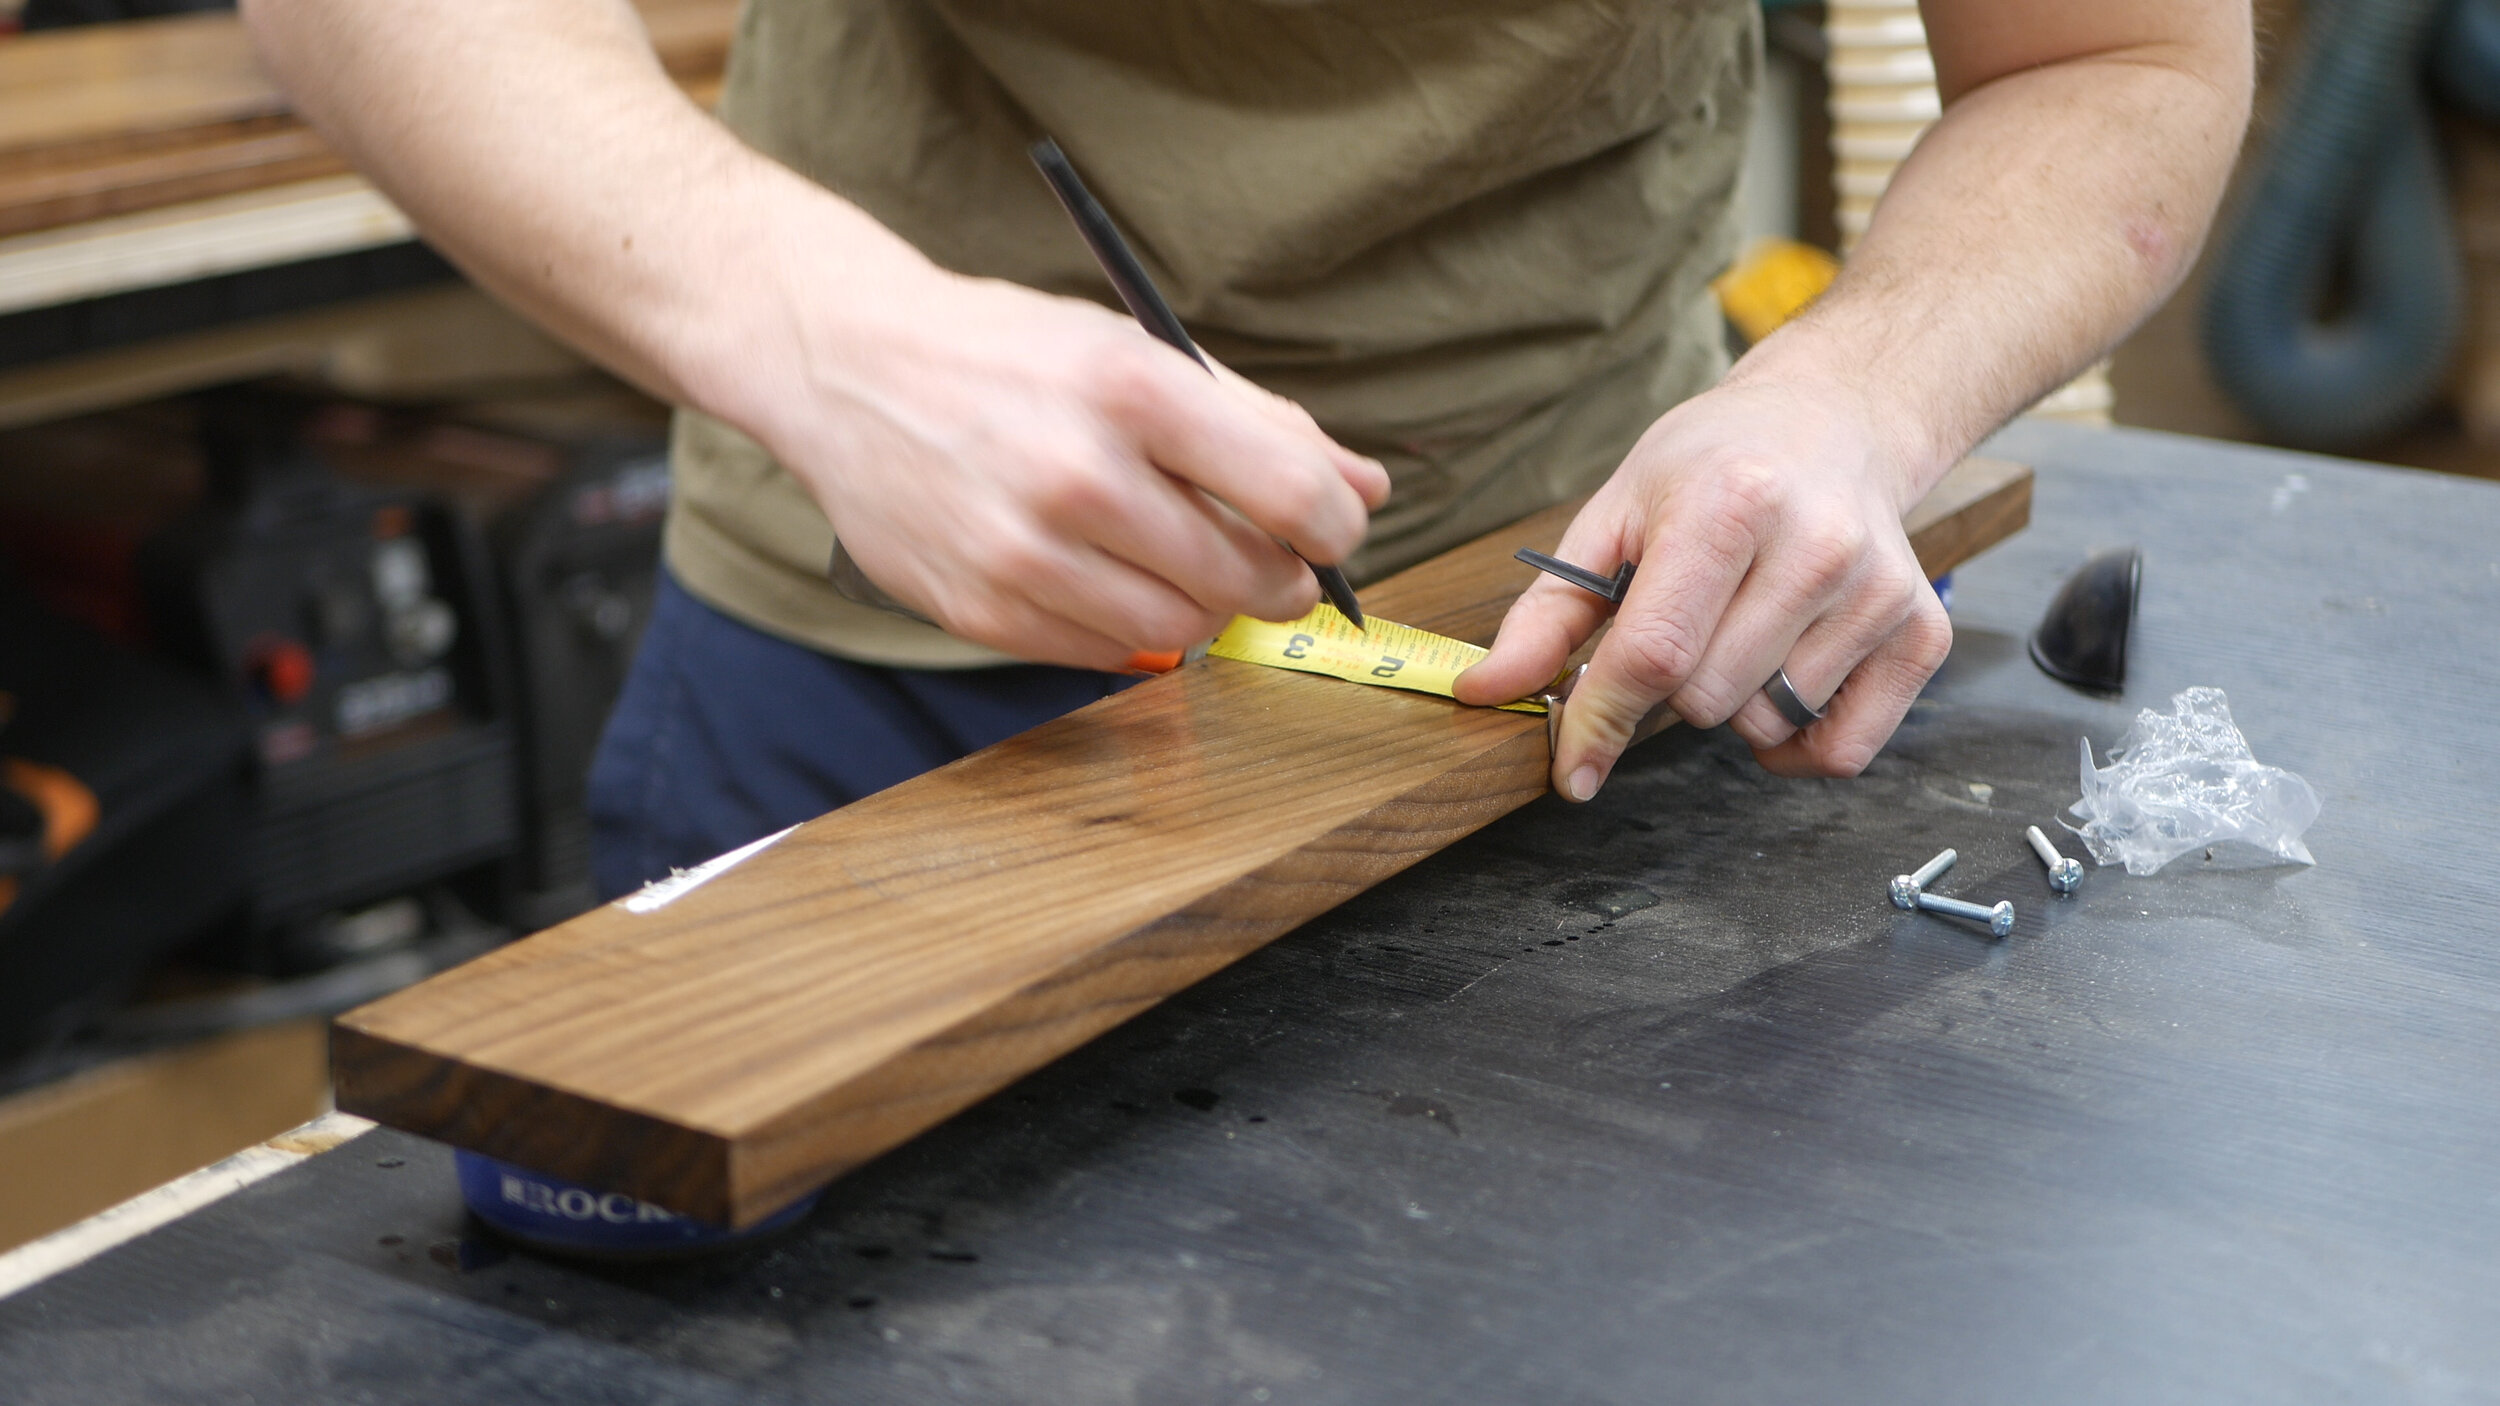
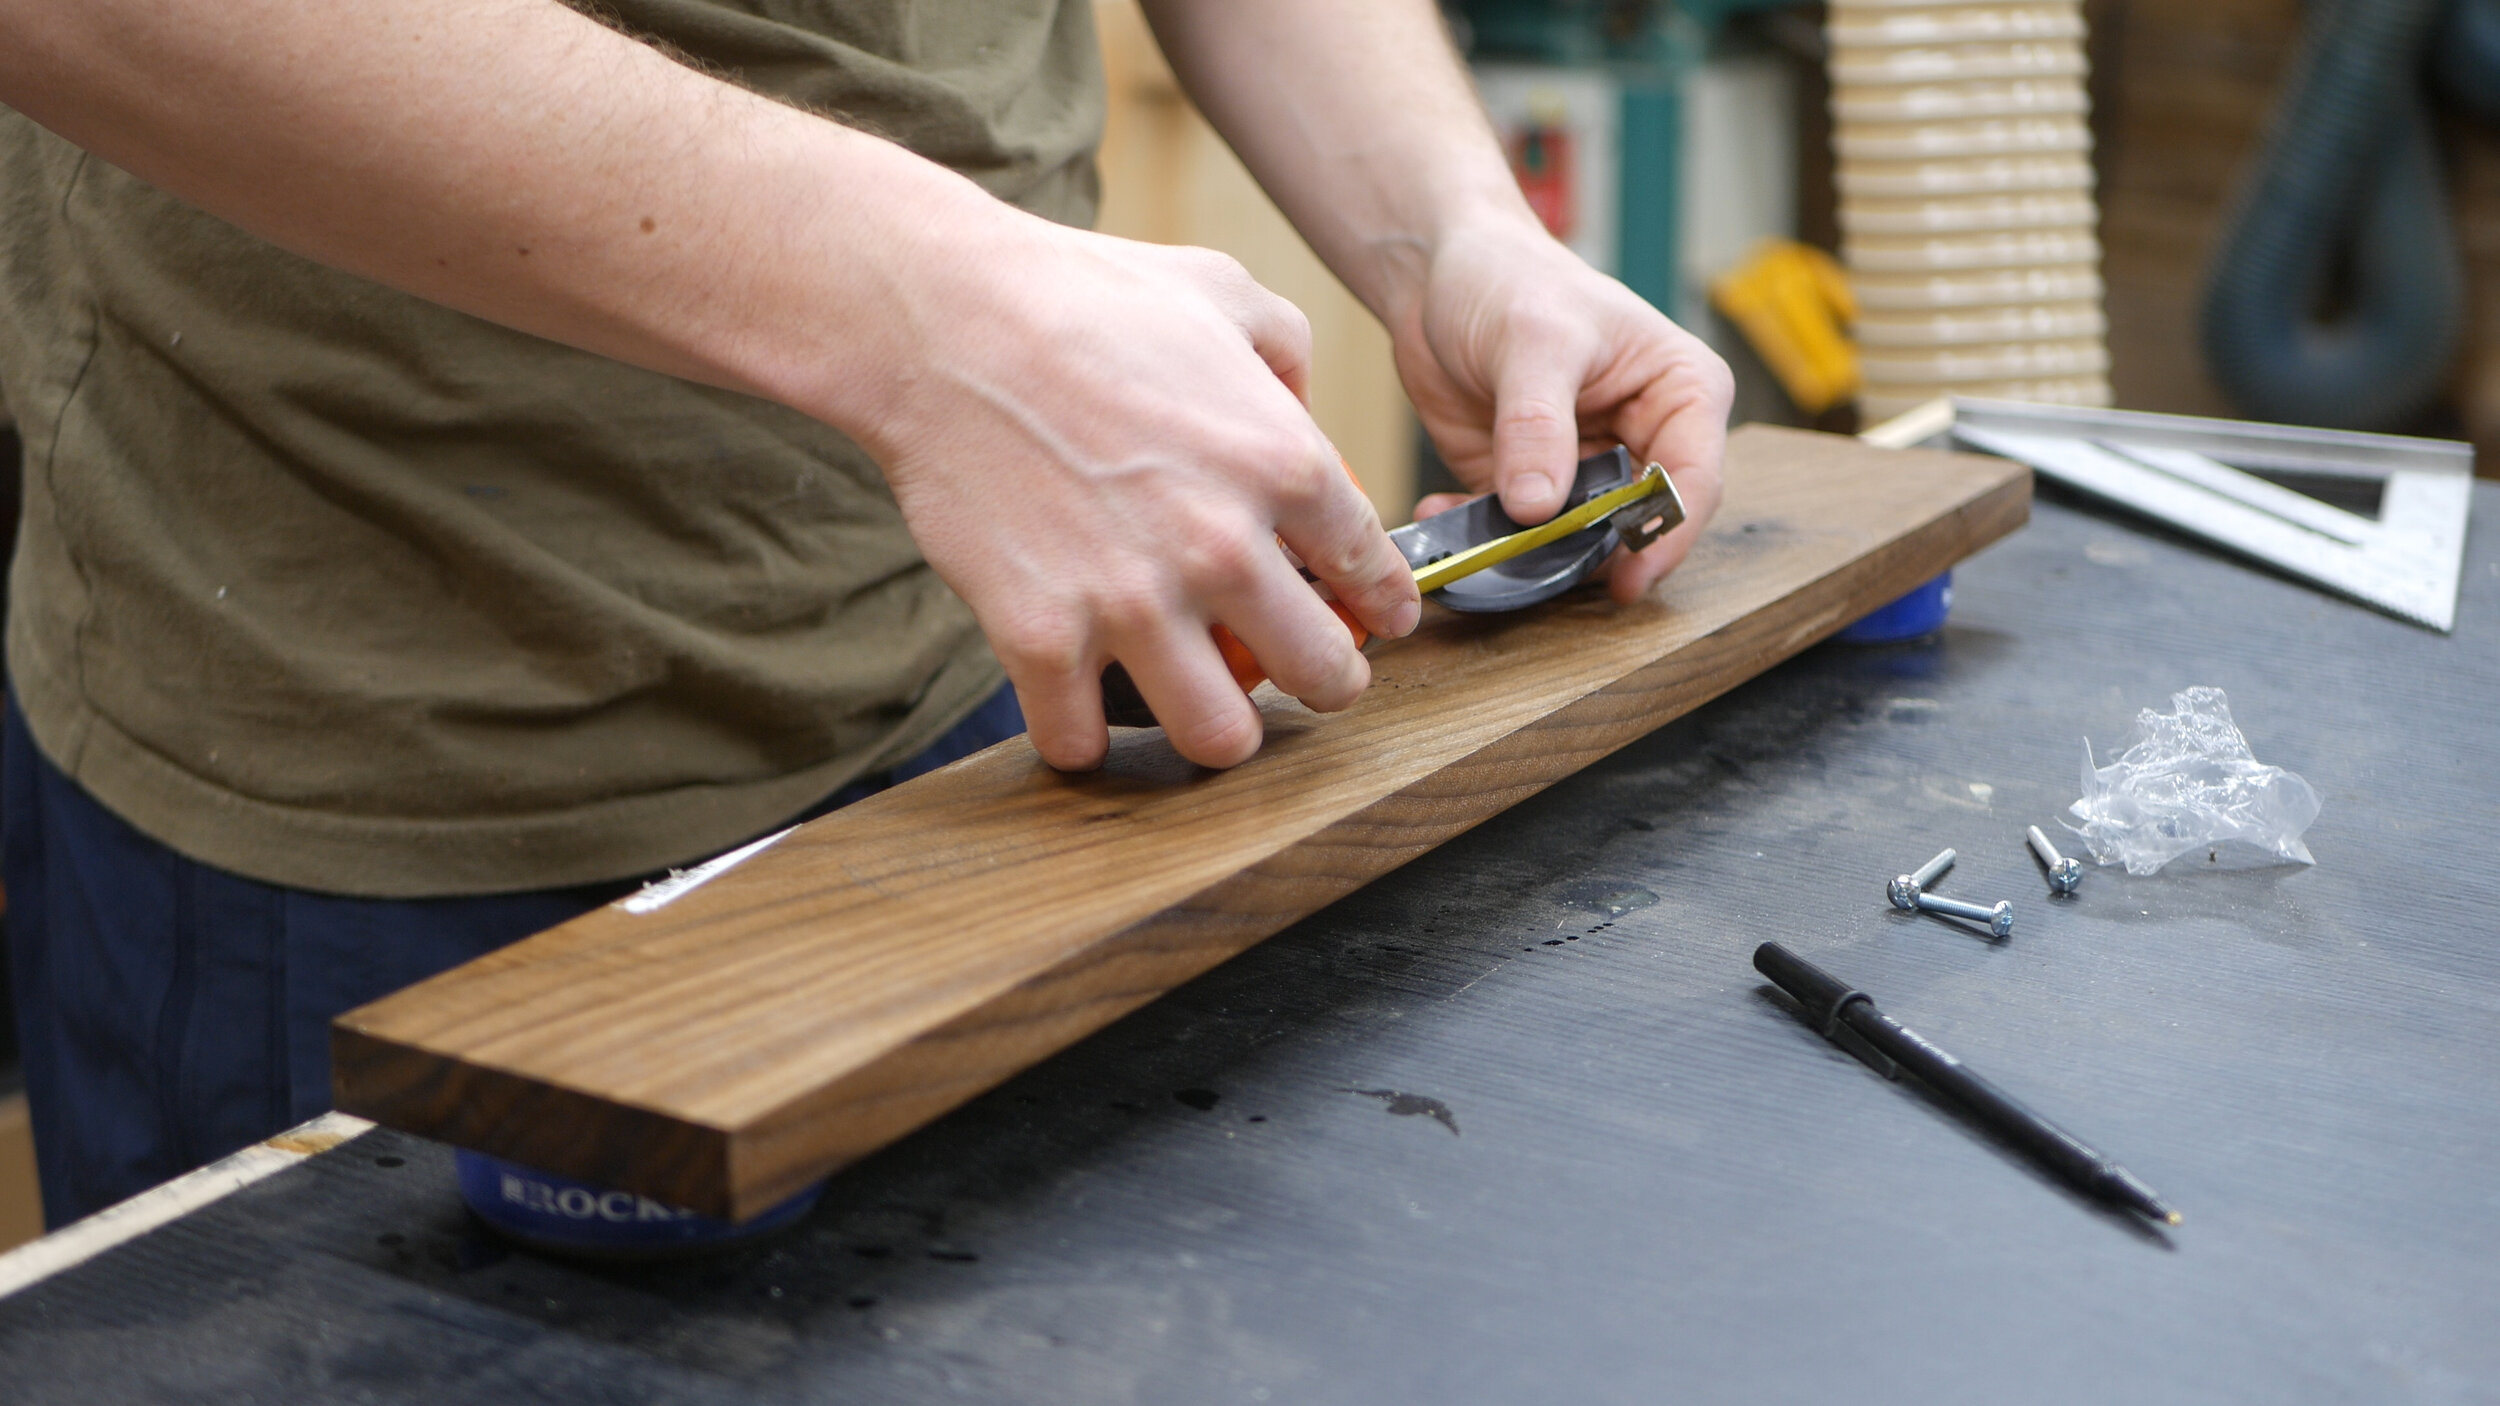
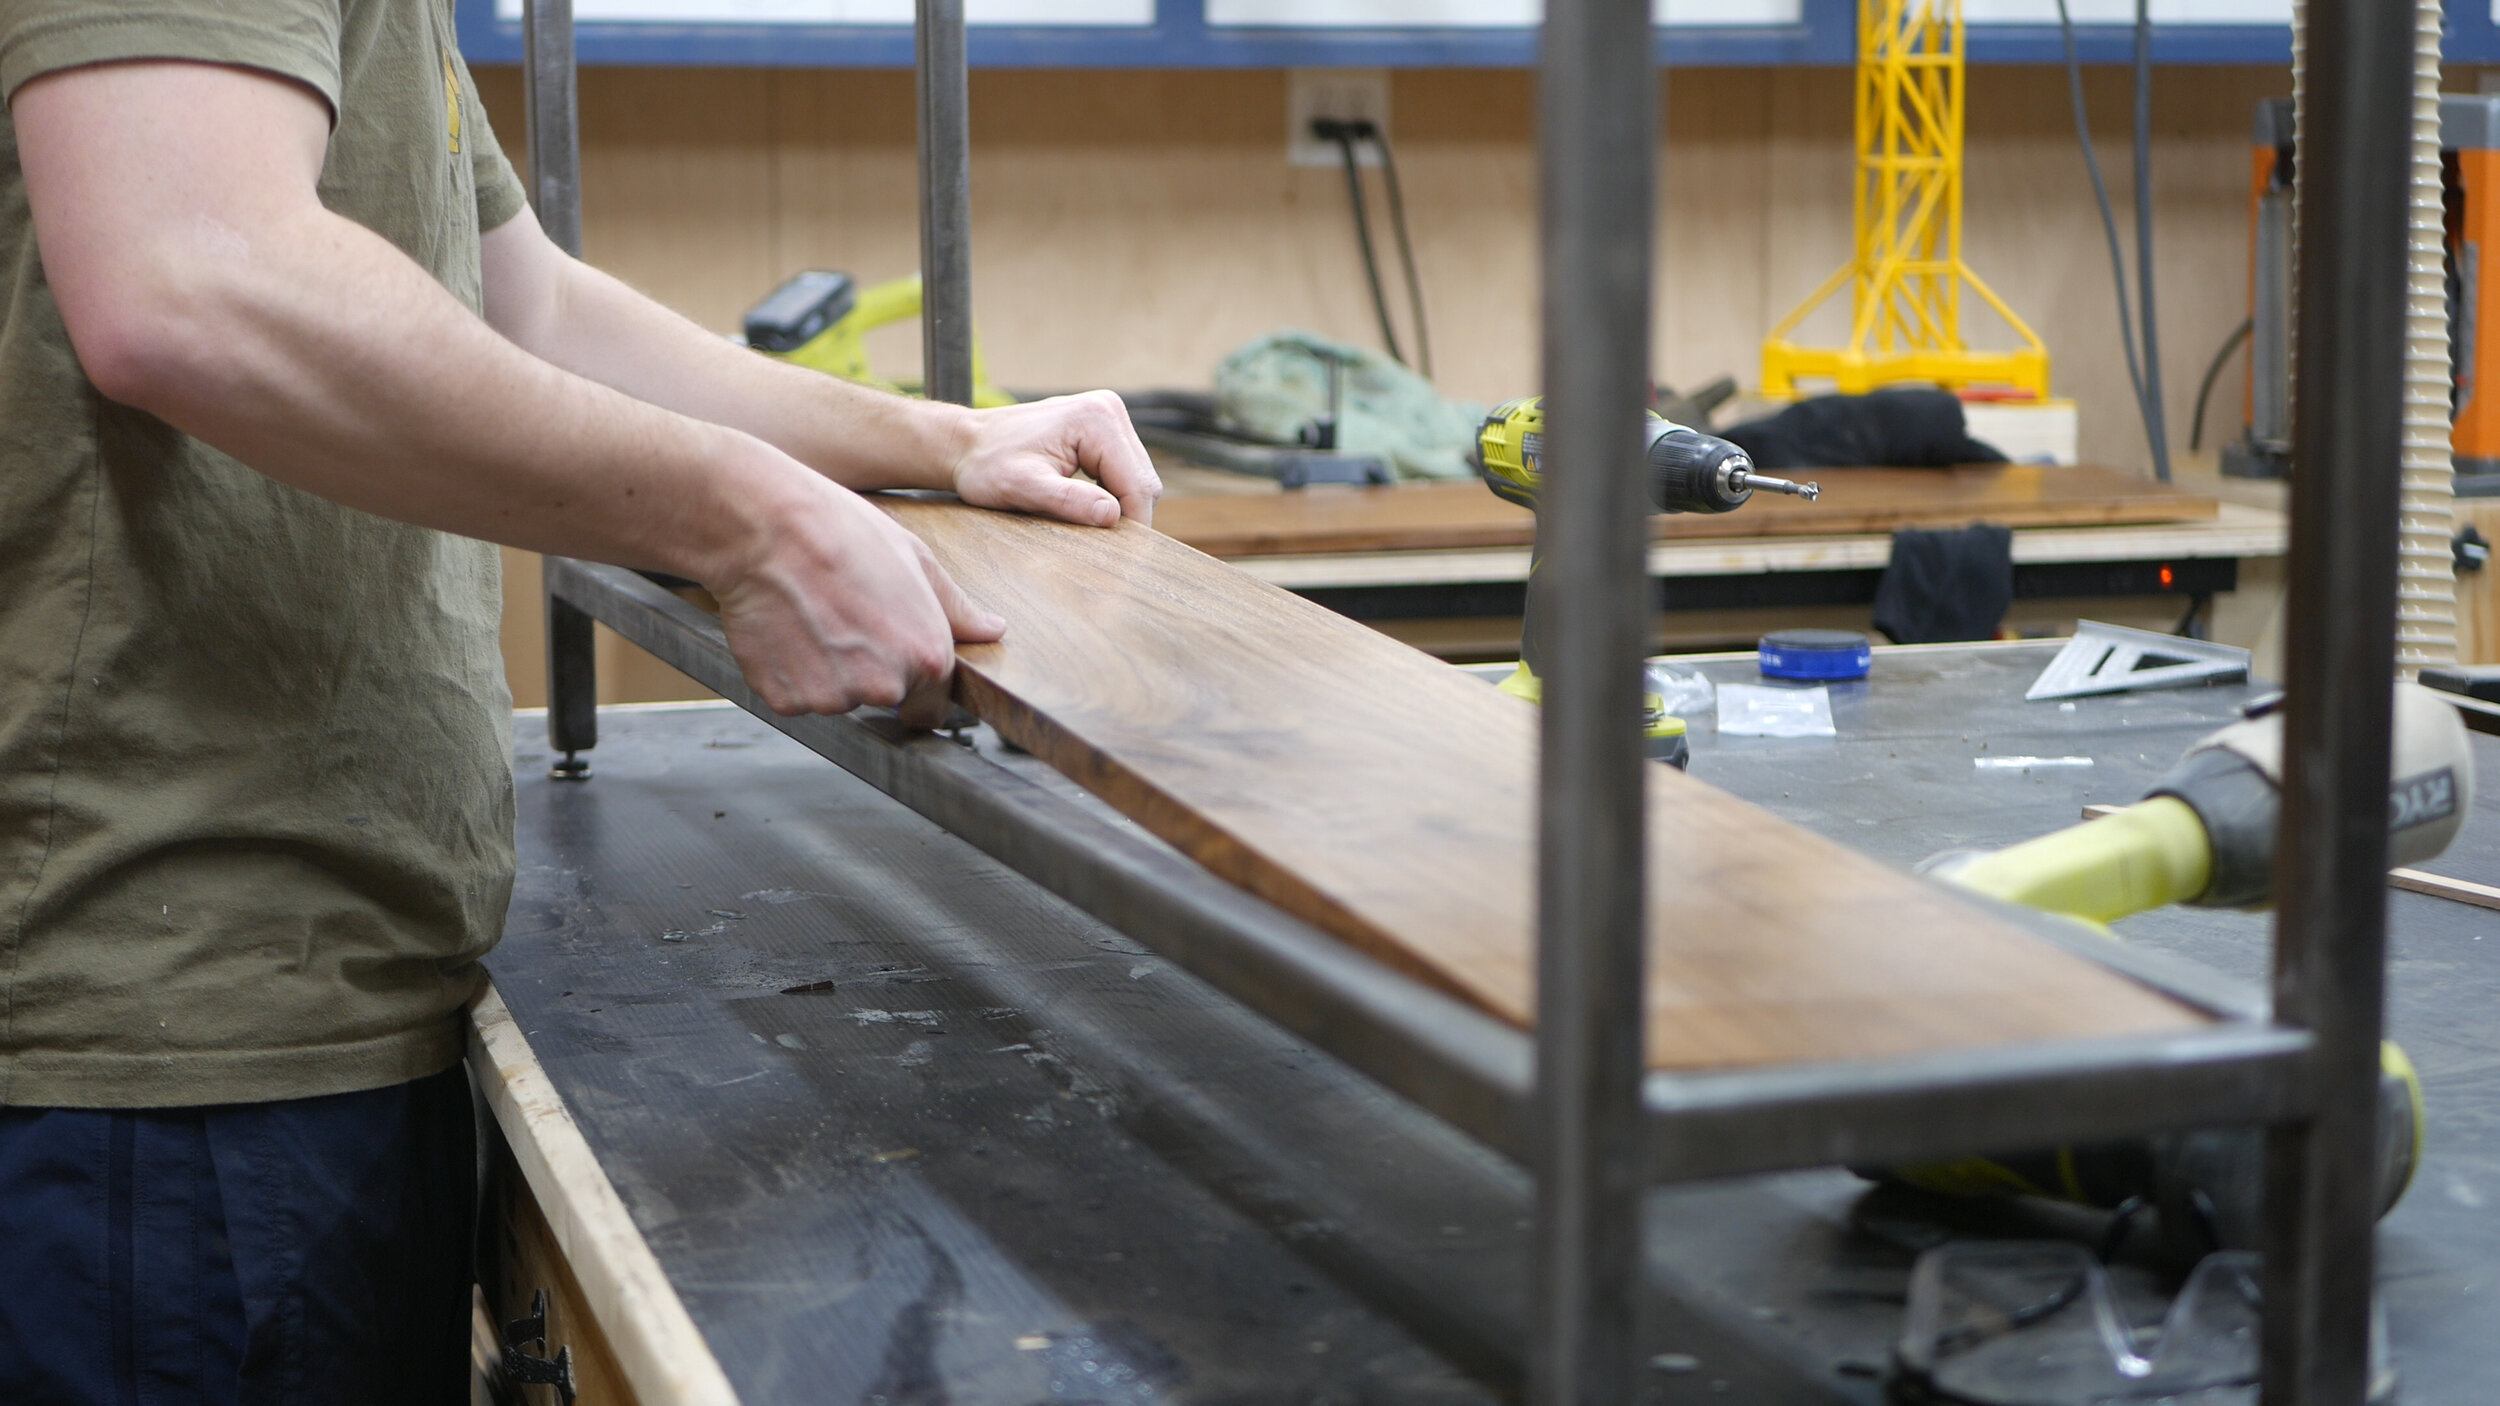
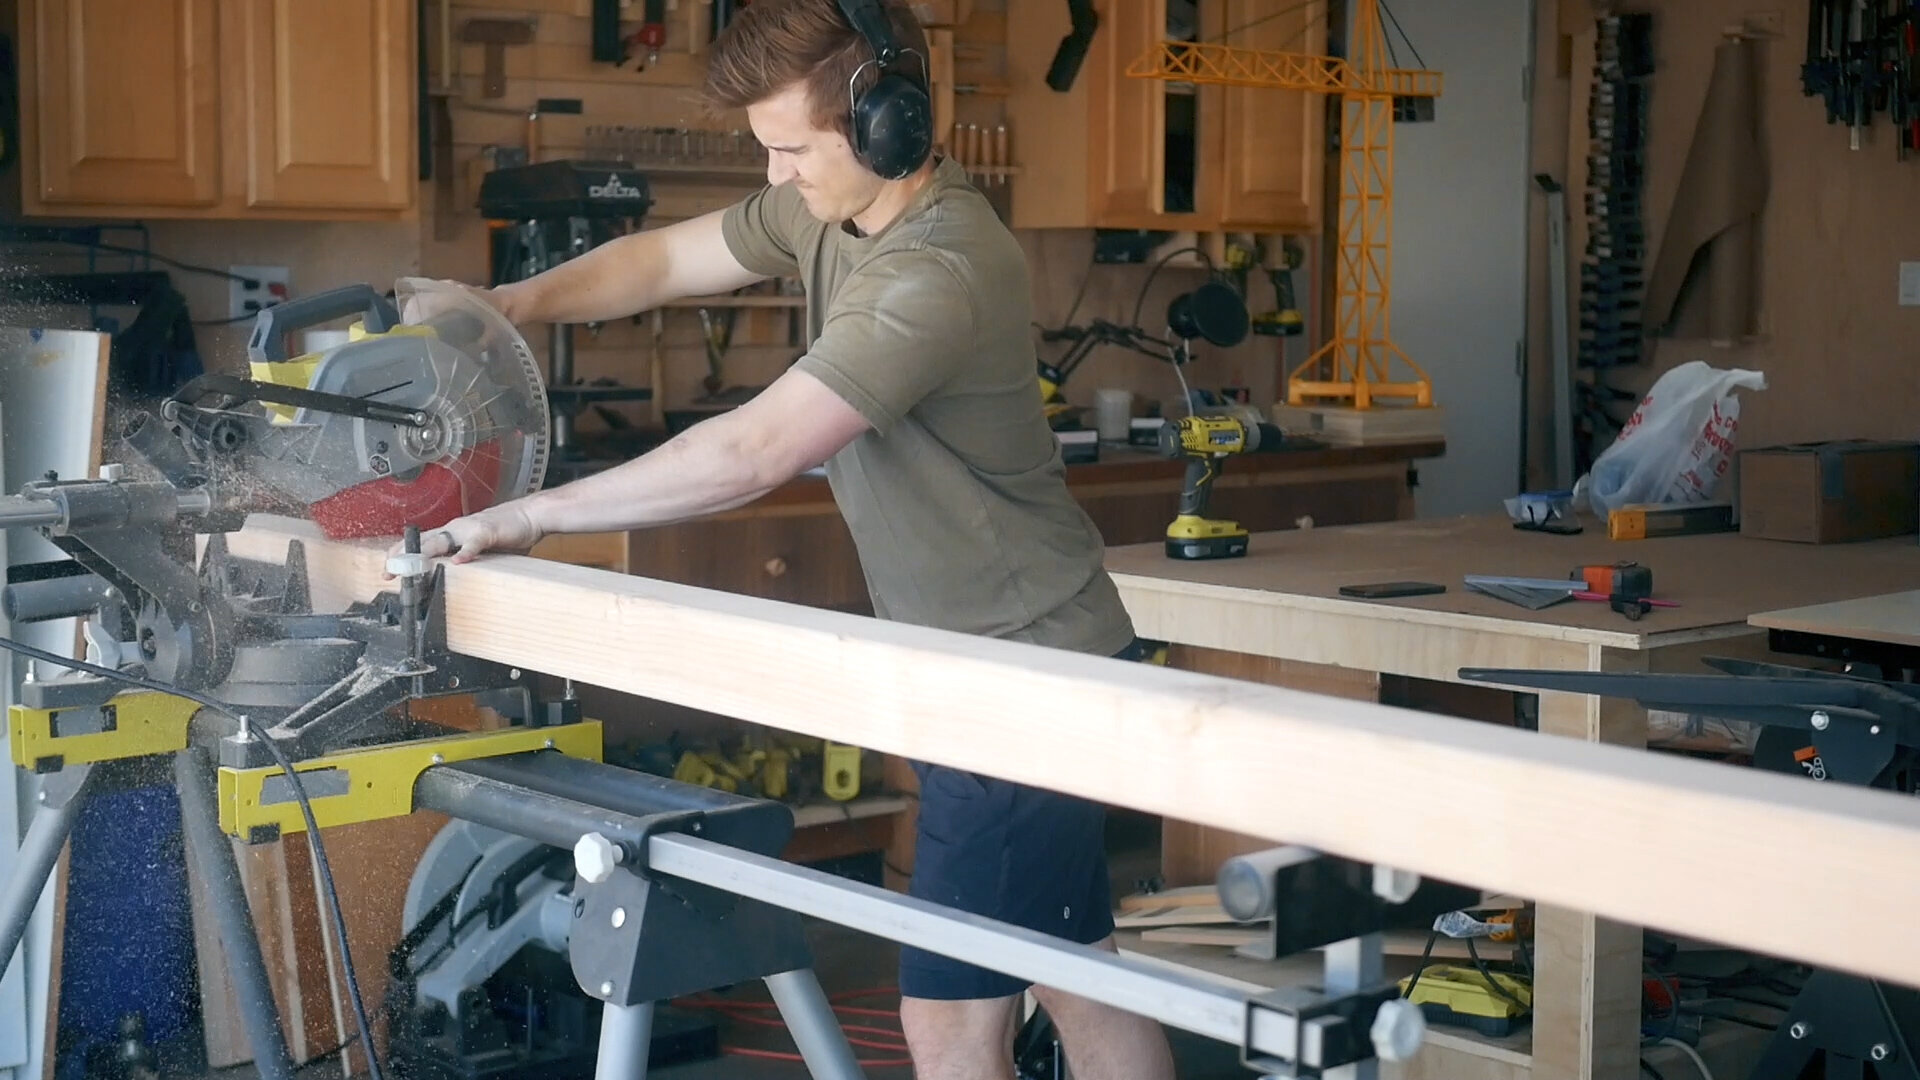
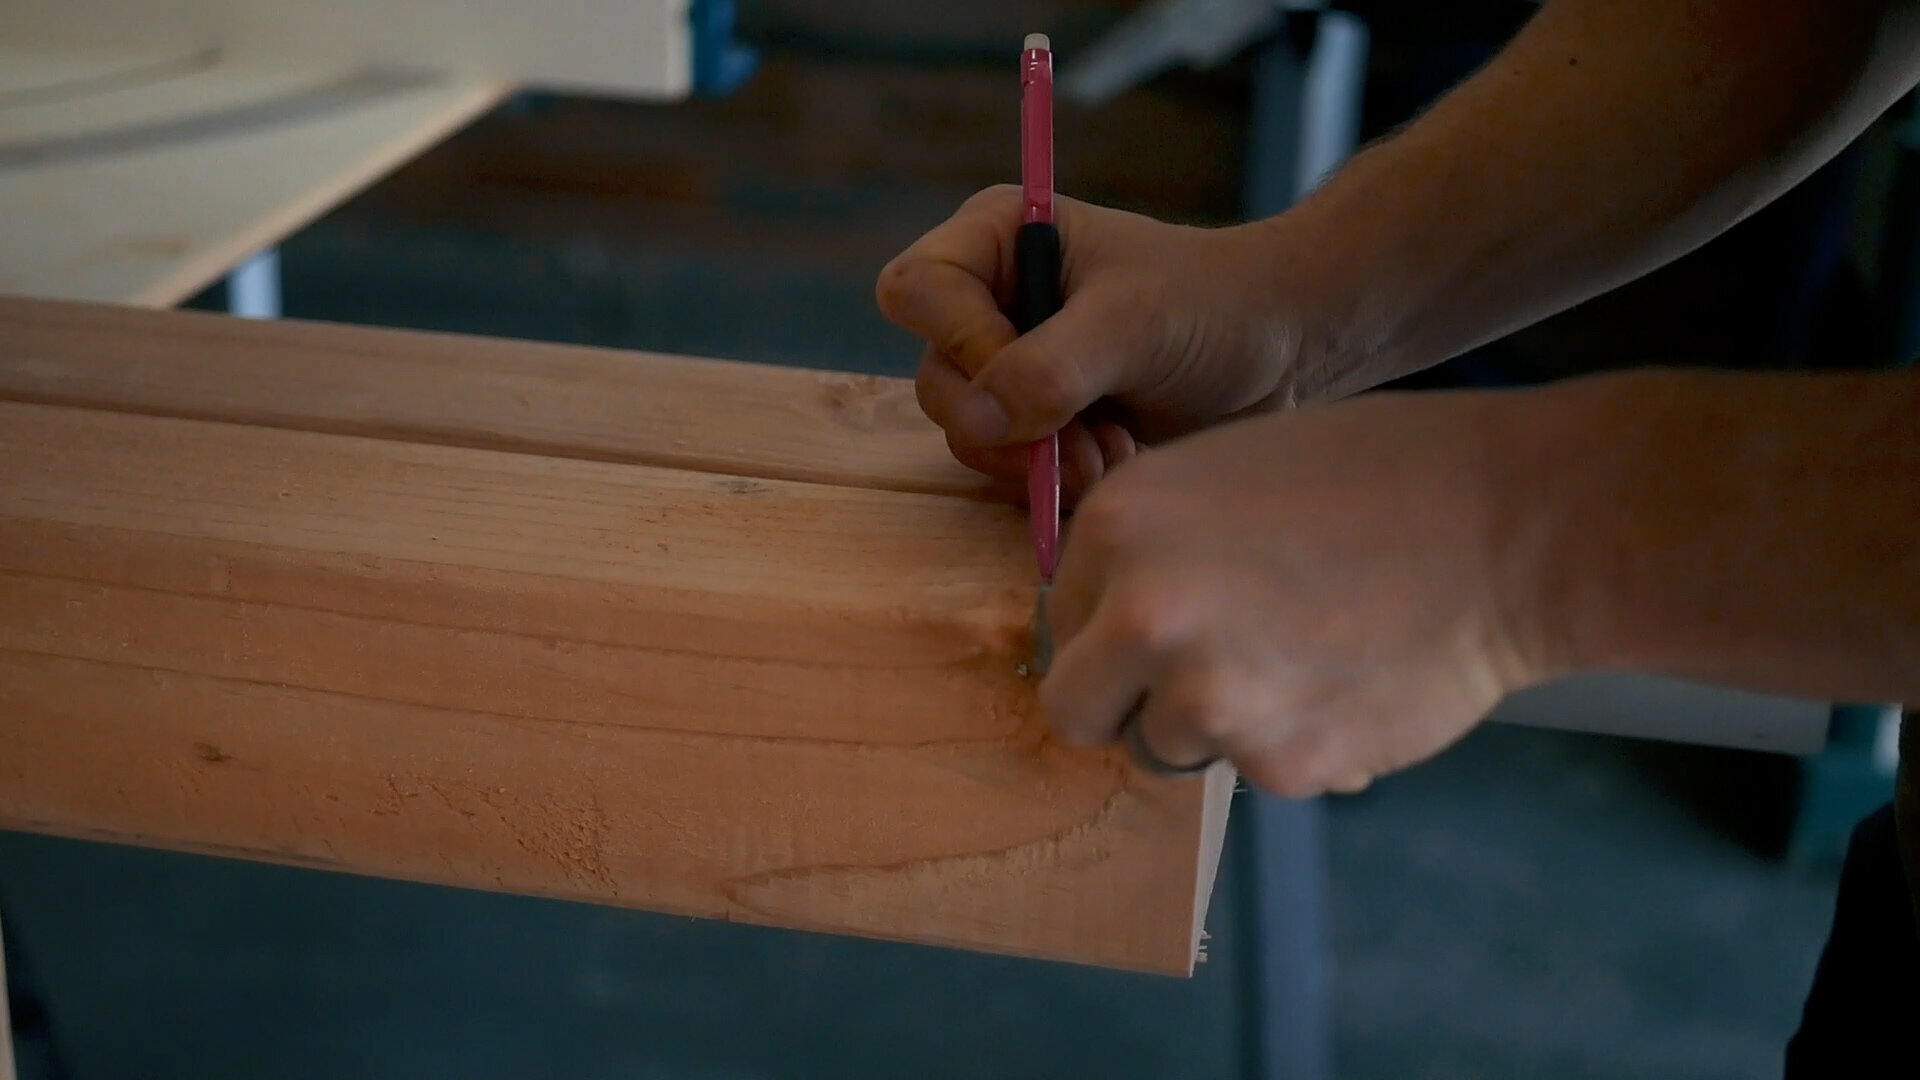
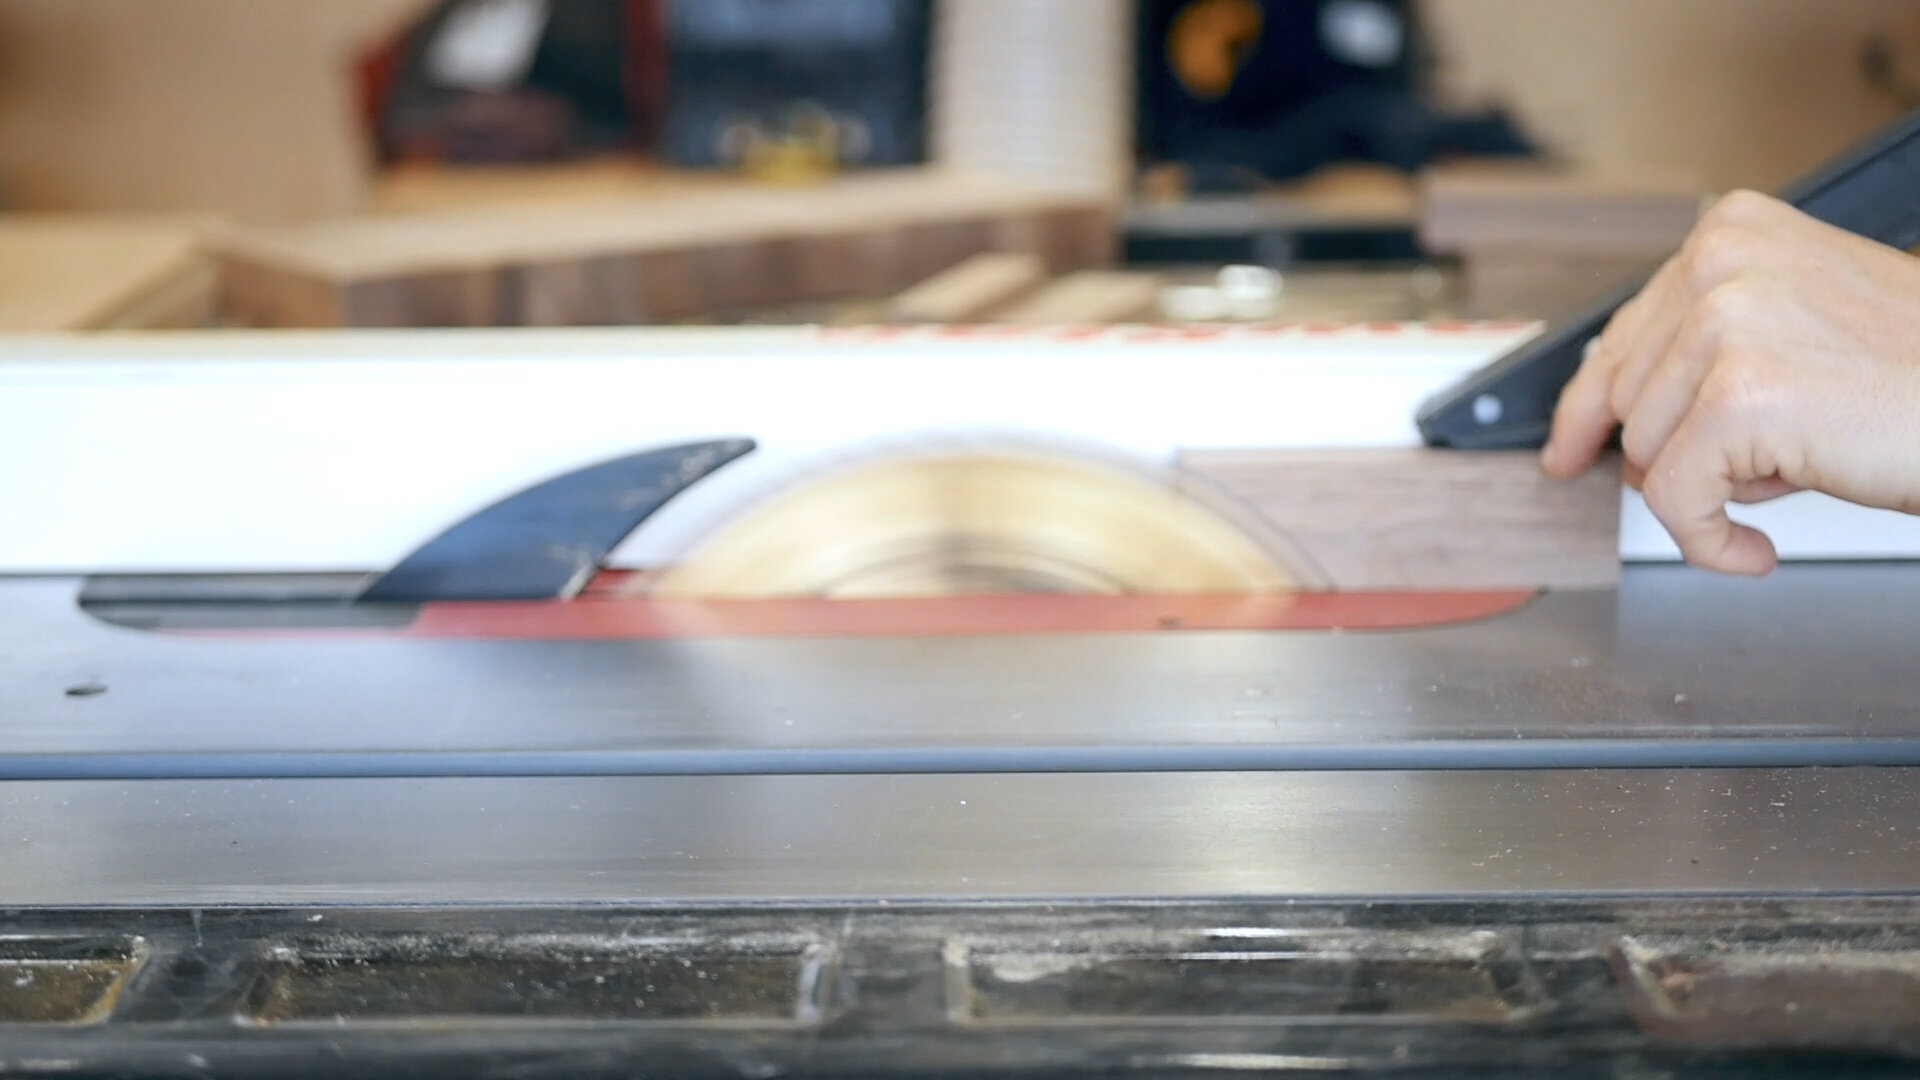
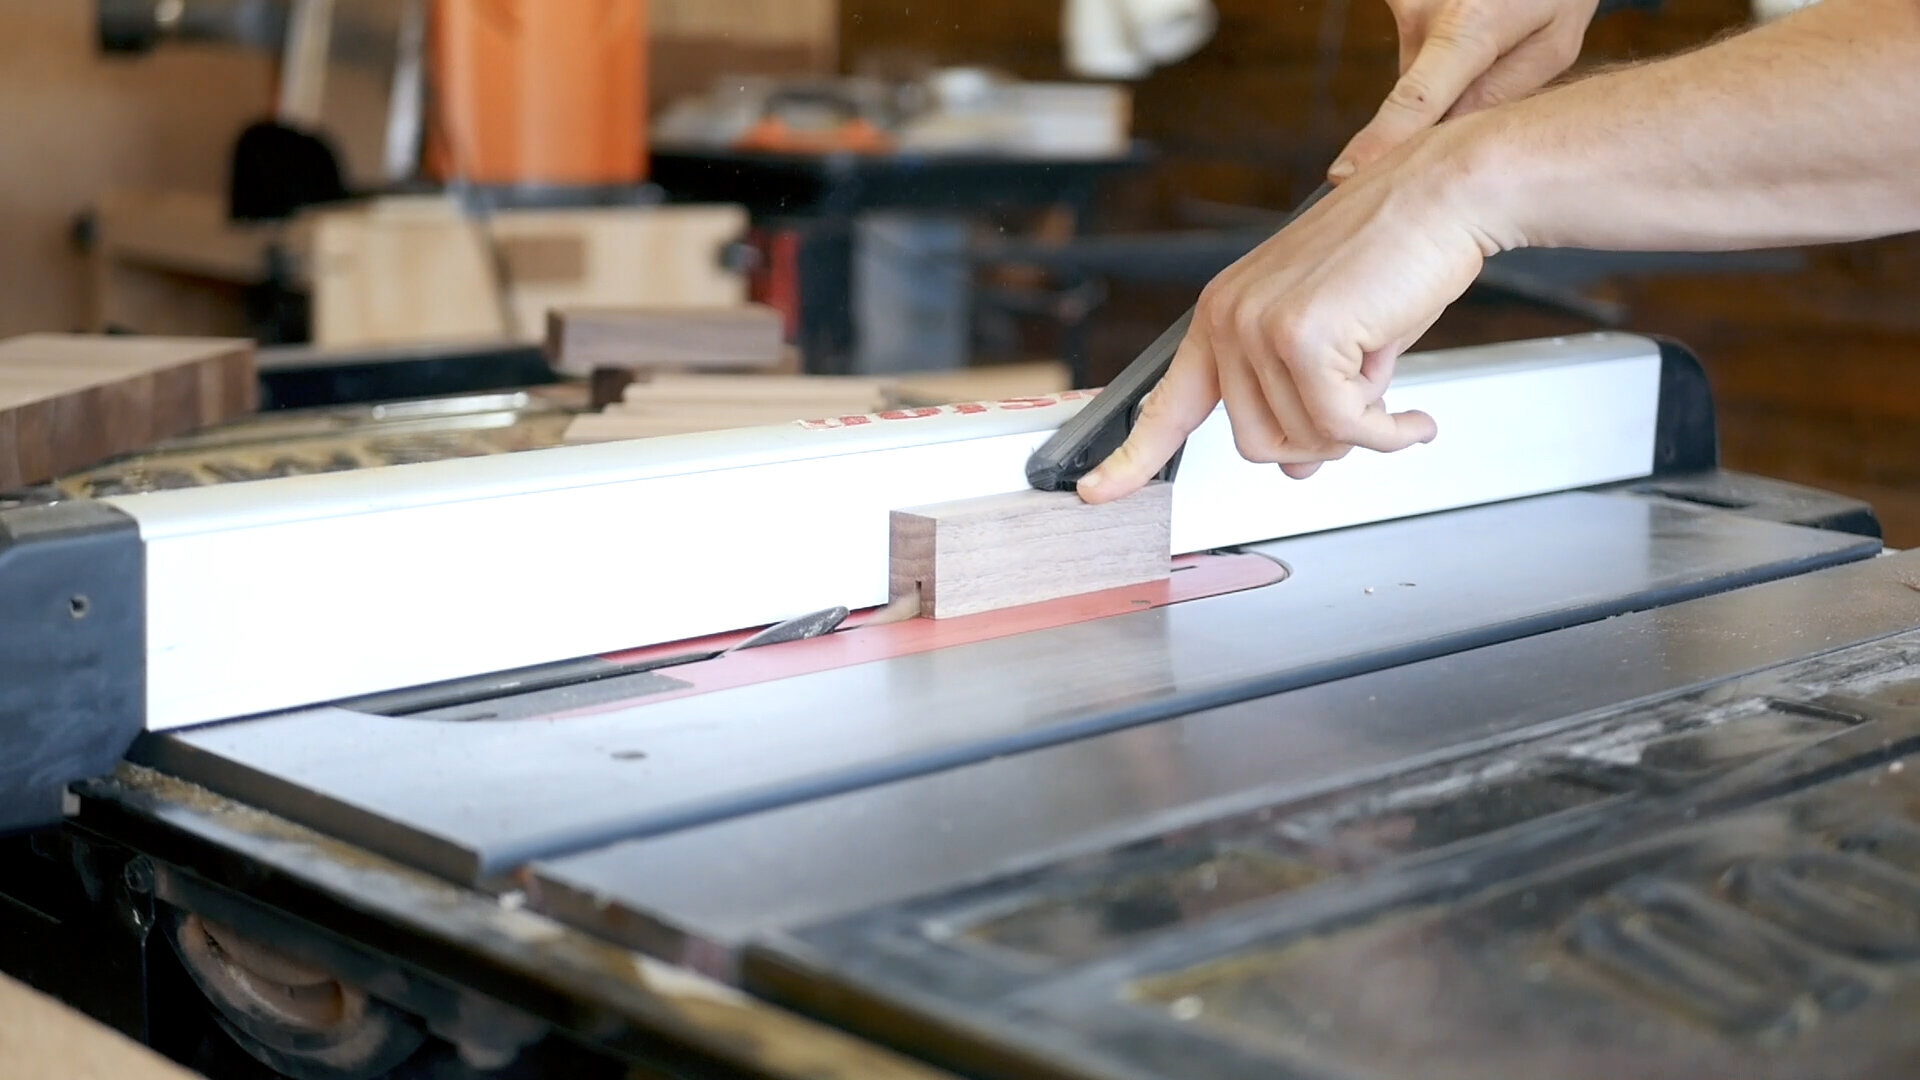
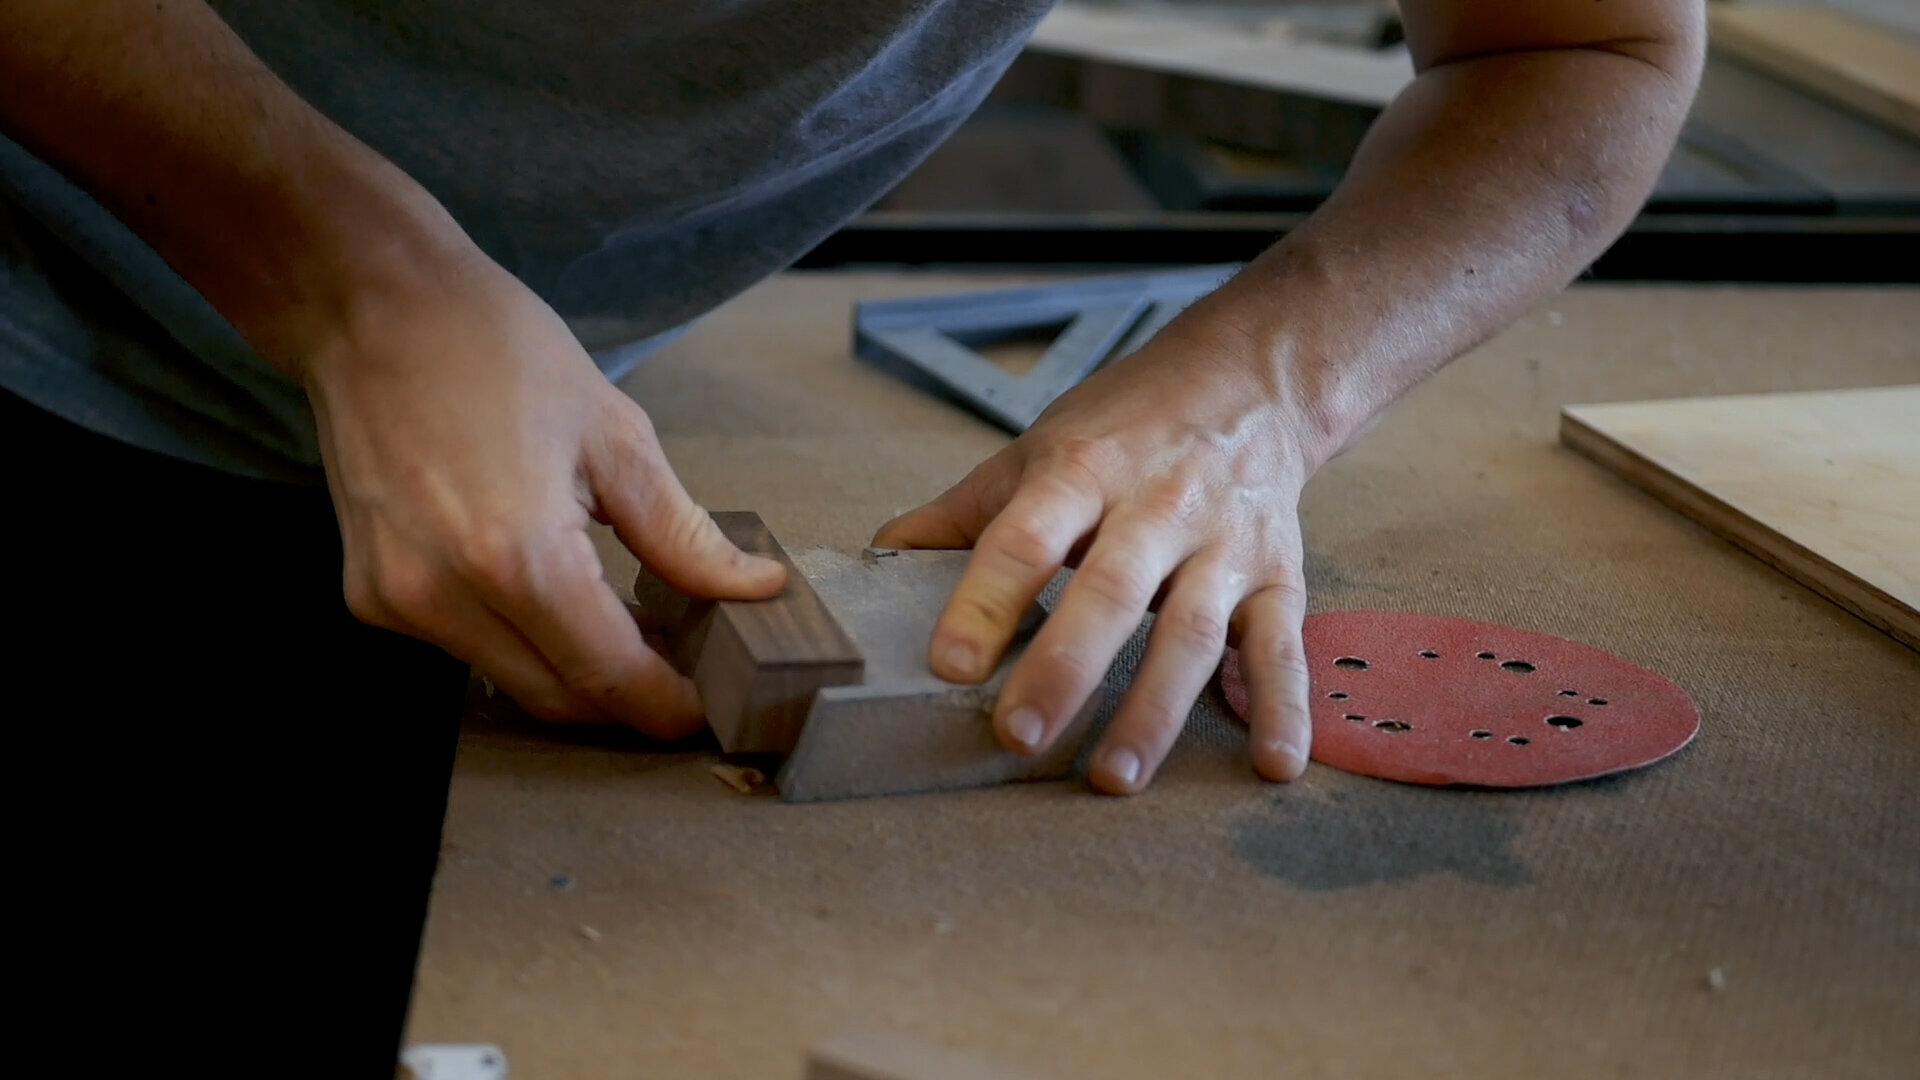
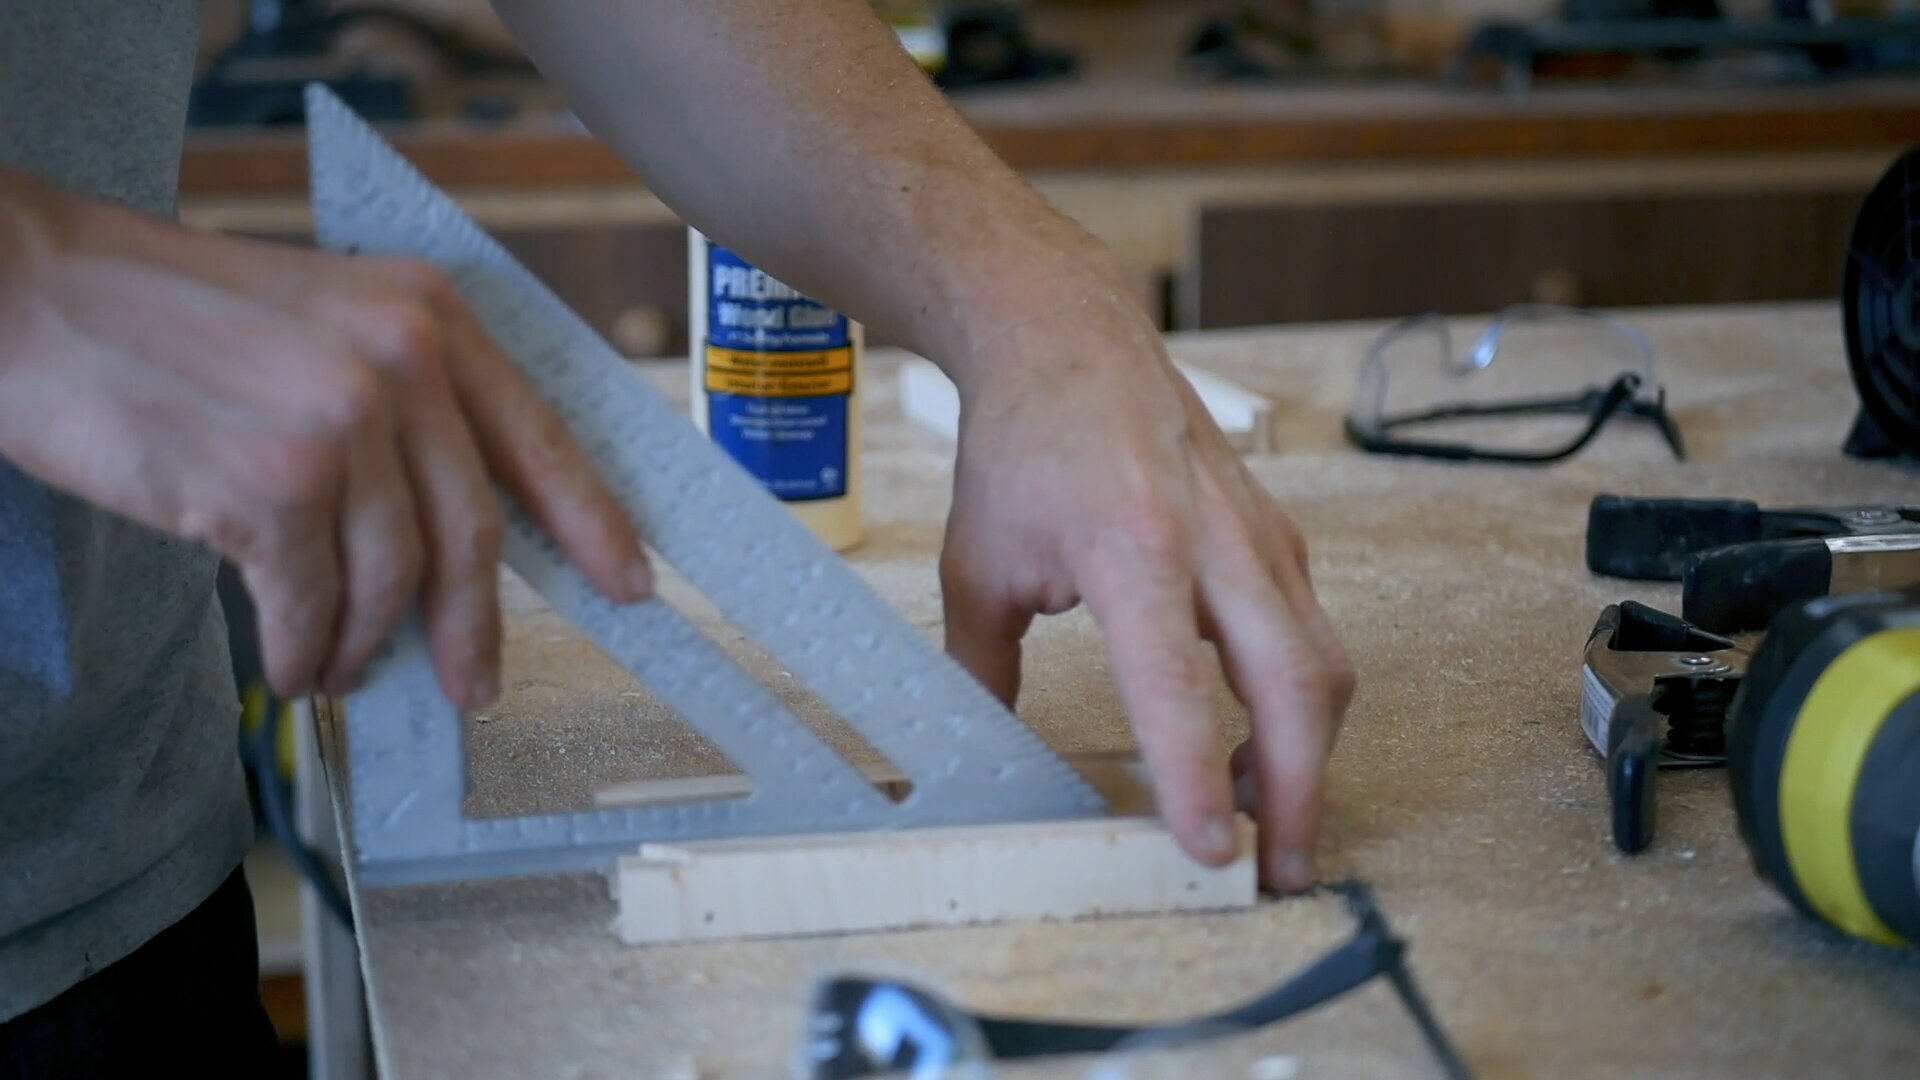
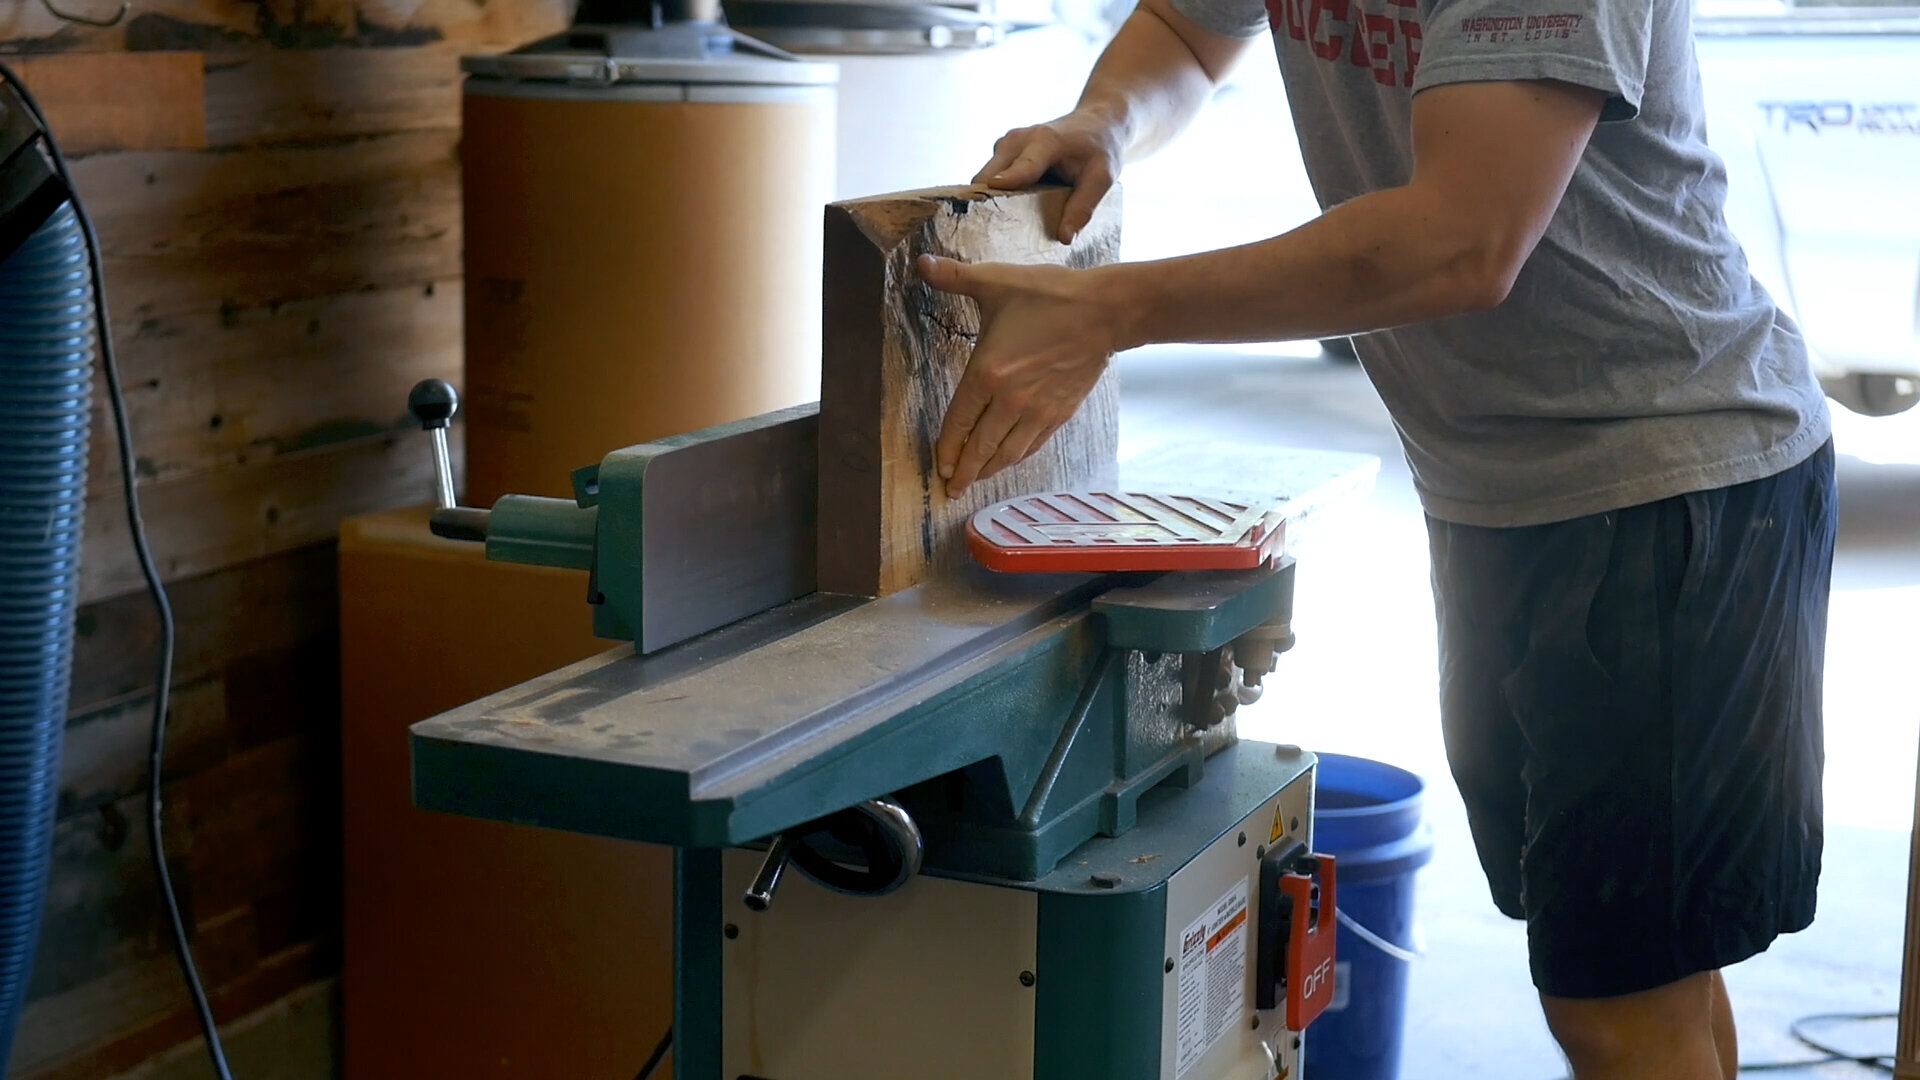
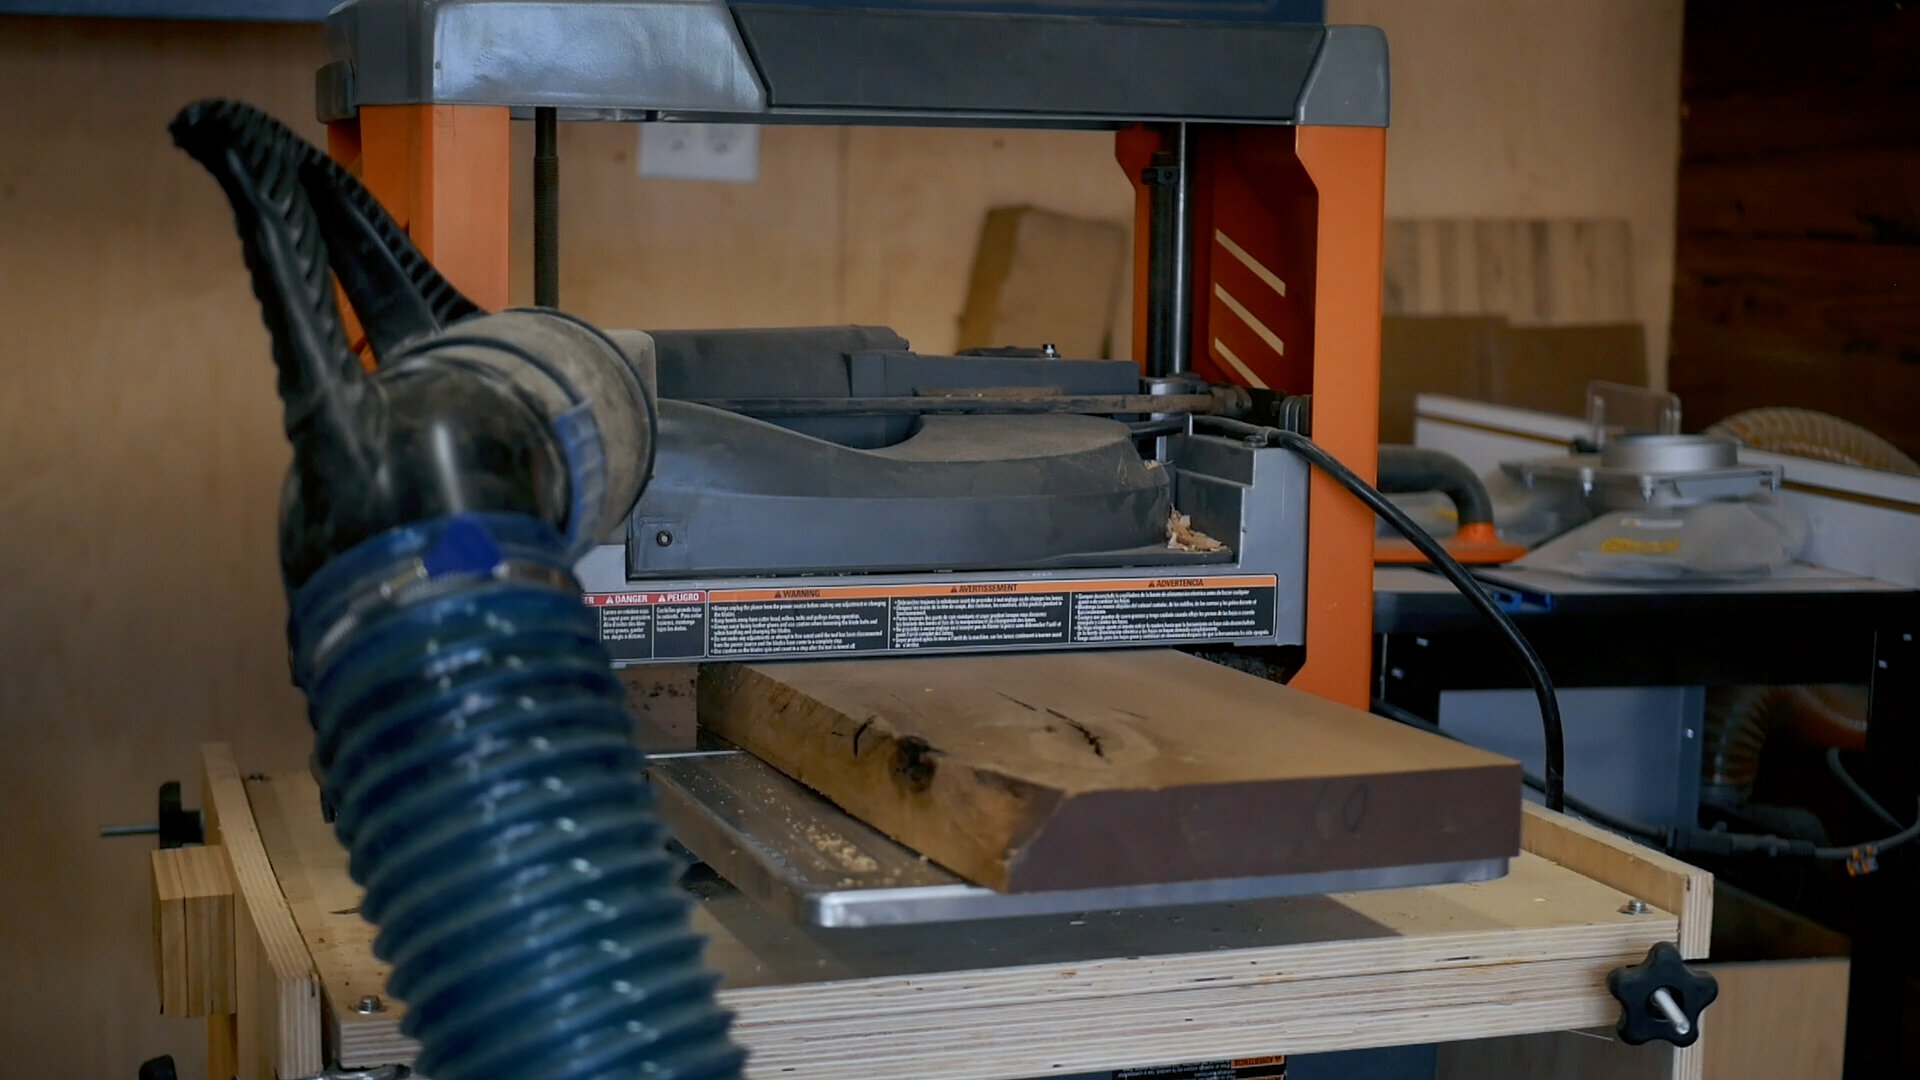
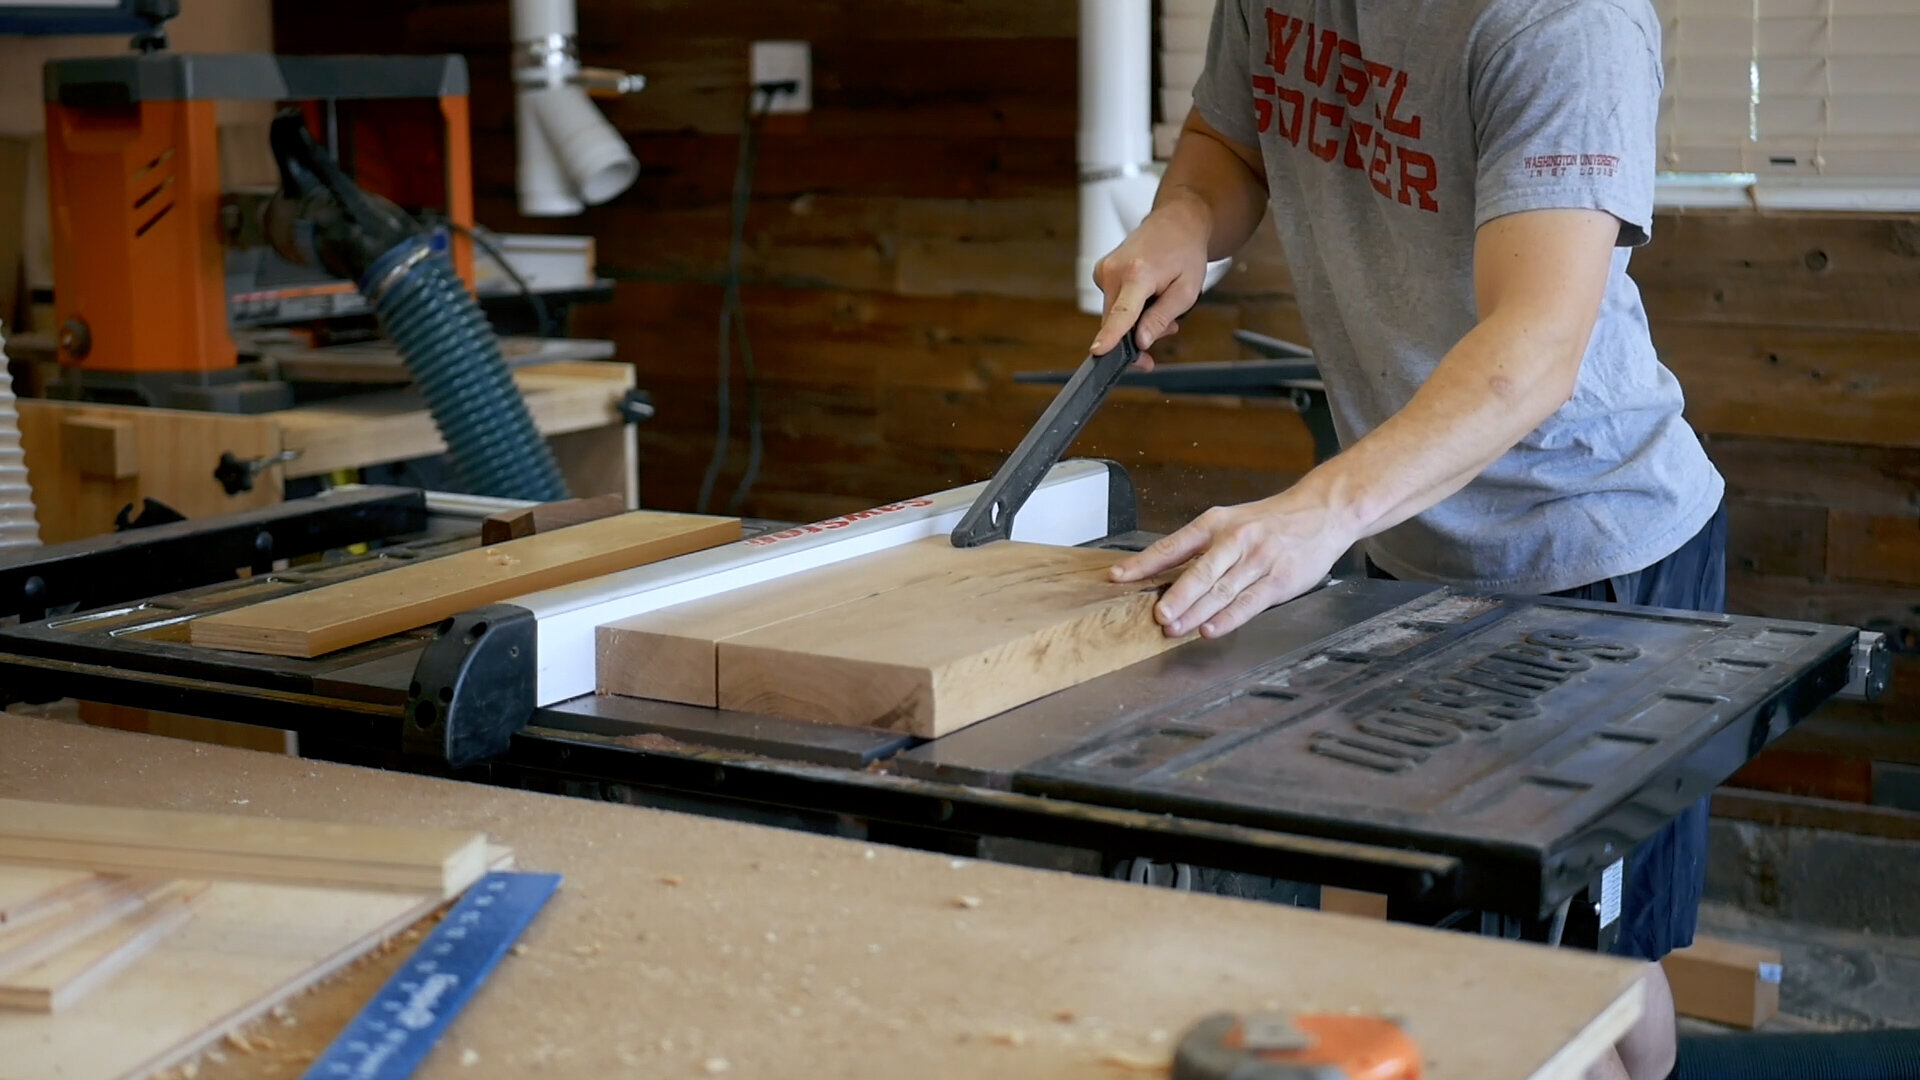
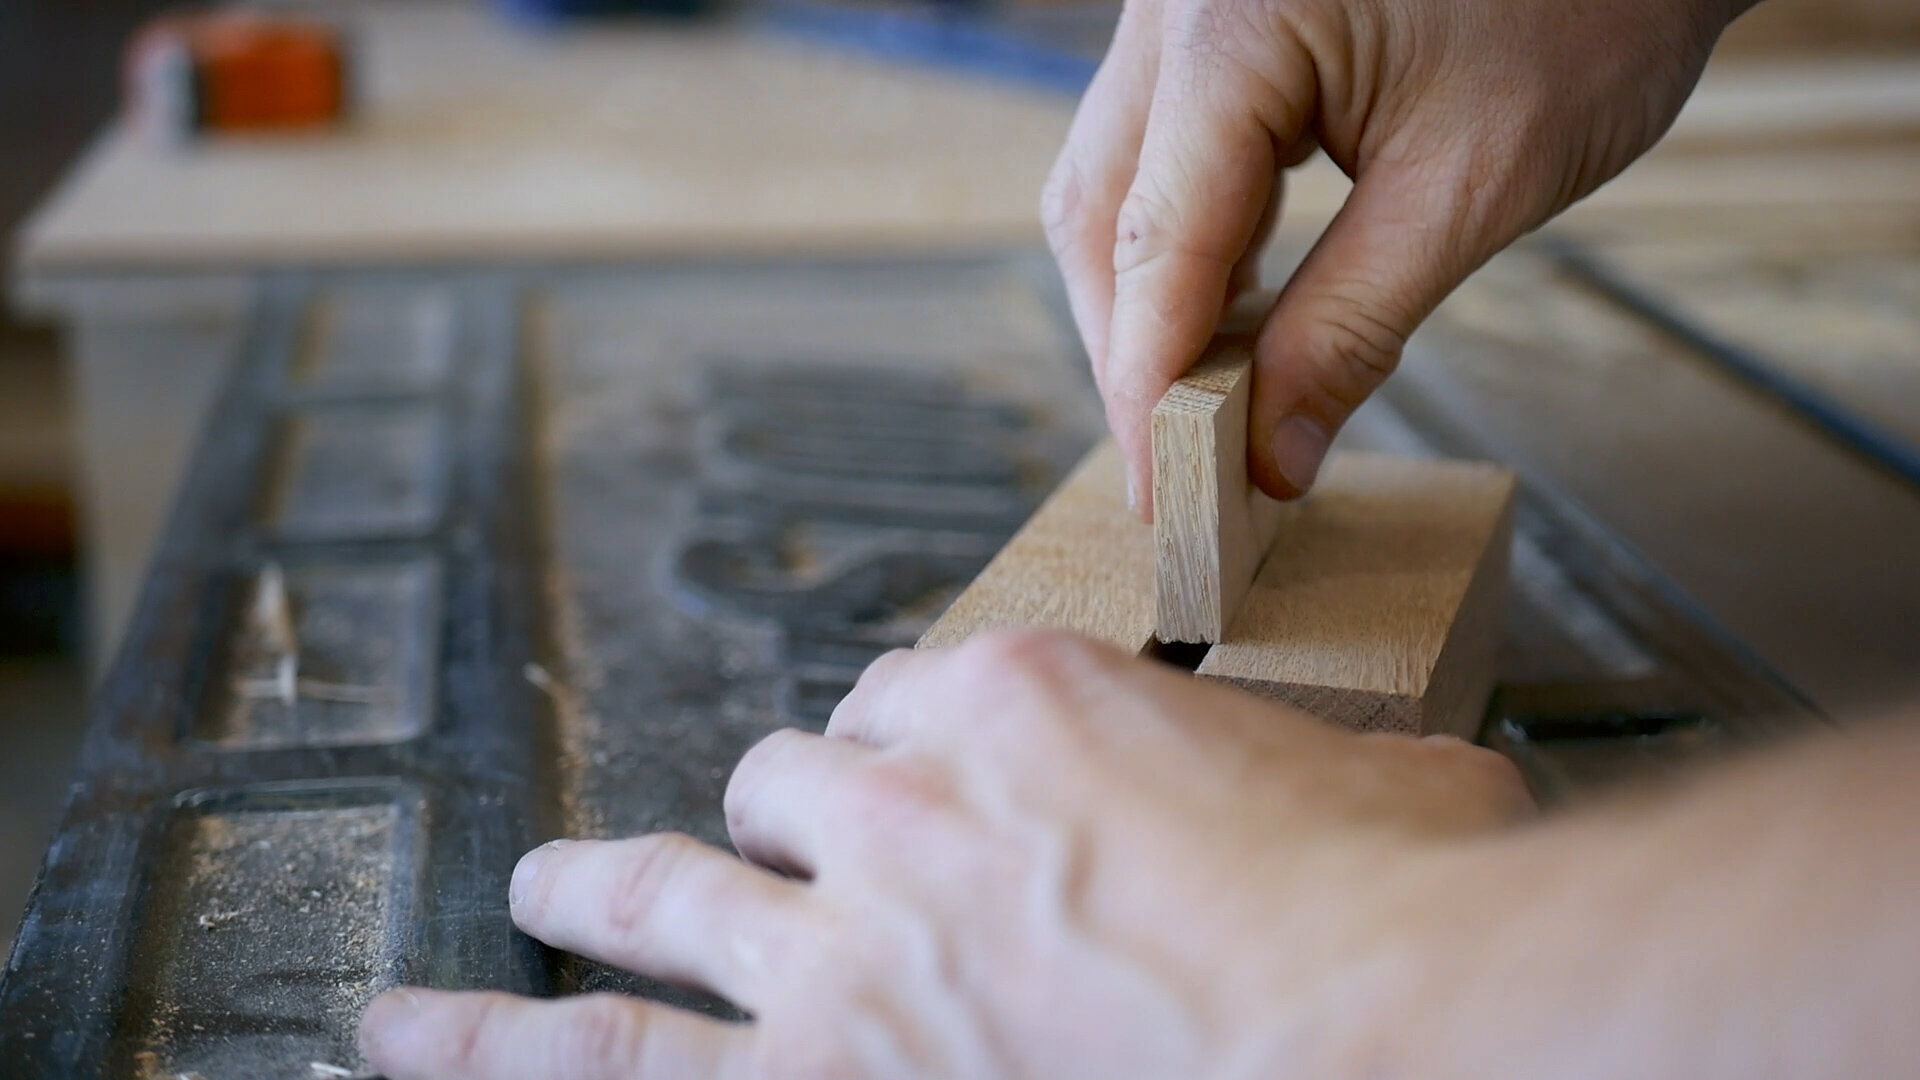
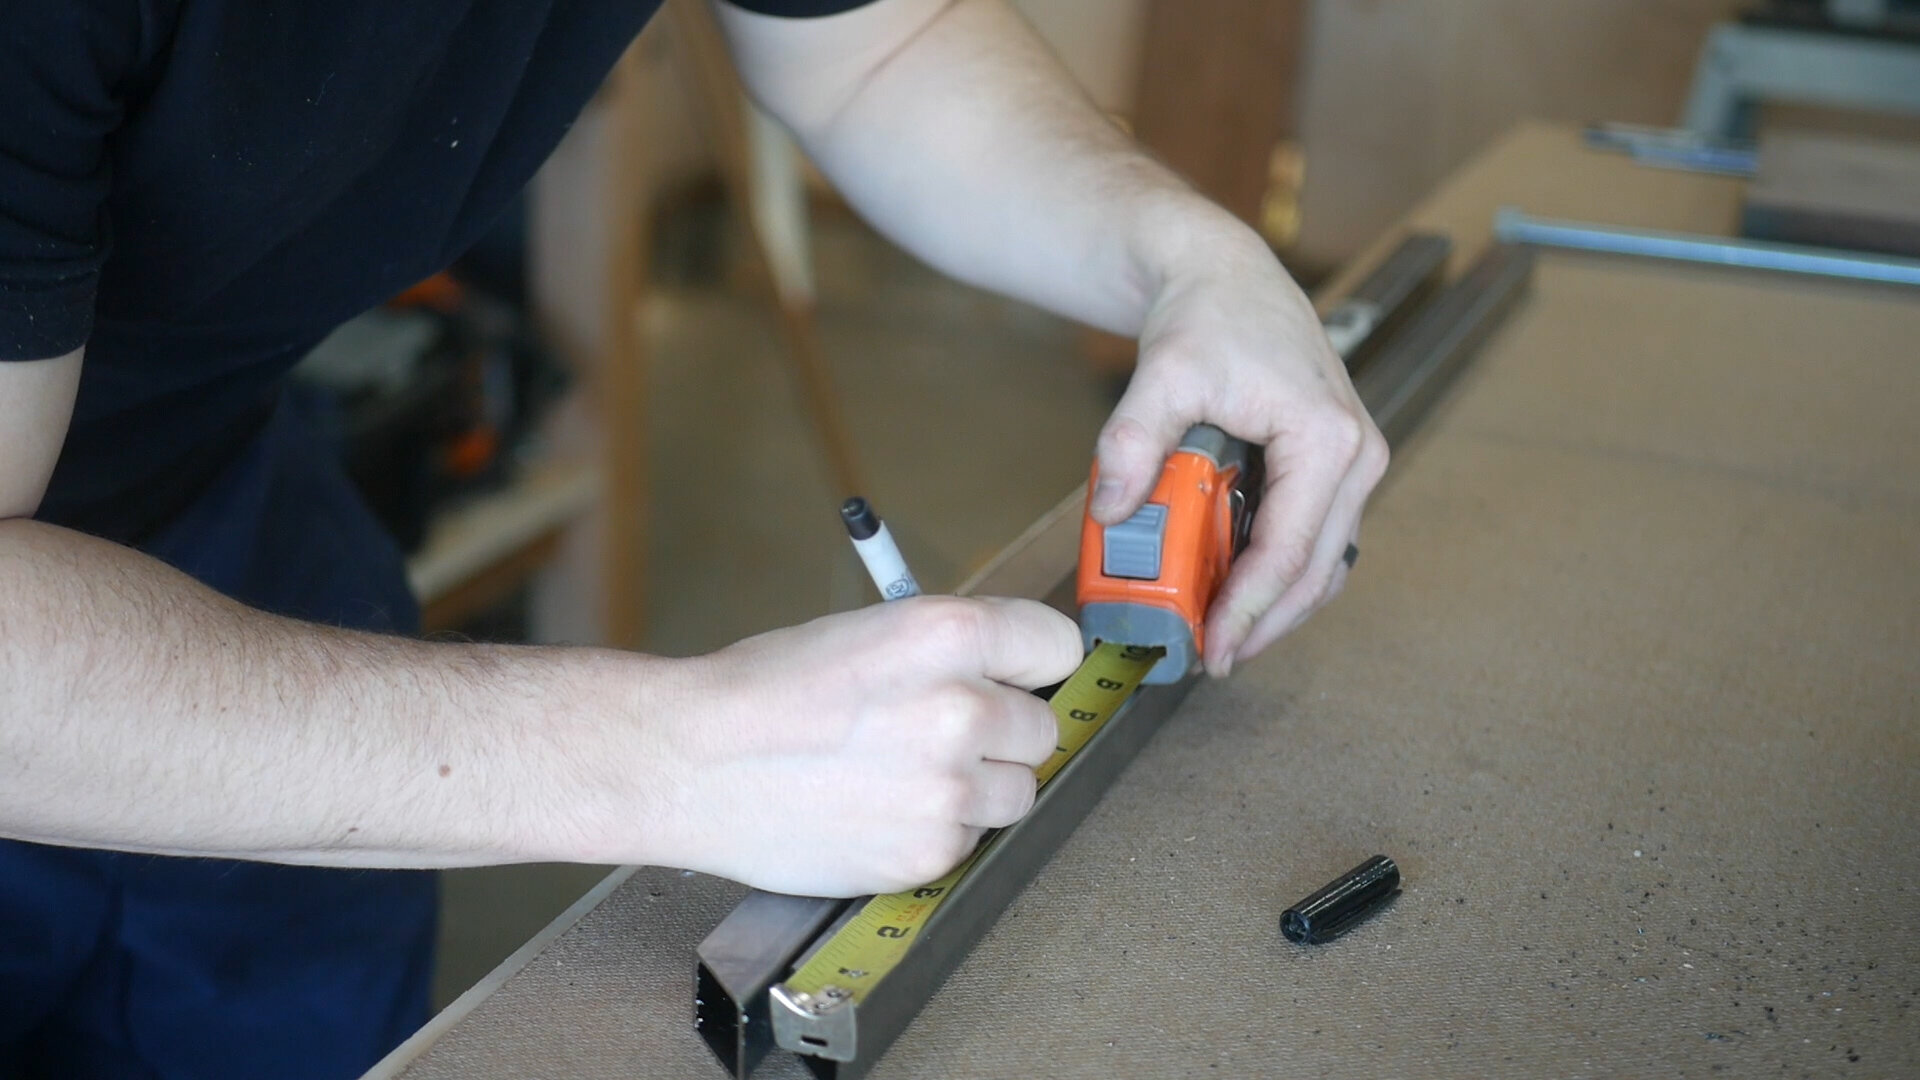
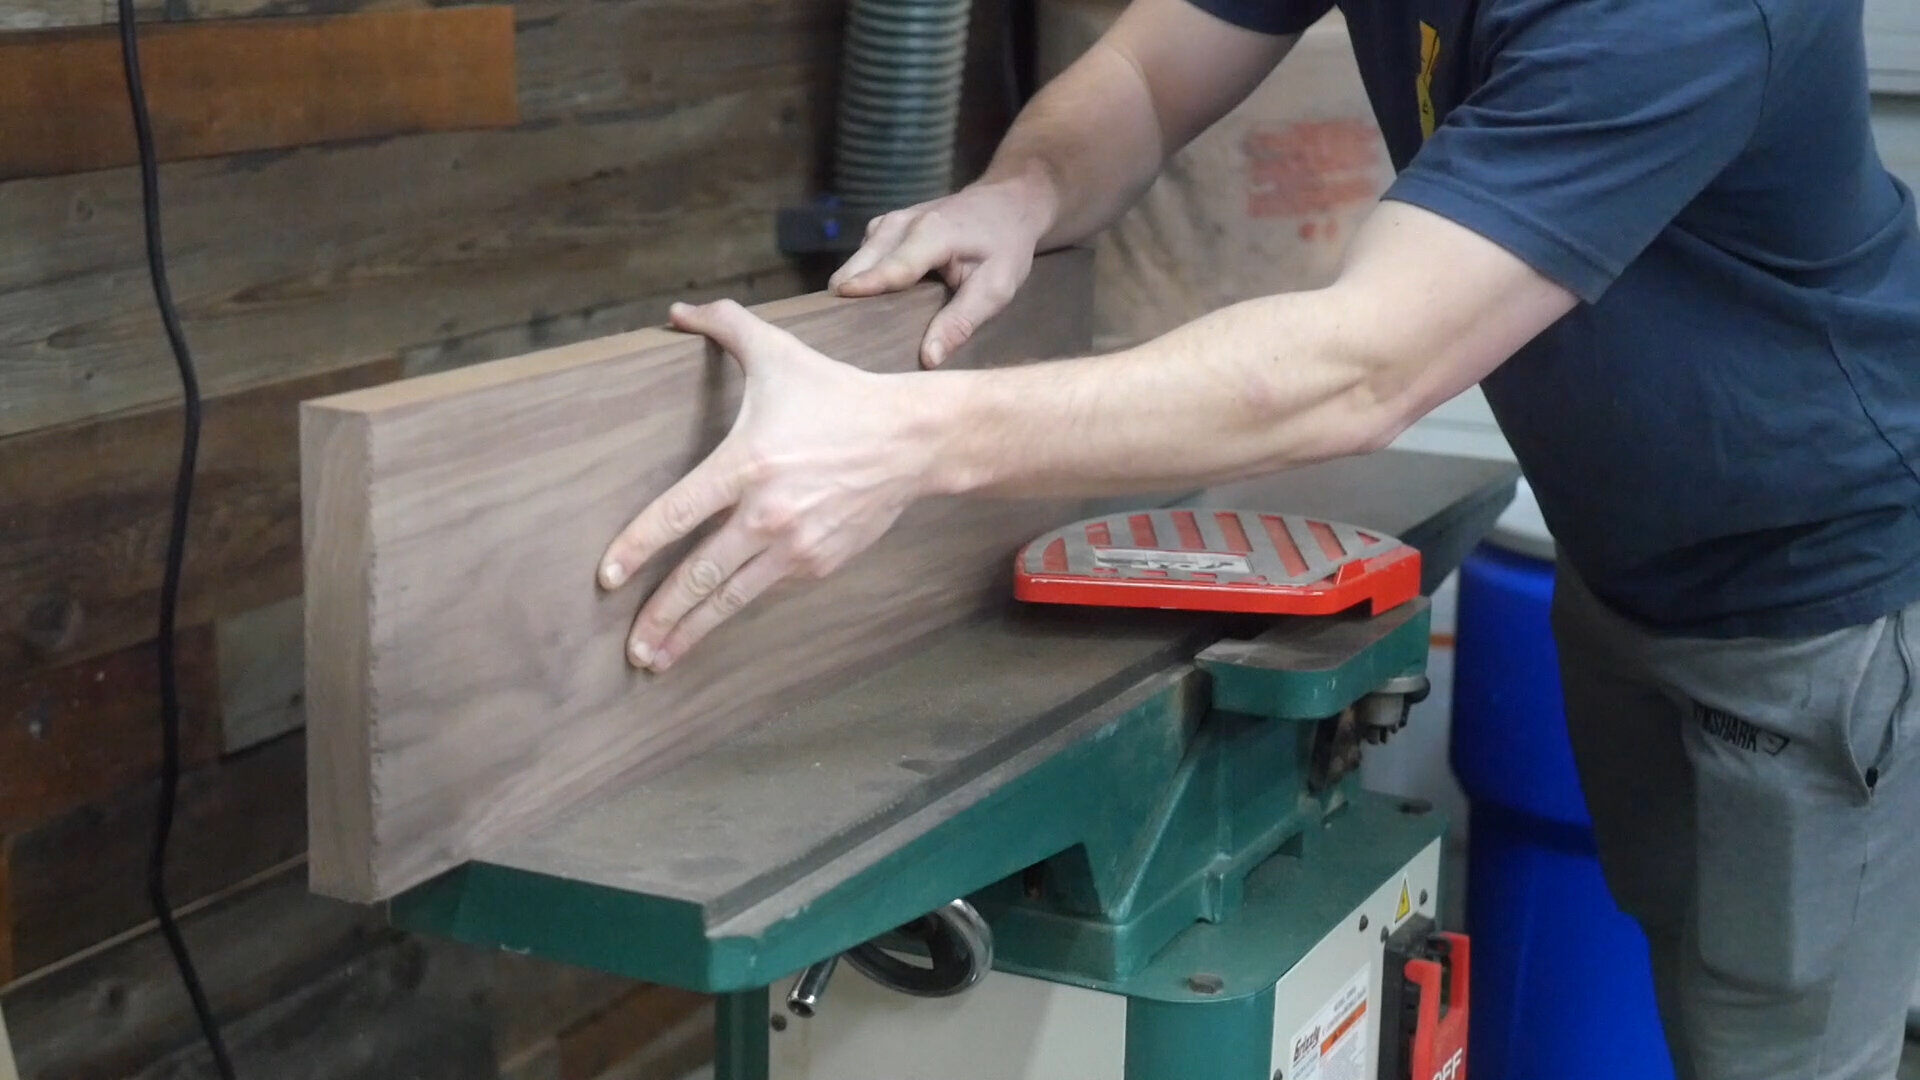
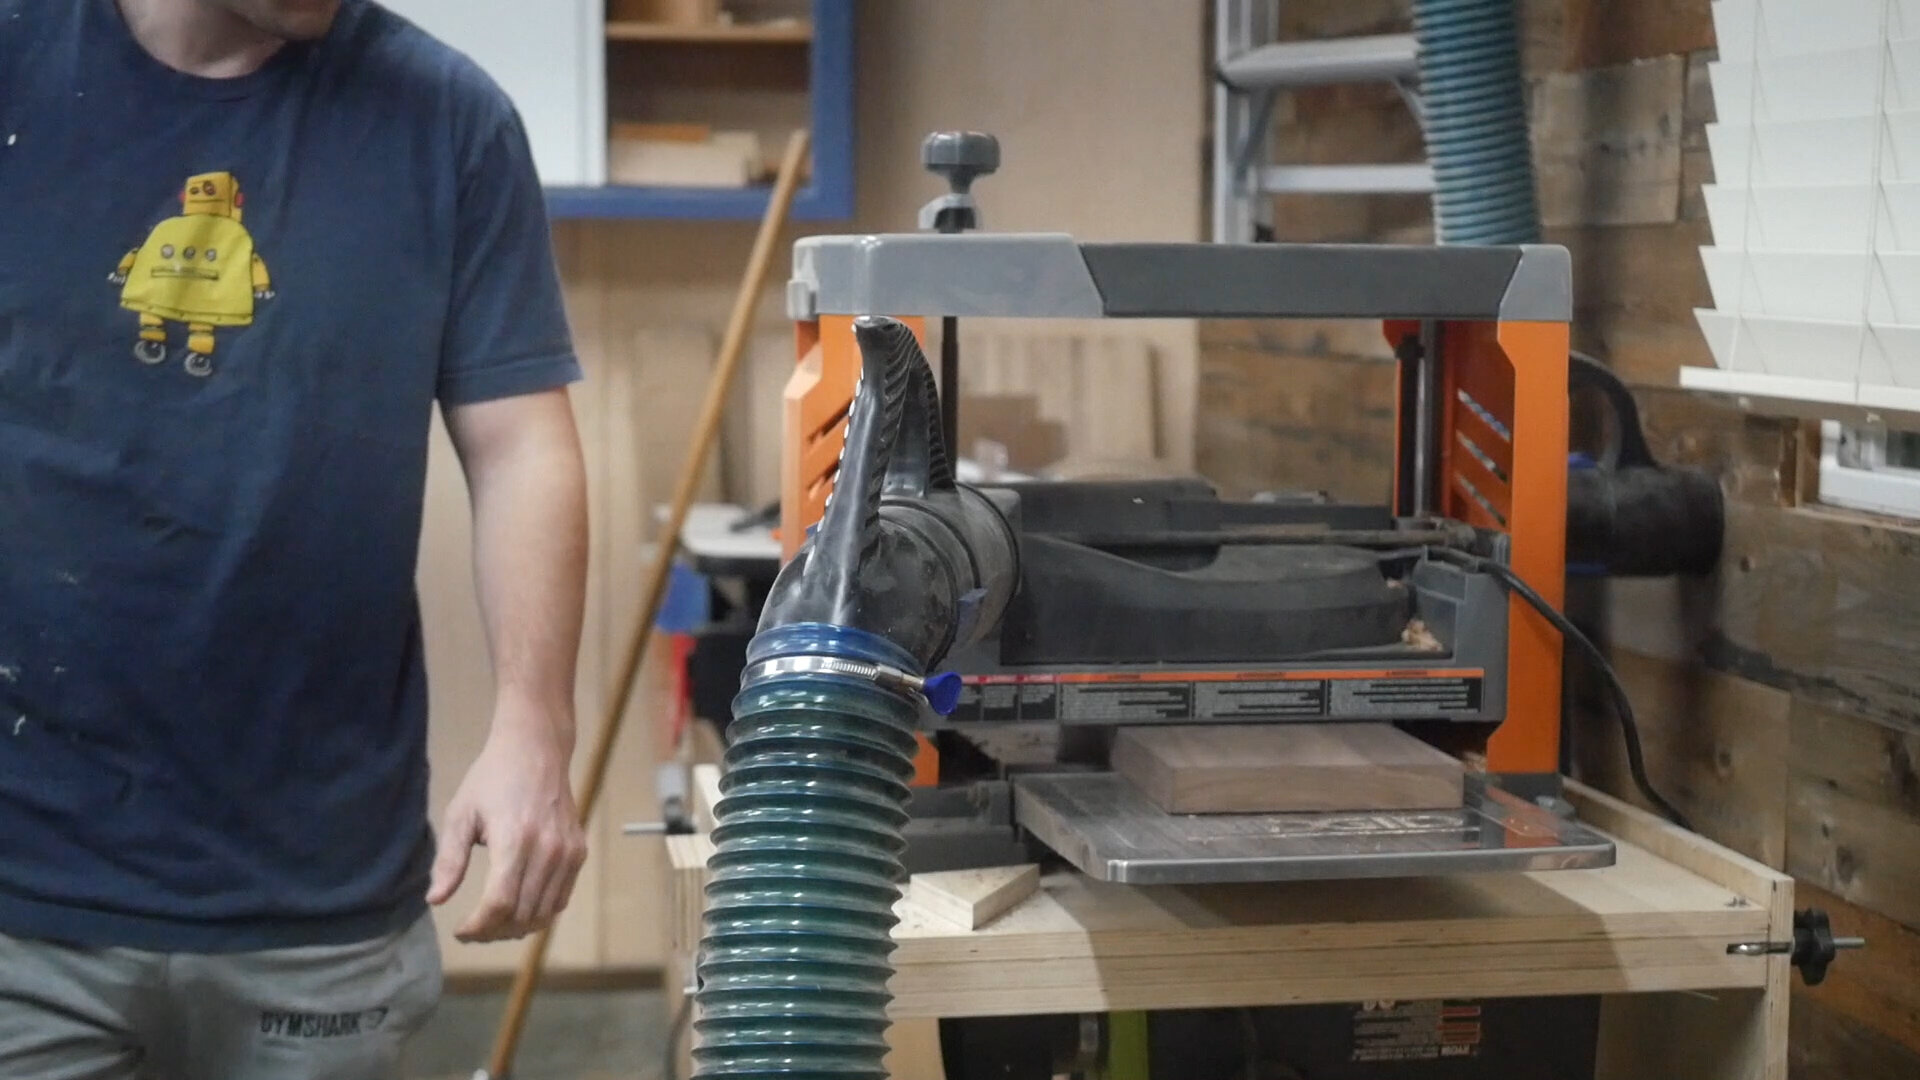
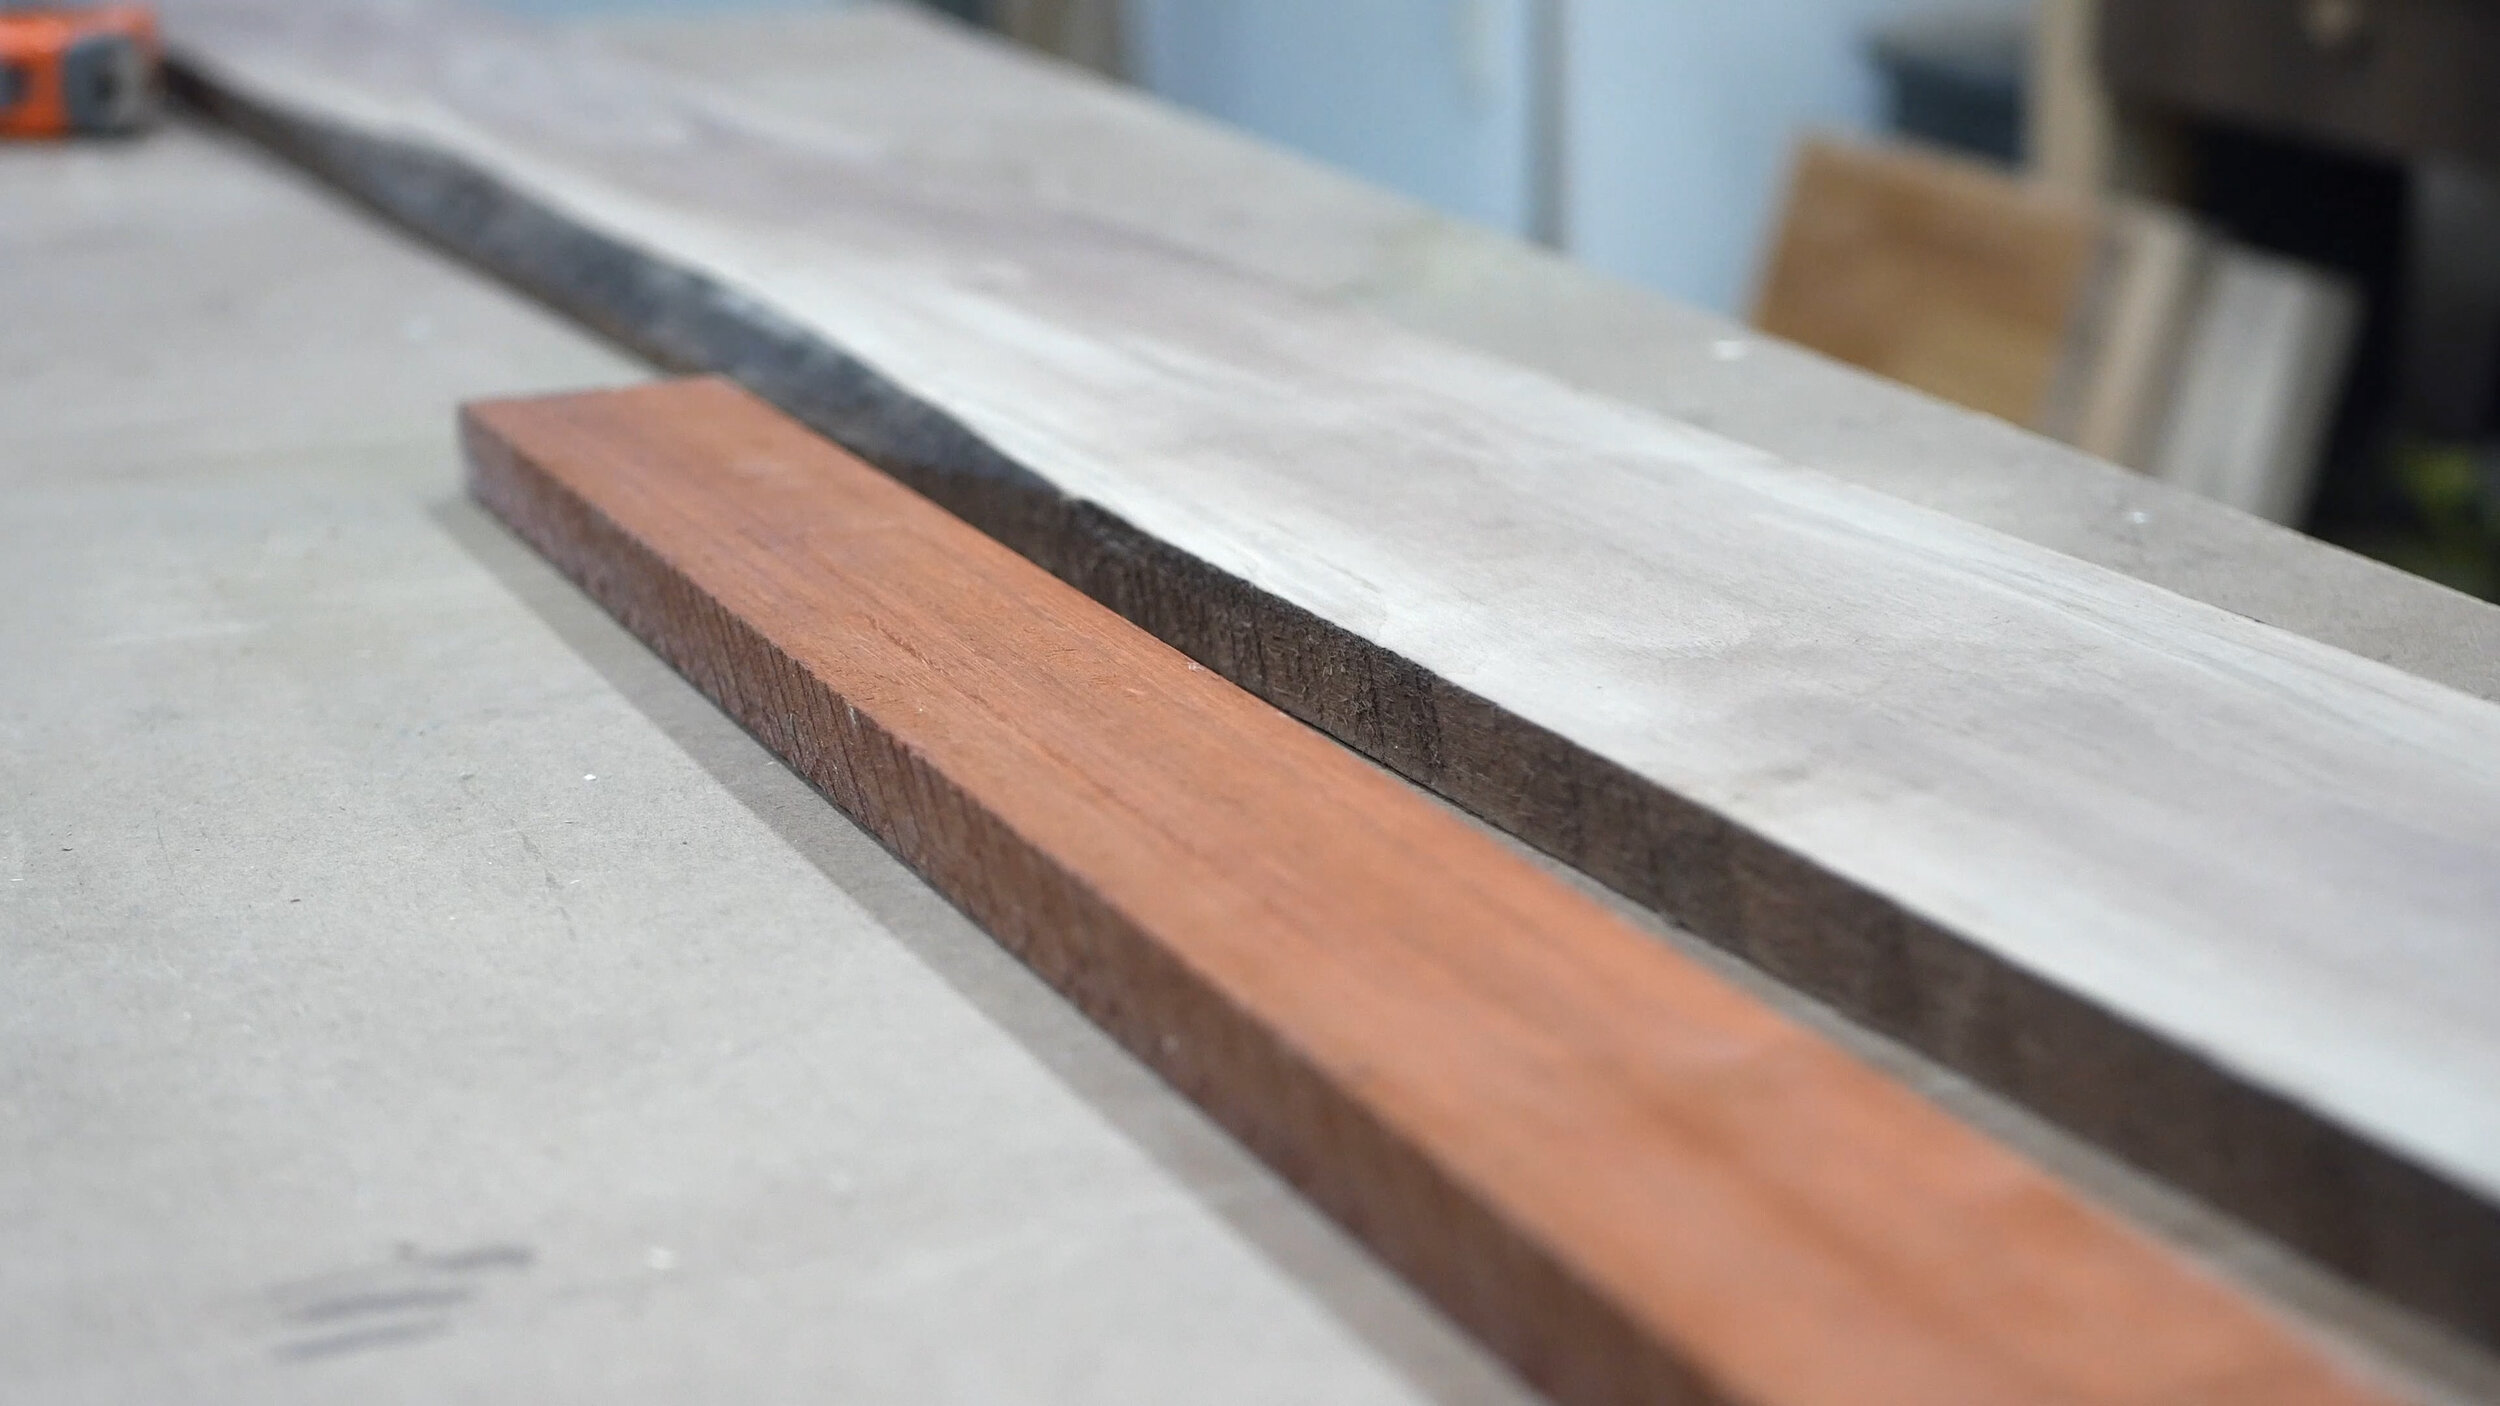
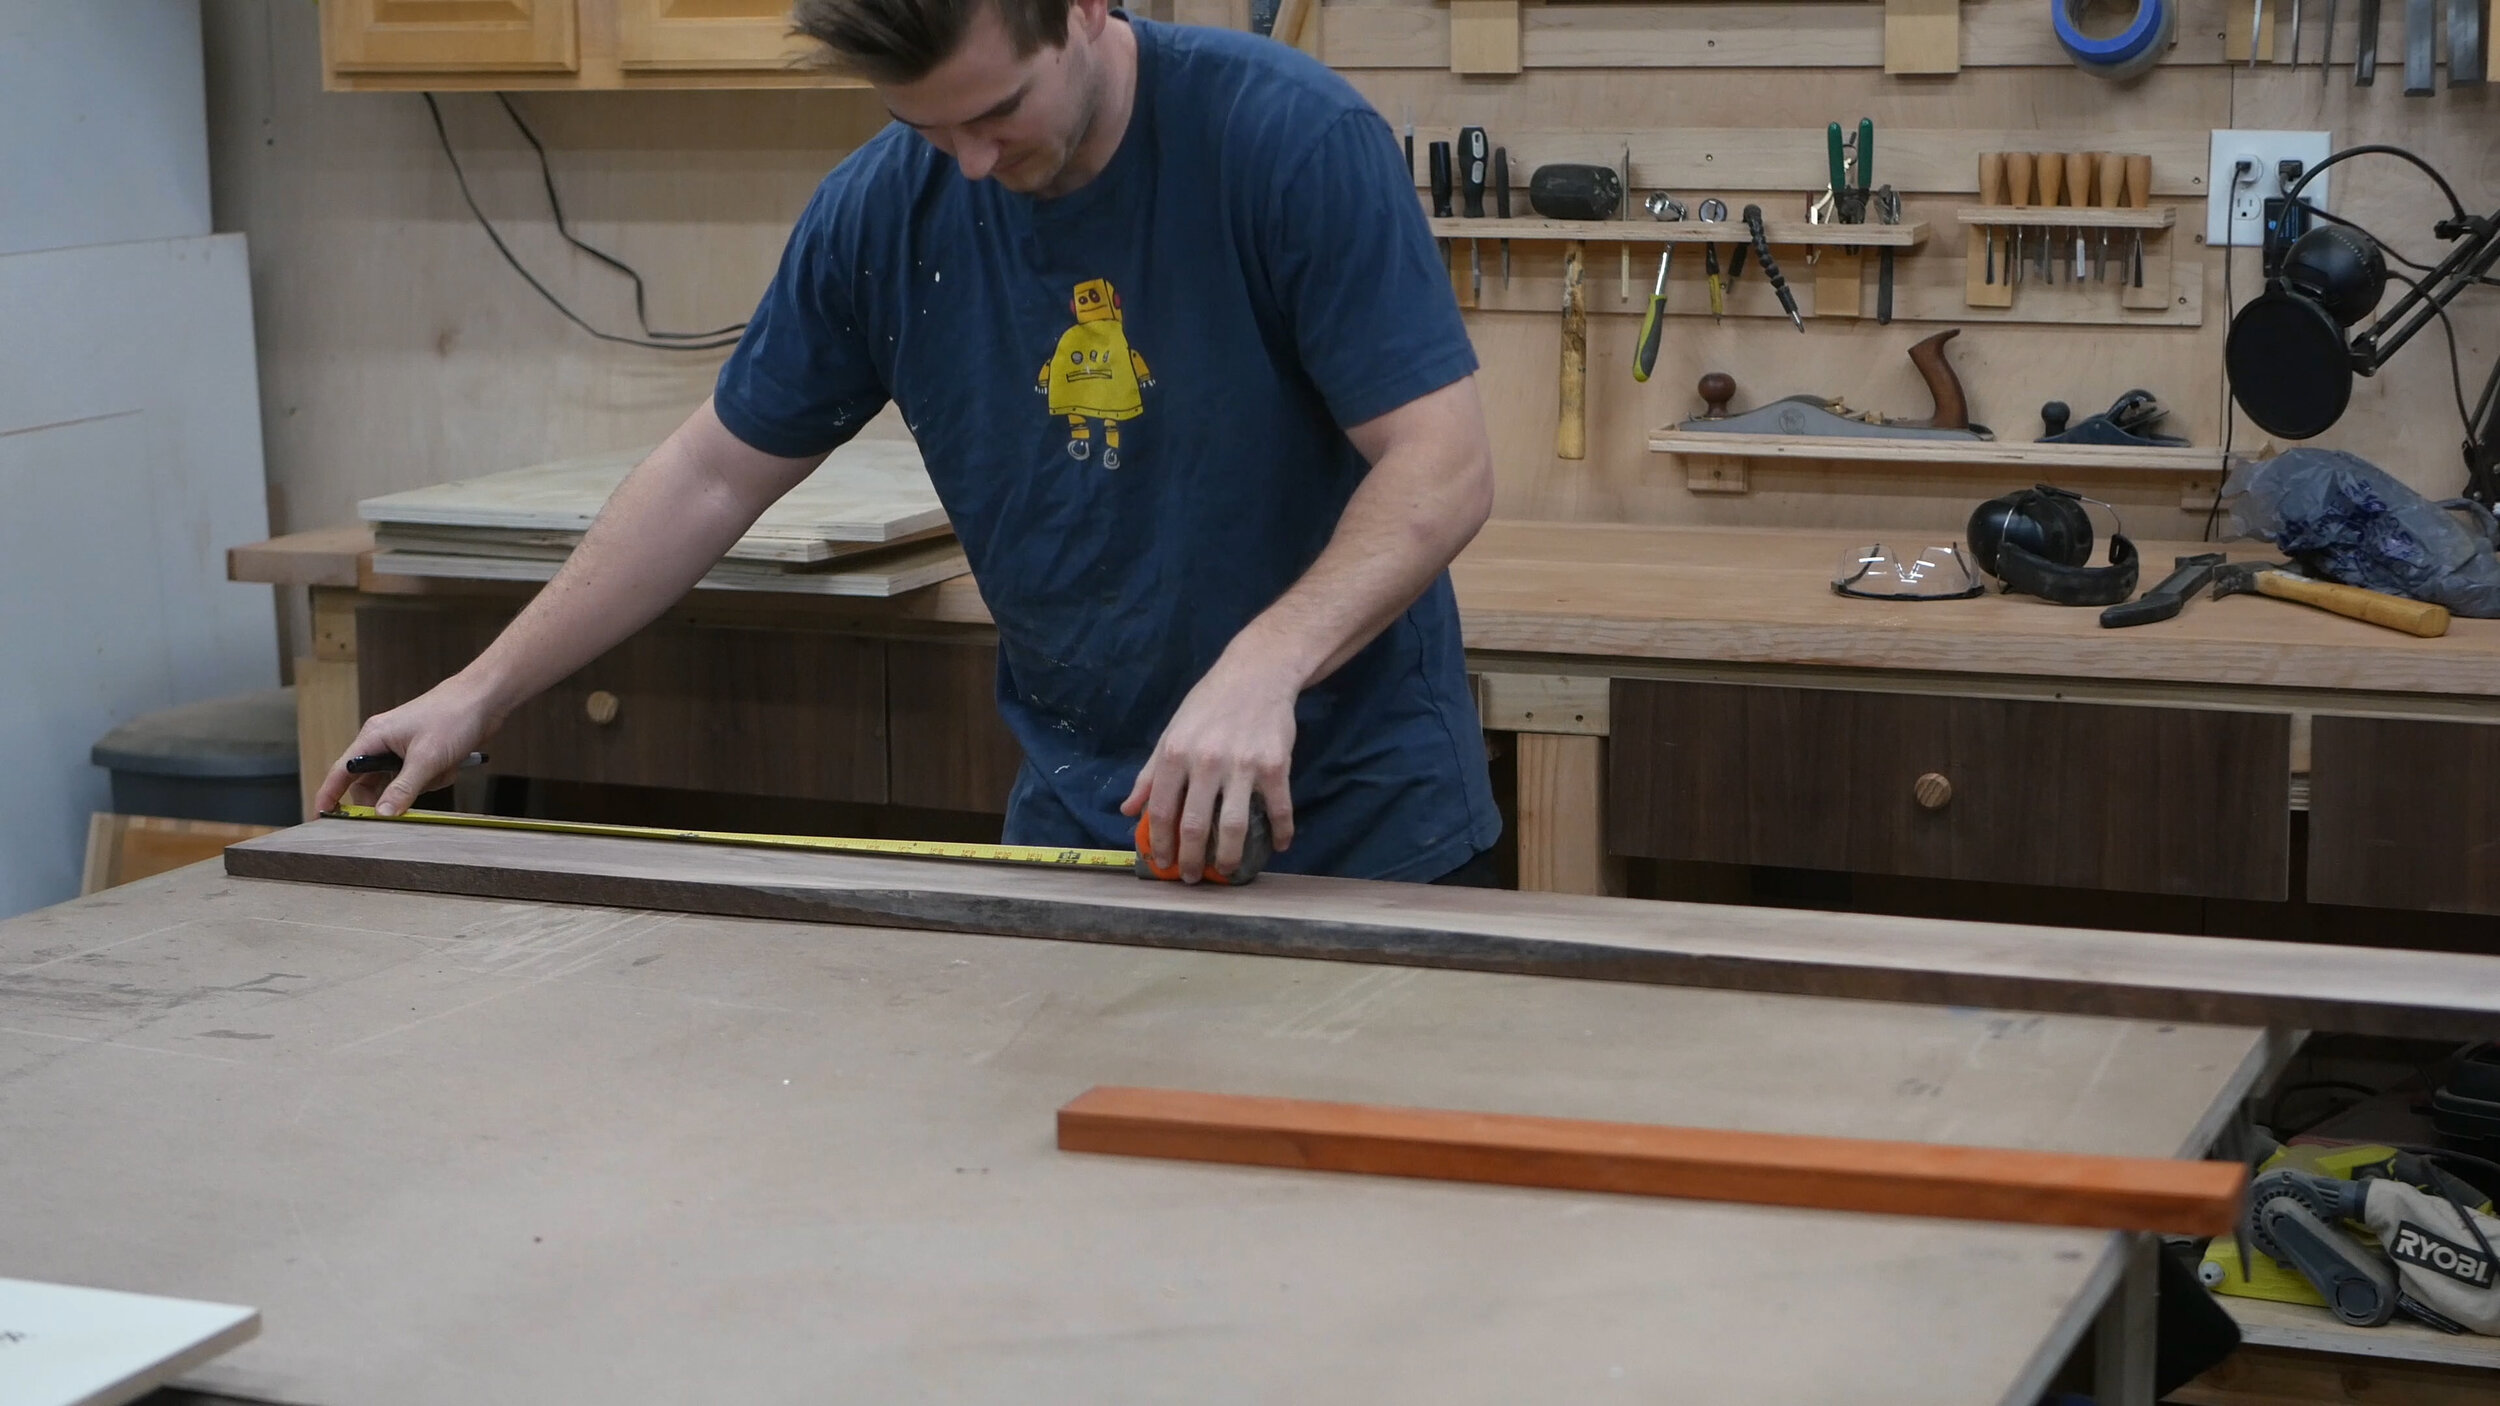
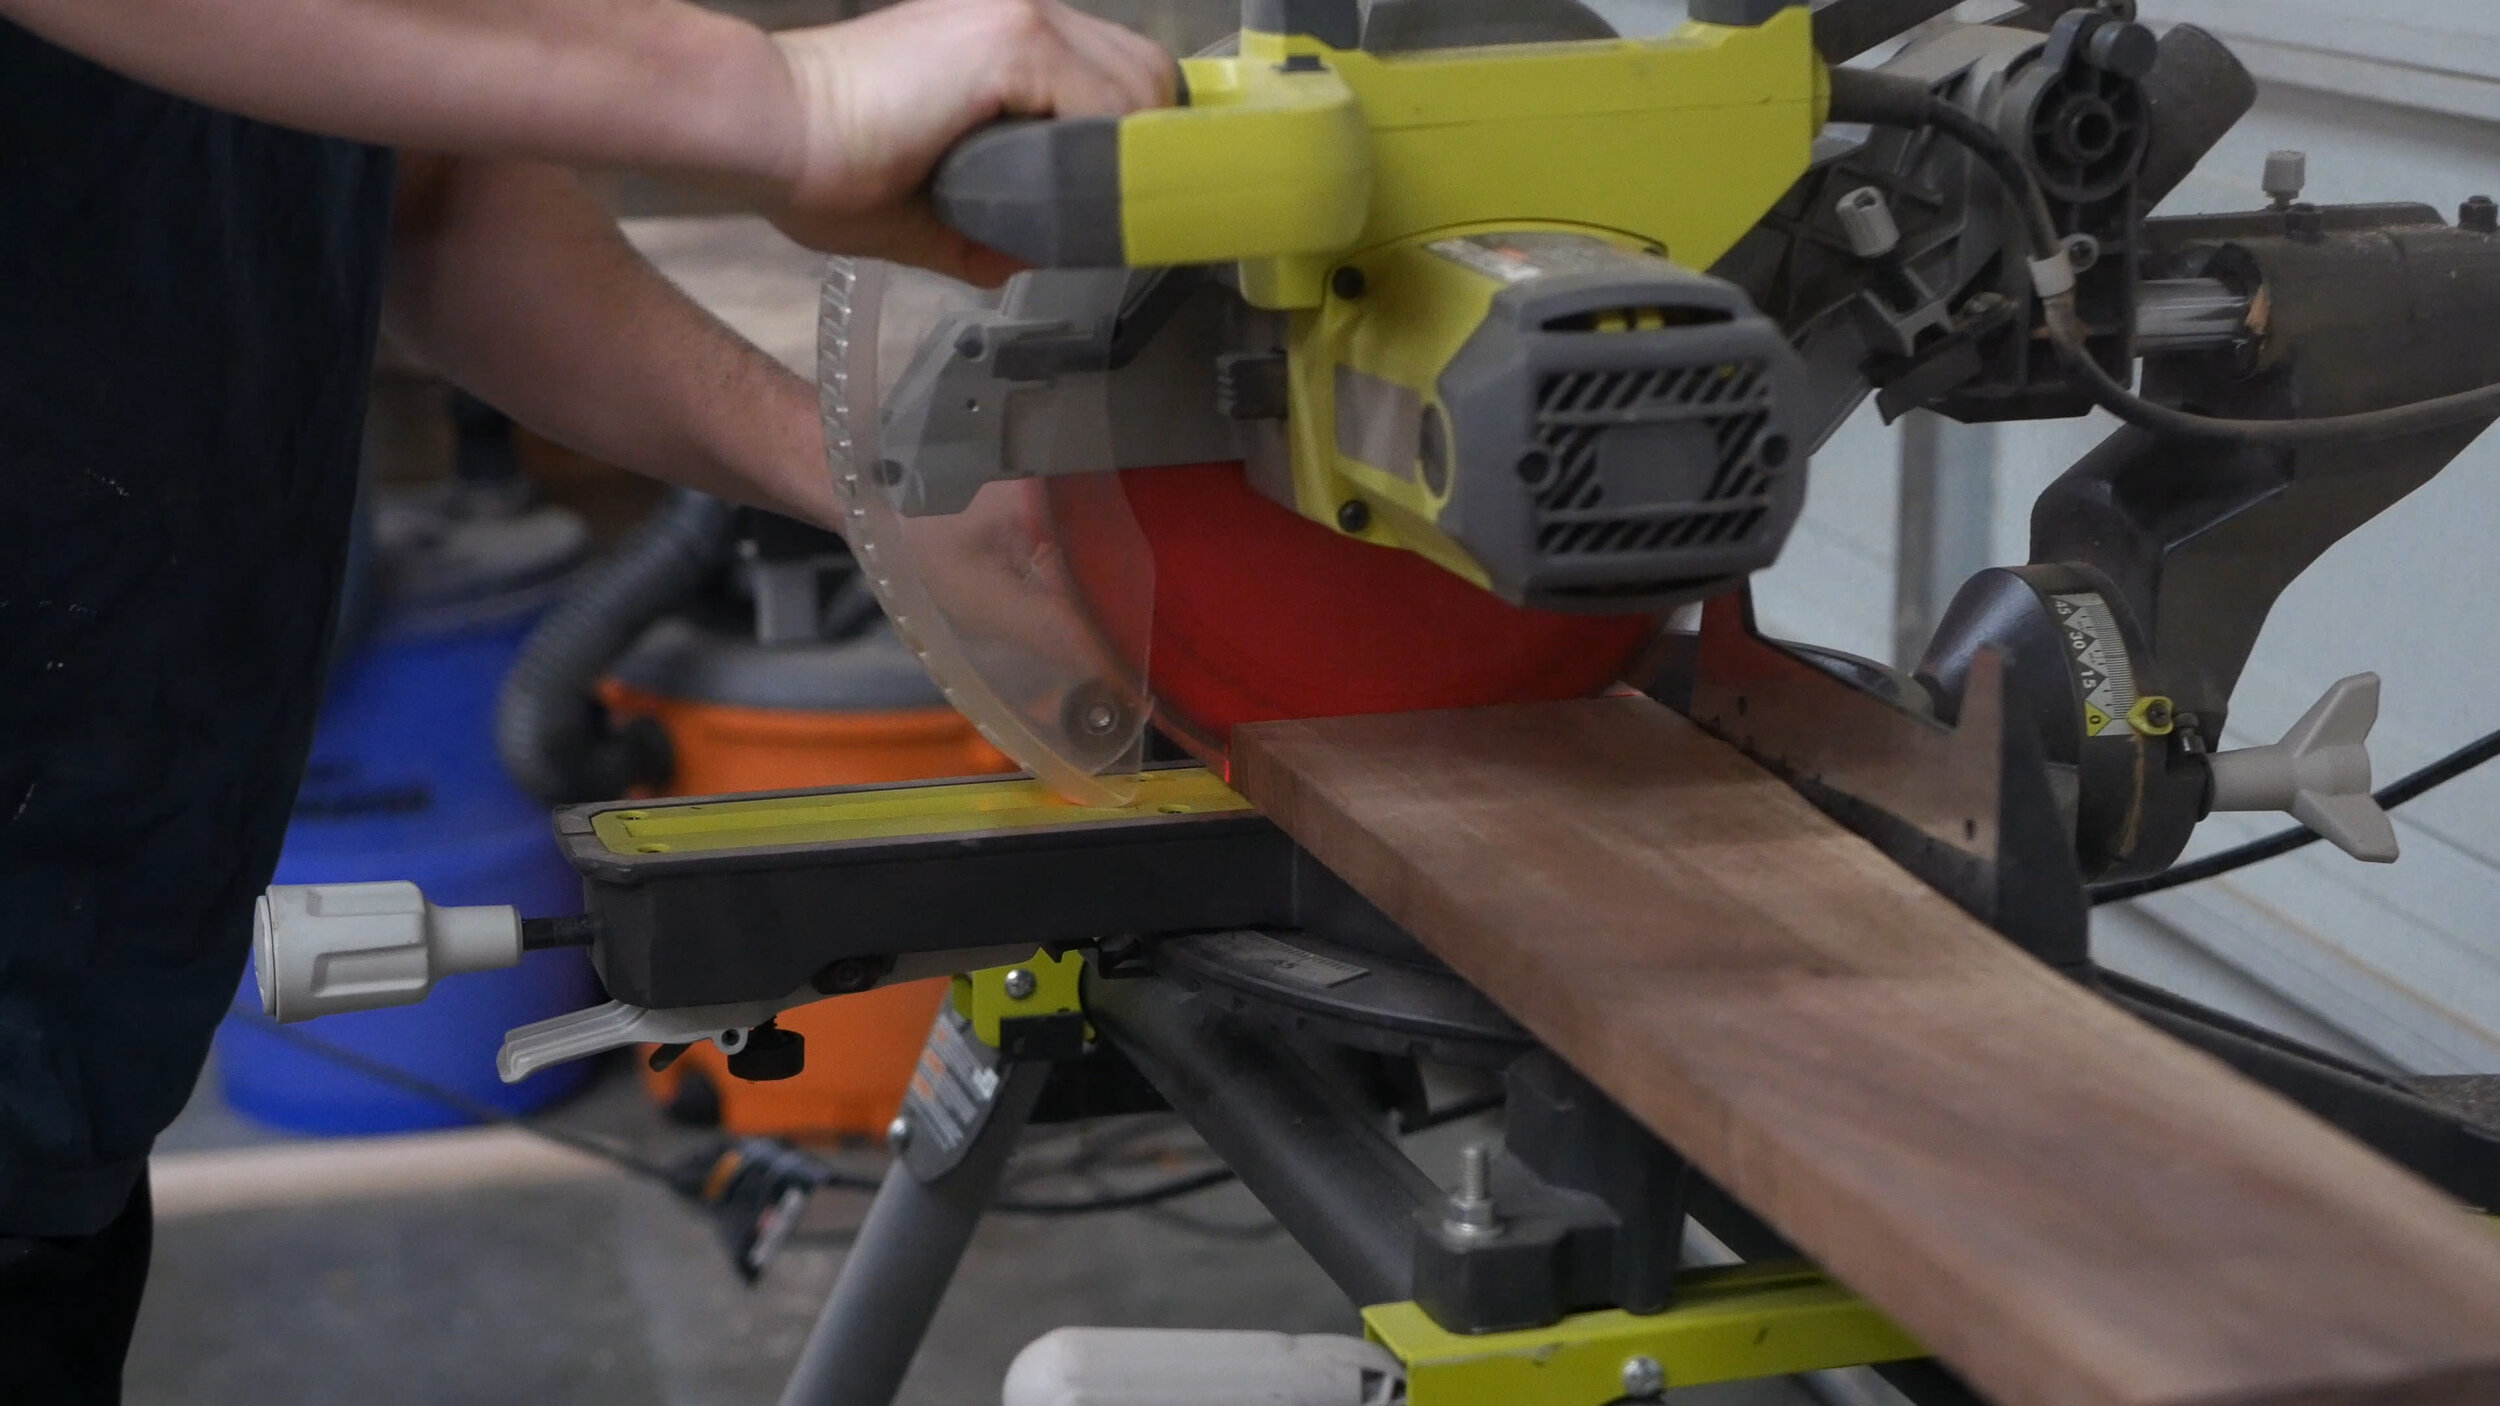
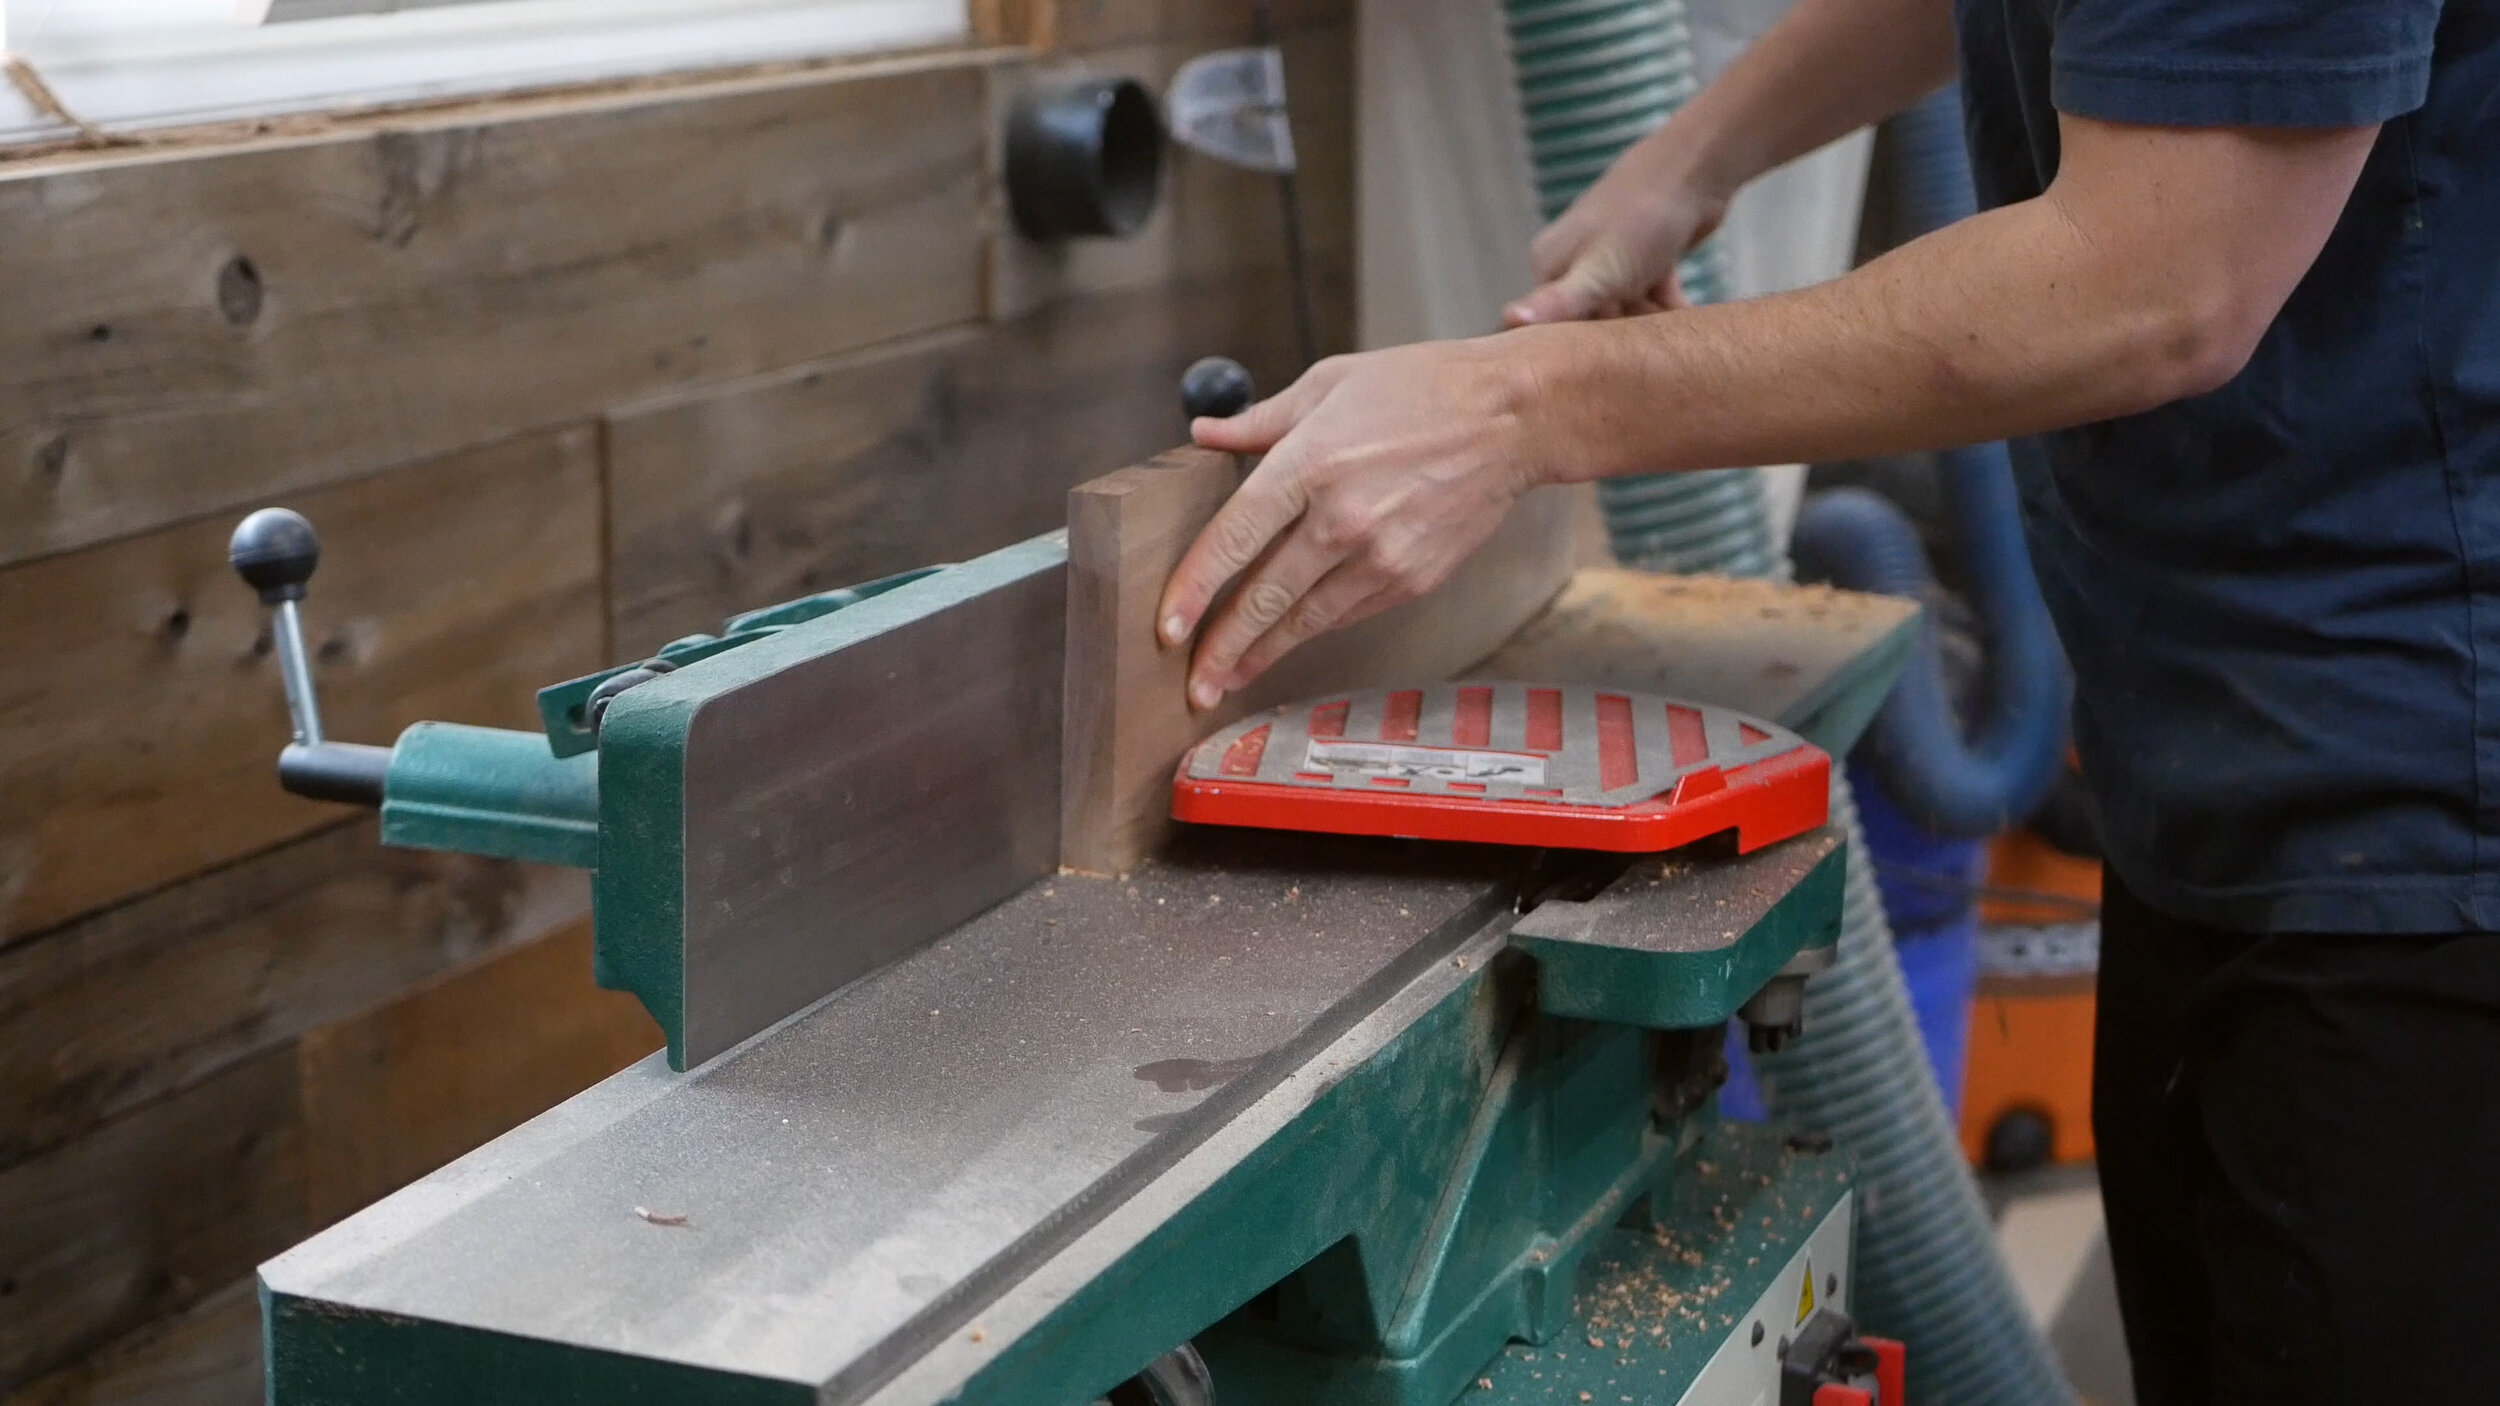
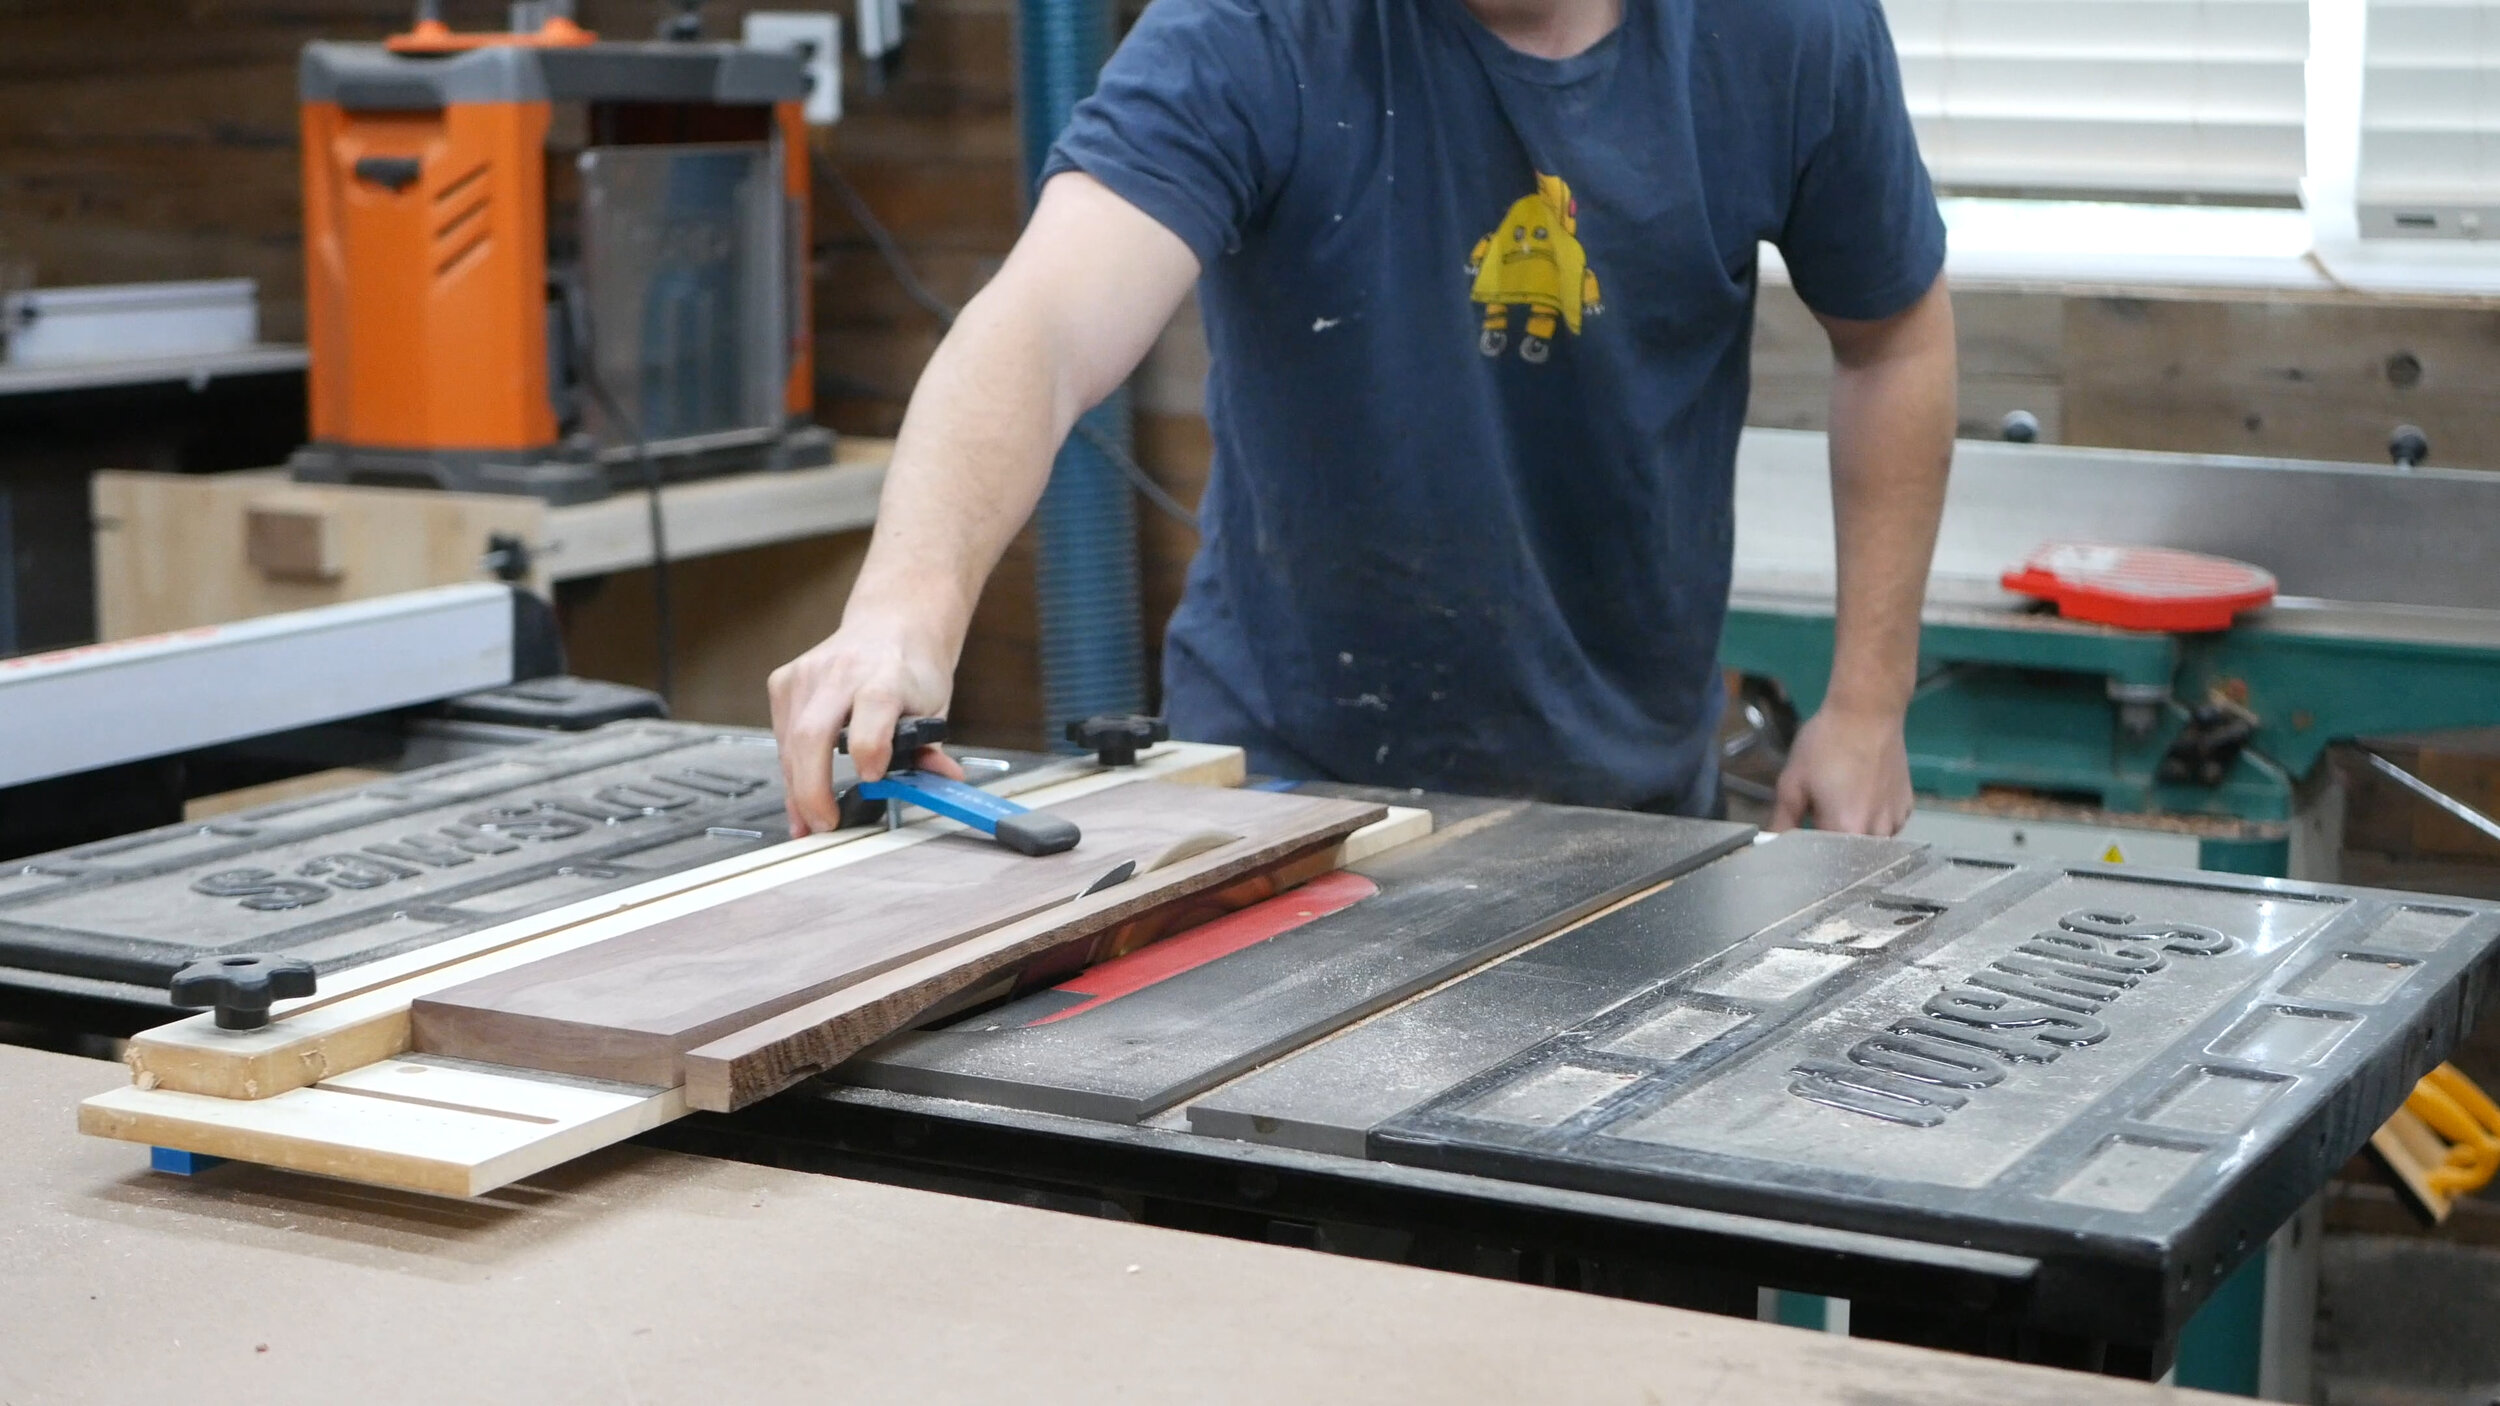
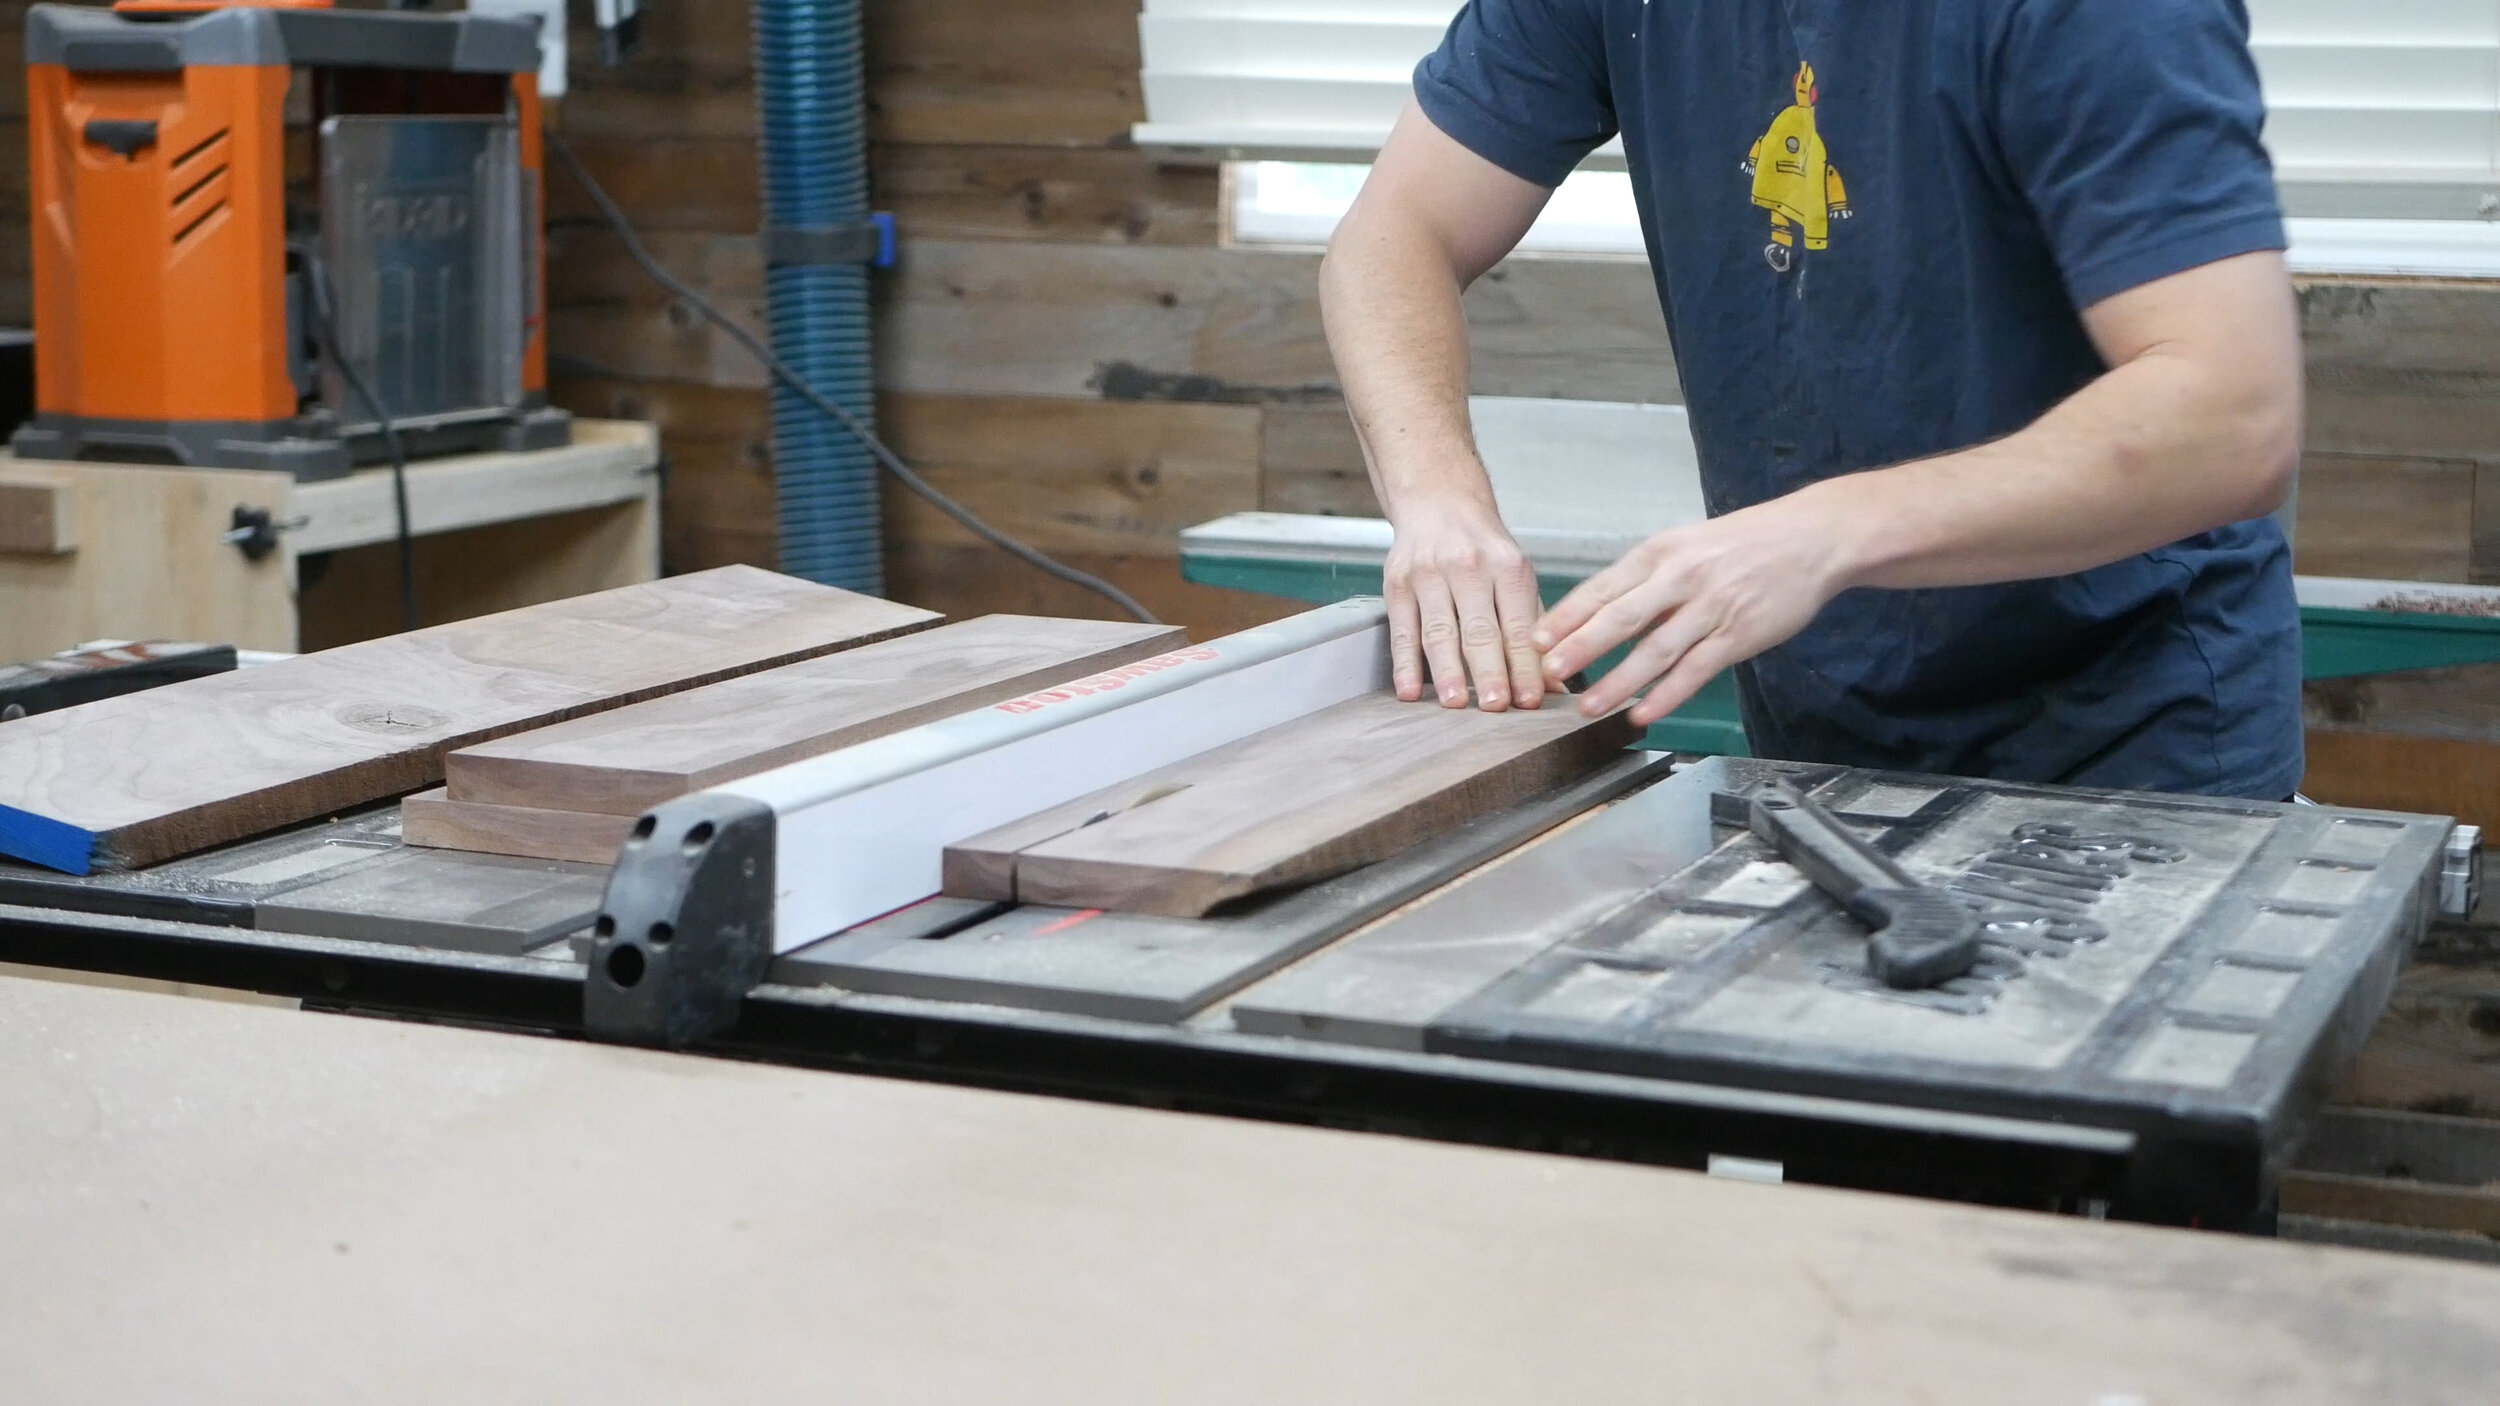
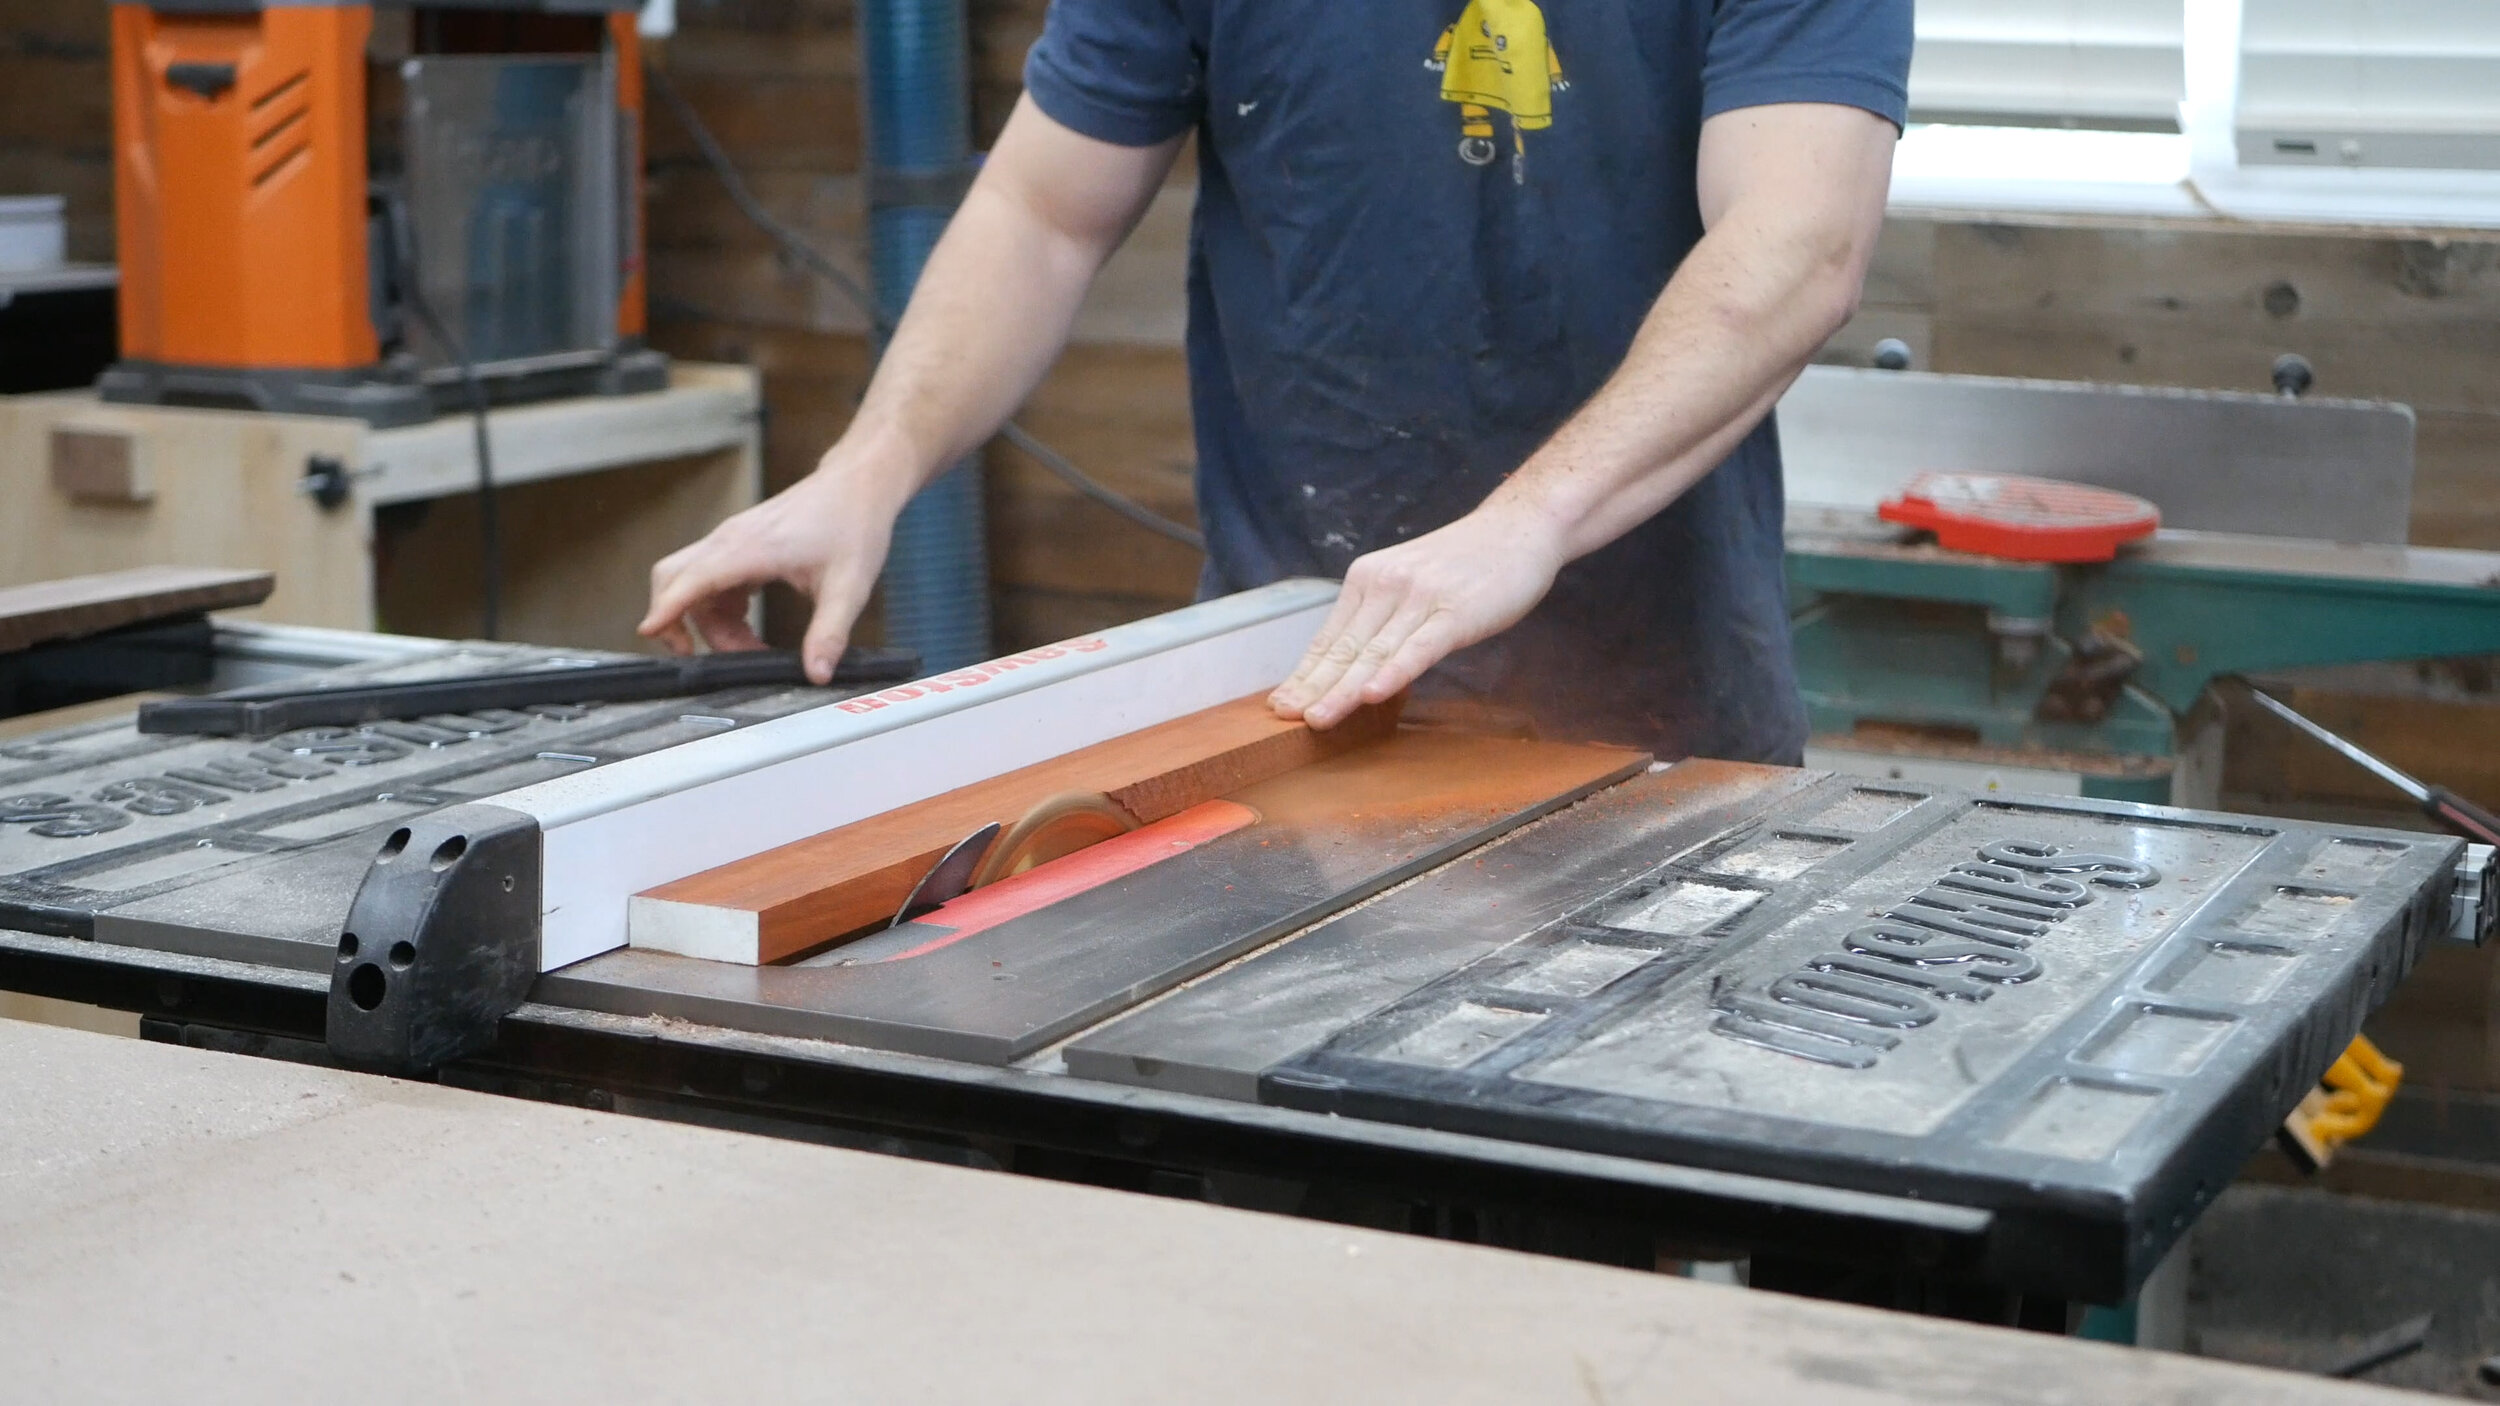
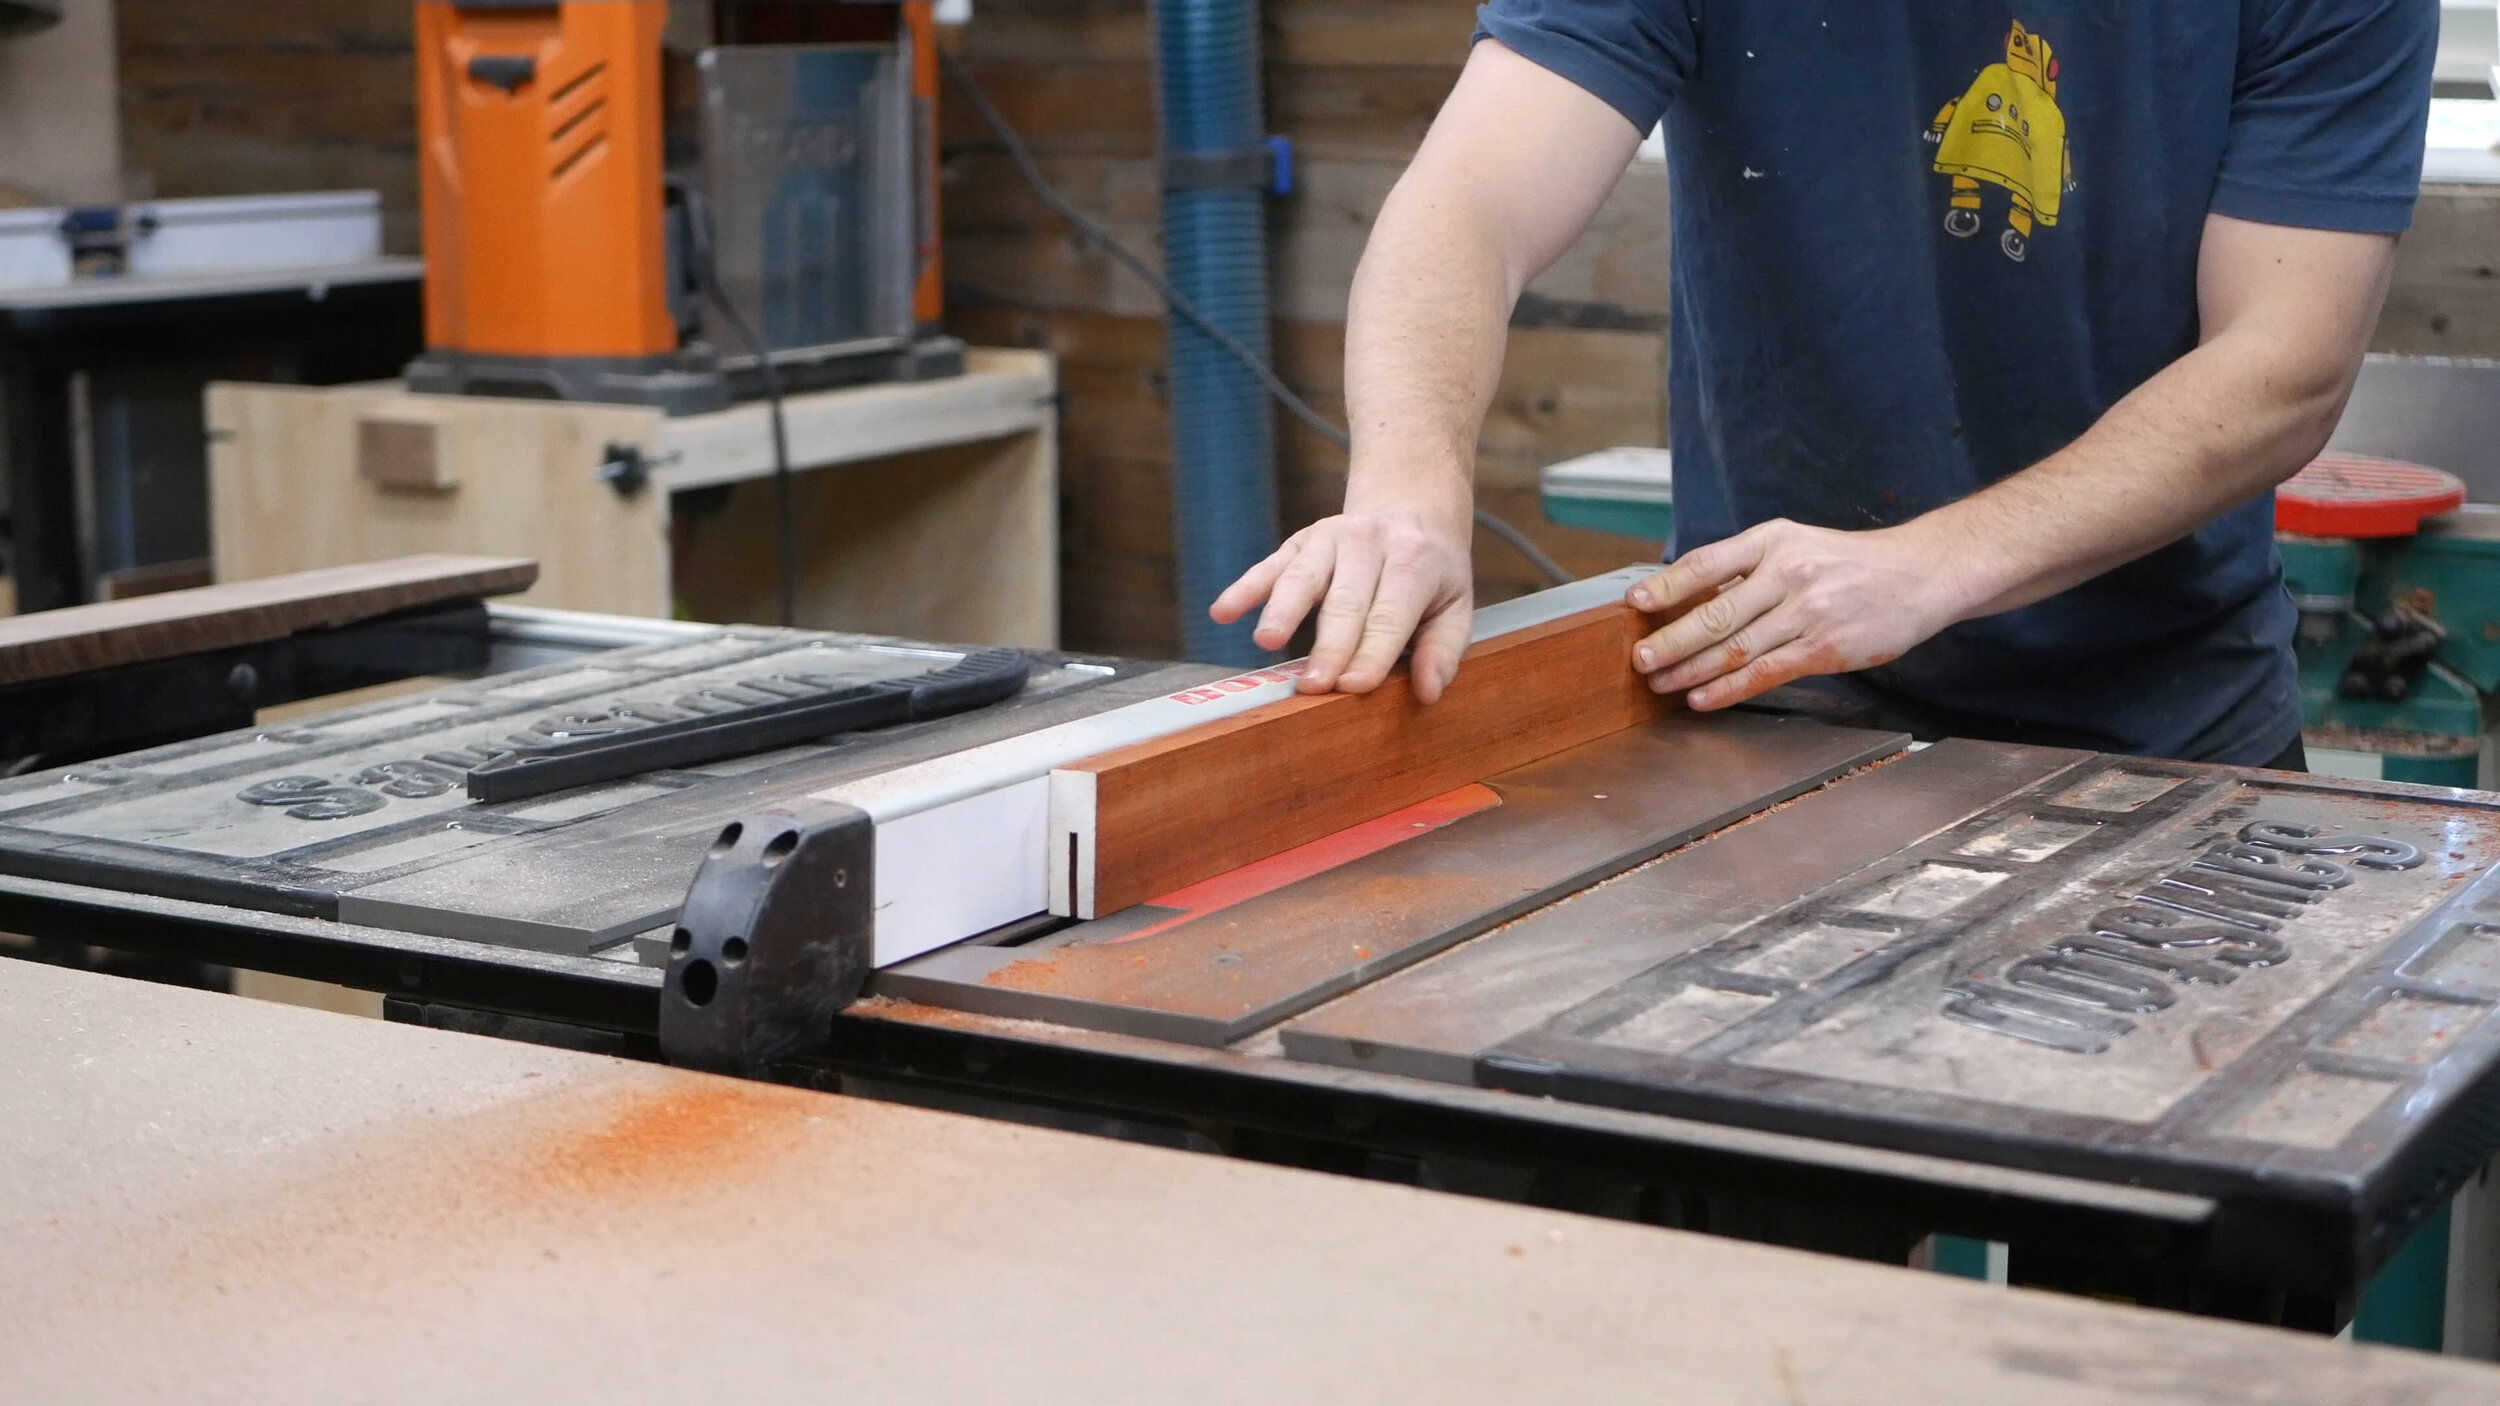
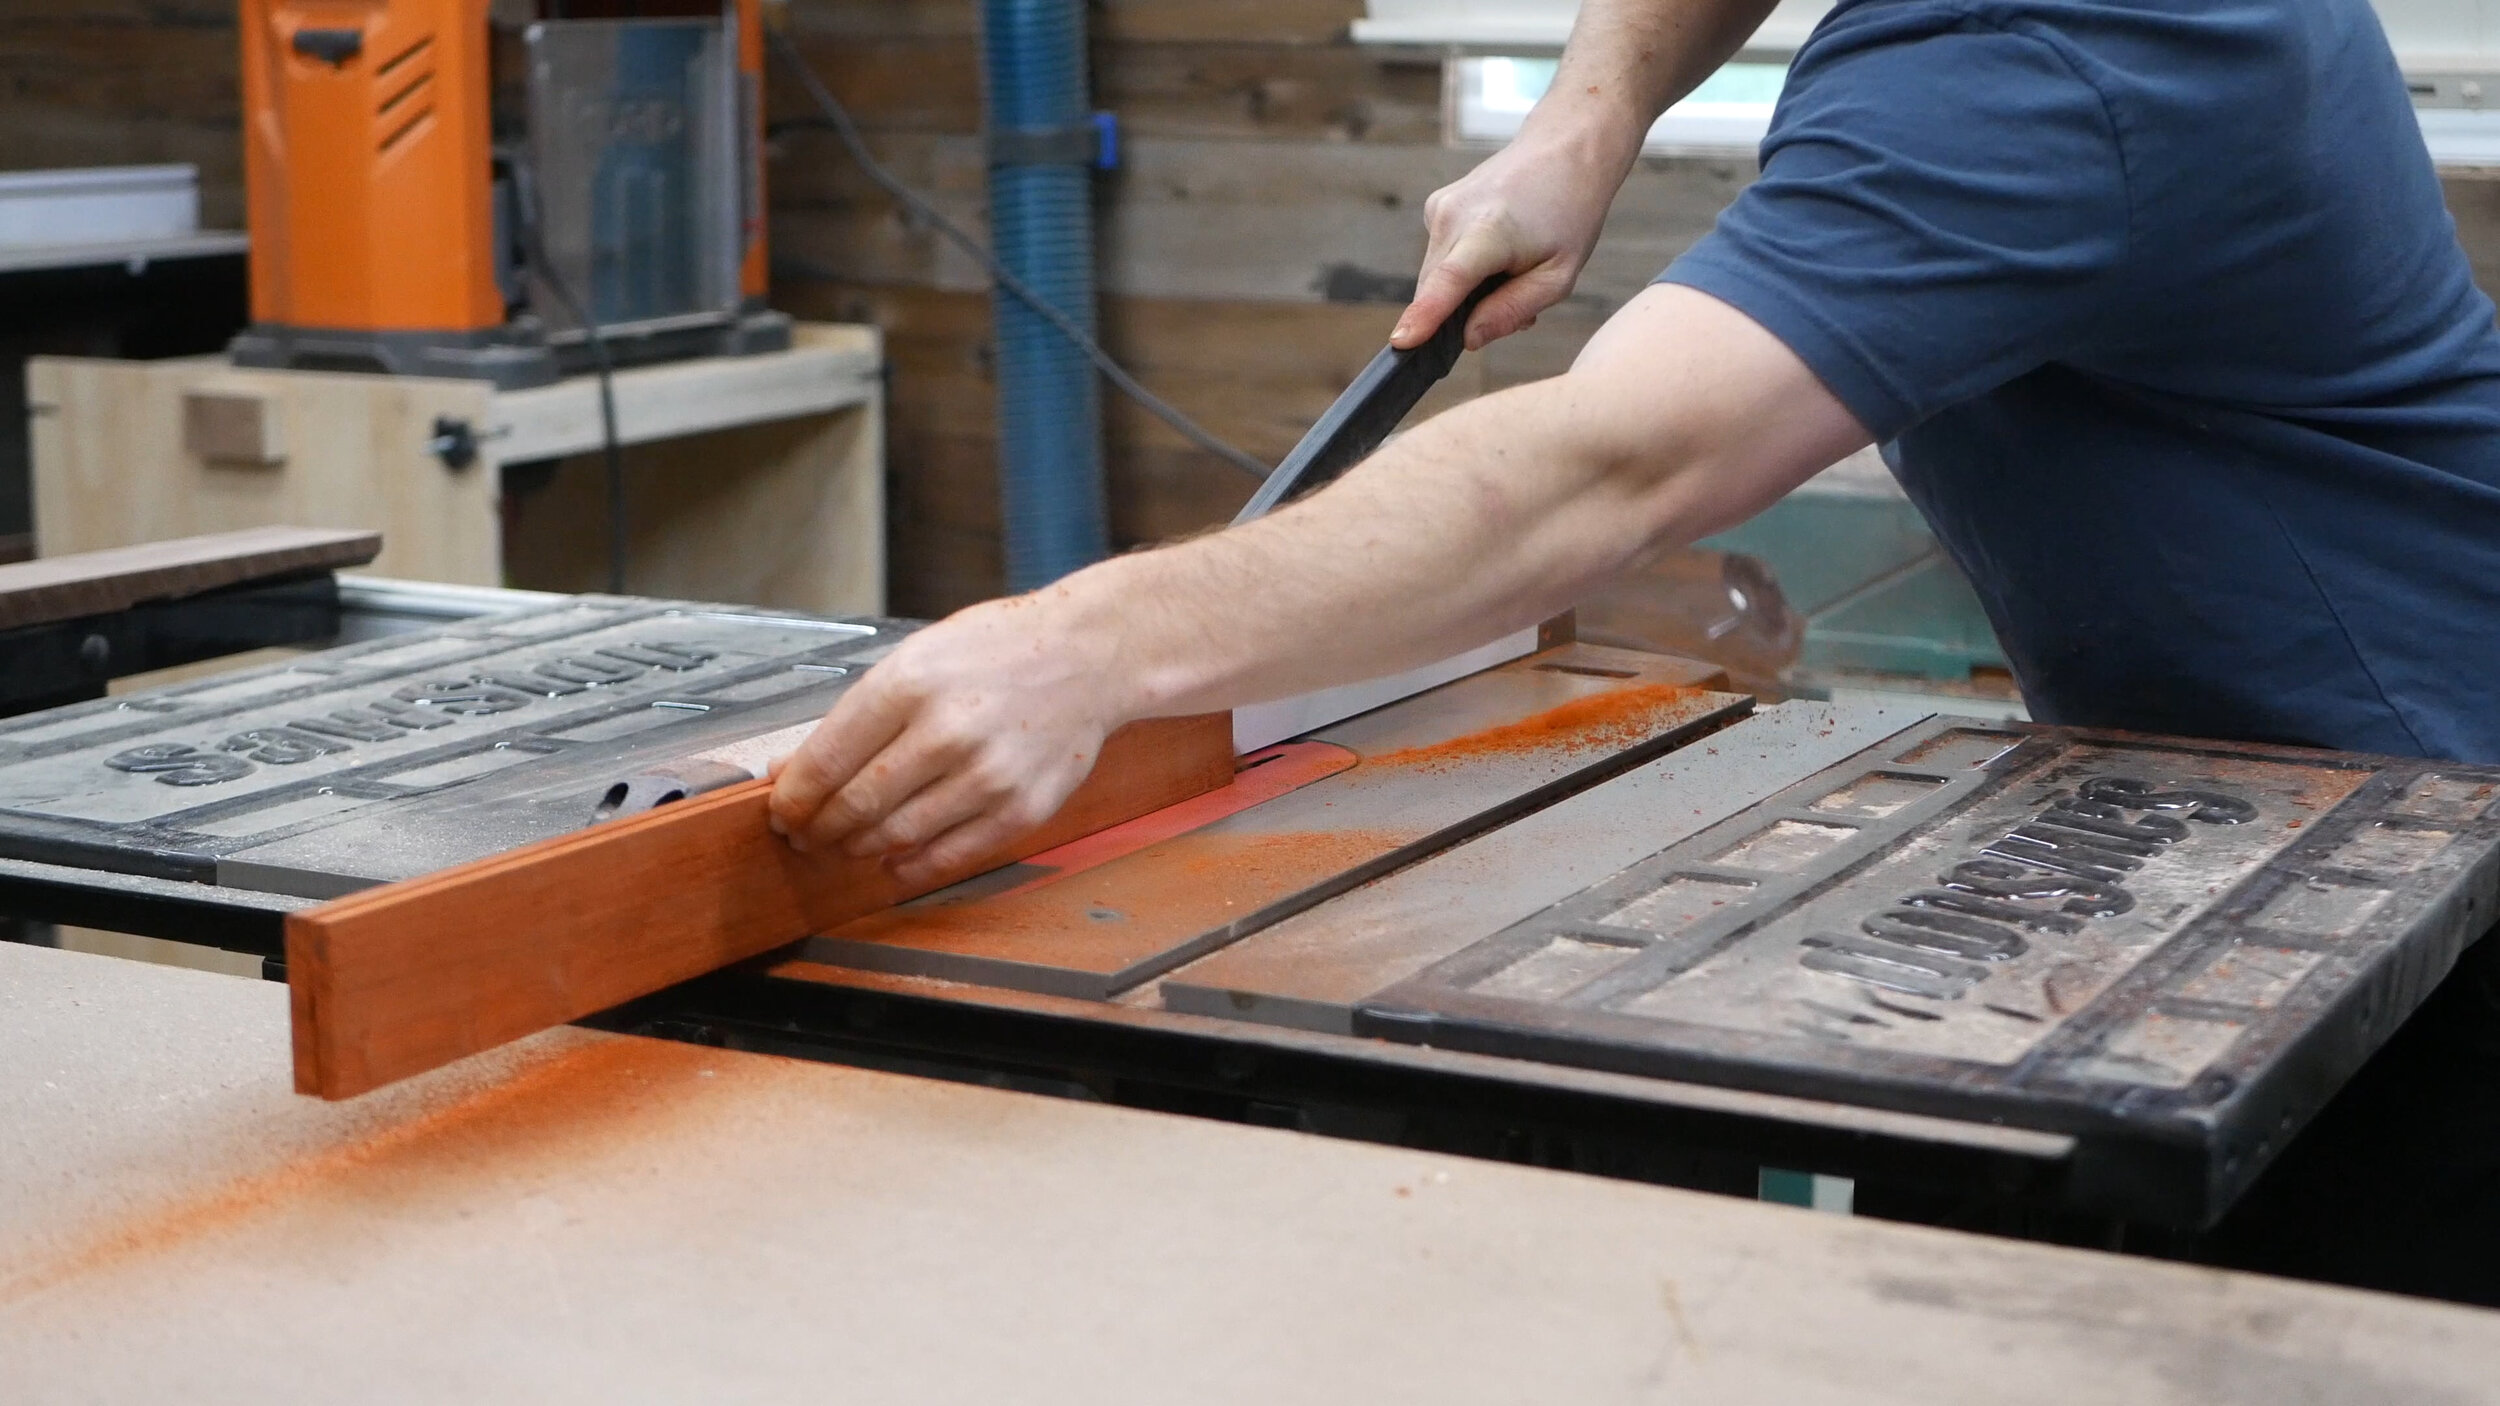
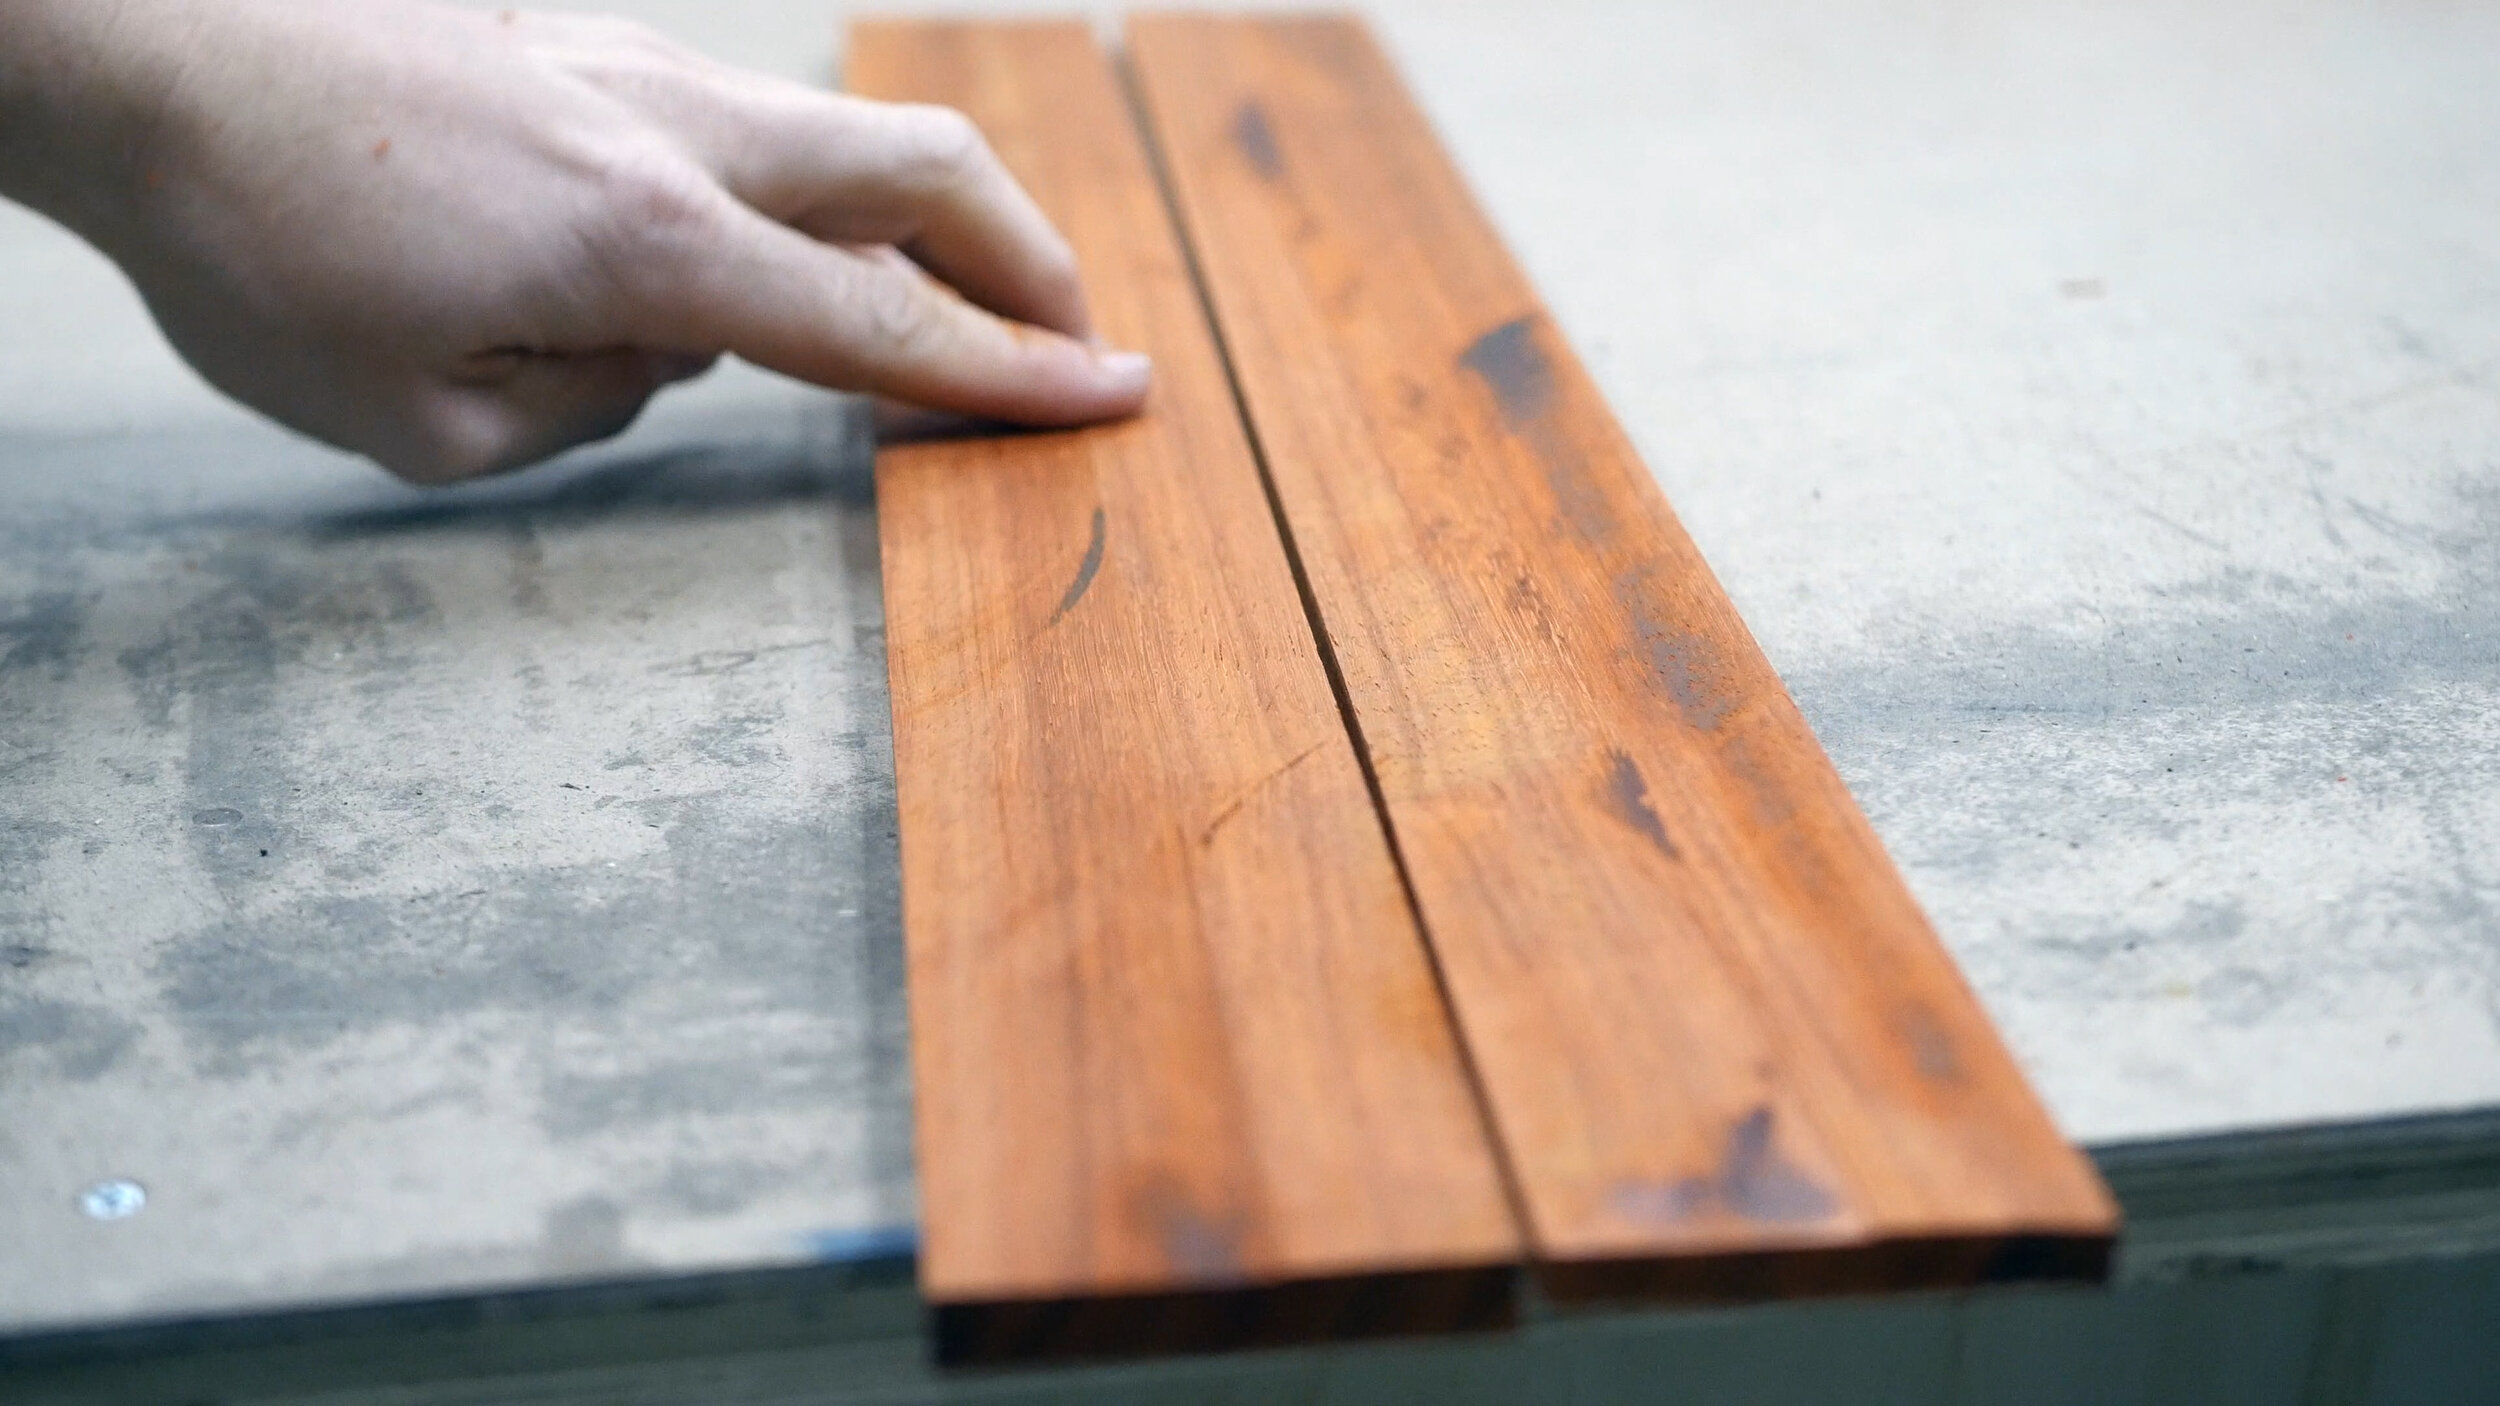
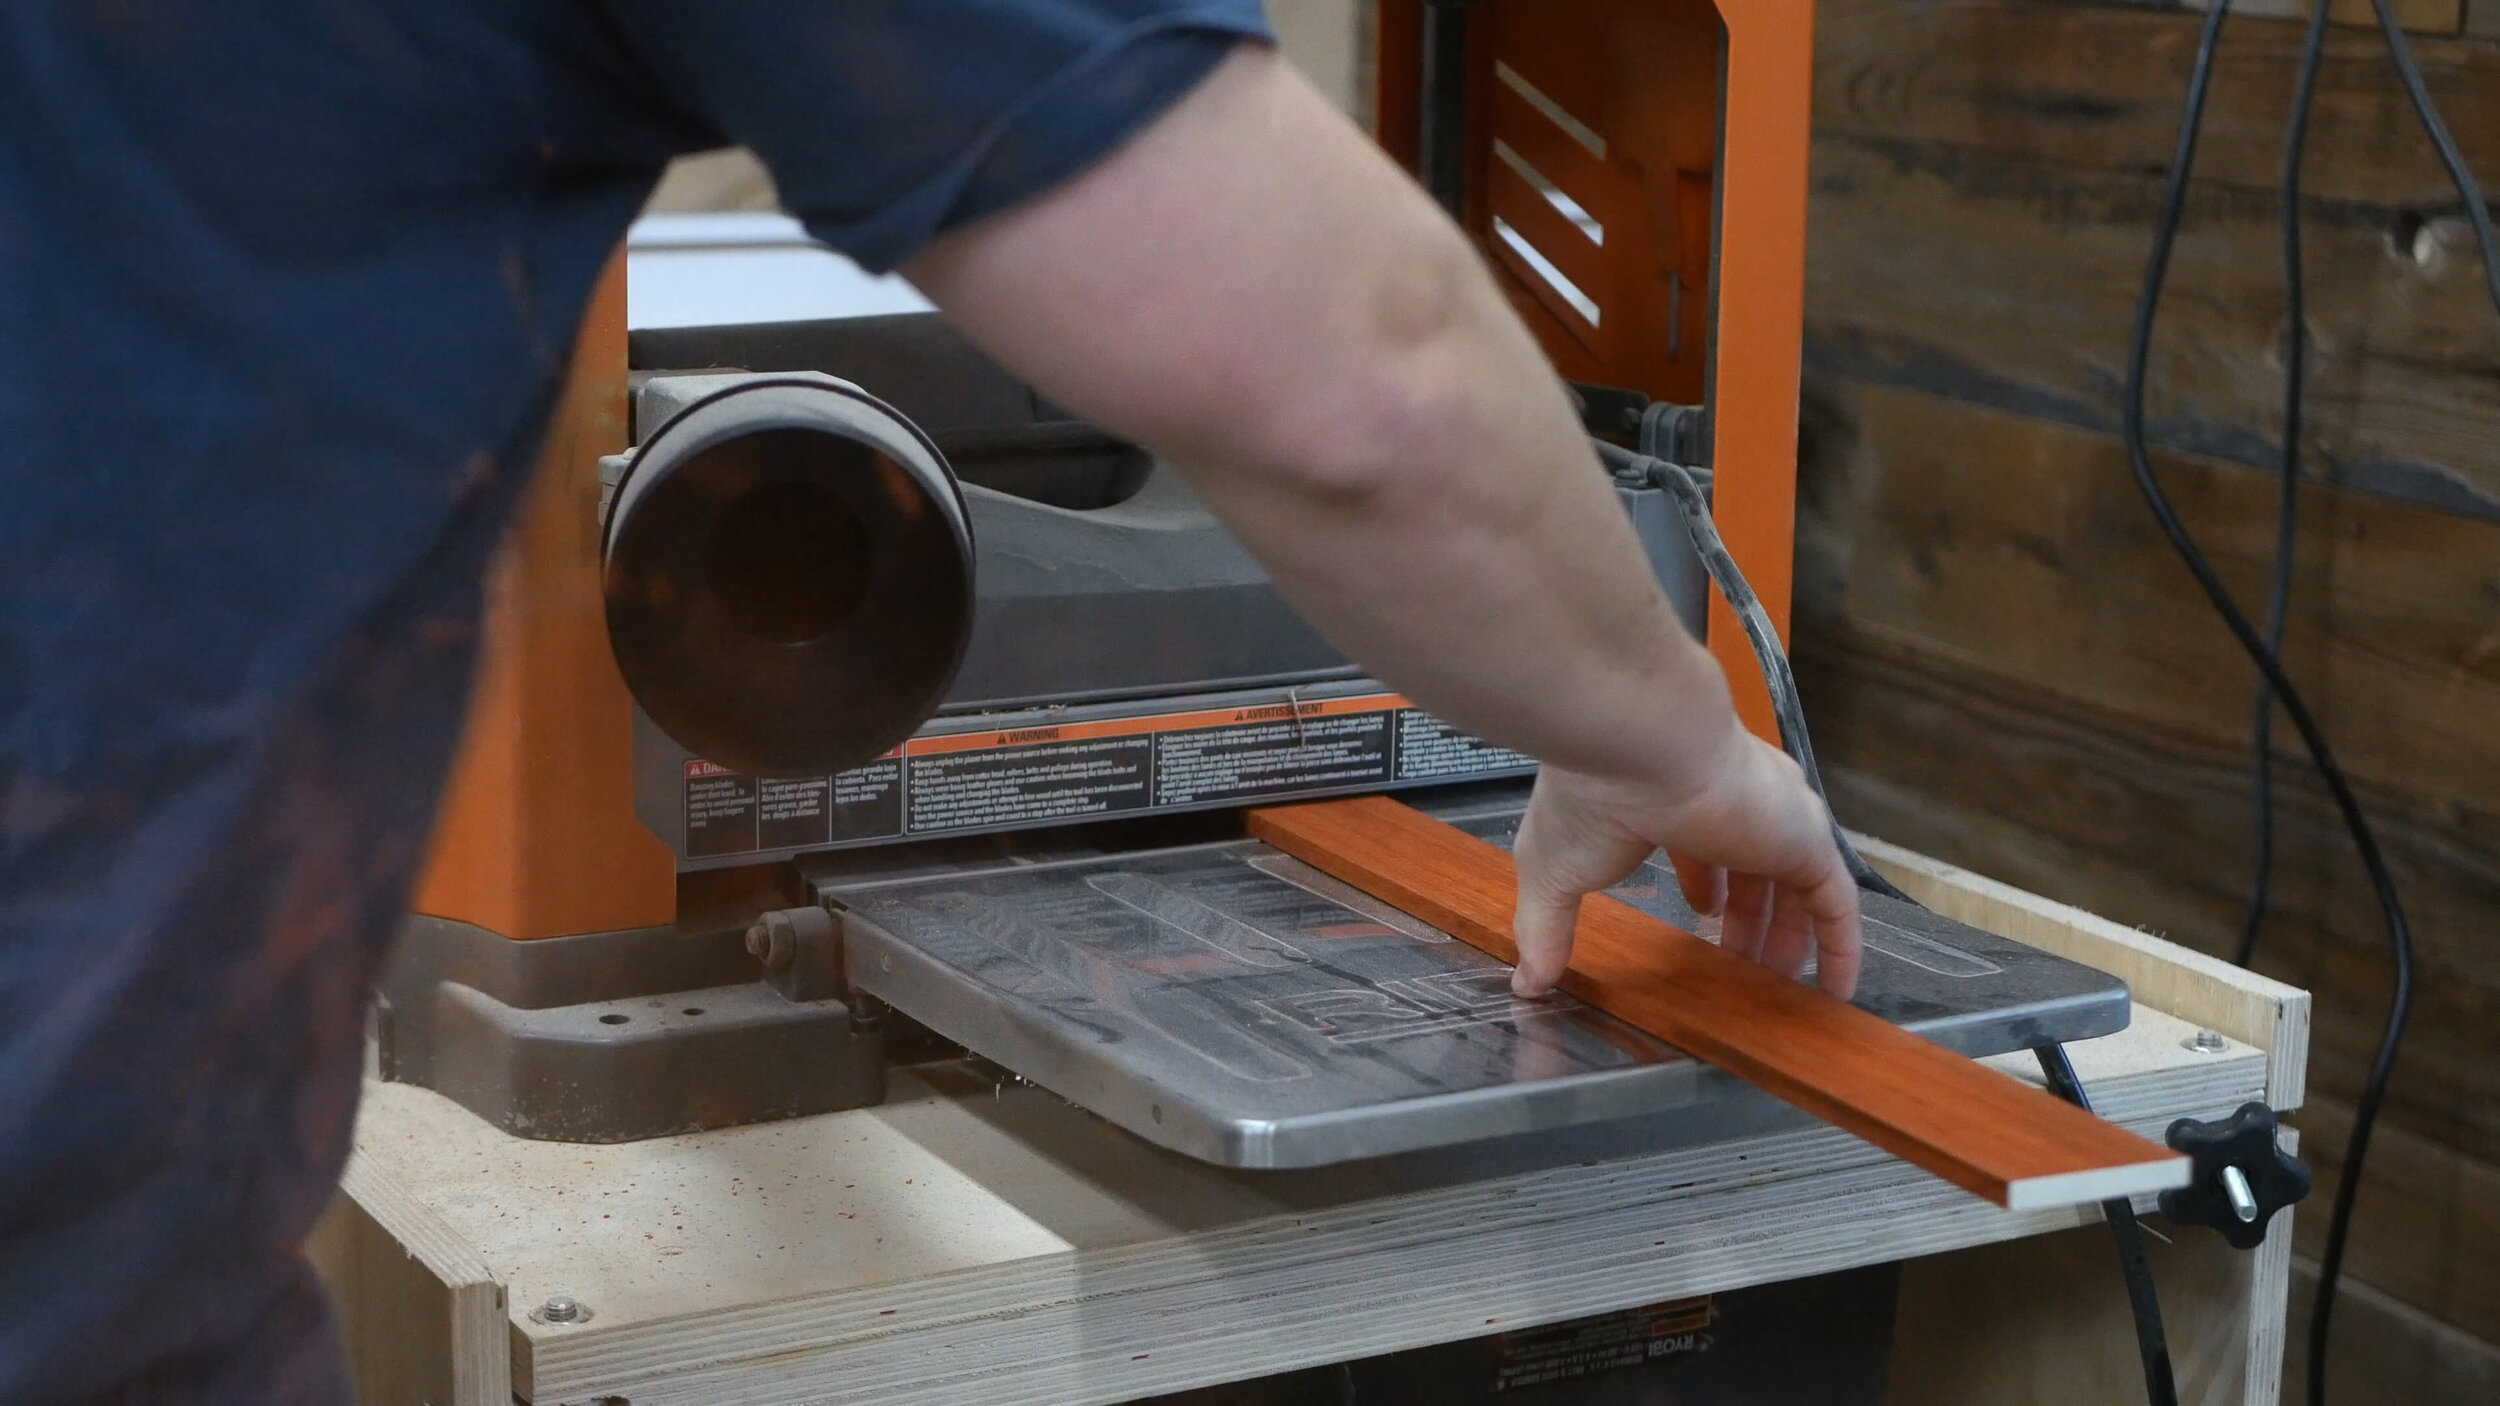
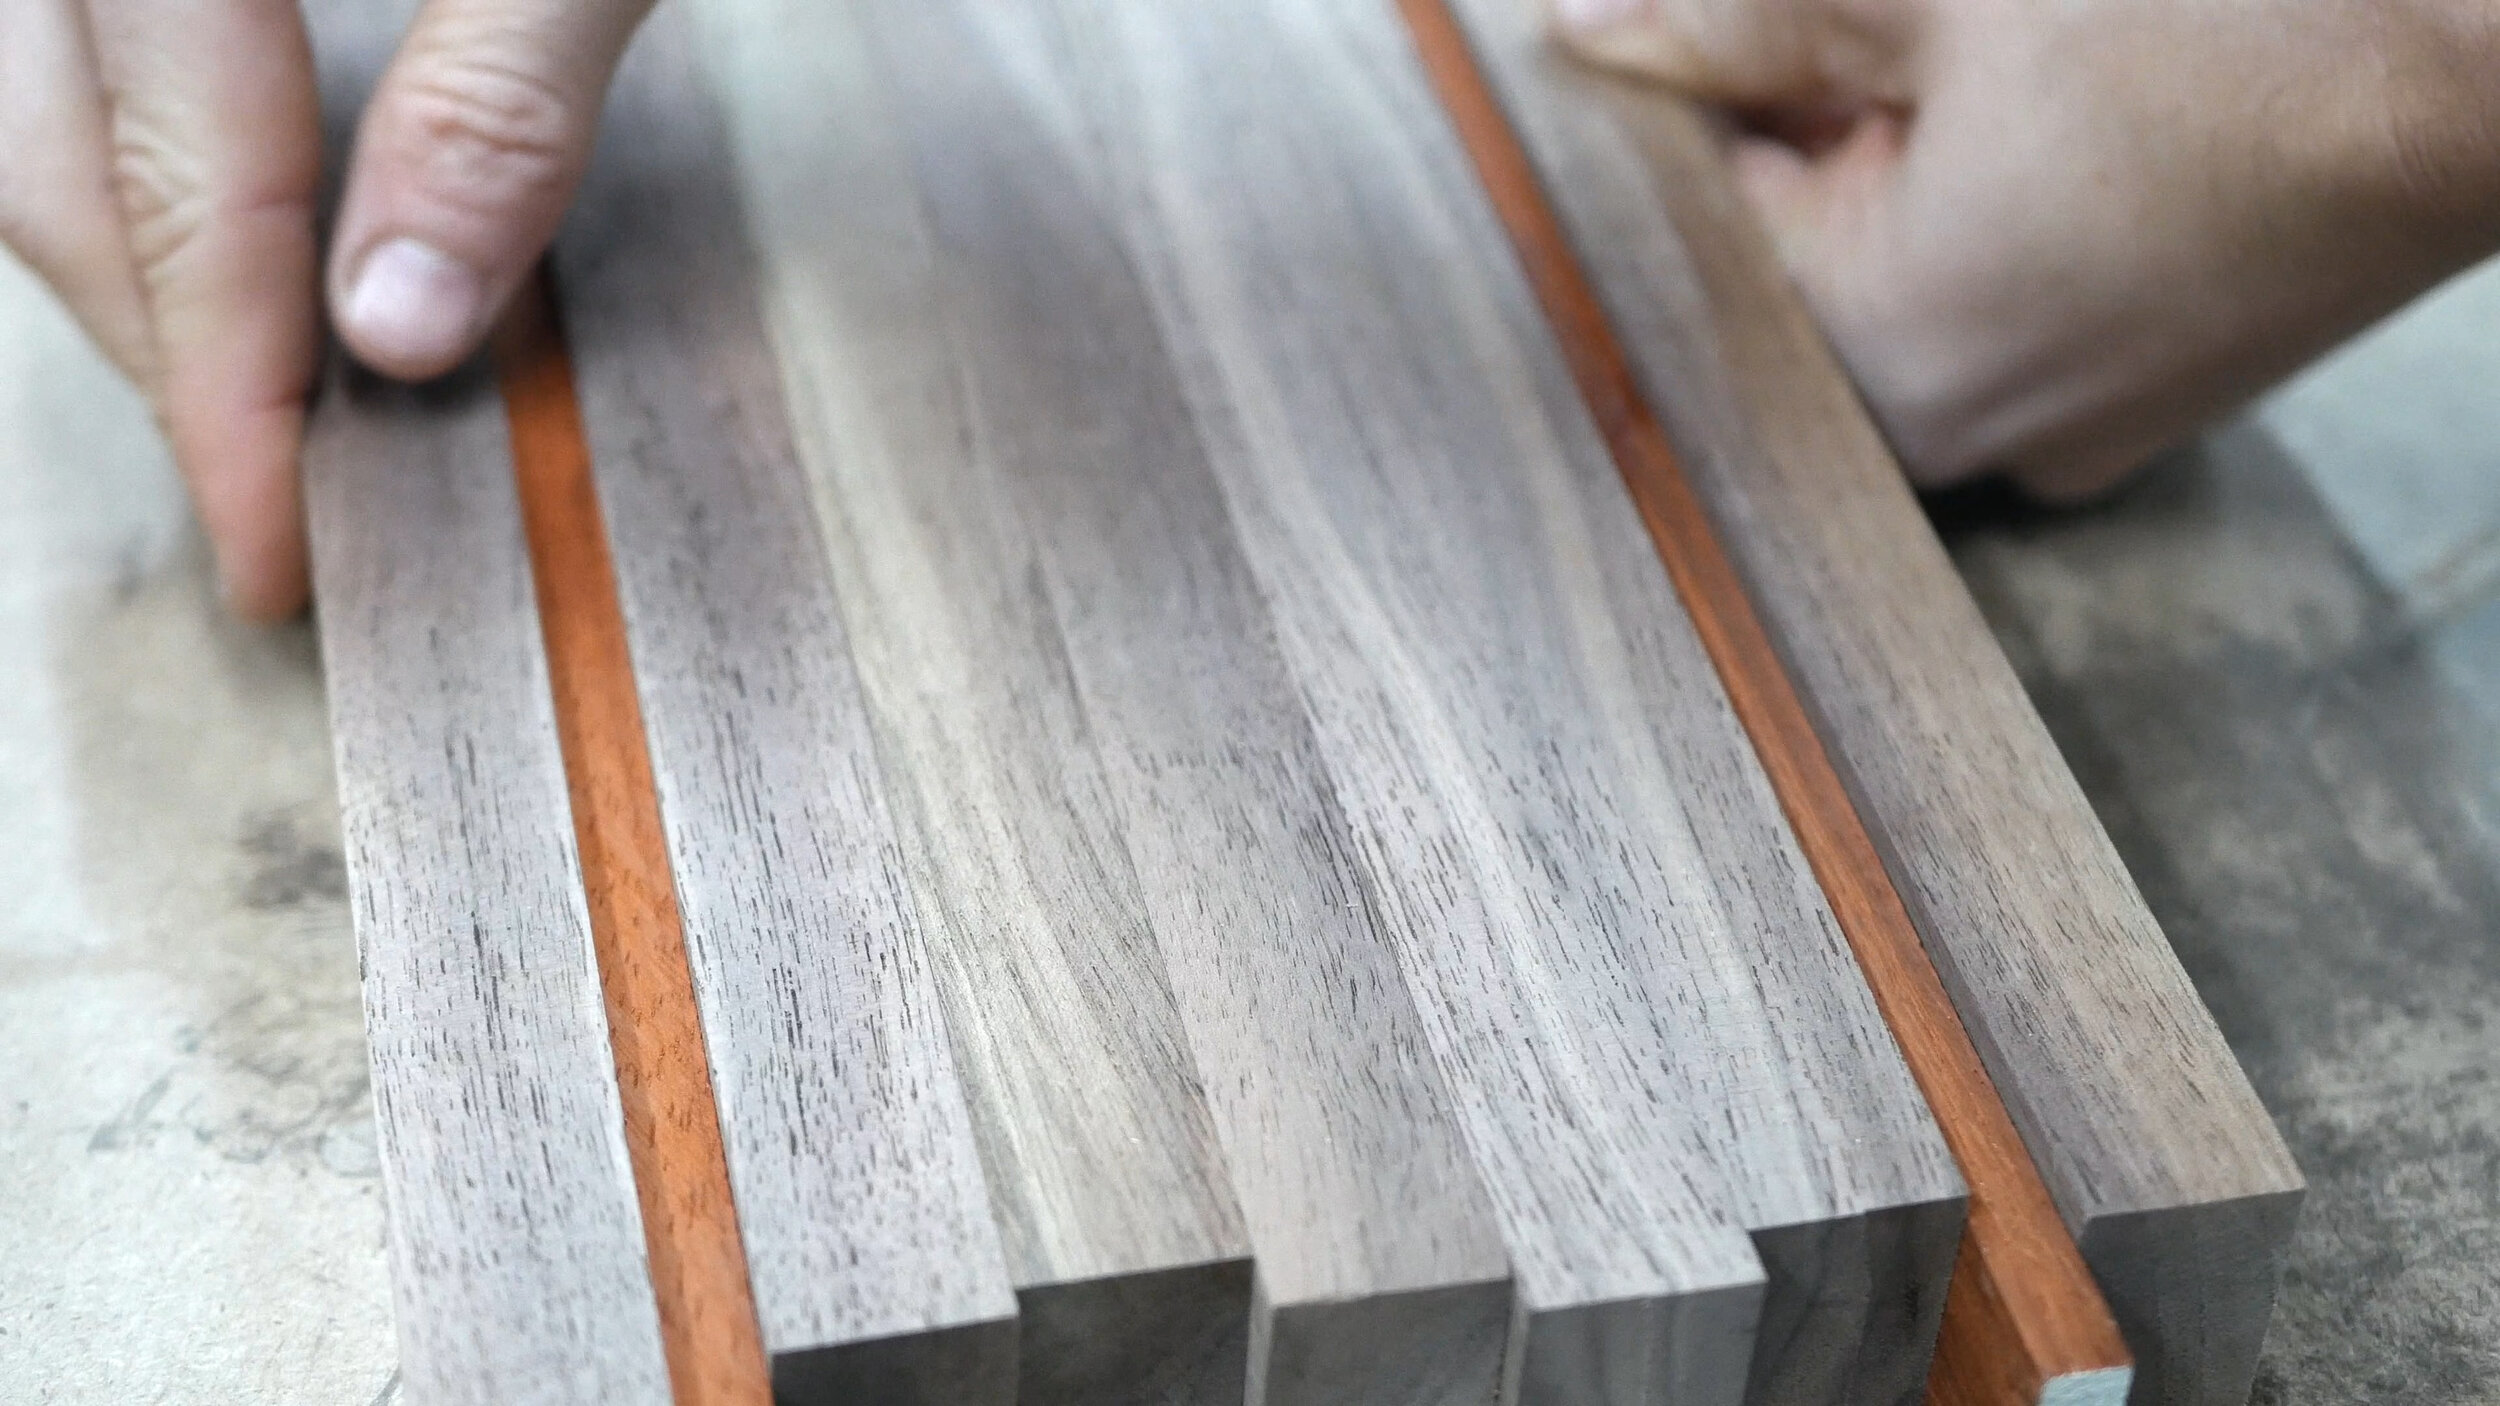
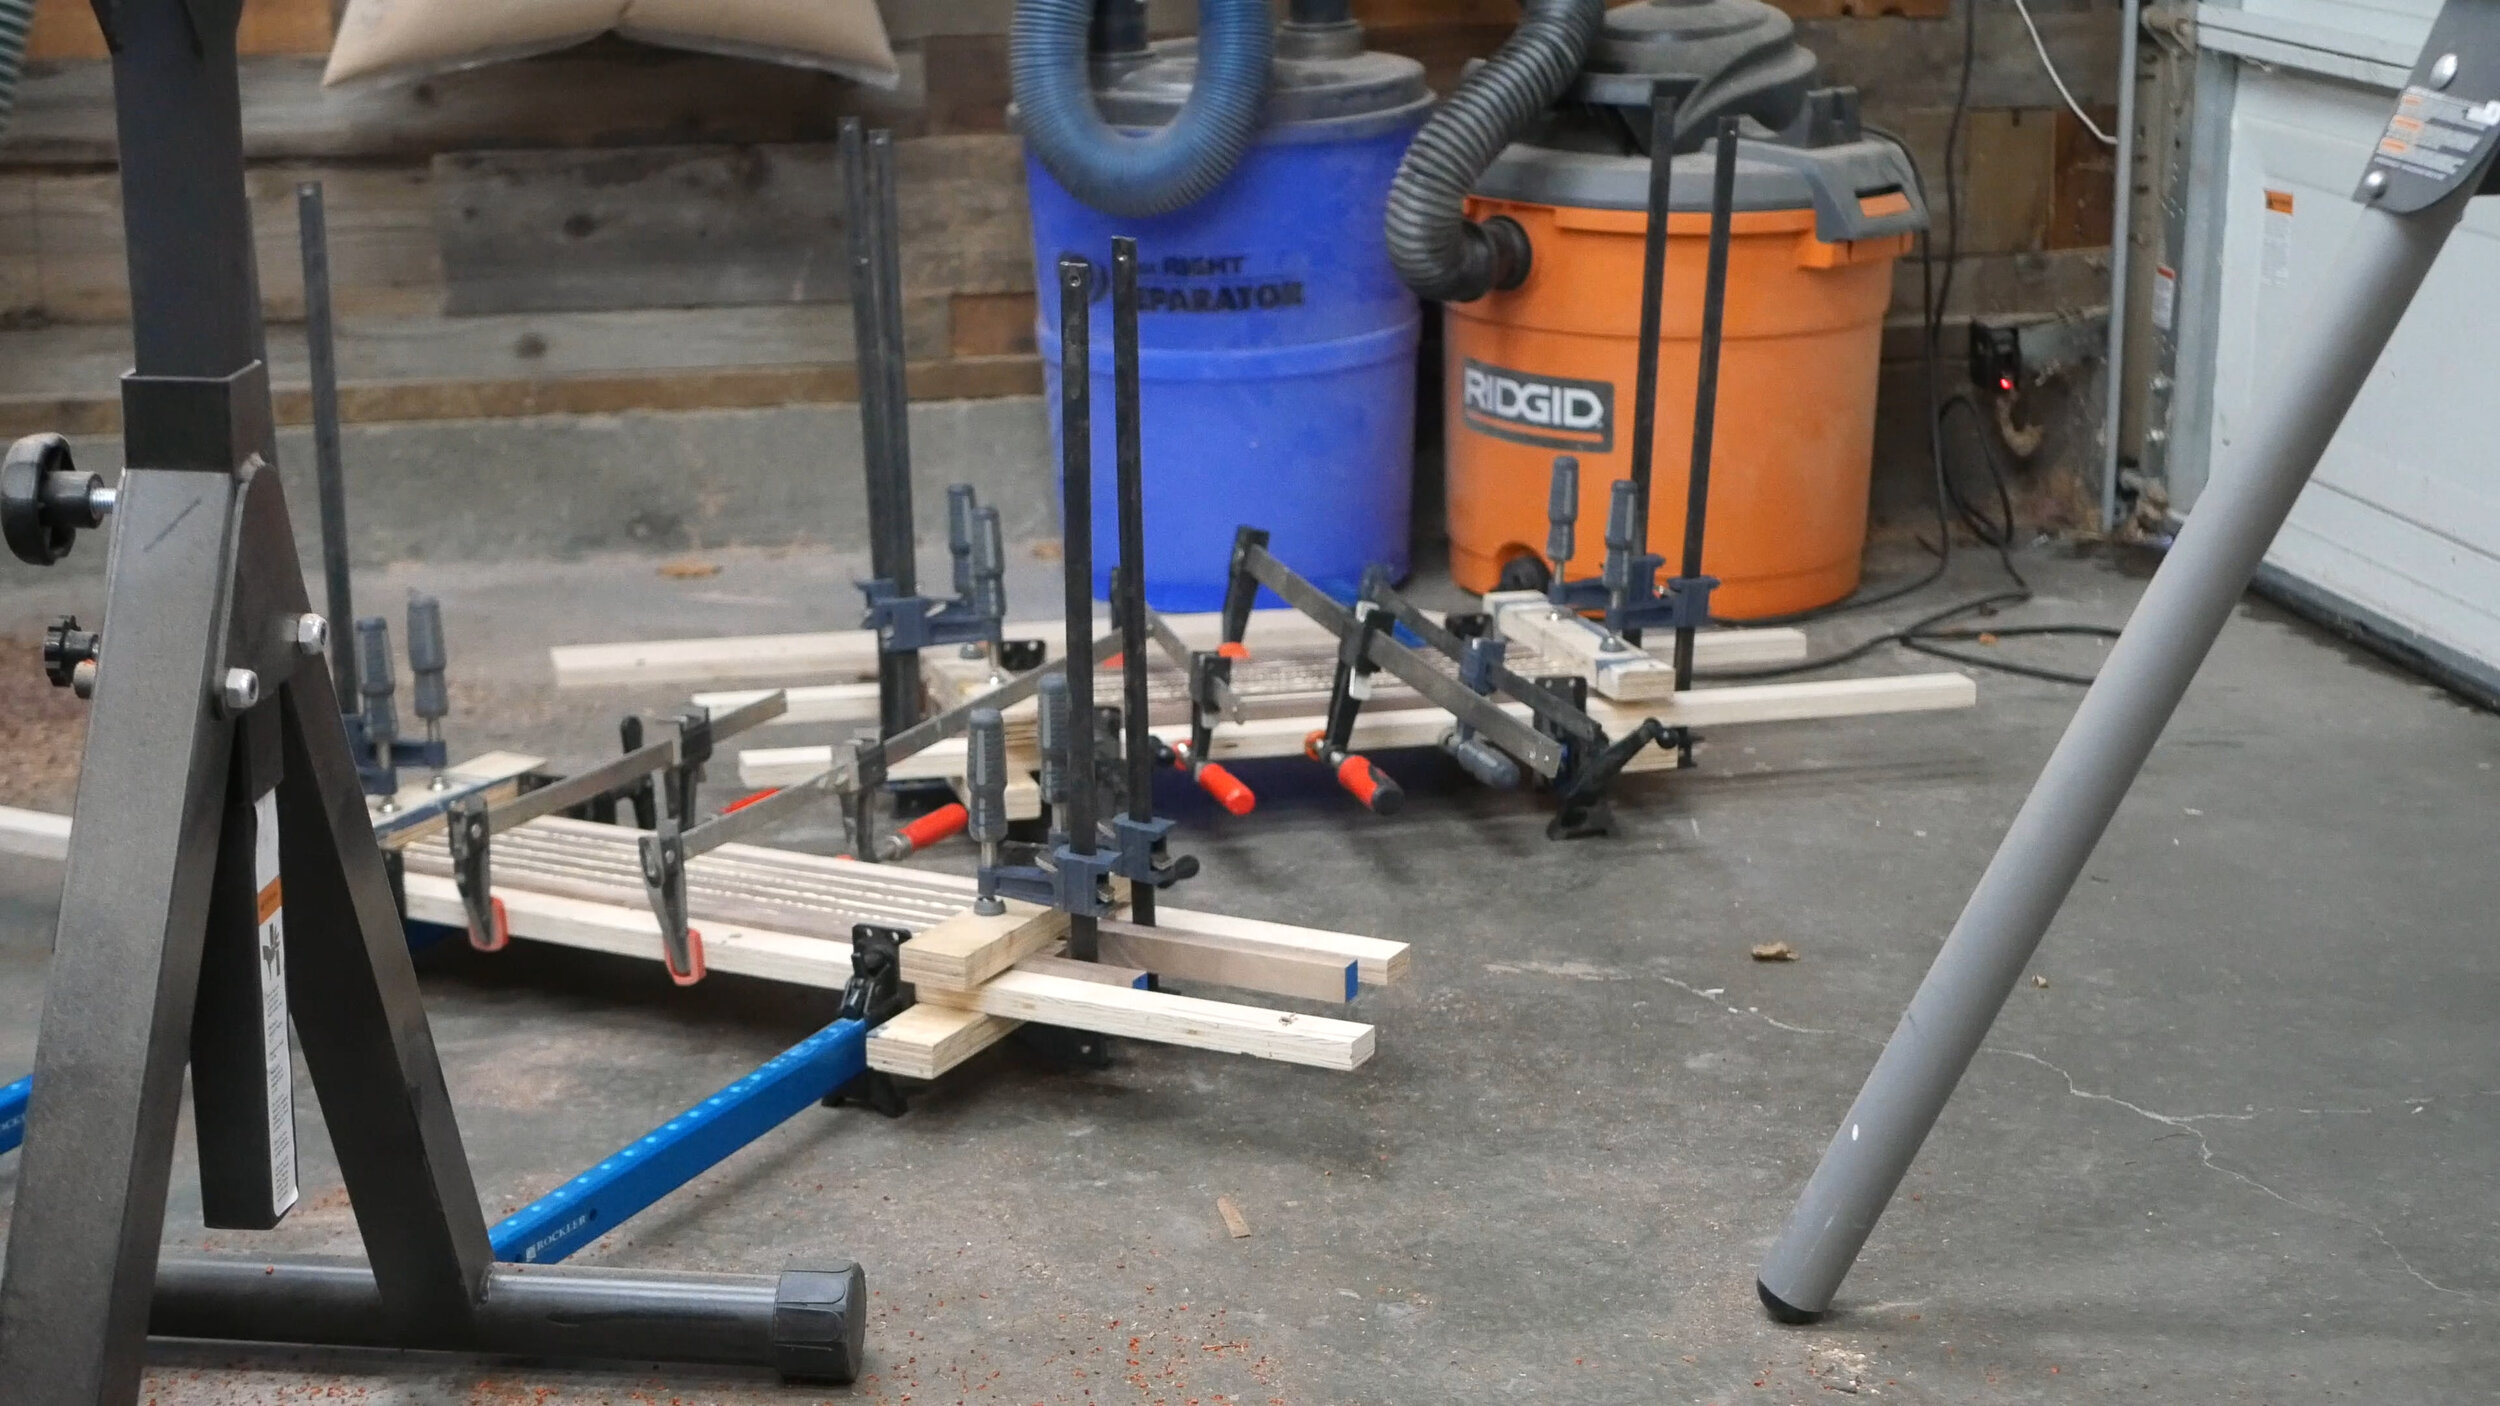
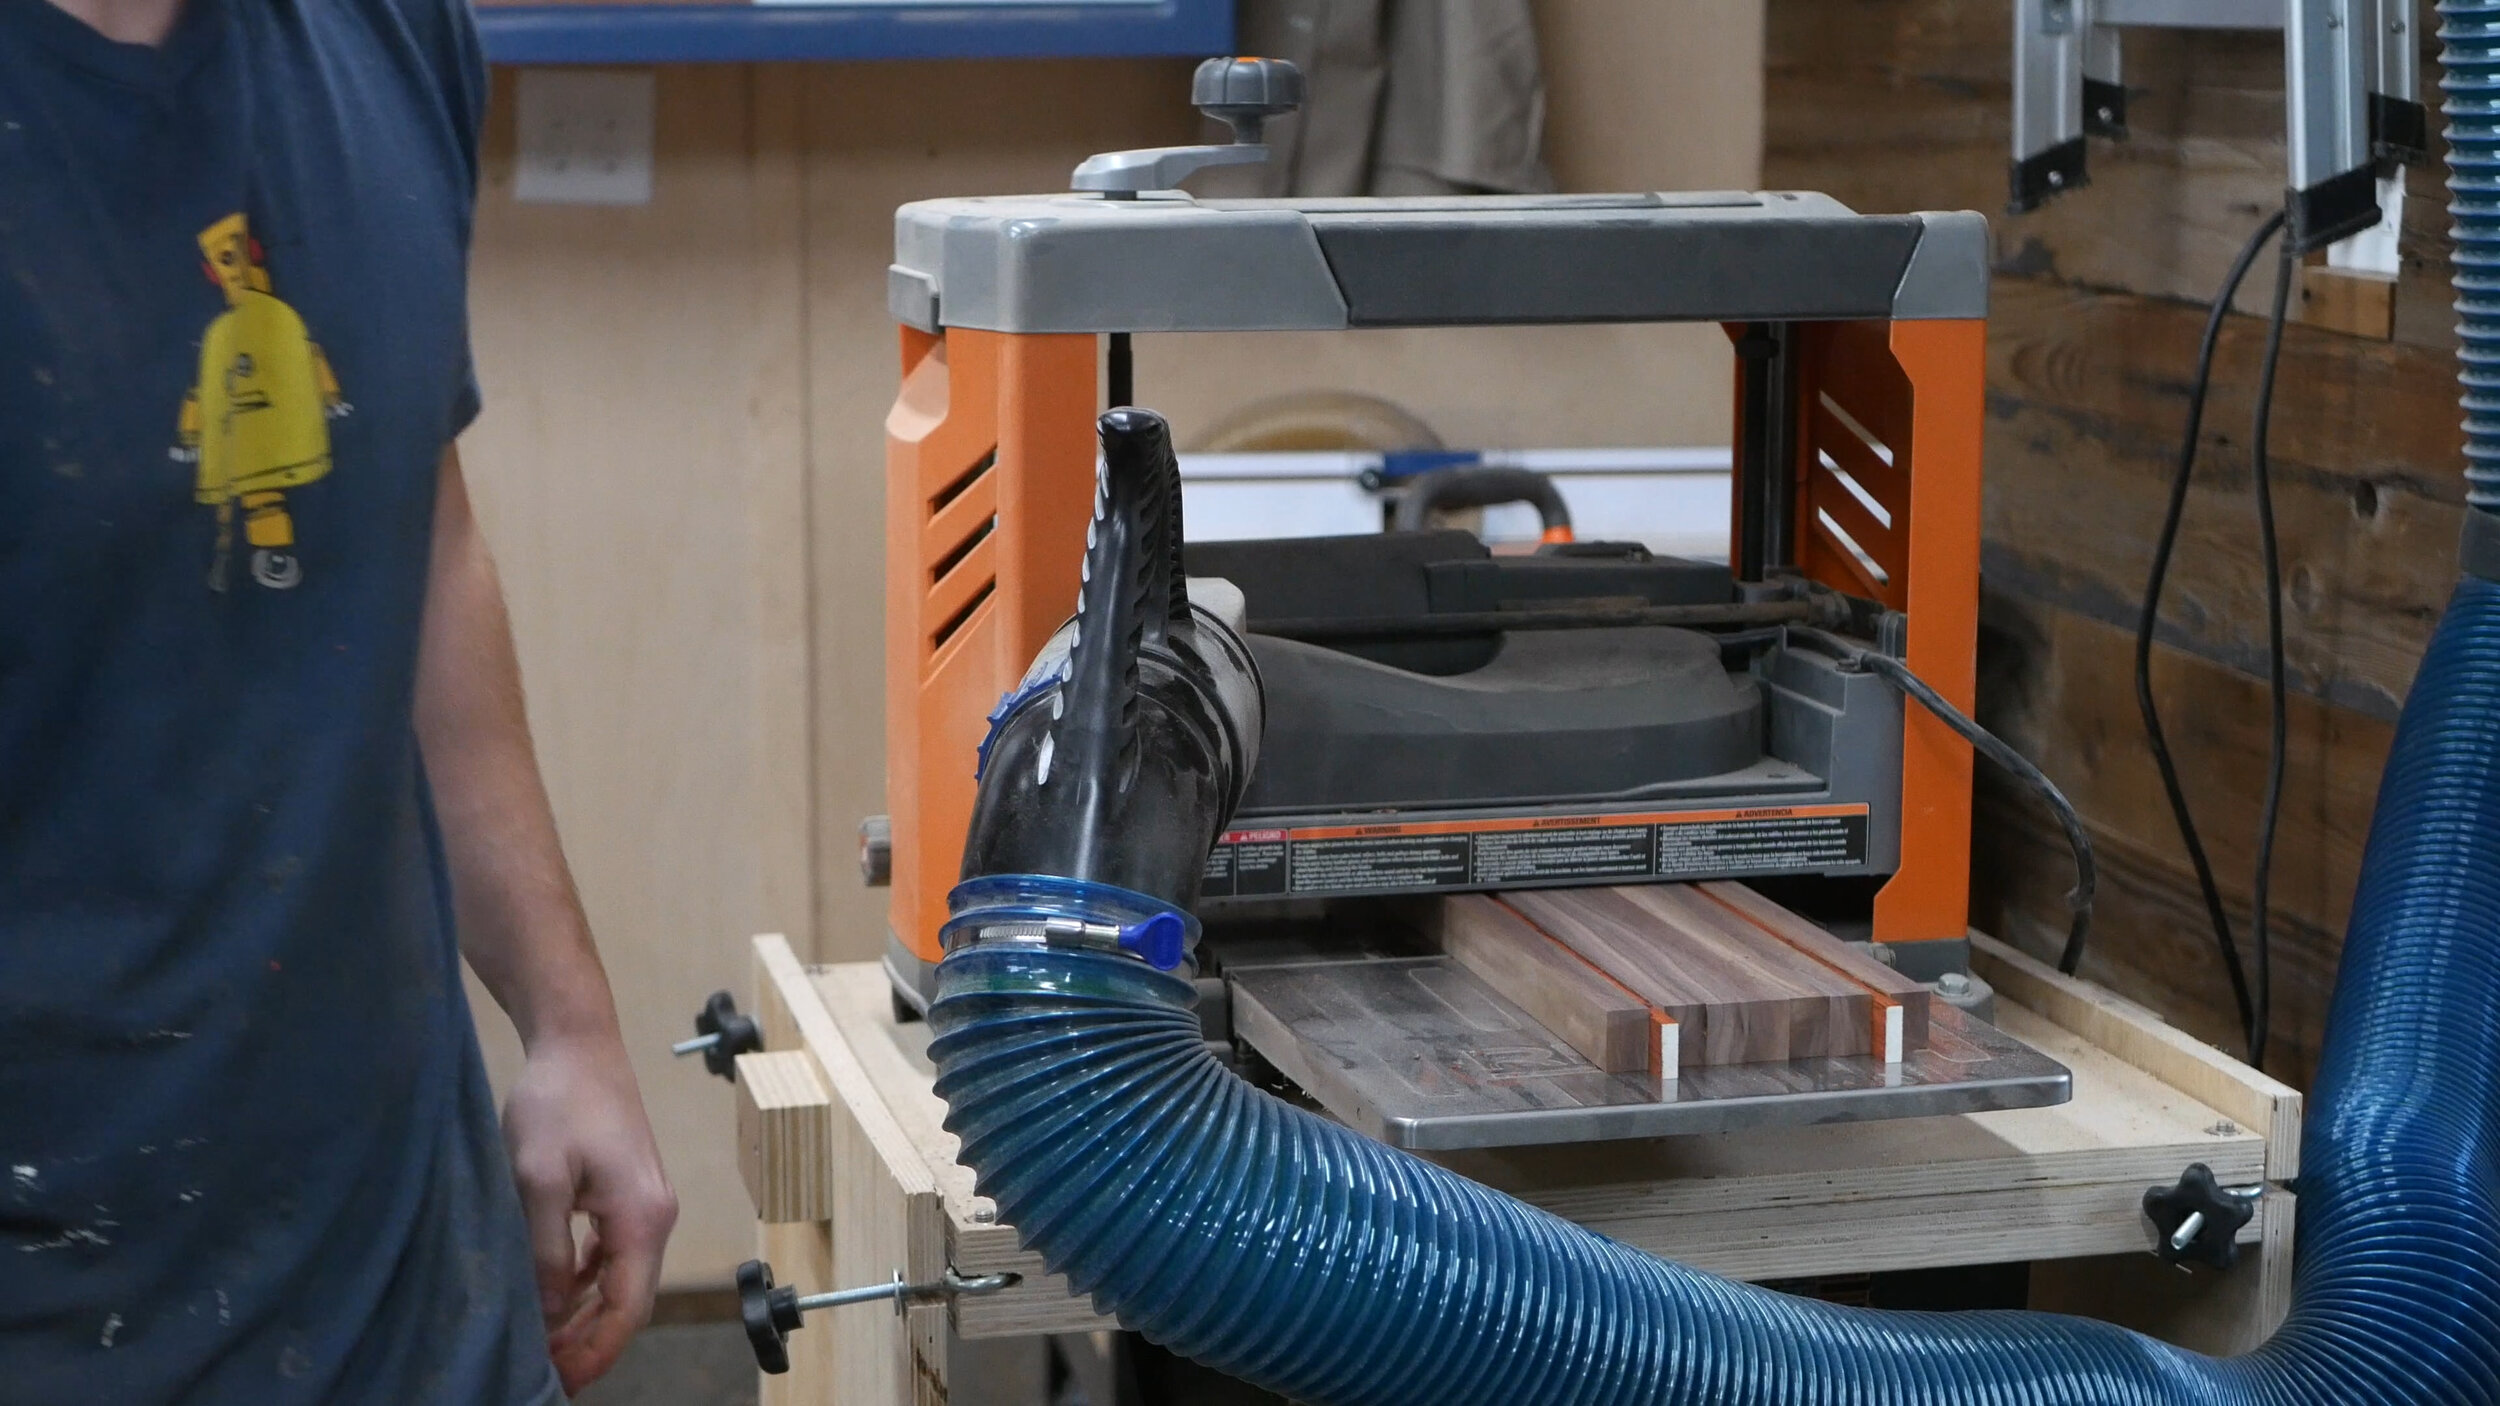
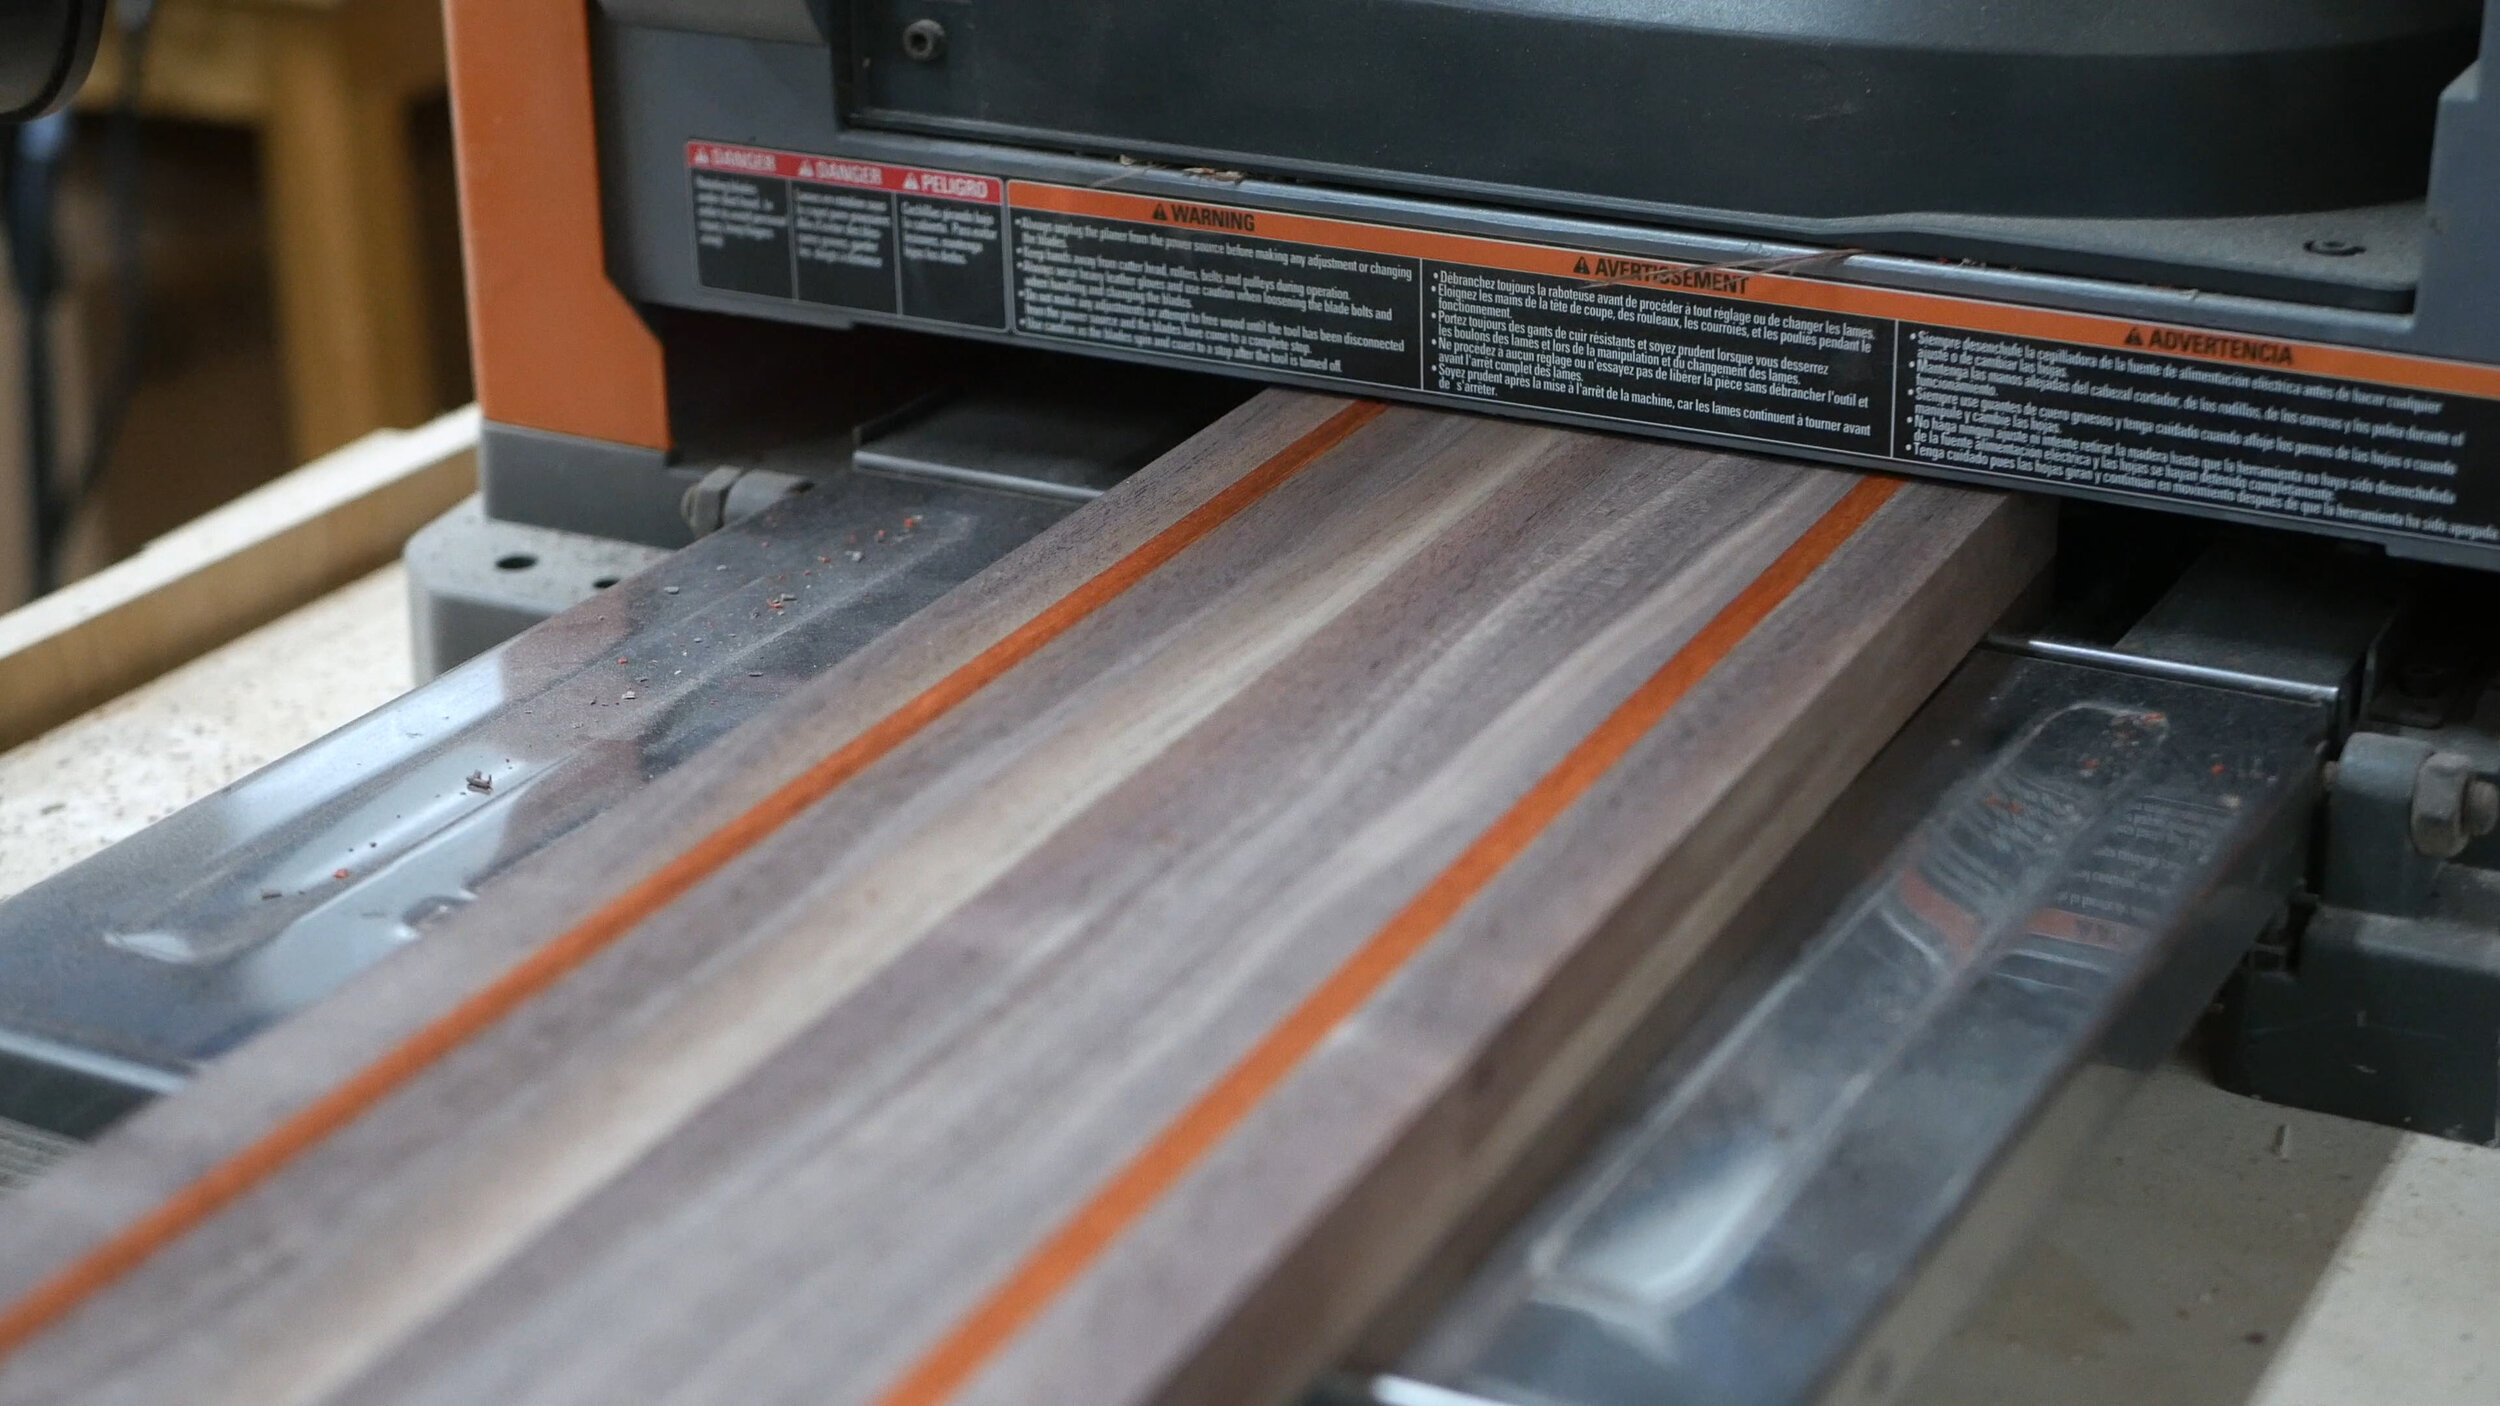
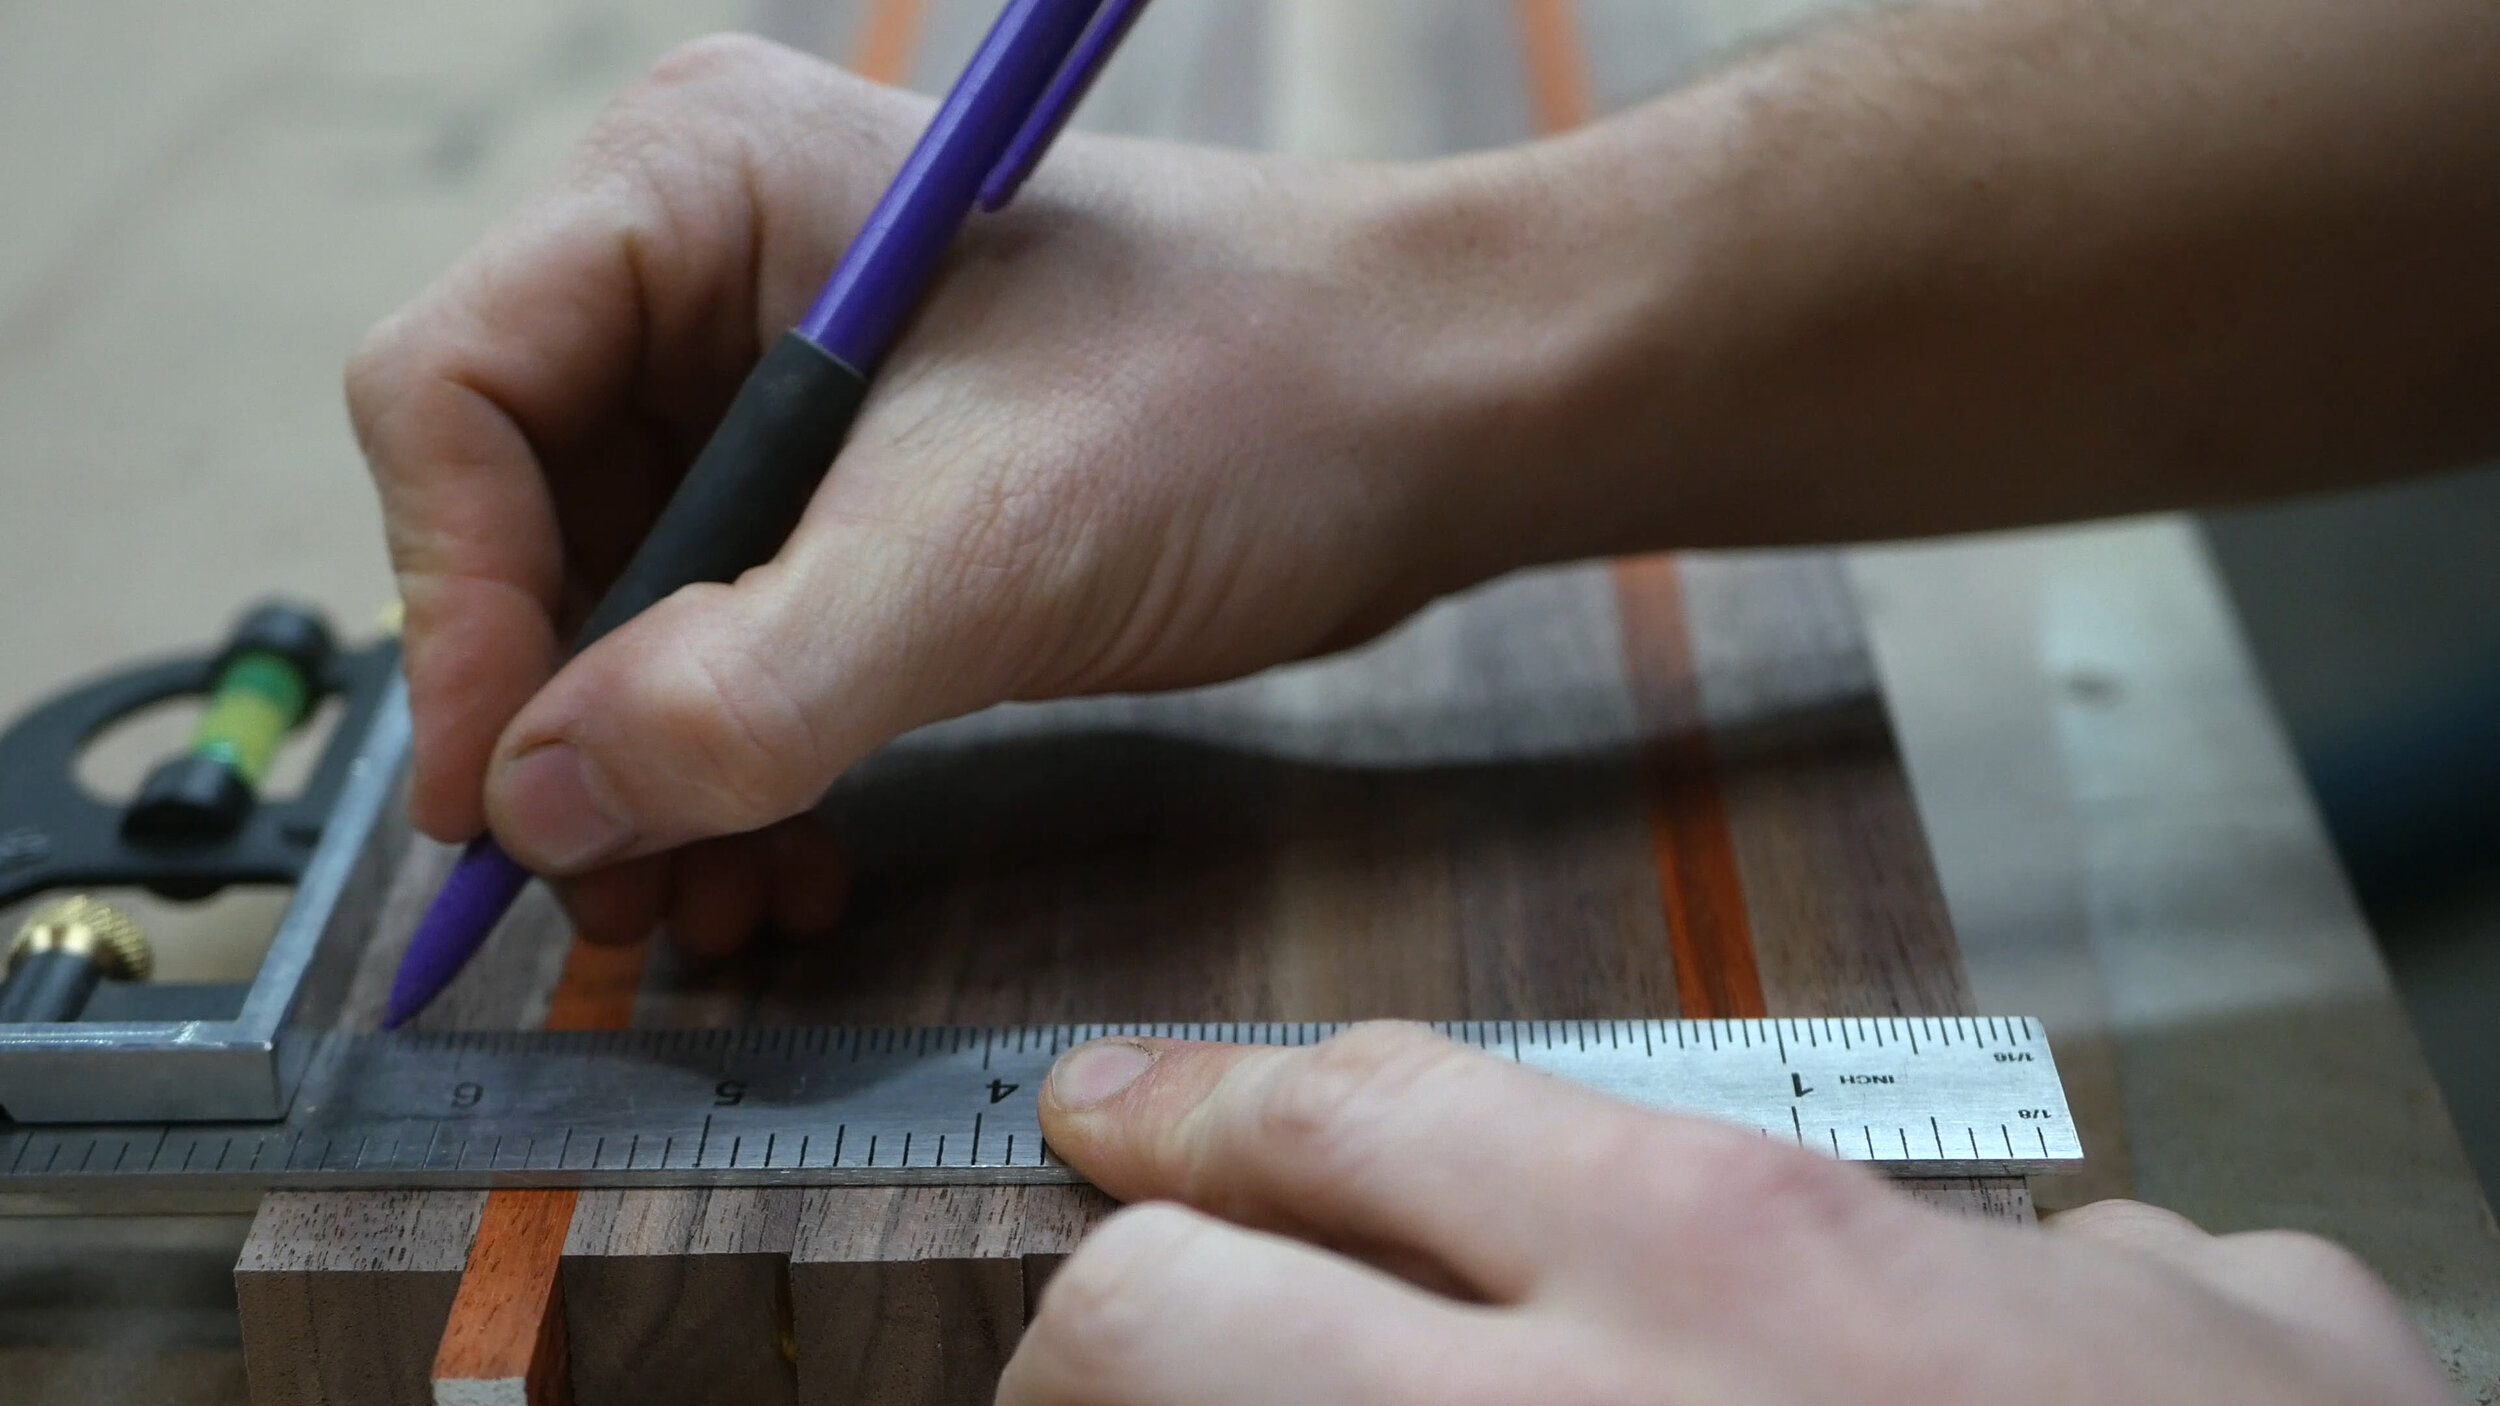
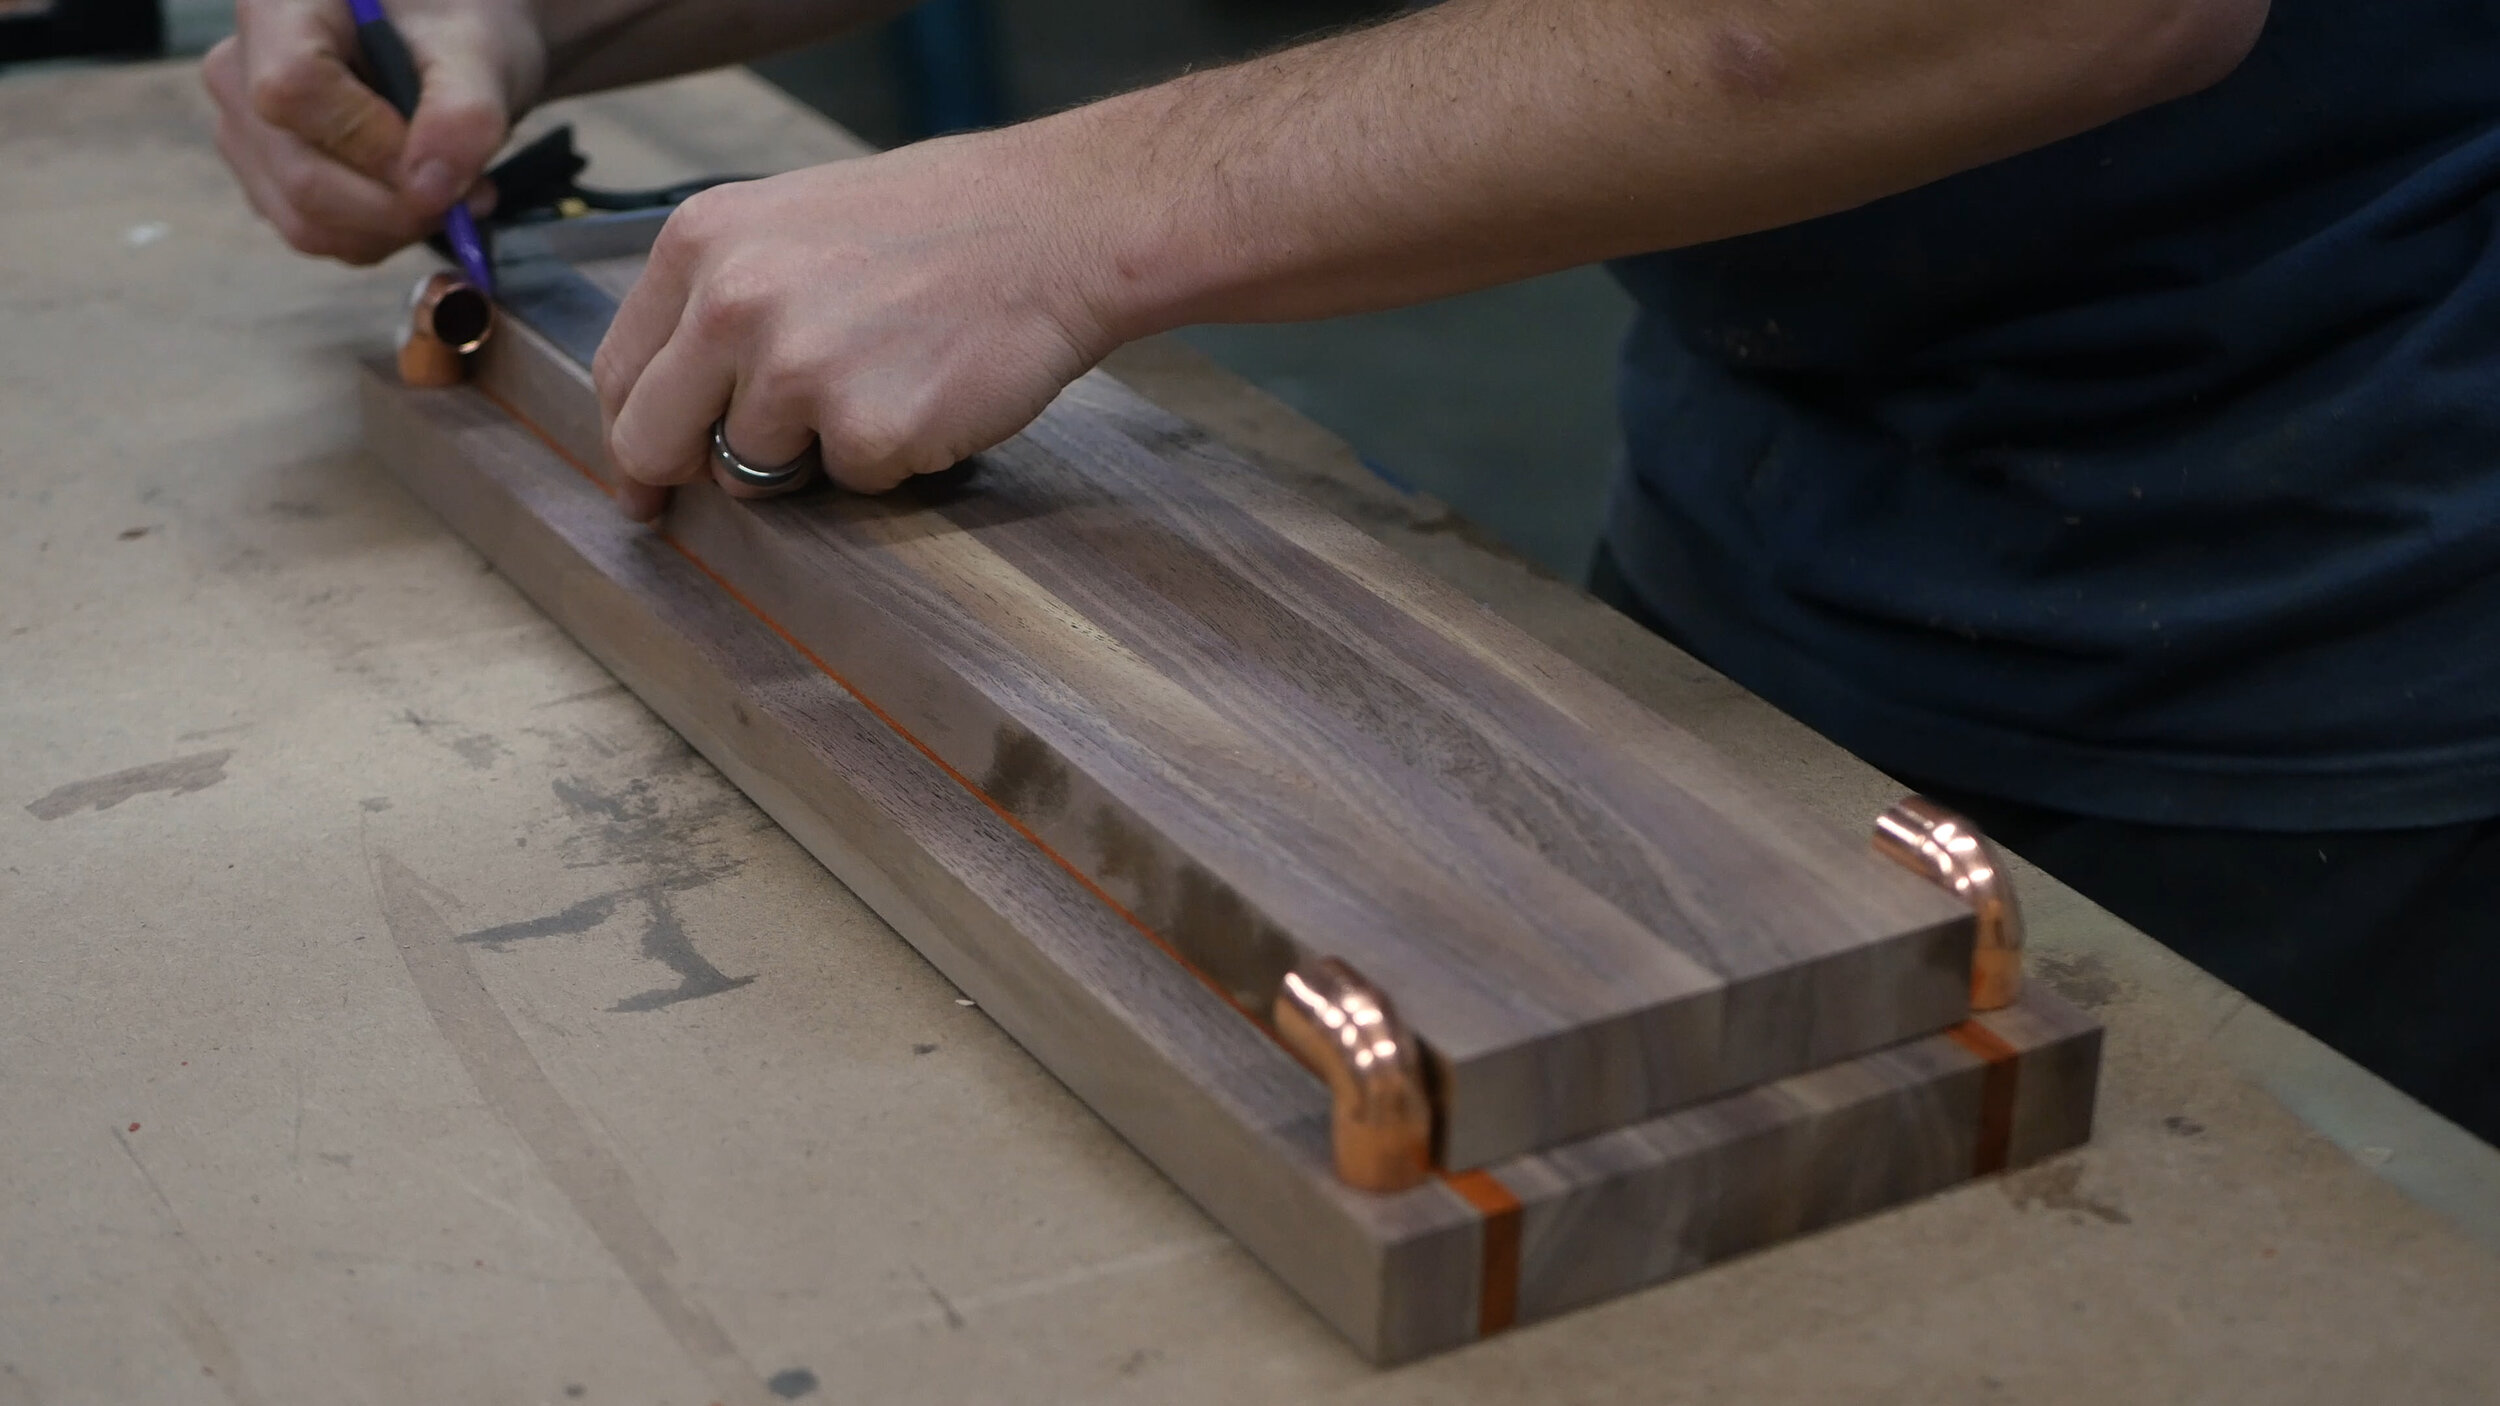
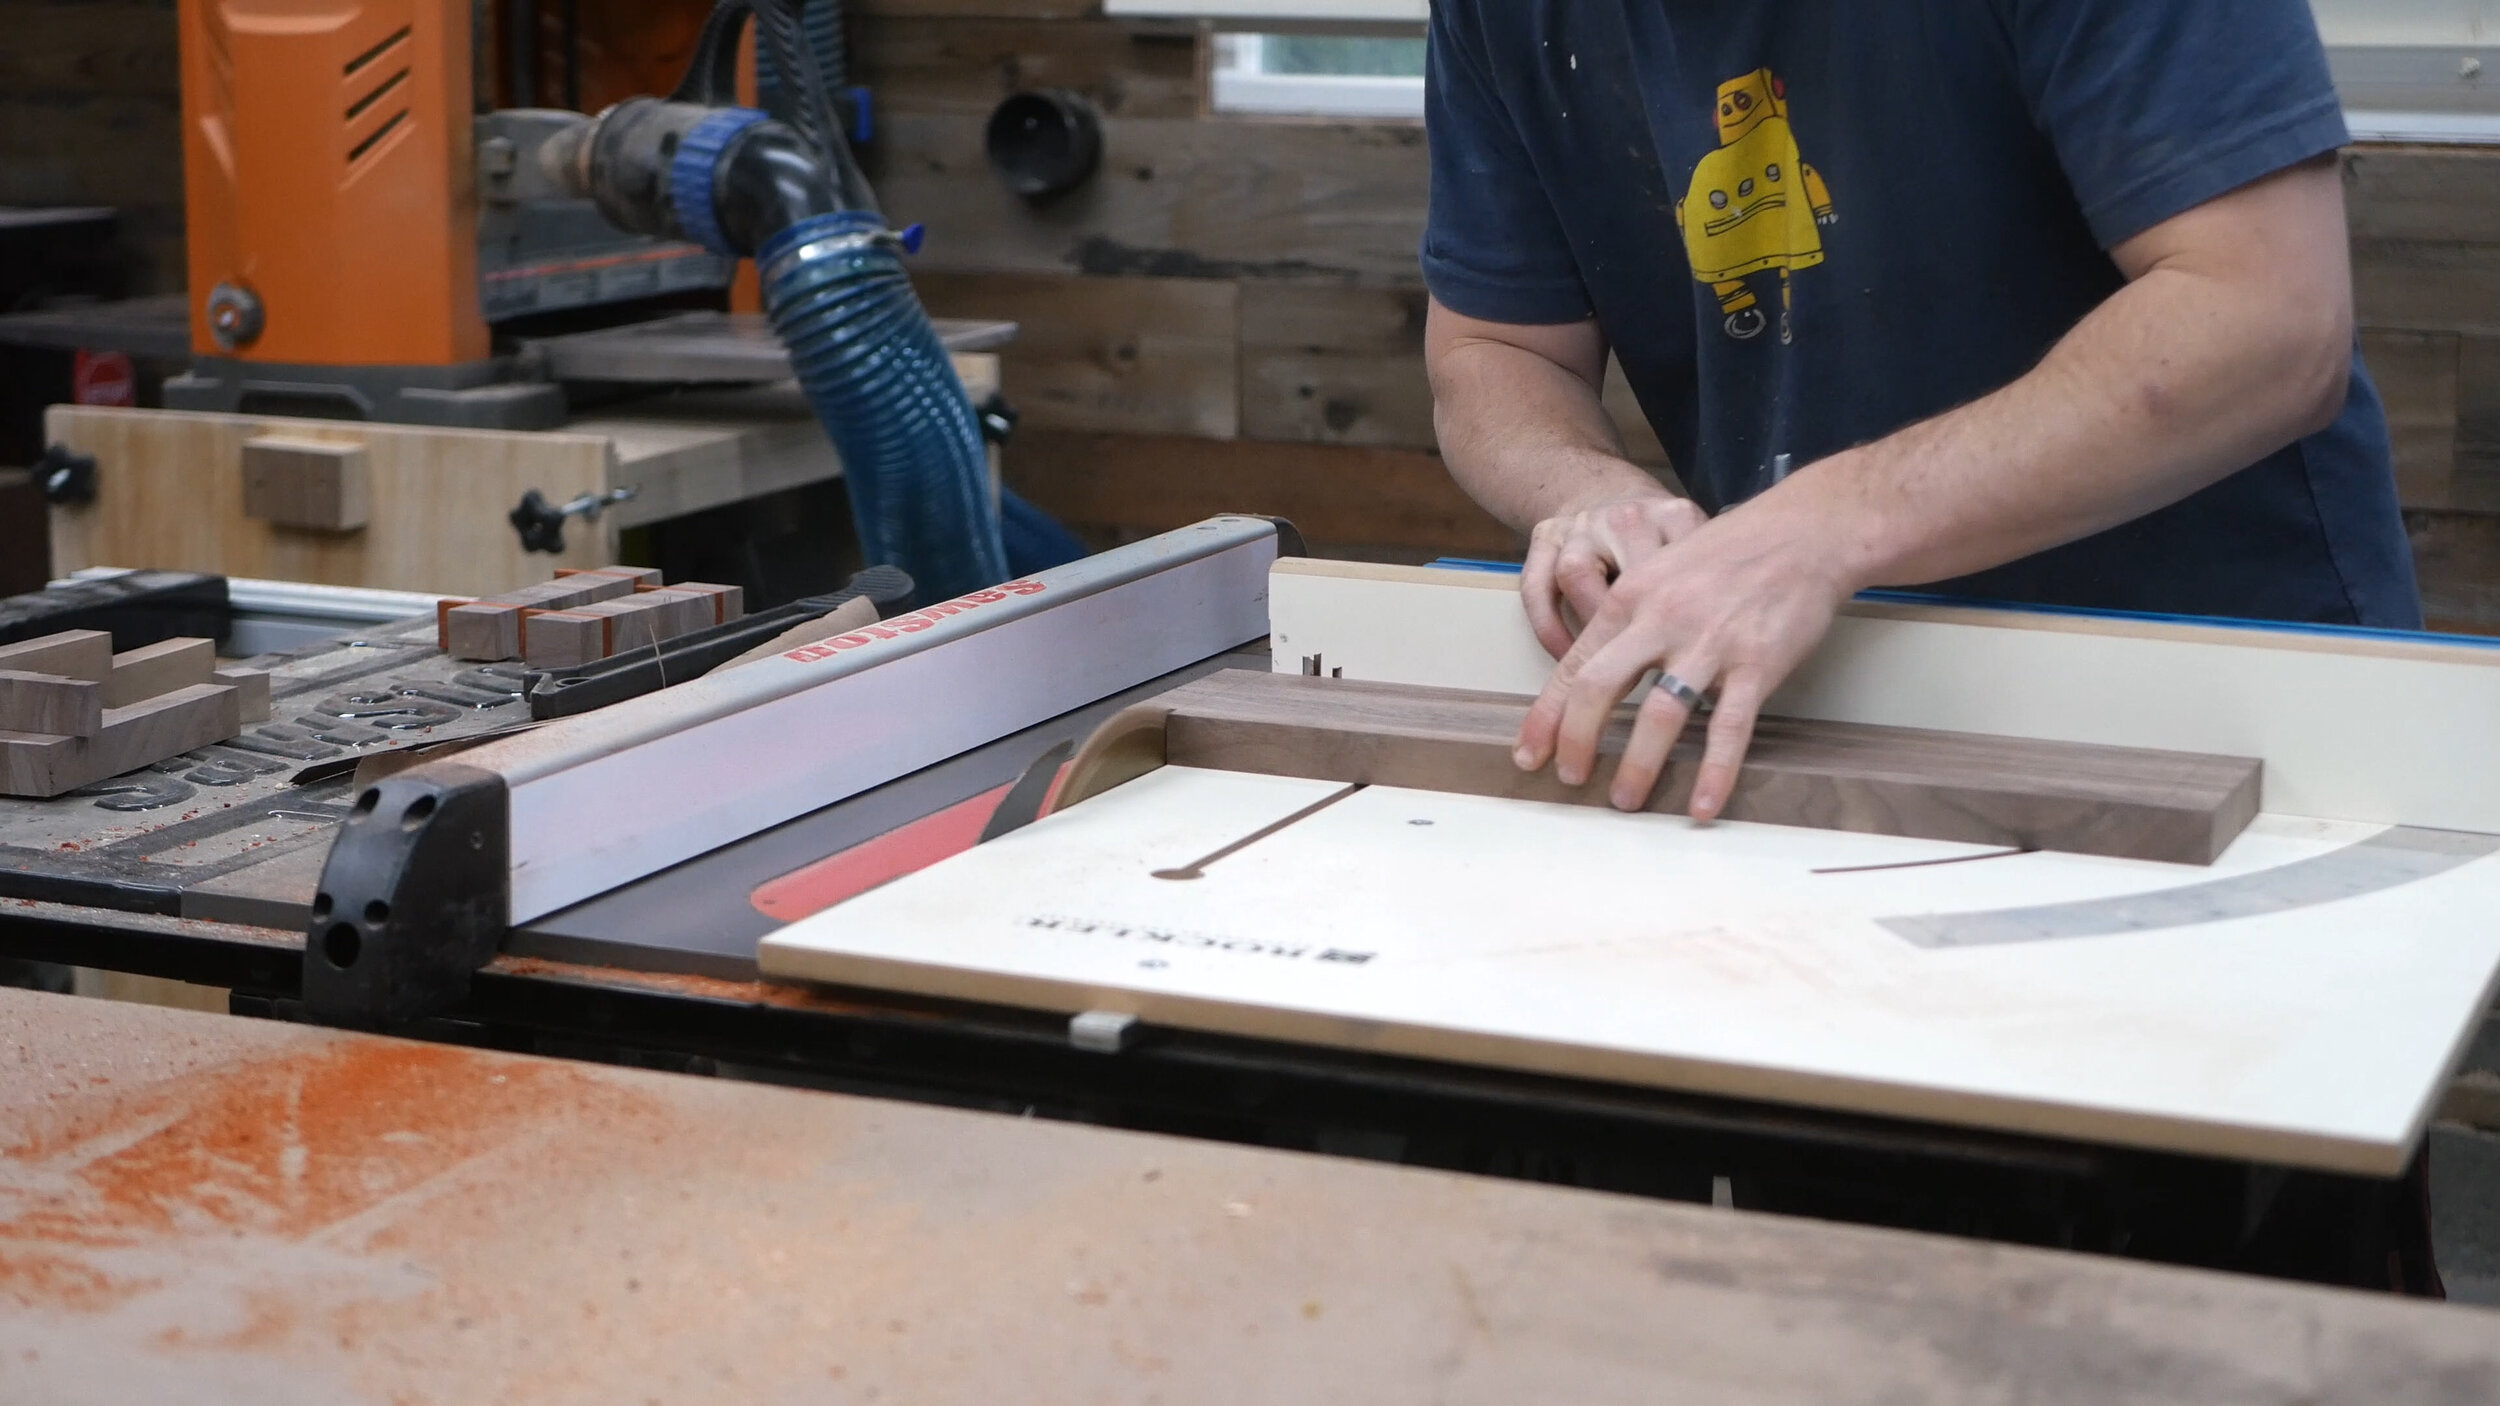
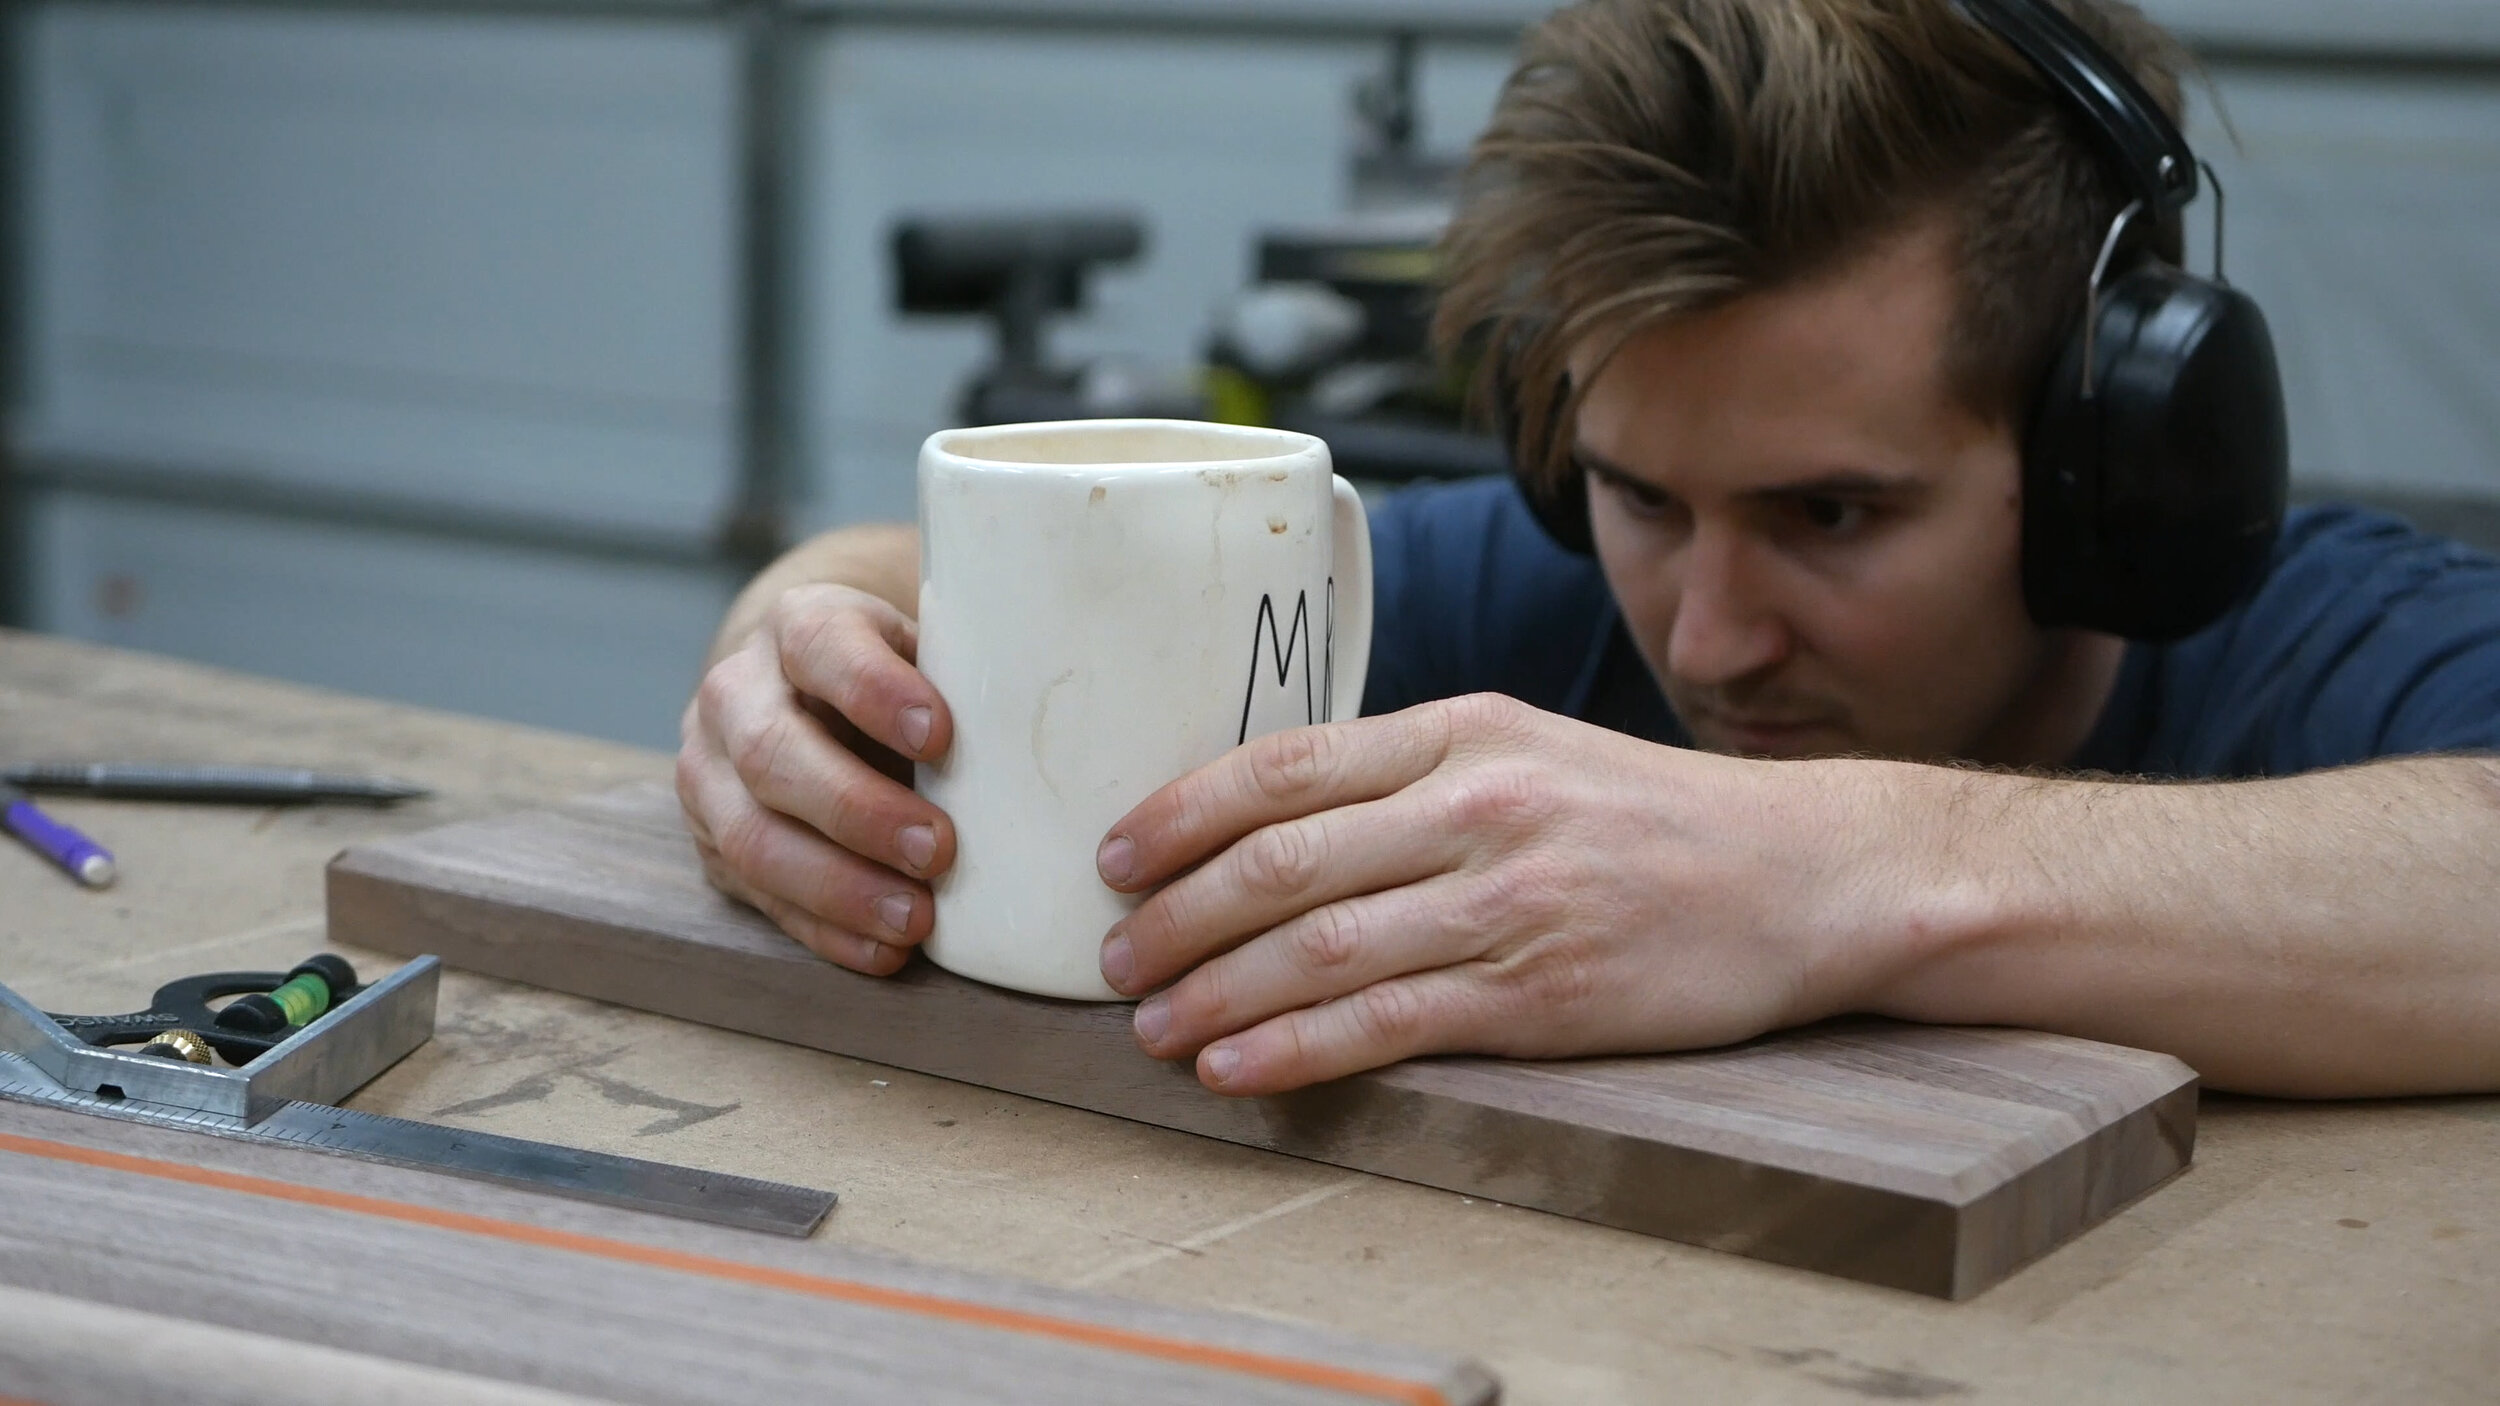
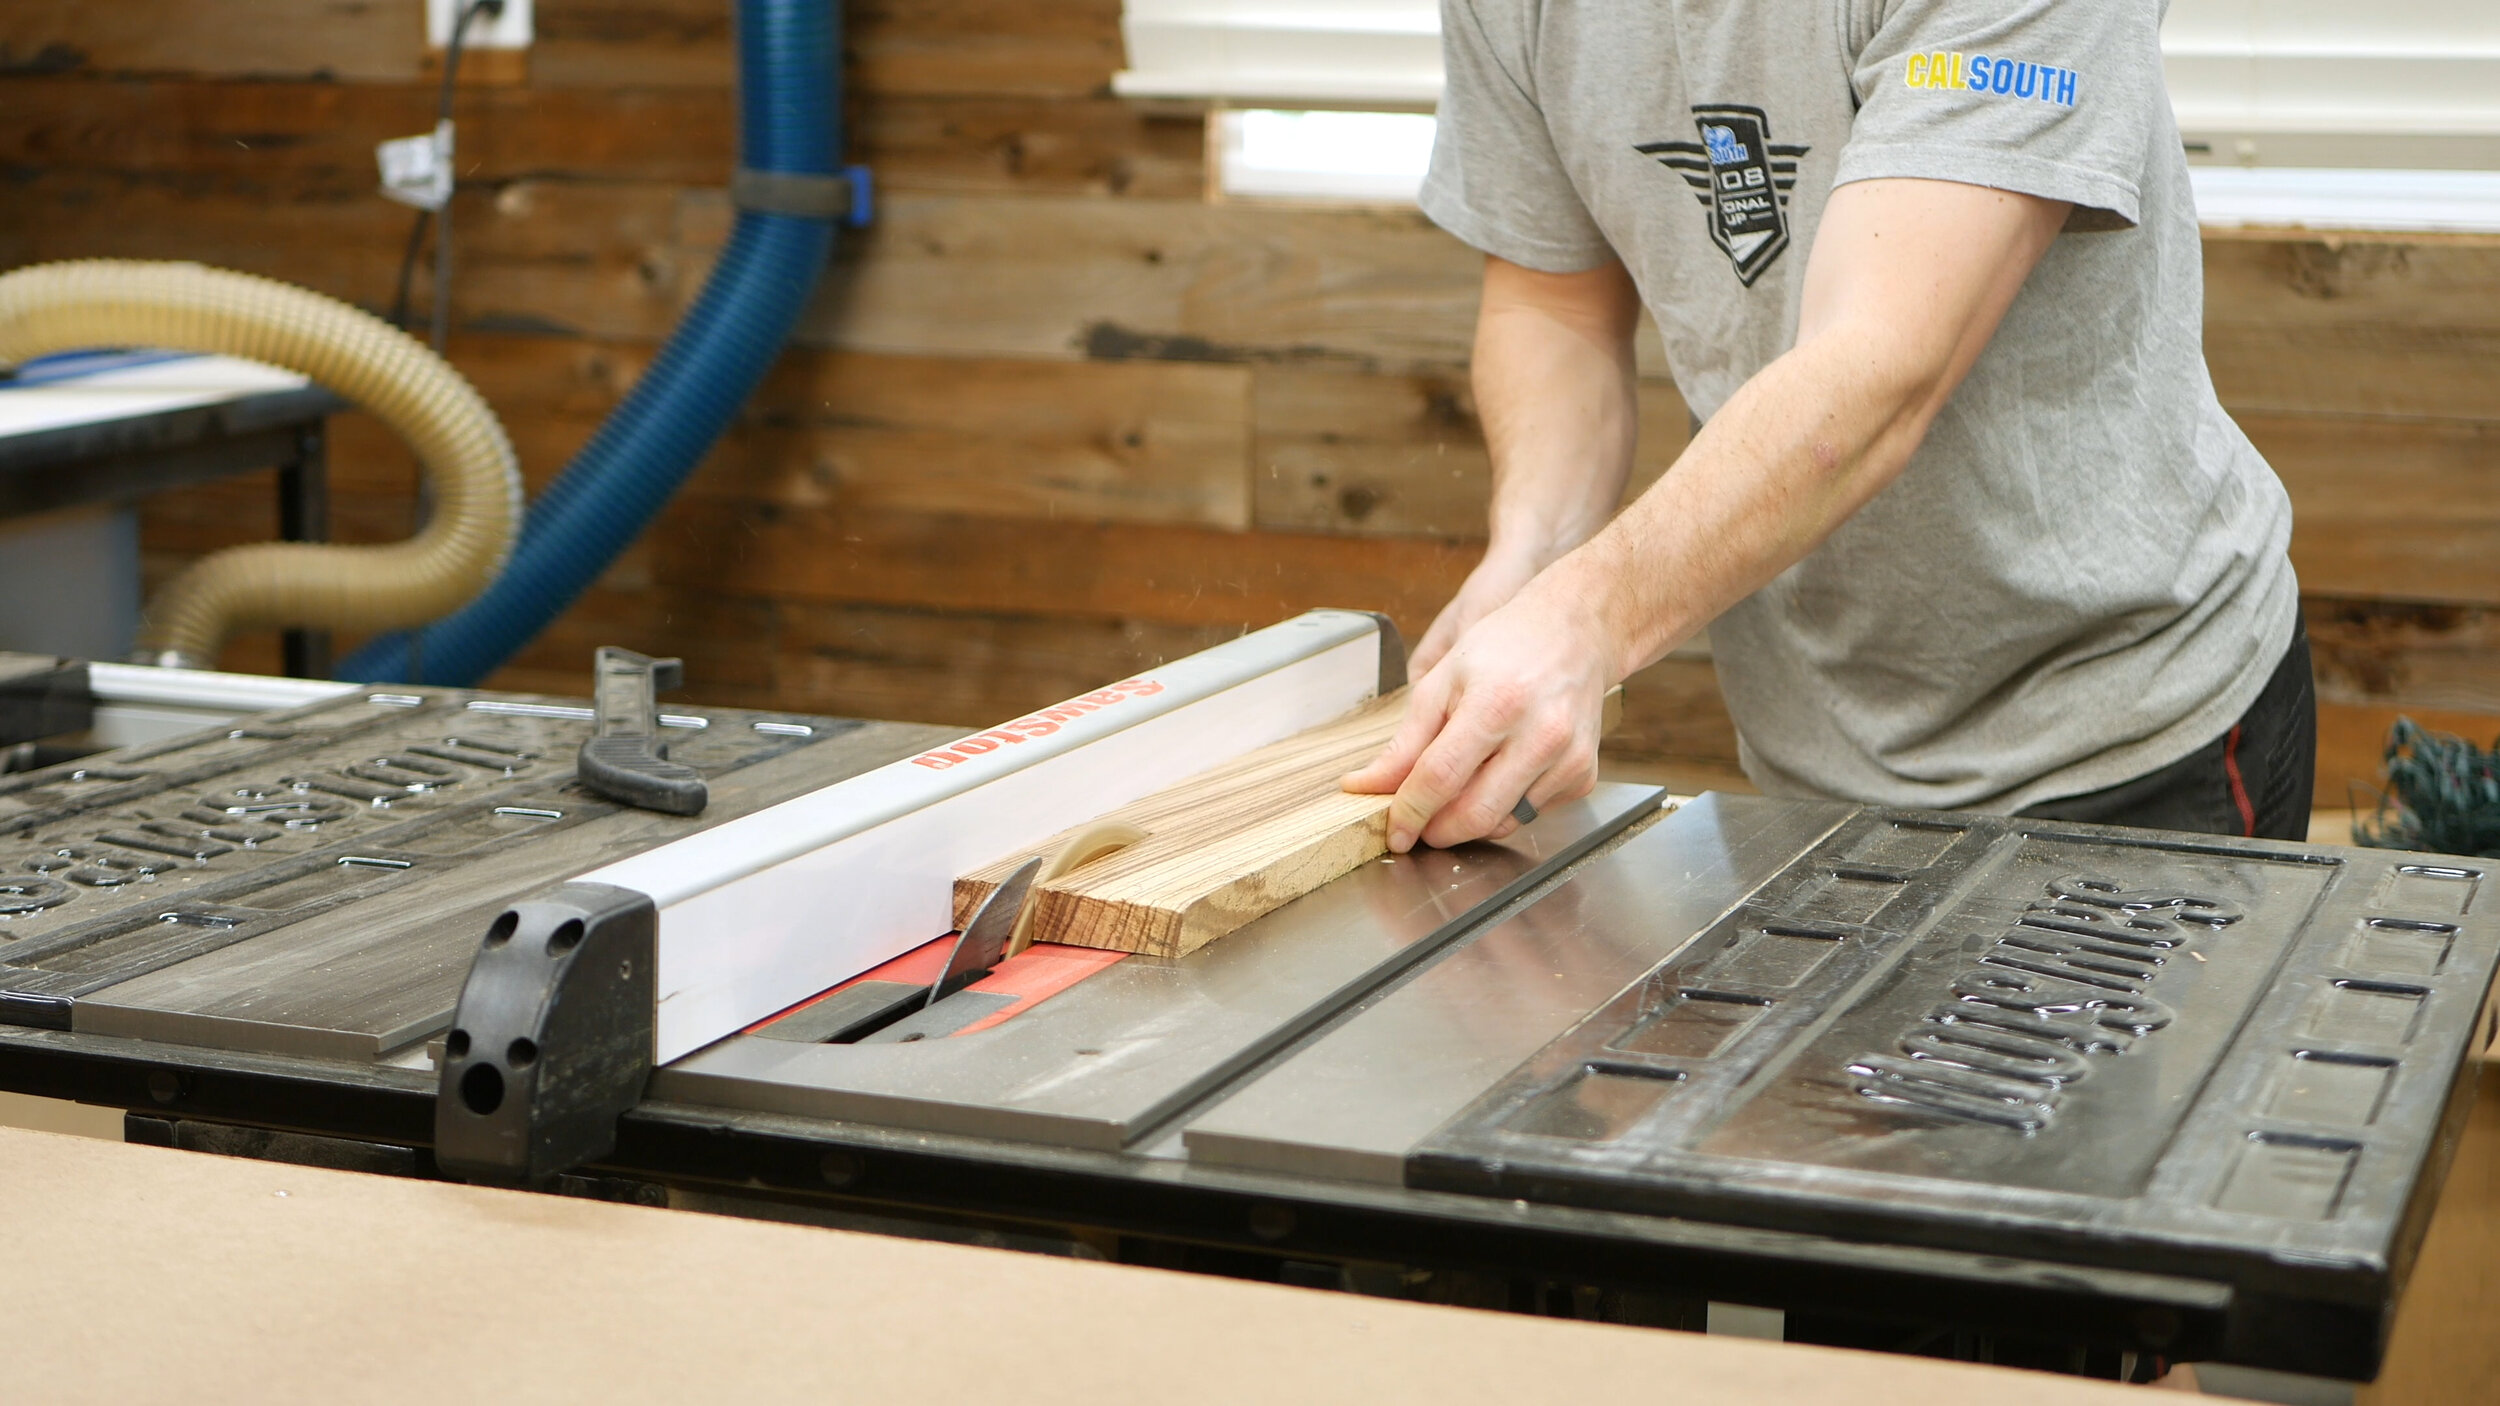
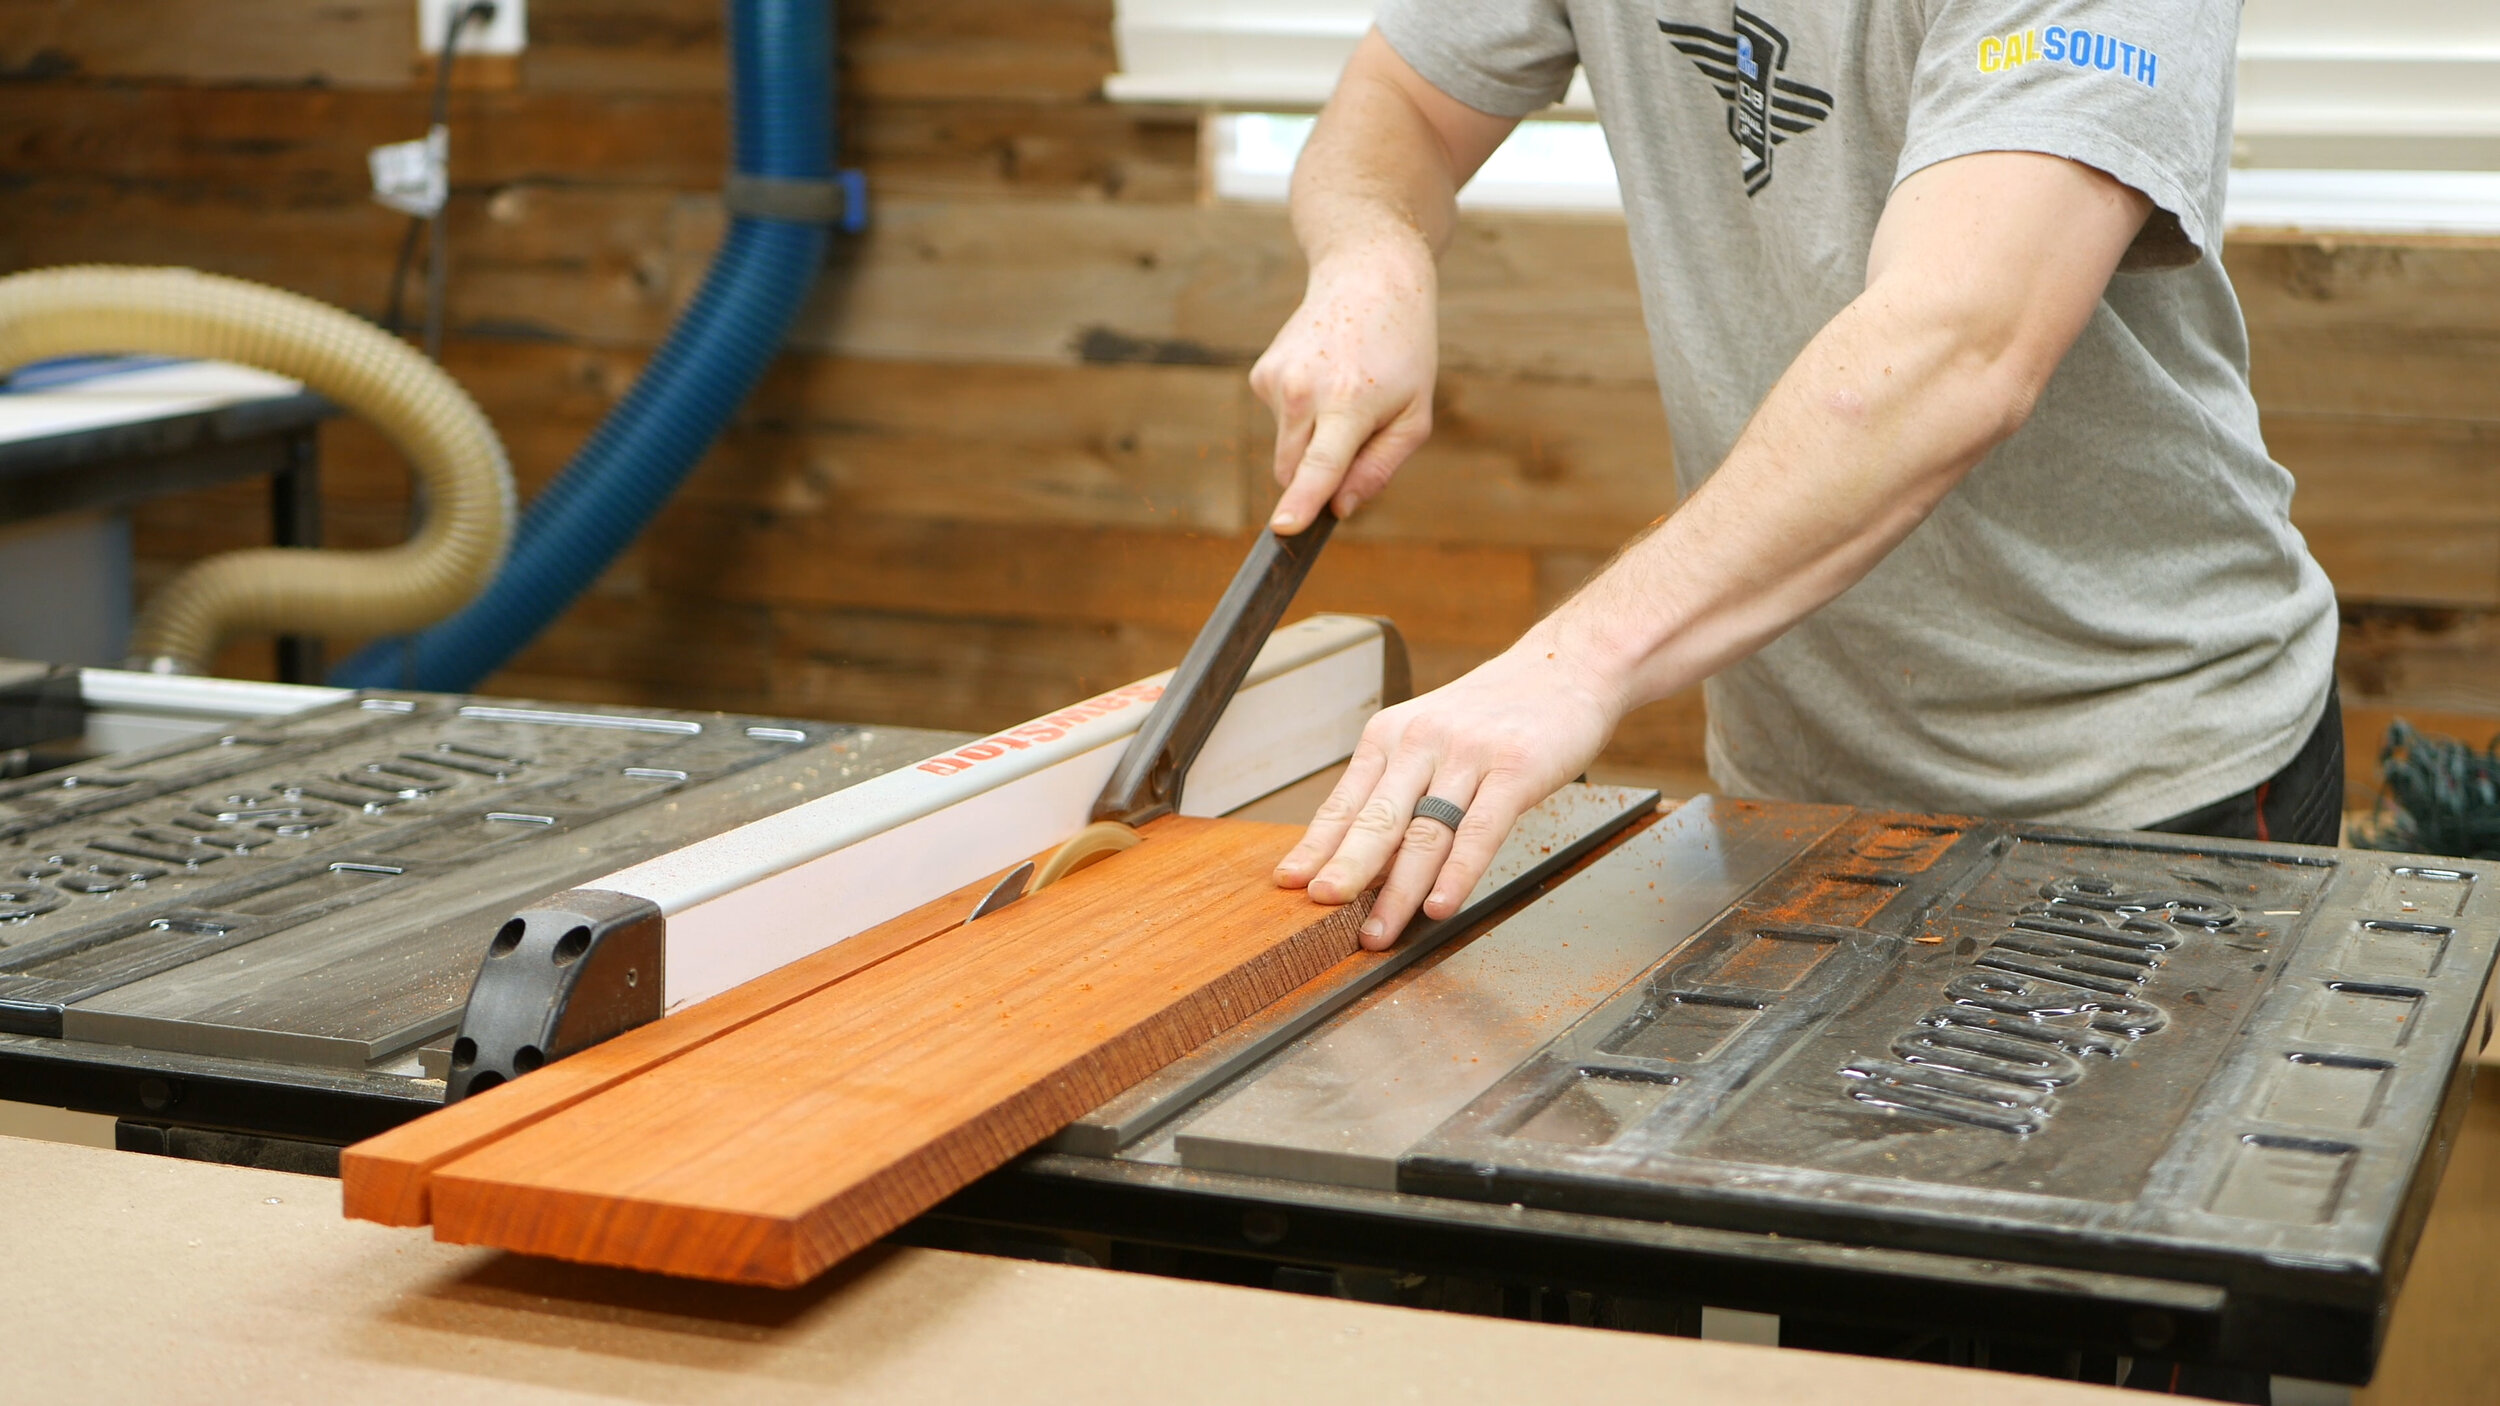
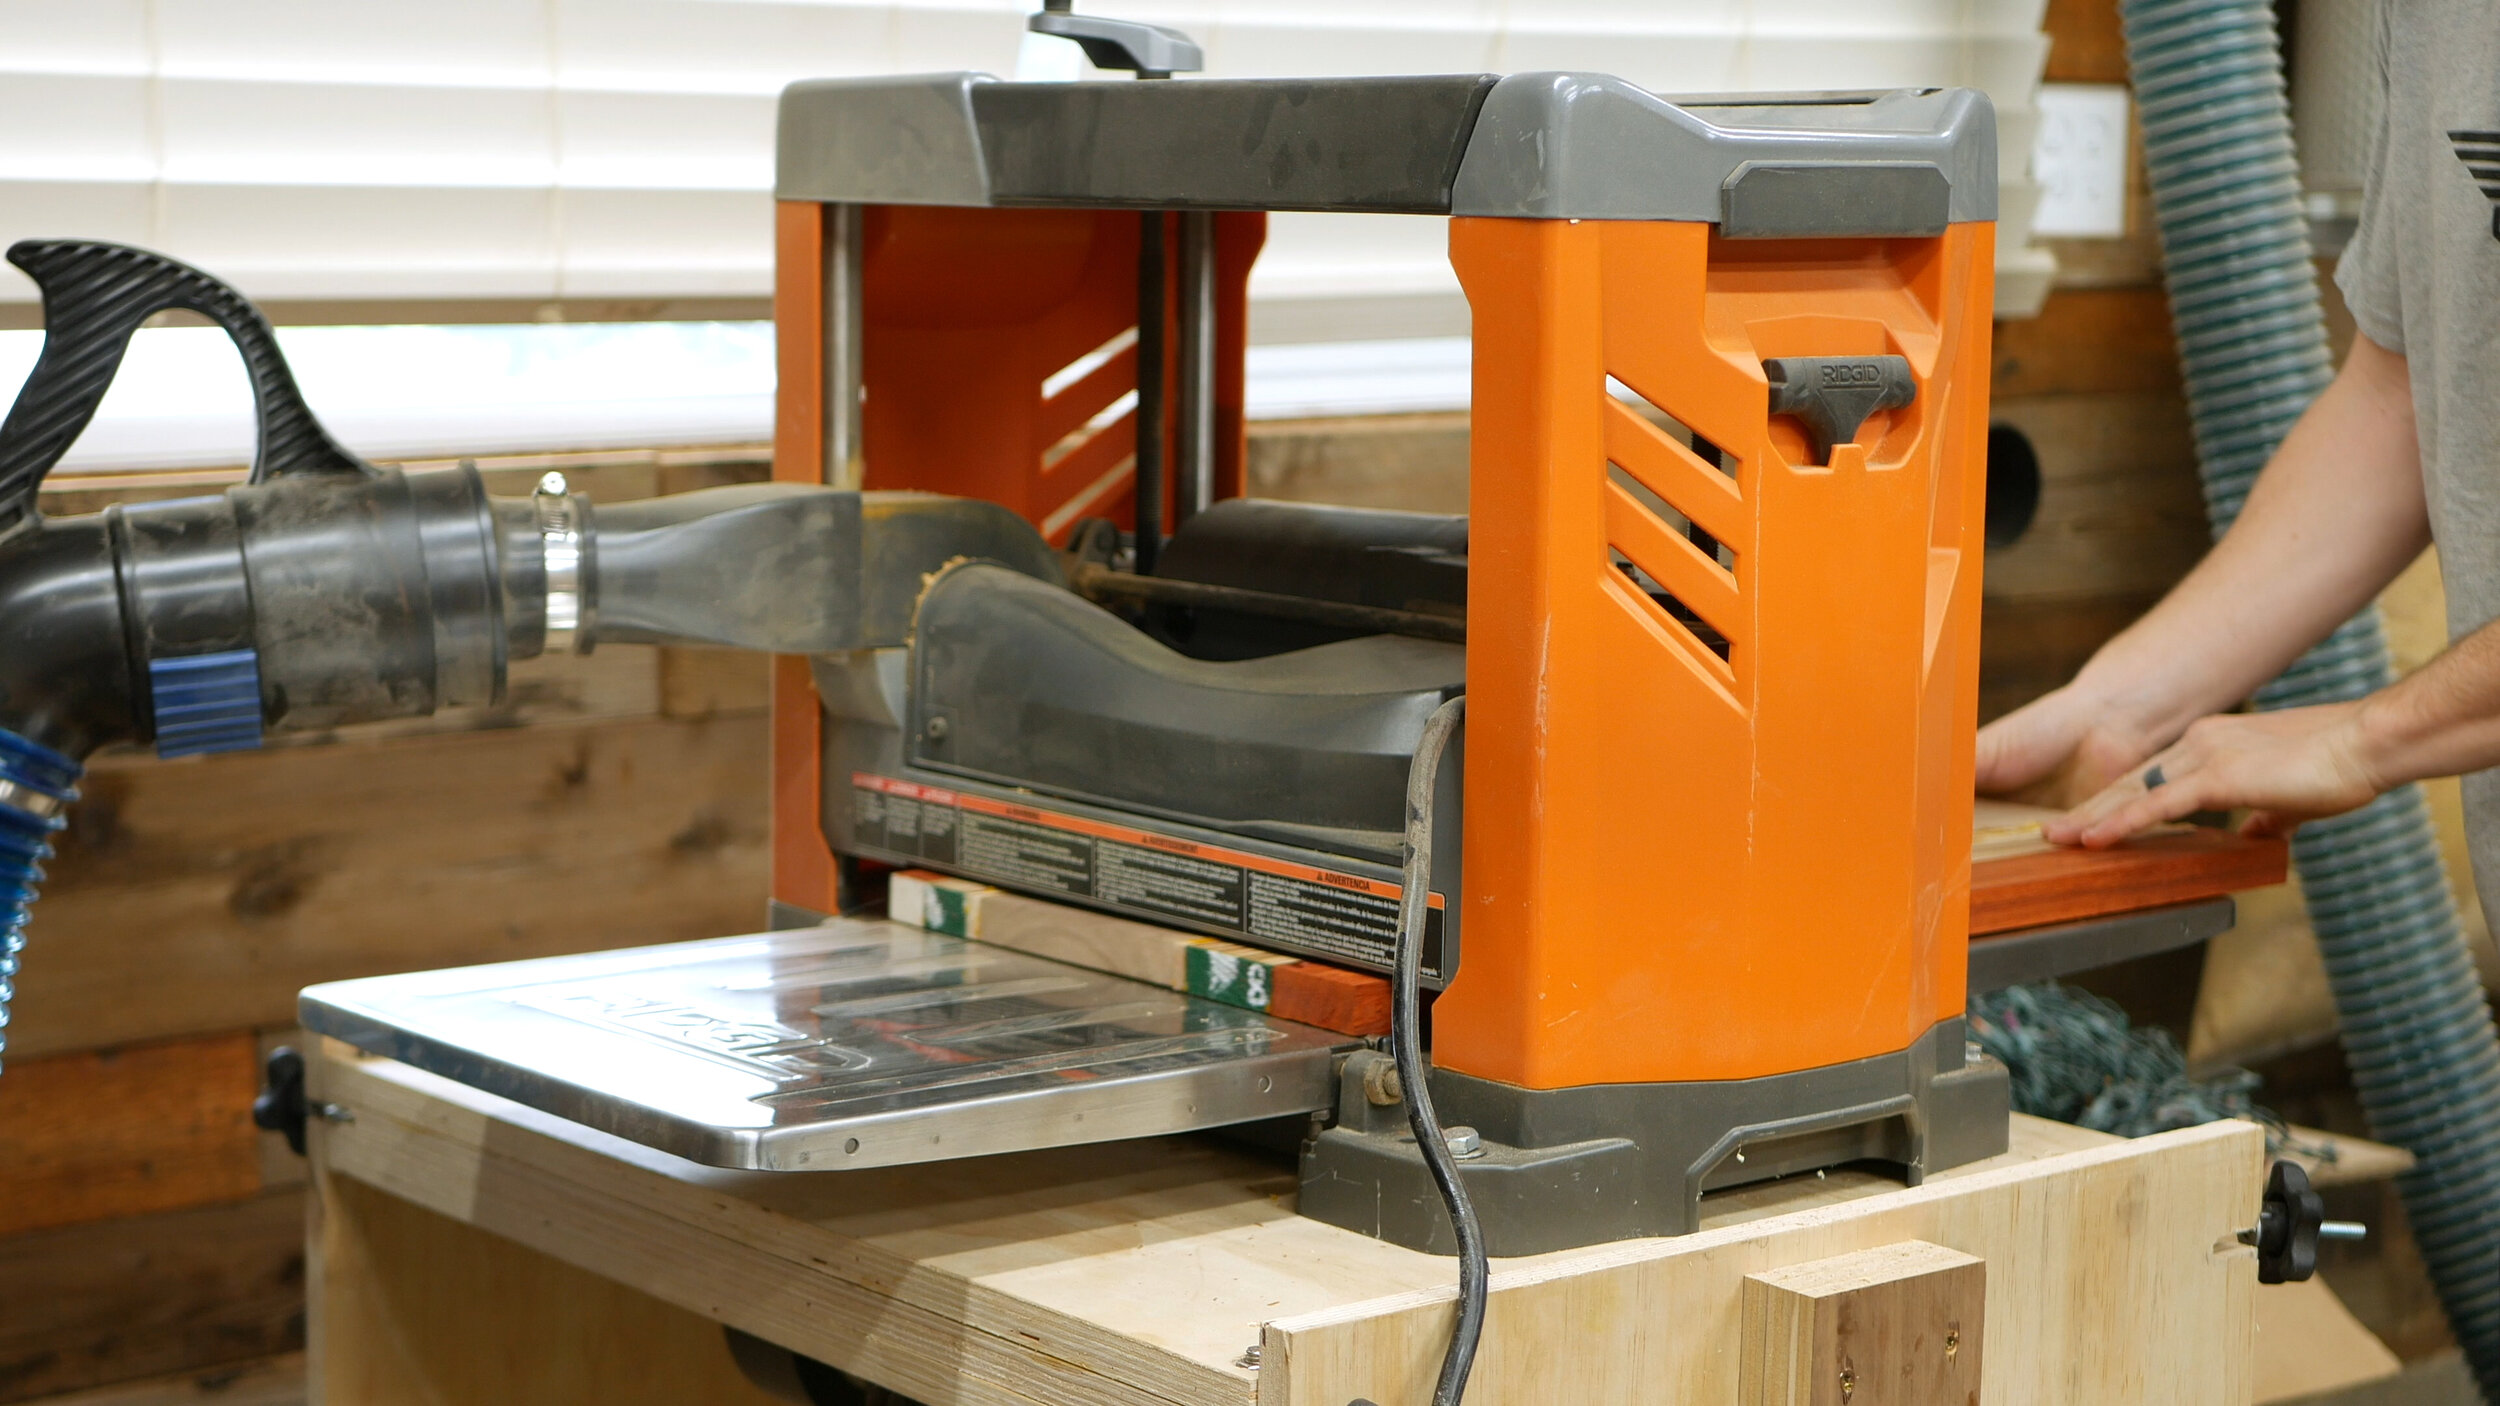
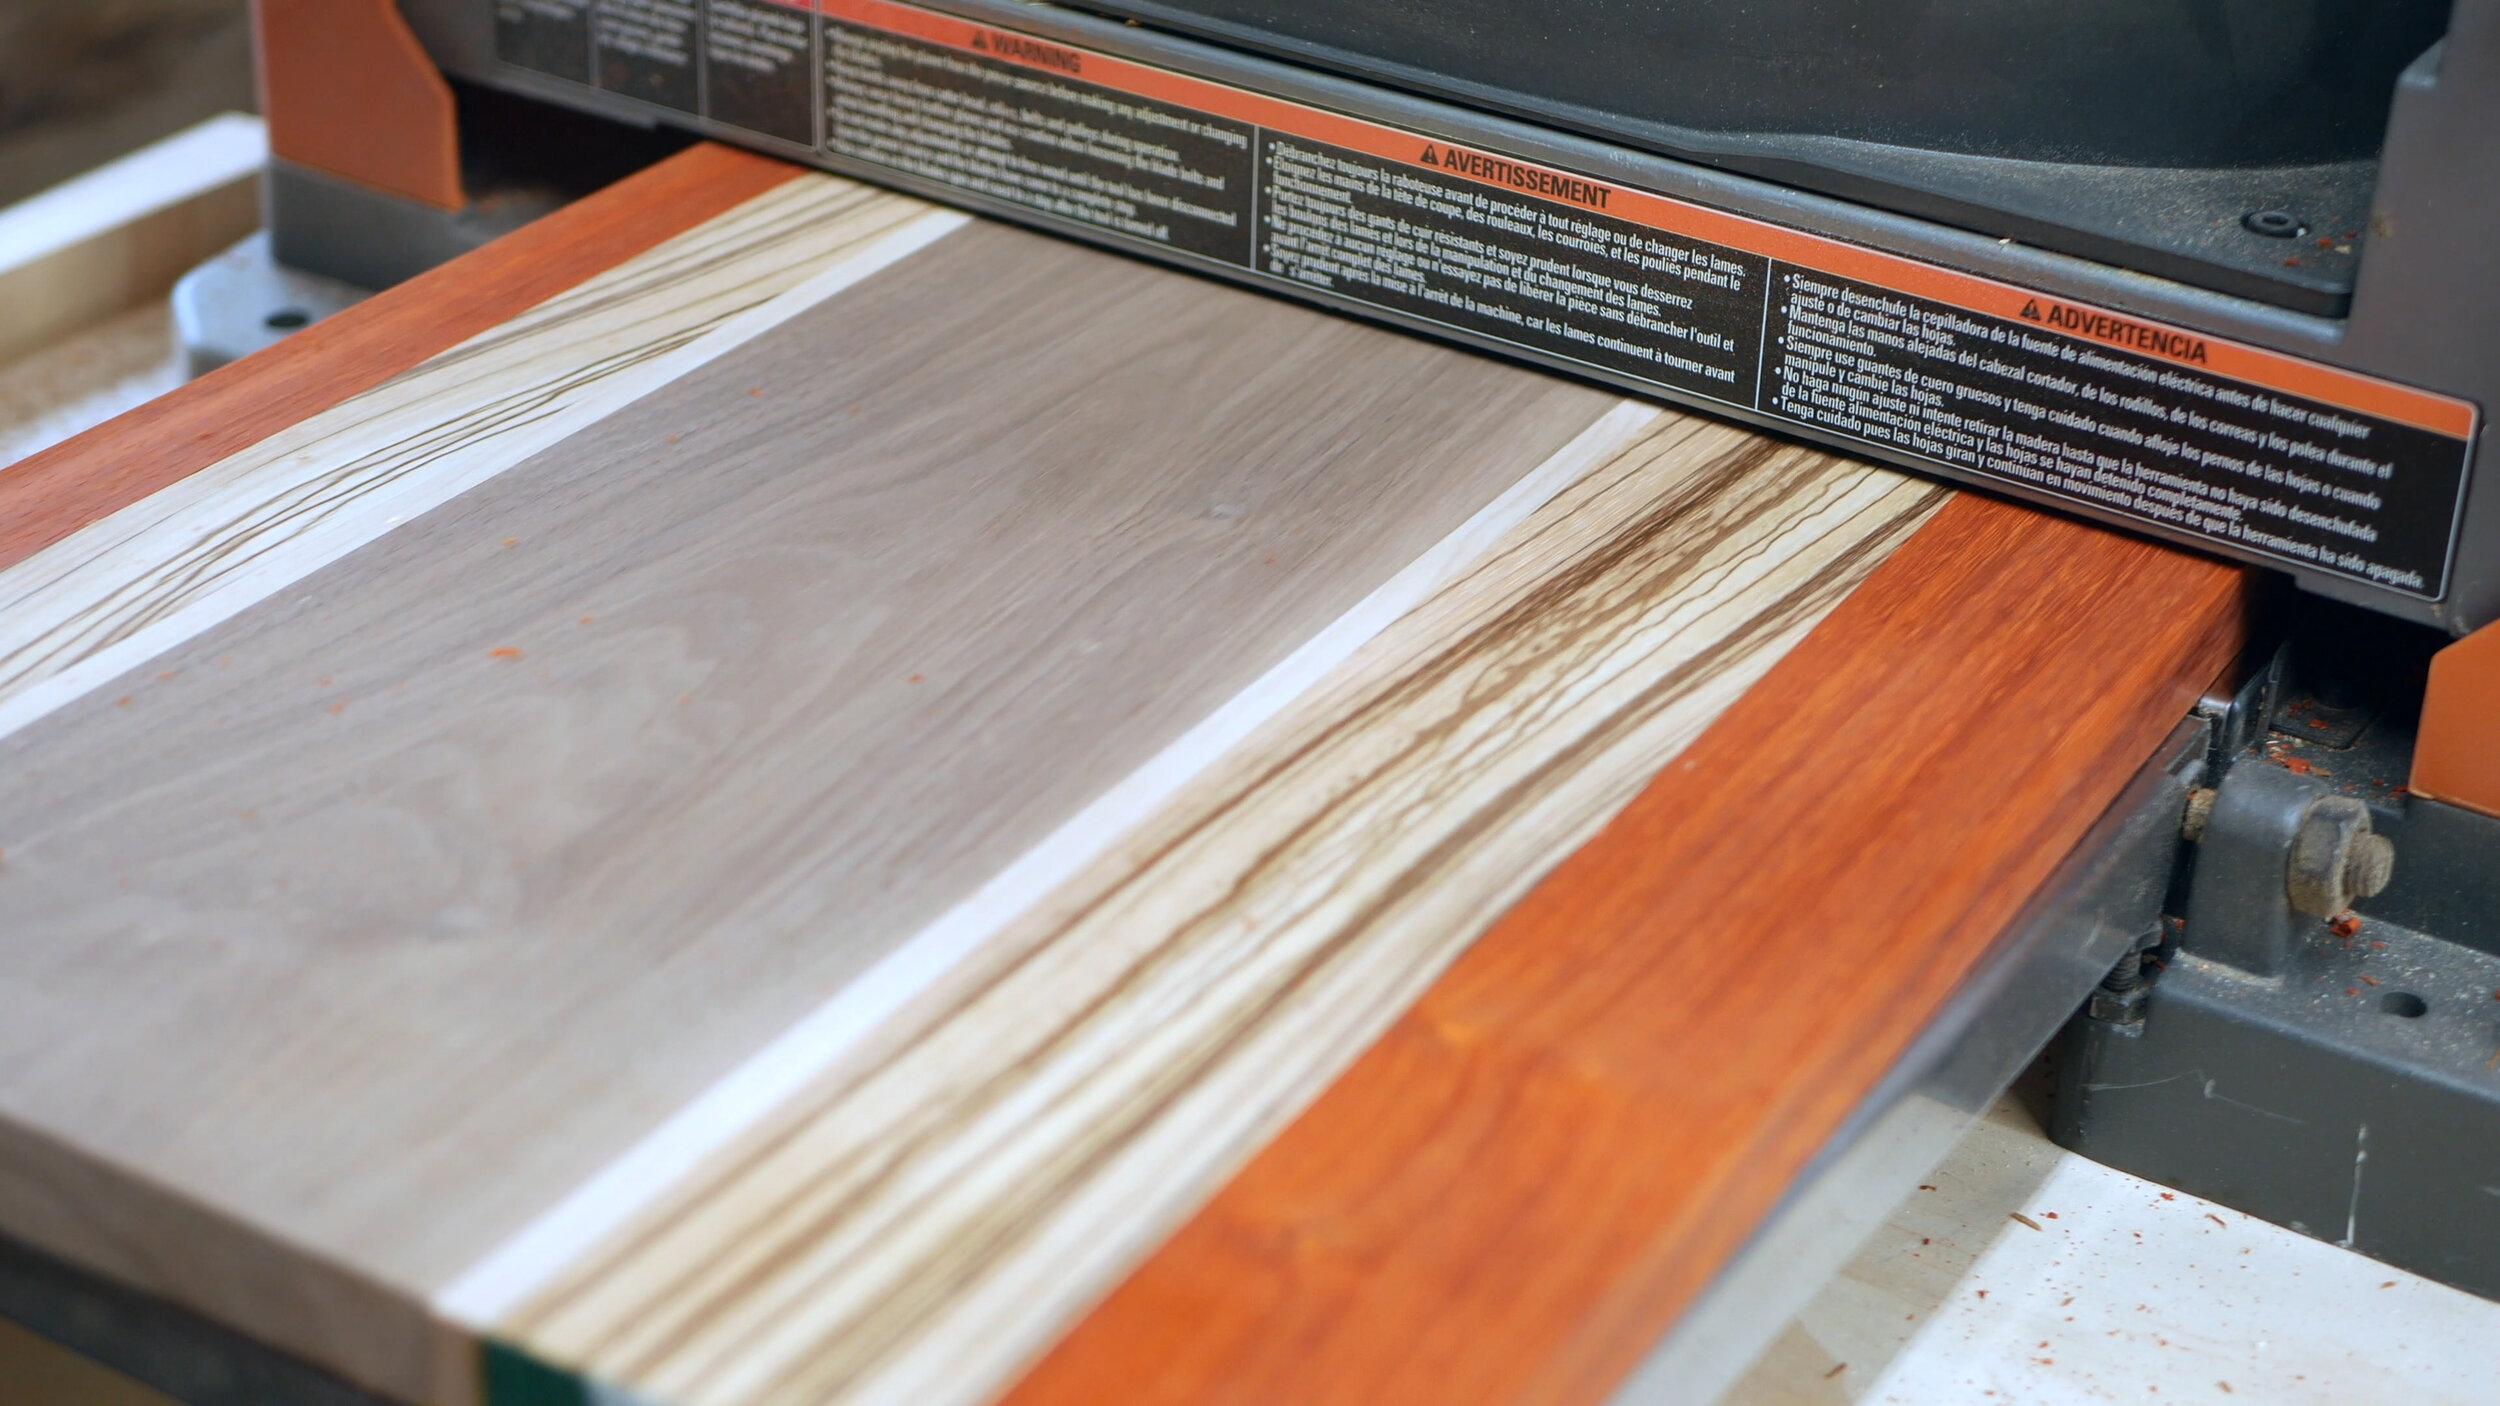
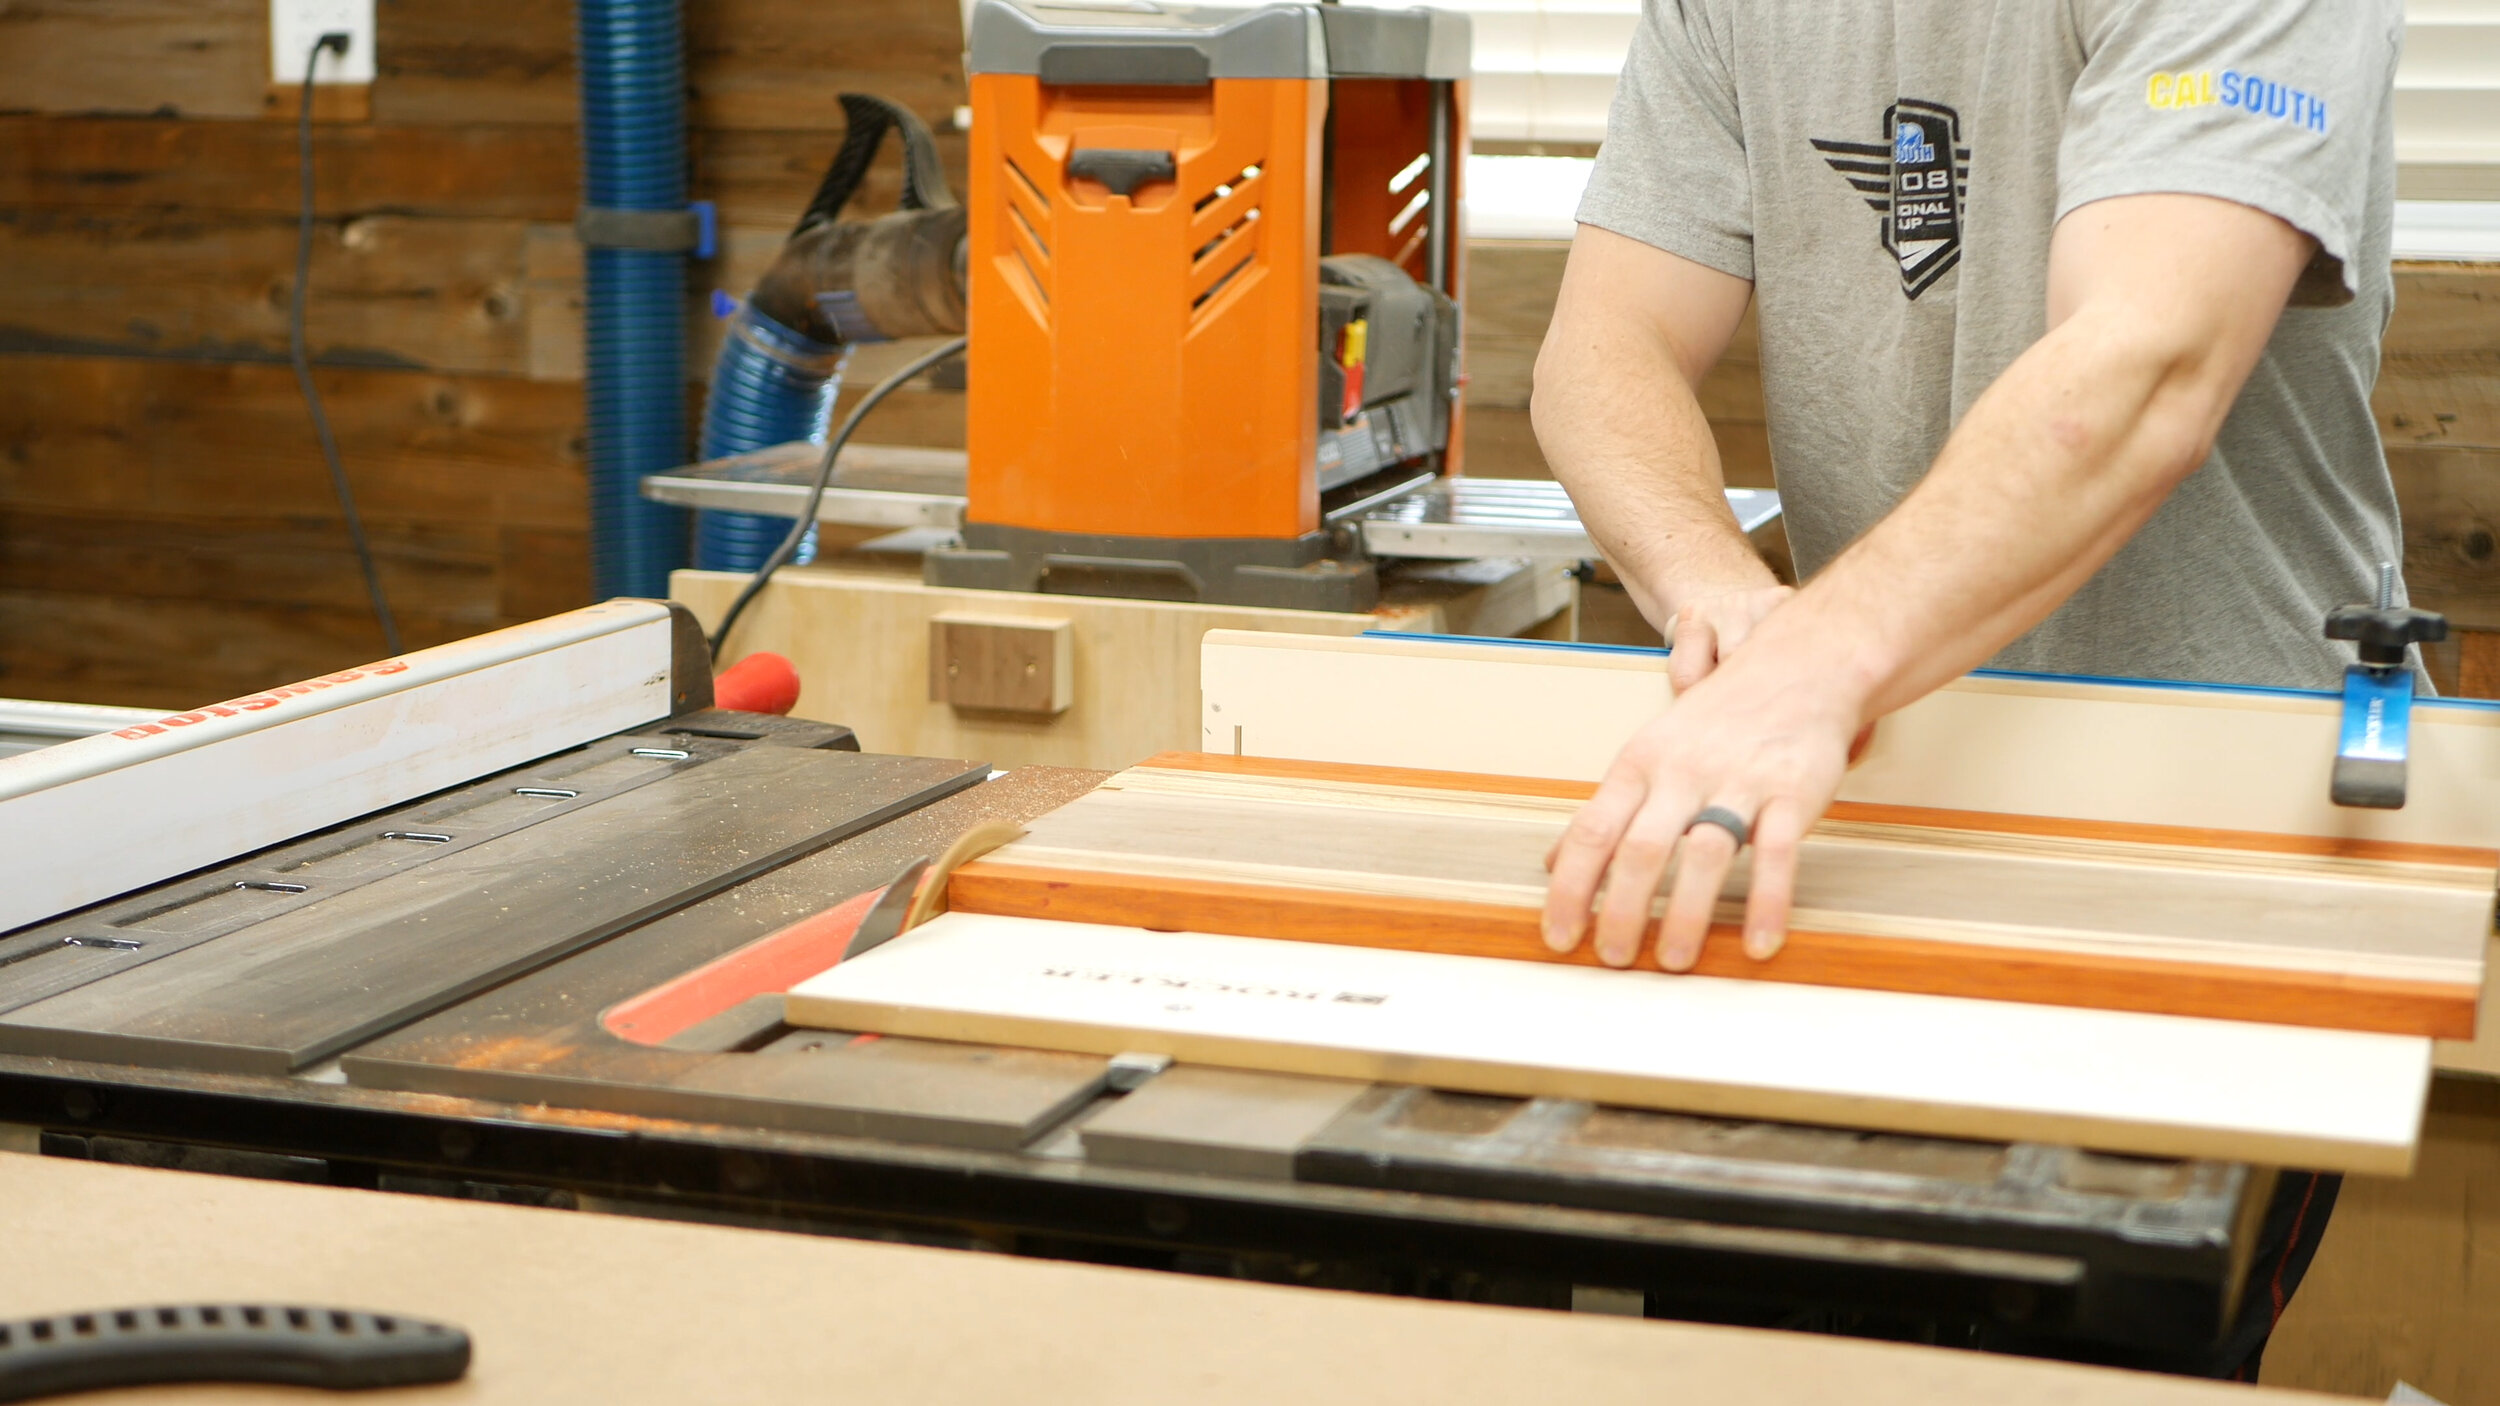
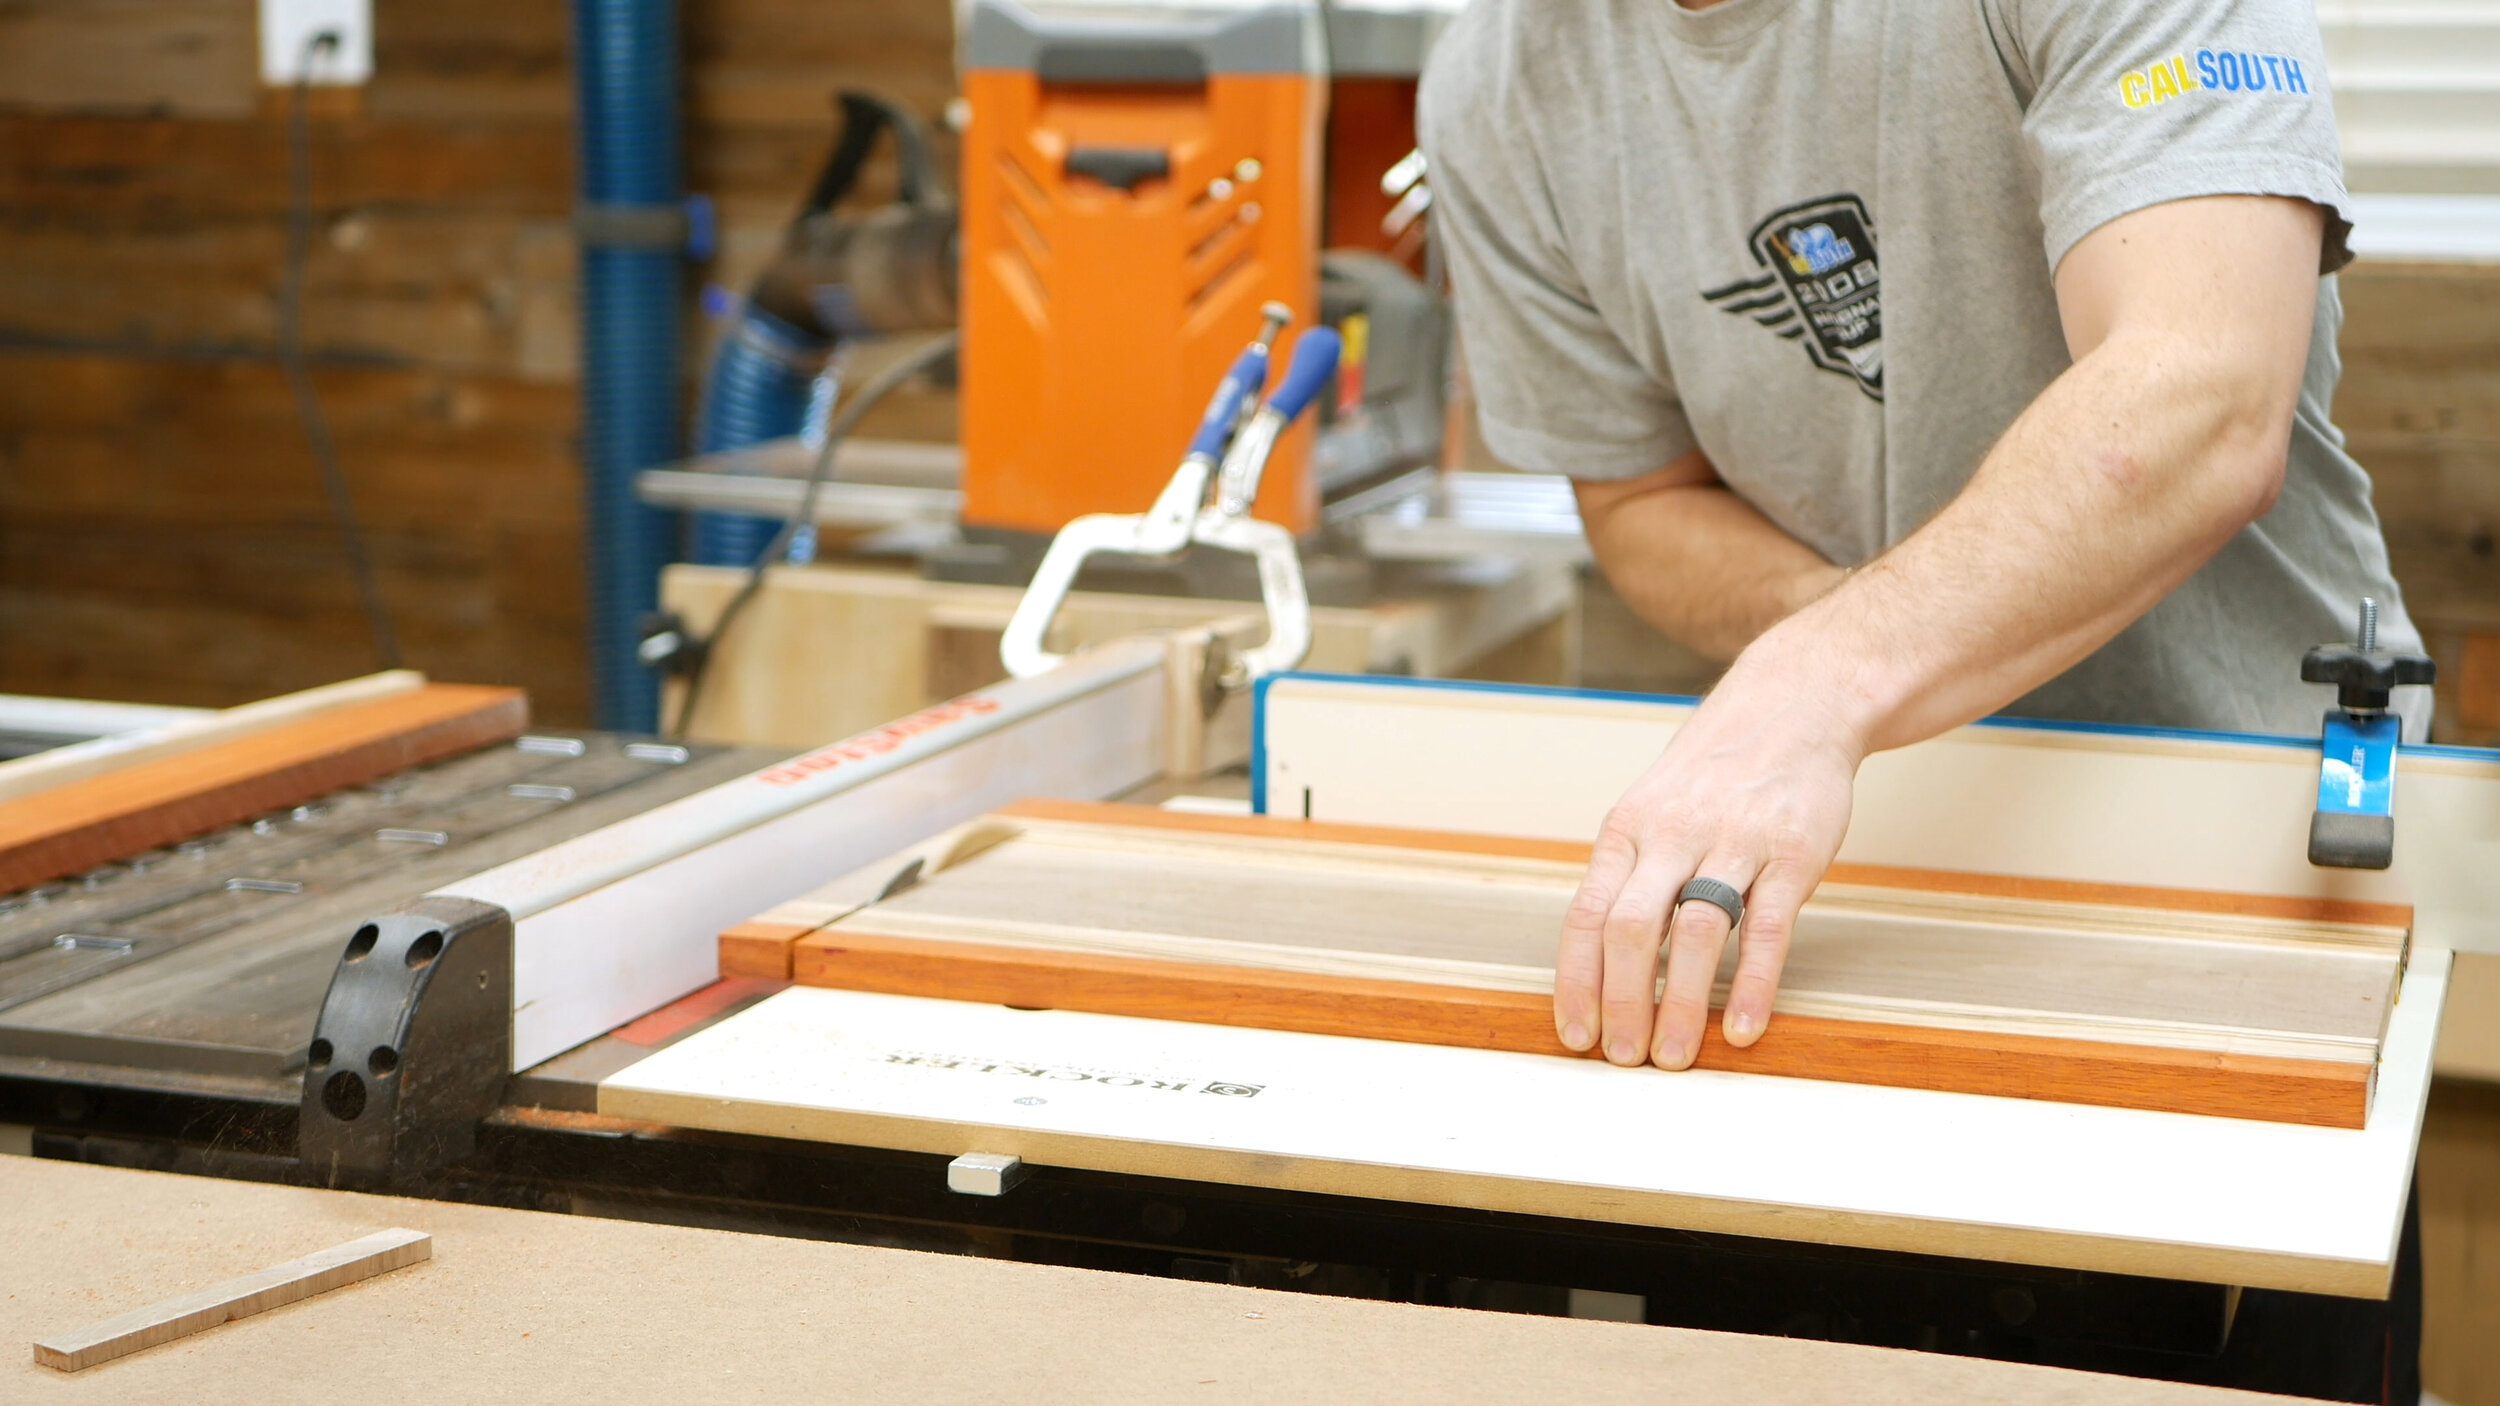
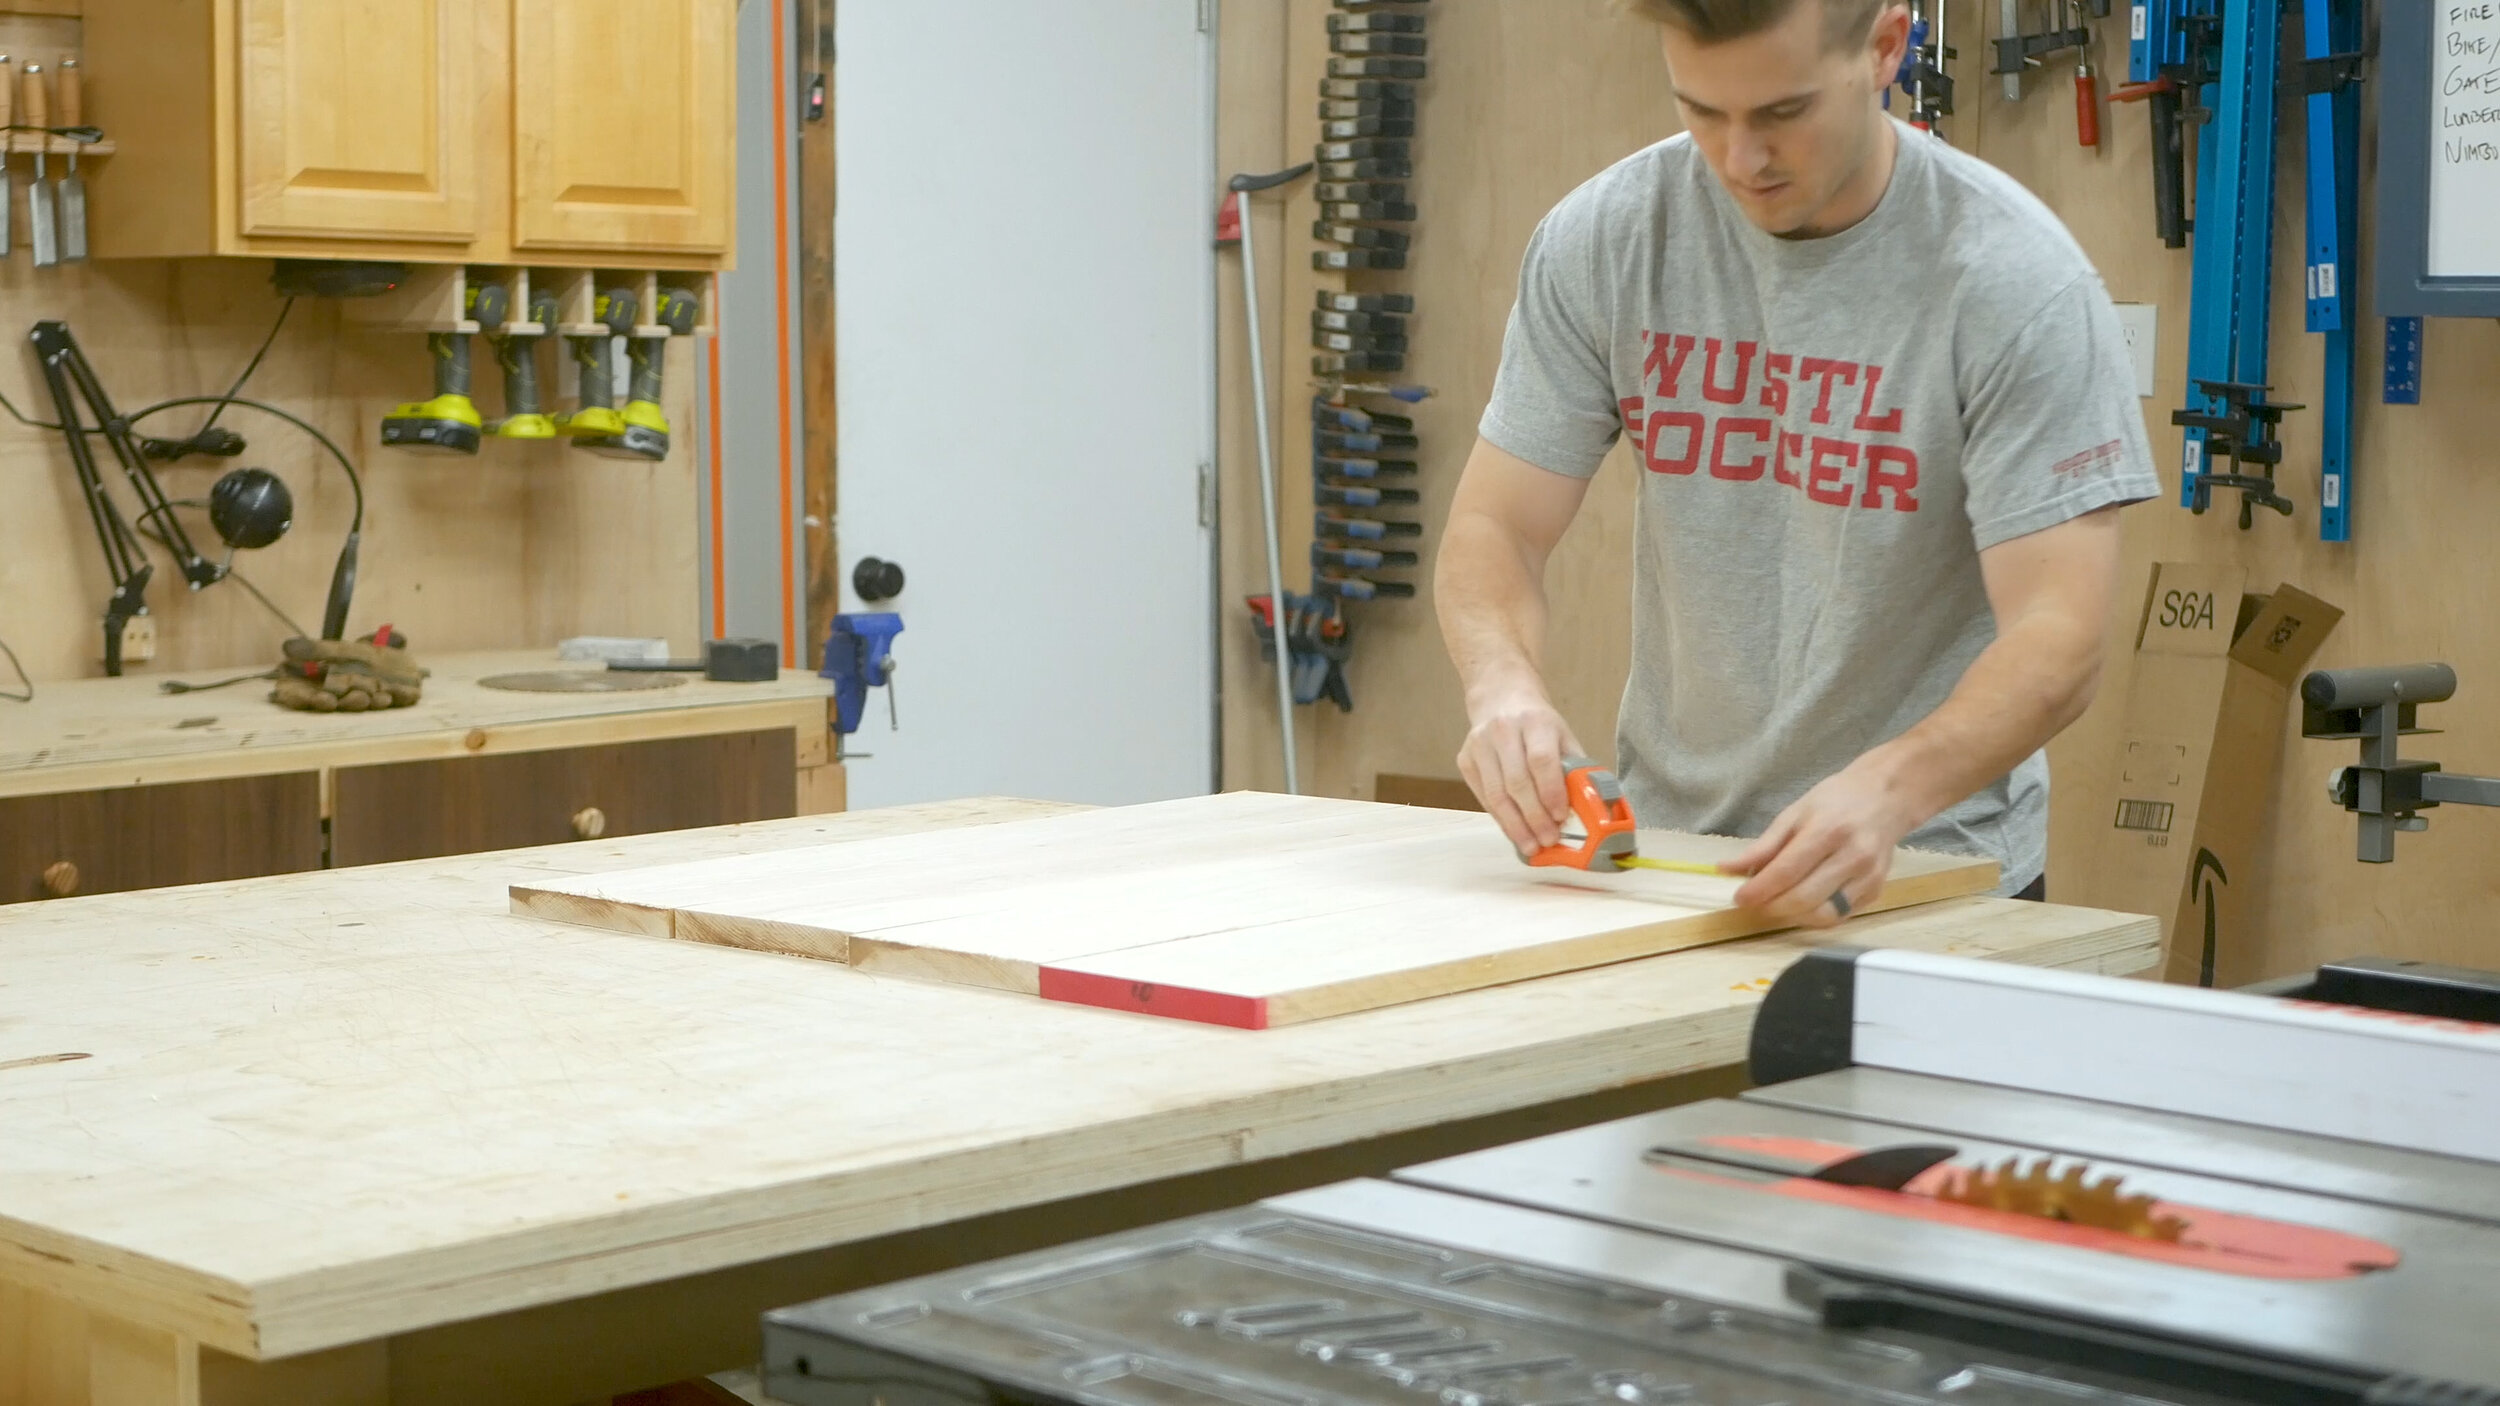
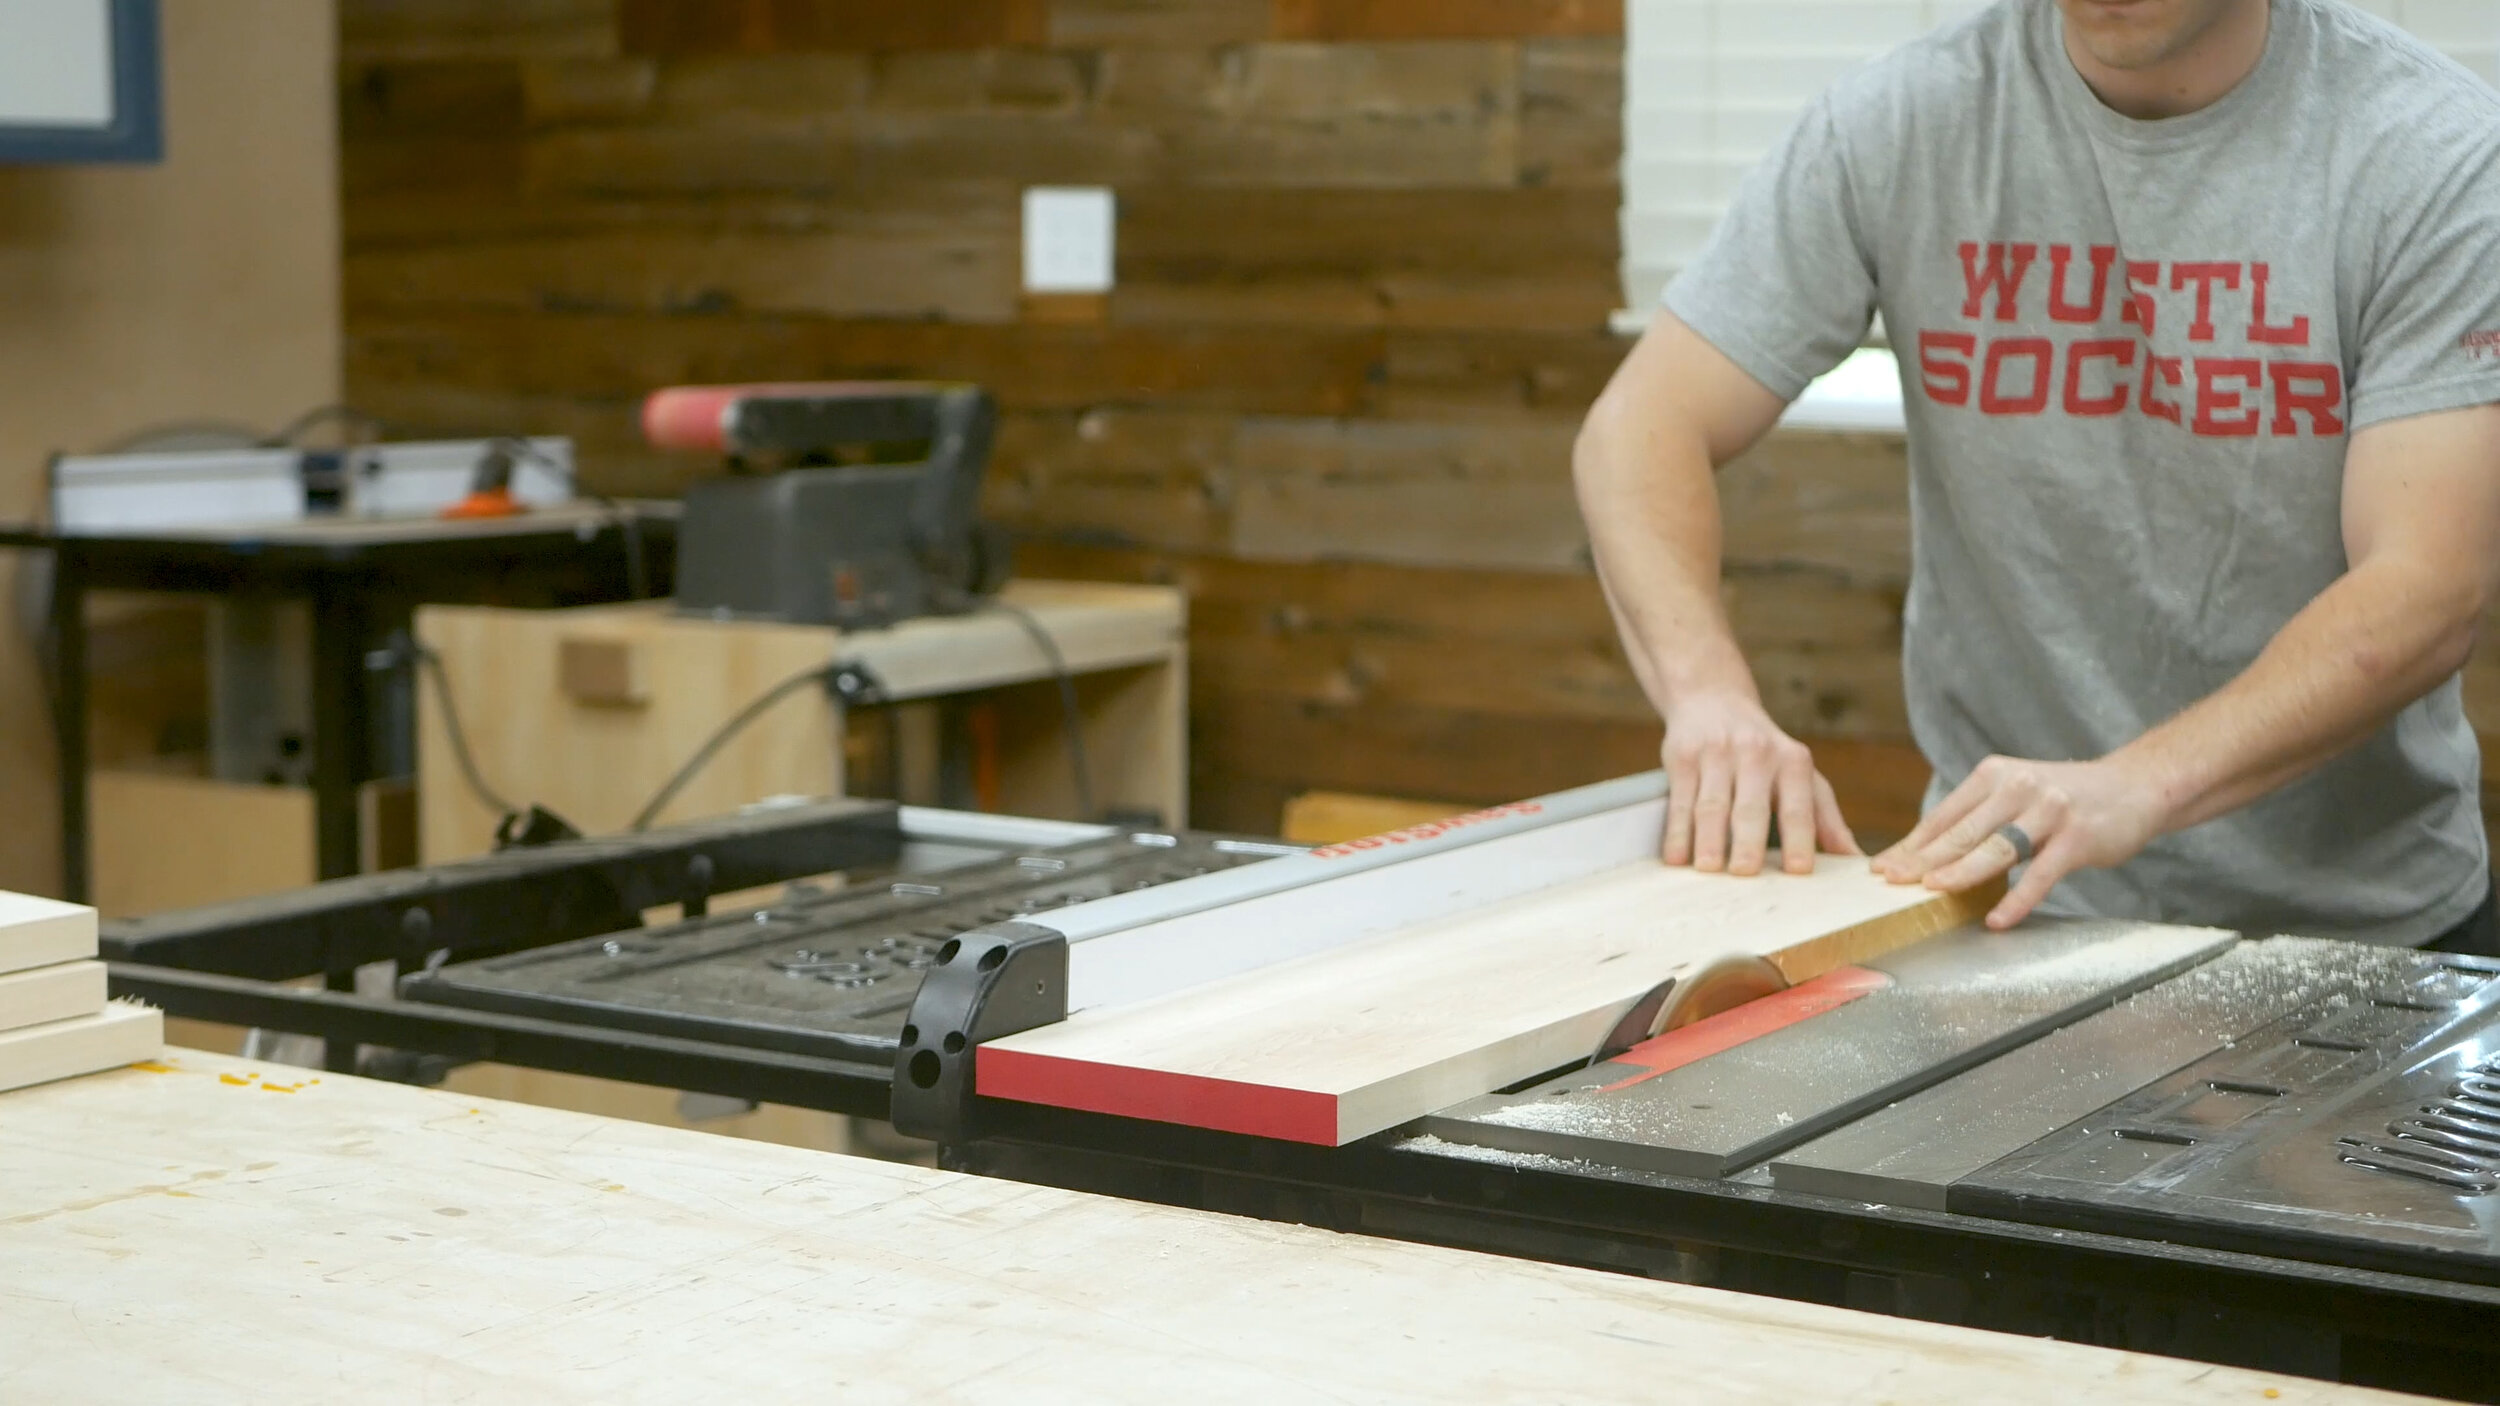
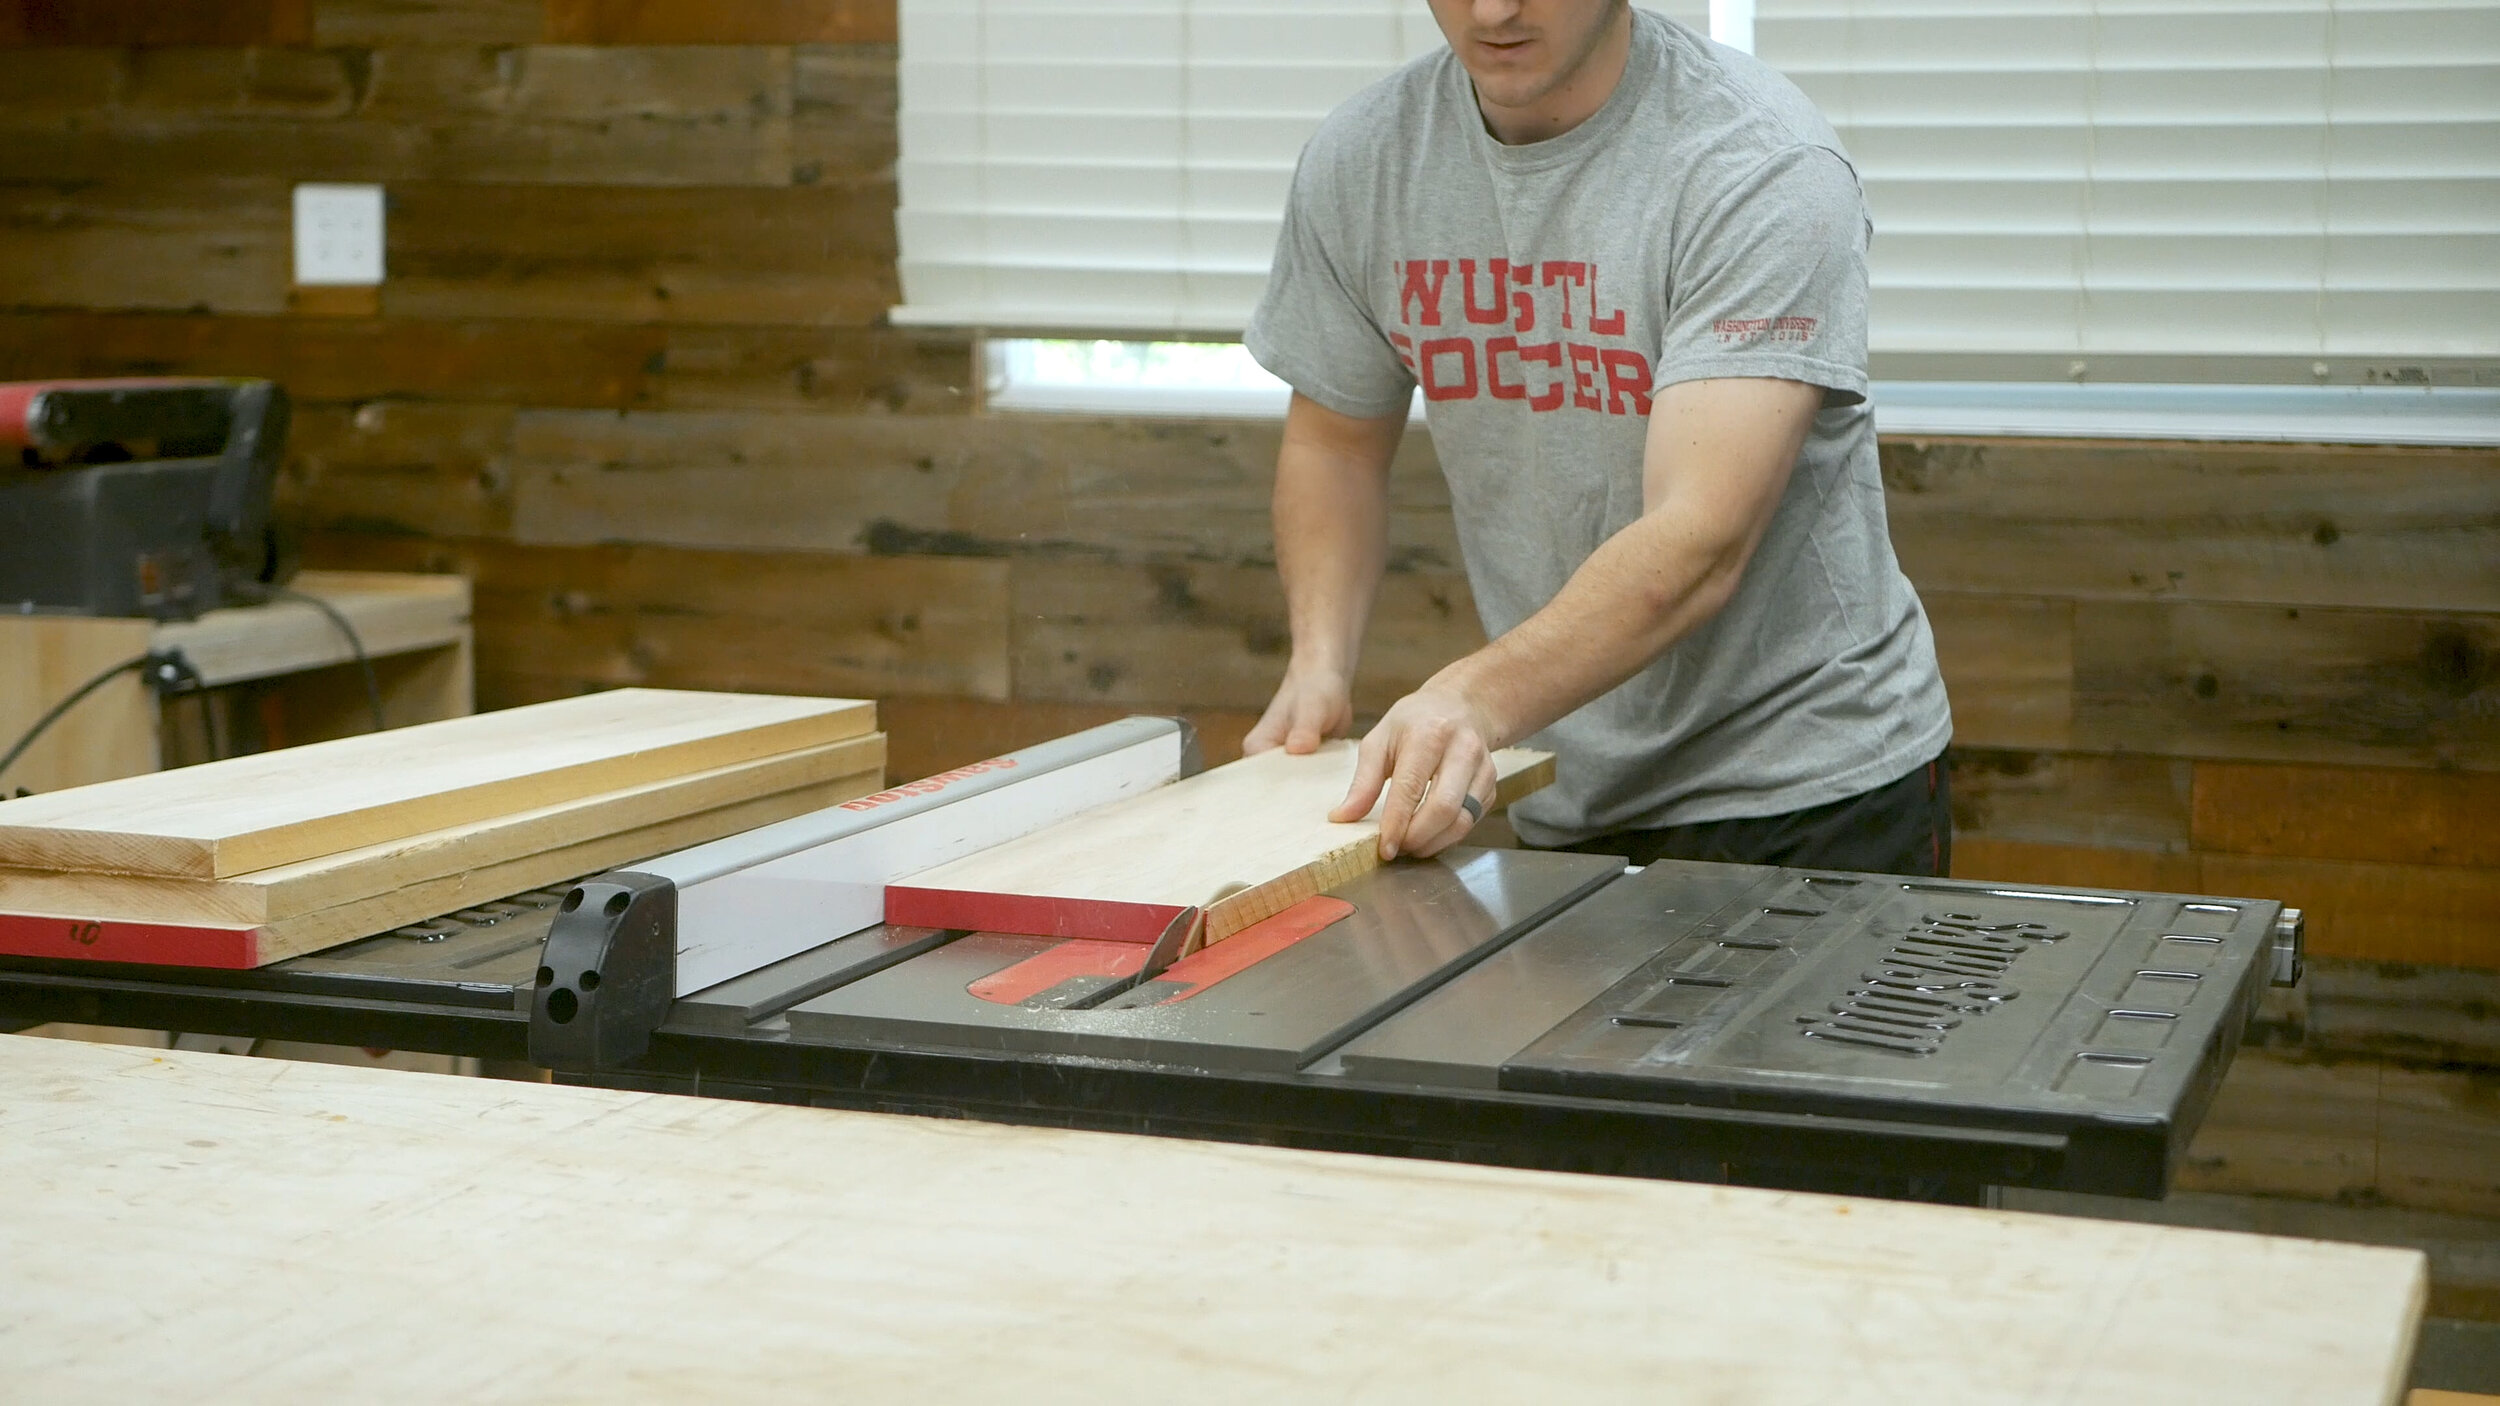
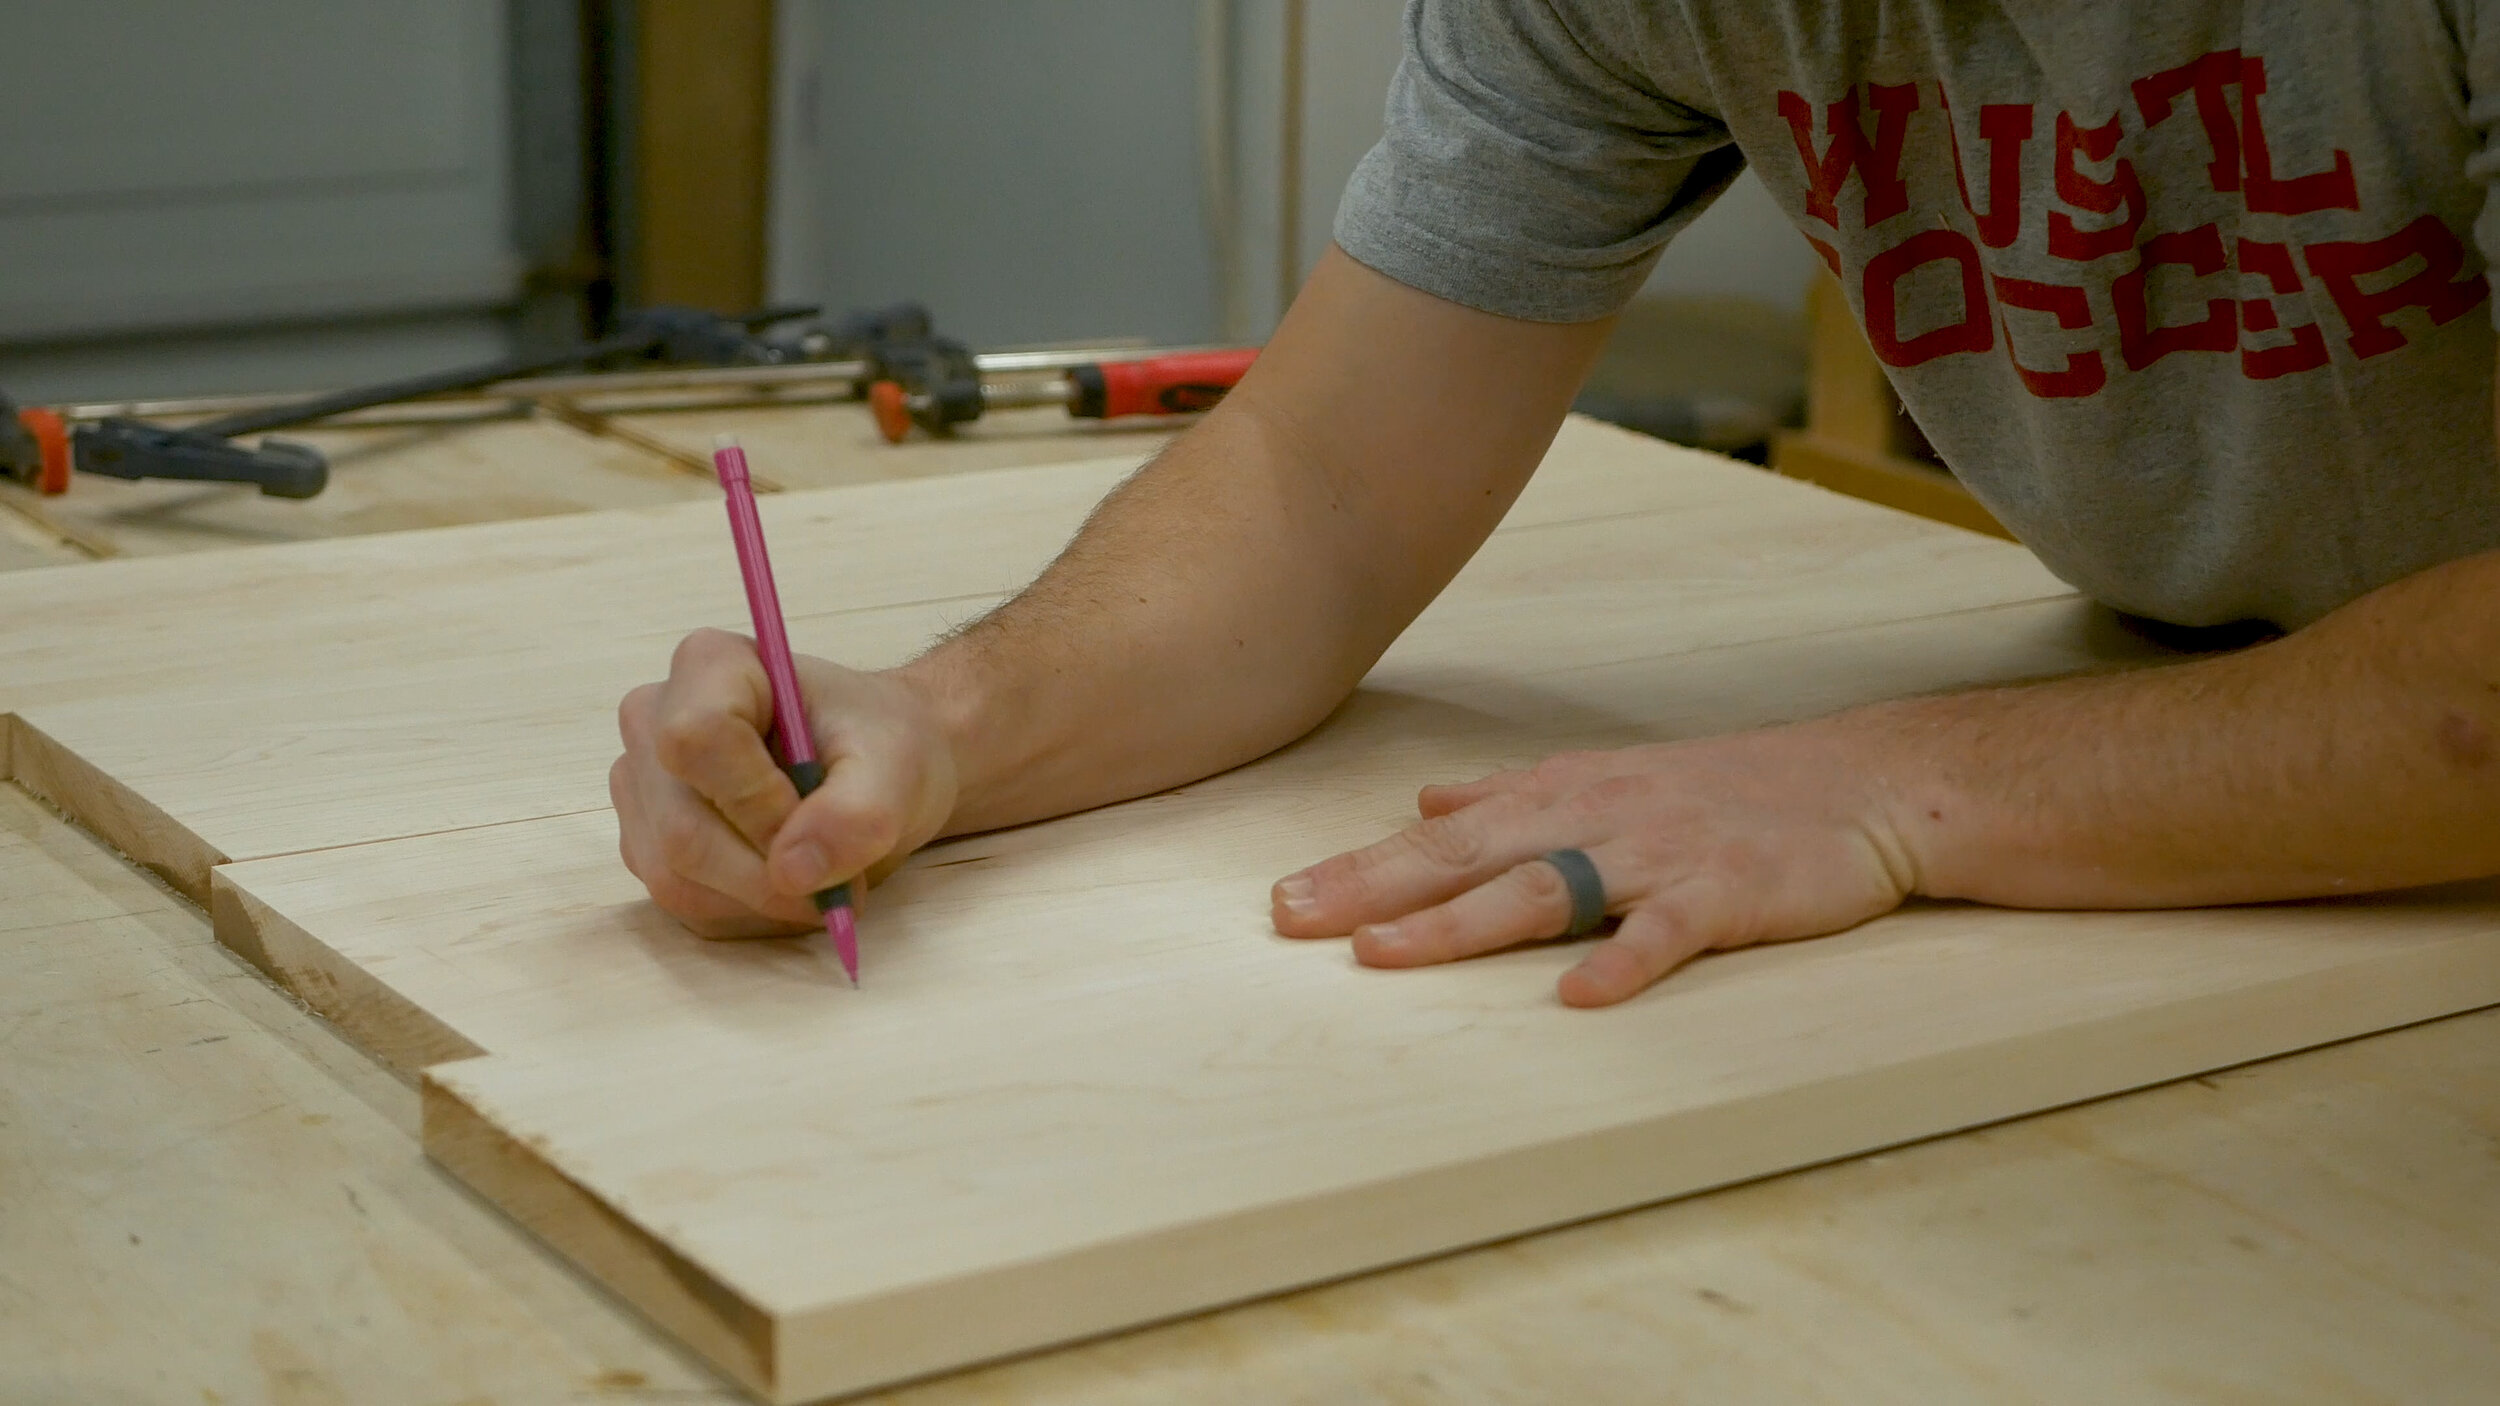
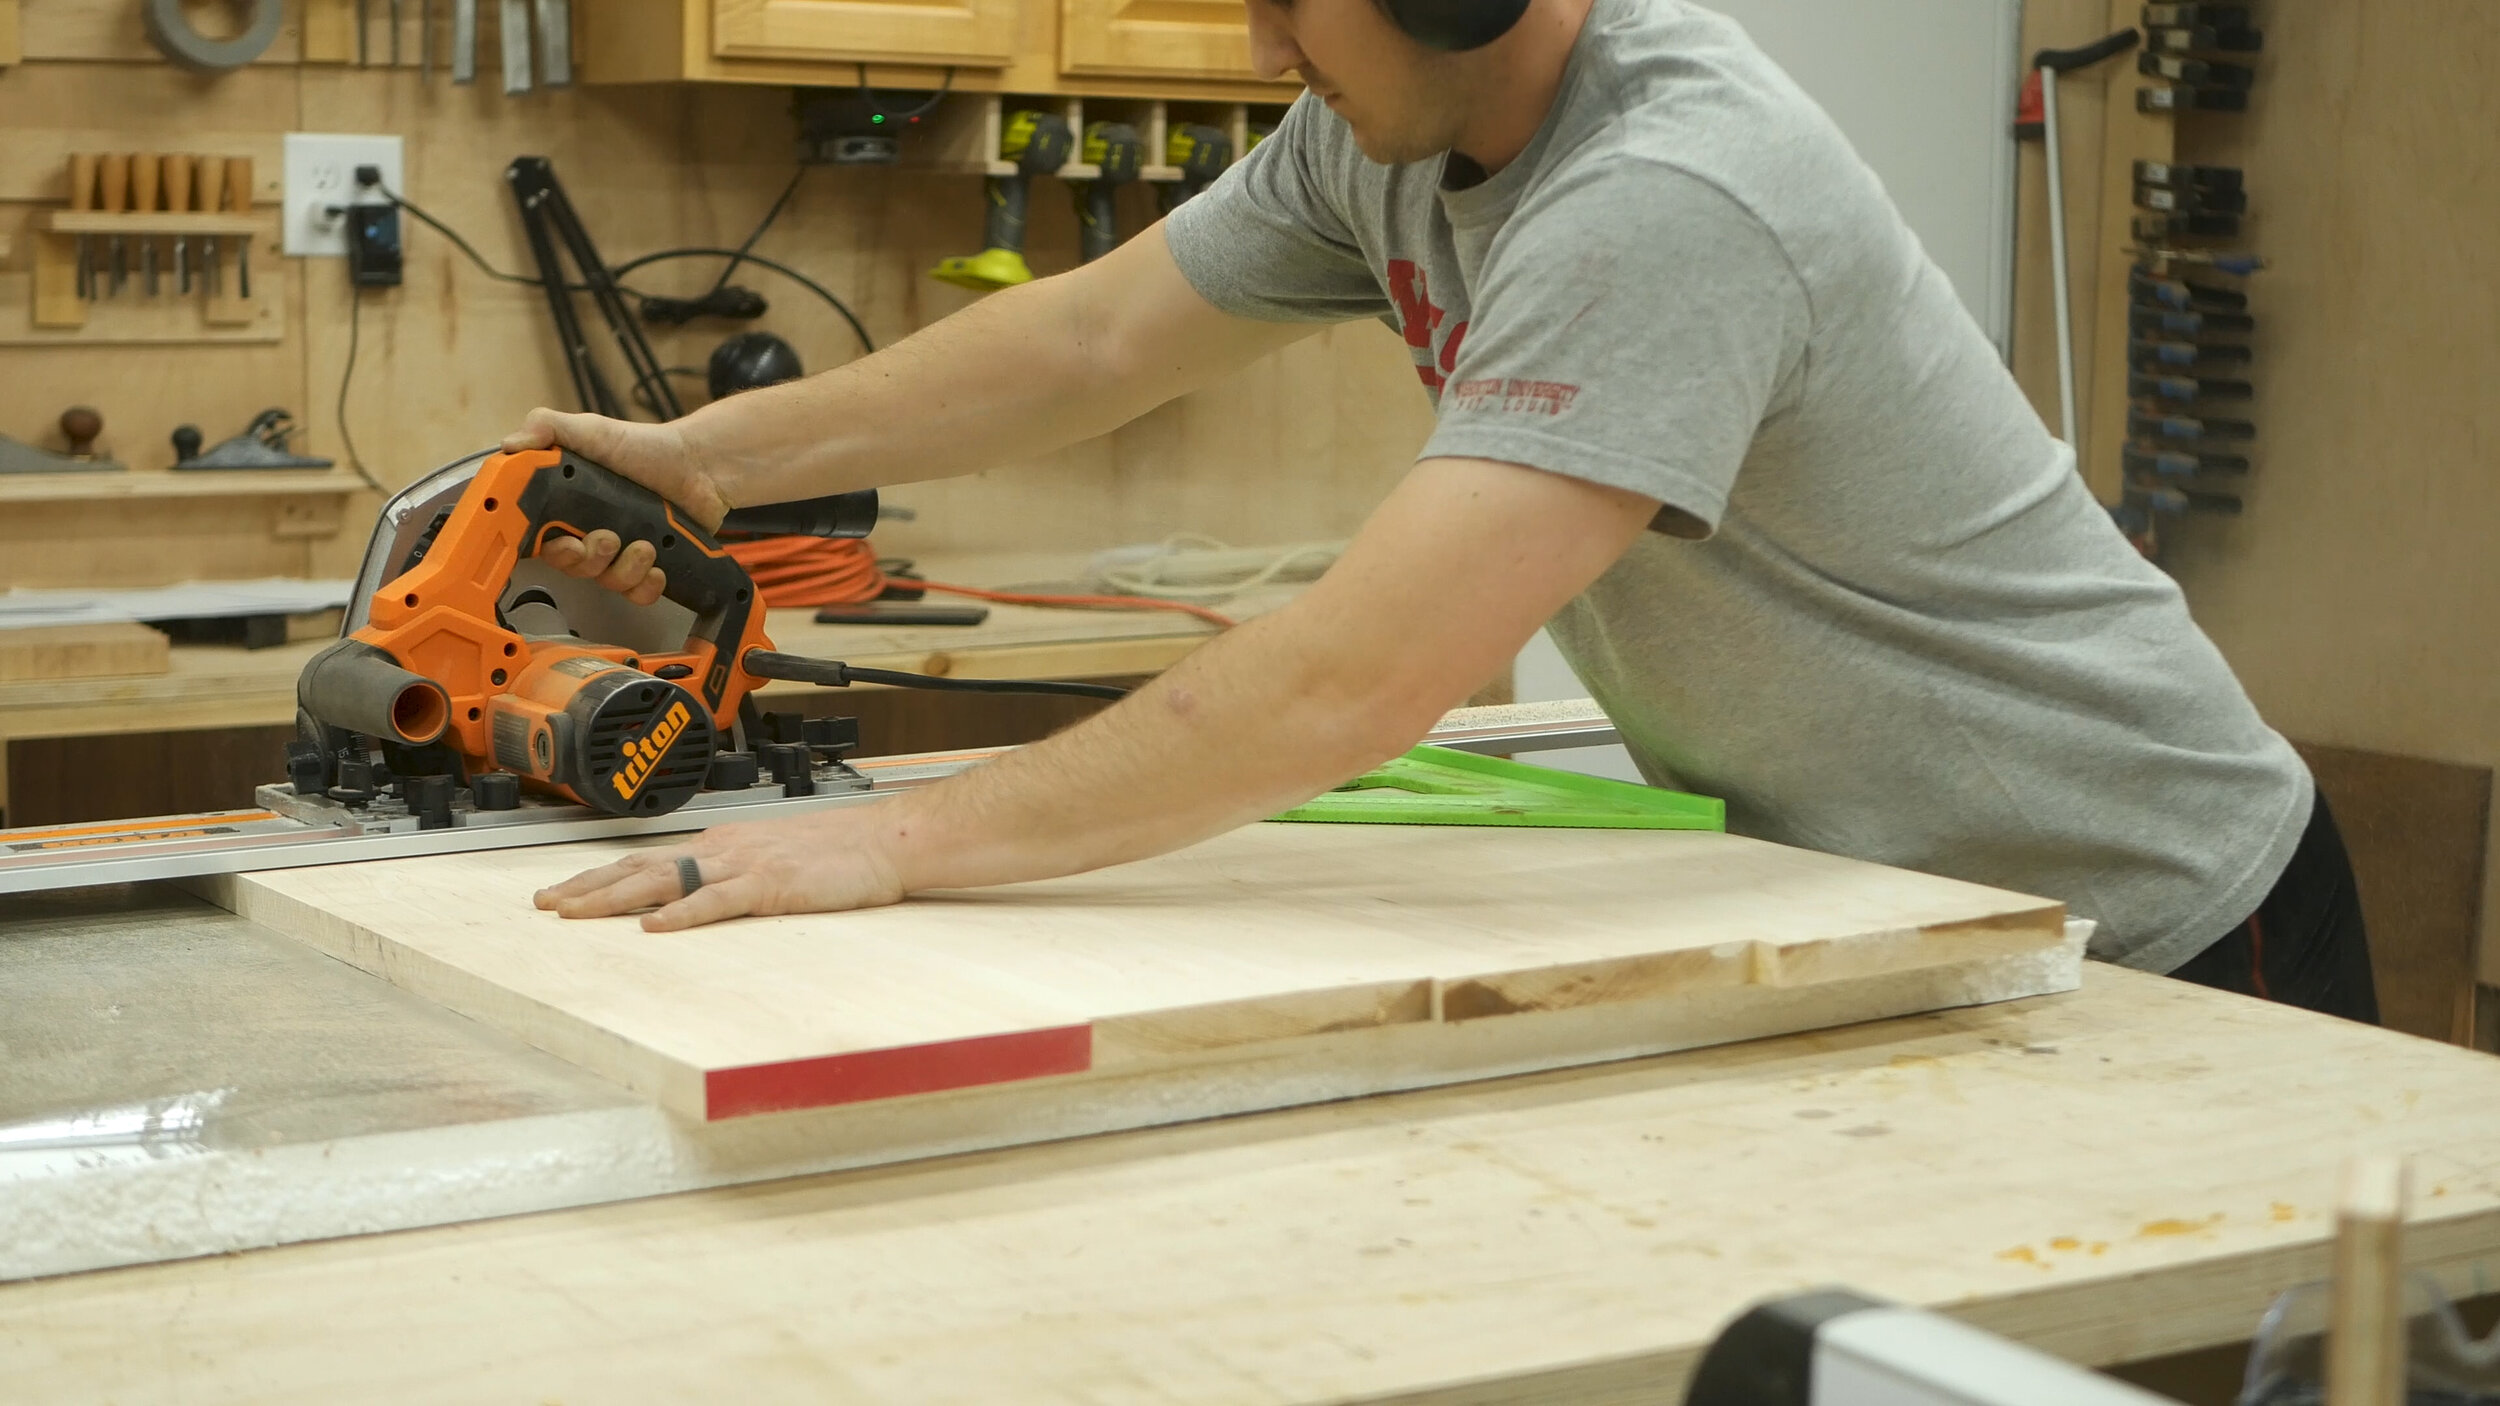
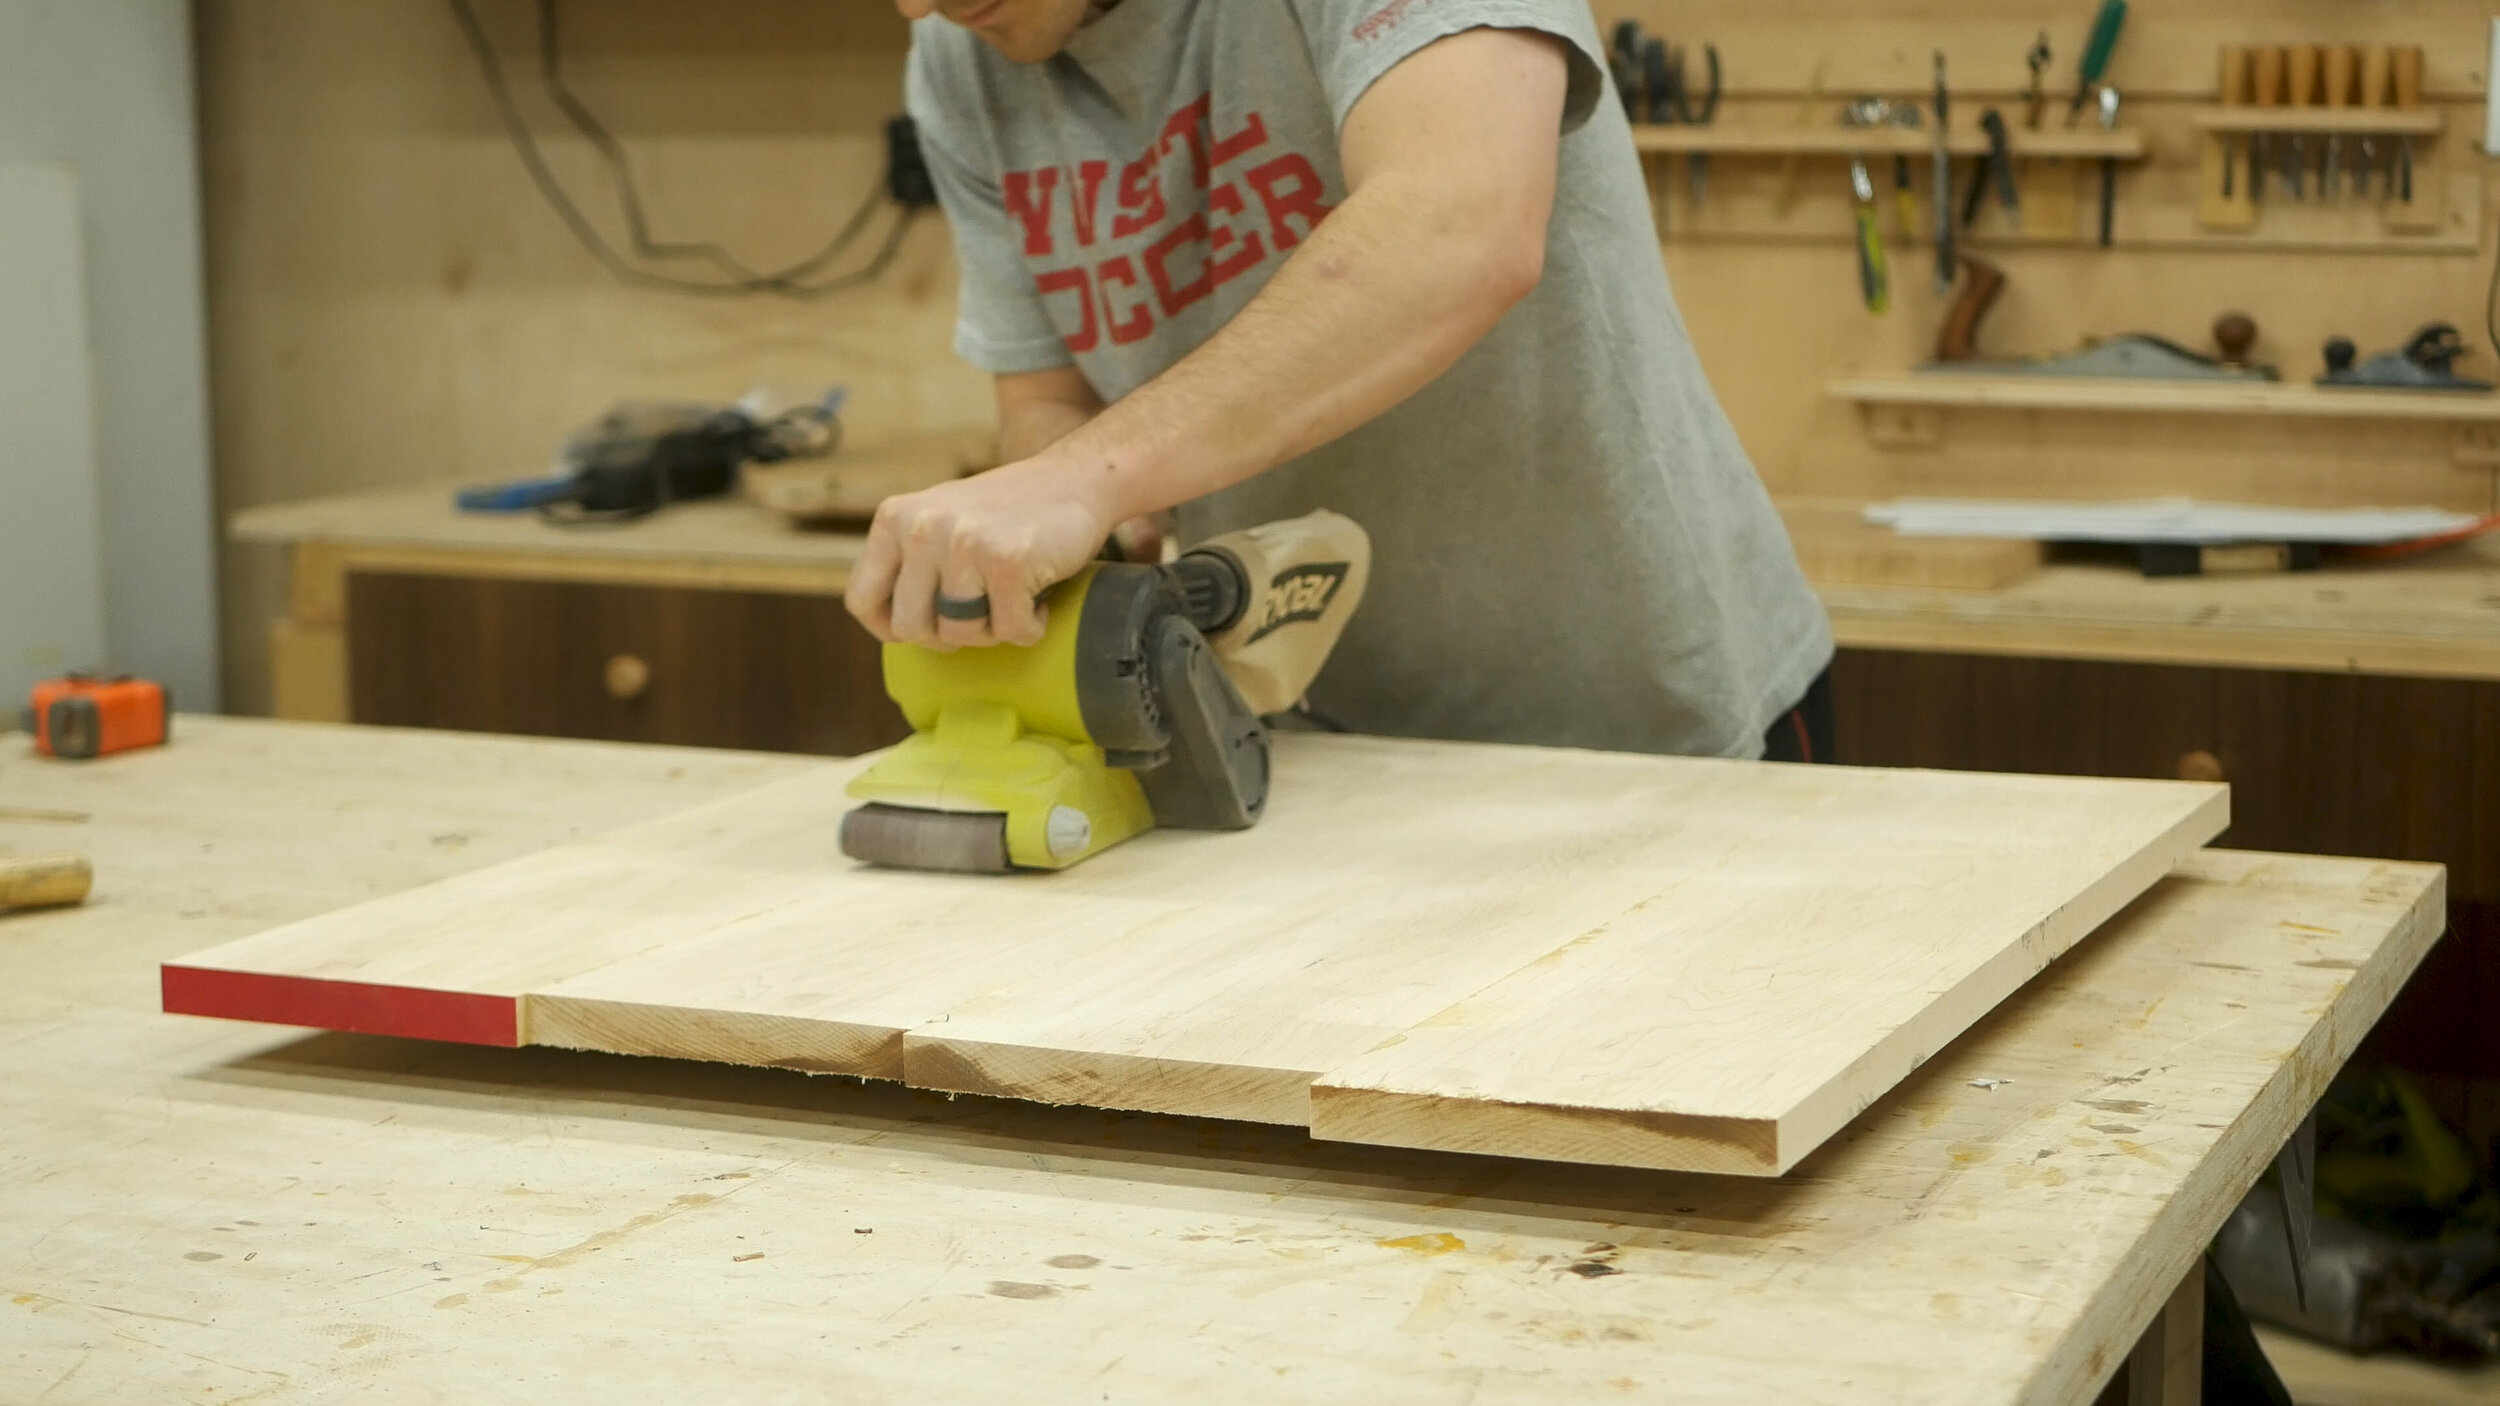
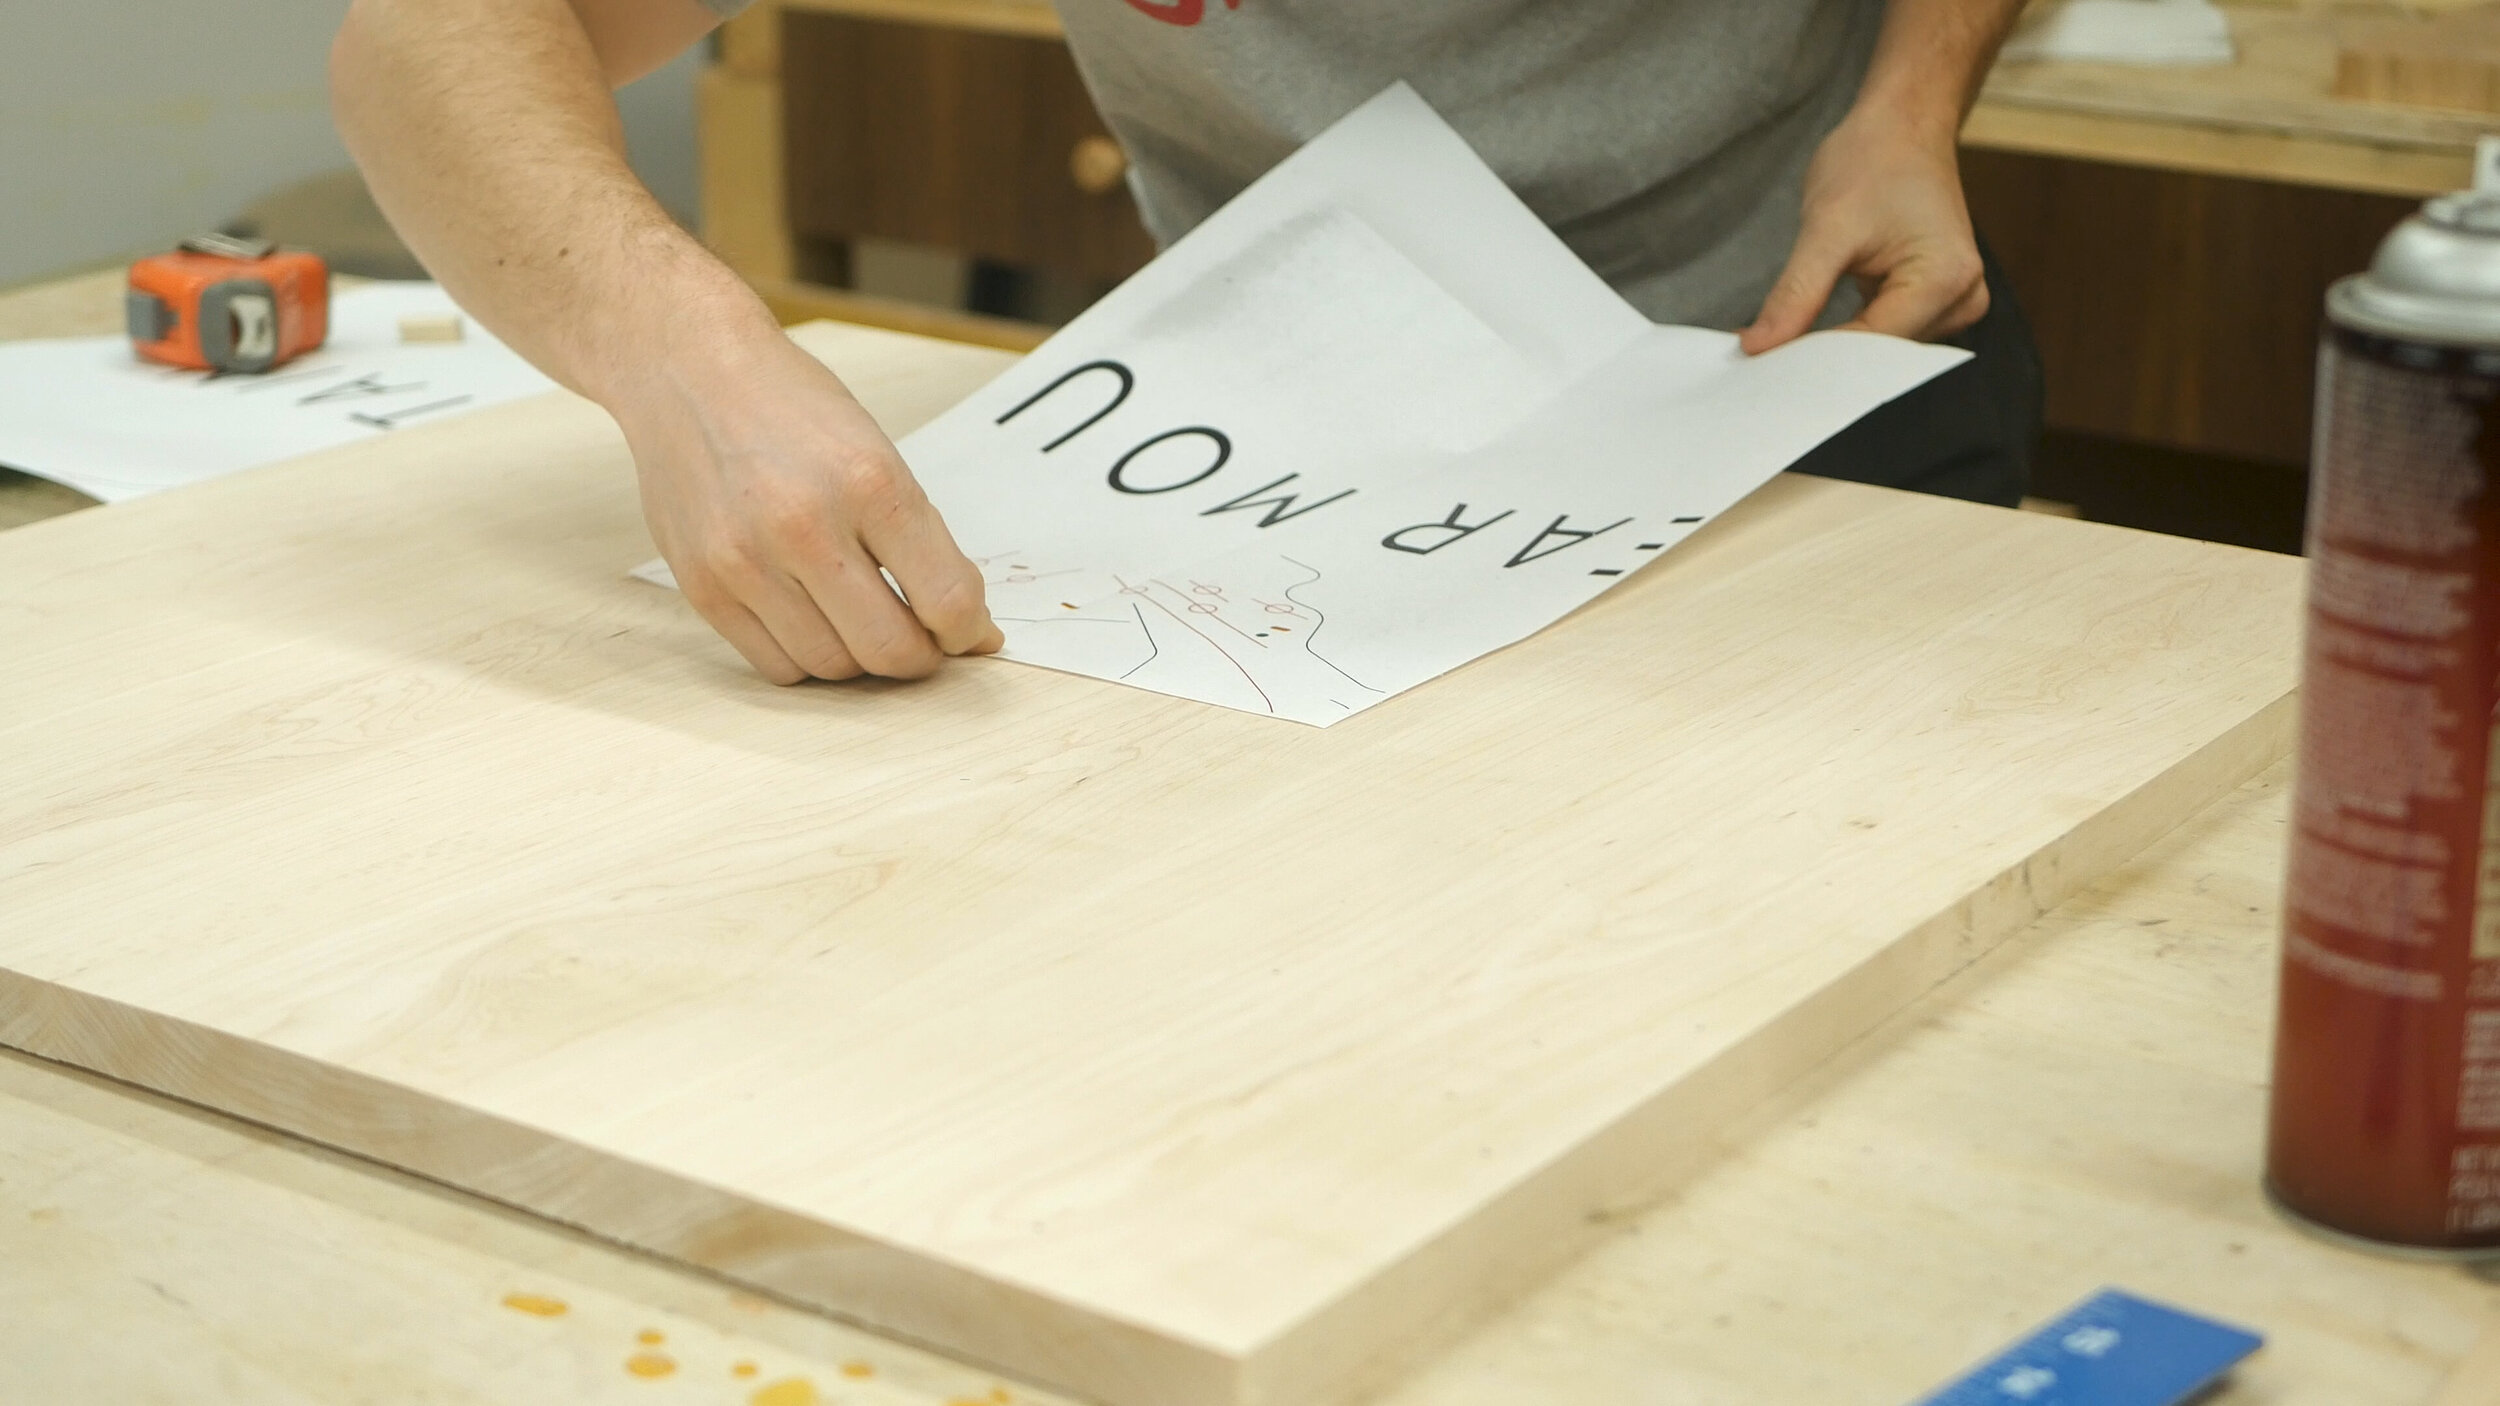
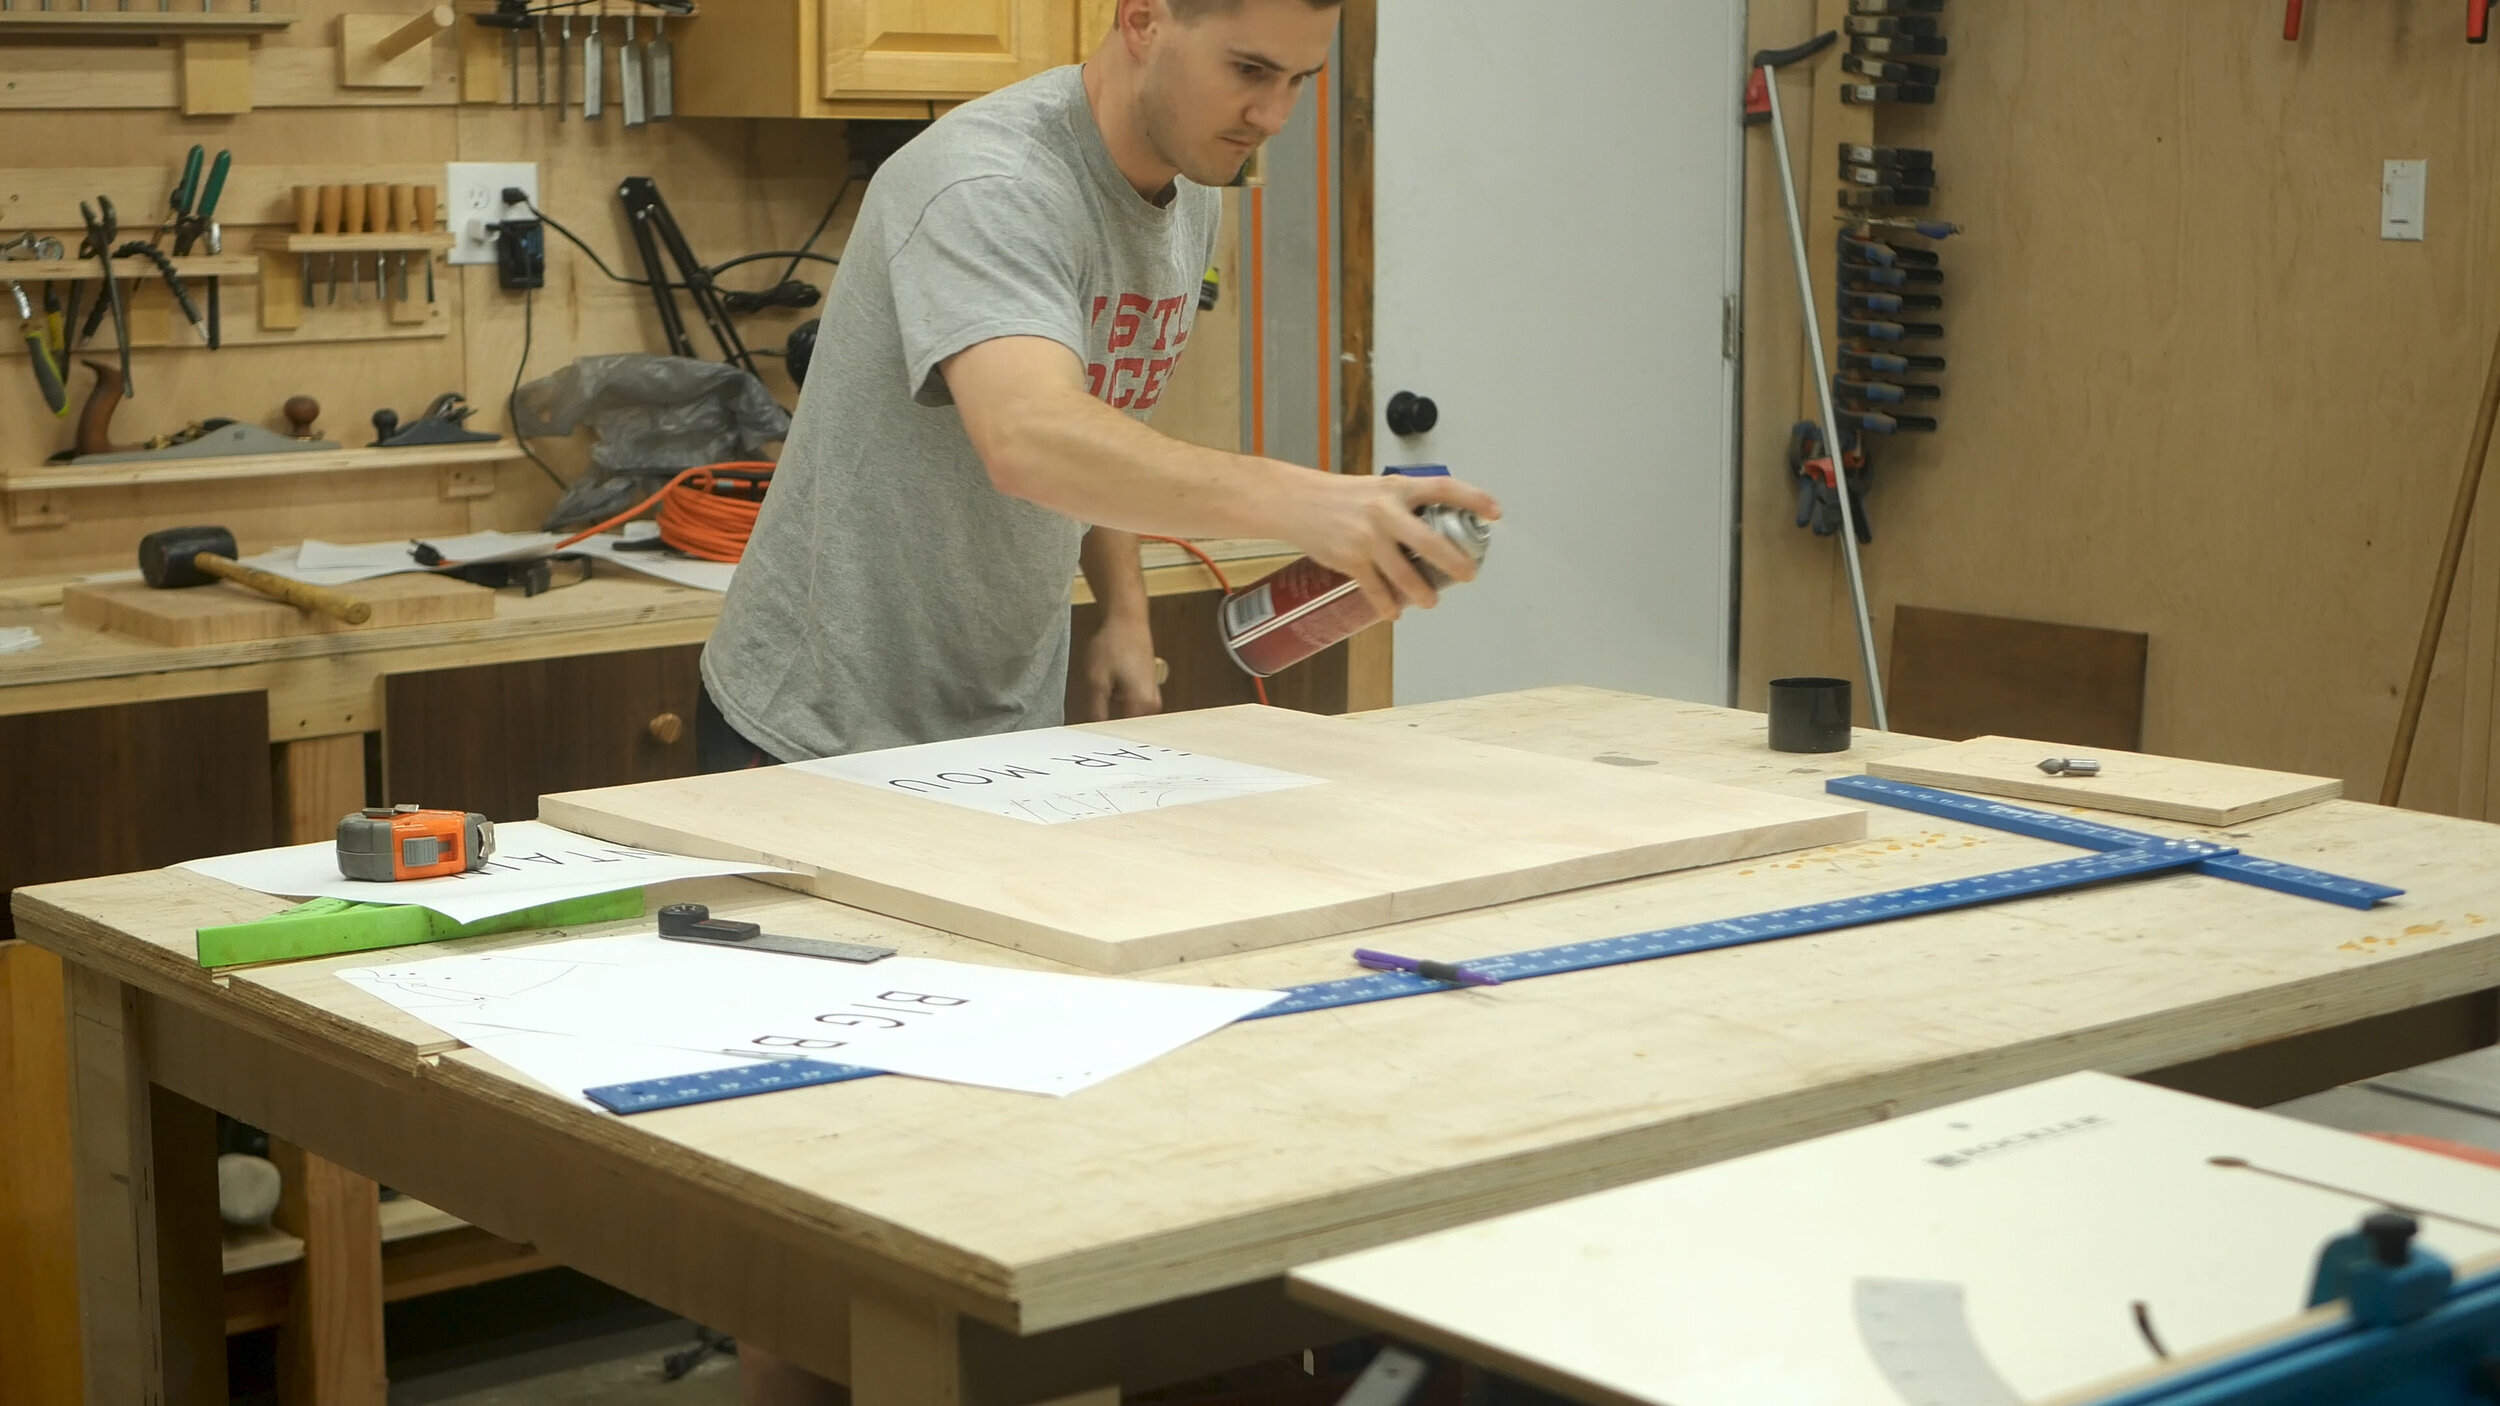
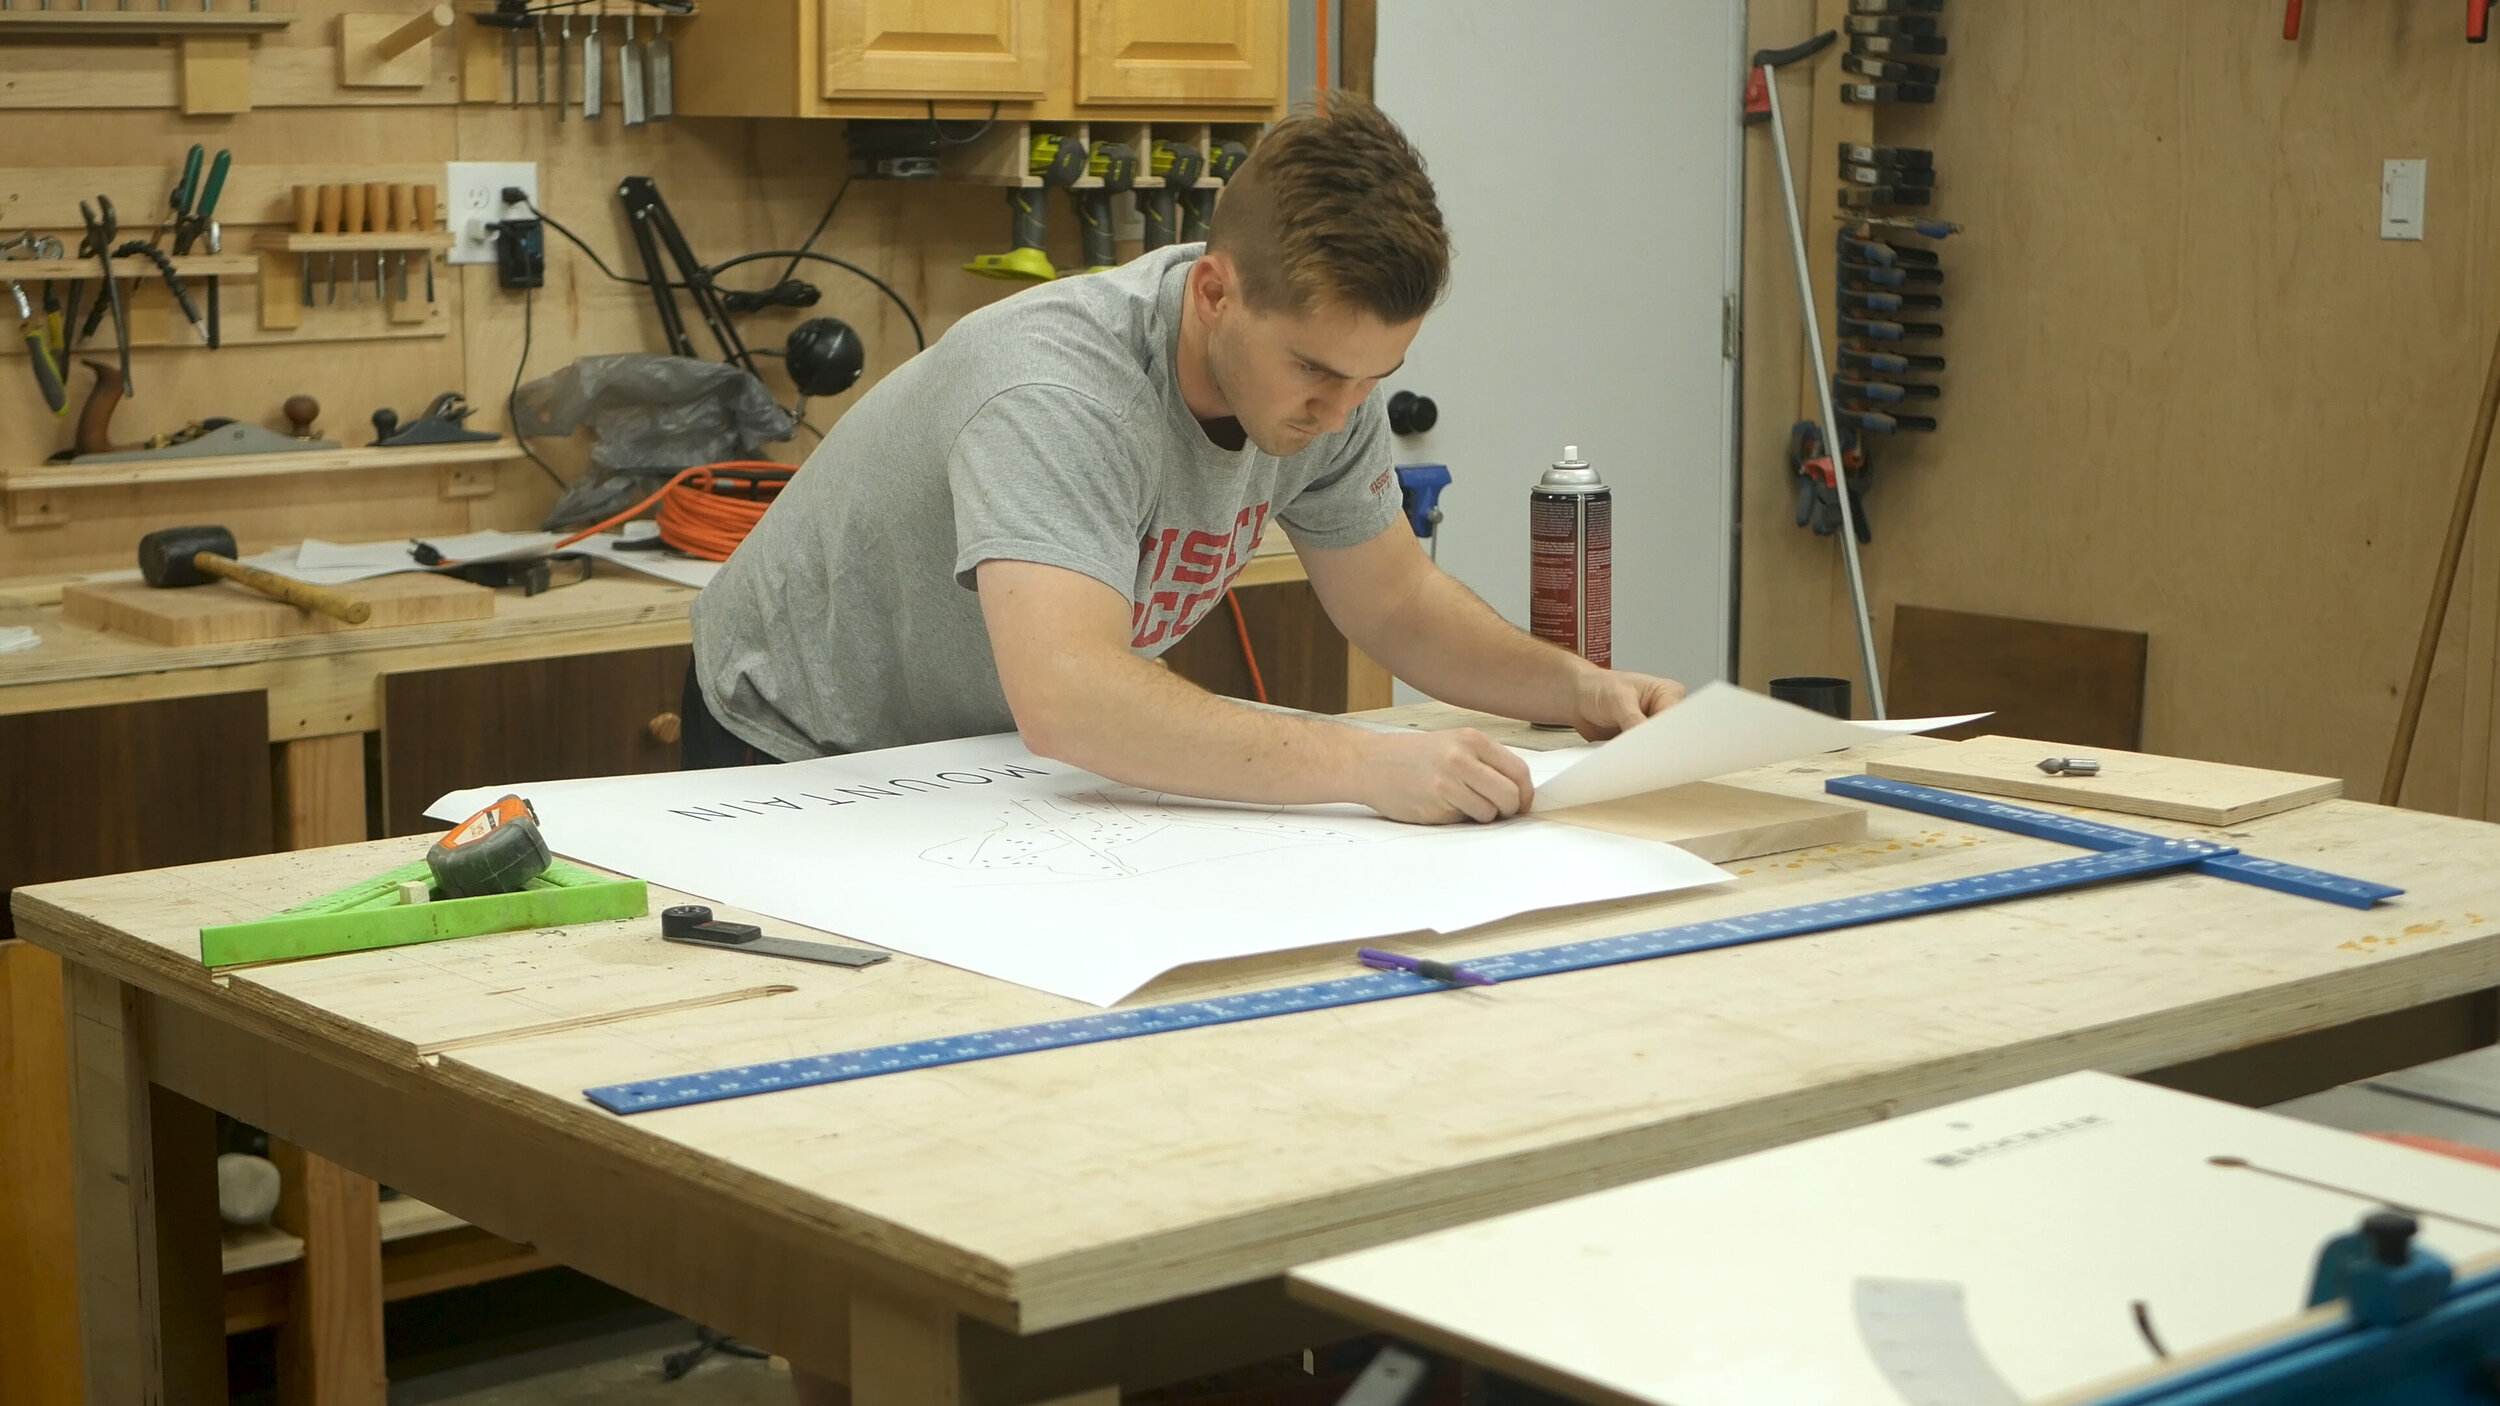
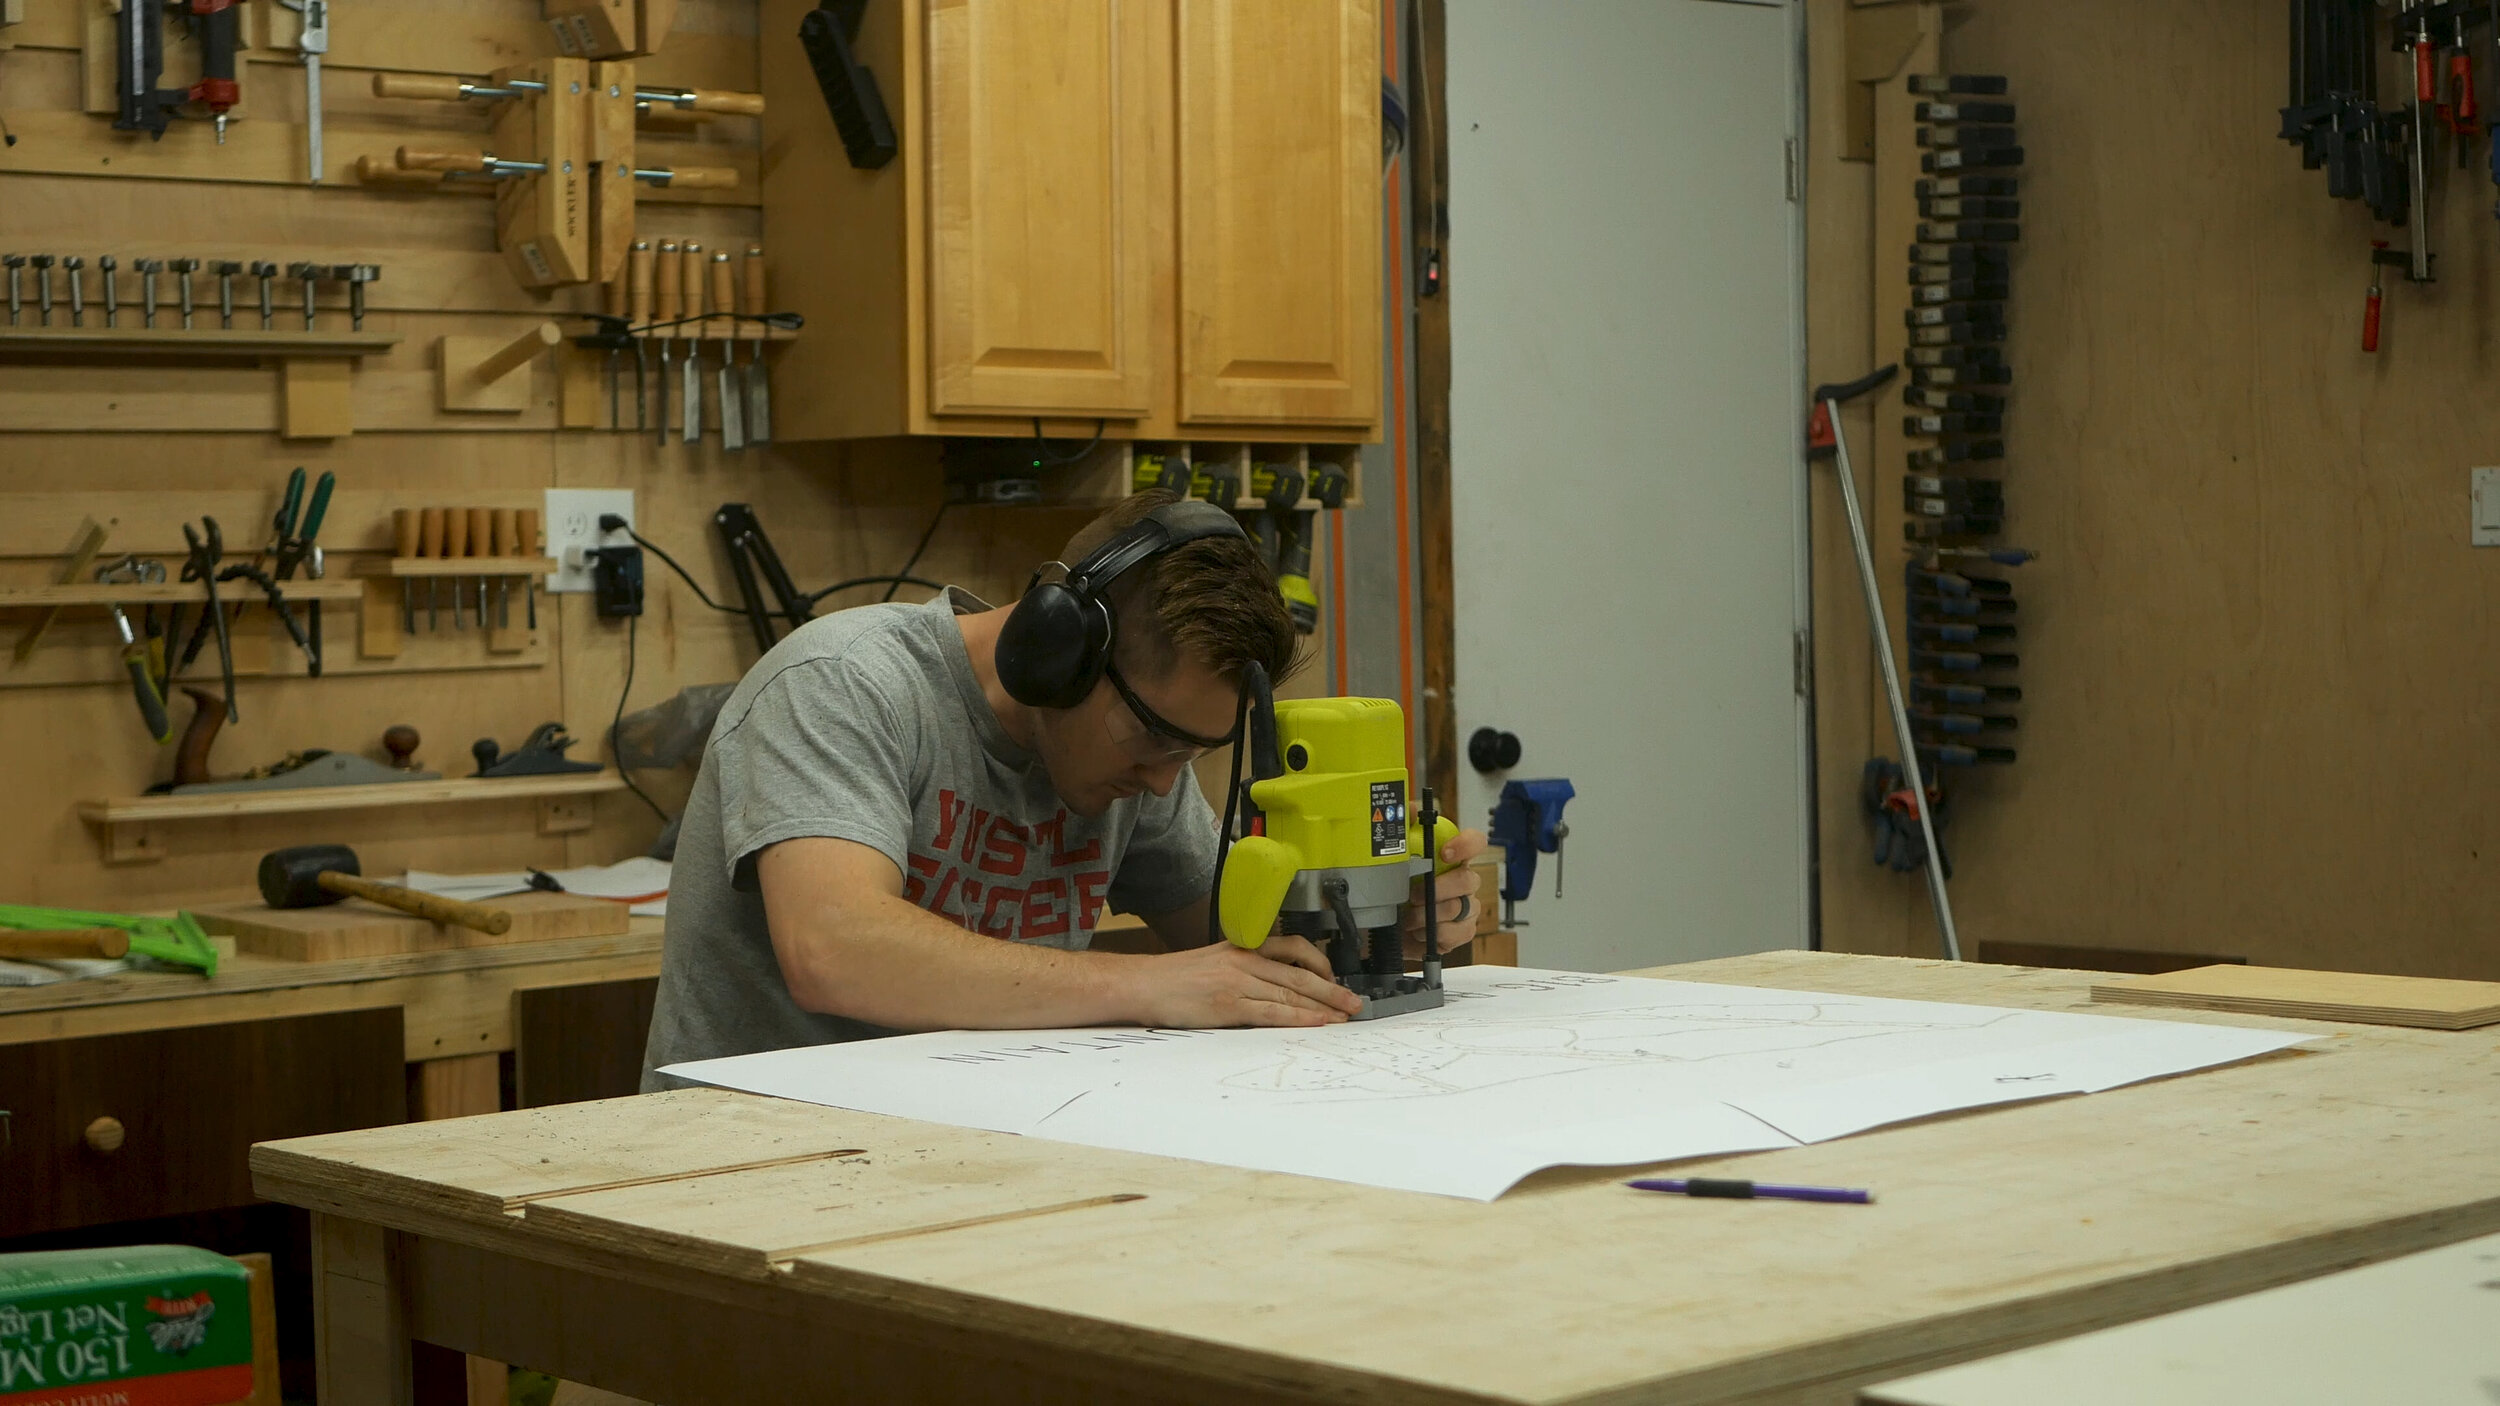
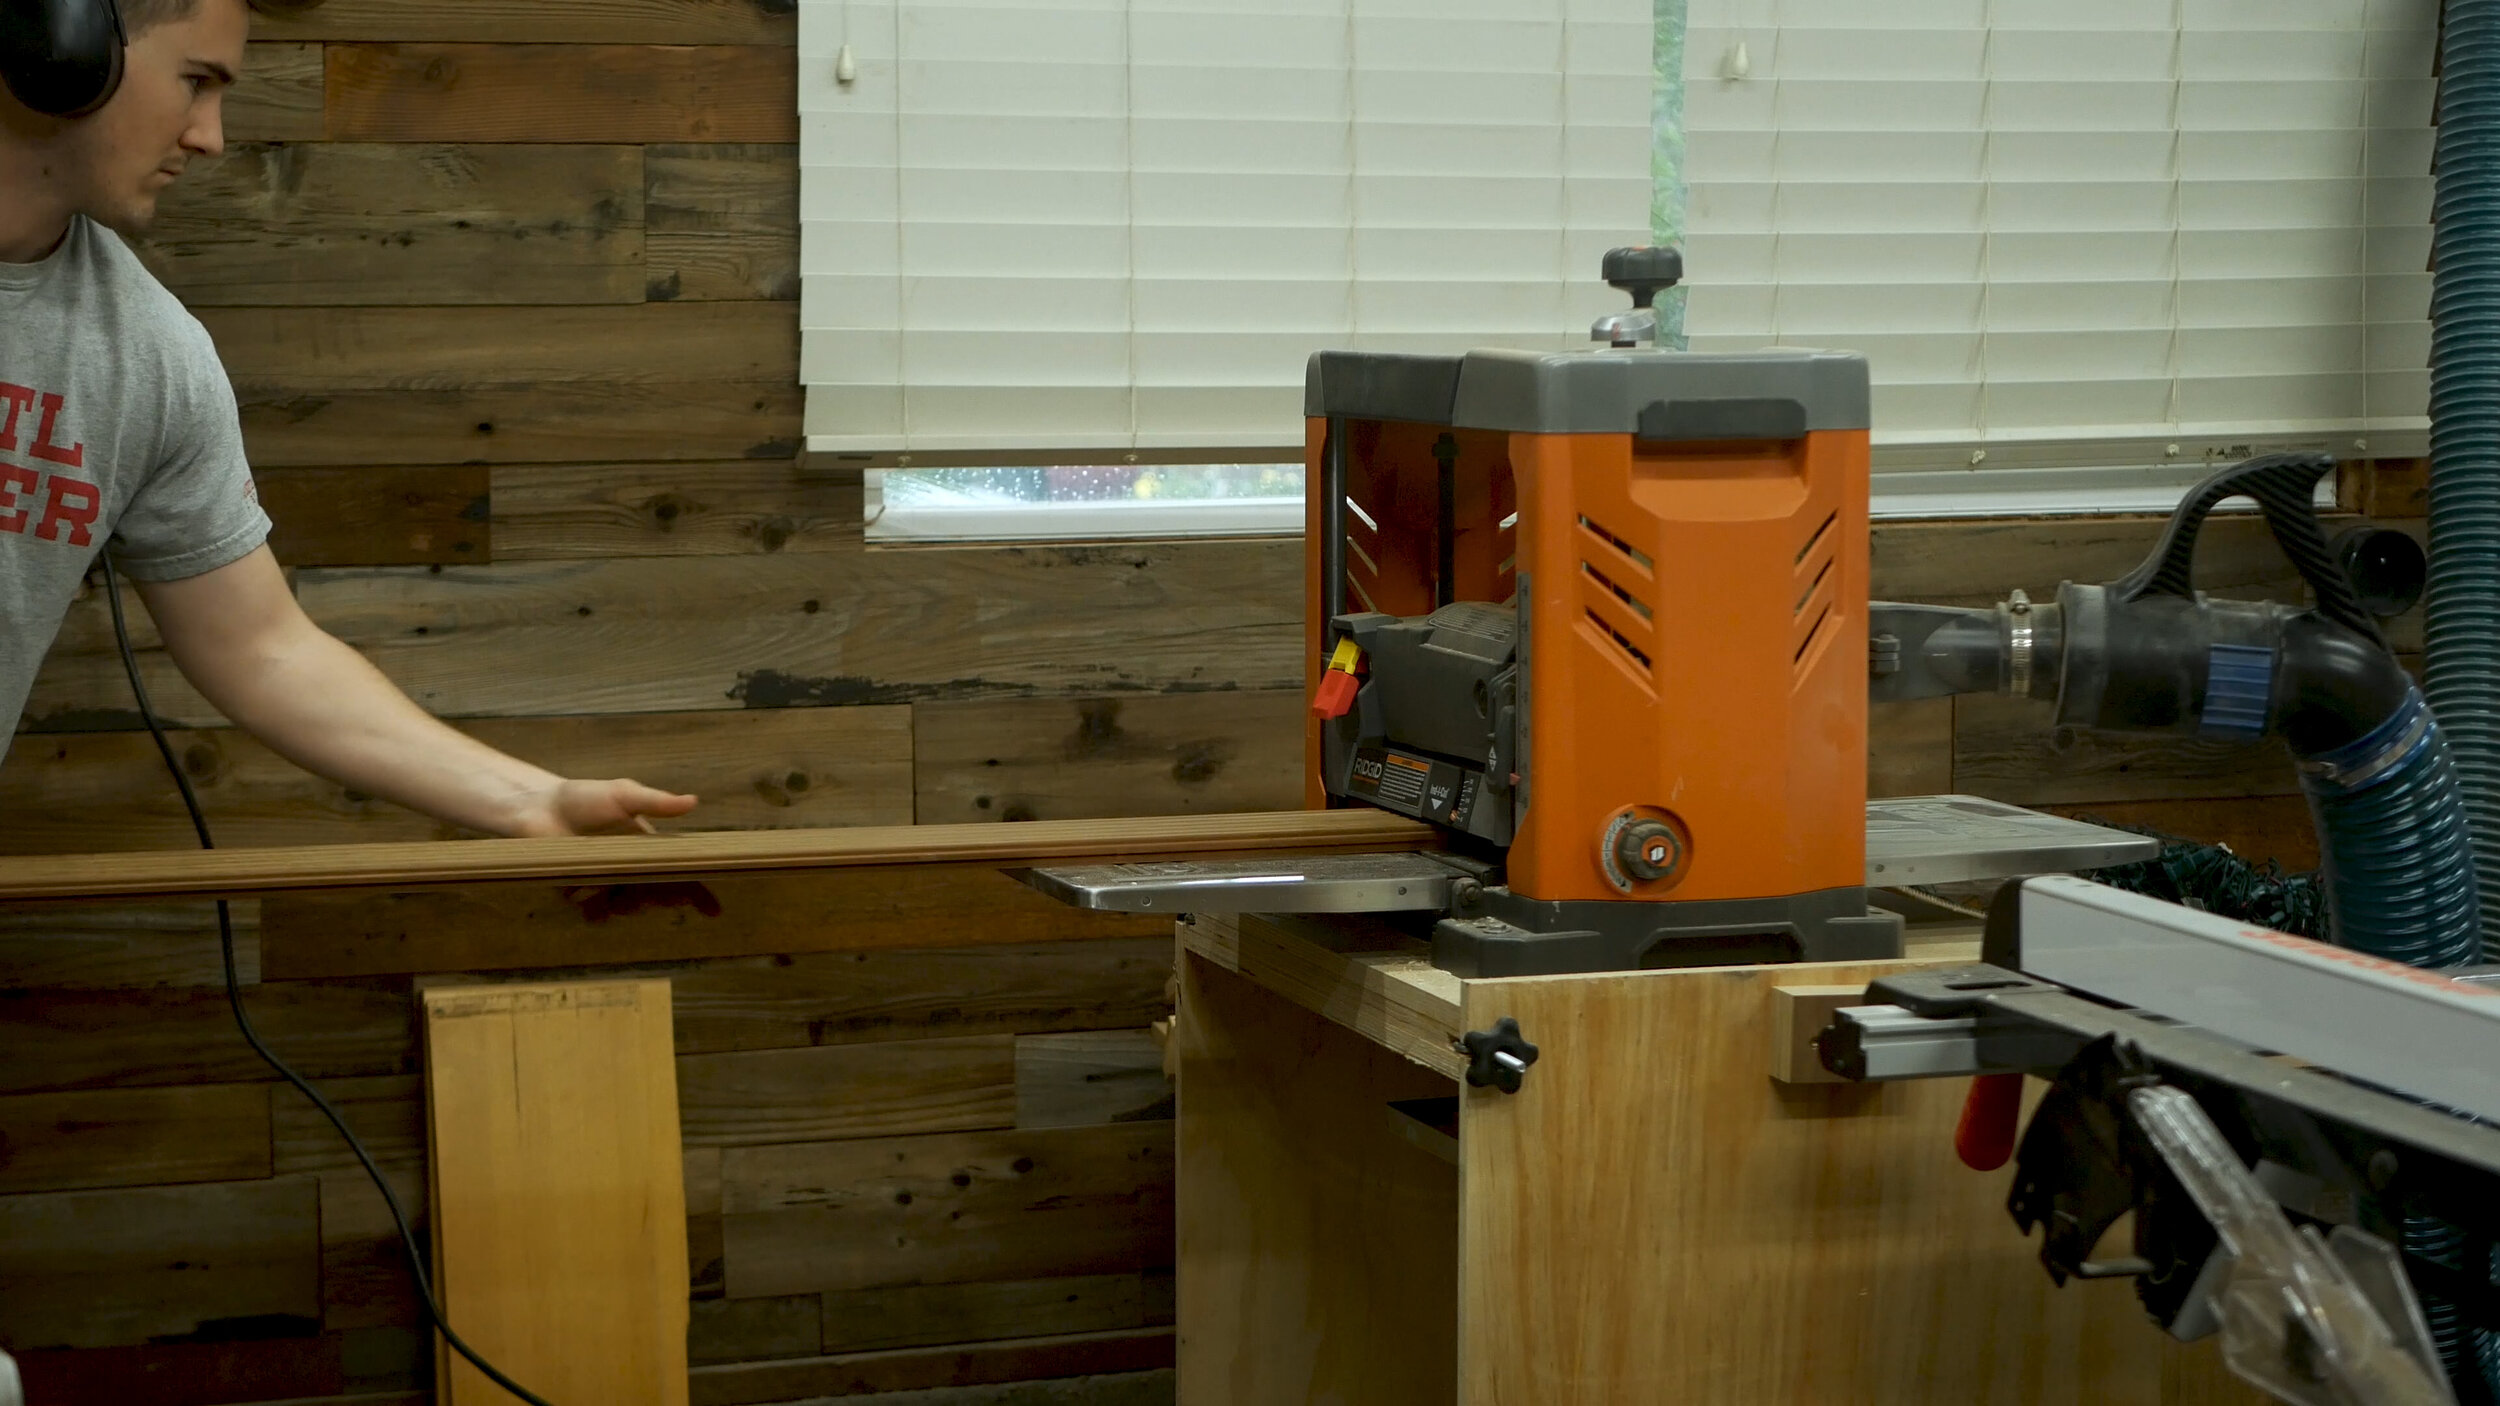
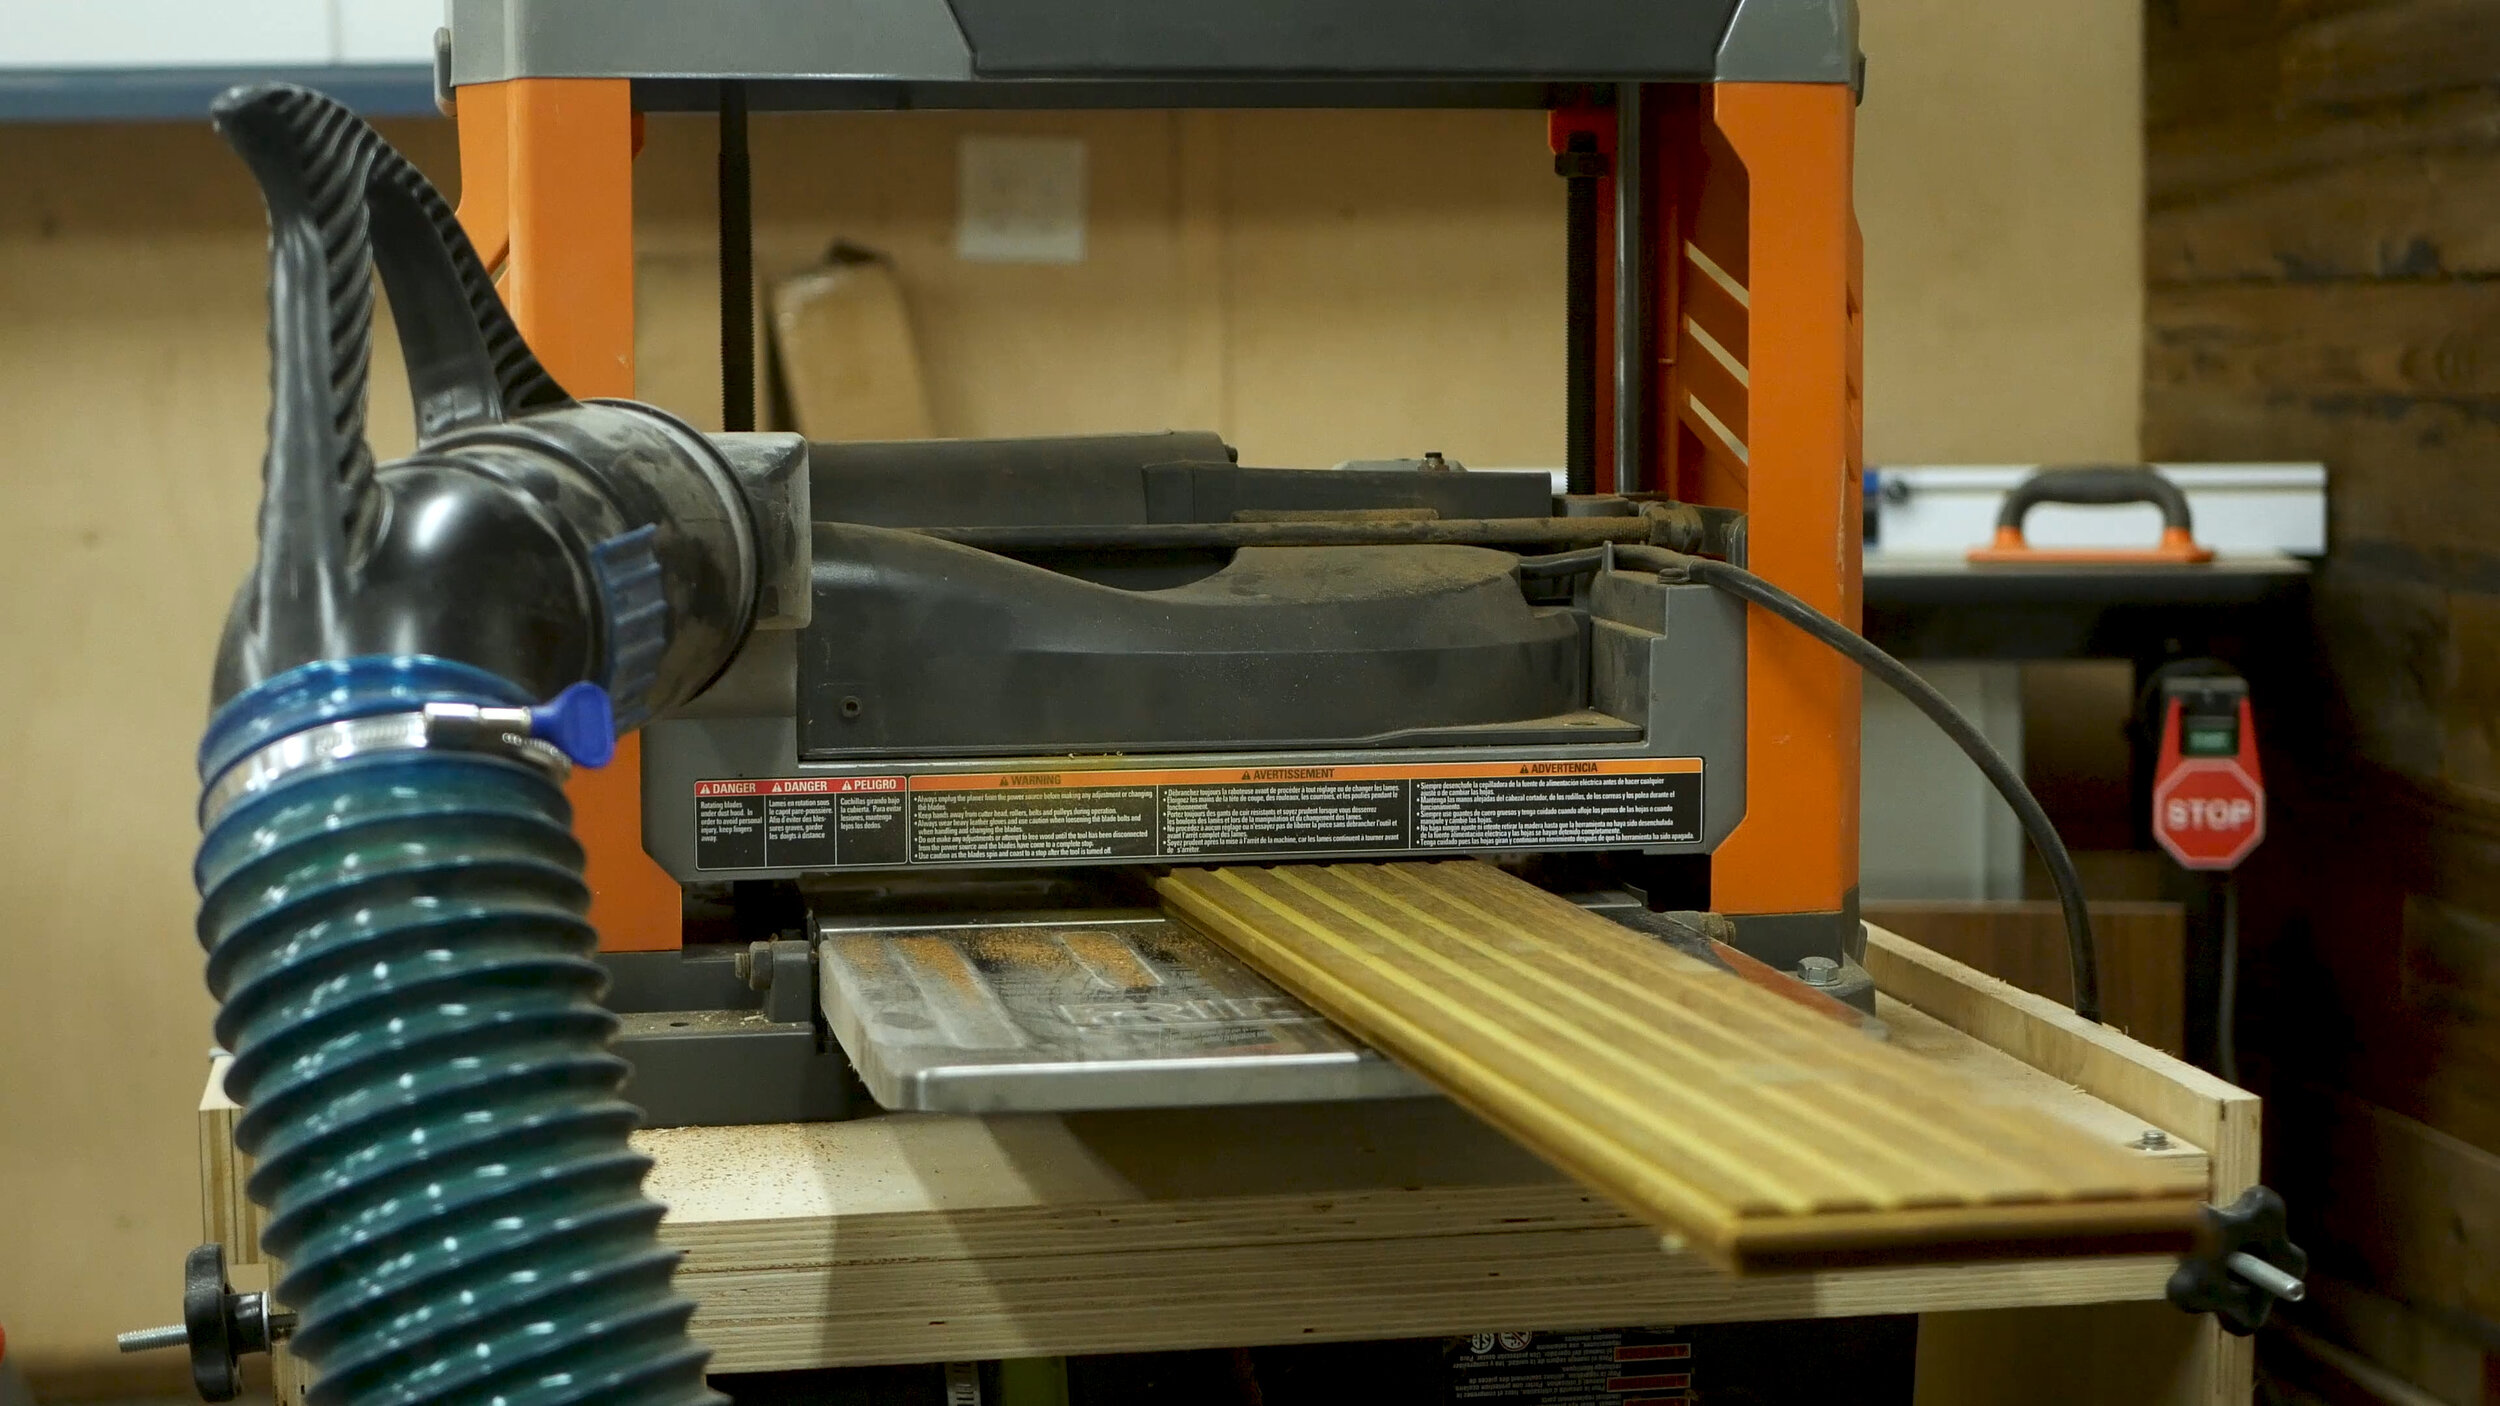
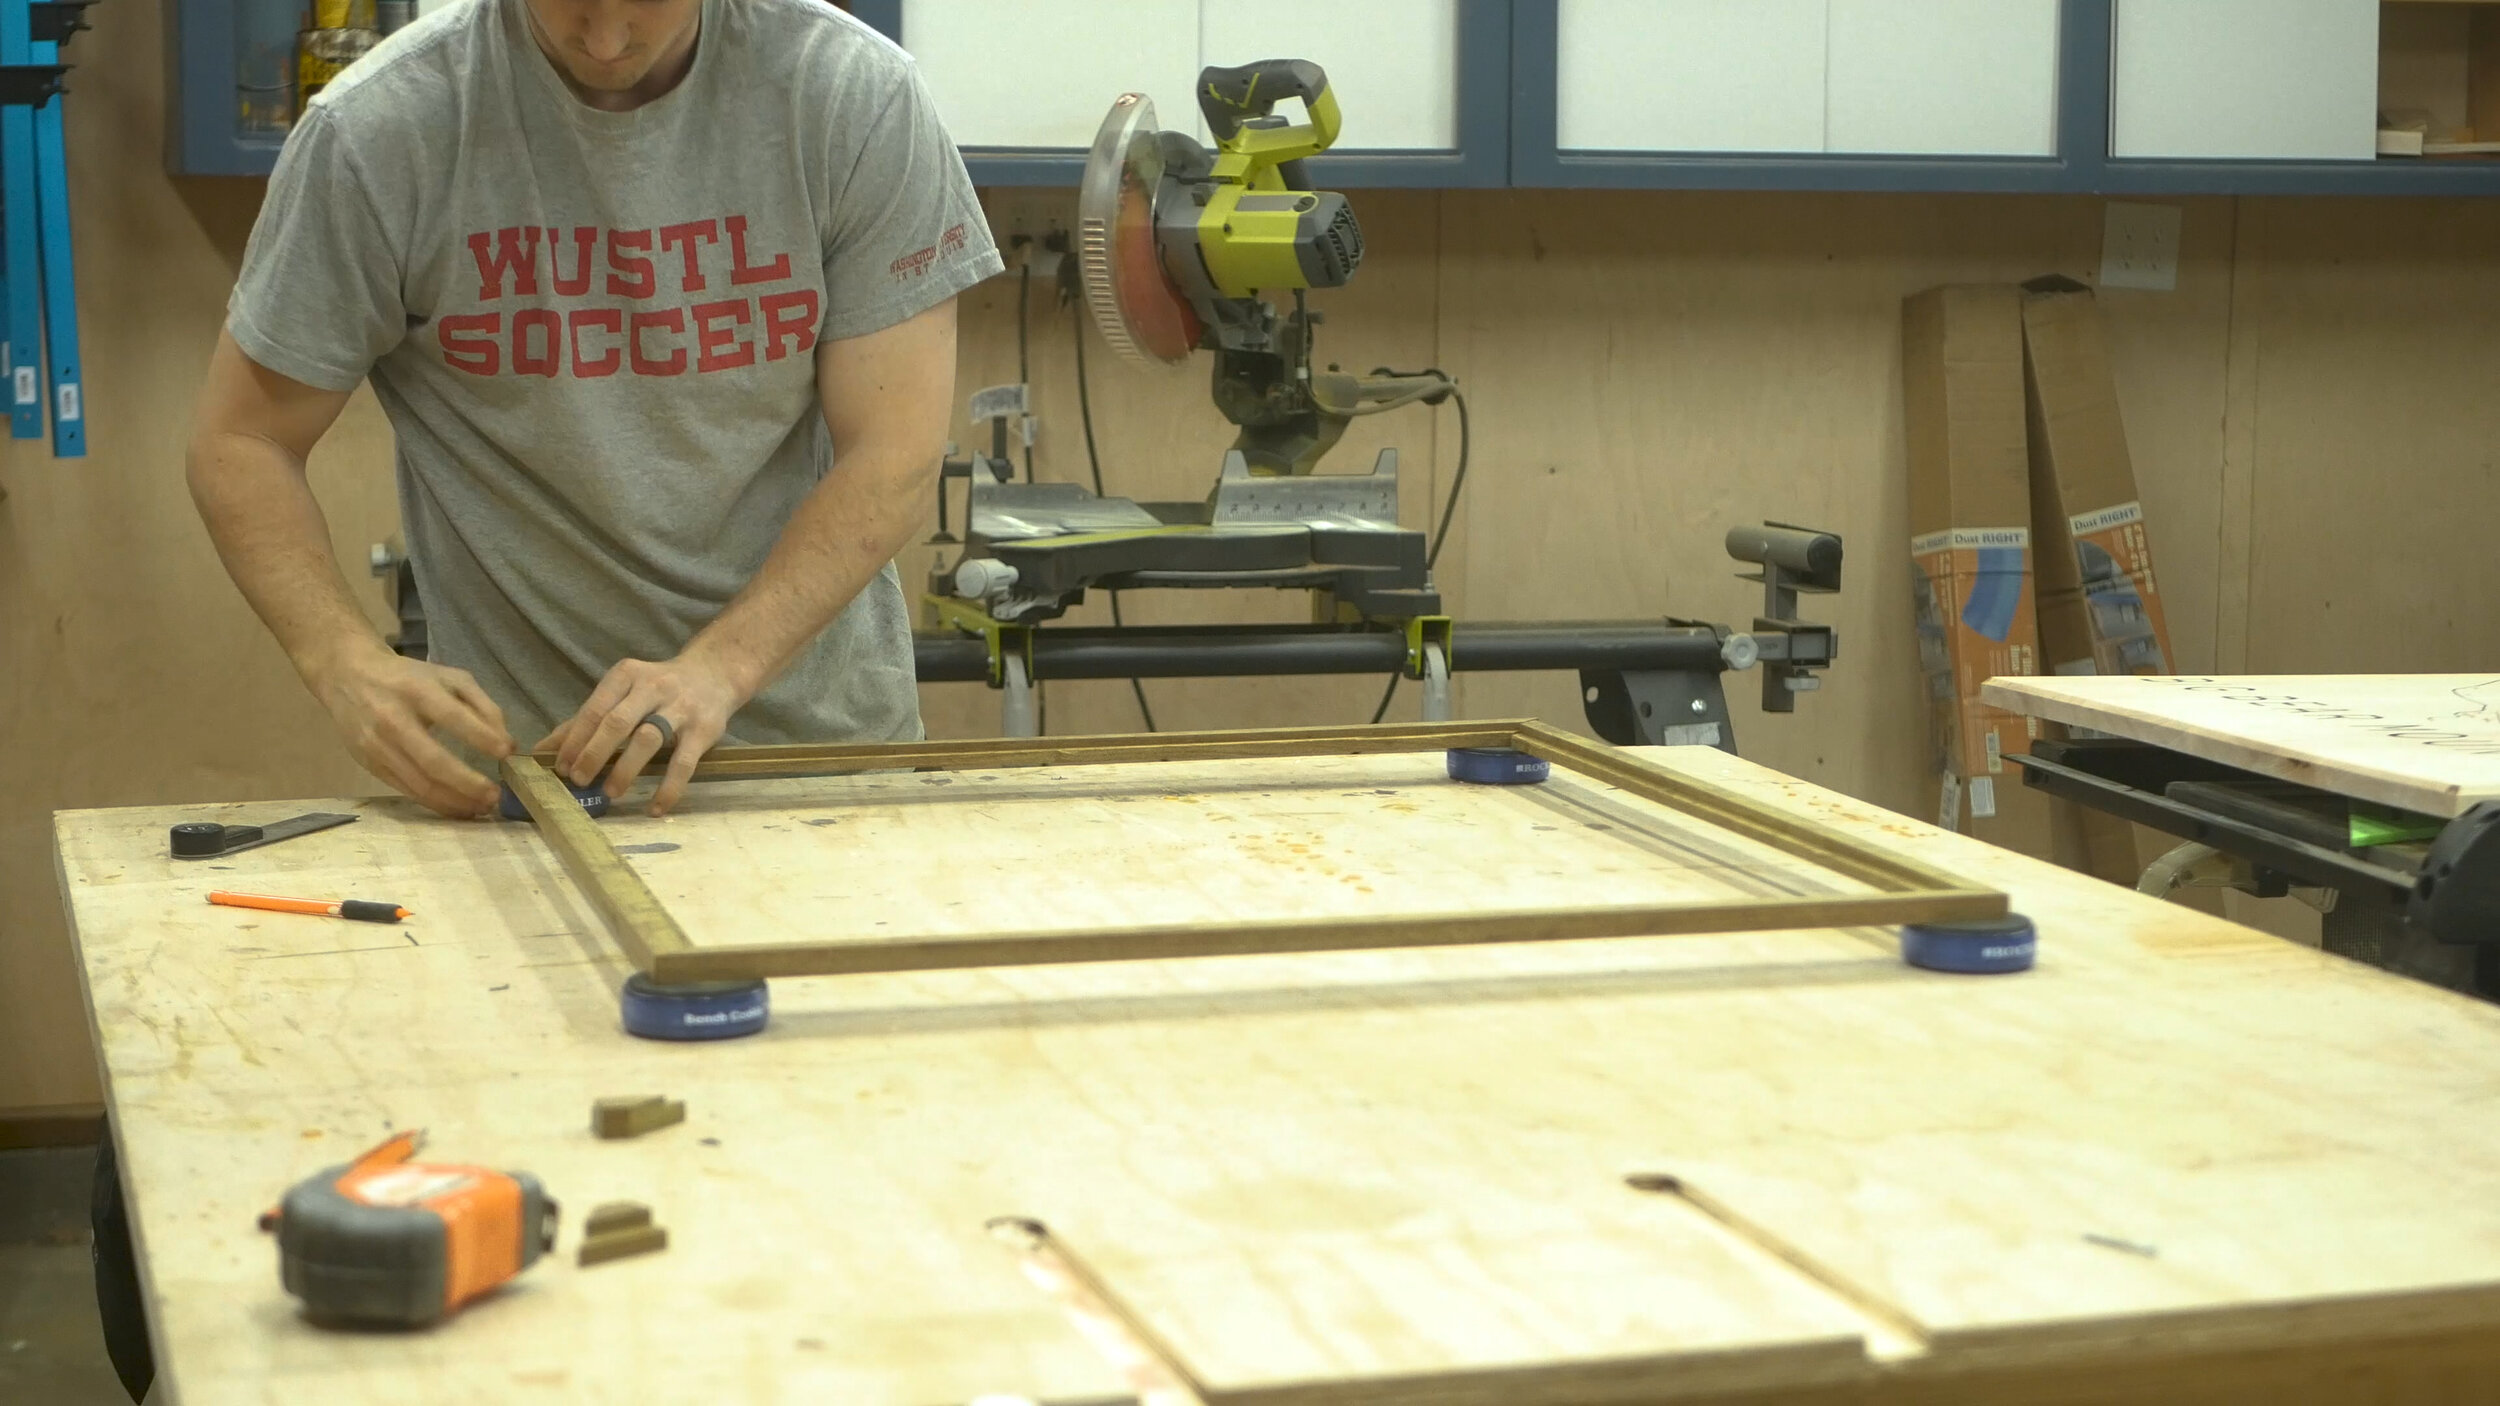
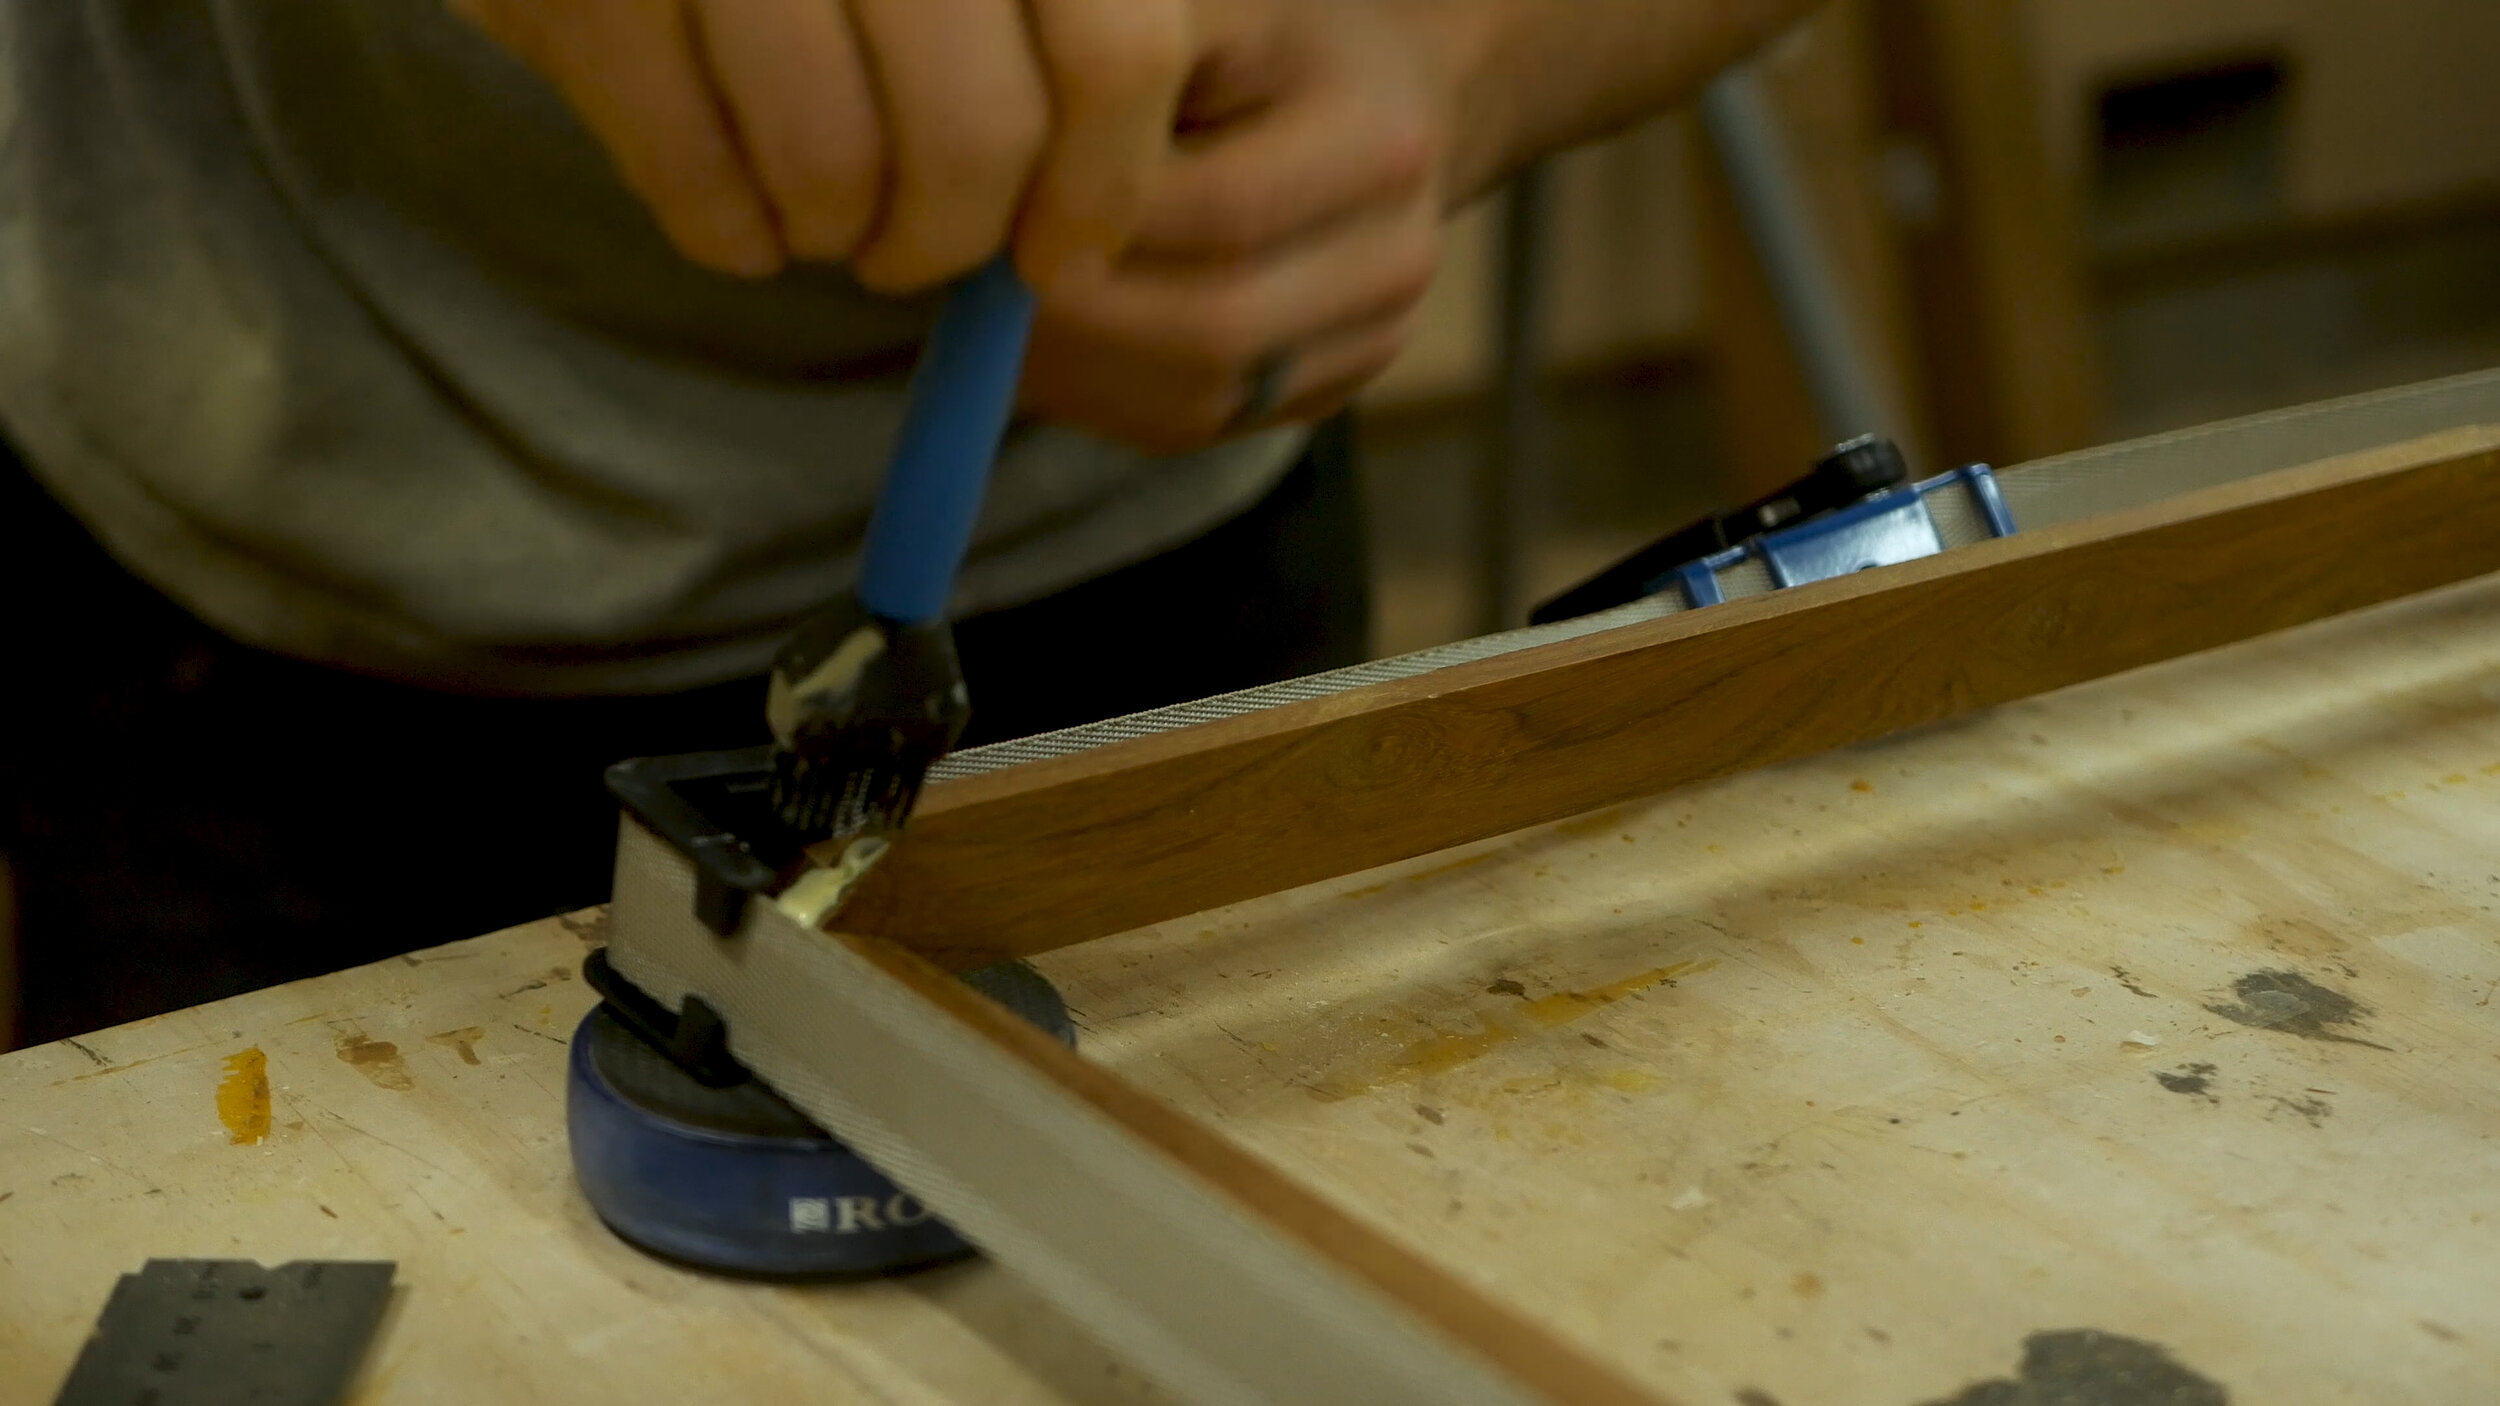
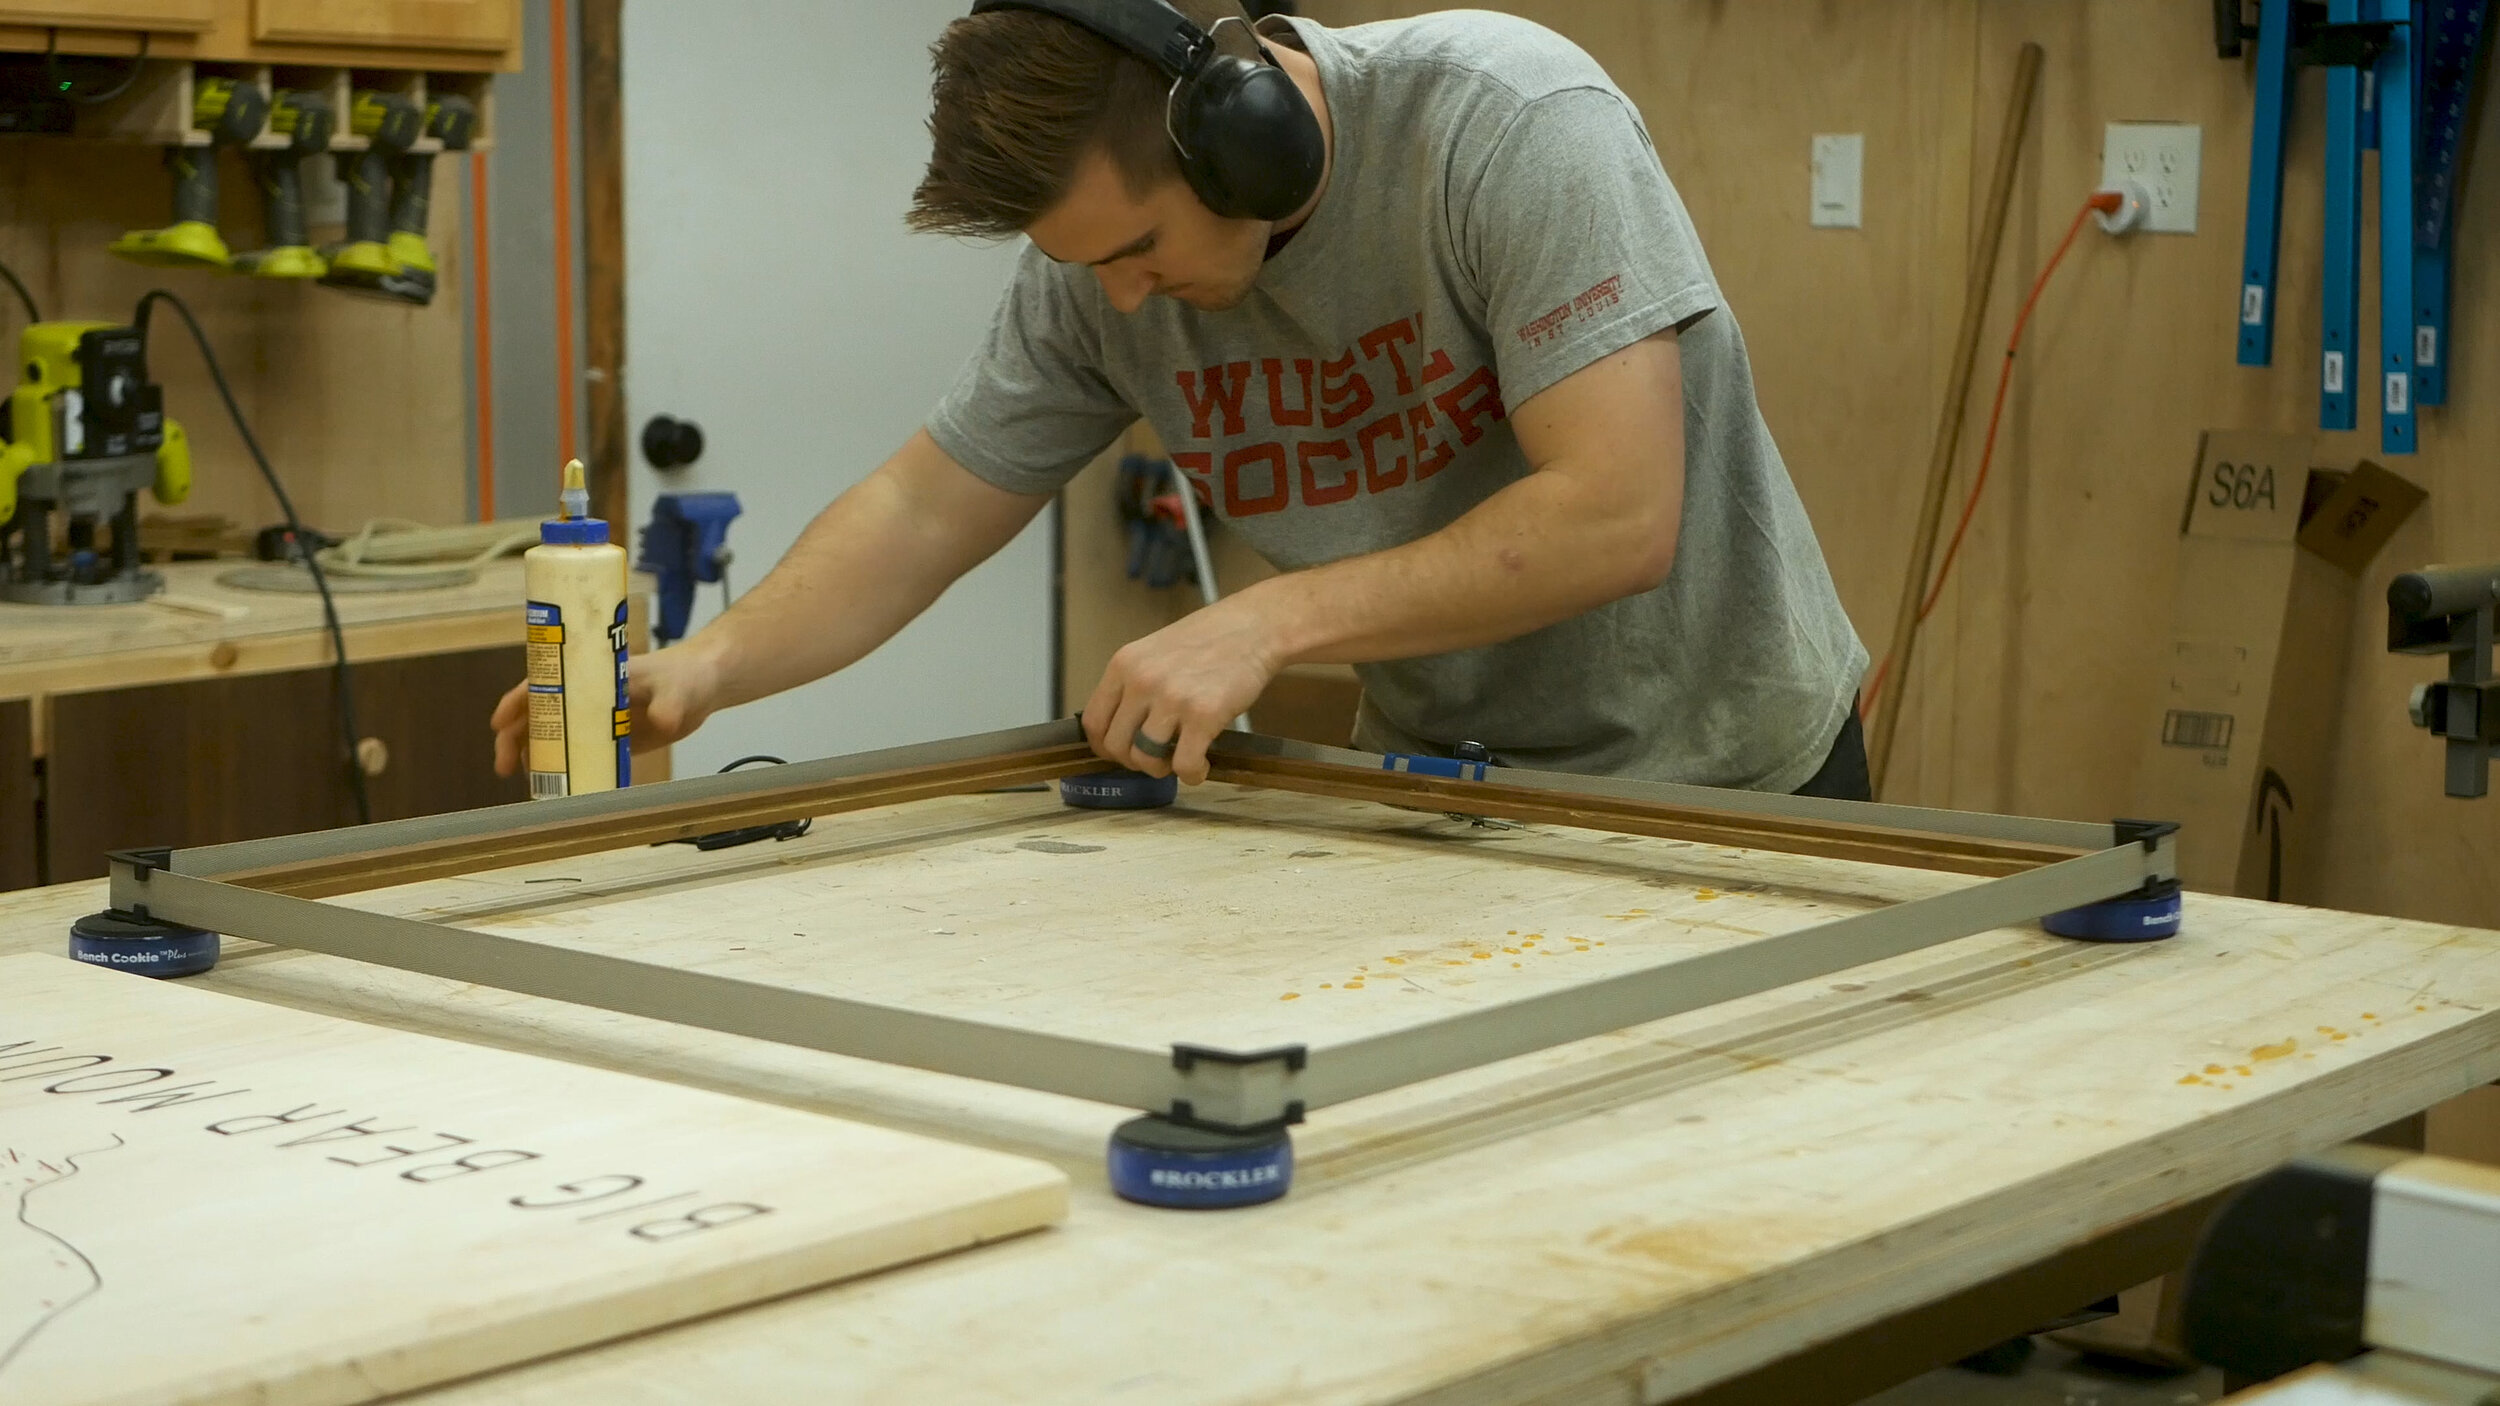
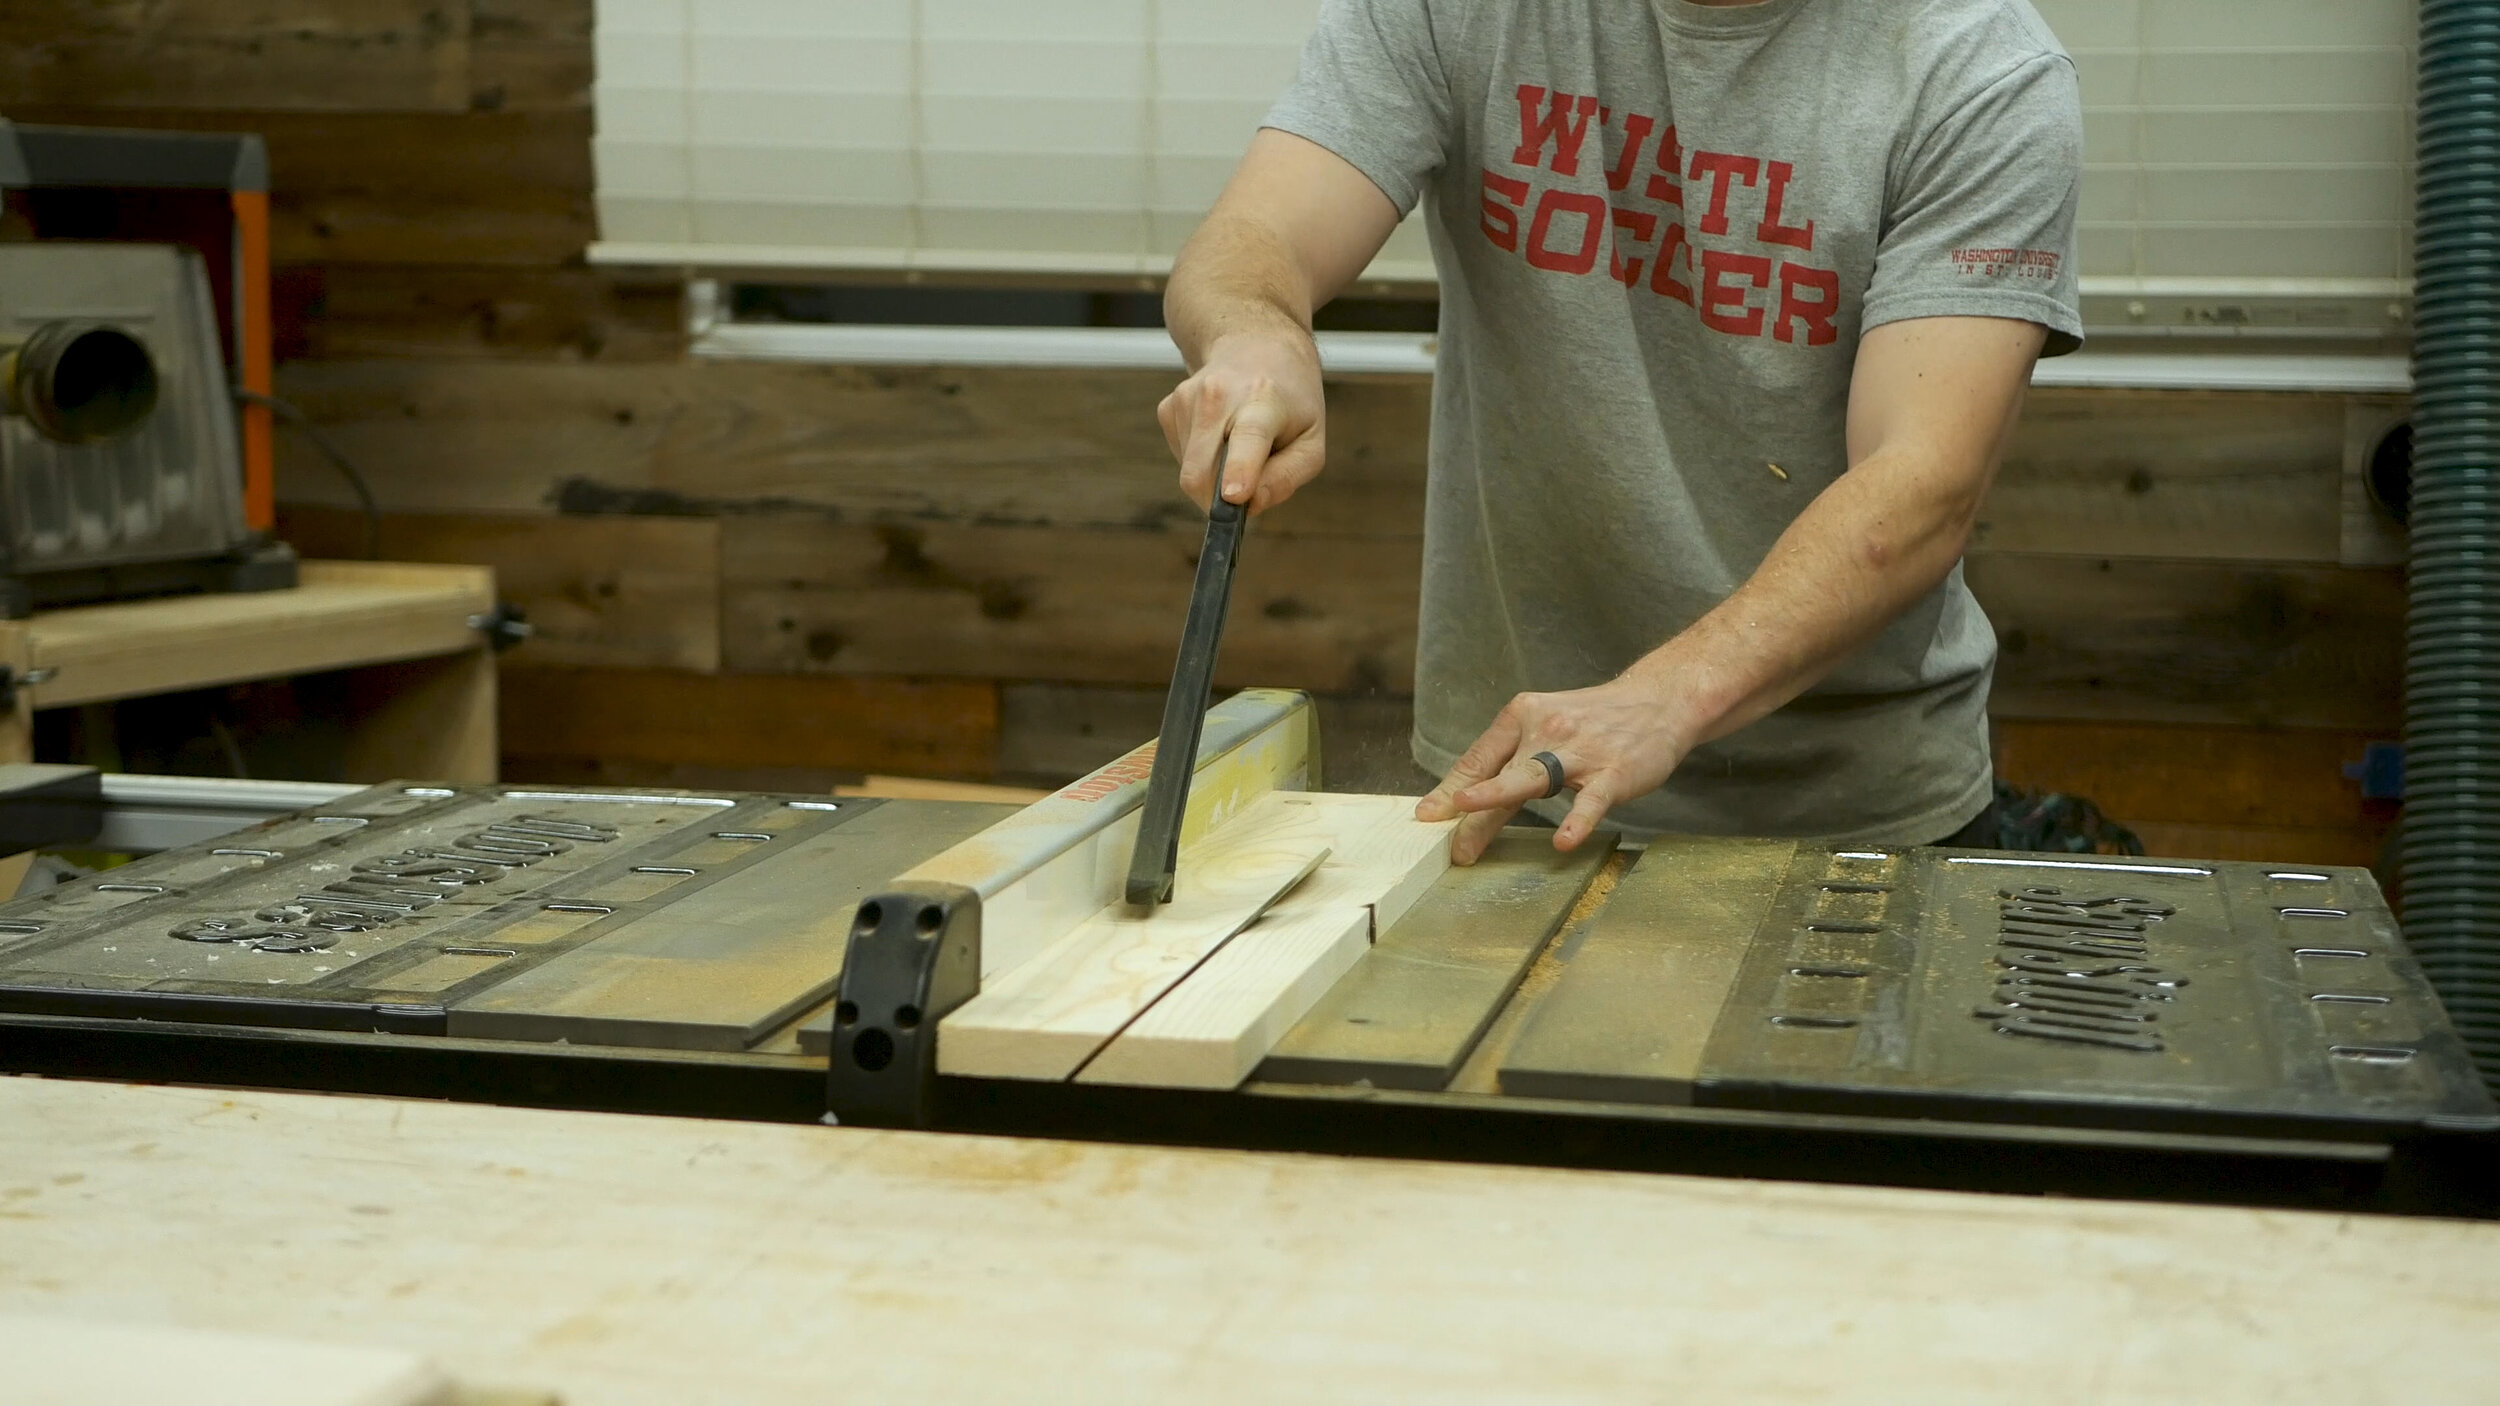
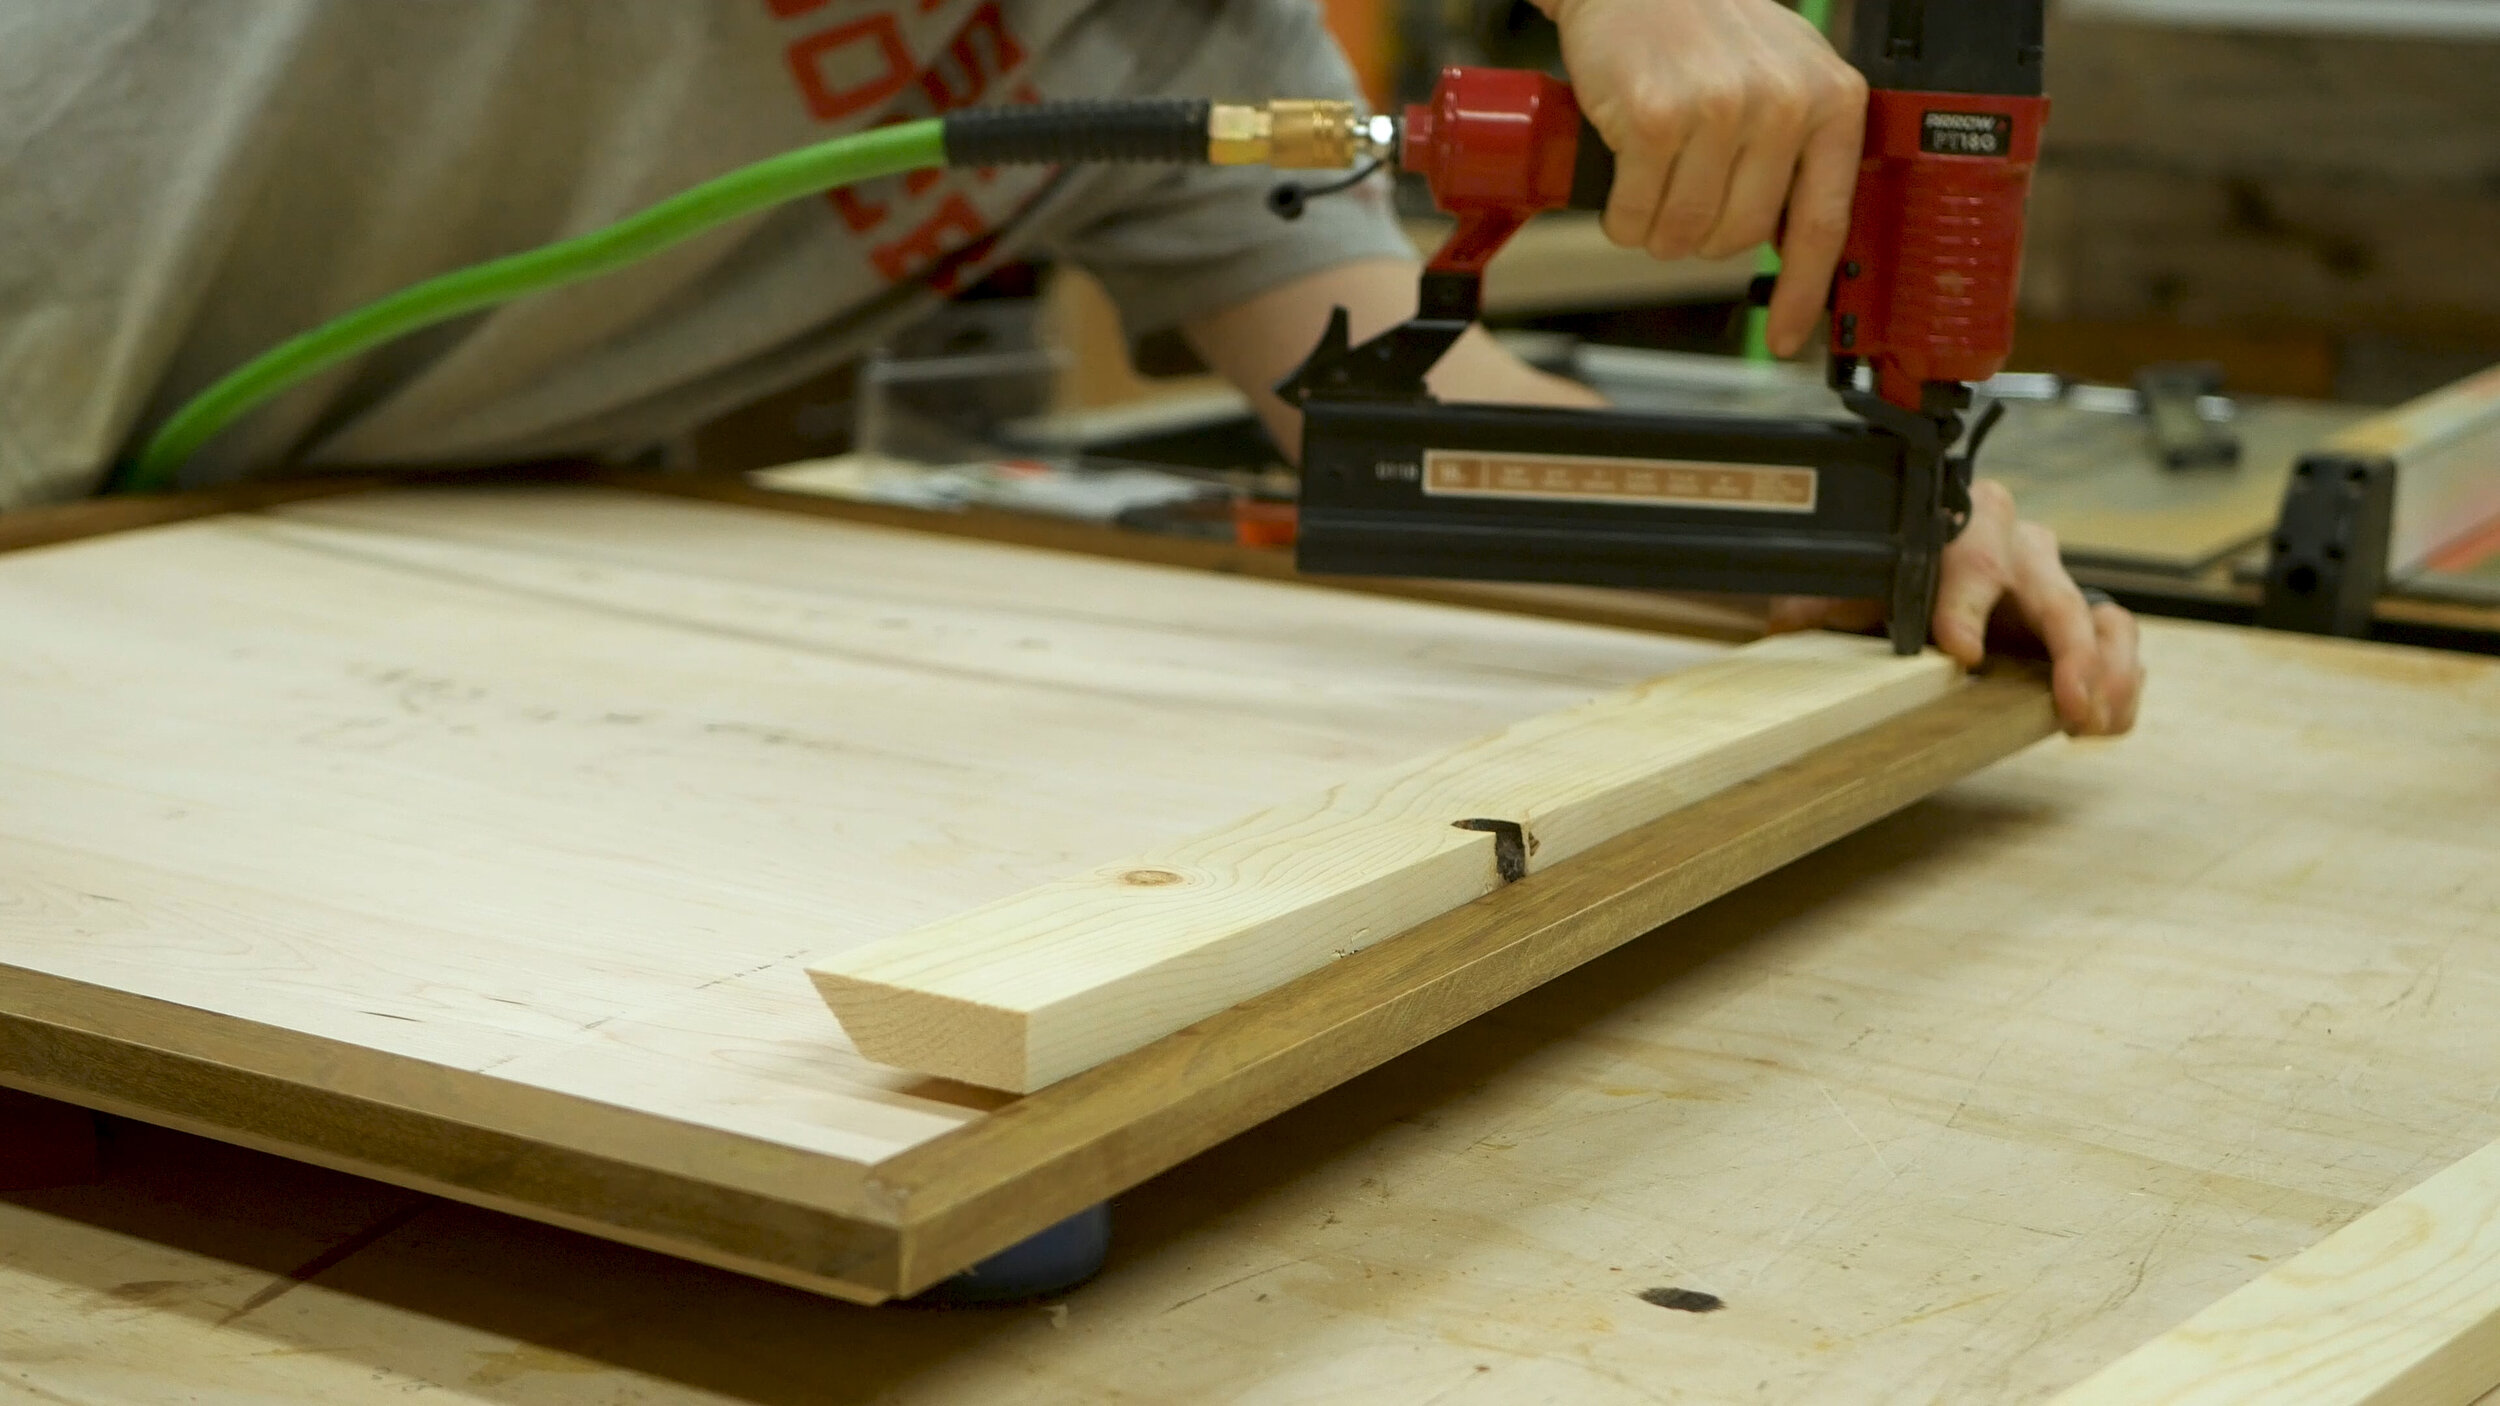
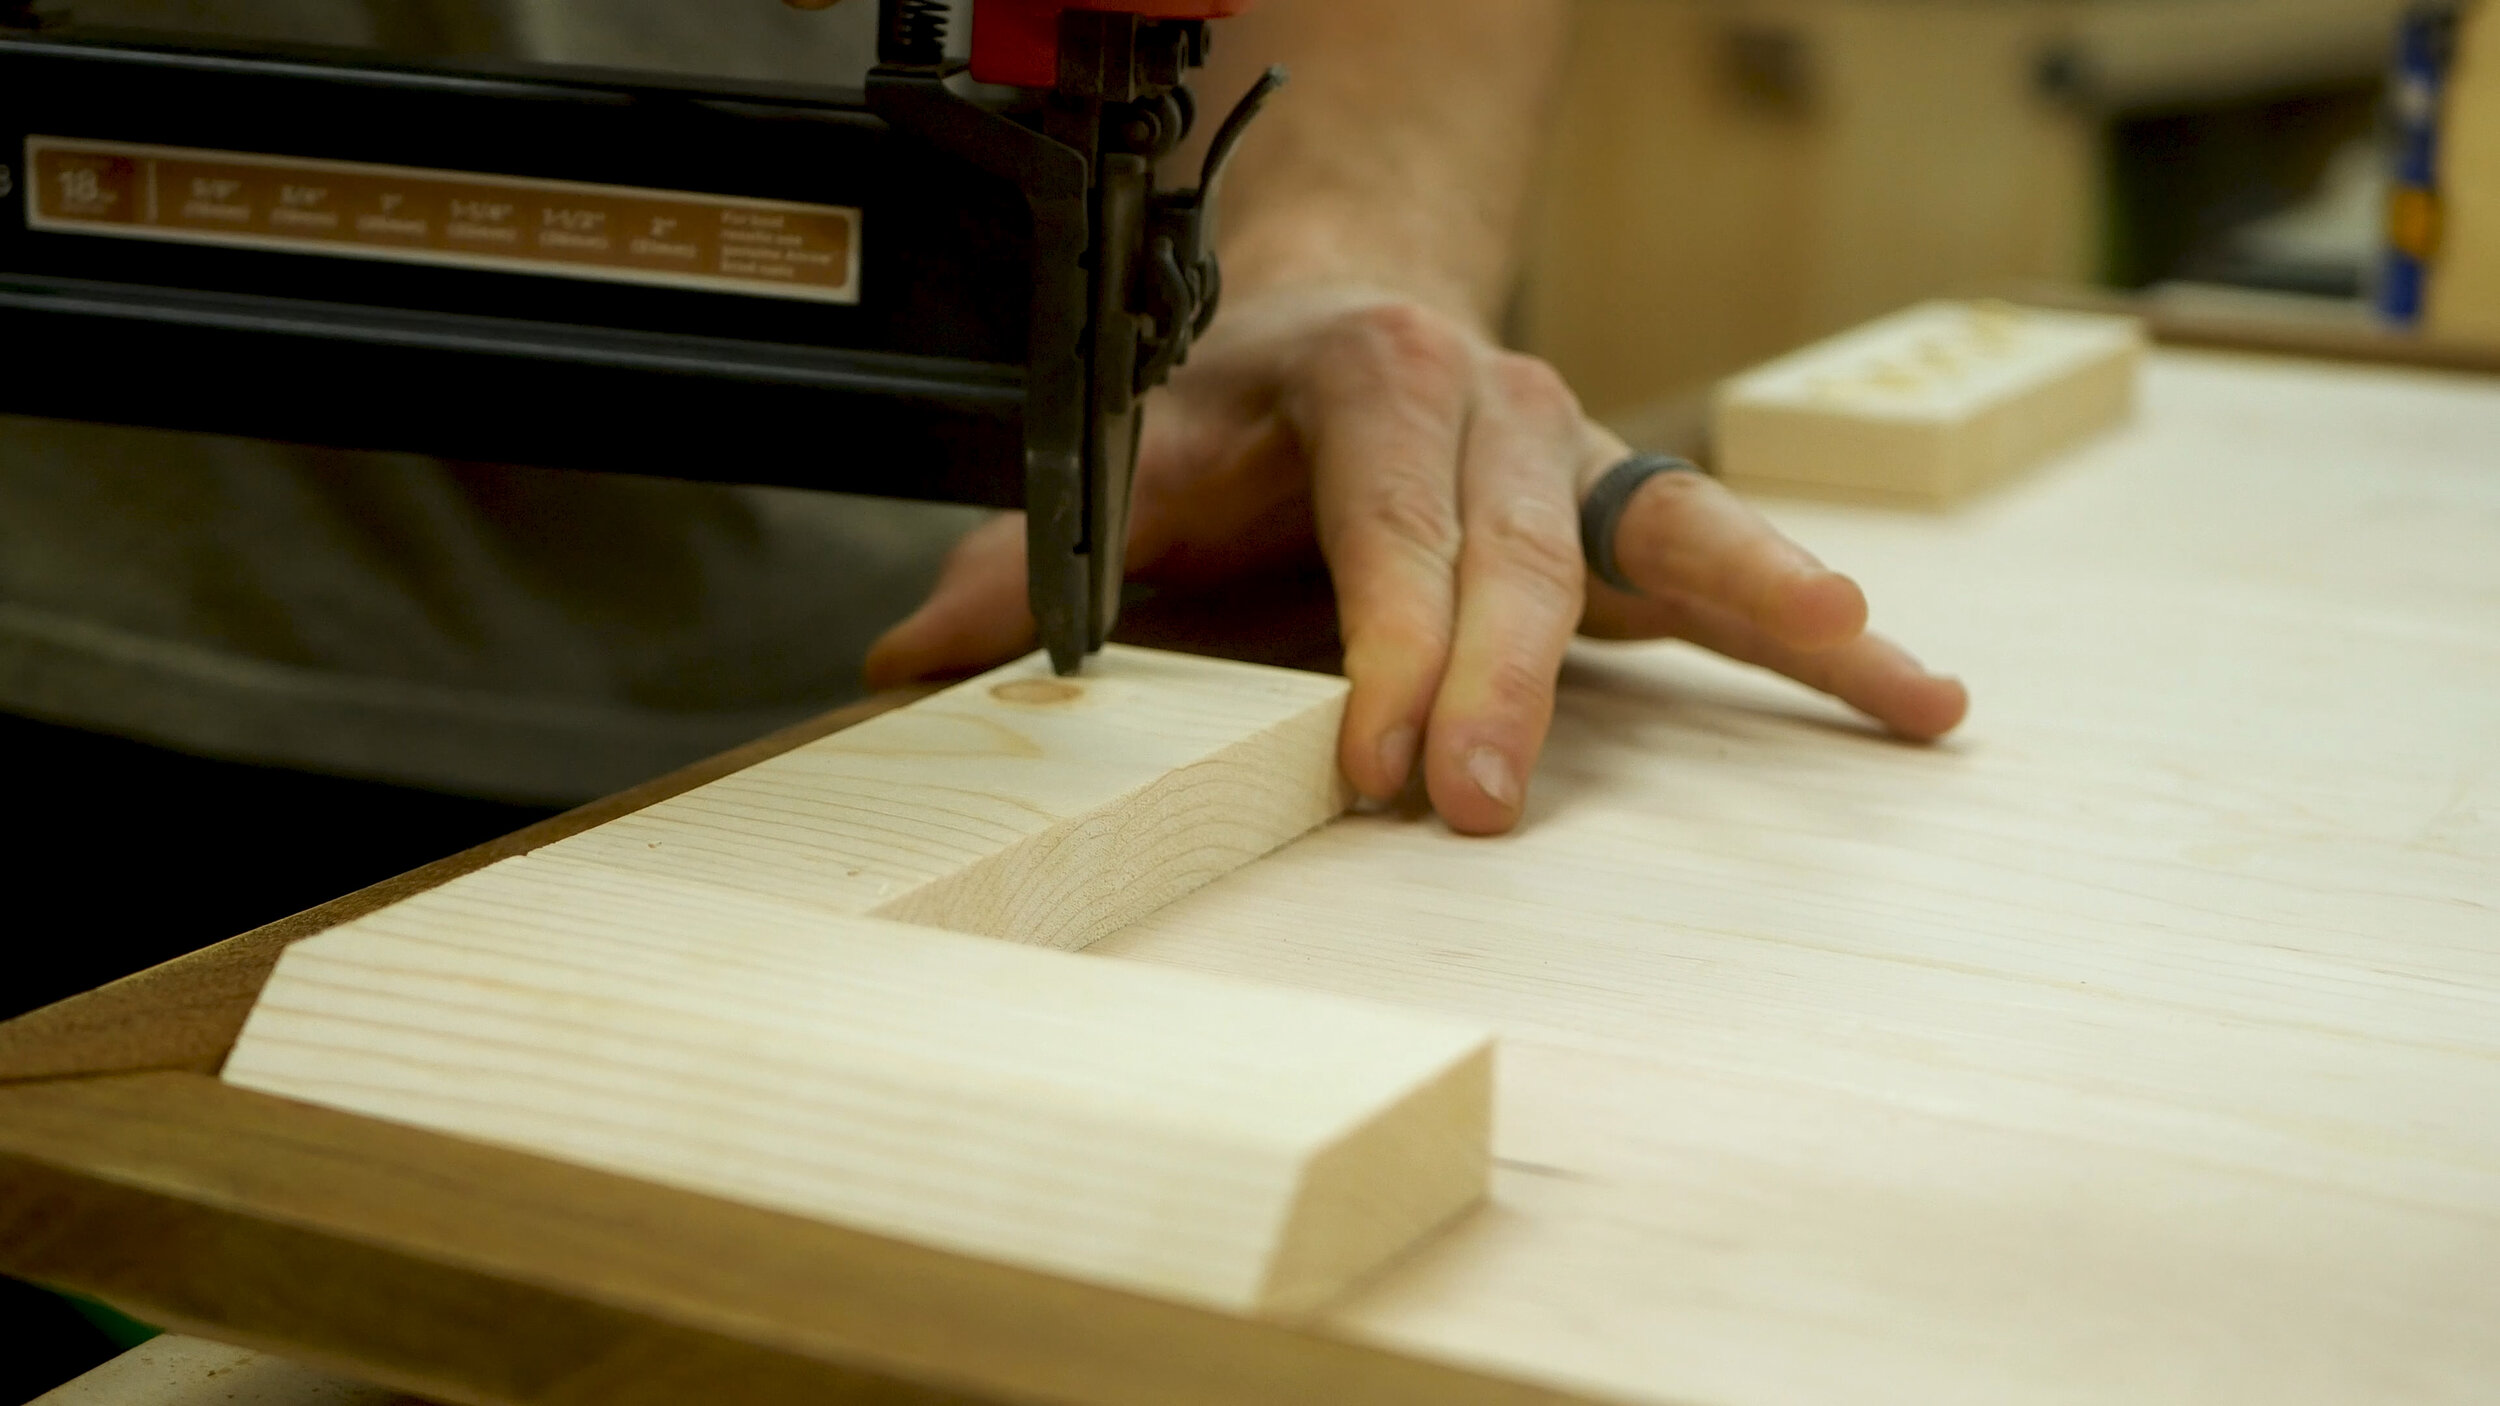
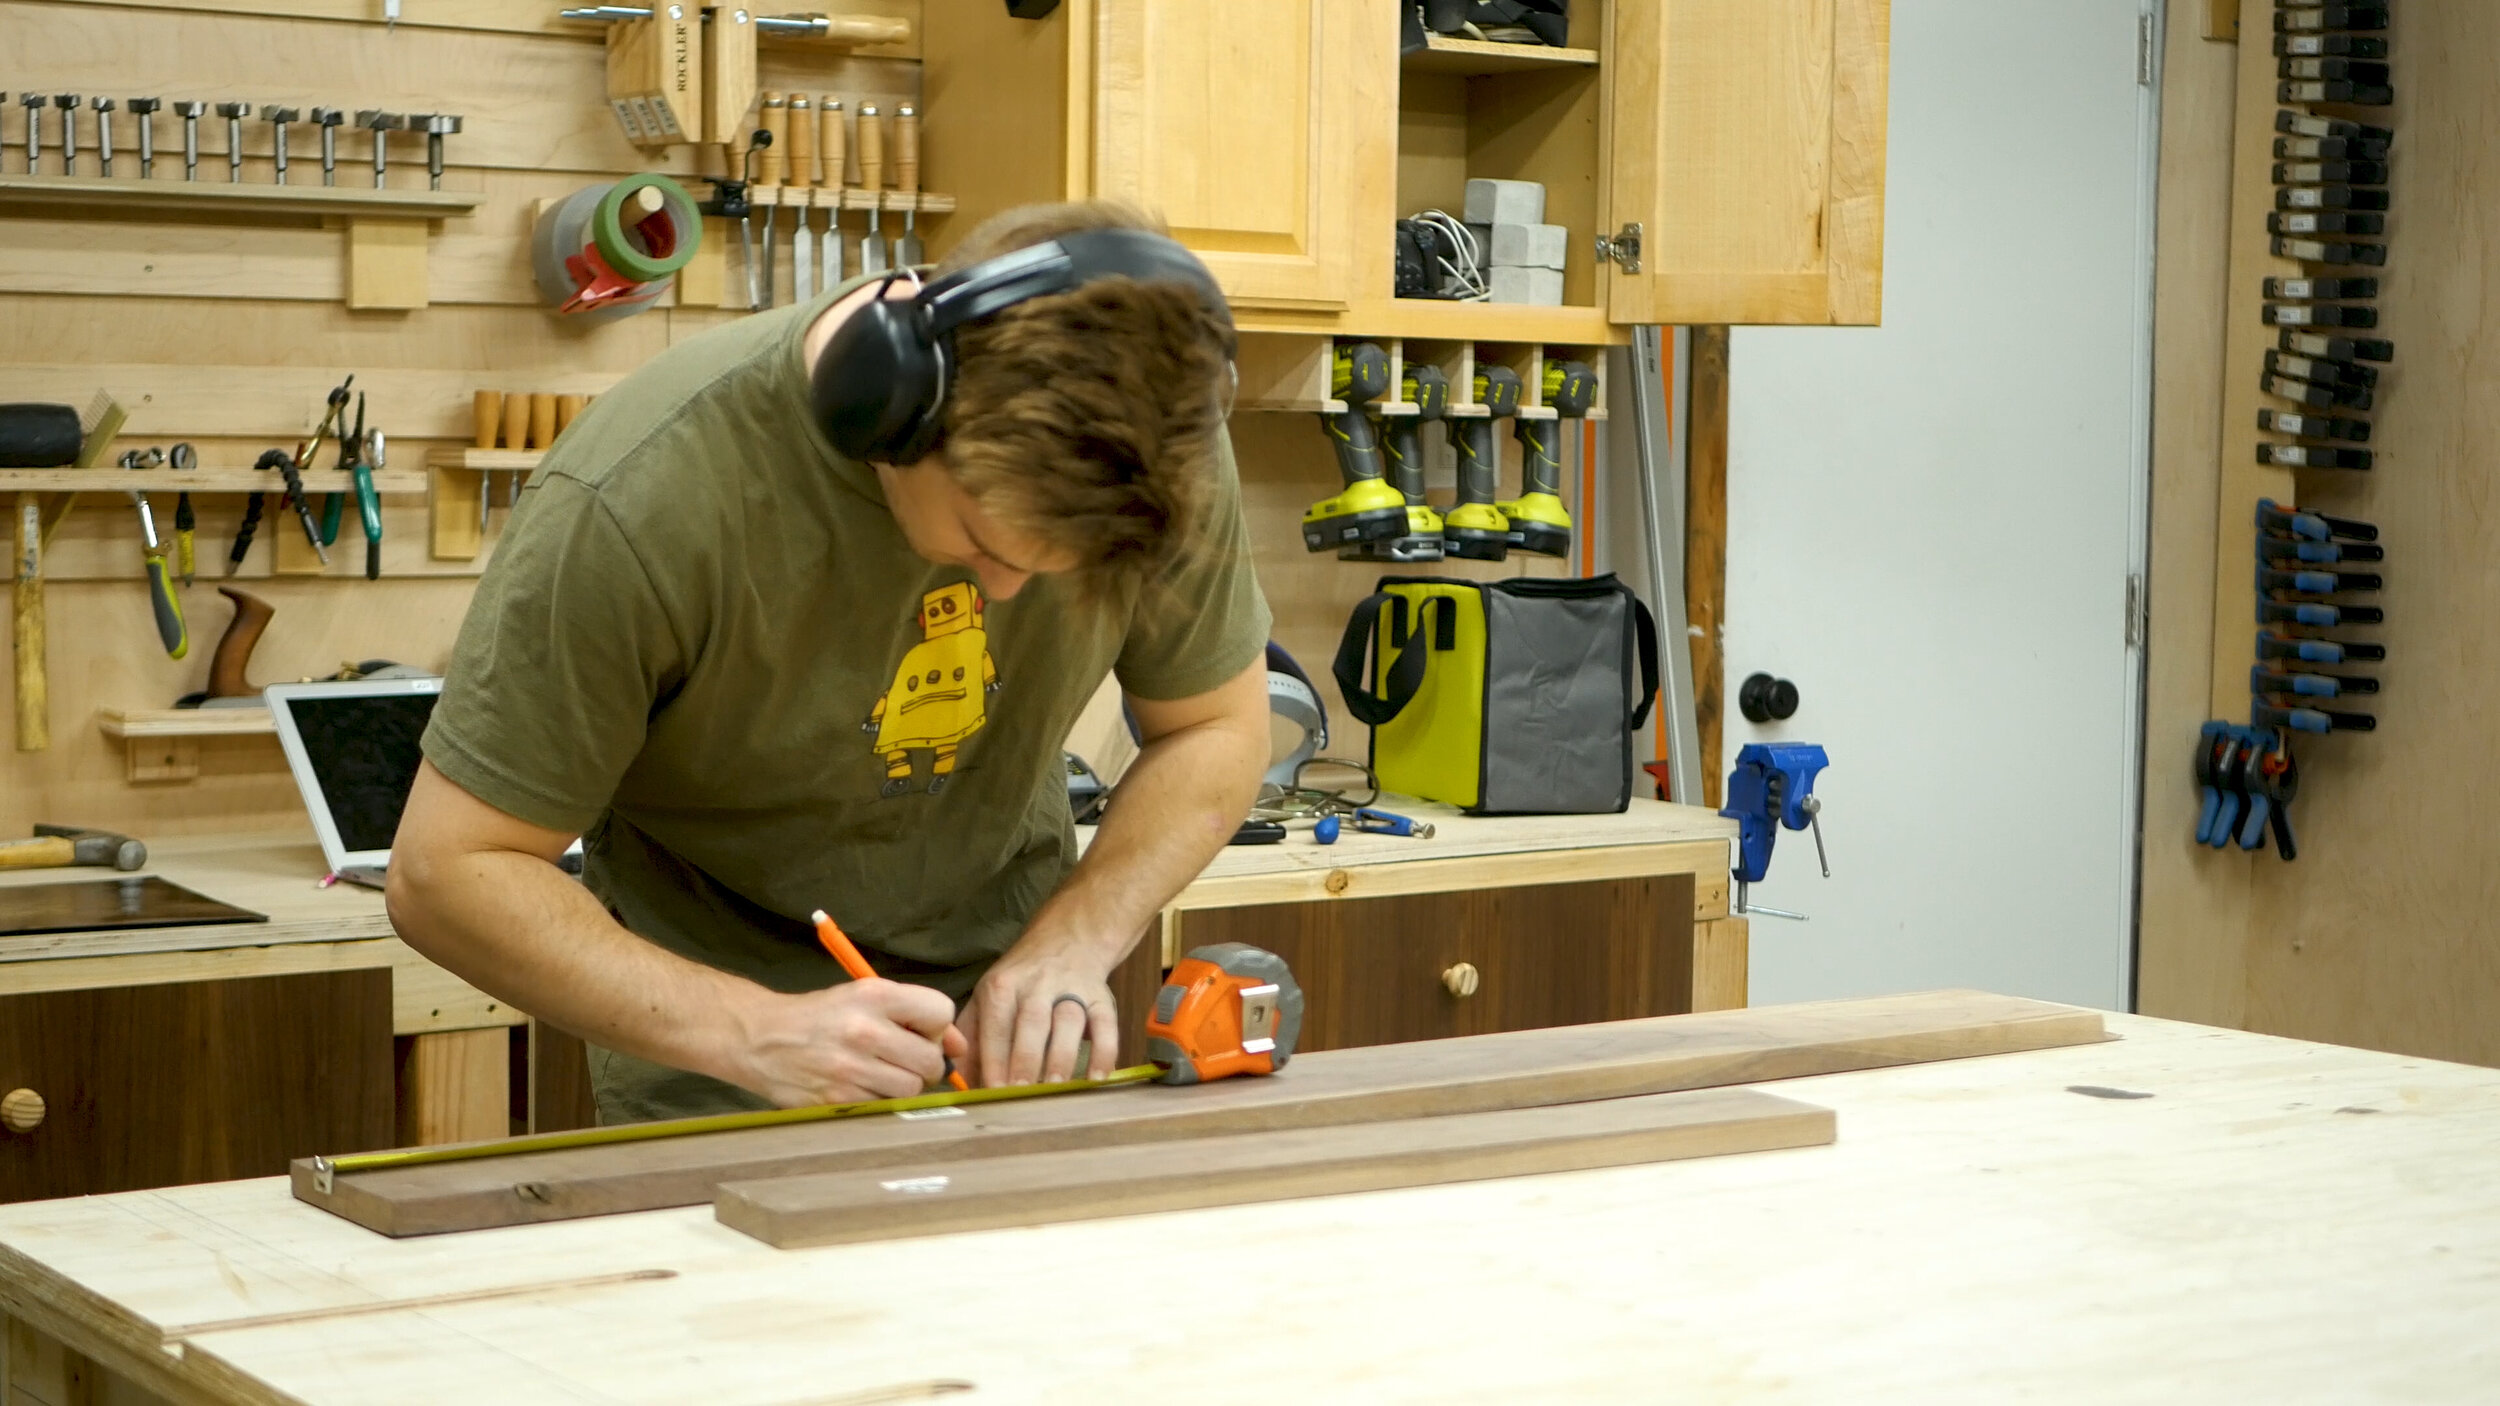
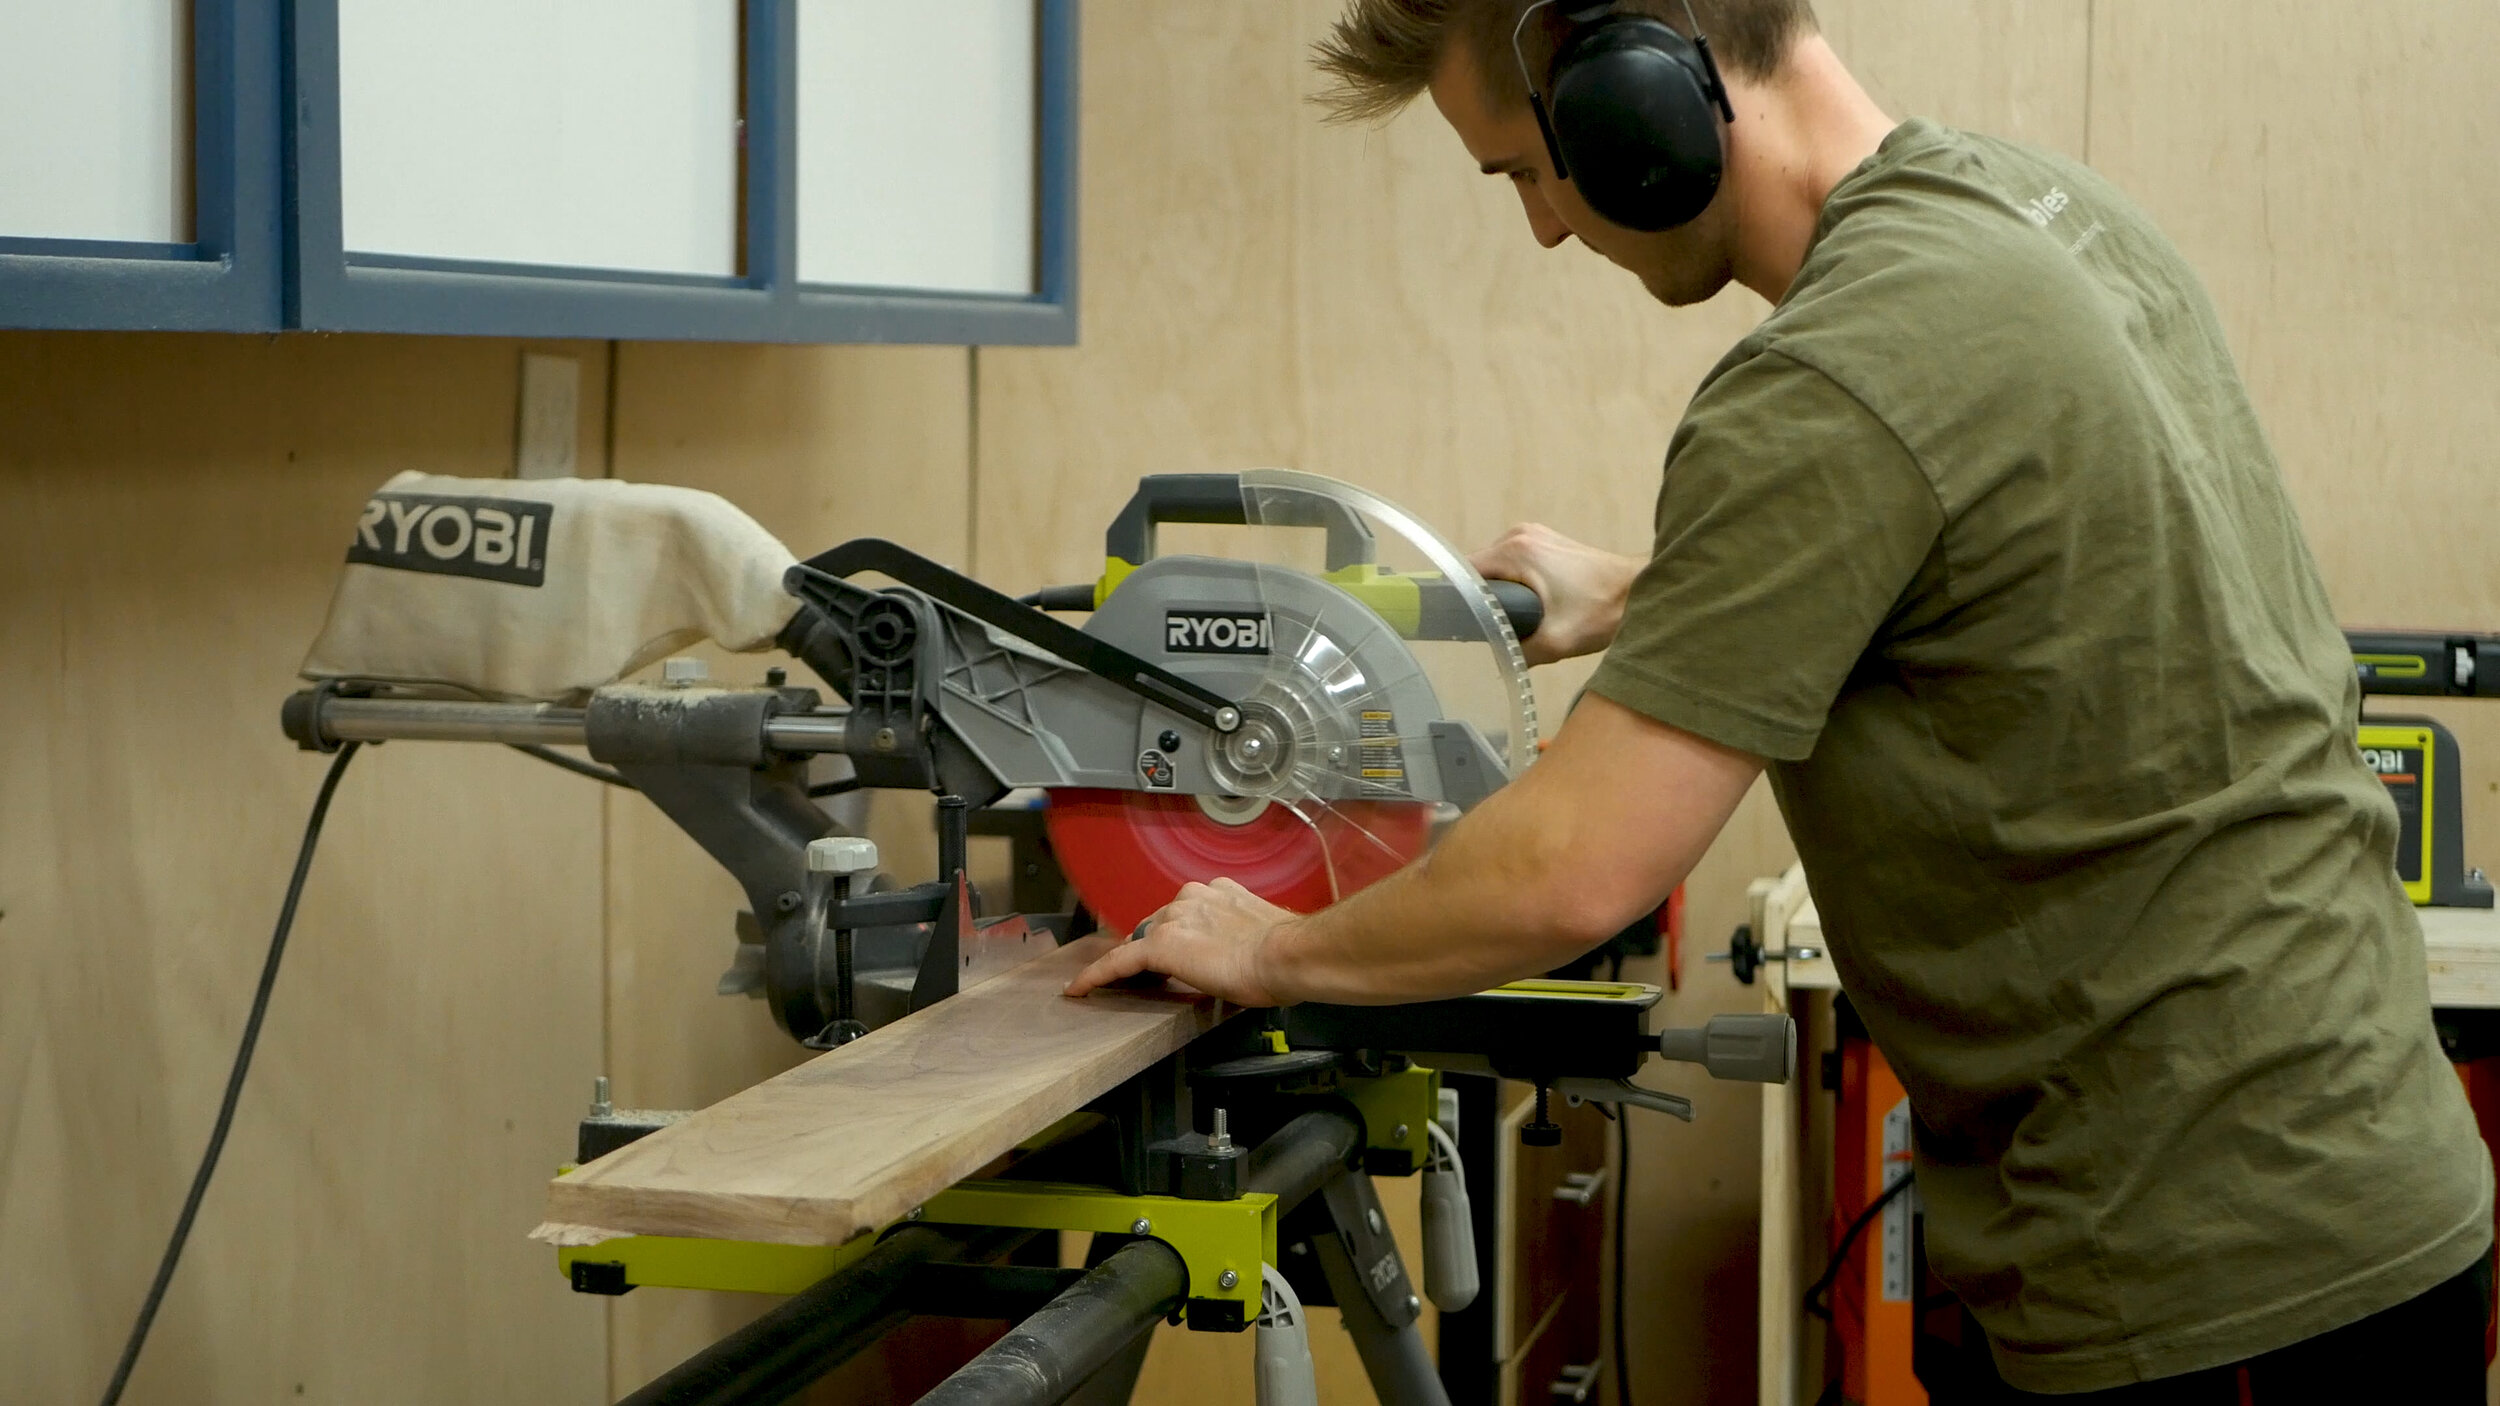
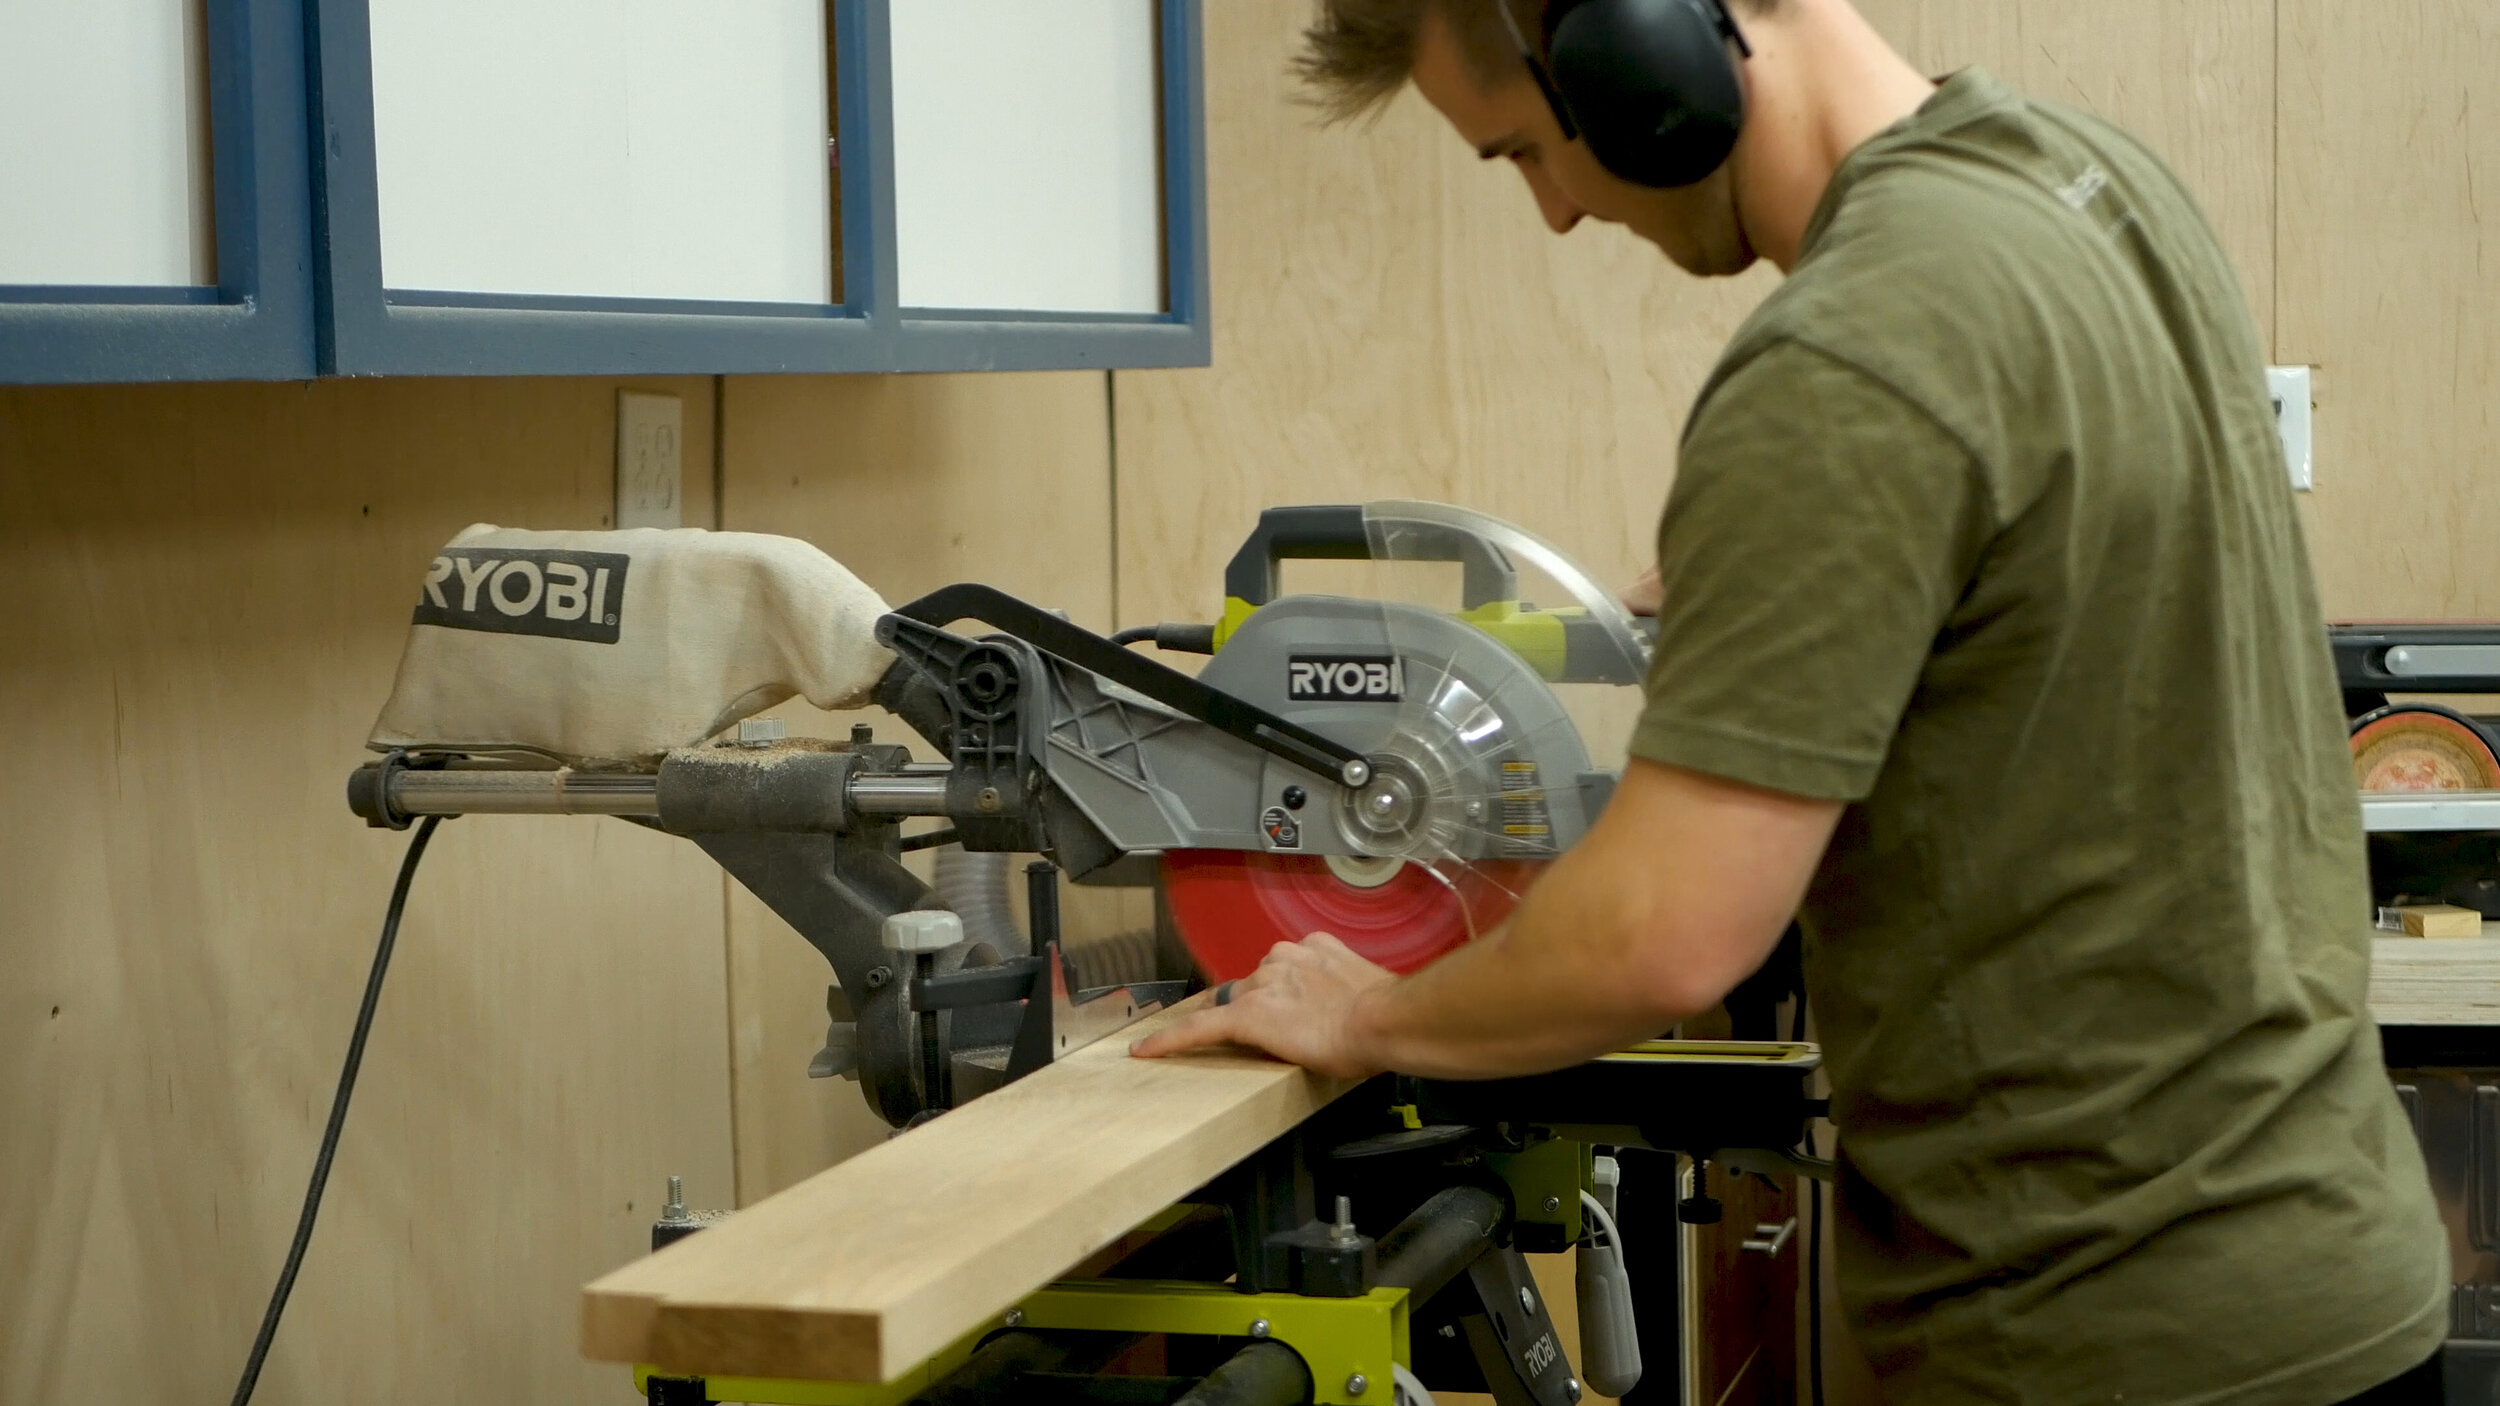
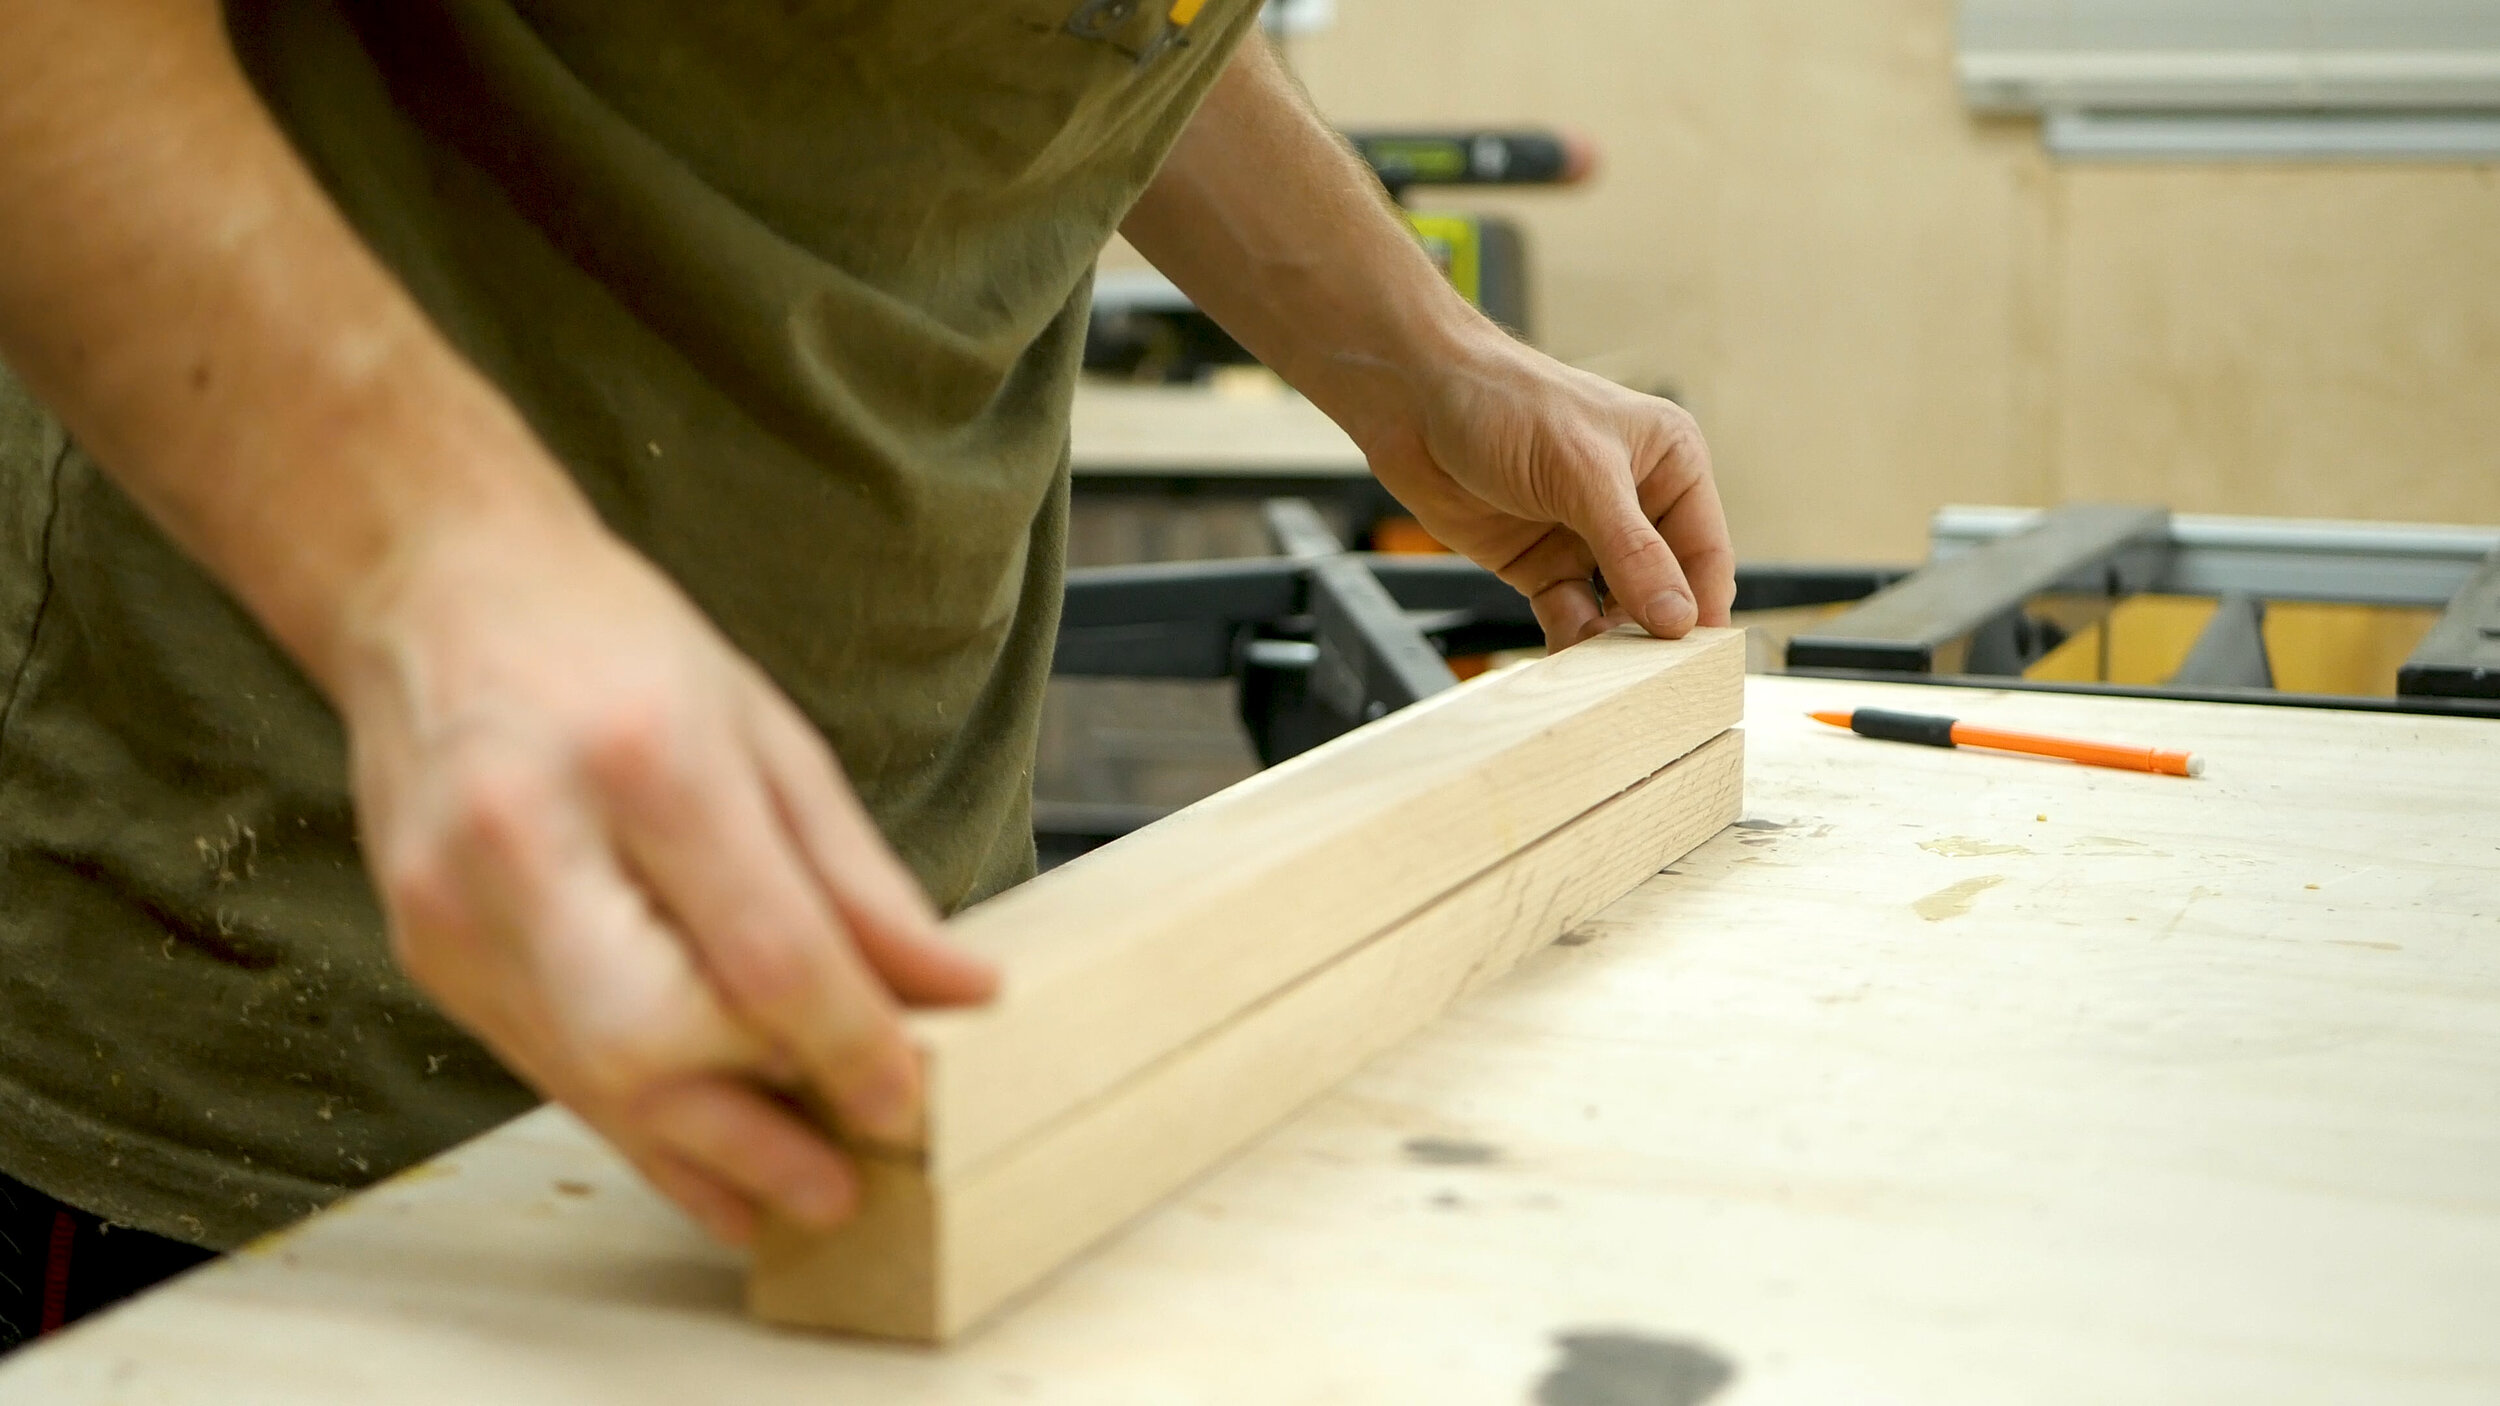
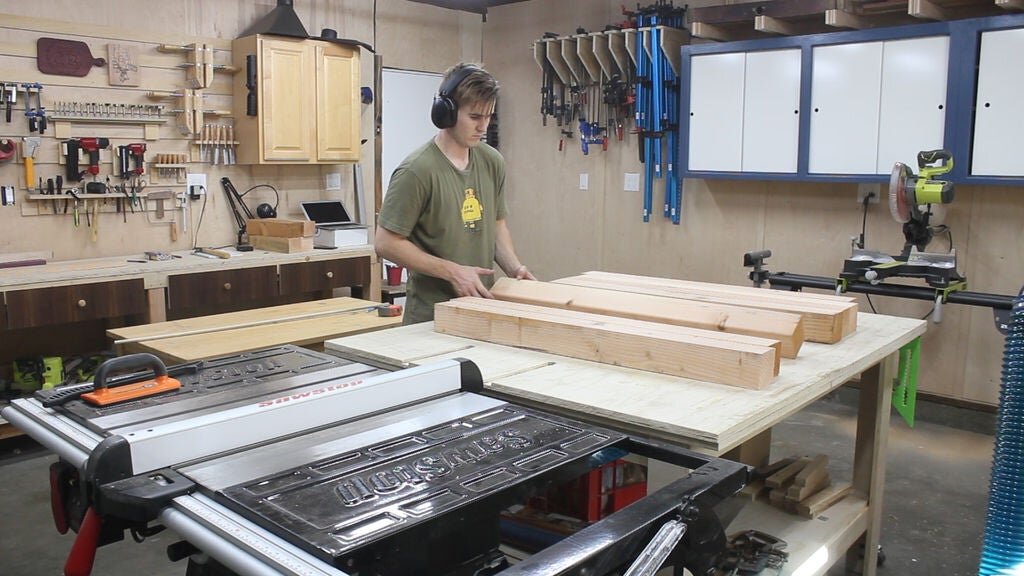
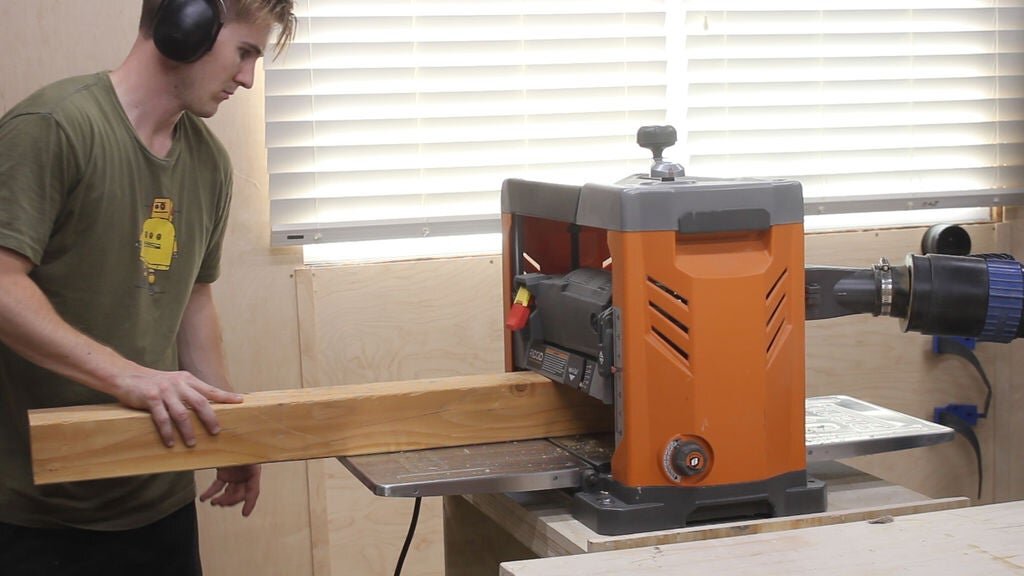
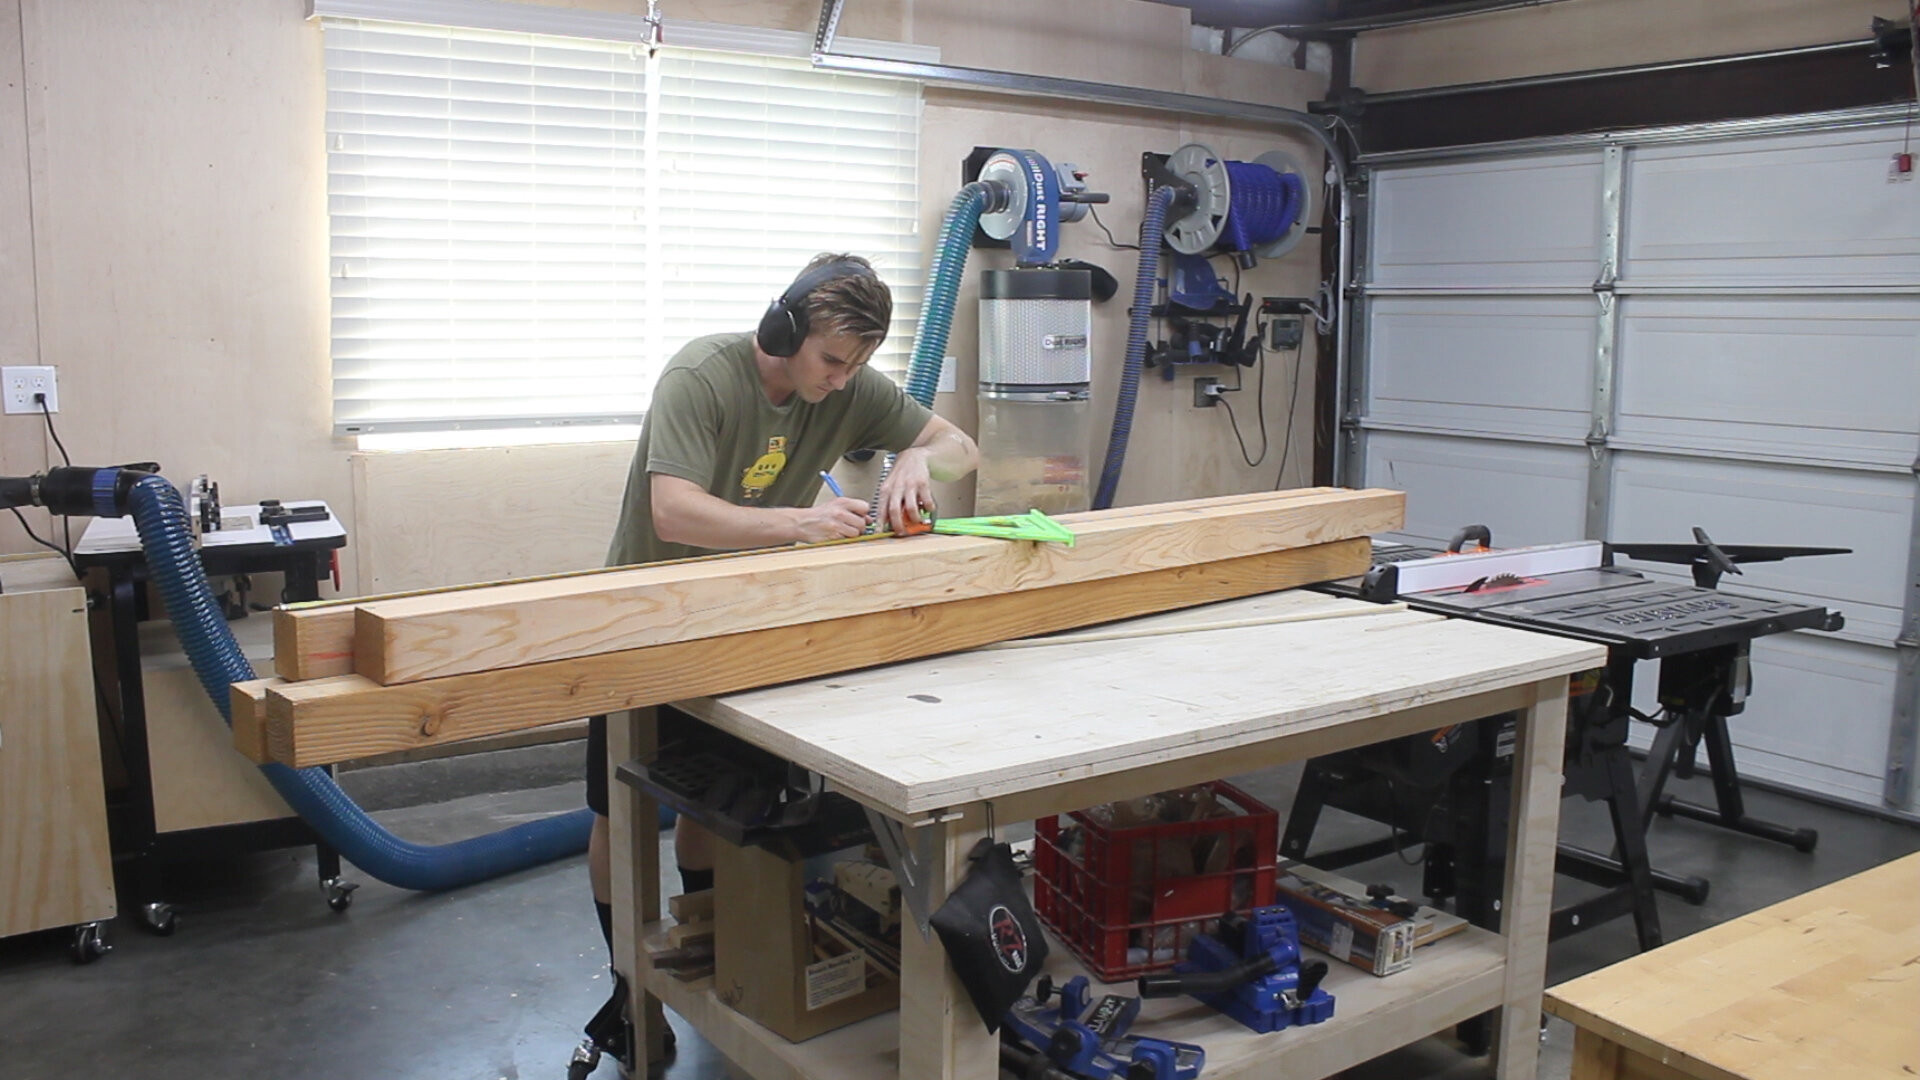
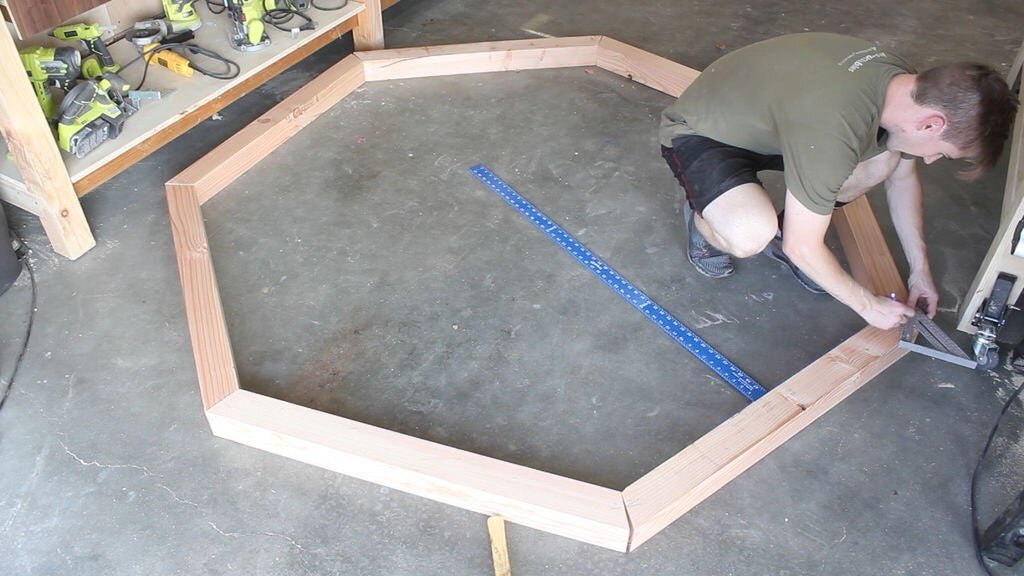
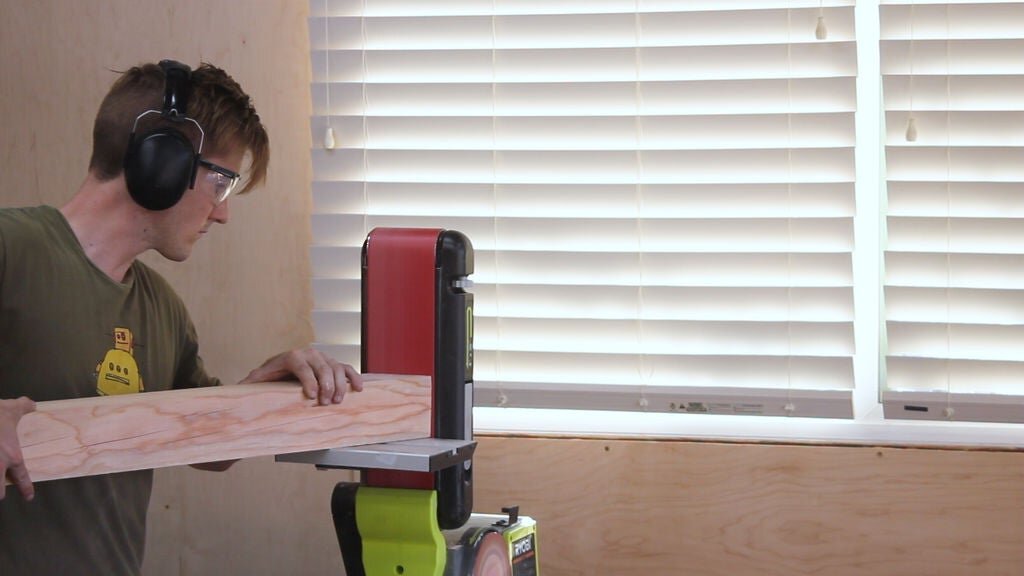
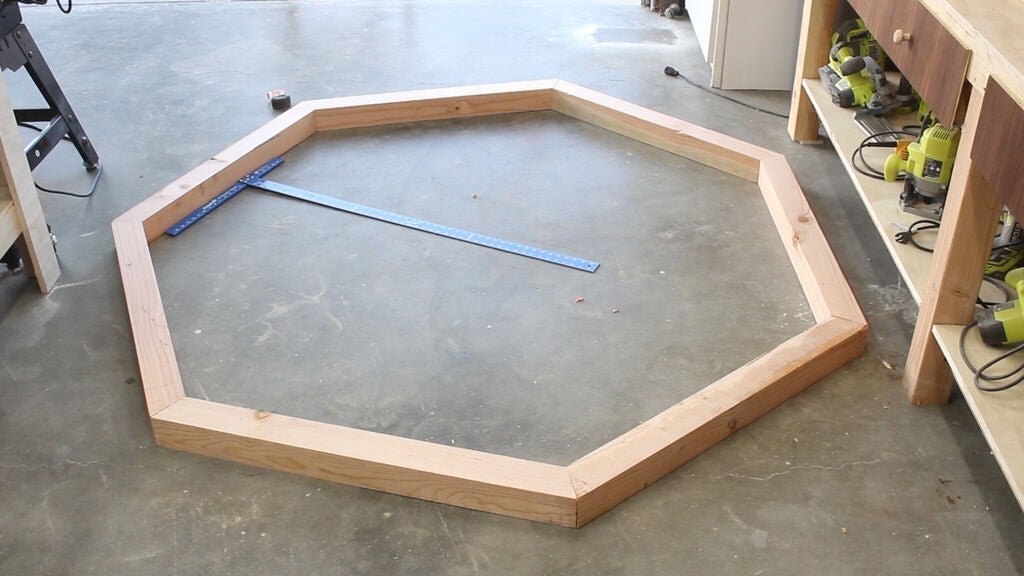
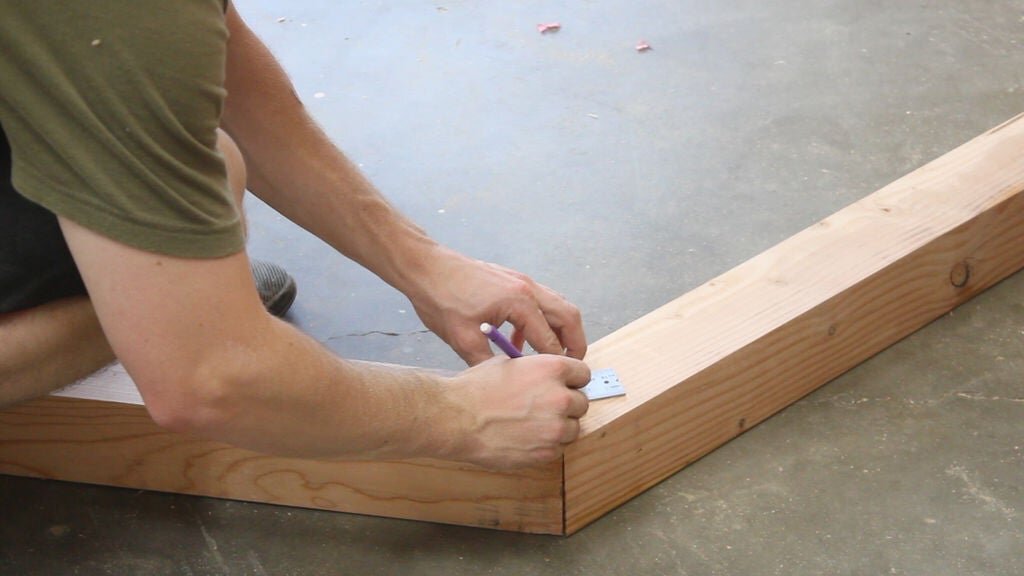
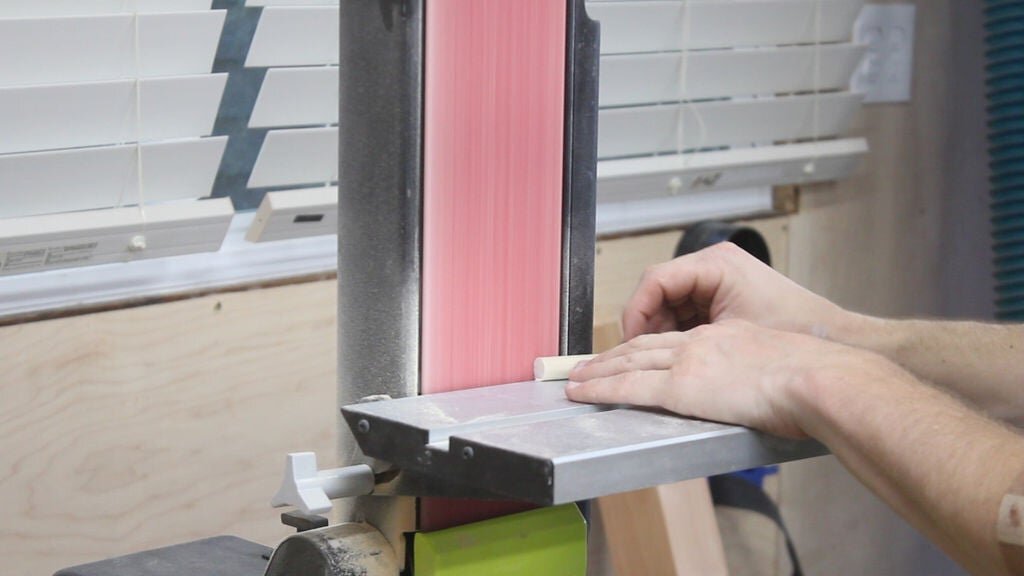
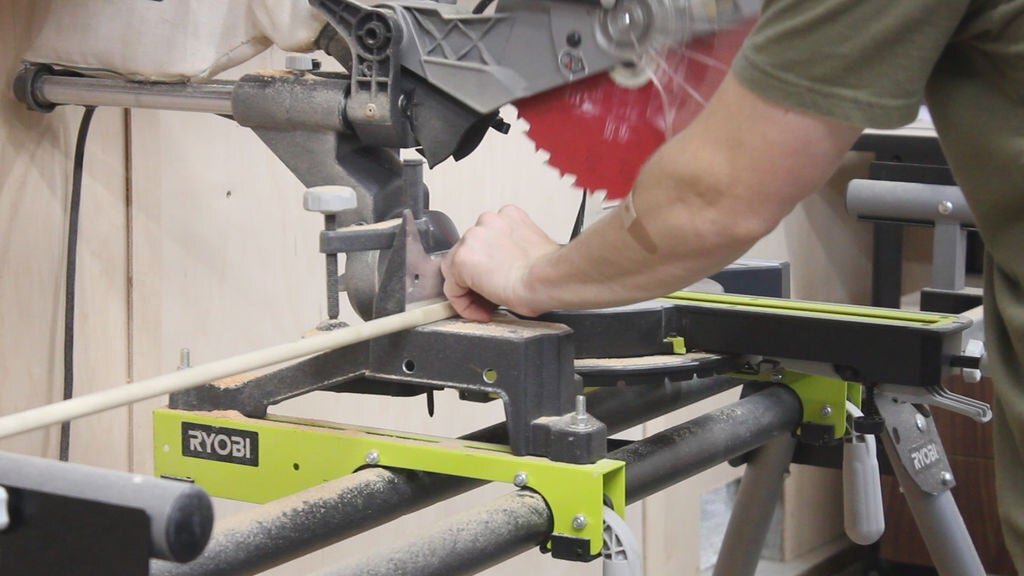
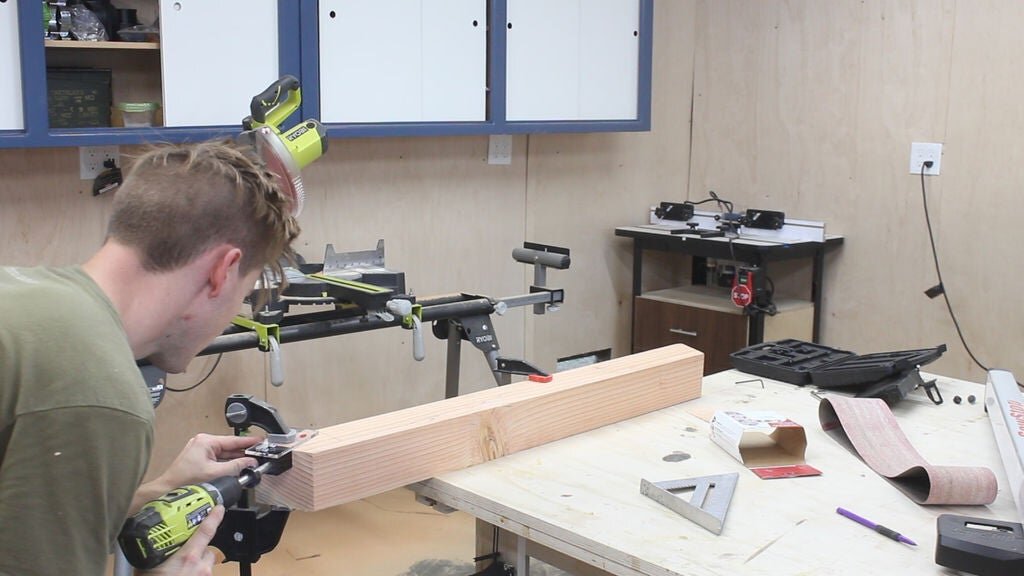
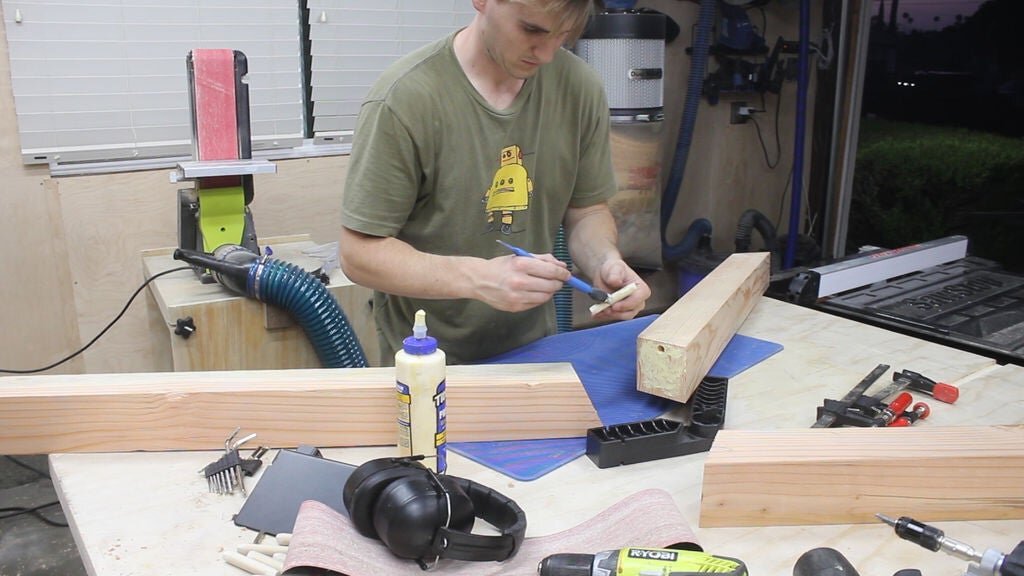
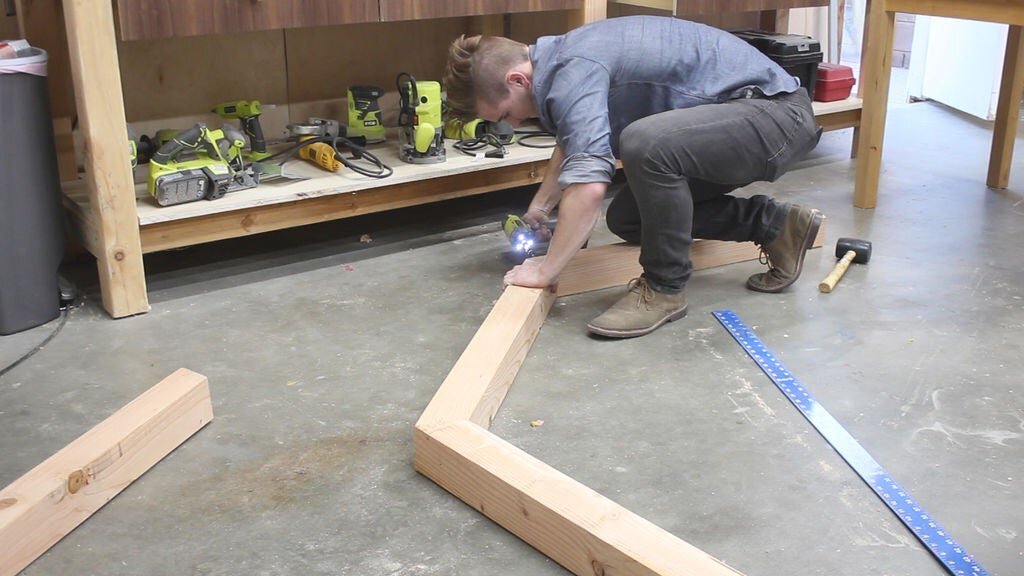
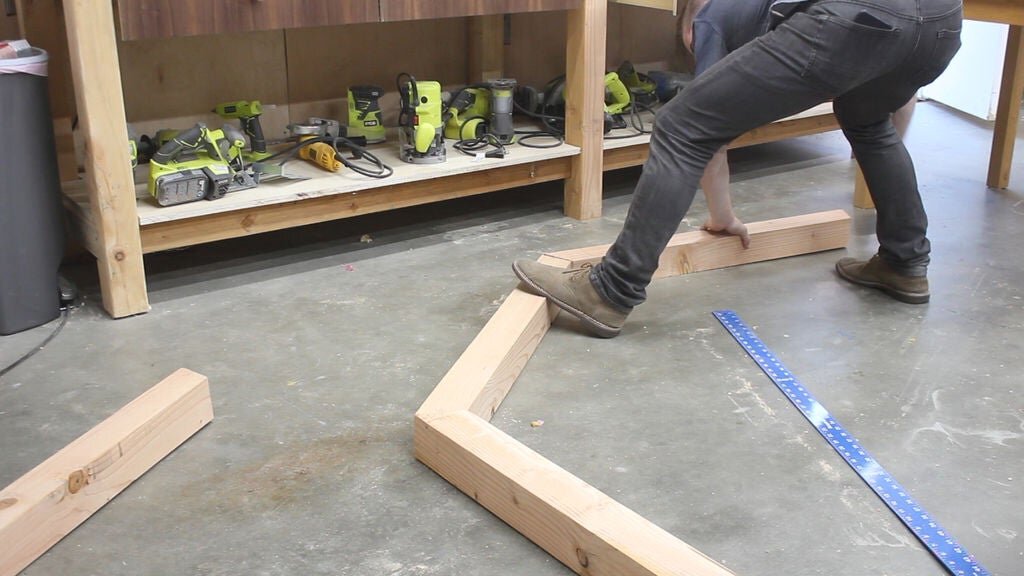
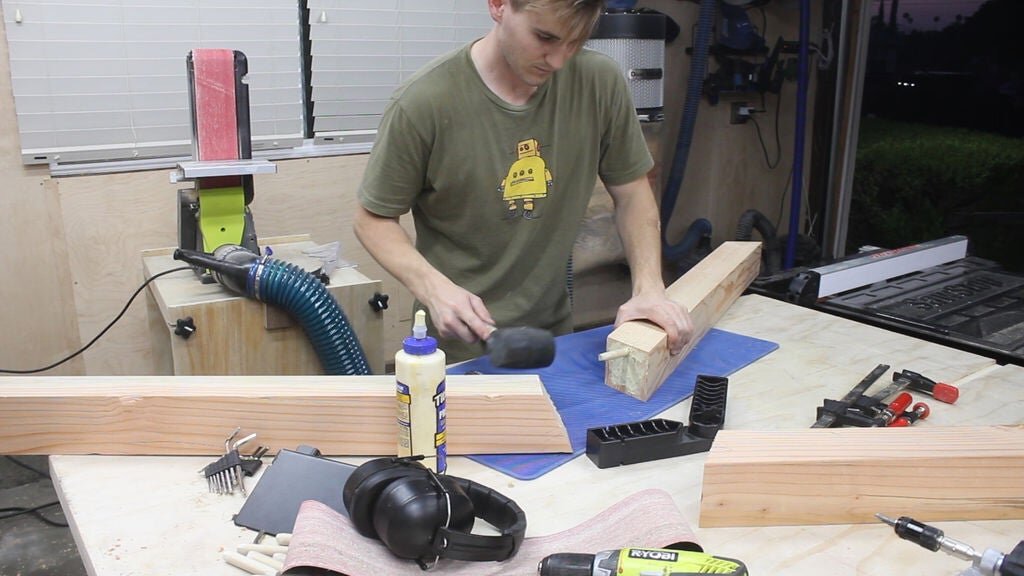
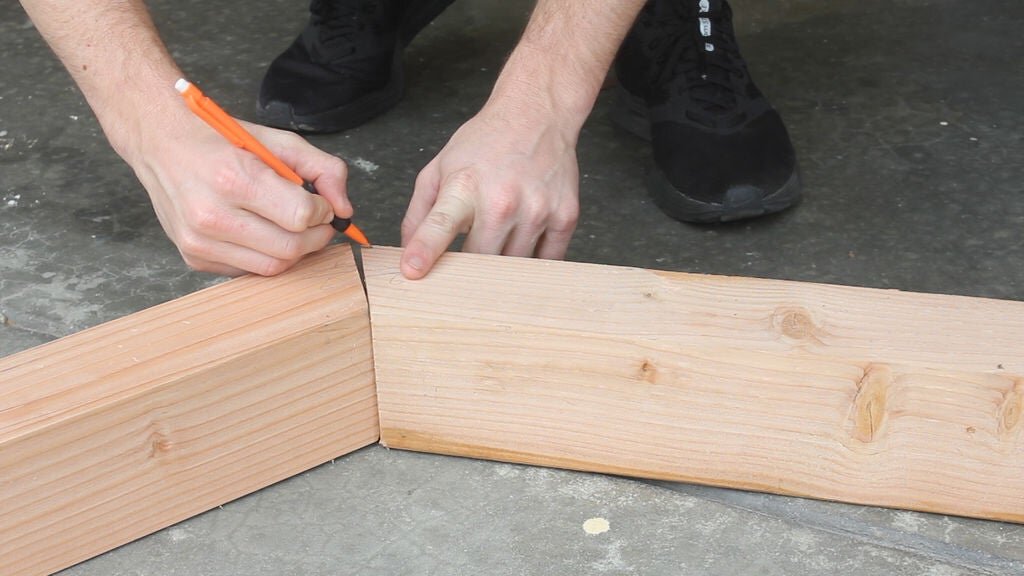
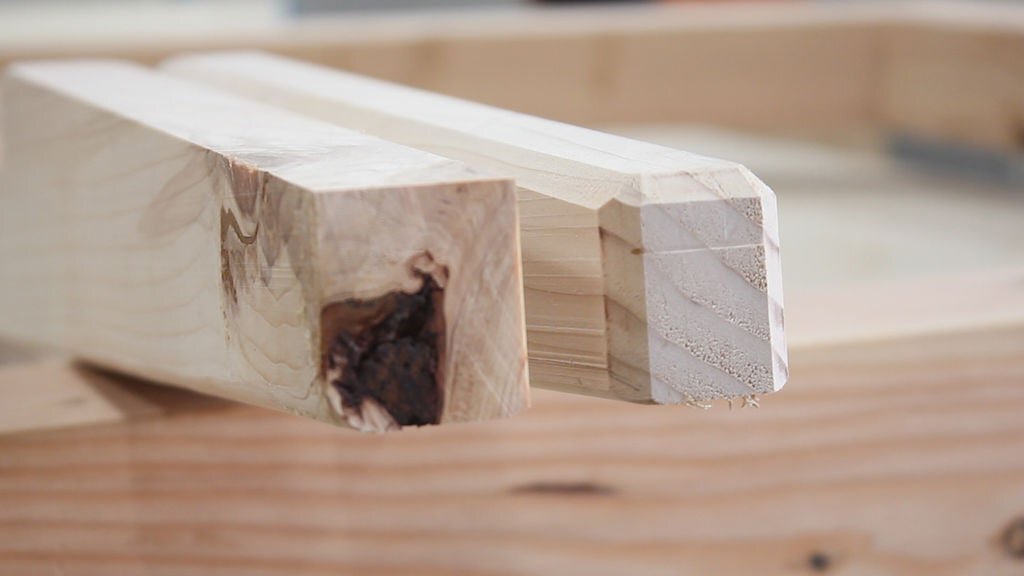
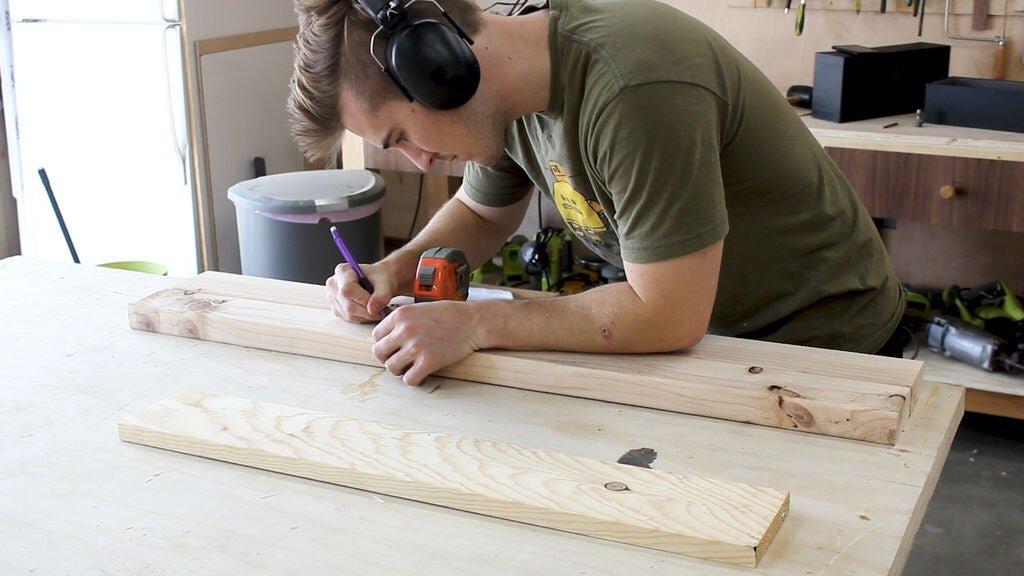
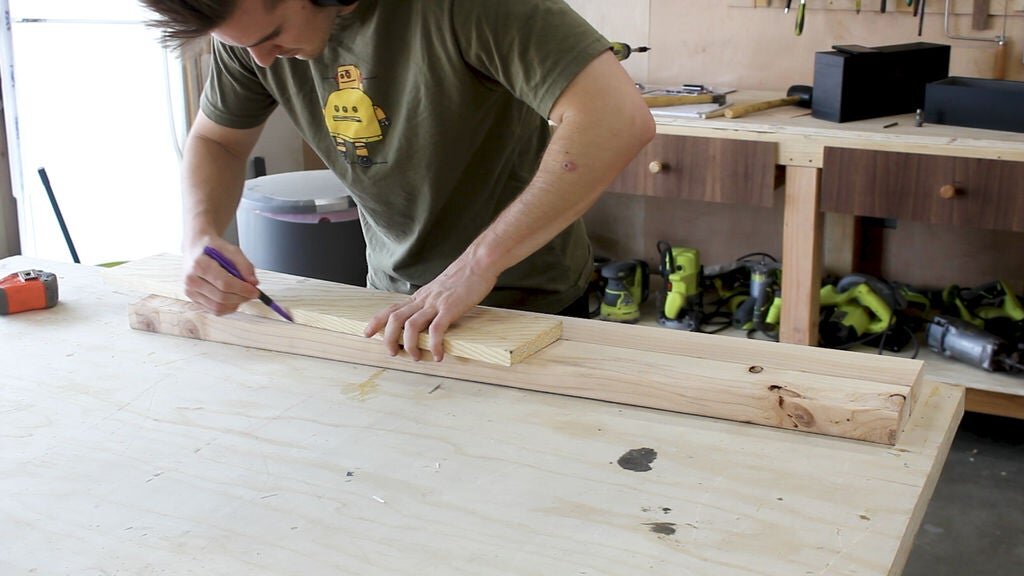
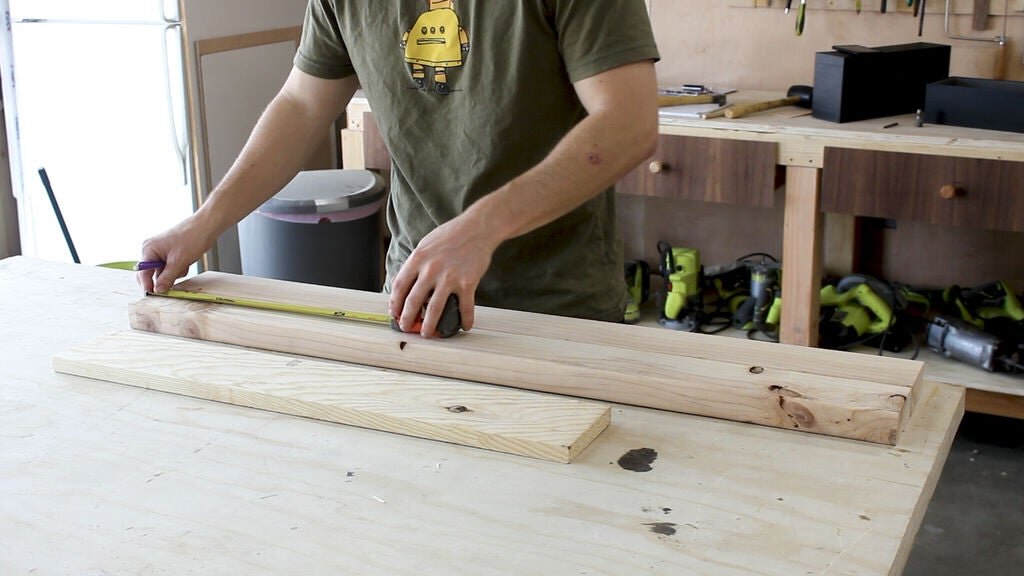
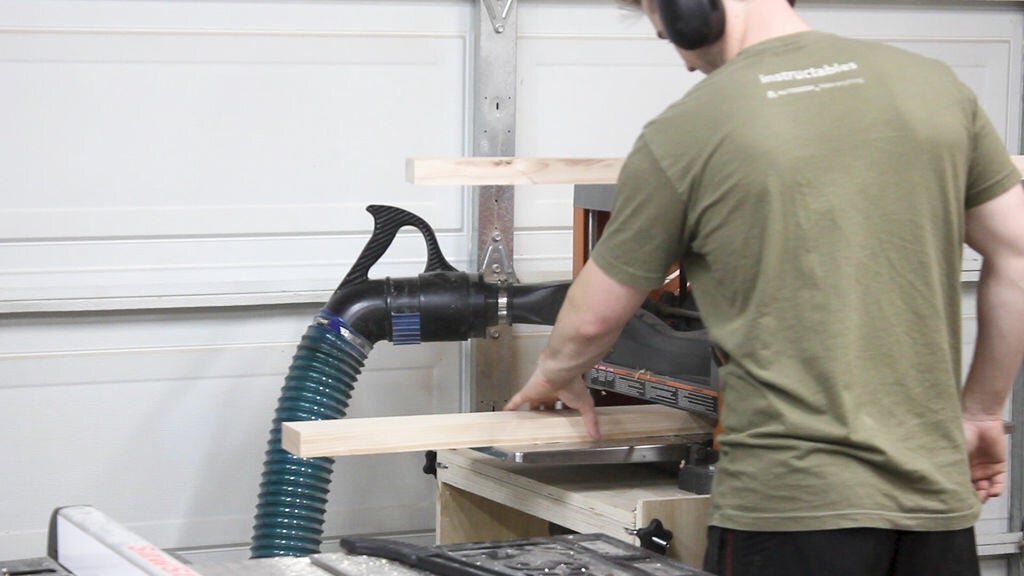
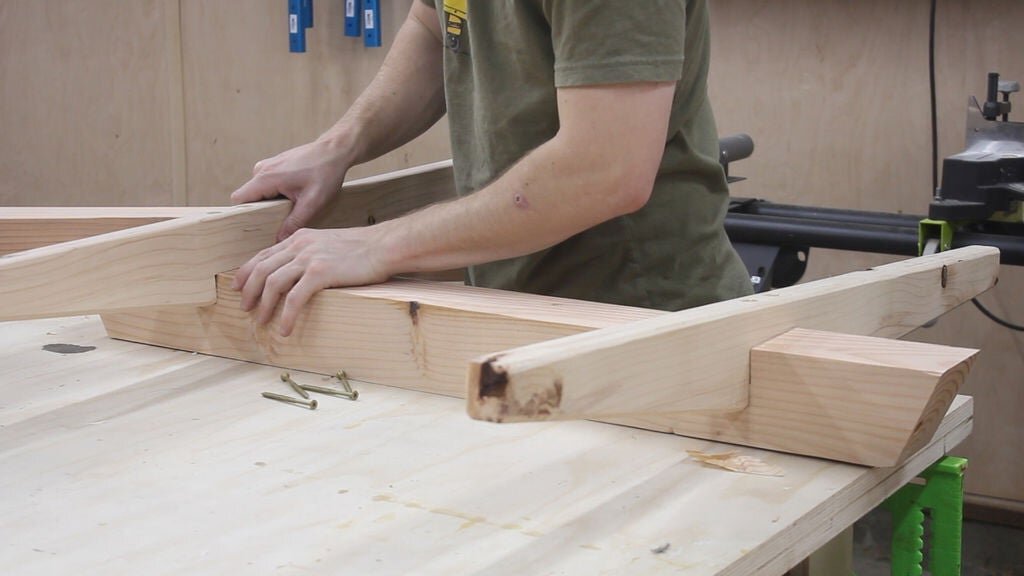
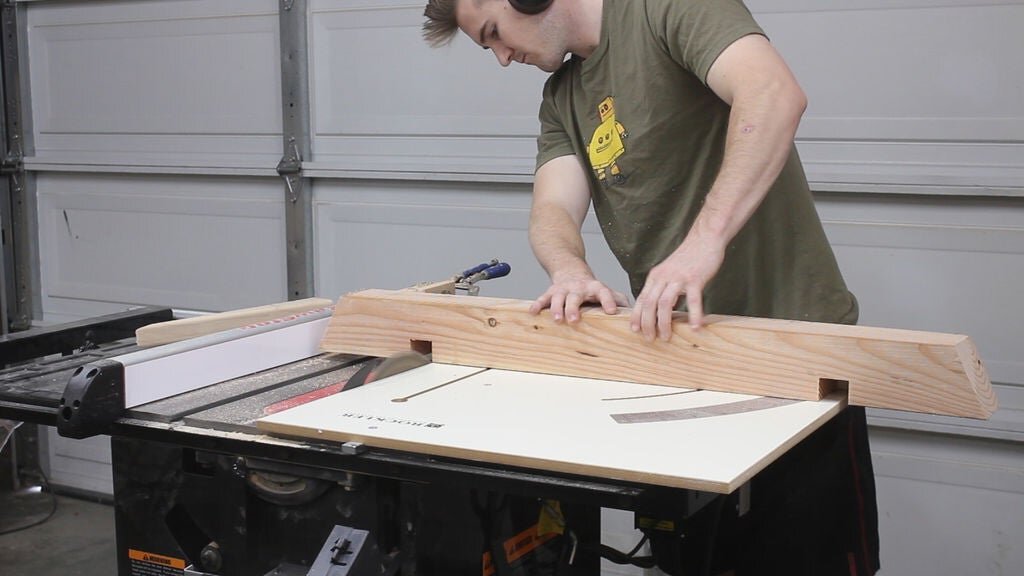
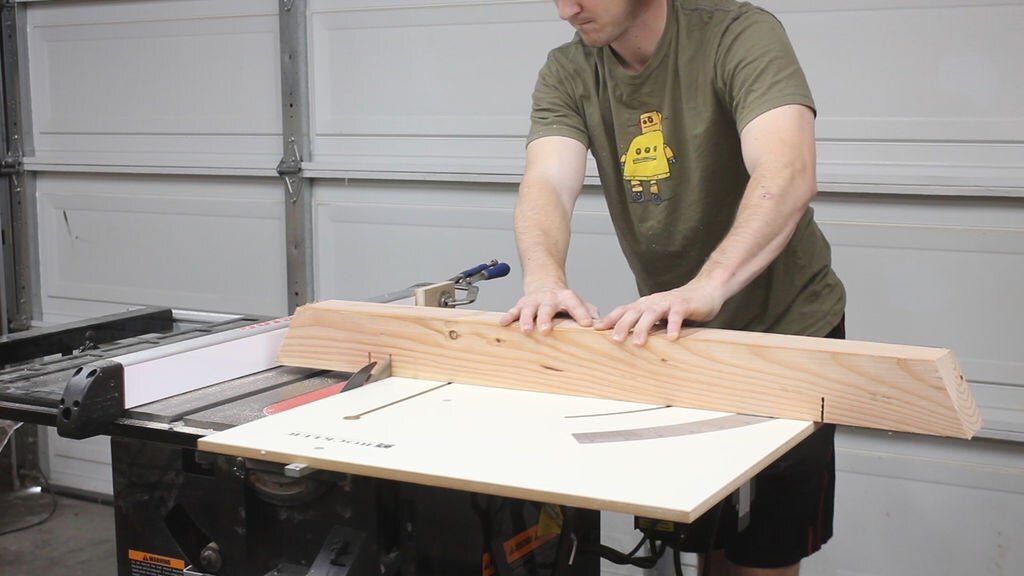
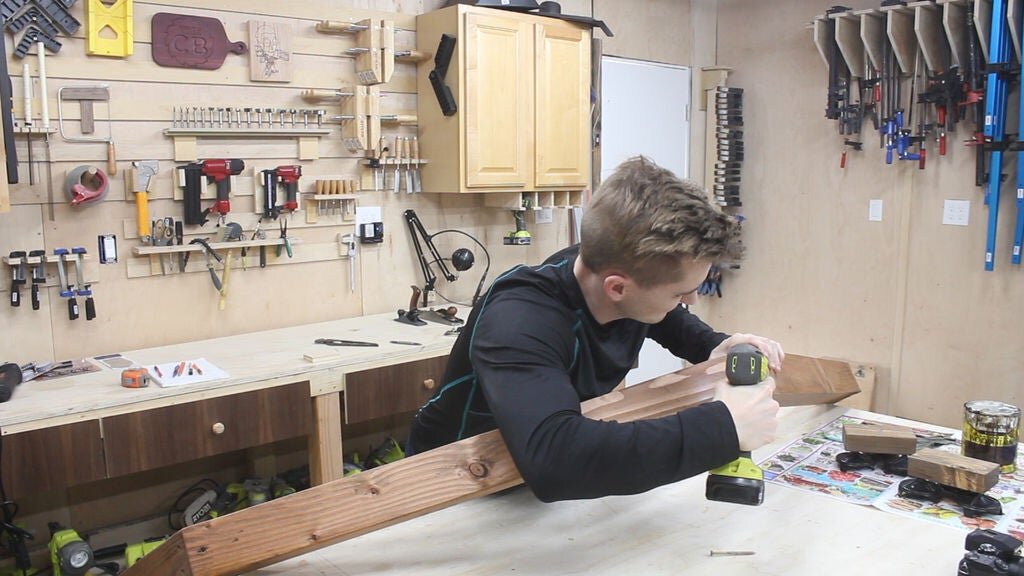
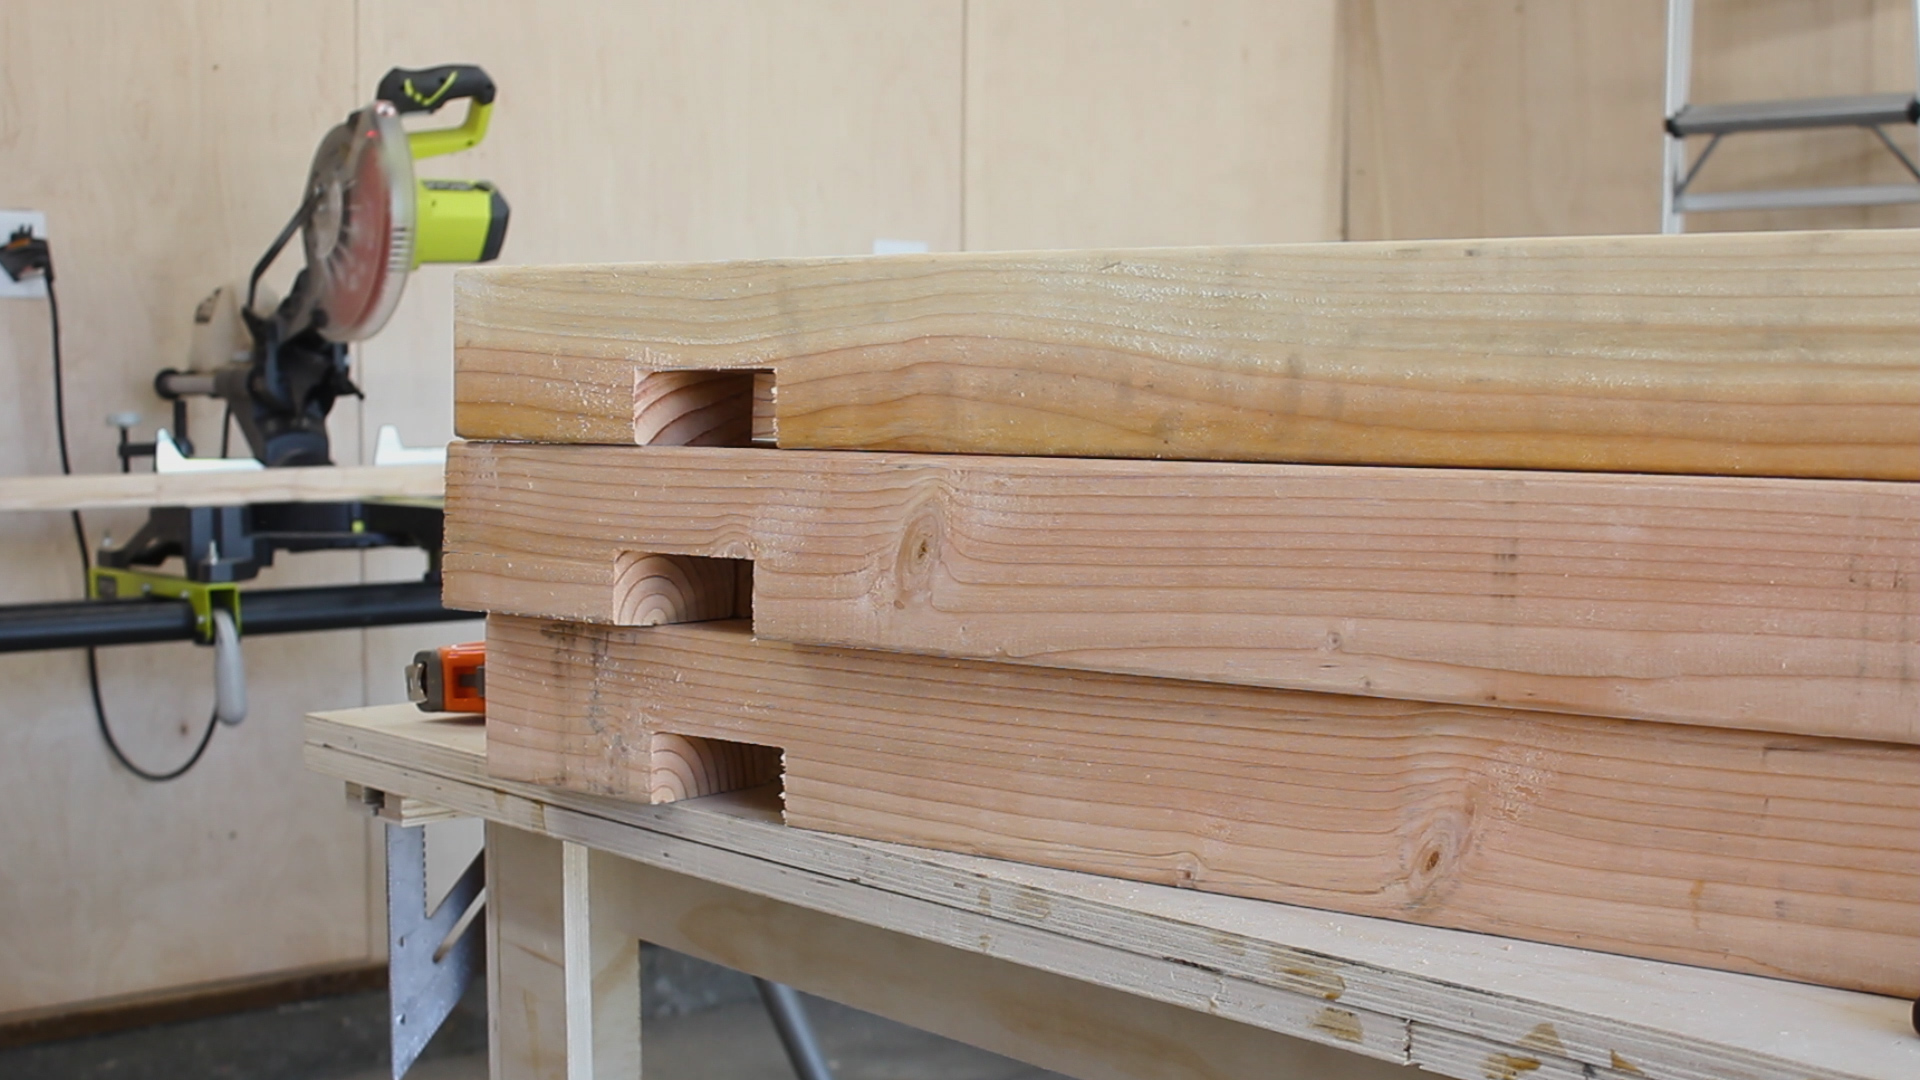
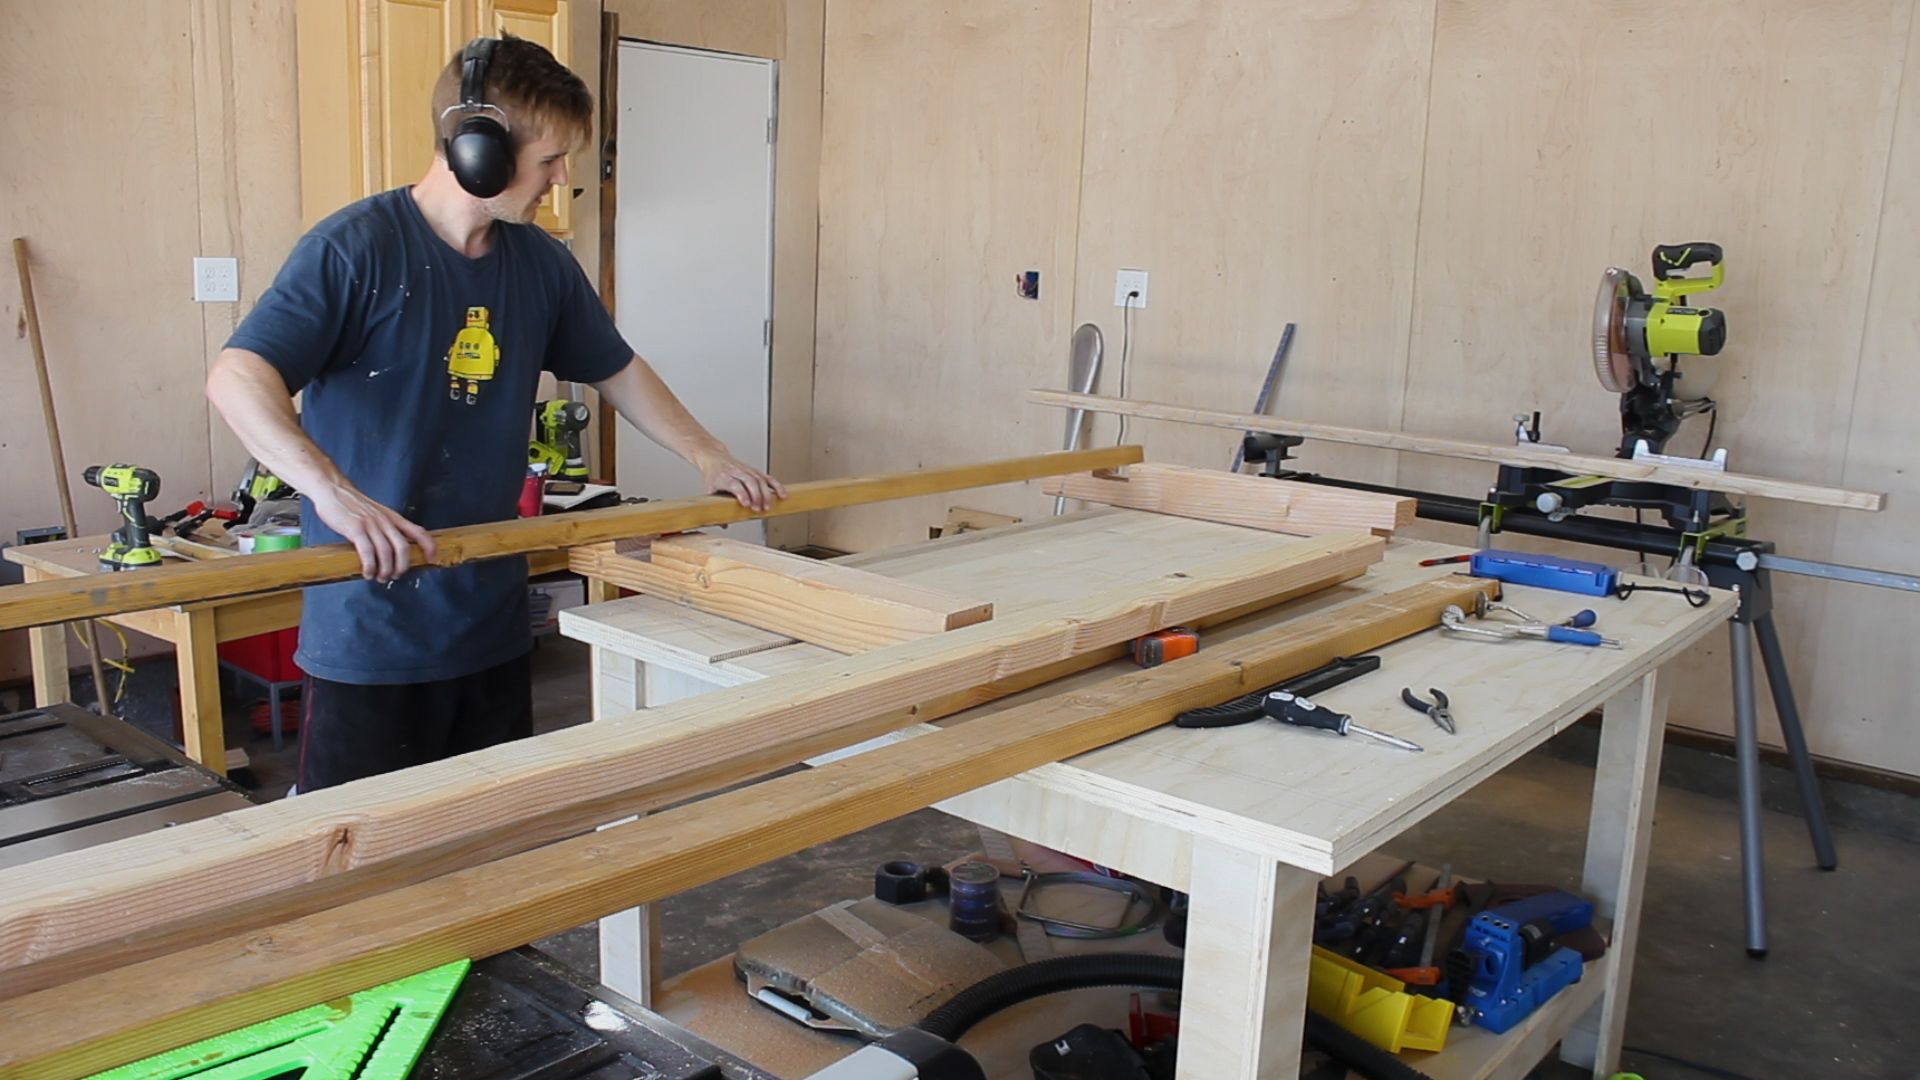
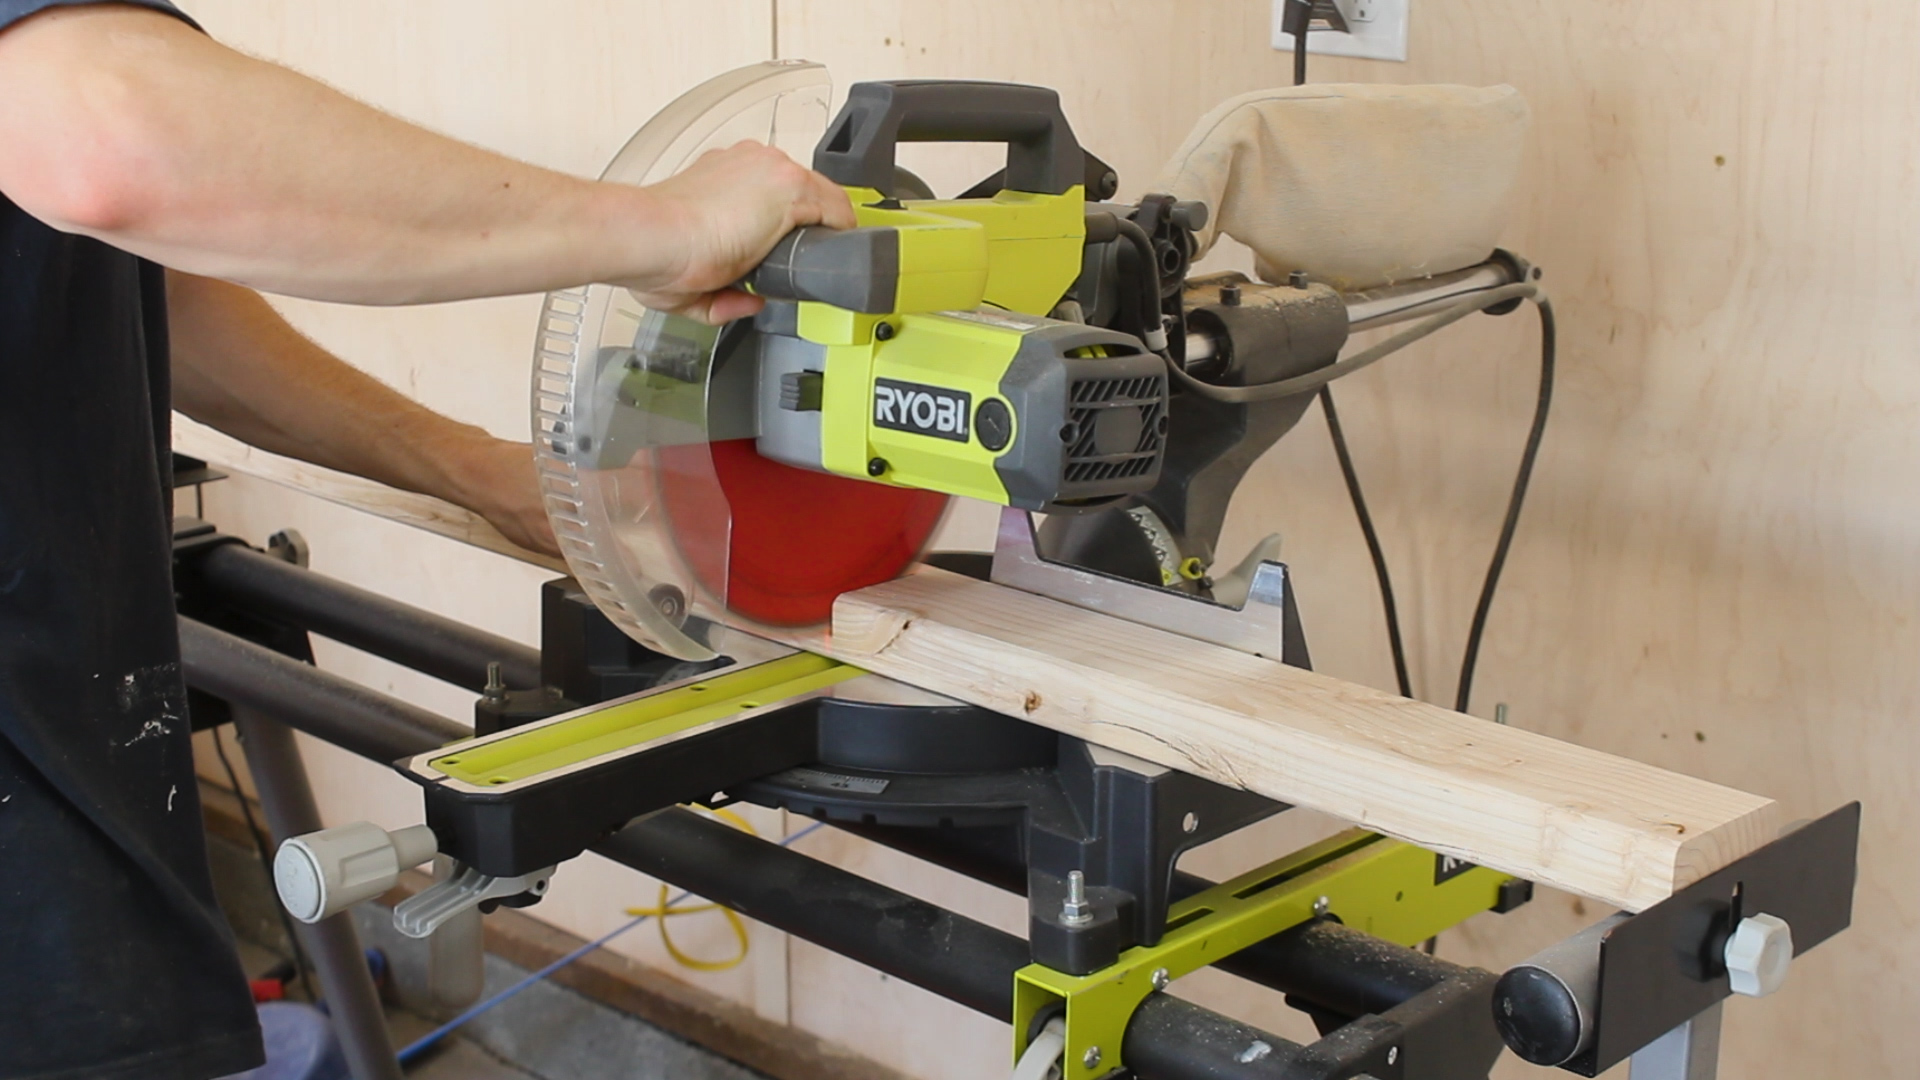
I took an old 2 x 4 I had and cut and planed it down so that they were about 36 inches long and had two smooth sides (Pic 1). Then, using a straight edge, I marked tapers on the front and back of the piece - I didn't have measurements in mind going into this - but the conceptual direction I followed was to have the front tapers shorter than the back ones. Pics 2-4 show me doing this.
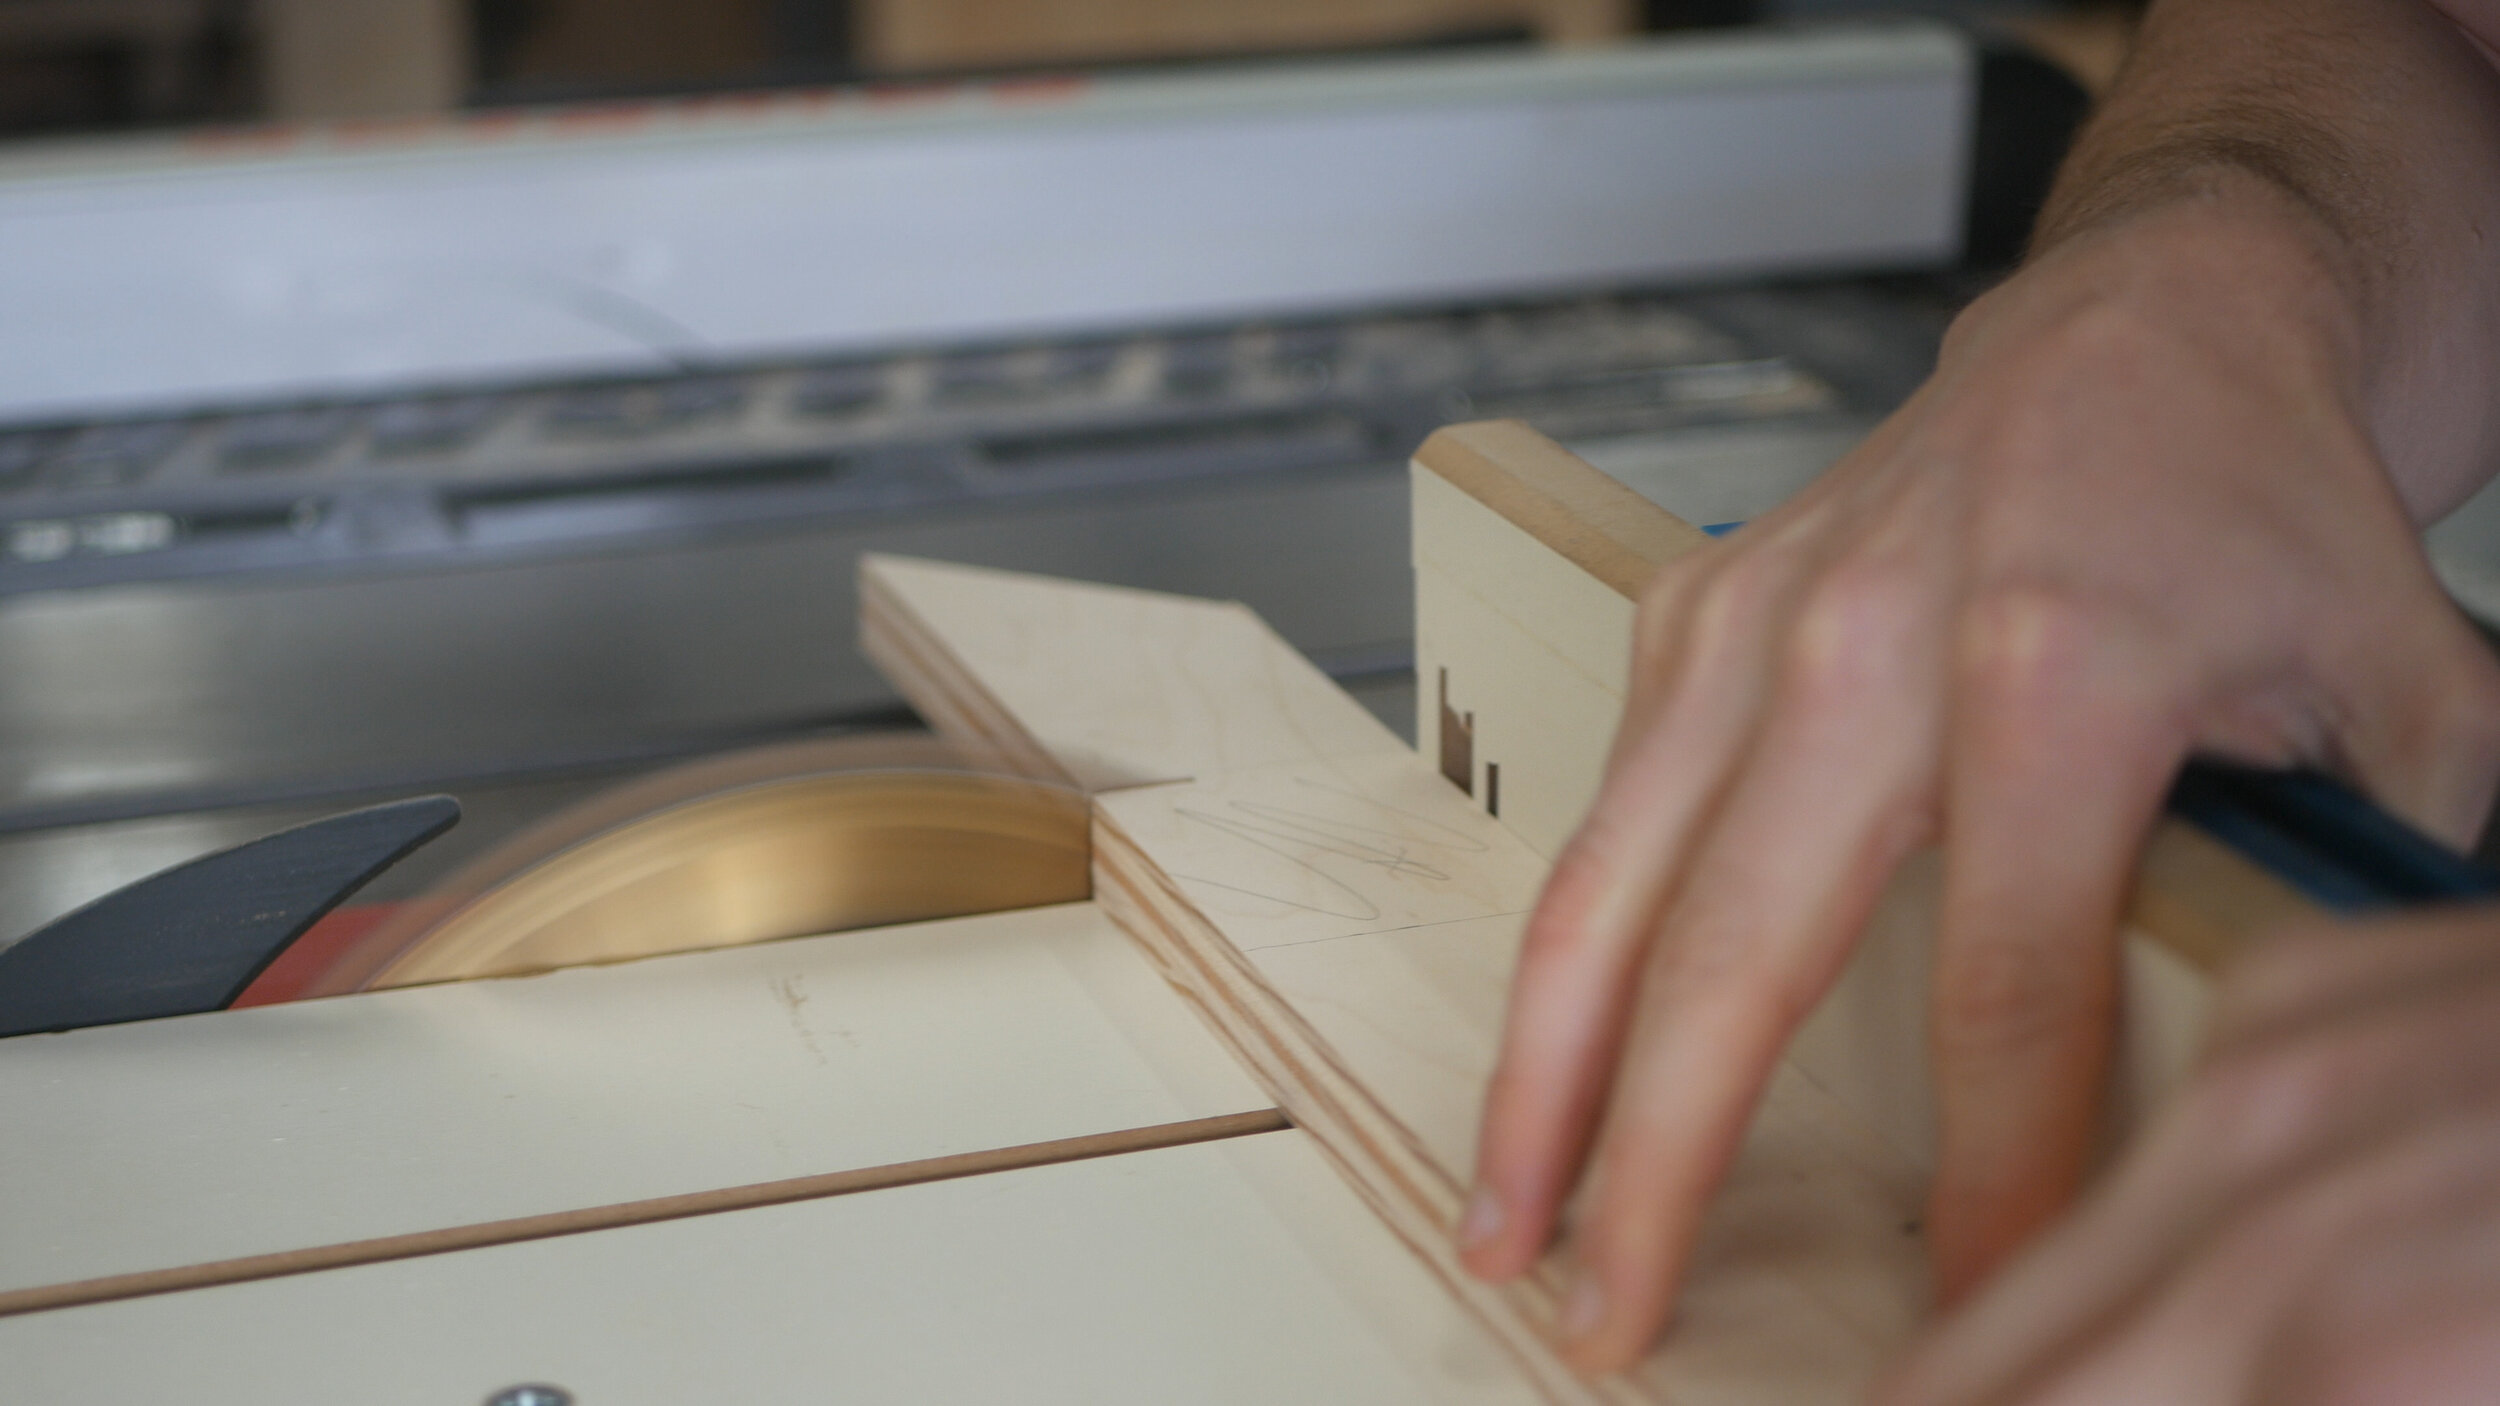
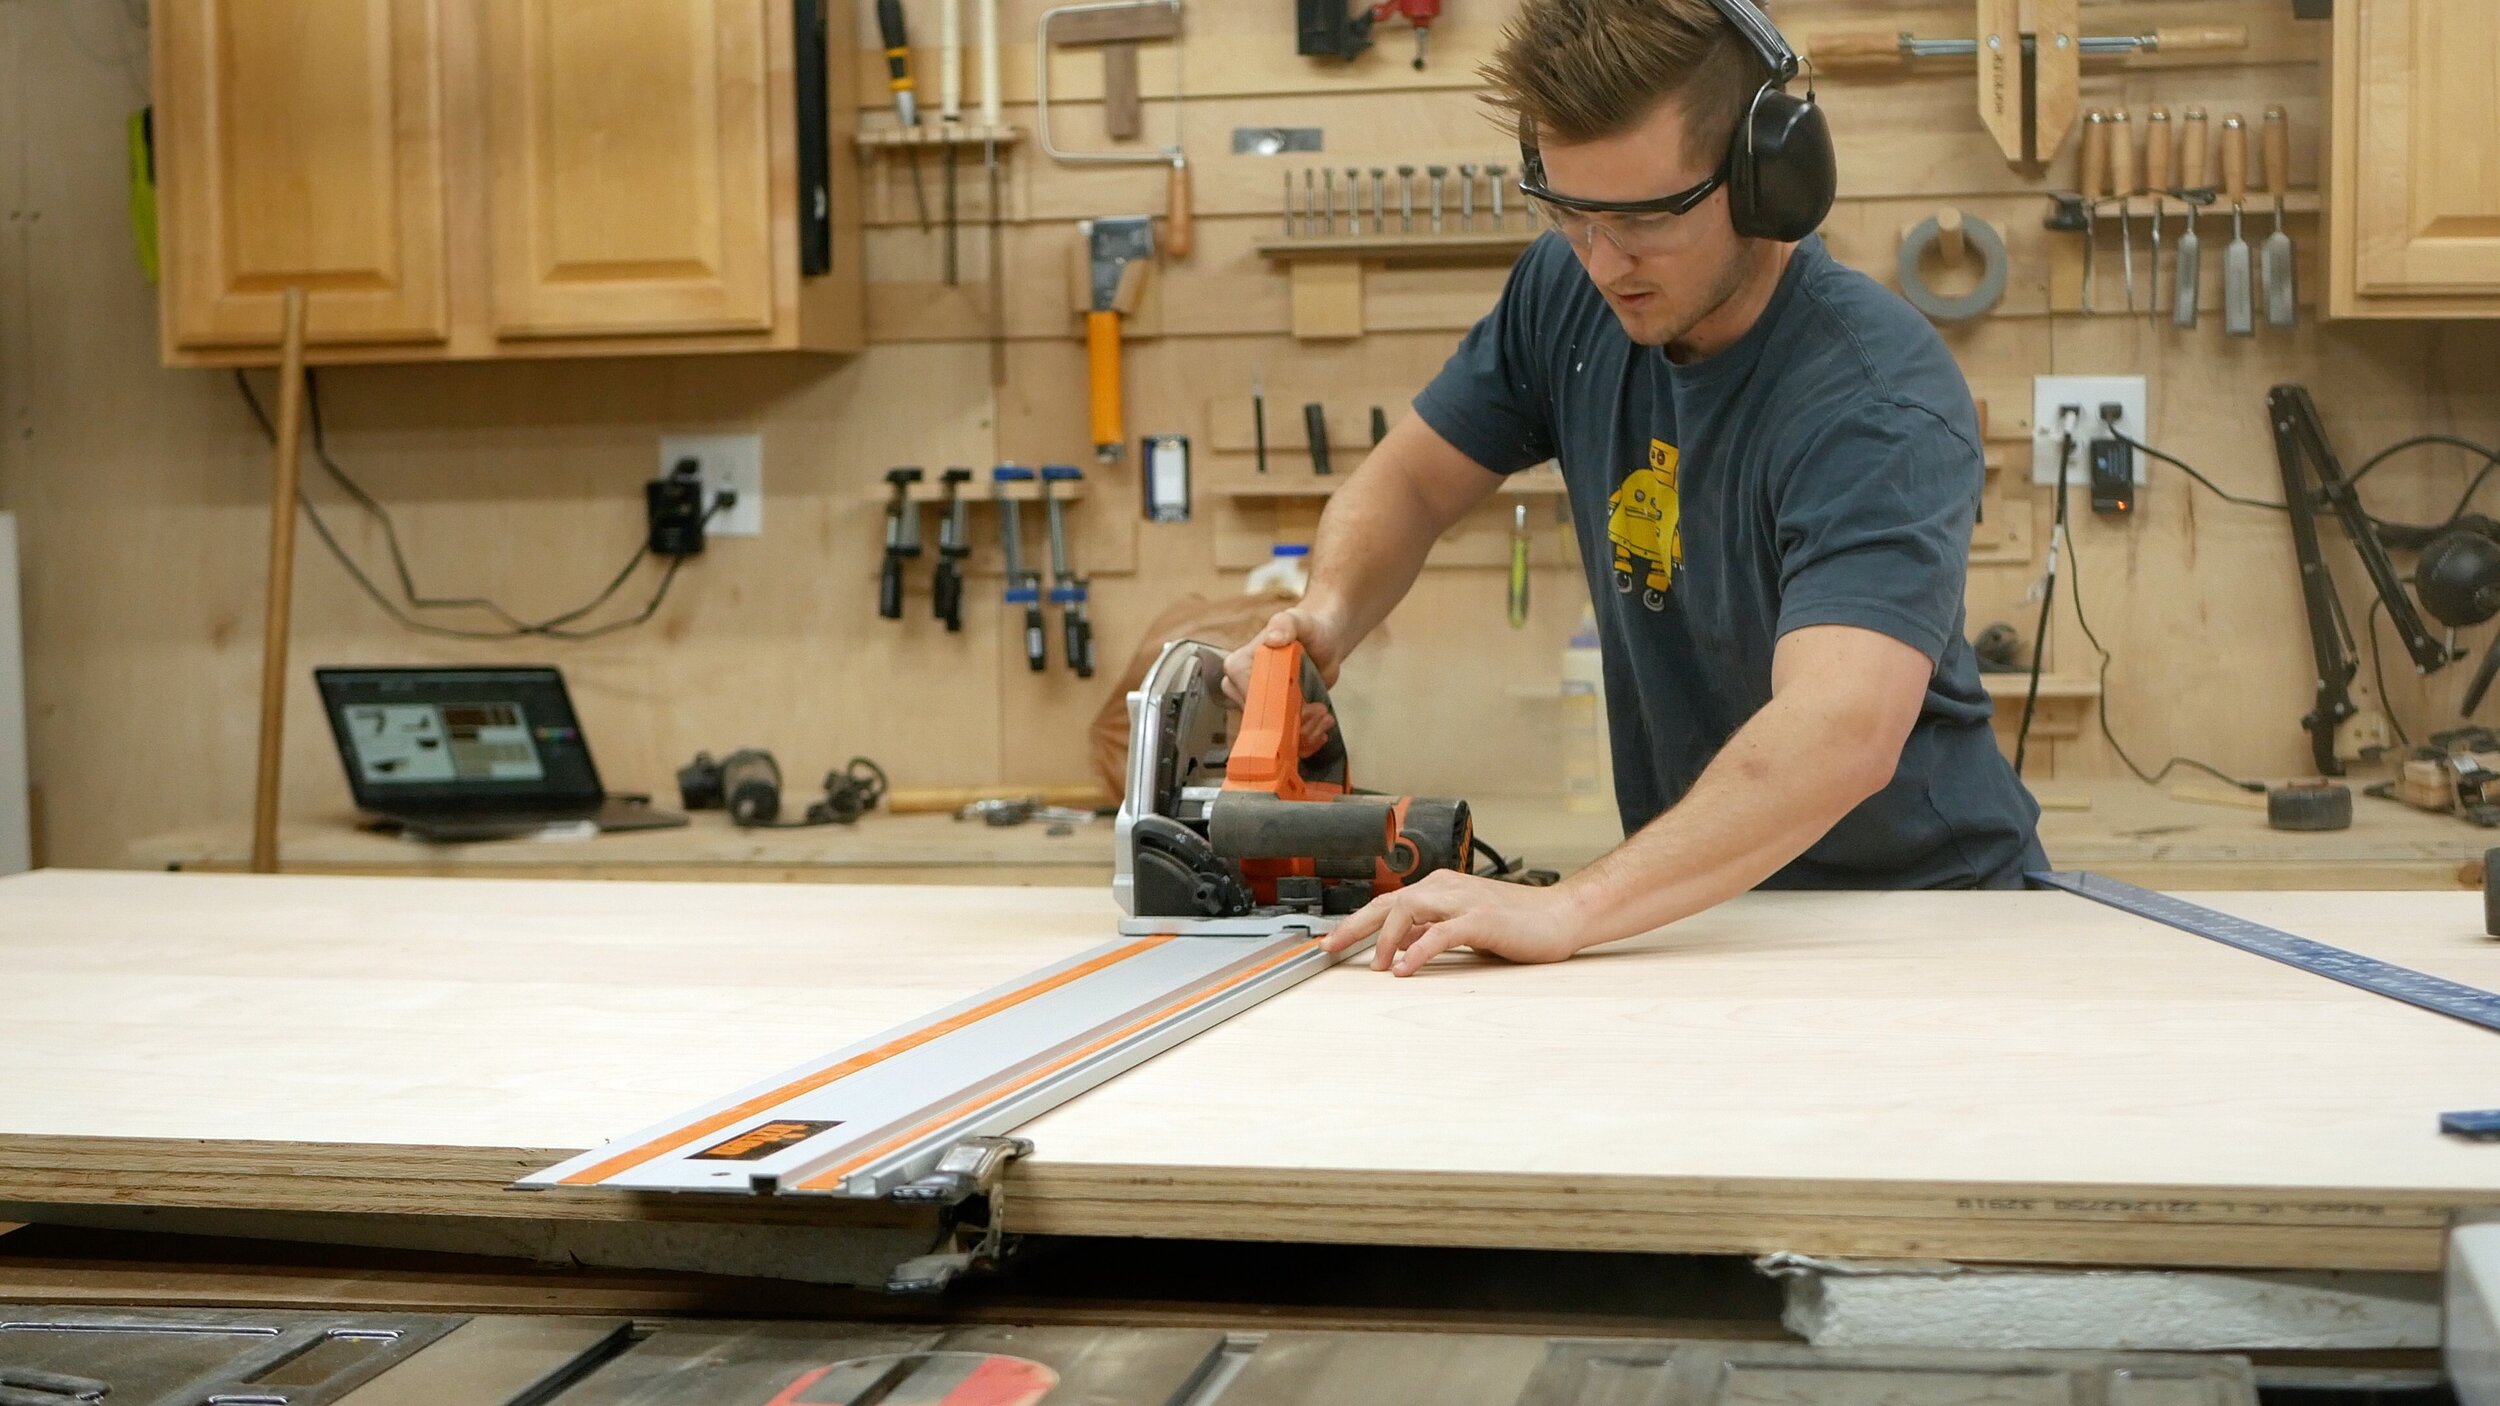
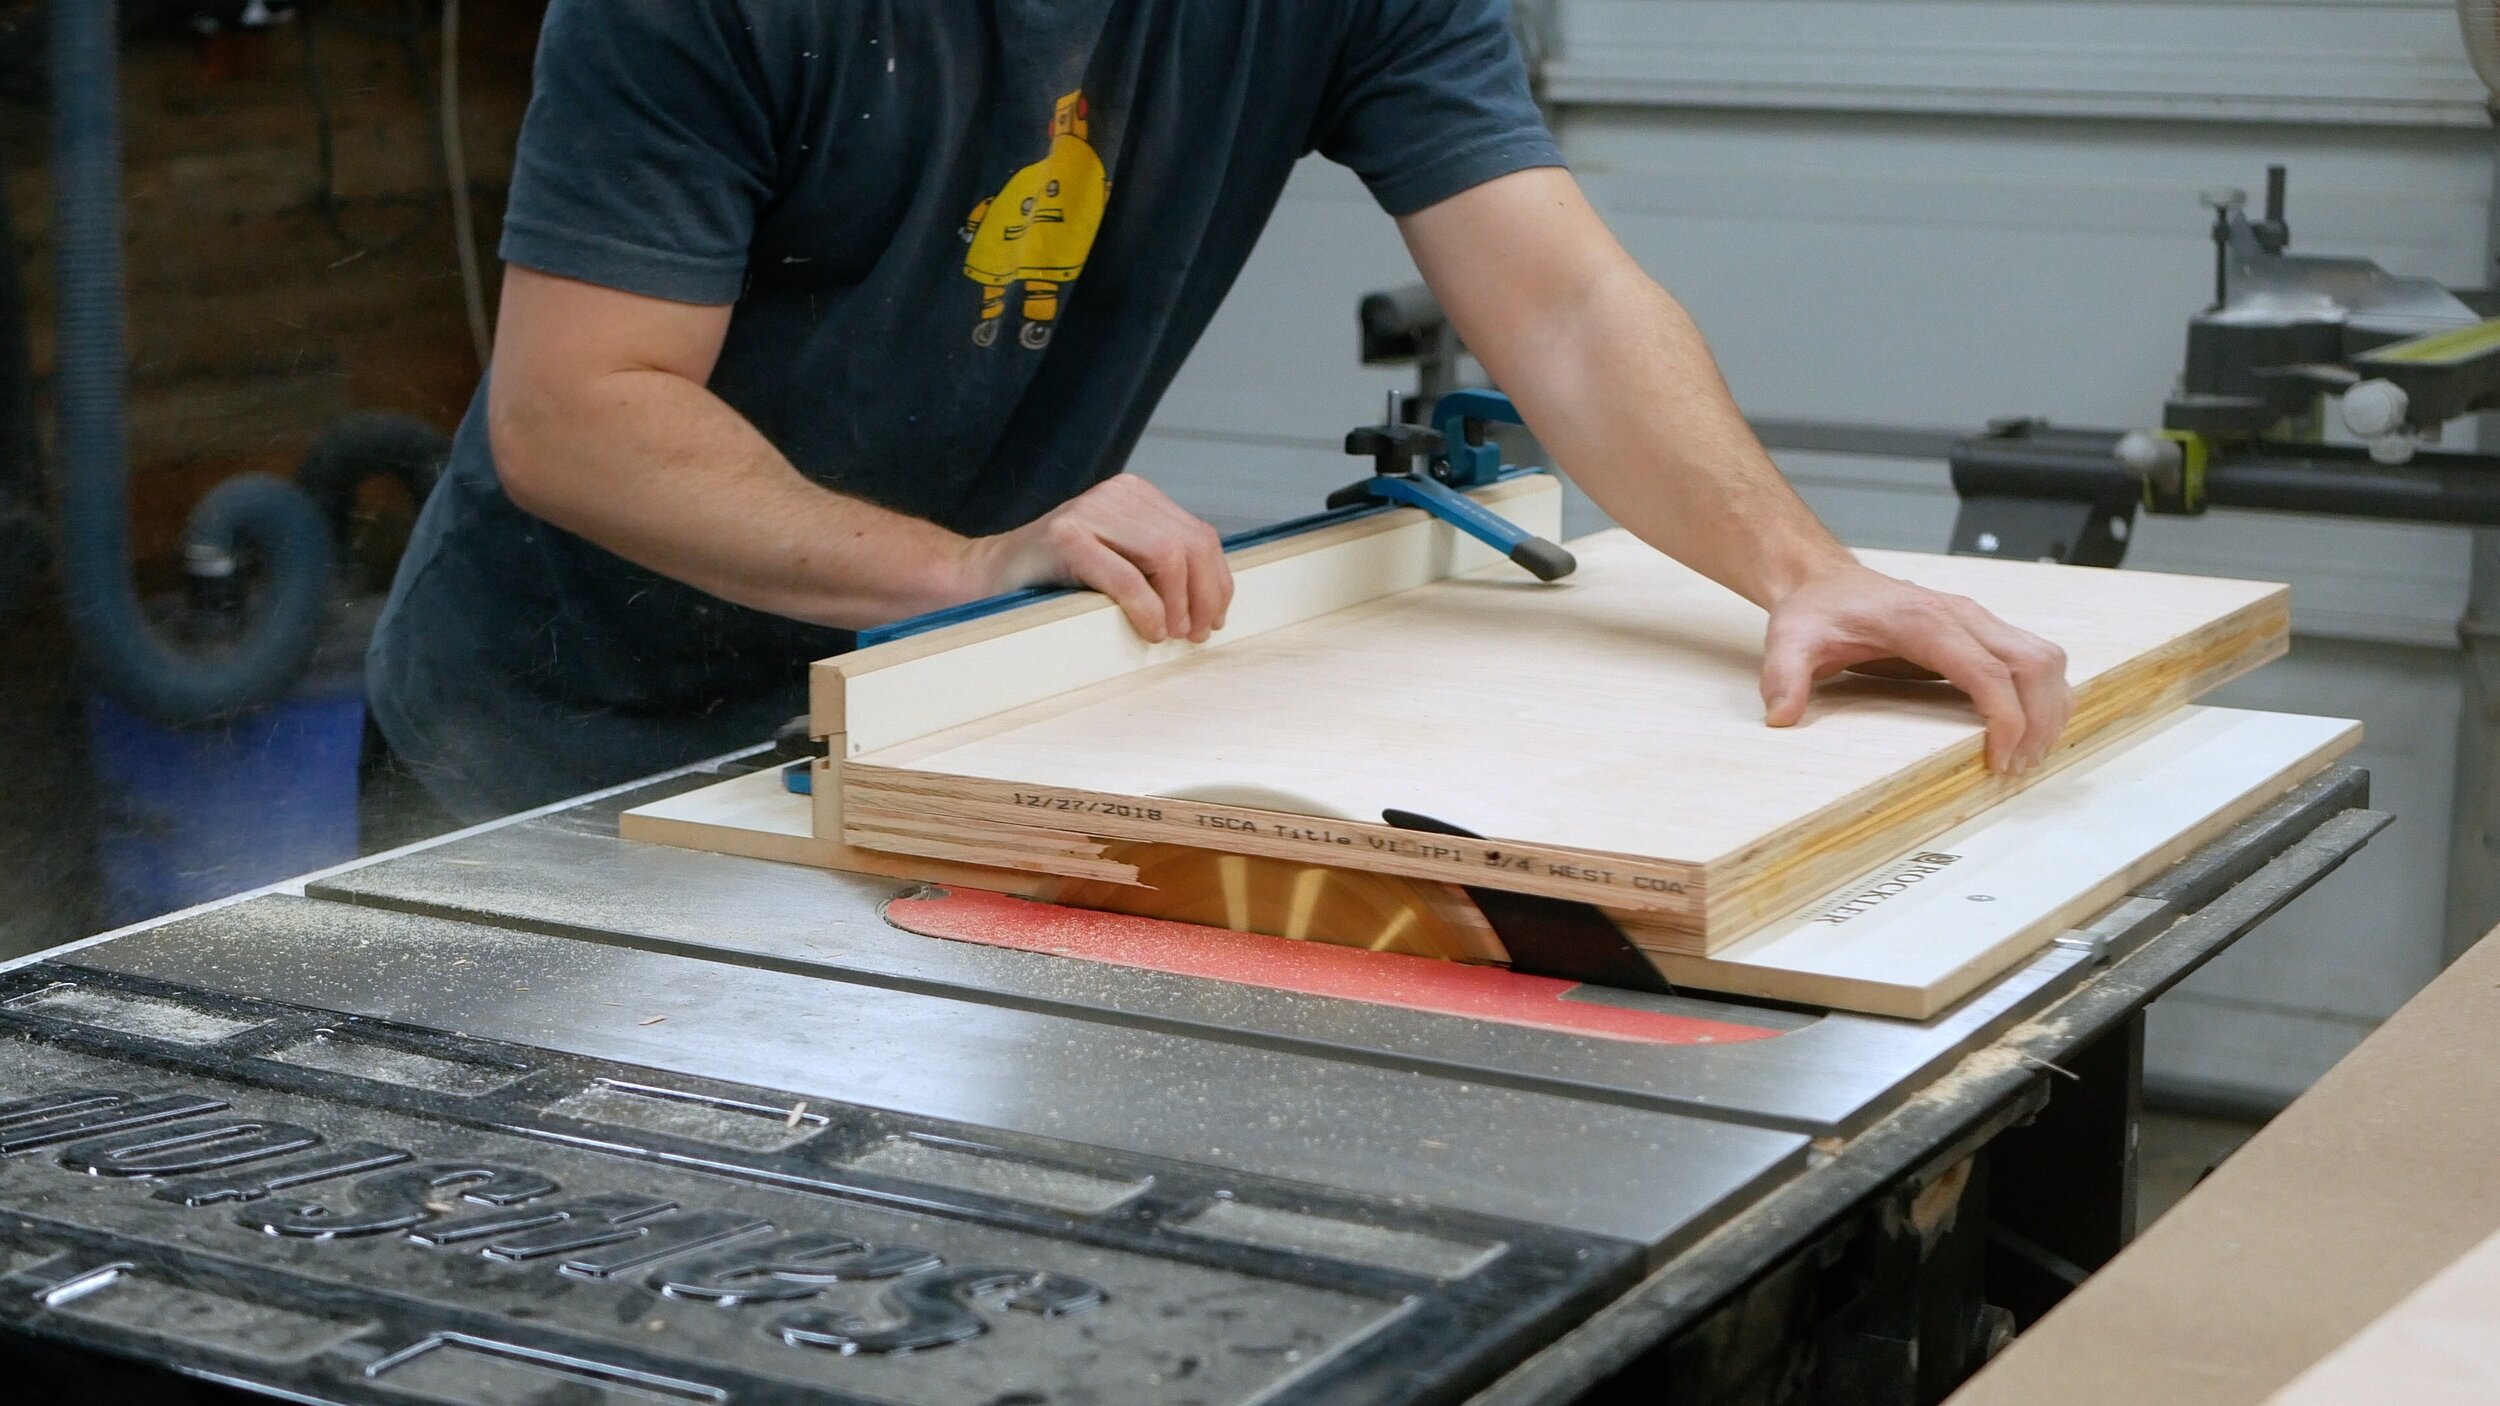
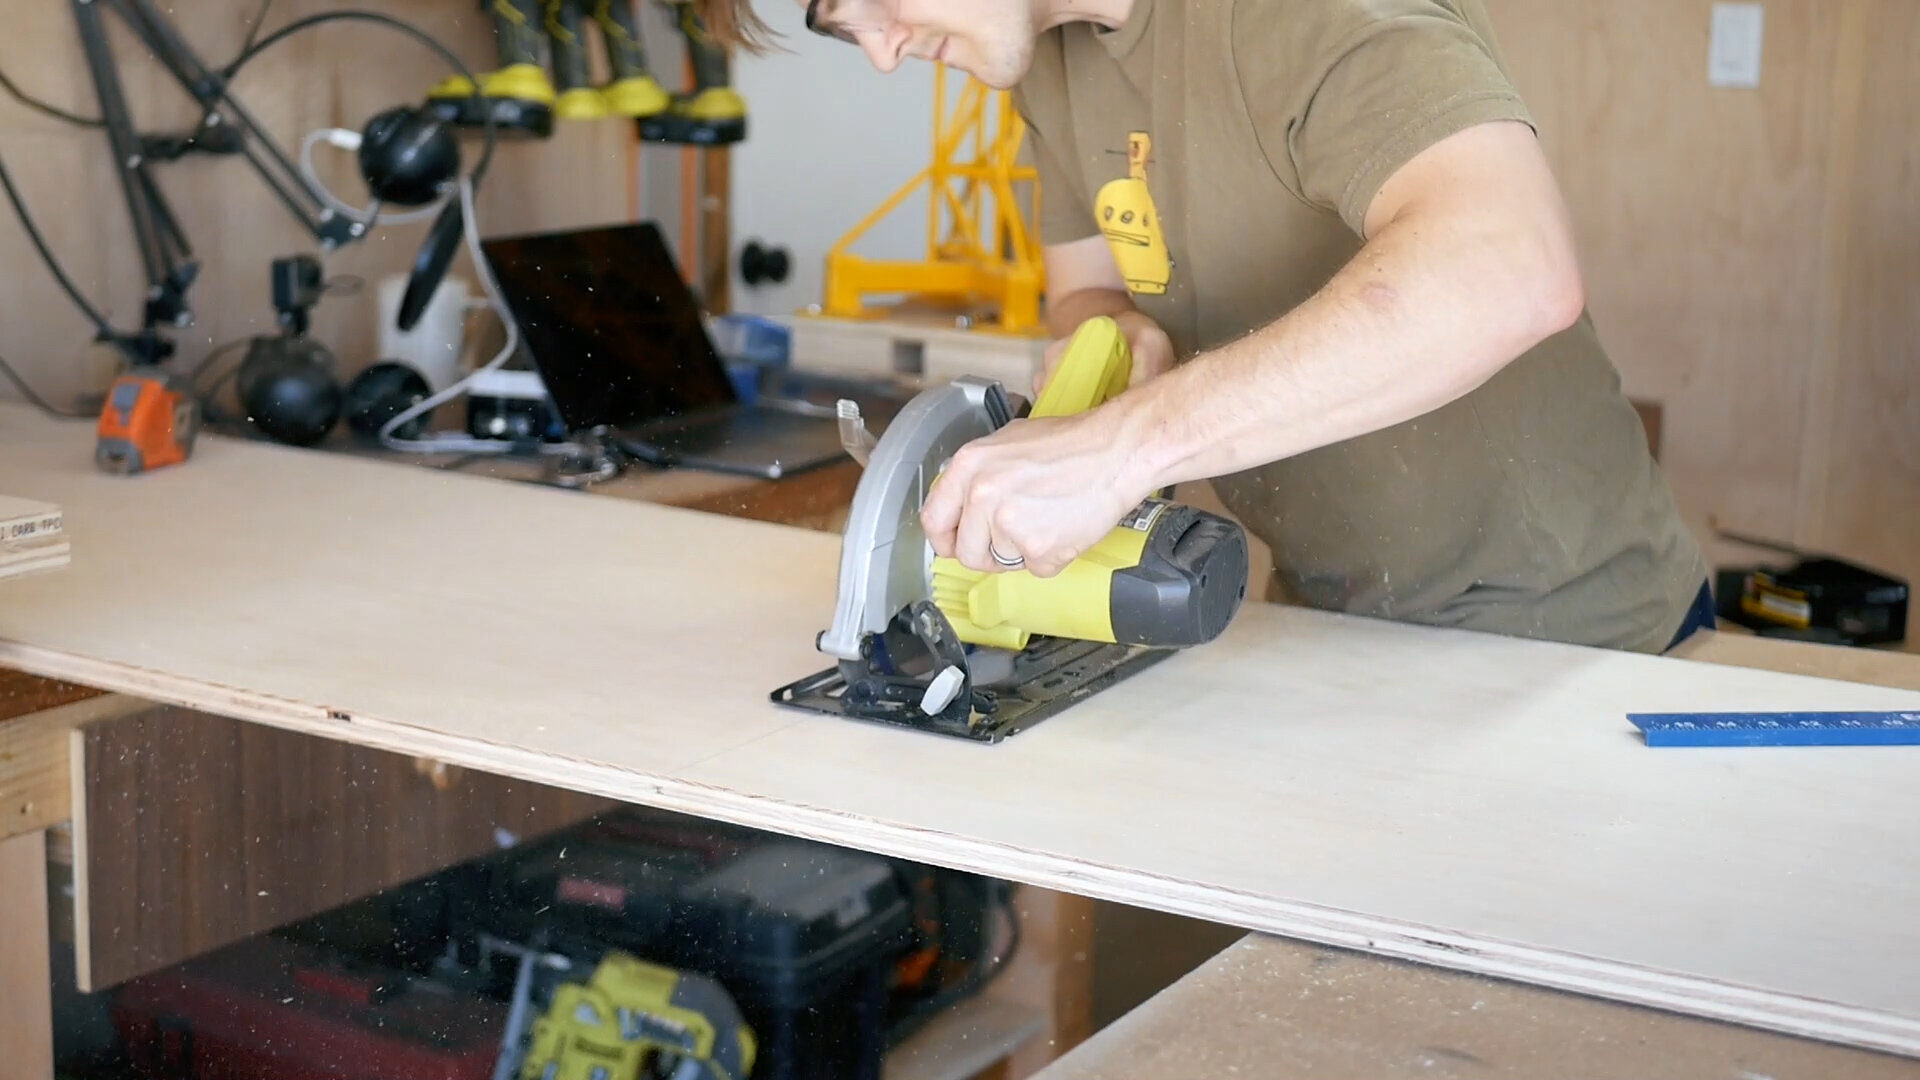
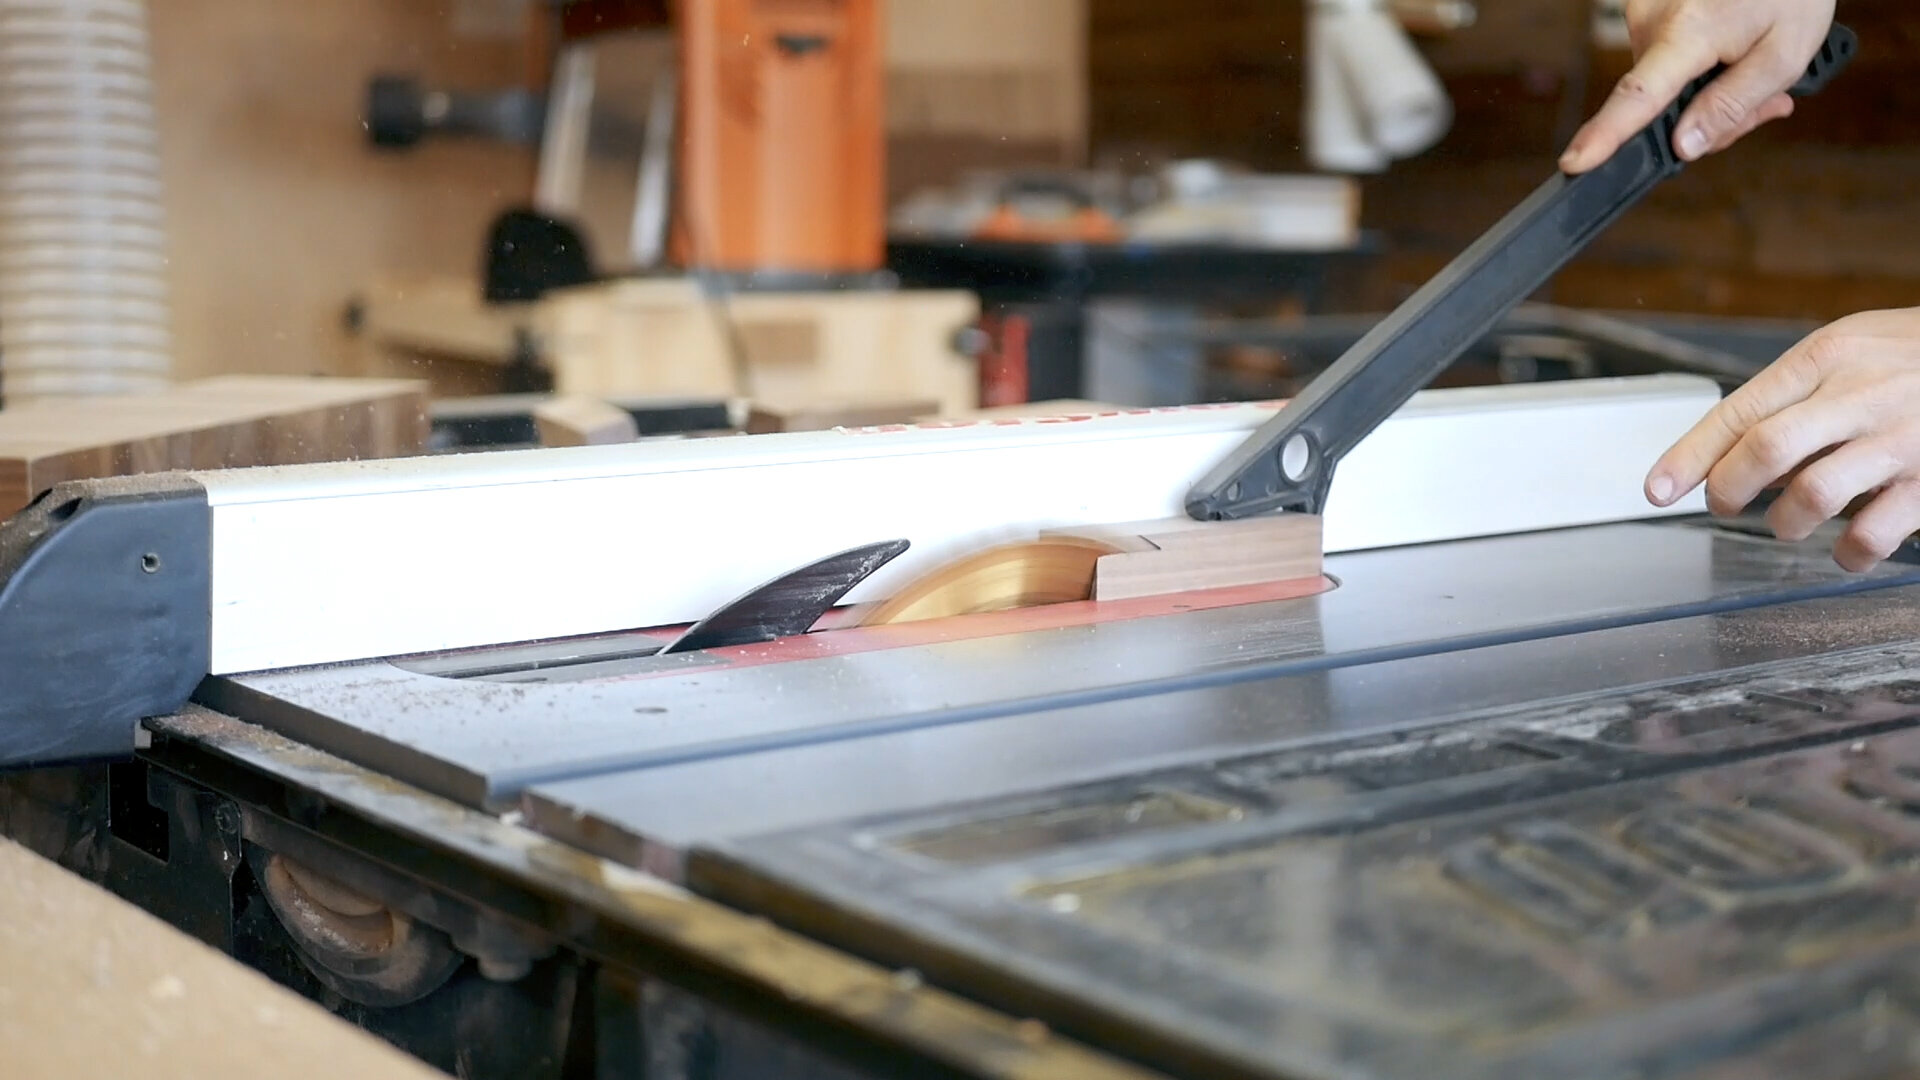
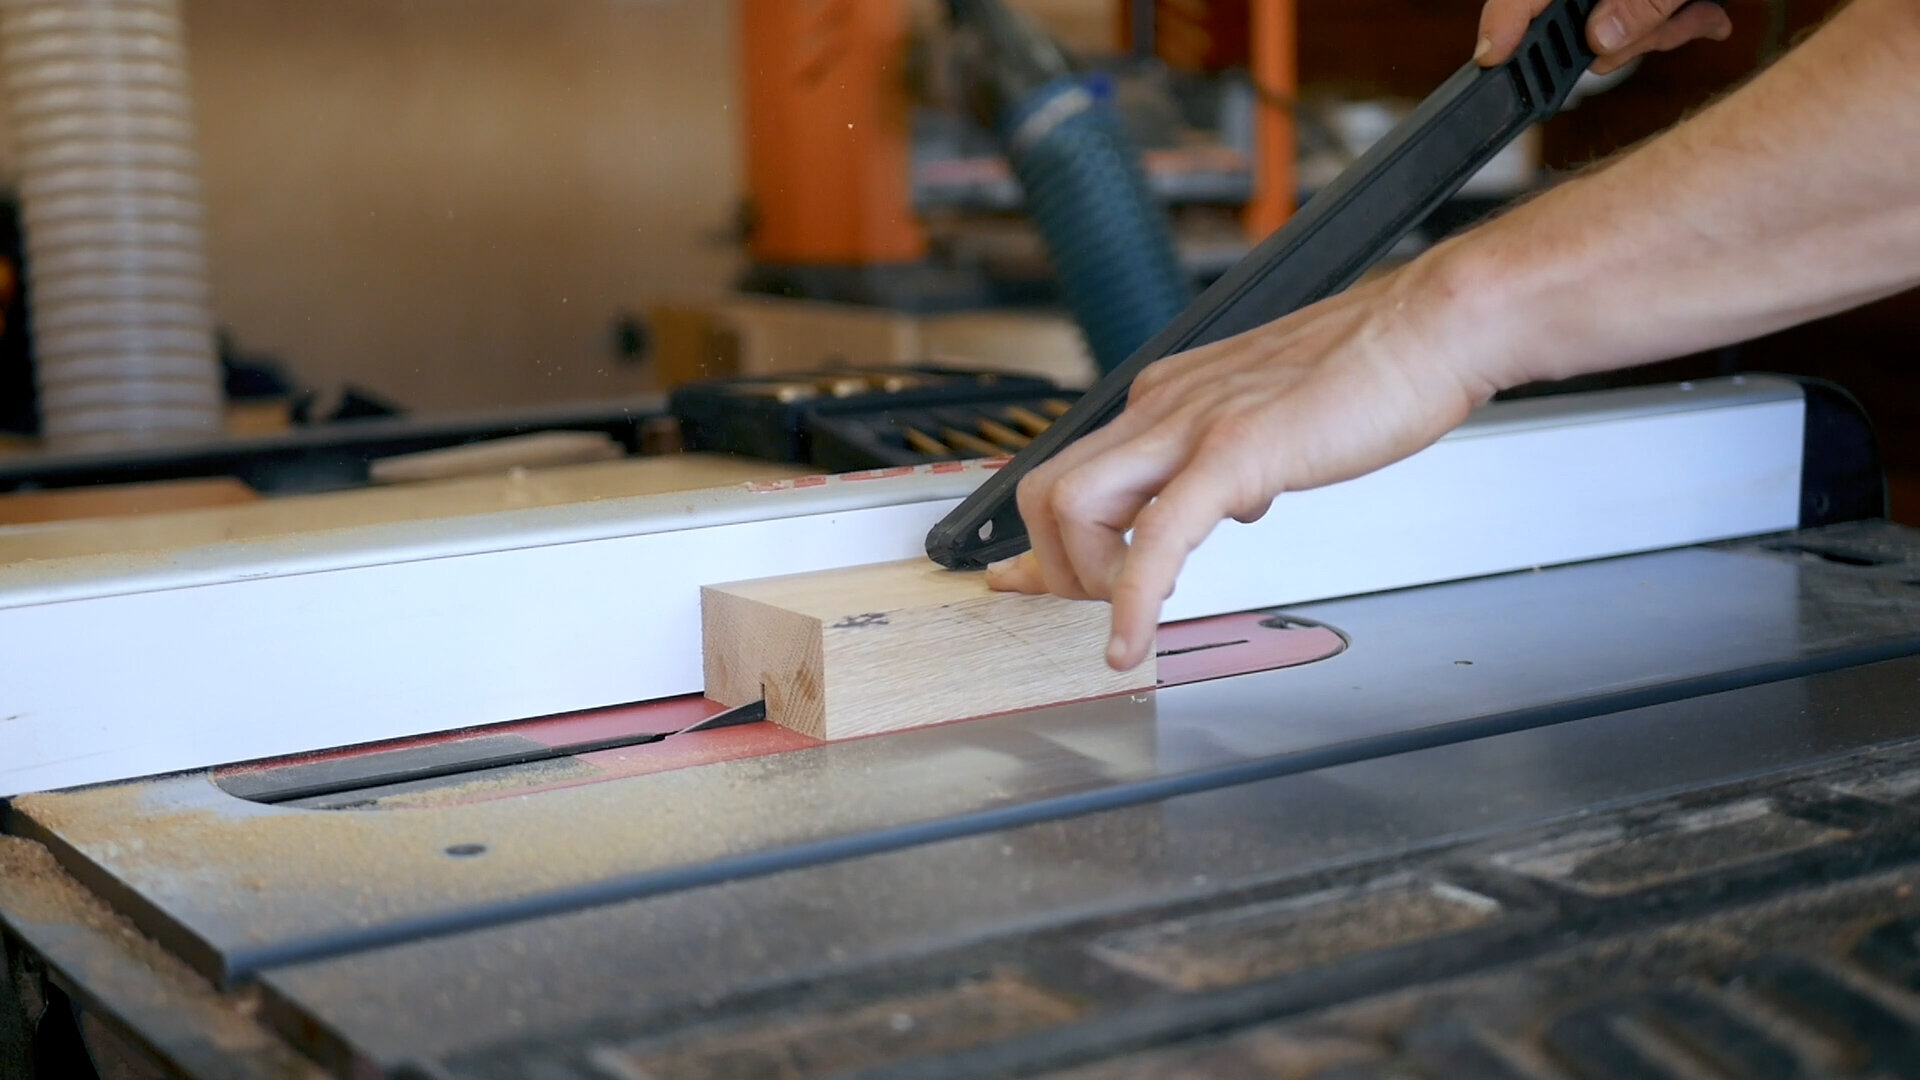
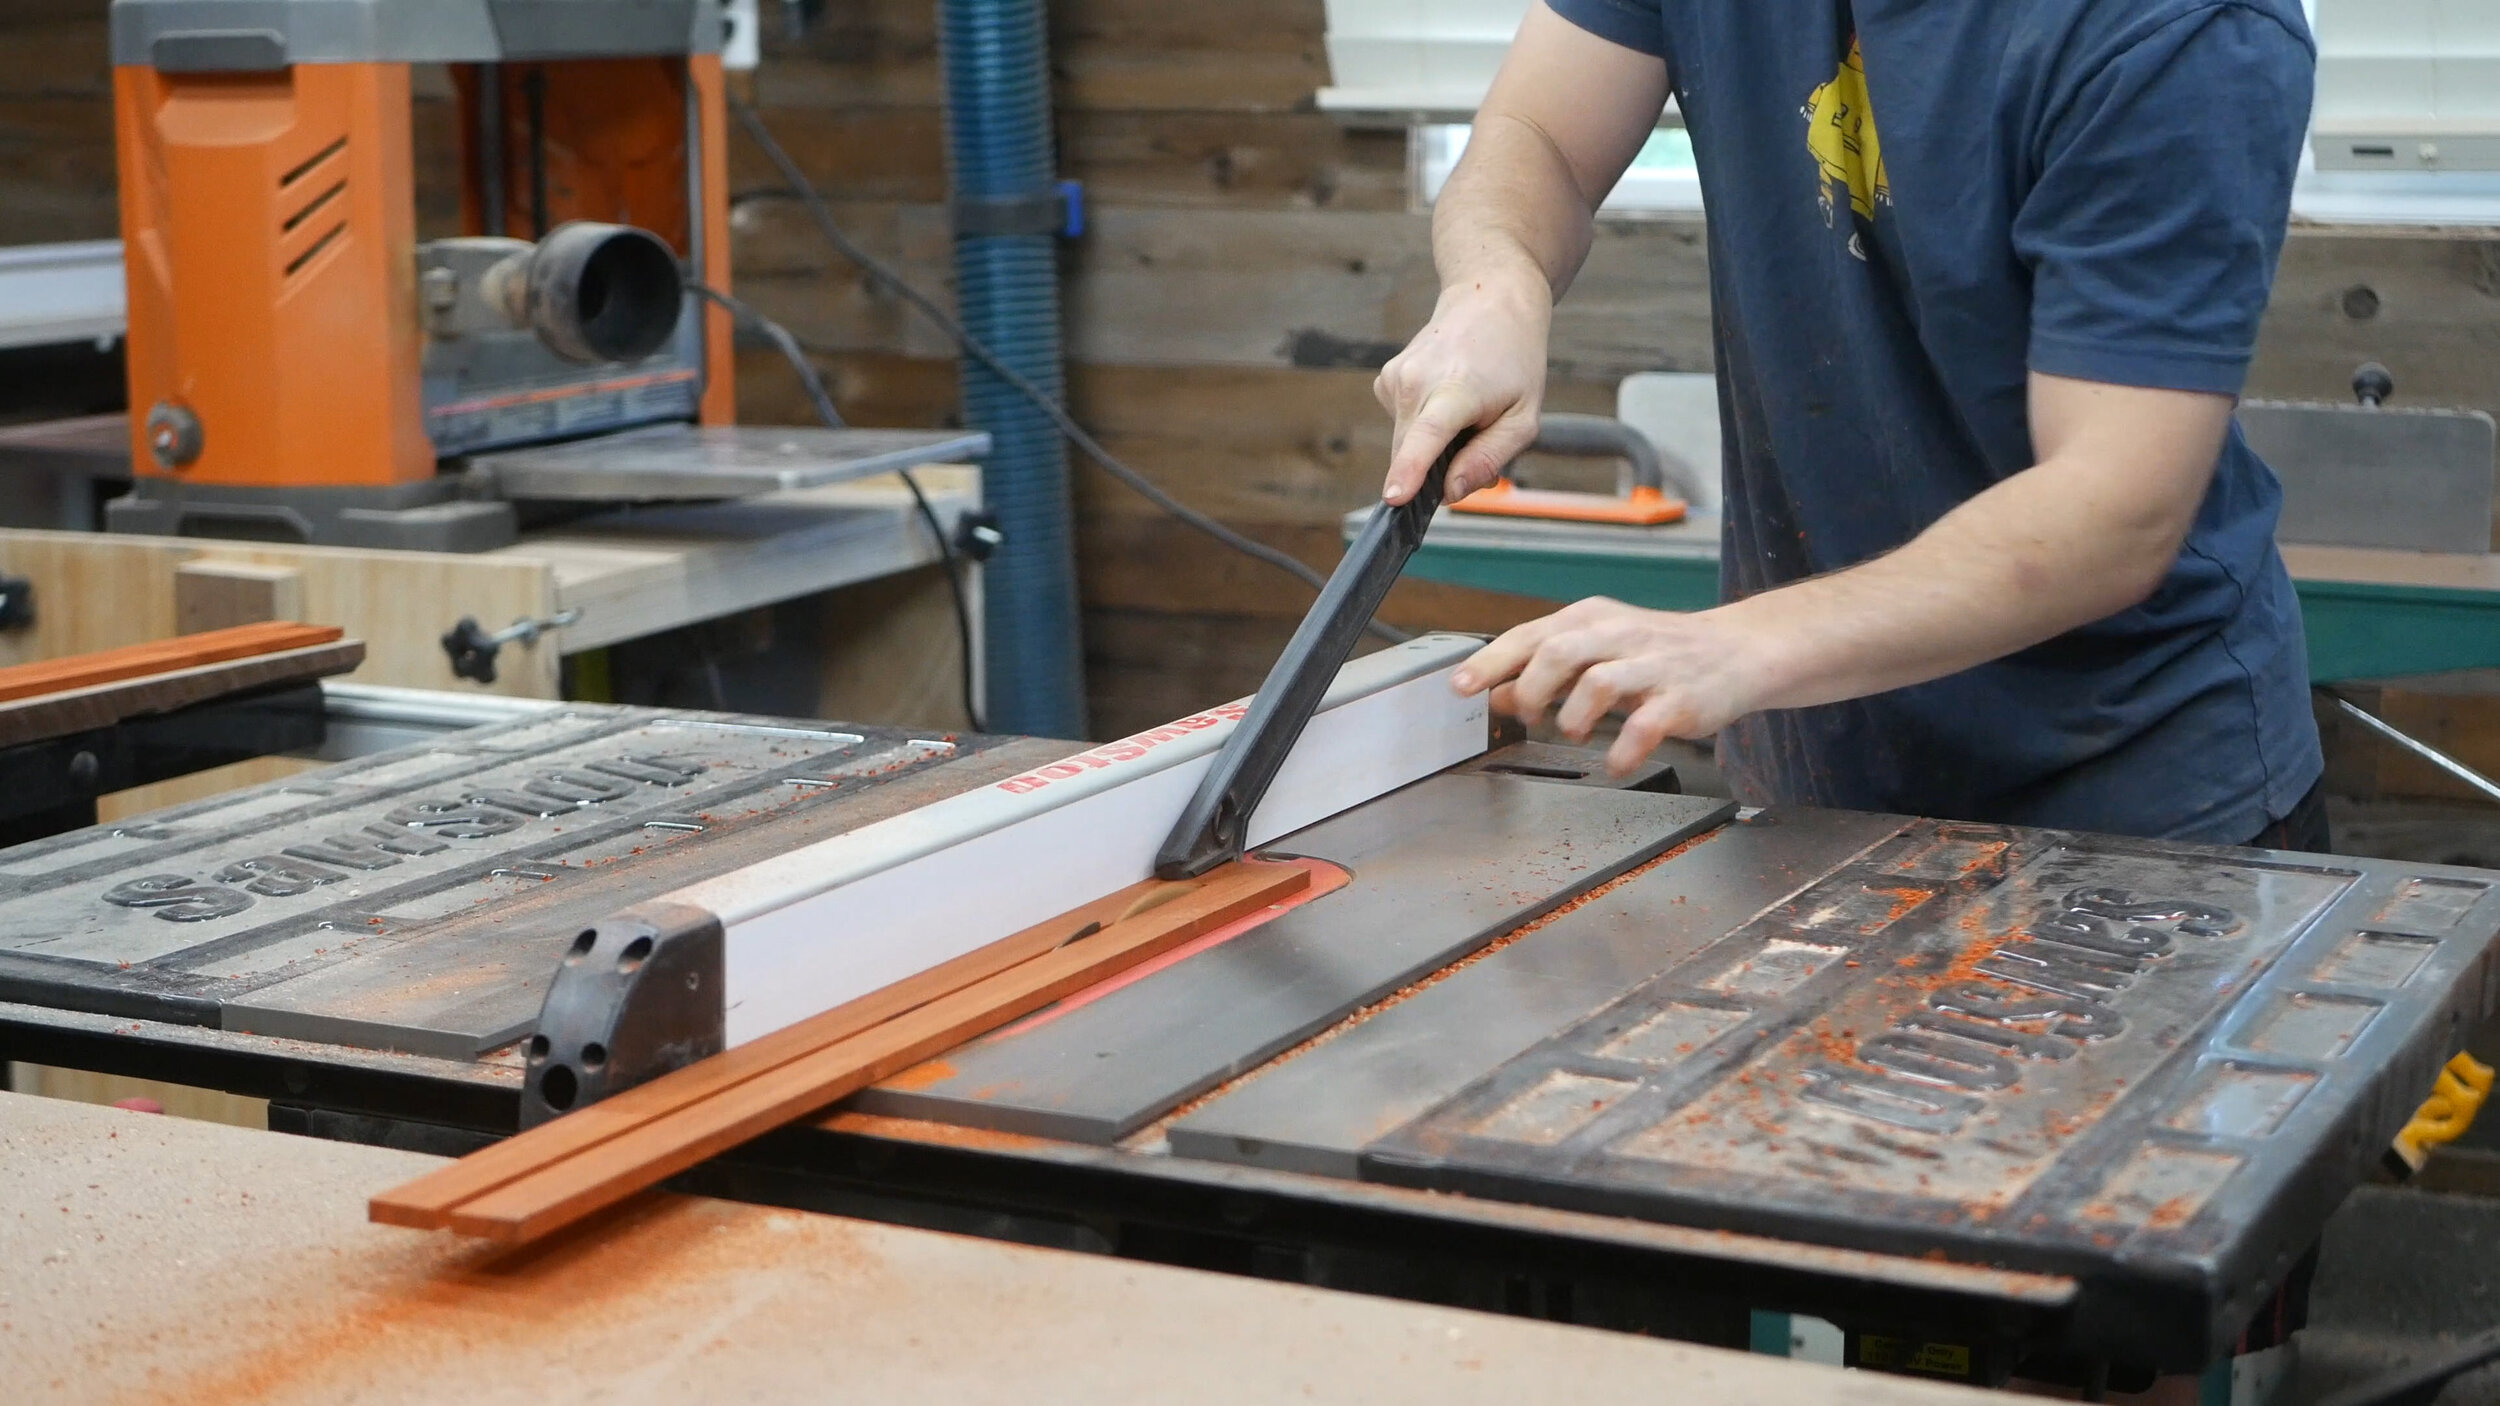
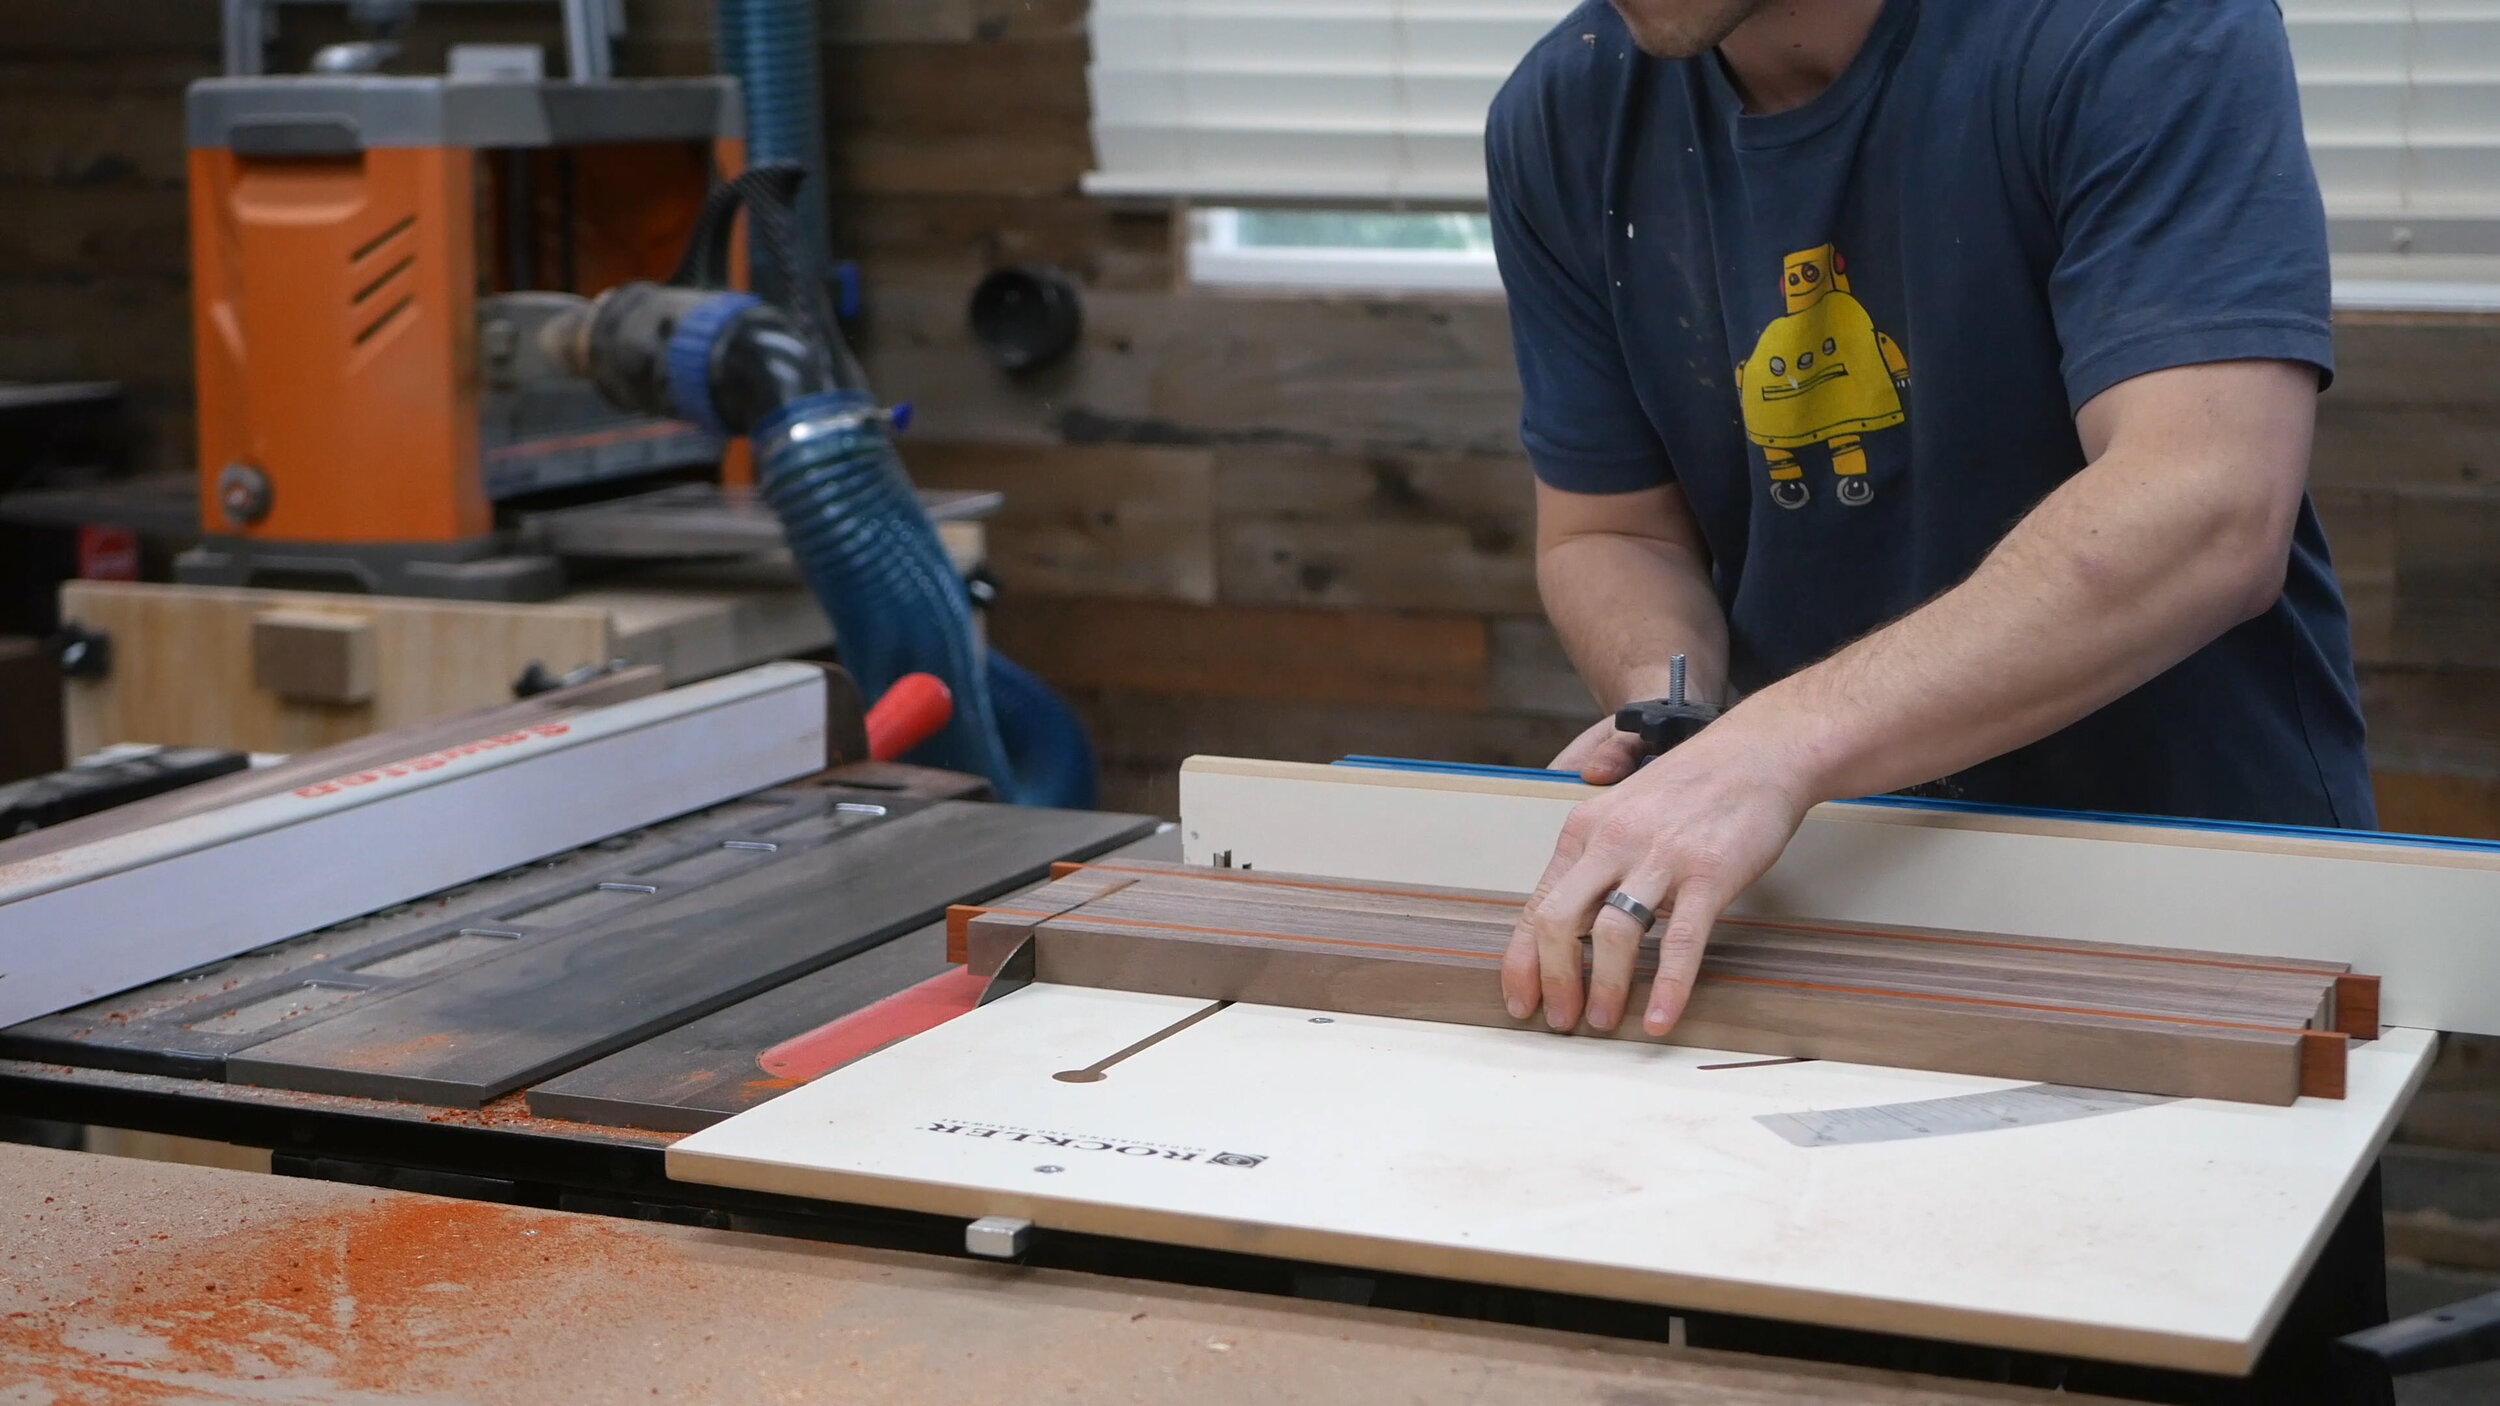
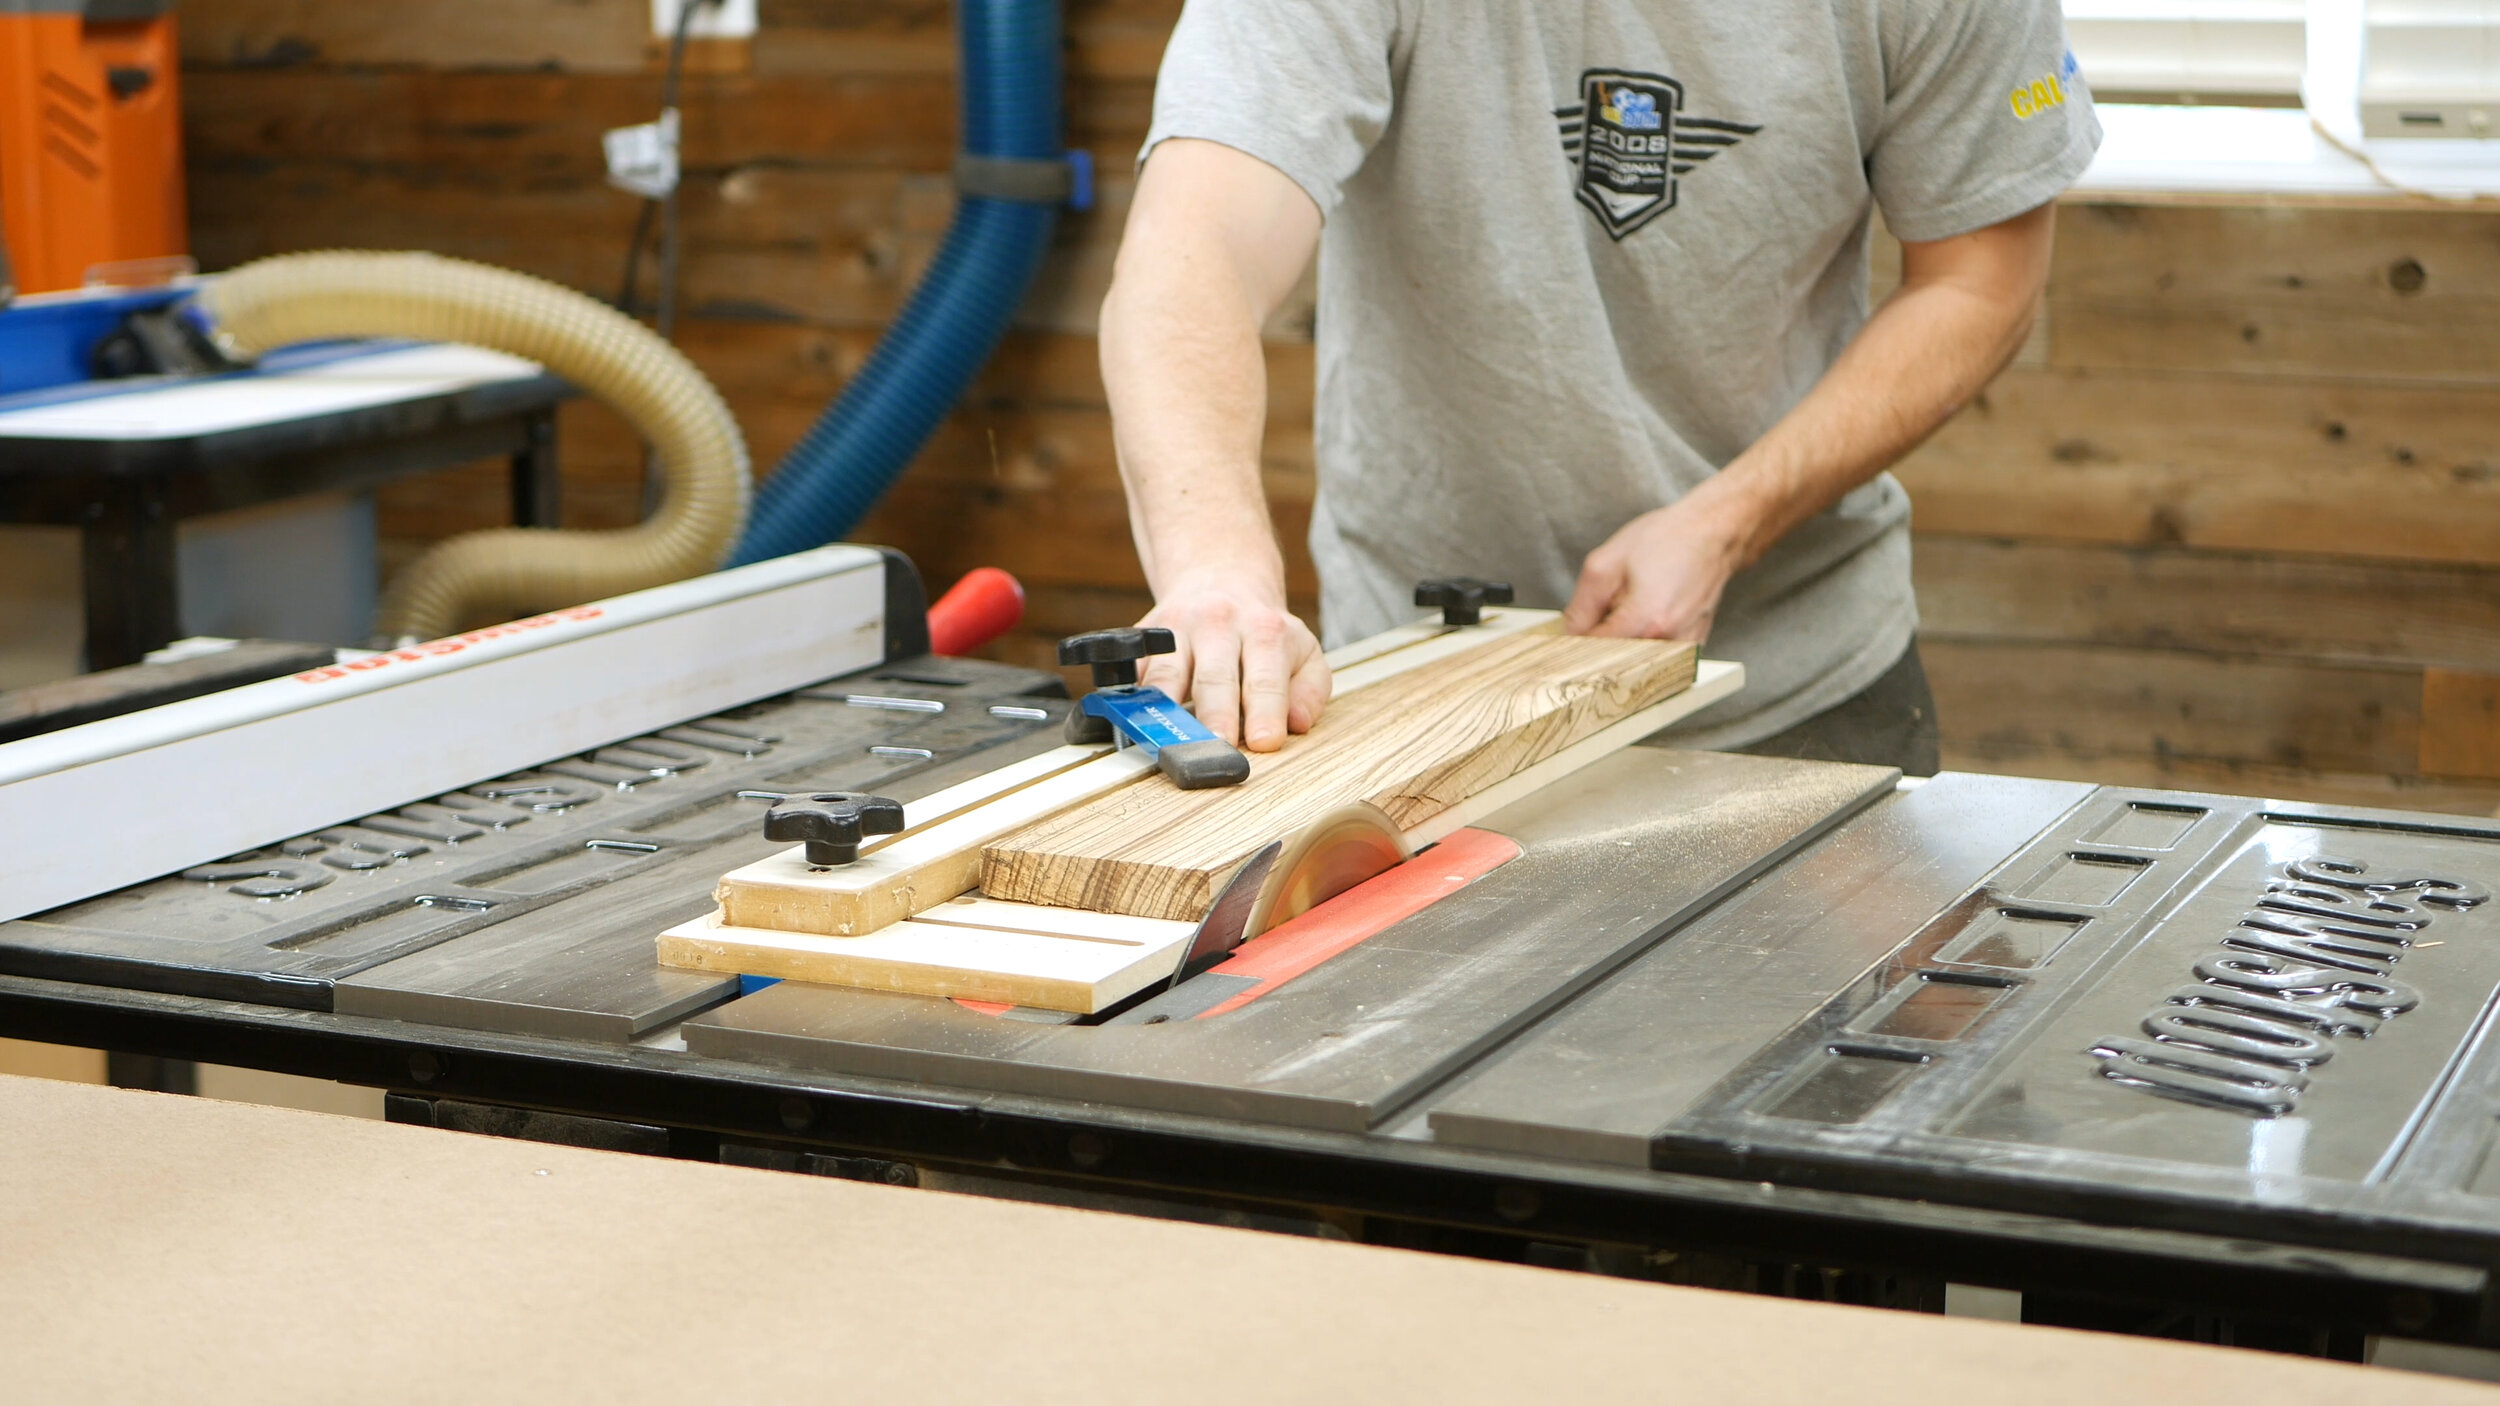
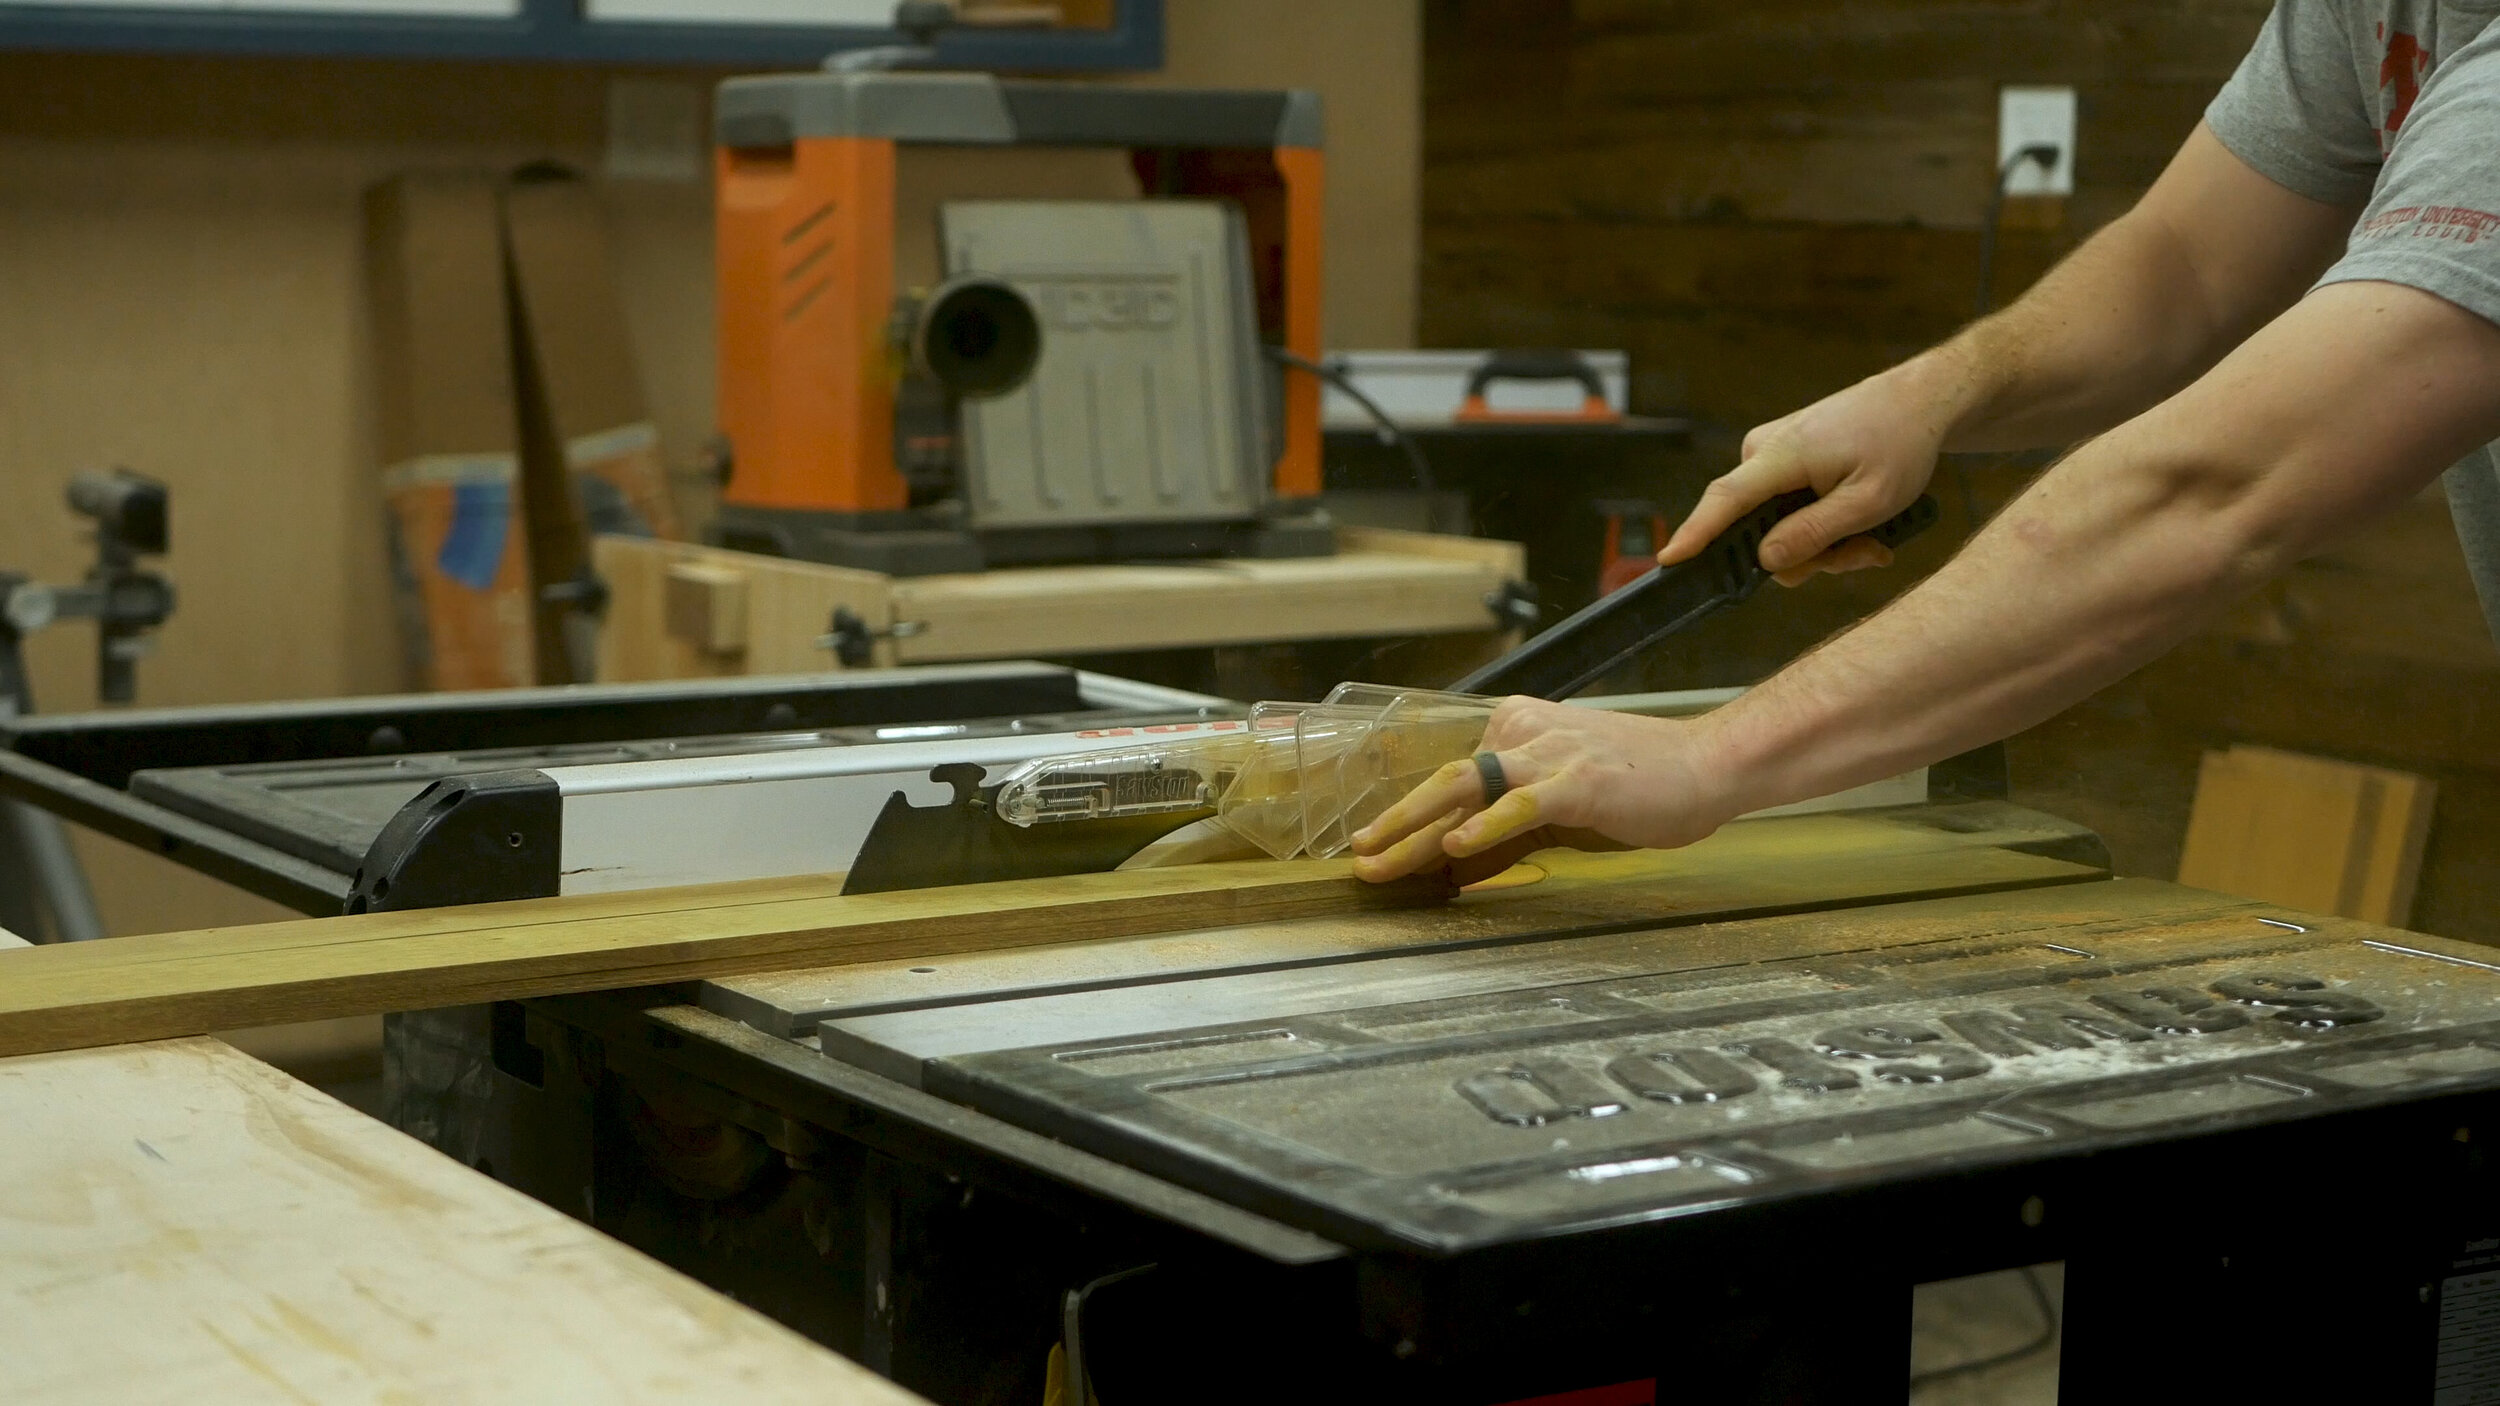
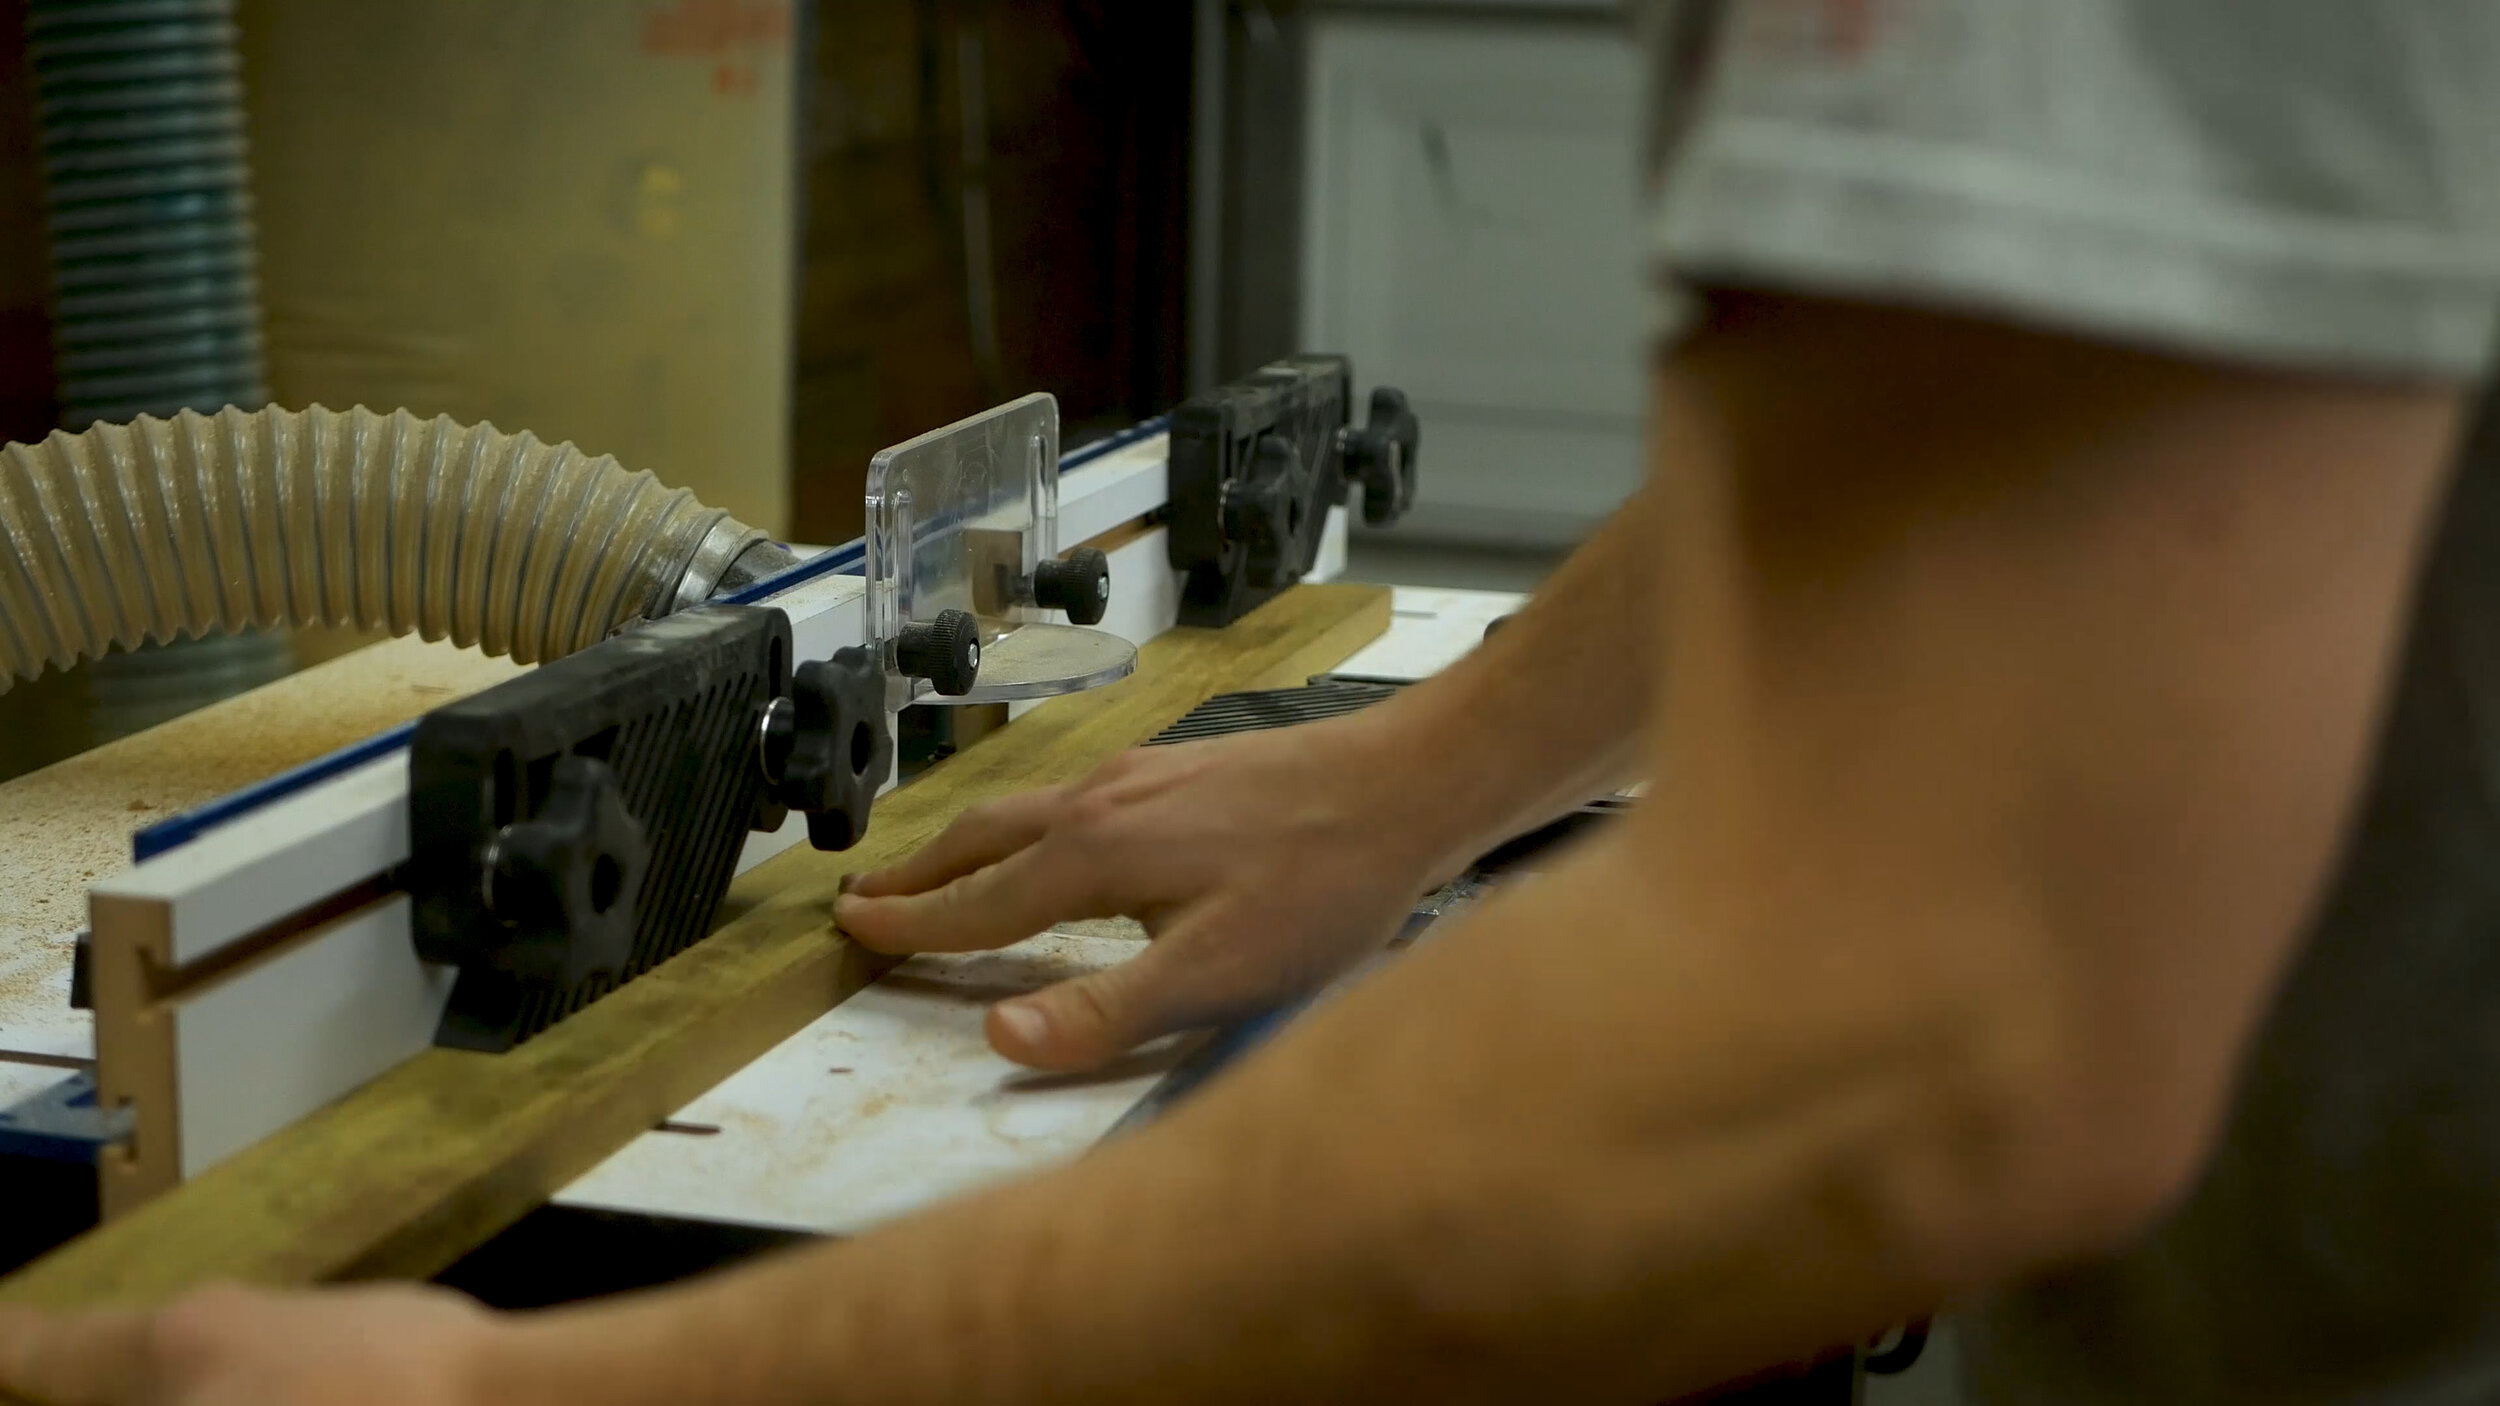
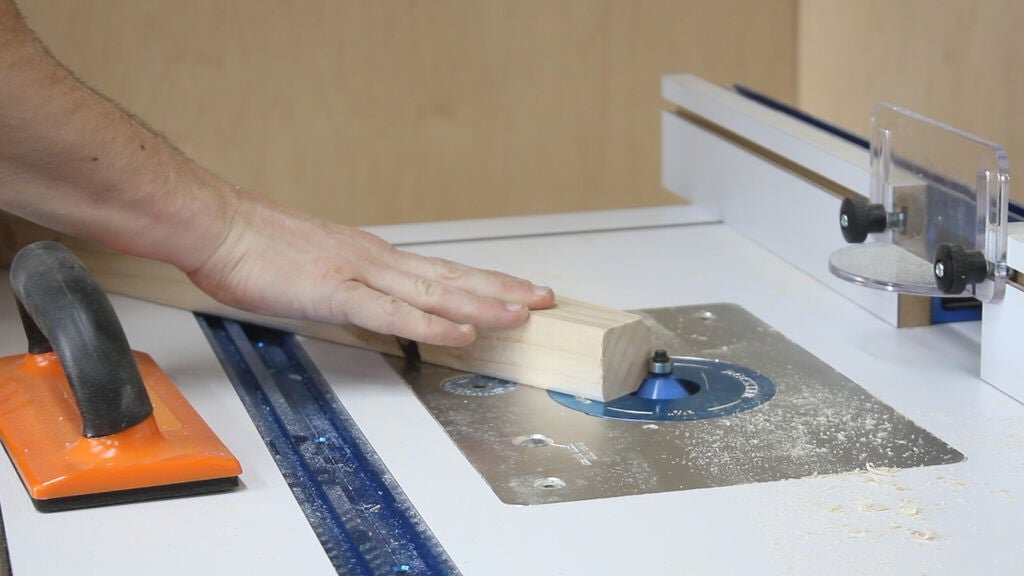
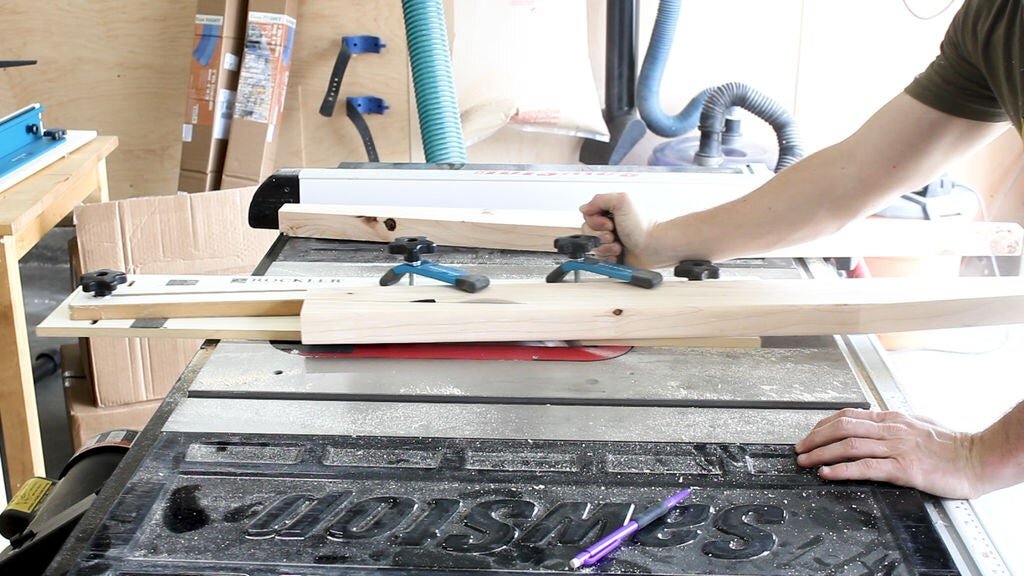
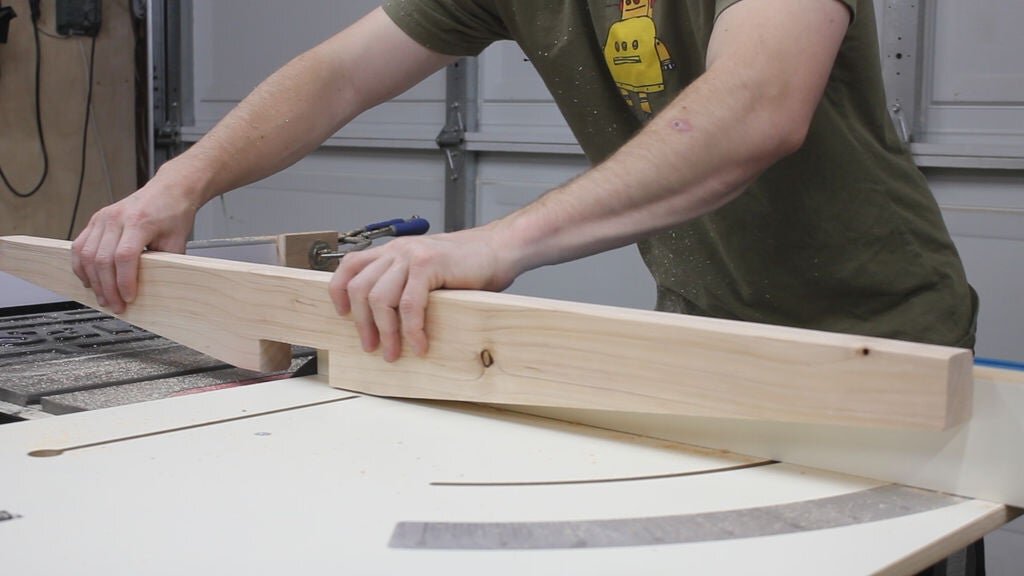
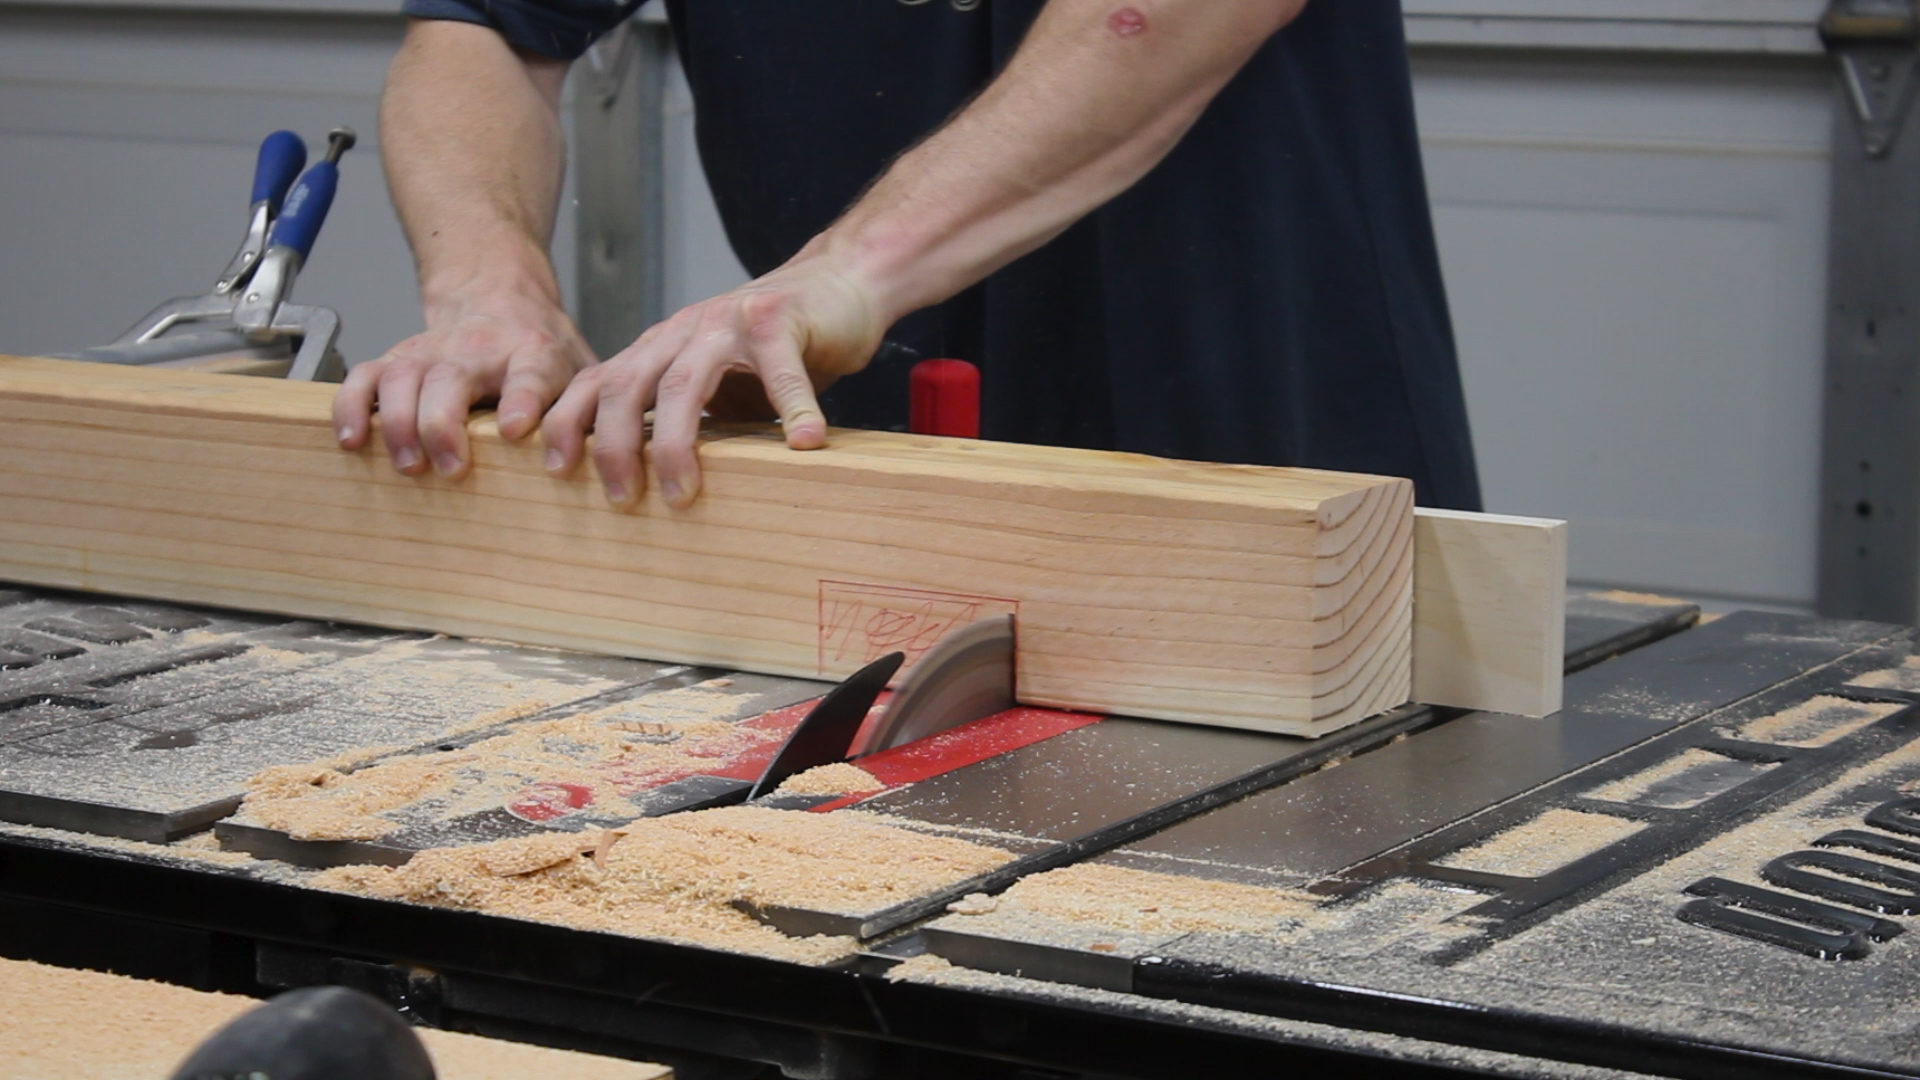
I then used my taper jig from Rockler to cut the tapers (Pic 5) - very easy, quick, and safe. Obviously this taper design is optional, if you don't have a jig or table saw, you can just as well cut with a circular saw and it will work just fine.
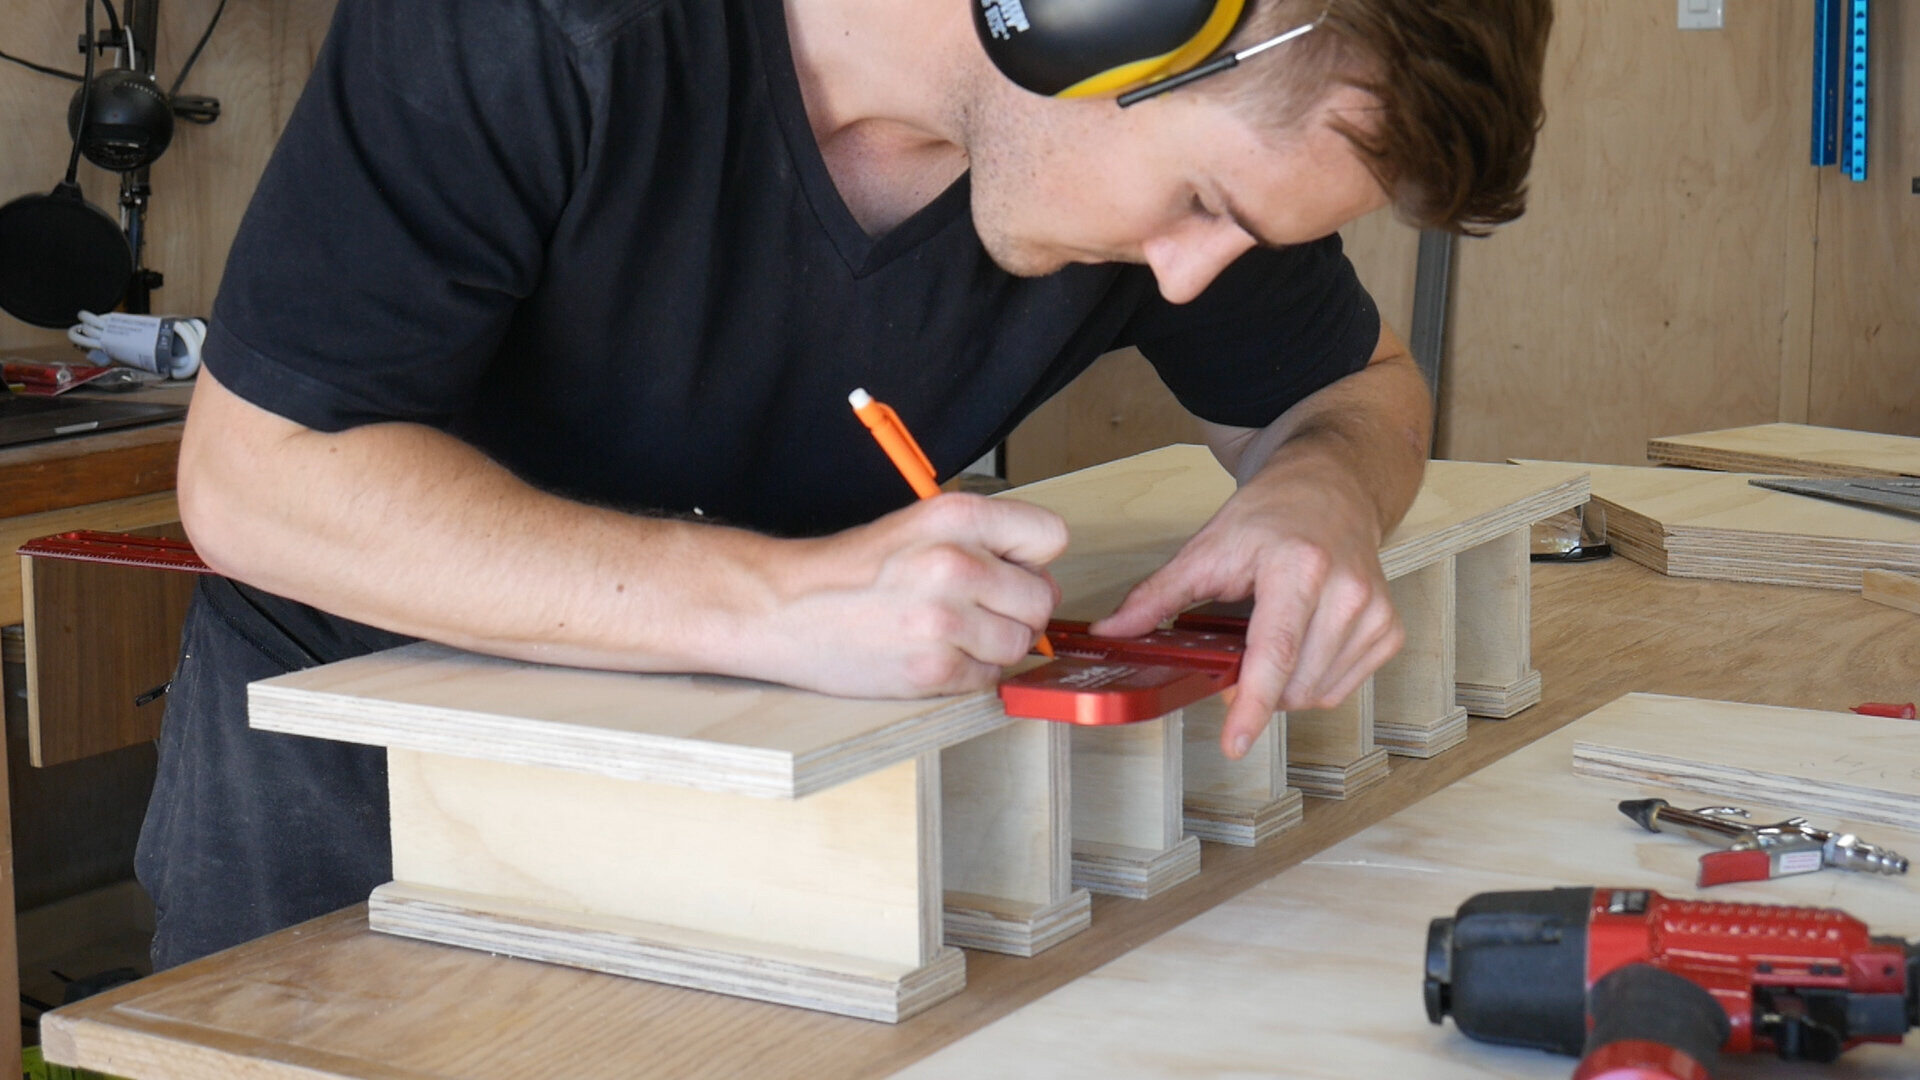
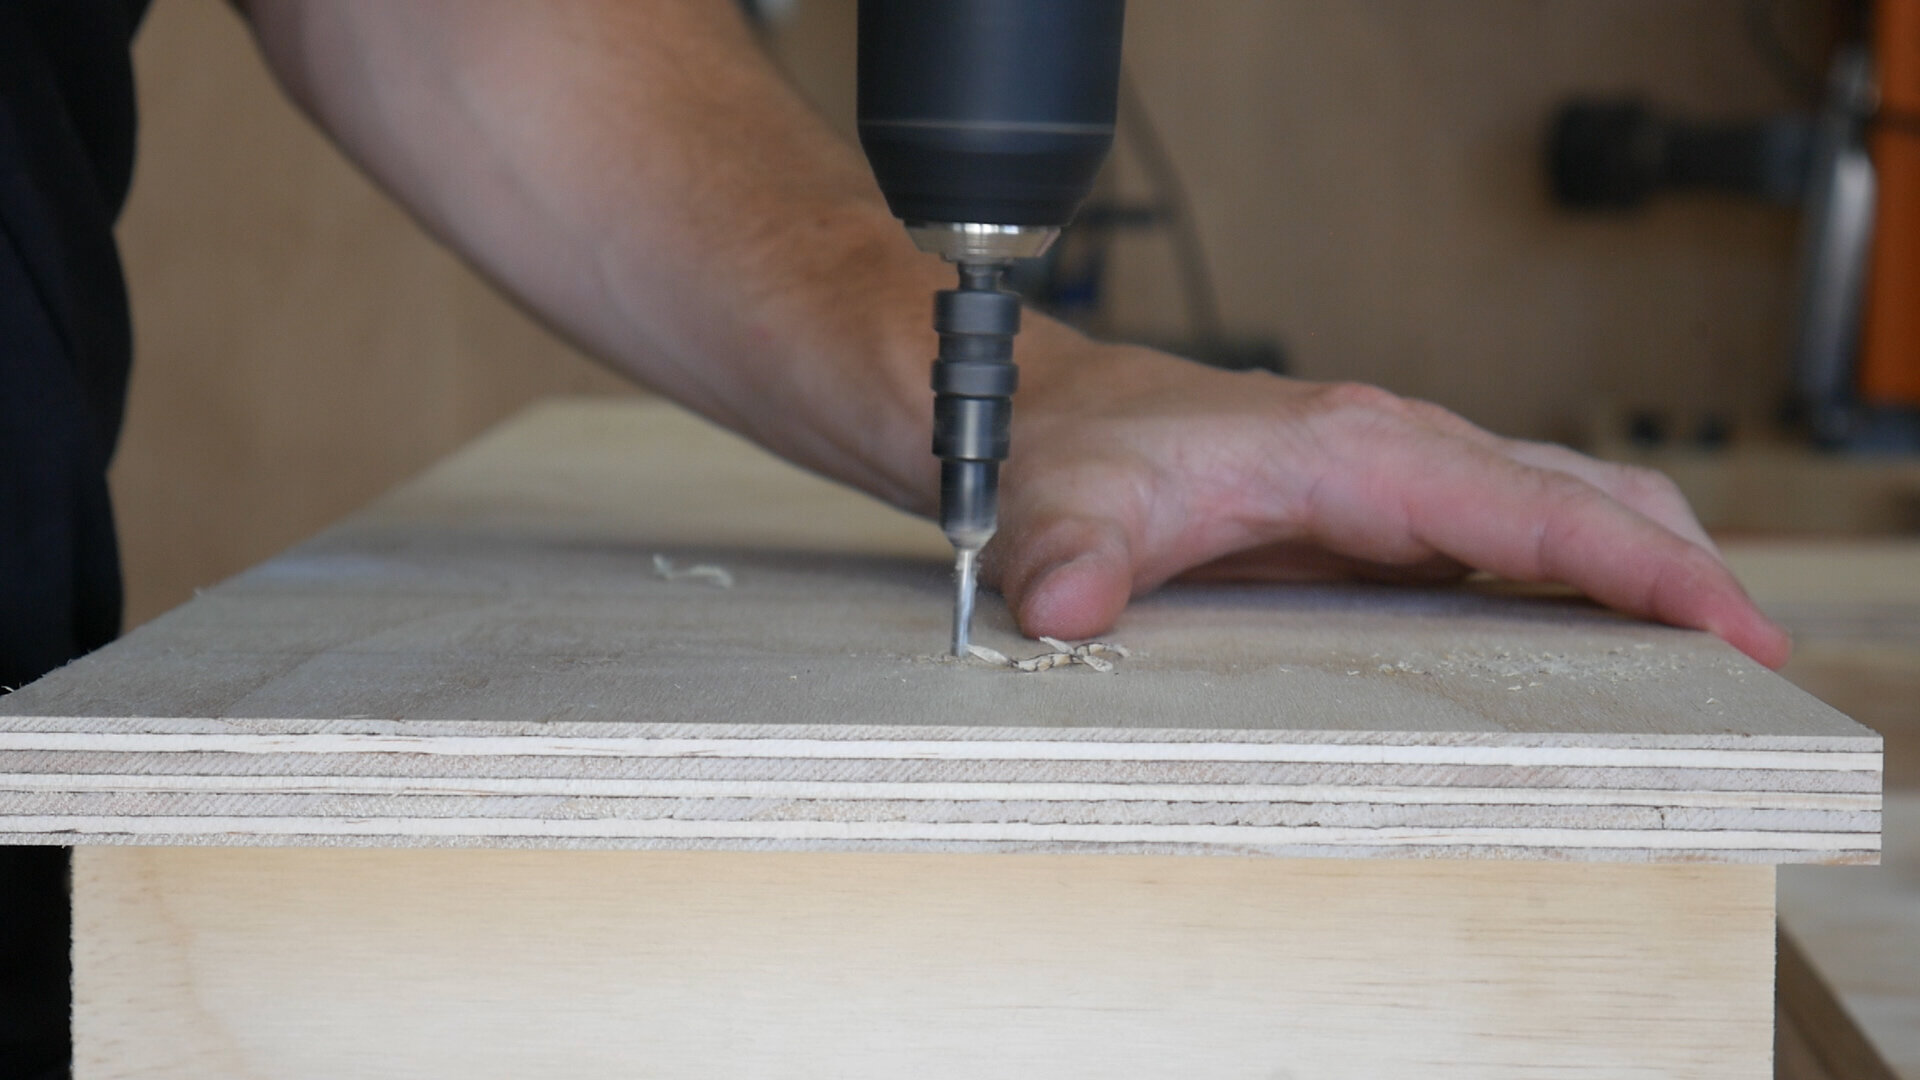
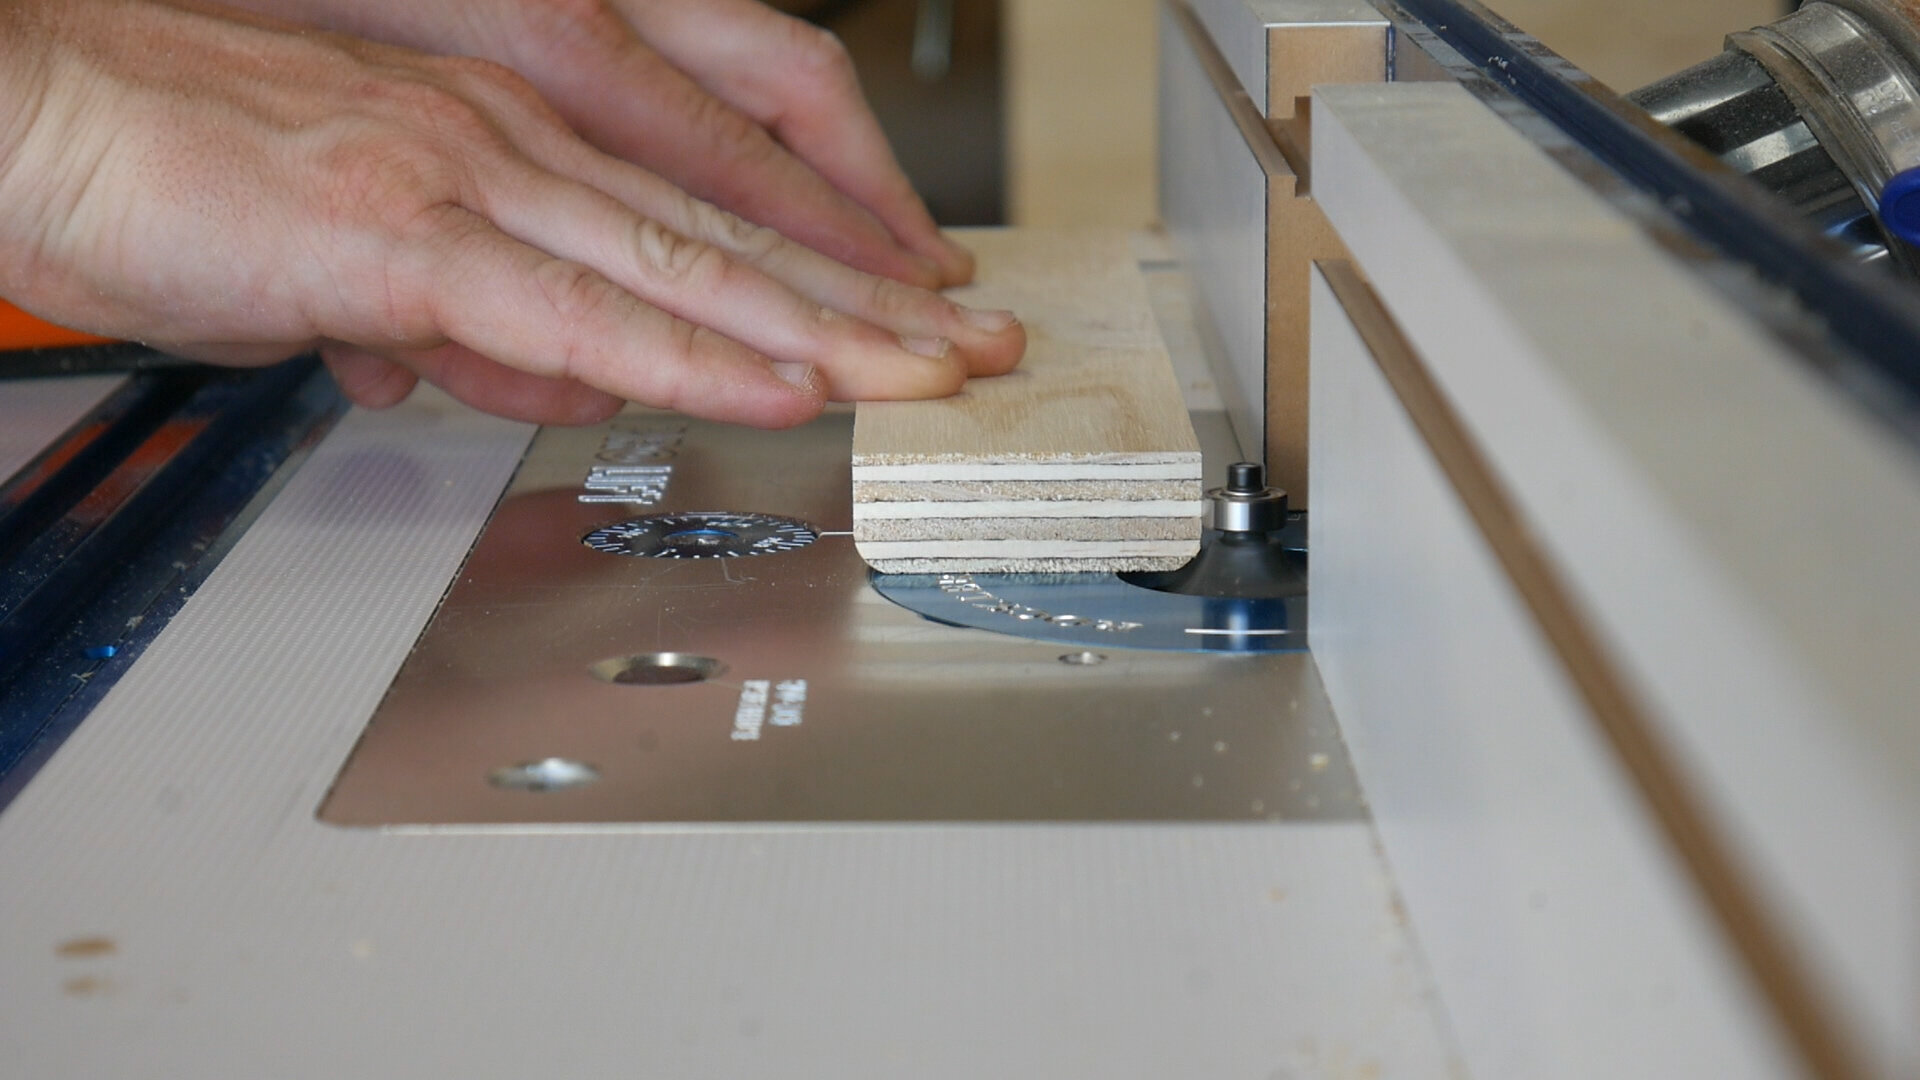
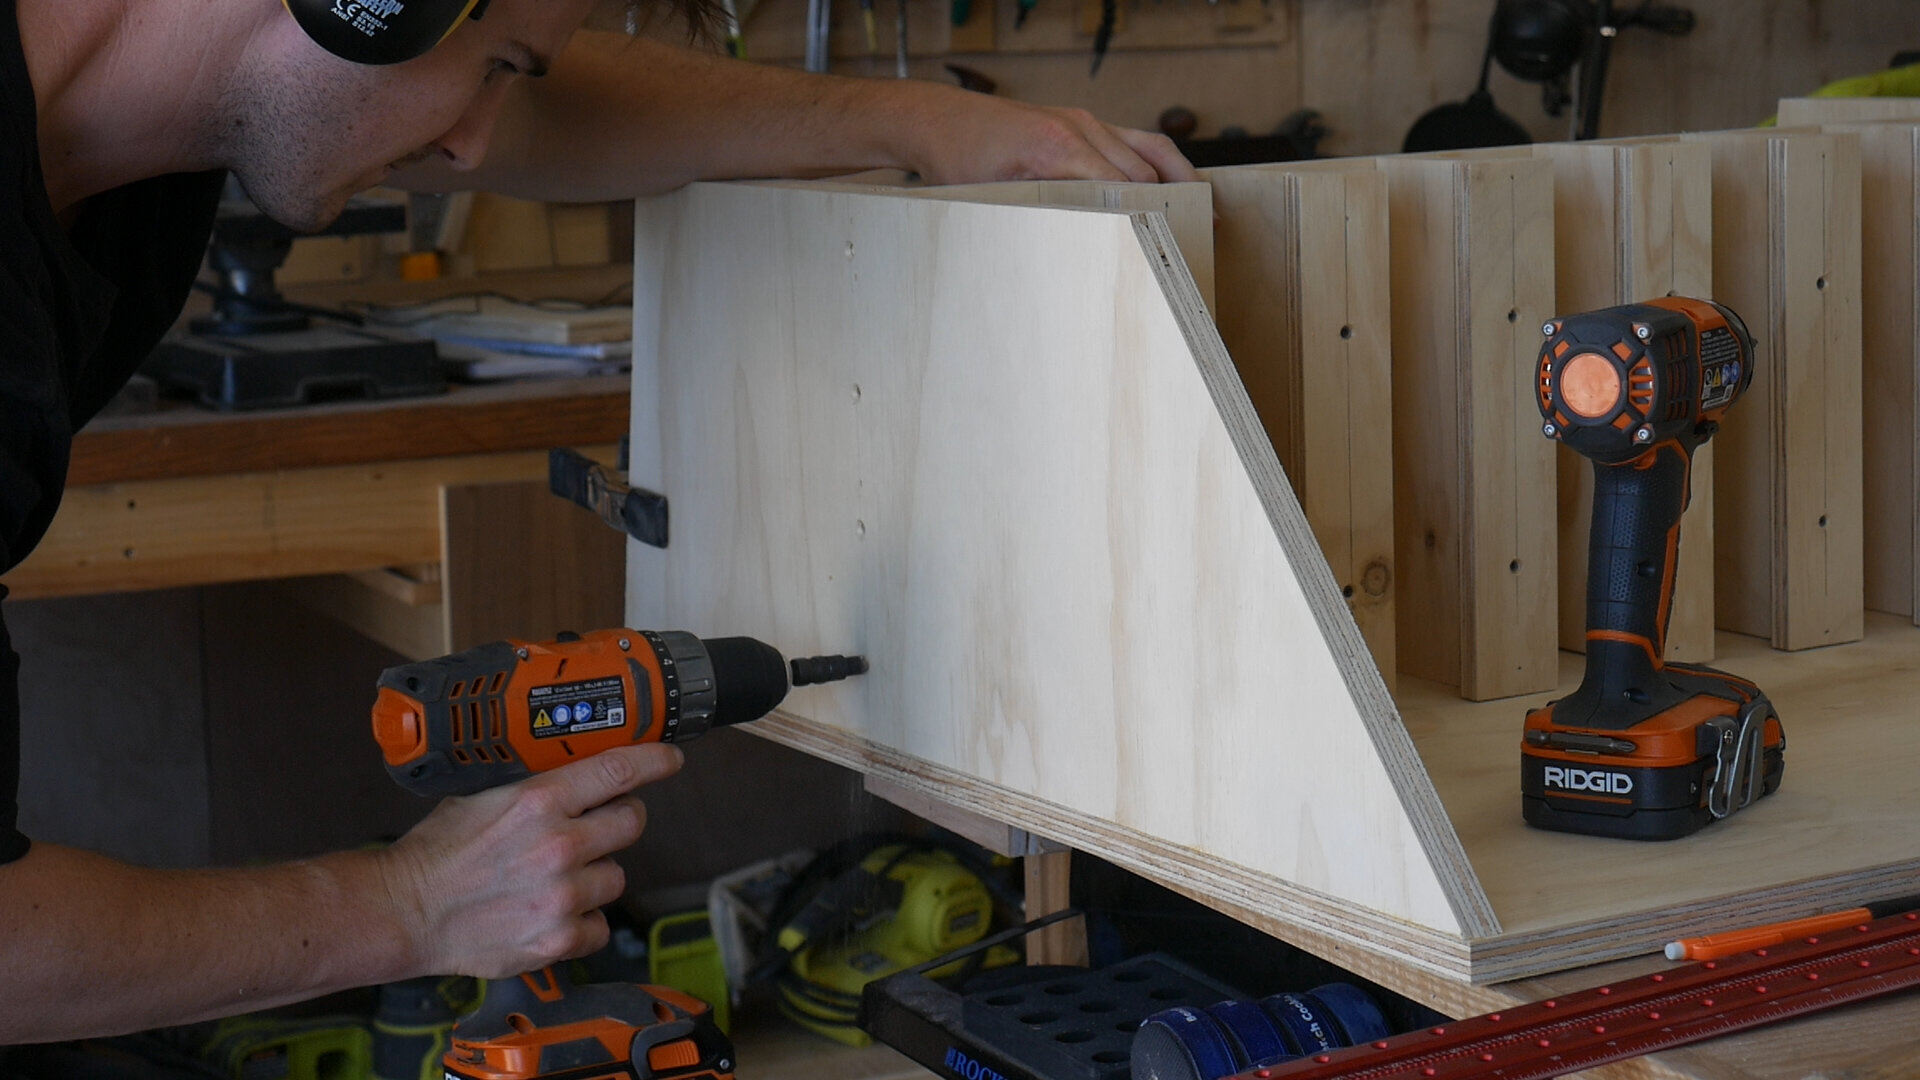
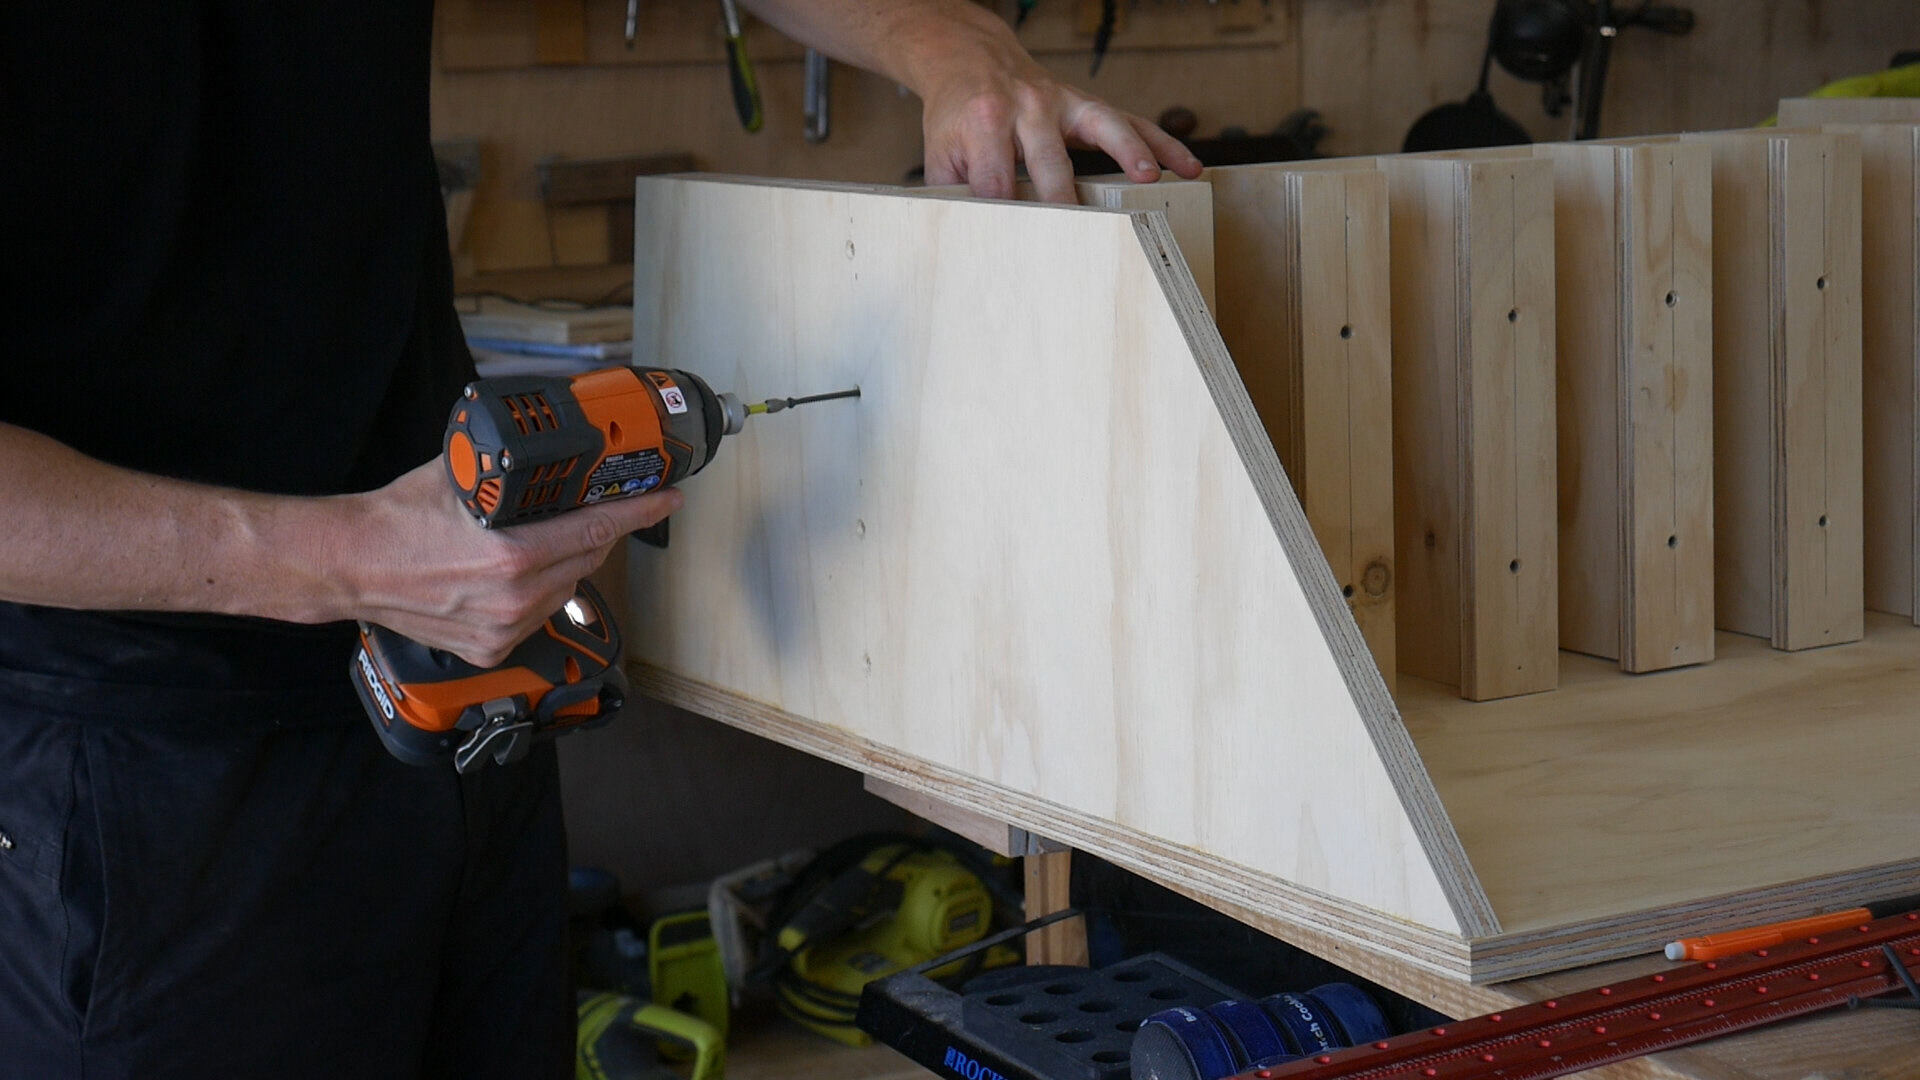
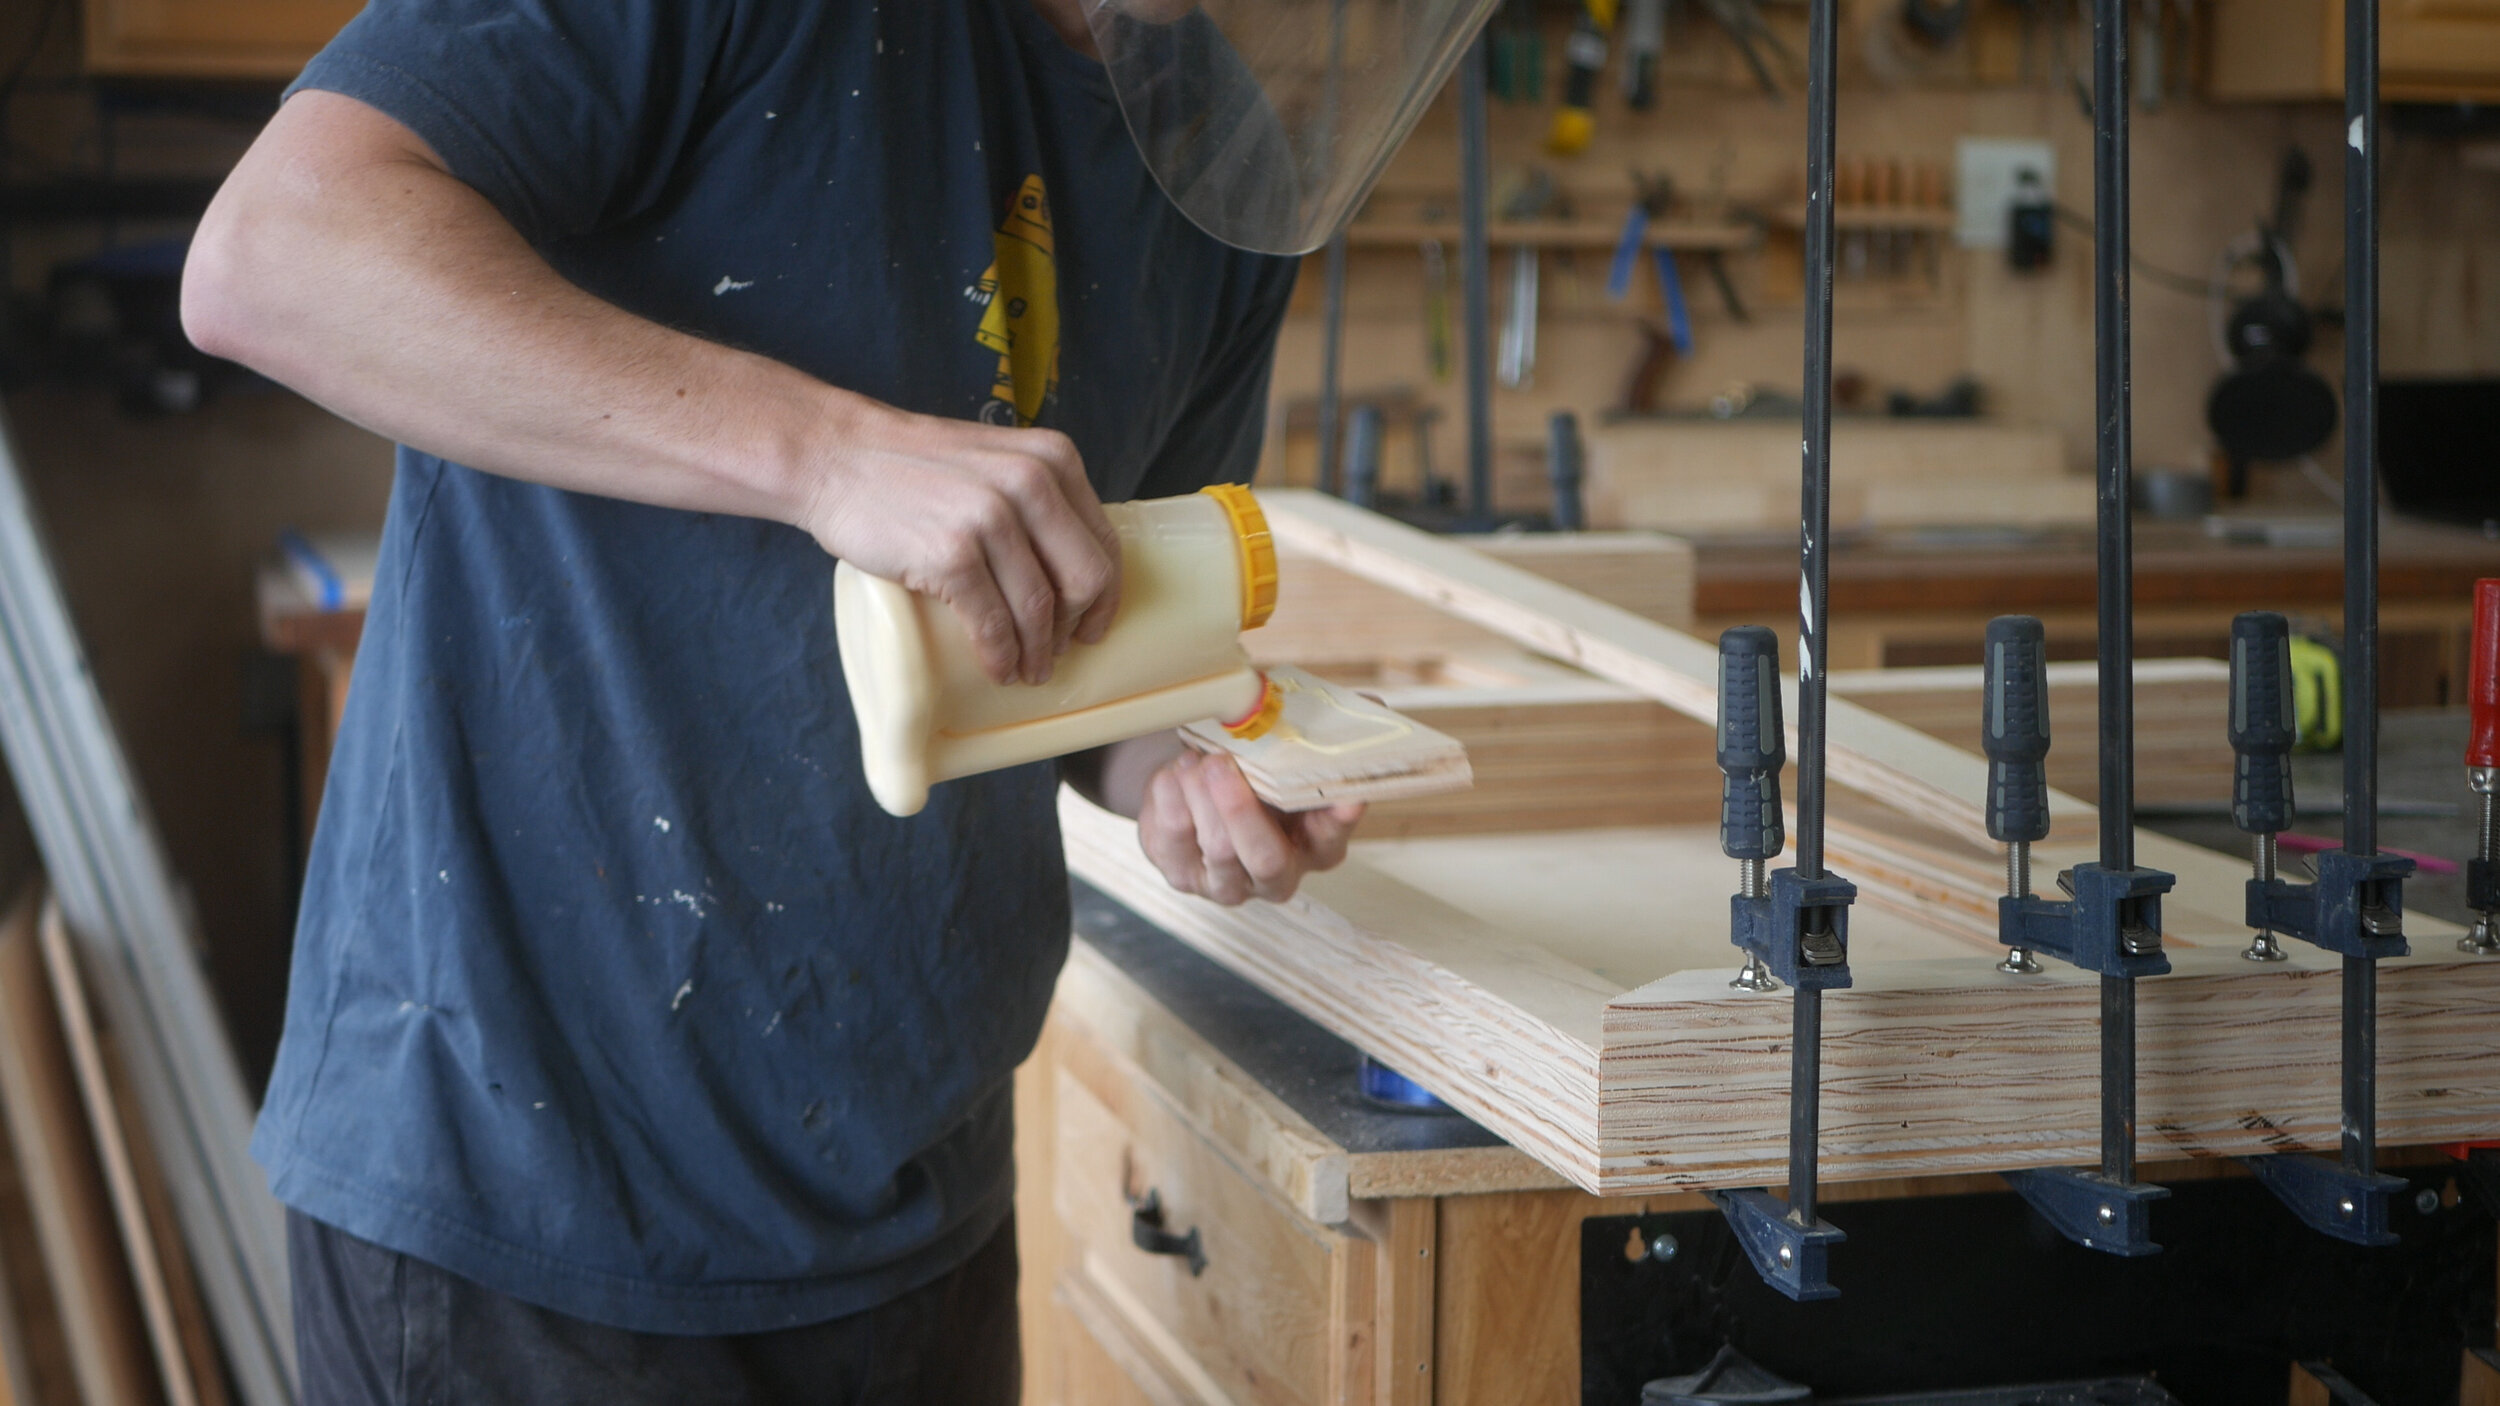
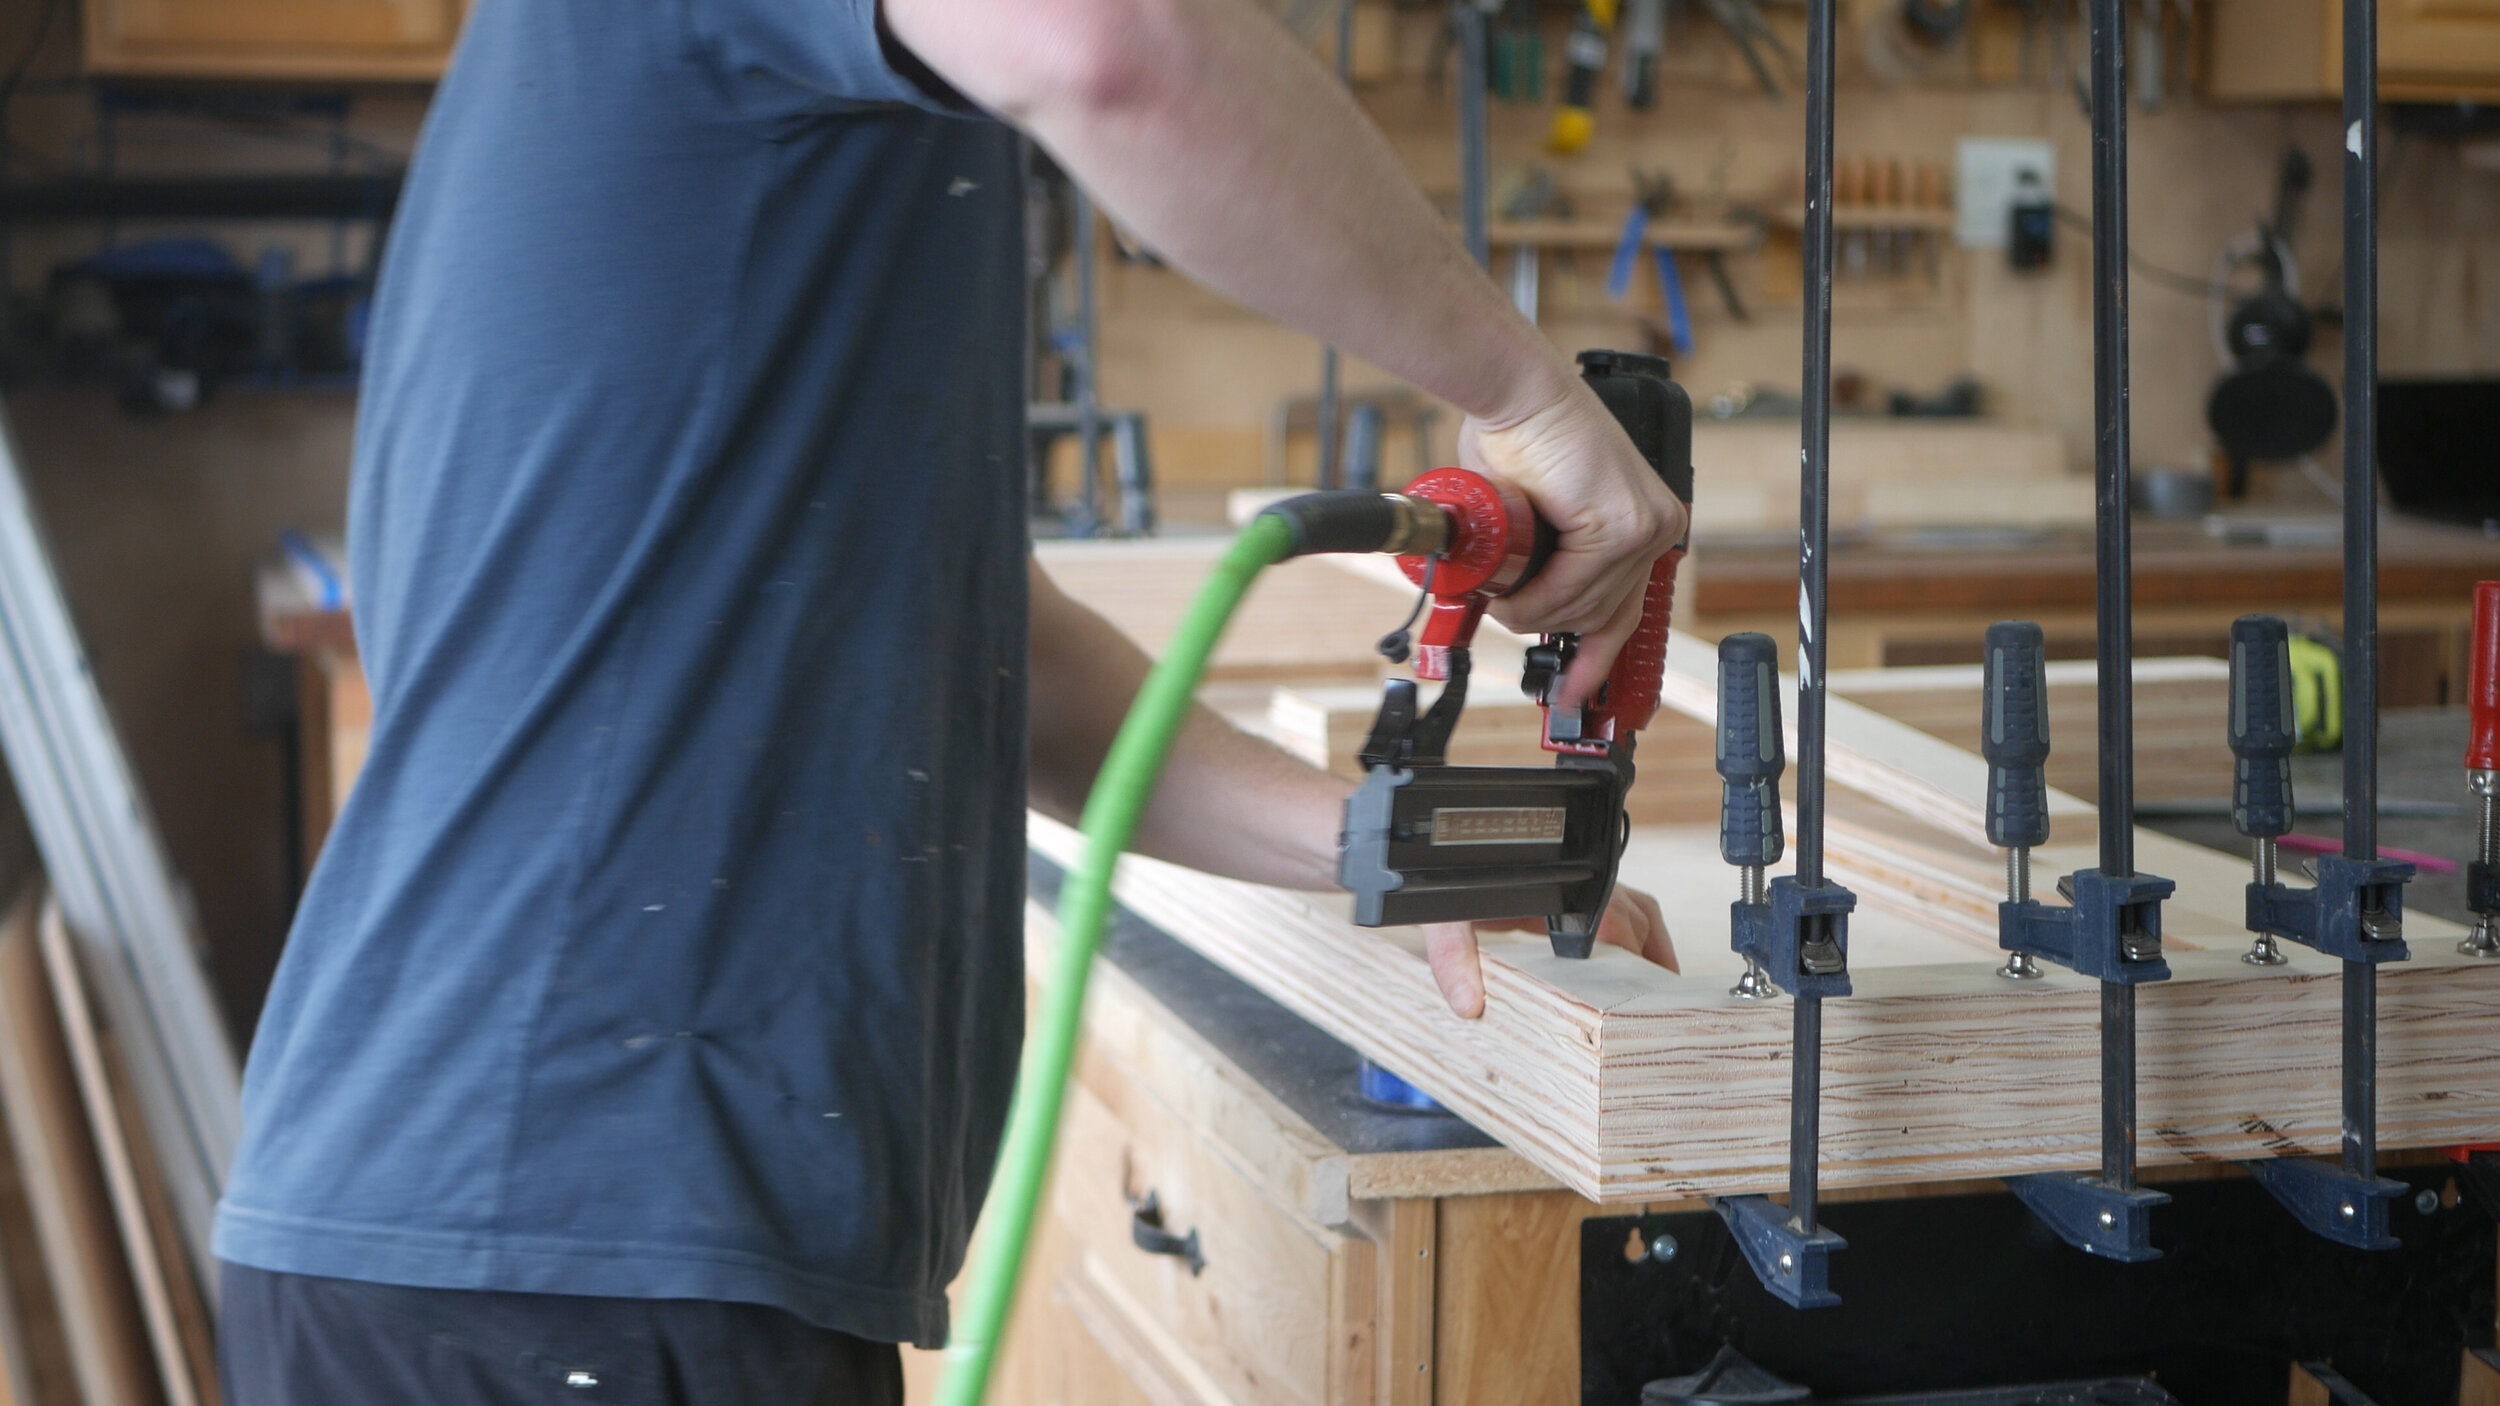
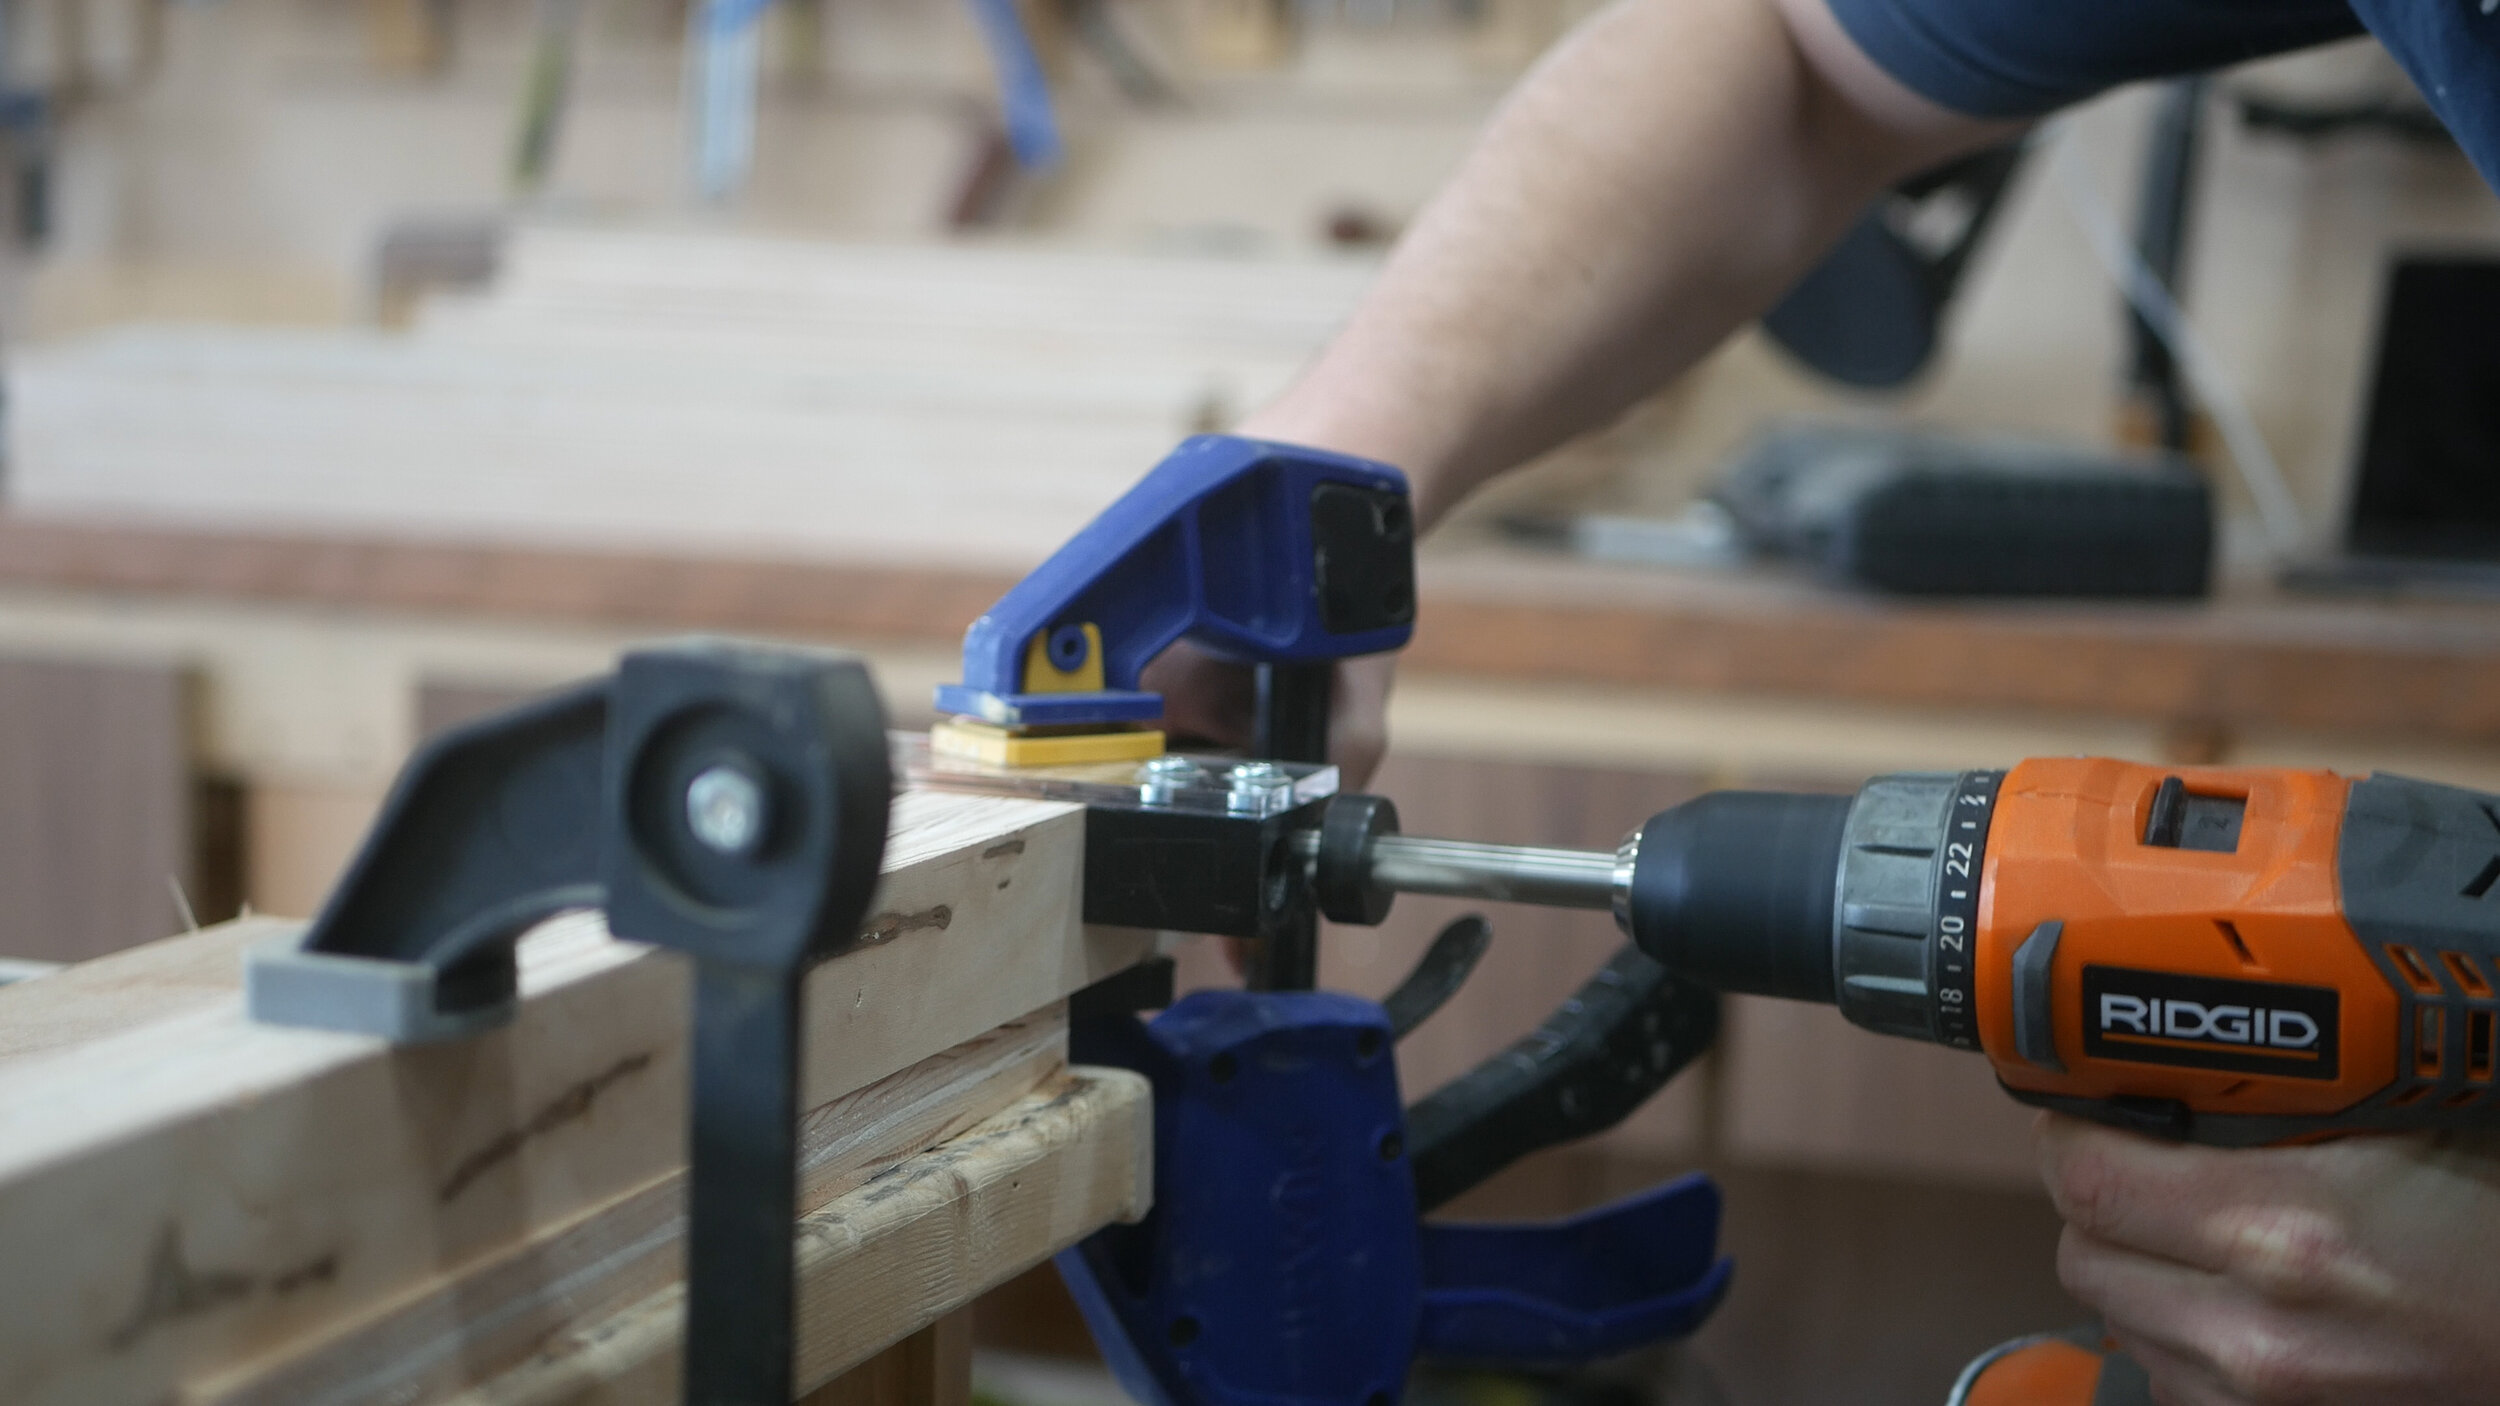
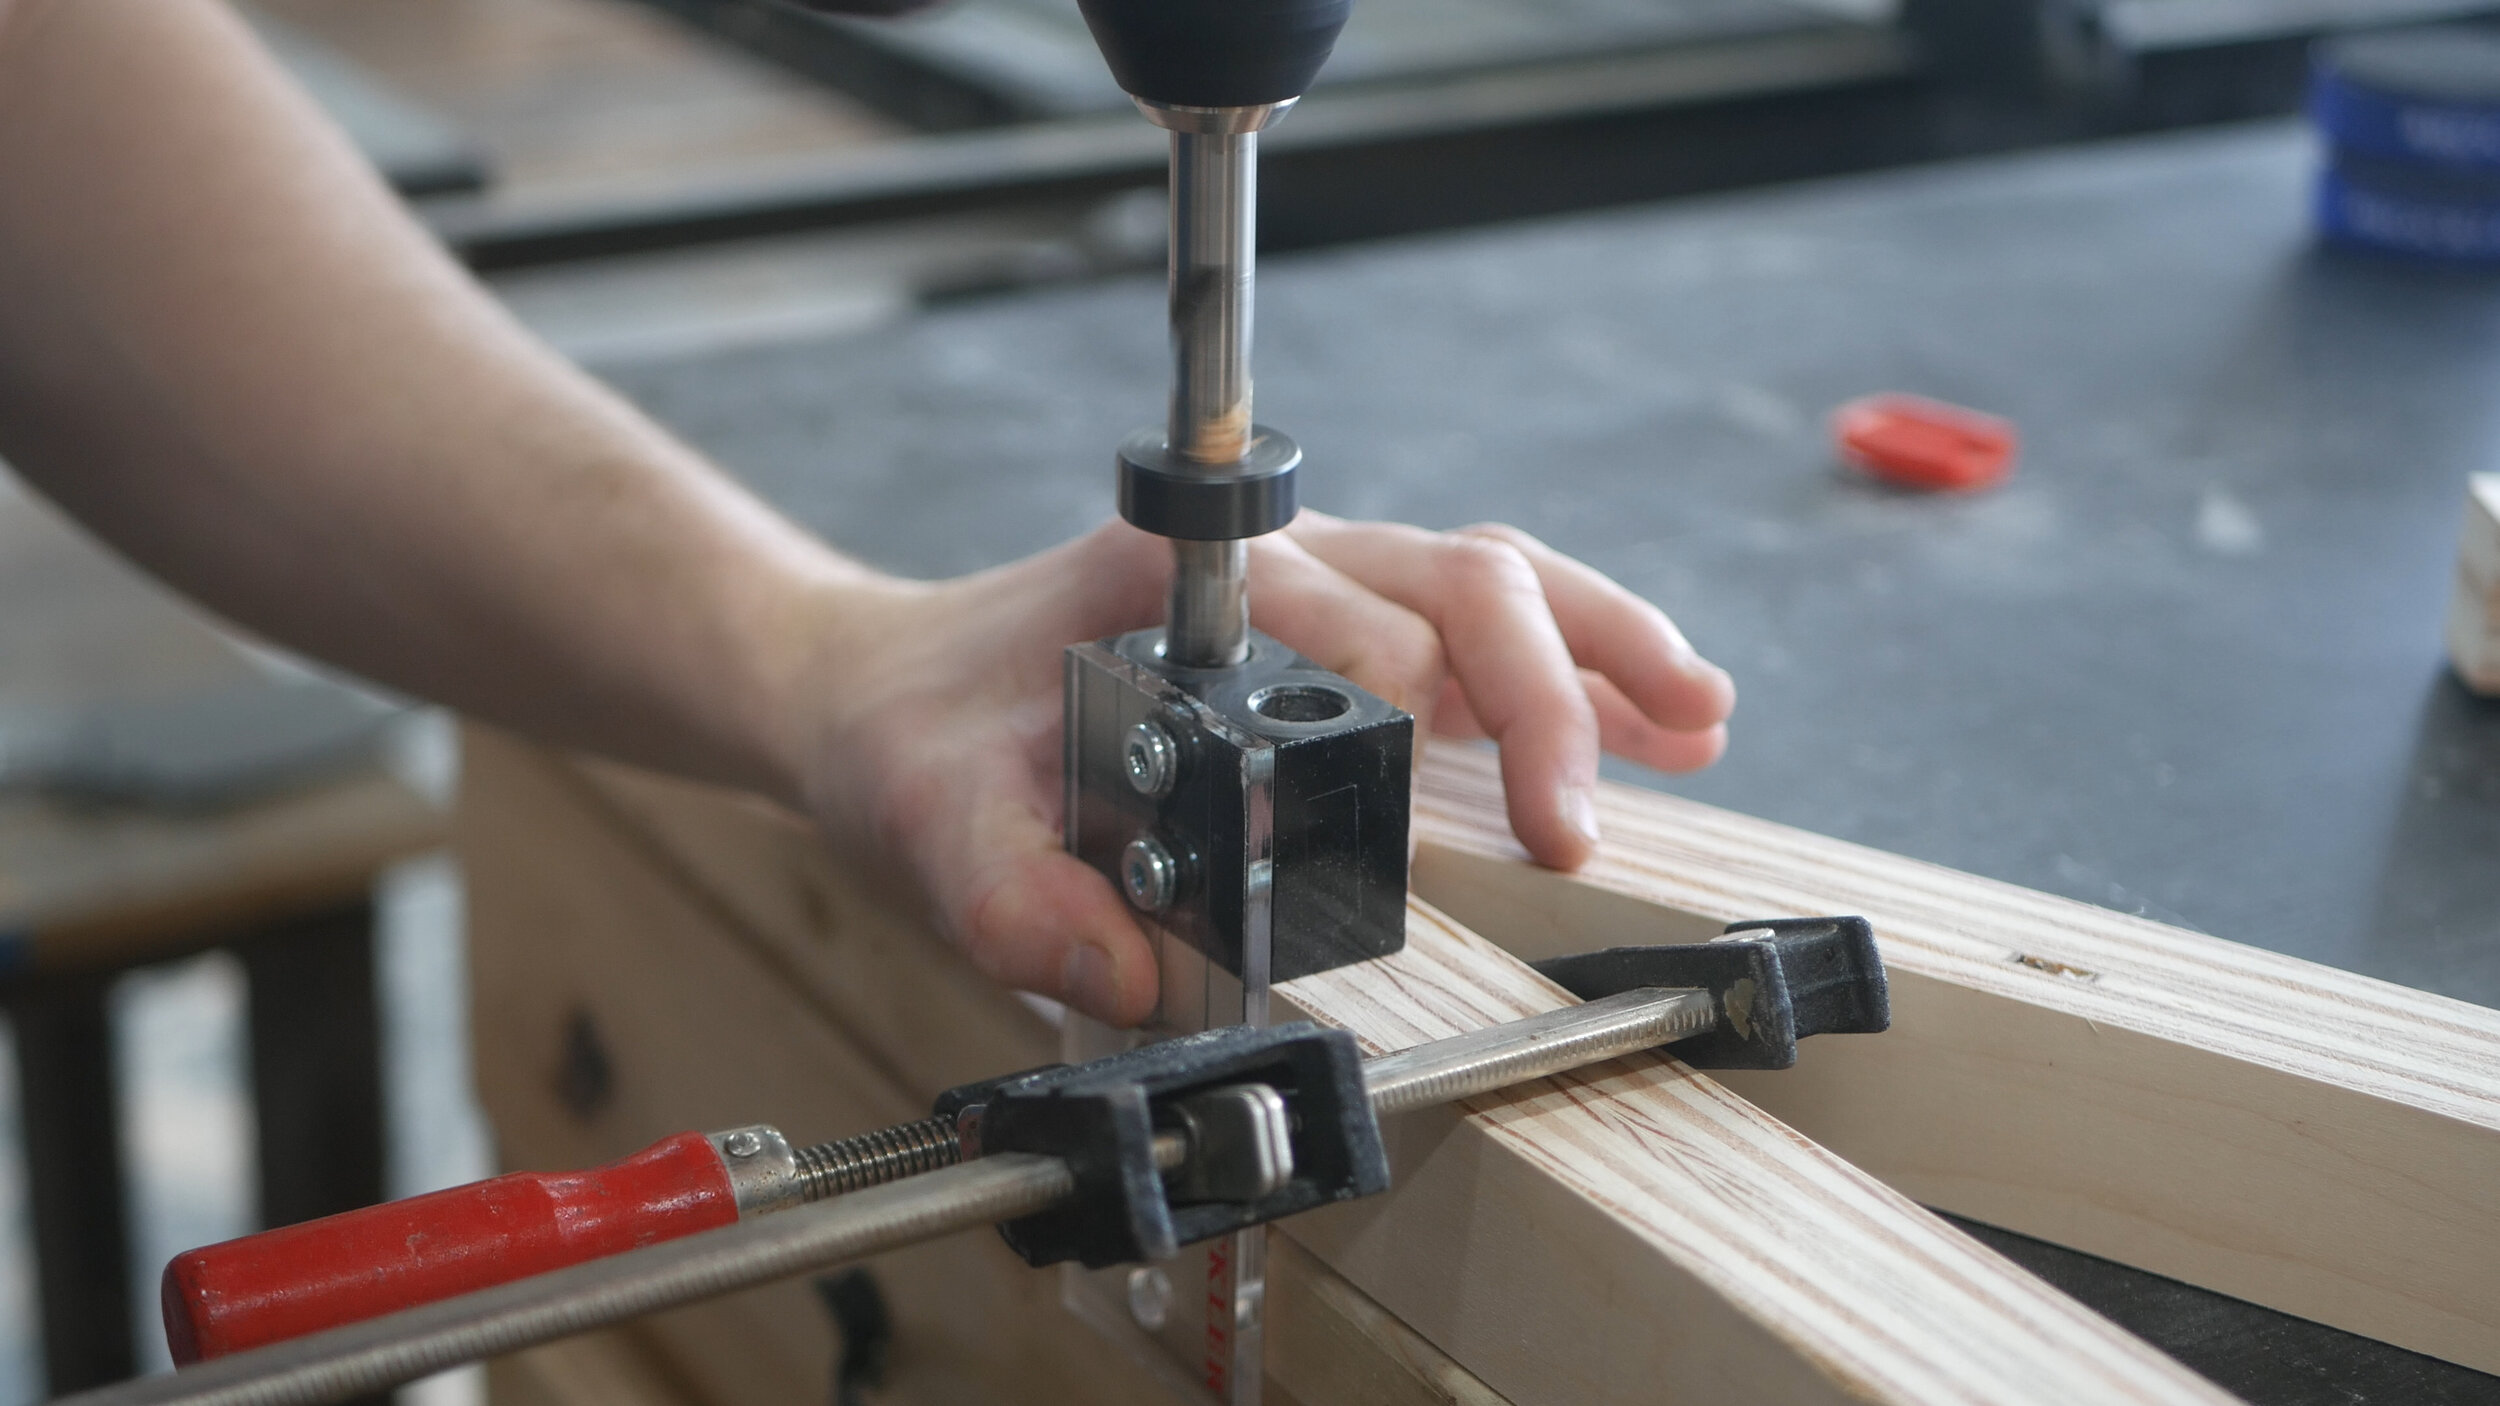
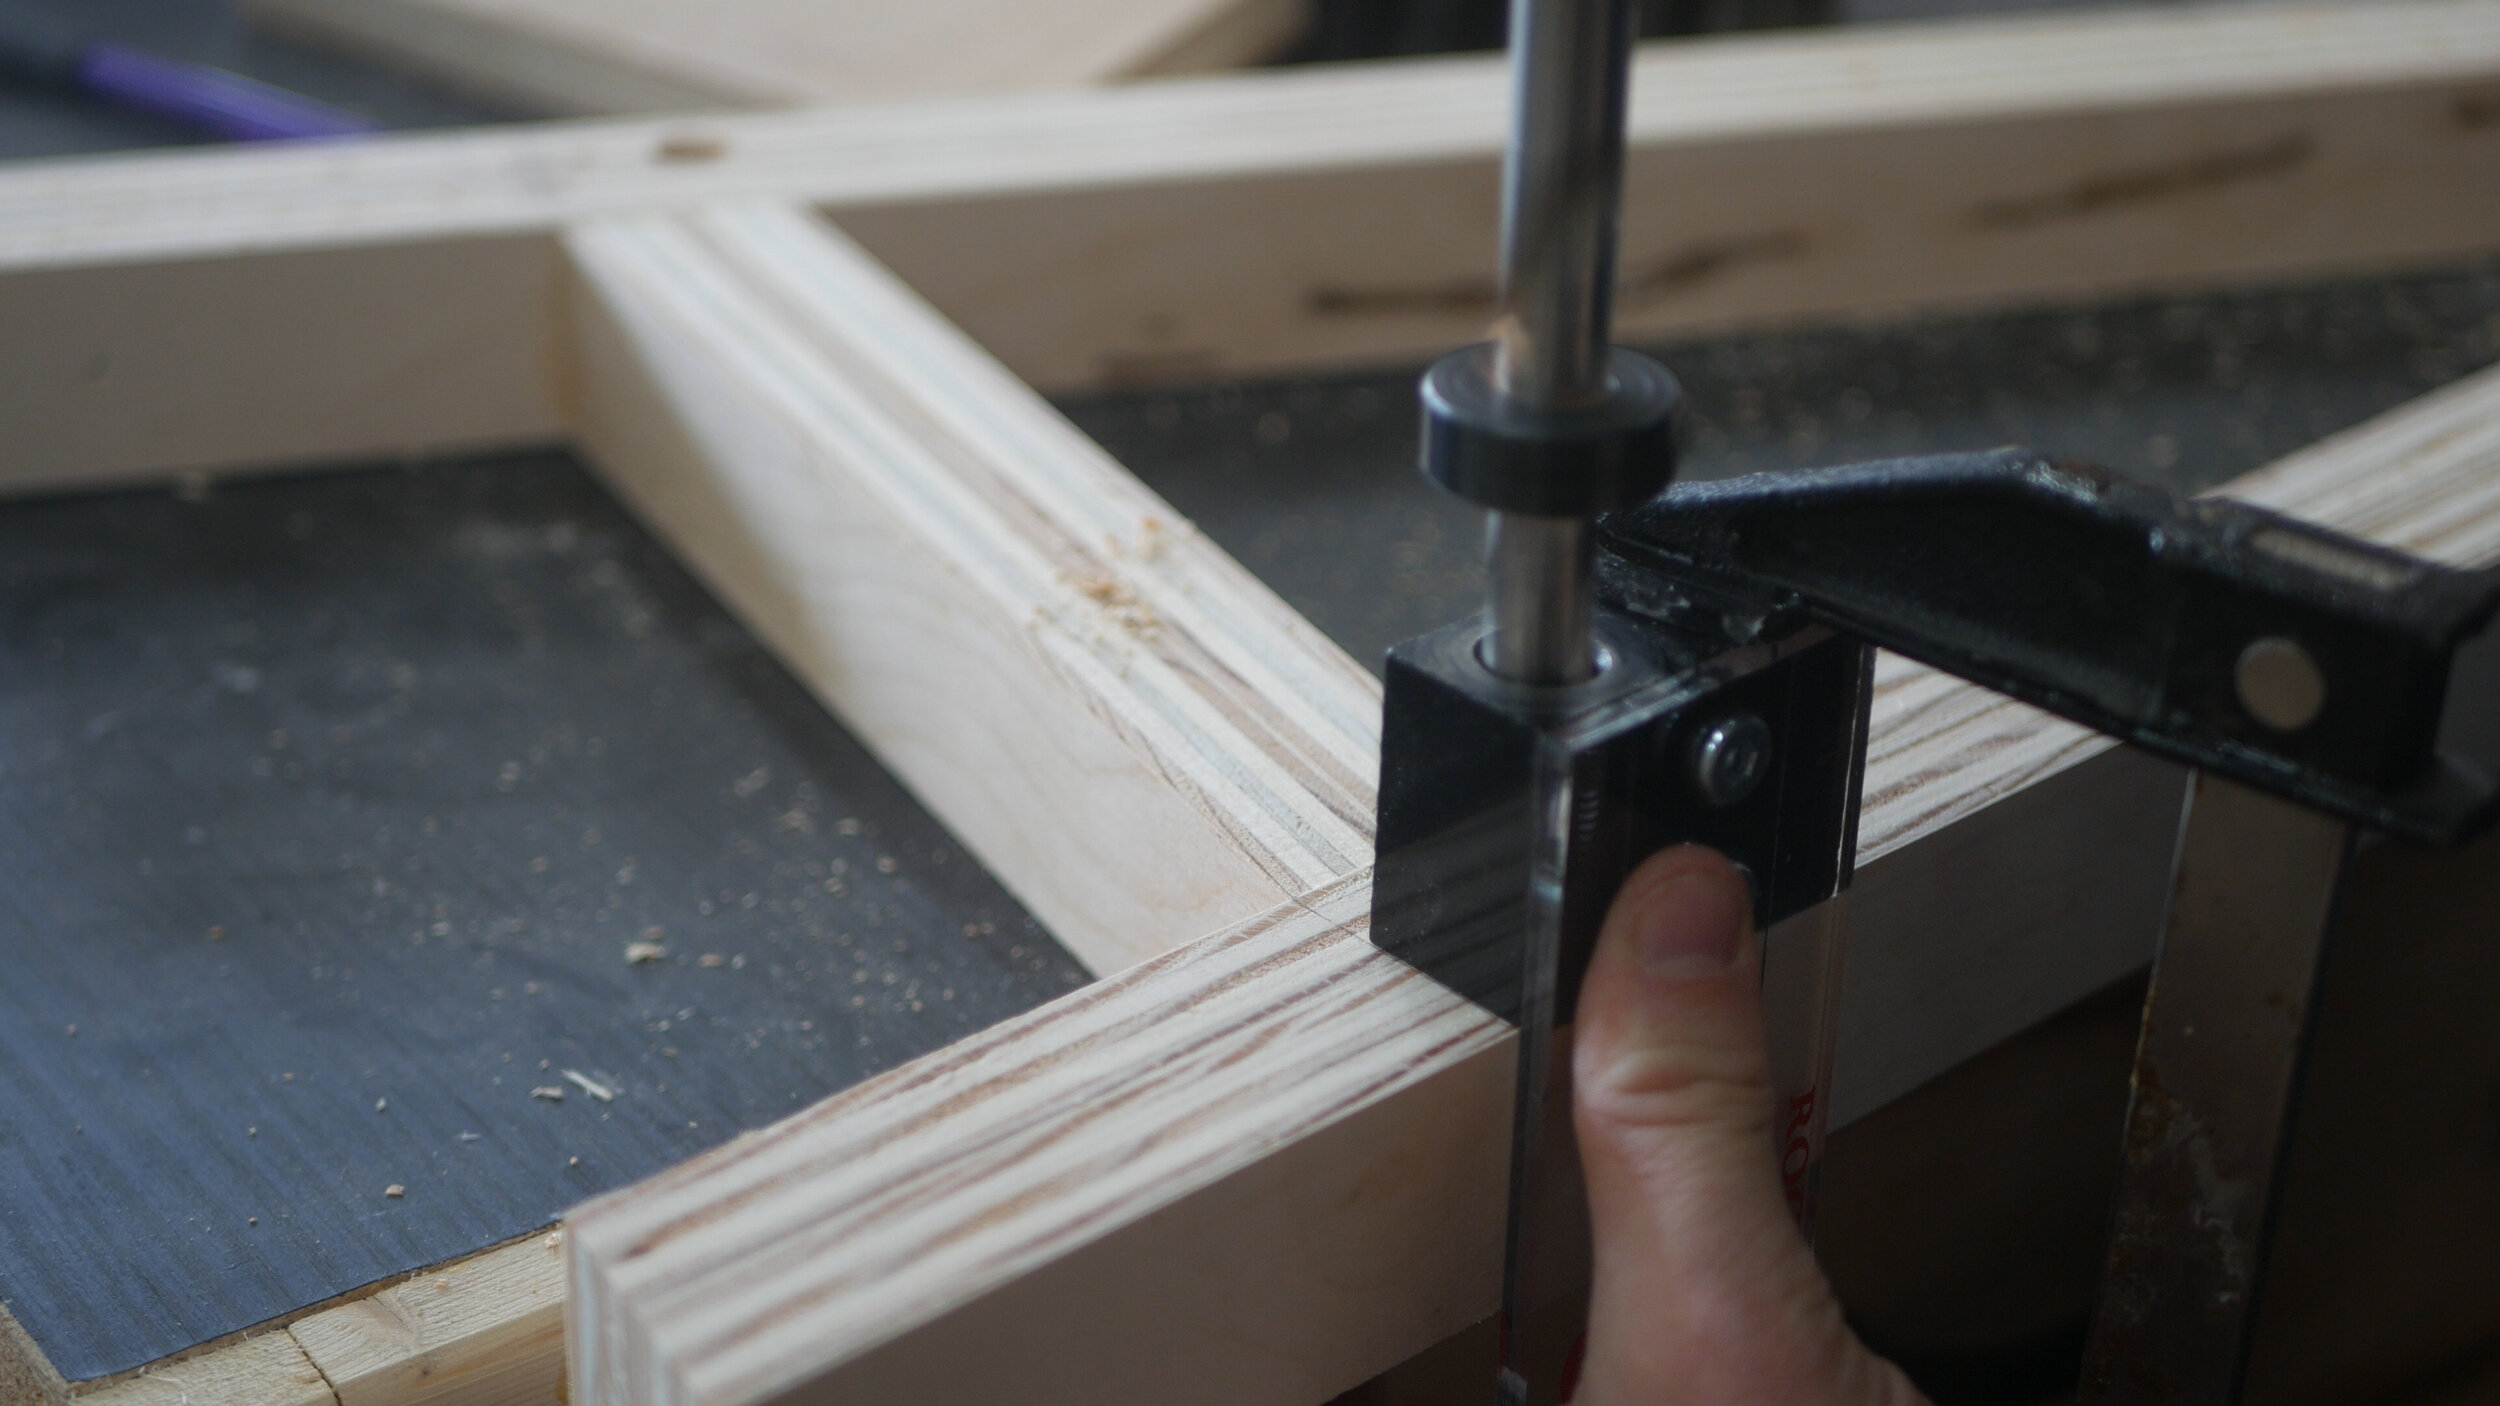
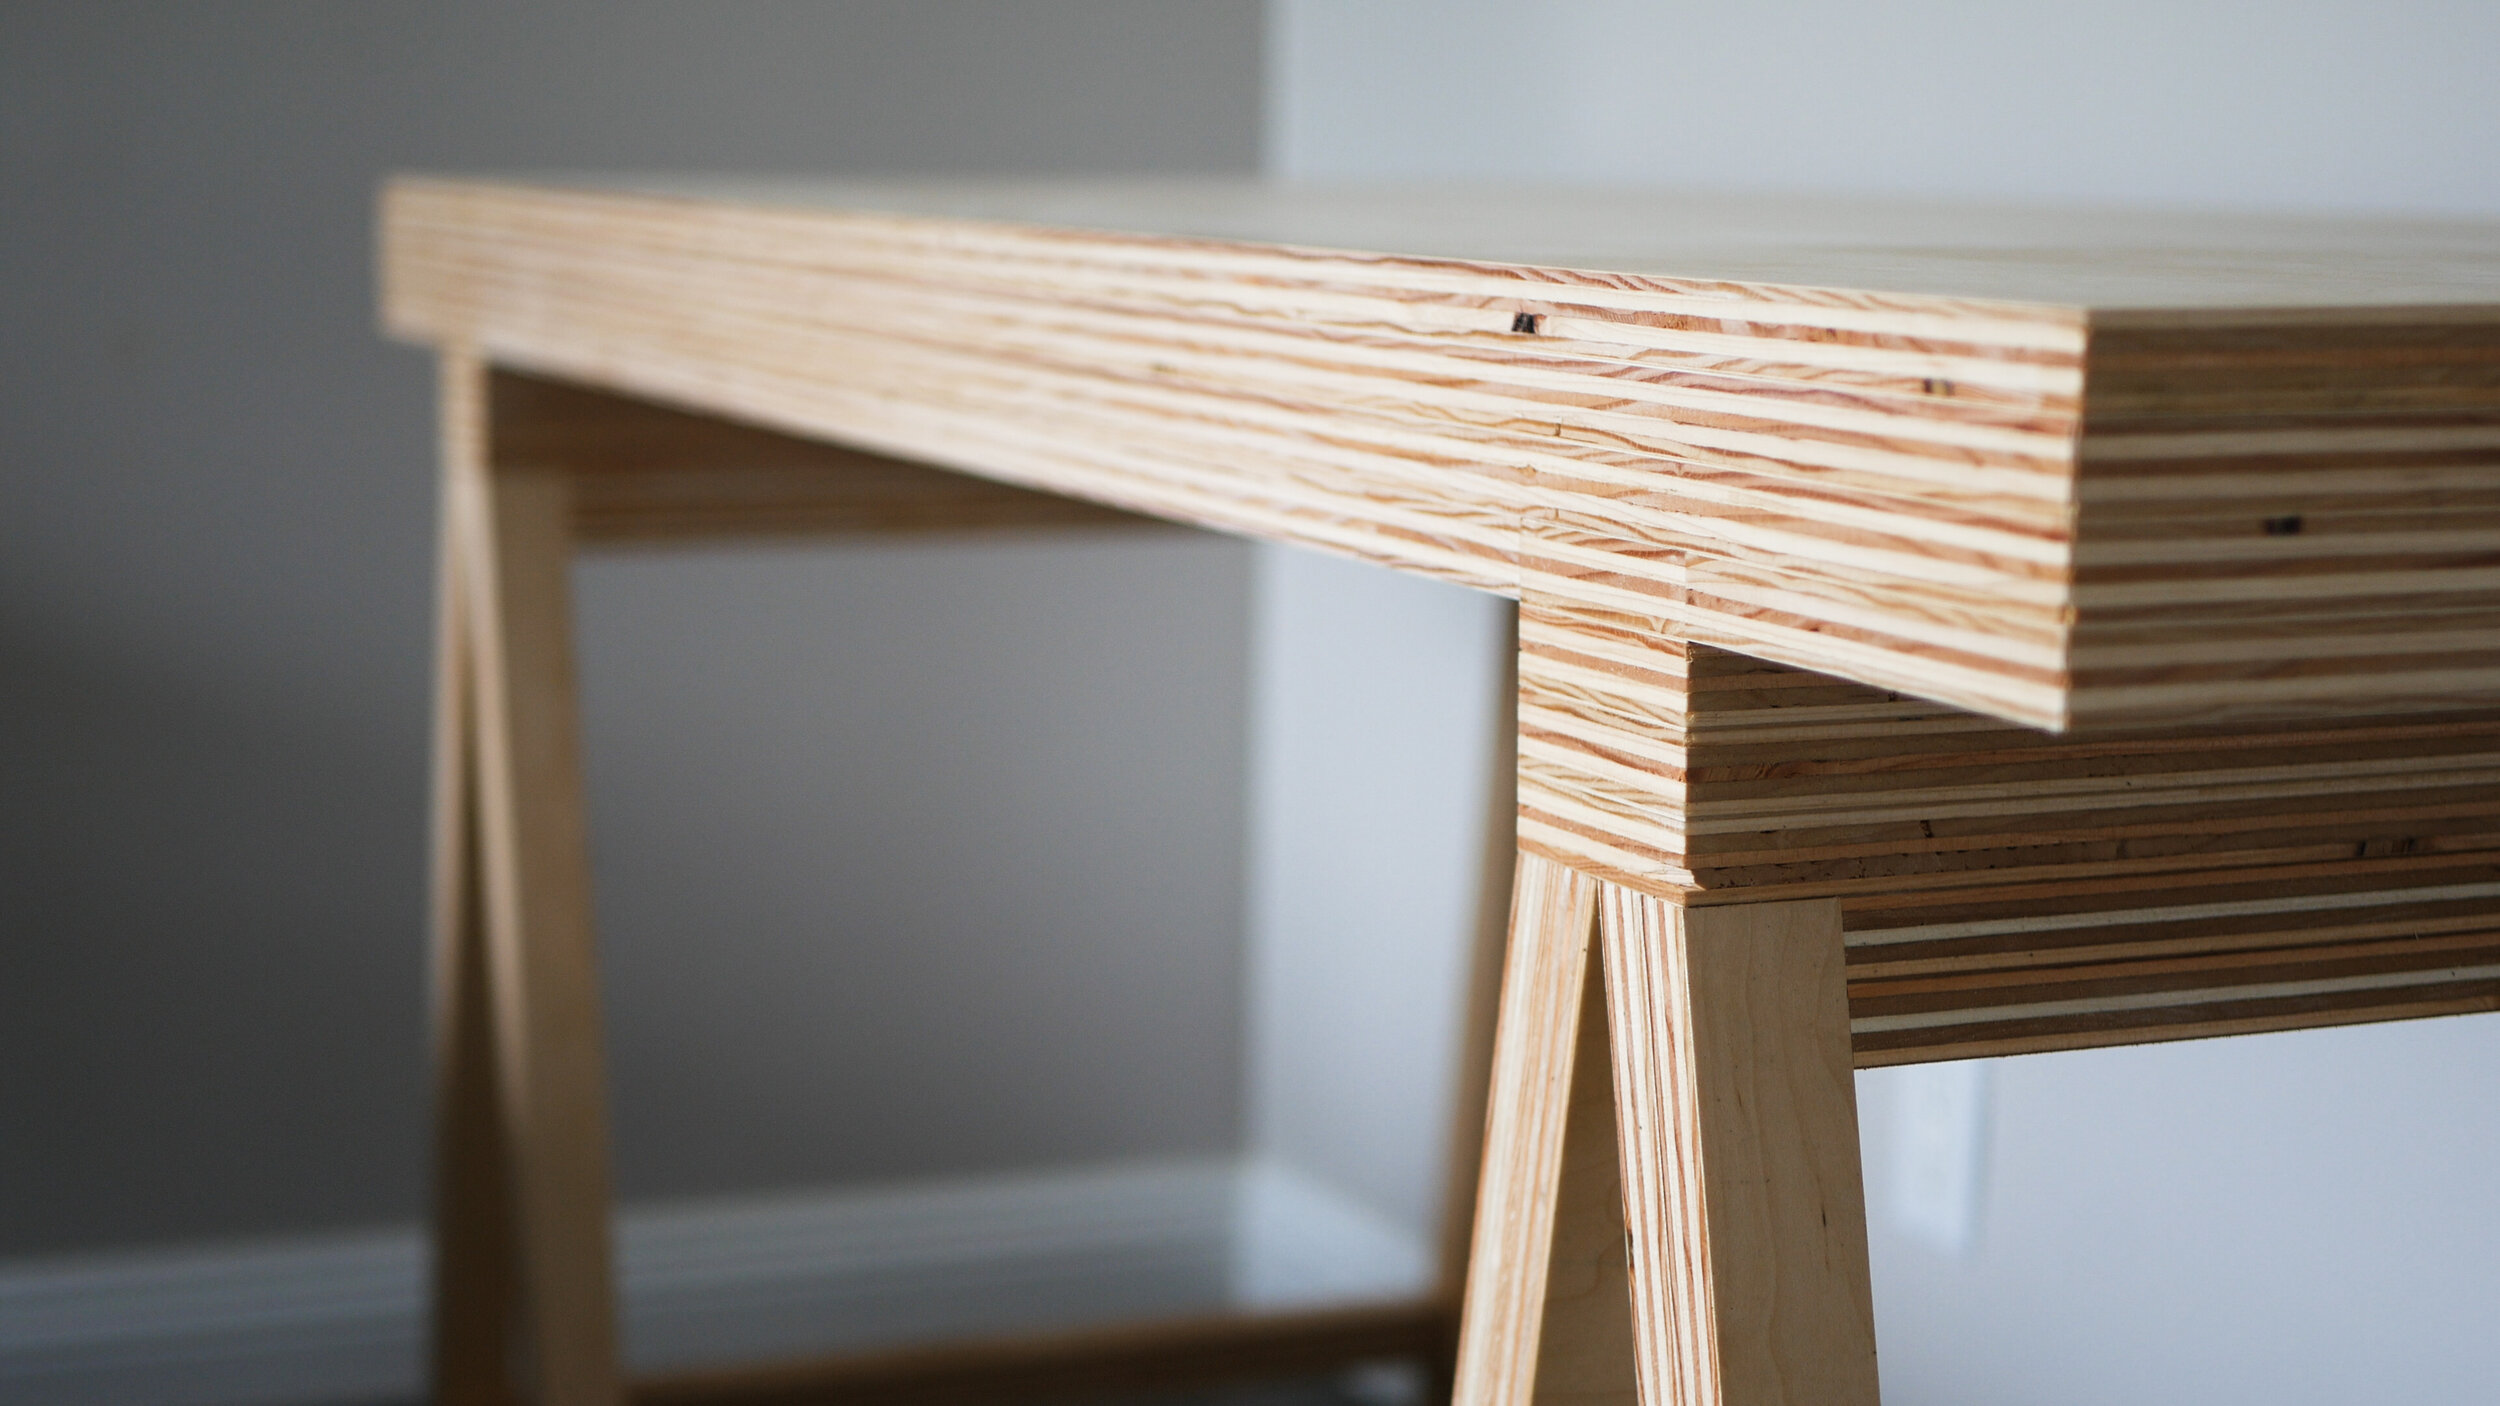
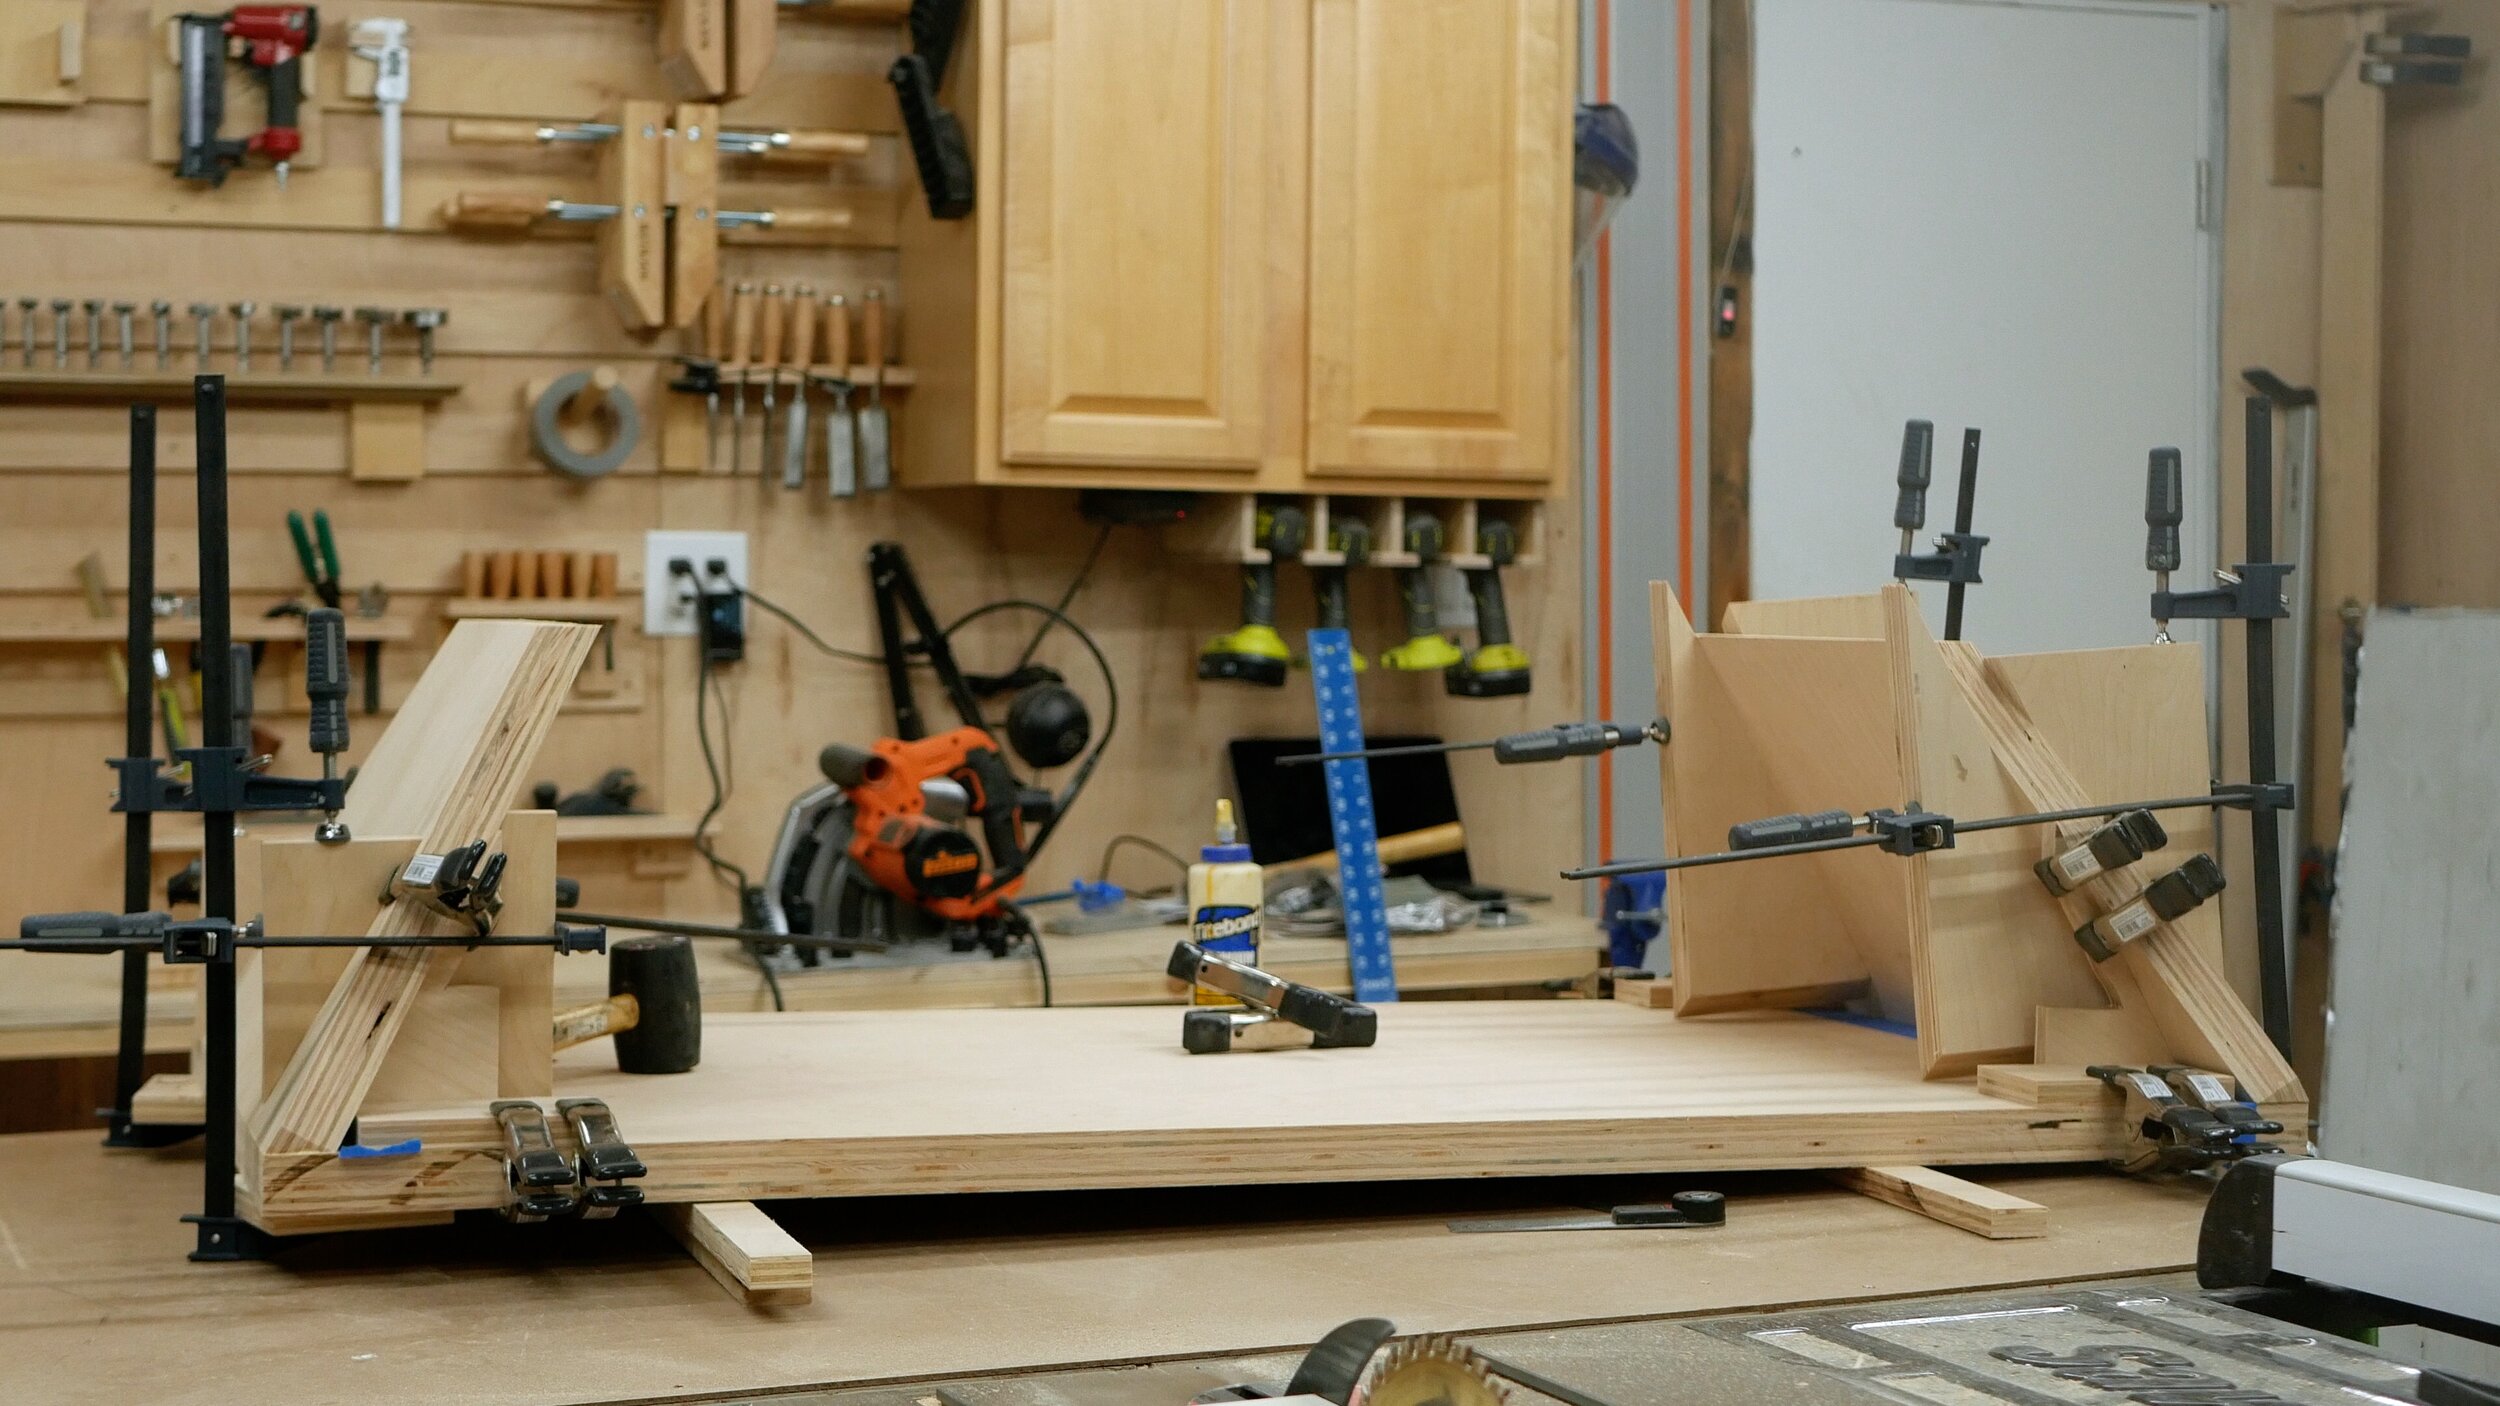
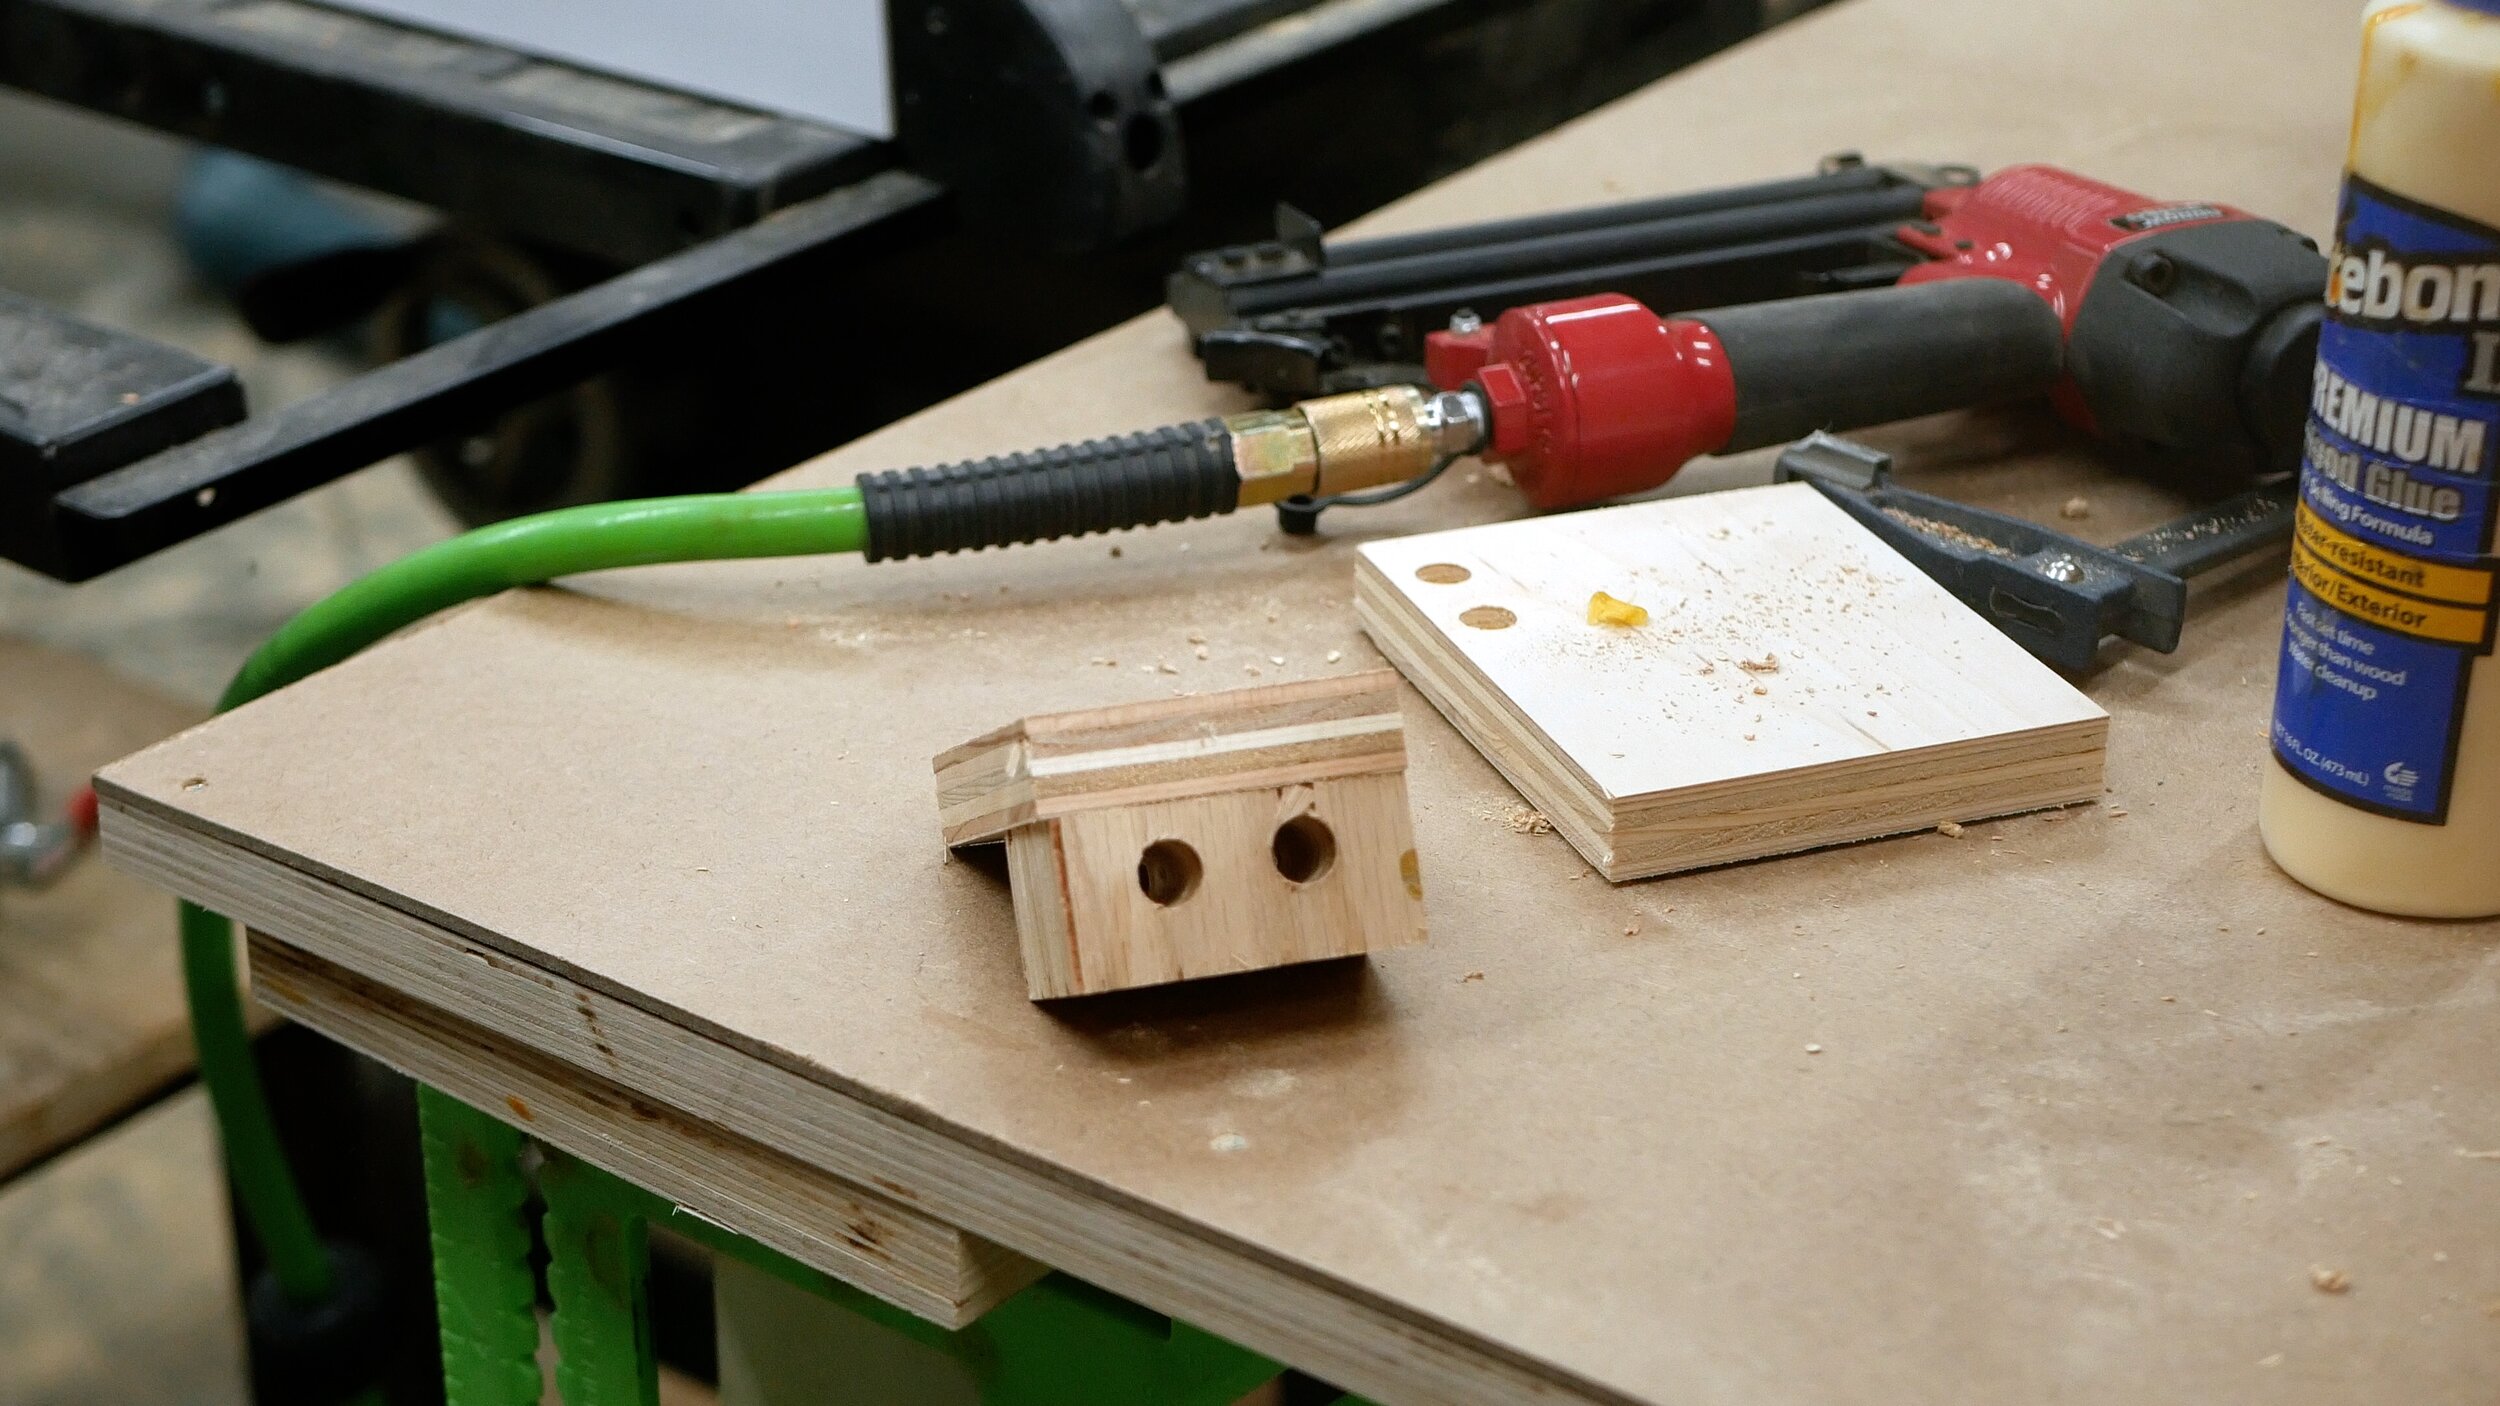
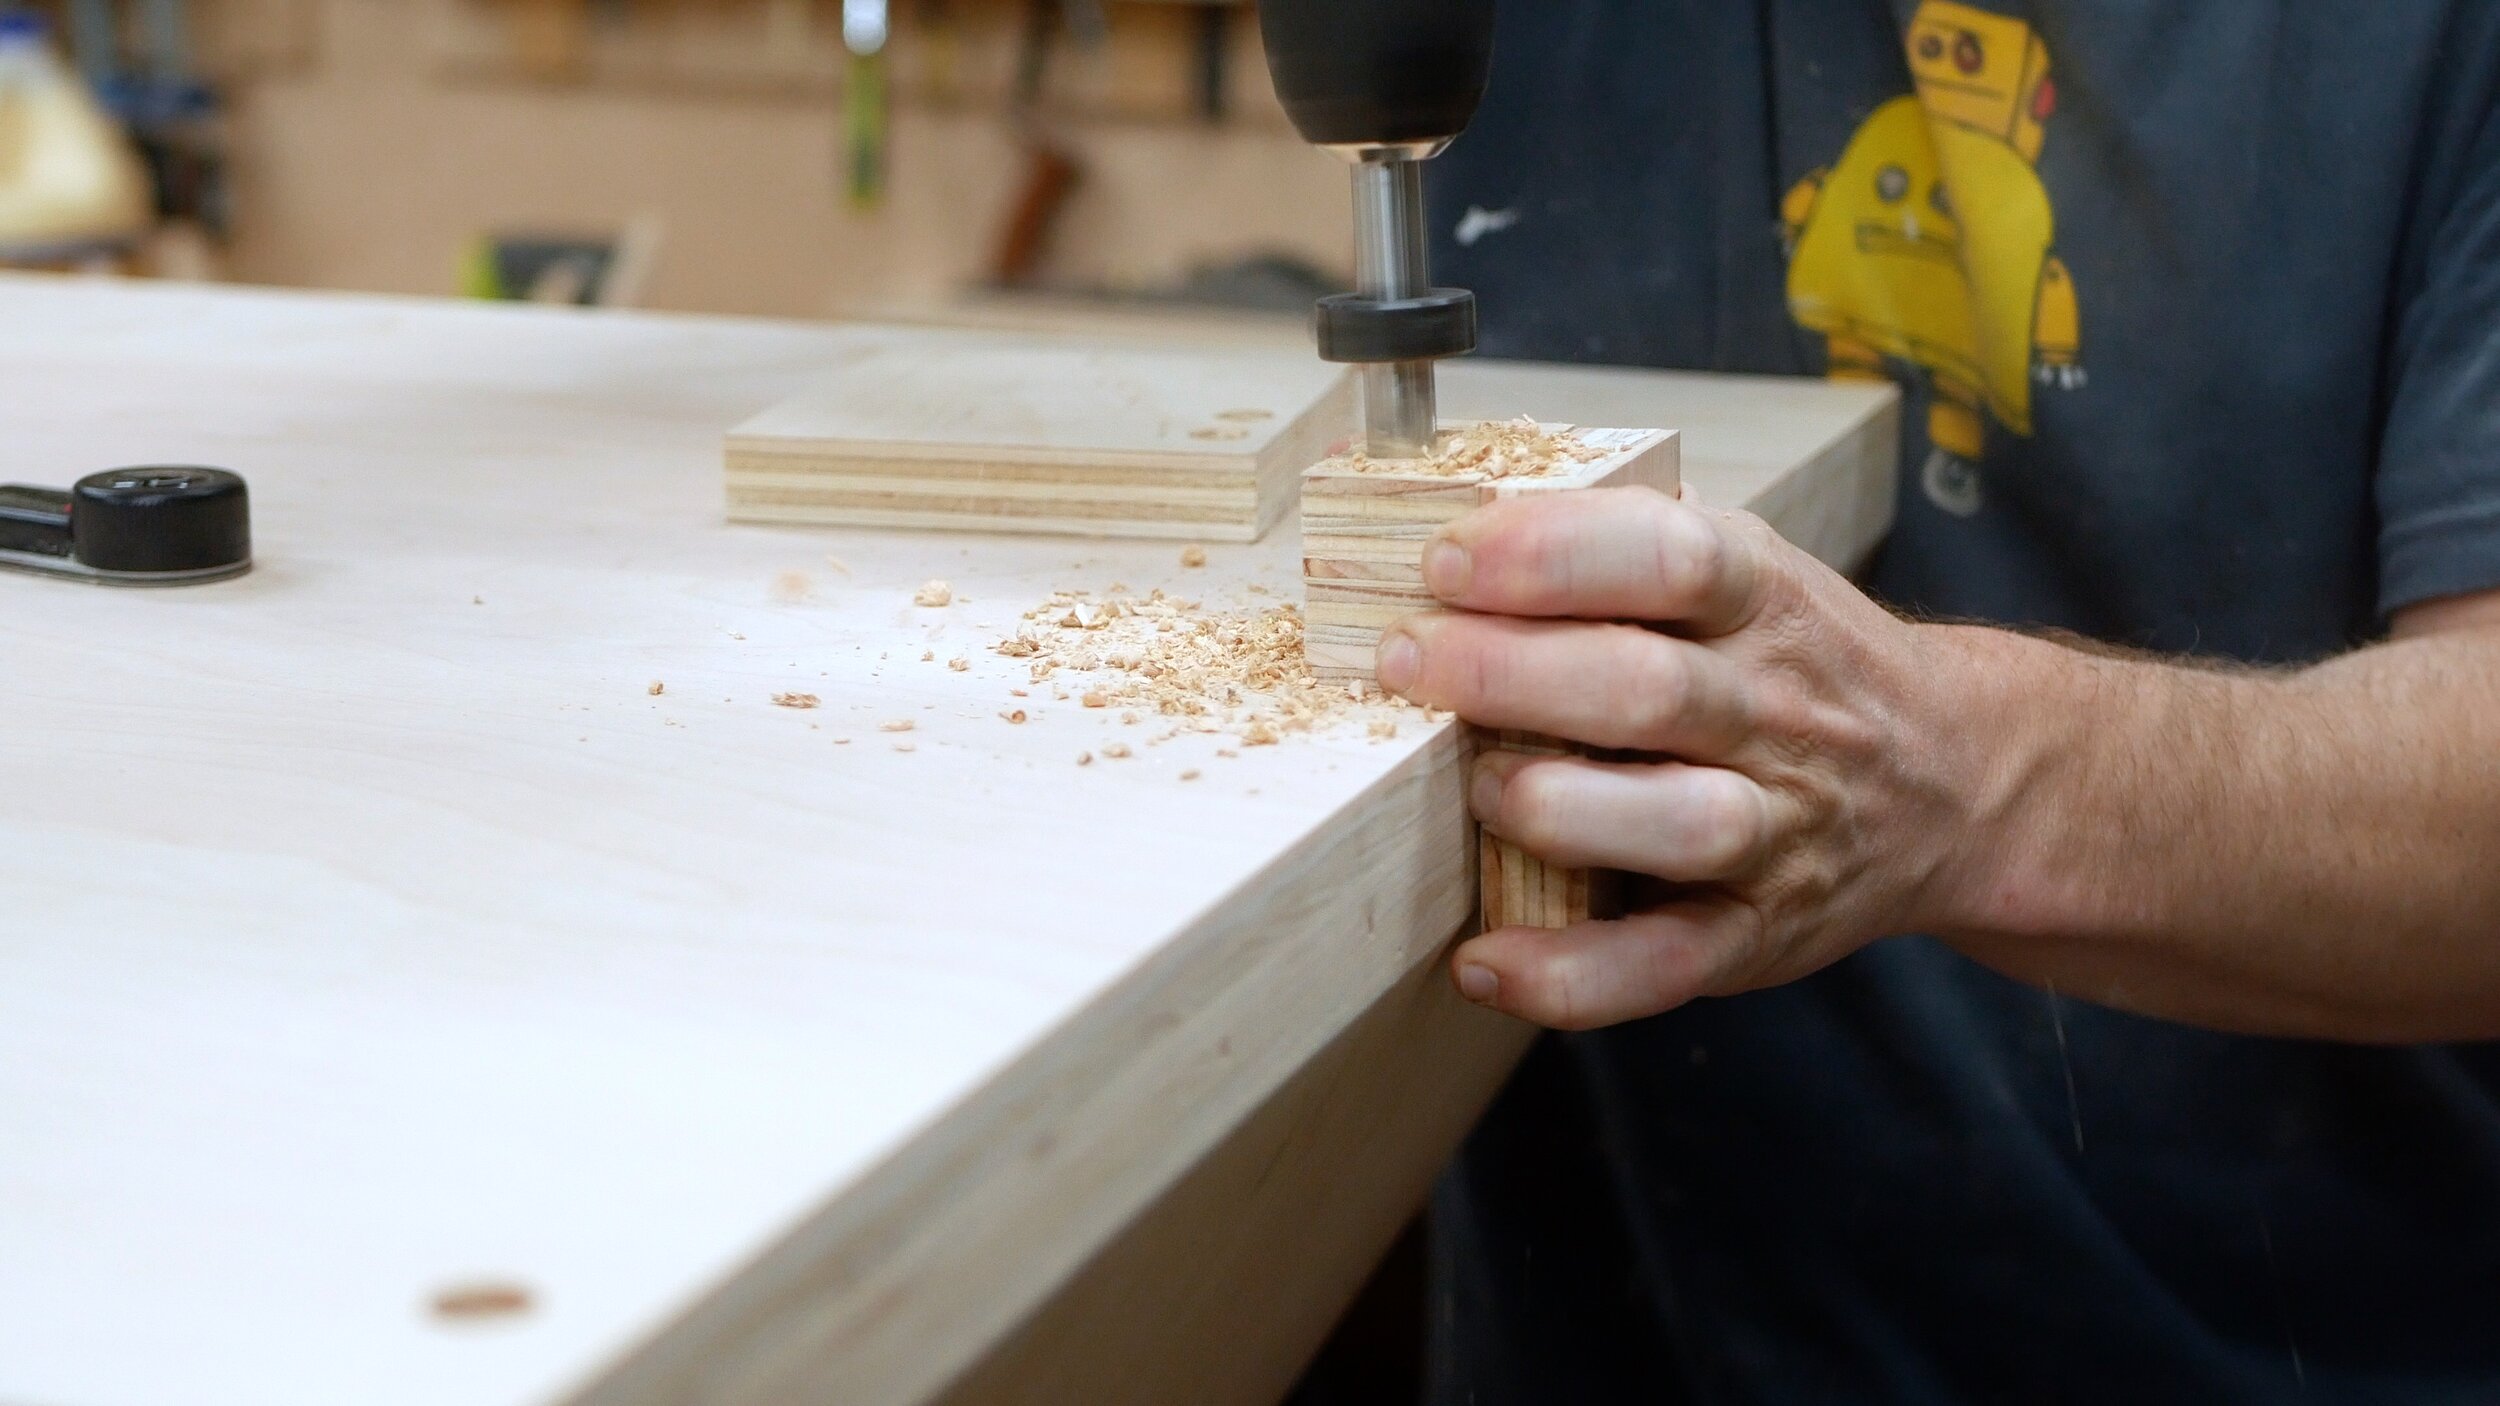
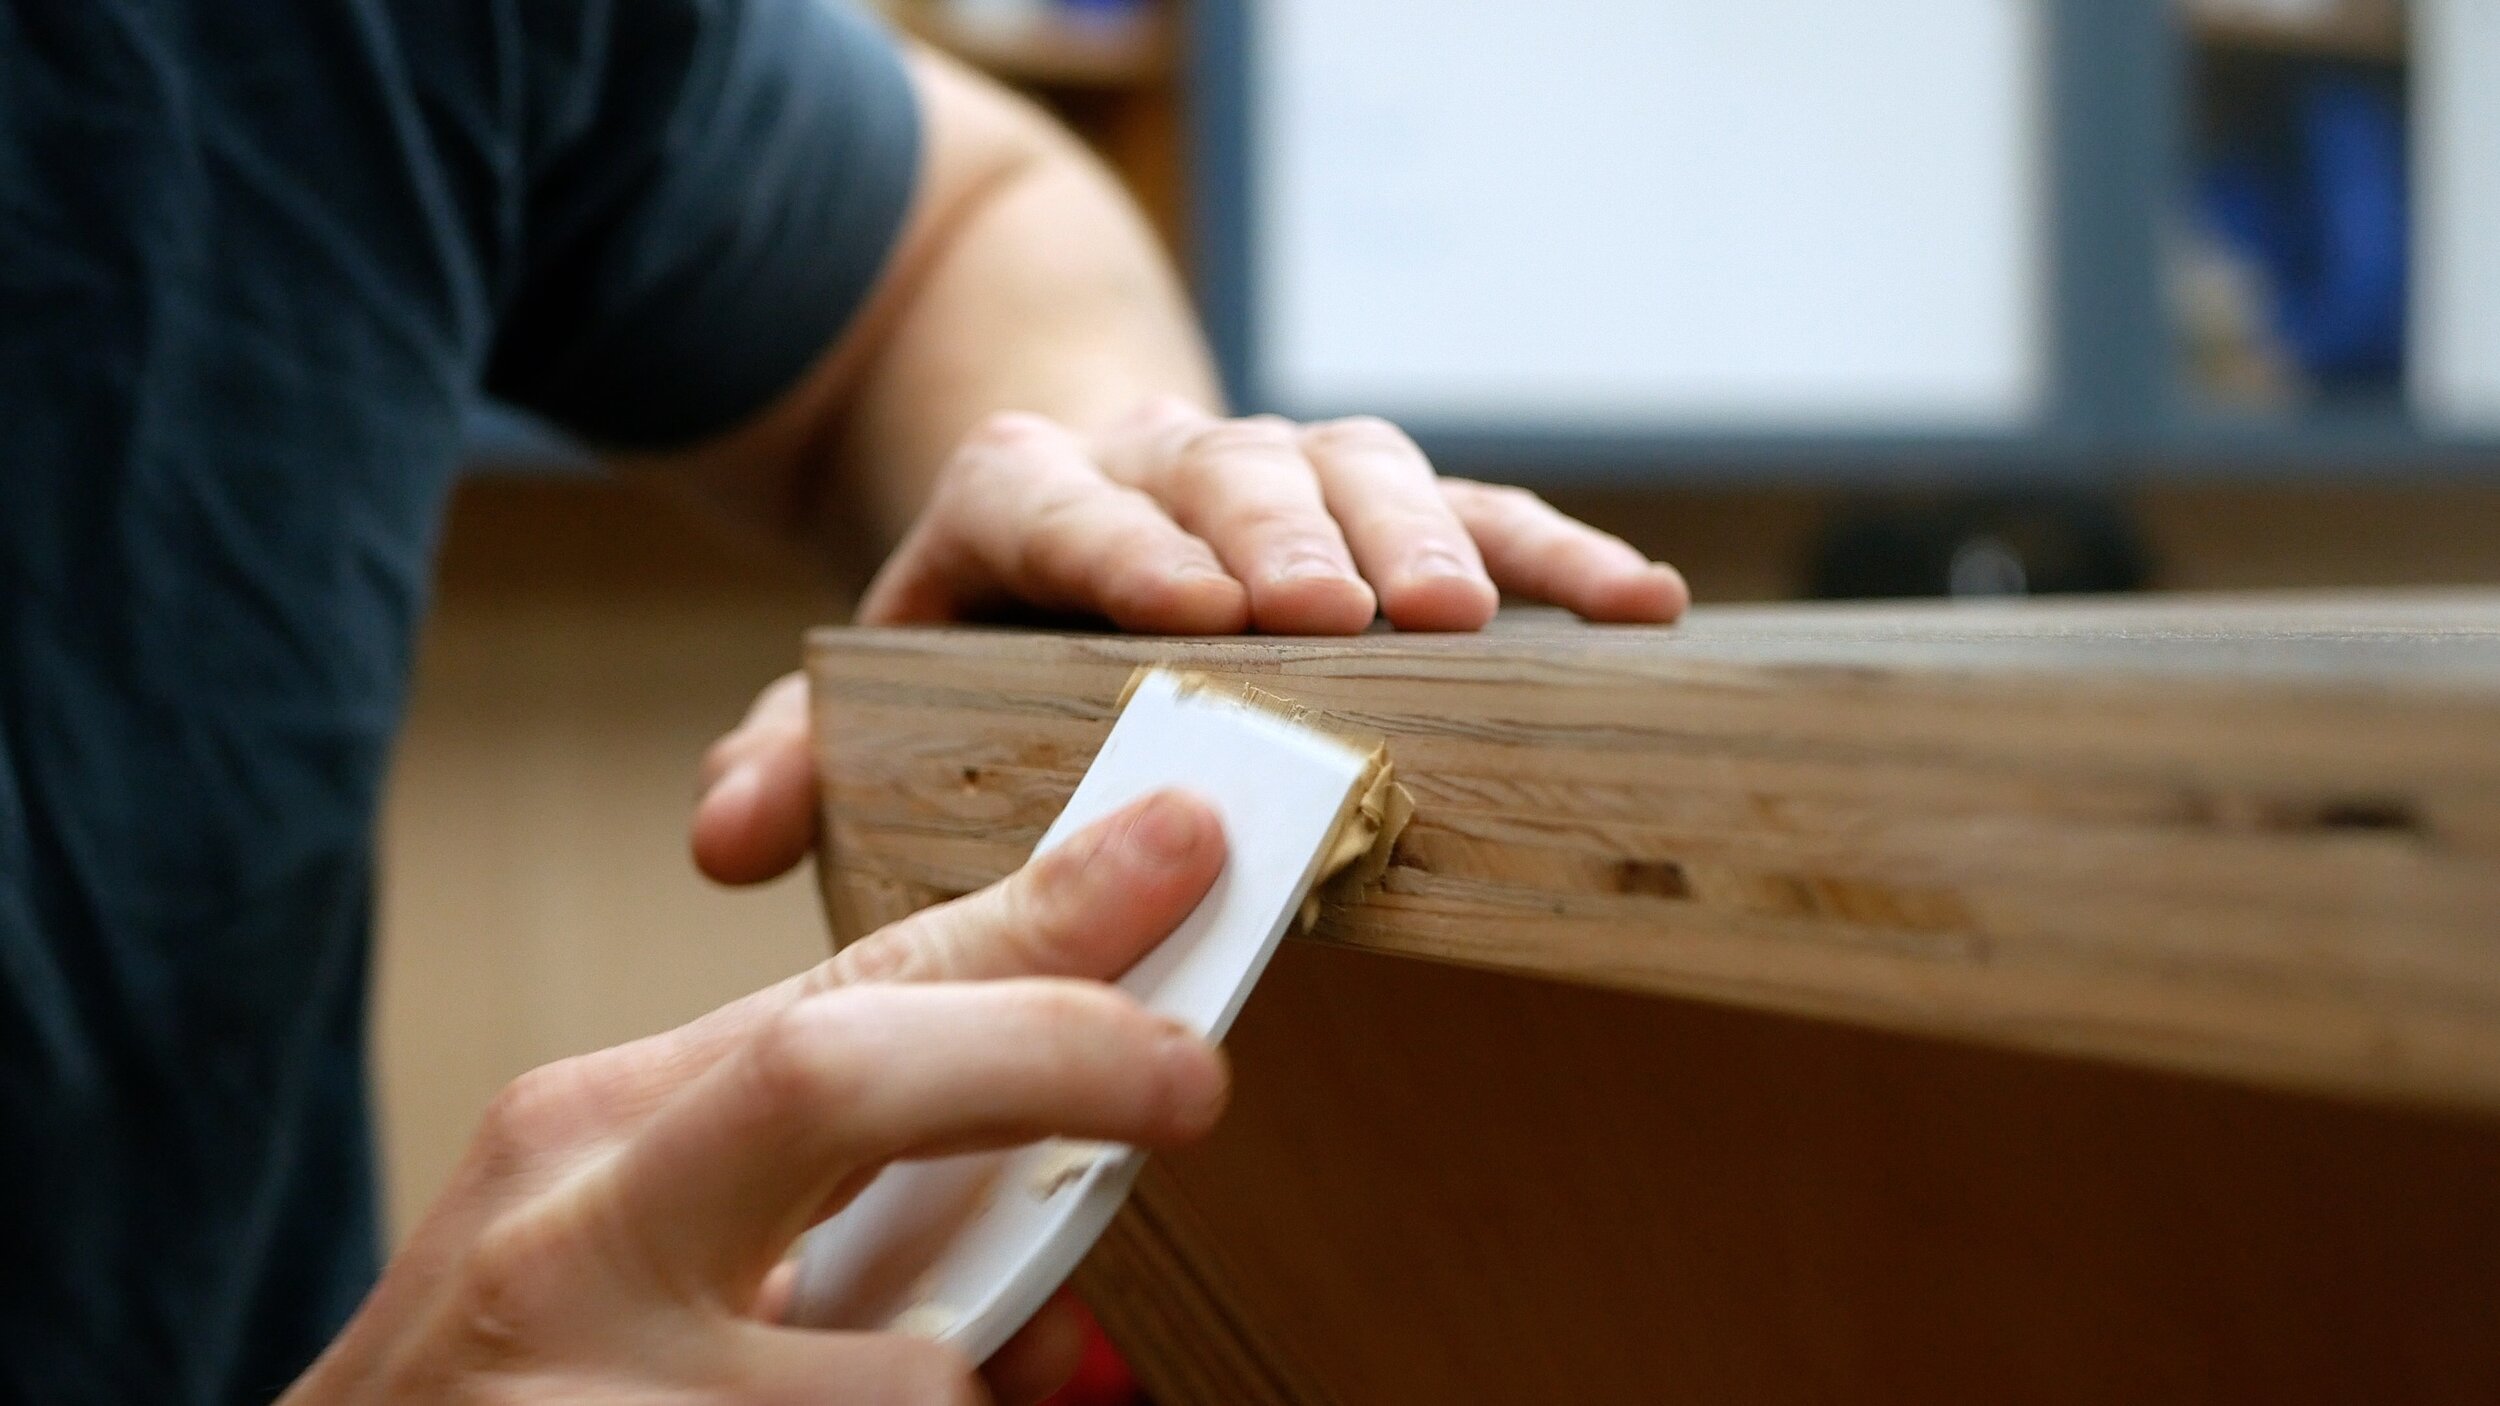
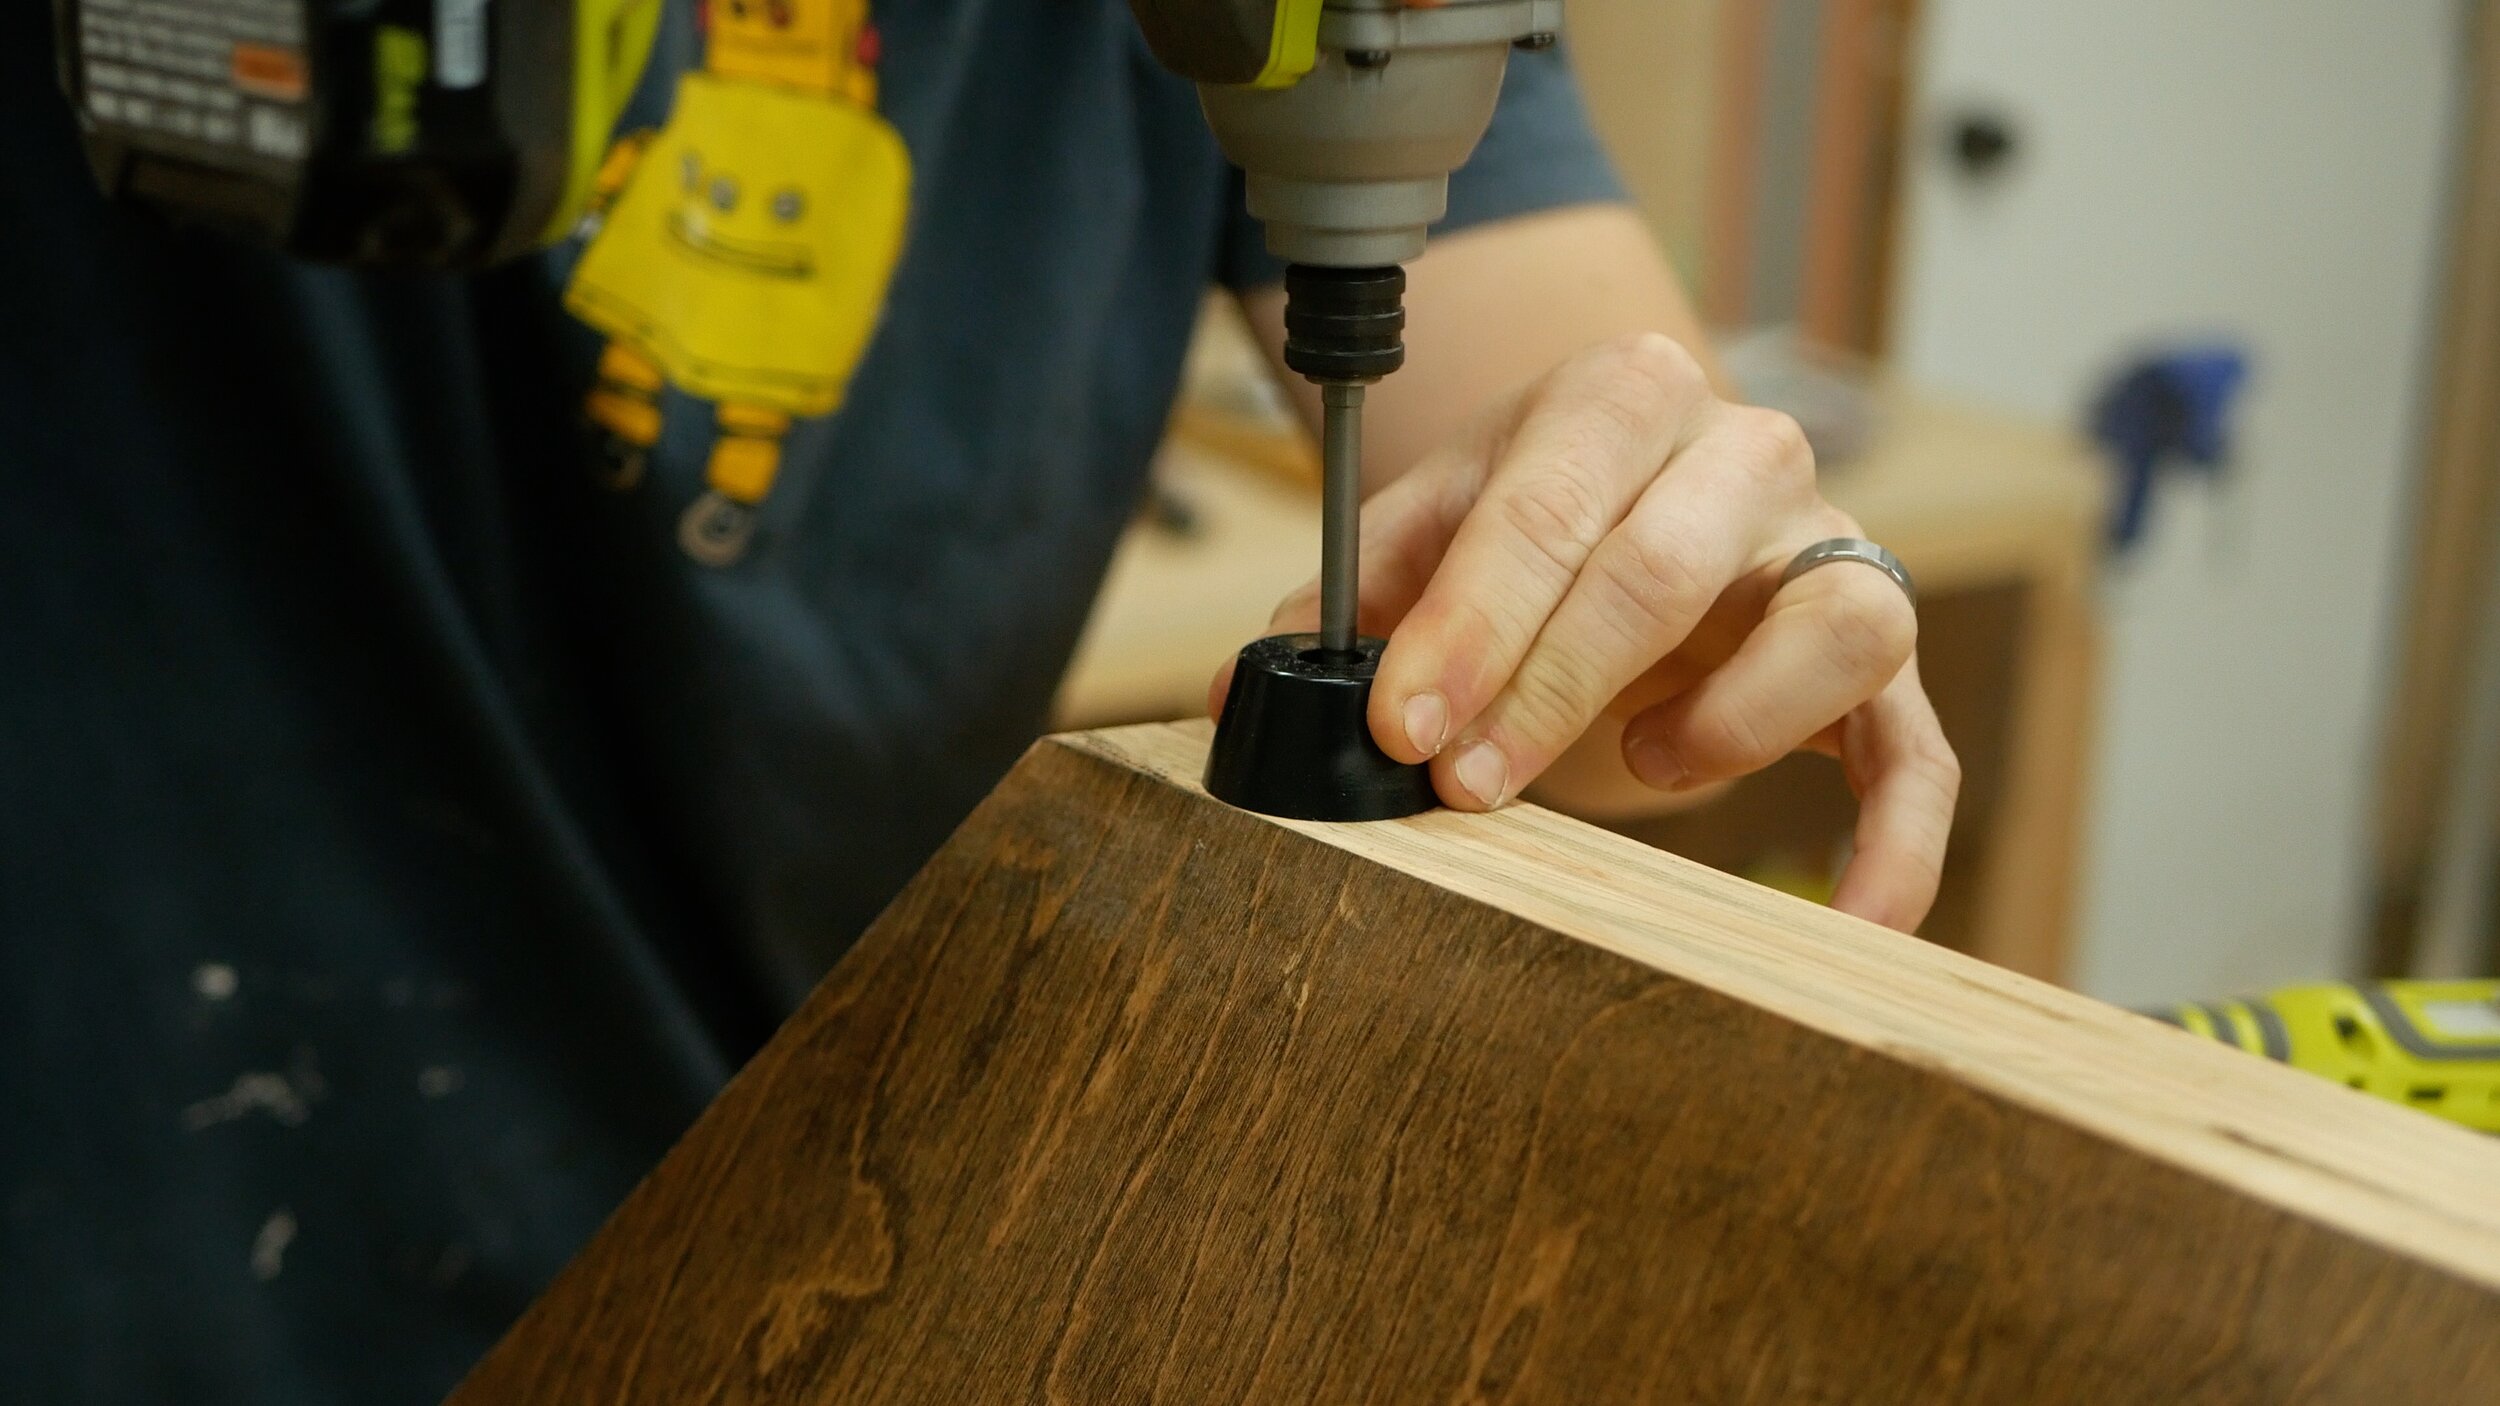
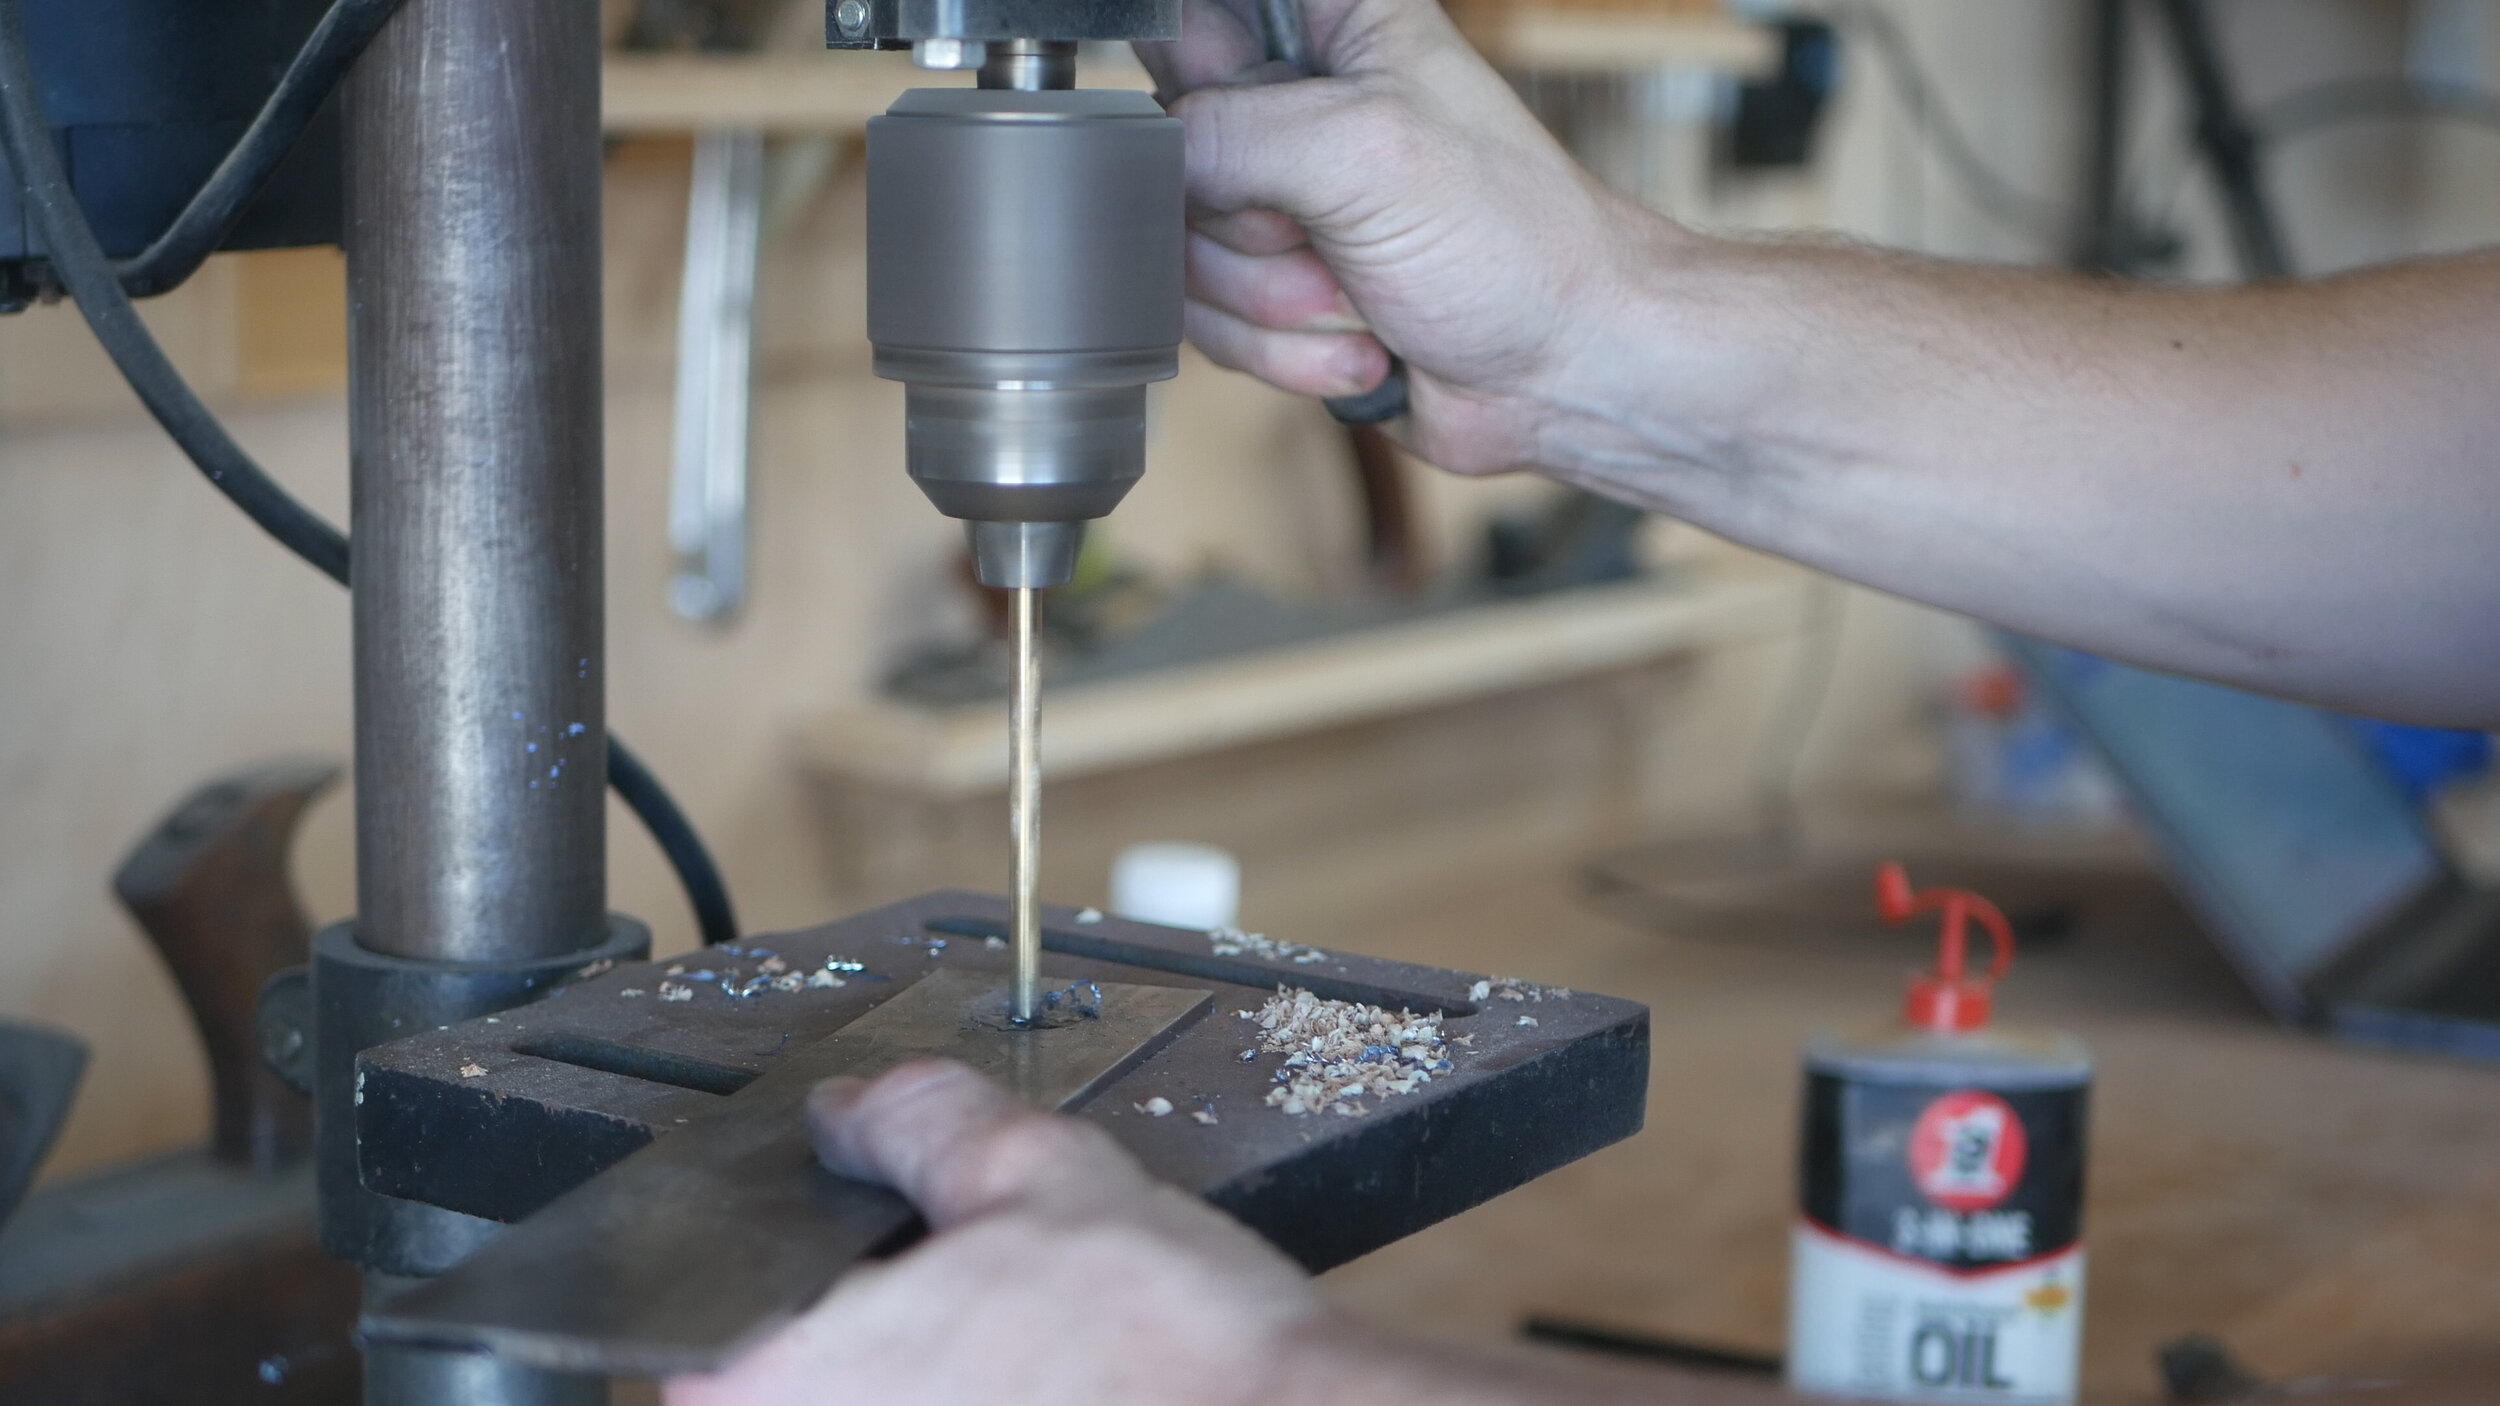
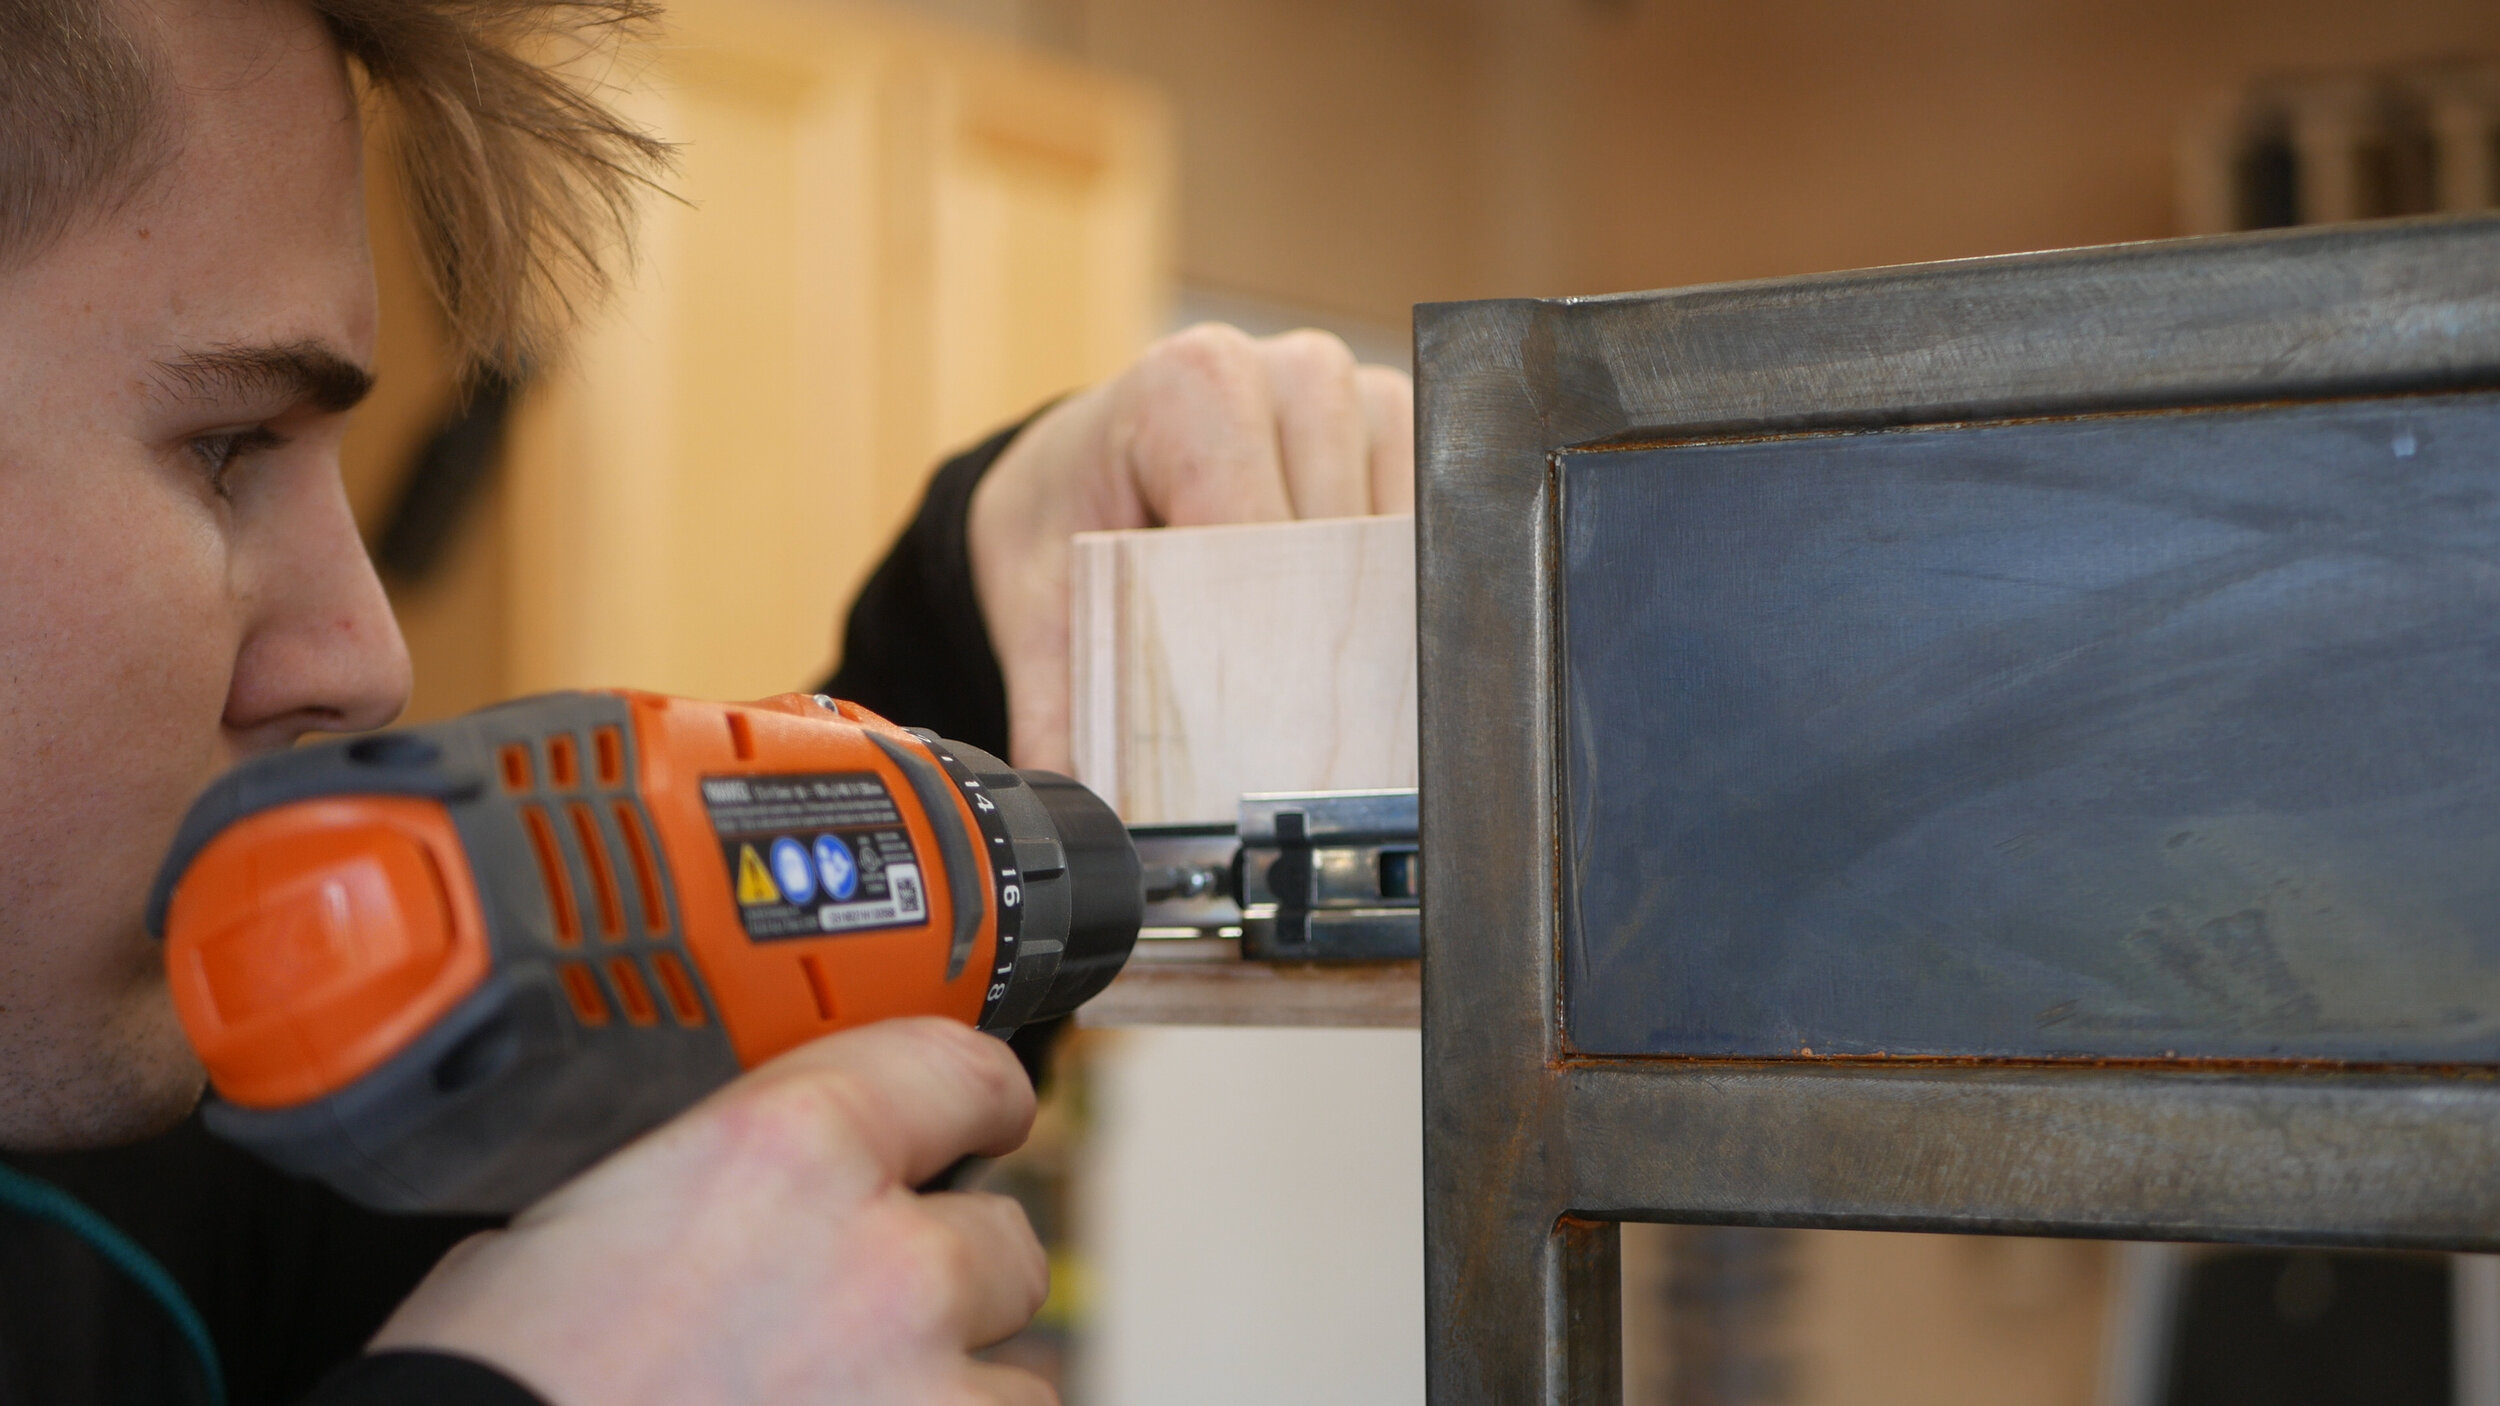
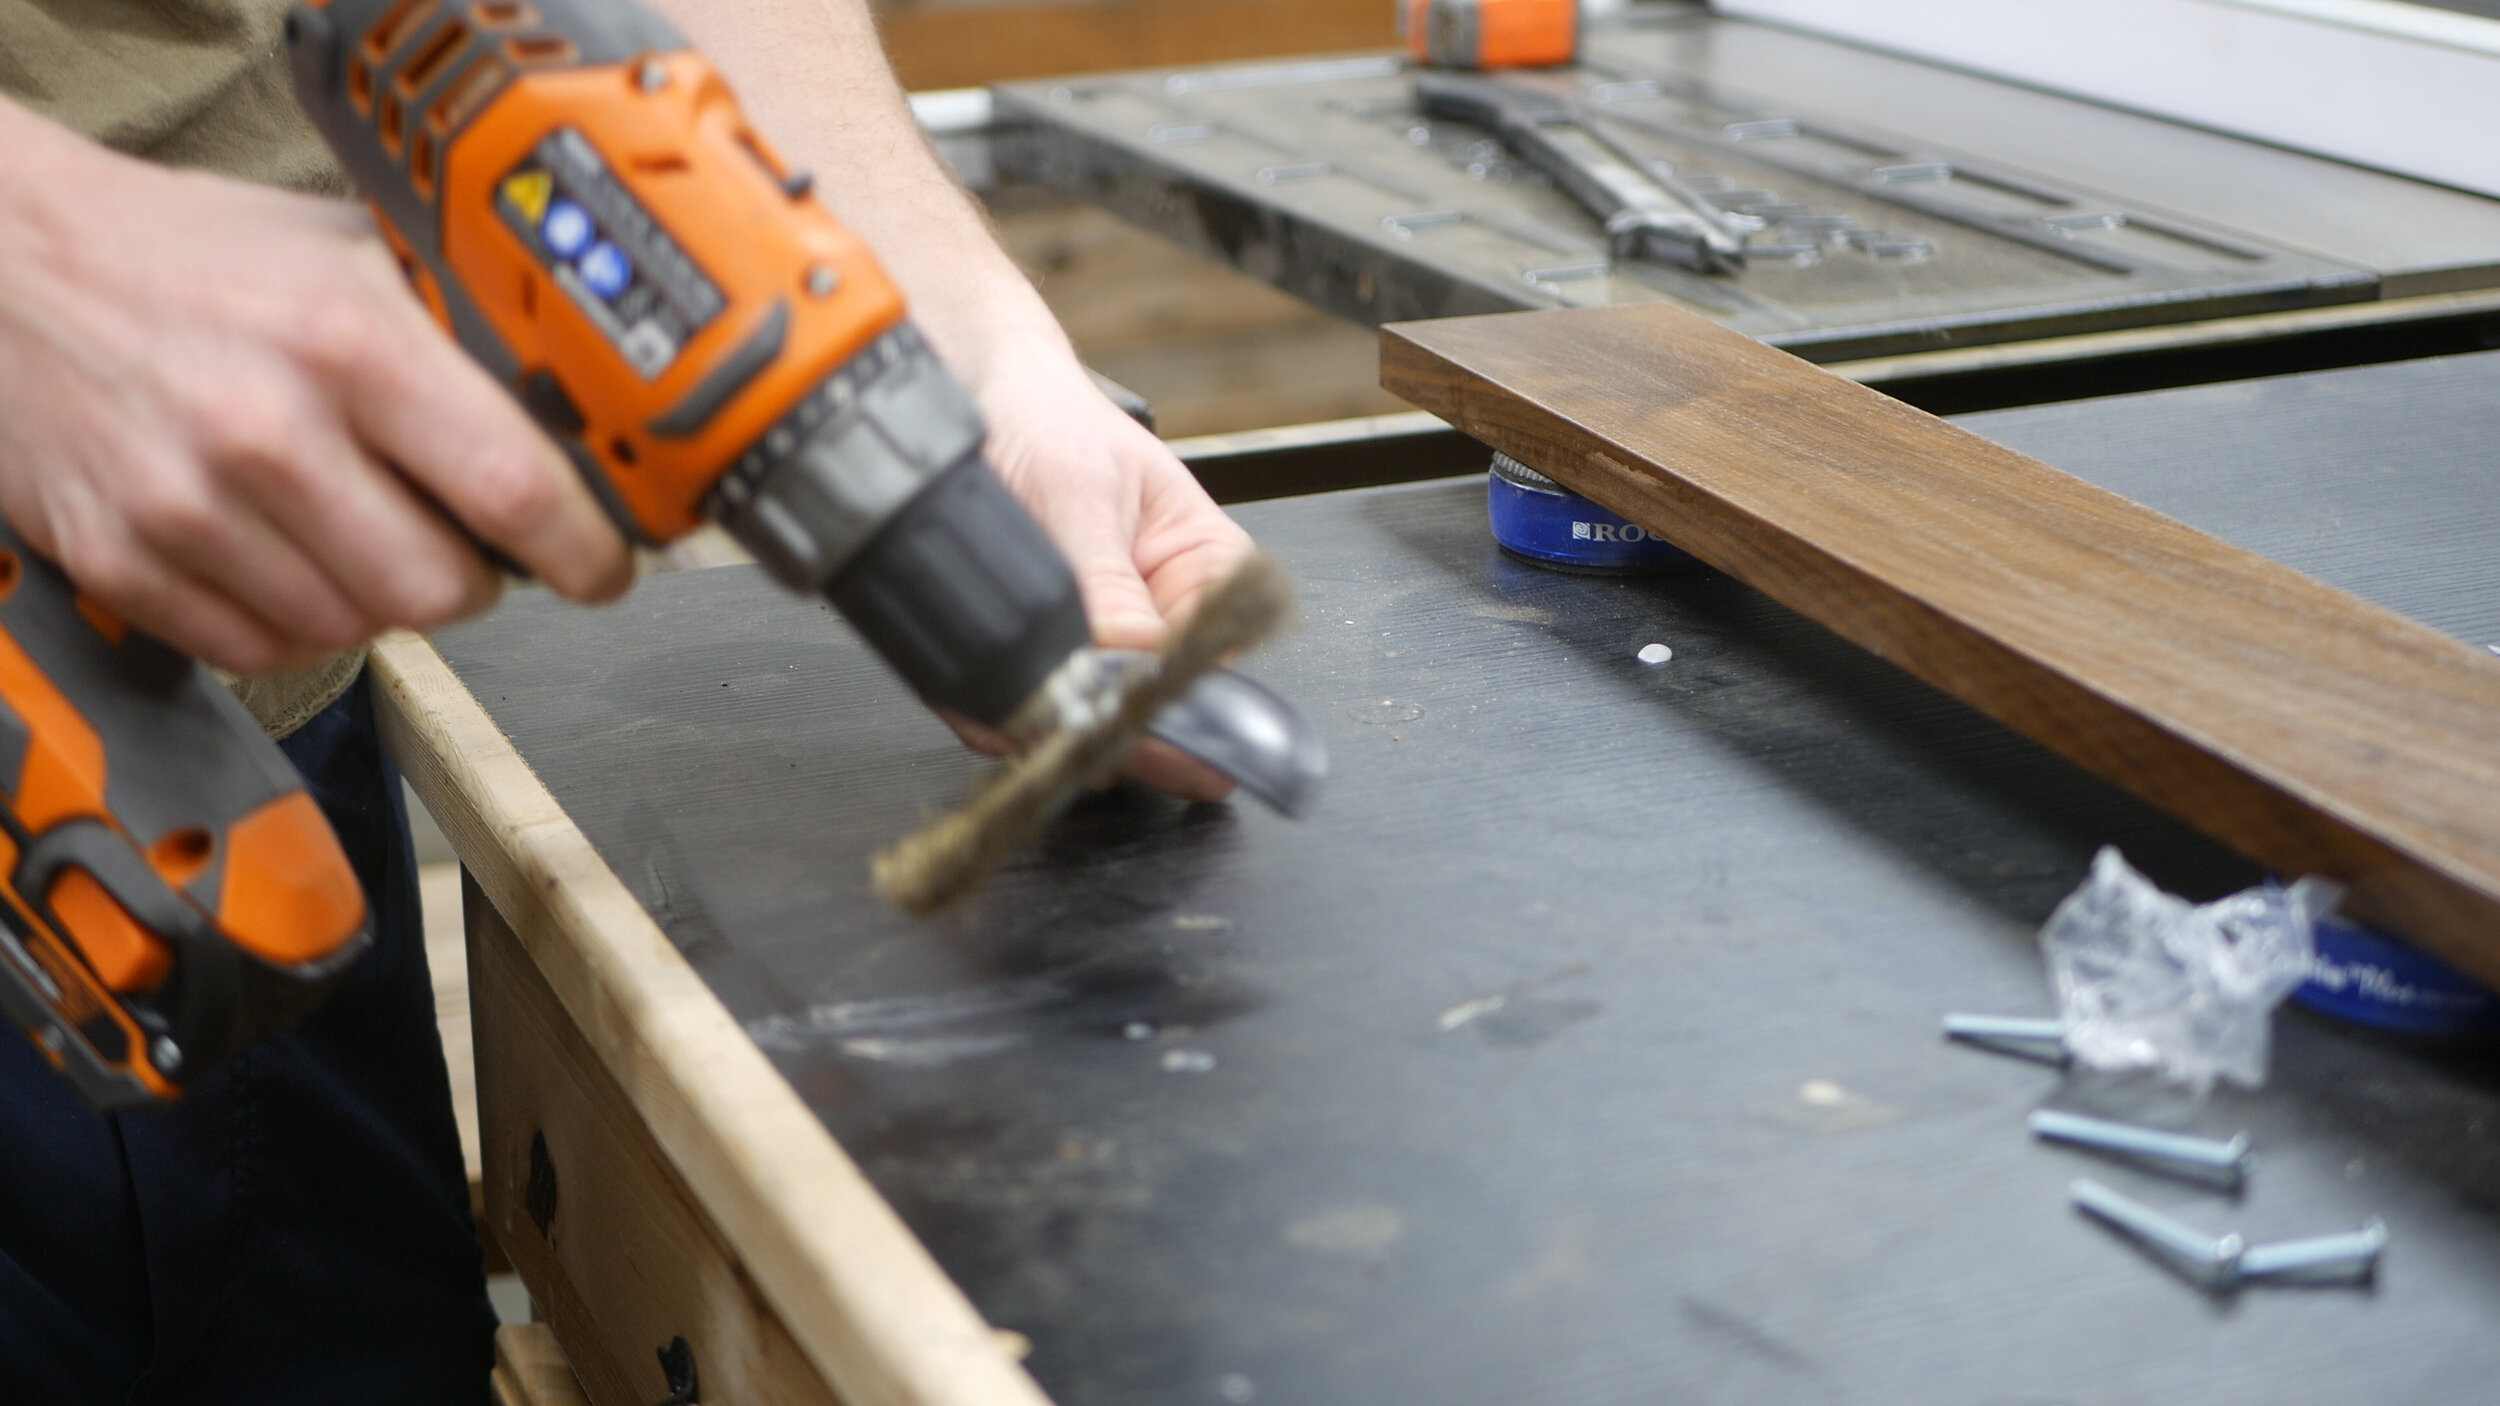
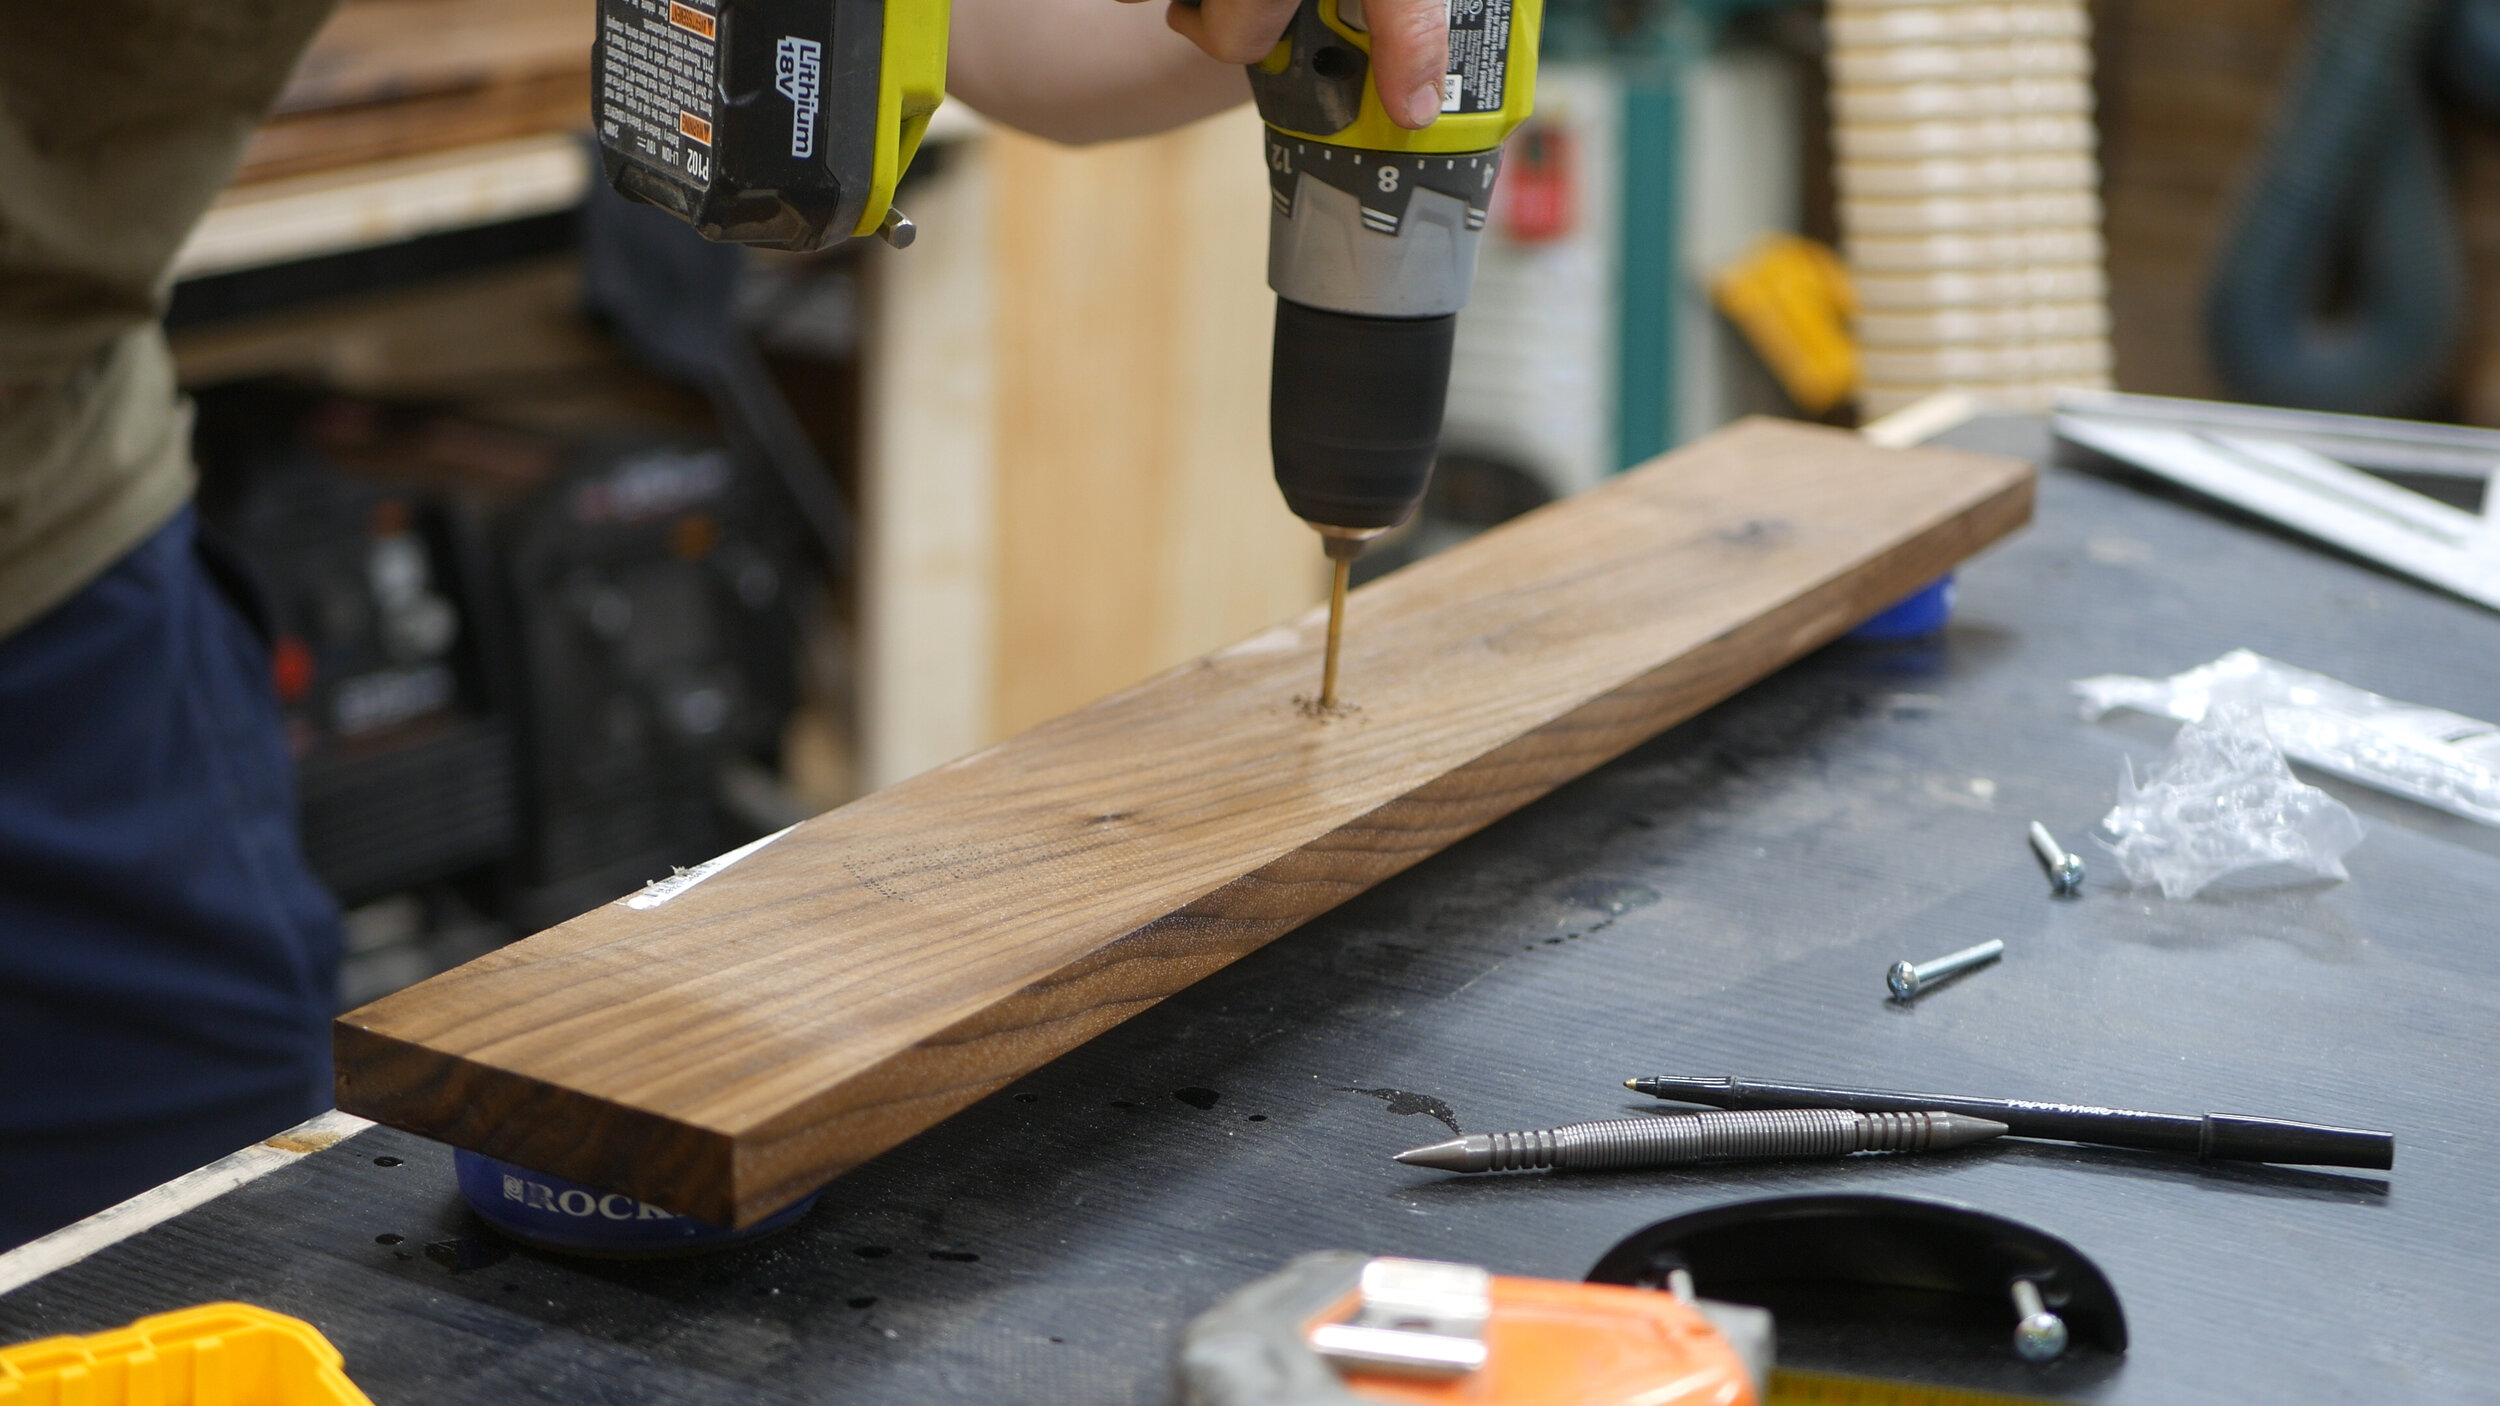
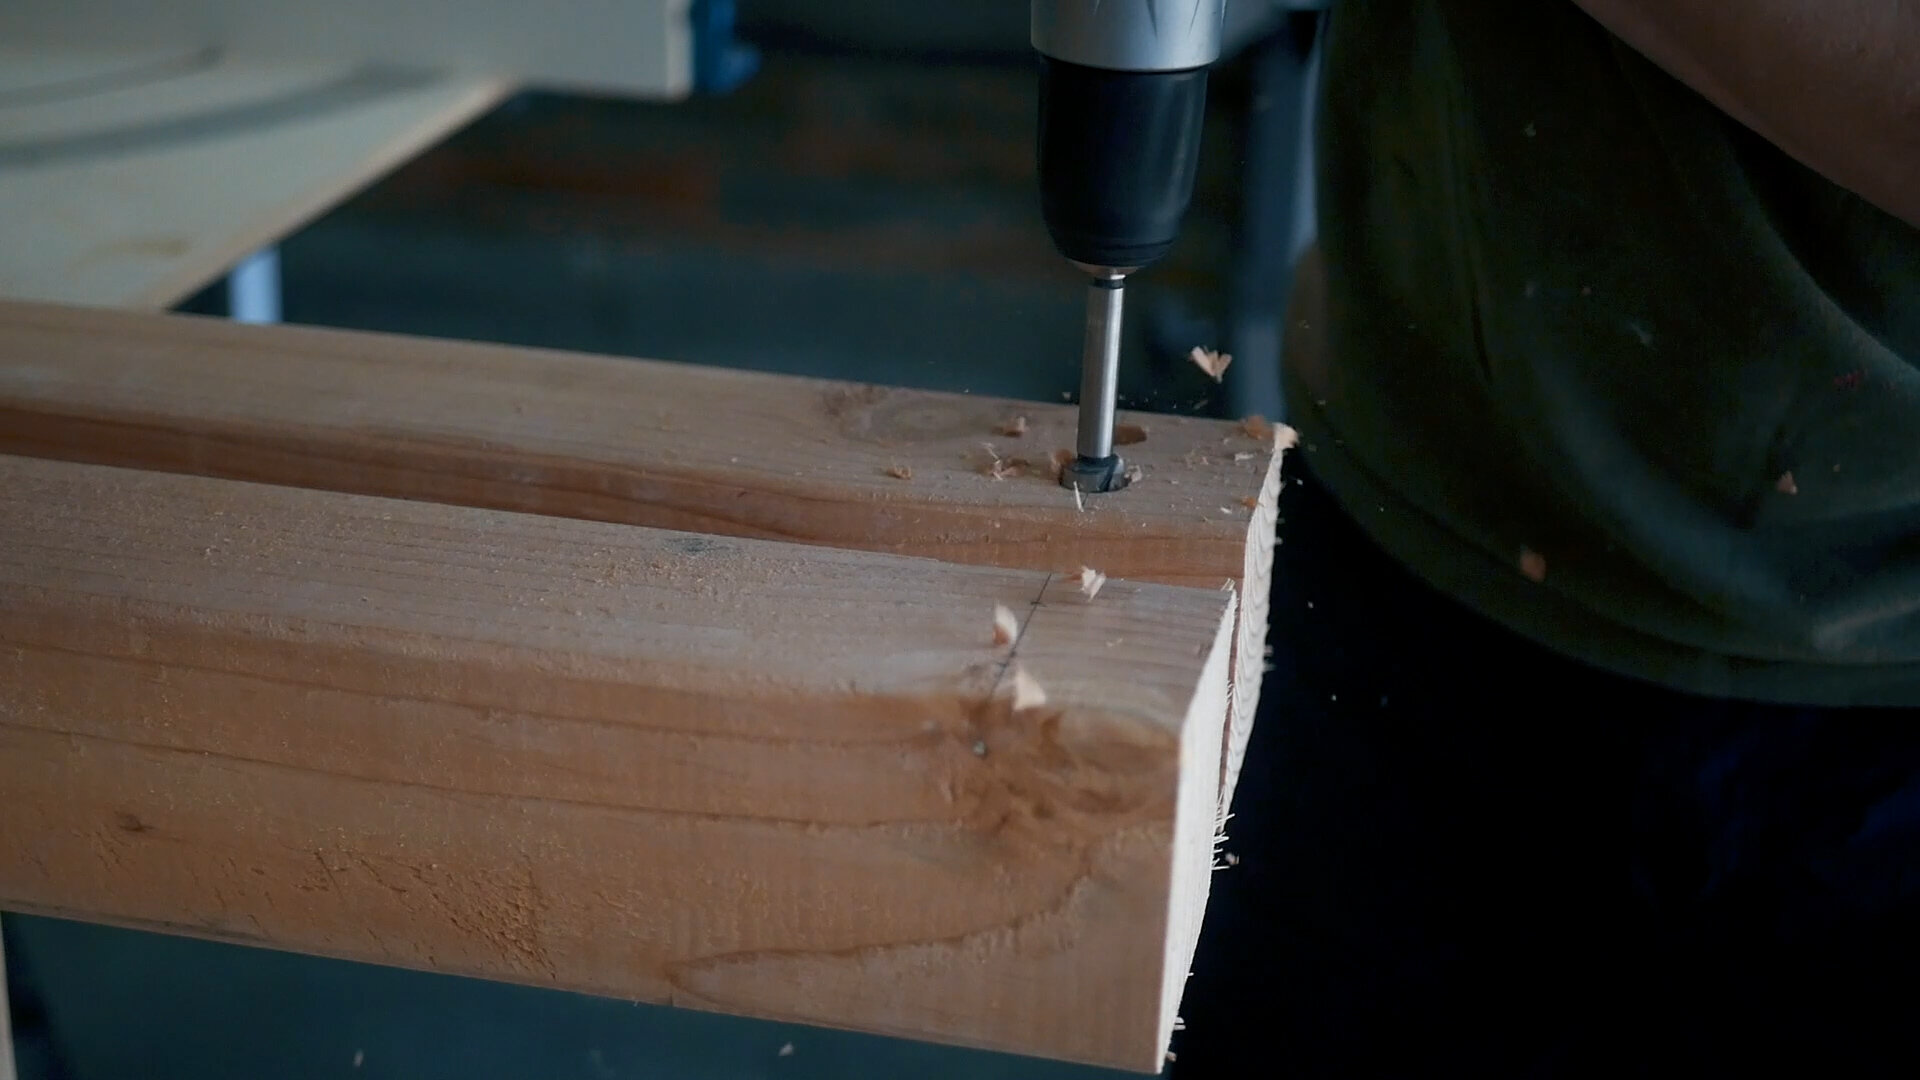
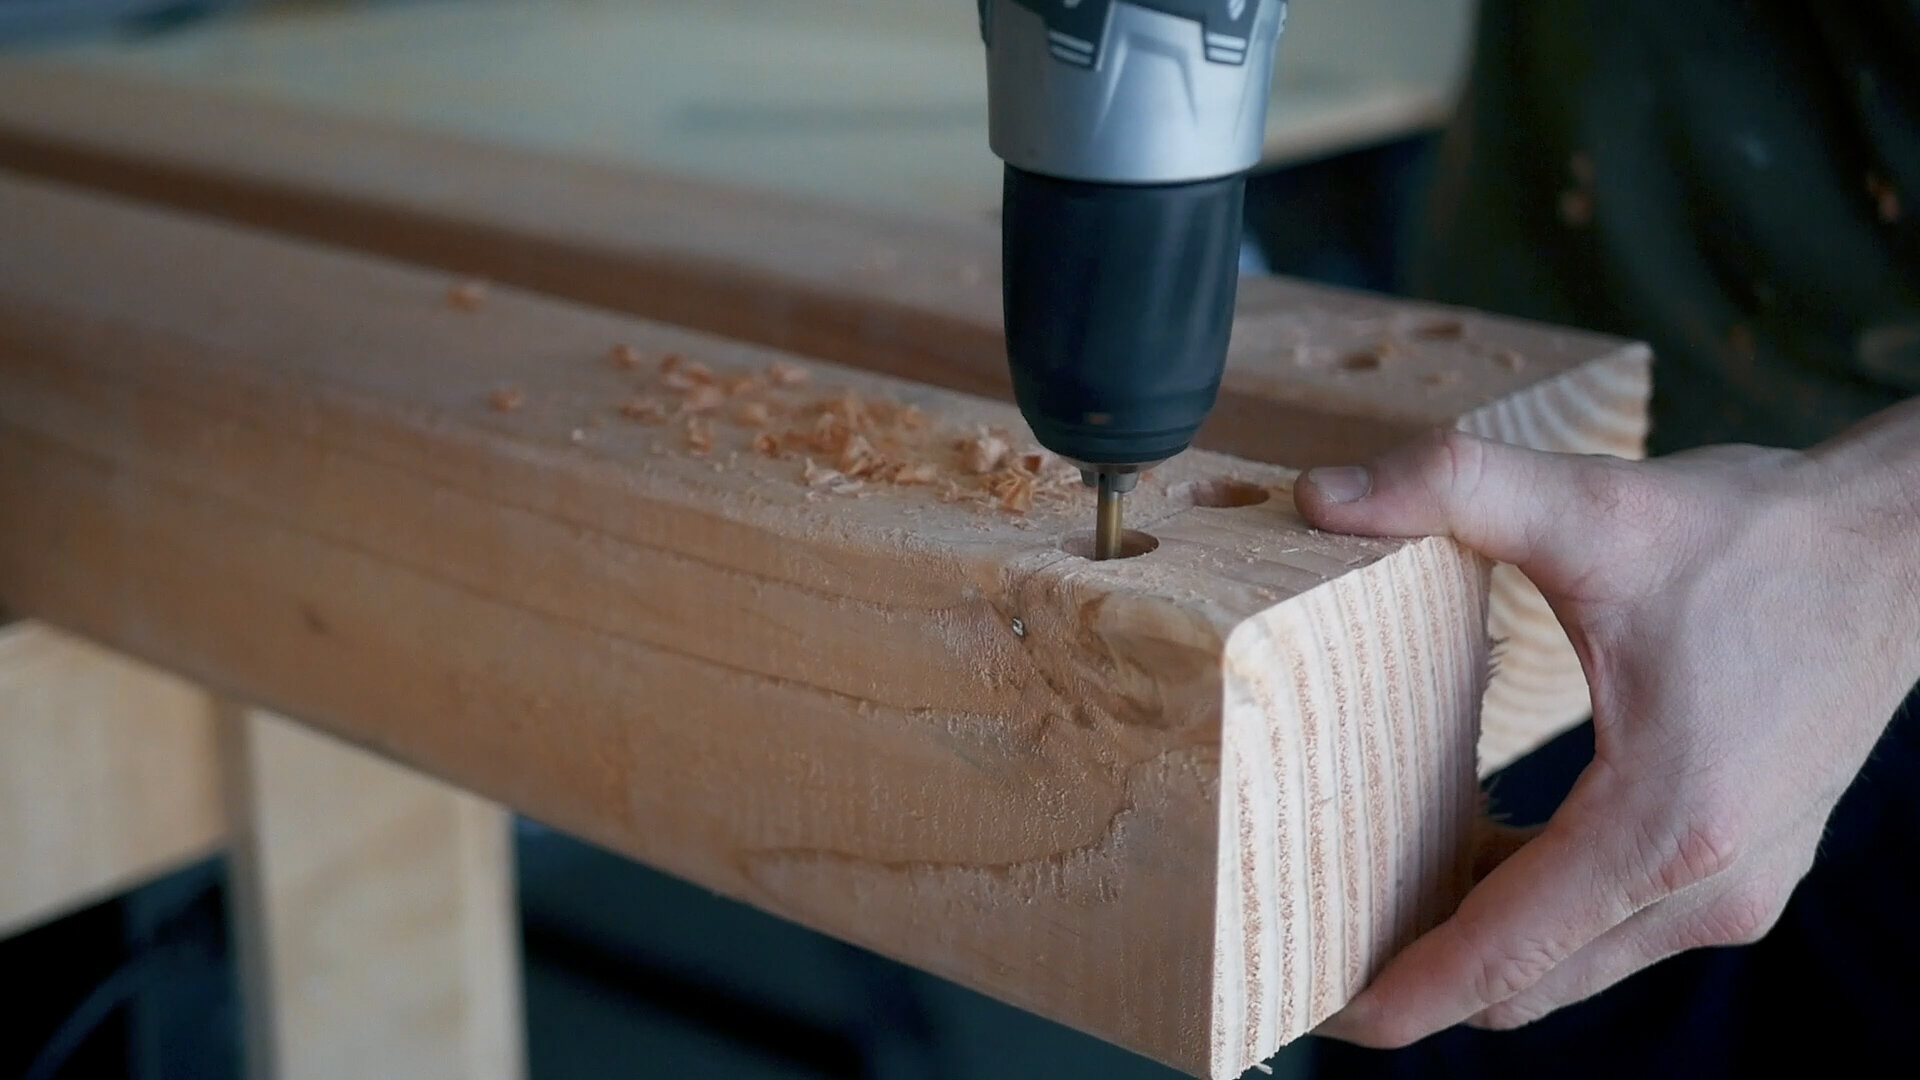
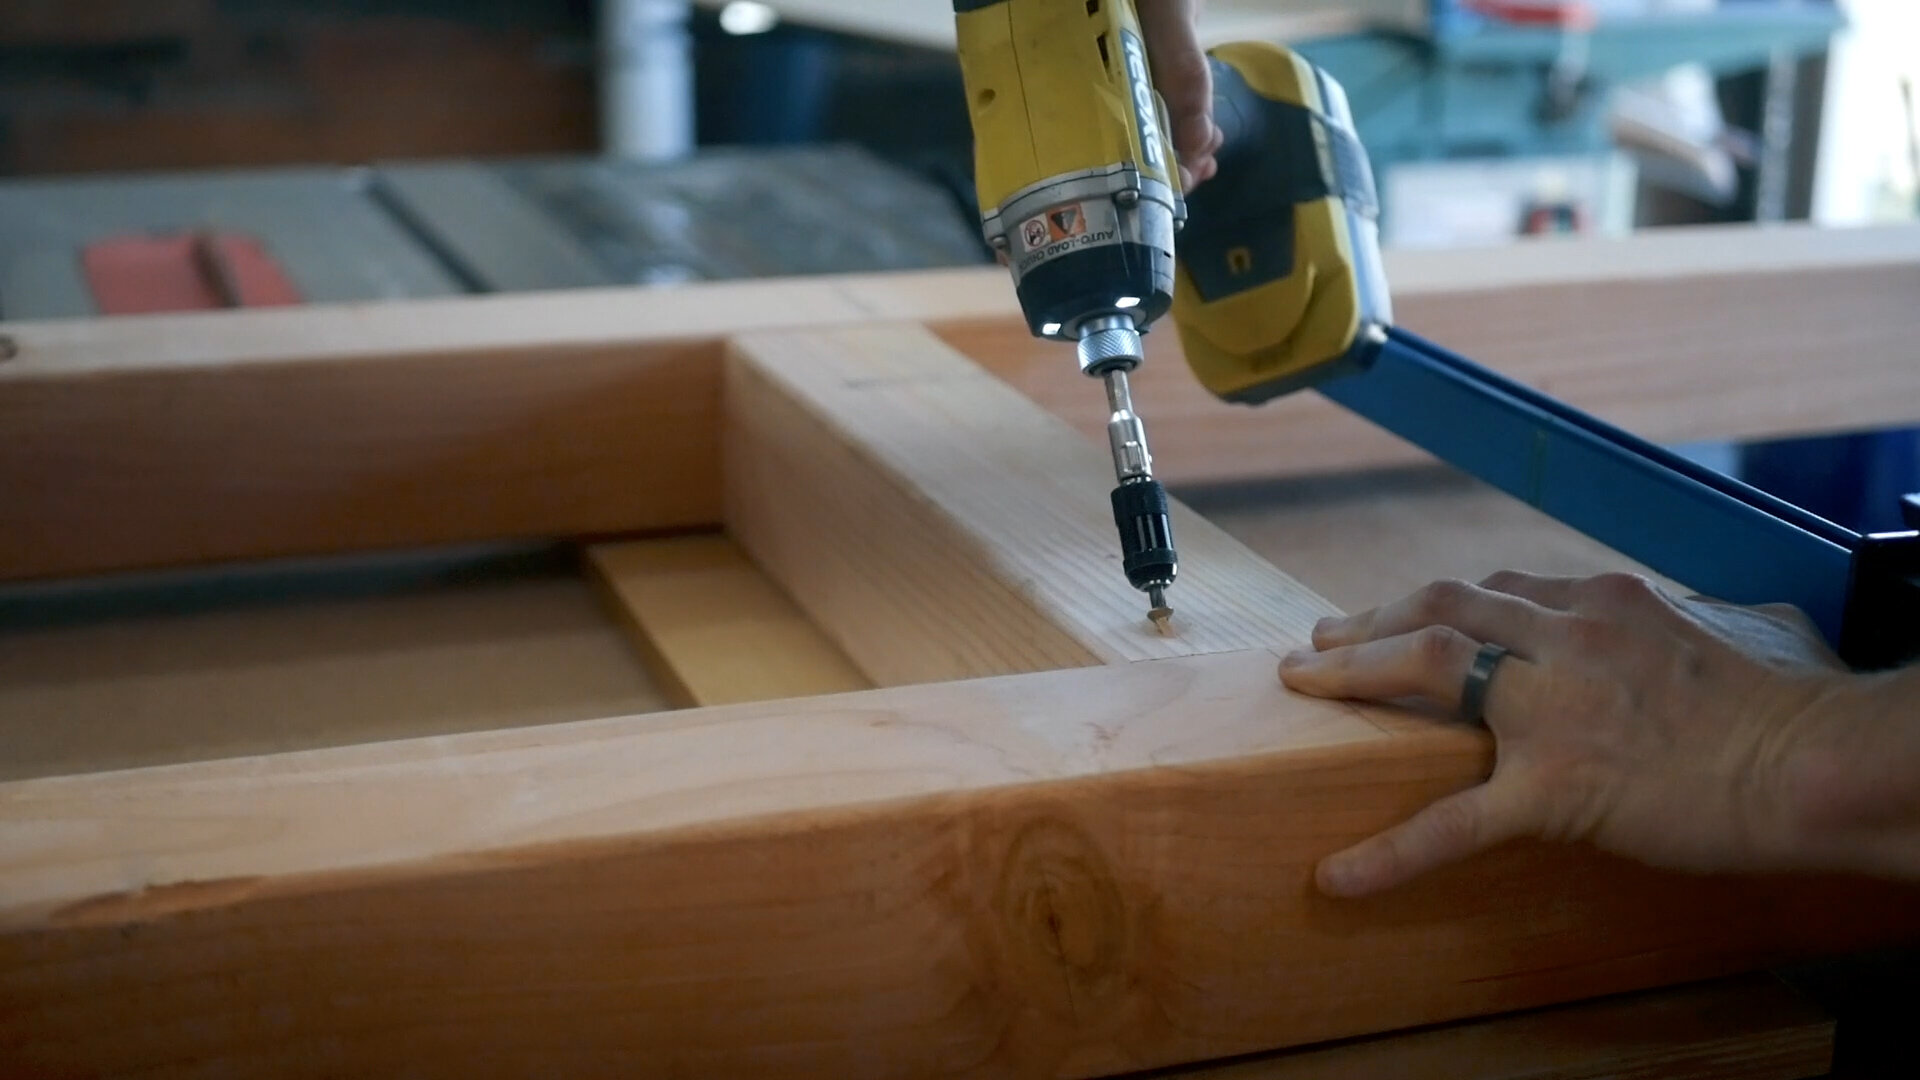
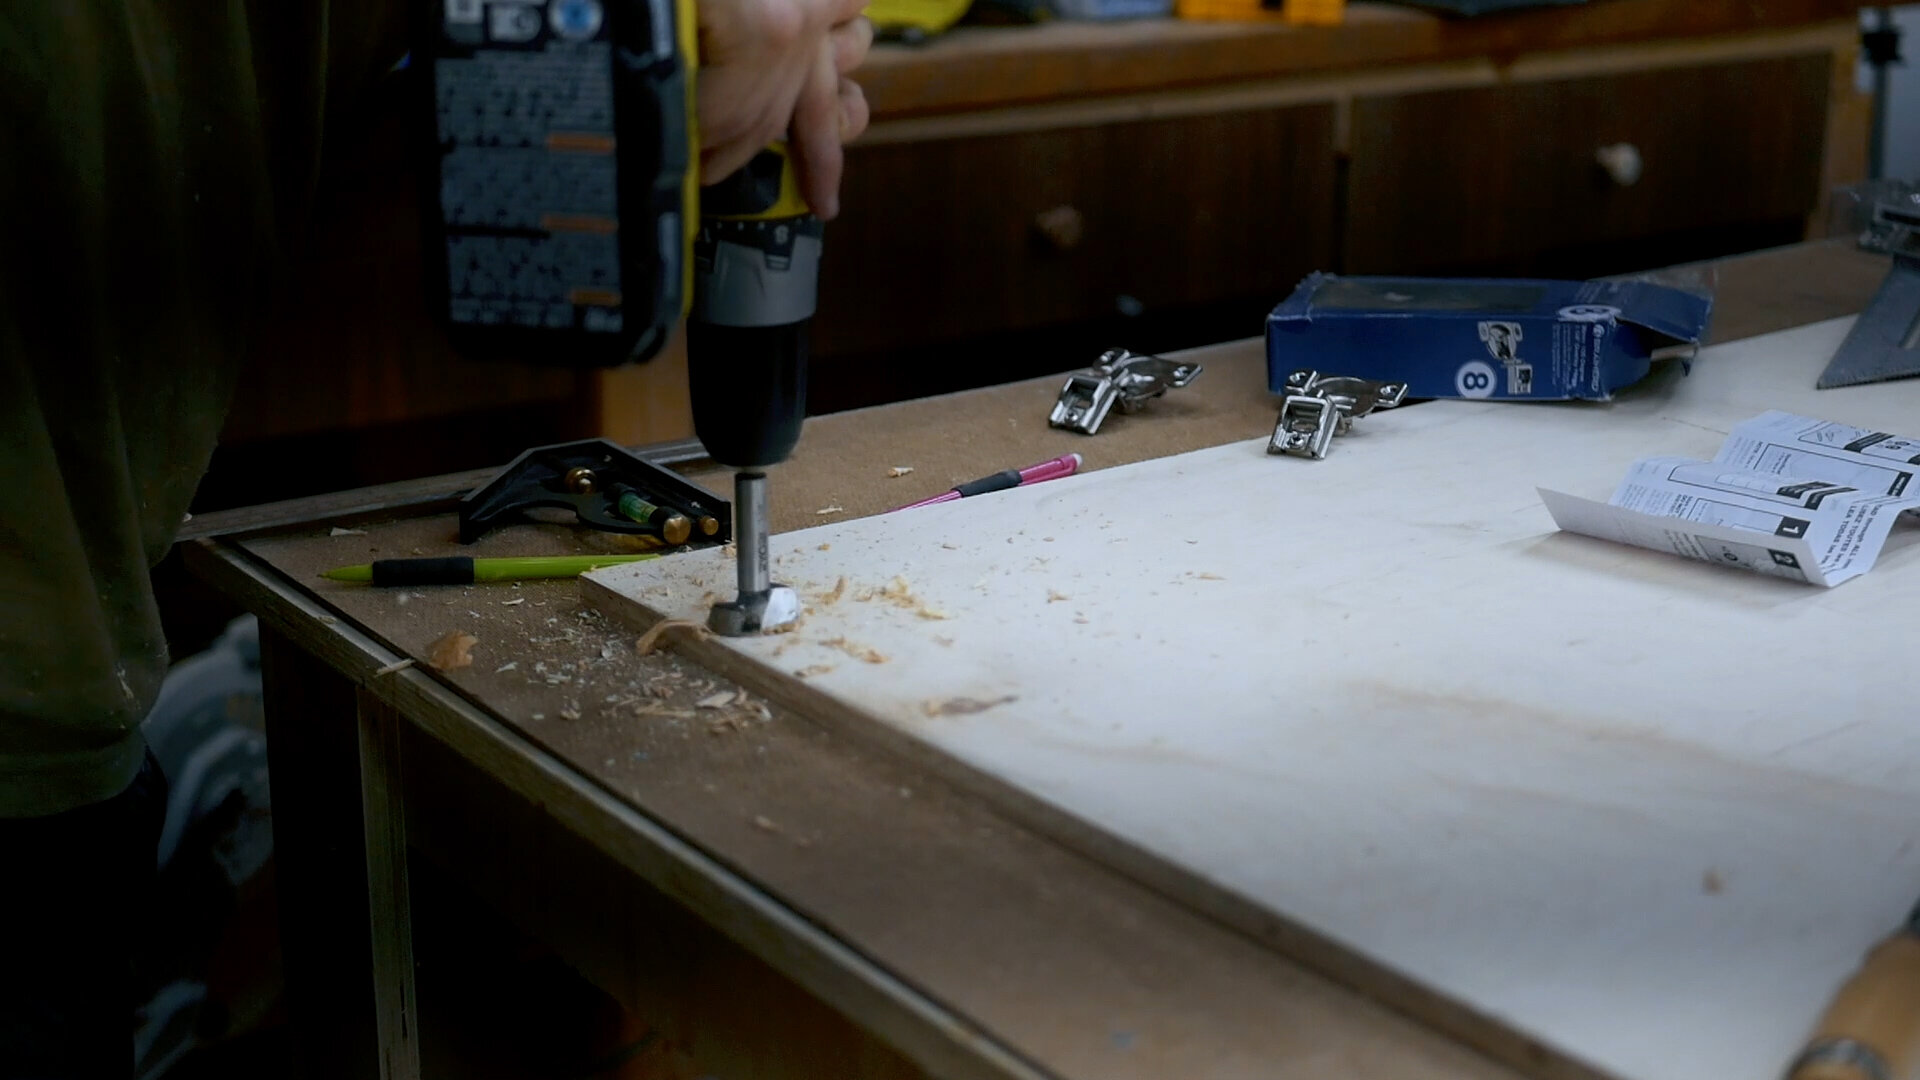
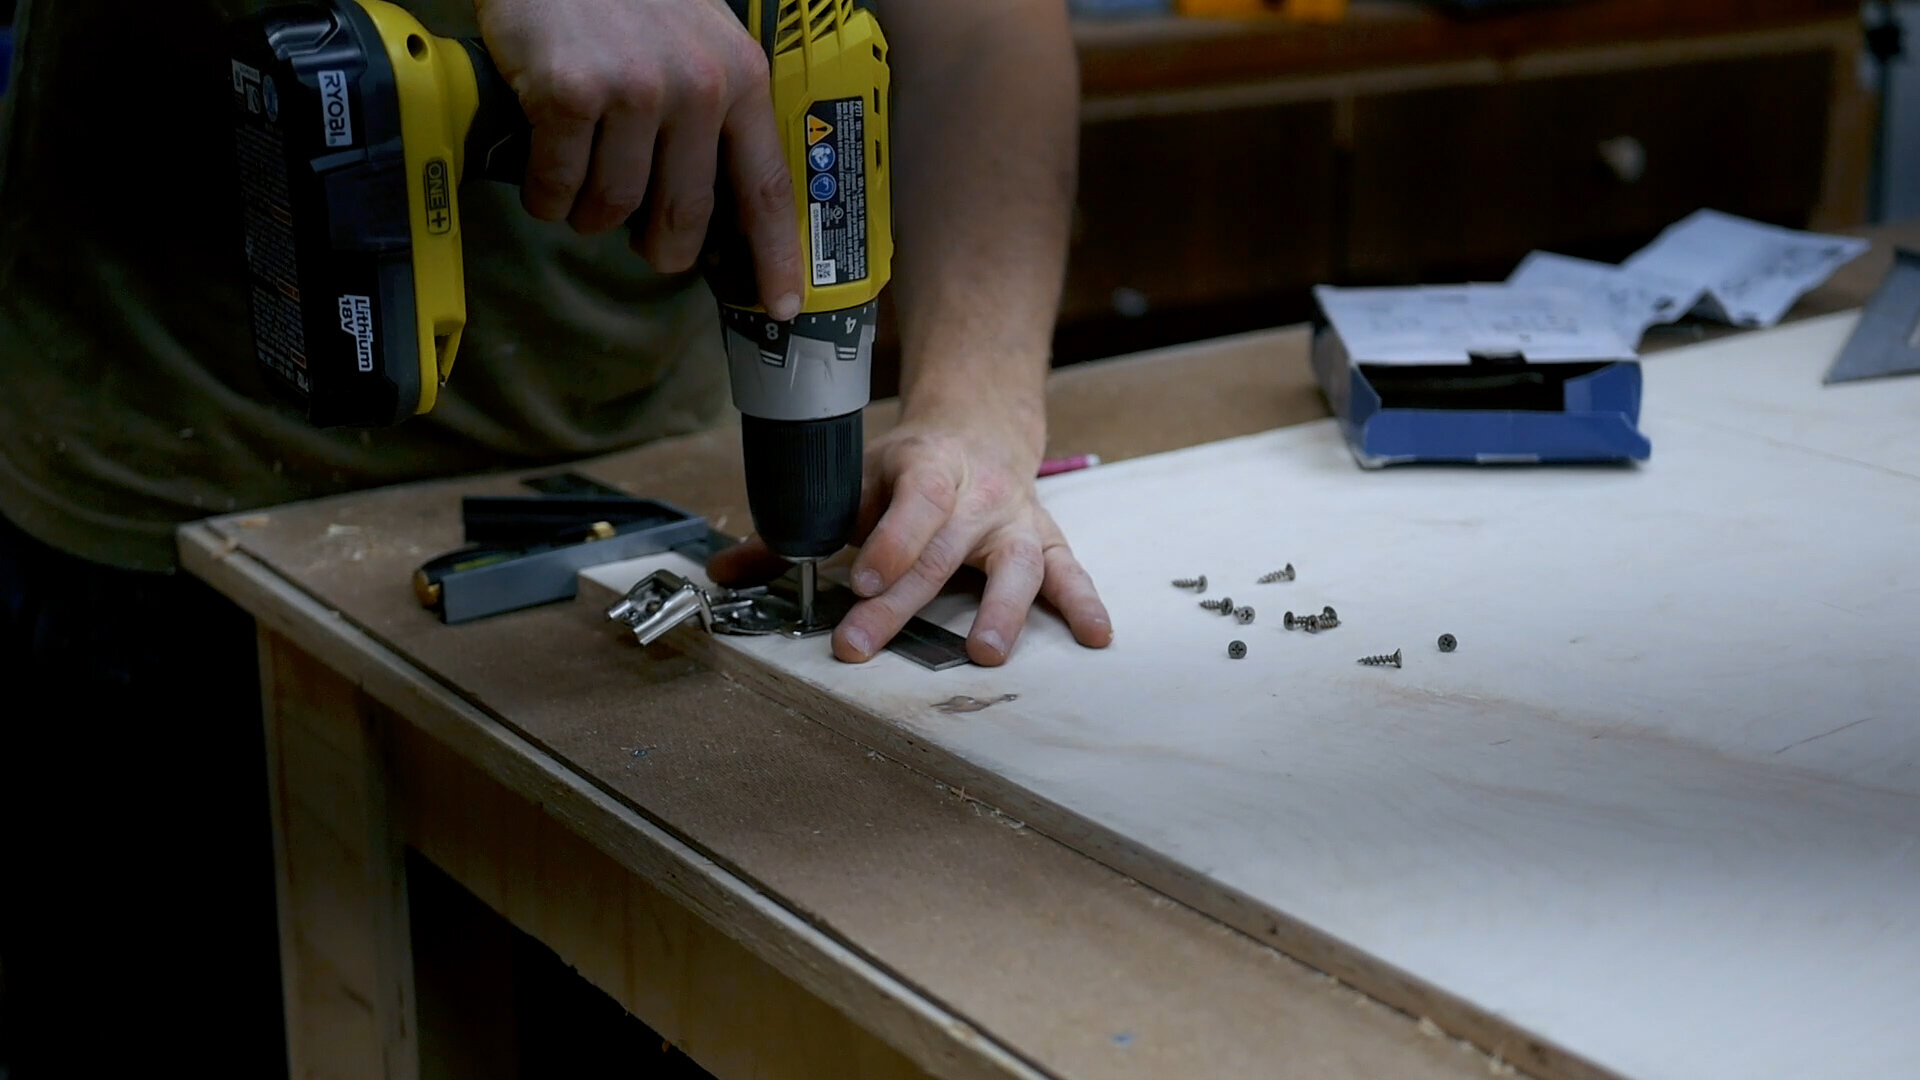
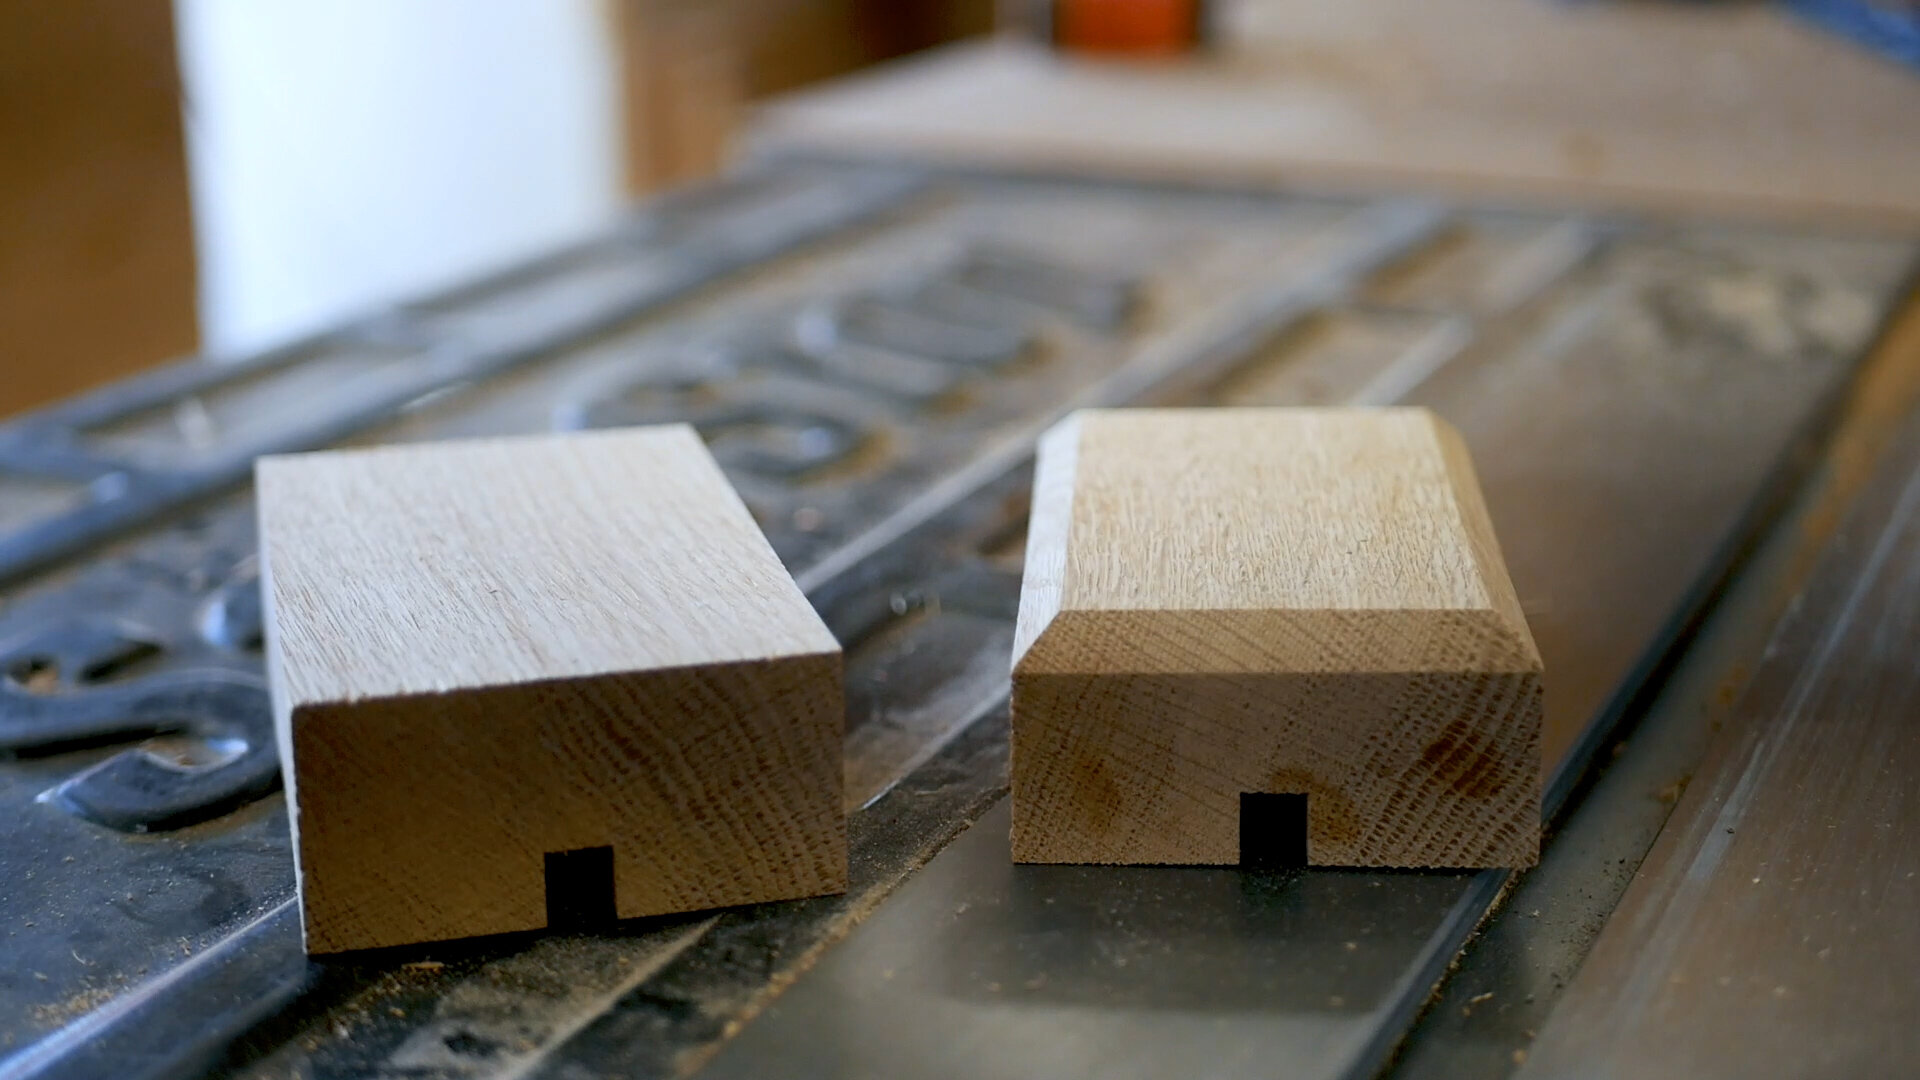
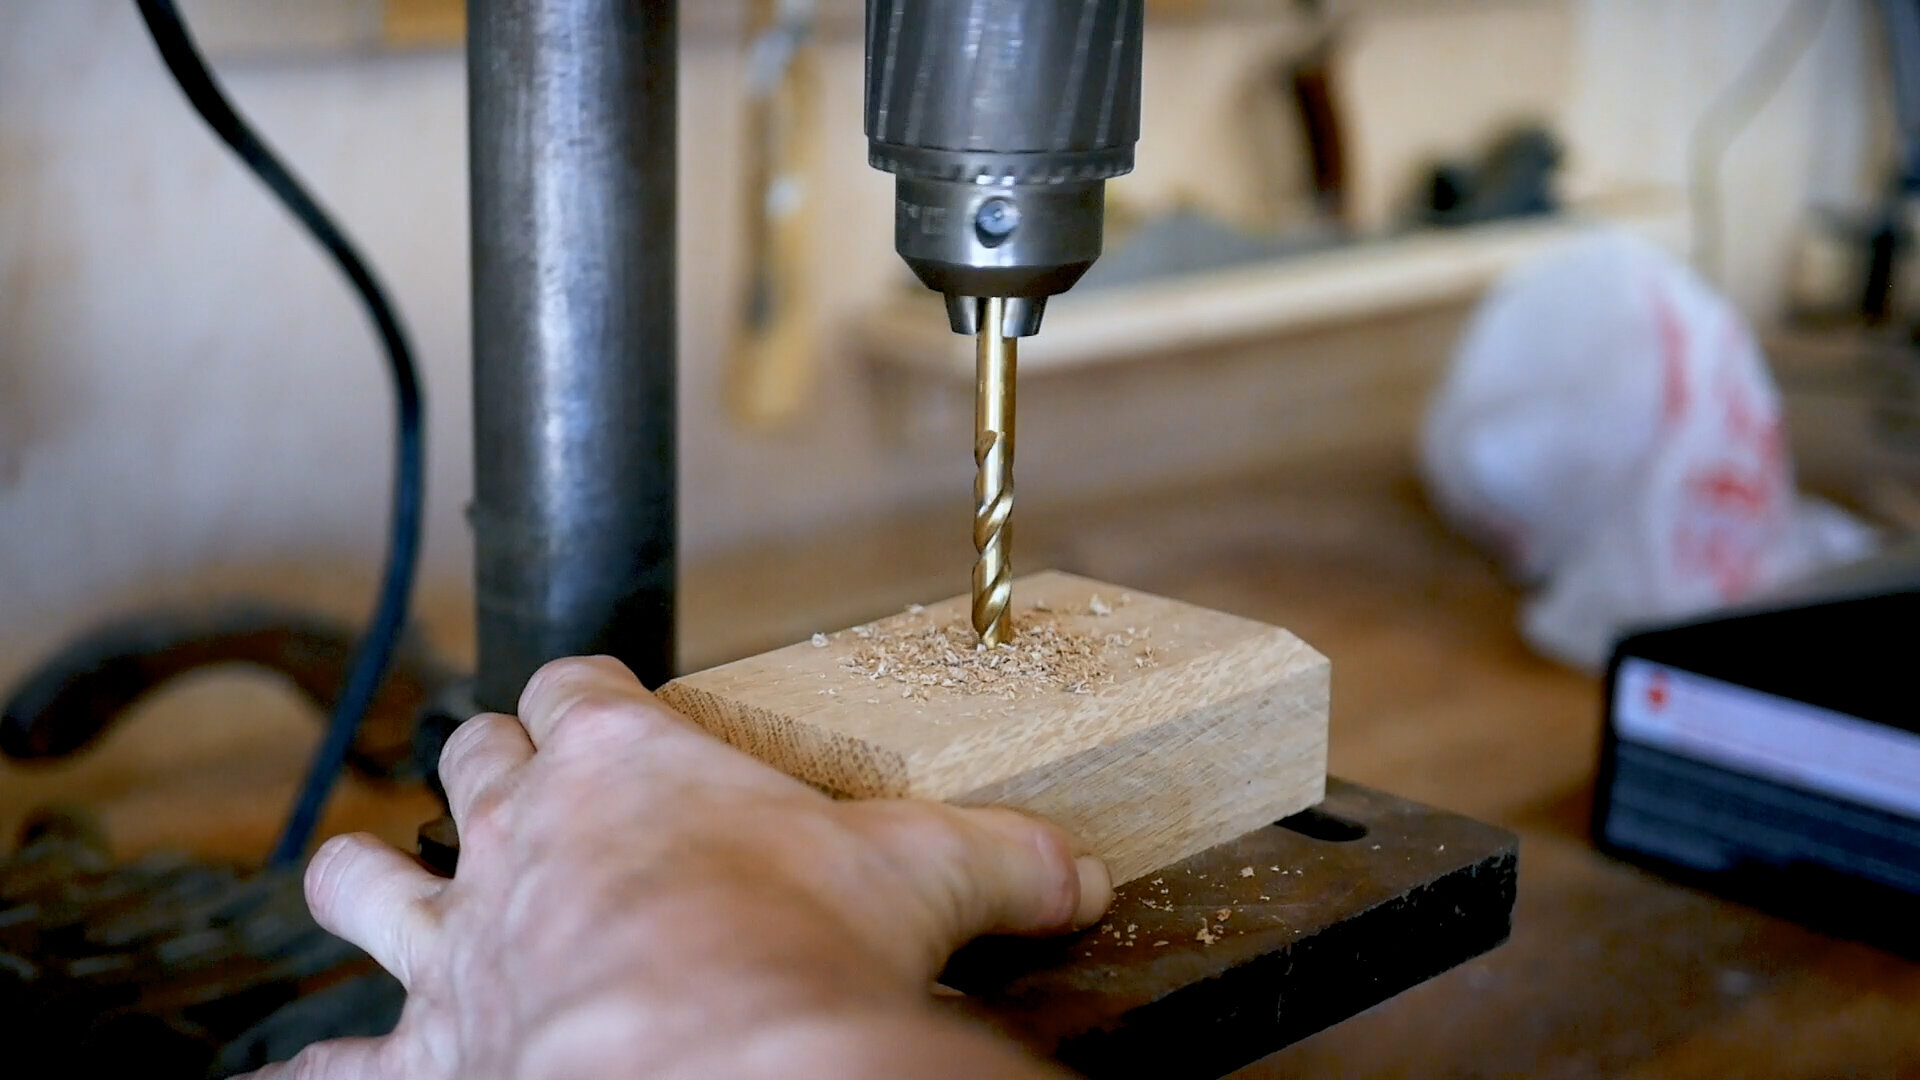
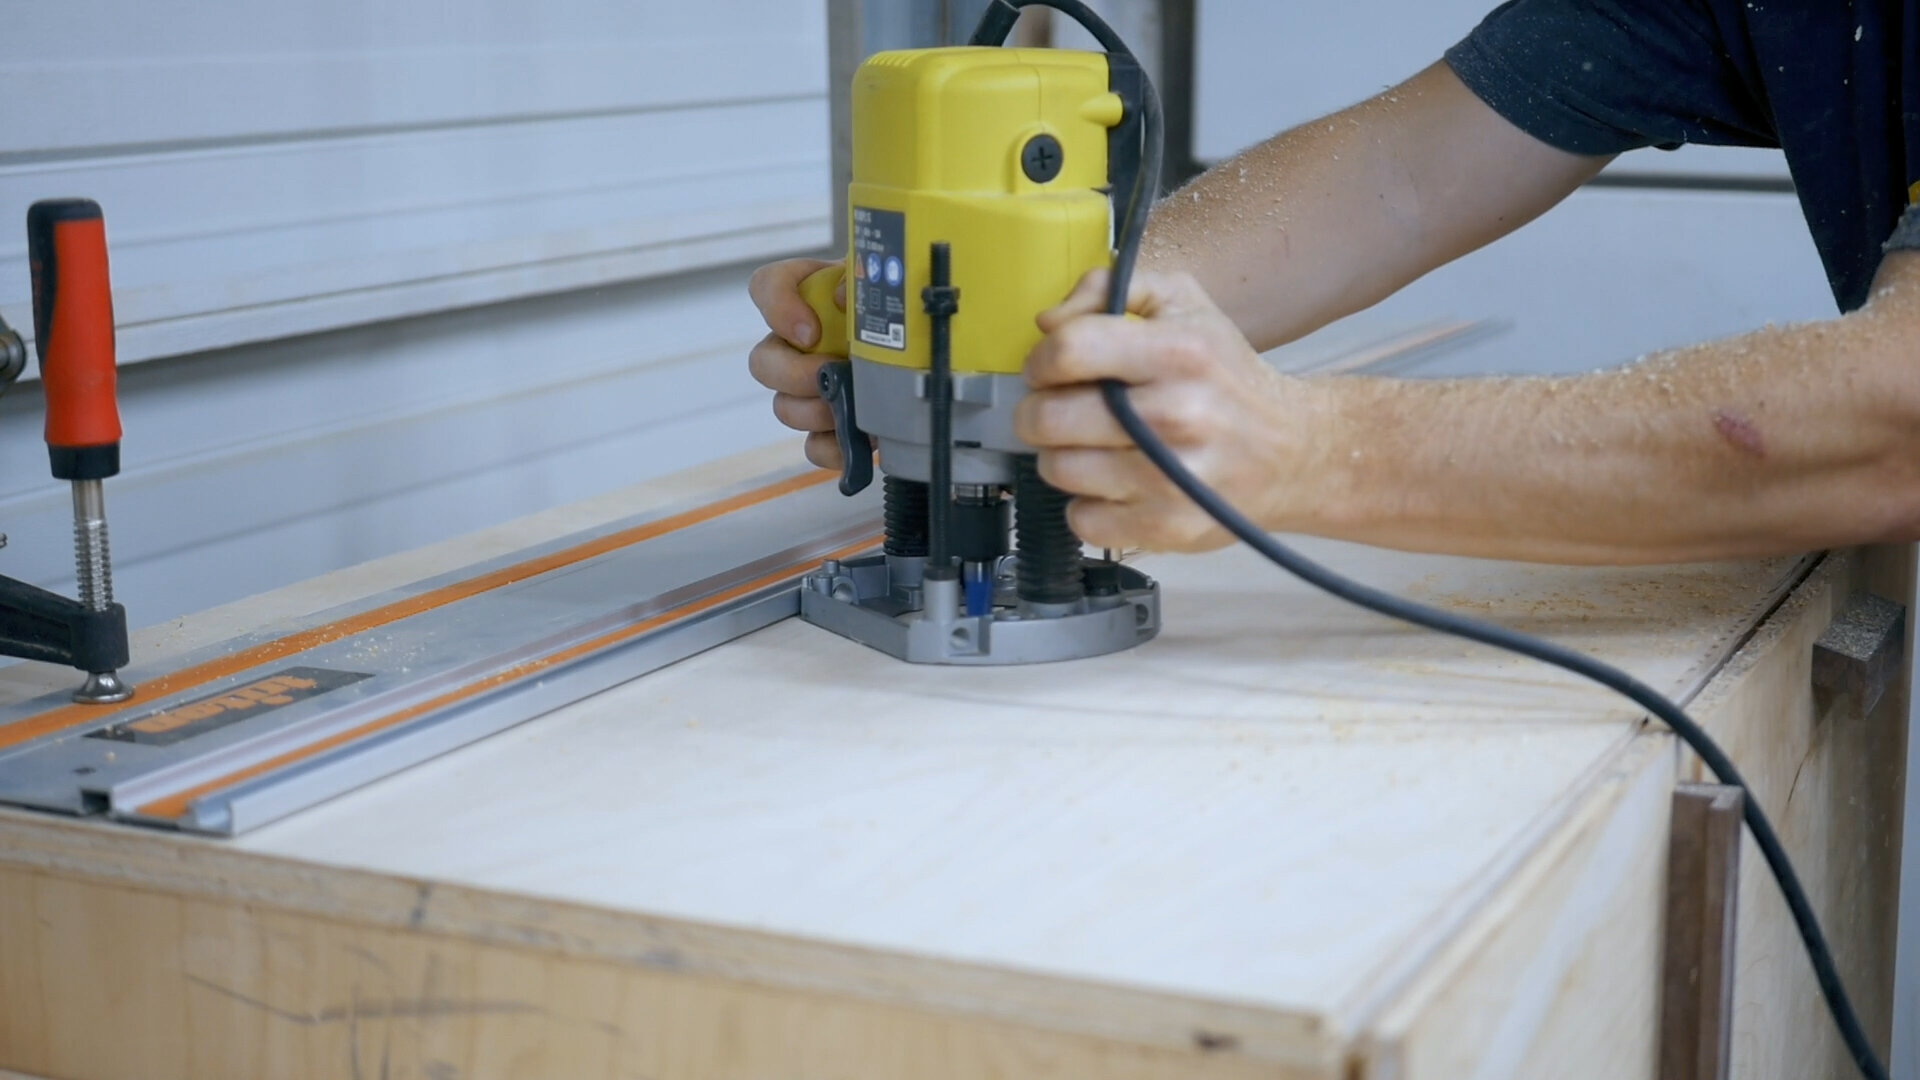
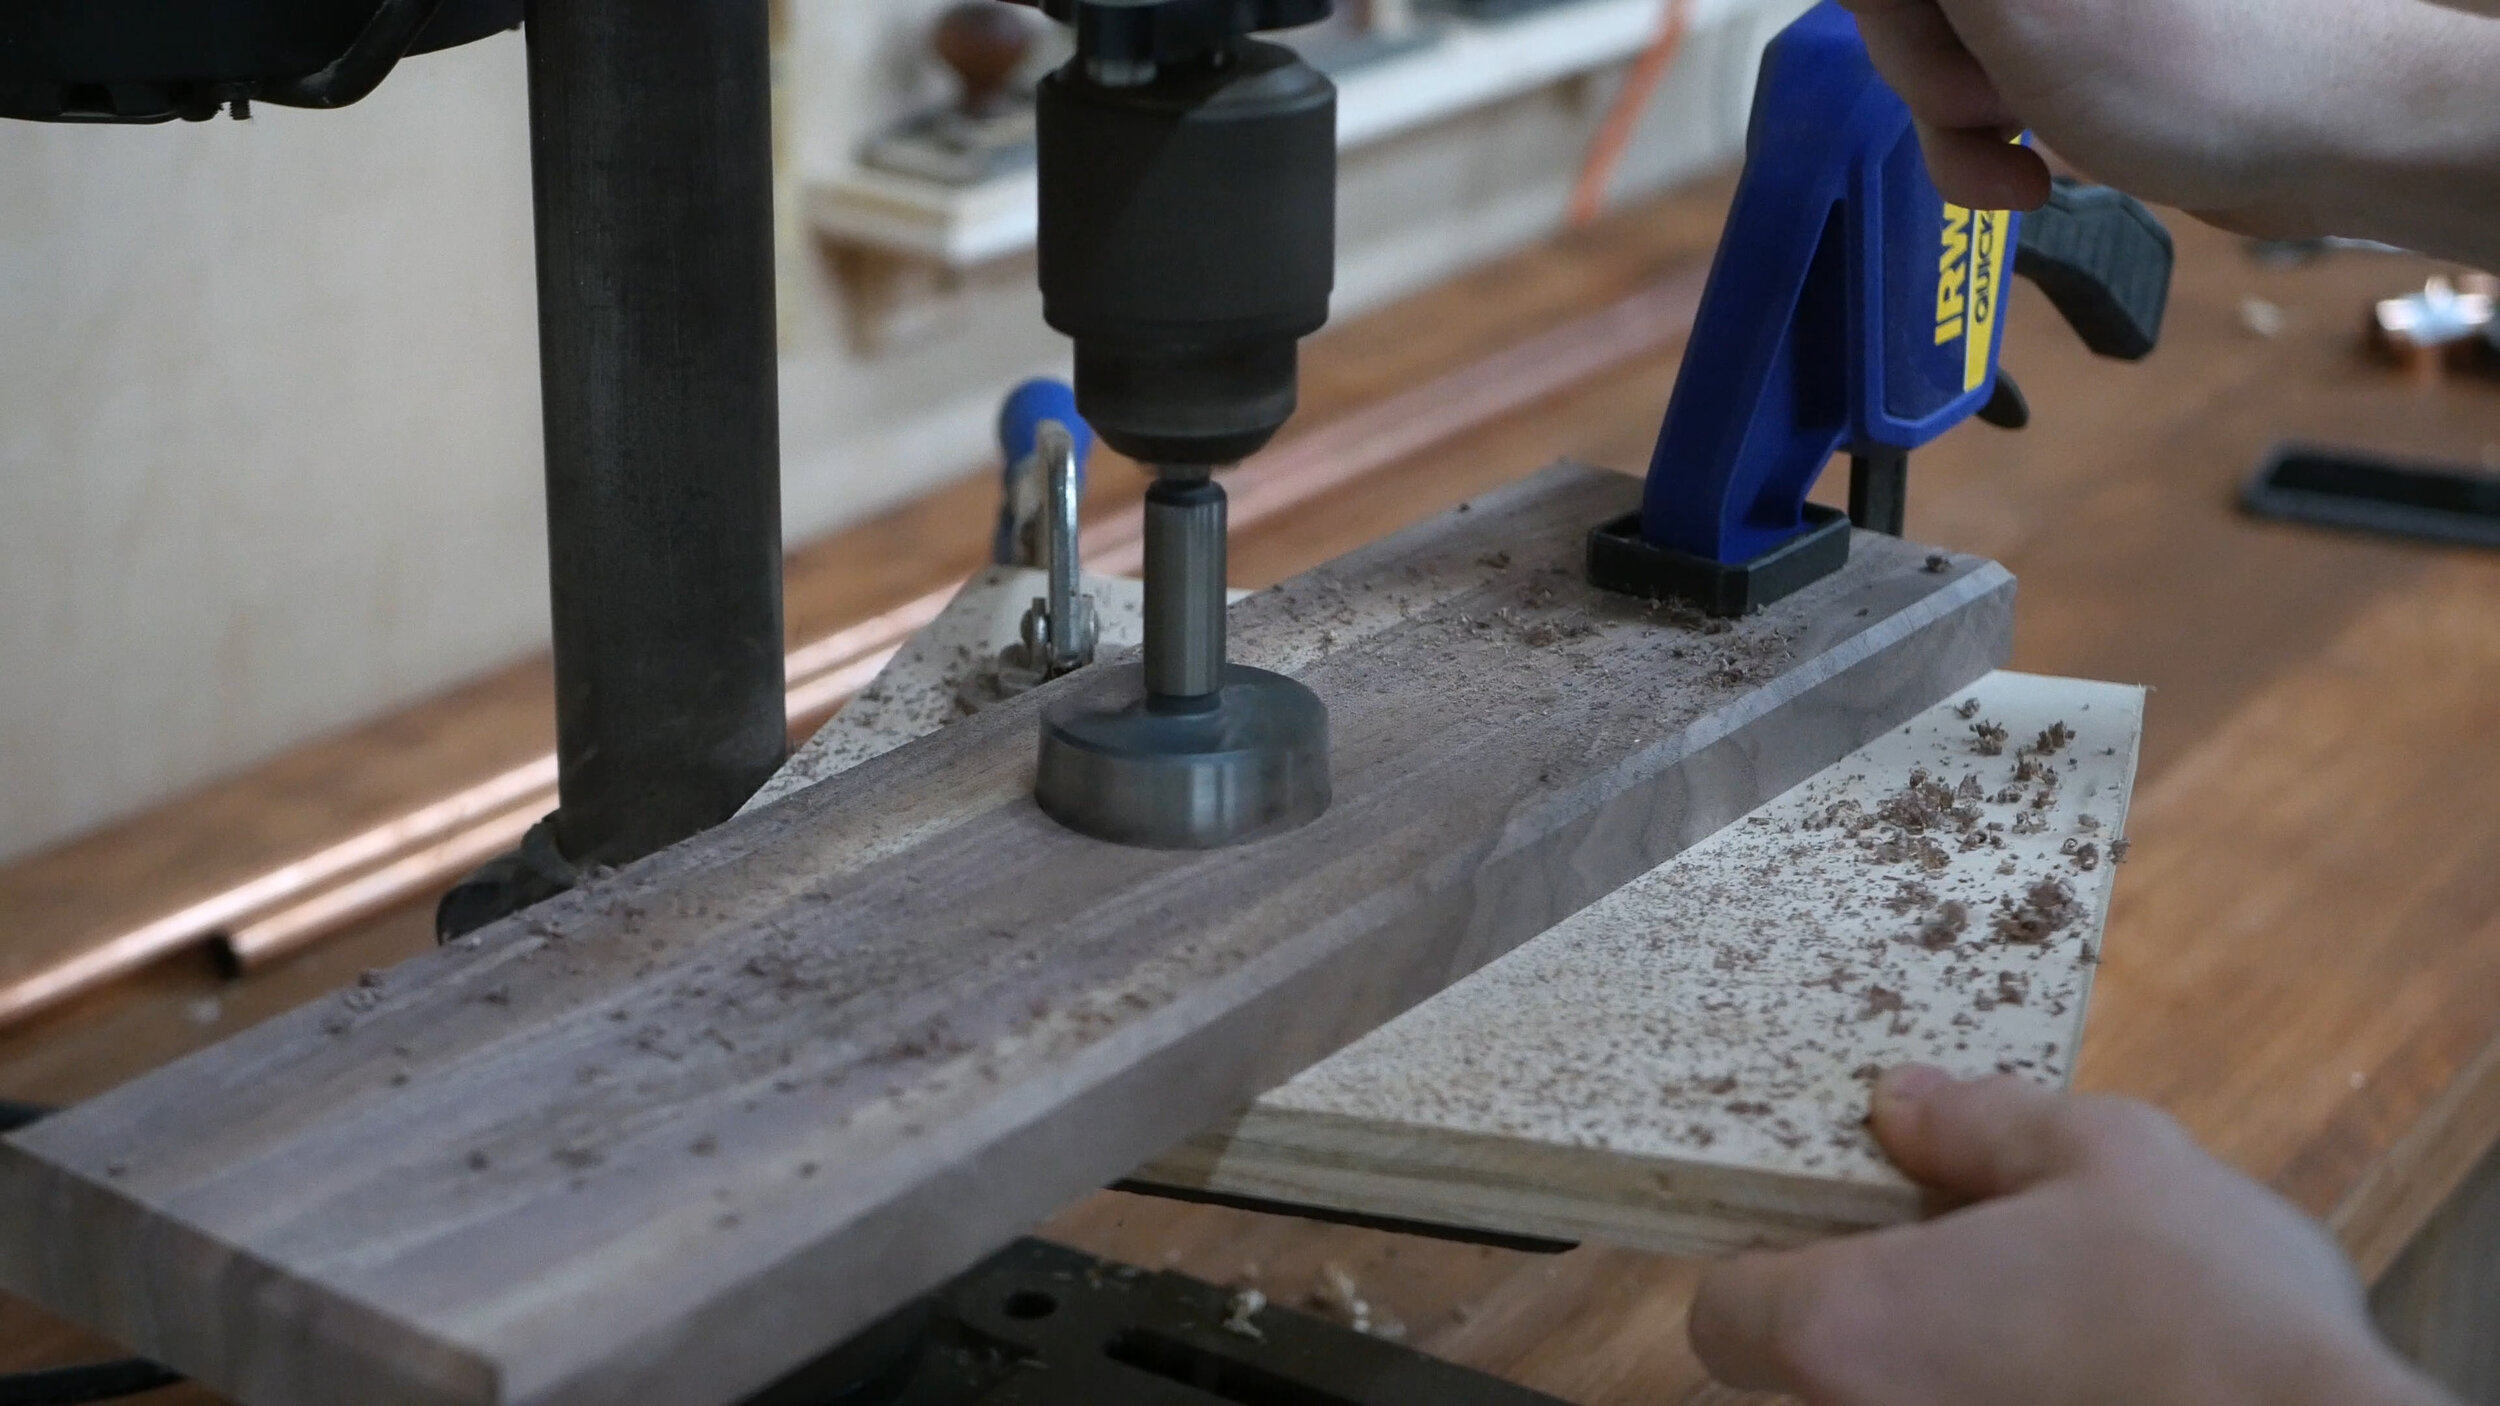
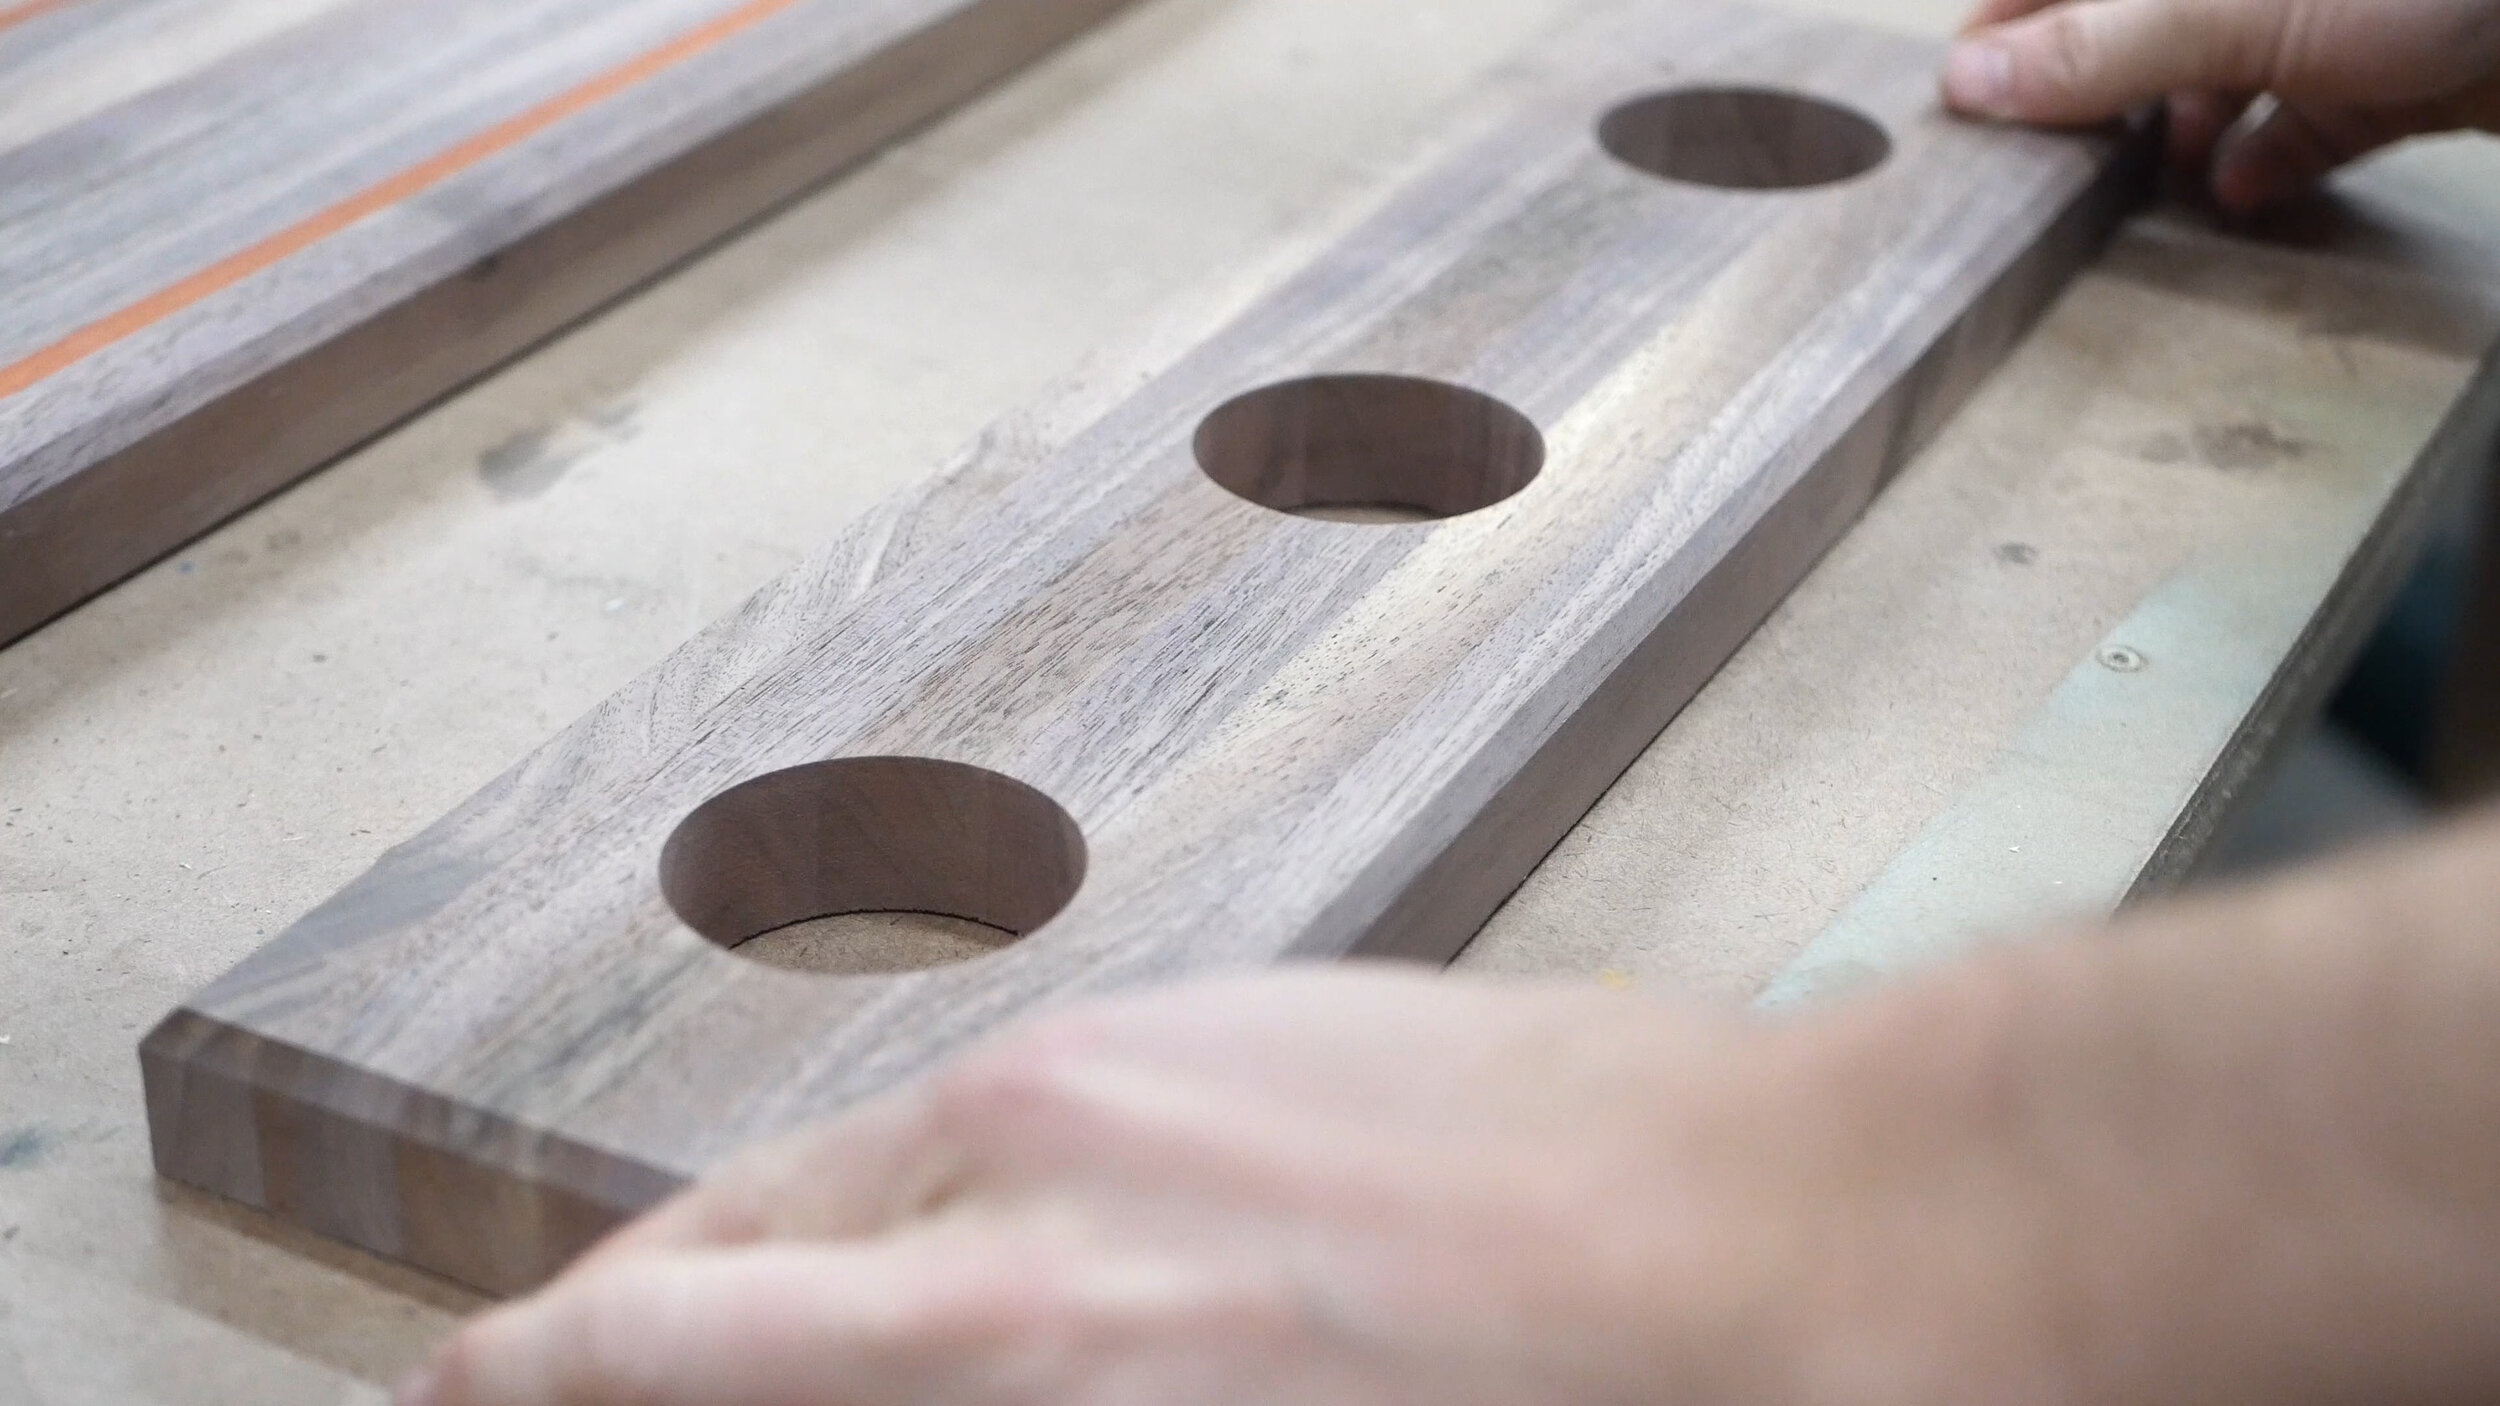
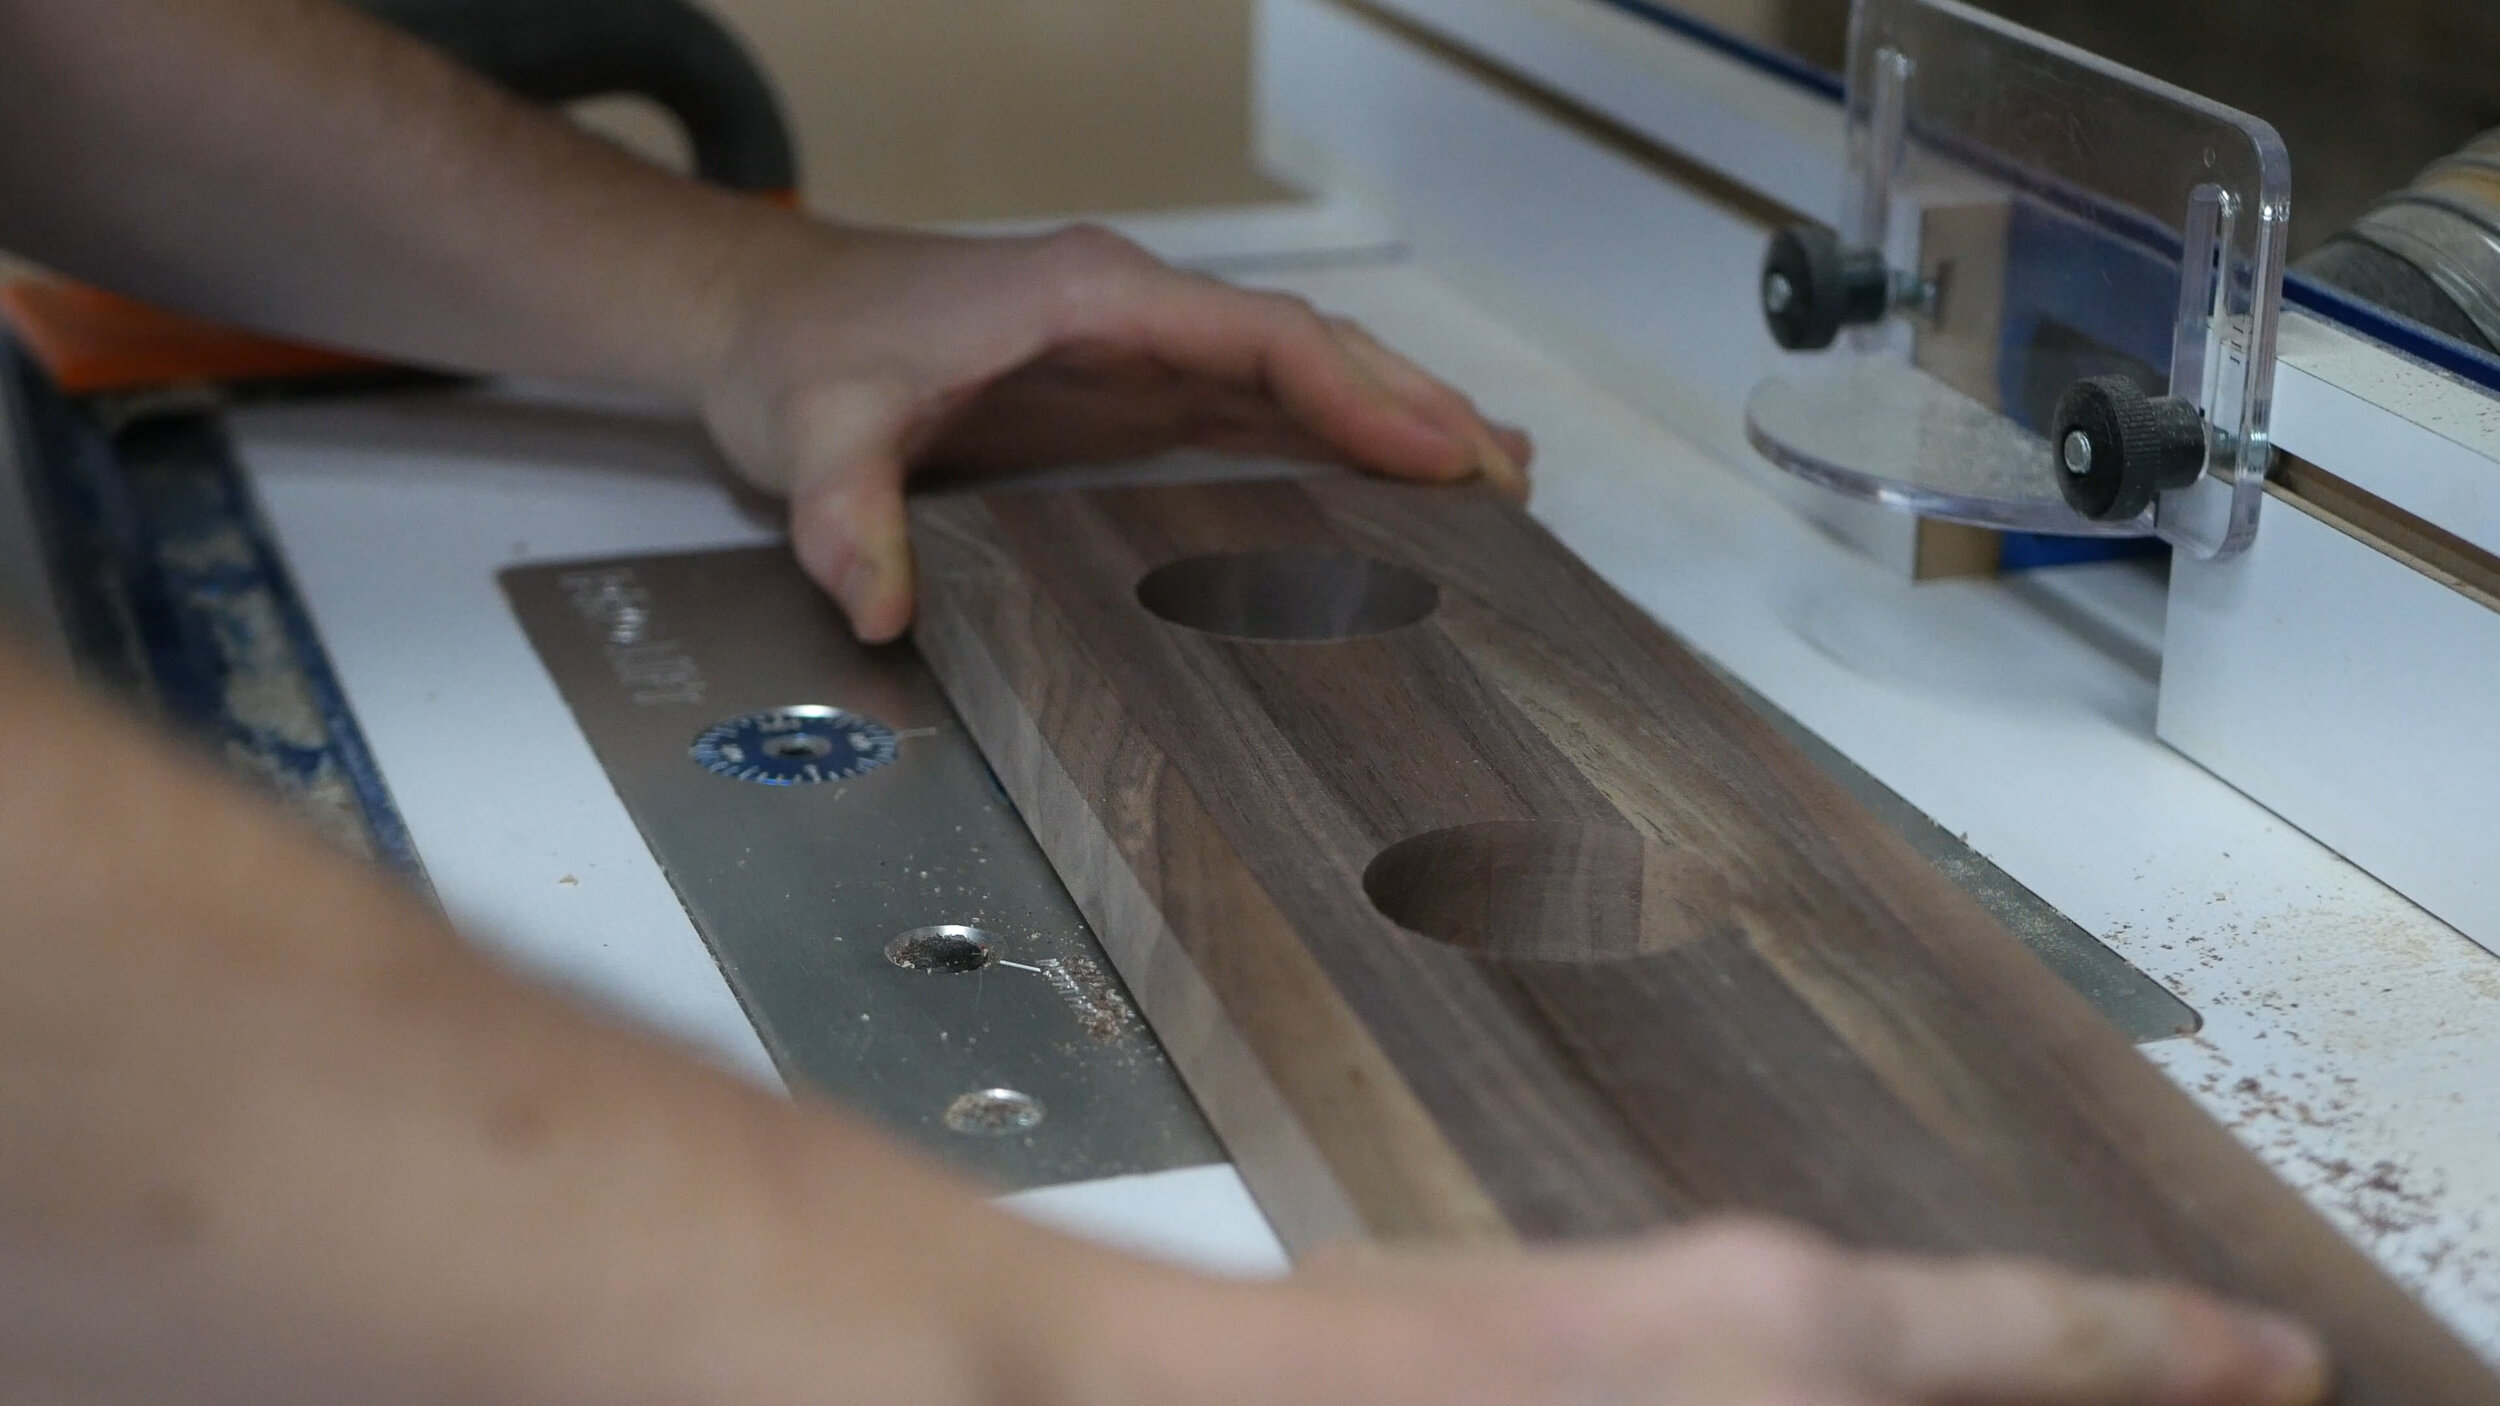
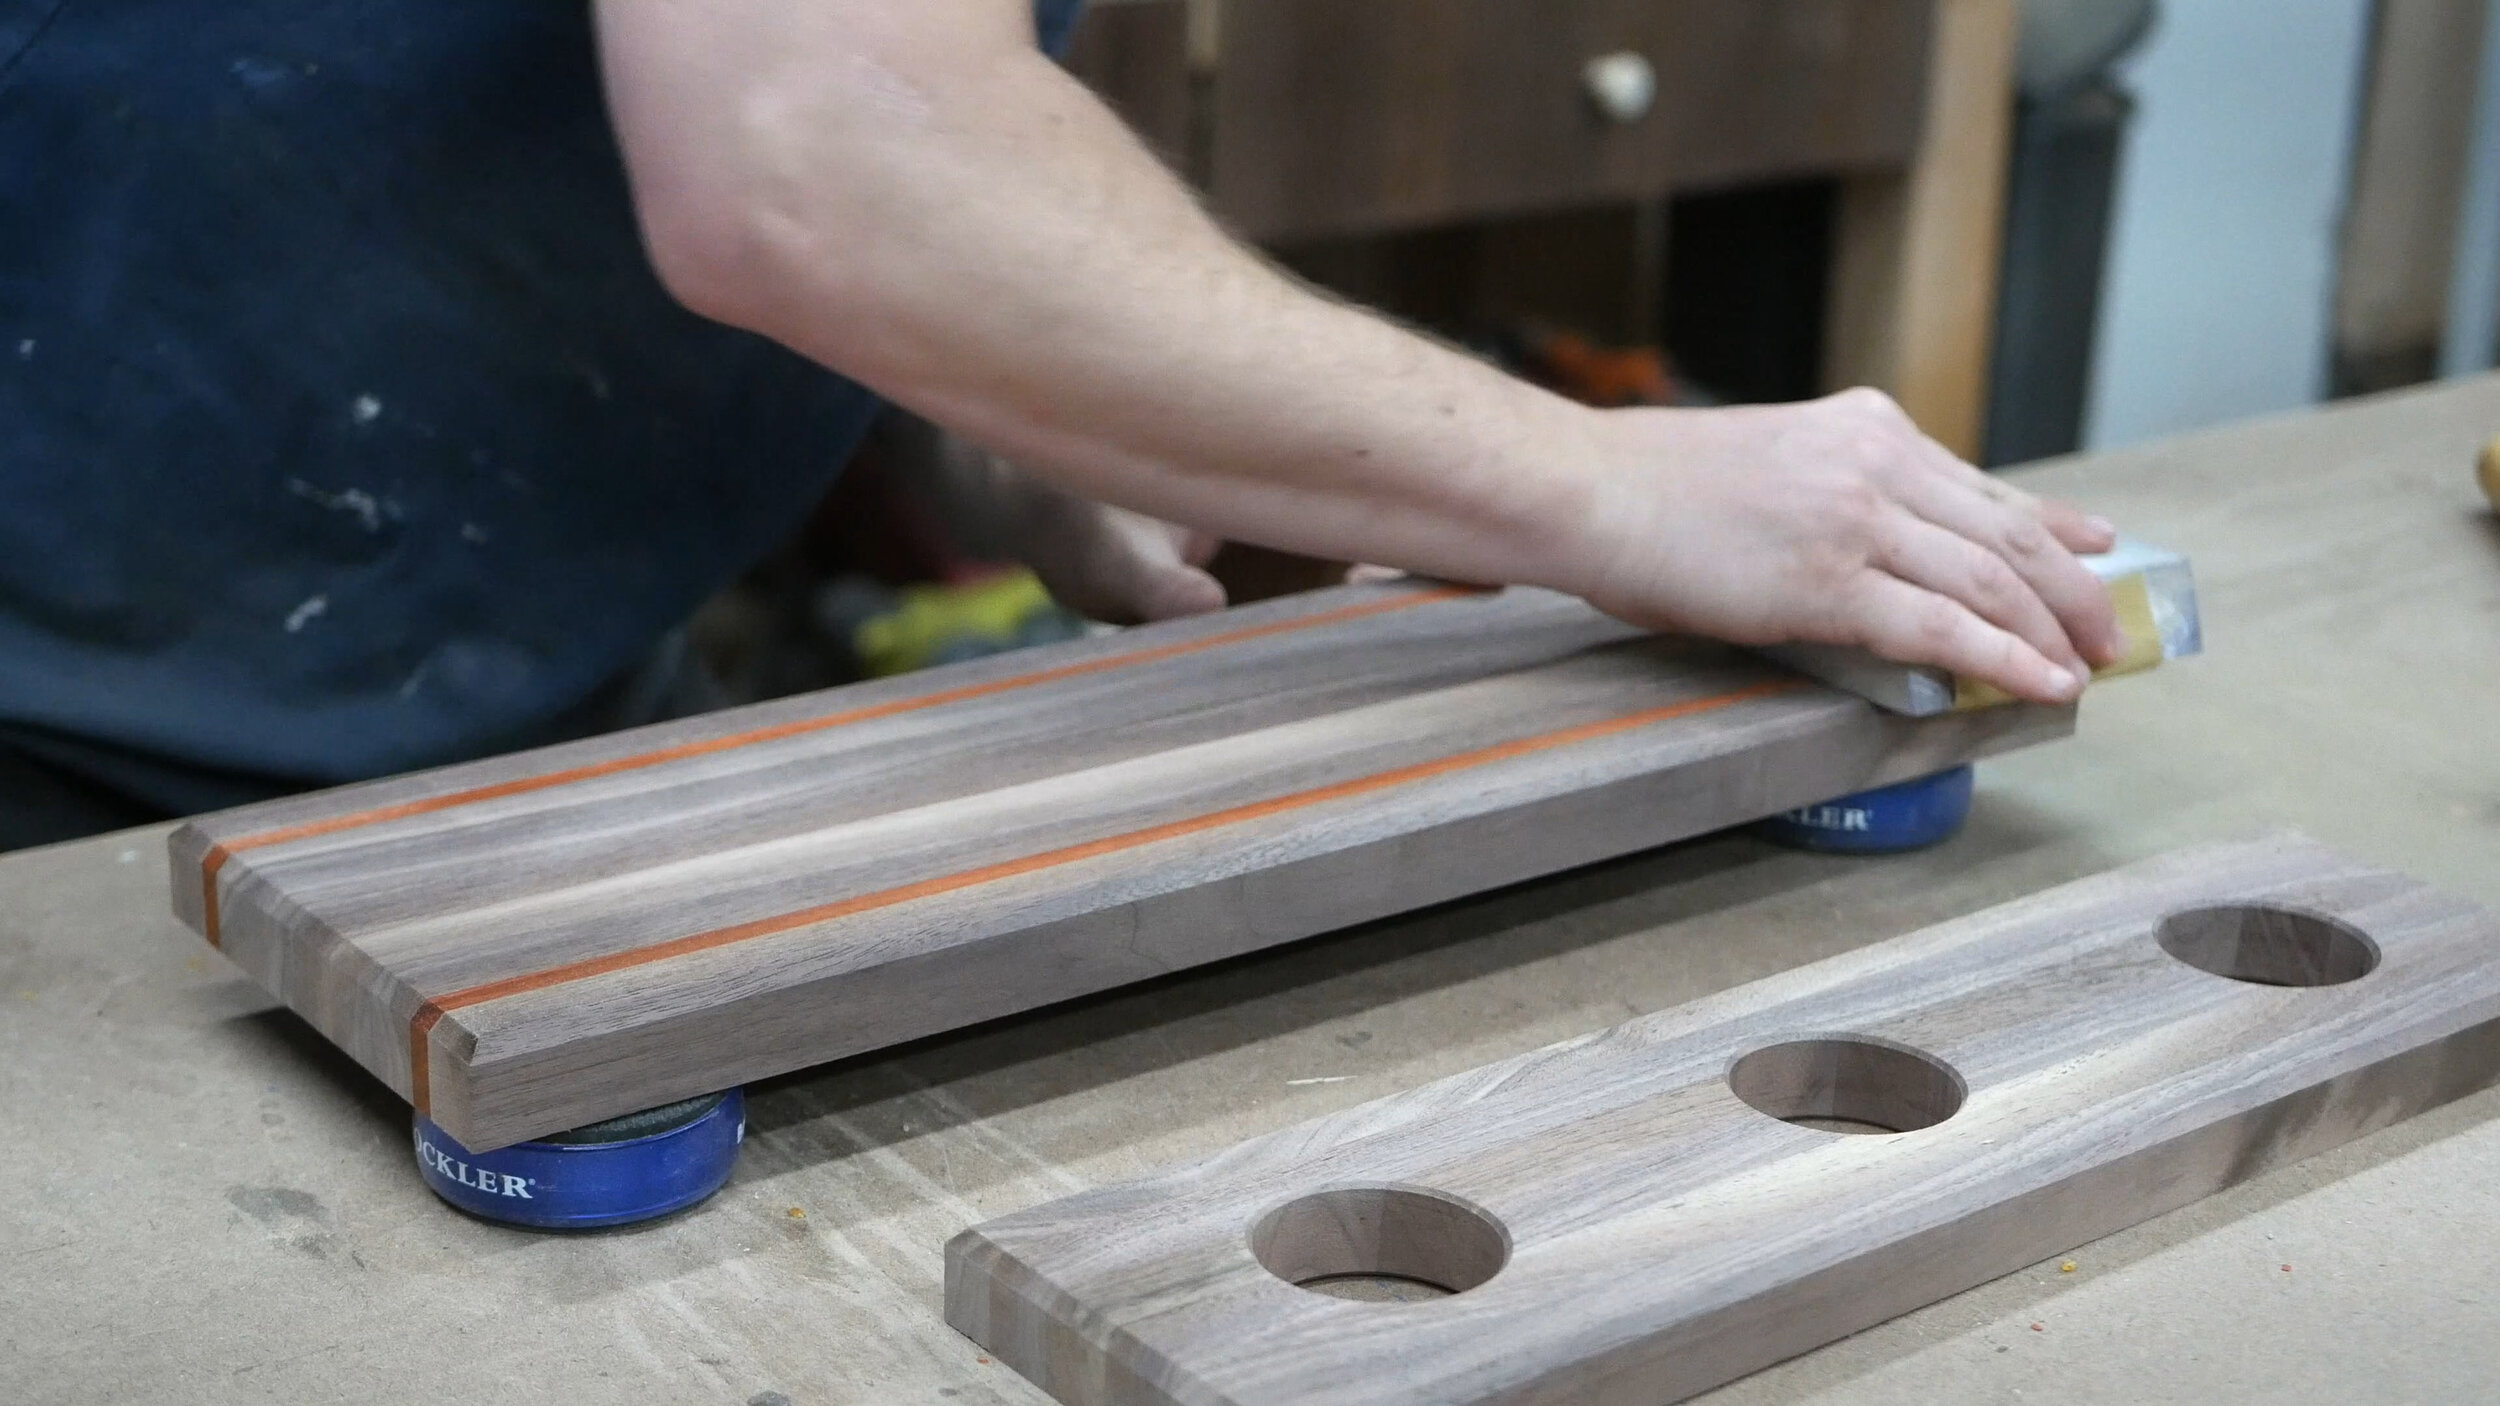
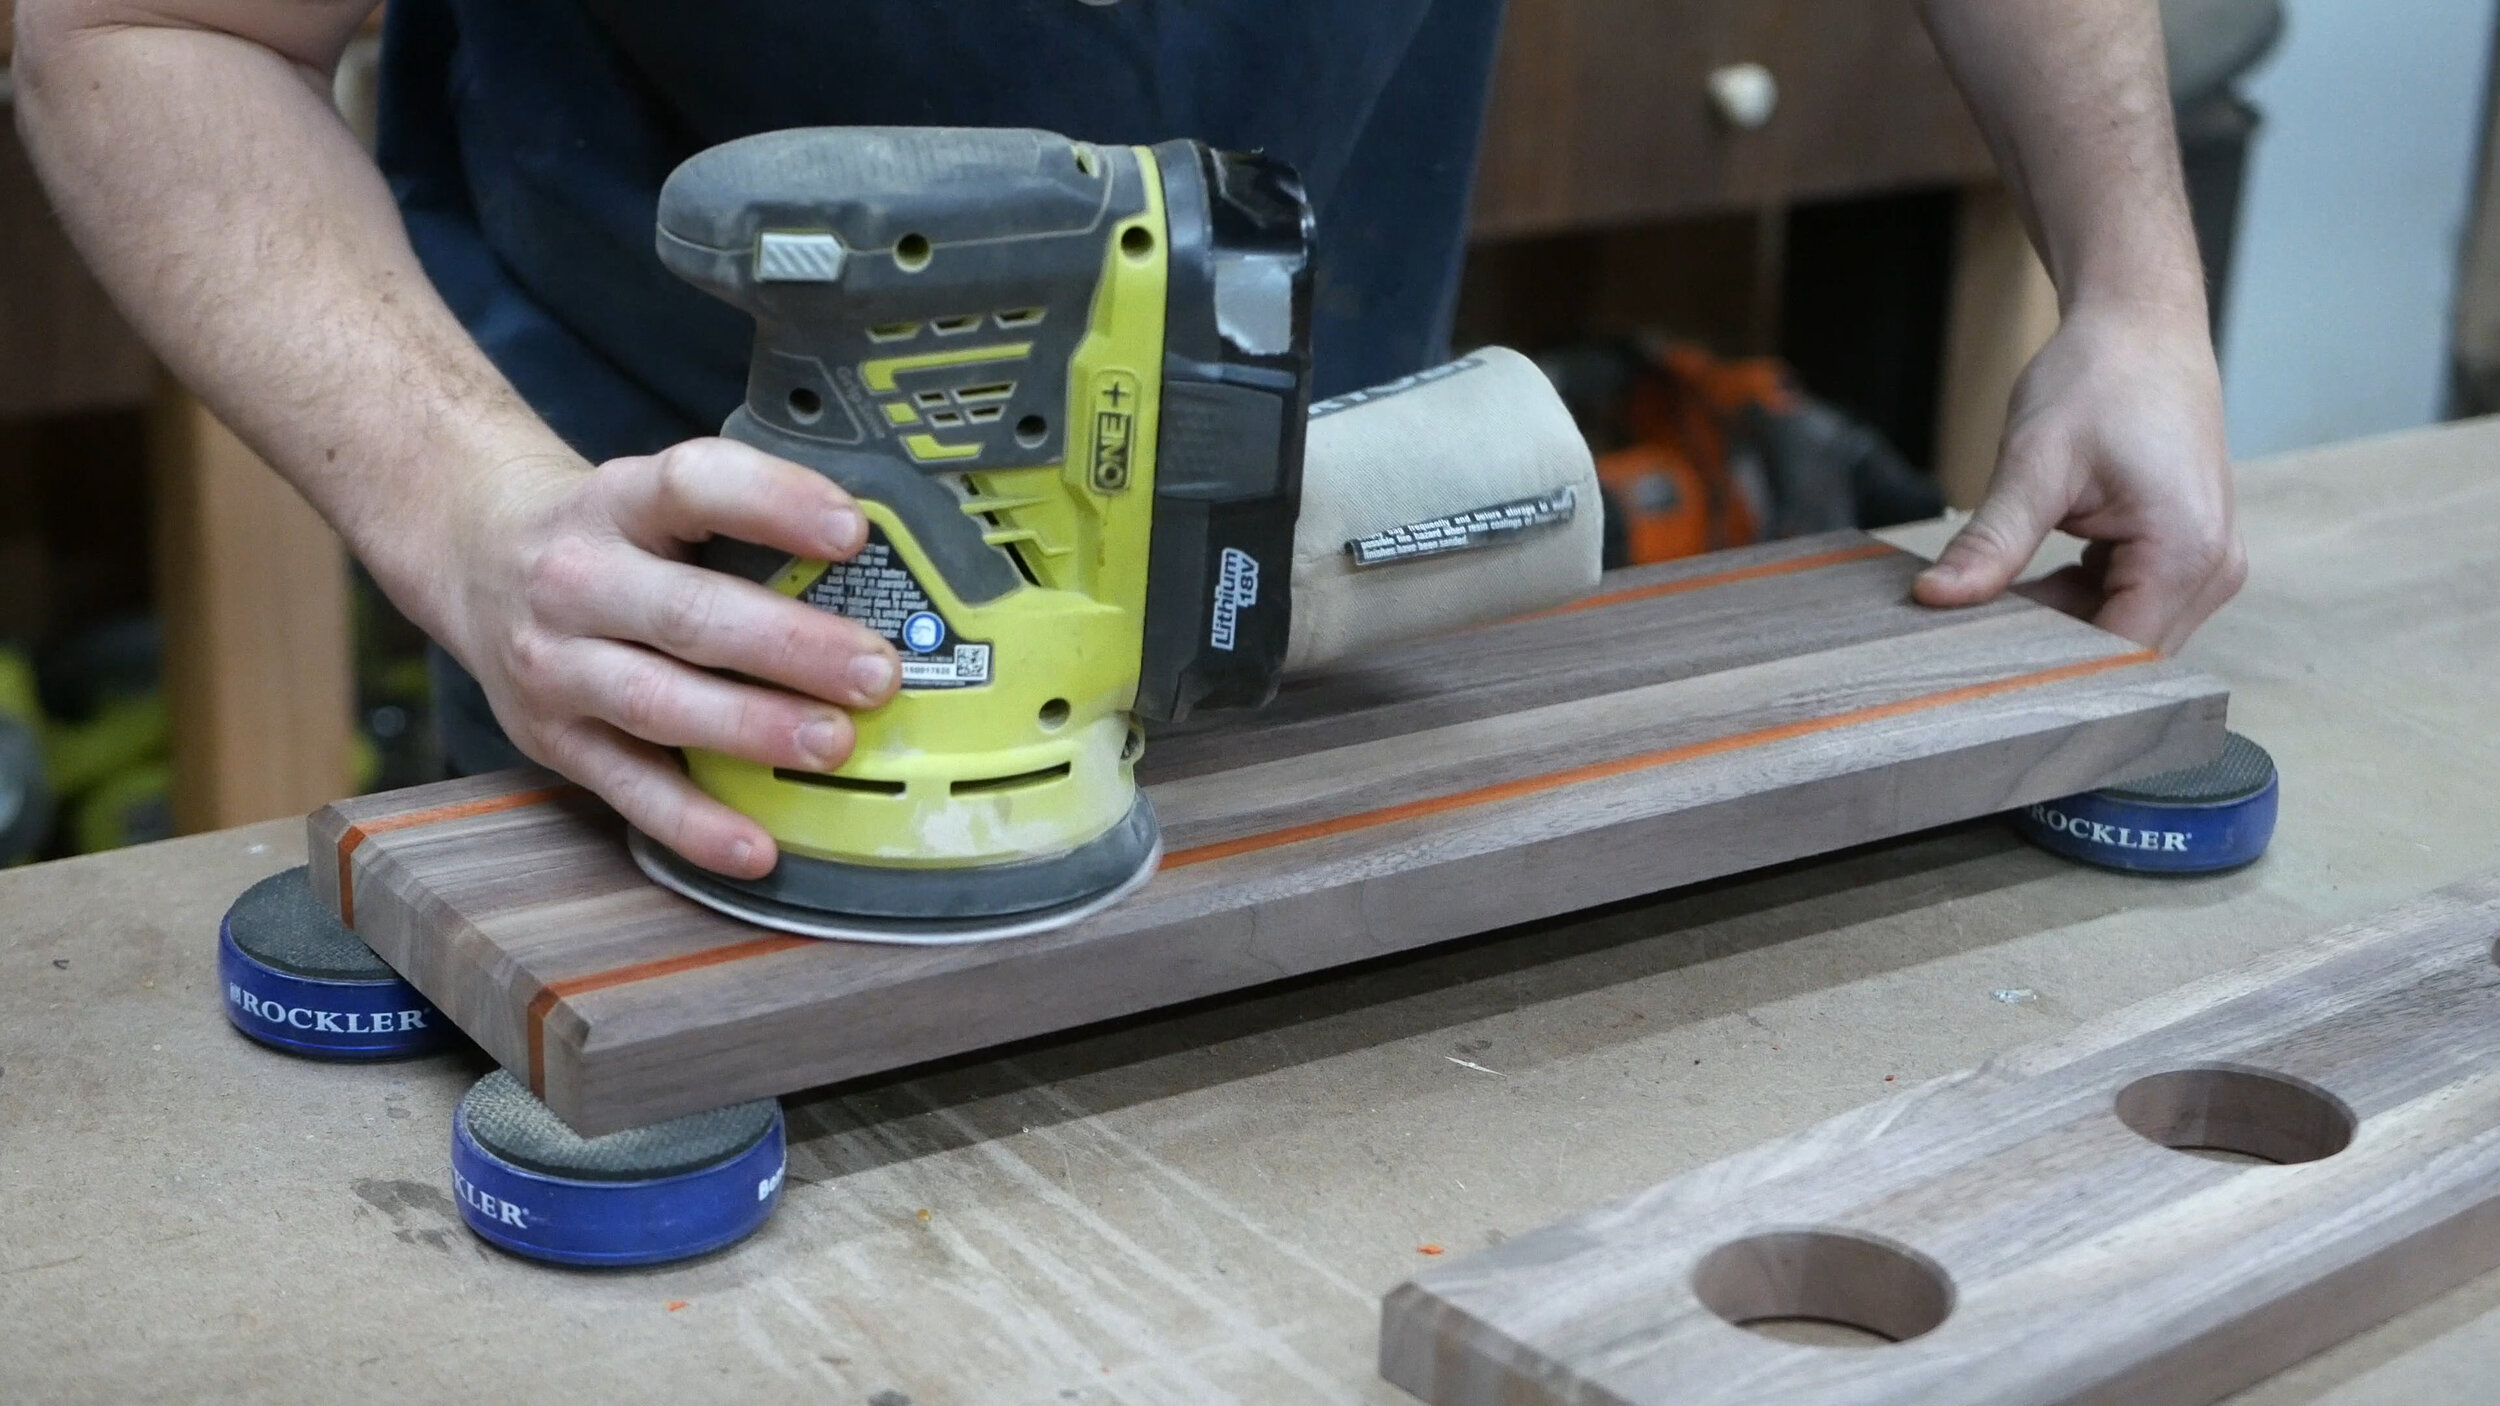
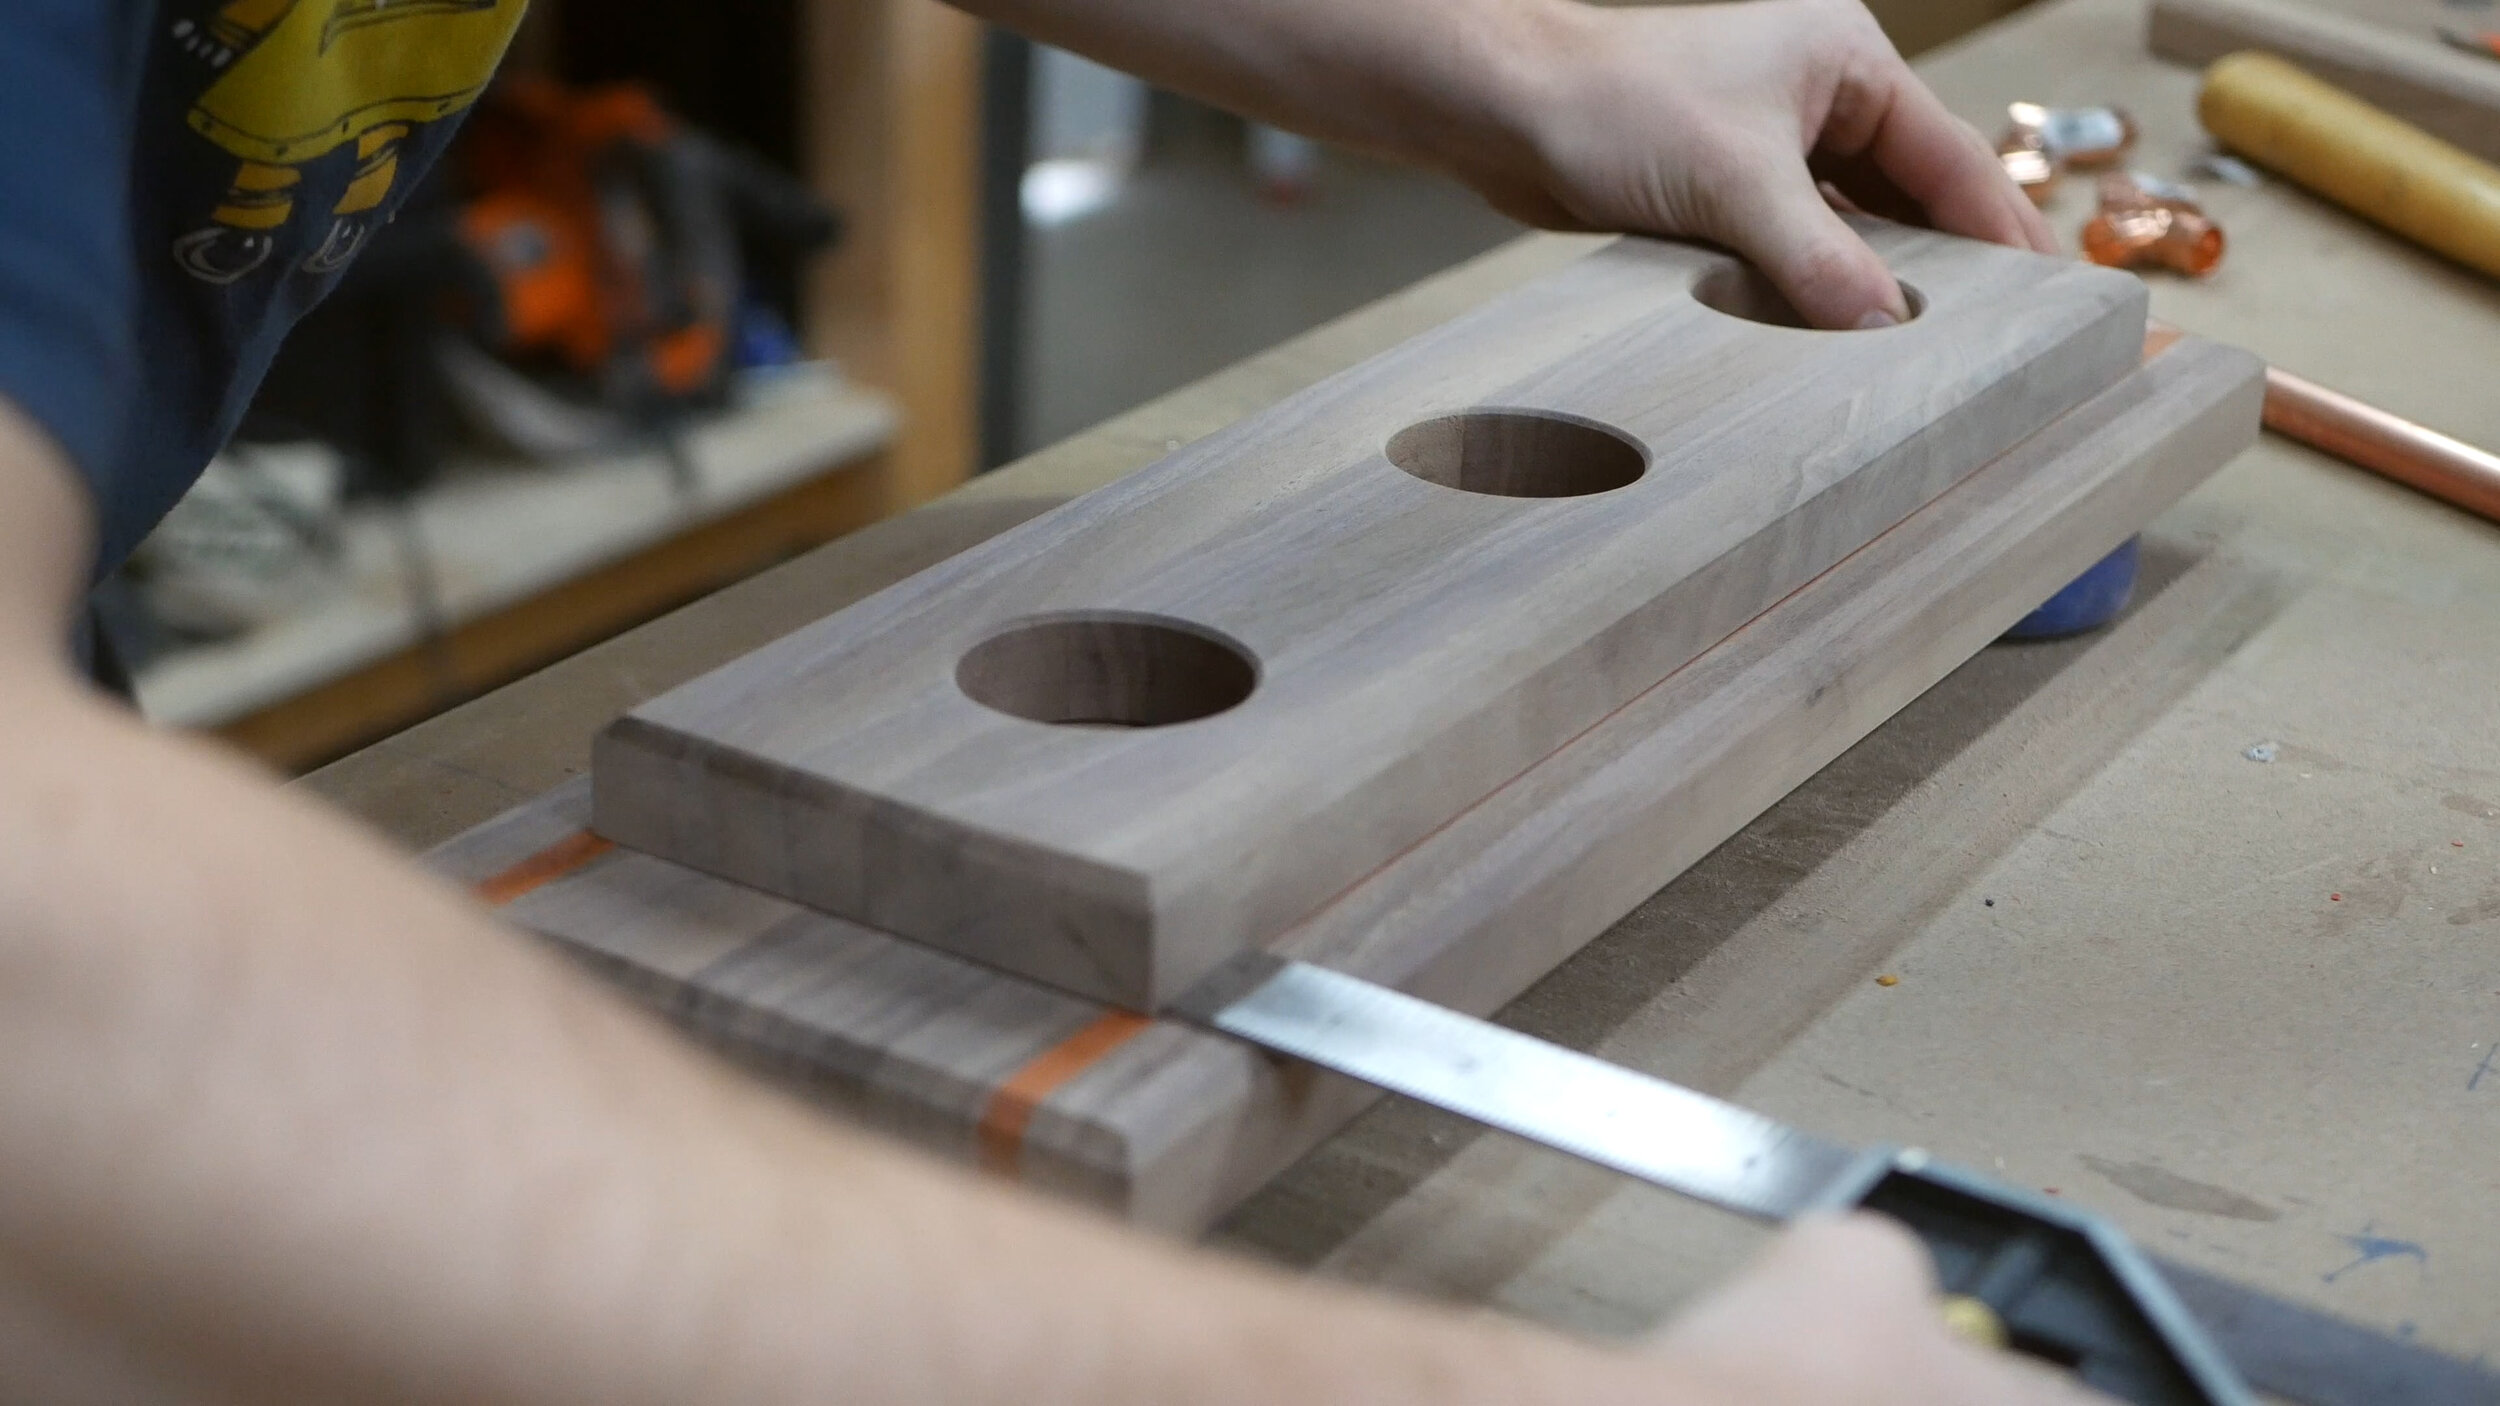
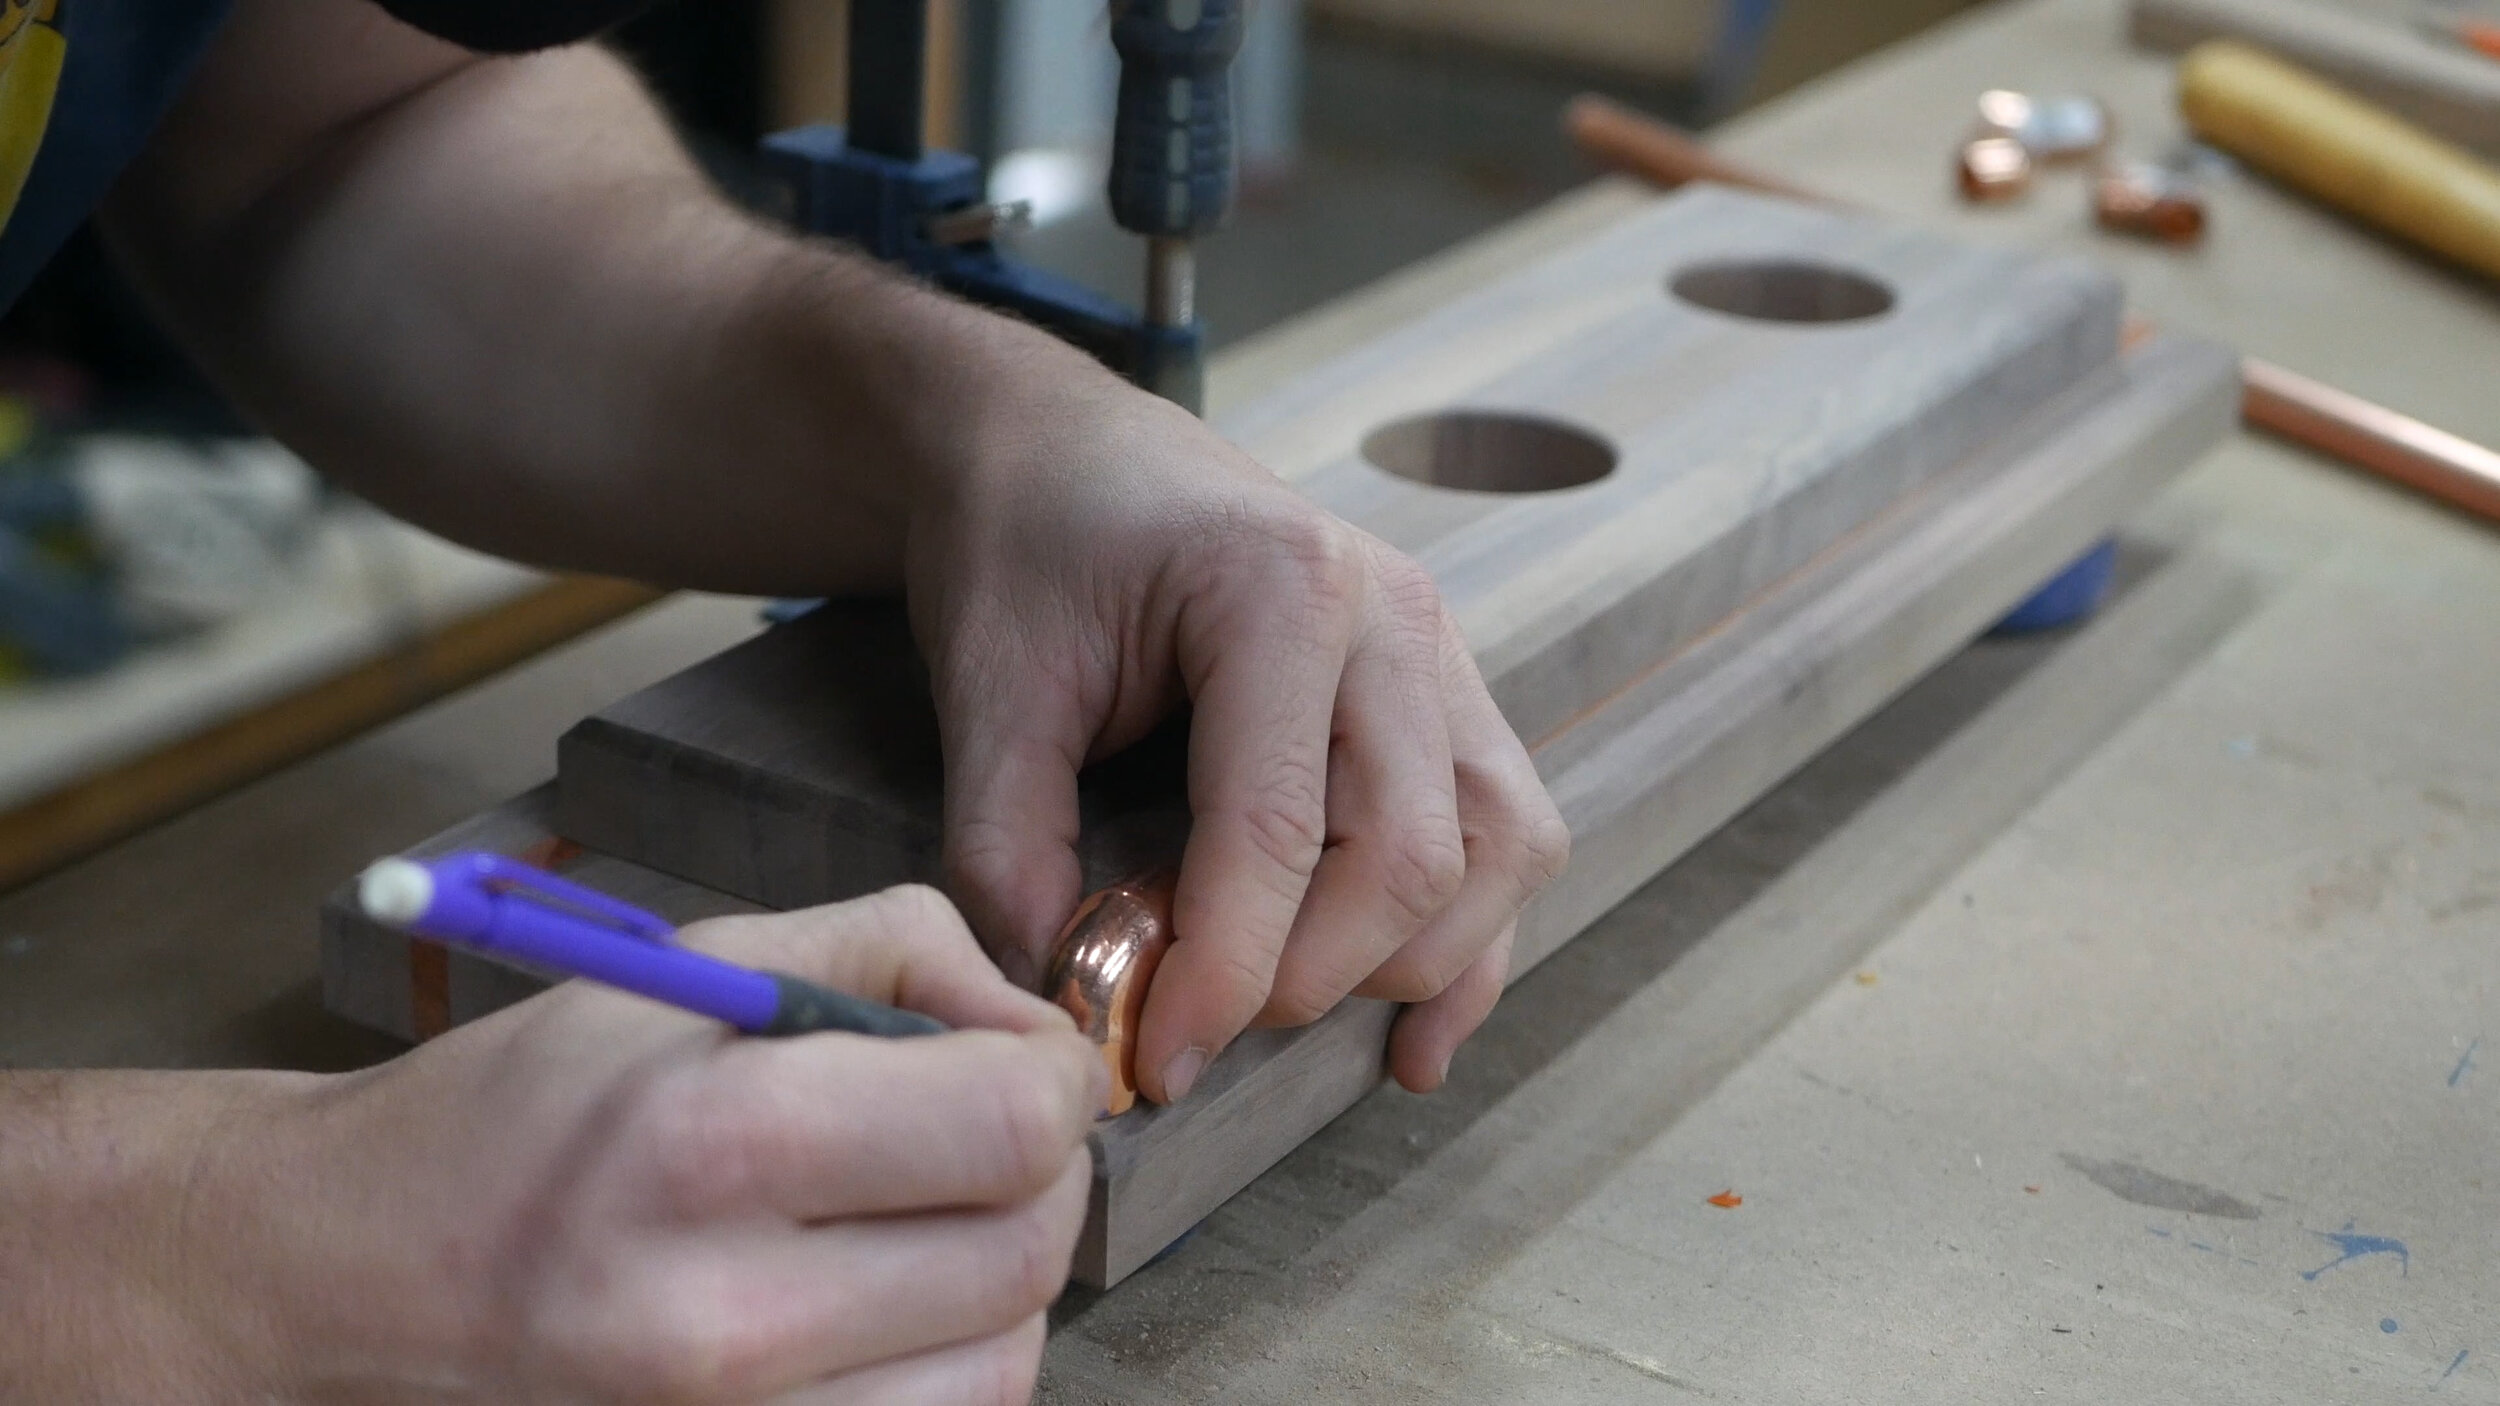
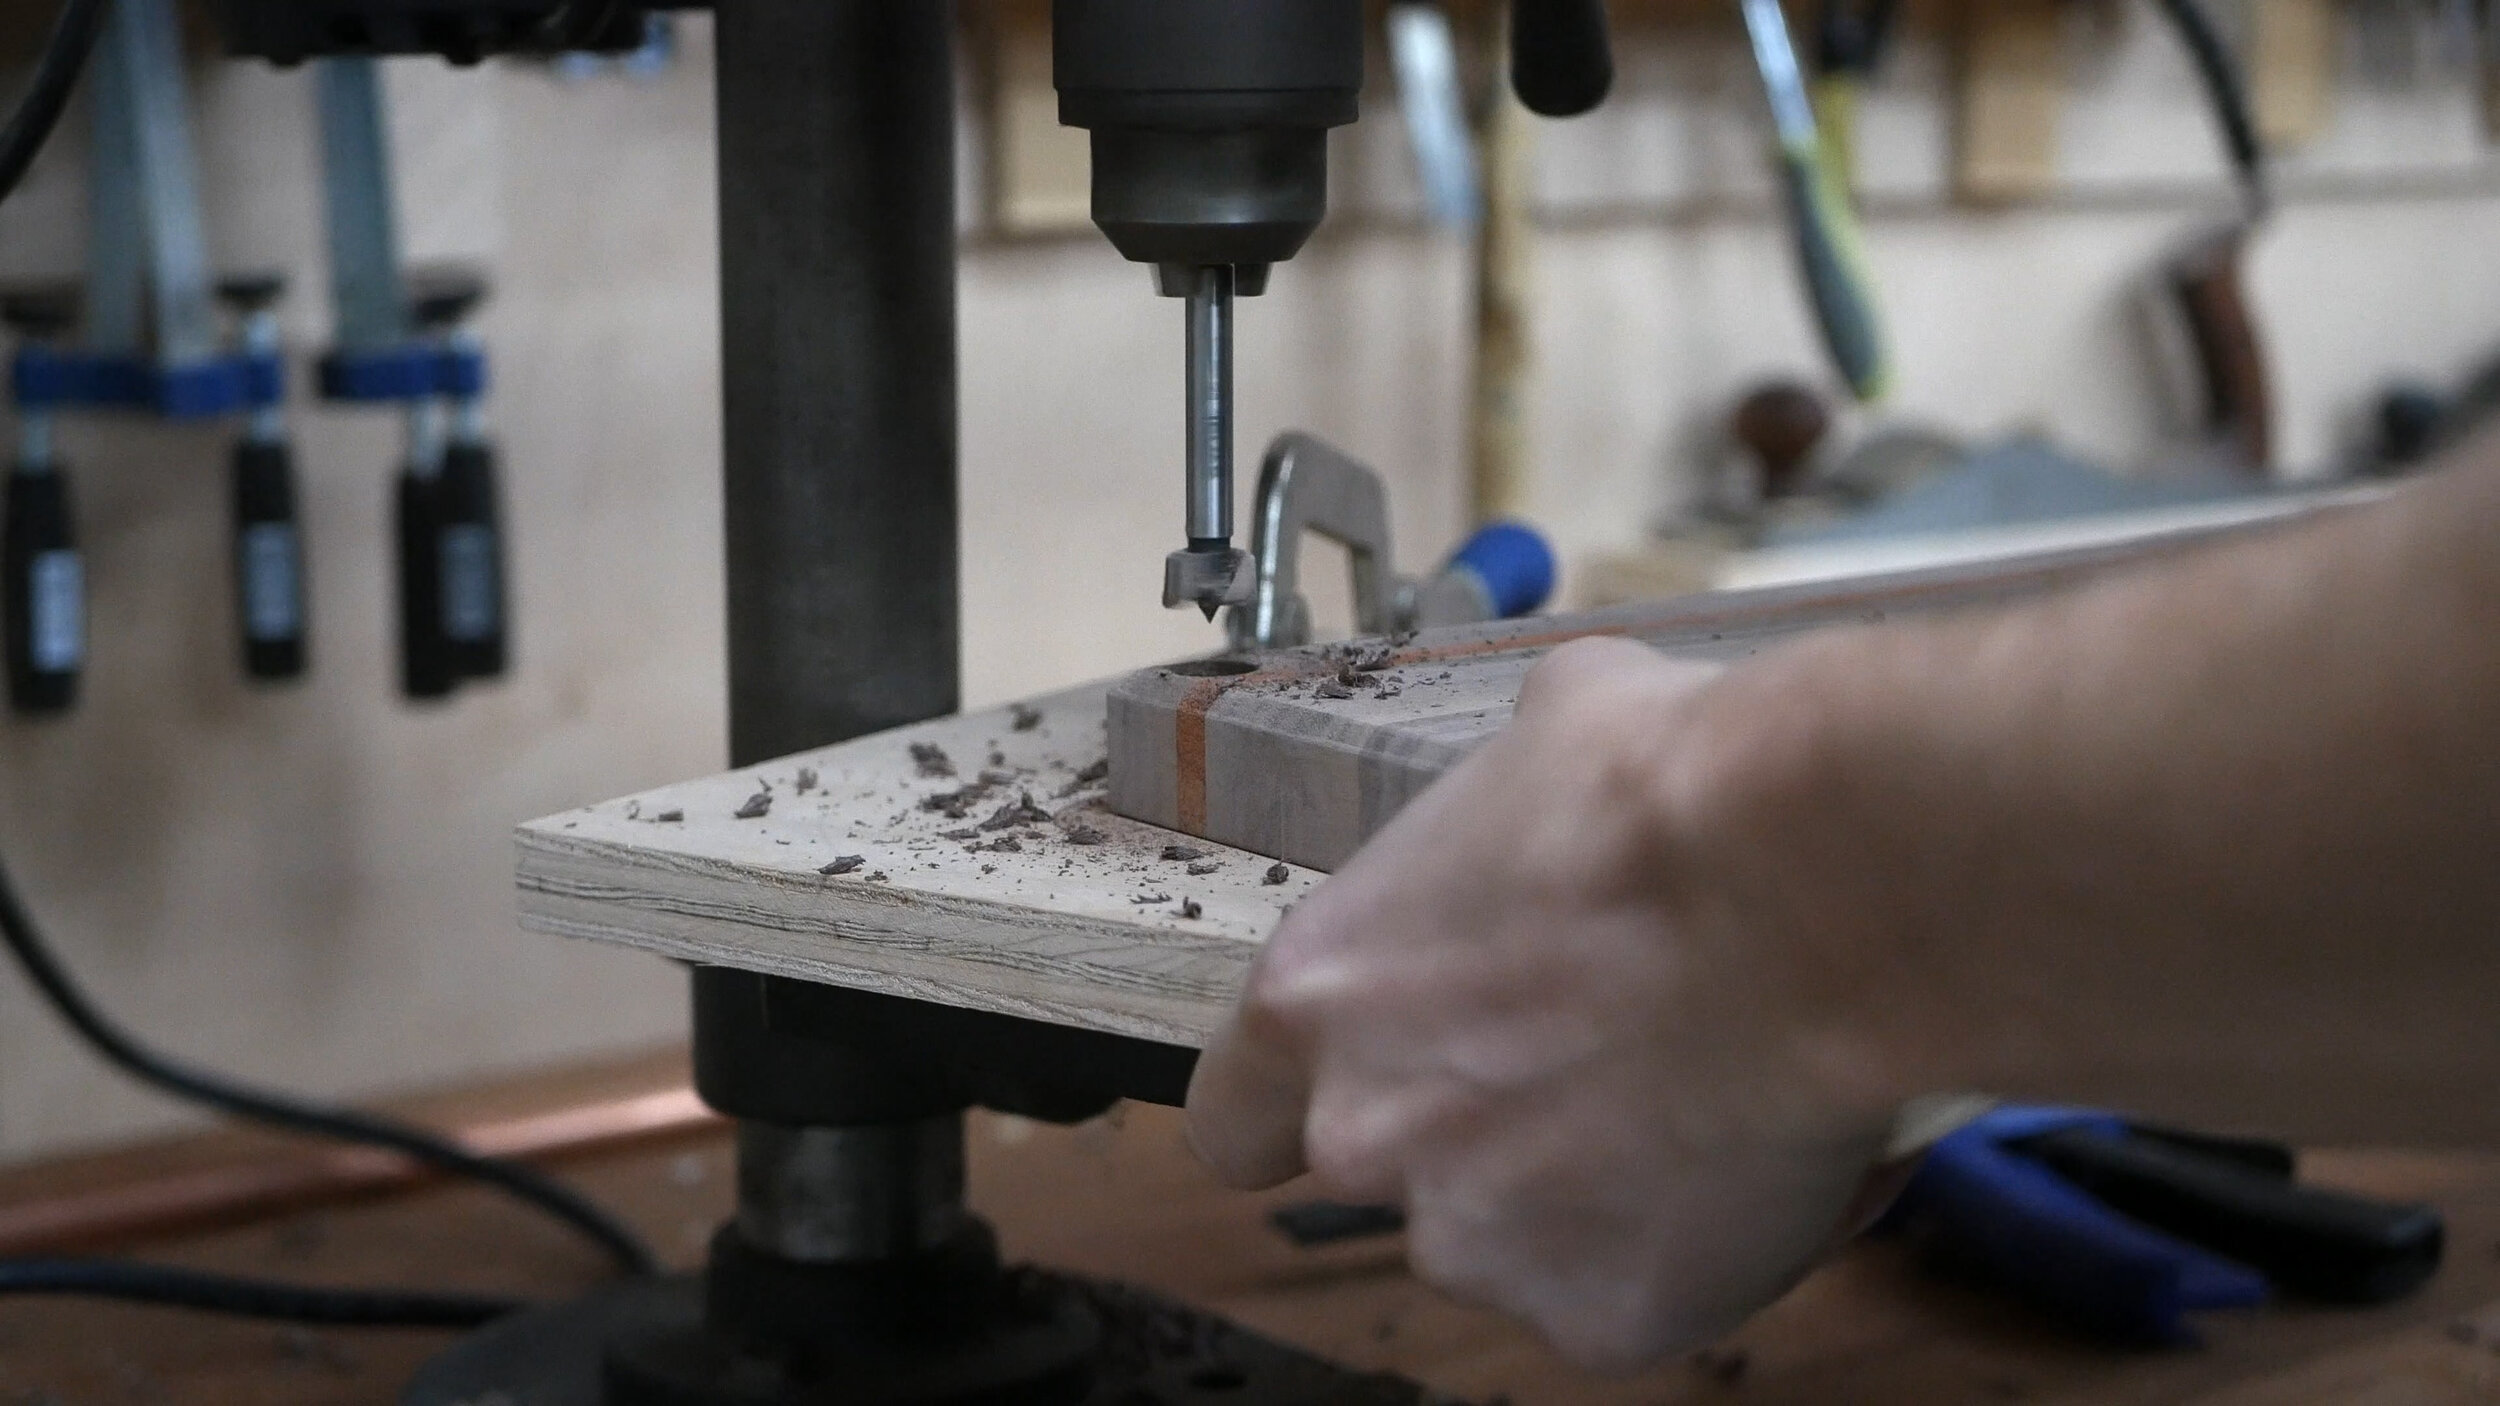
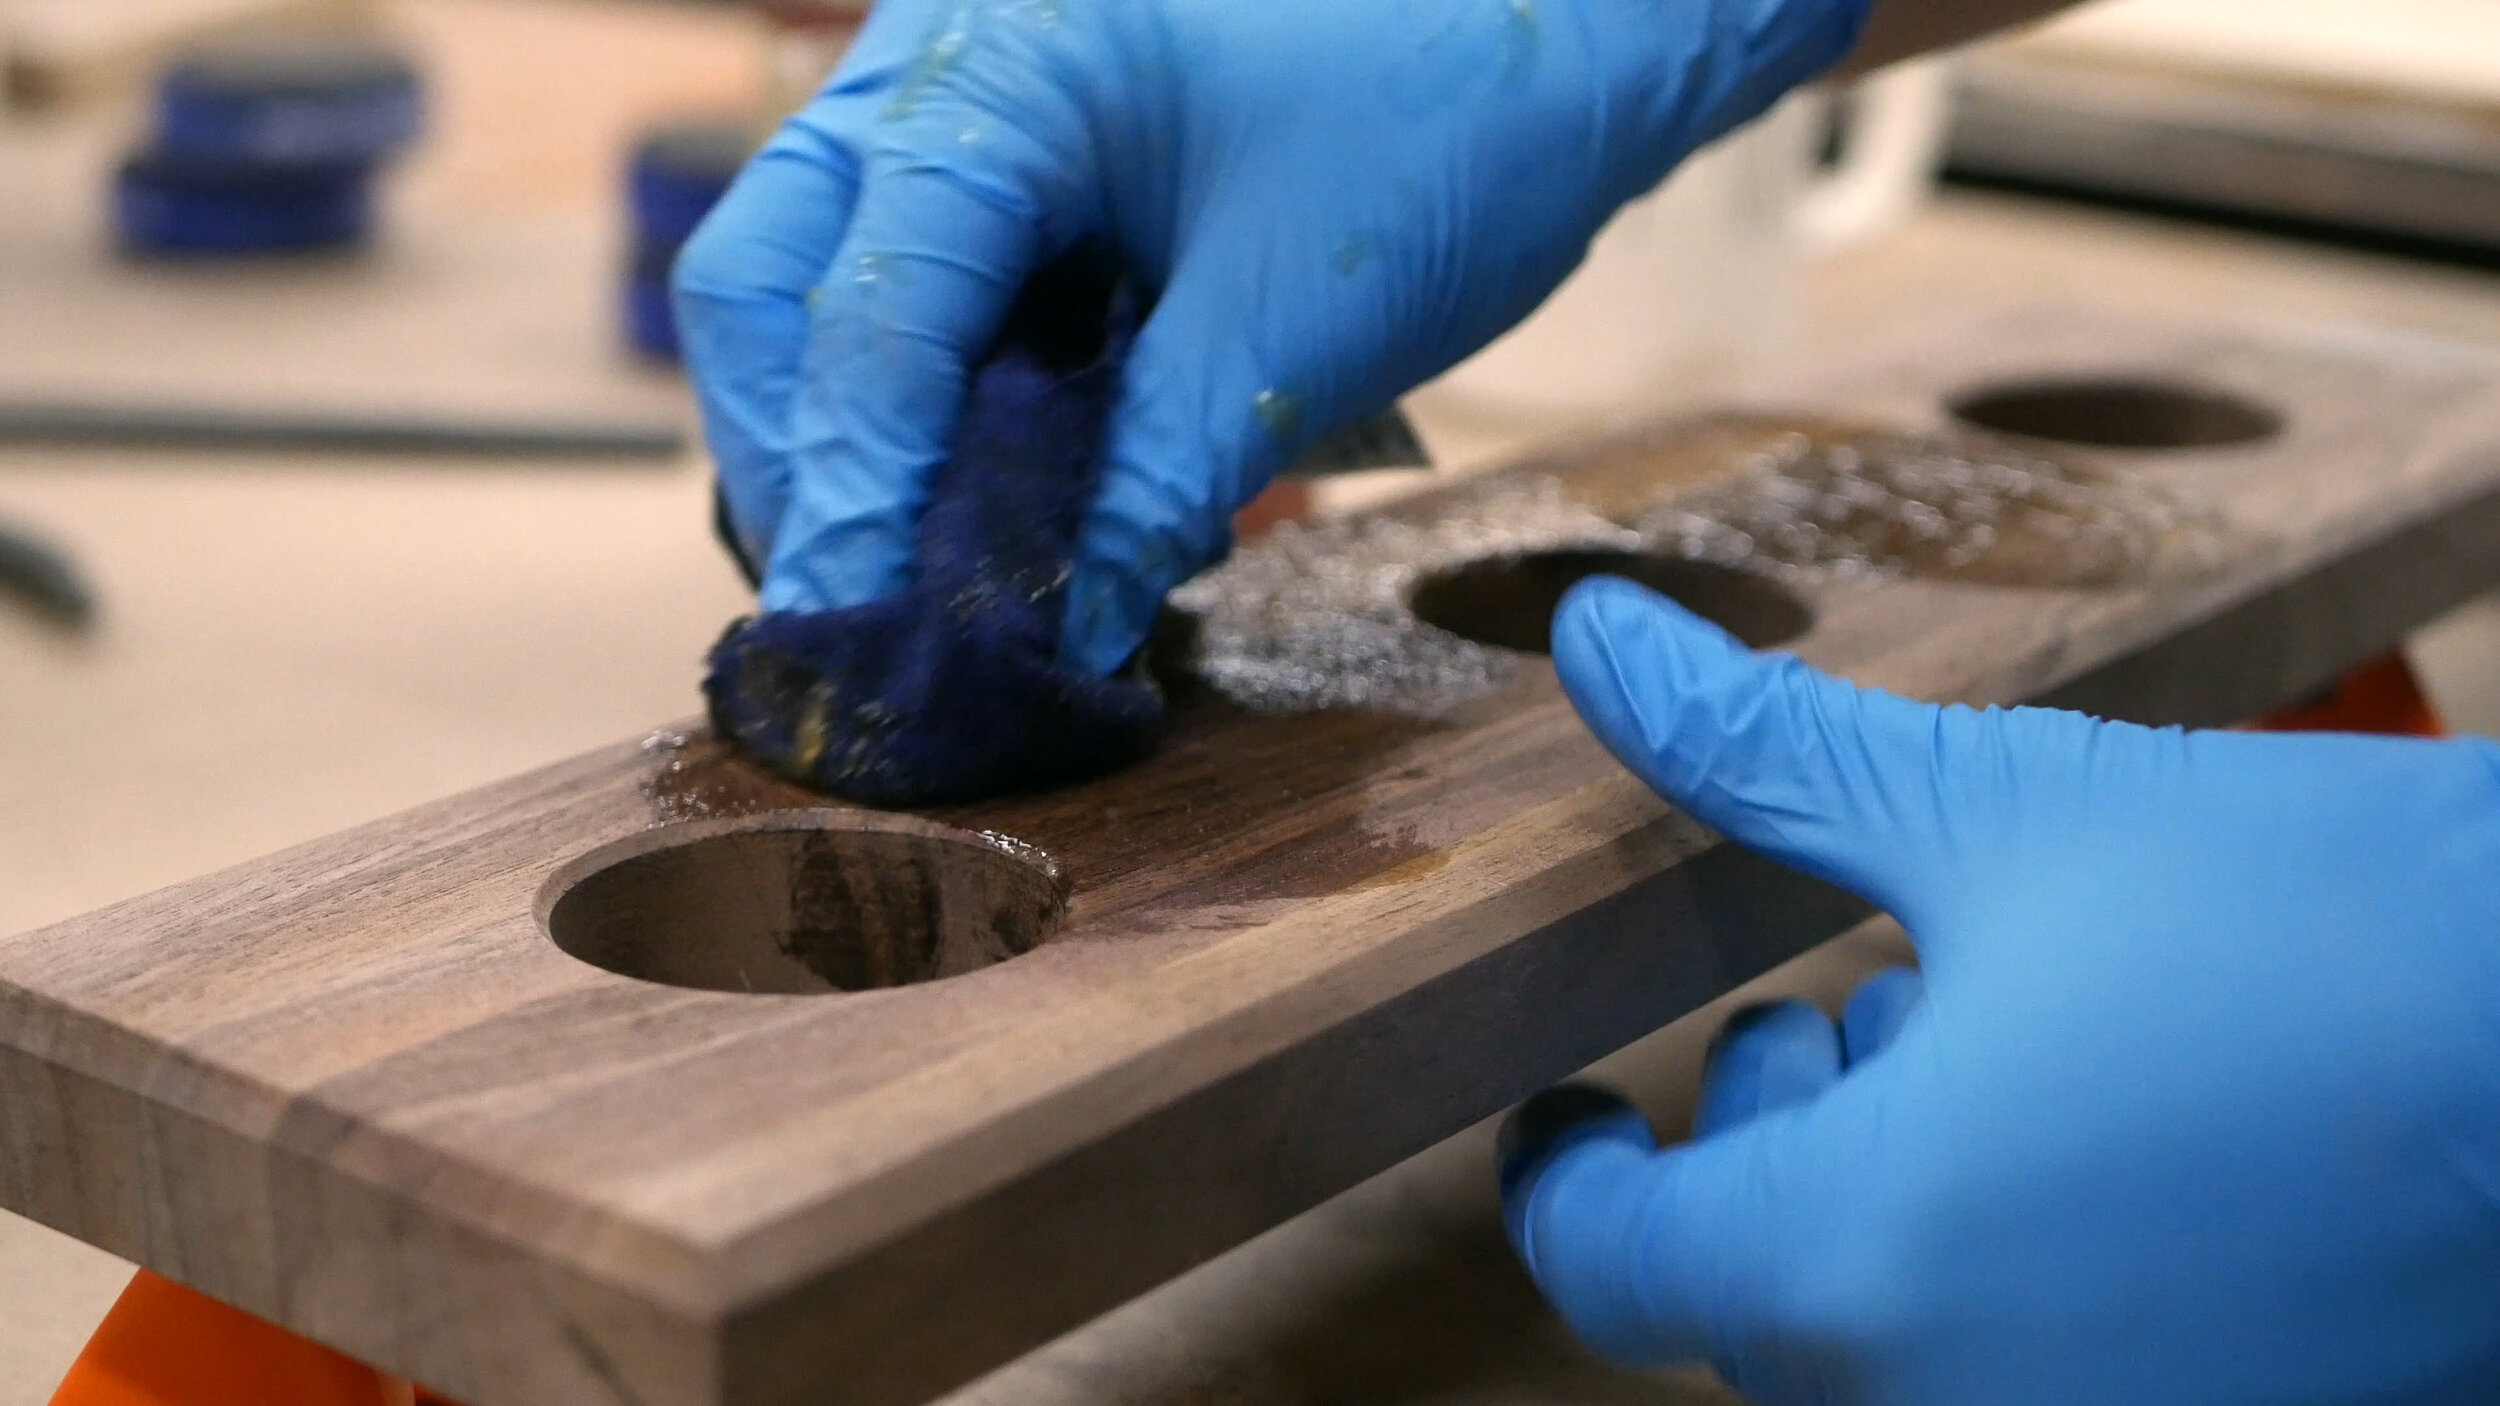
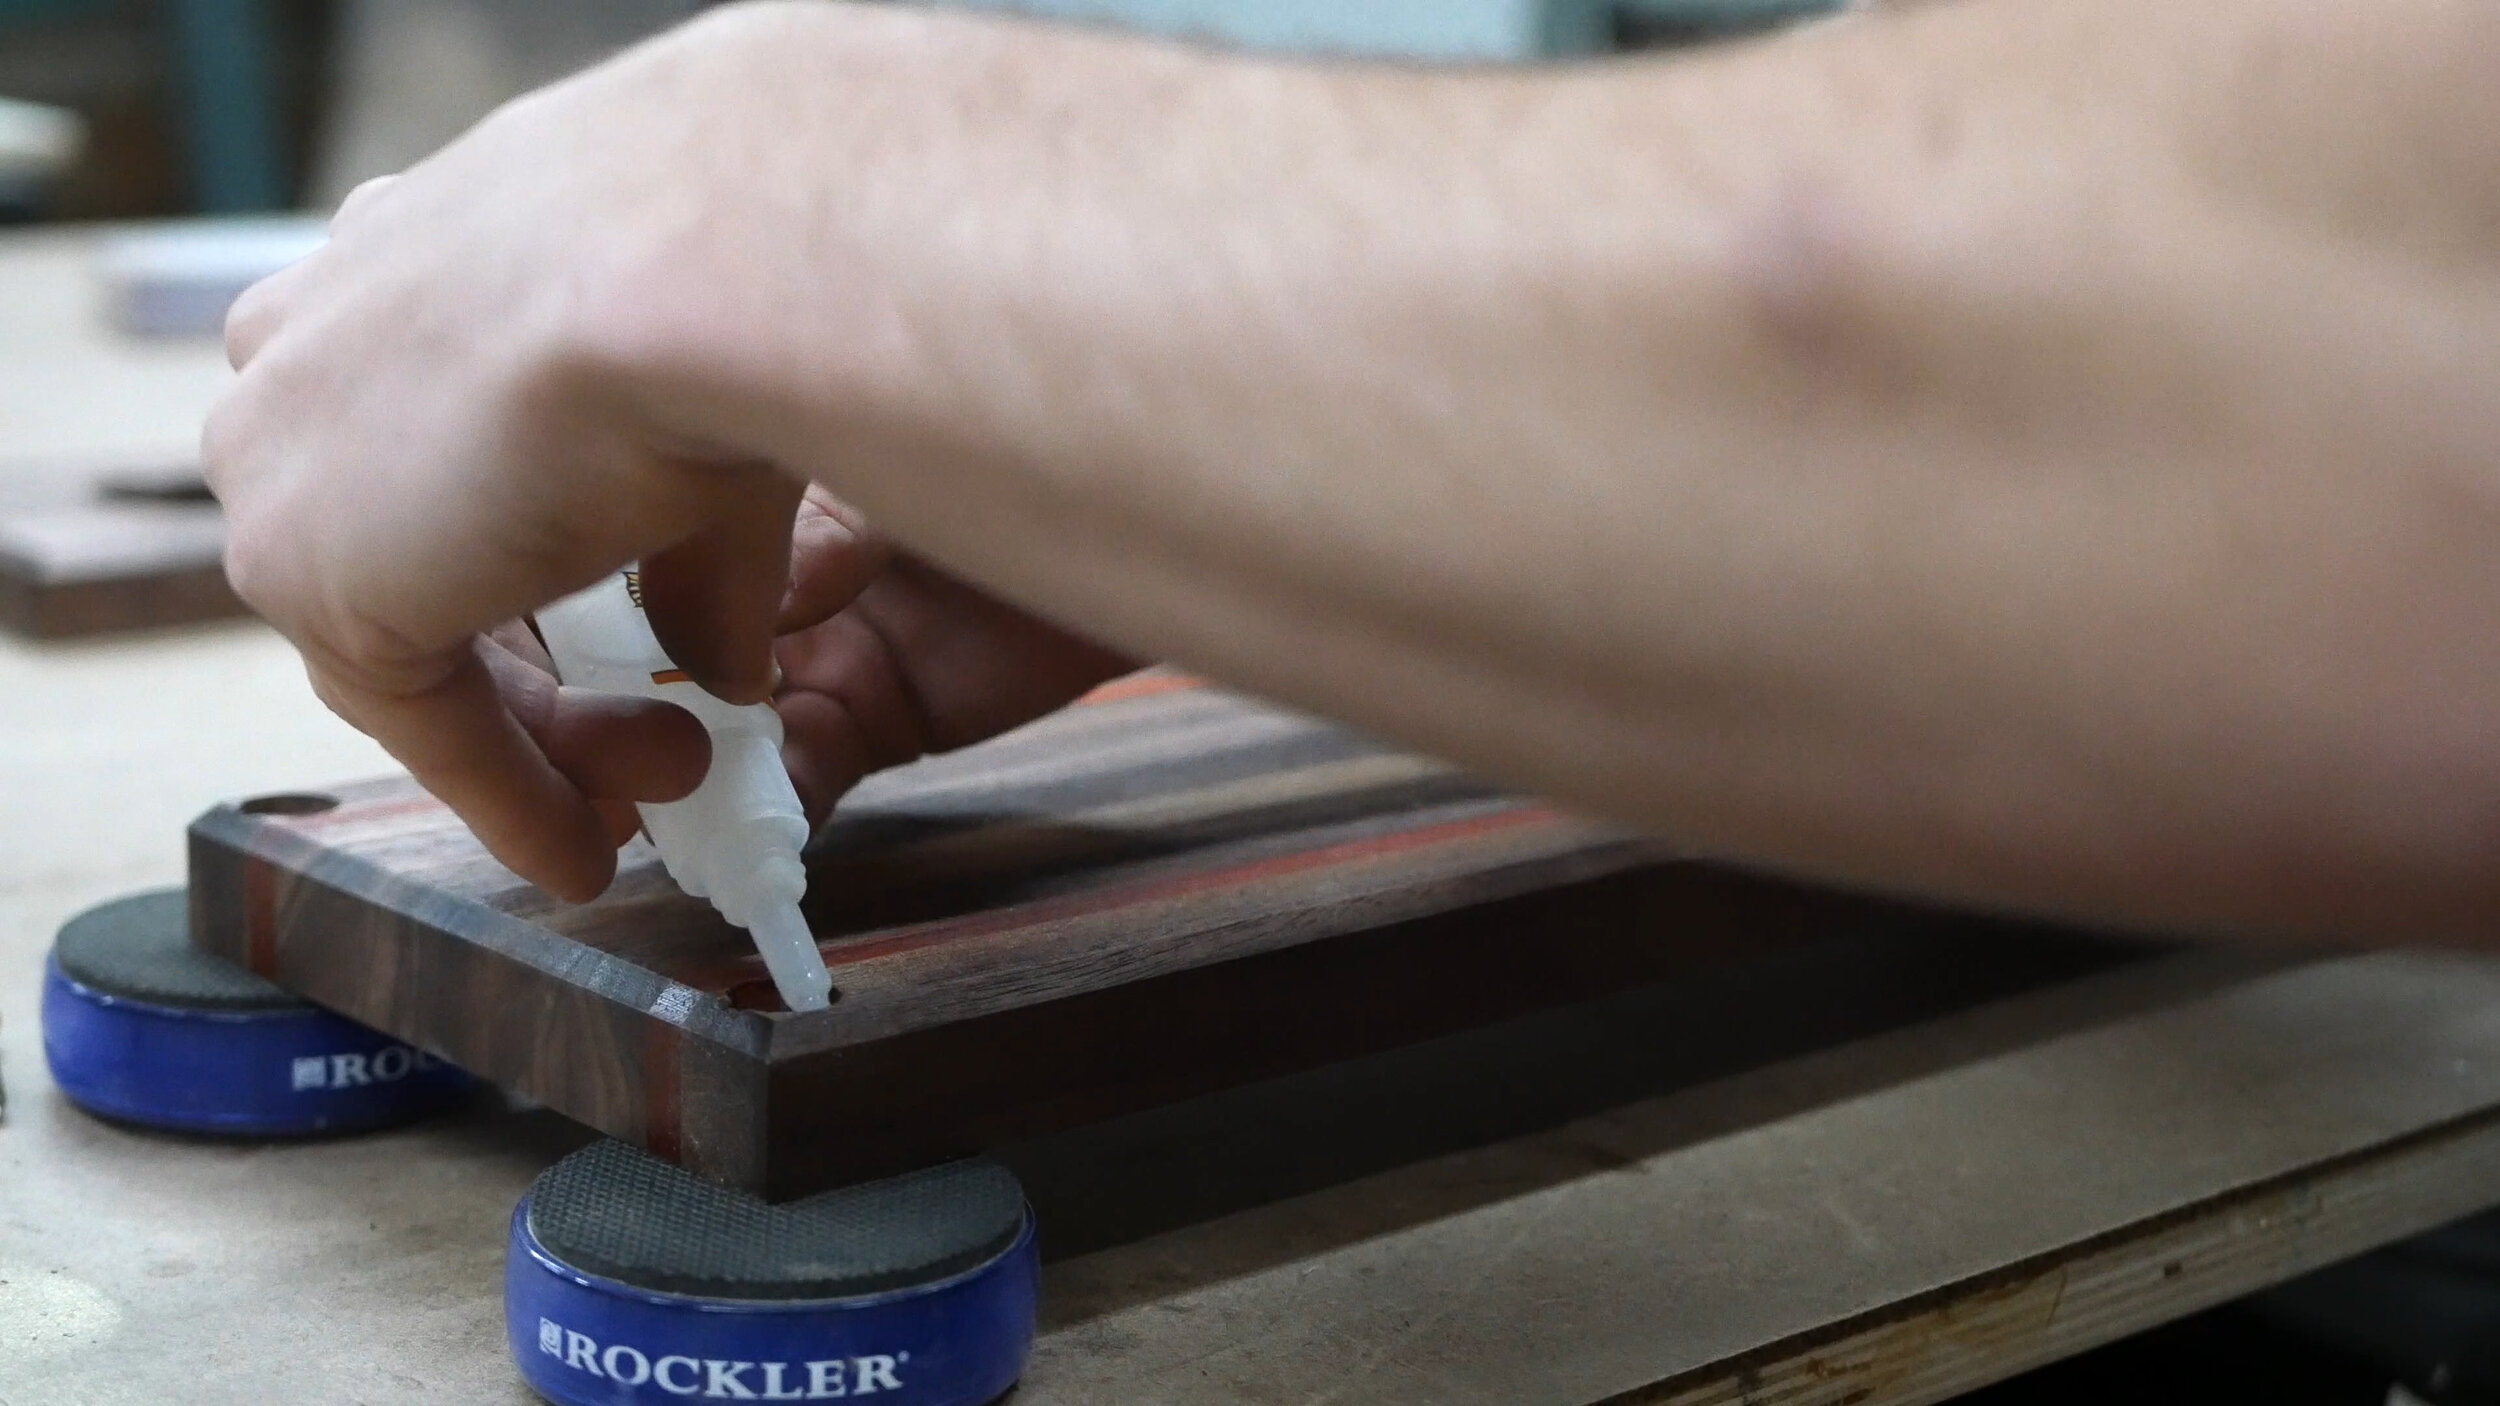
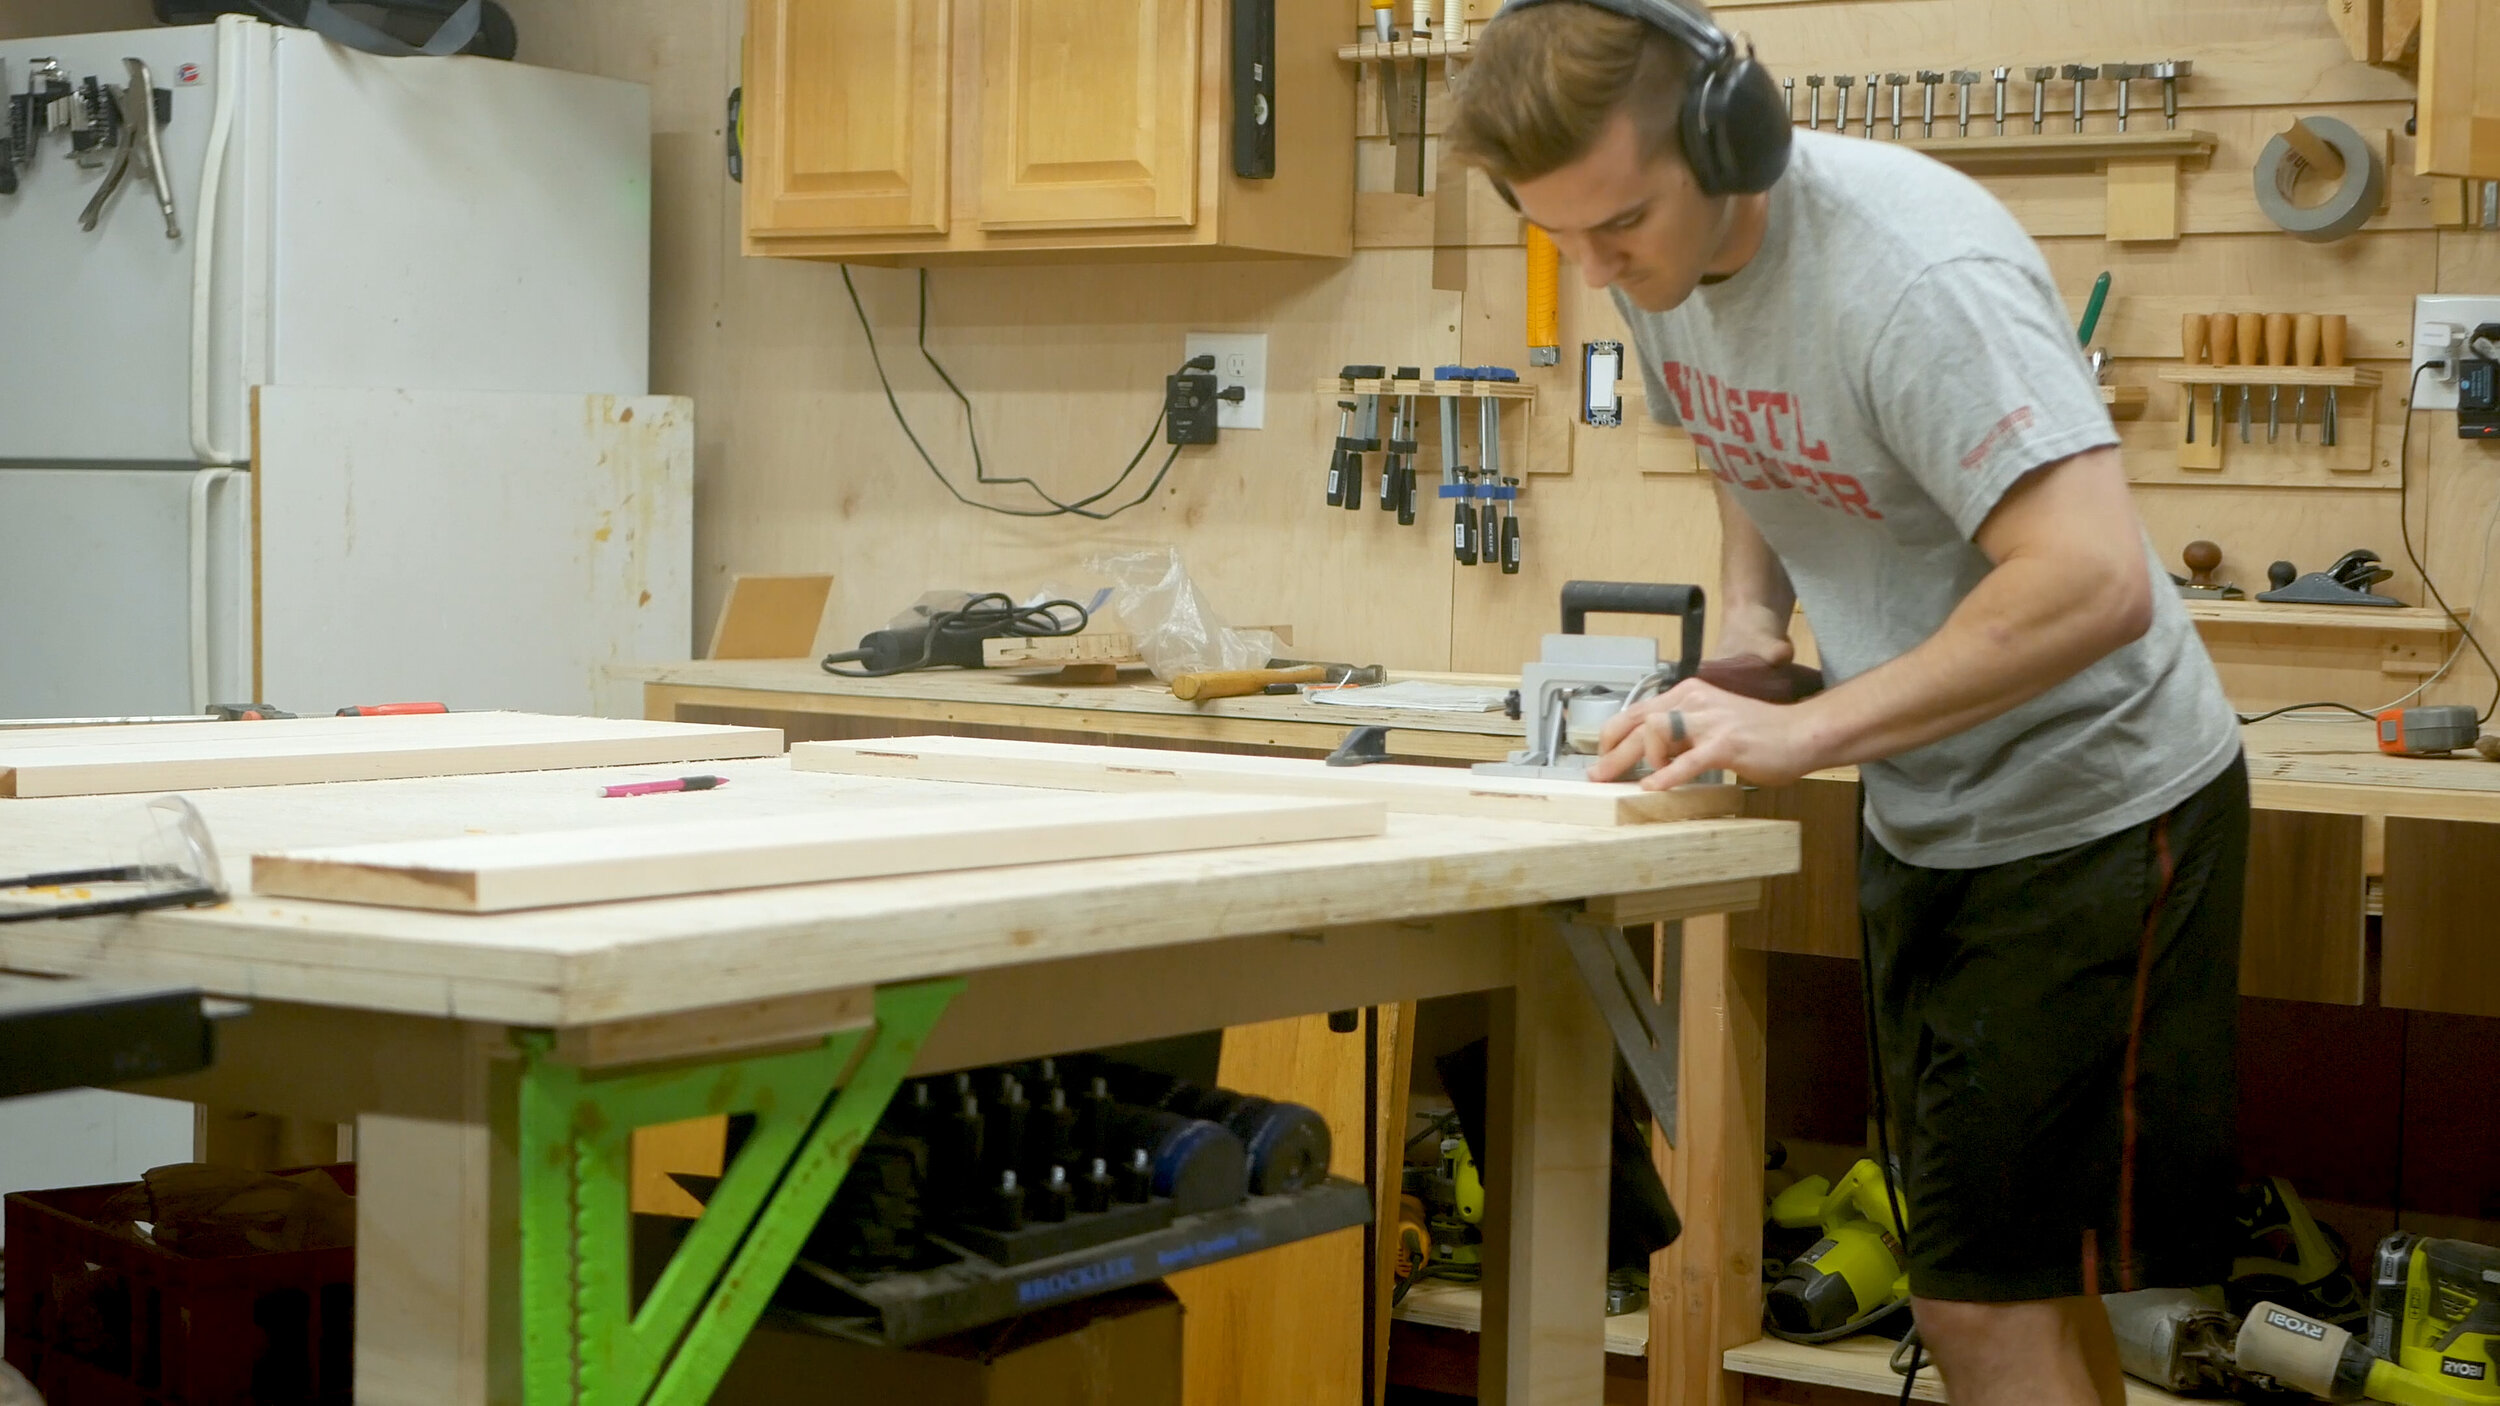
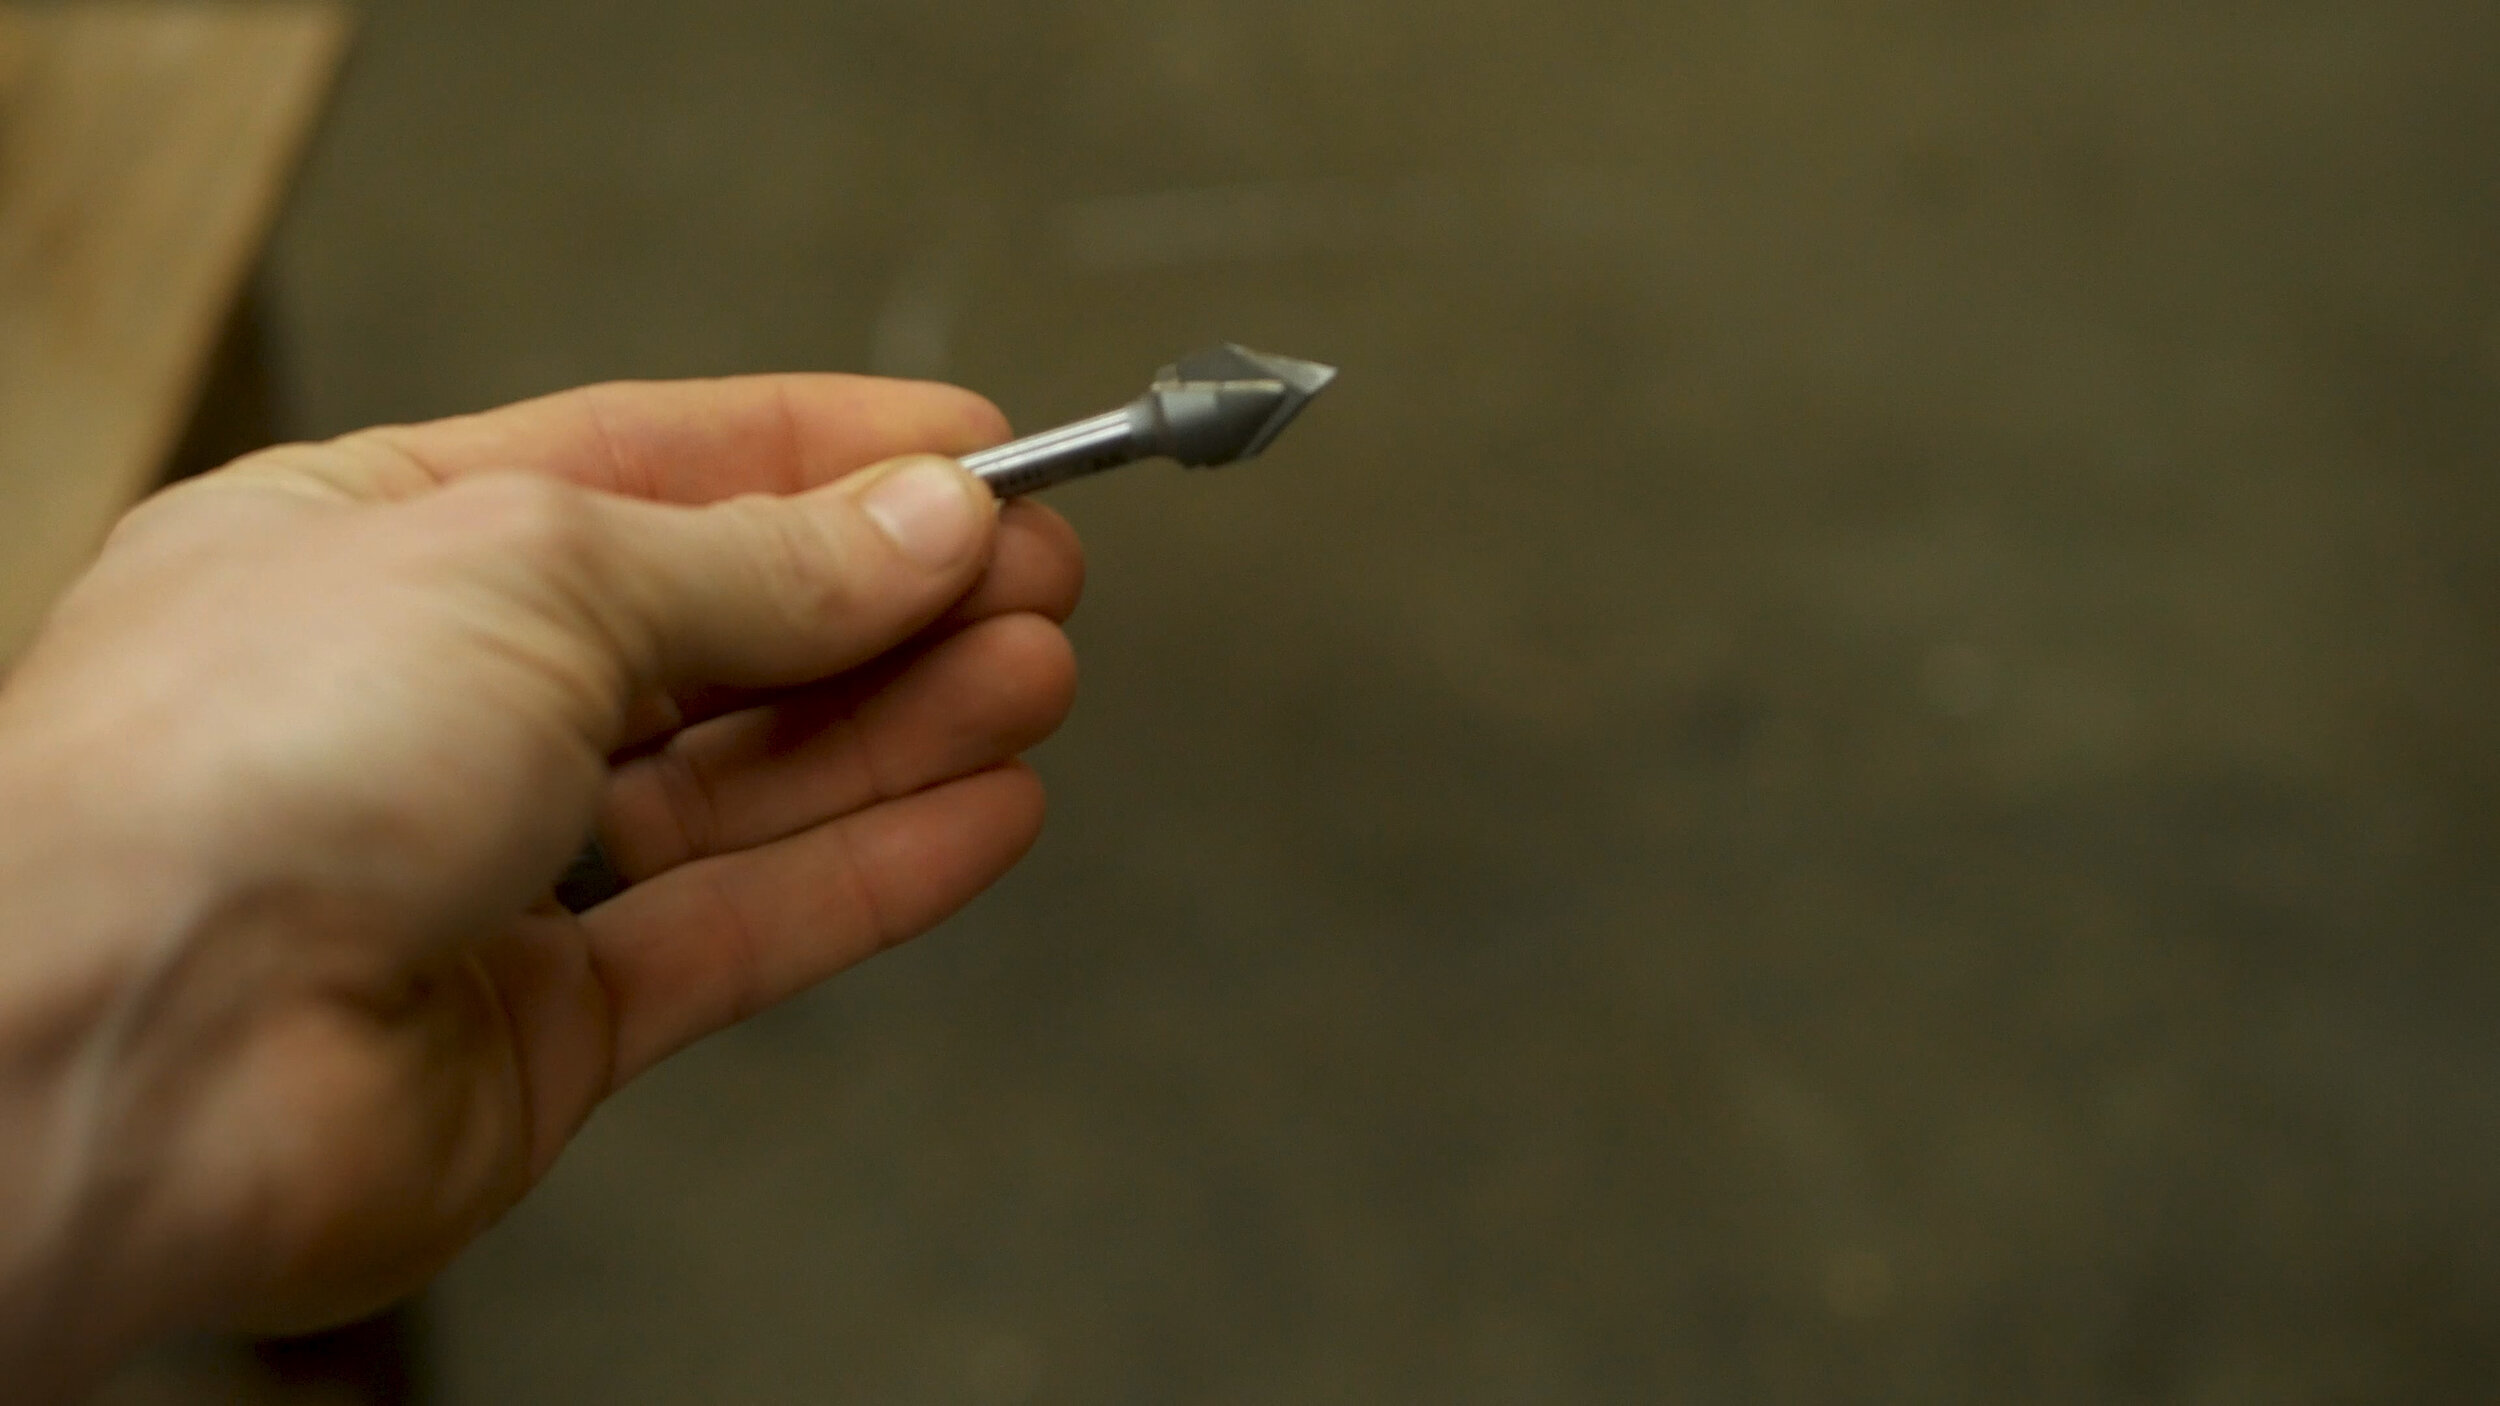
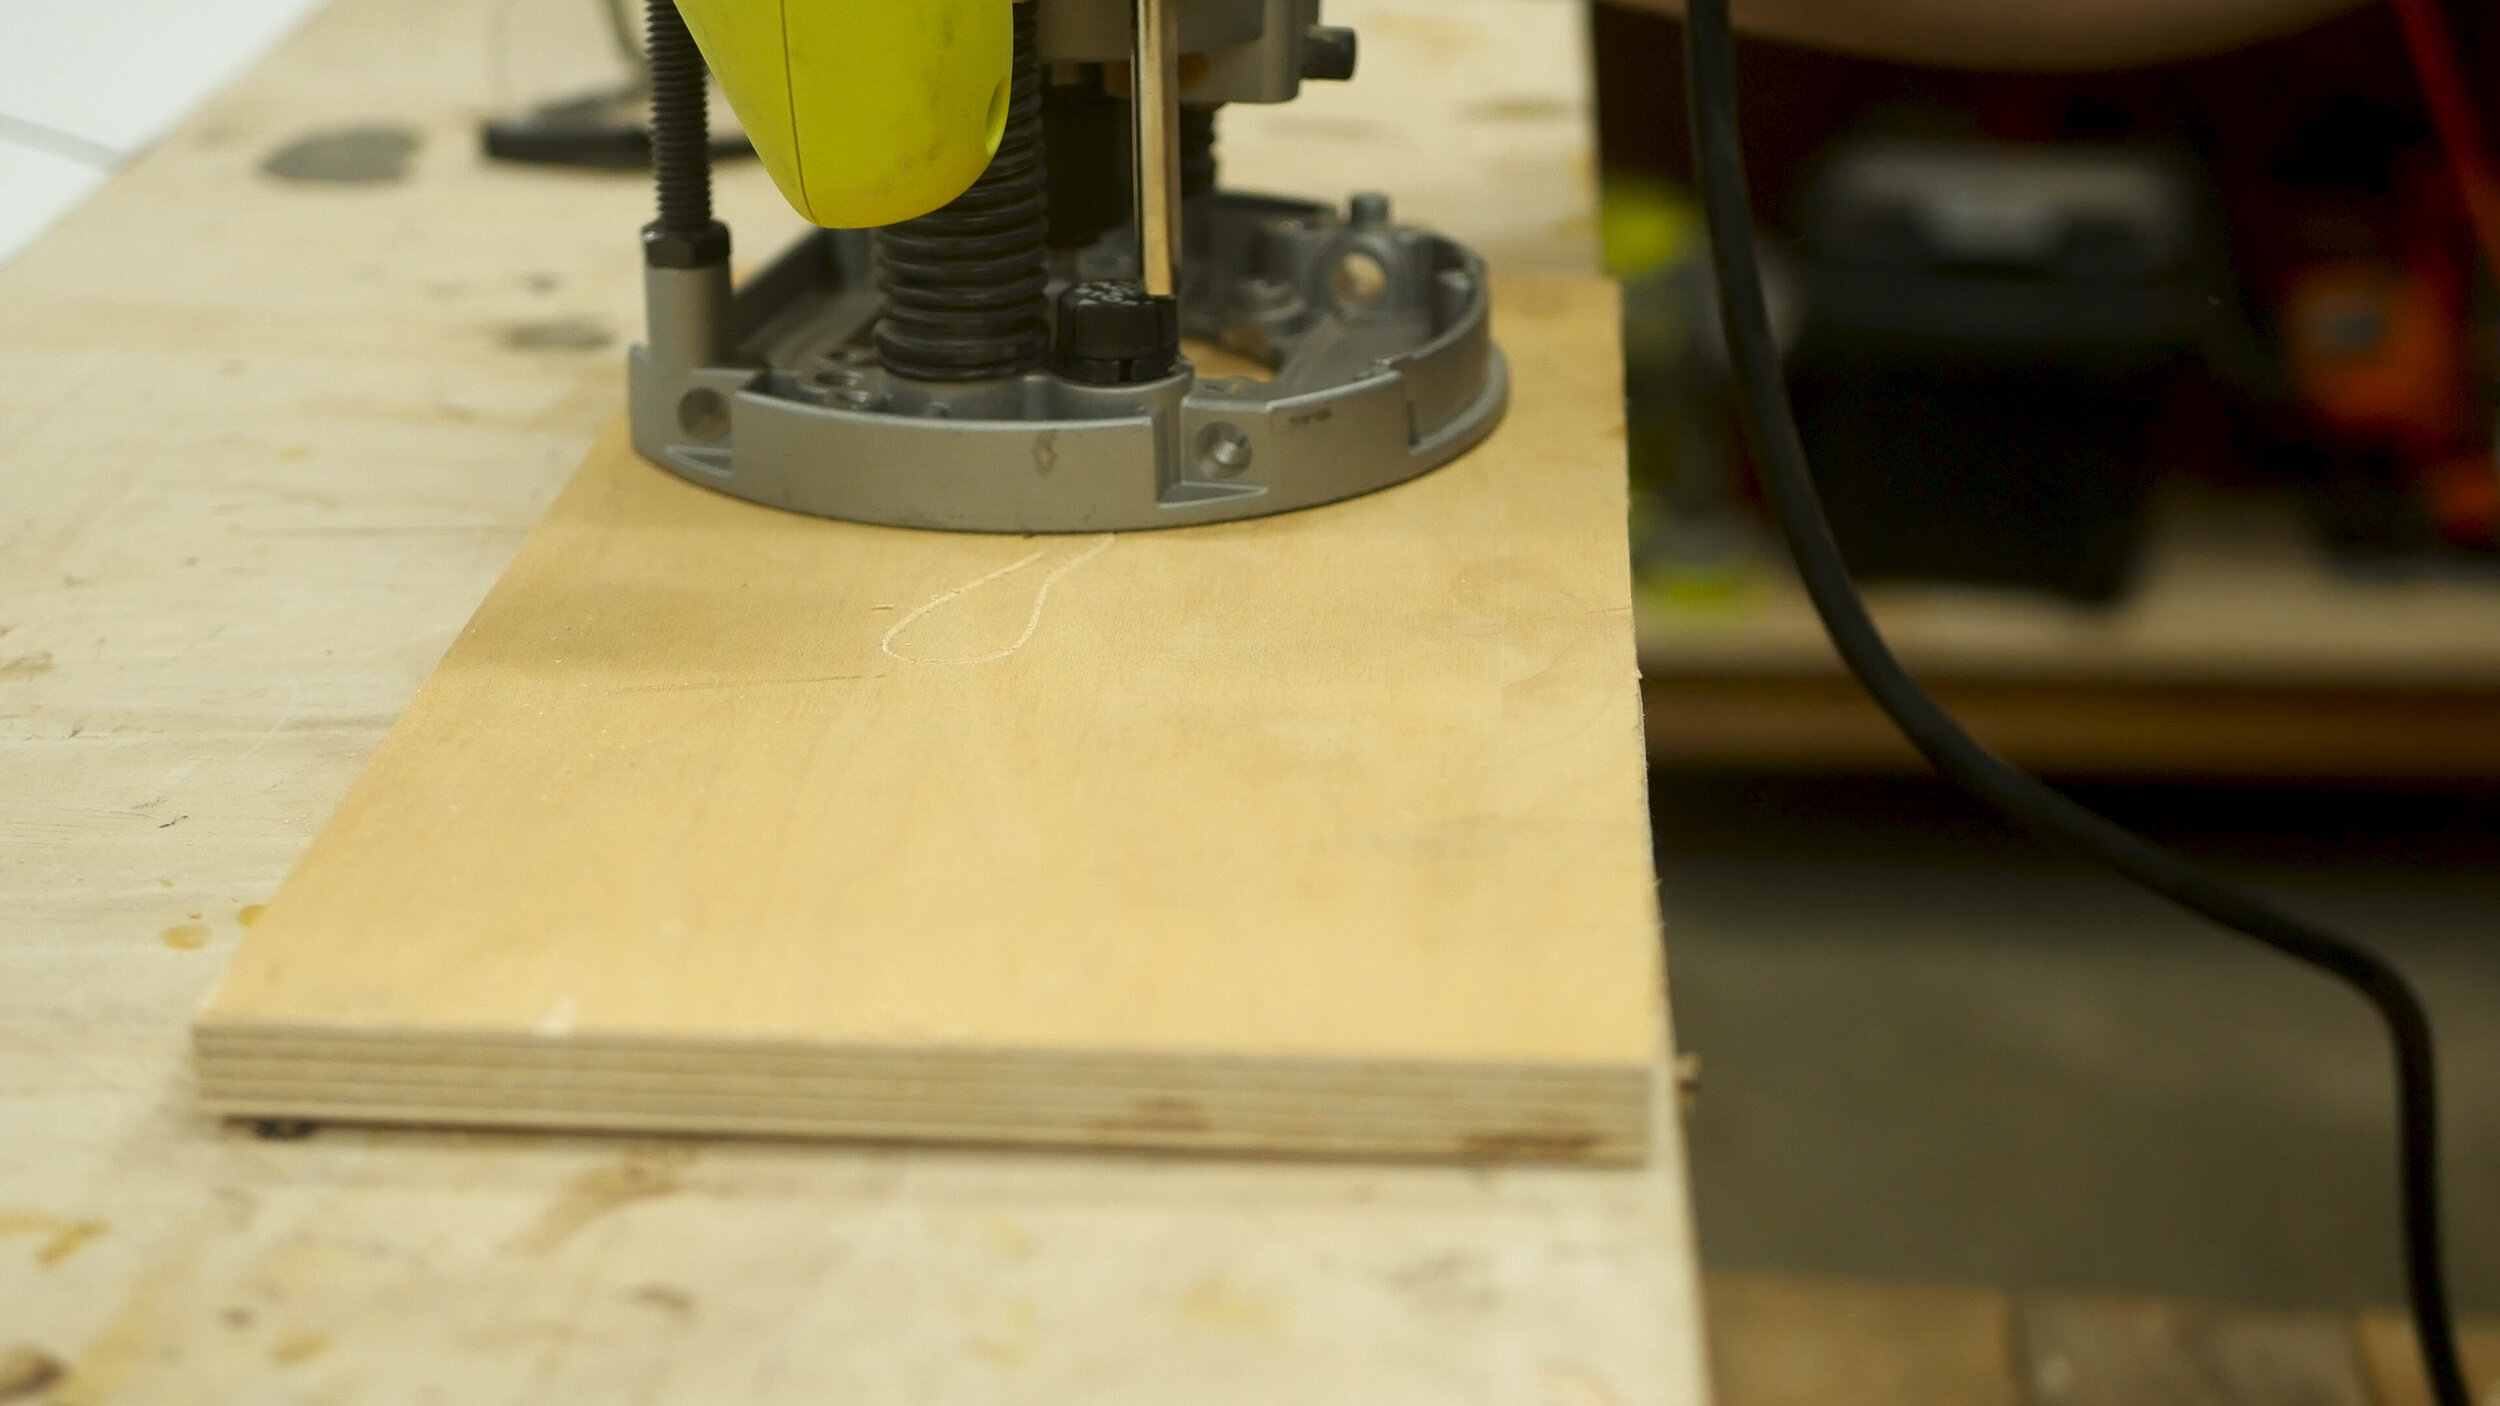
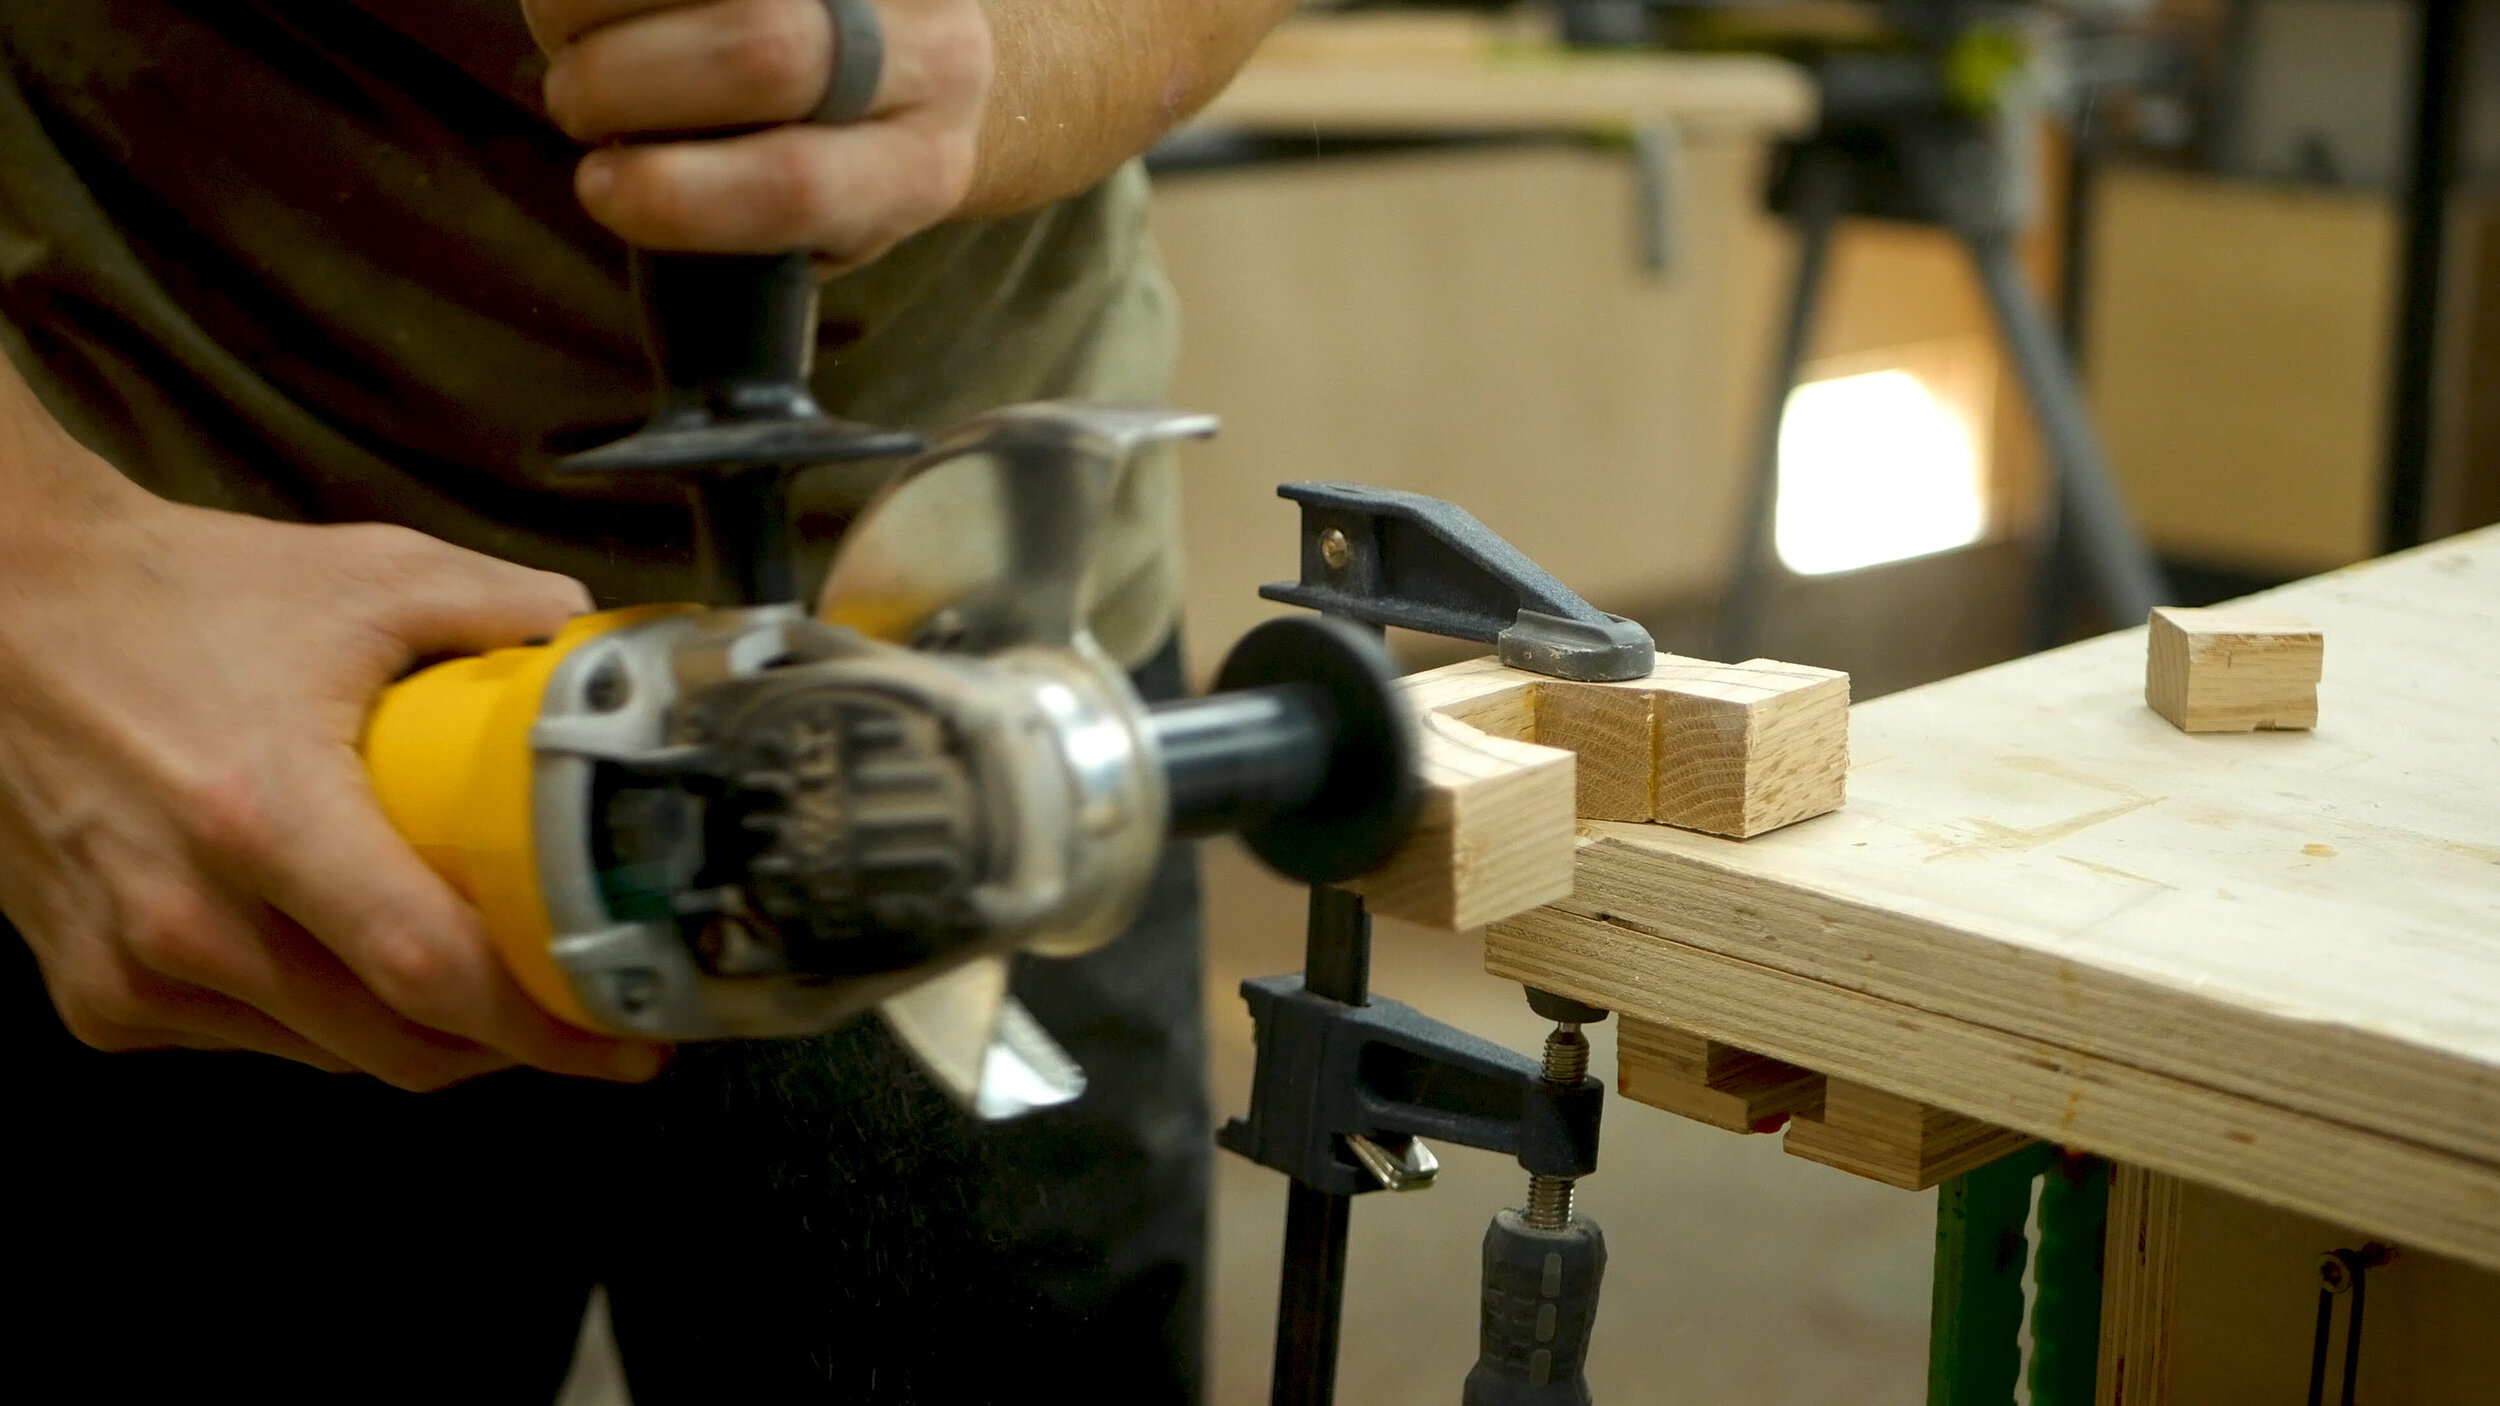
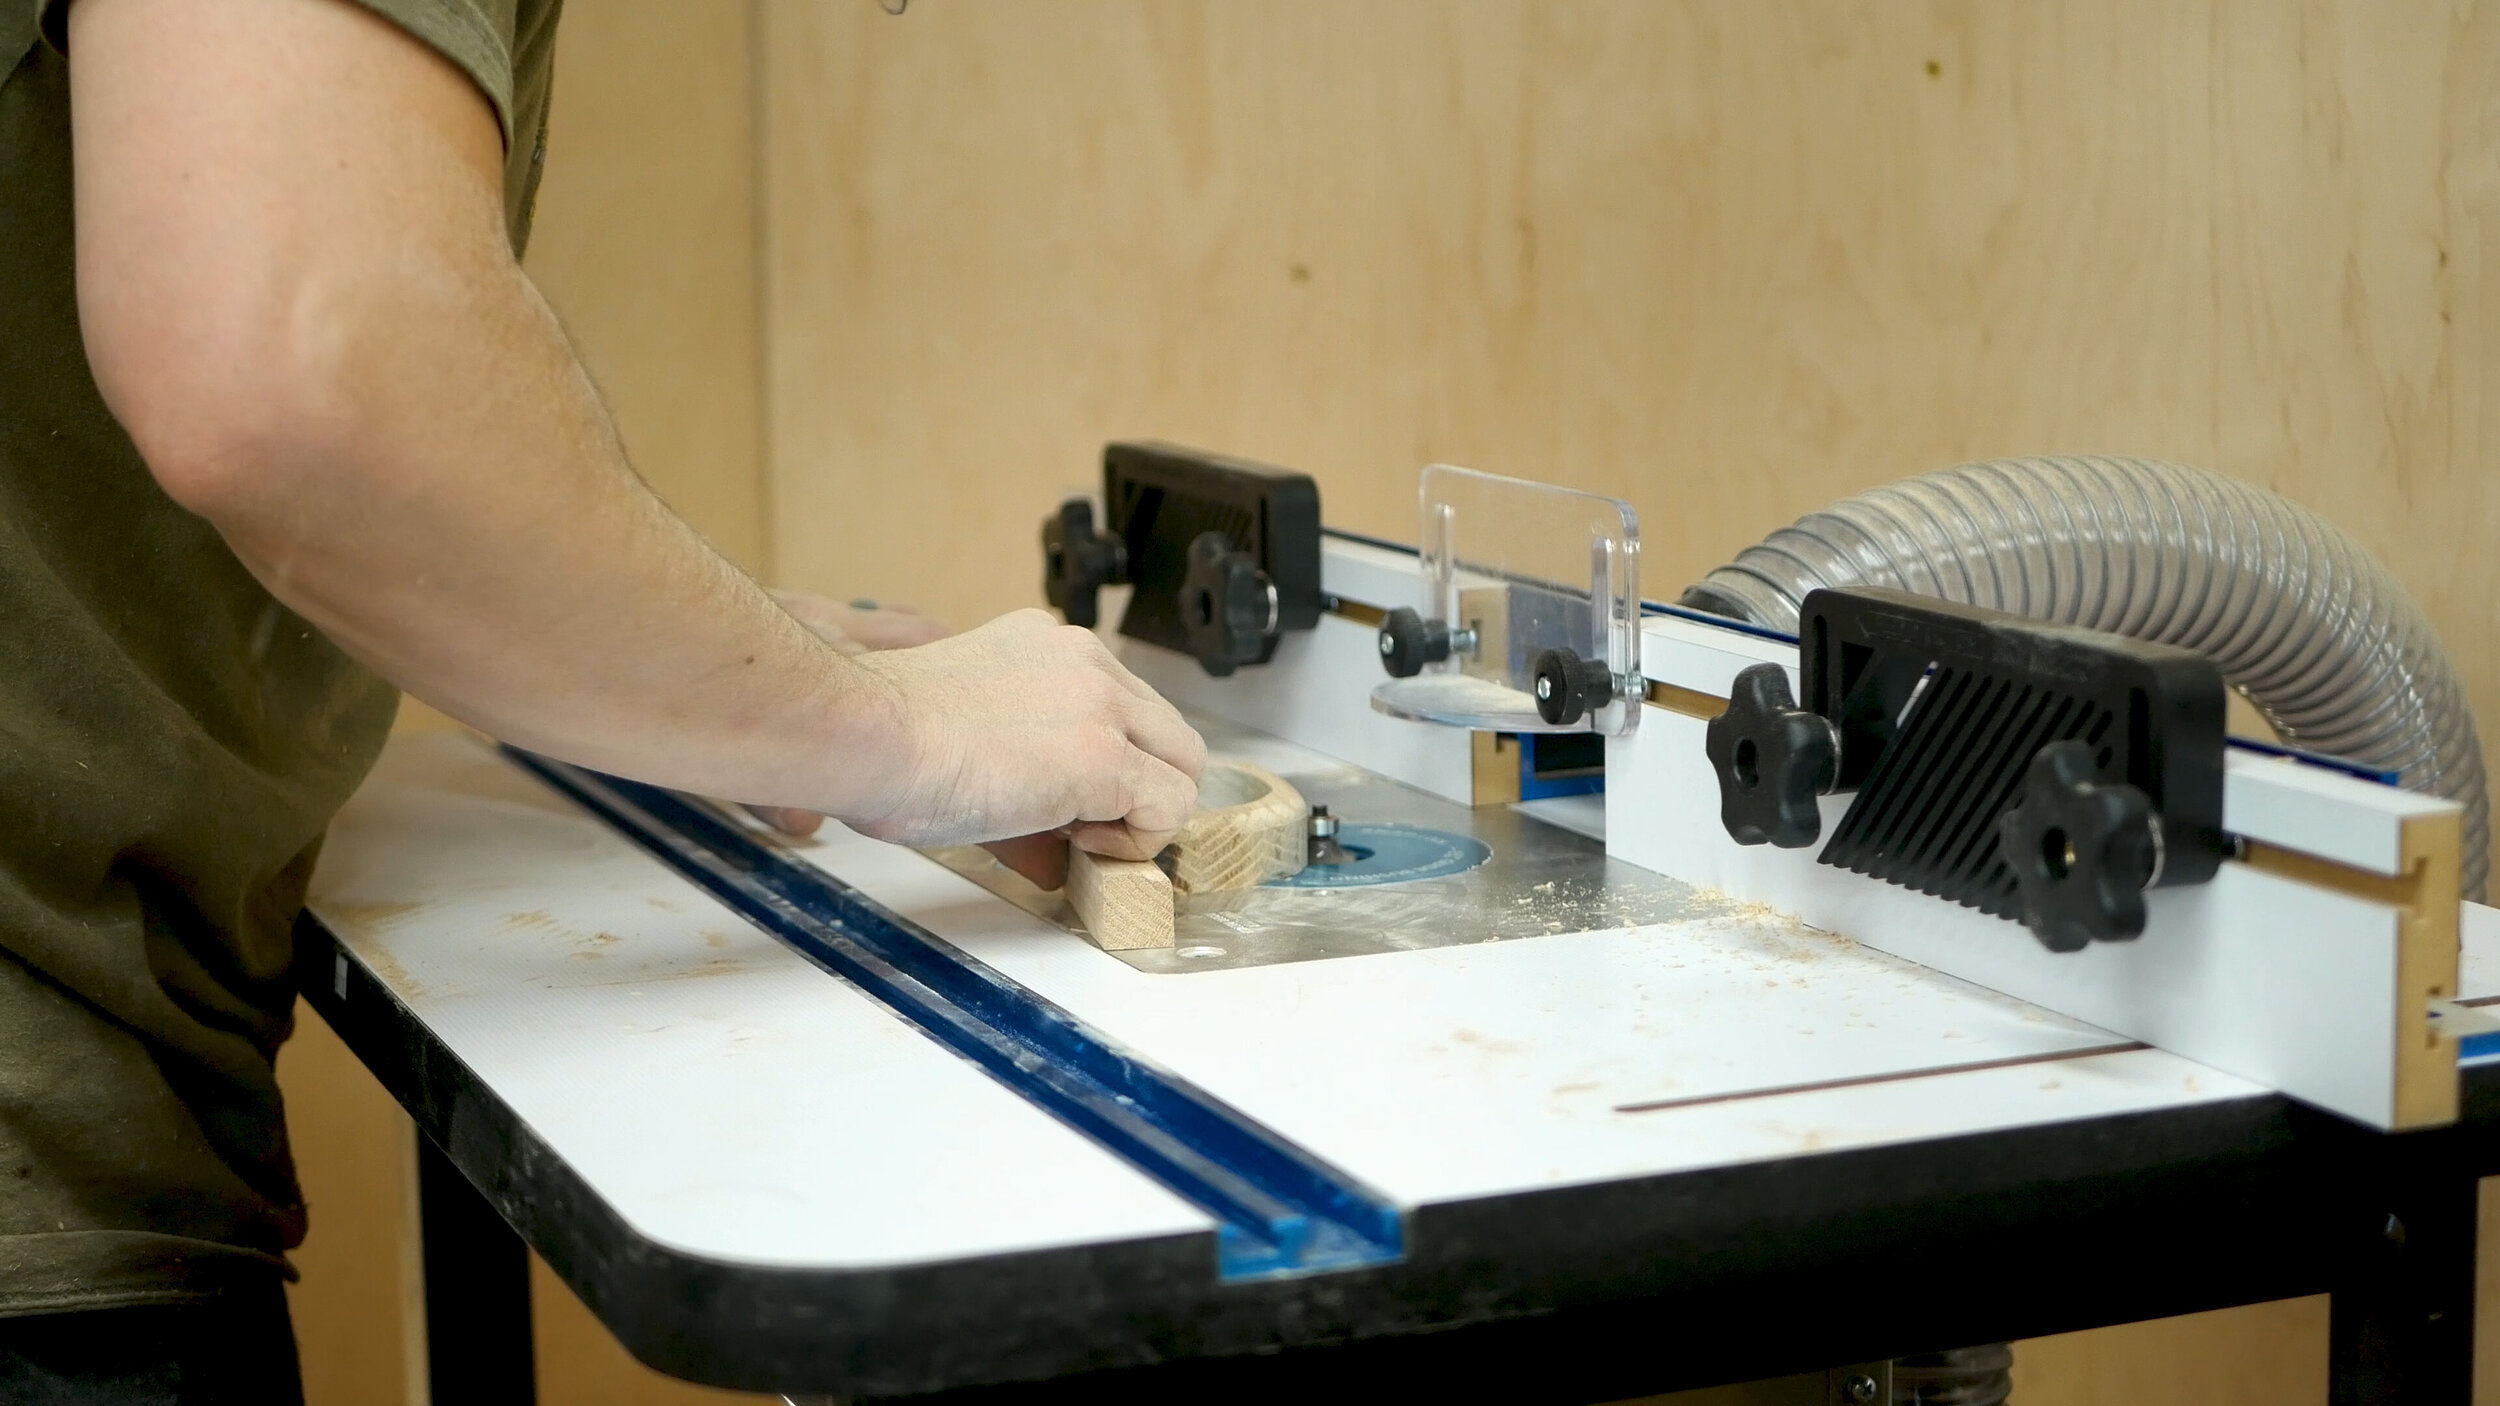
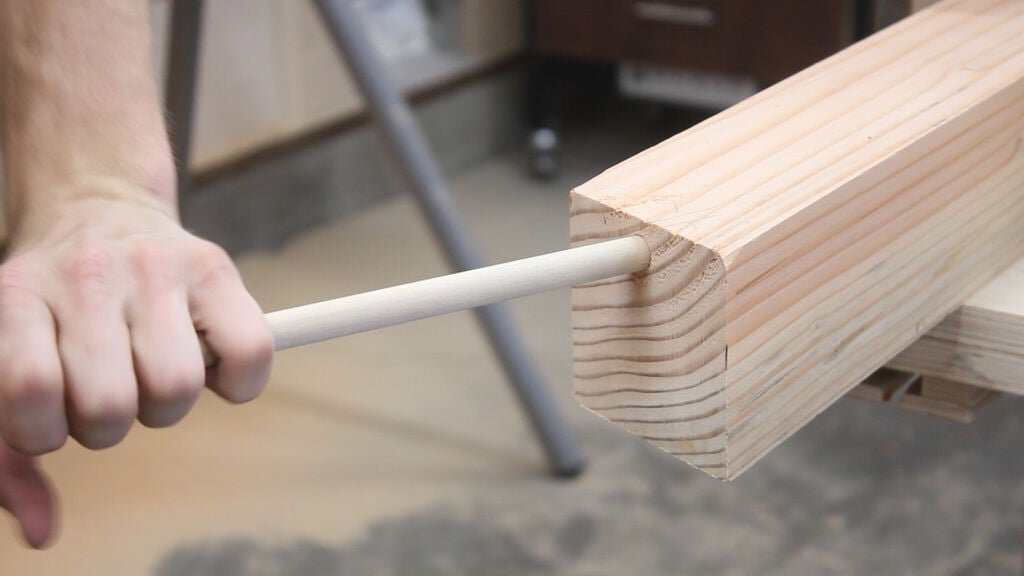
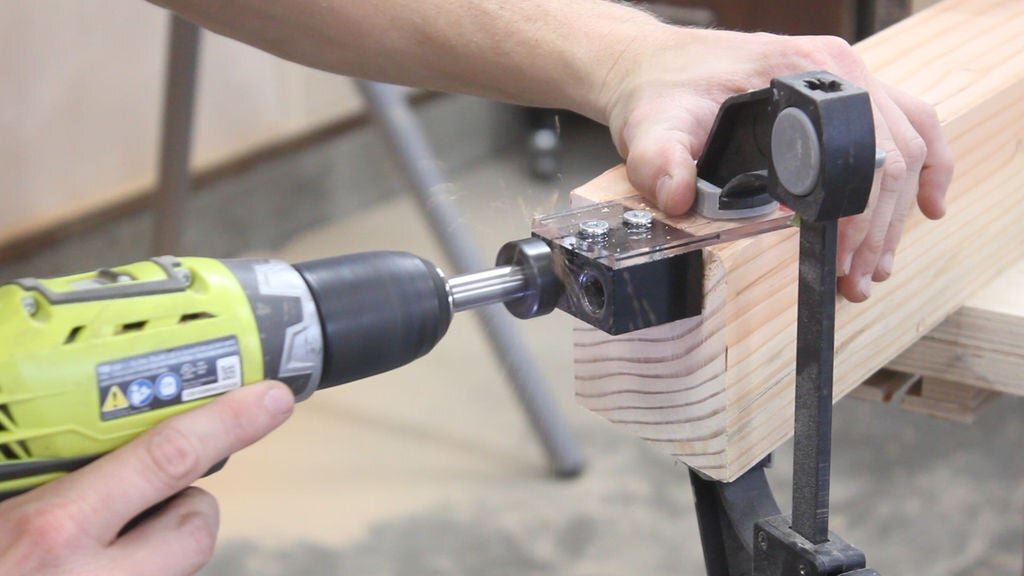
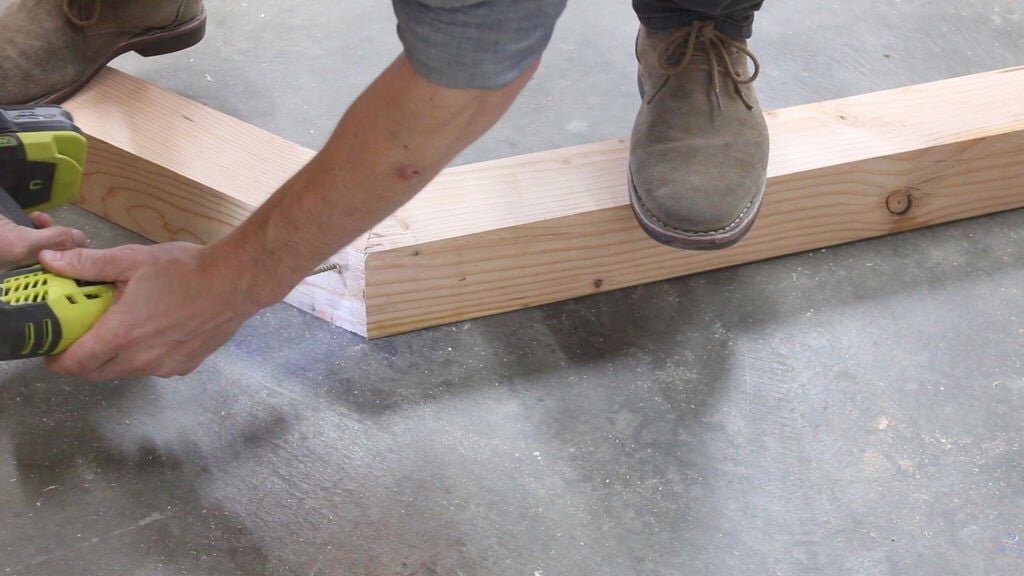
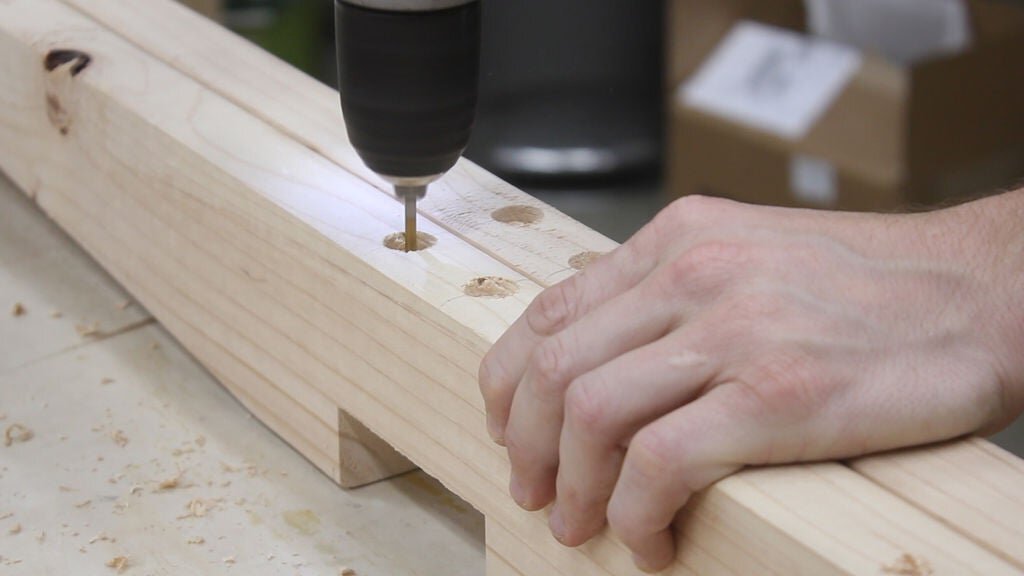
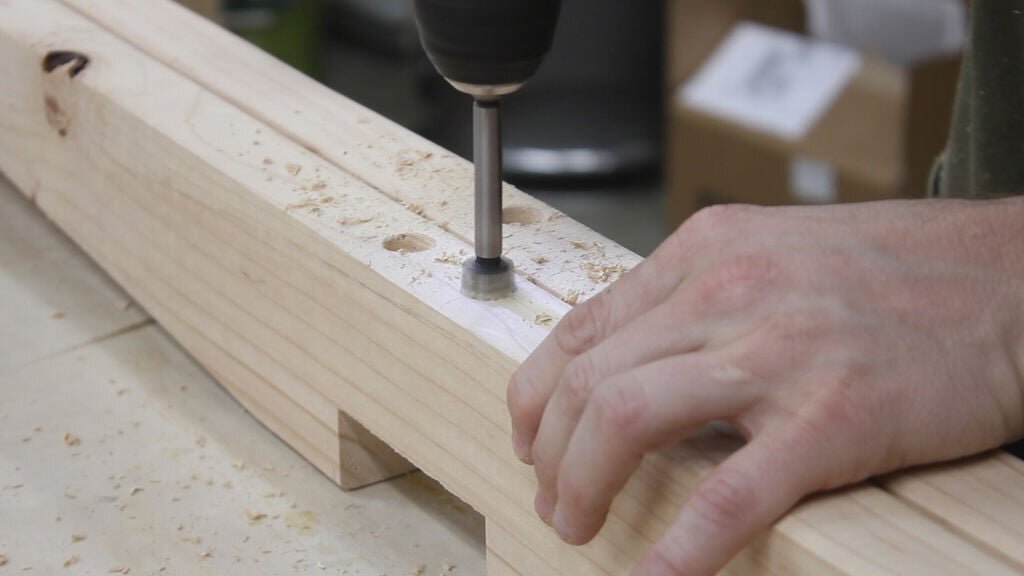
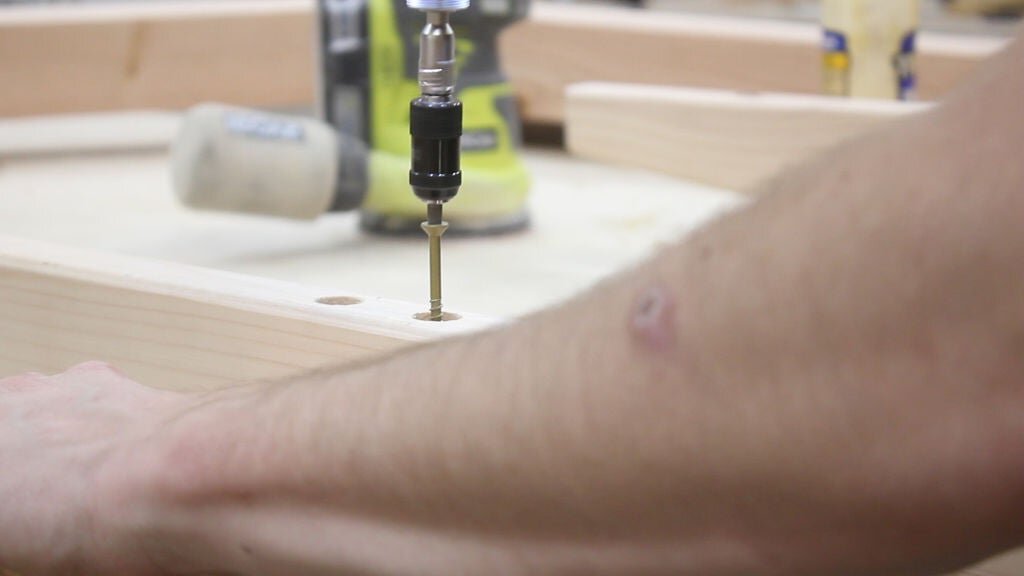
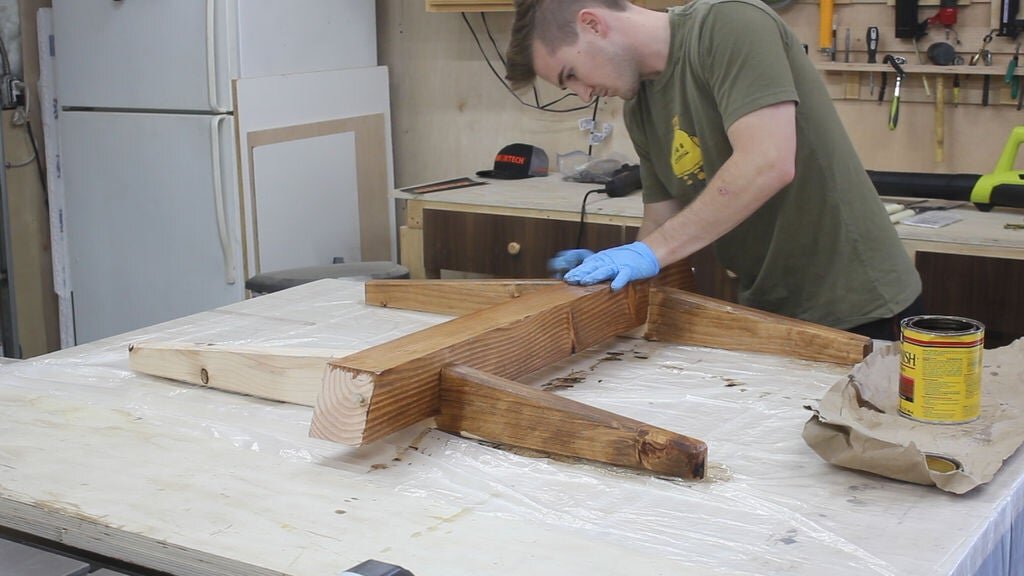
The next step is optional, but I had just bought a route table and thought adding a bevel to all sides except for the bottom would look very professional, so I added that (Pics 6-7). To prep for attaching to the base, I drilled out some large holes using a forsner bit (Pic 8), and then drilled pilot holes with a small drill bit to prevent splitting the wood (Pic 9).
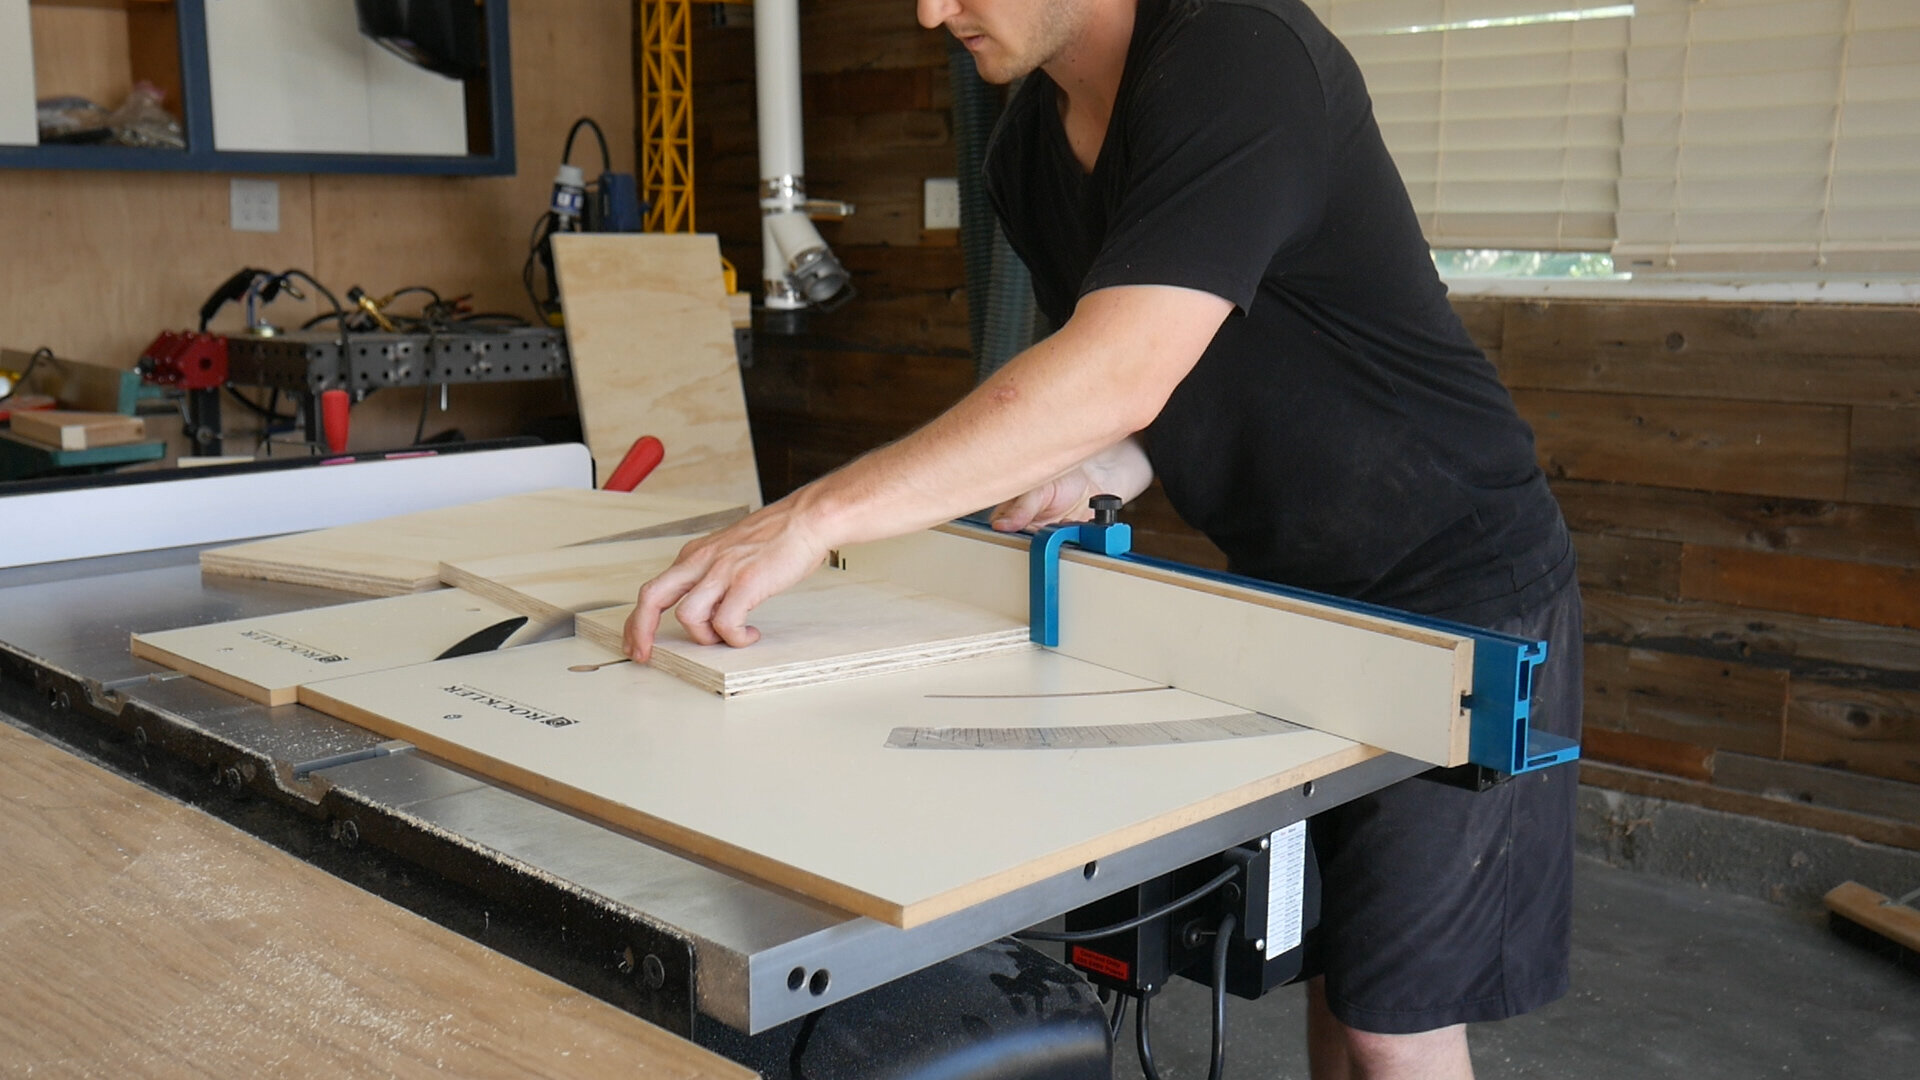
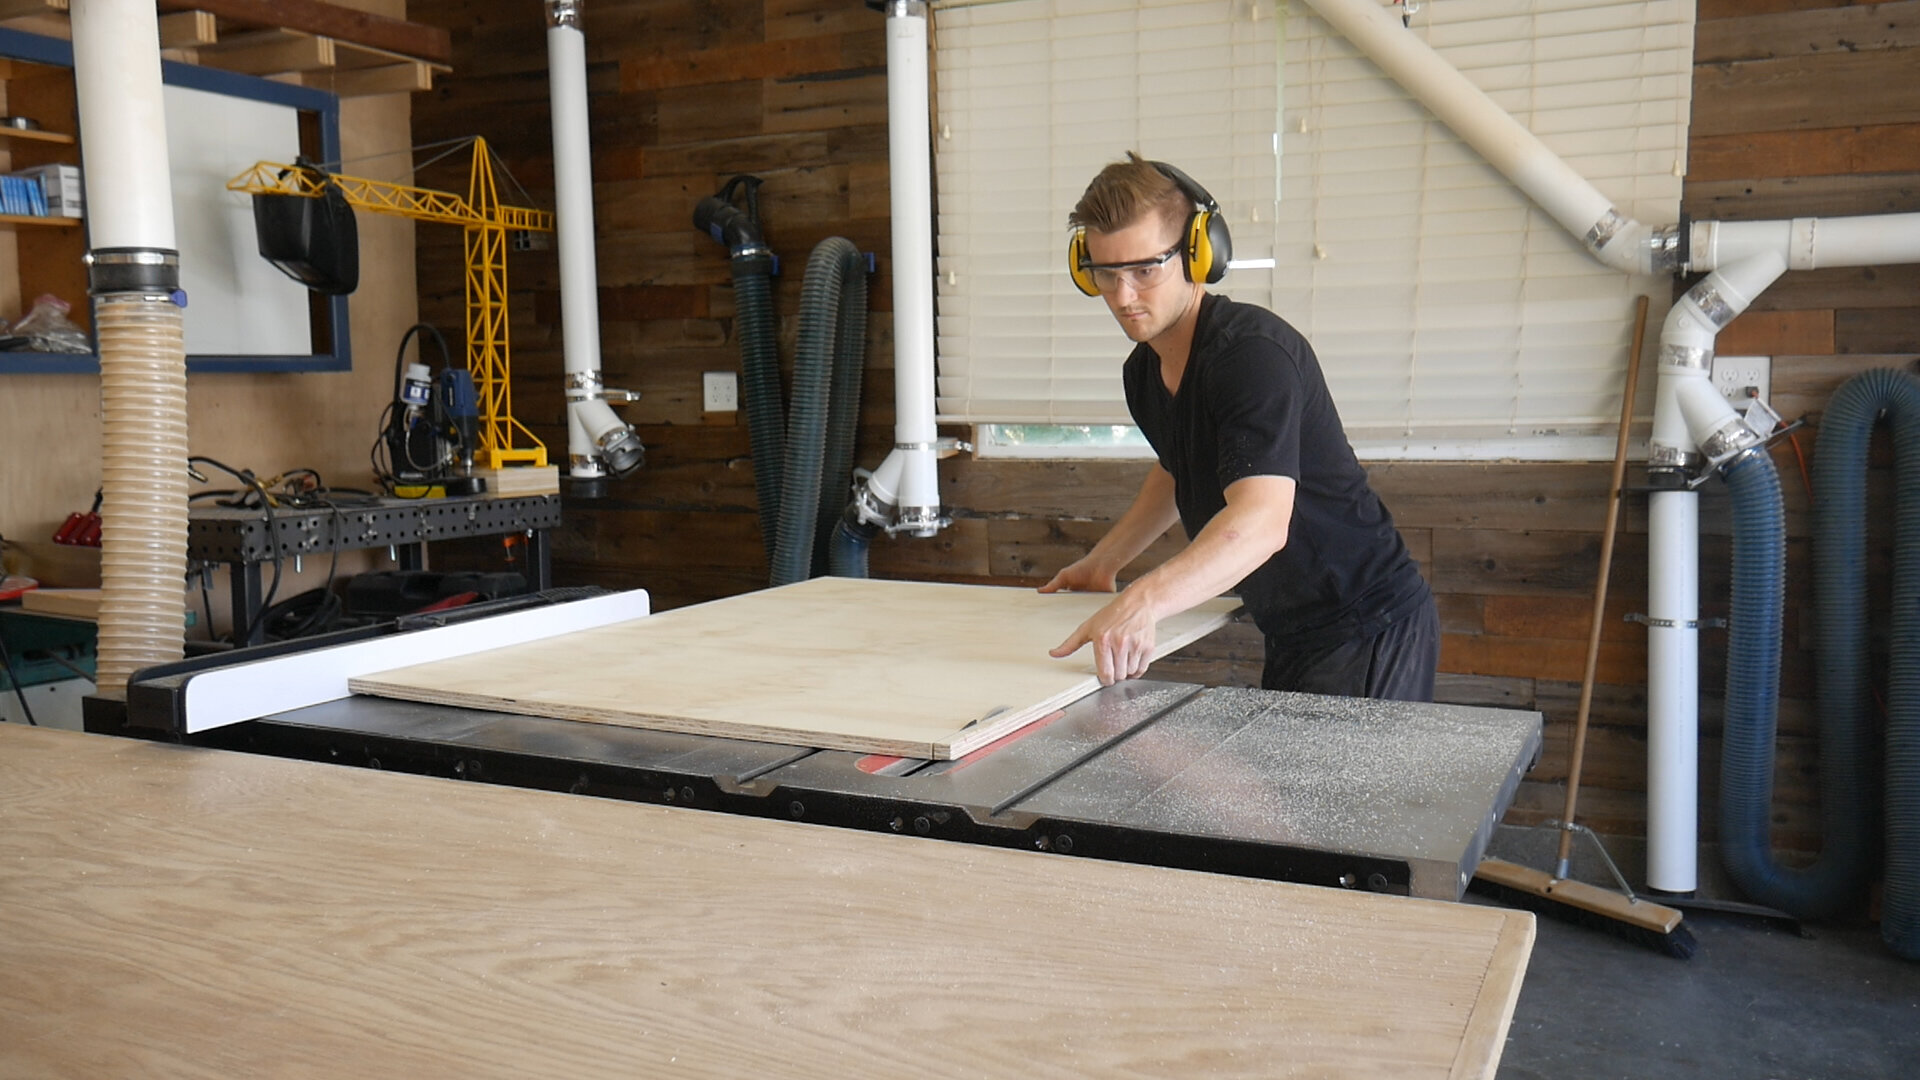
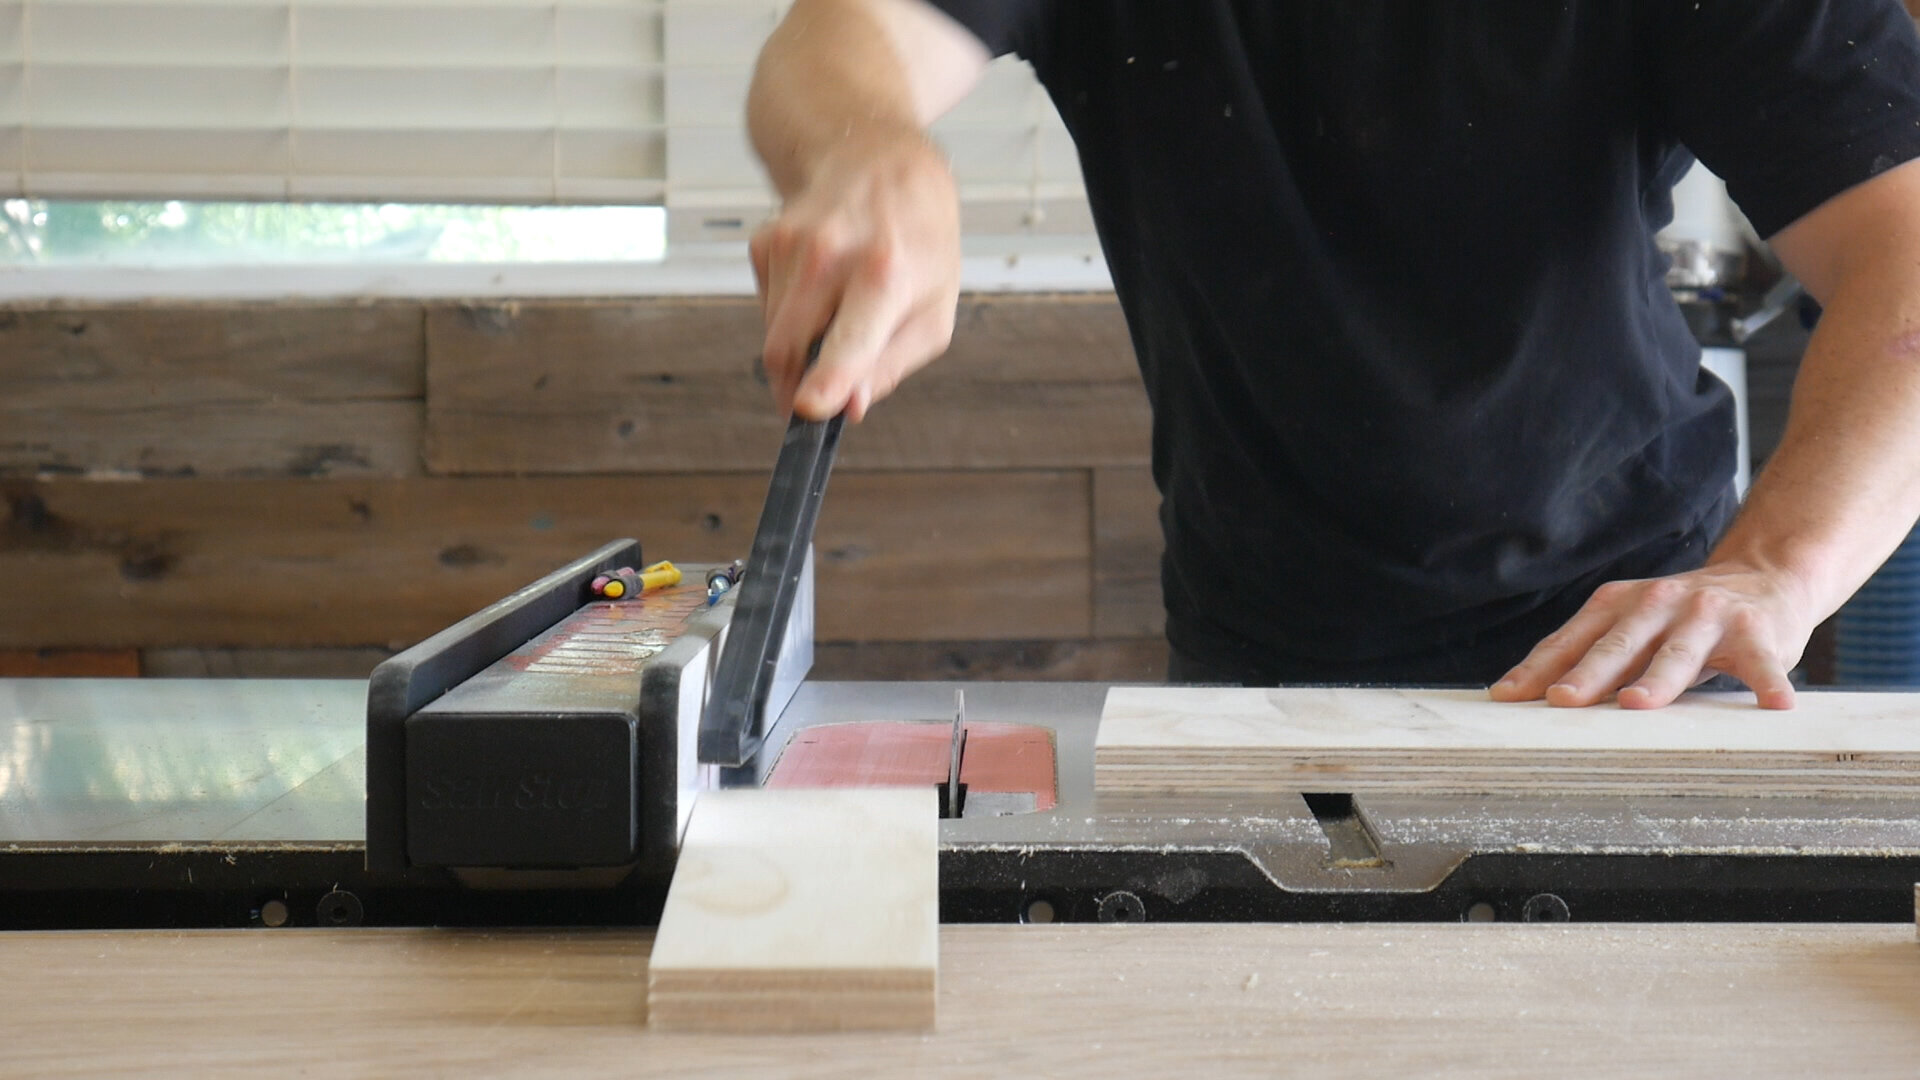
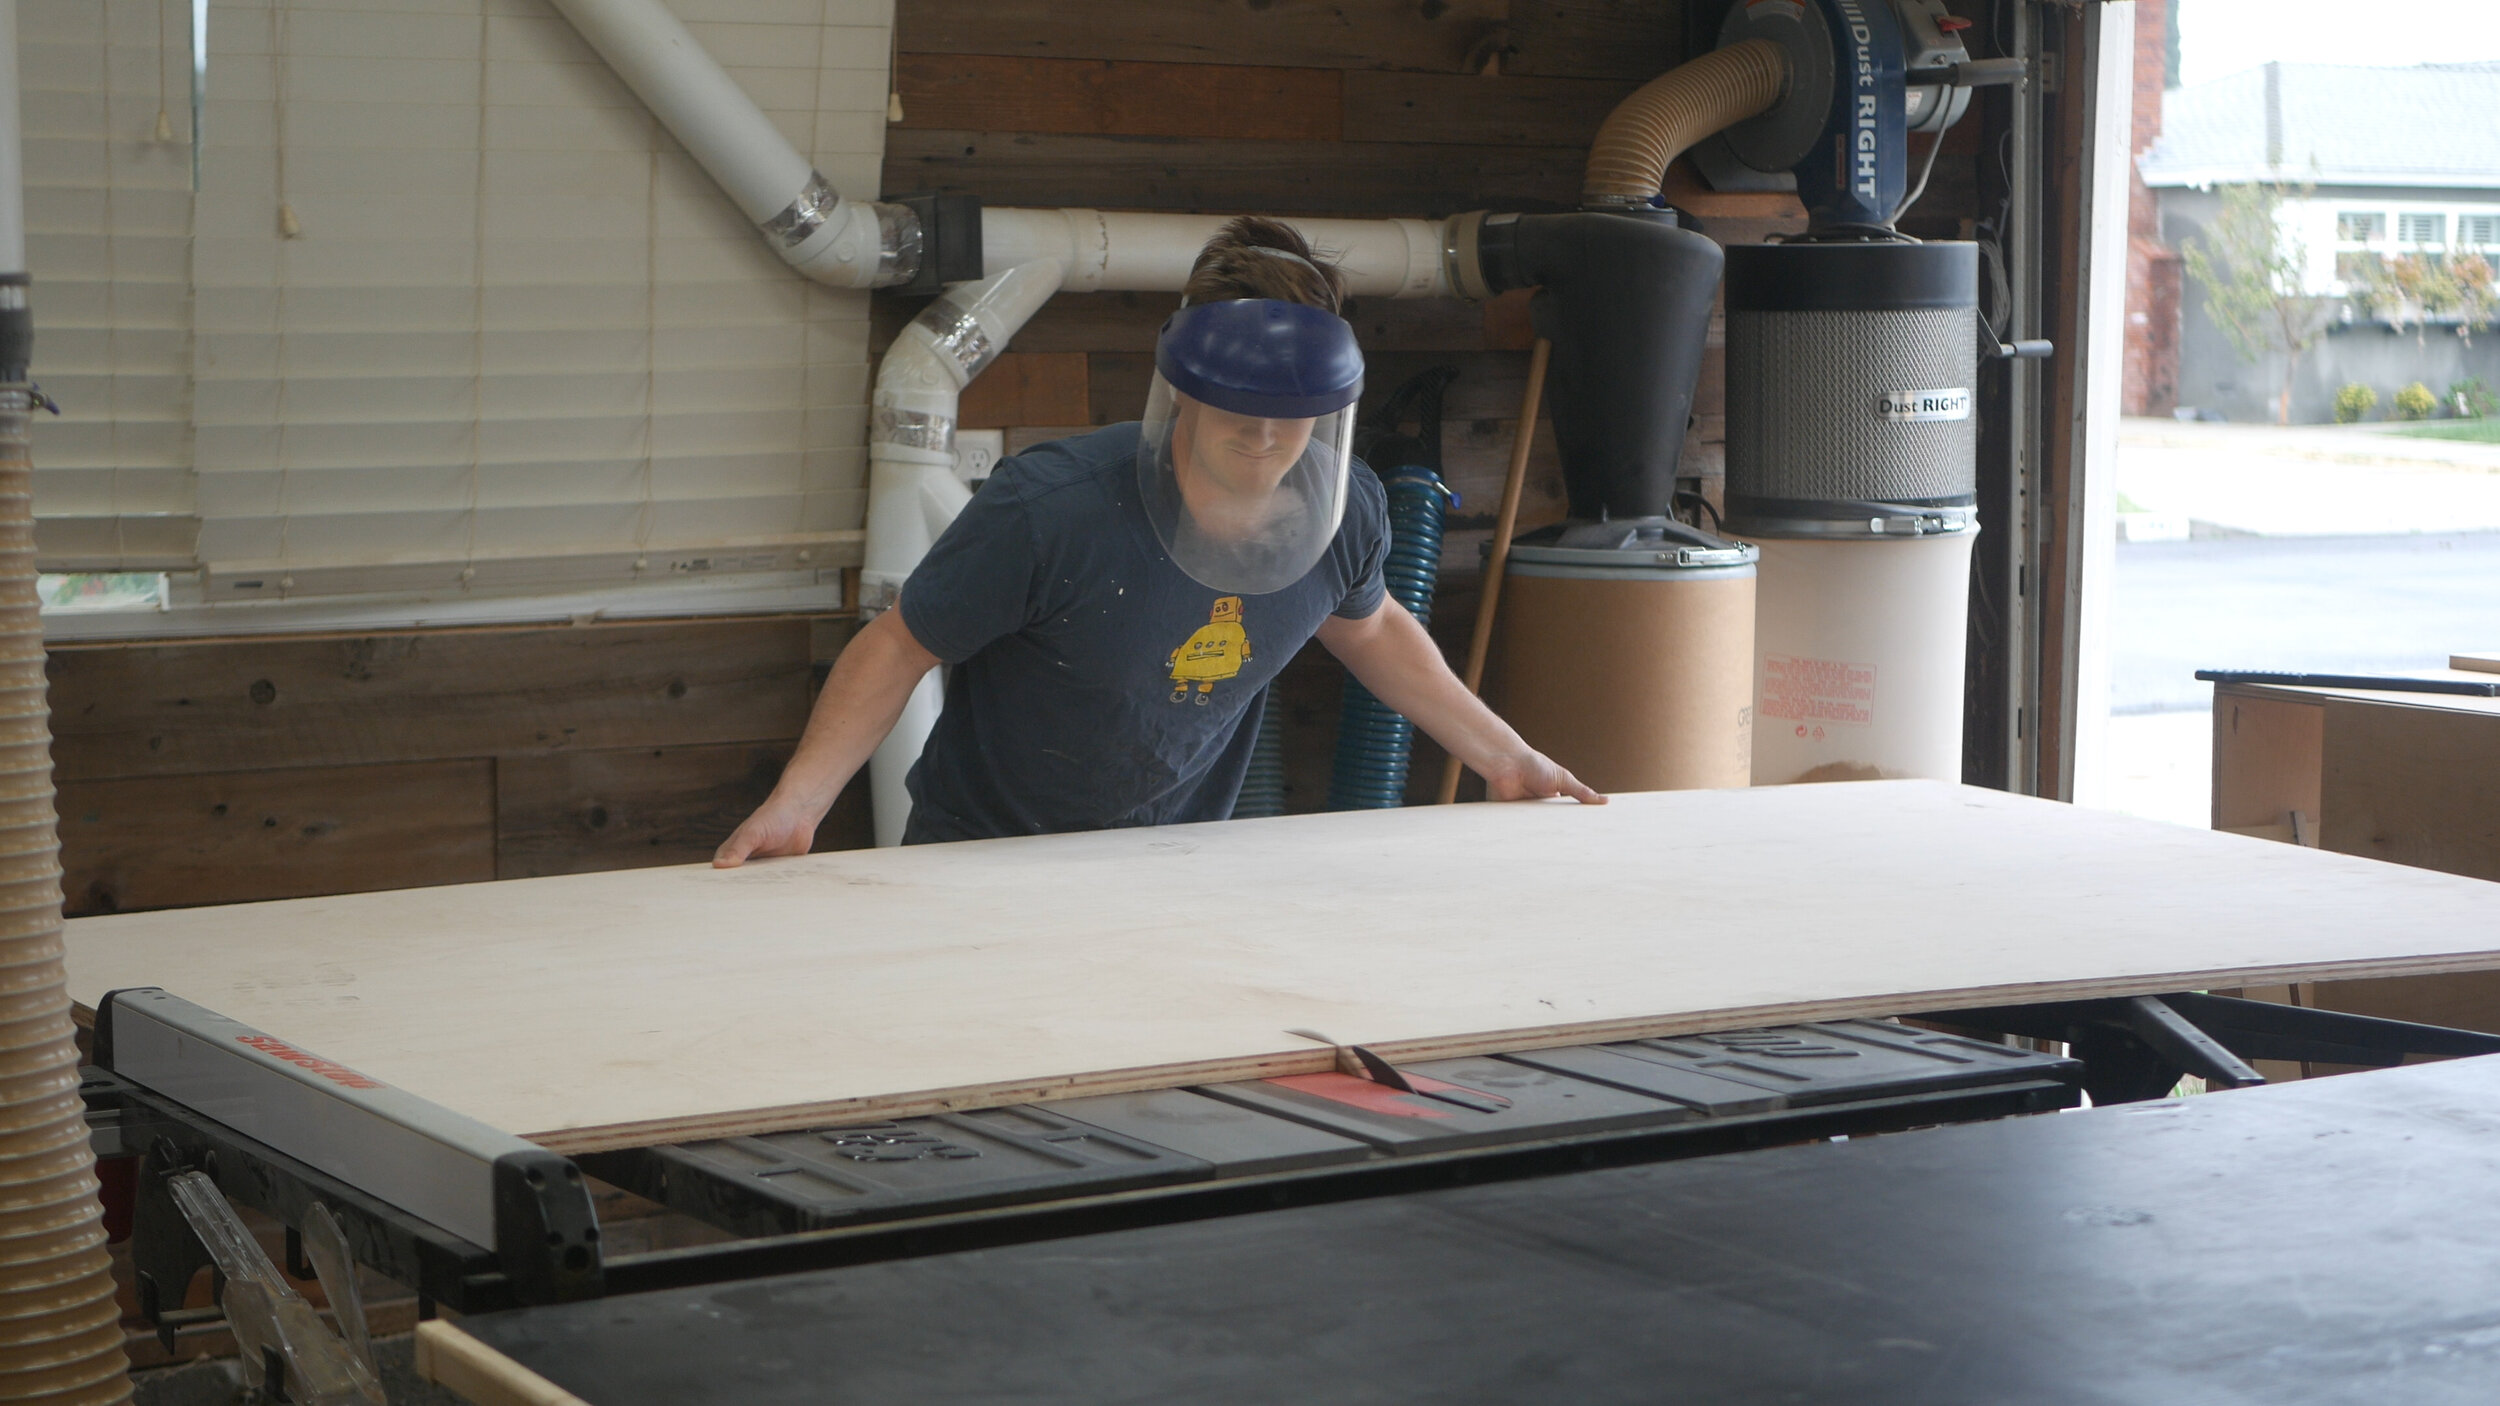
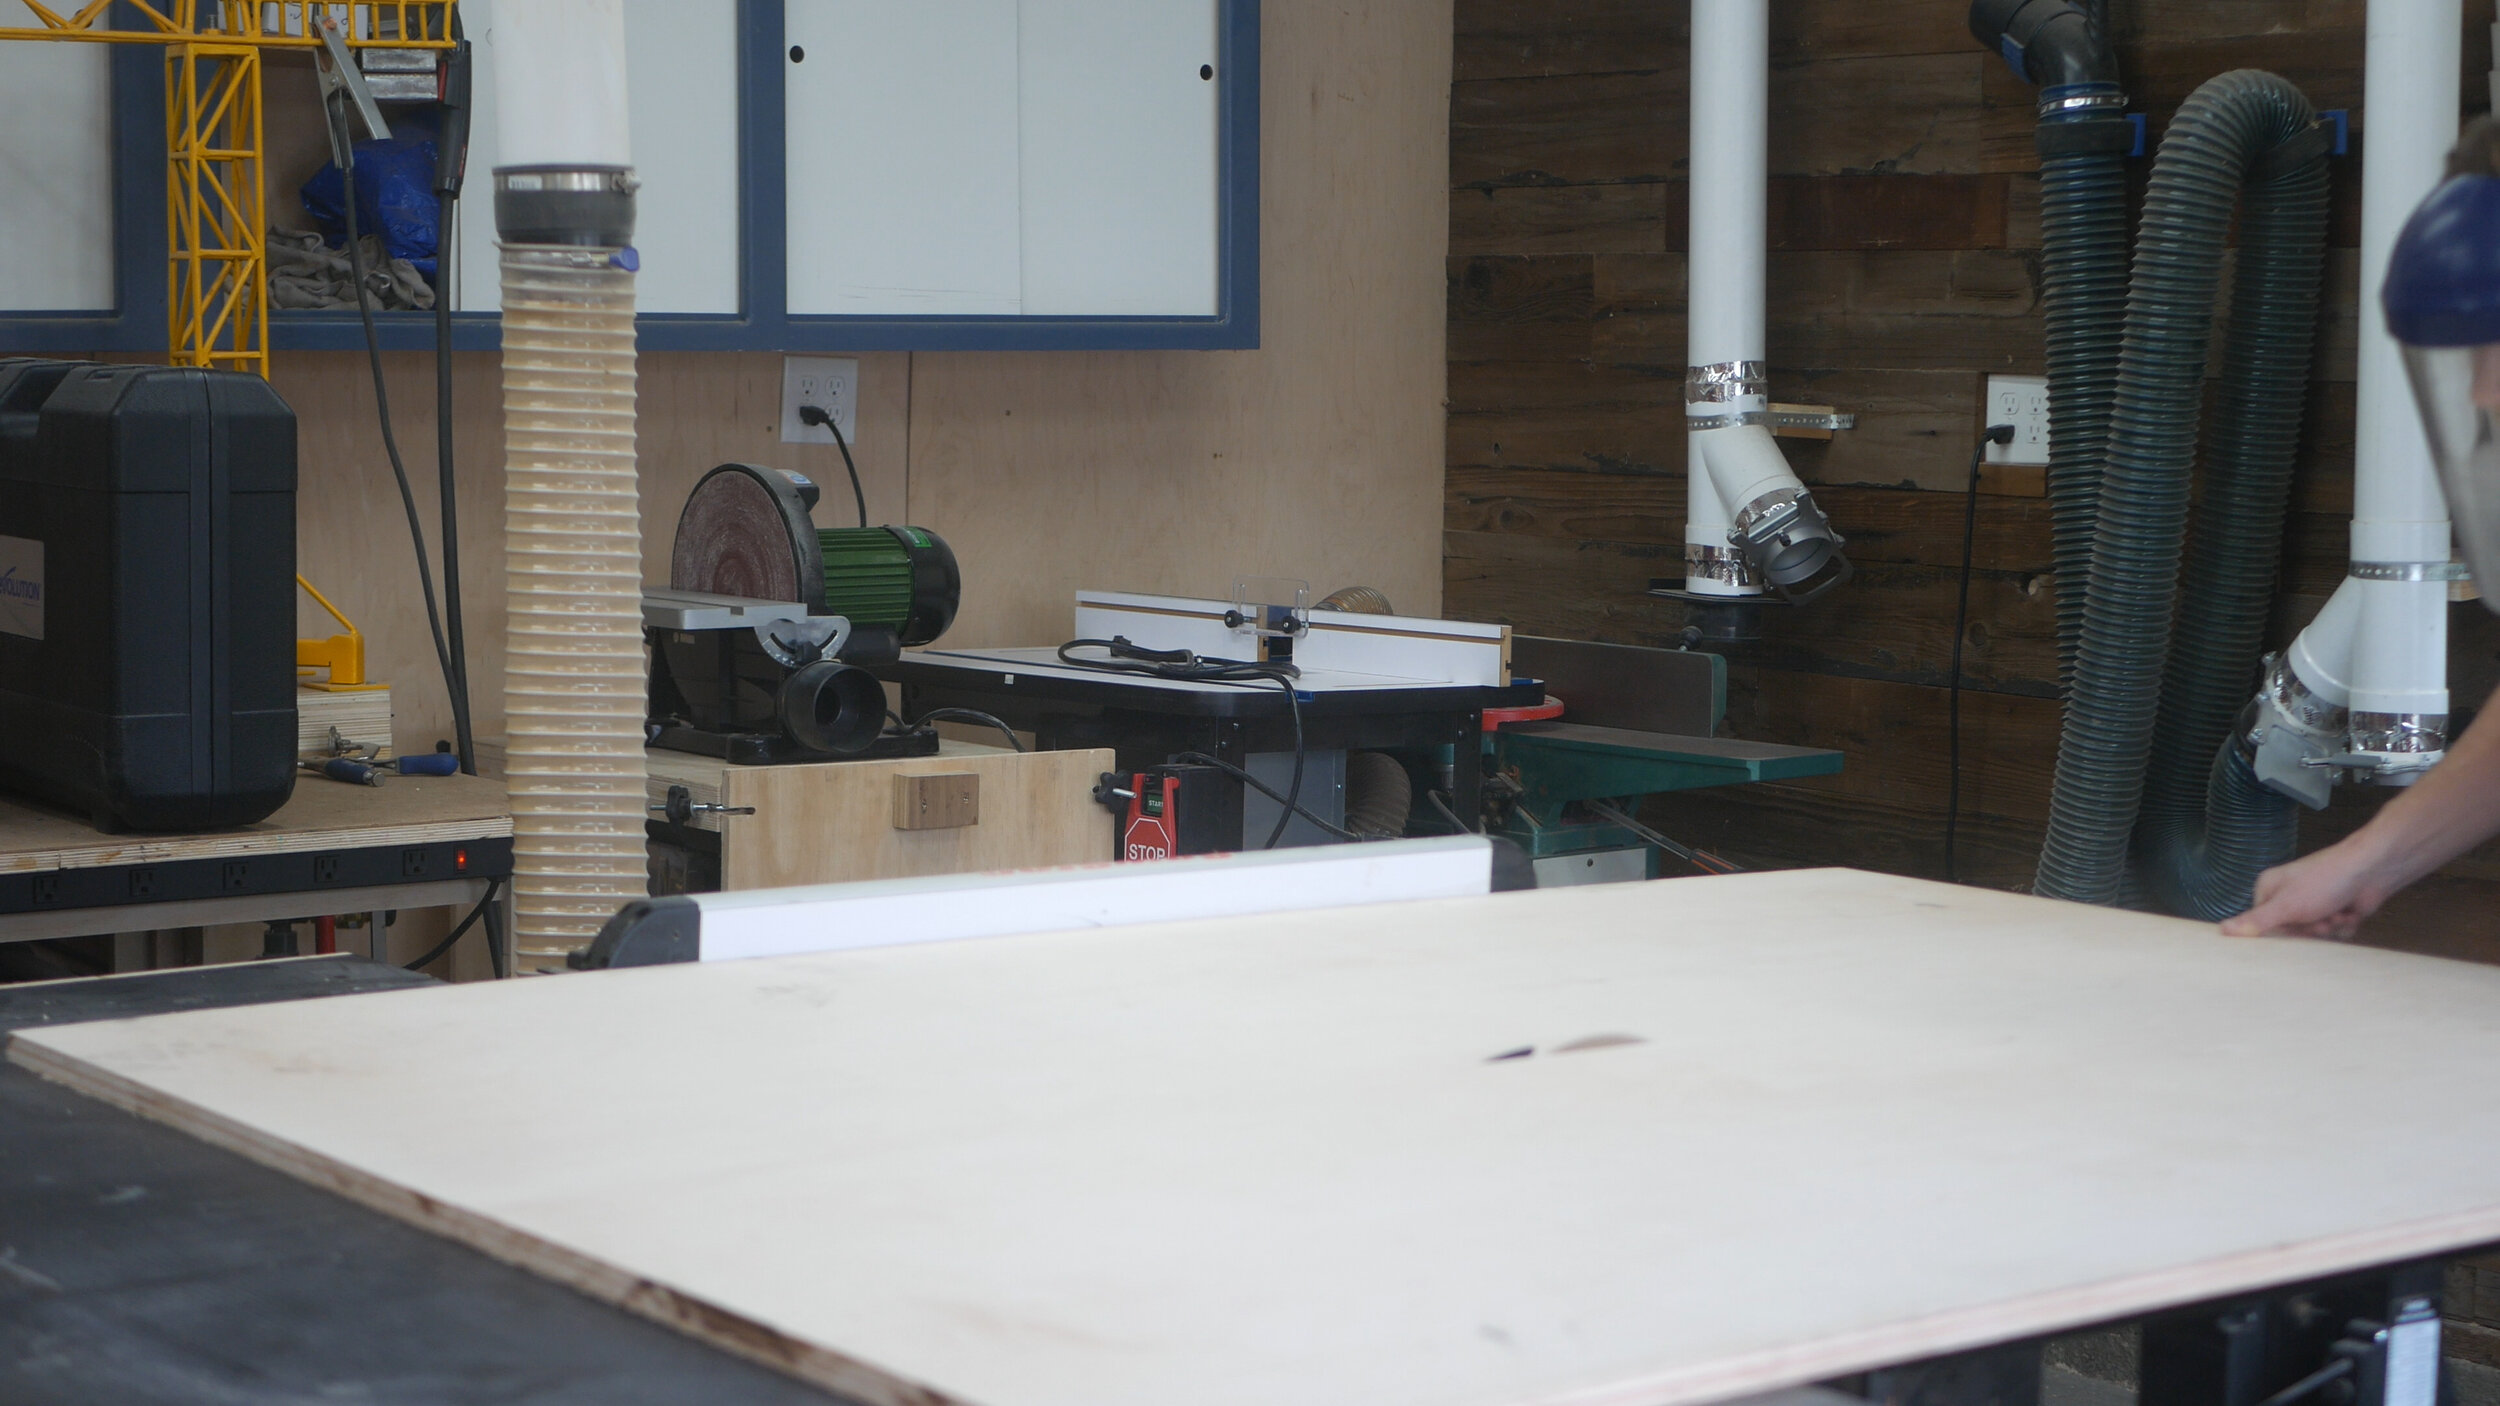
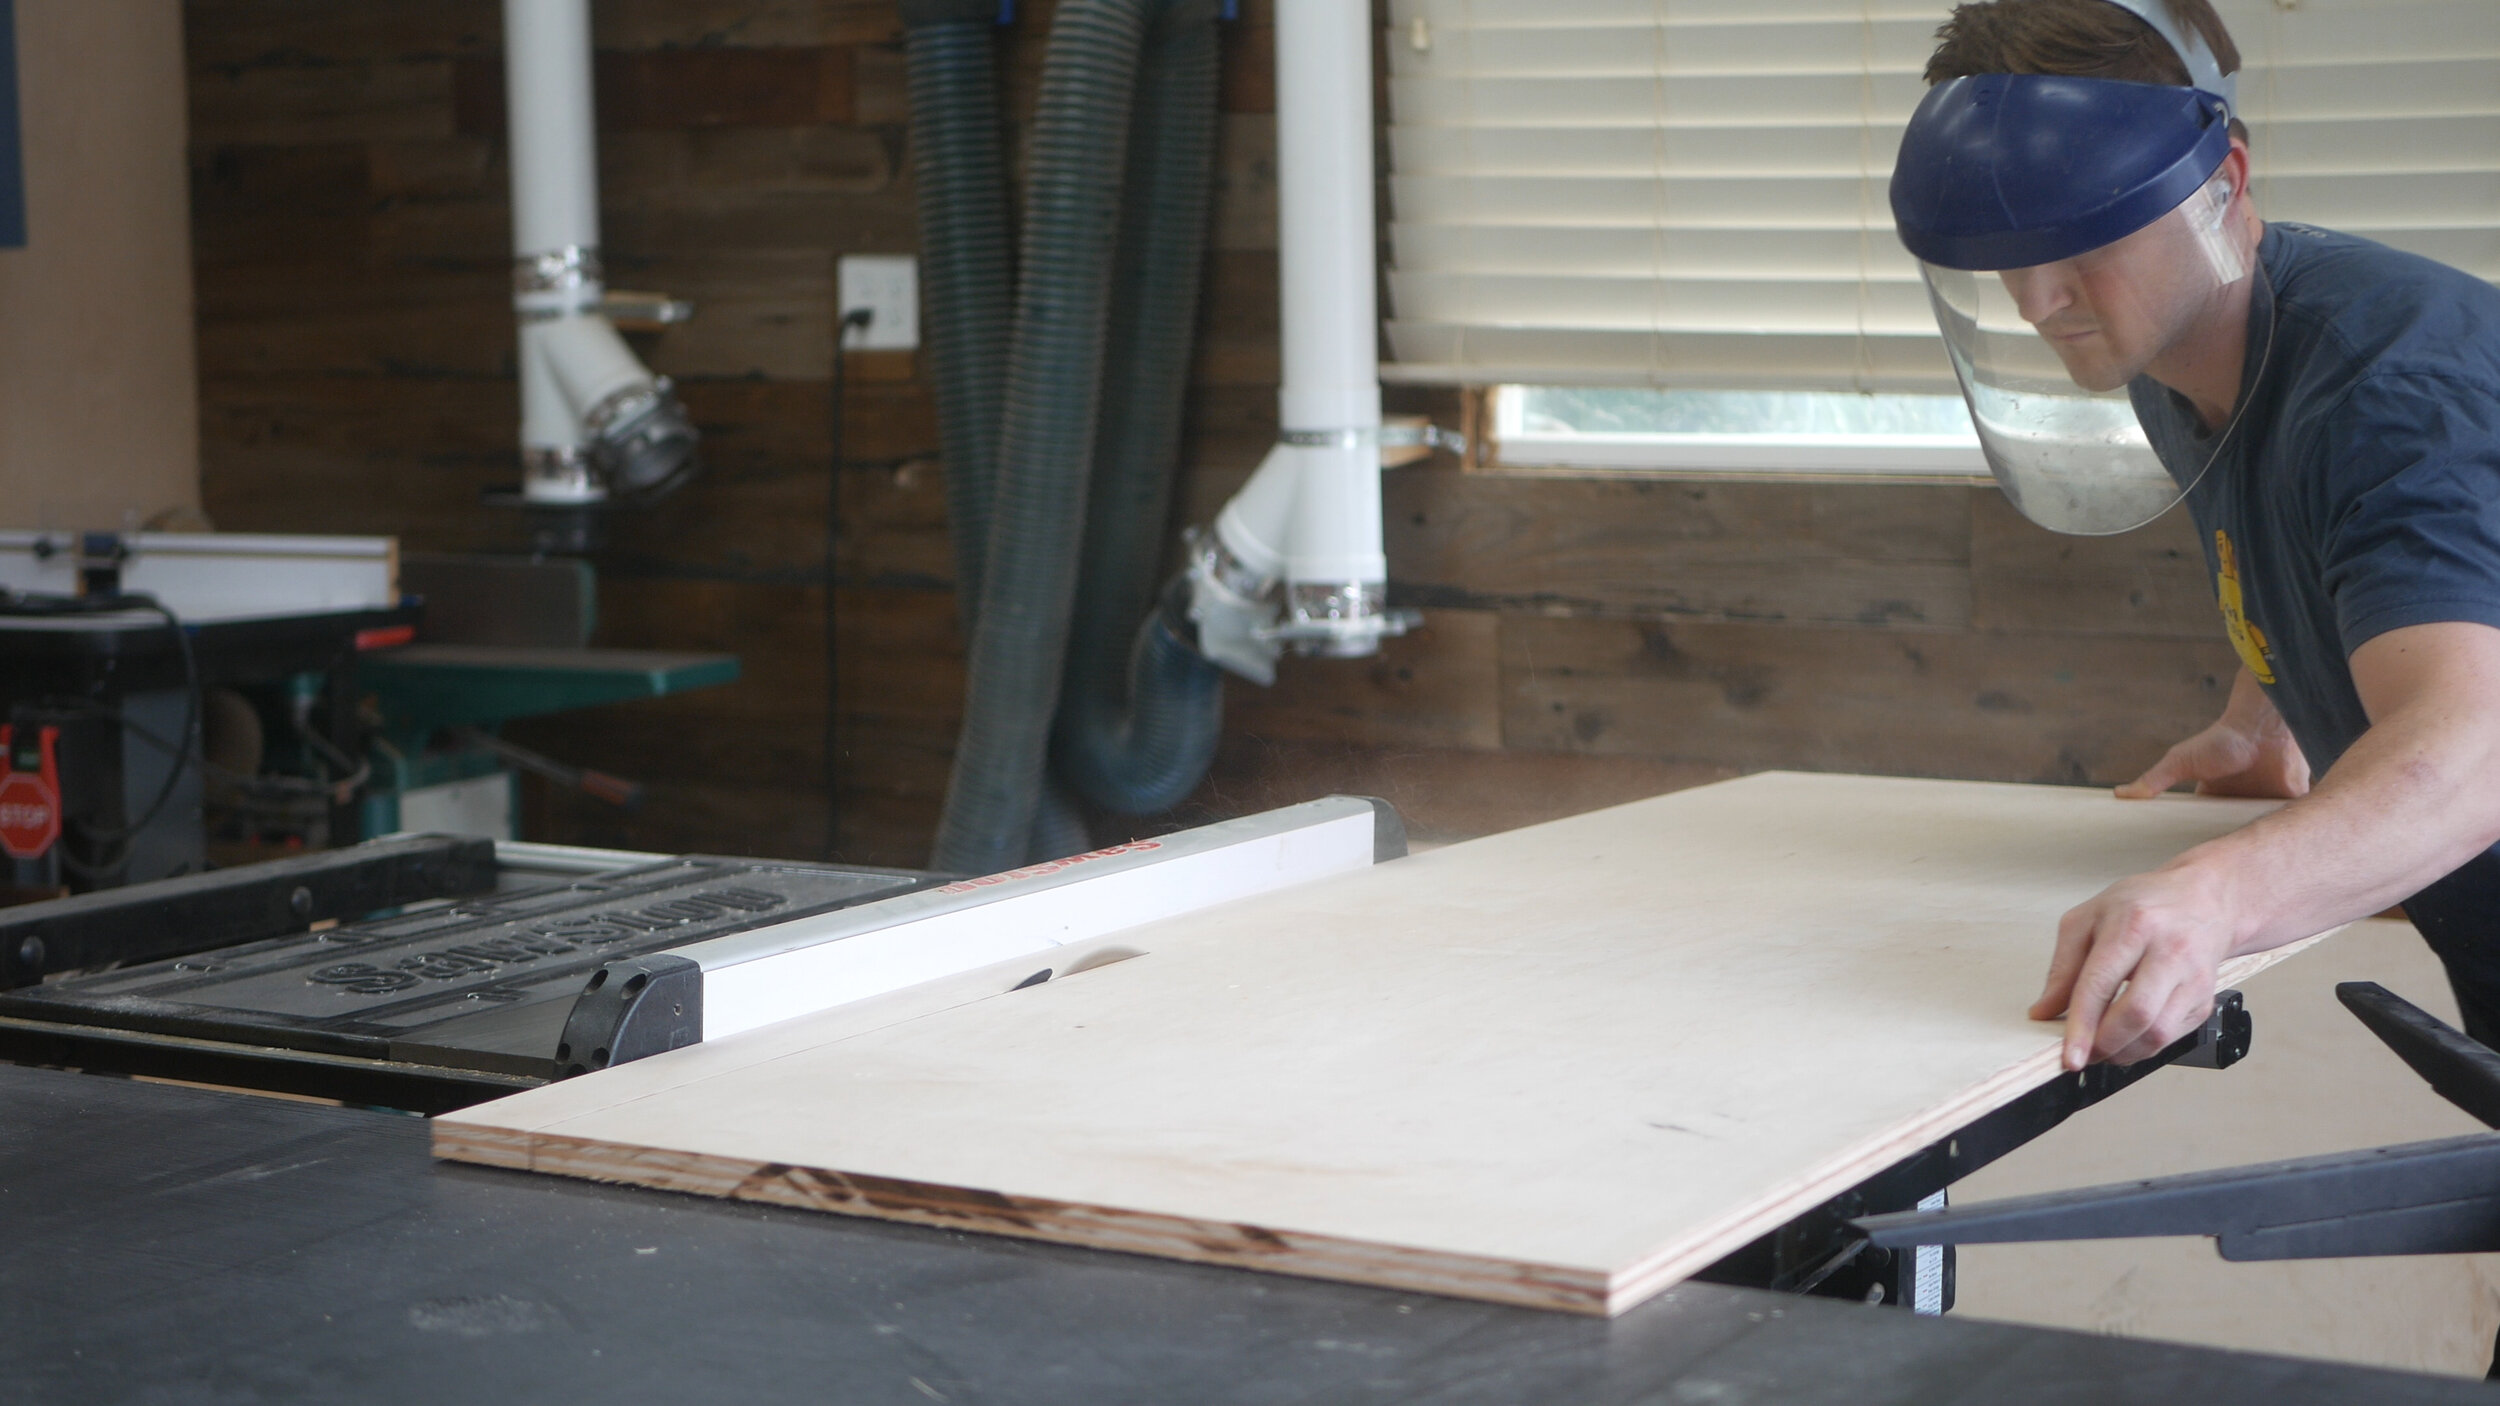
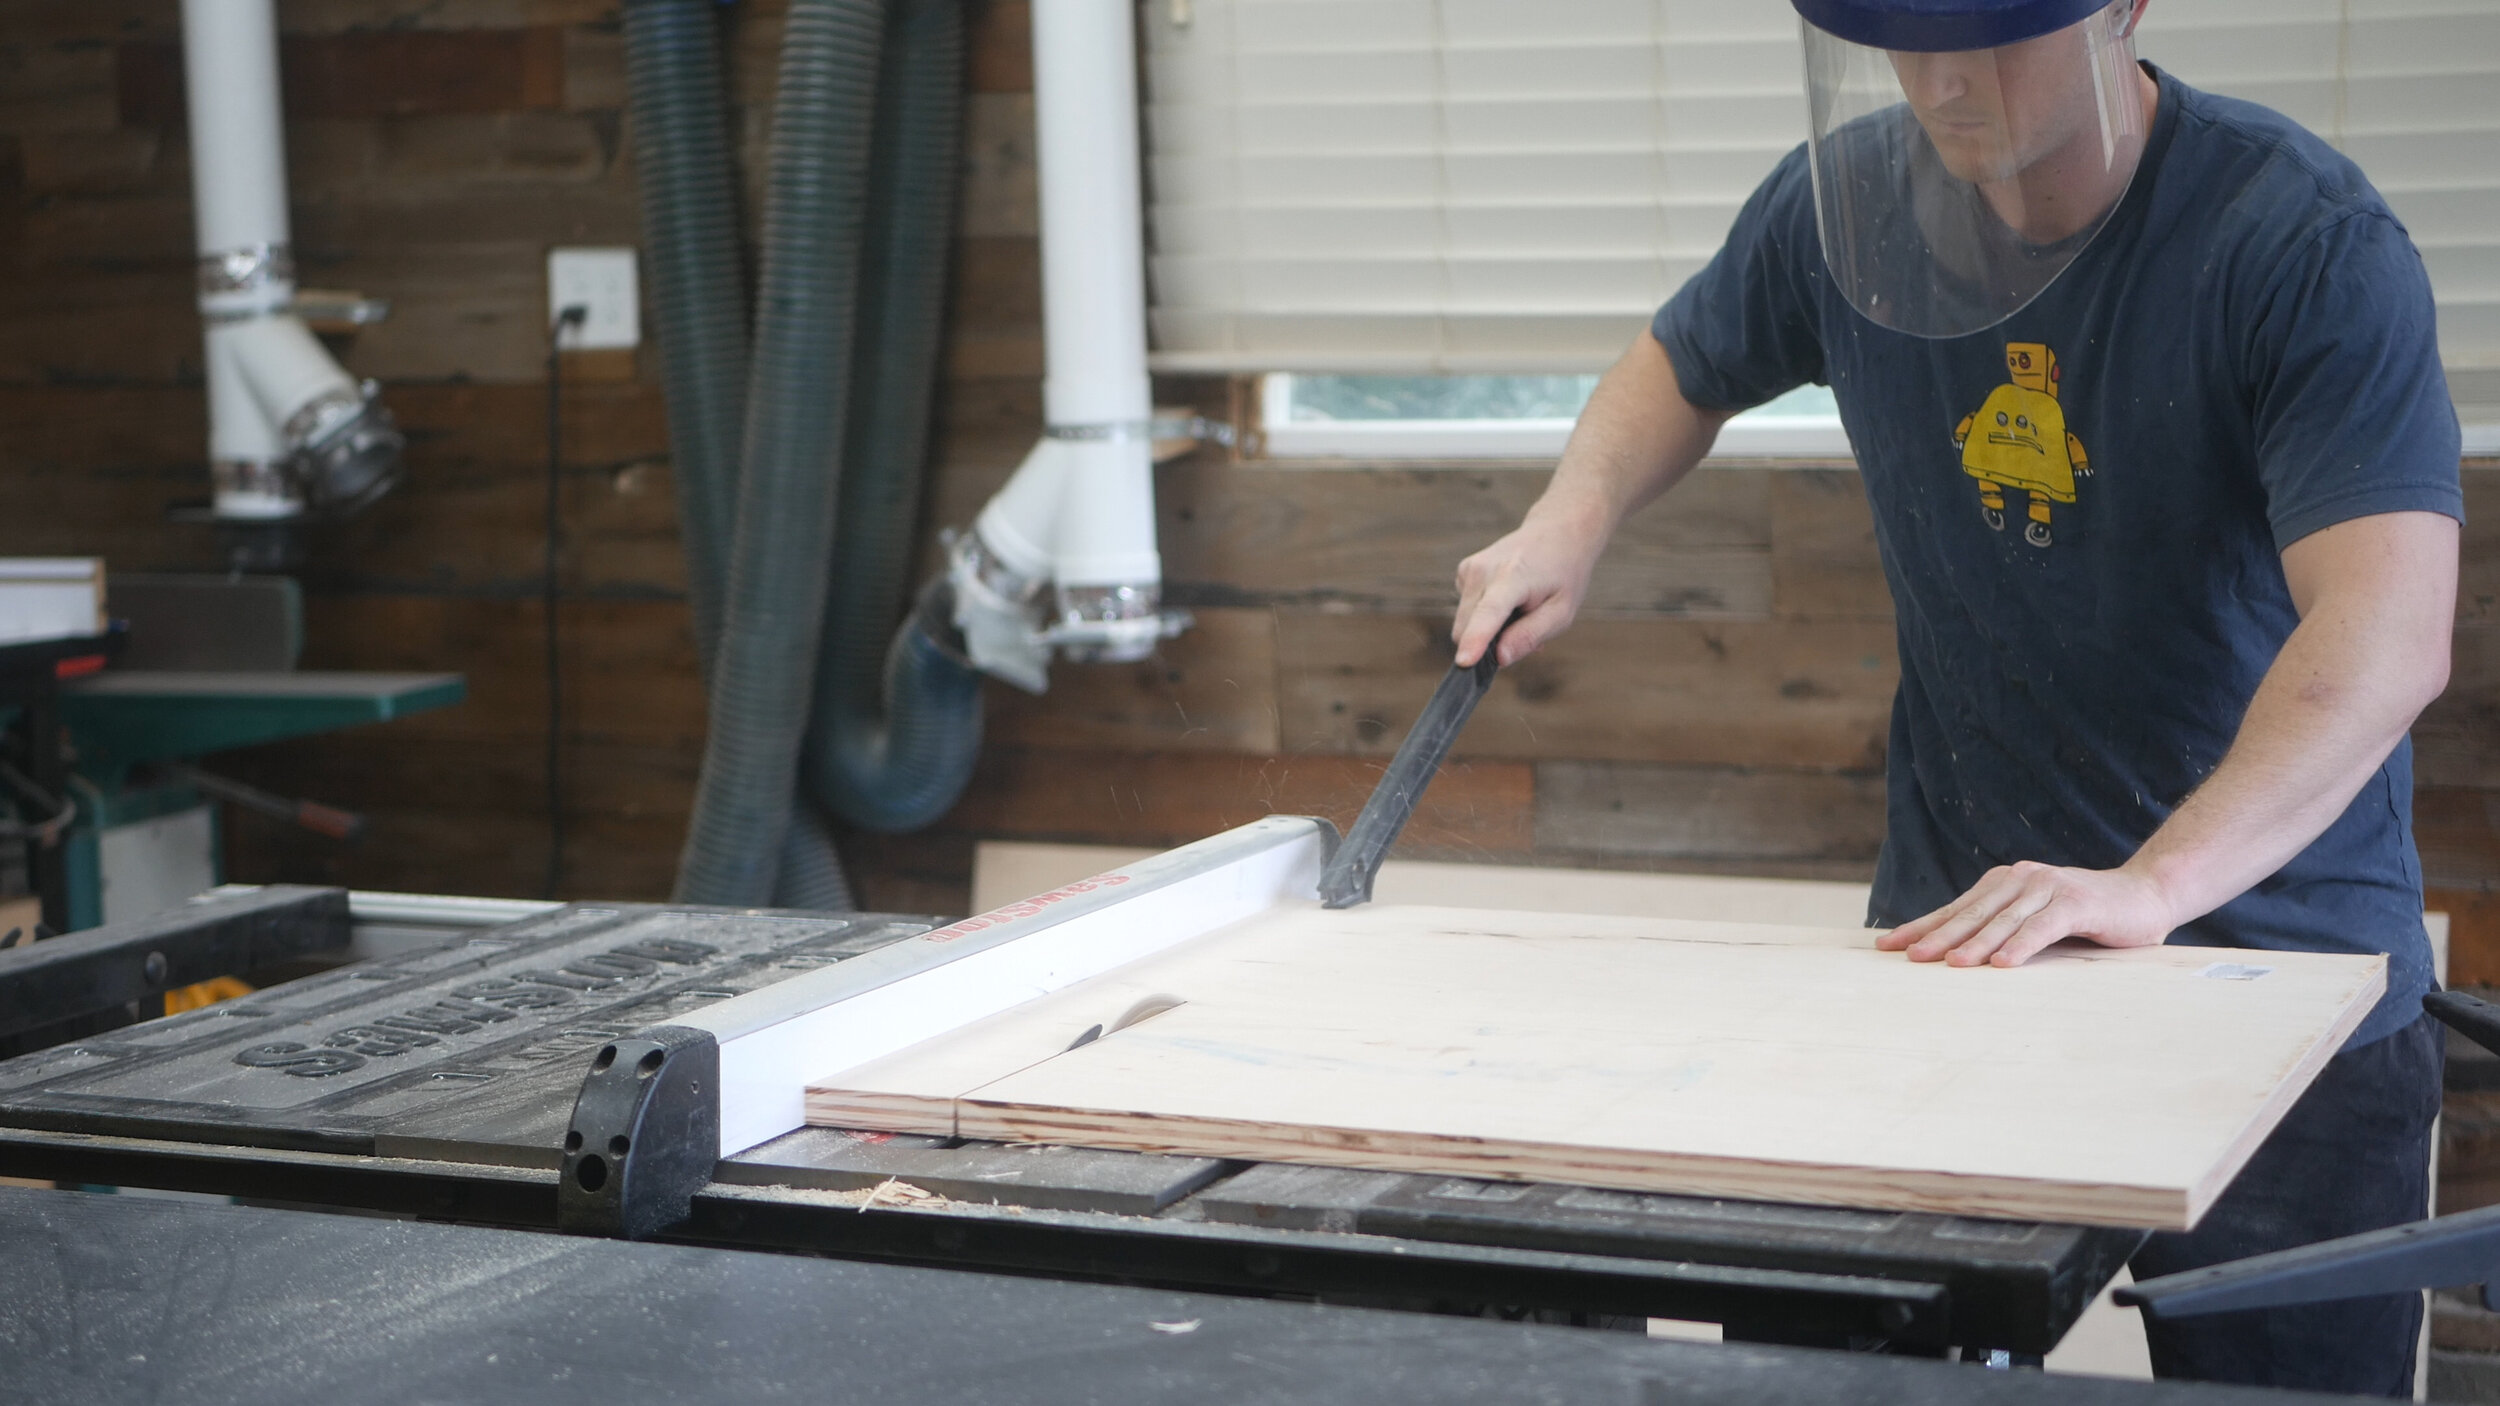
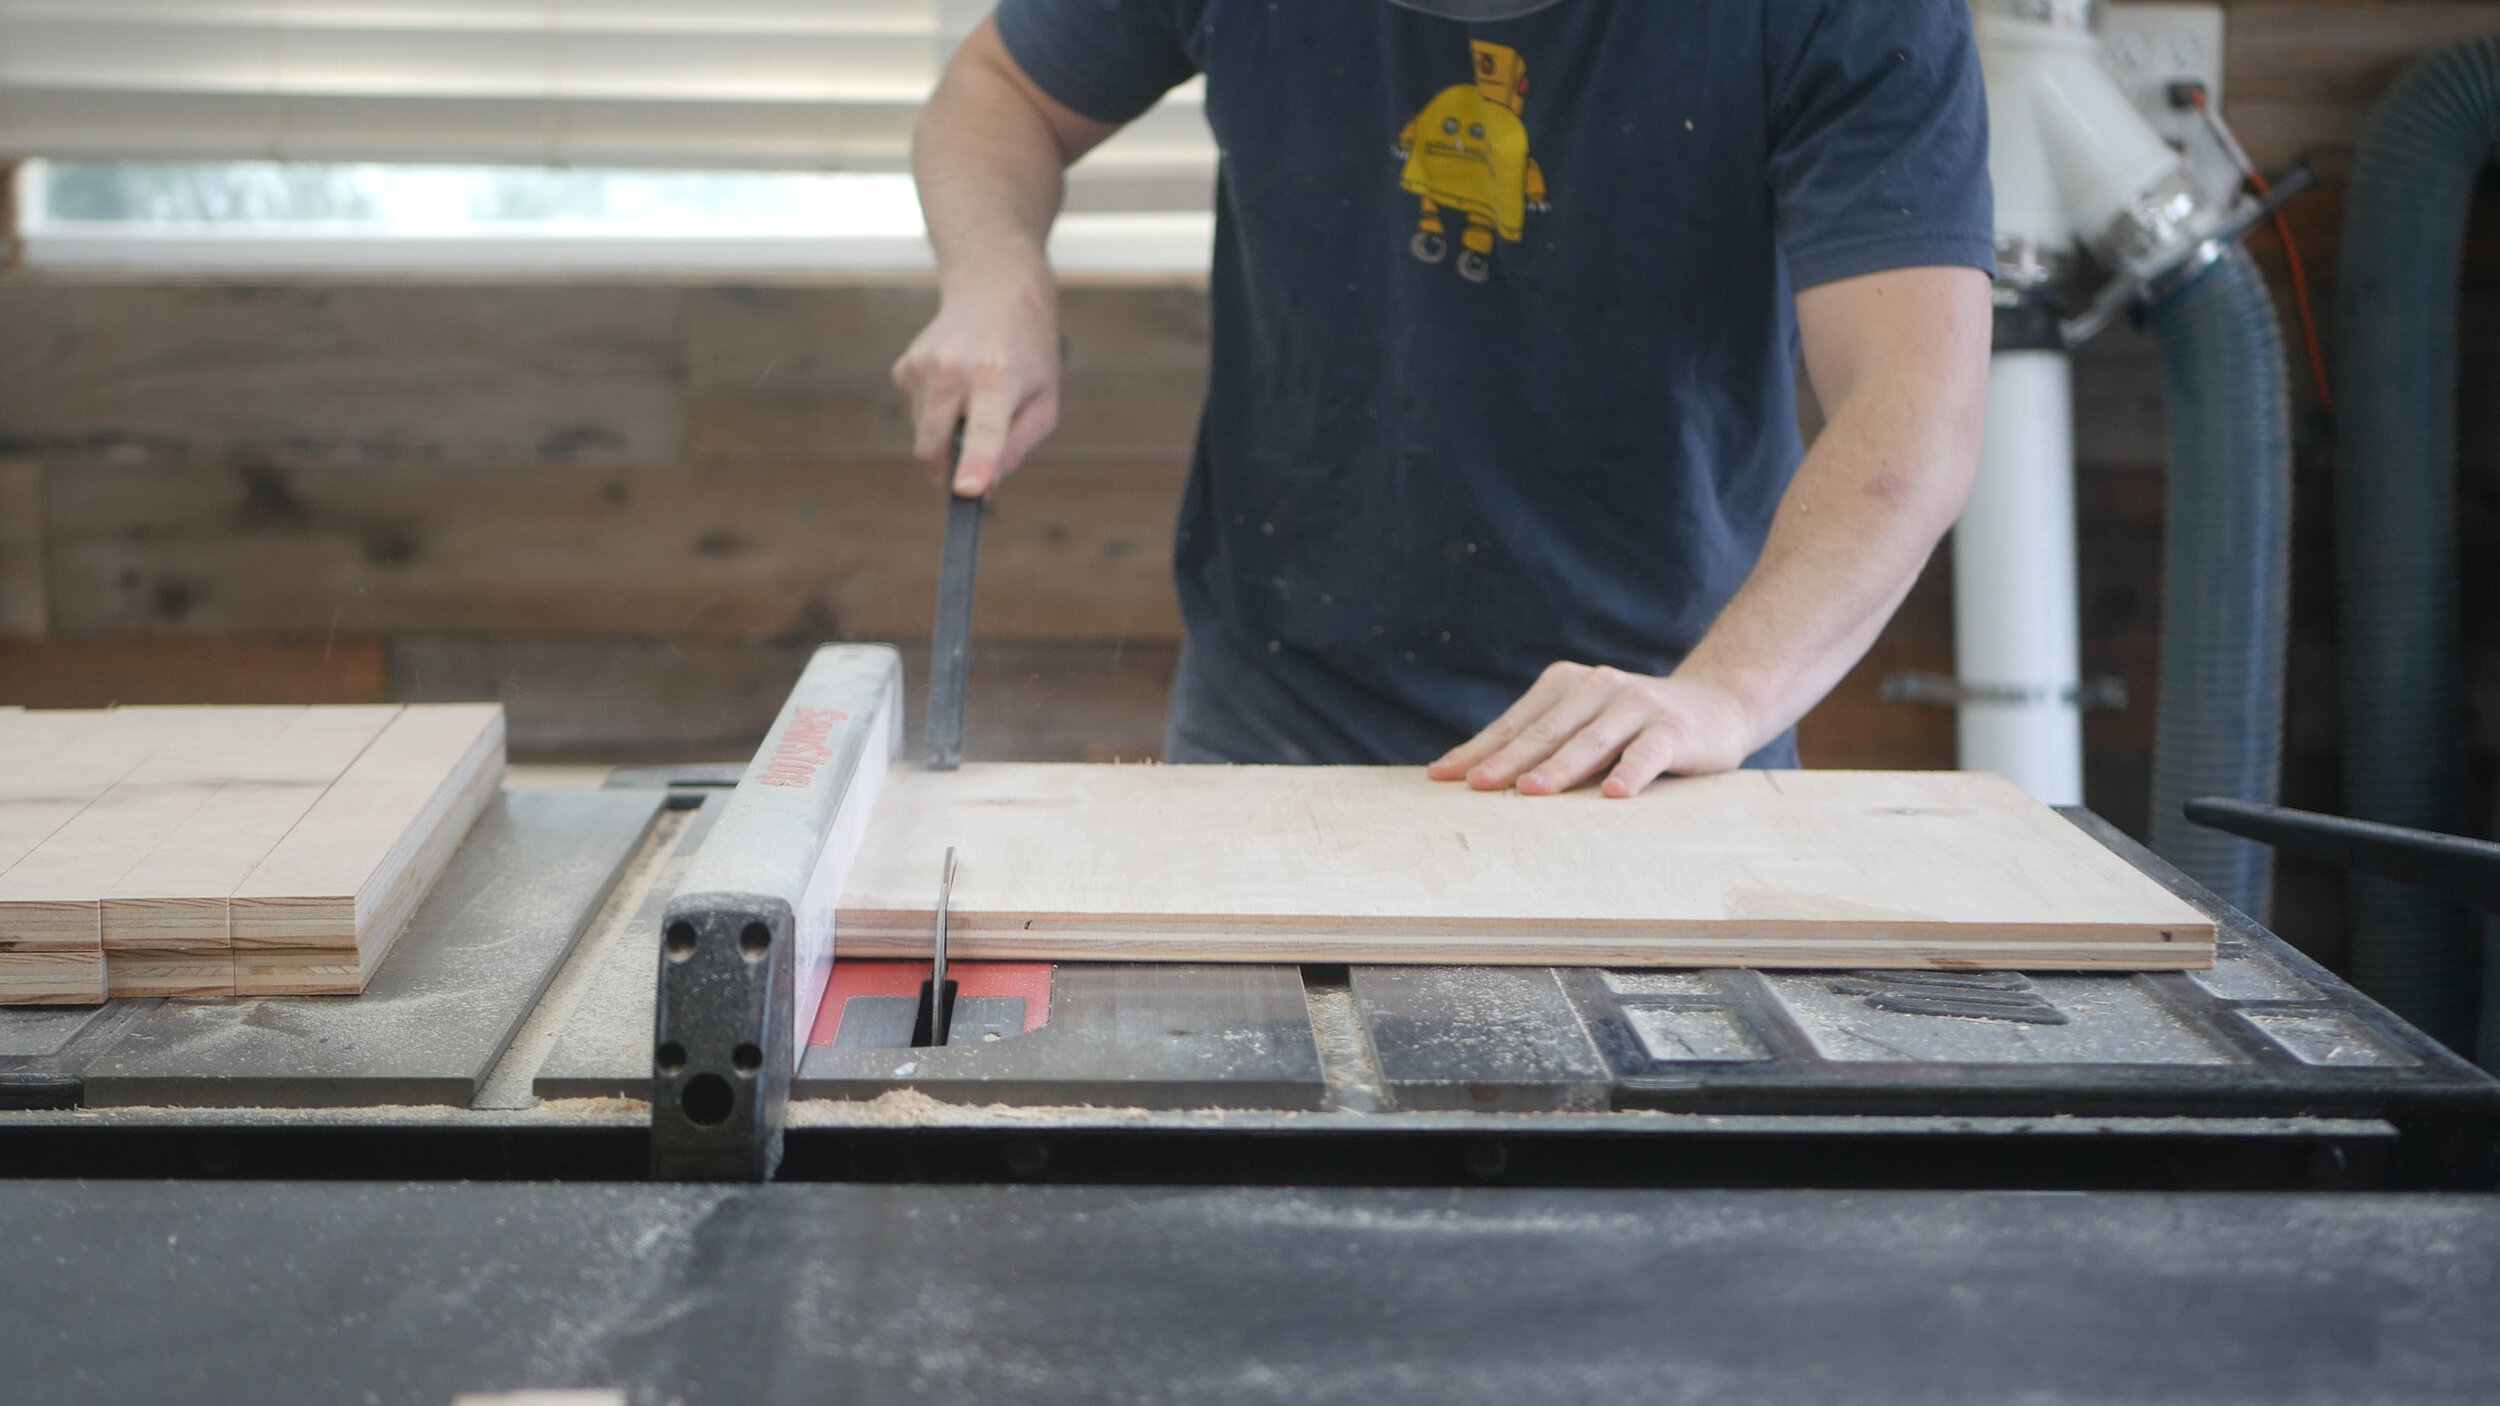
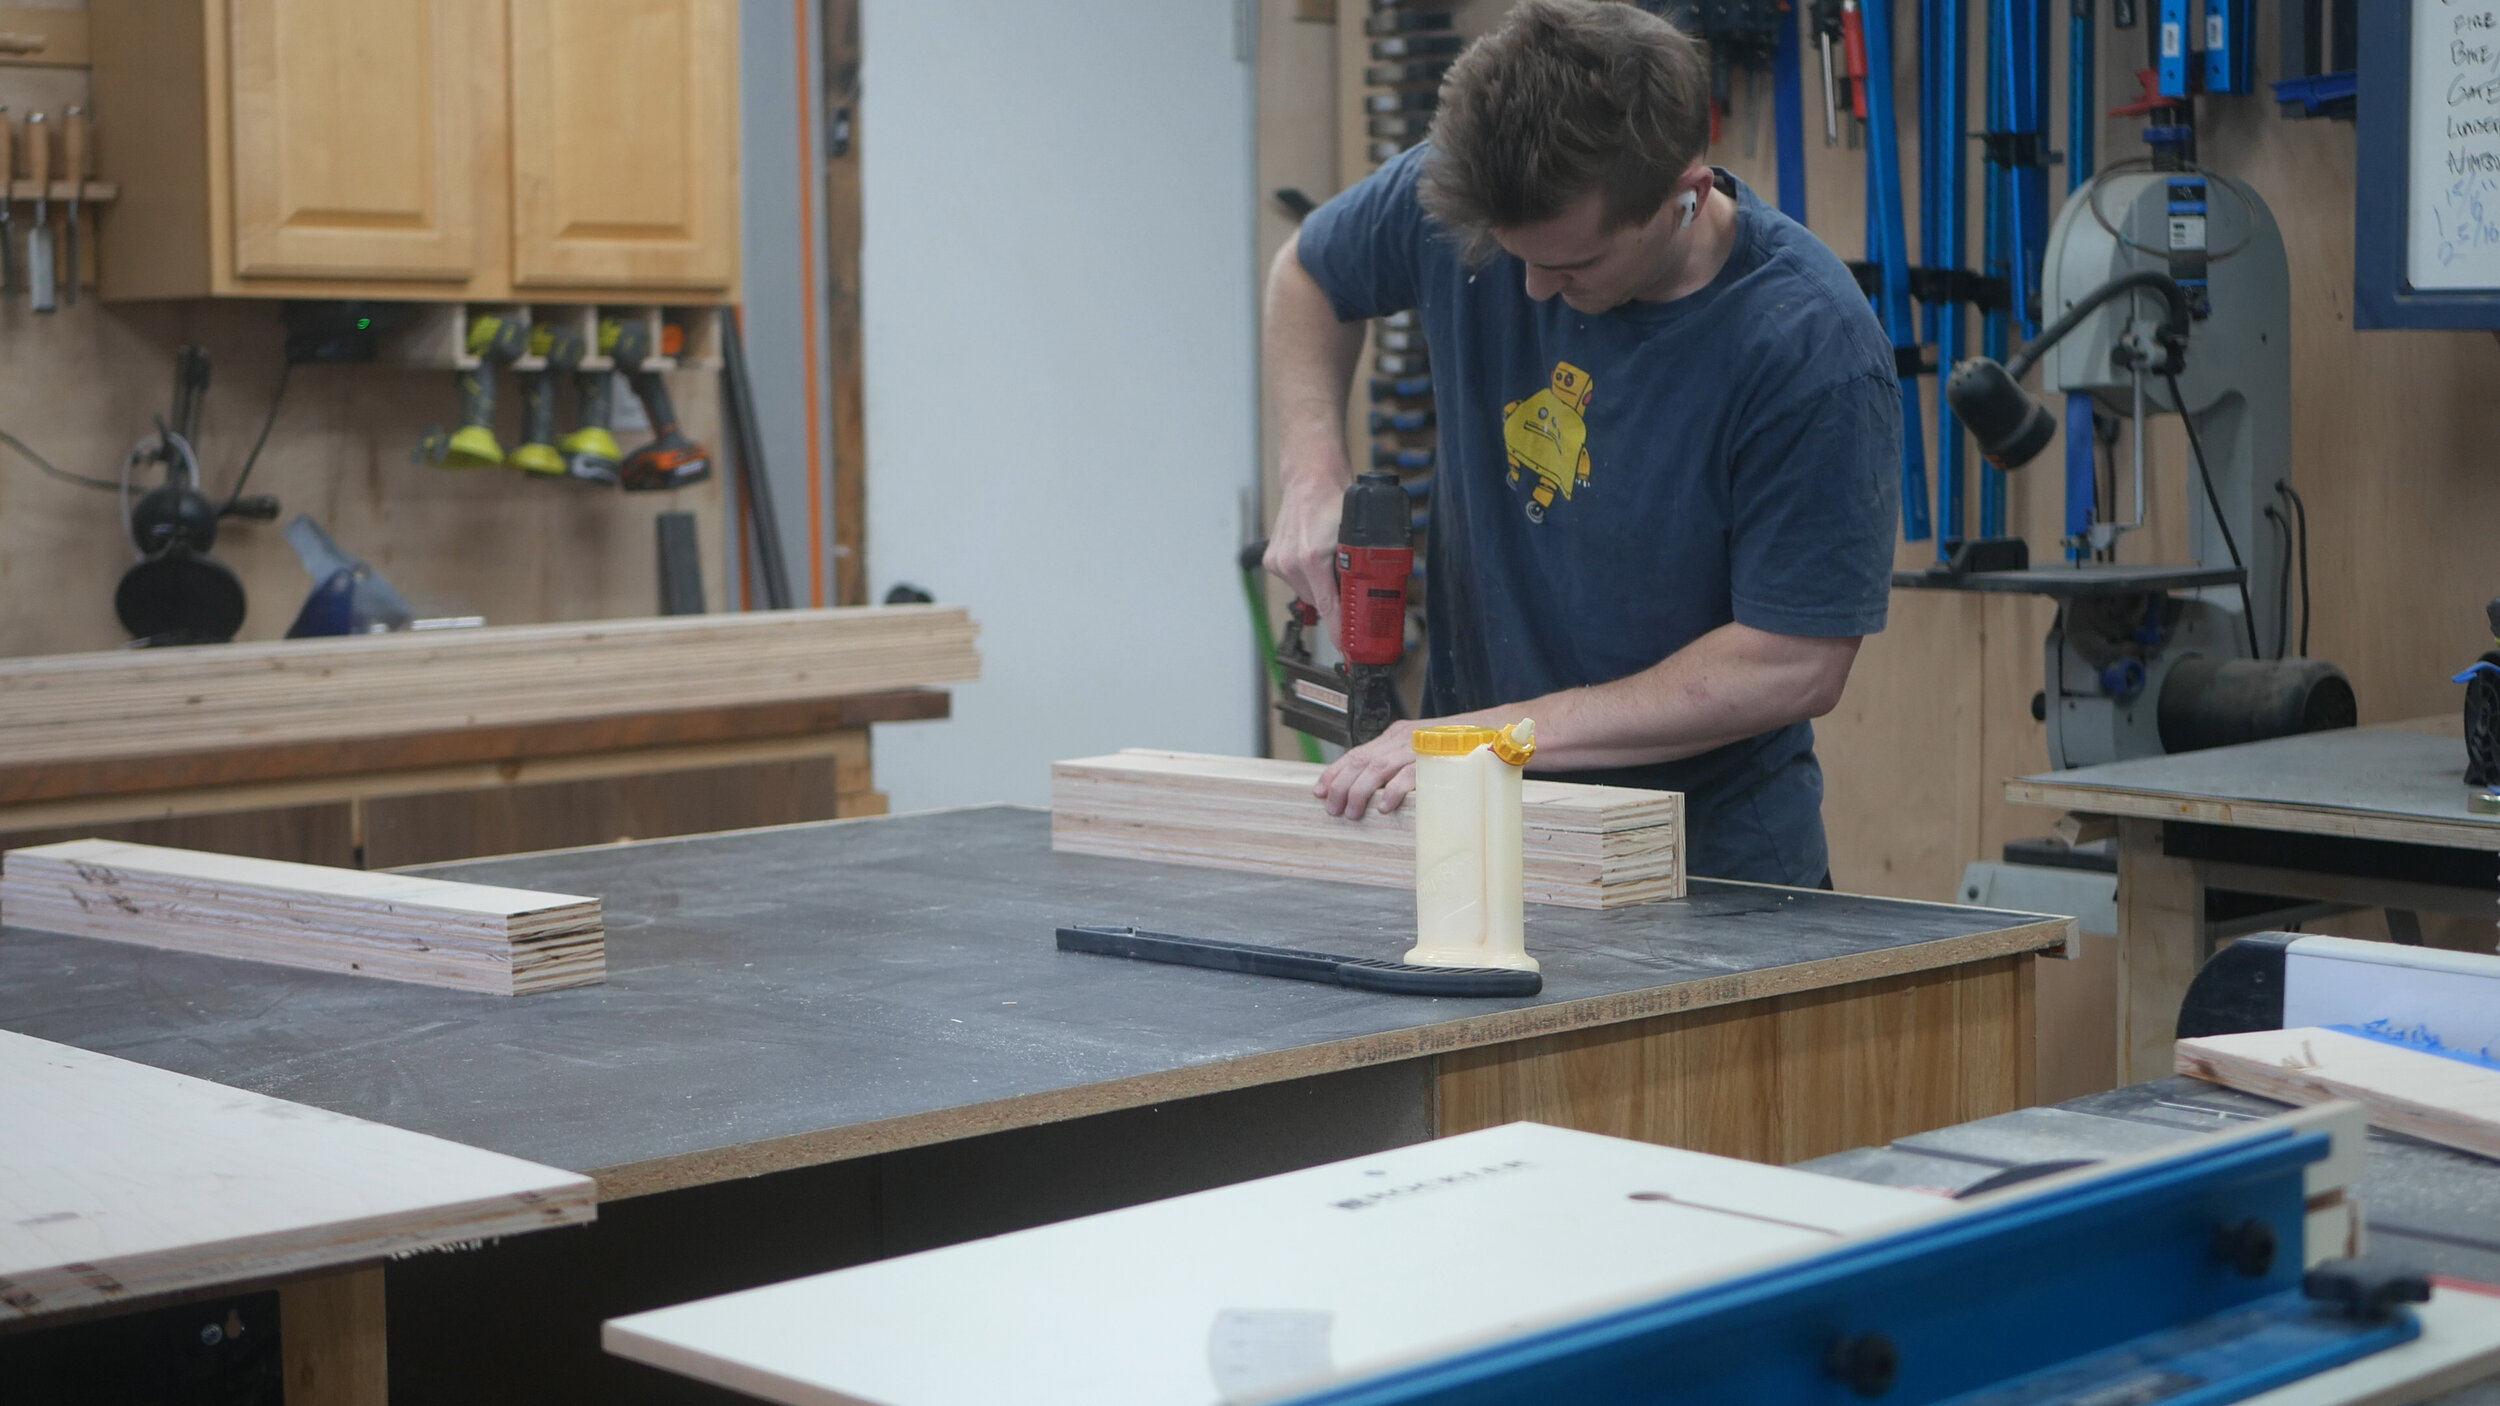
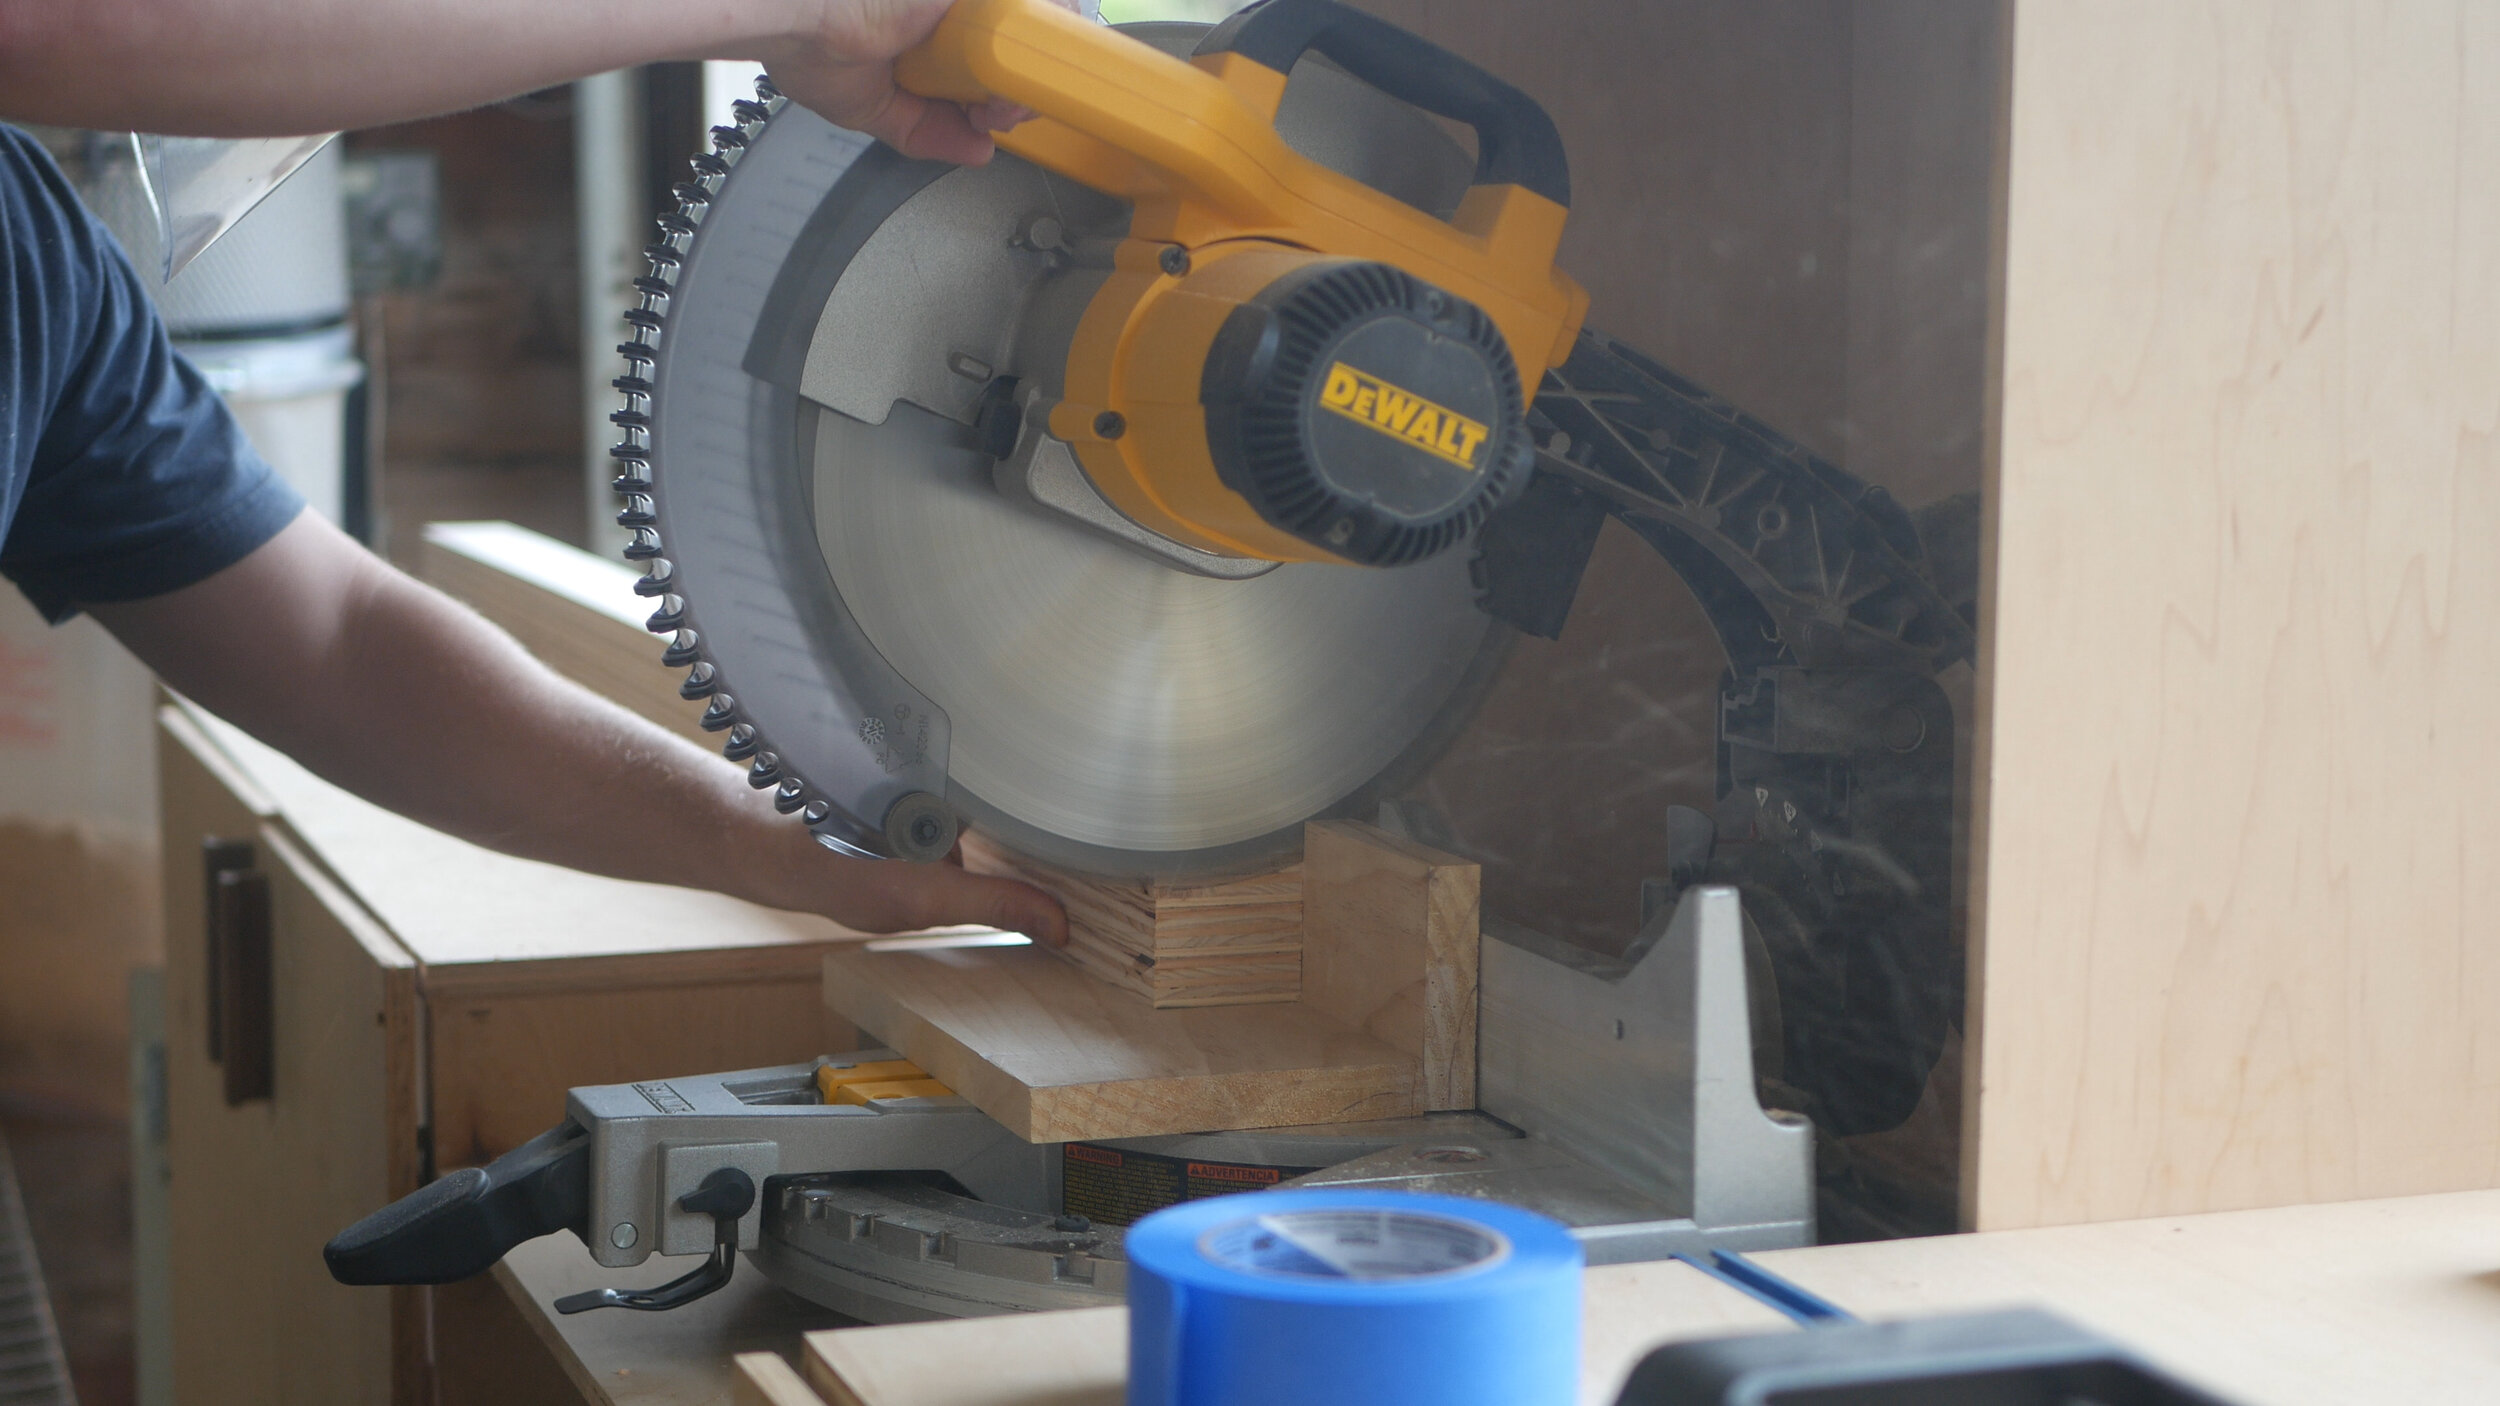
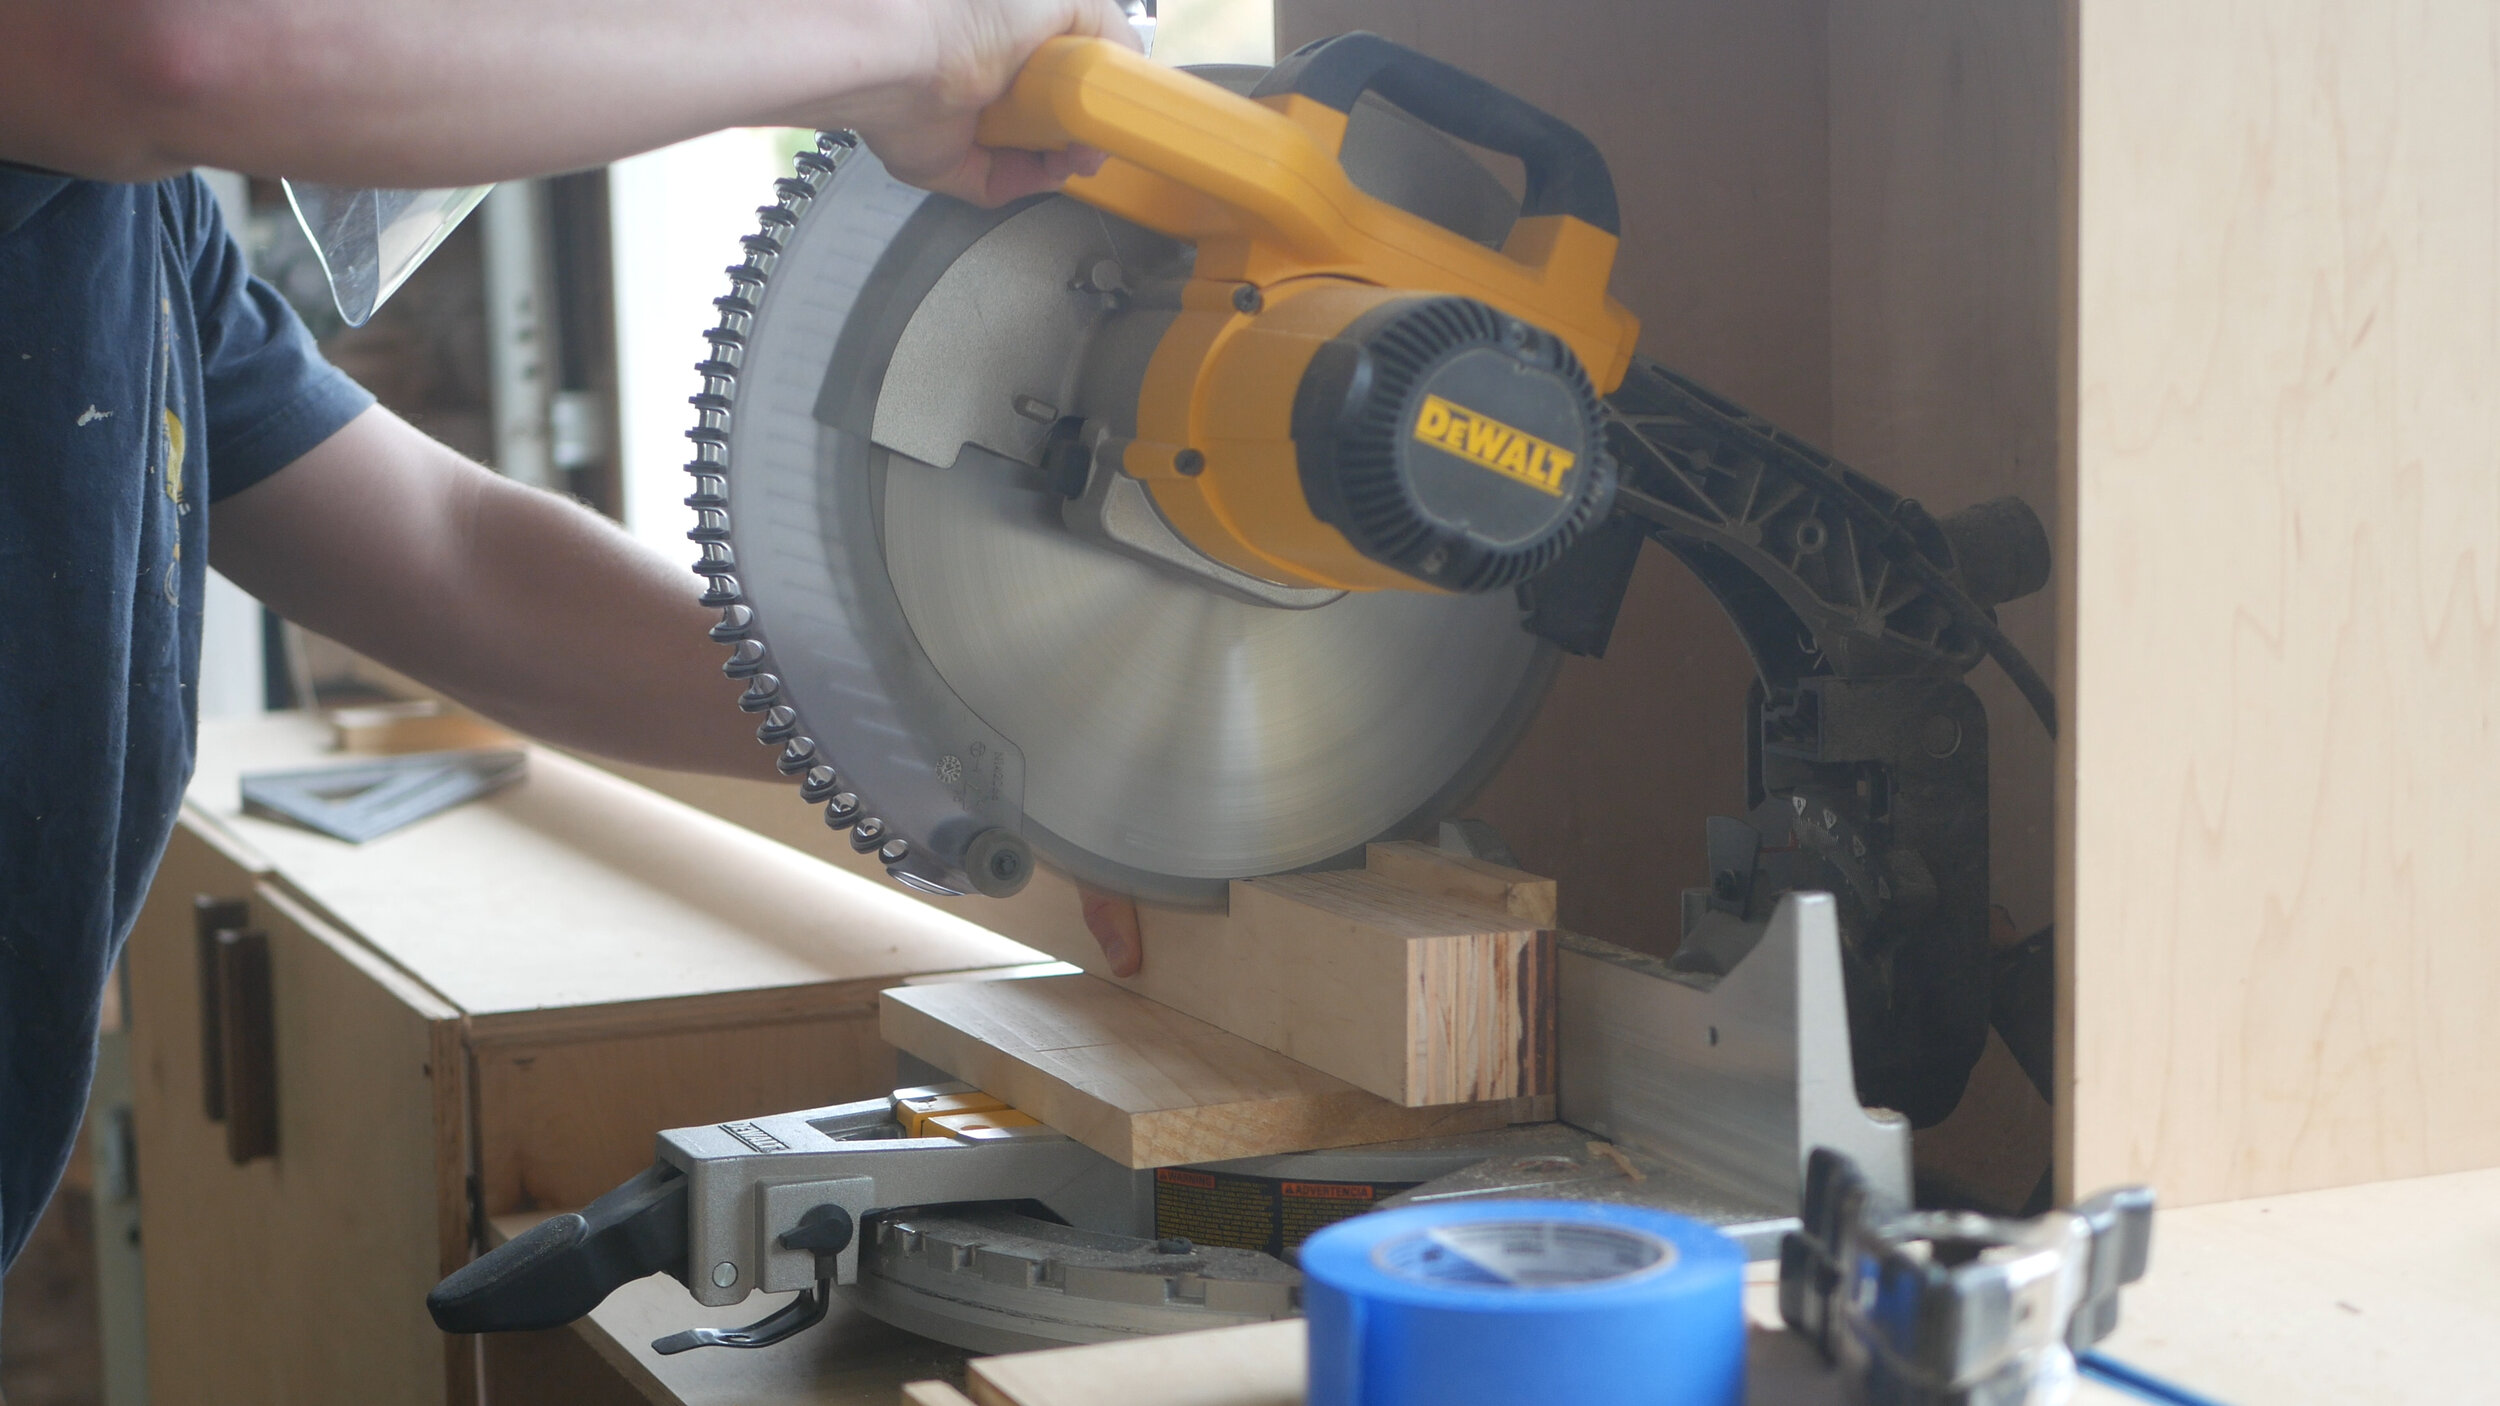
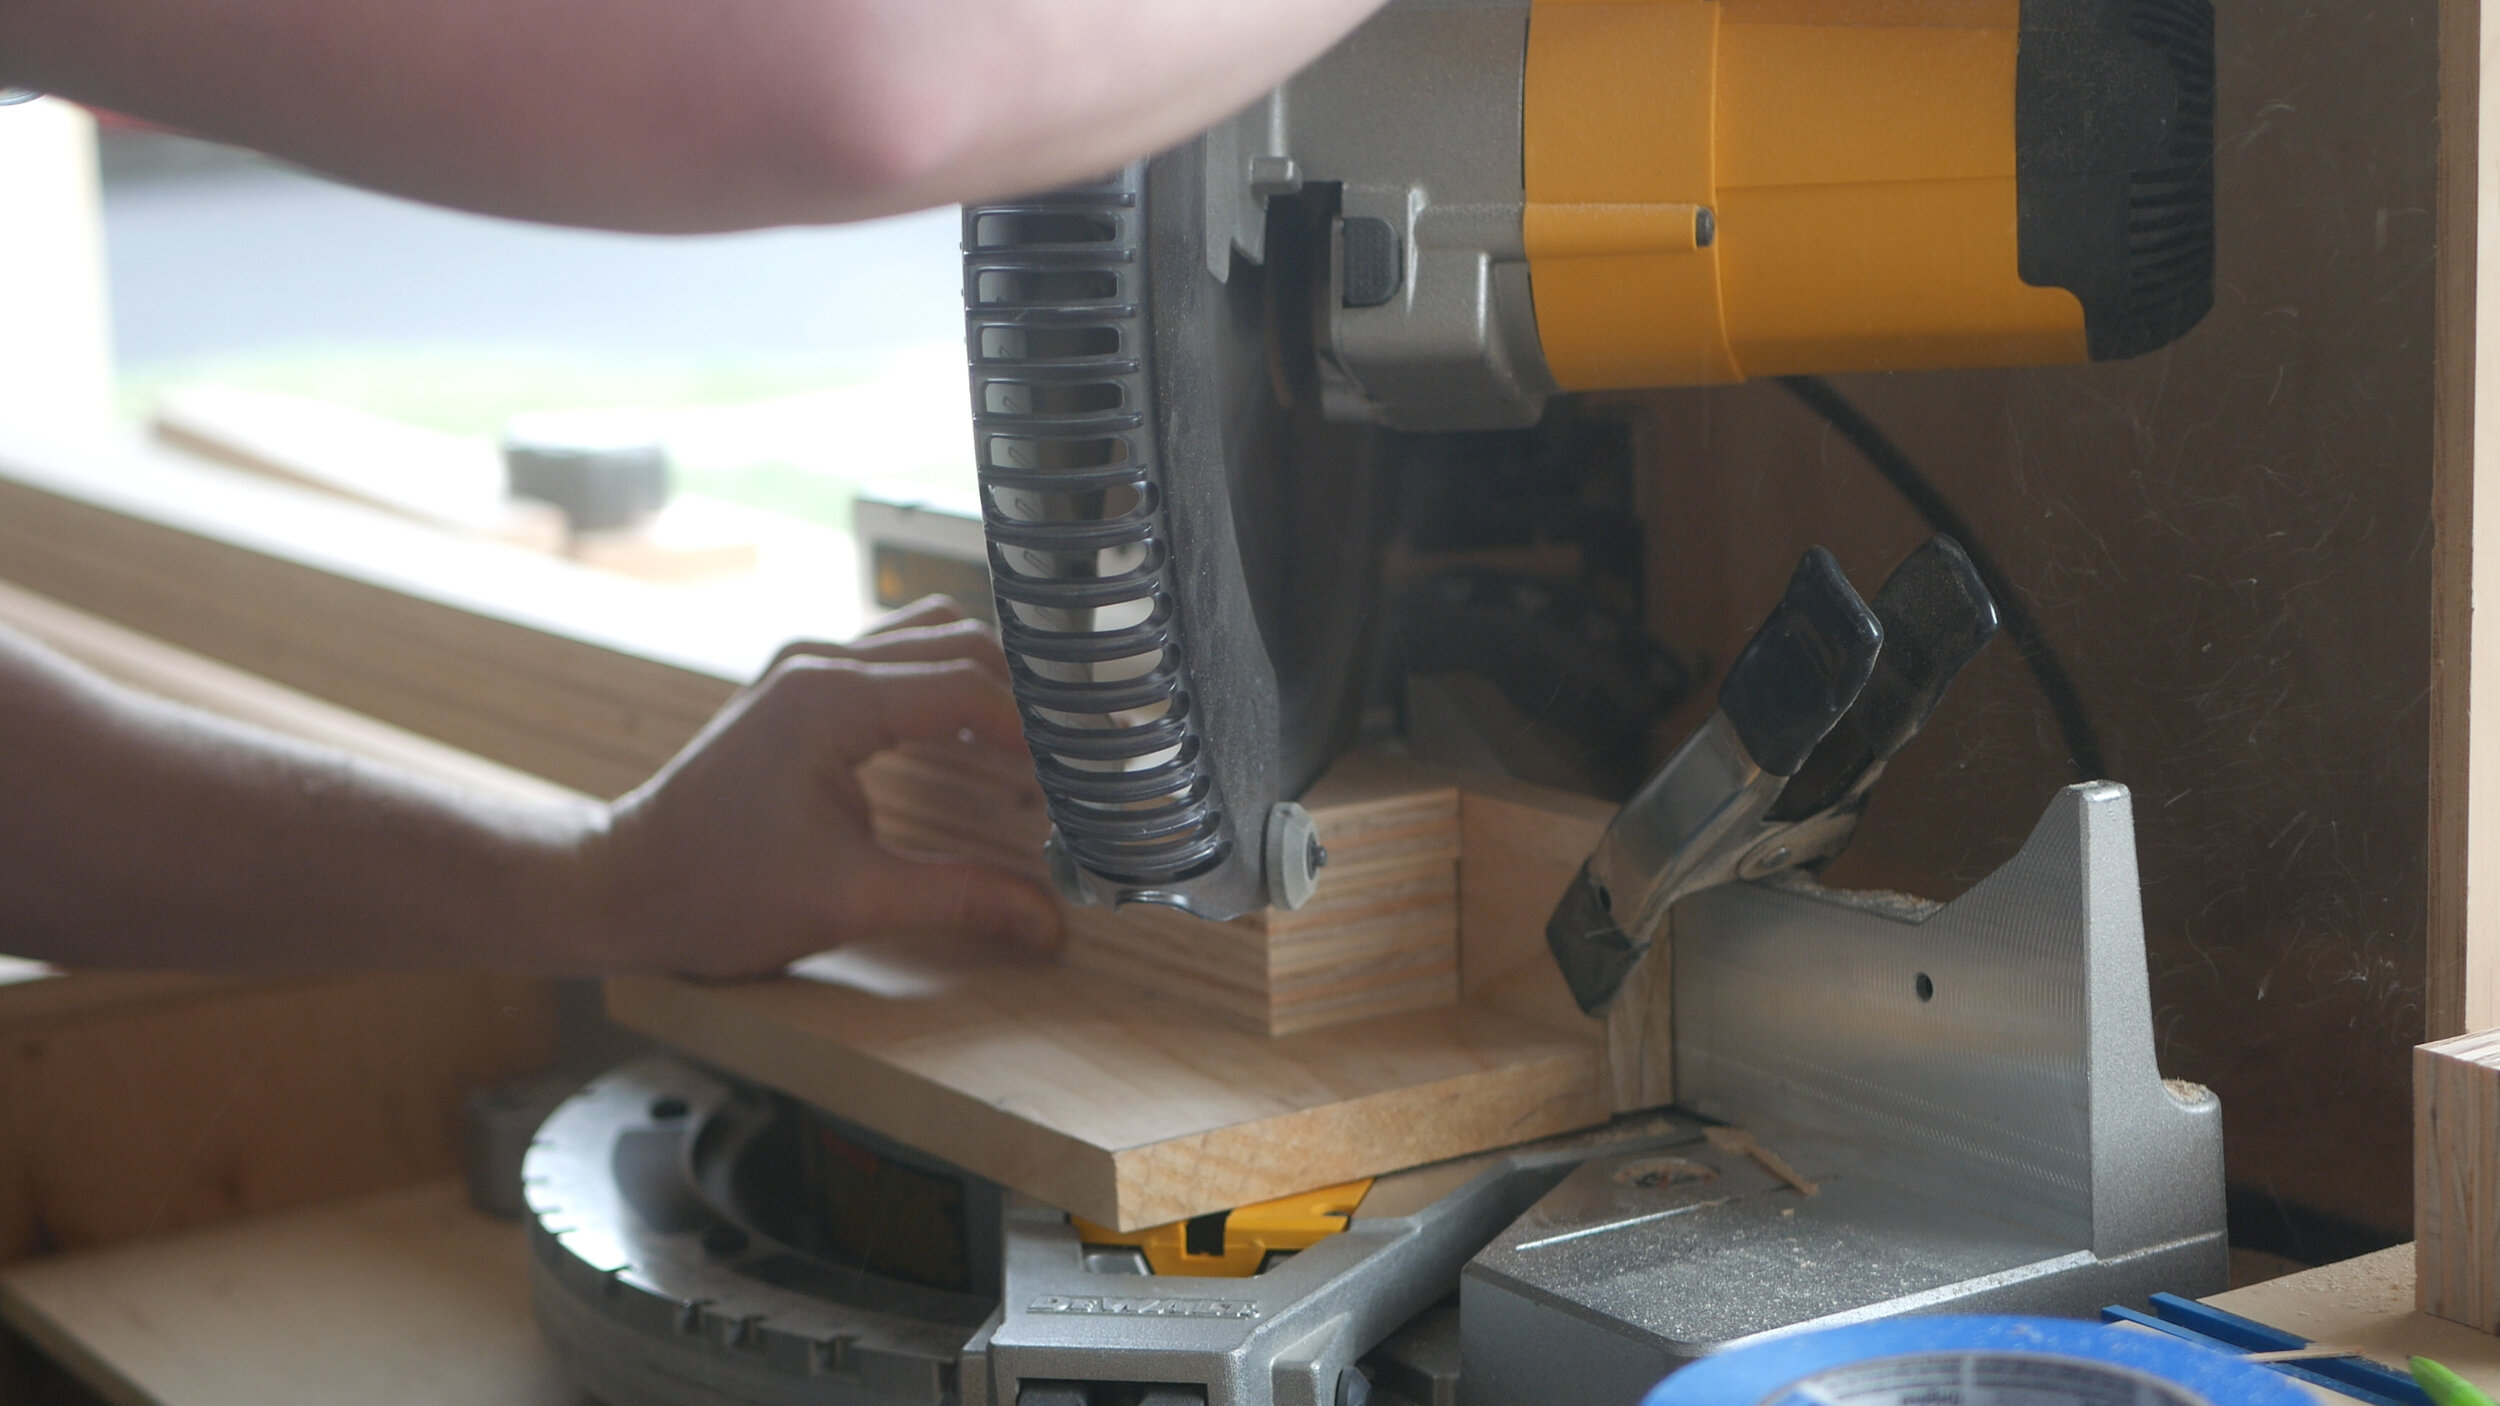
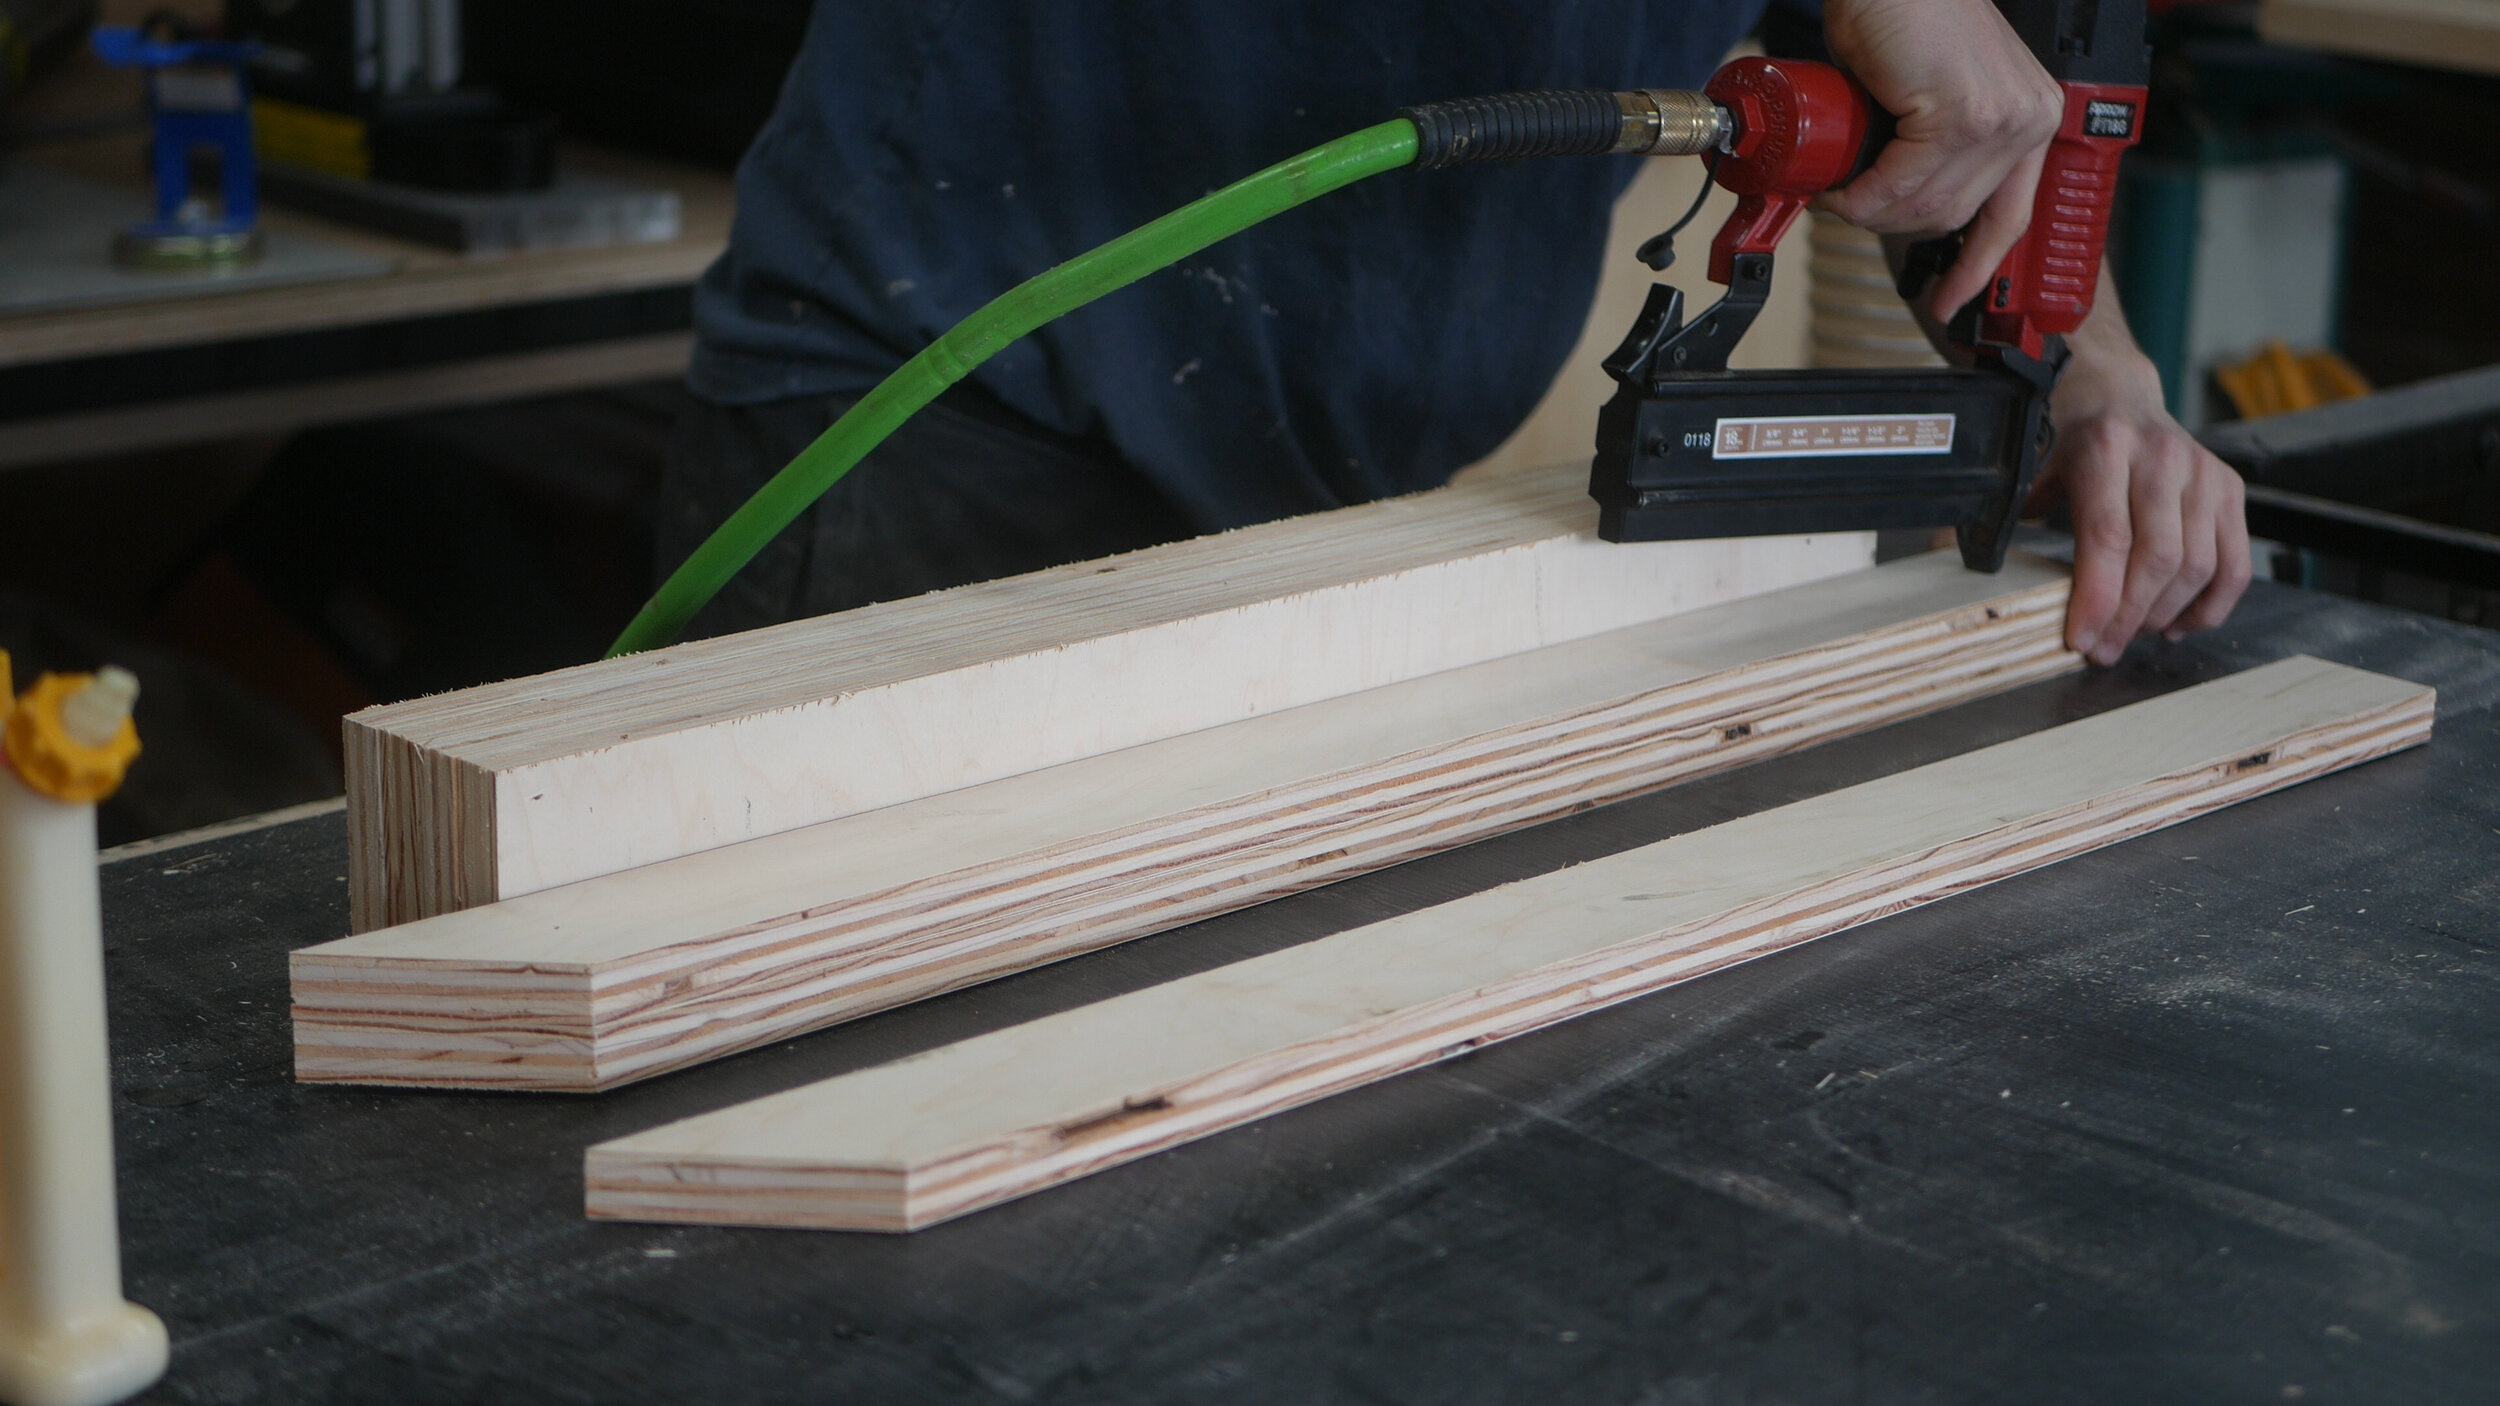
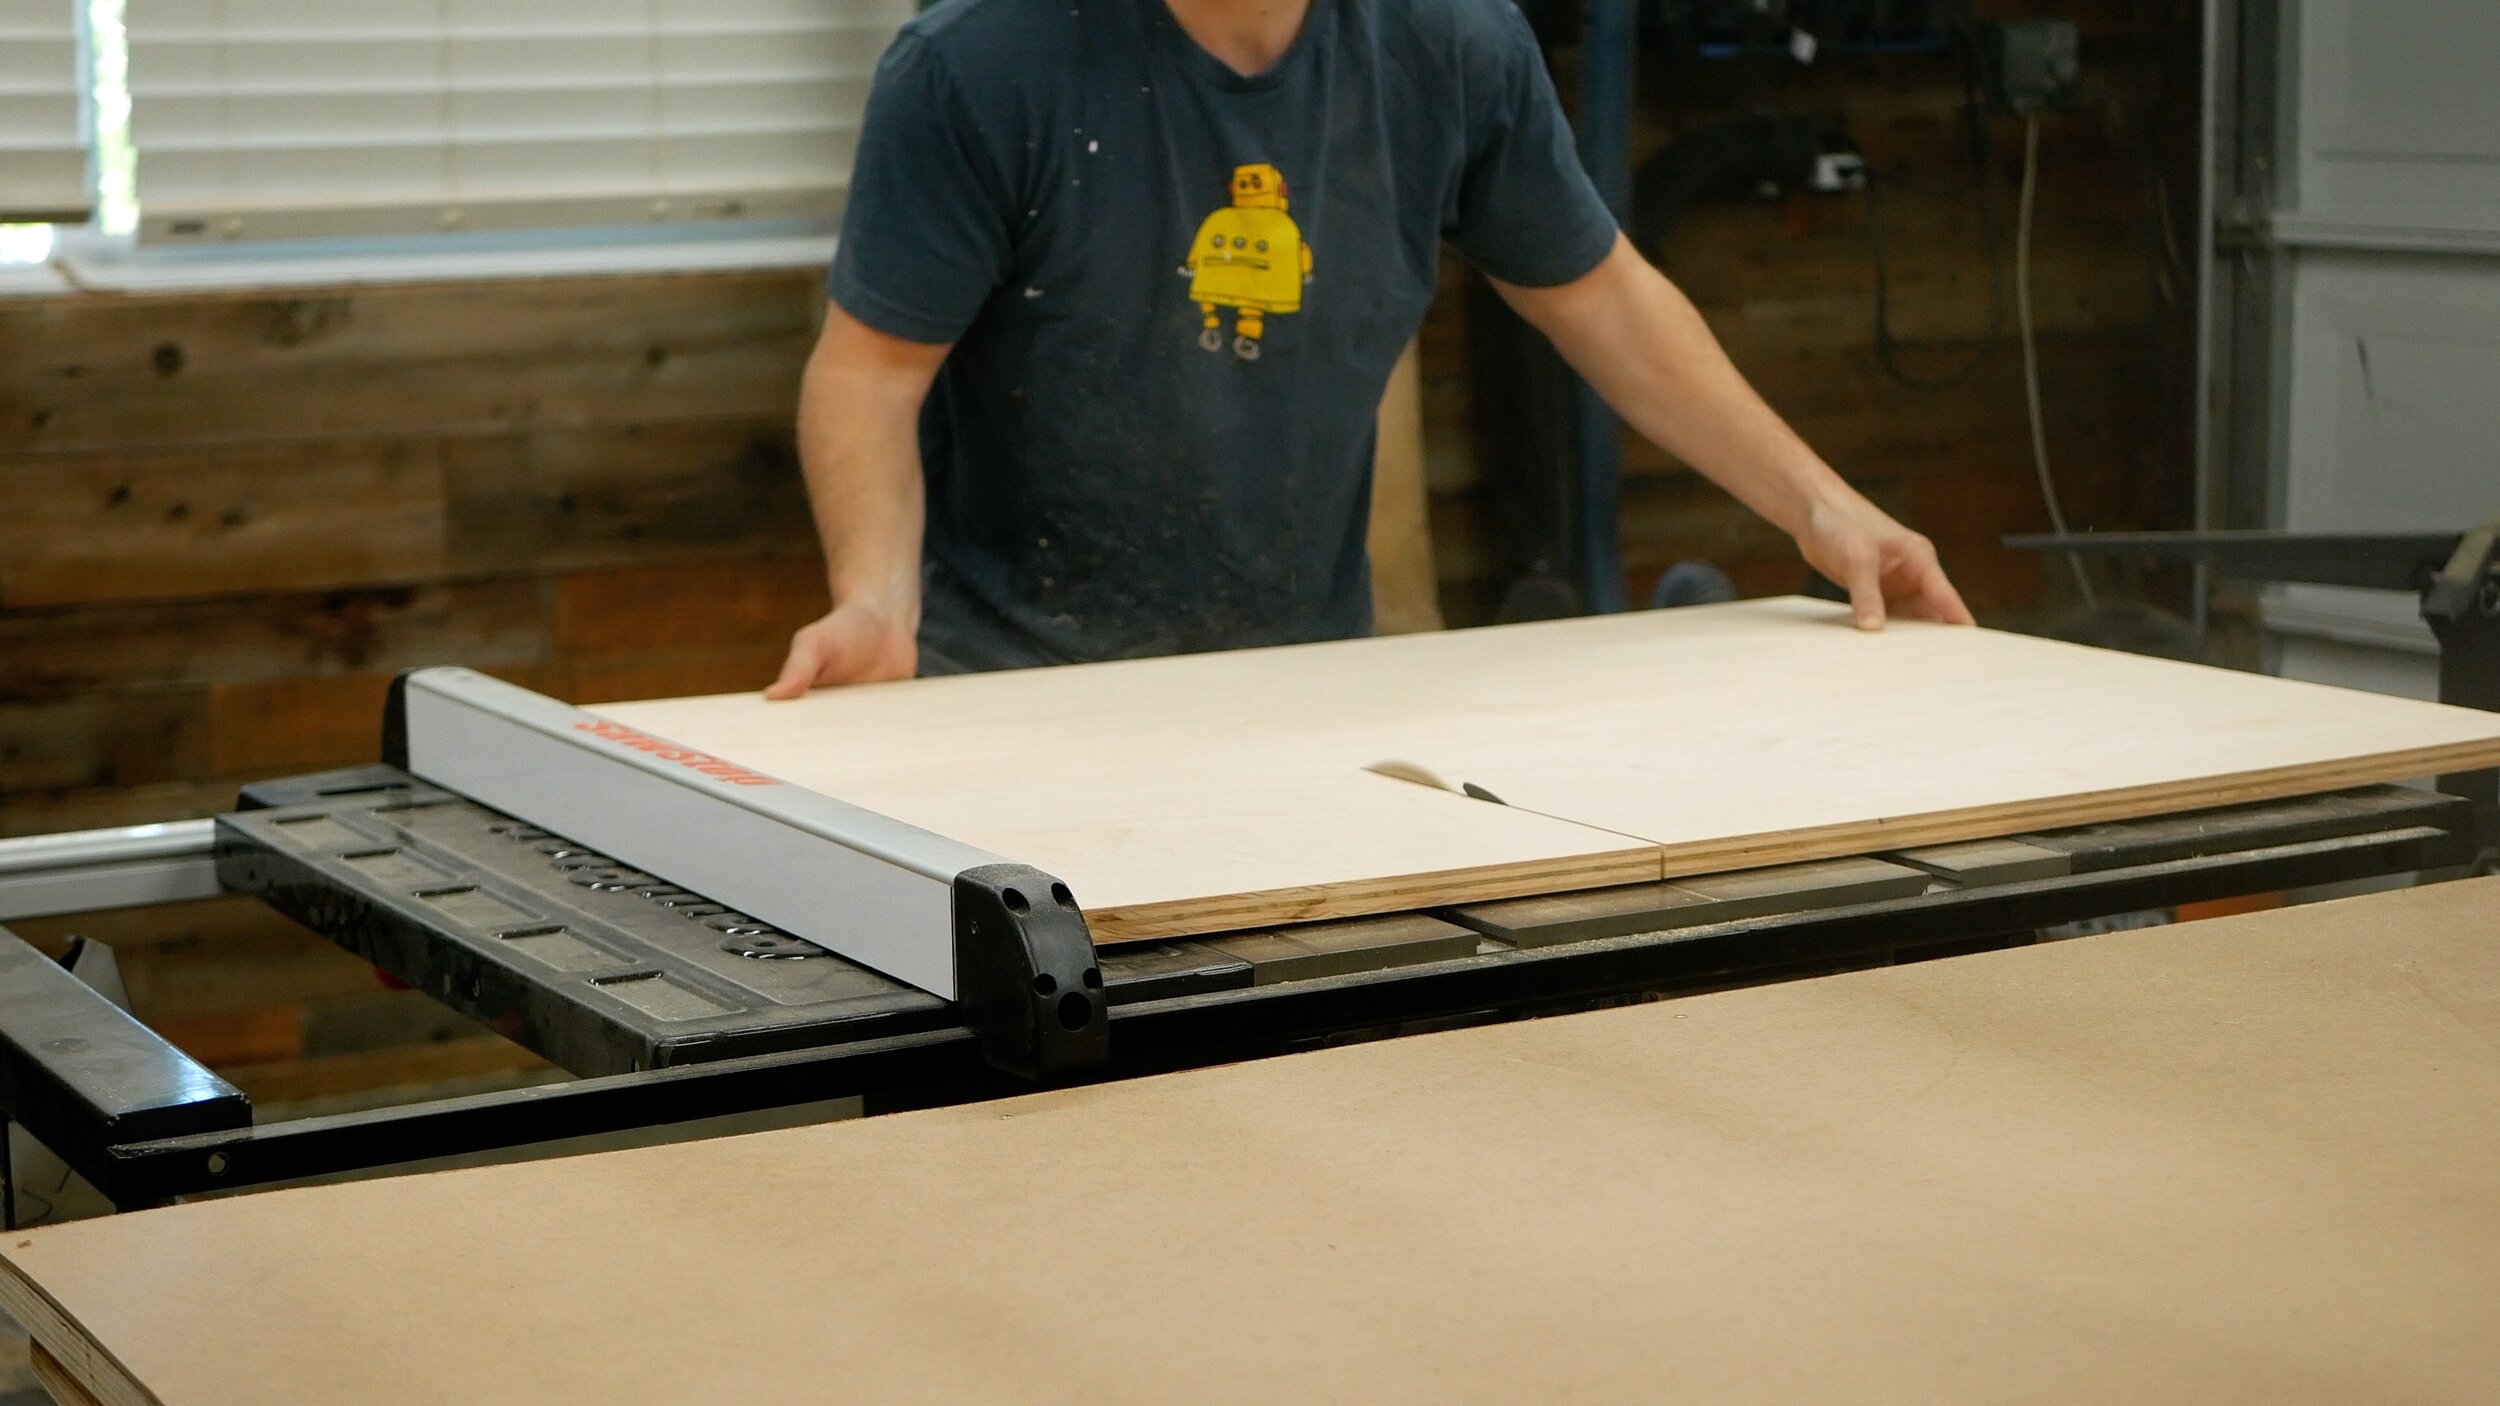
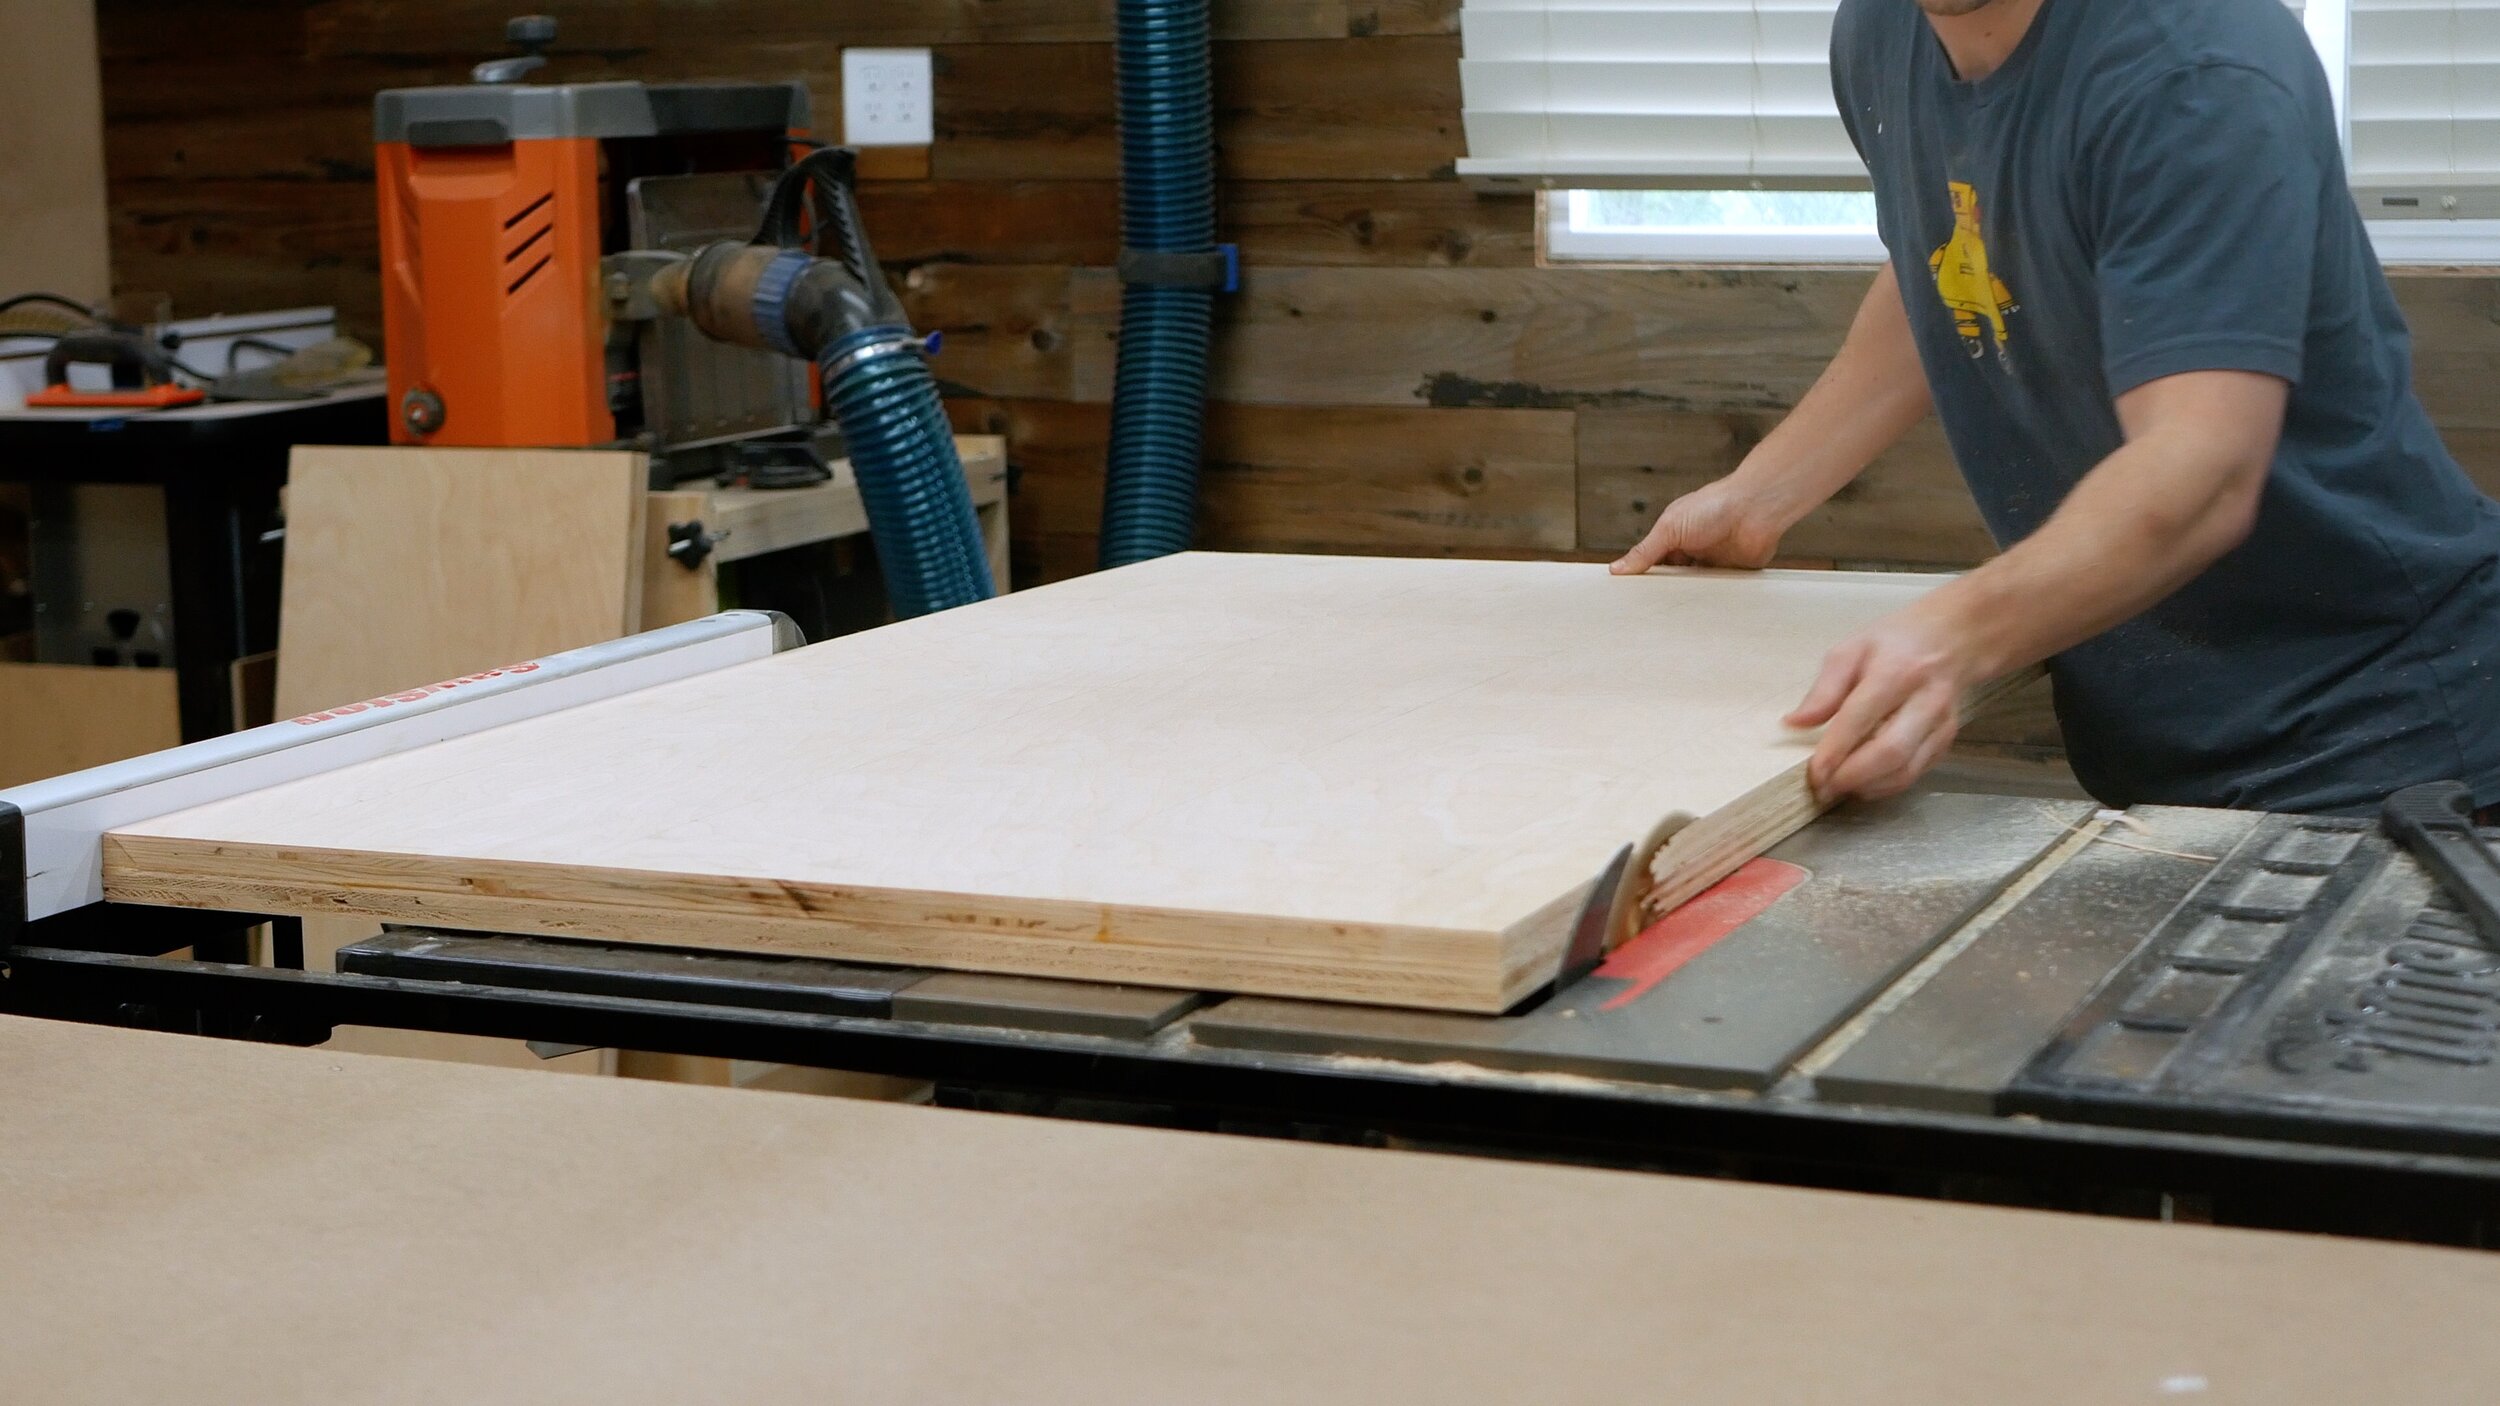
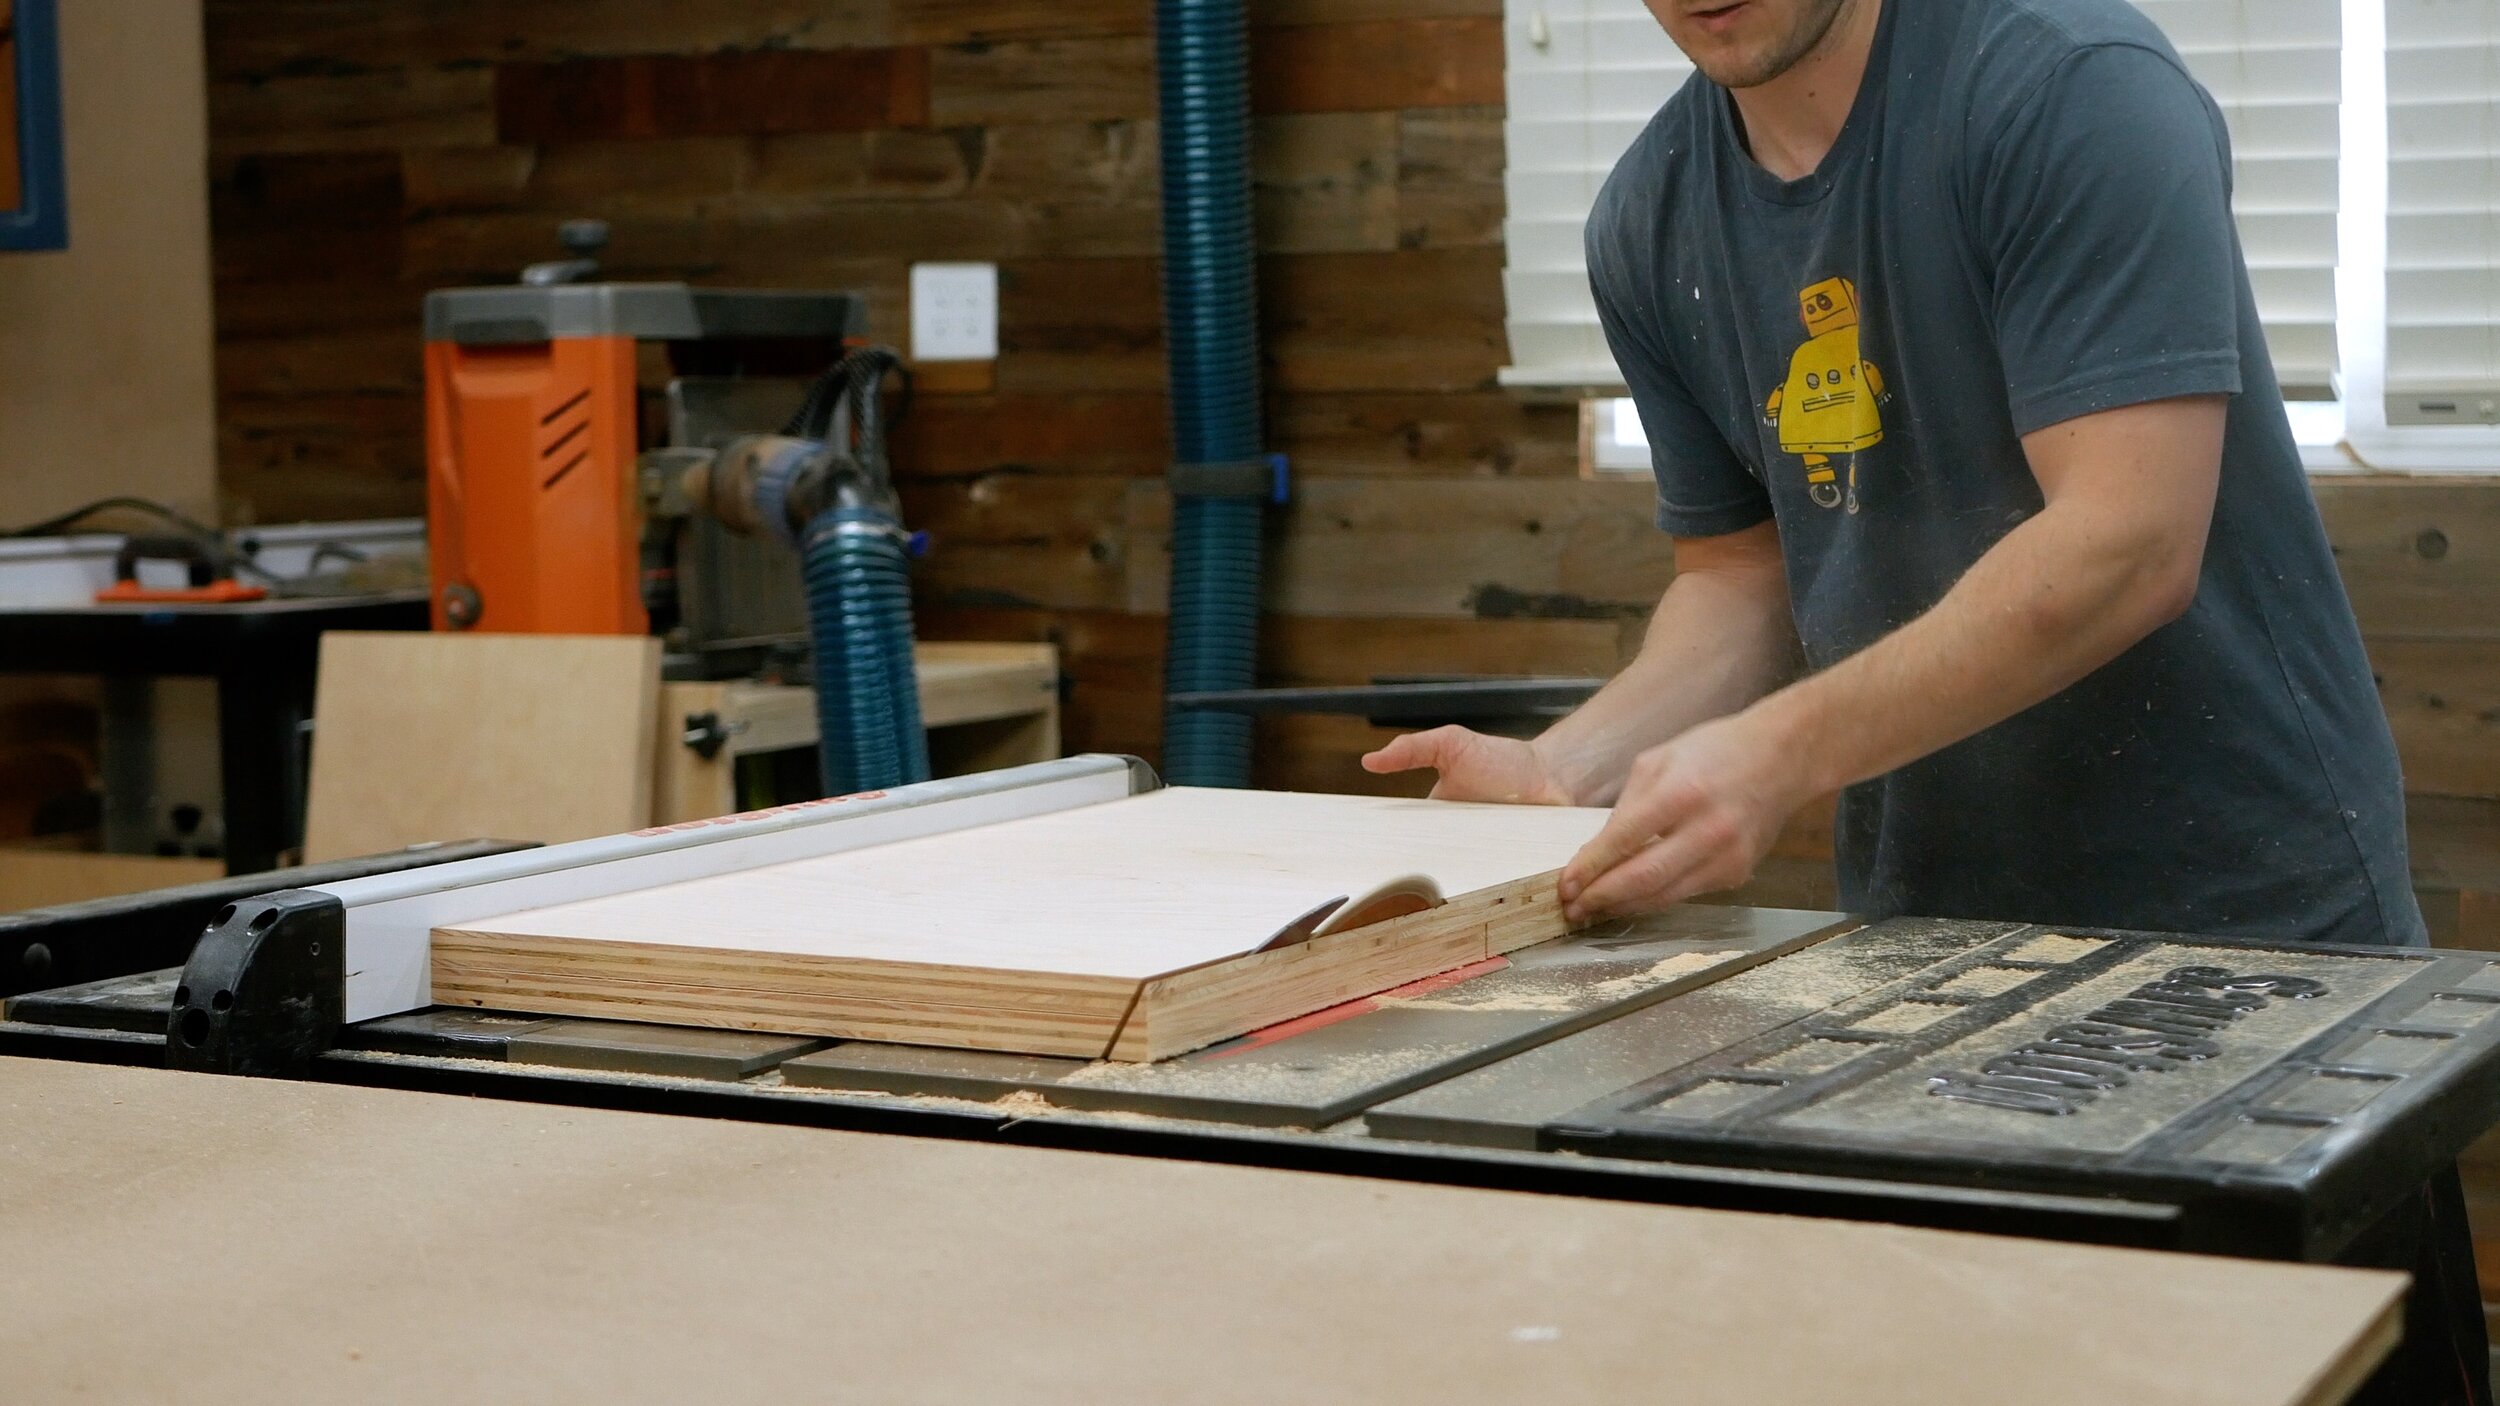
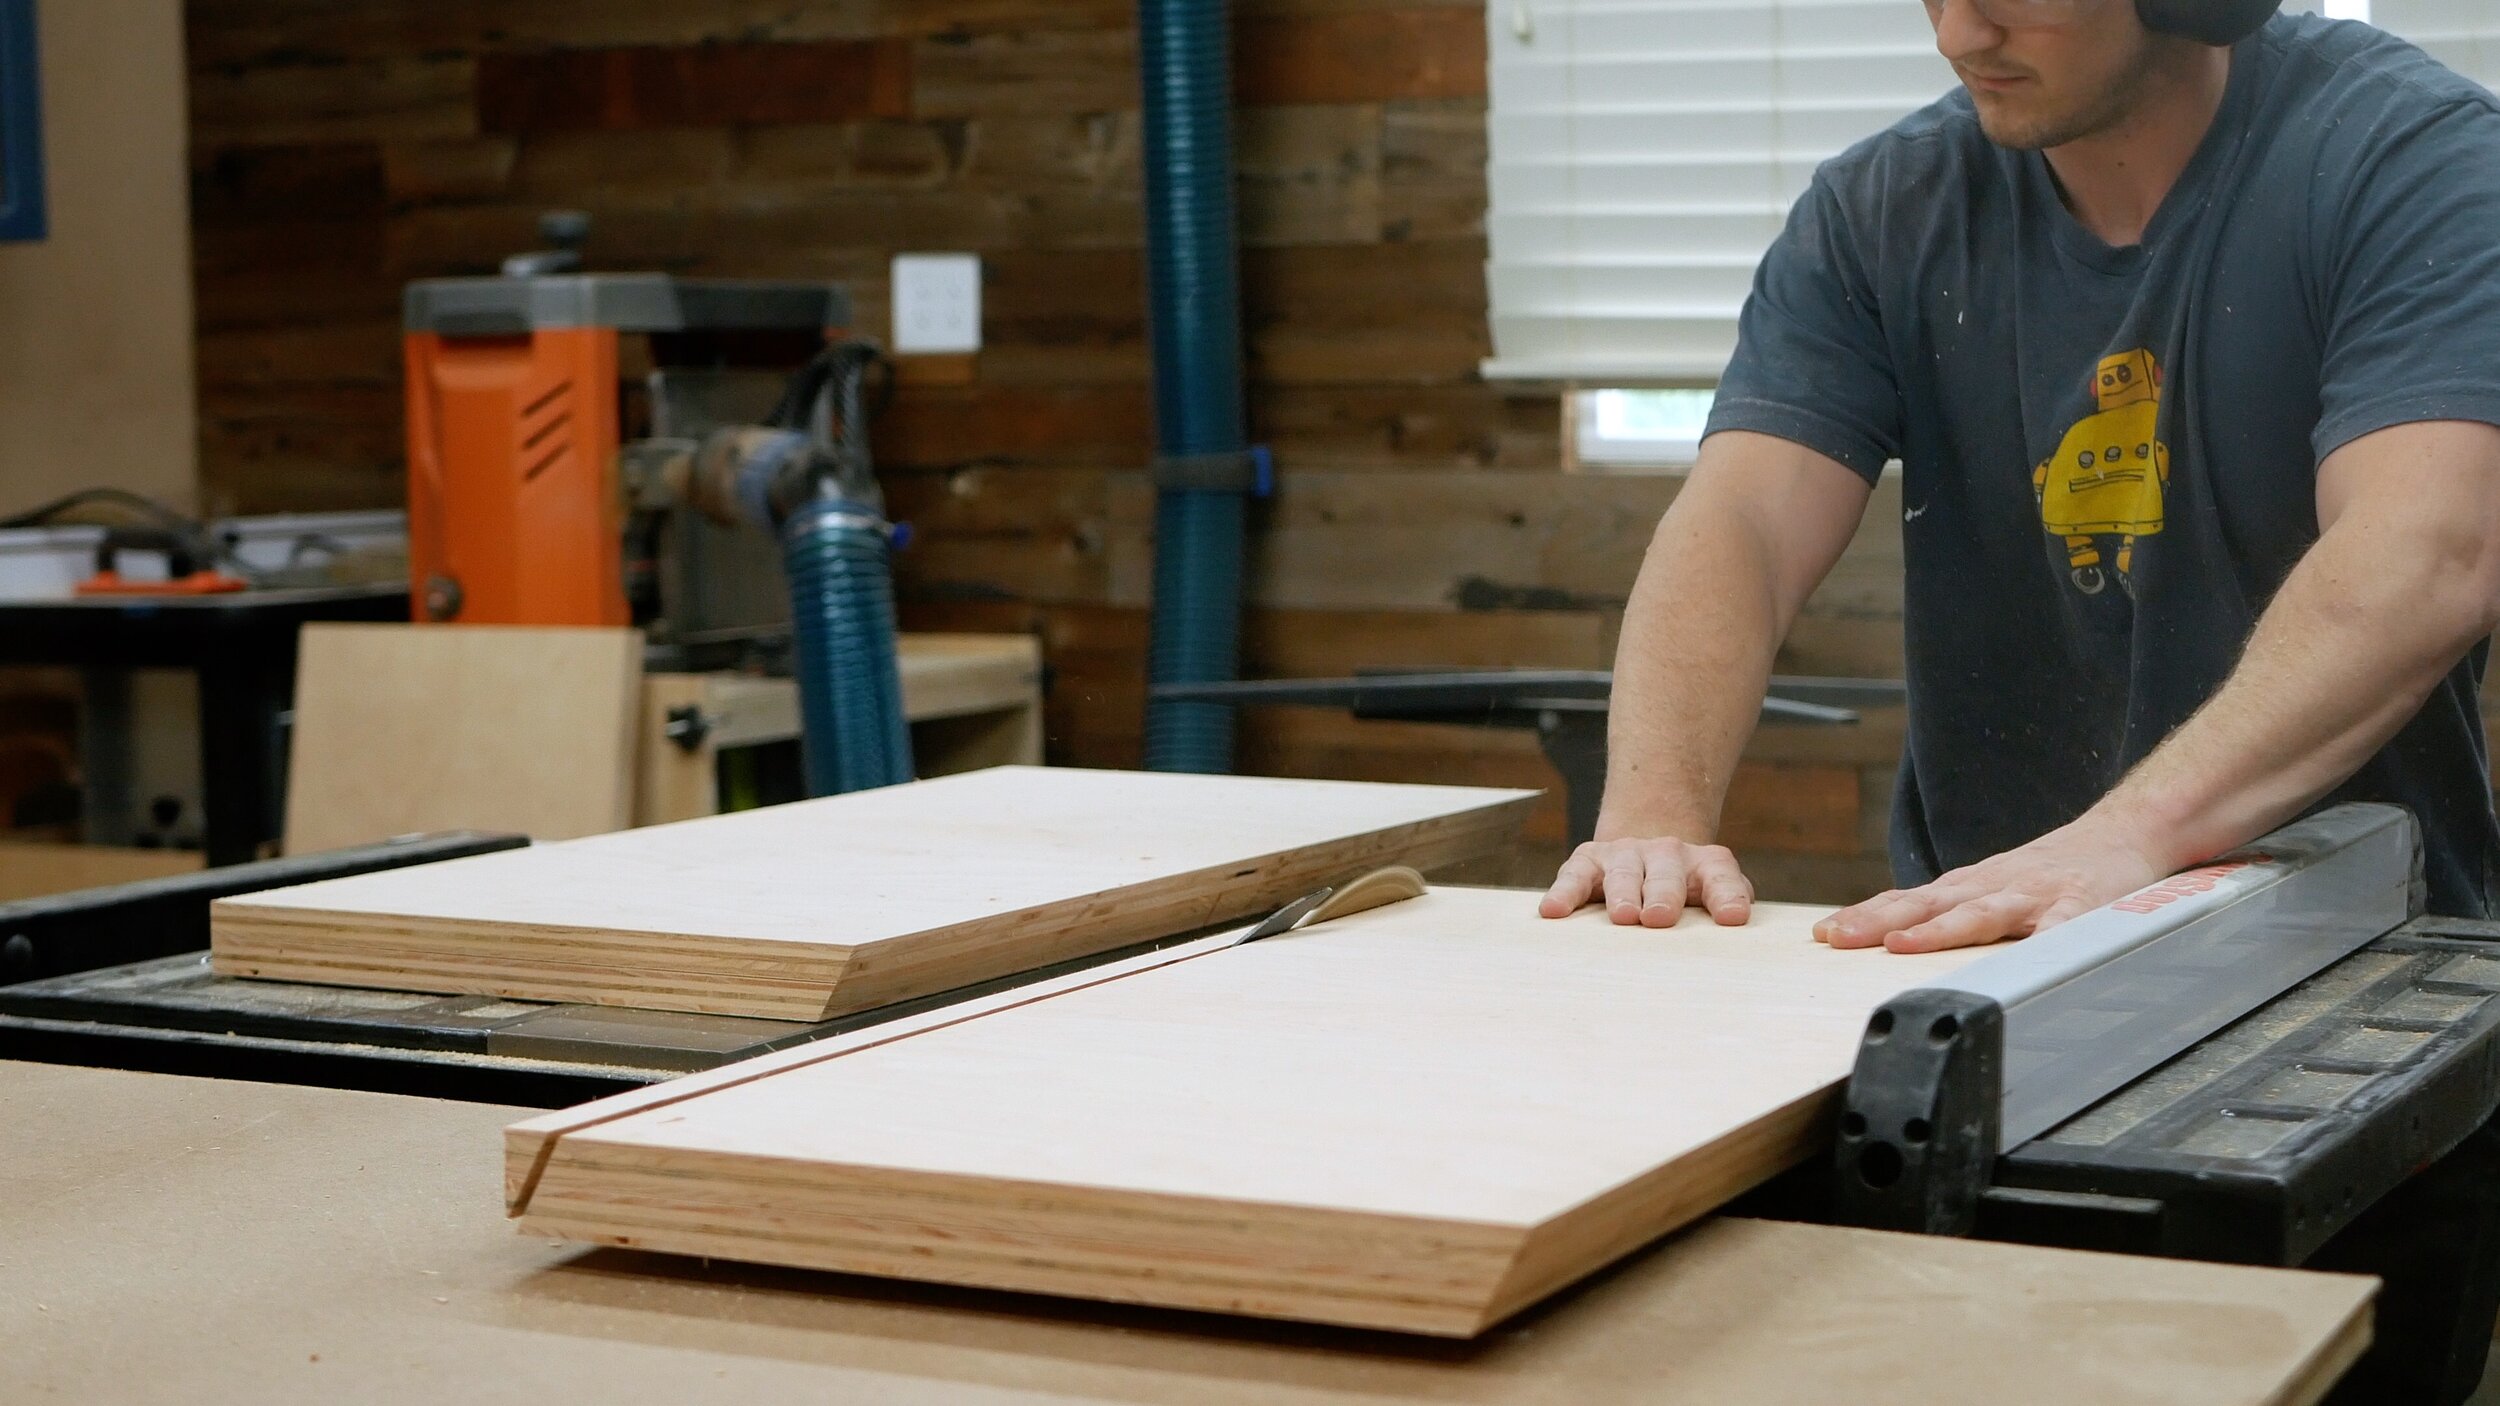
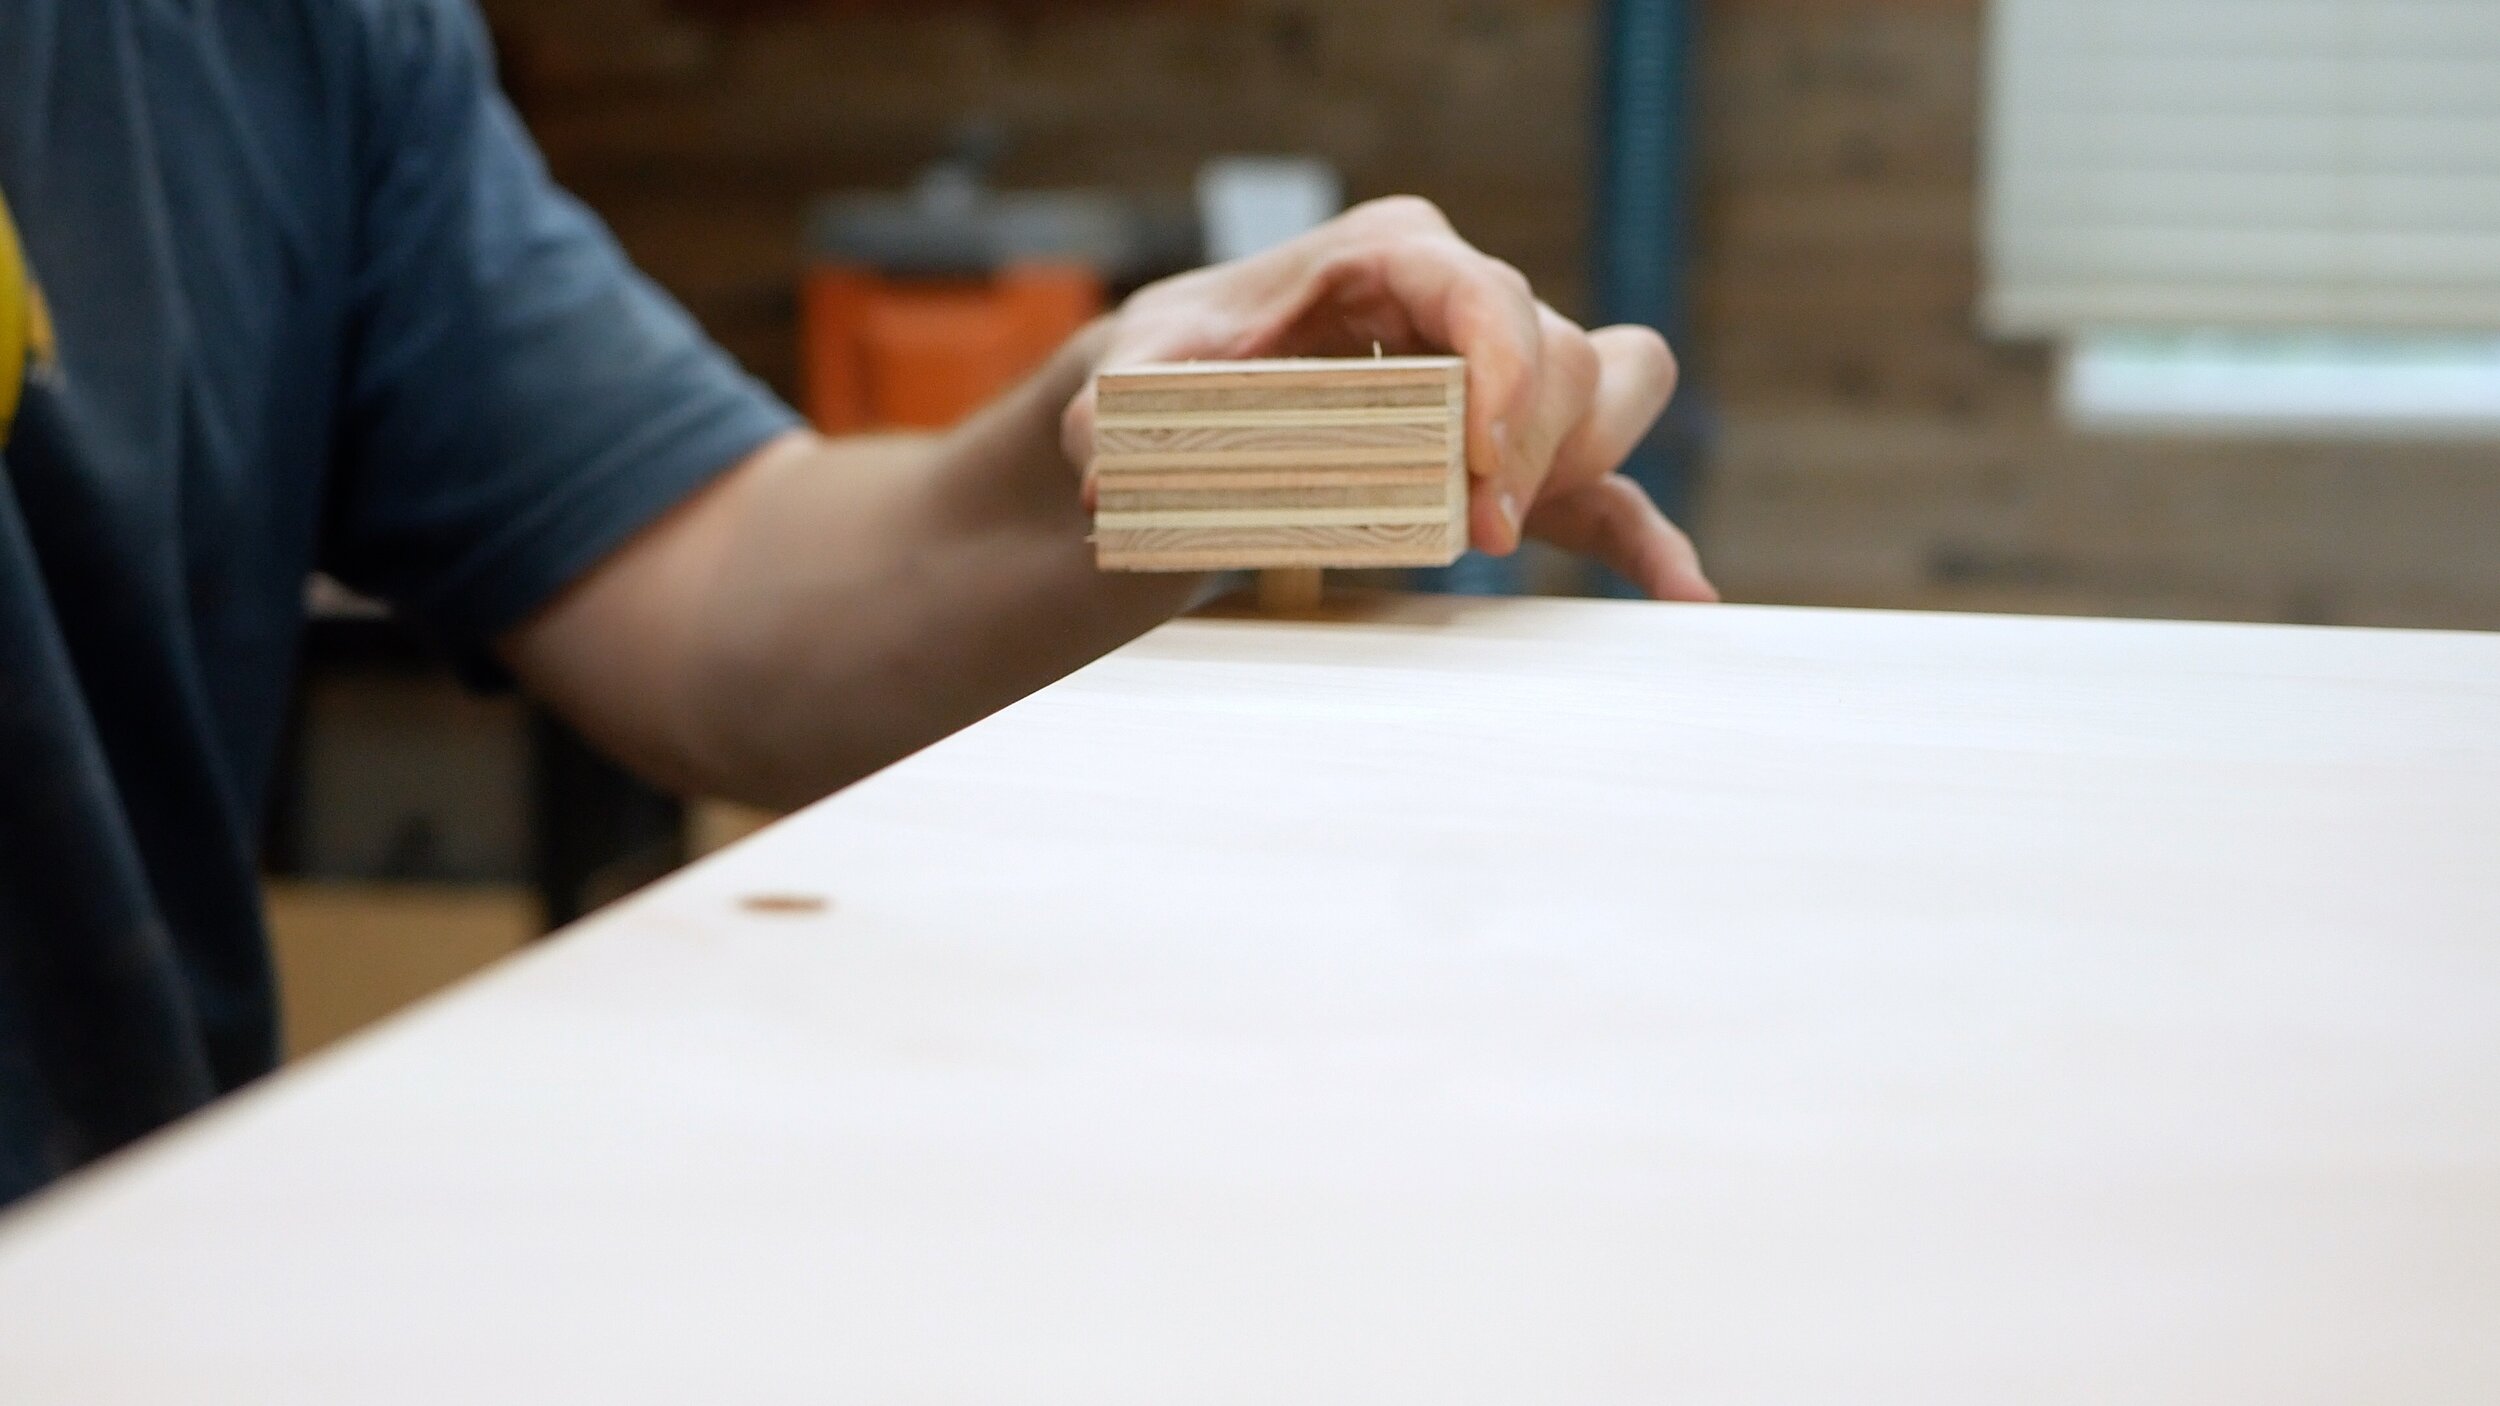
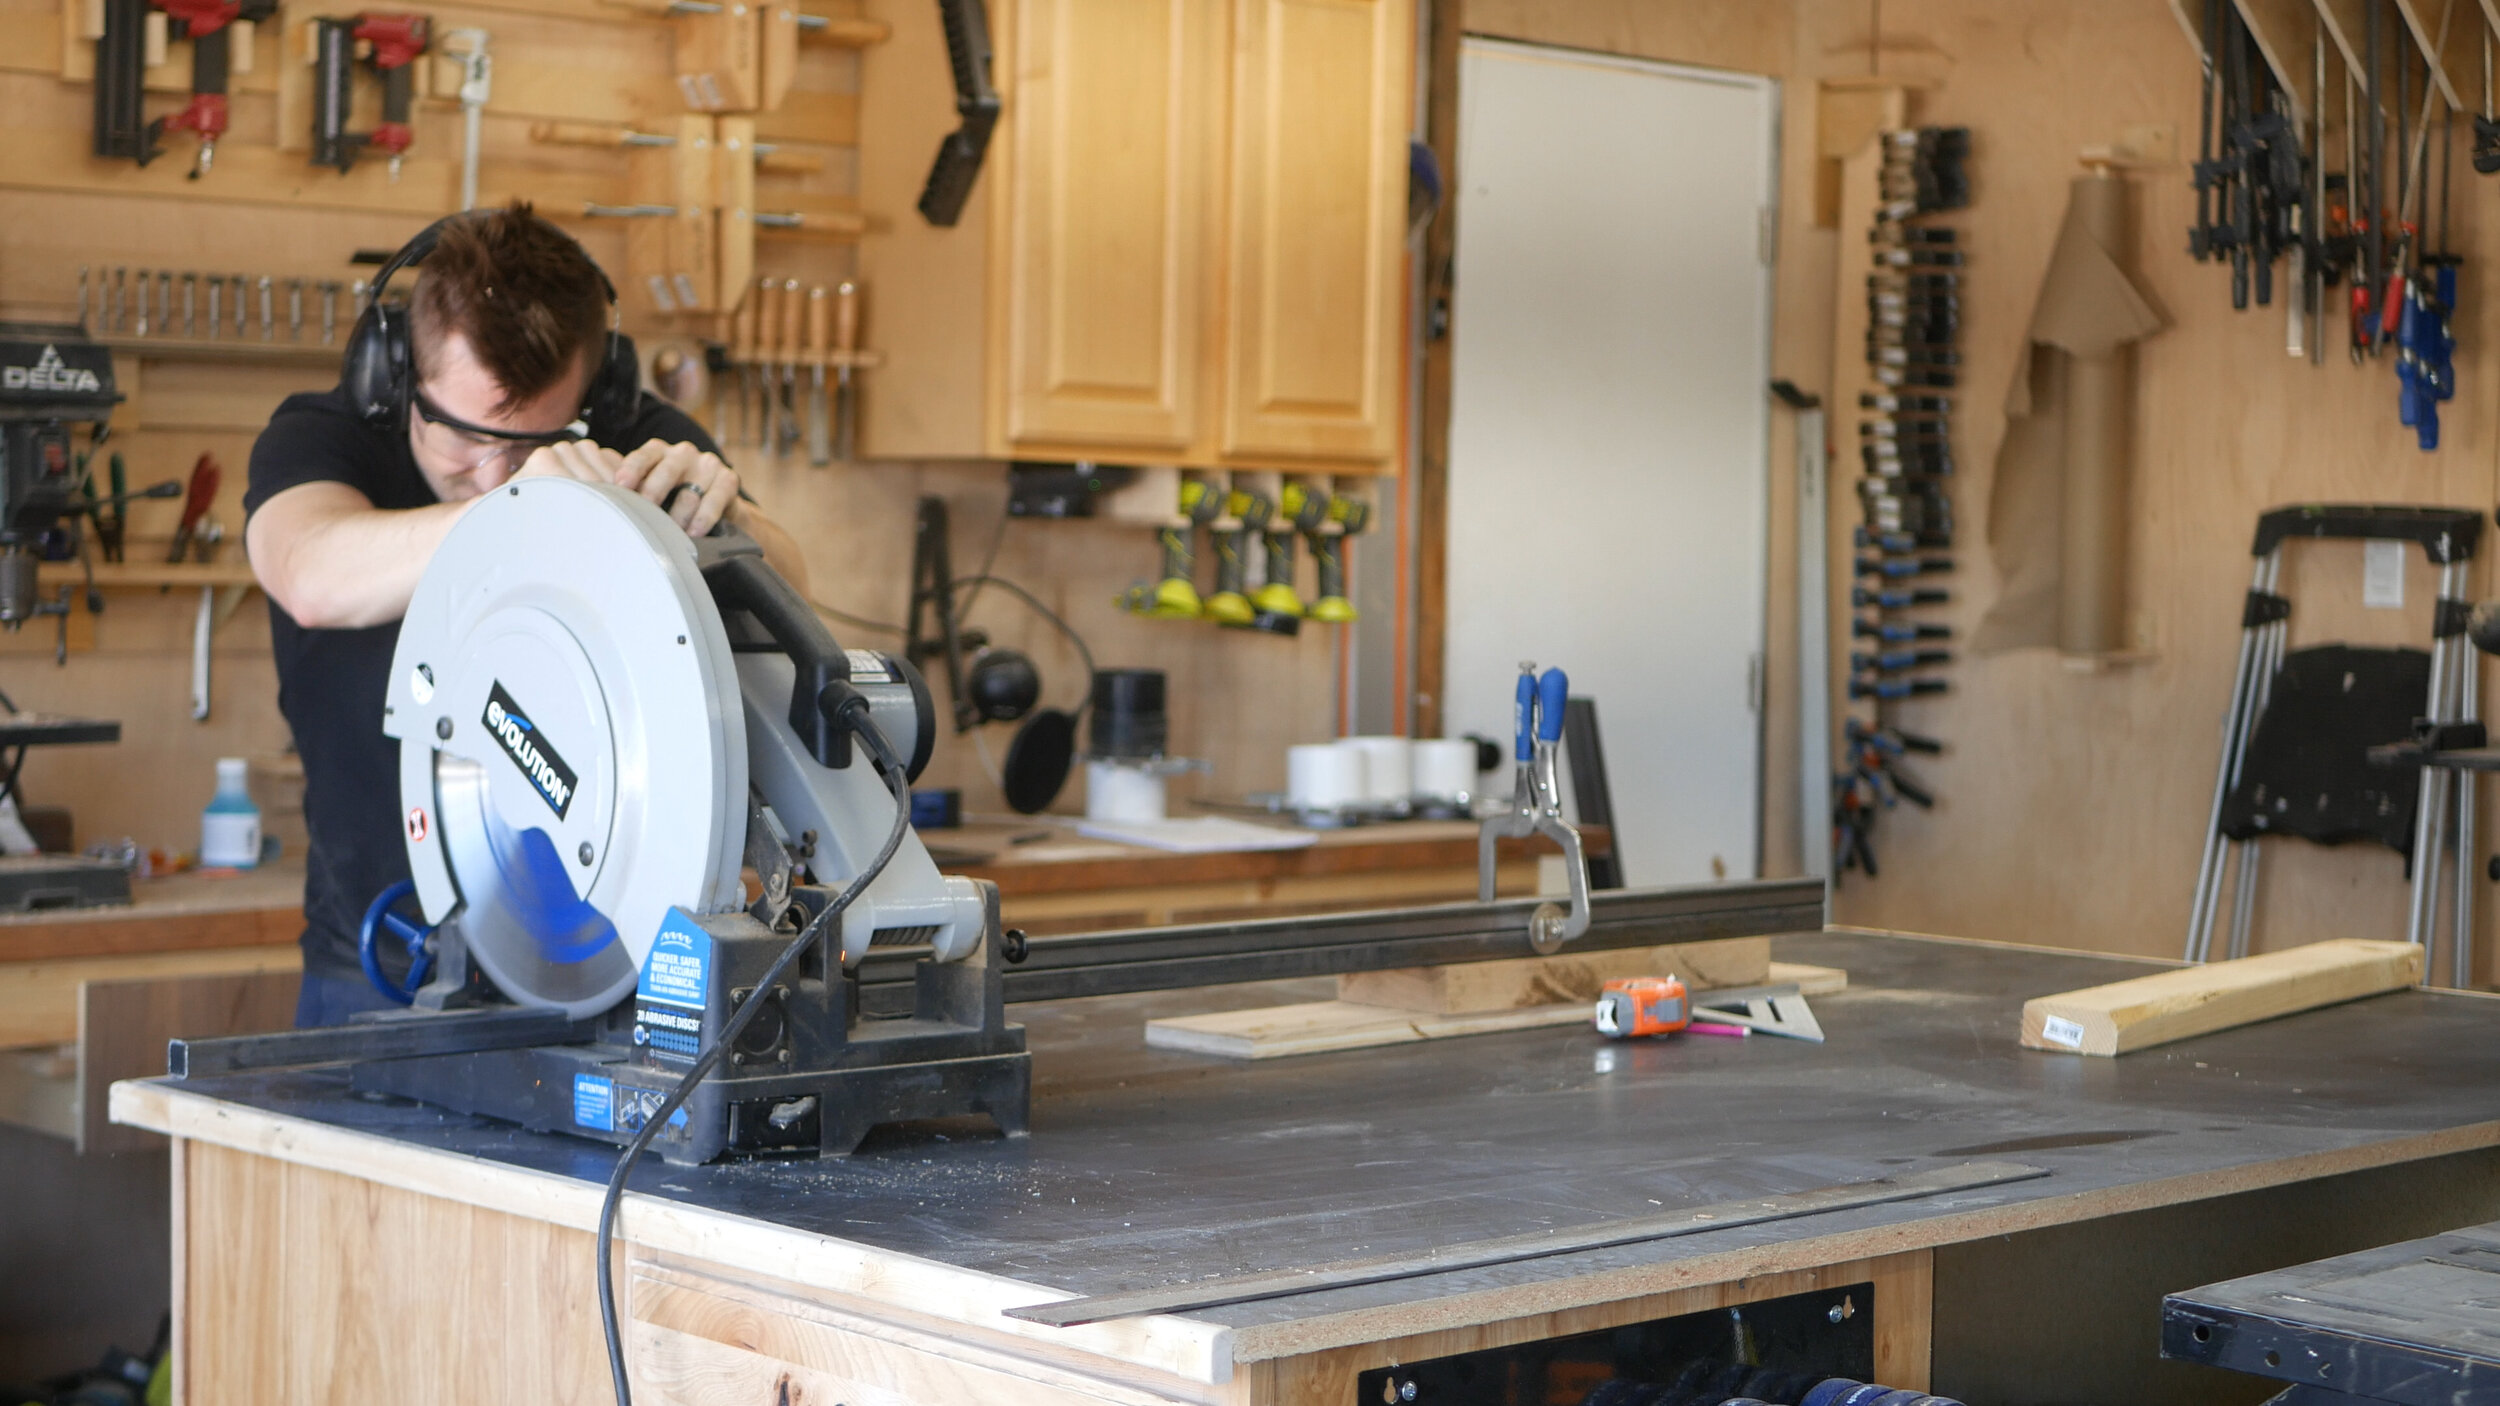
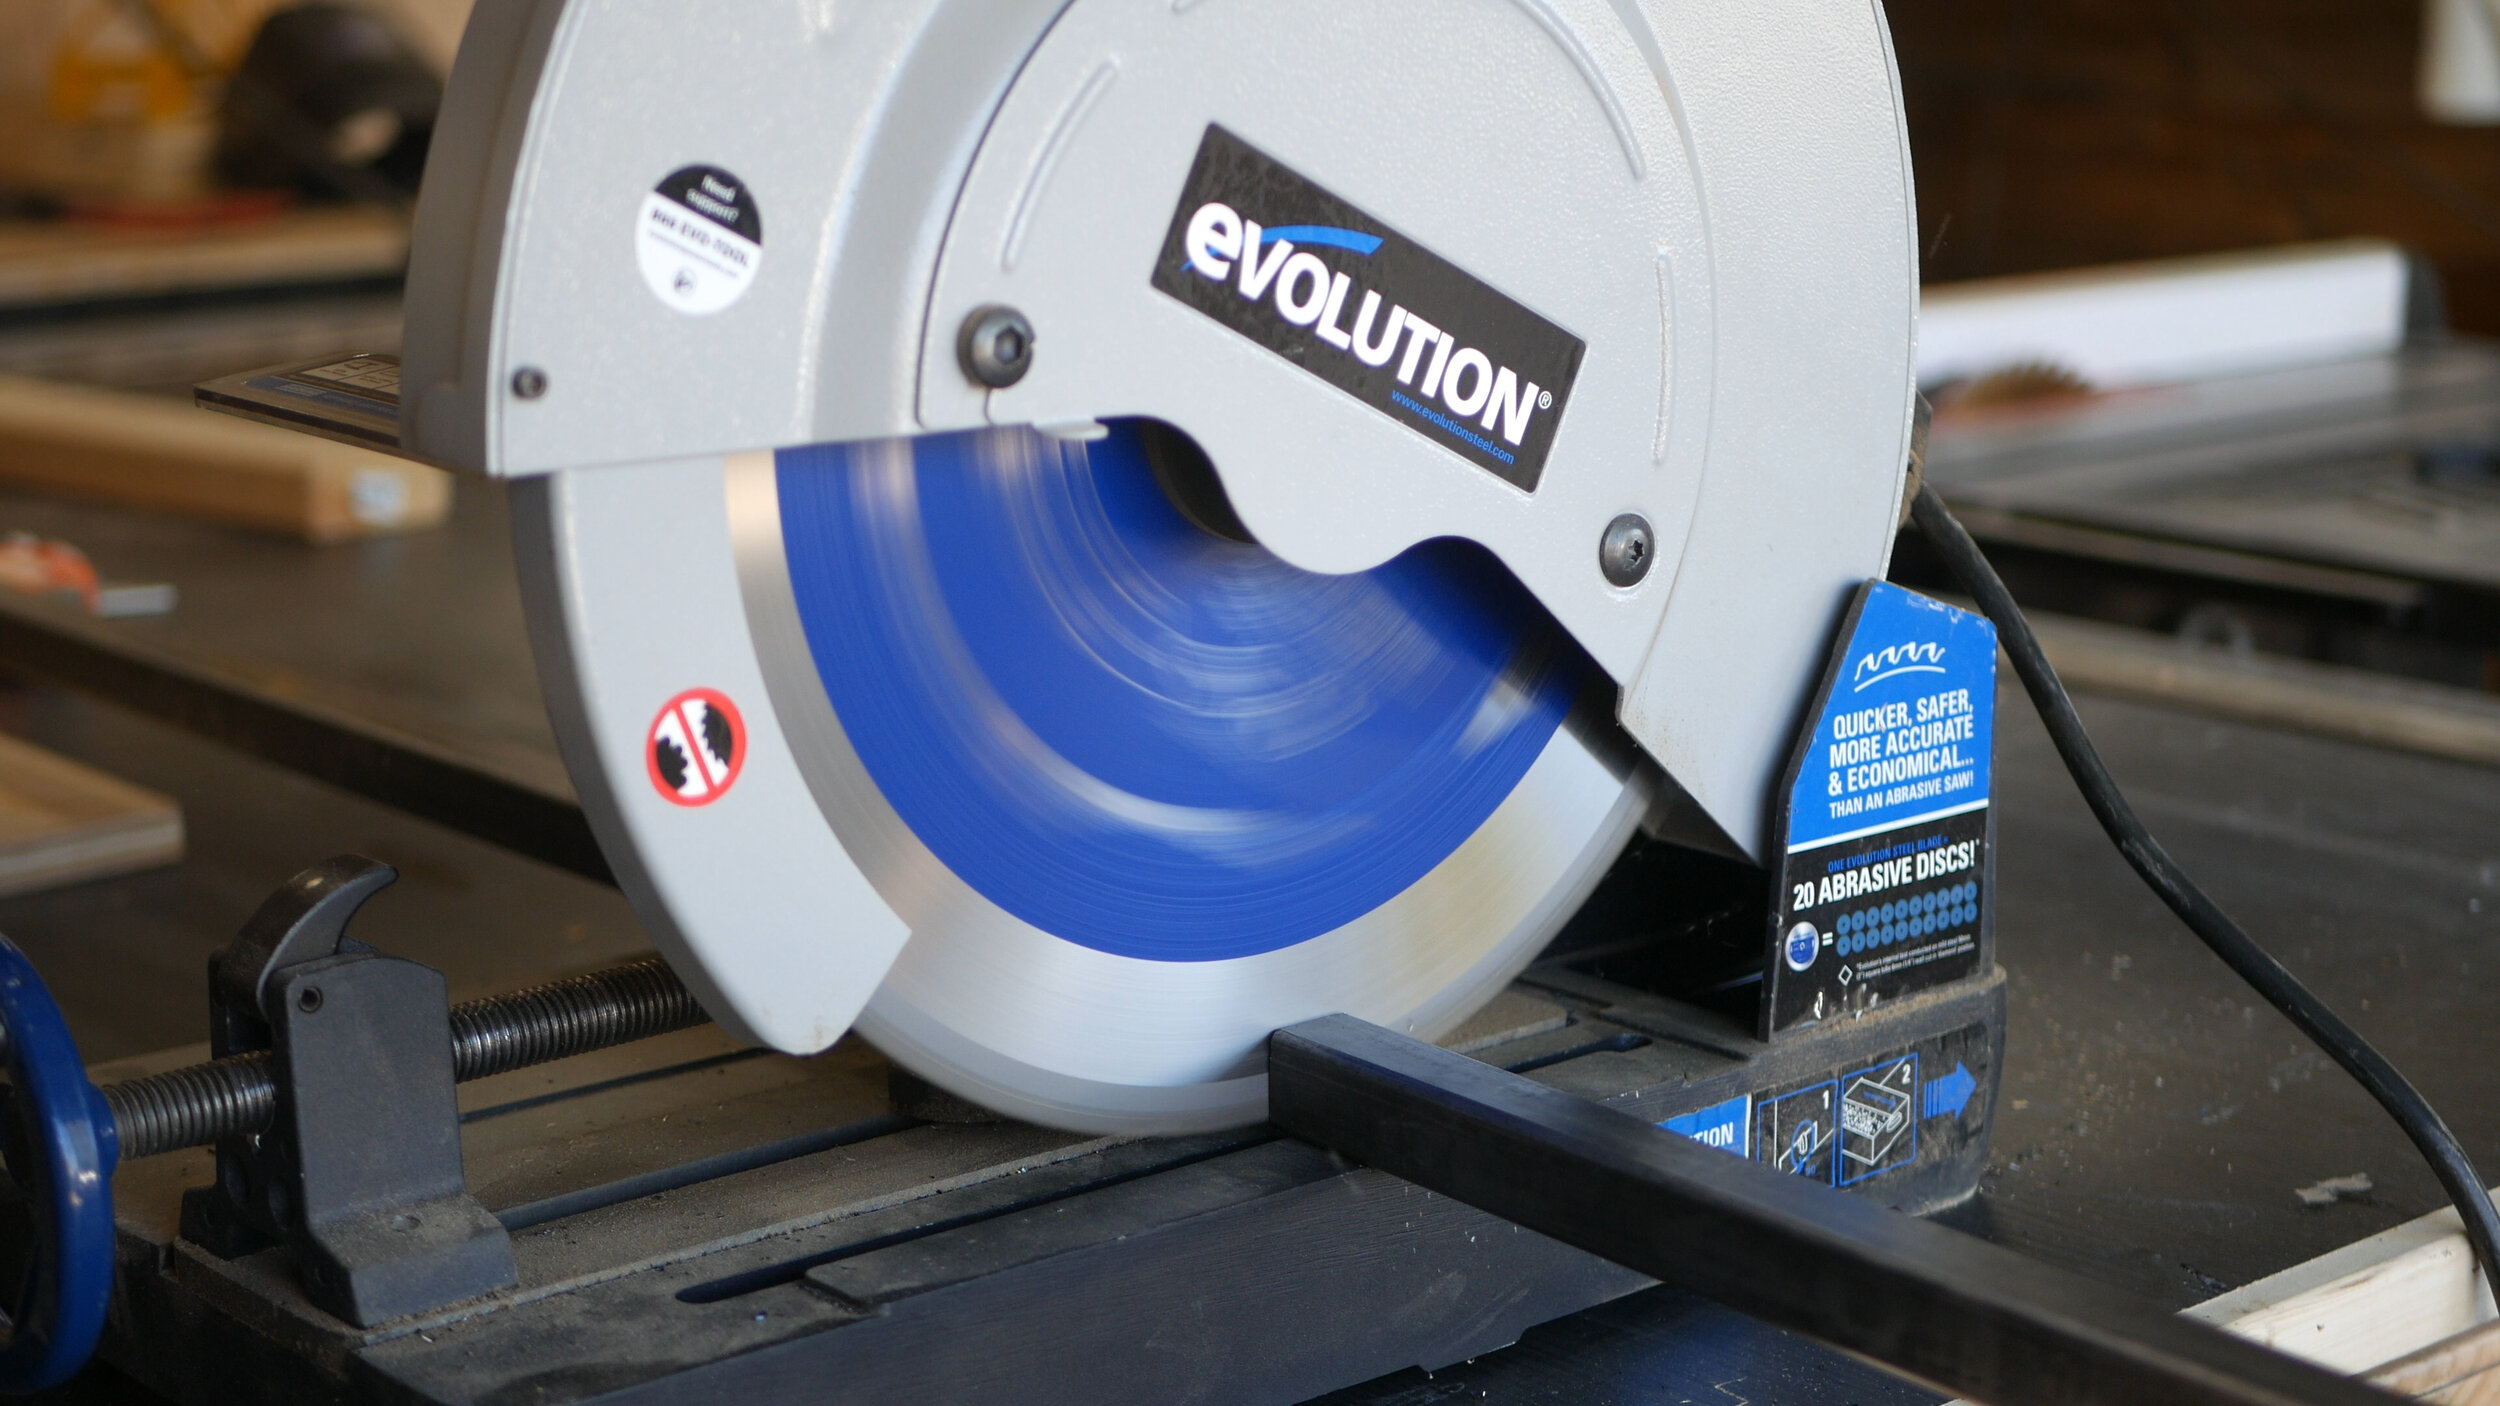
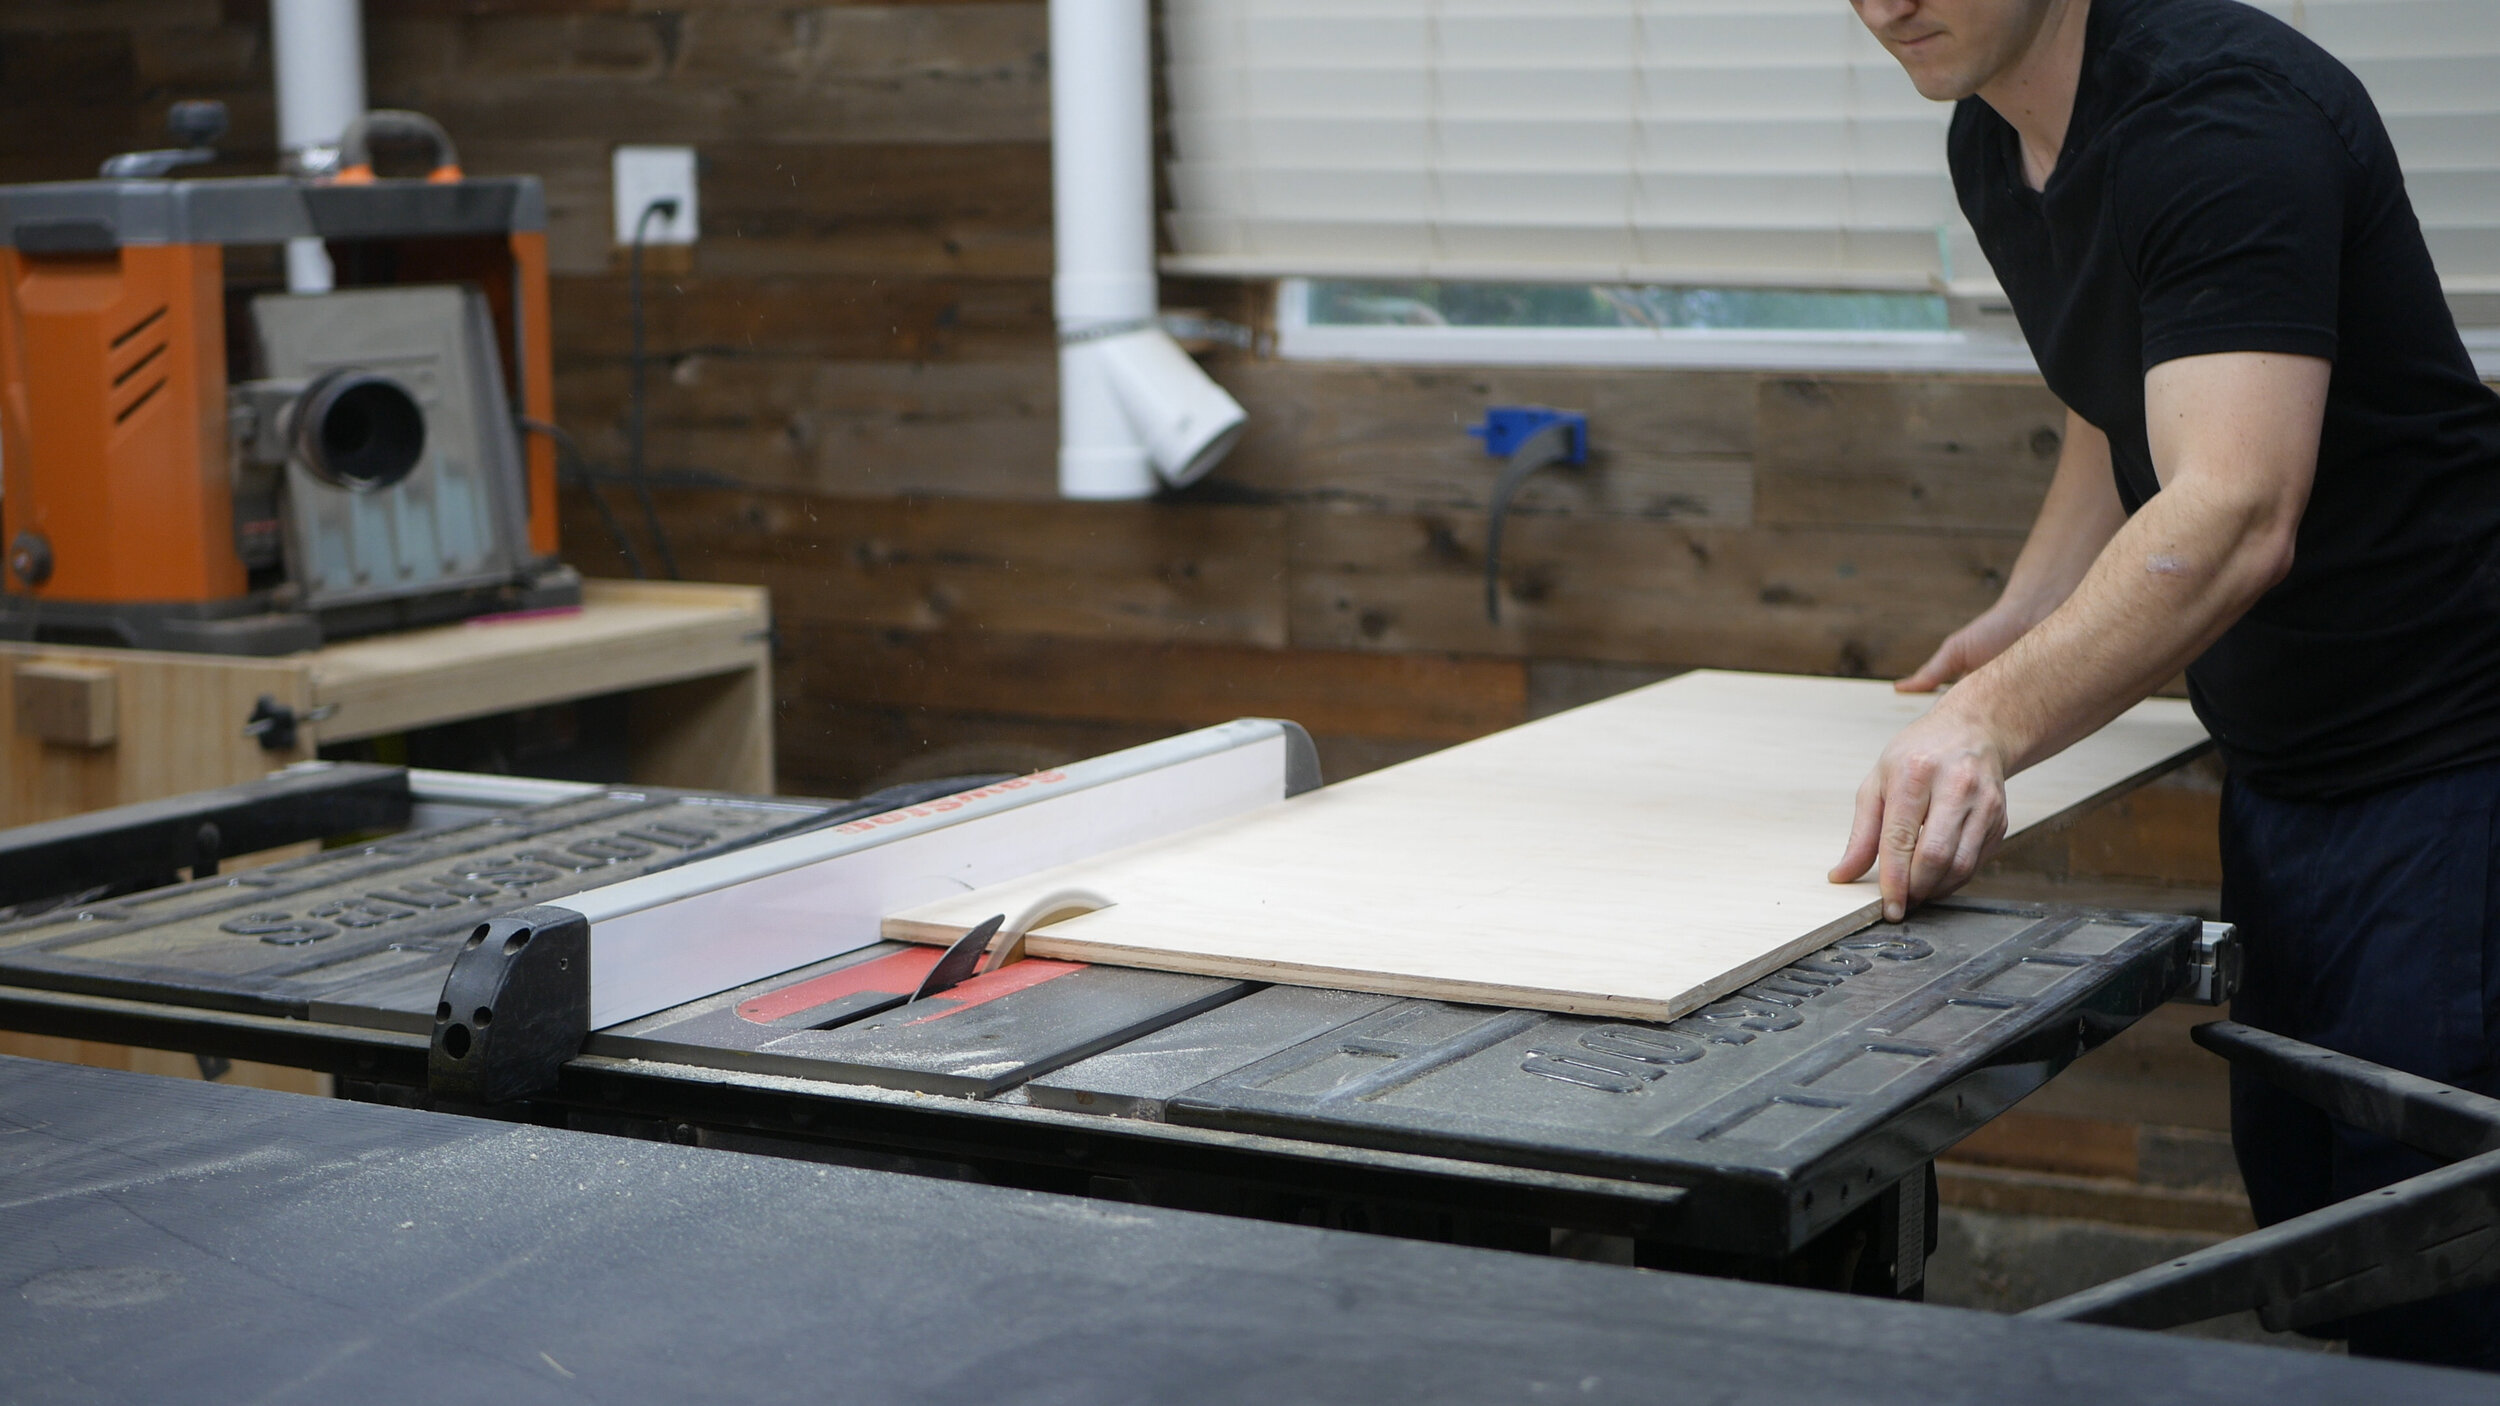
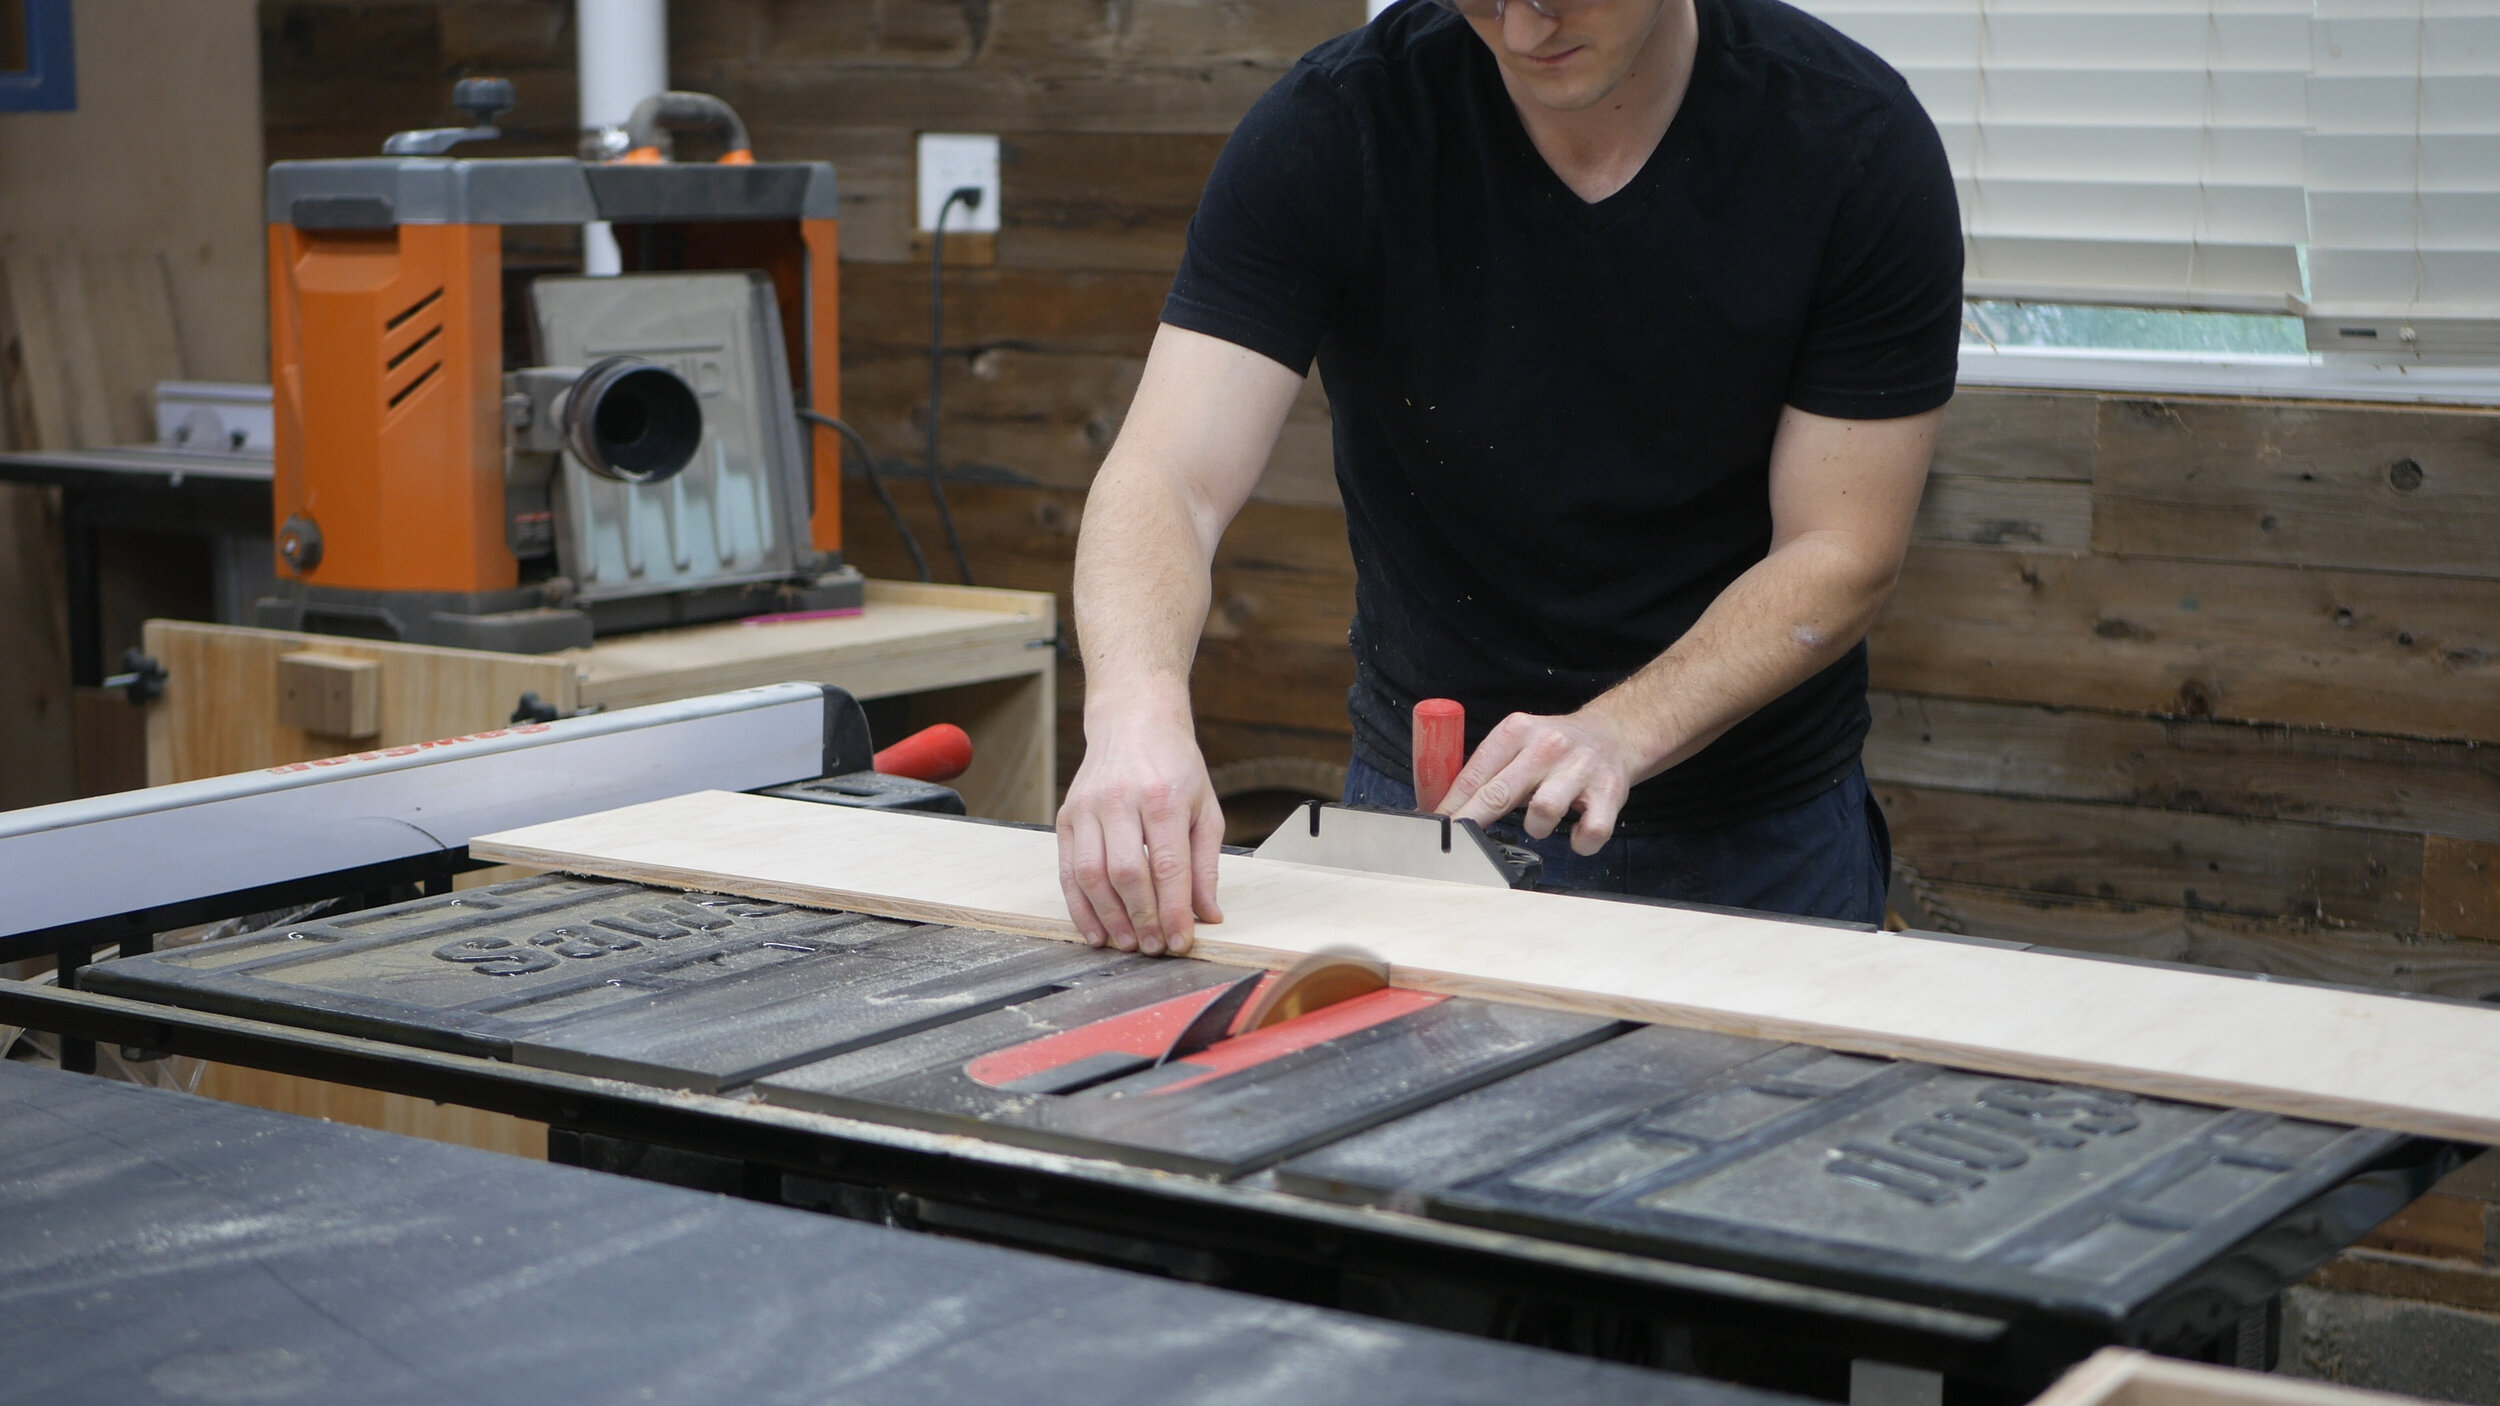
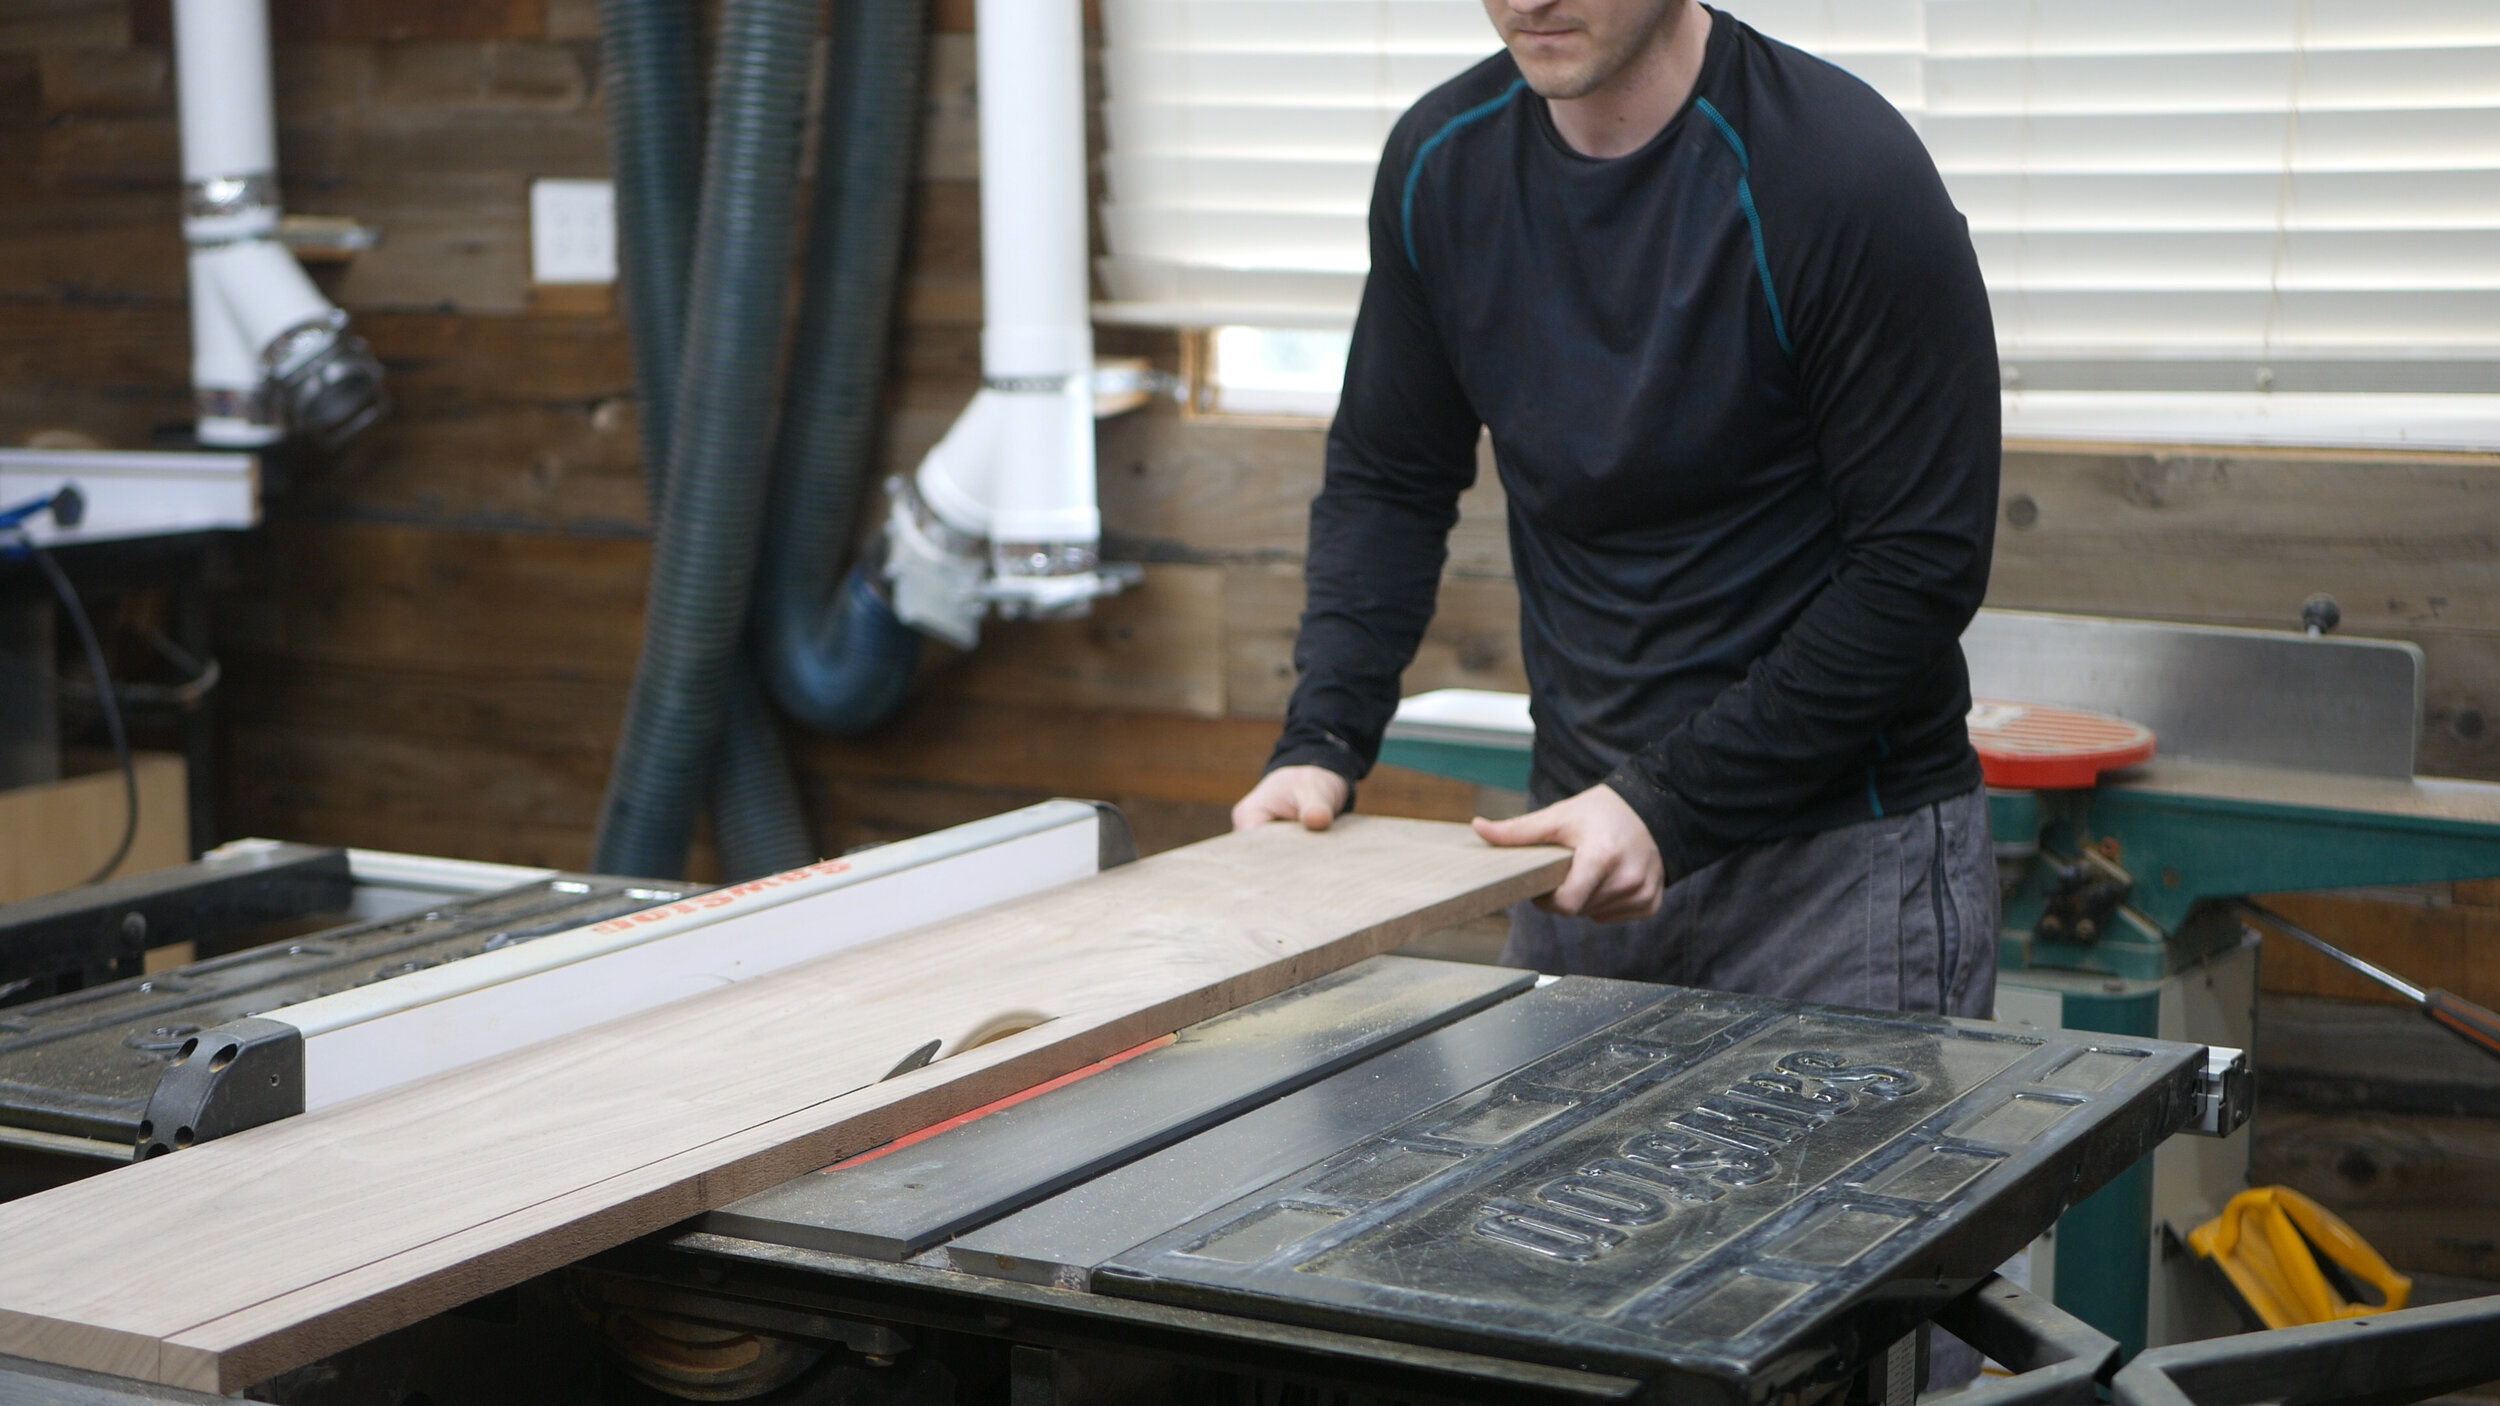
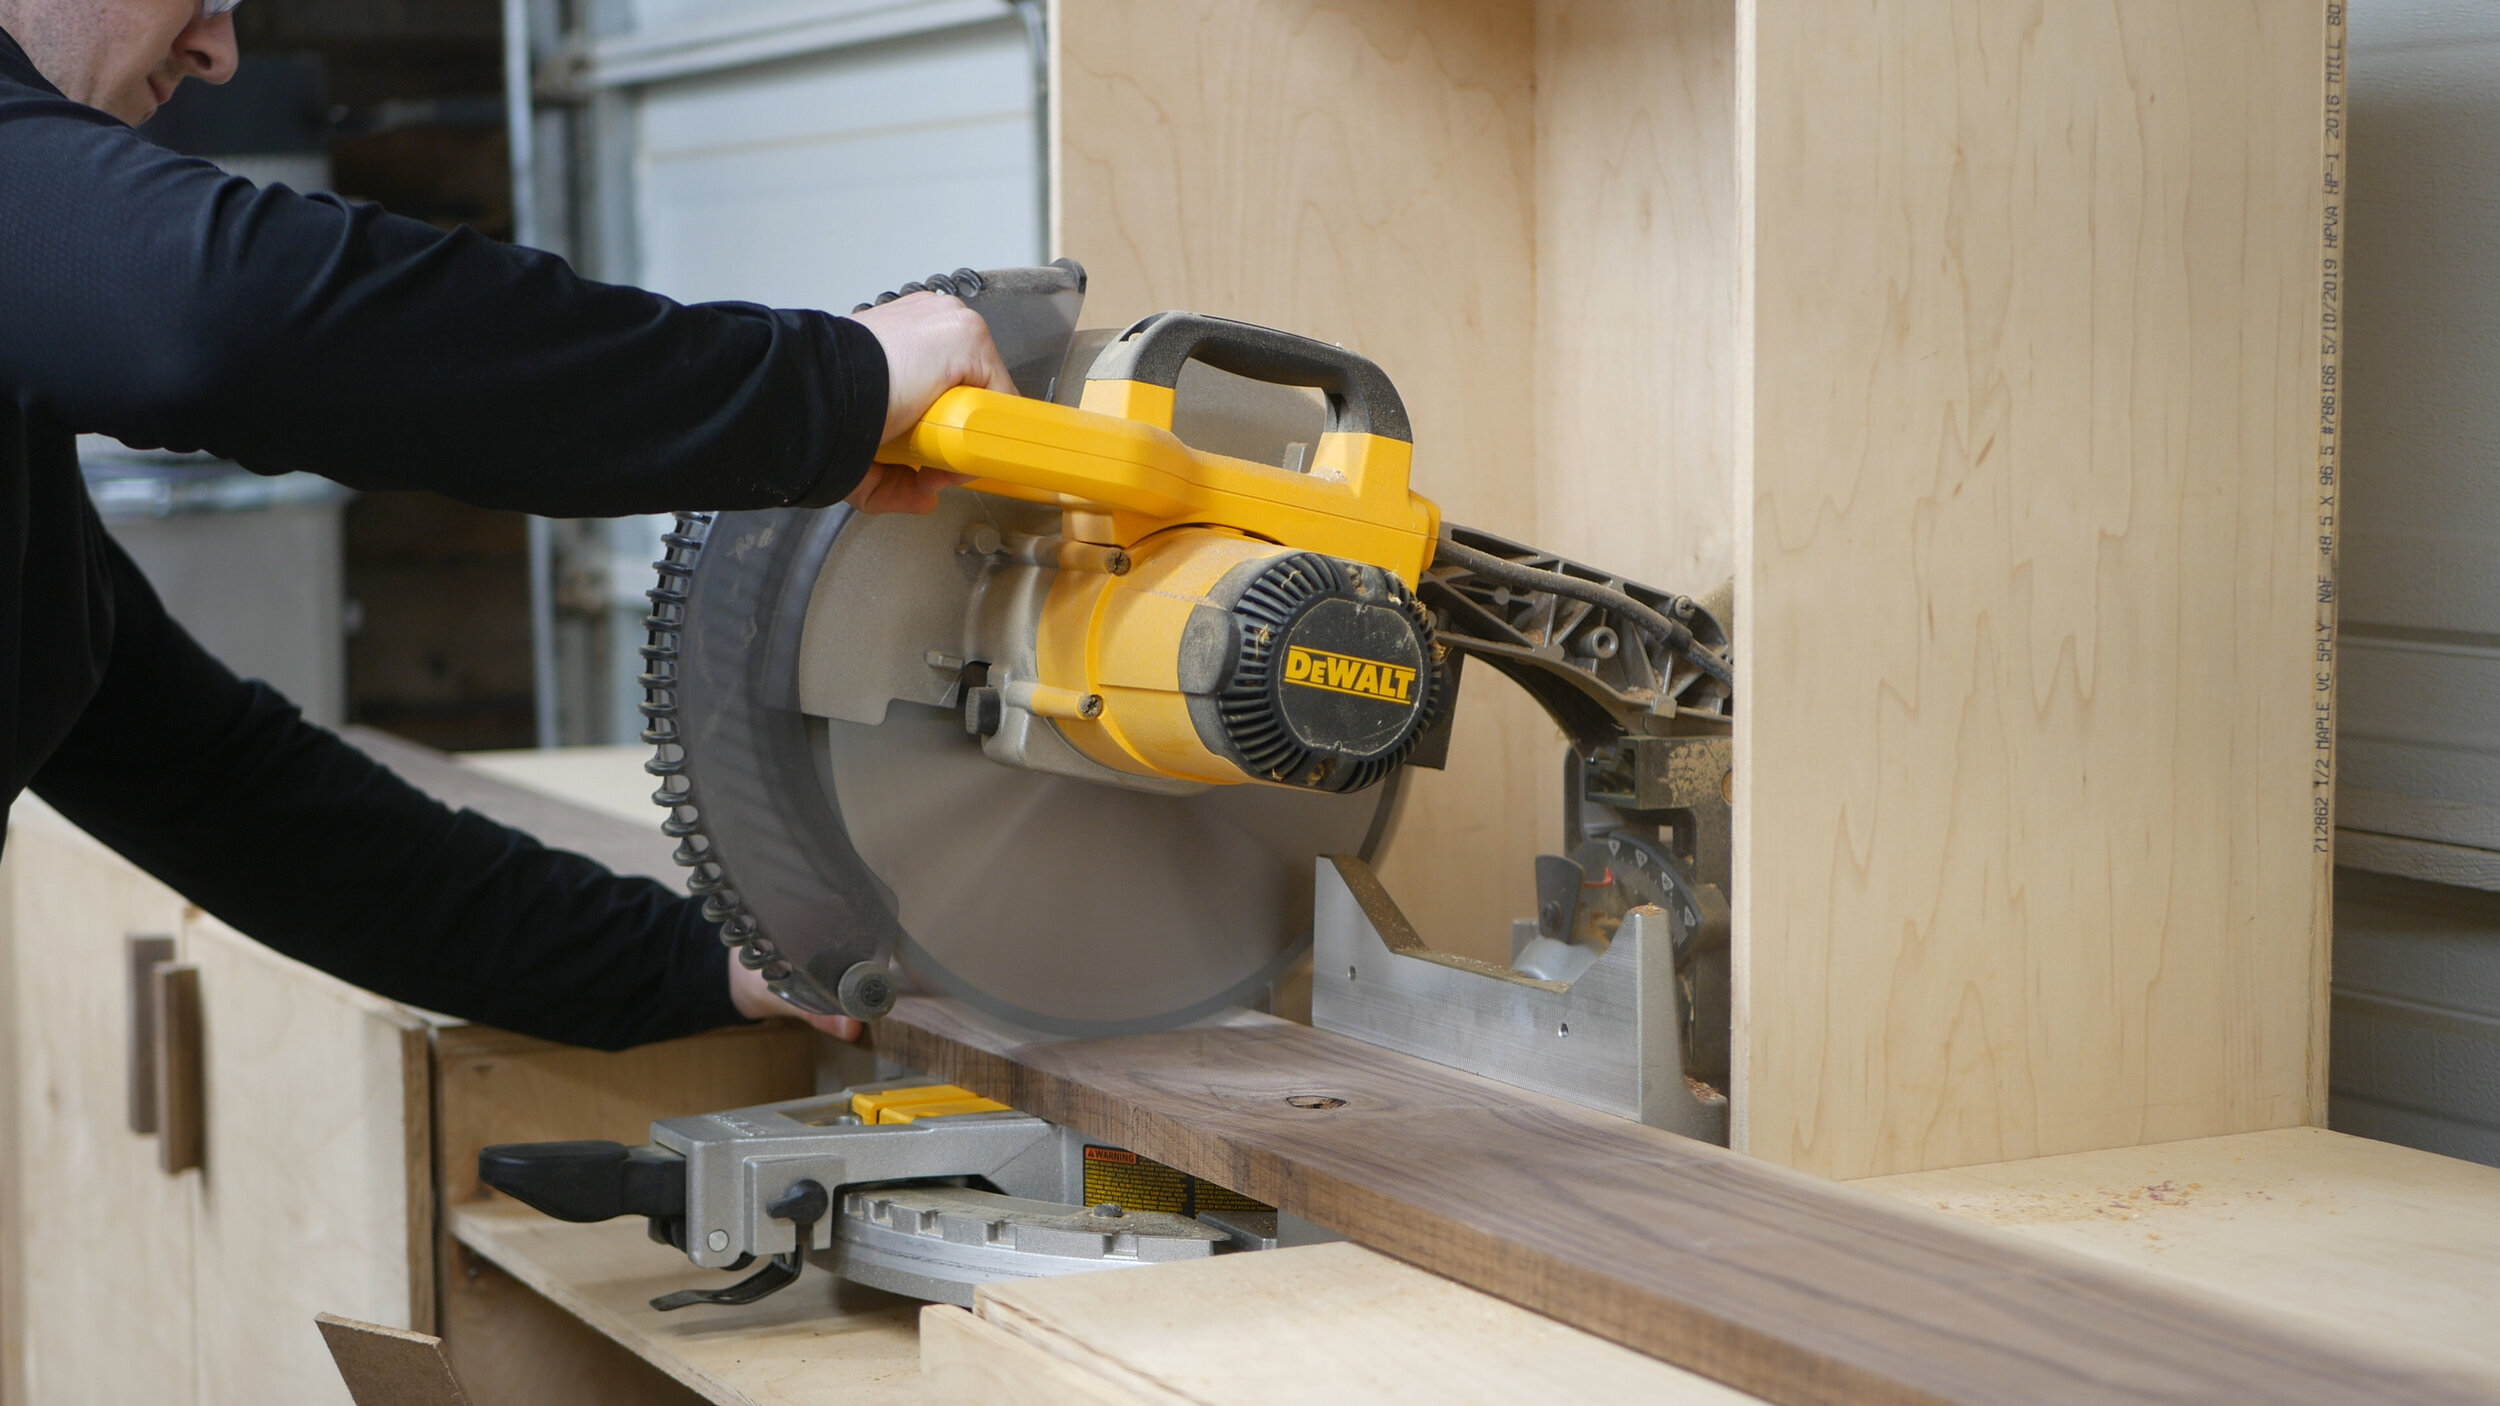
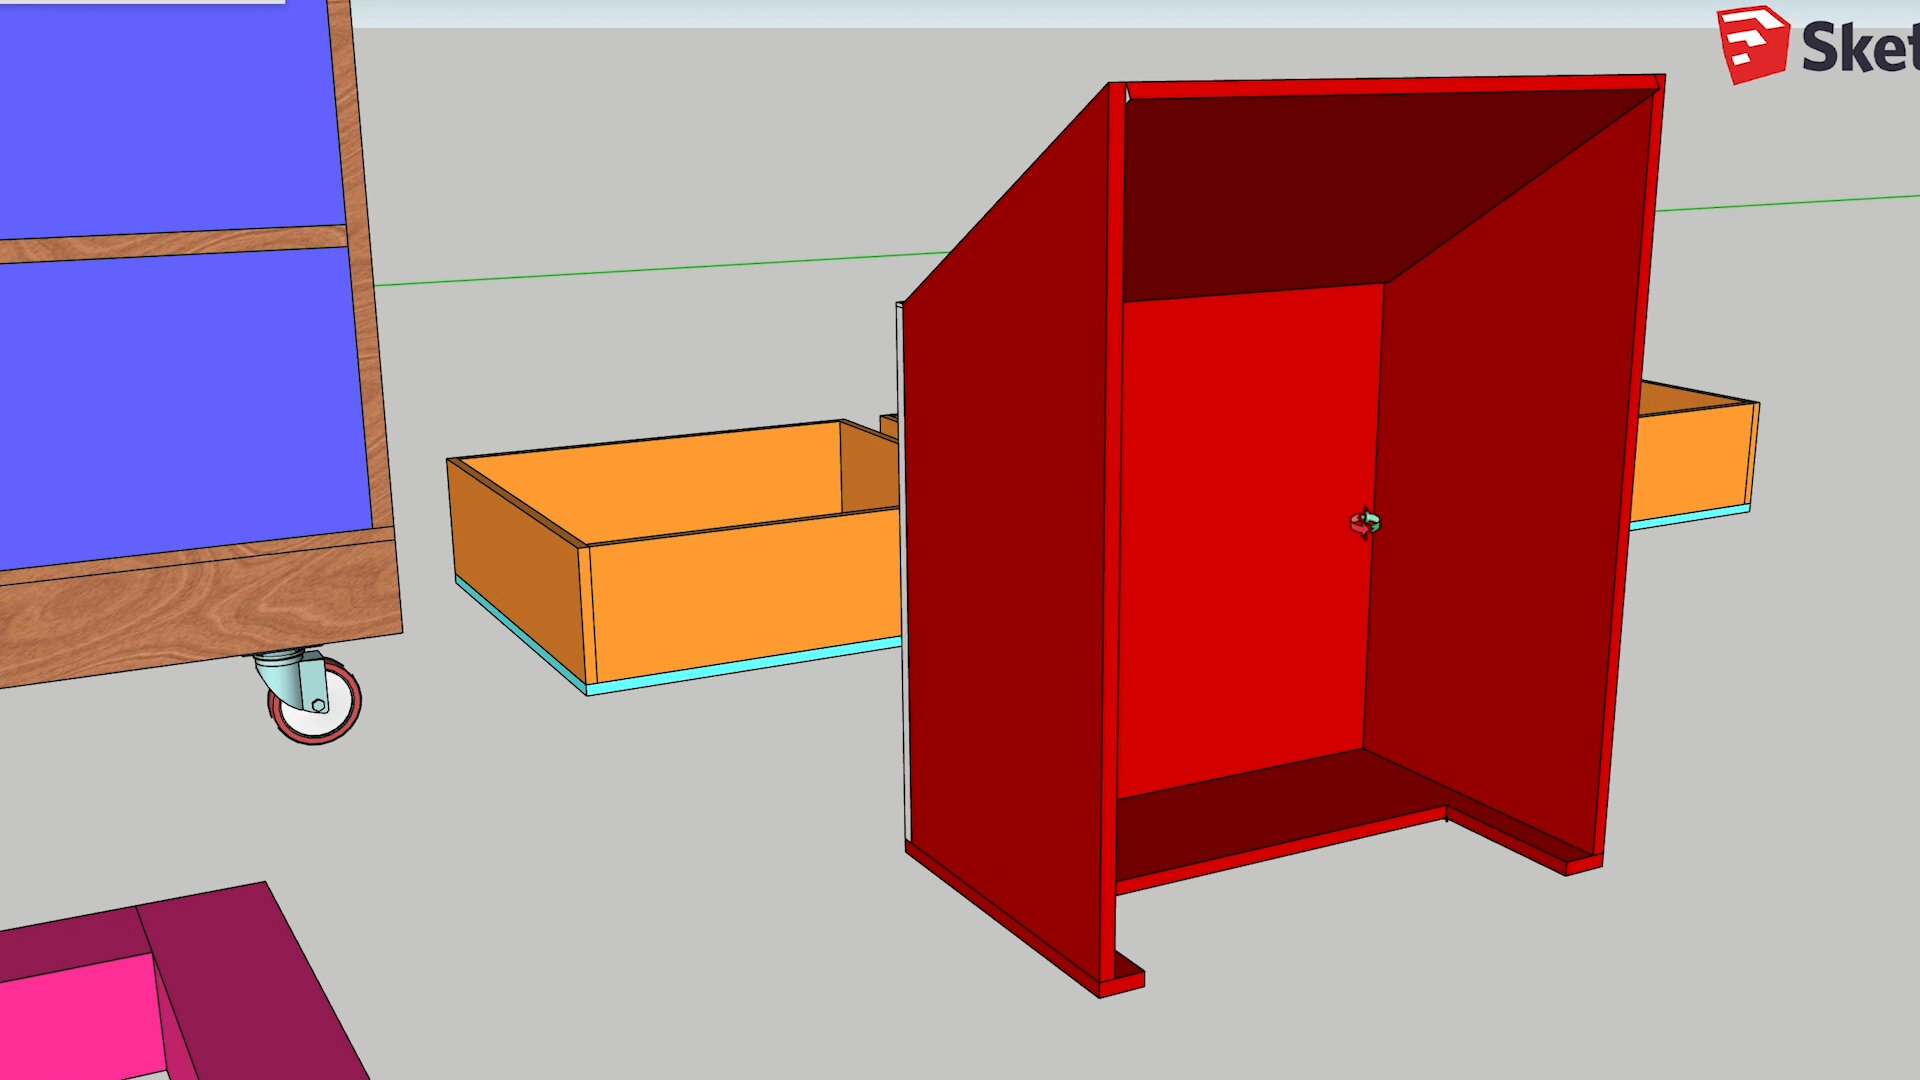
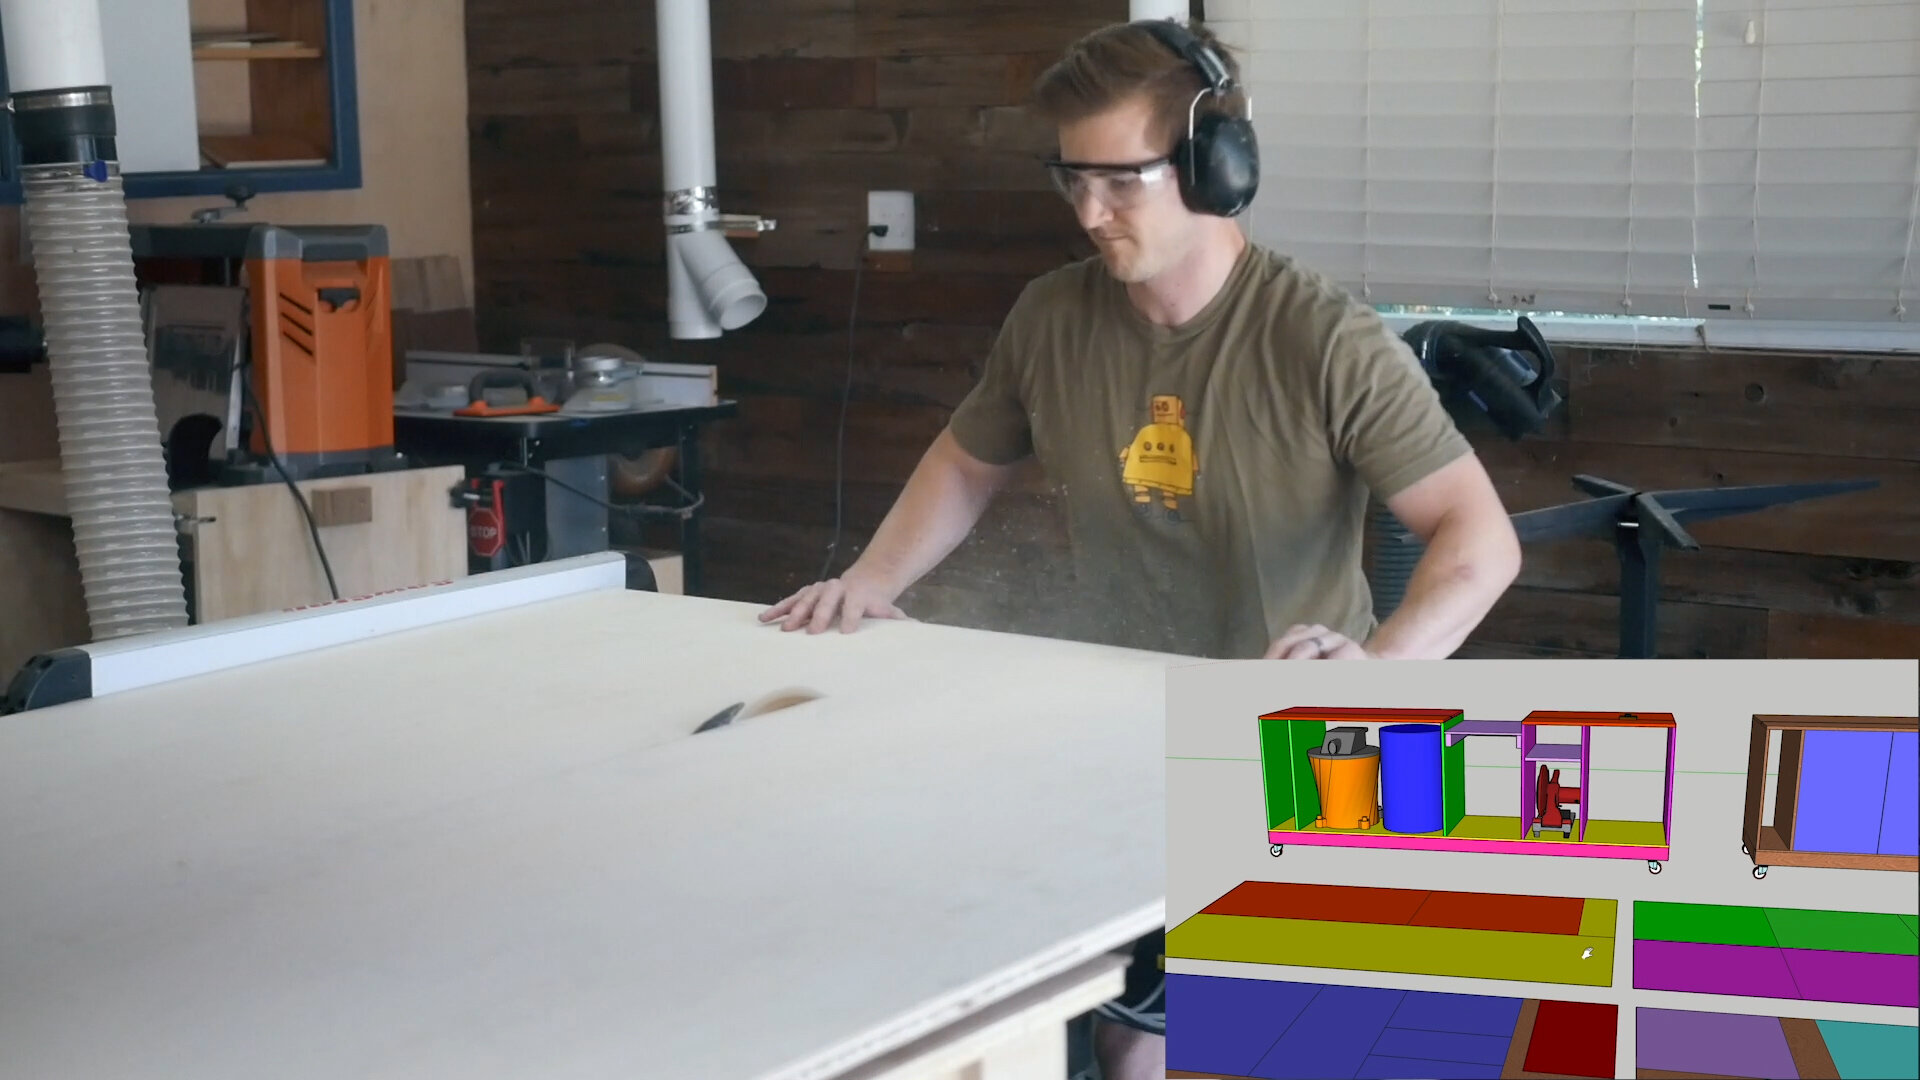
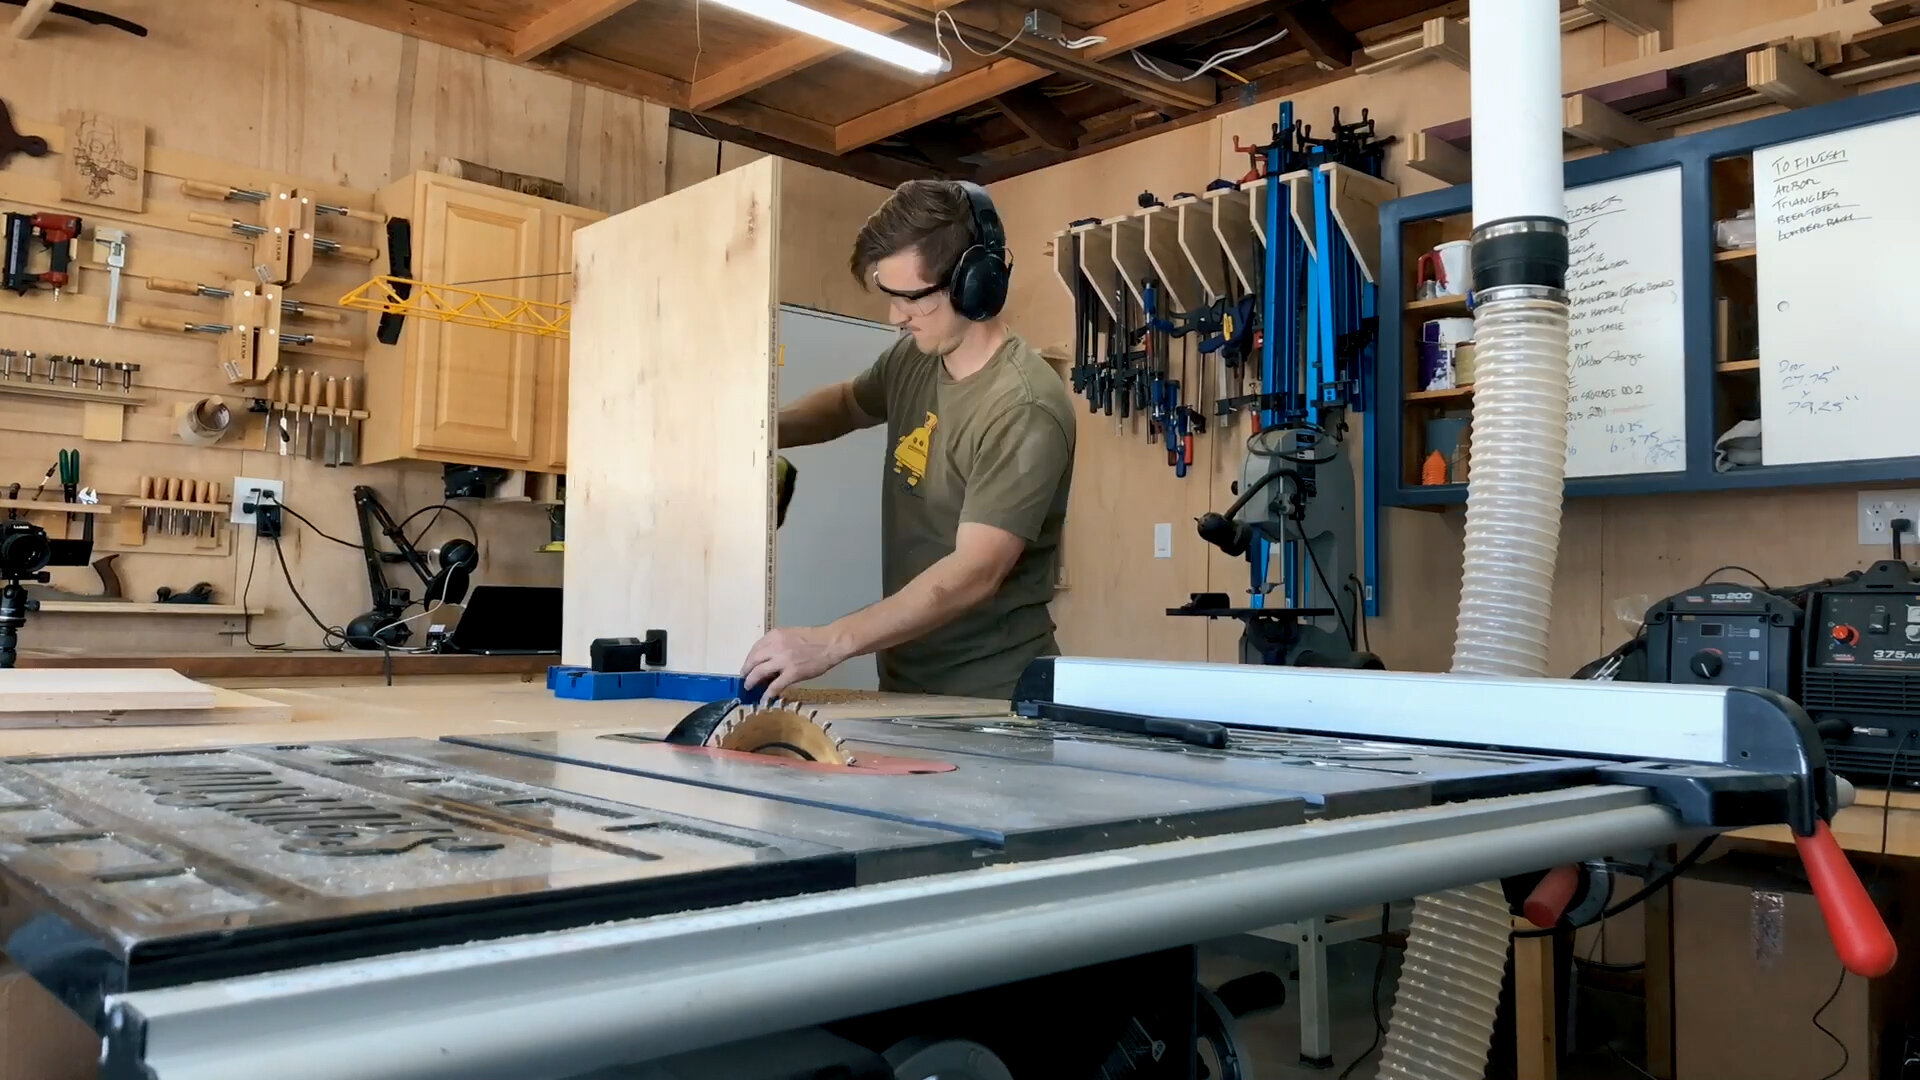
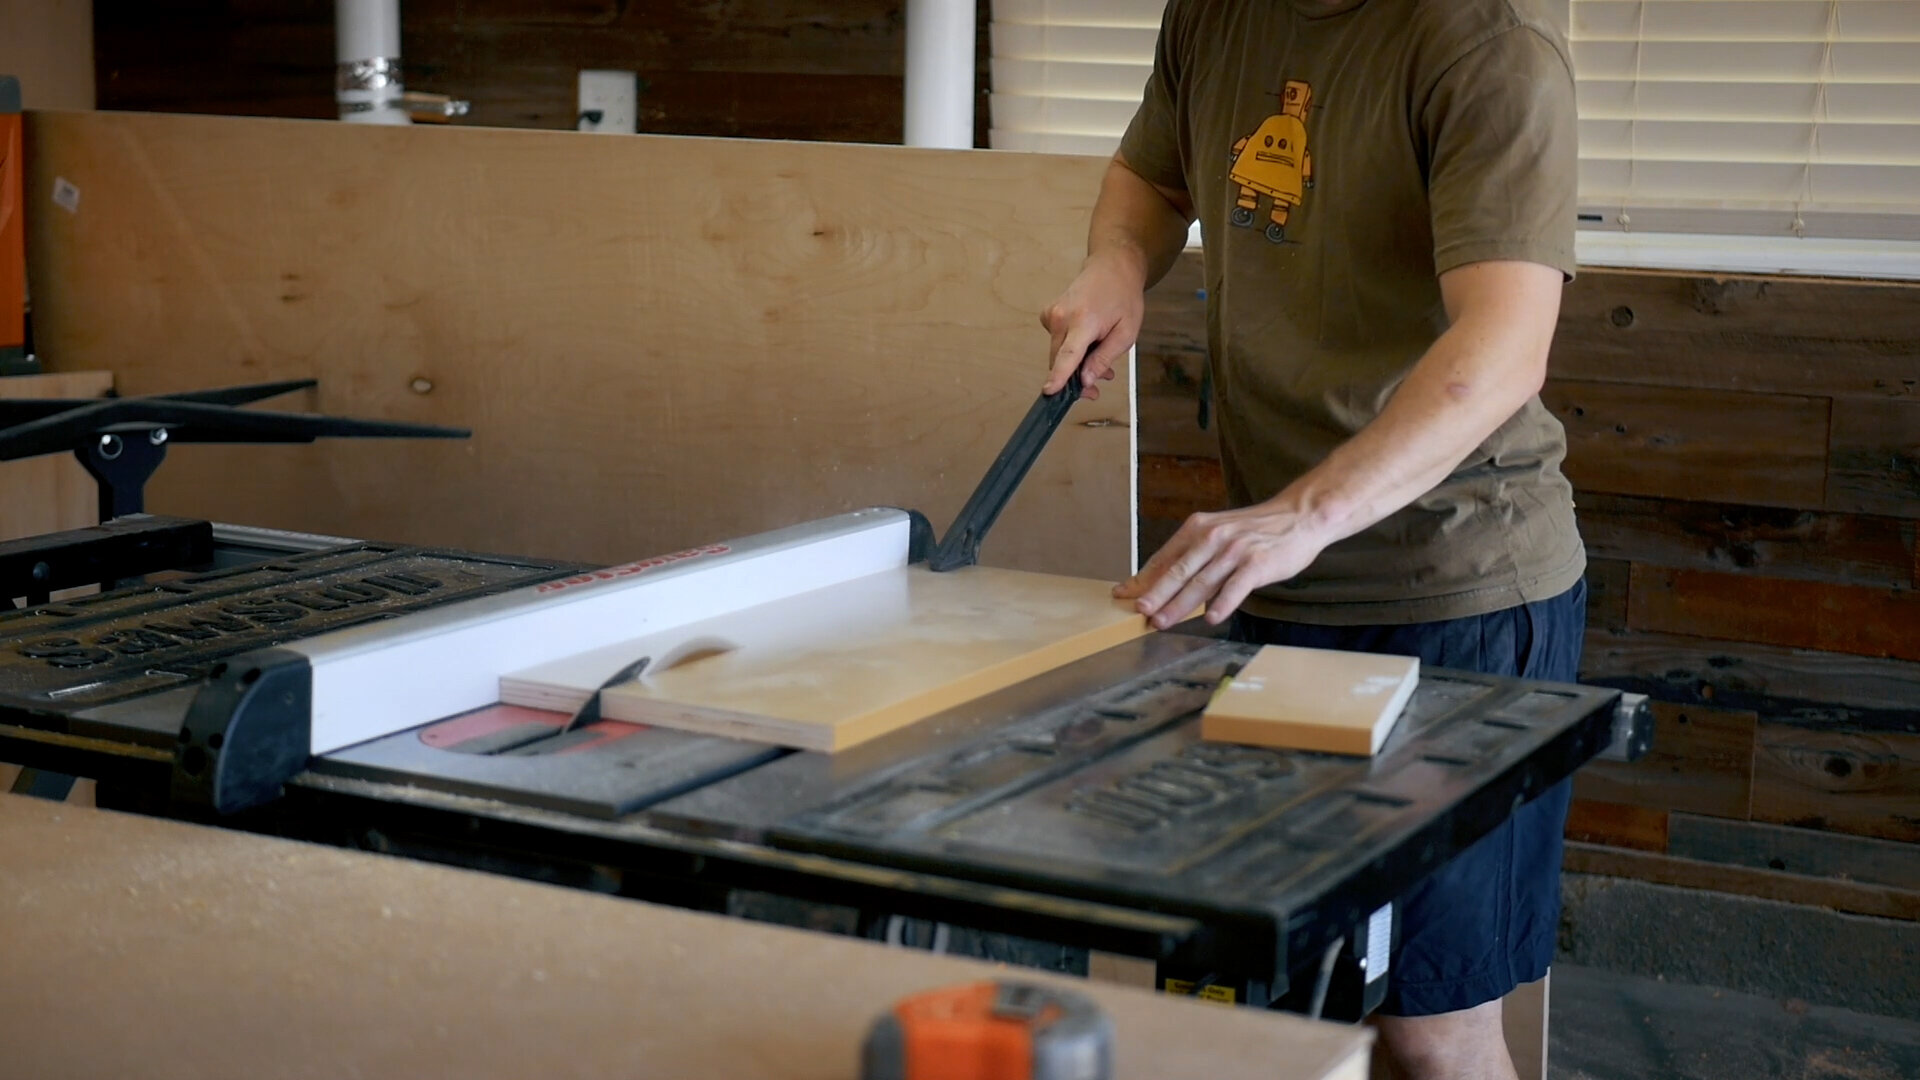
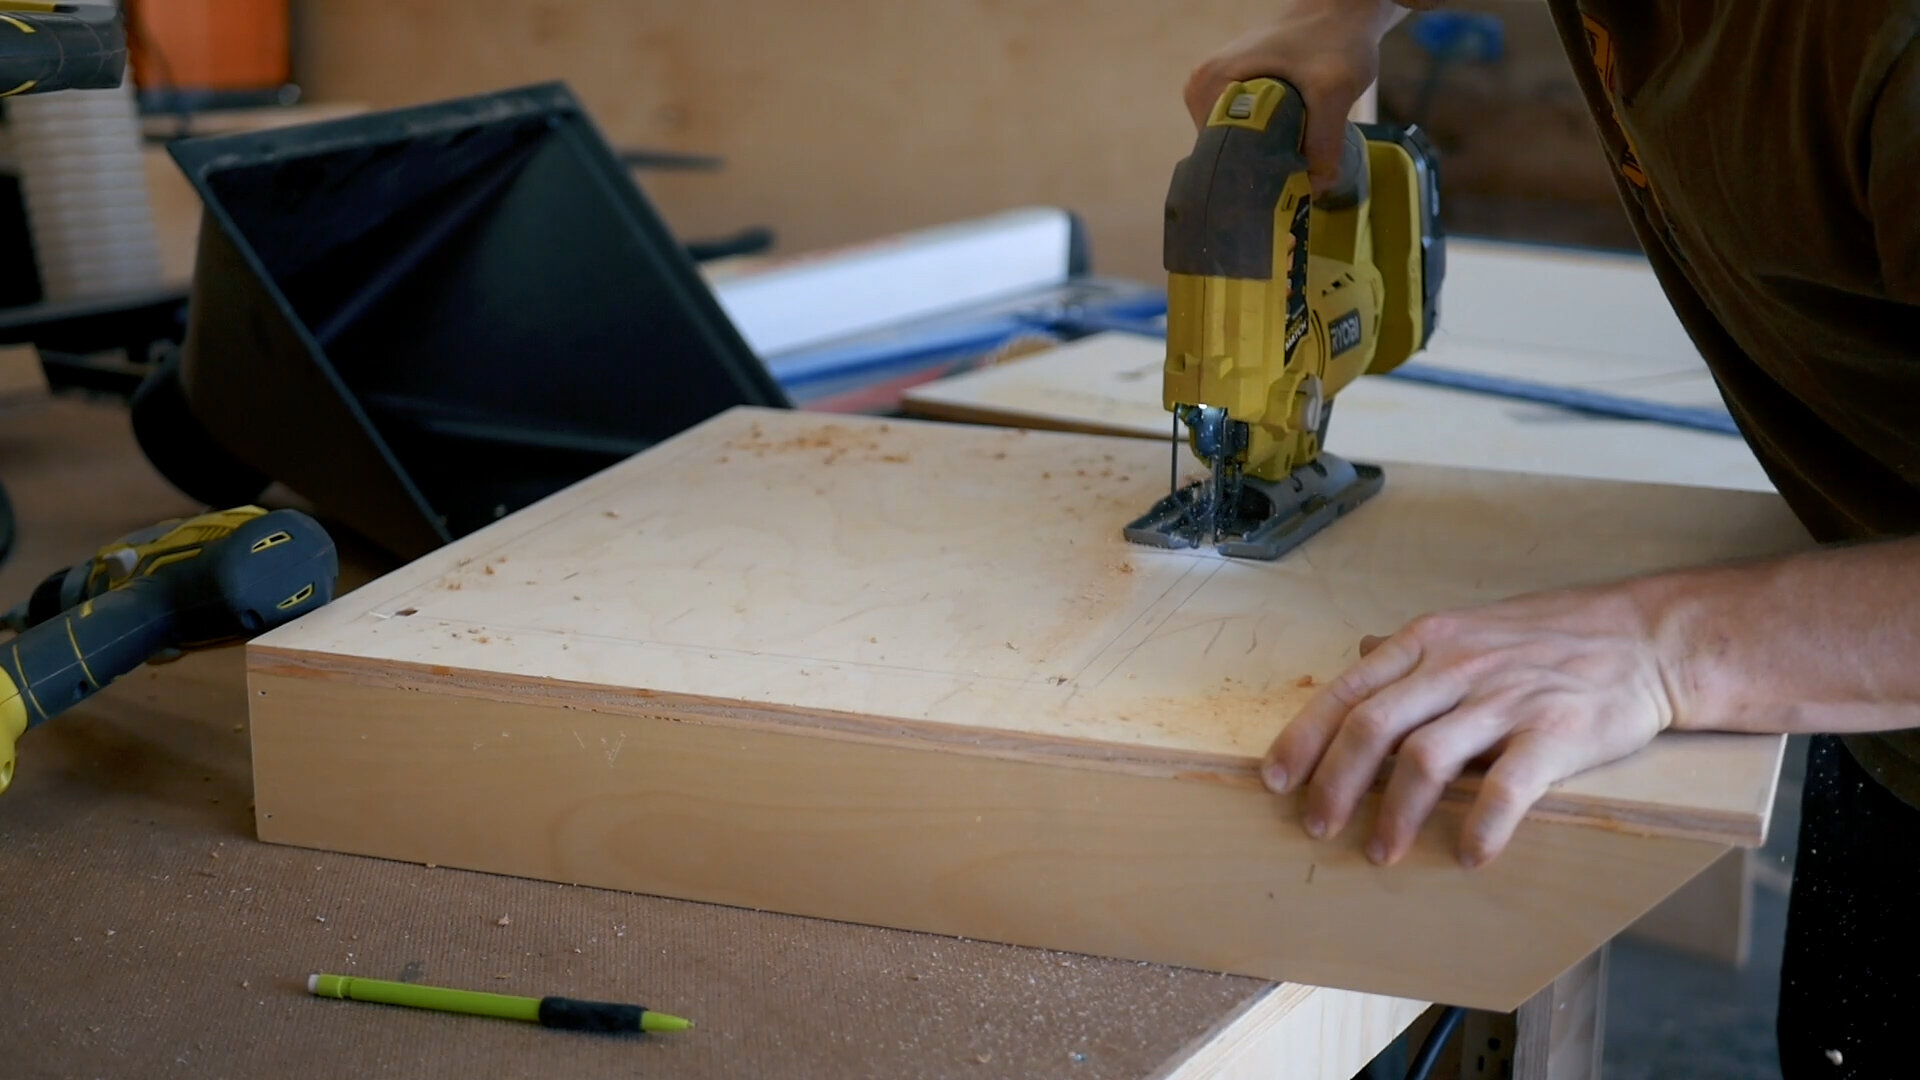
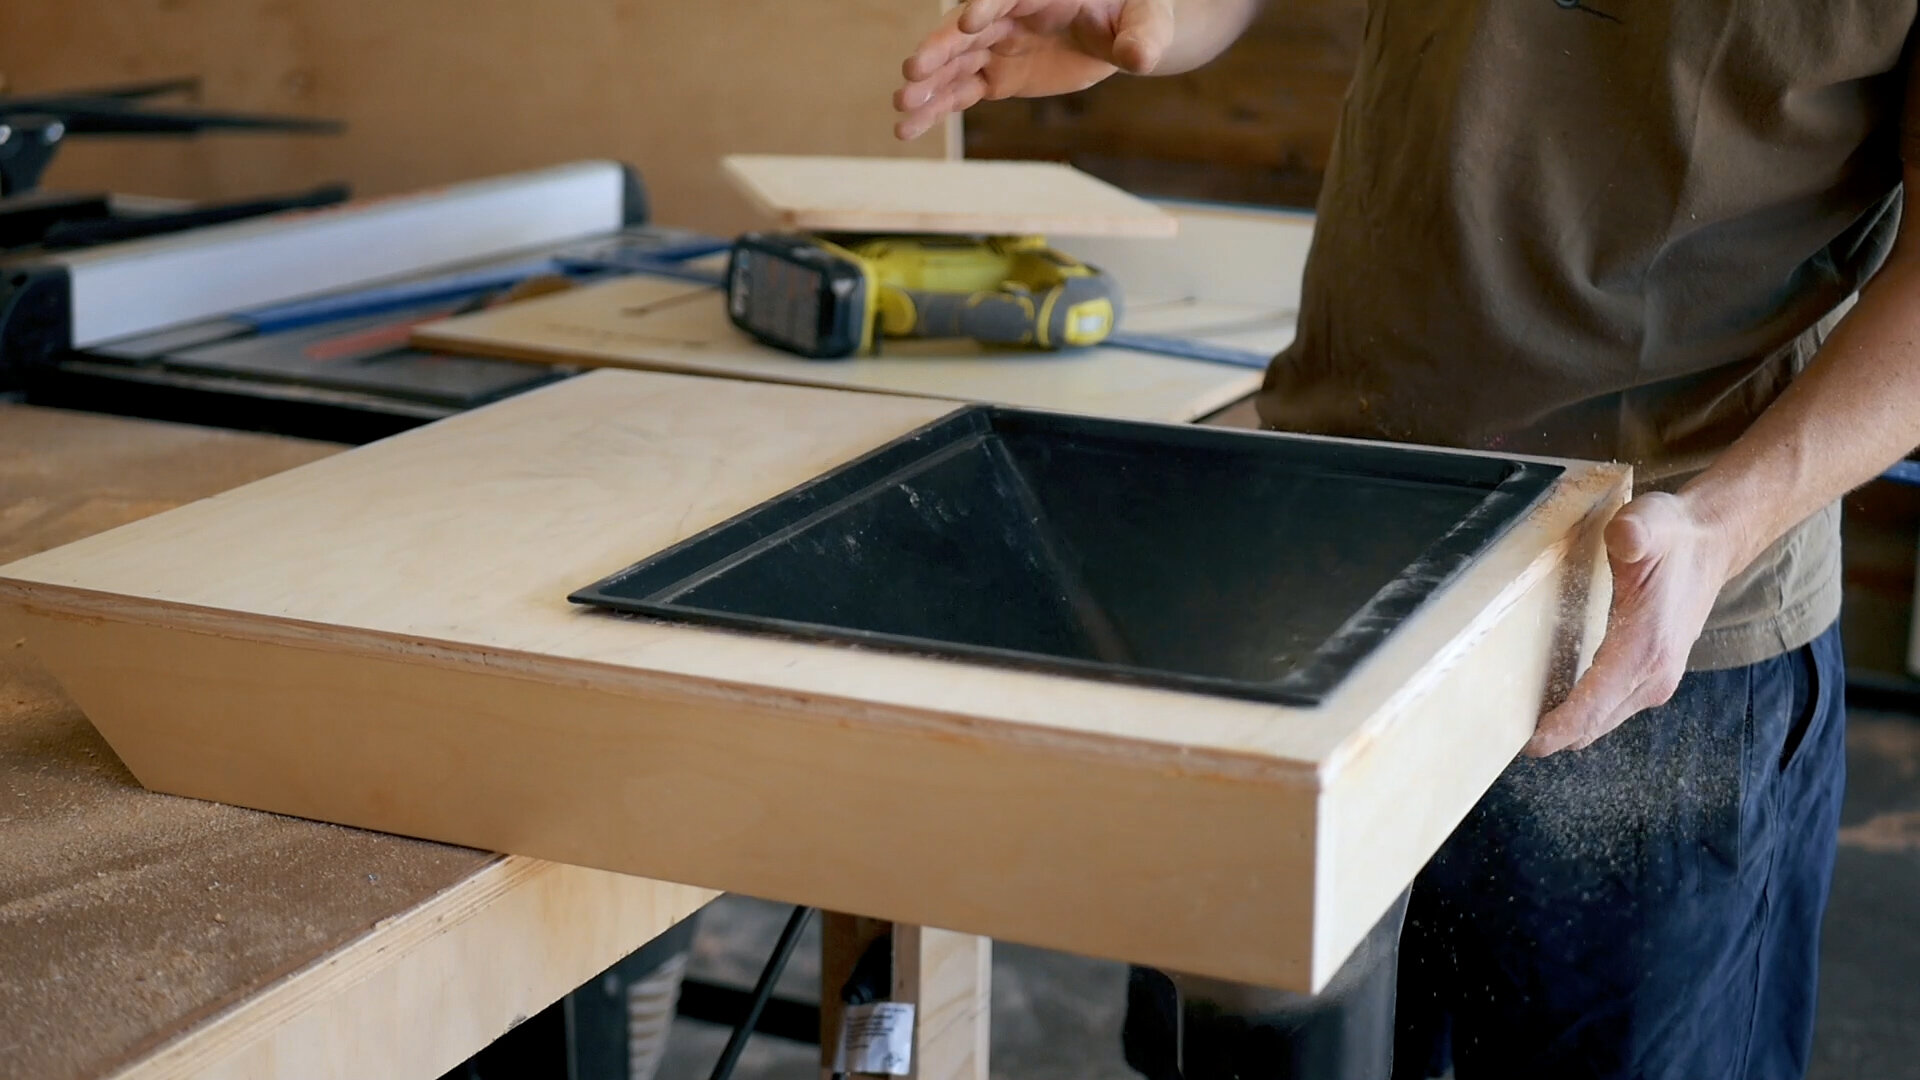
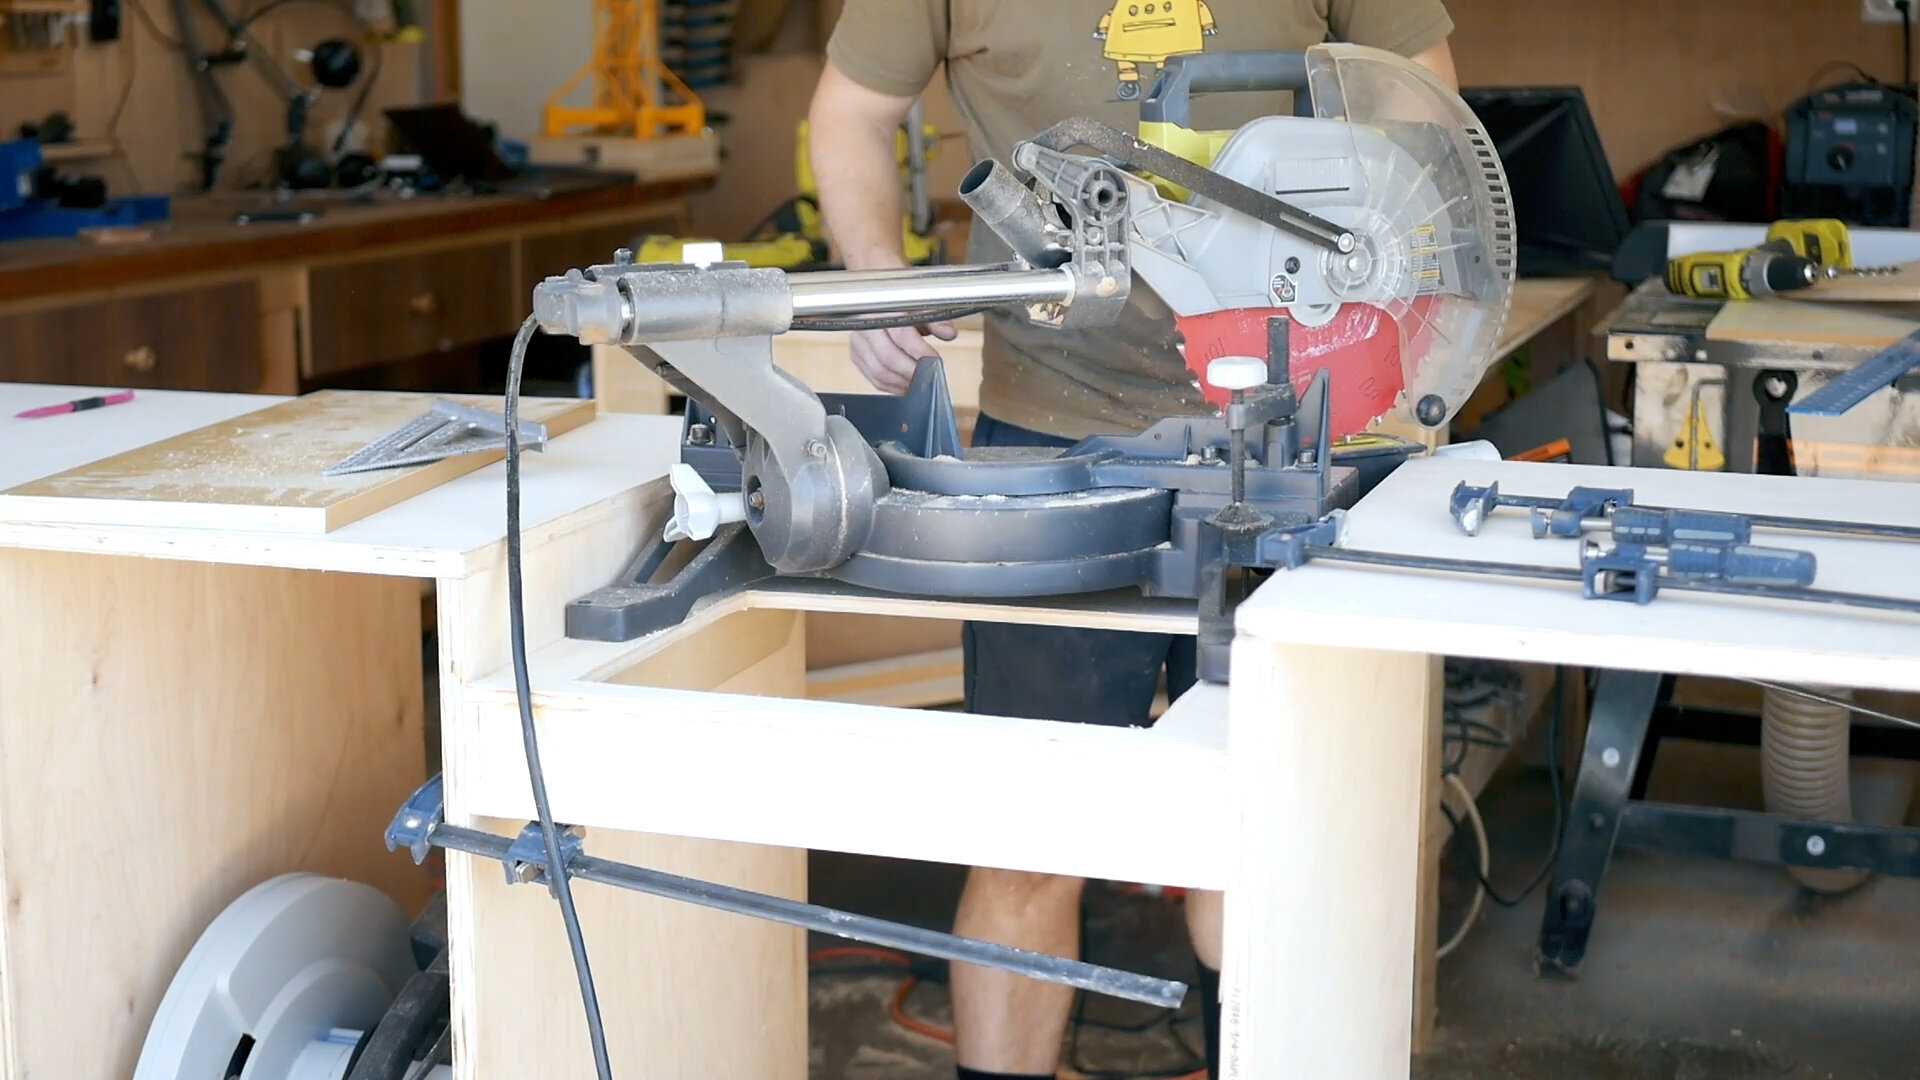
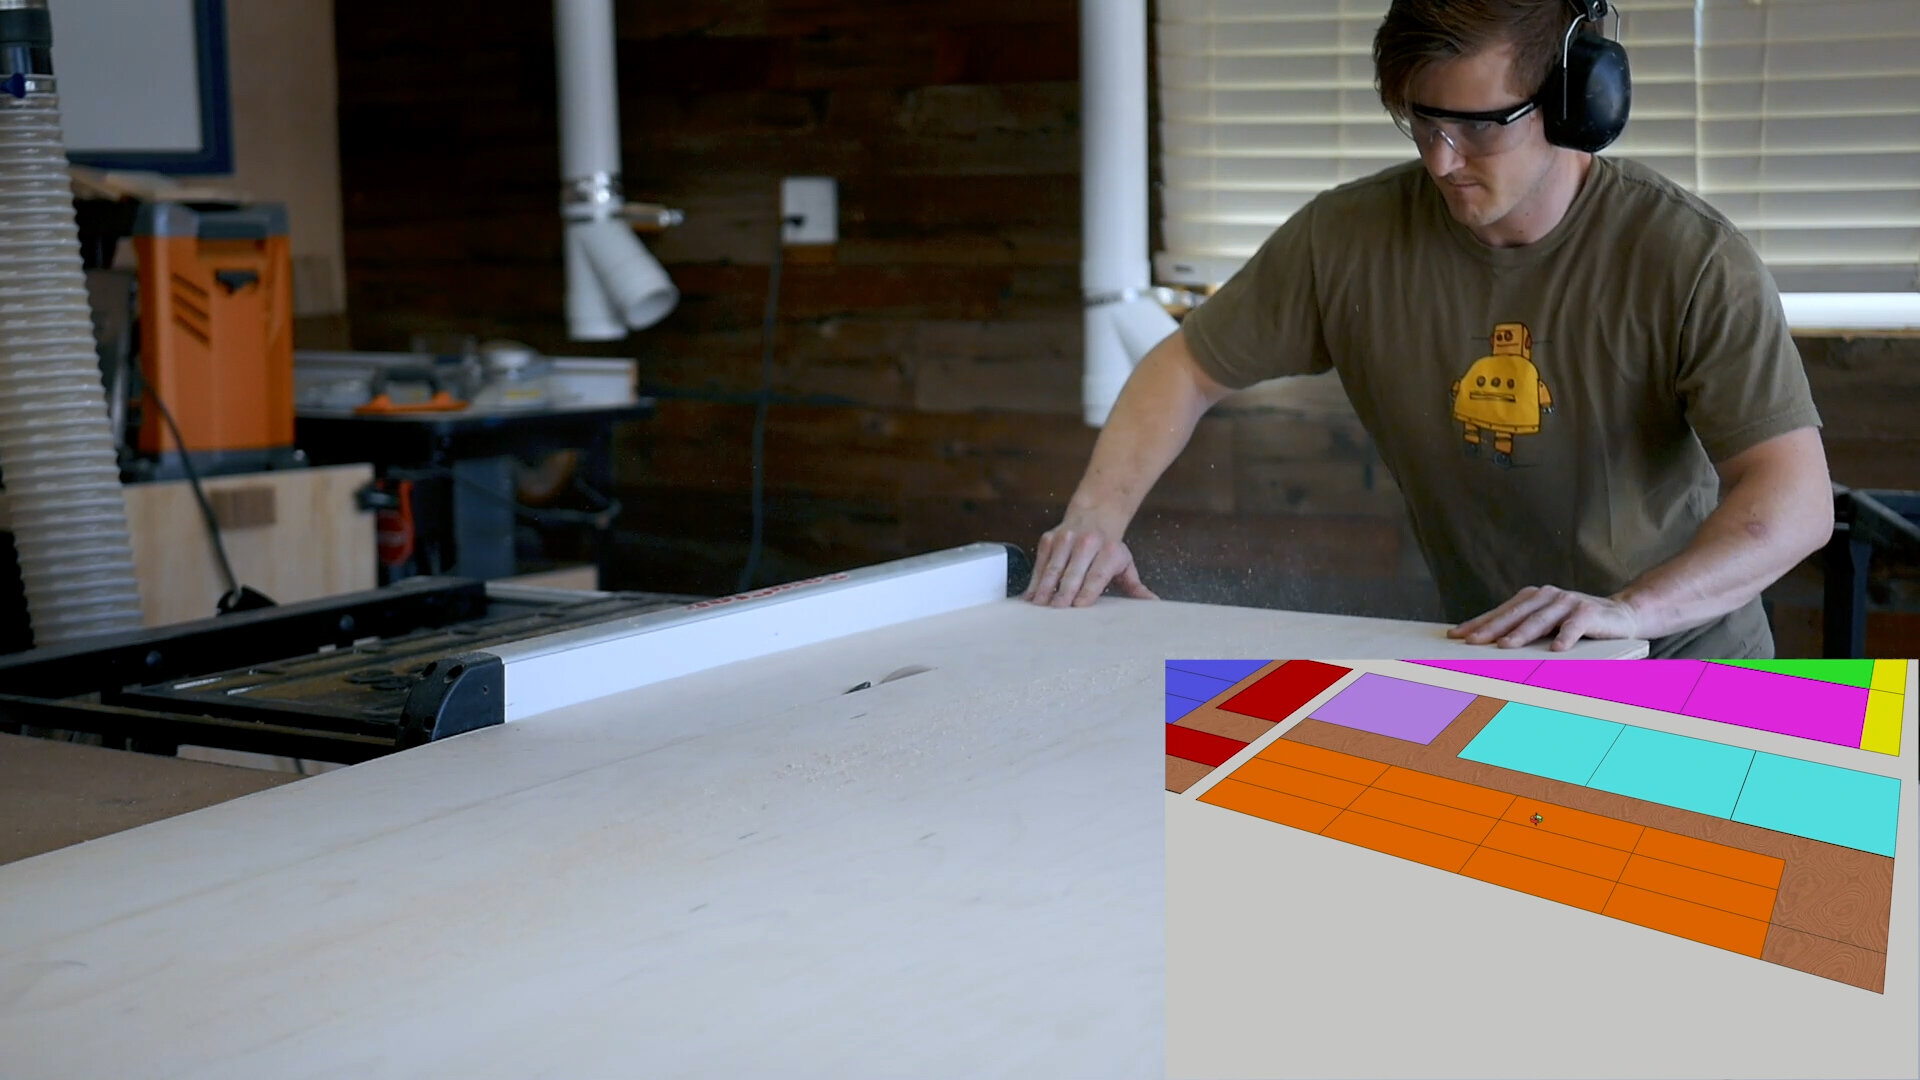
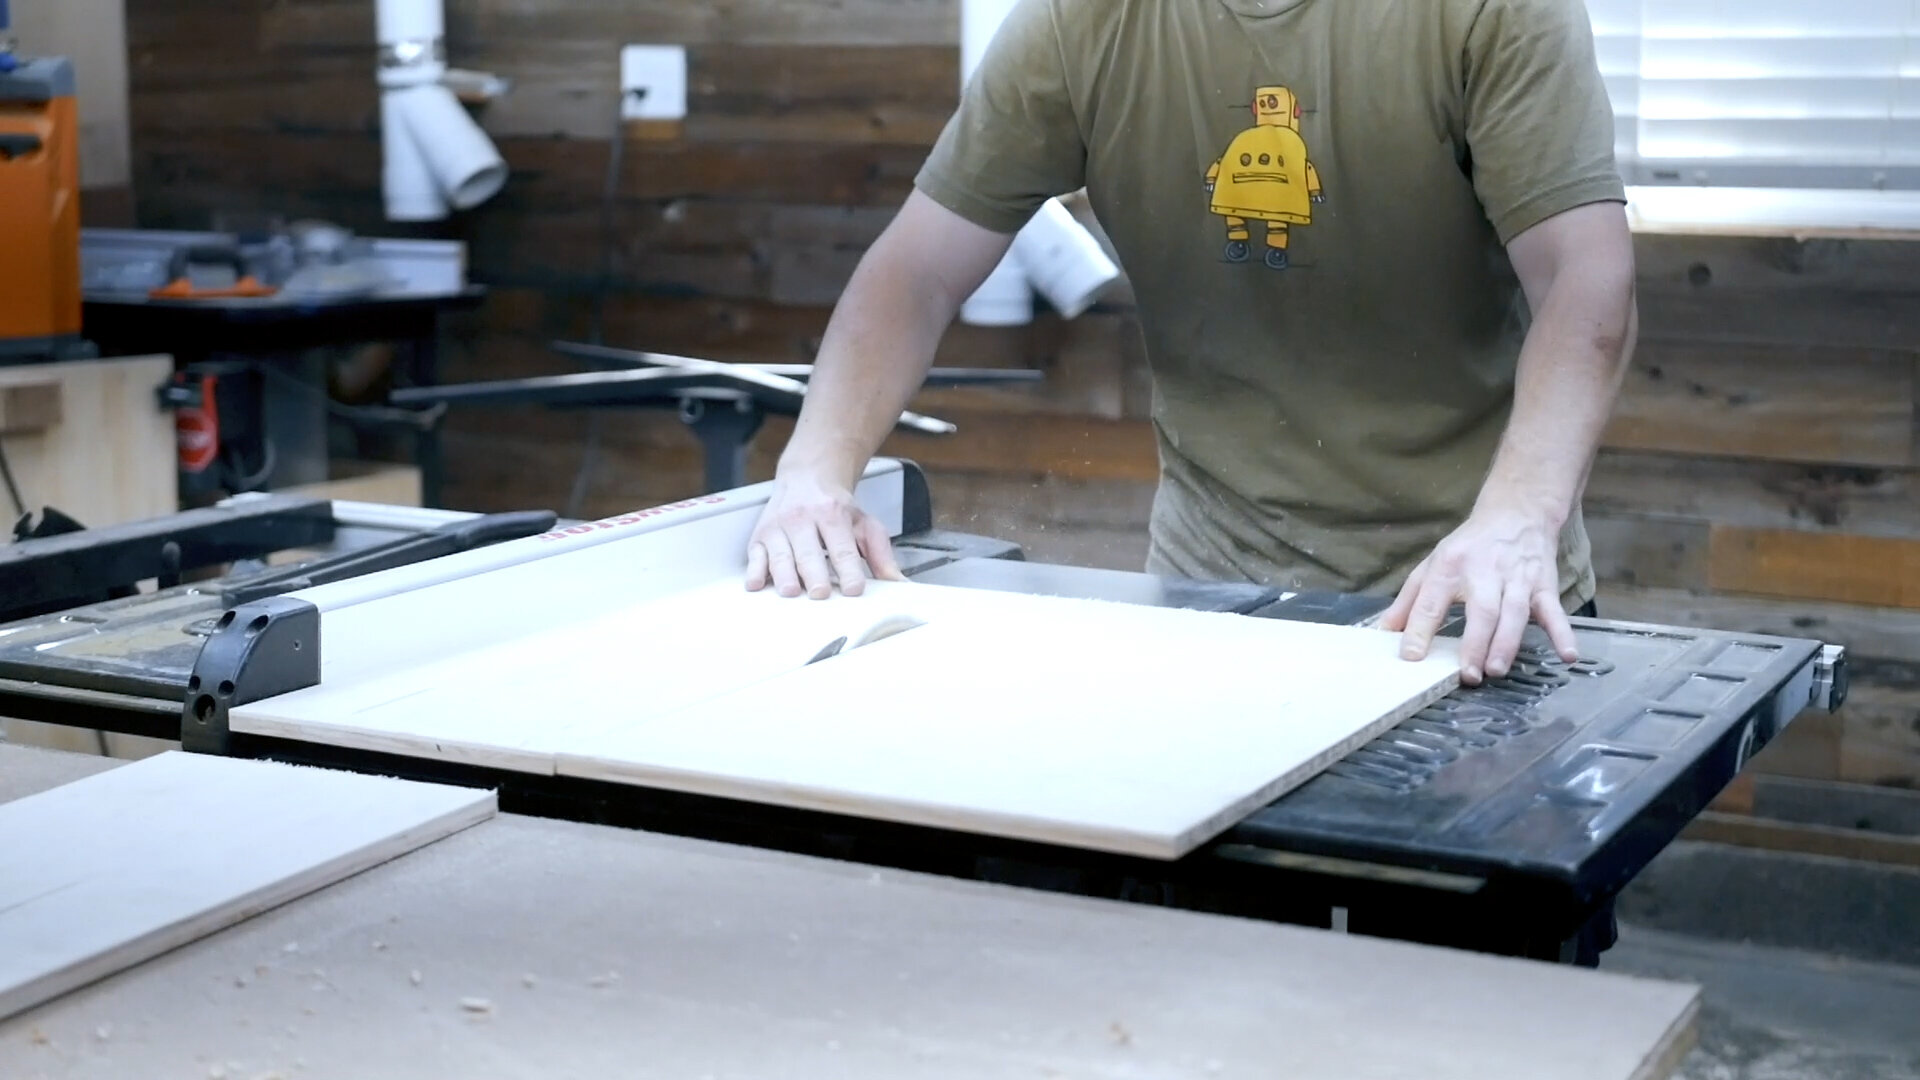
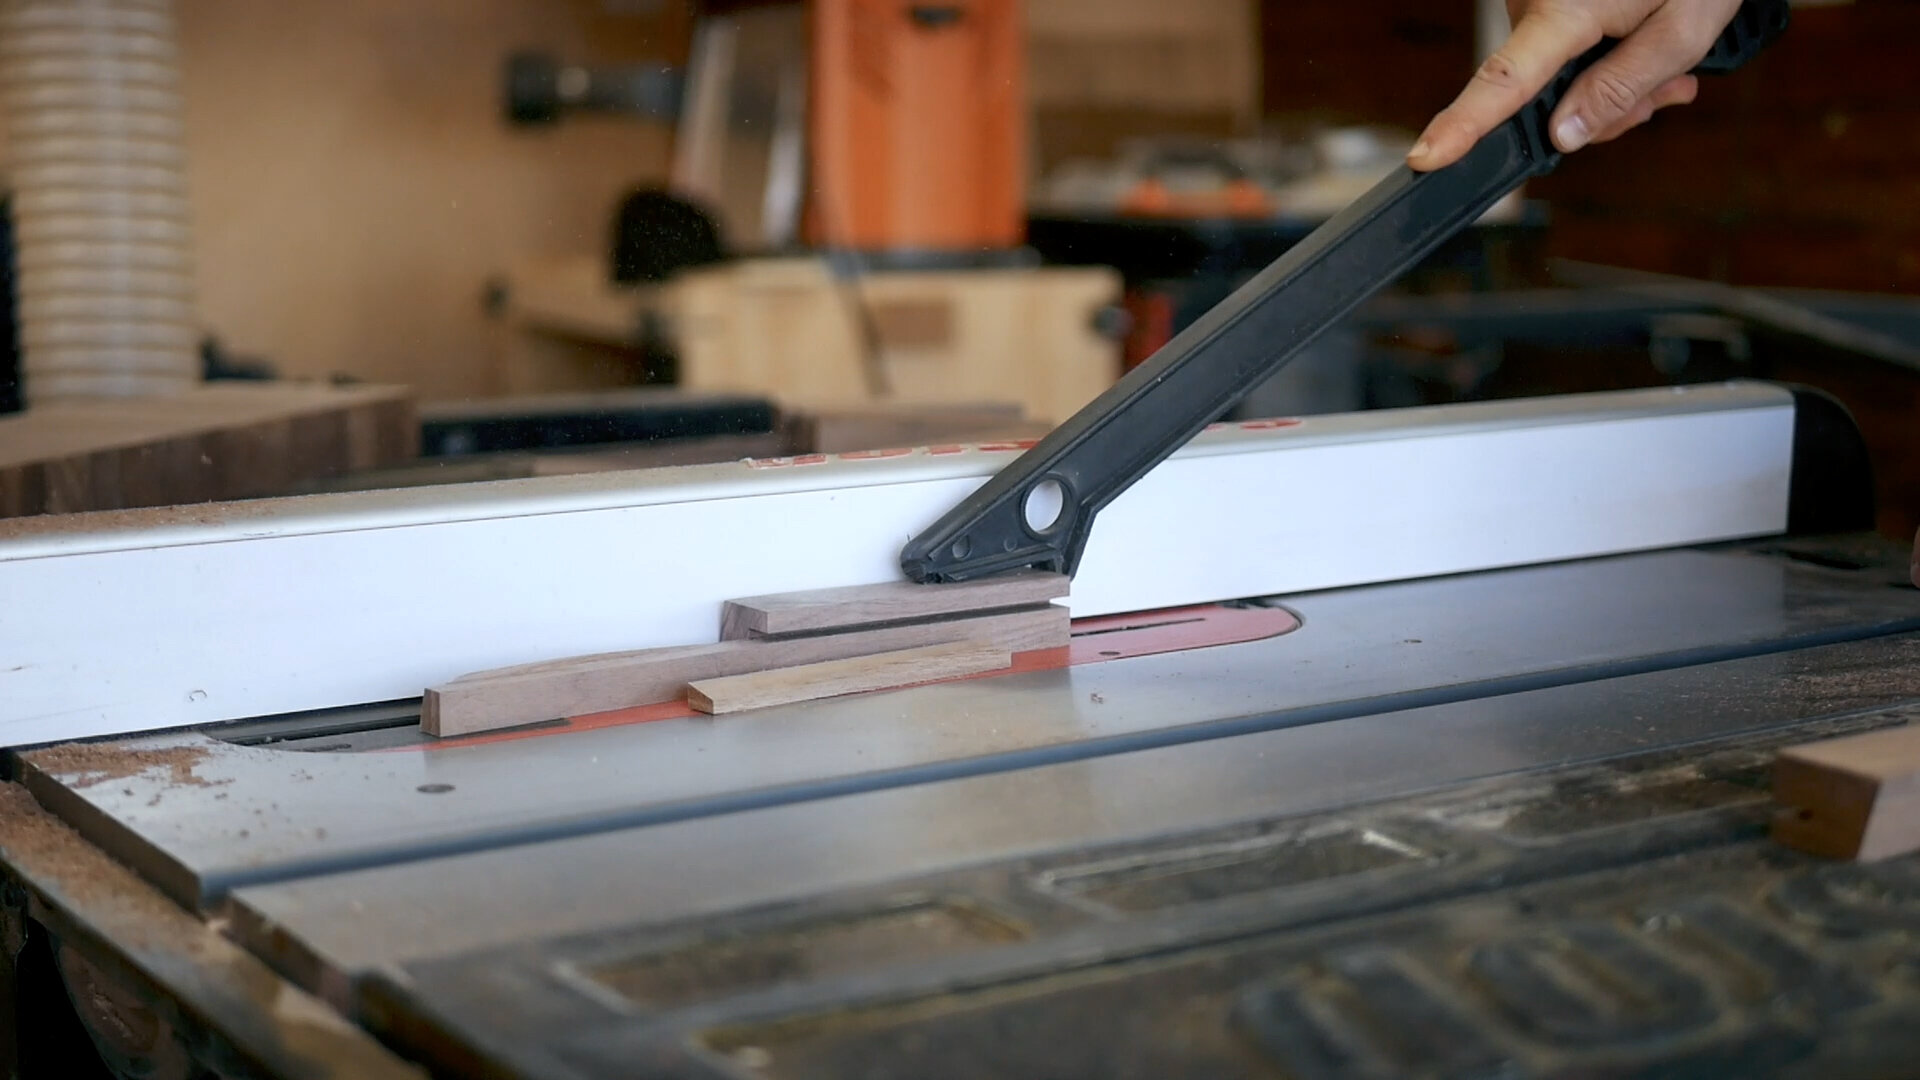
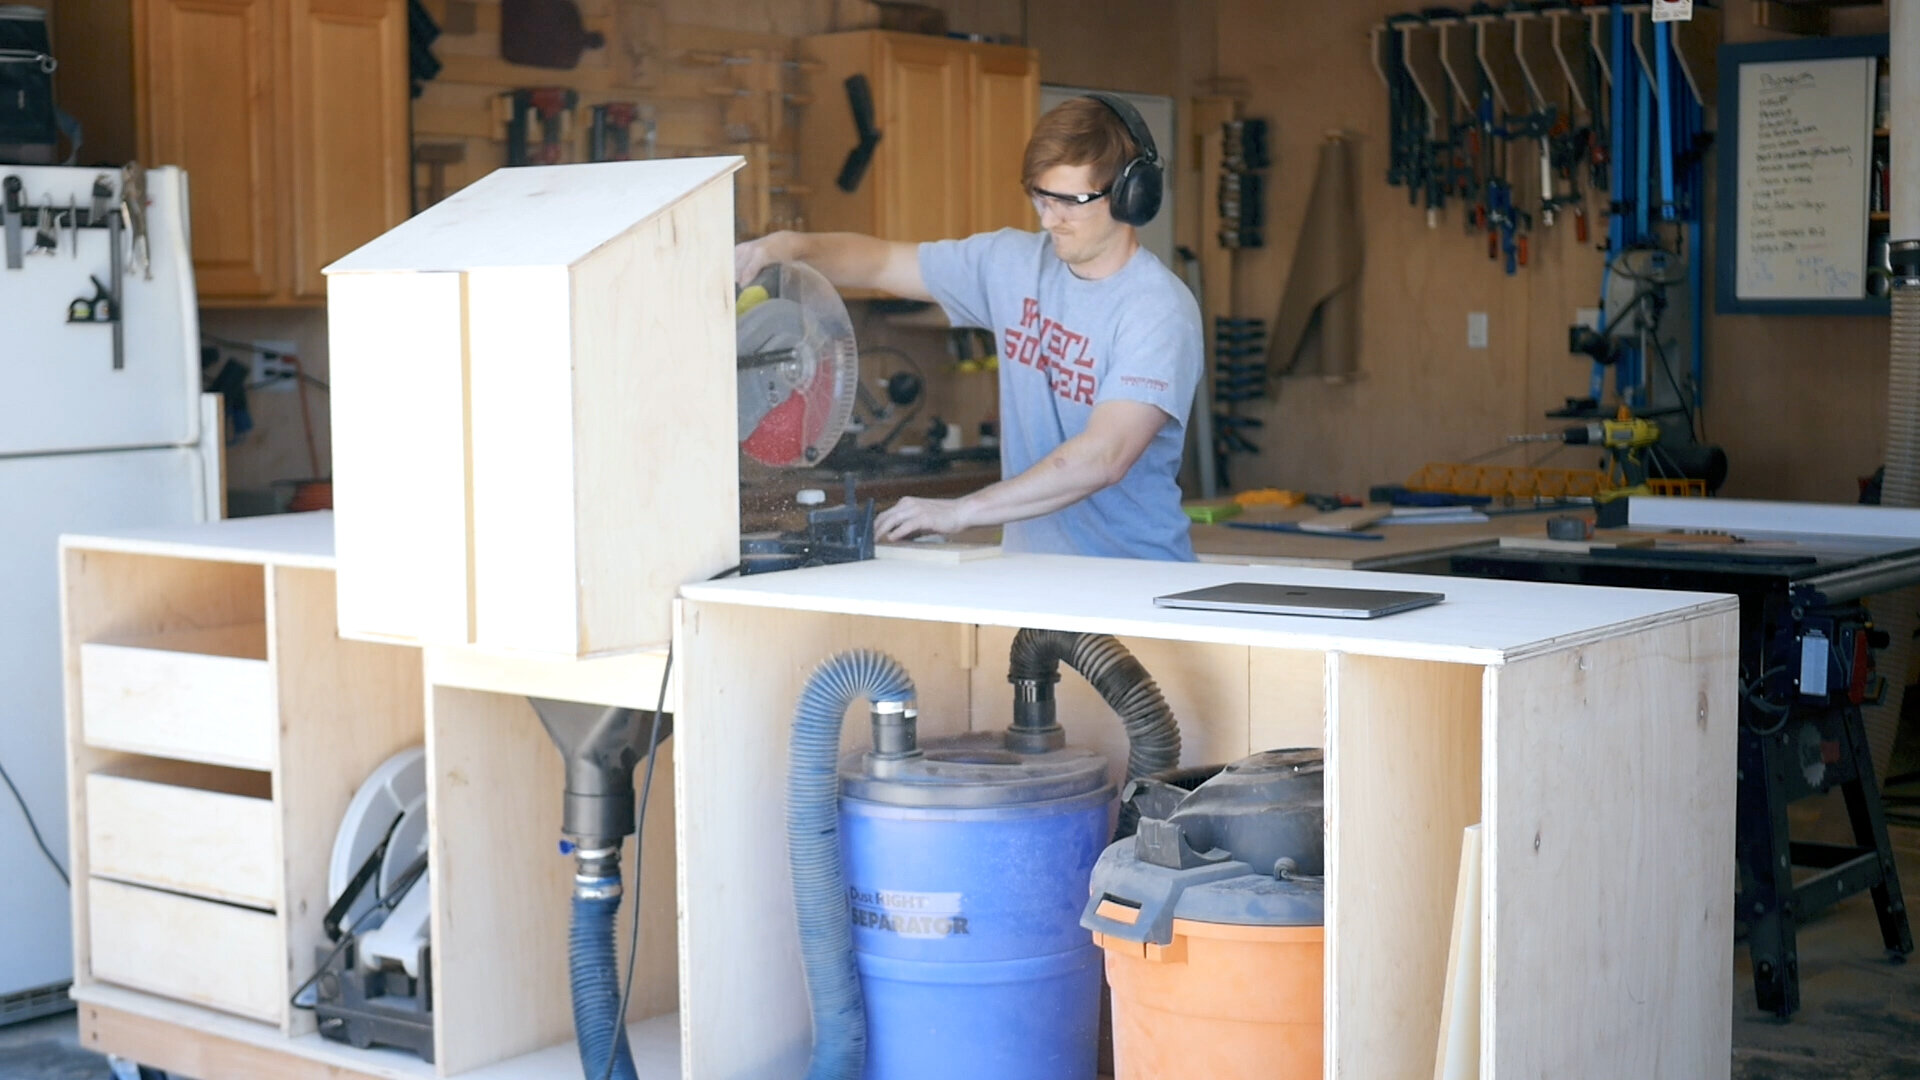
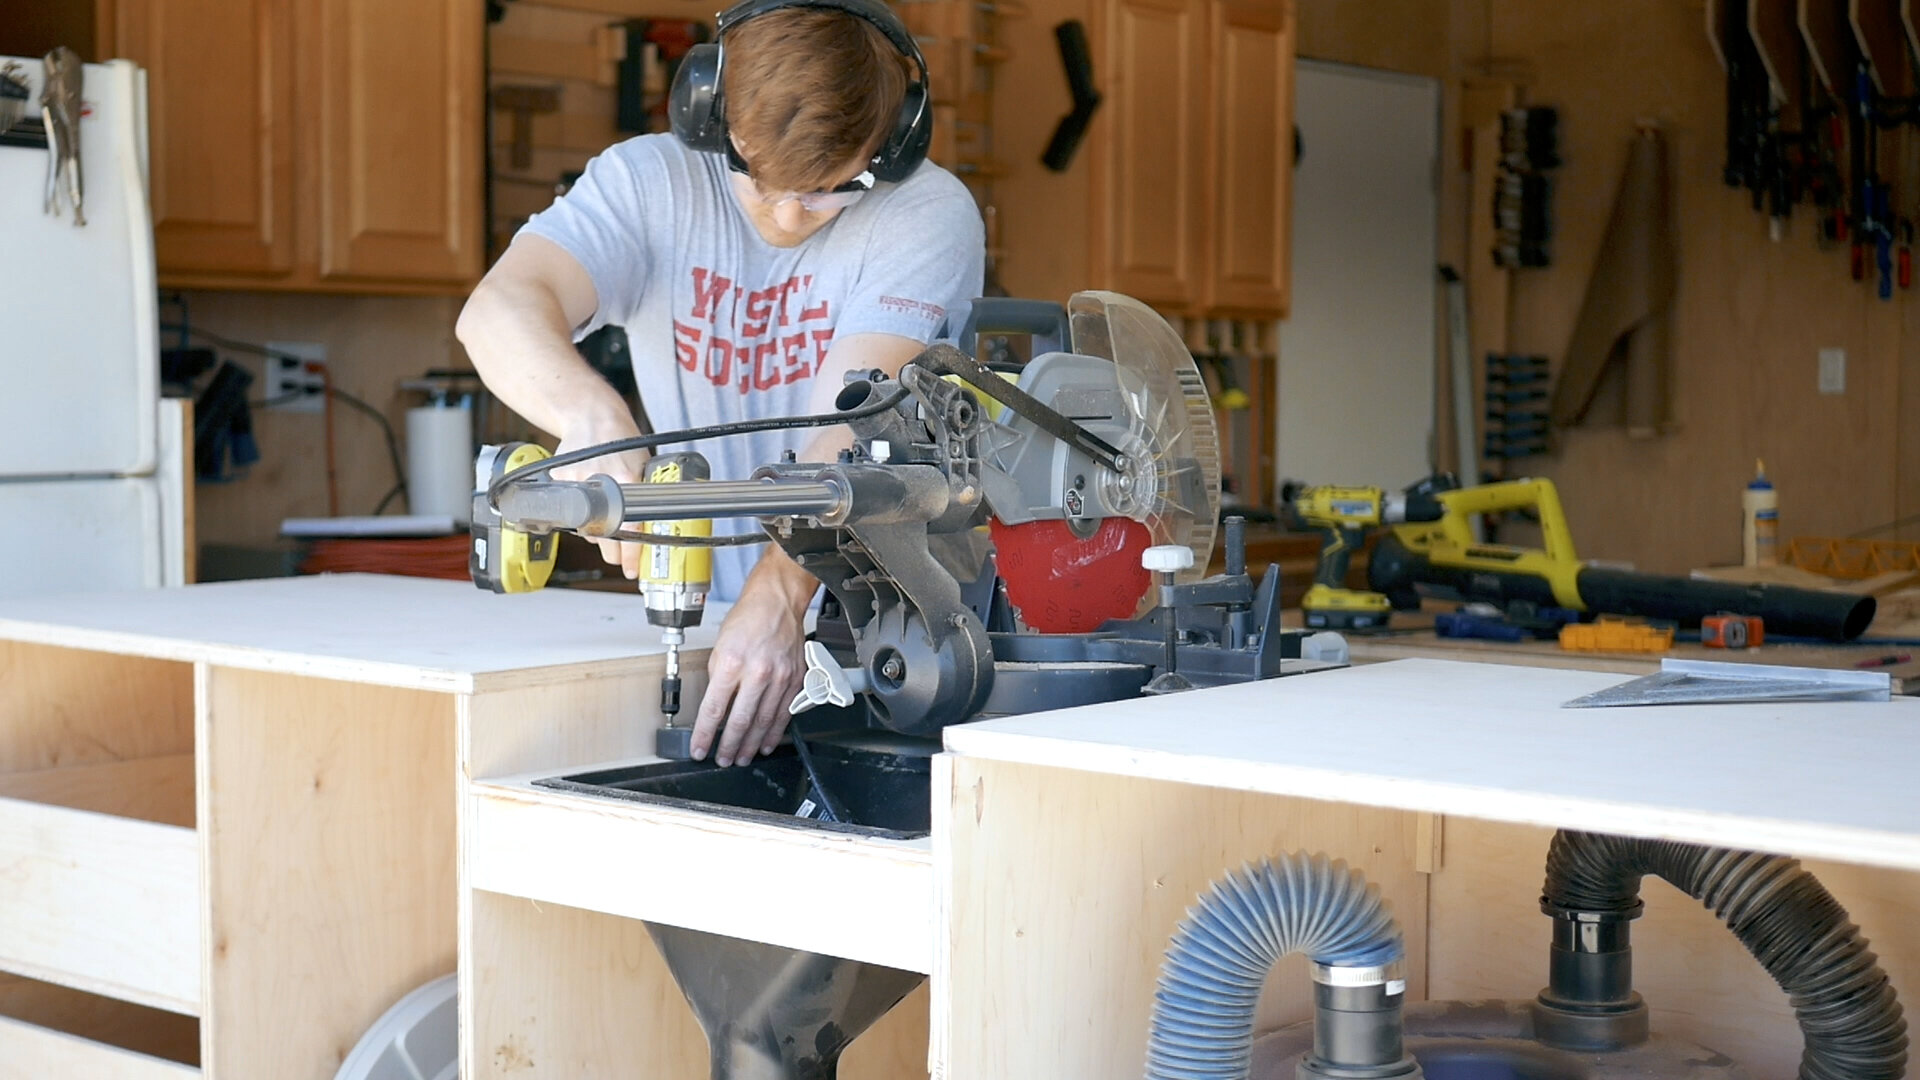
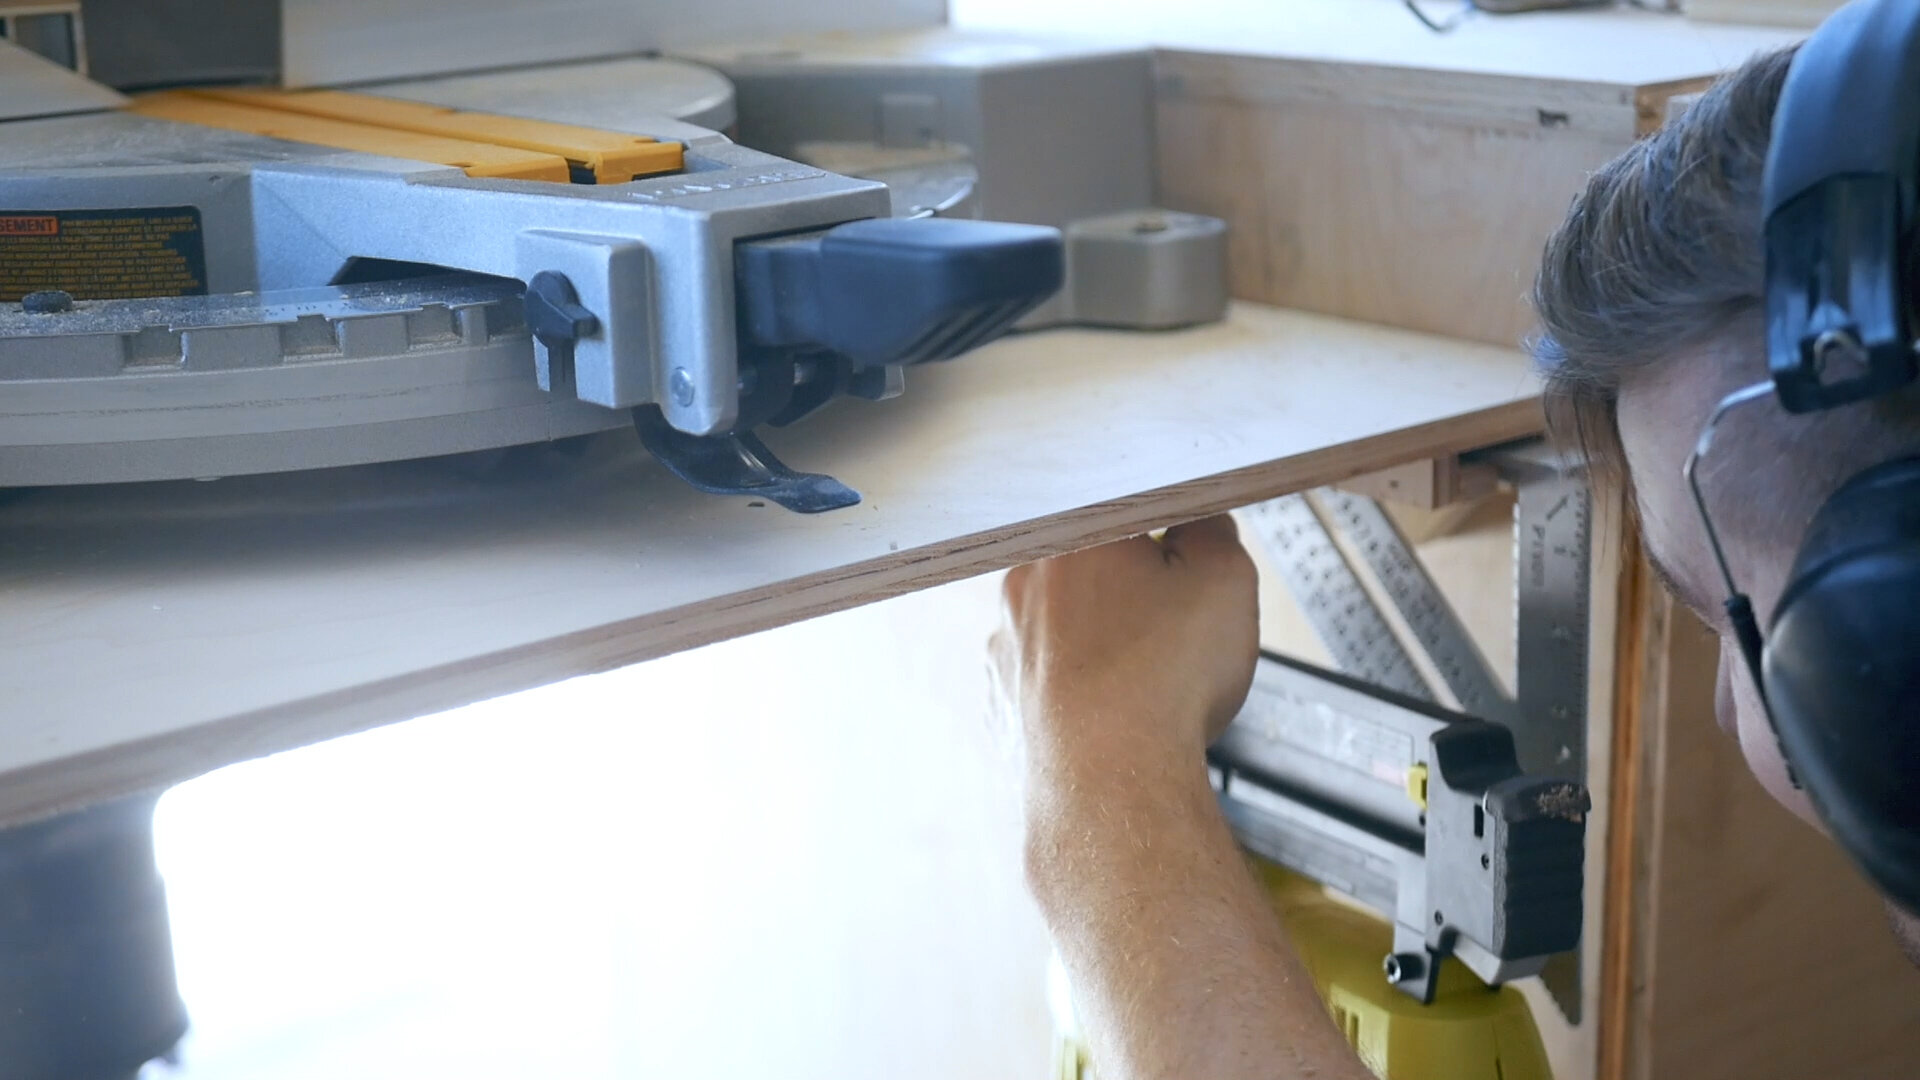
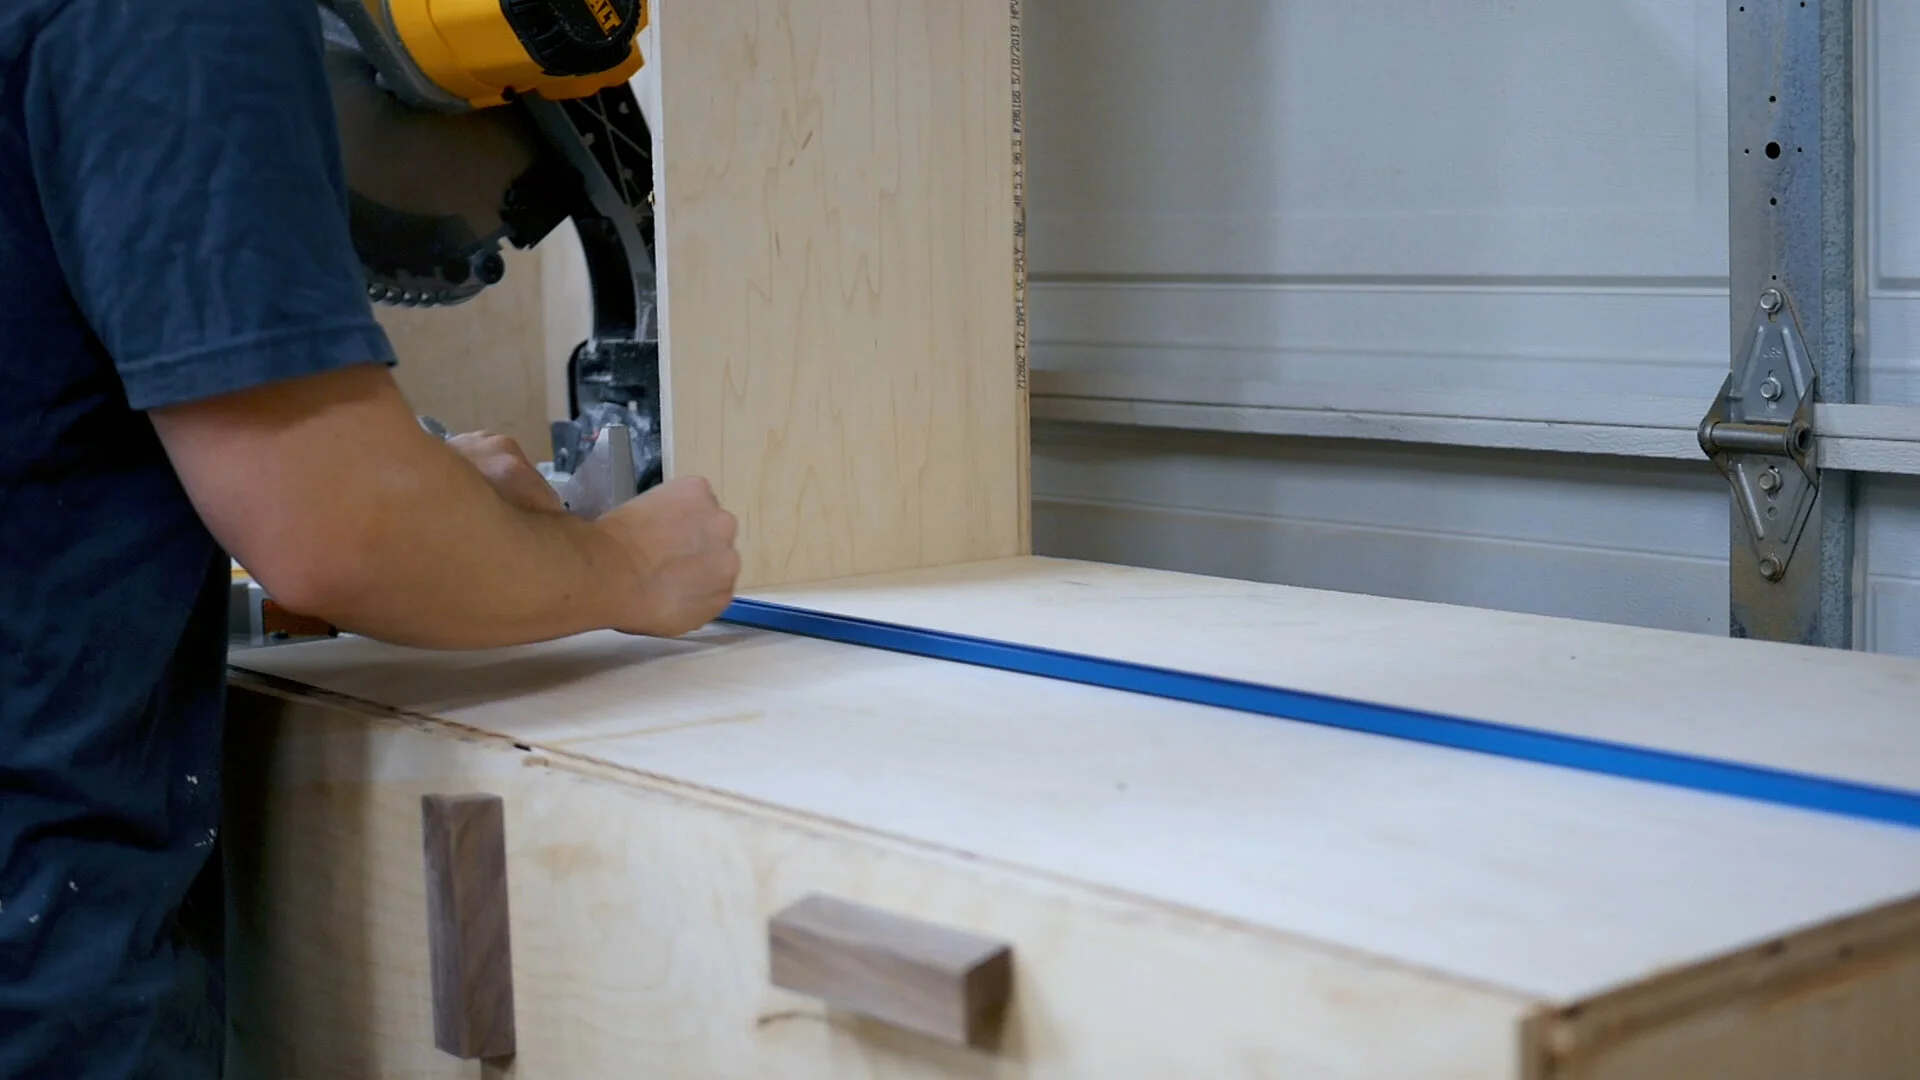
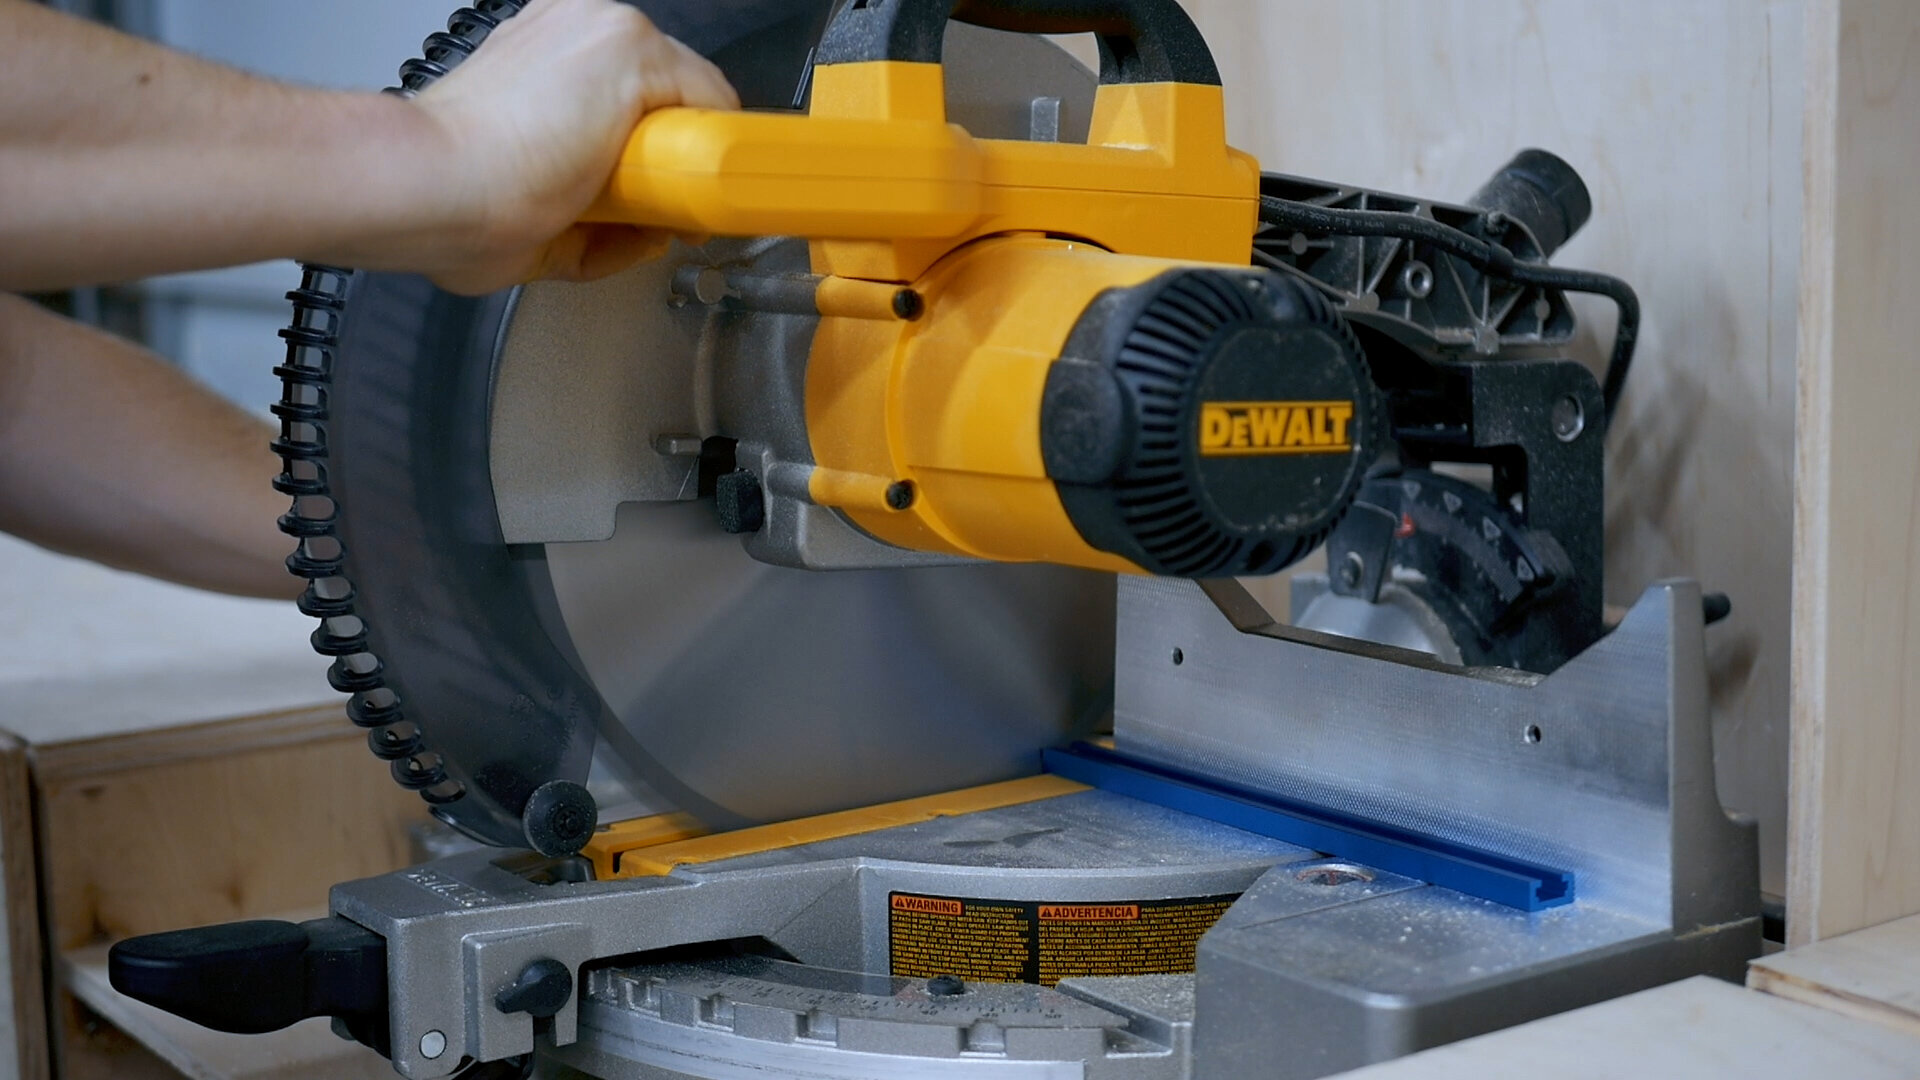
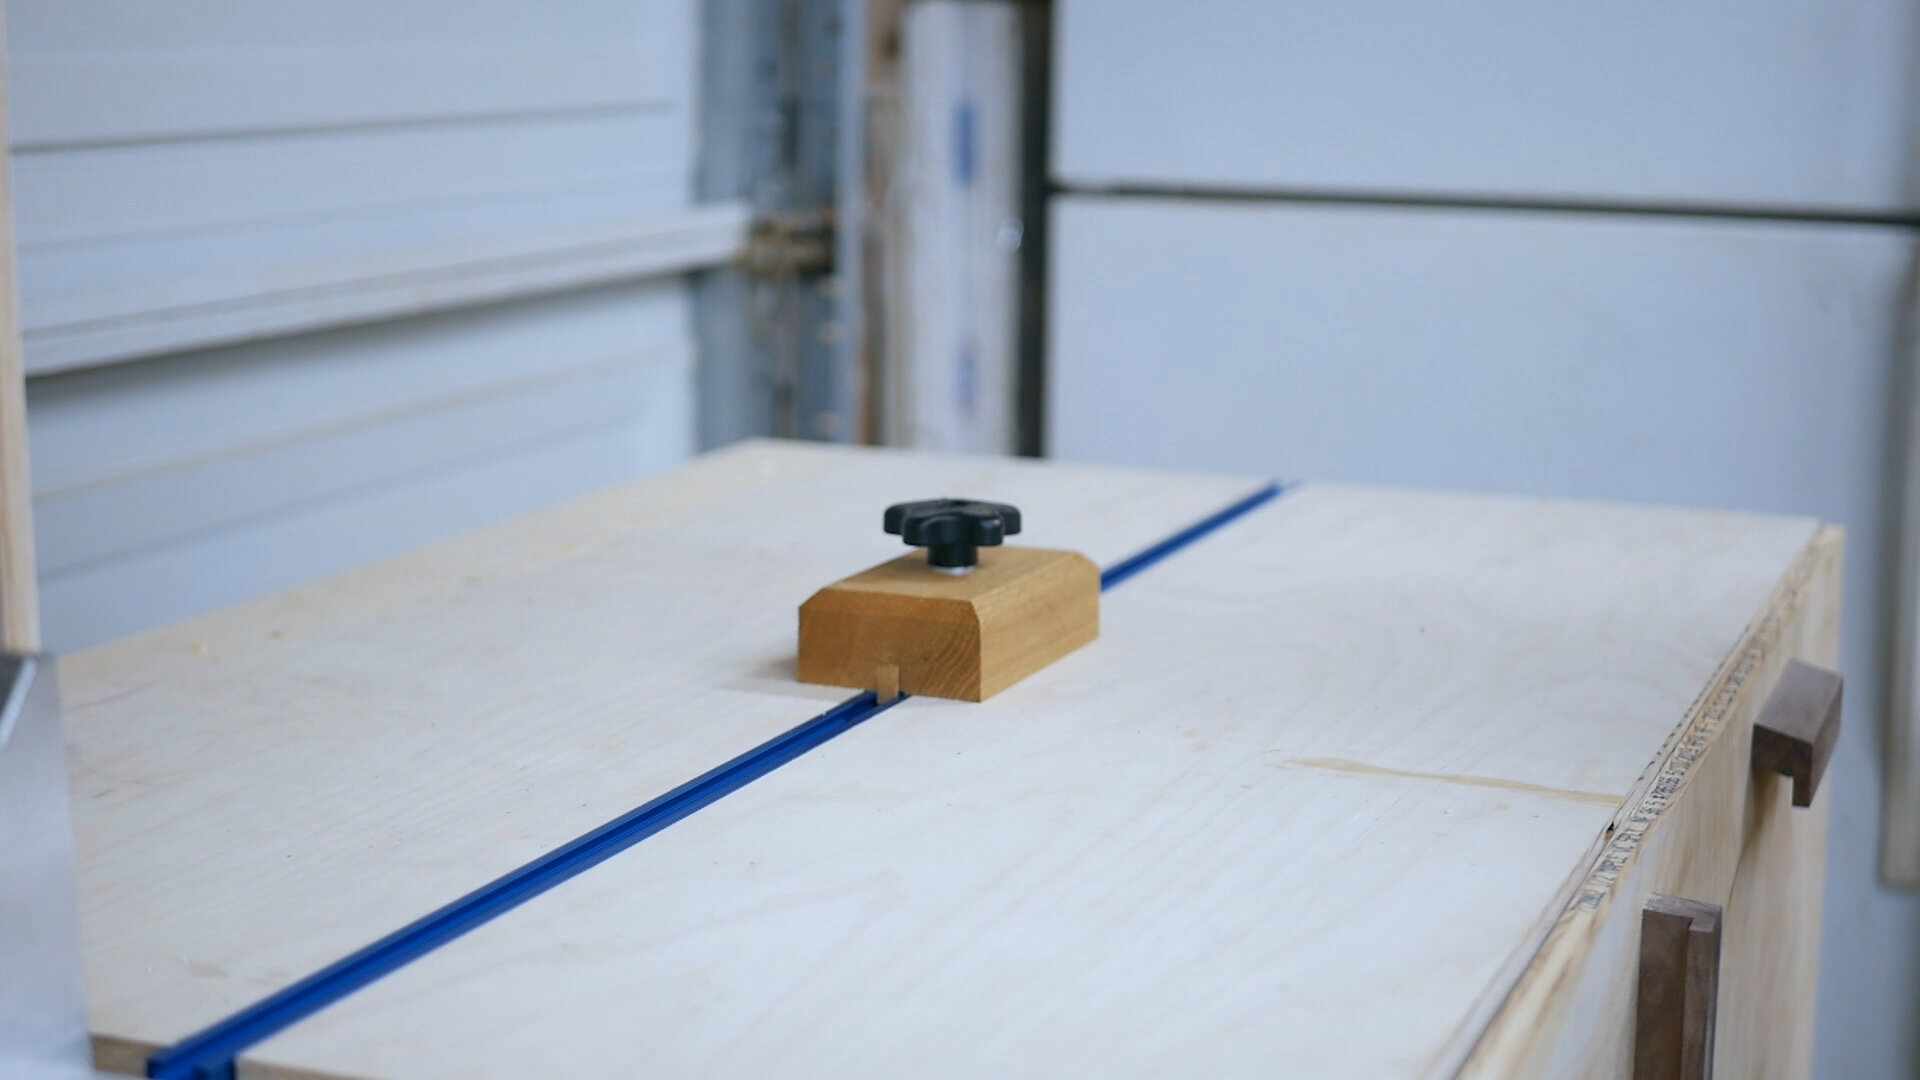
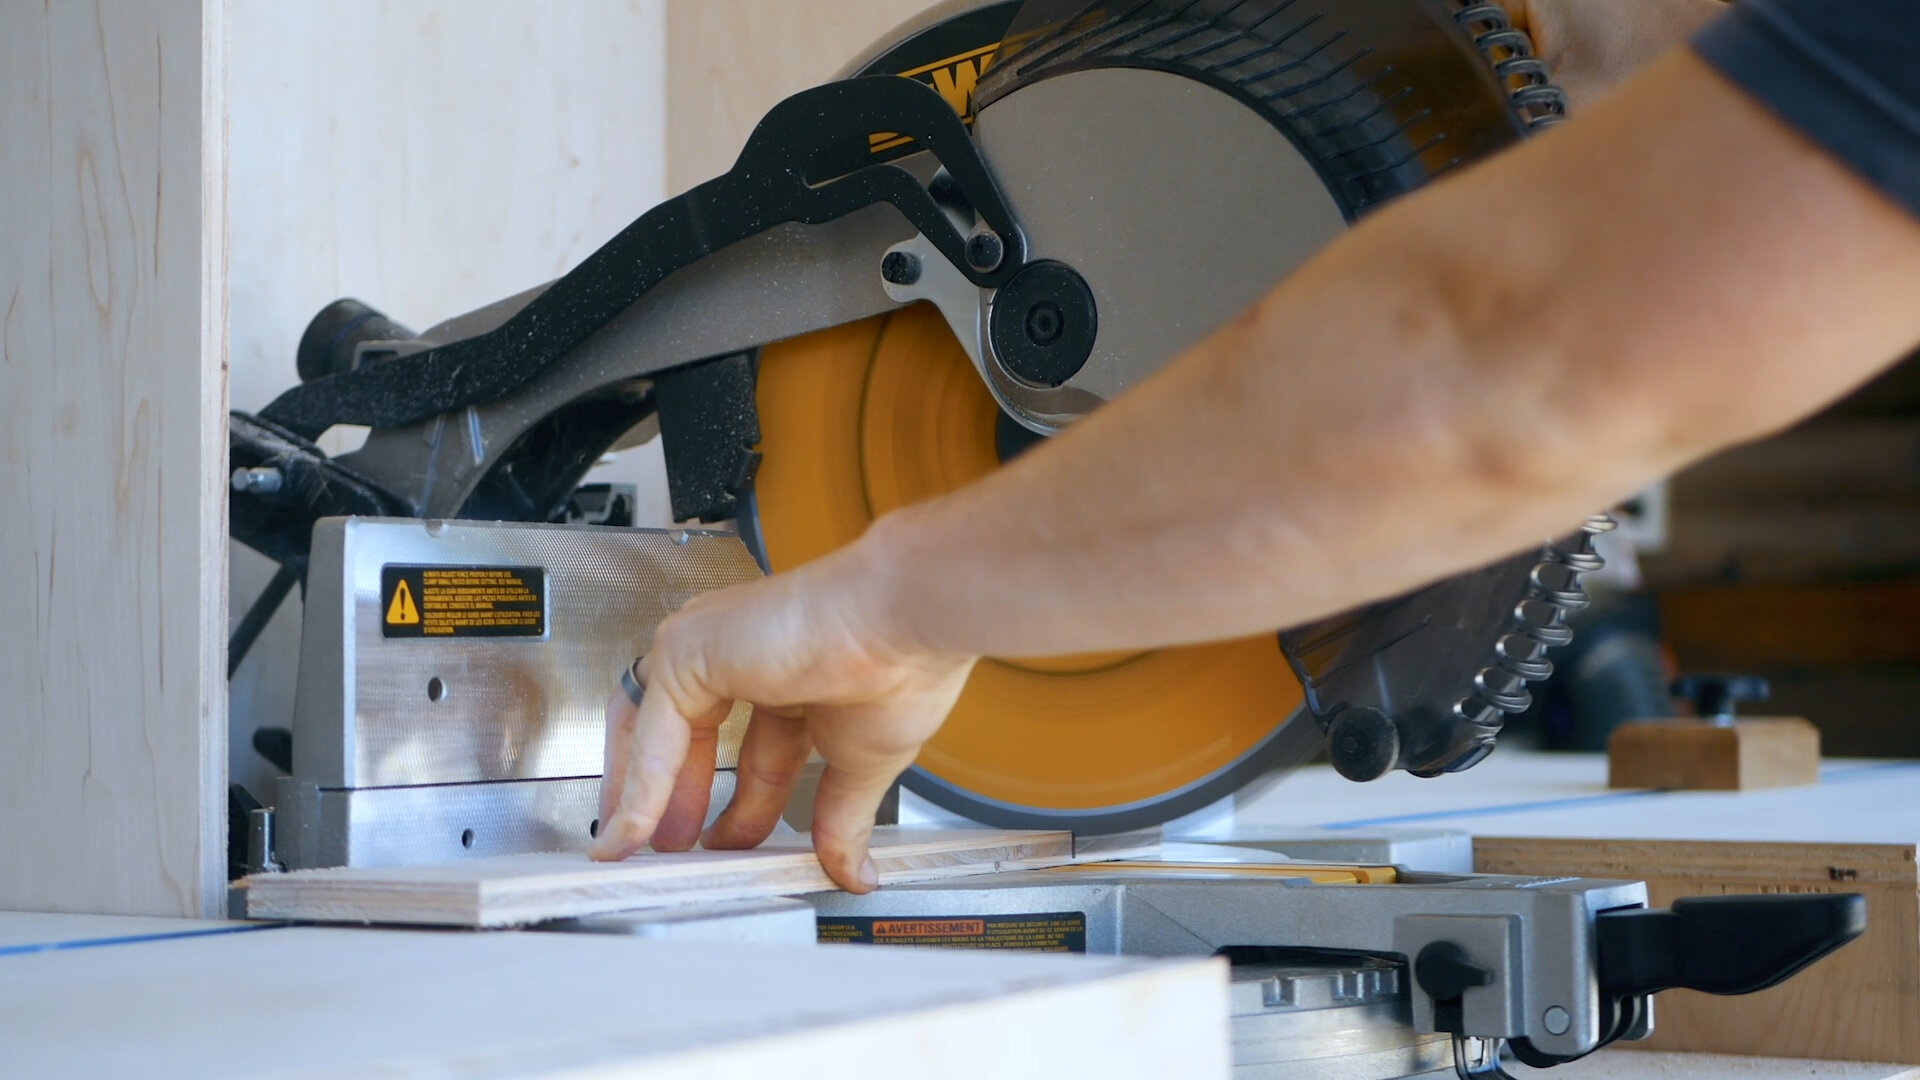
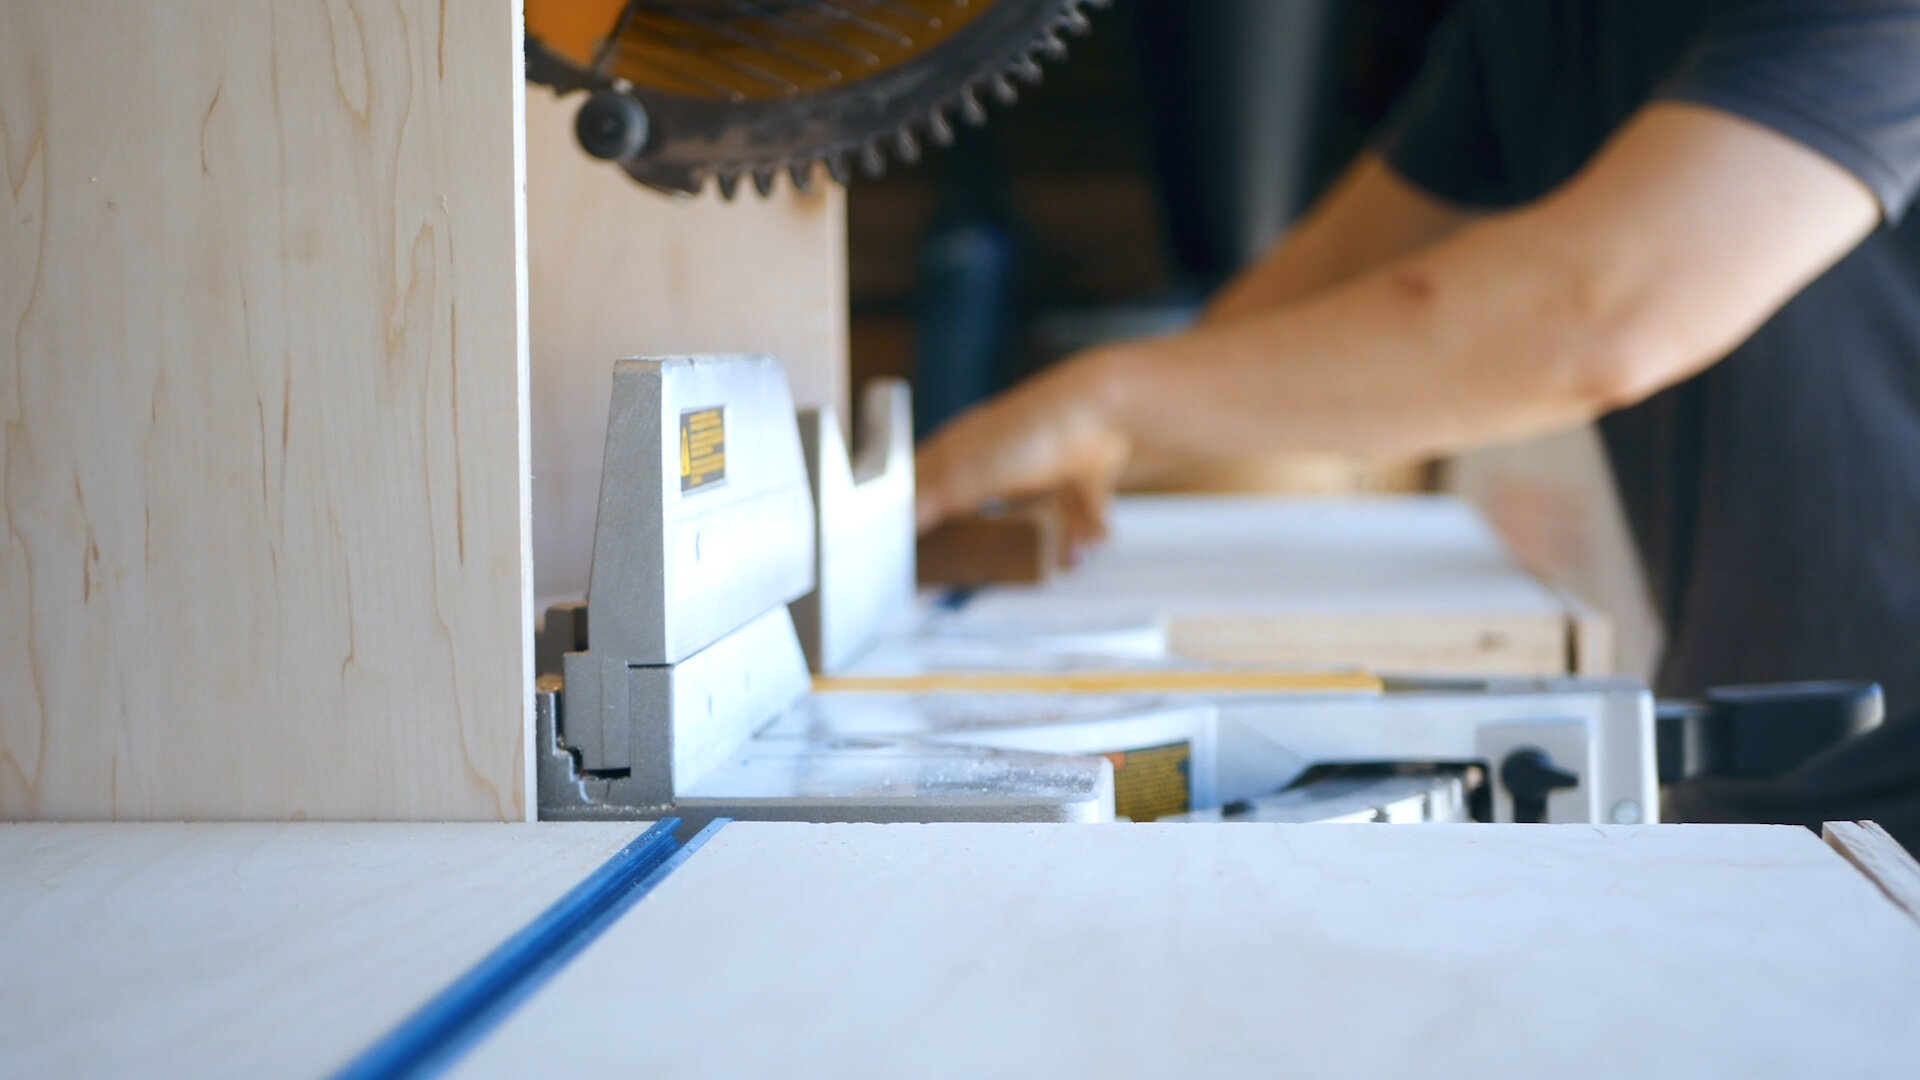
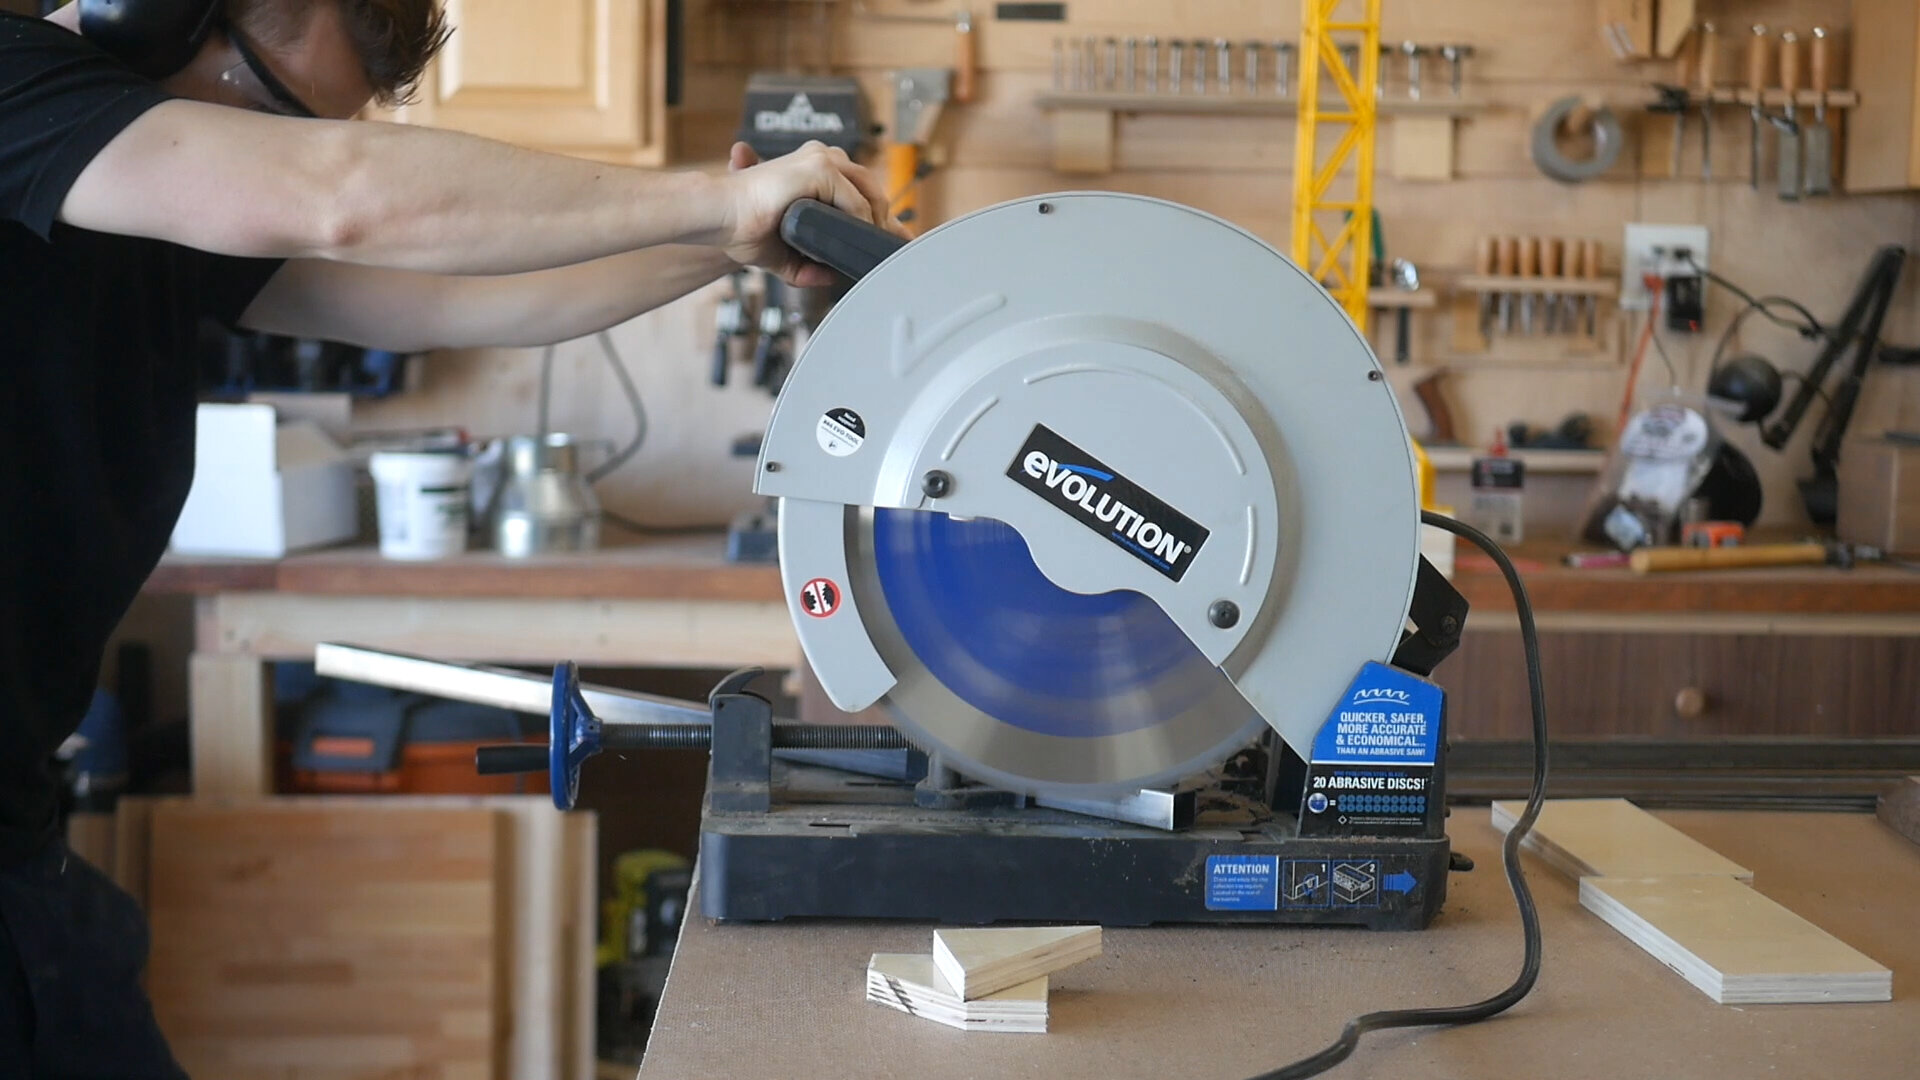
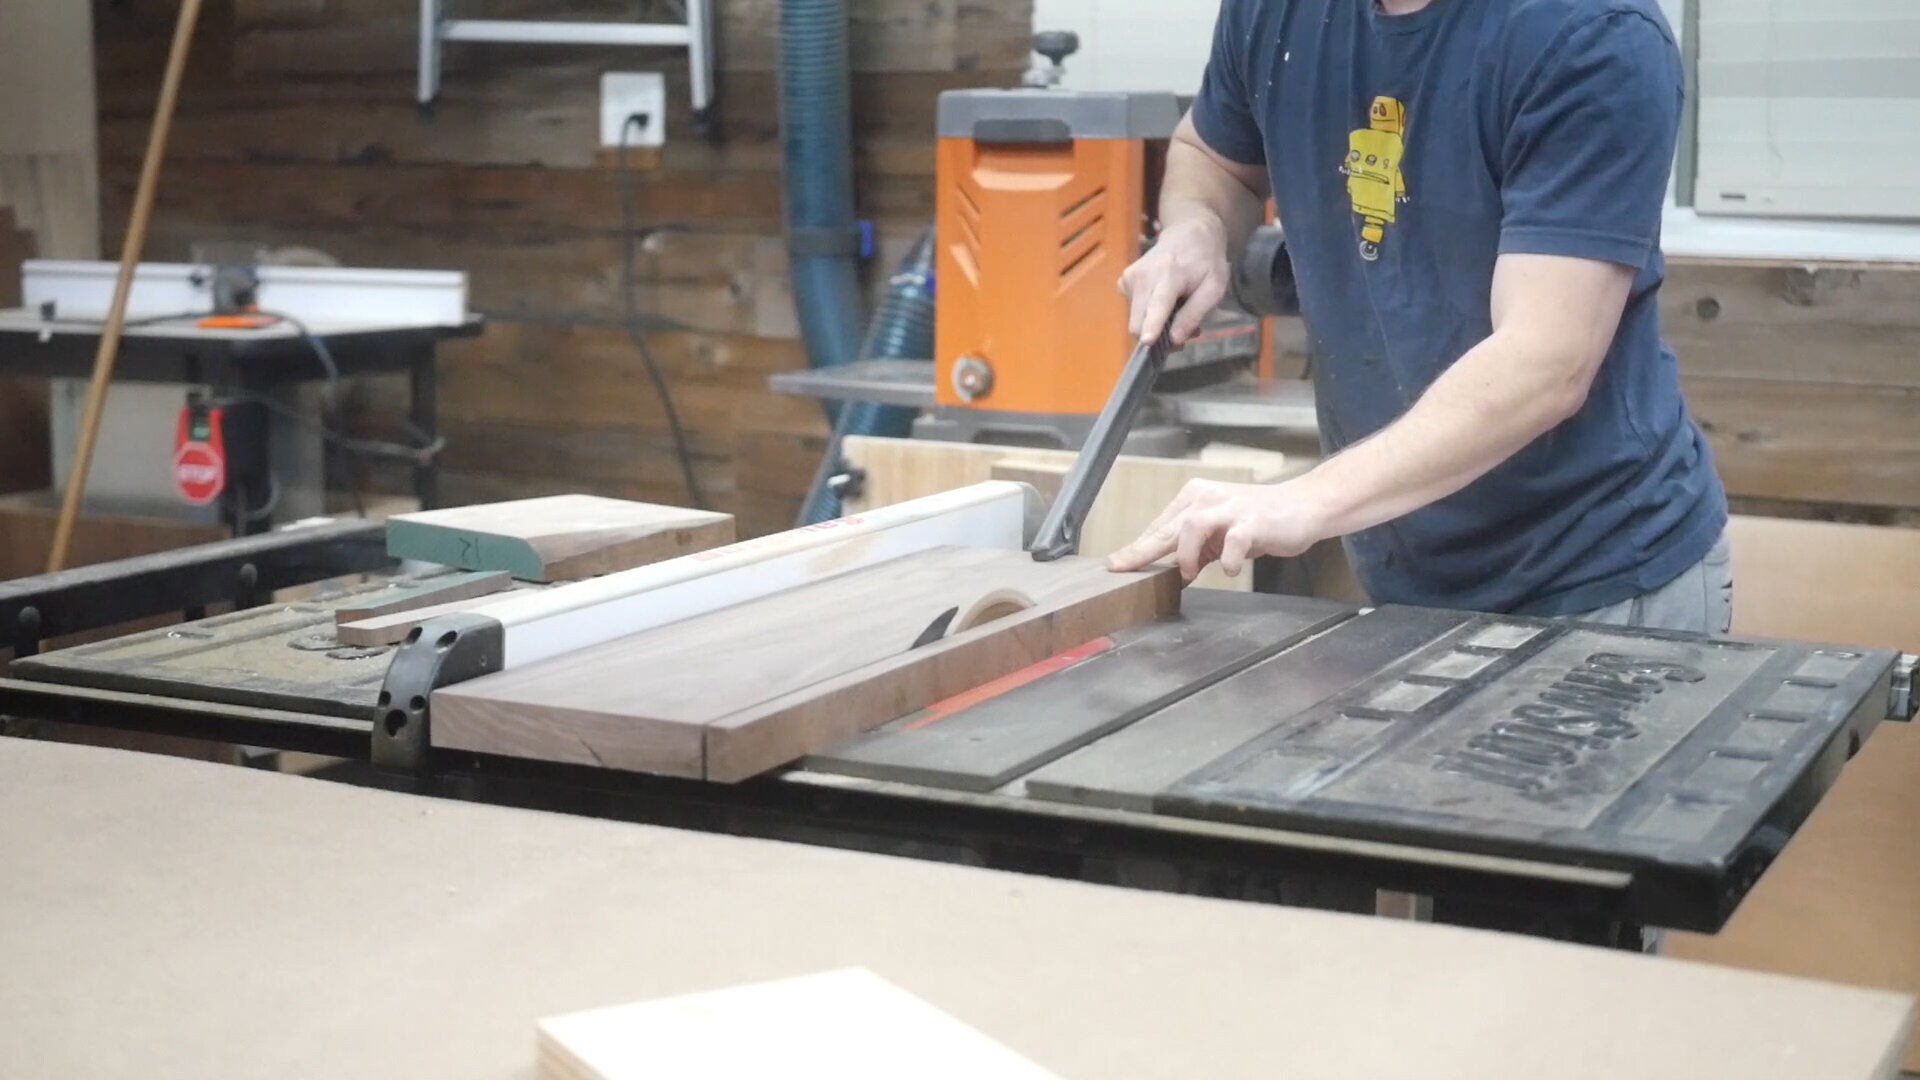
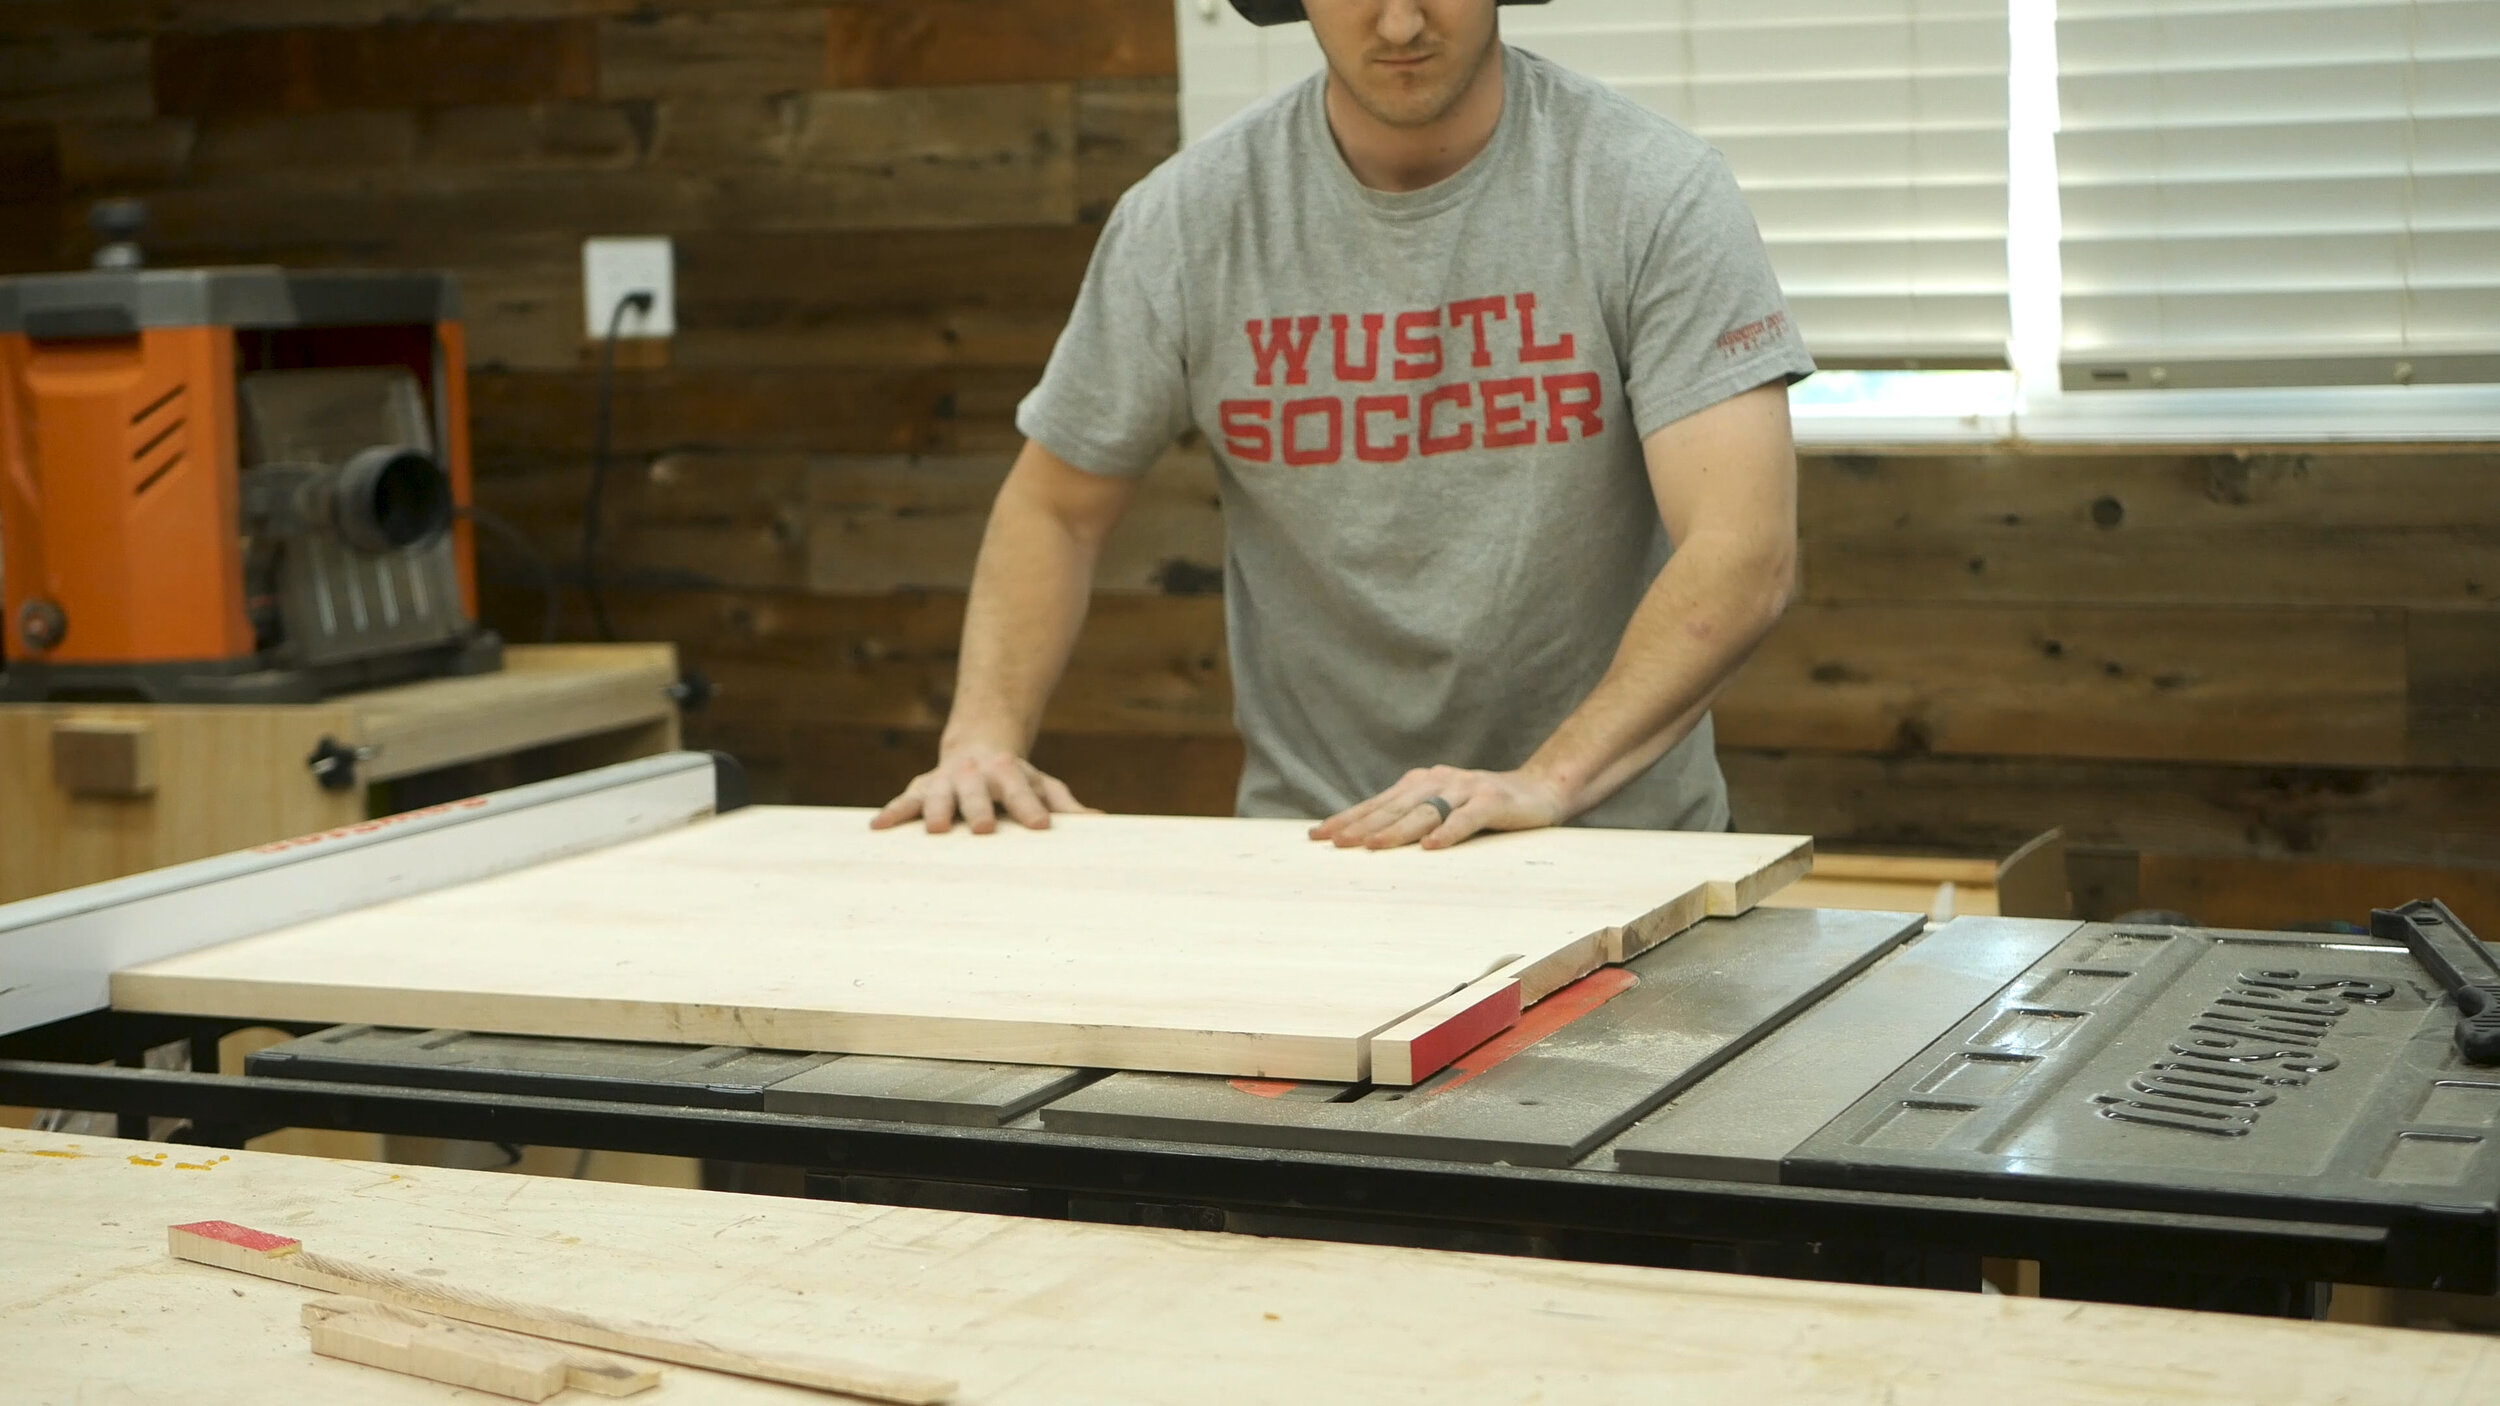
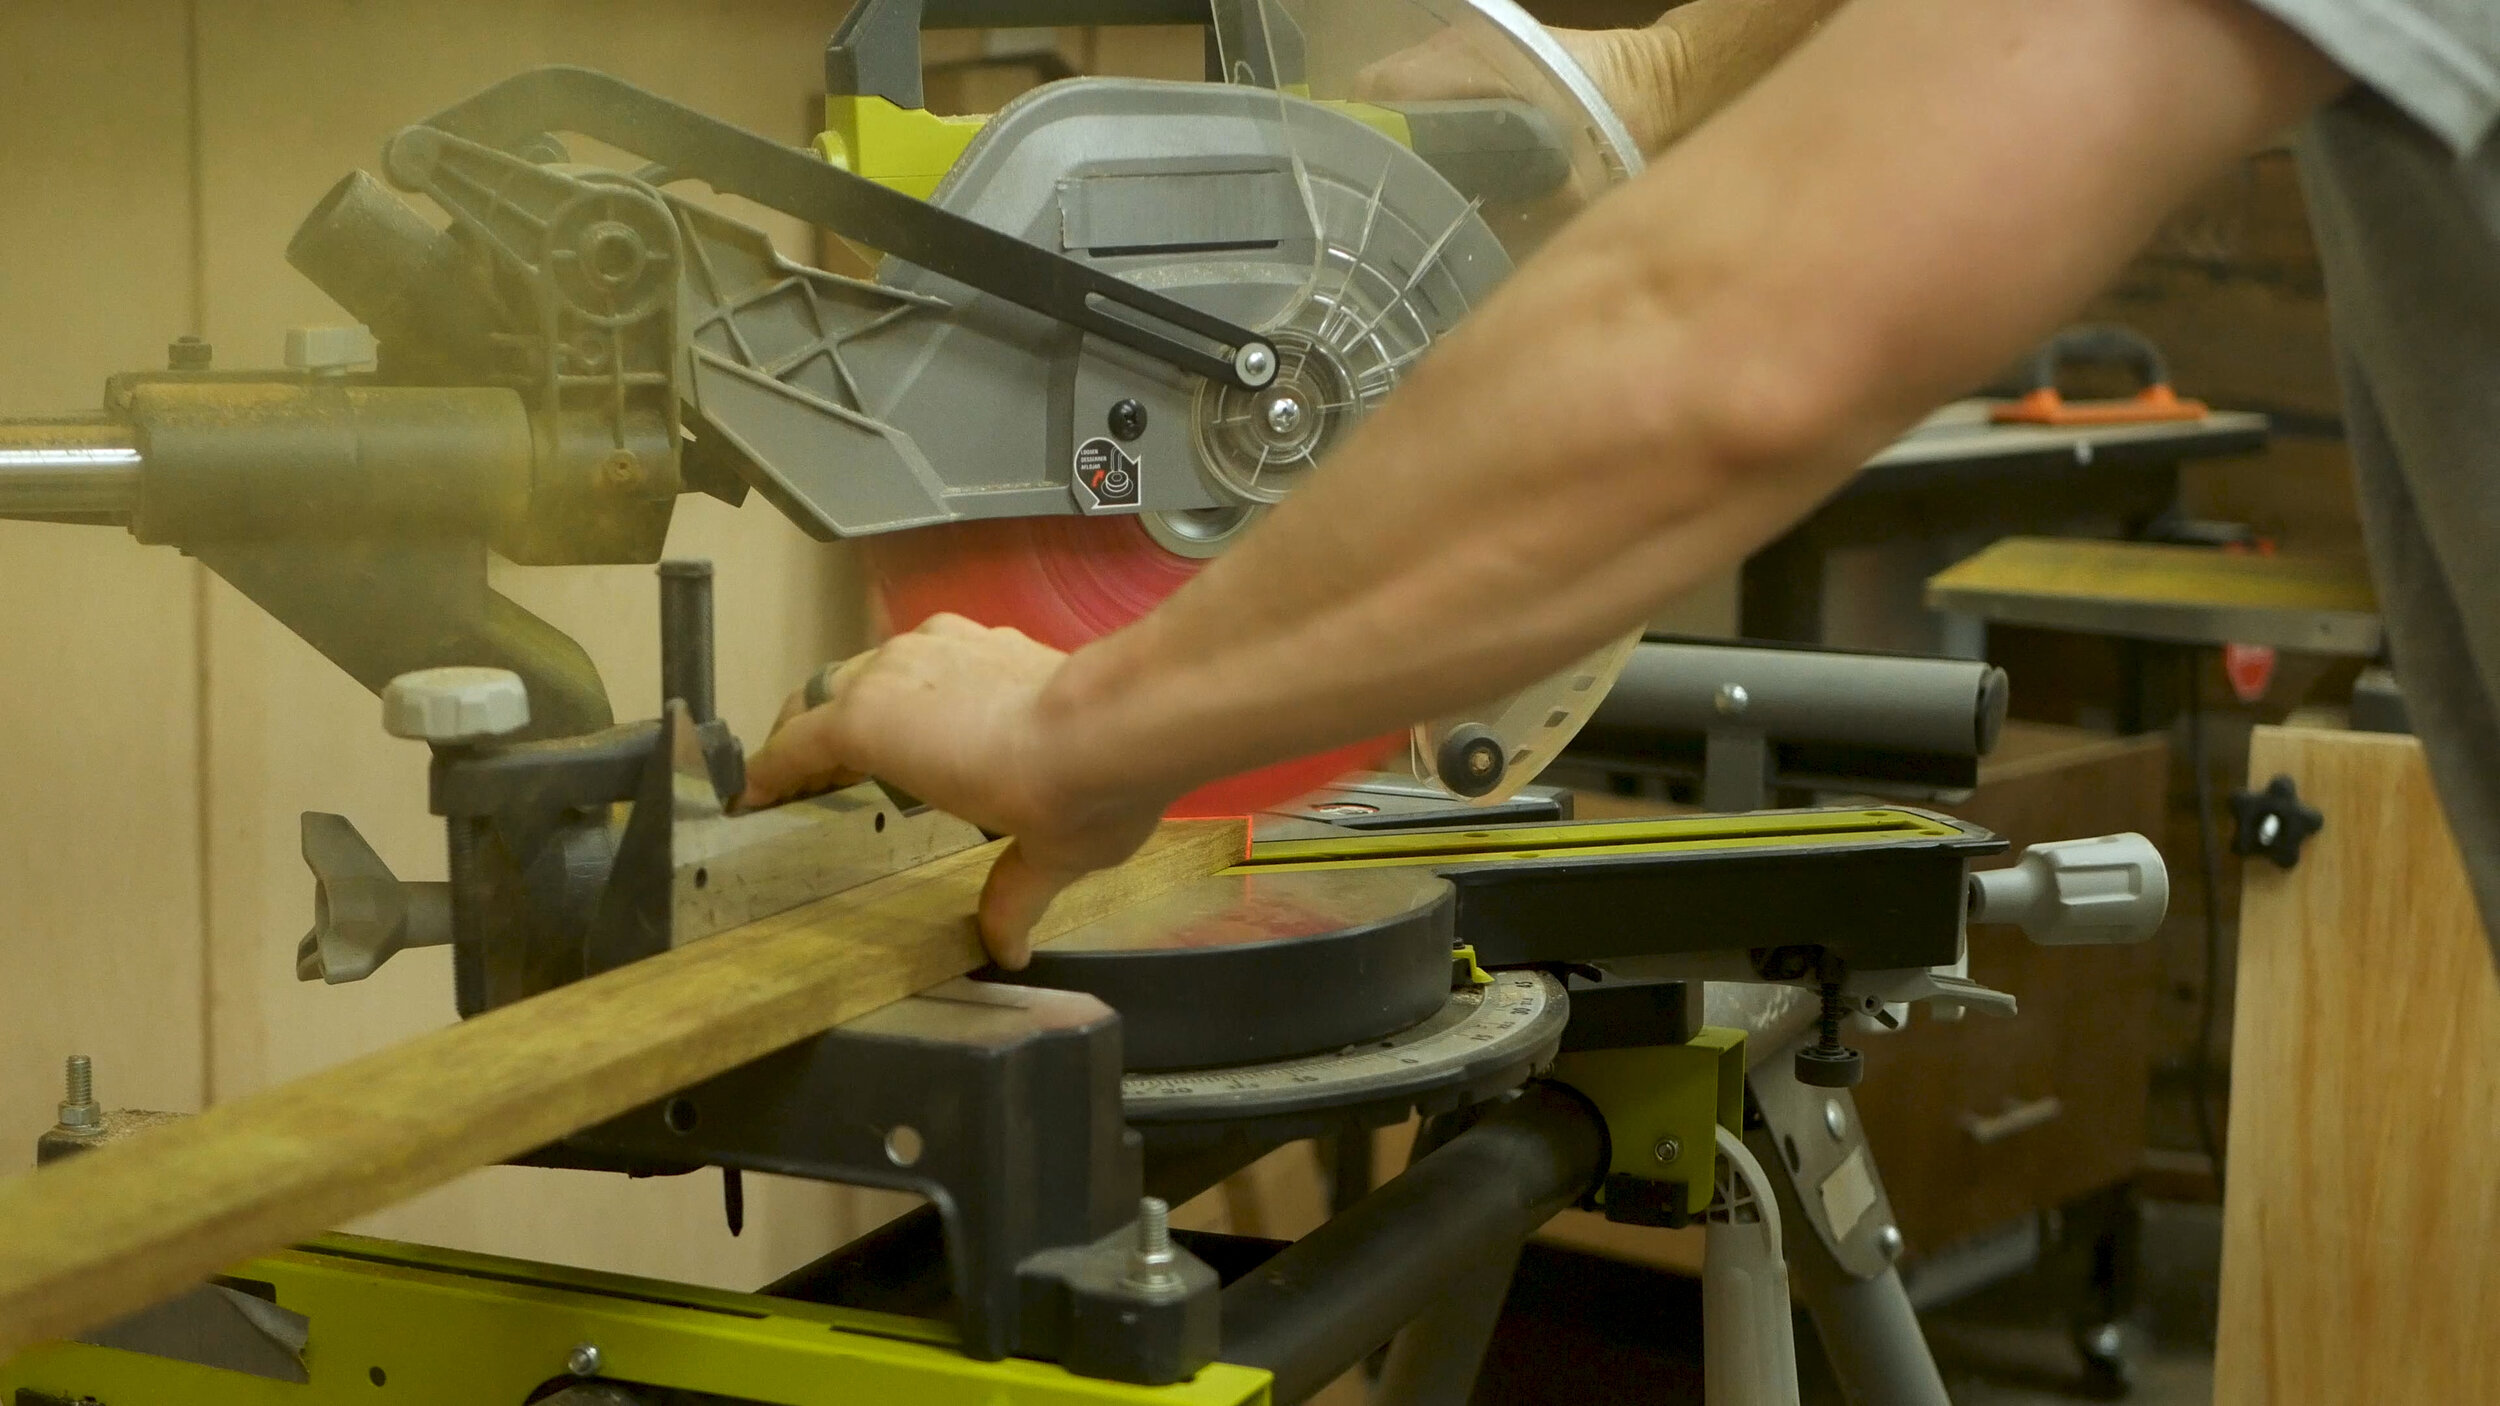
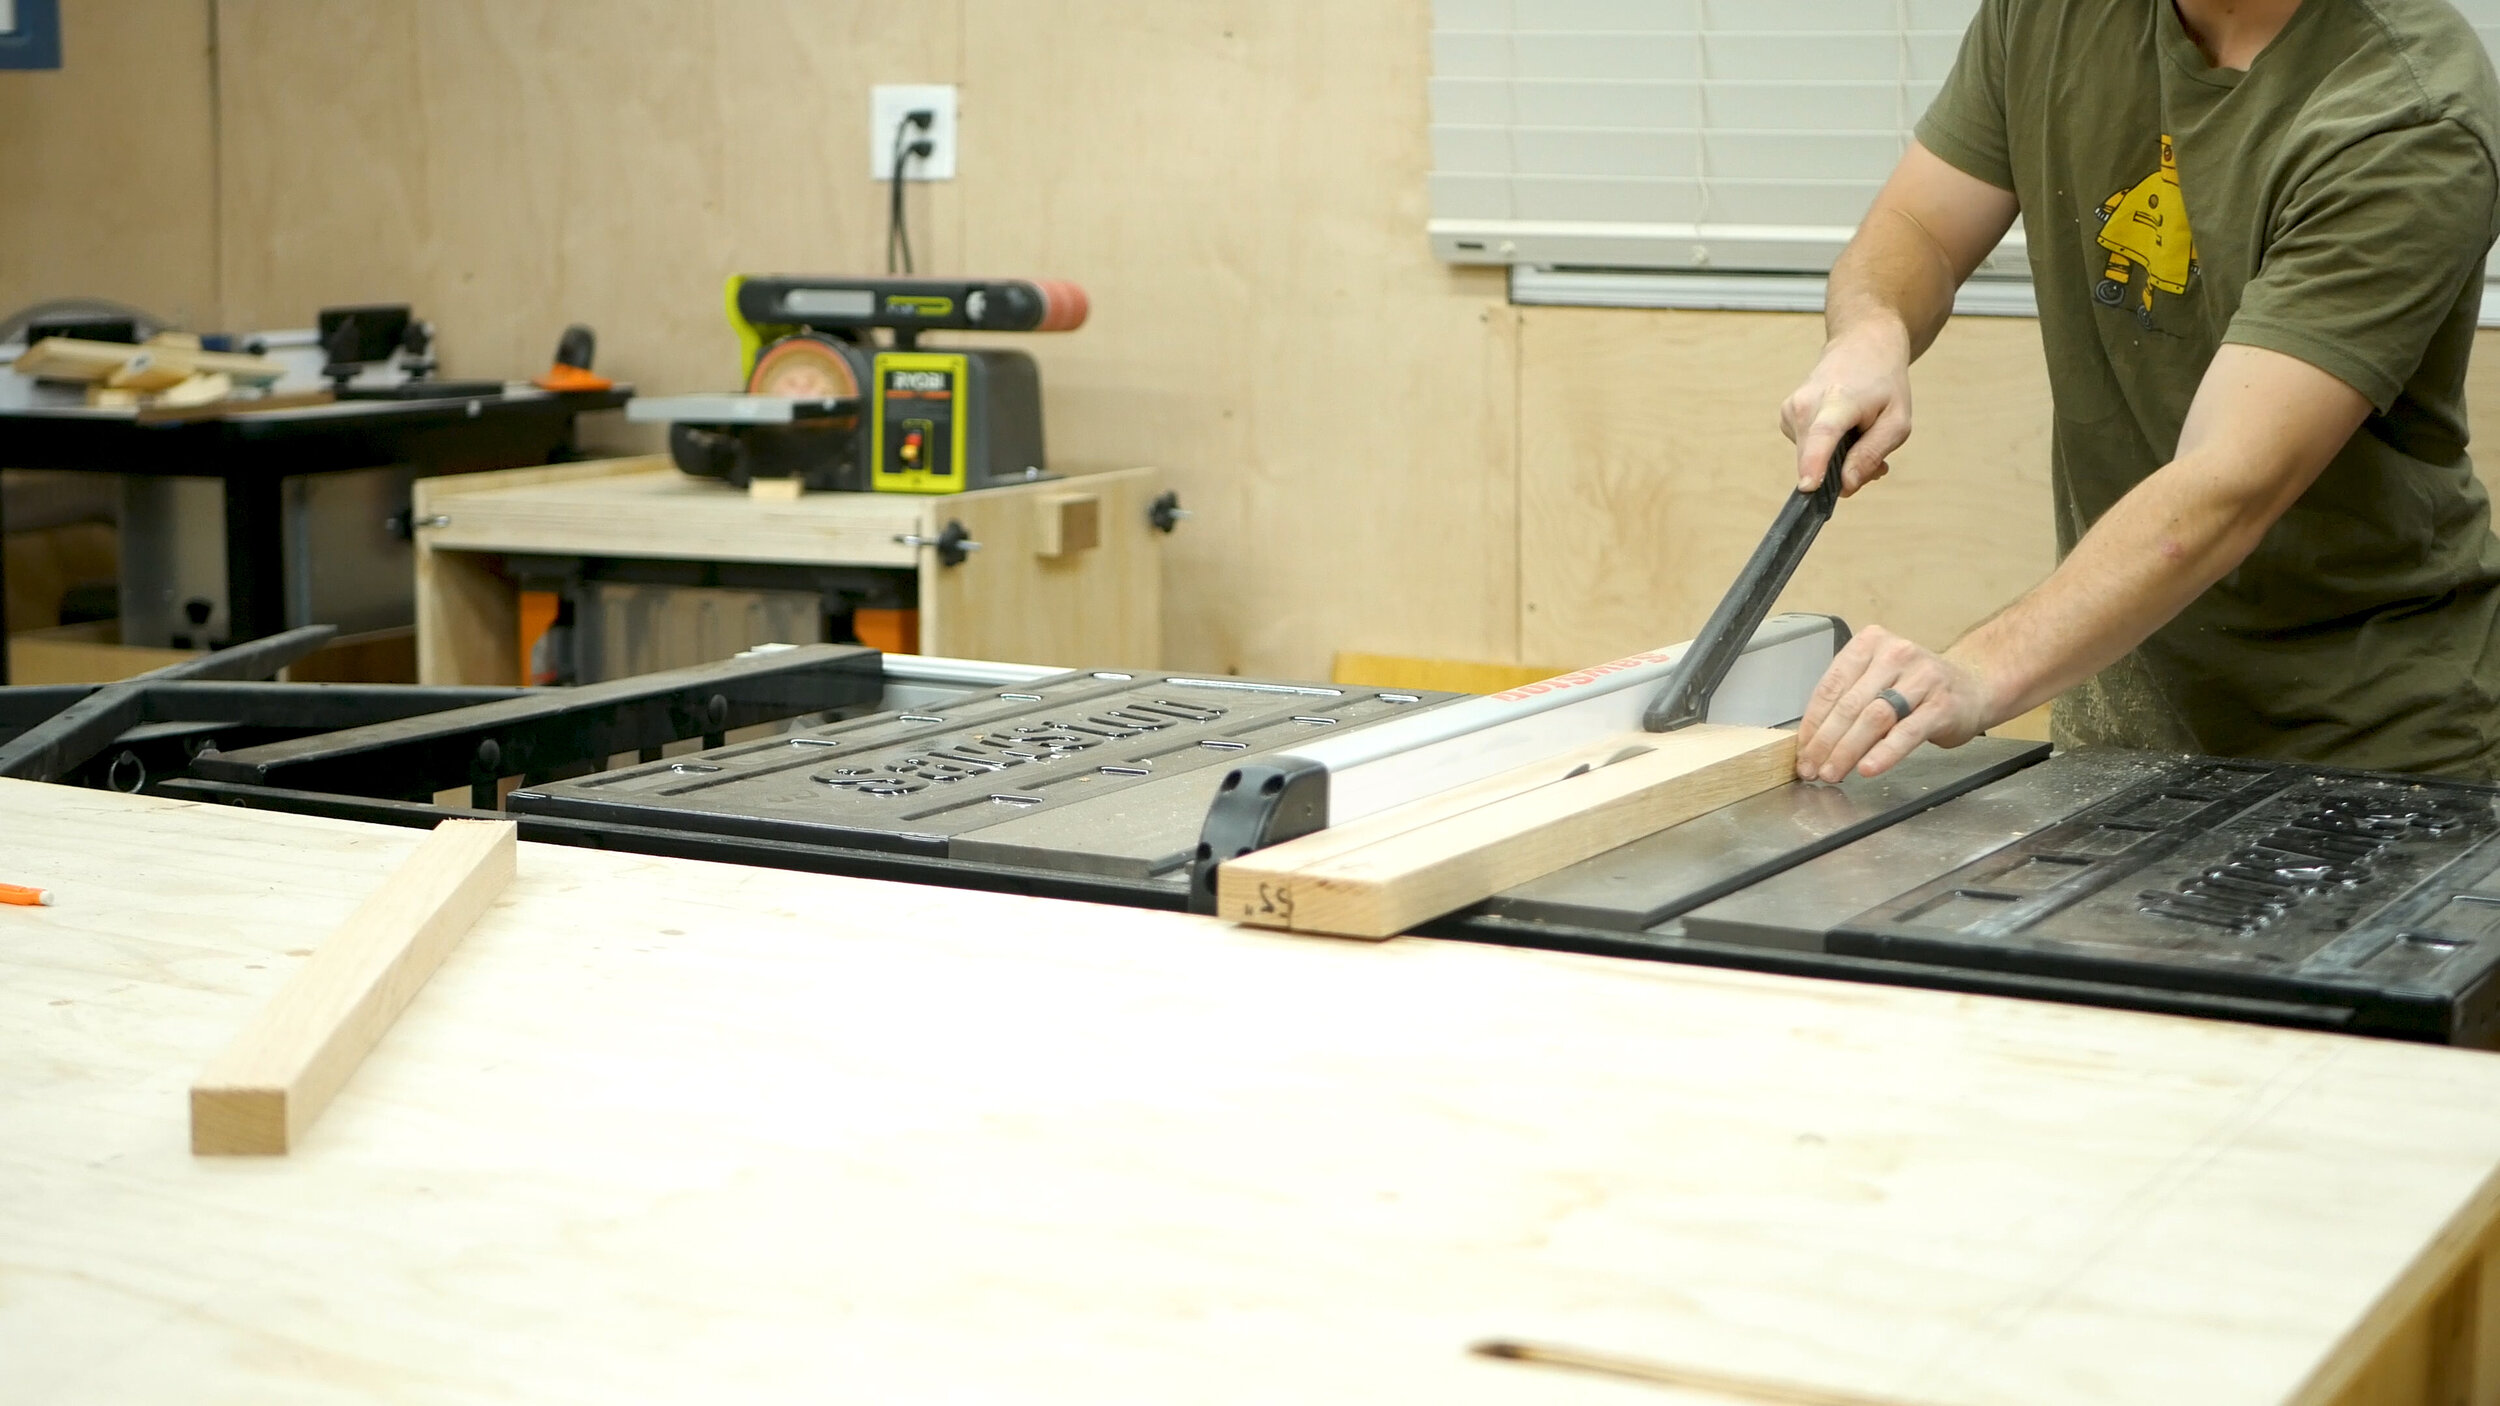
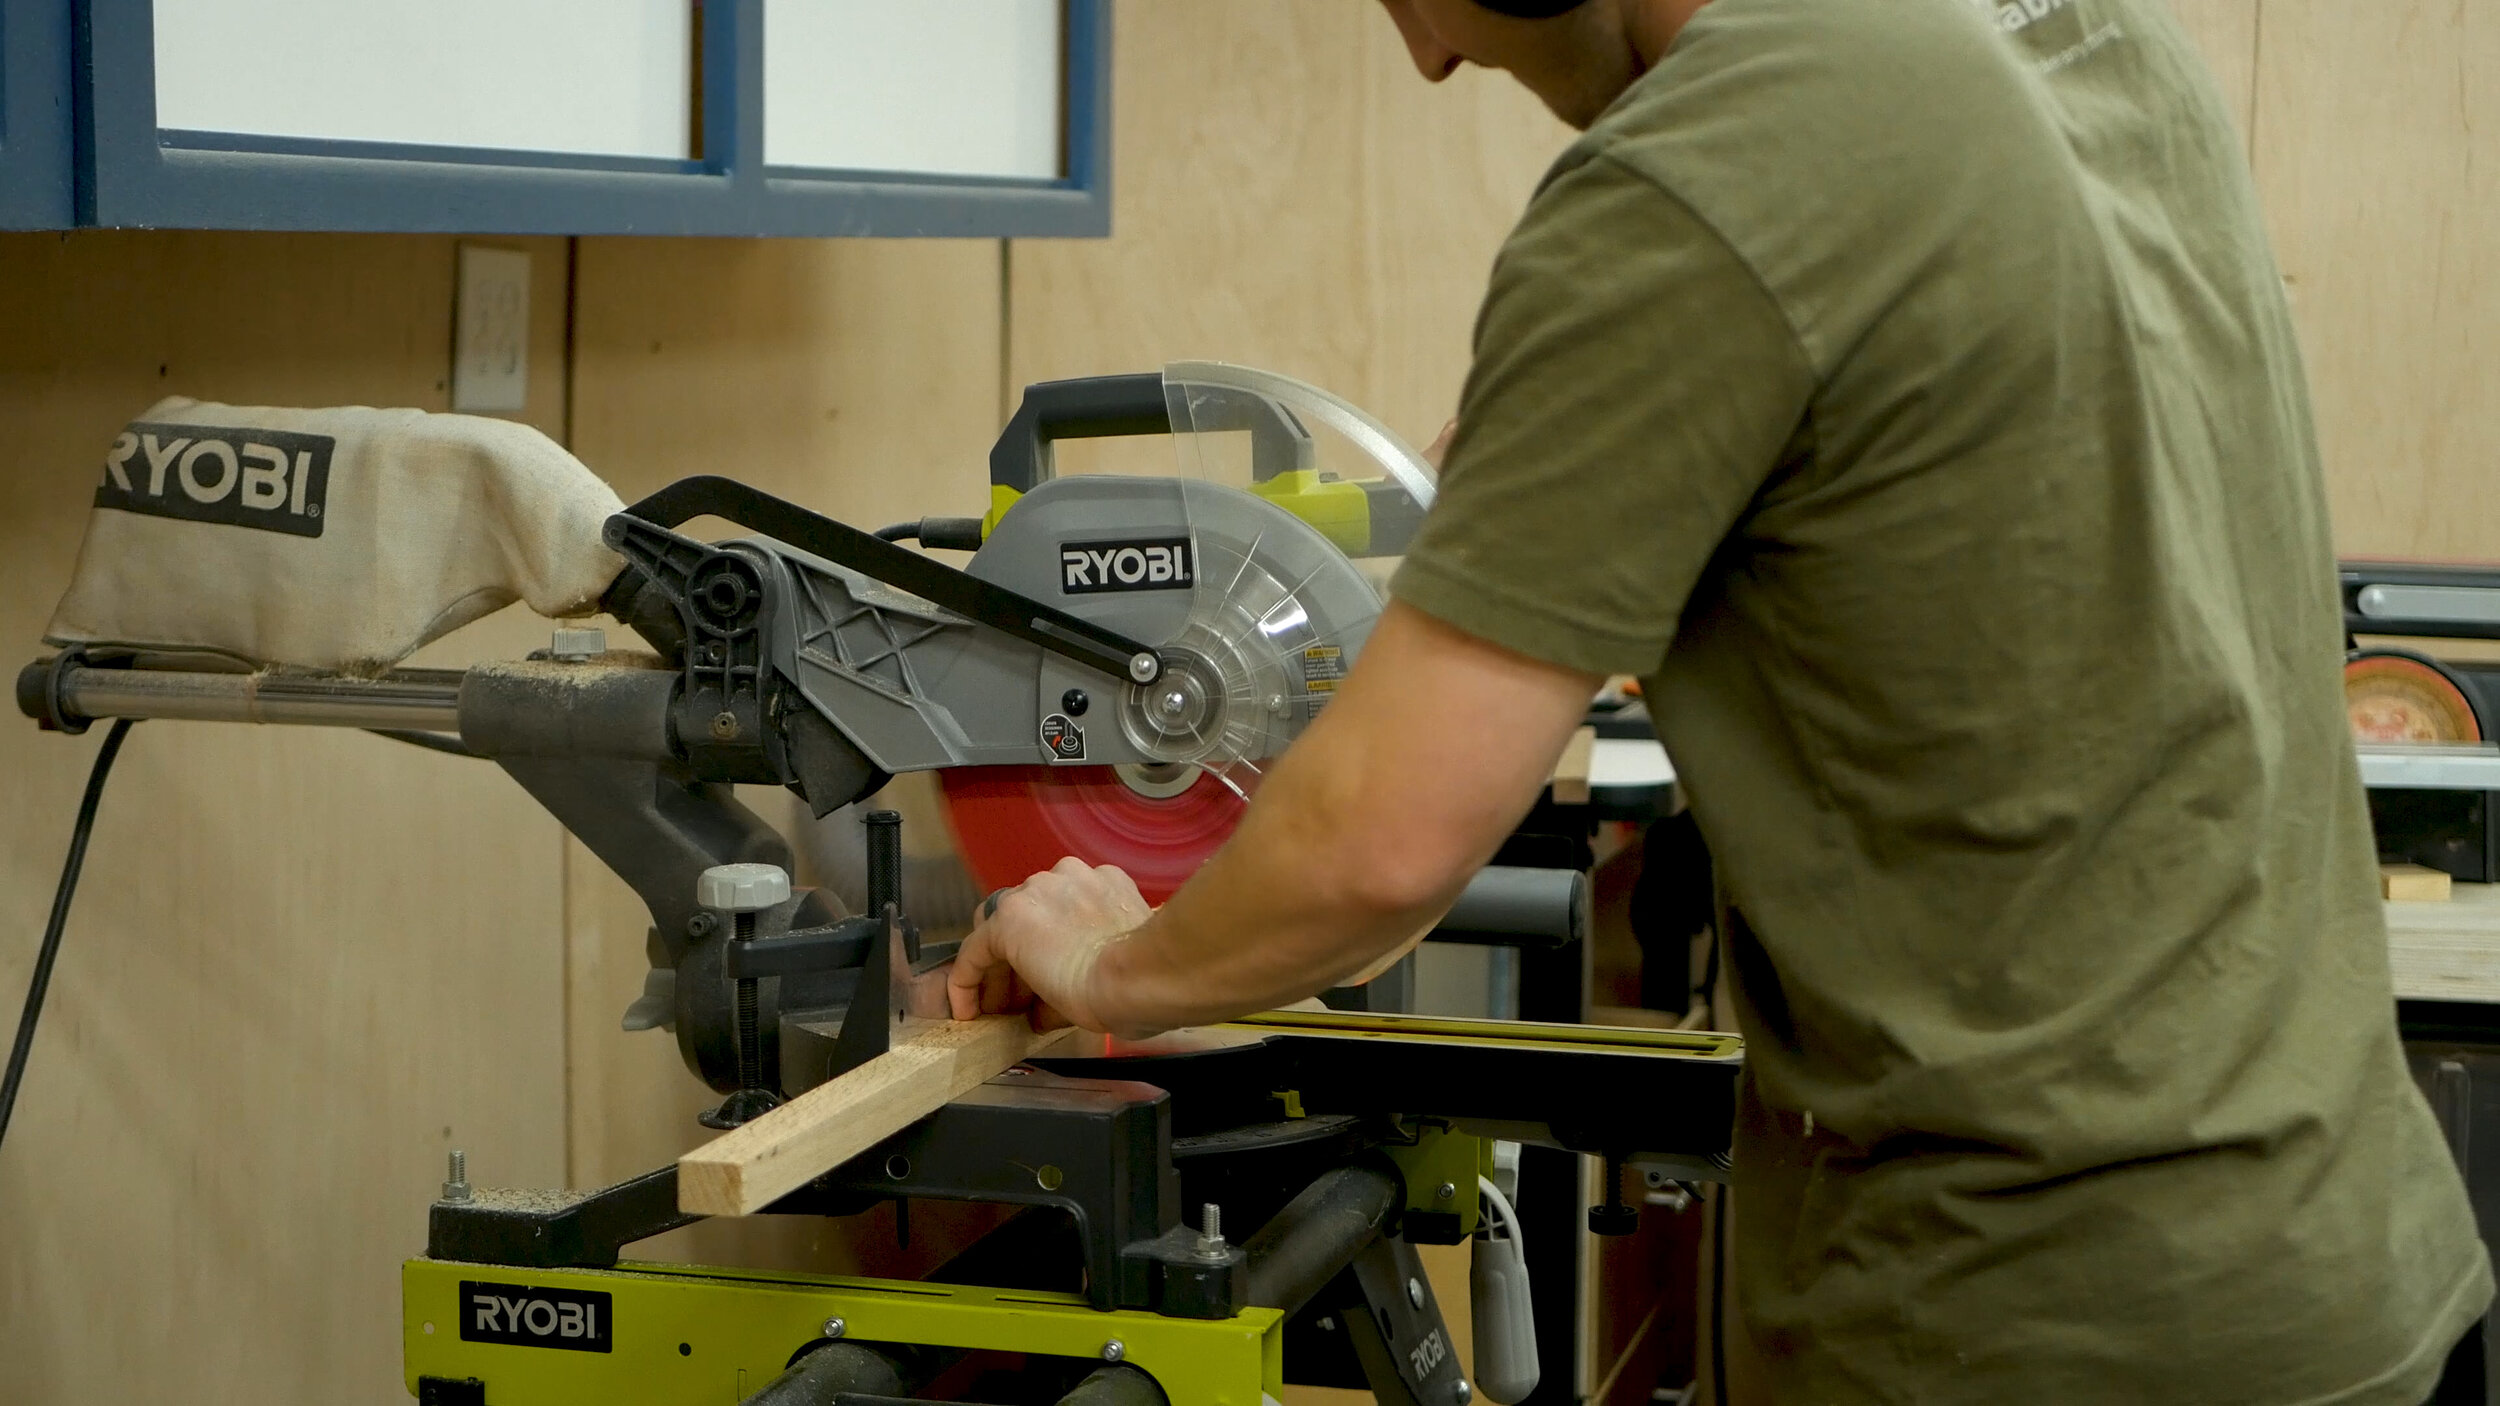
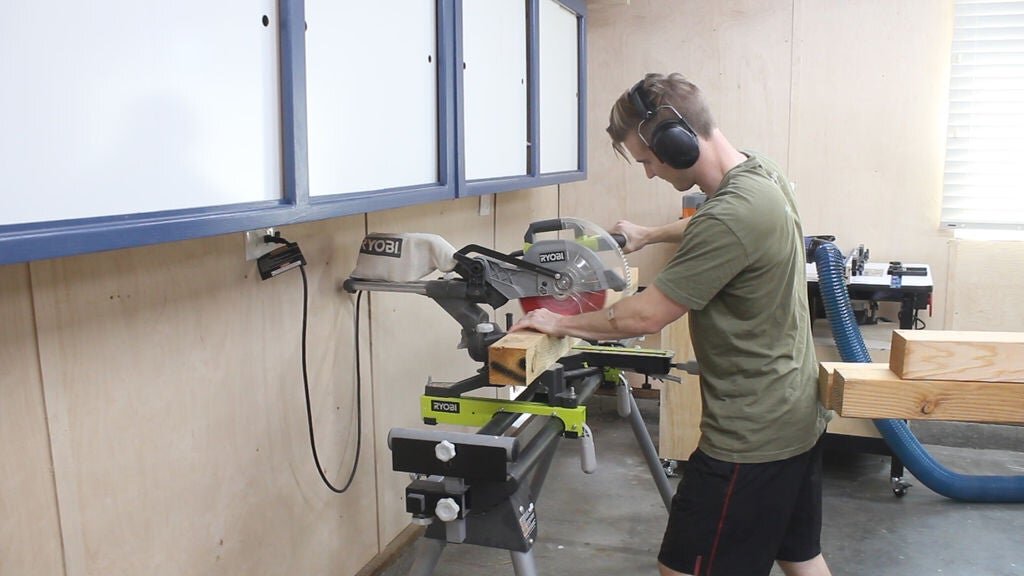
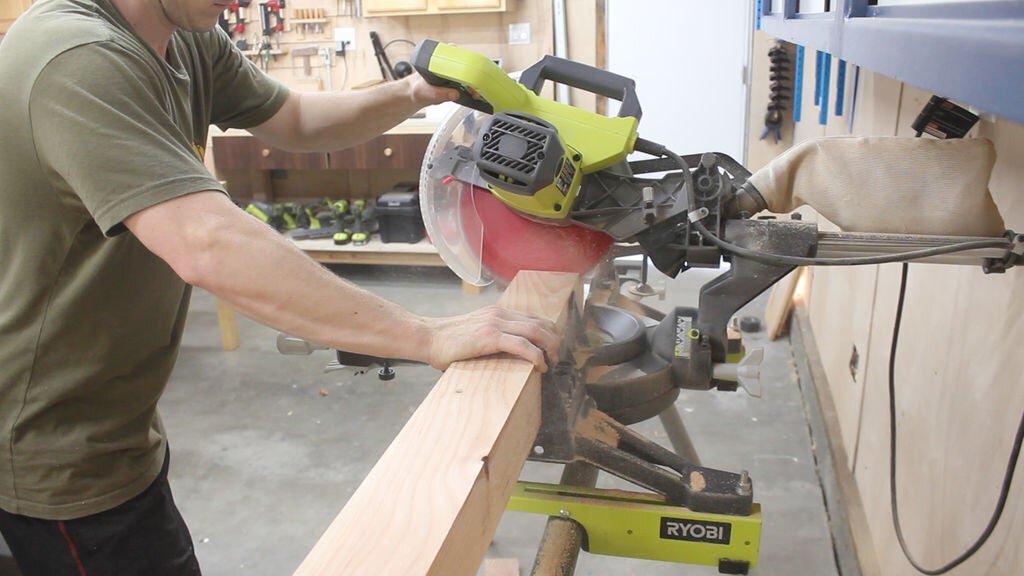
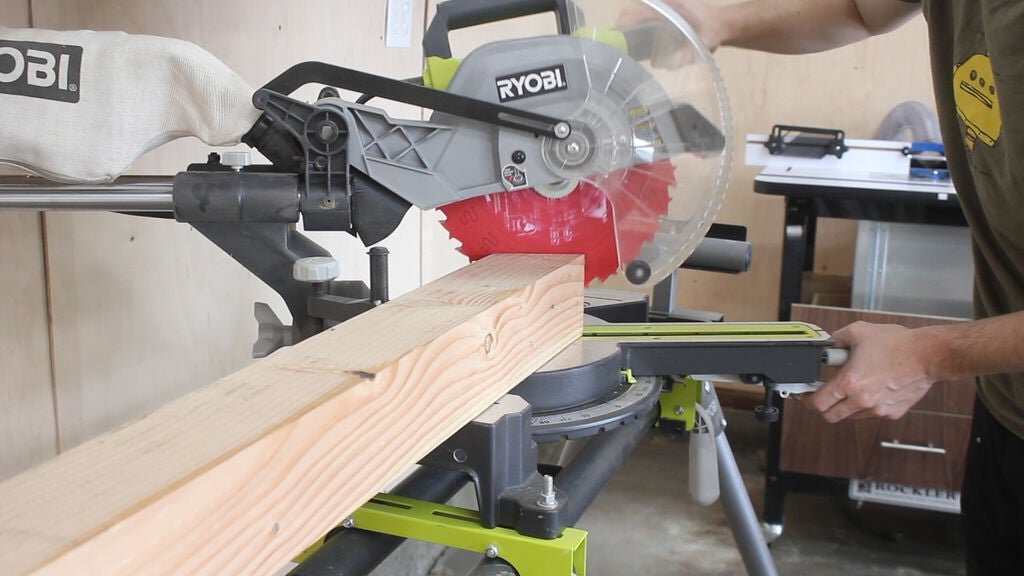
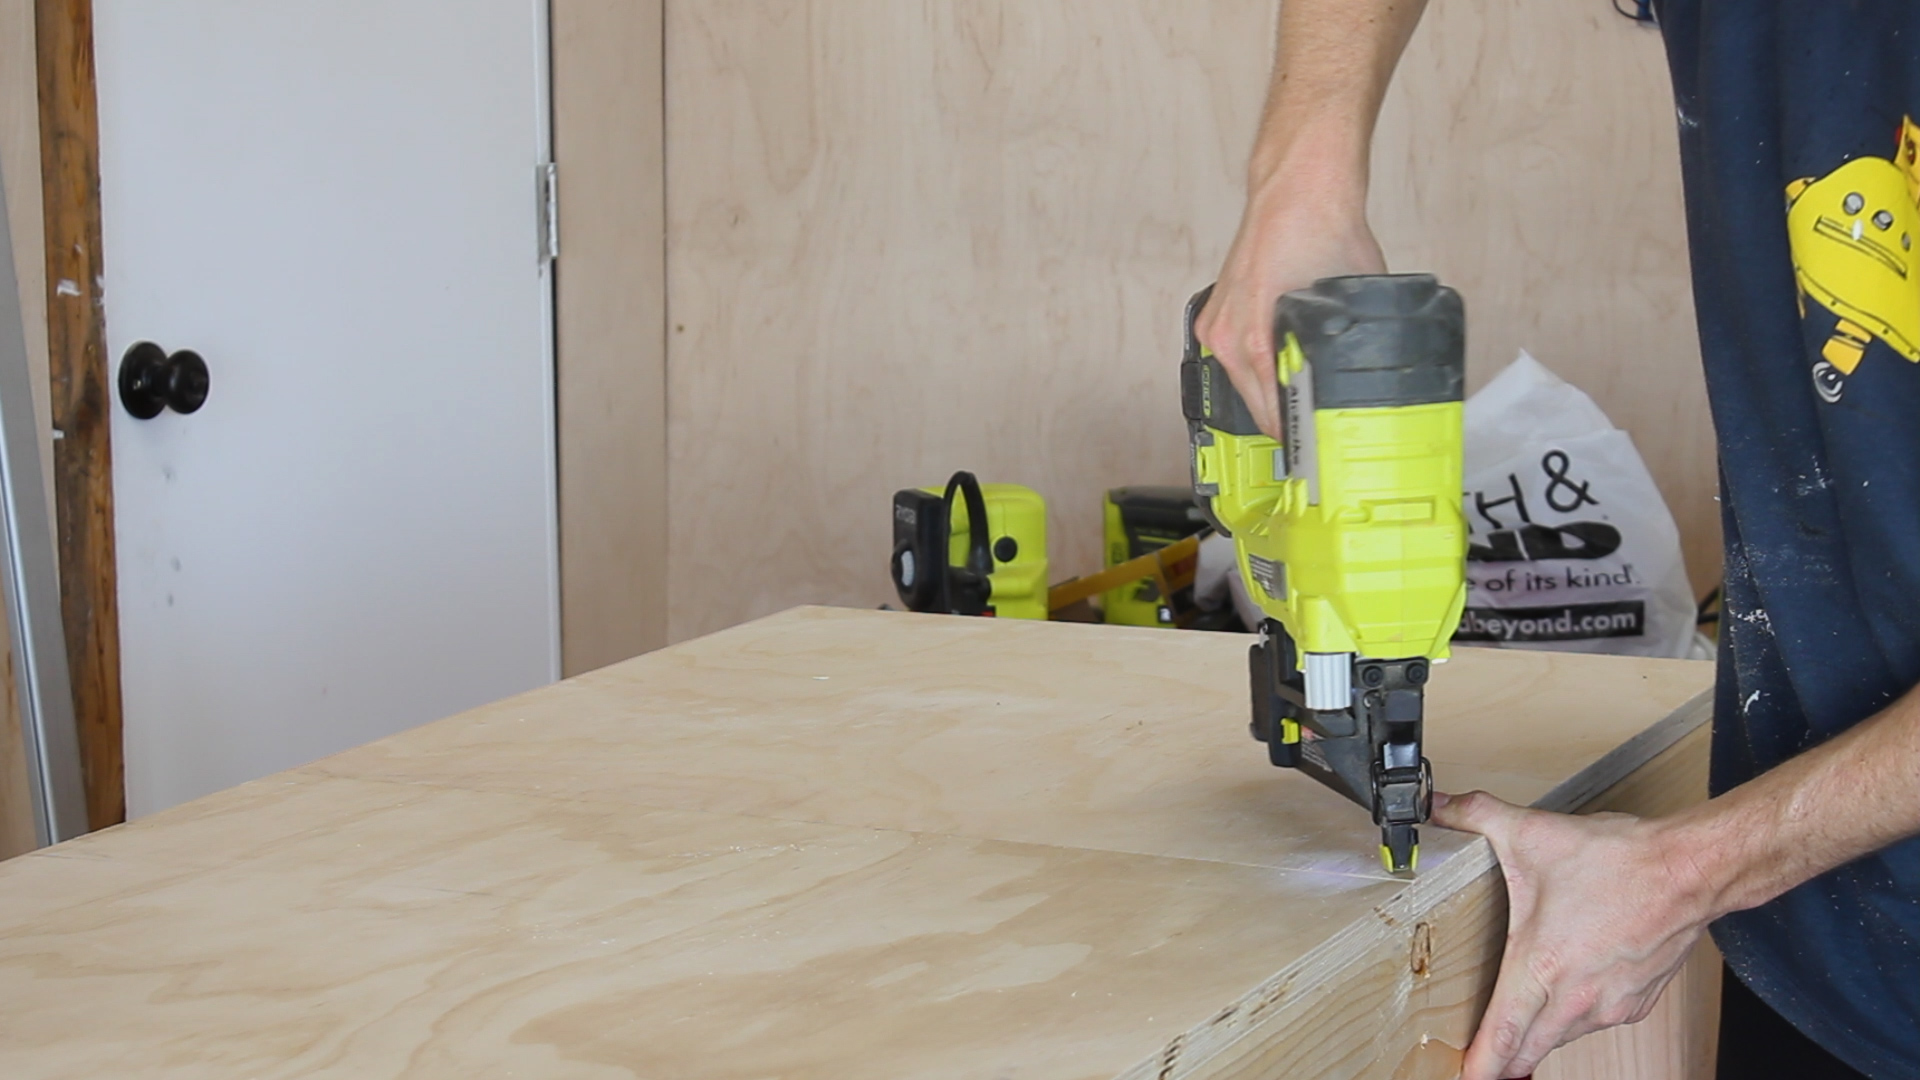
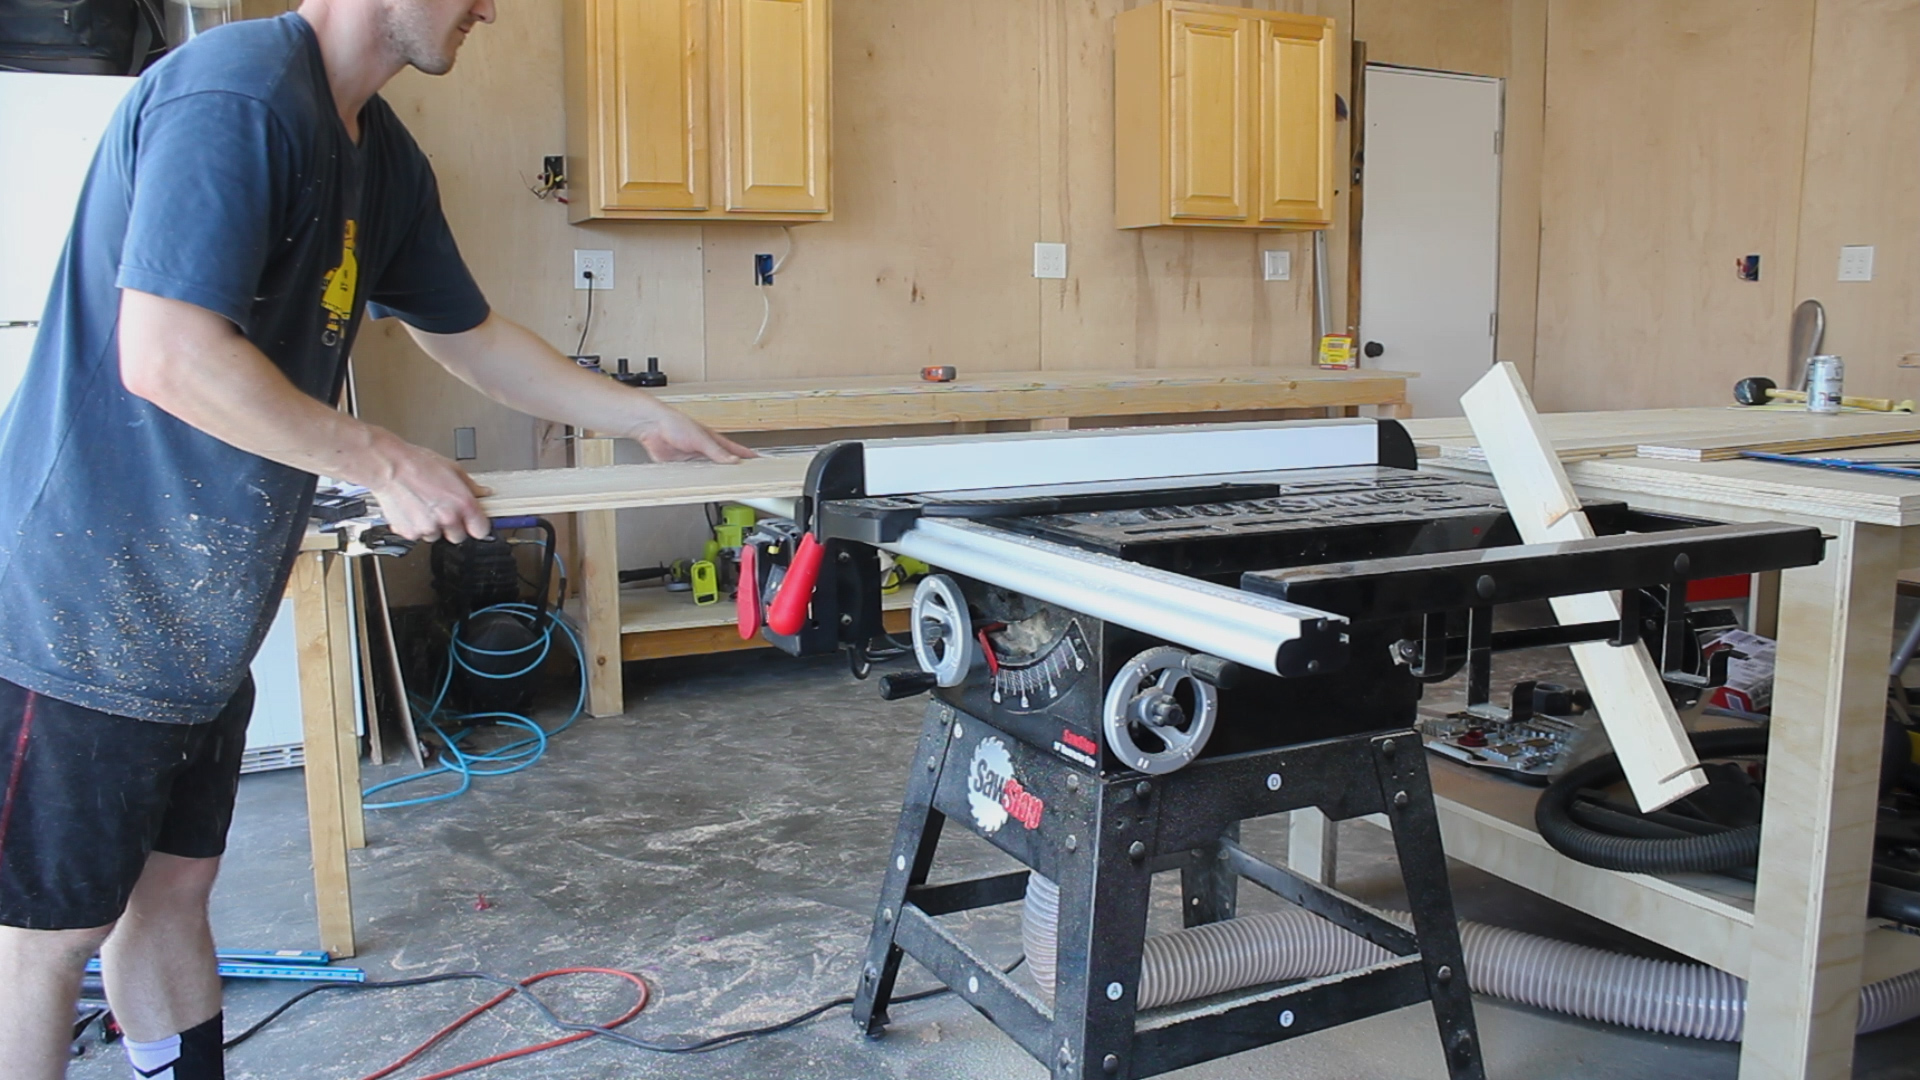
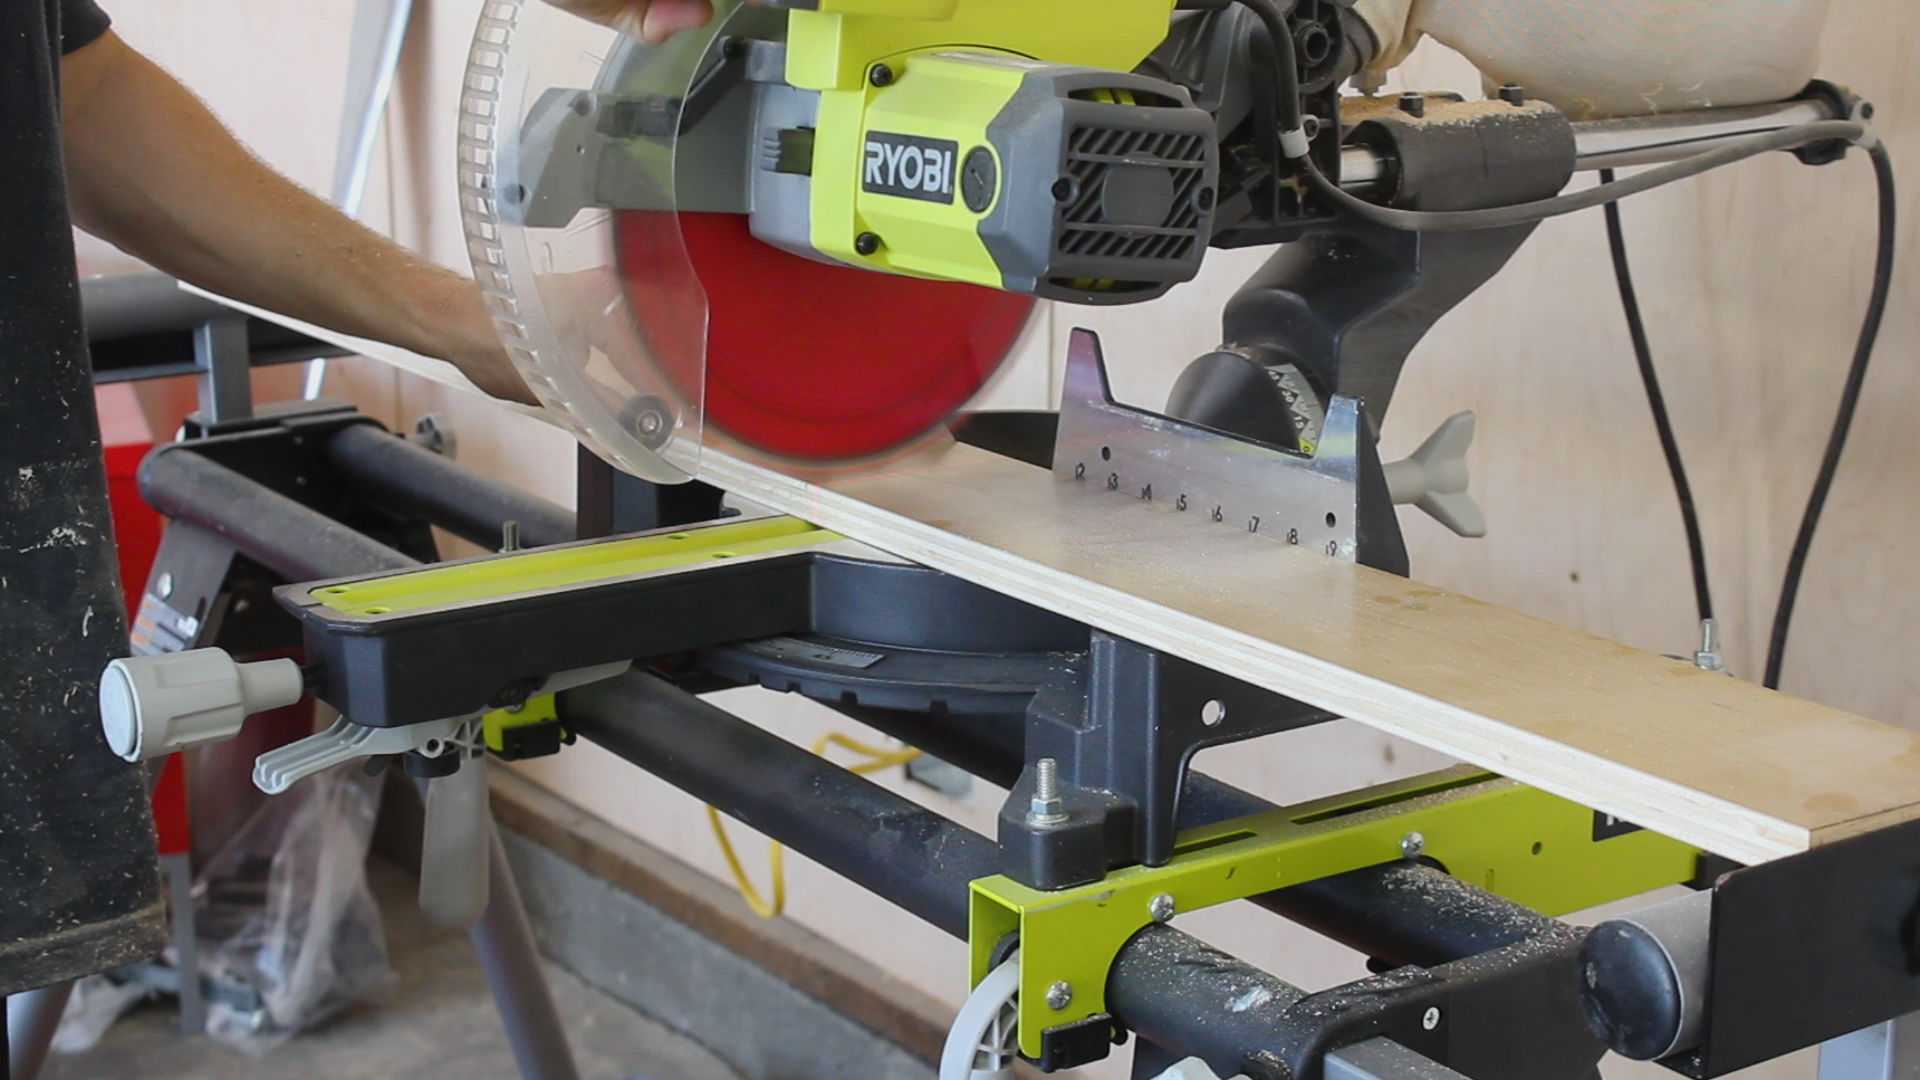
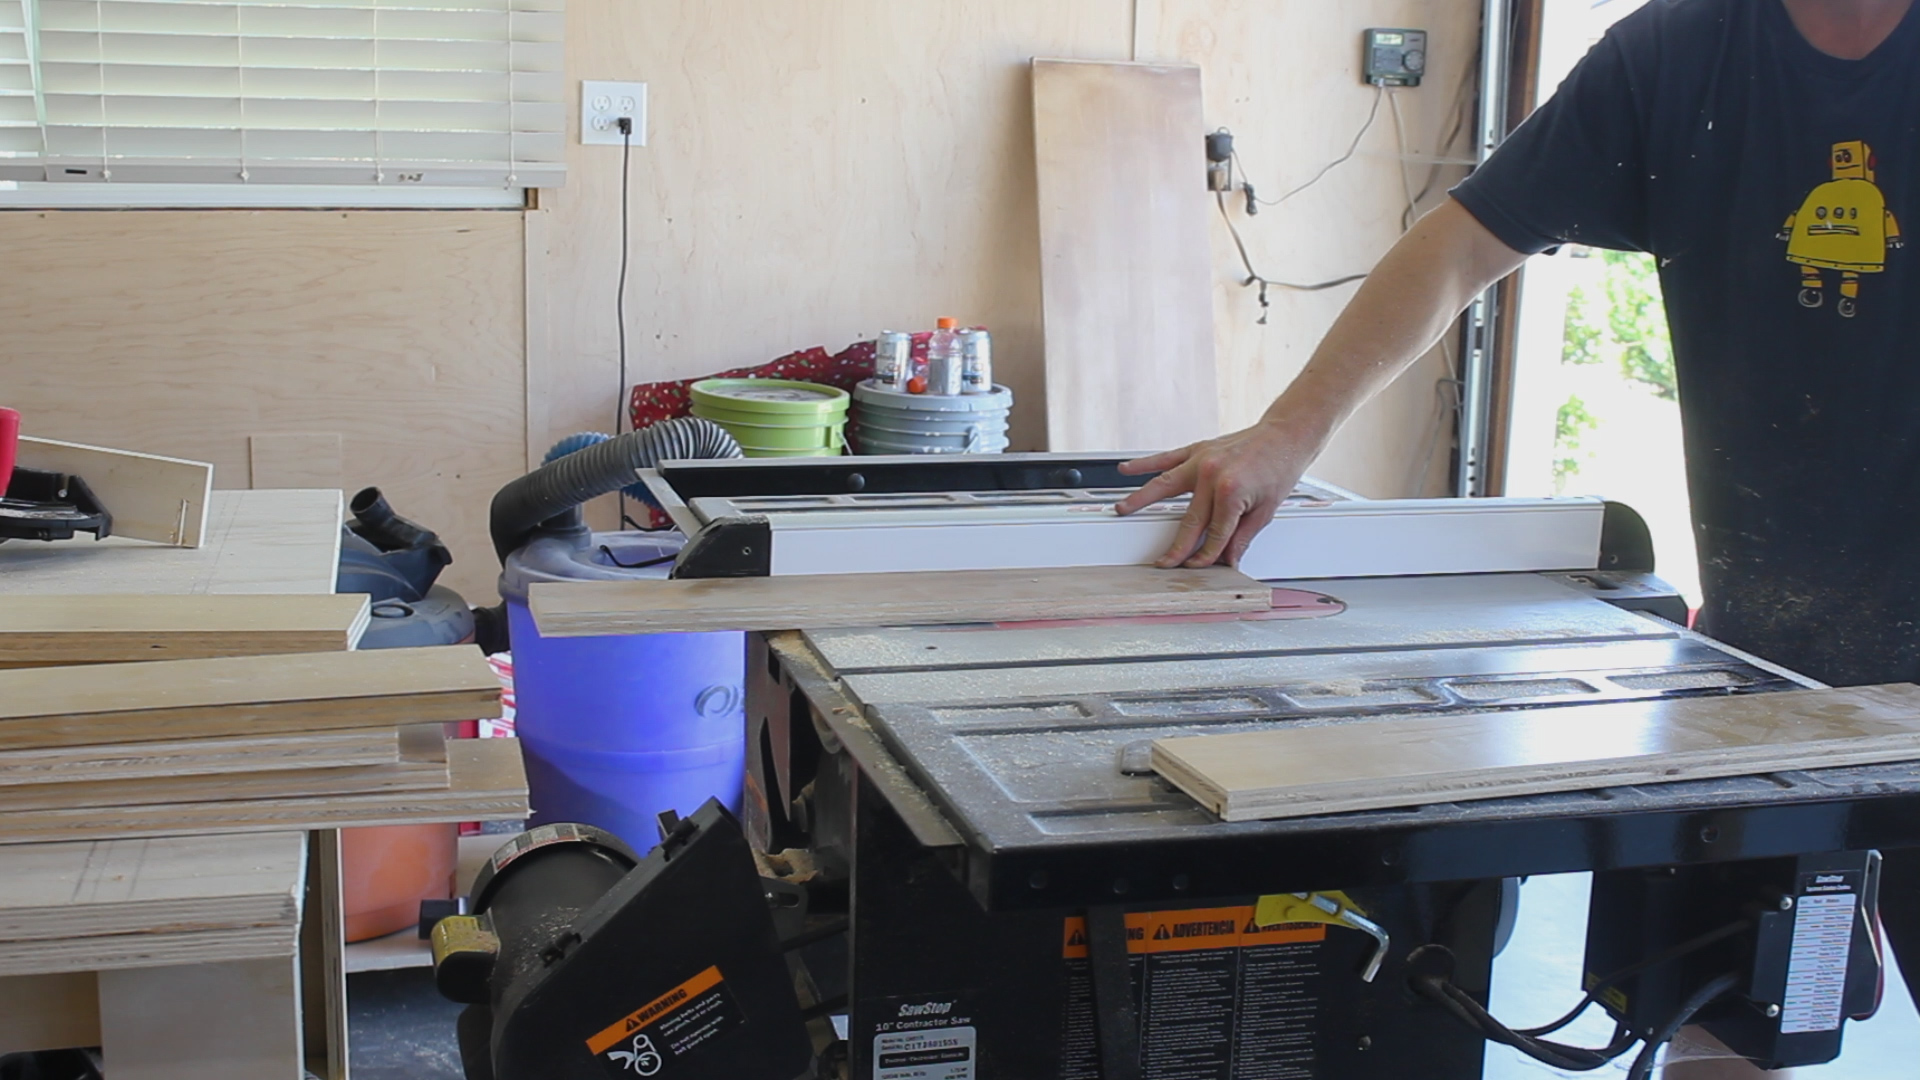
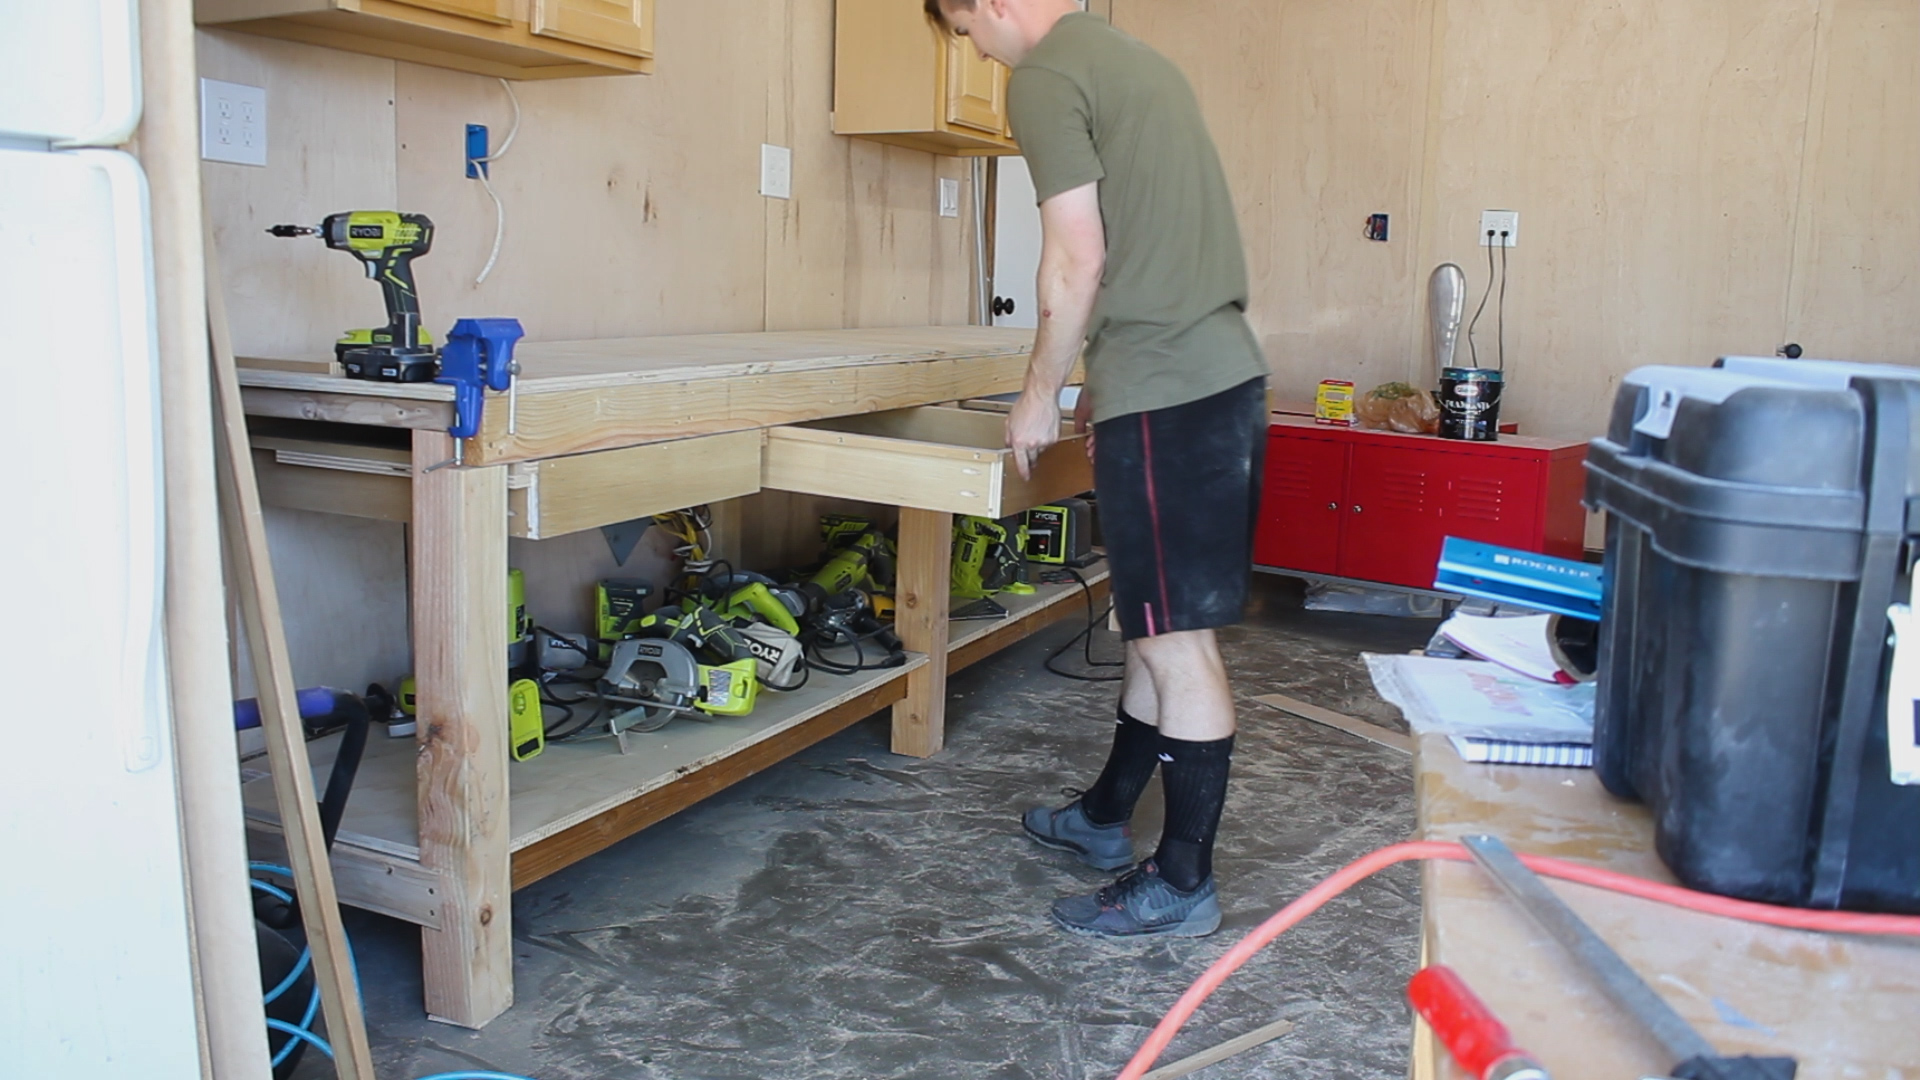
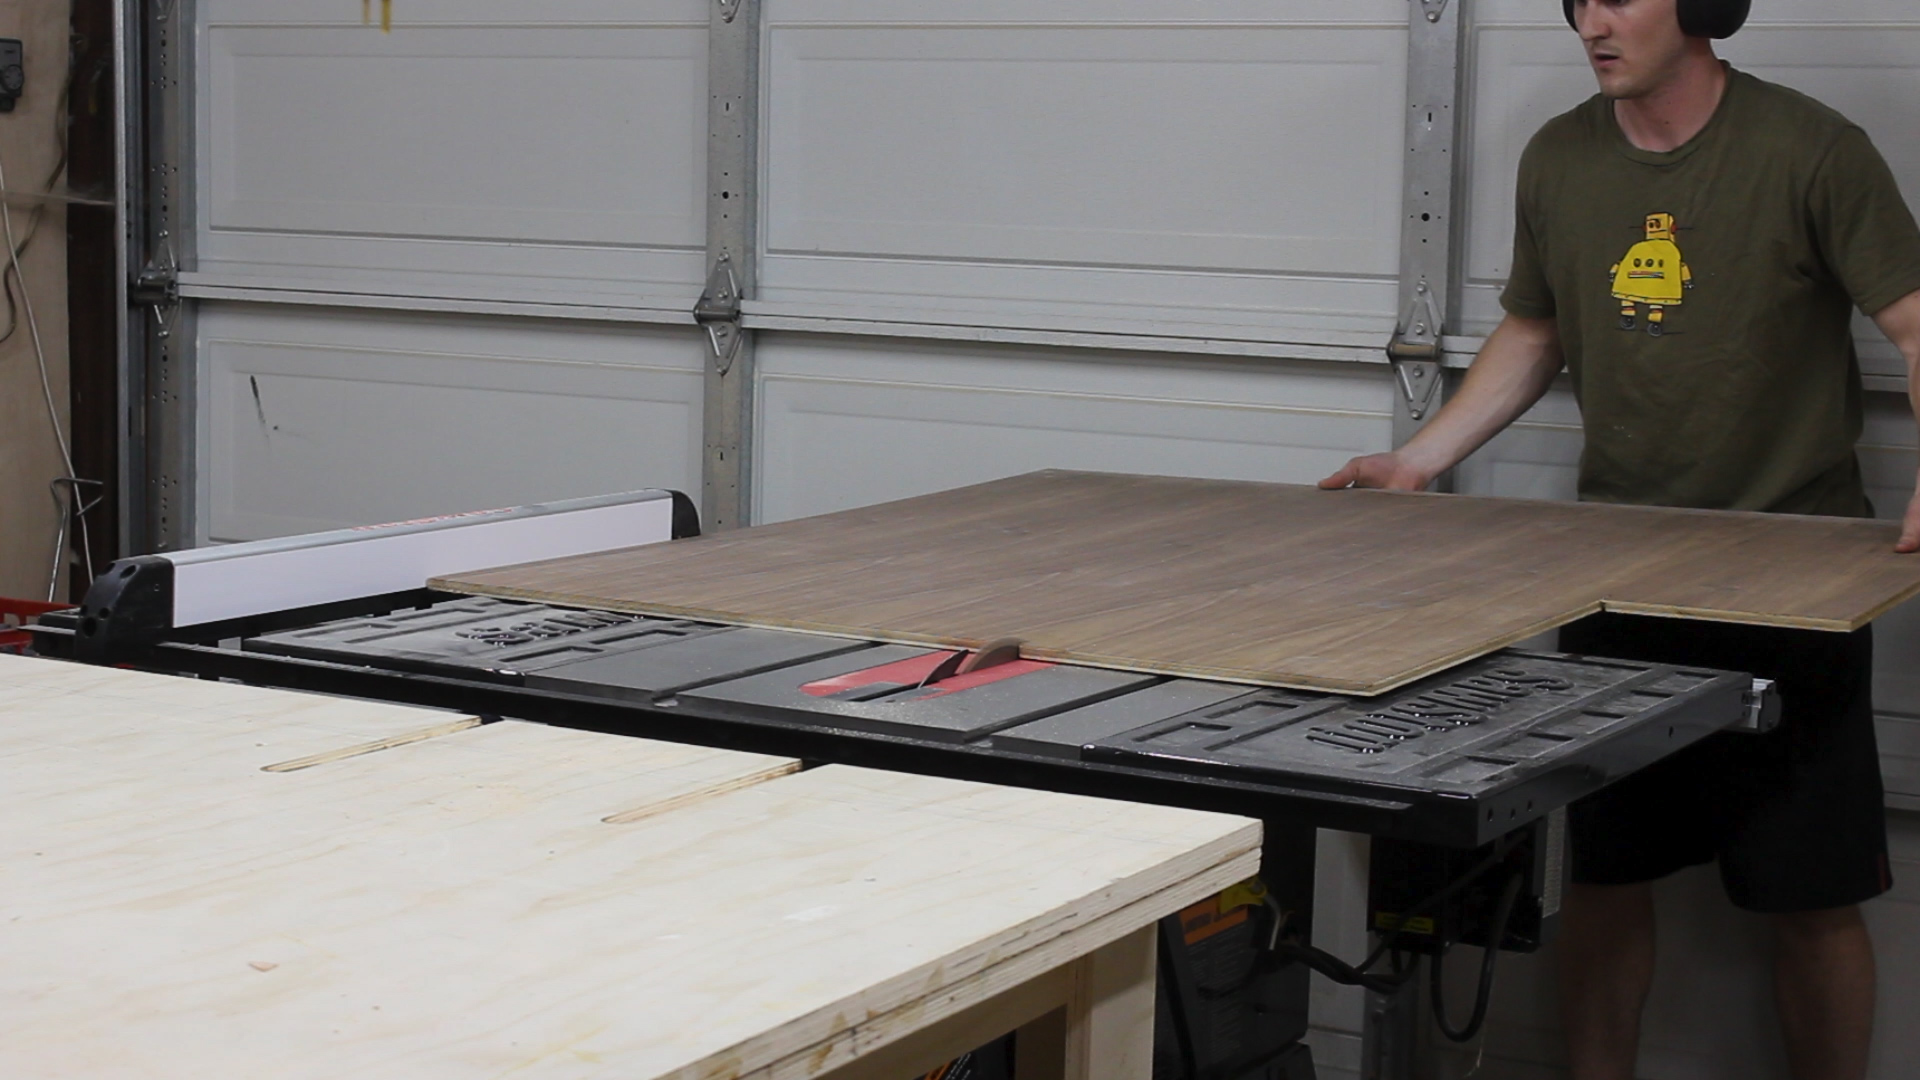
I decided last minute to add drawers with additional scrap plywood that I salvaged from my parents old TV credenza that they were looking to toss. It was pretty high quality furniture plywood, so it ripped easily on the table saw (Pic 1) and miter saw (Pic 2). The drawers would be 4" tall and were as deep as the bench measured.
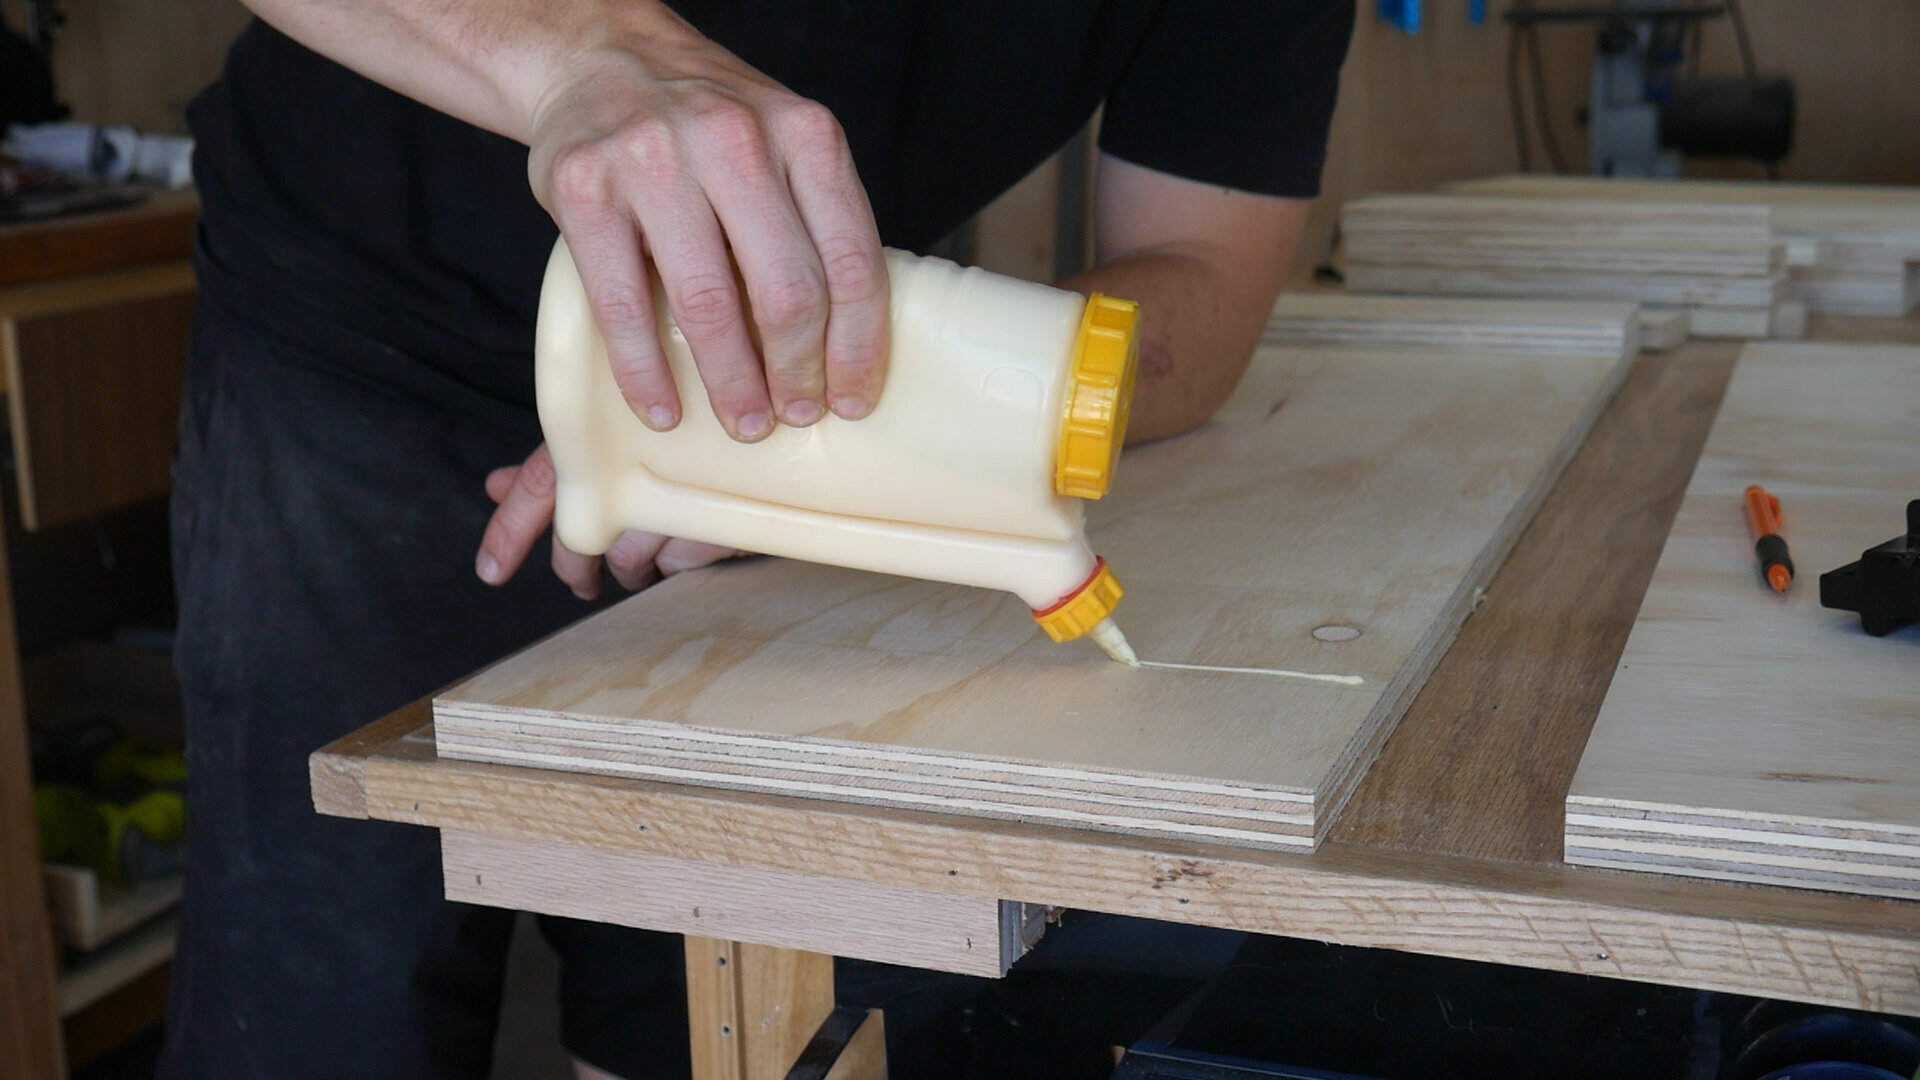
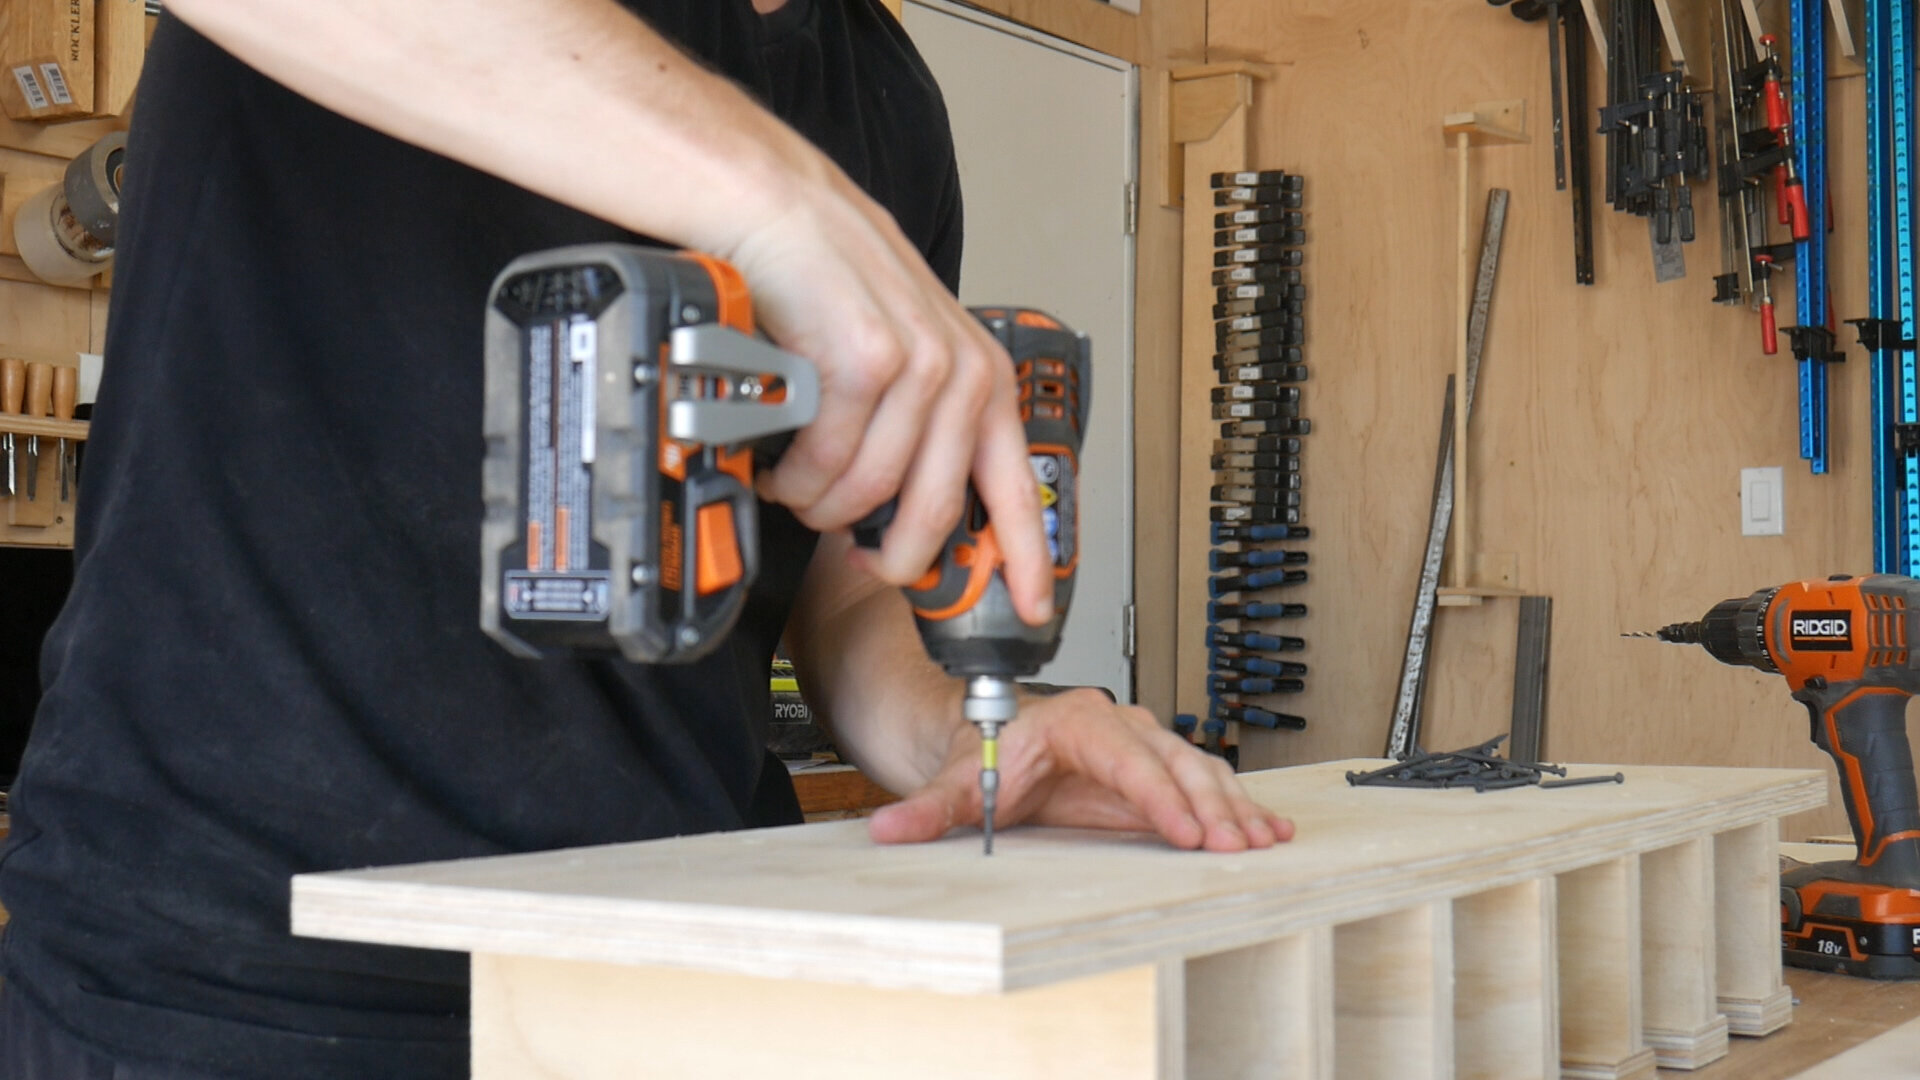
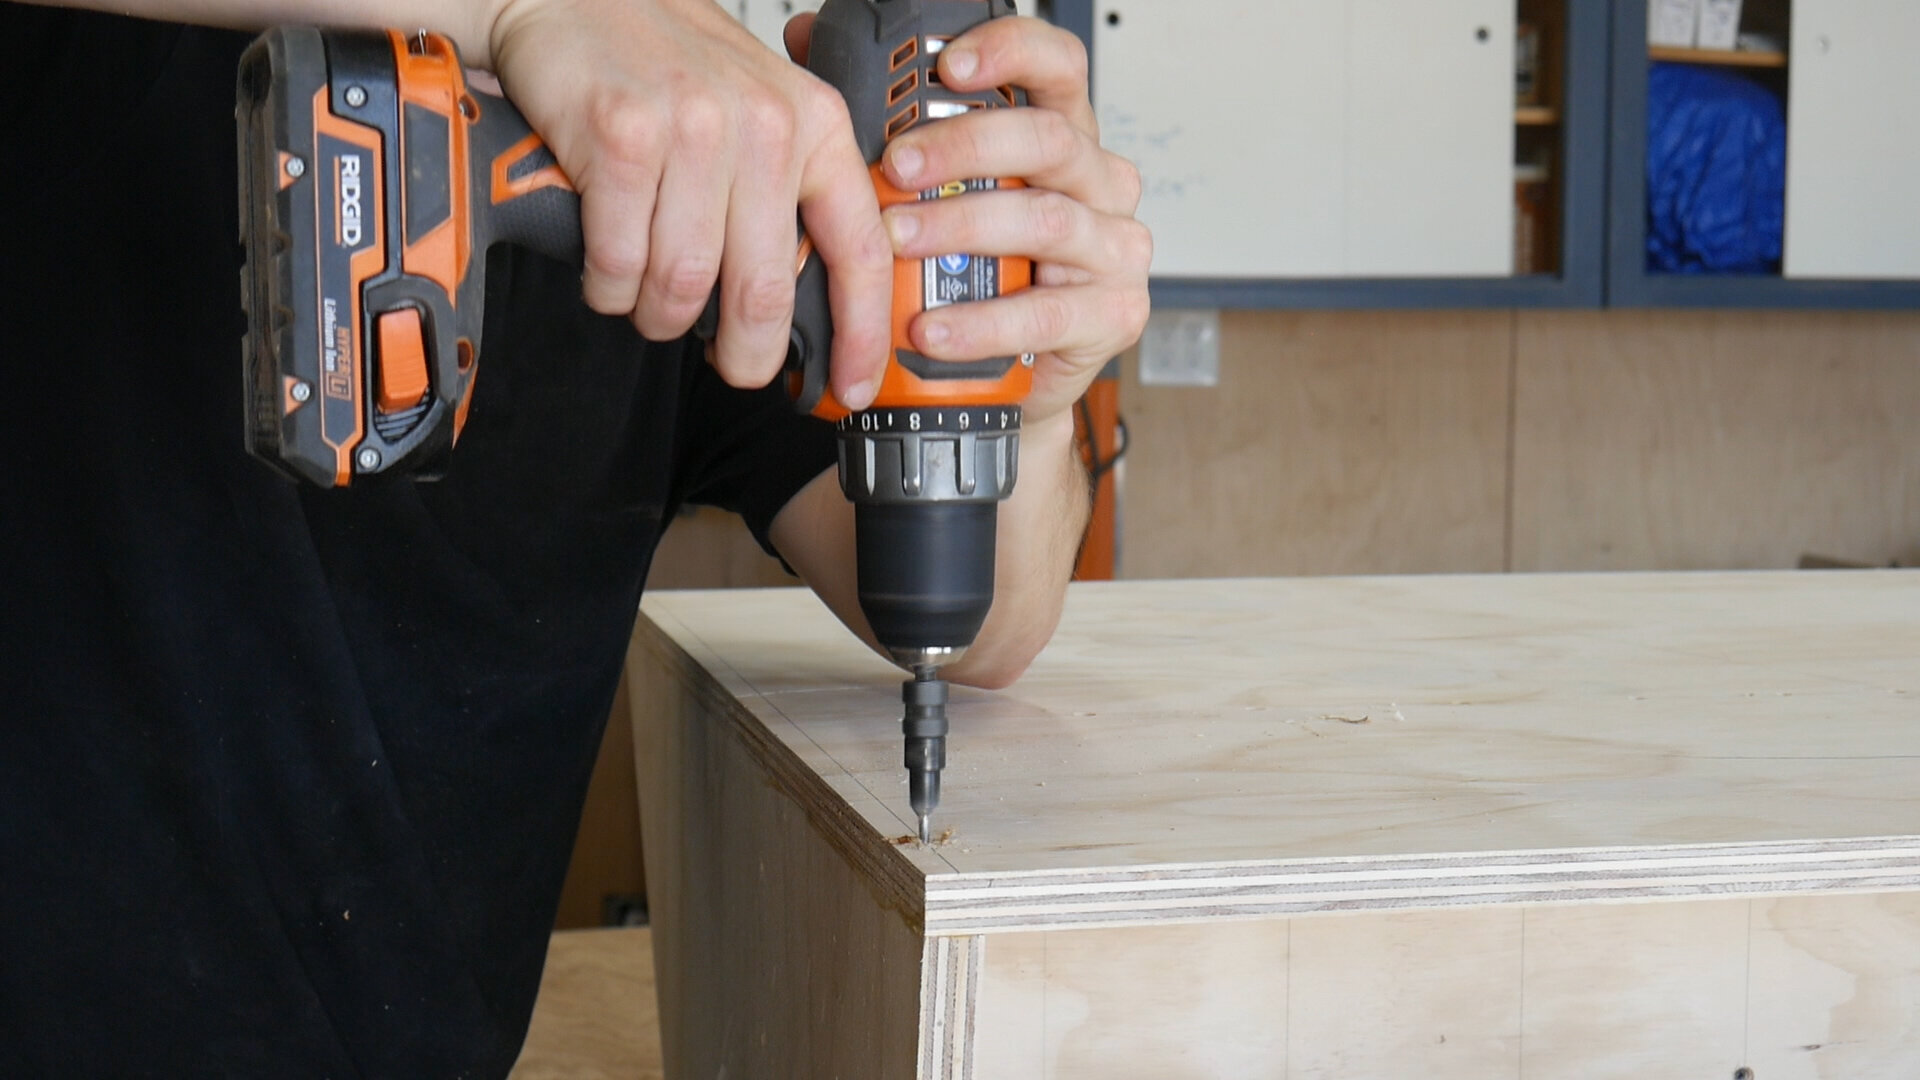
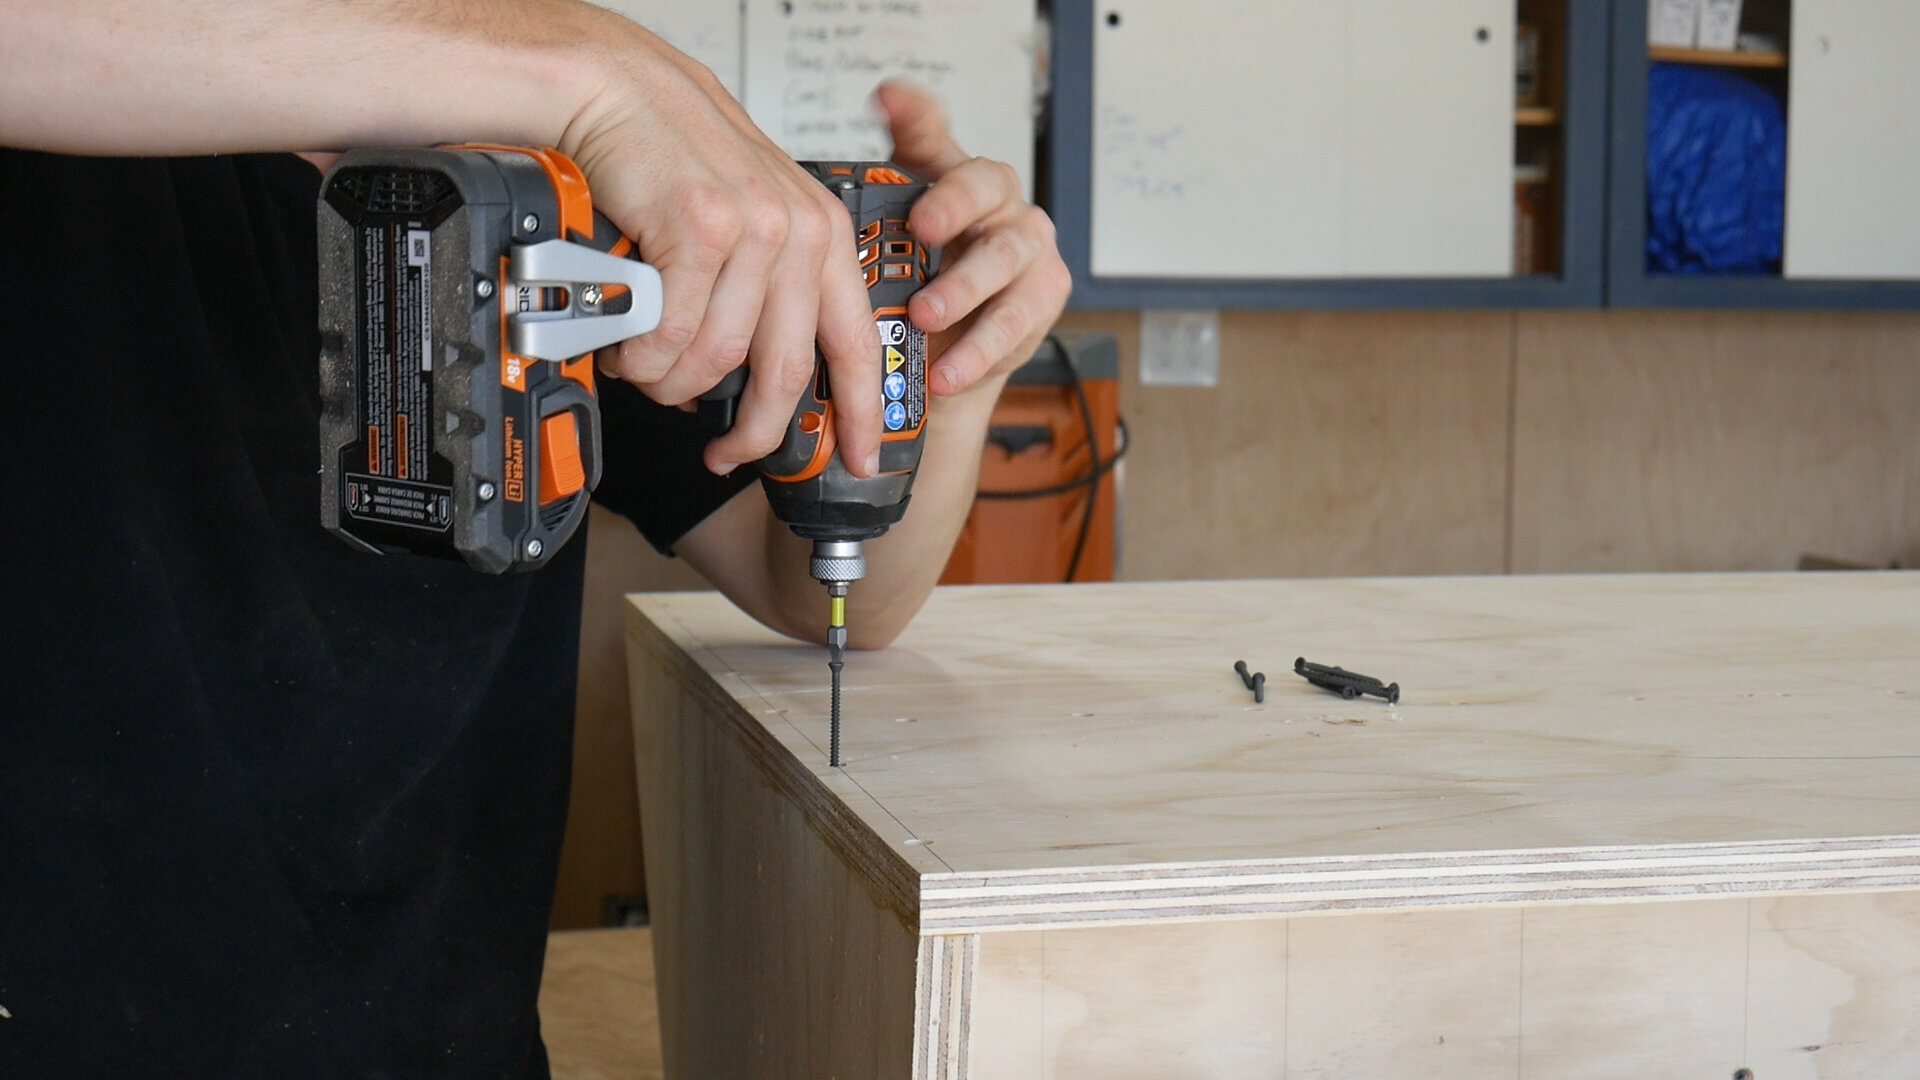
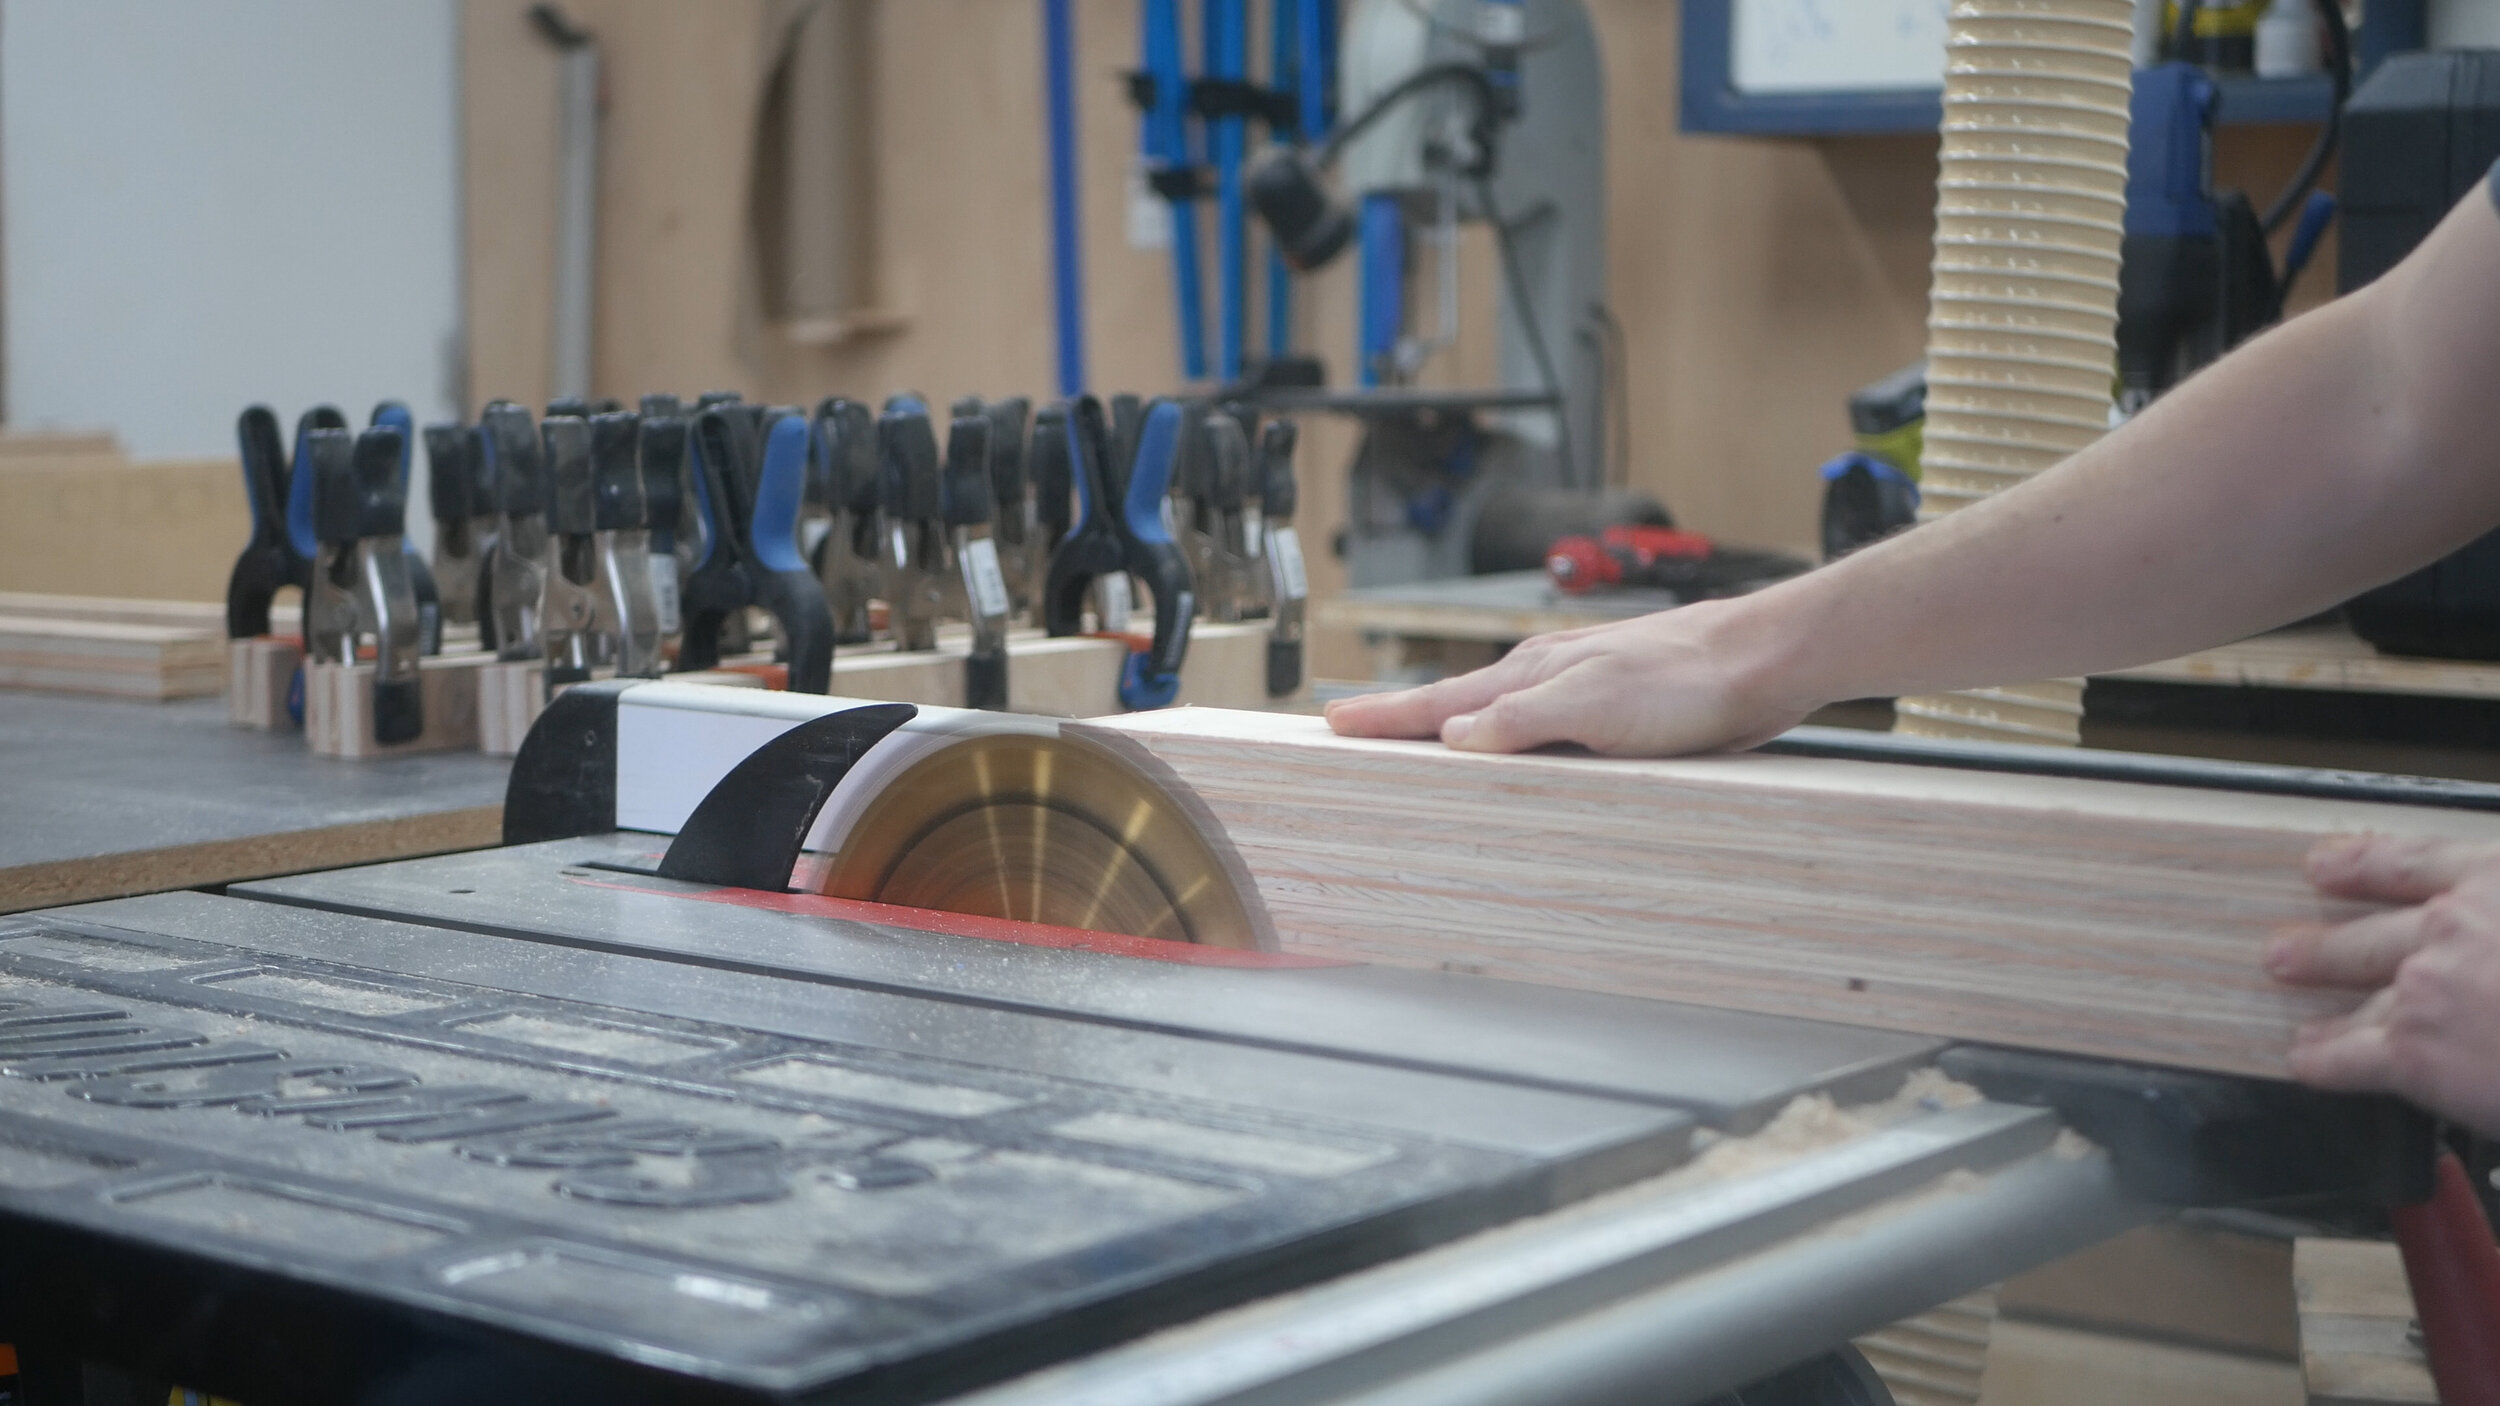
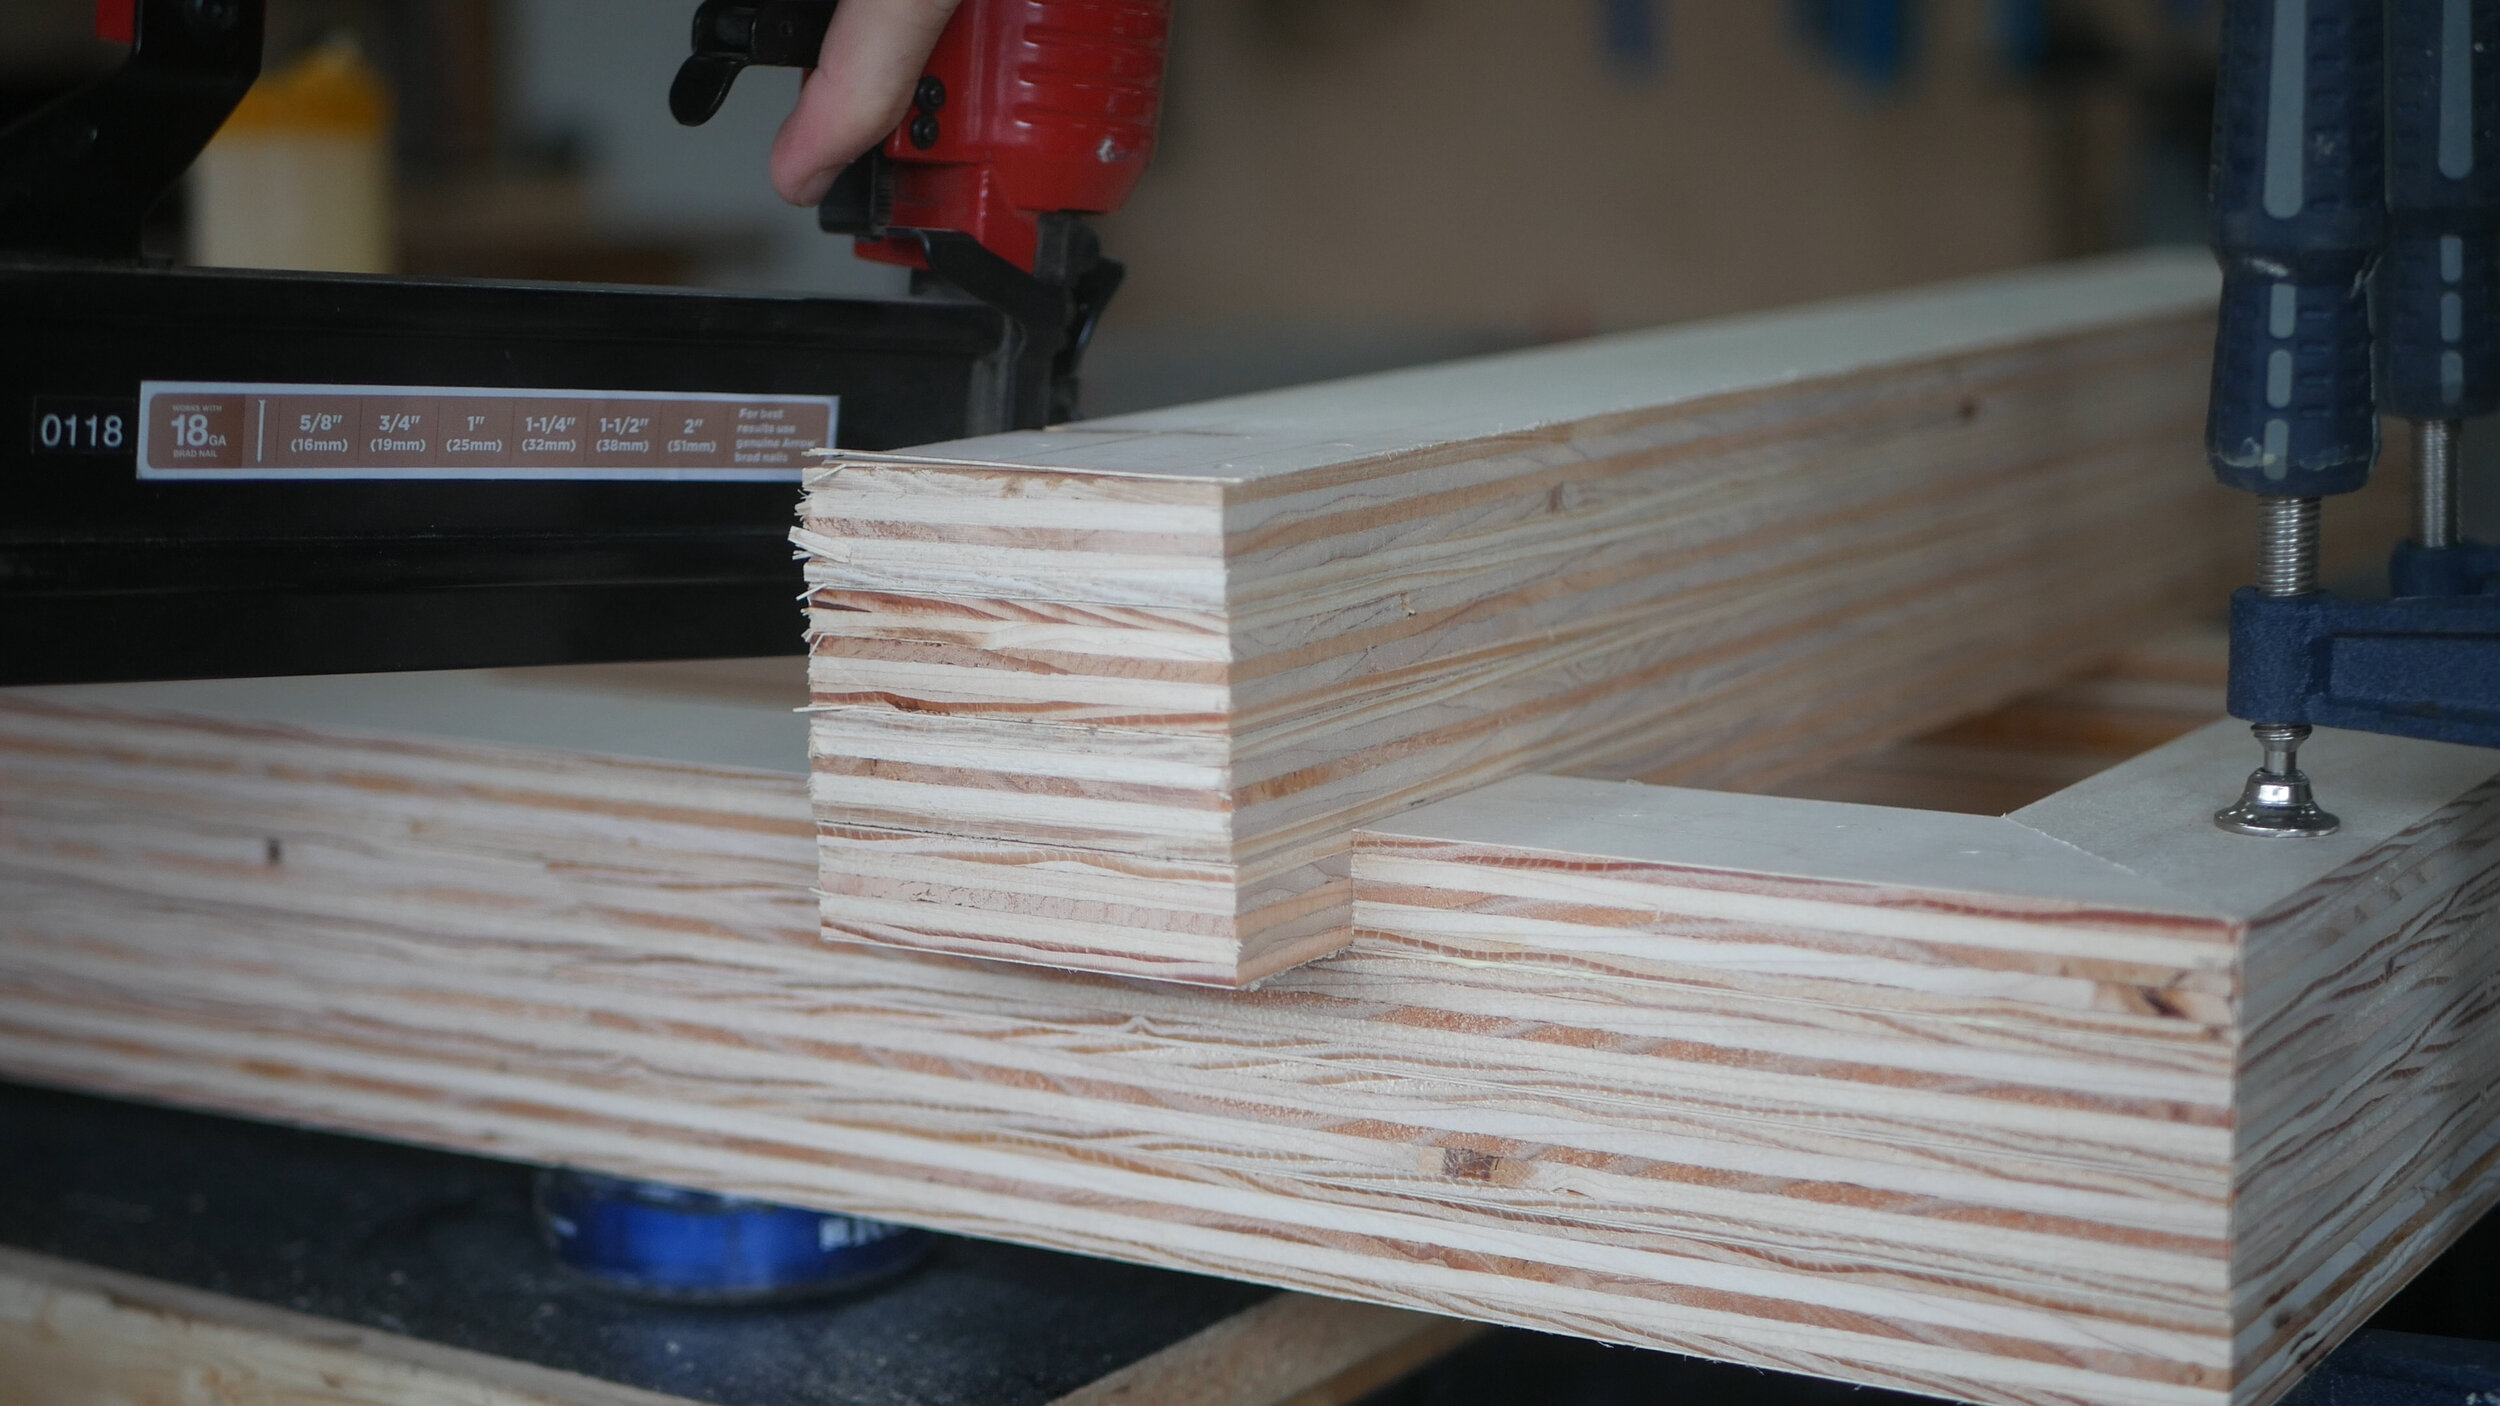
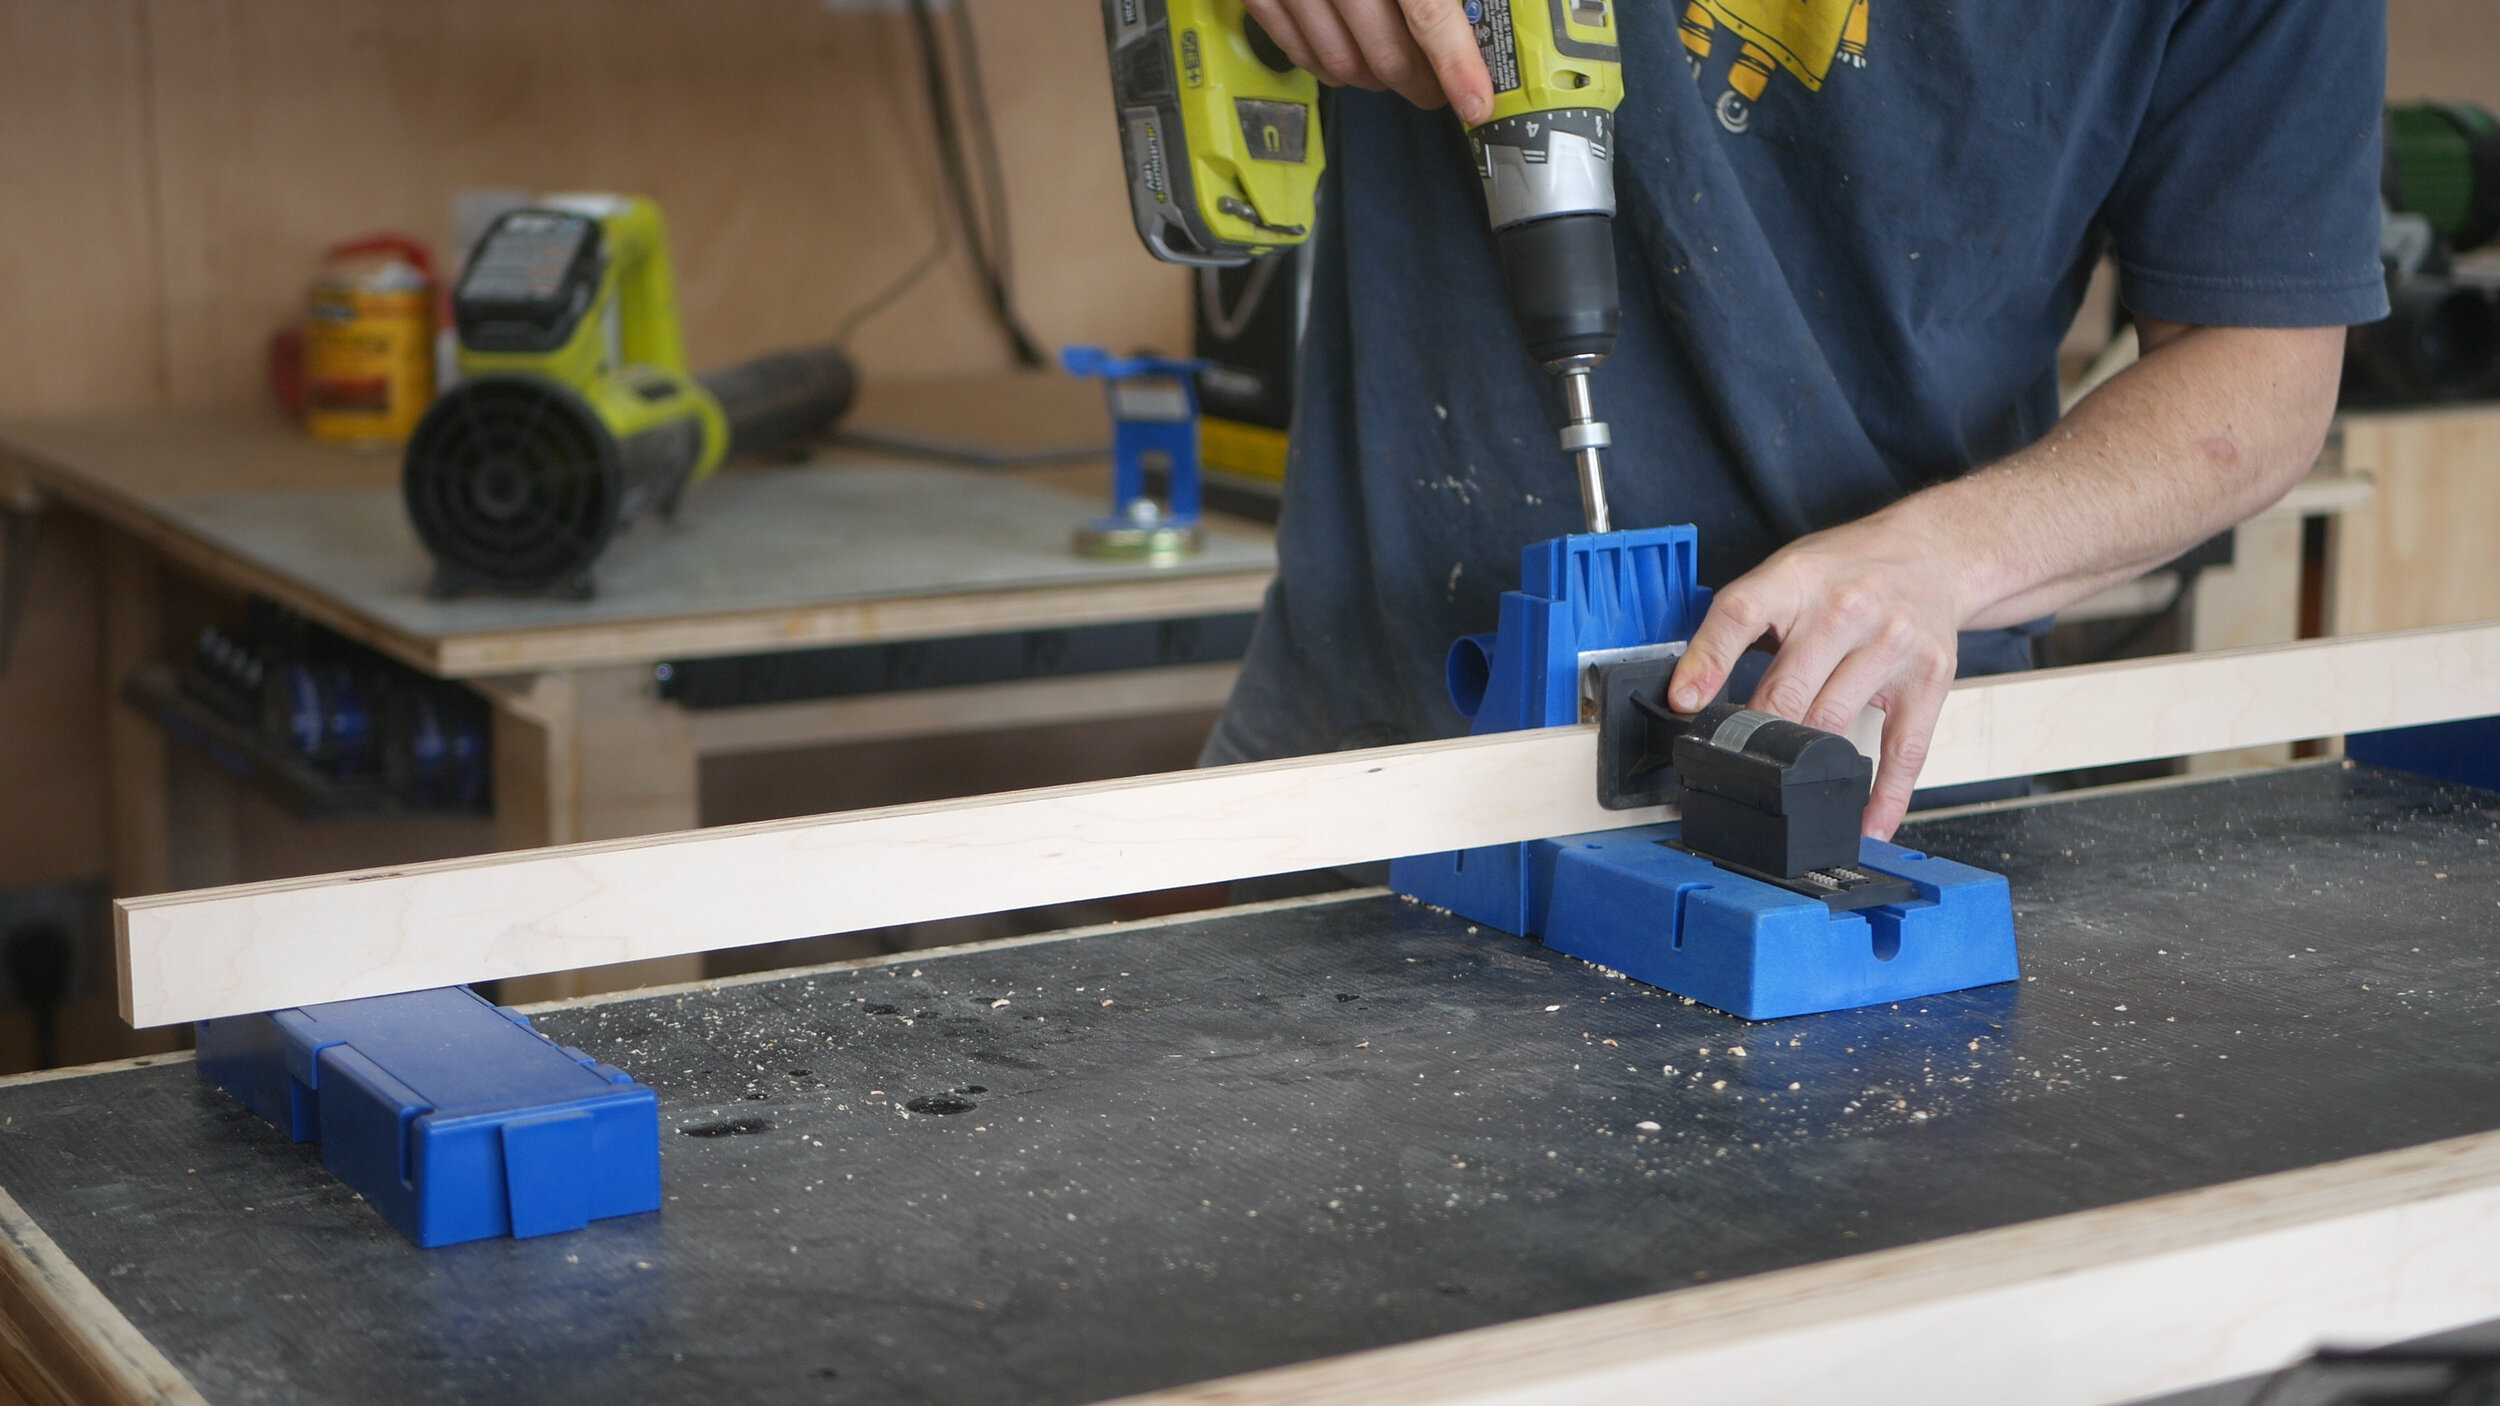
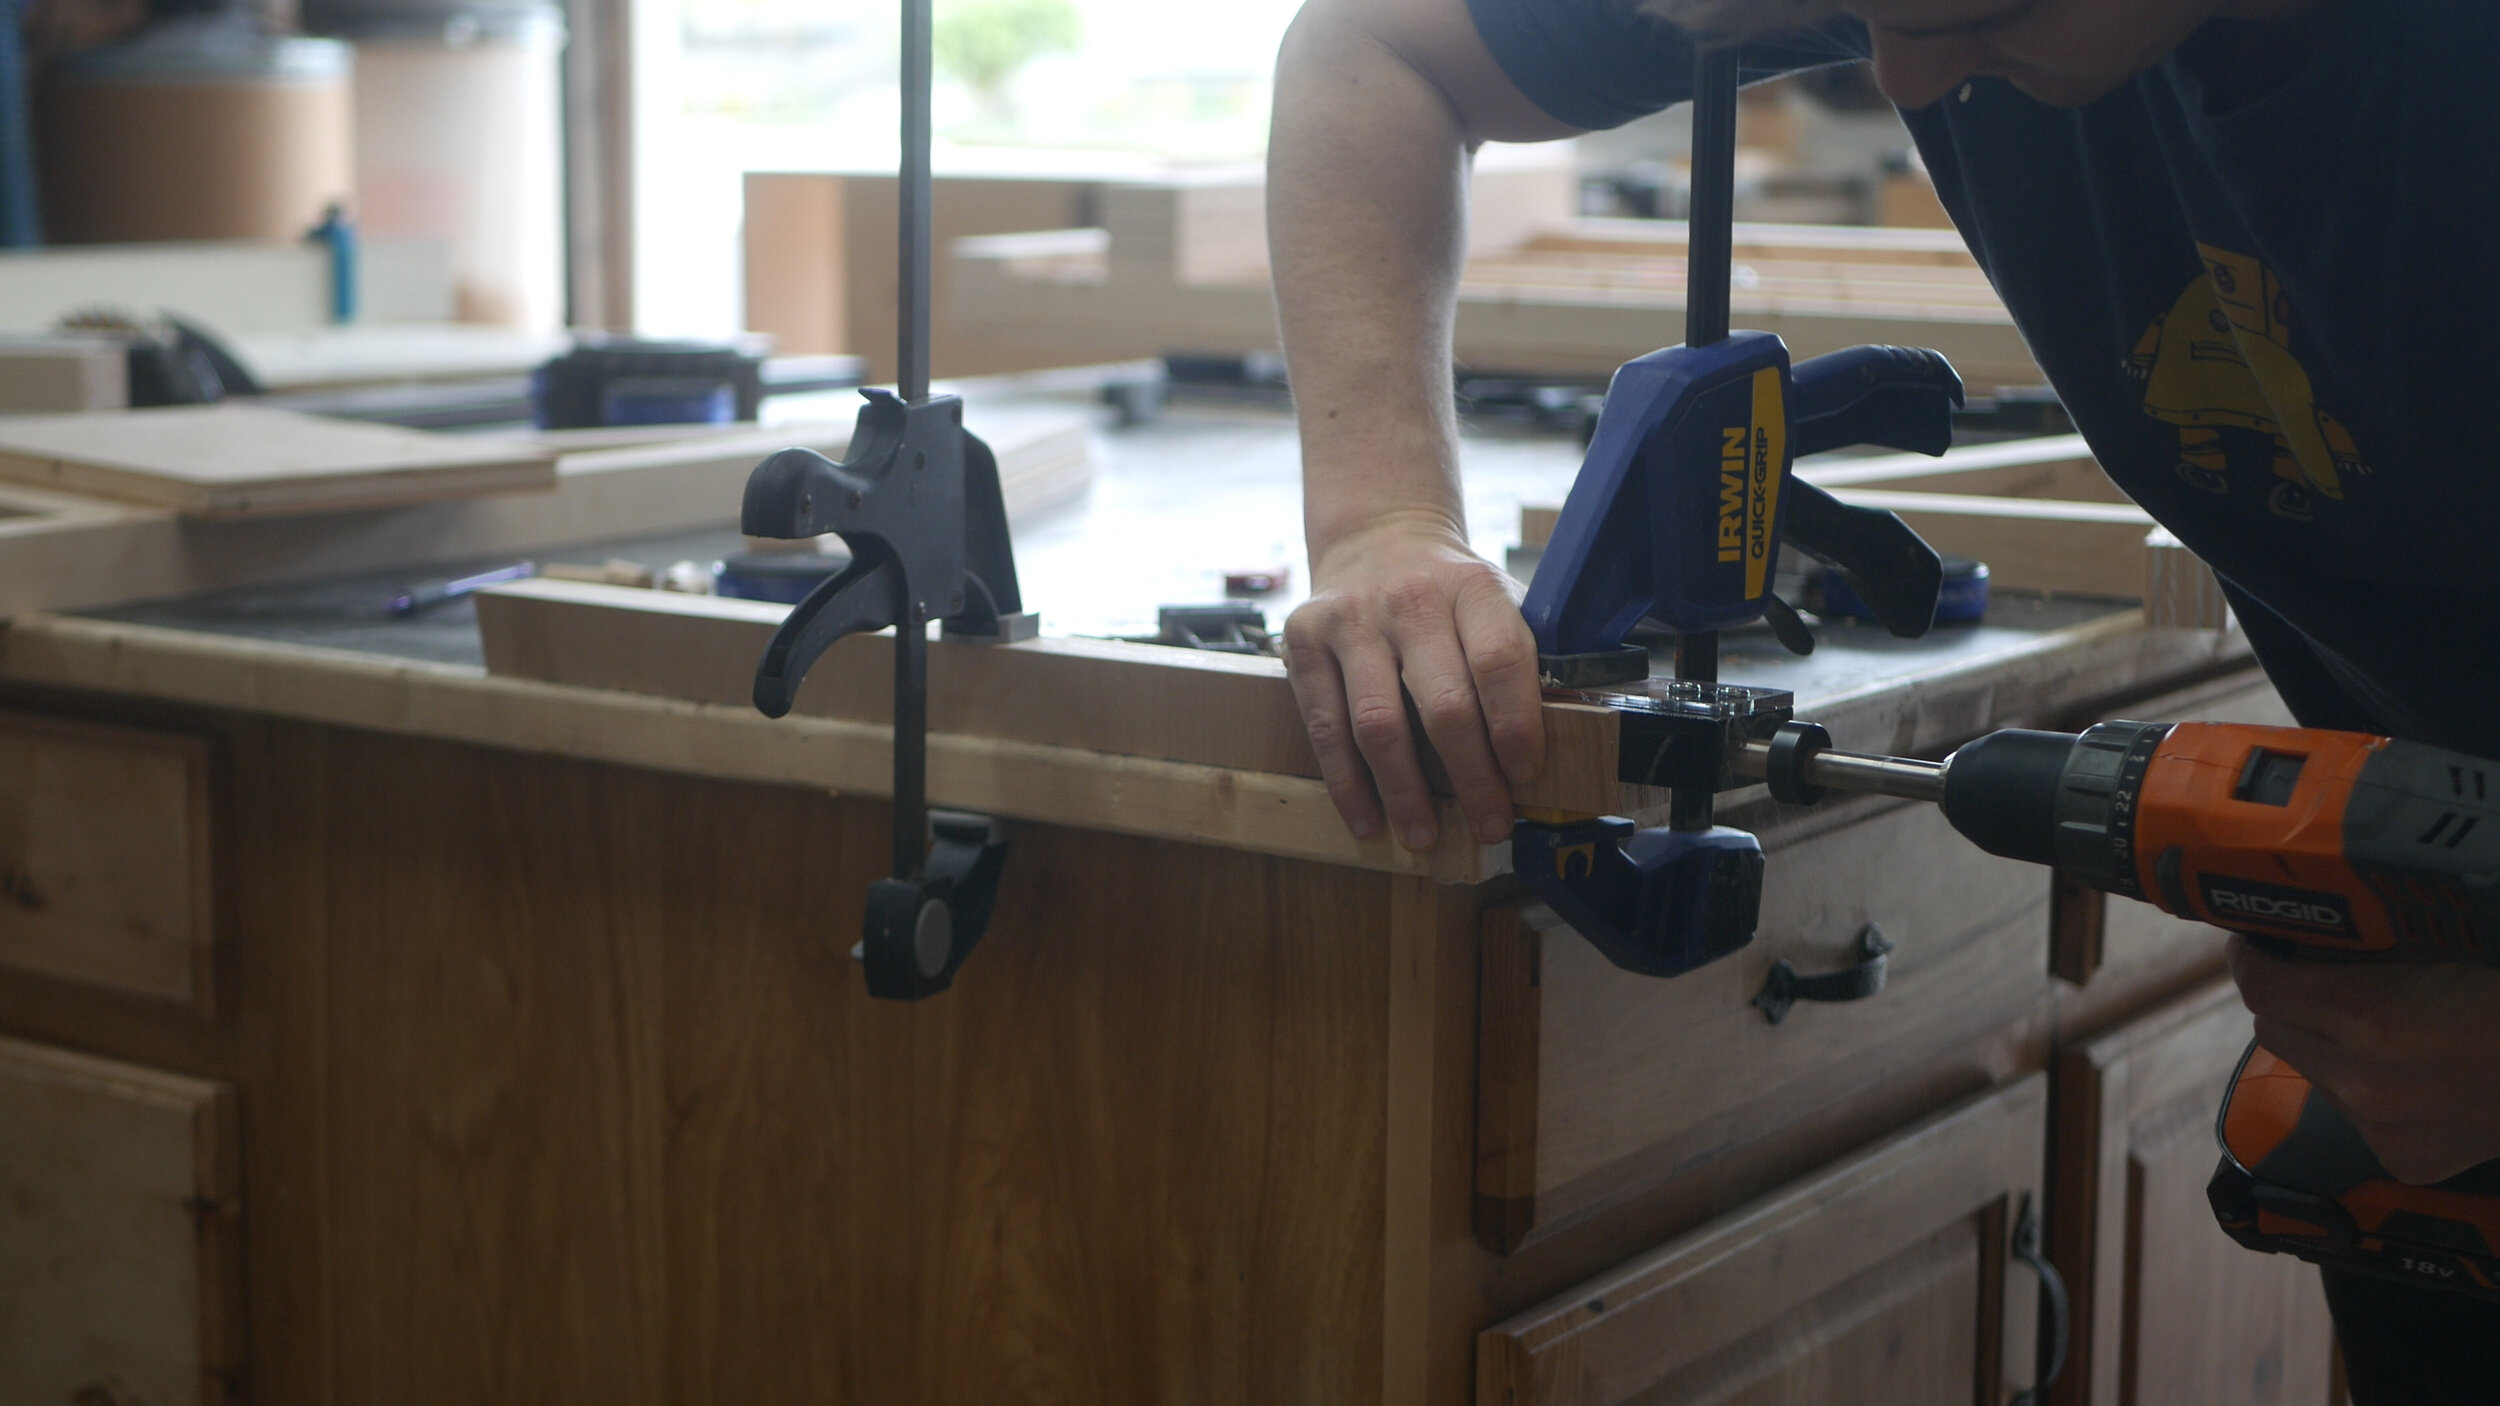
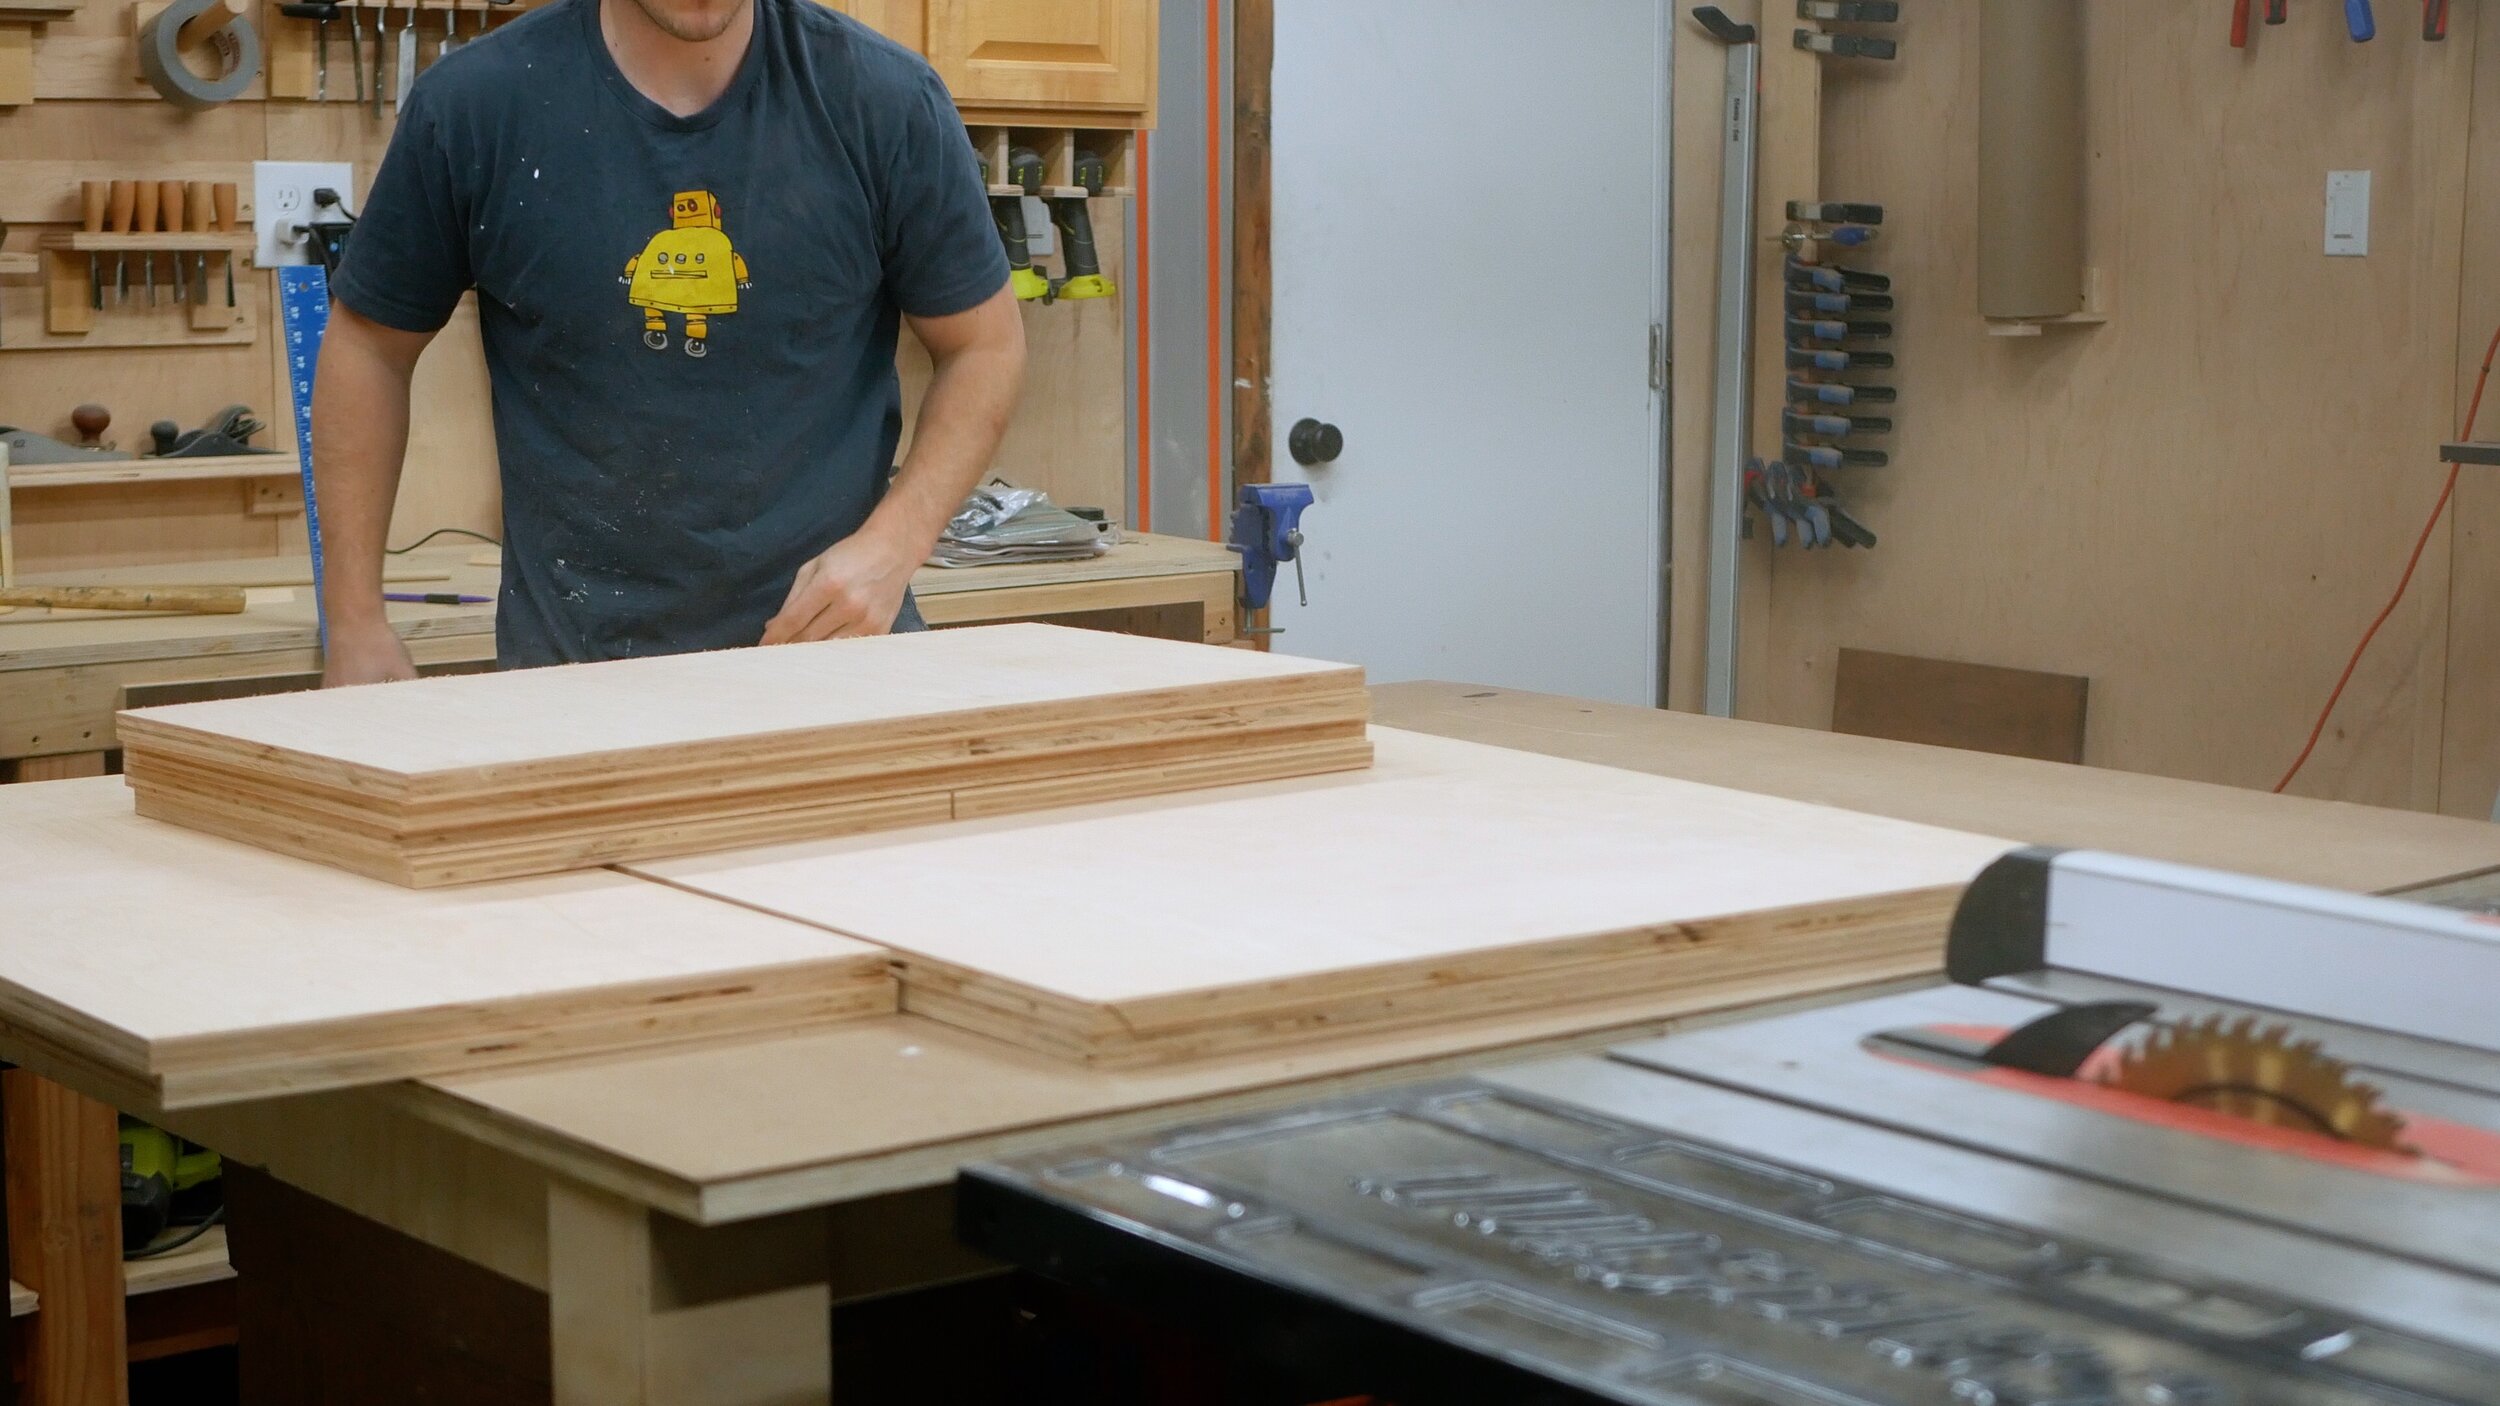
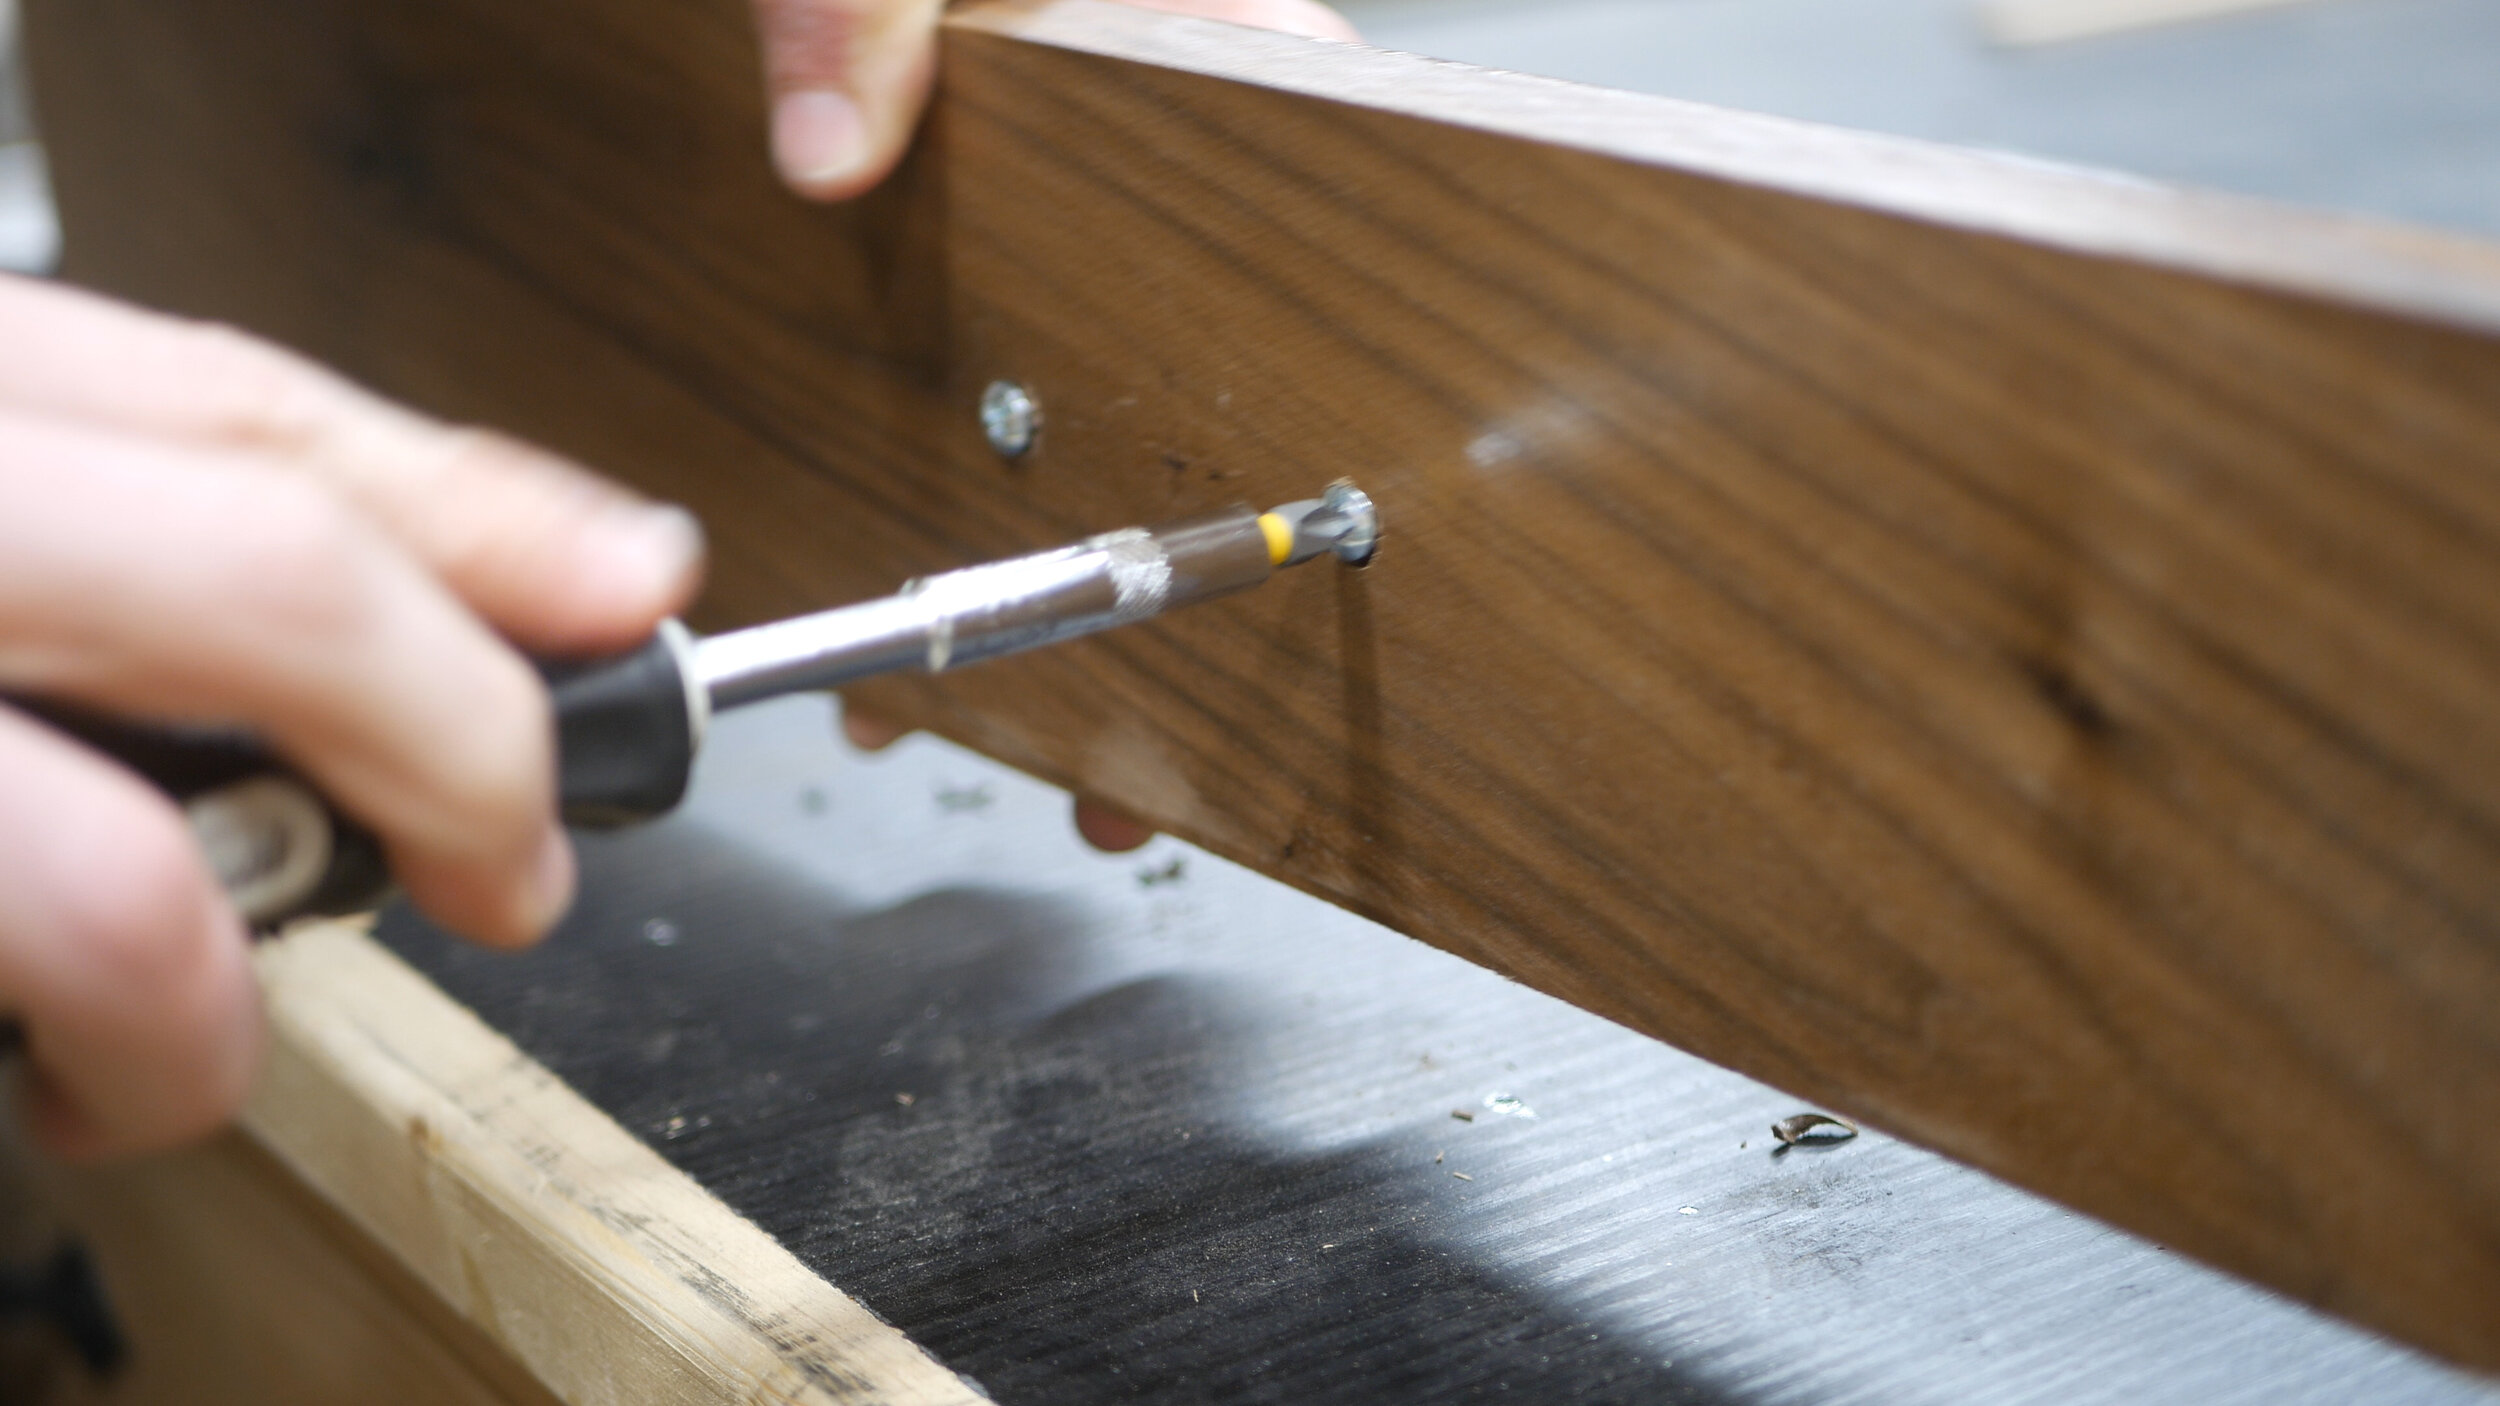
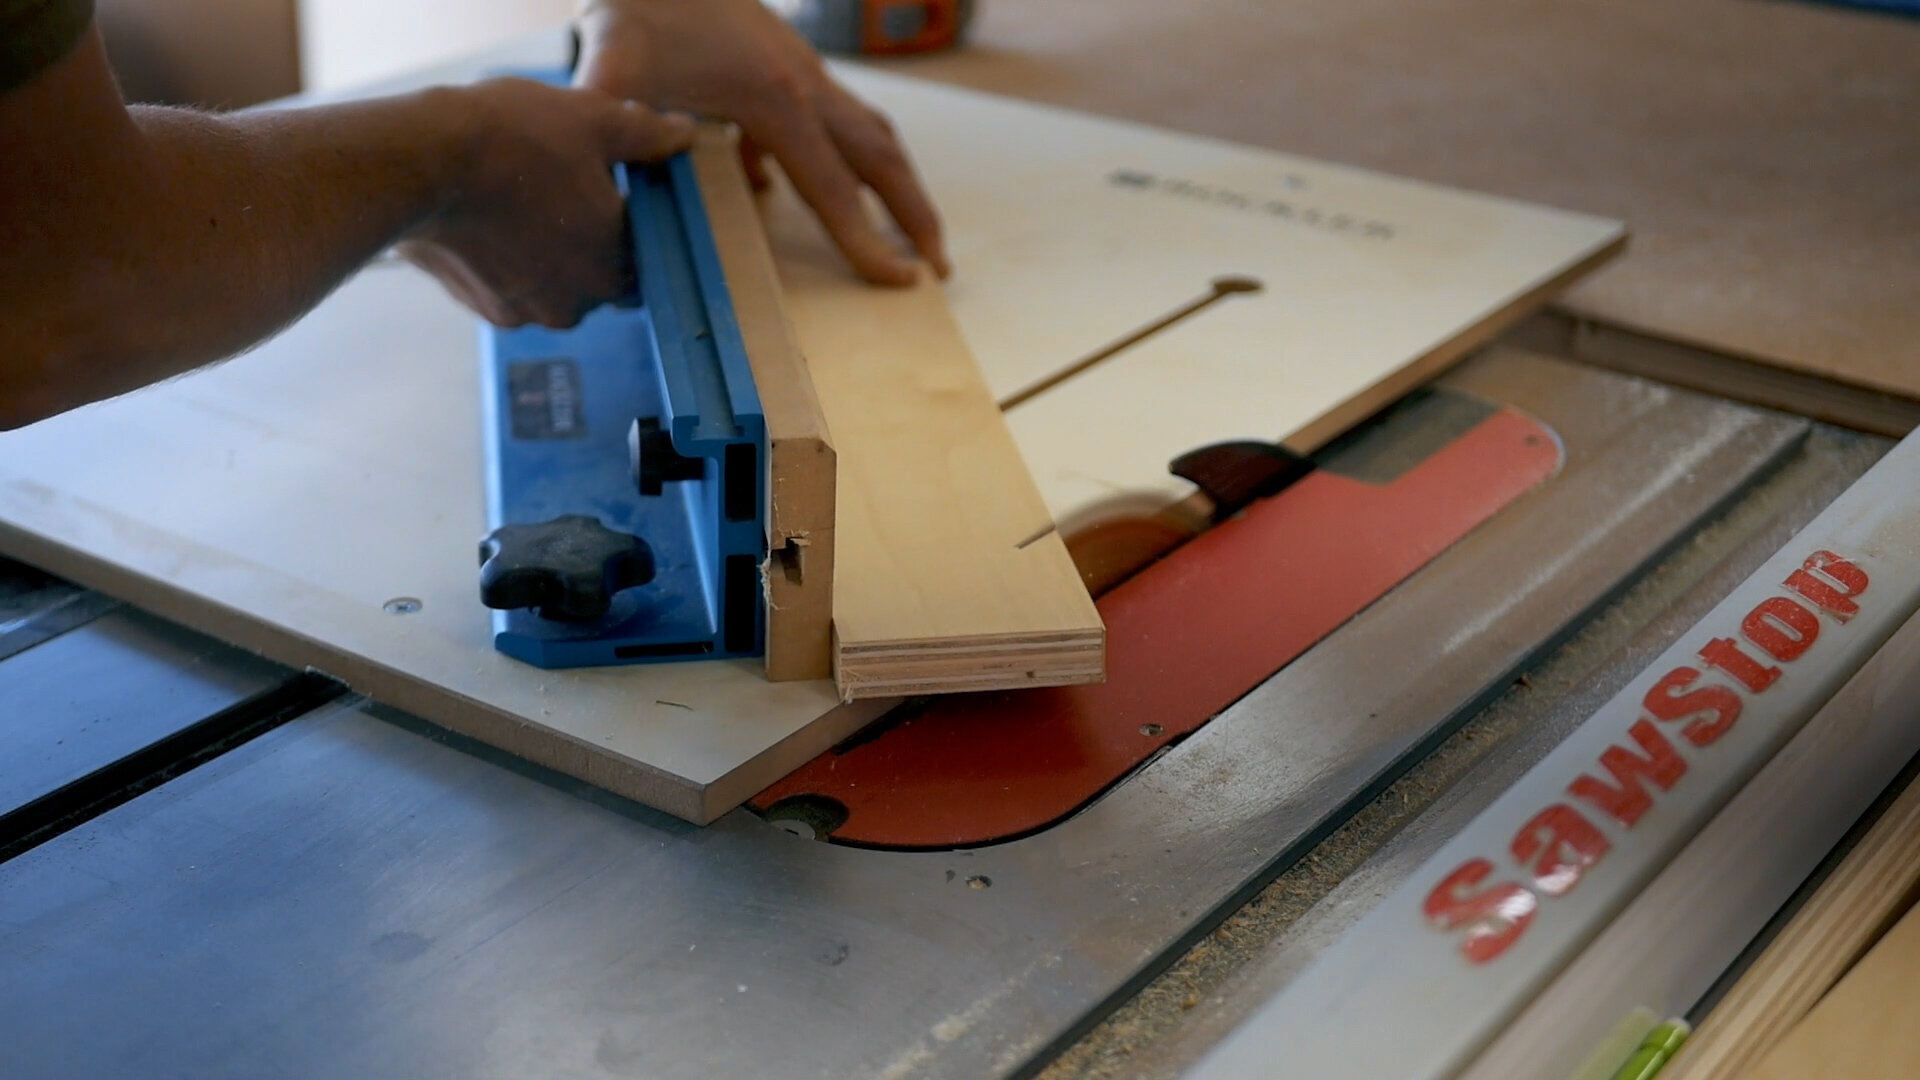
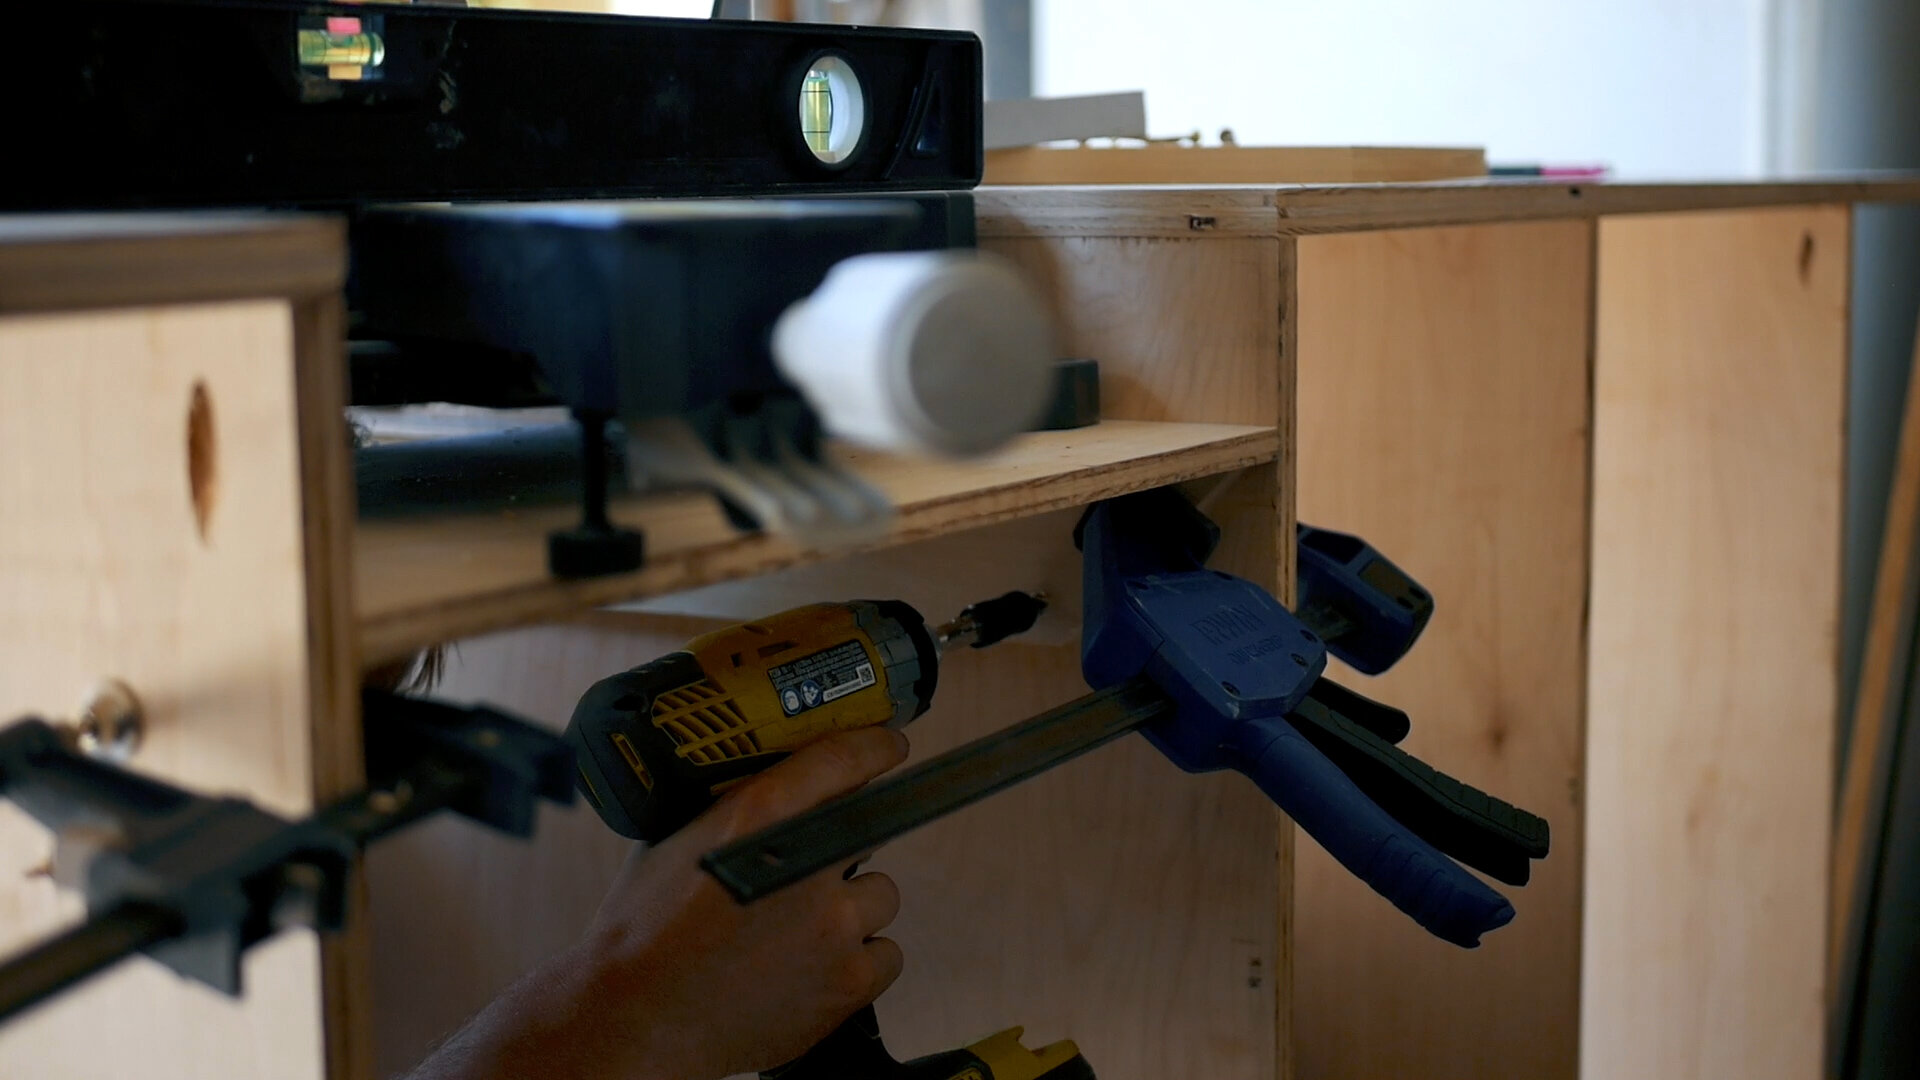
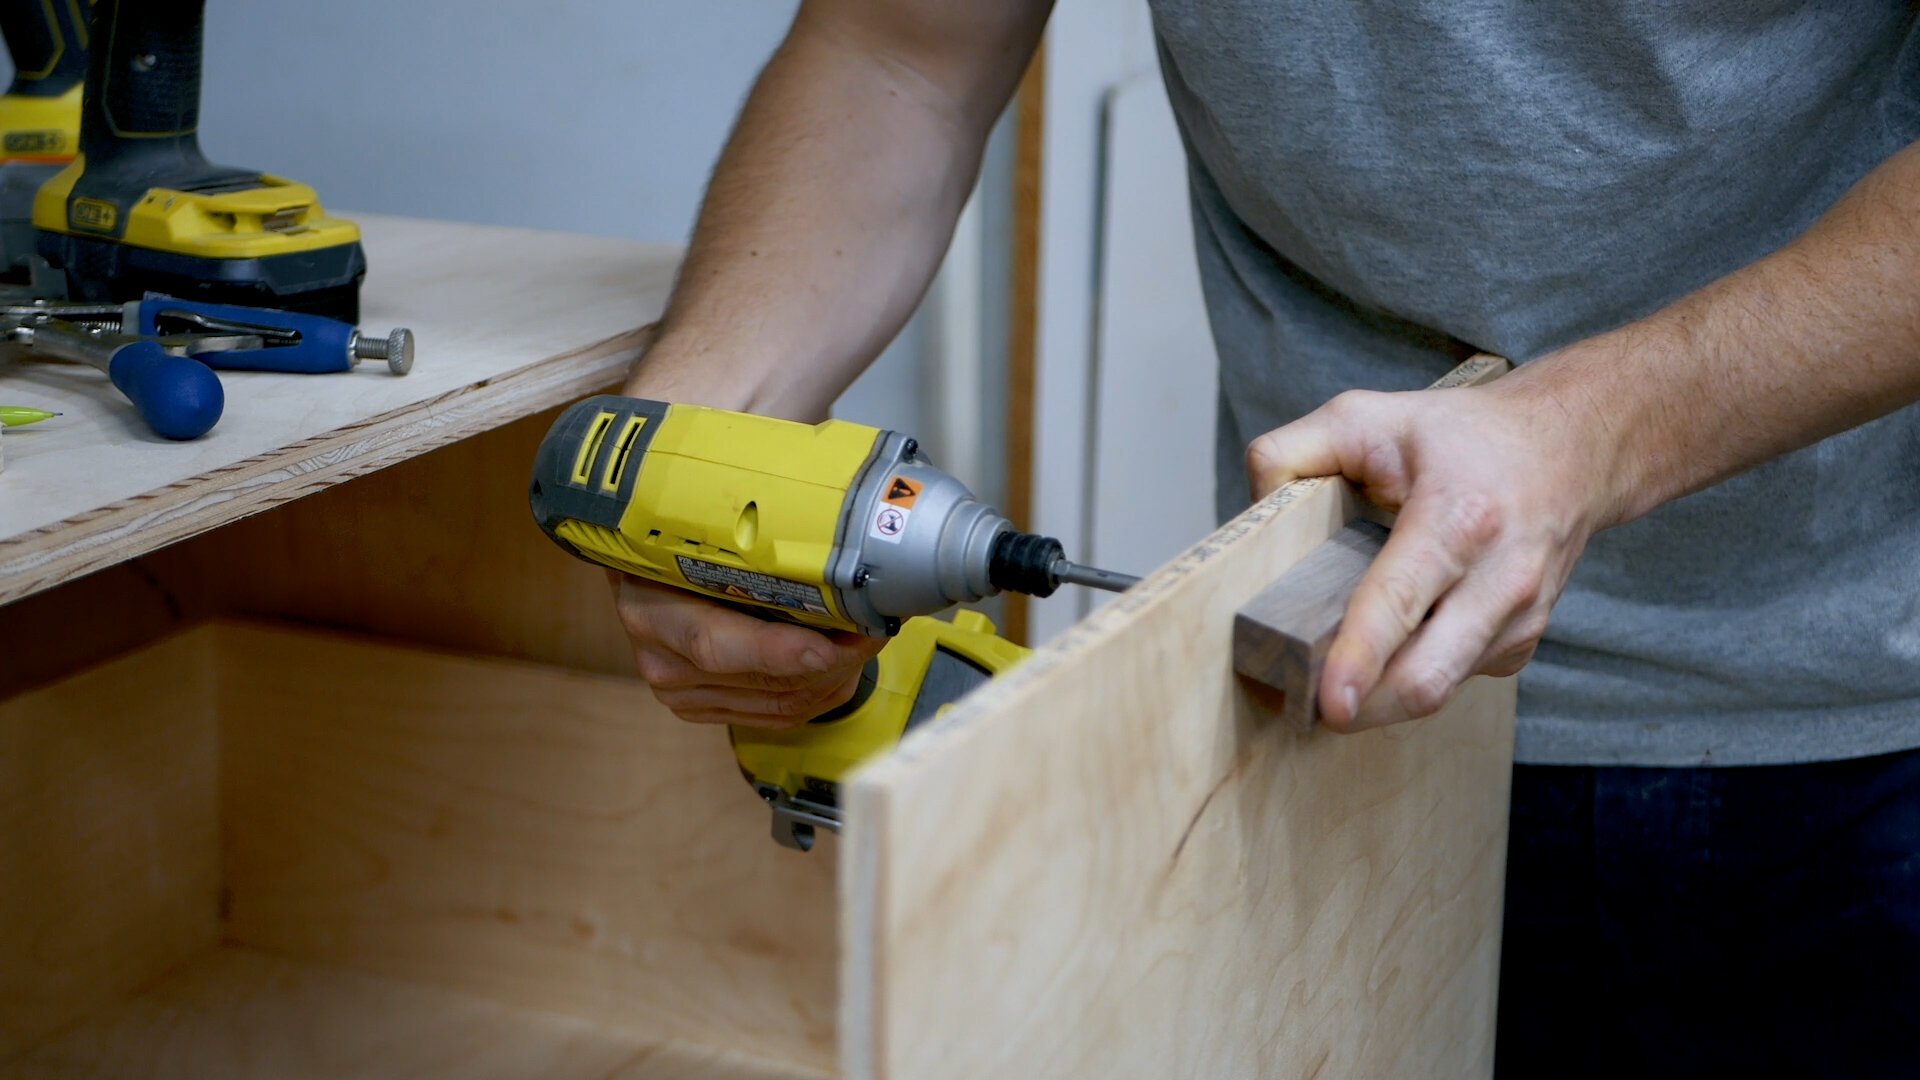
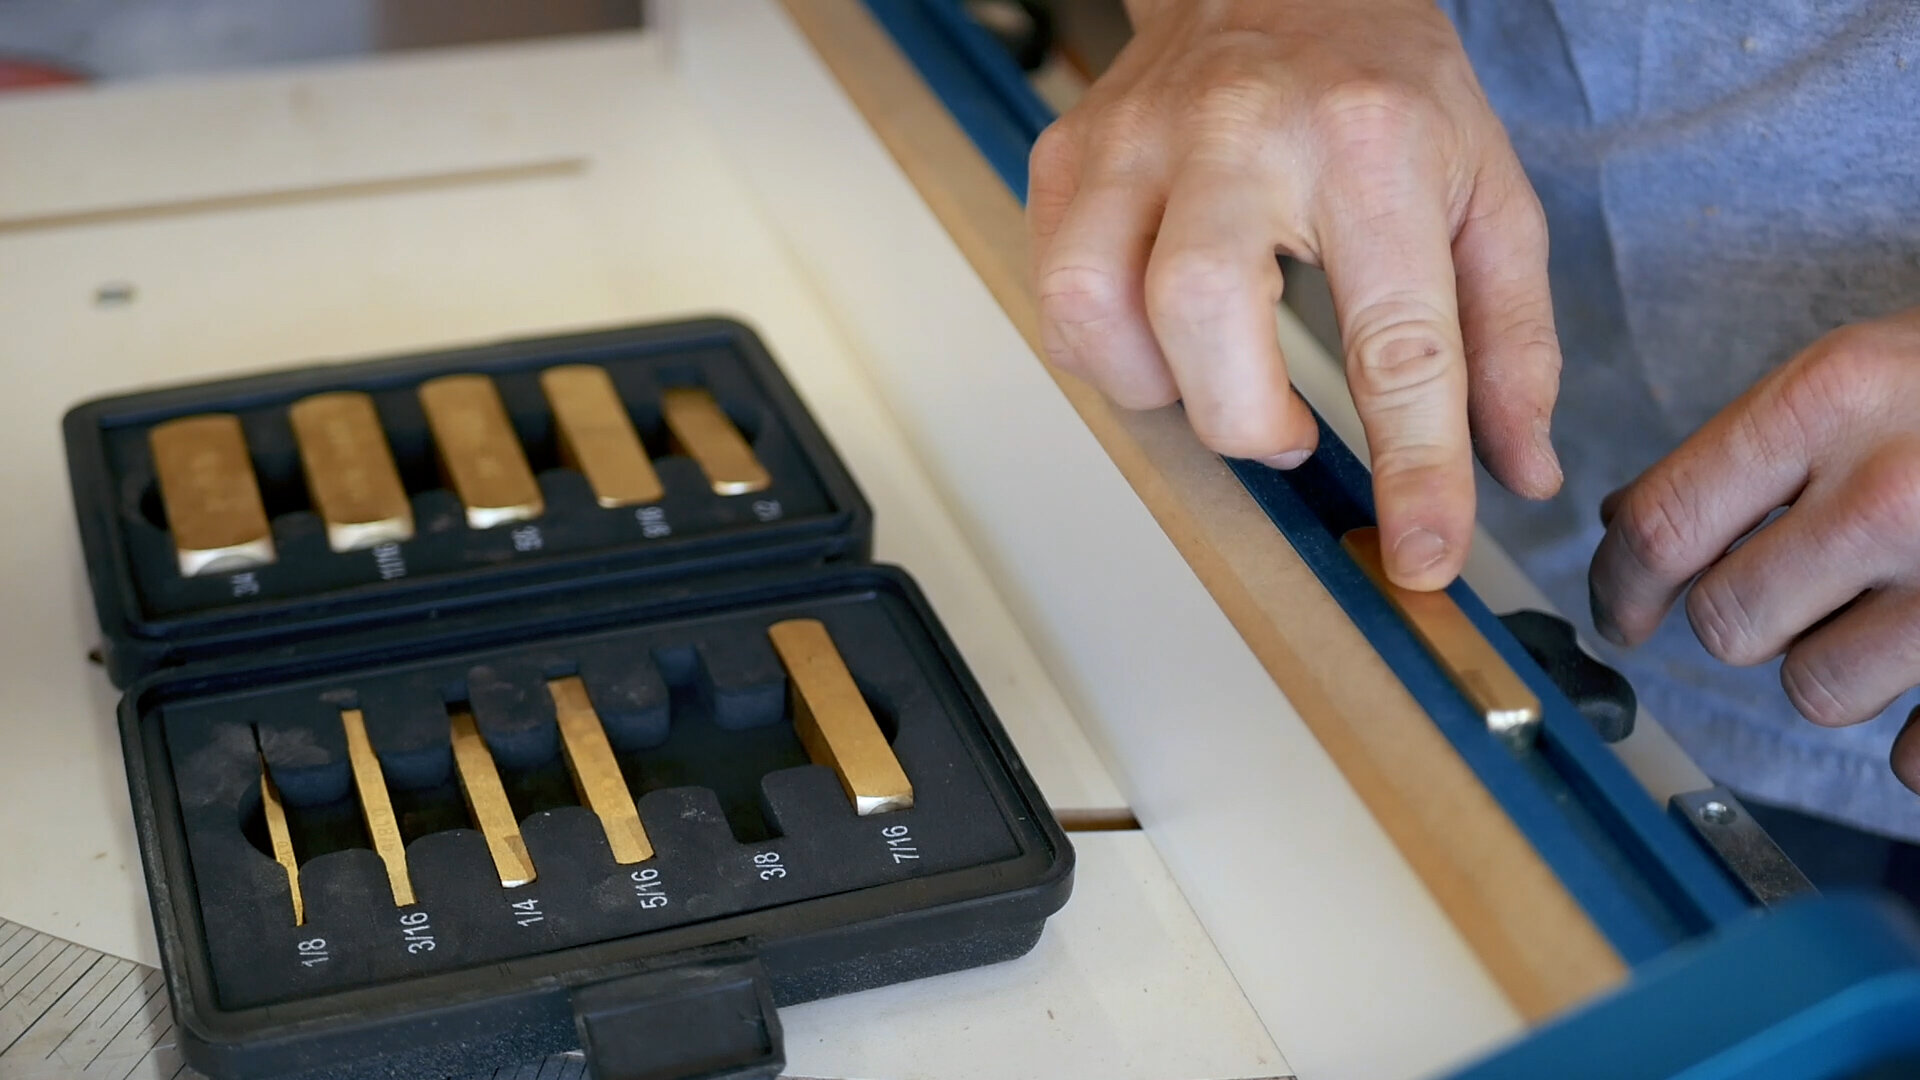
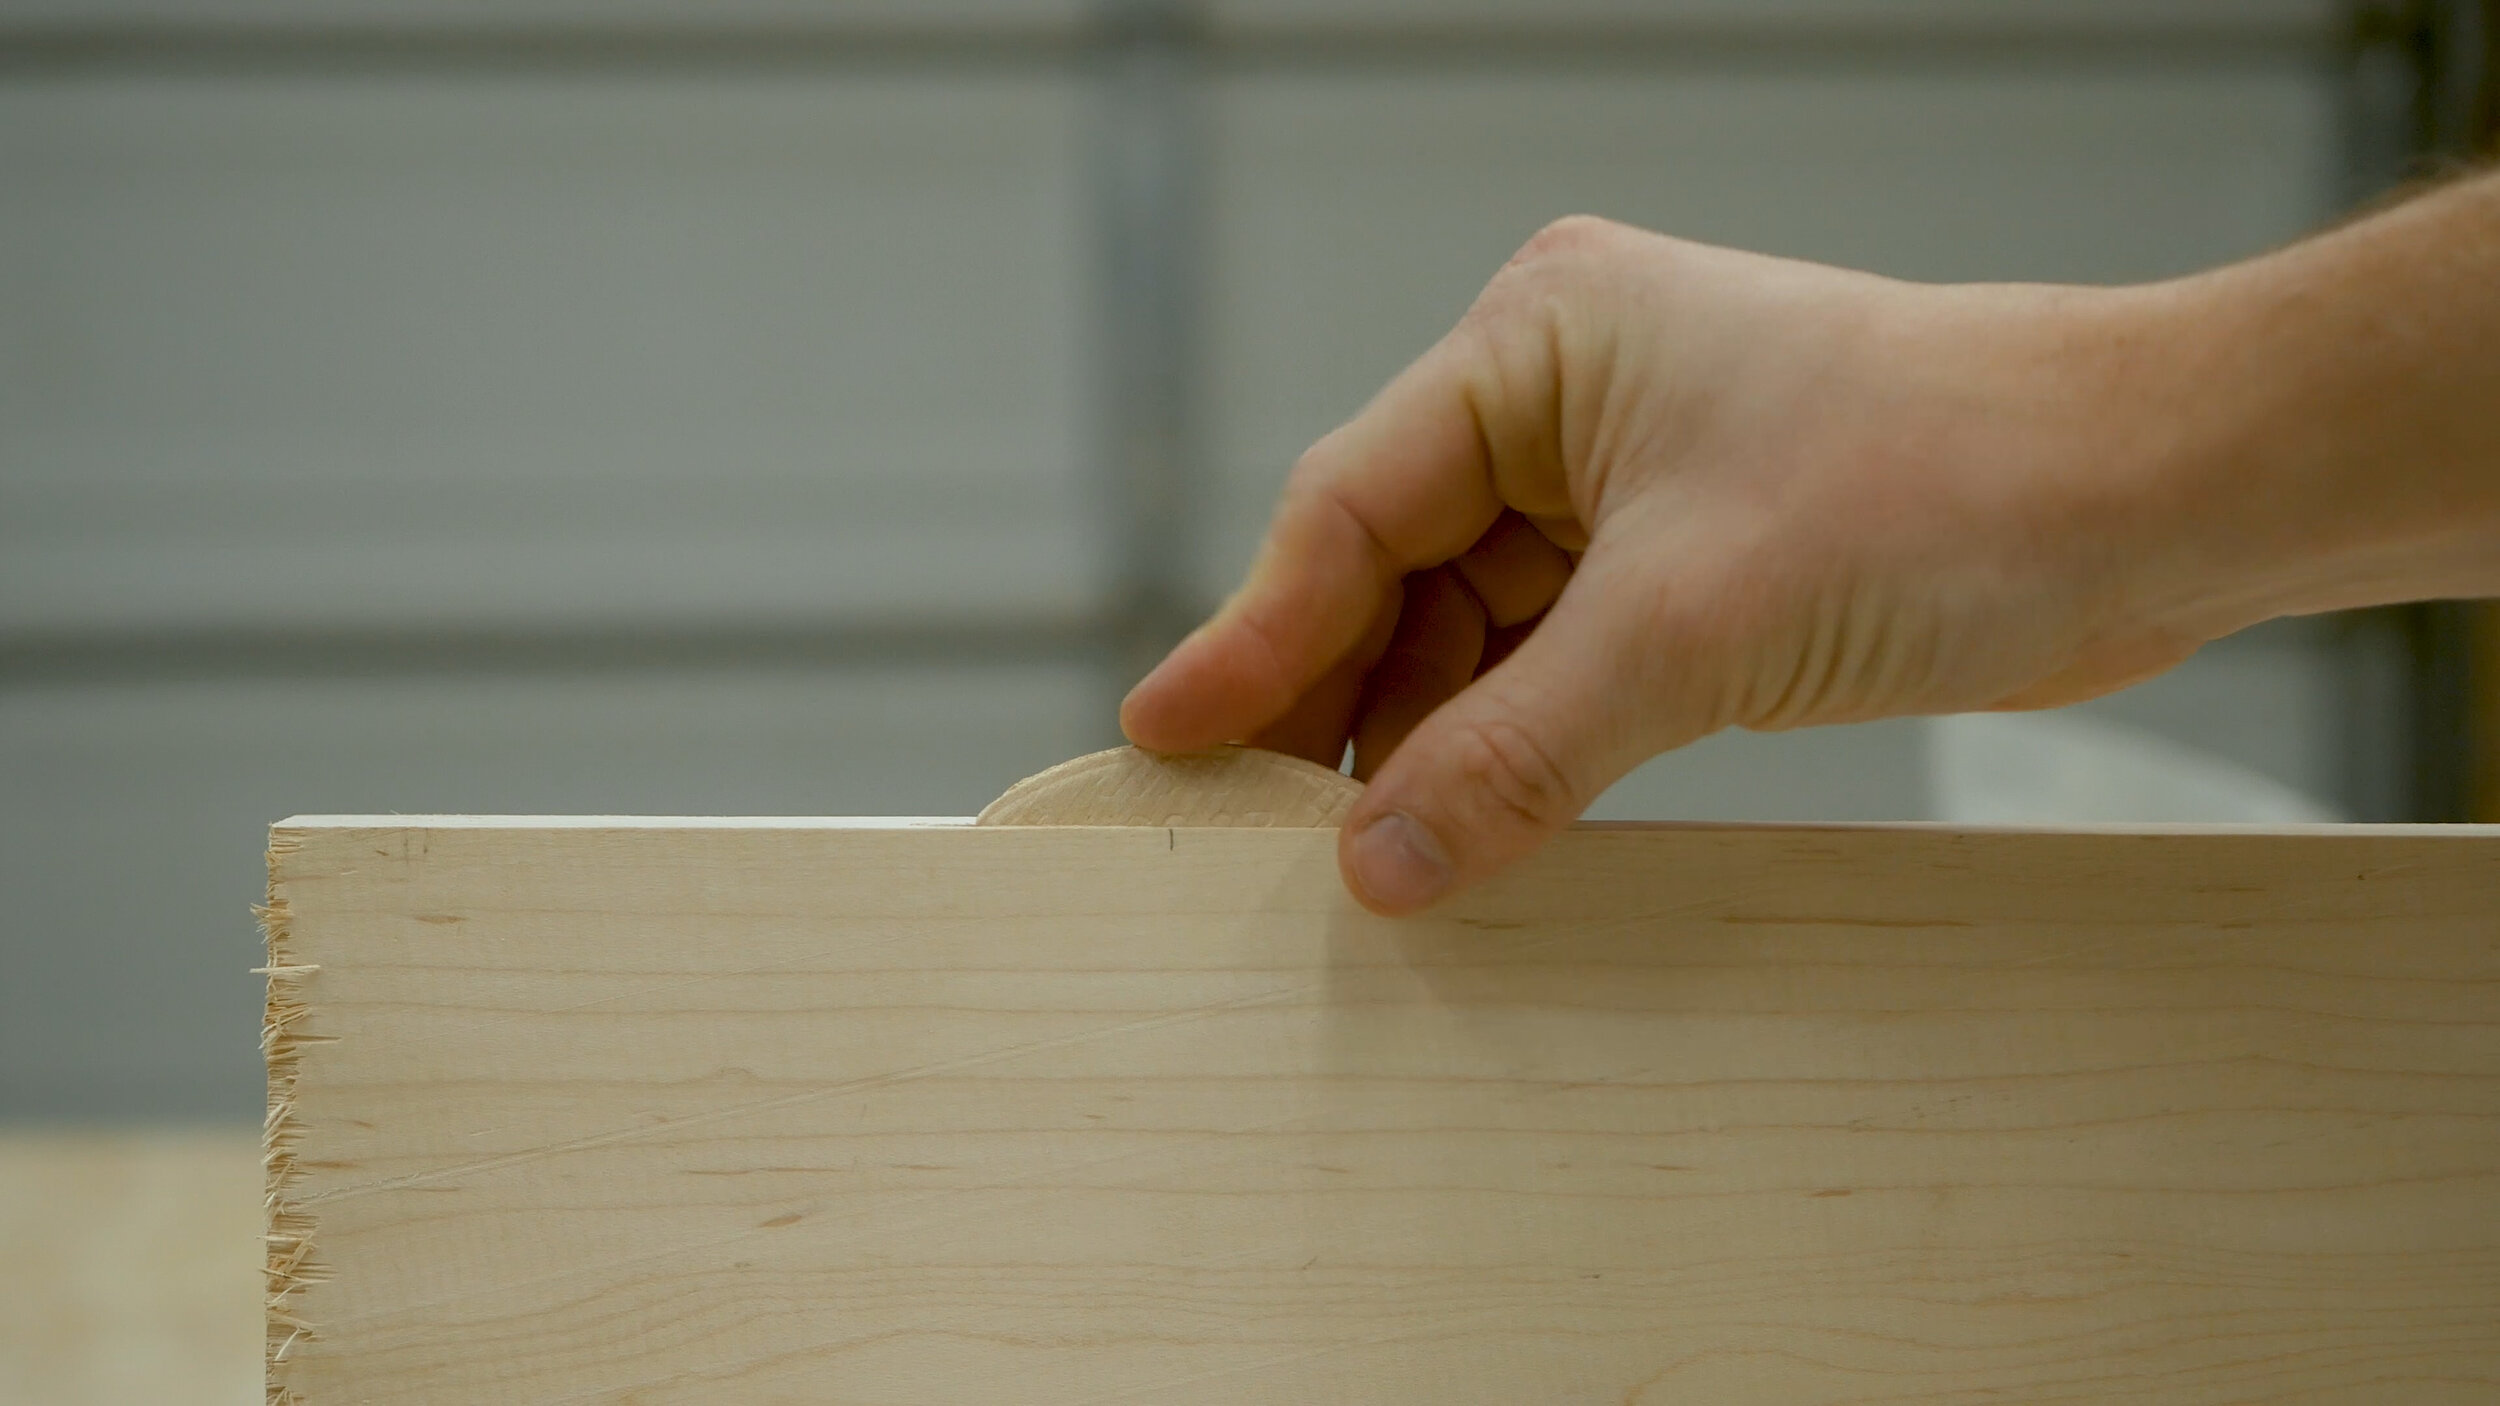
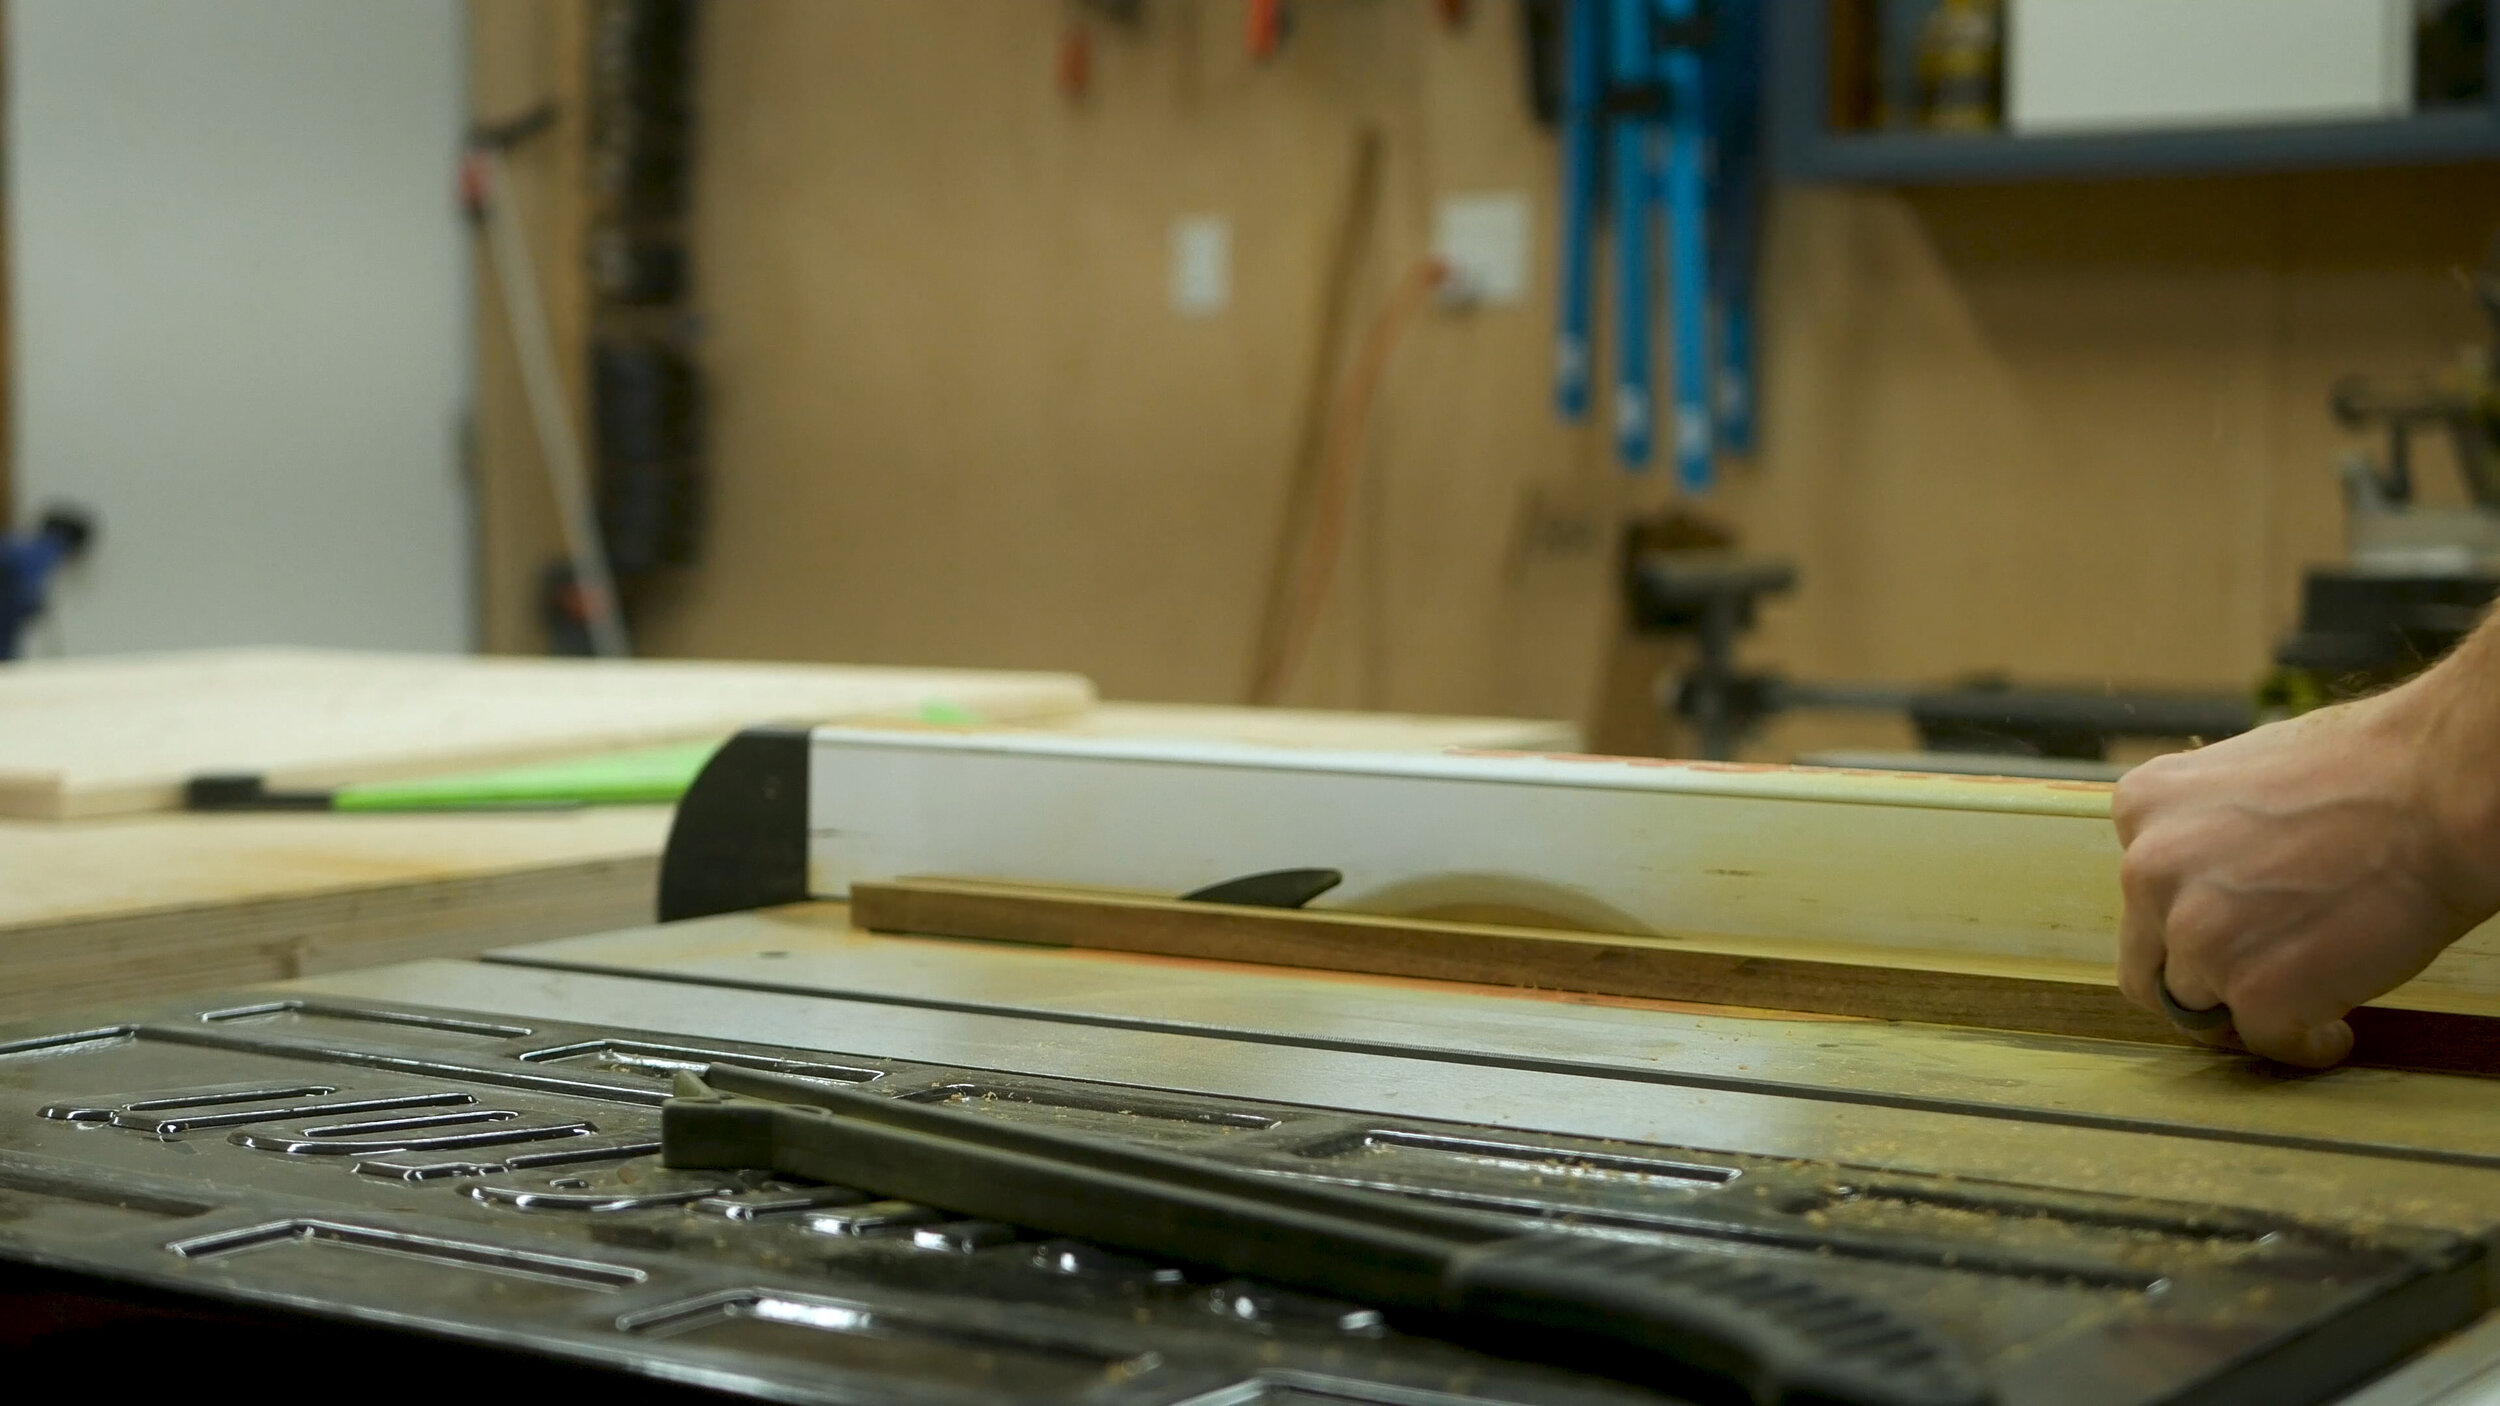
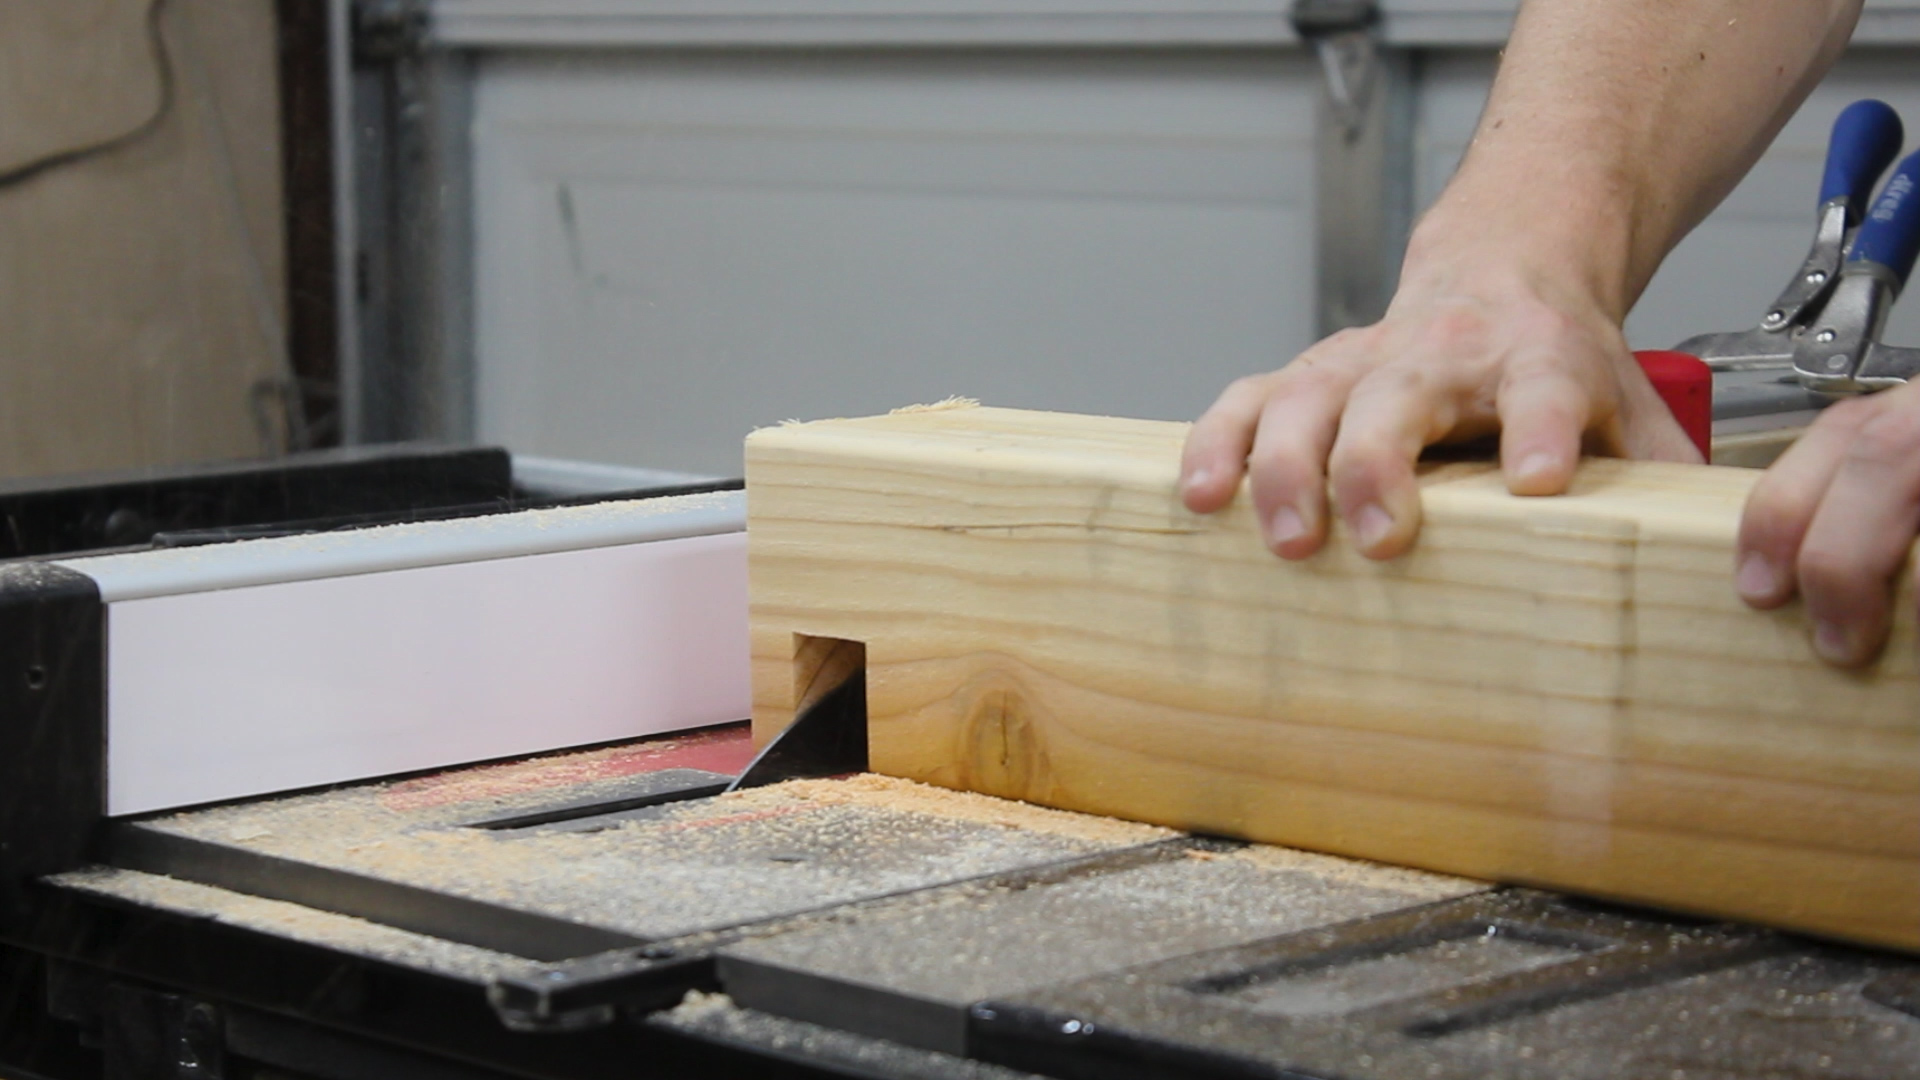
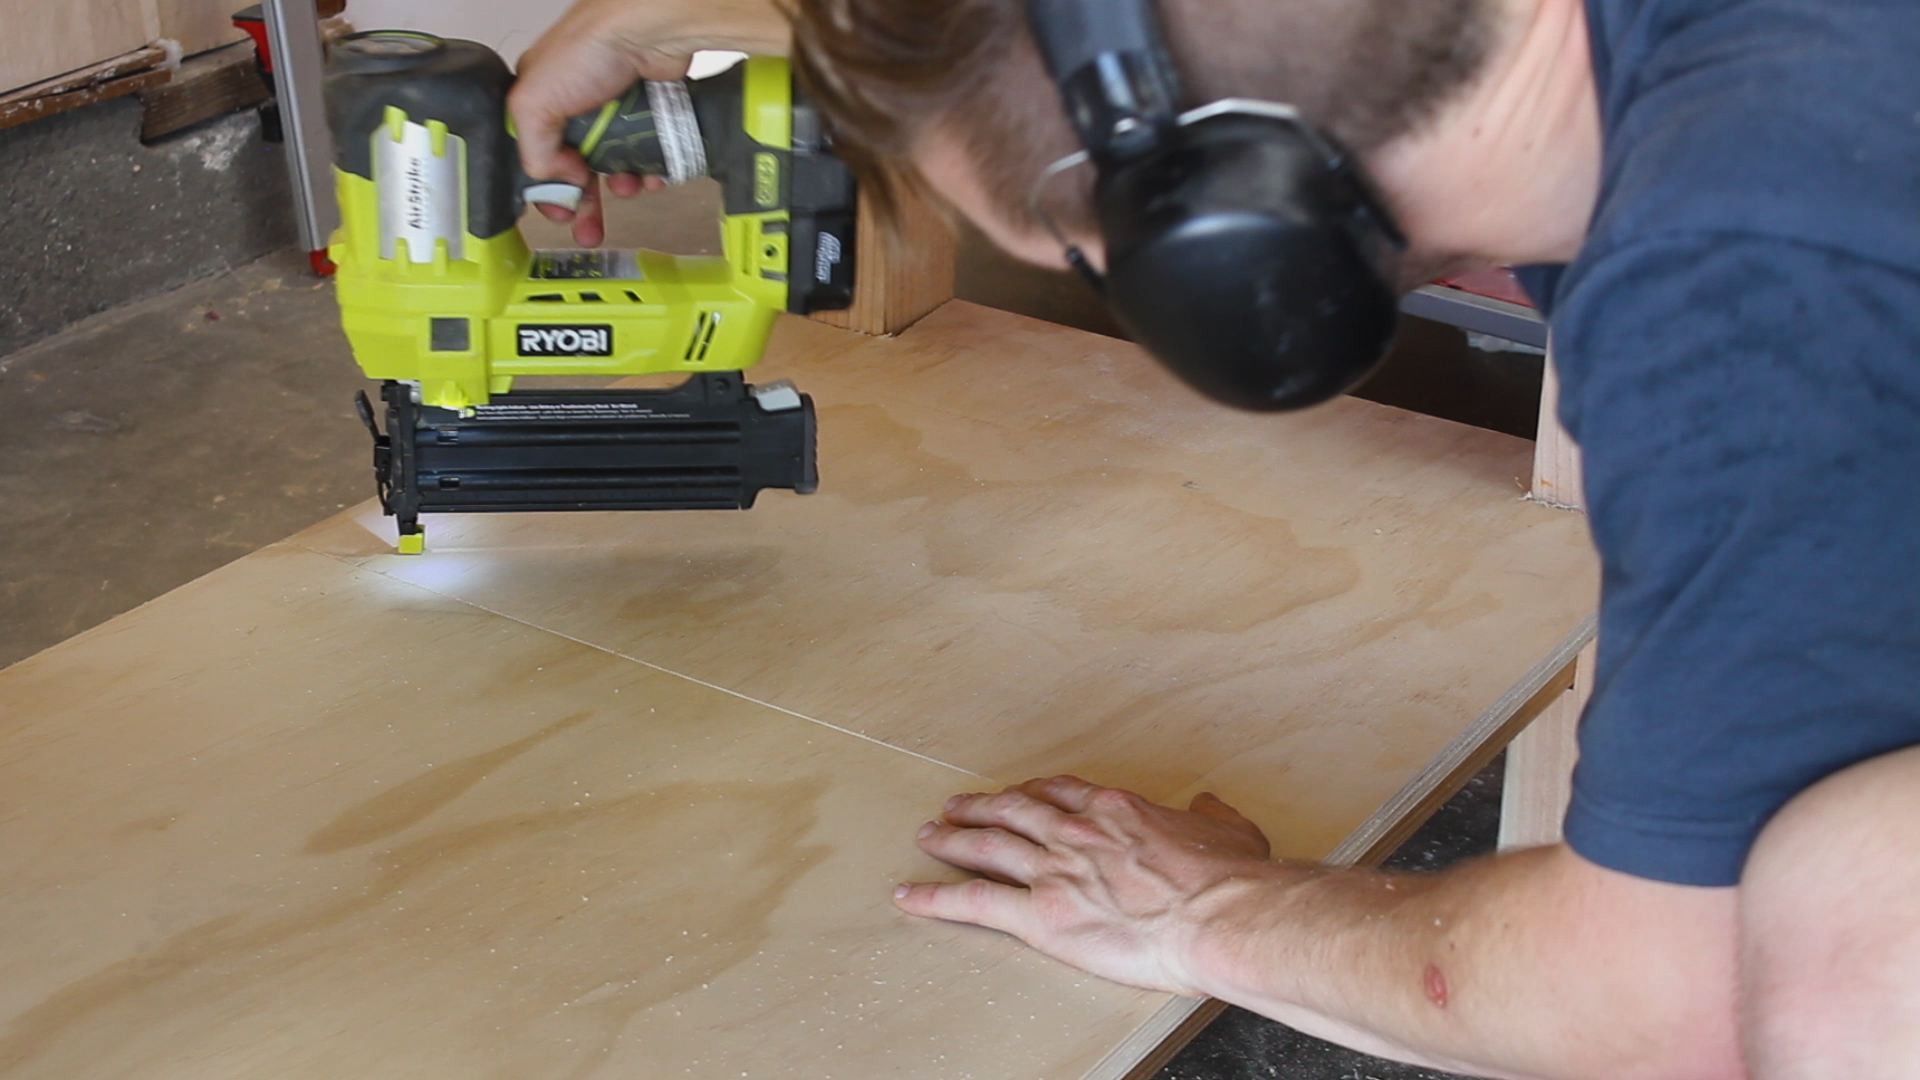
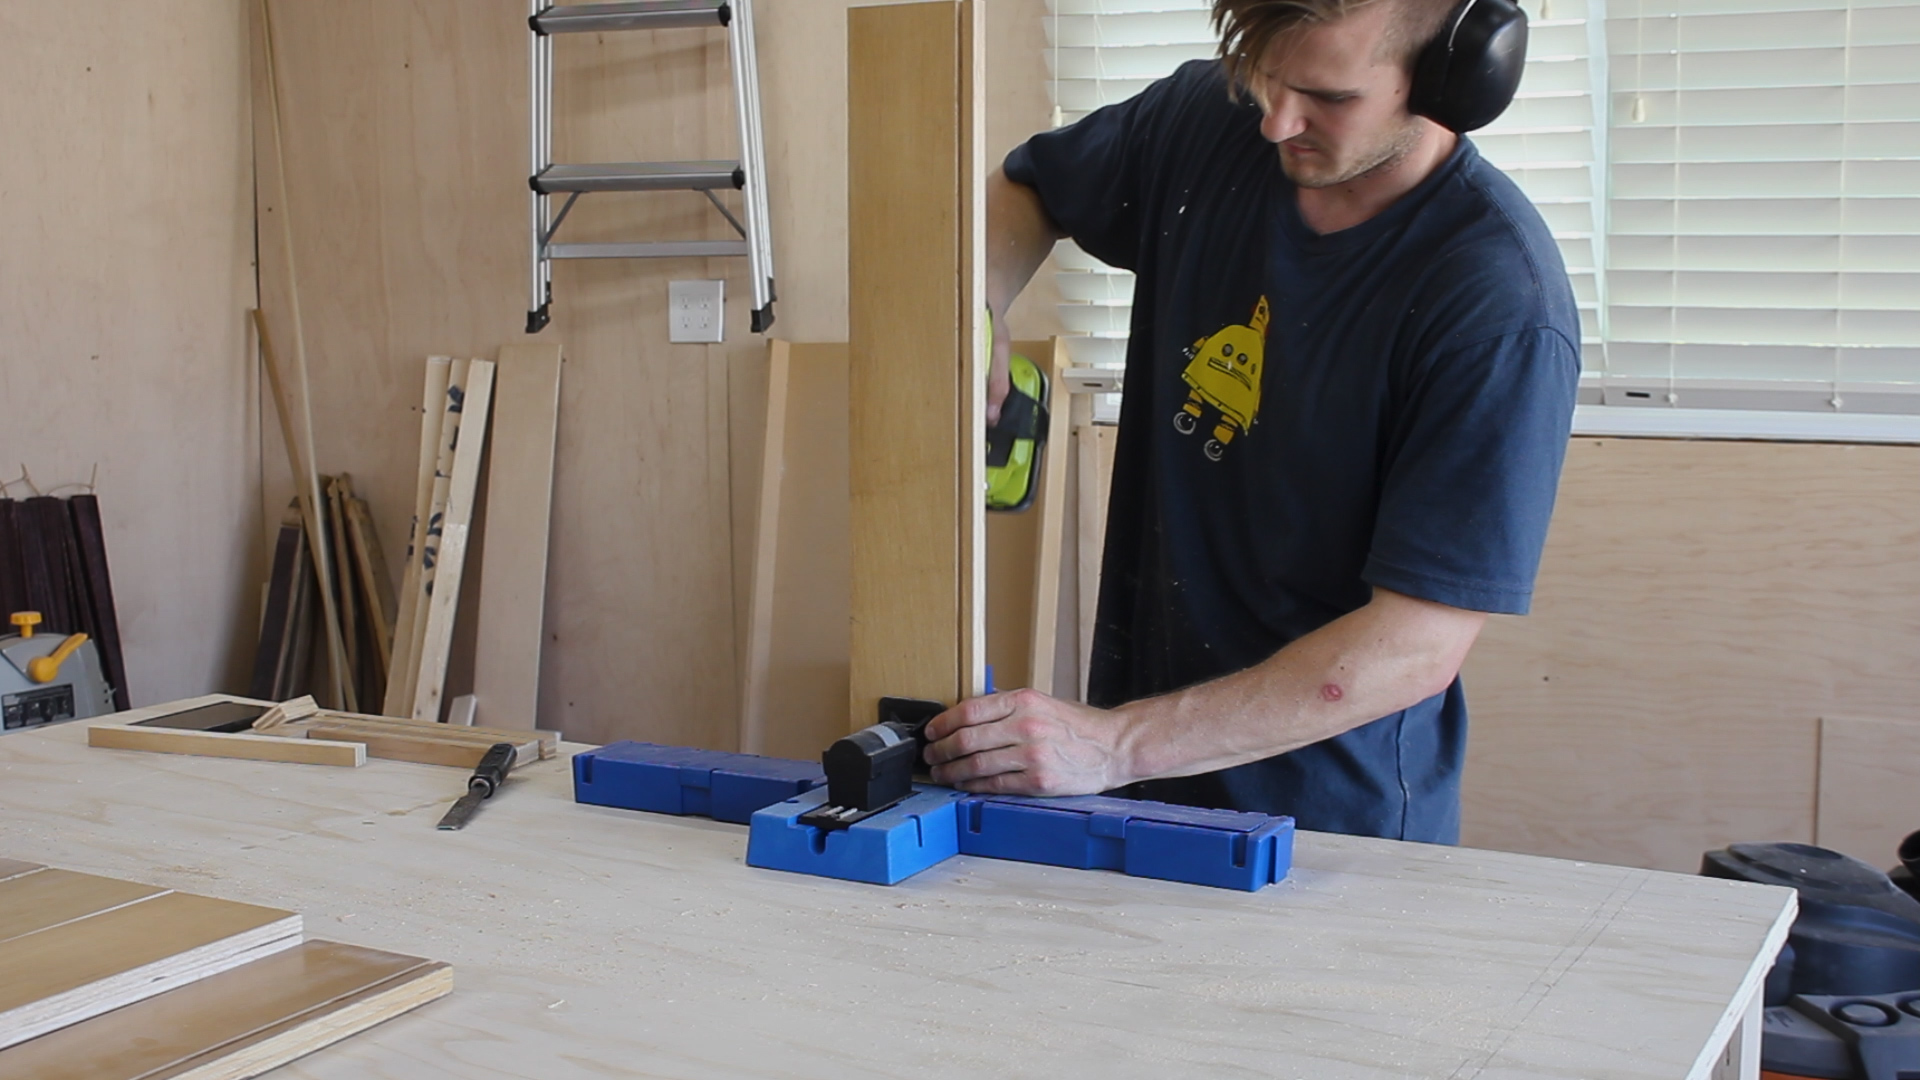
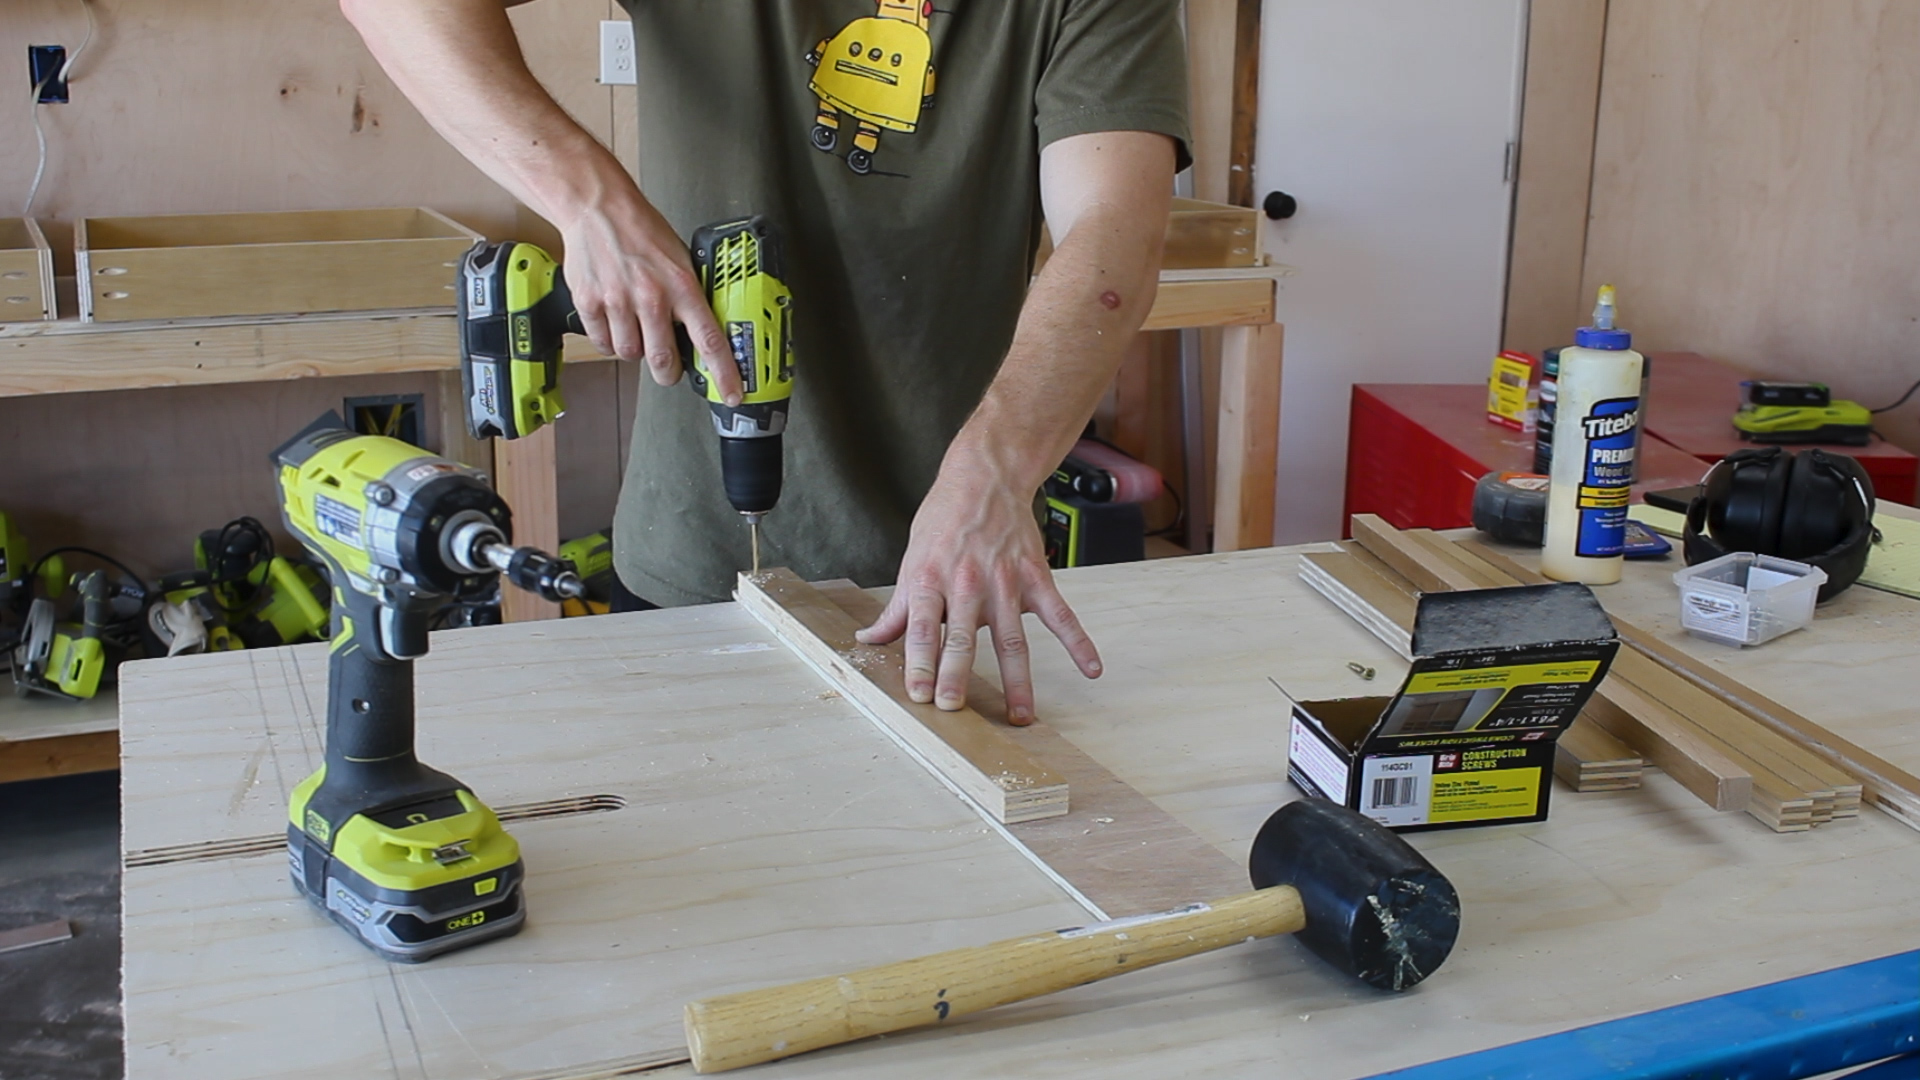
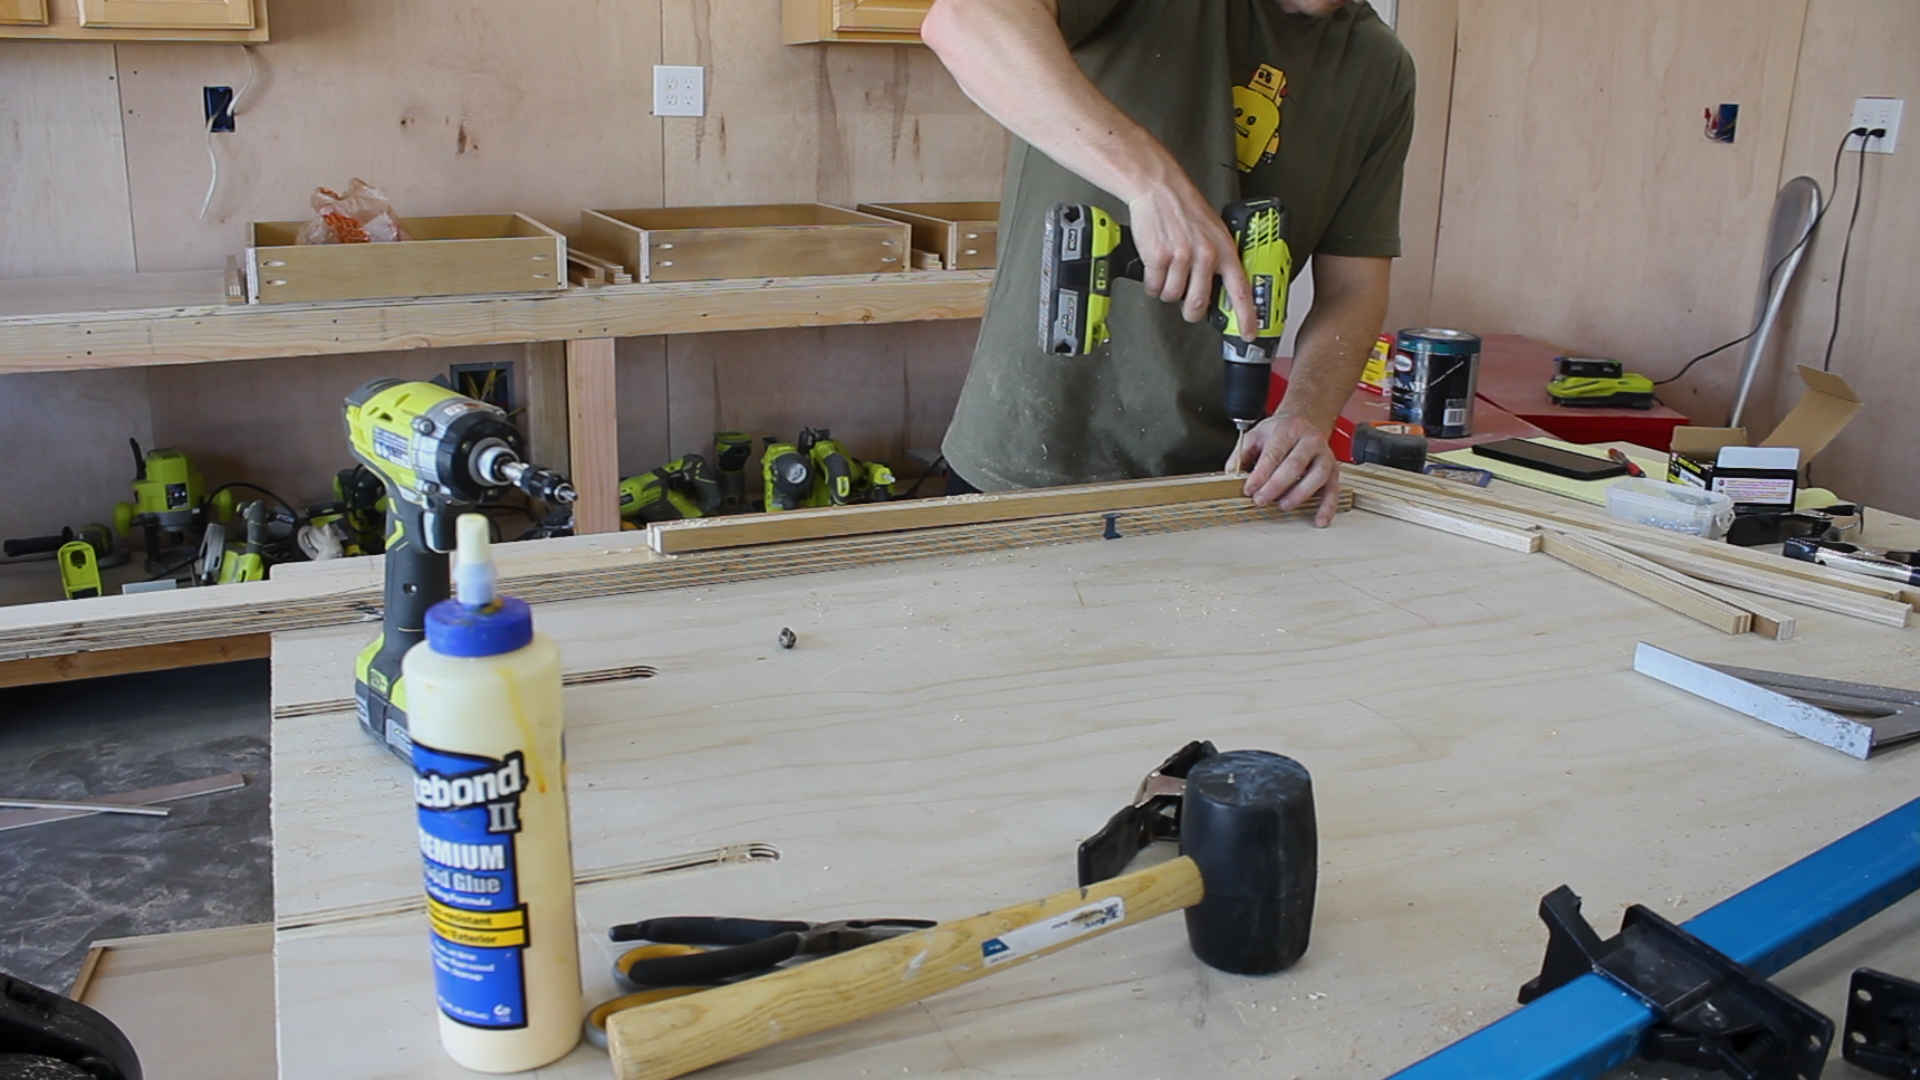
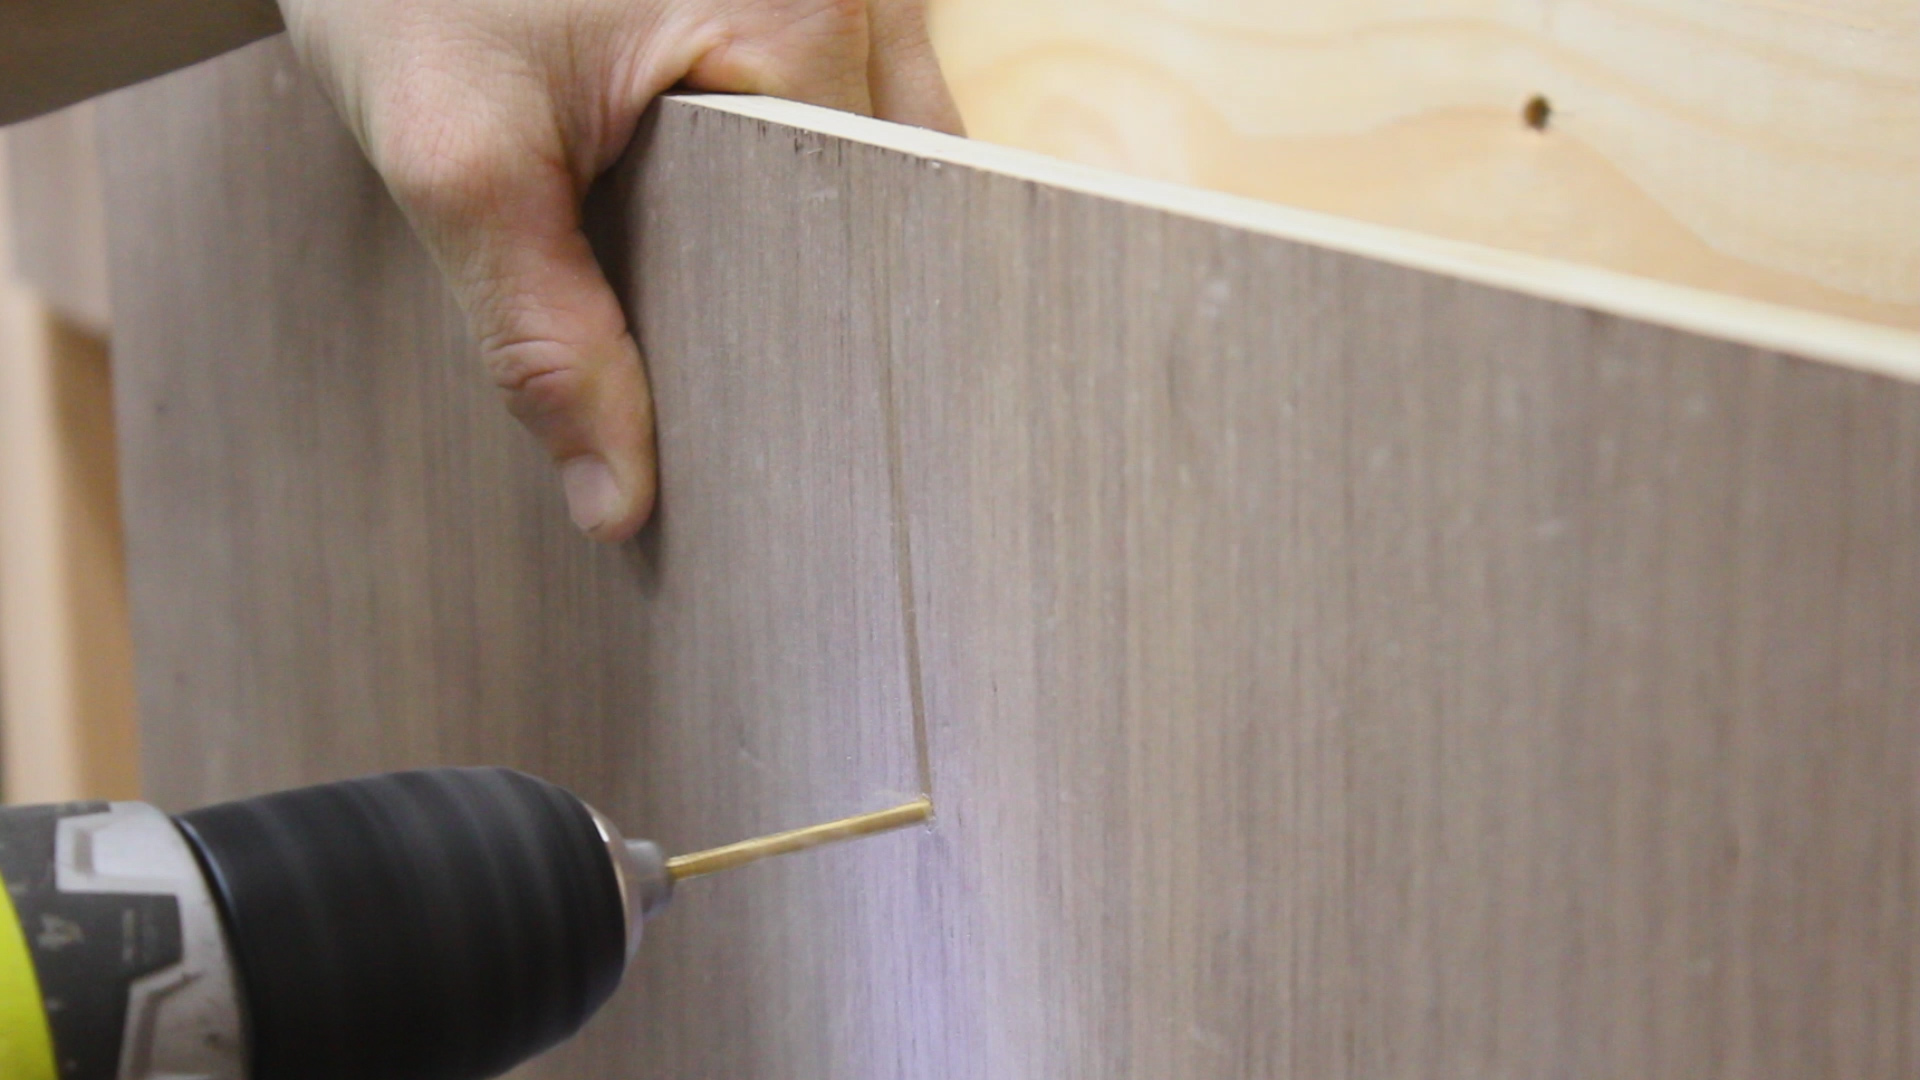
I then cut dados on the table saw to accept the drawer bottom. The kerf of the blade makes it so you just need to make two passes on the table saw 1/8" apart - very quick and easy (Pic 3). I then drilled pocket holes for joinery (Pic 4).
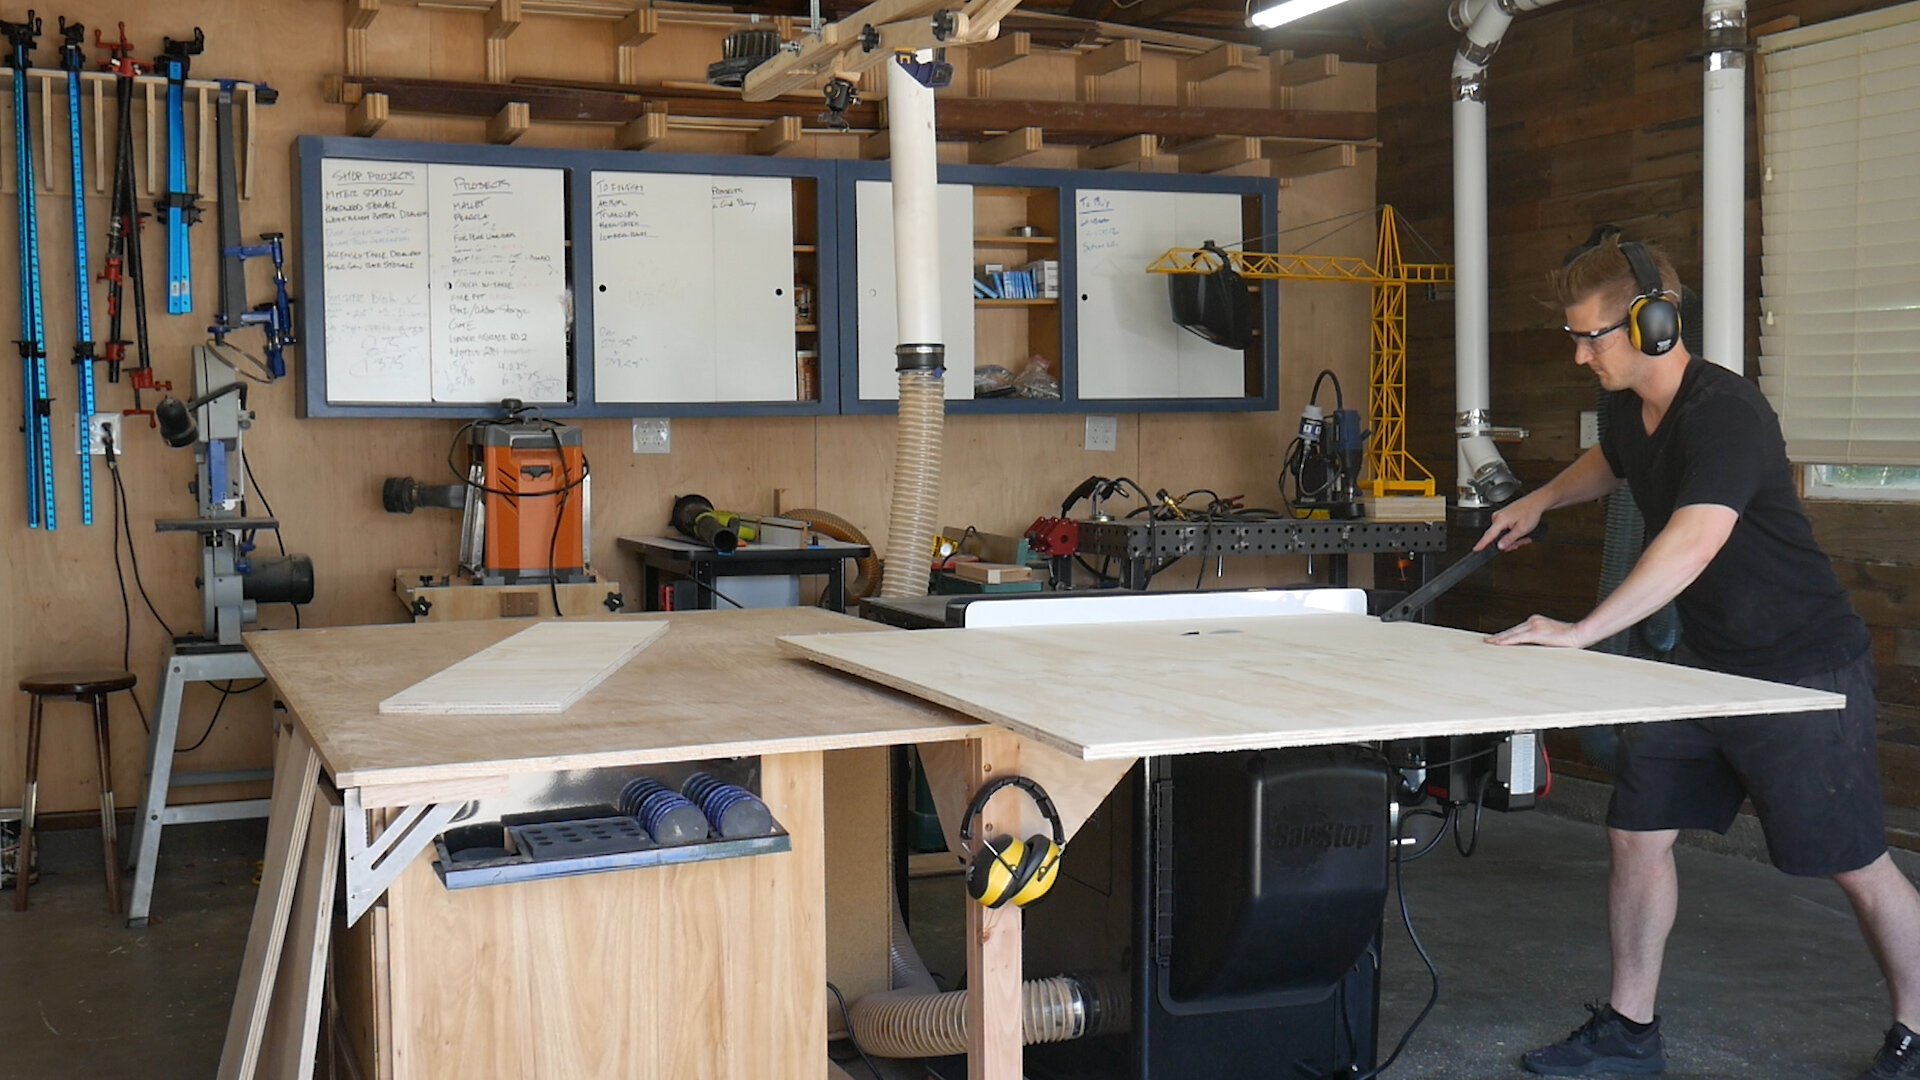
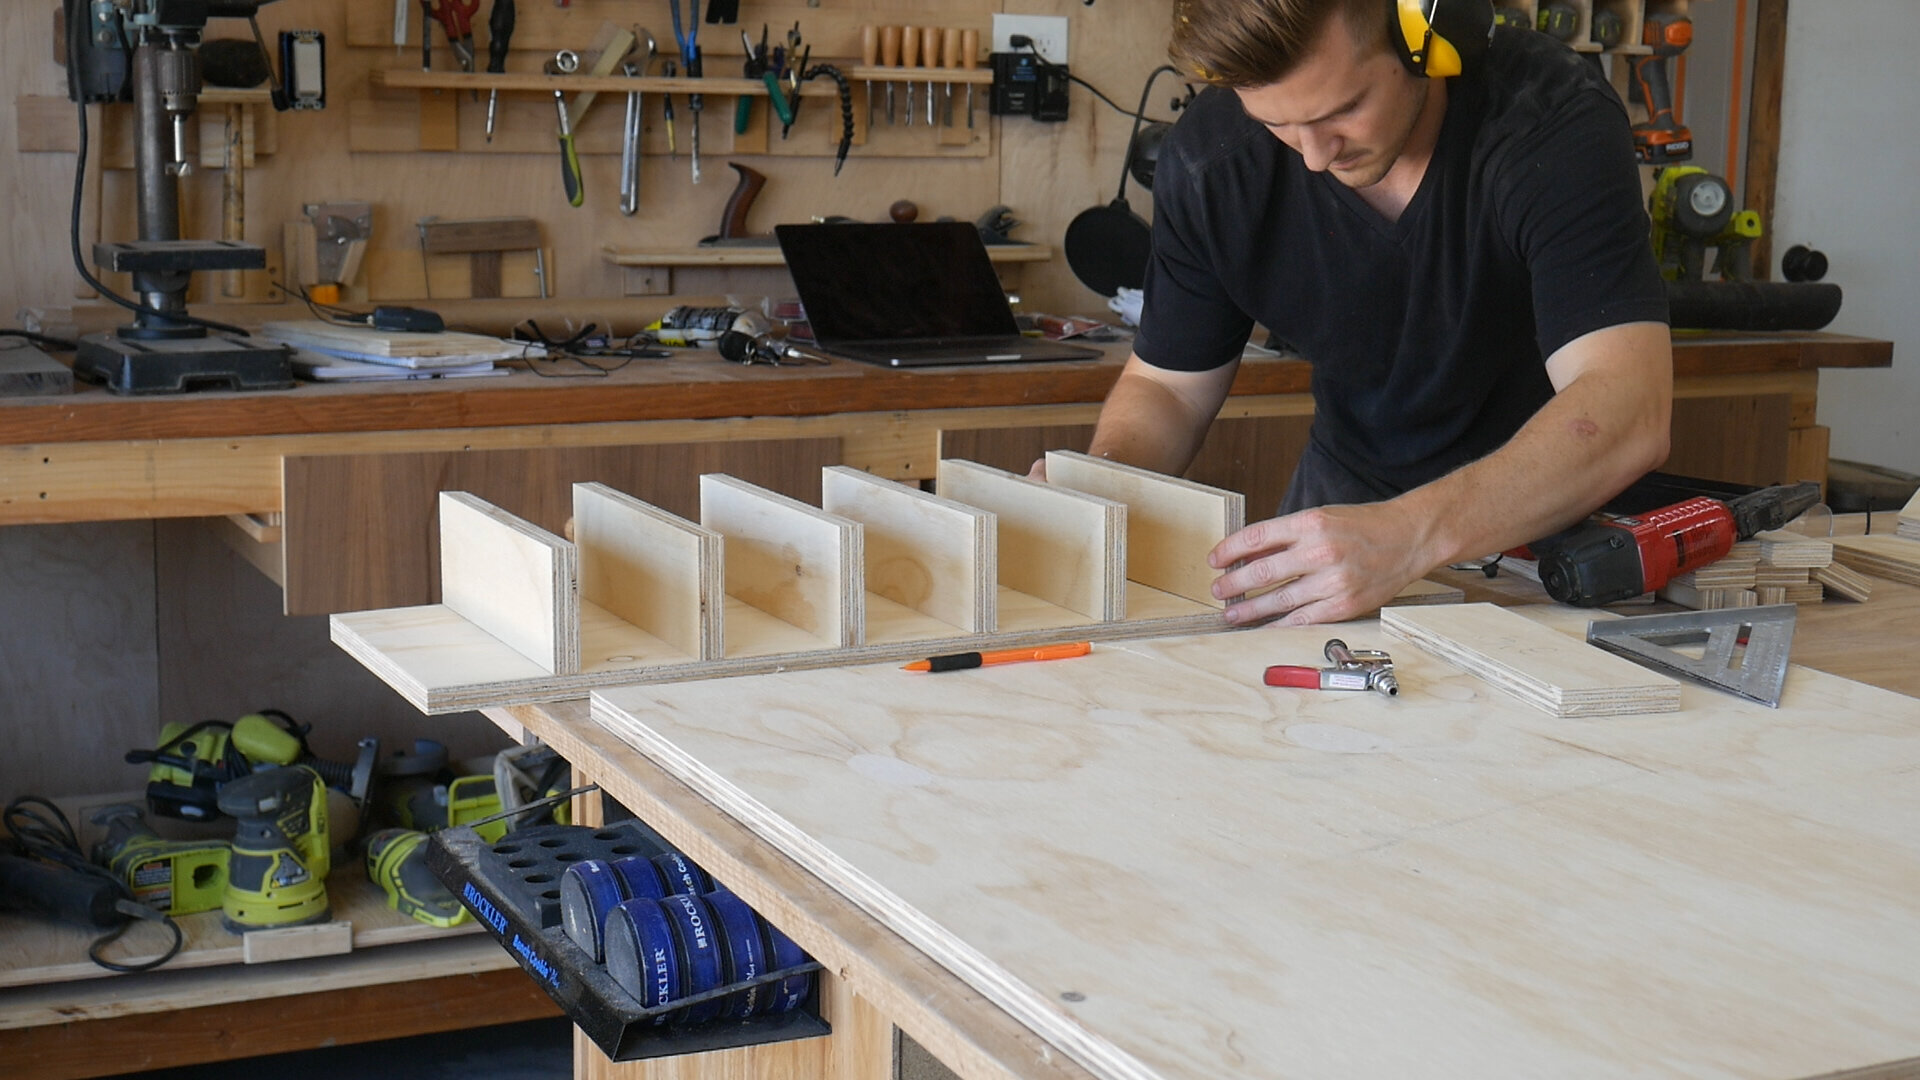
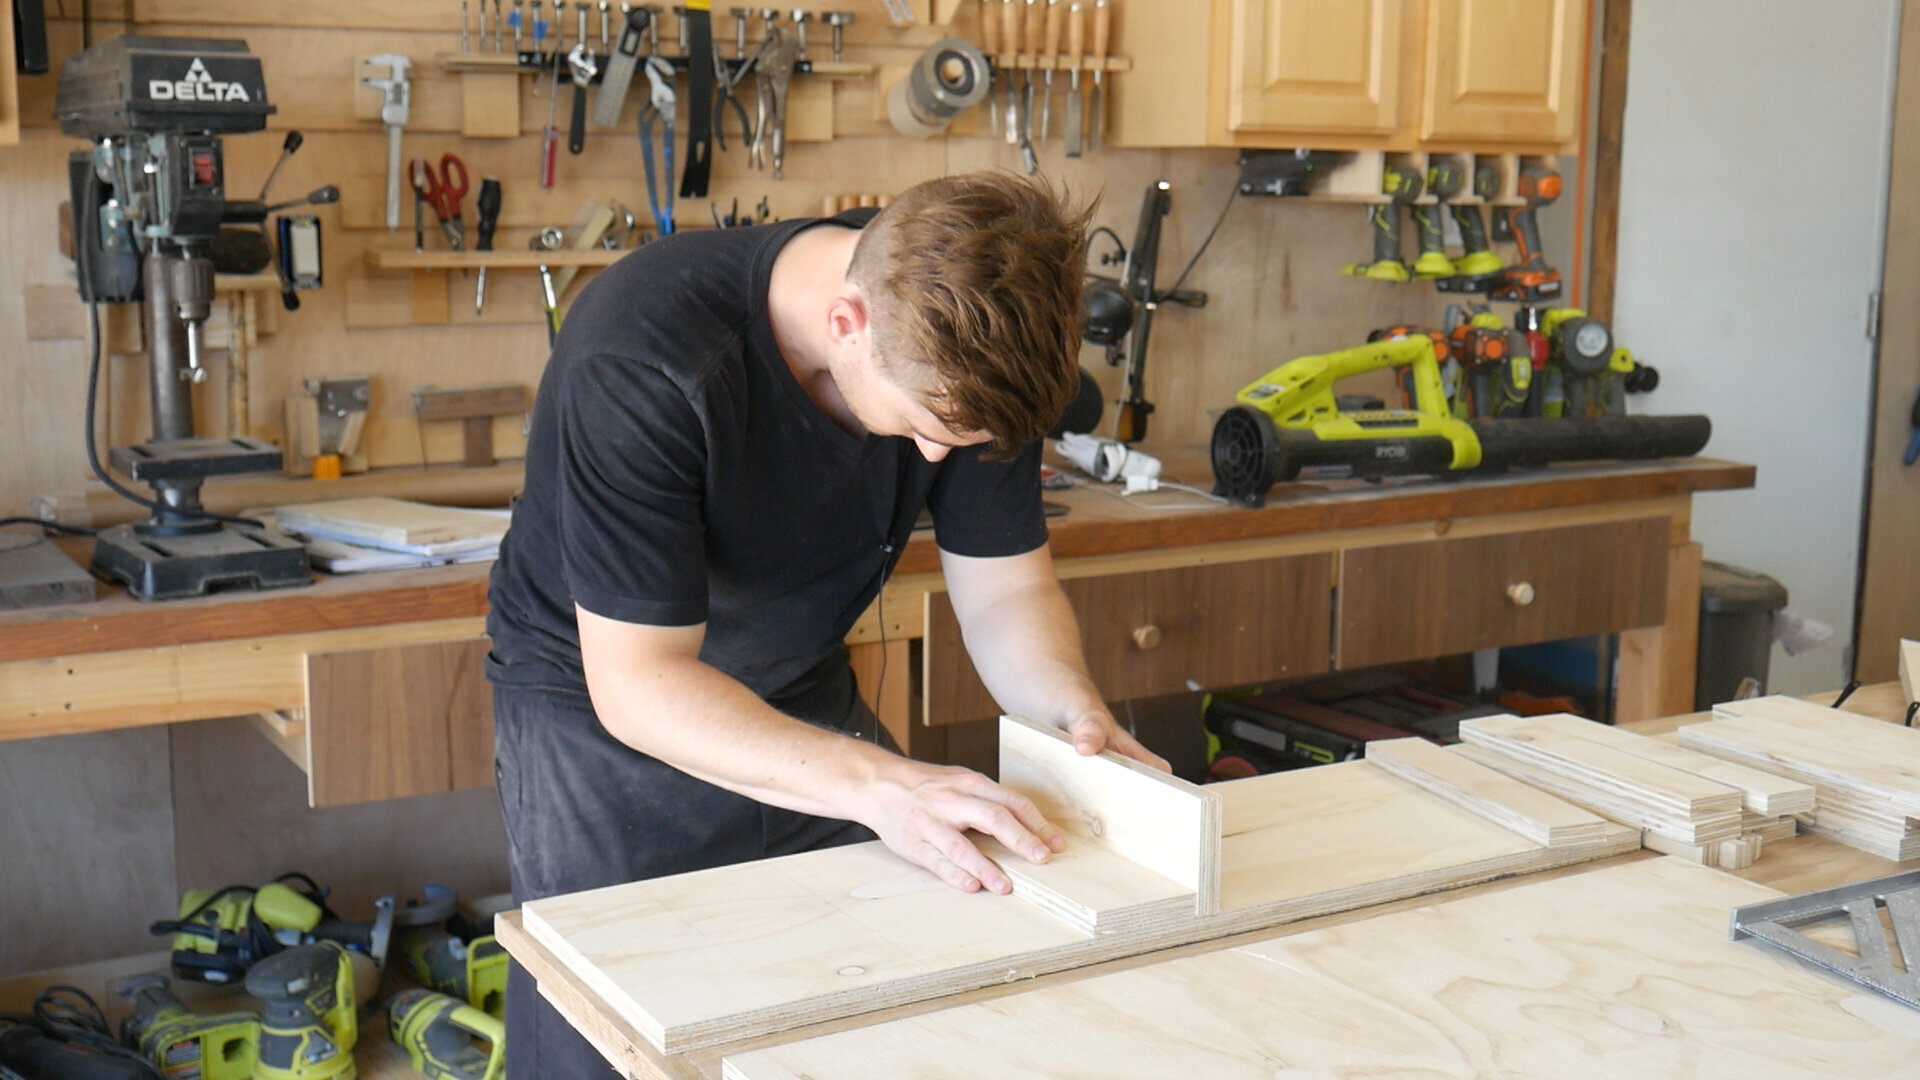
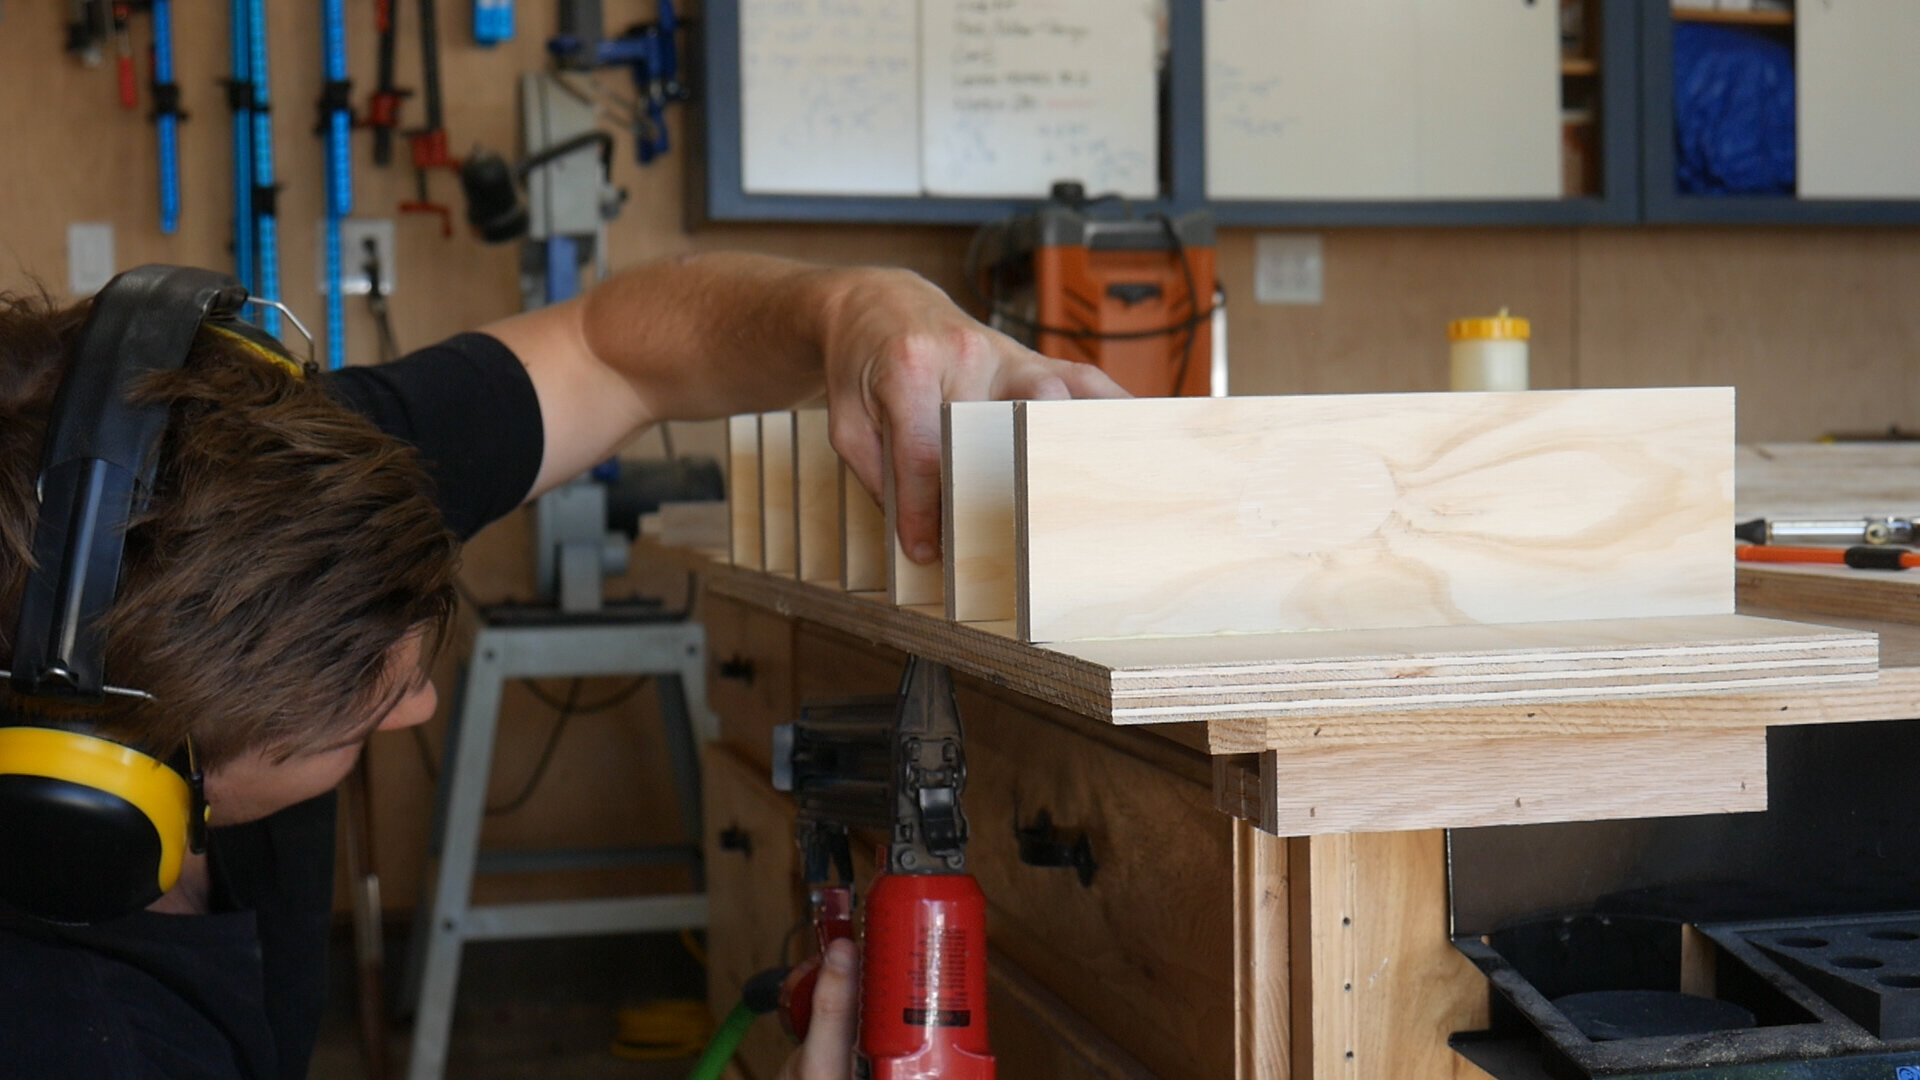
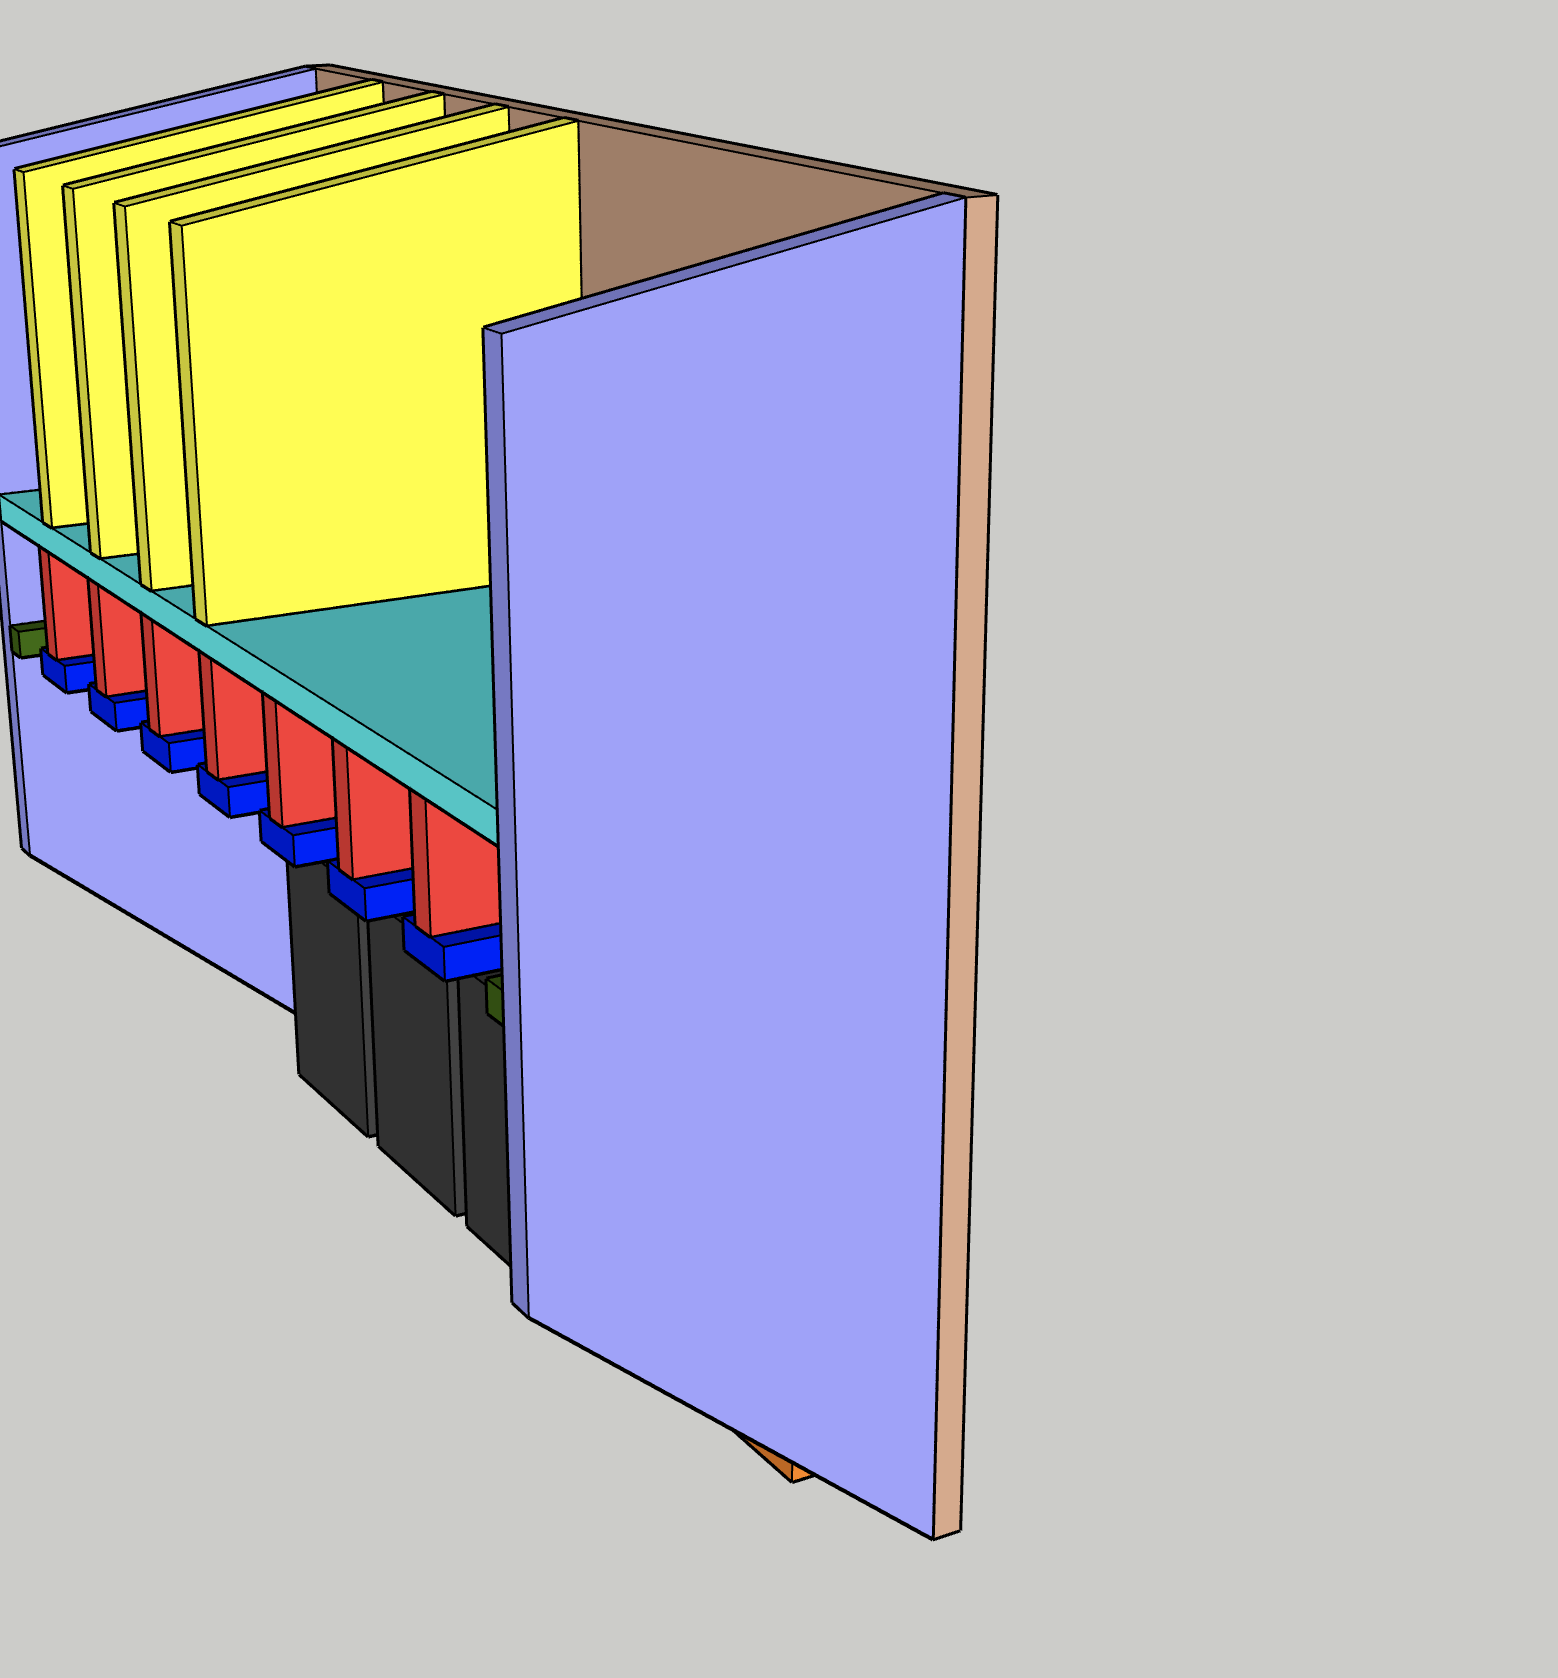
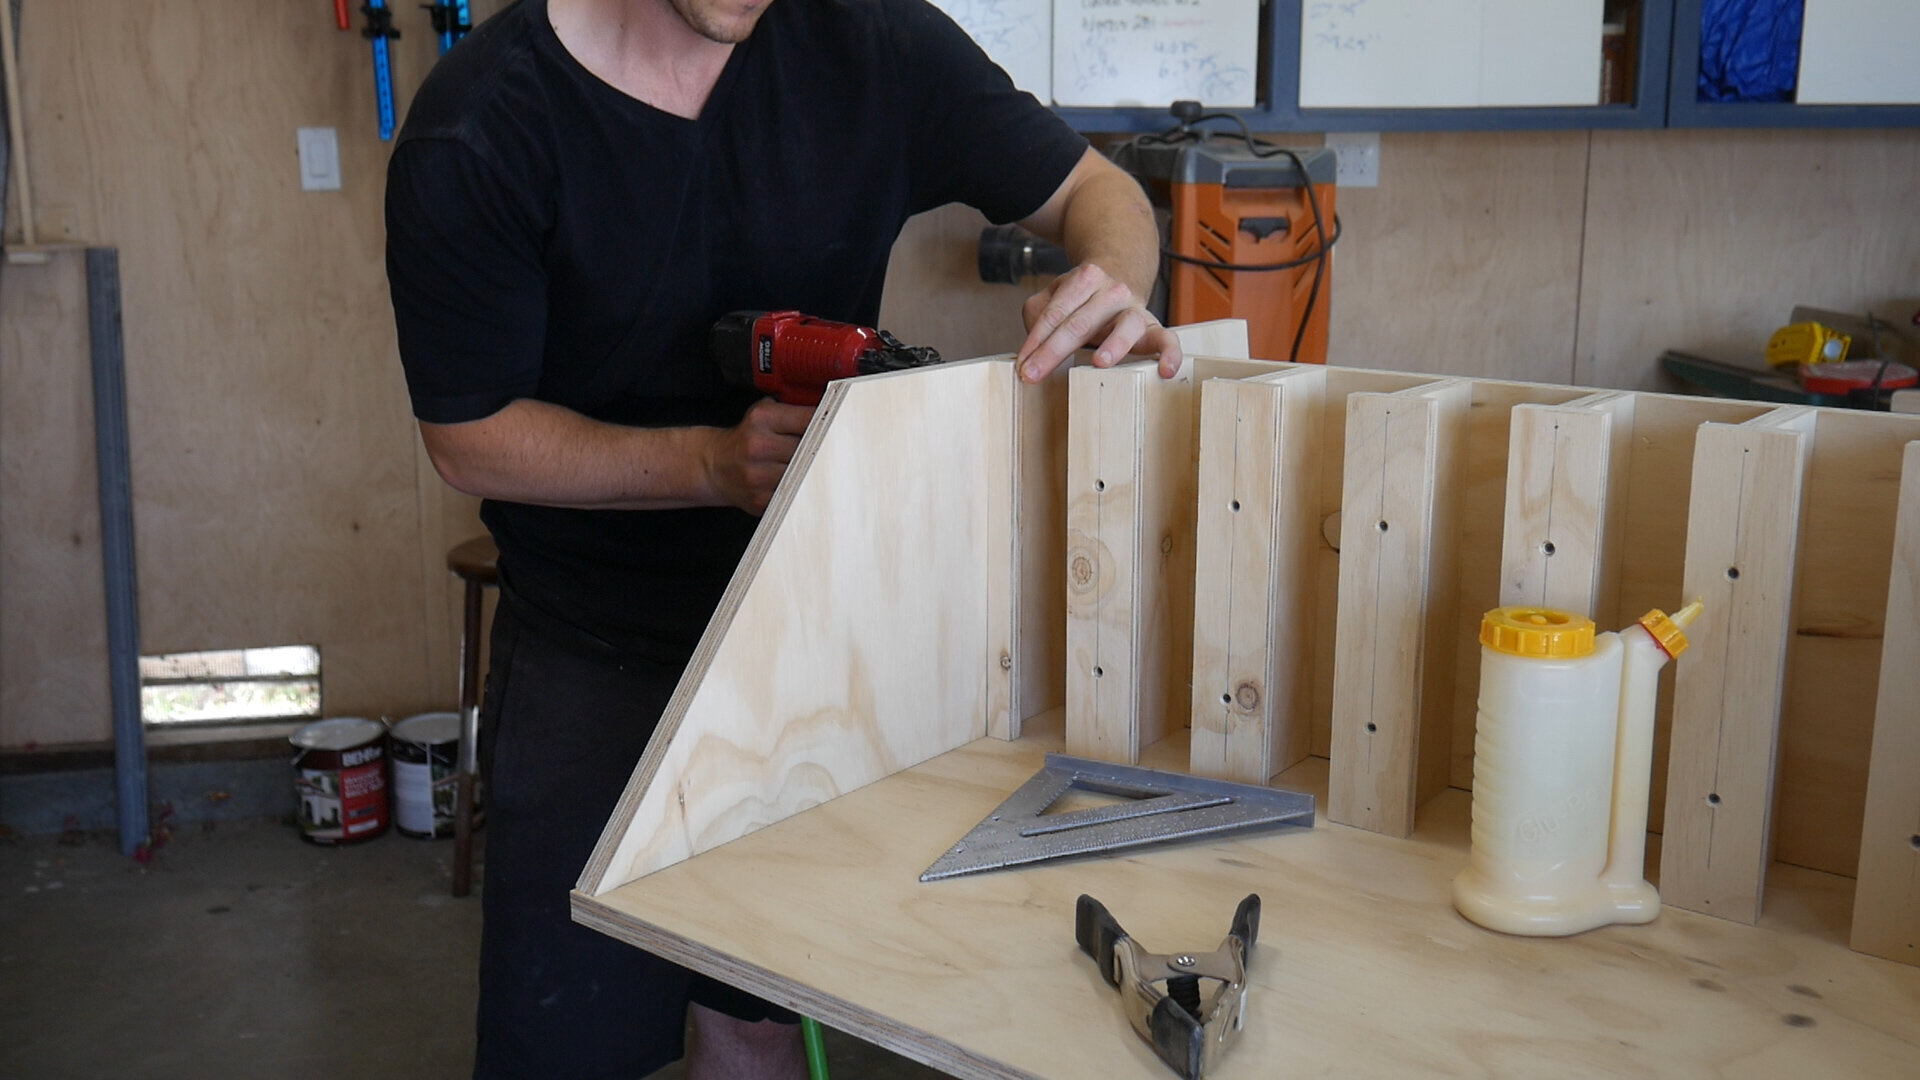
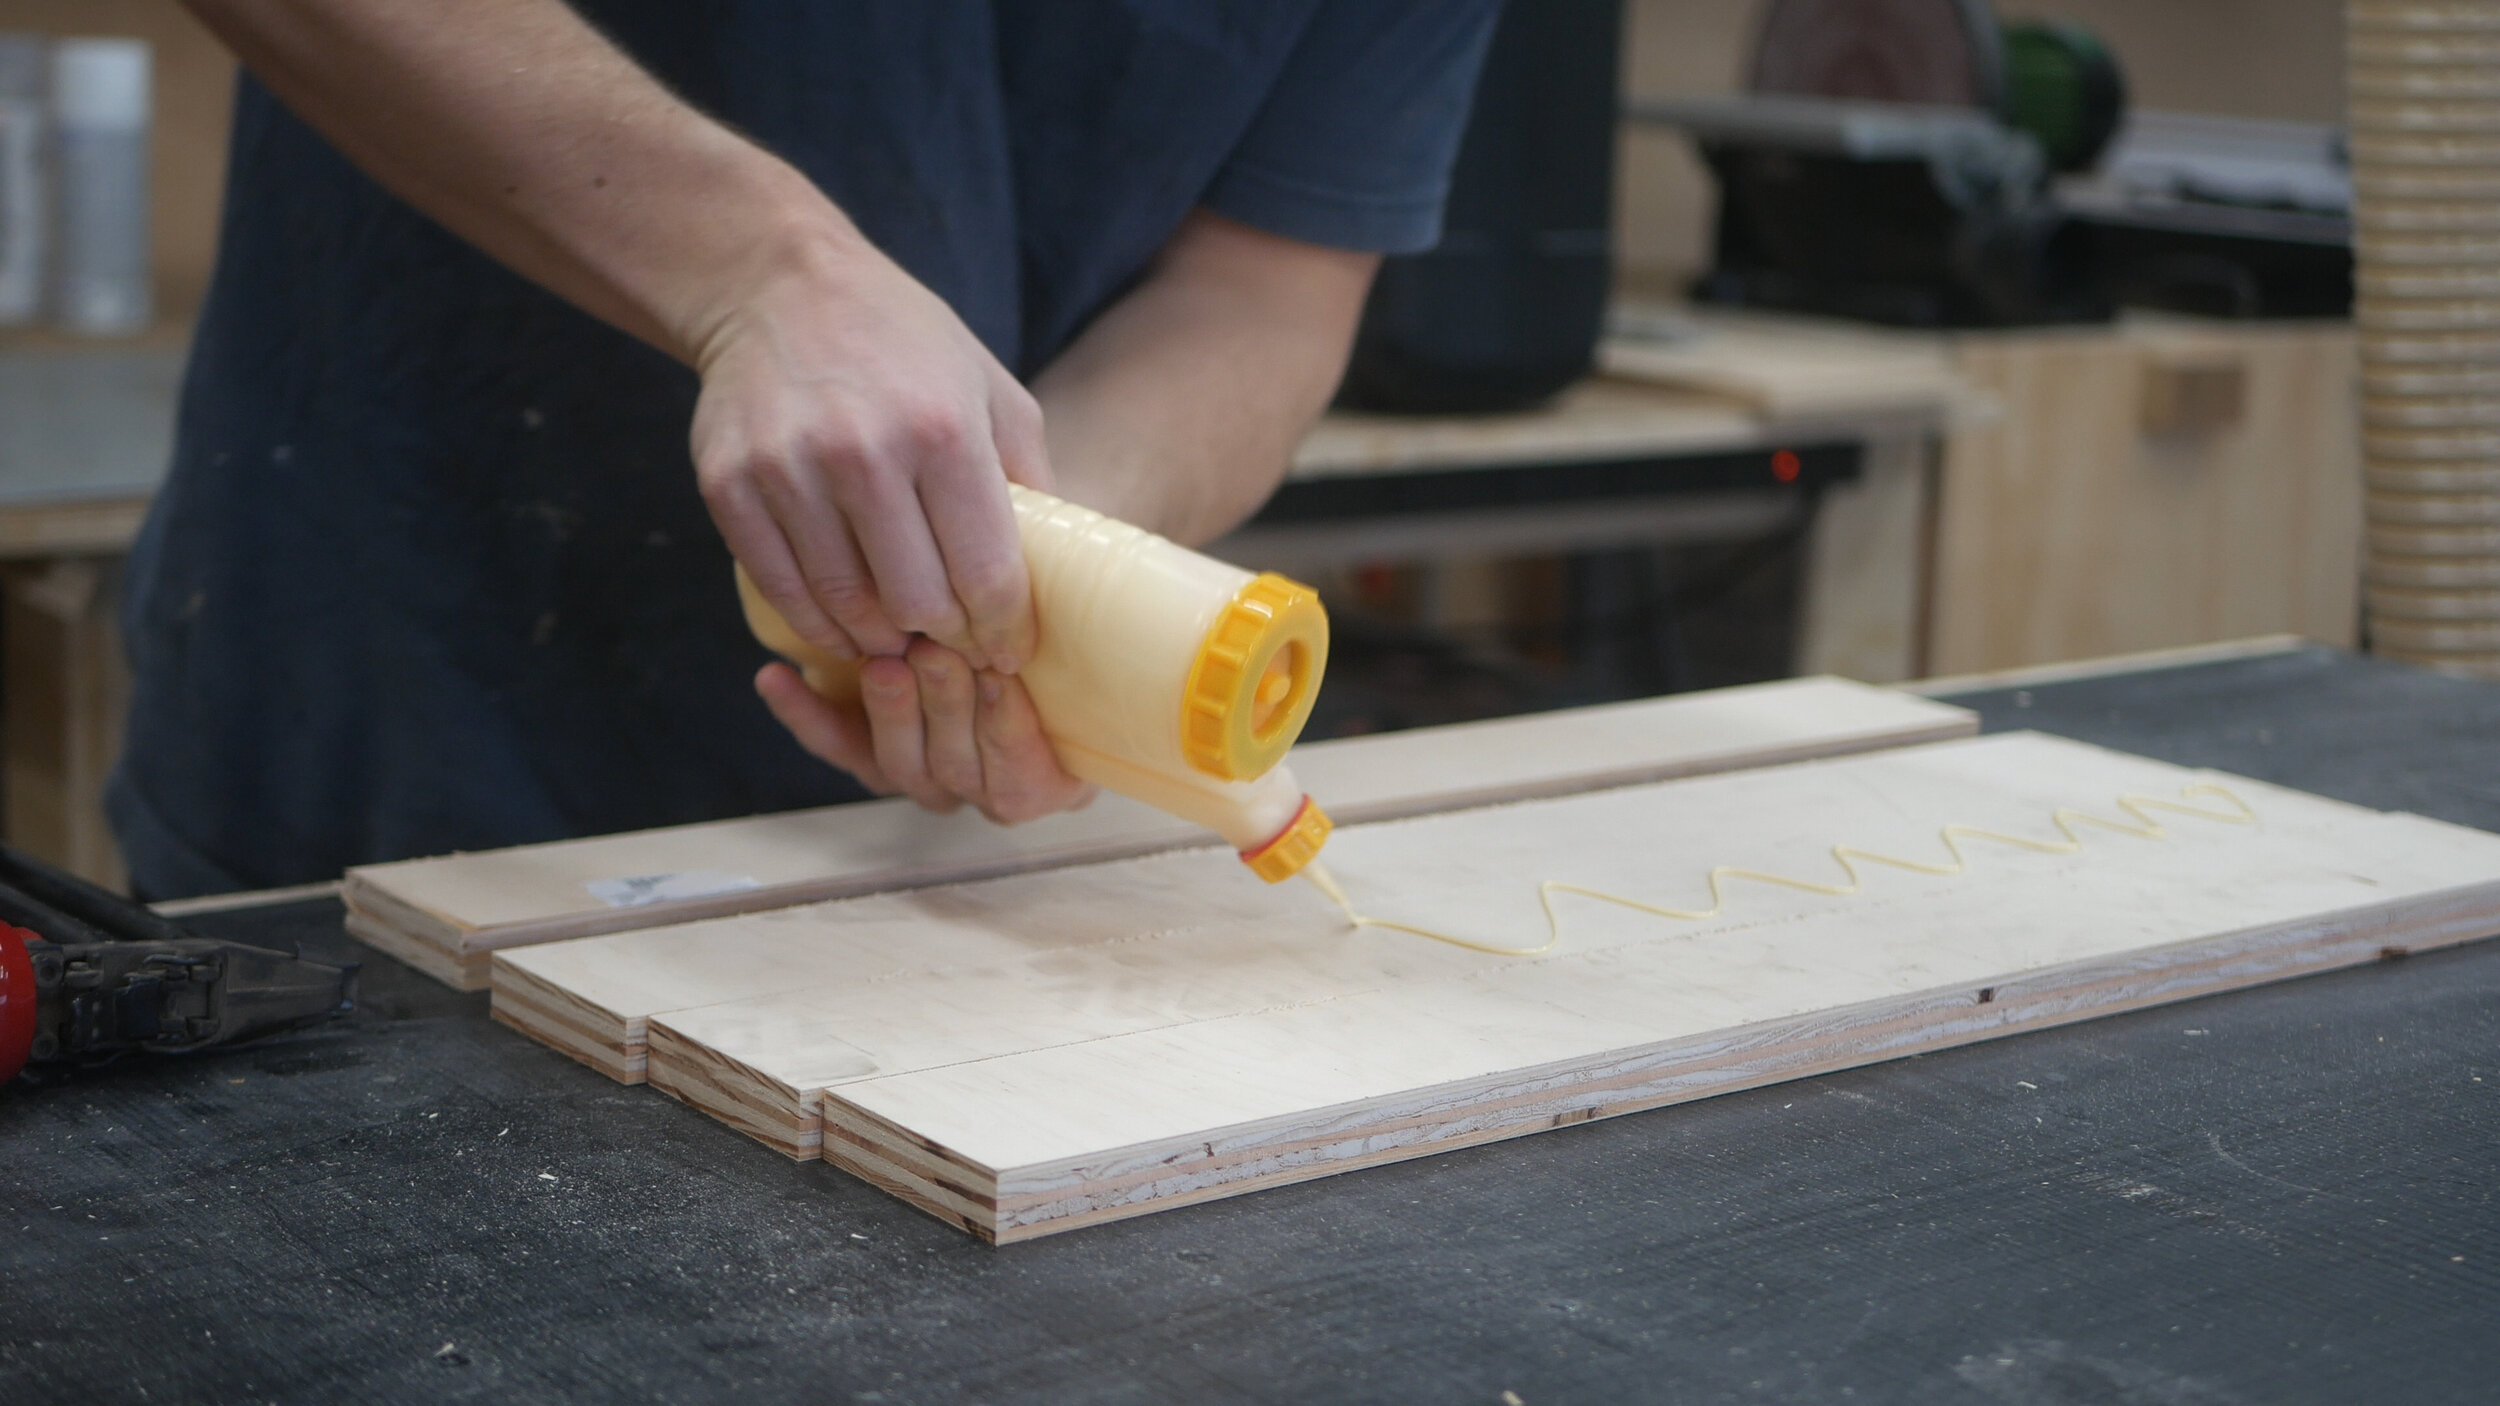
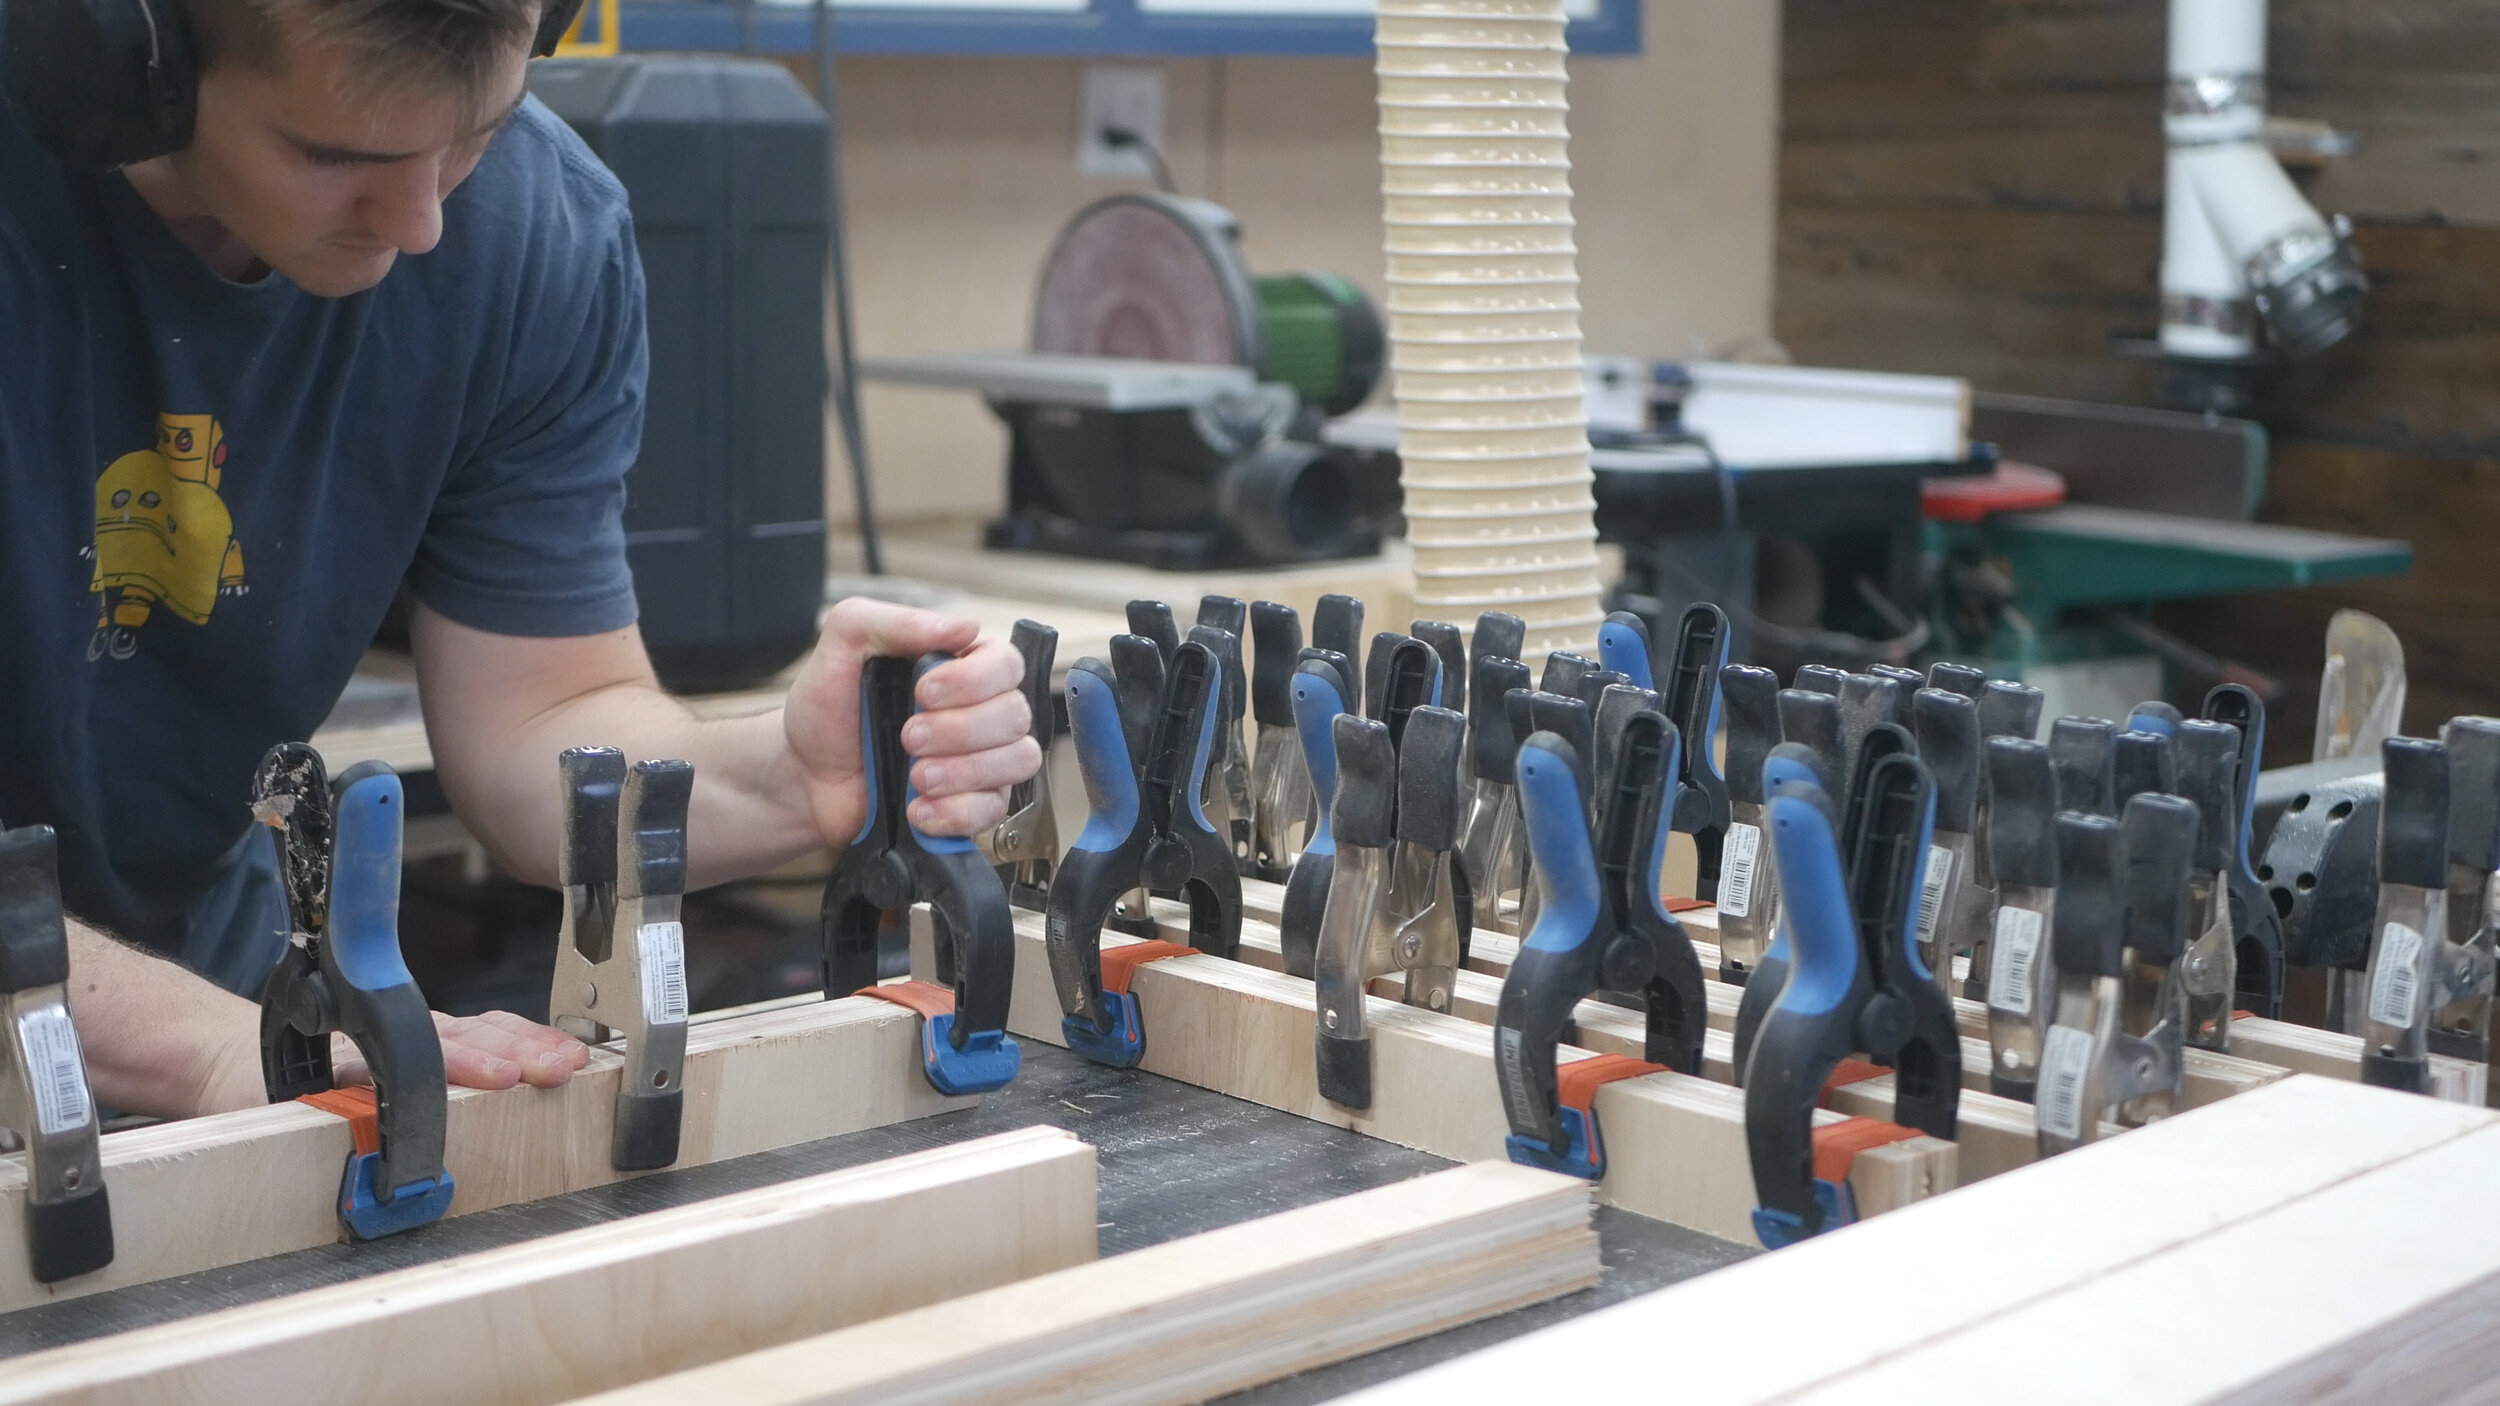
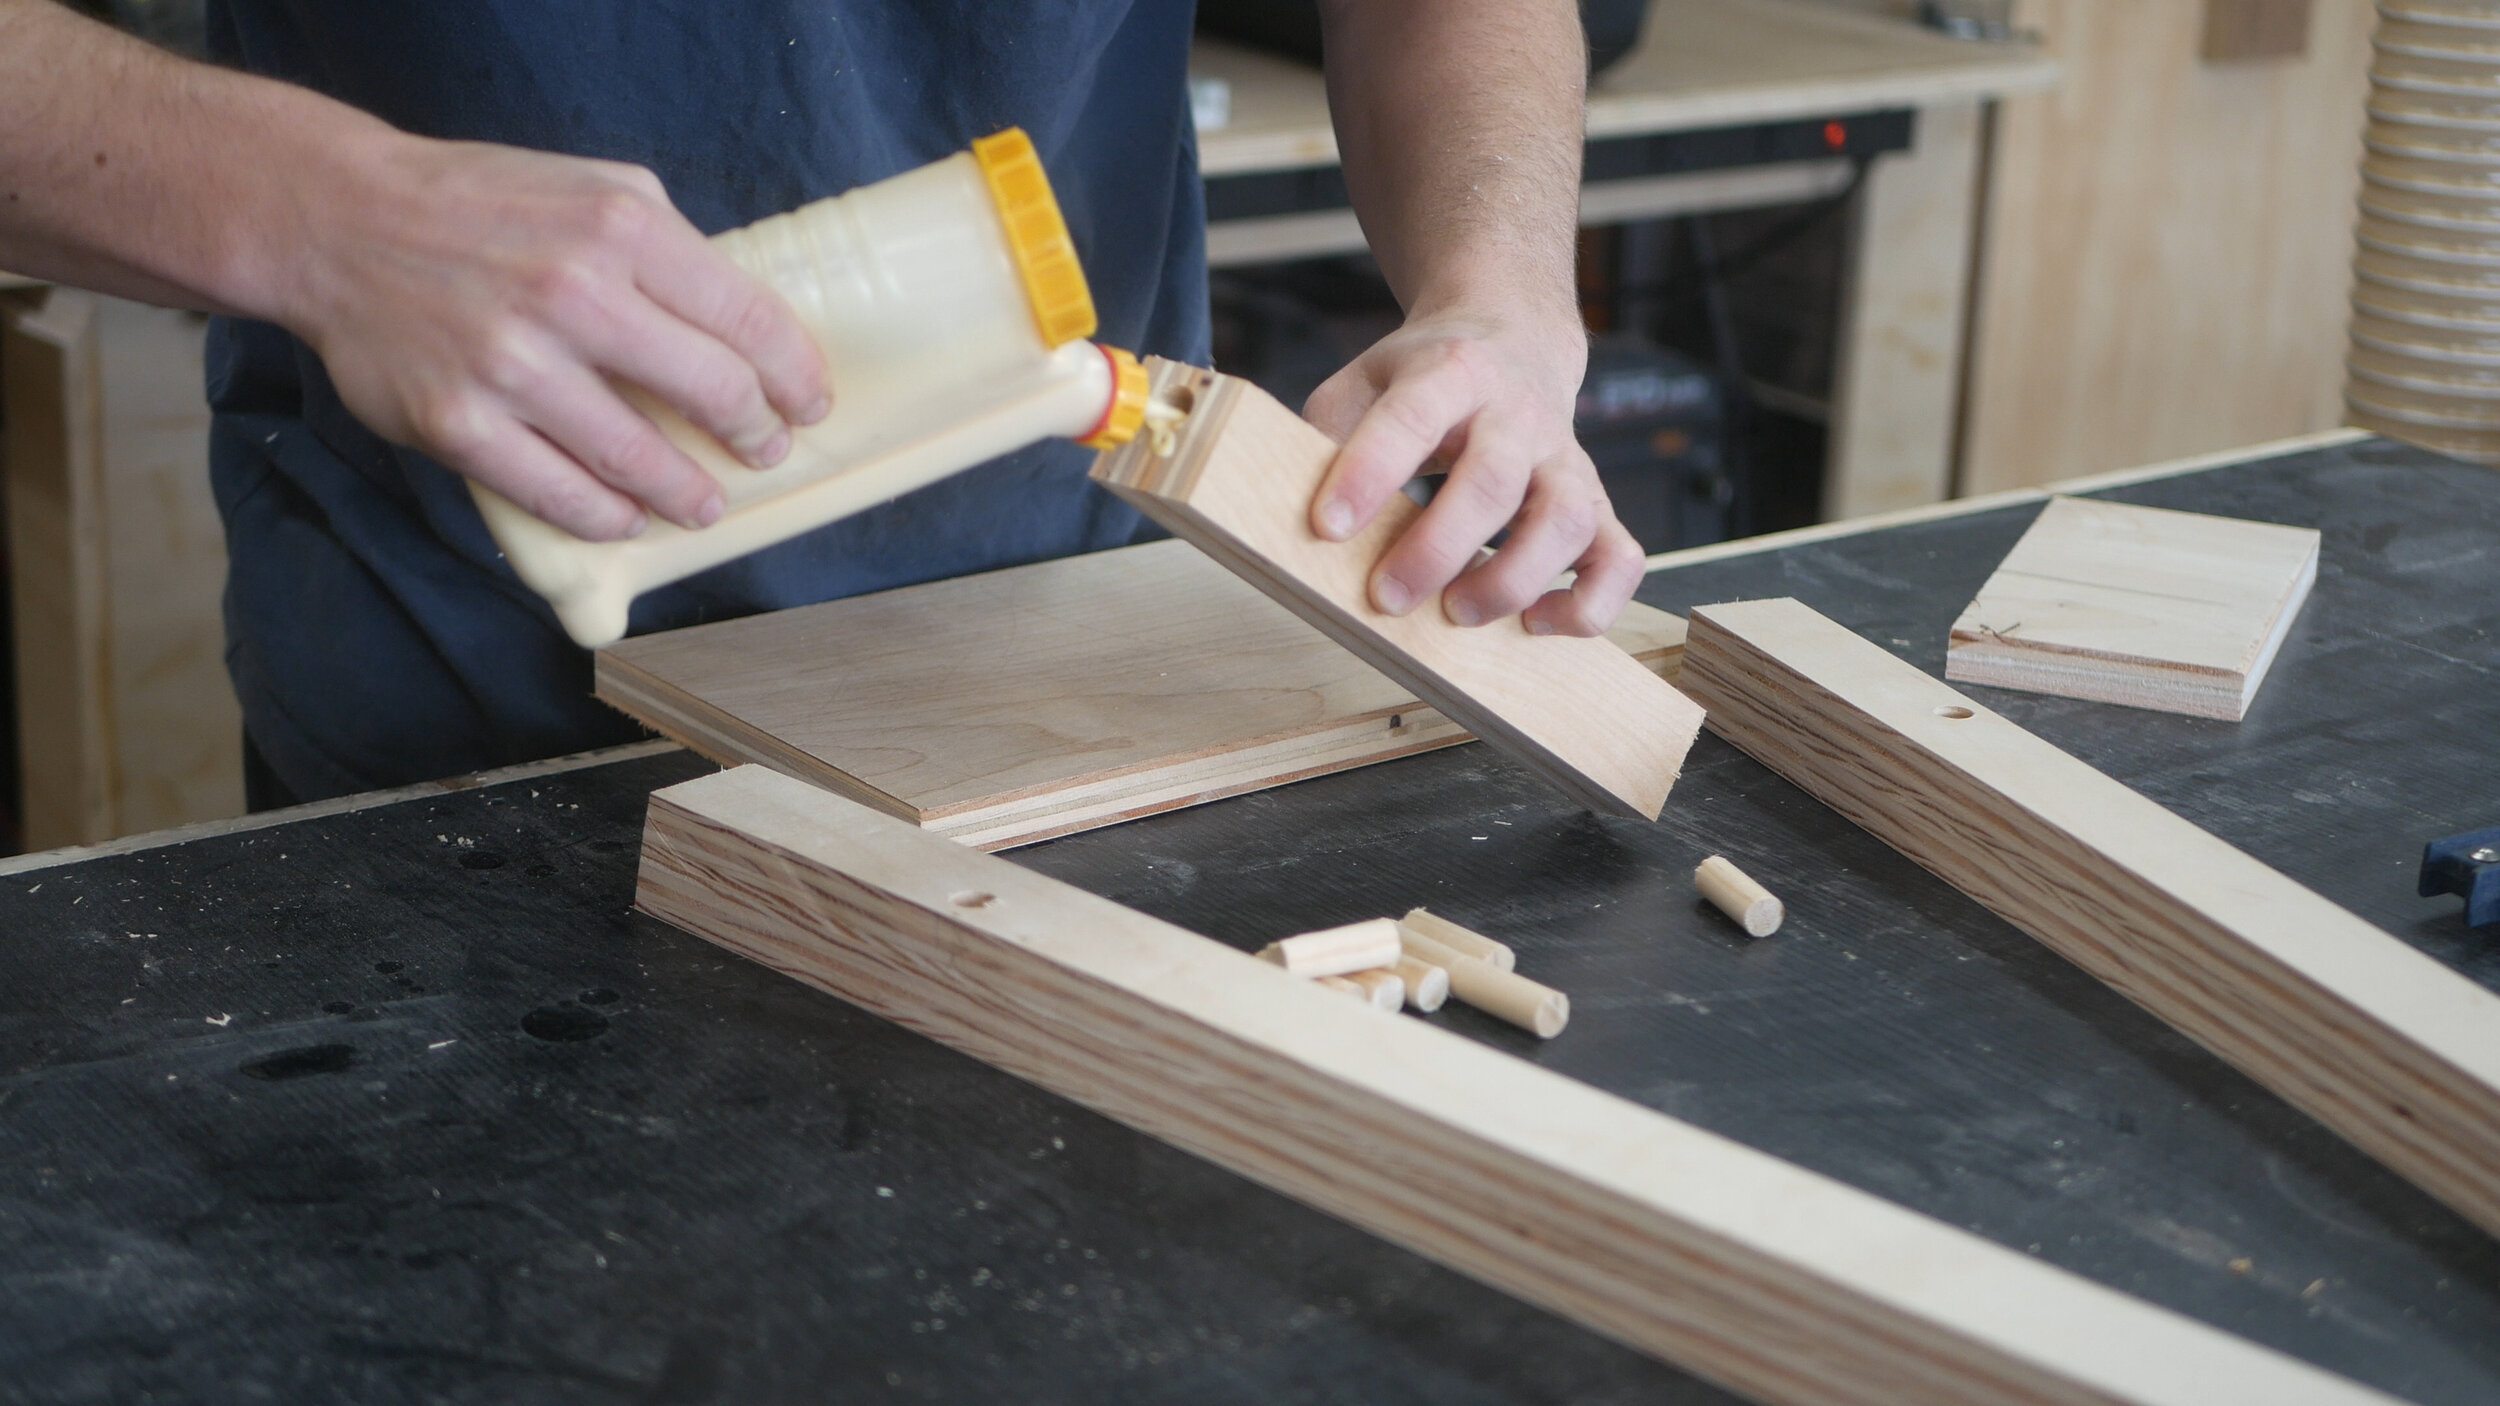
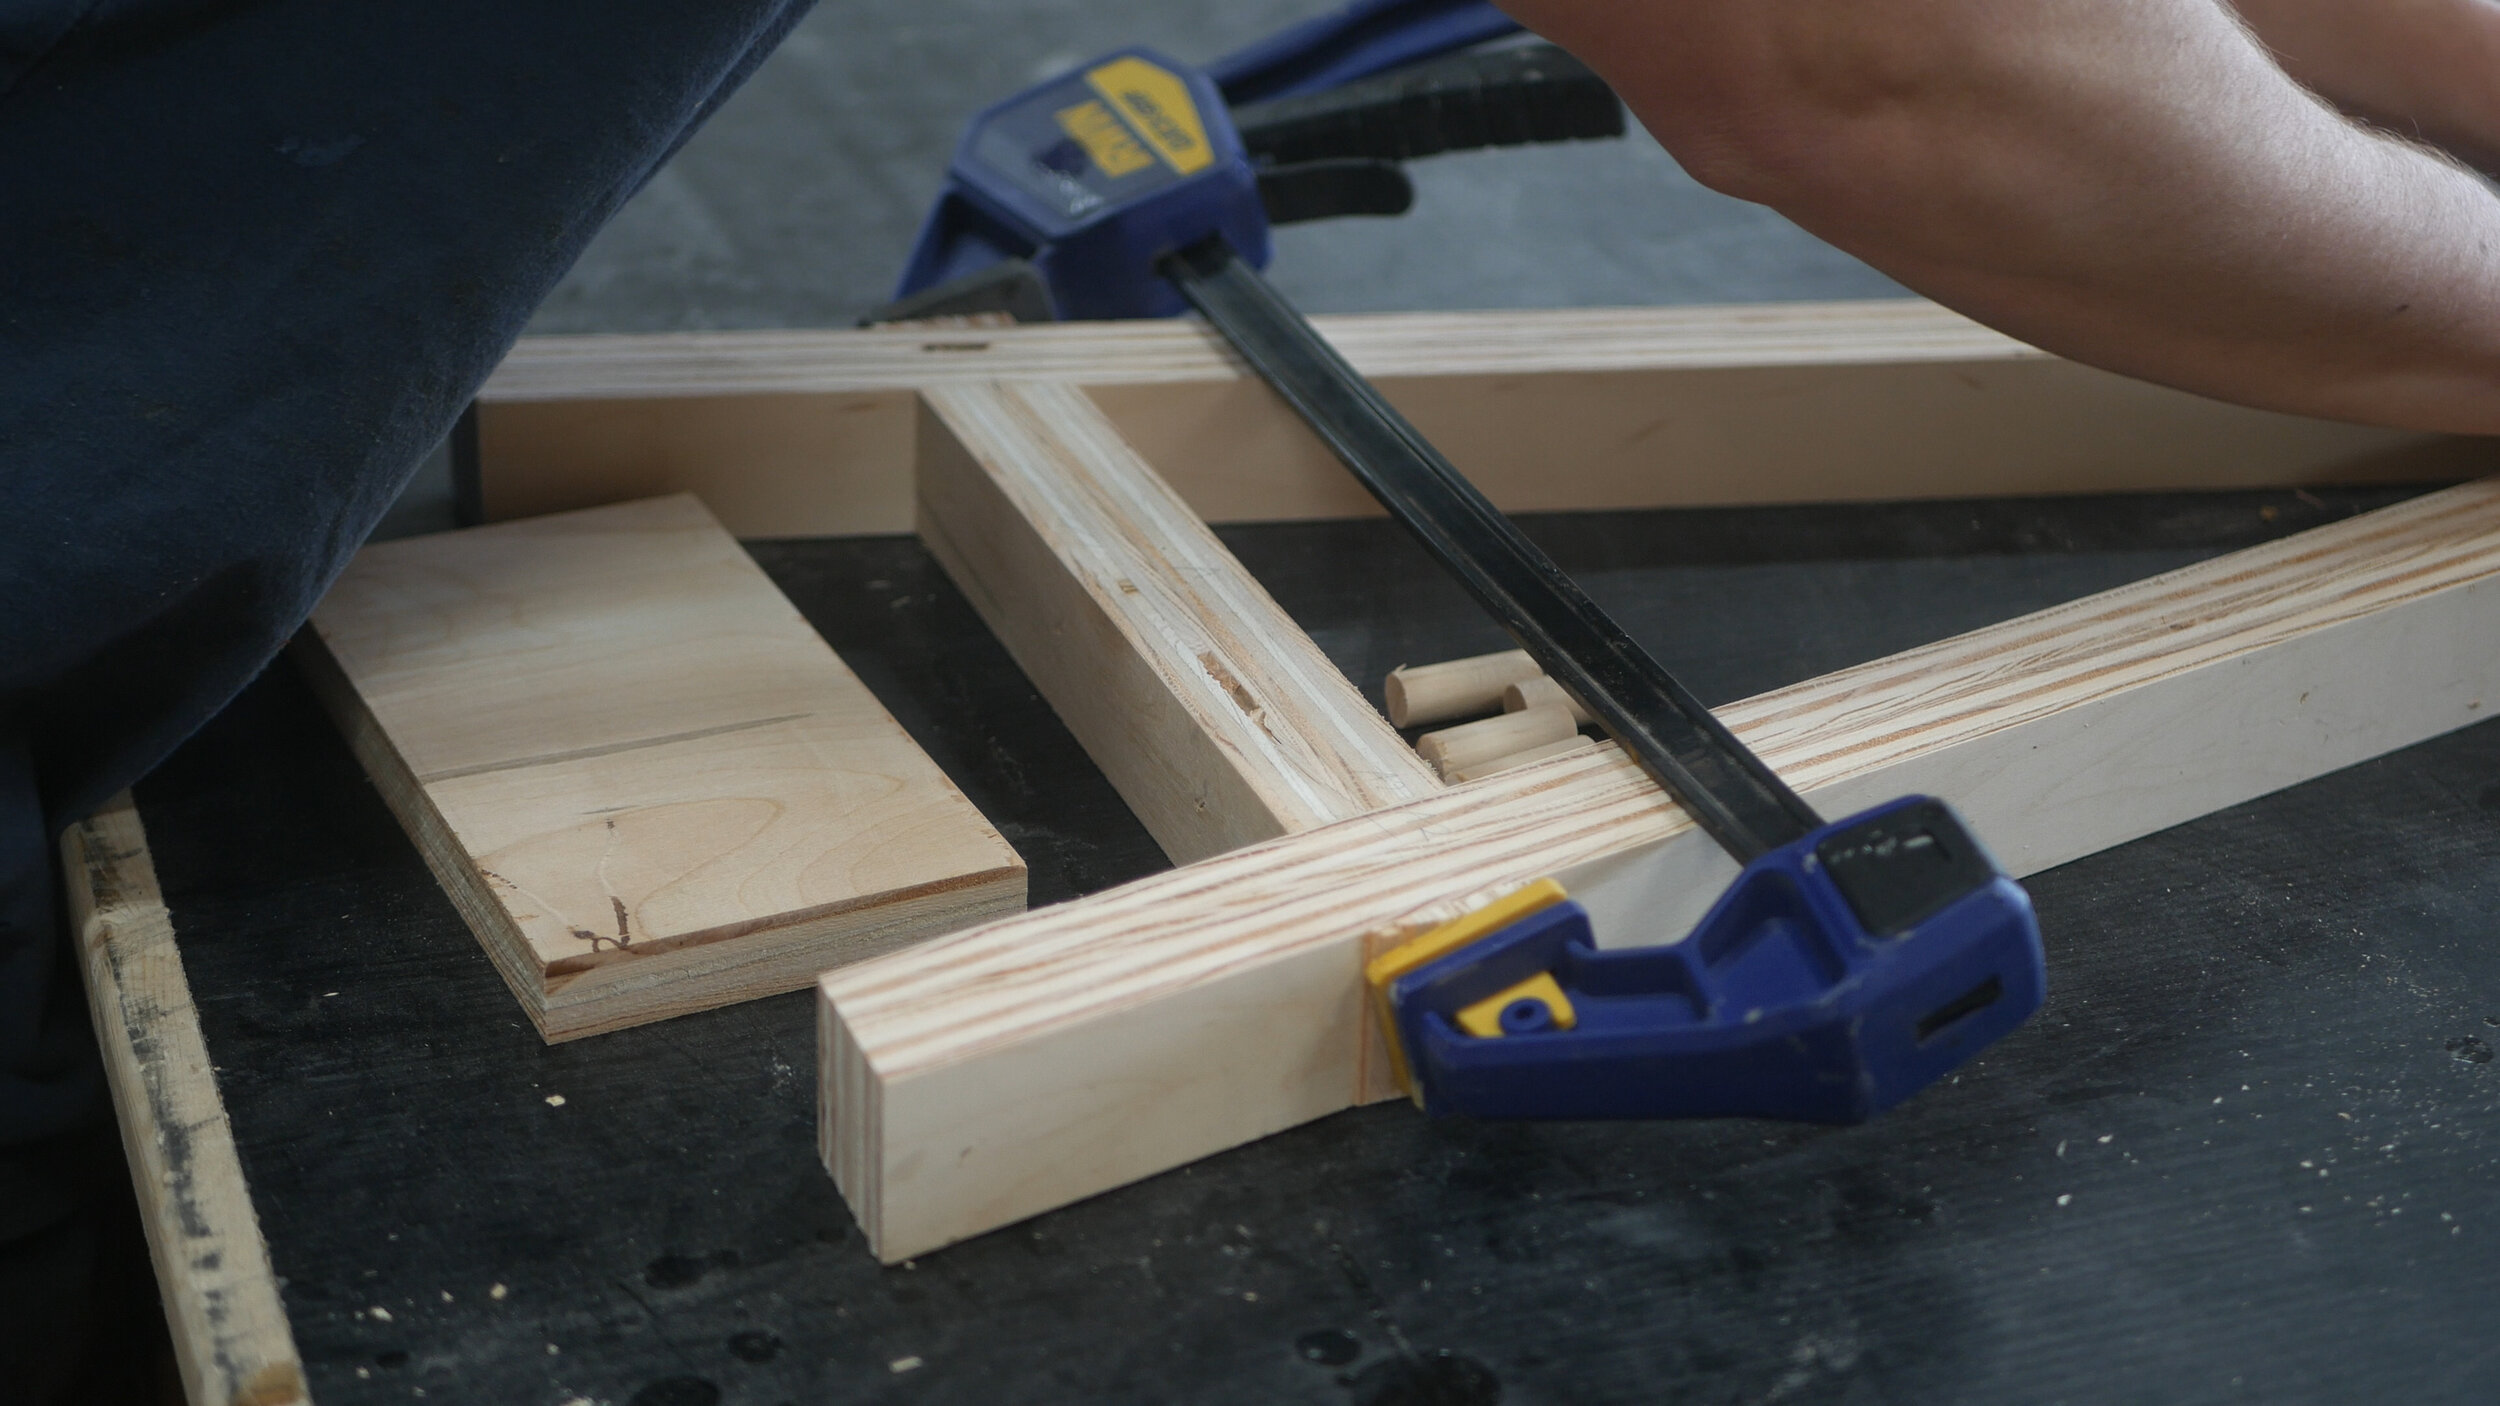
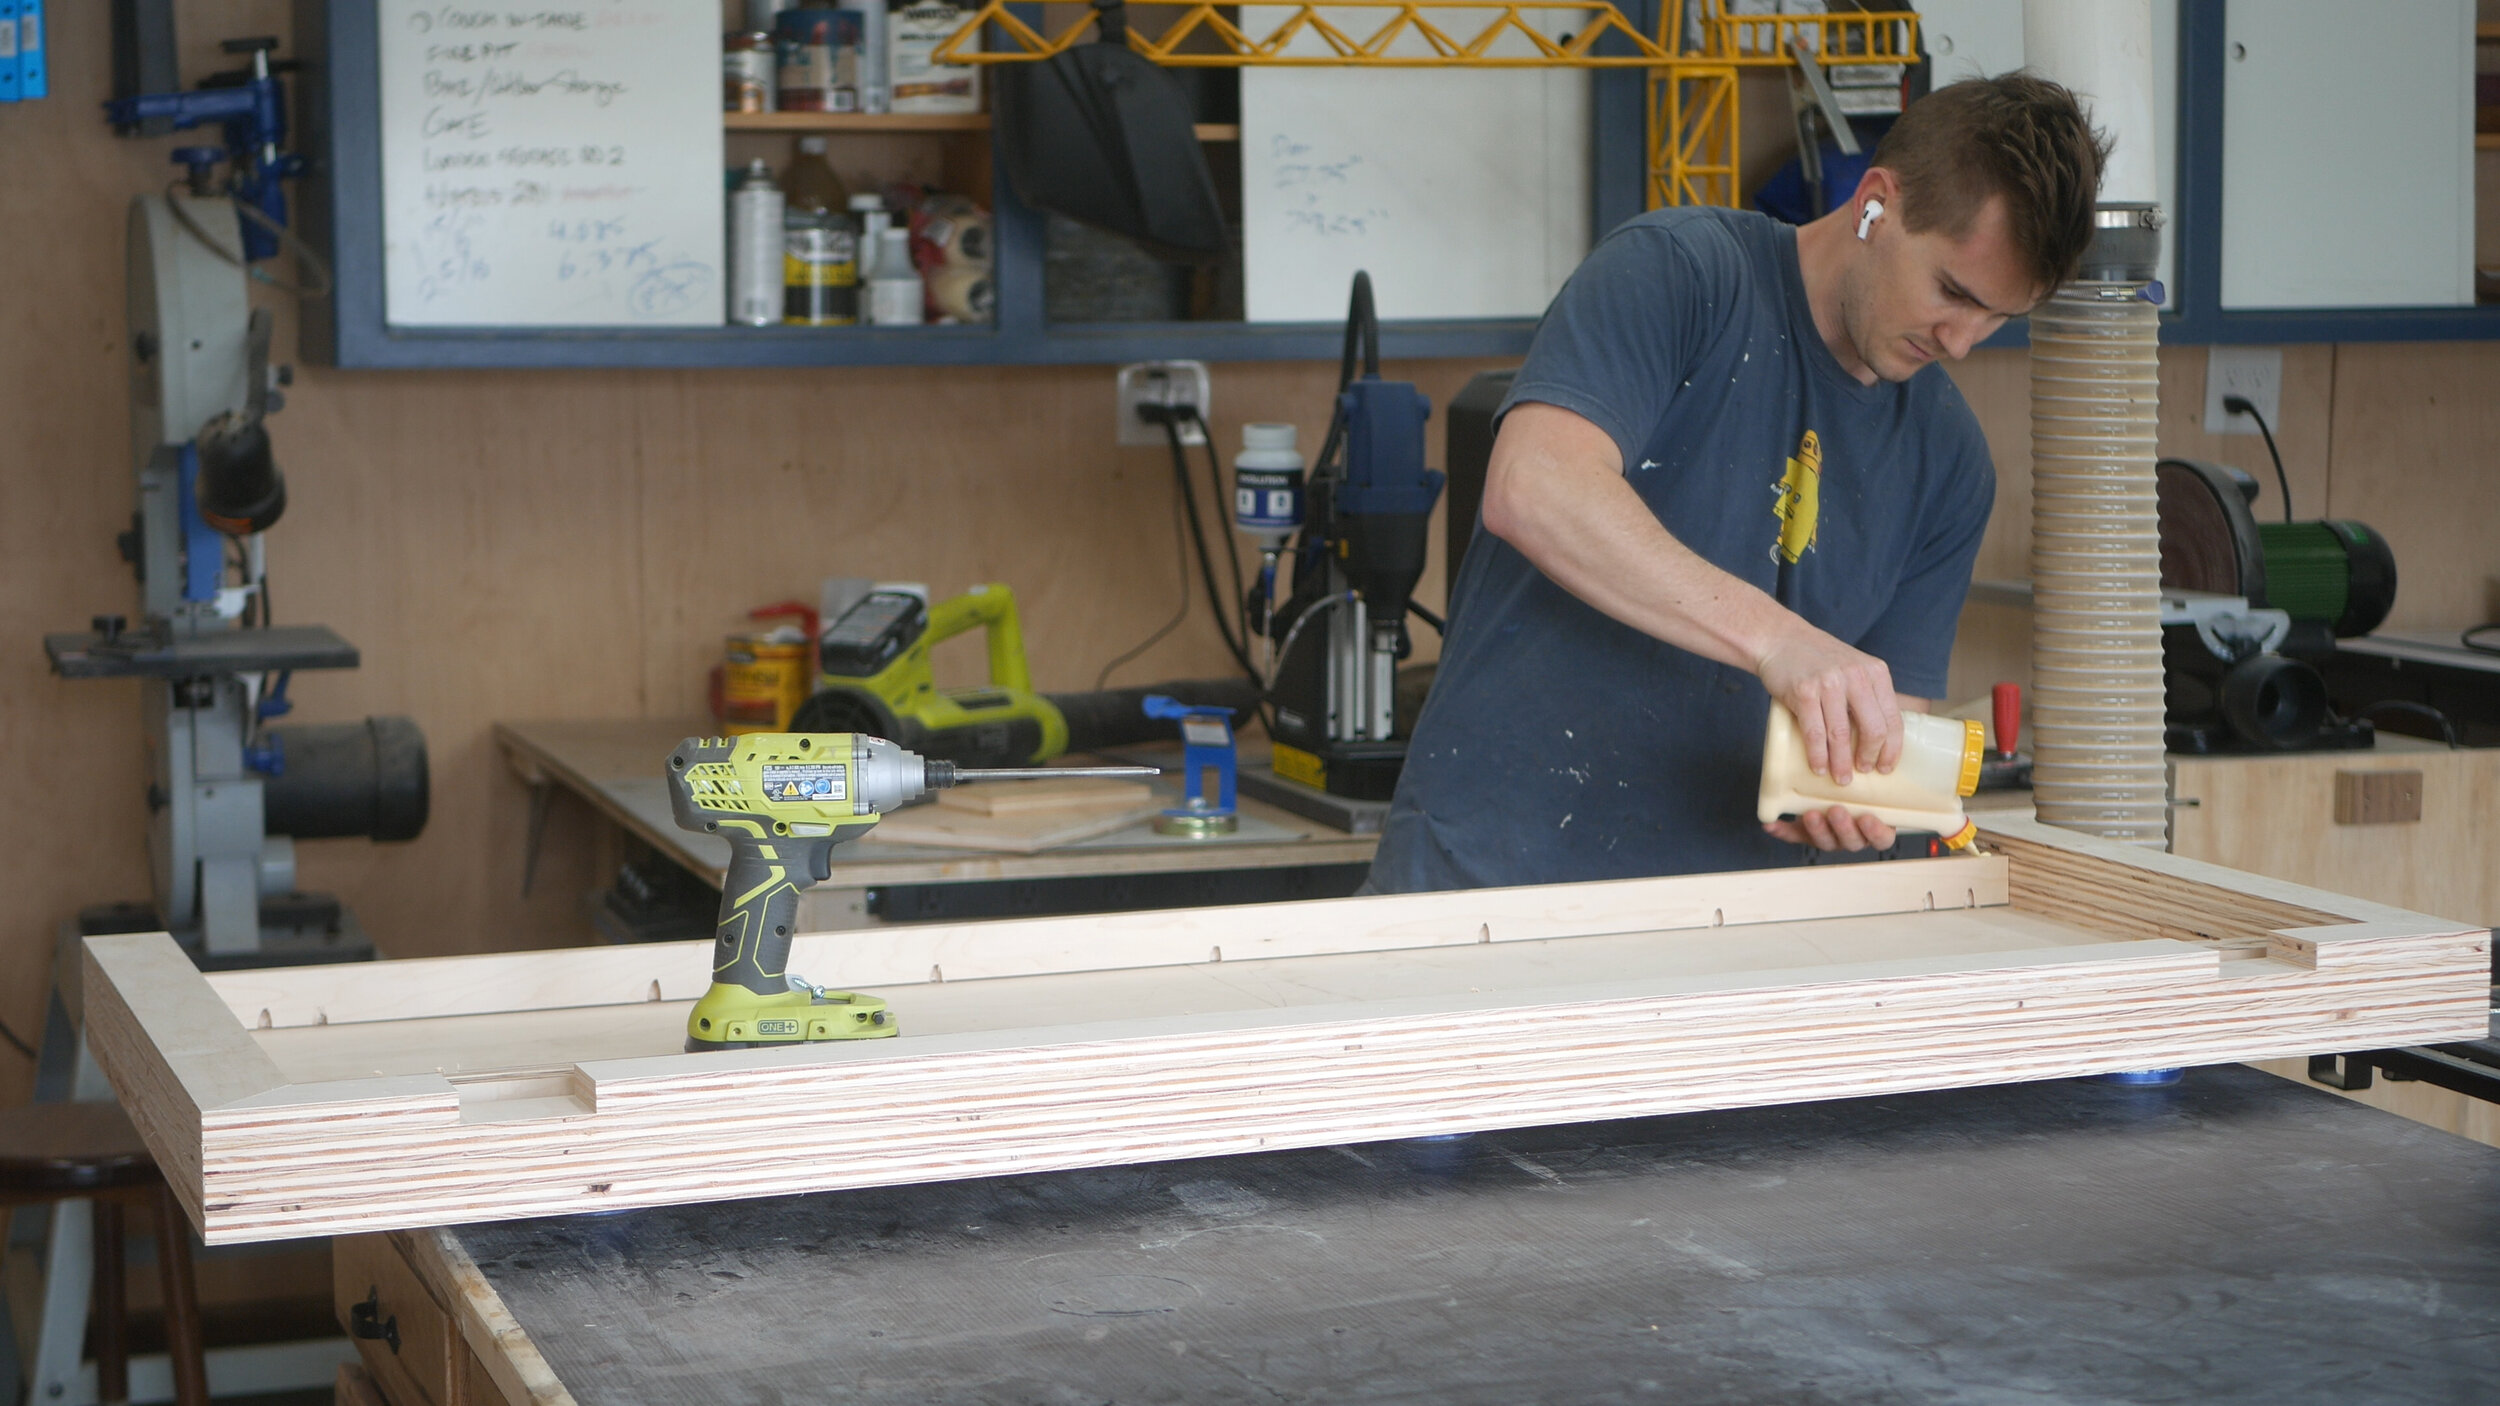
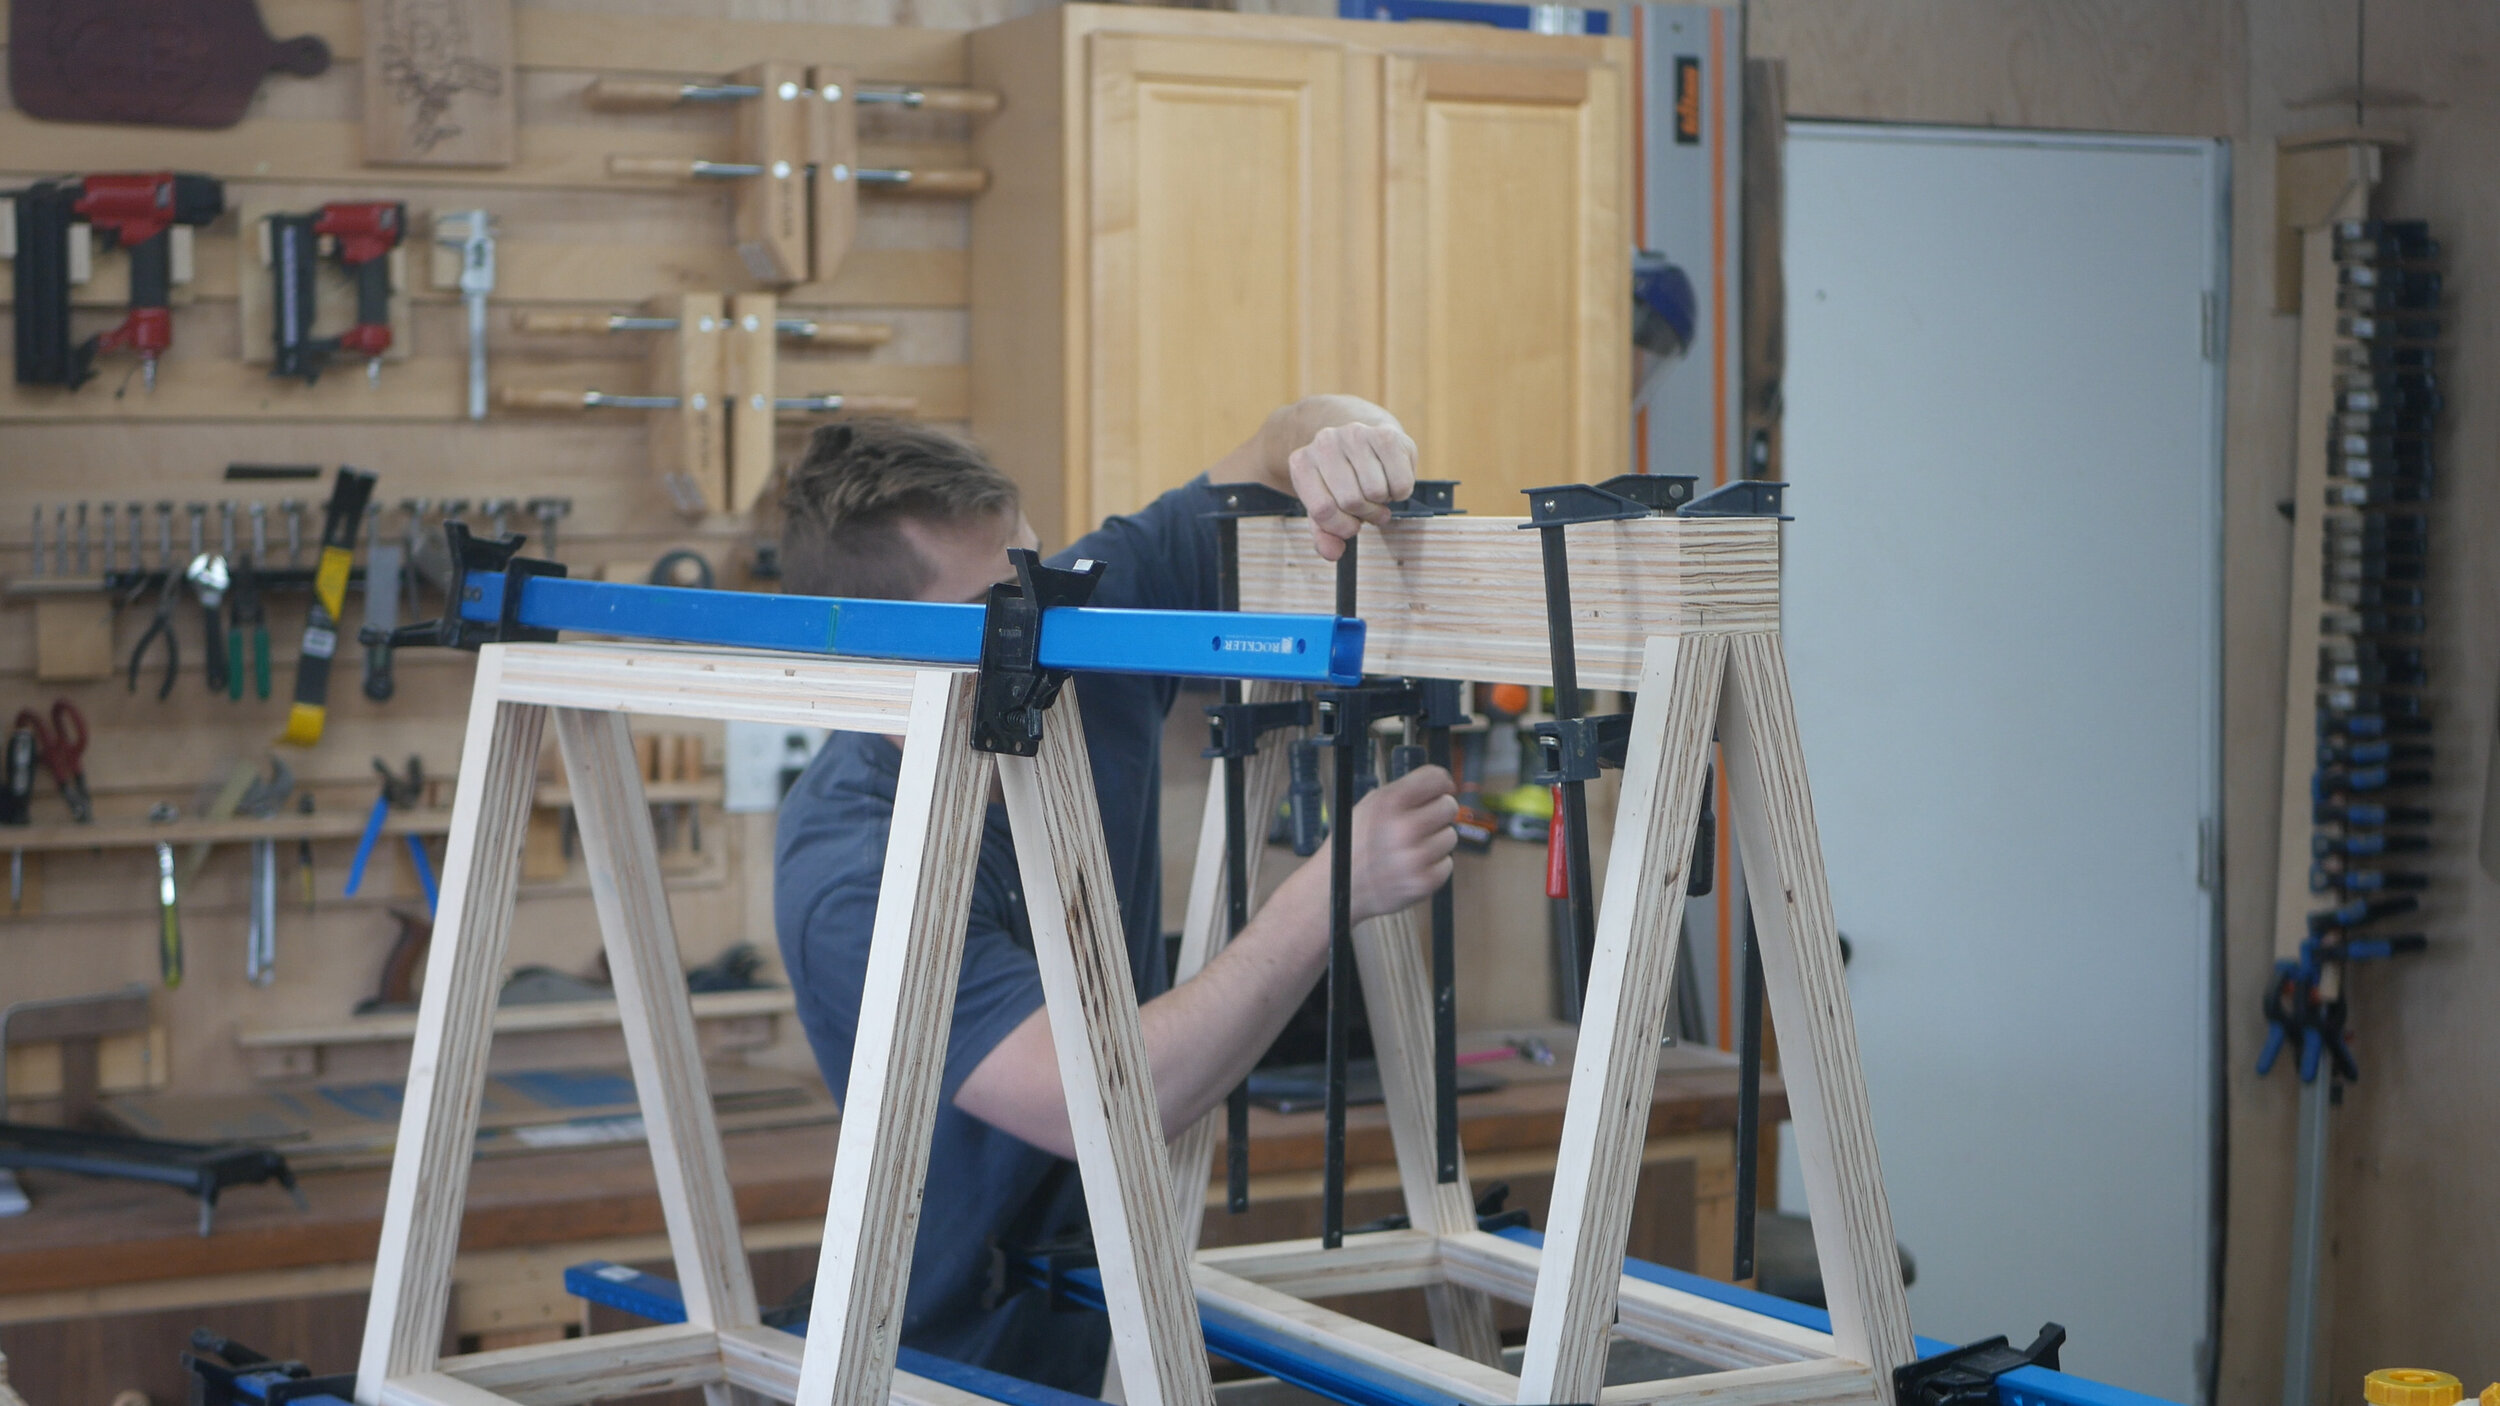
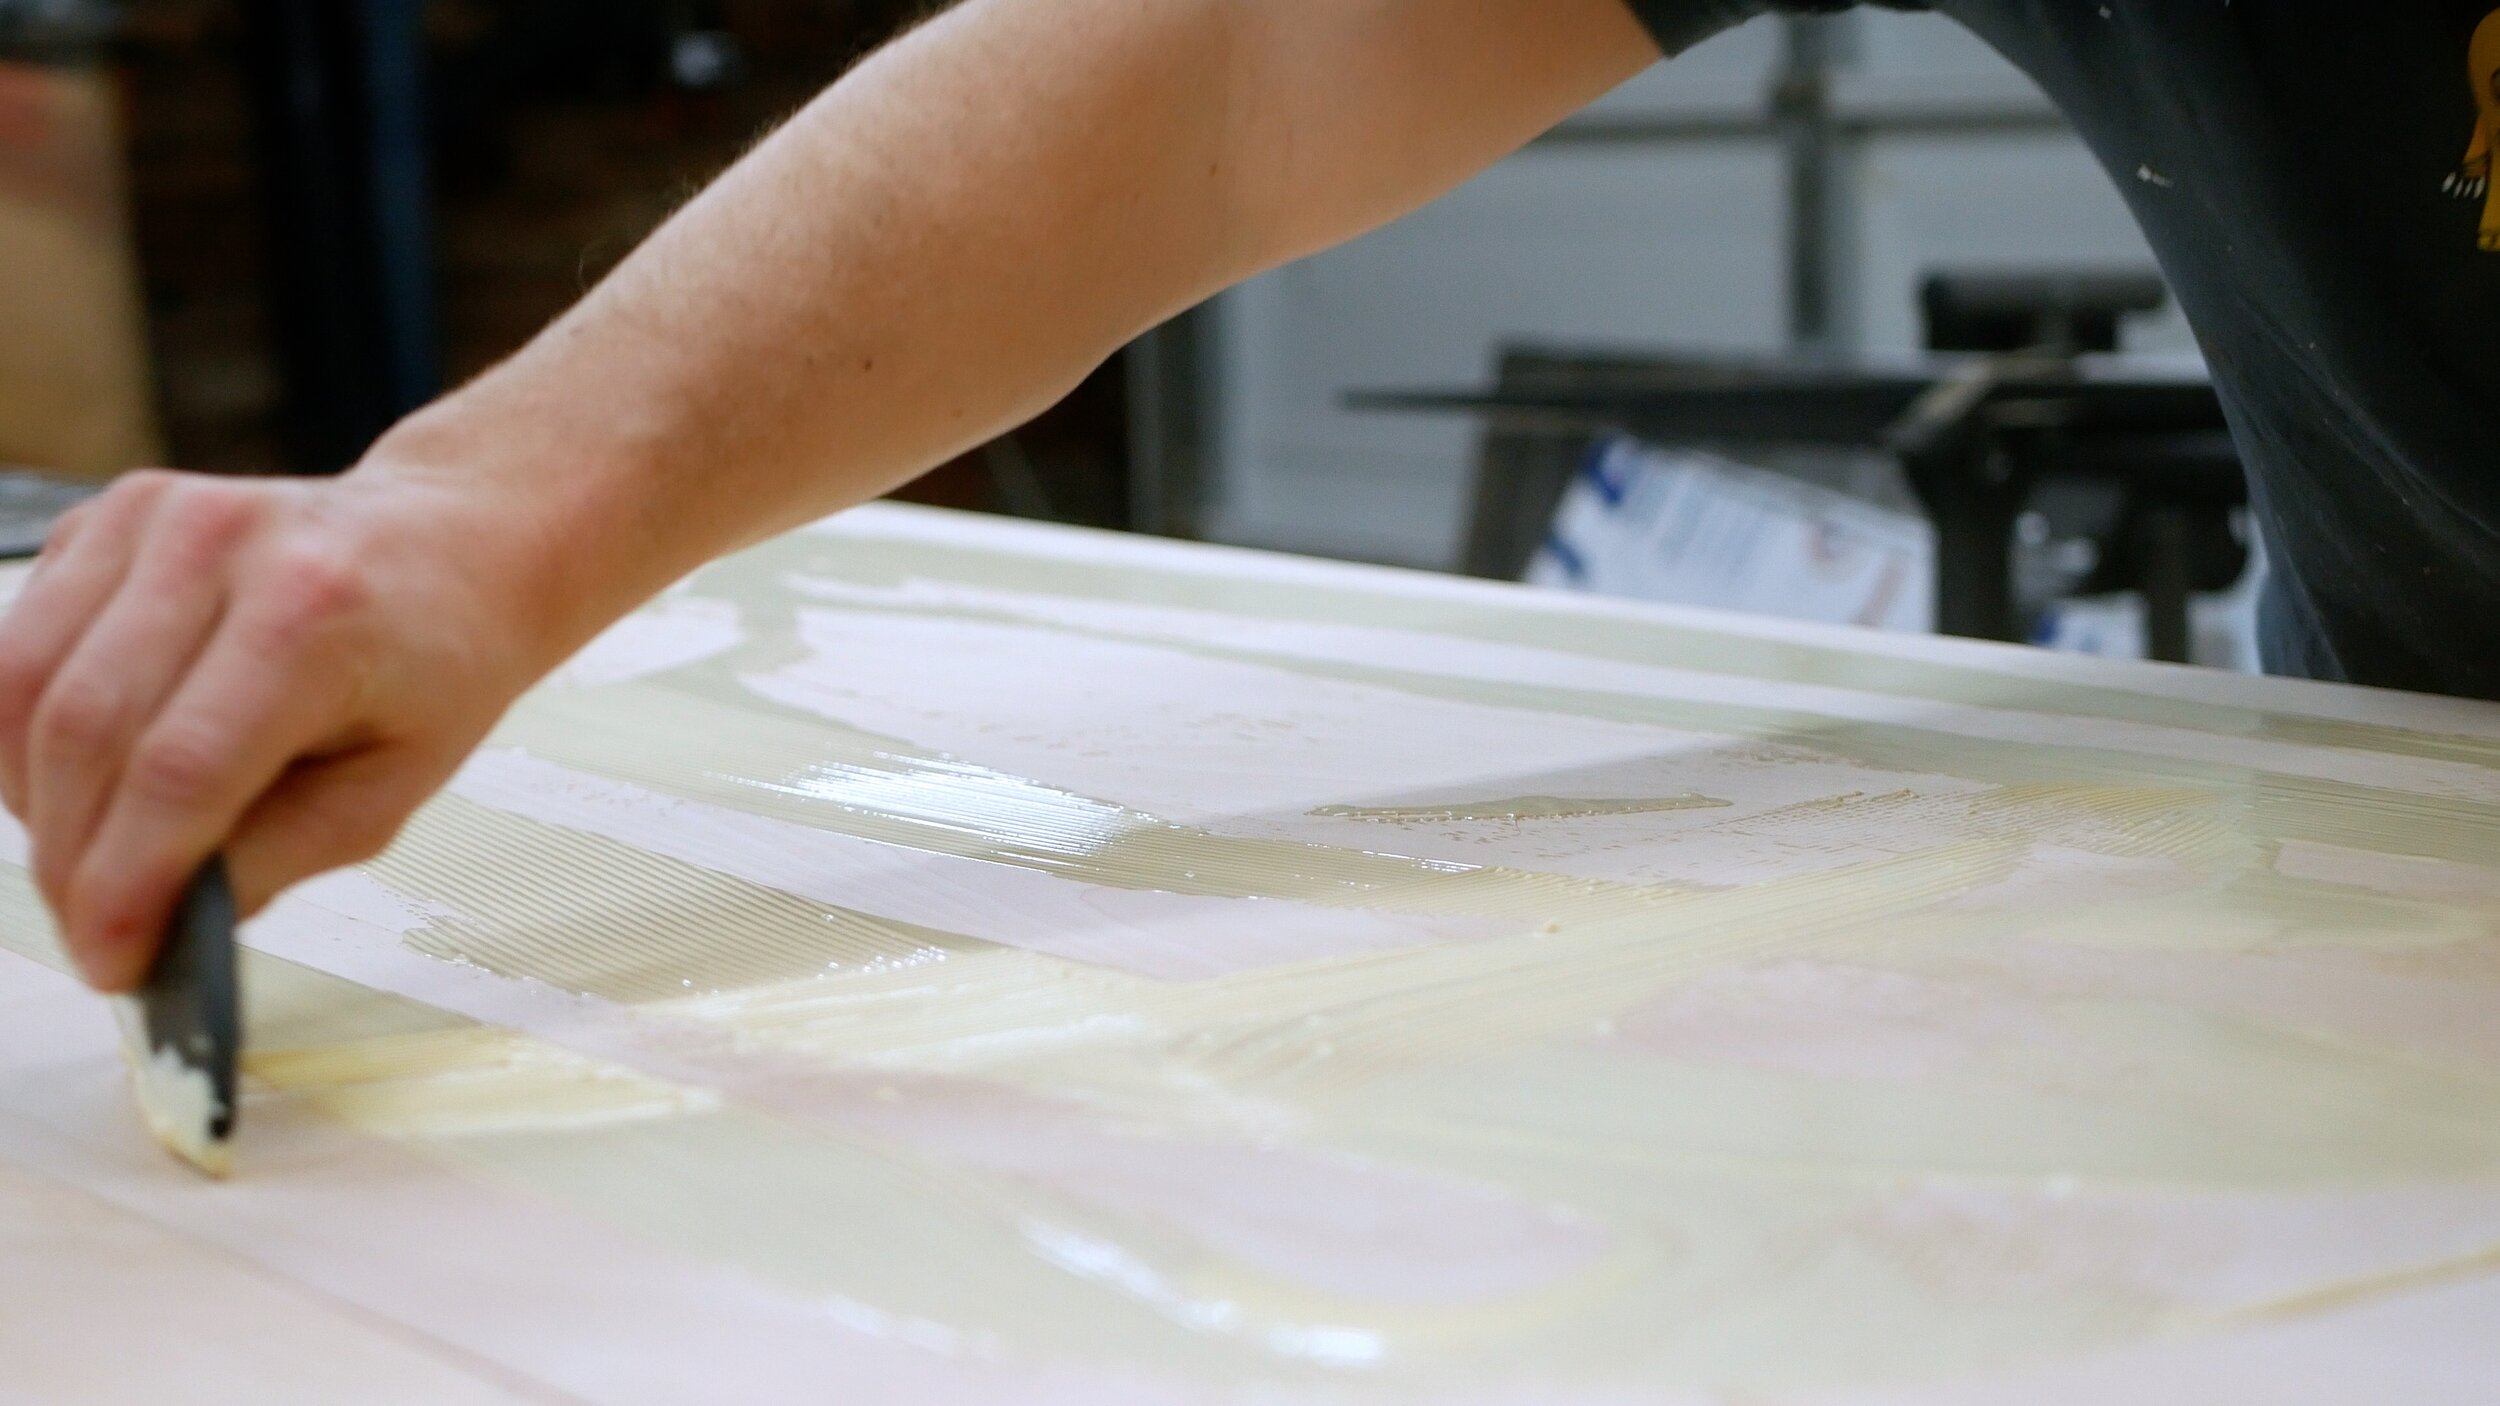
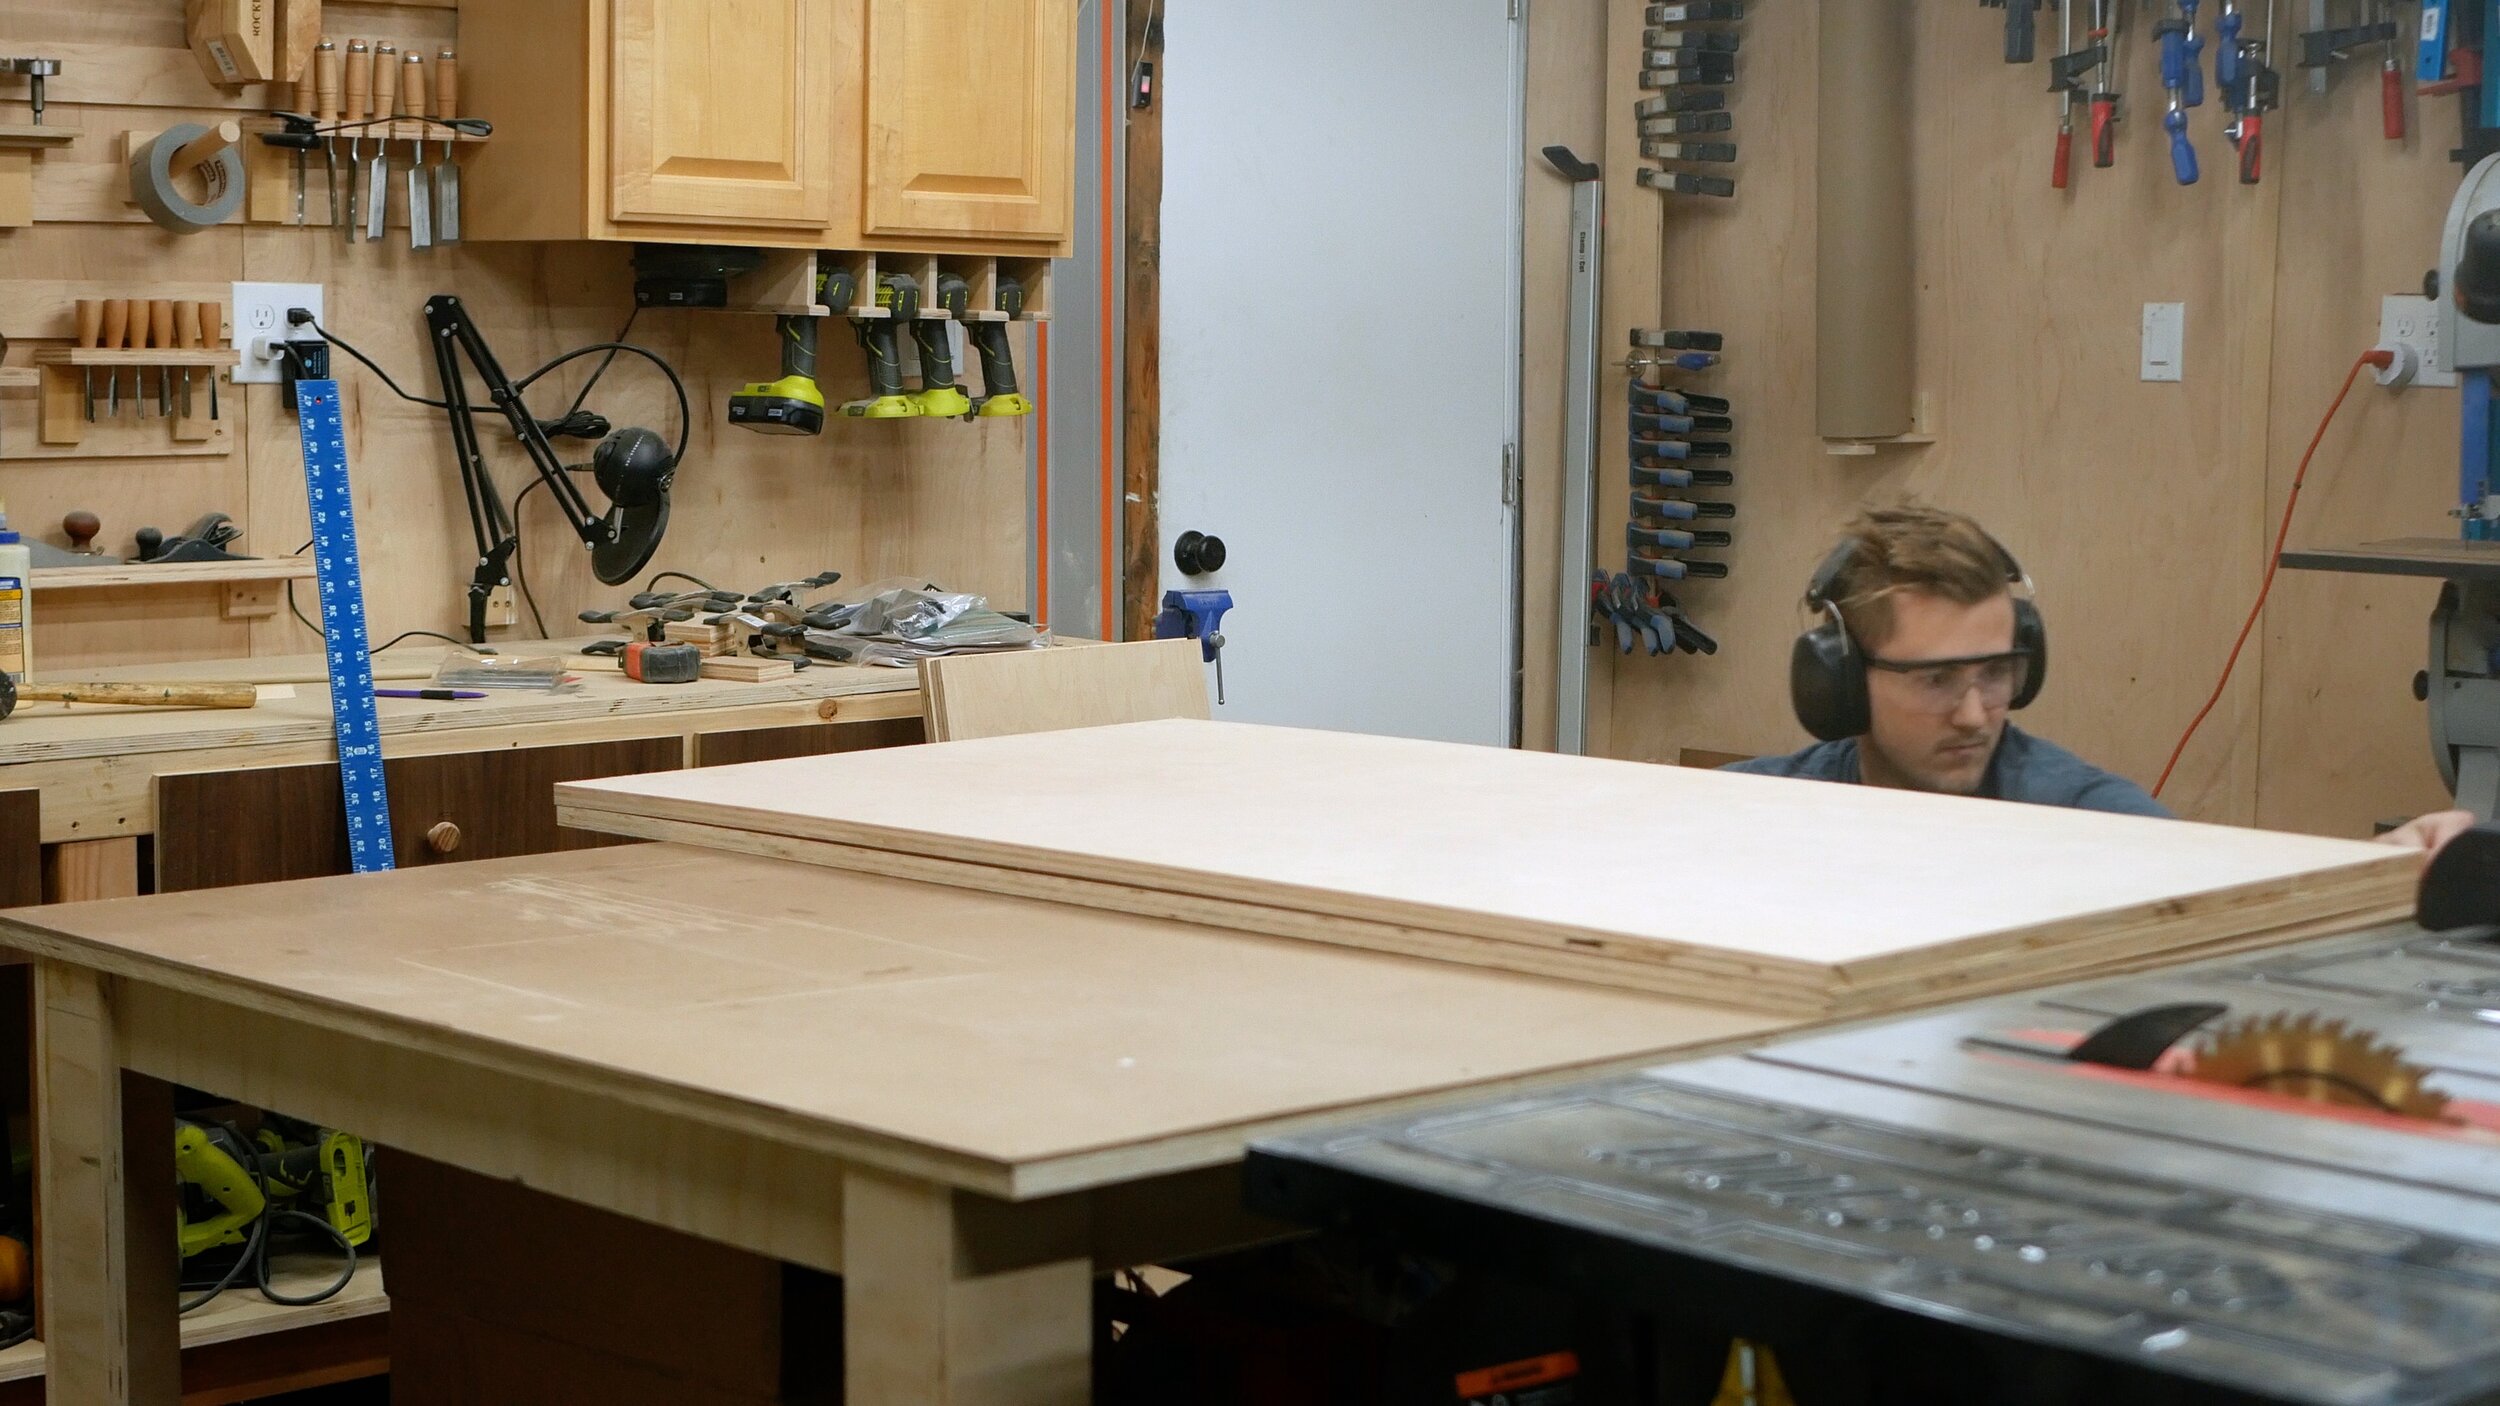
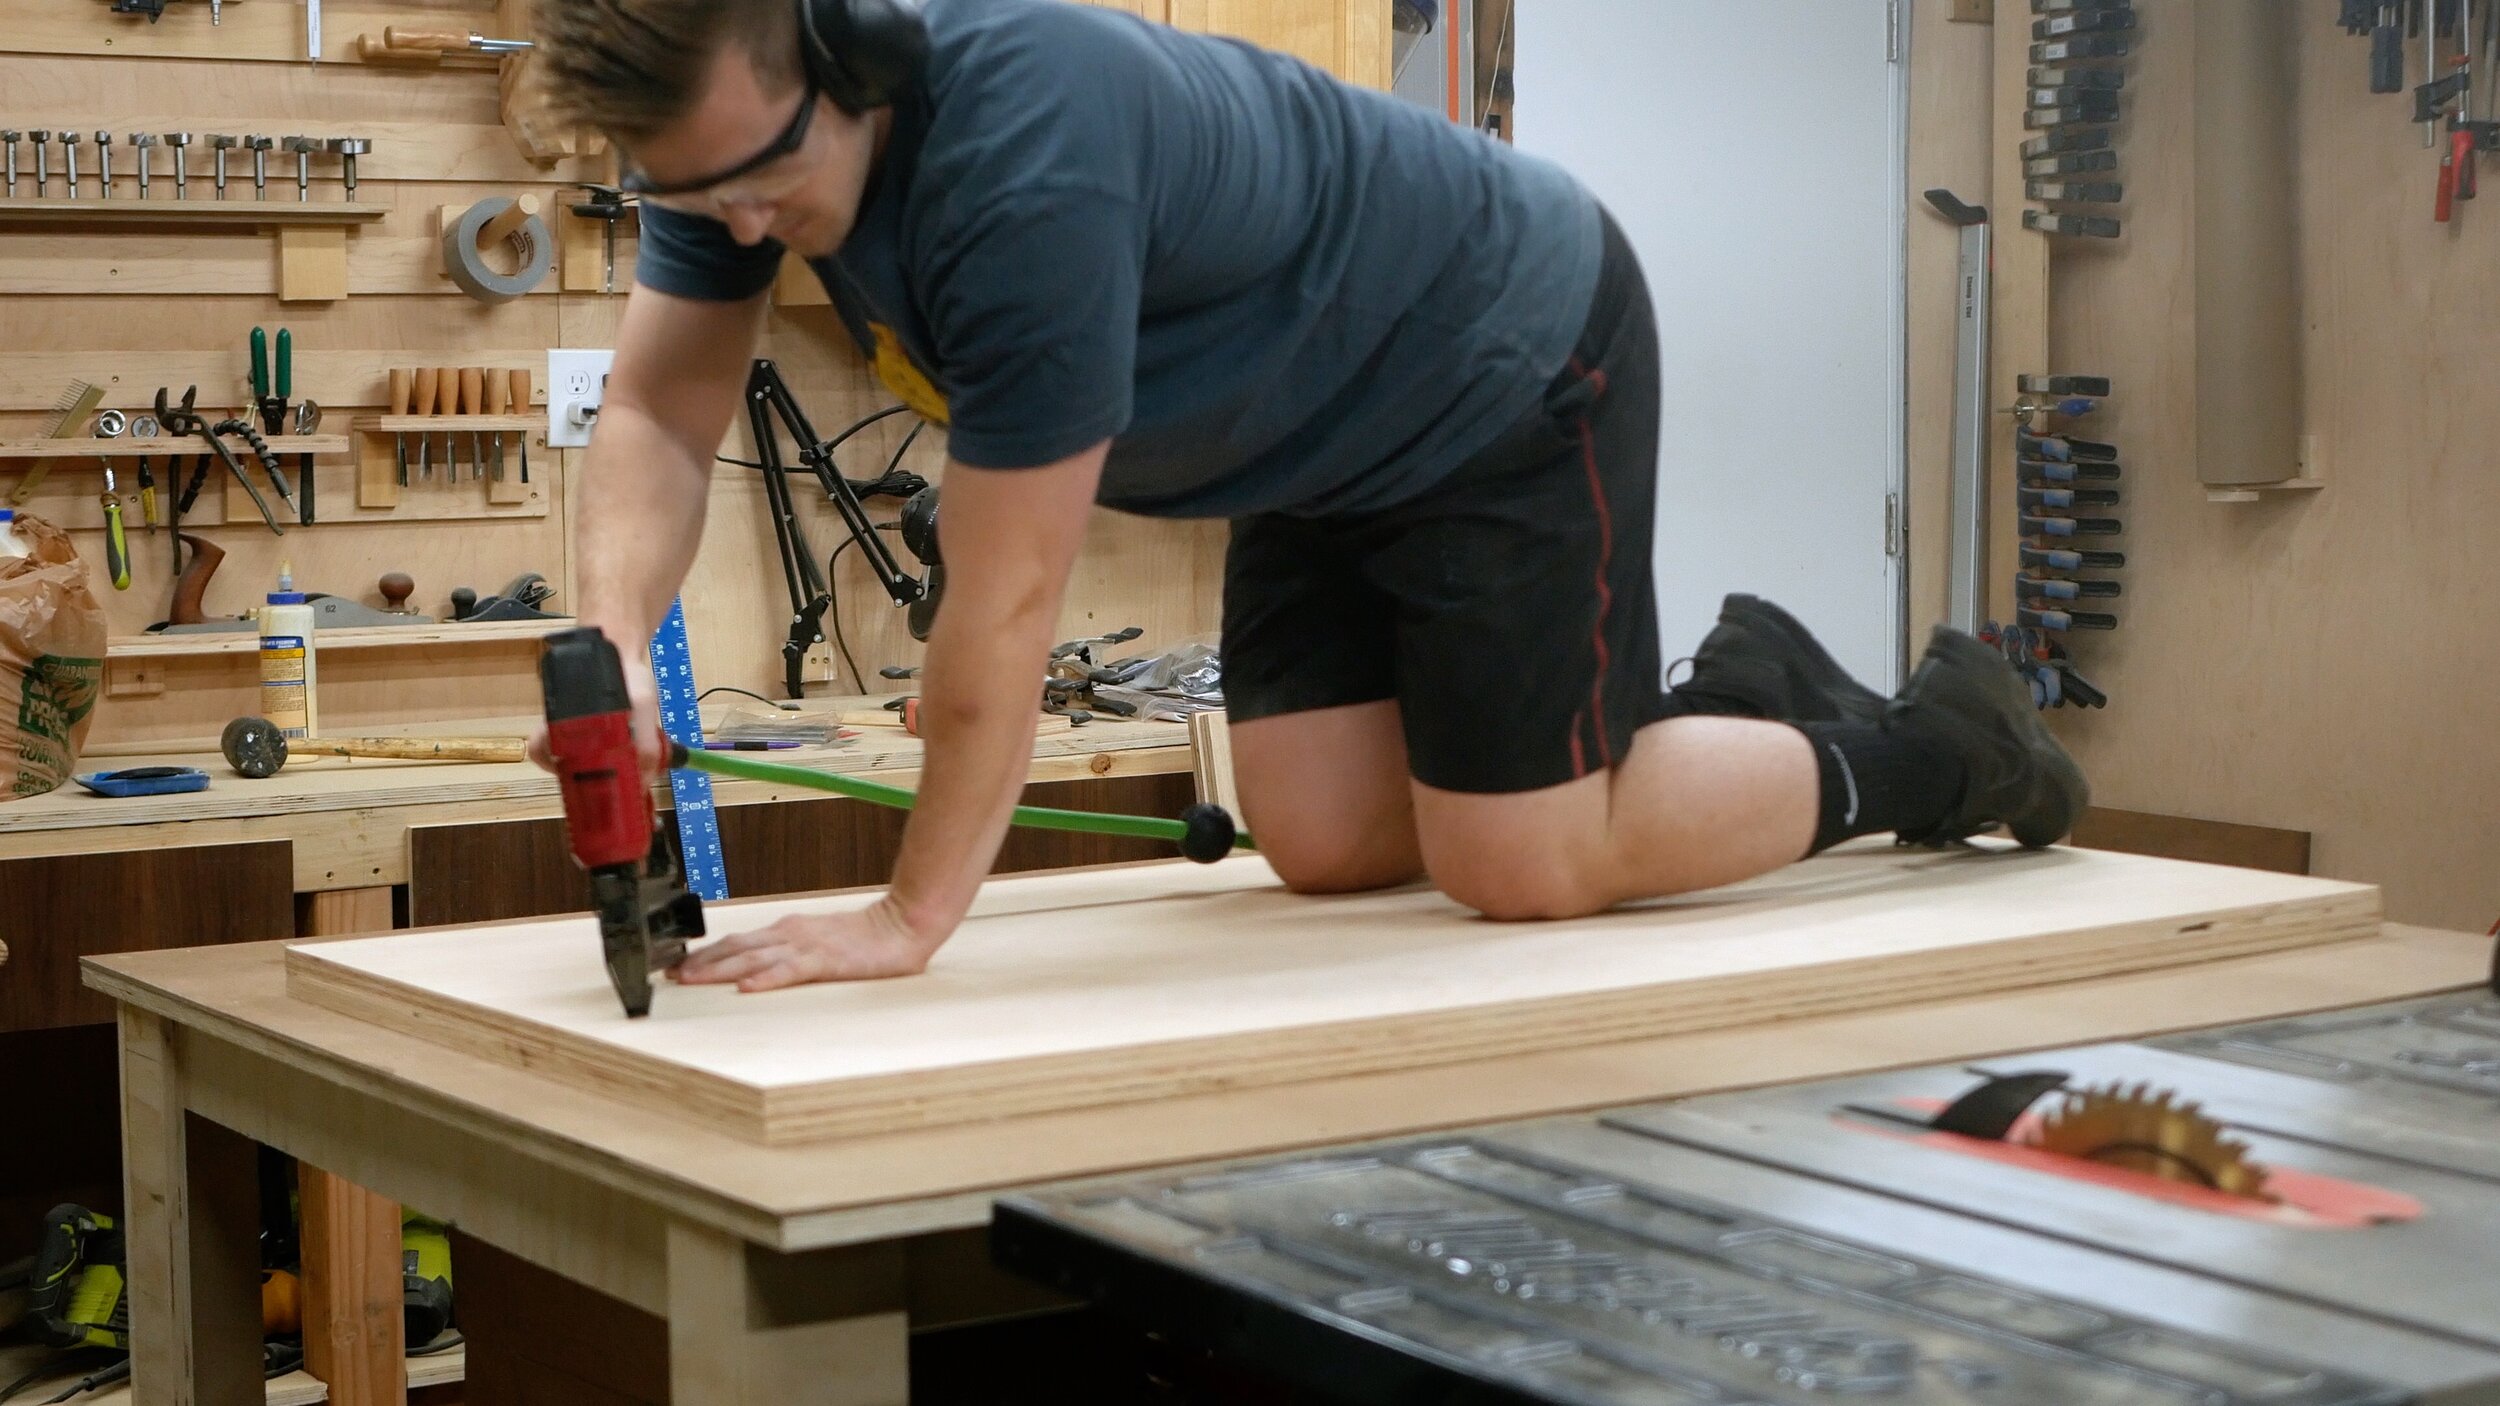
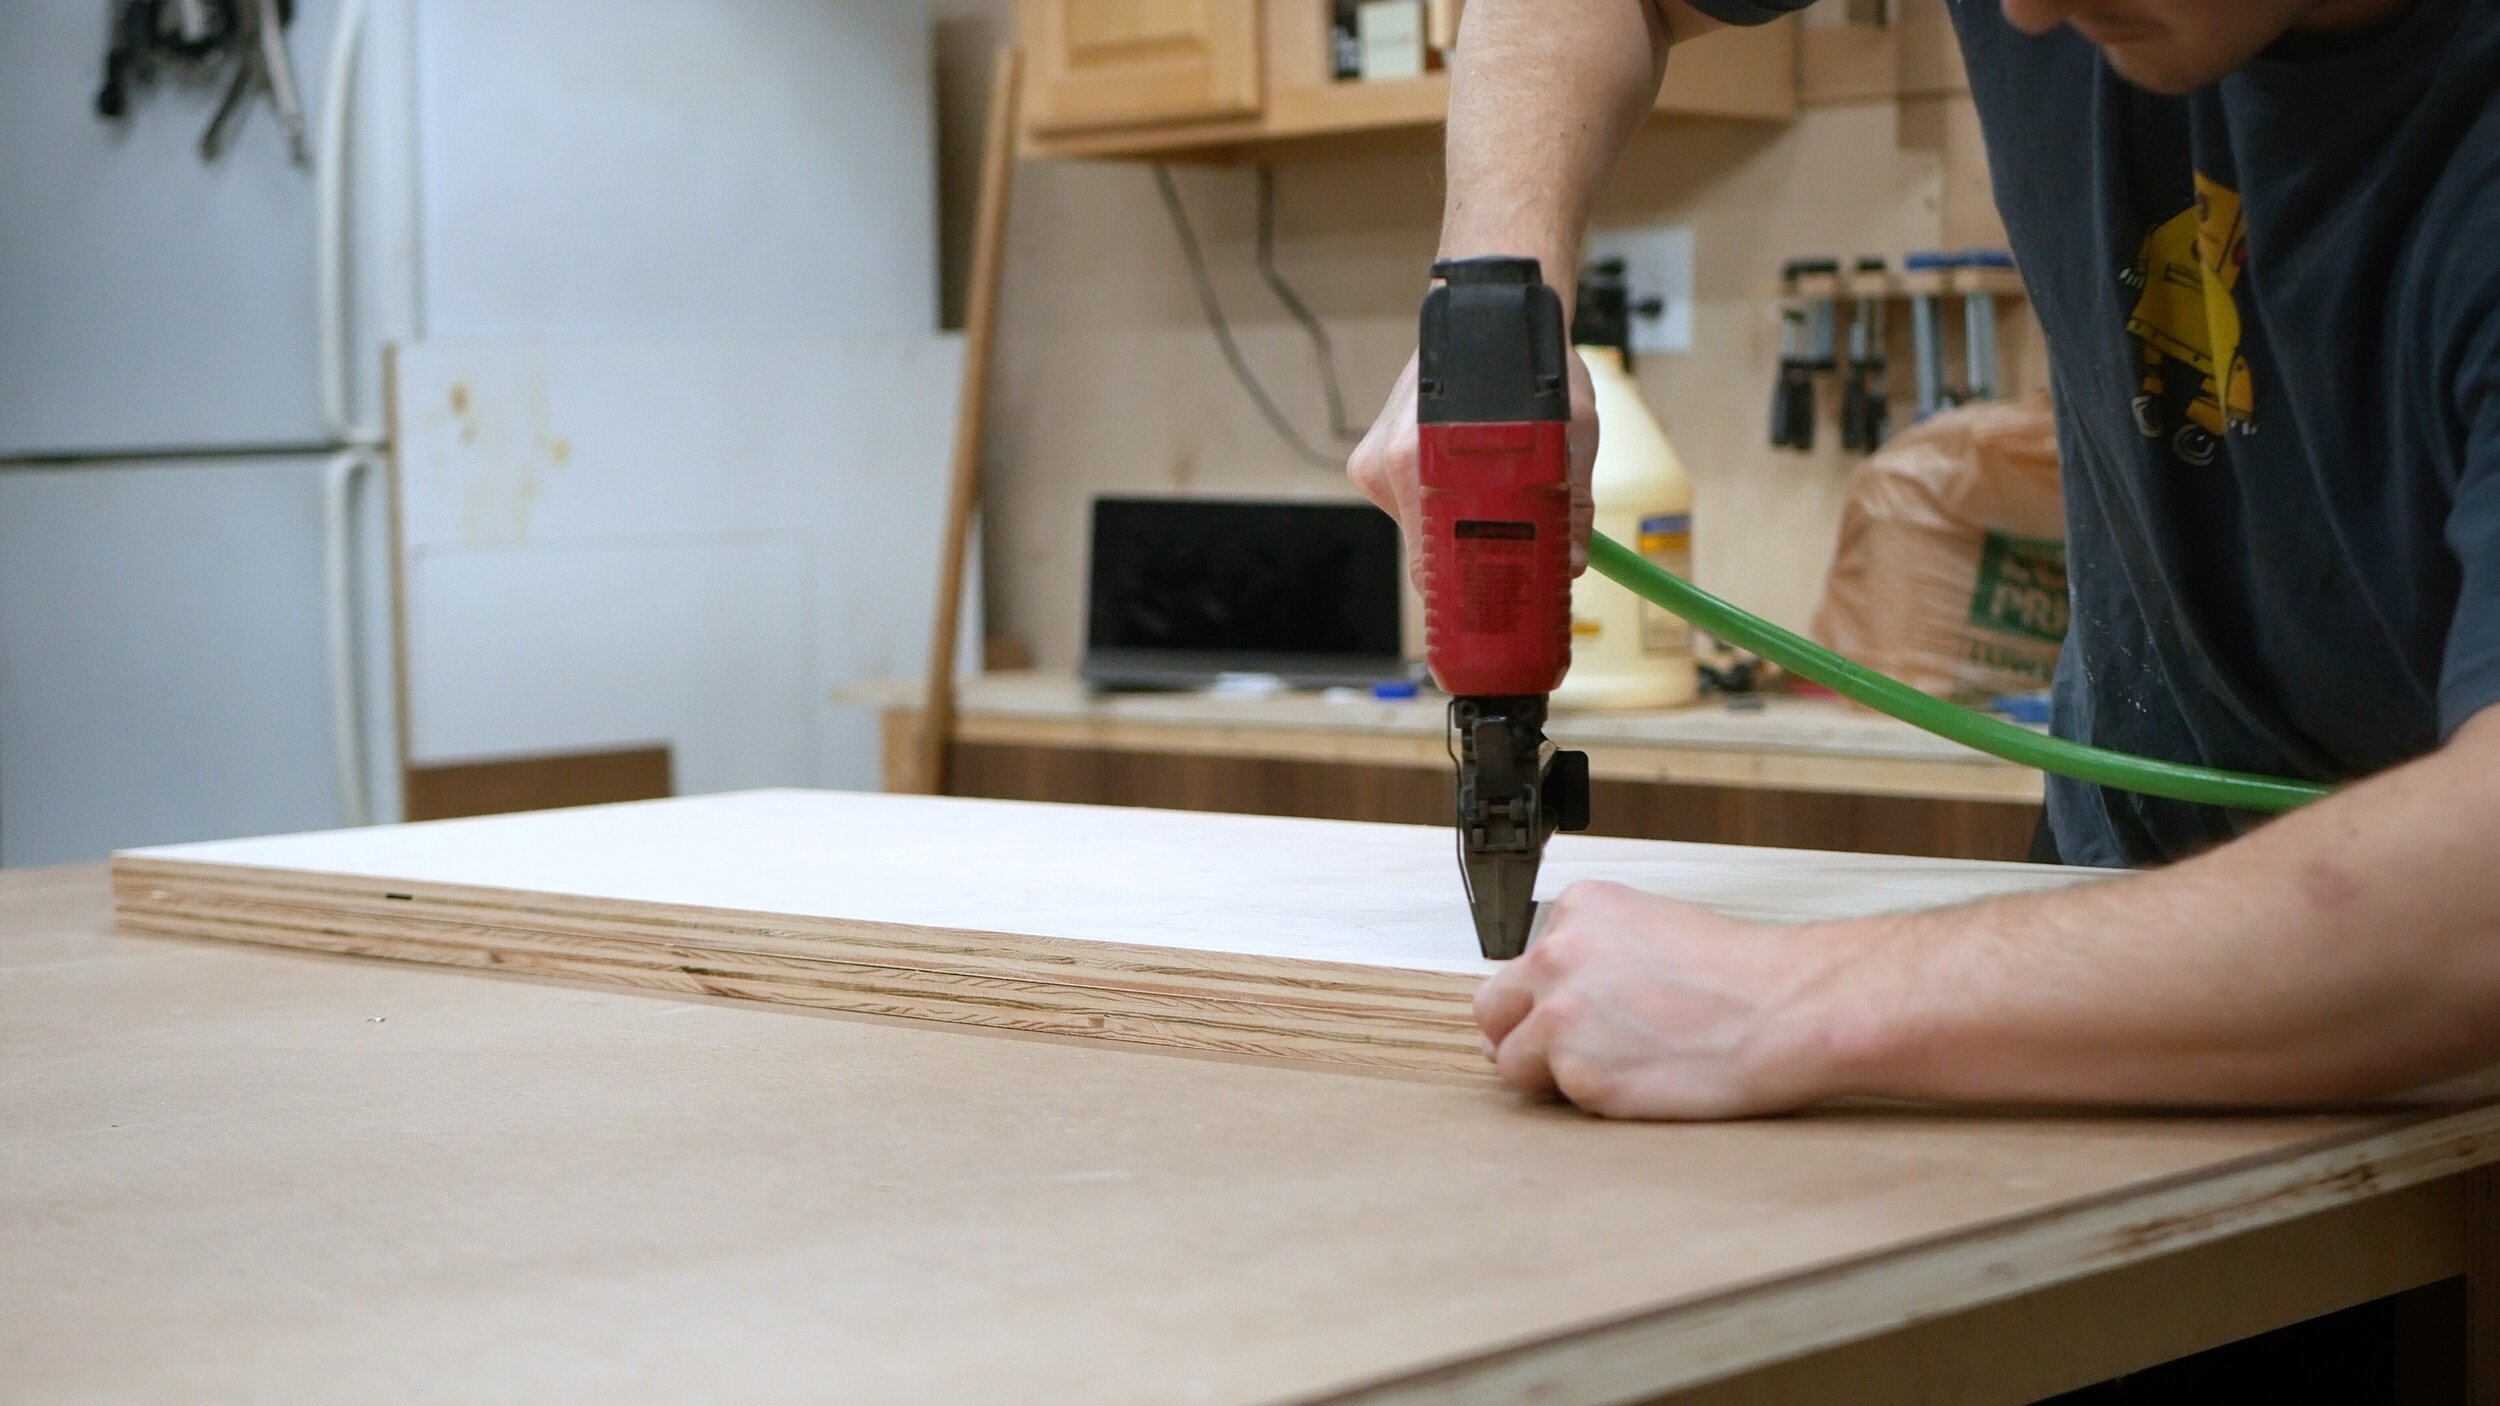
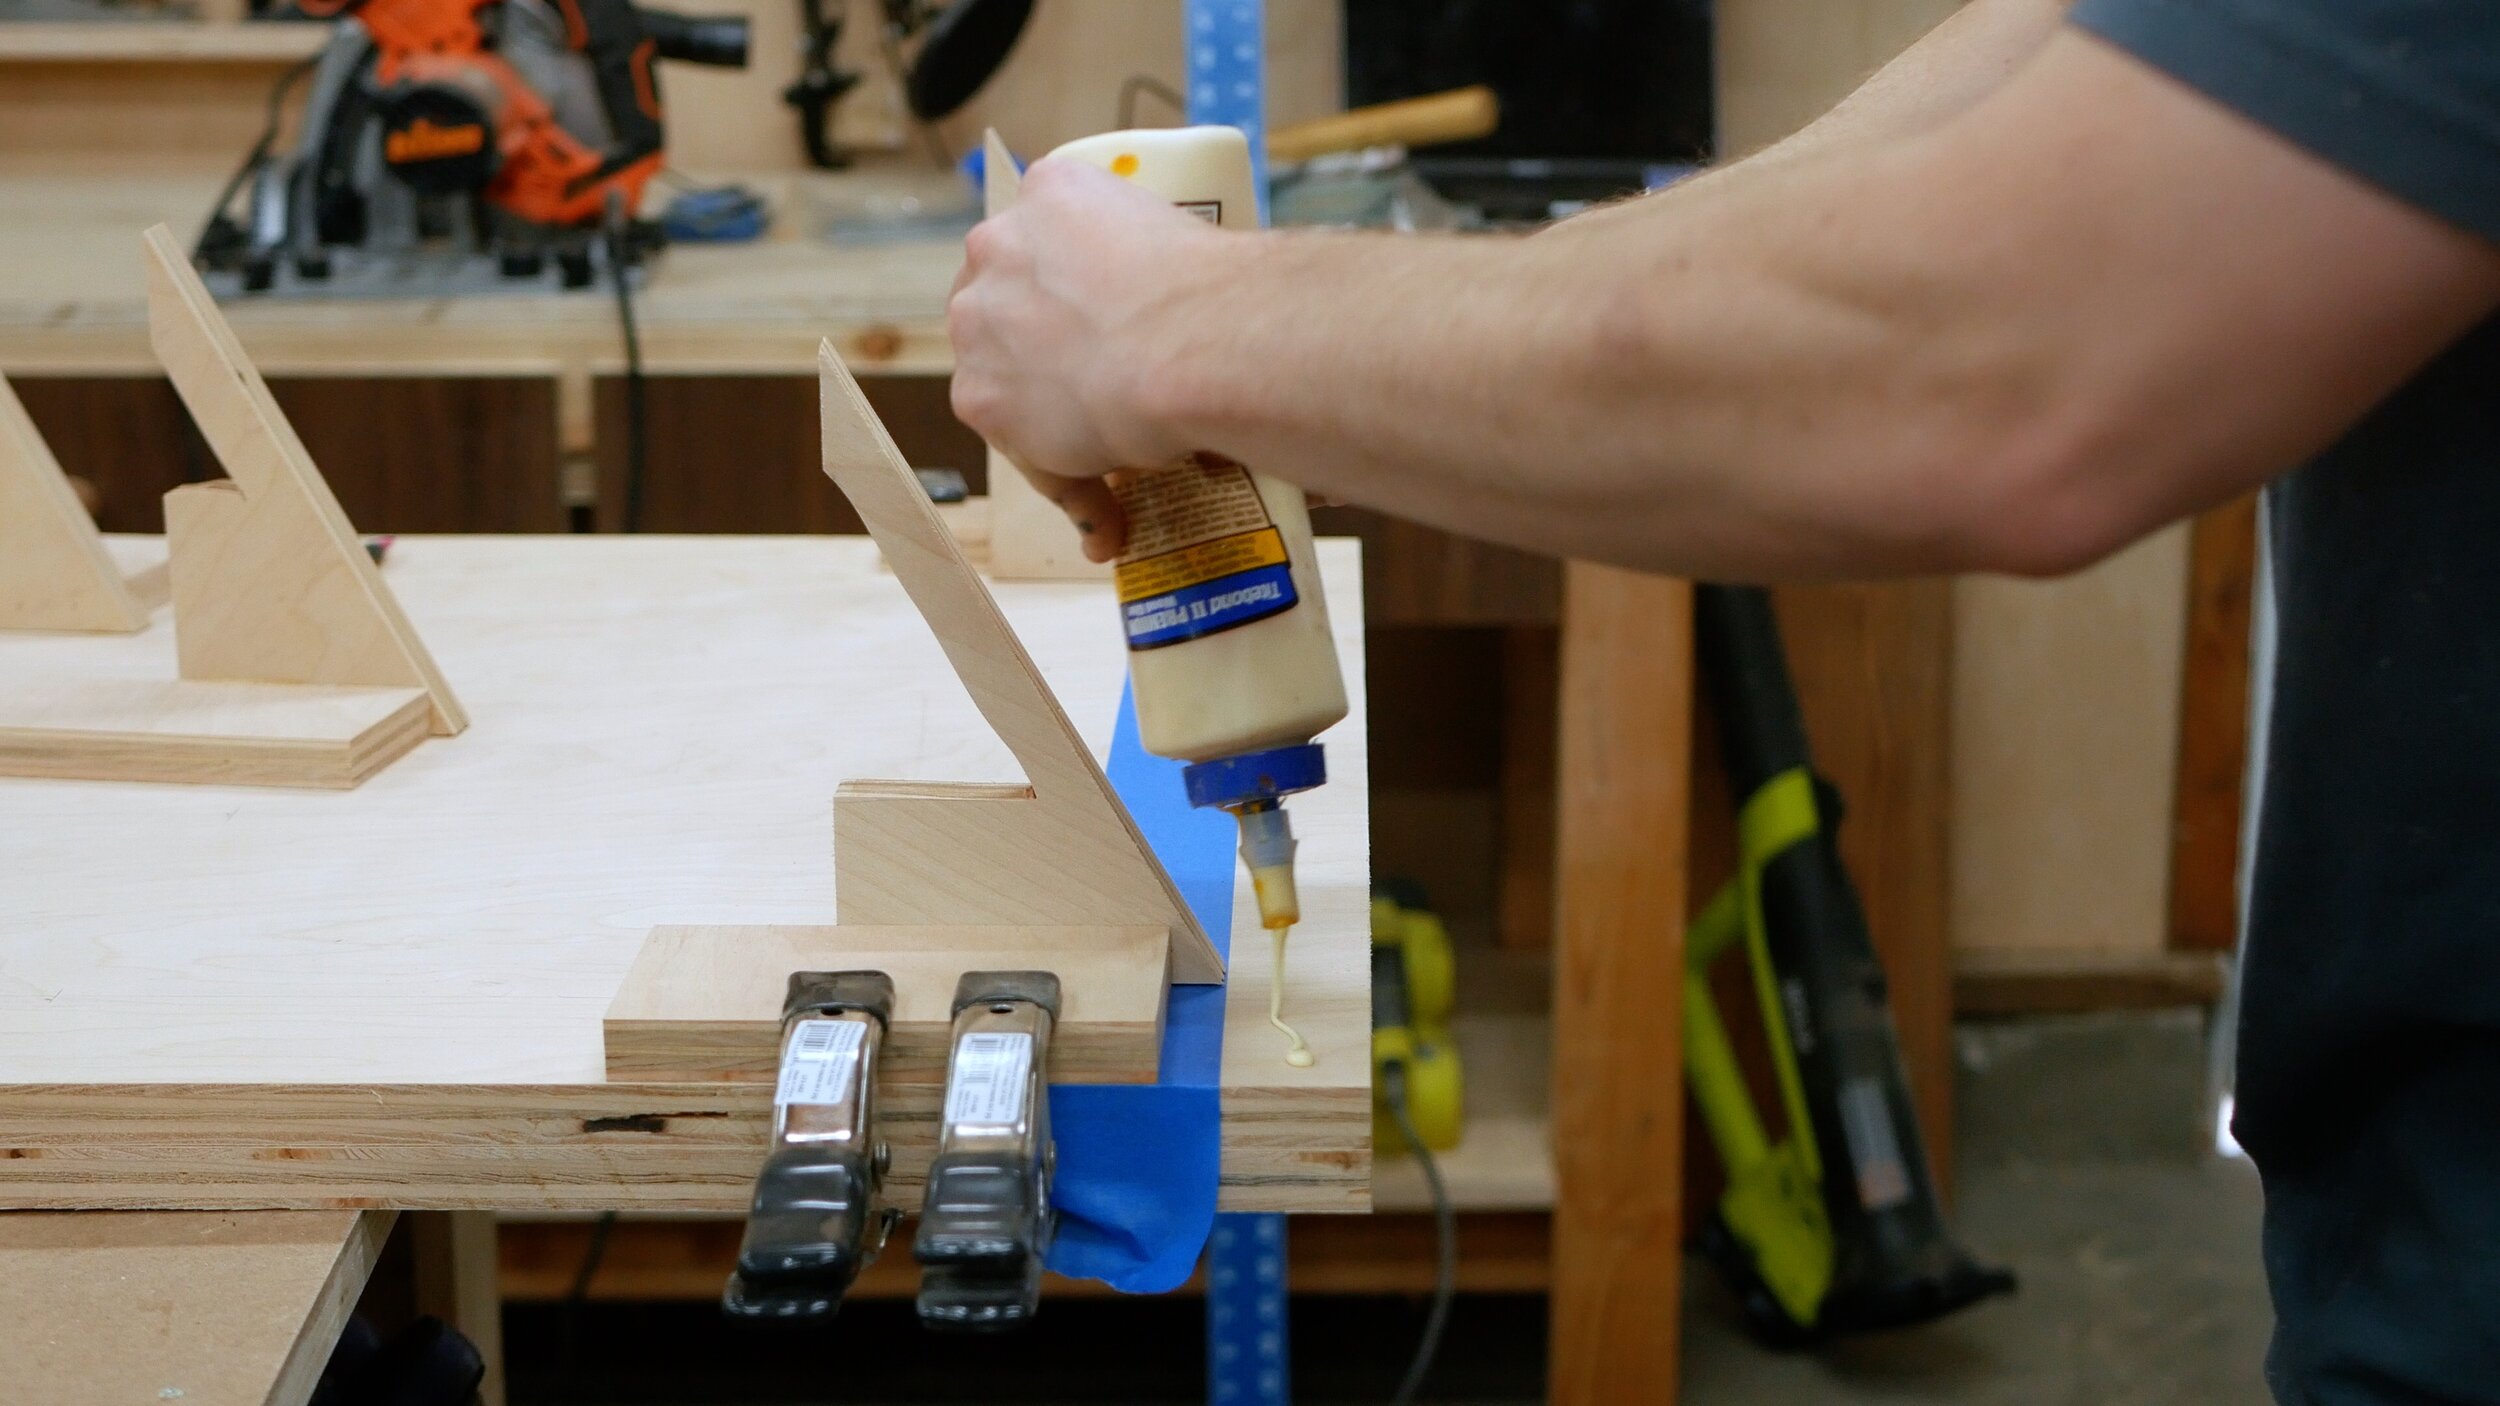
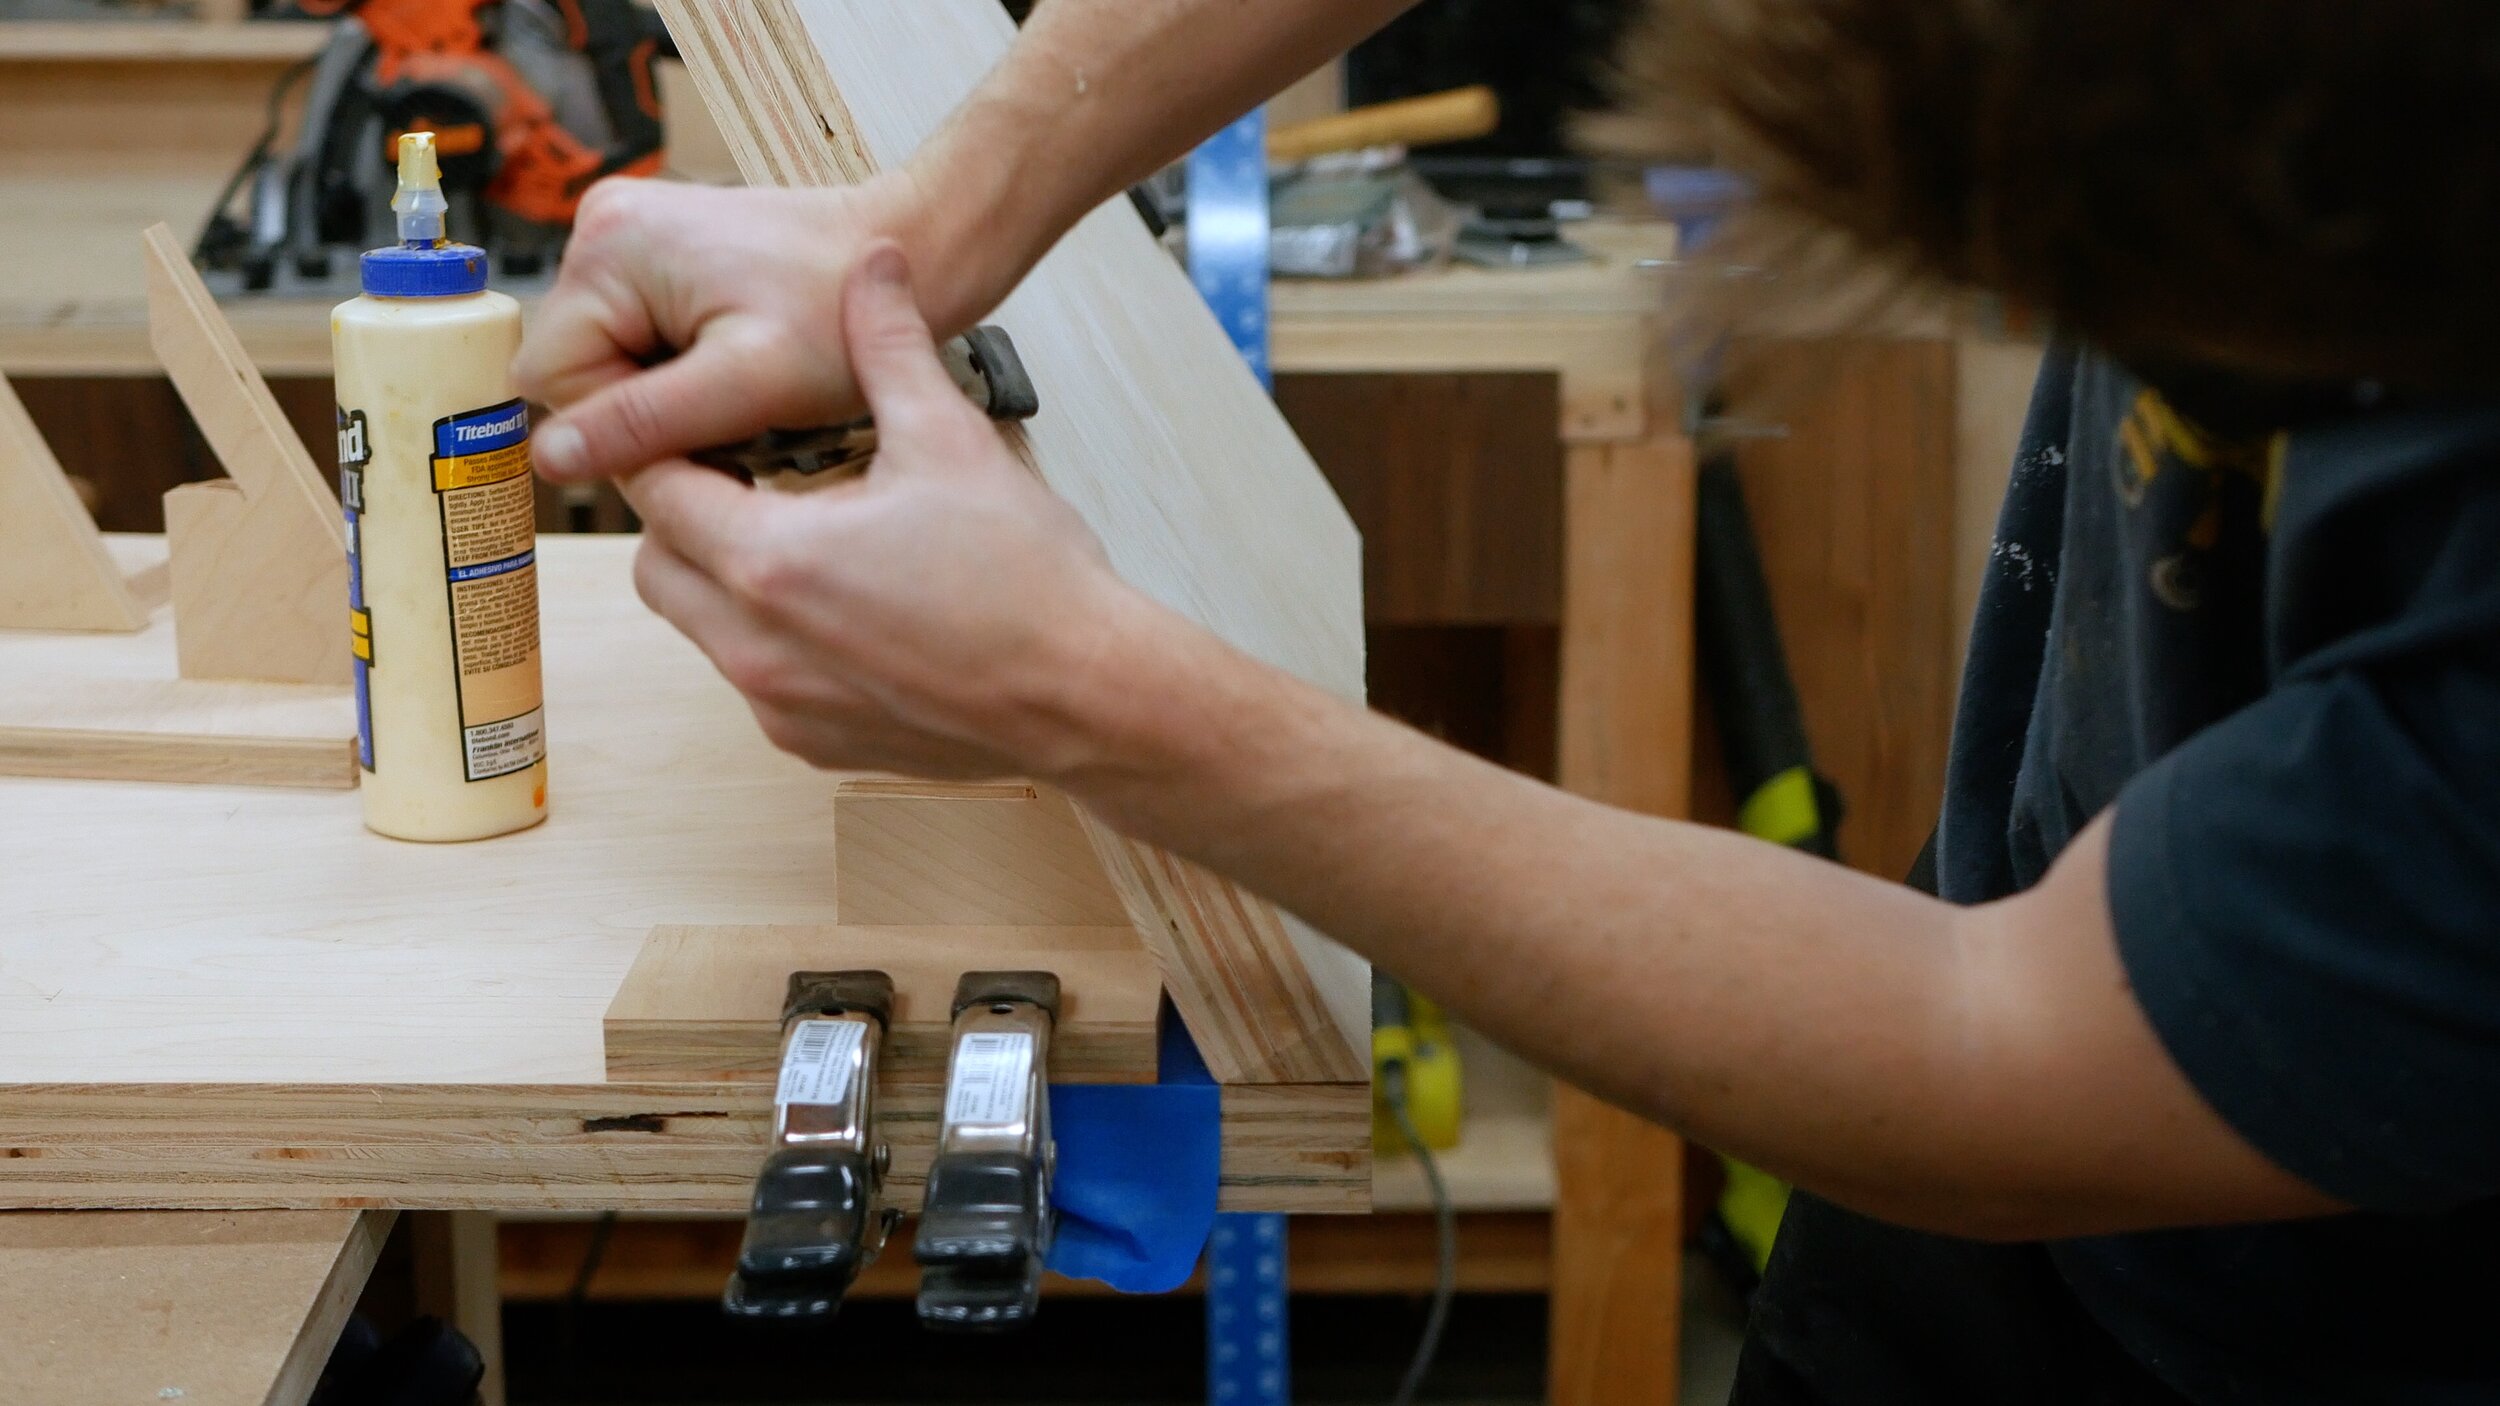
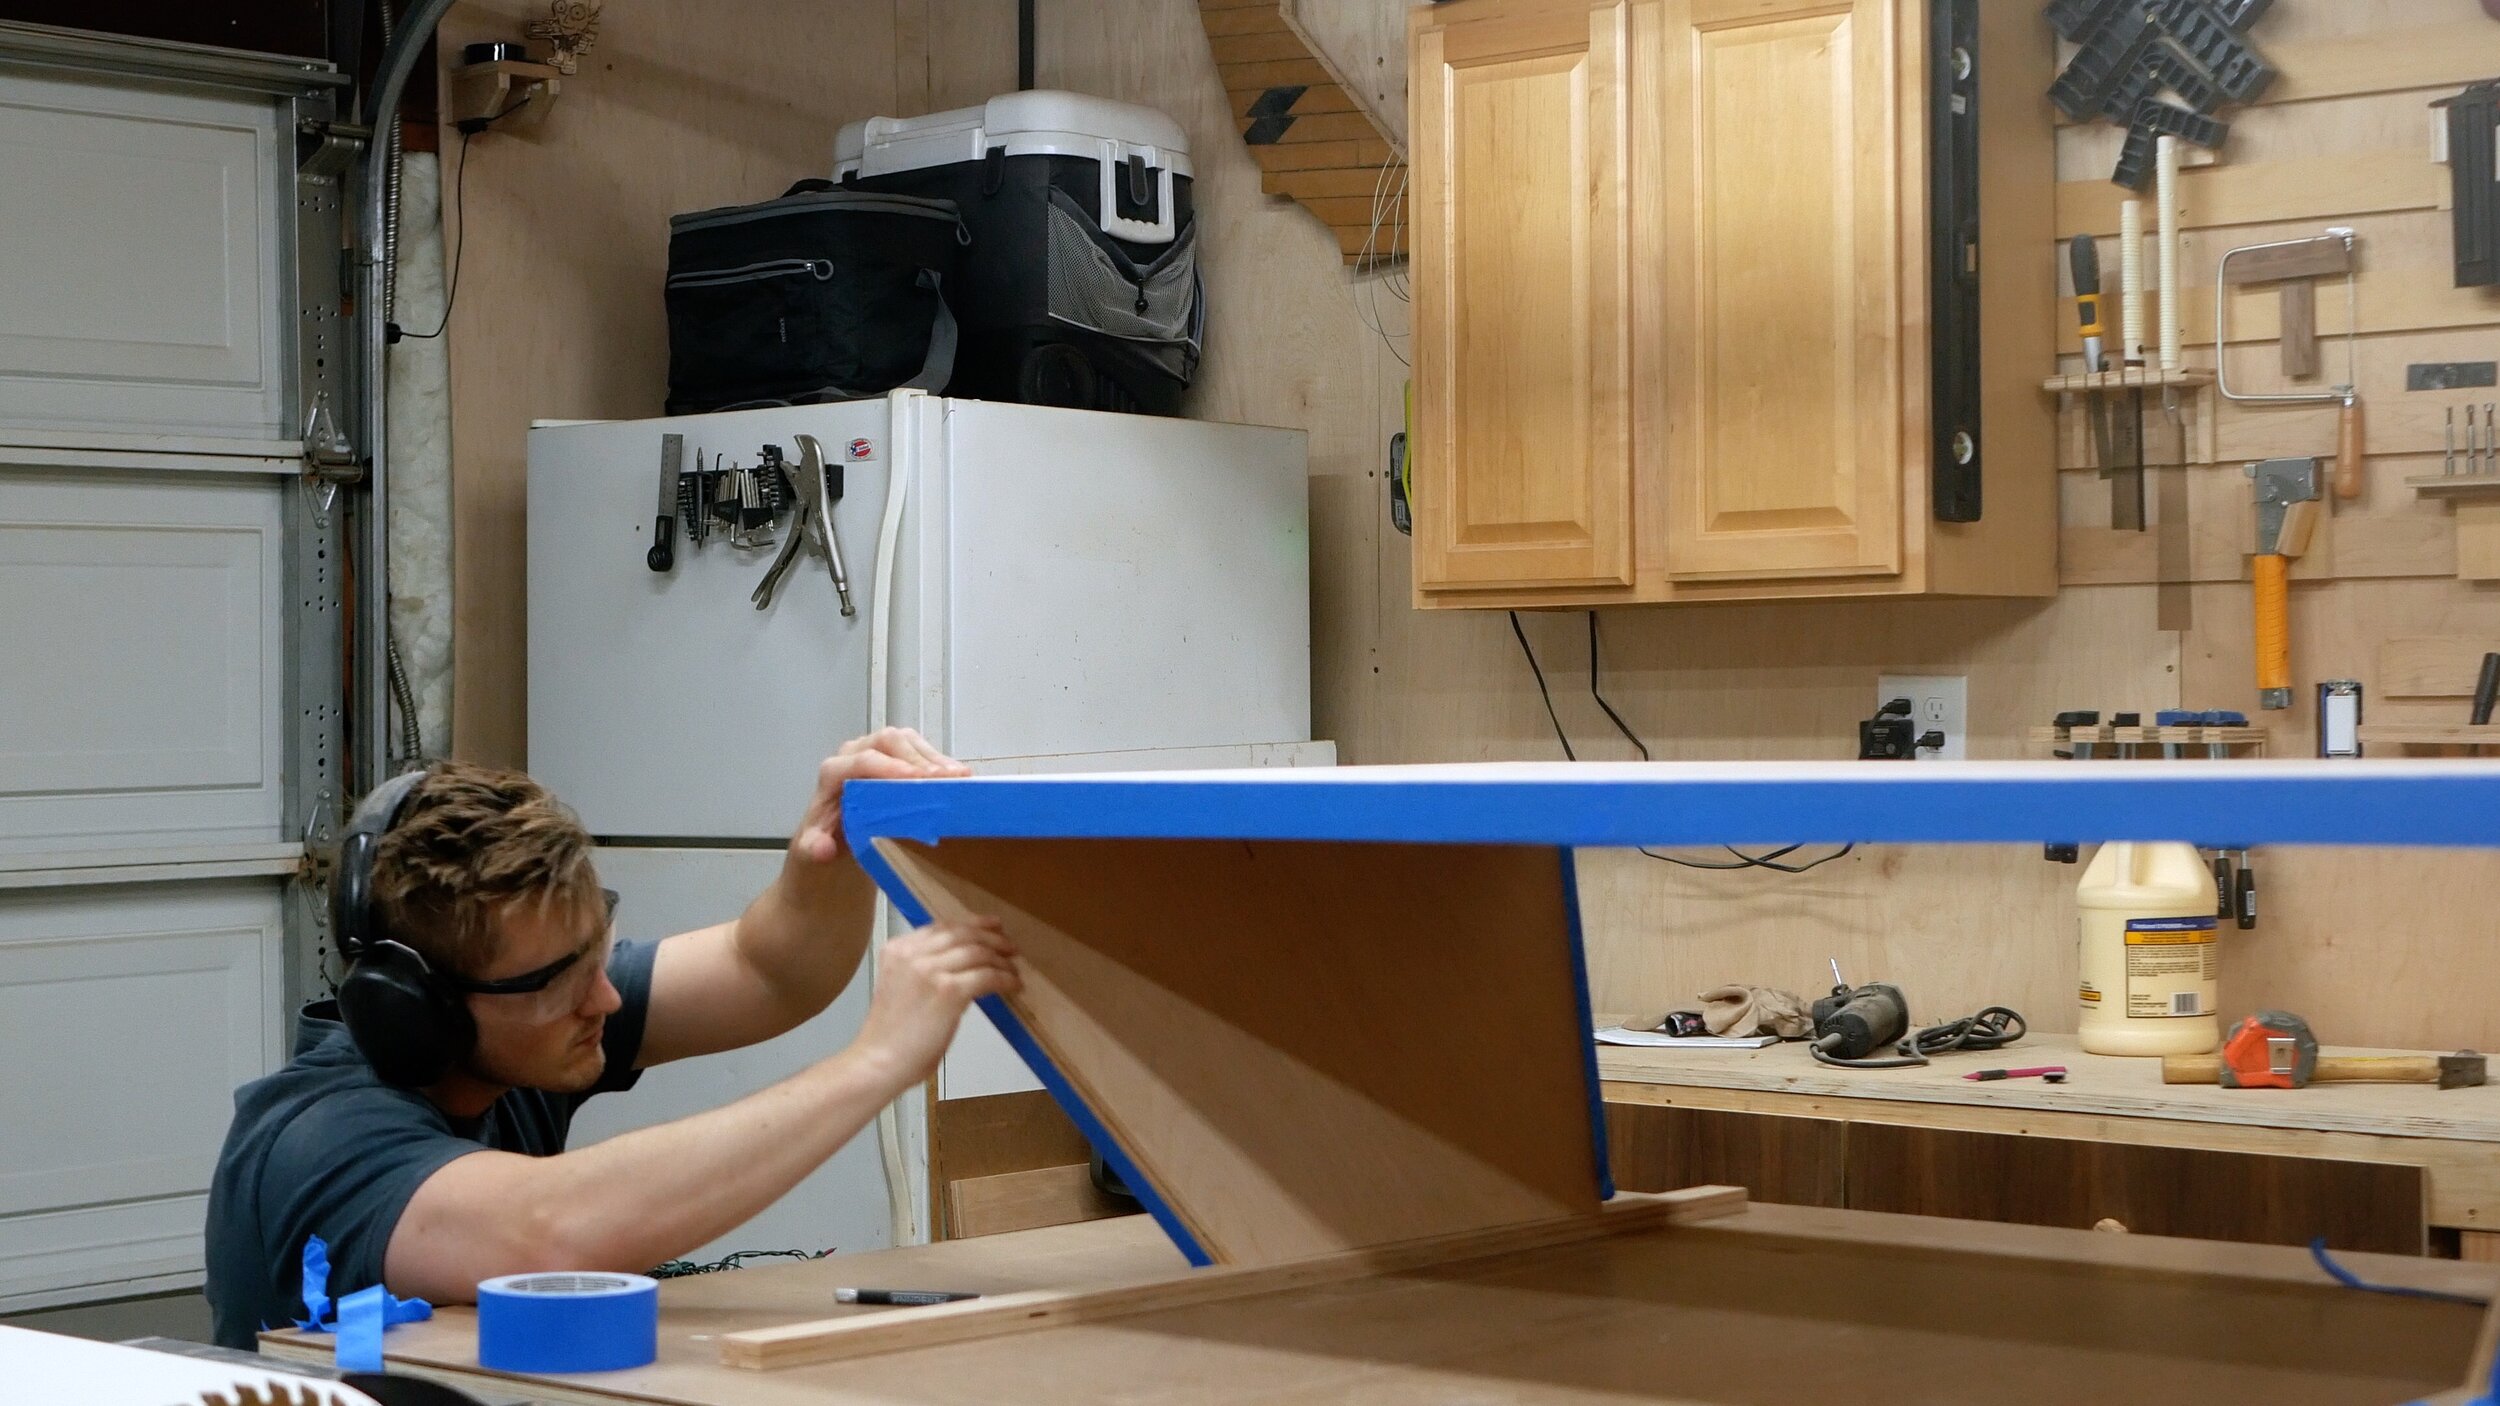
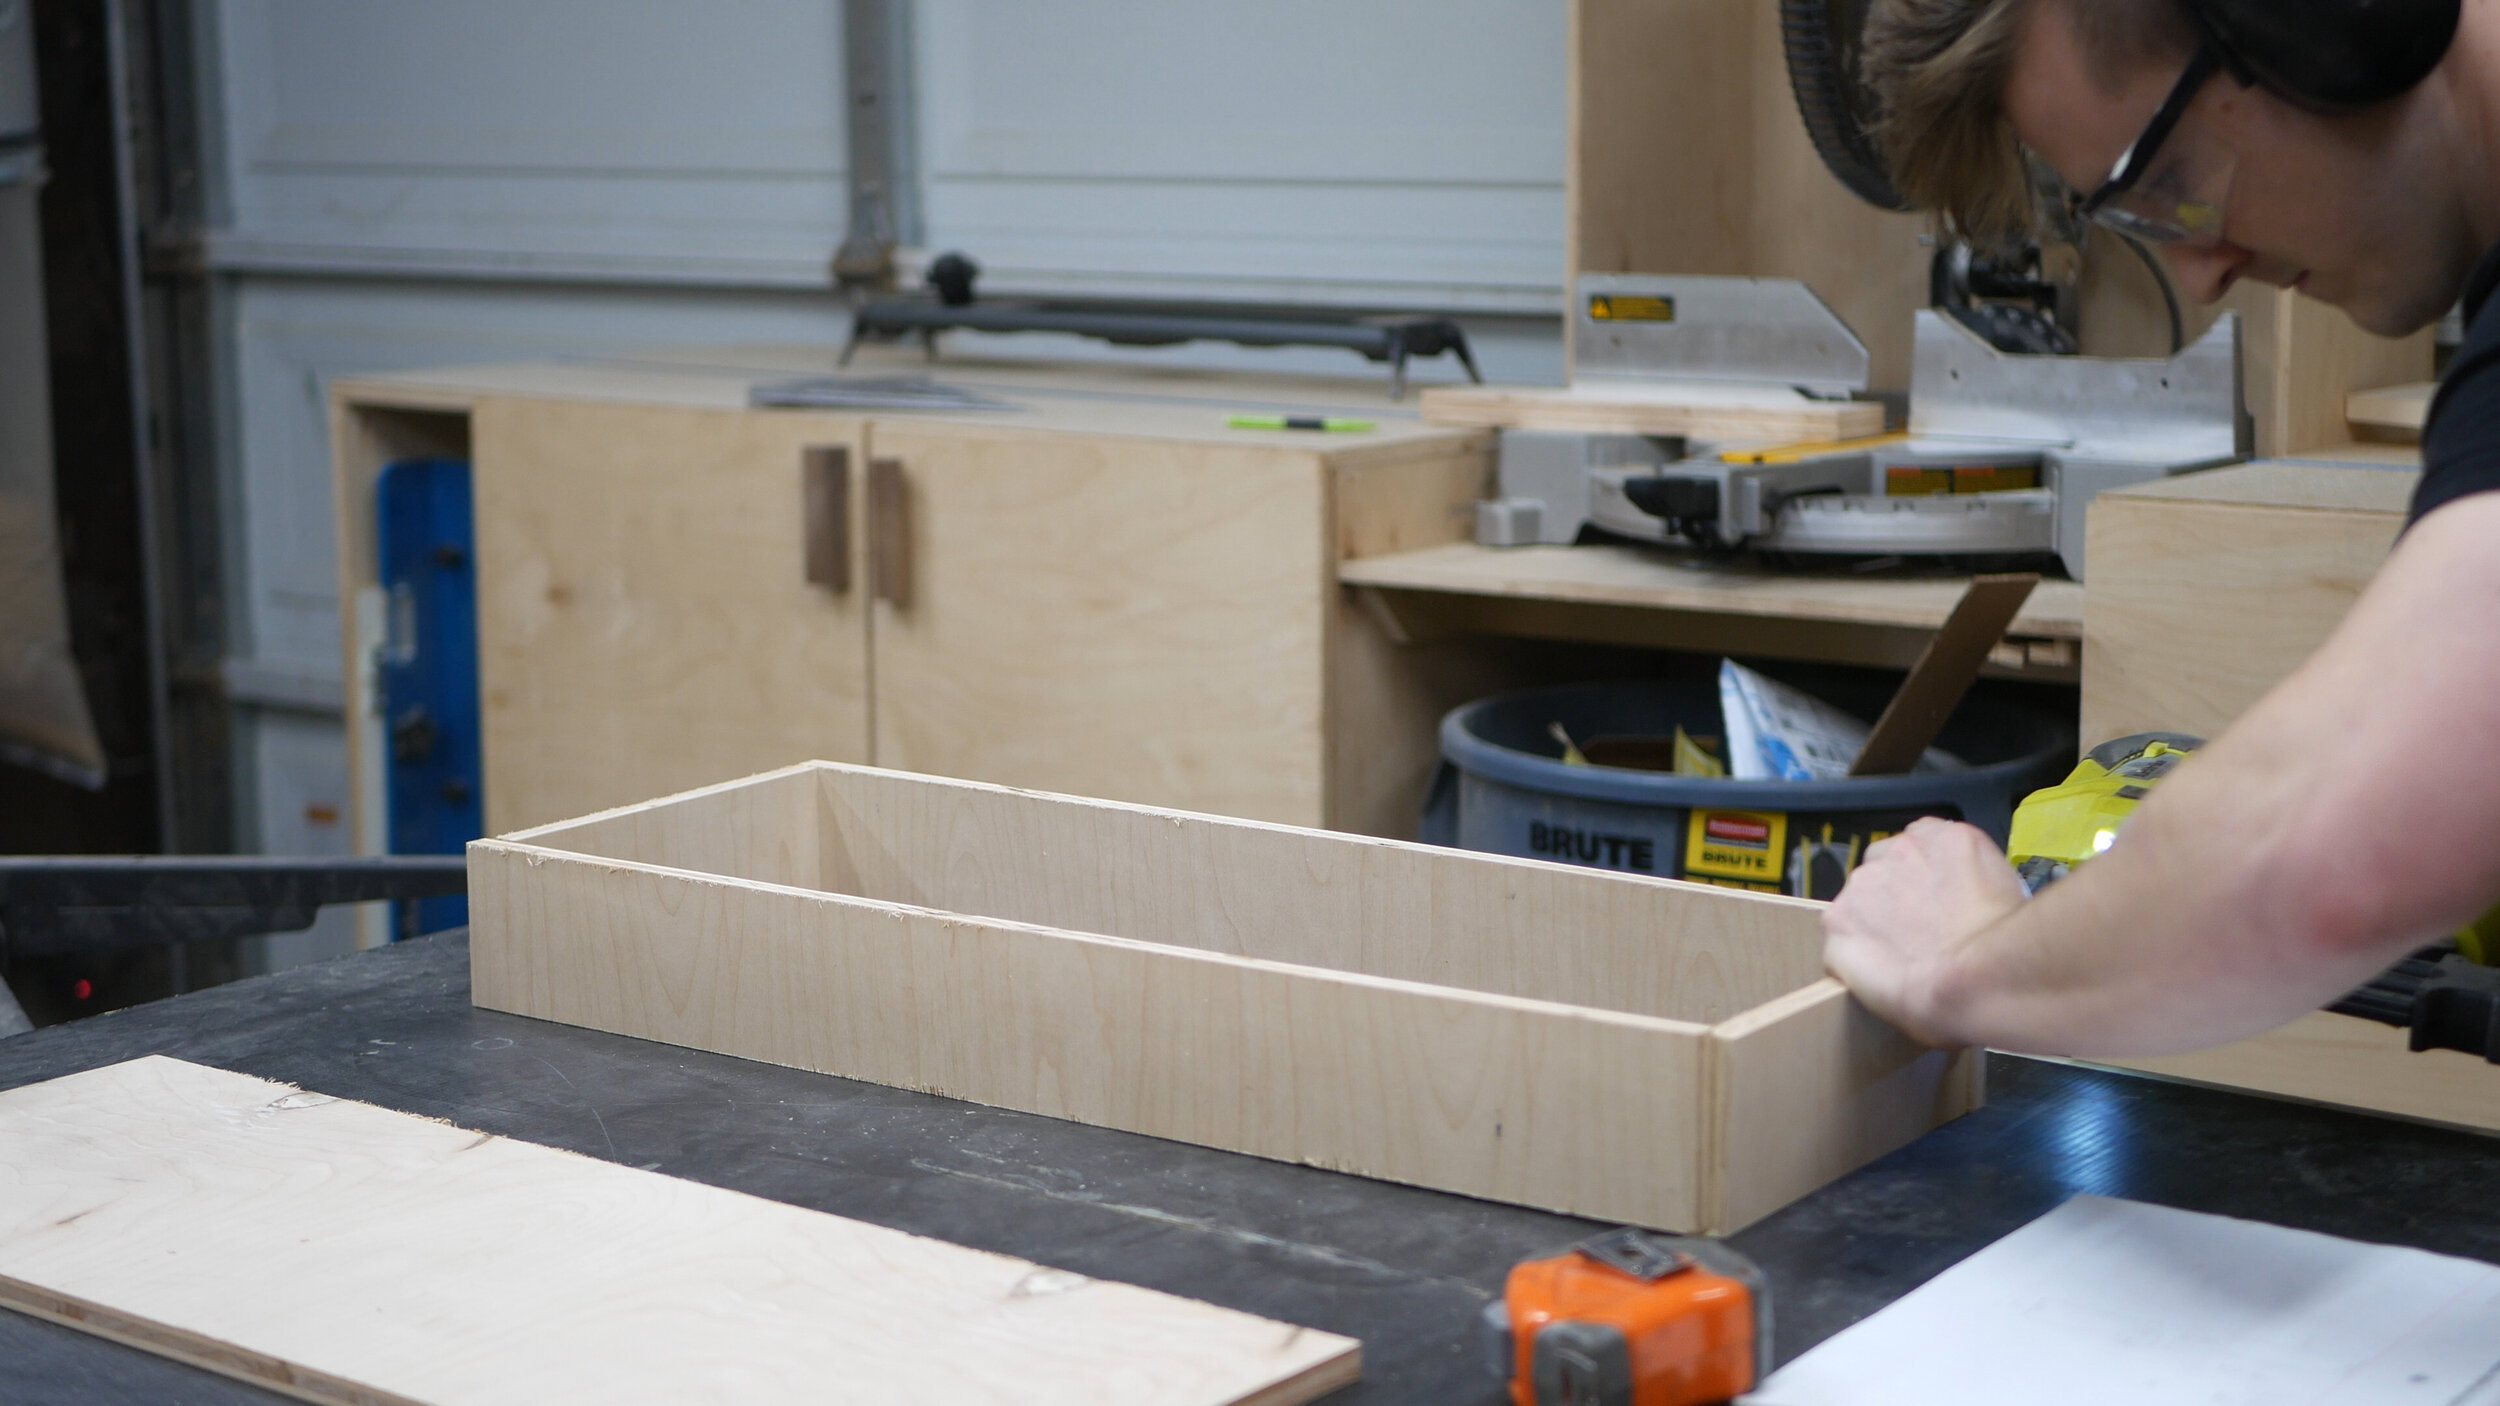
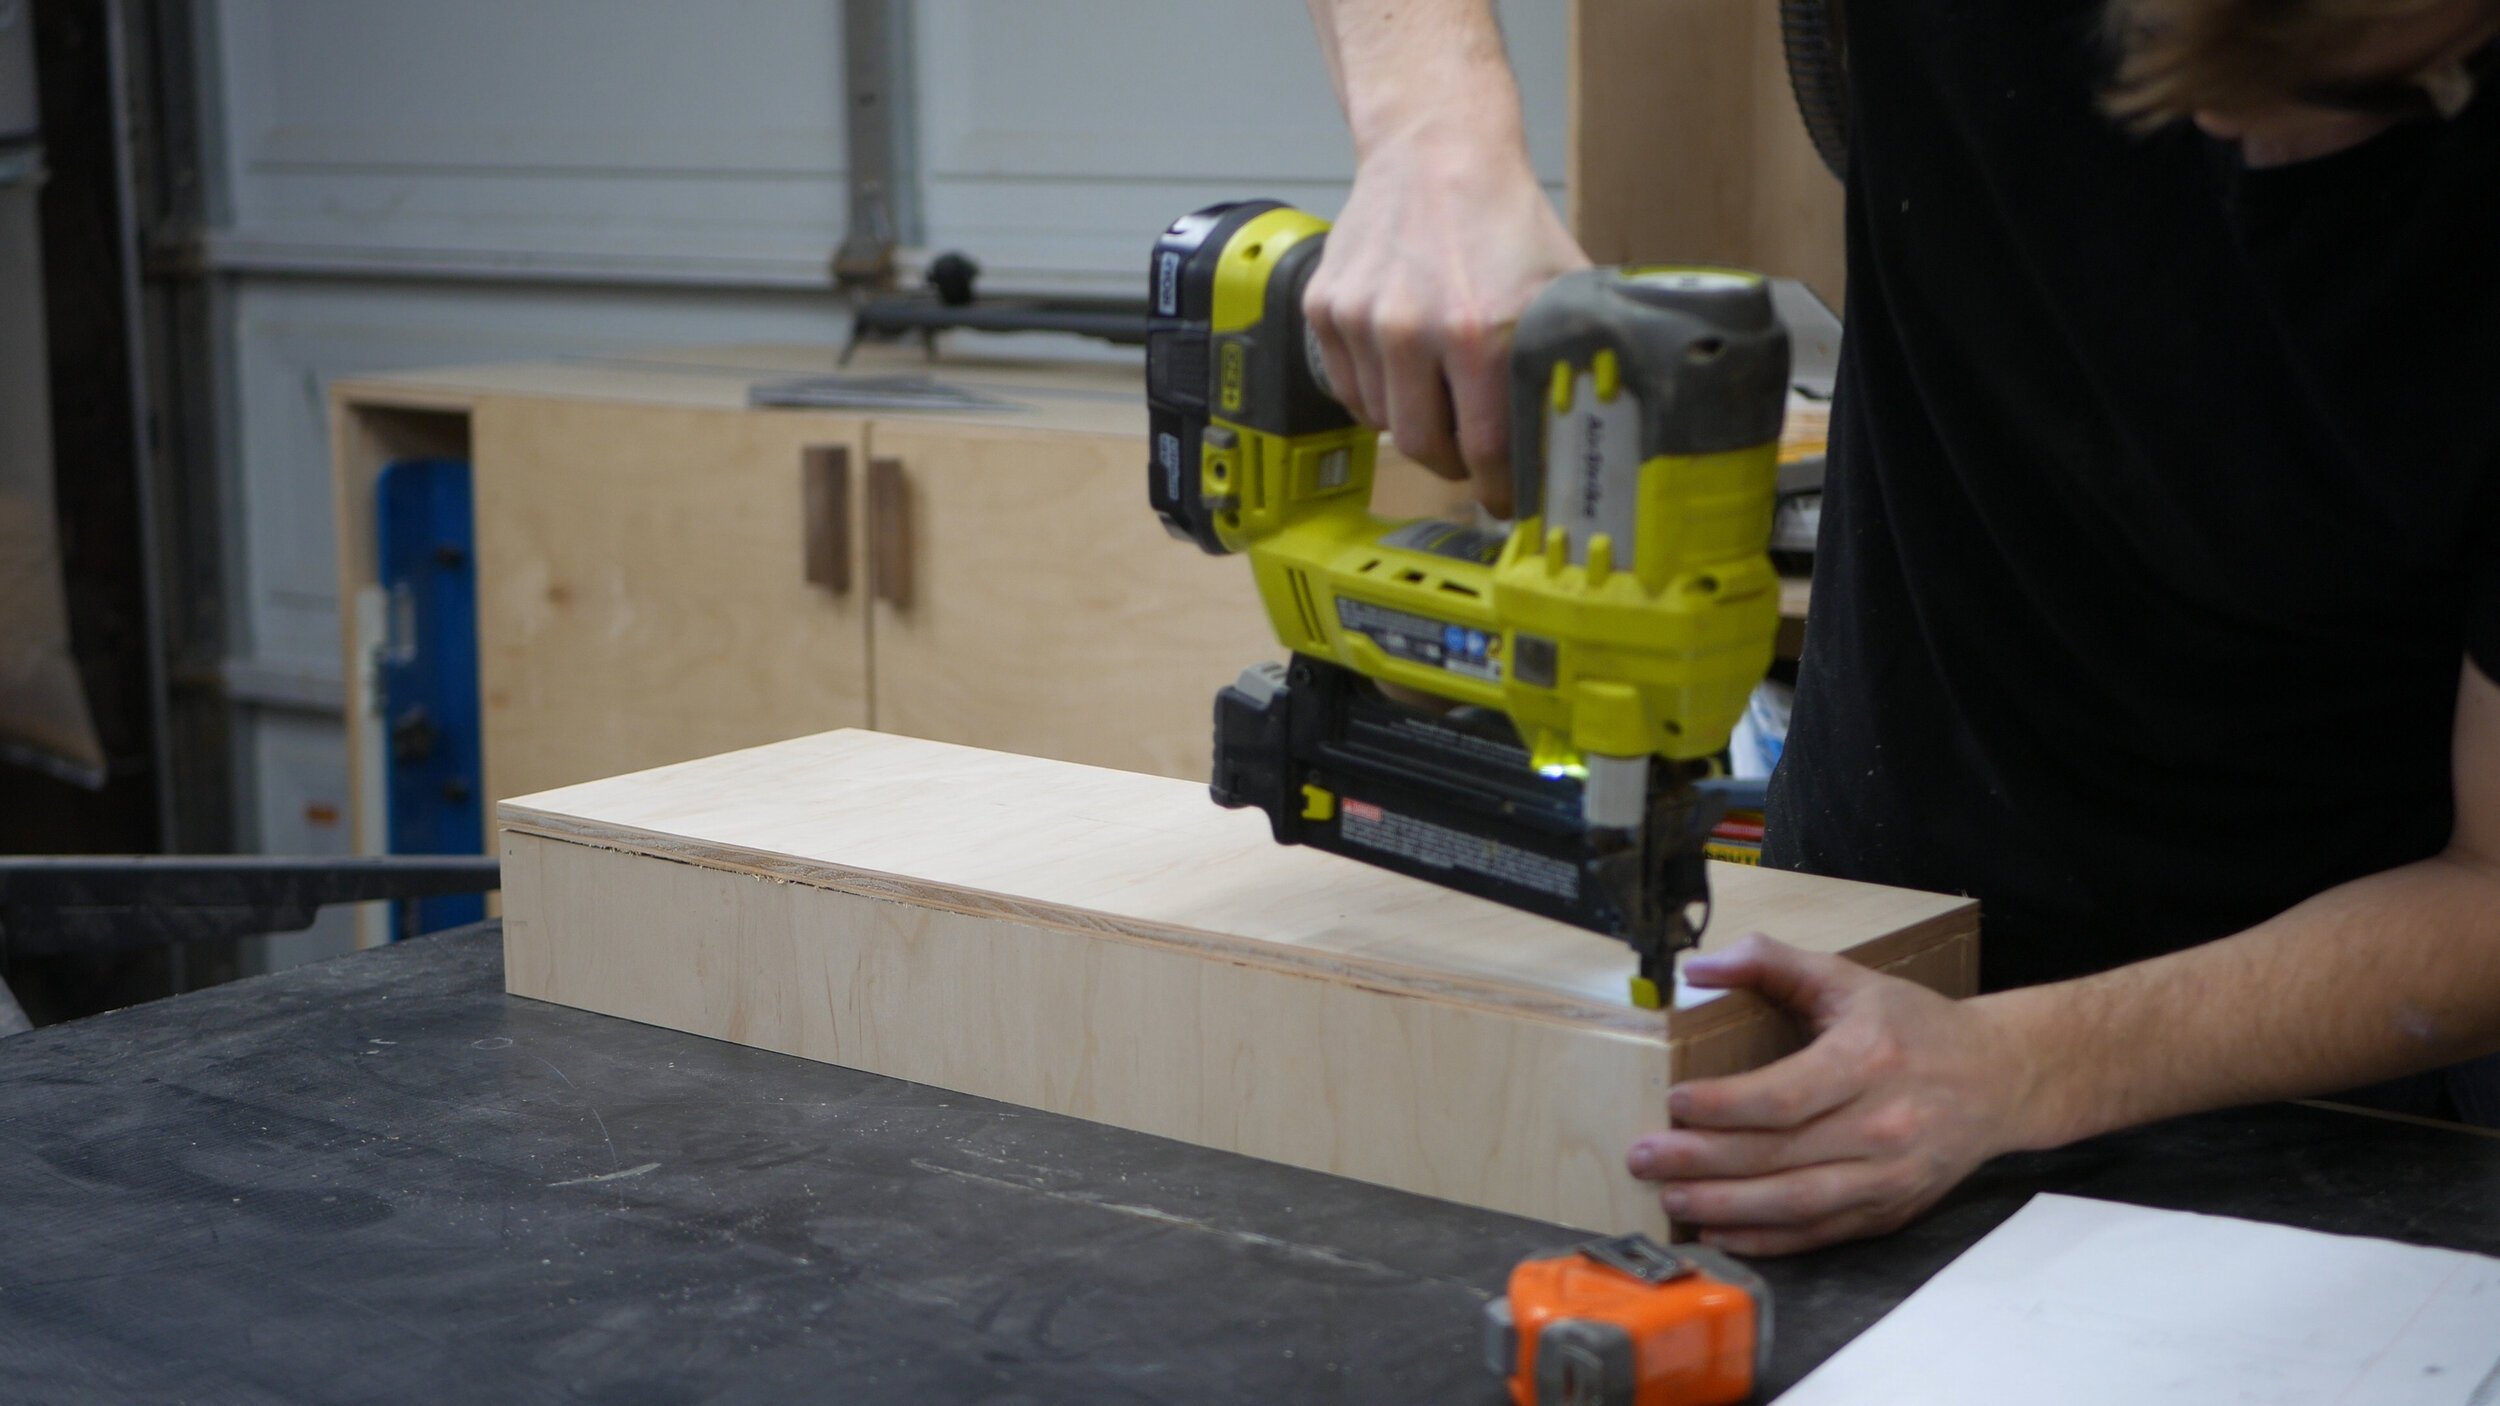
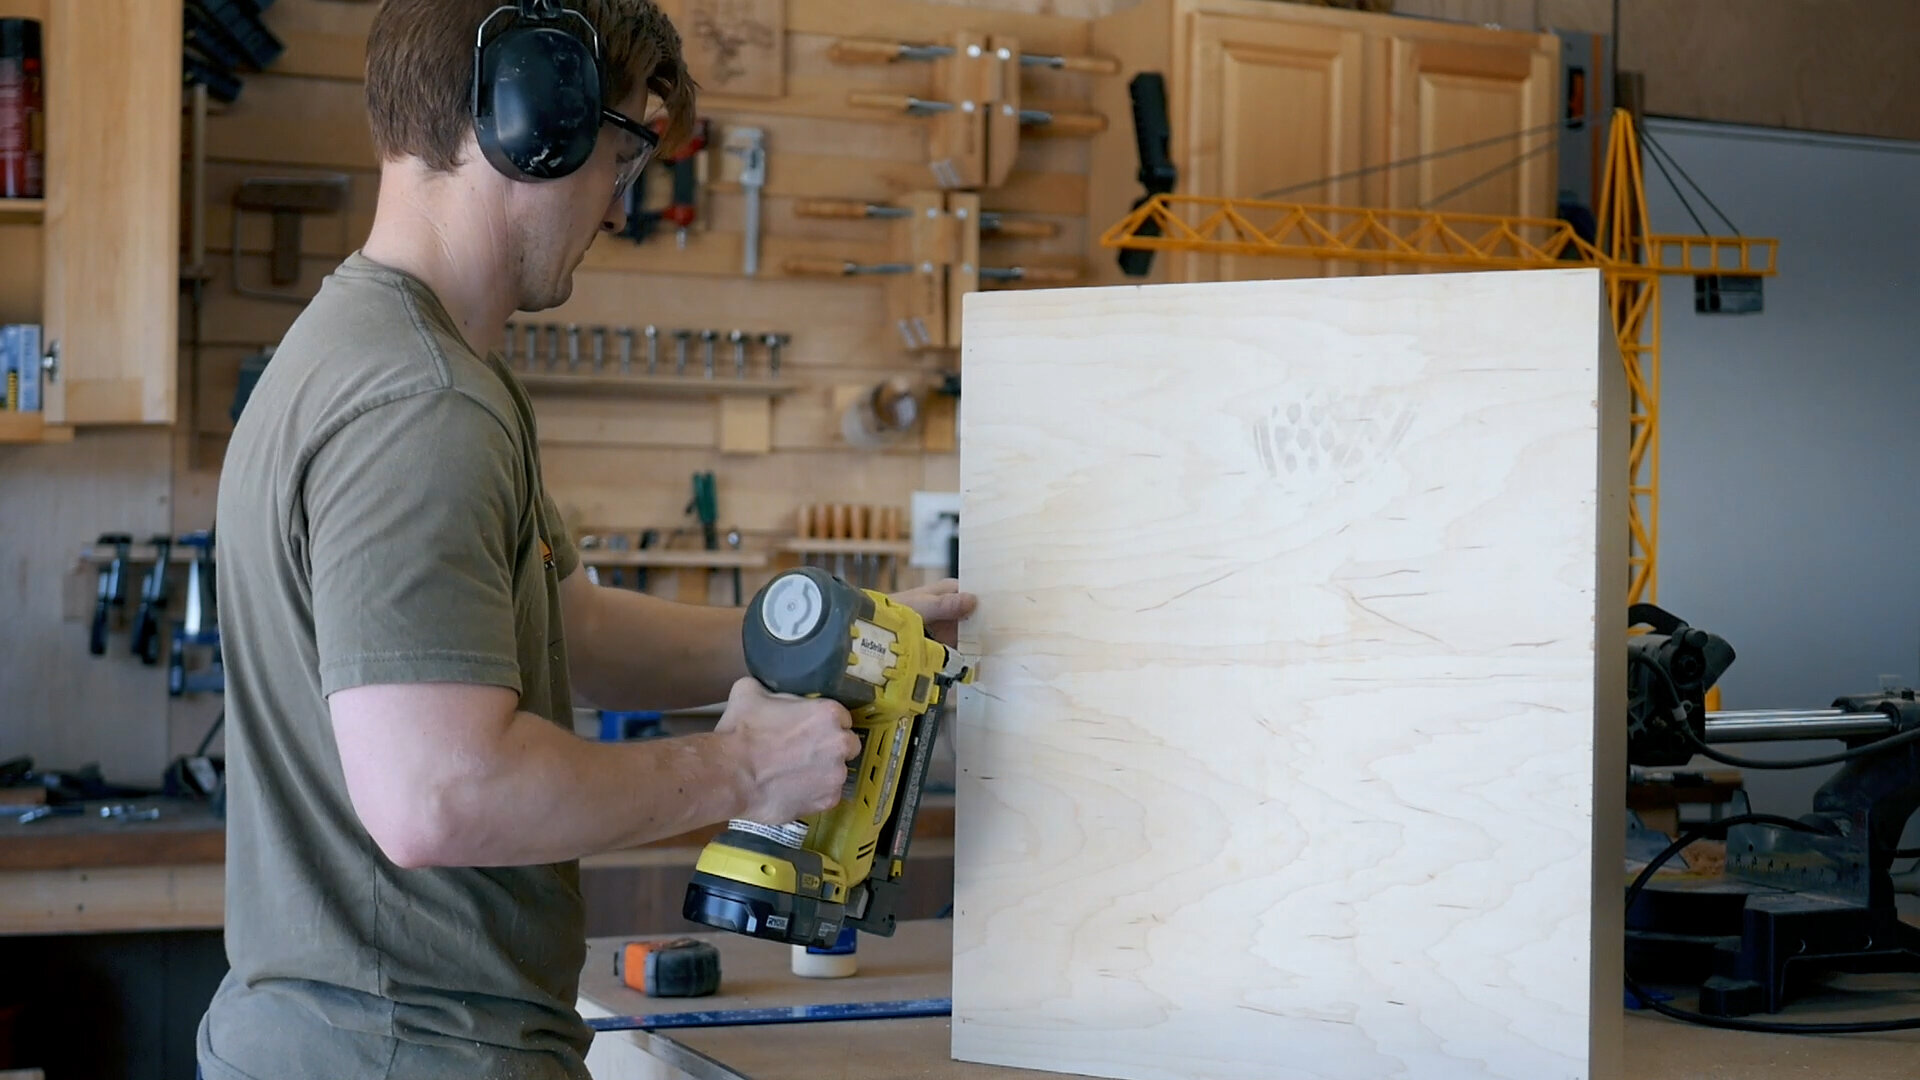
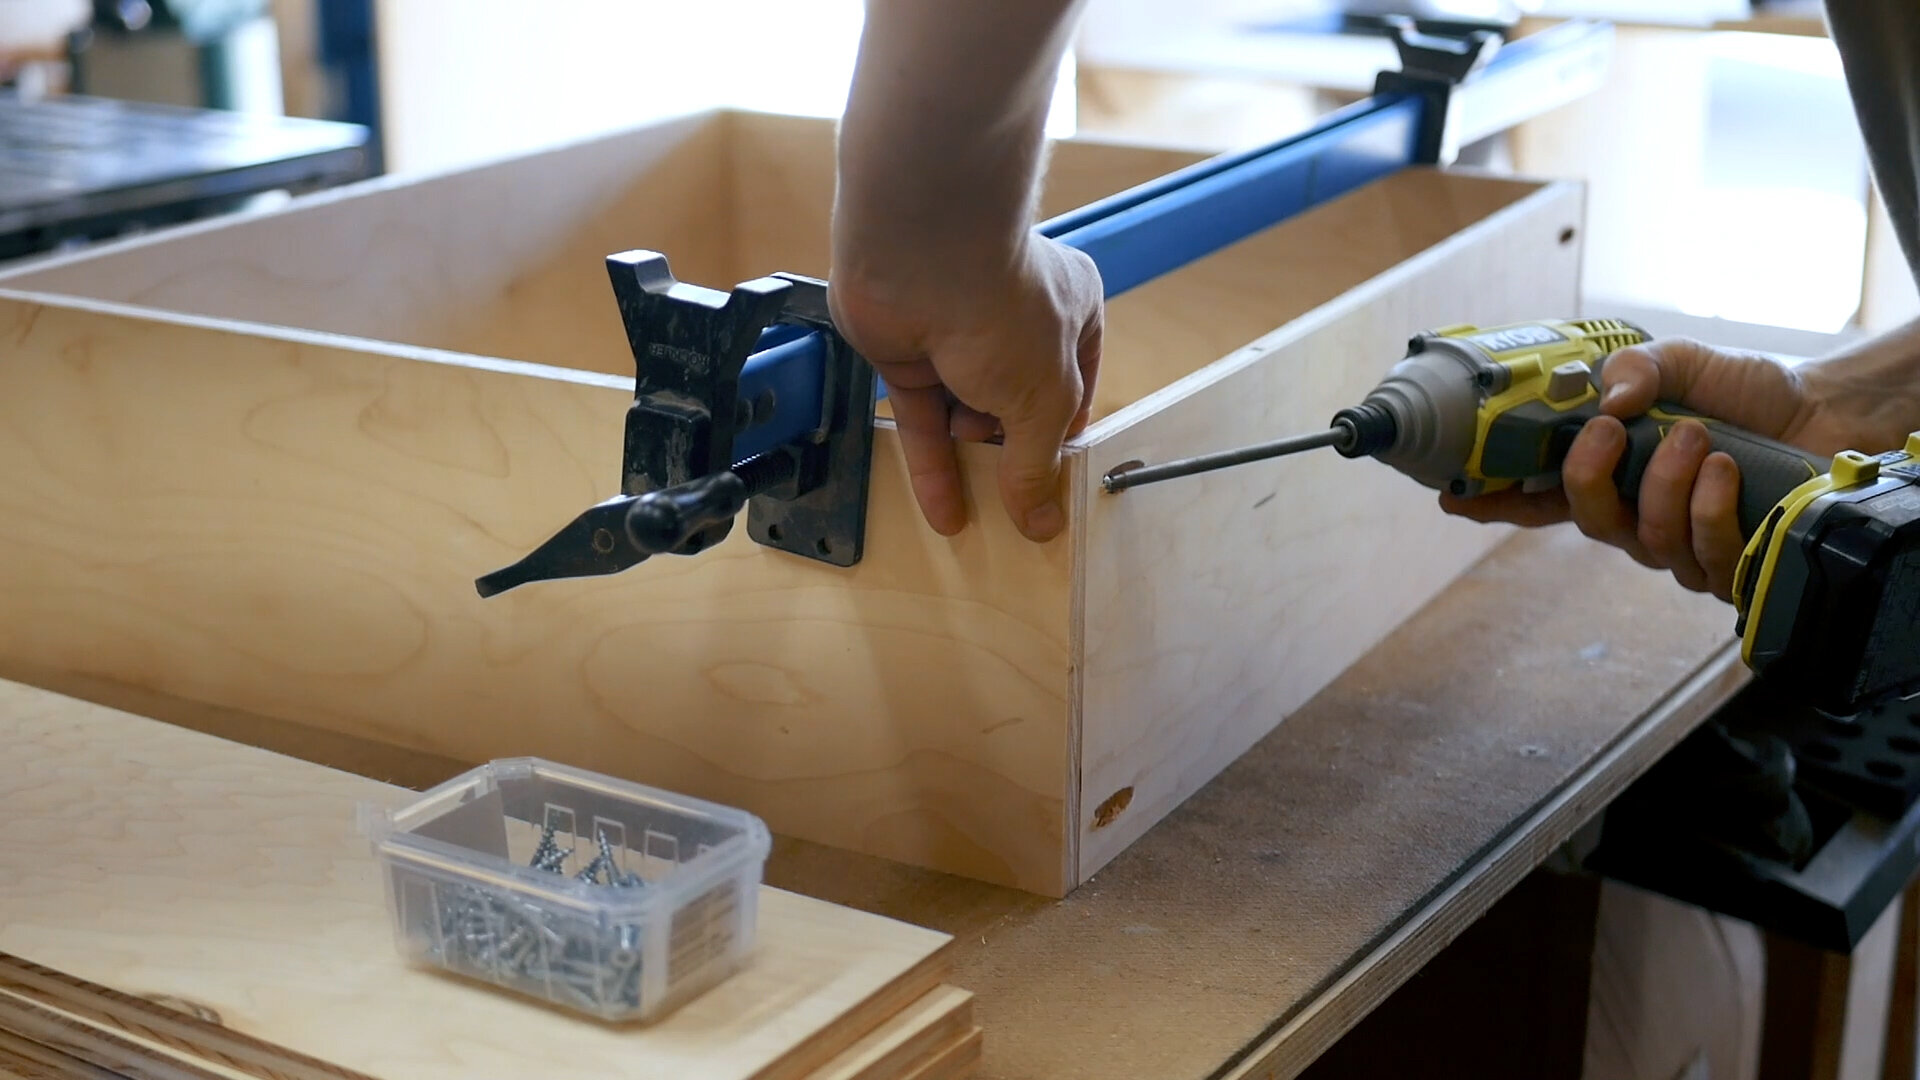
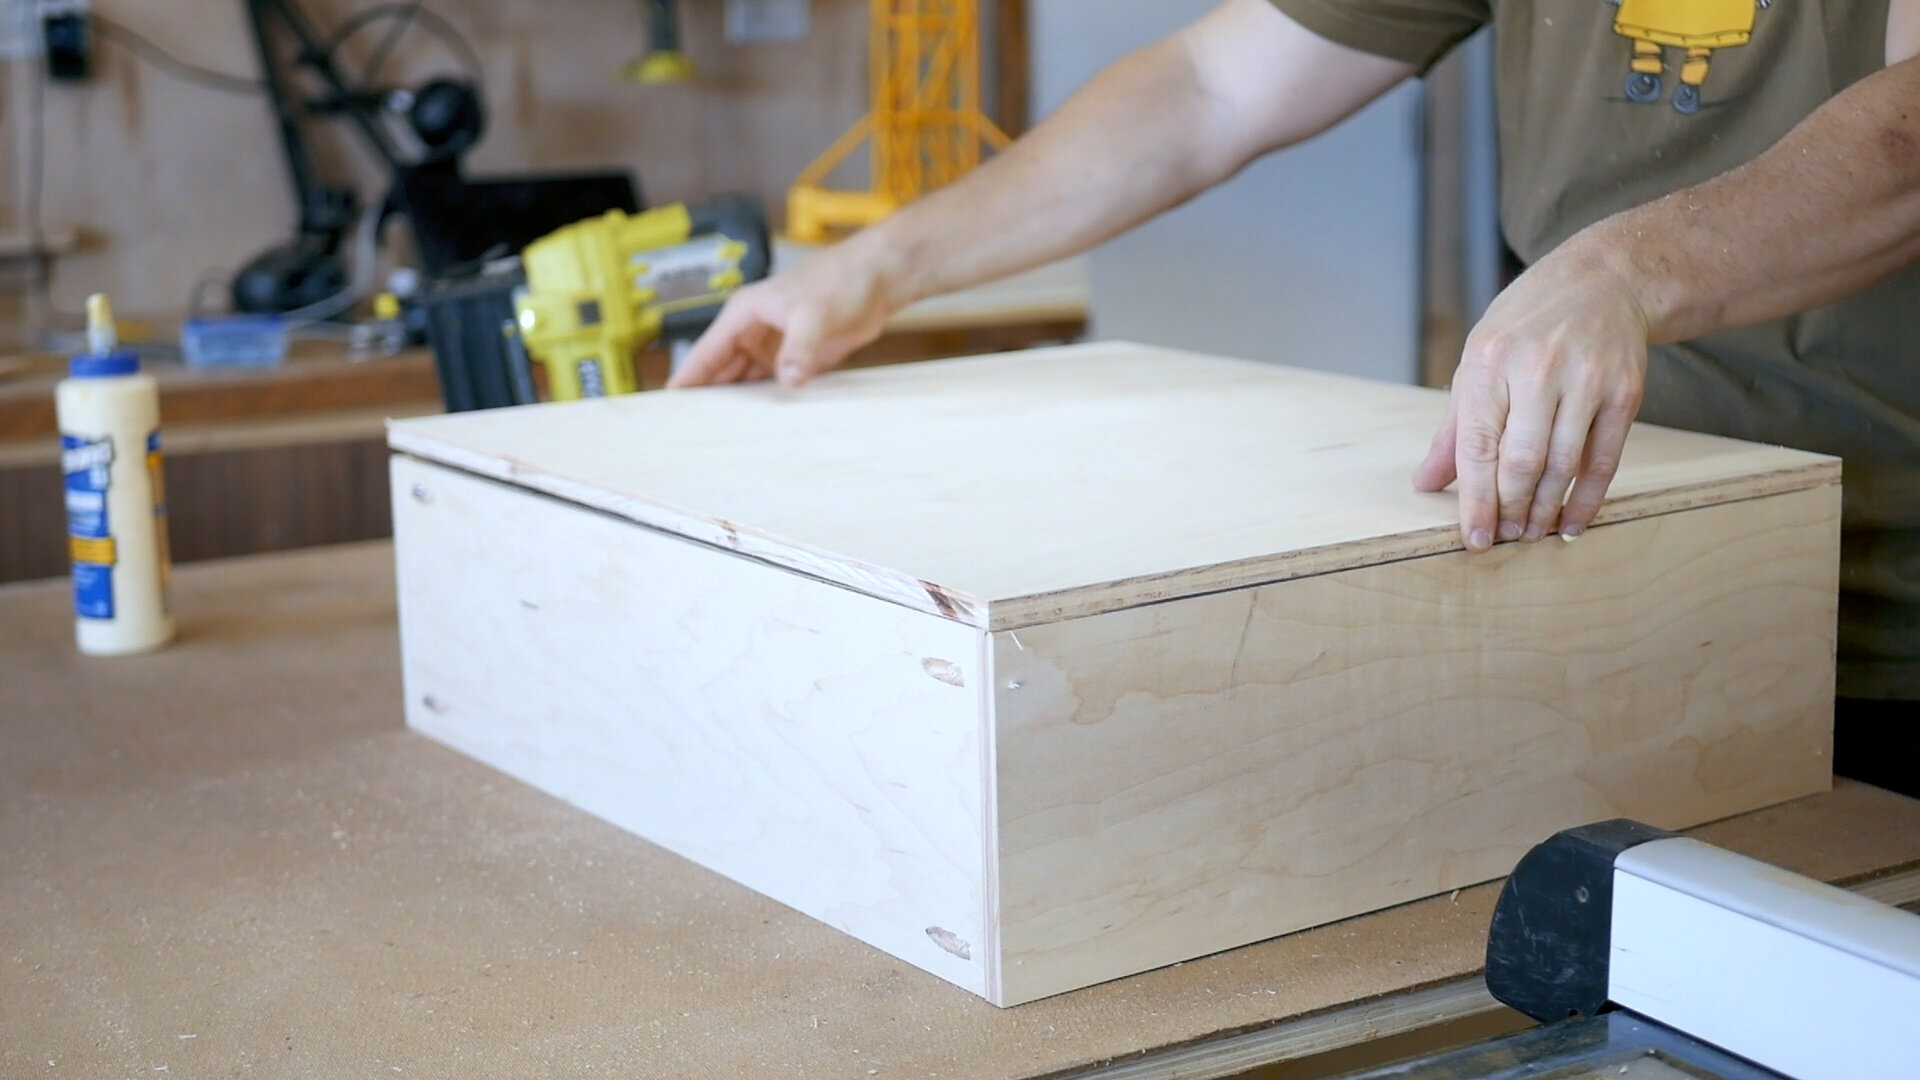
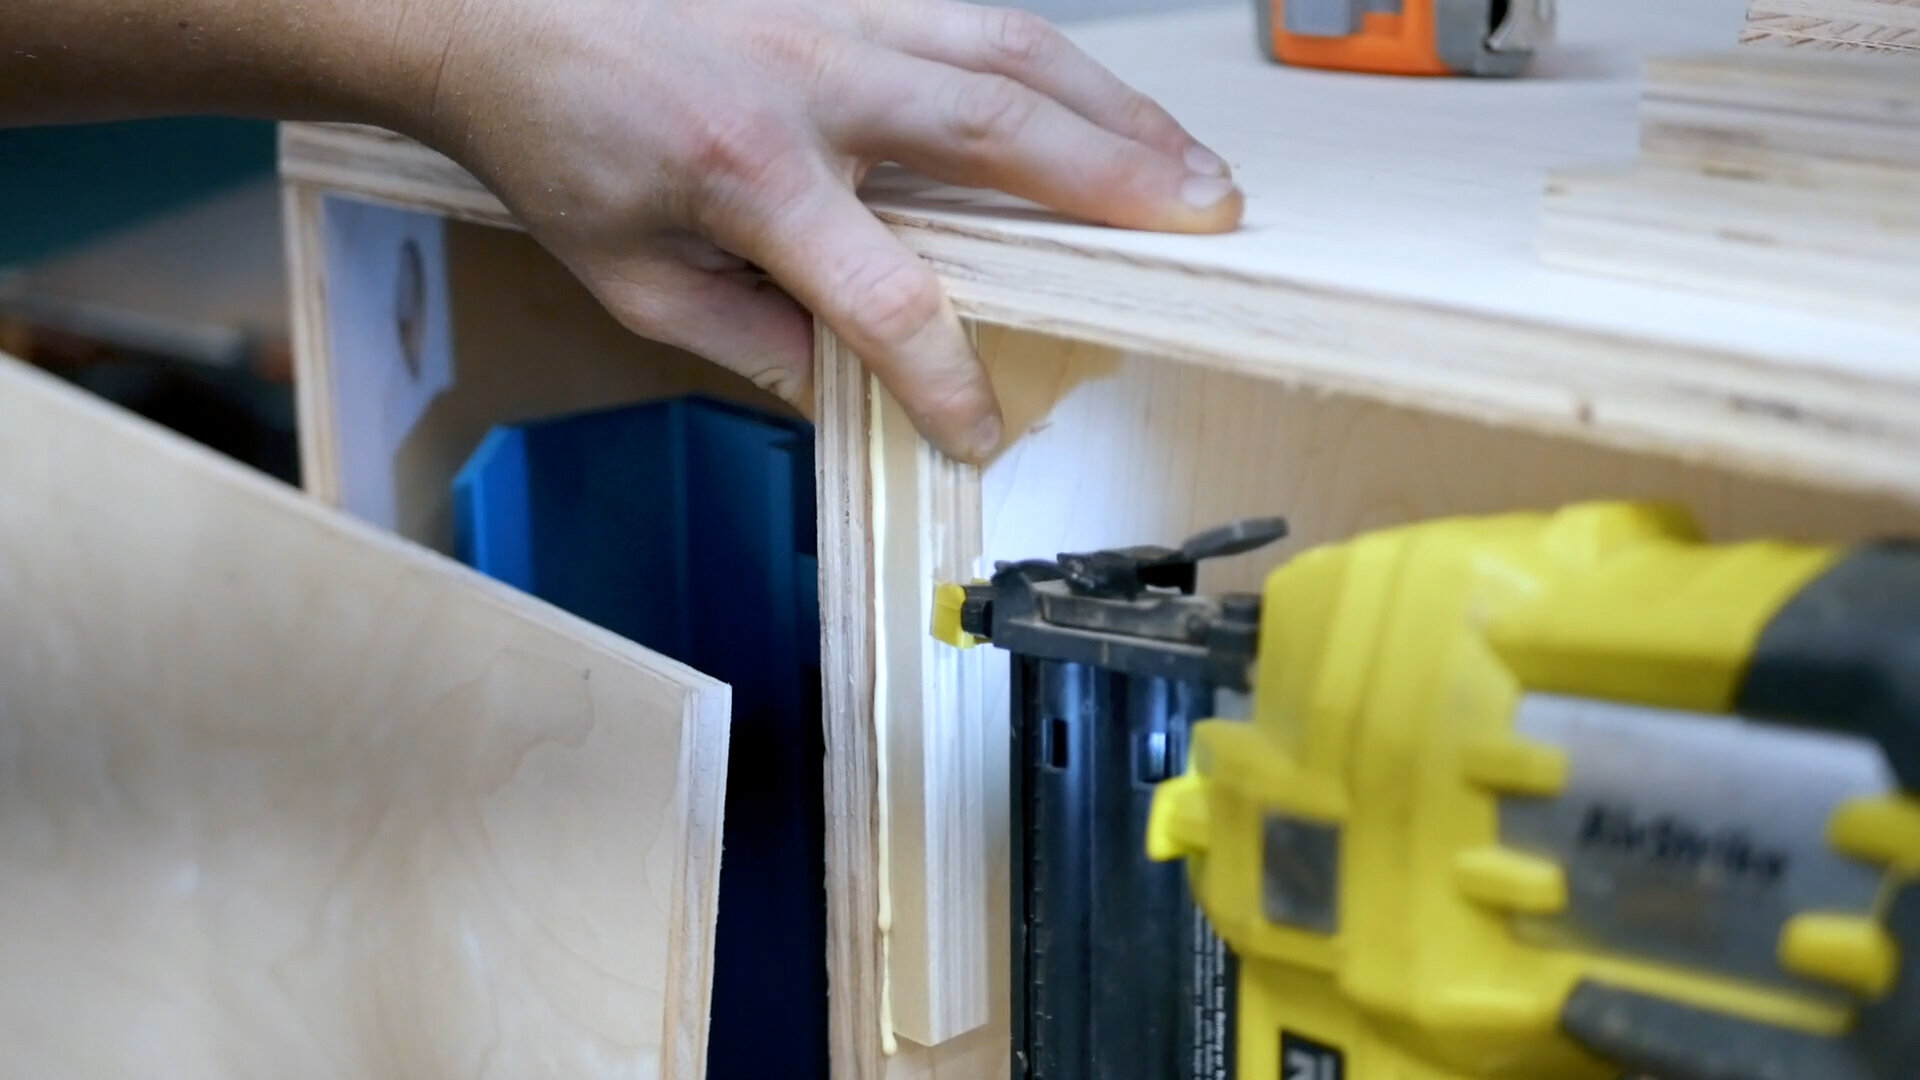
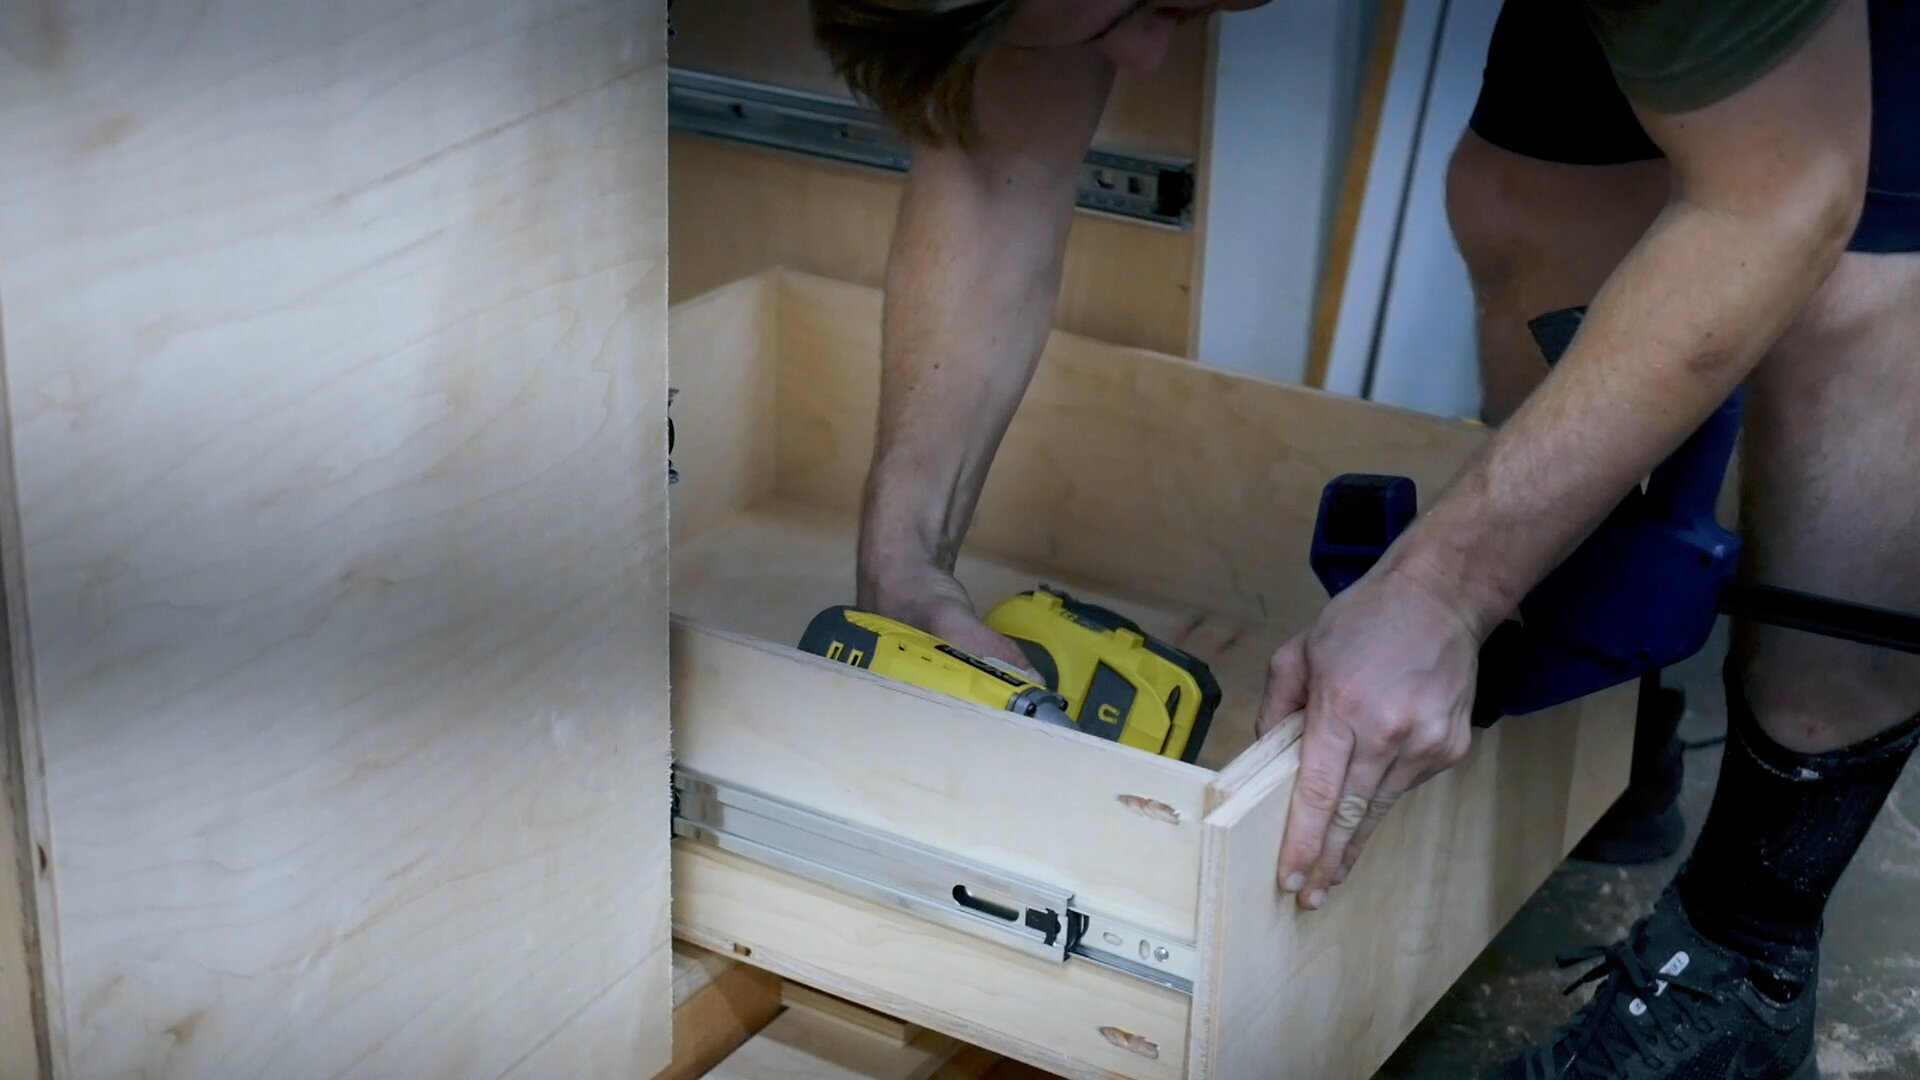
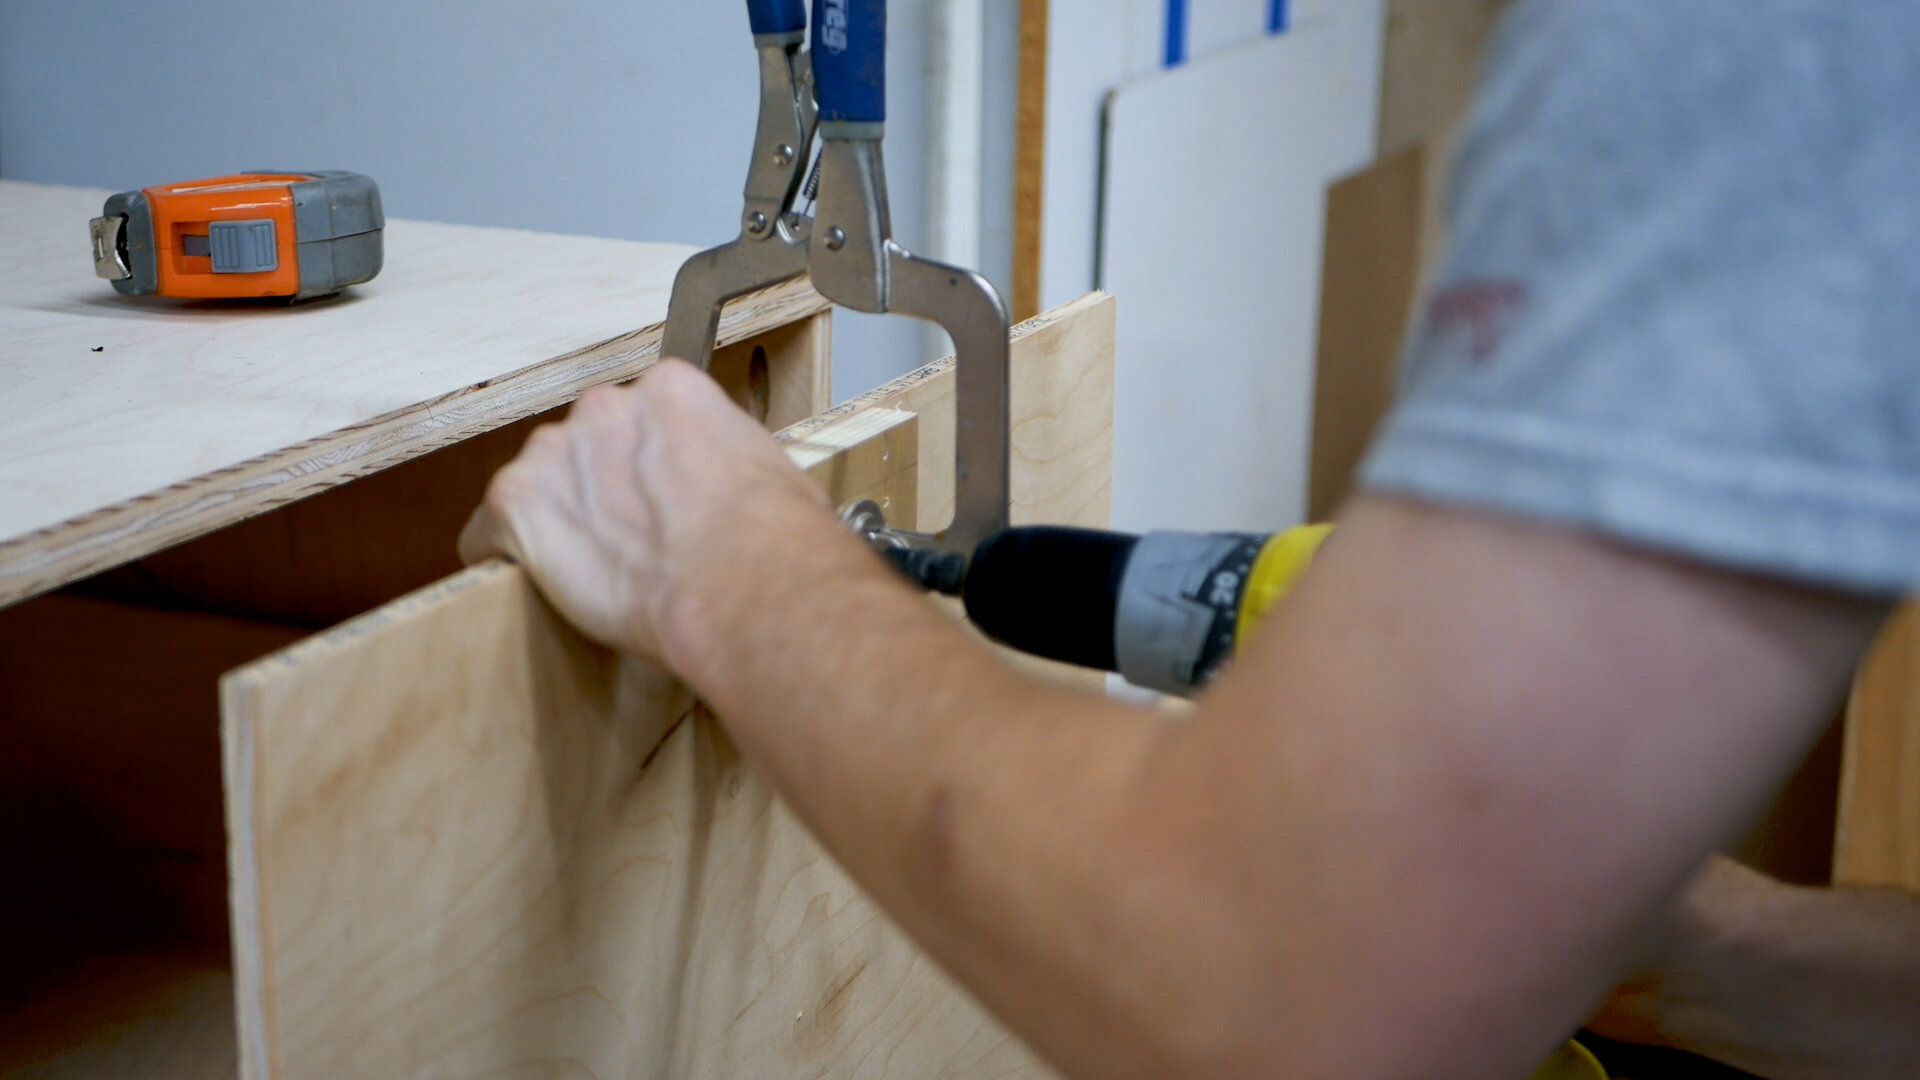
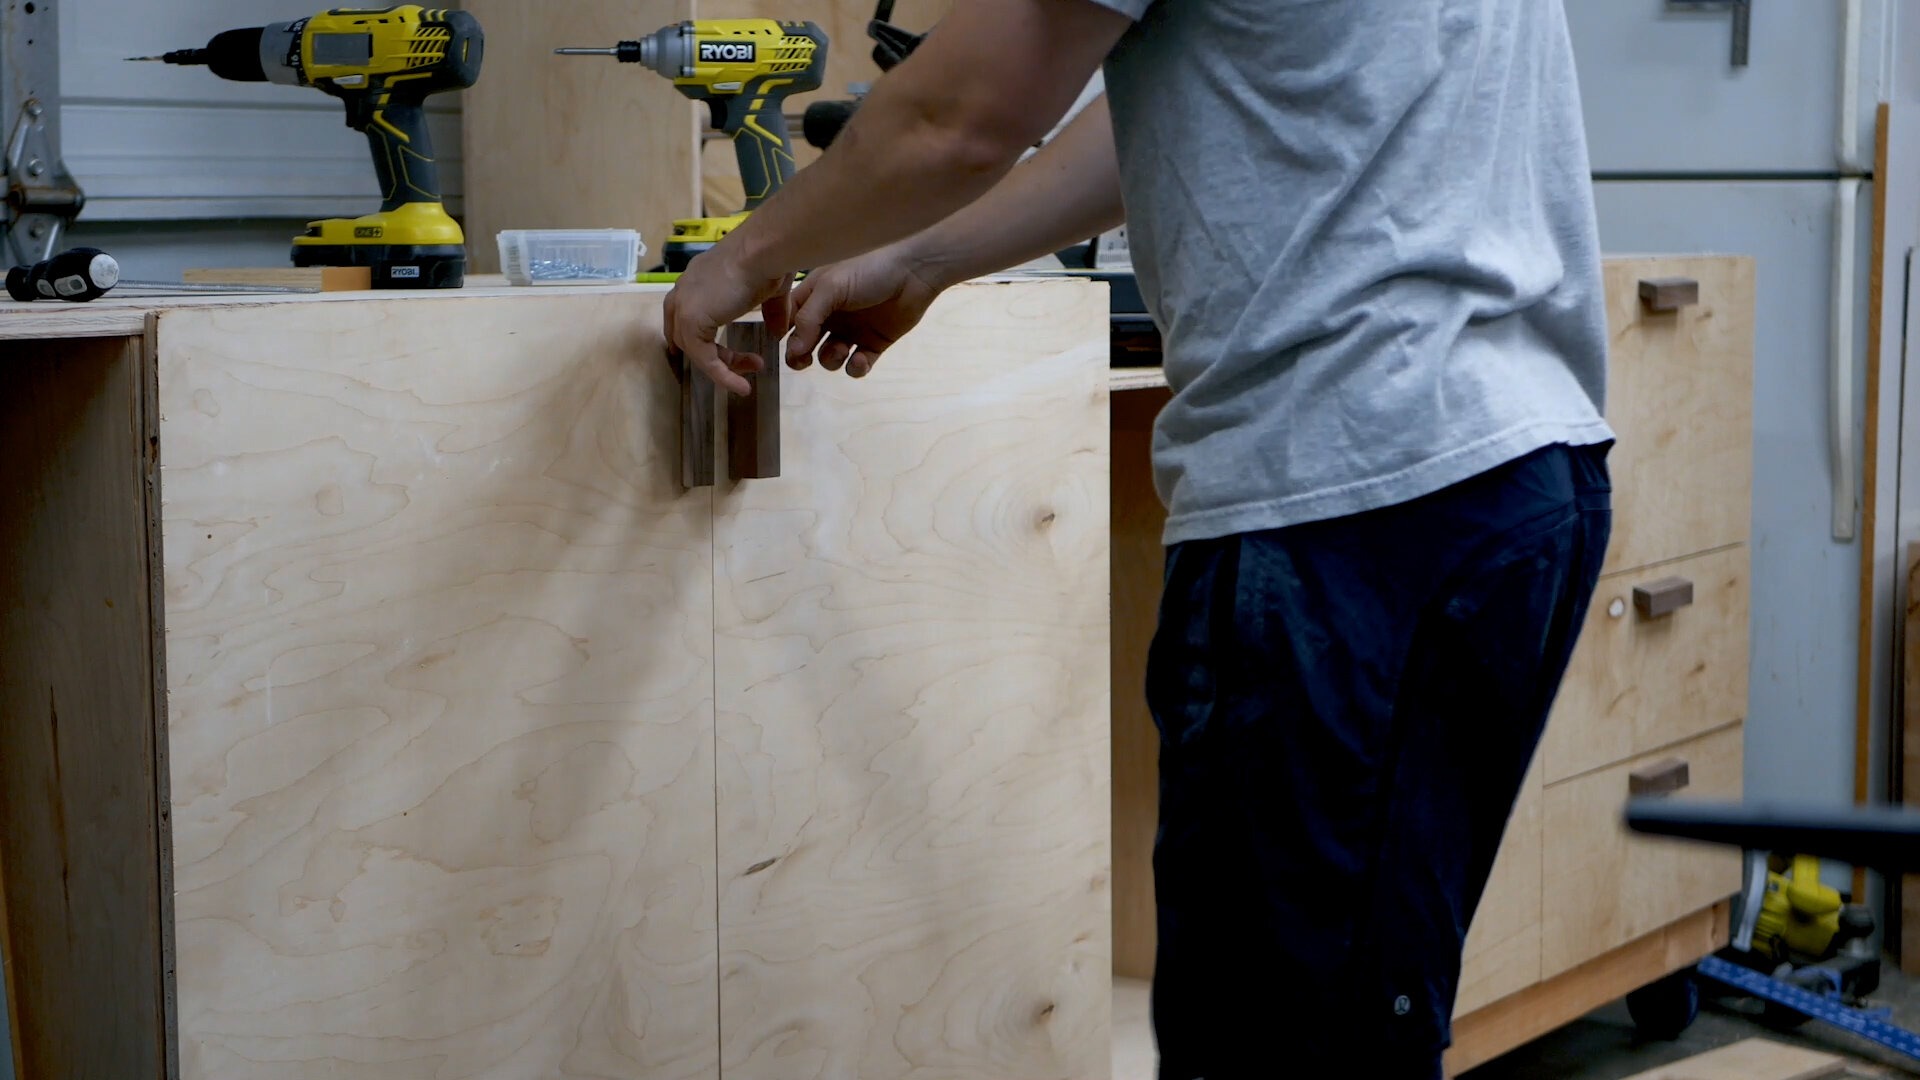
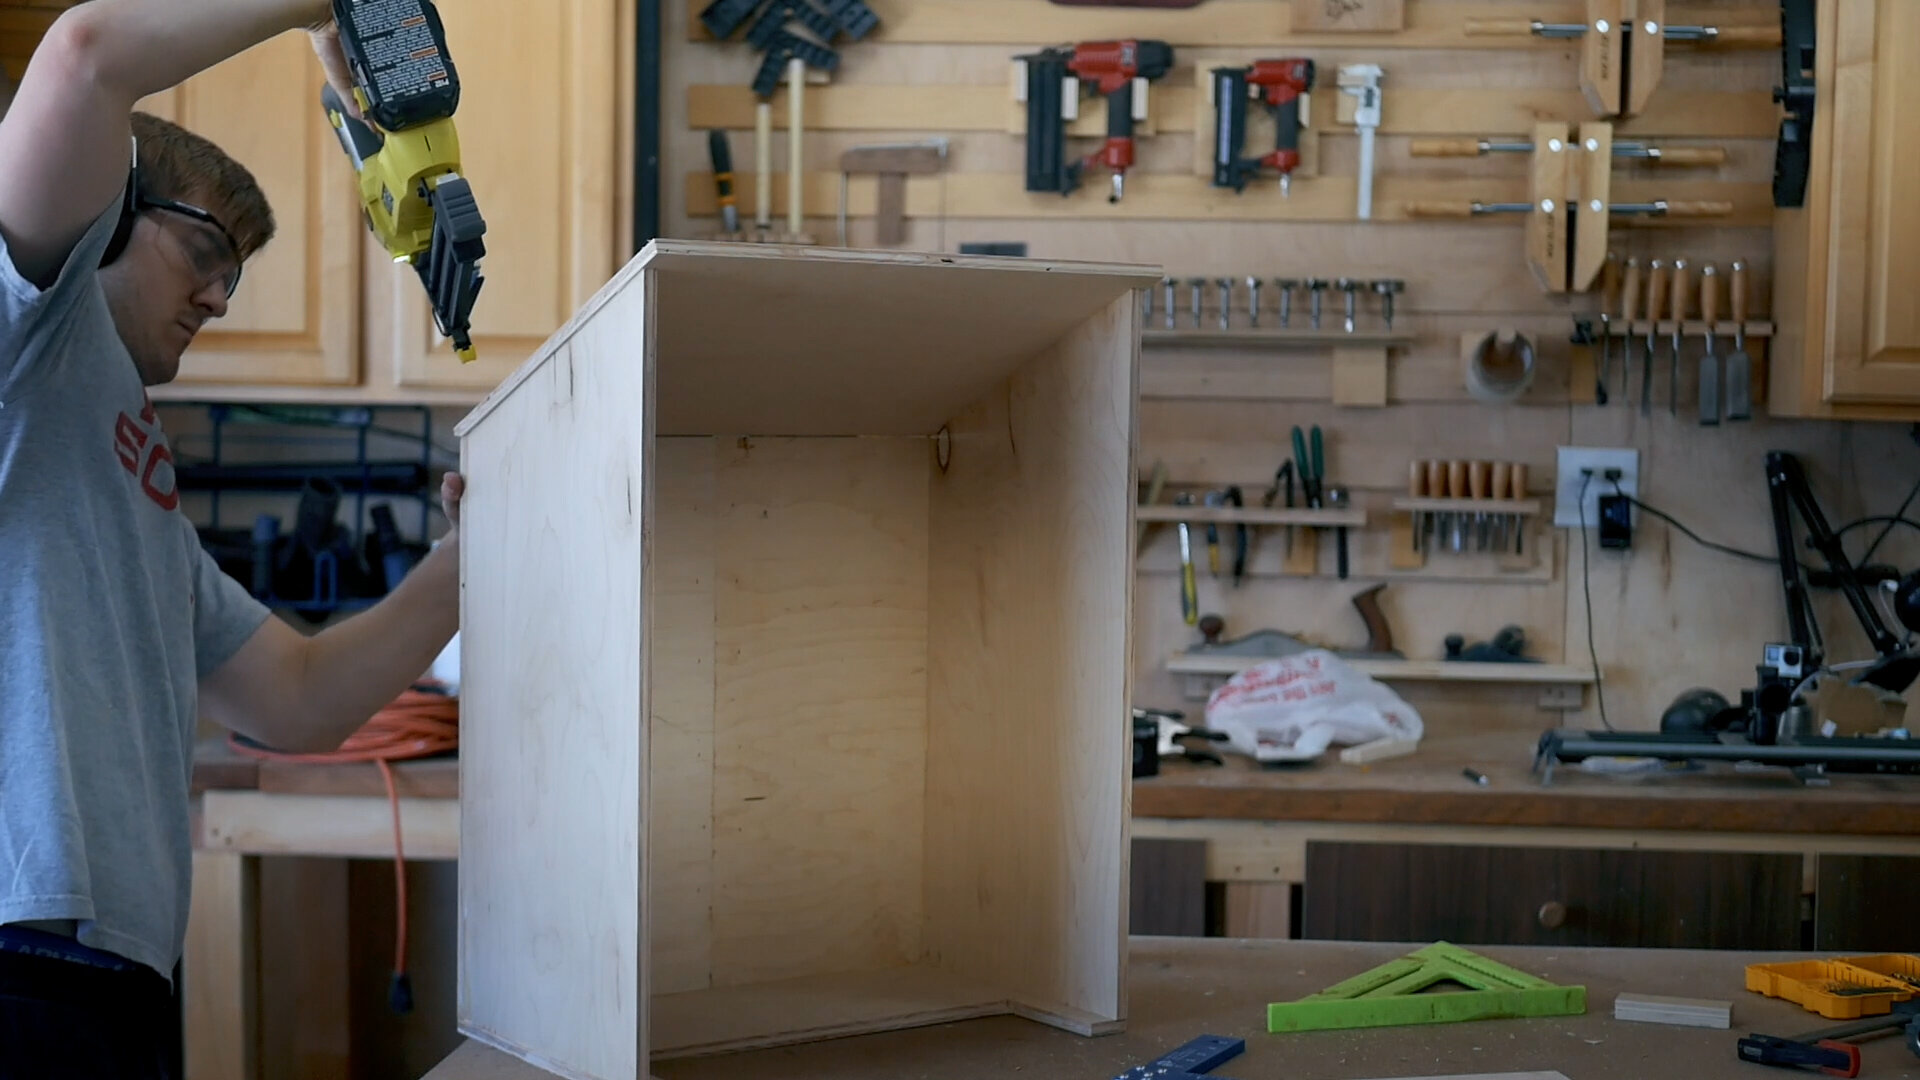
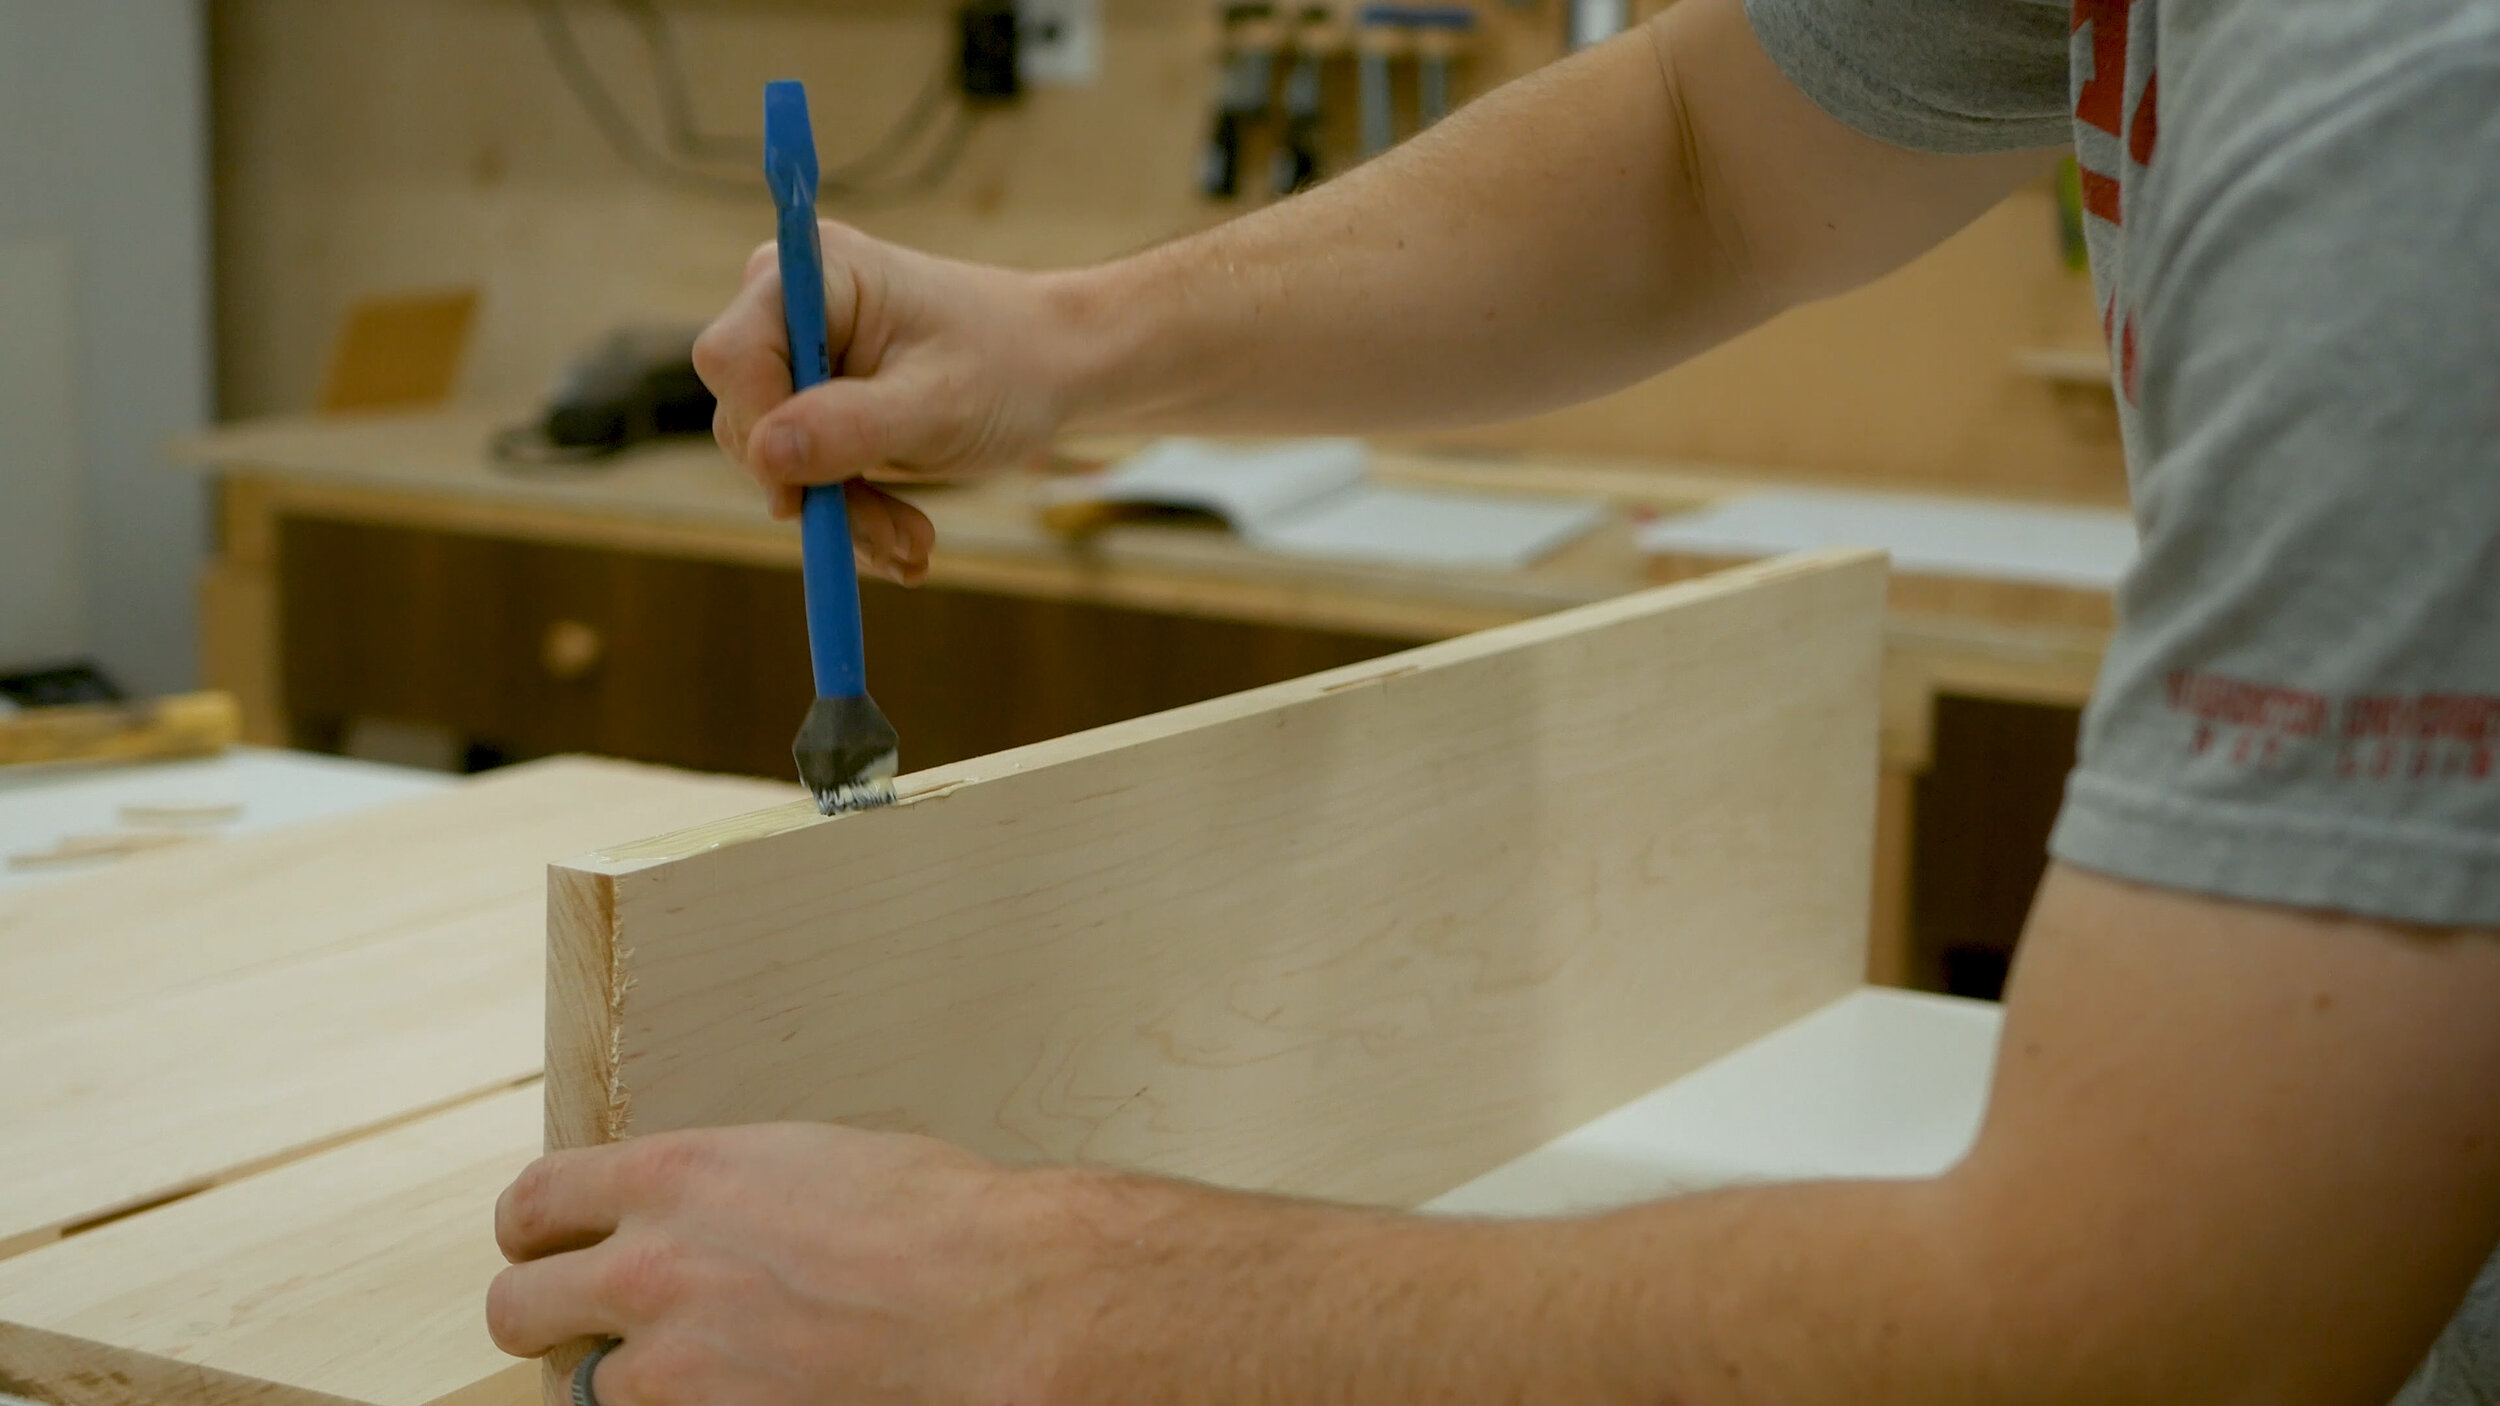
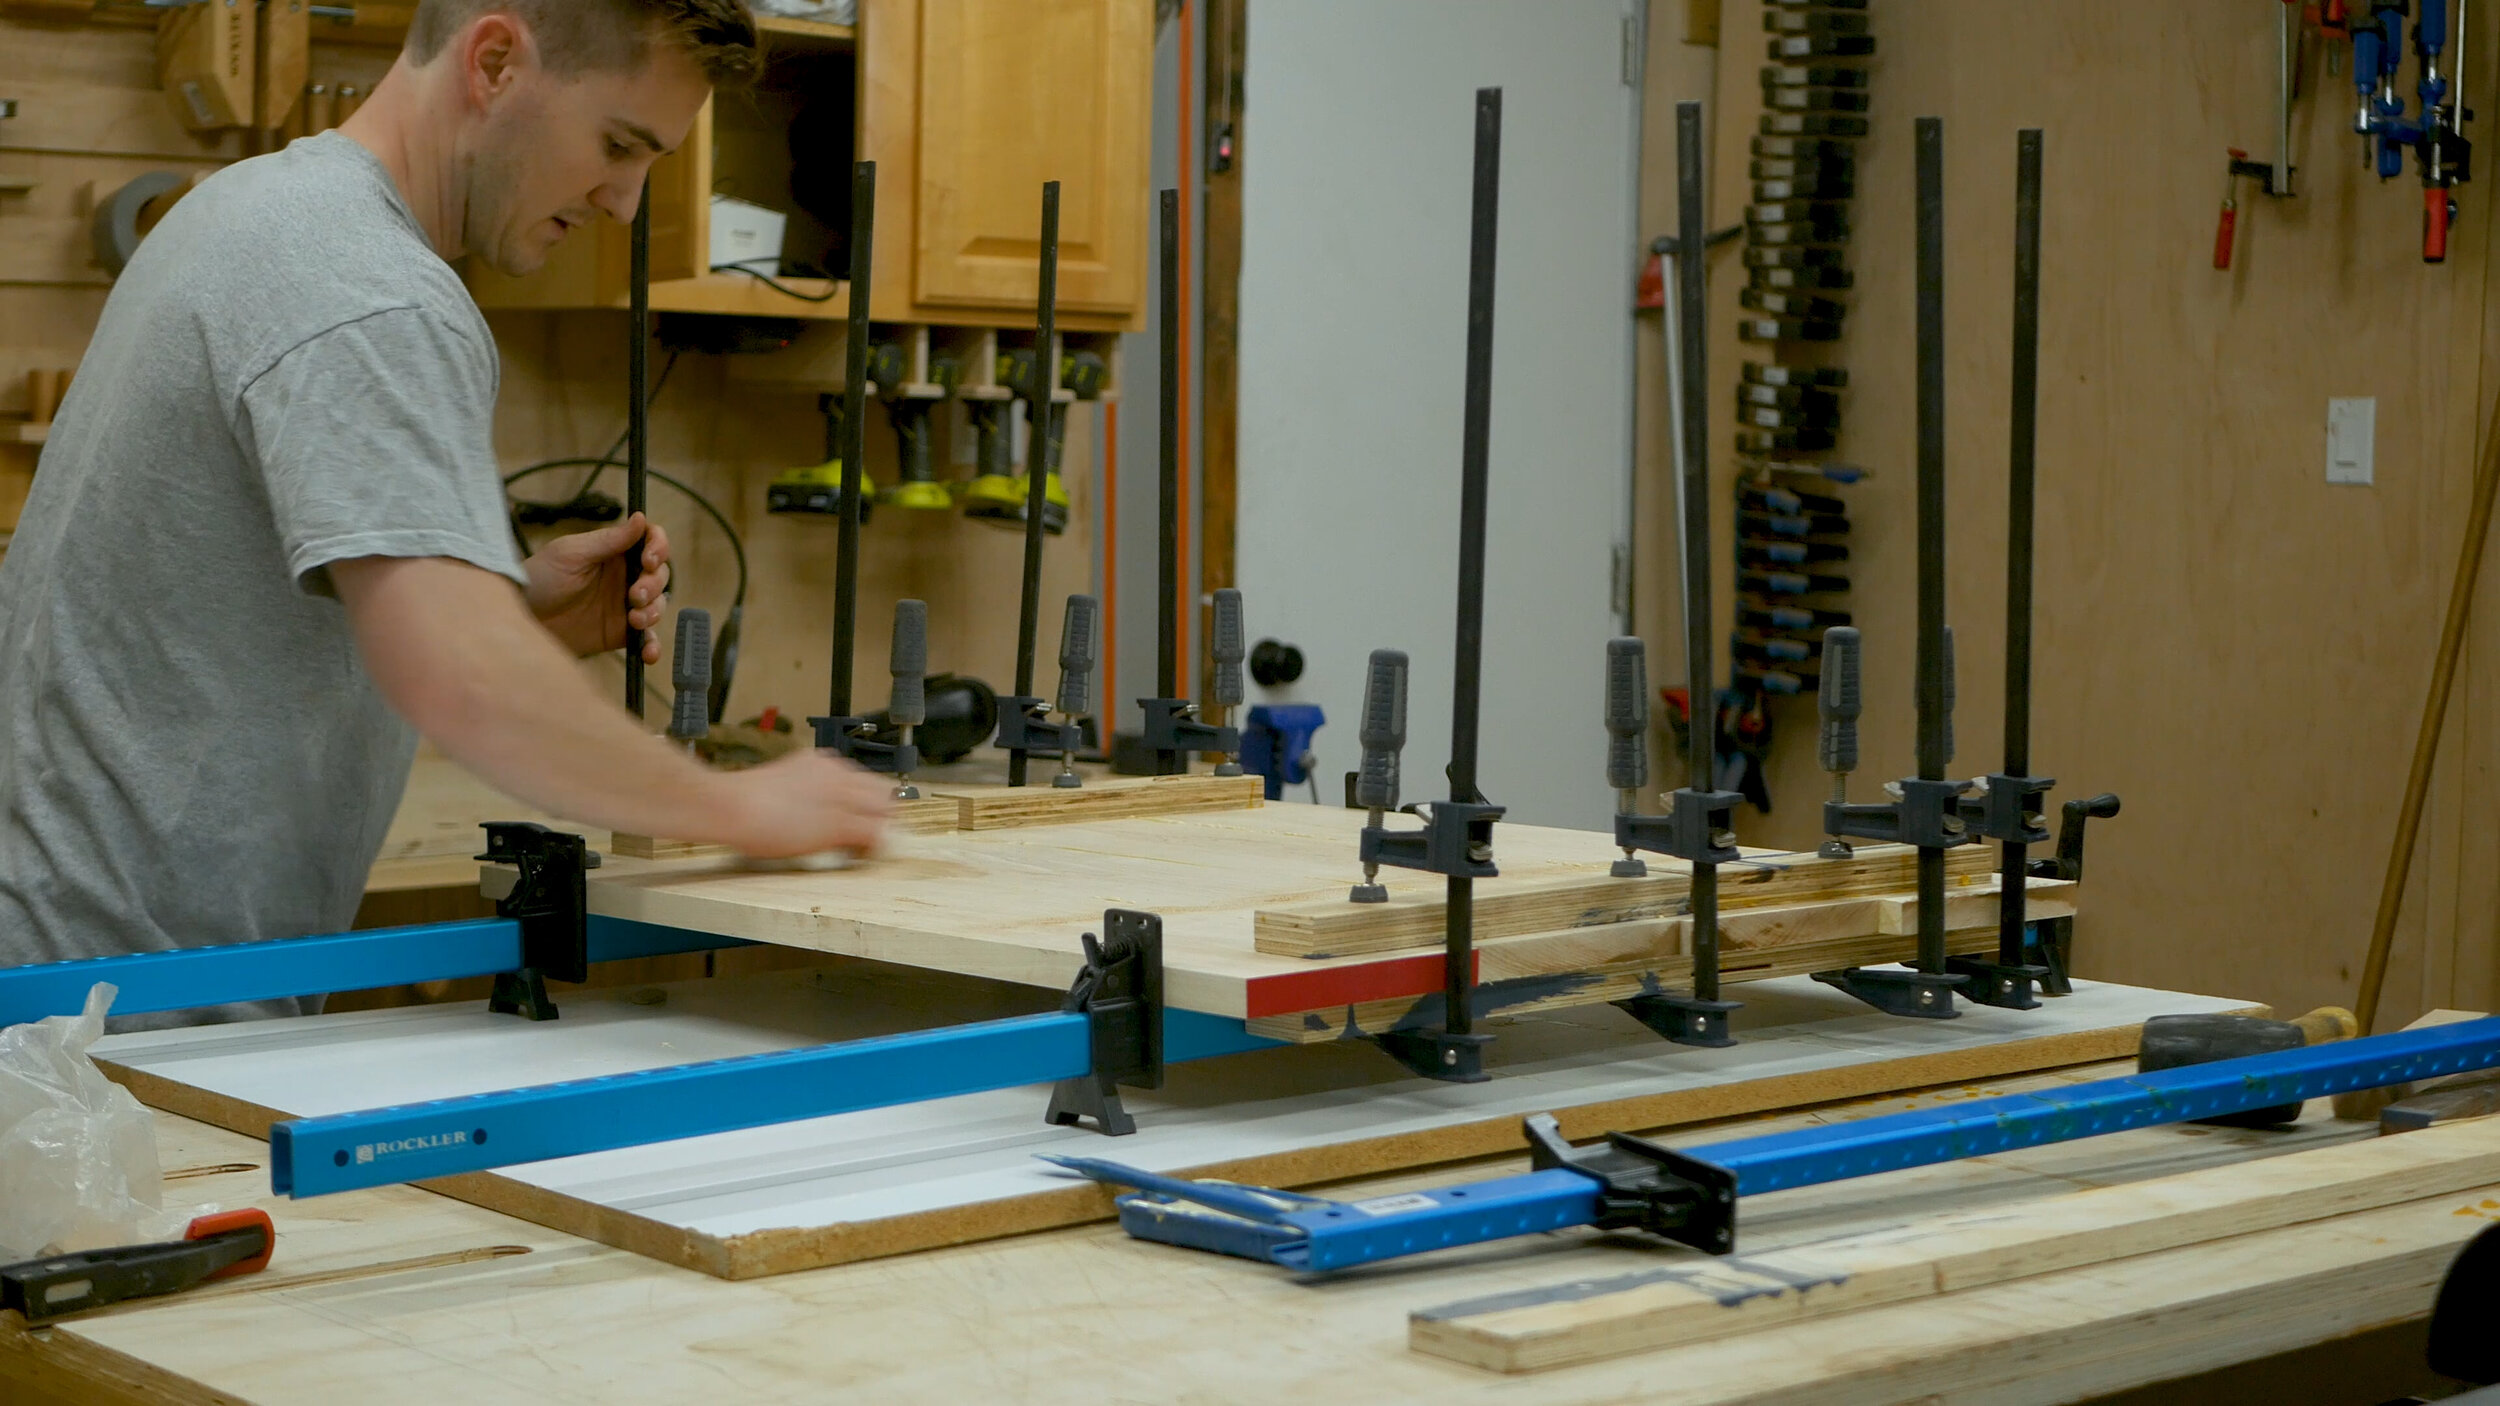
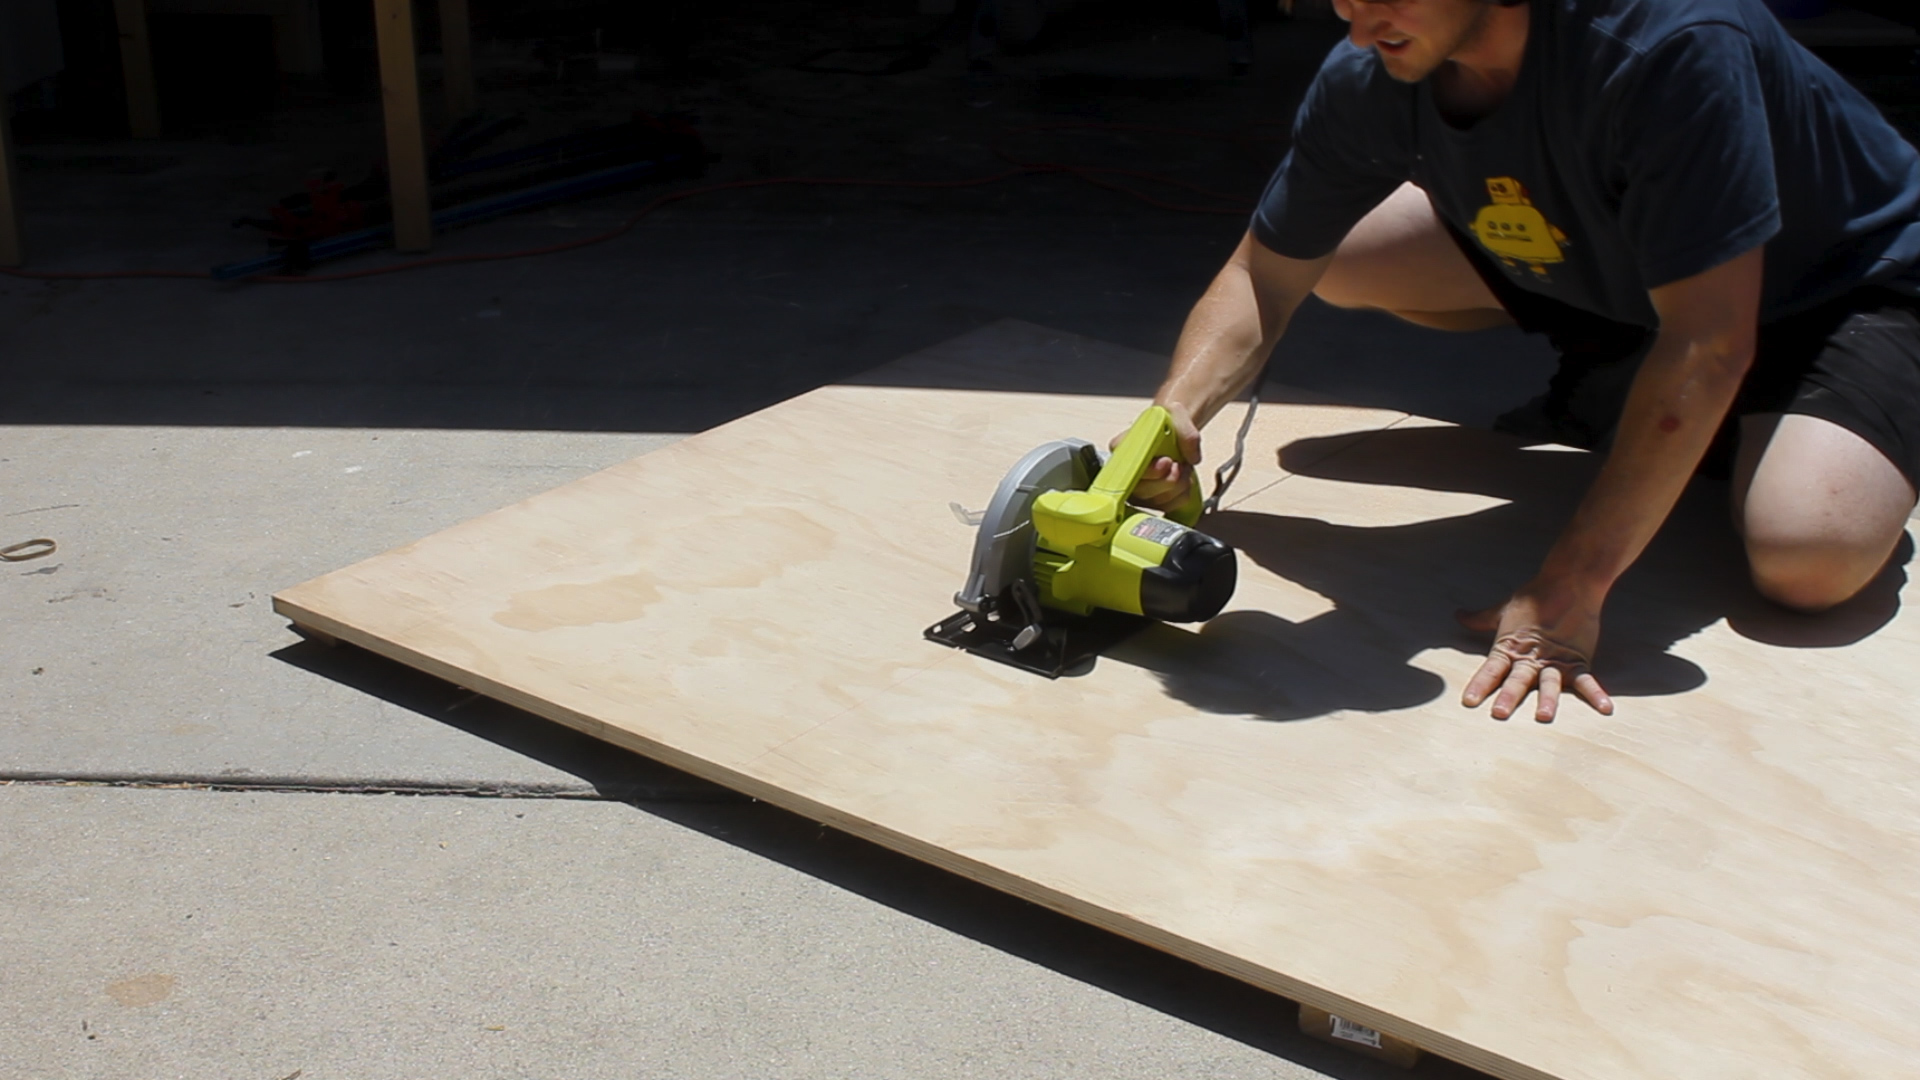
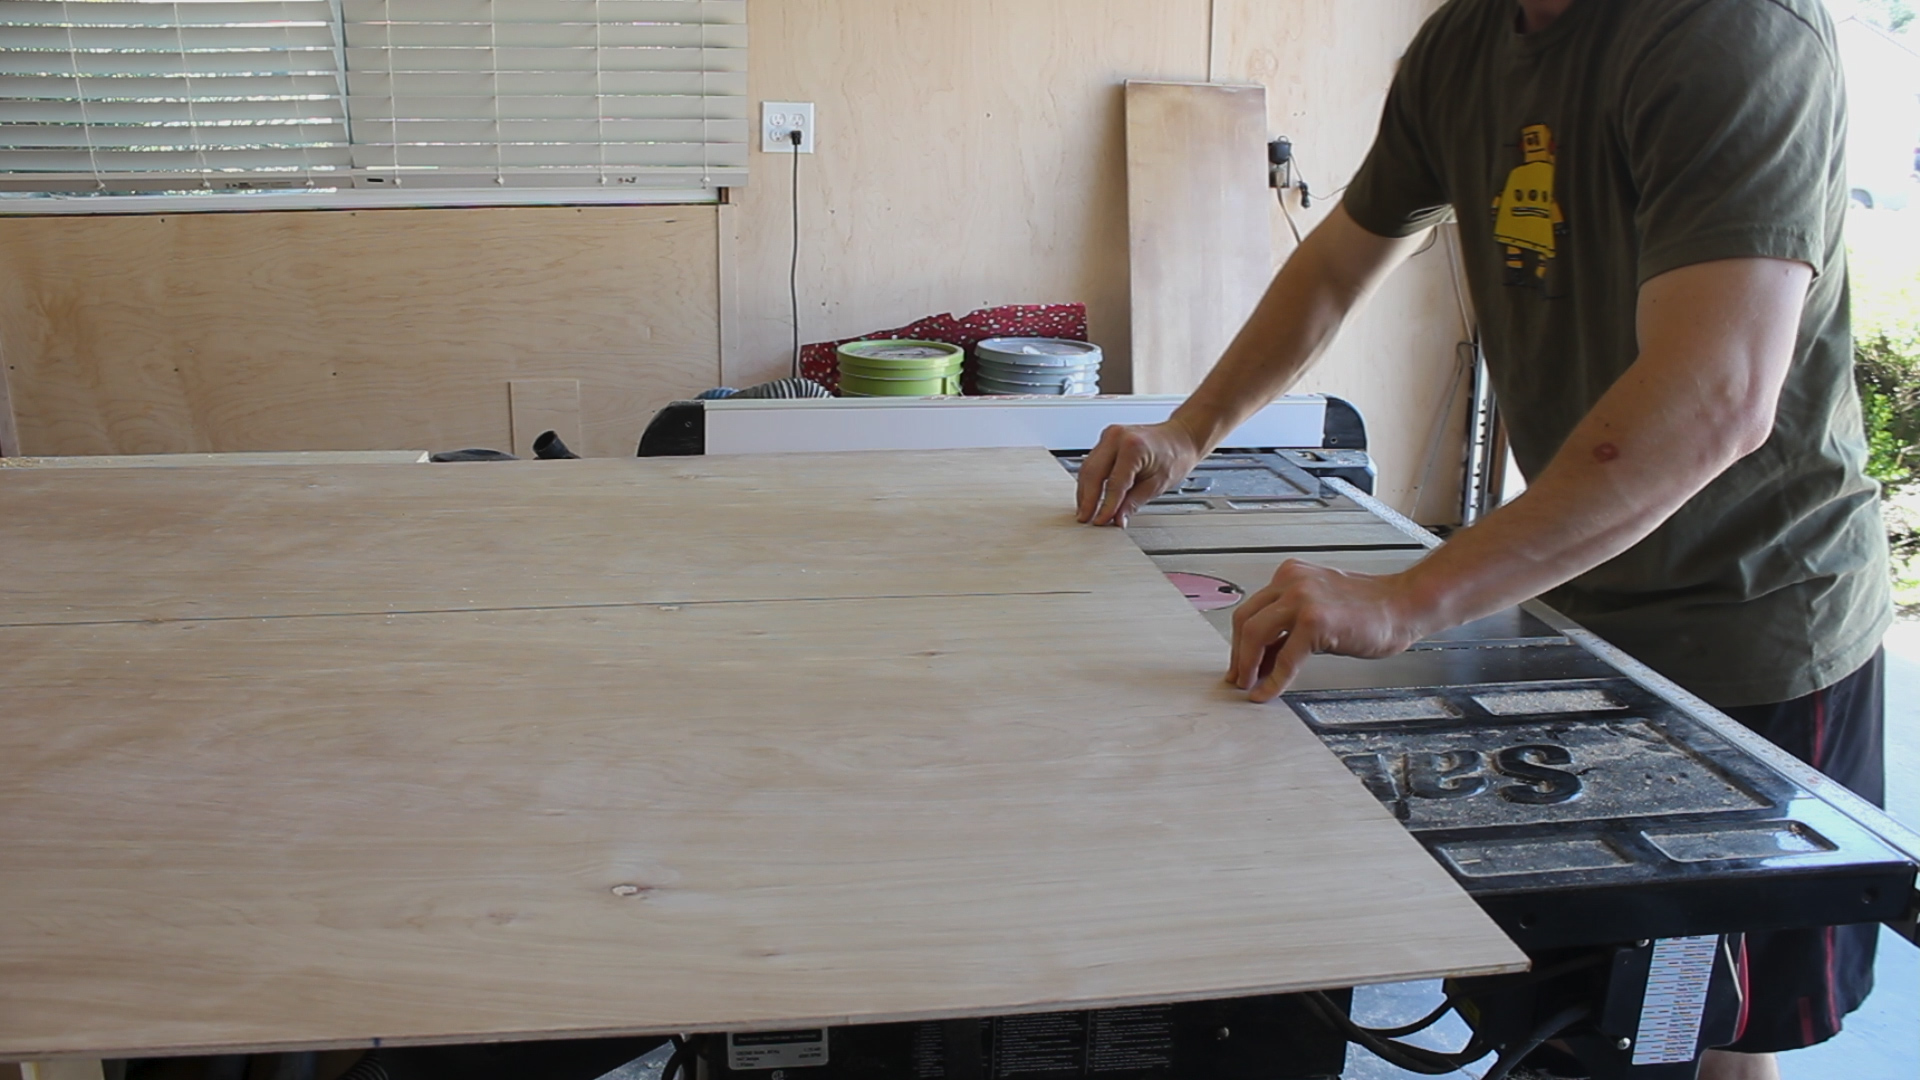
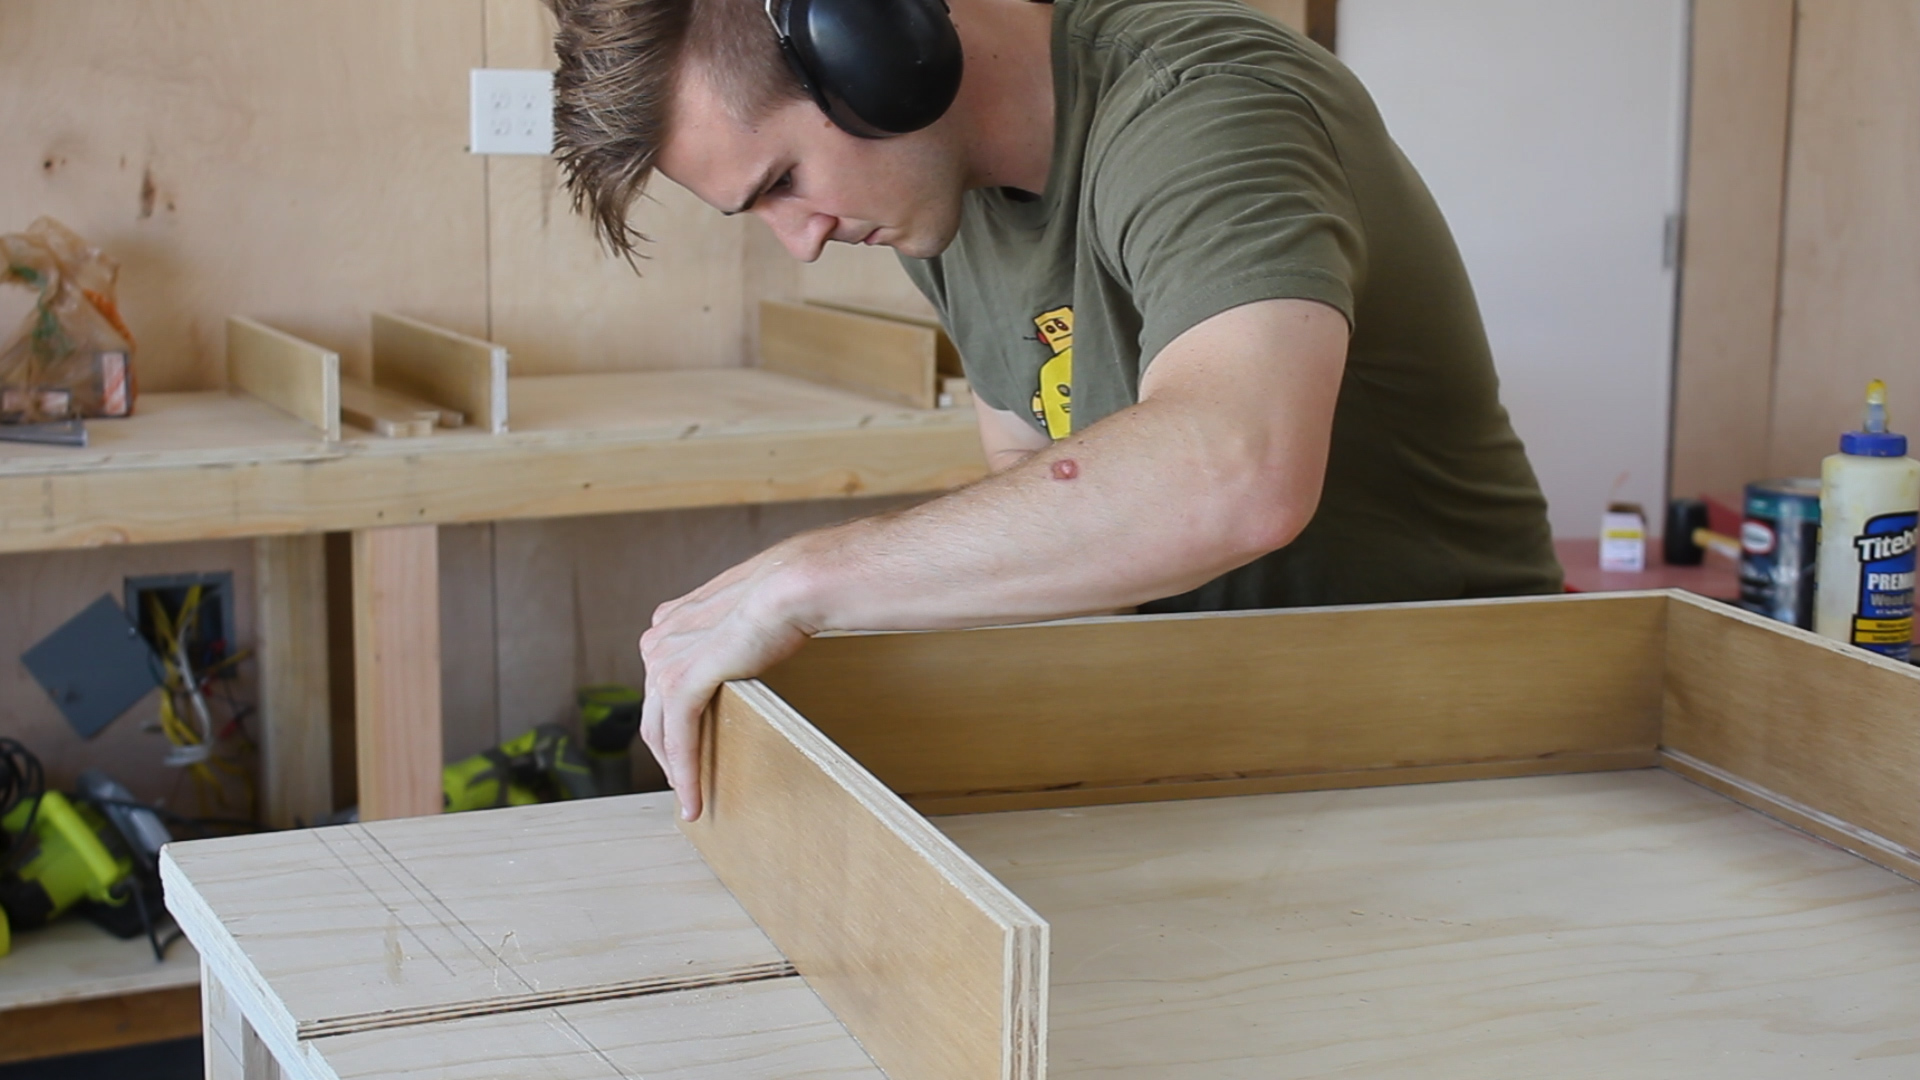
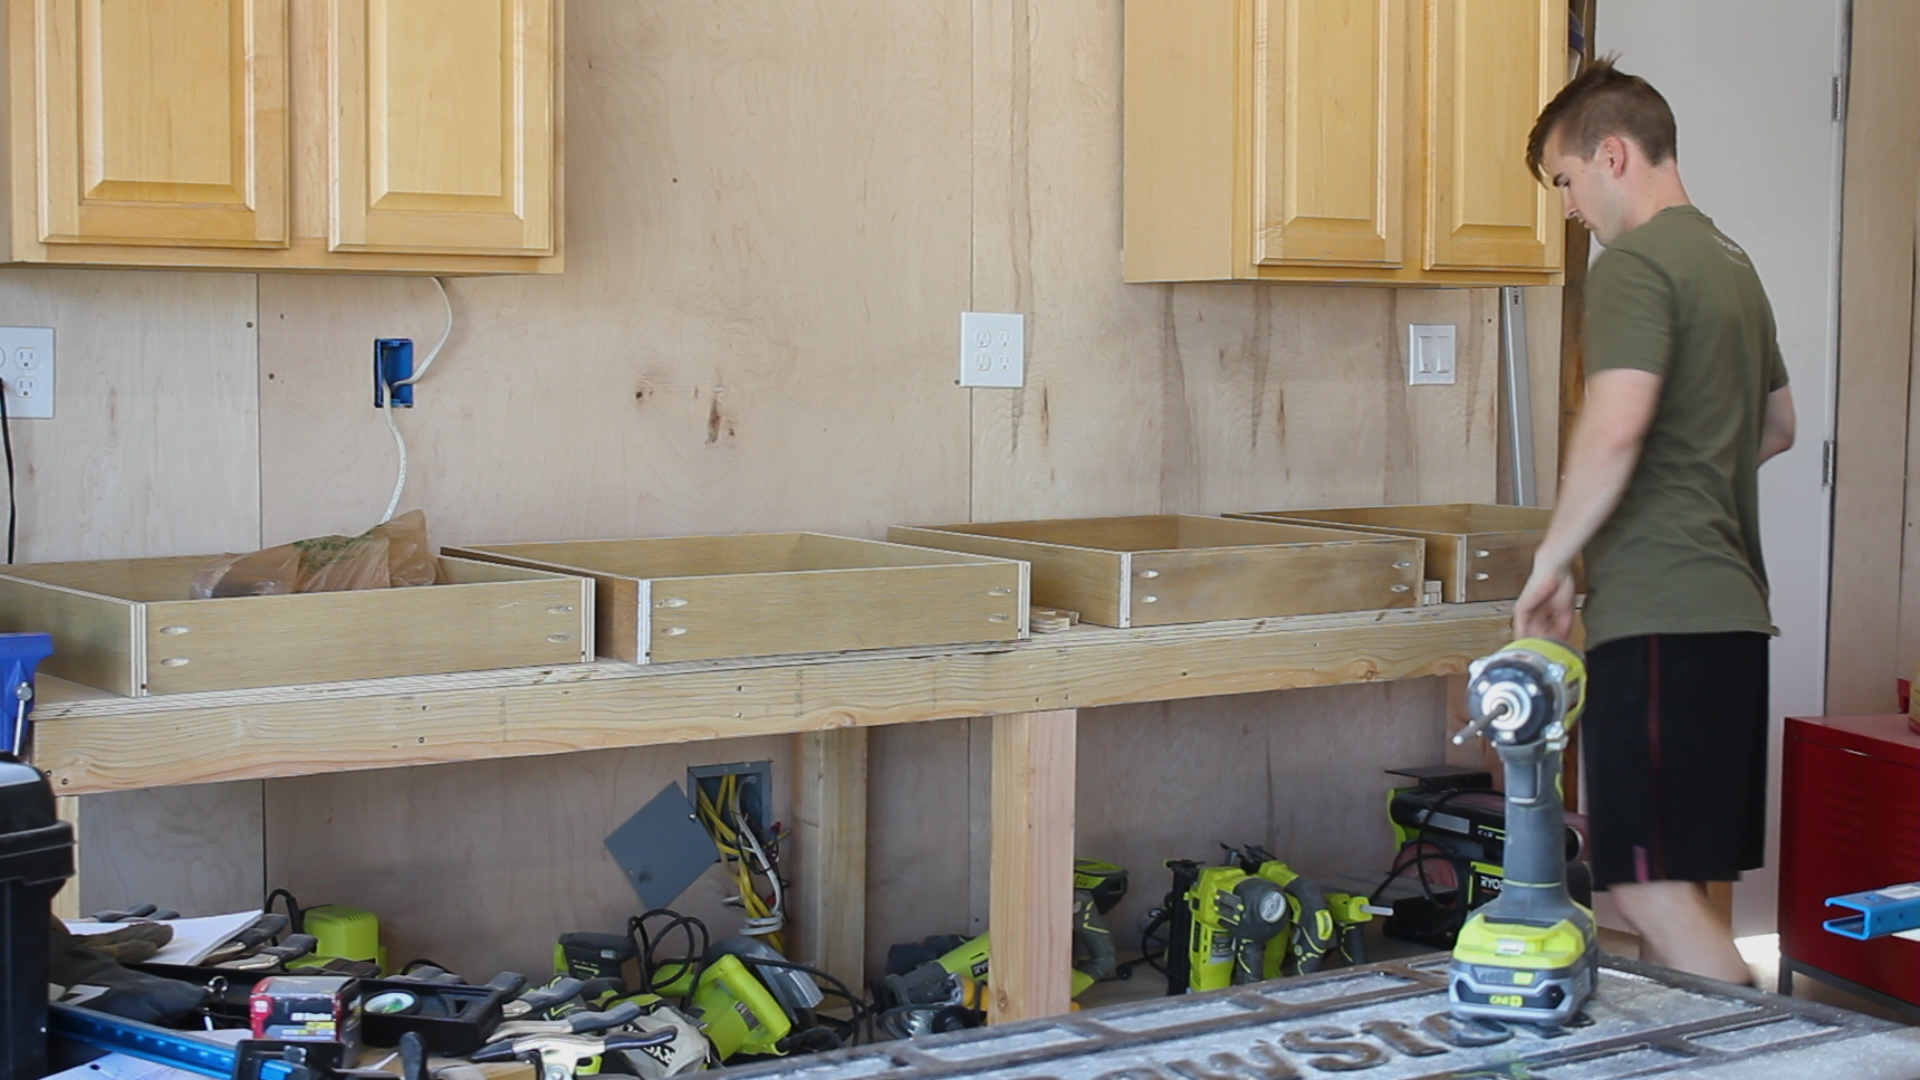
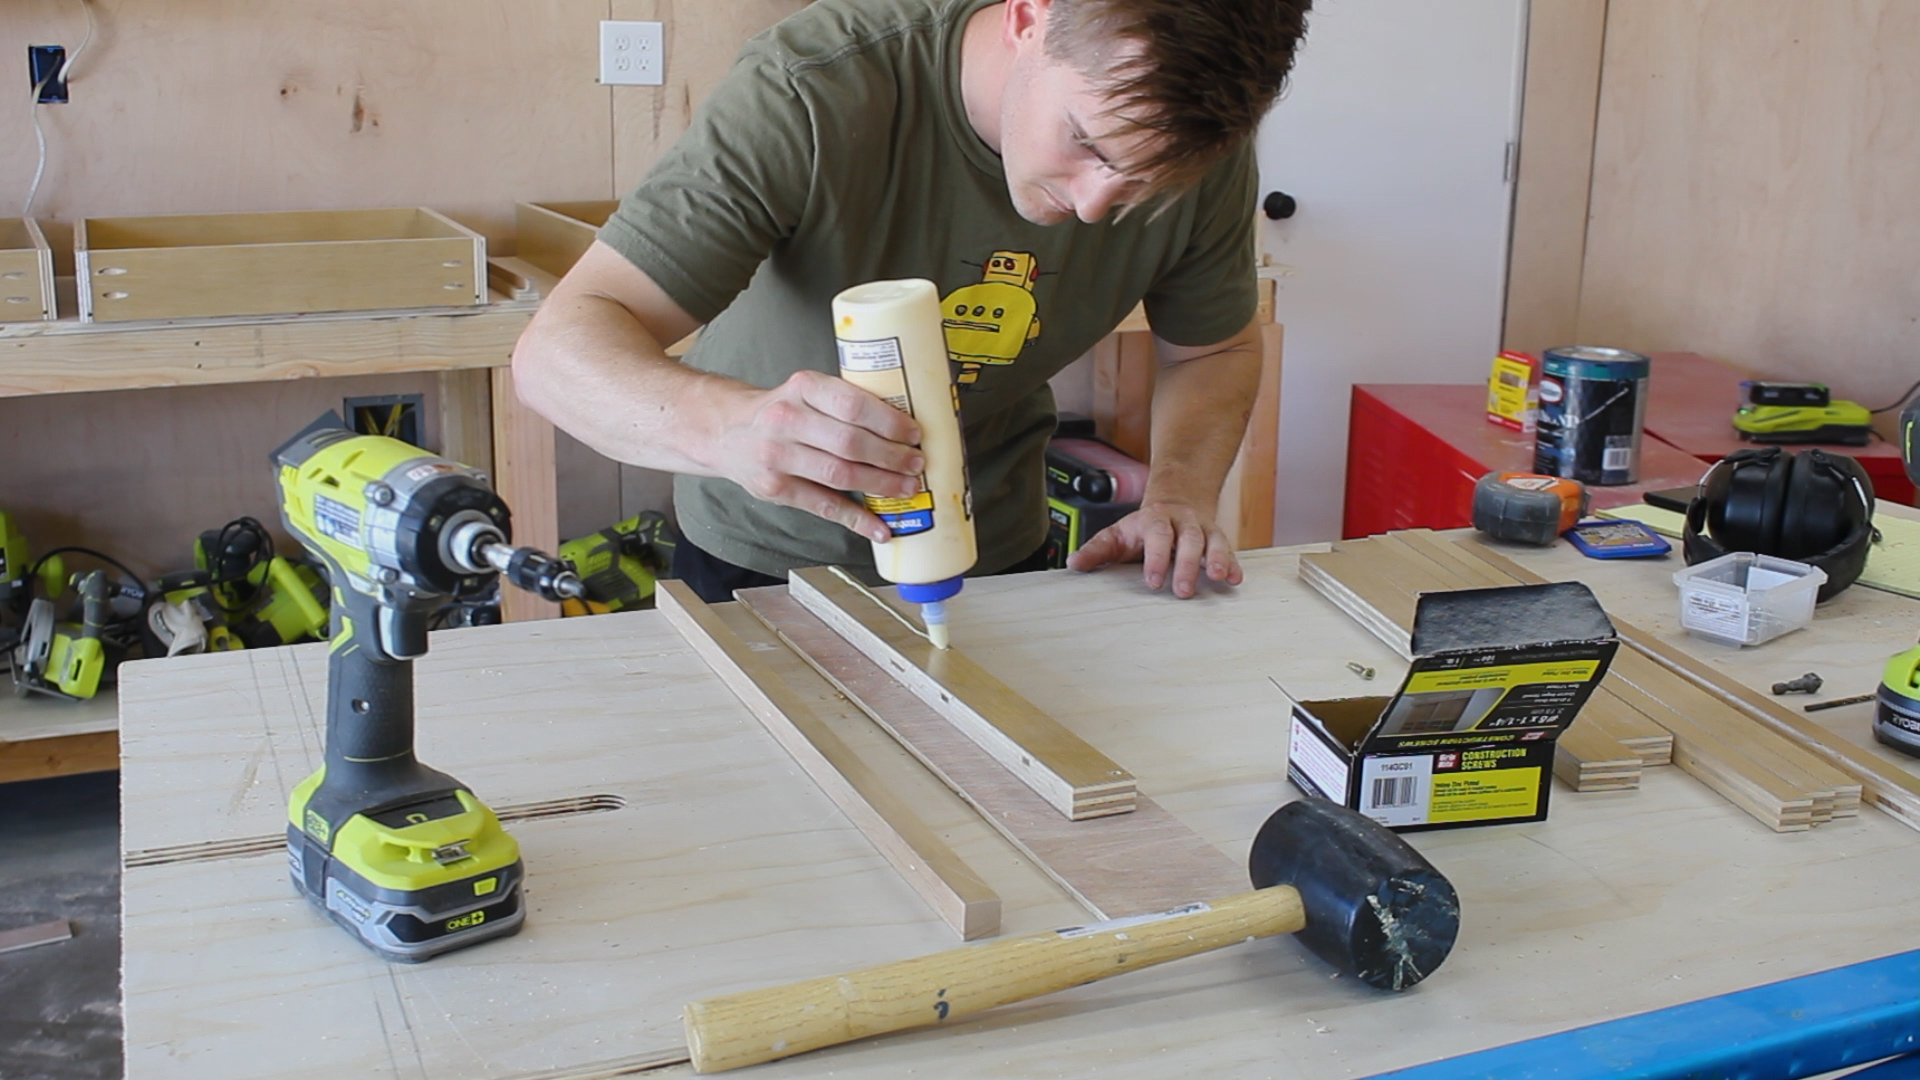
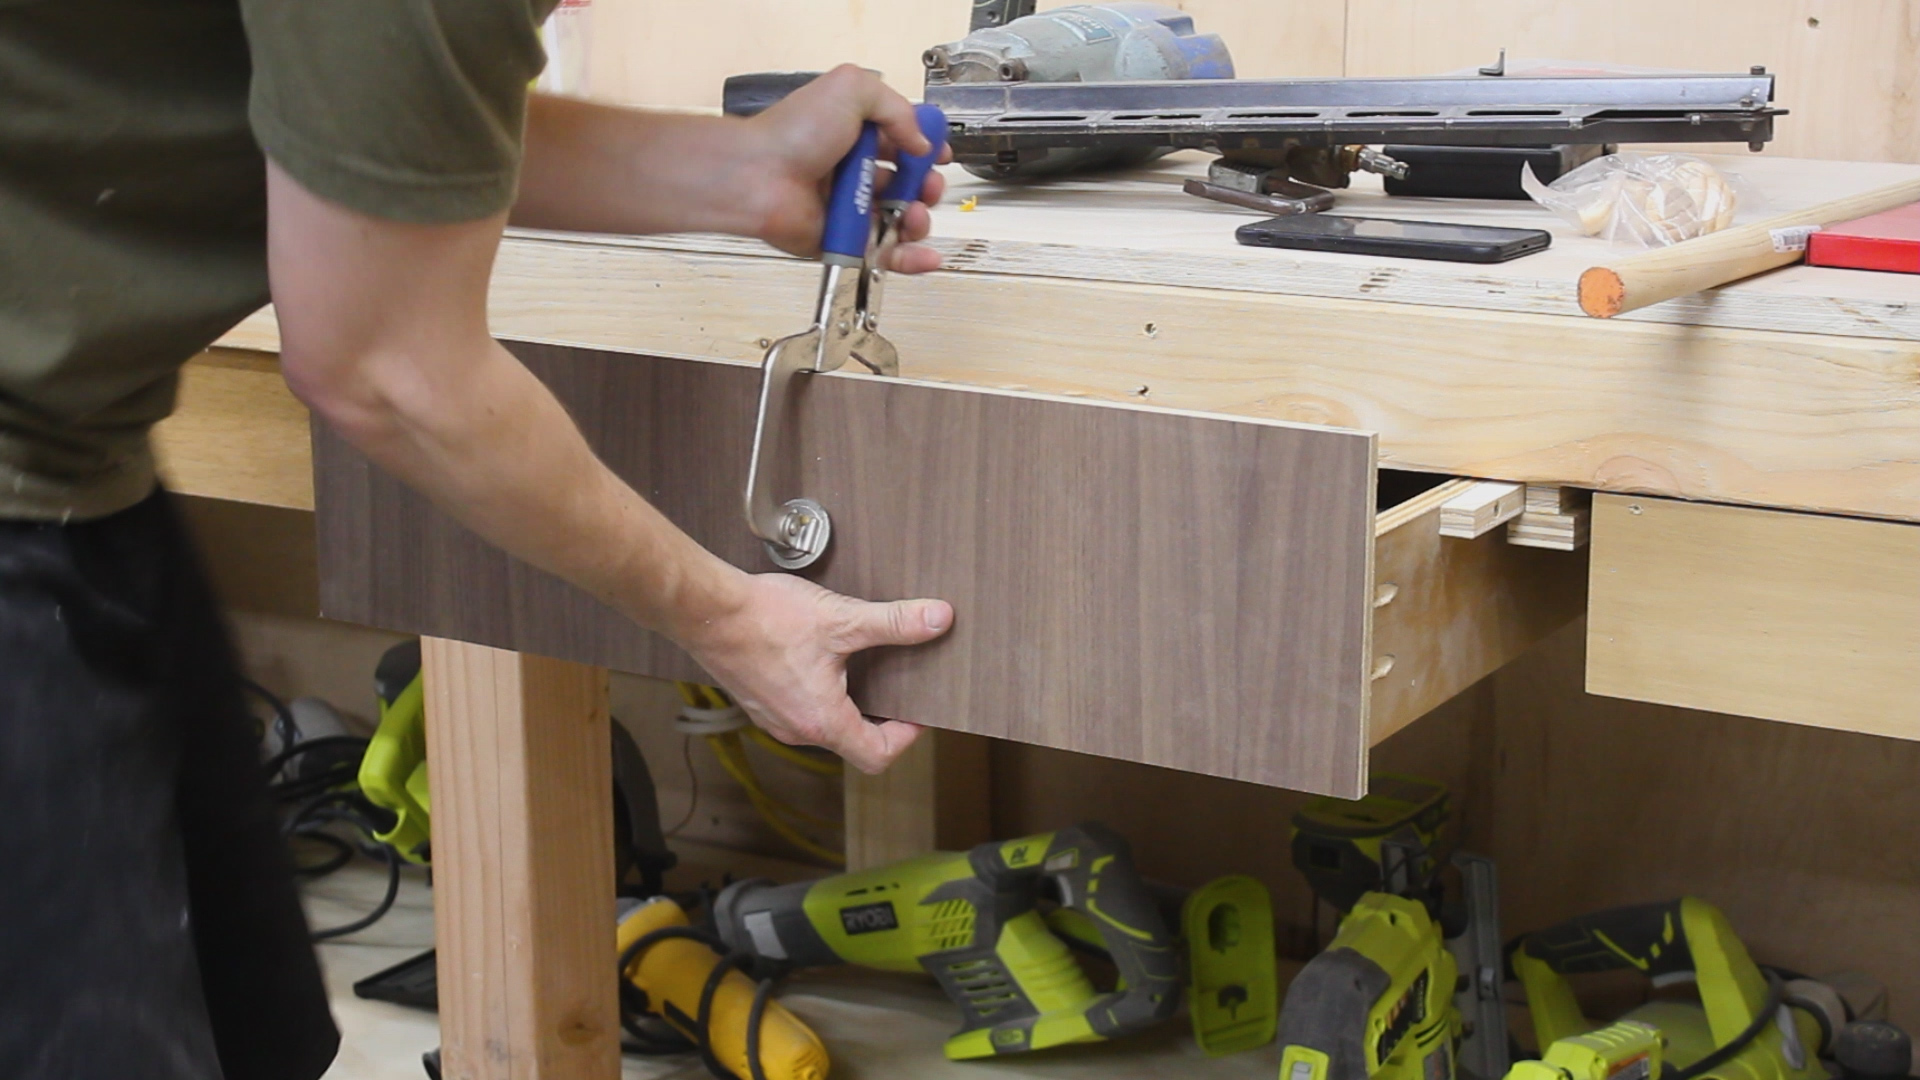
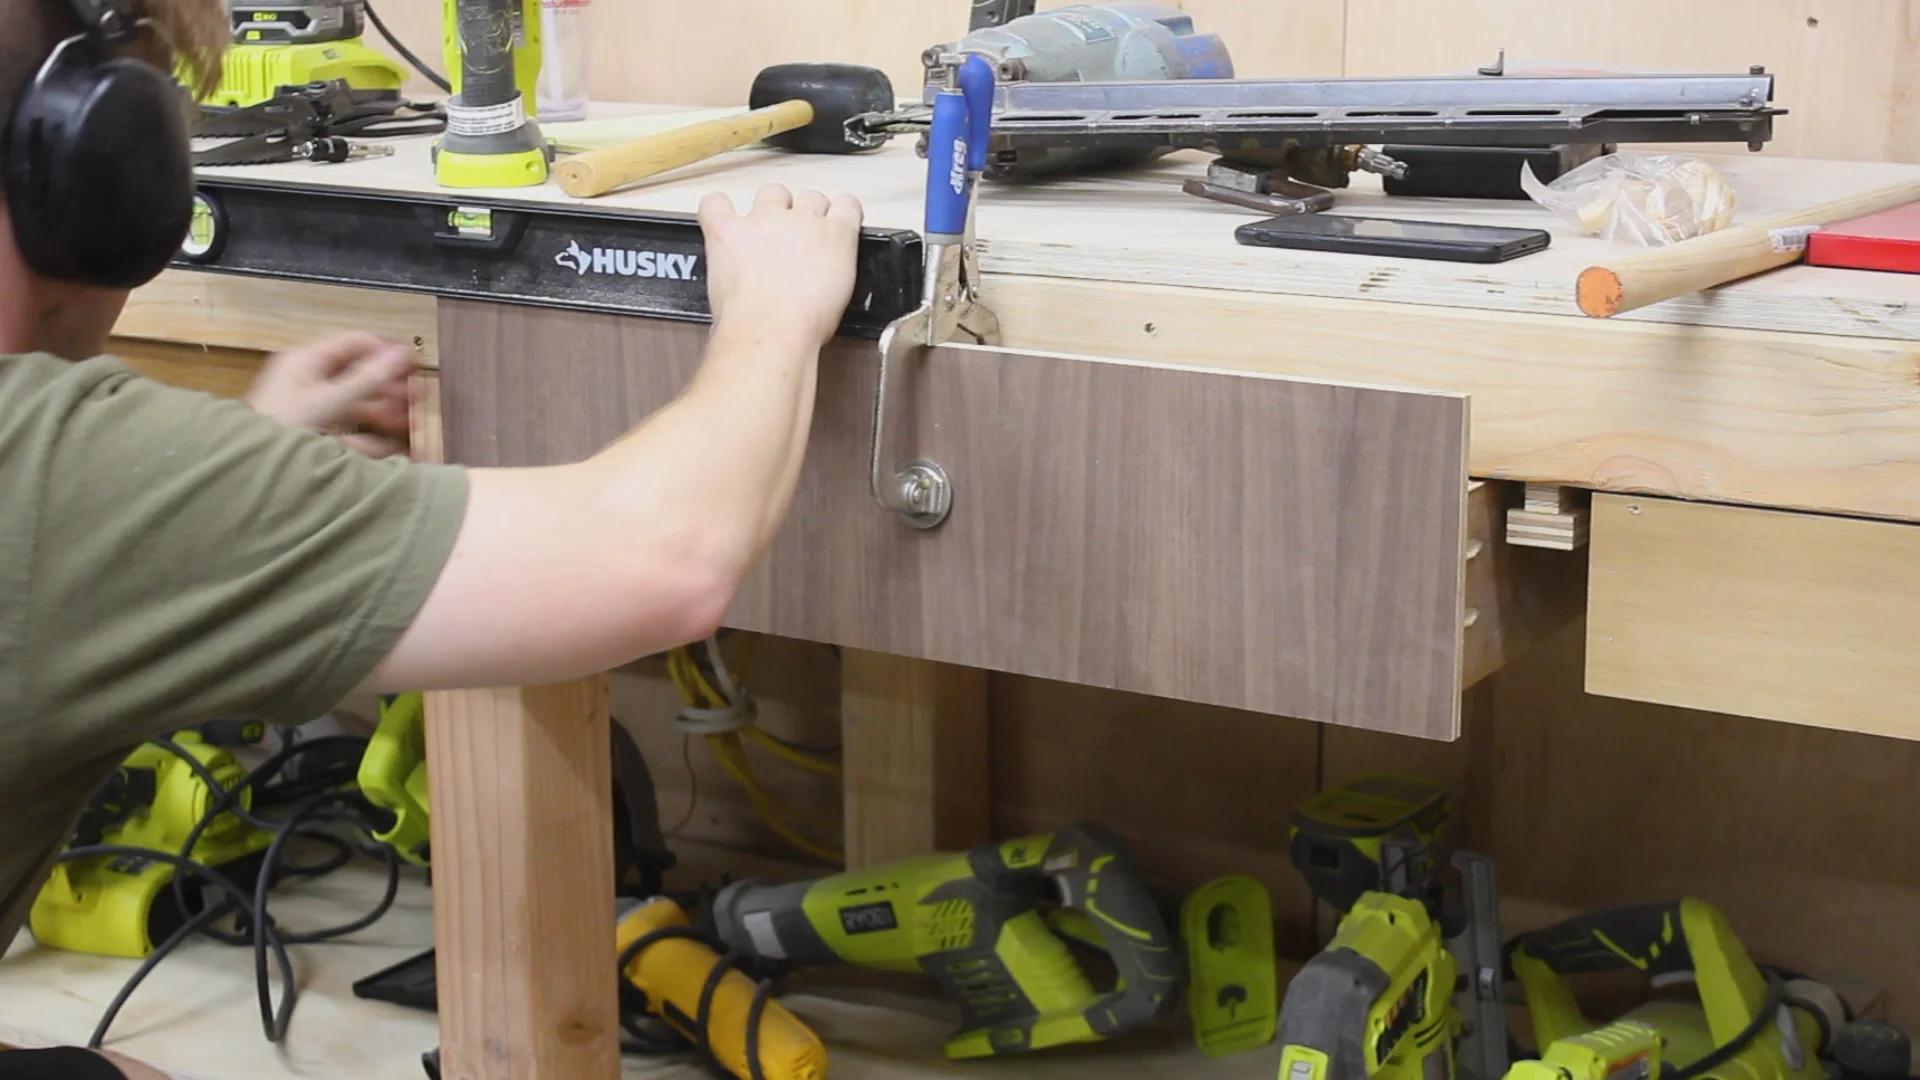
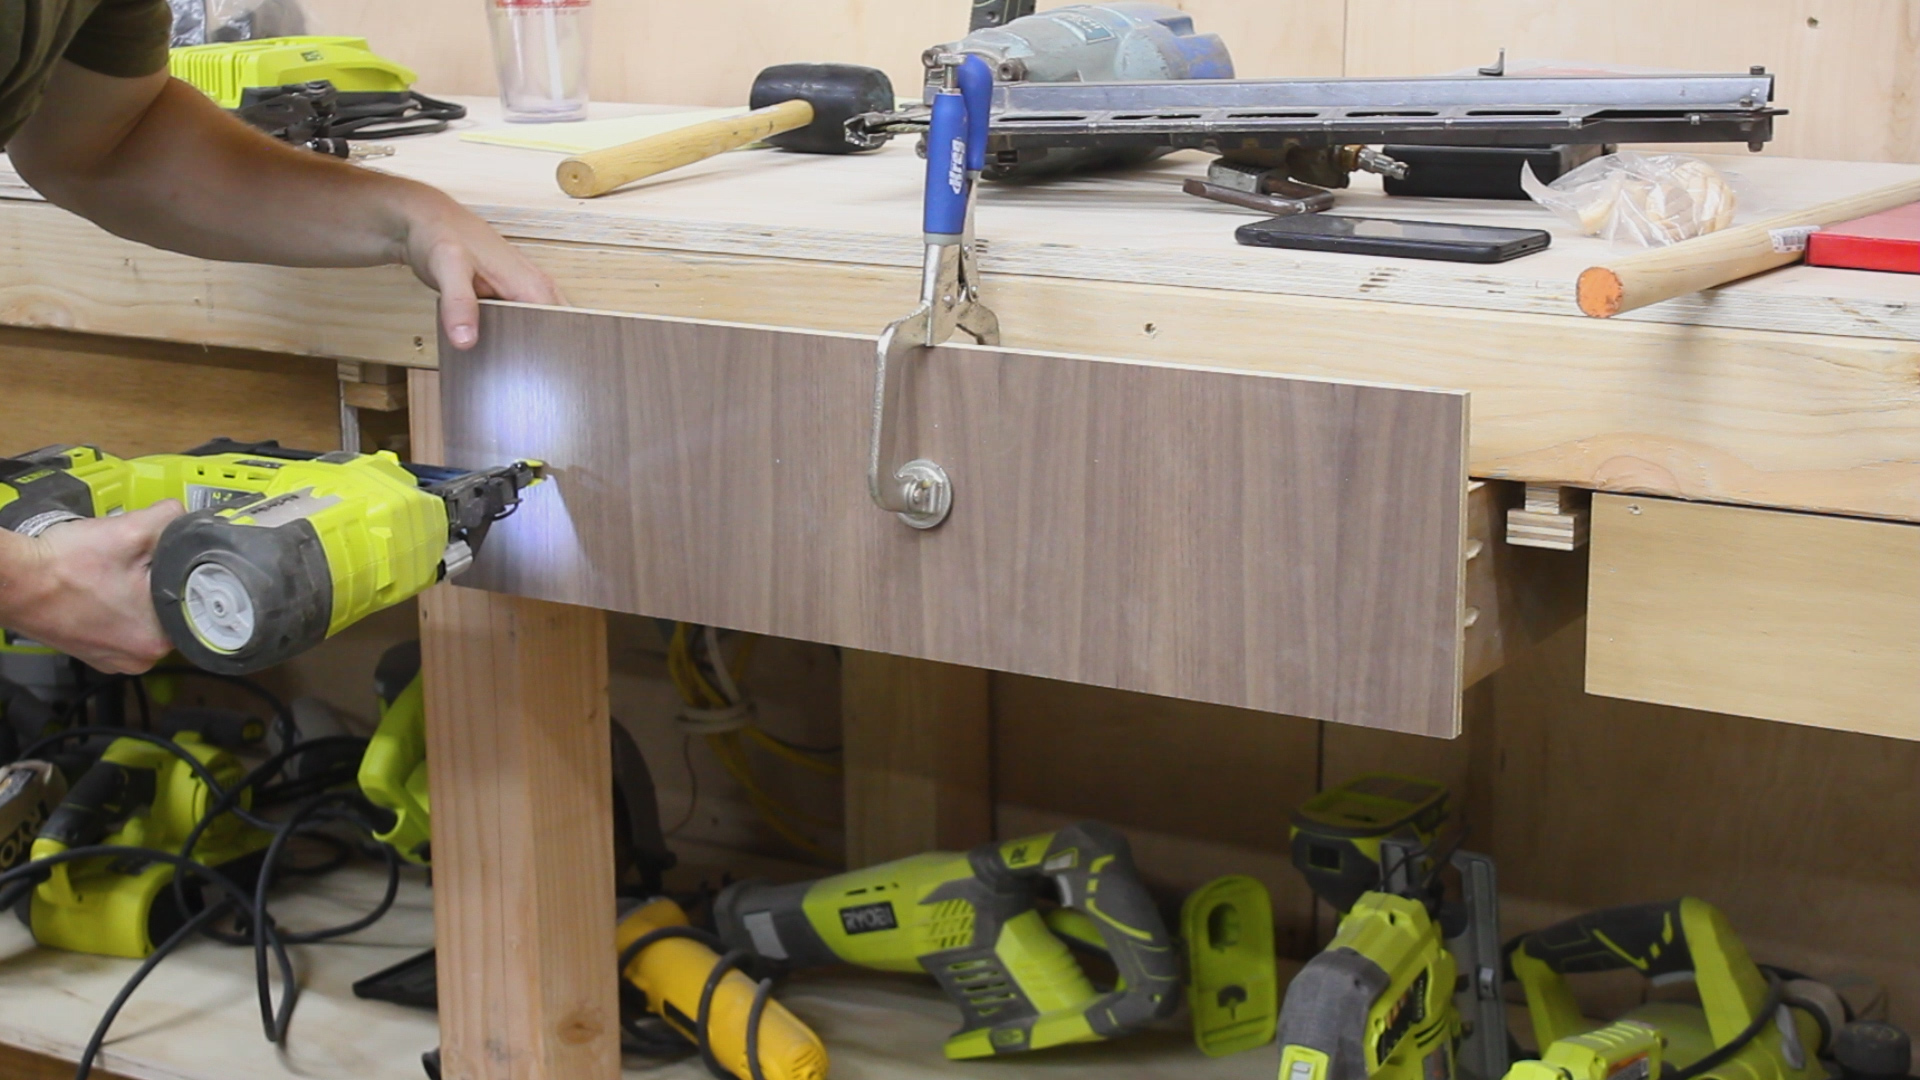
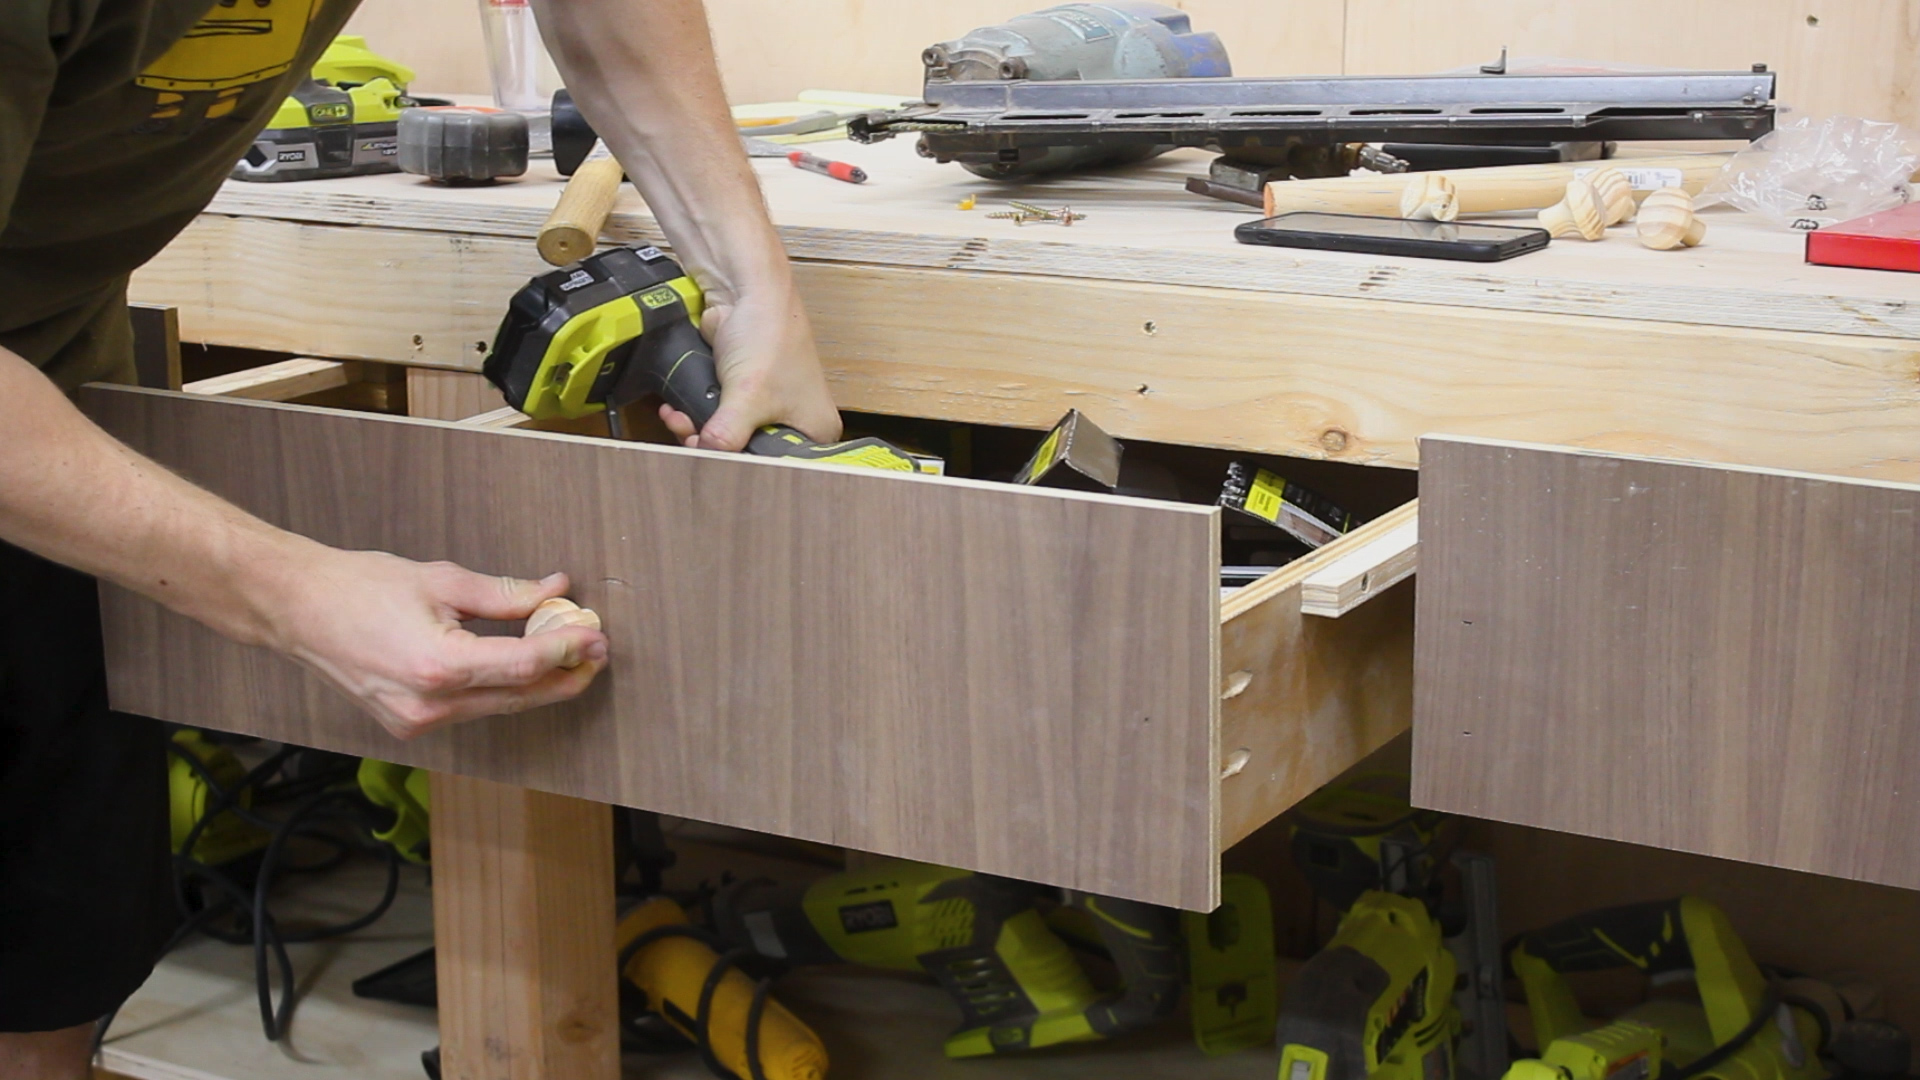
I used a sheet of 5mm 4'x4' plywood for the drawer bottoms that I broke down on my table saw (Pic 5). I then assembled everything - first attaching three sides together (Pic 6), then sliding in the drawer bottom between the dados, and then adding the fourth side. And I repeated that for all four drawers (Pic 7).