Make sure you check out my new YouTube Channel,
The Cutting Bored for future project updates!
Right around Christmas of 2015, my interest in woodworking as a new hobby was peaking. We had a great coffee table in our apartment, but I had read so much about people tackling a coffee table build as their first project, so I figured why not go for it.
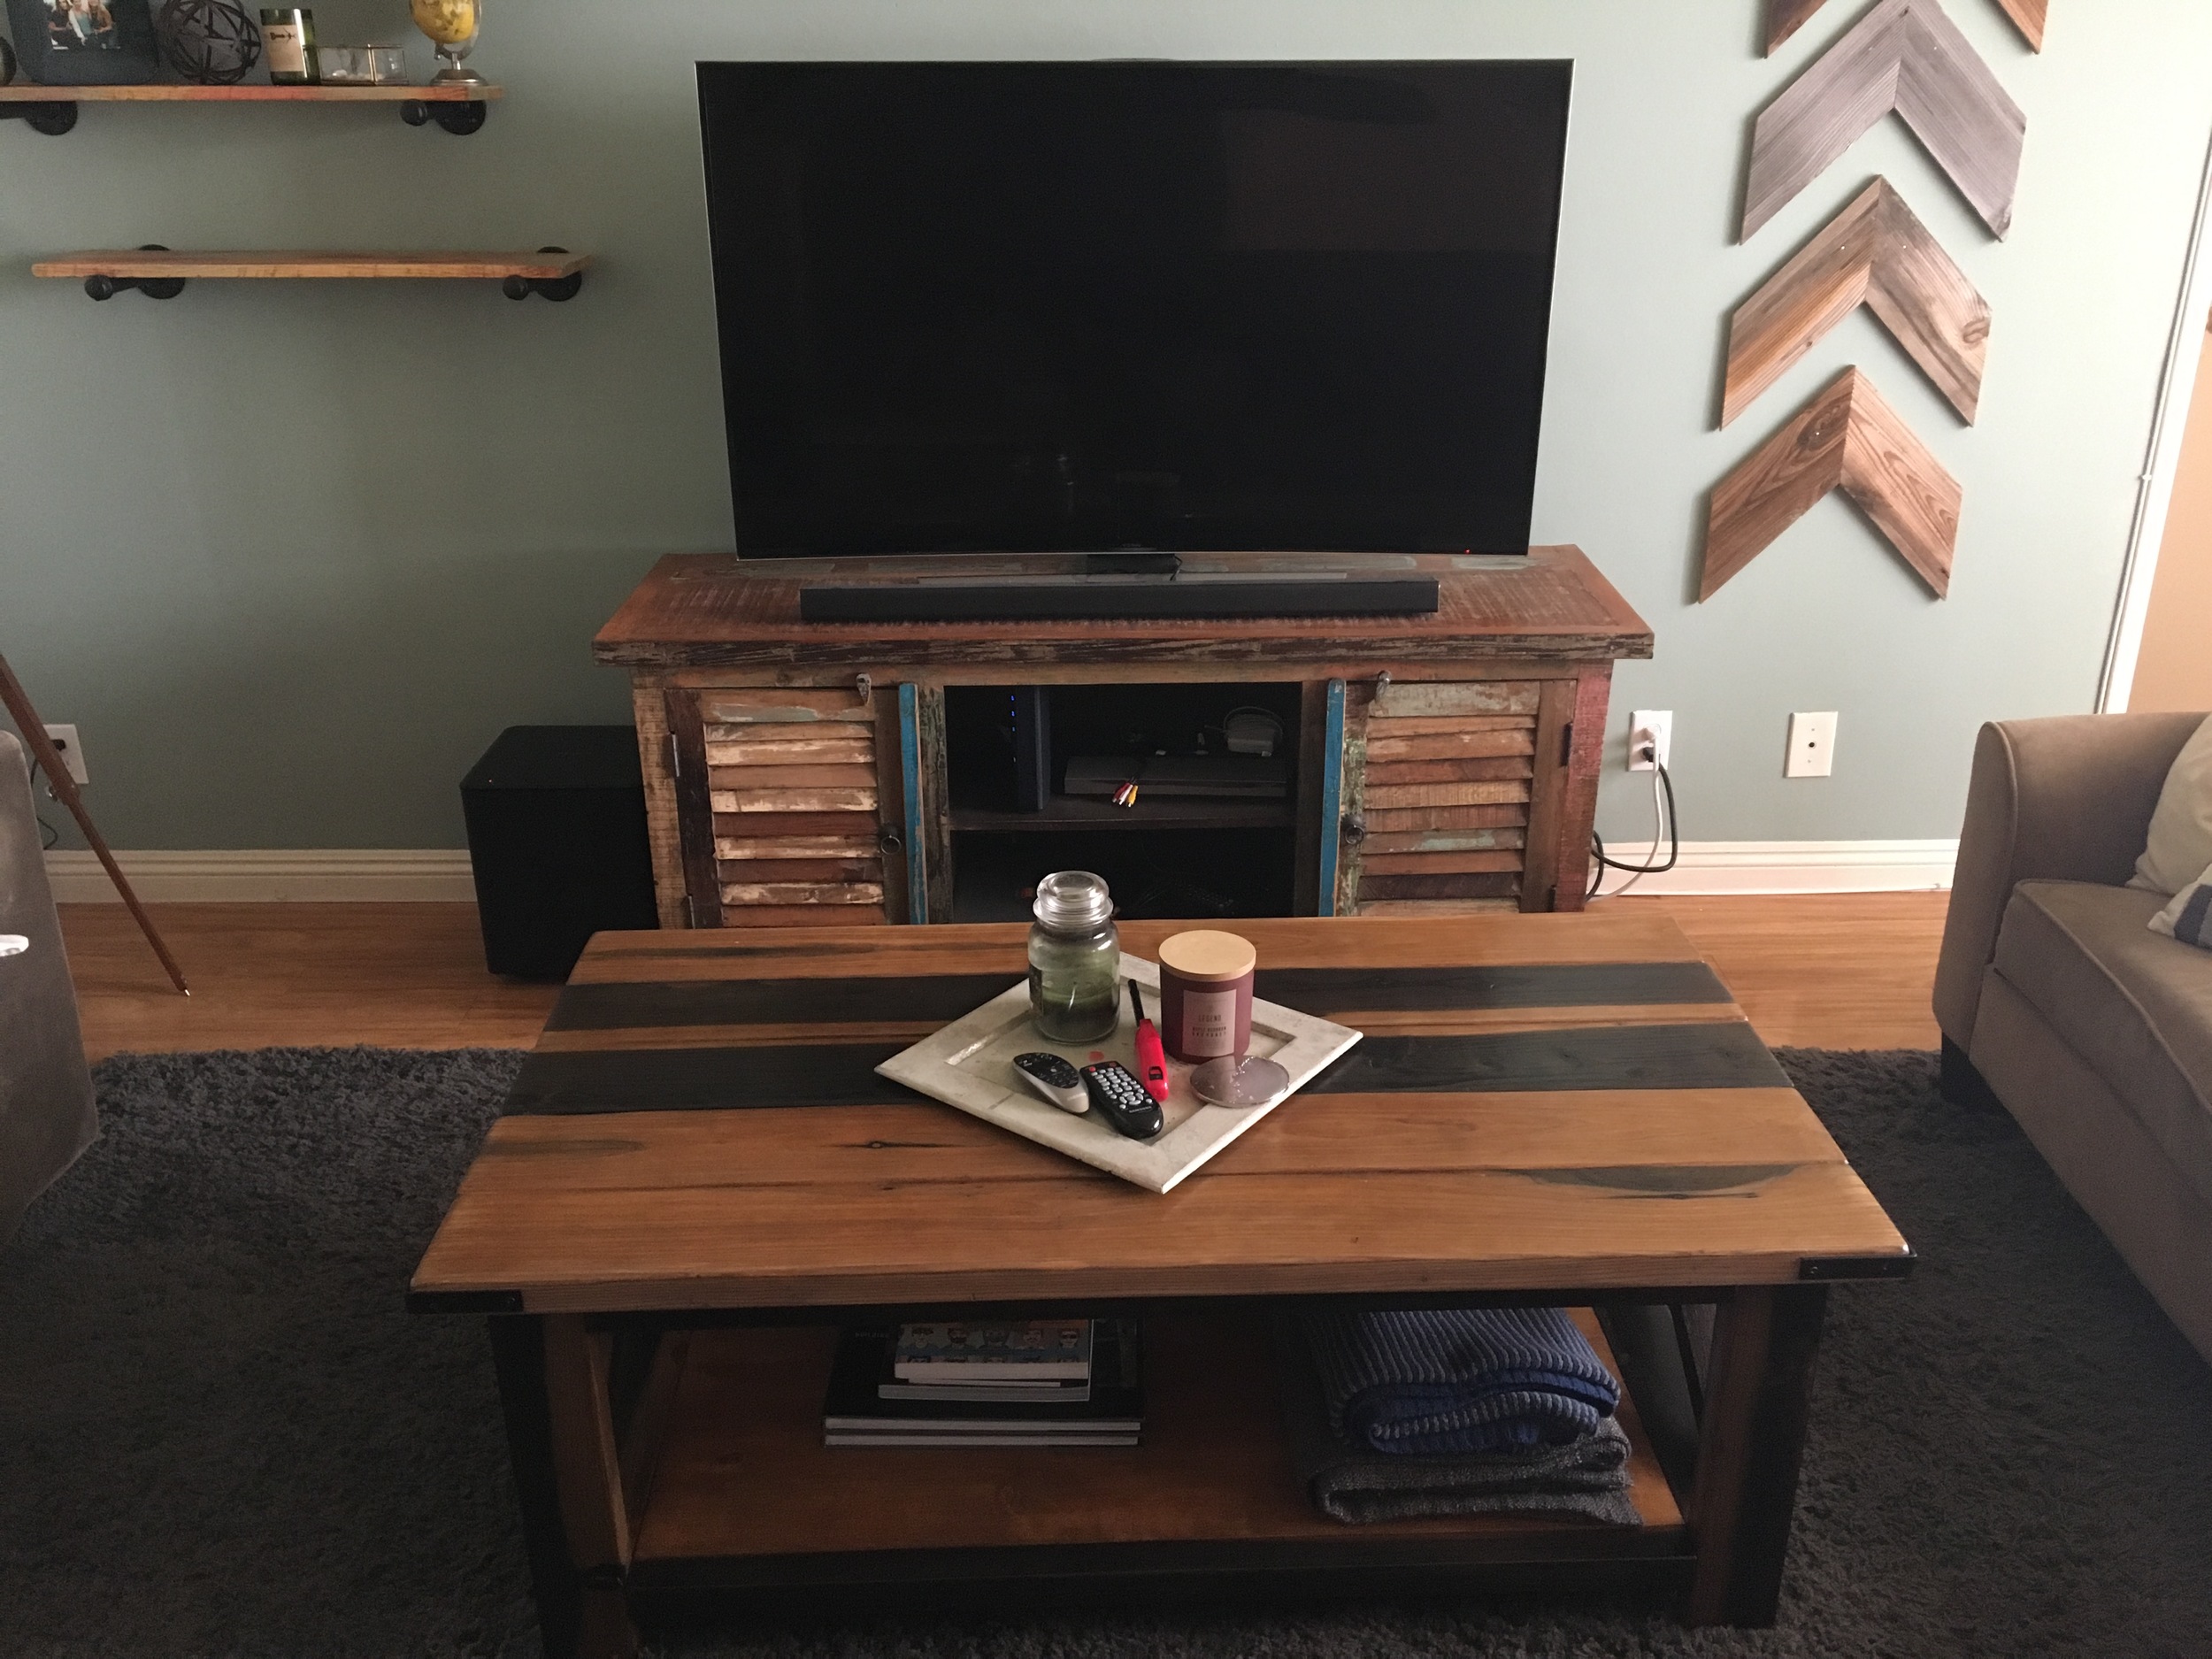
Originally, I had the intention of creating something rustic, weathered, and that fit the furniture style of our TV stand and kitchen table. We can dive more into this later, but the final result was not quite the look I was going for. Nonetheless, I was very proud of my first project, and everyone who has used it tells me it holds coffee quite well.
This was my first true dive into woodworking. I decided to take this on during Christmas time for two reasons. First, my family bought me a Ryobi combo kit as a gift, so I knew I'd have enough tools to get the job done - maybe not quite as fast as I'd like, but enough for a beginner to tackle. Second, I had a few weeks off from work, so I knew I'd have time to dedicate to it.
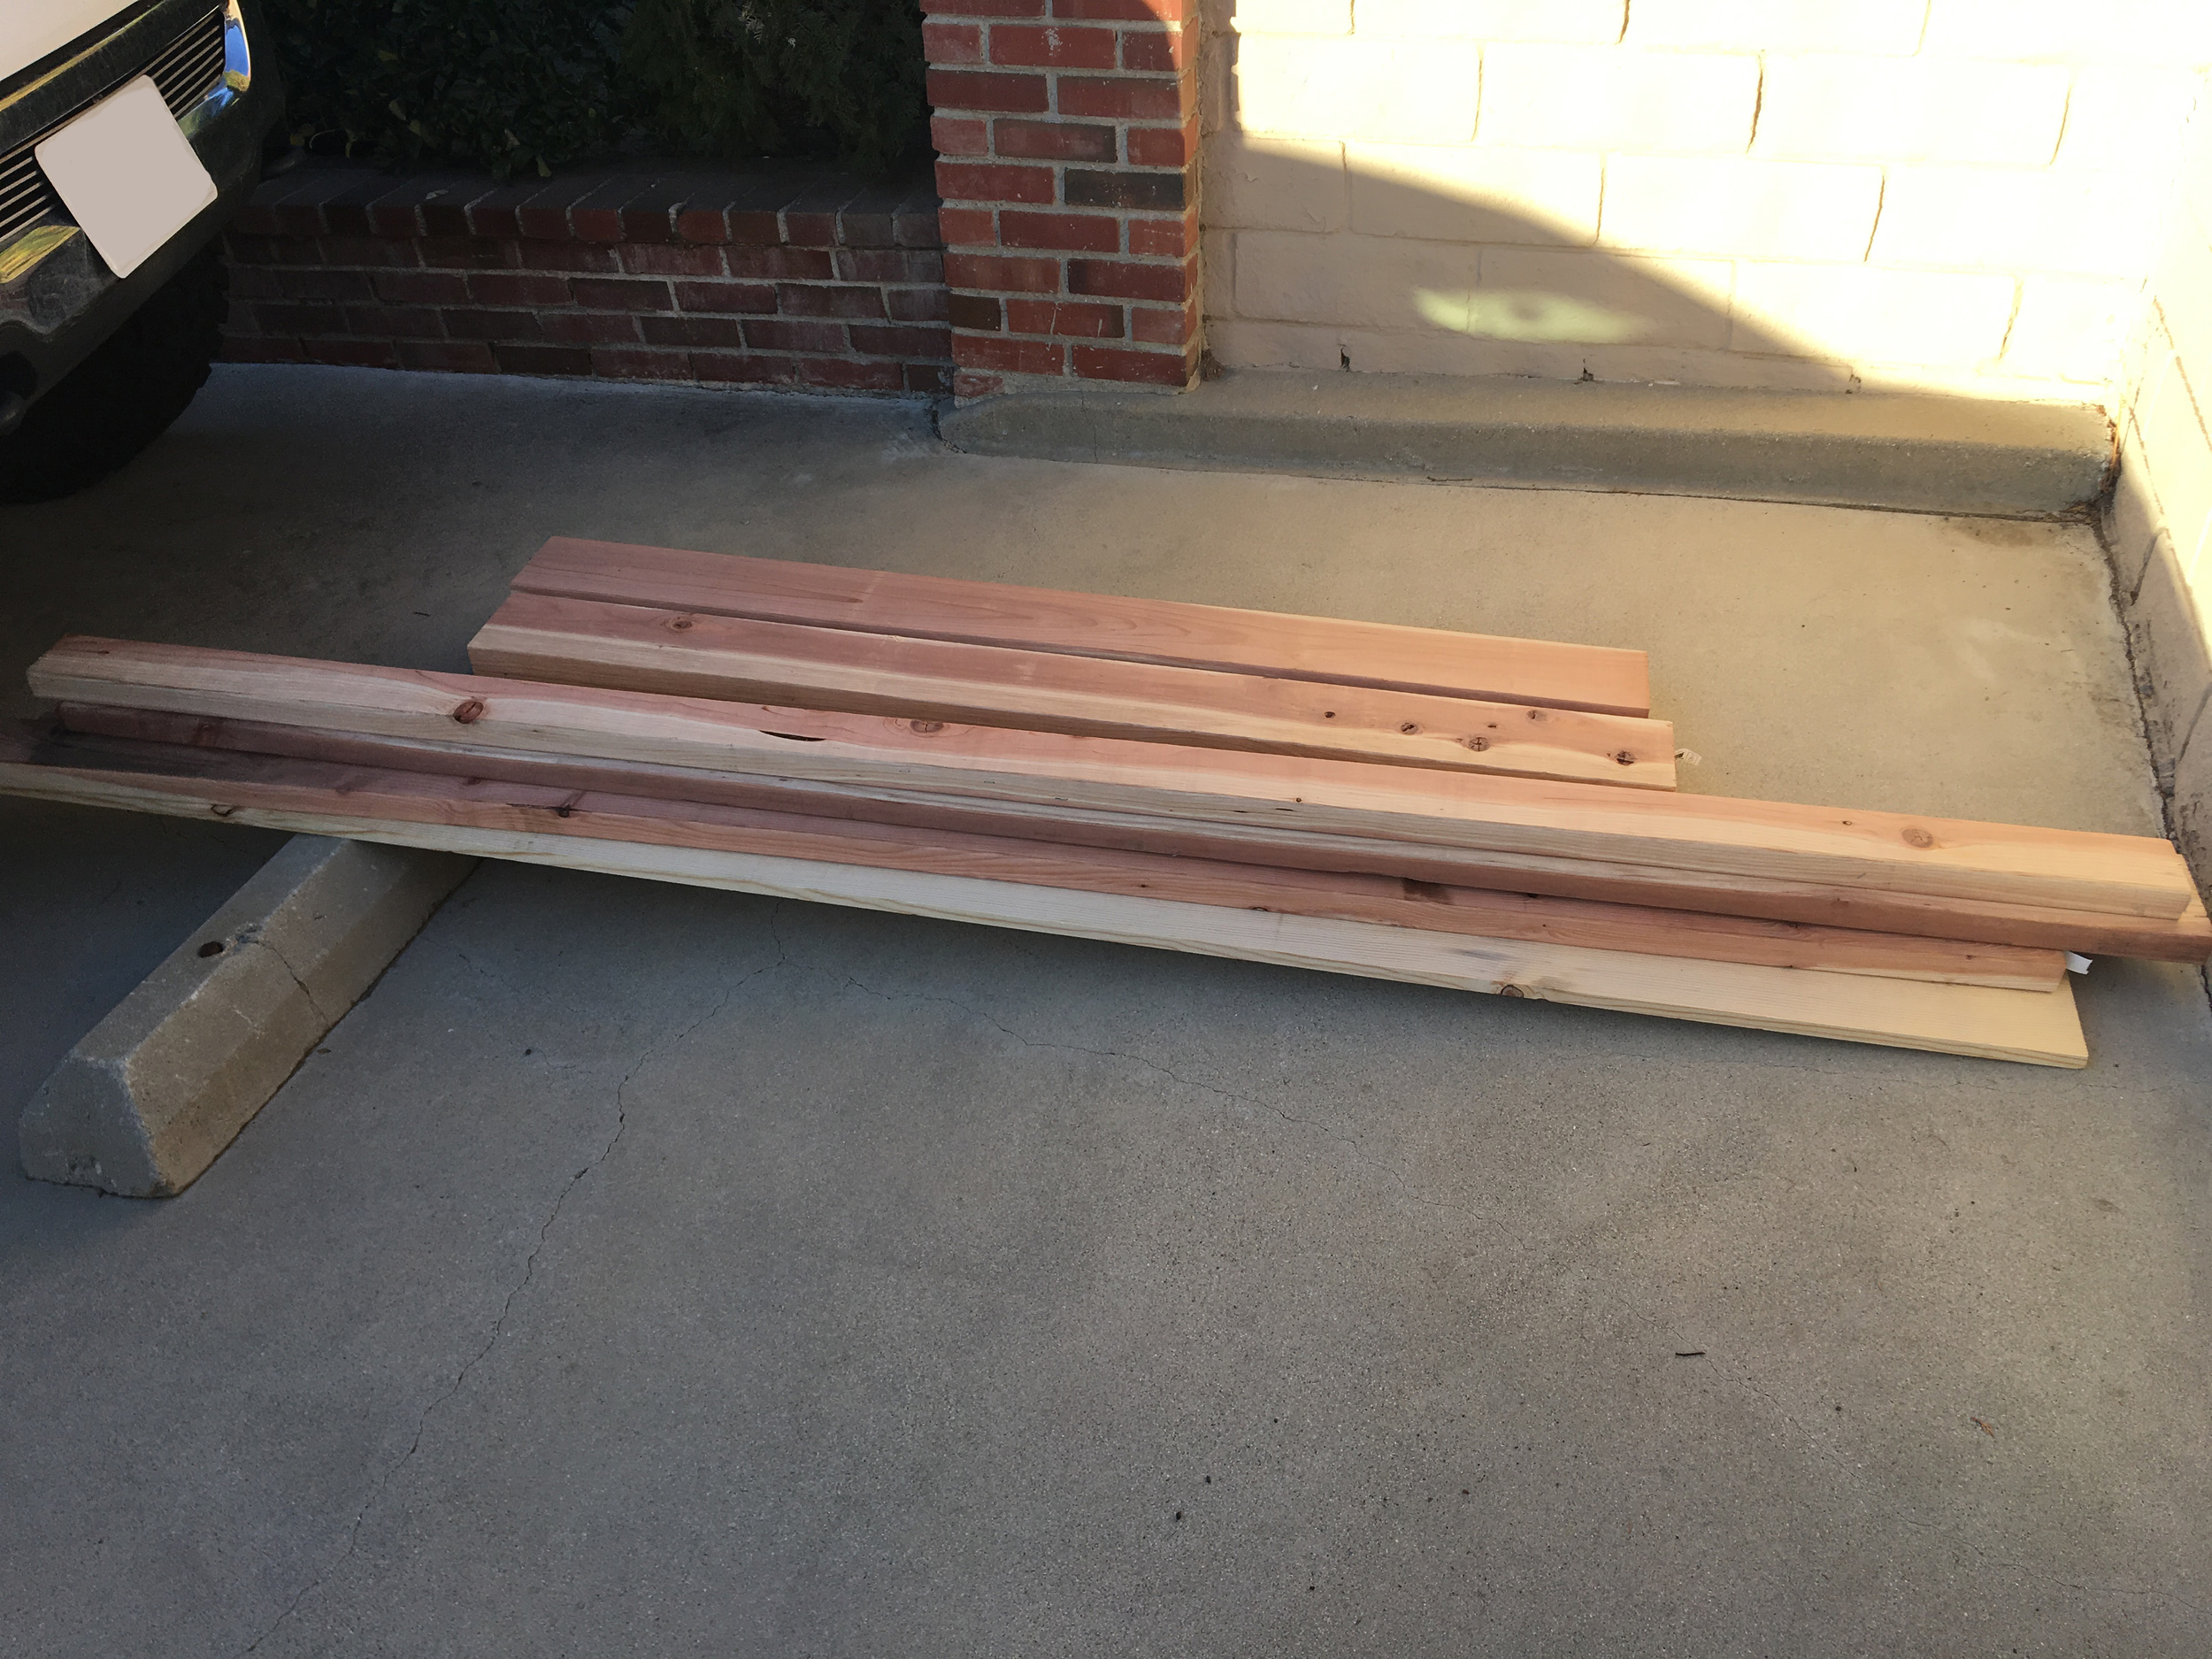
So, starting from total scratch with lumber from home depot, some information from ana-white.com and a lot of prep research and how-to's, a power tool combo kit, and a pocket hole jig, I was off to the races.
Materials for this project:
2" x 6" x 6' (redwood)
2" x 4" x 8' (redwood)
1" x 12" x 8' (whitewood)
4 x Stanley “L” Brackets
Steel Wool (0000)
White Vinegar
Wood Screws (2.50”)
1.5” Pocket Hole Screws
Textured Spray Paint
Matte Black Spray Paint
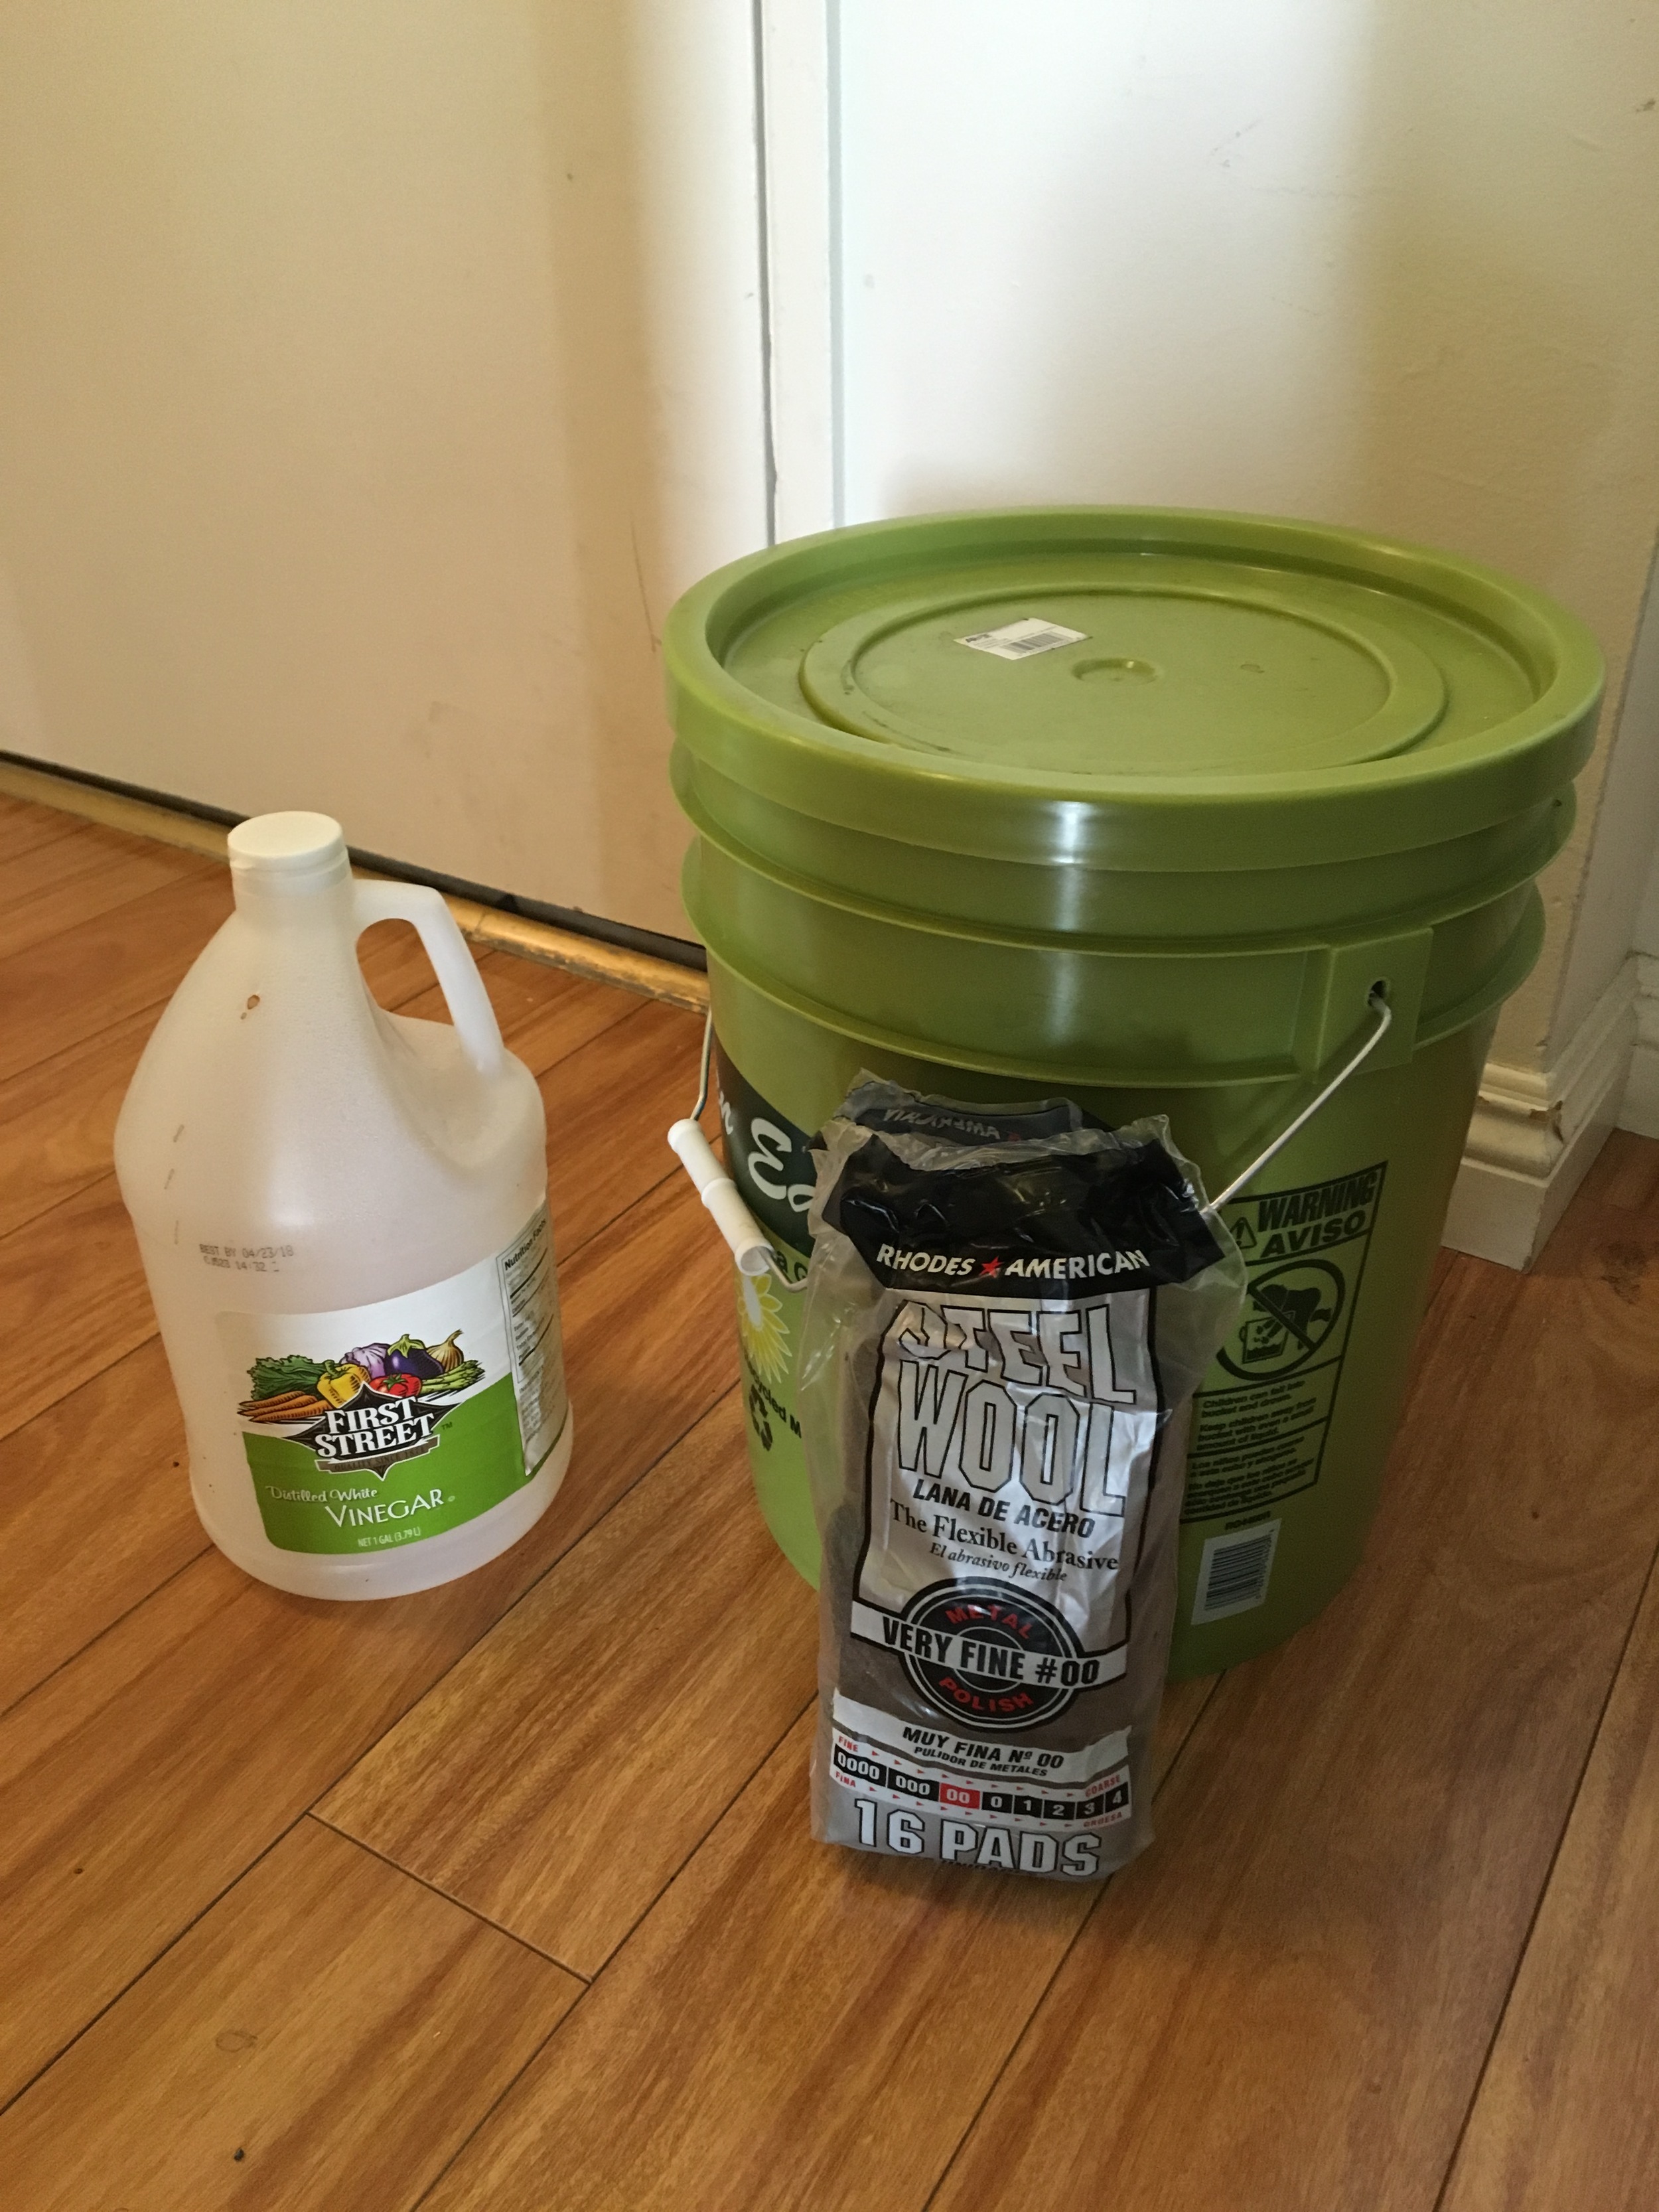

Before I ever went shopping, I read about the best practices to oxidize wood, which gives it a weathered look in about five minutes as opposed to 2-3 years of wear and tear.
In order to make this, I used one gallon of white vinegar, four pieces #00 steel wool (which I washed first with dish soap to remove grease layer), and a gallon of water. Do this well in advance, as the wool will take about a week to dissolve in this mixture to create the final solution. The longer you let it sit, the more it will continue to age as a solution.
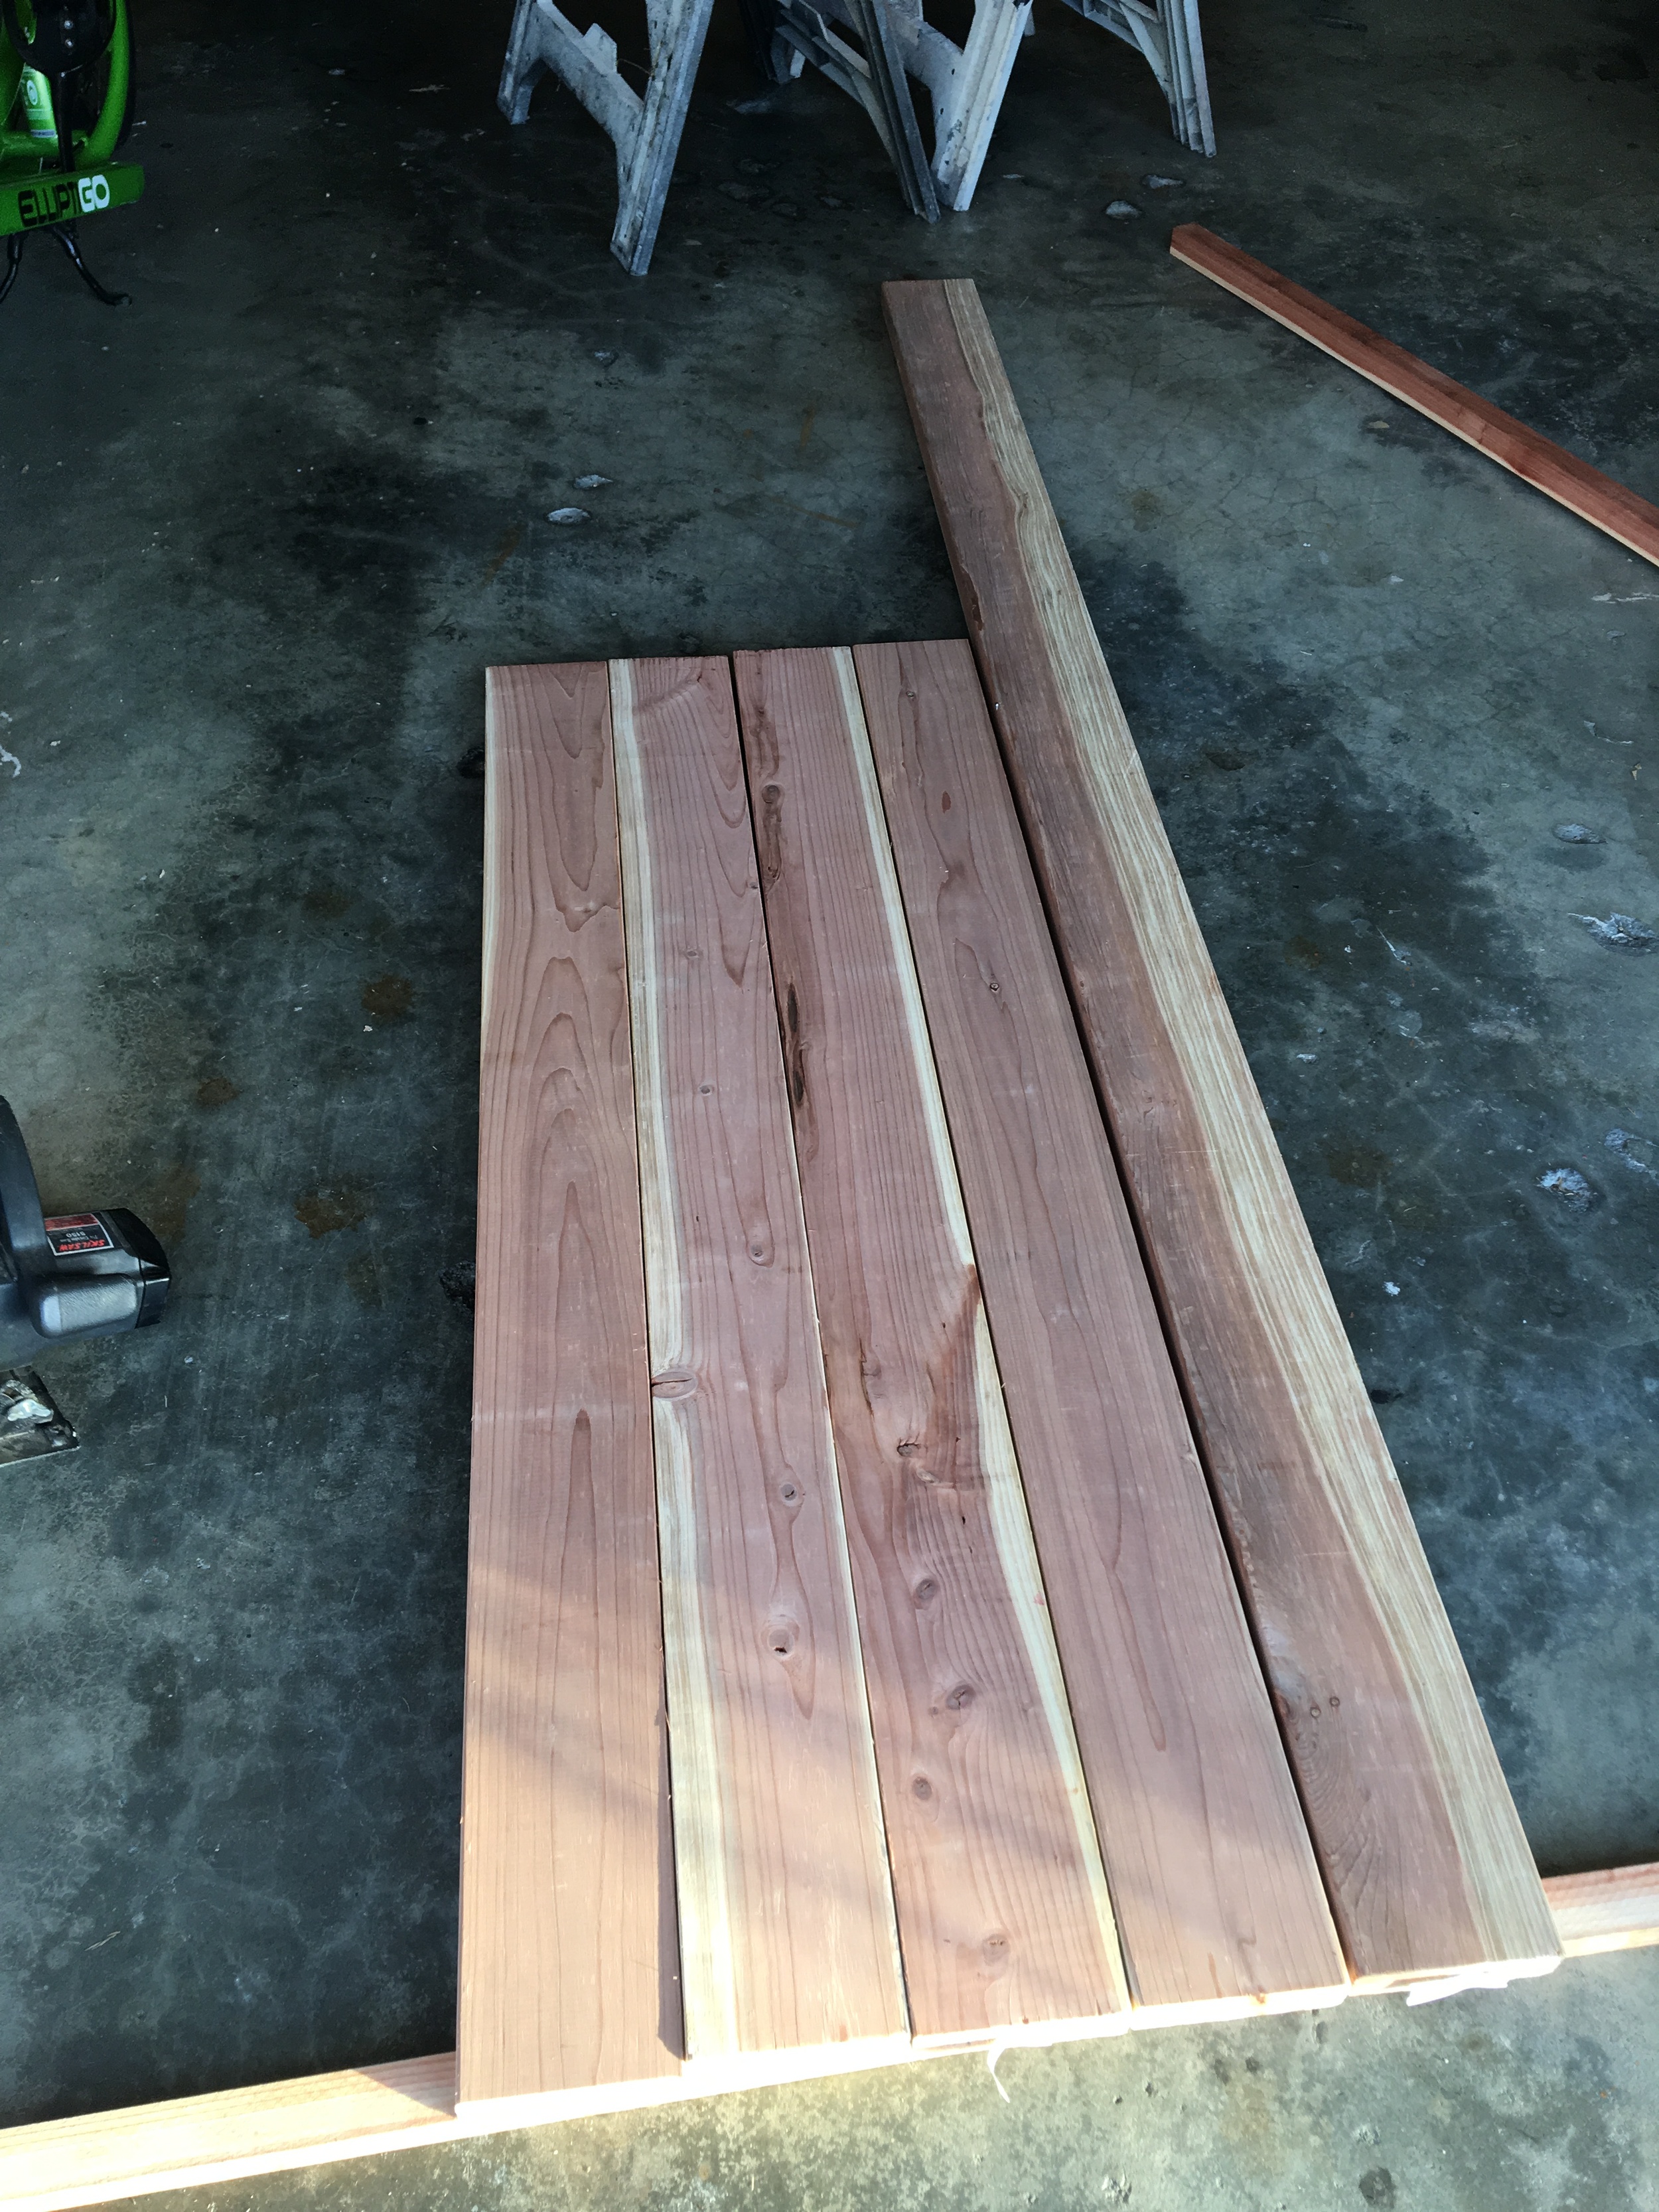
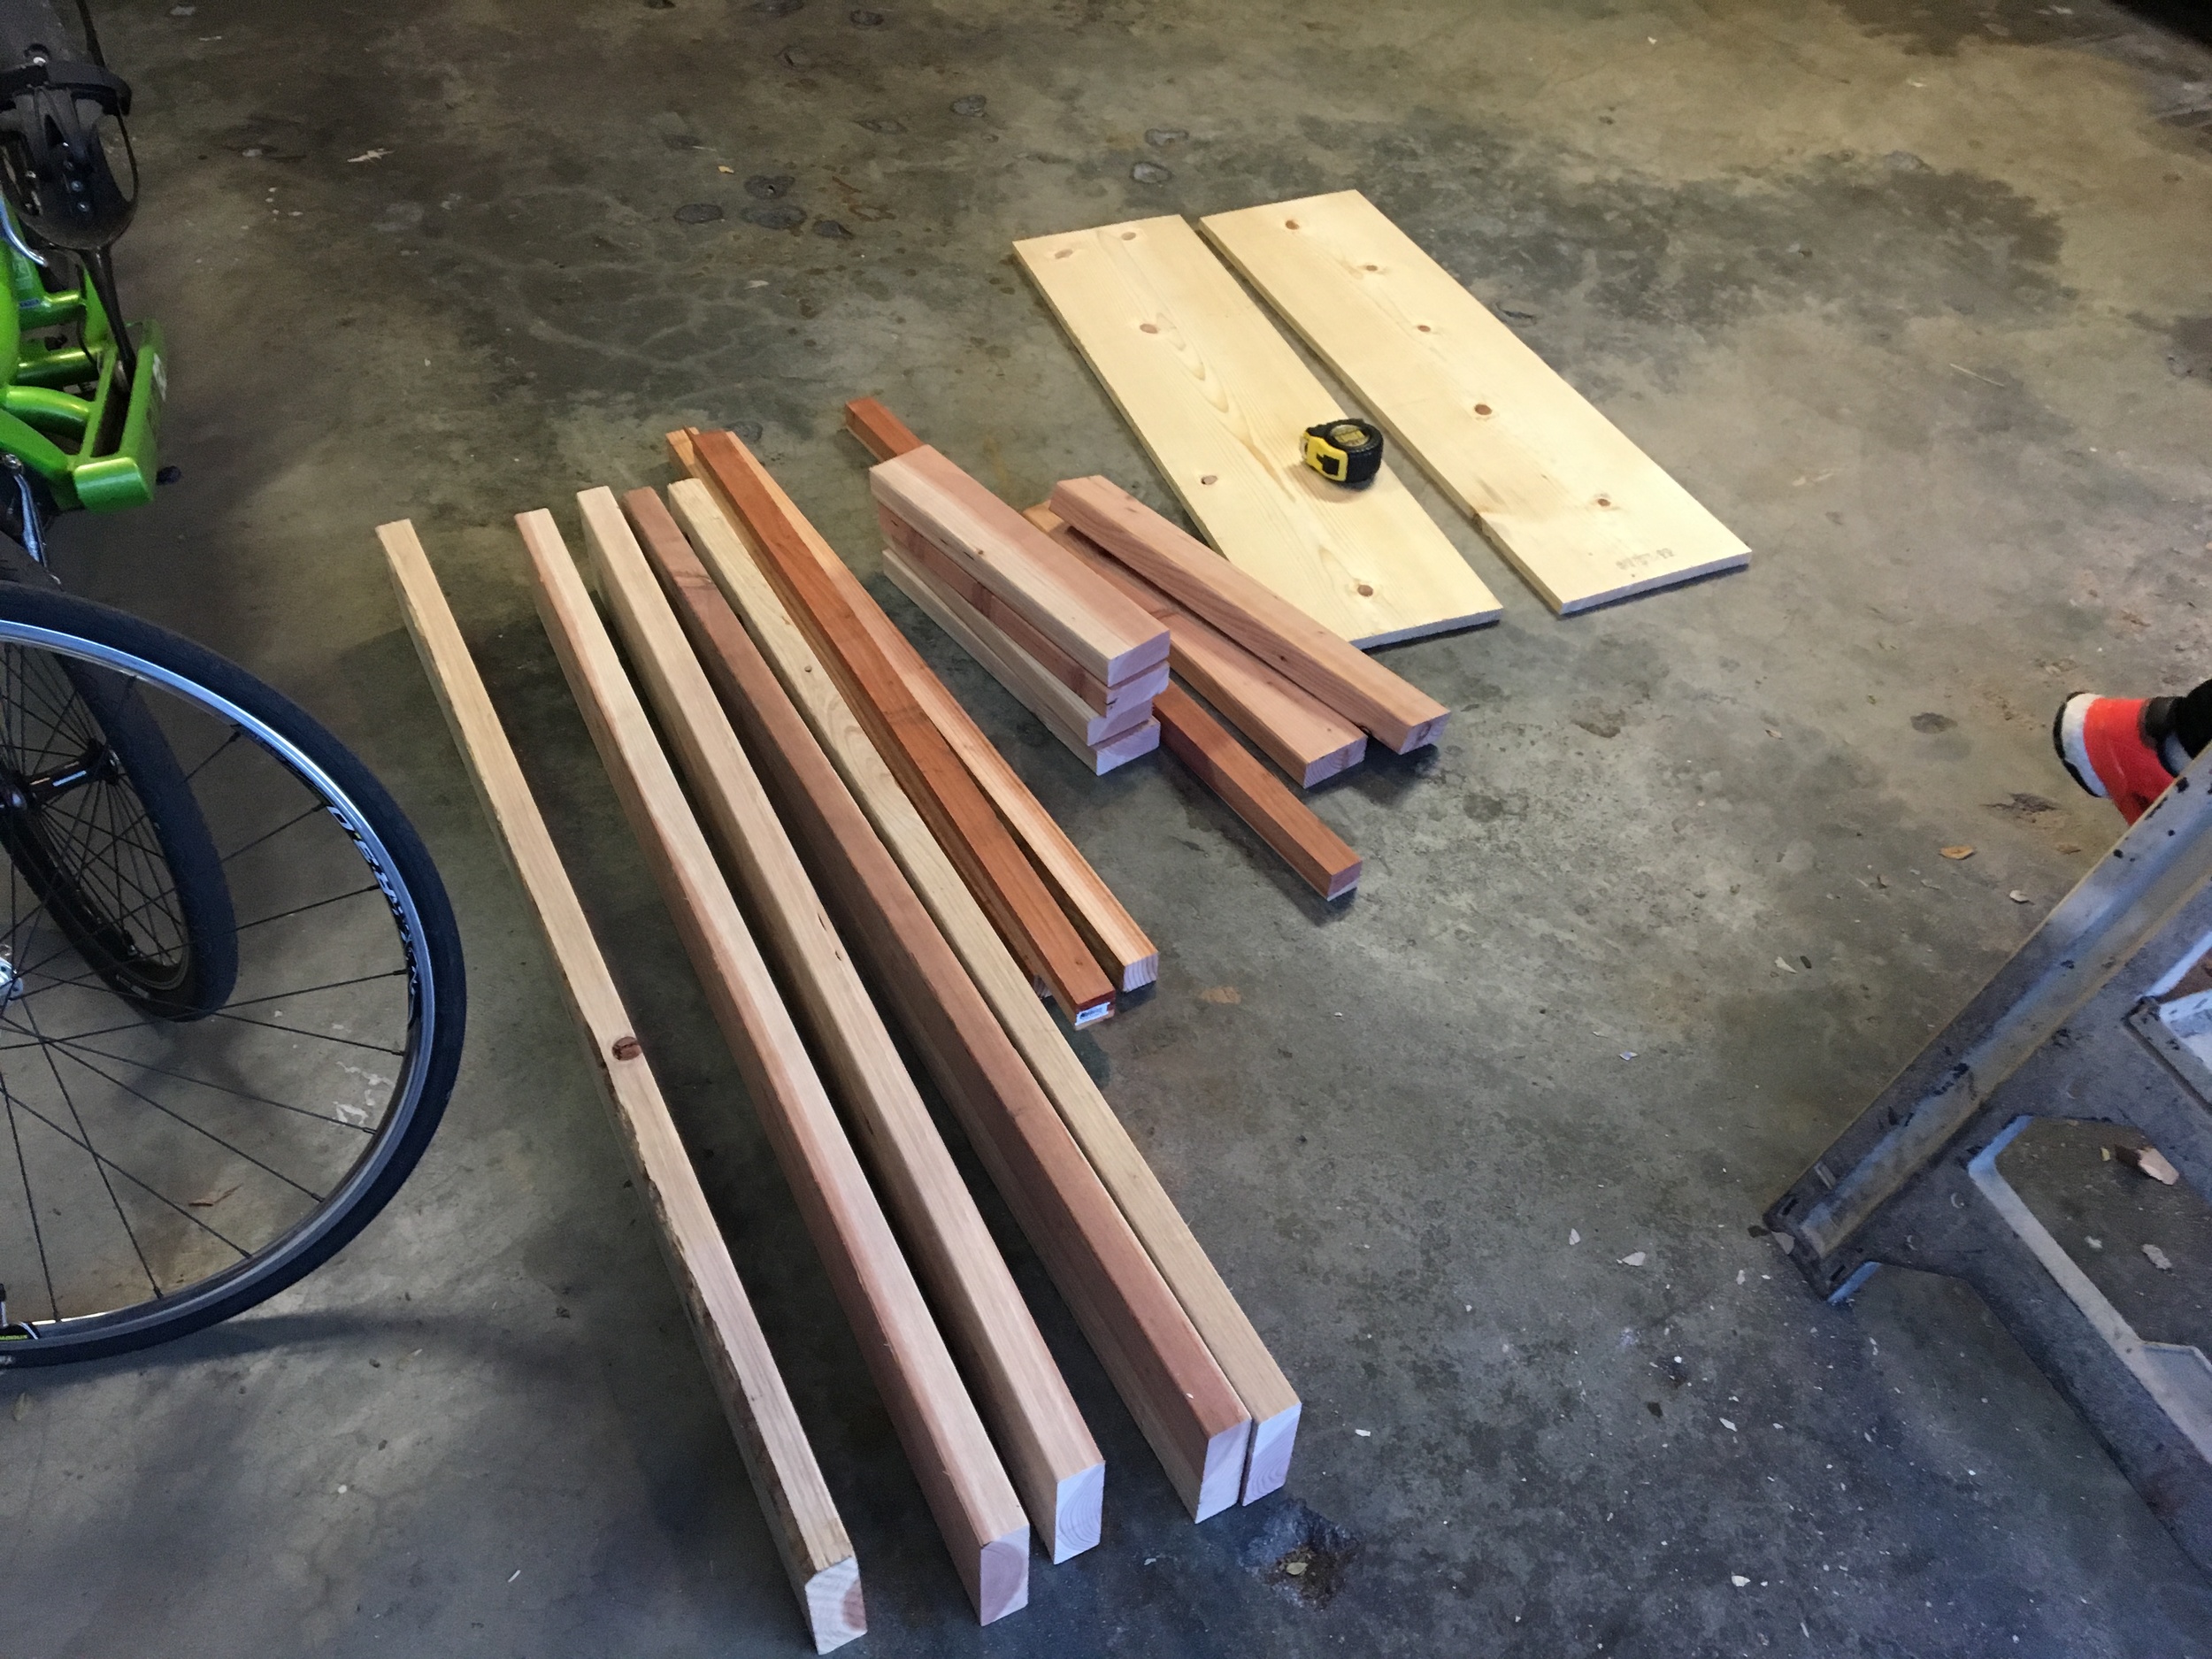
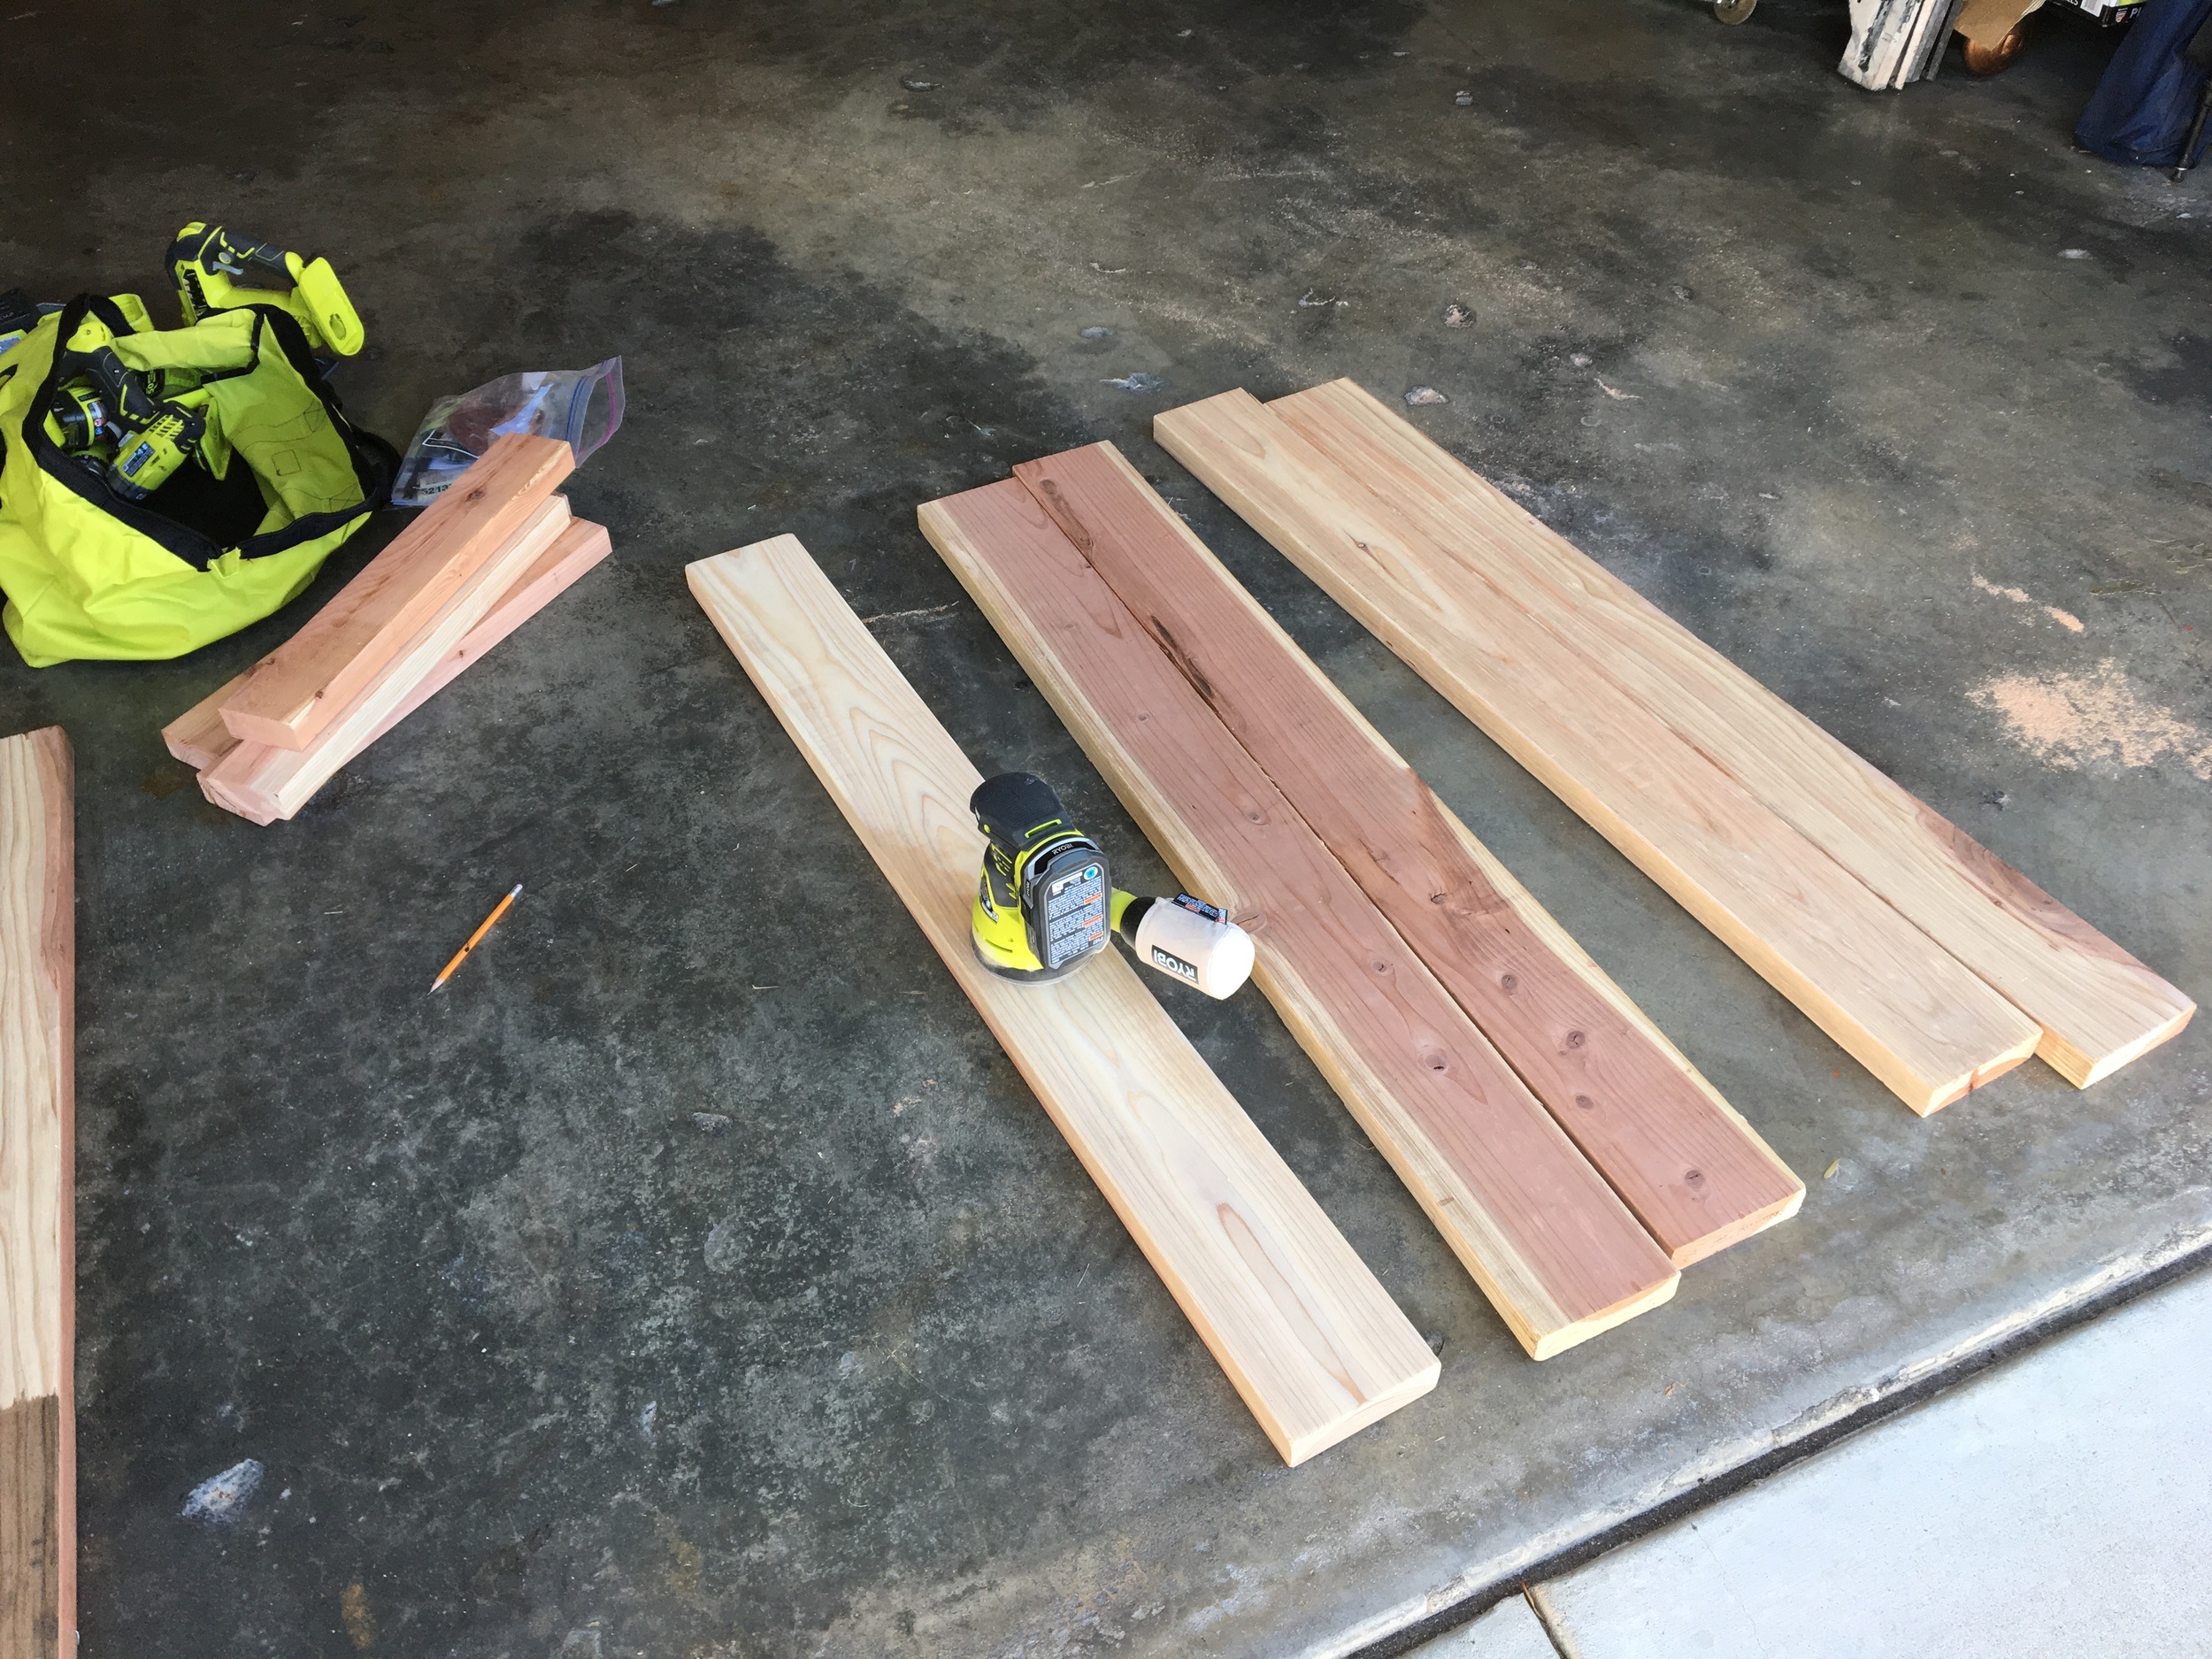
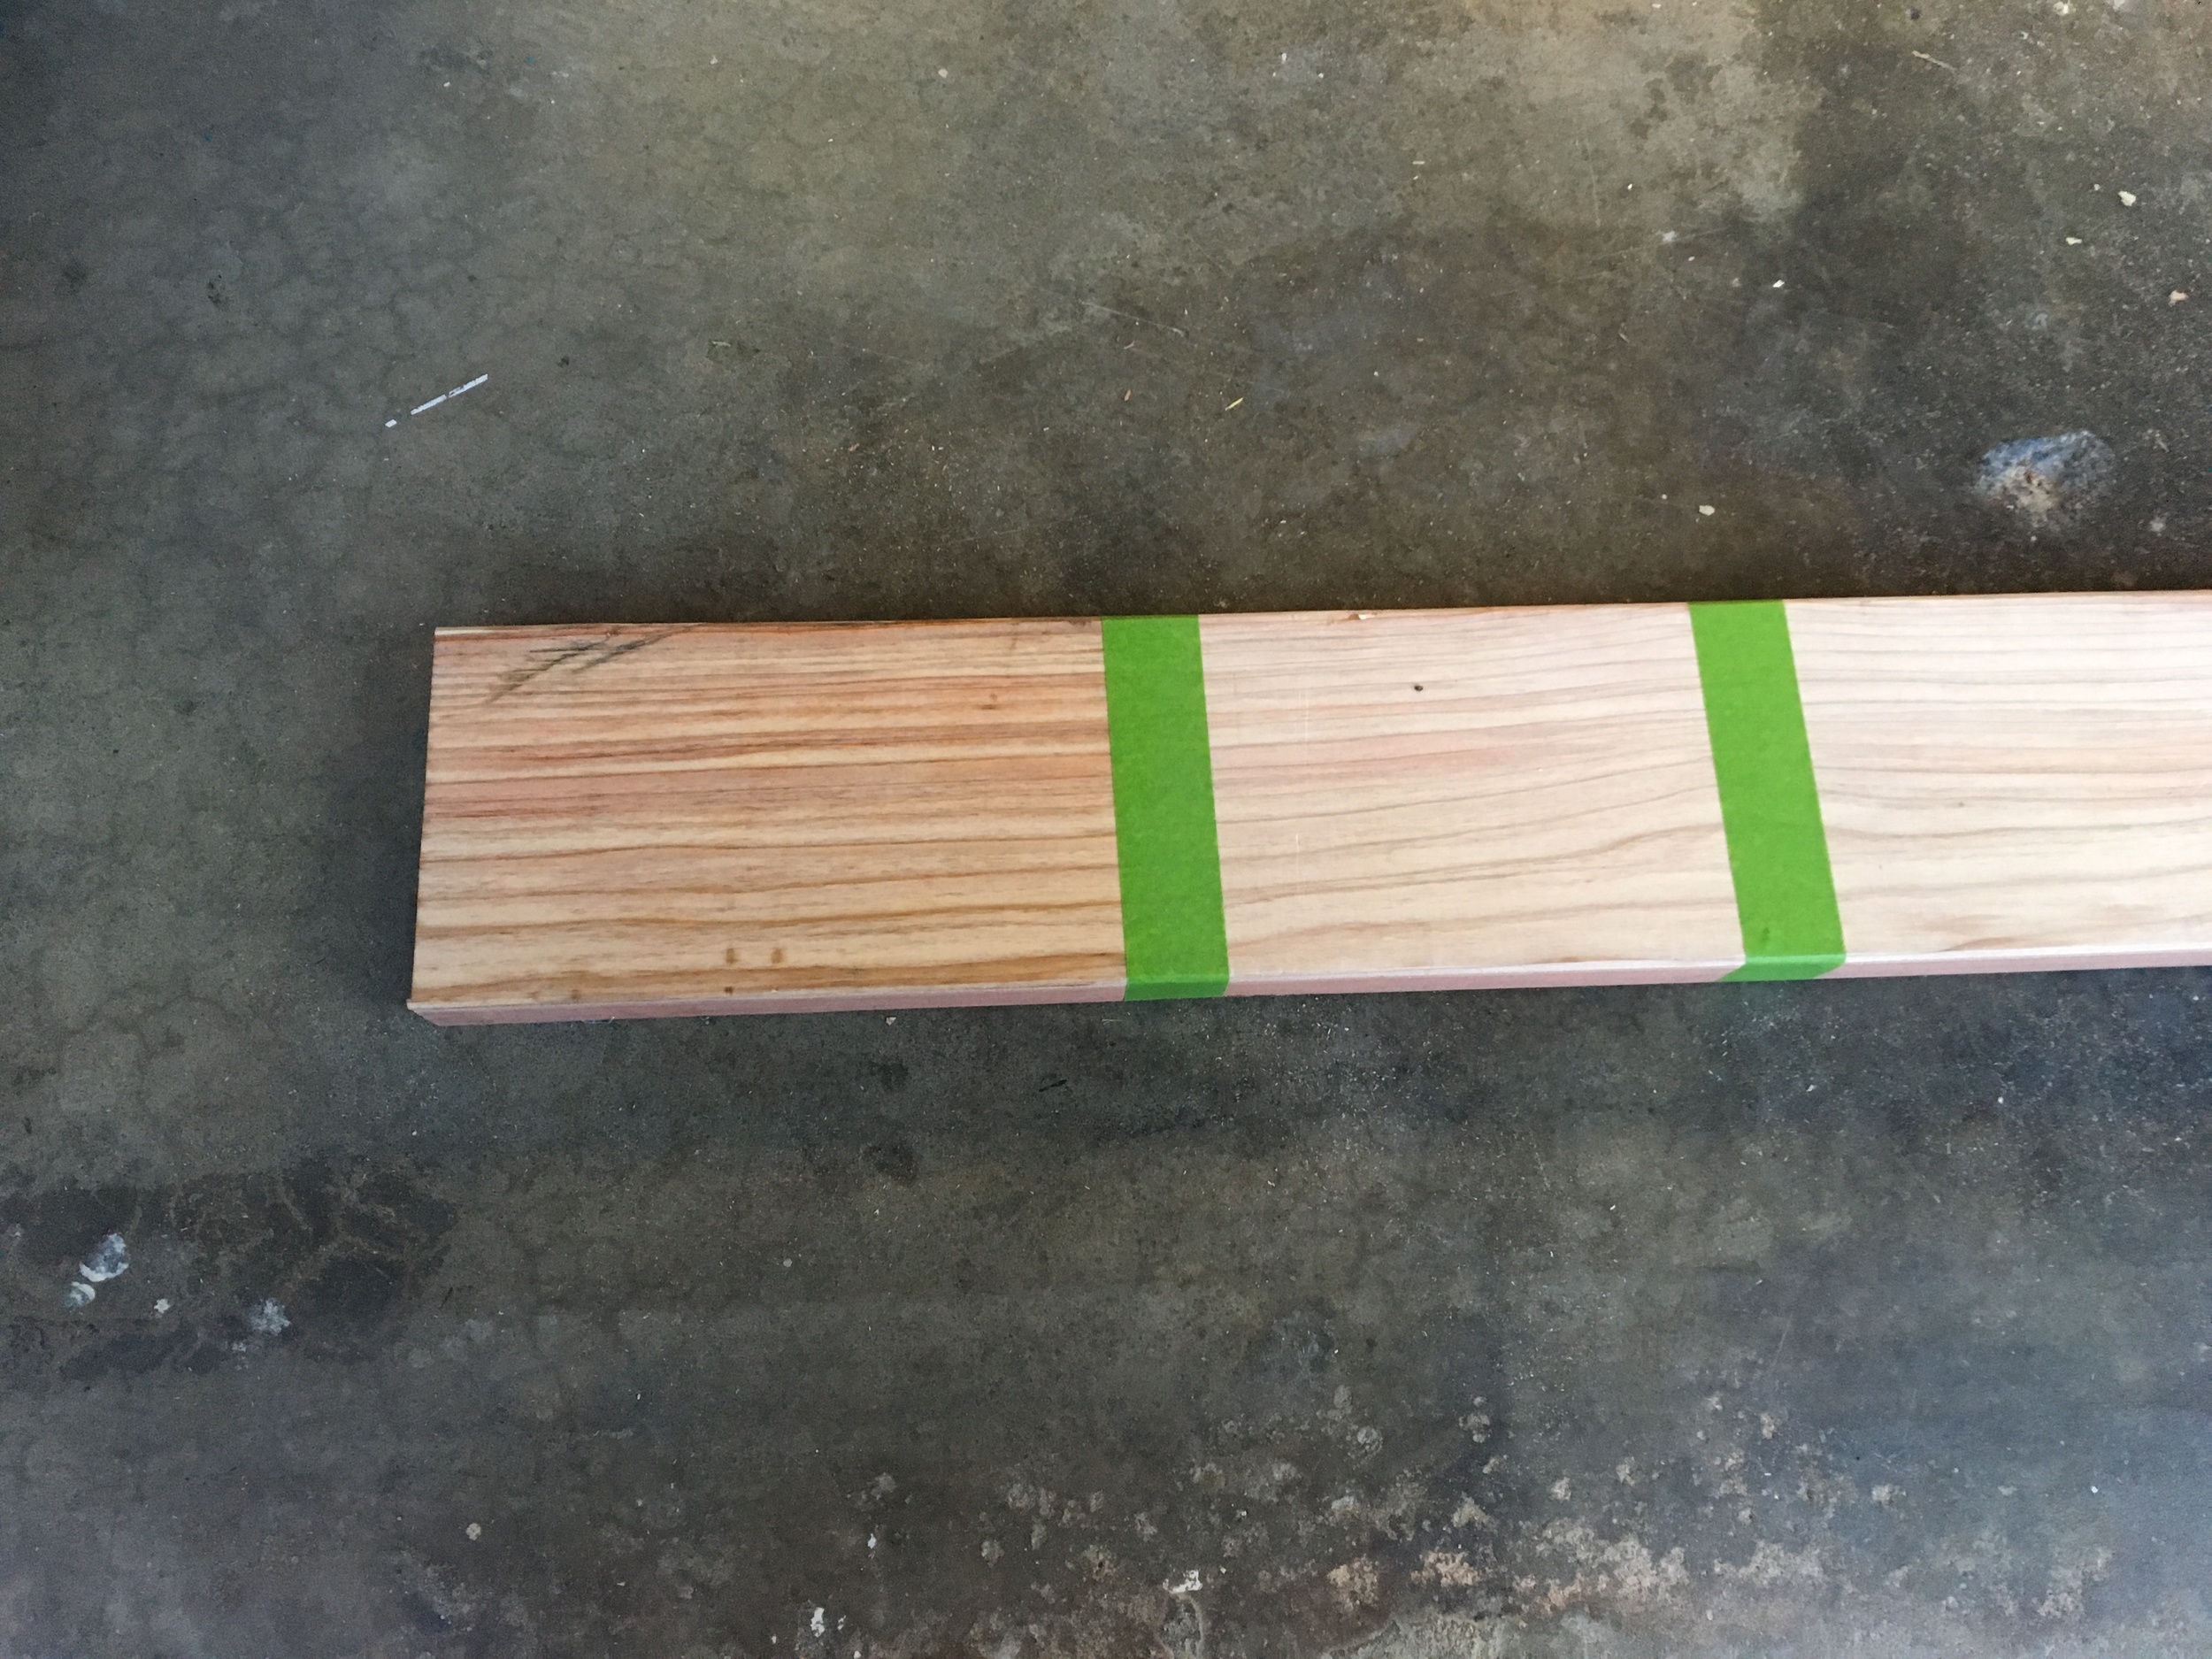
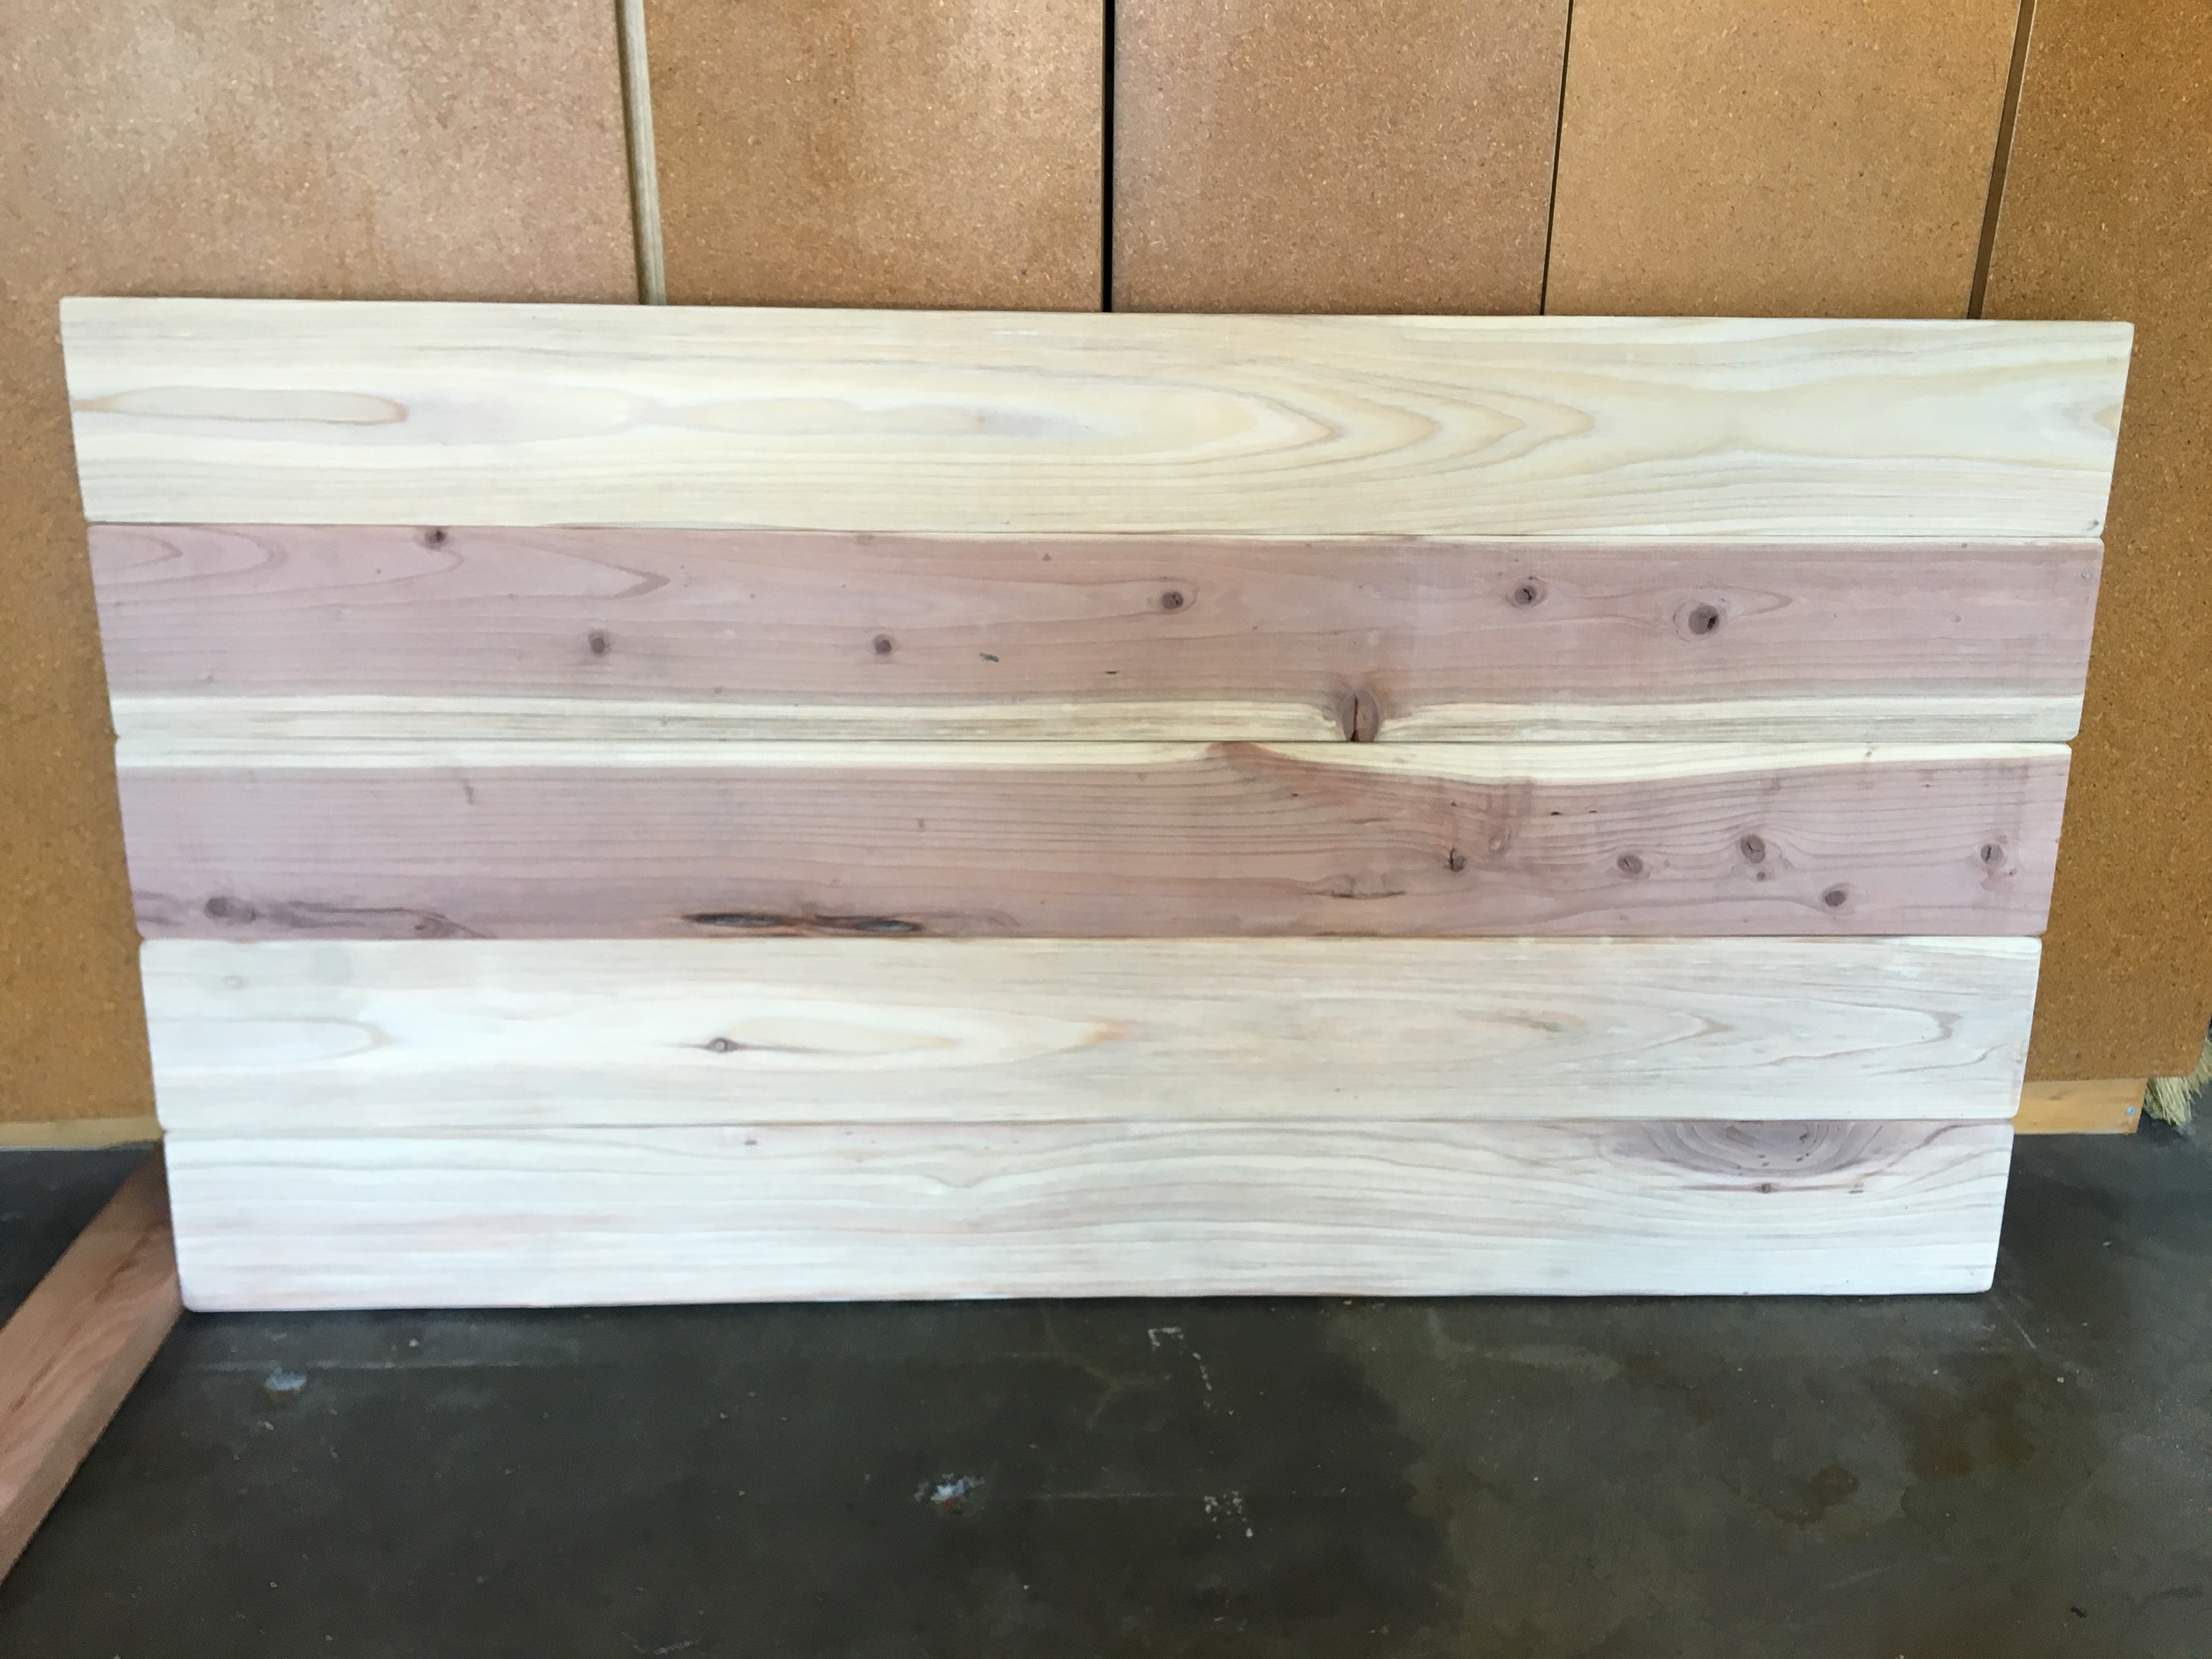
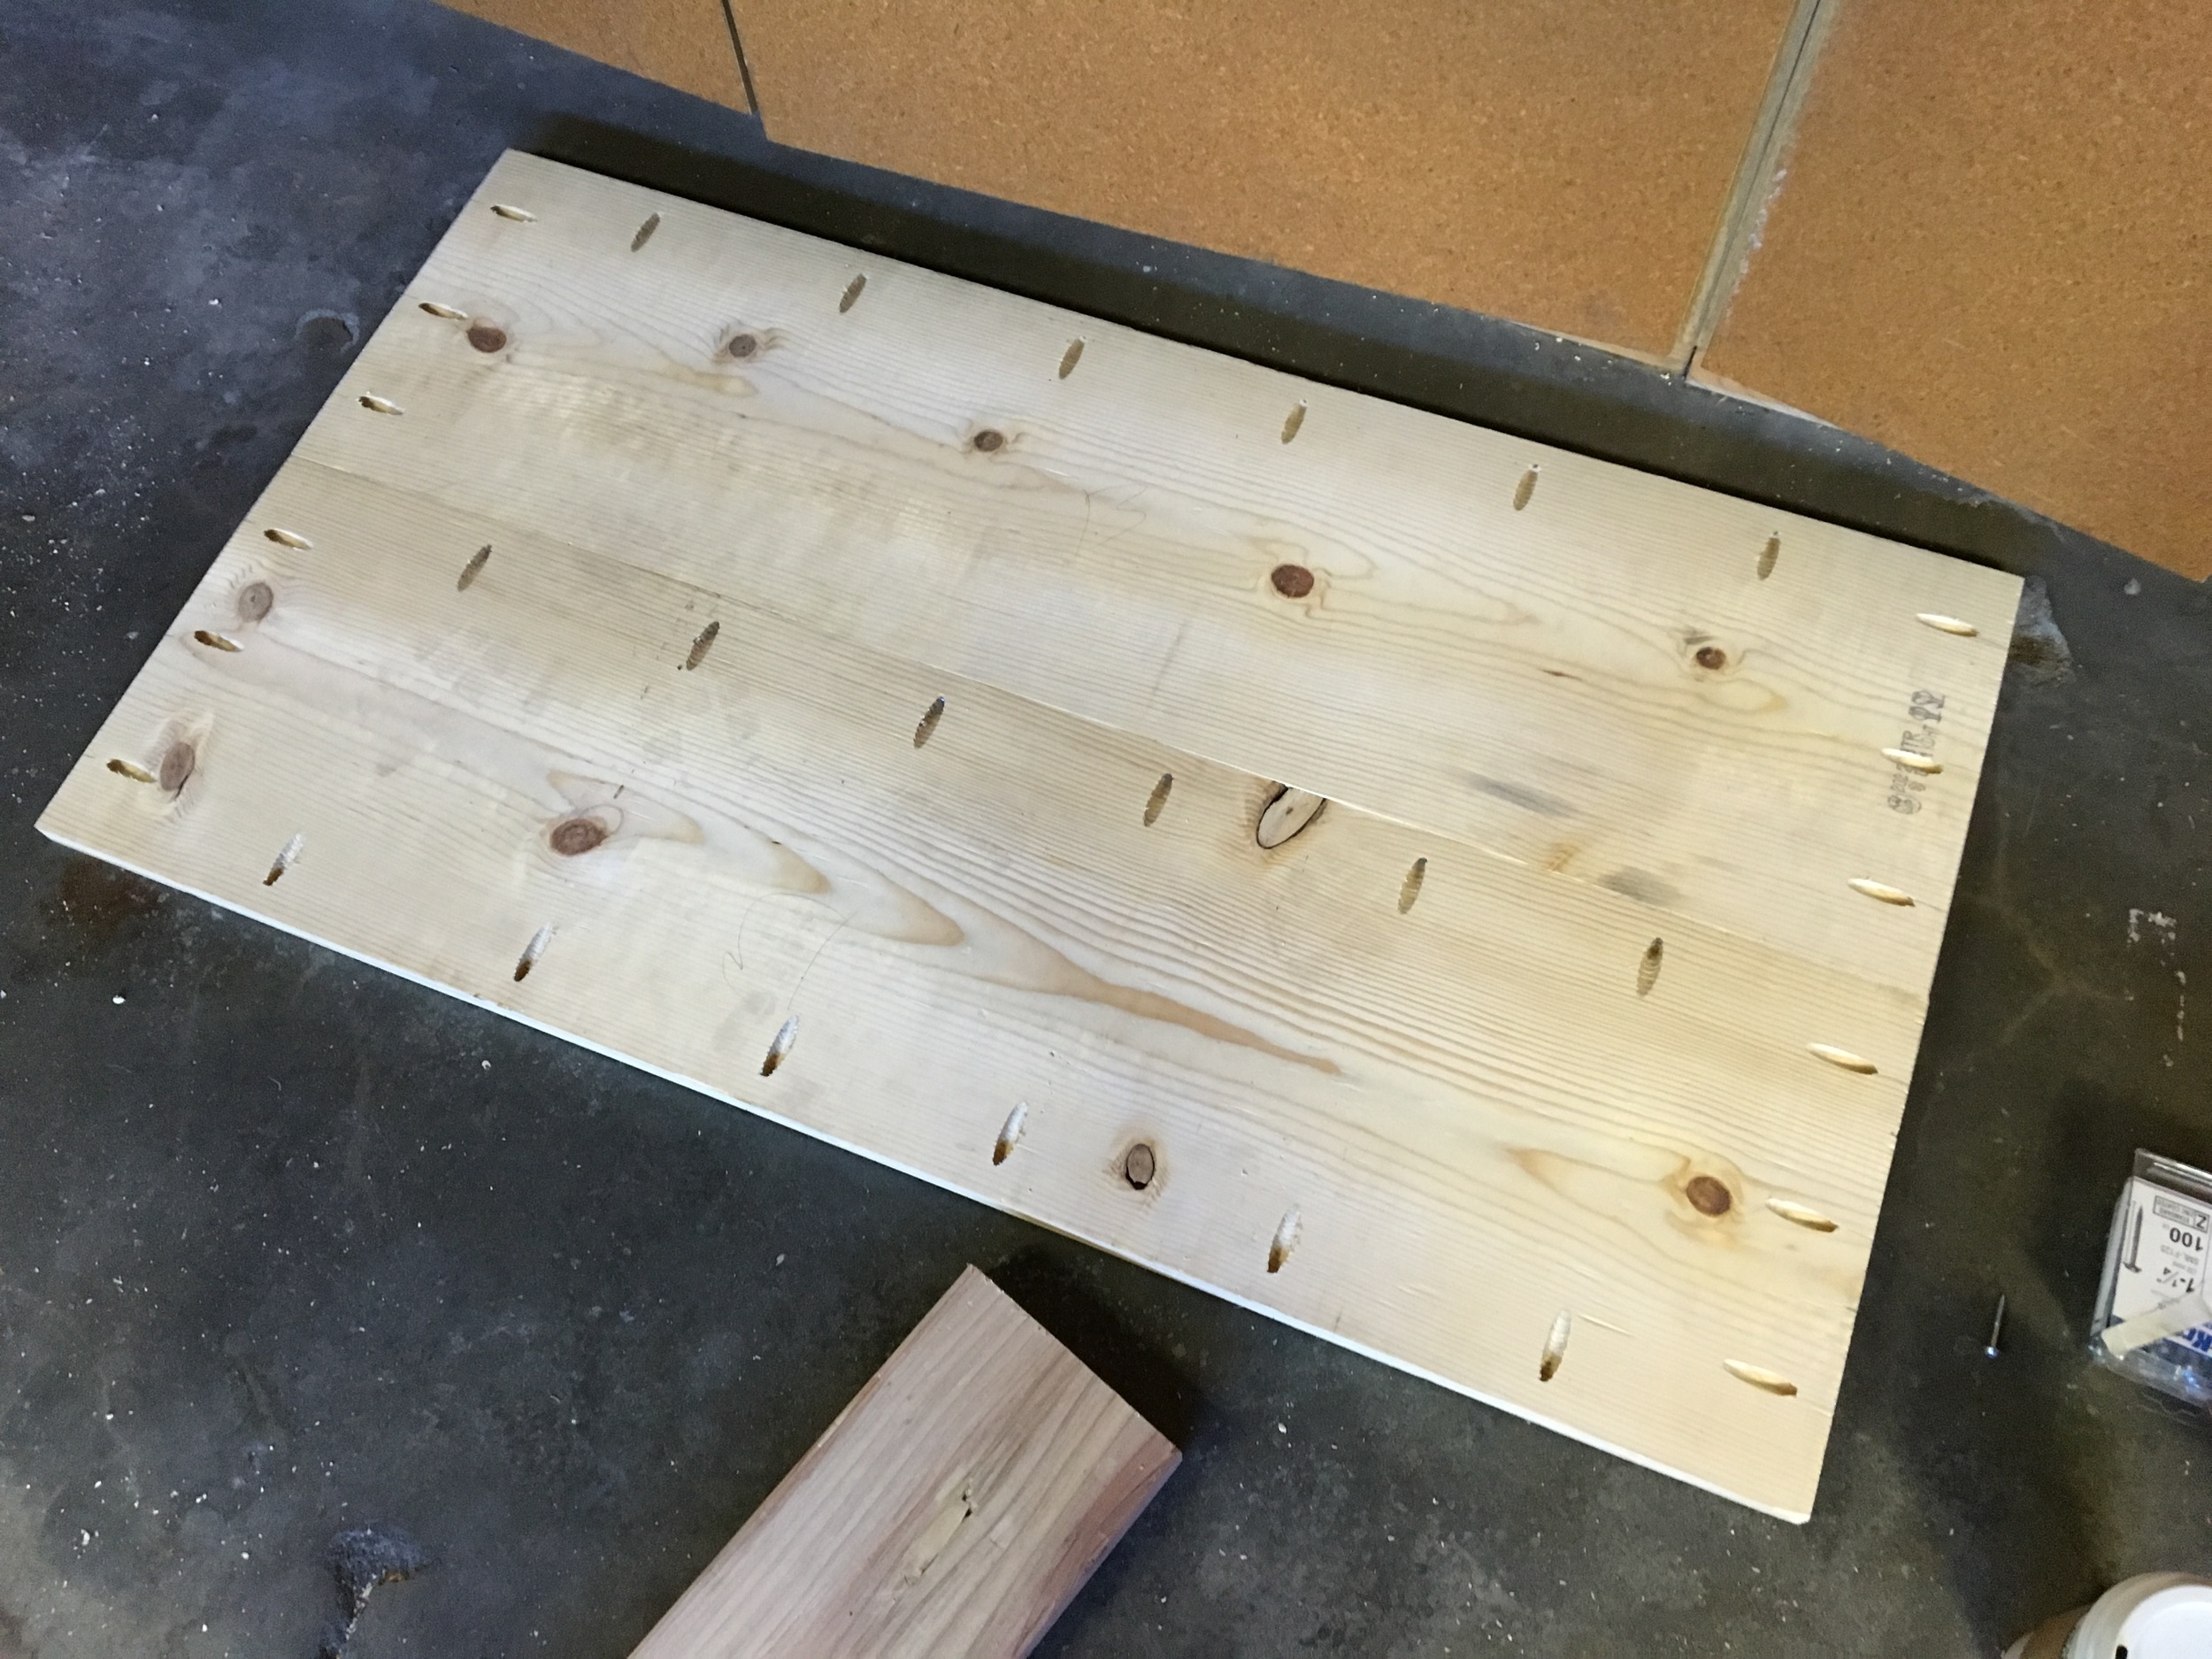
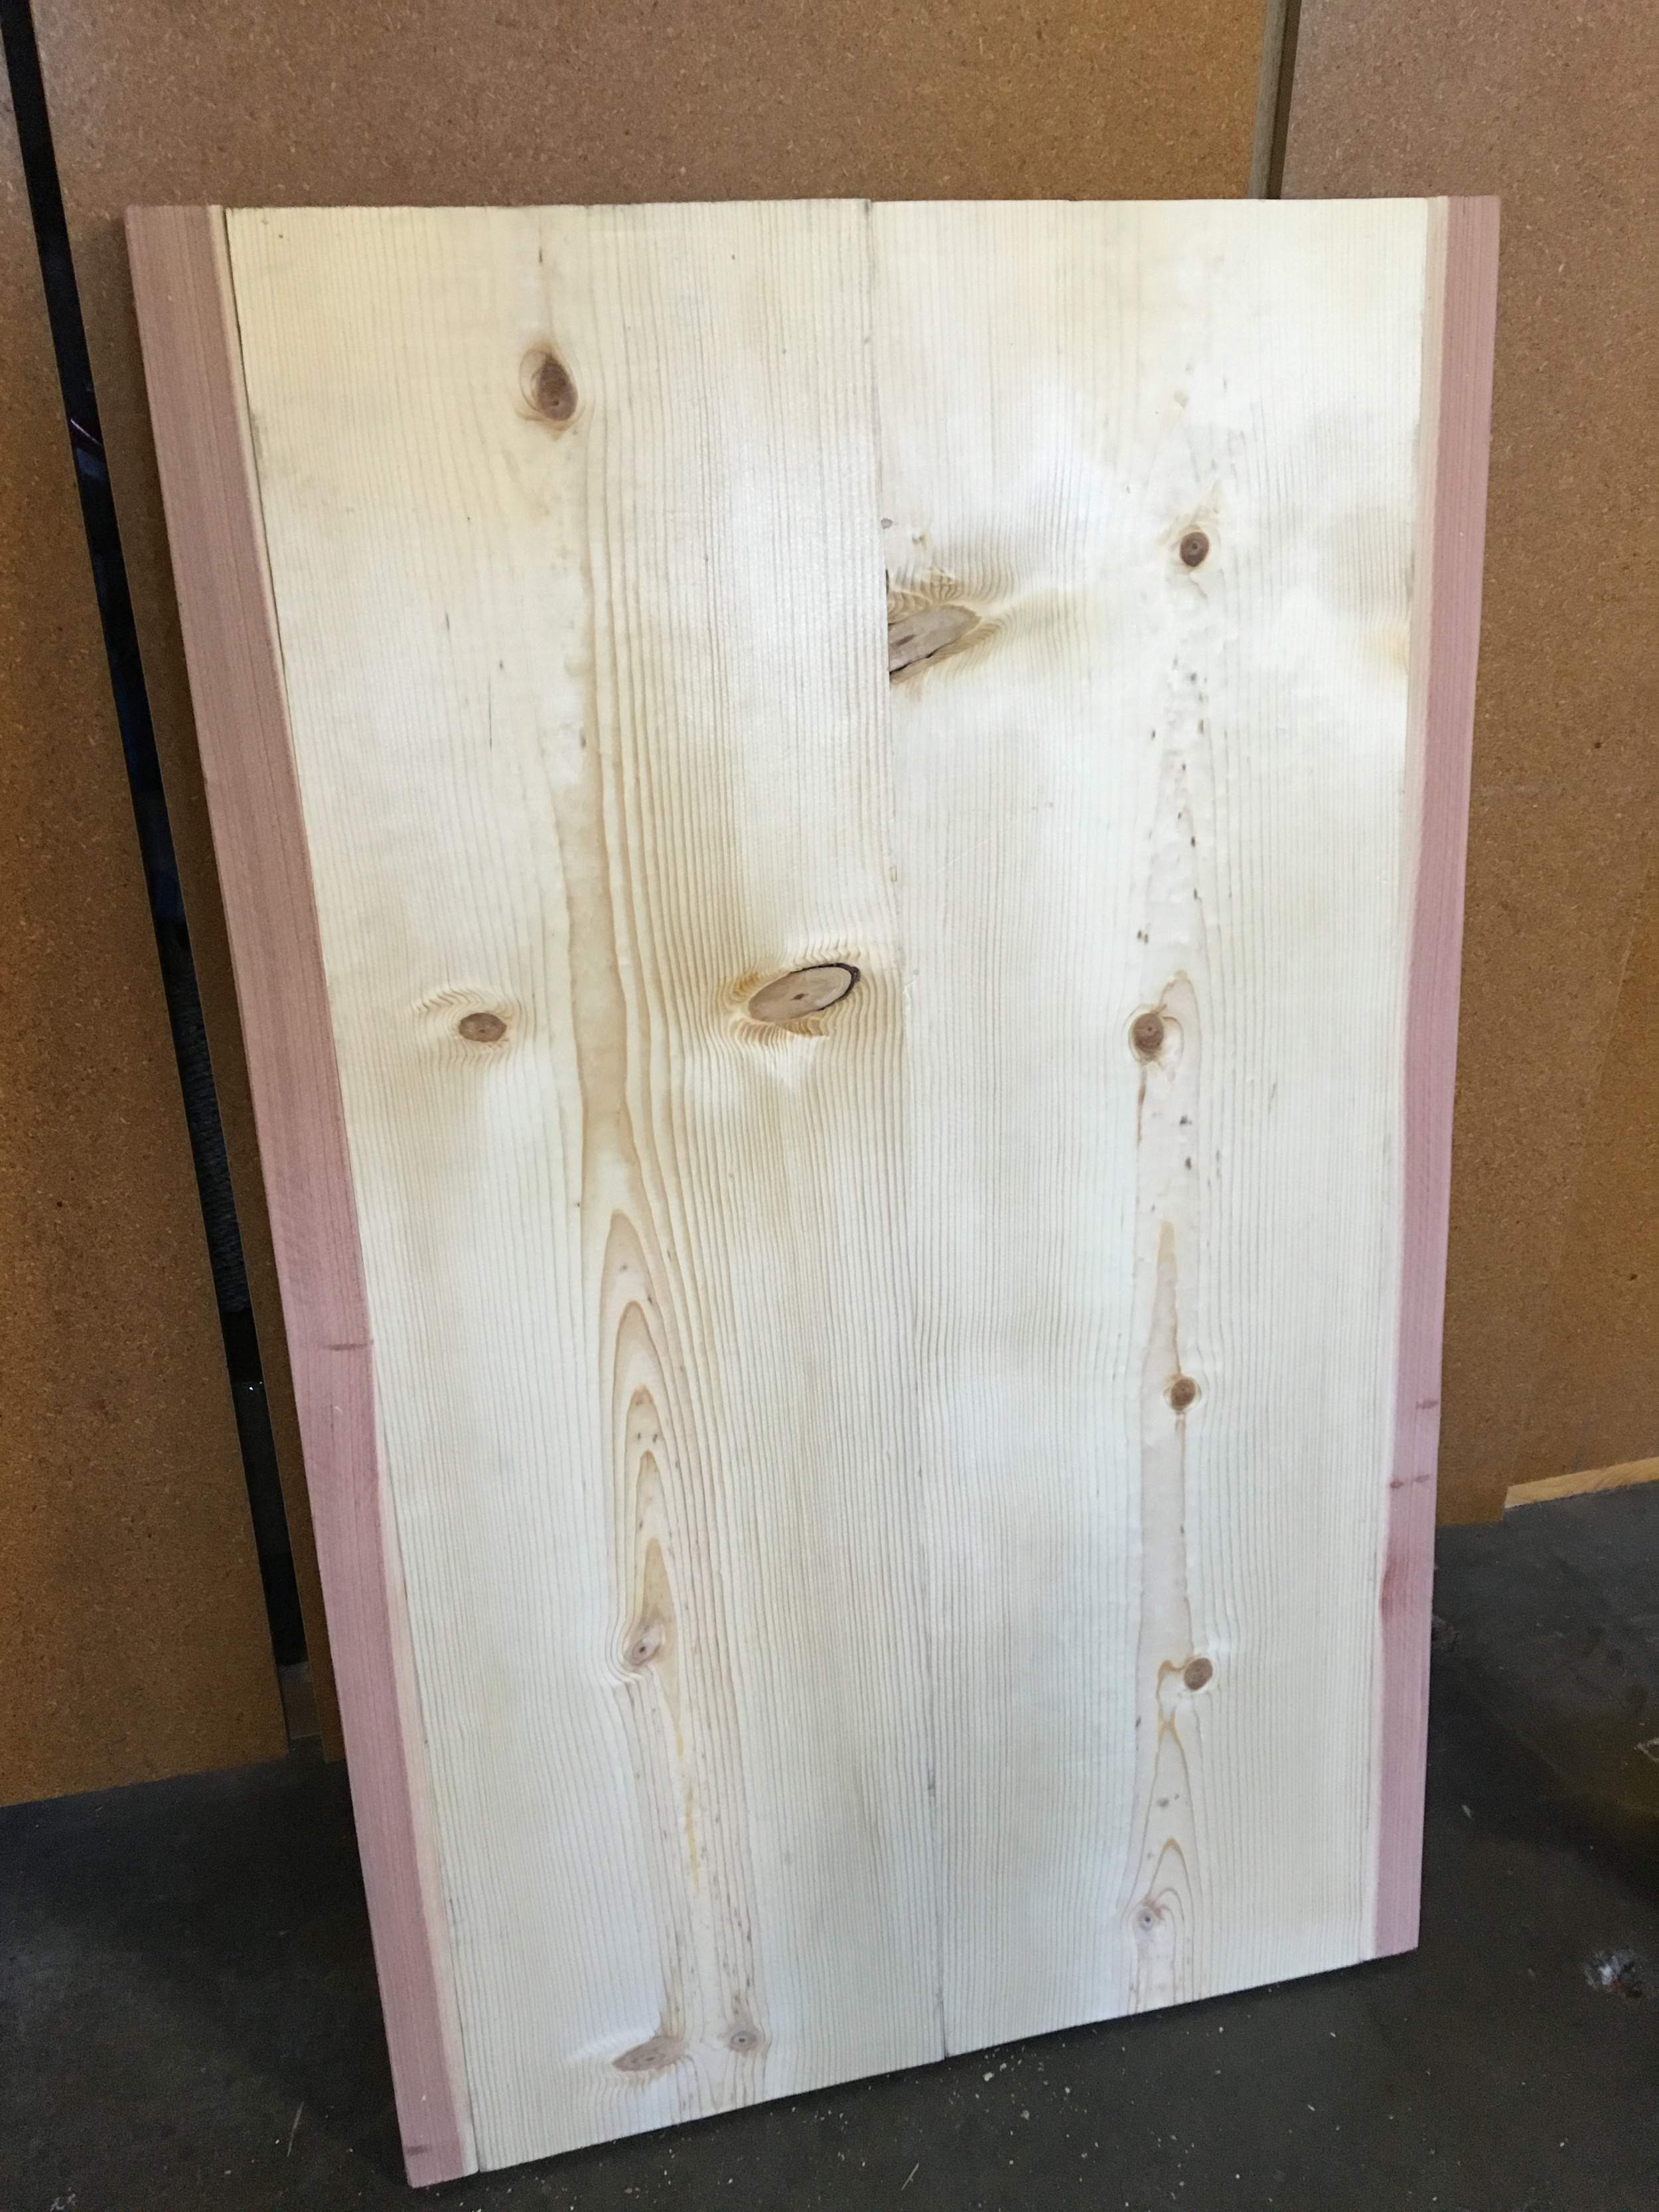
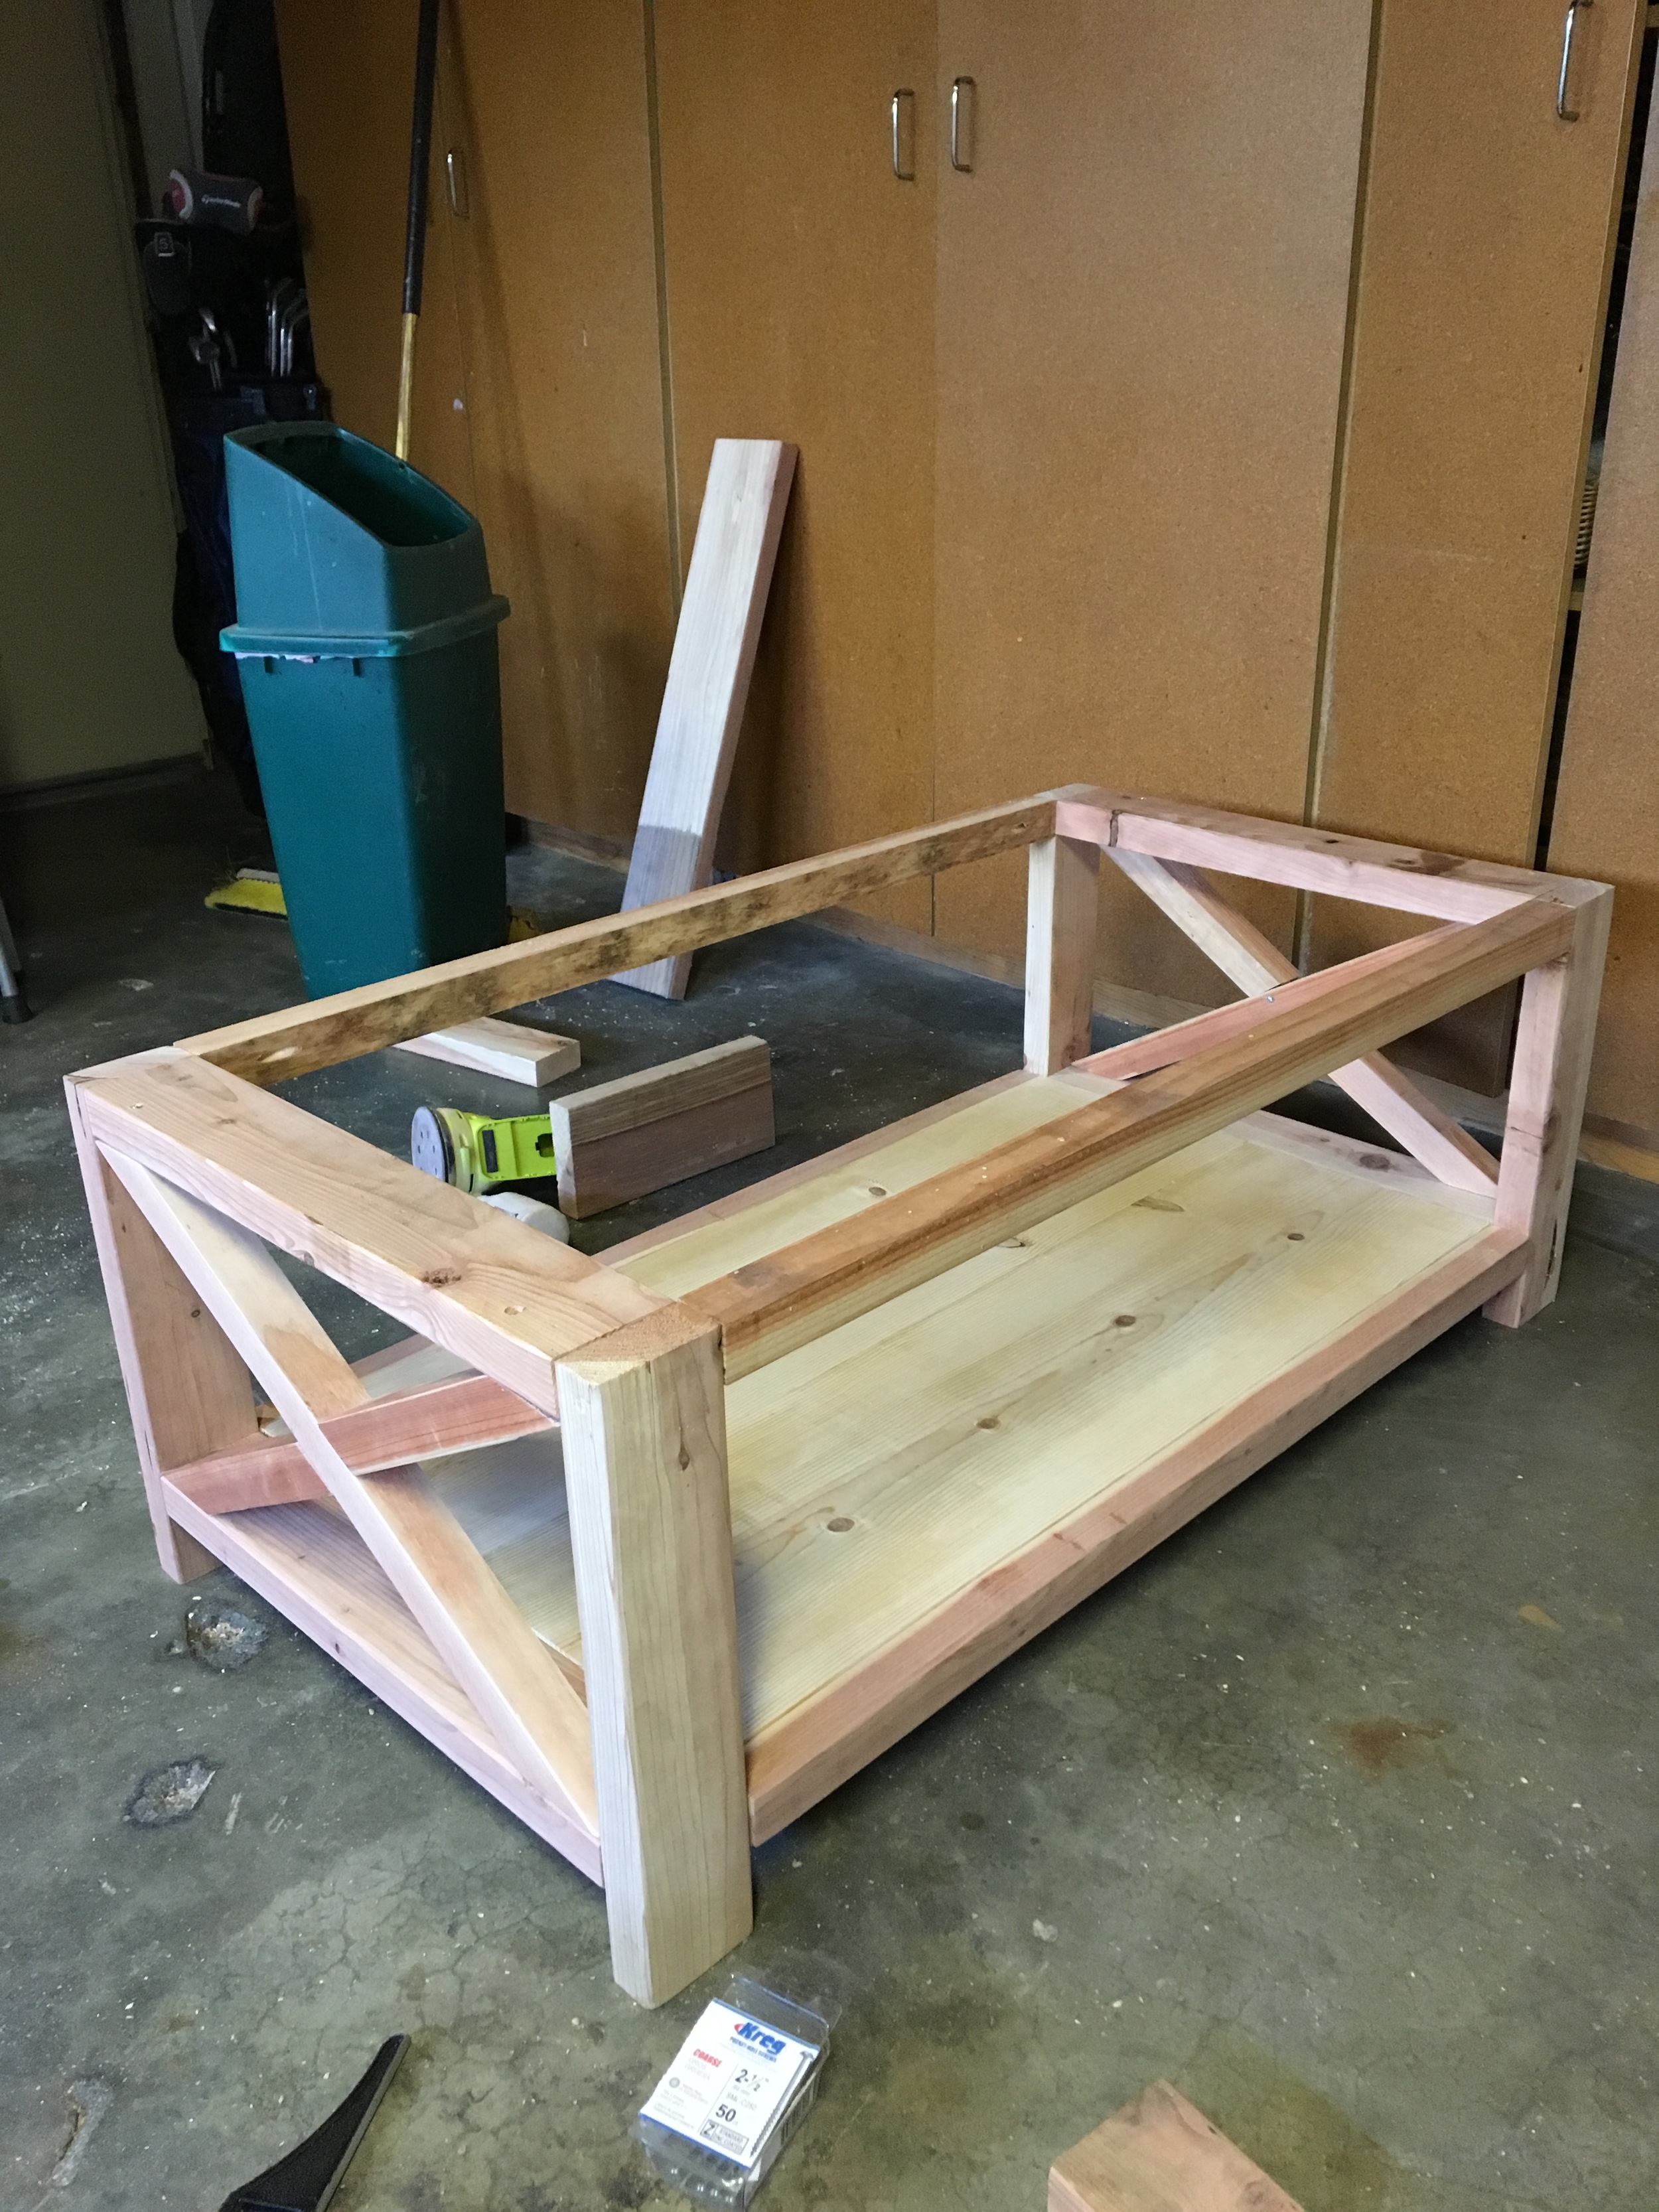
I began by cutting everything to length, and then started with the top of the table, using redwood 2" x 6" pieces. Then it was on to drilling all the pocket holes to combine connect everything together.
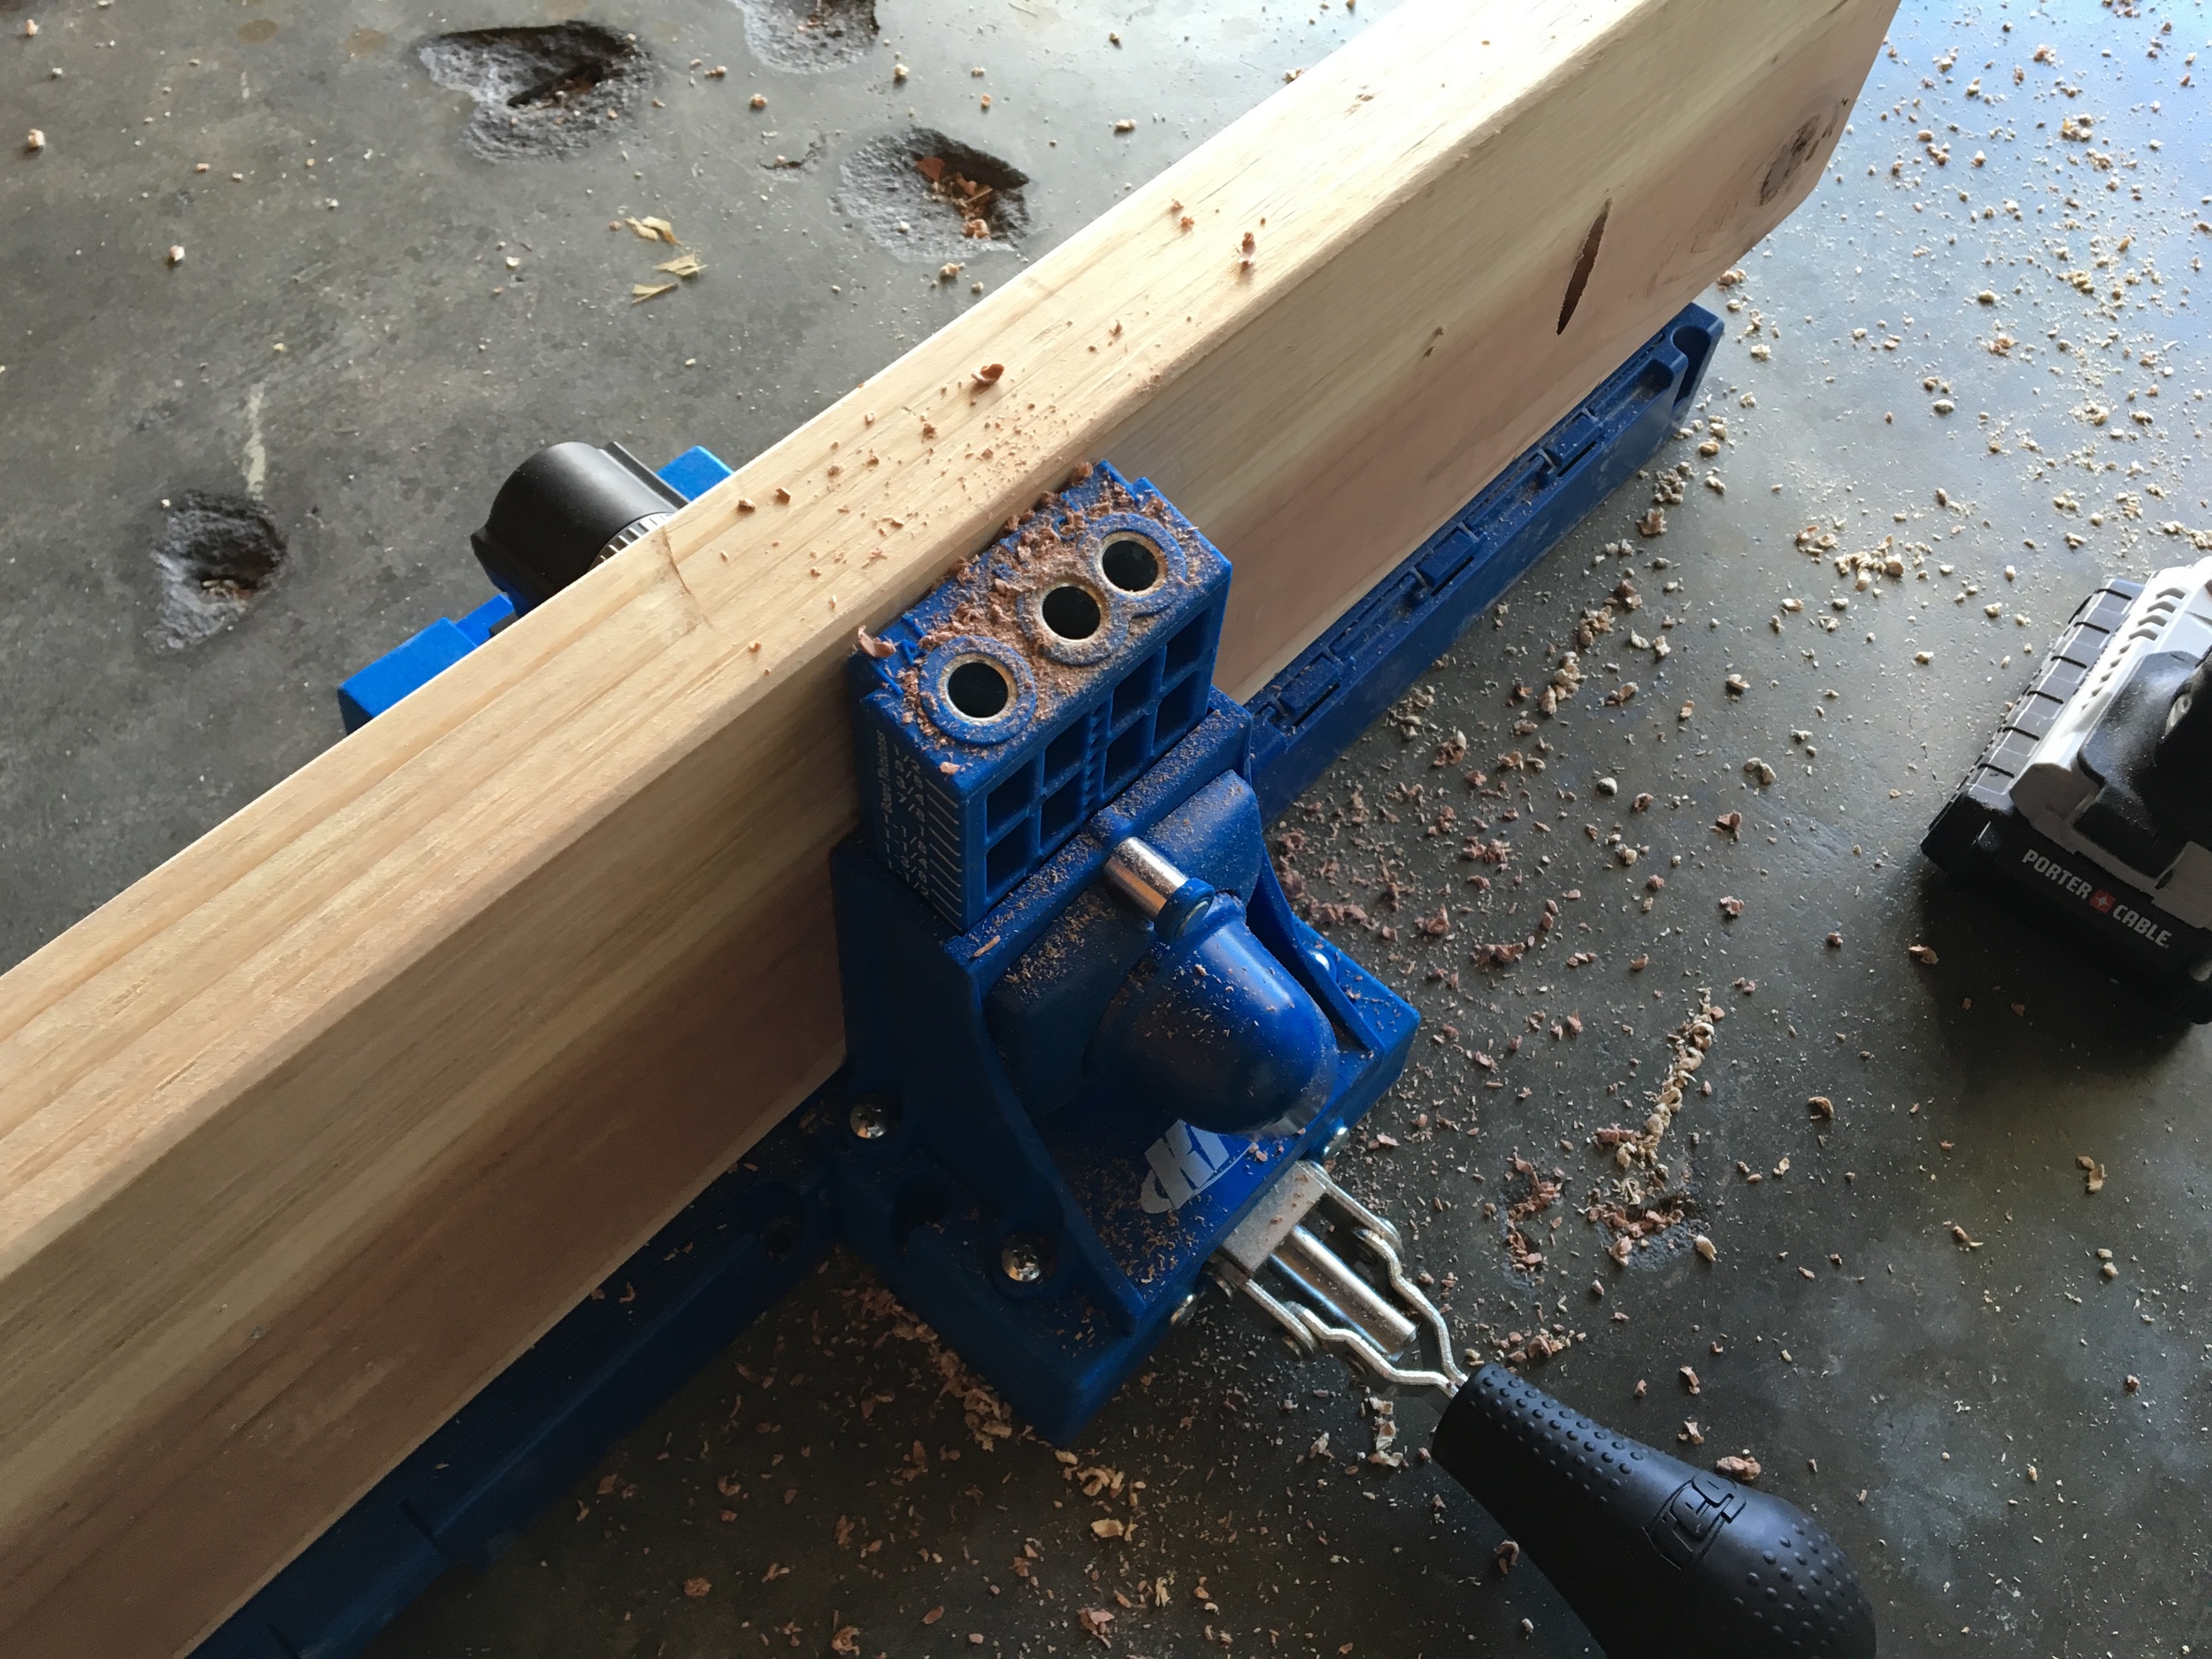
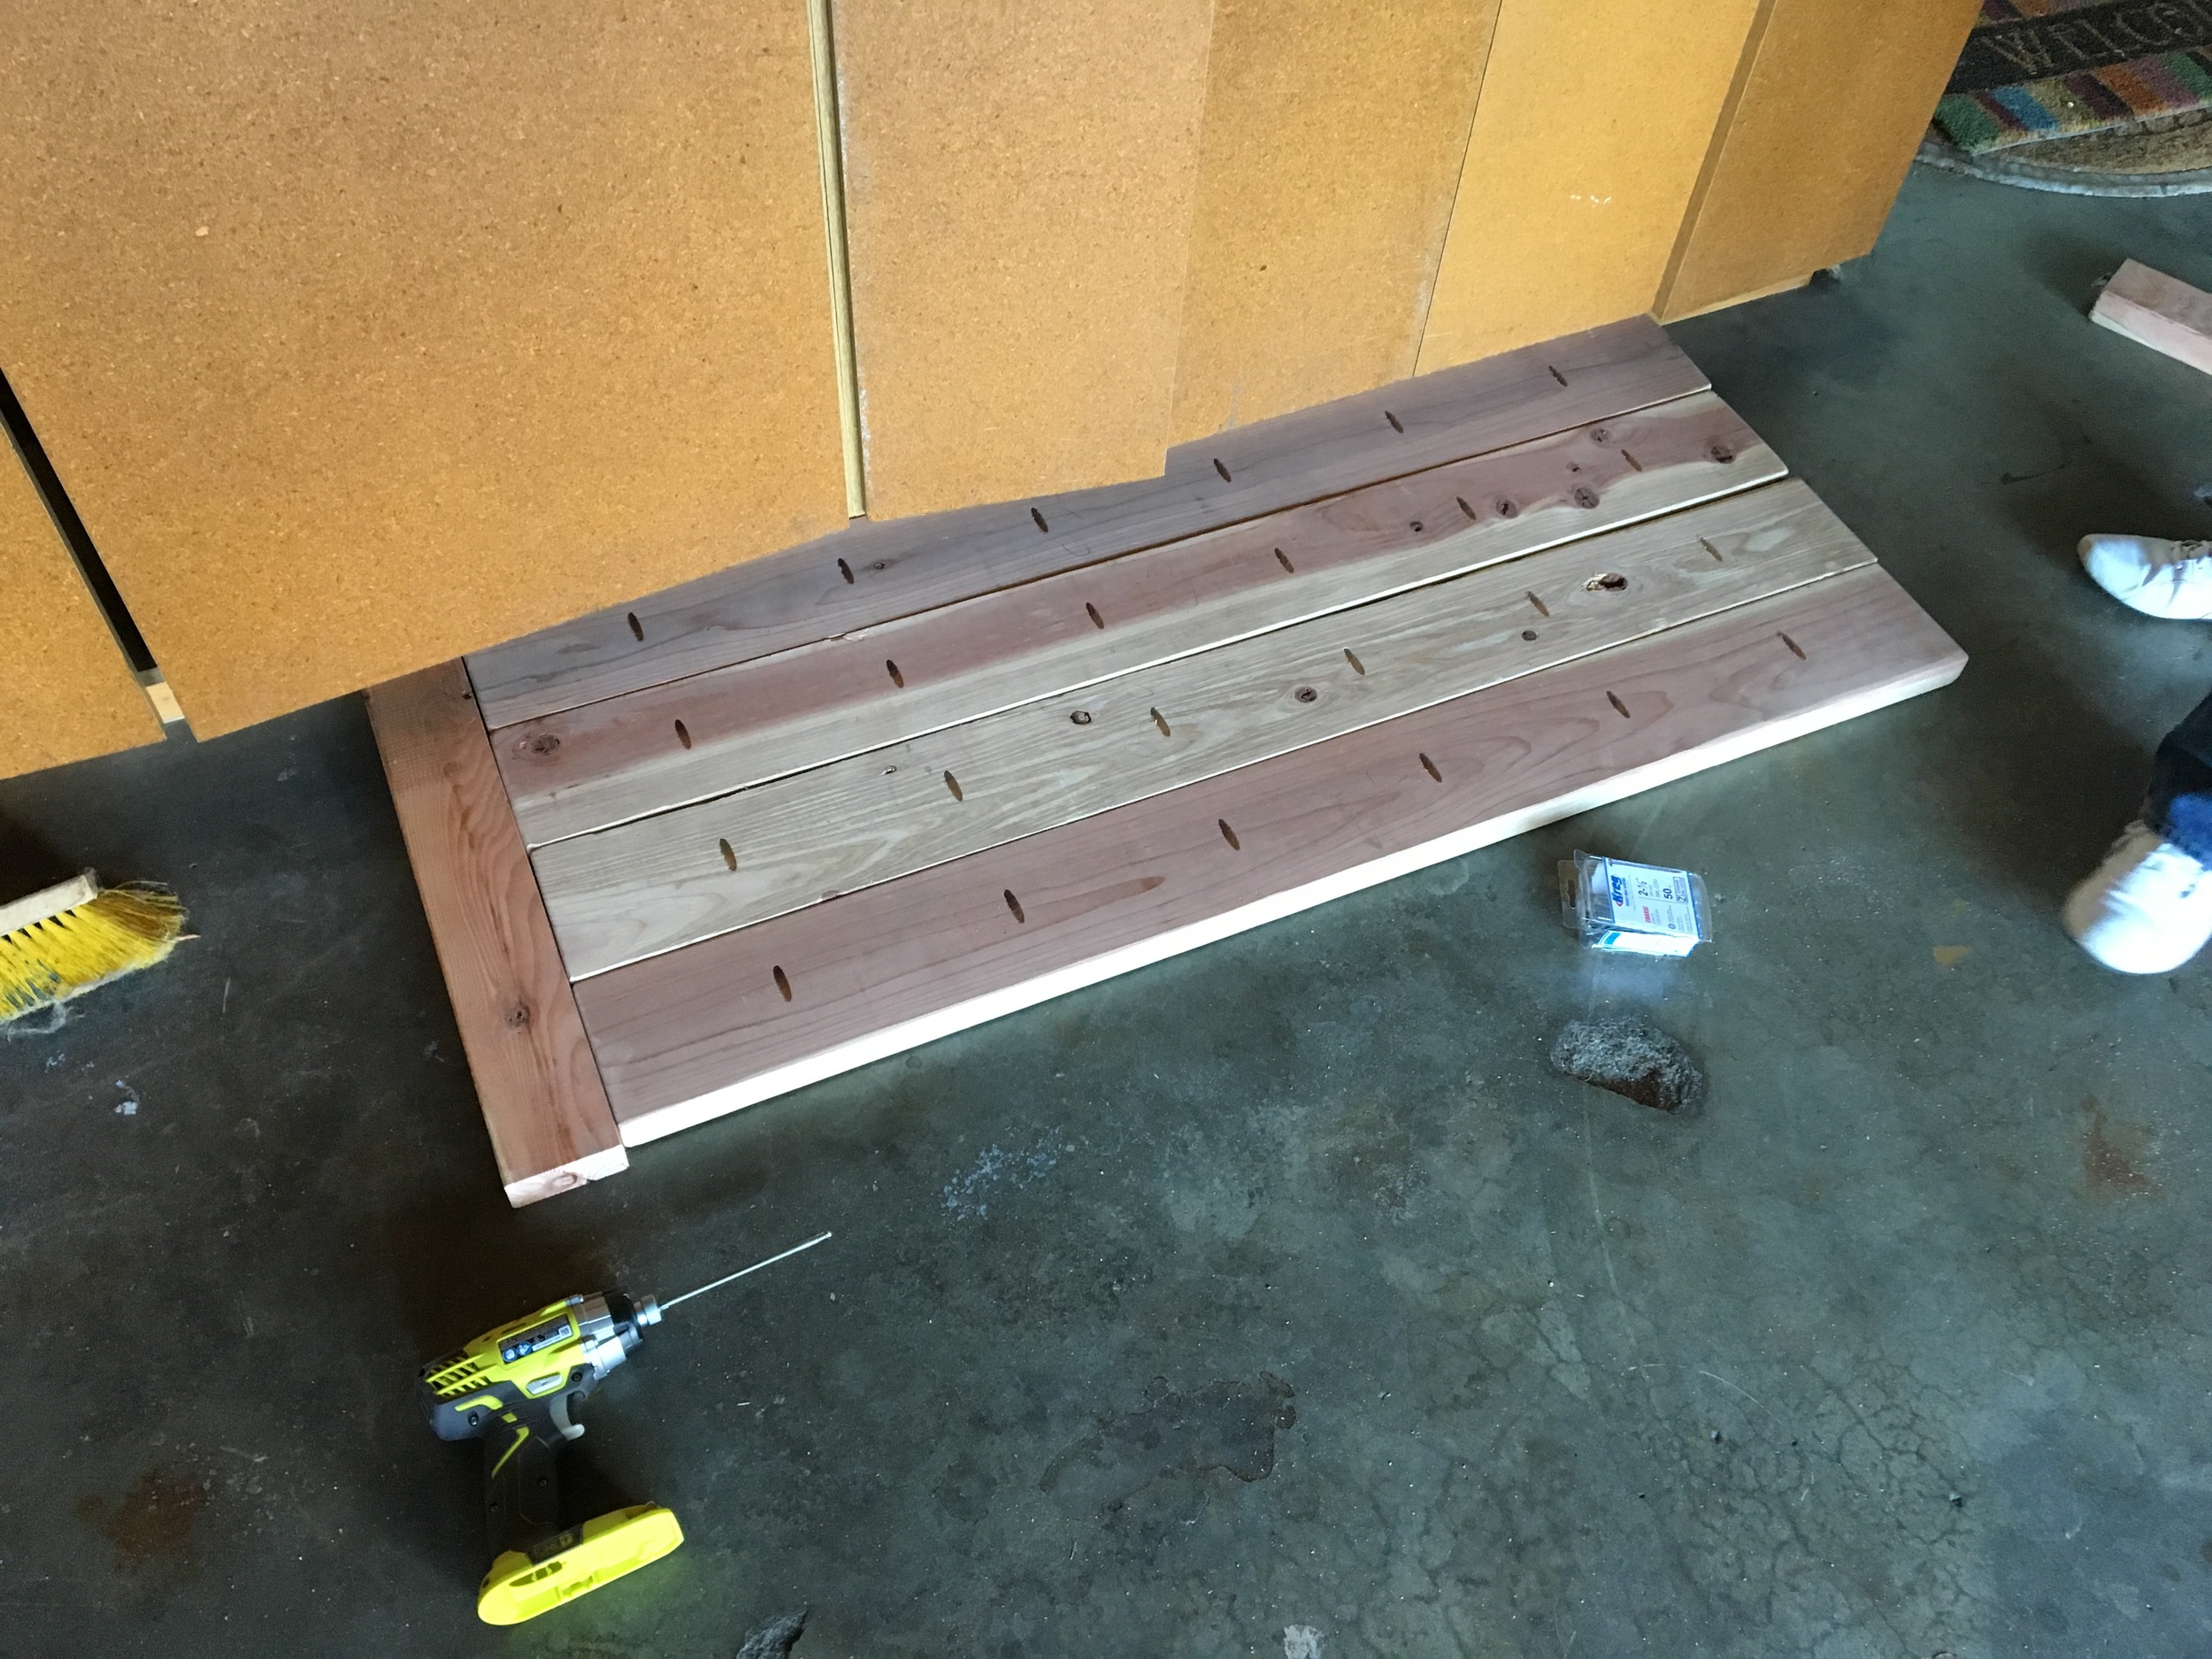
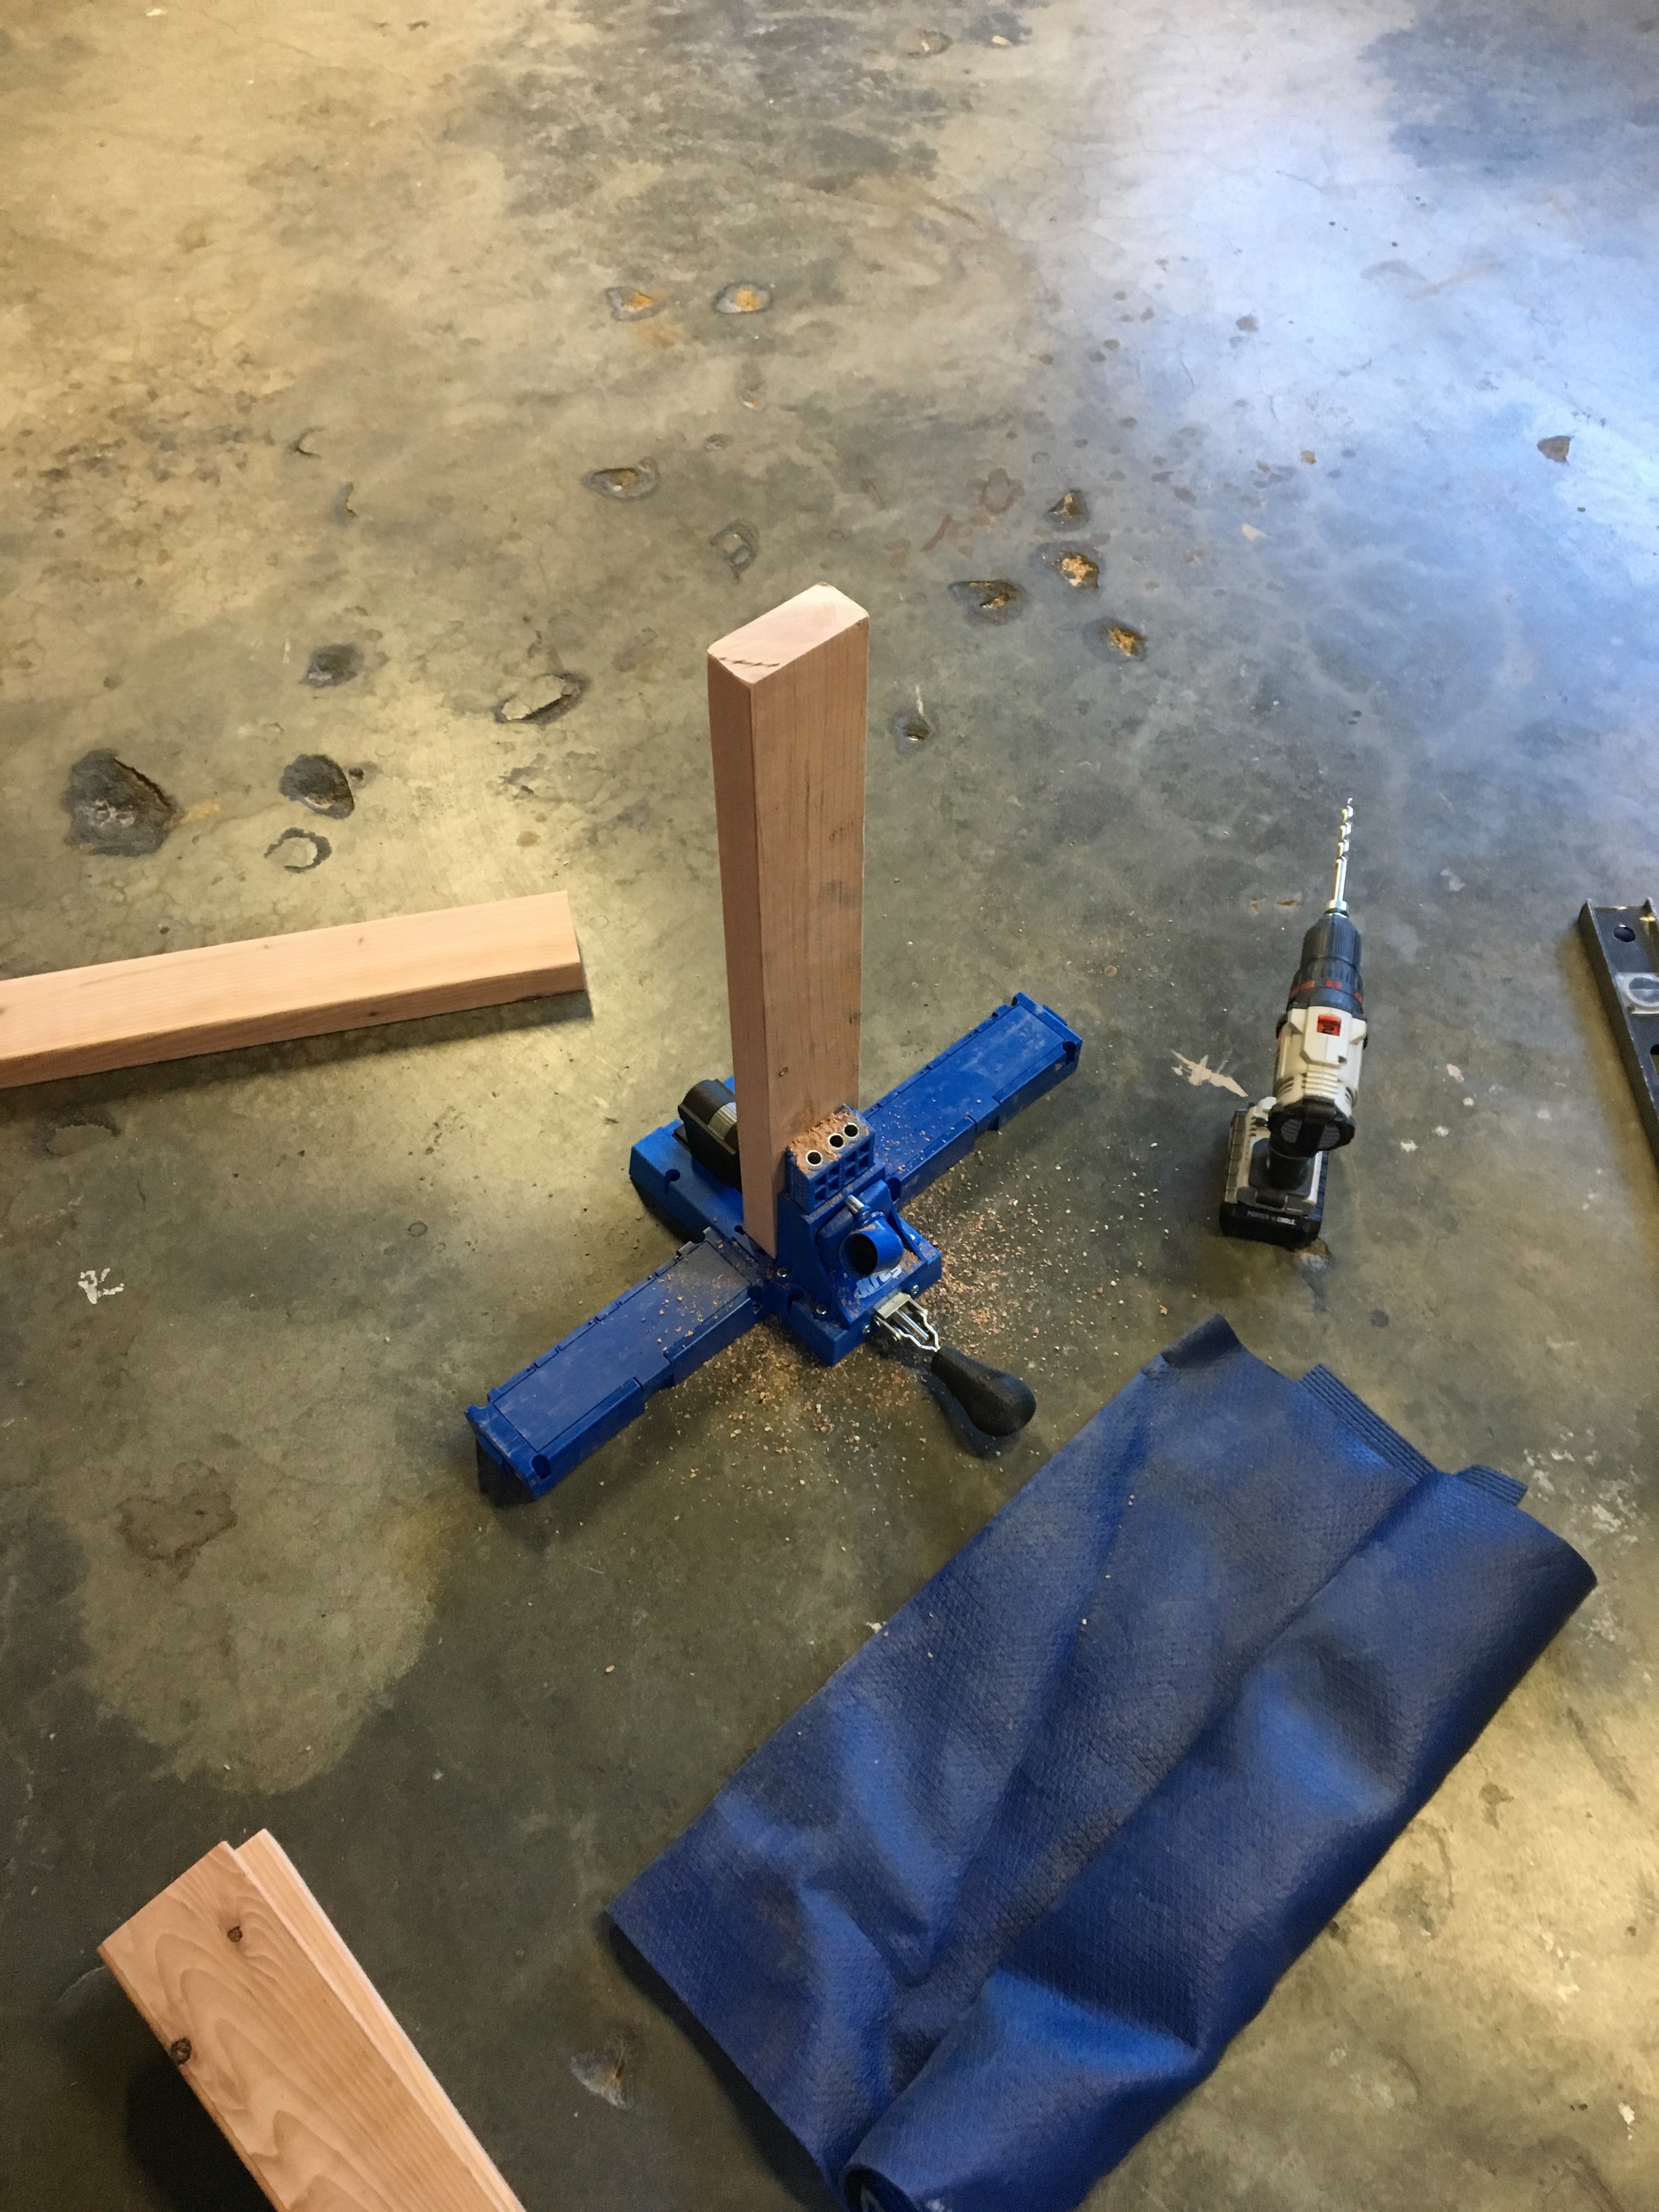
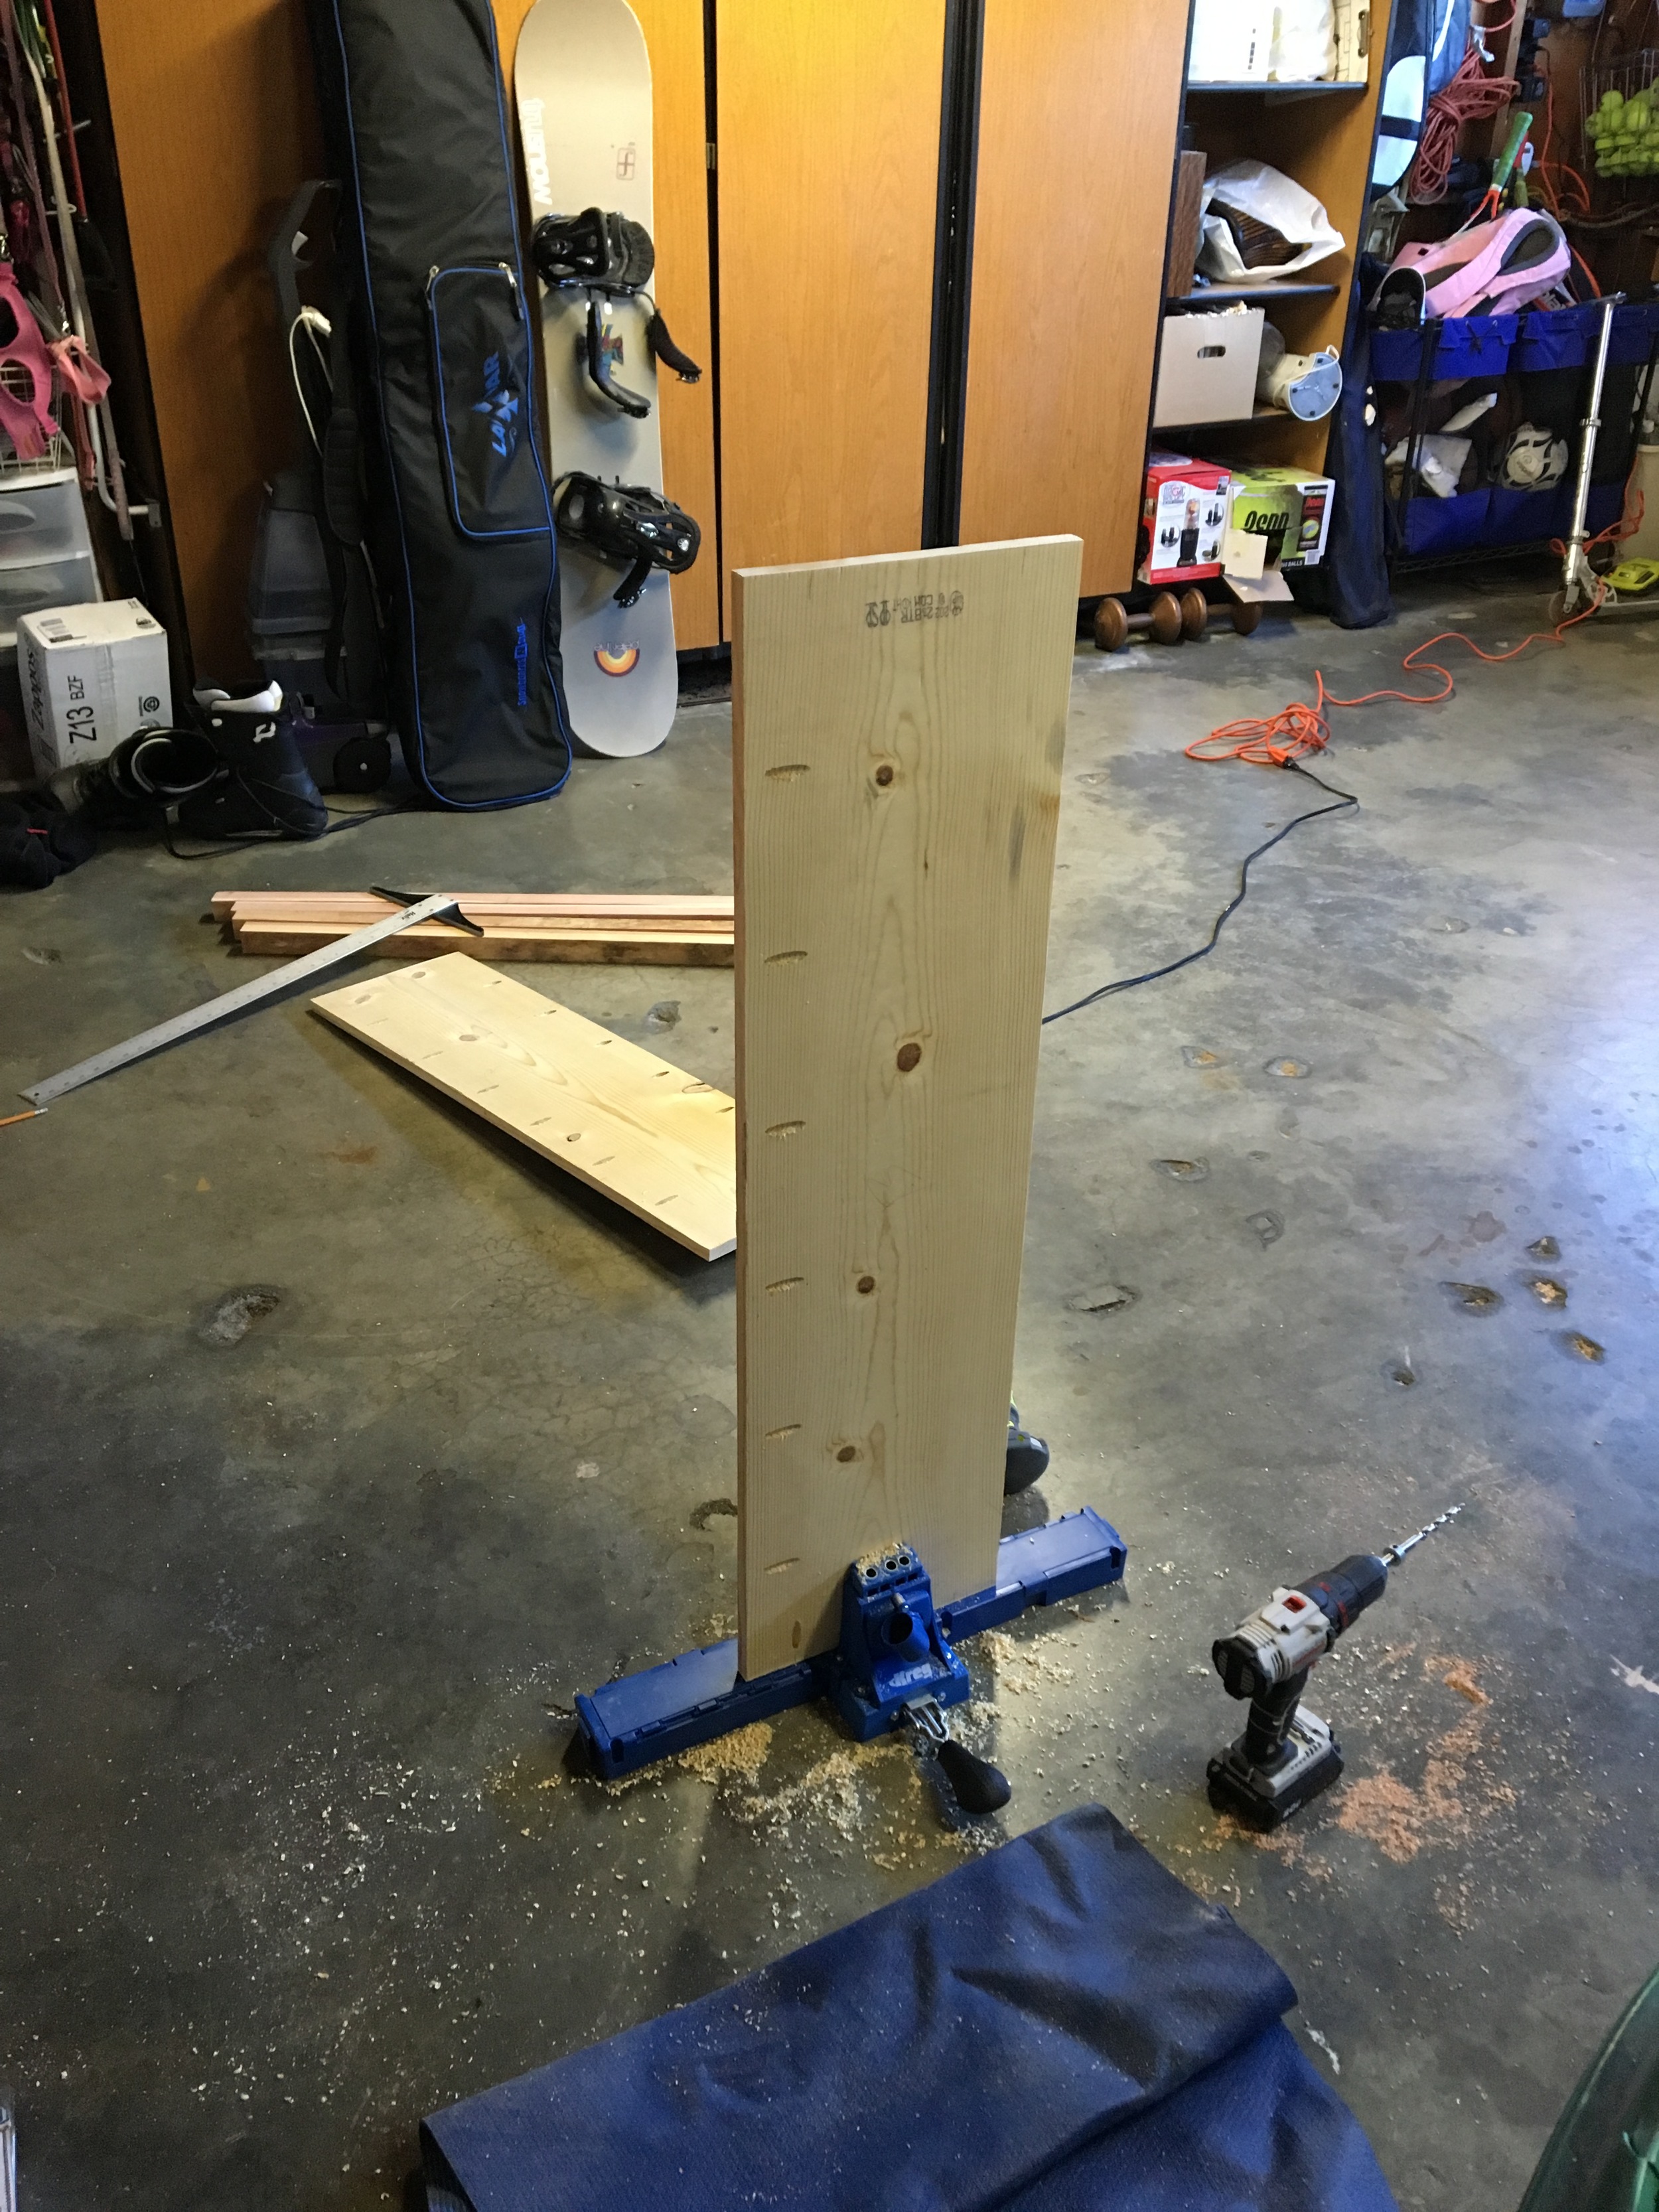
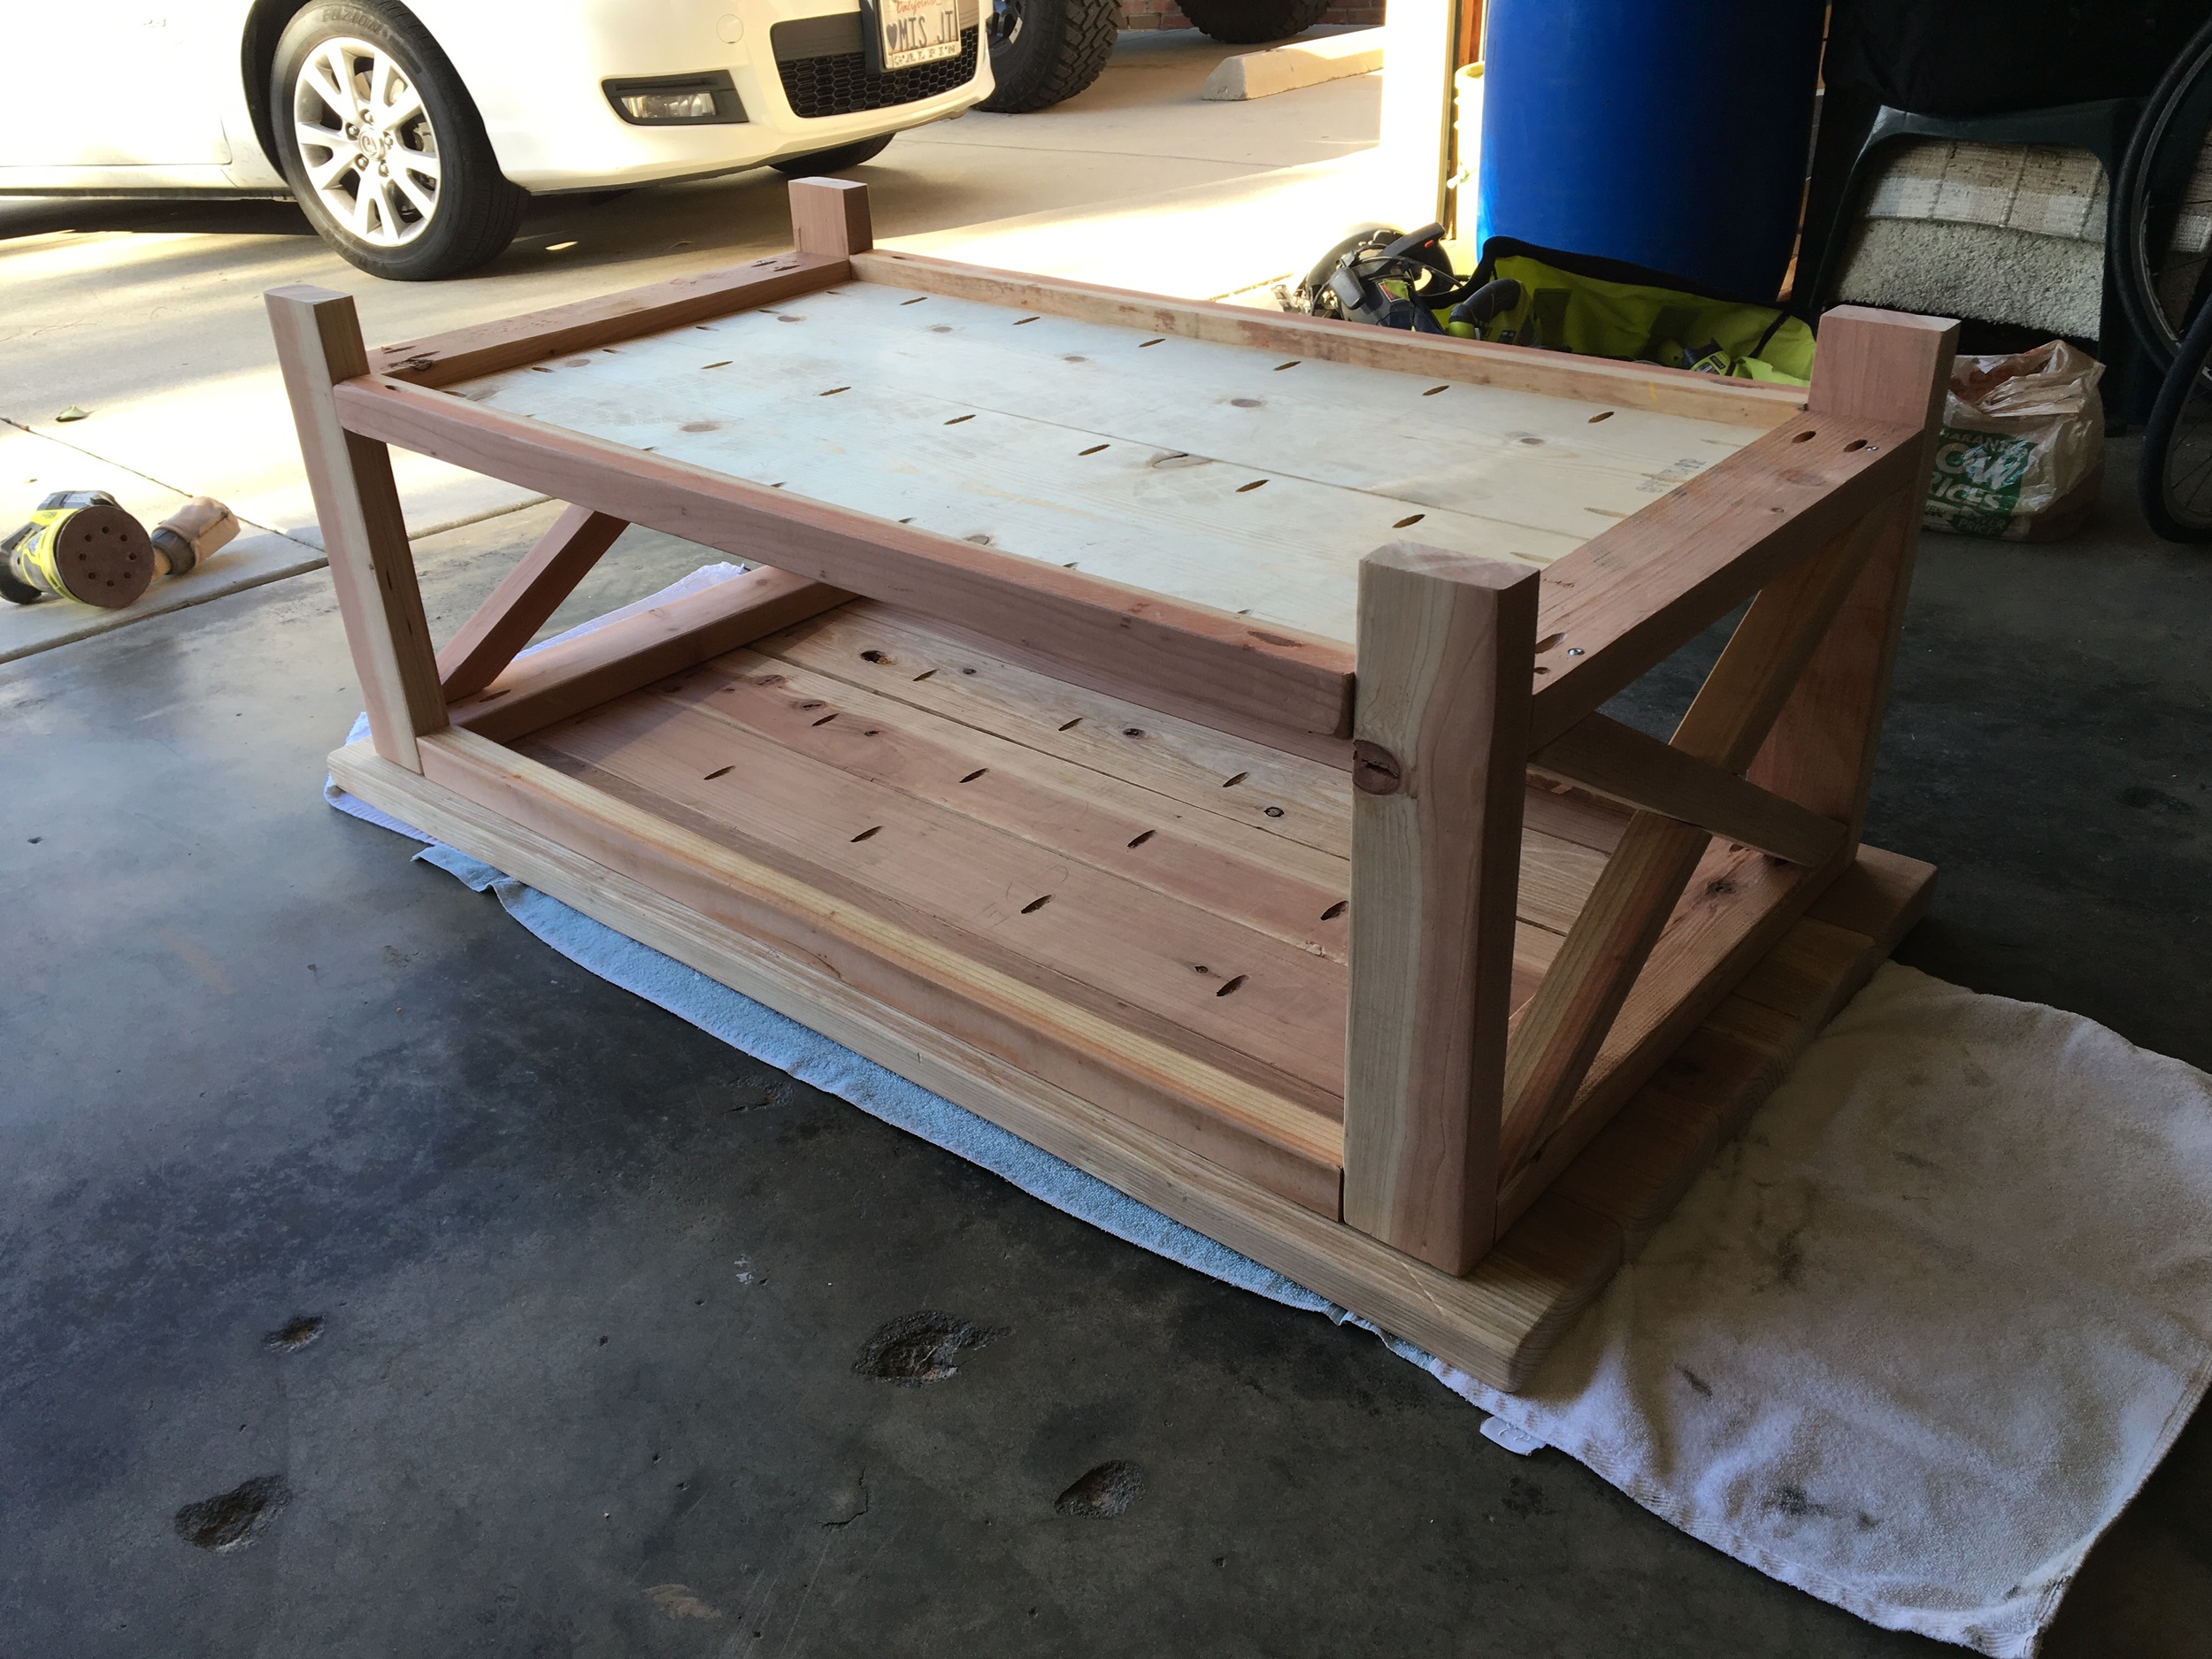
Below is a series of photos of me drilling and combining all pieces, including the top, sides, and bottom shelf. Was my first time using pocket holes - the Kreg K5 Jig is a must have. So simple and effect. You'll need an impact driver to drive home the pocket hole screws - a power drill won't cut it.

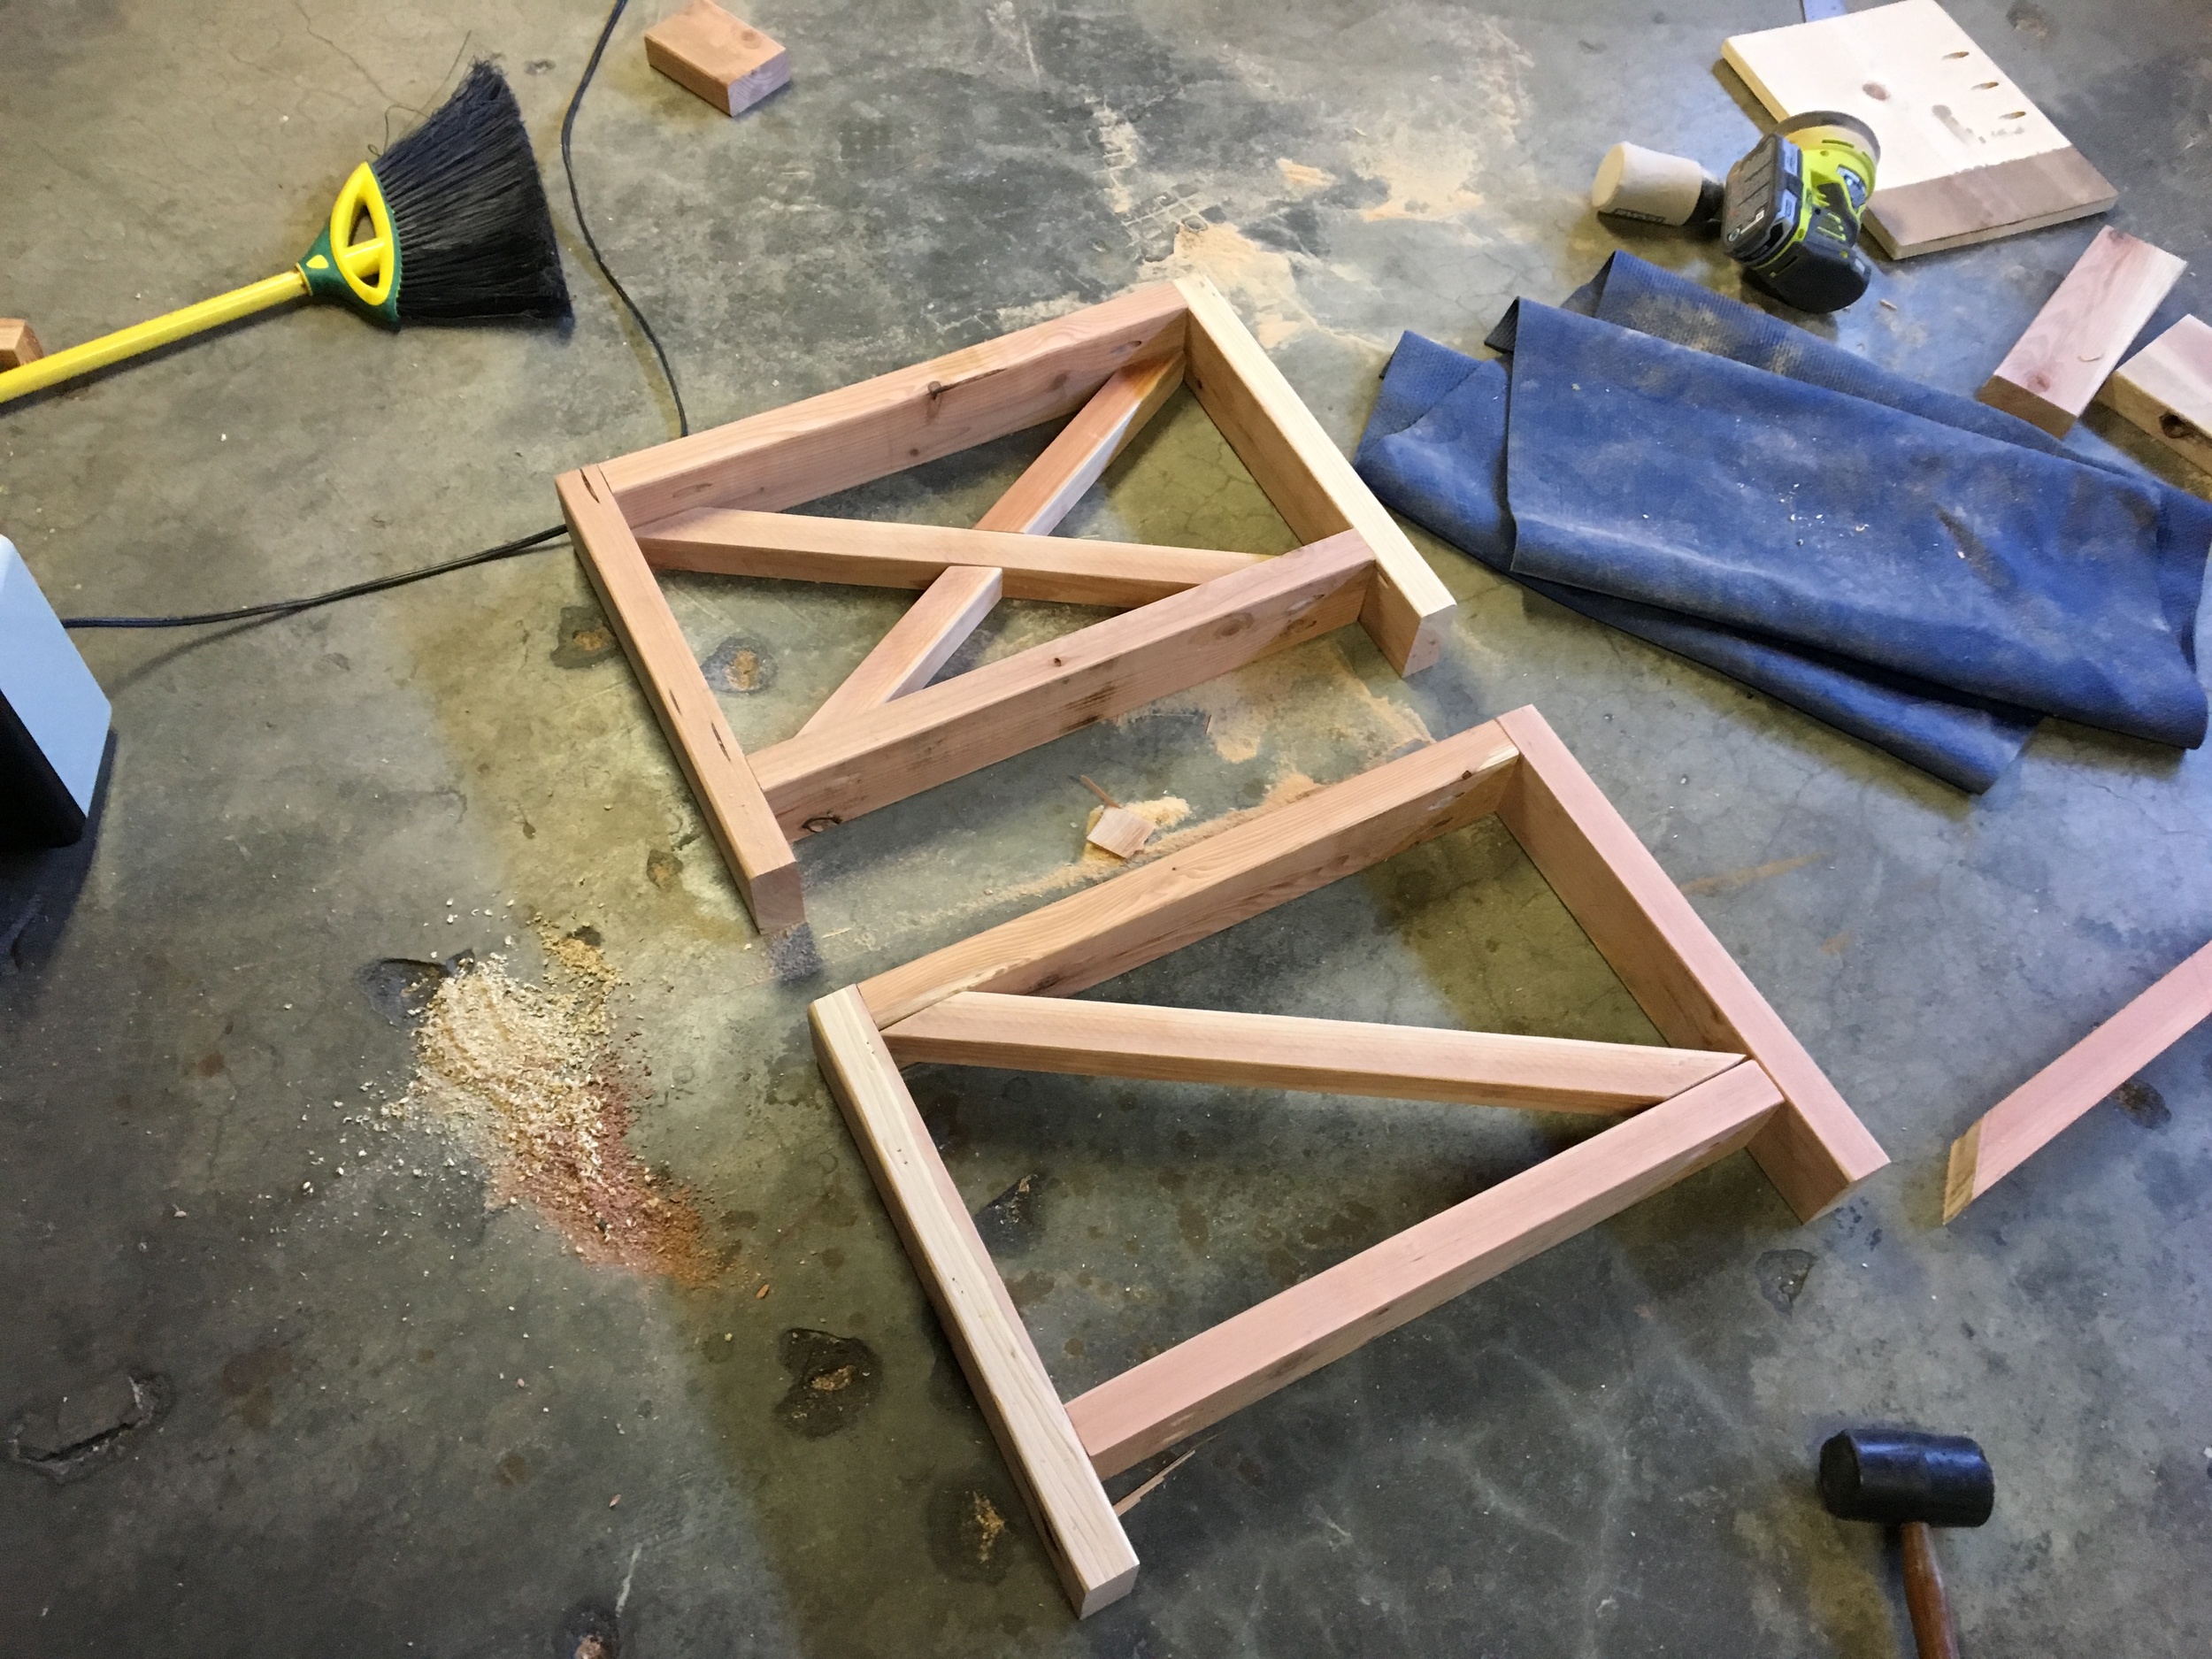
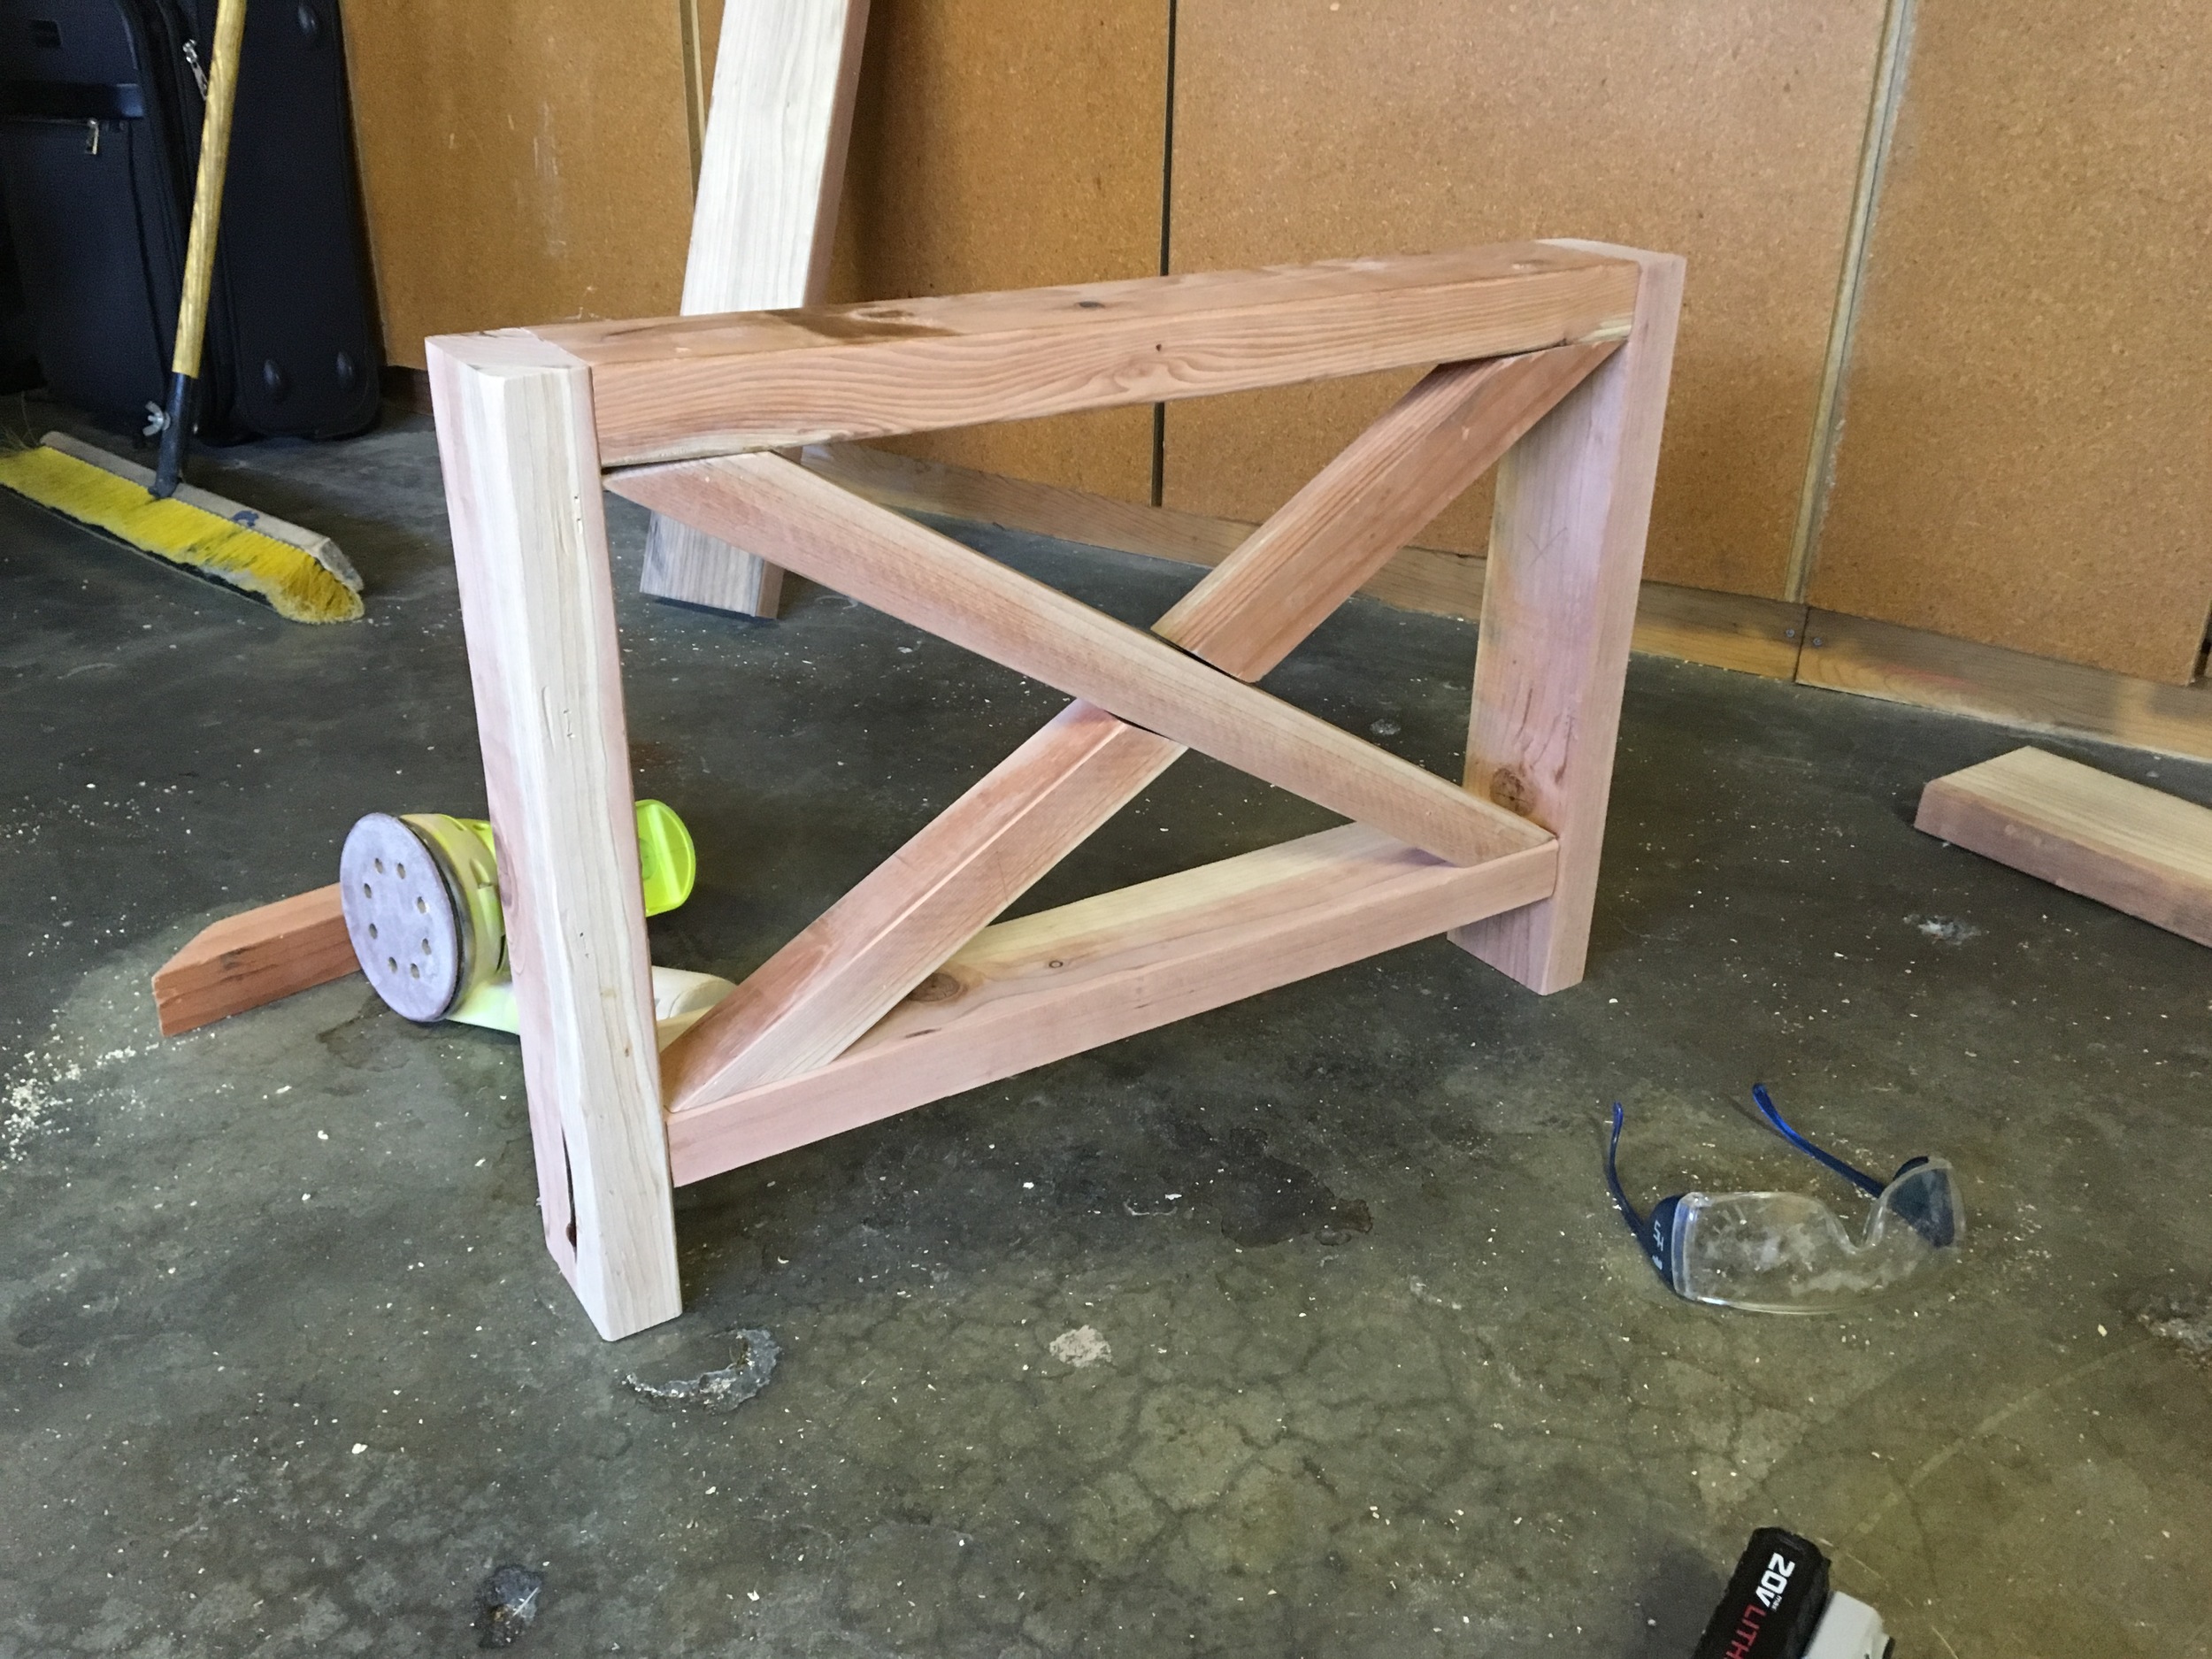
Then it was on to the side "x" pieces. This was really tough without a Miter Saw to gauge the angles. I did my best, but if I look back at what I built then and what I could build now, I can't like that they were a bit shit. But whatever...
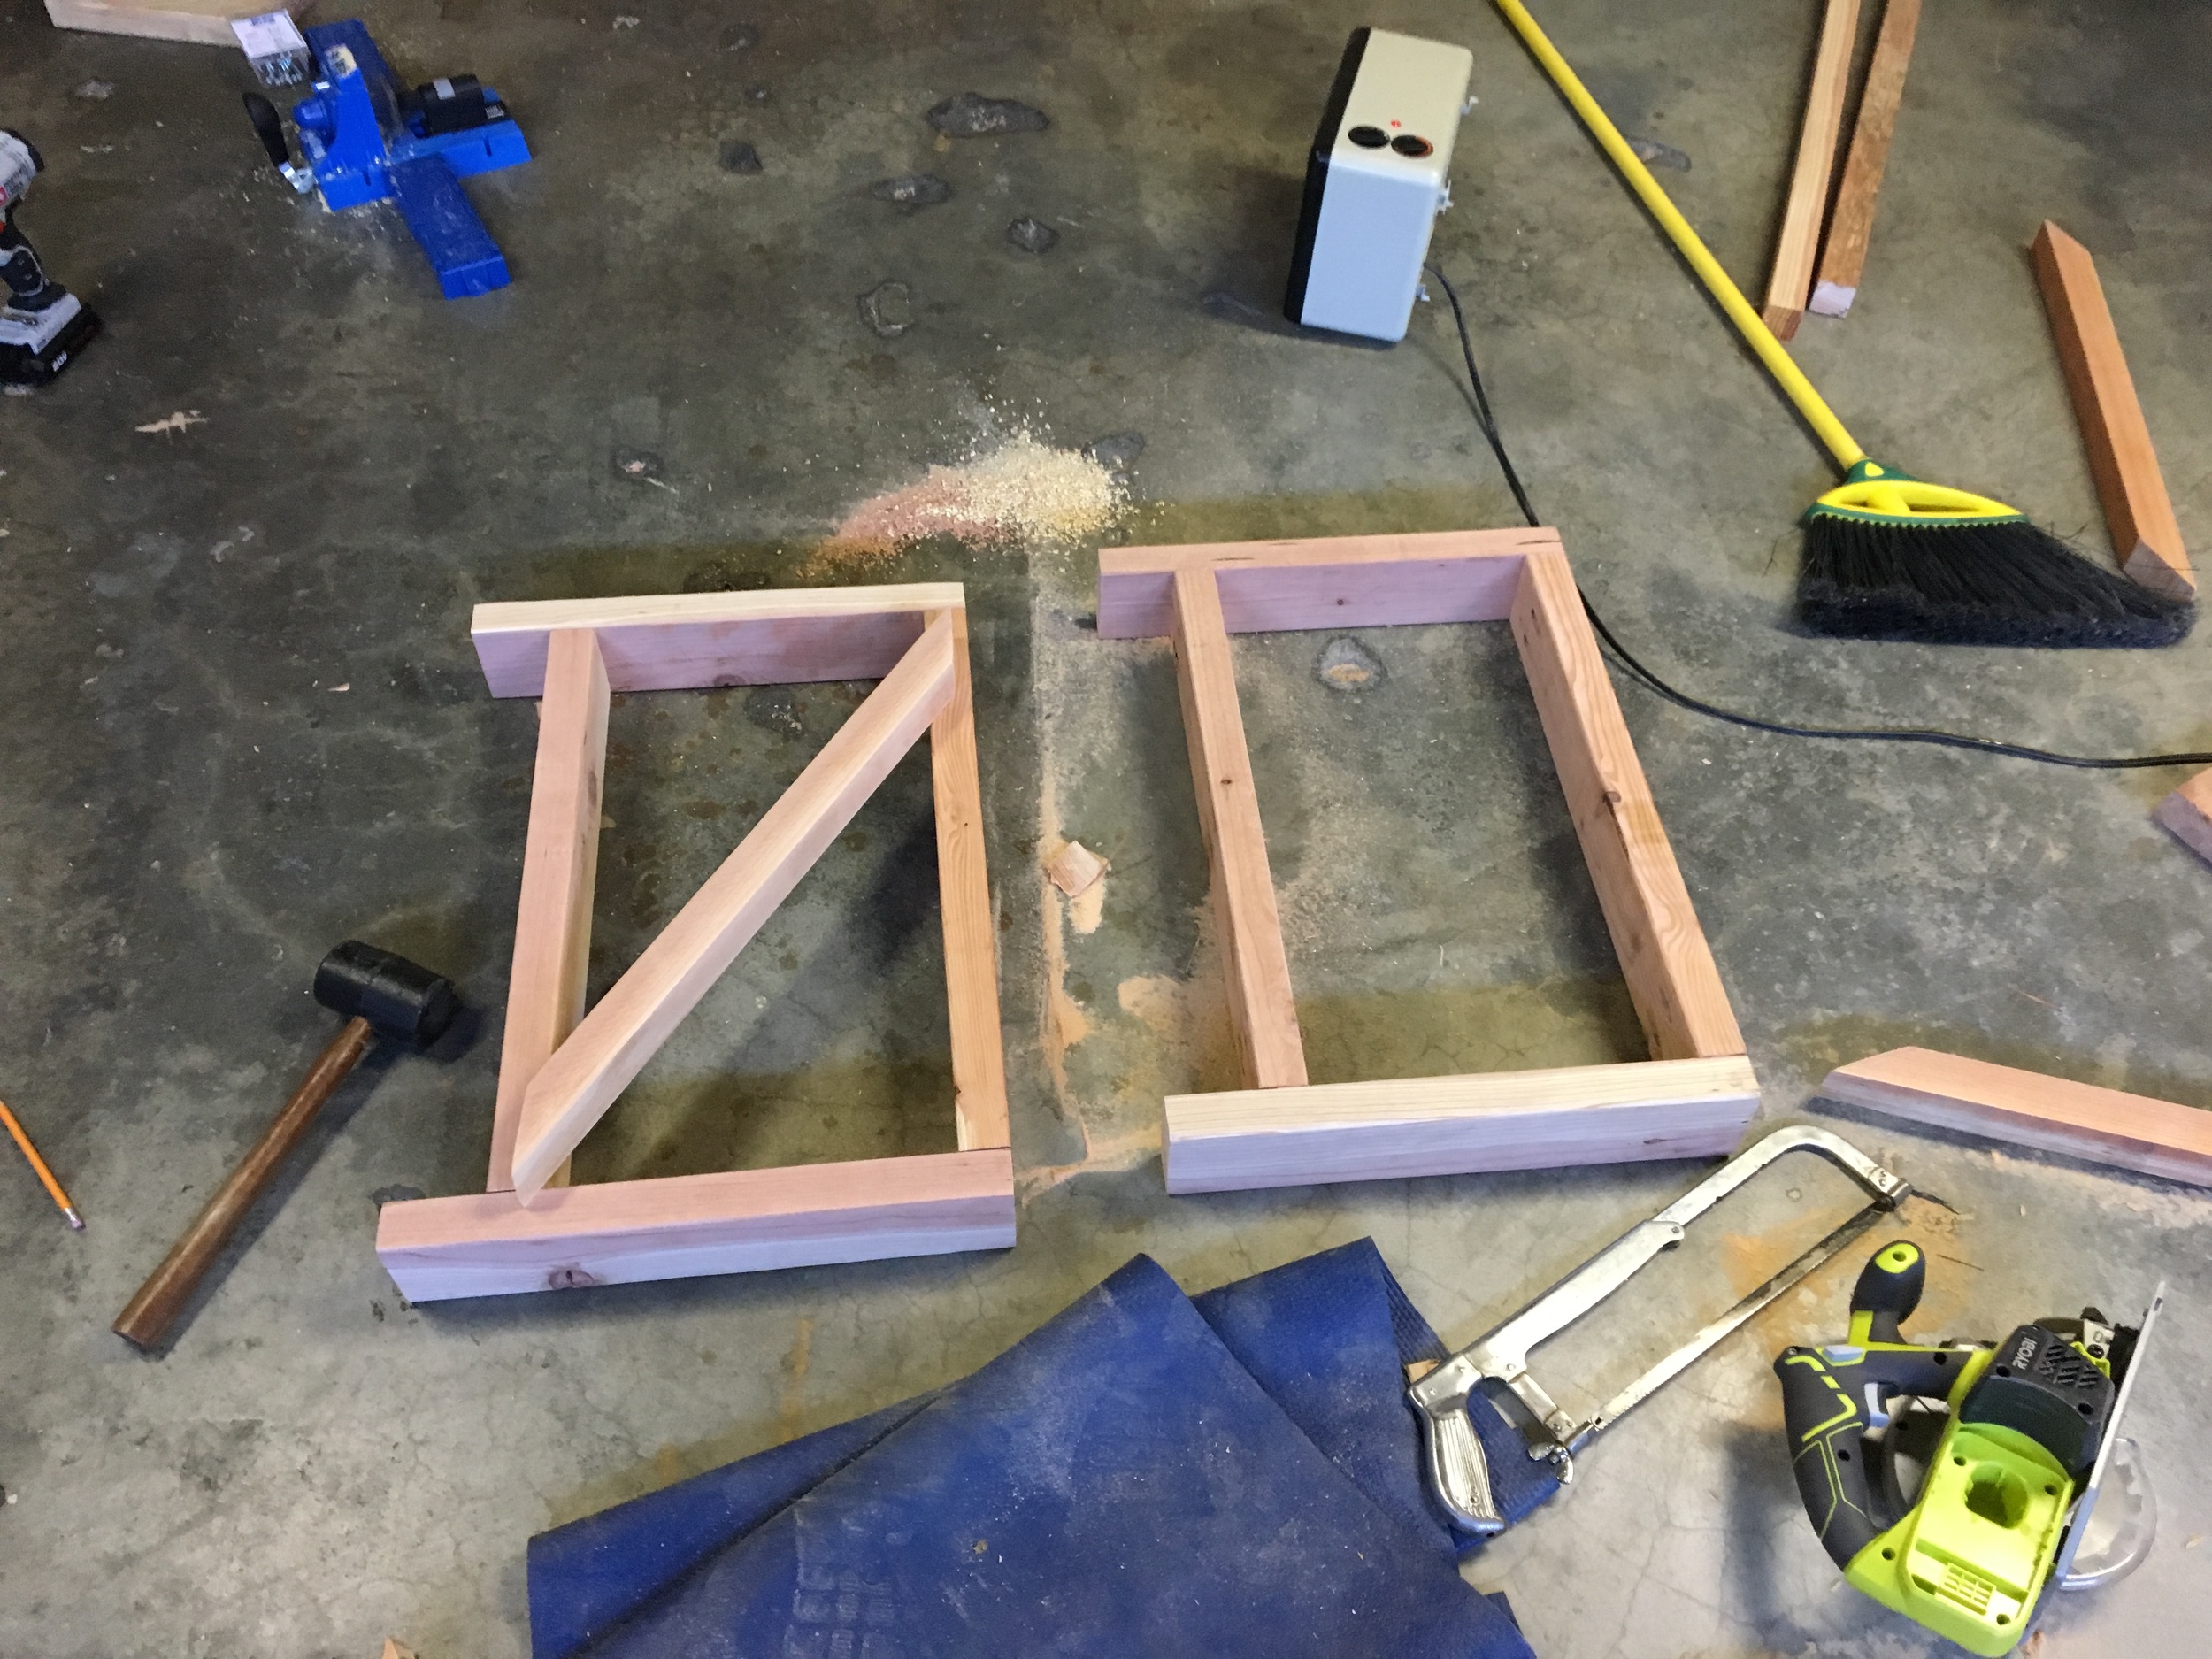
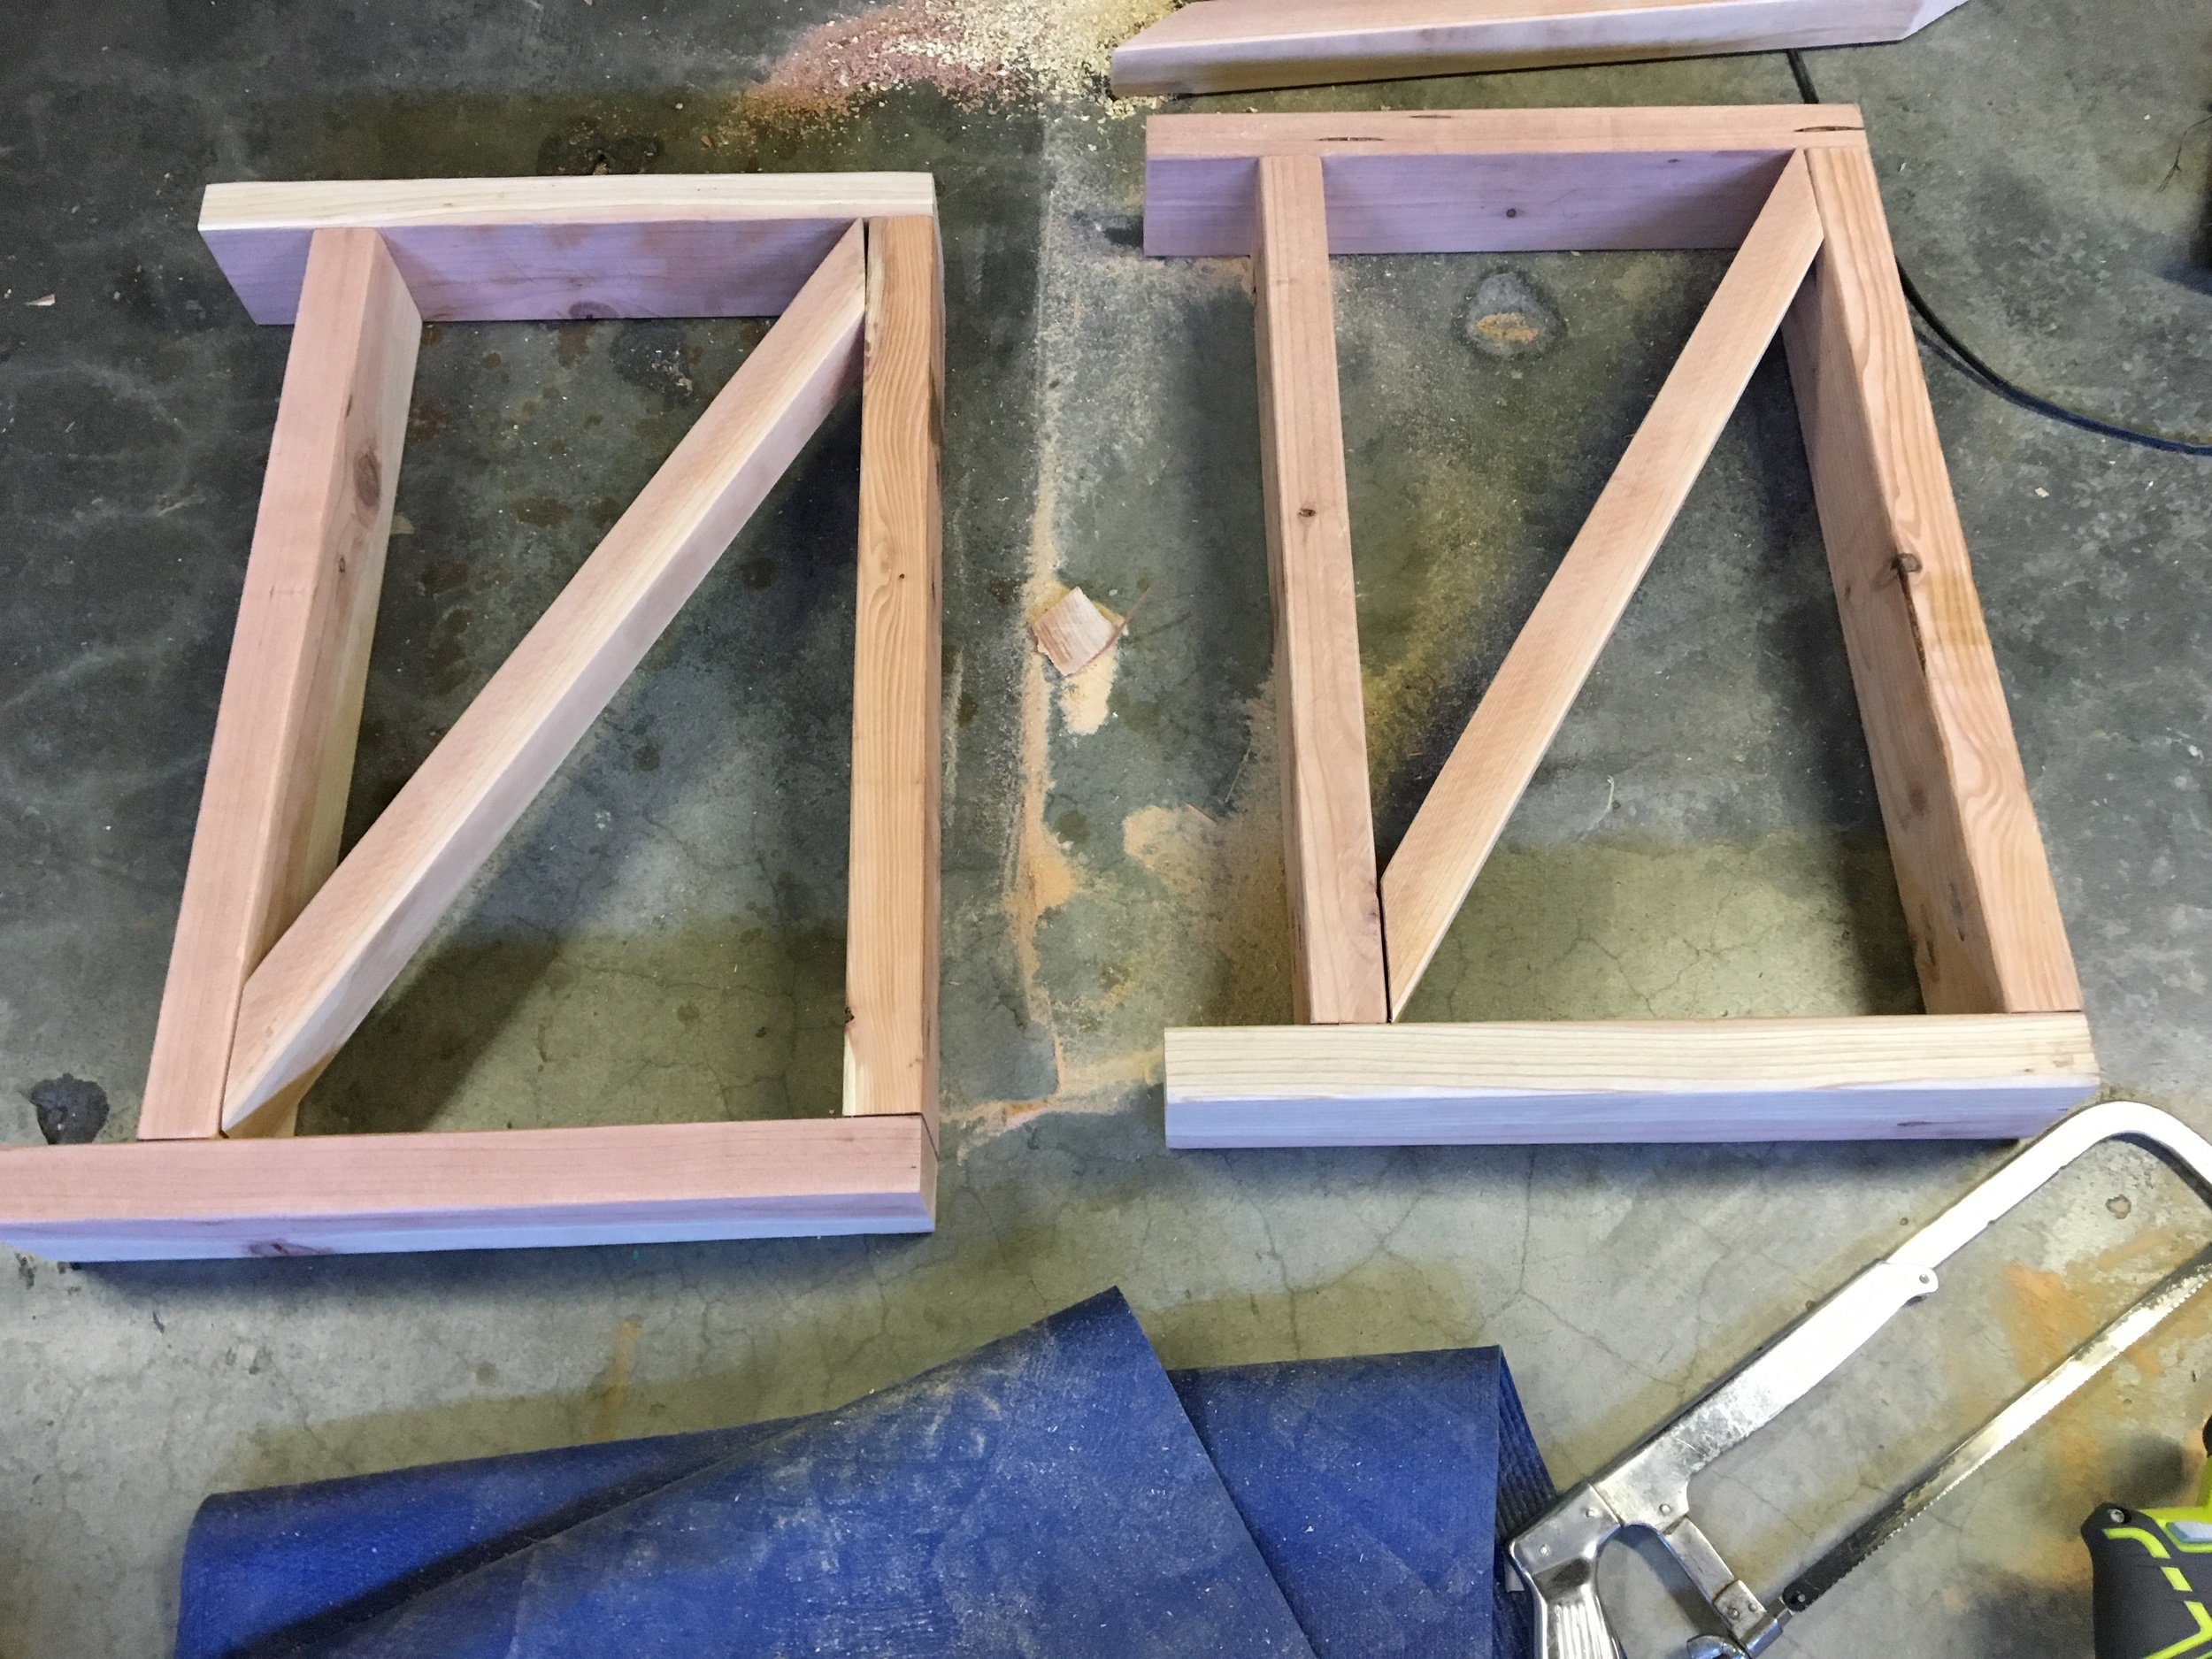
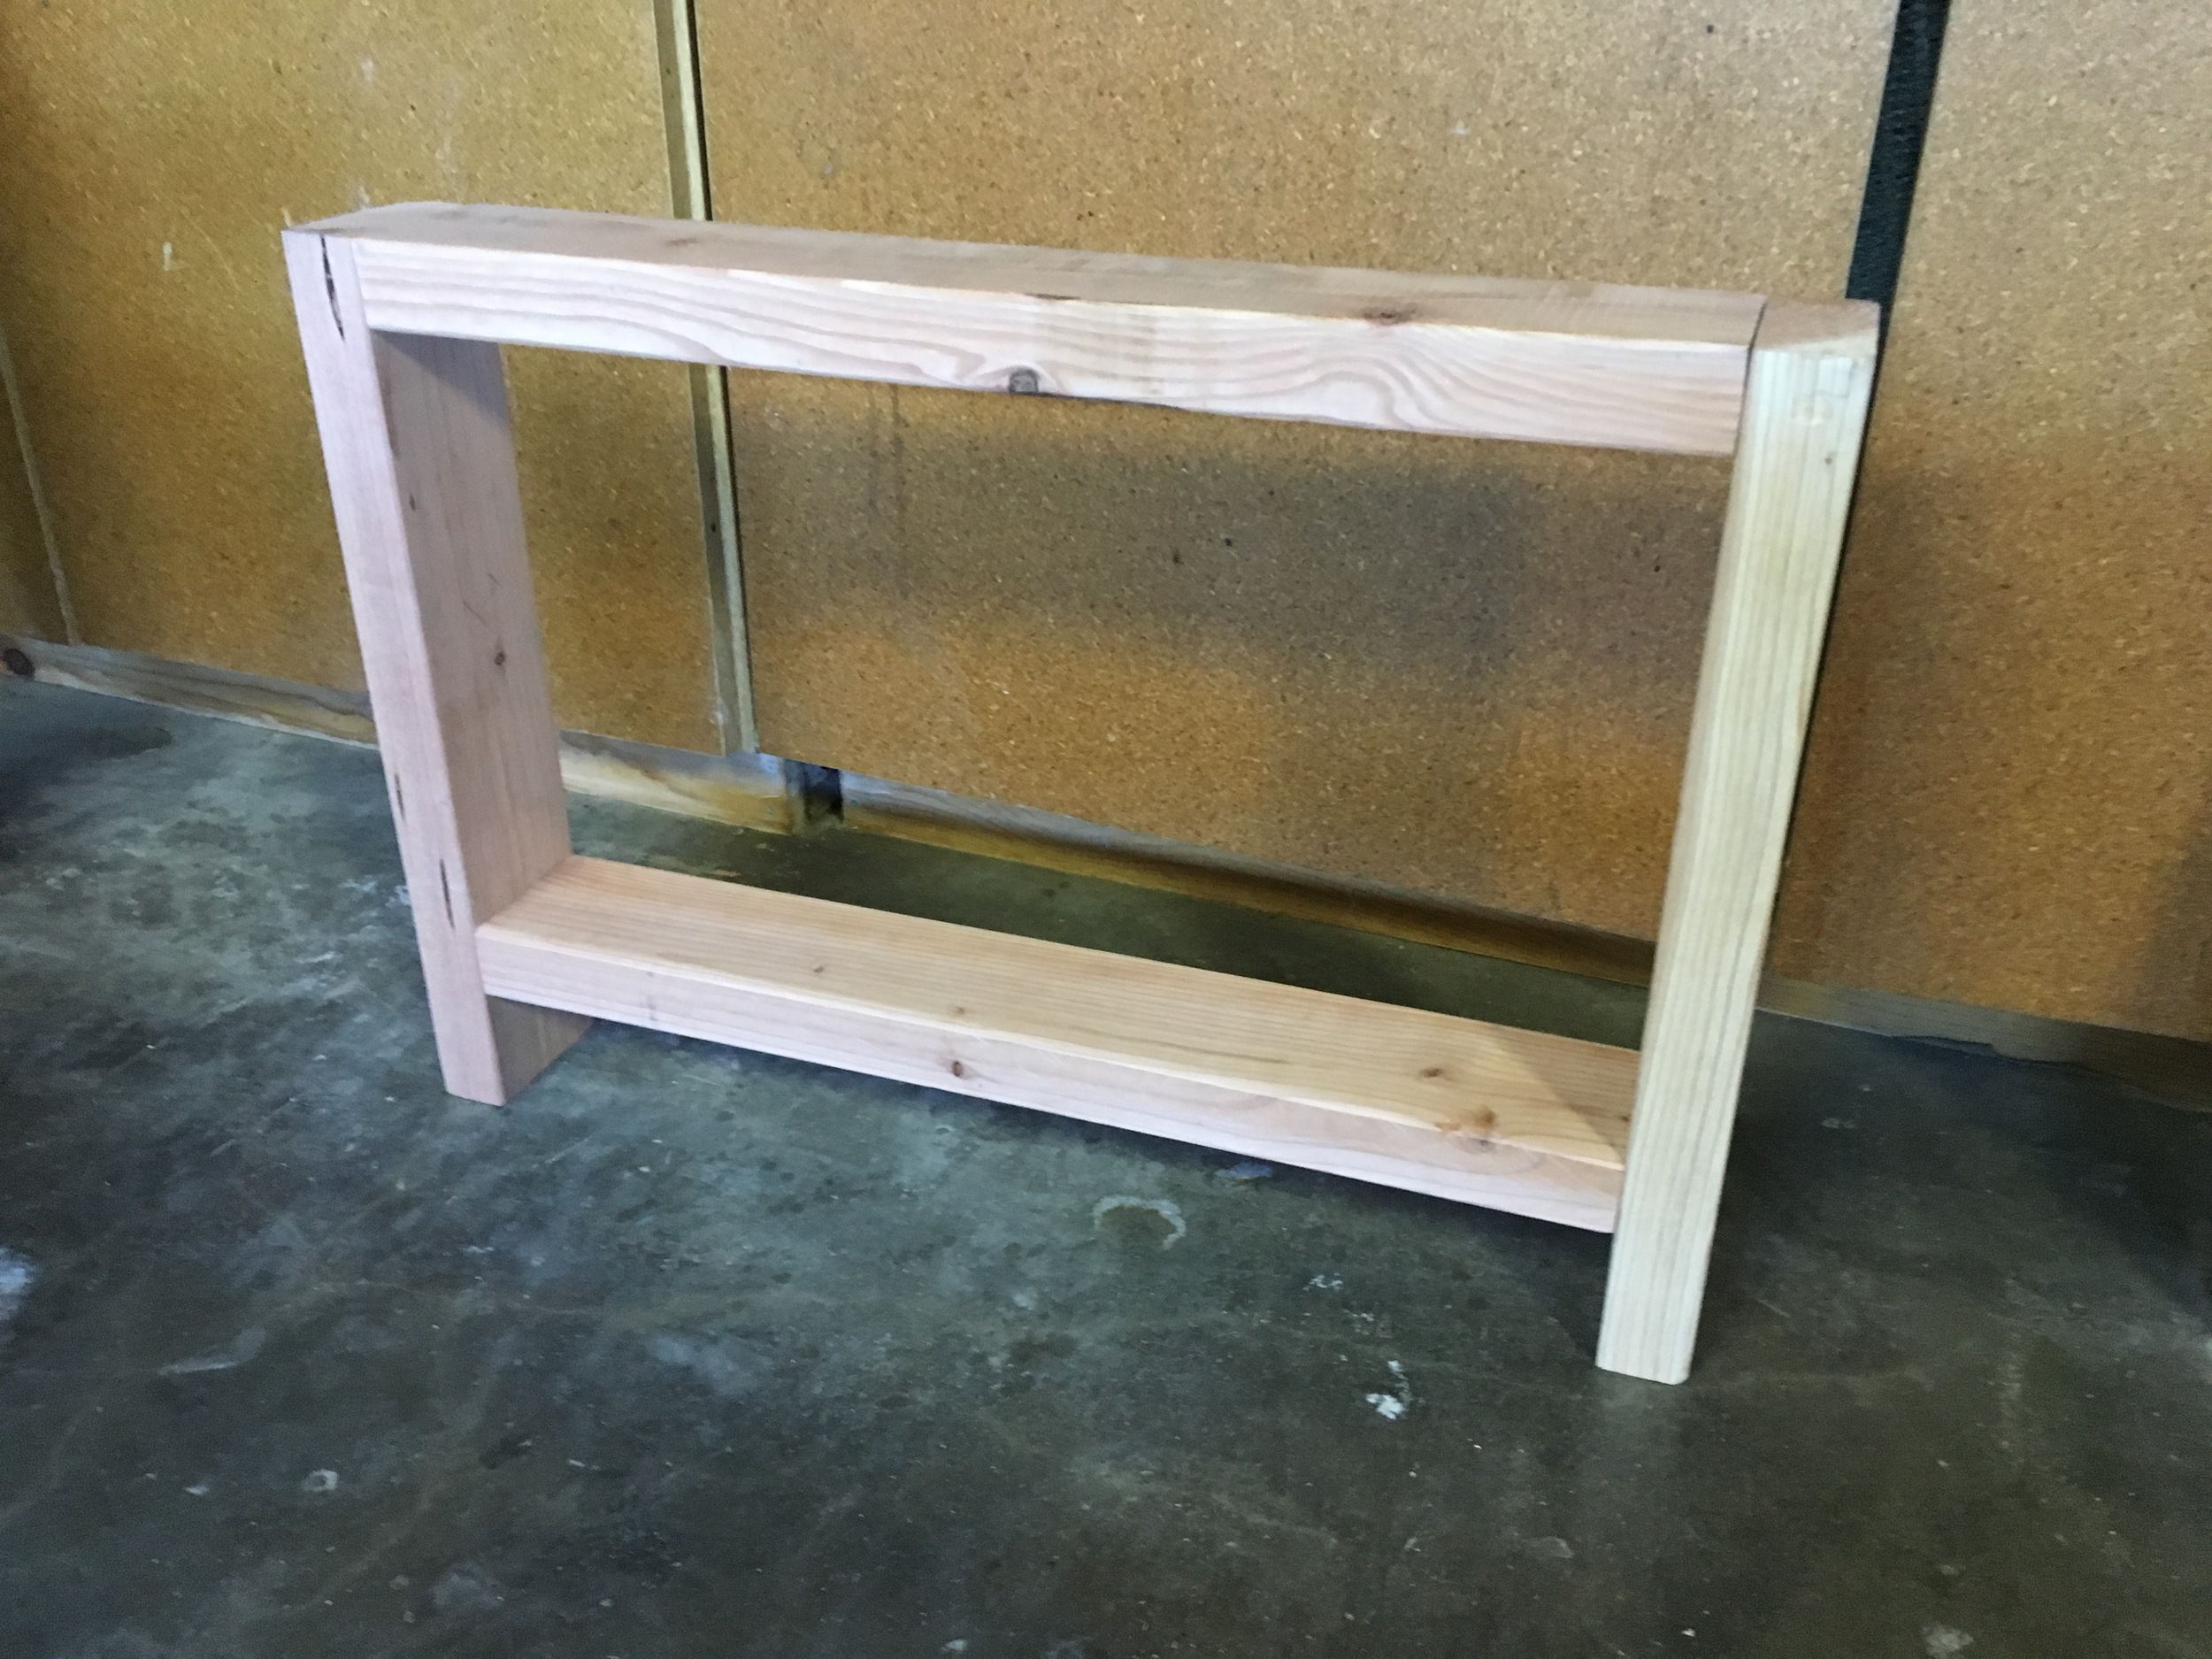
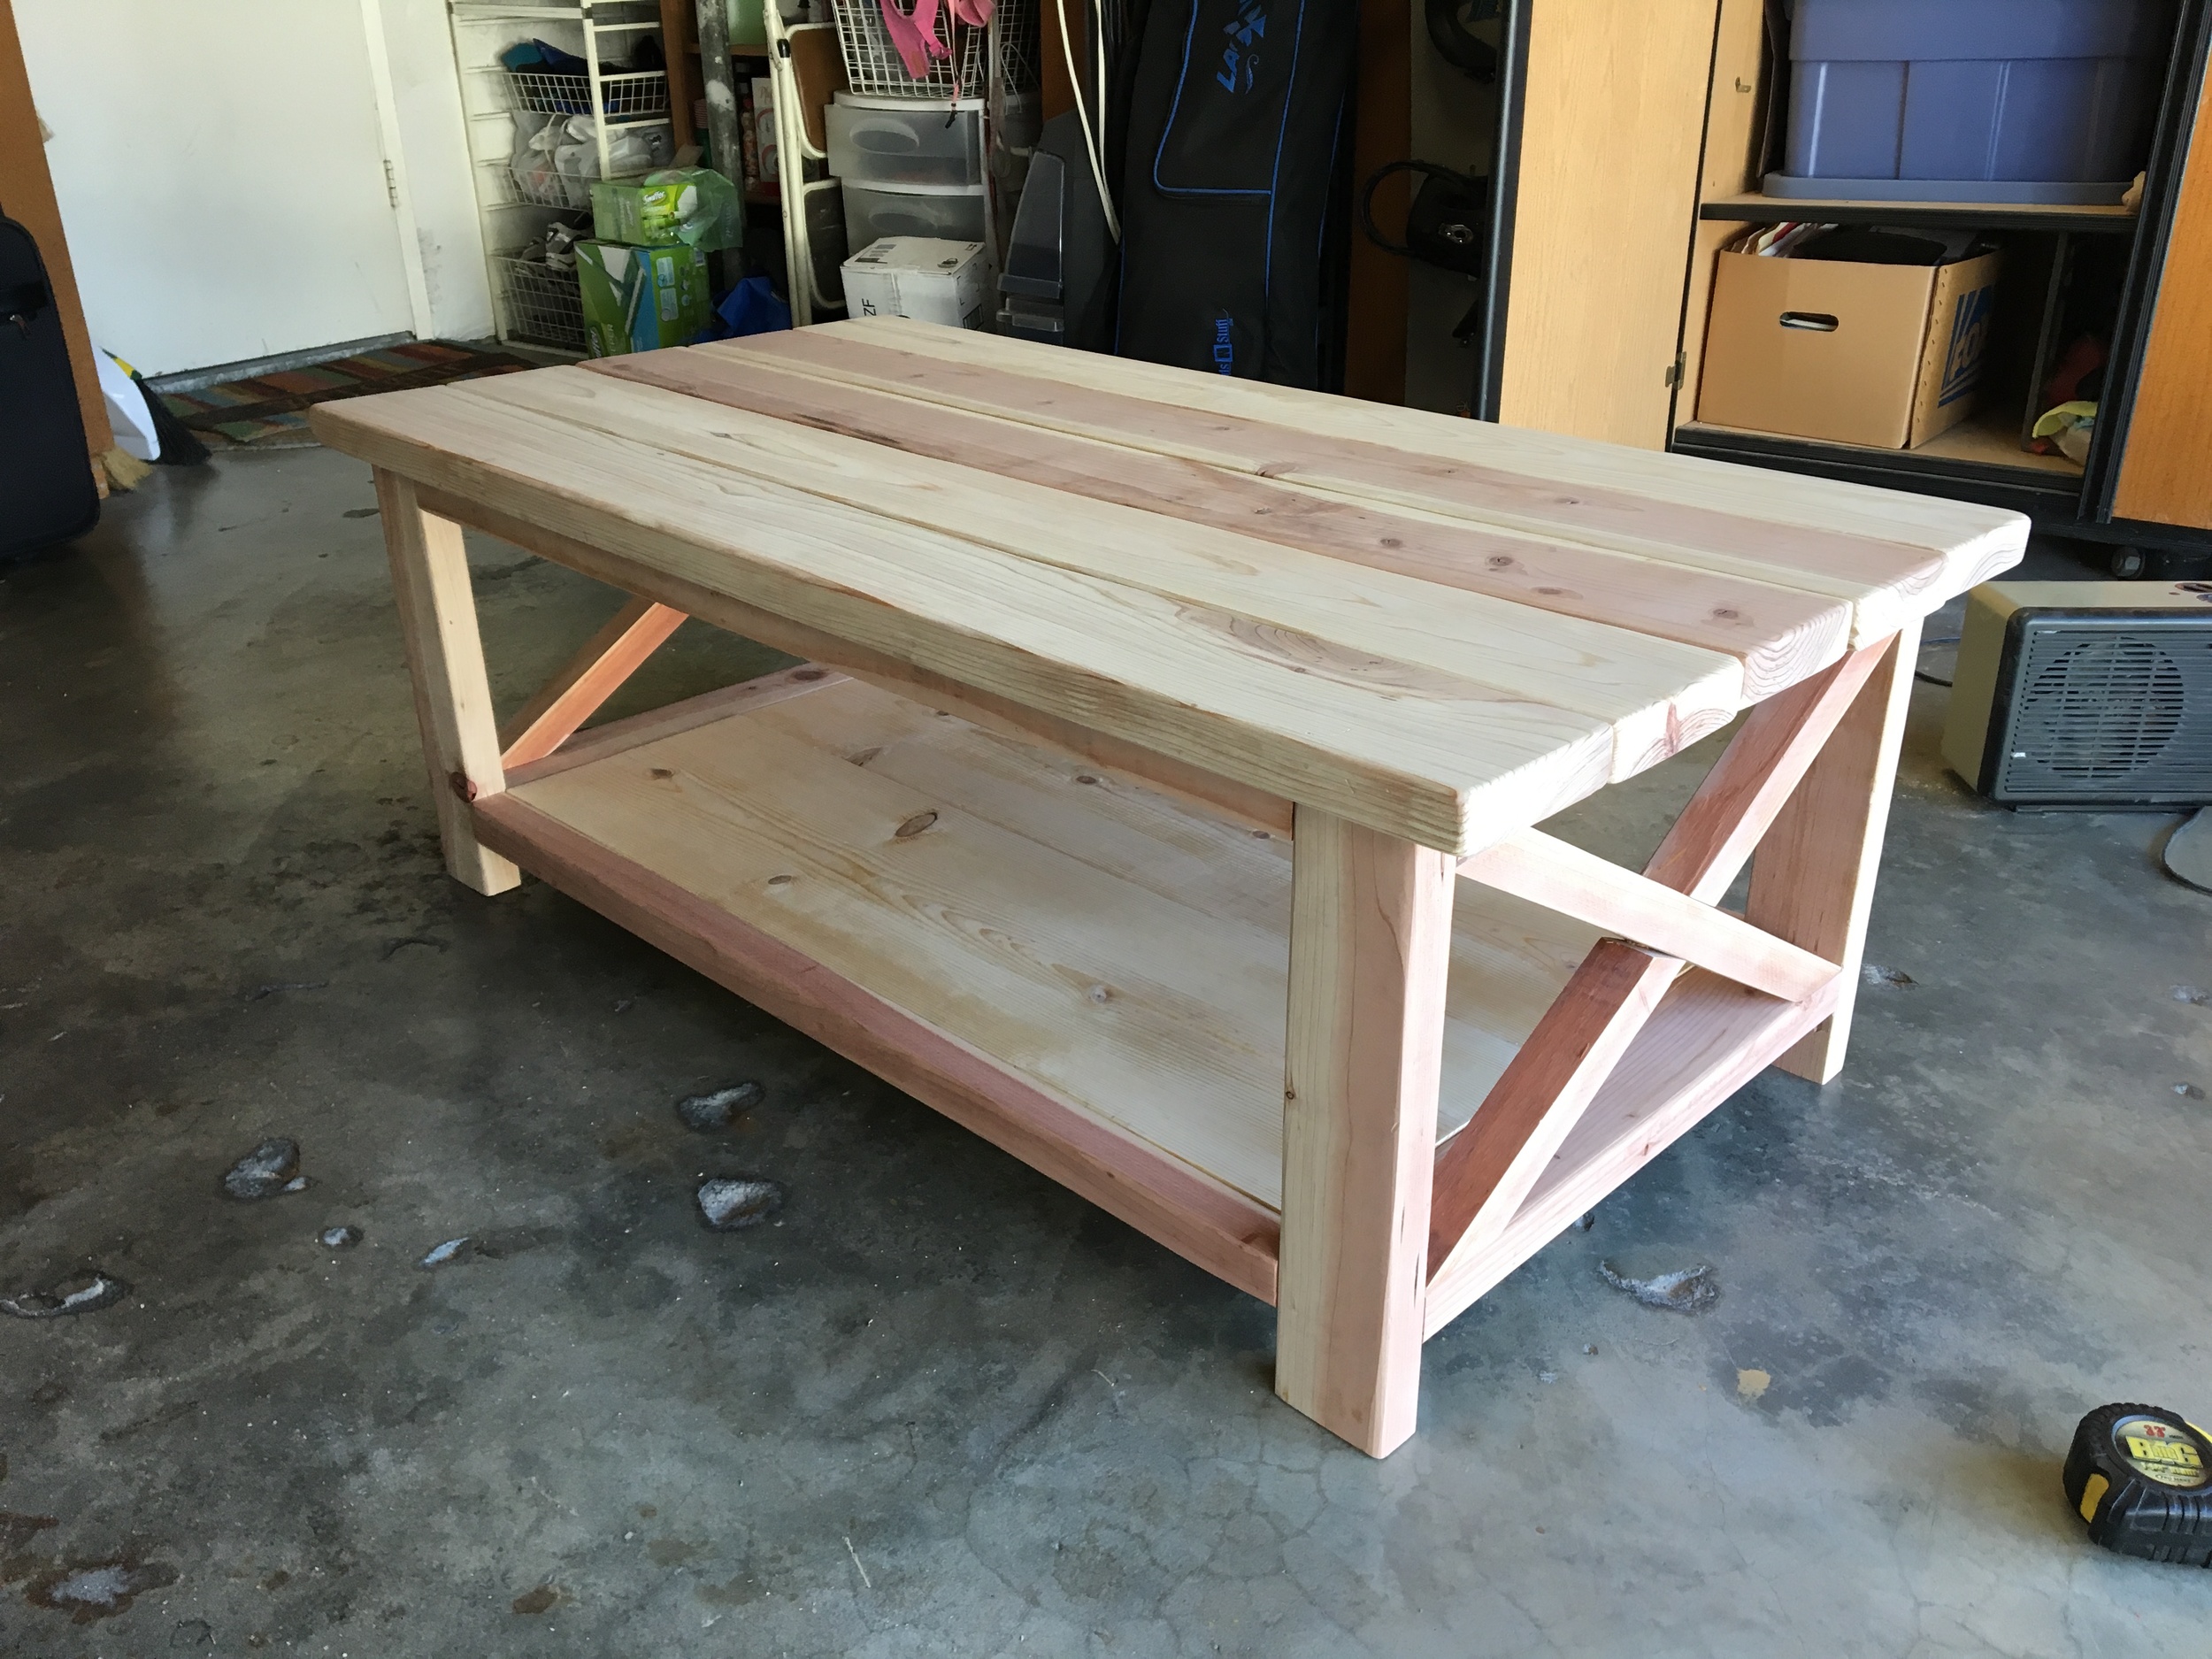
Then it was on to the final assembly! Came together real well. I was super granular about measurements, so this wasn't necessarily a surprise, but always nice to see your attention to detail pay off.
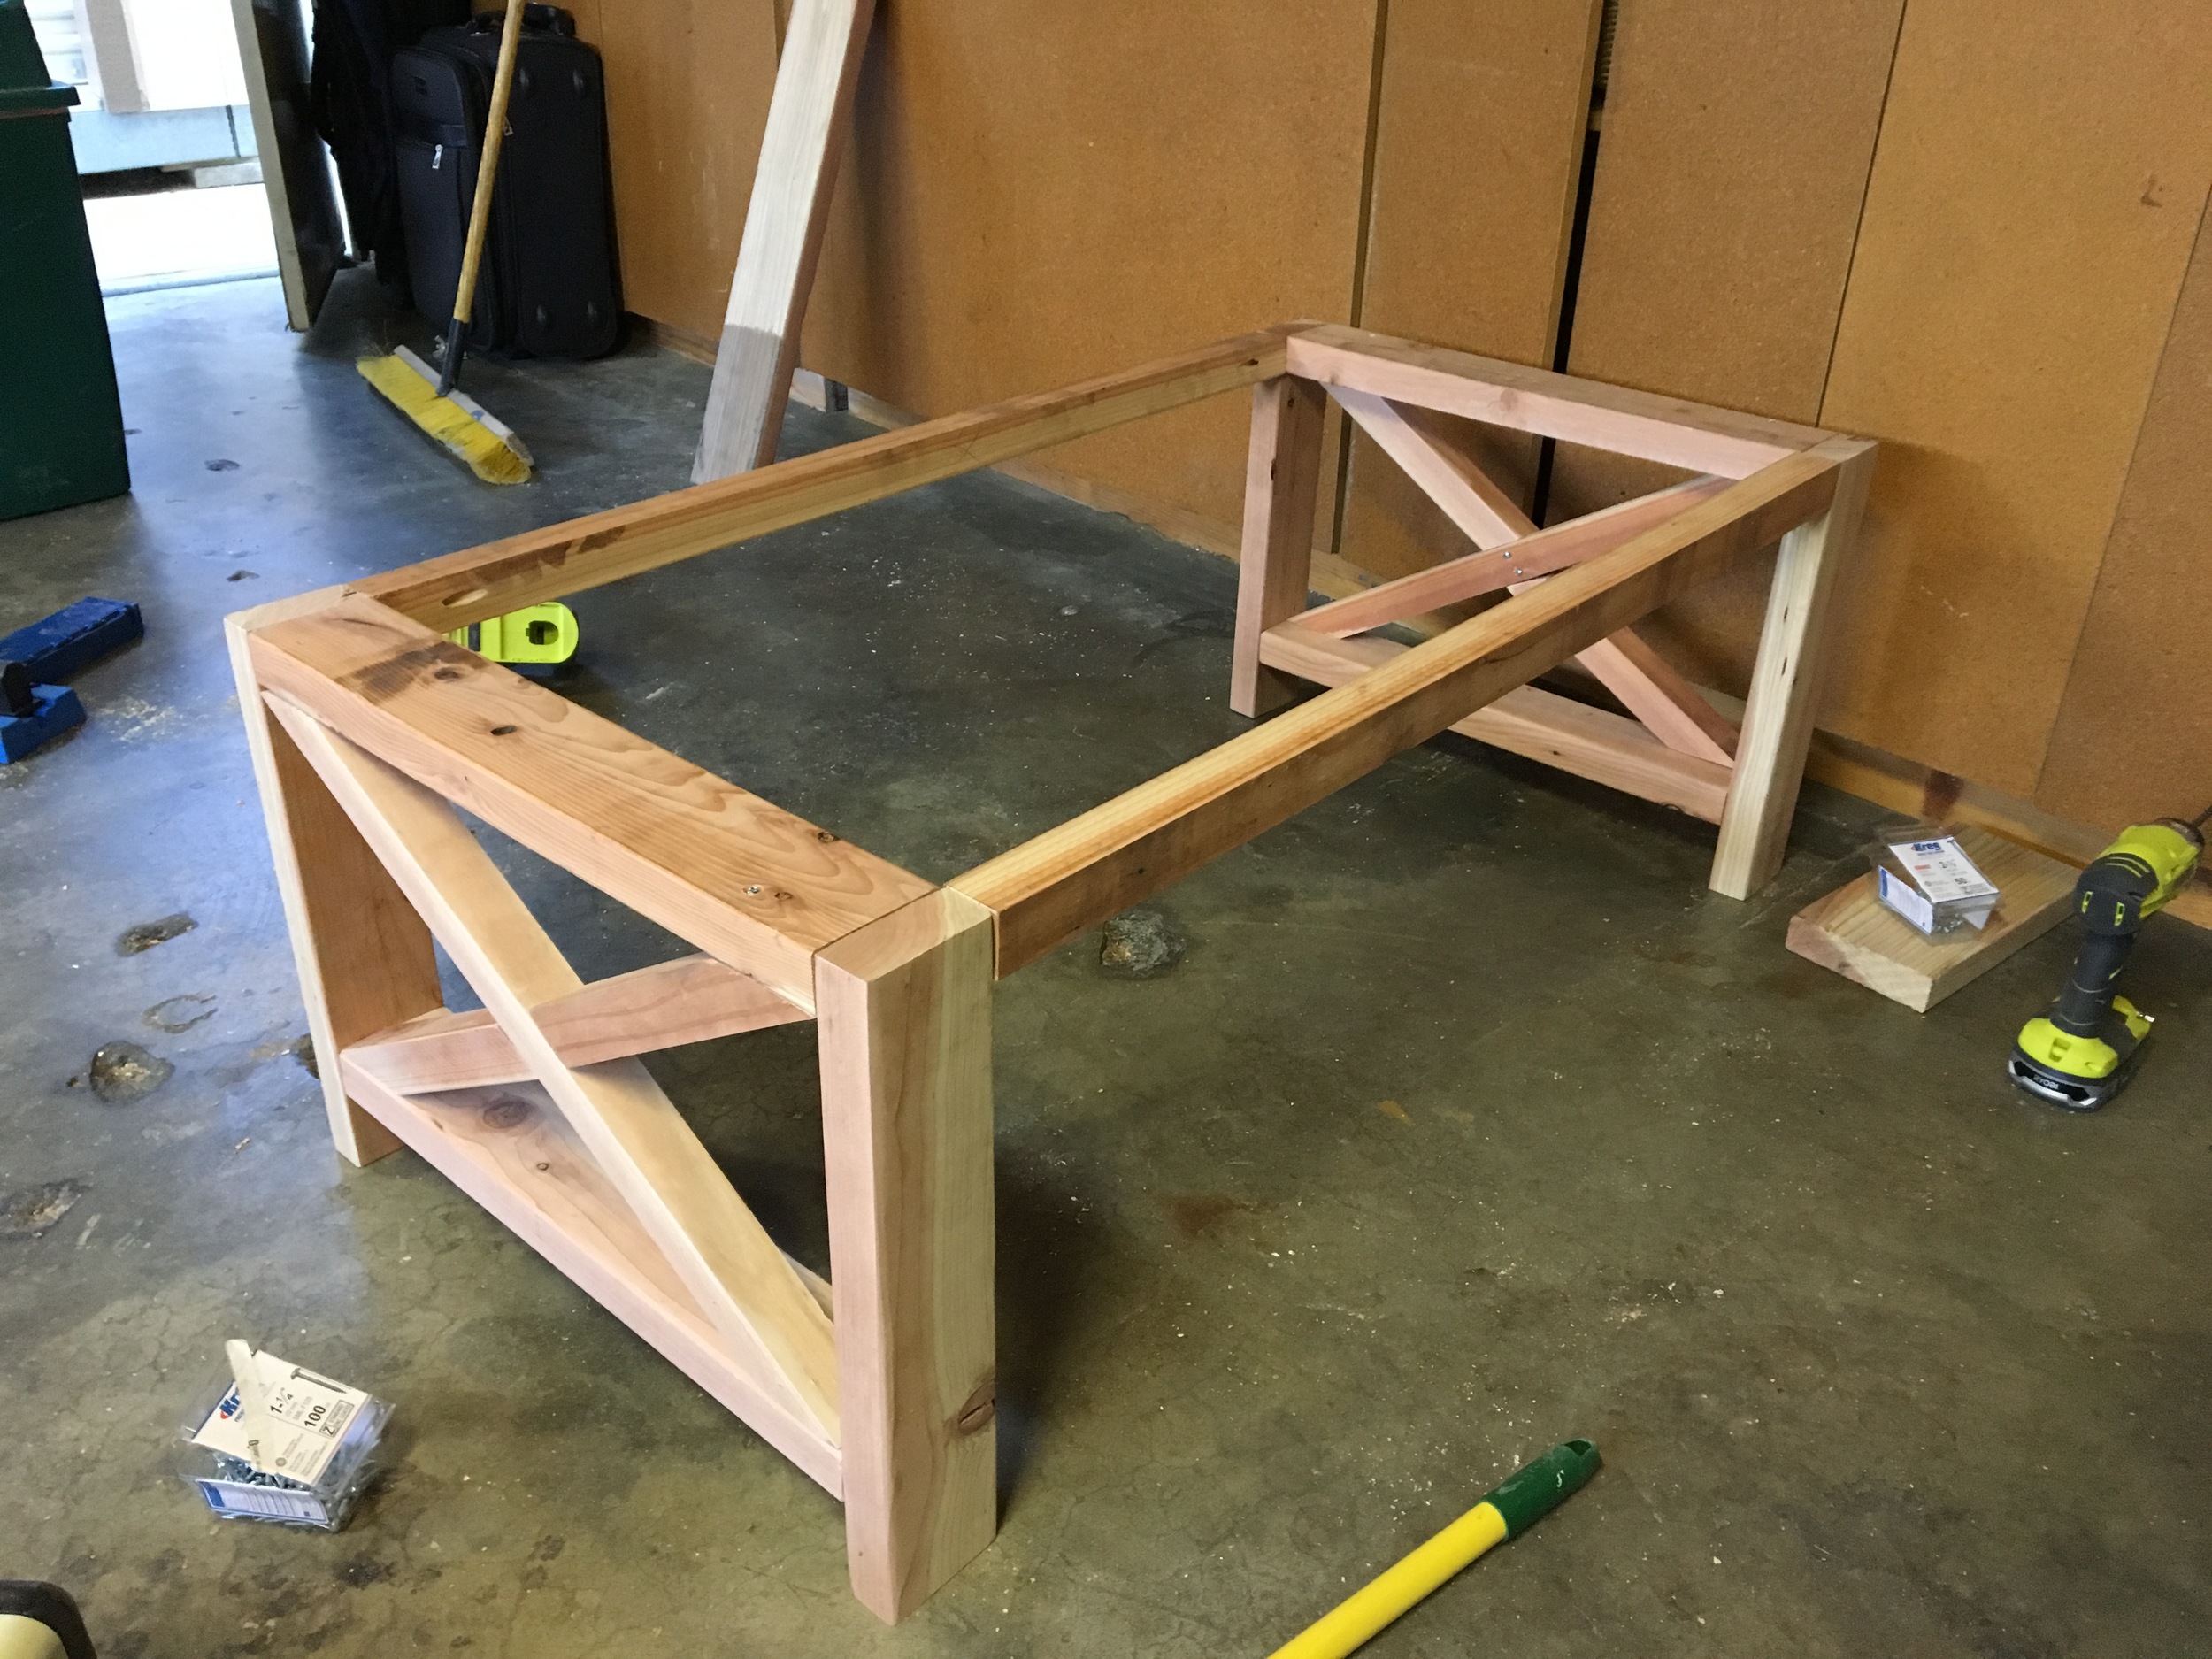
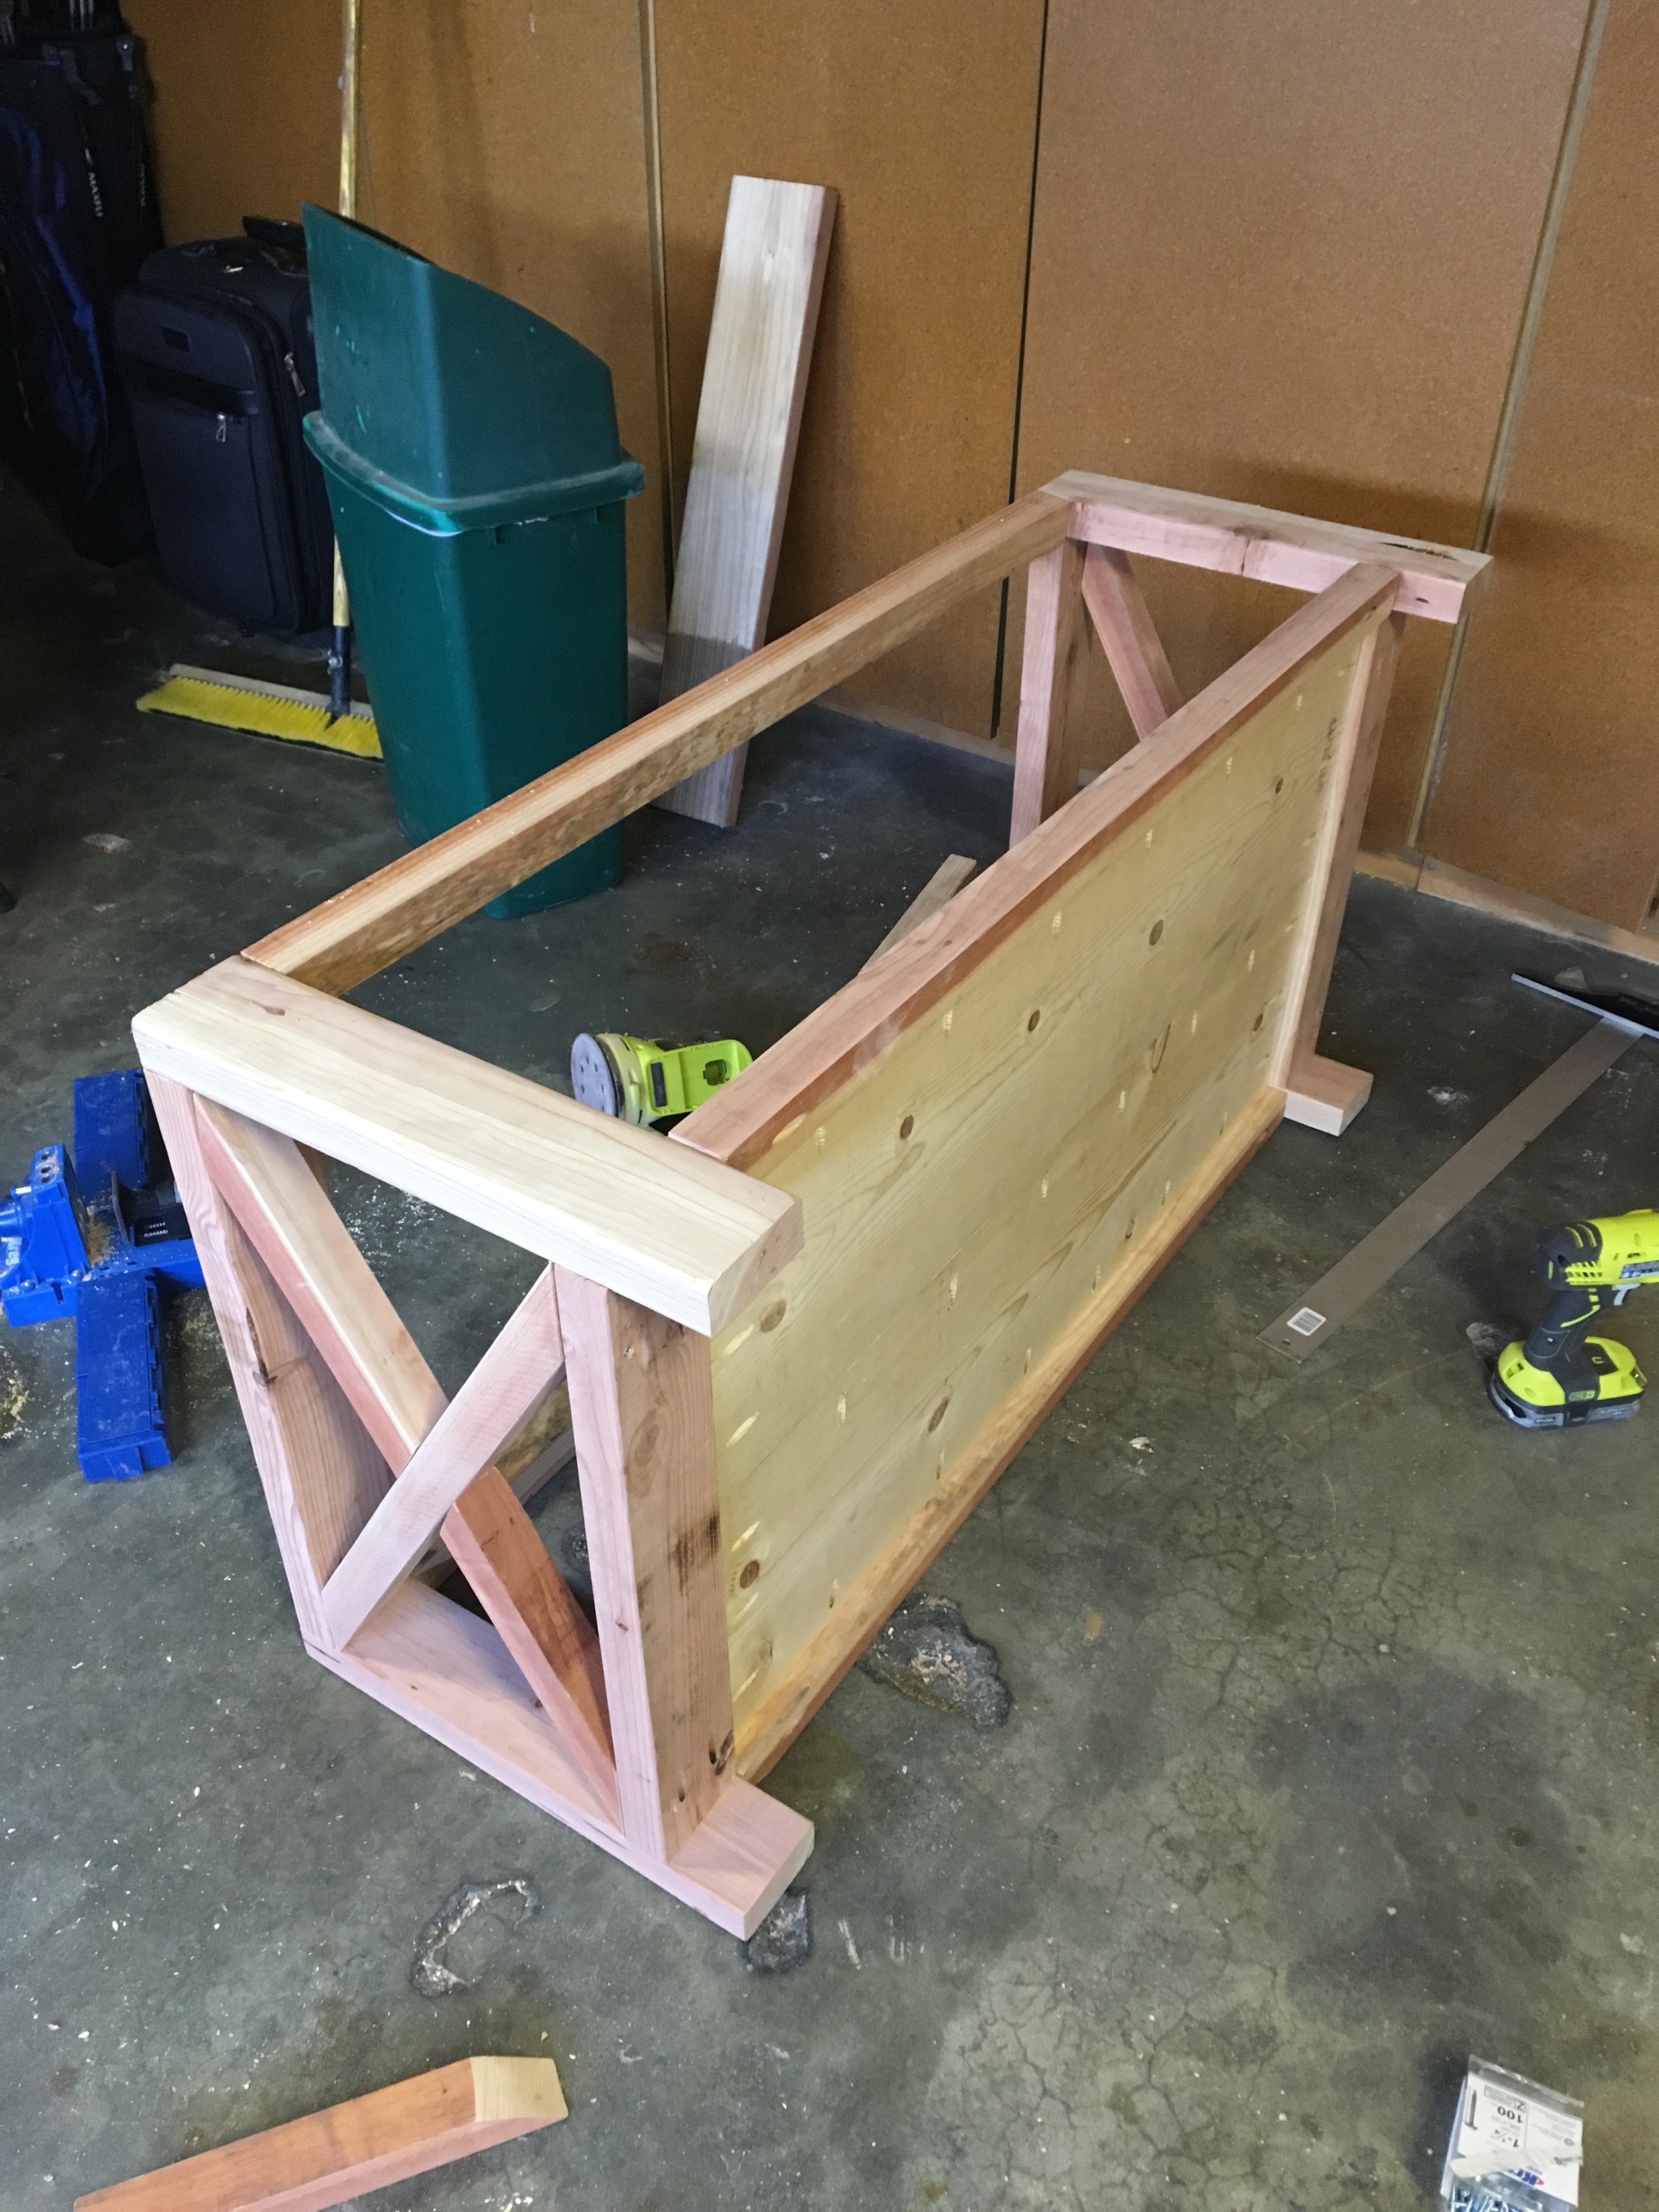
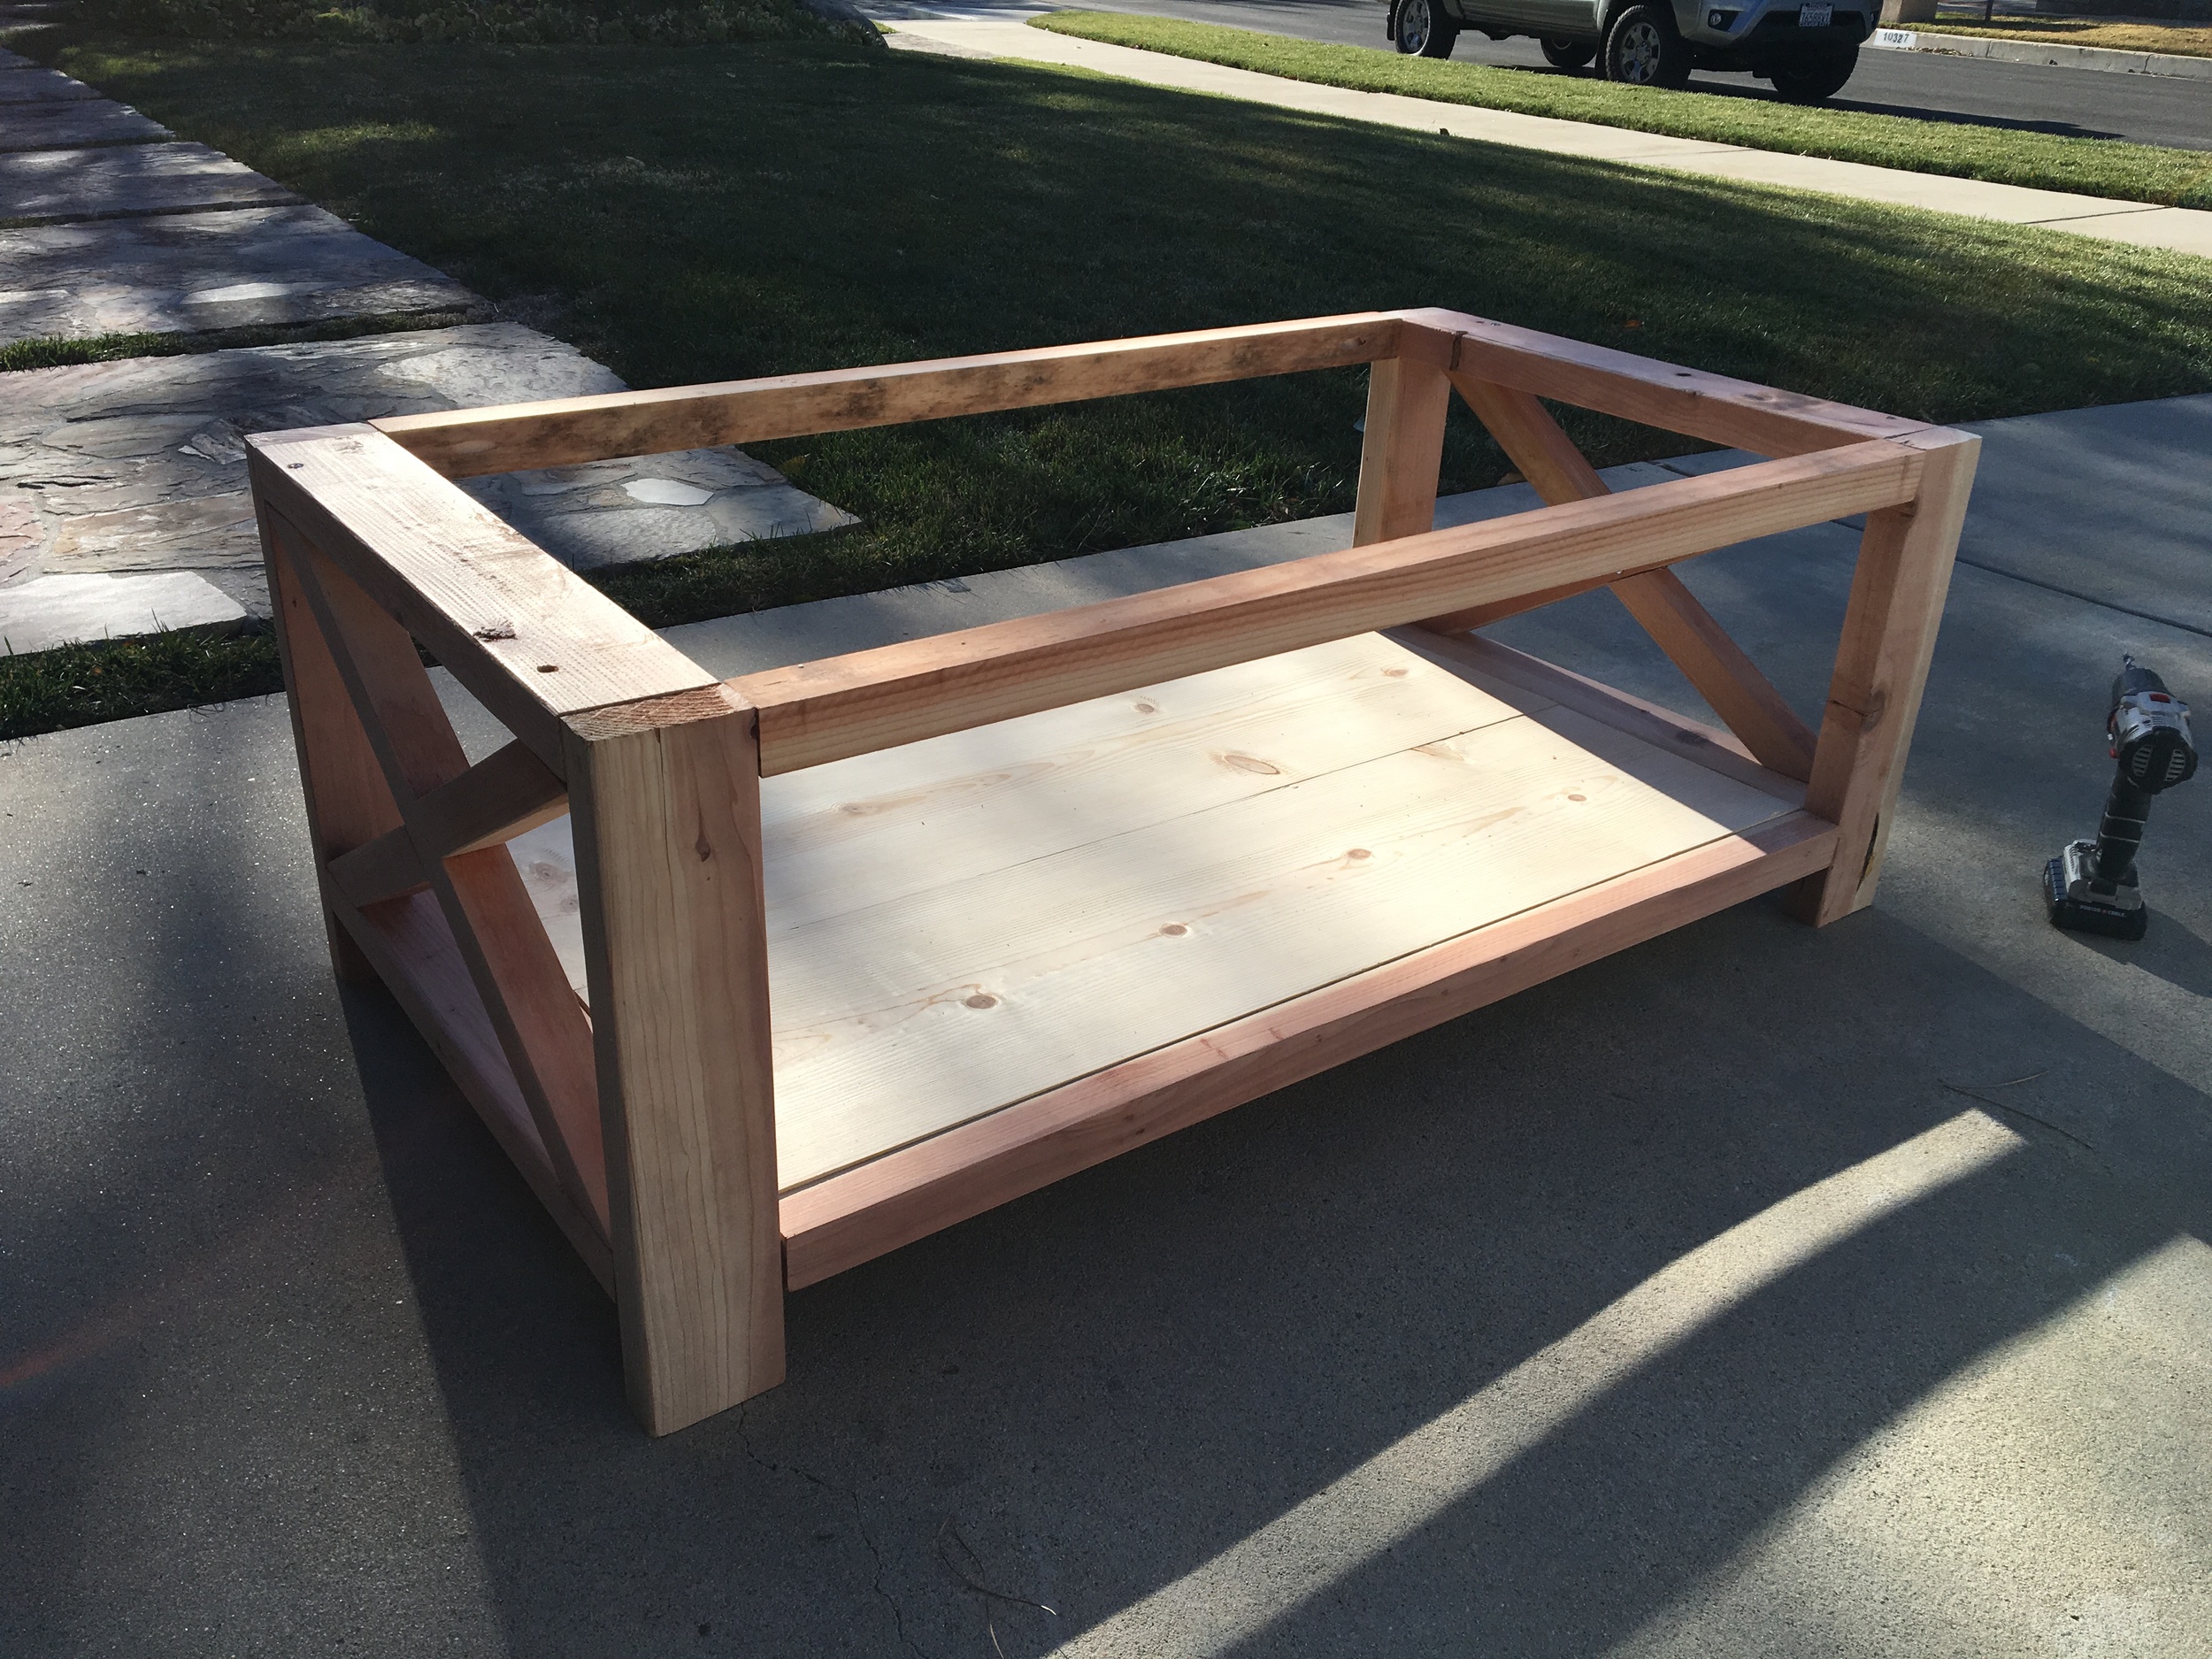
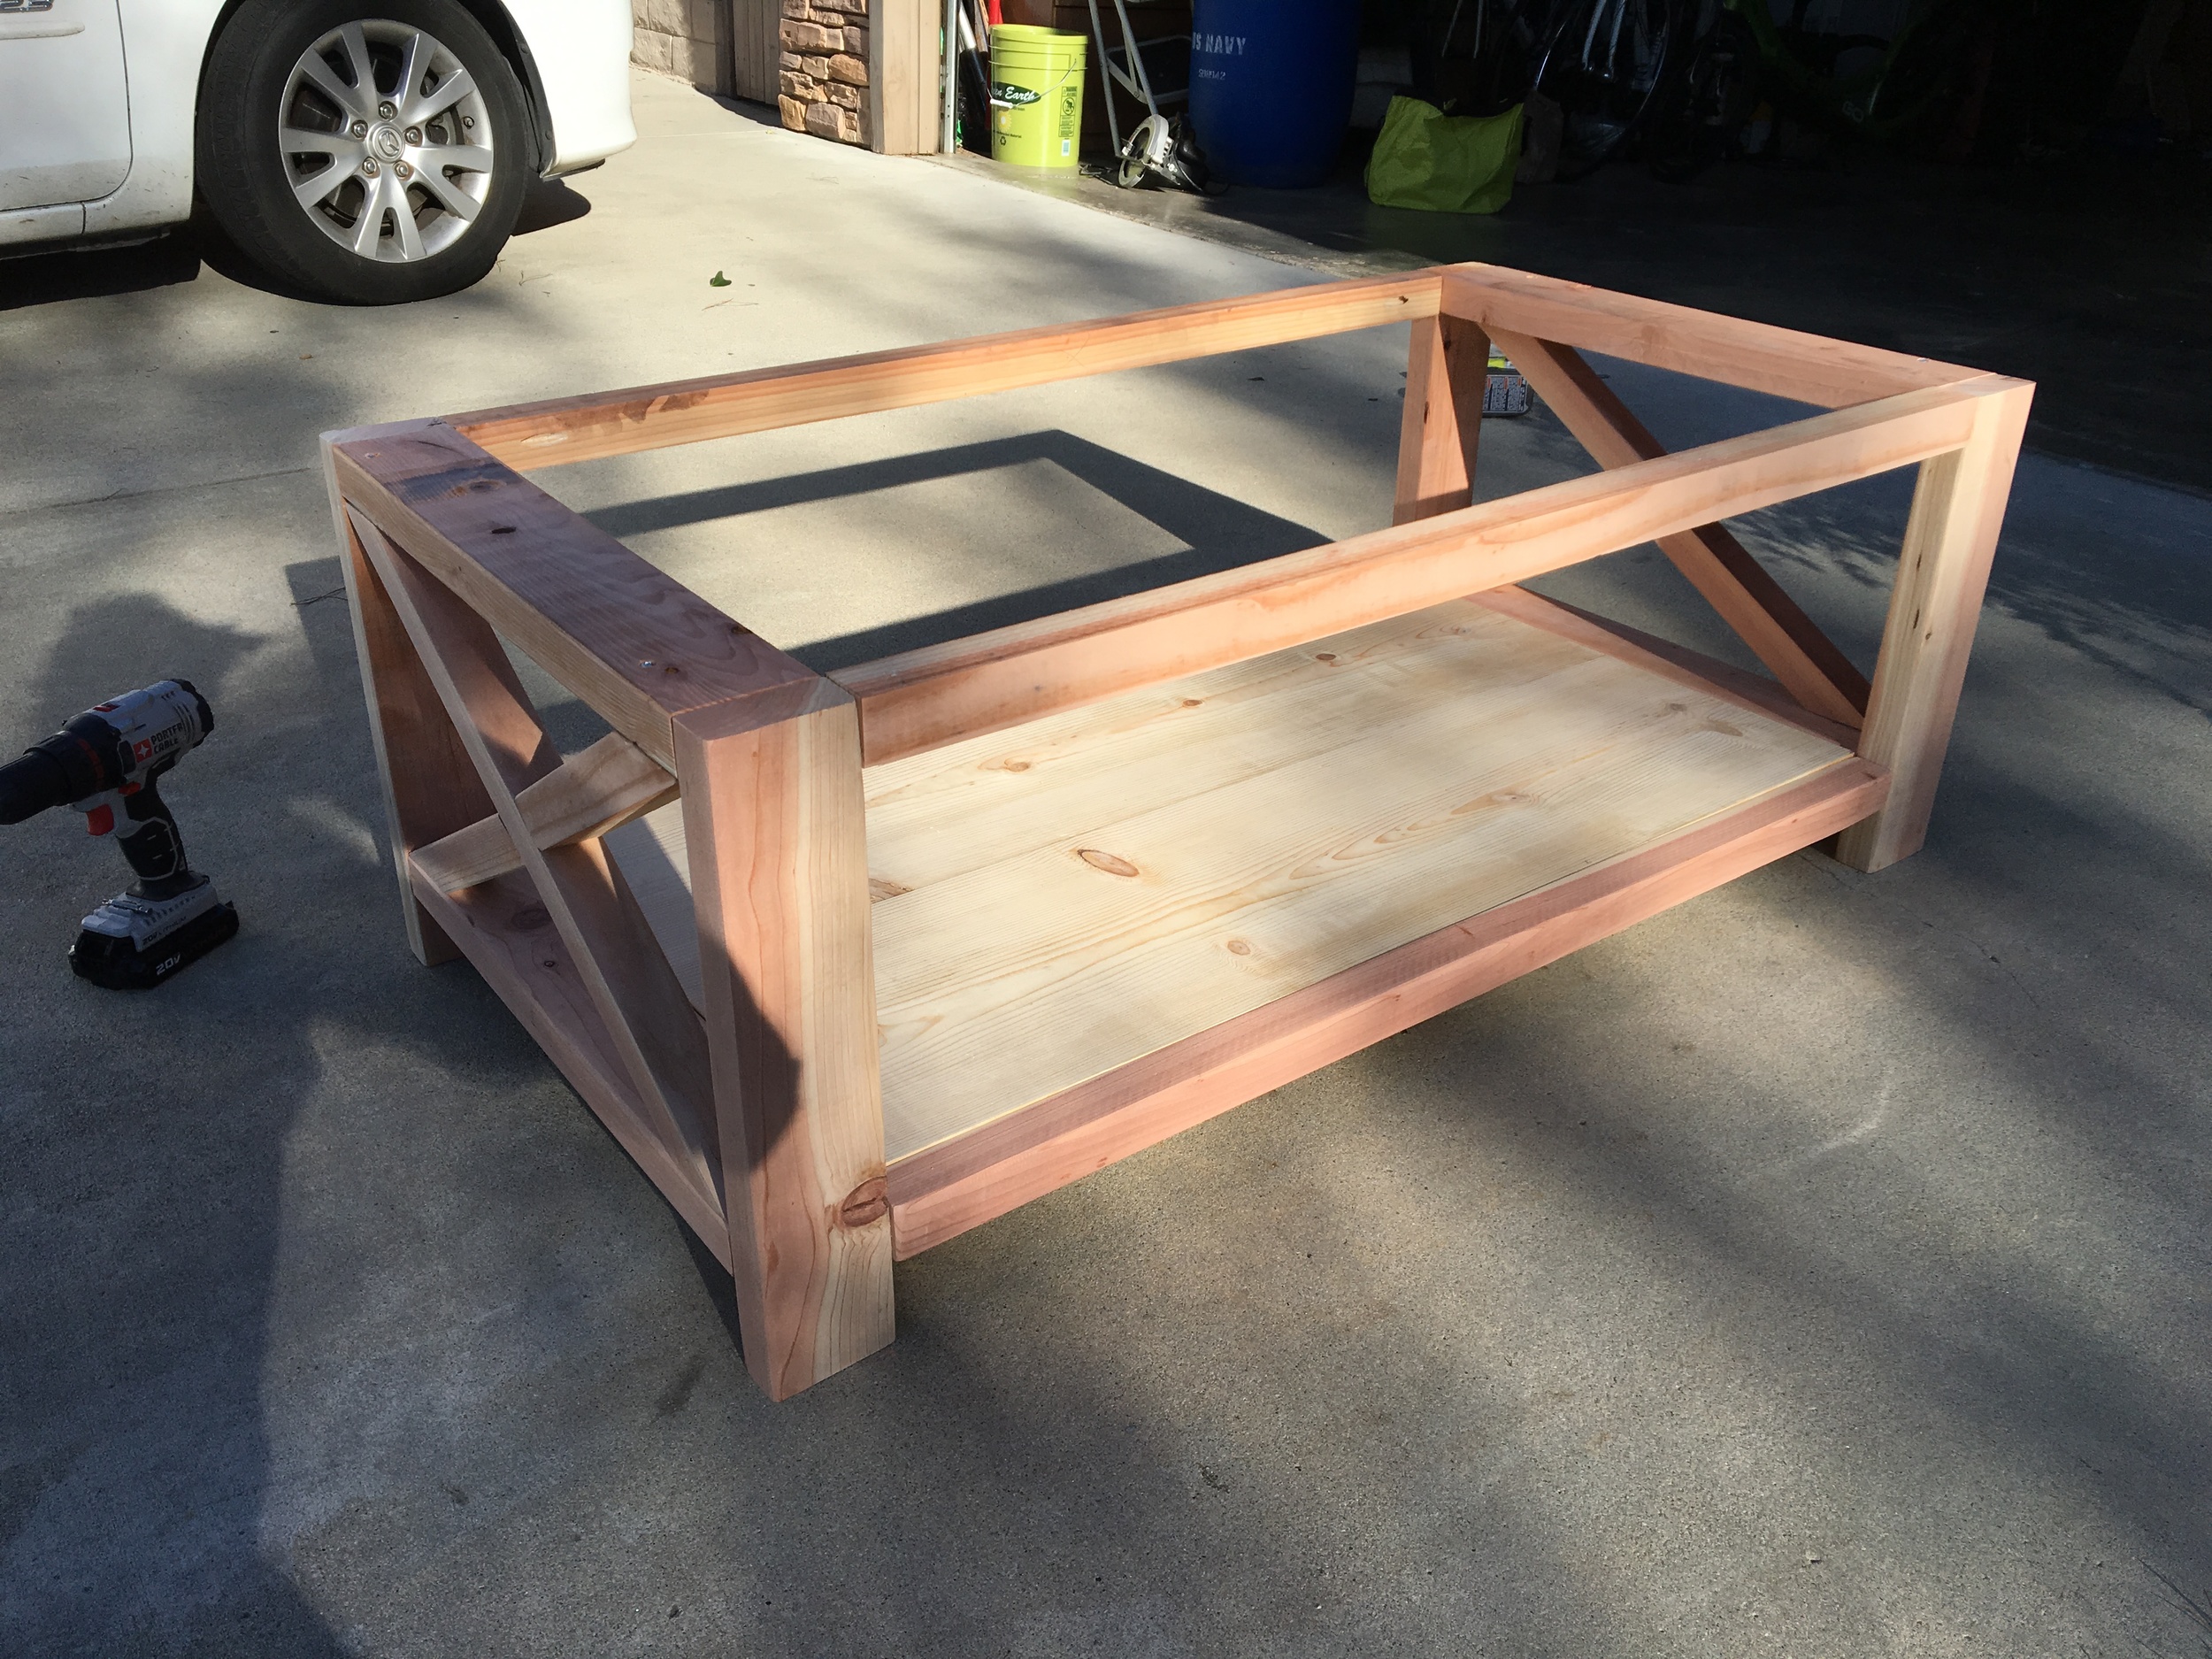
Assembled!
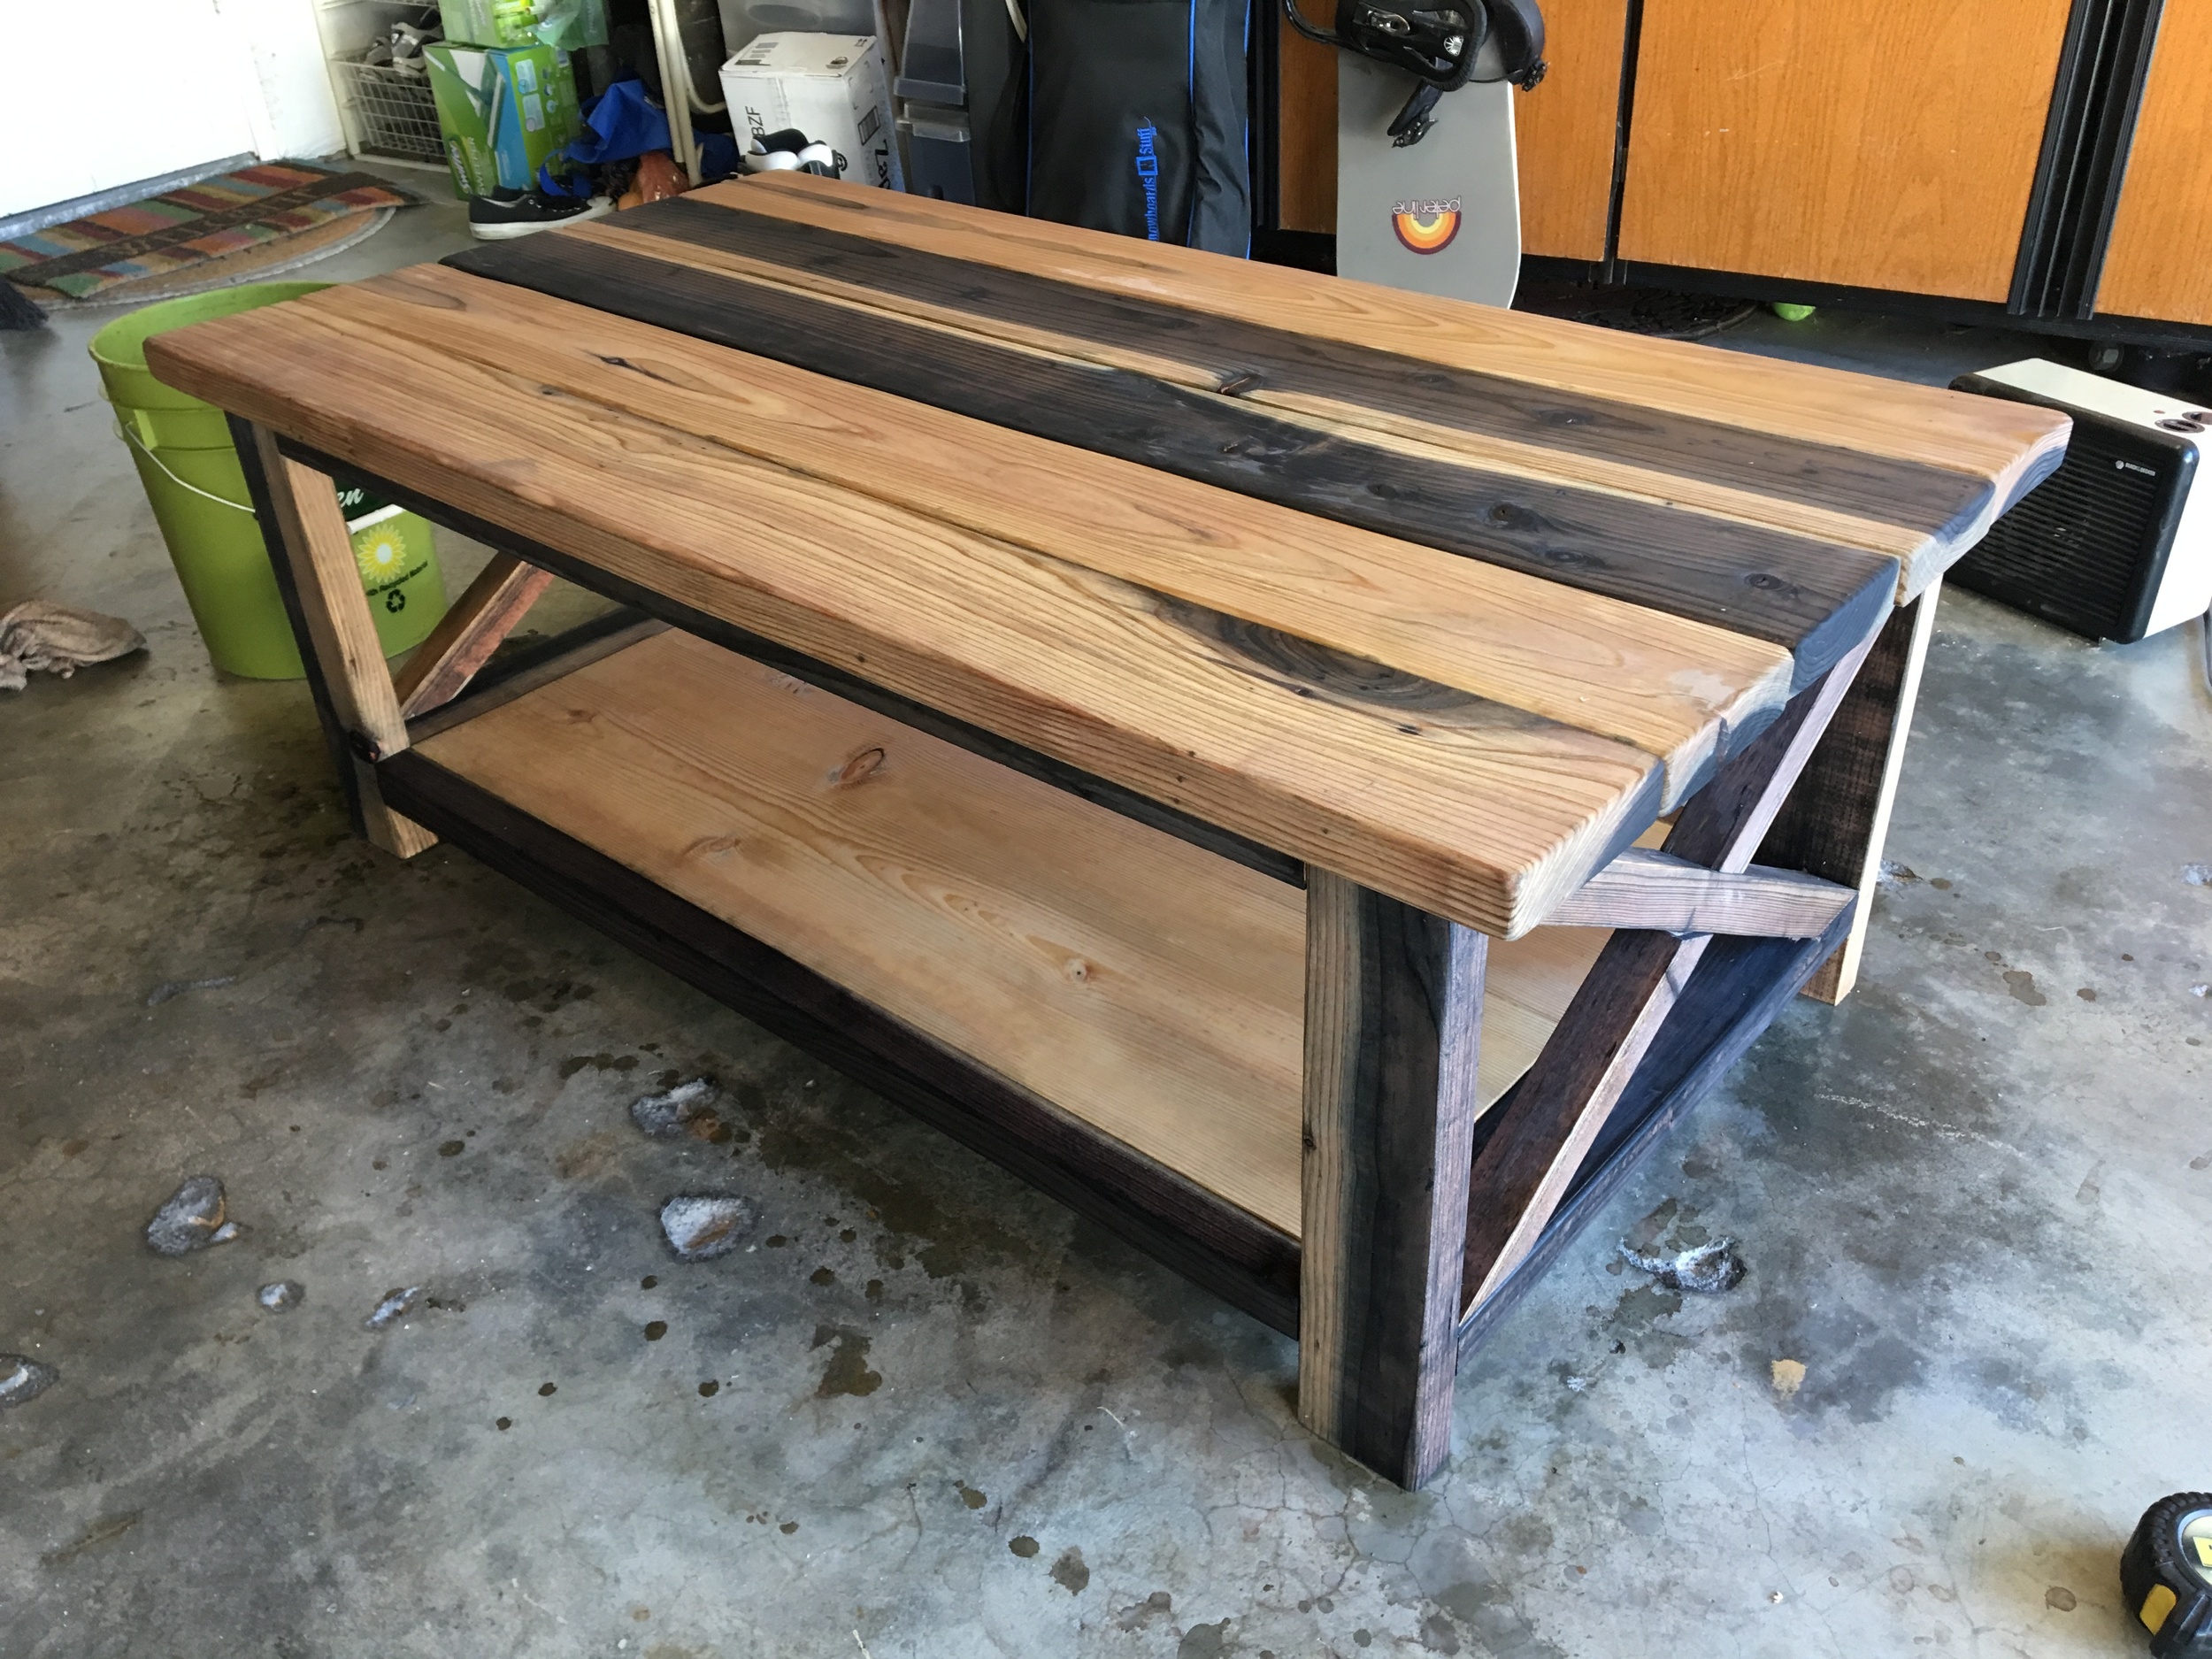
Now it was time to apply the oxidized solution. I did two coats of it. Below is the result of how it changes the look and feel of the wood over the course of just a few minutes. The first image is when the solution is still drying, then the following two are dried and in different lighting. Amazing how it turns the darker part of the redwood nearly black. I actually really dug it.

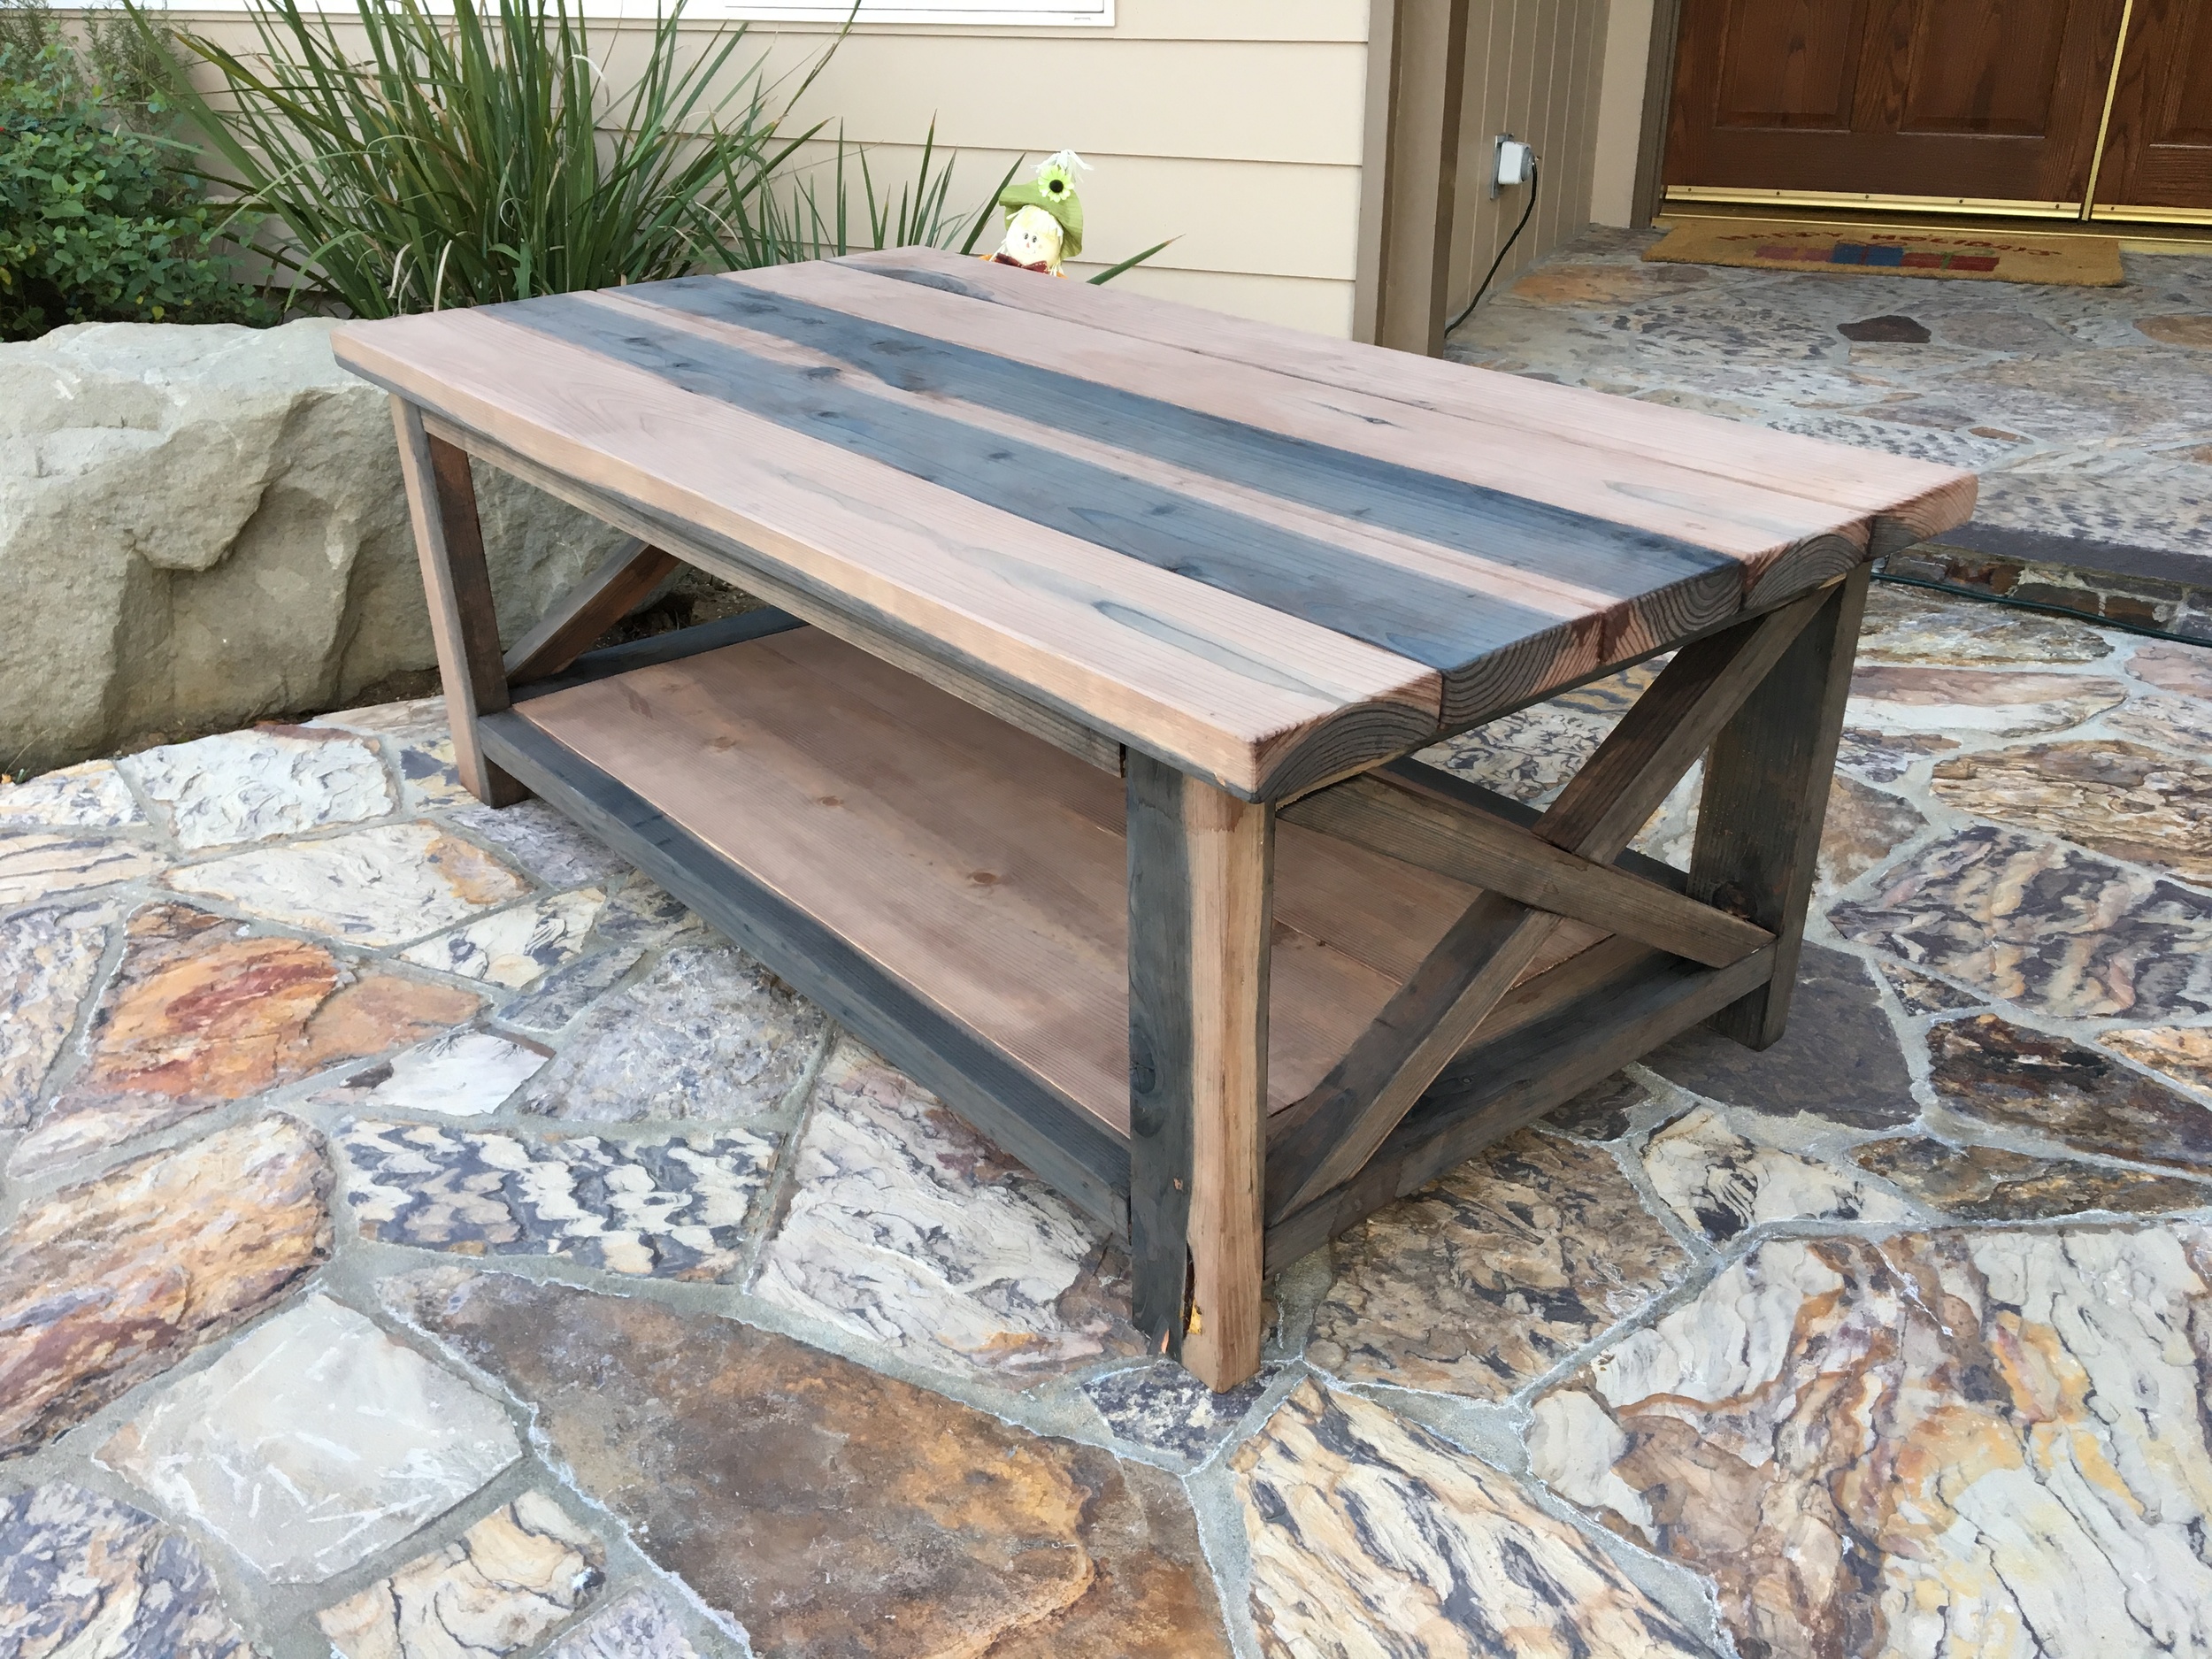
To be honest, I wish there was a way I could have just stopped here. Instead, I chose to use a satin polyurethane, and it took away a bit of the rustic look I was going for.
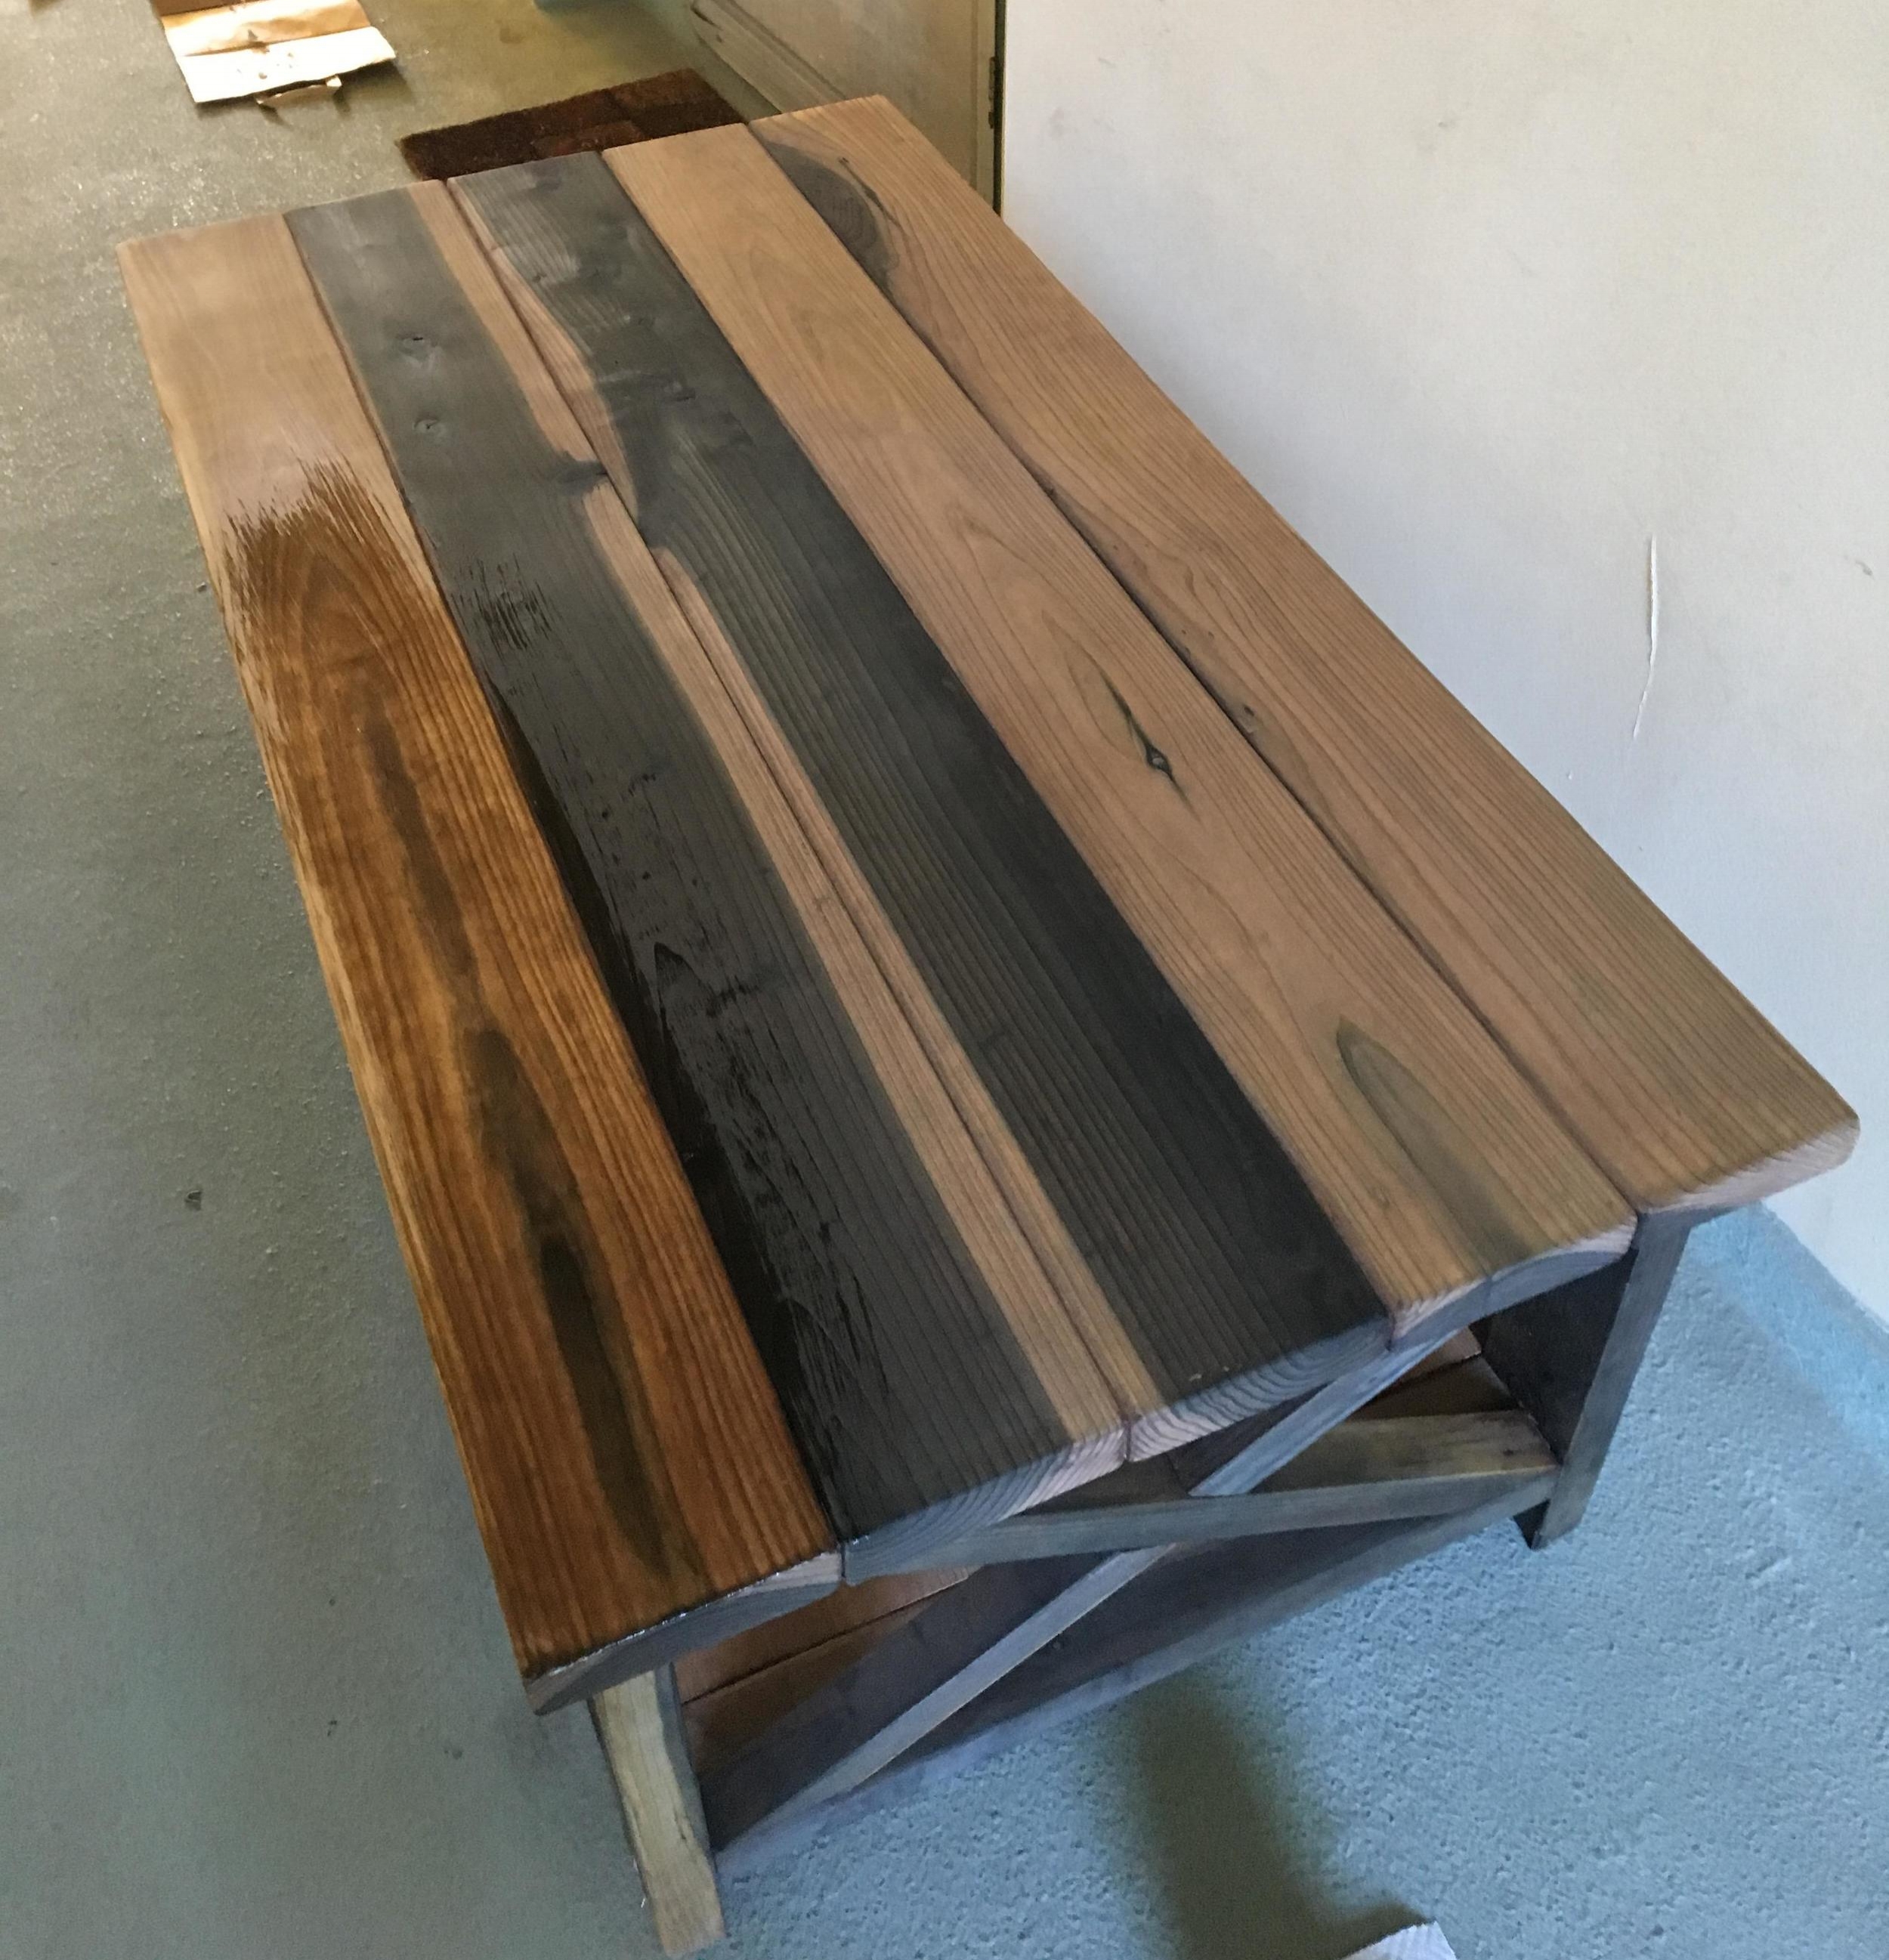
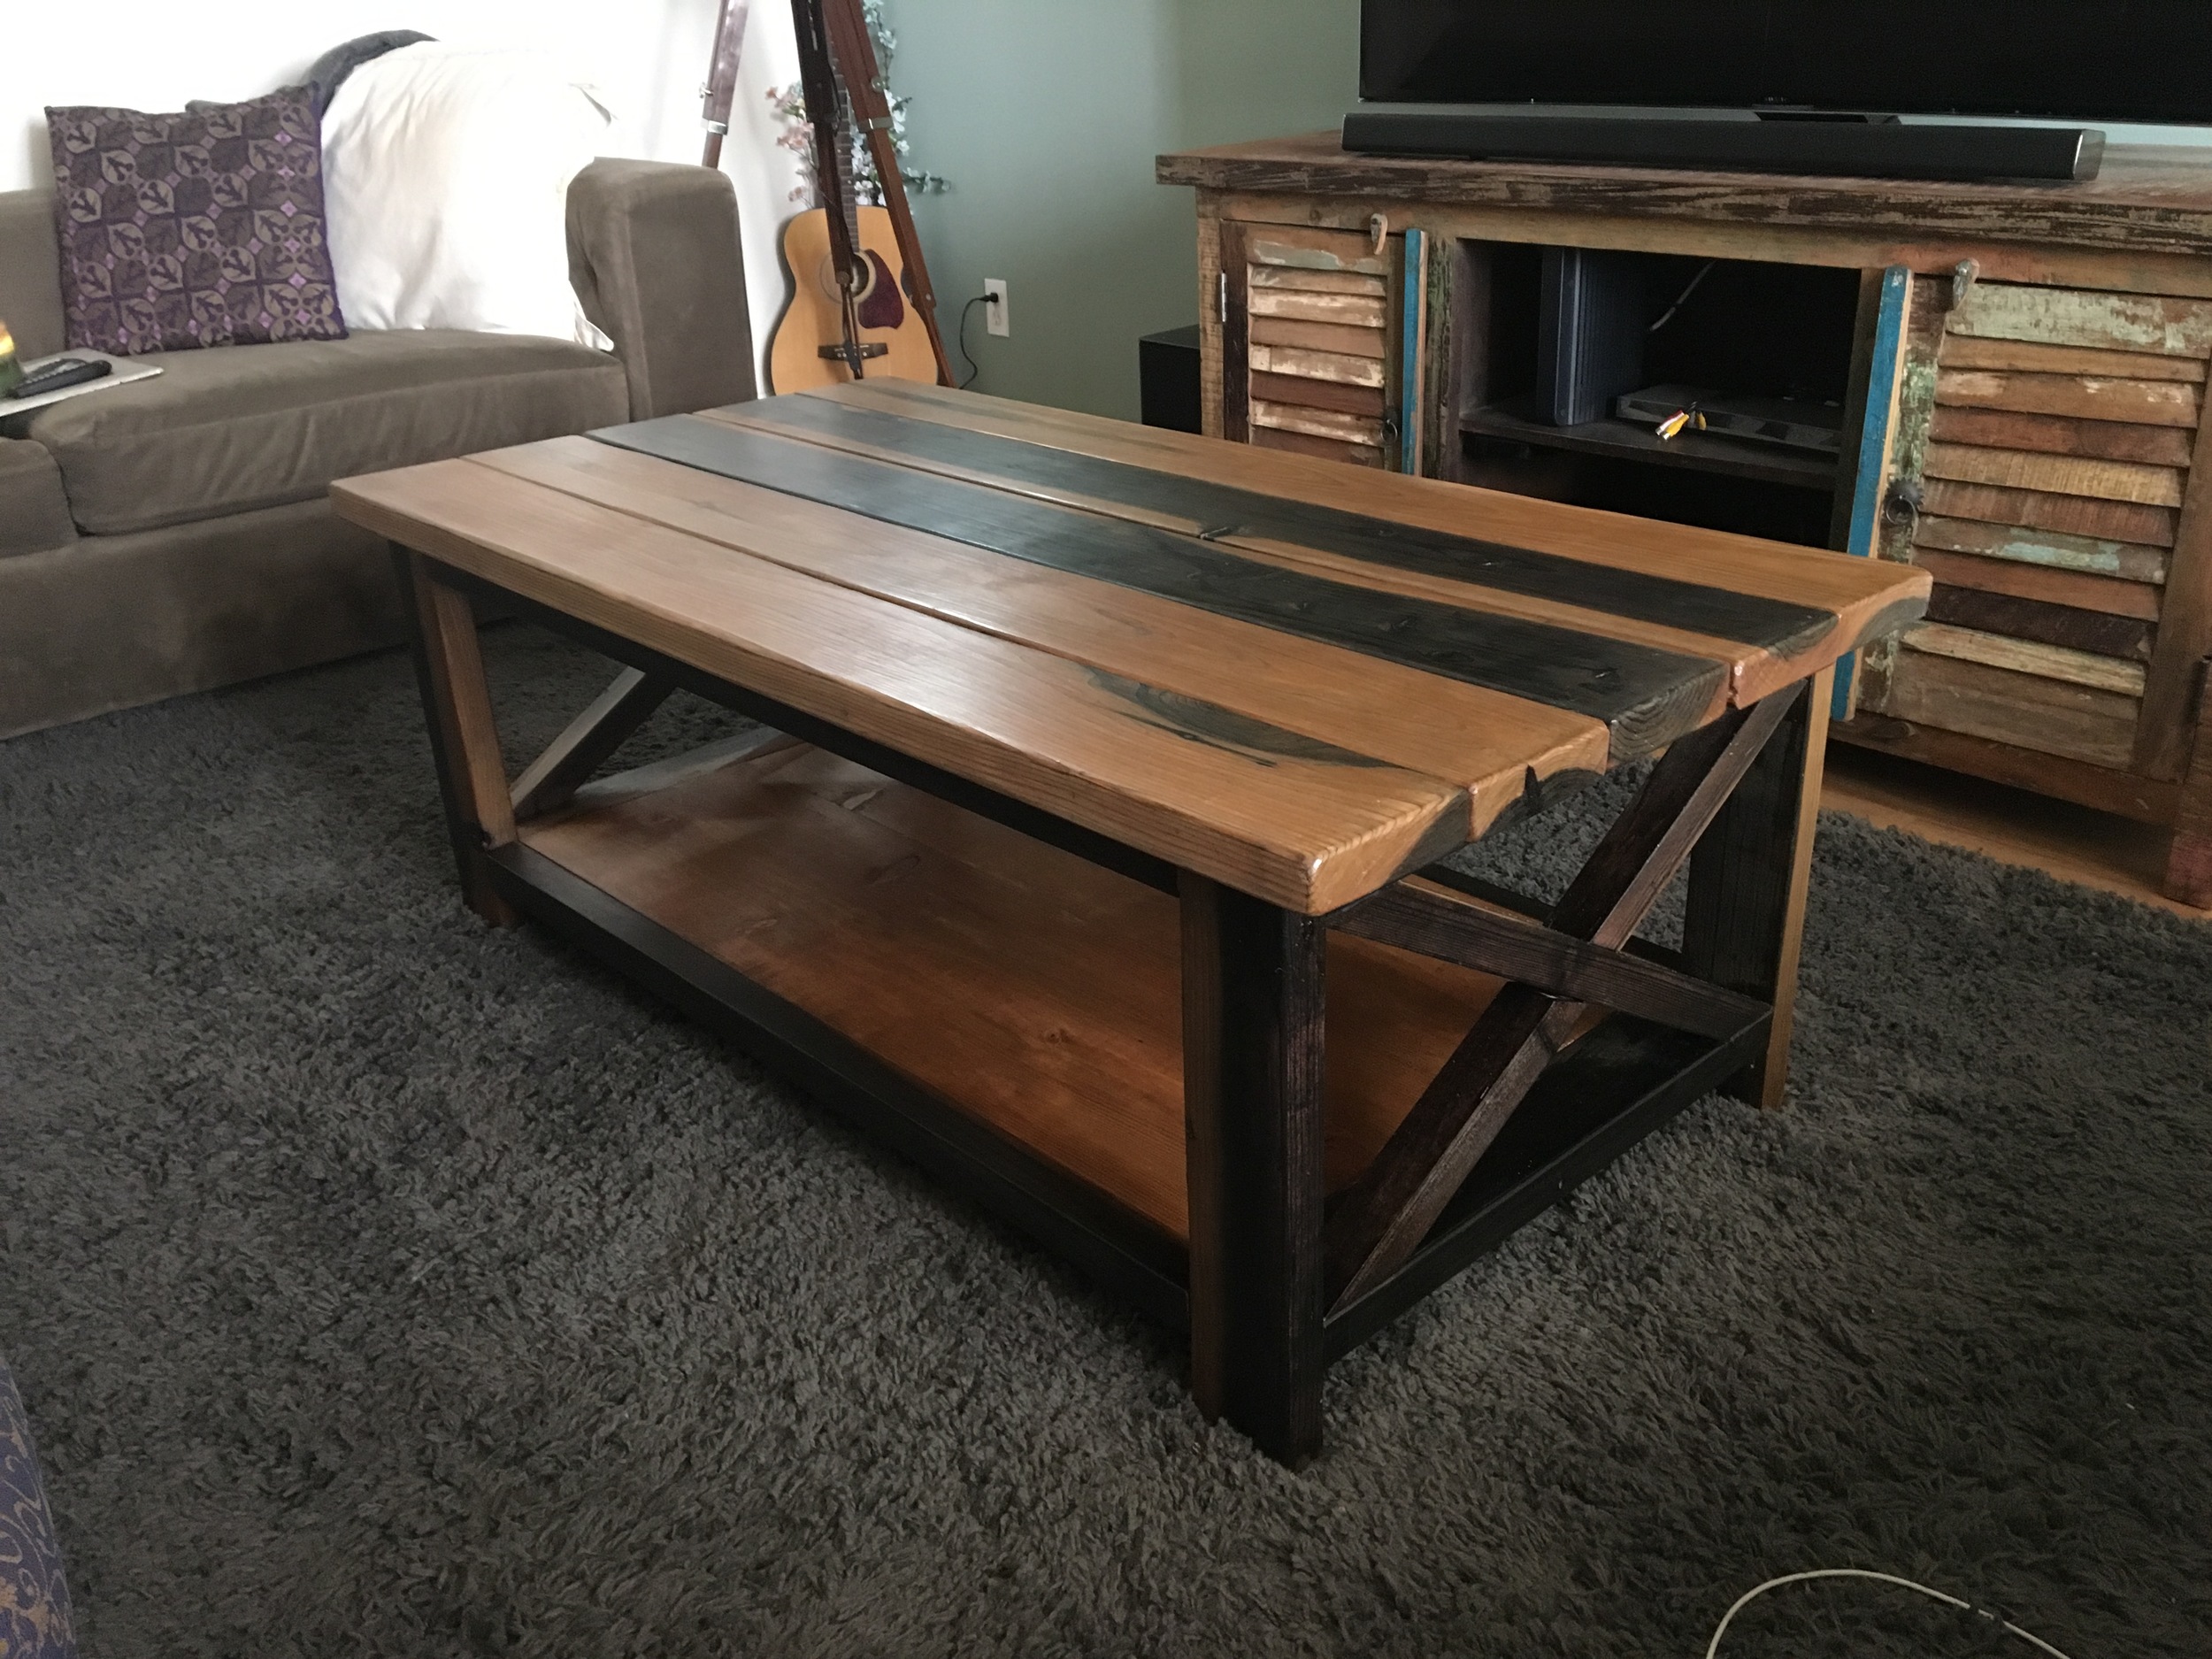
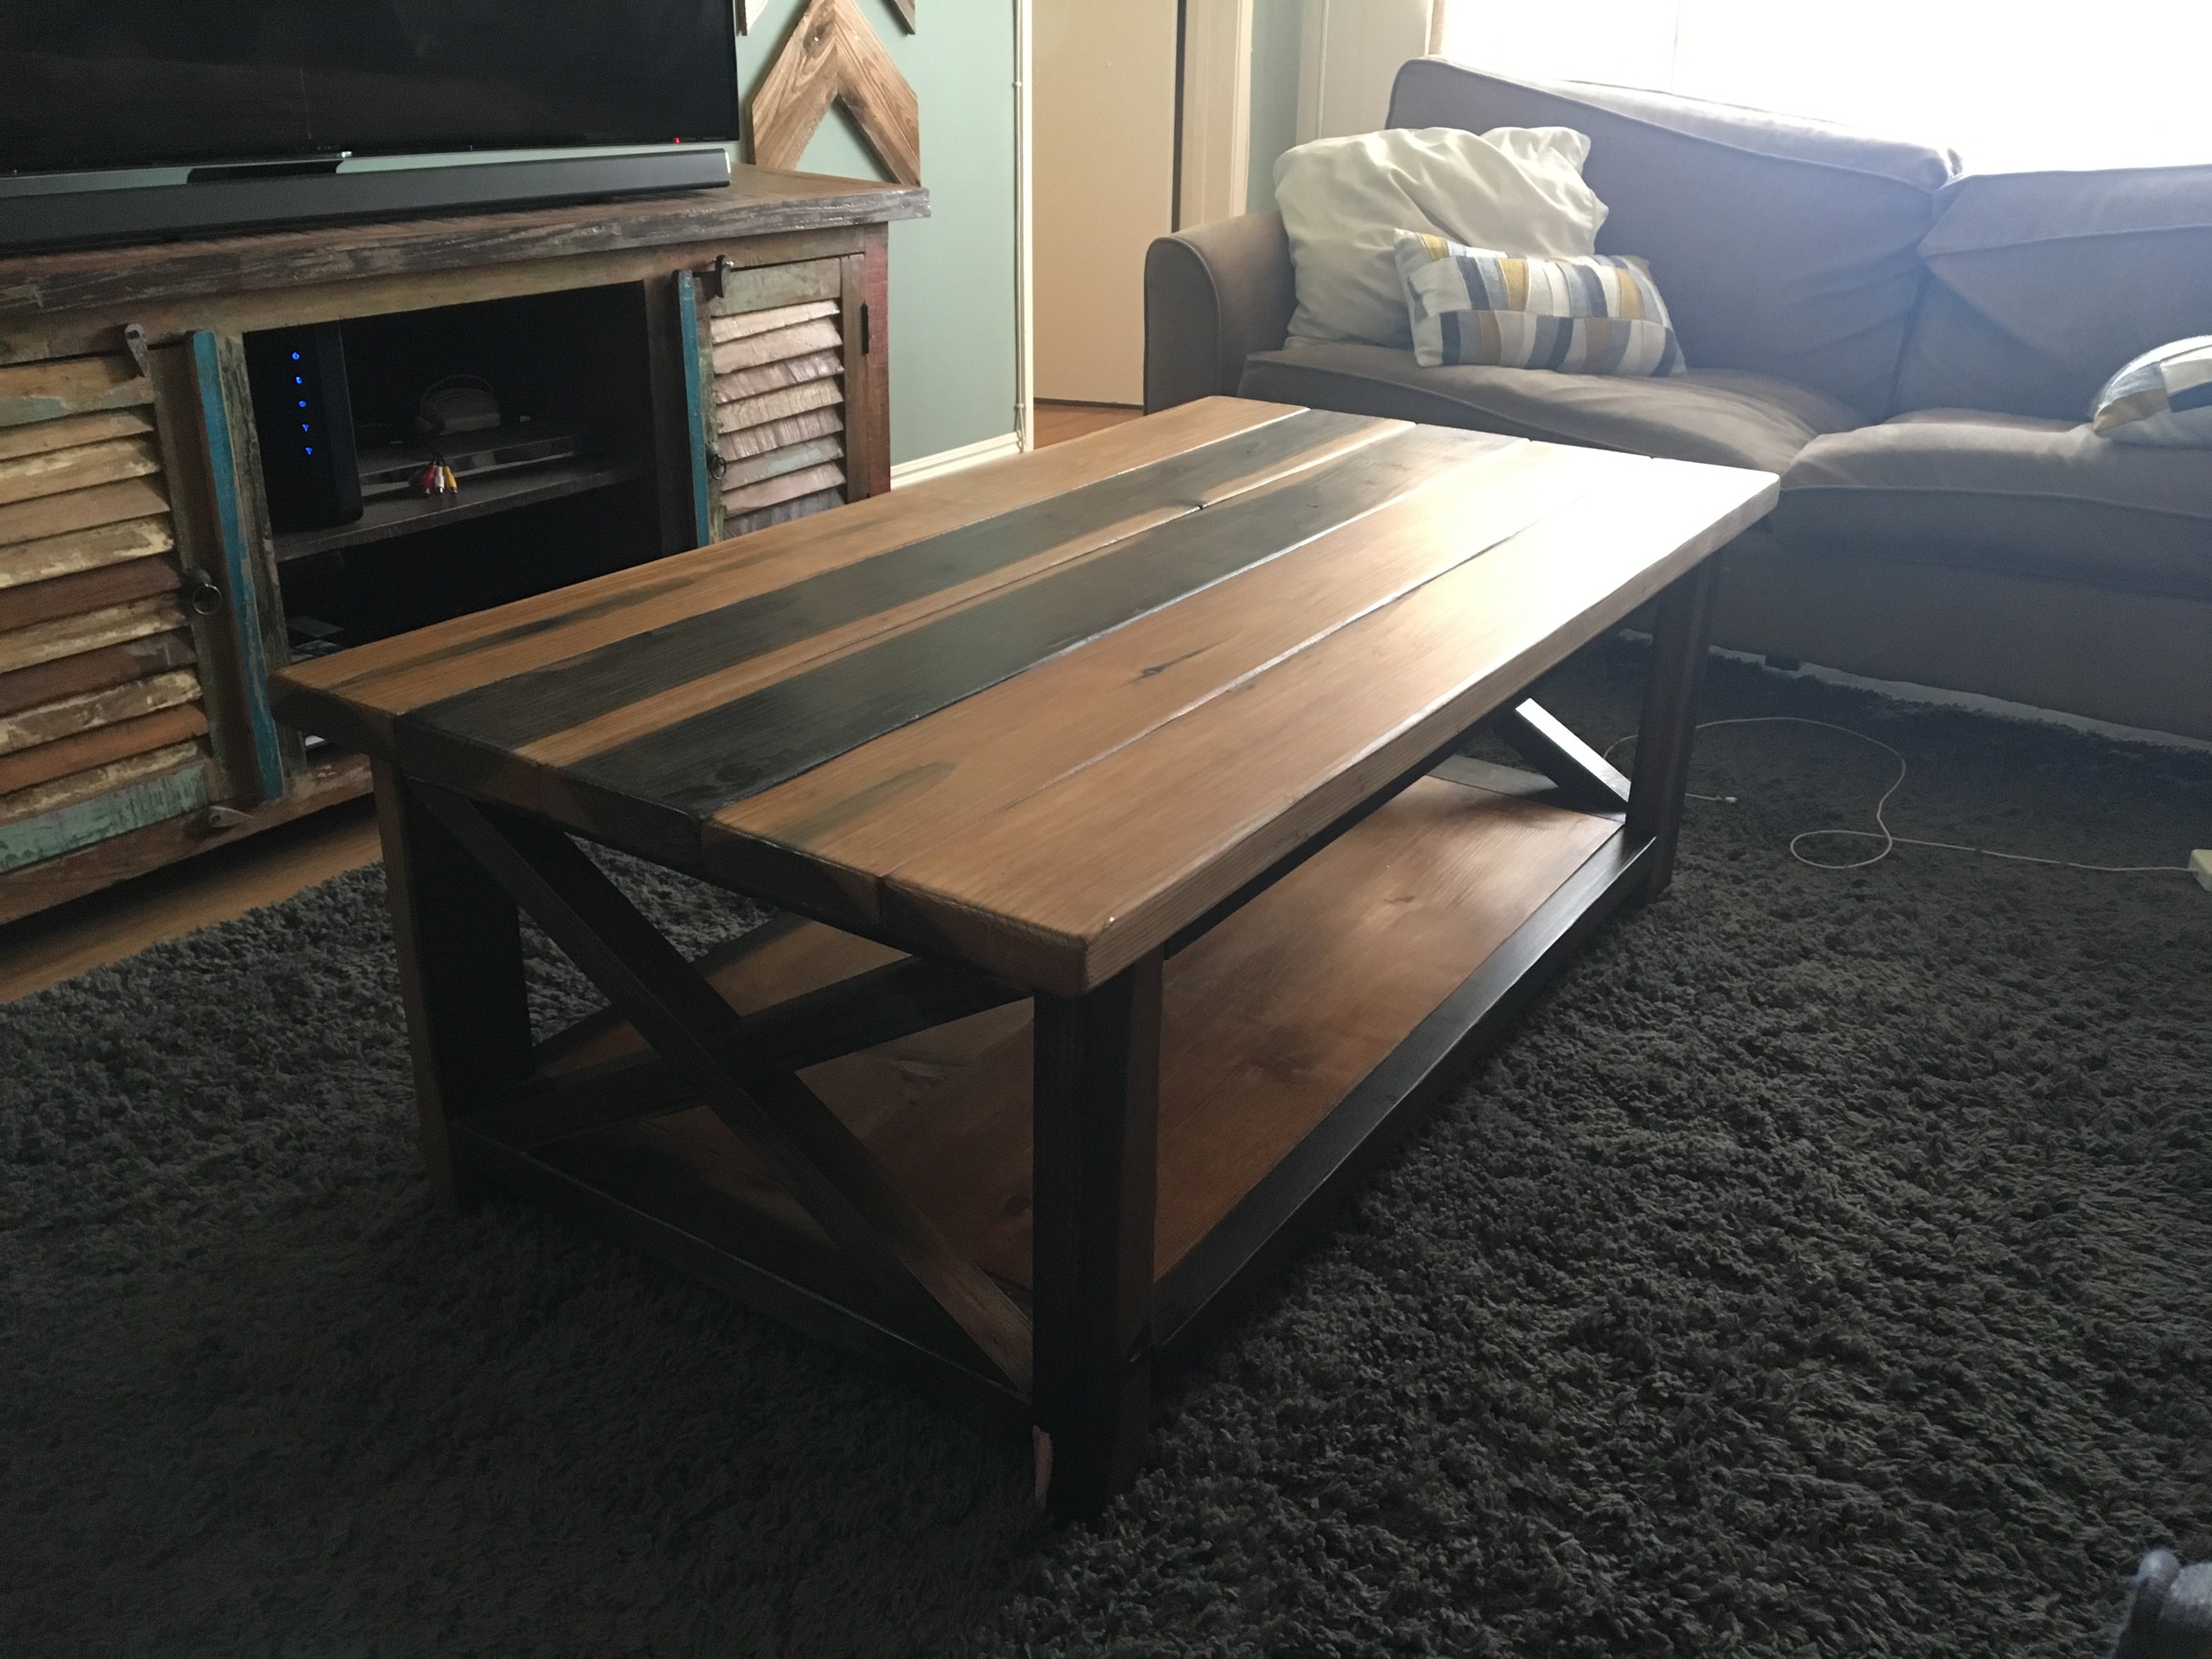
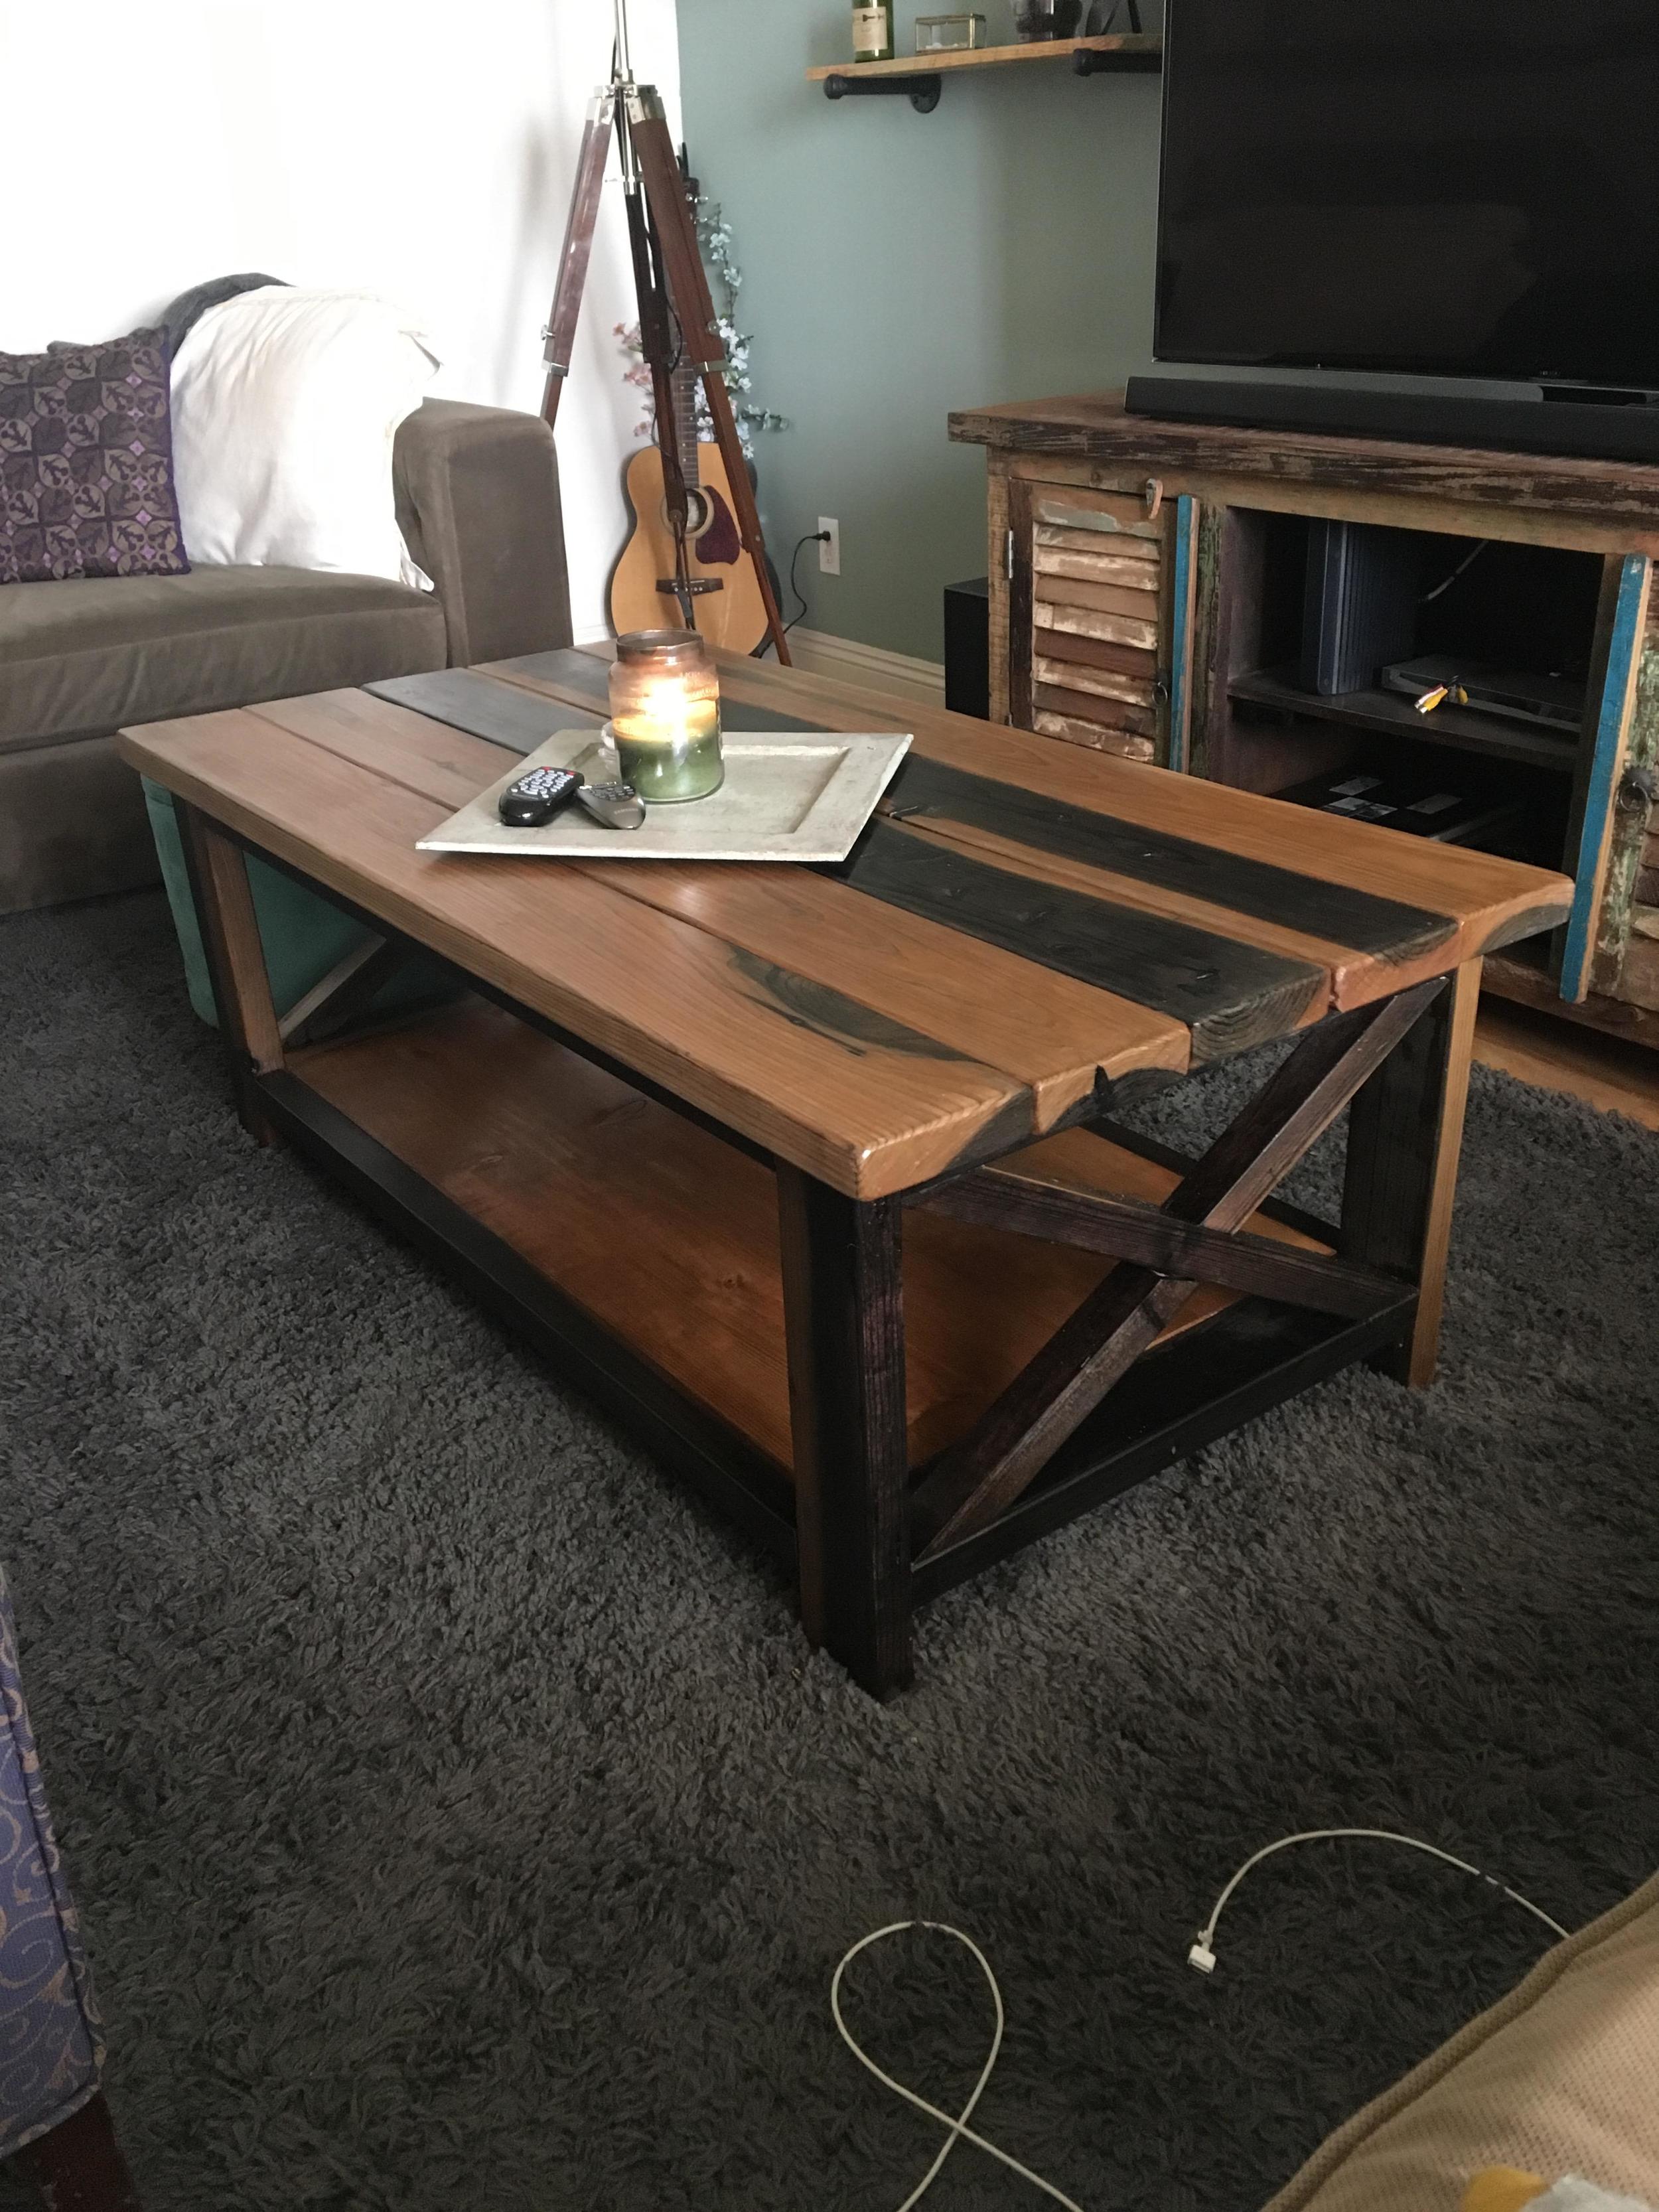
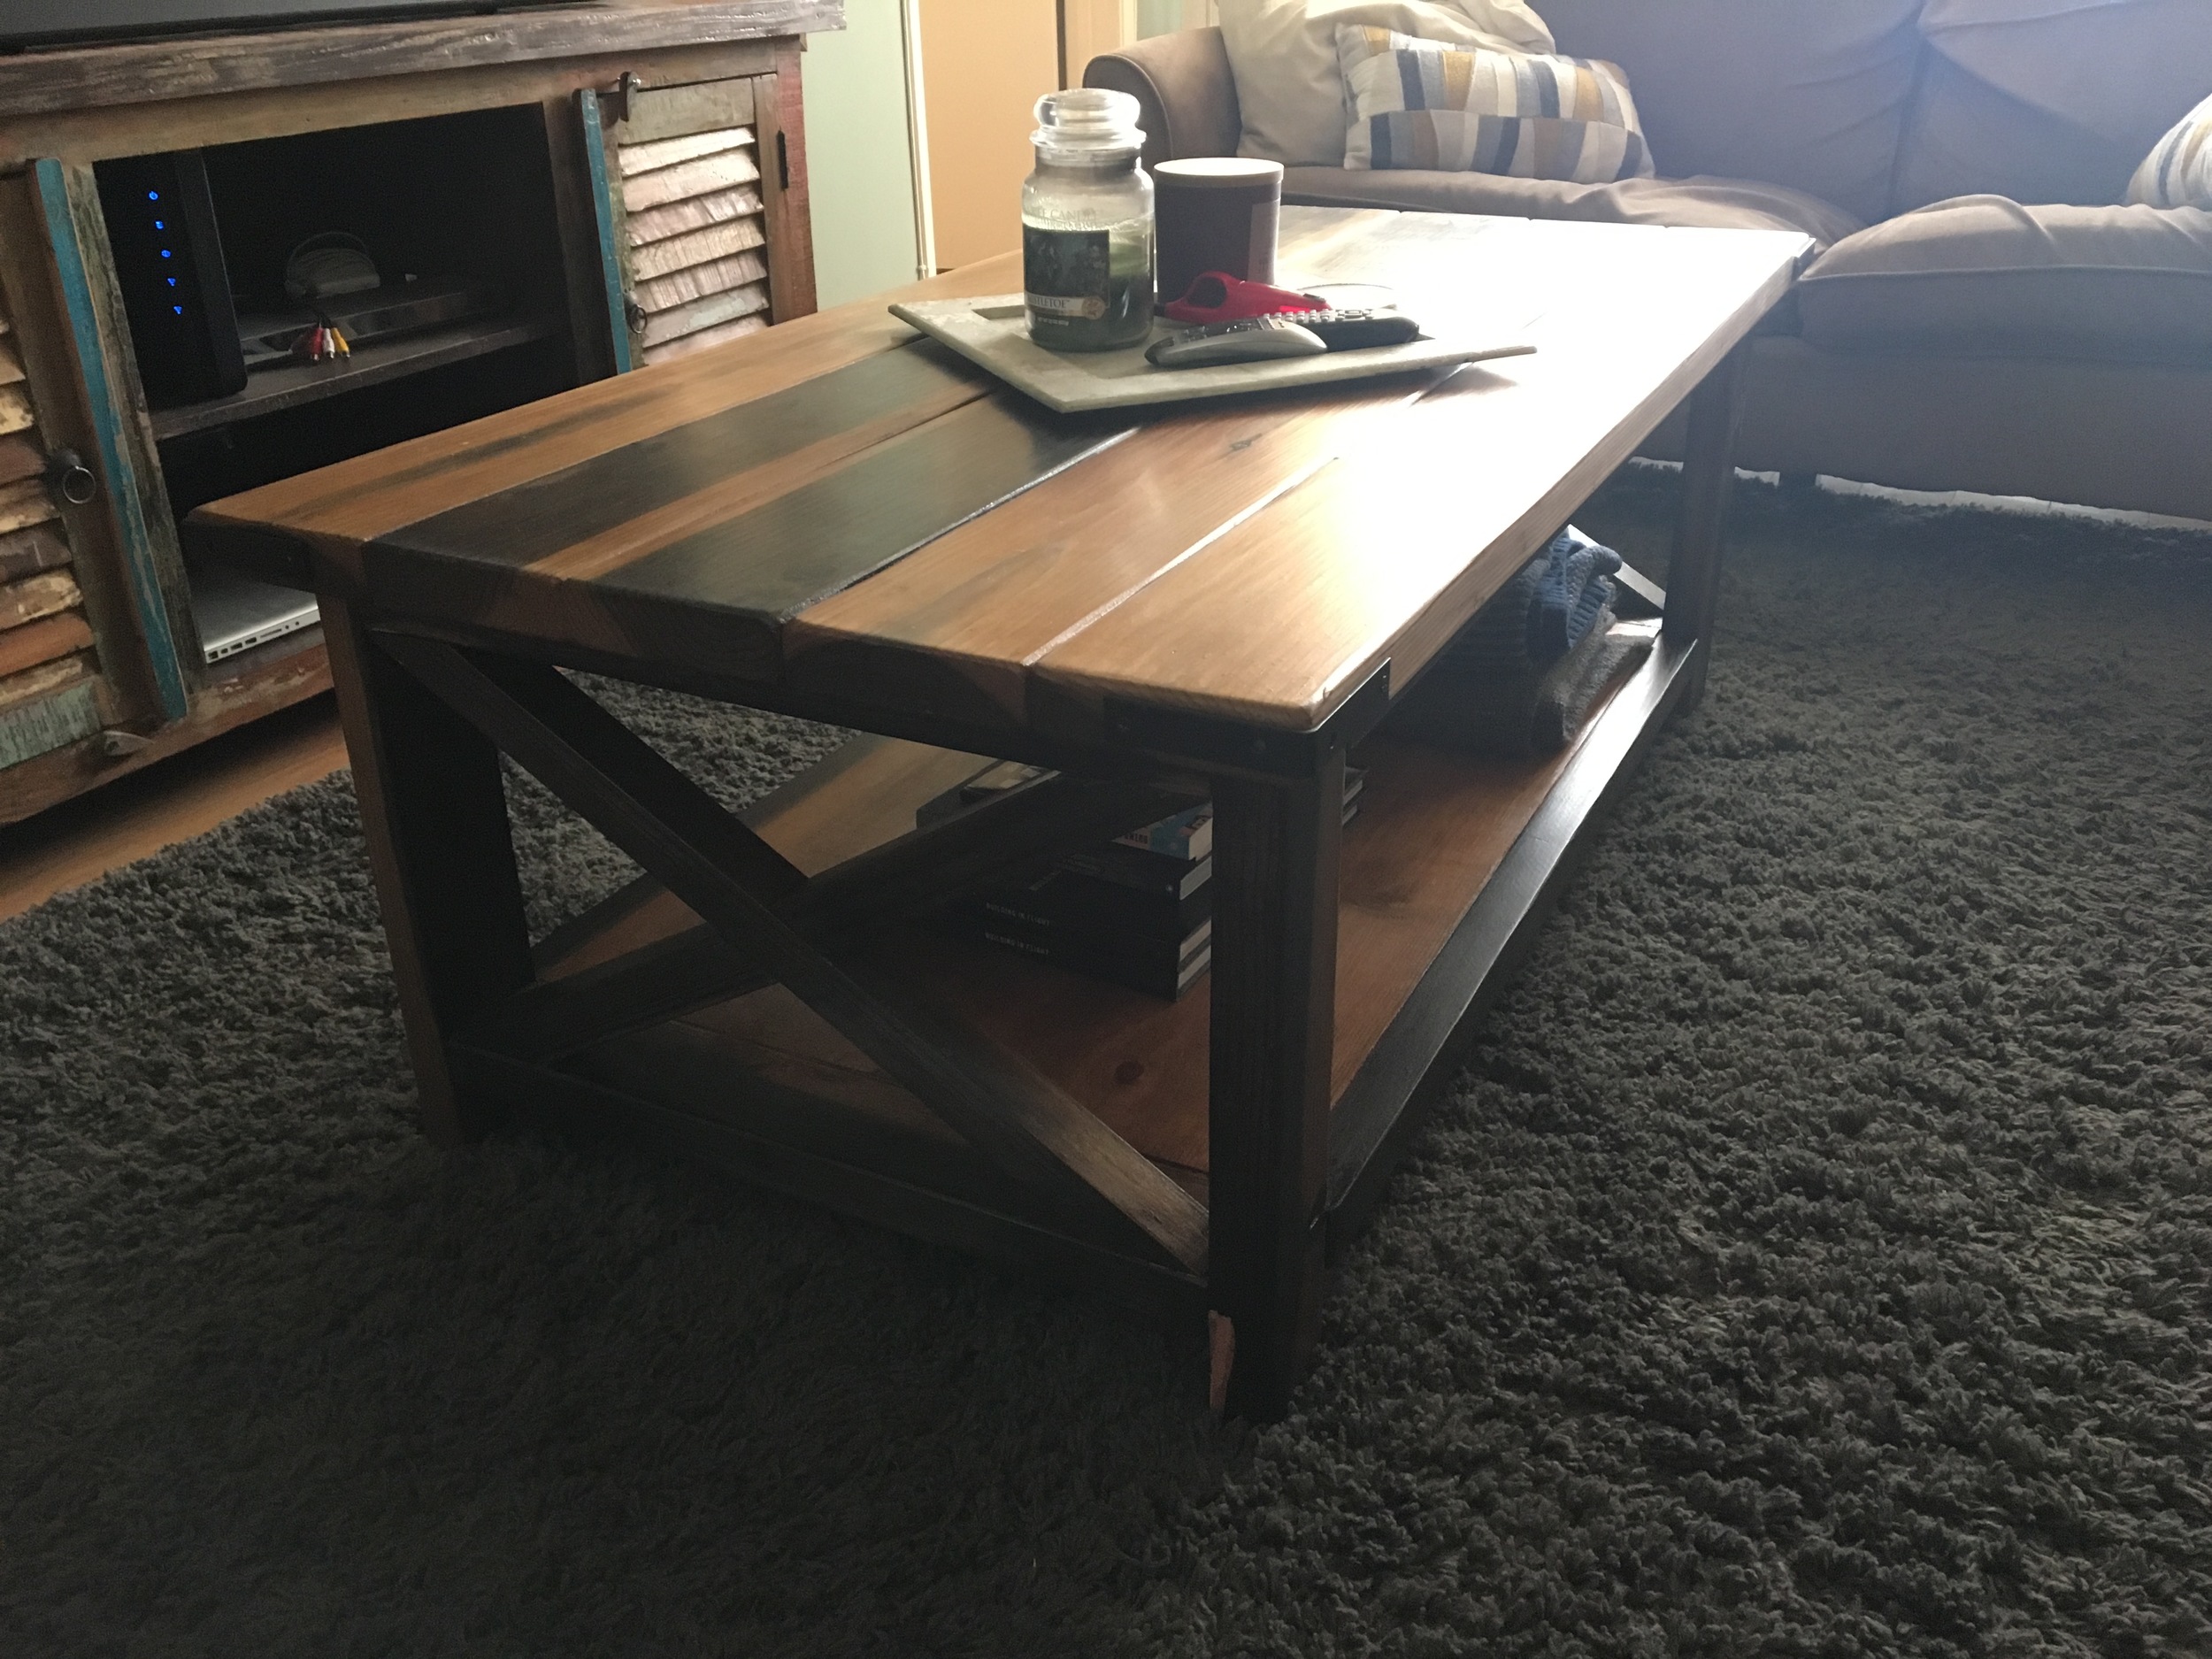
I finished it off by adding a few L Brackets spray-painted matte black to give it a rustic look. Super happy with the final result. It was a hell of a first project for me to take on. I learned a ton and was super excited for the next step. Below are a few near final and final photos for you to check out.

TOOLS
KREG K5 Pocket Hole Jig
RYOBI Circular Saw
RYOBI Power Drill
RYOBI Impact Driver
RYOBI Cordless Orbital Sander
Hand Sanding Sponges (120 + 220 Grit)
Hammer
Thanks for reading! Message me with any additional questions about the build, the tools, or the materials.
Cheers!