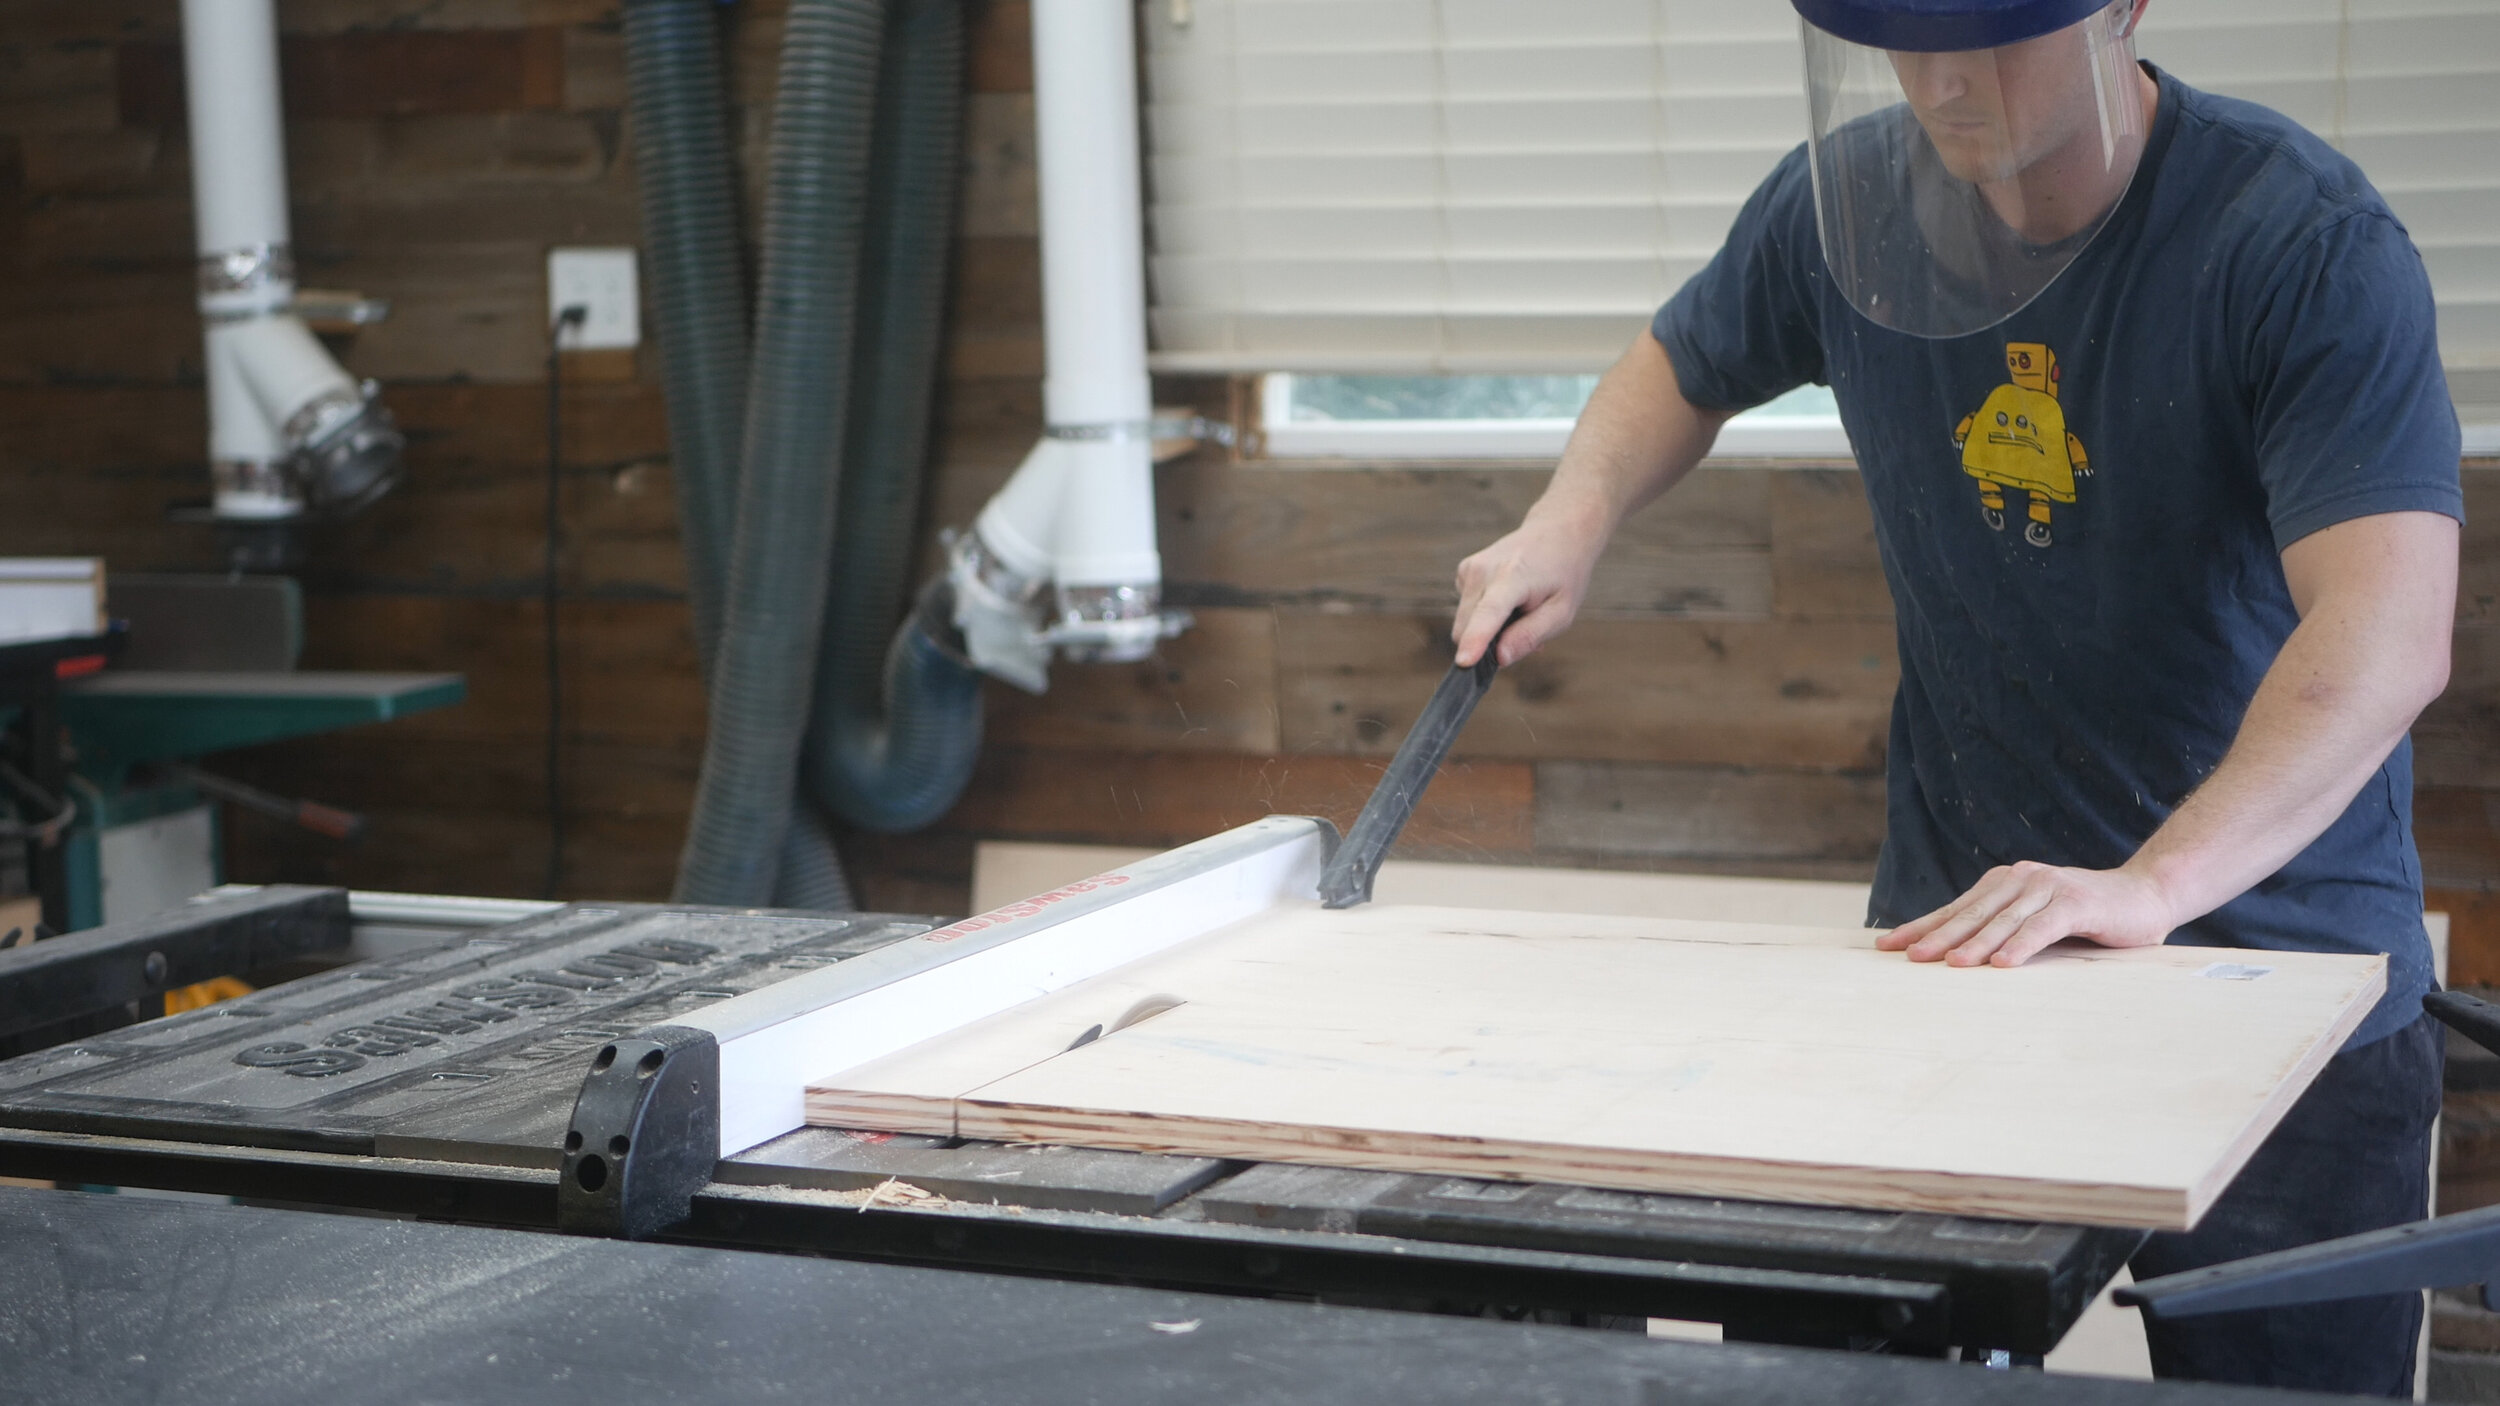
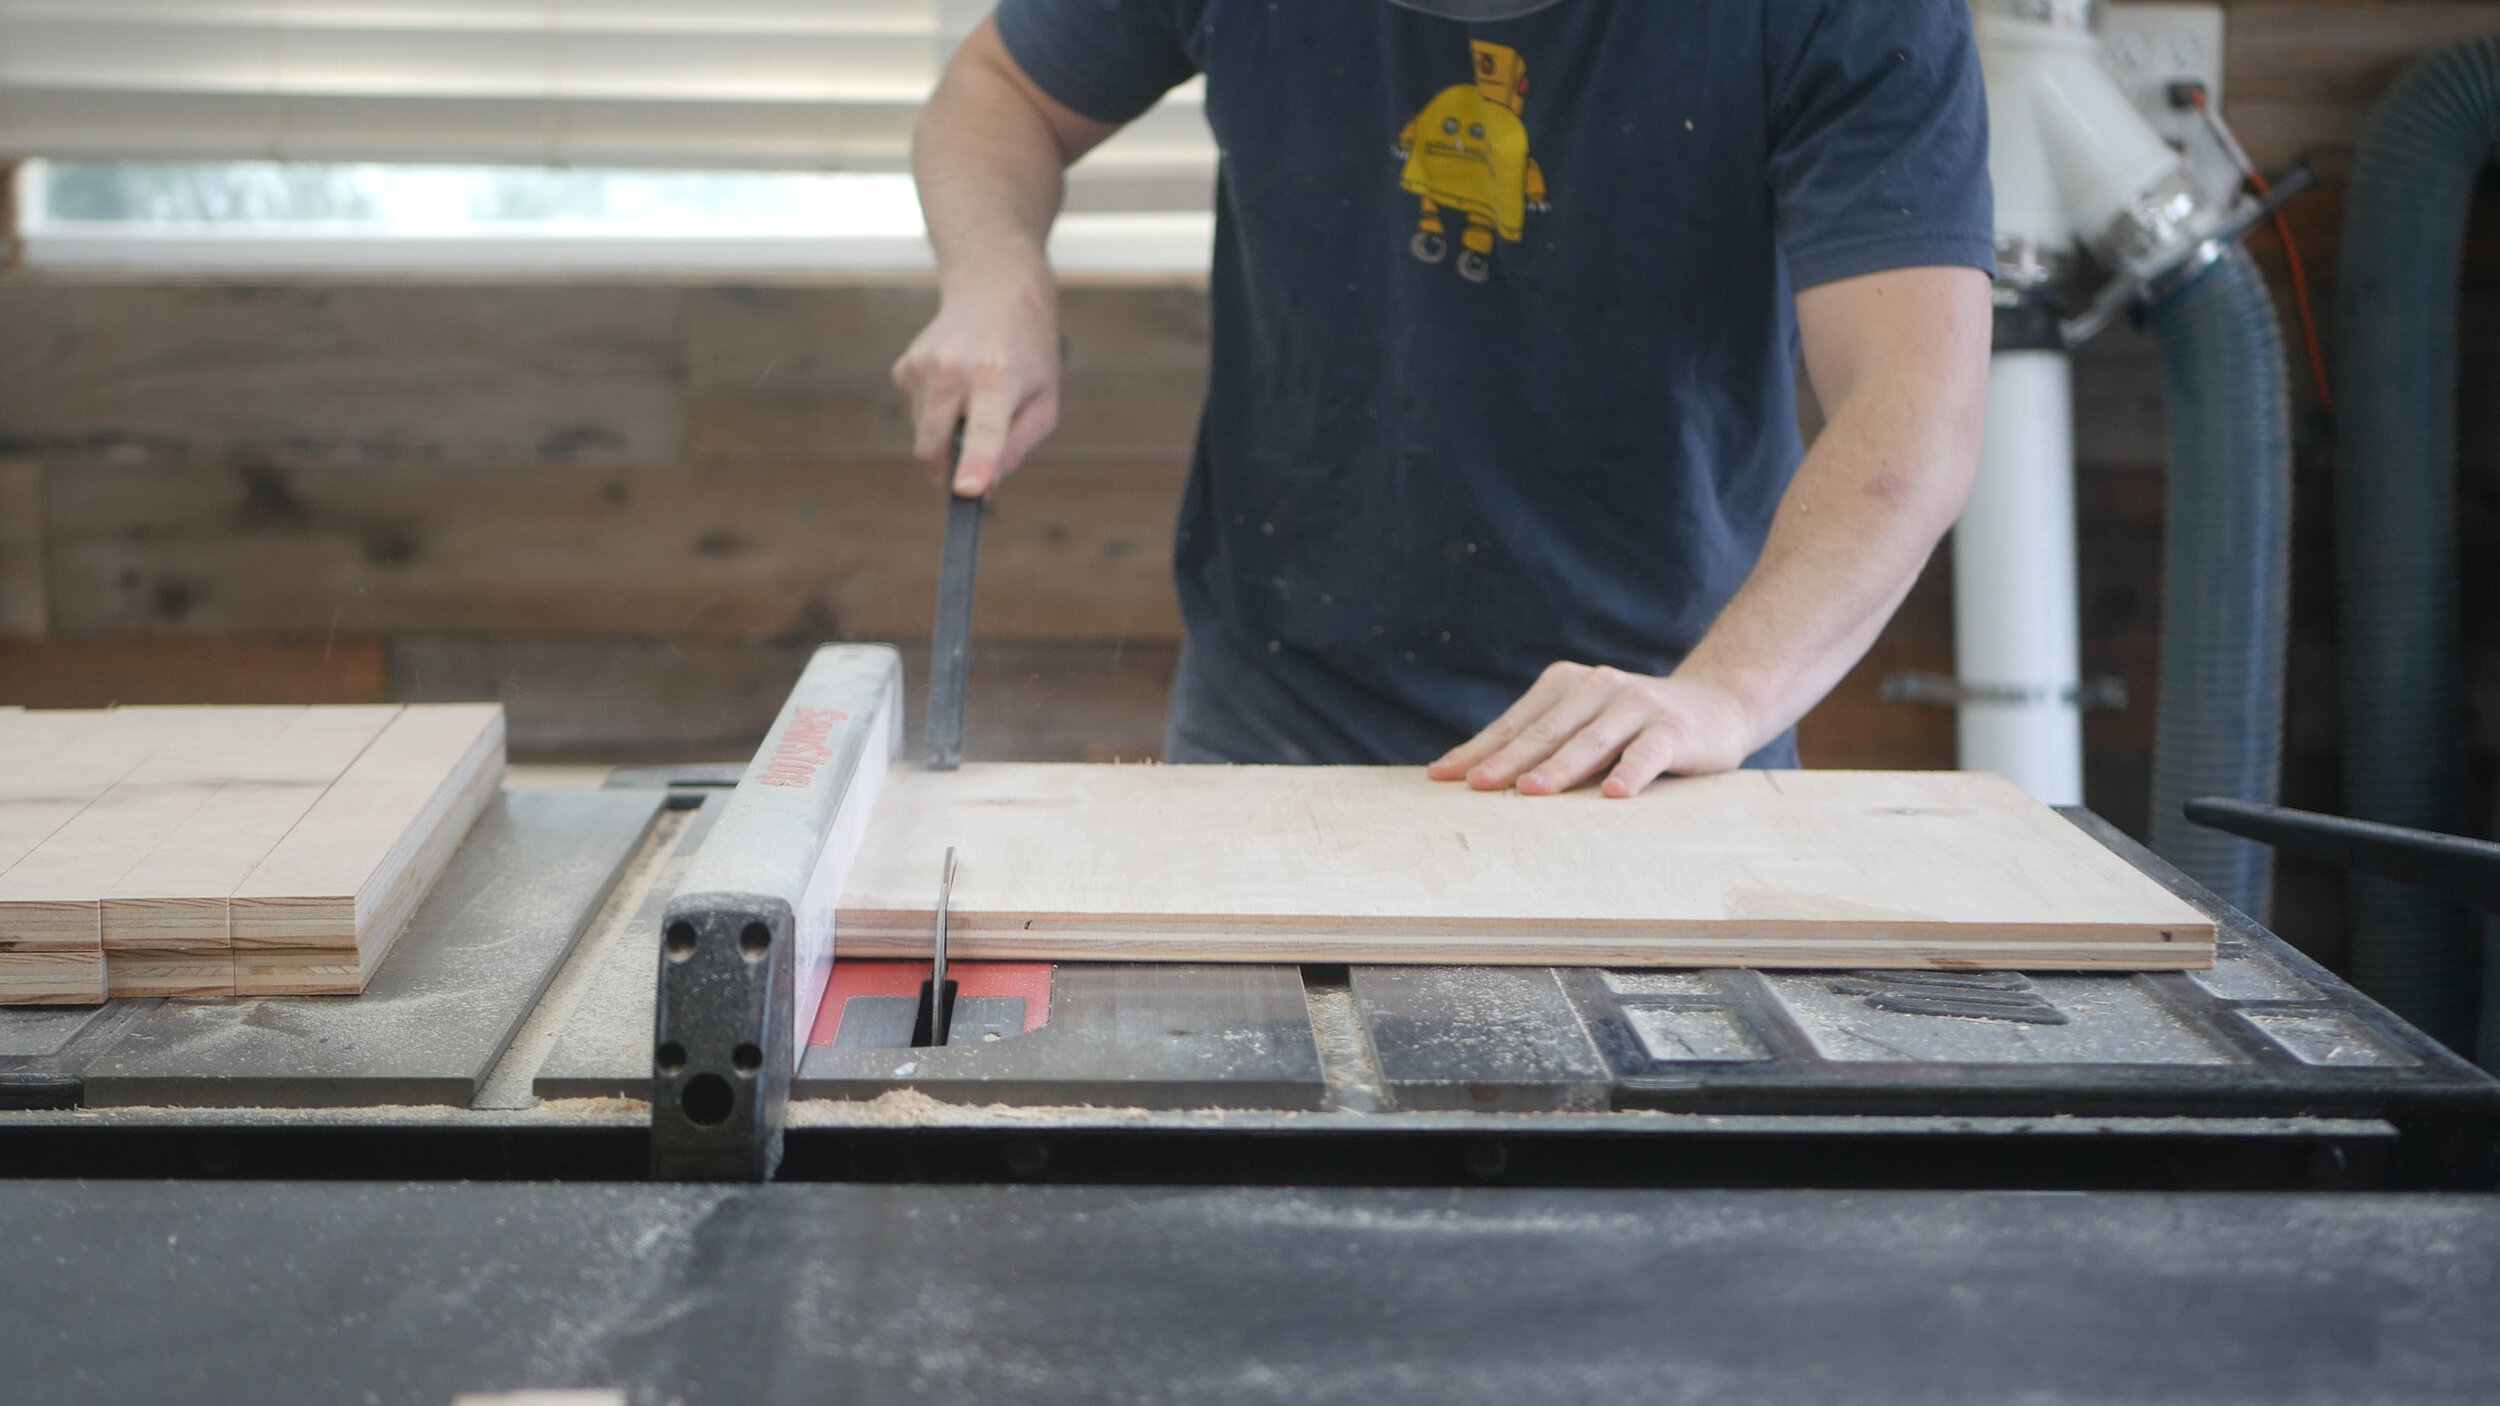
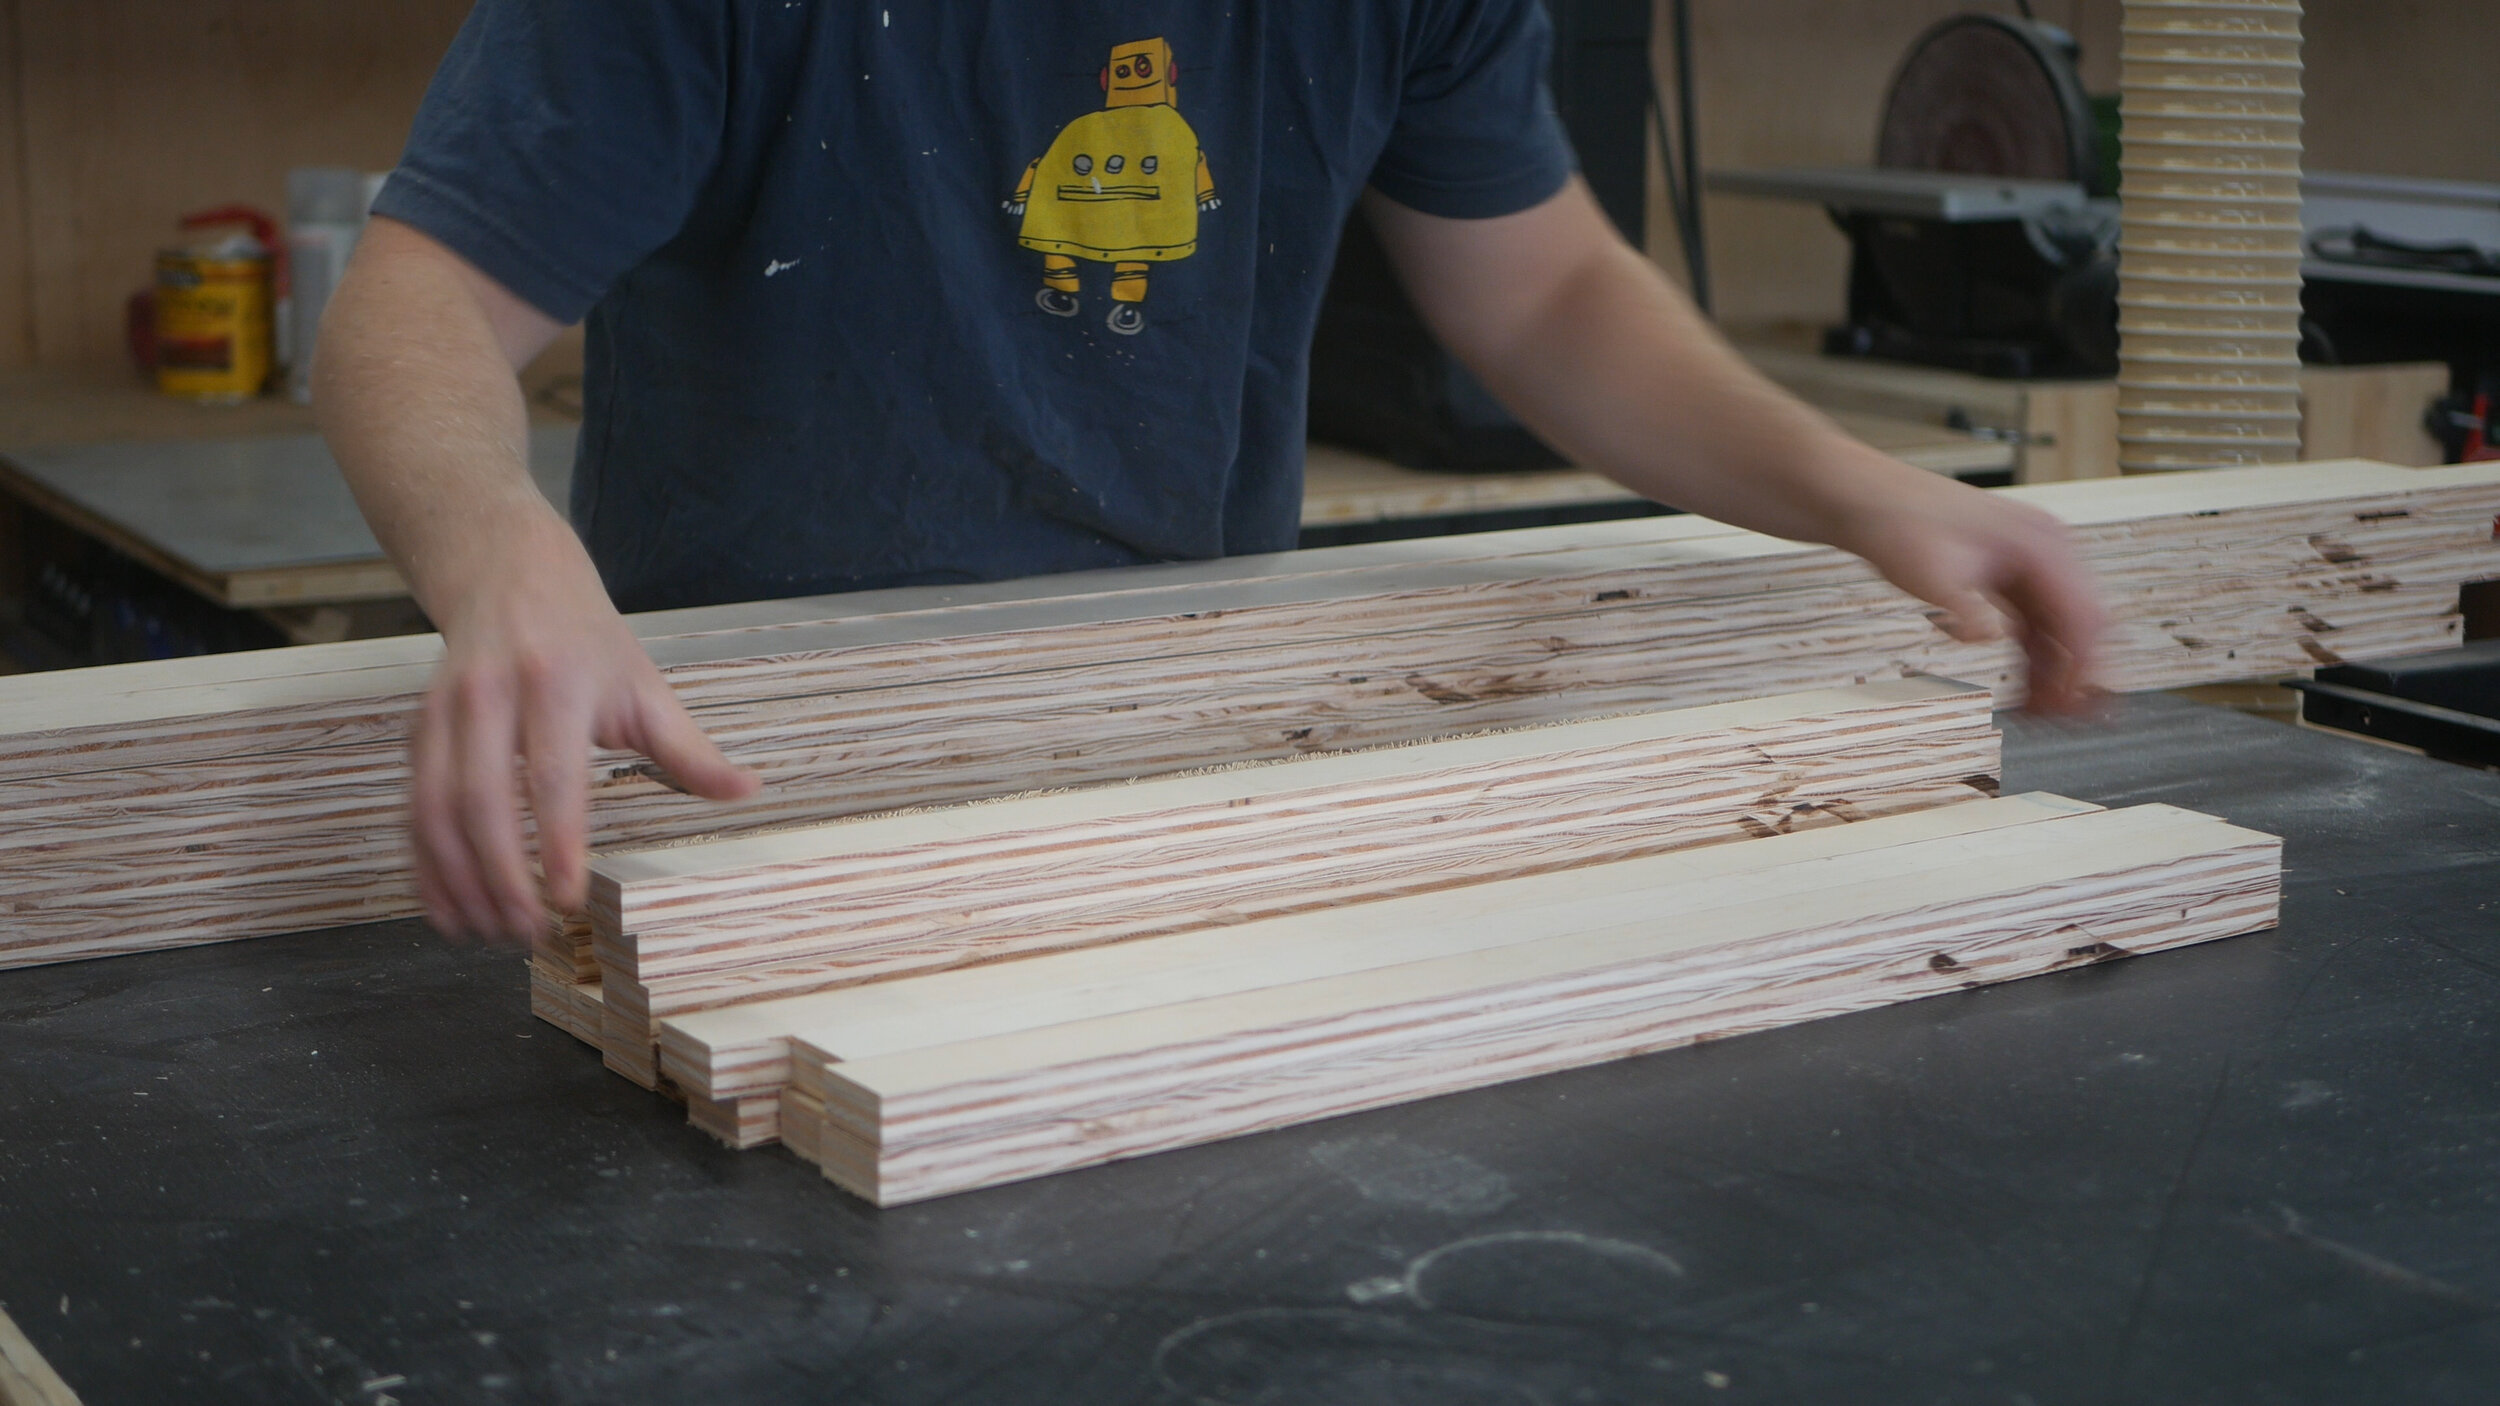
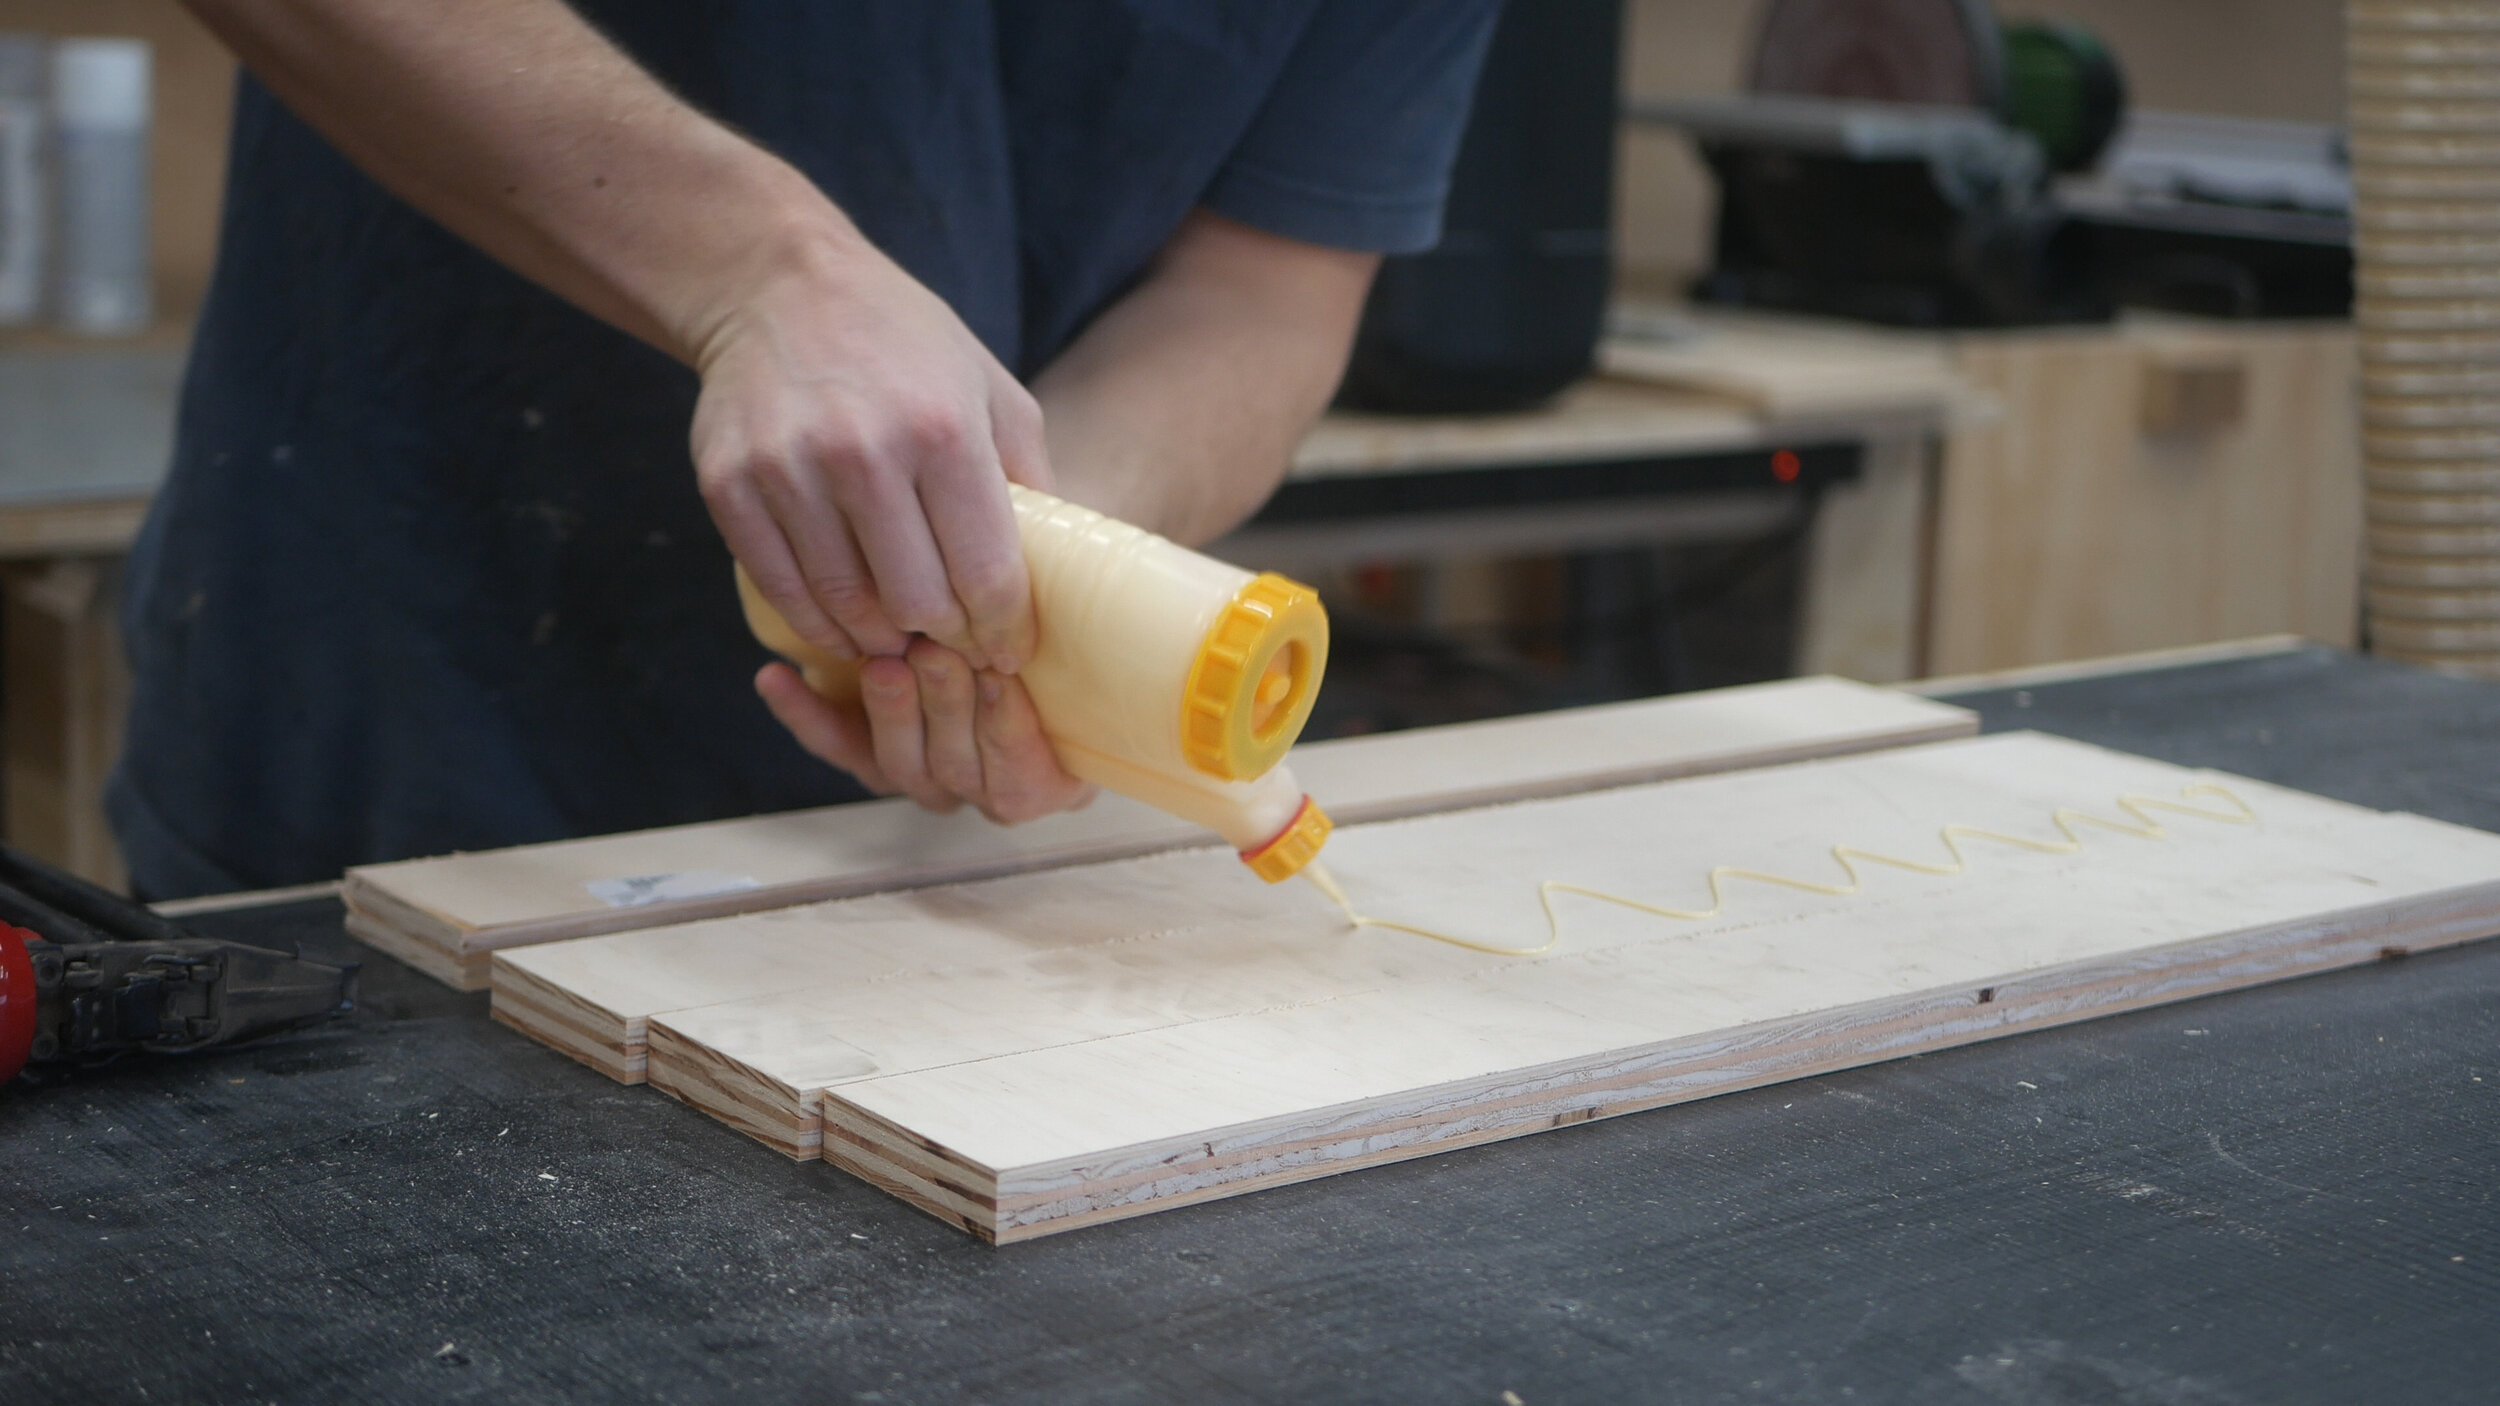
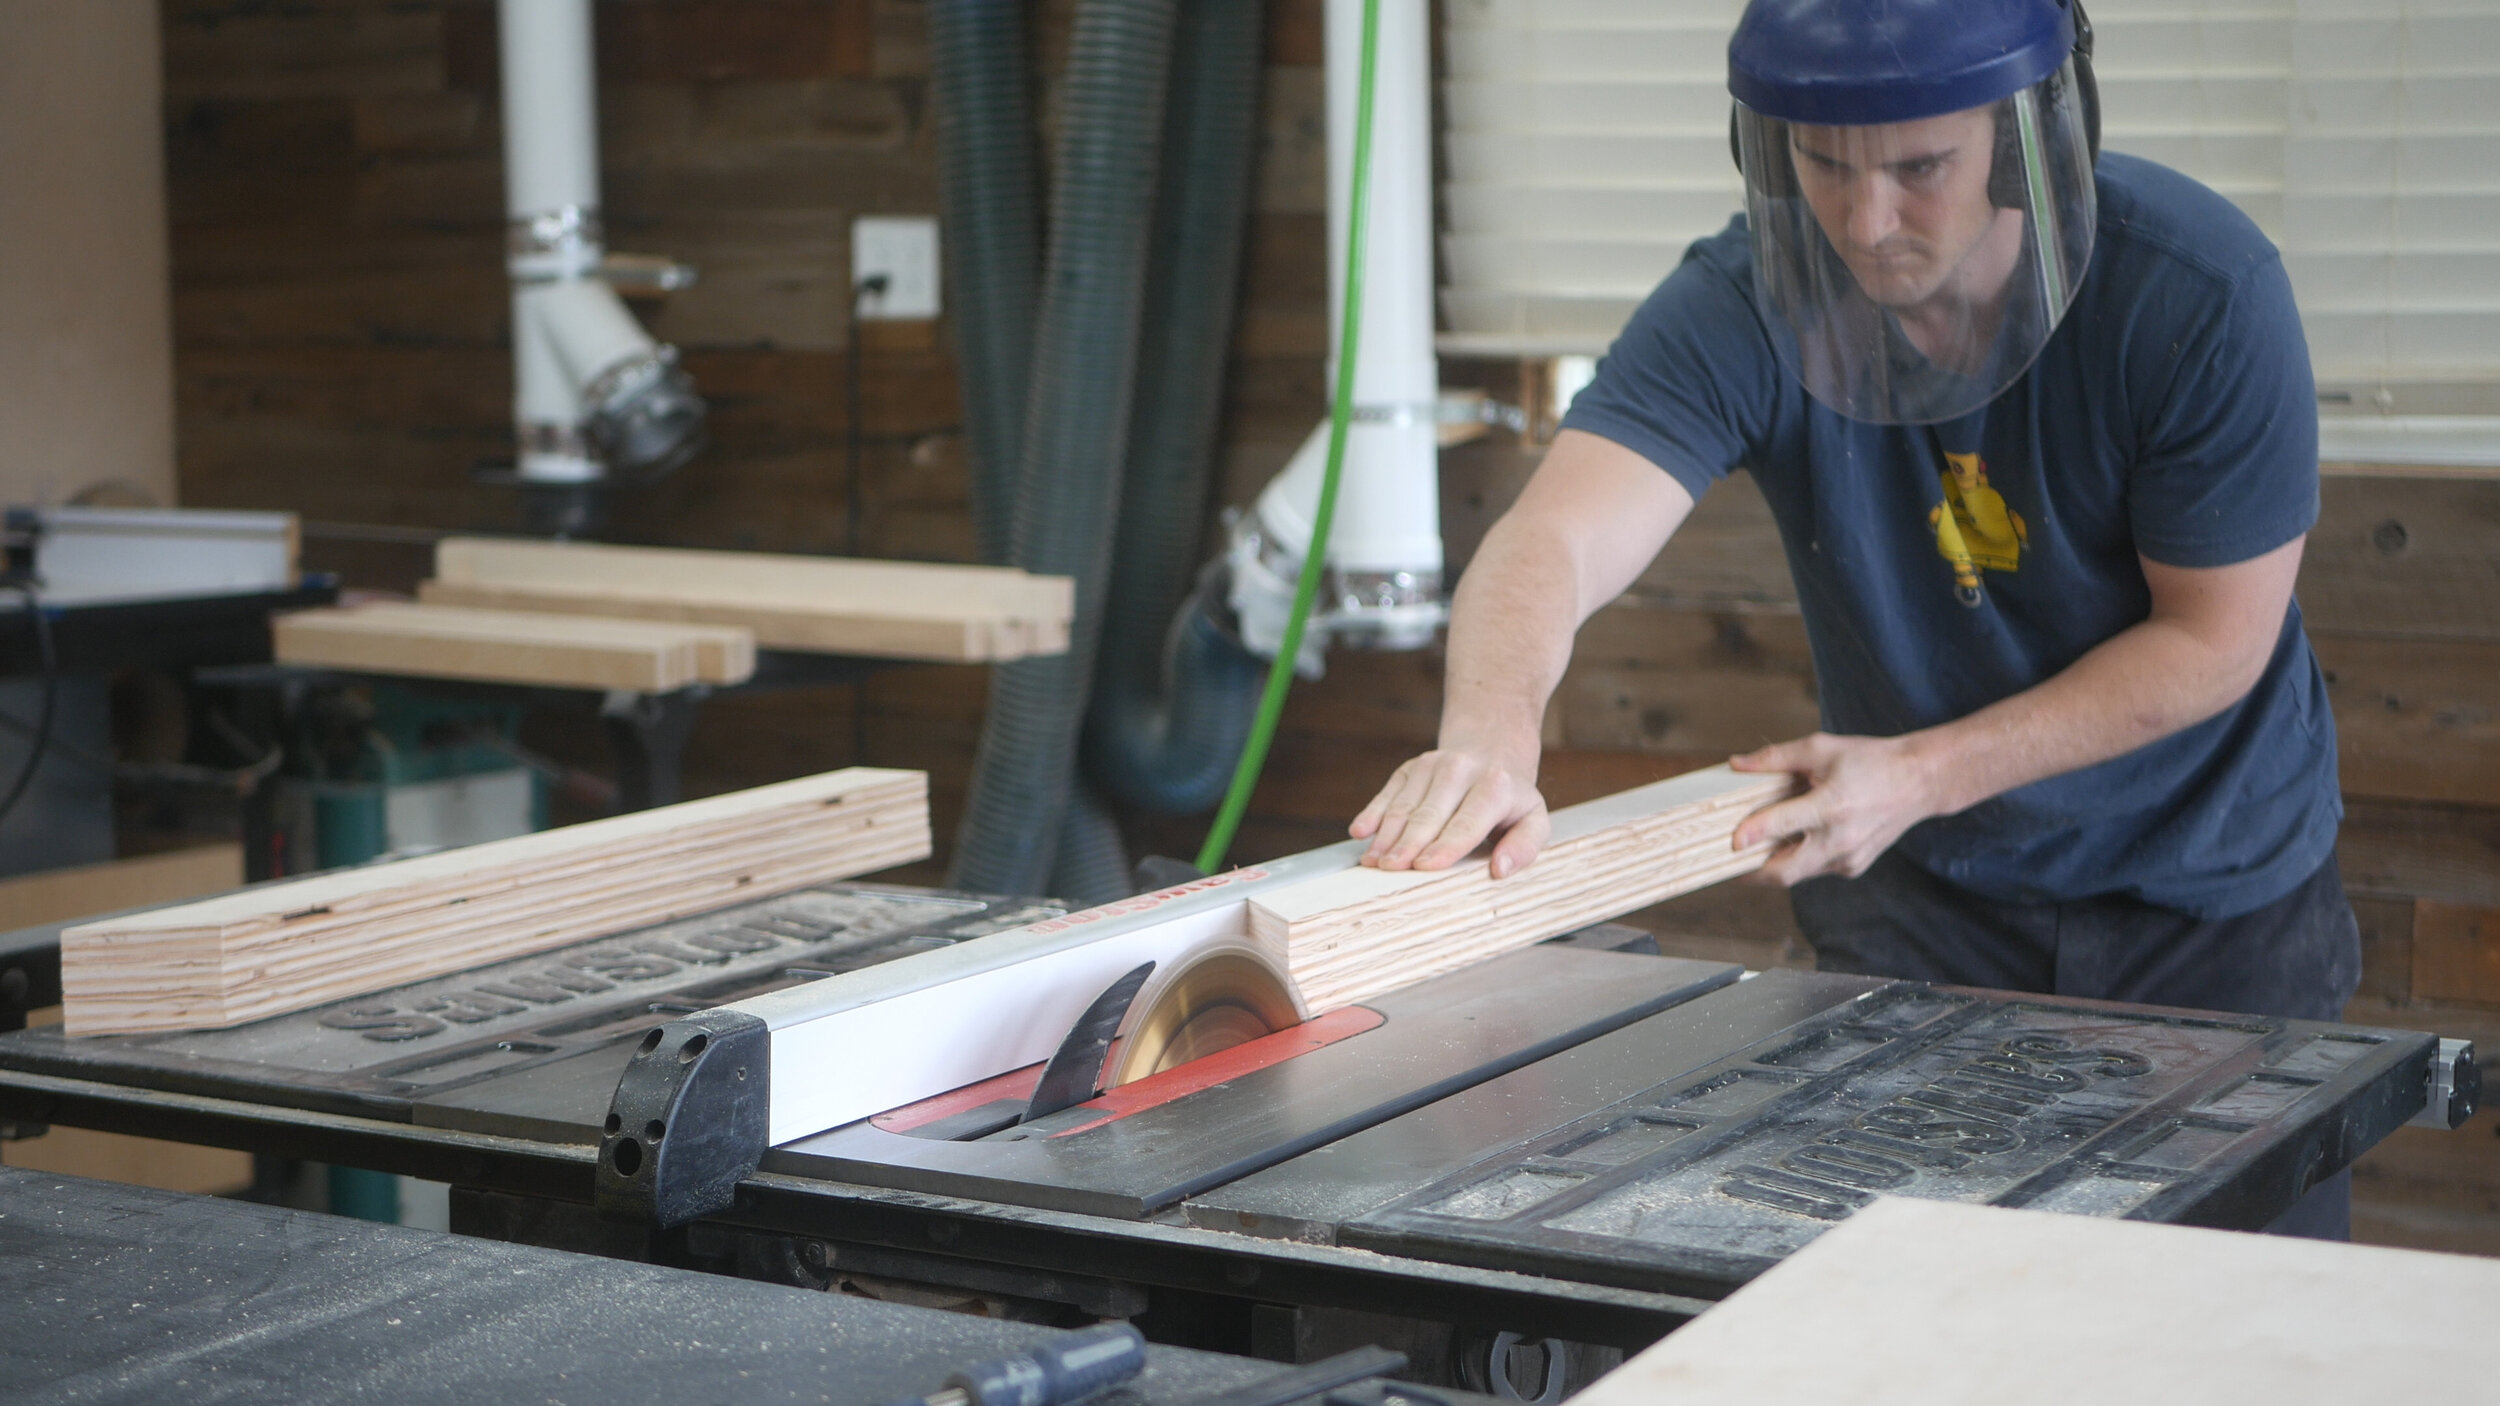
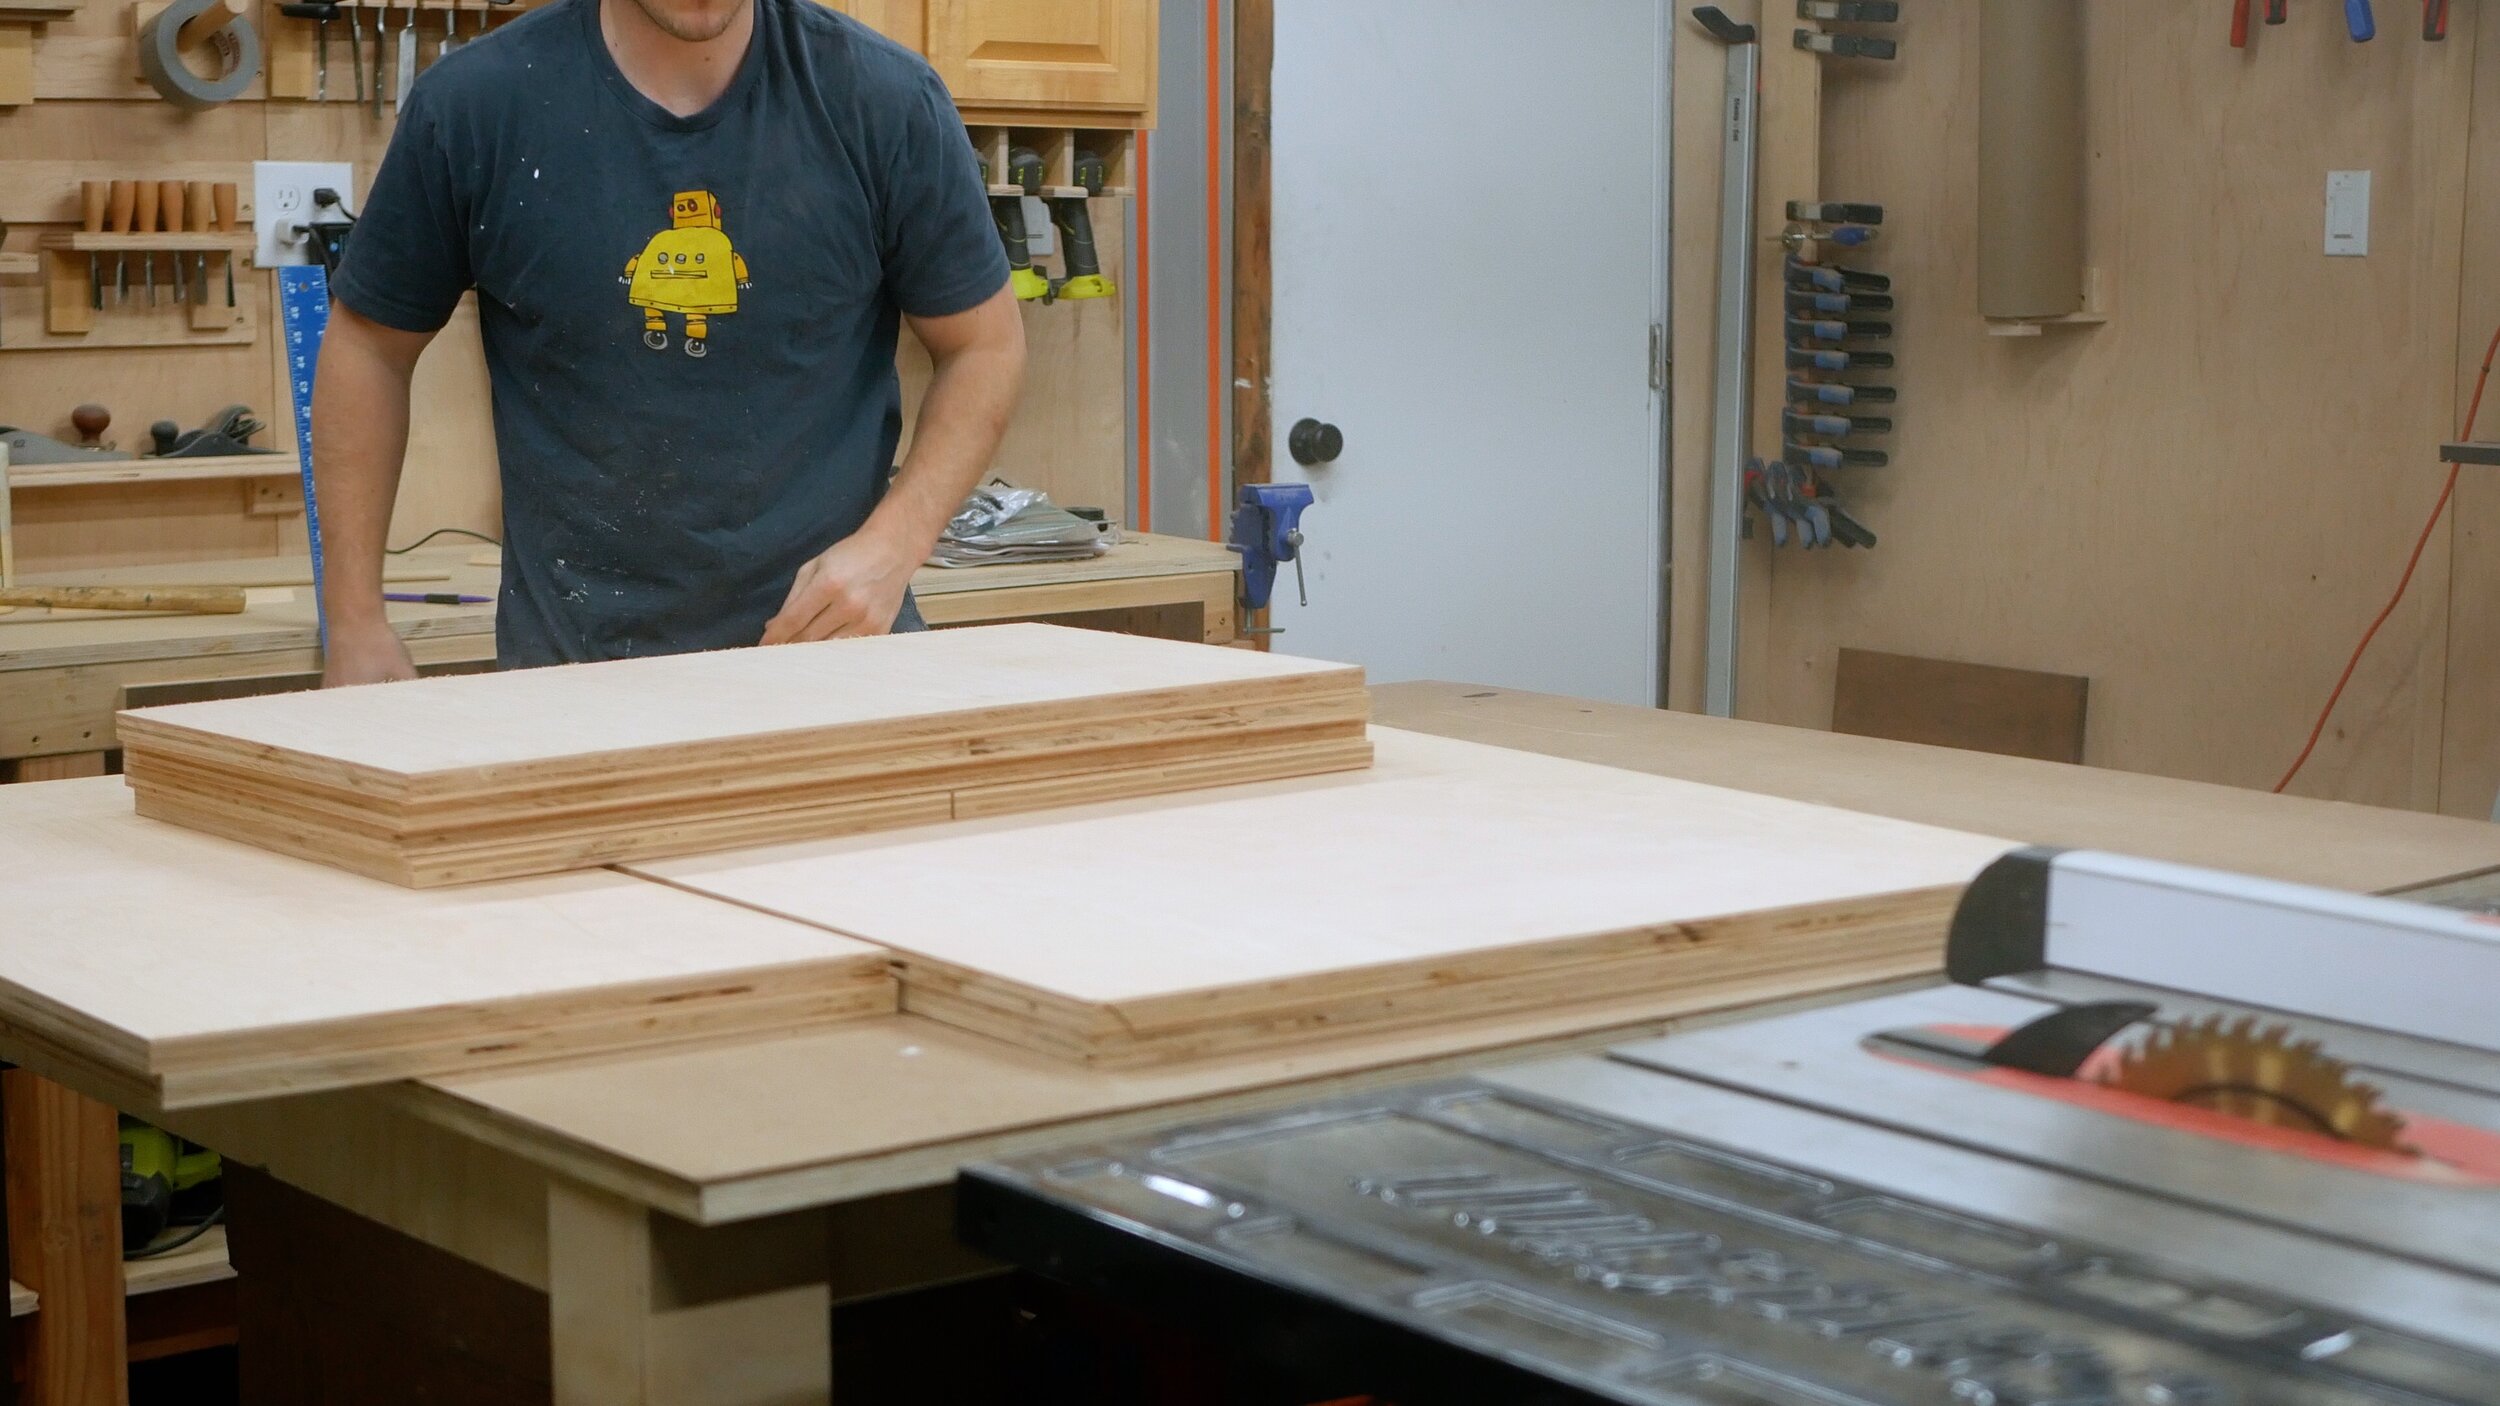
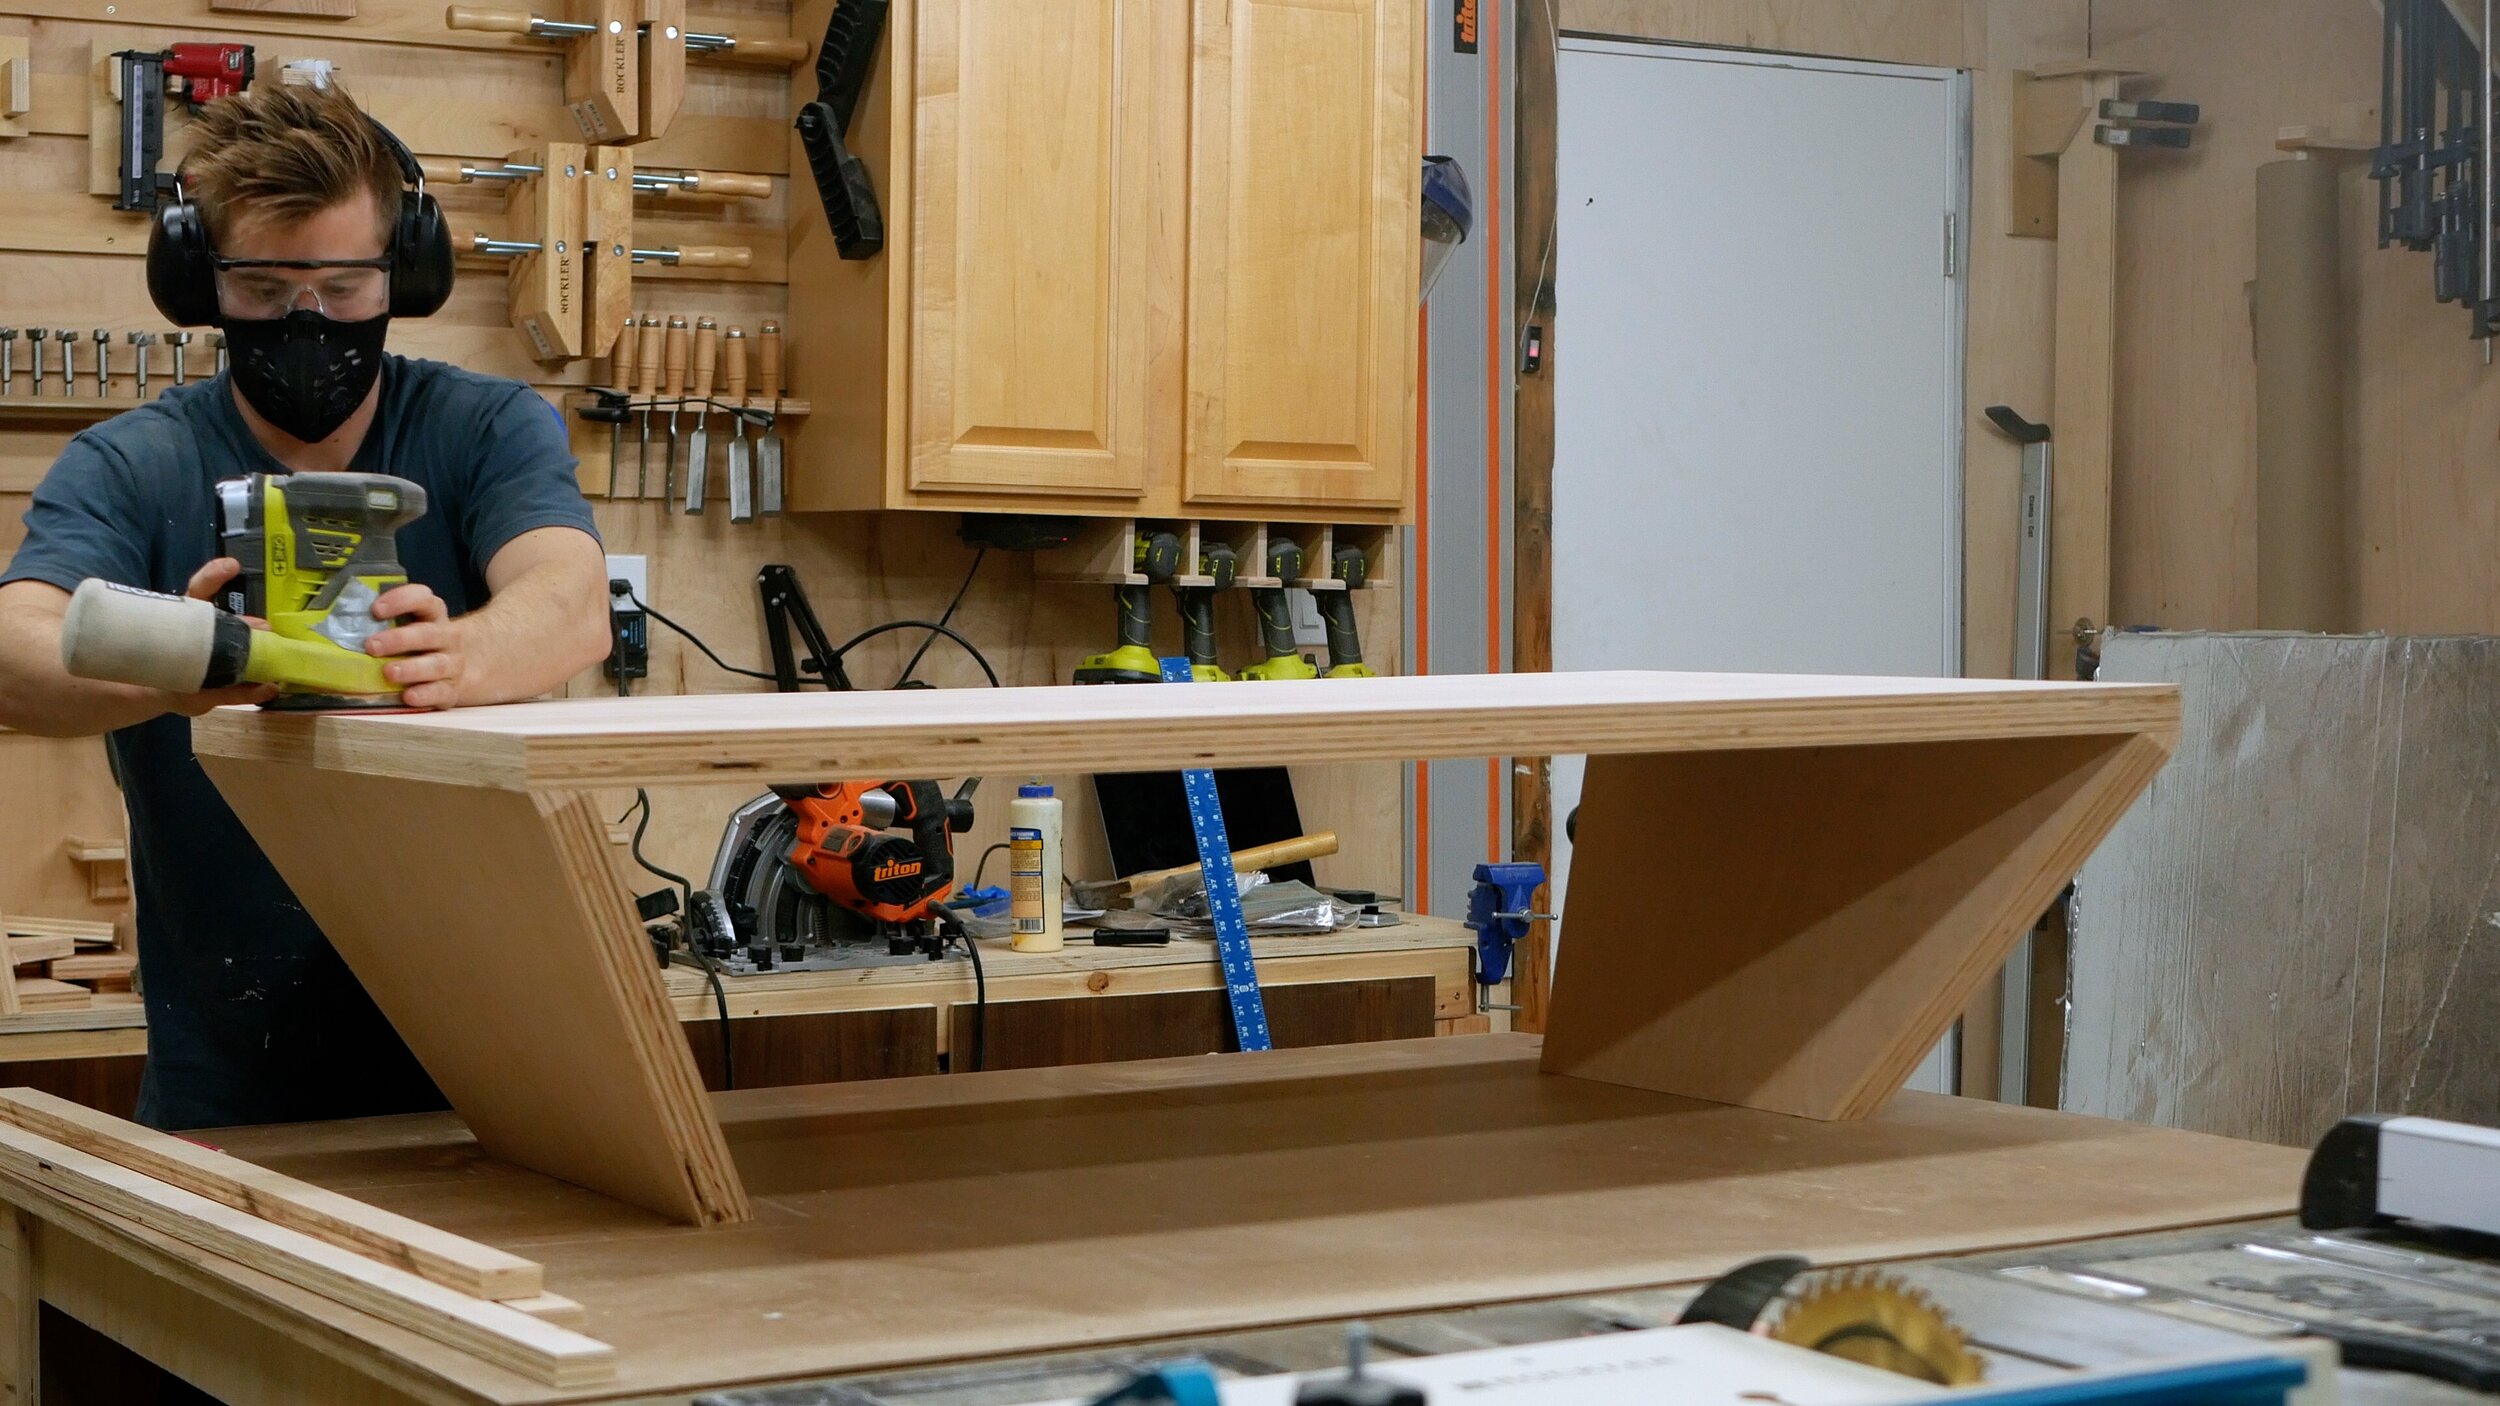
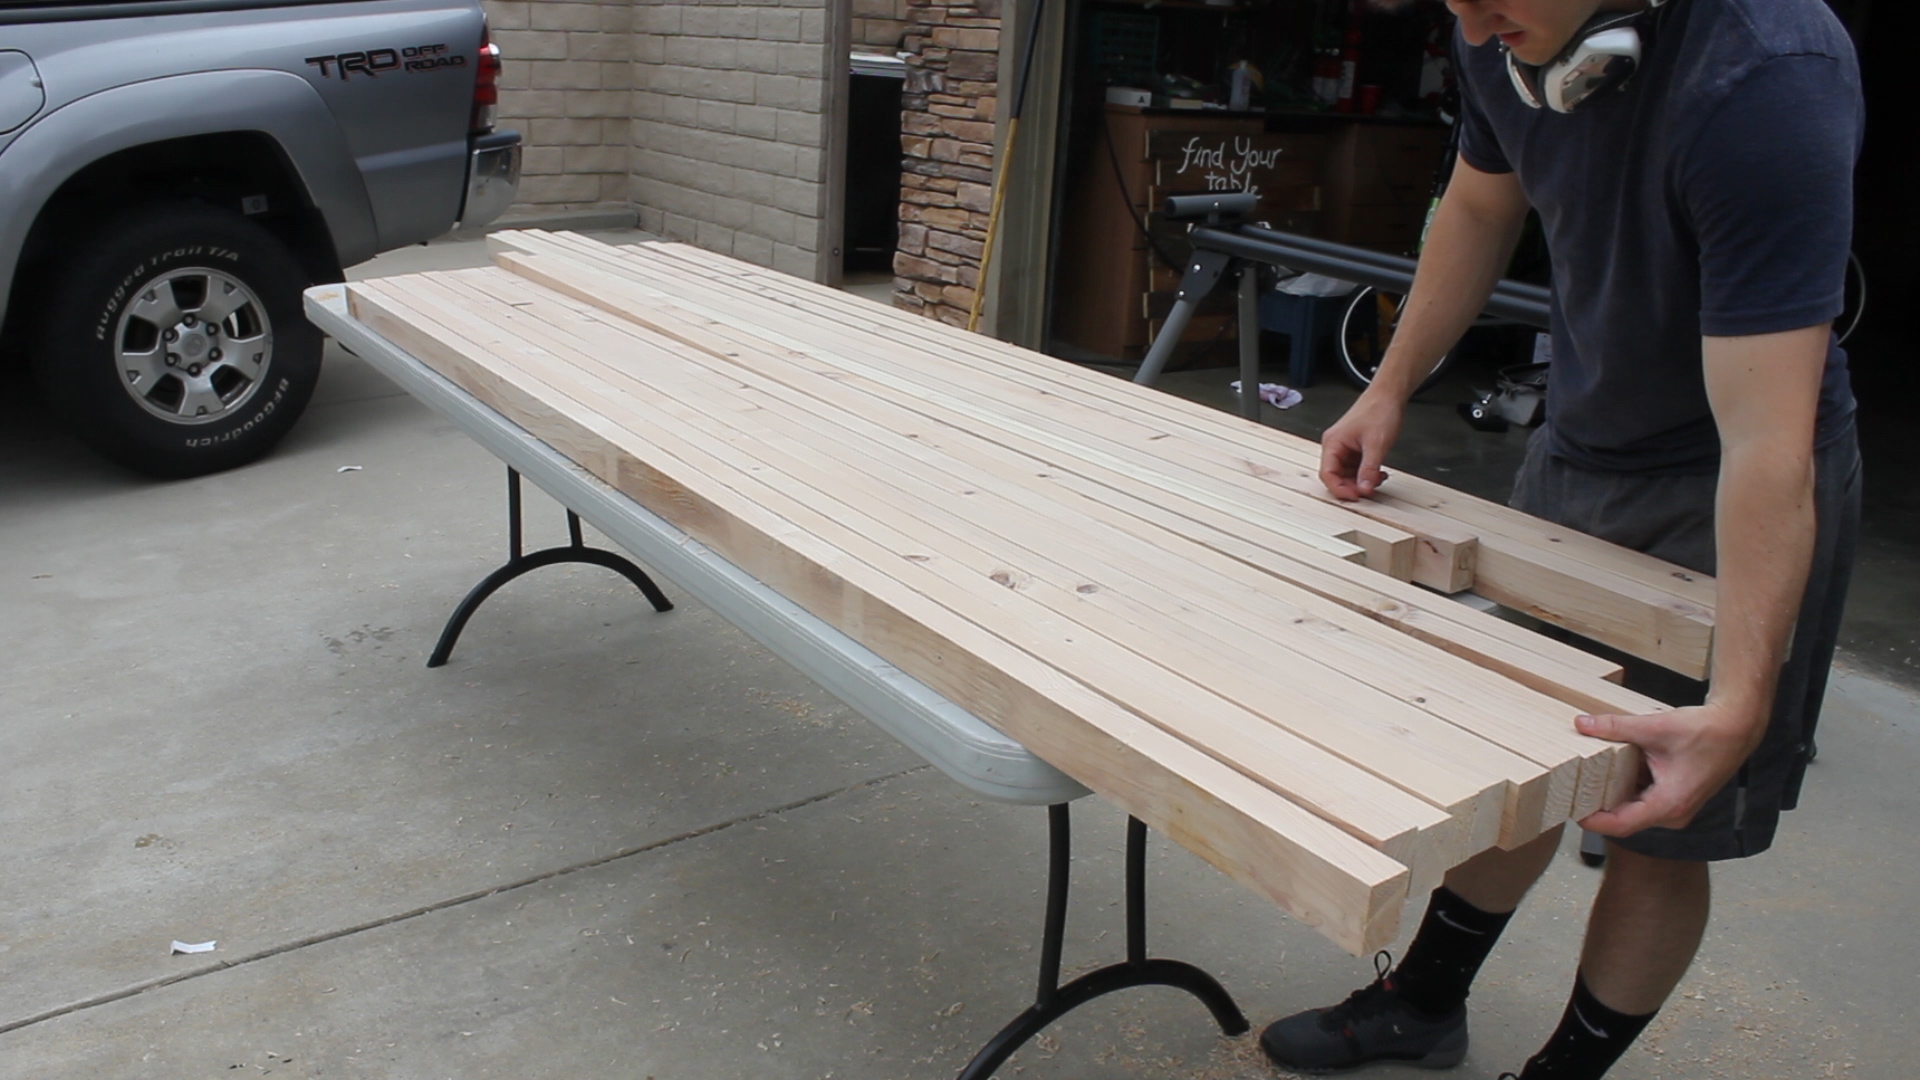
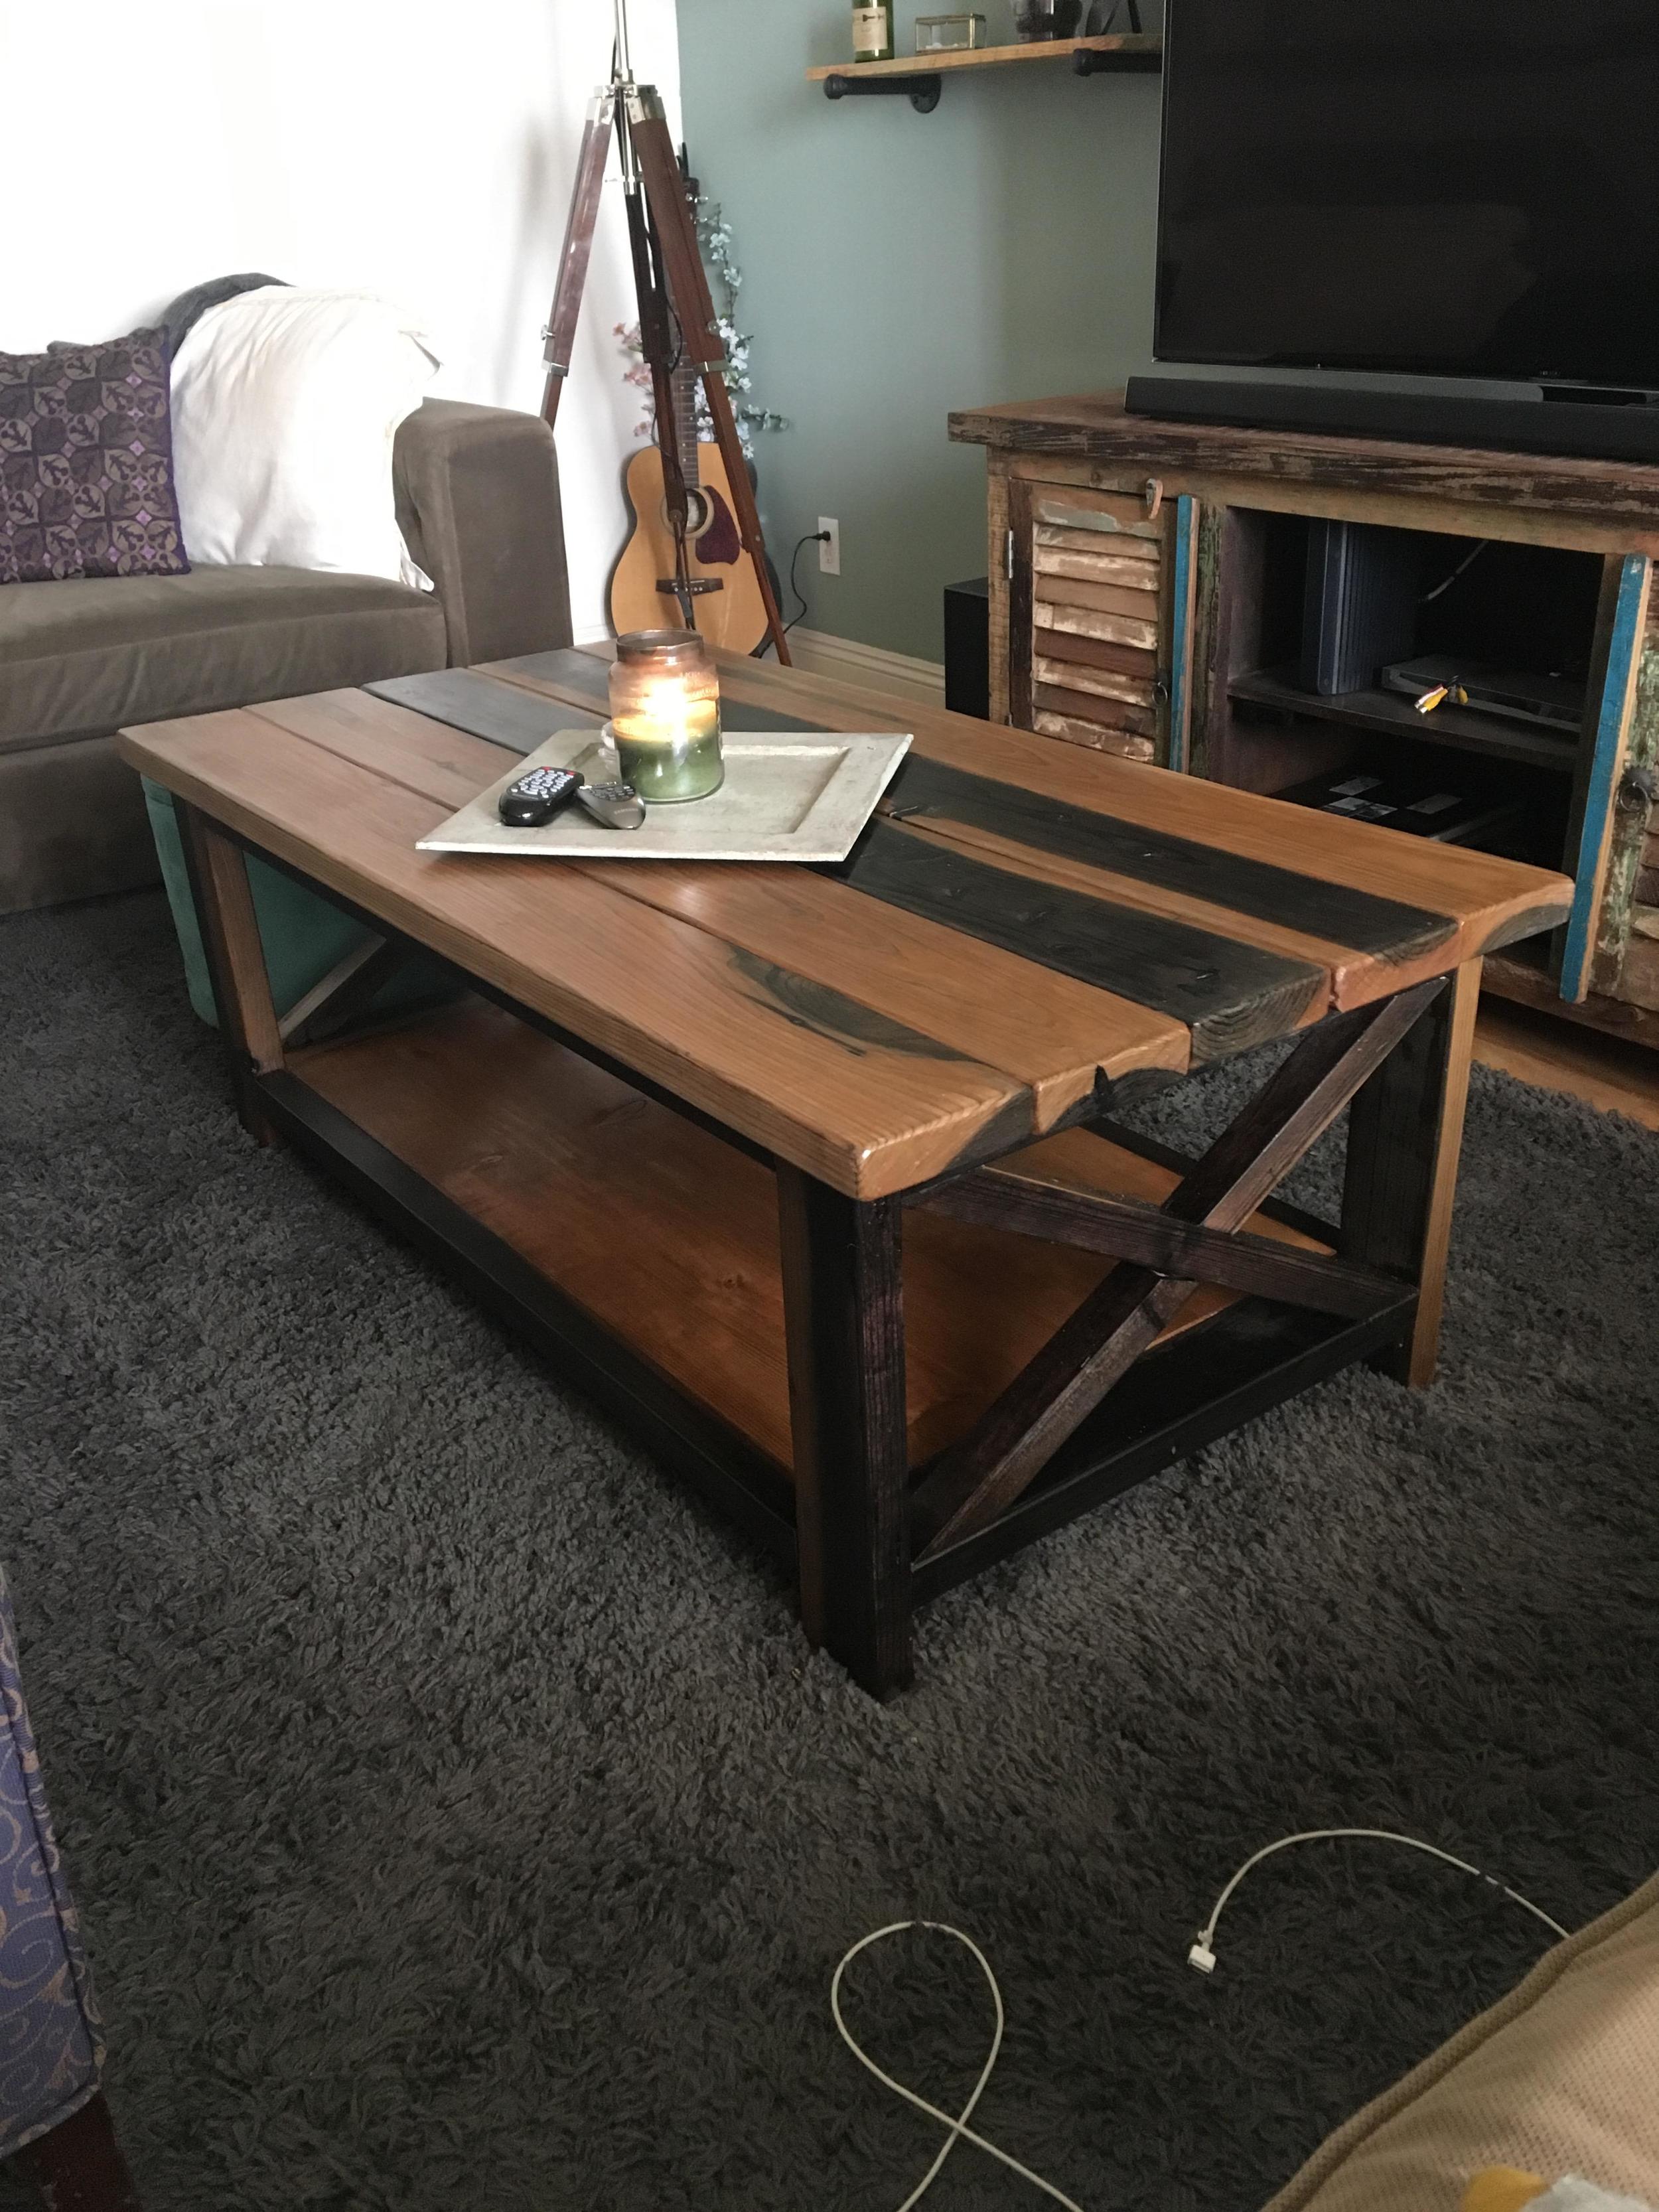
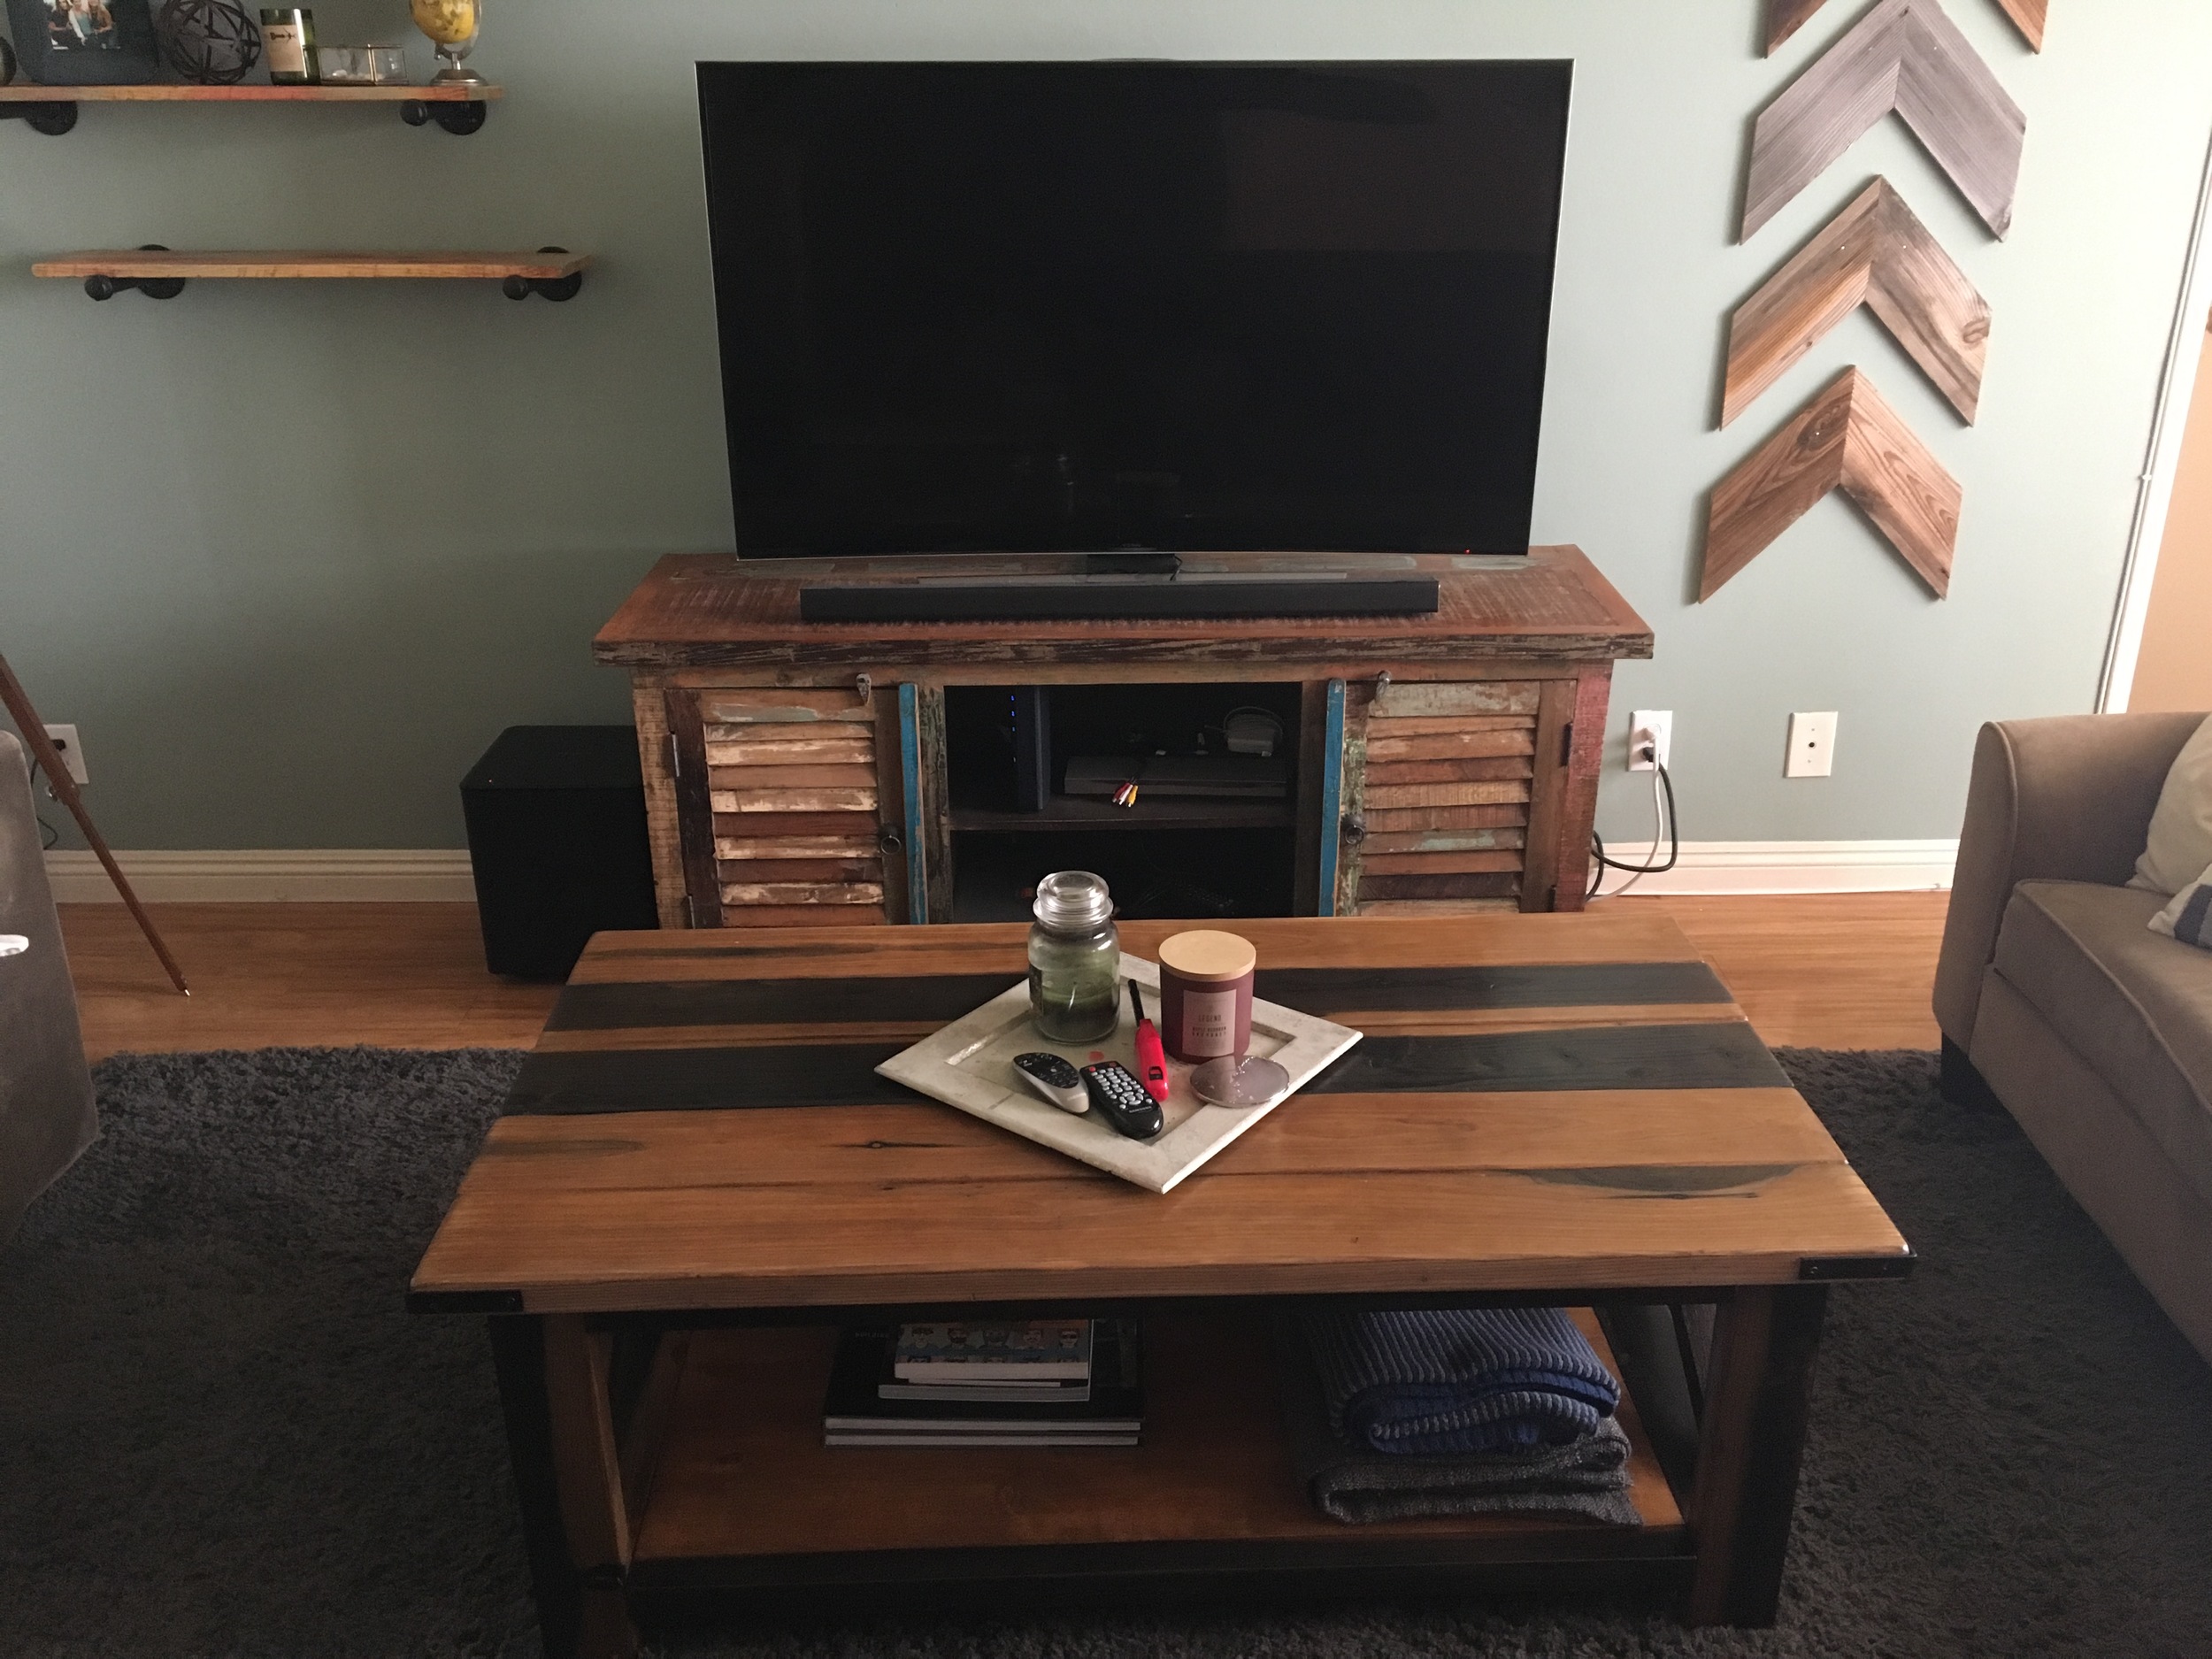
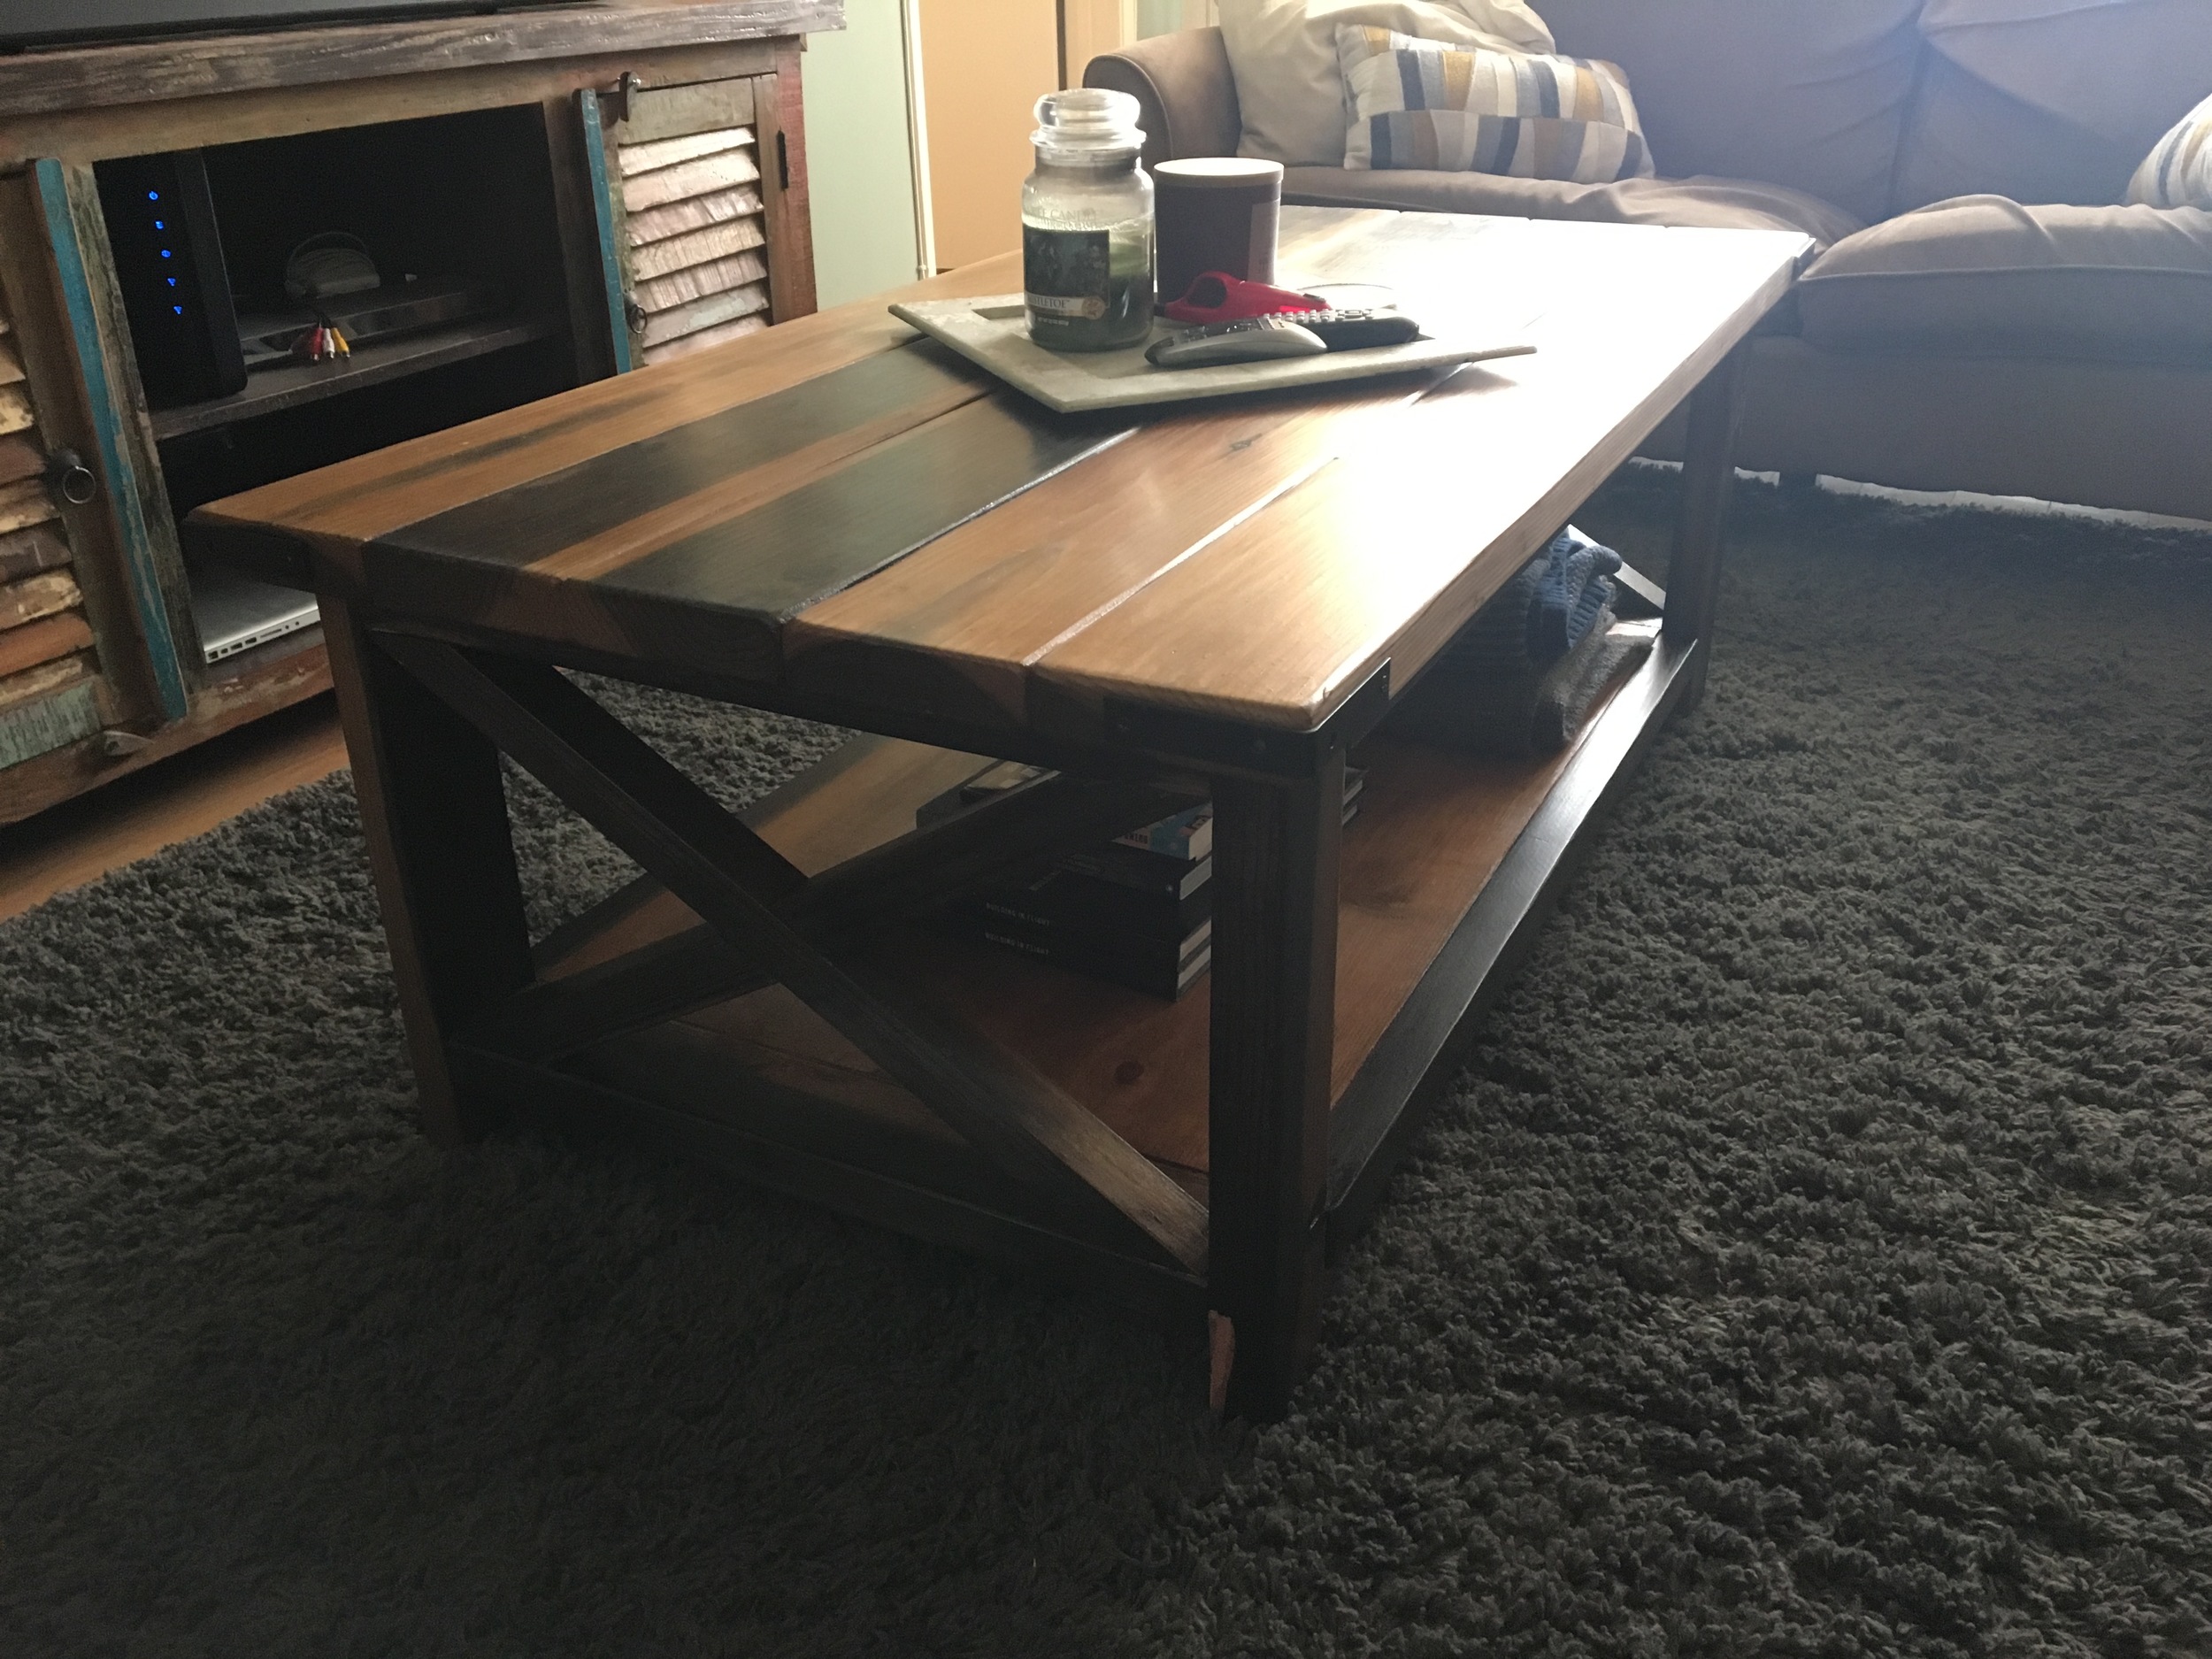
We wanted a smaller circular coffee table that matched the style and aesthetic of our new dining table. Using offcuts from our white oak dining table, as well as some square steel tubing, we fabricated this one of a kind coffee table for our living room. The smaller size was a huge upgrade in terms of walking space, both for us and our giant berner.
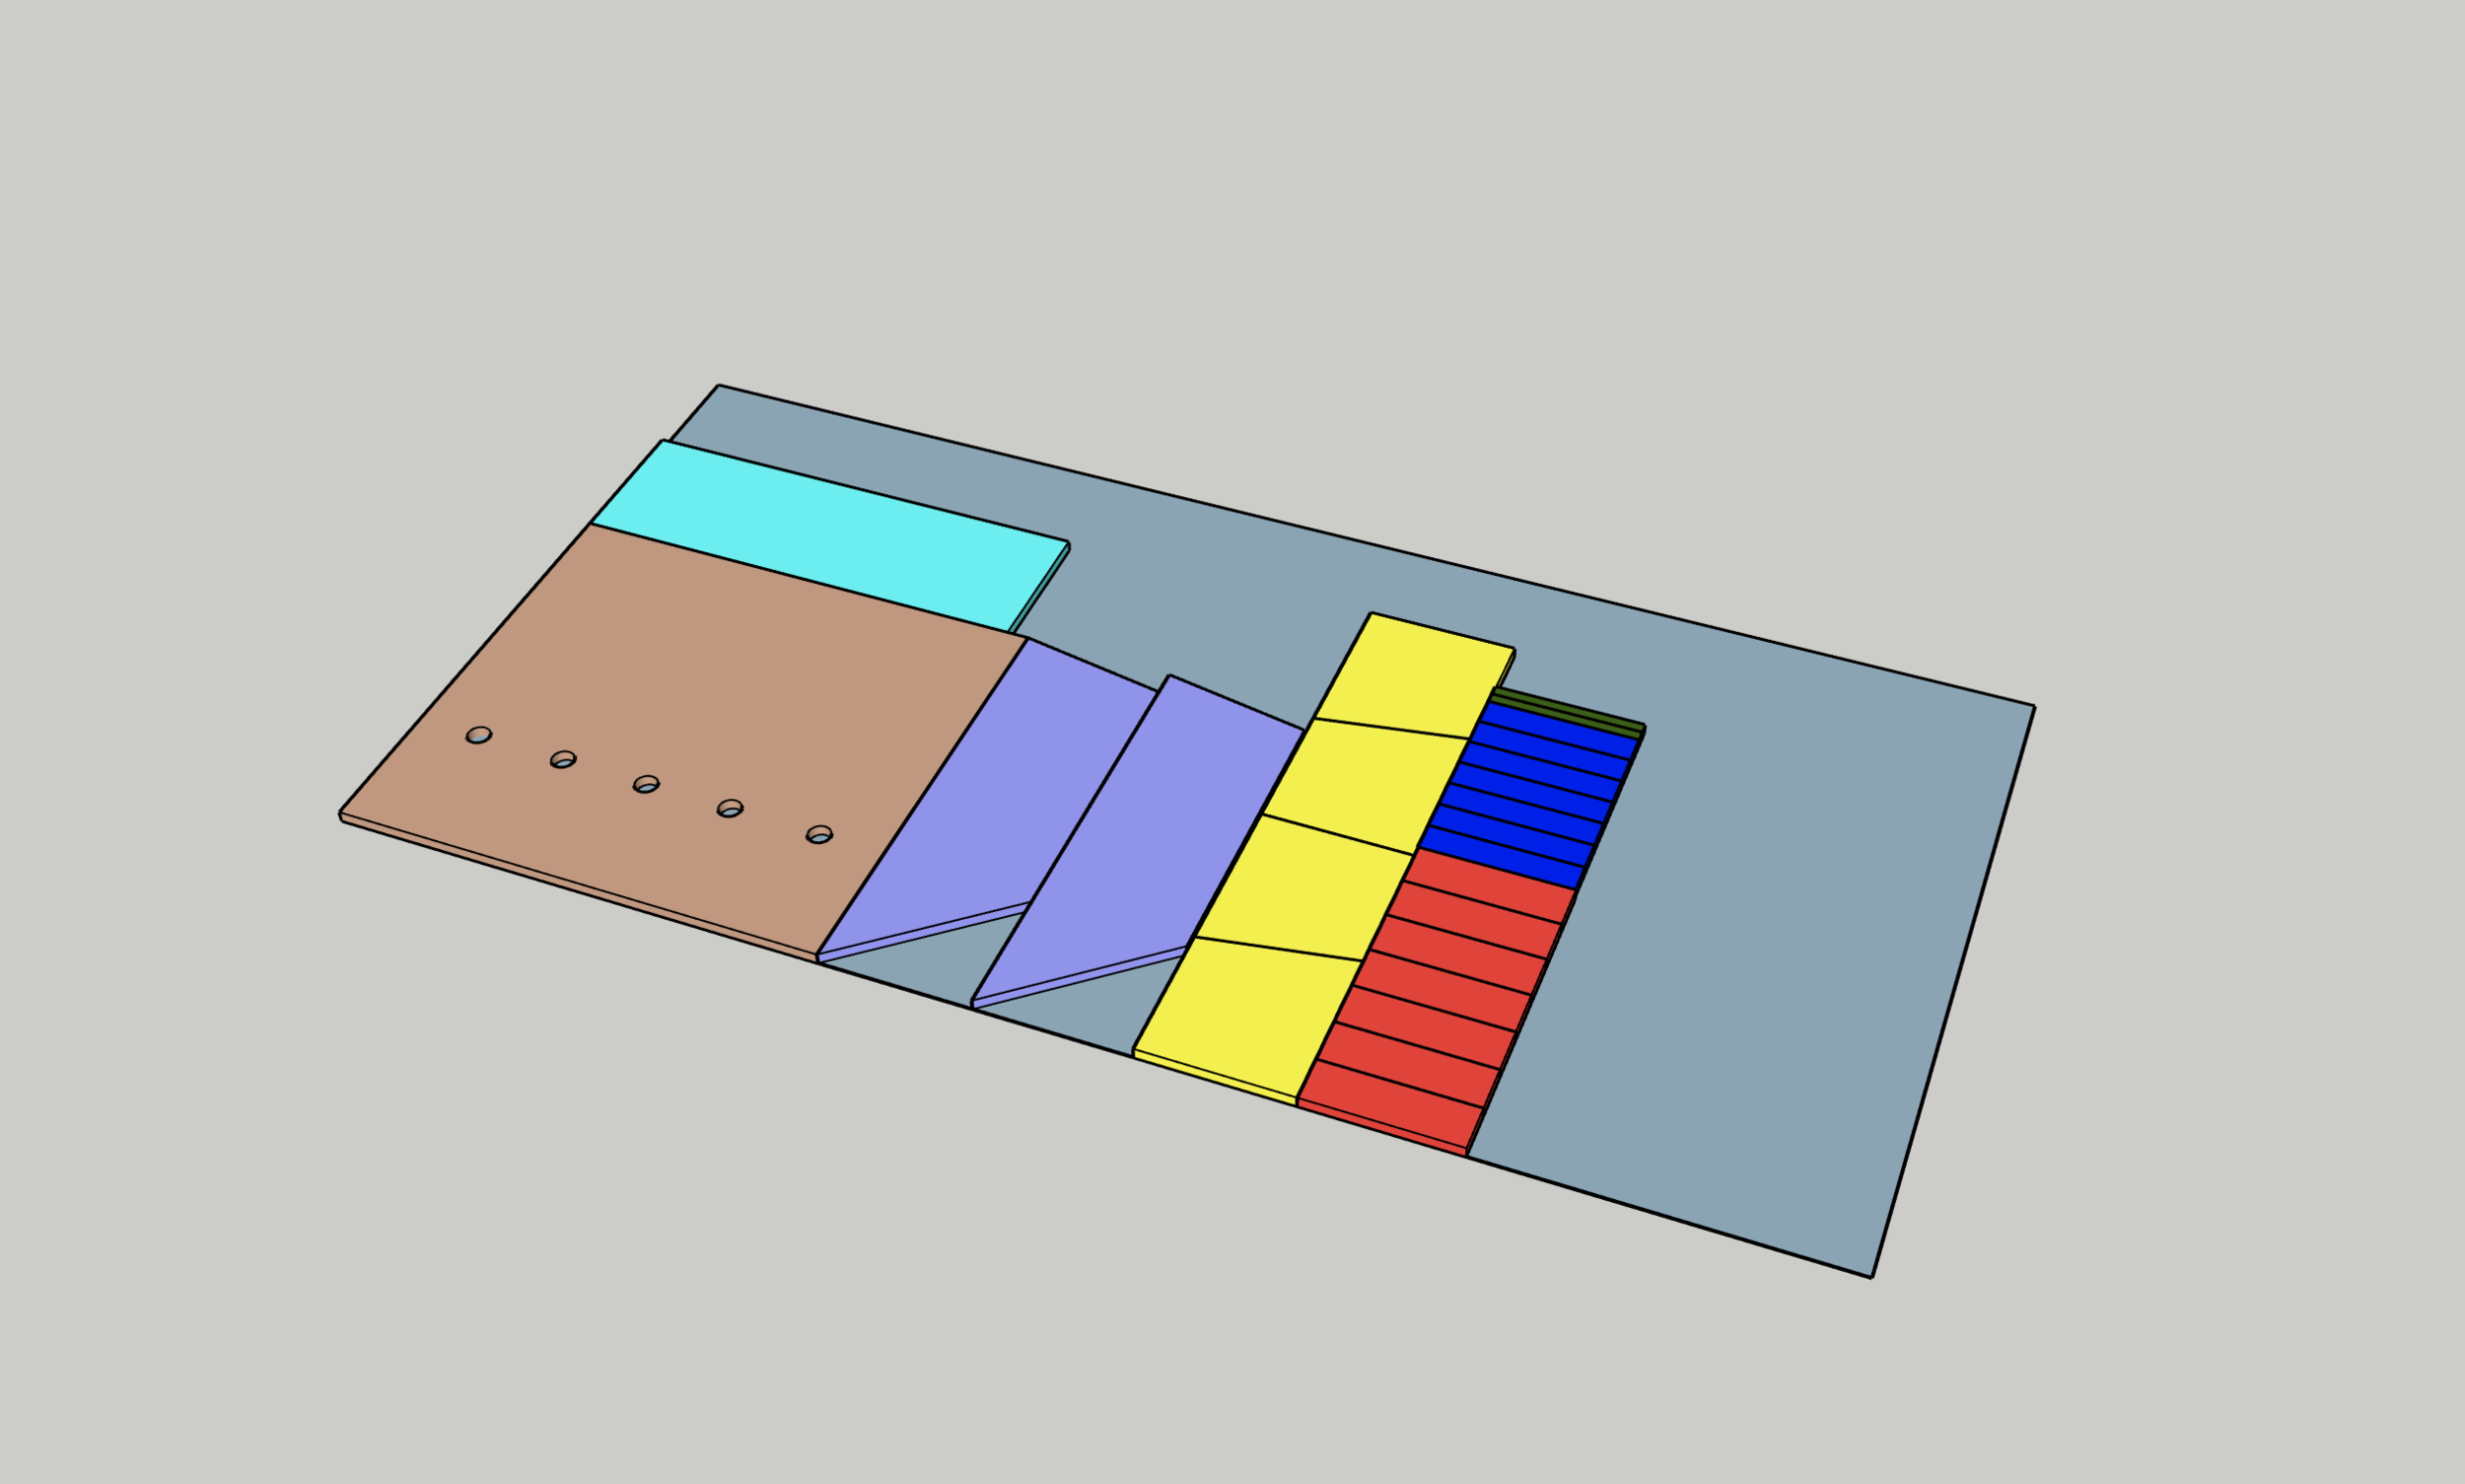
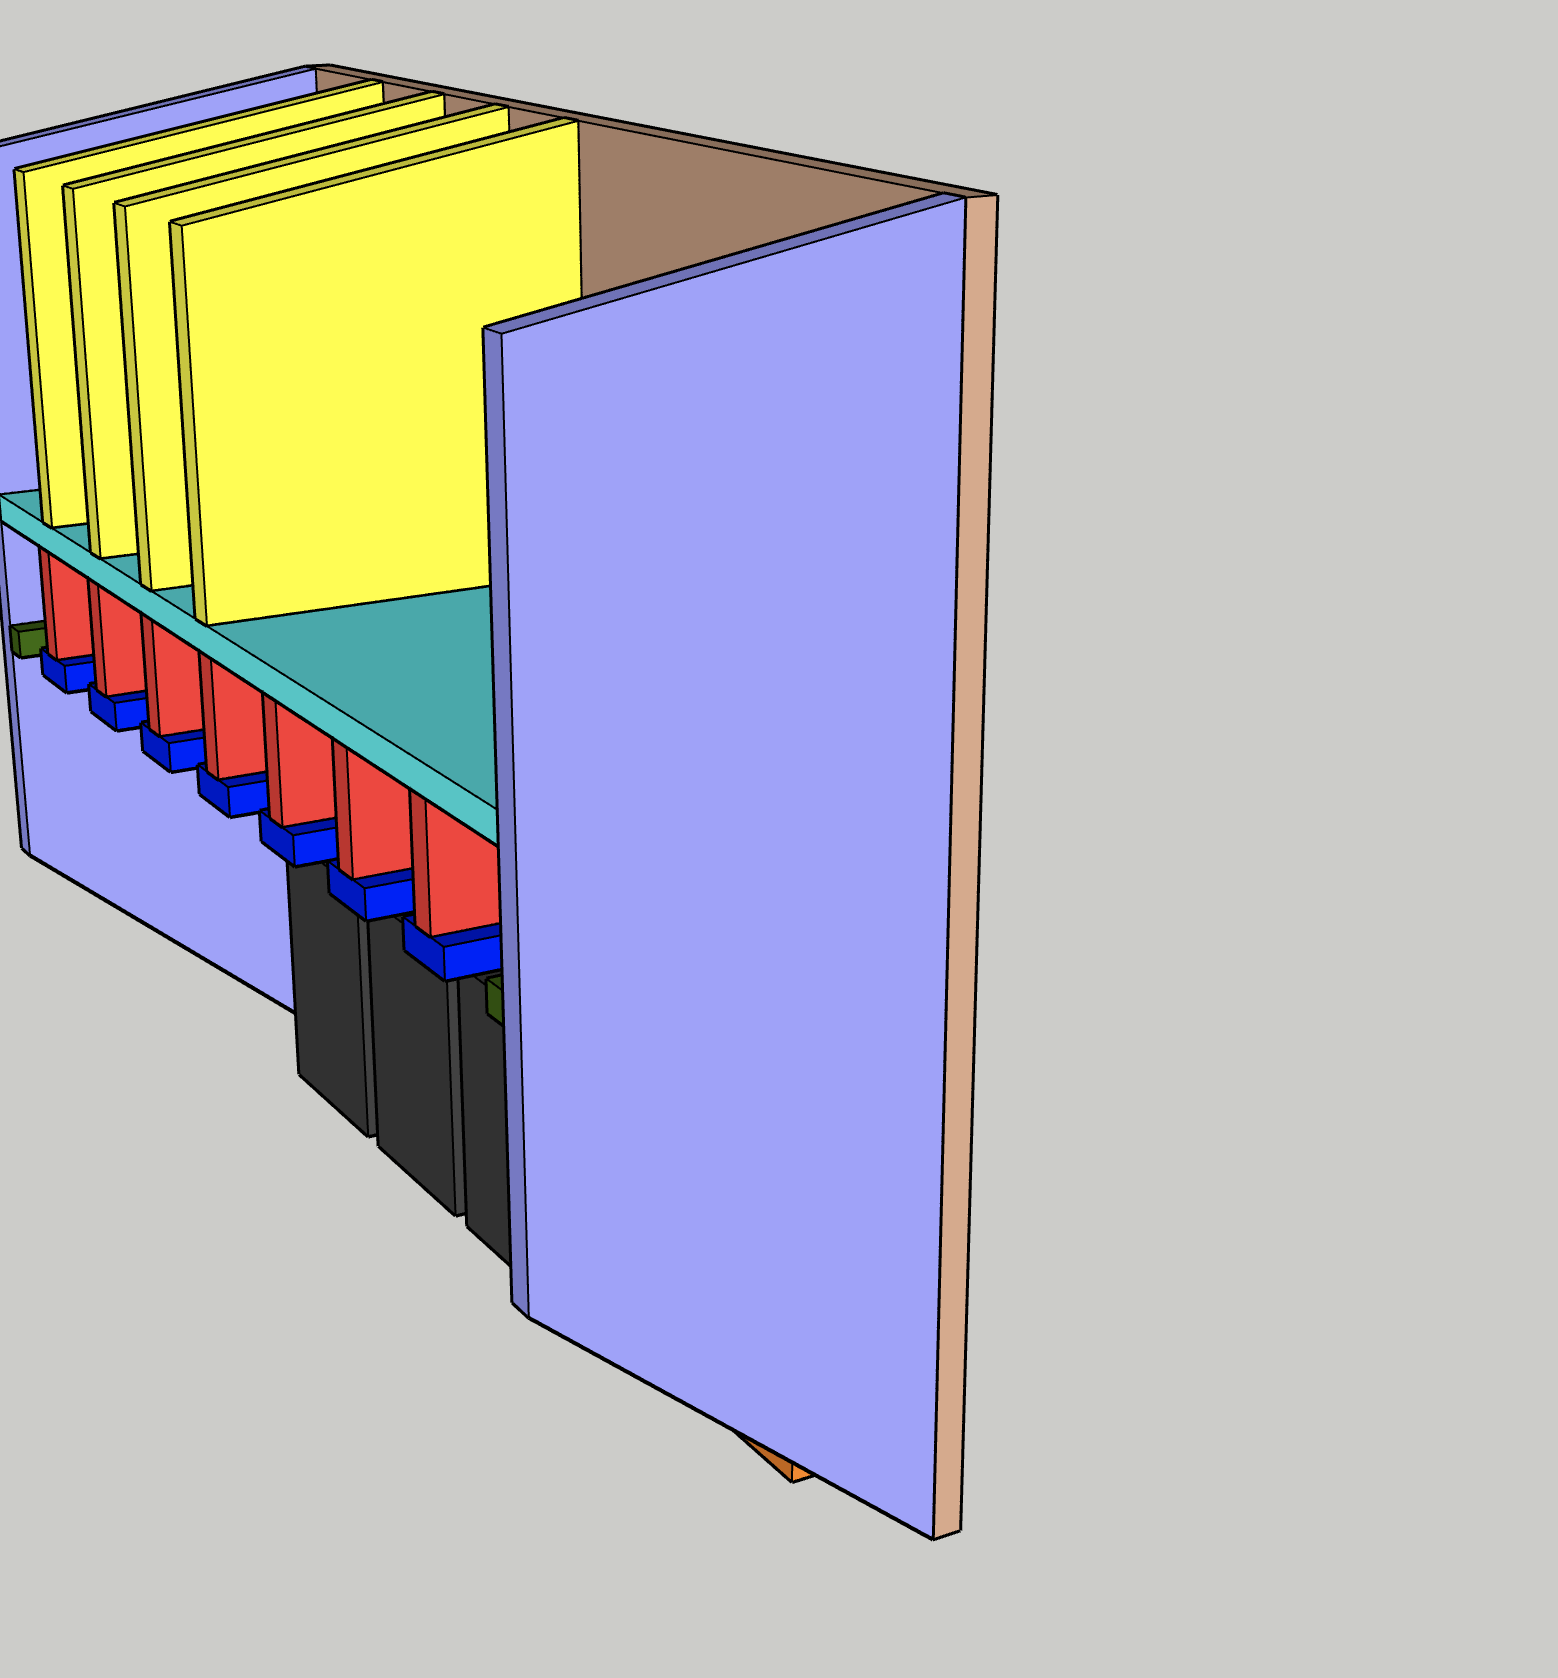
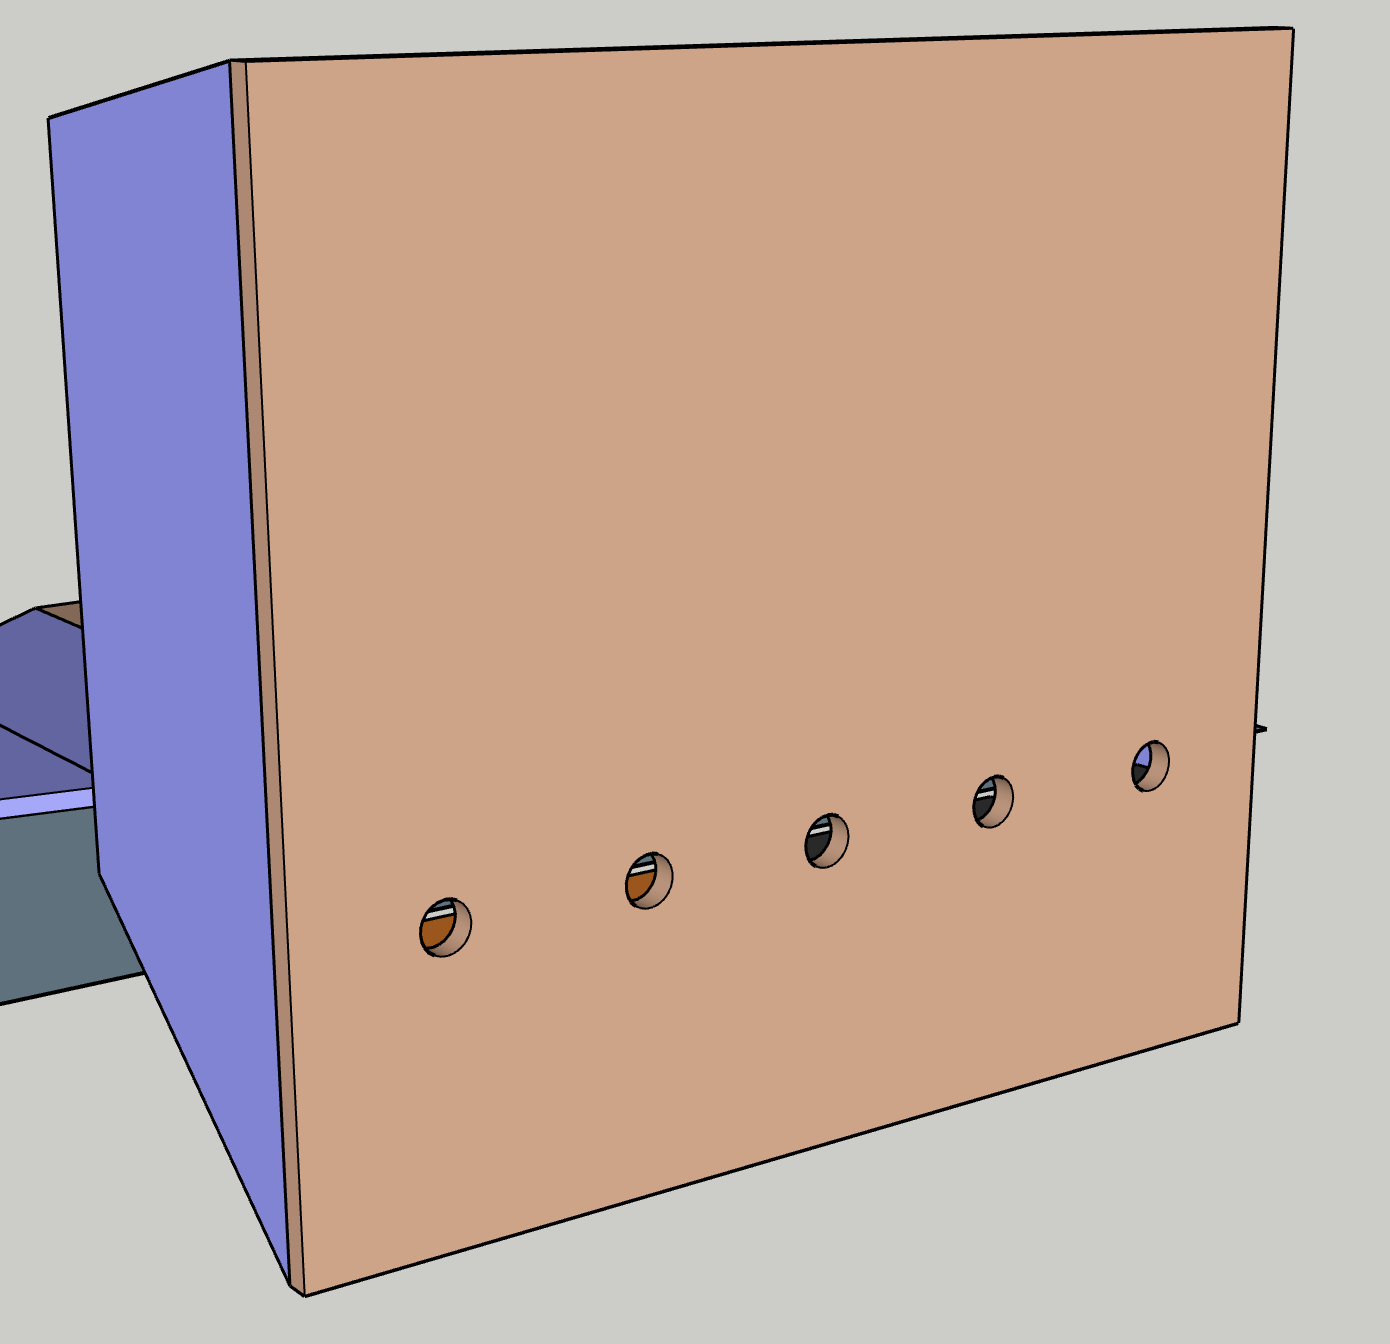
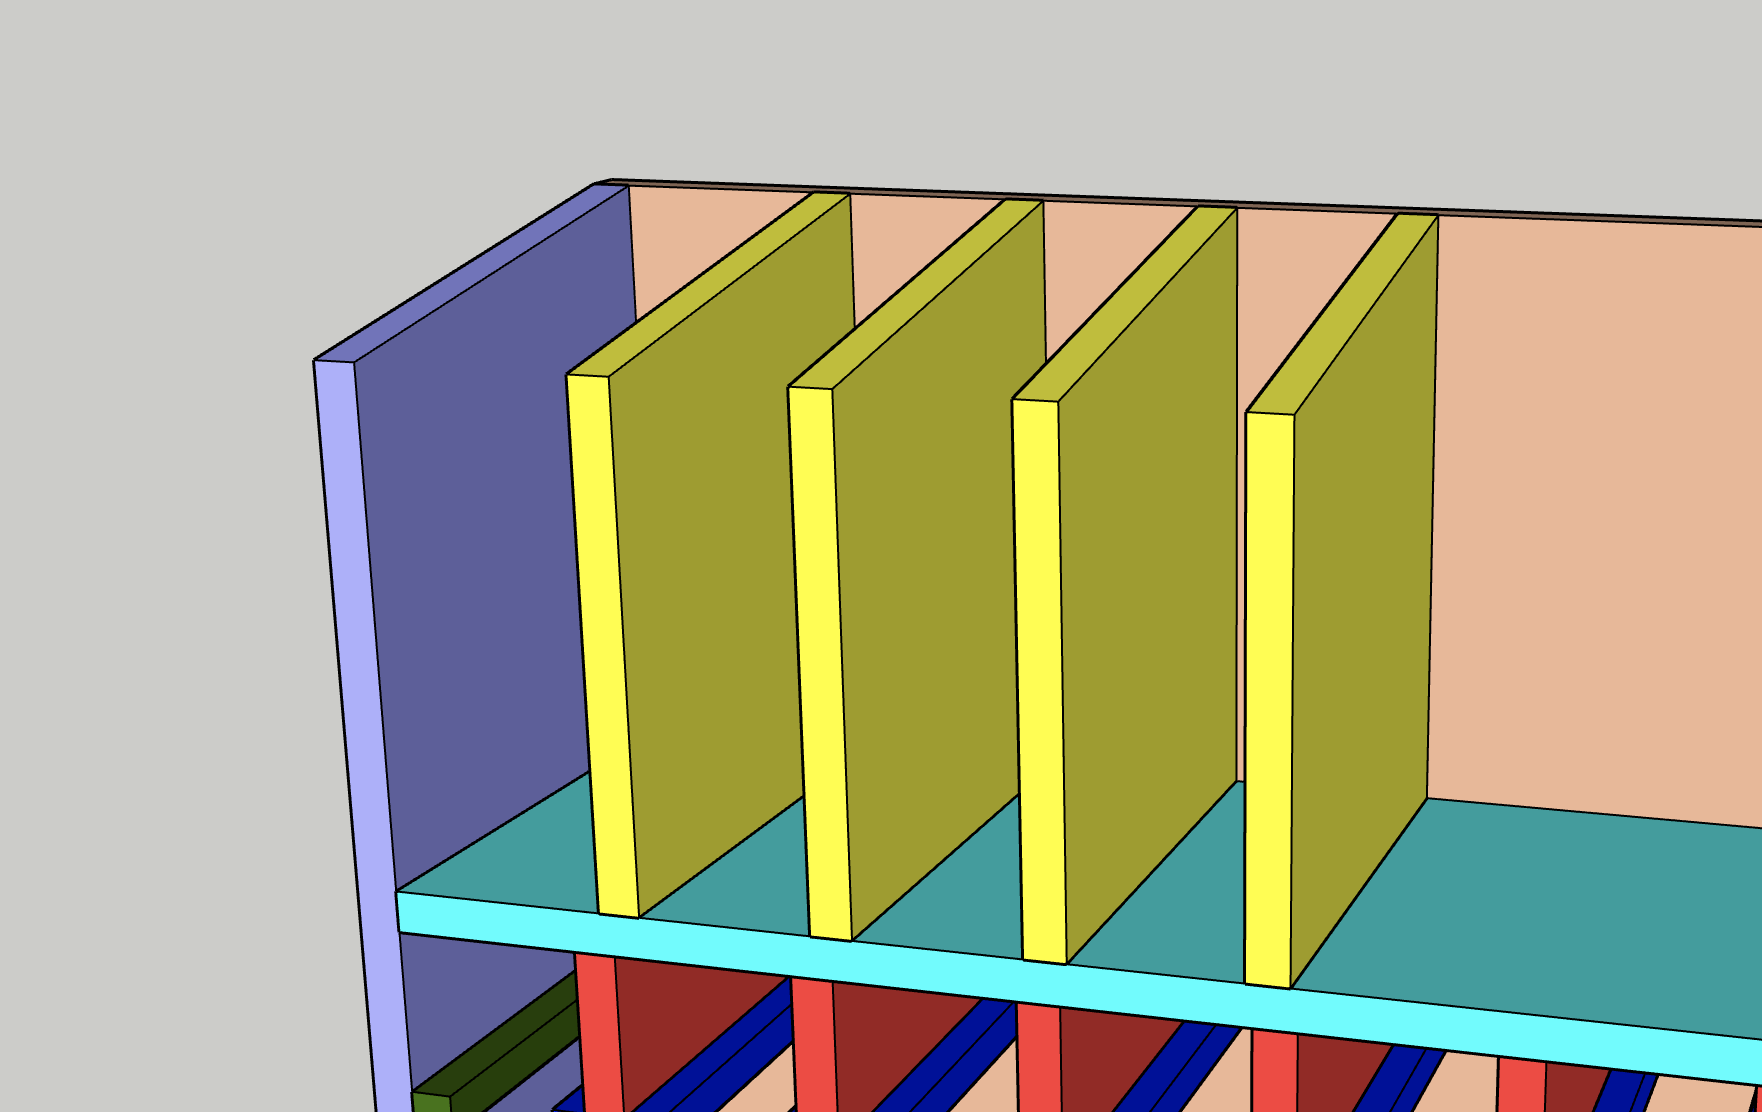
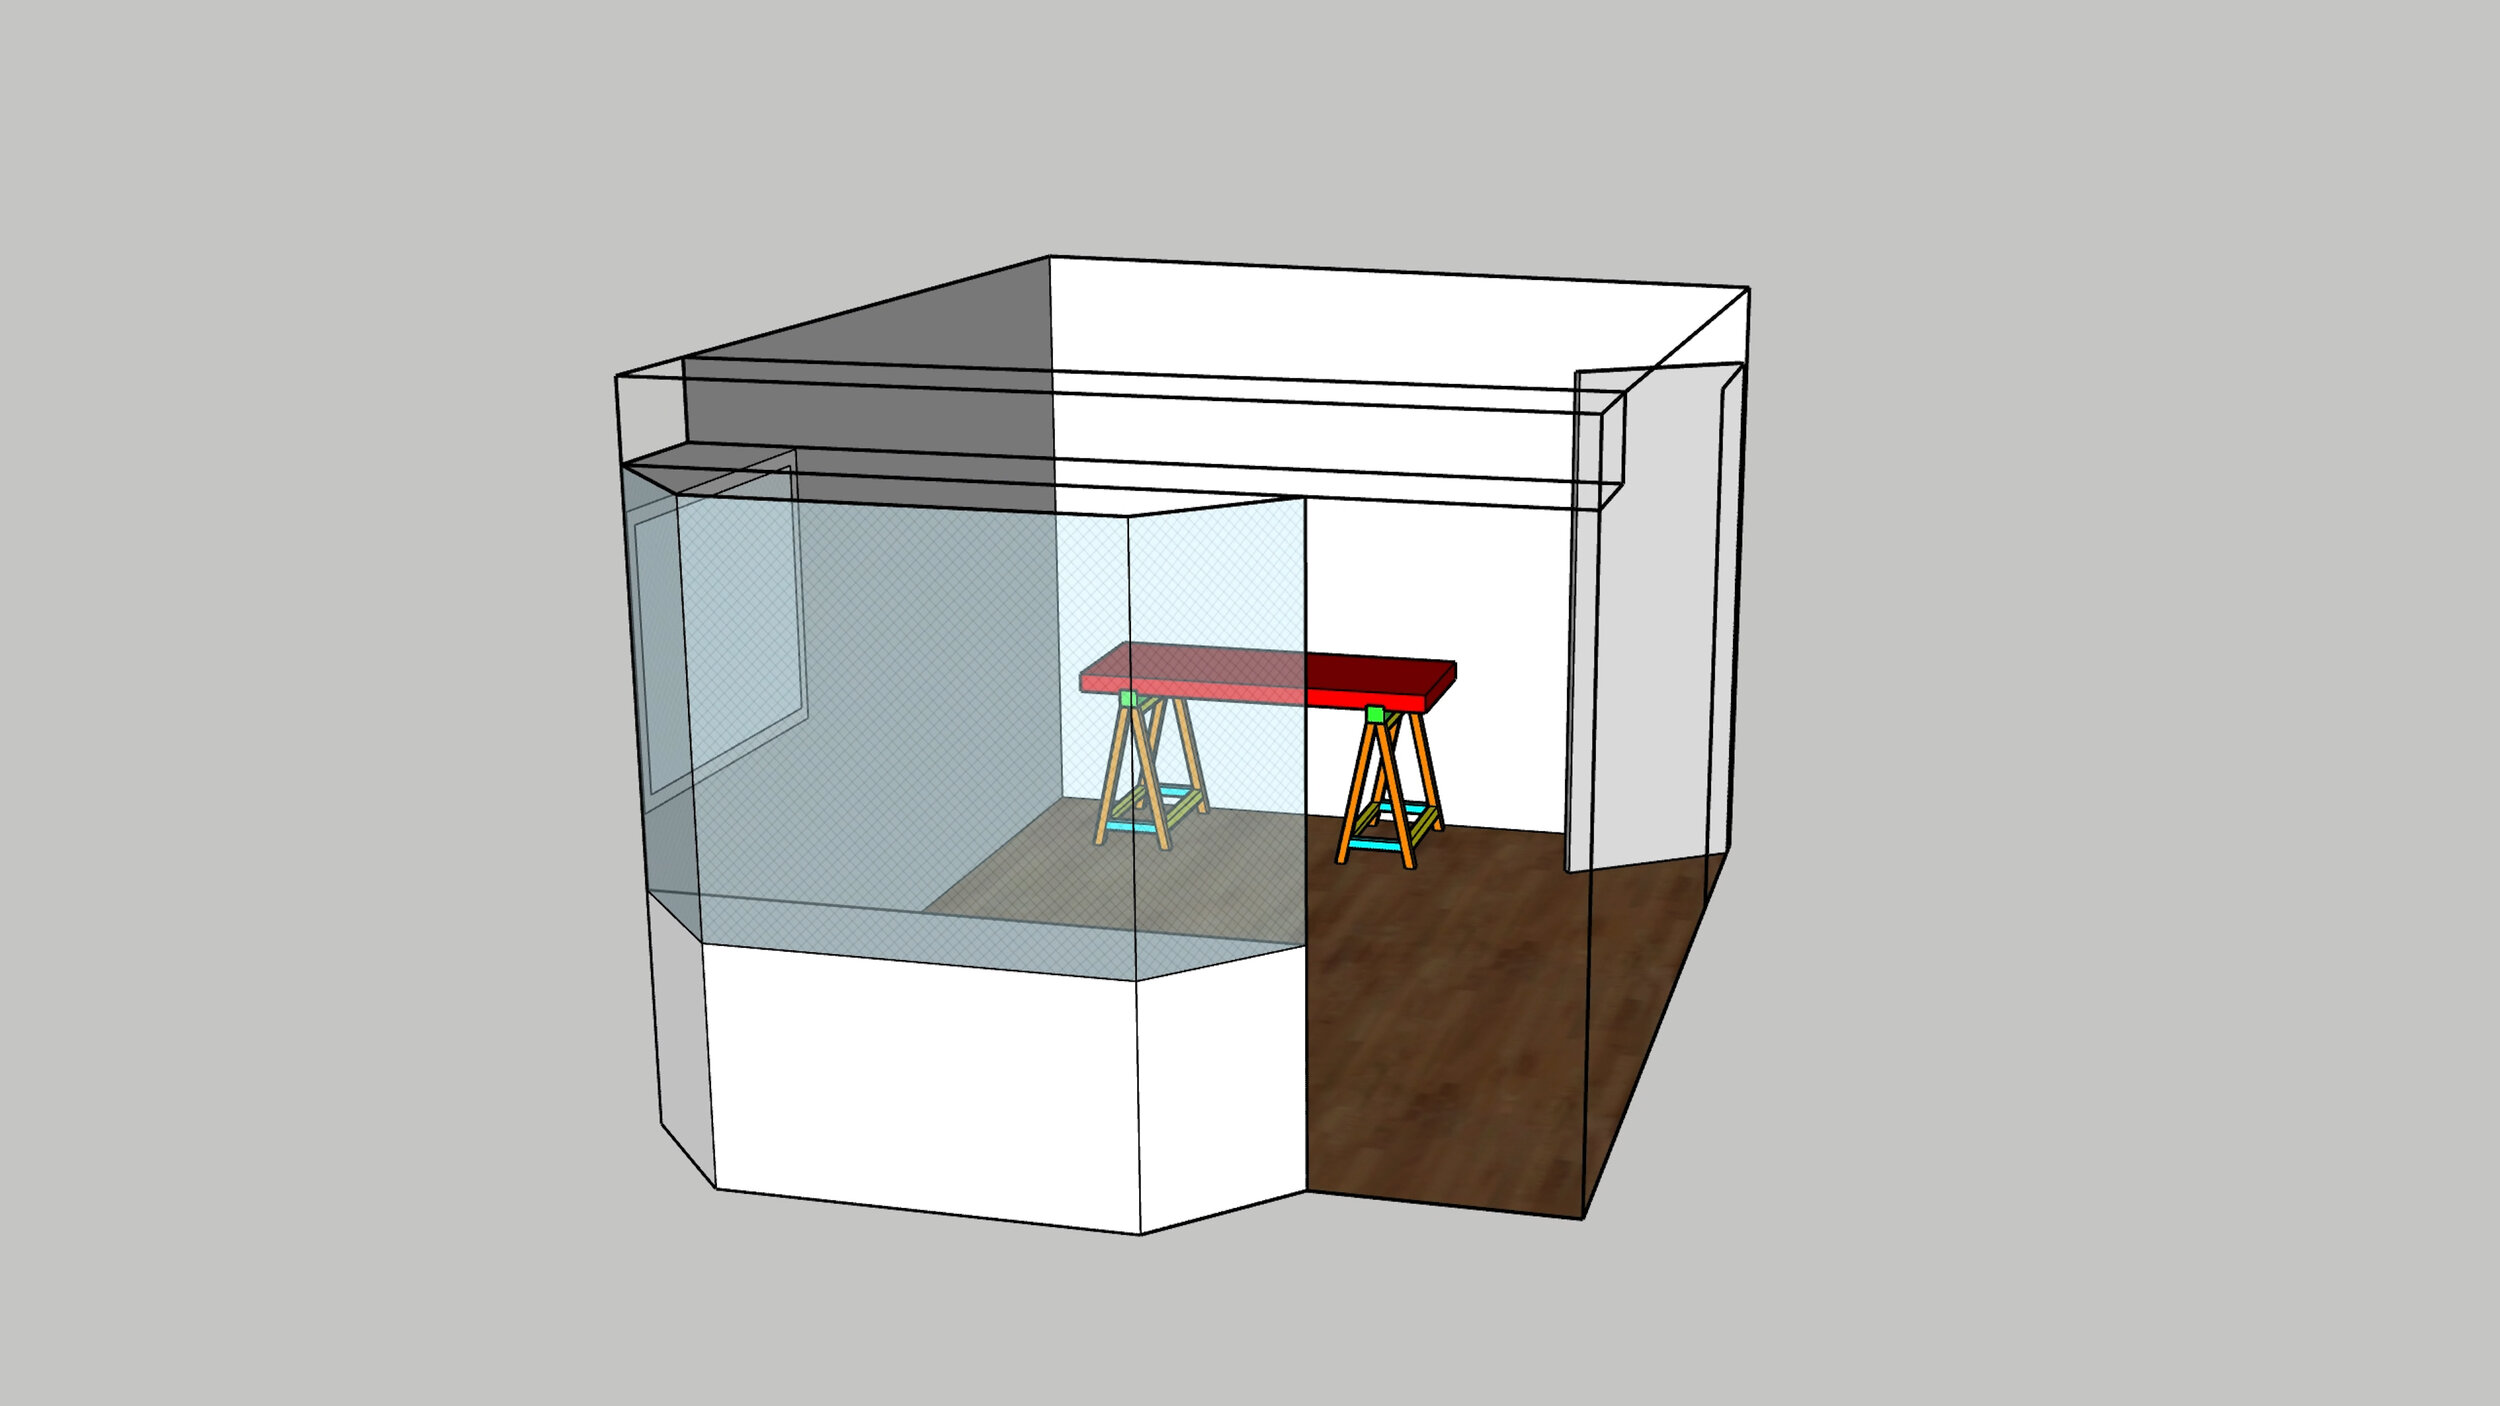
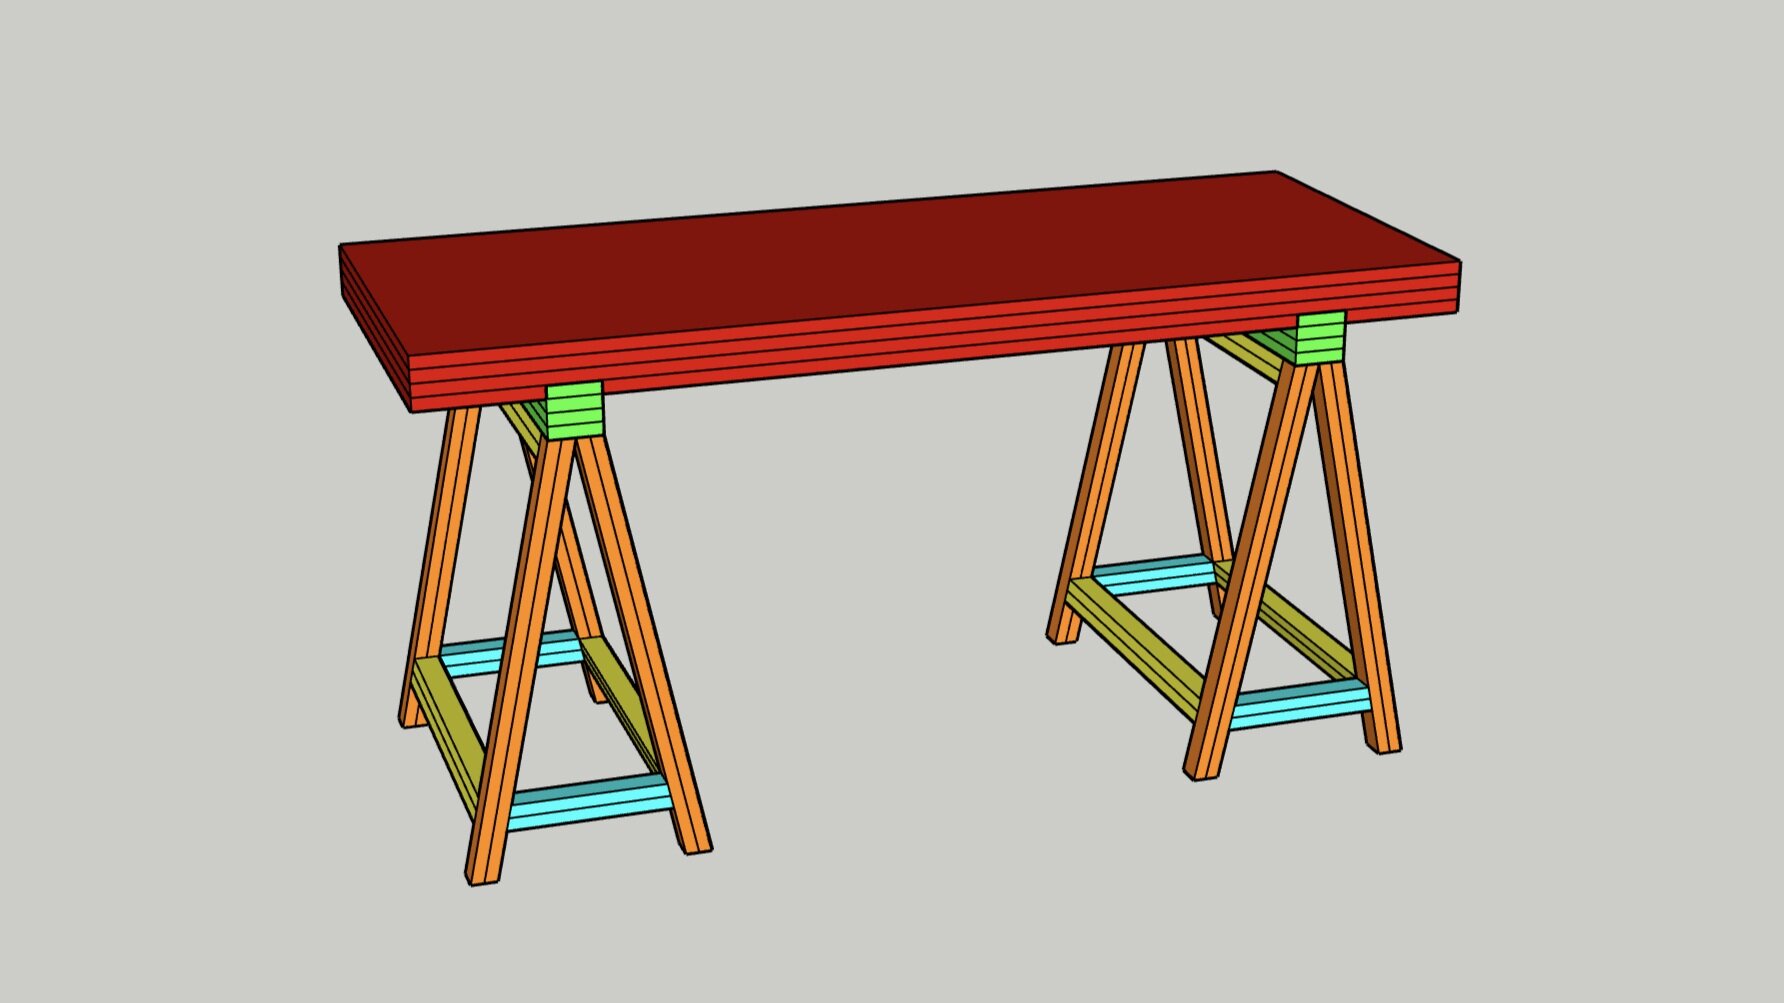
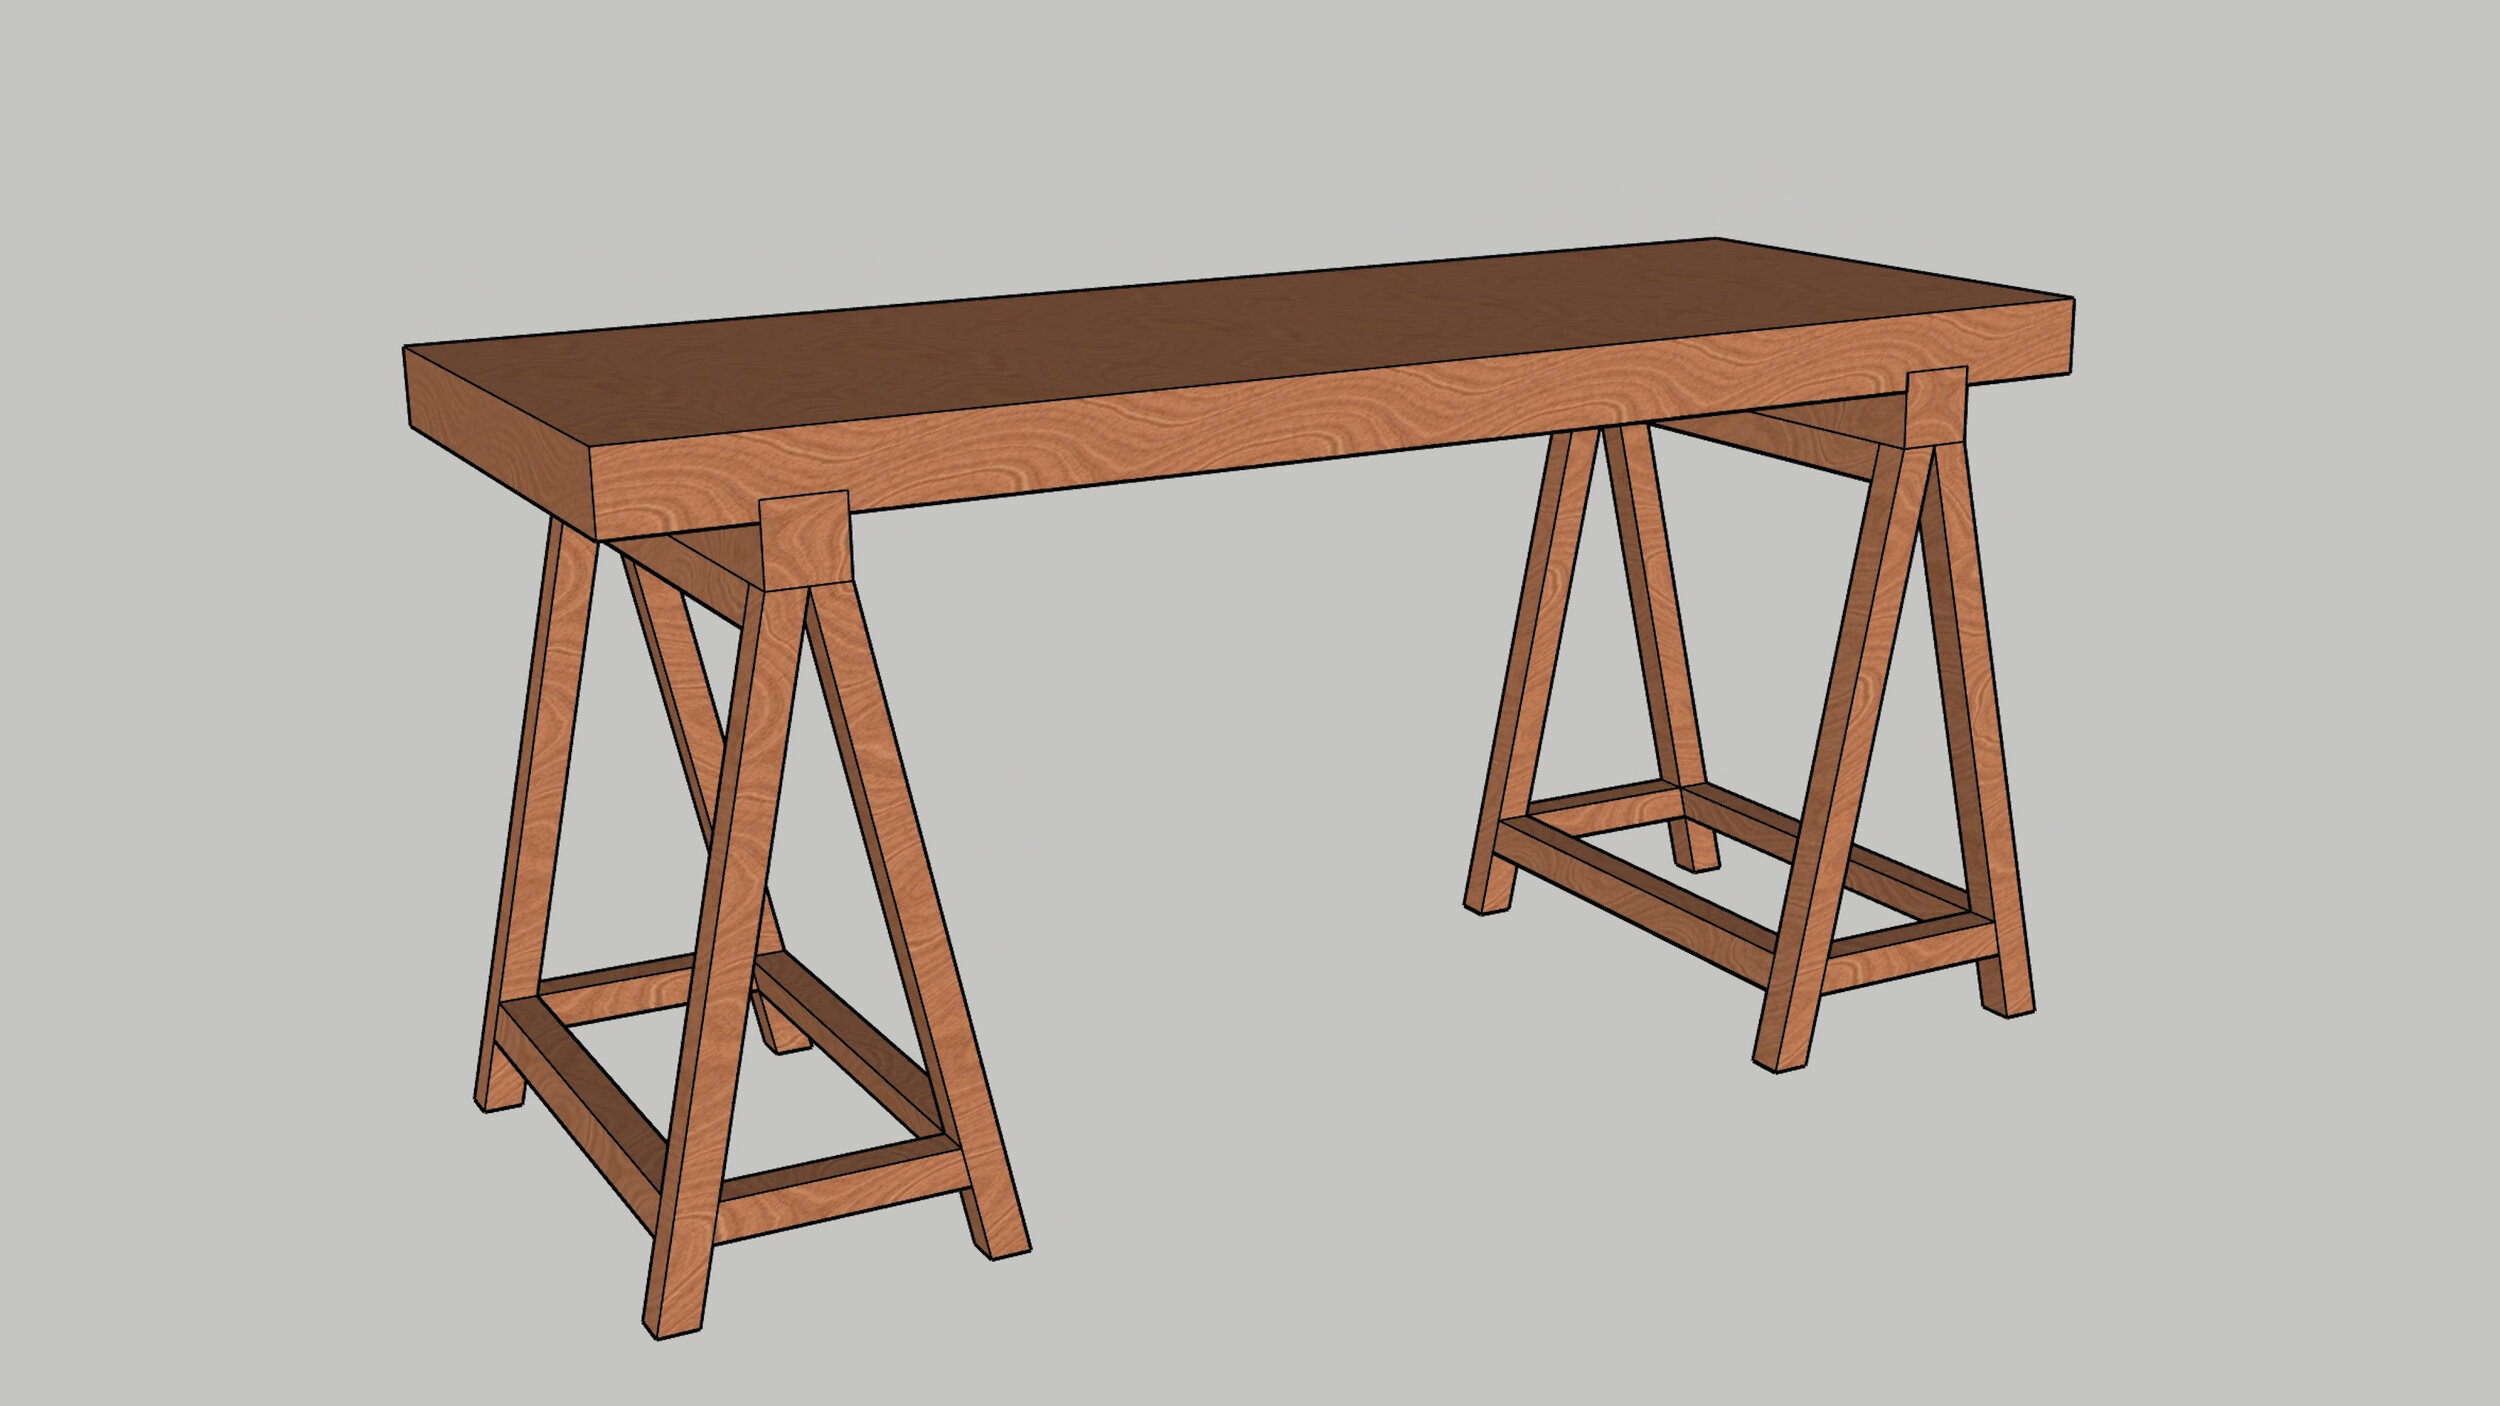
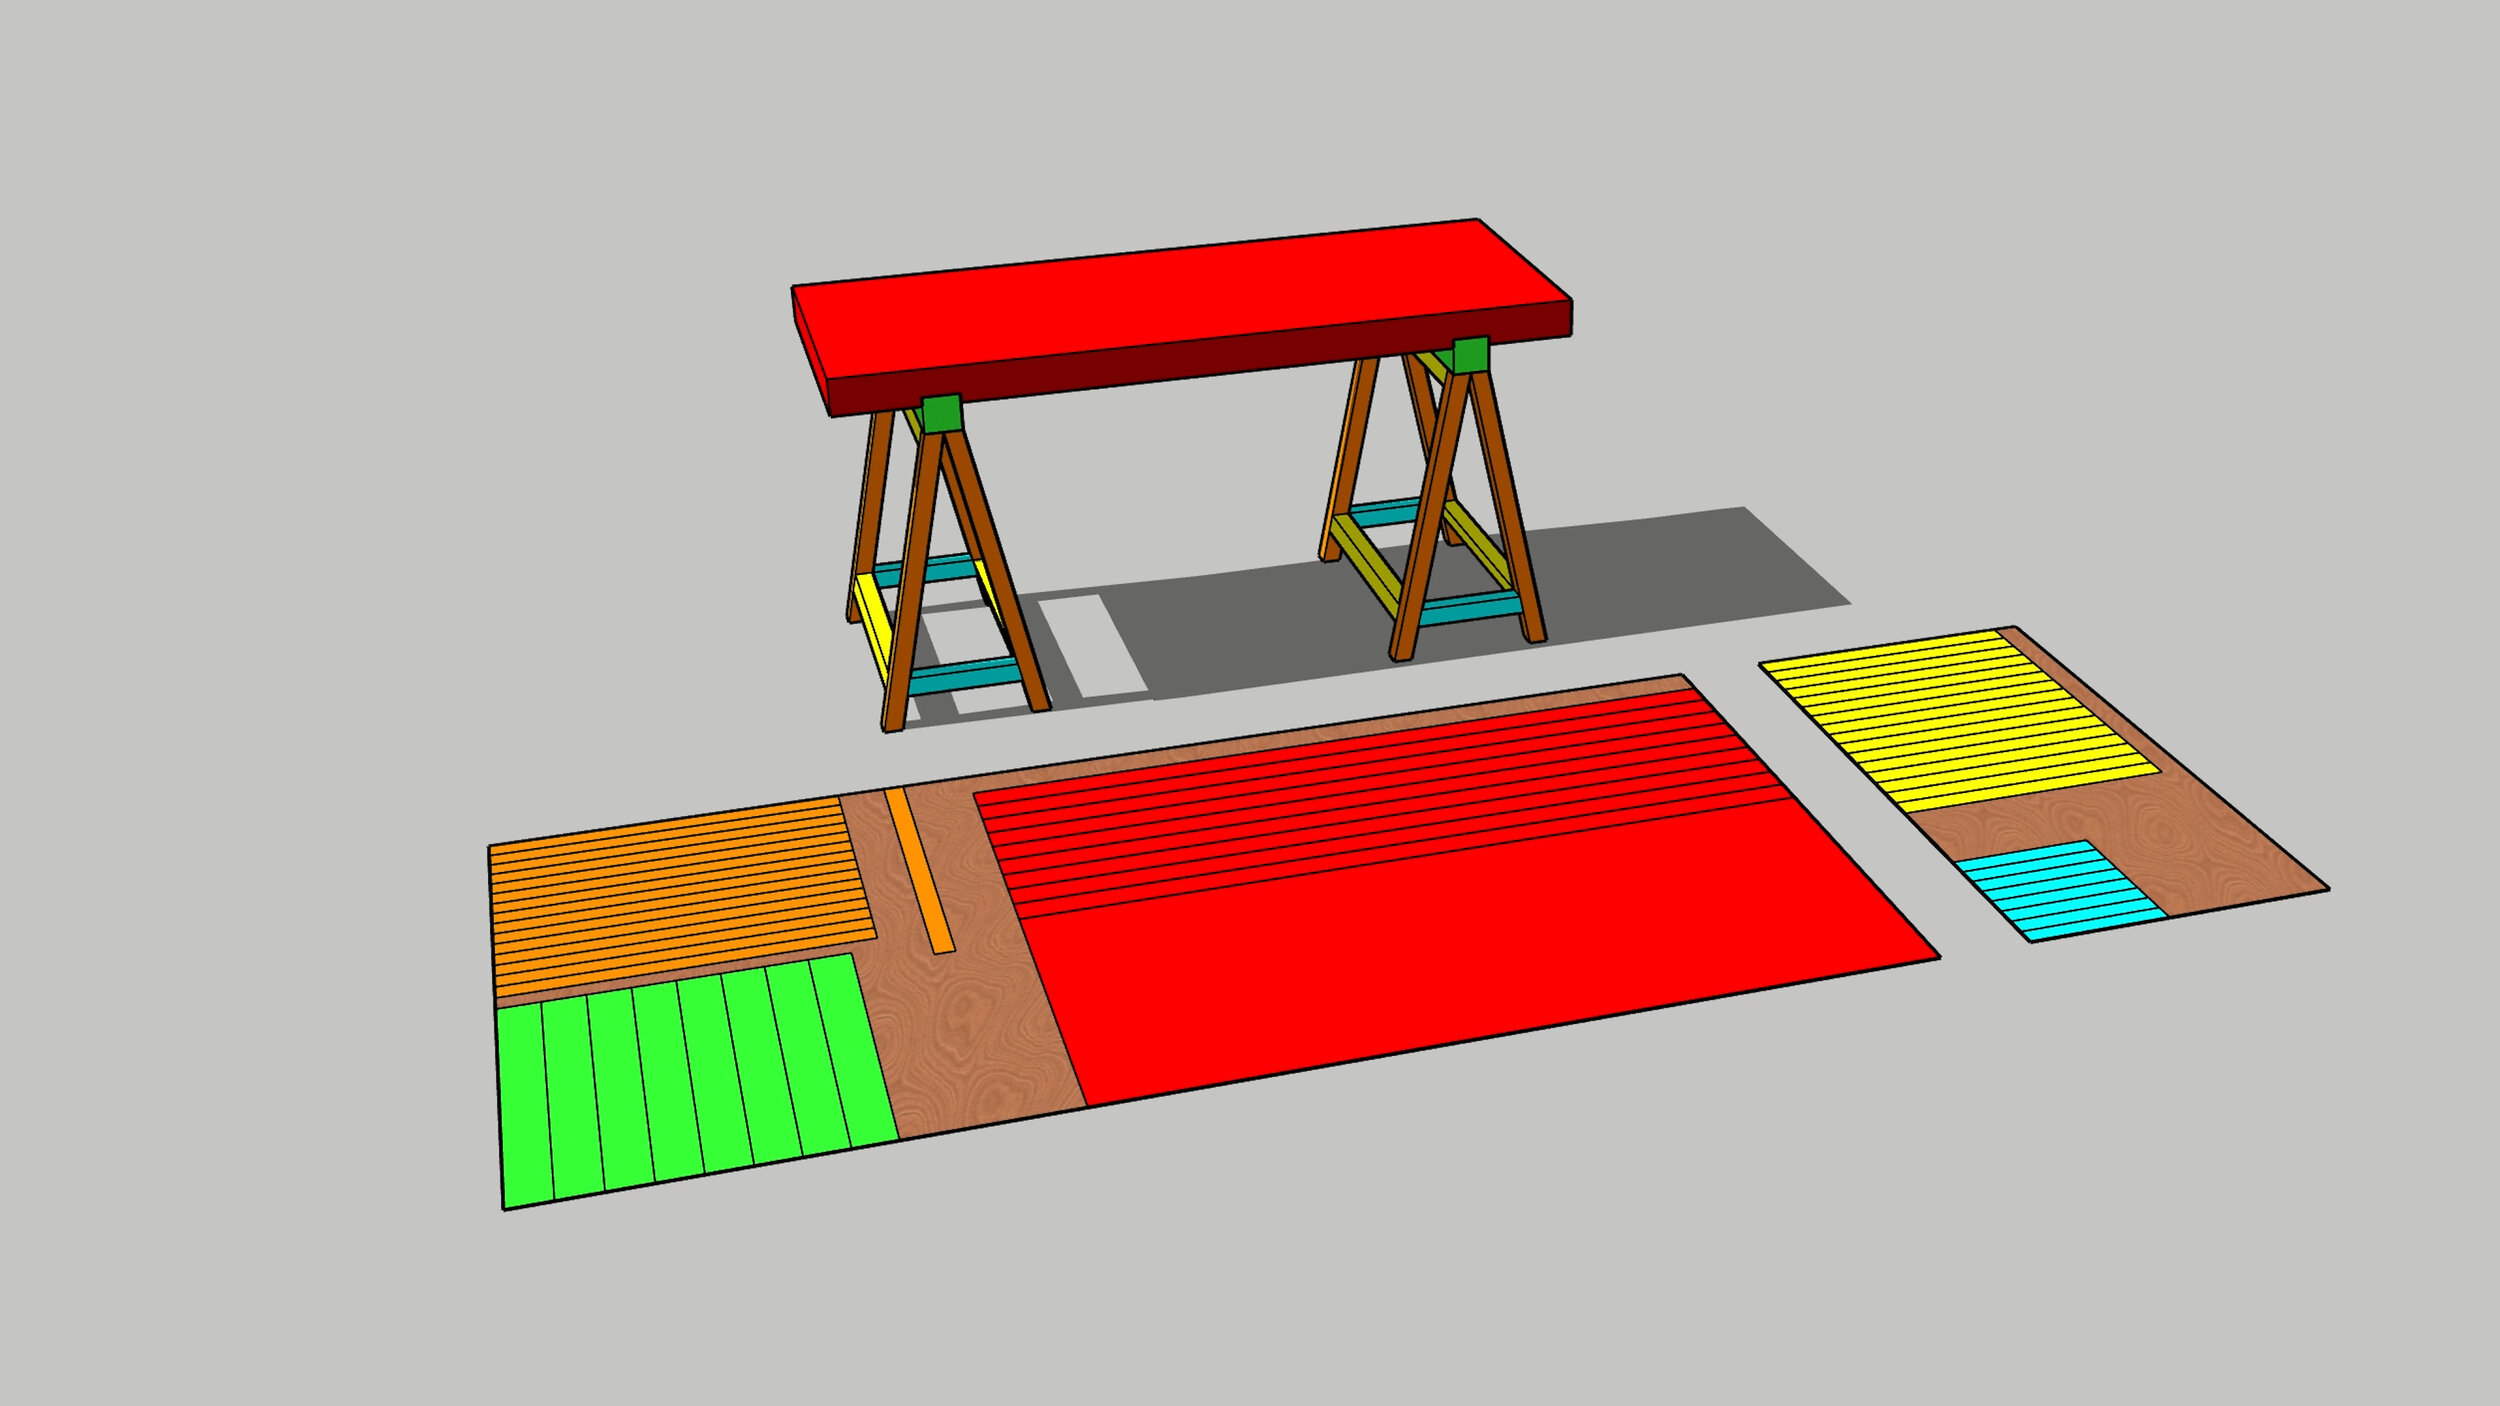
There is a 3D Sketchup model available under the Free Design Files tab.
🌳 MATERIALS
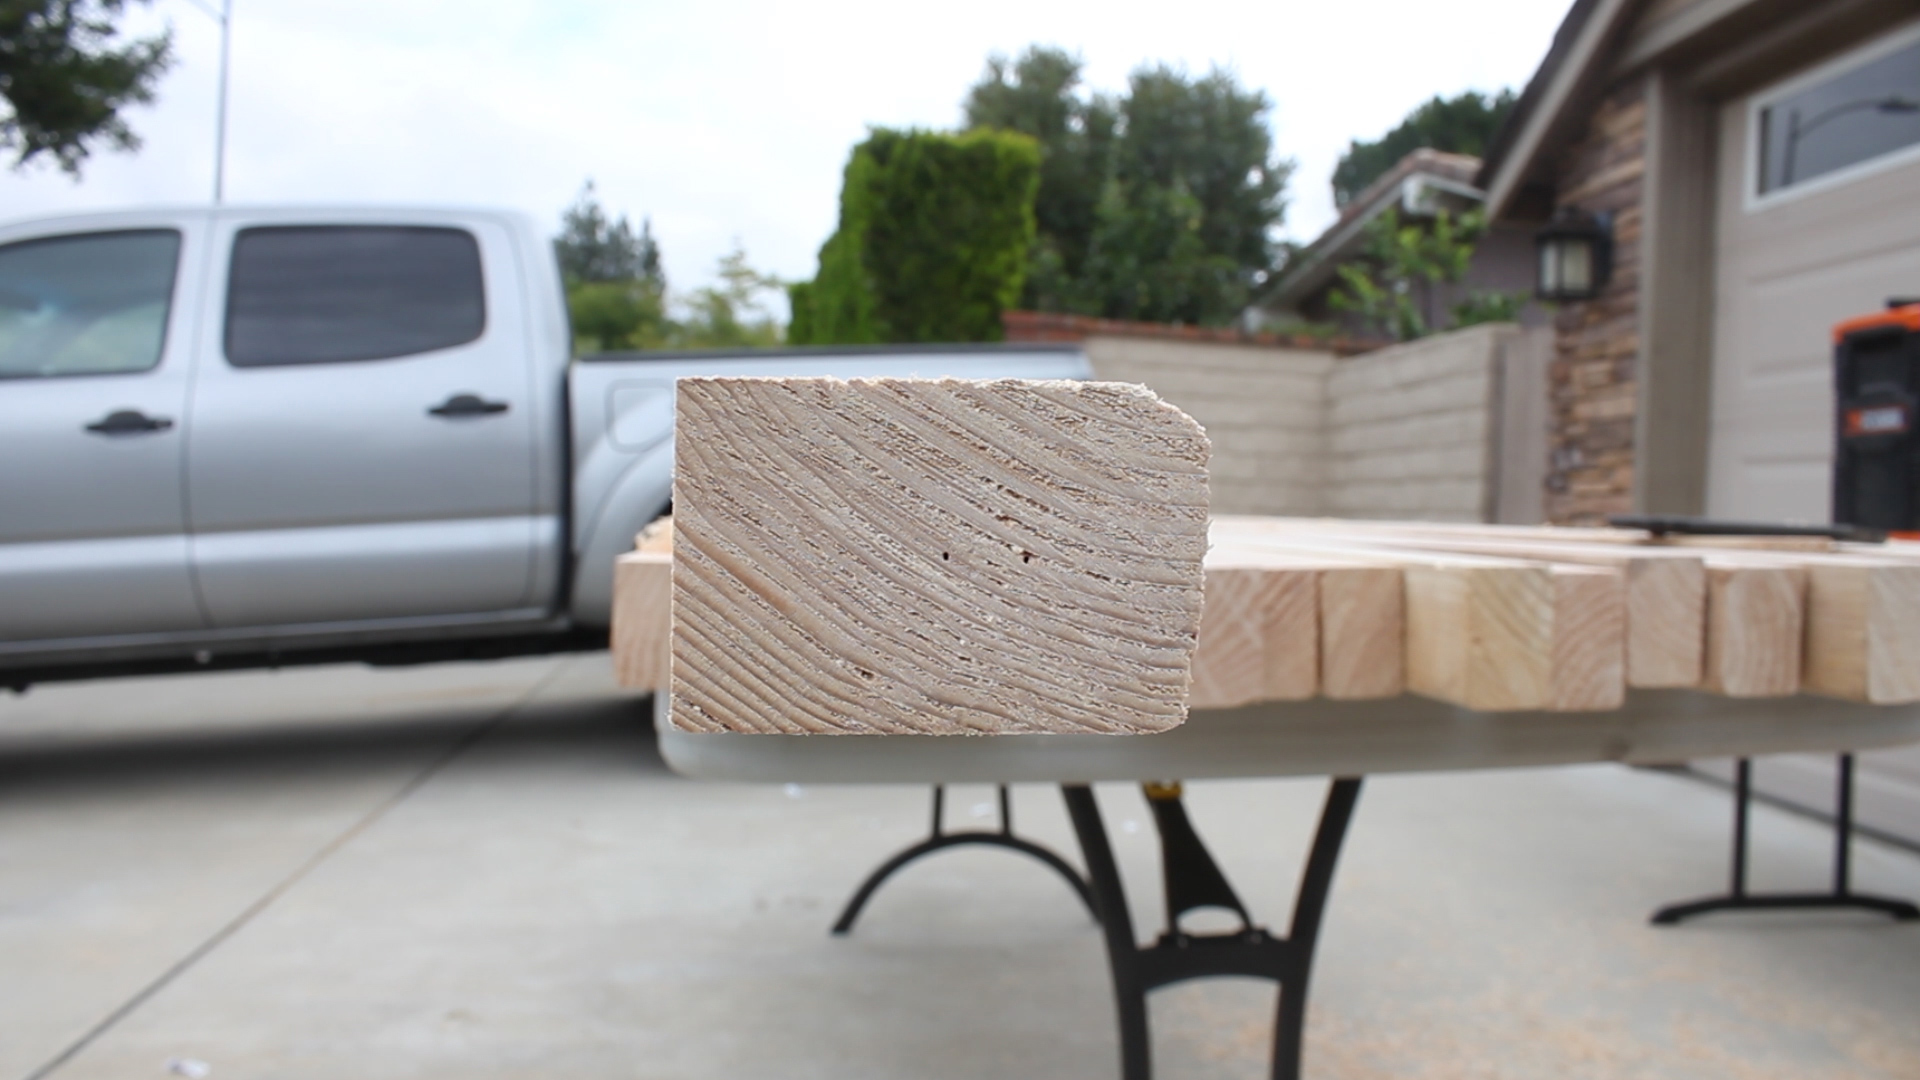
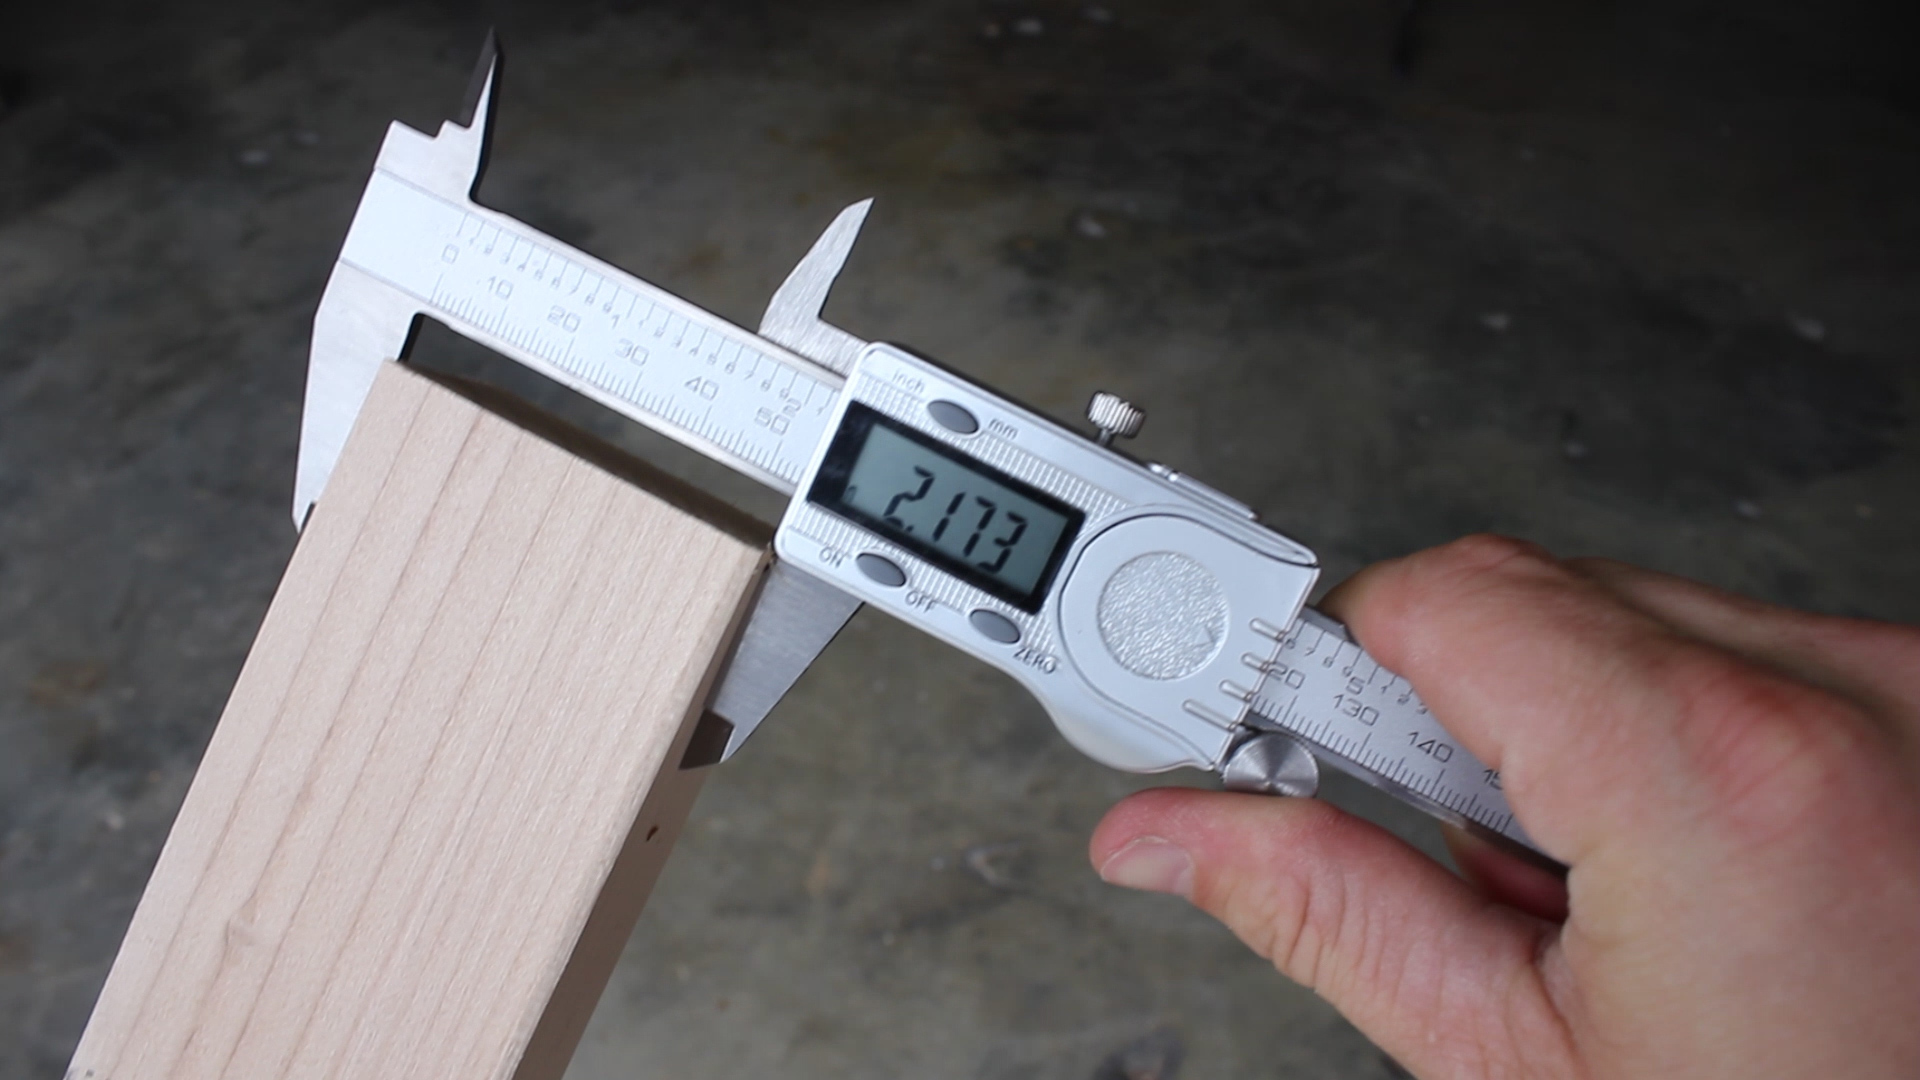
5/4 White Oak (~20bf)
2" x 1" 14 Gauge Steel
2" Flat Stock 1/8" Steel
Hex Bolt Screws + Washers
Acetone/Mineral Spirits
Metal de-greaser
🗜 TOOLS
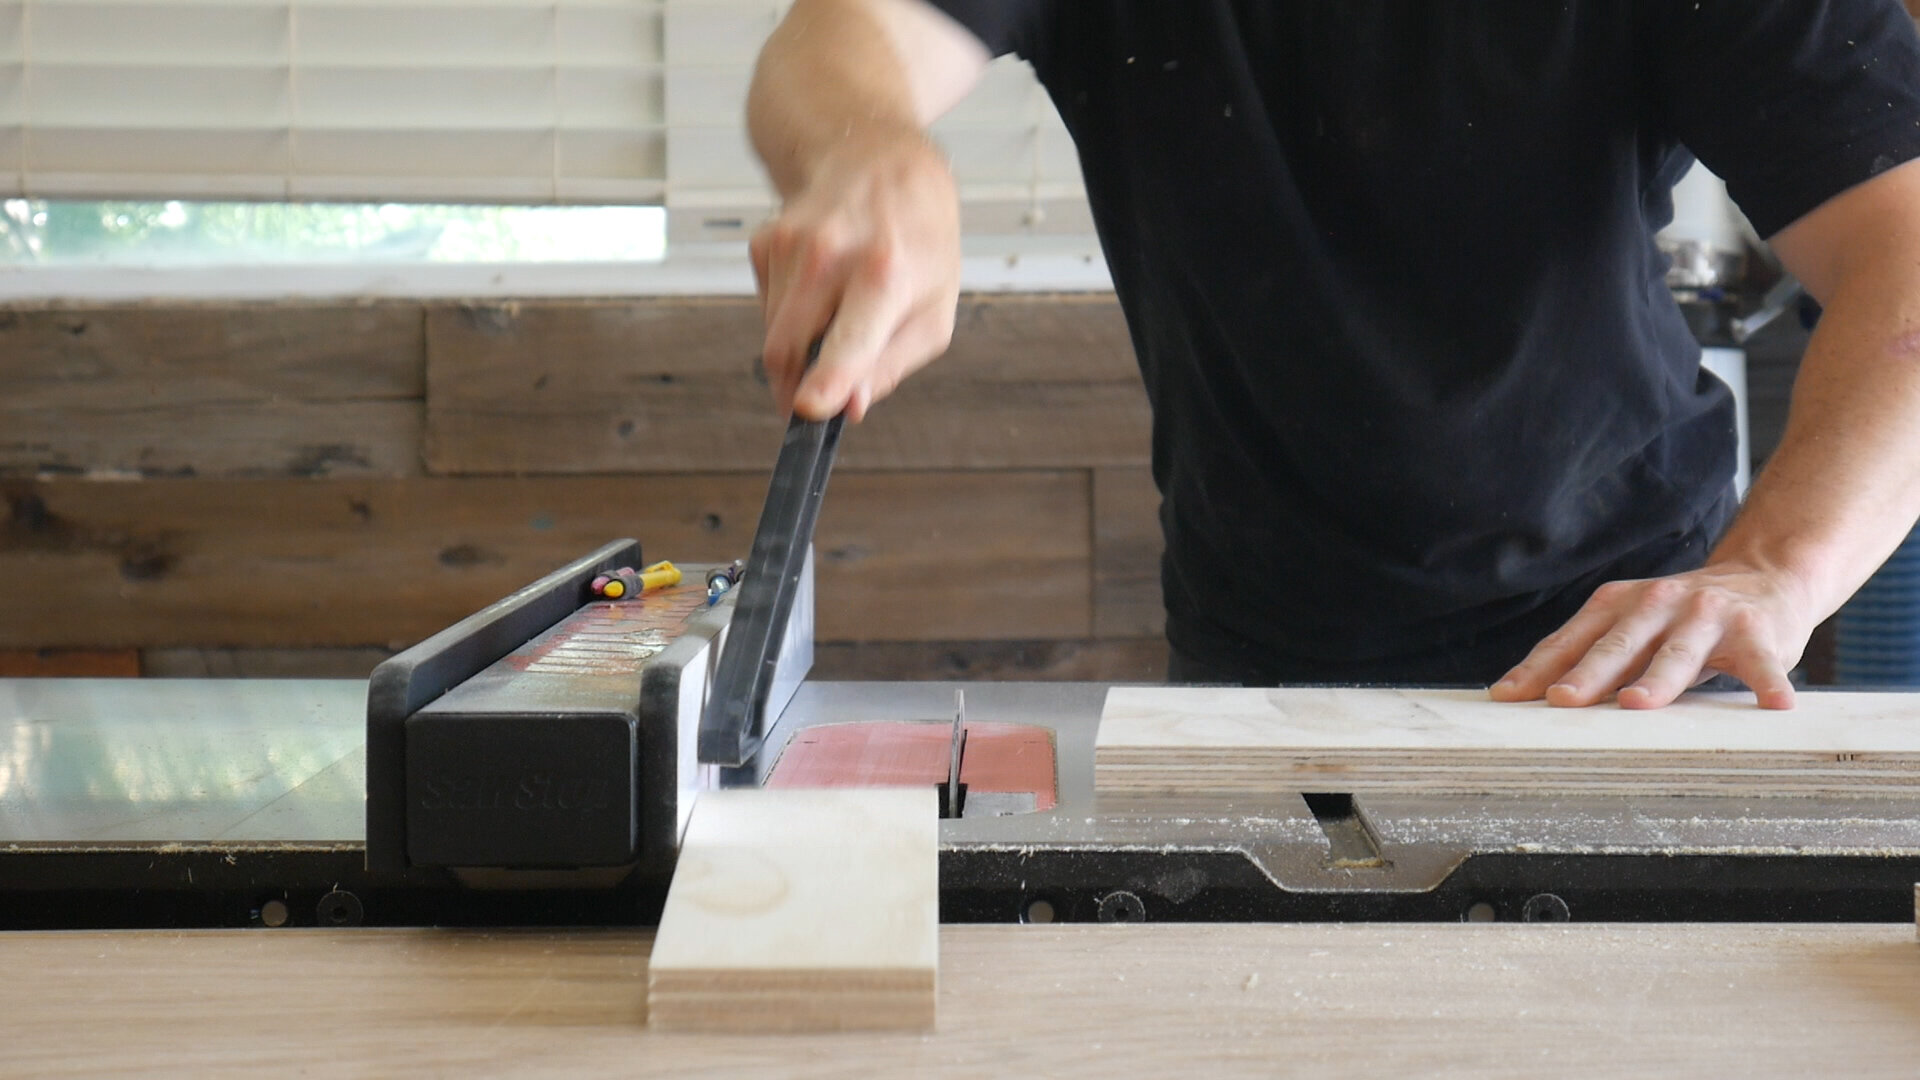
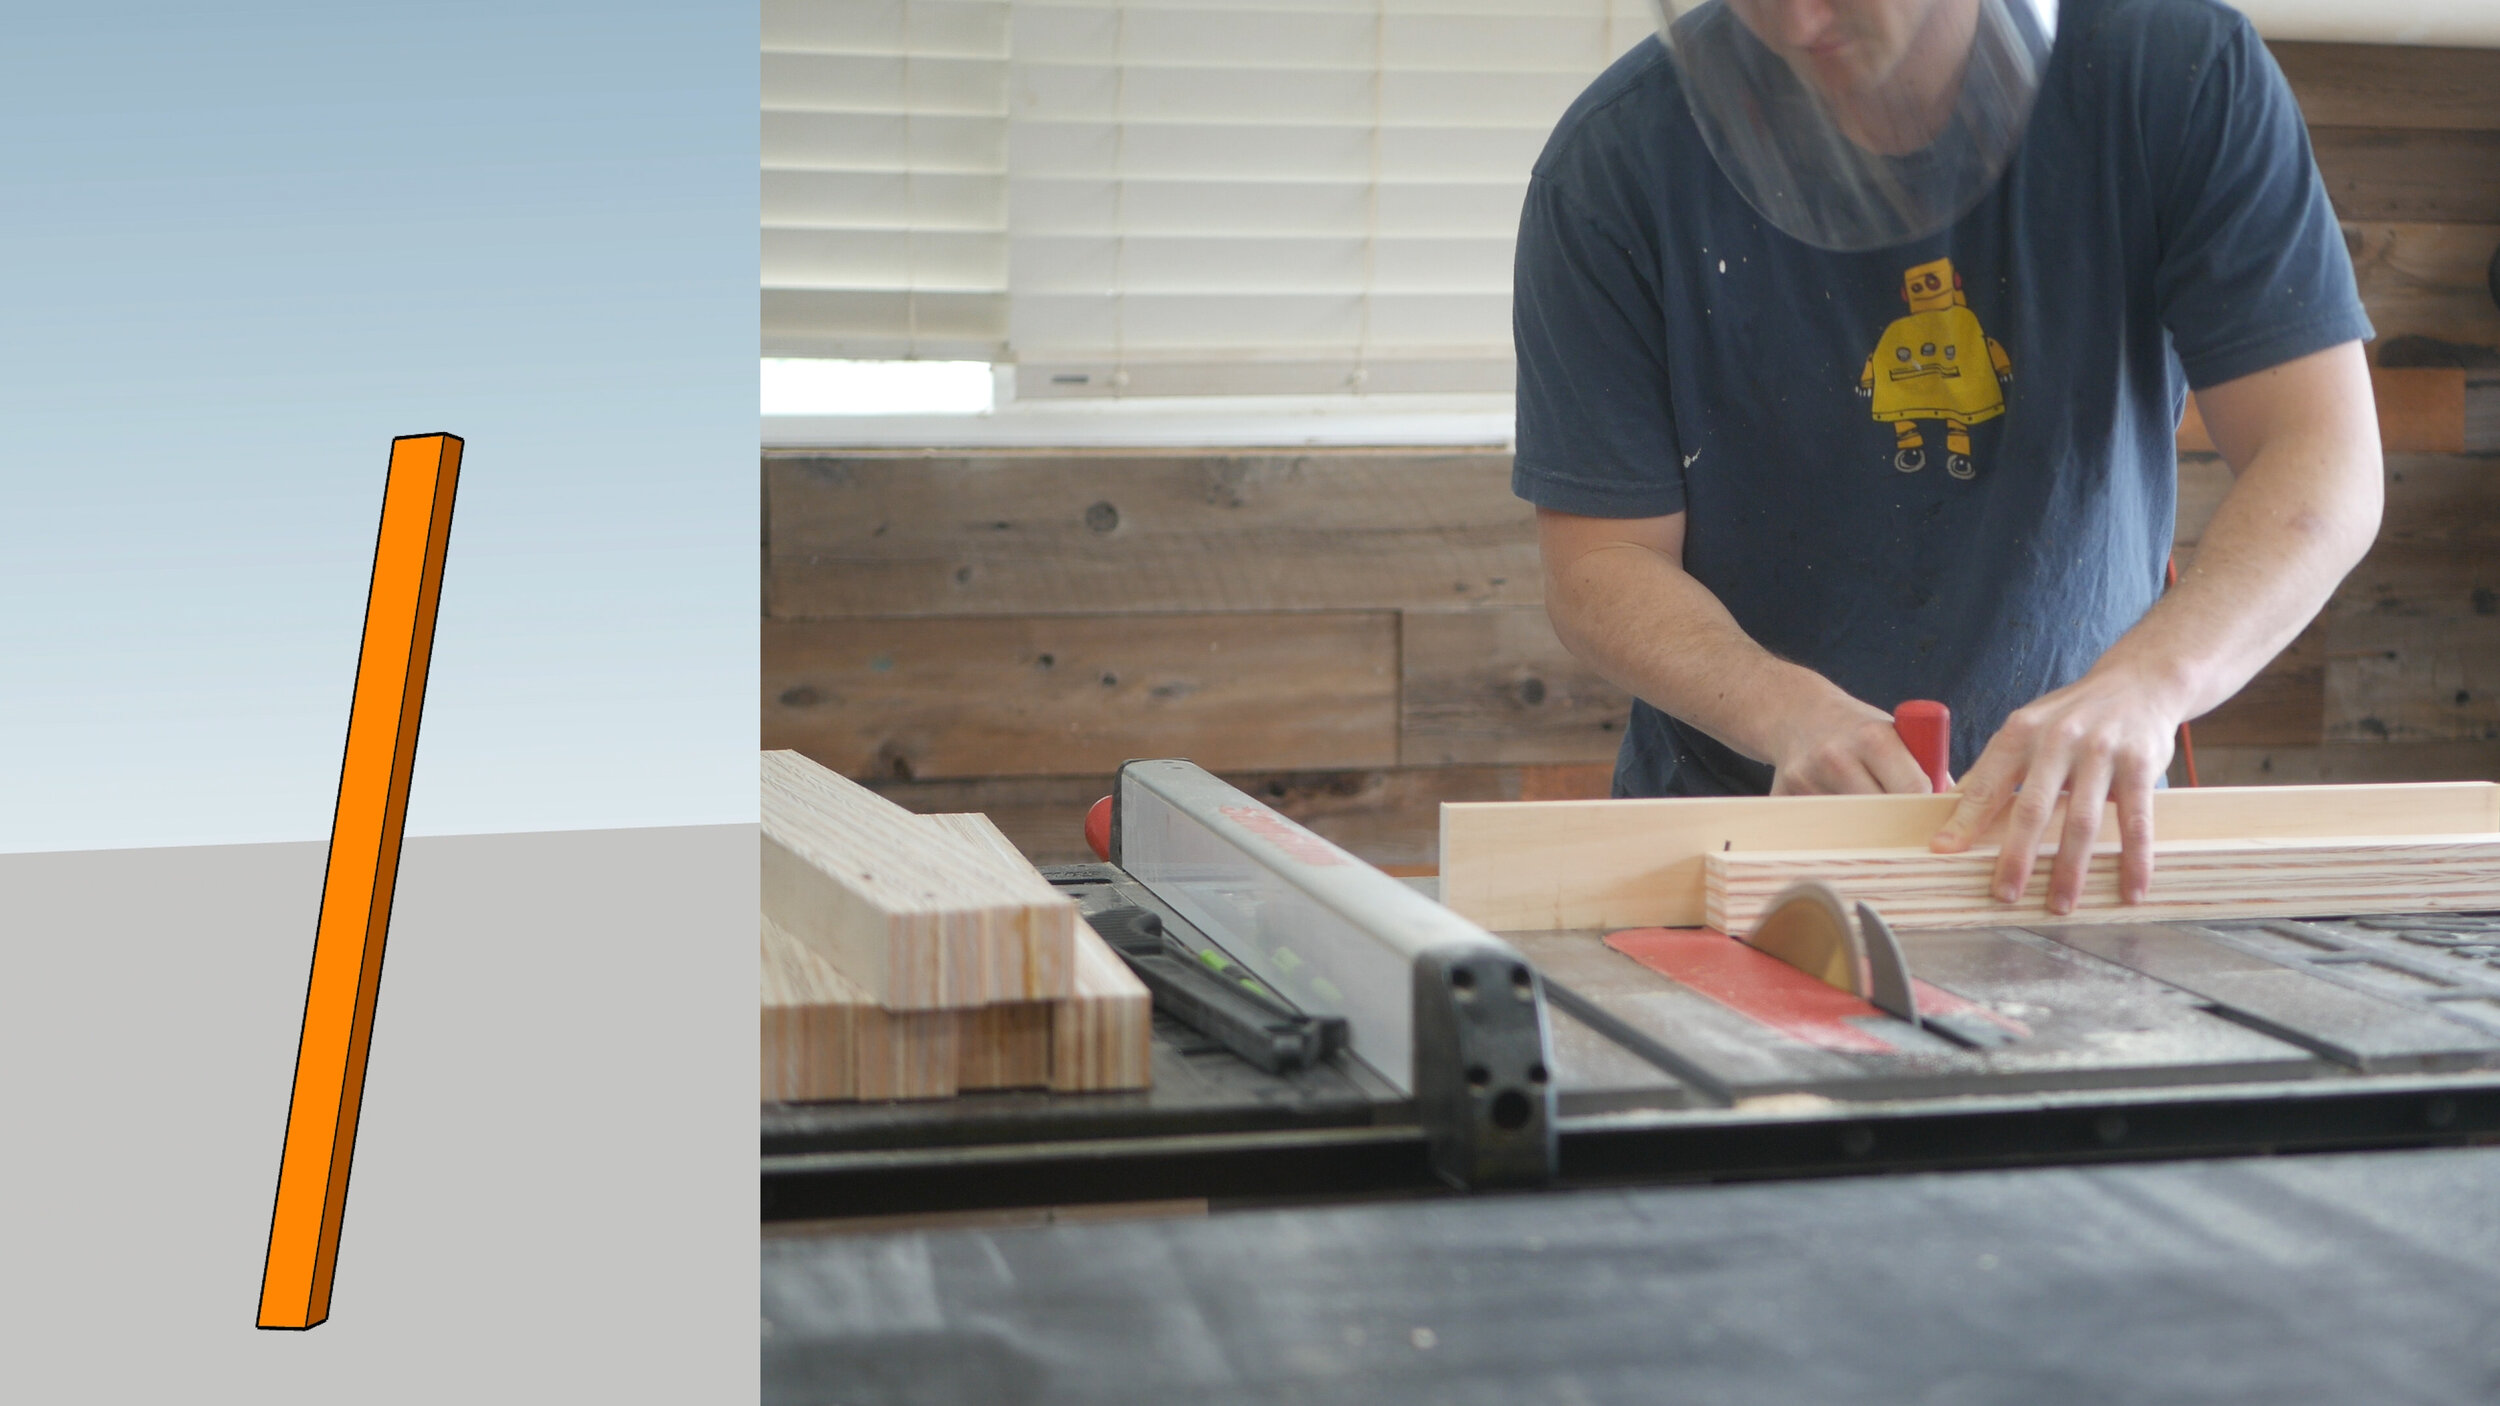
SAWSTOP 36” 3HP PCS: https://amzn.to/3cr1dJO
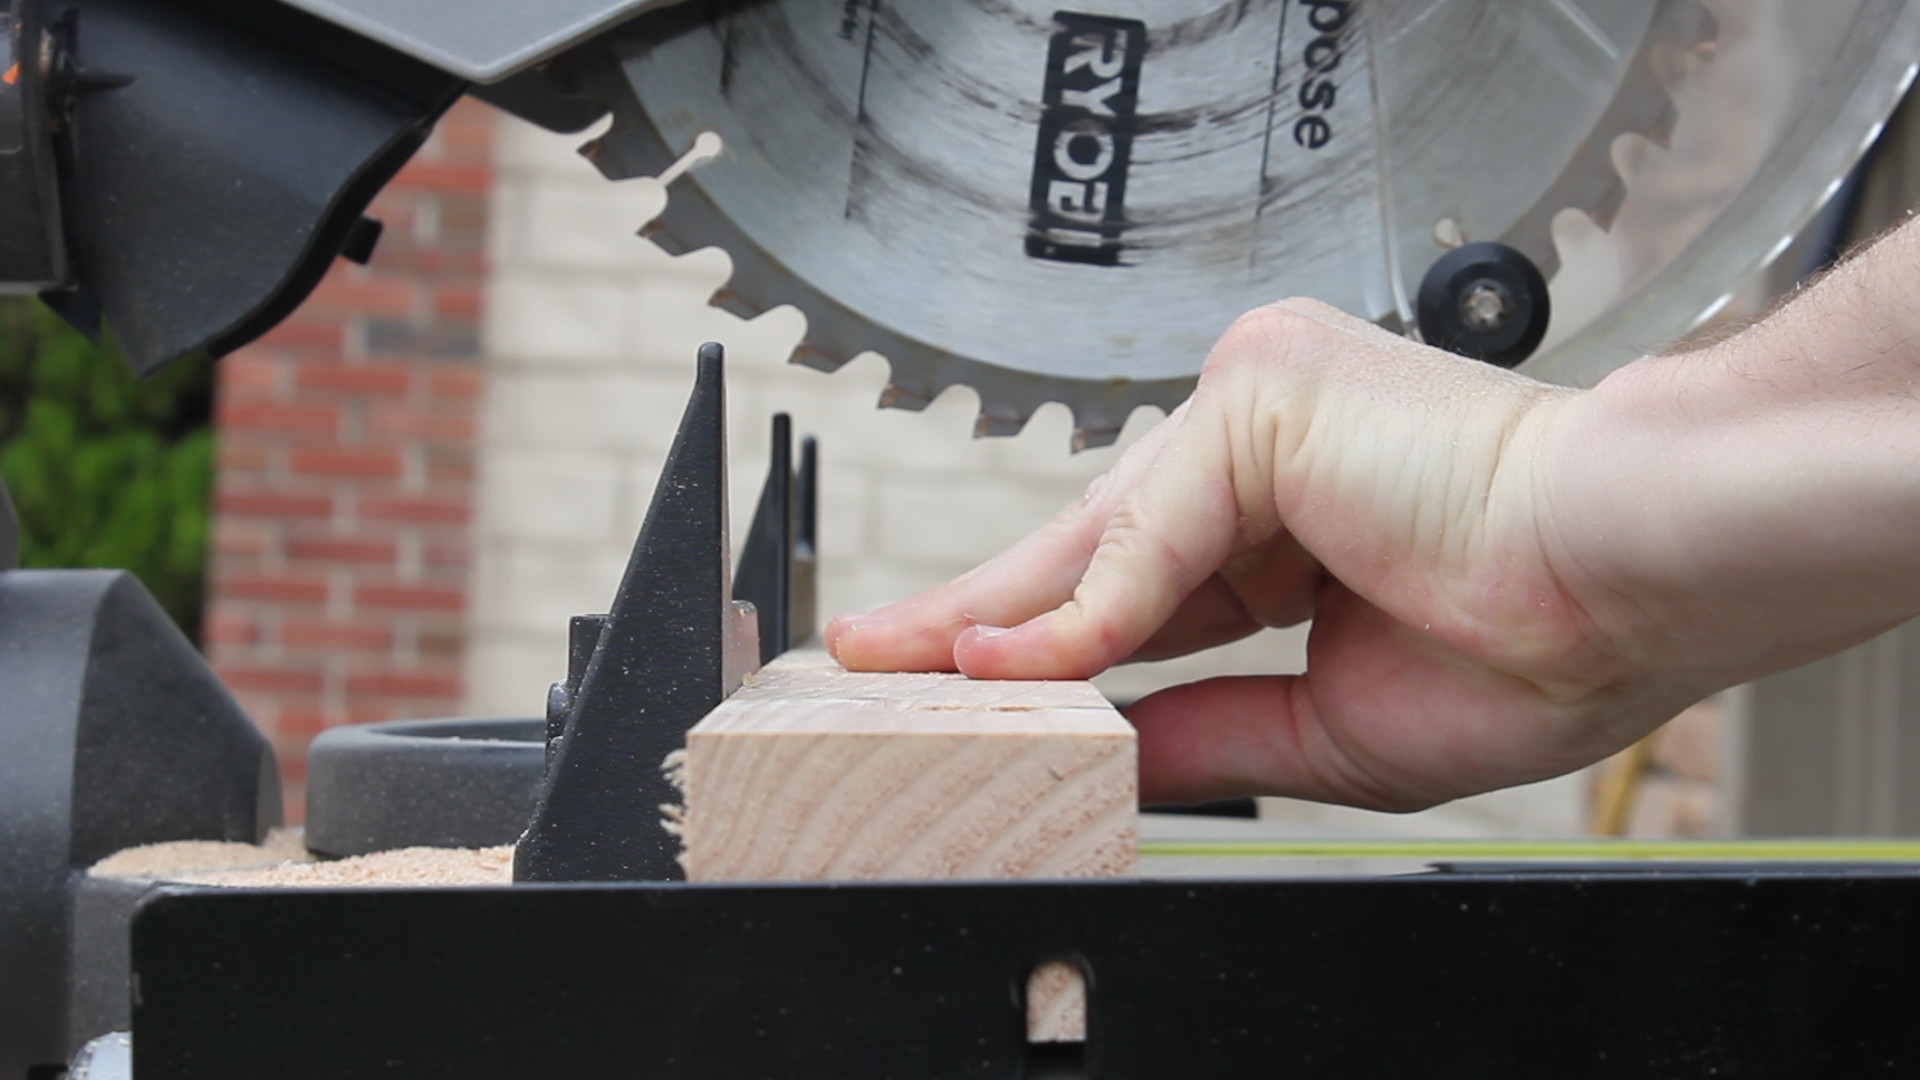
Circular Saw: http://amzn.to/2q1l5wn
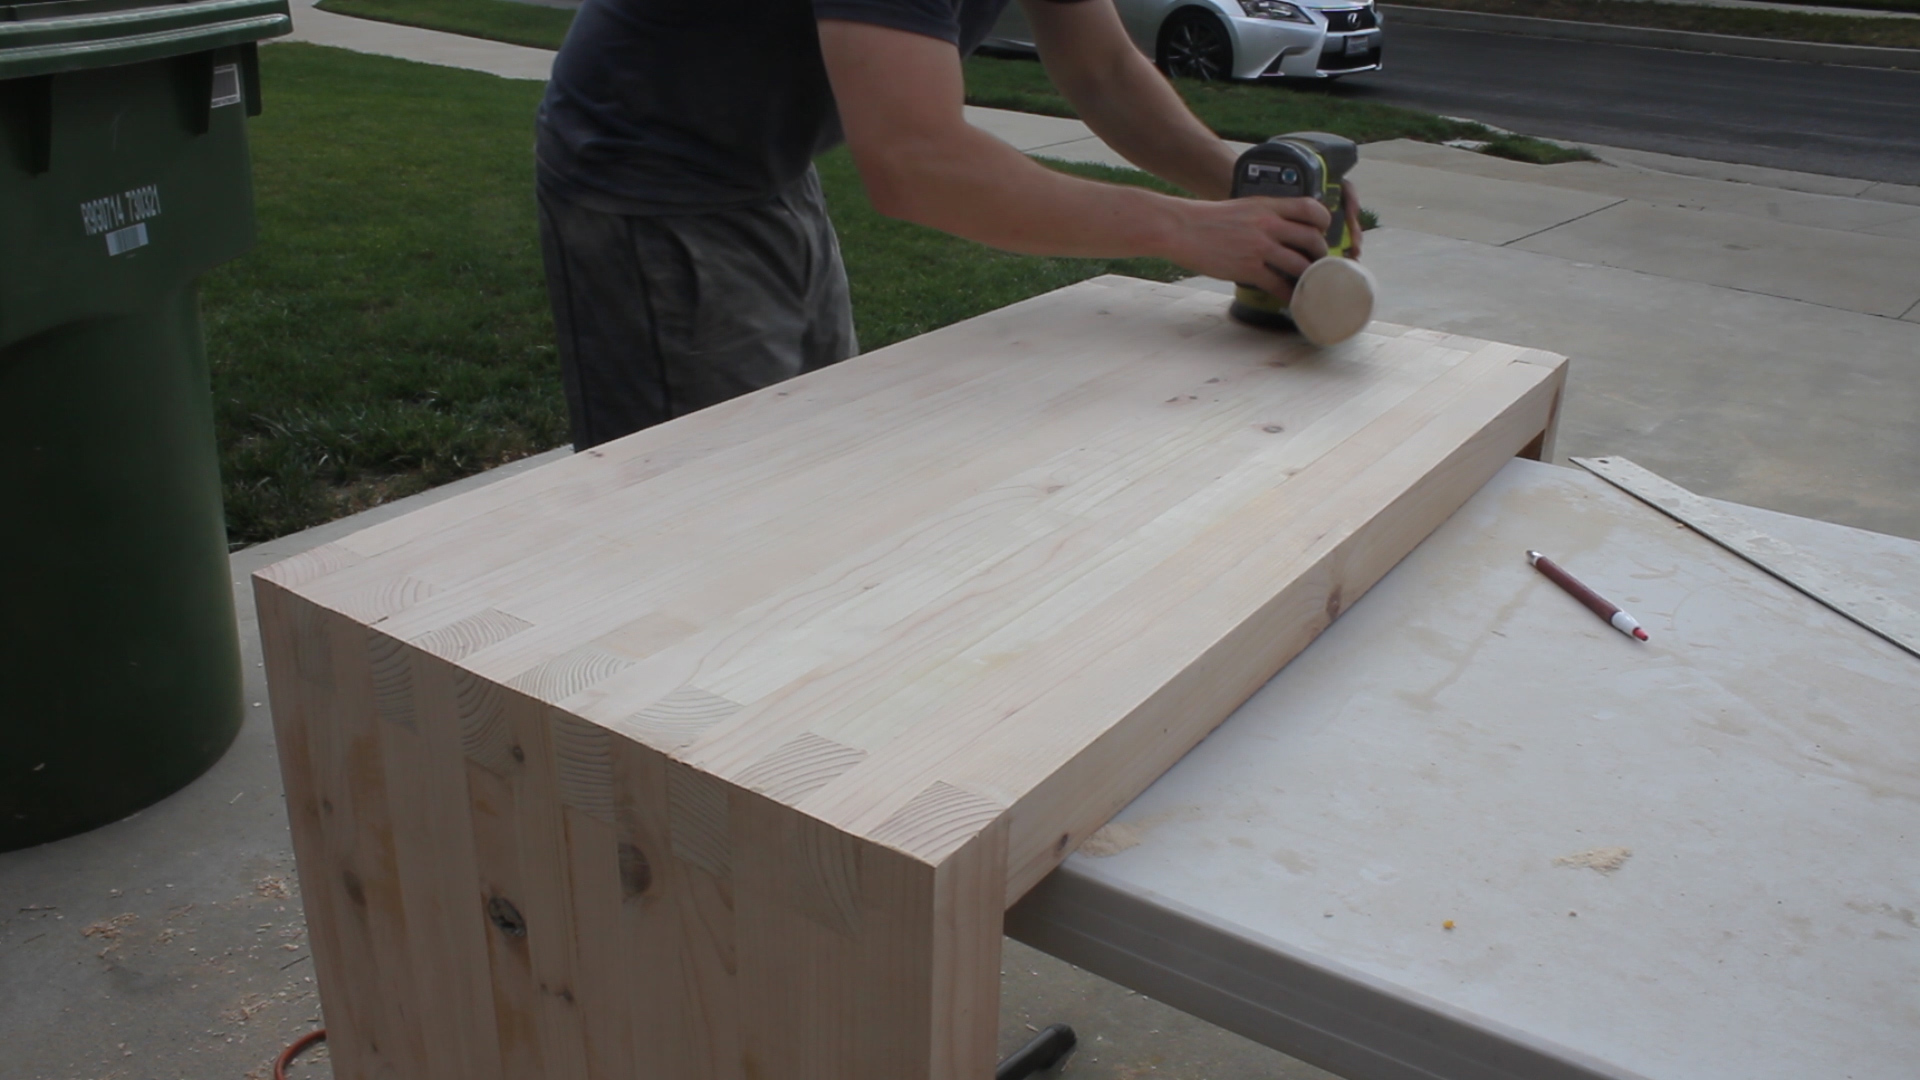
Orbital Sander: https://amzn.to/2ALtz16
6” Jointer: https://amzn.to/2Y7THgb
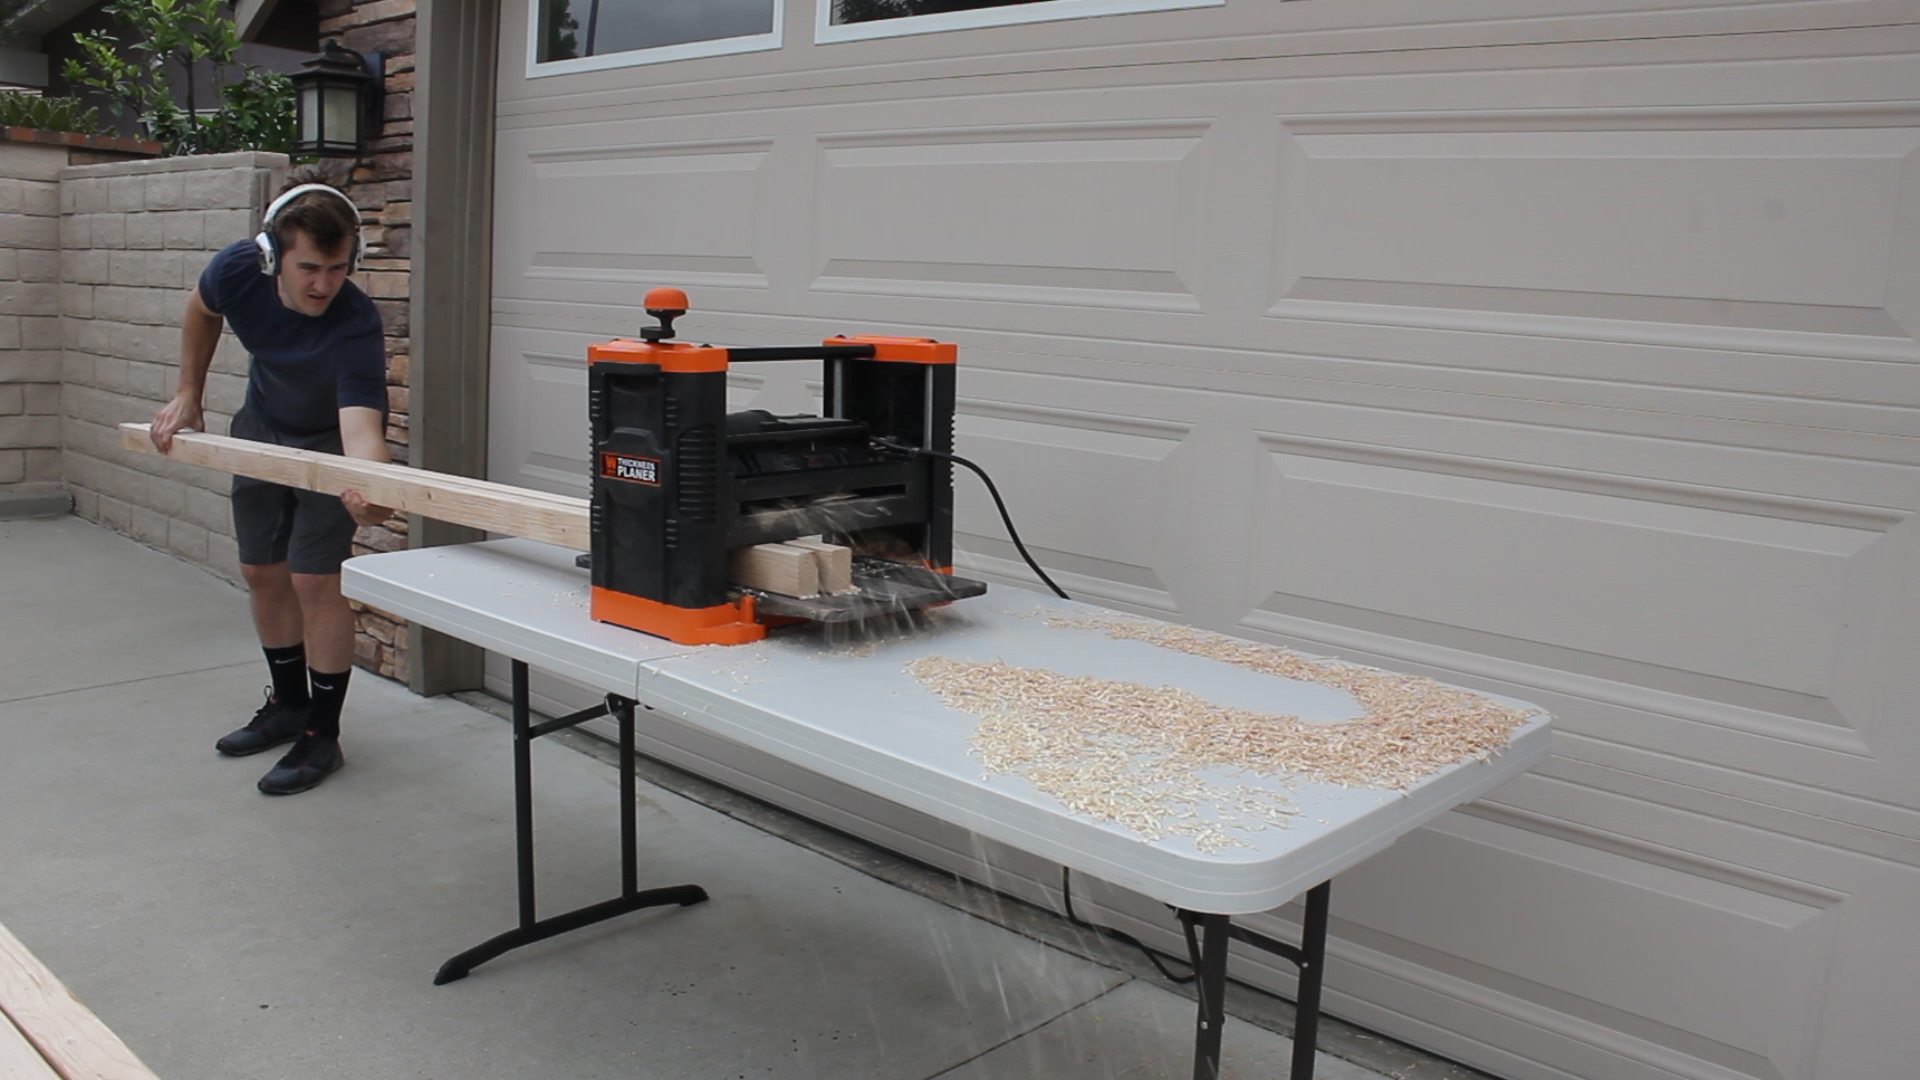
13” Thickness Planer: http://amzn.to/2u7YrmK
Power Drill: http://amzn.to/2q1l5wn
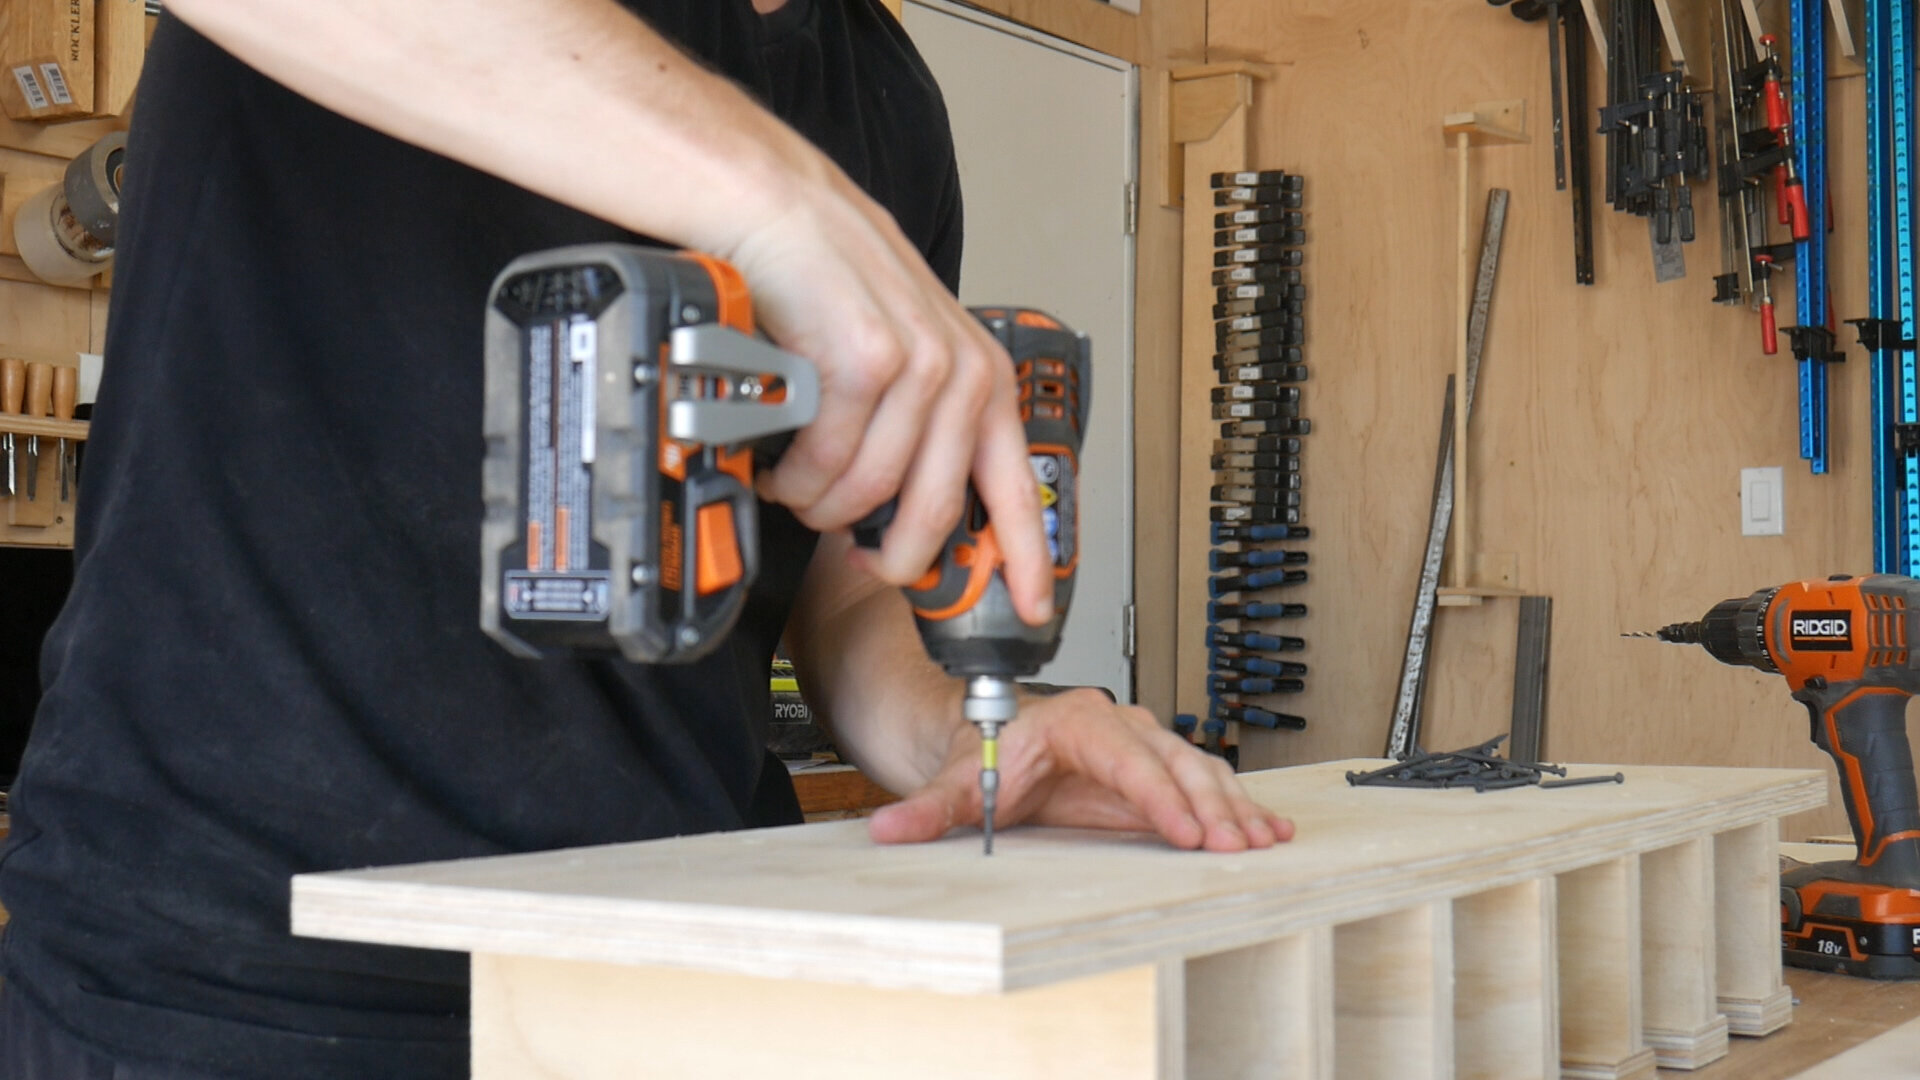
Impact Driver: http://amzn.to/2q1l5wn
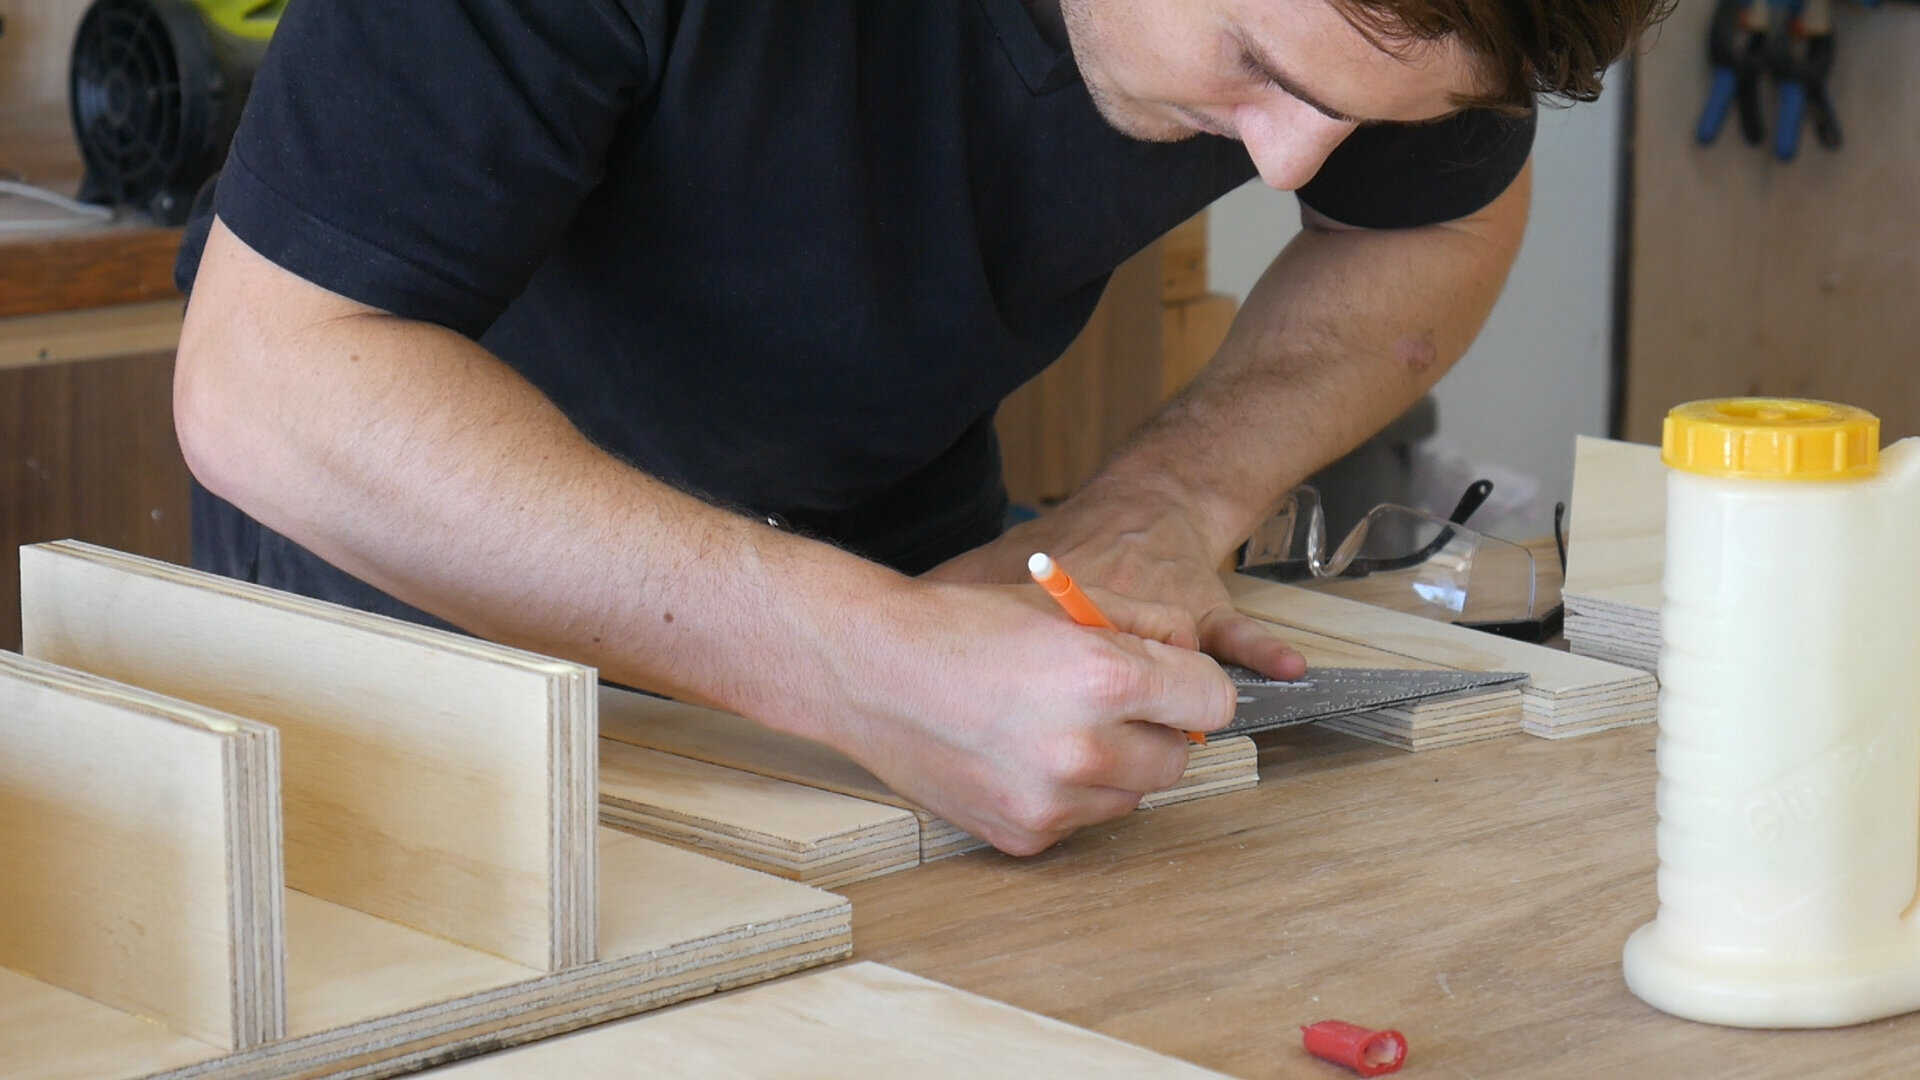
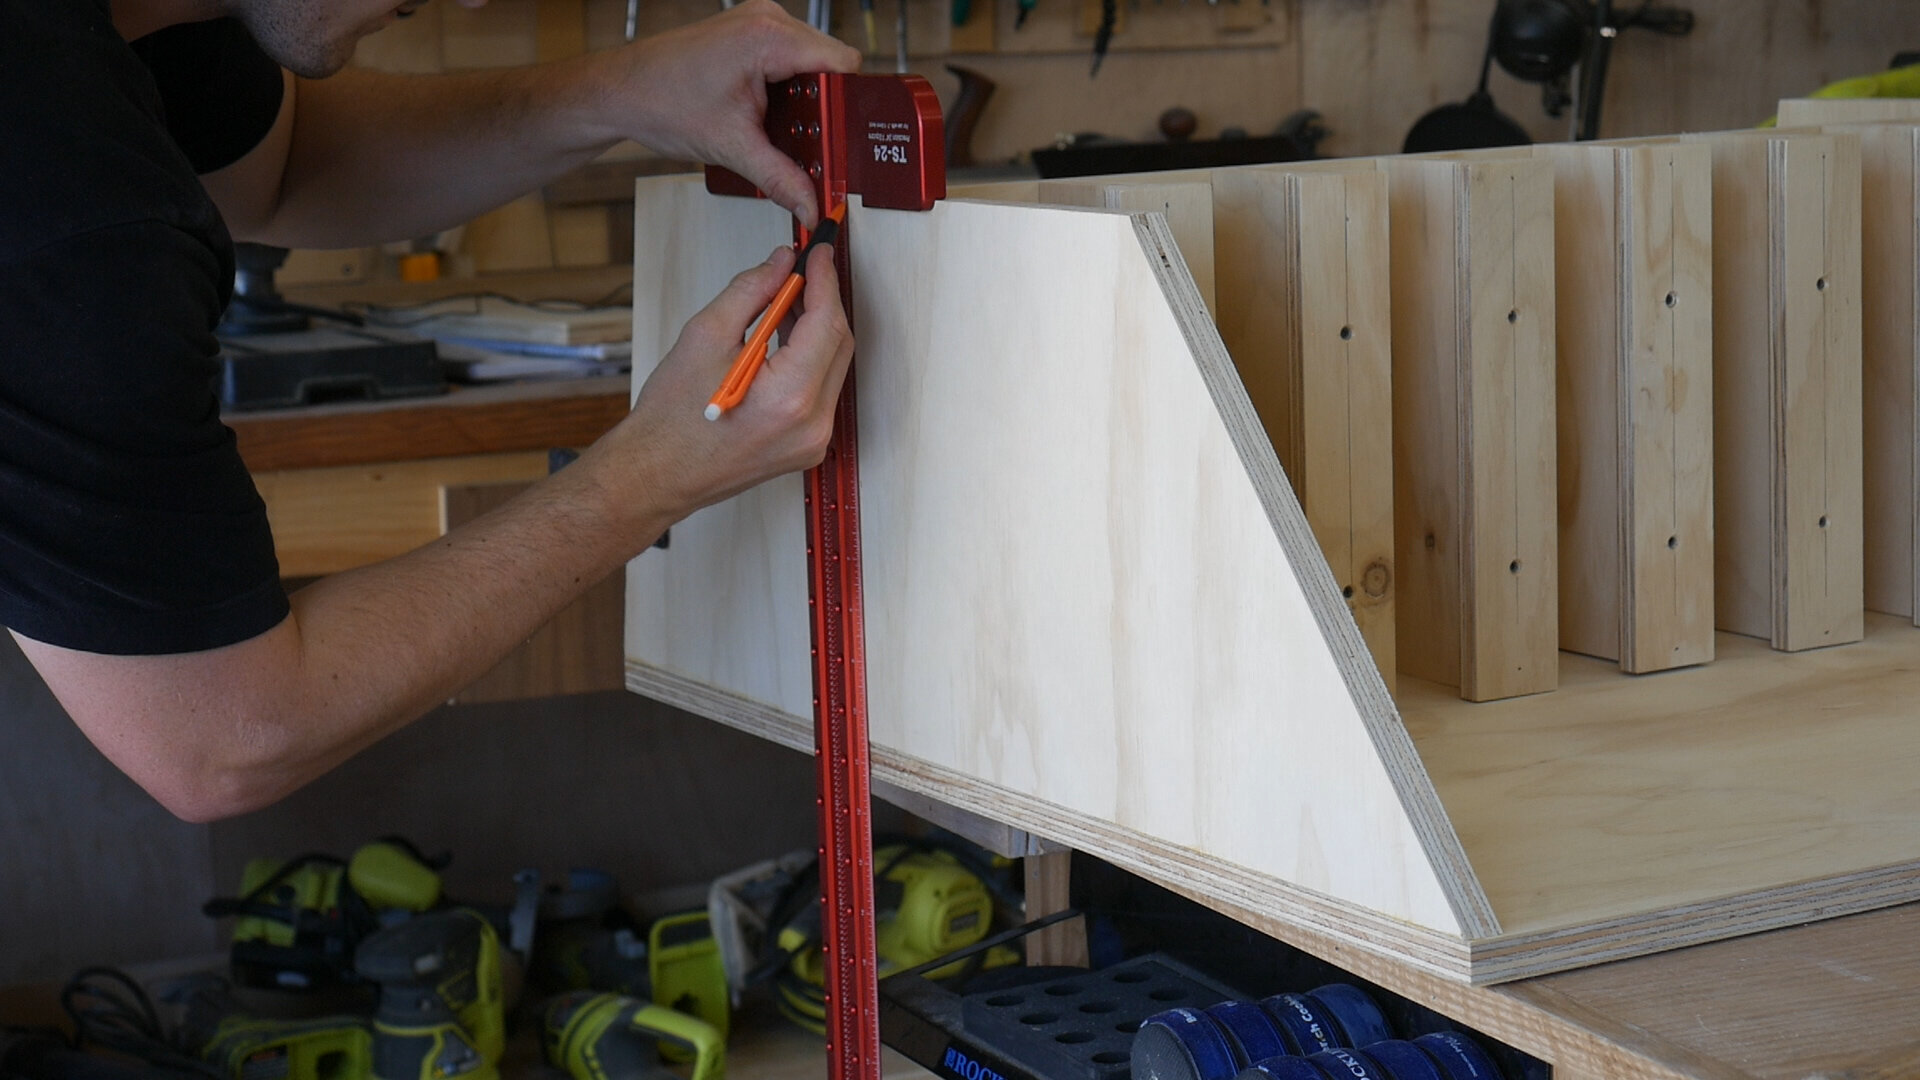
Woodpeckers TS-24 T-Square: https://amzn.to/2AsAE9W
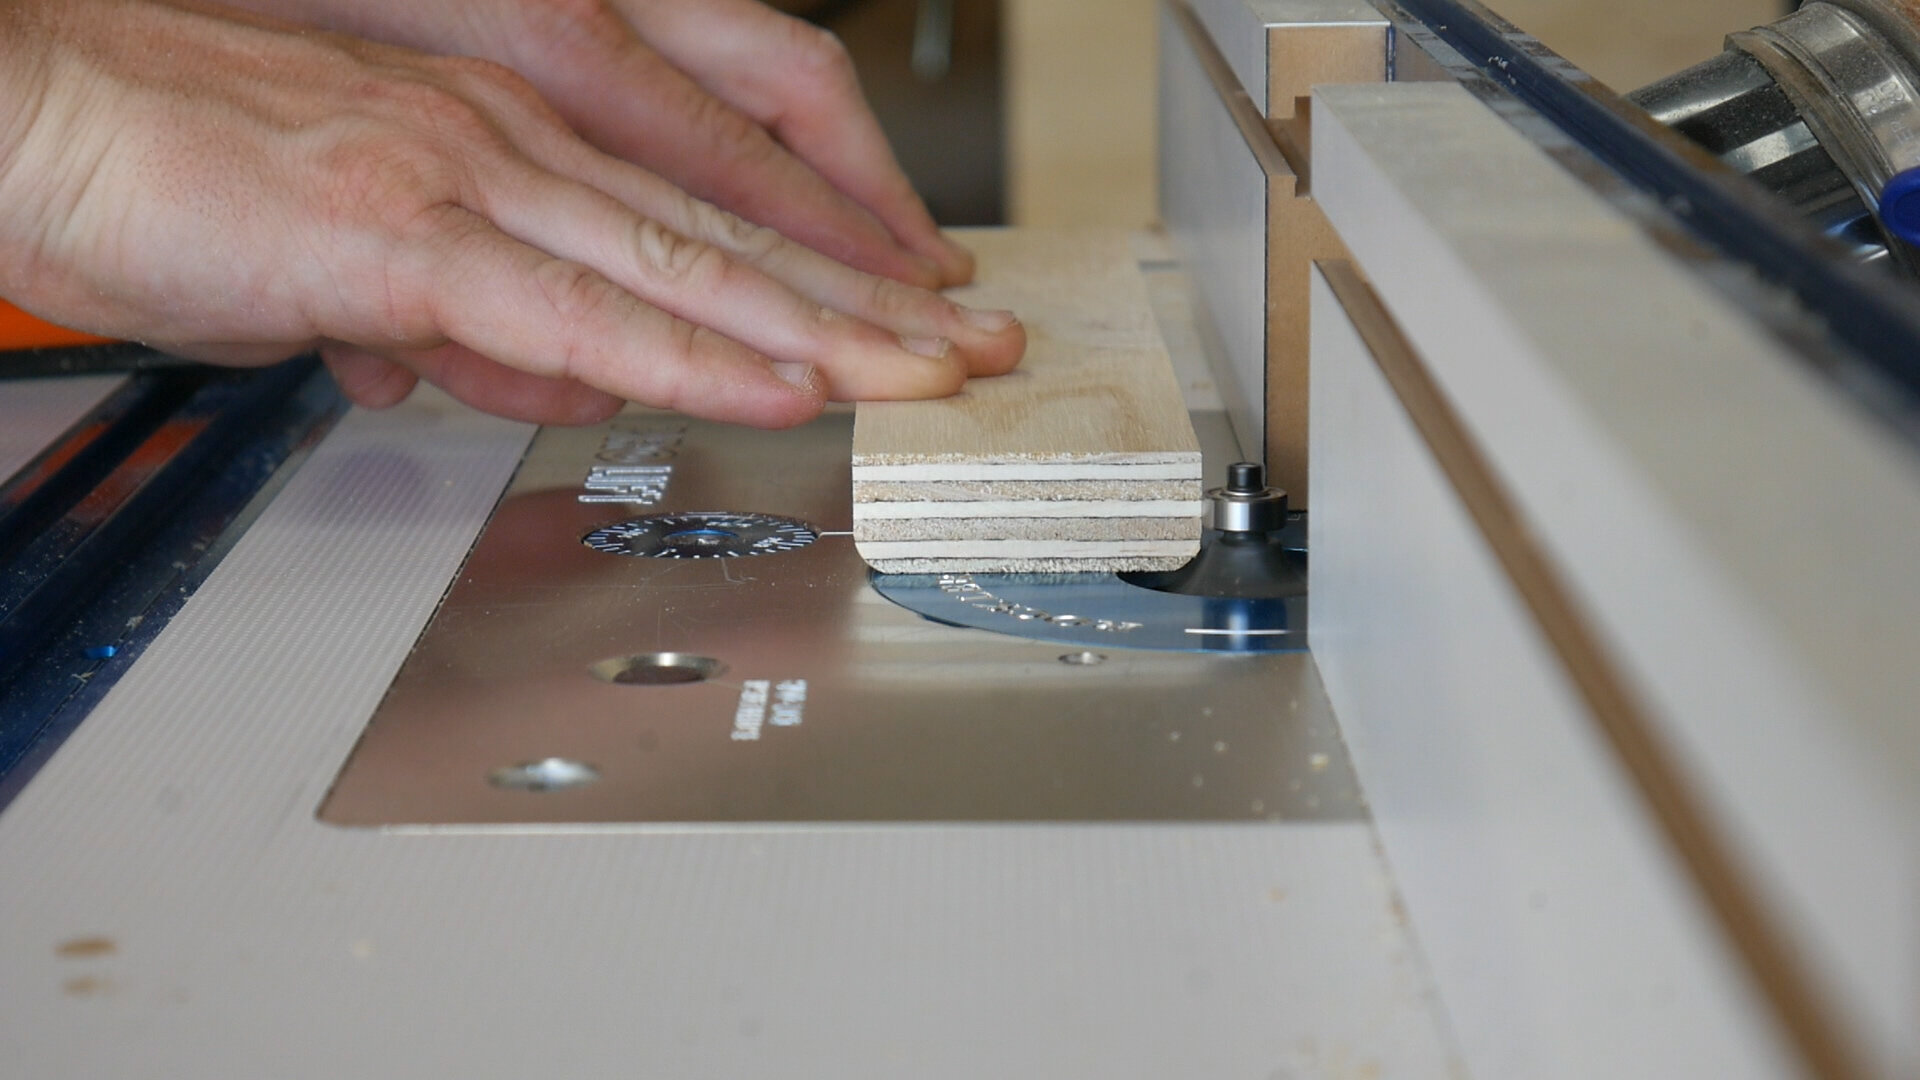
Plunge Router: http://amzn.to/2p15eiC
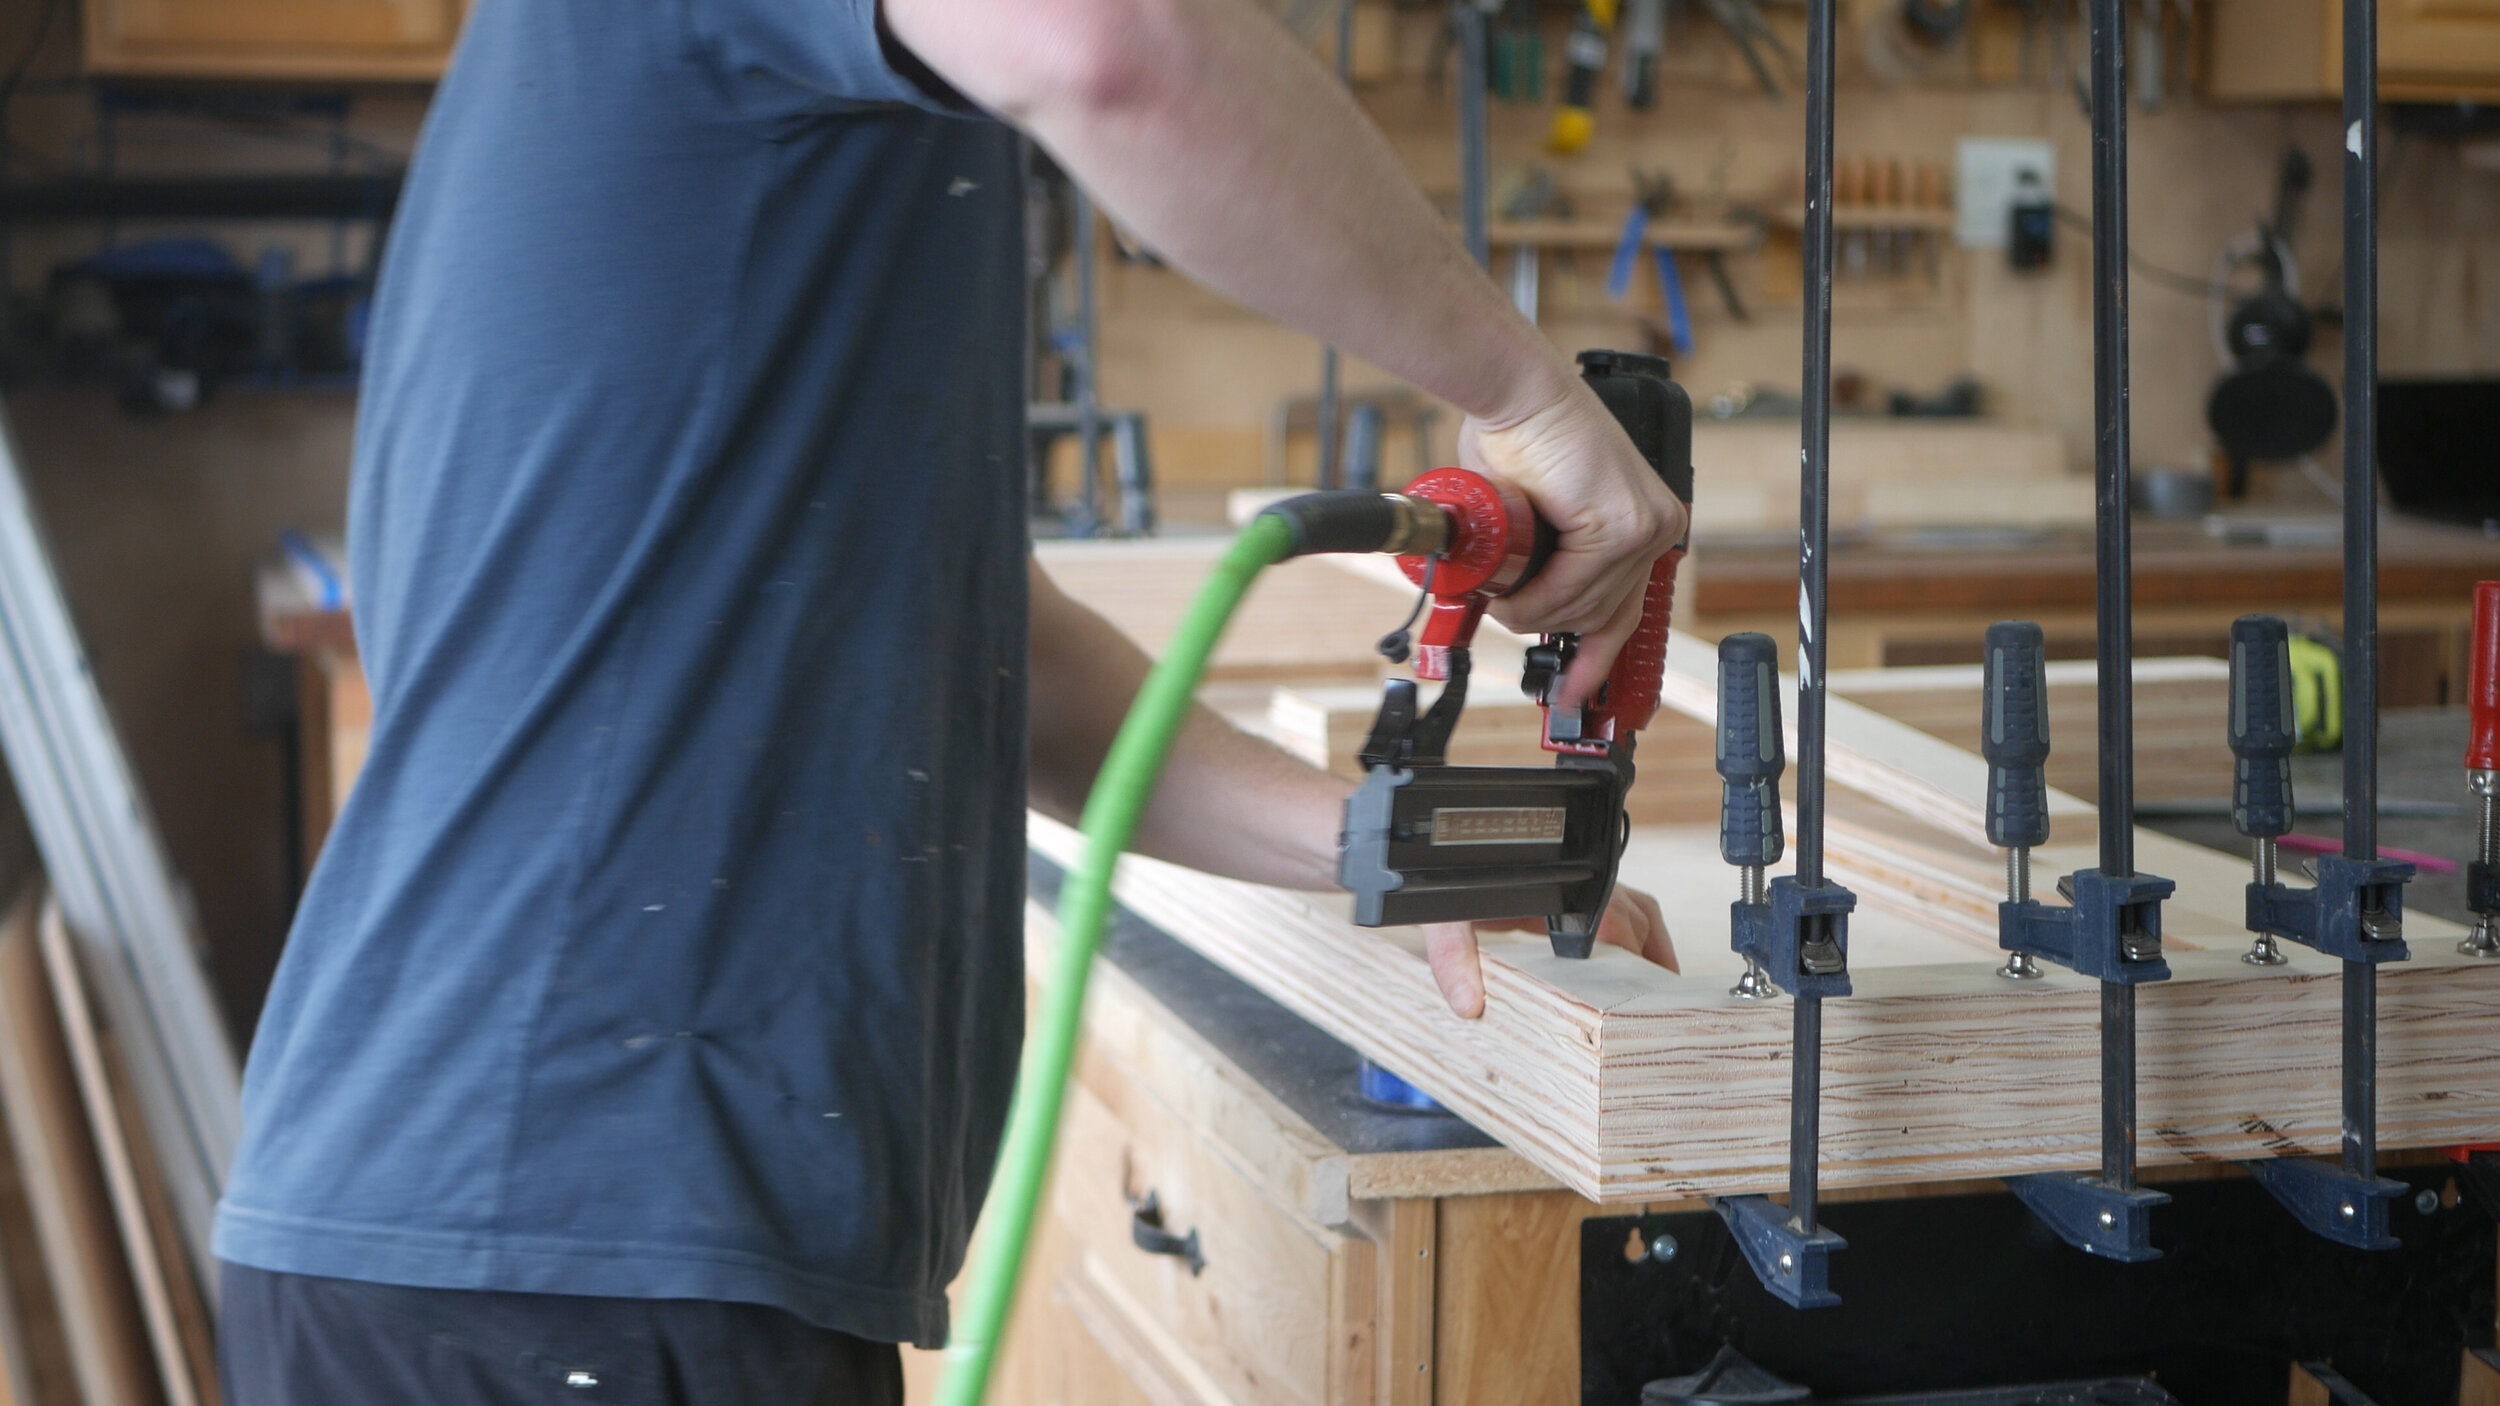
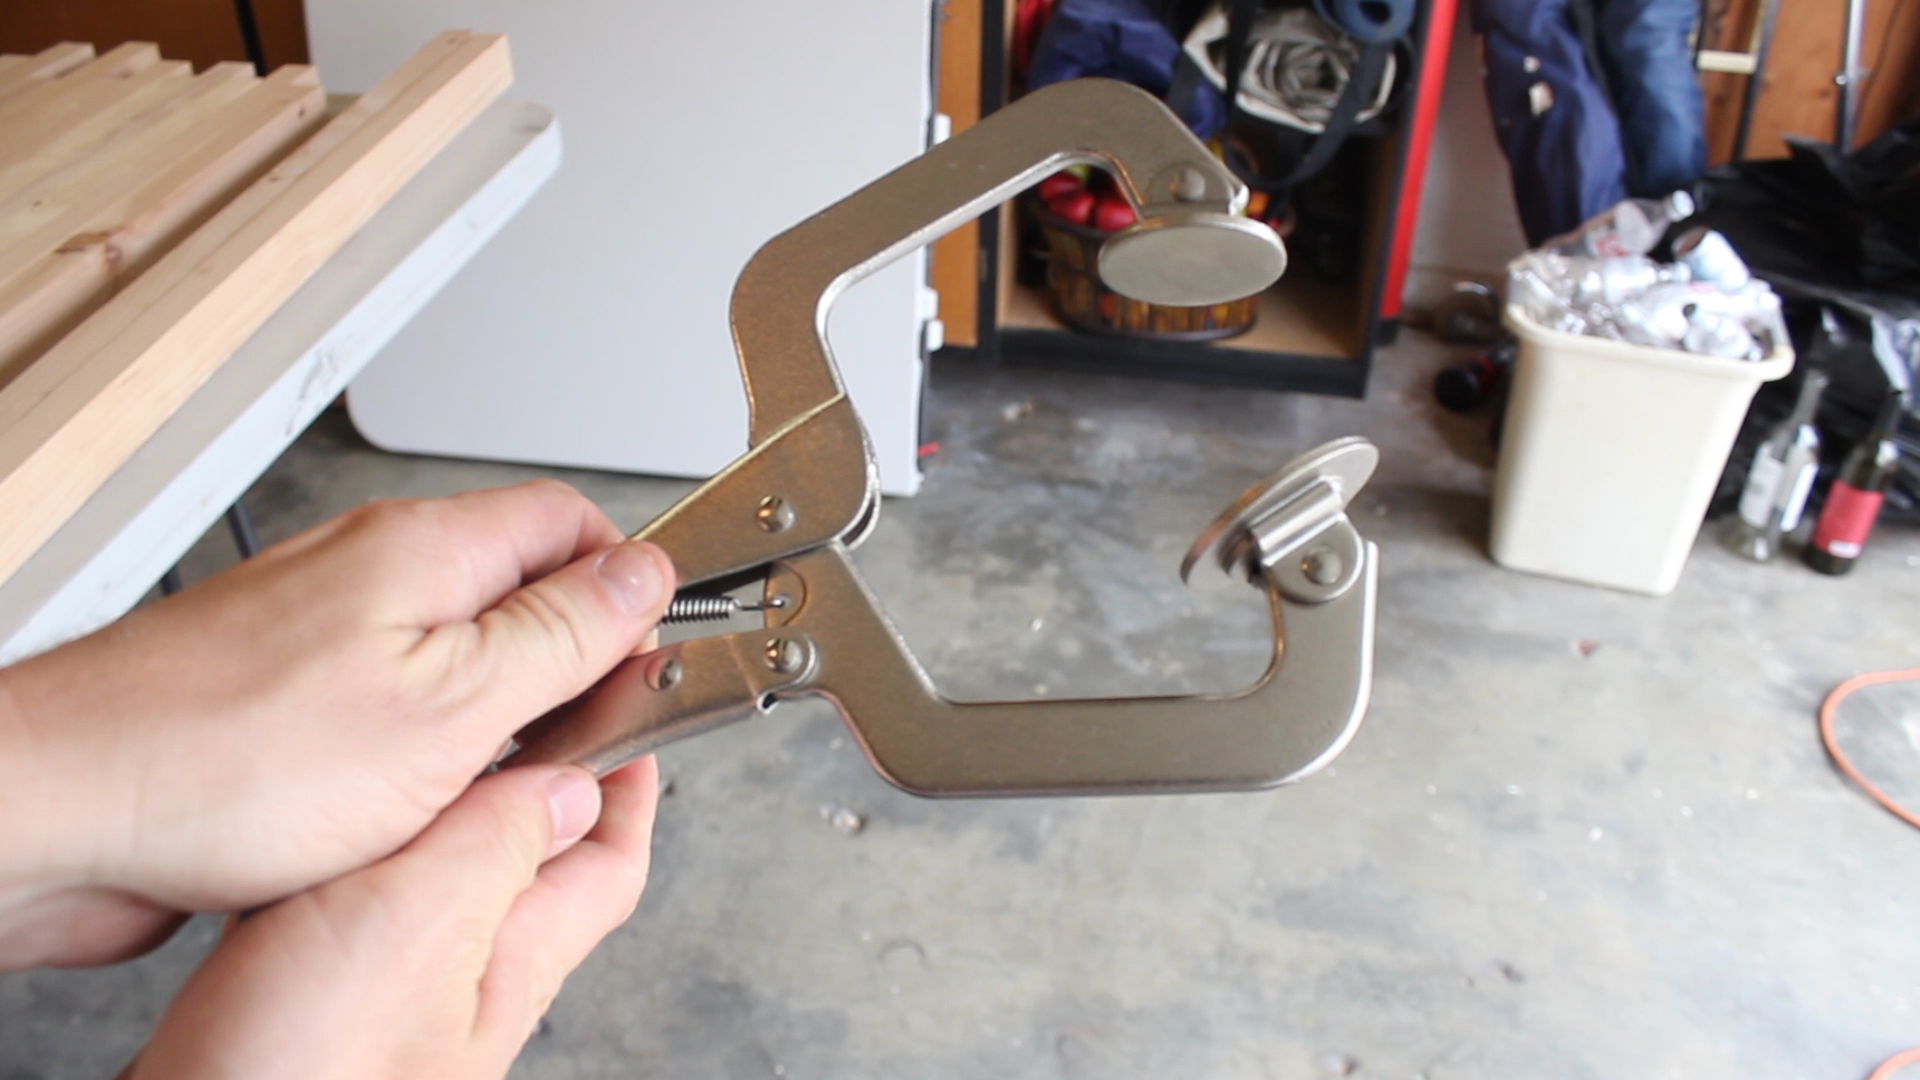
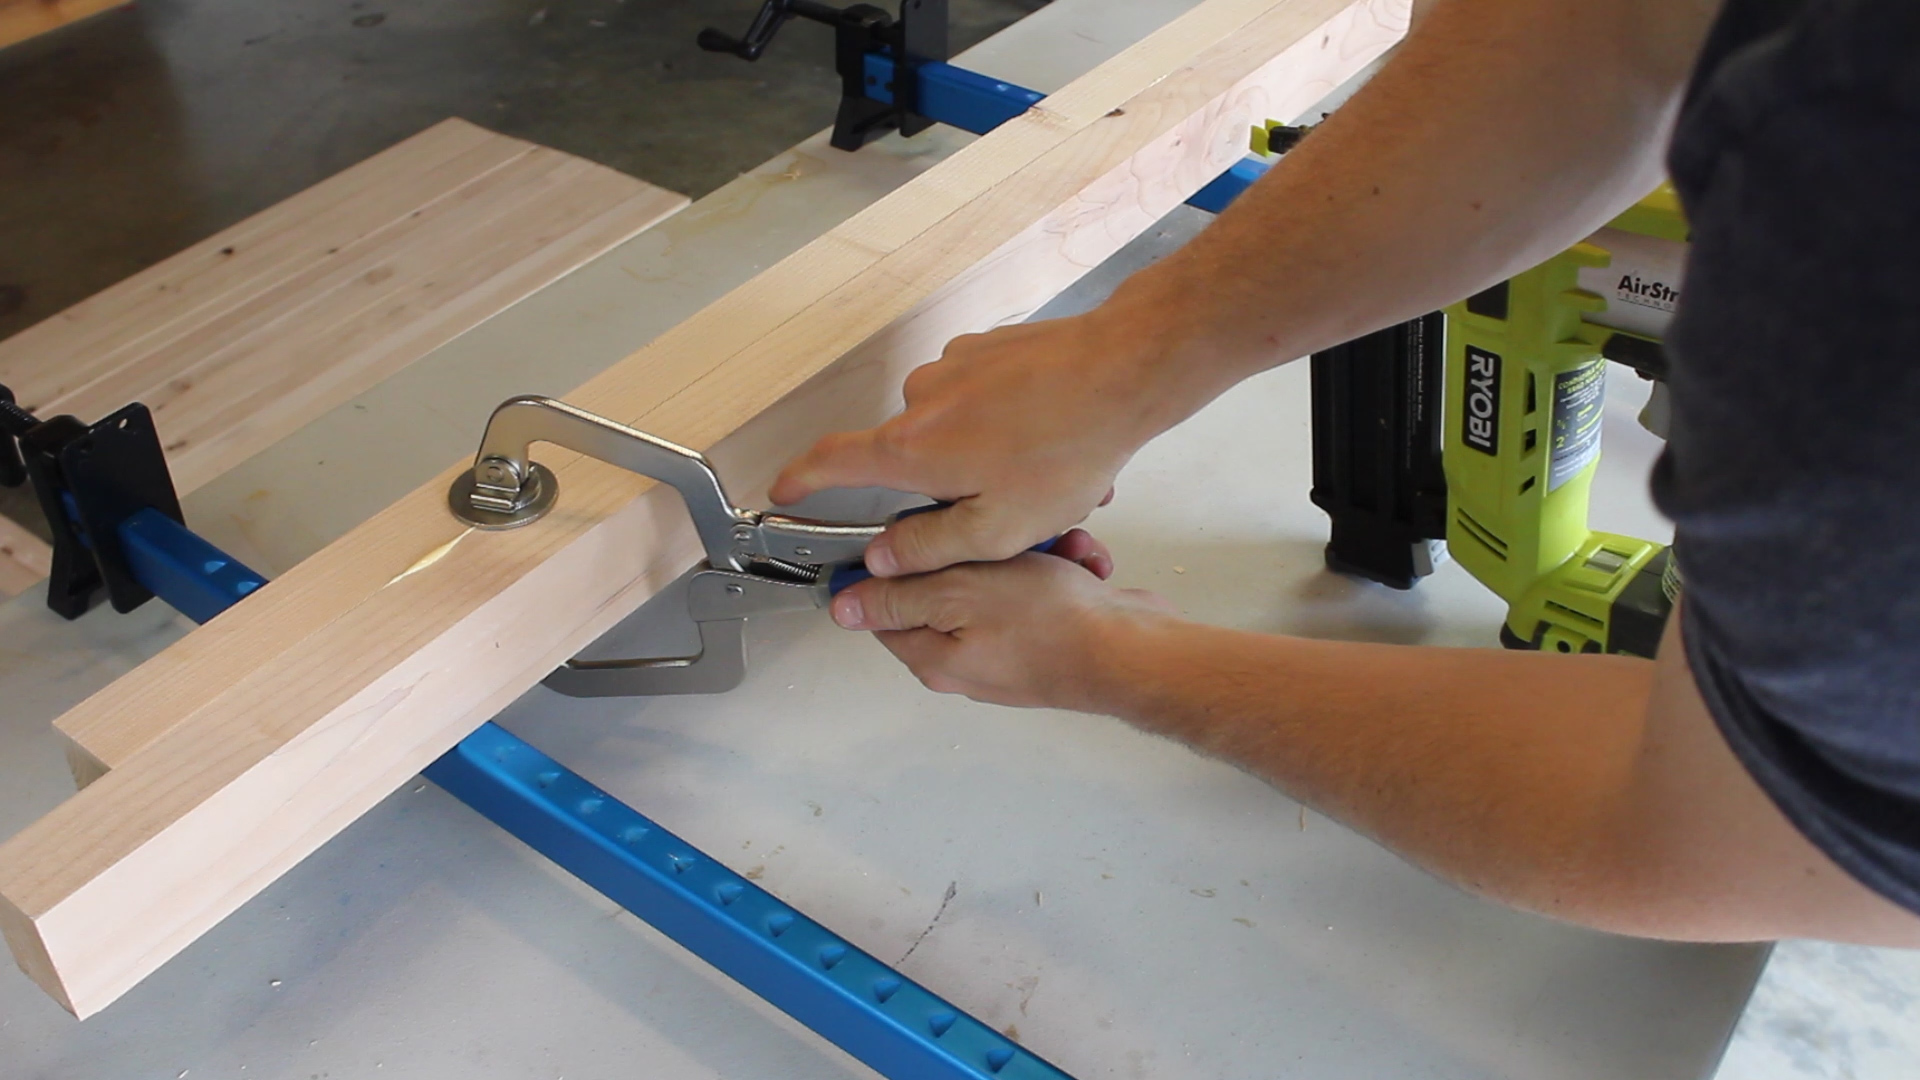
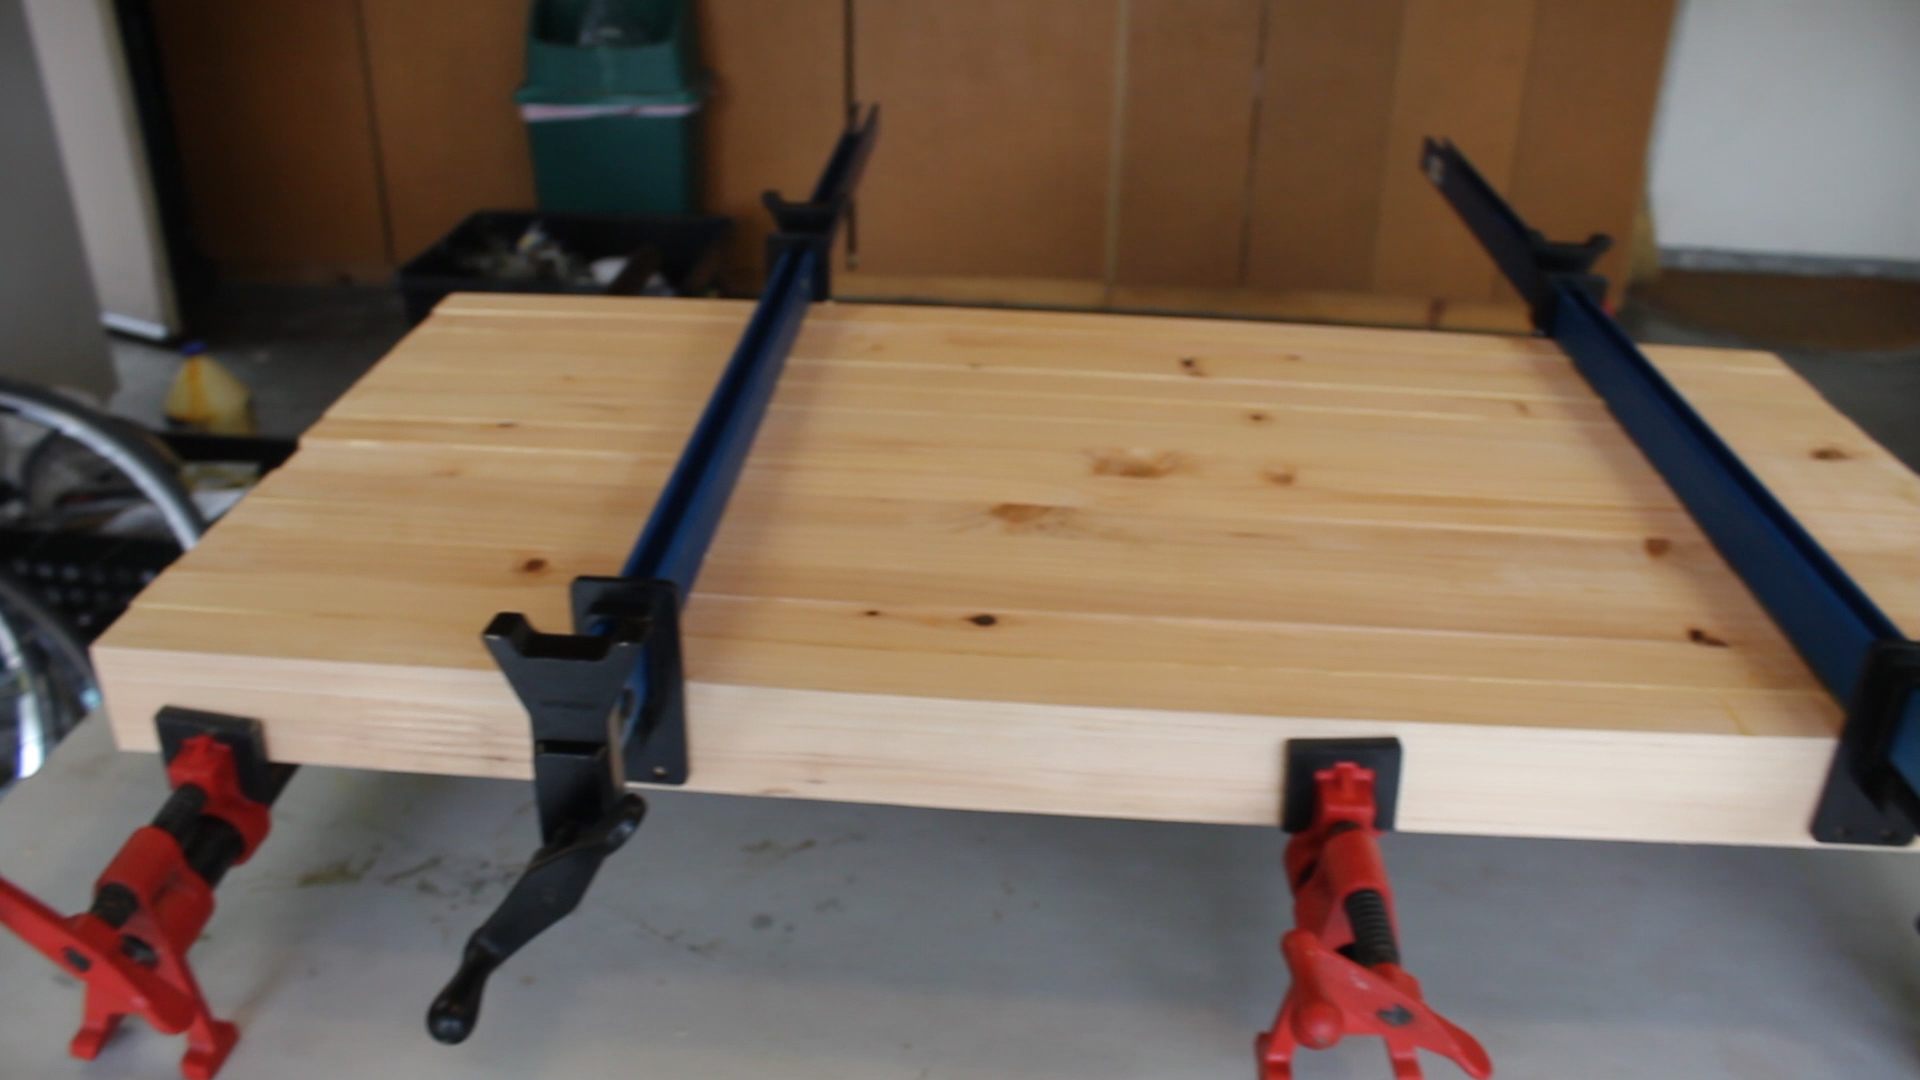
Lots of clamps!
🧲 Metalworking
PowerMig 210 https://amzn.to/33cDCs3
Metal Chop Saw: https://amzn.to/2HNowU4
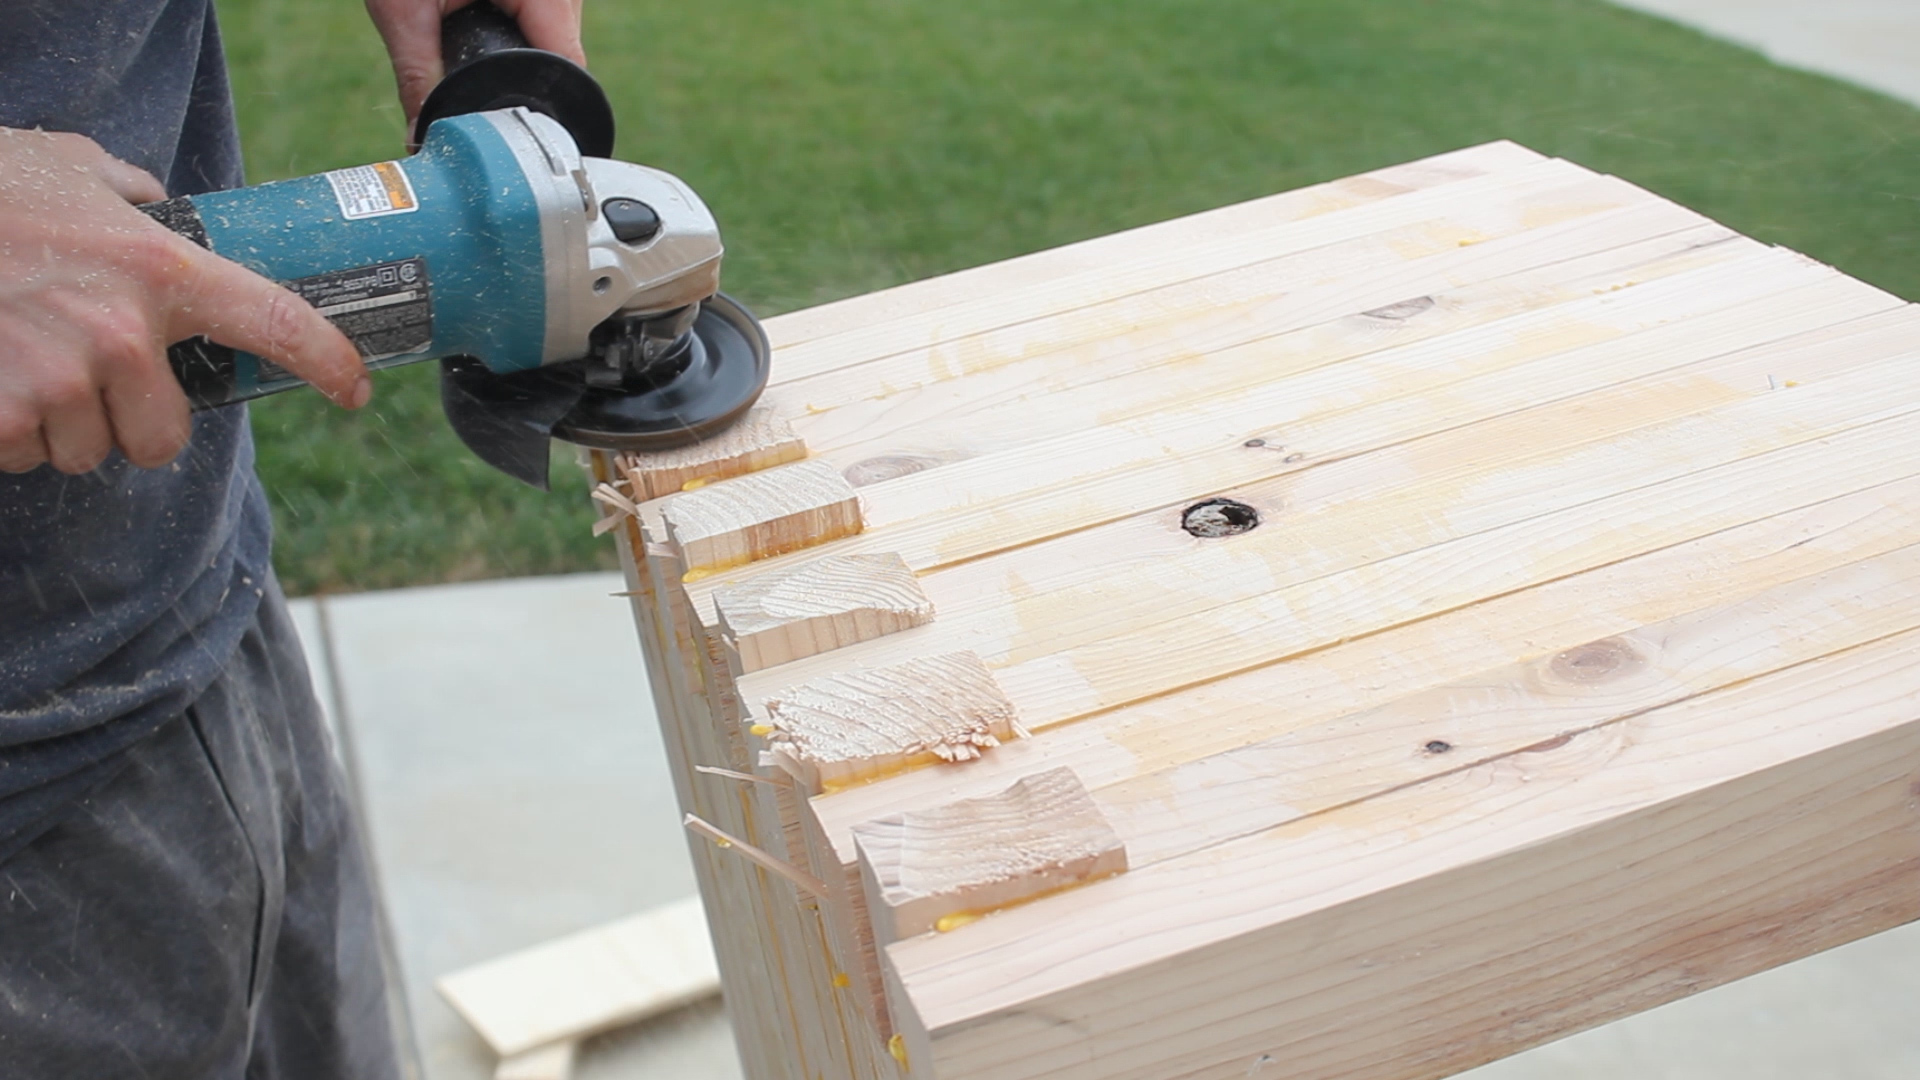
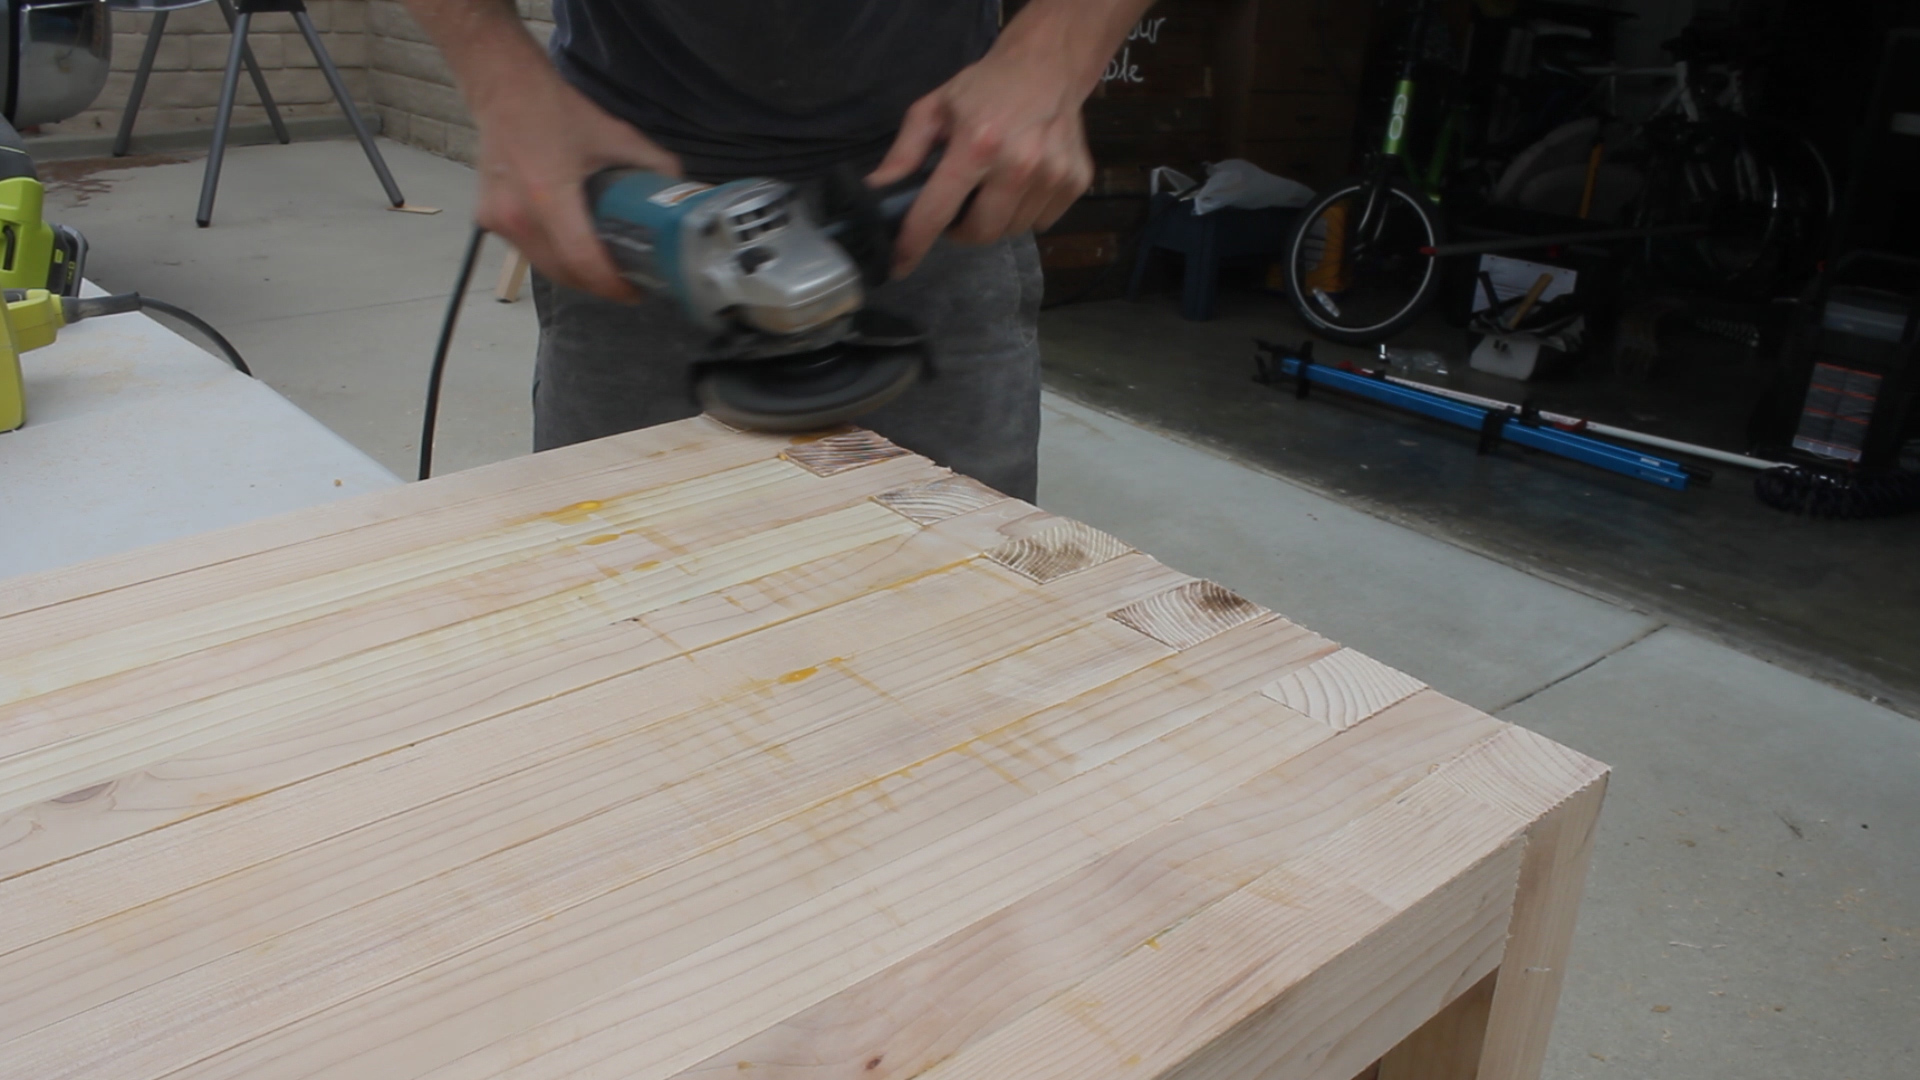
Angle Grinder: https://amzn.to/2FhtDLe

Above is free Sketchup File of the design for you to access incase you're looking to build something similar!
If you have any questions or find any issues with the article, feel free to get in touch.
Zach