In partnership with Arbortech, I wanted to tackle something fun and that I personally love - a Harry Potter woodworking project! Behold - the Nimbus 2001!
MATERIALS
4/4 Walnut
6/4 Oak
Wood glue
Mig Welding Wire (Silver)
Oxidized Solution (Steel and White Vinegar)
Danish Oil (Clear and Dark Walnut)
Screws
TOOLS
ARBORTECH TURBOPlane: http://amzn.to/2phWNjF
ARBORTECH Mini TURBO: http://bit.ly/2qll8Es
ARBORTECH Contour Sander: http://bit.ly/2qlJez9
Sawstop Table Saw: https://amzn.to/2Luh91q
Miter Saw: http://amzn.to/2q1klHw
Miter Saw Stand: http://amzn.to/2p1072e
4.5” Angle Grinder: https://amzn.to/2FhtDLe
Pin Nailer: https://amzn.to/2D6EaVf
Power Drill: http://amzn.to/2q1l5wn + Drill bits
Stationary Bench Sander: http://amzn.to/2q1Cq8k
Router Table
A variety of clamps!
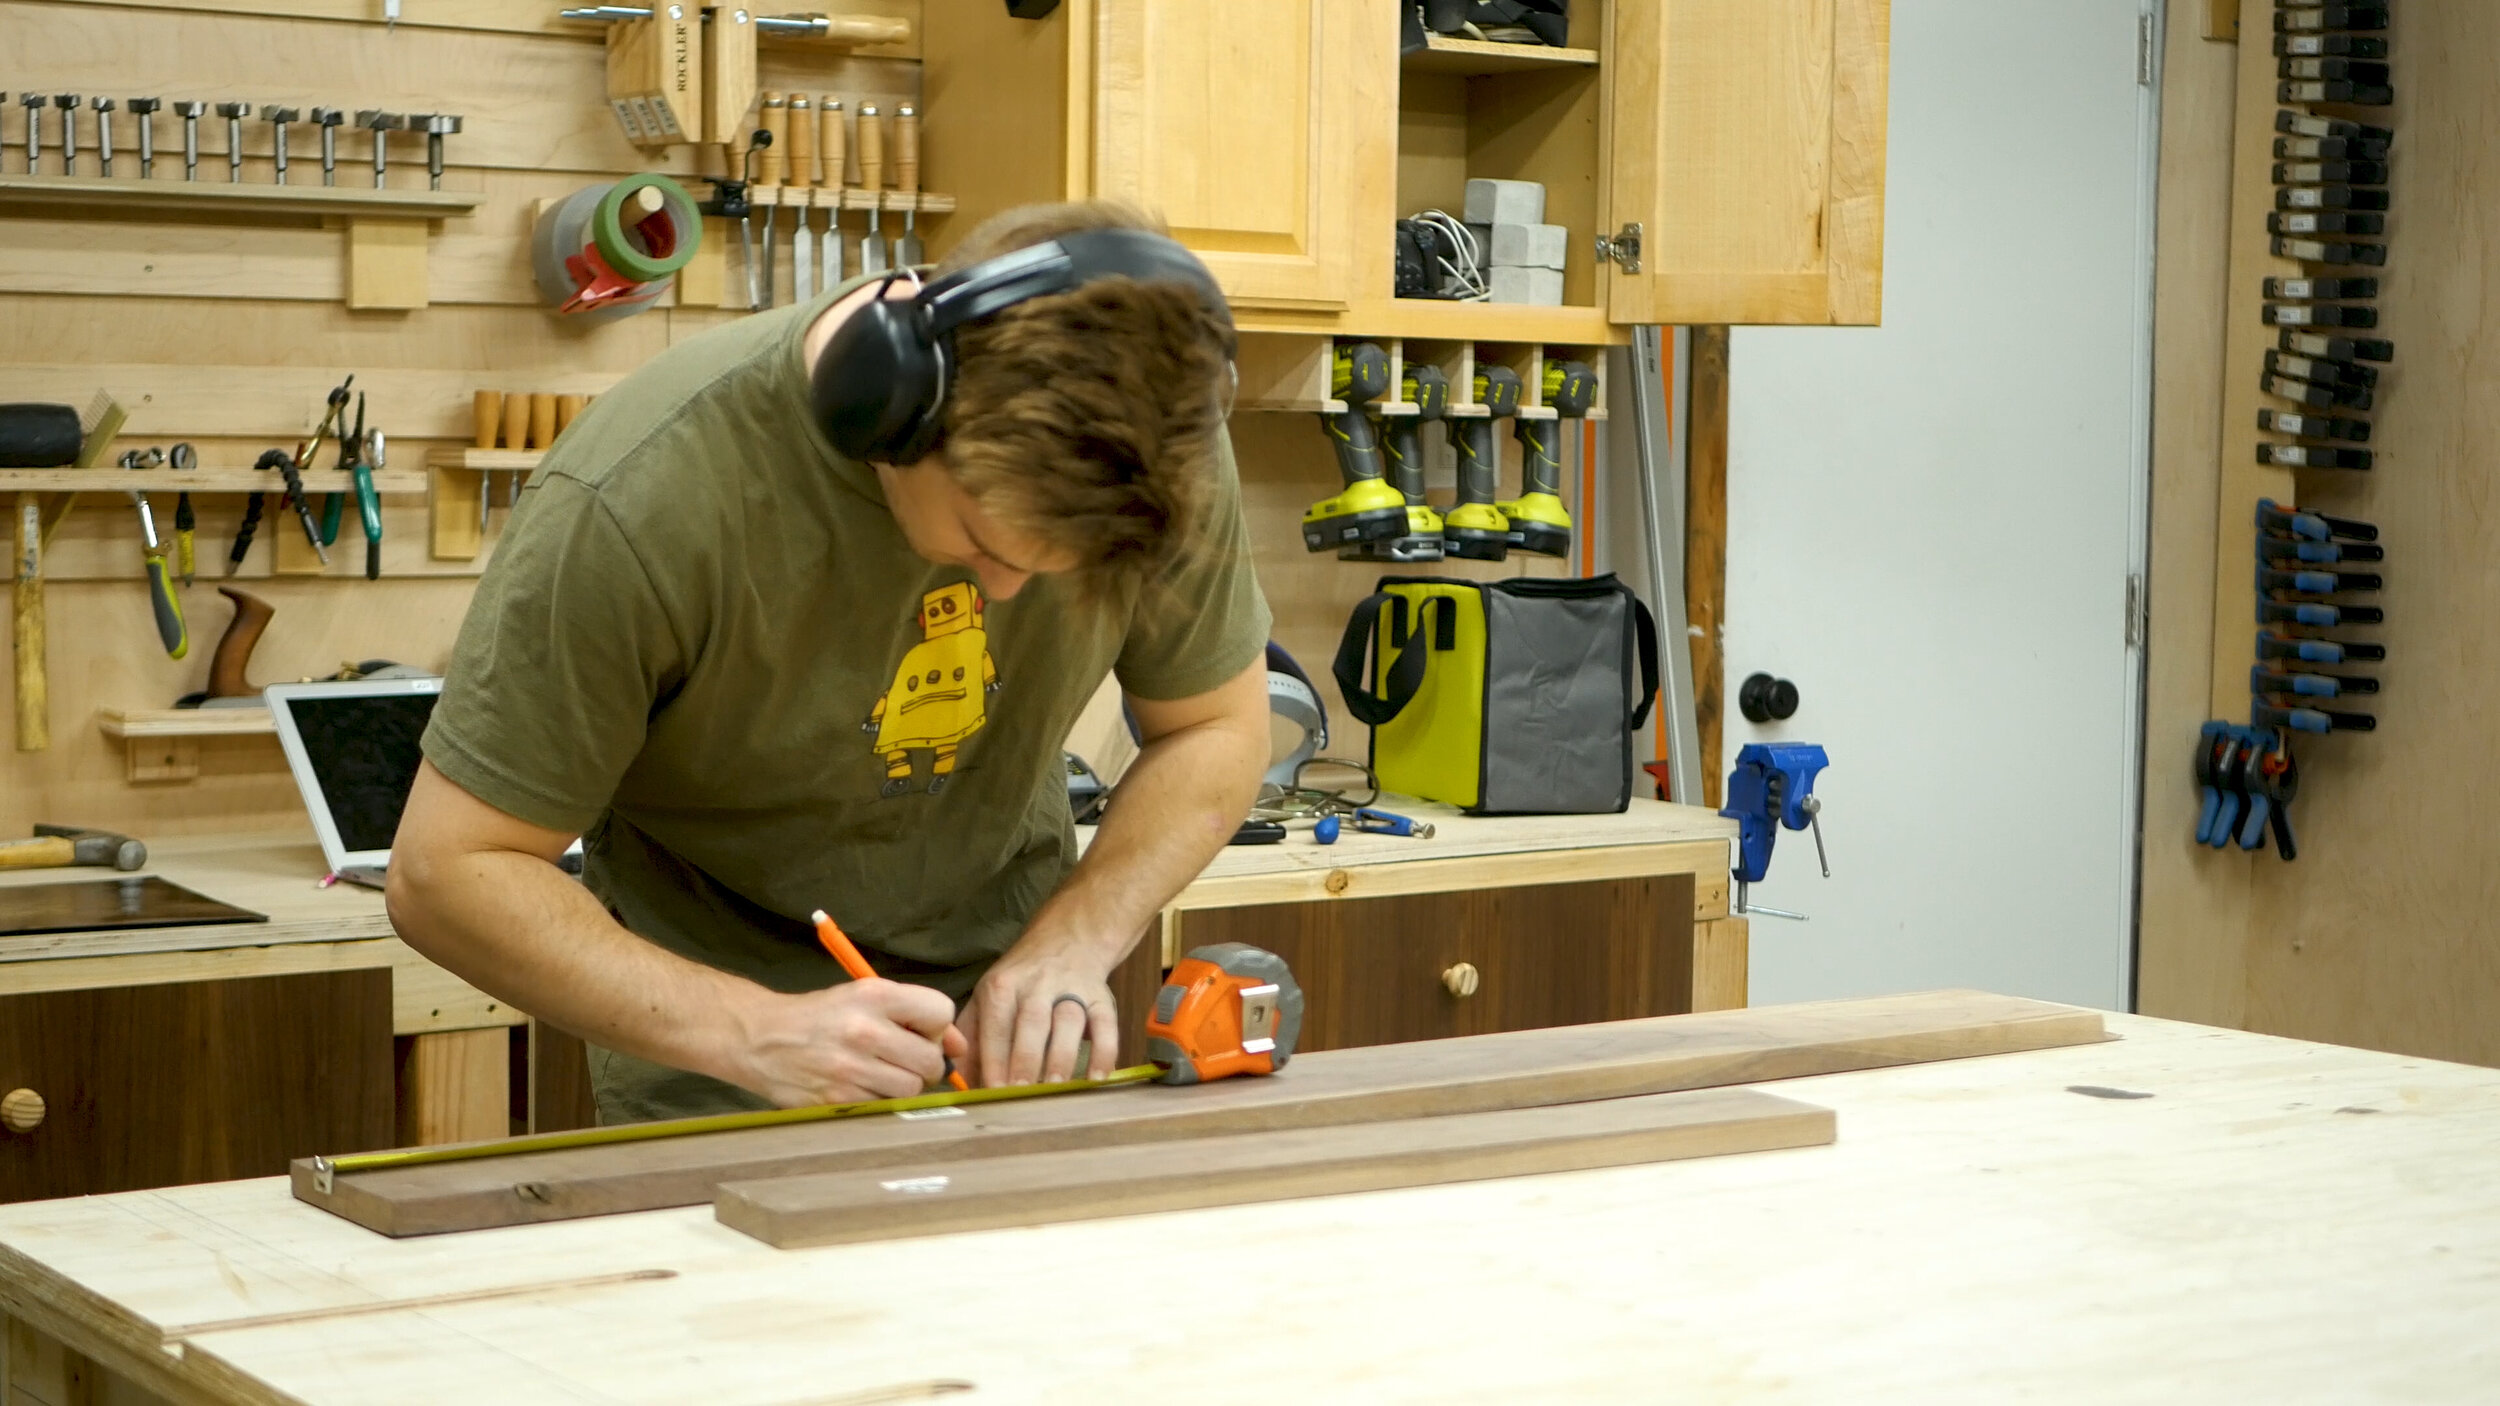
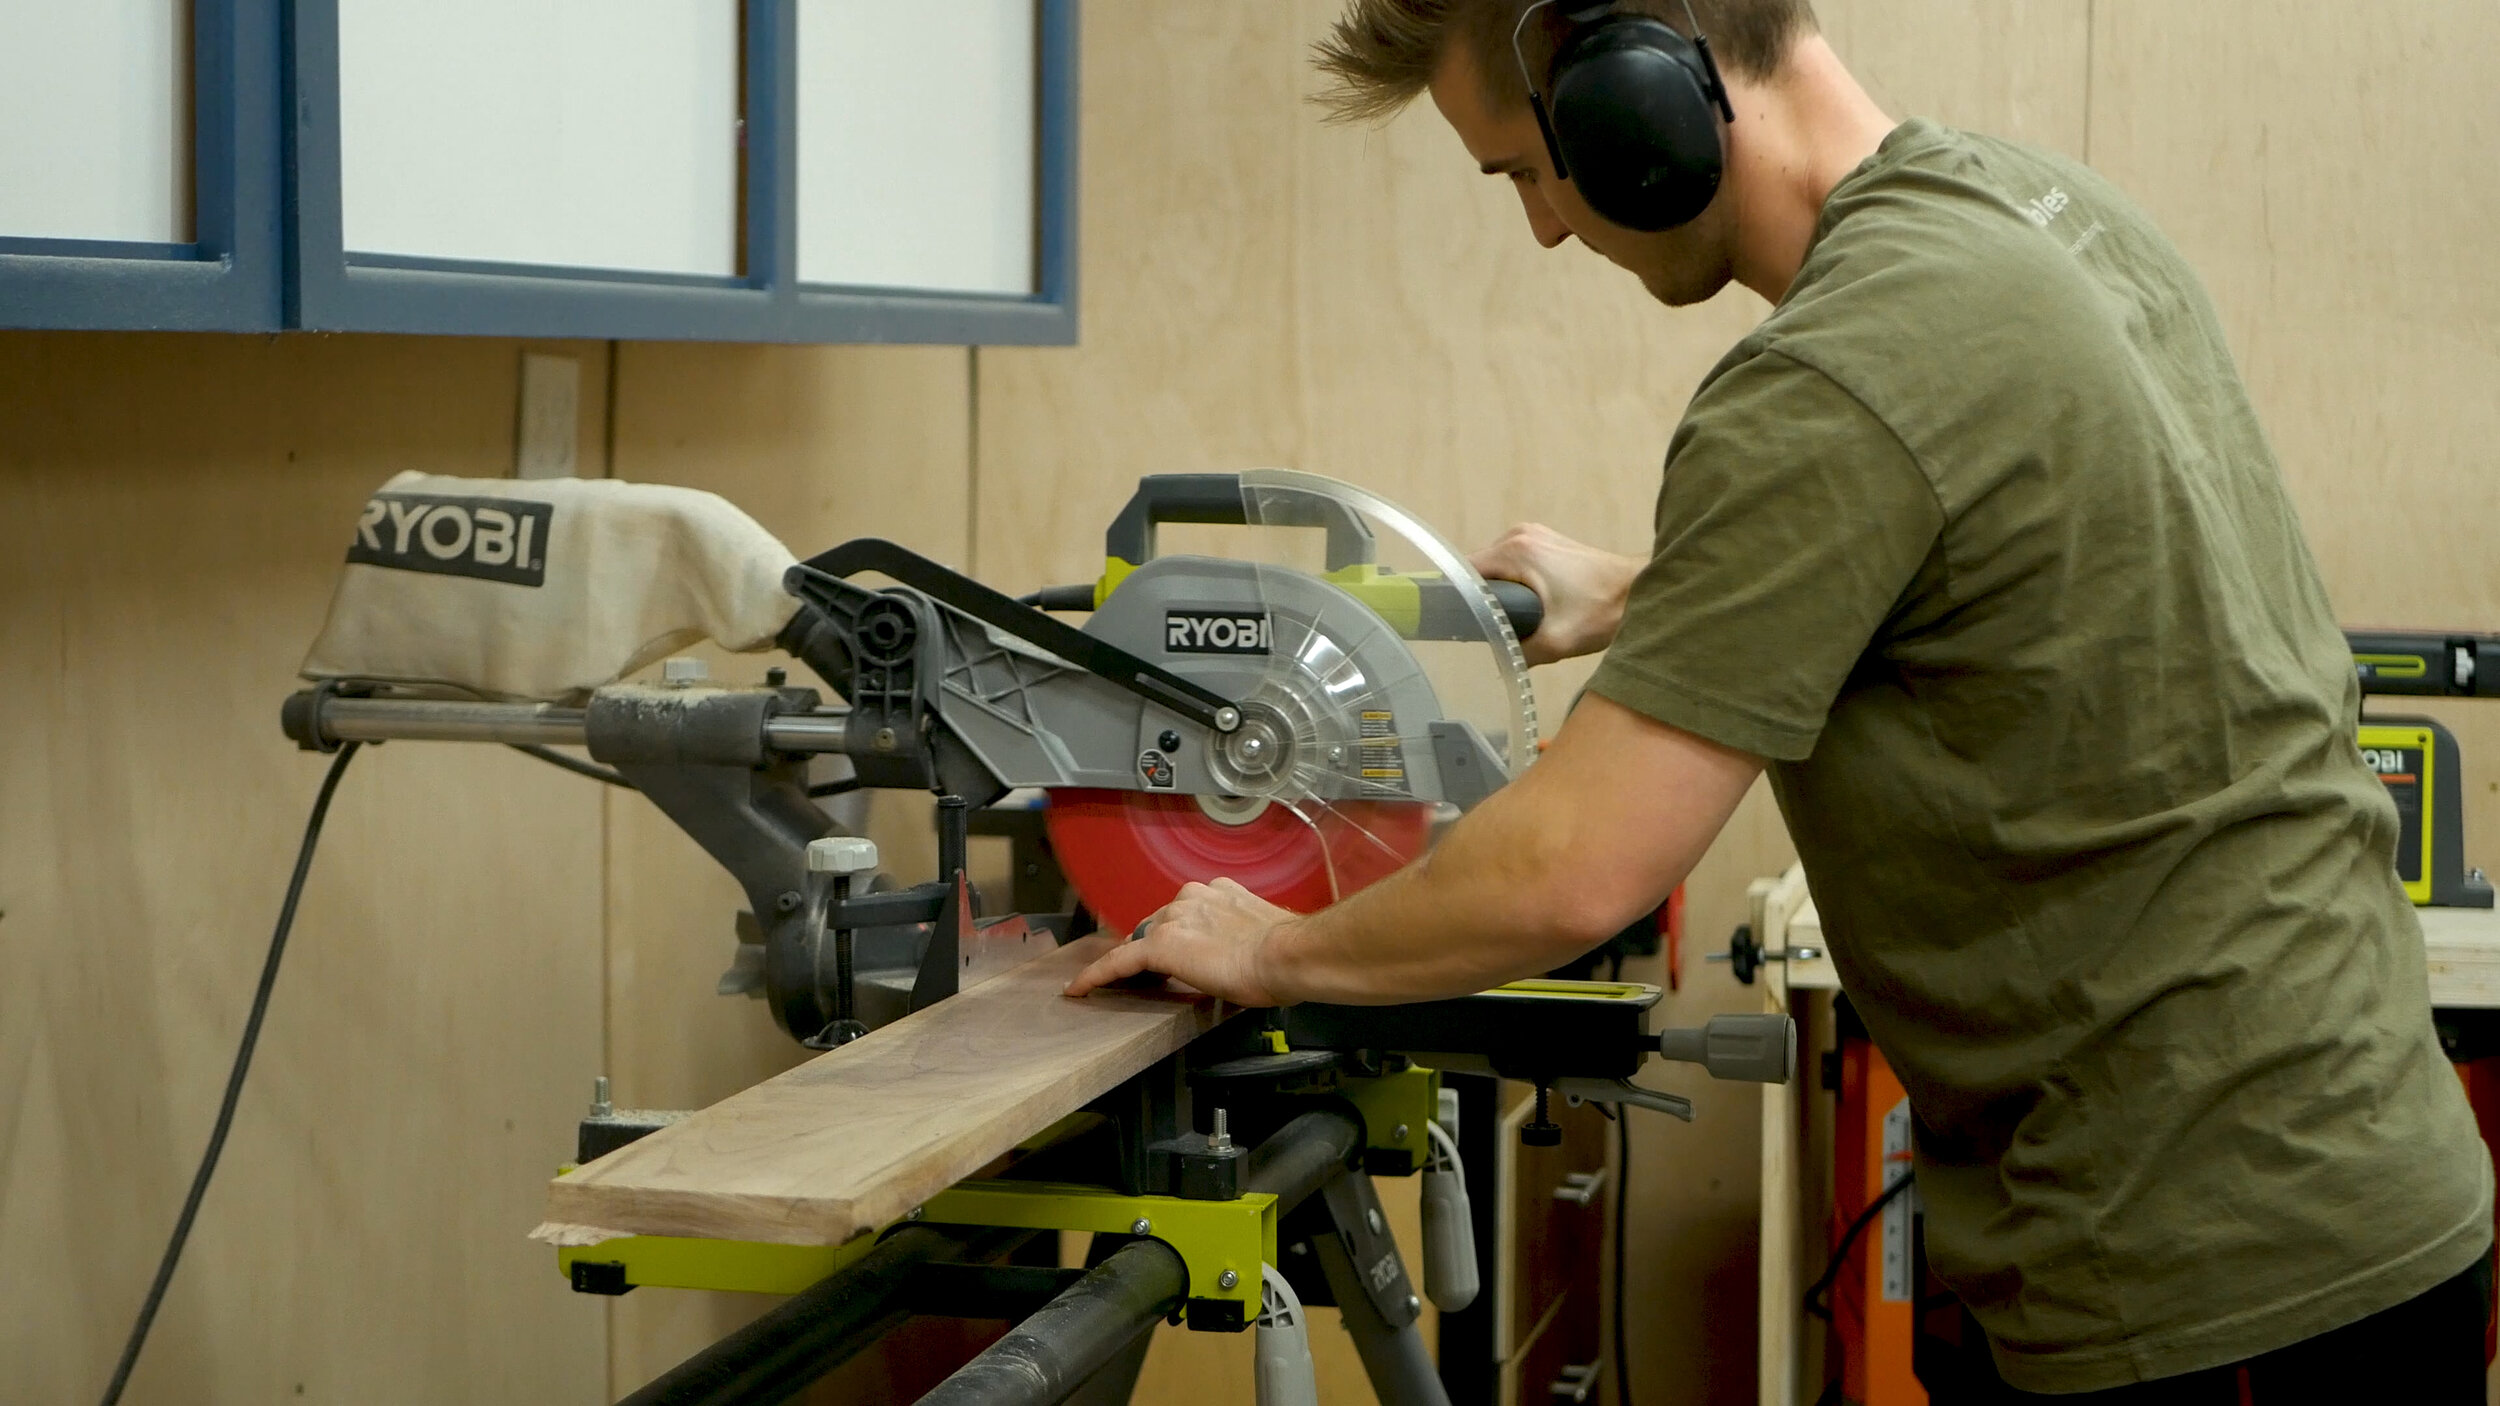
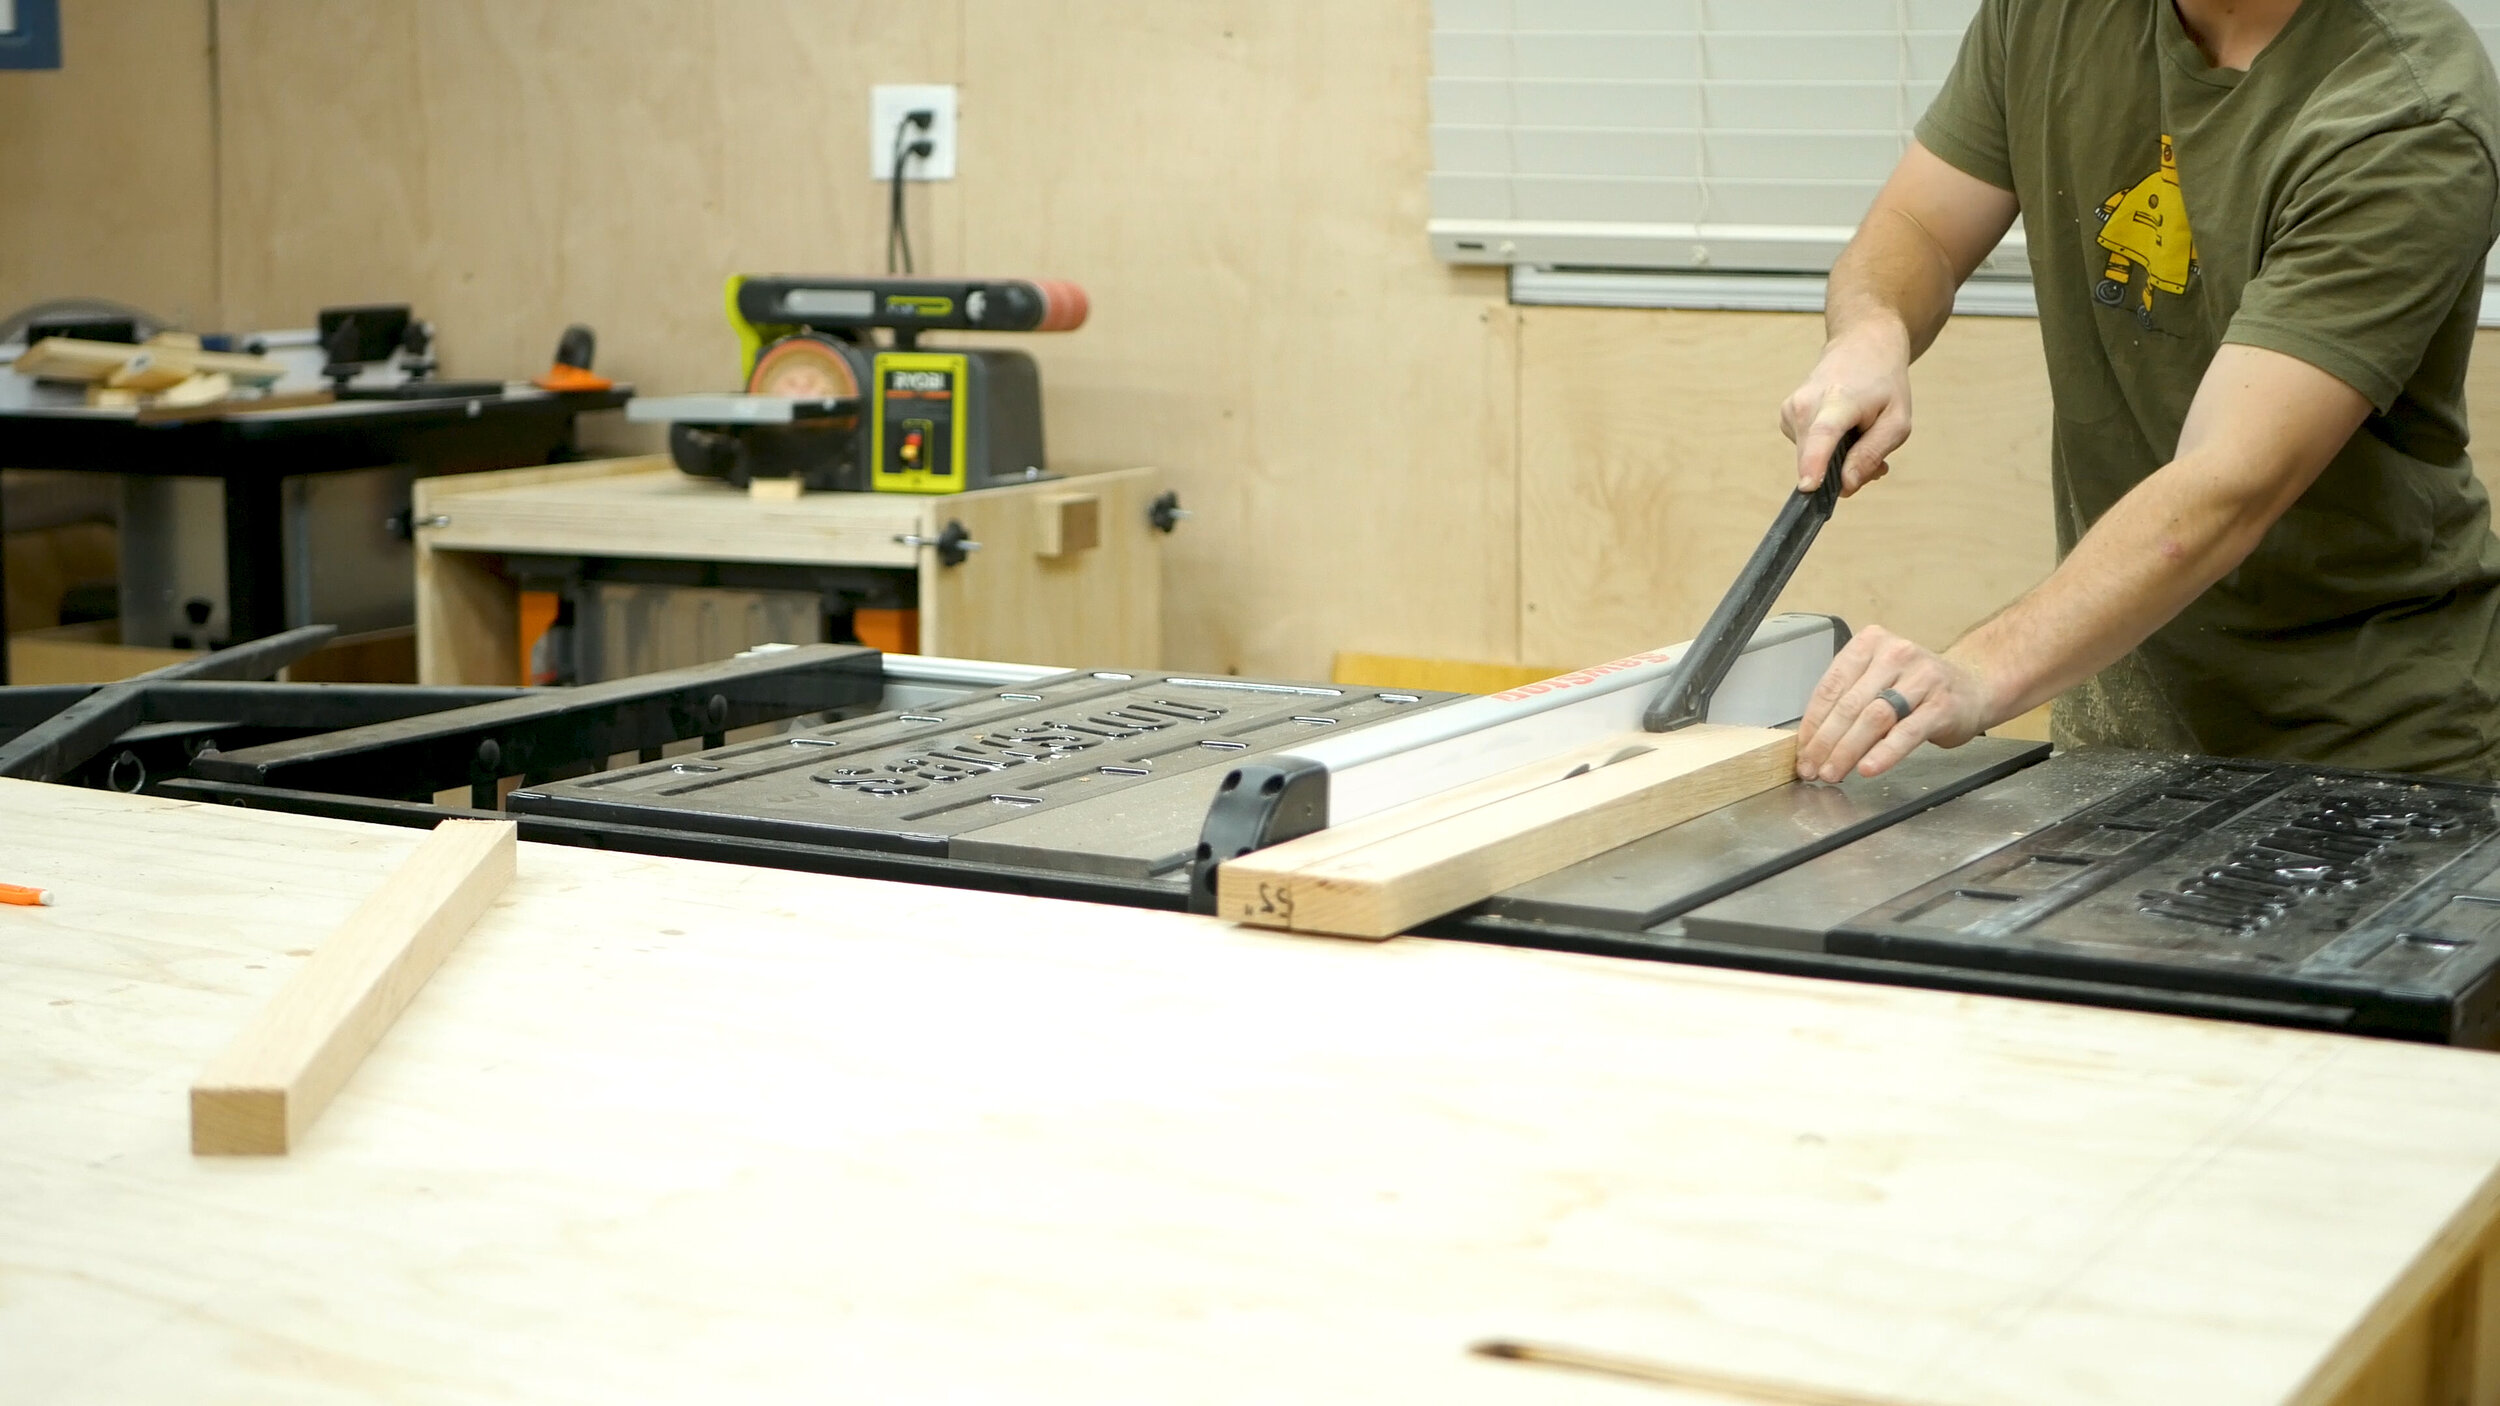
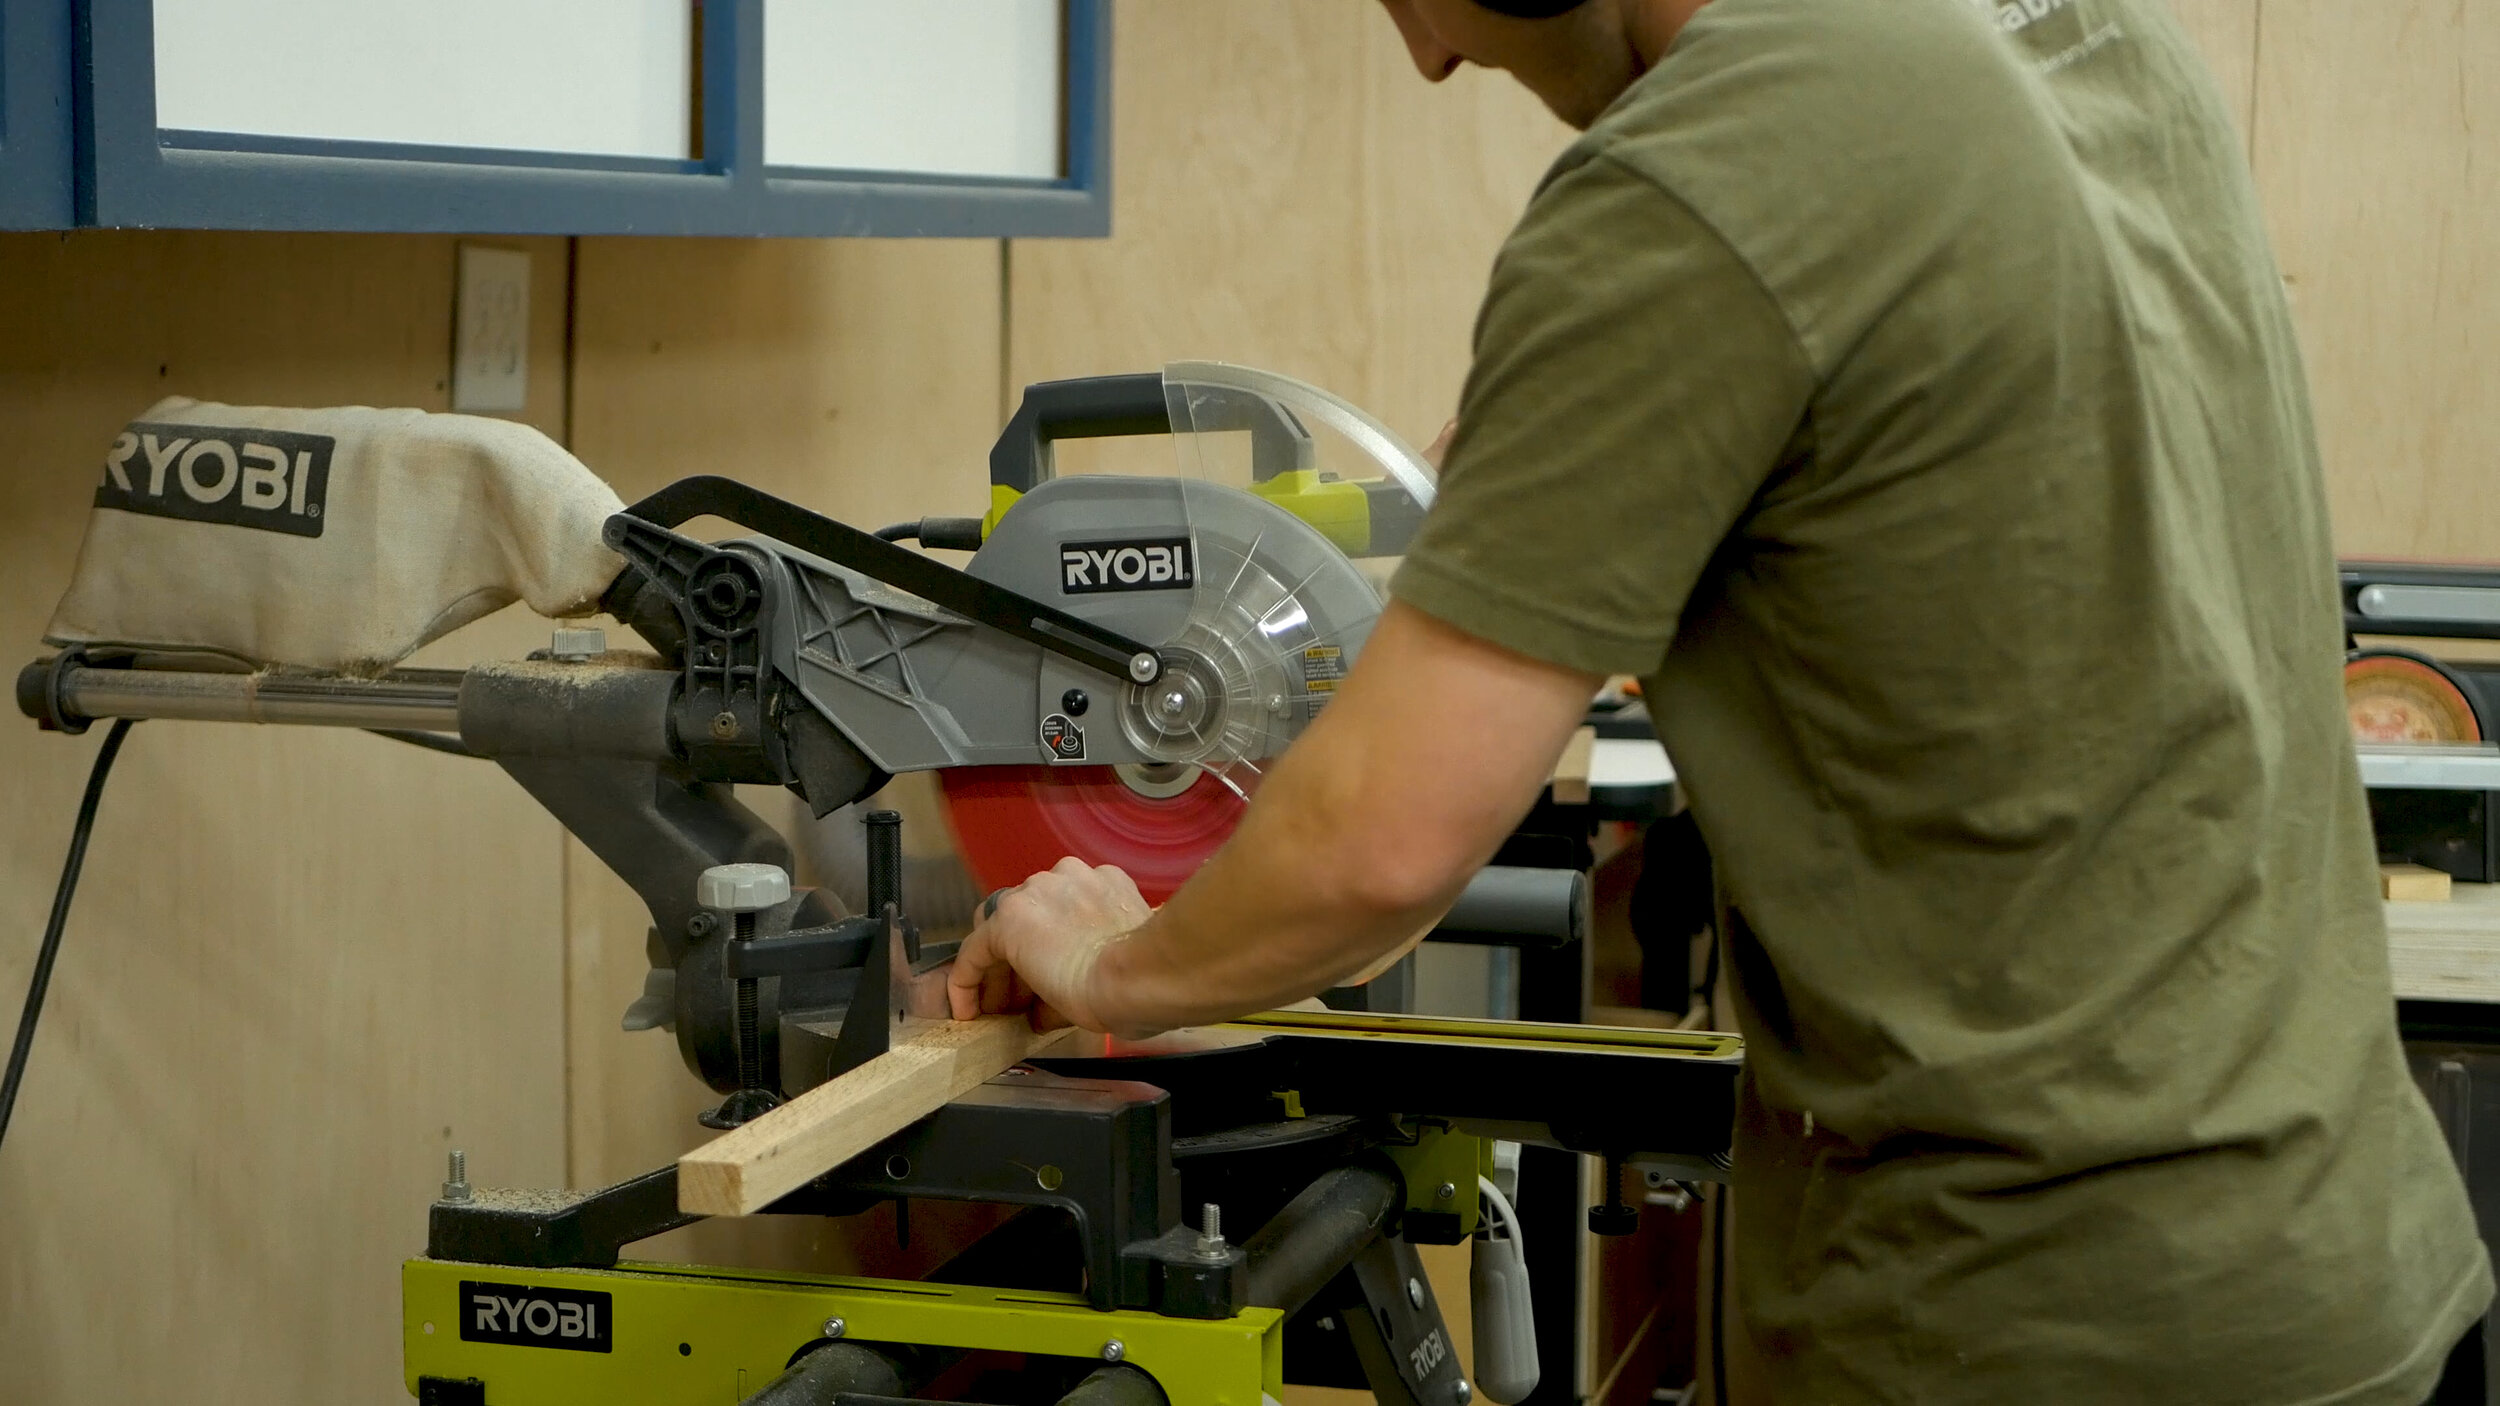
I began the project by marking out and cutting my 4/4 walnut to length. The project didn’t need much - just enough to properly stack and laminate together to form the broom portion (Pics 1-3).
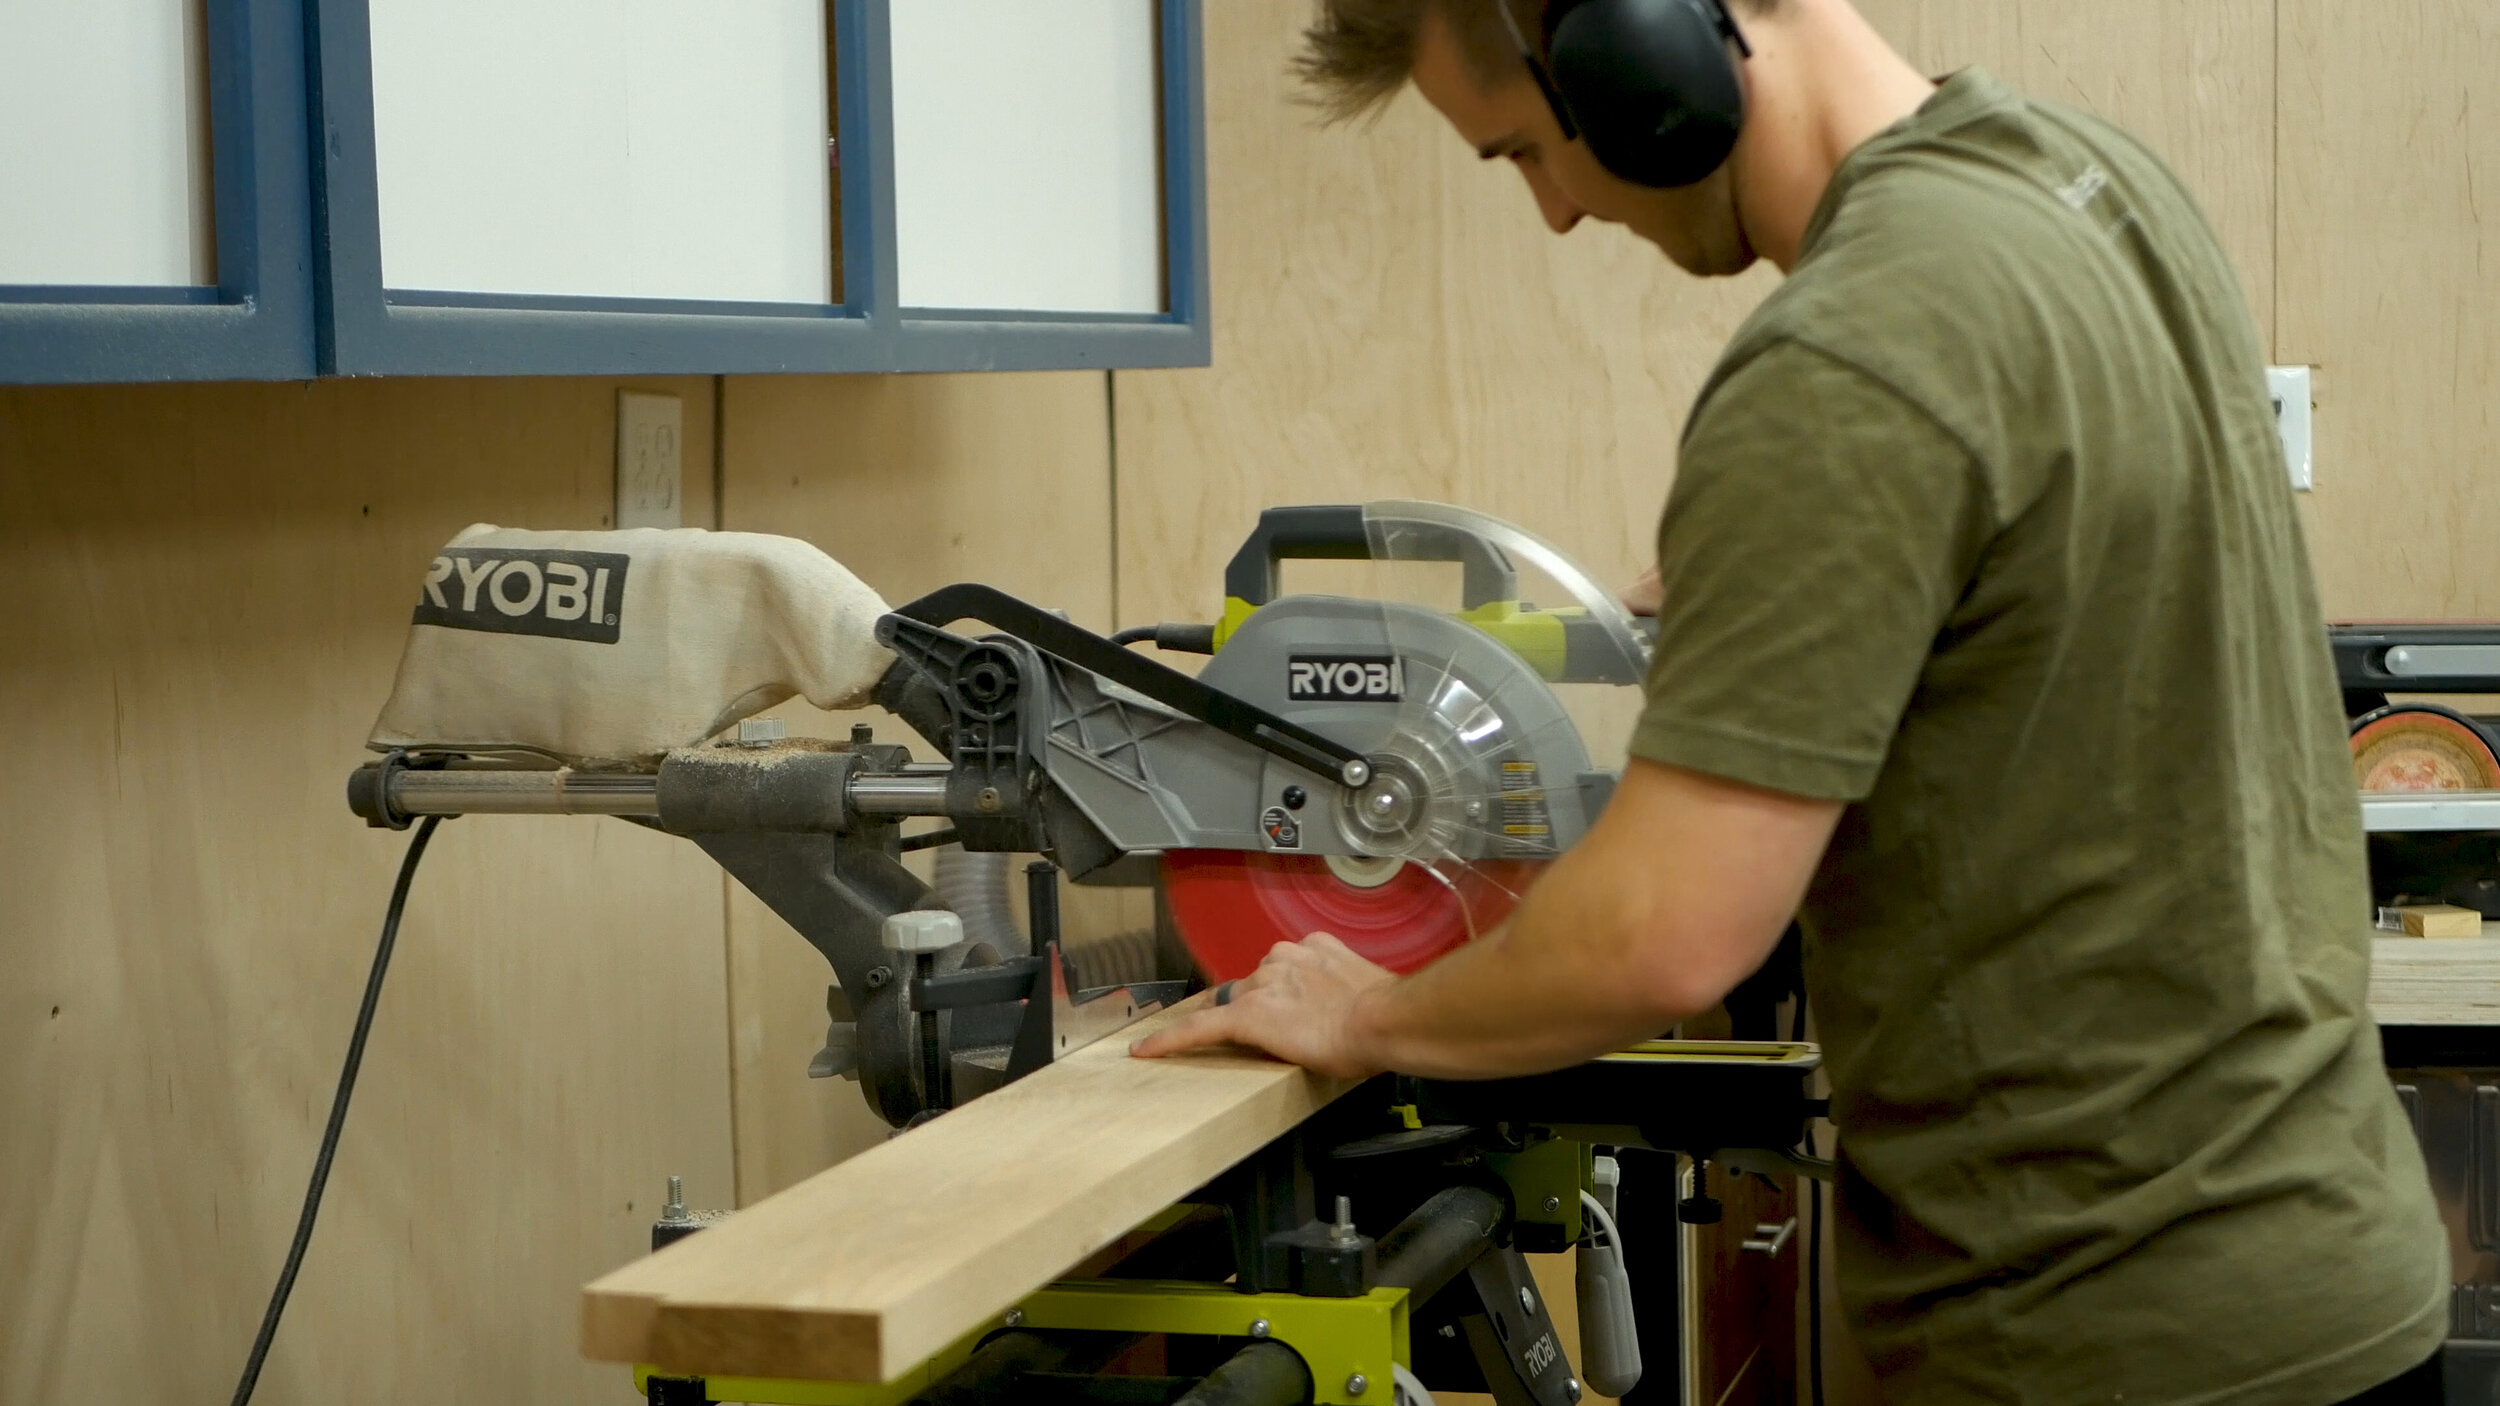
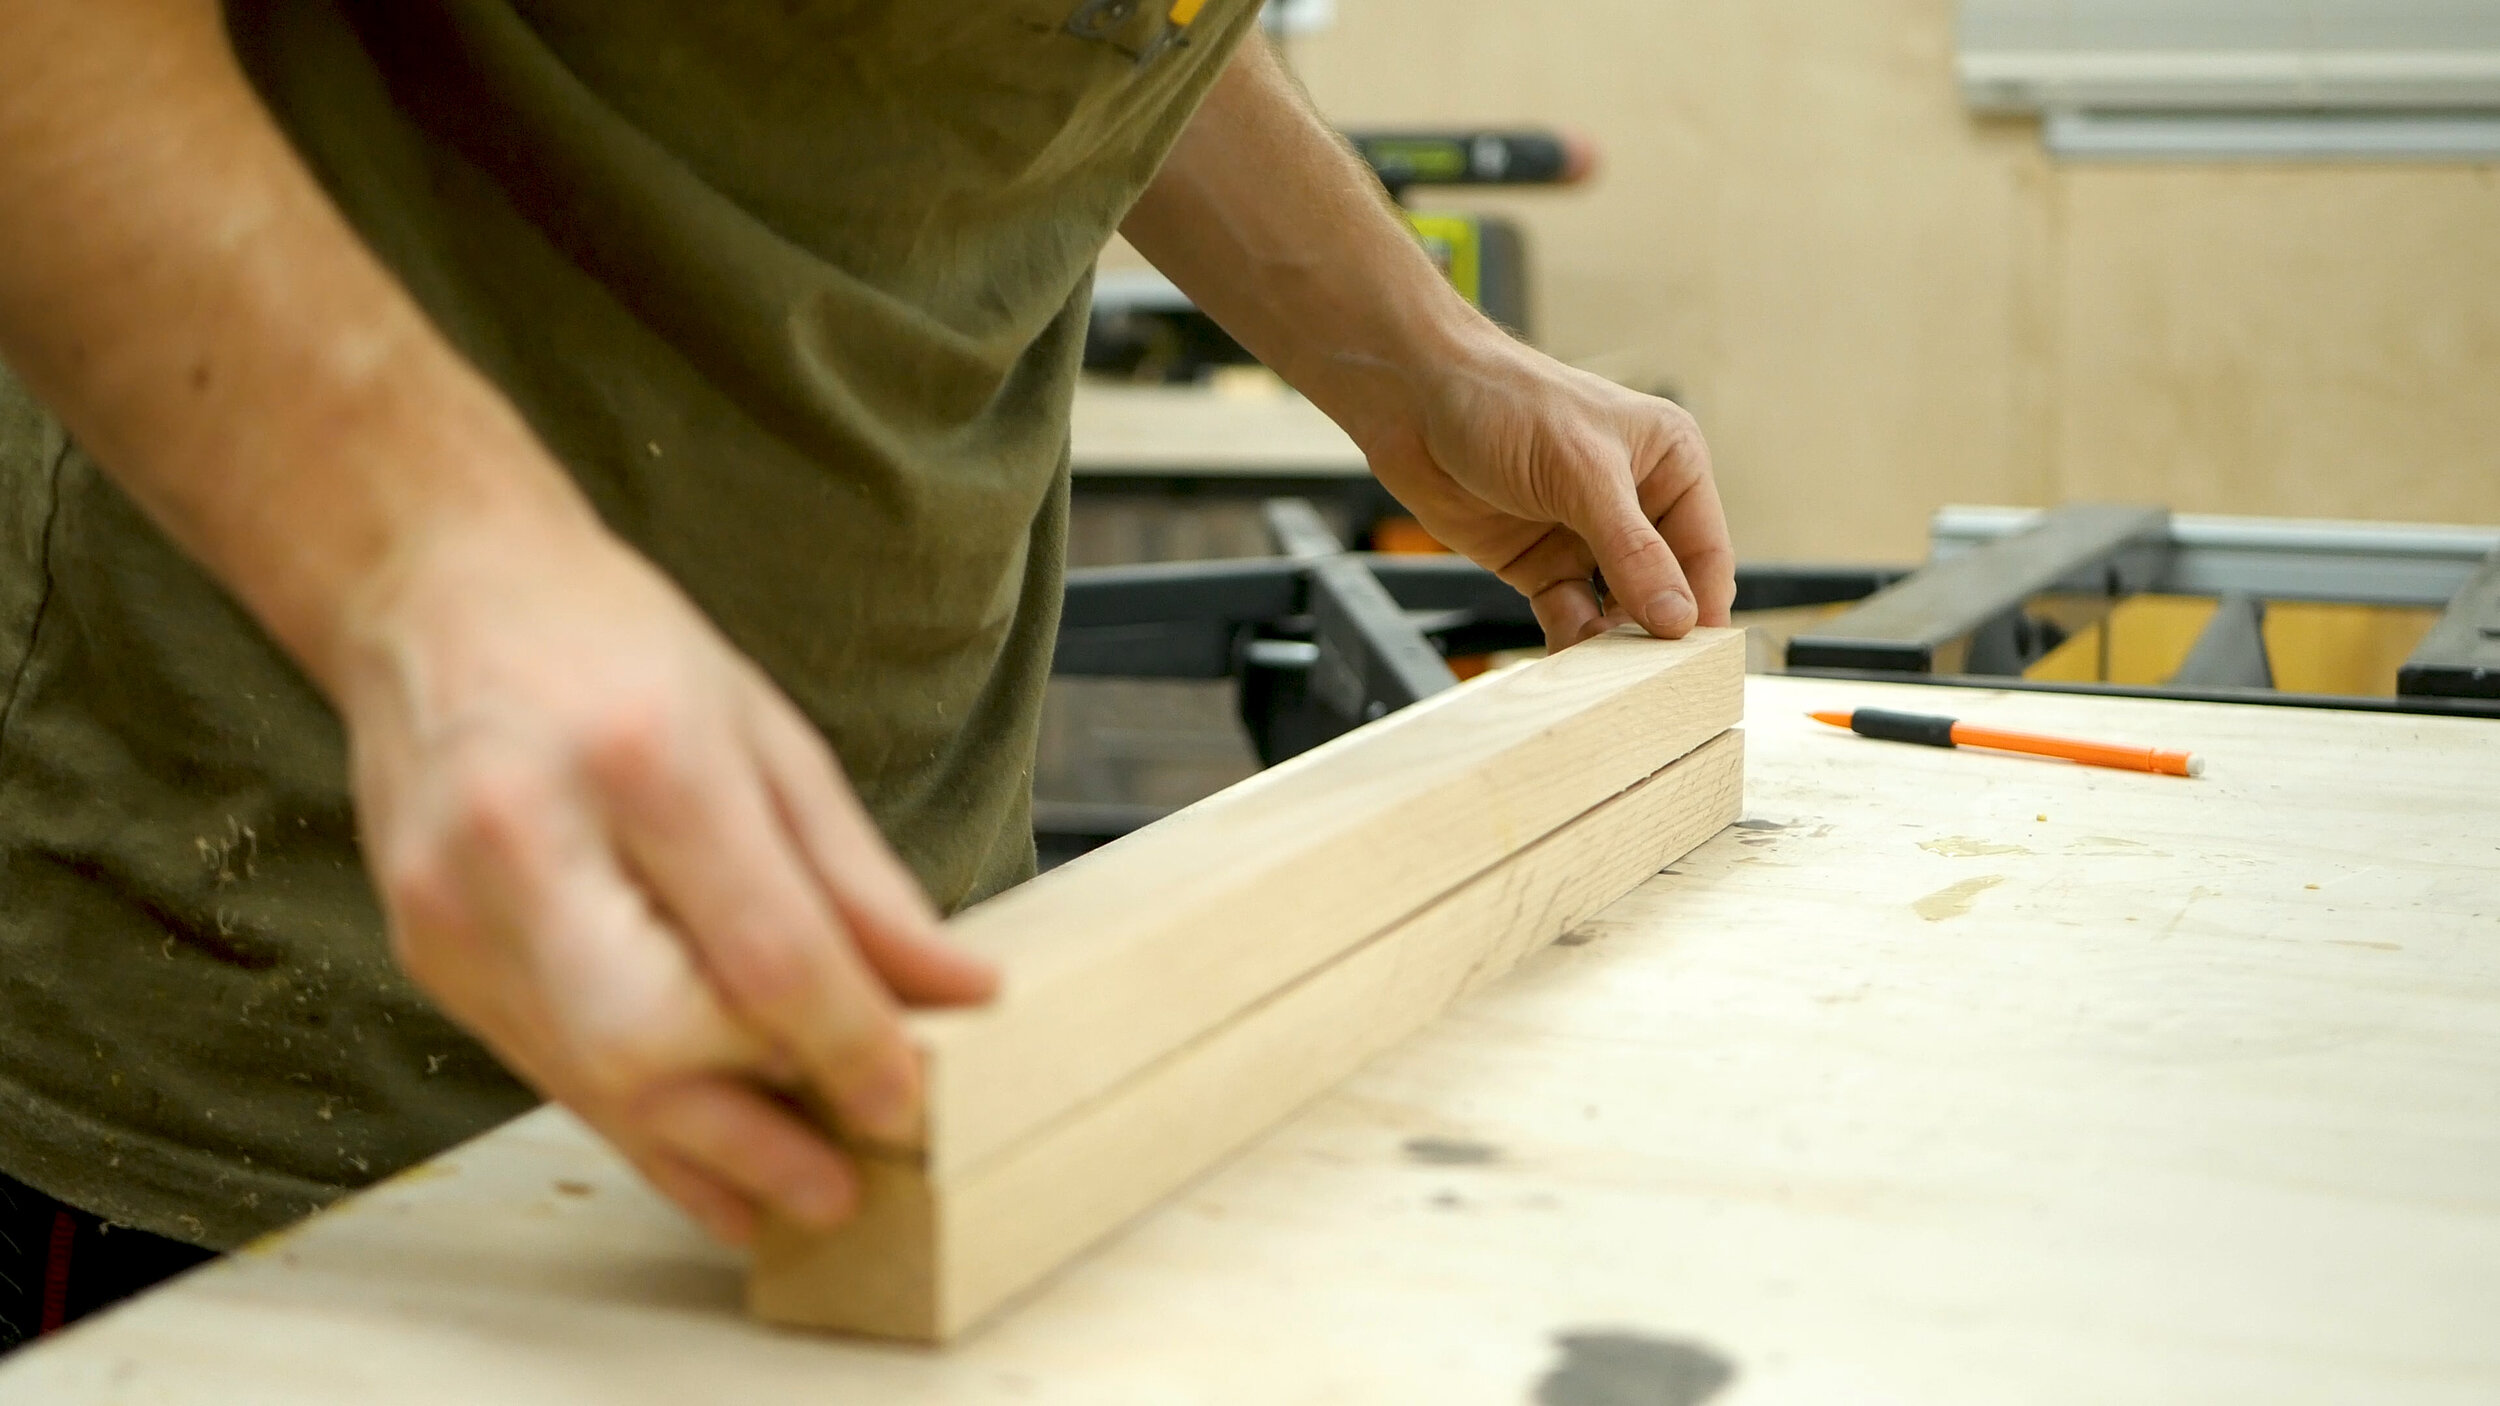
The next step, in similar fashion, was to cut down the white oak I had to length and with and then laminate together. The reason you need two pieces laminated together is because the broom handle is very curved in design, so you’ll need more wood to build that out when powercarving (Pics 4-6).
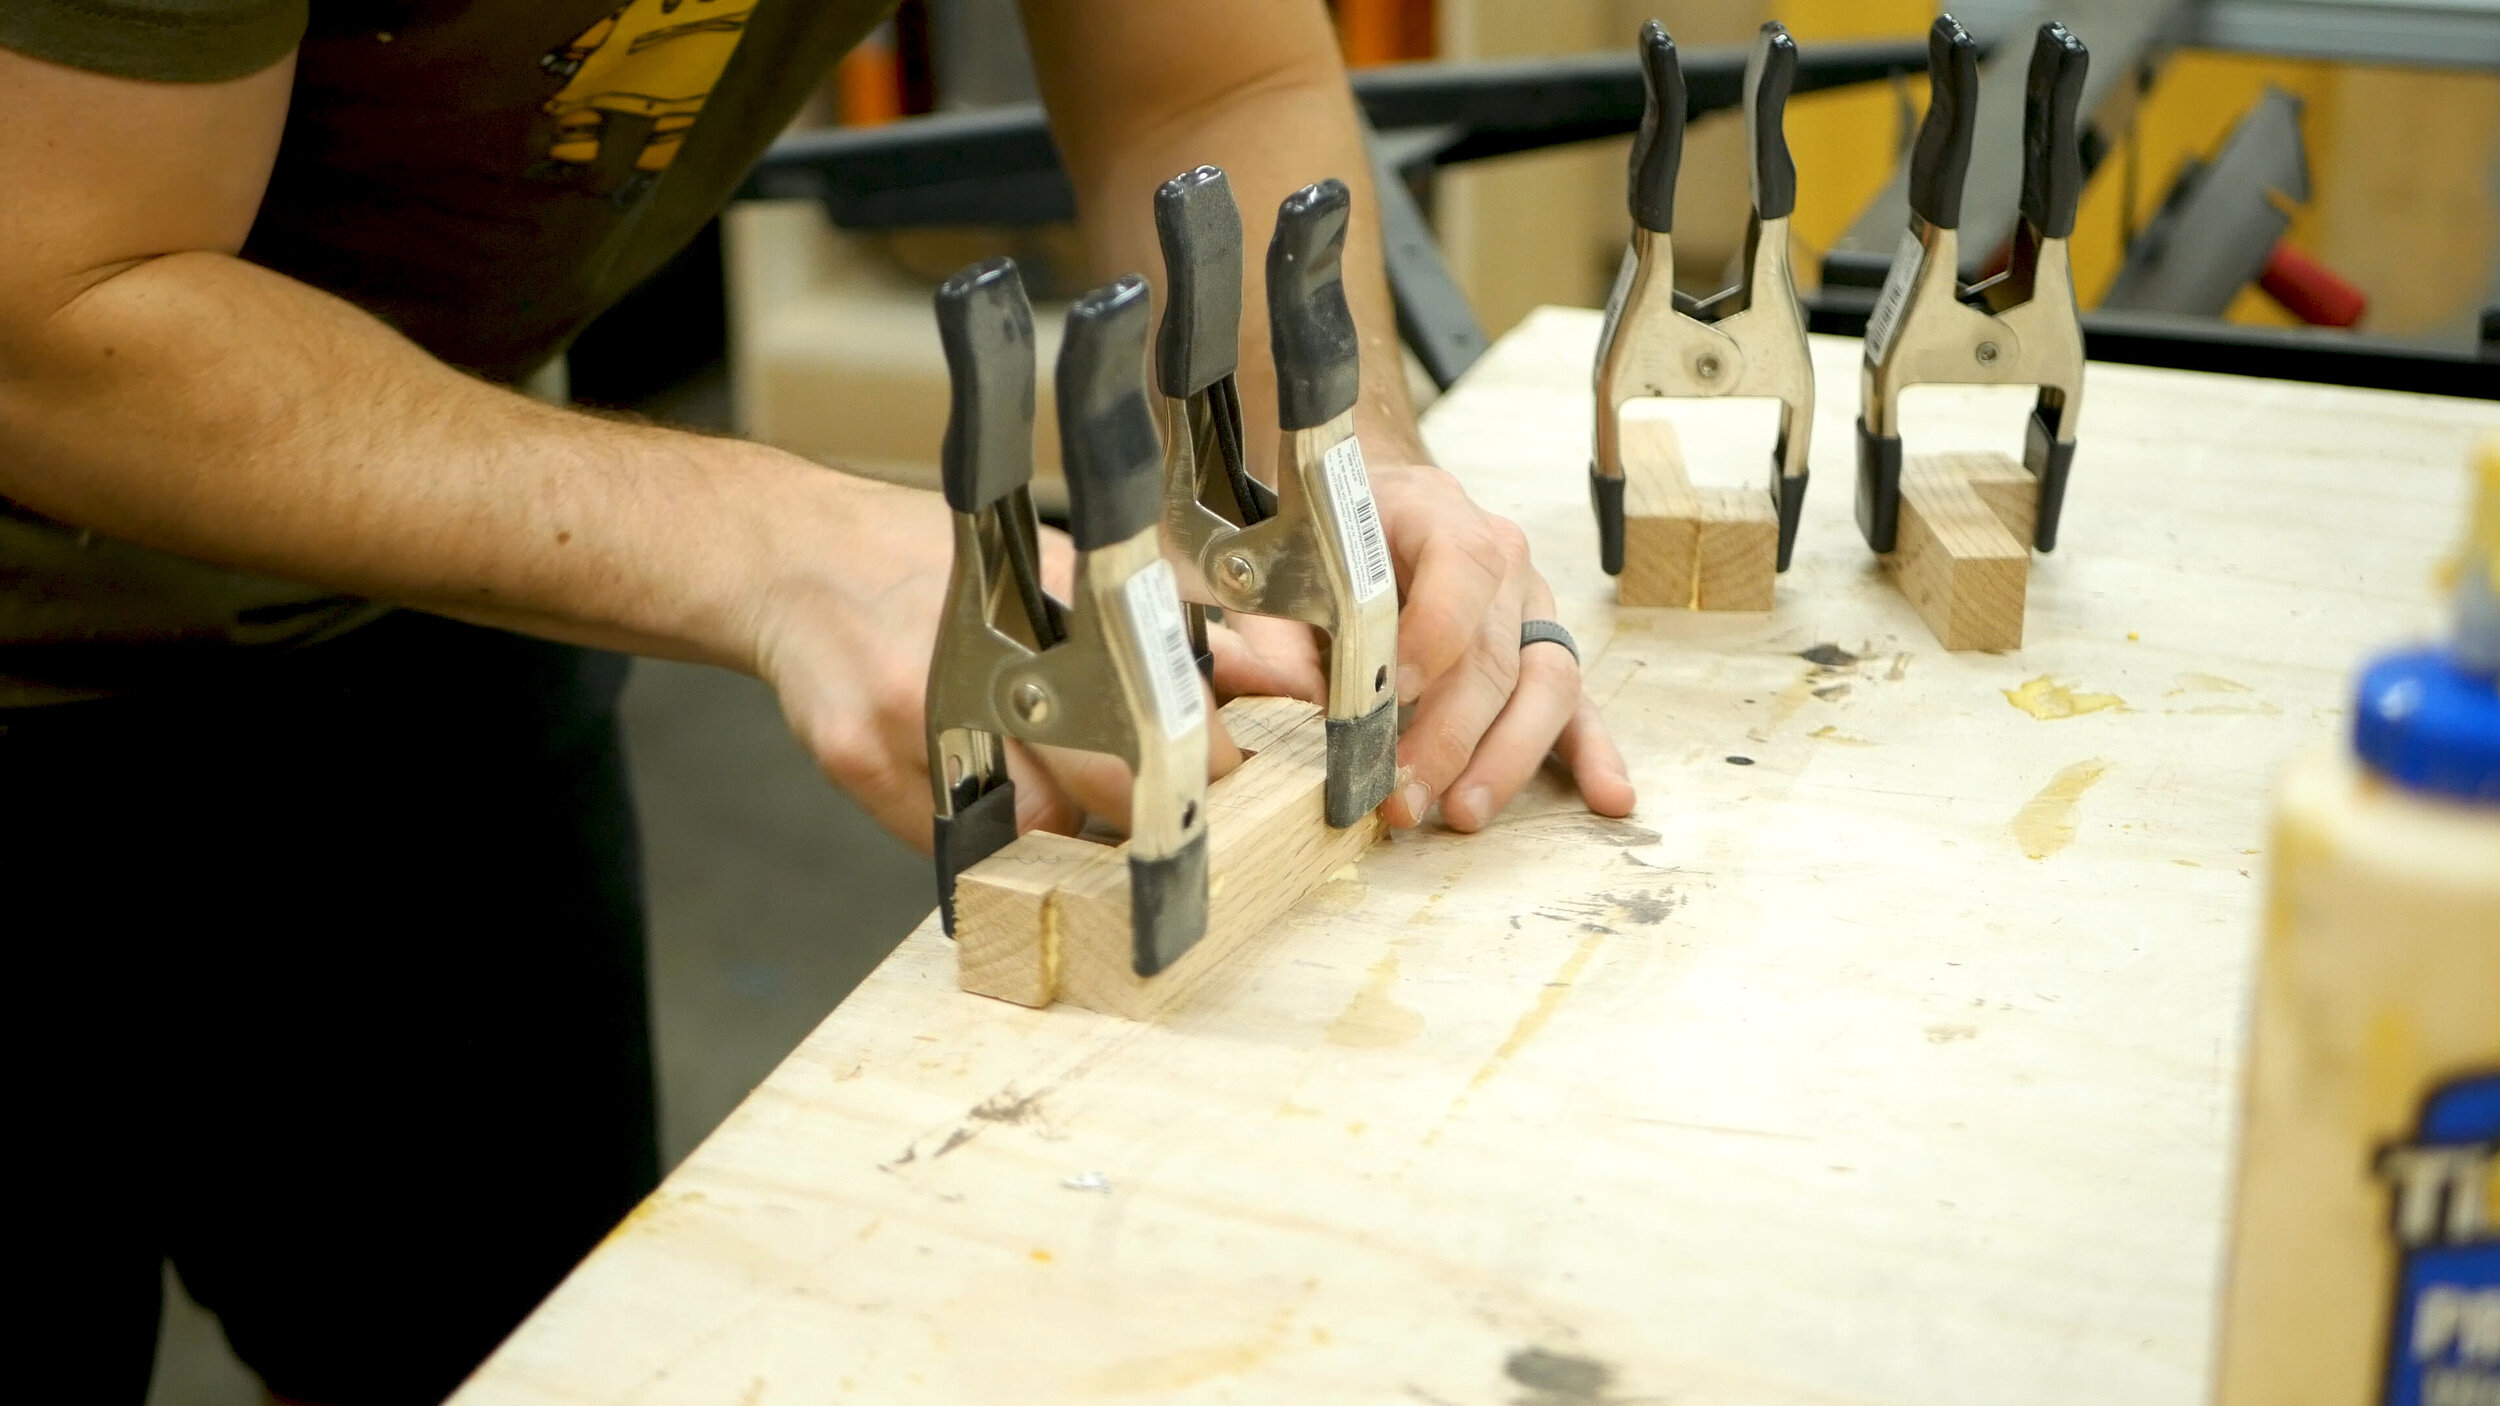
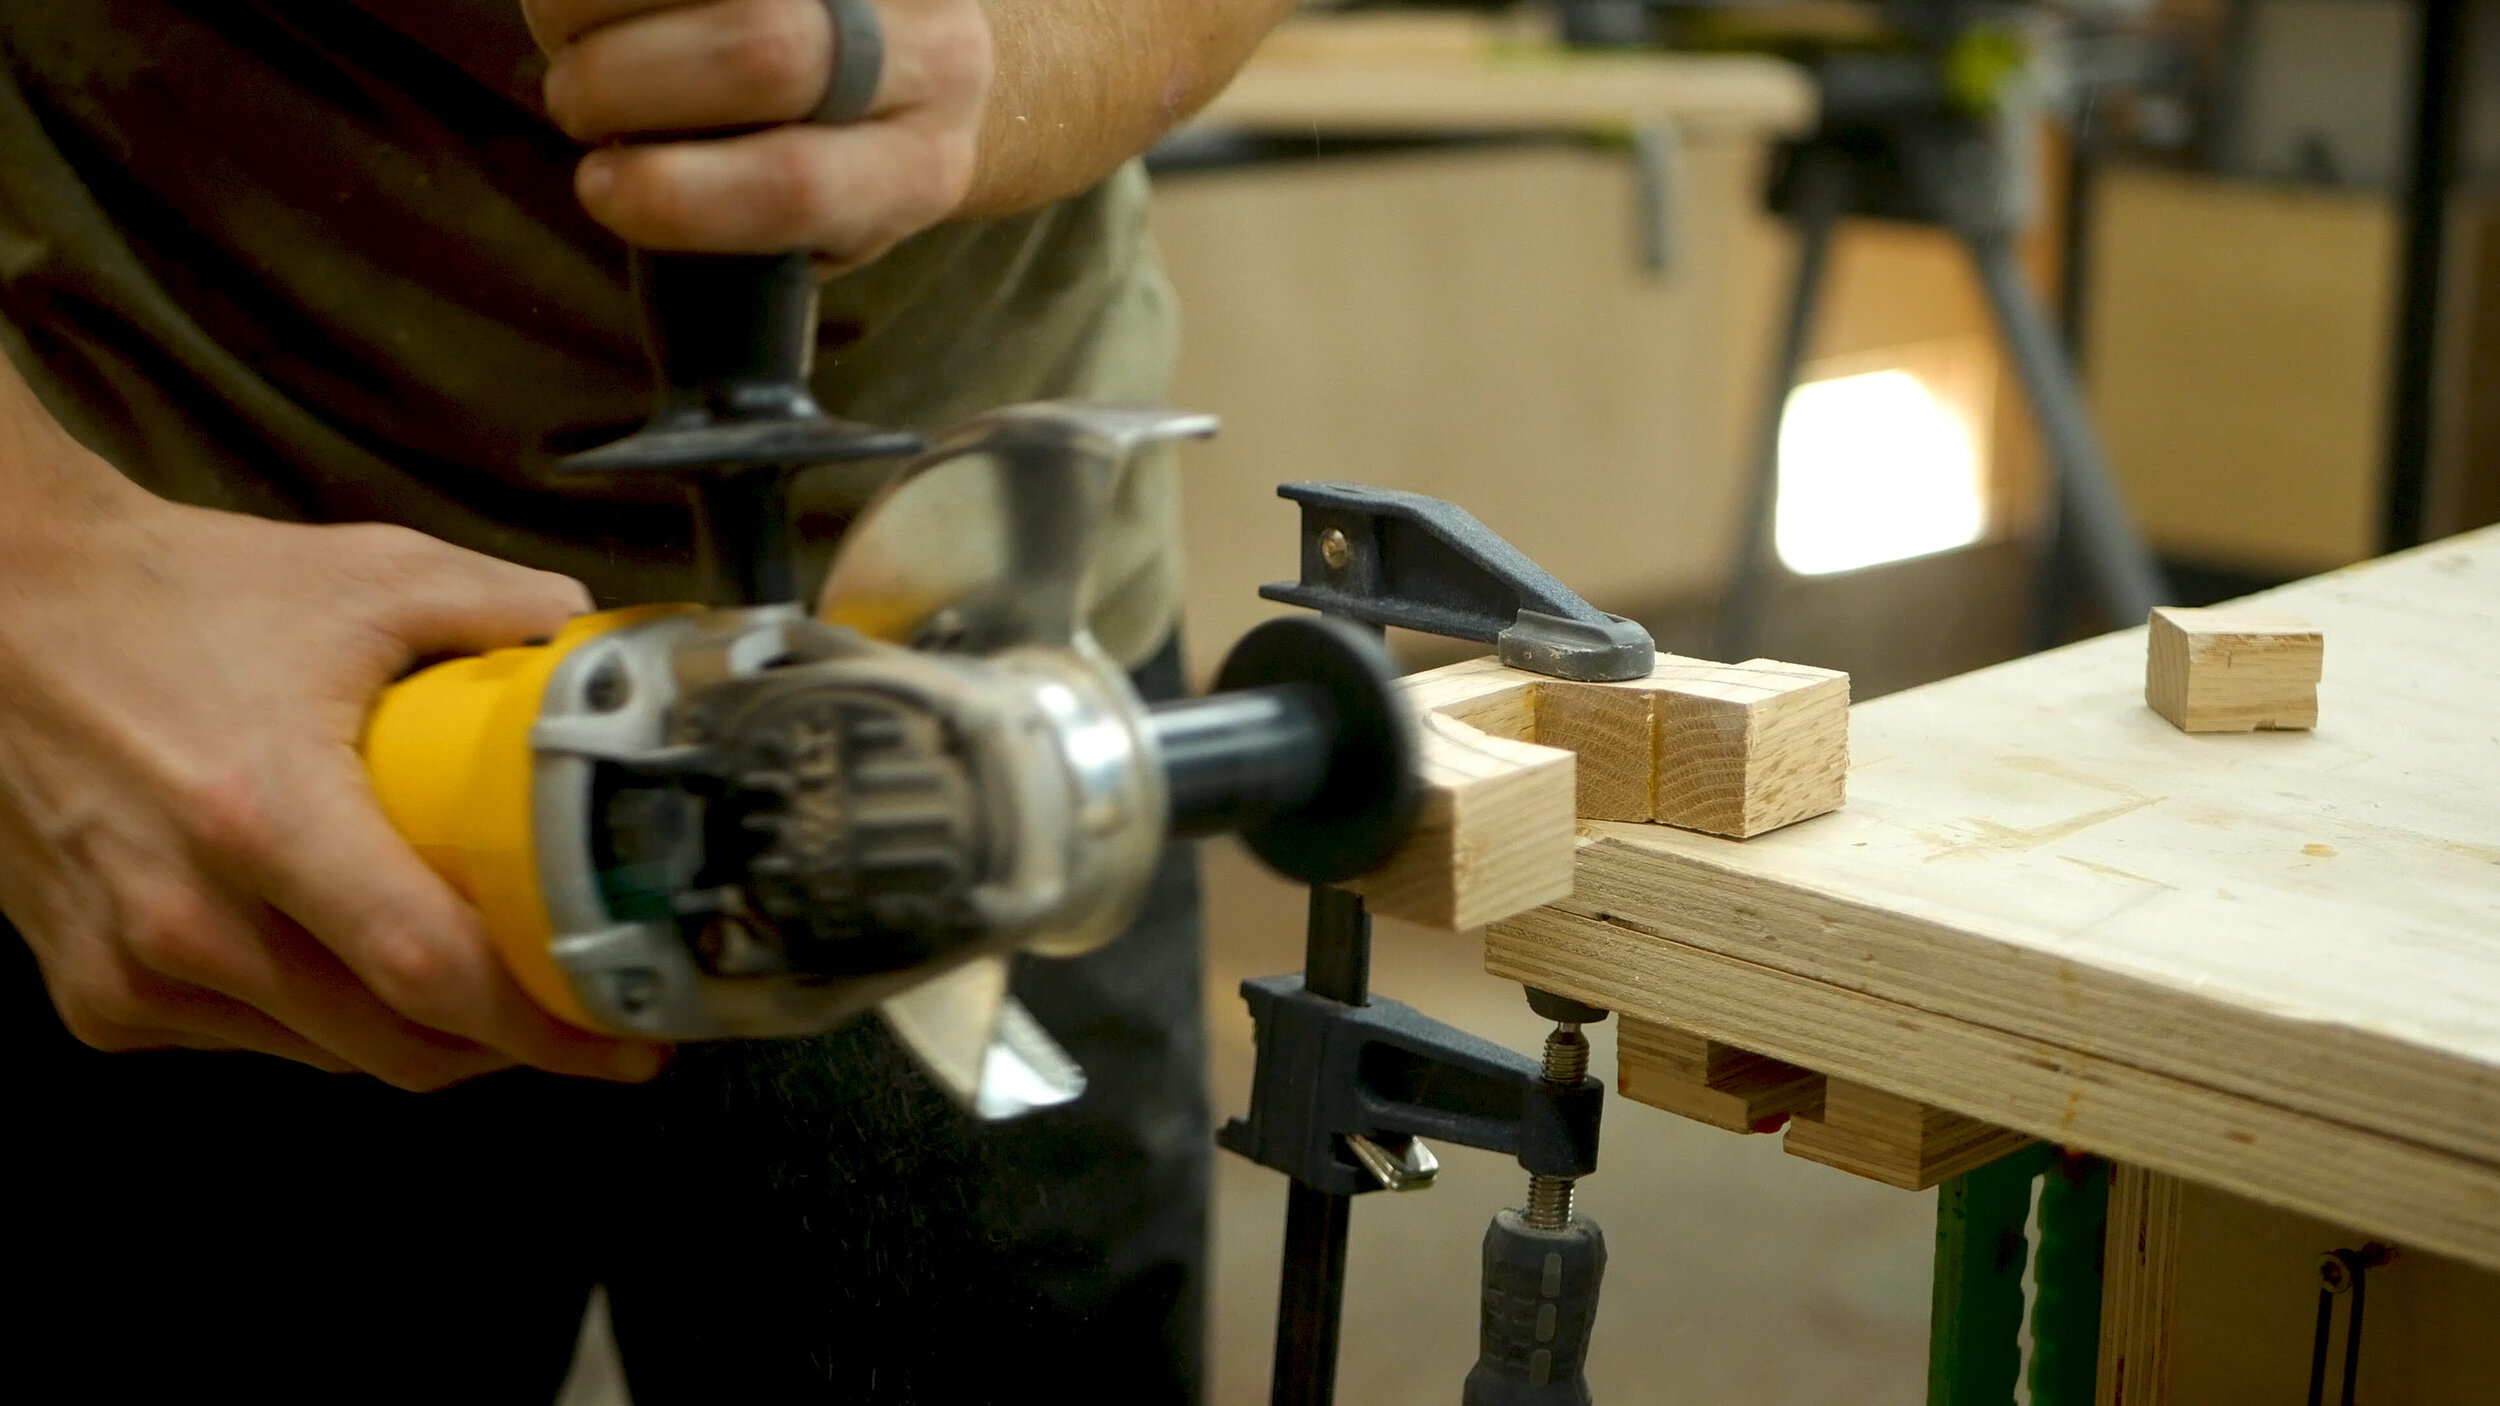
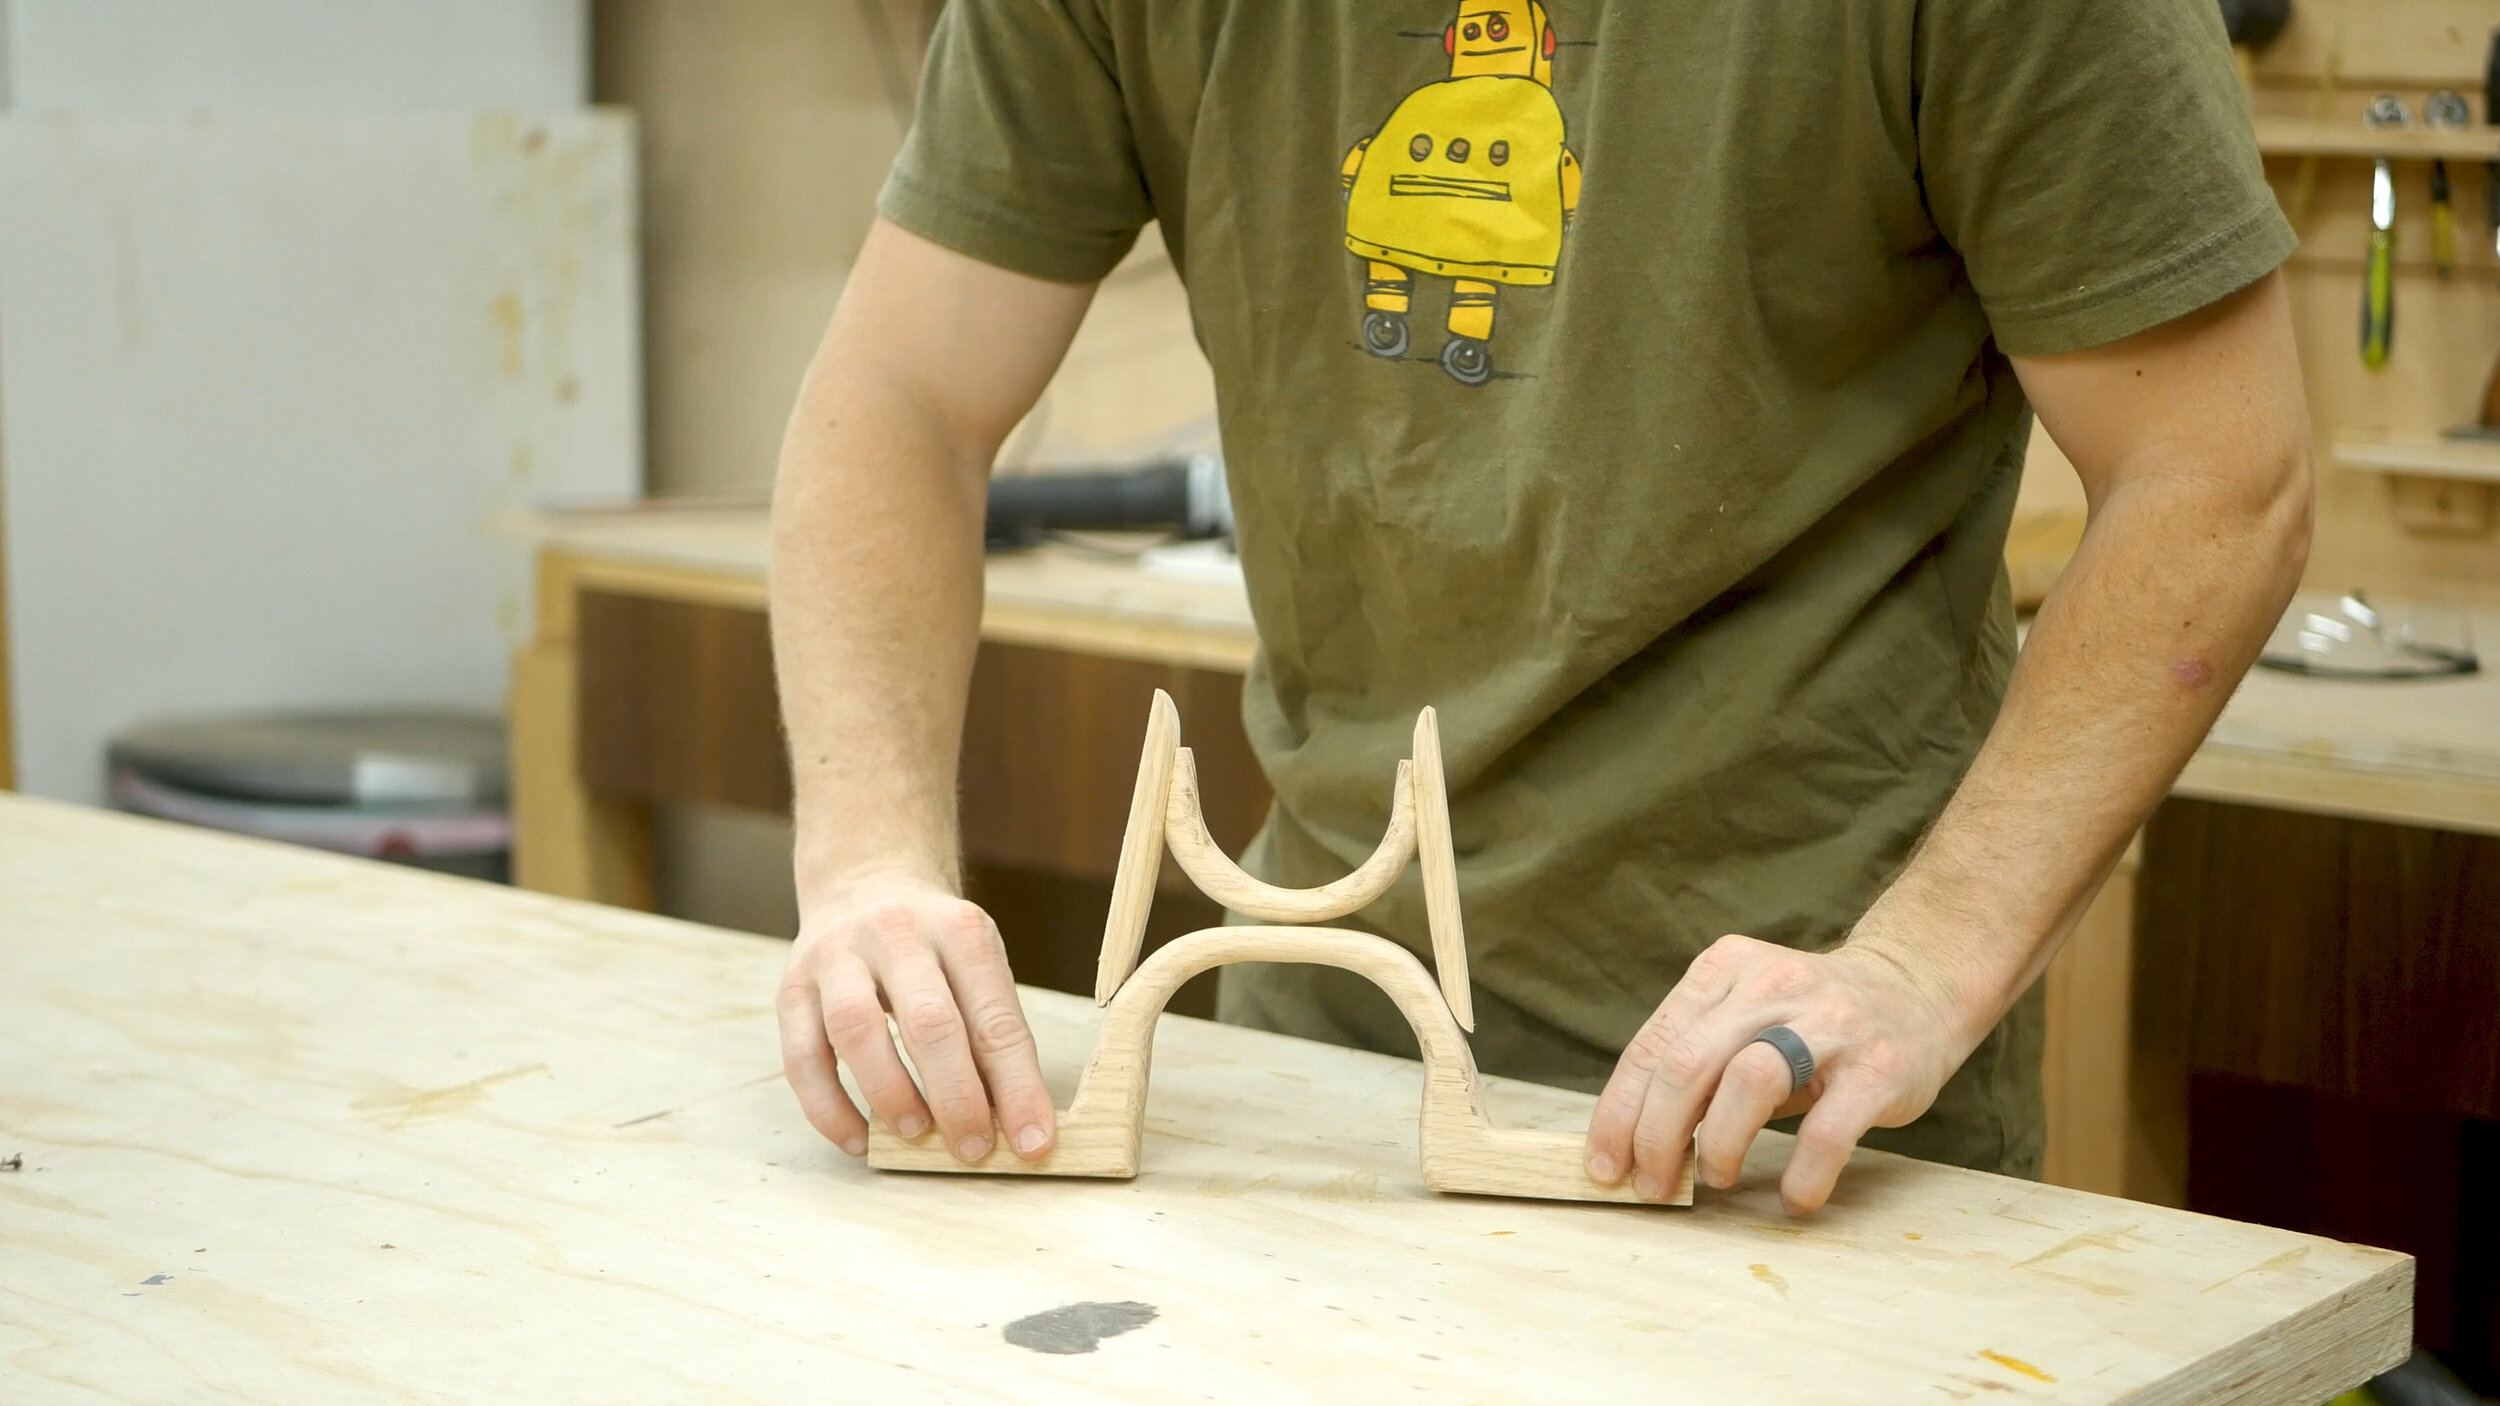
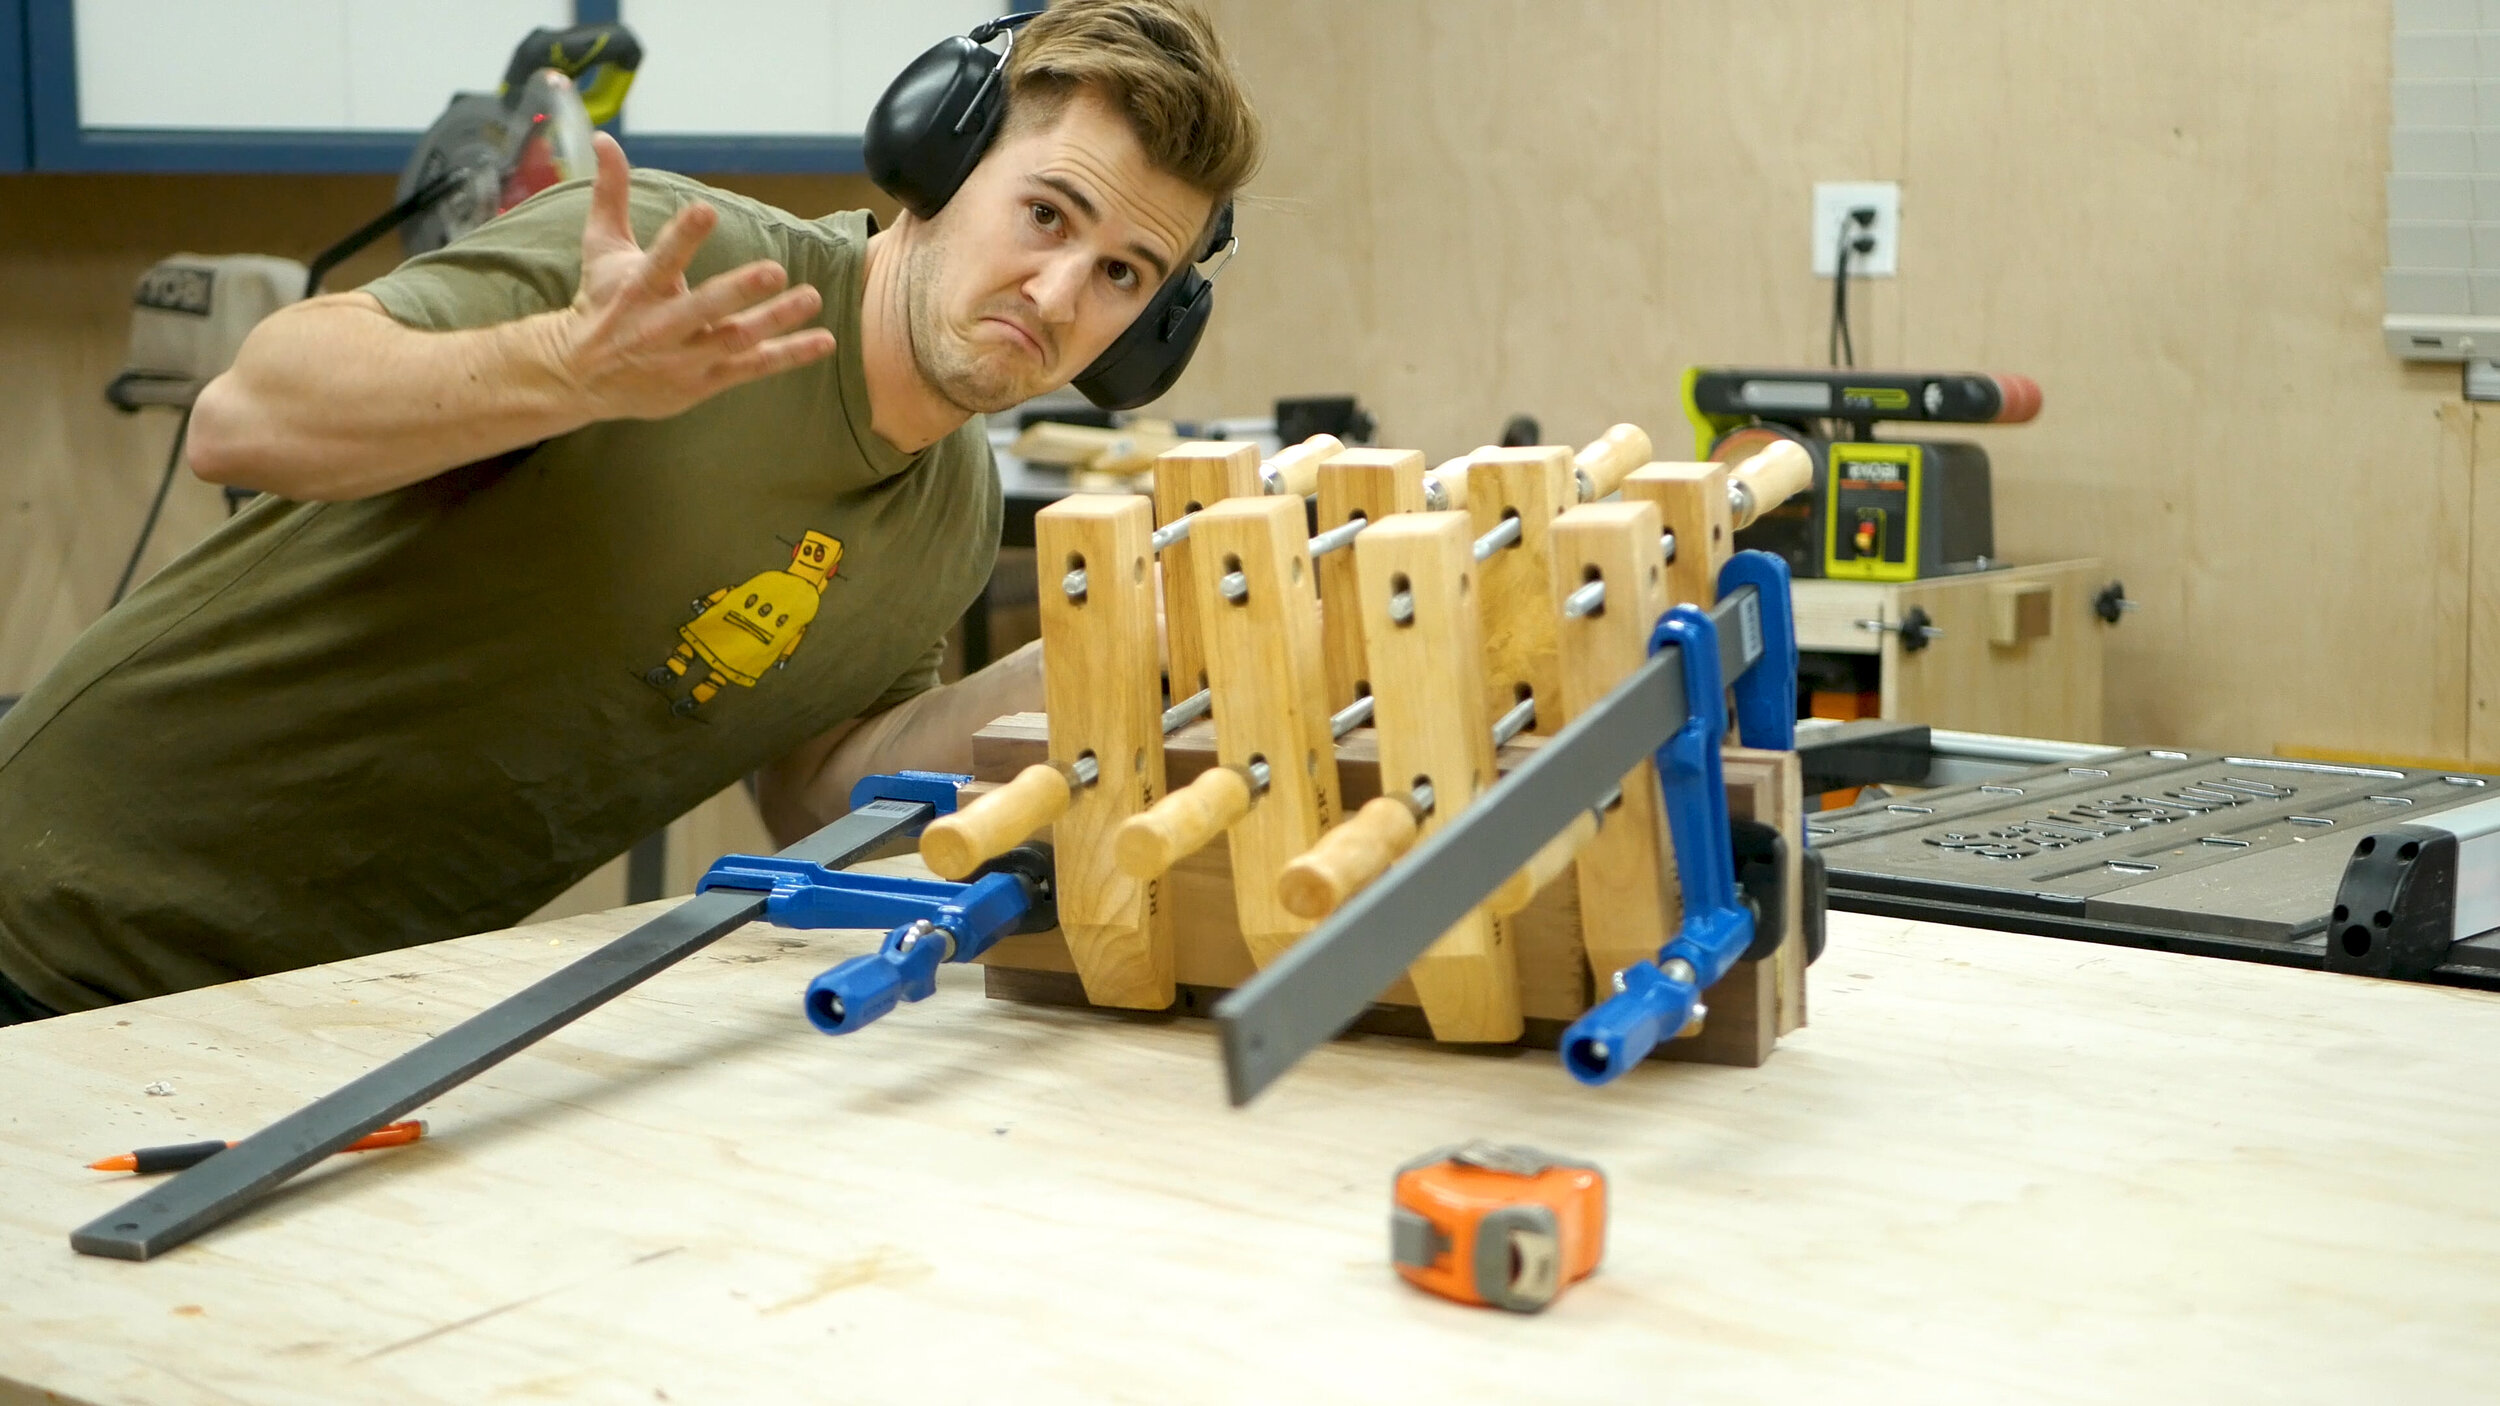
While the glue dried, the next step was to take the remaining white oak and cut down to a series of smaller strips - these were to be used to stack laminate together in order to form the feet stands underneath the broom (stirrups?). I cut small strips, then glued them together and let them cure for about 20 minutes, then moved on to clamping the remaining together. The process took about an hour - then I let it cure over night.
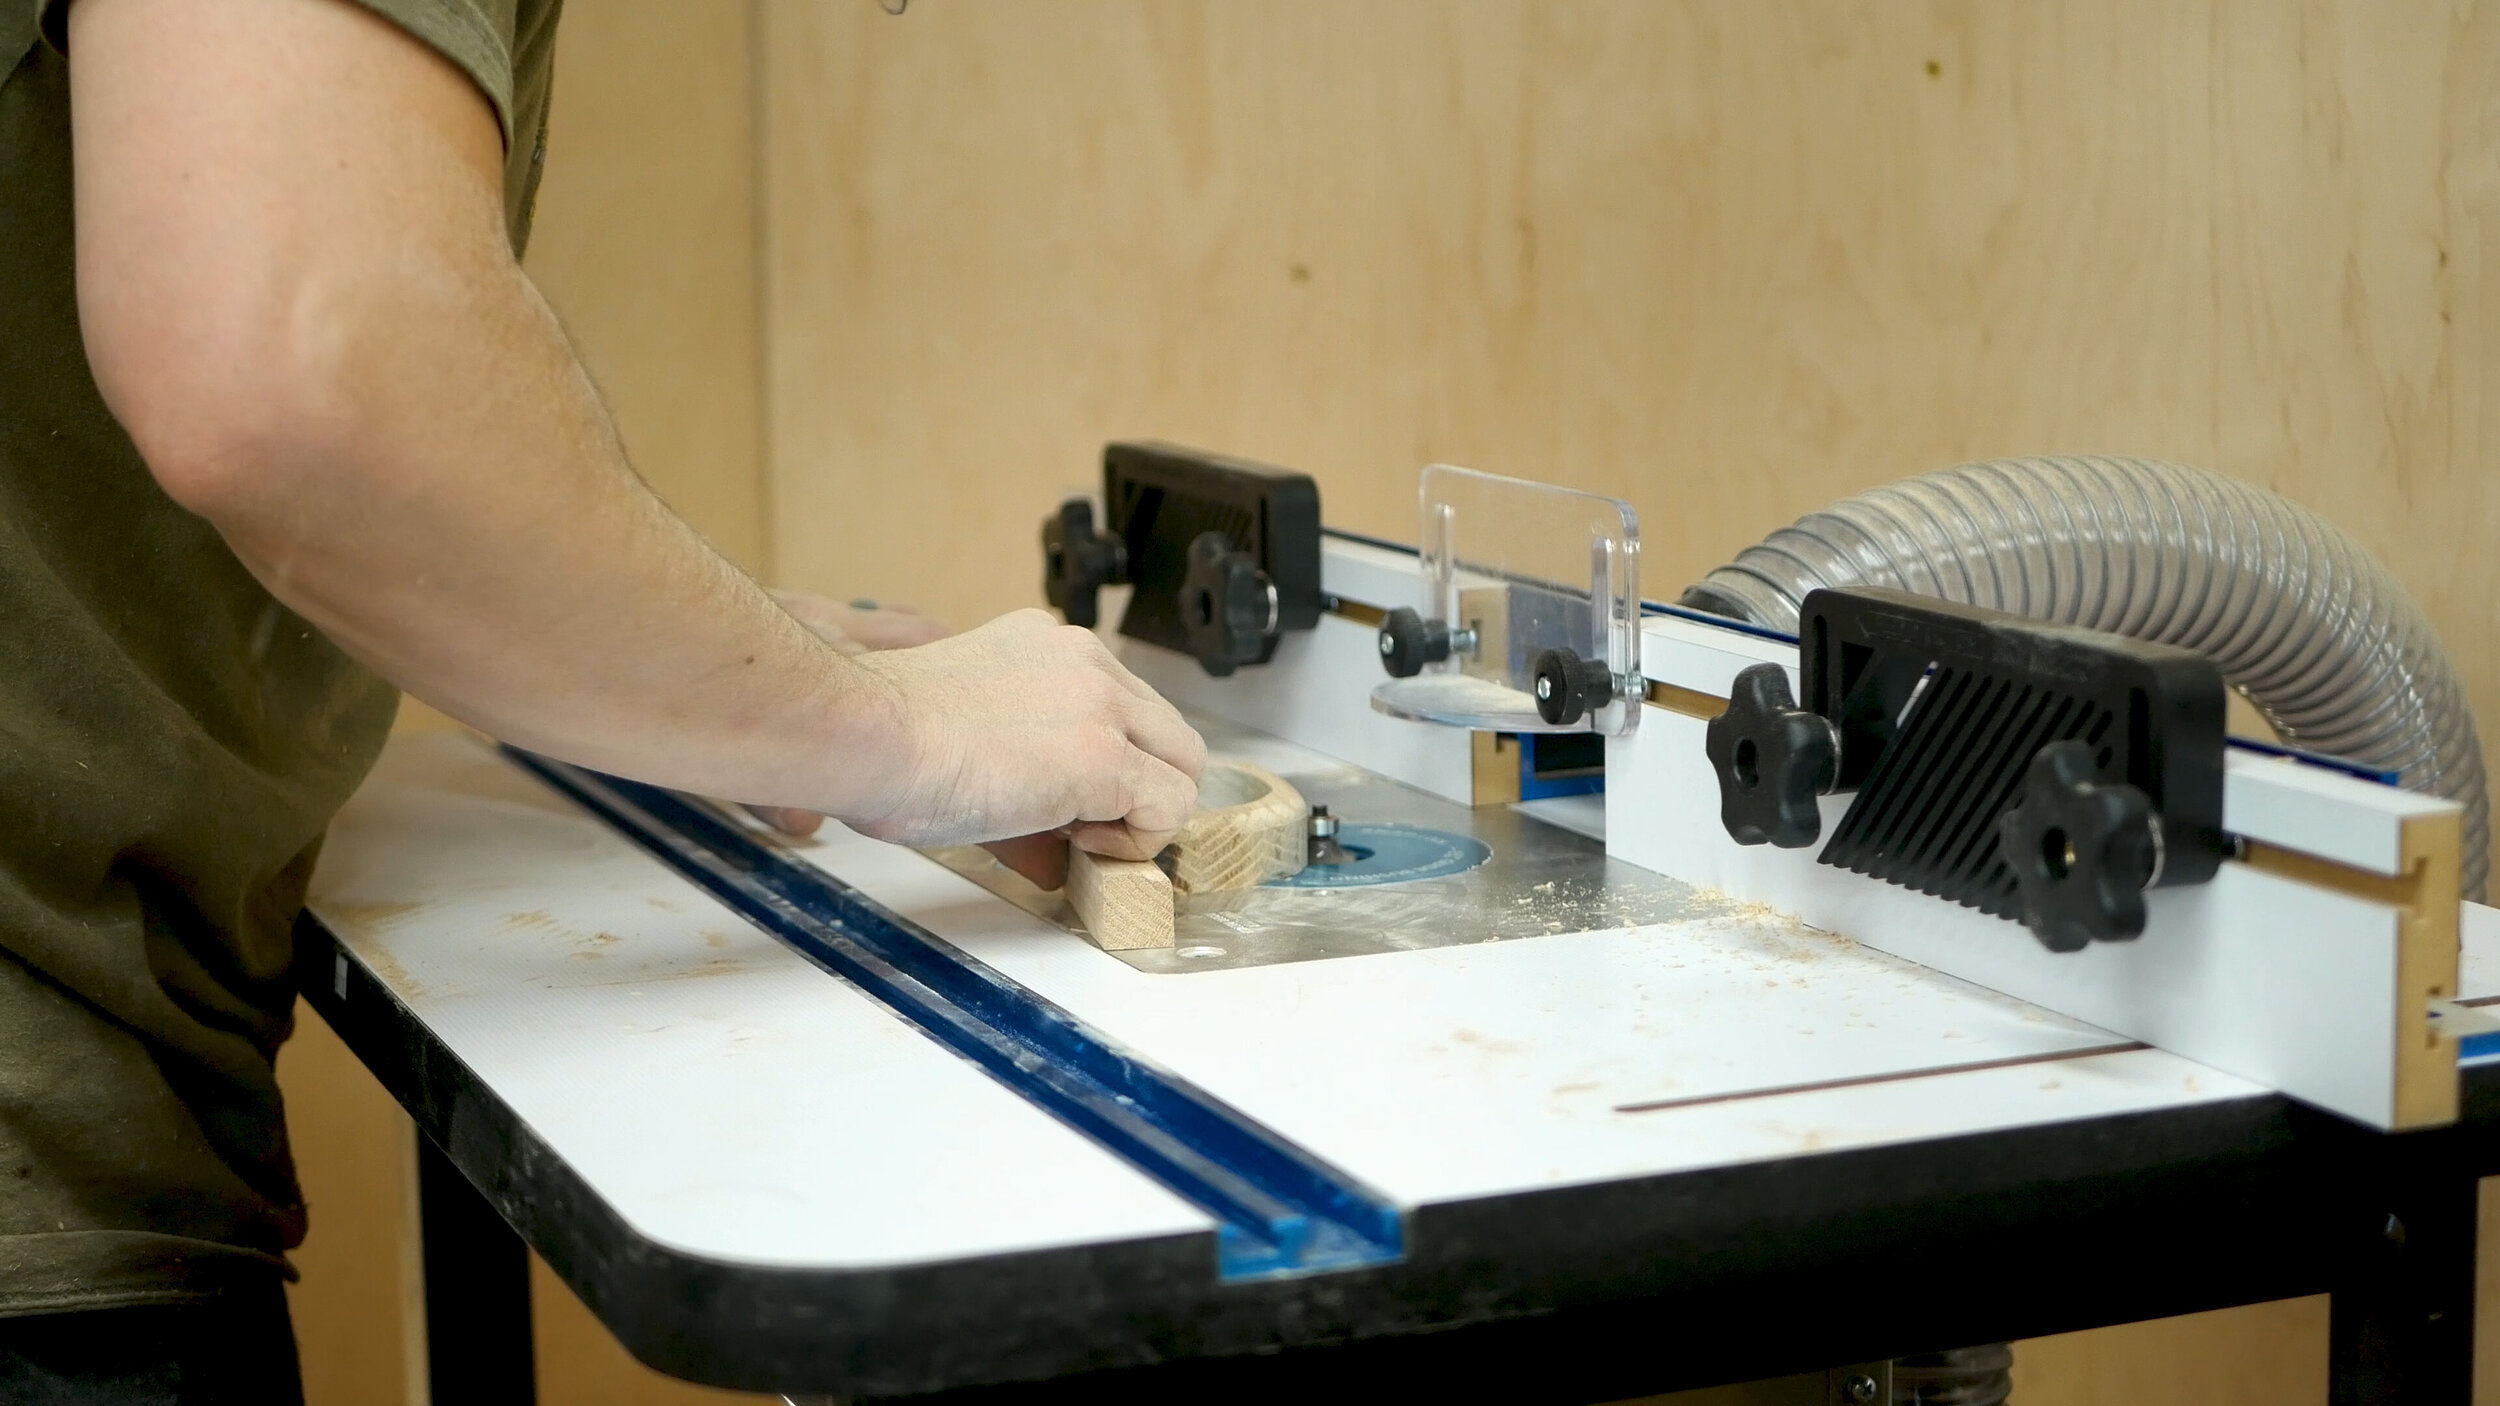
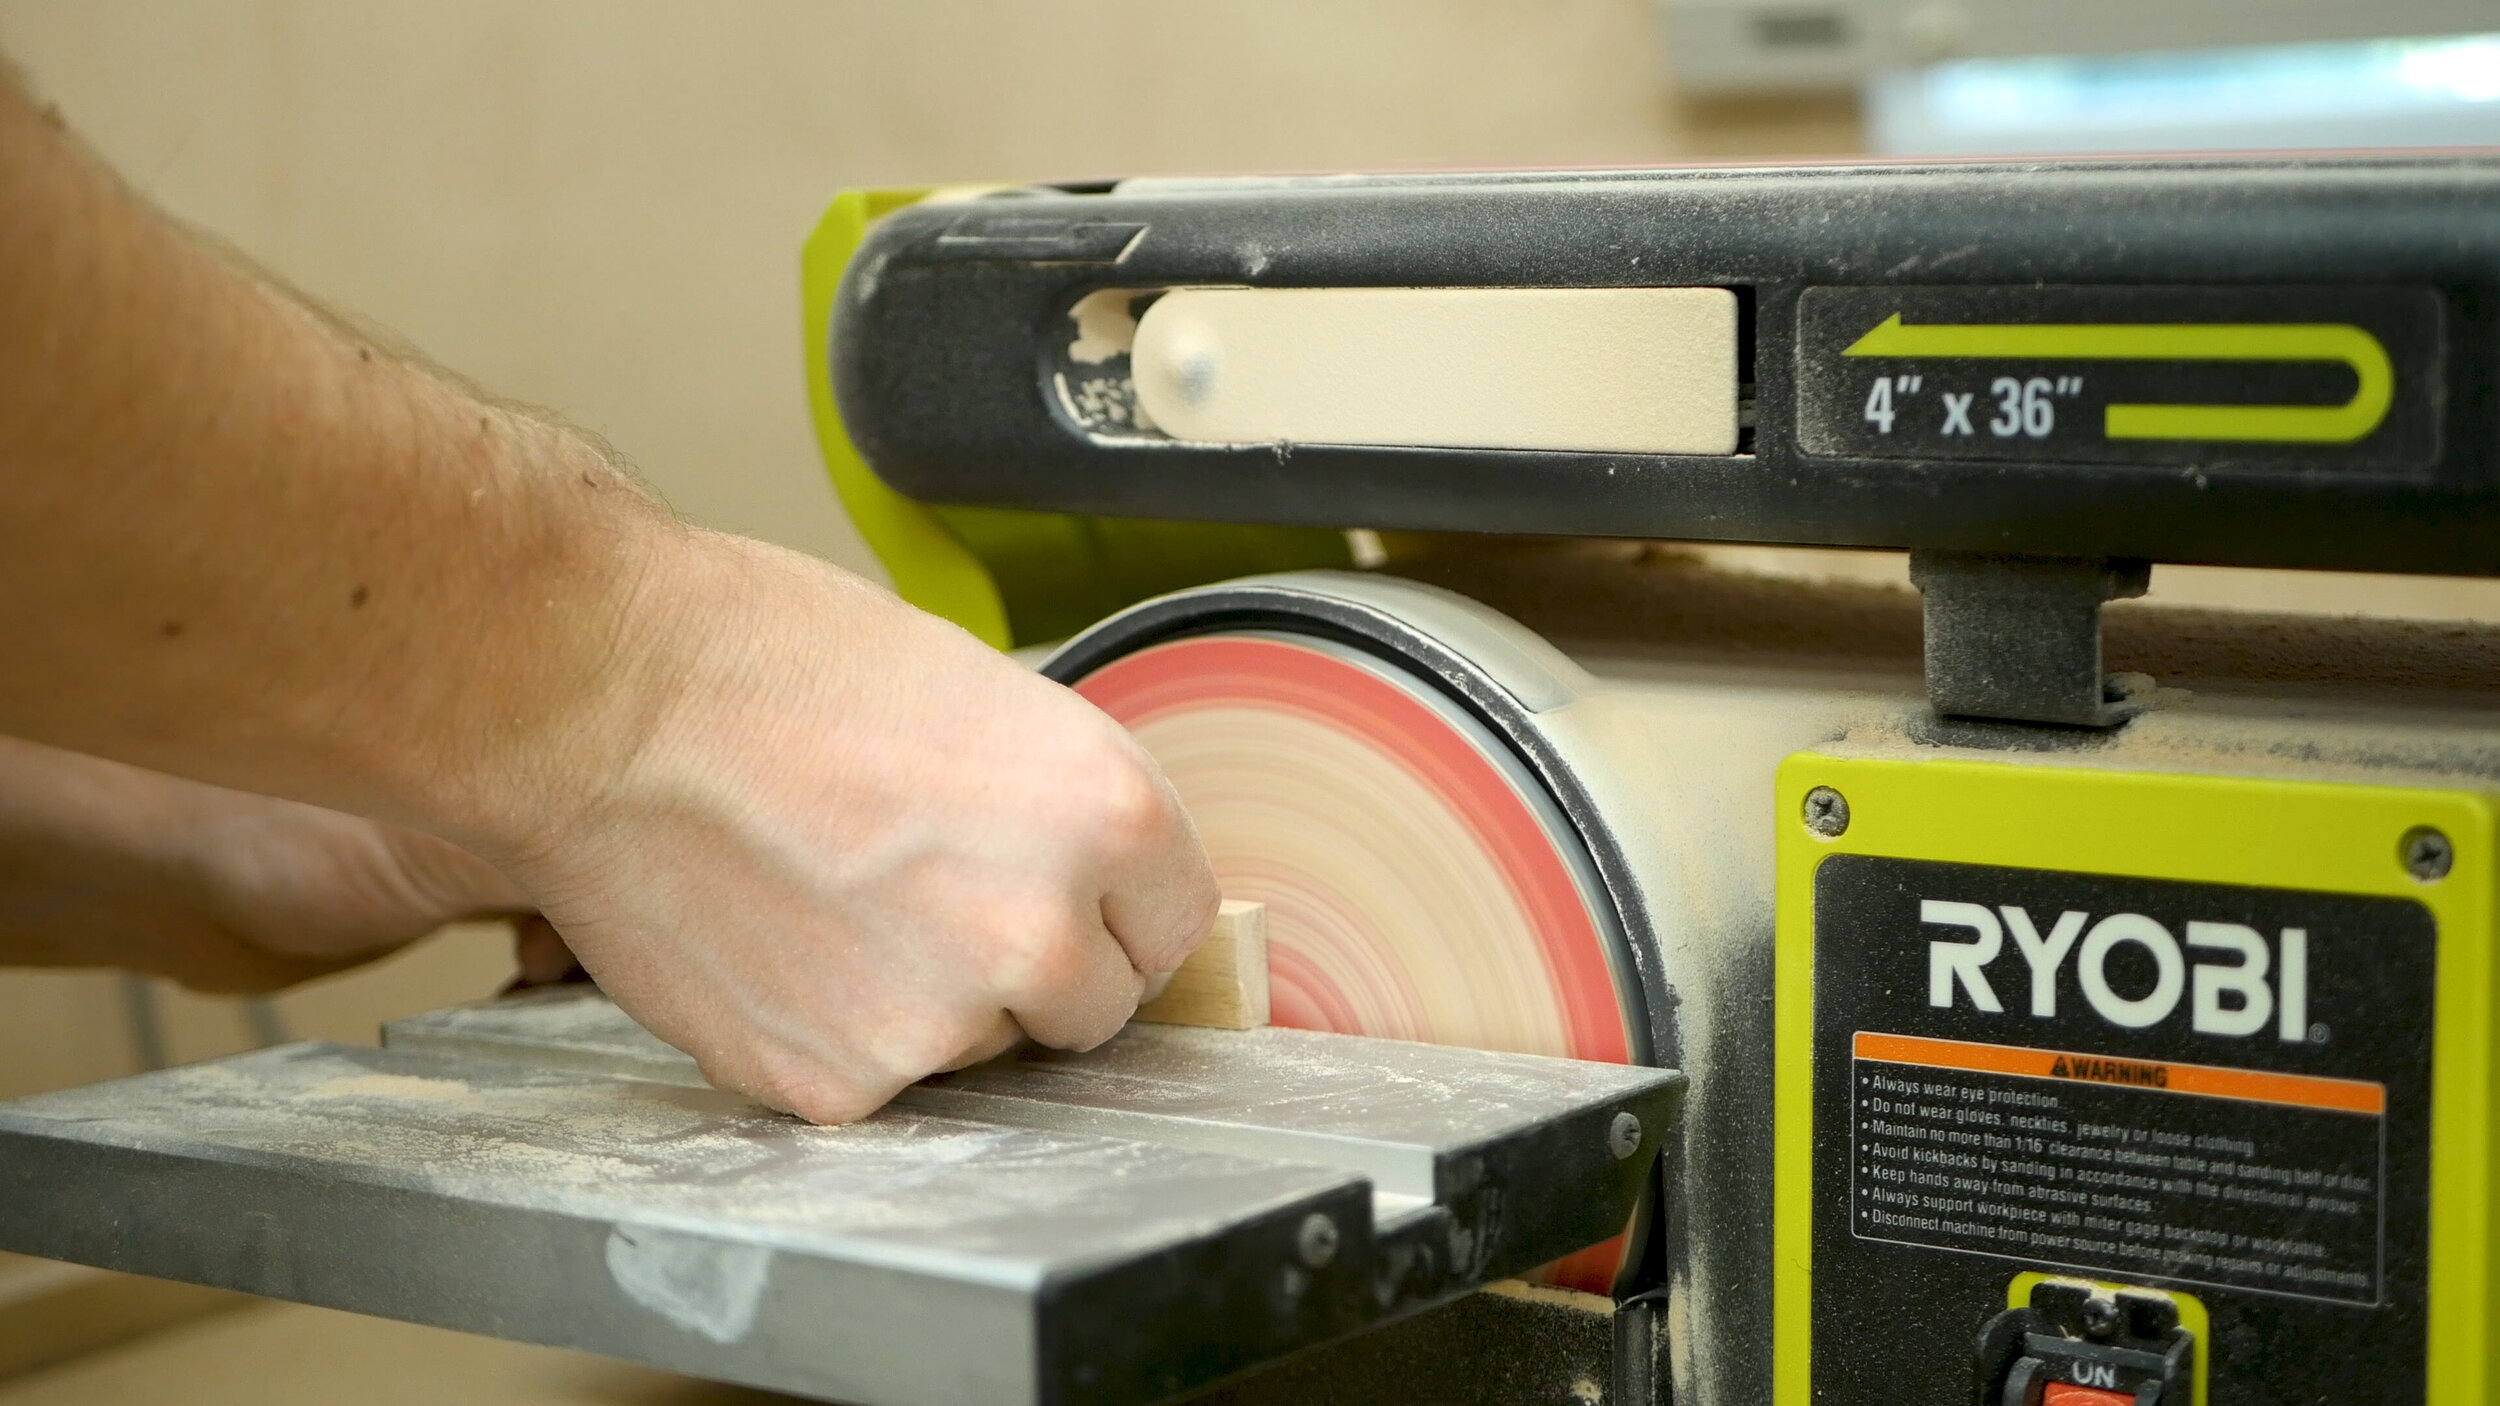
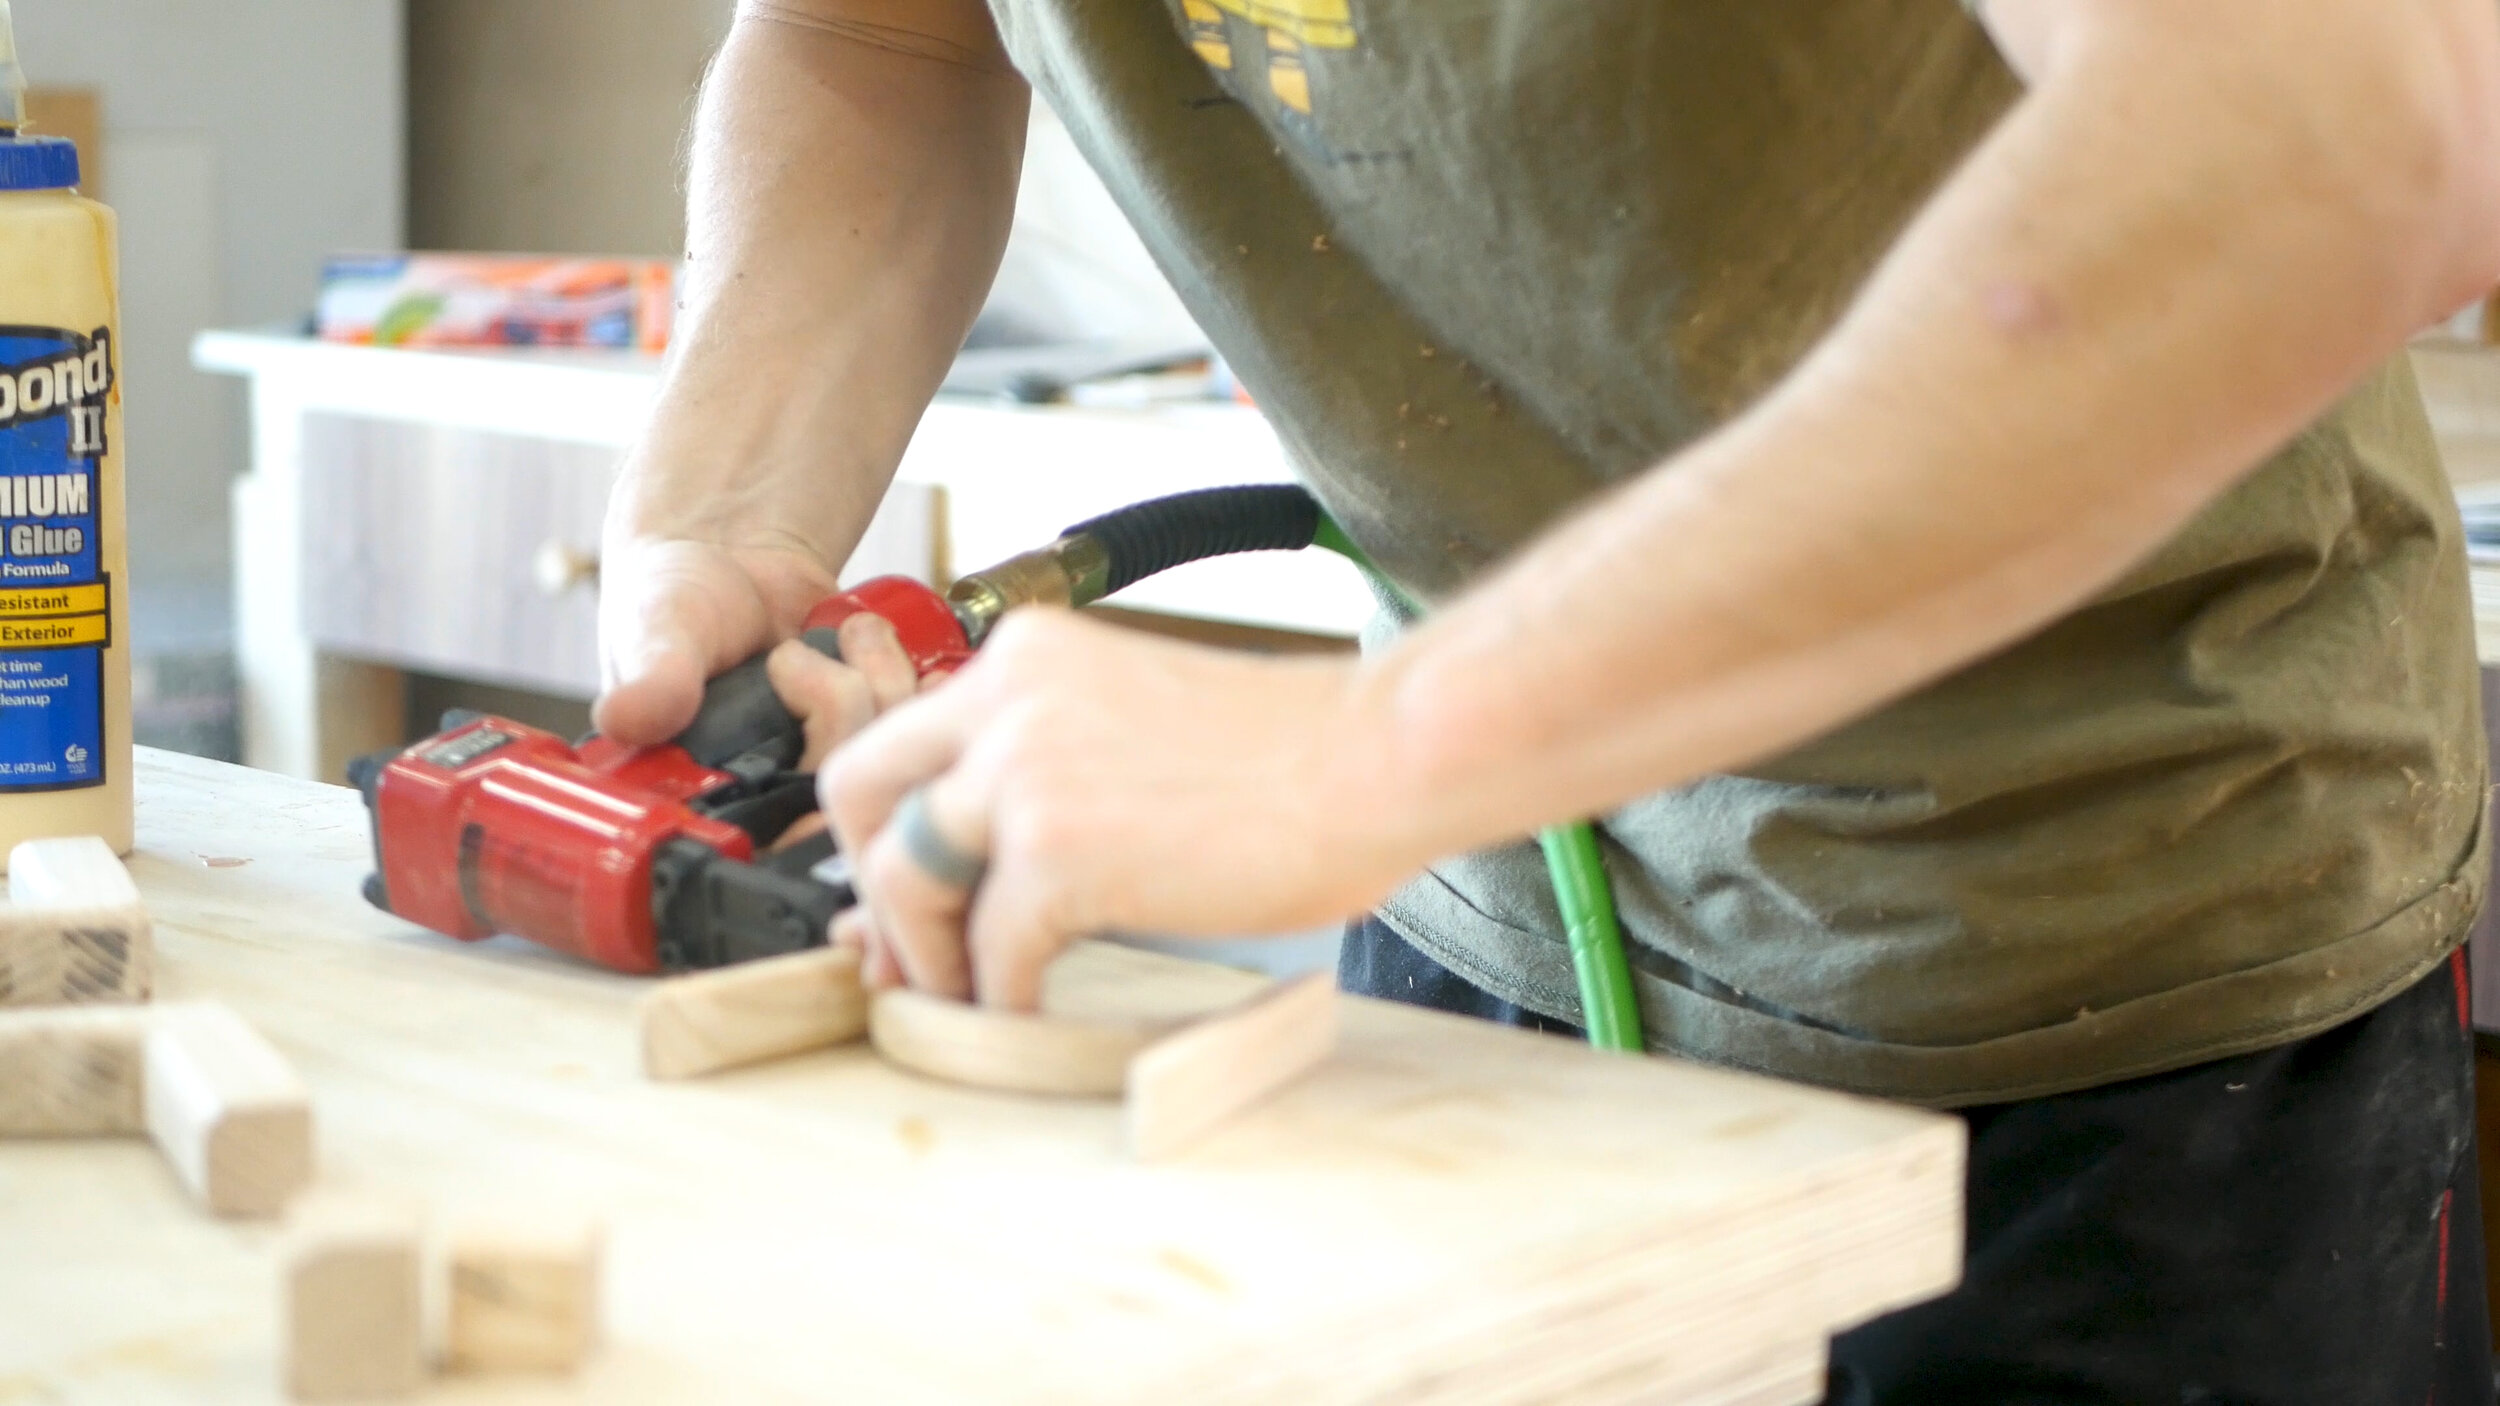
Once it was dry the next day, I could use the mini turbo from Arbortech to grind down and shape it into a rounded form. Once smooth, I rounded over the corners at the router table. I then made a series of smaller curved and flat pieces, and tacked them all together with glue and pin nails - forming the final stirrup (last picture).
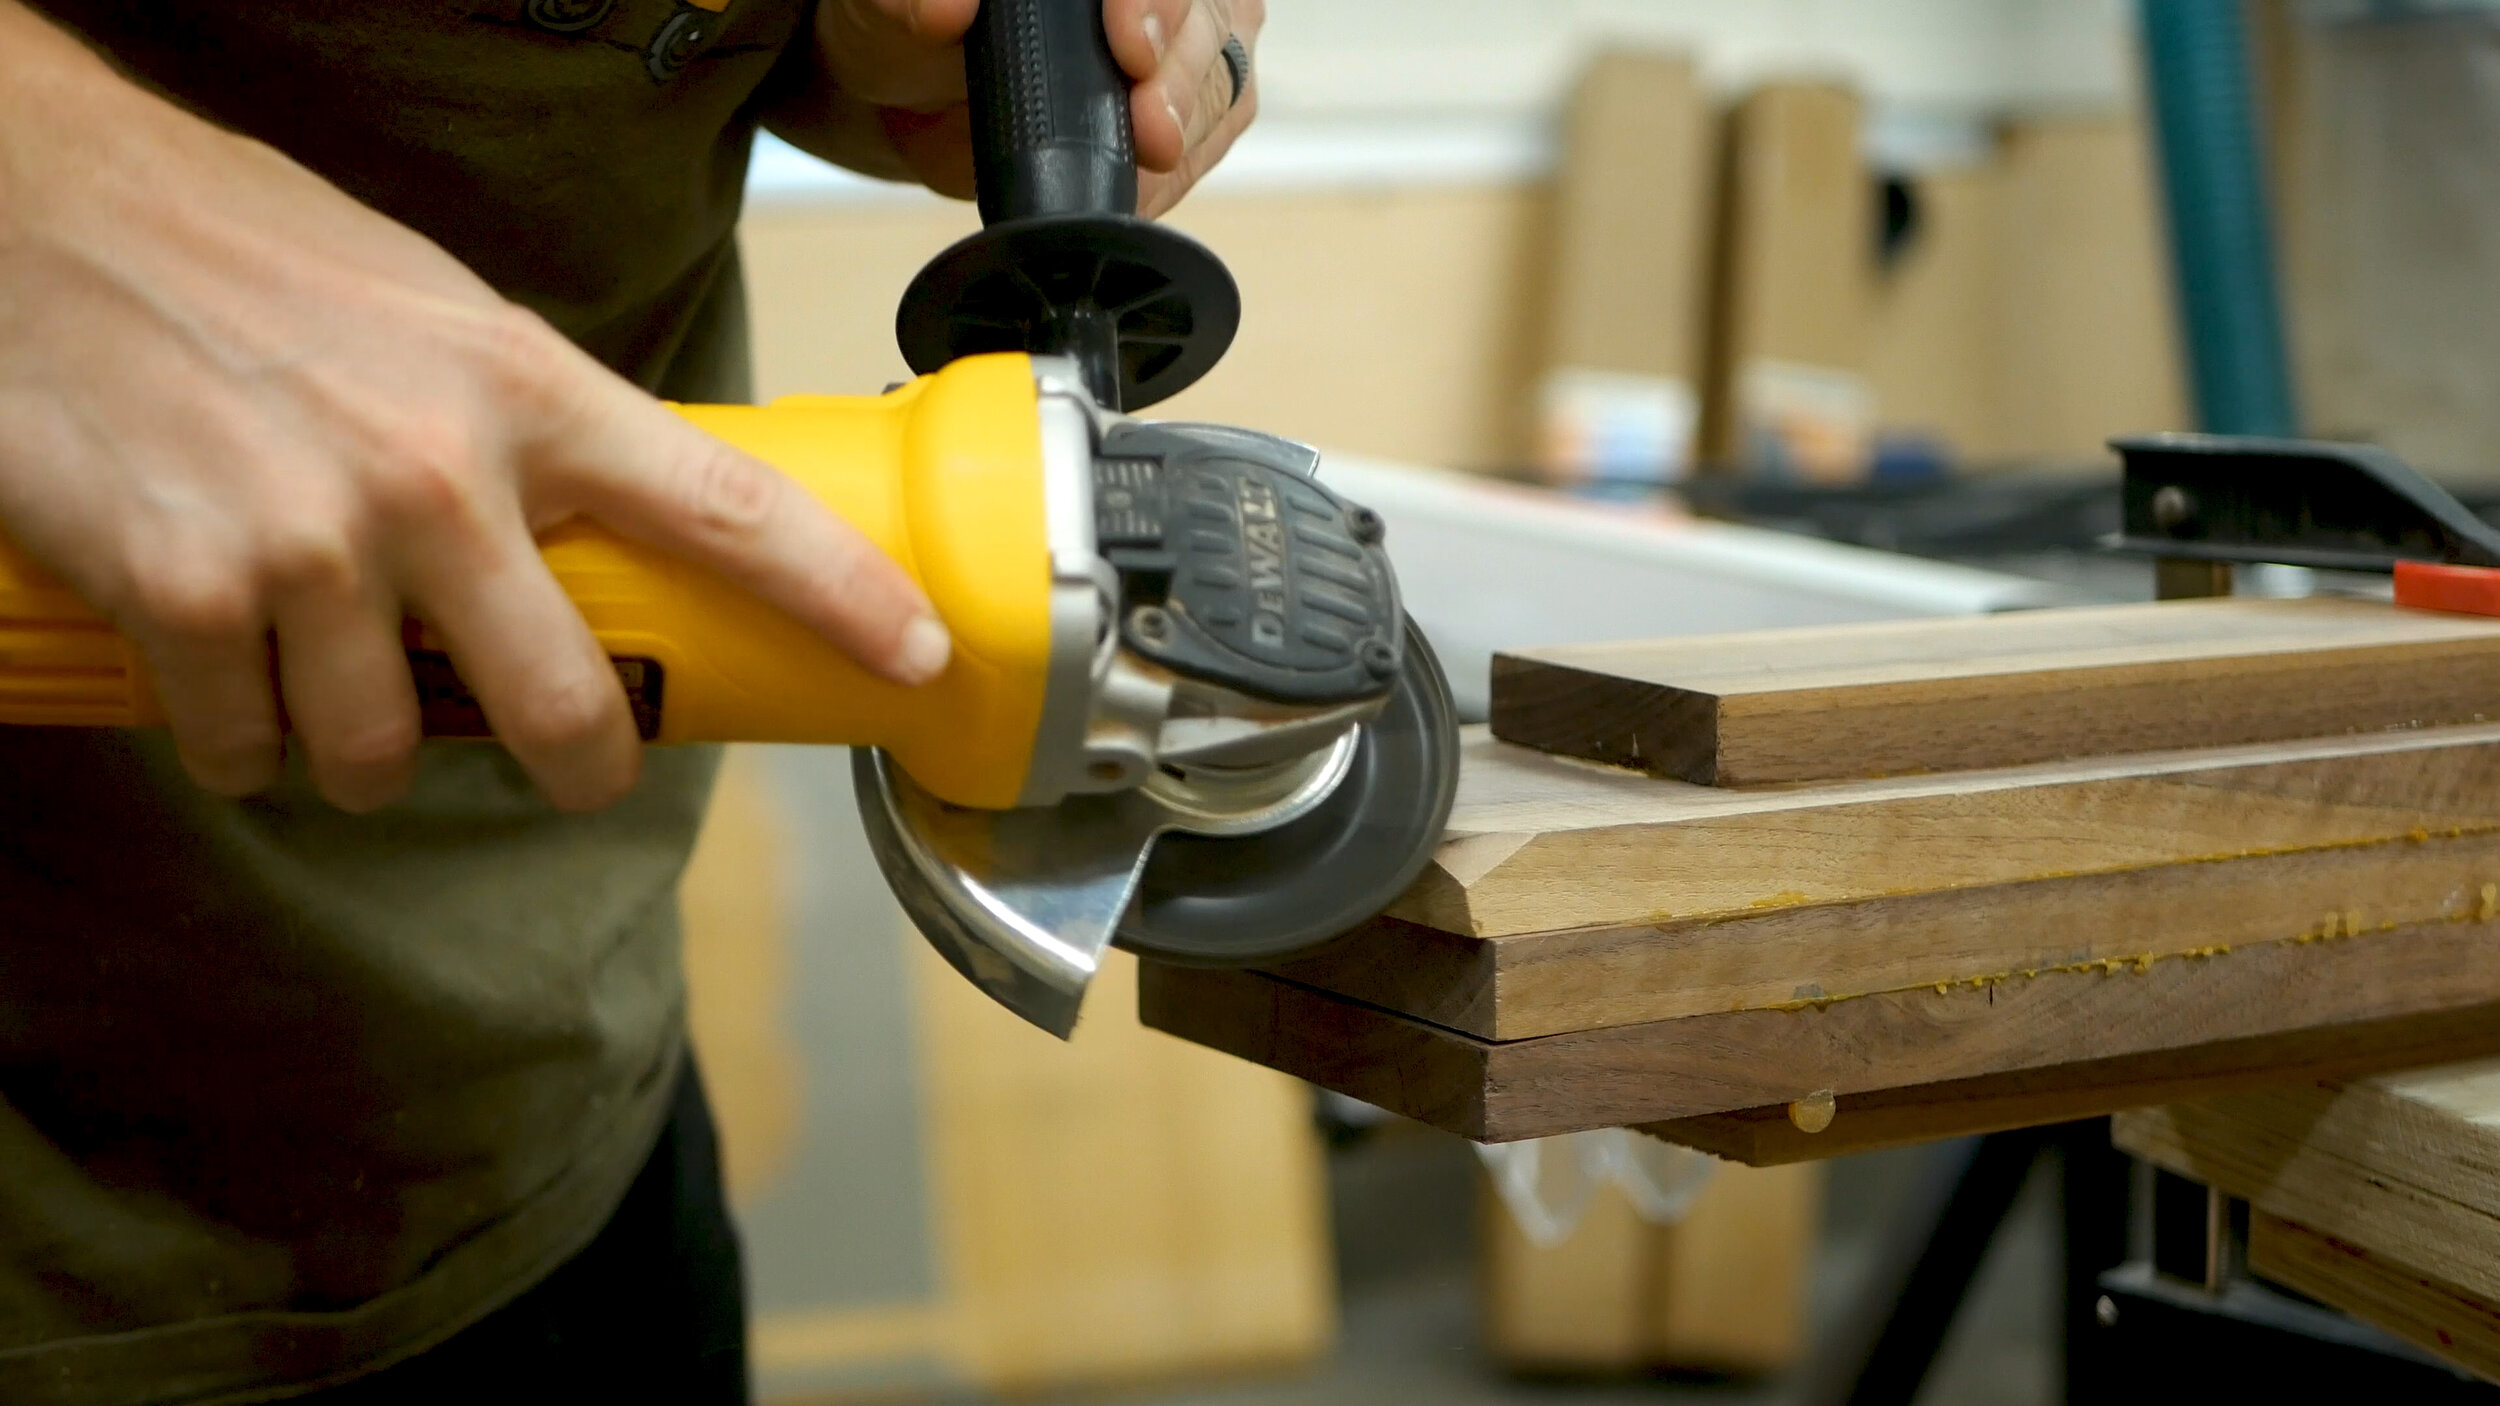
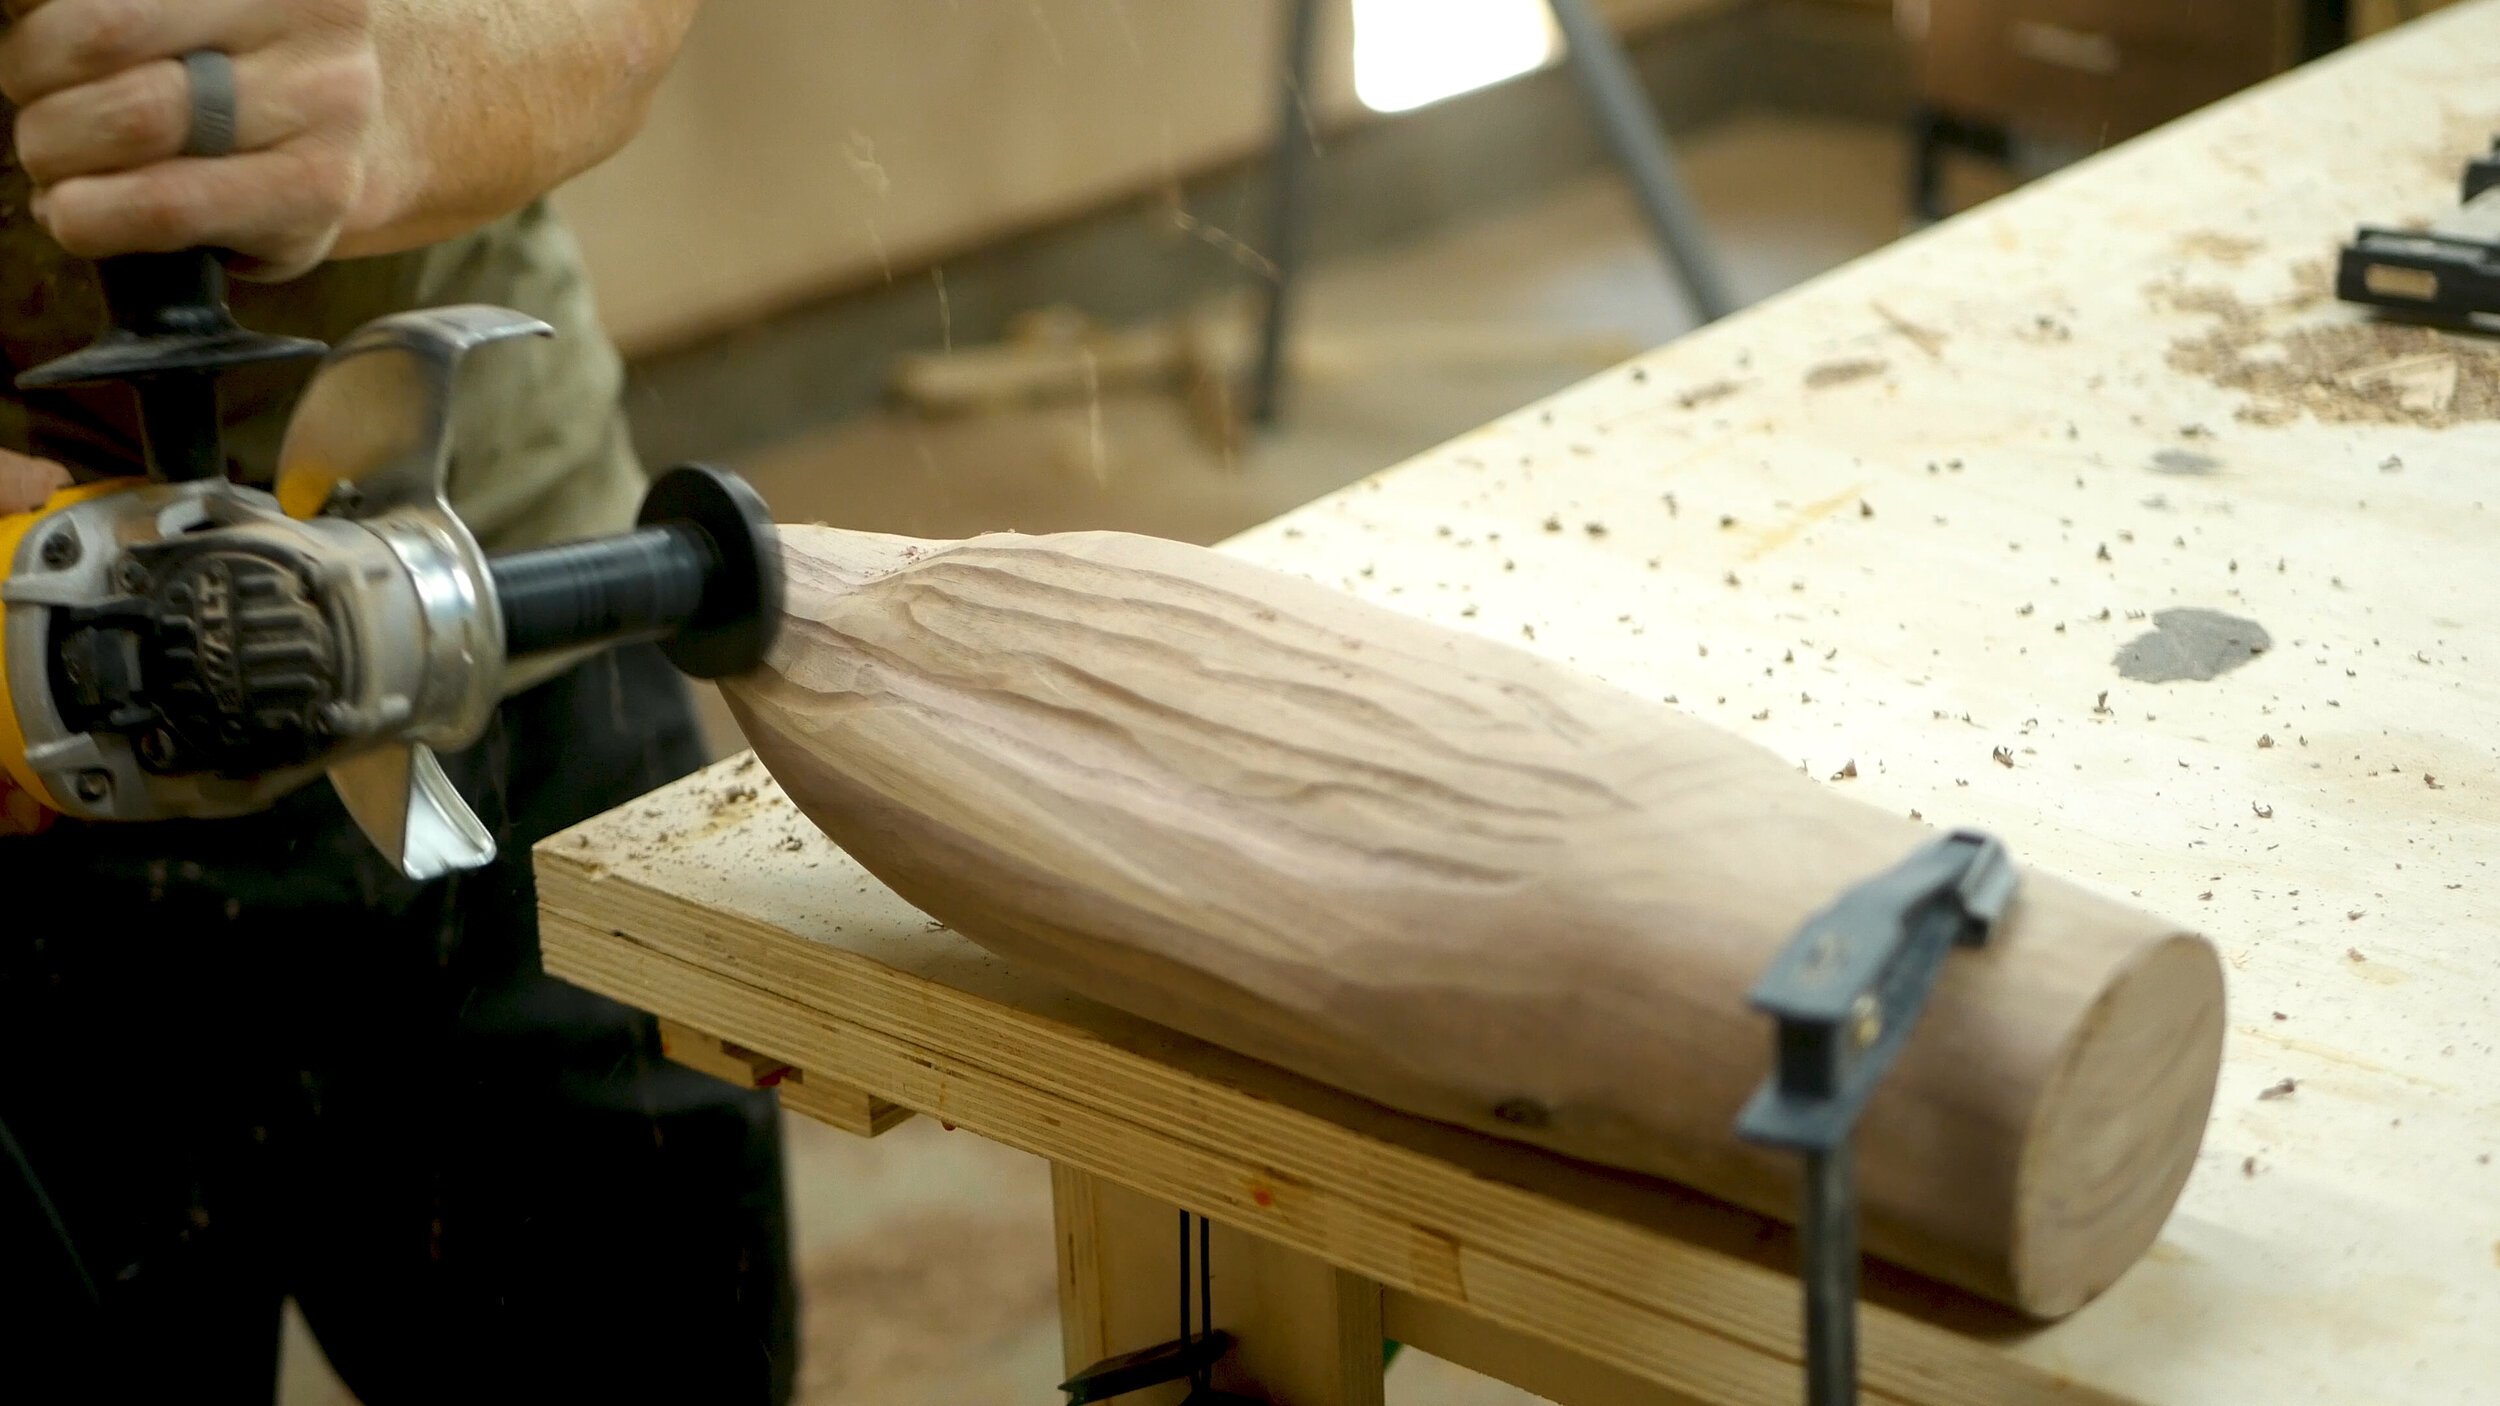
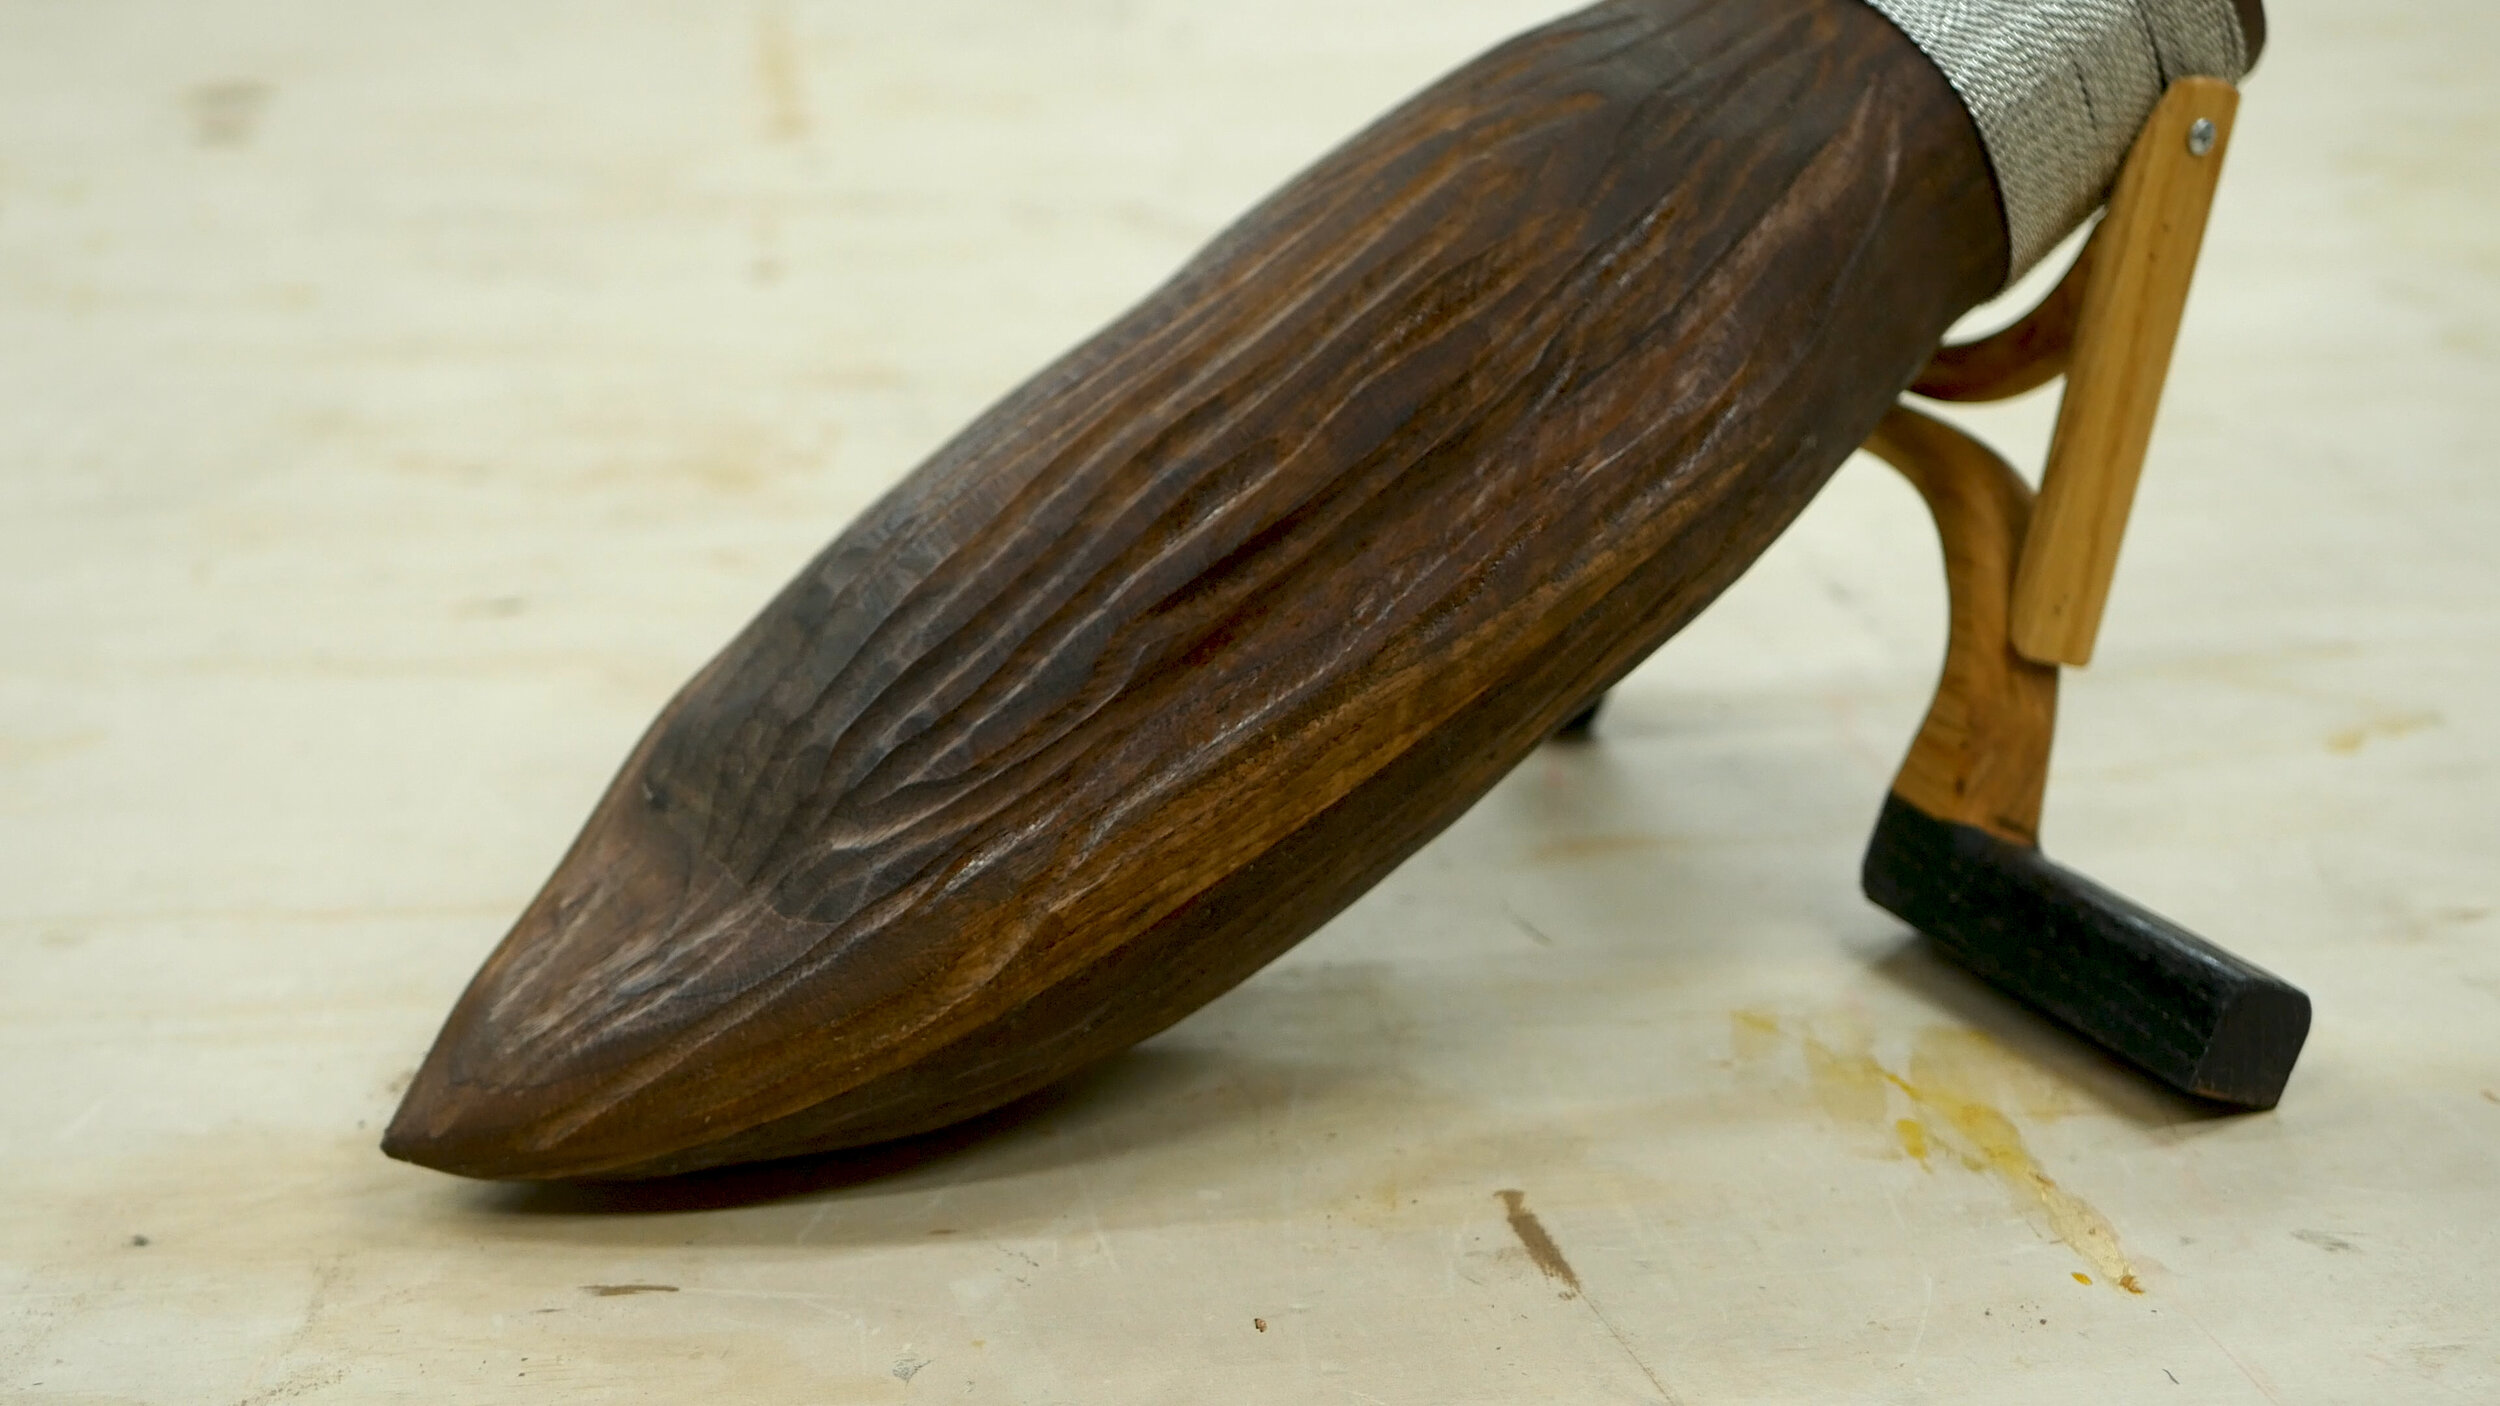
While the stirrup pieces cured, I could turn my attention back to the broom portion of the build. The goal was pretty simple - power carve down the stacked walnut into a broom shape. I looked at quite a few reference photos throughout the process. The Turboplane created the shape I needed (Pic 1), followed by a flap disk to smooth things over (Pic 2).
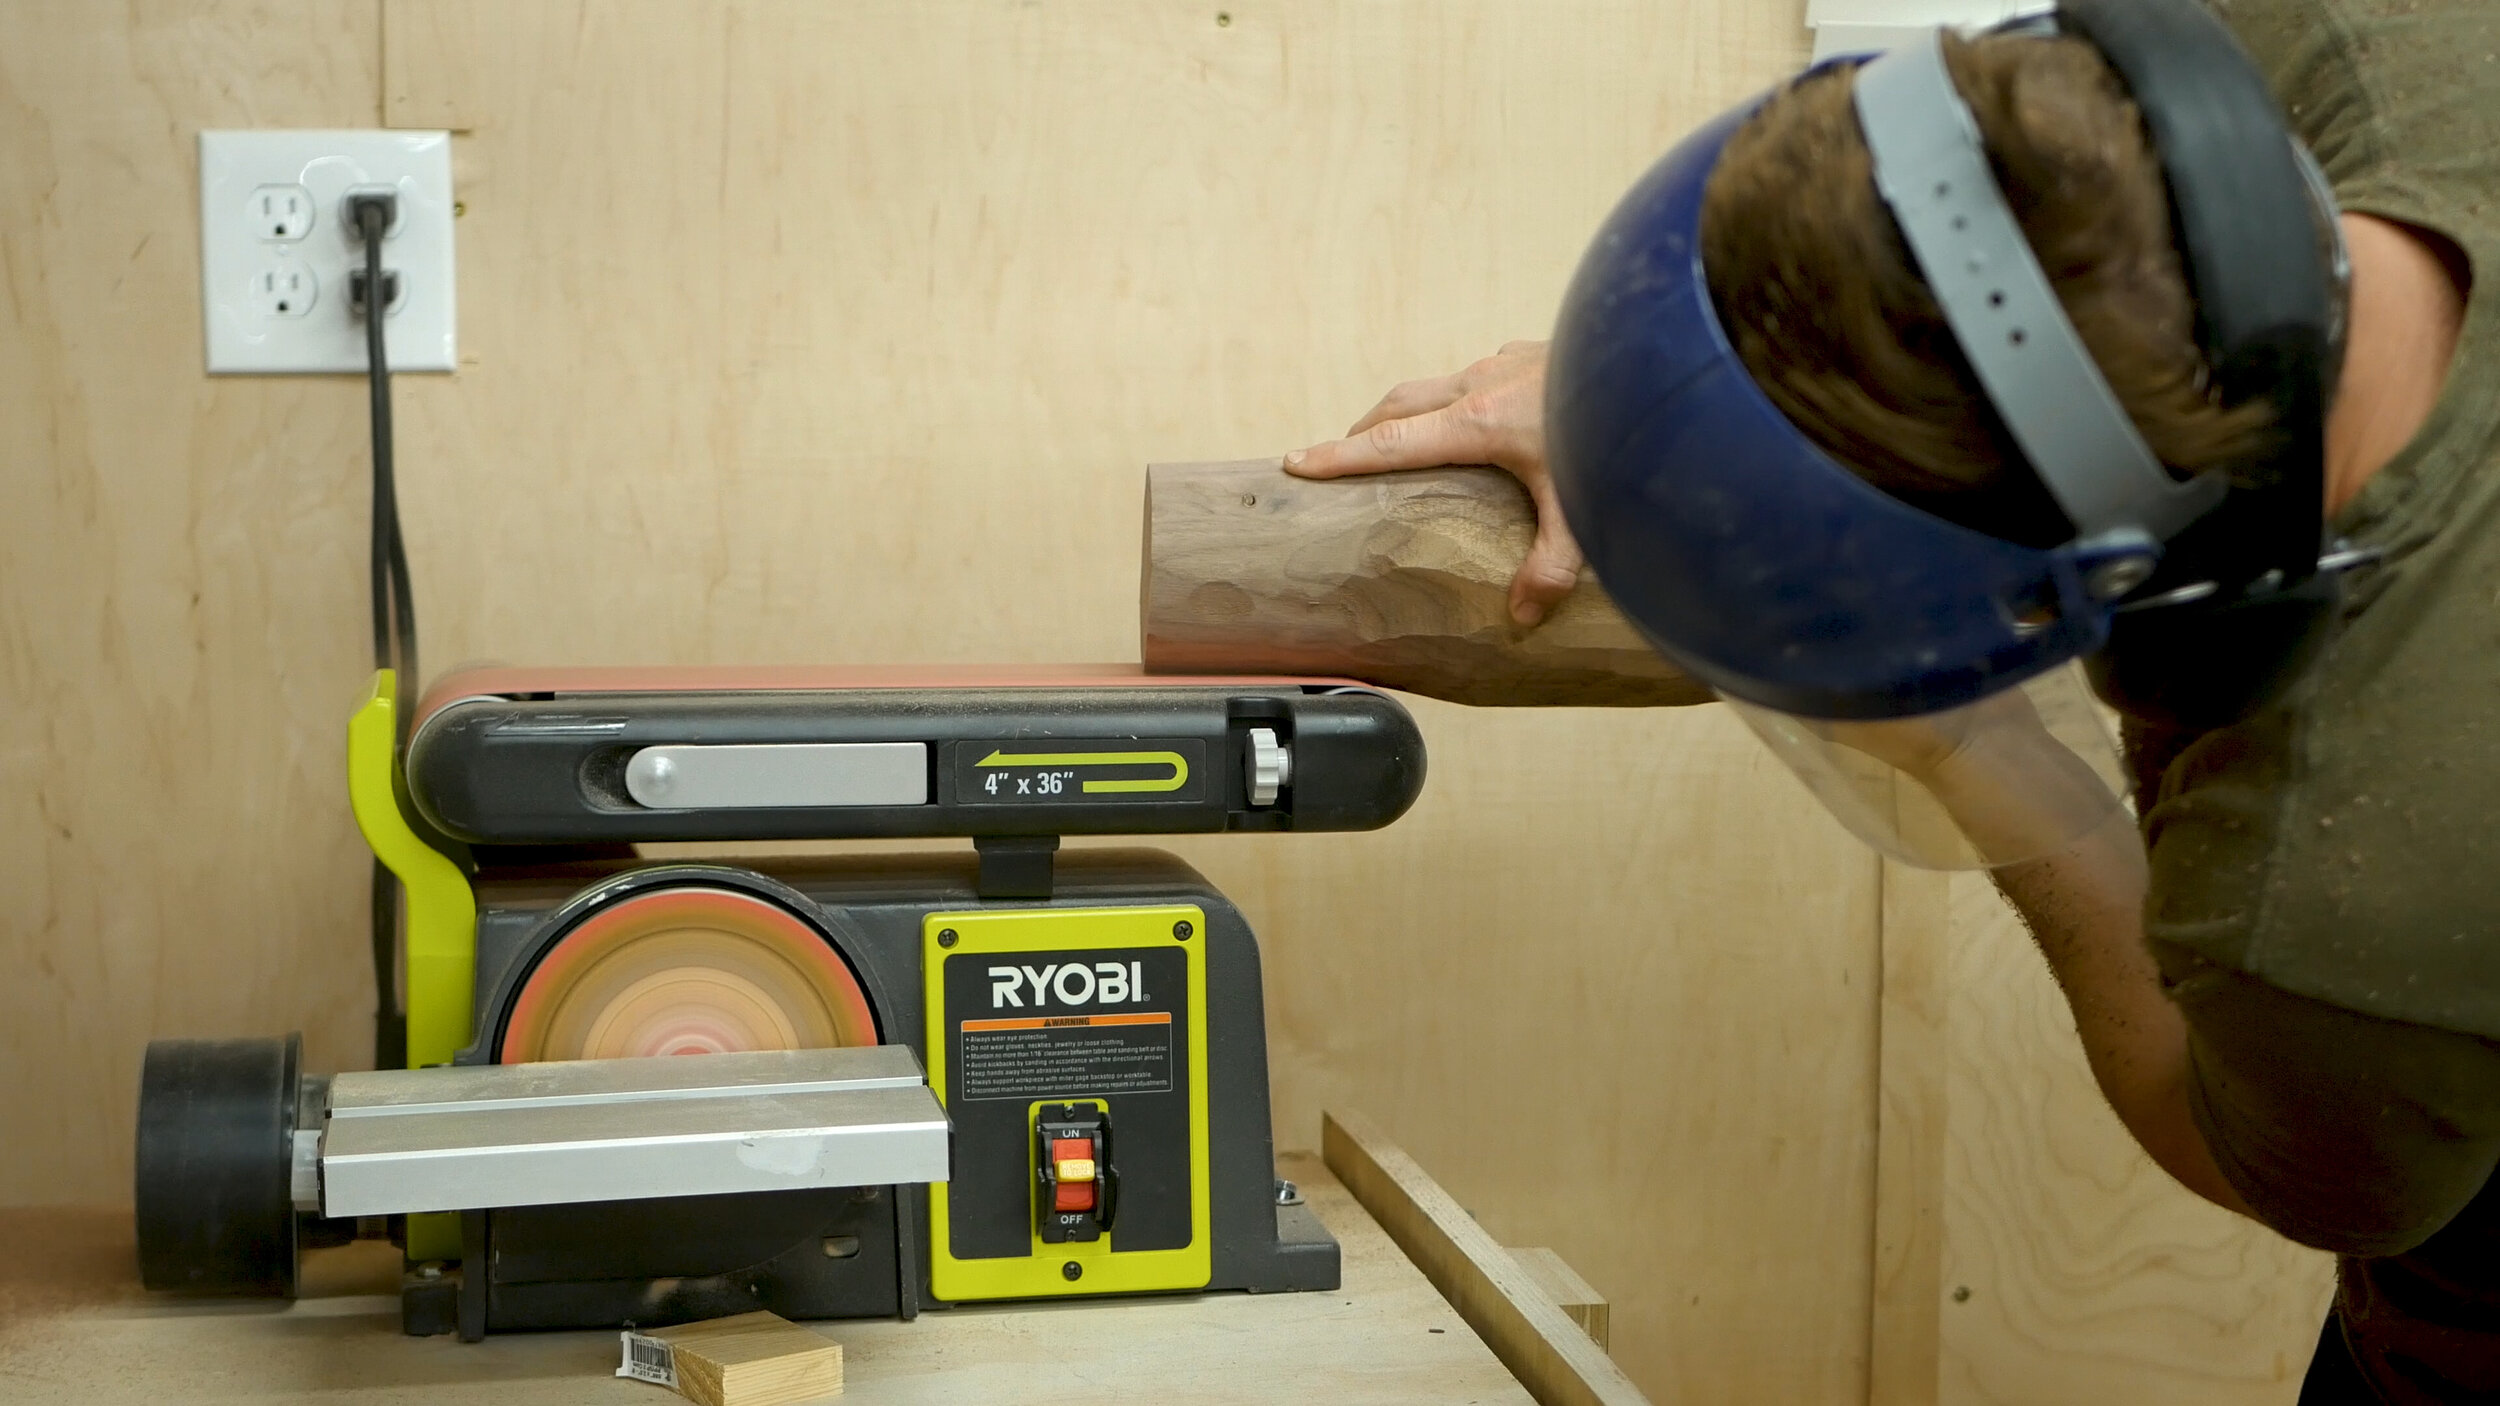
I then used my bench top sander (Pic 3) to round over the base of the bristles, and then the mini grinder to add some texture to the actual broom (Pic 4).
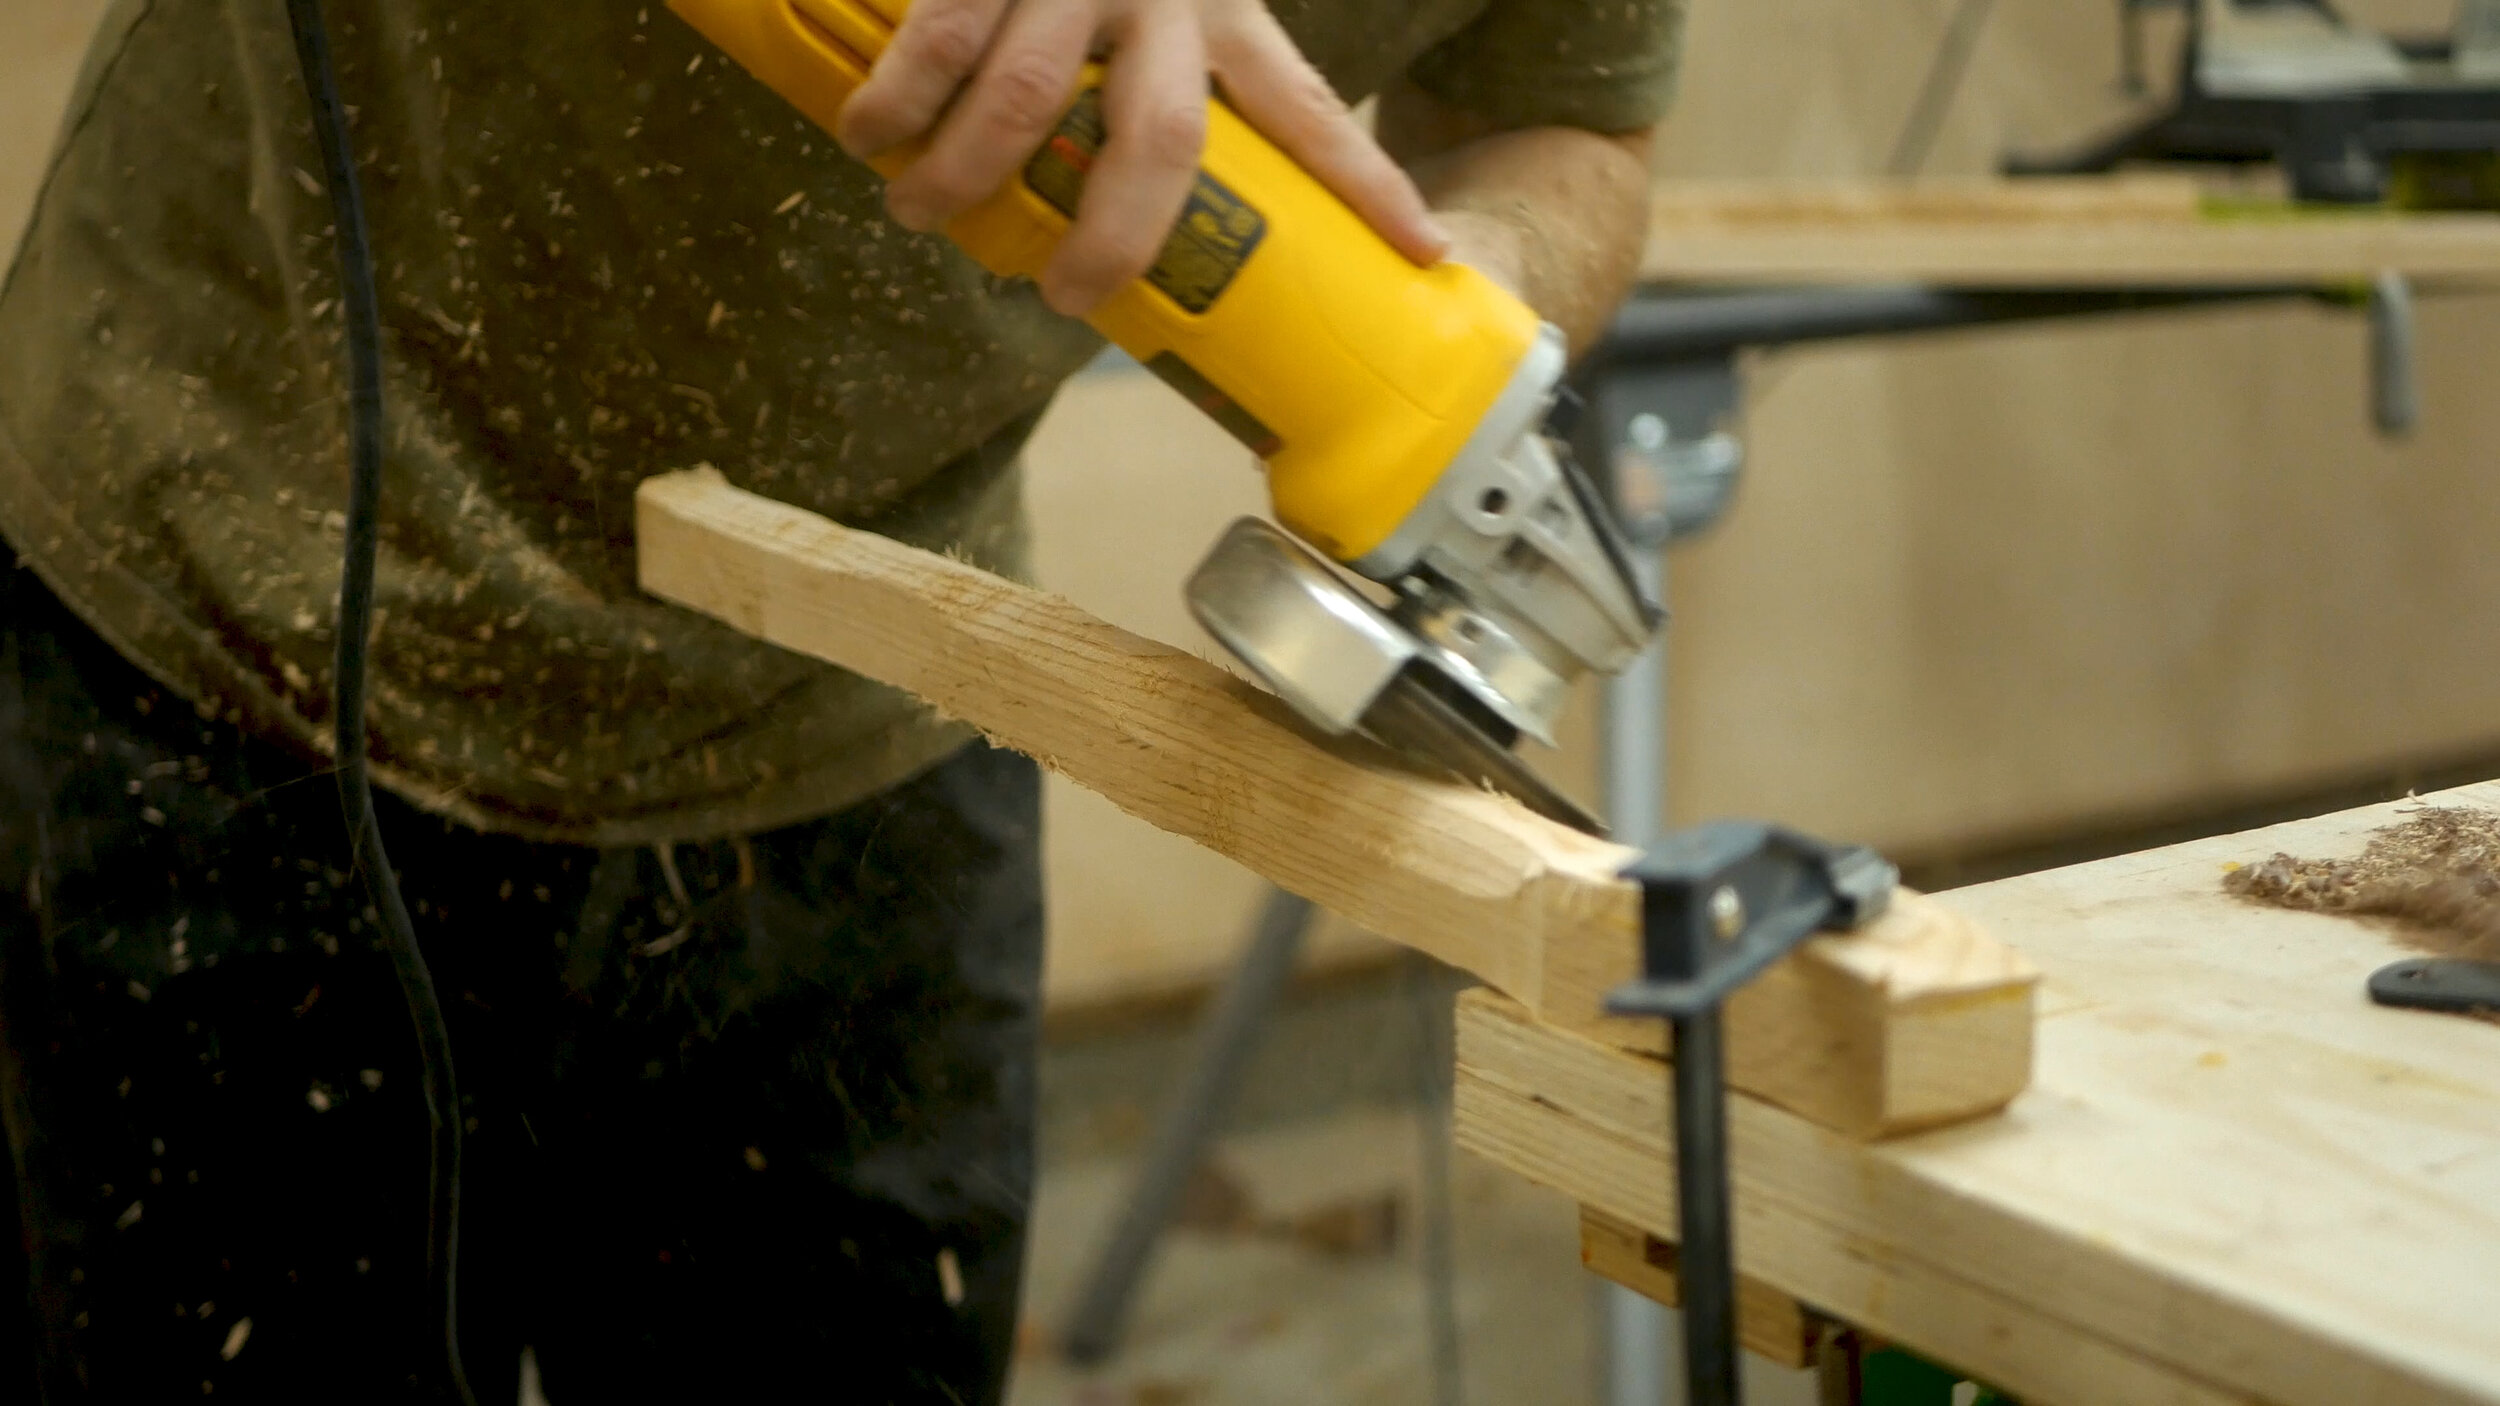
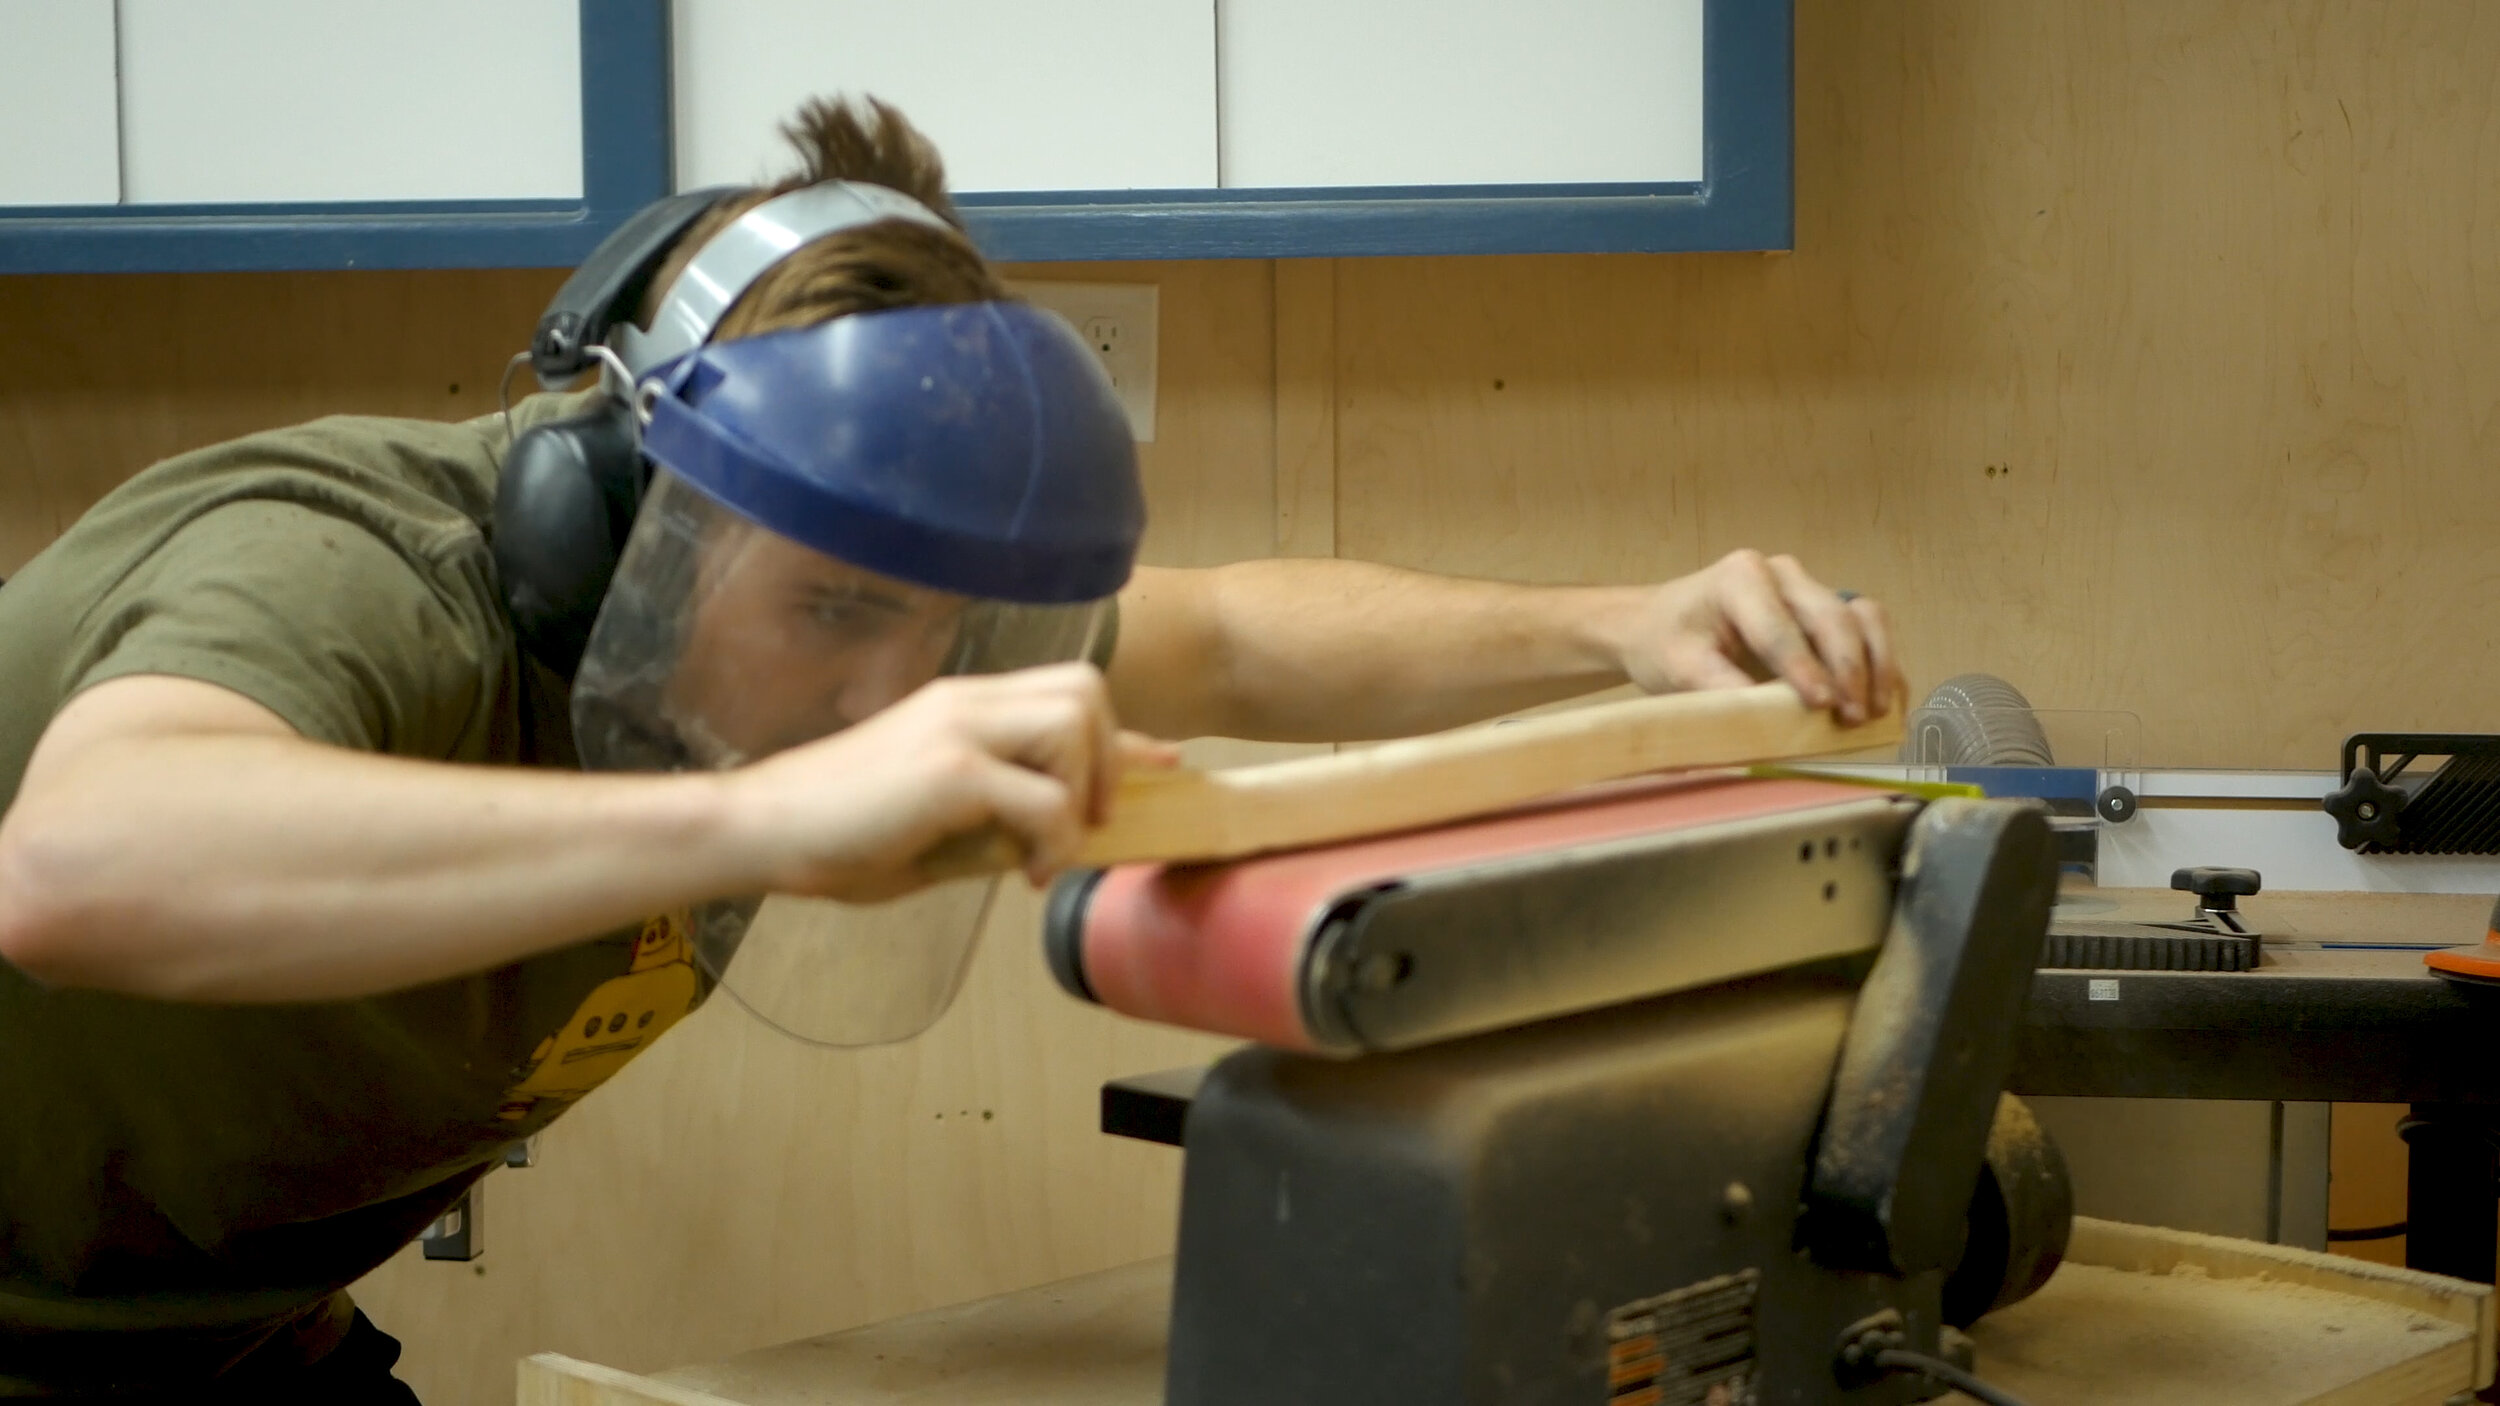
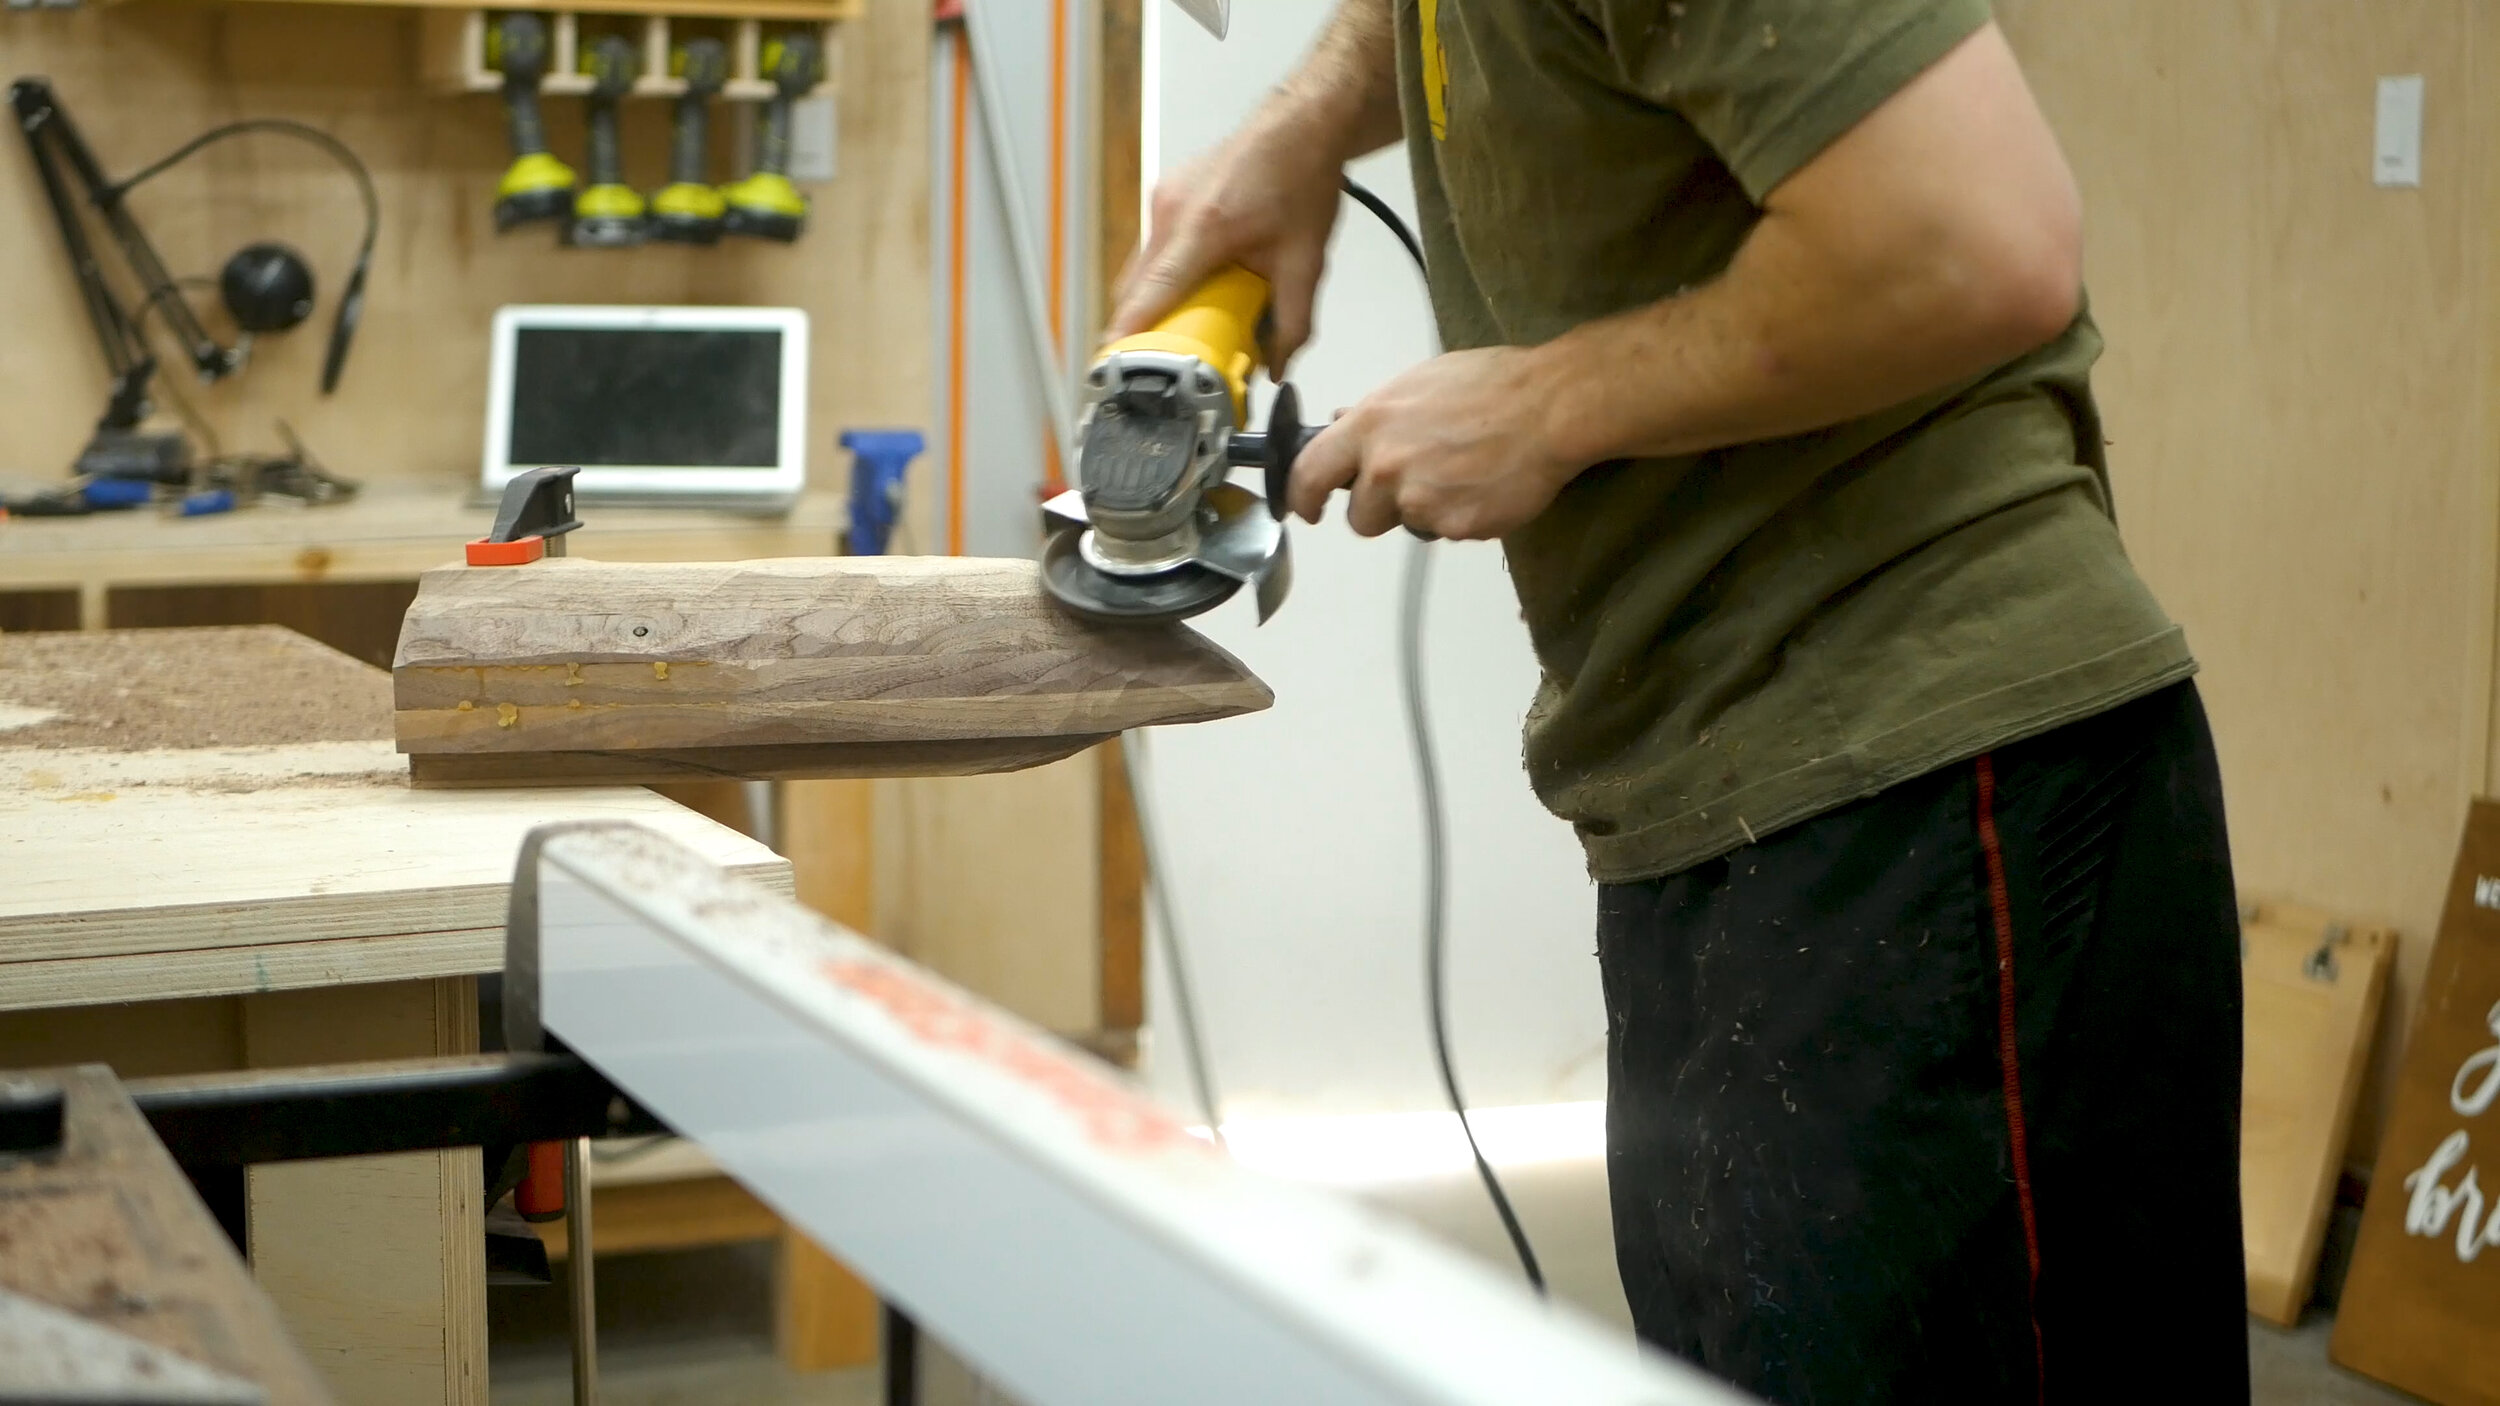
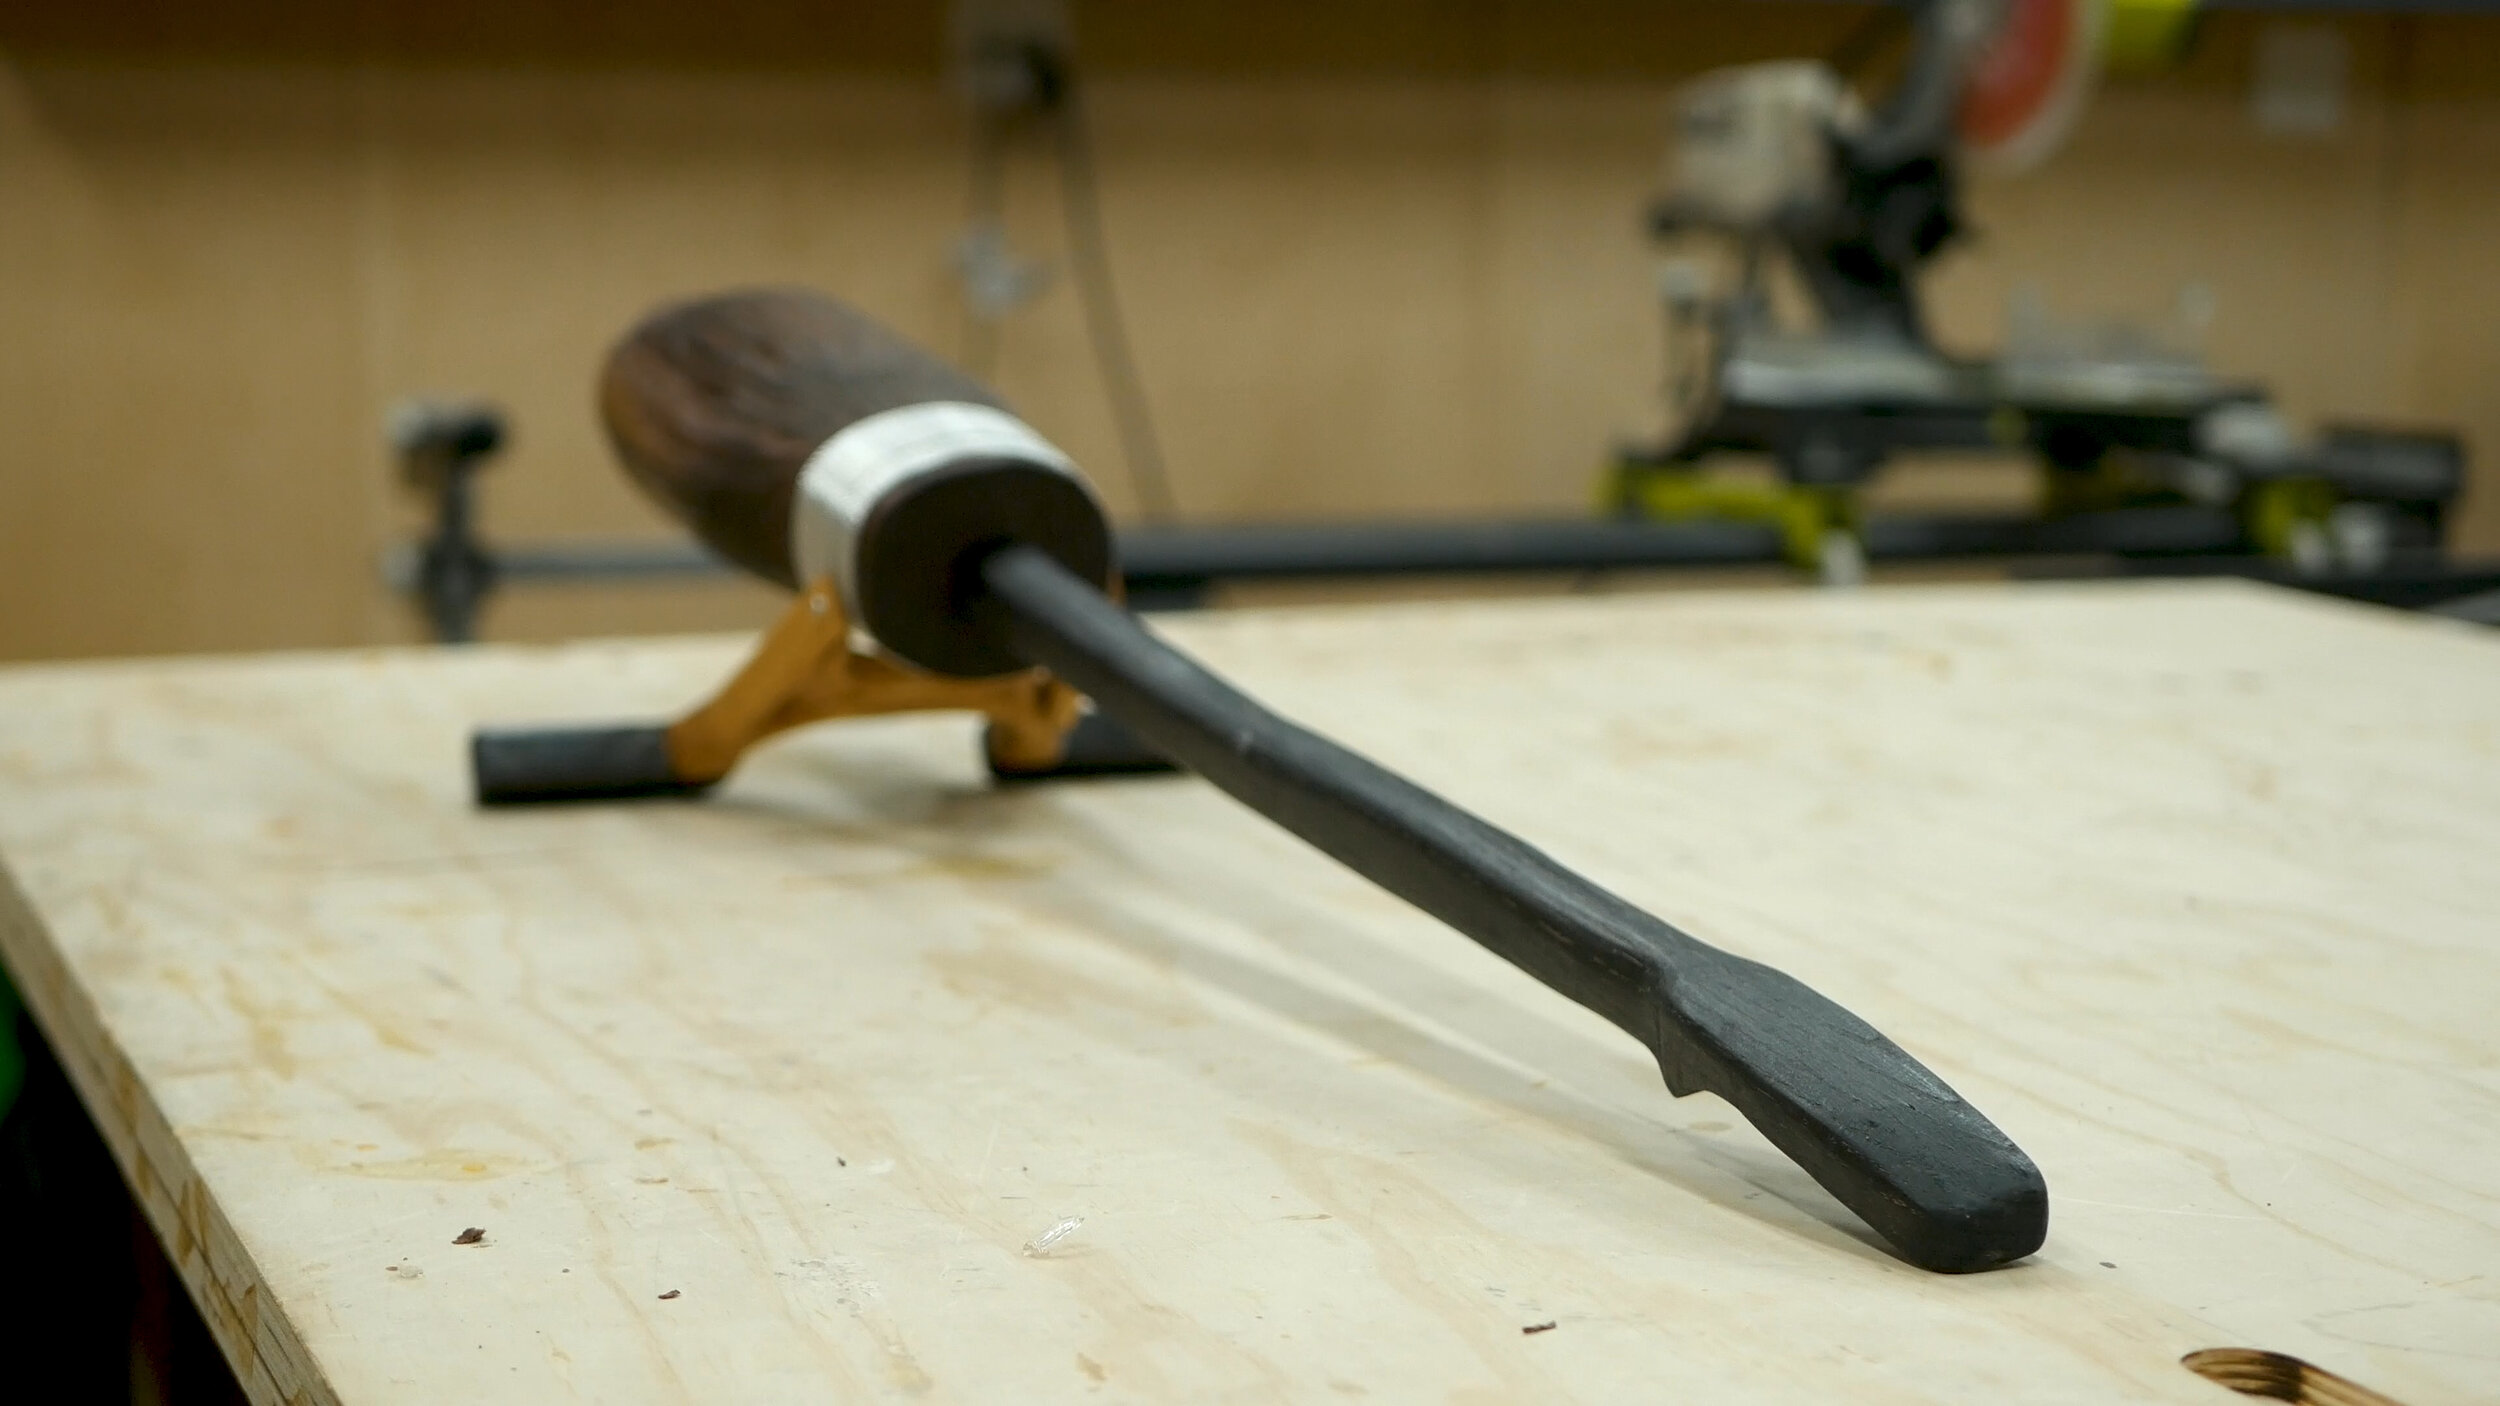
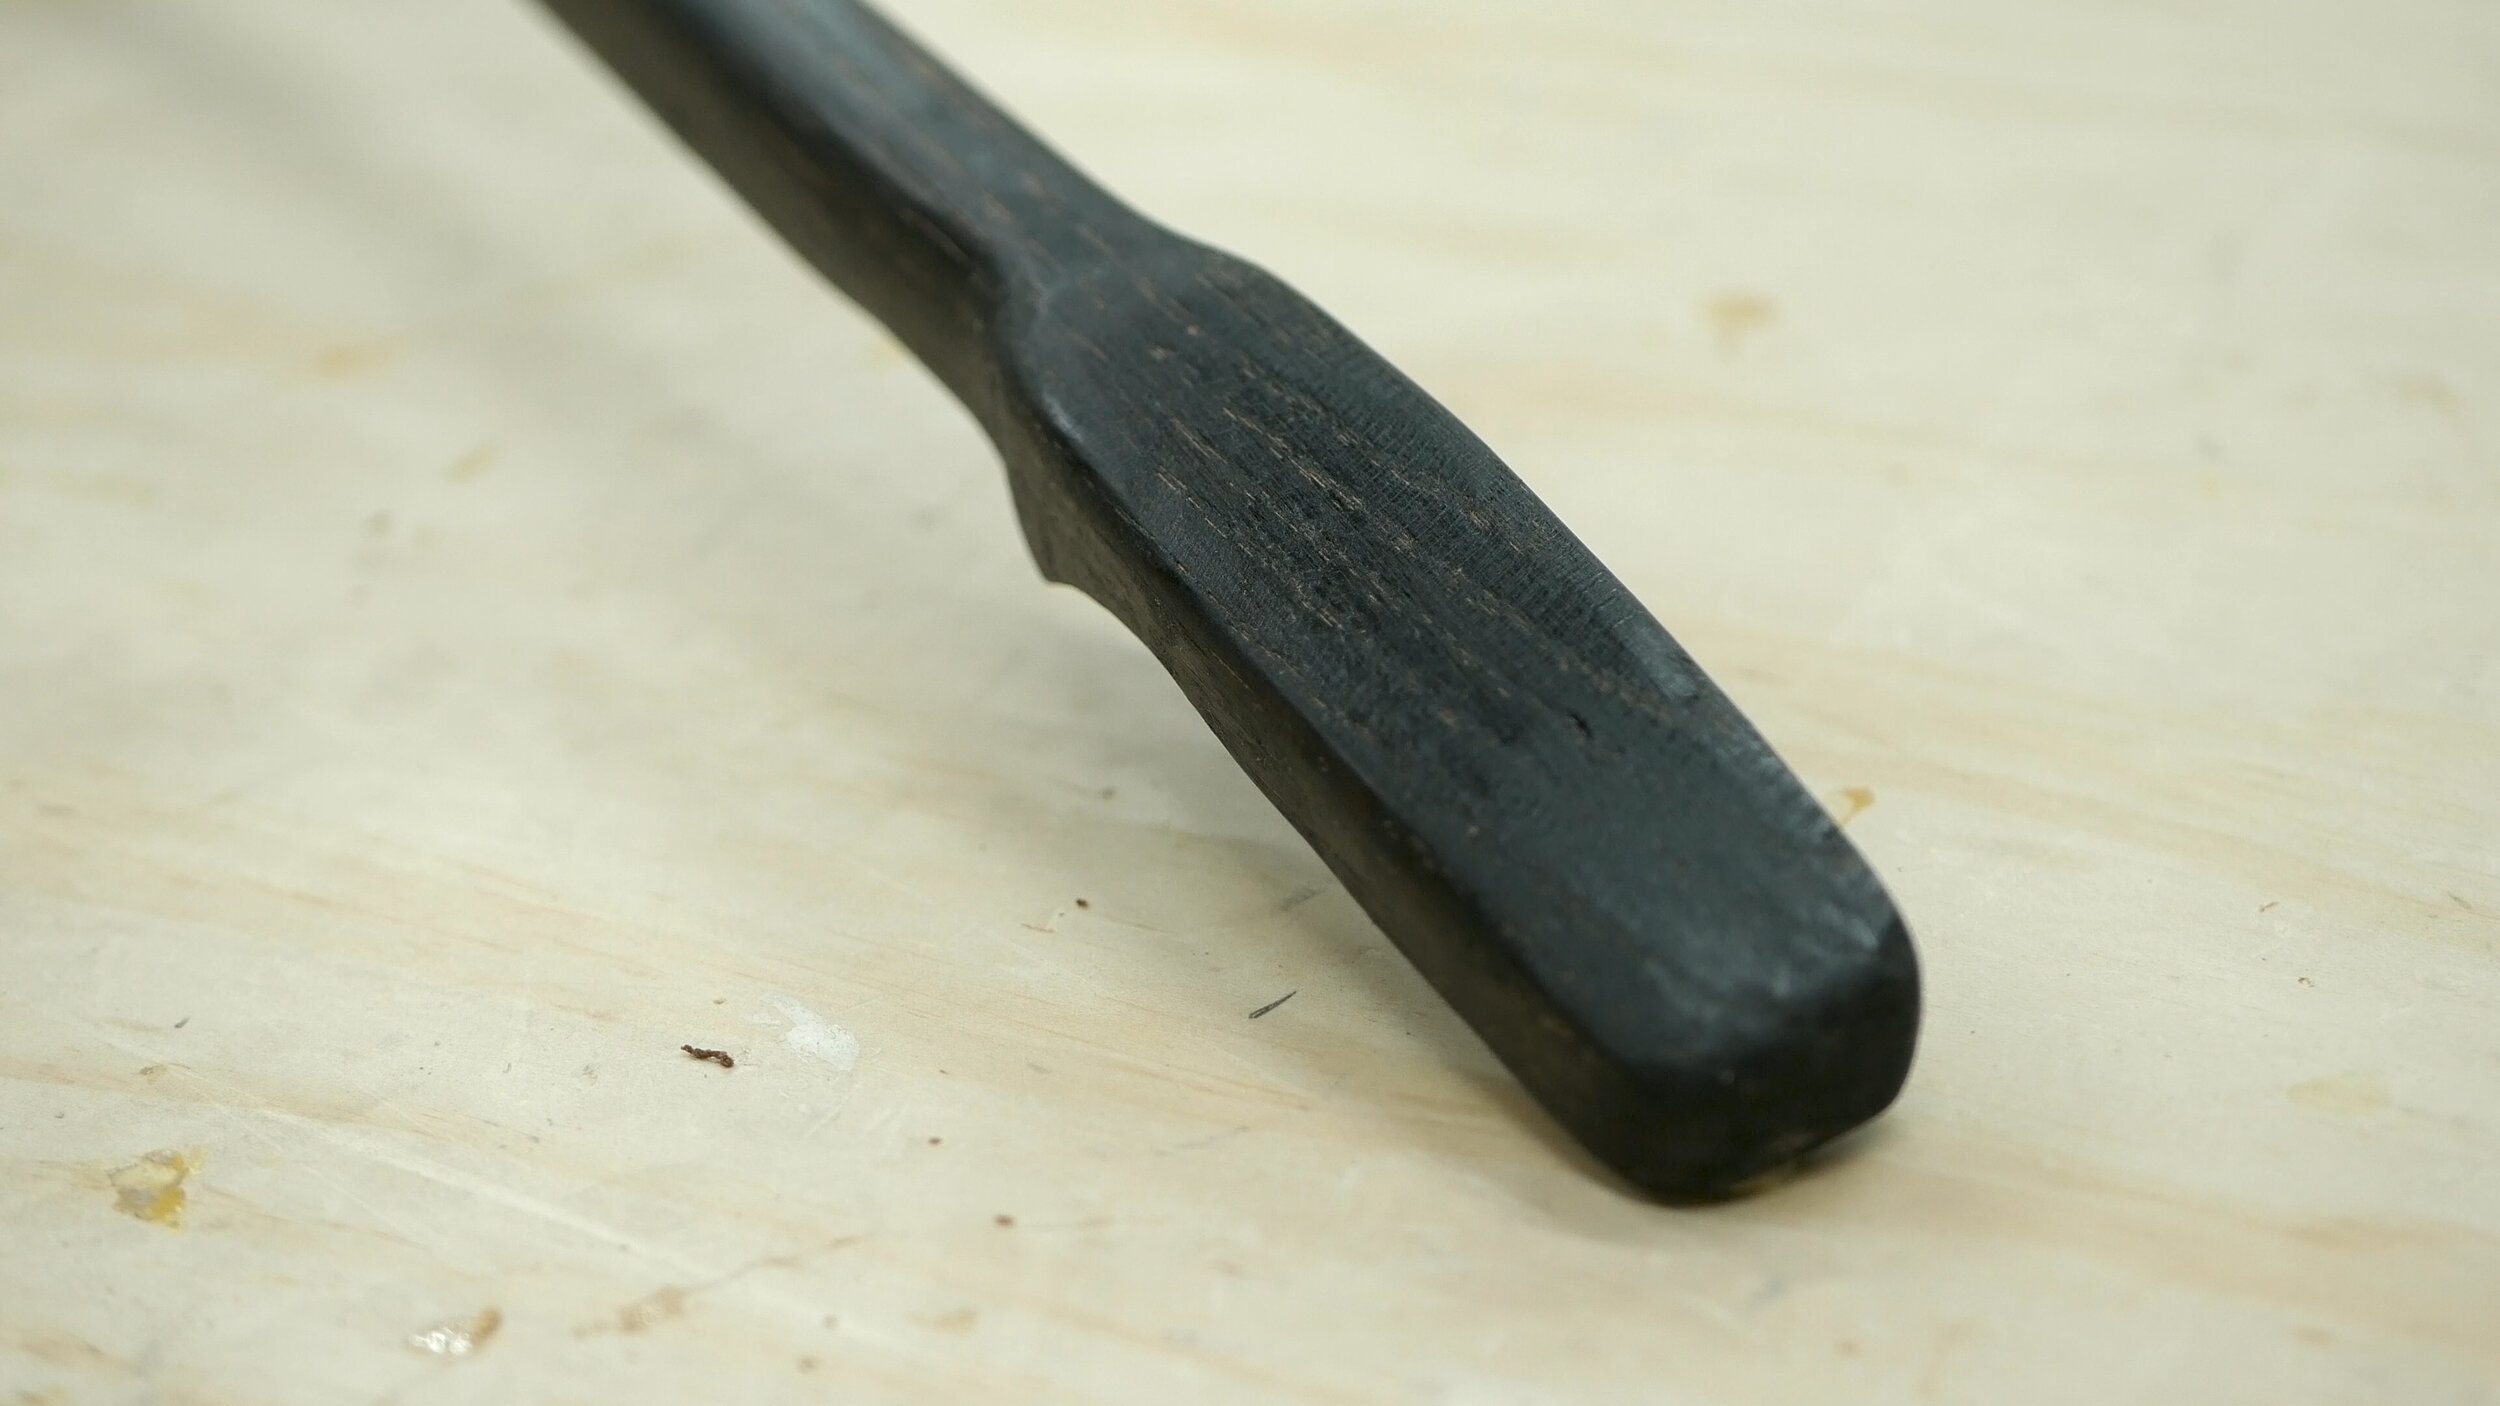
The next step was relatively the same as before. I used the Turboplane a flap disc on my angle grinder to shape the handle (Pic 1). This again was done using reference photos and eyeballing the broom handle tip. I then used my benchtop sander again (Pic 2) to help flatten and smooth out the overall shape.
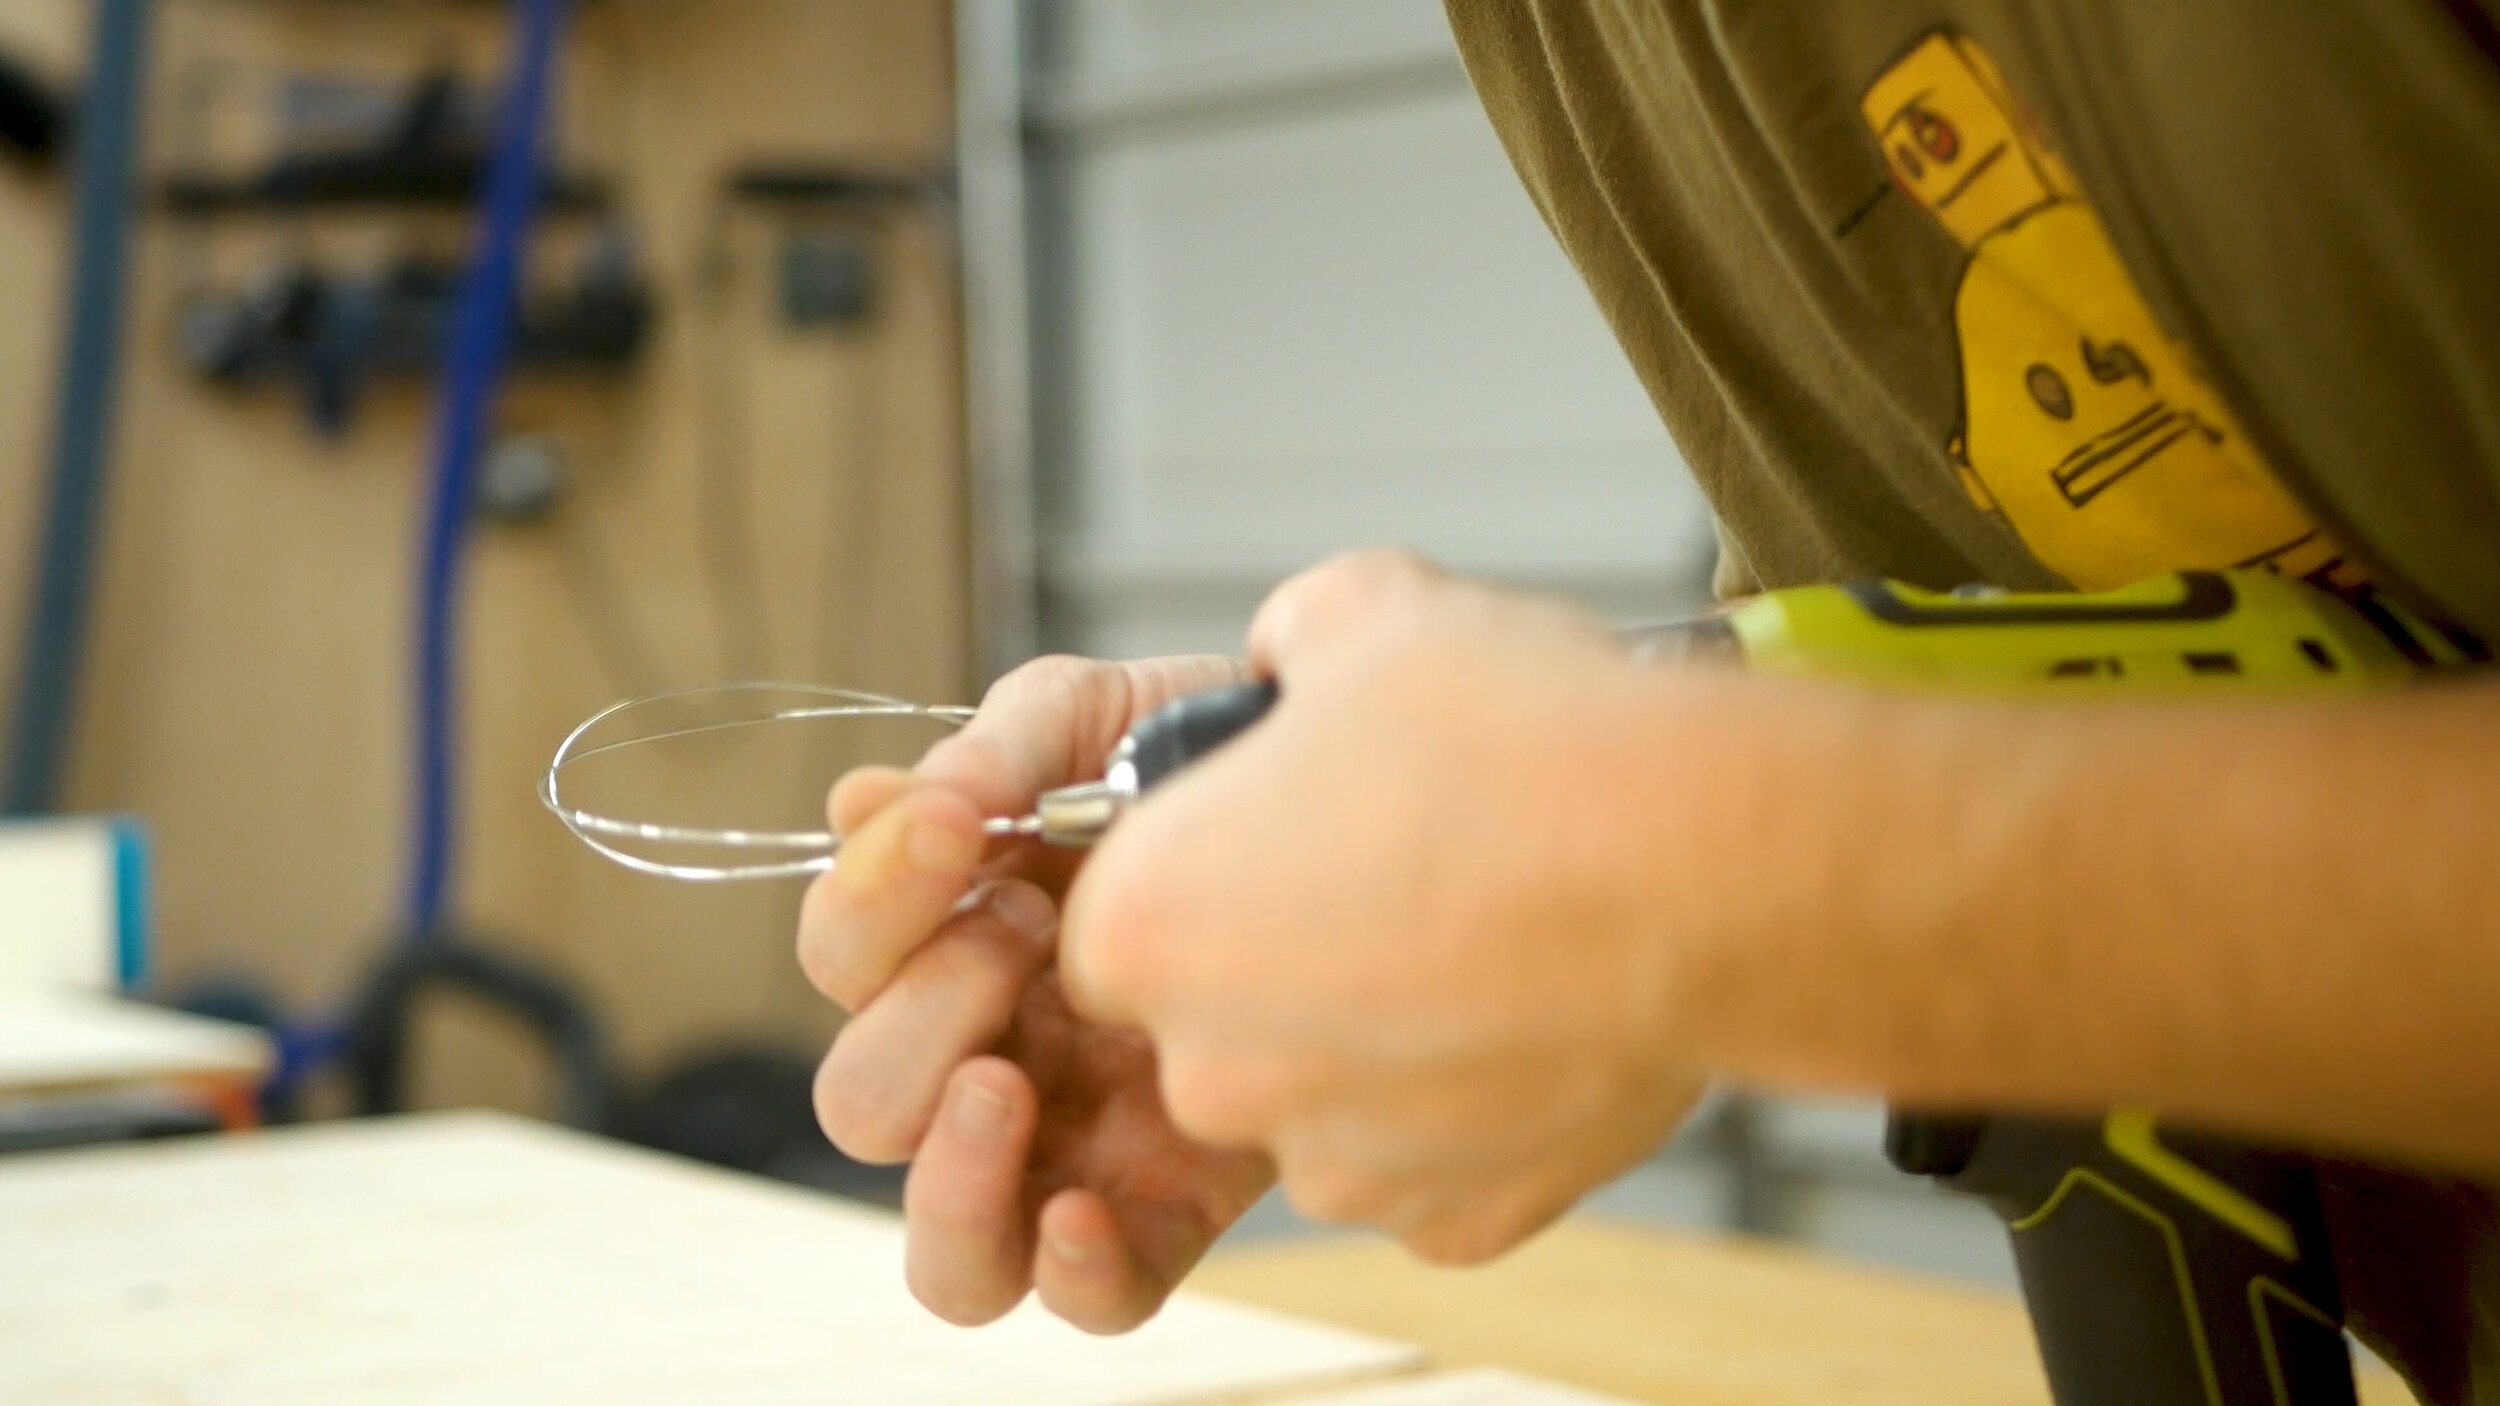
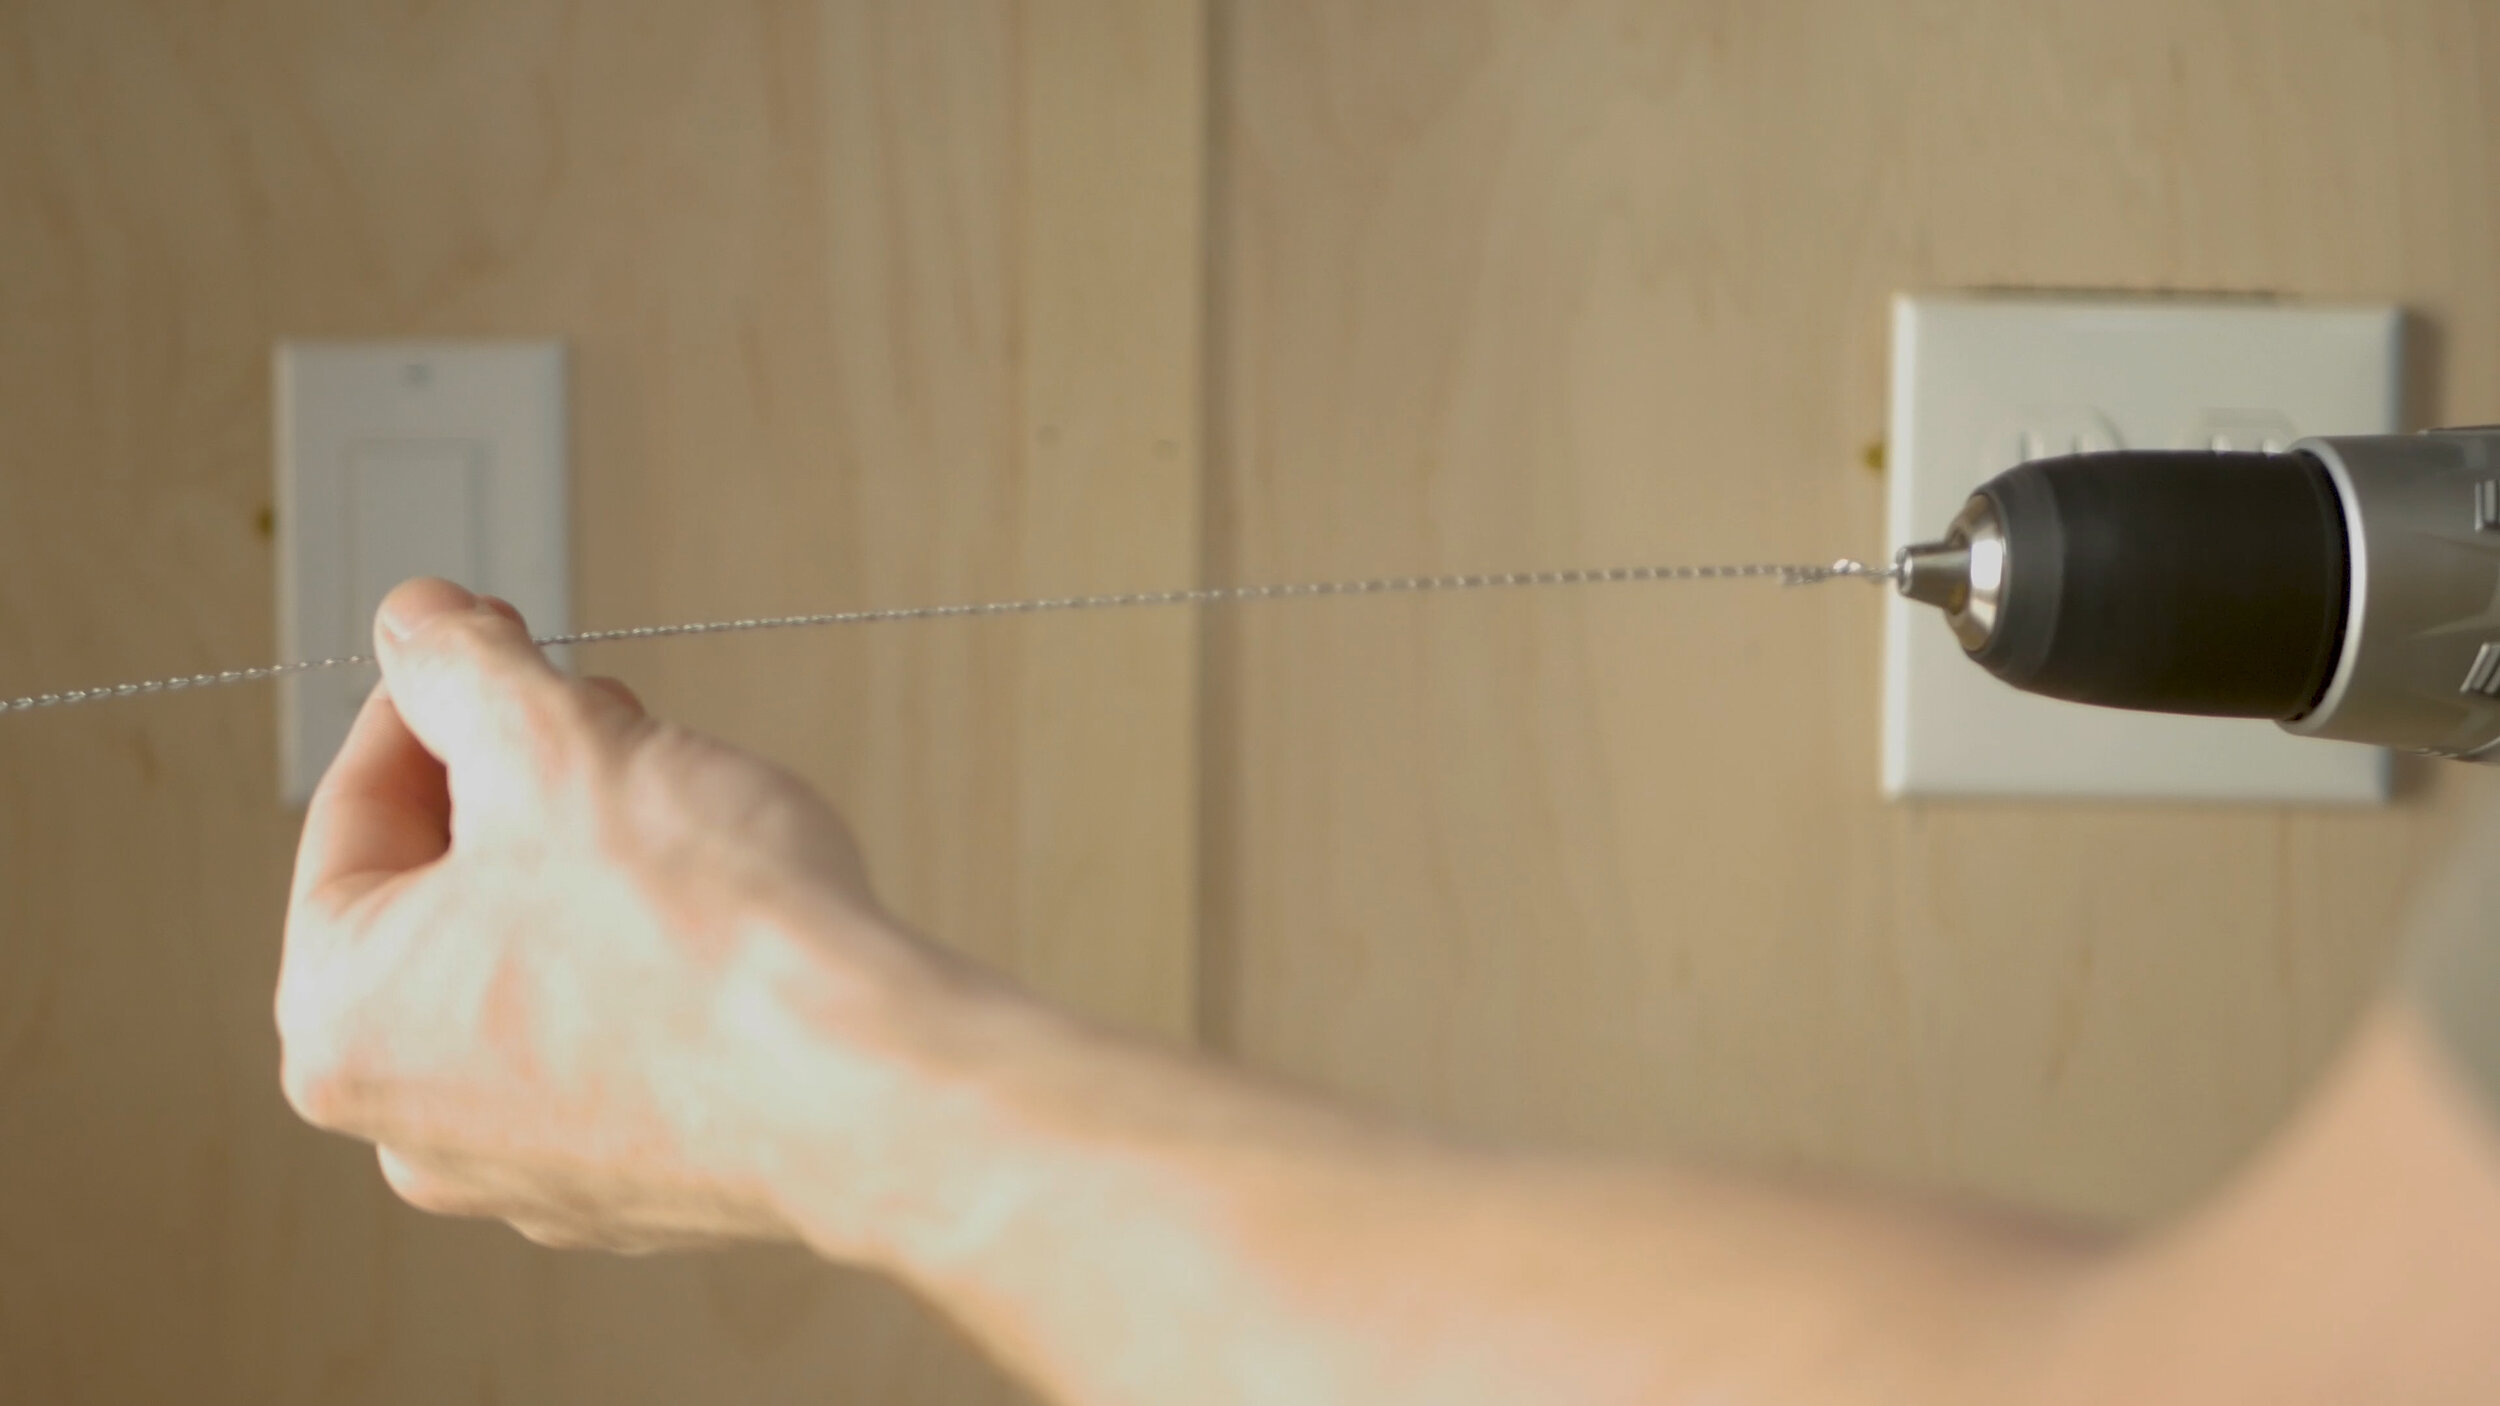
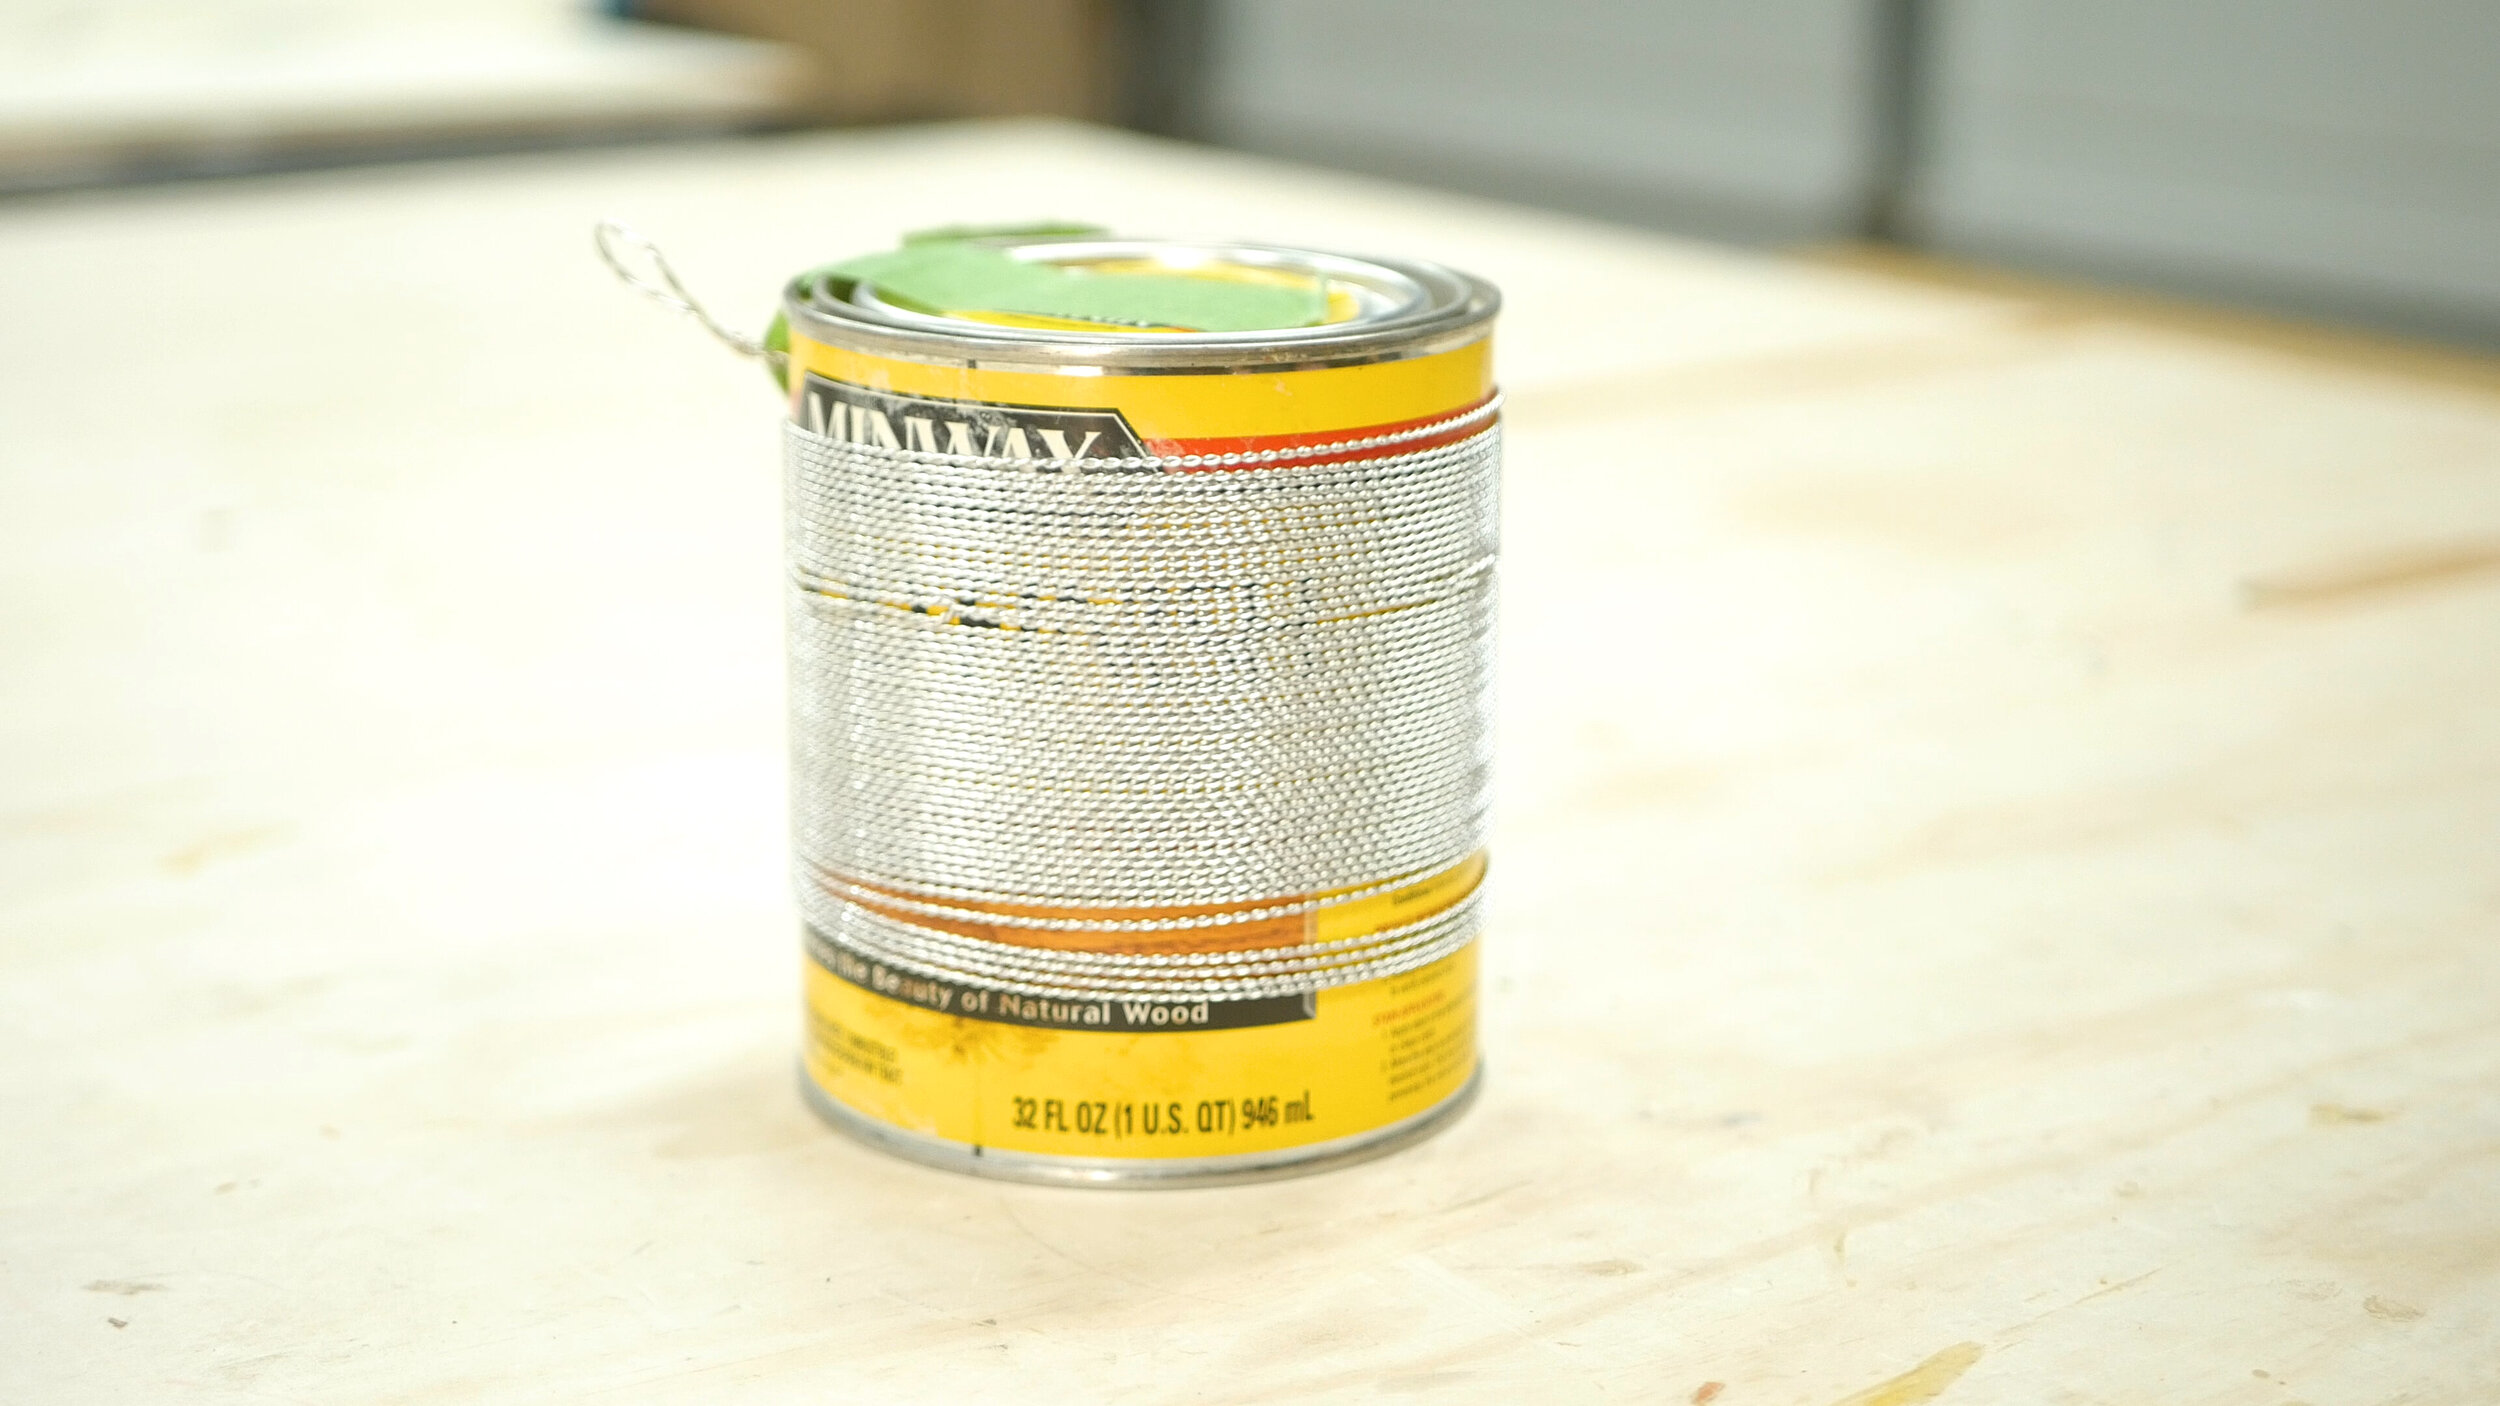
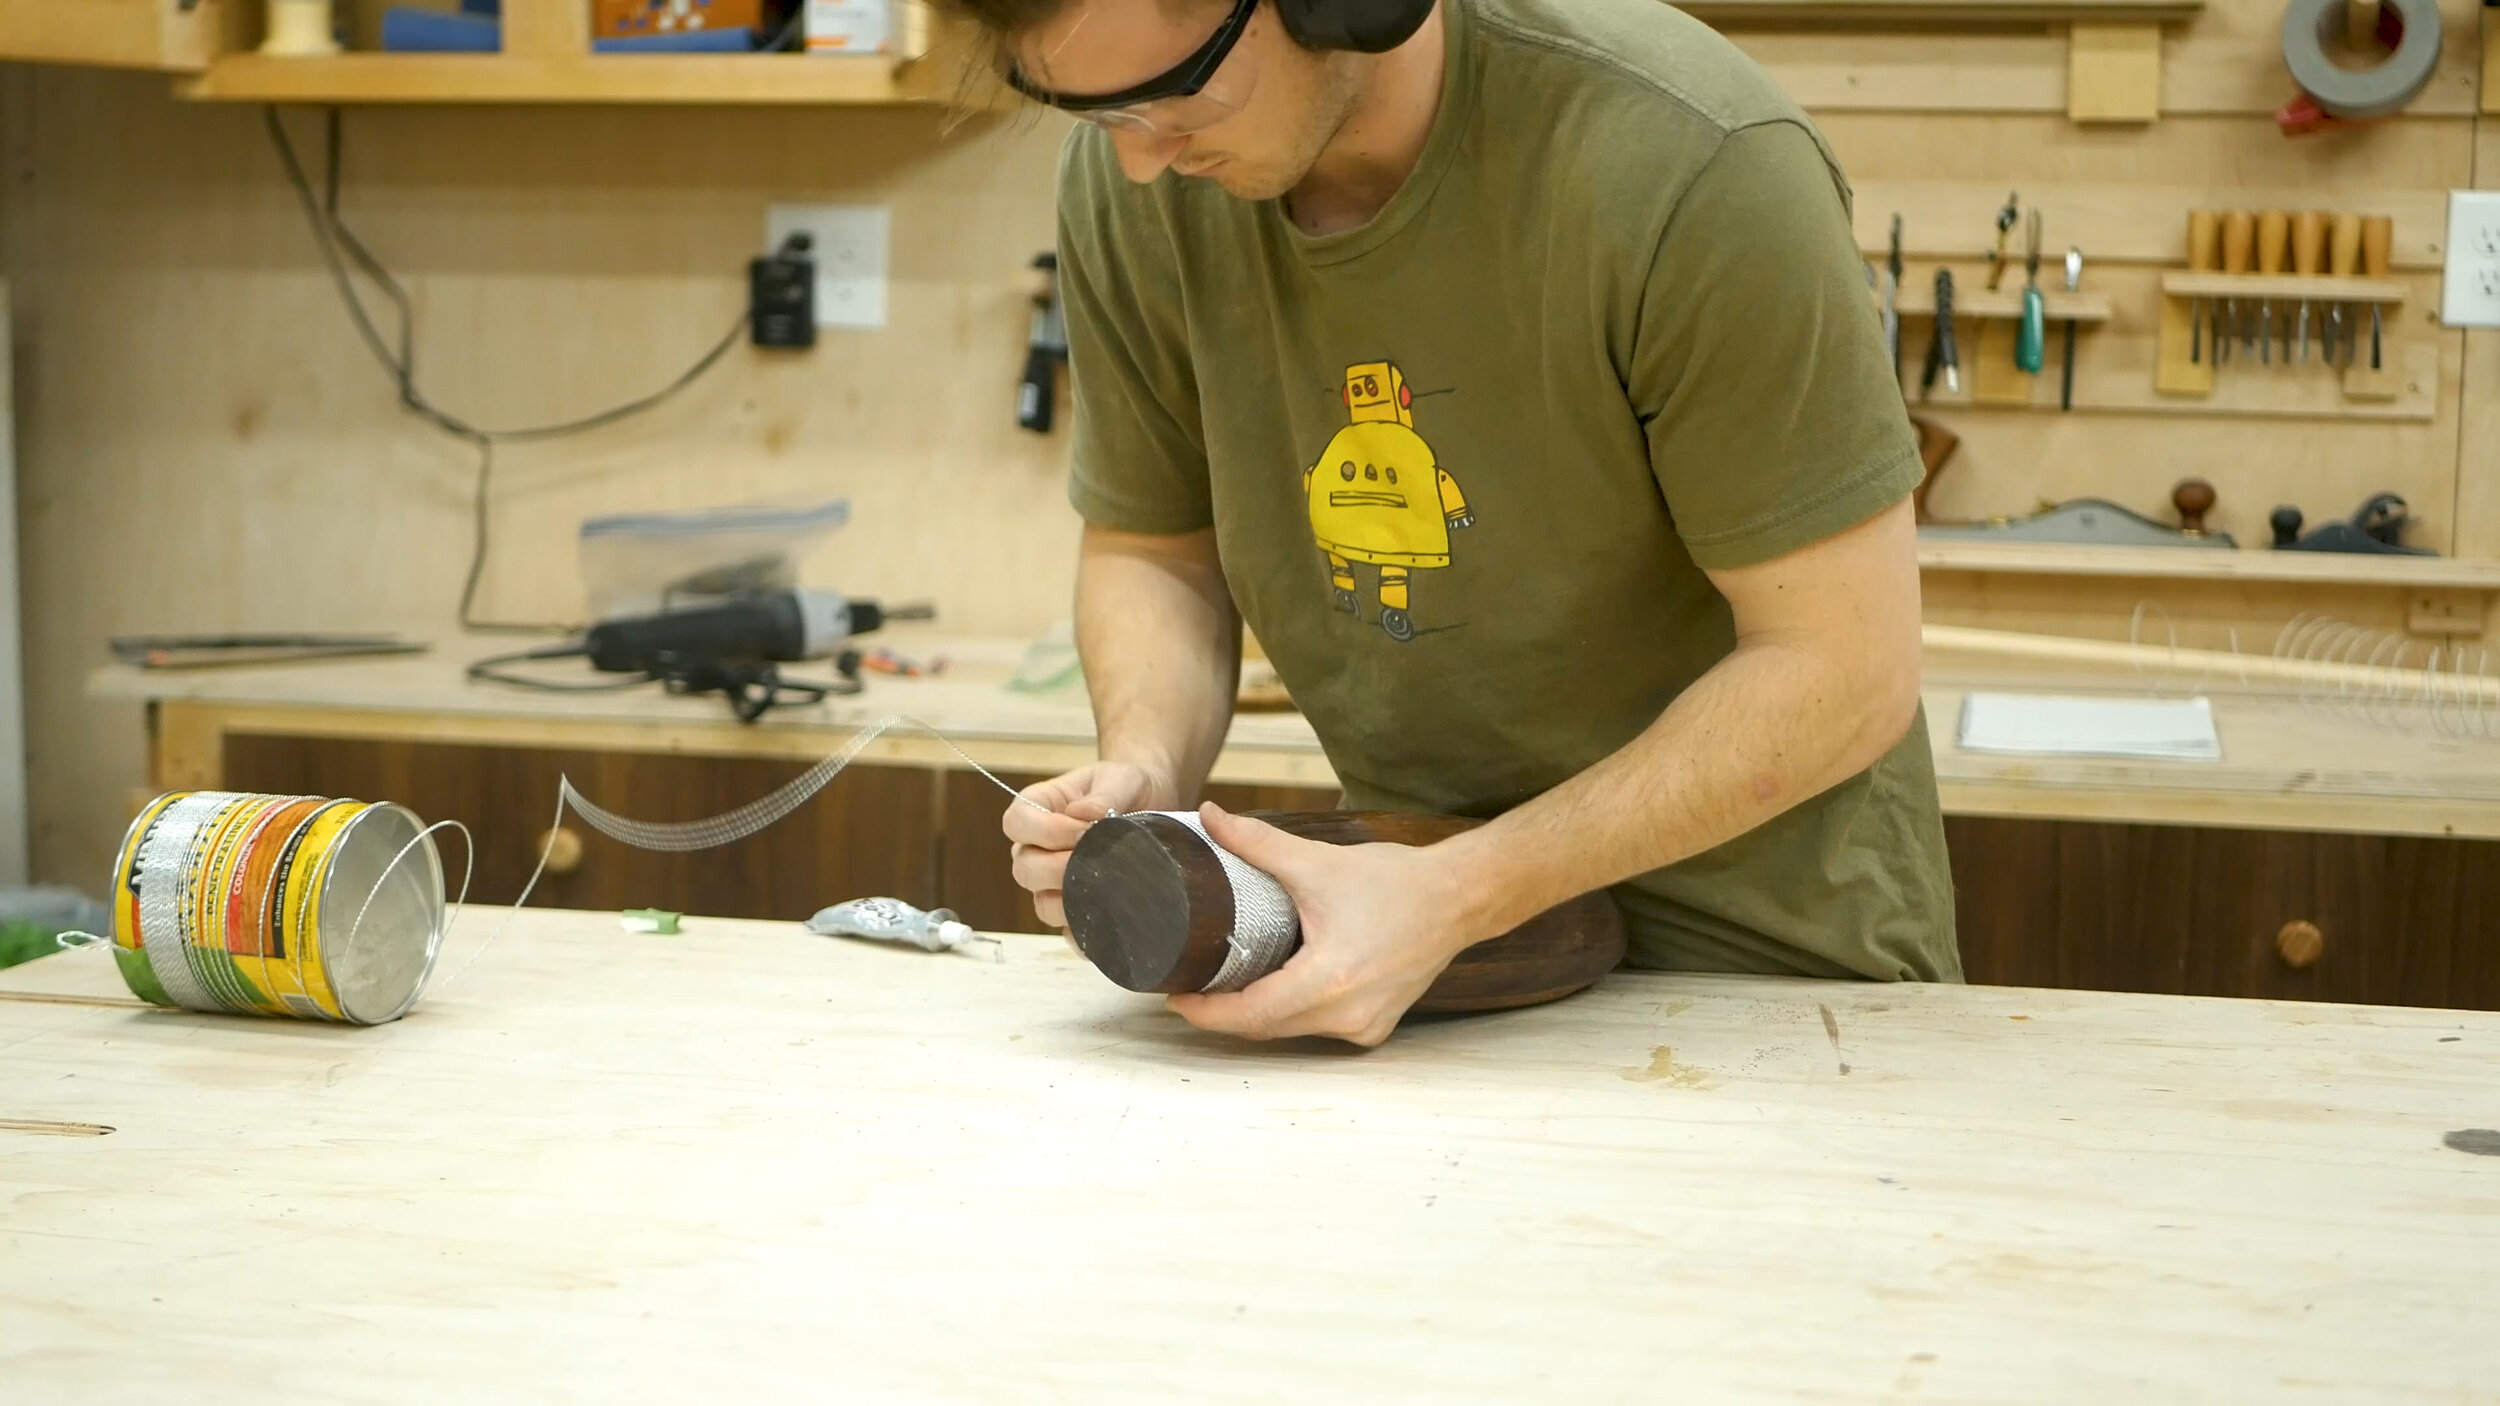
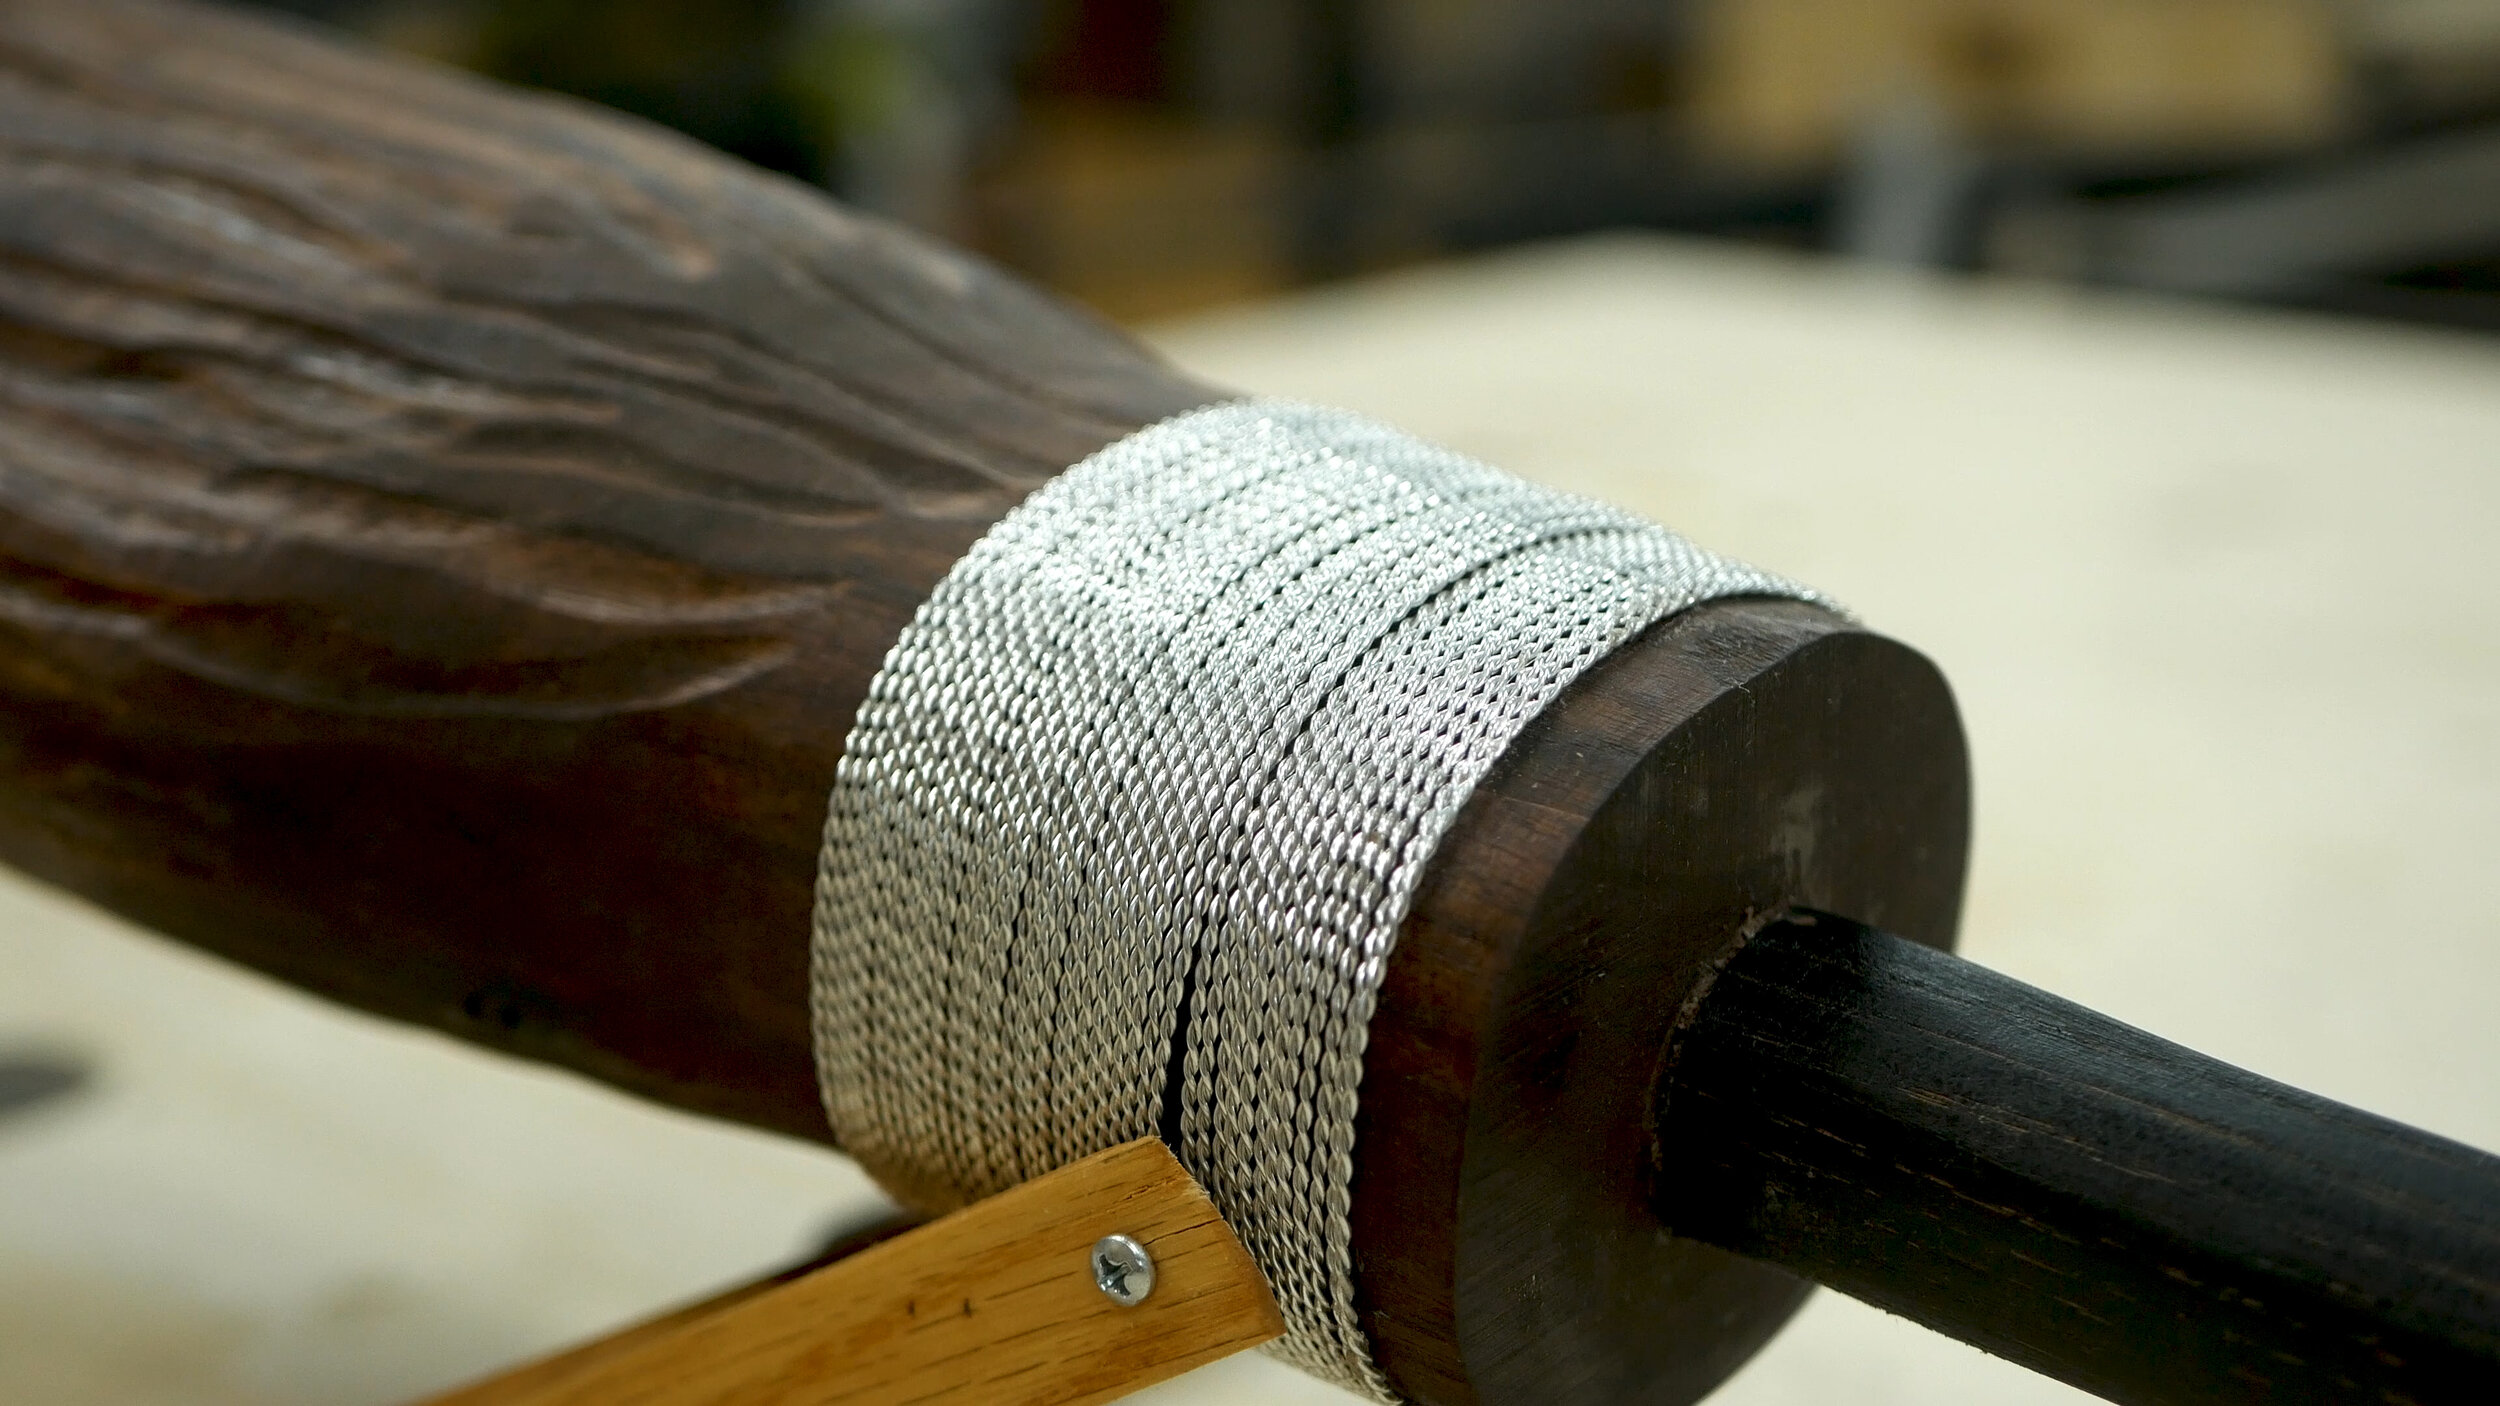
The Nimbus 2001 has a silver type material around the broom portion - I’m guessing in a practical world, the role of it is to clasp the bristles against the handle. Obviously this is a magic broom and used for flying, so we can just get creative with DIY. I considered using very thin steal and wrapping it around, but I thought instead I could twist thing MIG welding wire together to create something that wrapped around the broom. By chucking it up in the drill and just twisting, it worked quite well. I then wrapped it around a paint can. Ideally, you’d heat the wire after this to get rid of twist and tension, but I don’t have those tools. It was fine, it just meant I had to be careful when transferring it to the project.
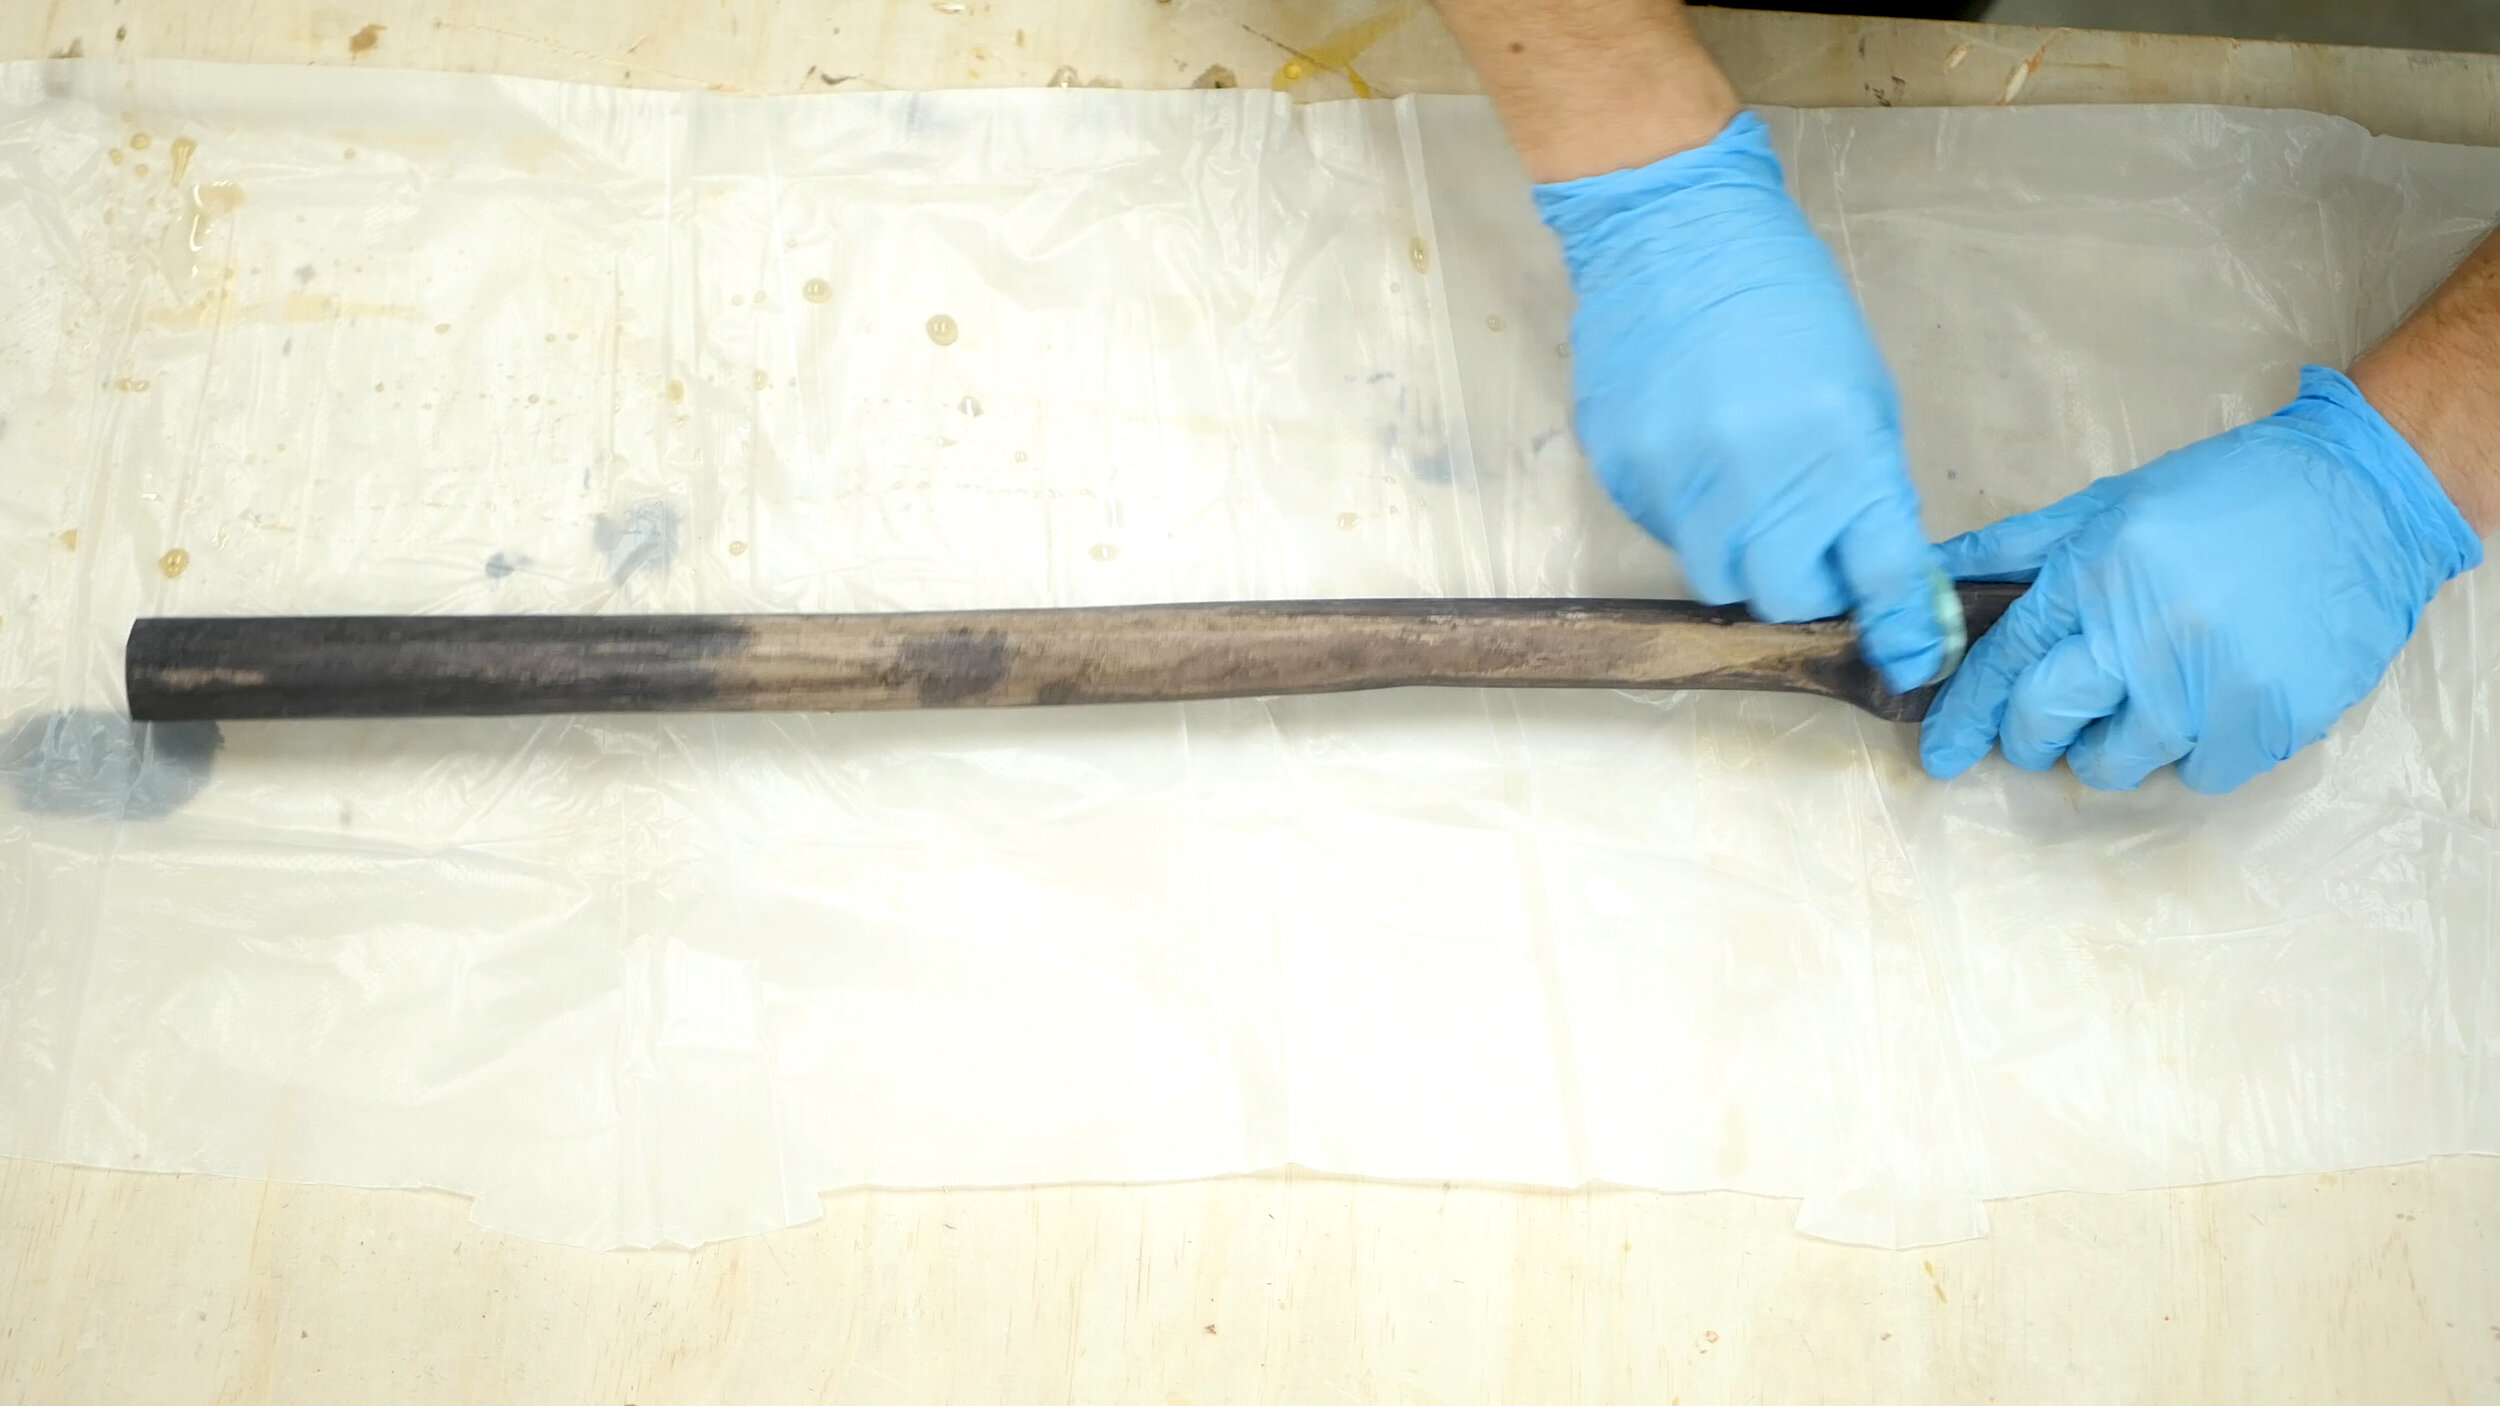
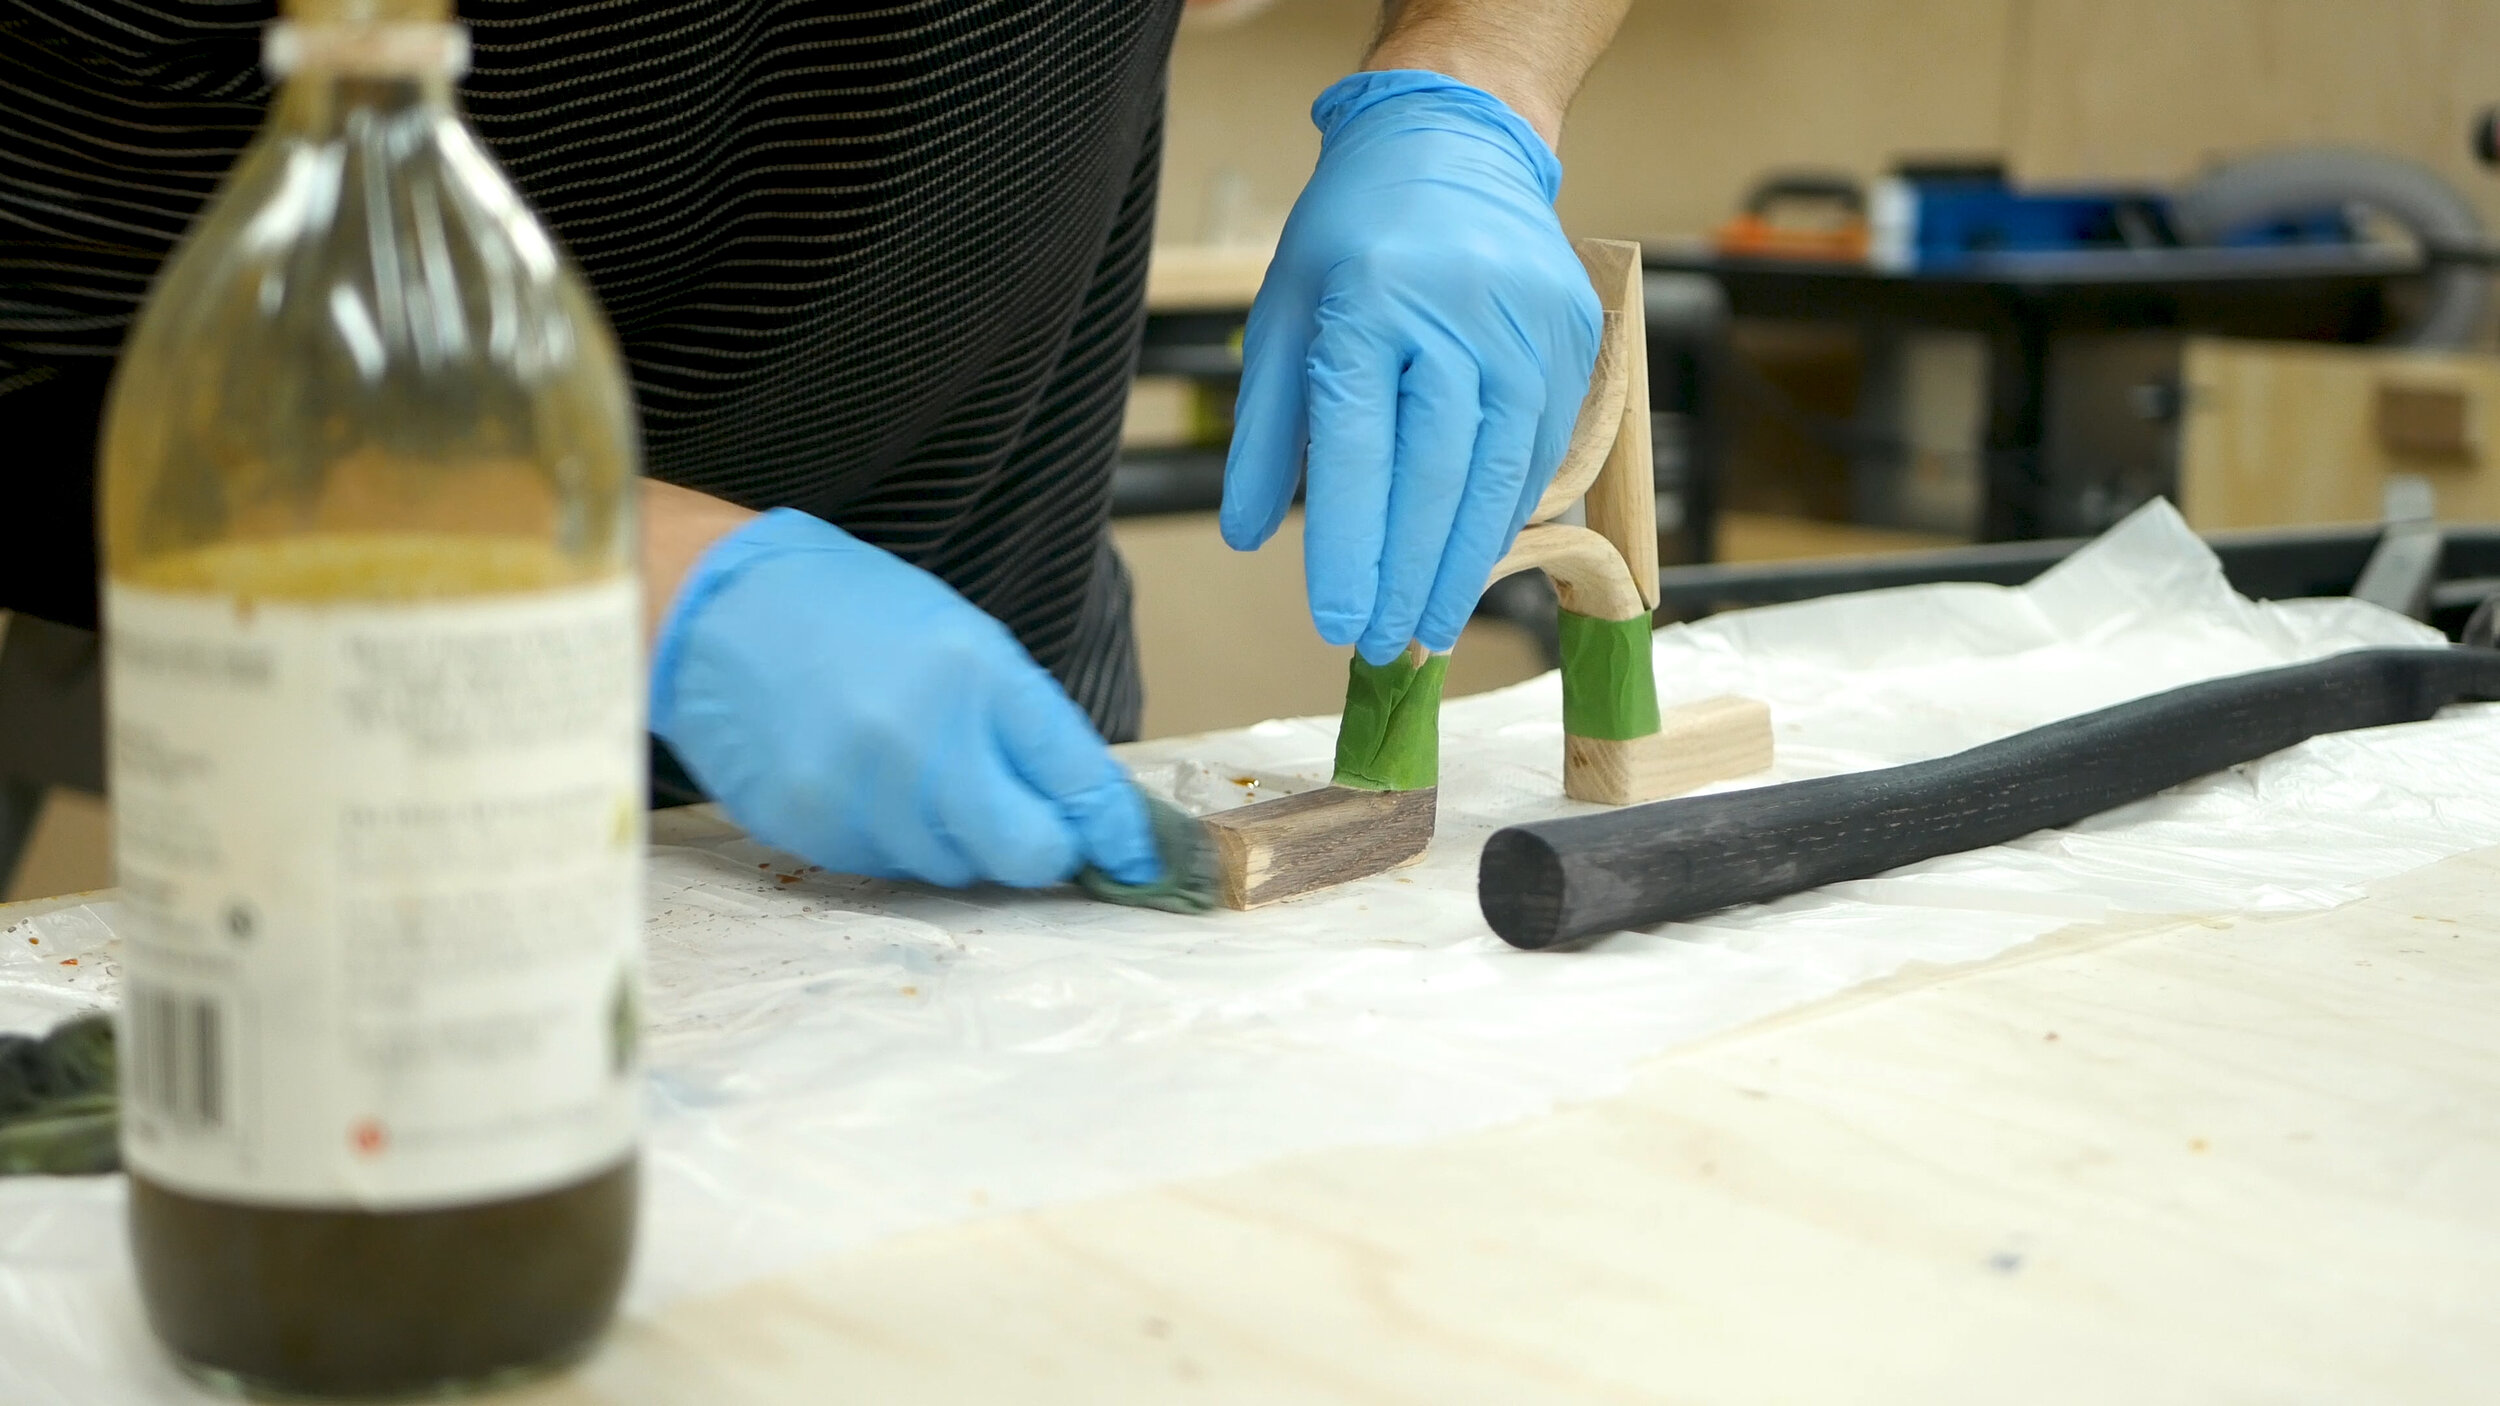
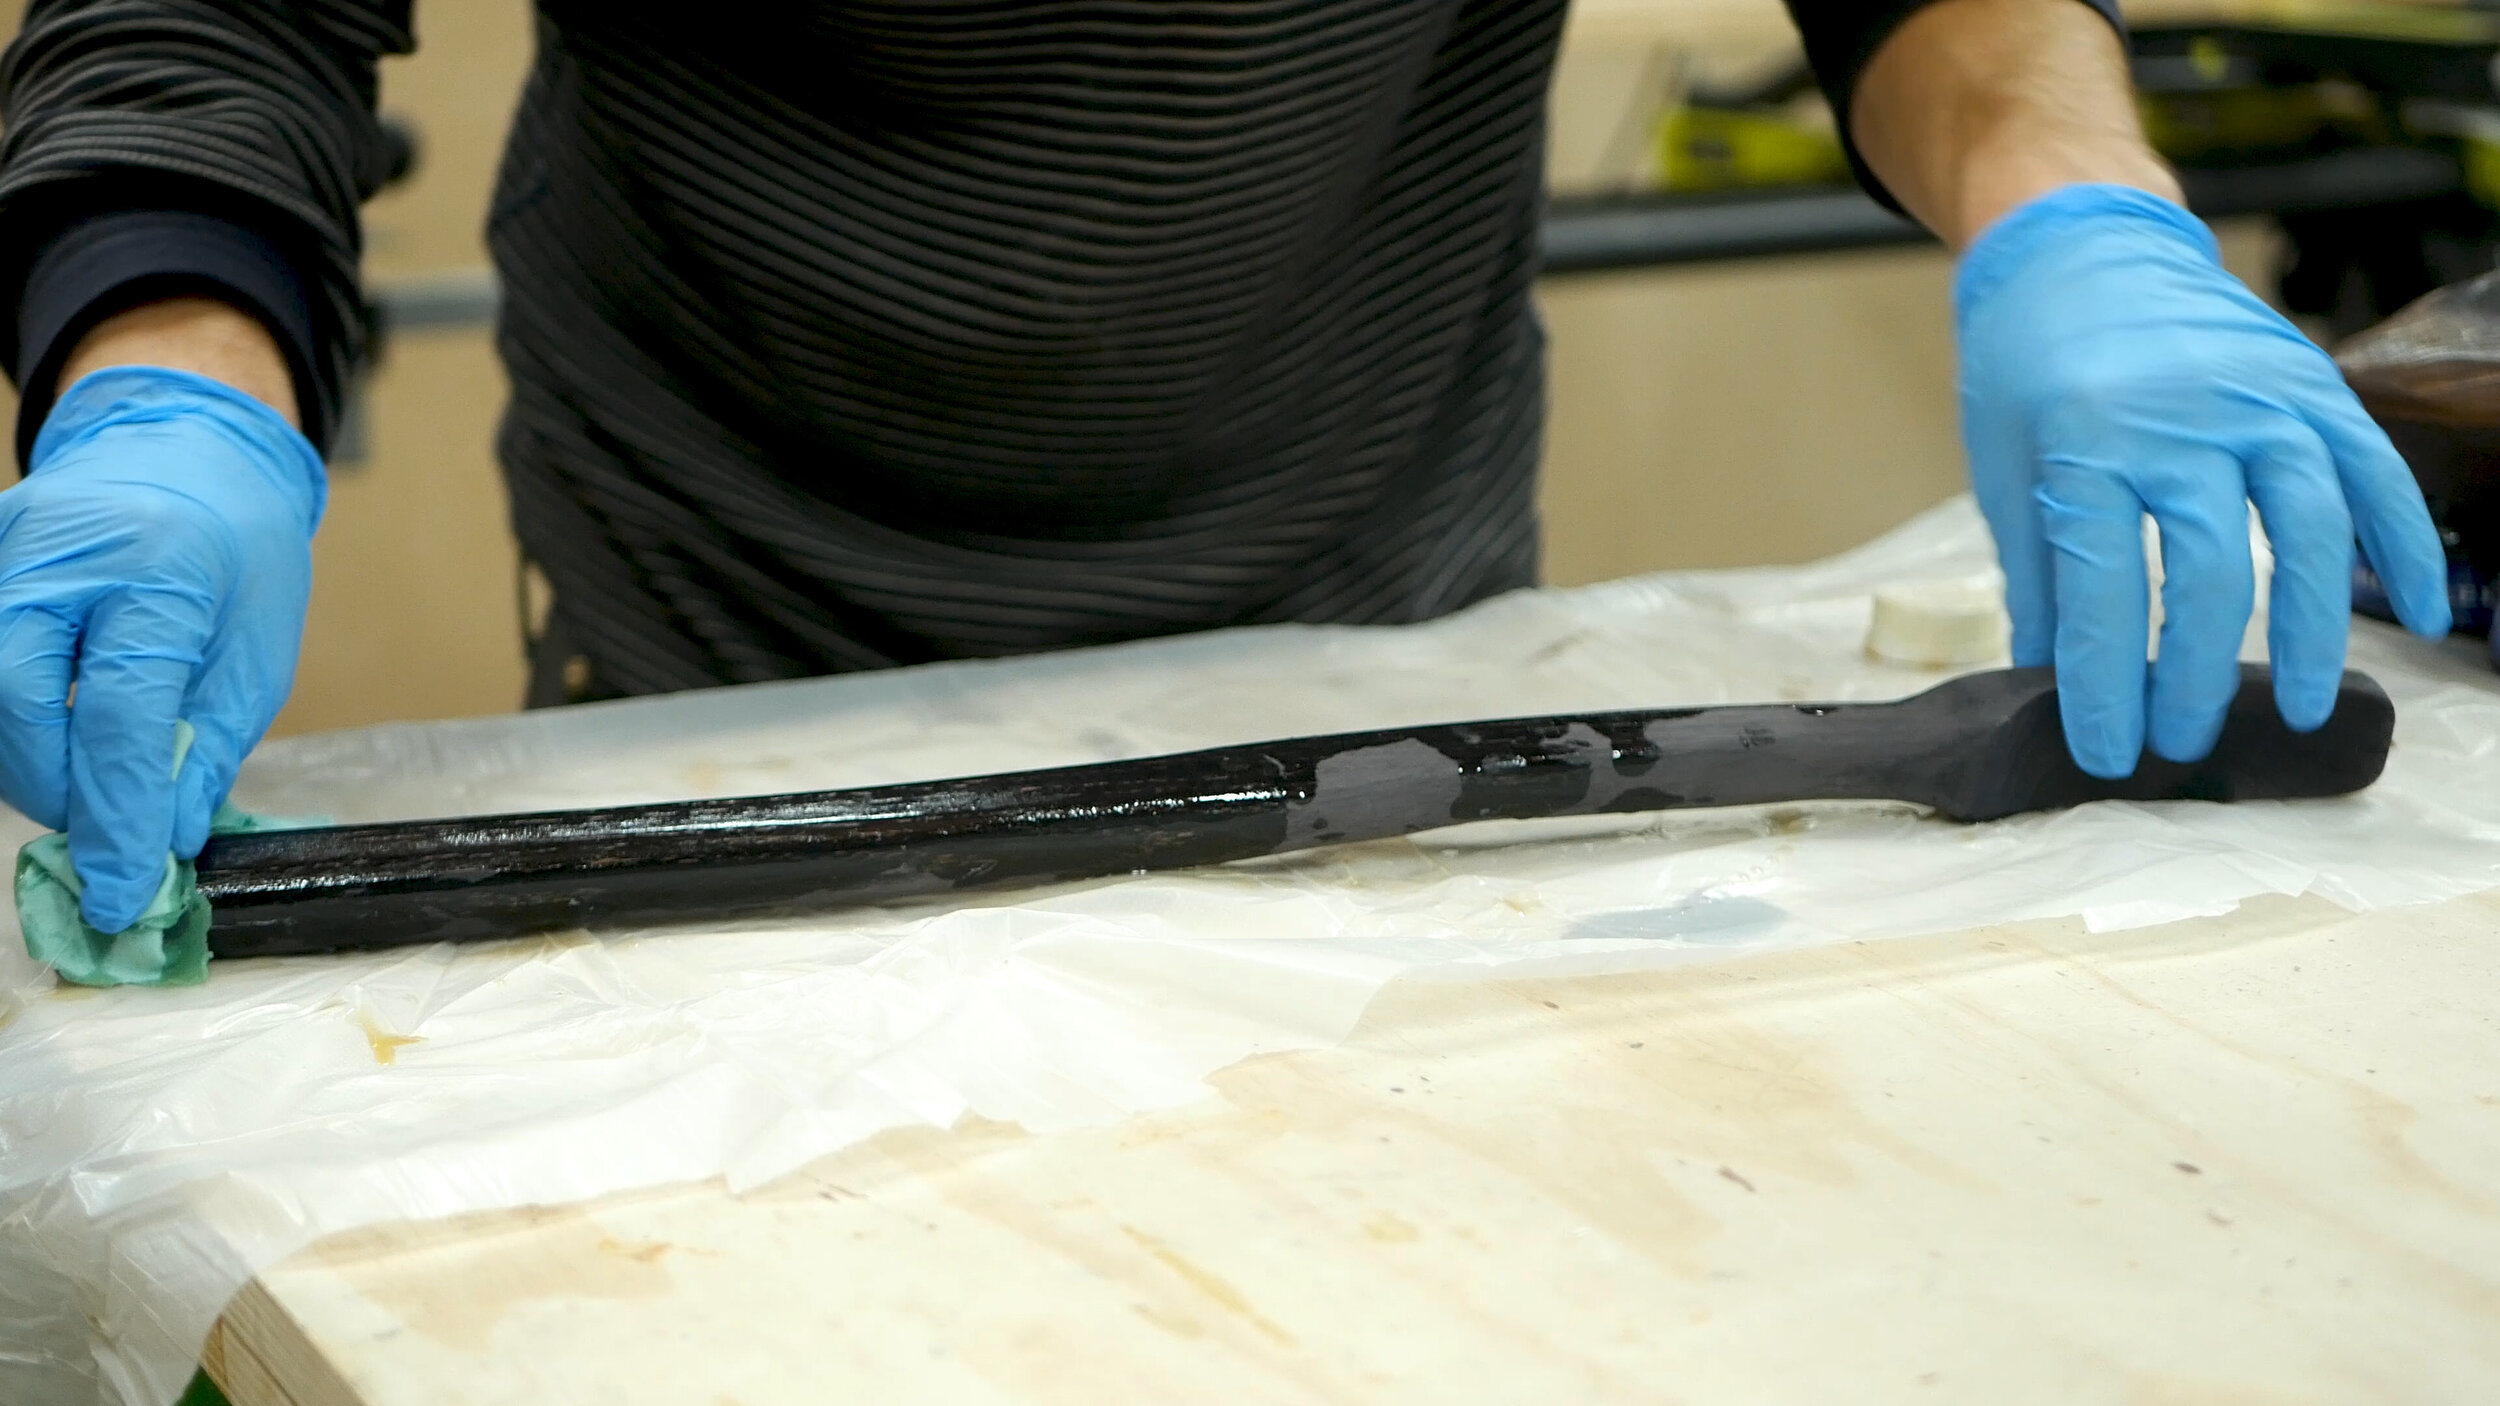
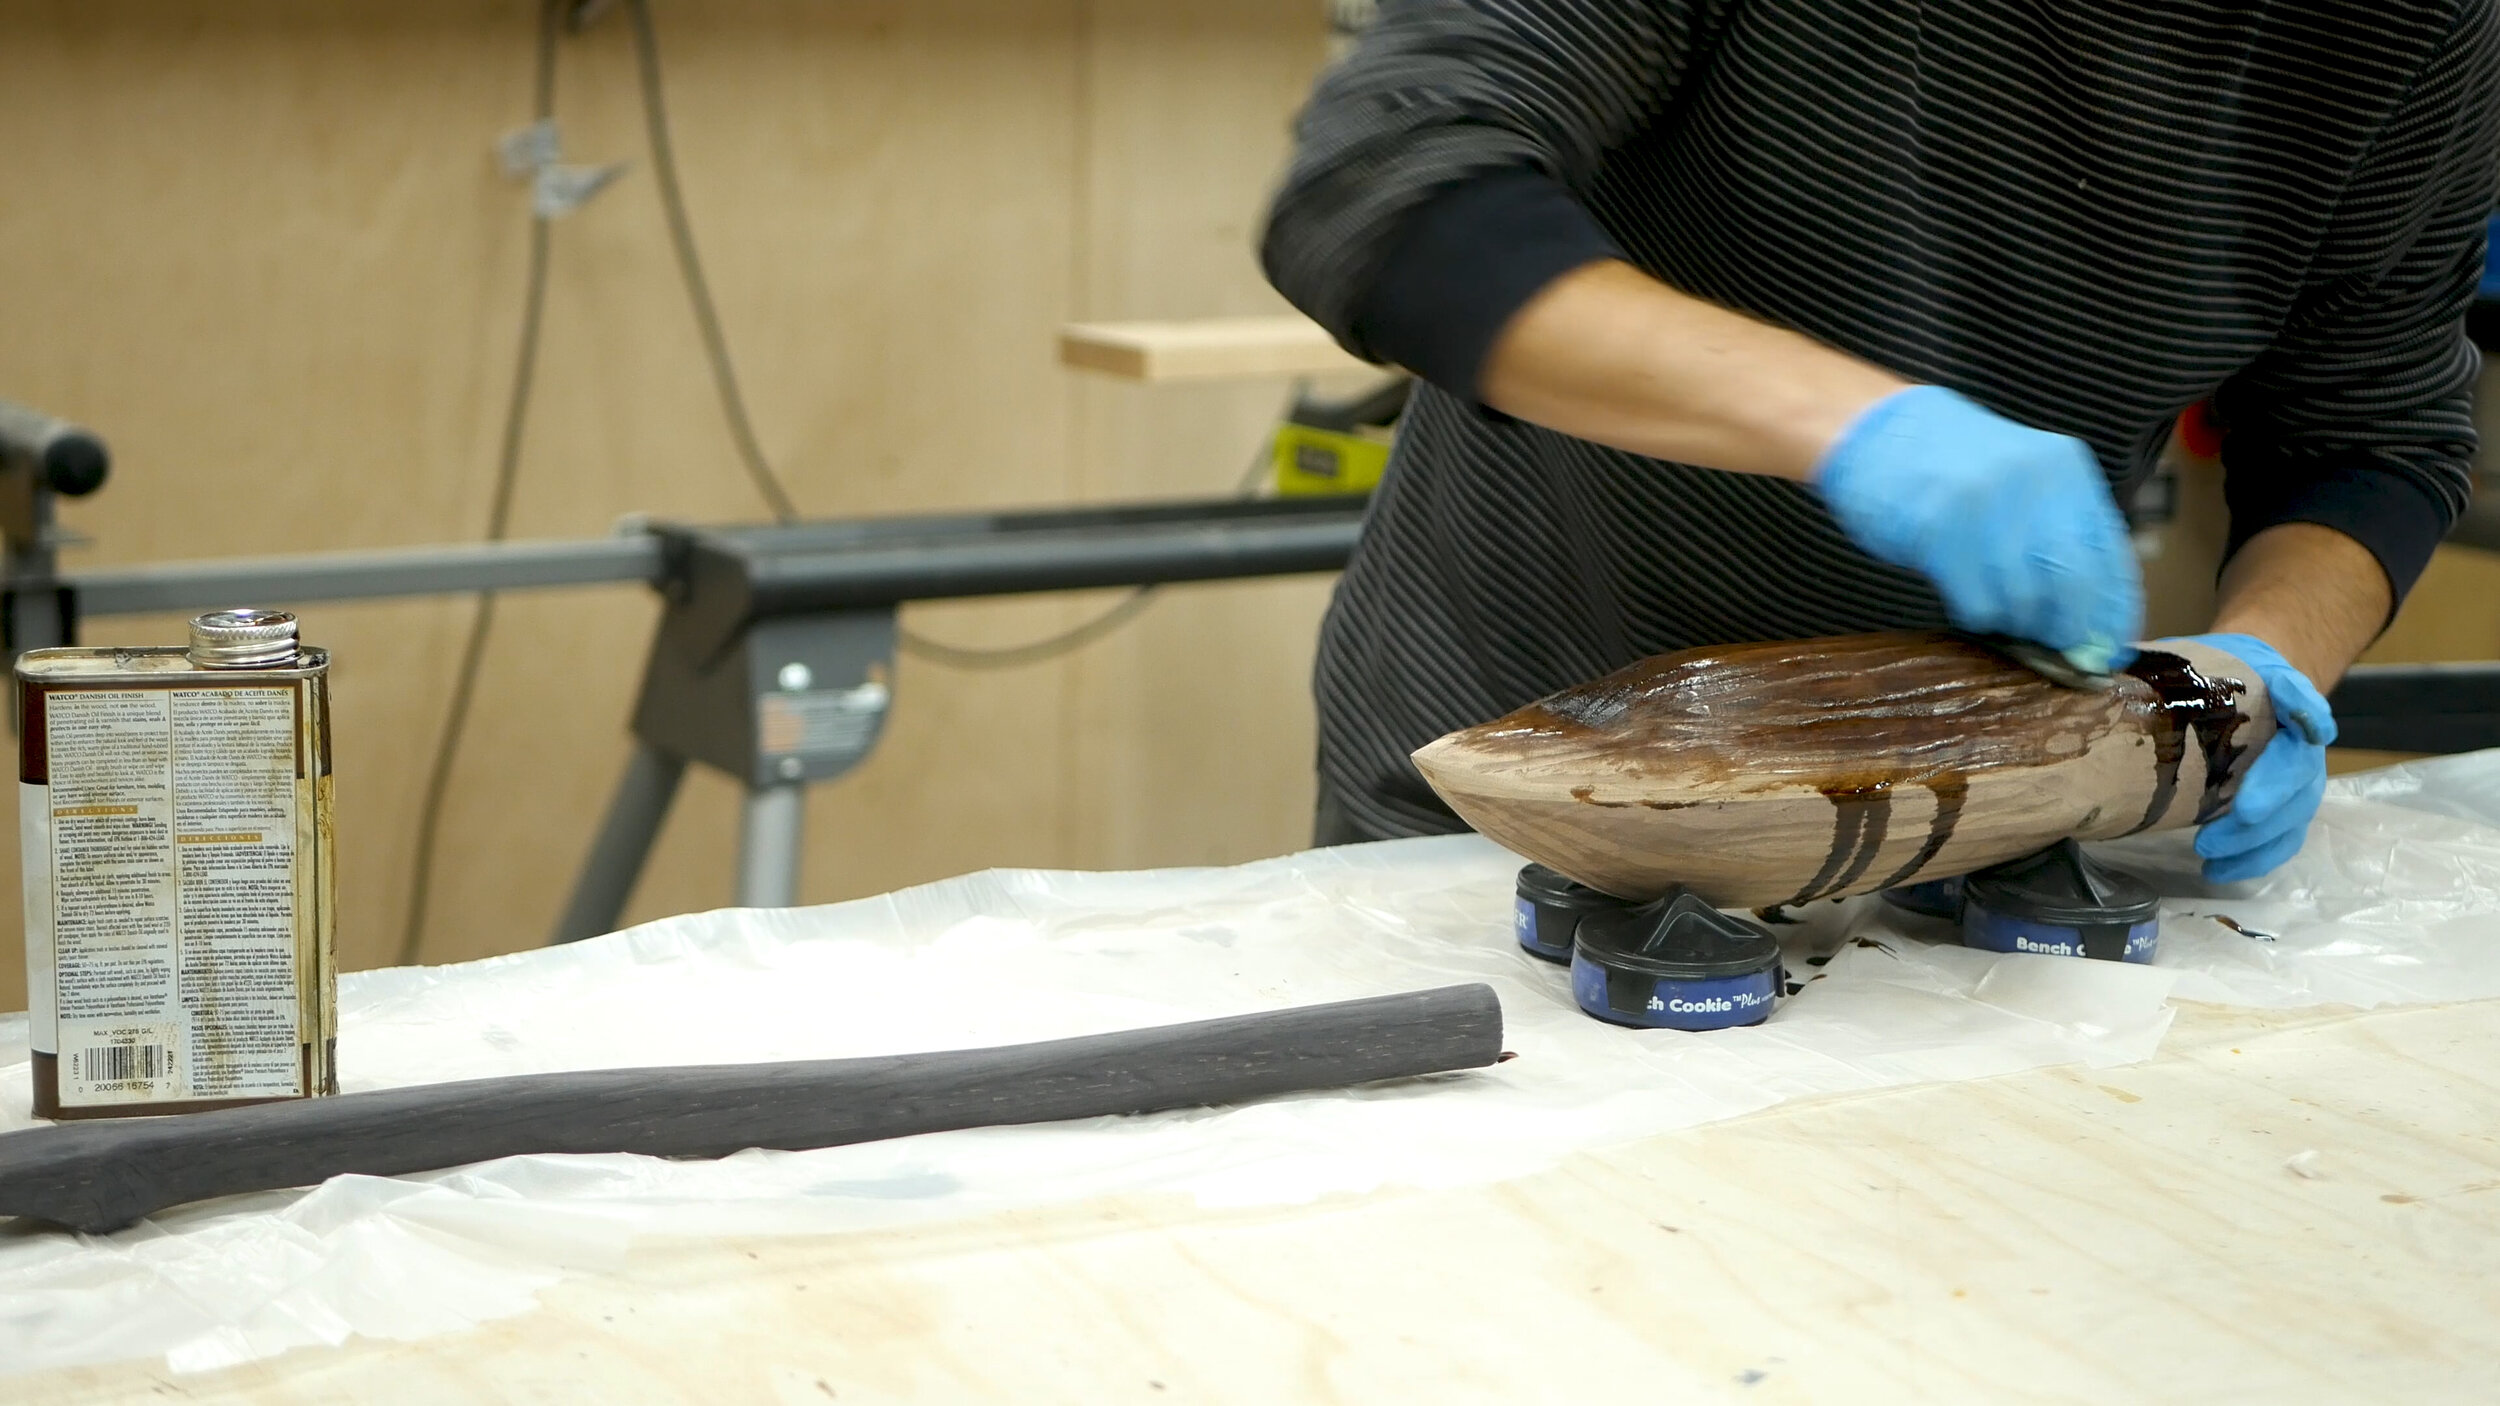
The Nimbus 2001 is black and dark brown. To achieve this look, I used a vinegar+steel wool solution to oxidize the white oak - it’s incredible how black it turns almost instantly. I also did it for the foot portion of the stirrups. I then used a coat of clear danish oil to give it protection and shine, and some dark walnut danish oil to bring out the dark and rich contrast of the walnut.
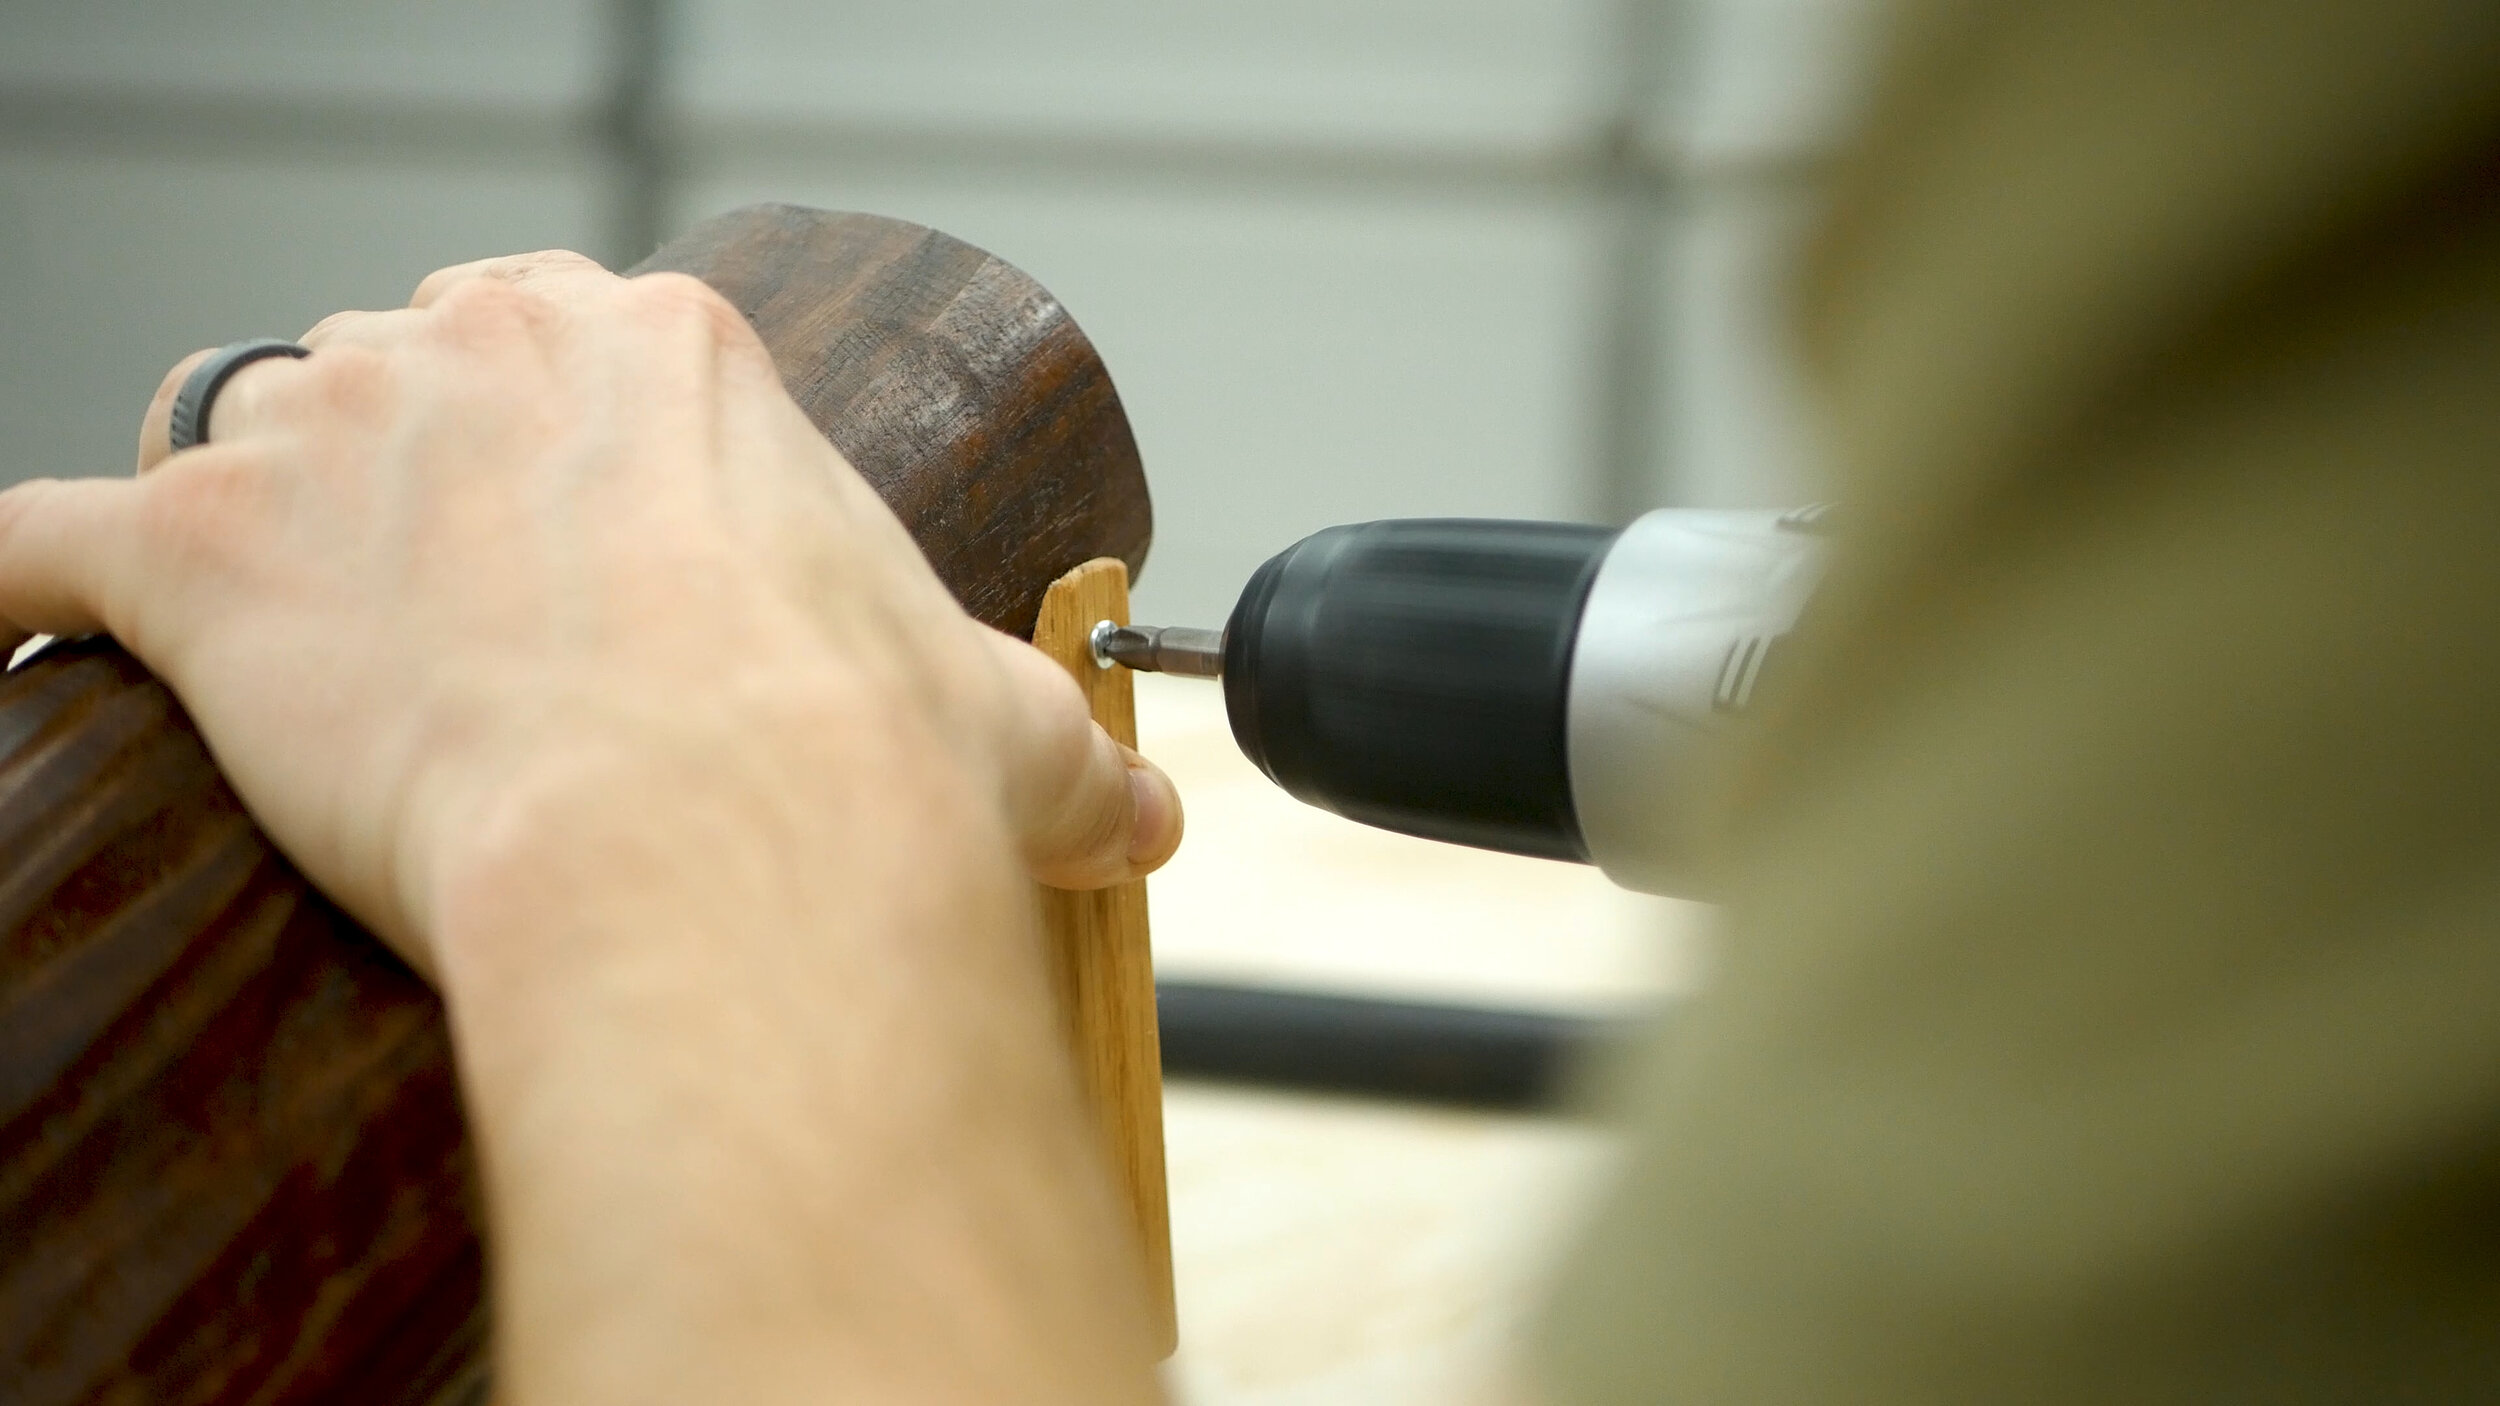
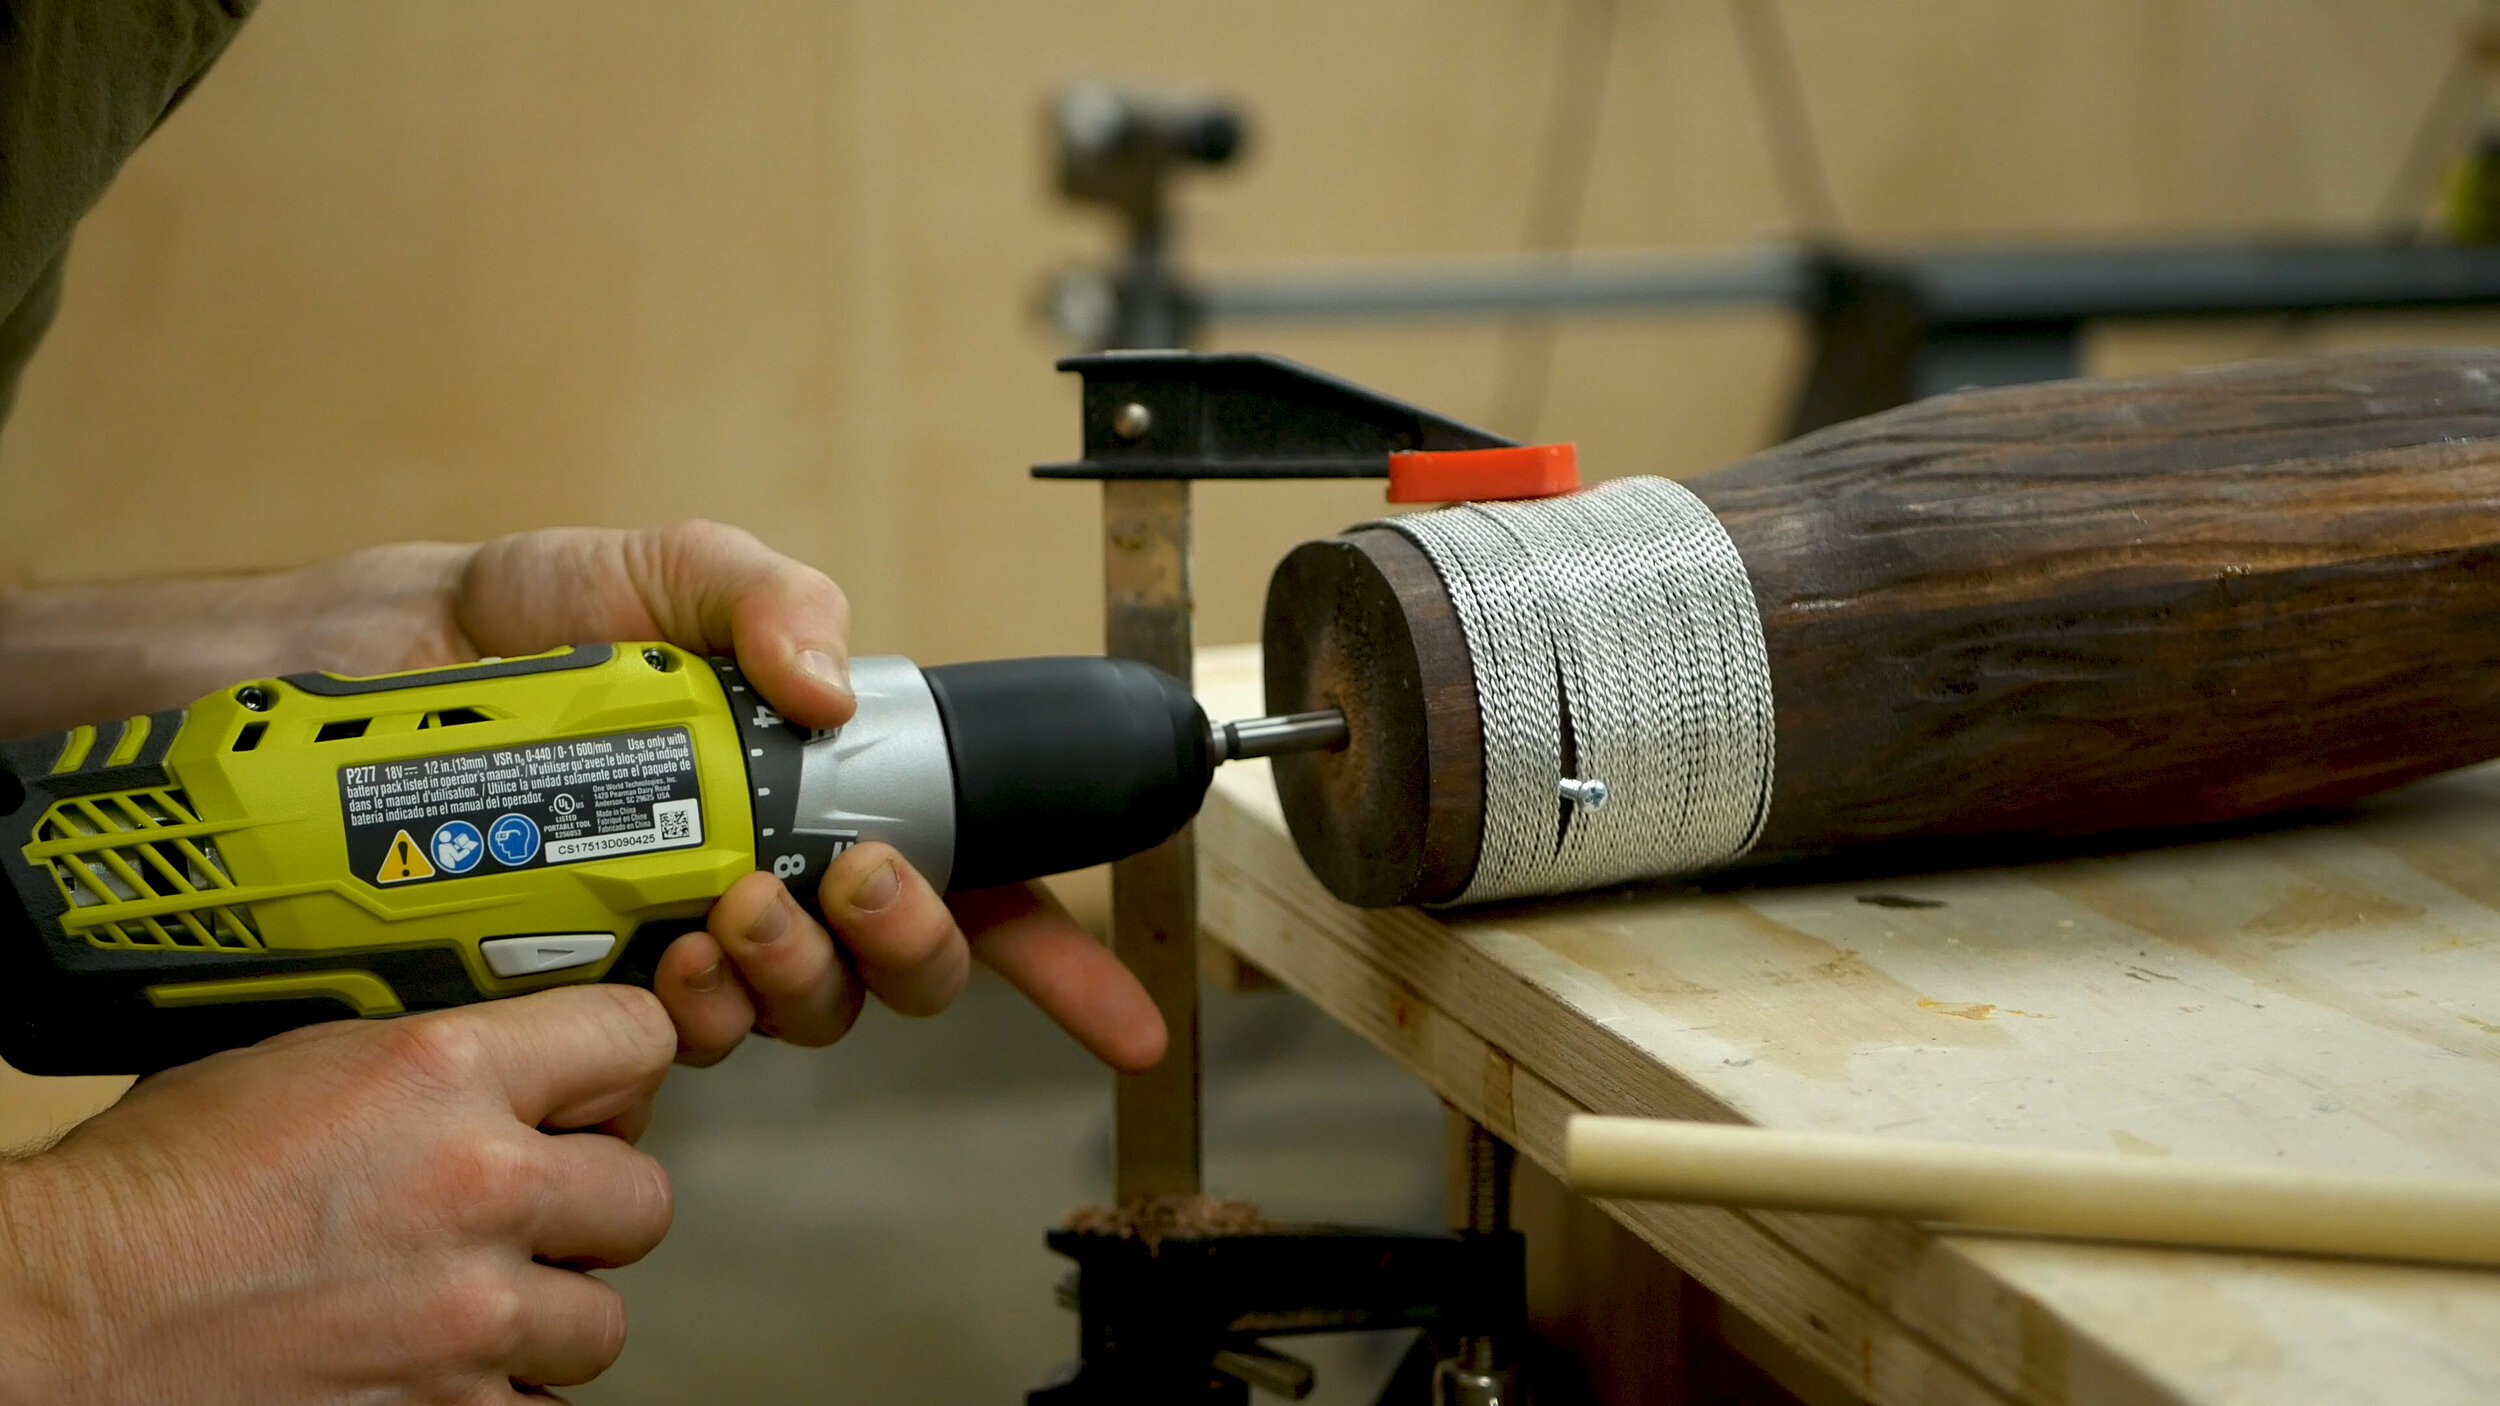
Last up was final finish prep steps before assembling. I drilled pilot holes for the stirrups and then attached using very small stainless steel screws. I then removed the stirrups, screw in the screws as reference, and slowly and carefully wrapped the broom with the twisted MIG wire. To secure it to the broom, I drilled little pilot holes, bent the wire into the holes, and I believe I epoxied them in. Very solid.
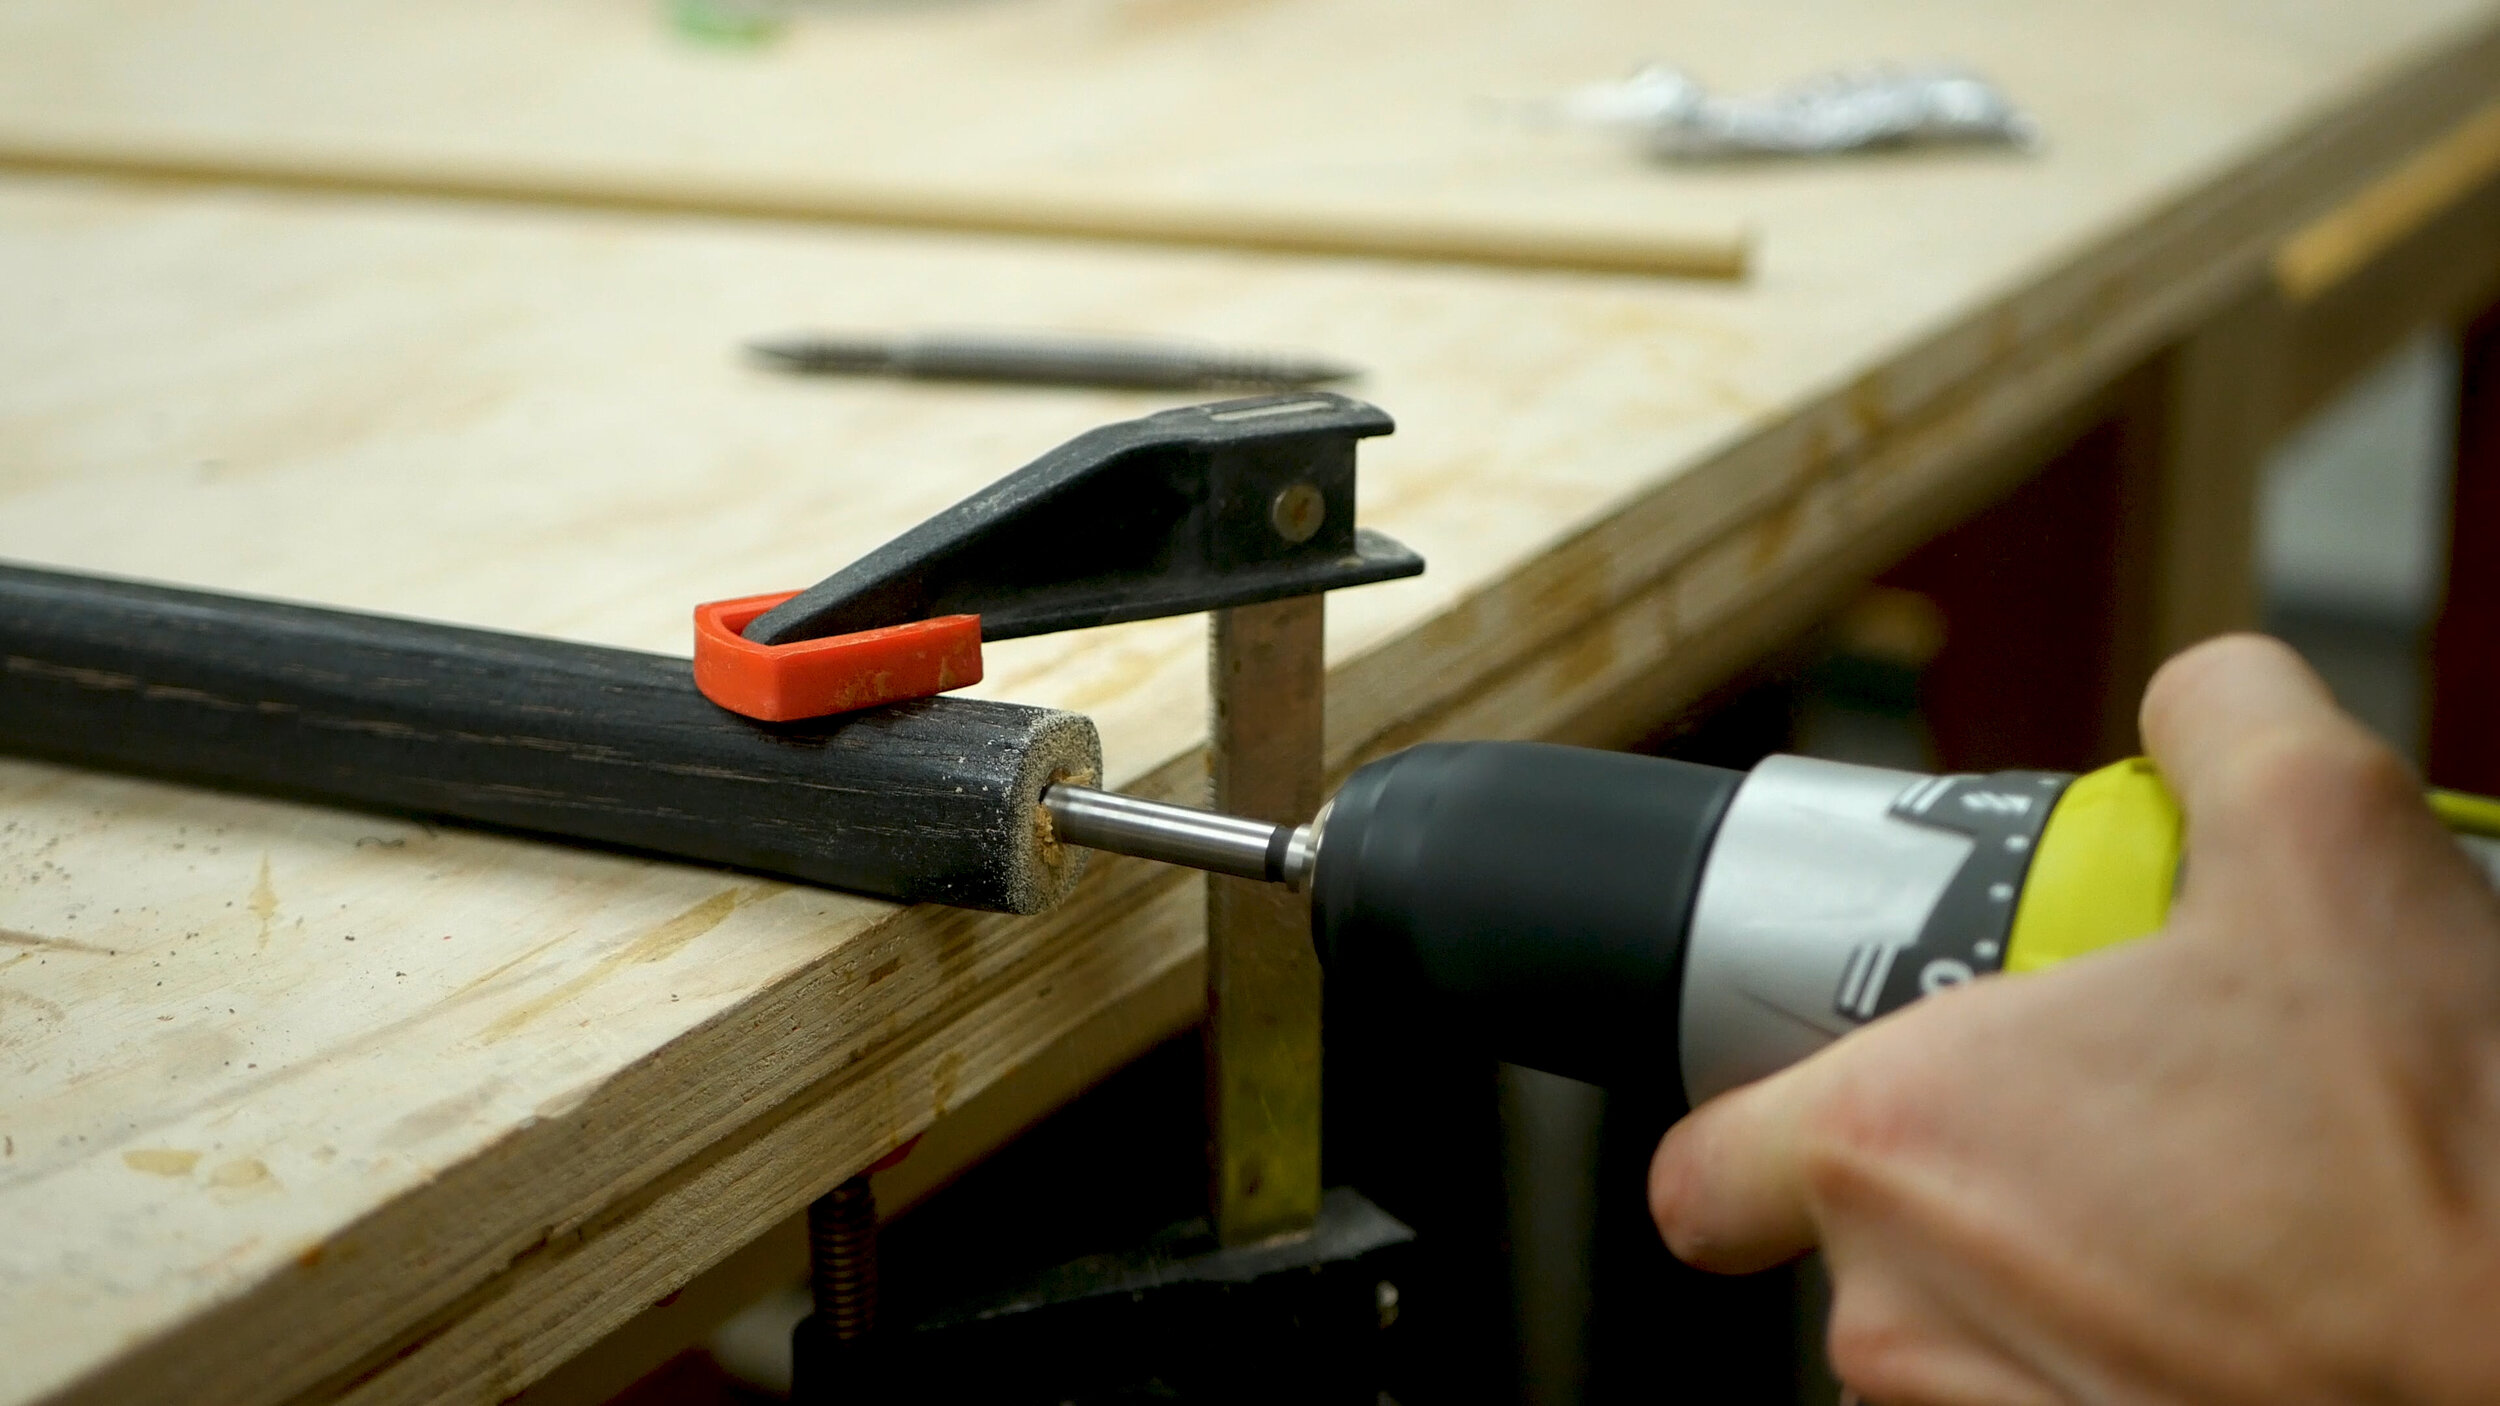

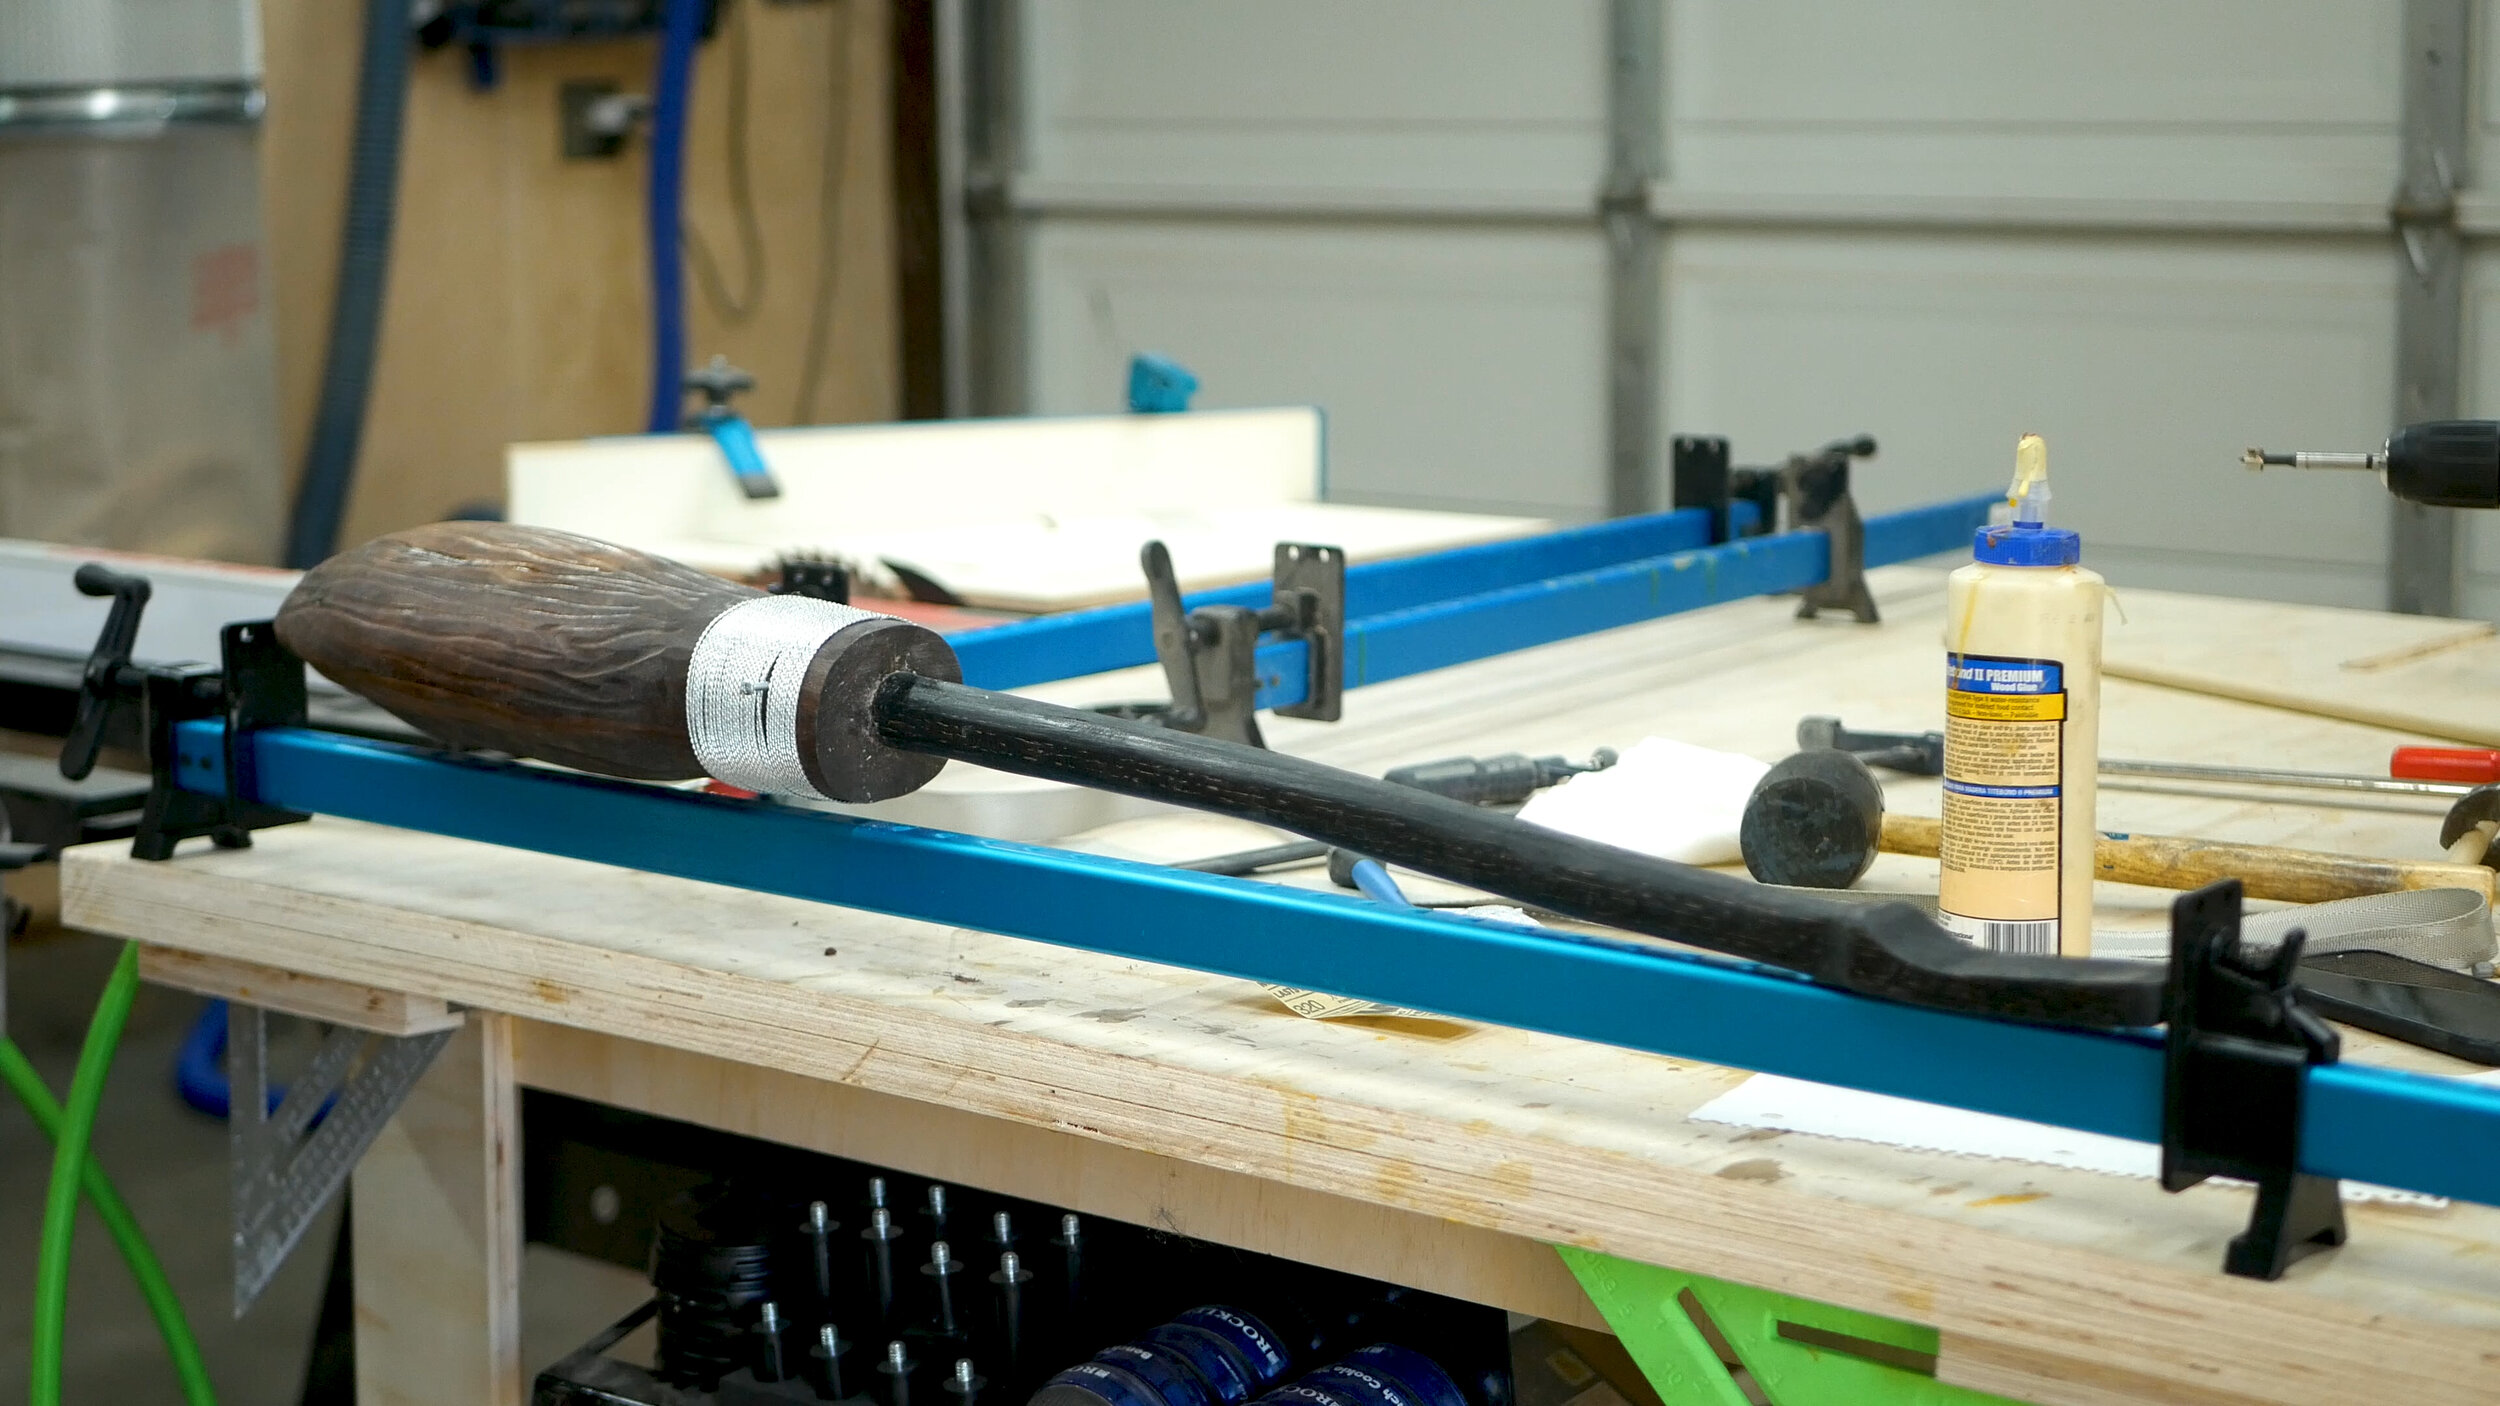
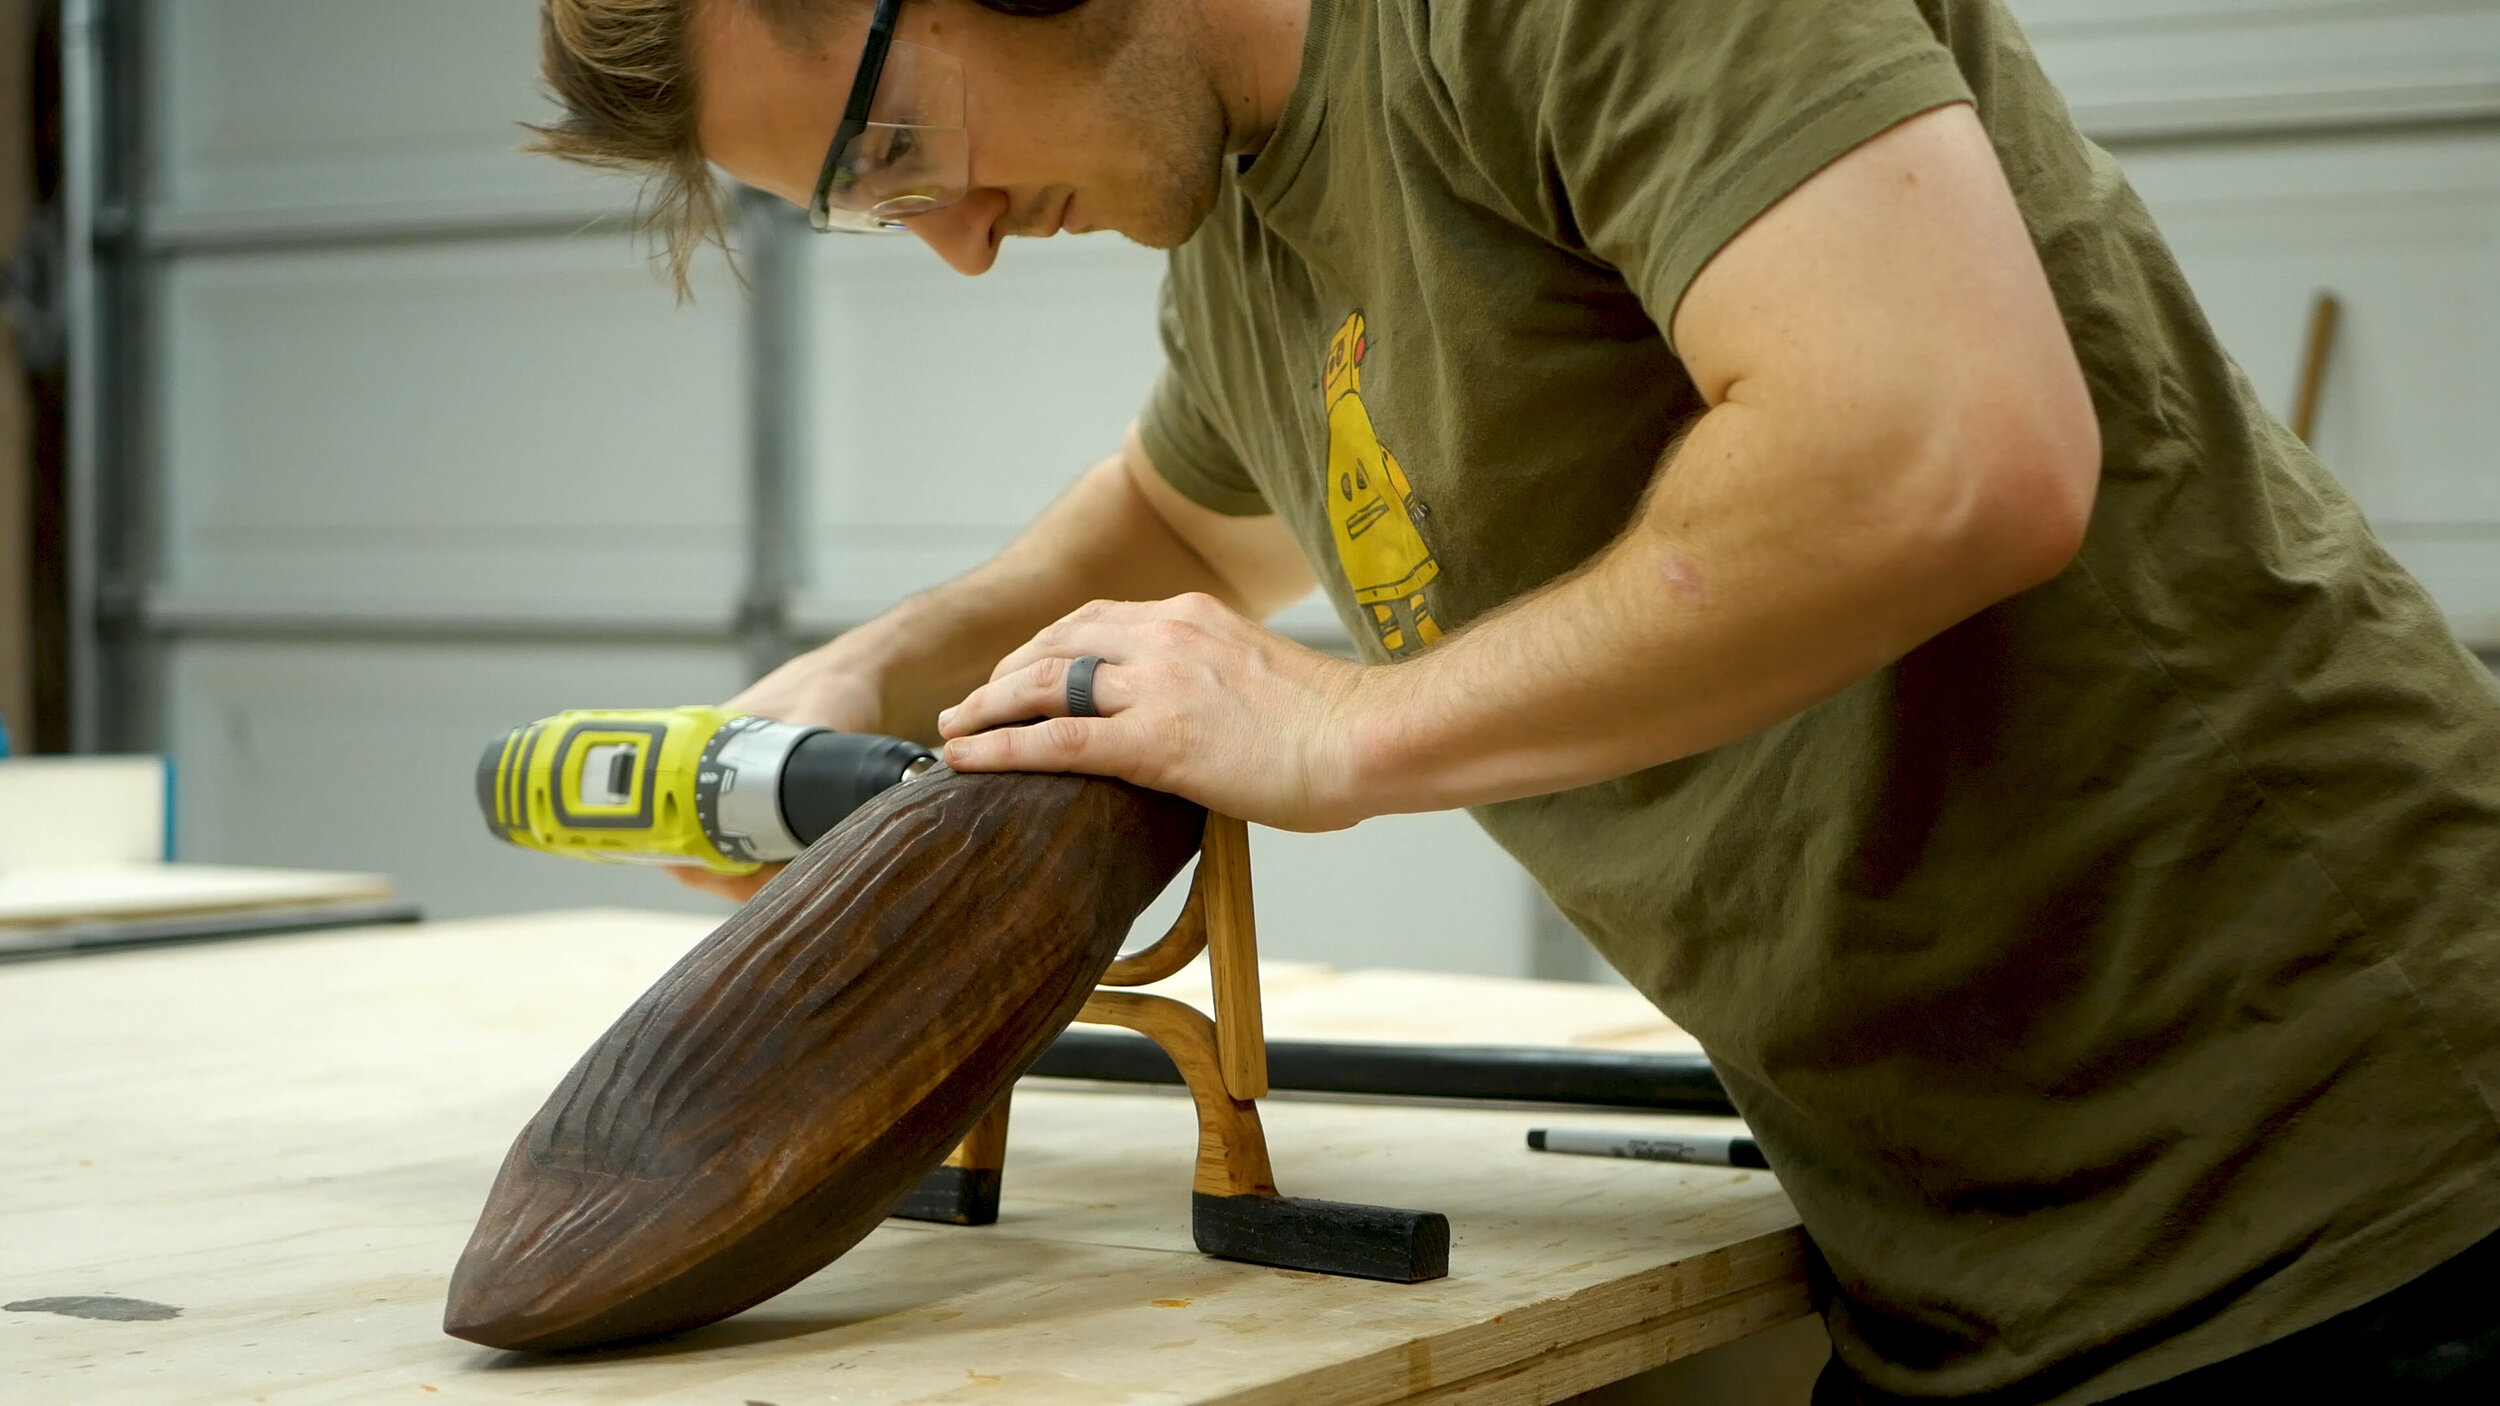
To connect it all together, I drilled a half inch pilot hole in each piece using a forstner bit (Pics 1-2). I then cut up and sanded down a dowel that I could insert into both ends with some glue Pic 3 , and then slowly clamped it all together Pic 4 using a single bar clamp. I took the clamping very slowly to ensure it was all lined up.
After screwing the feet back on - the project was done! It’s a cool 1:2 scaled version of it. I’m not sure what my favorite part is of it - but if I had to choose, it would probably be the rich dark colors of the oxidized oak, followed by the MIG wiring.
Thanks for reading - make sure you check out the video in the first step on my YT channel!
See you around!
Zach