Thanks for checking out the full article!
Full video build is below, followed by detailed instructions with tools and measurements!
You can subscribe to our YouTube channel by clicking here!
This was such a great little project. Scrap hardwood is not easy to come by and is quite pricy when bought, so I wanted to make the most of it. I had the concept for an end grain cutting board project influenced by Homemade-Modern's coffee pour over station design a few months back. Not having the proper tools to do it or the materials, I shelved it until I knew I was ready / skilled enough to pull it off. The time is now!
MATERIALS
African Mahogany Hardwood (About 3 BF of 4/4 Stock at 8.5" long)
TiteBond II Wood Glue
Mineral Oil
Galvanized Pipe (see details below!)
Wood Screws

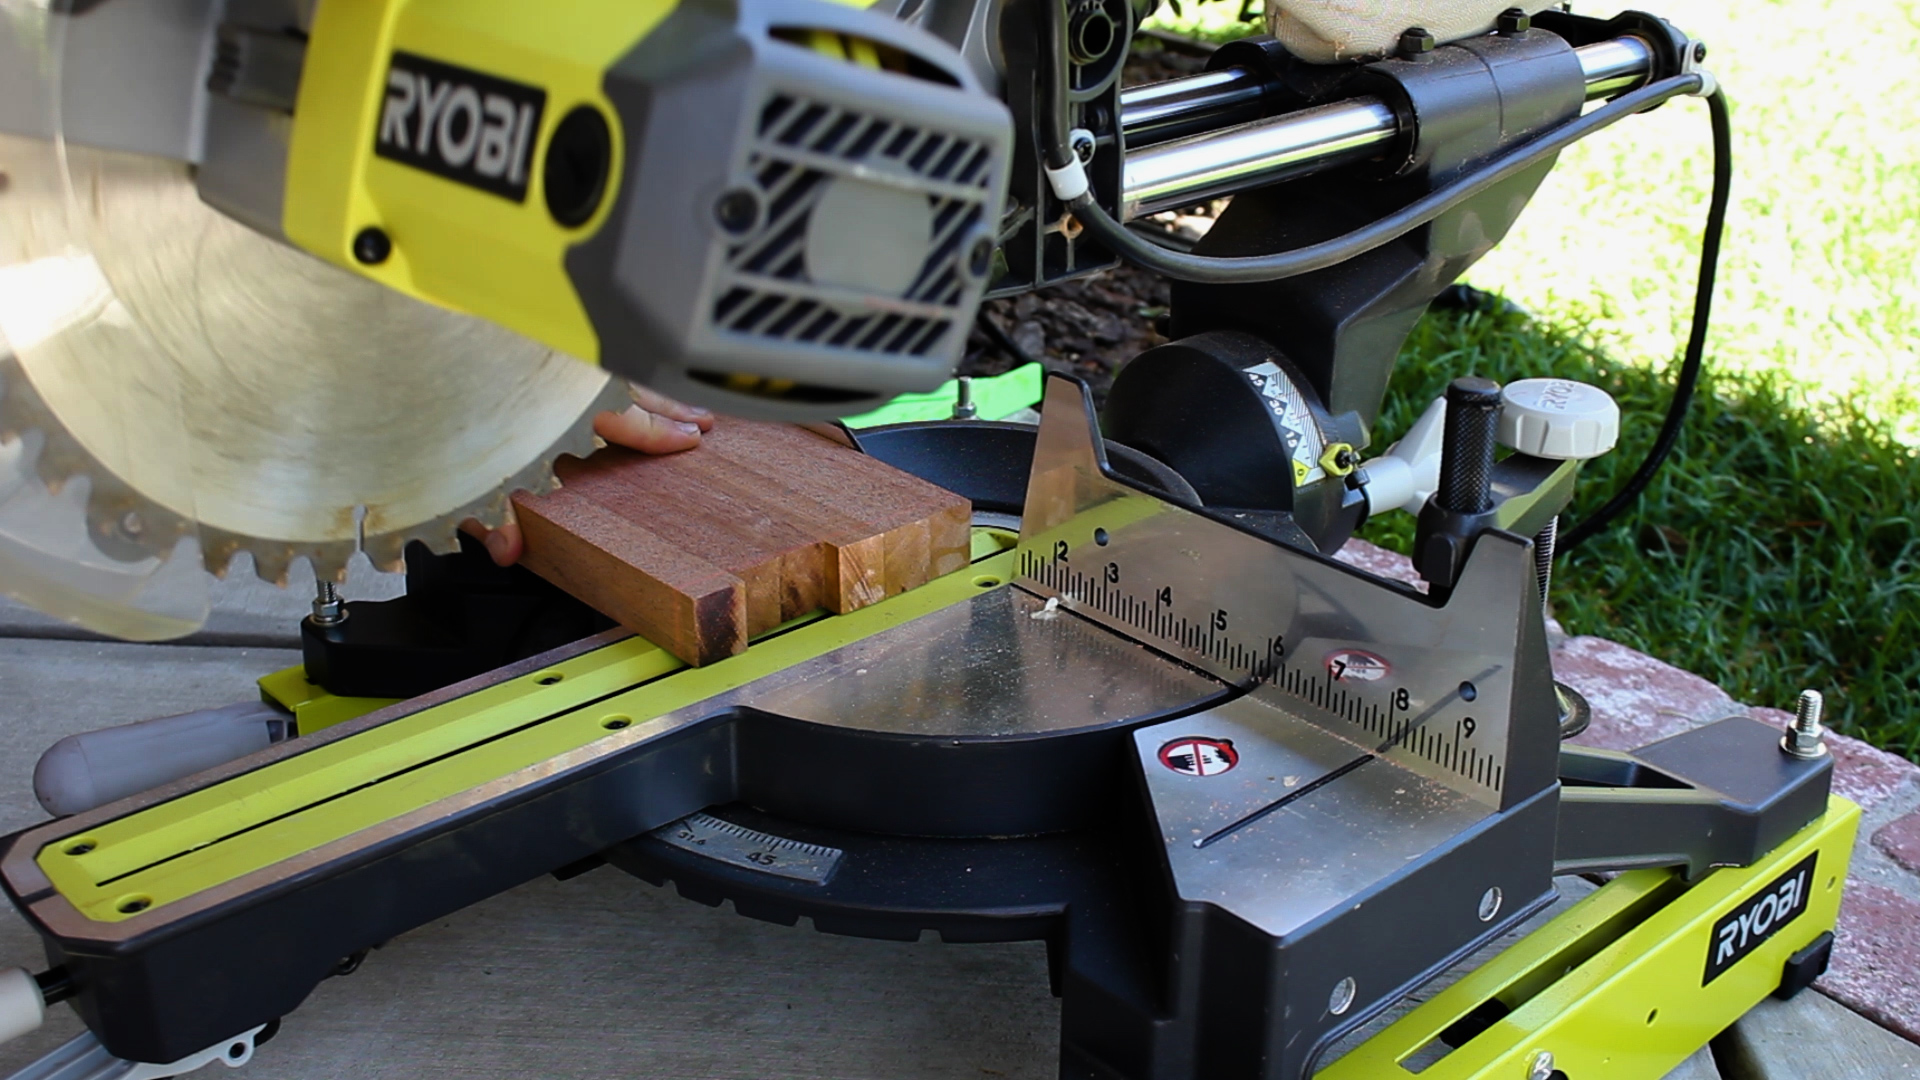
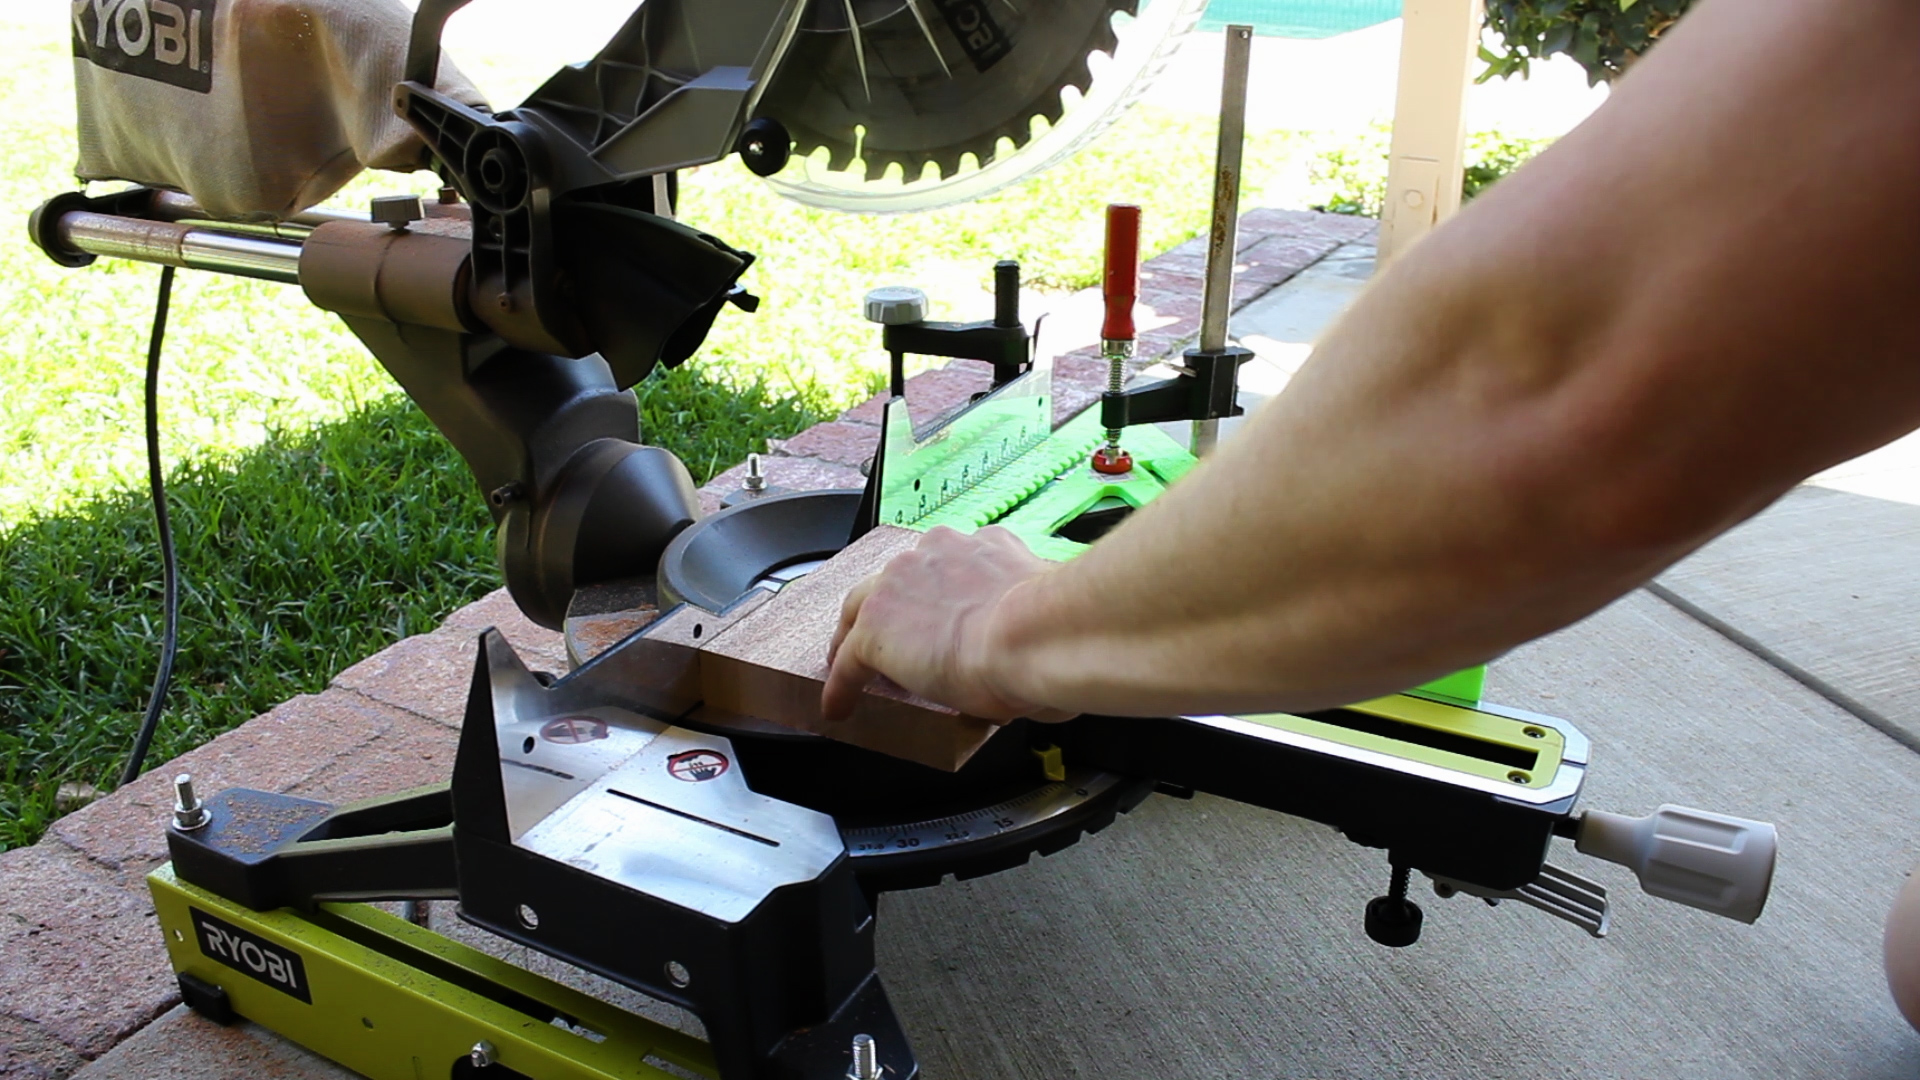
I started by ripping all of my wood into strips at 1.375" on my Miter Saw with the grain. A table saw works better for this if you're looking to do many cuts, but a Miter Saw with a stop was efficient for the number of cuts I made.
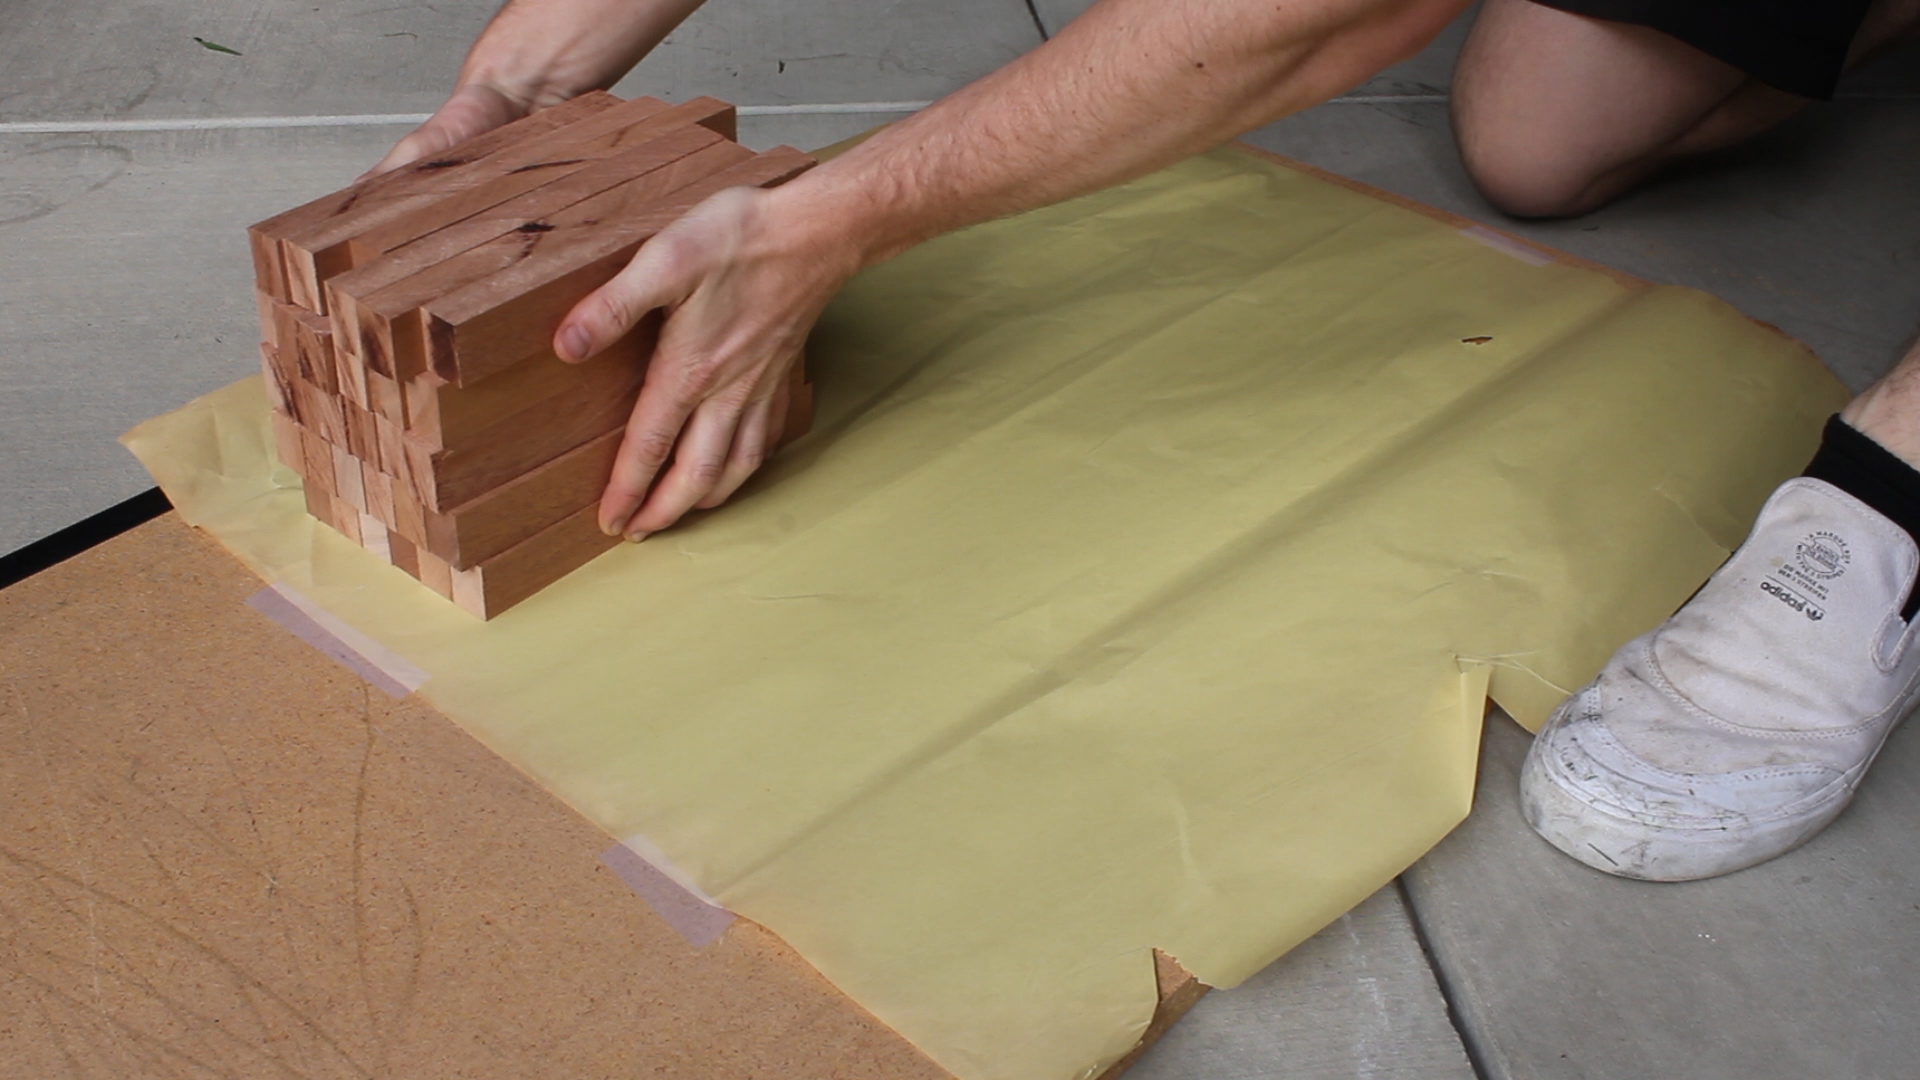
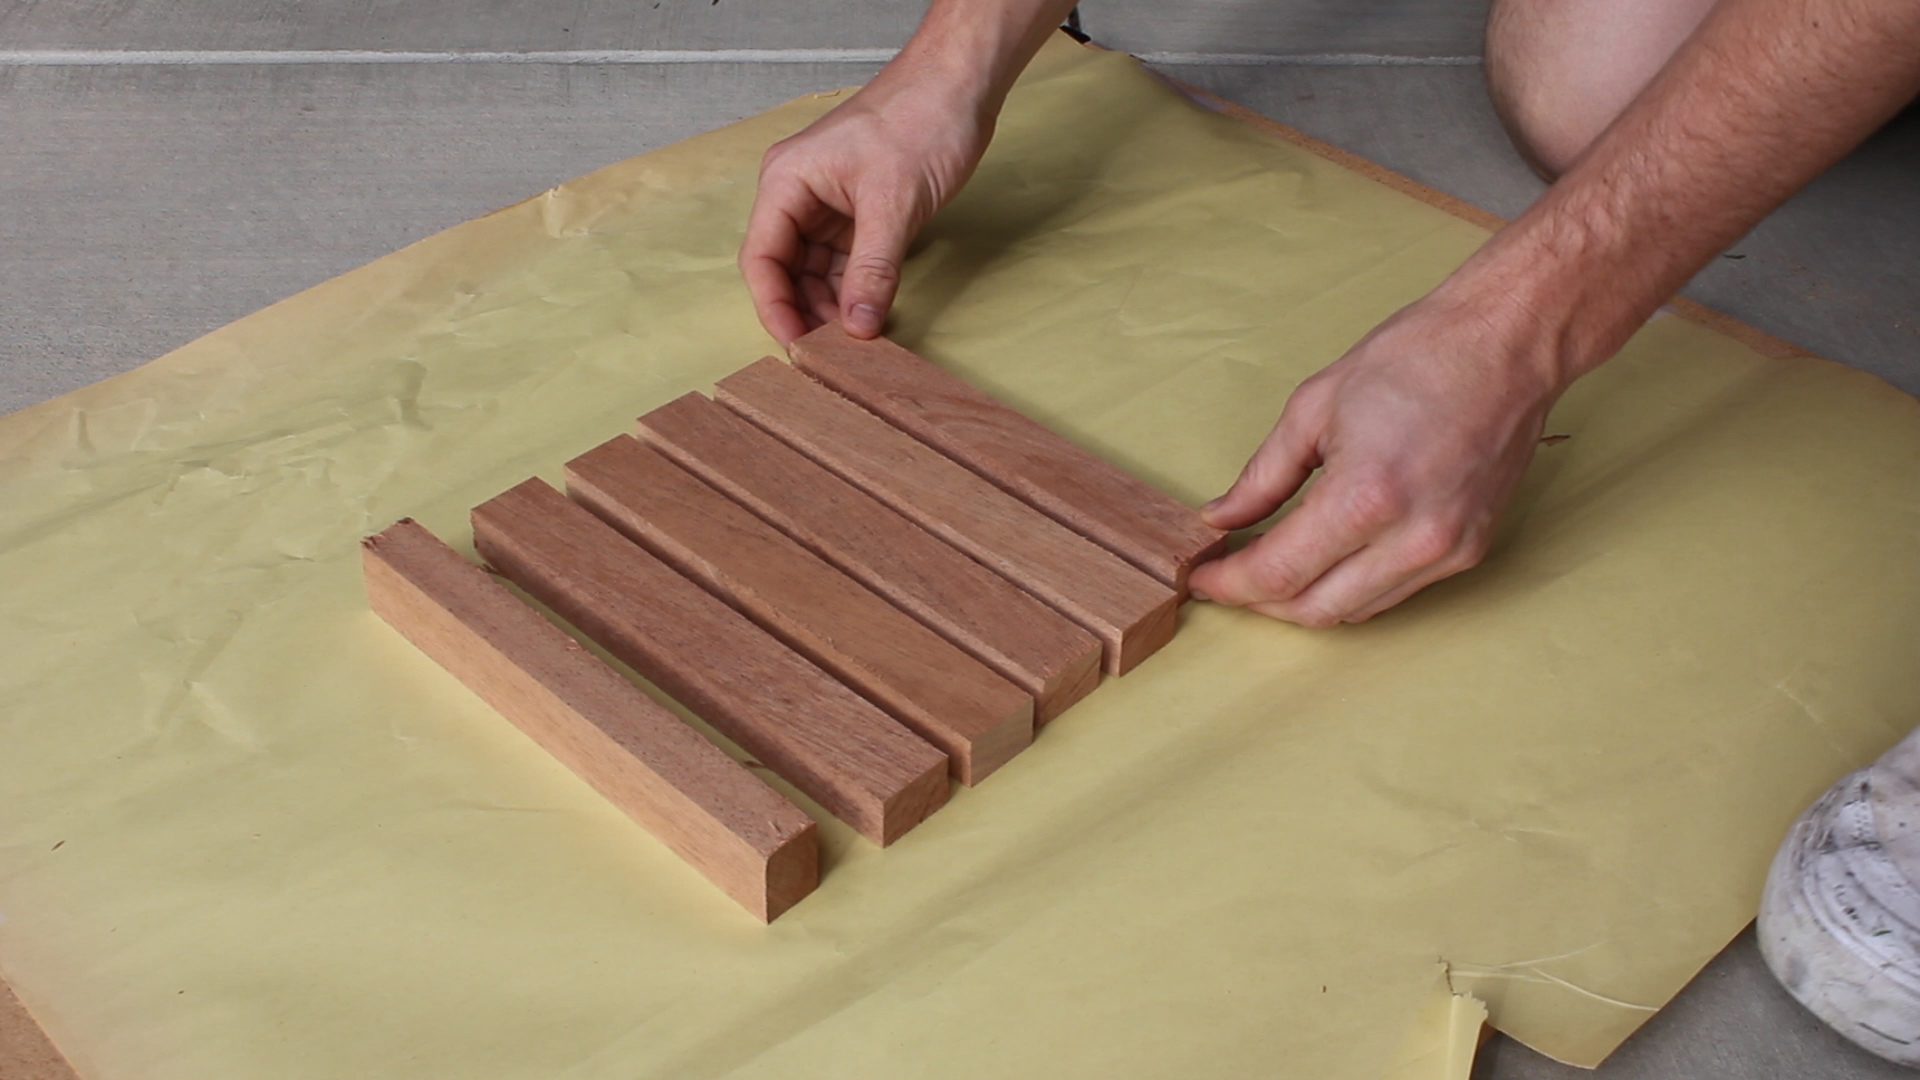
Next, I grouped my strips into sets of six and laminated them together. My one regret here is not mixing up the pieces into more of a pattern based on the various looks of the end grain. Next time!
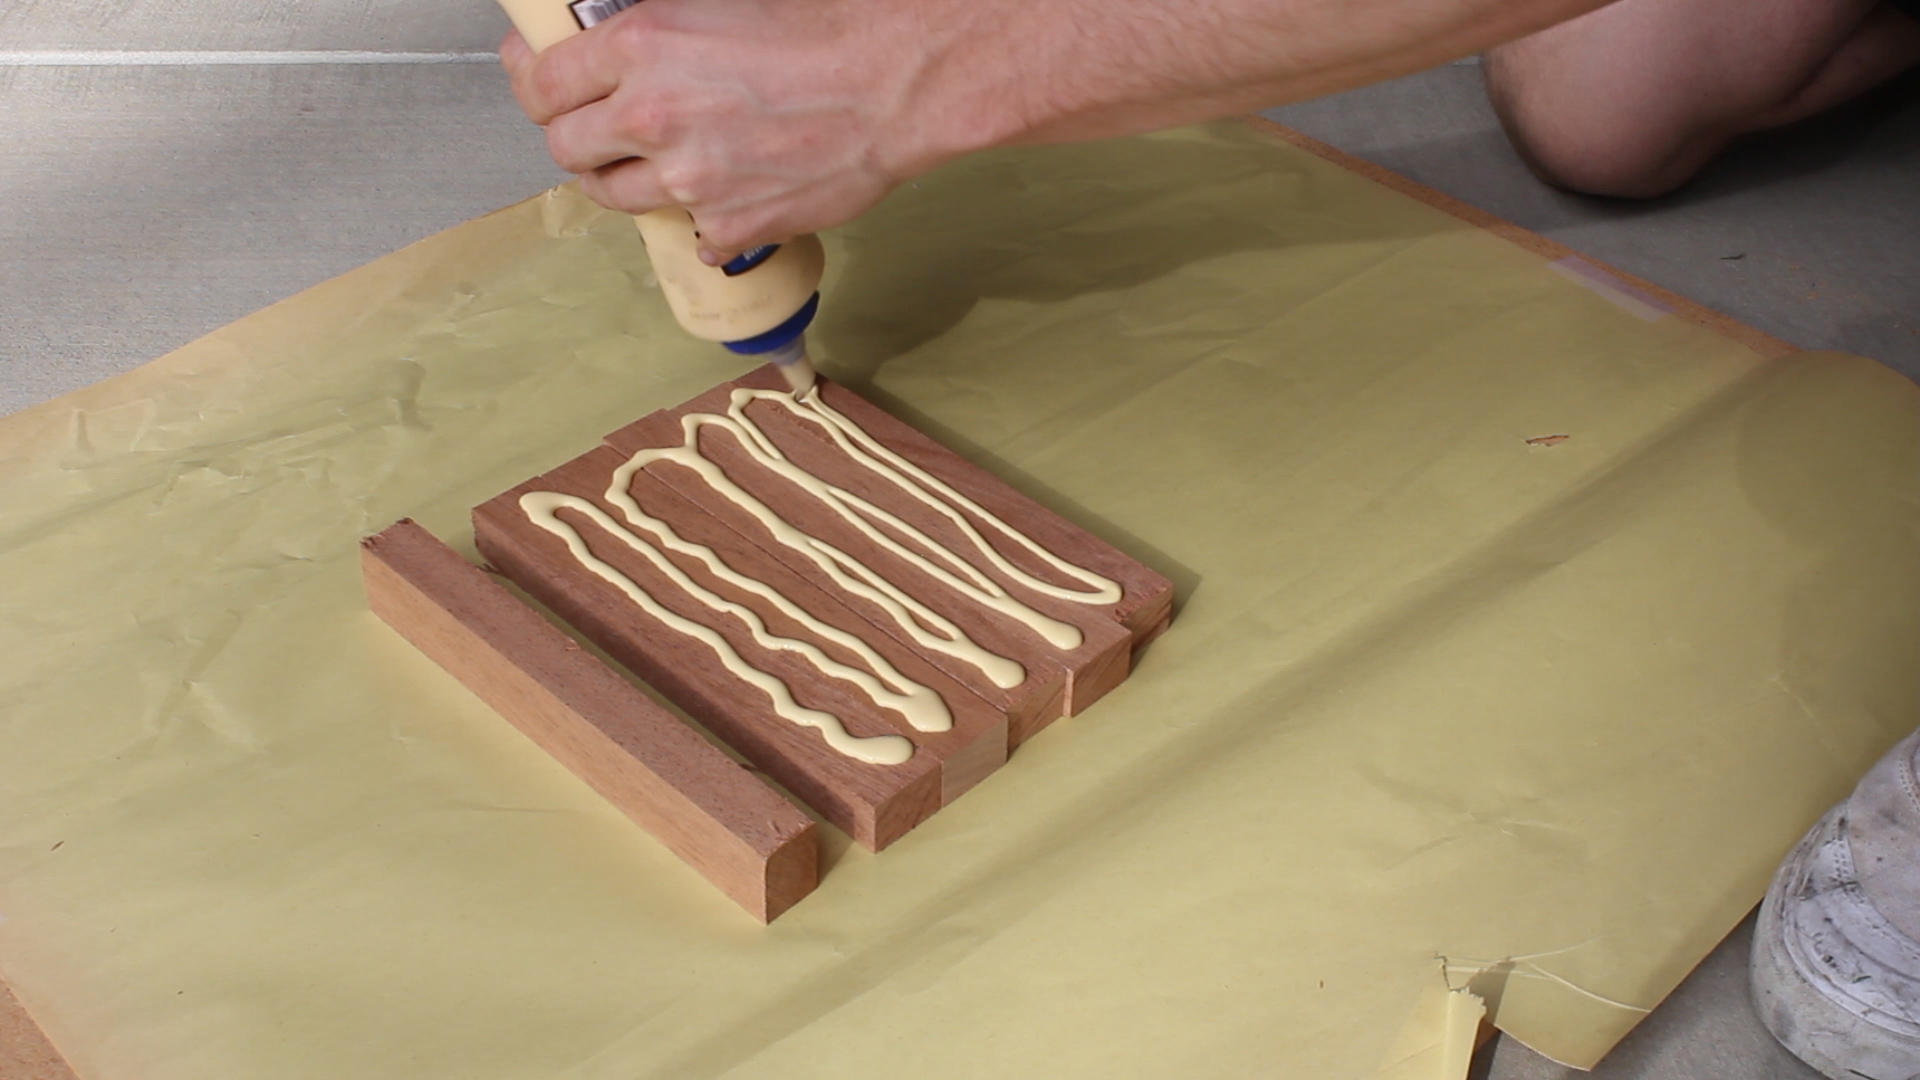
Make sure you use lots of glue and a credit card make it very easy to spread and cover all of the surfaces.

I then clamped all my sets of 6 to dry overnight. I lined up the ends as much as I could and used a mallet and a scrap piece to keep everything very flat (or as much as I could!)
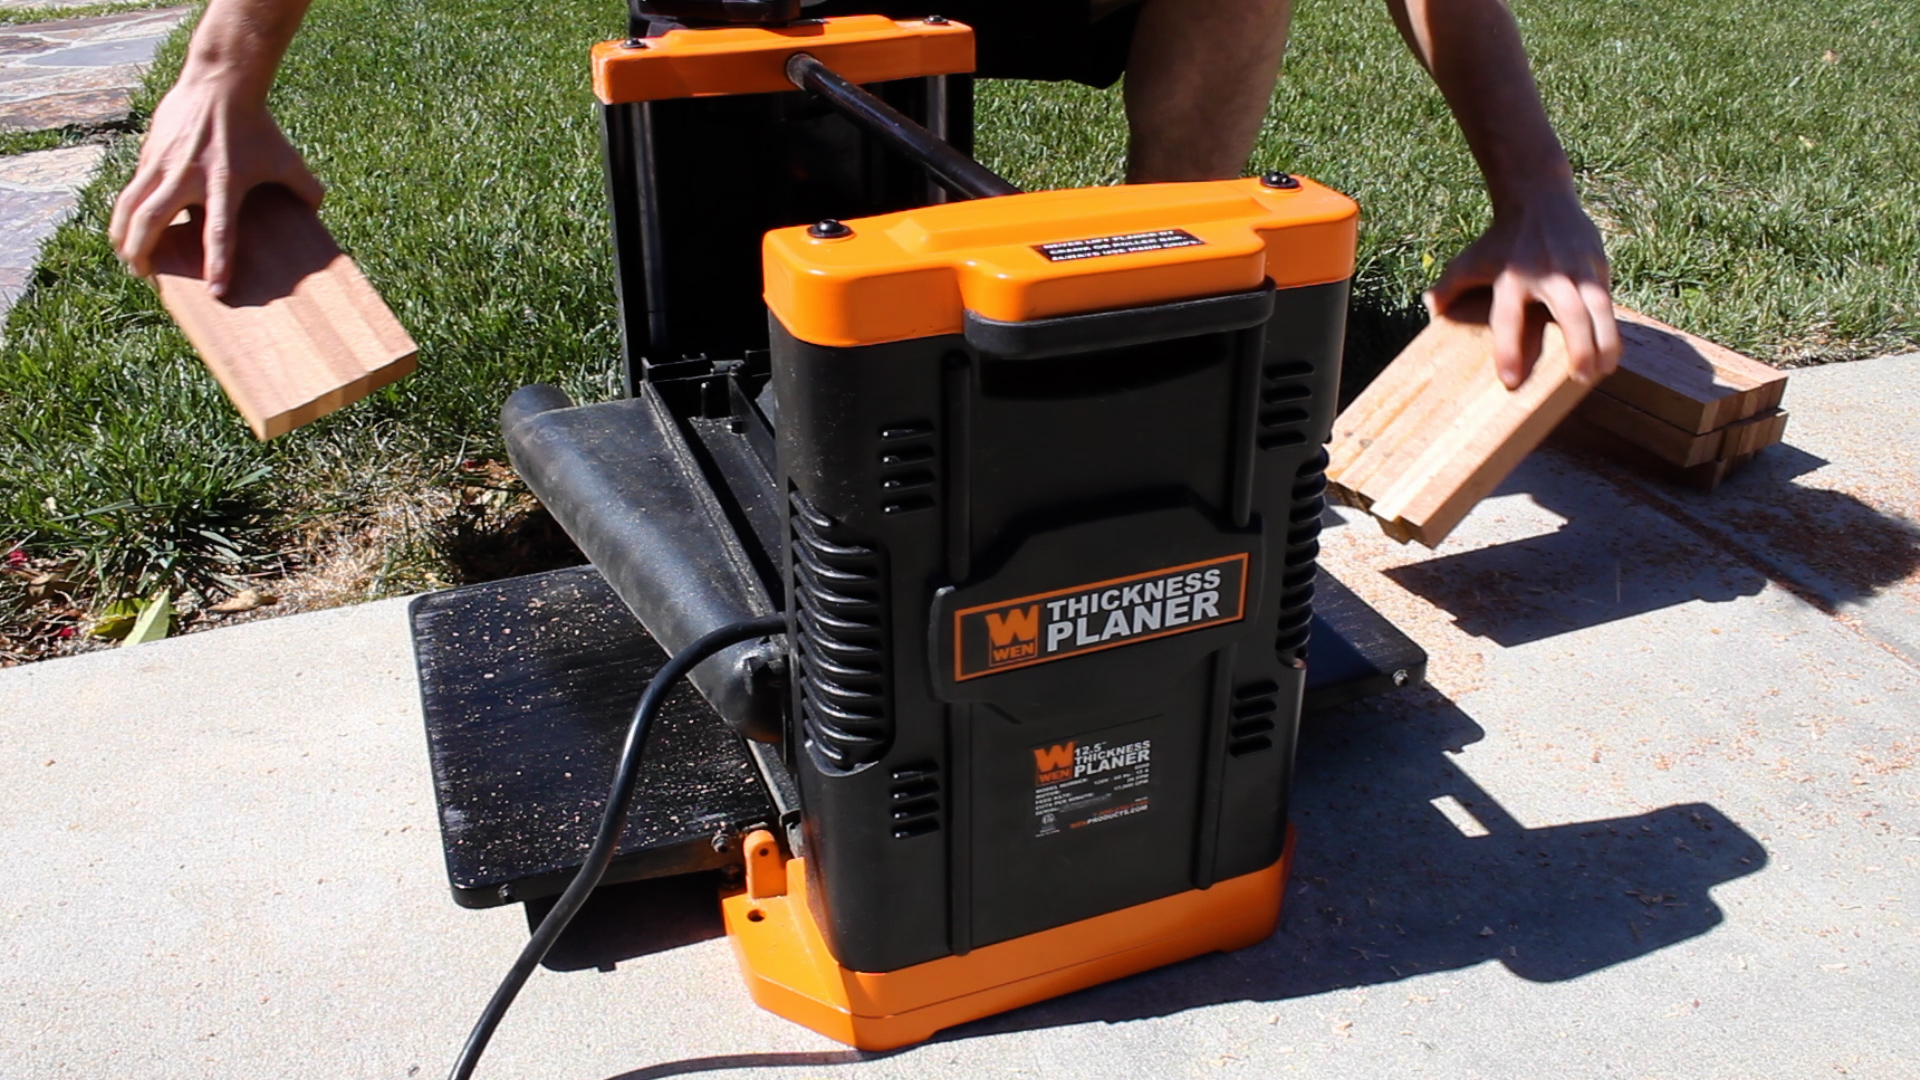
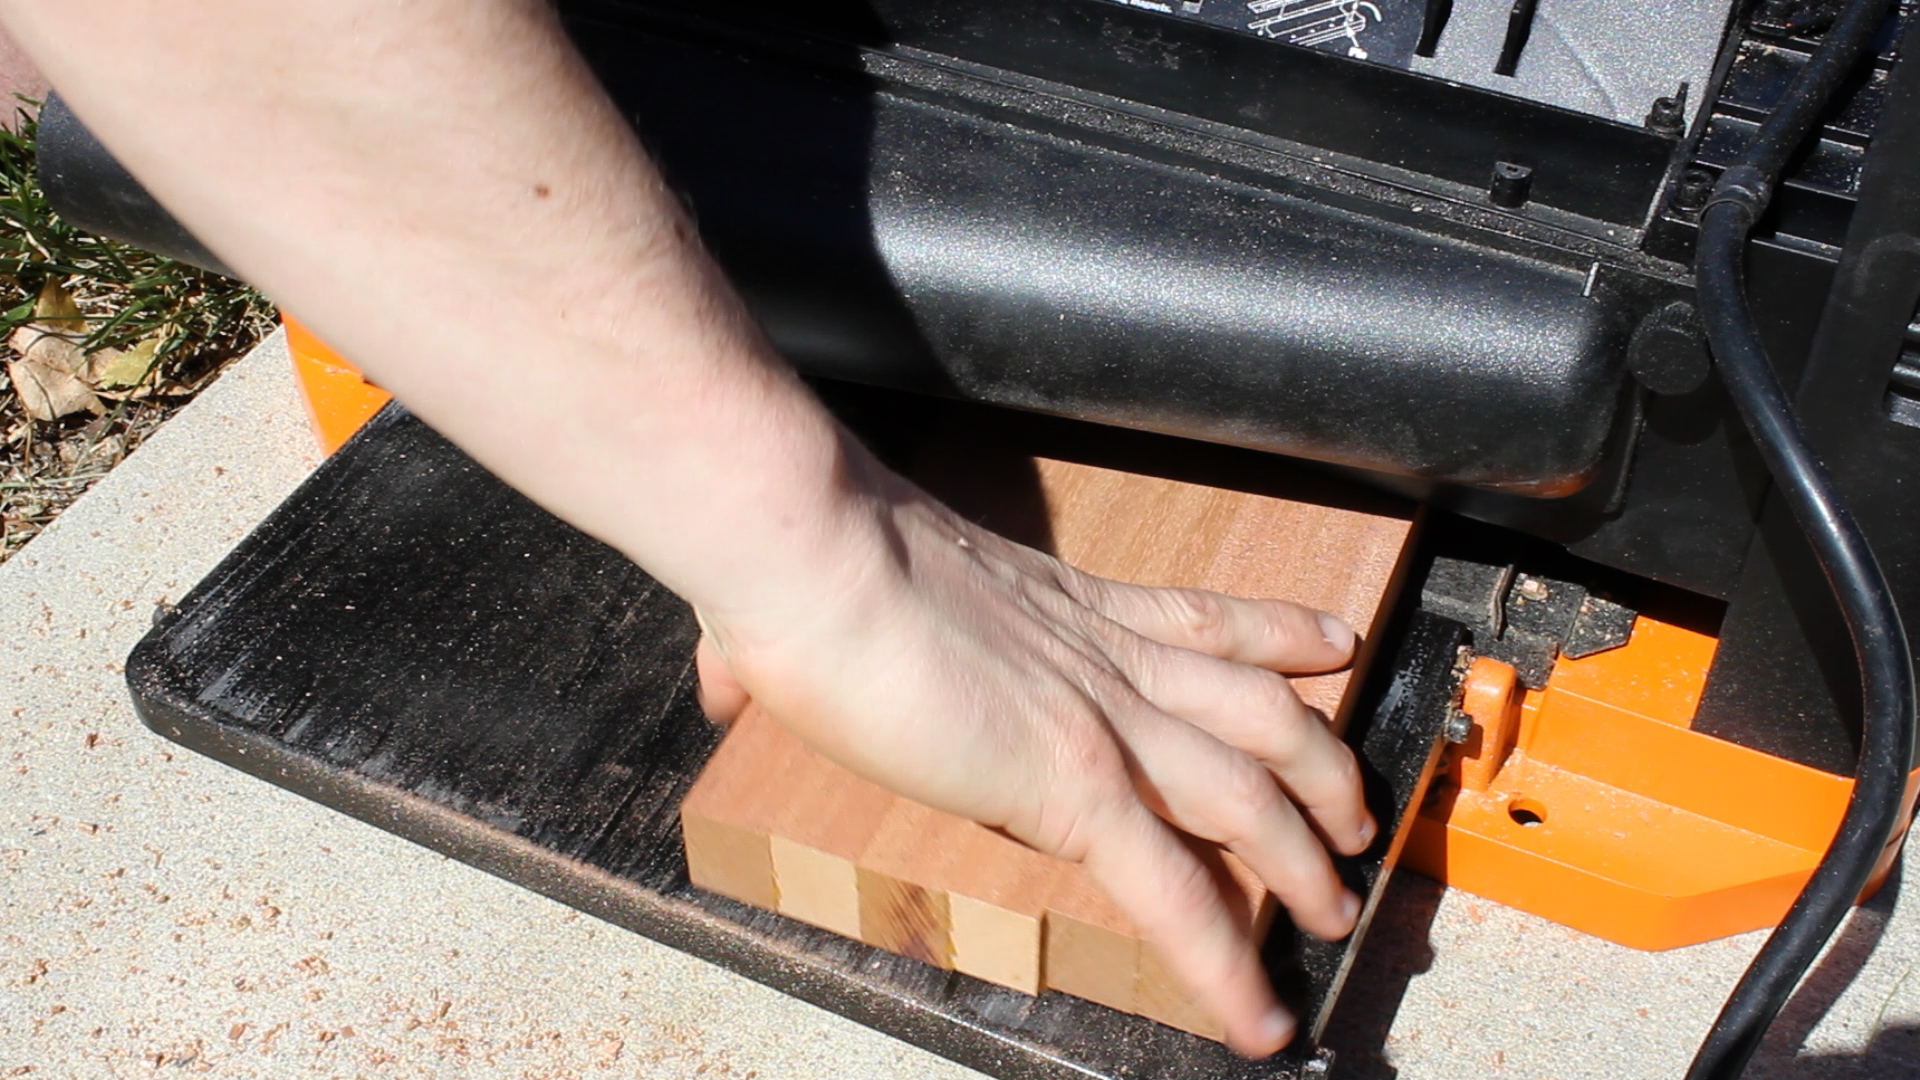
The next day, I ran my pieces through the planer. The manual recommends to not plane anything shorter than 12 inches, but the key should be to not plane anything shorter than the distance between the two rollers of your planer. Otherwise, it will get caught and I honestly couldn't tell you what kinds of things might happen then. If I had to guess, a black hole will open up and the earth will collapse on itself. So tread lightly. My pieces ere 8.5 inches, so I was set to plane and it all came out great. I then square up the sizes of each piece in preparation for ripping strips again.
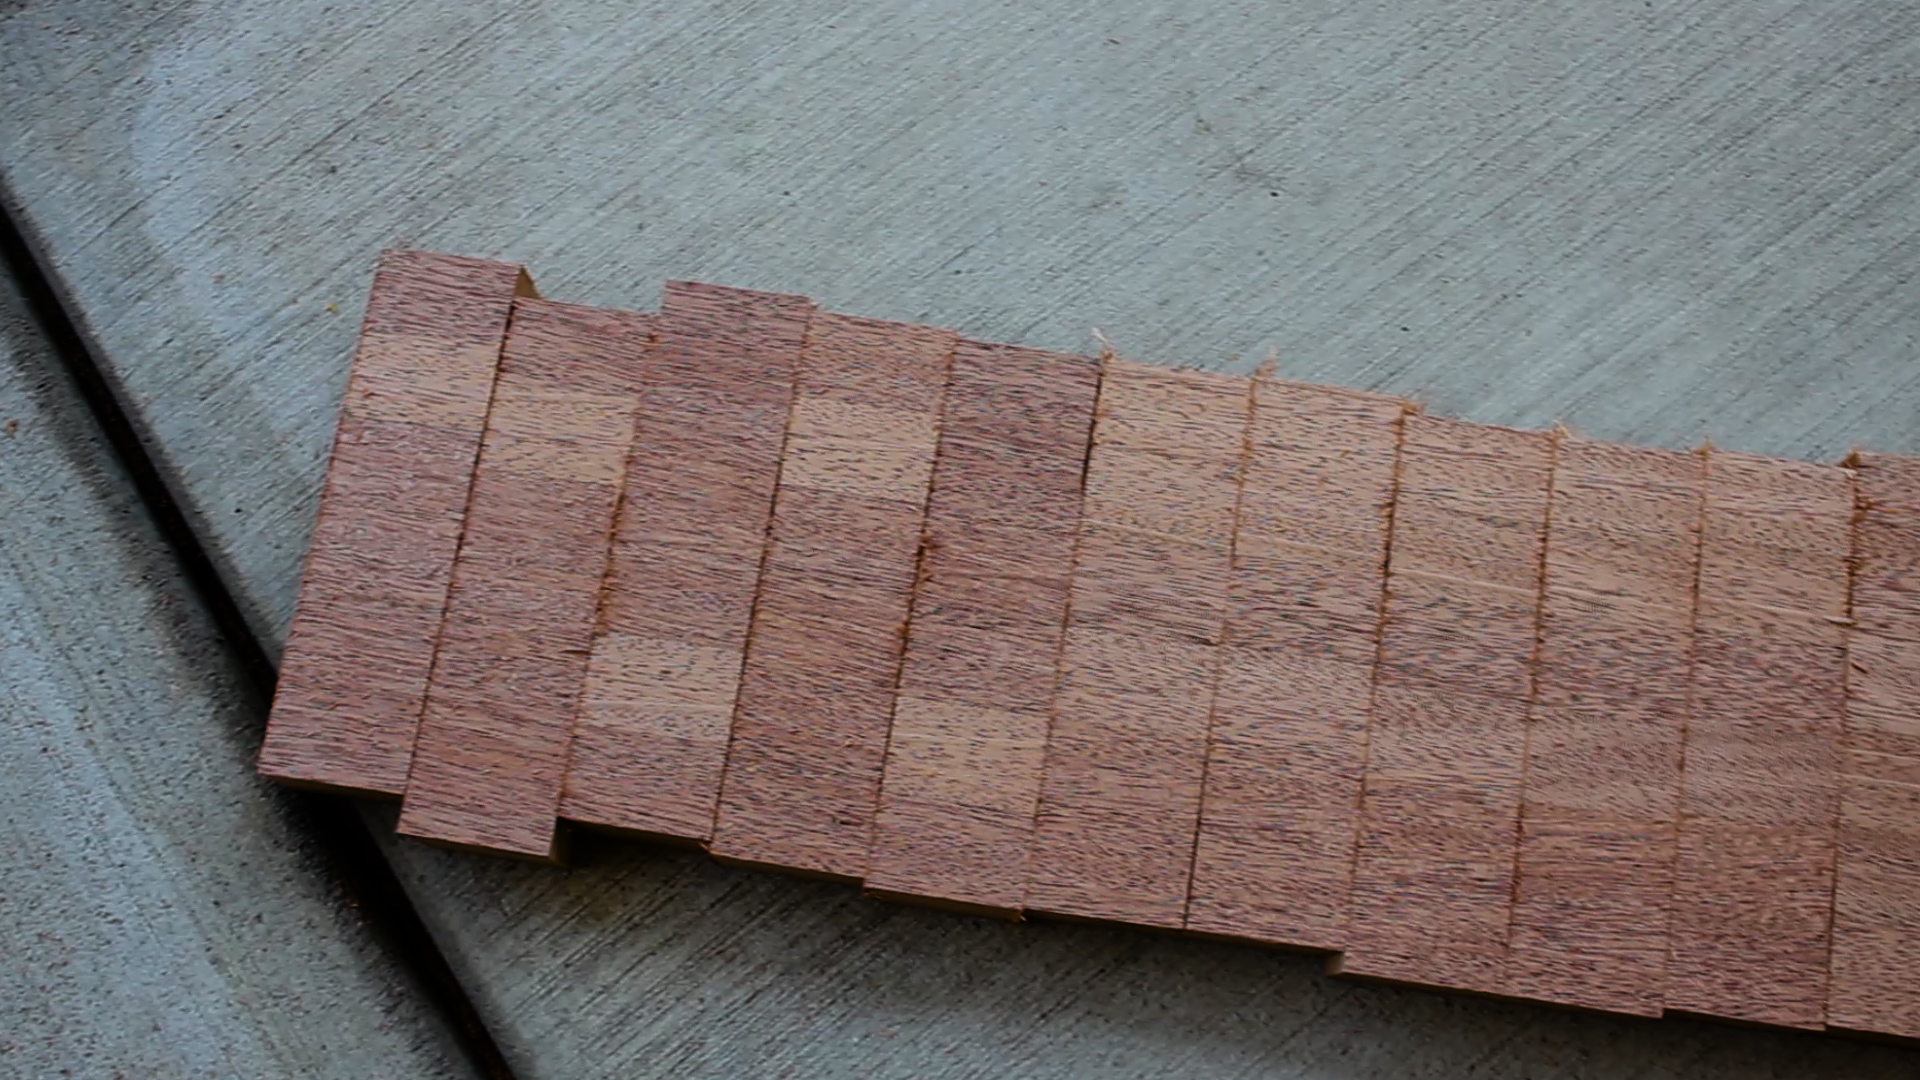
I ripped 25 total strips at 1.5" from my 5 pieces, meaning I could get two boards (one with 12 strips, one with 13).
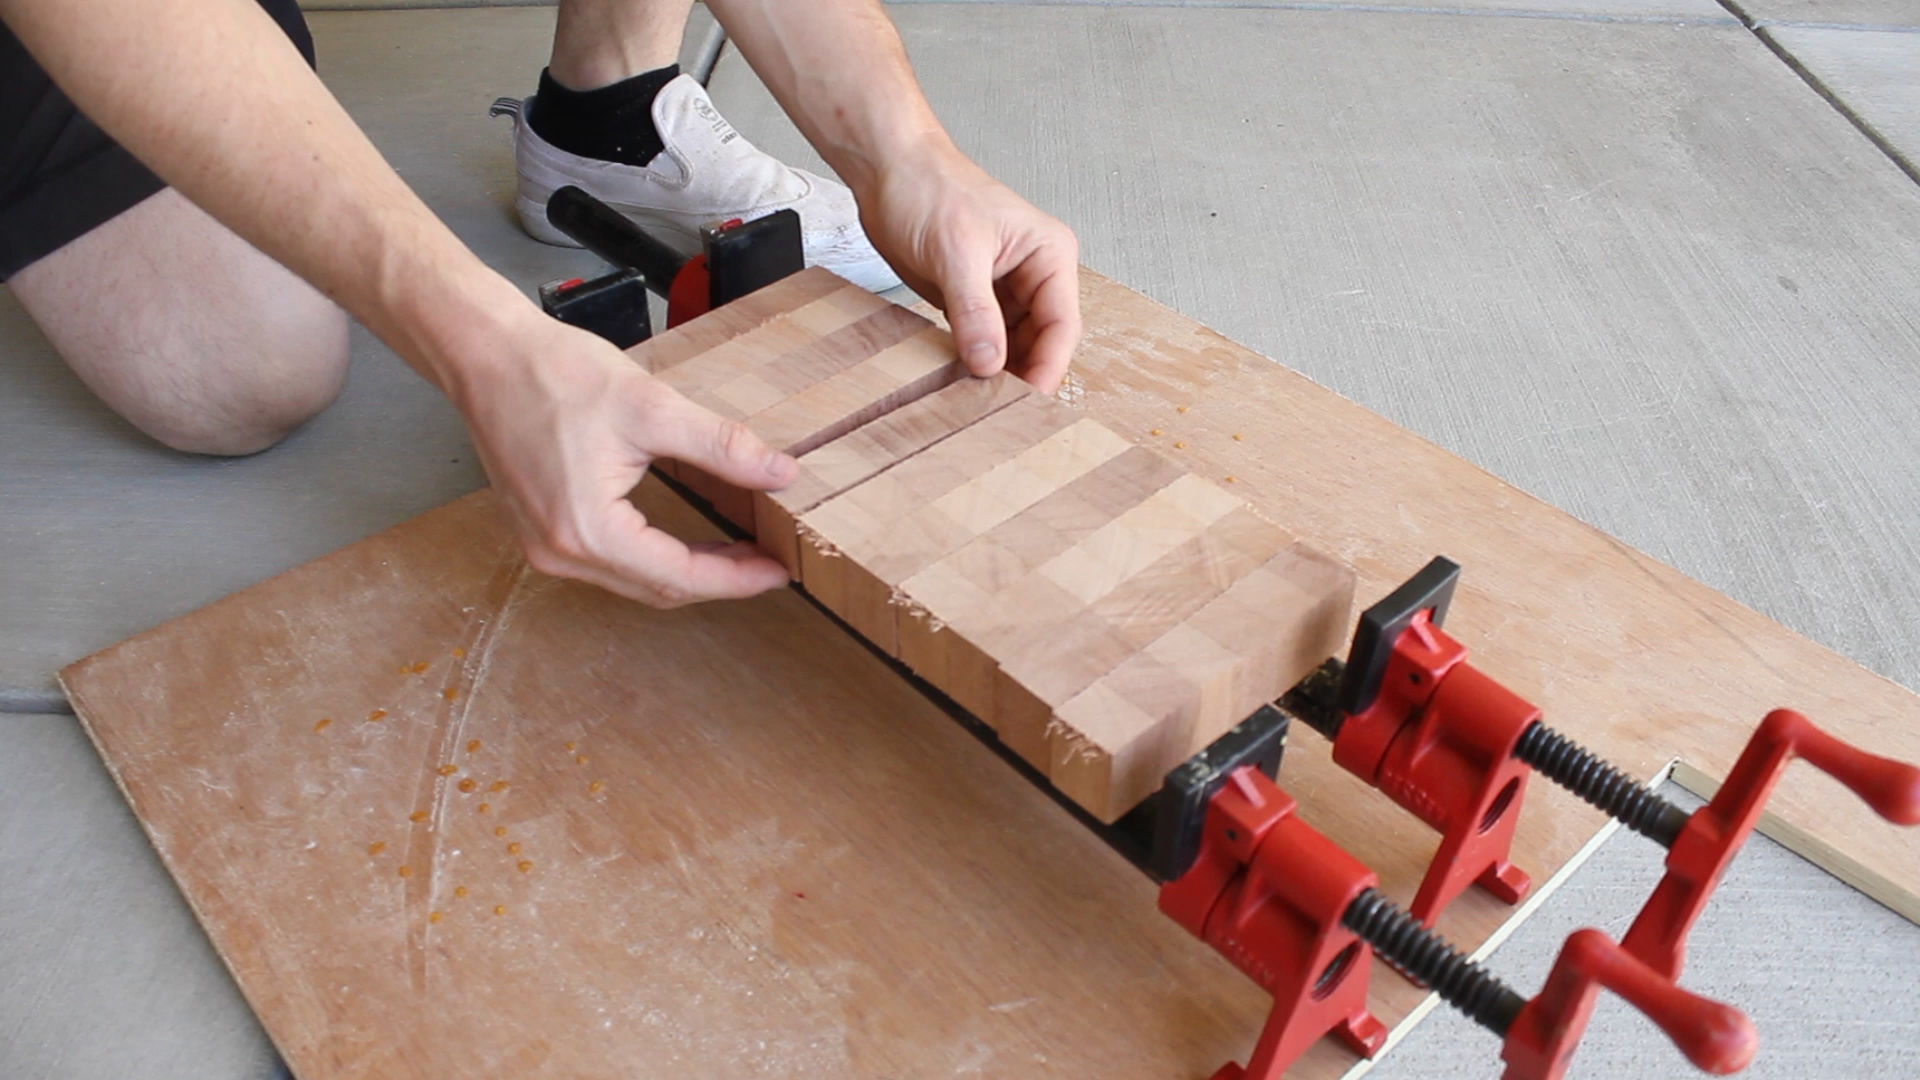
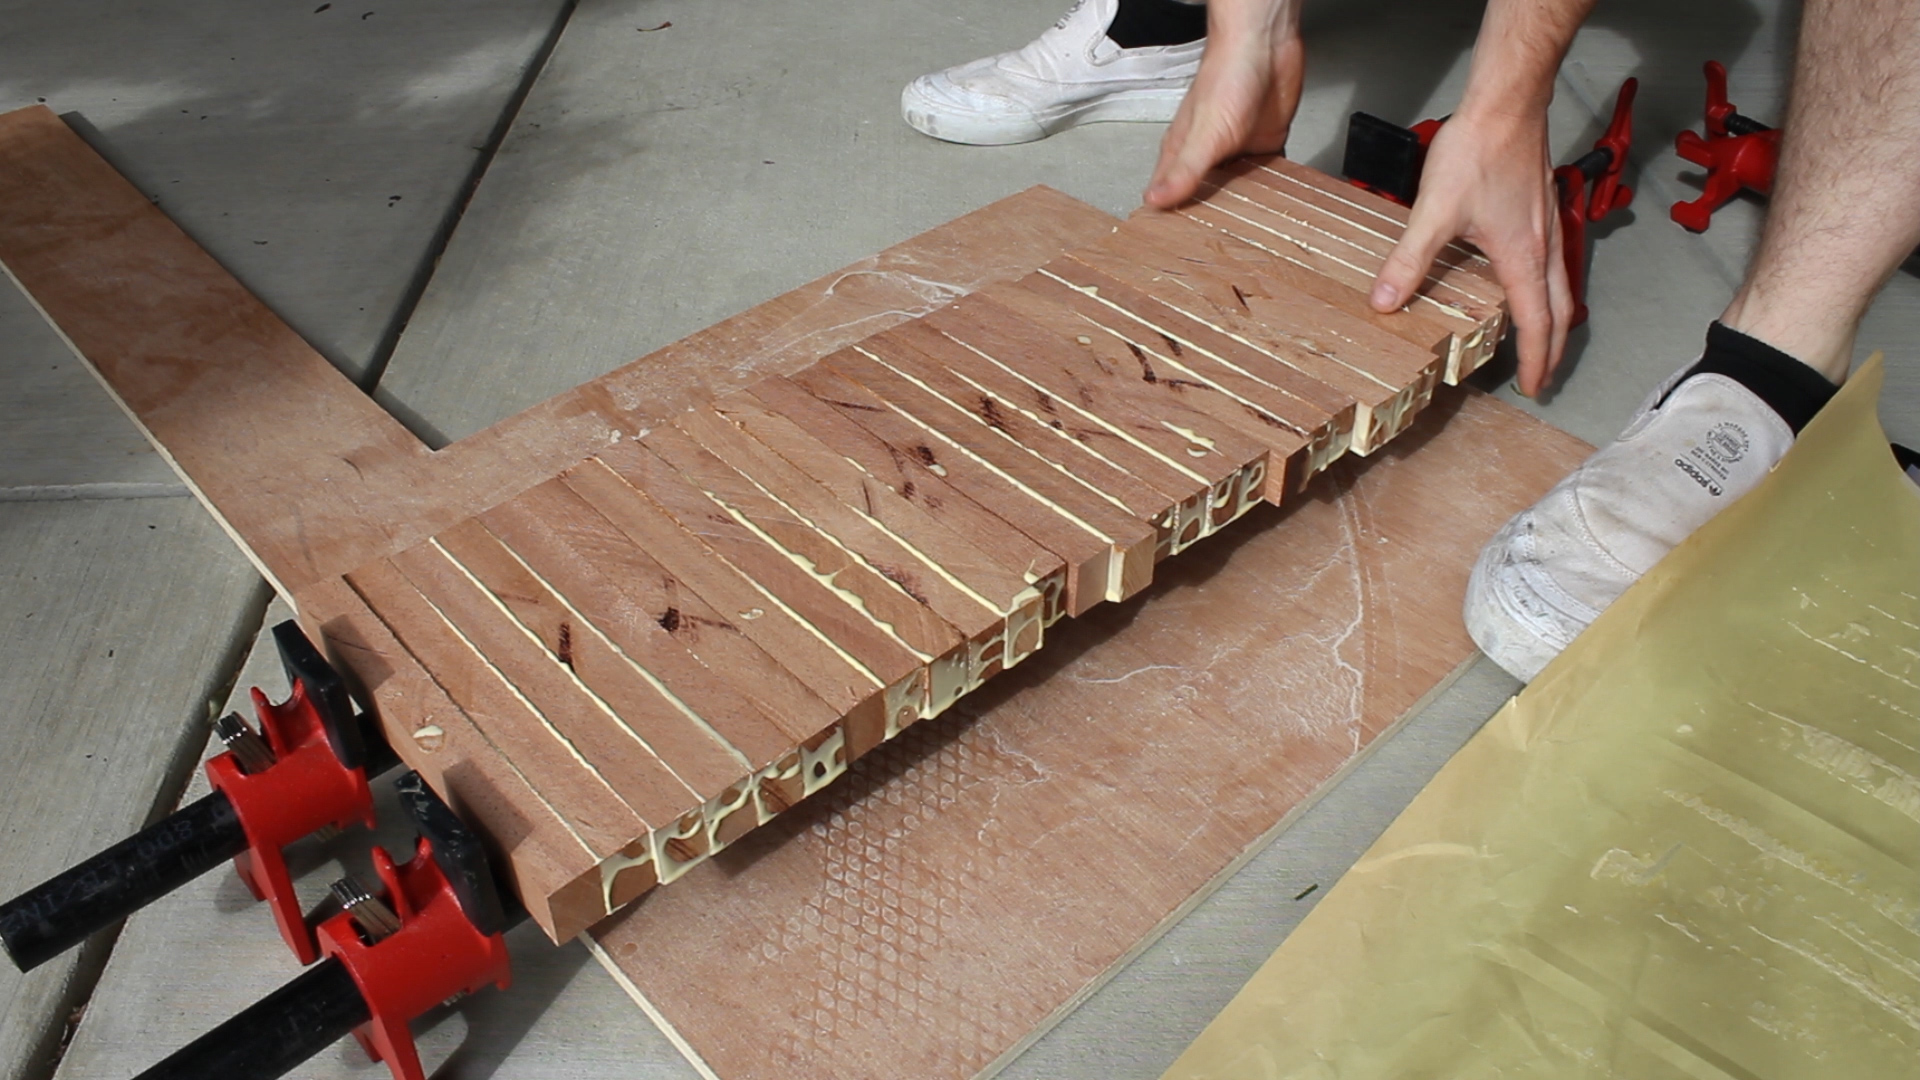
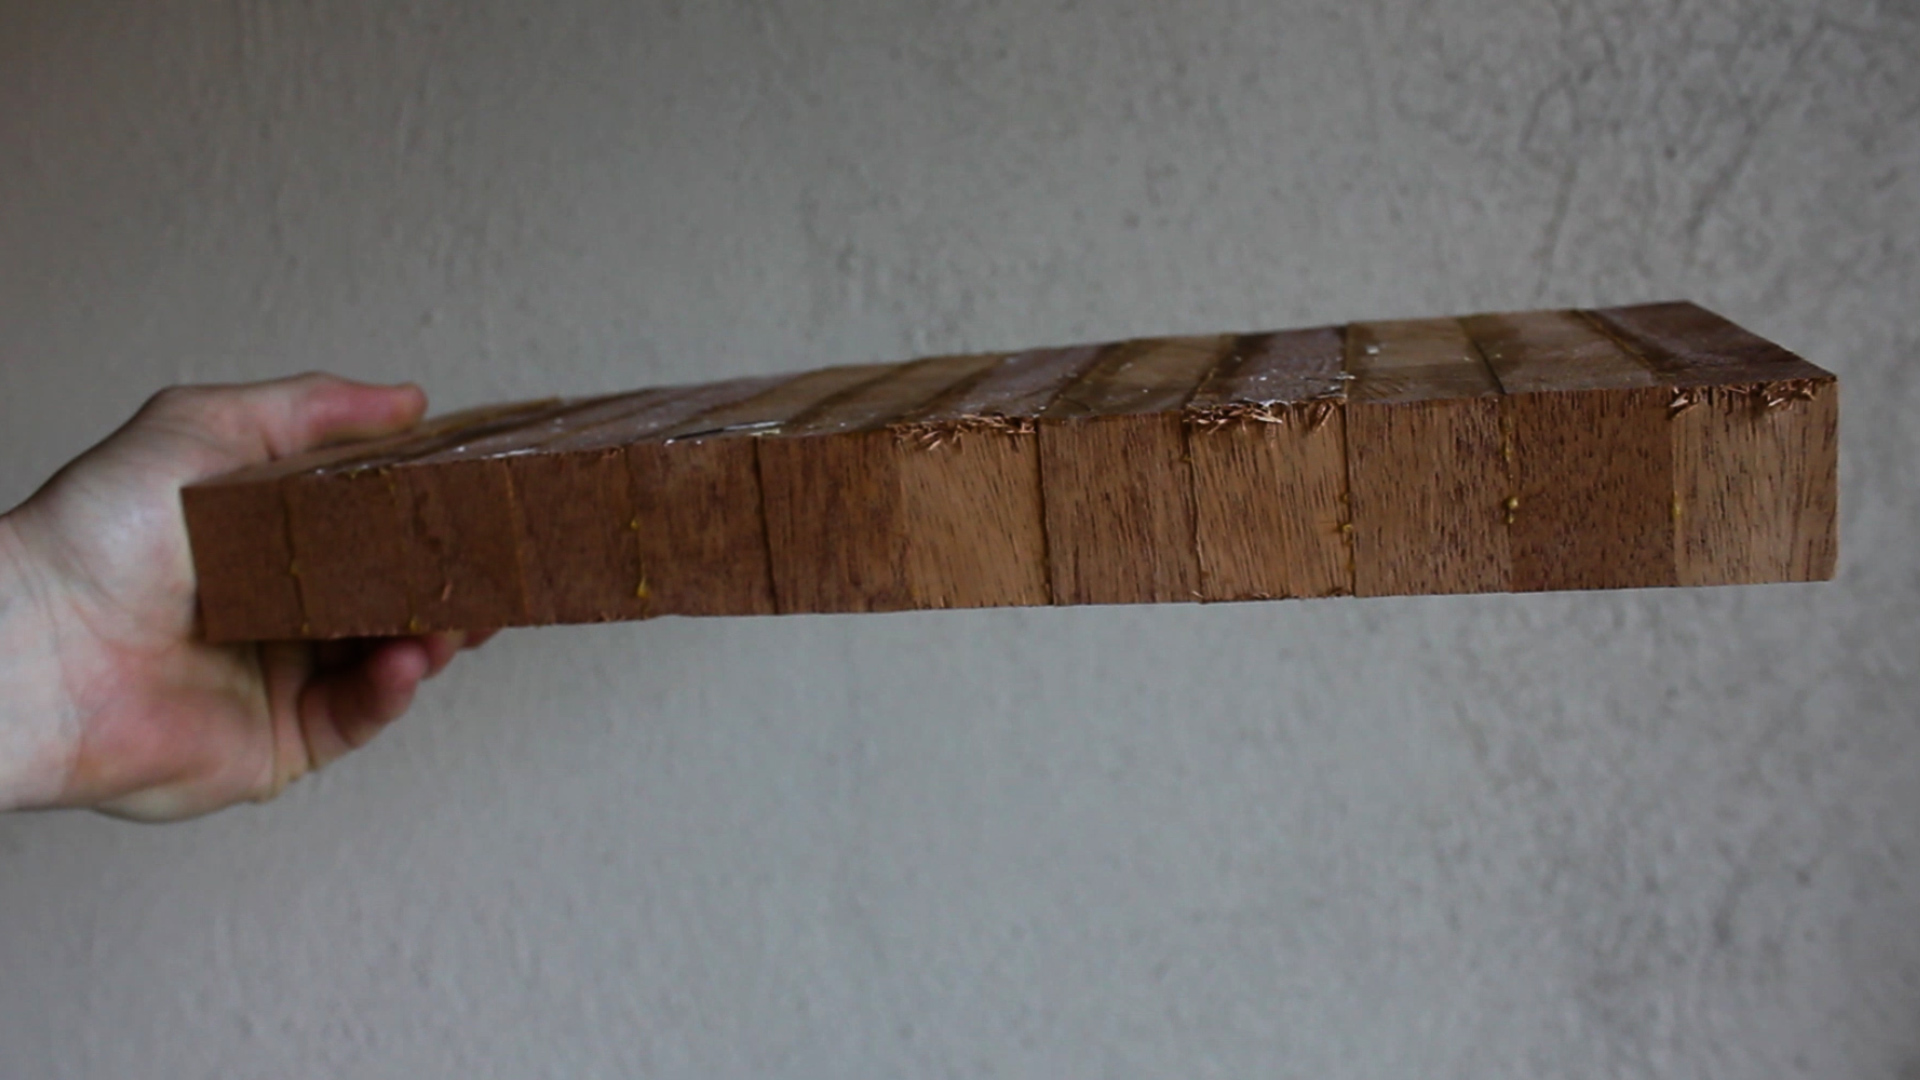
I laid out my pieces on my clamps, flipped a few pieces to mix up the end grain pattern, and then rotated them 90° in preparation for my end grain glue up.
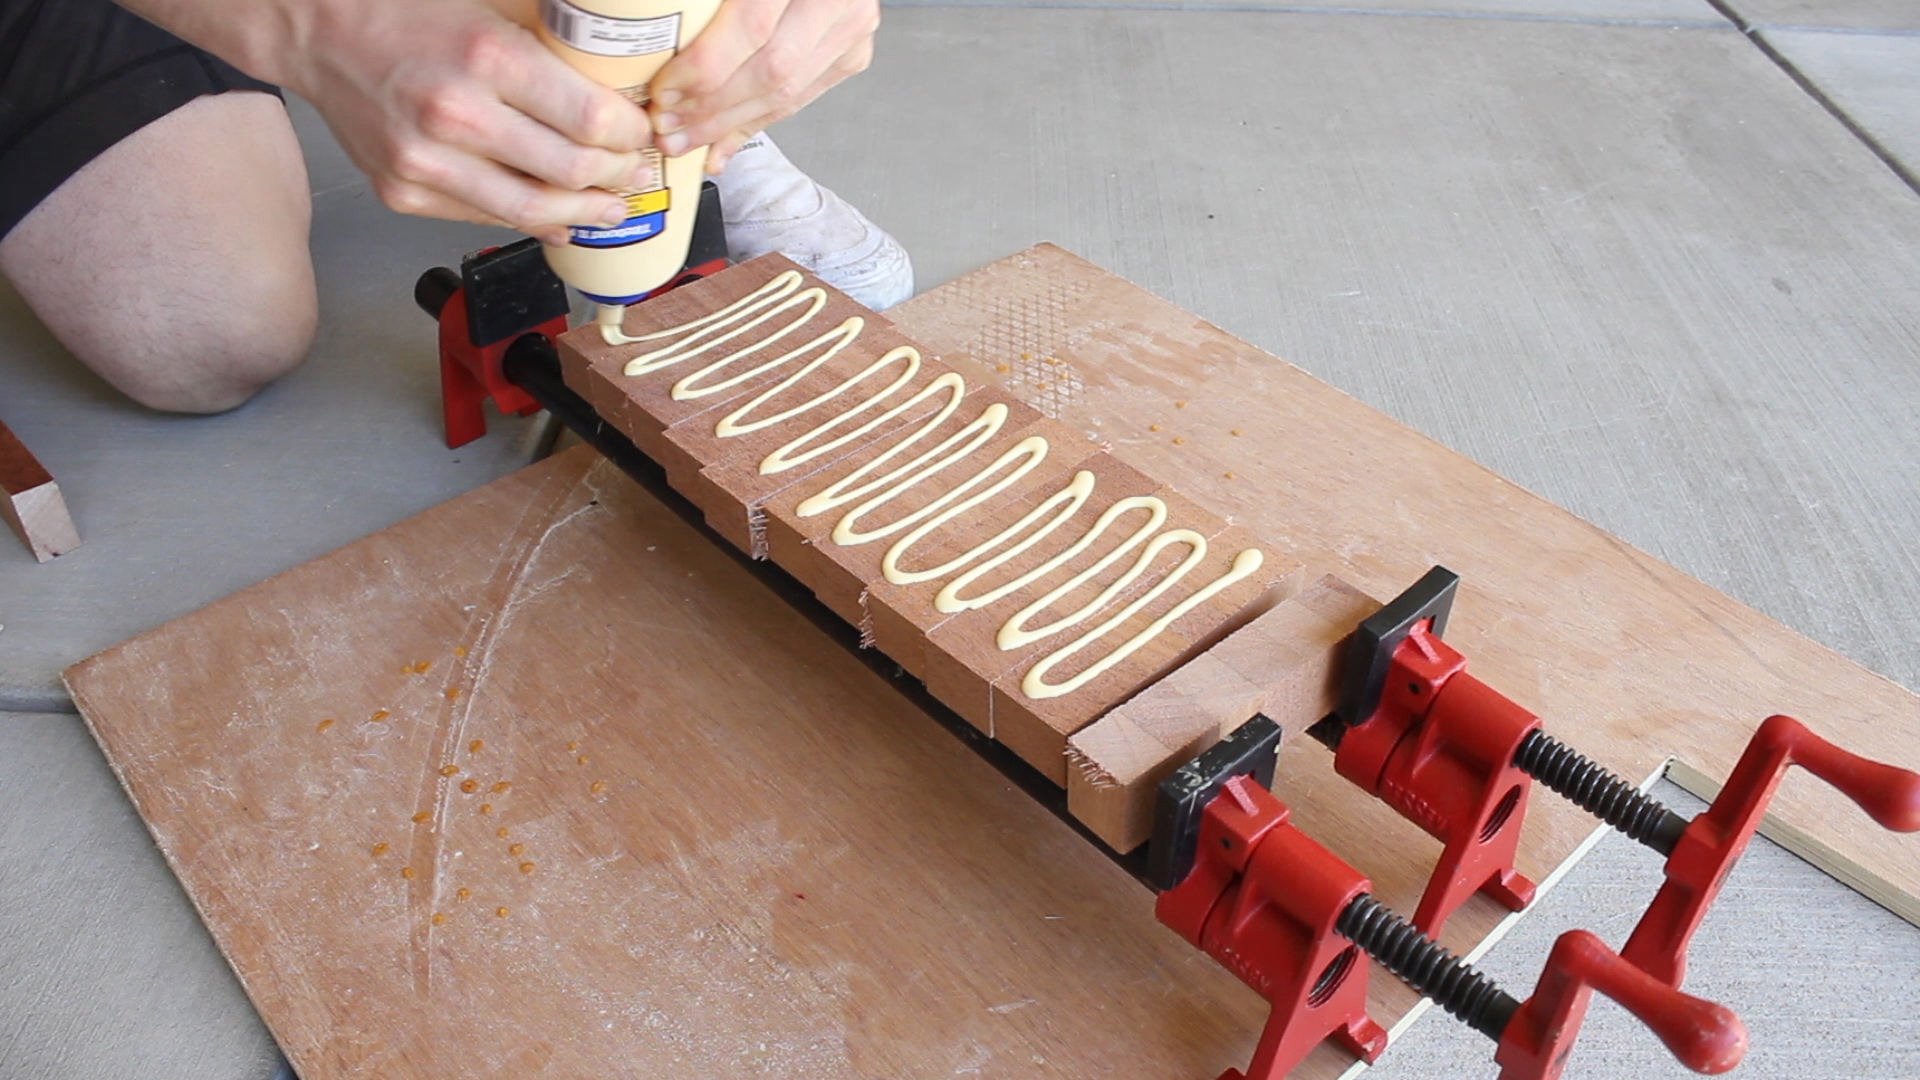
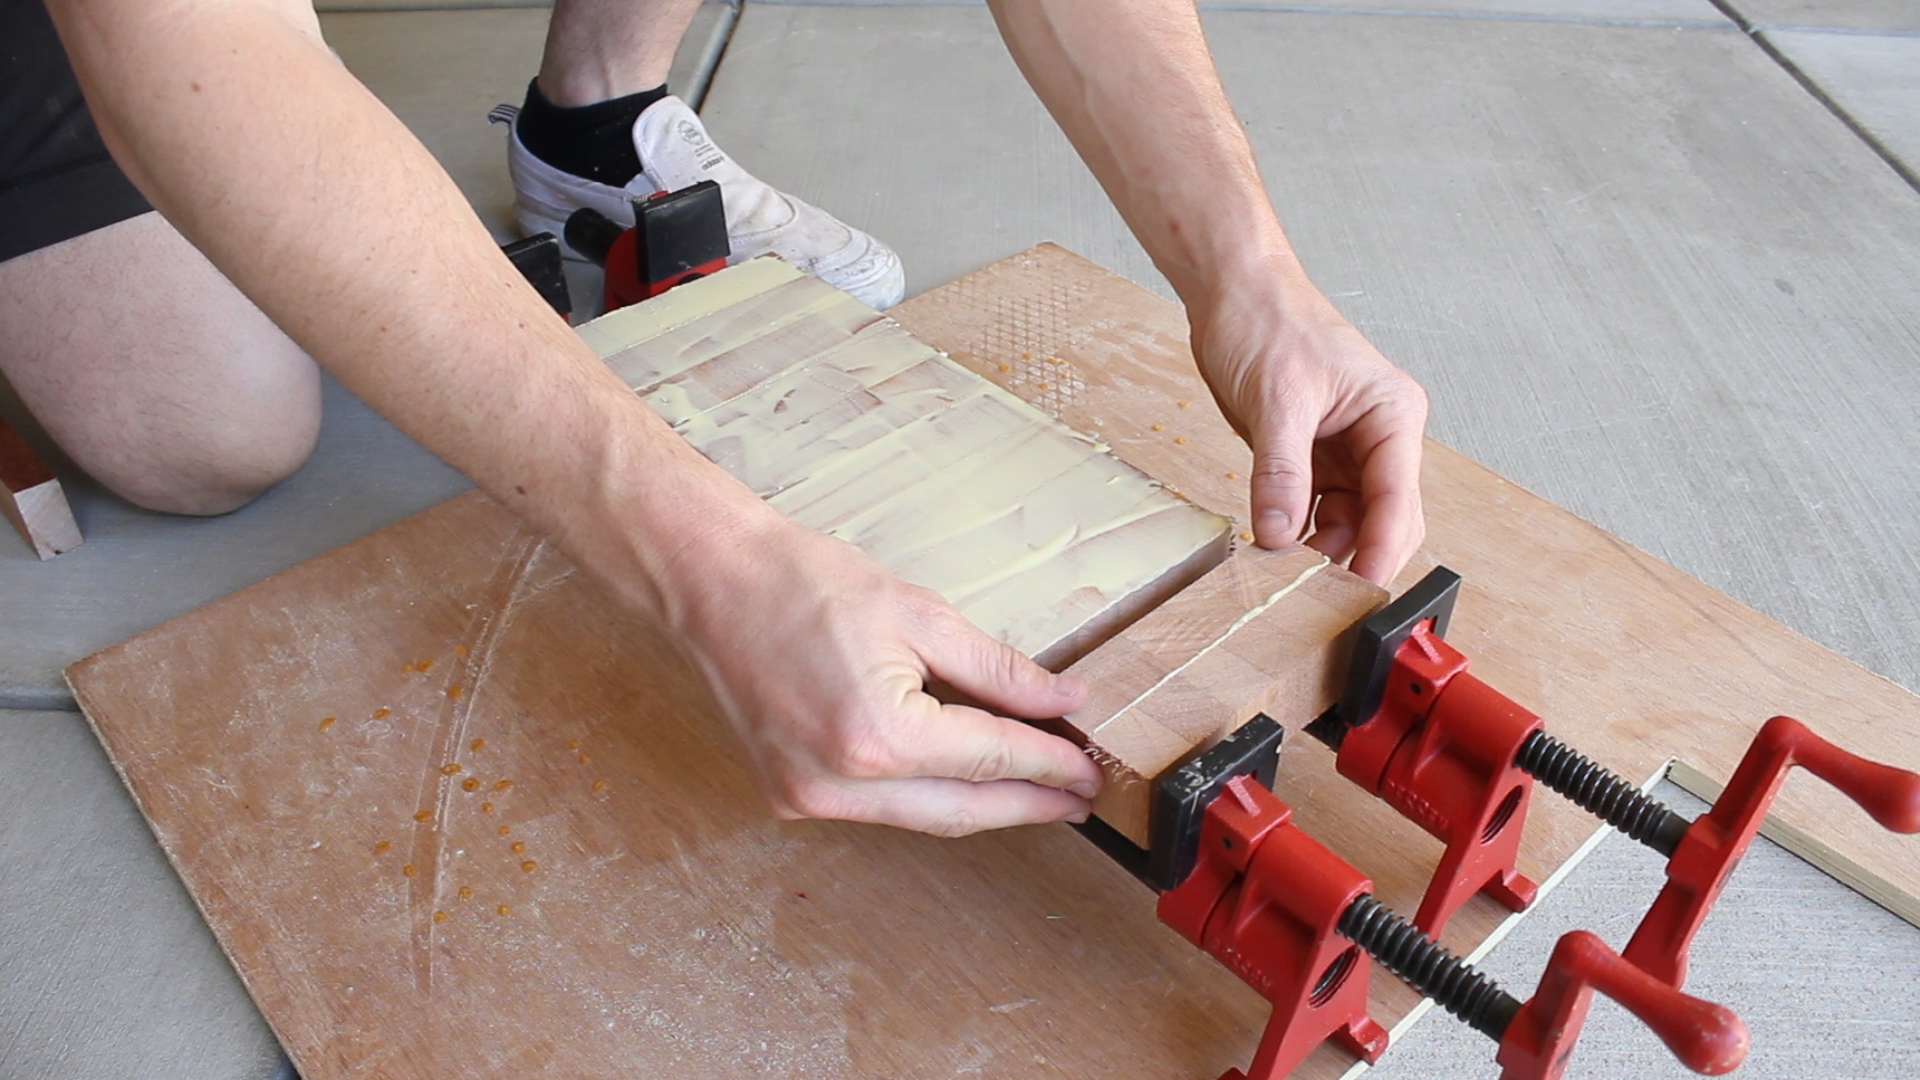
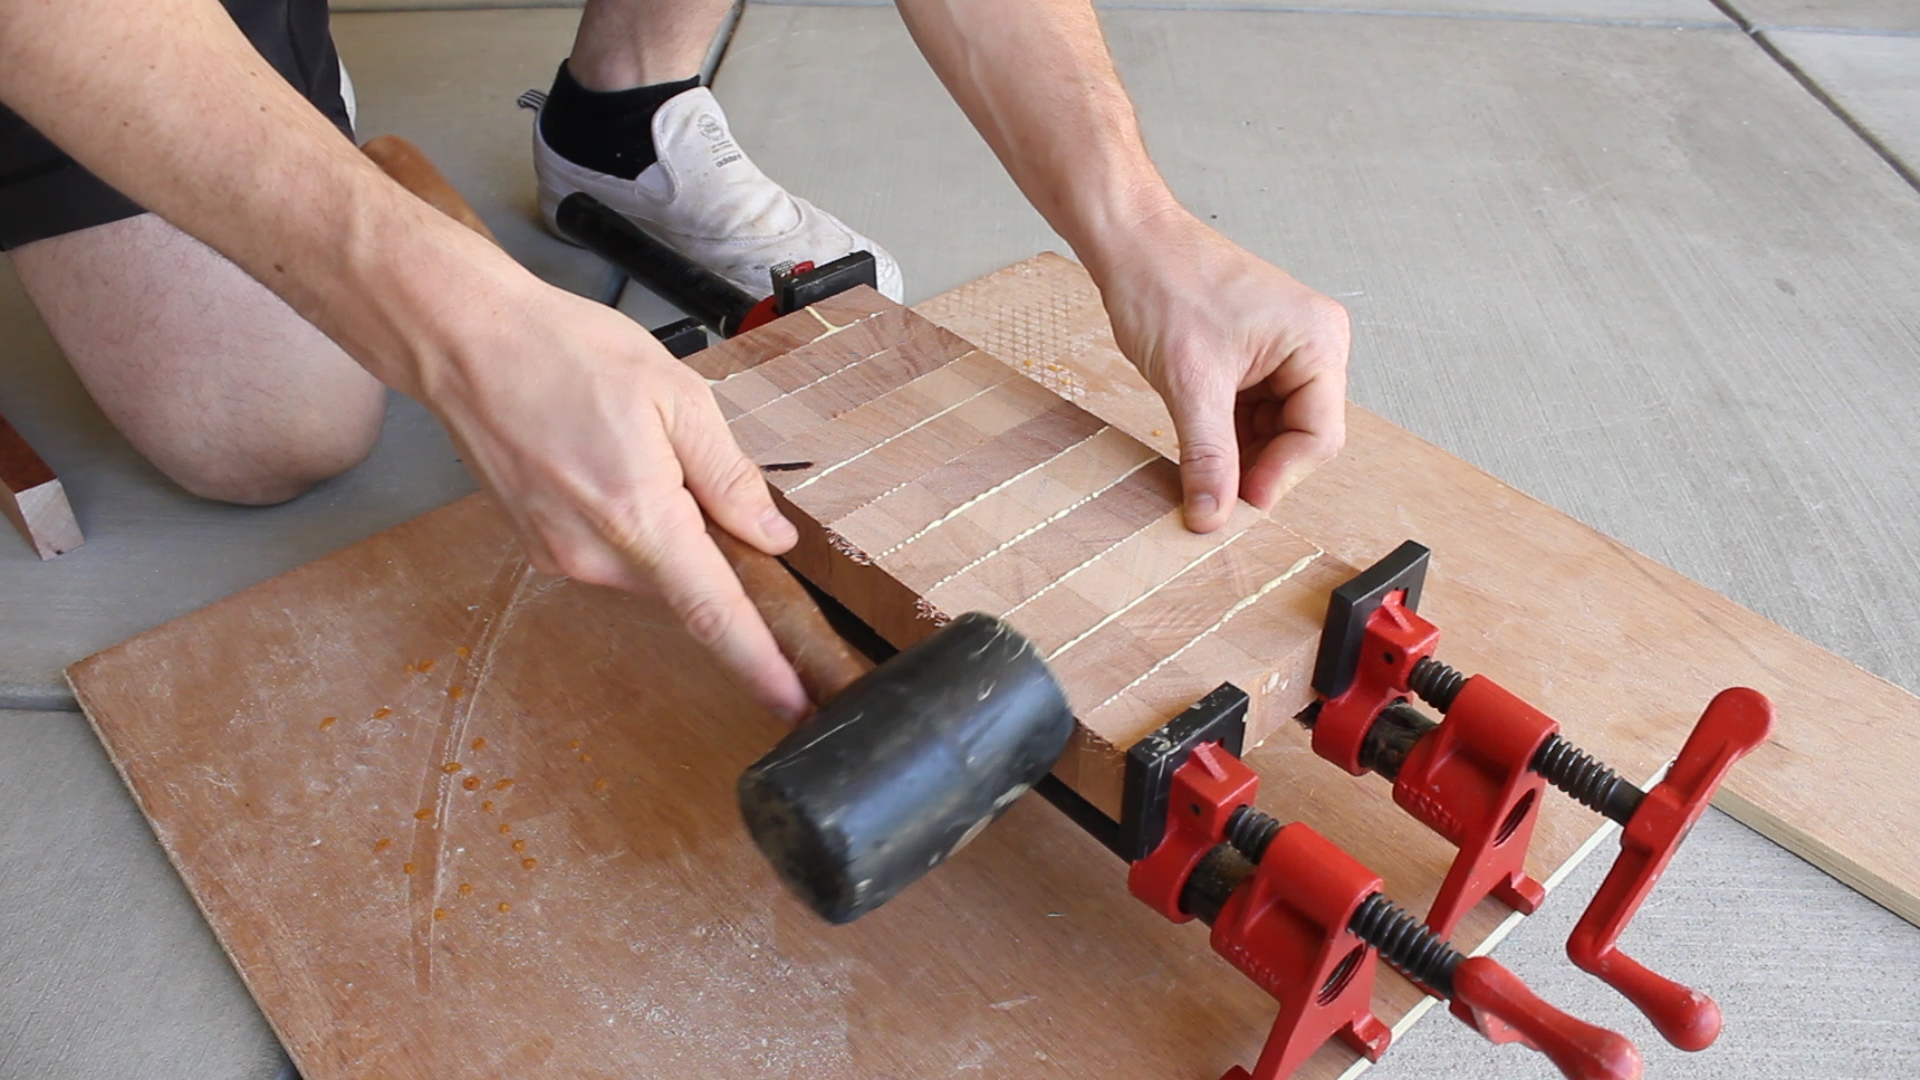
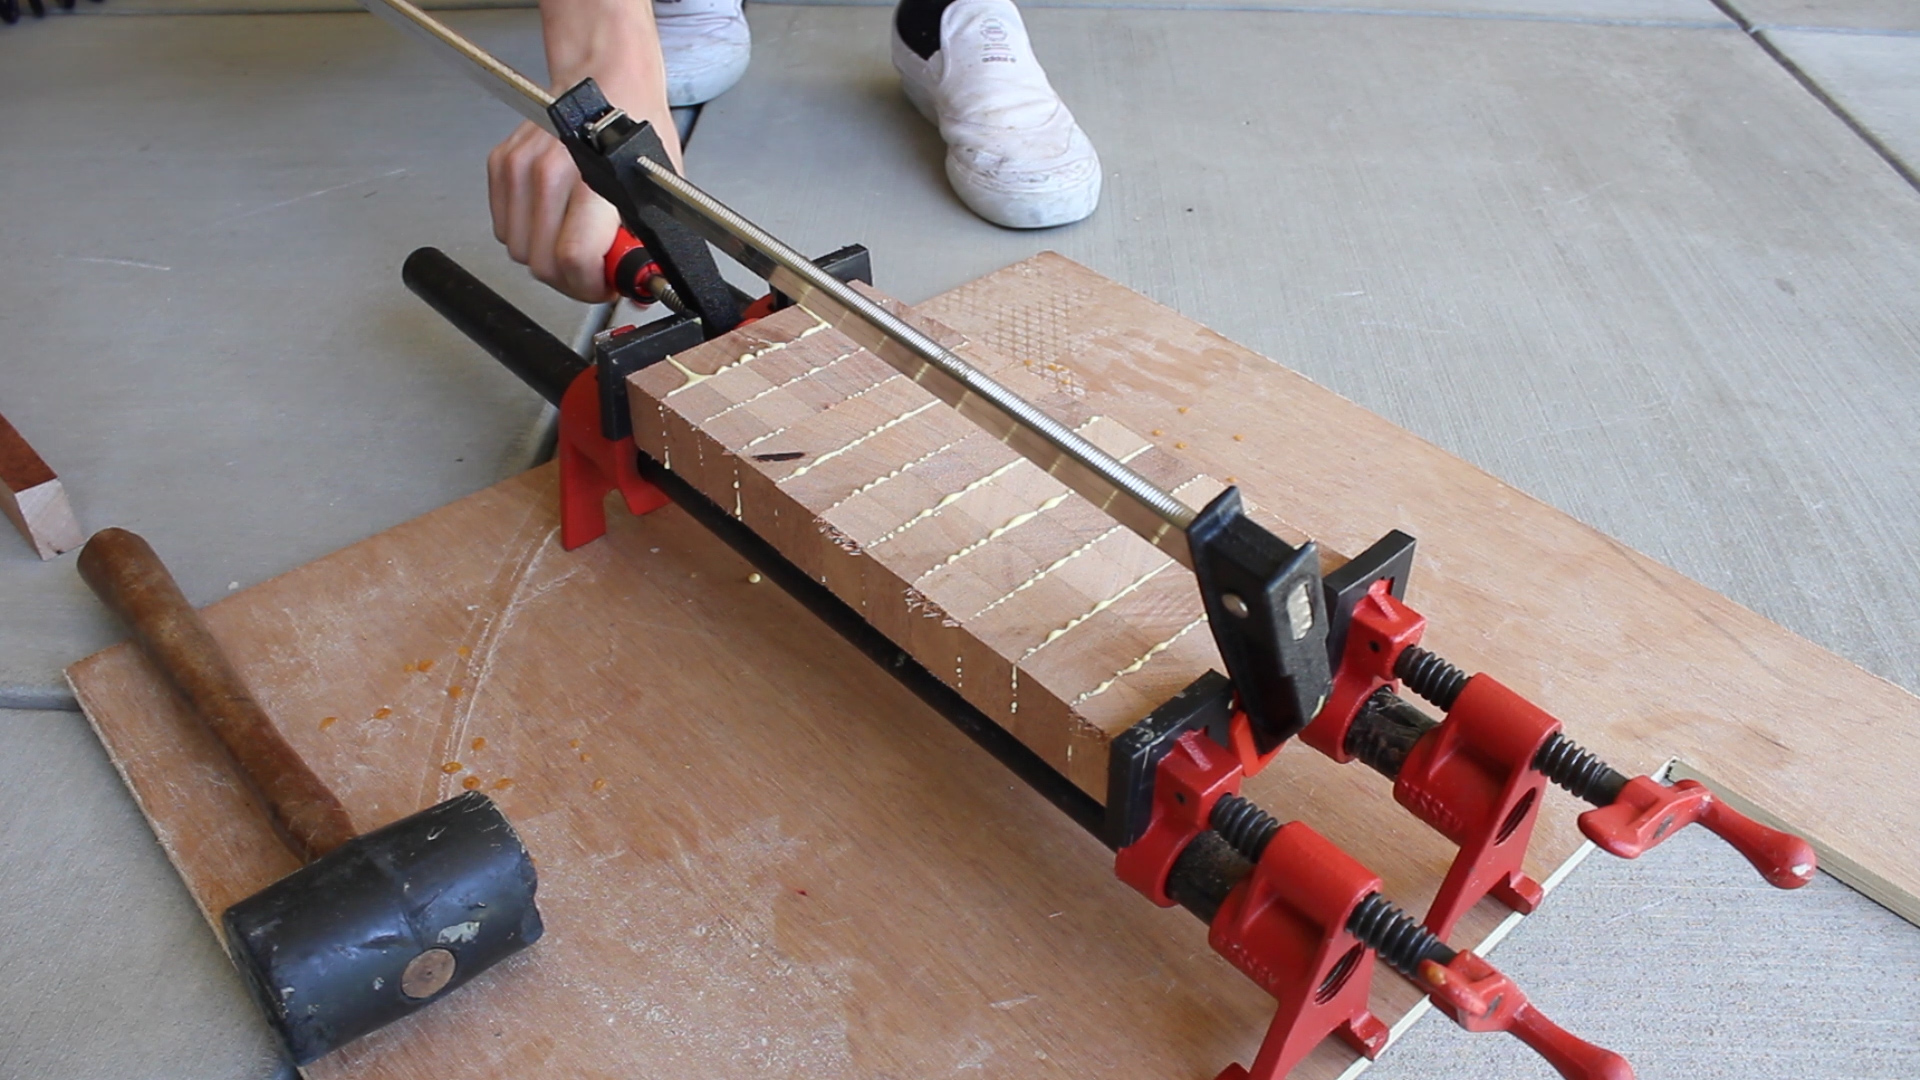
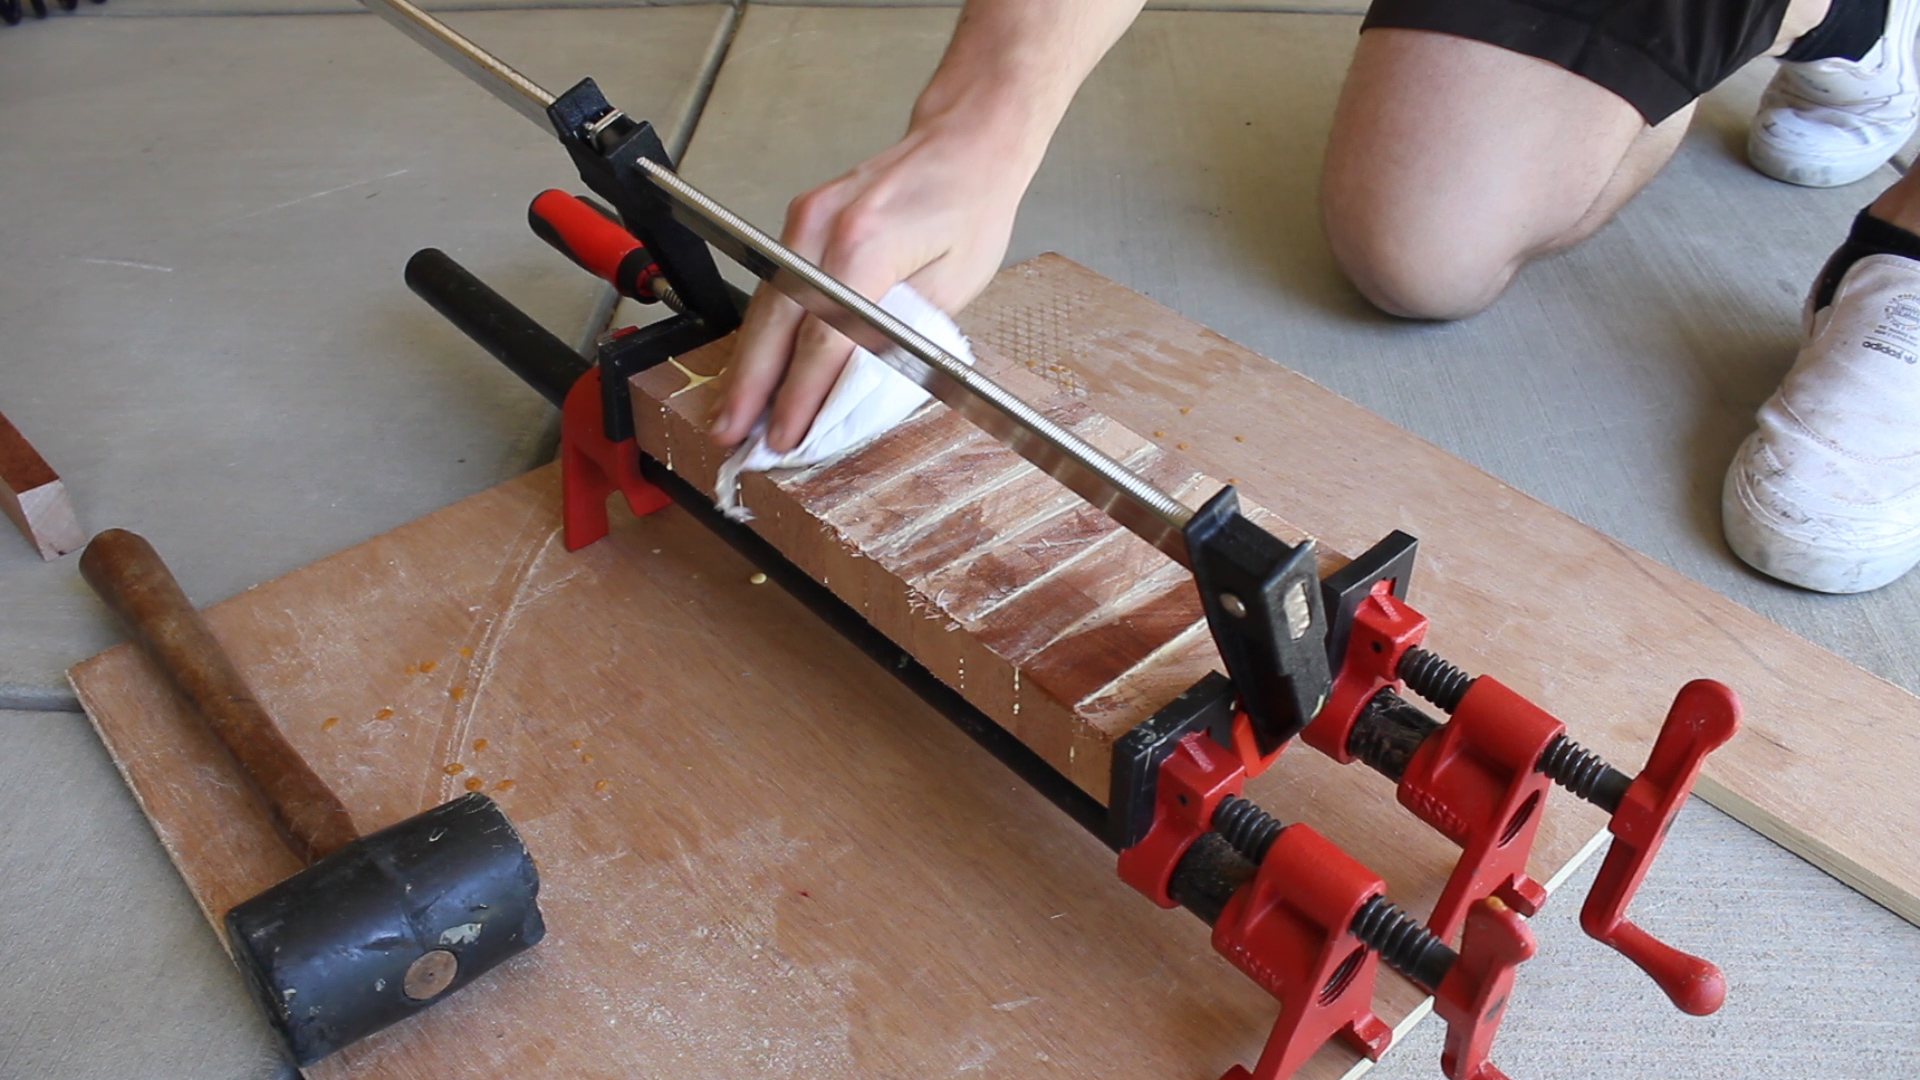
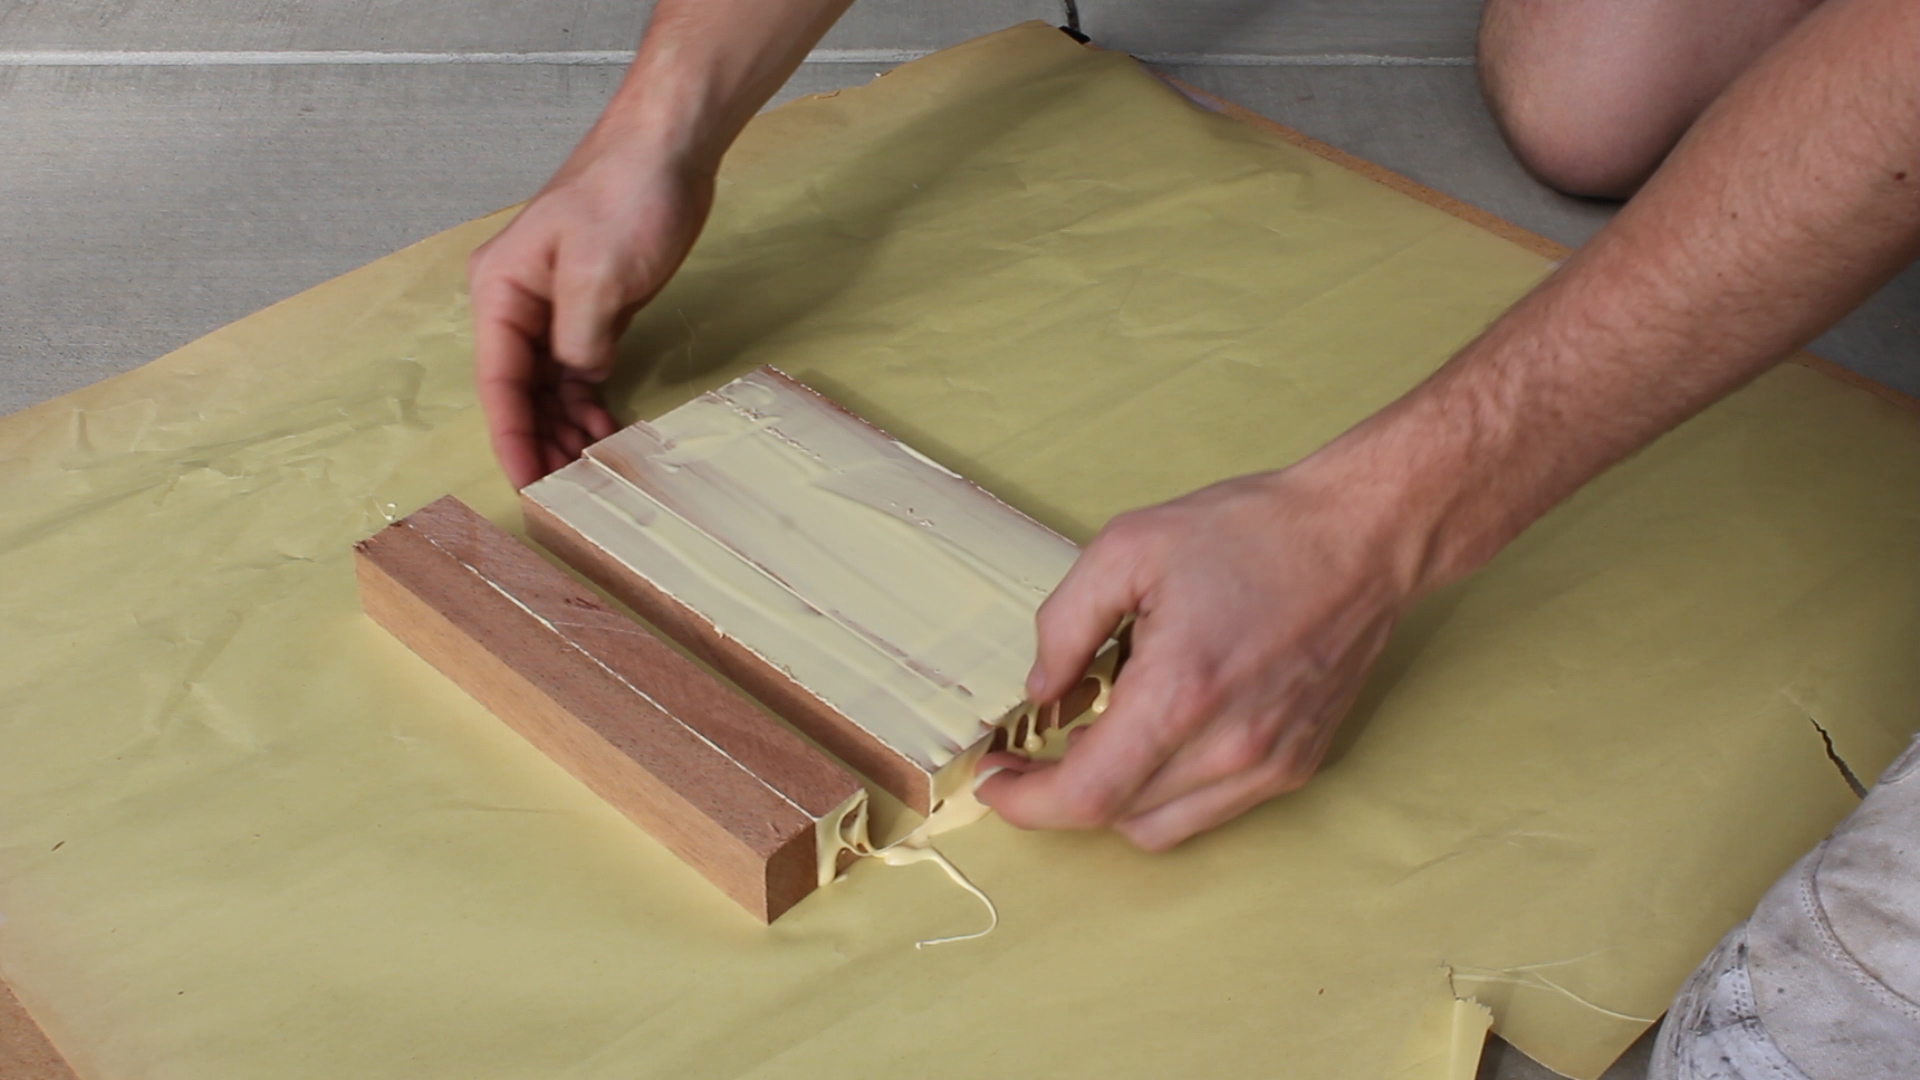
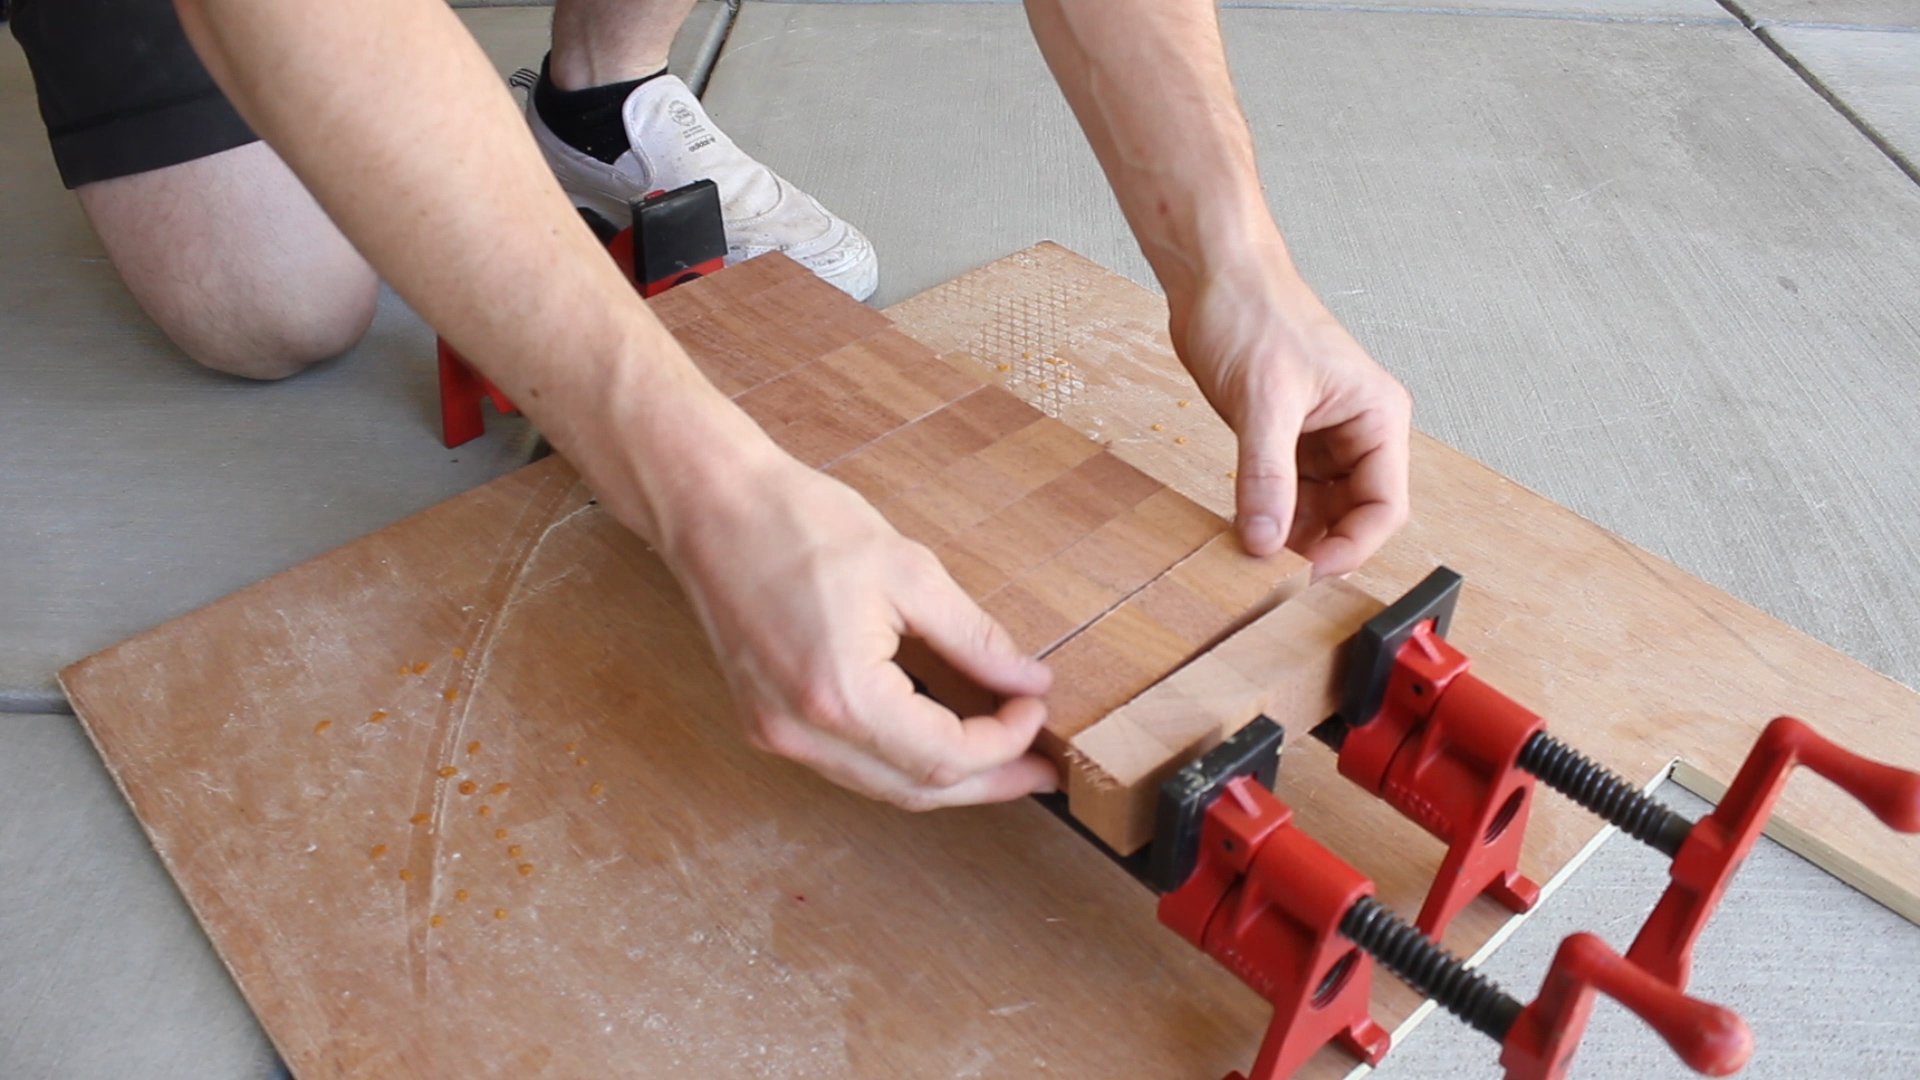
Same recommendation as before. Use ample glue, spread it well to cover all of your surfaces, square up your edges with scrap pieces or a mallet, and clamp slowly to avoid slipping. Also, you should clamp from the top to avoid bowing, and you can go back after 10 minutes and wipe off excess glue with a wet rag.
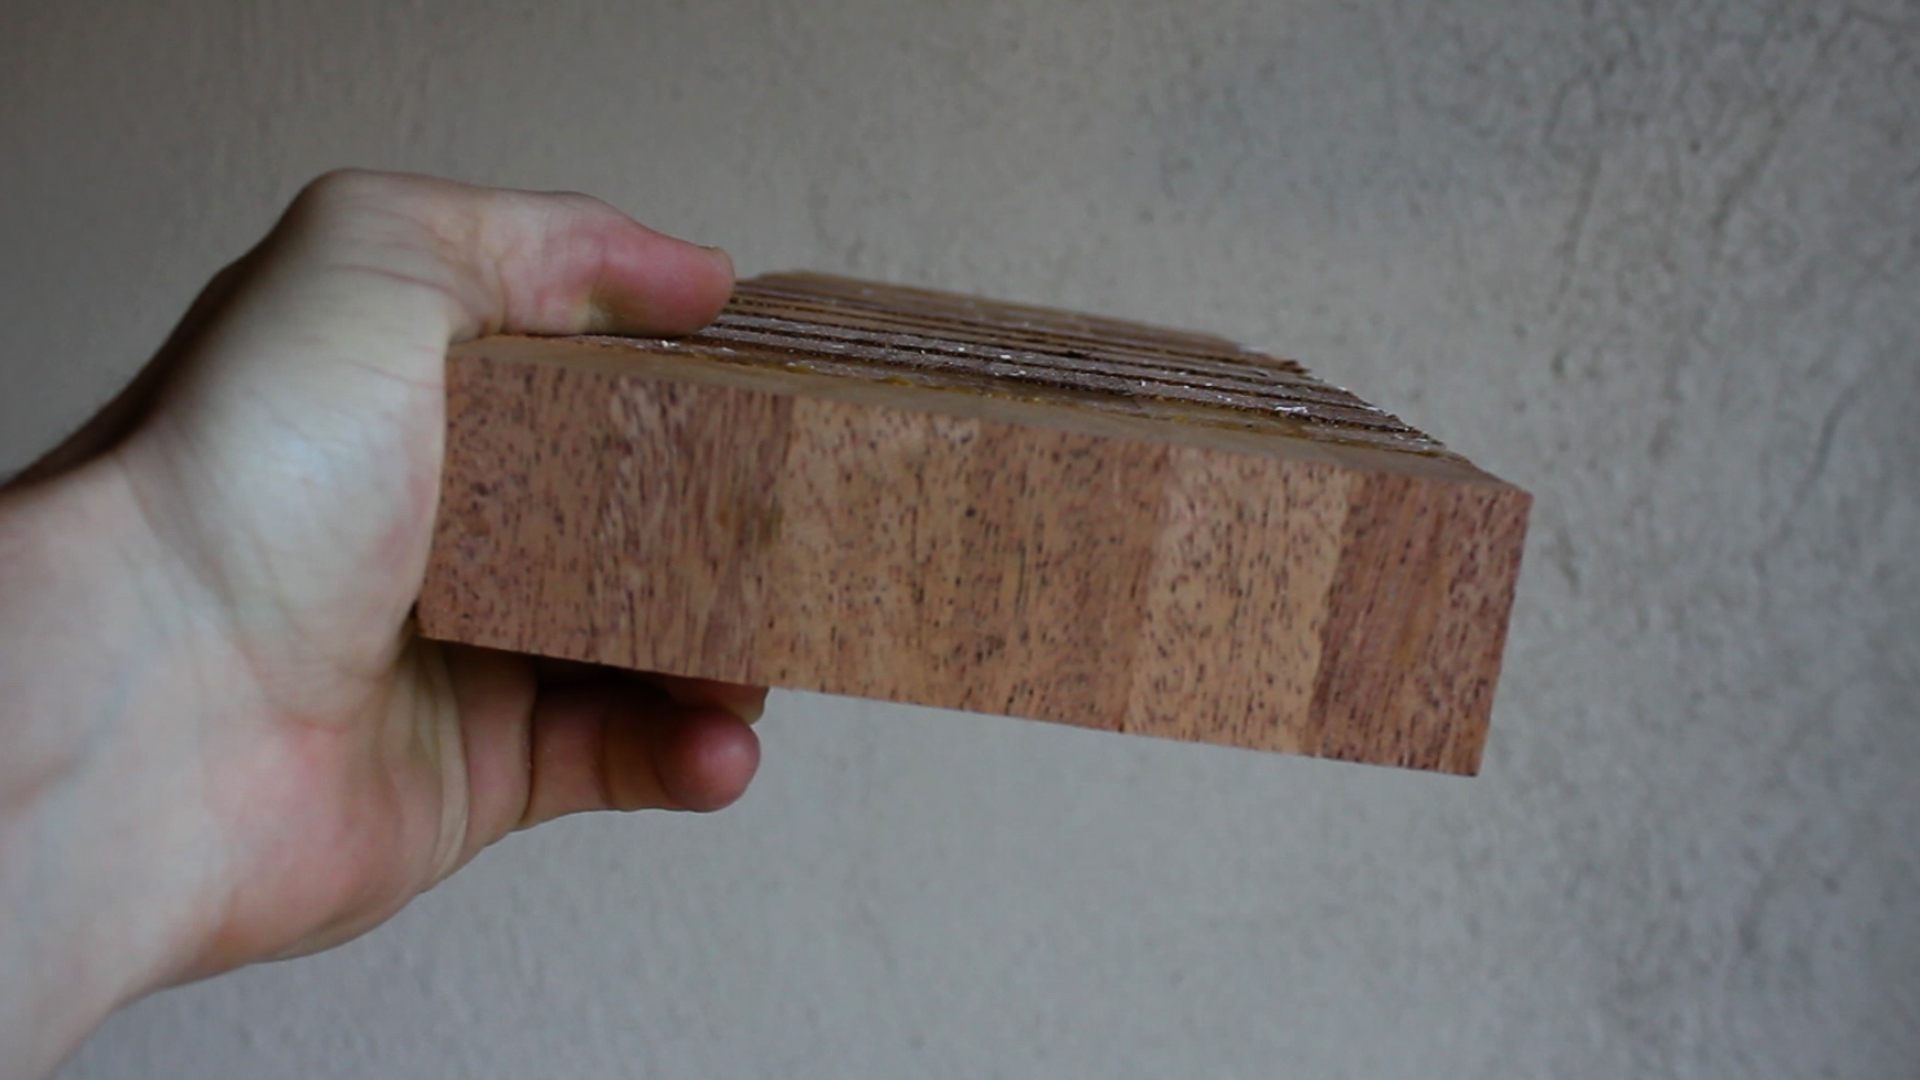
As hard as I tried, this didn't quite glue up flat. I think my surface was uneven to start. You live and you learn.
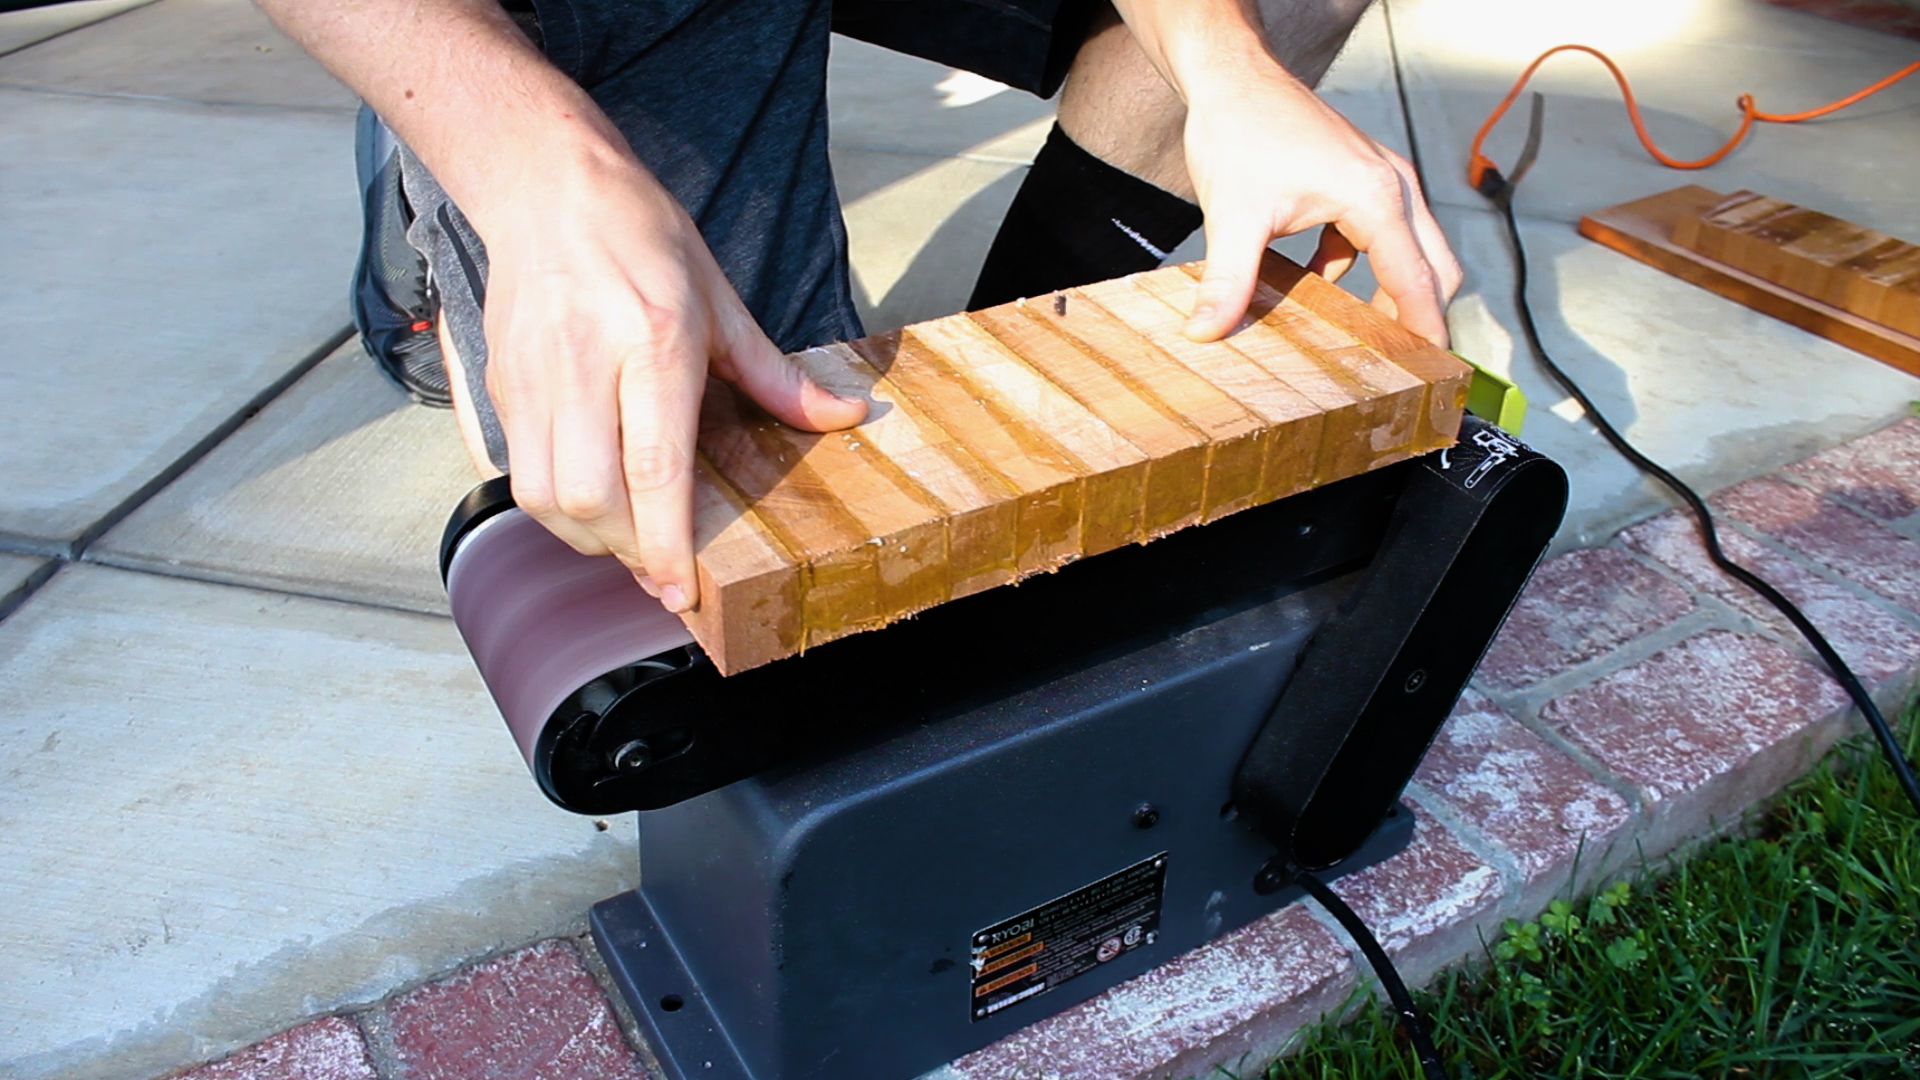
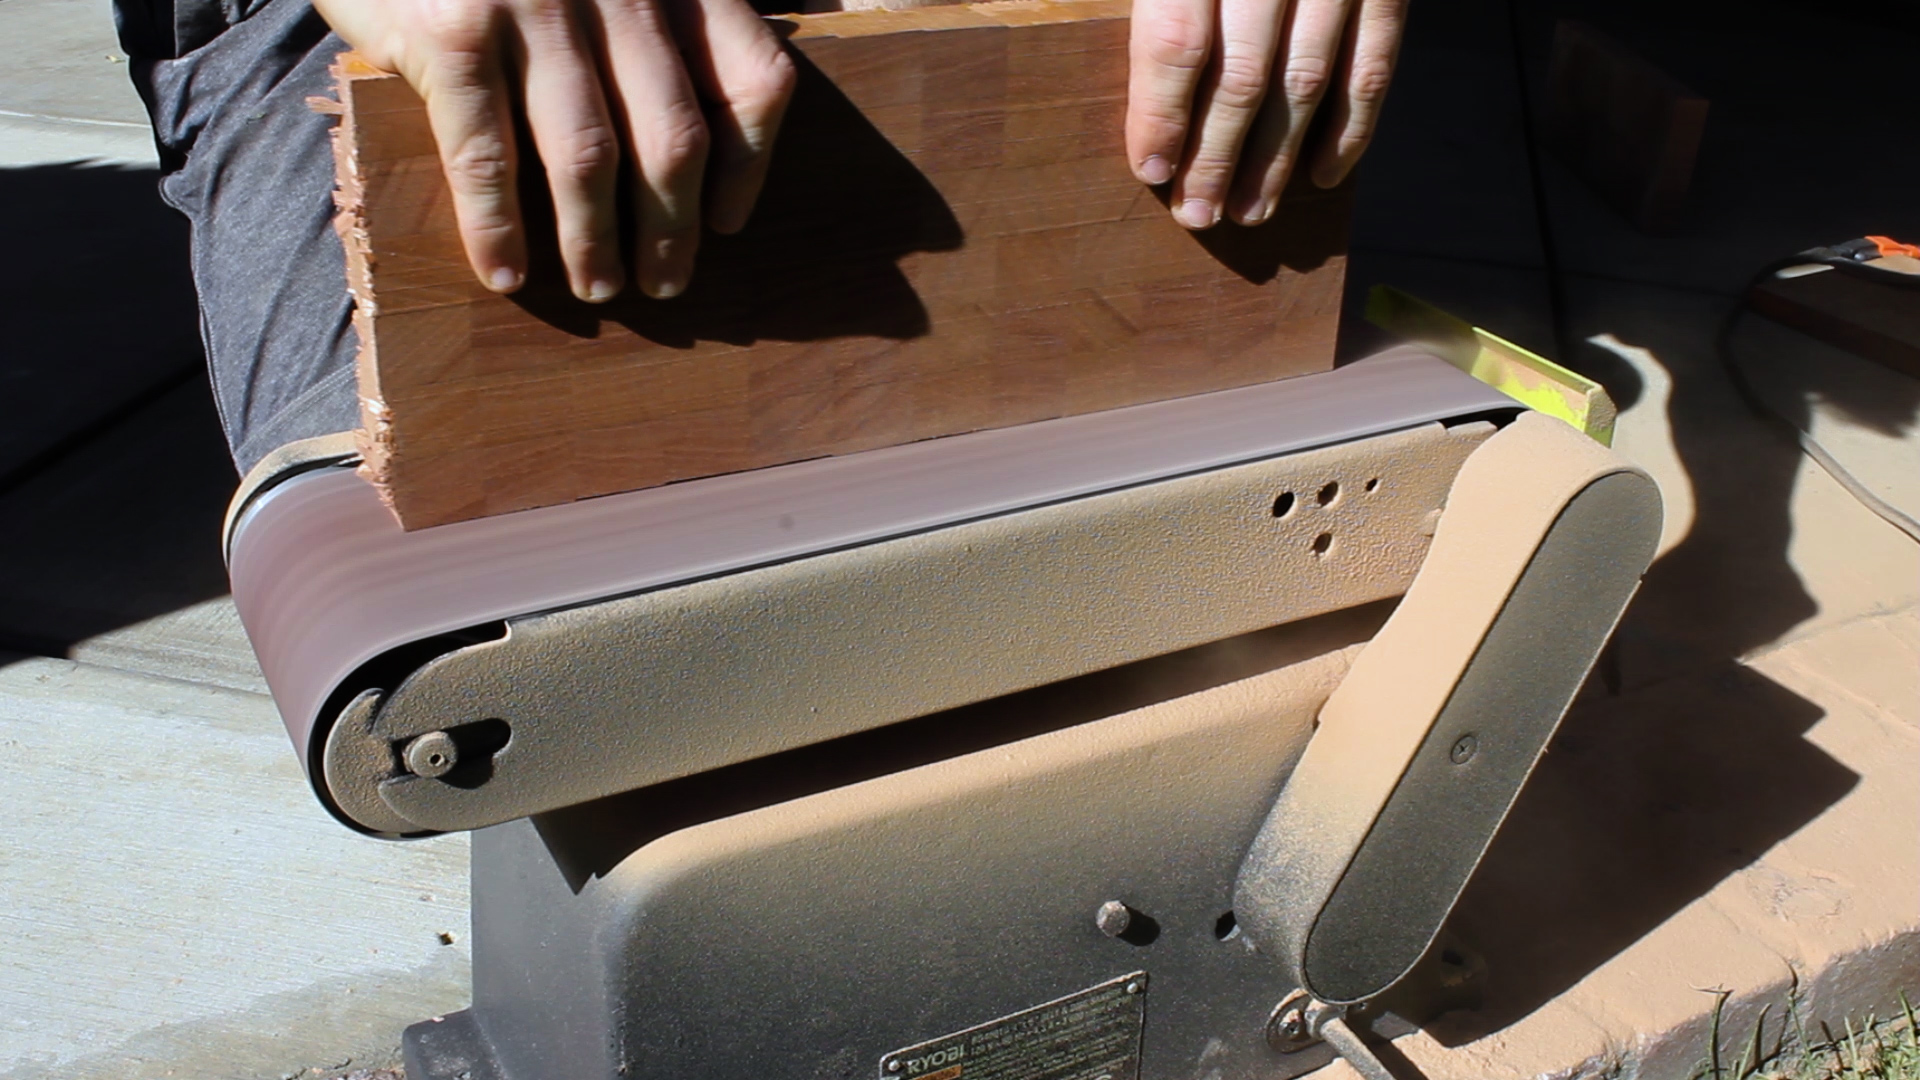
Now there is a ton of controversy in the woodworking community about planing end grain. This being my first project and just unsure of all of the consequences, I chose to use my stationary belt sander to flatten everything. It took quite a bit of time, but worked well and left me with a smooth flat finish on both faces and all of the sides.
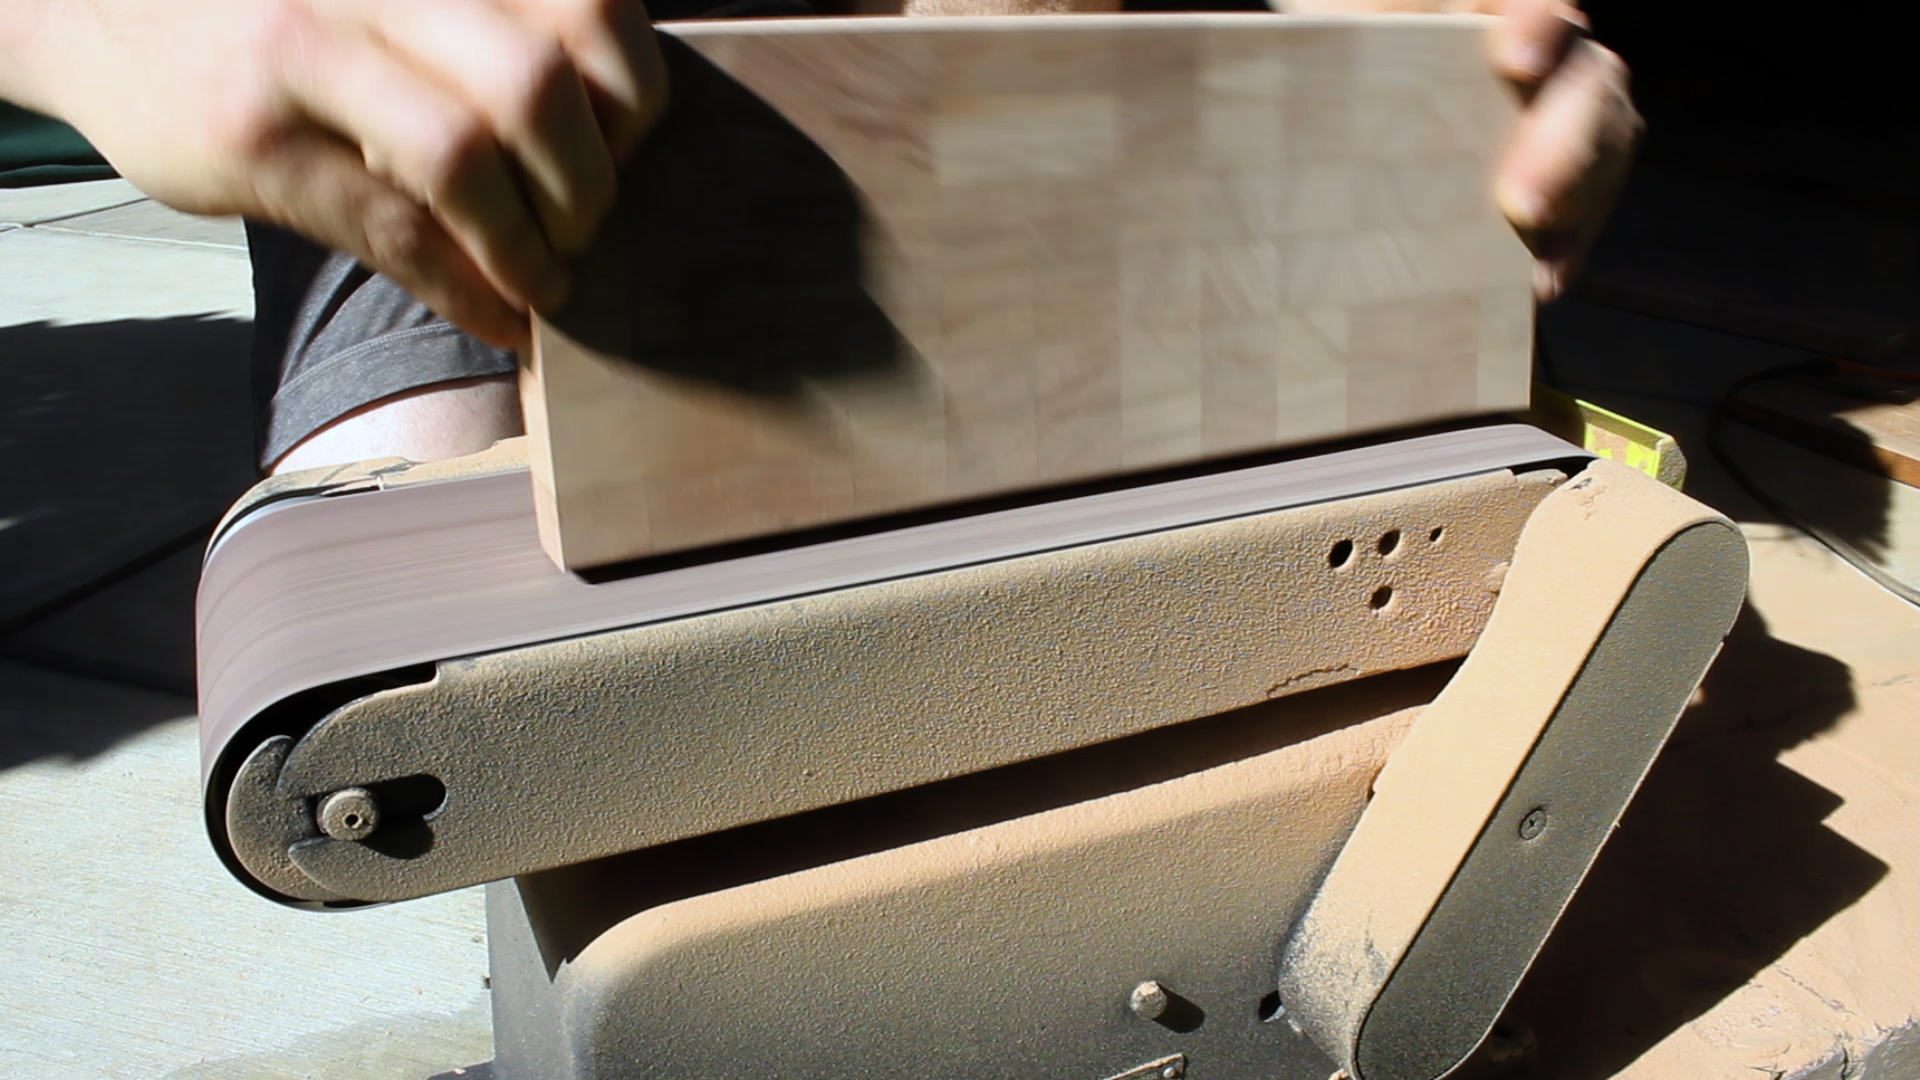
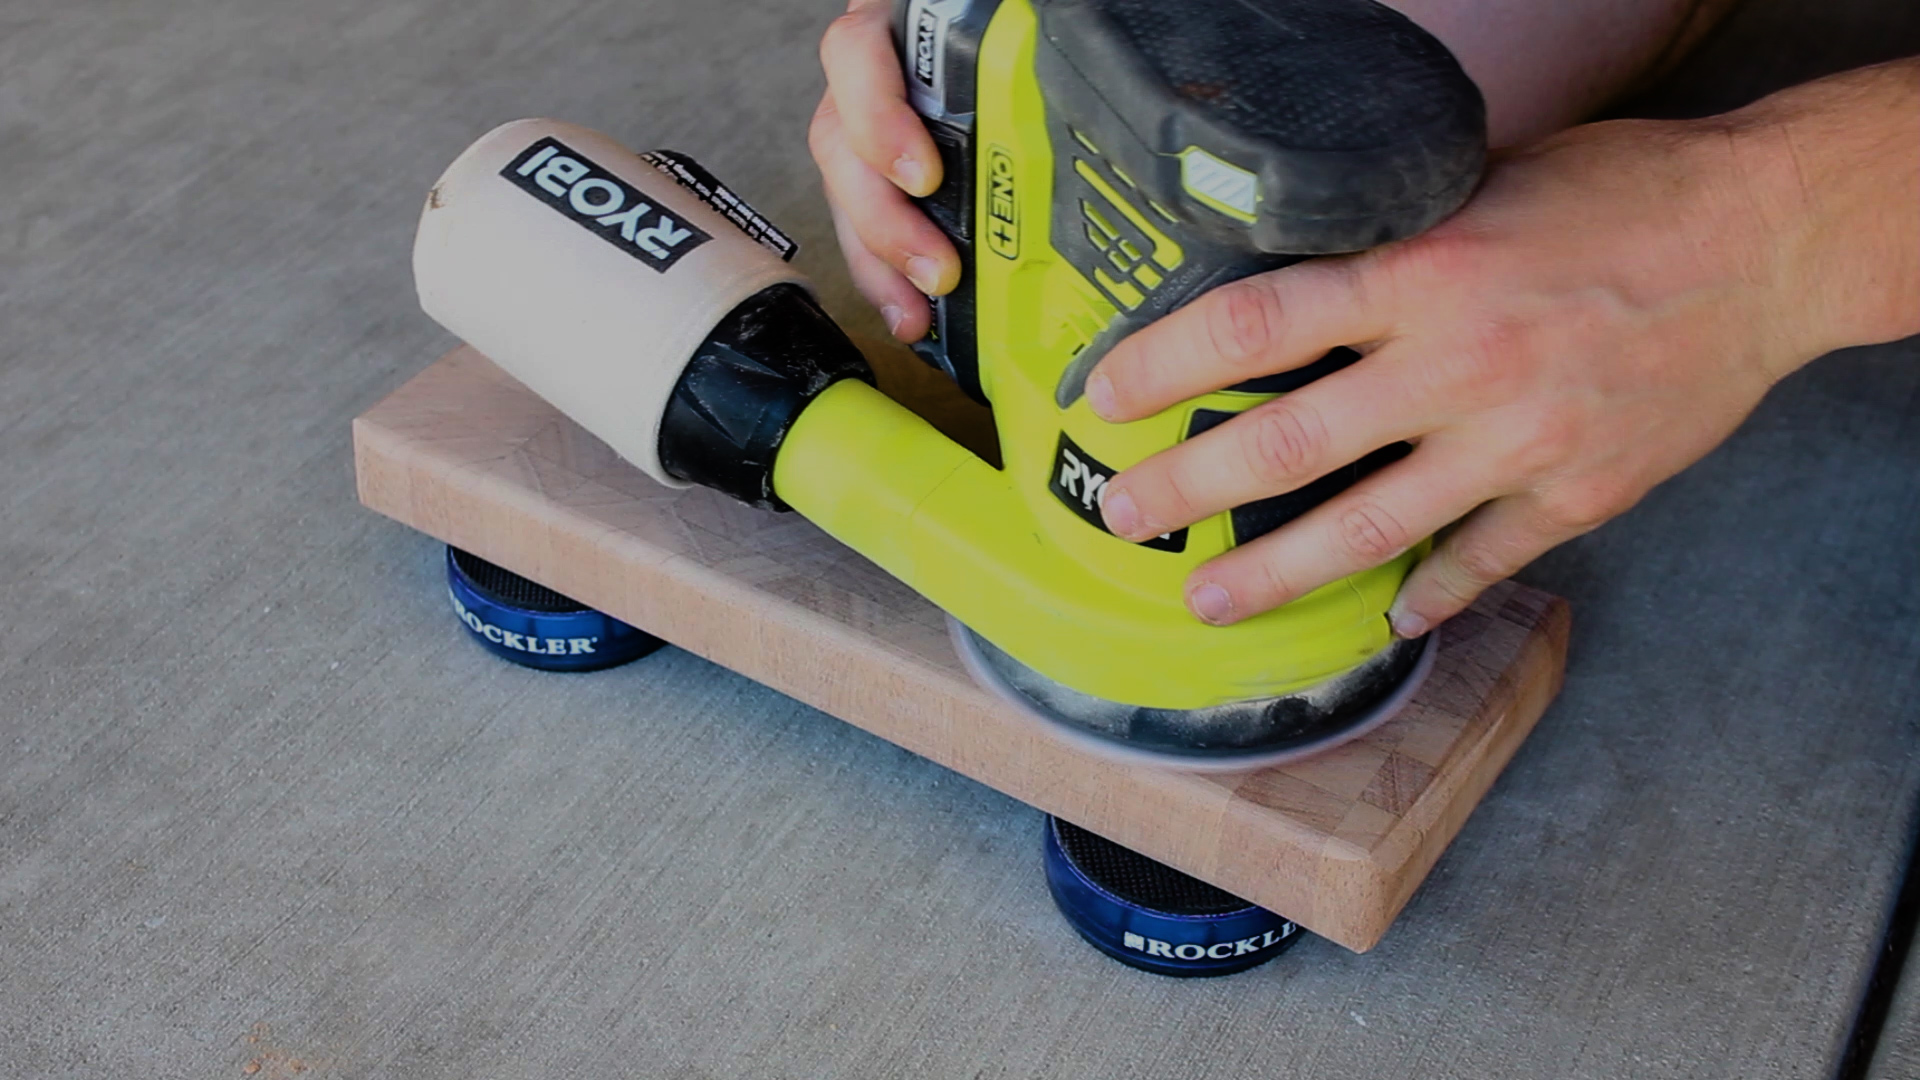
I opted to not use a router to take down my edges. Instead, I could just rotate my piece slowly on the belt sander and they rounded out very nicely. Had I wanted another edge style, I might have chosen the other route. After belt sanding, I switched to orbital sanding at 120, followed by hand sanding at 220, 320, and 400, including a wet sanding at 220. Oil won't raise the grain, but knowing this is a cutting board that will likely get wet quite a bit, I wanted to make sure I did a wet sanding to avoid having the wood rough up down the road. I was so stoked at this point at how this project was coming together.
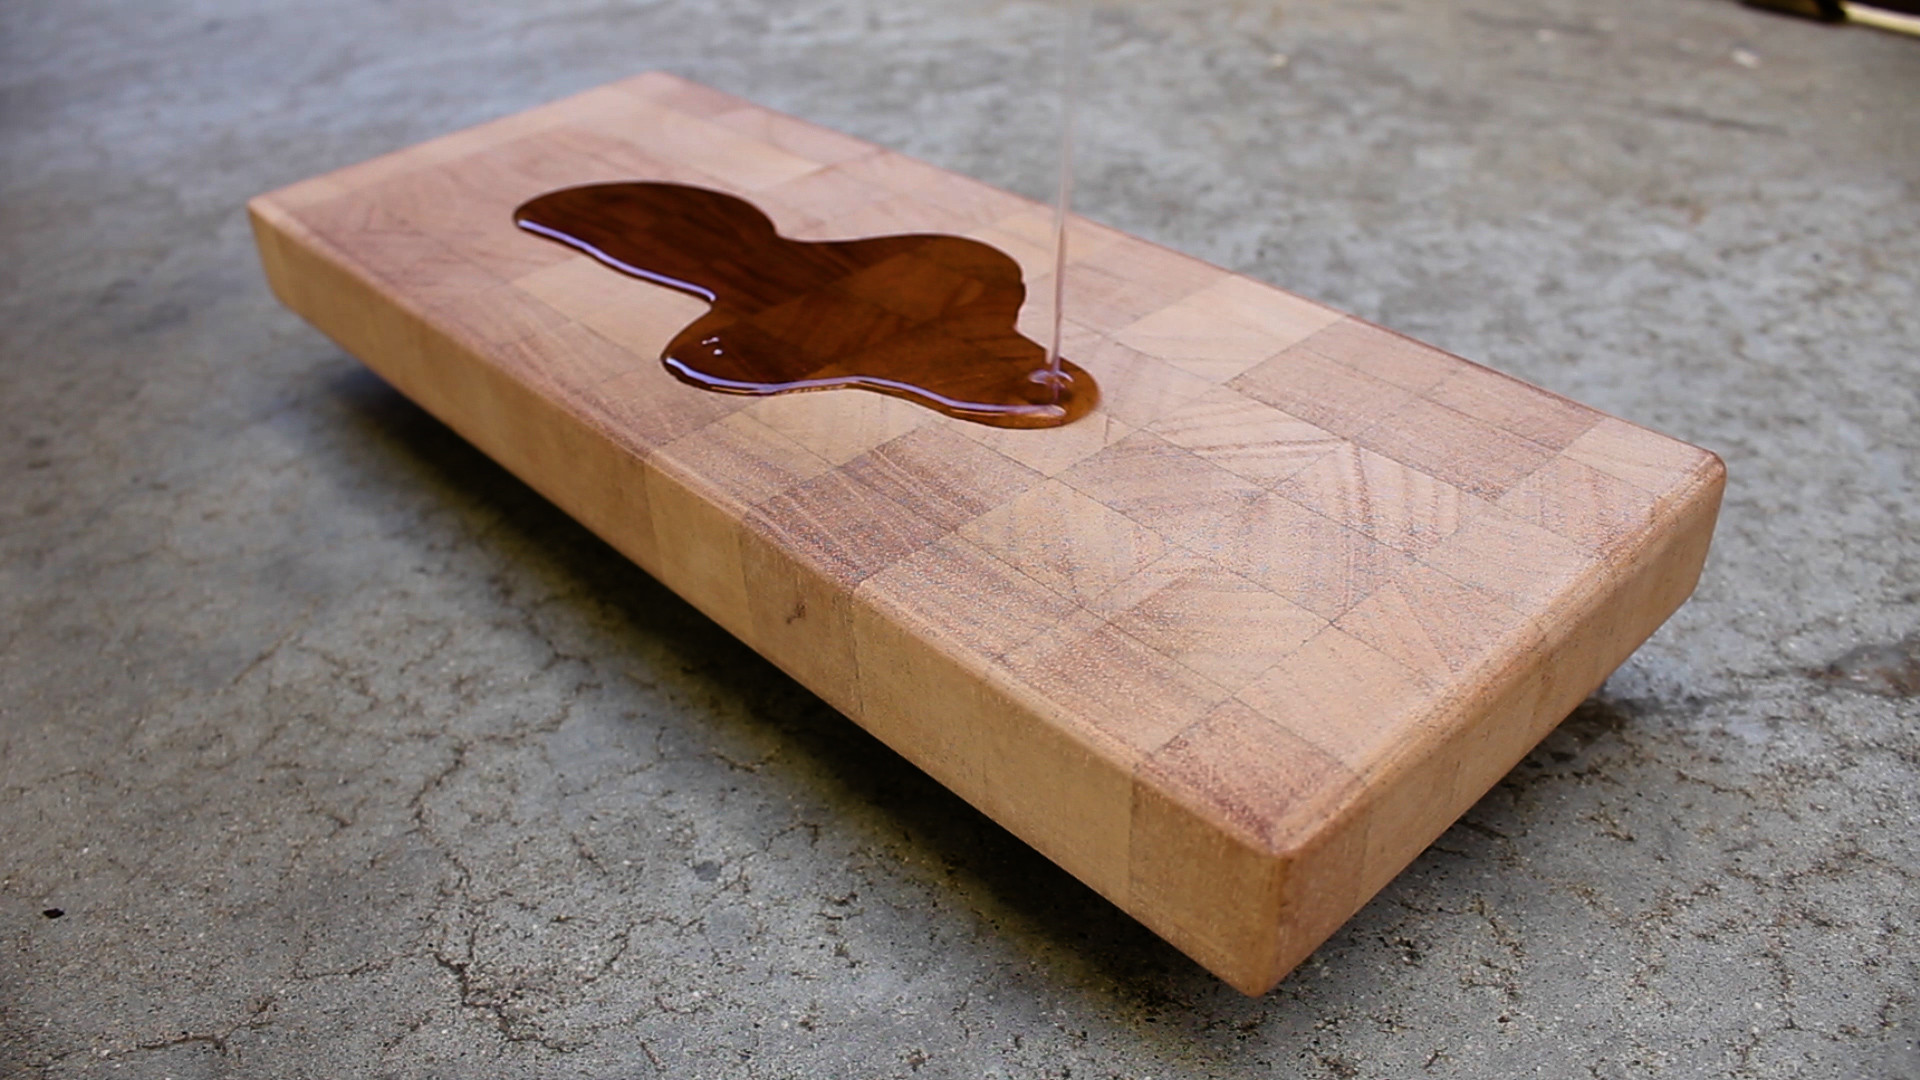
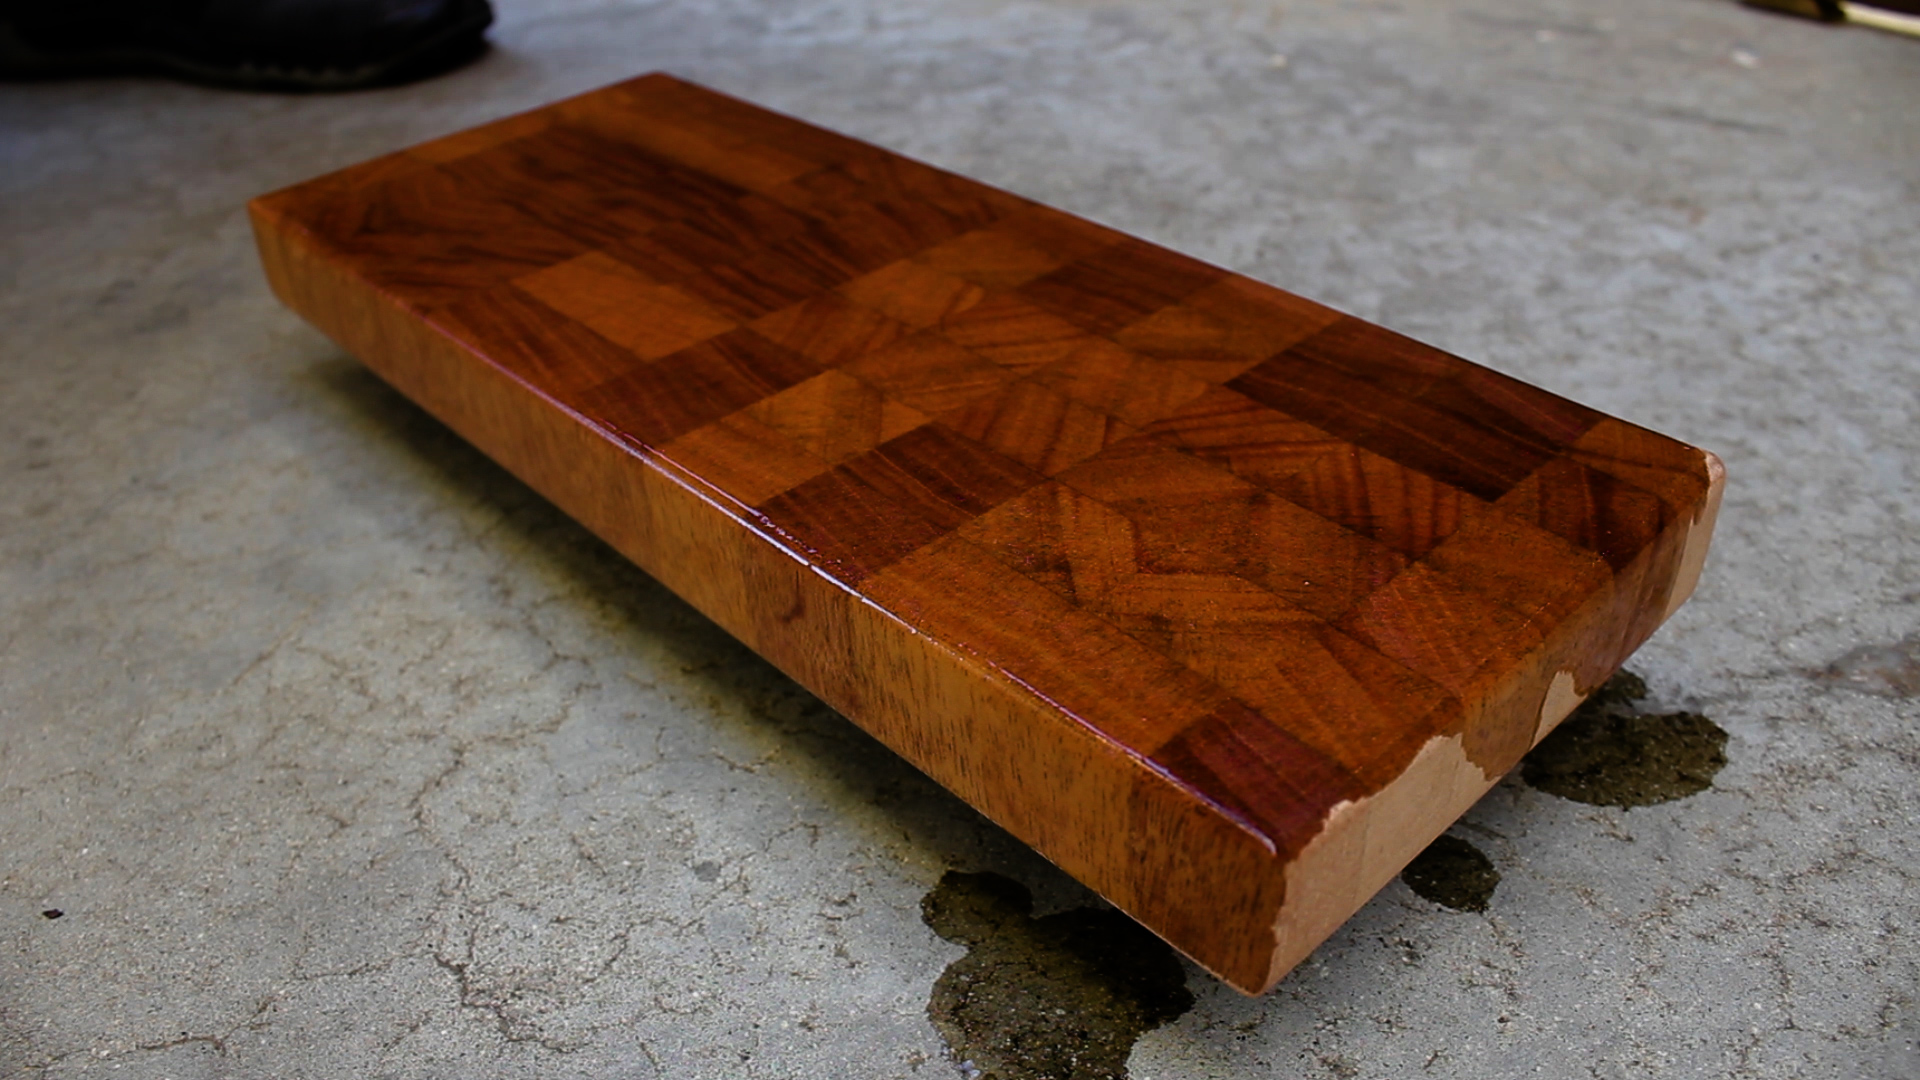
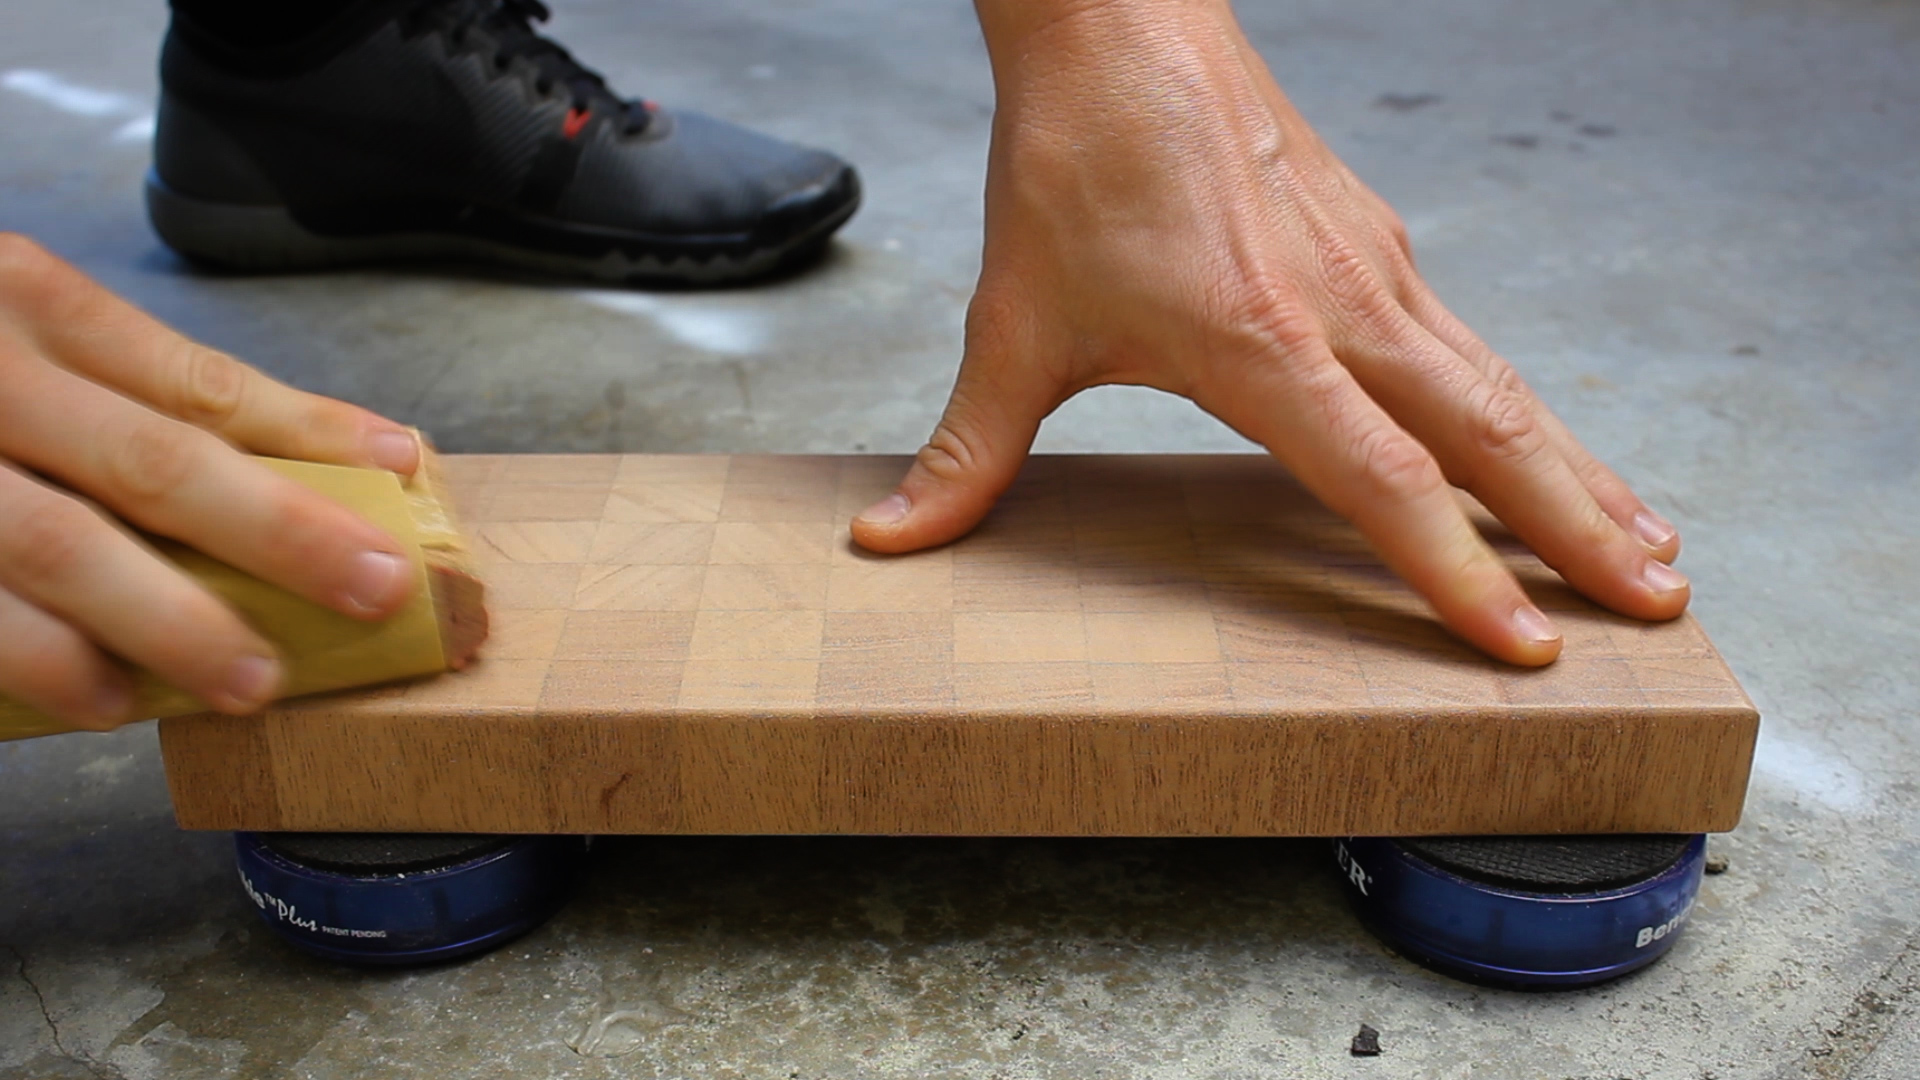
I'm using a food safe mineral oil specific for cutting boards for this project. This is definitely the most satisfying part of the build. Seeing the grain pop was a lovely experience. I applied two coats an hour apart and wiped off any excess oil once it had dried.
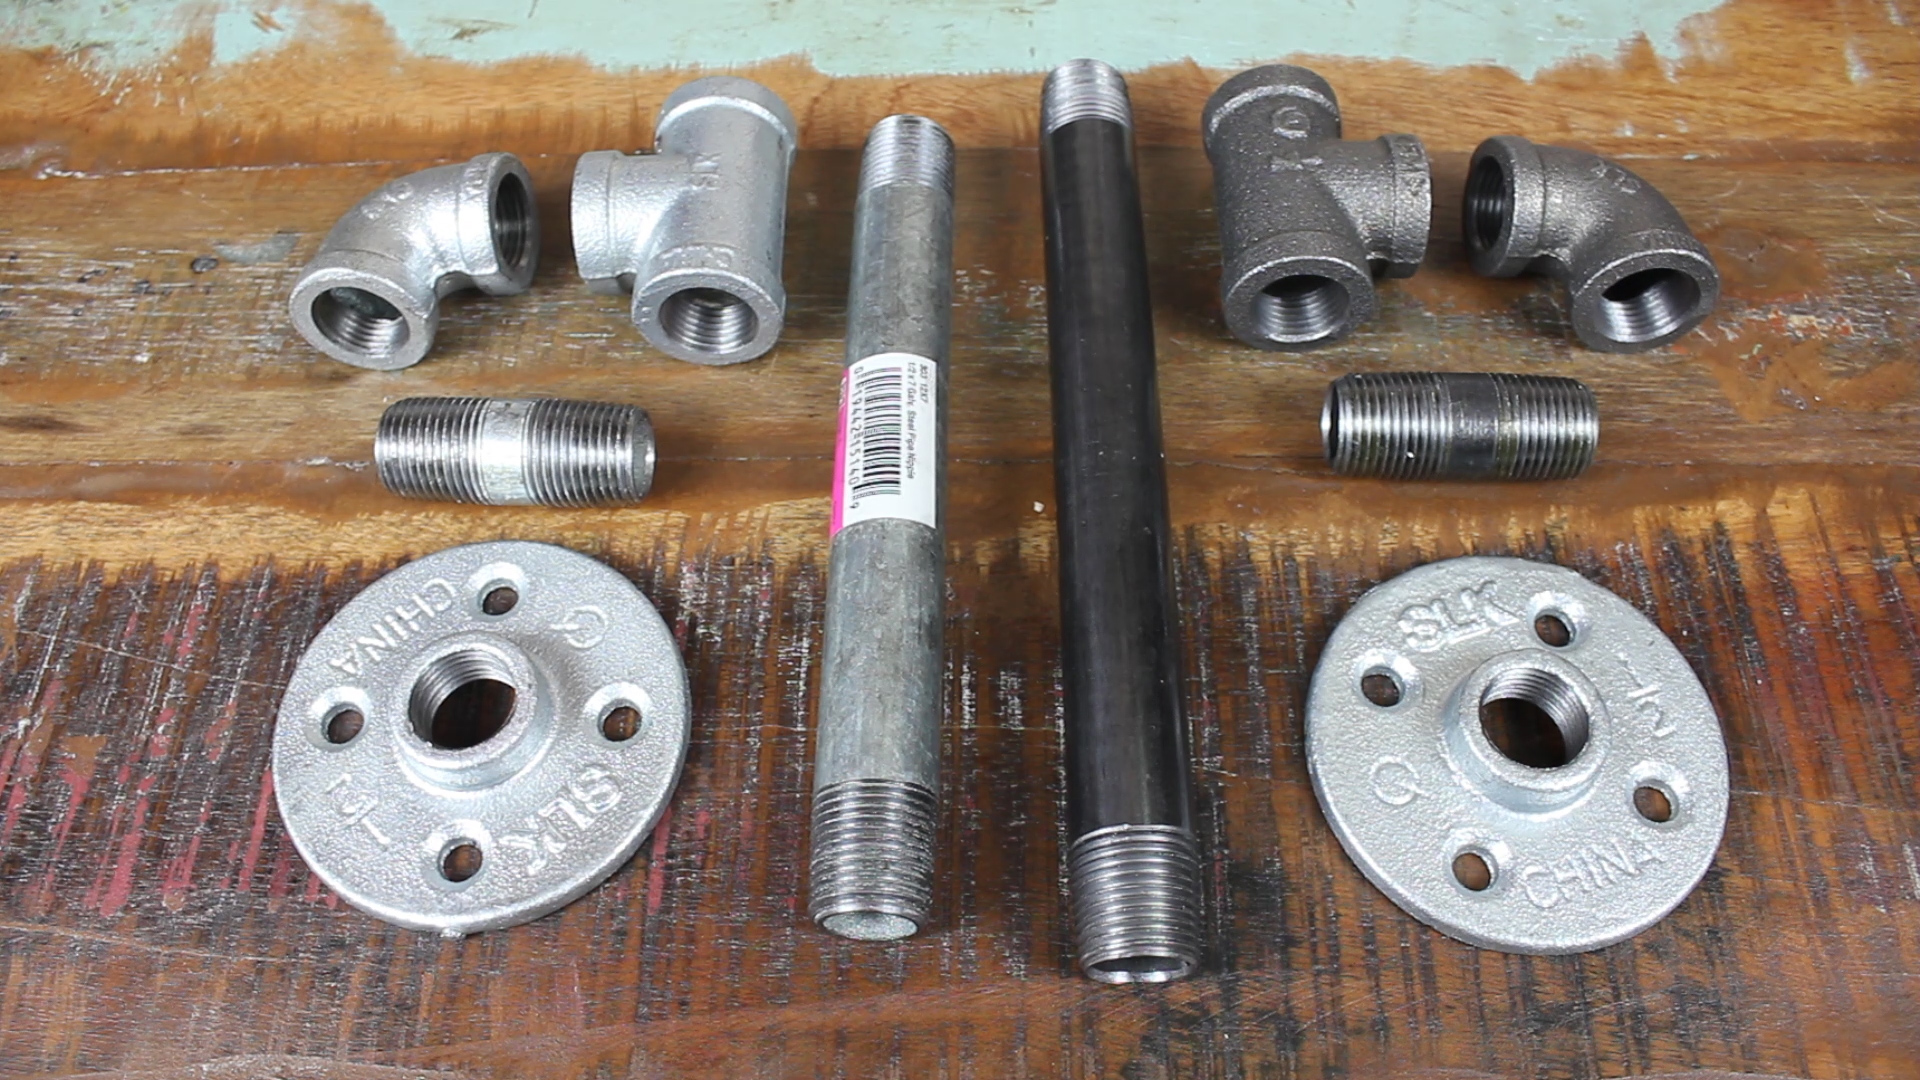
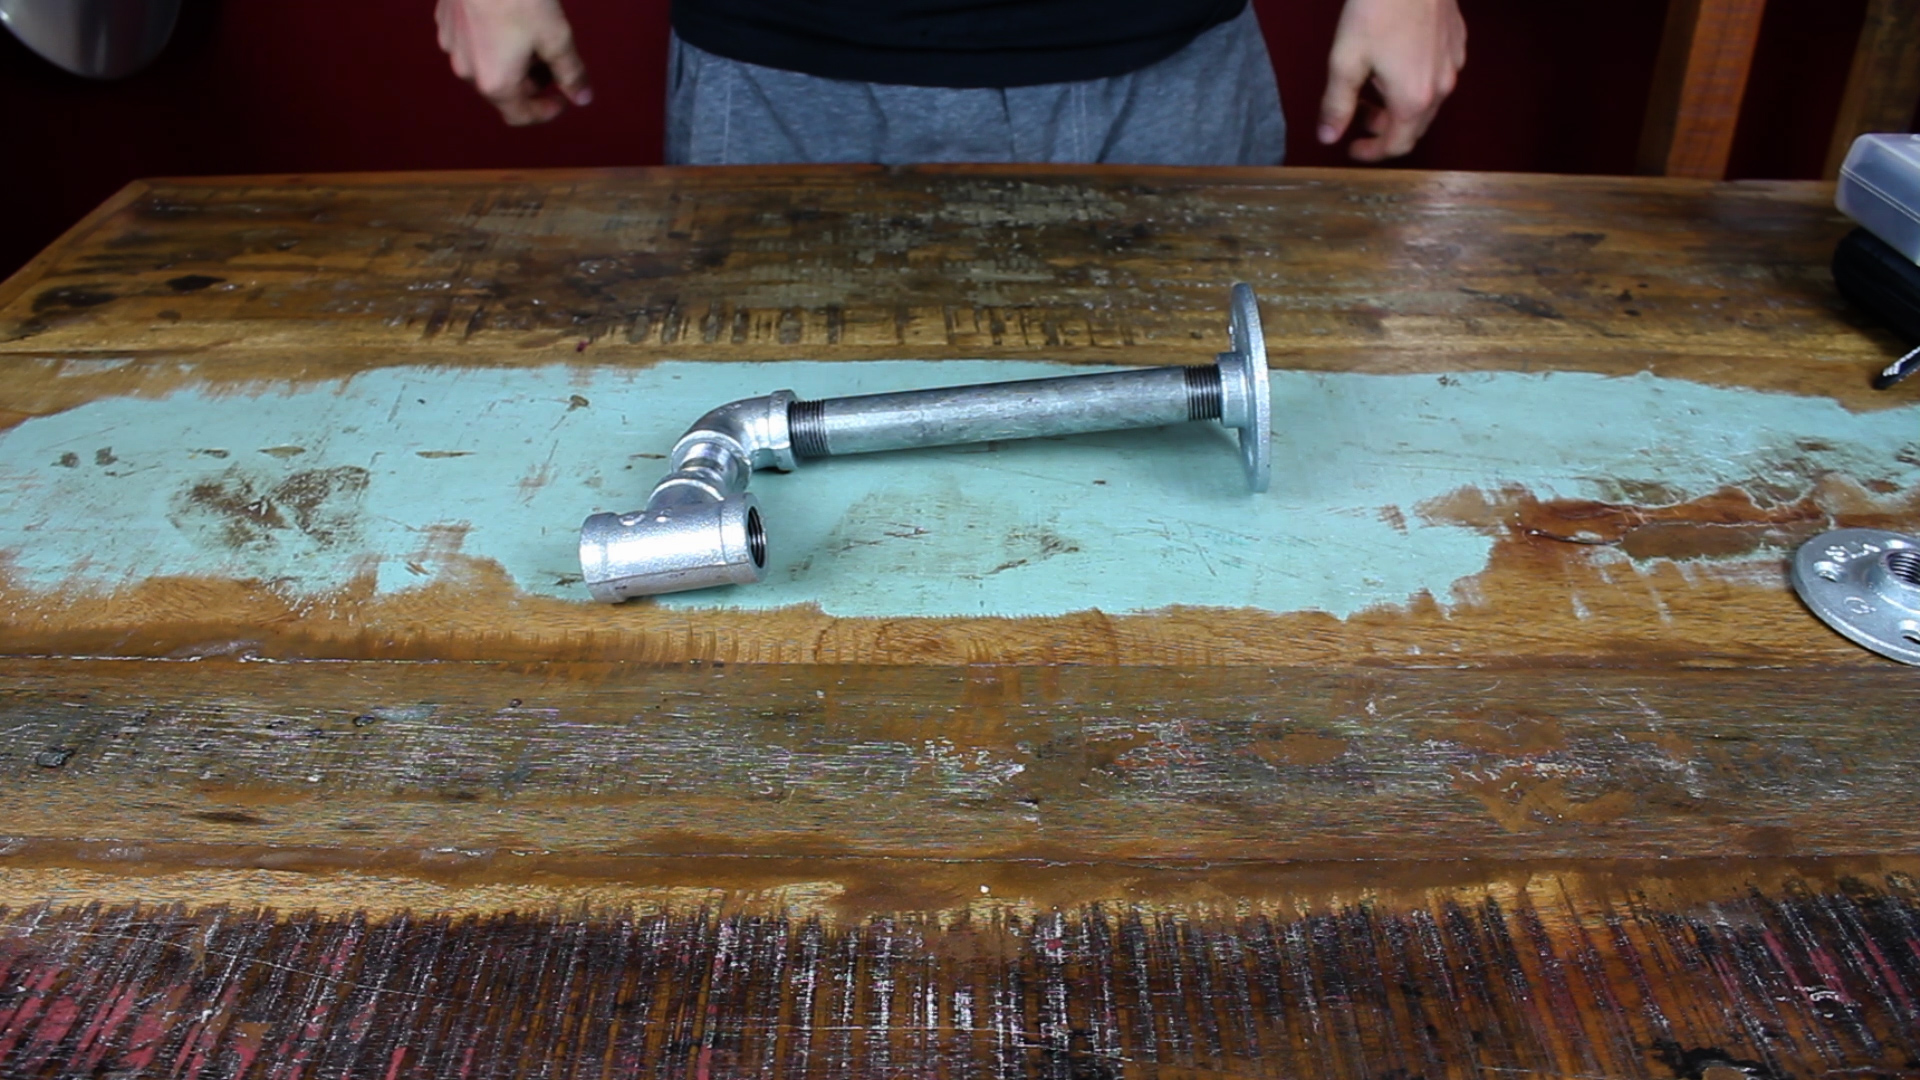
My pour over station uses five galvanized pipe pieces including (all 1/2"):
- Floor Flange
- 8" Nipple
- Elbow Fitting
- 1/2" Nipple
- Tee Fitting
That all are screwed together and held in place with friction. I'd recommend cleaning your pieces with a degreaser or dish soap (at a minimum) before final assembly.
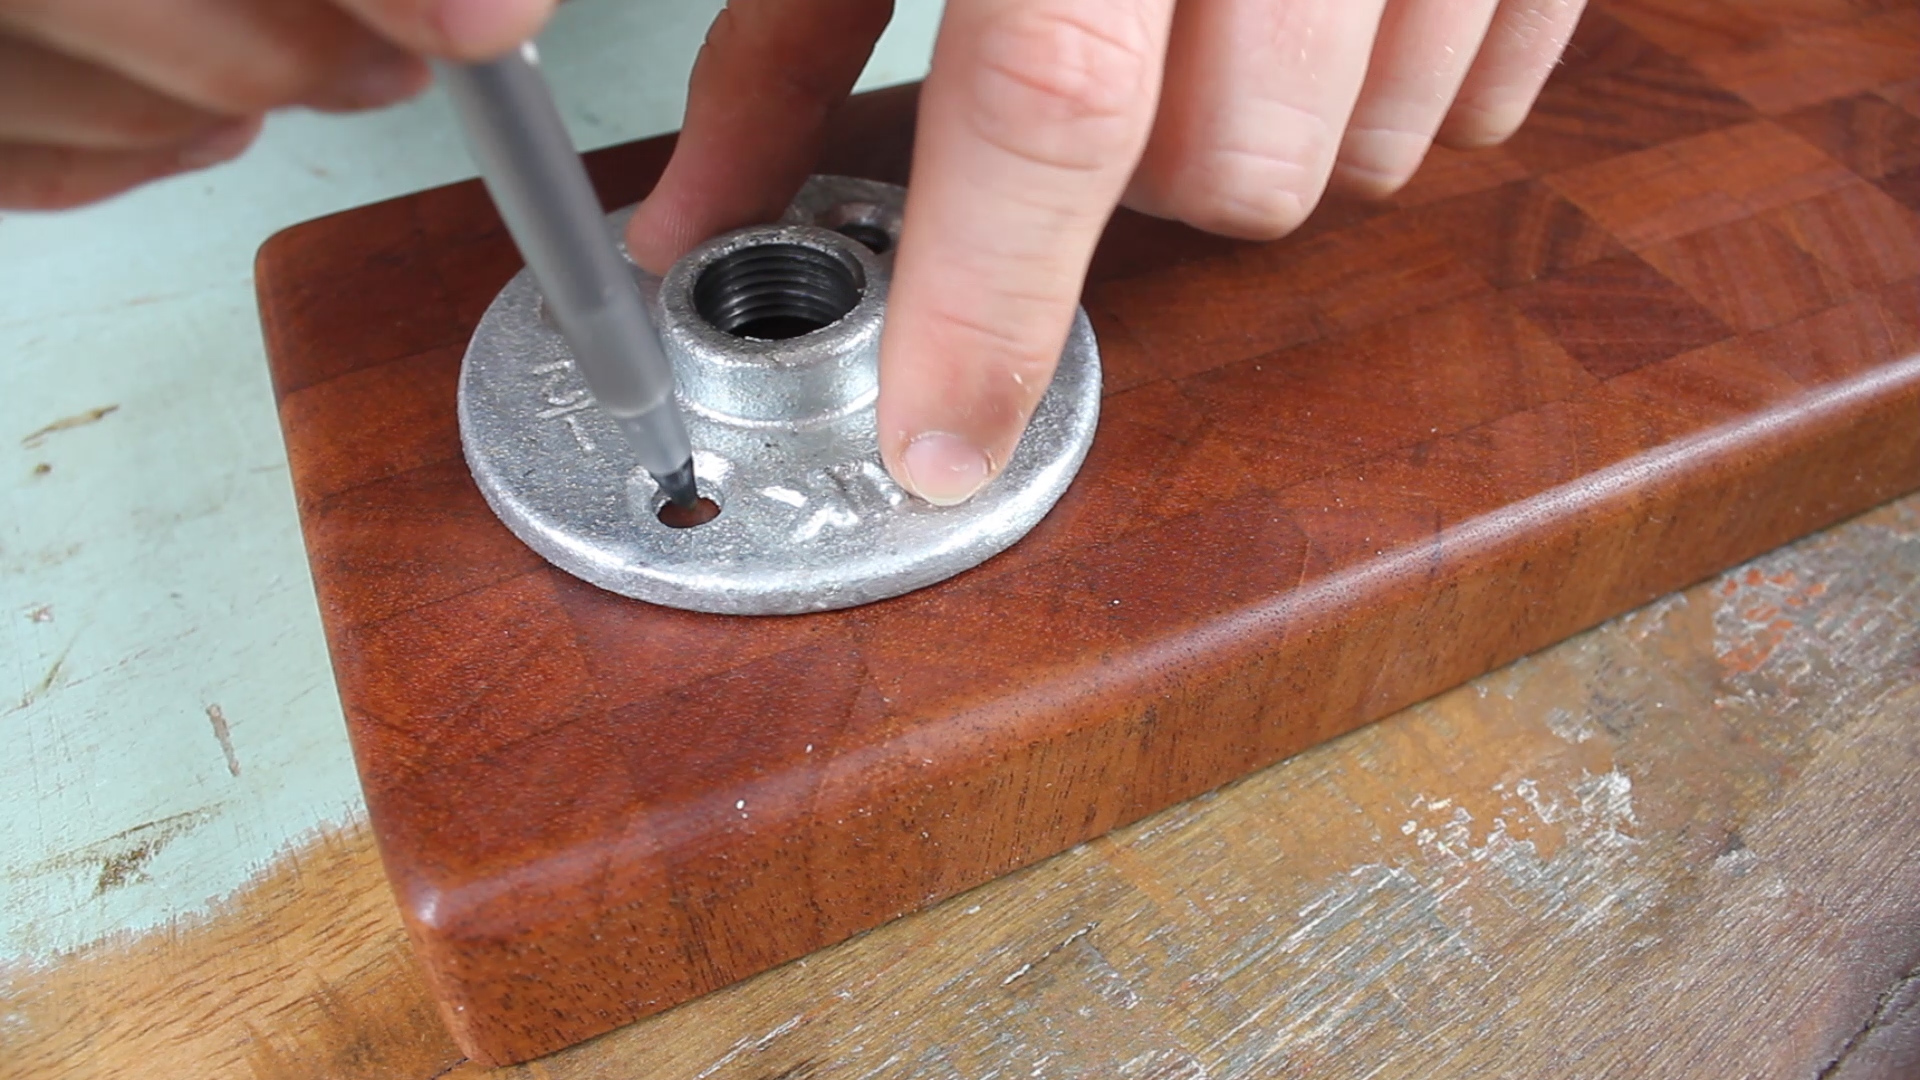
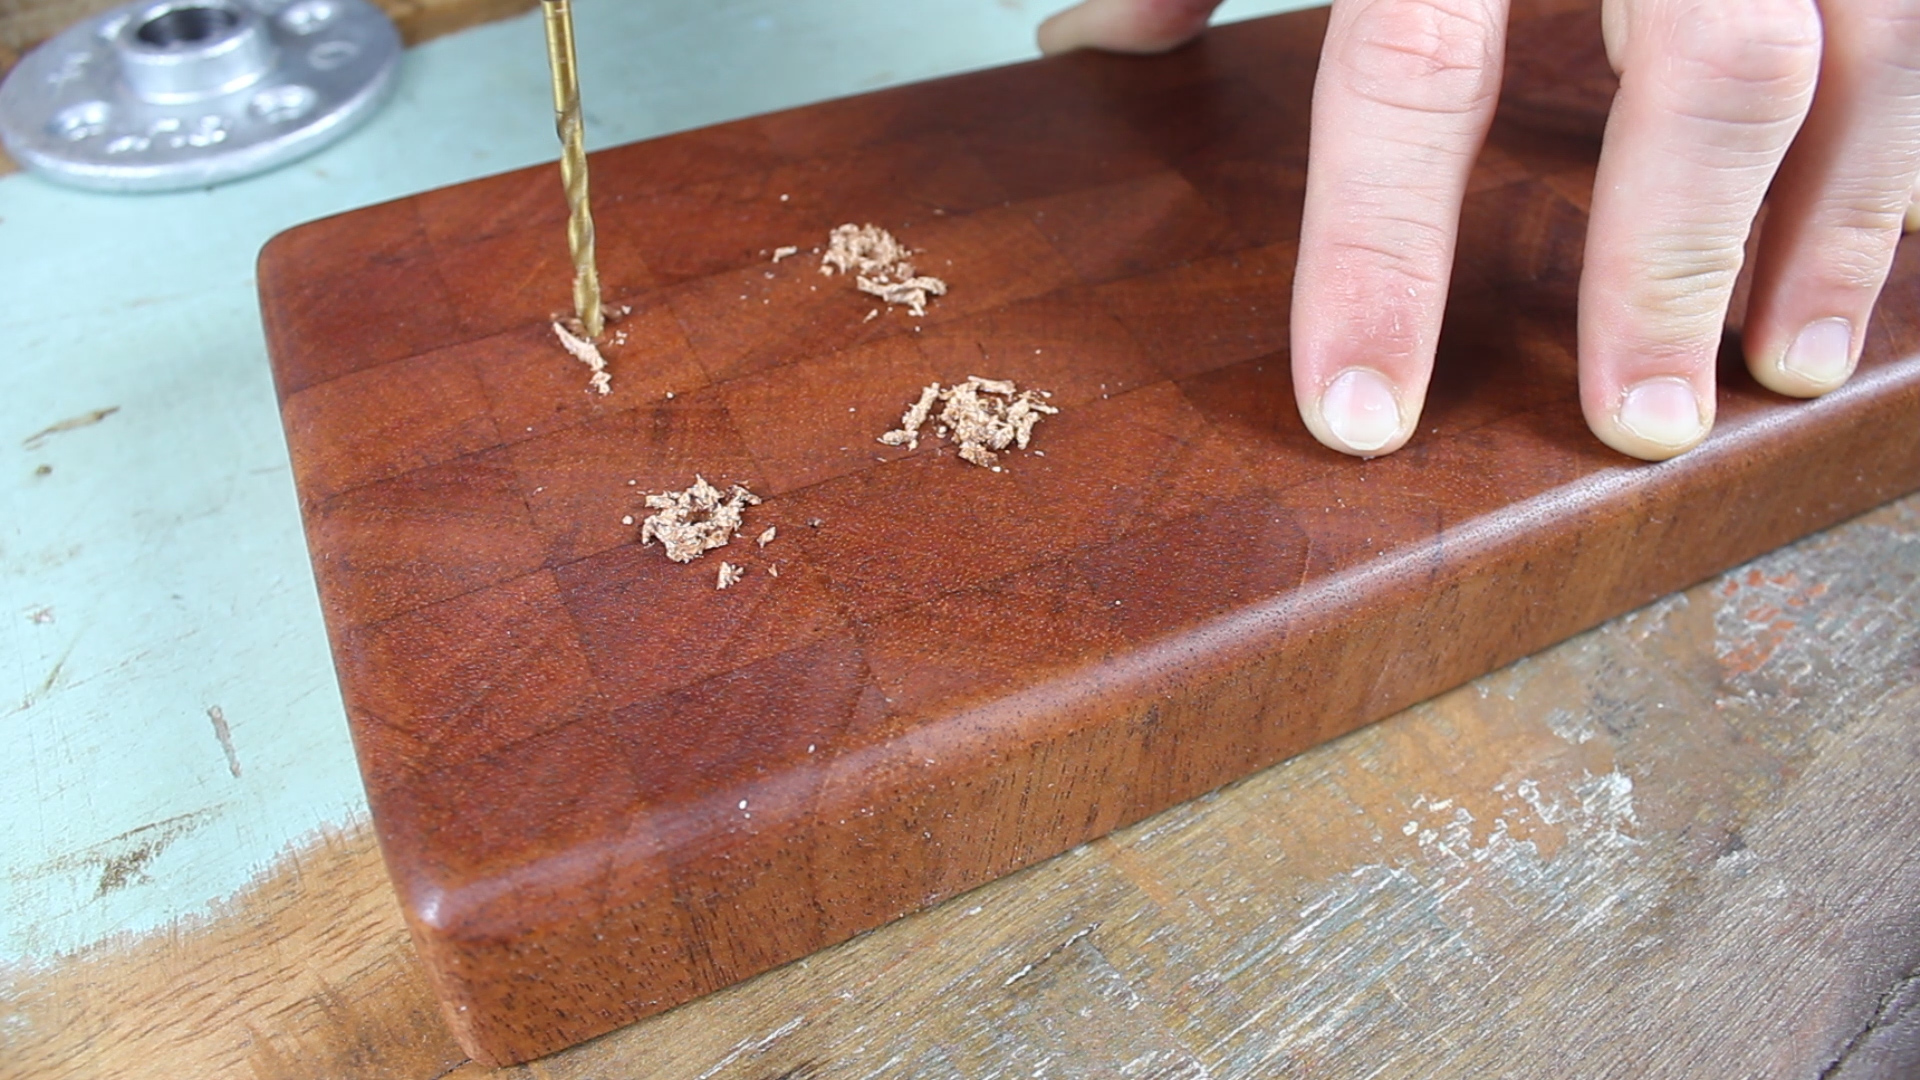
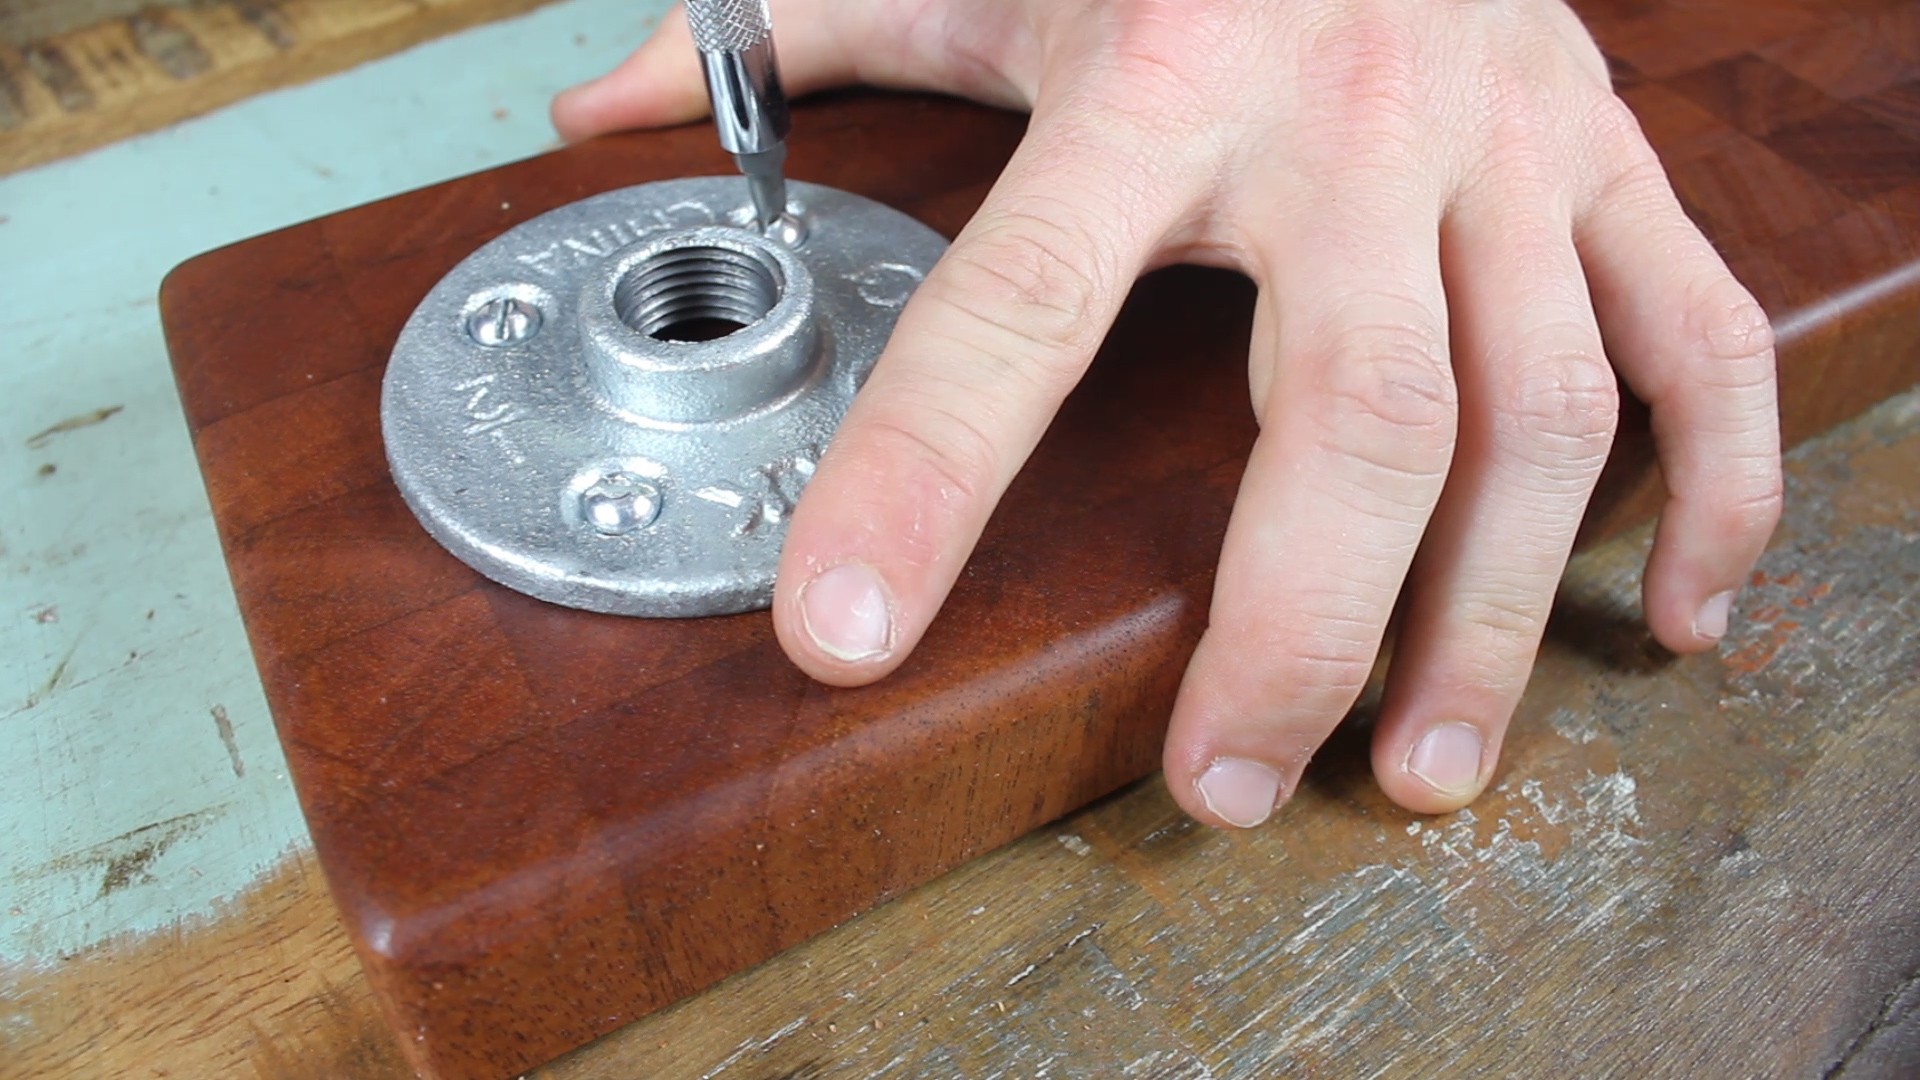
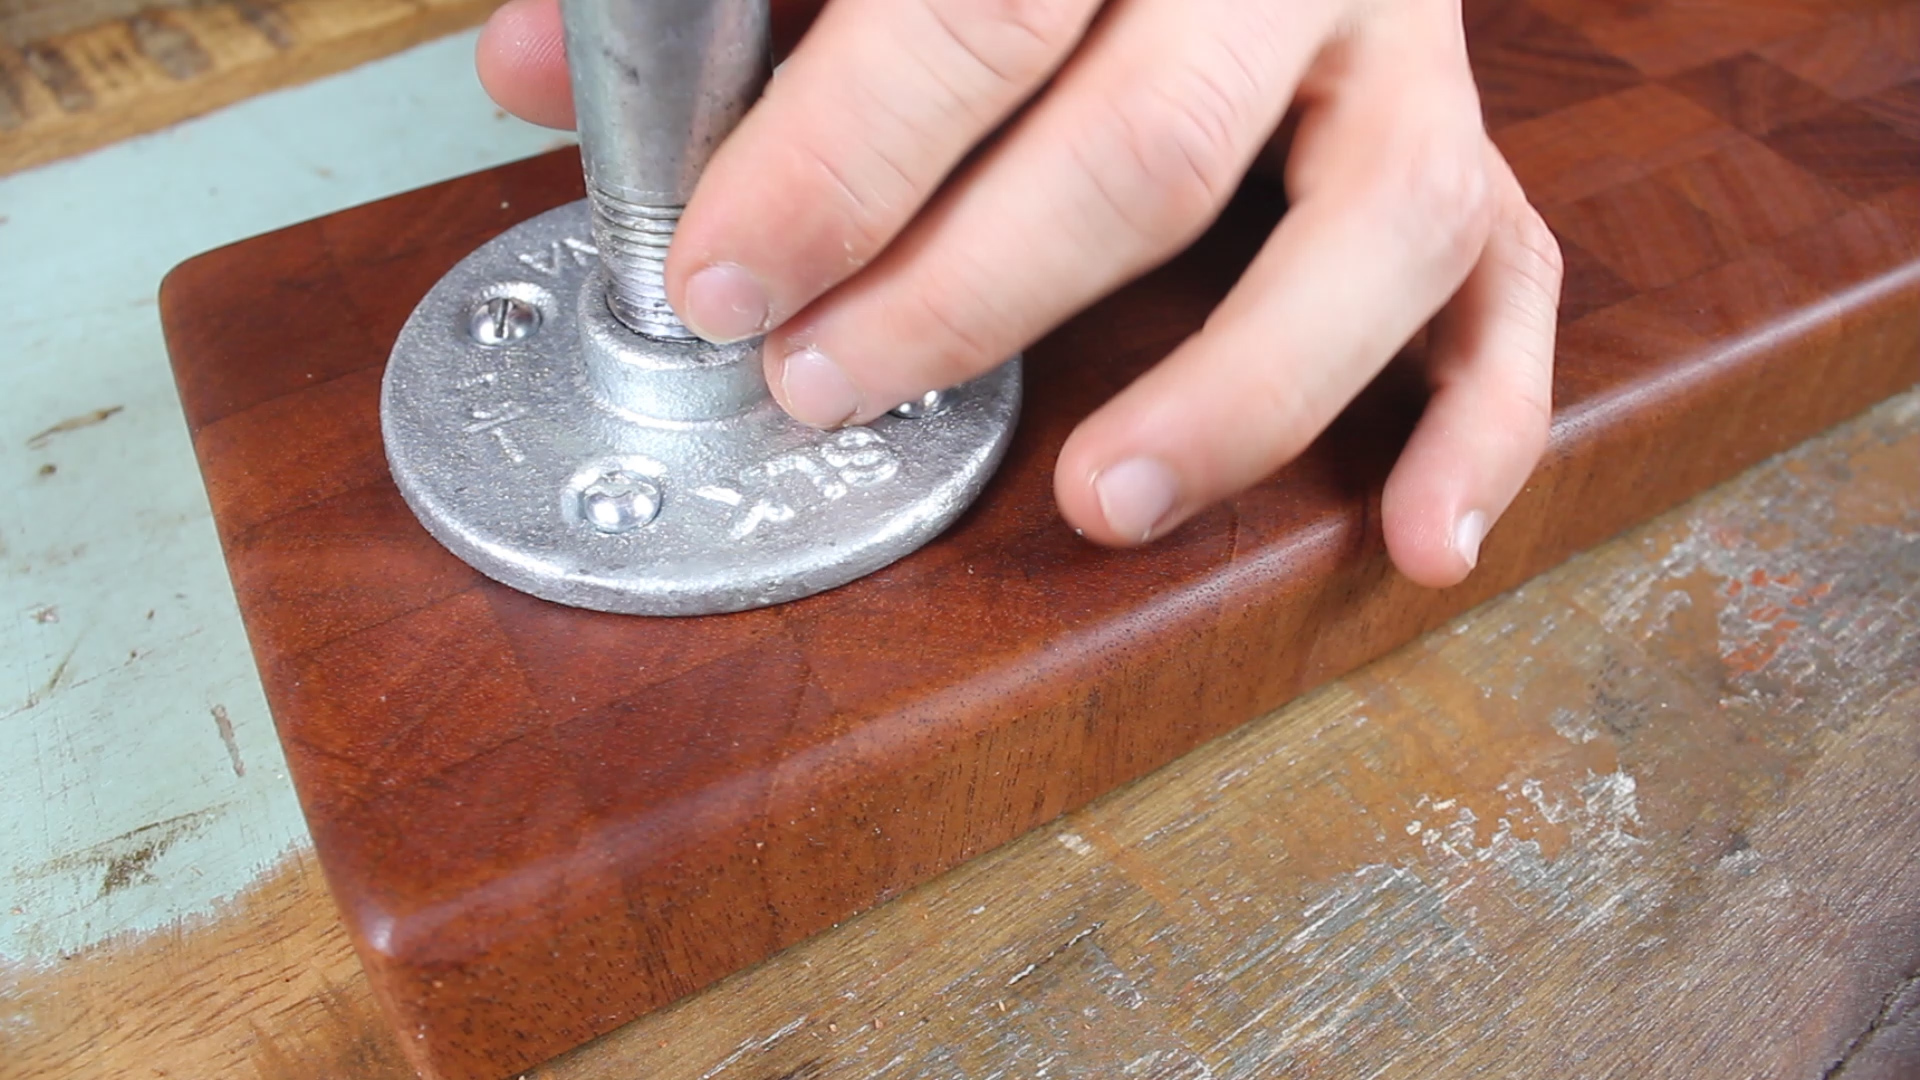
Last up, I measured out, marked my drill holes, drilled pilot holes, and screwed in and tightened my pipe flanges to one end of my cutting board. And then I was done! I'd call this first project a success.
Now all I need to do is buy a funnel for the pour over station!
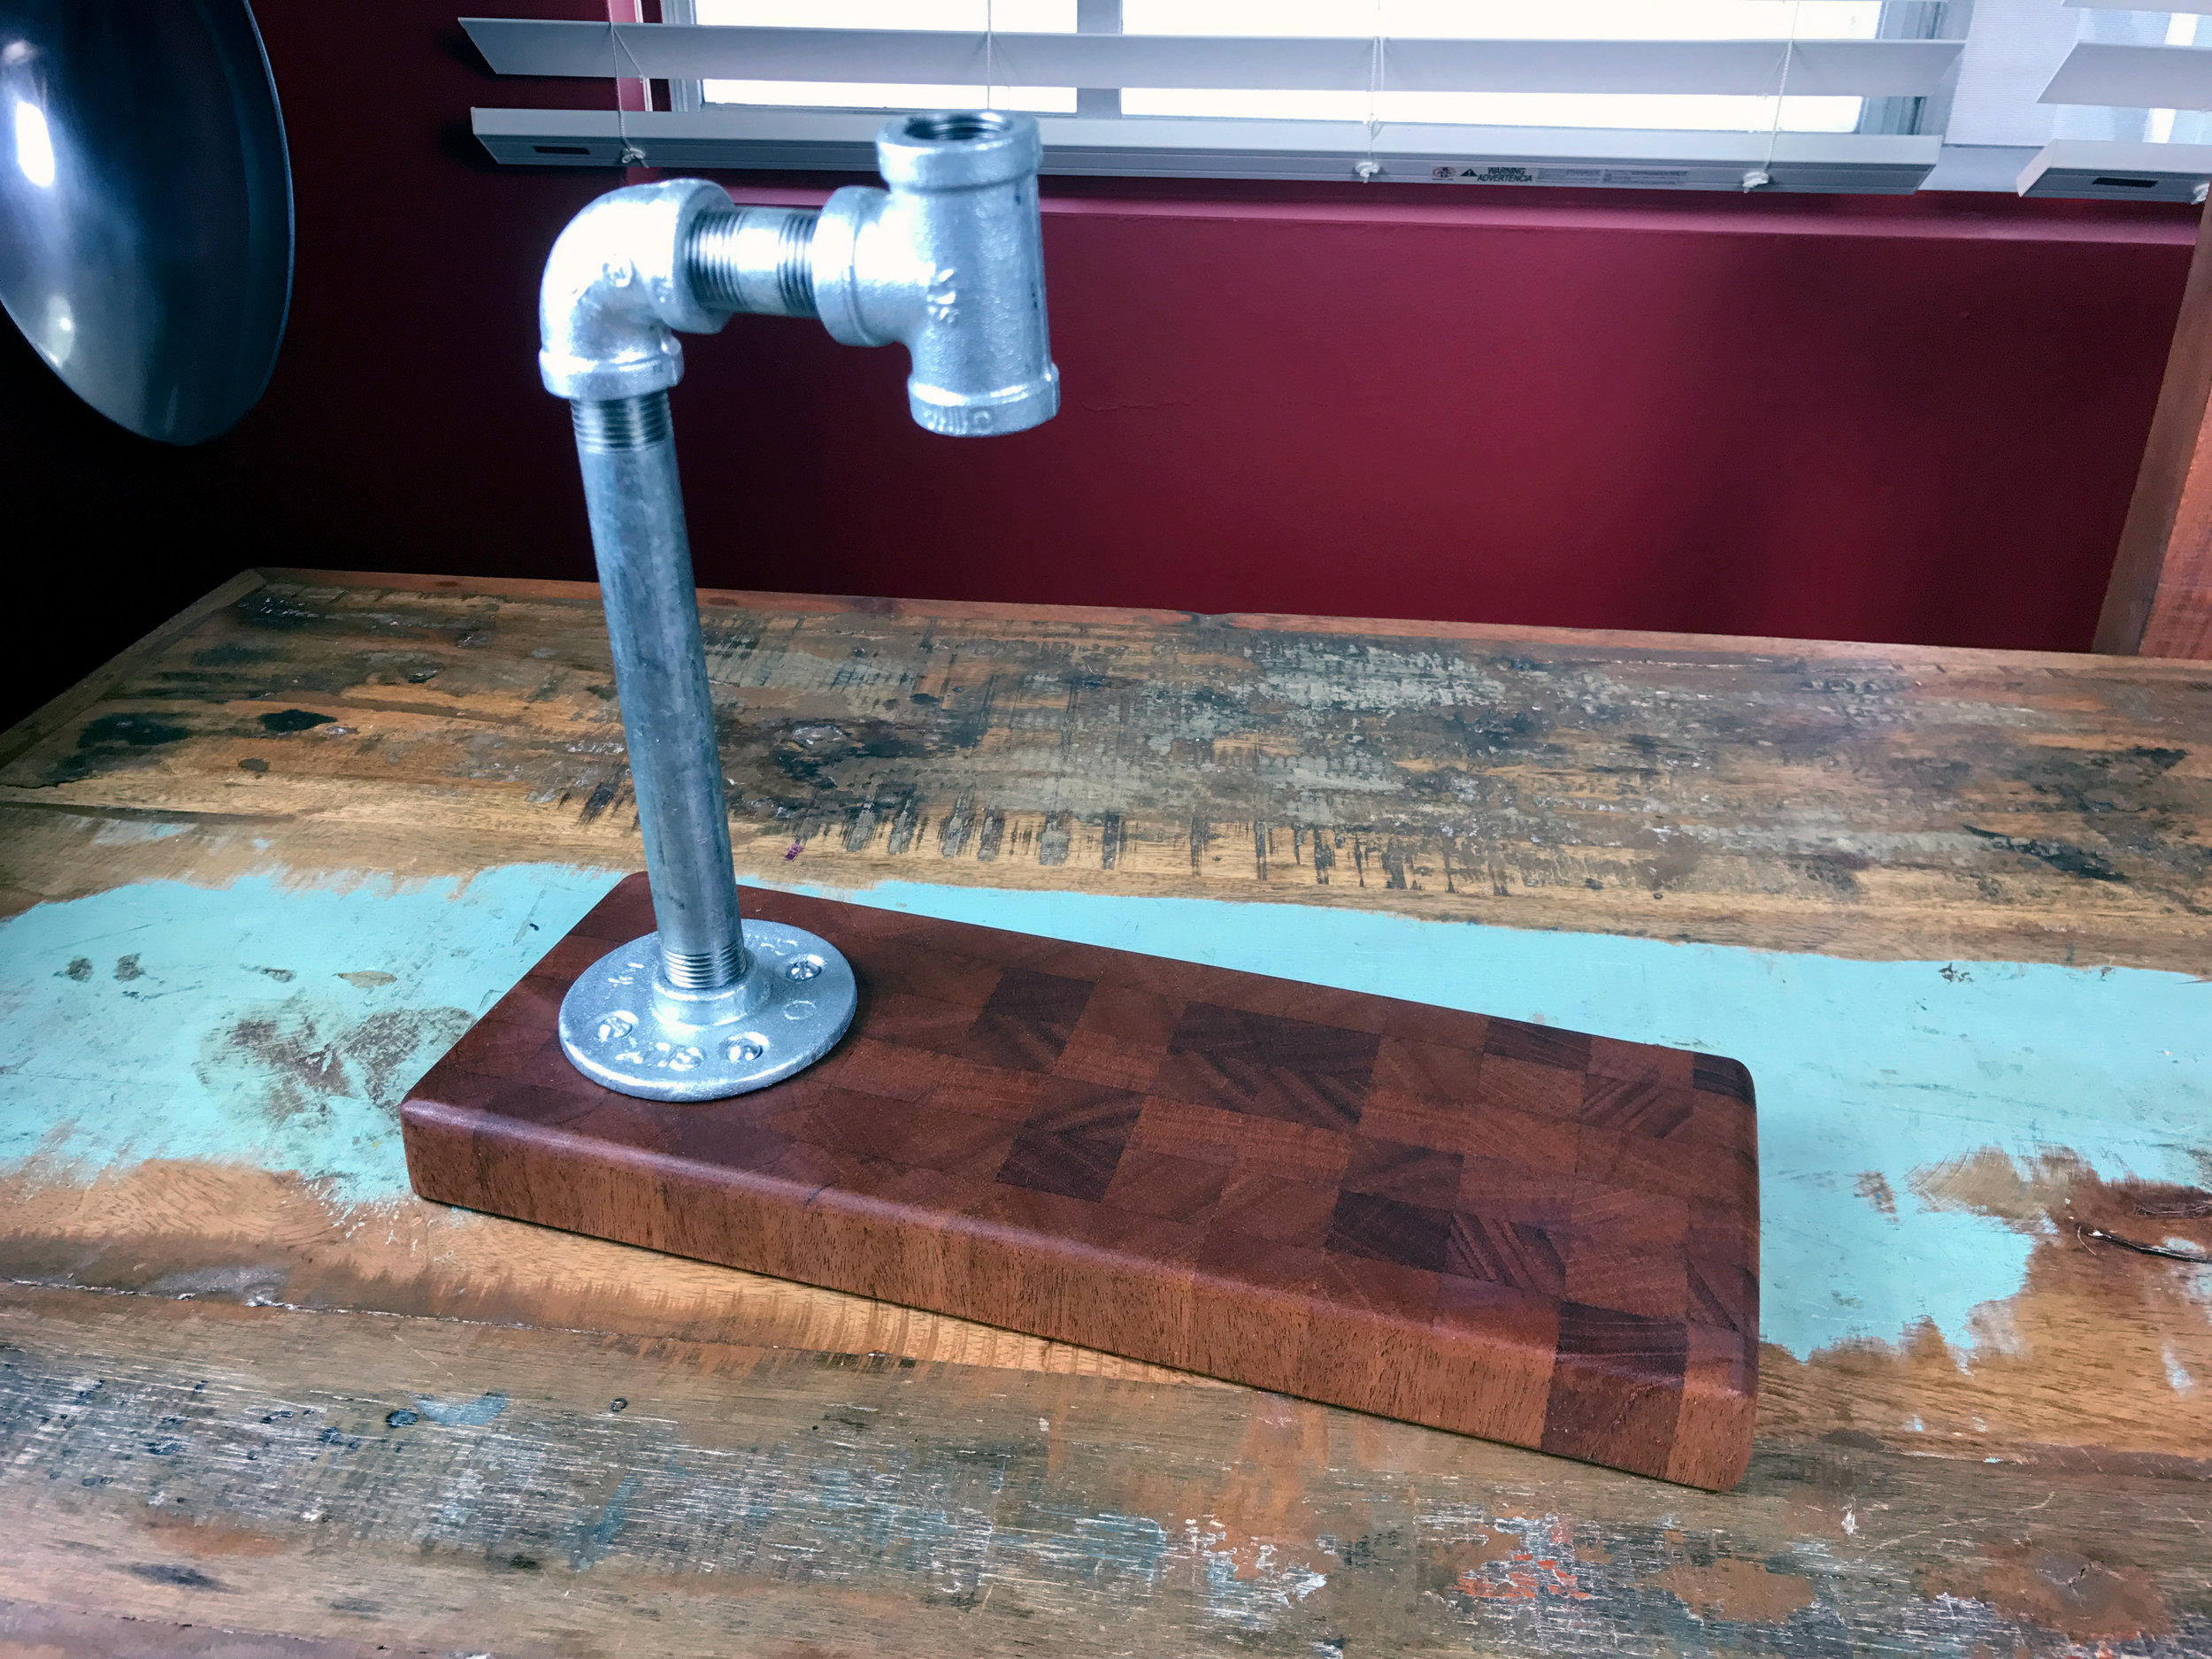
Really digging this thing!
TOOLS
RYOBI 10 in. Sliding Compound Miter Saw
12” Rafter Square
RYOBI Cordless Orbital Sander
RYOBI Cordless Orbital Sander
RYOBI Combo Power Tool Kit
RYOBI Drill Bit Set
ROCKLER Bench Cookies (Set of 4)
Wen 12.5” Thickness Planer
BESSEY Economy 2.5” x 24” Clutch Clamps
BESSEY H Style Pipe Clamps
Hand Sanding Sponges (220, 320, and 400 grit)
Rubber Mallet
5-Gallon 4.5 Peak HP Wet Dry Vacuum
Air CompressorShop Vacuum
Screw Driver
Spray Bottle (for wet sanding)
Thanks for reading! I would be so grateful if you could please subscribe to my Youtube Channel for future projects. I put out videos every other week.
Cheers!
Zach