I made my first big purchase for the shop - a SawStop. Safety has become paramount for me as a hobbyist maker, so in addition to the purchase, I knew it was time to build a big assembly out feed table! Below is the full video build where I talk about why I built my table the way I did and how I went about it. Materials and tools are below as well! Hope you Enjoy!
MATERIALS
3 x 3/4" x 4' x 8' Sanded Plywood
~100 x 1.25” Pocket Hole Screws: http://amzn.to/2p5vKYw
1” Brad Nails: http://amzn.to/2oNLc8W
TiteBond II Wood Glue: http://amzn.to/2peRFus
TOOLS
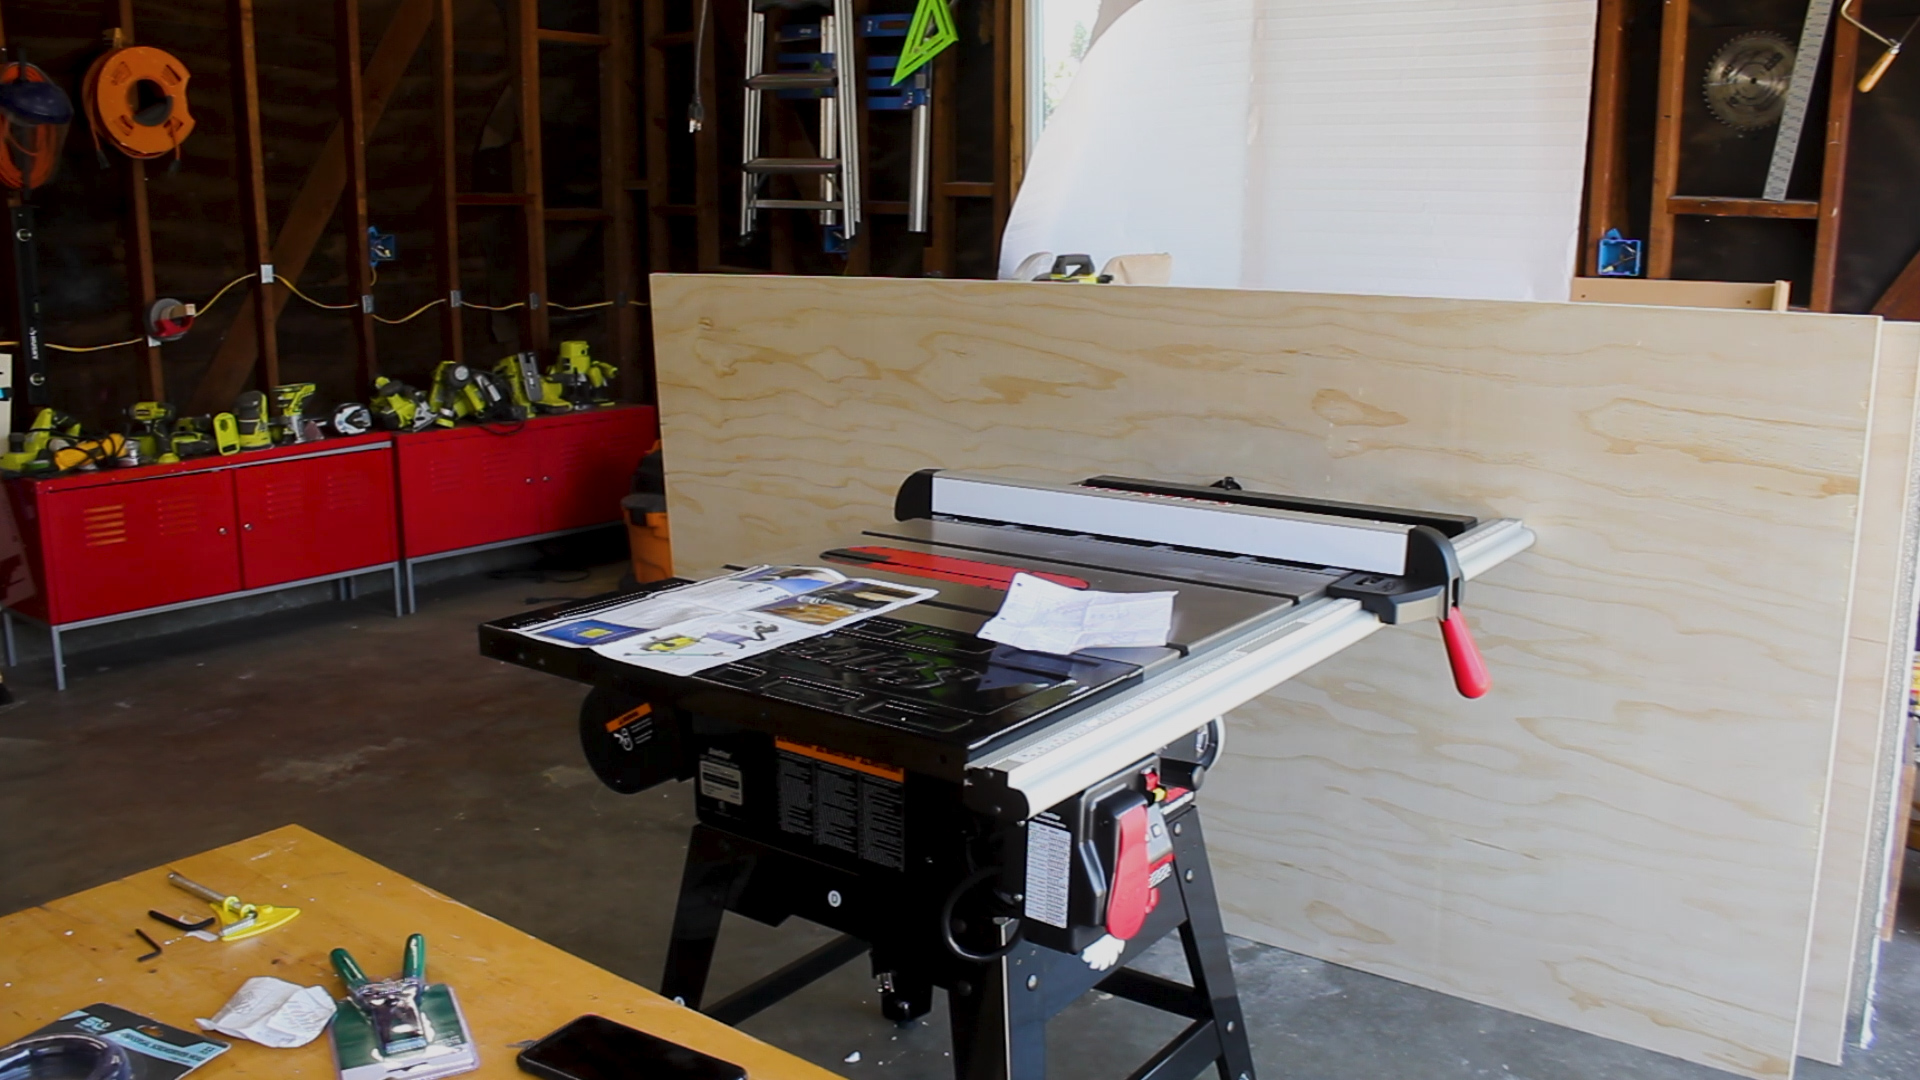
SAWSTOP Contractors 30” Saw: https://amzn.to/2Luh91q
Circular Saw: http://amzn.to/2q1l5wn
Power Drill: http://amzn.to/2q1l5wn
Cordless Brad Nailer: http://amzn.to/2p1dYFD
Impact Driver: http://amzn.to/2q1l5wn
Miter Saw: http://amzn.to/2q1klHw
Miter Saw Stand: http://amzn.to/2p1072e
Plunge Router: http://amzn.to/2p15eiC
1” Dado Bit: http://amzn.to/2eR6tOO
KREG K5 Pocket Hole Jig: http://amzn.to/2qb8S7t
Kreg Clamp: http://amzn.to/2riyHU8
12” Speed Square: http://amzn.to/2phZUIt
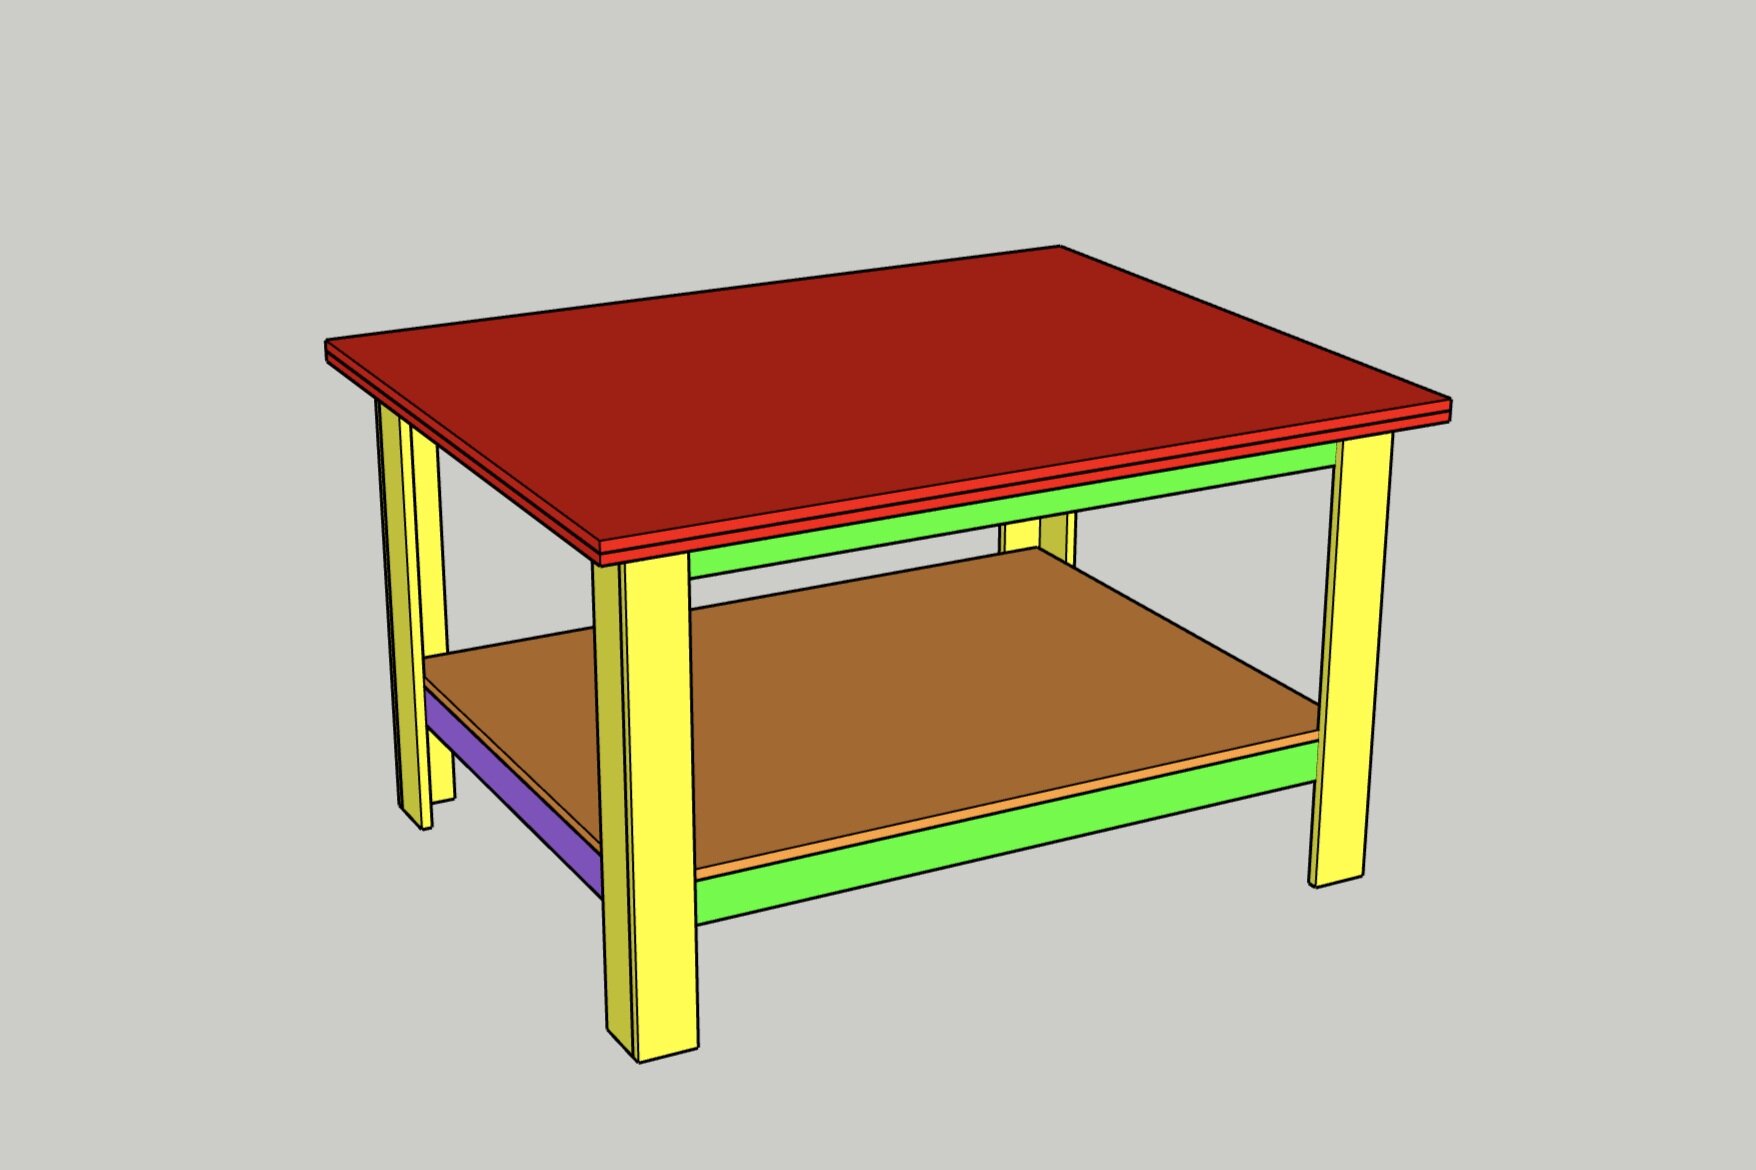
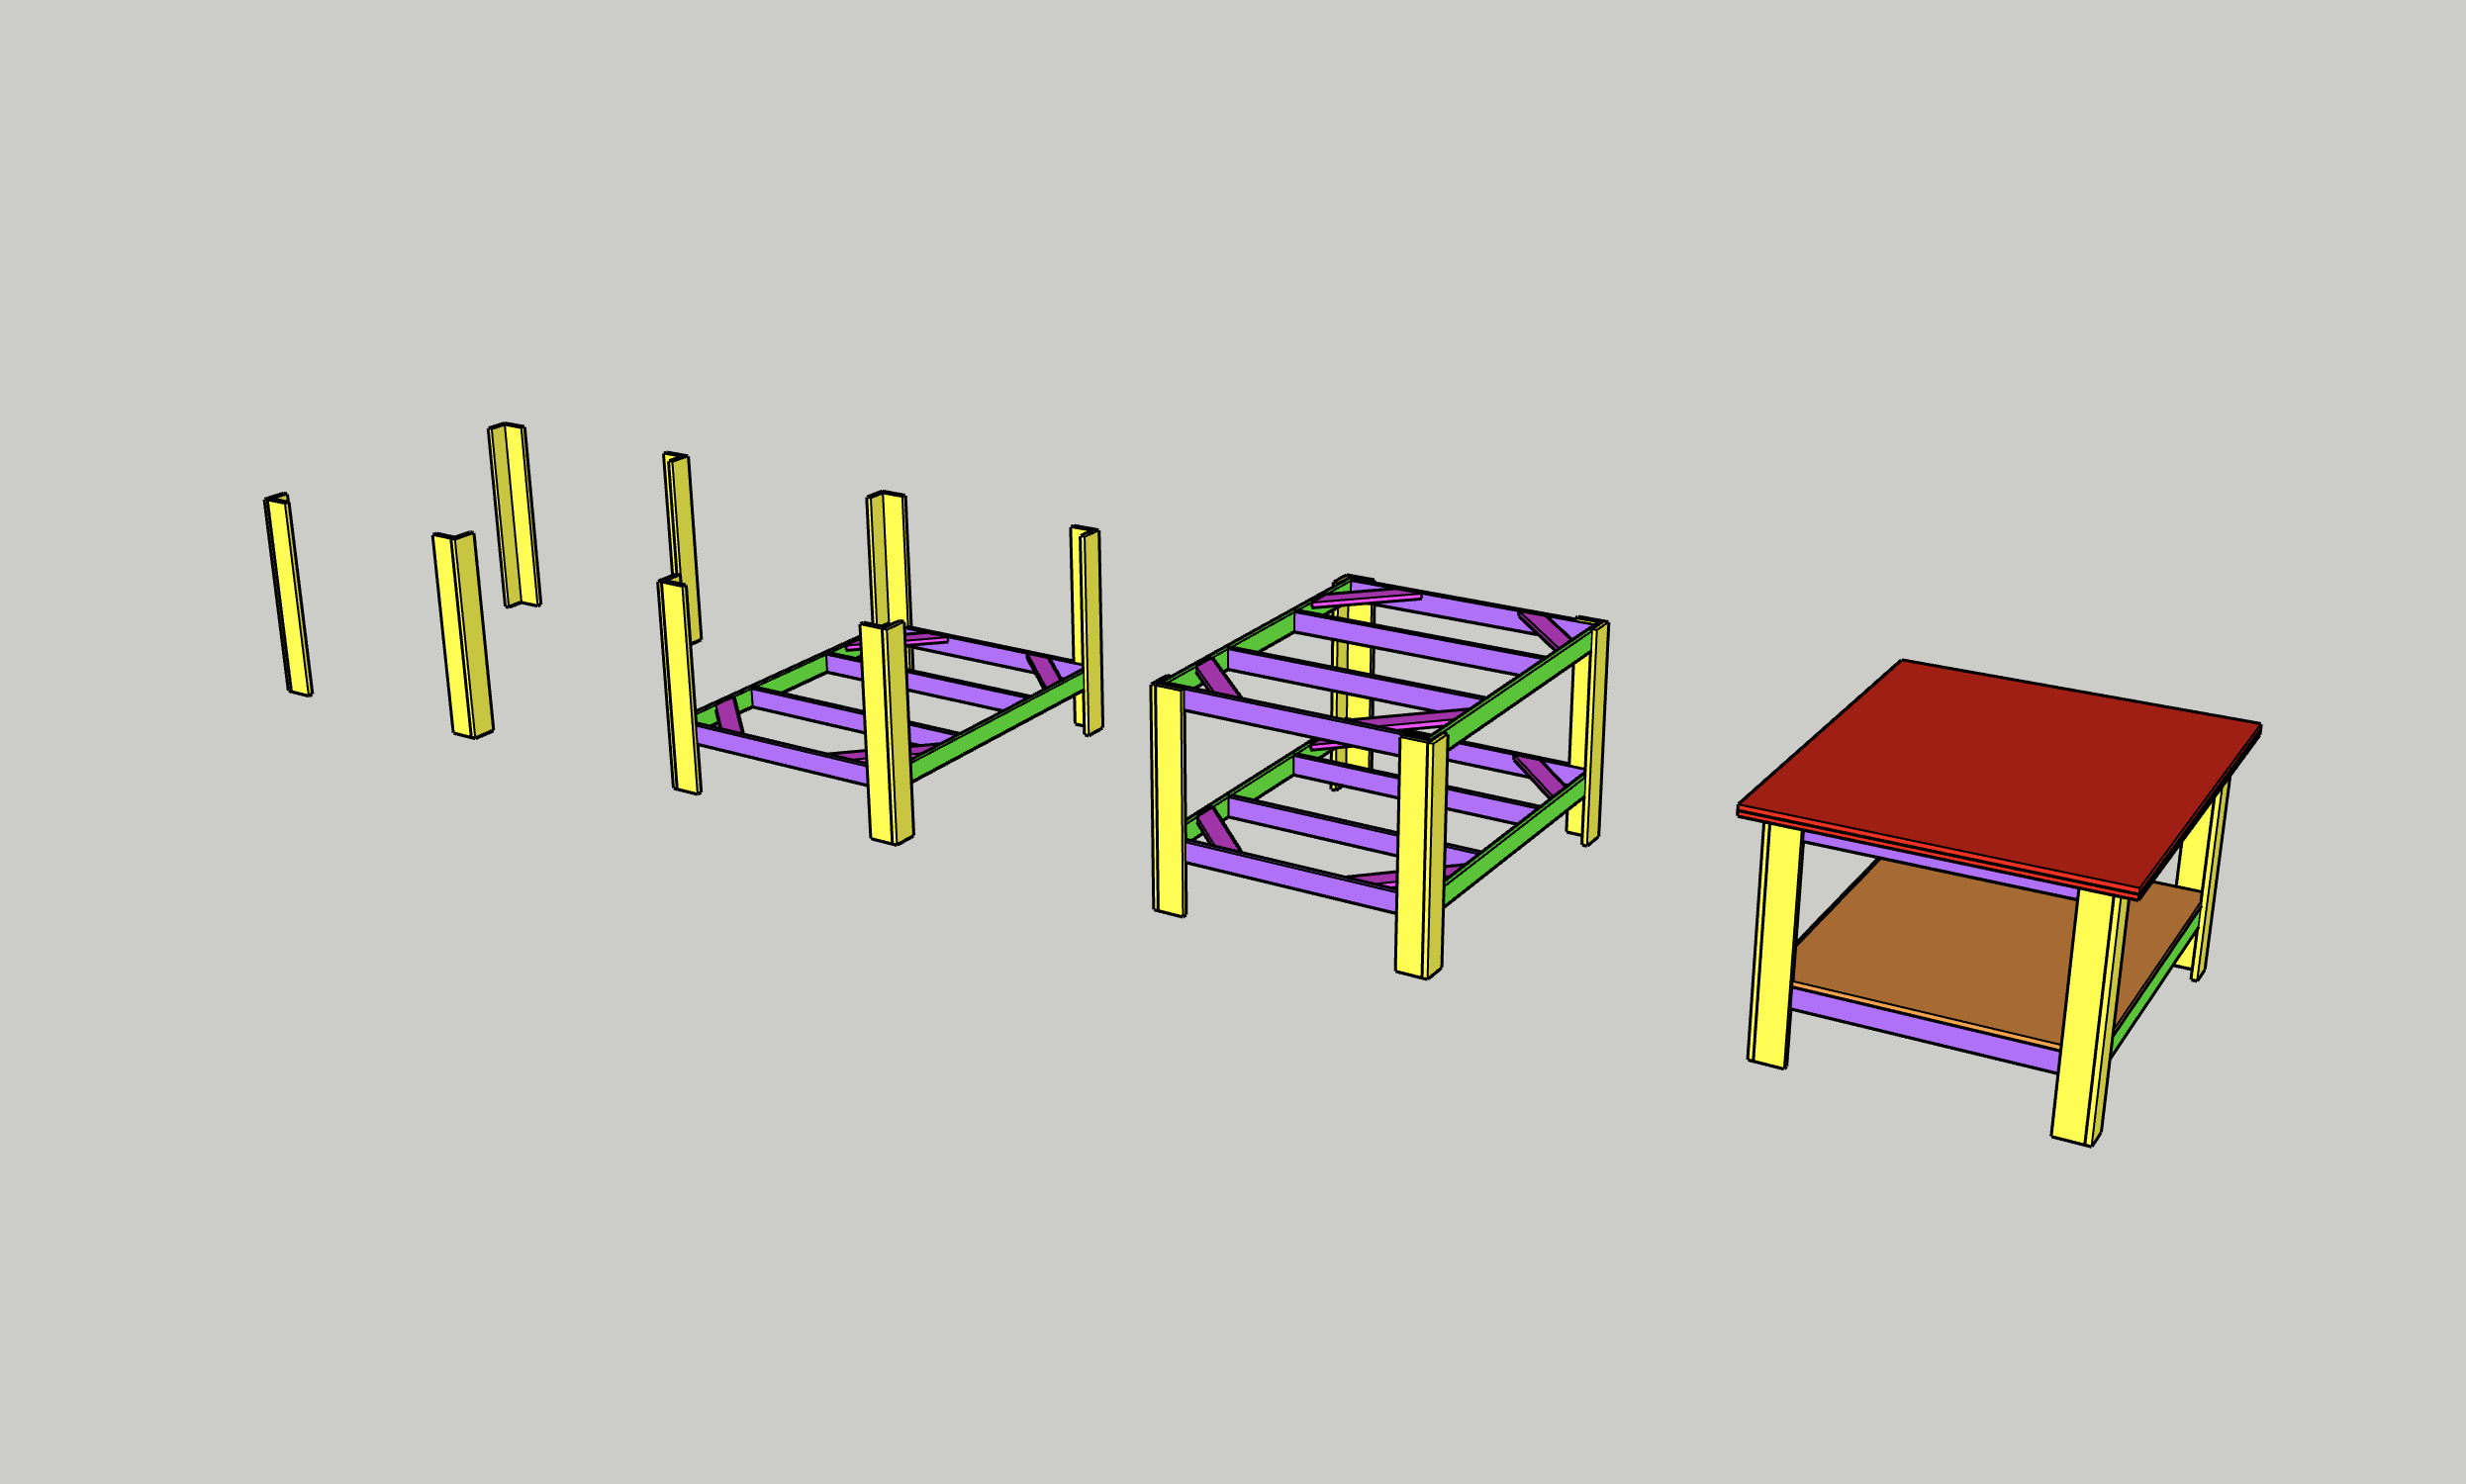
Above are new renderings completed in SketchUp of the table. You can access those plans for purchase ($4.00 USD) here.
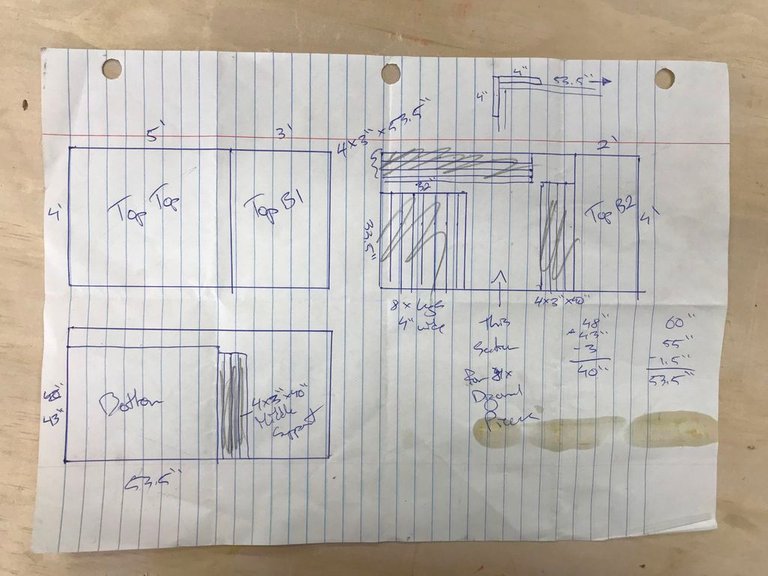
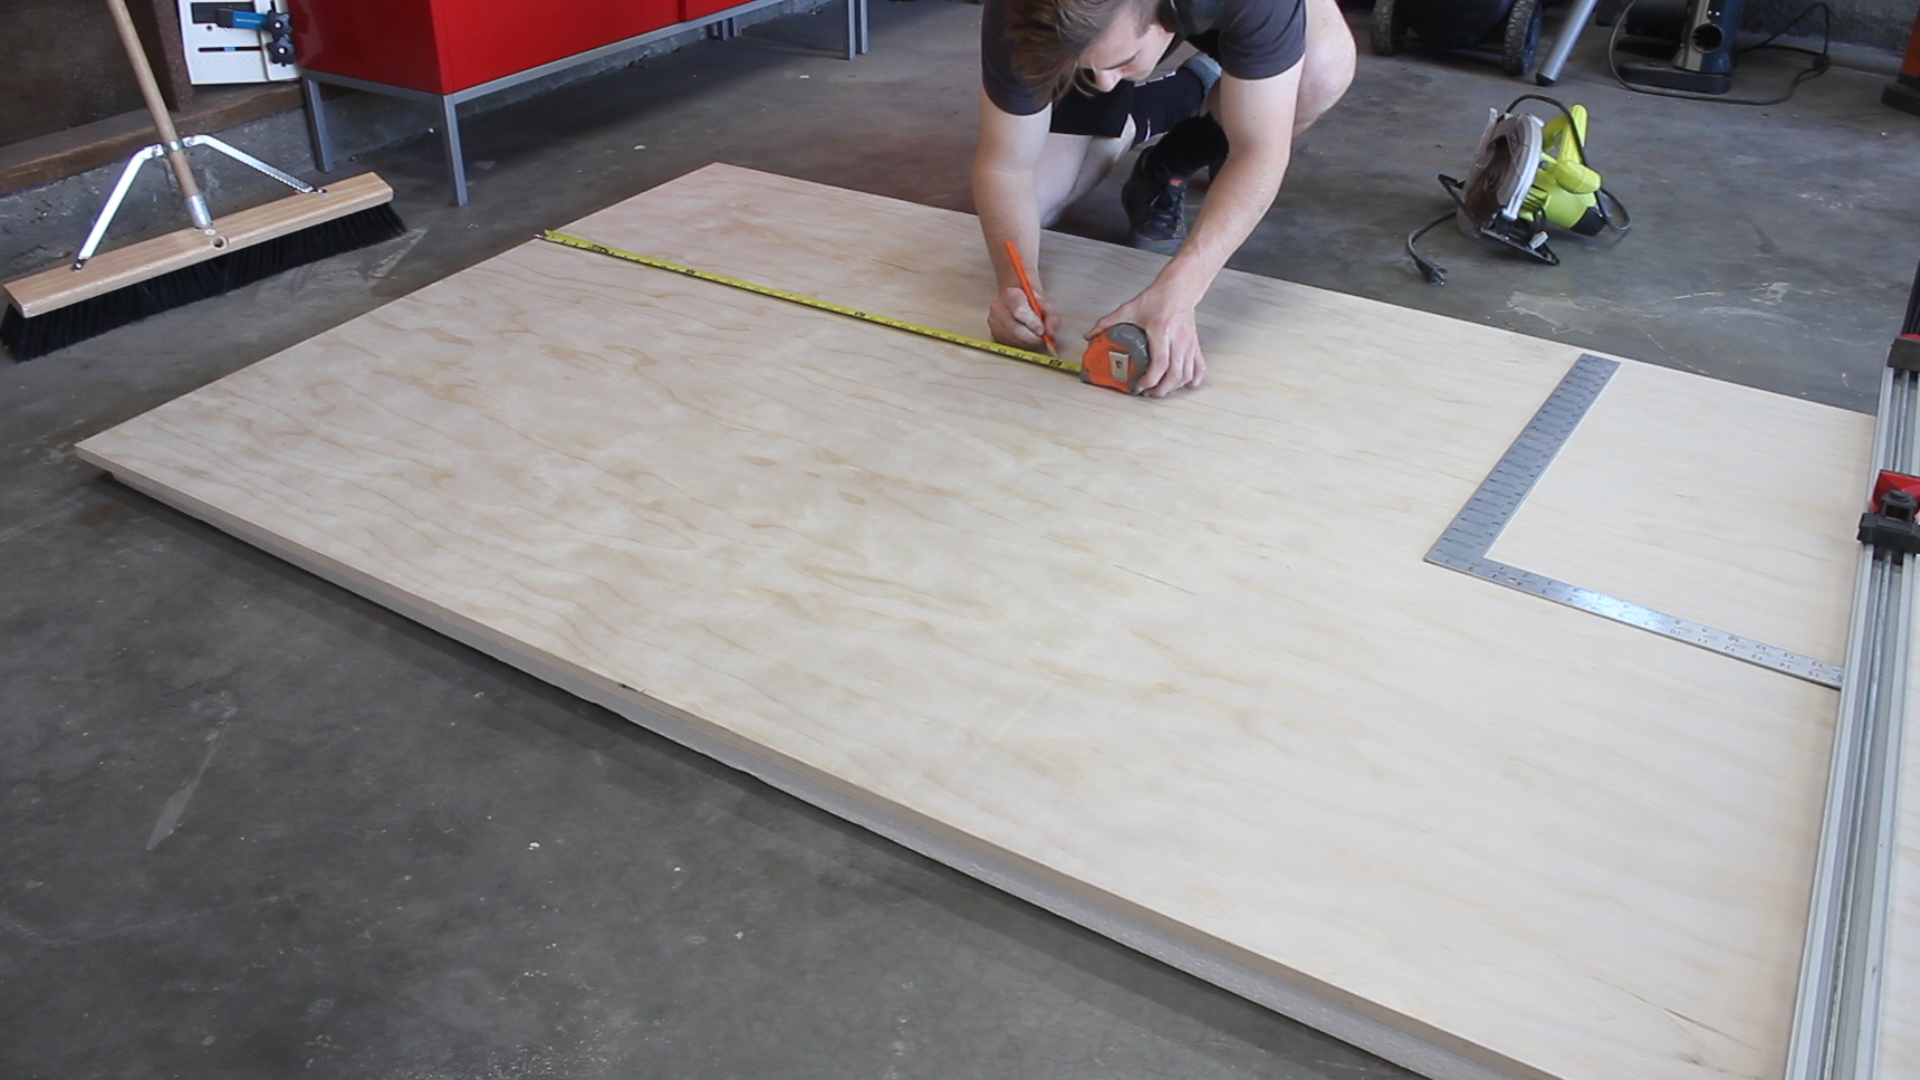

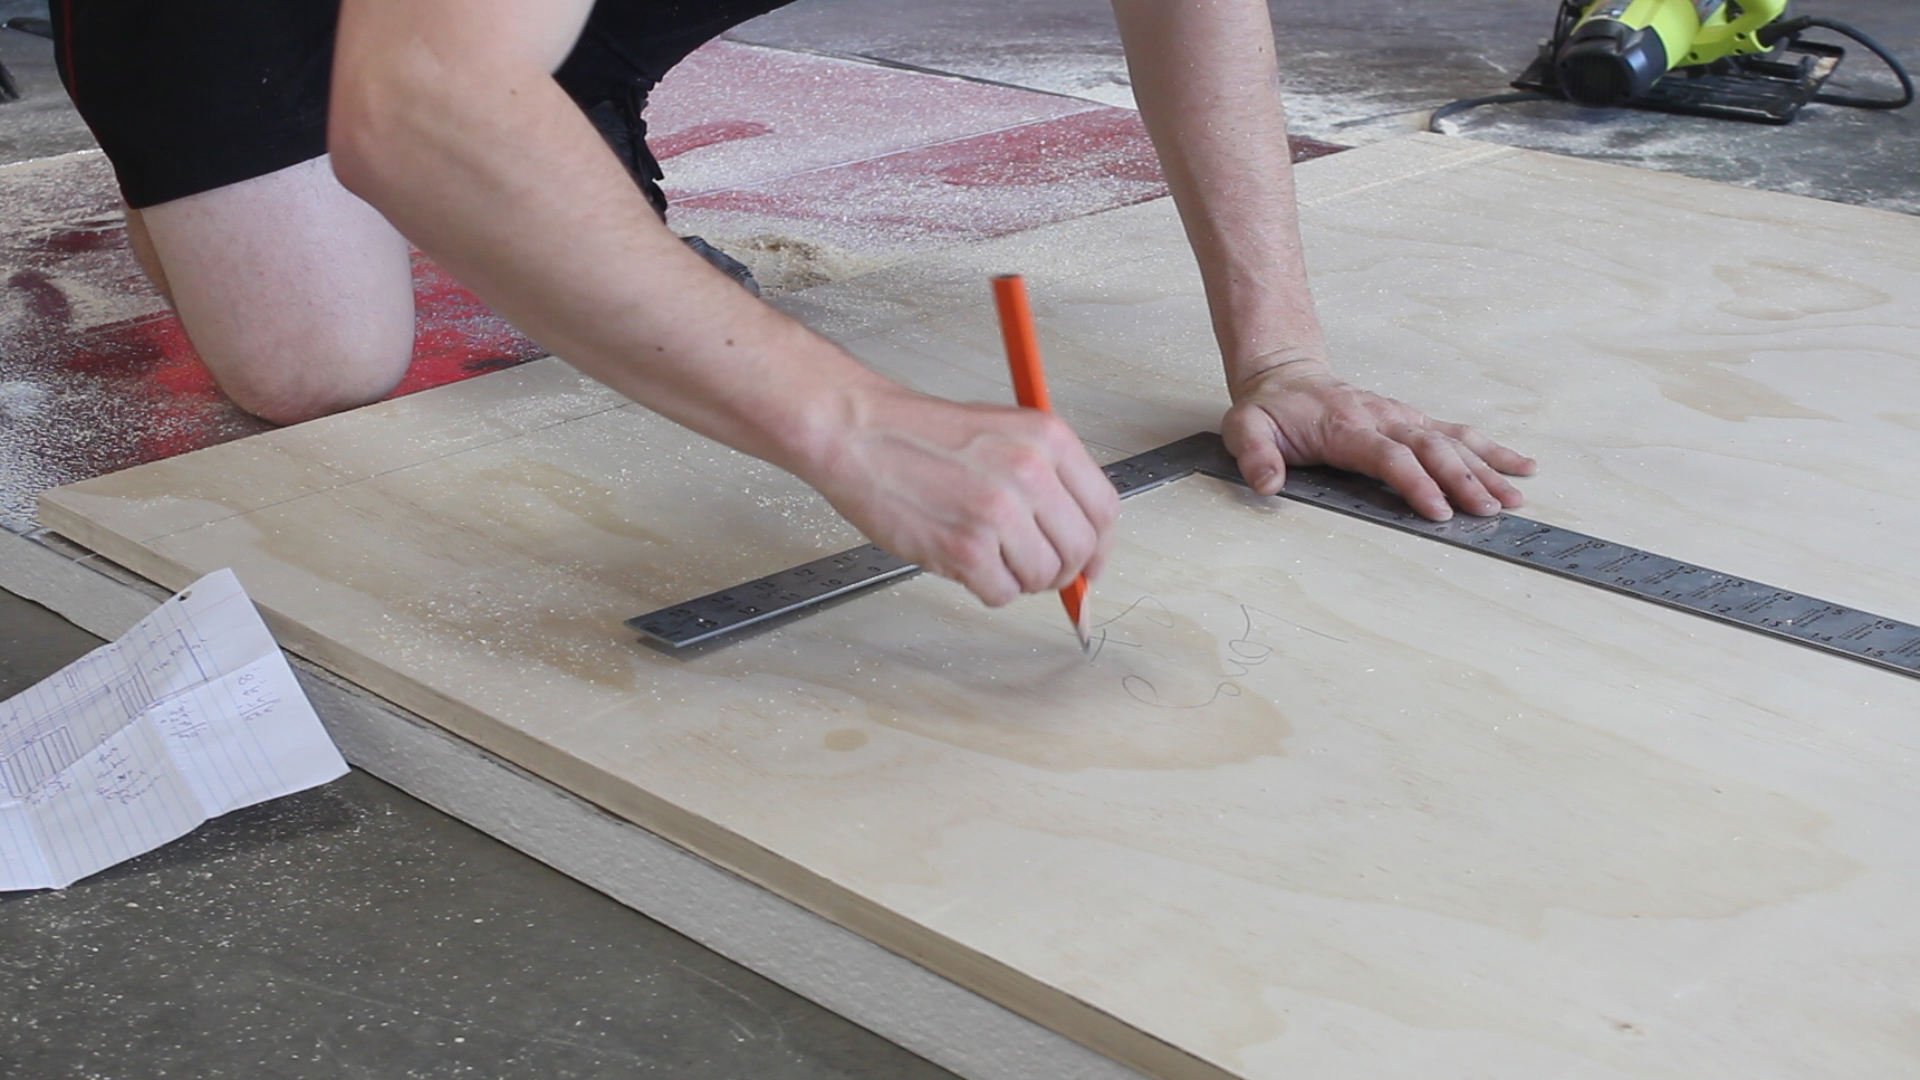
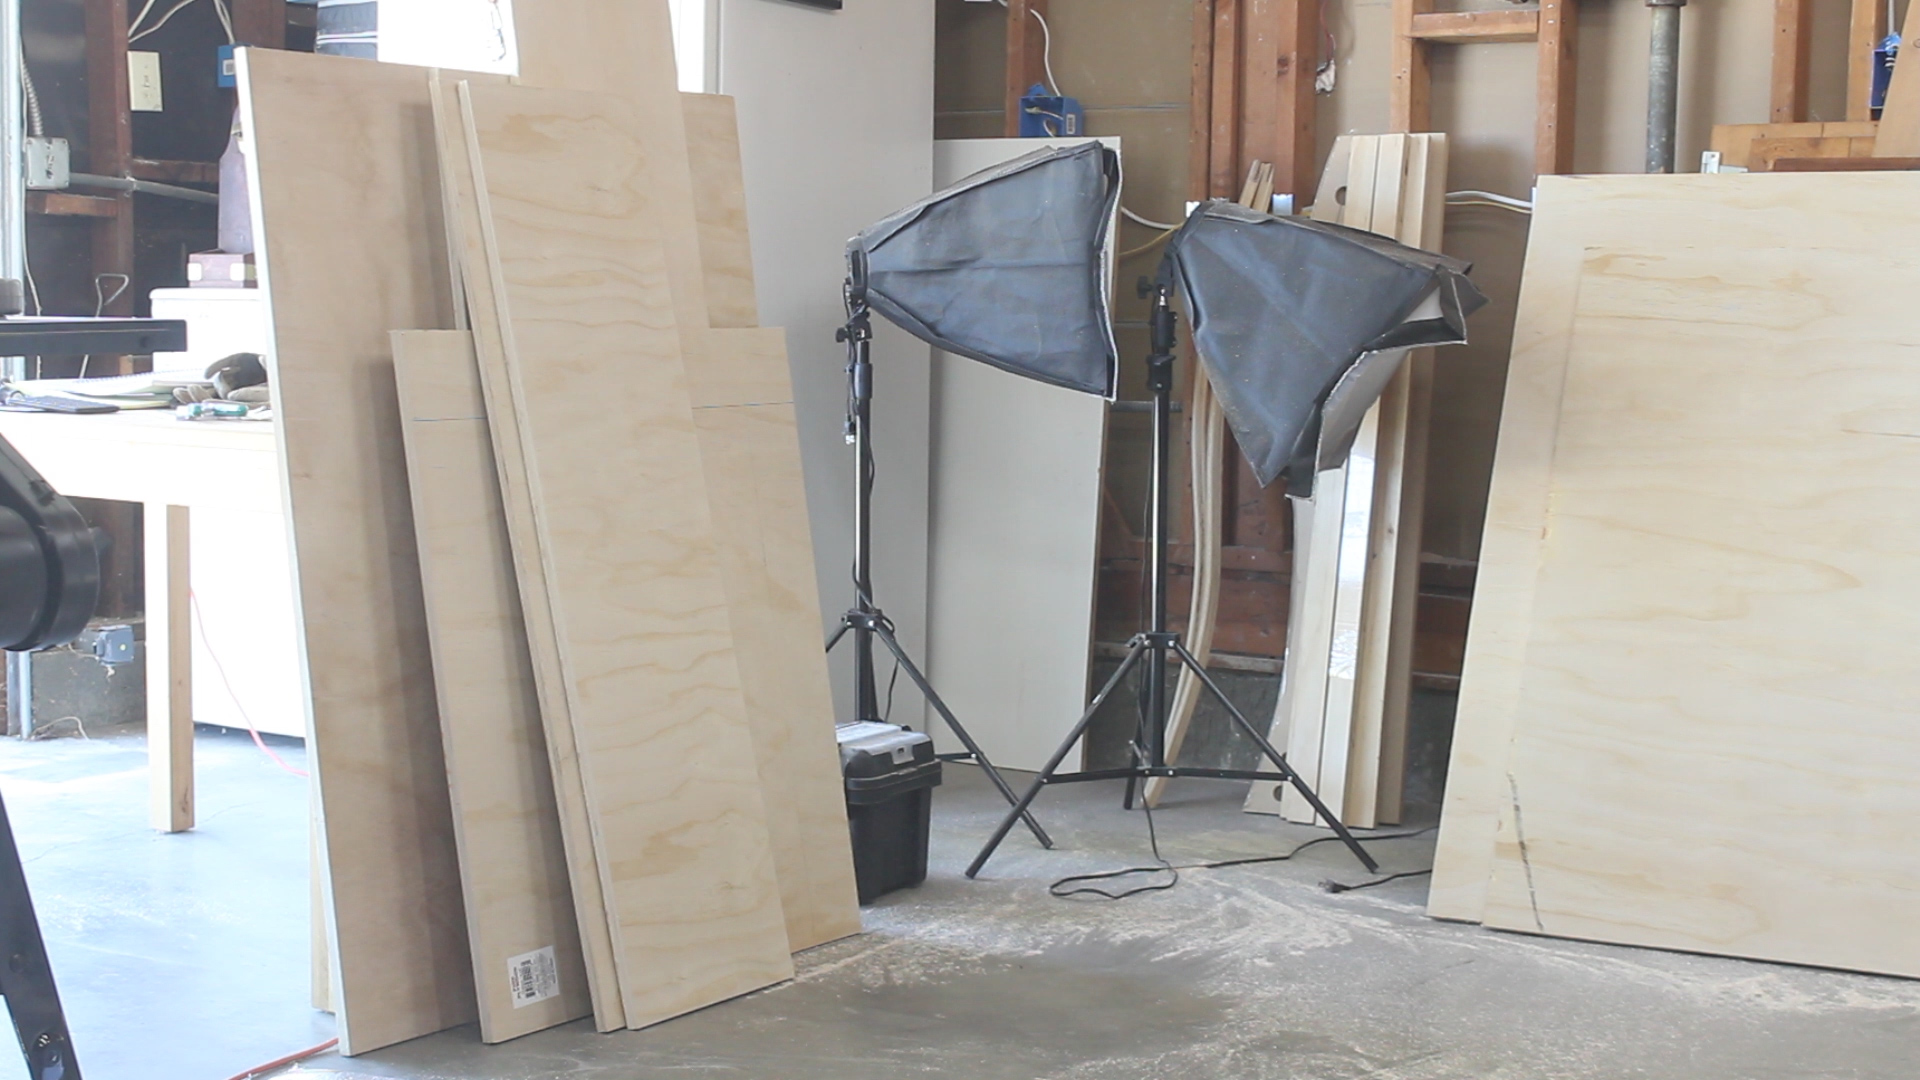
My design called for 3 sheets of plywood. Some were to remain quite large, others would be broken down via a circular saw, table saw, and miter saw. In pics 2-3, I am breaking down the (super detail and awesome hand drawn) cut list featured in Pic 1. I labeled my pieces in Pic 4, and then stacked the bigger pieces off to the side while I broke down the smaller parts.
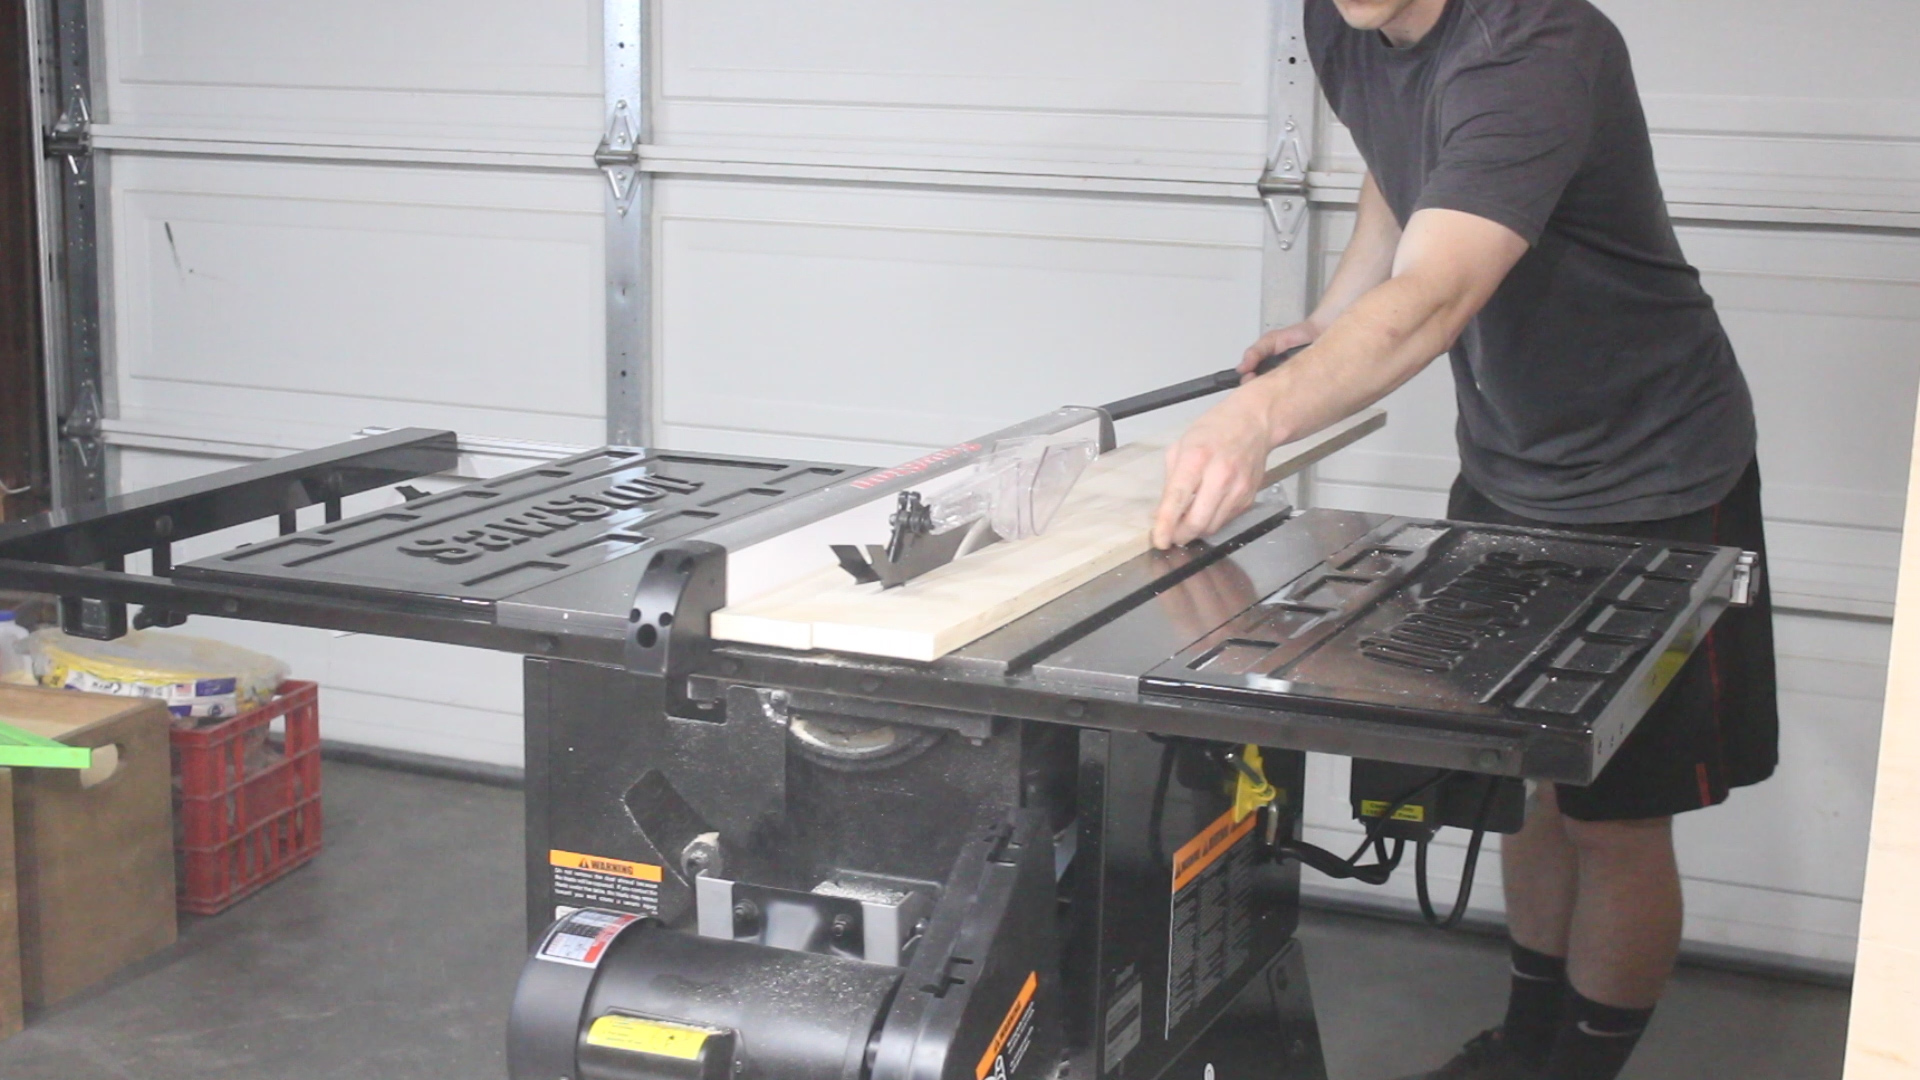
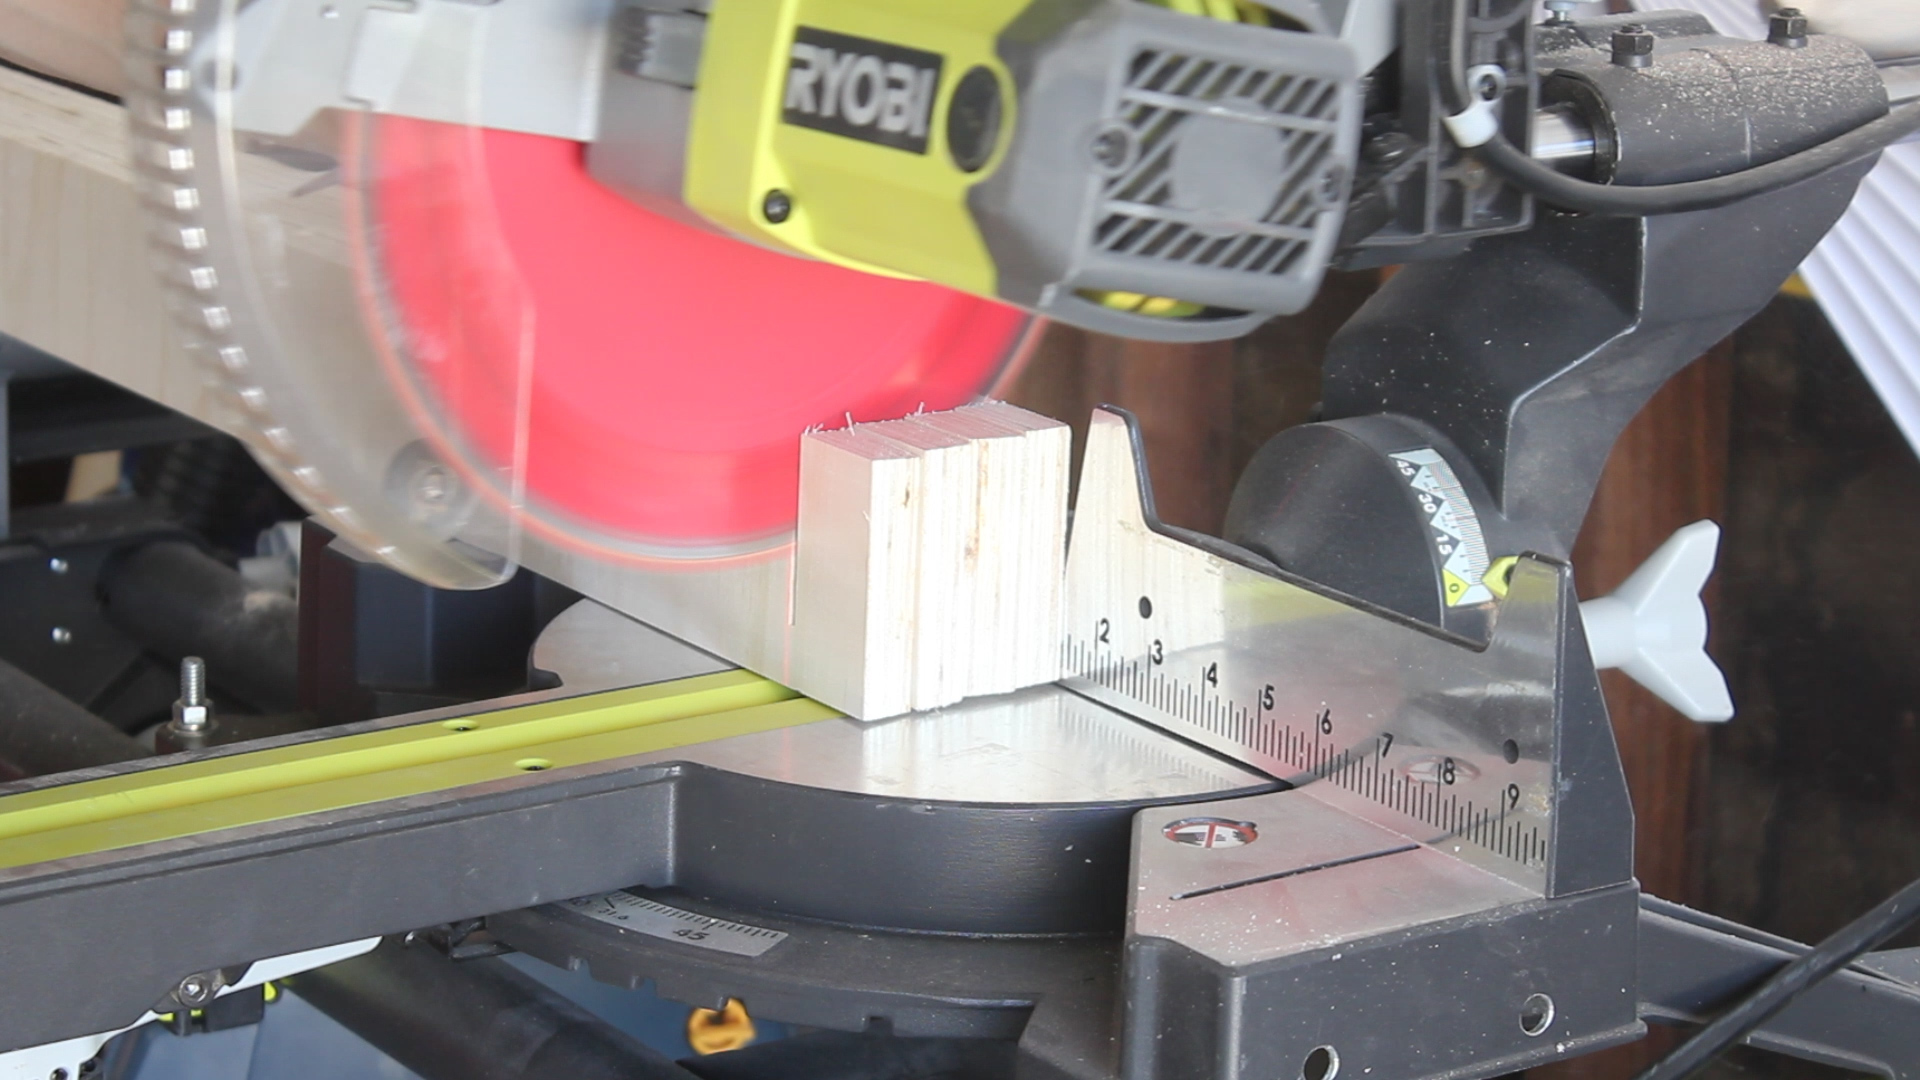

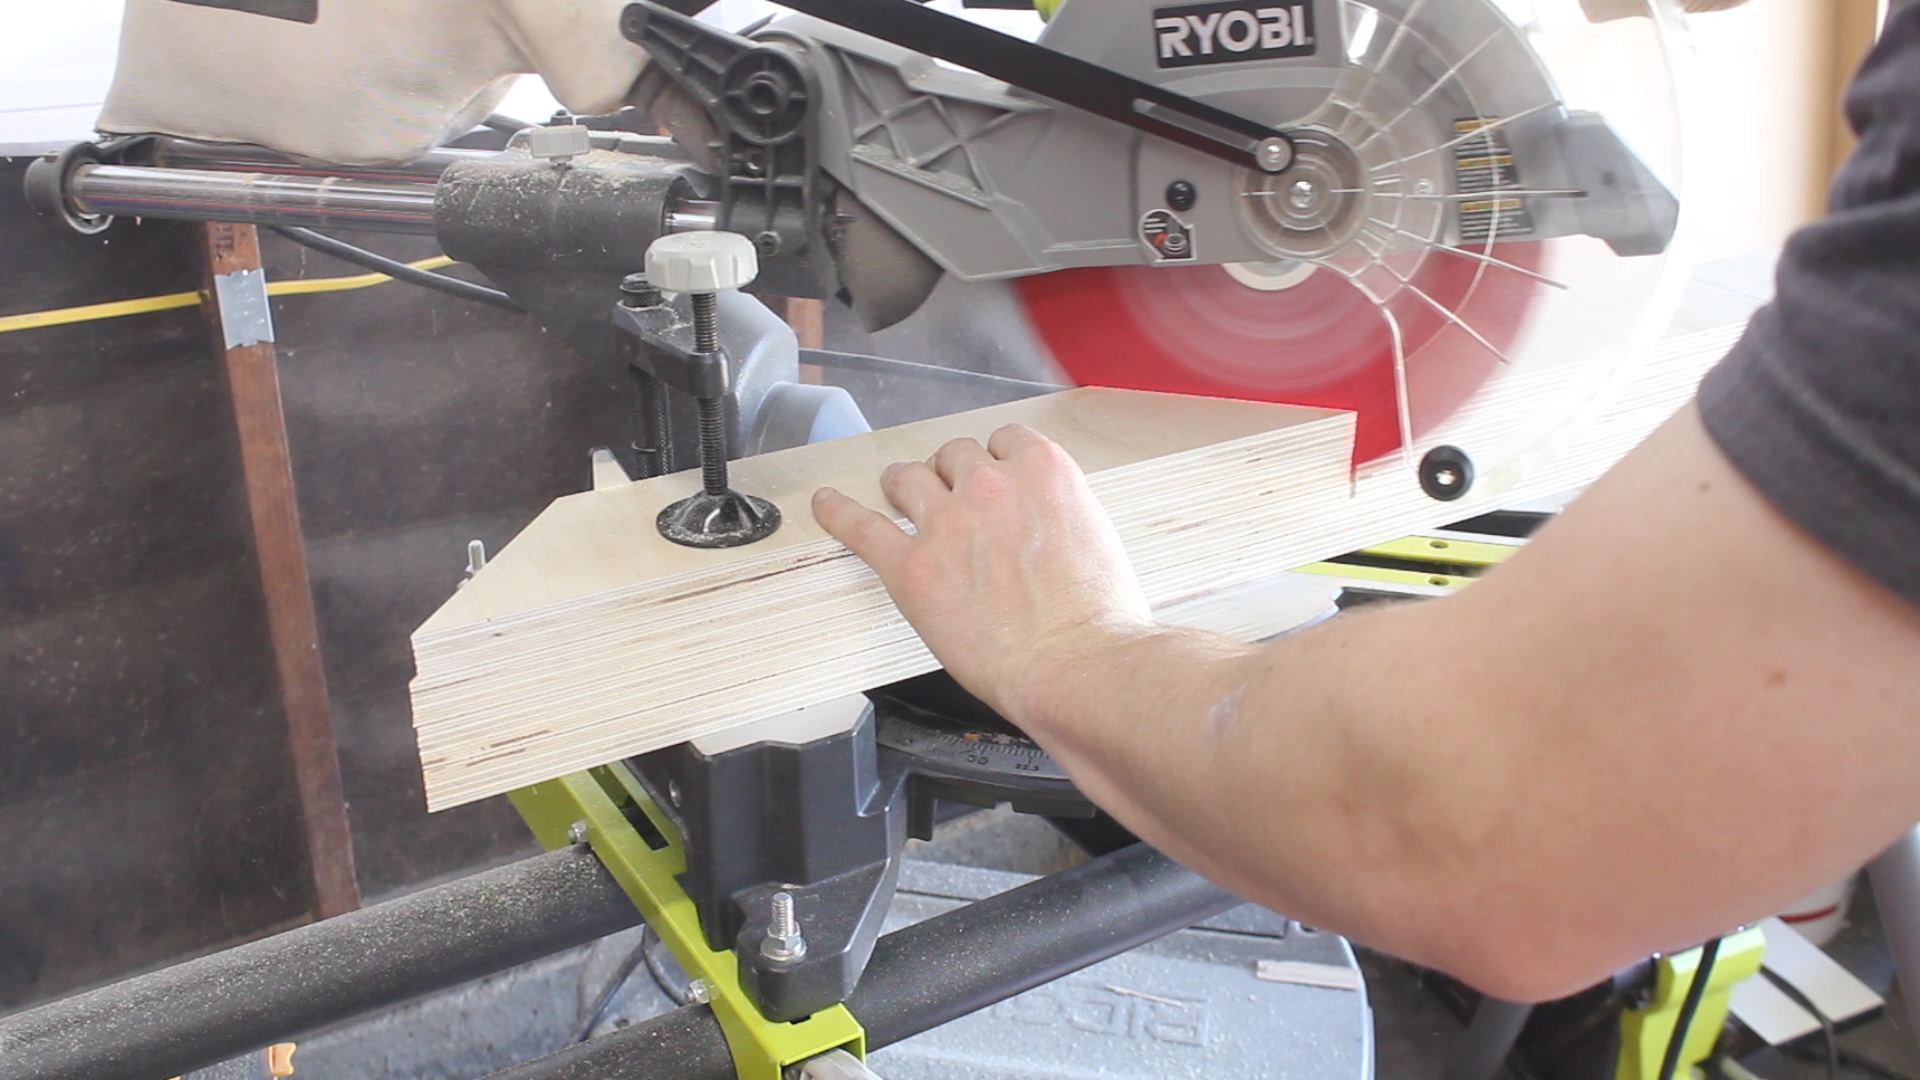
My legs were composed of two pieces of plywood - one 3" wide, butt jointed against another piece 3.375" wide. I'm ripping them down in Pic 1, and then "gang" cutting them in pic 2 - I believe they were cut to just under 32" which would give me a final height of my table just under 34" (~height of my table saw).
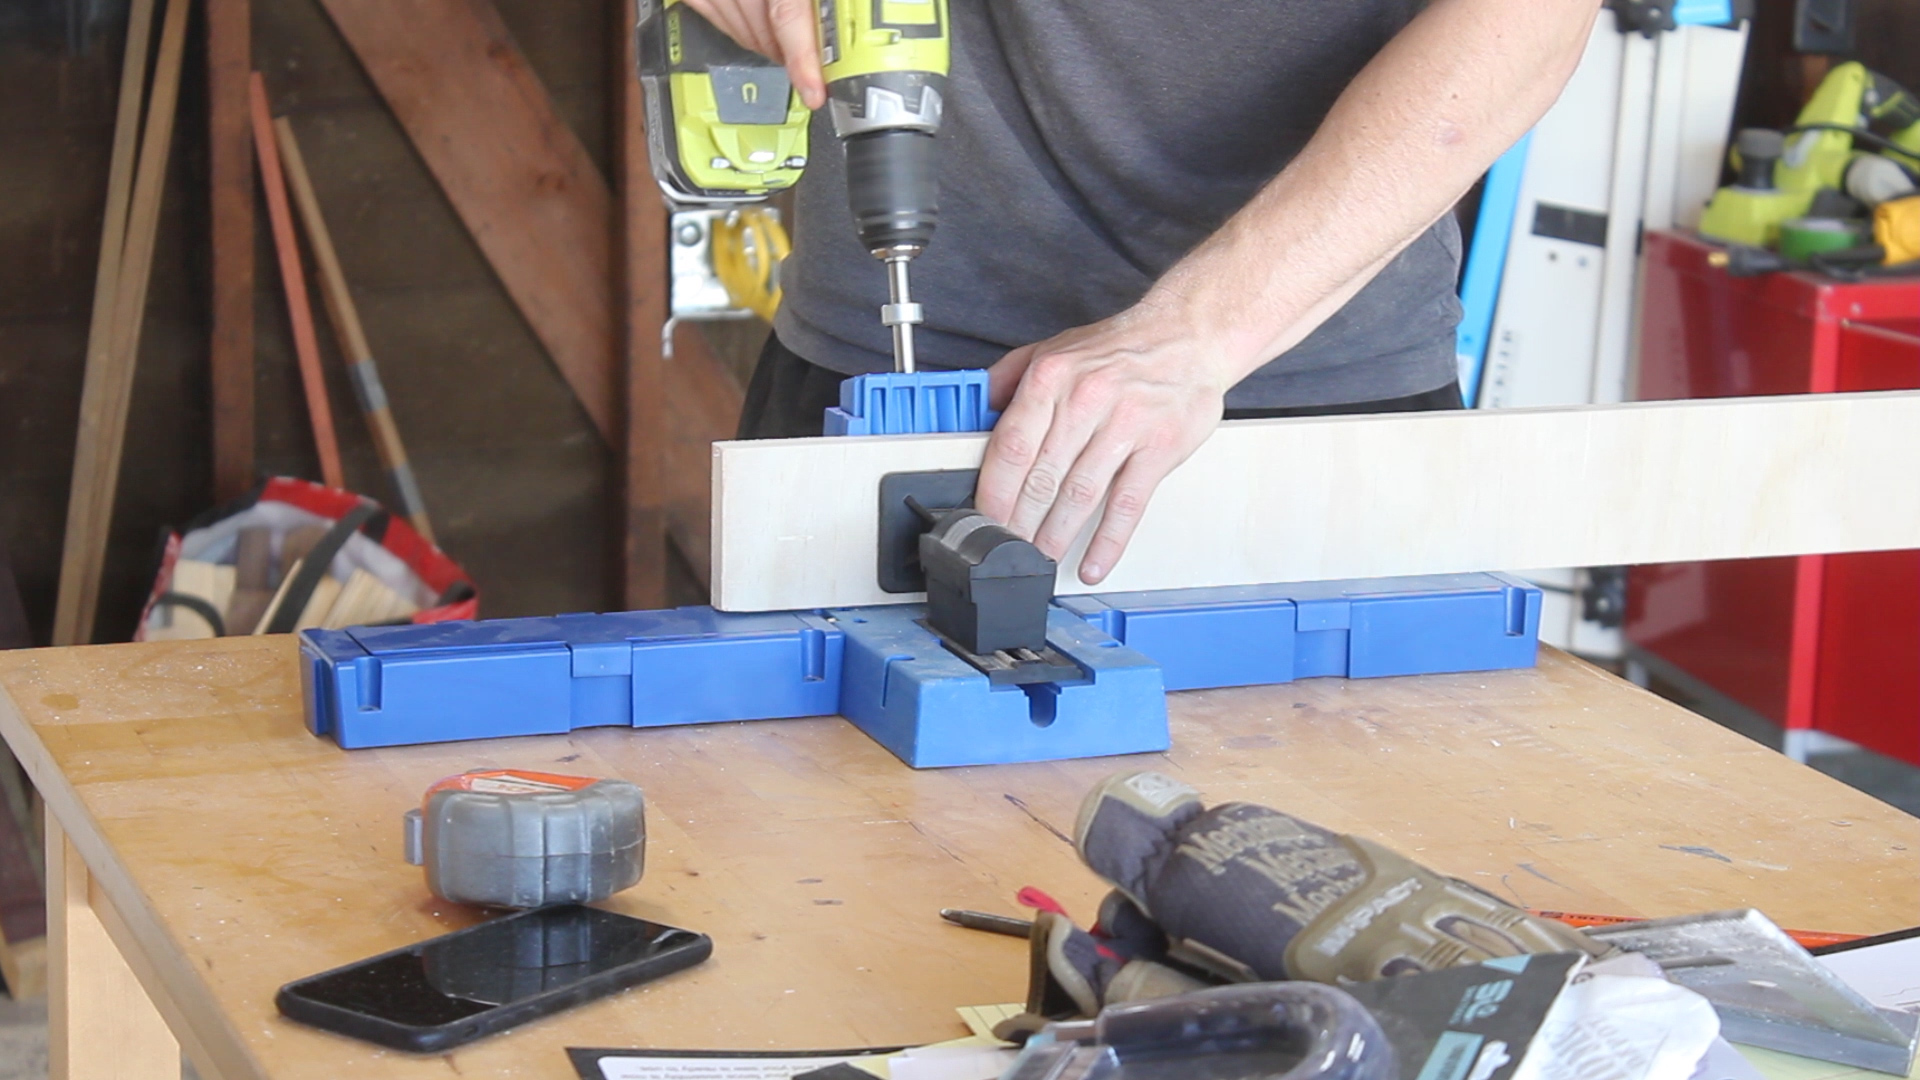
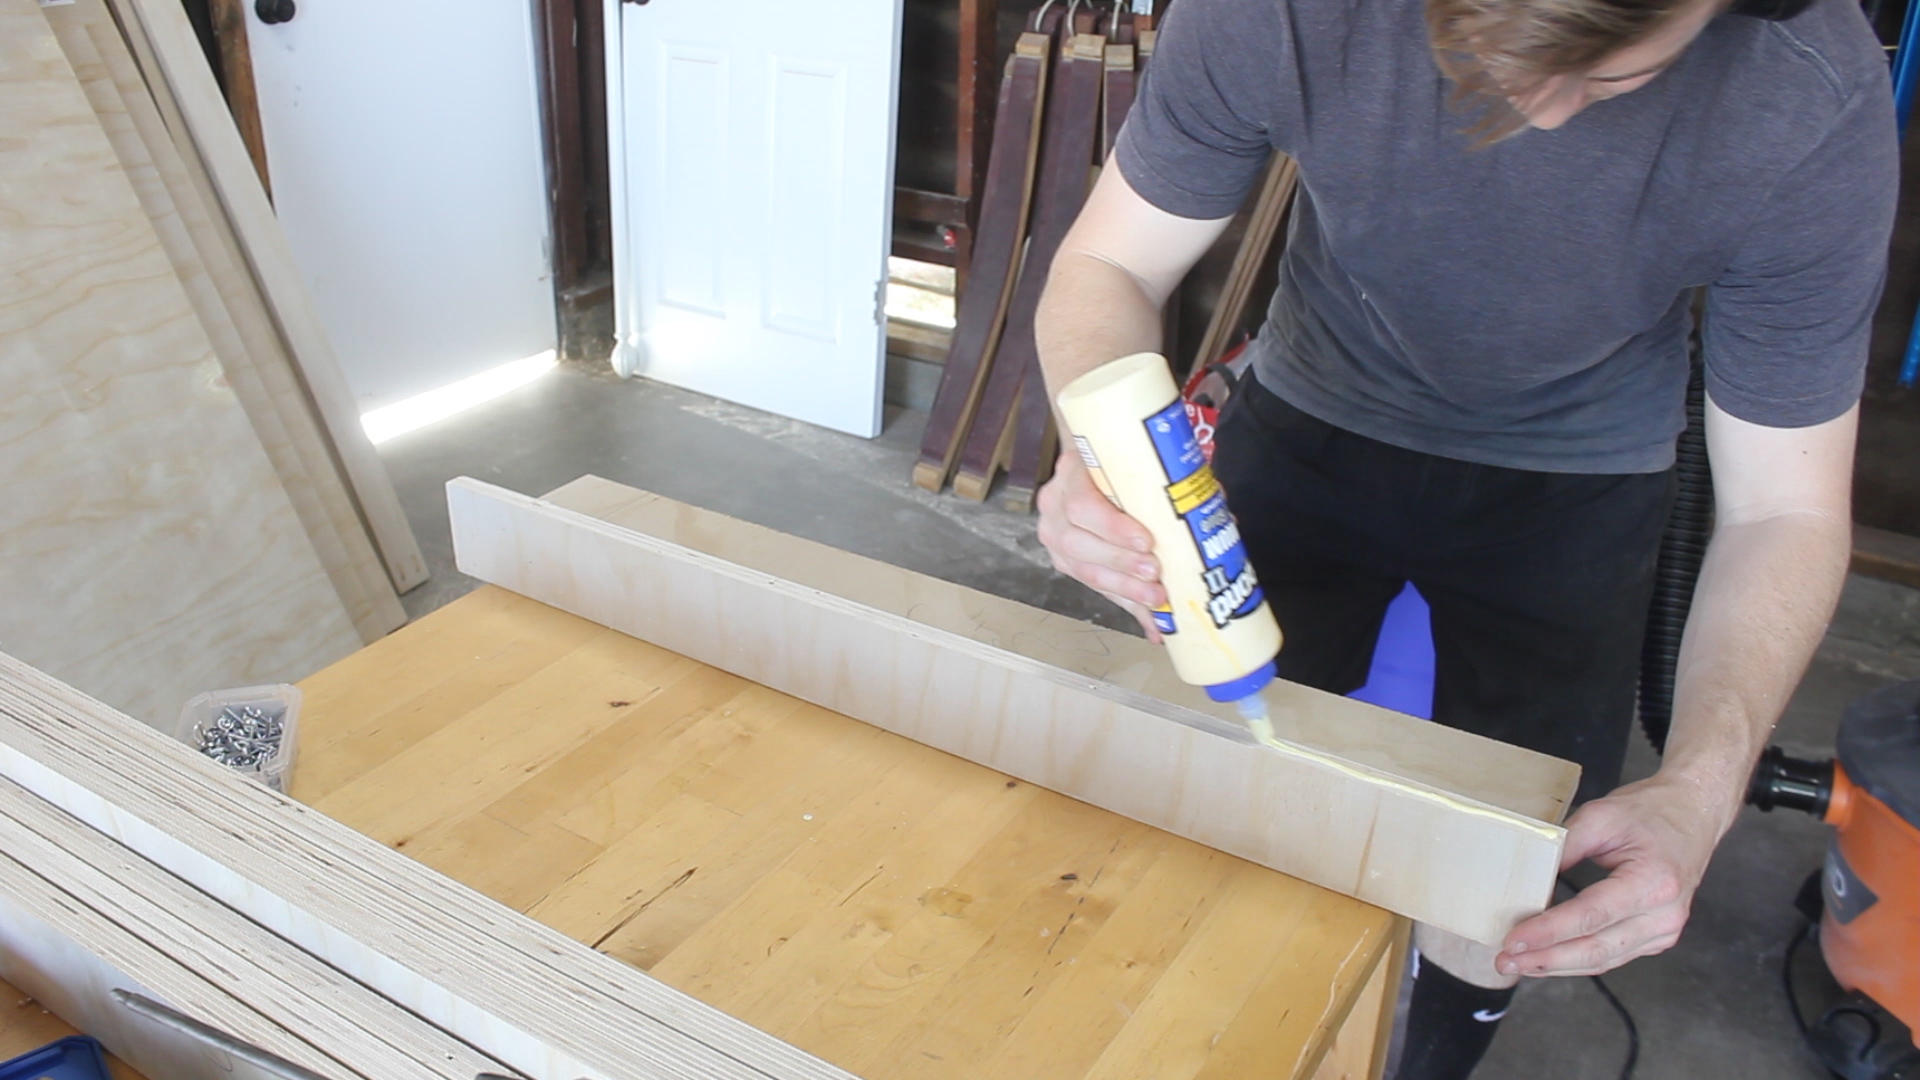
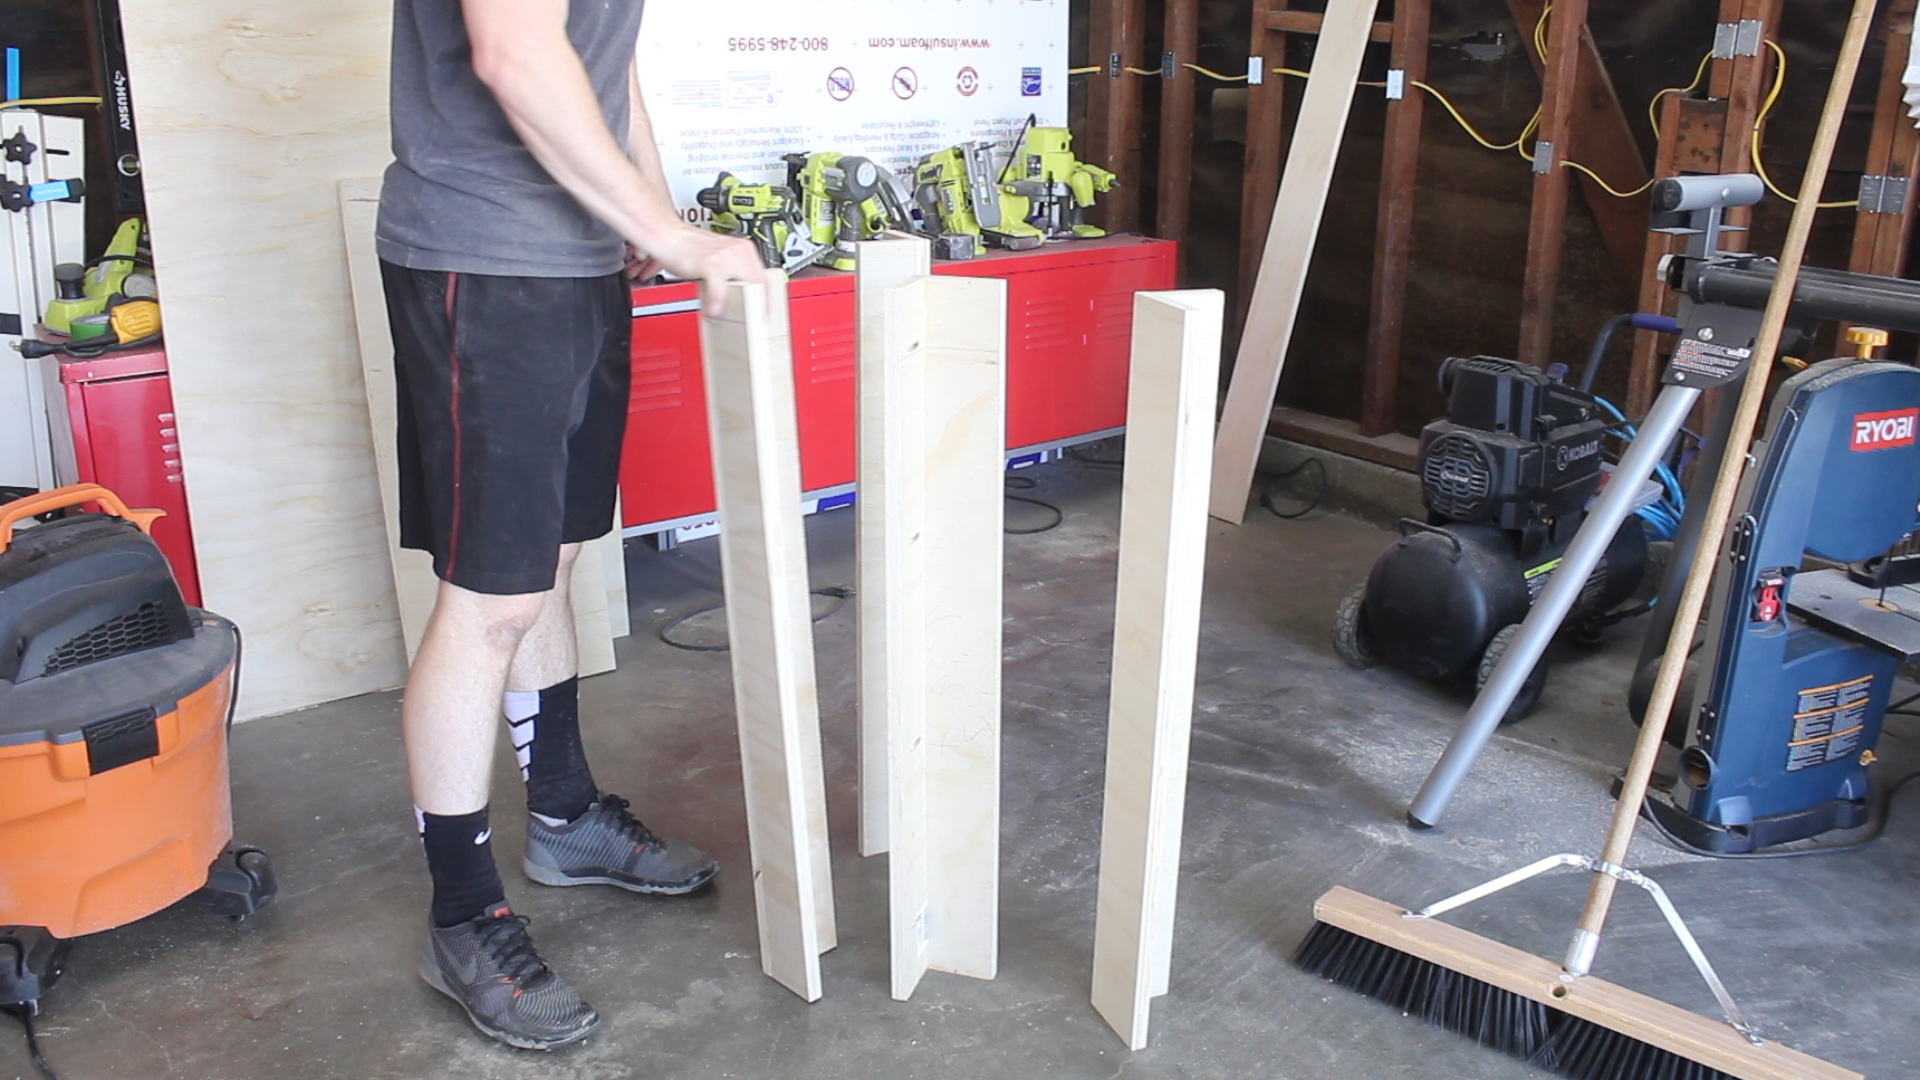
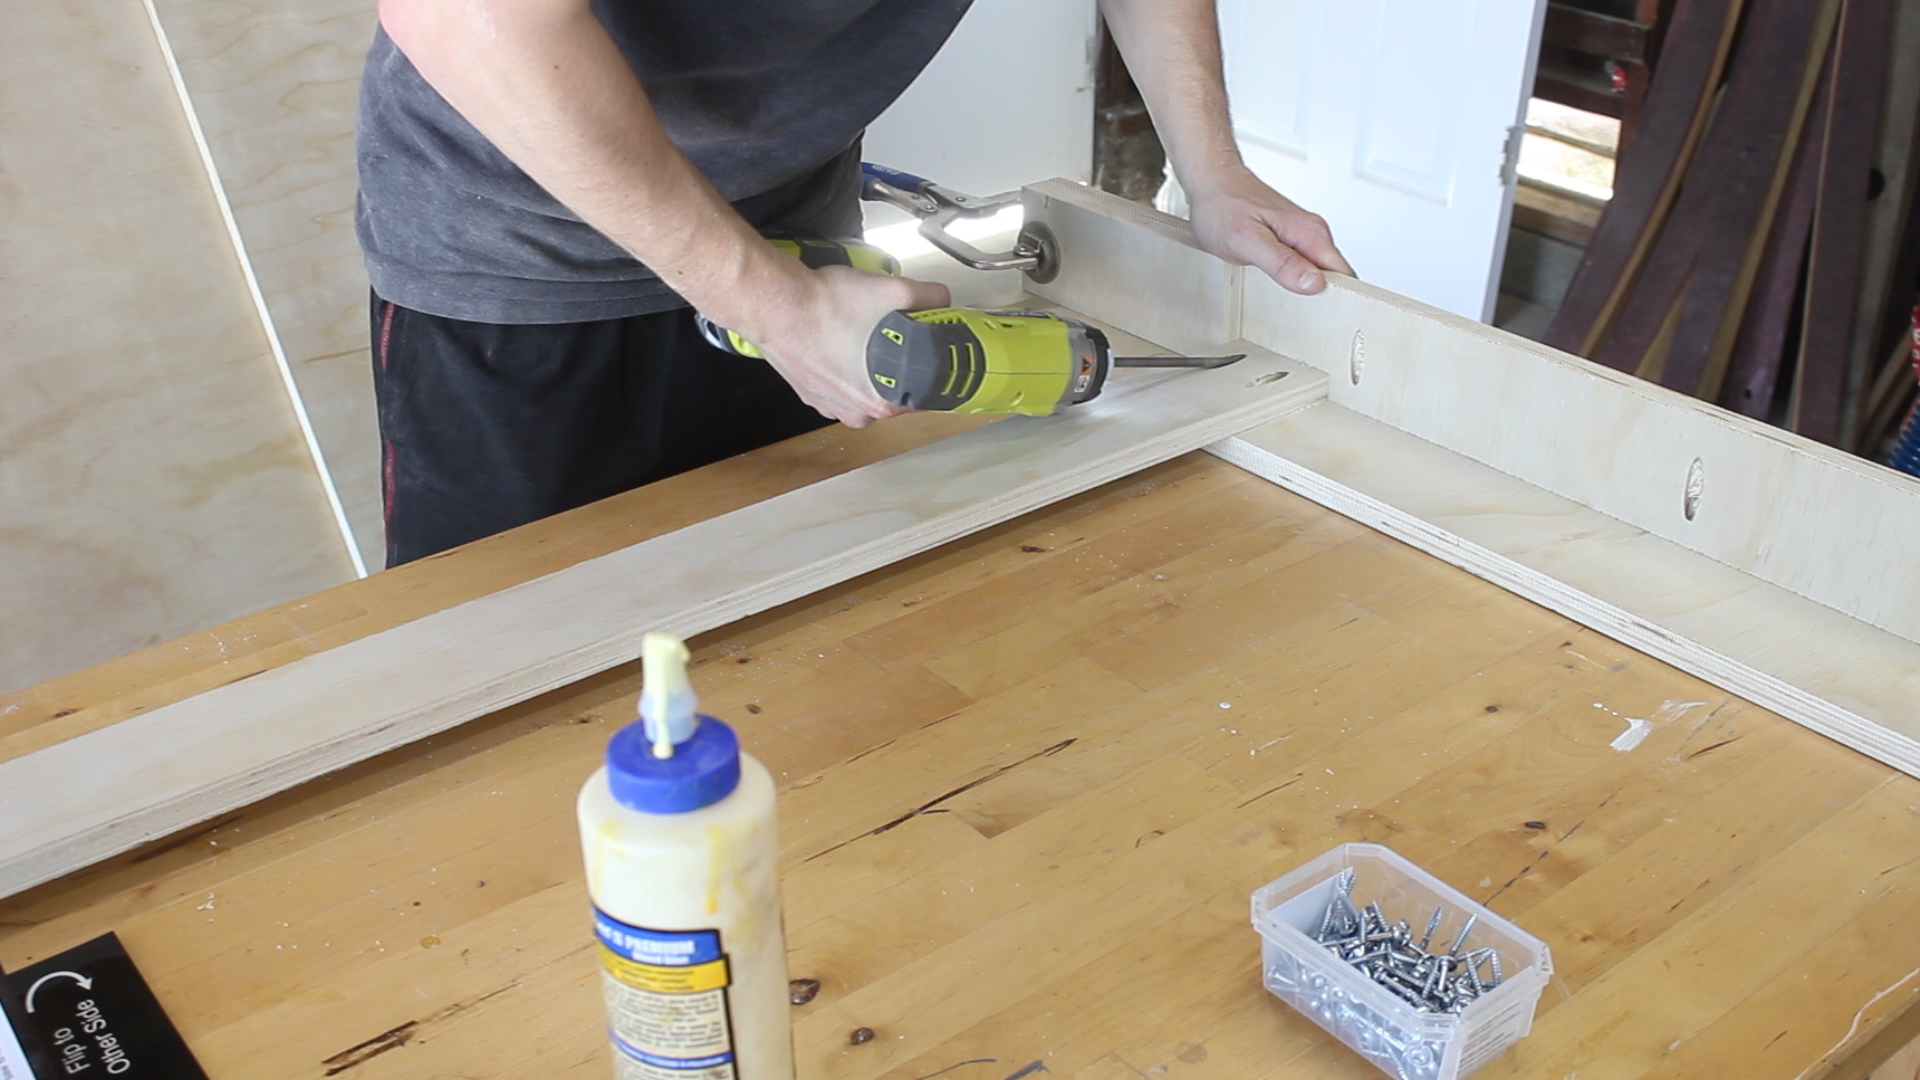
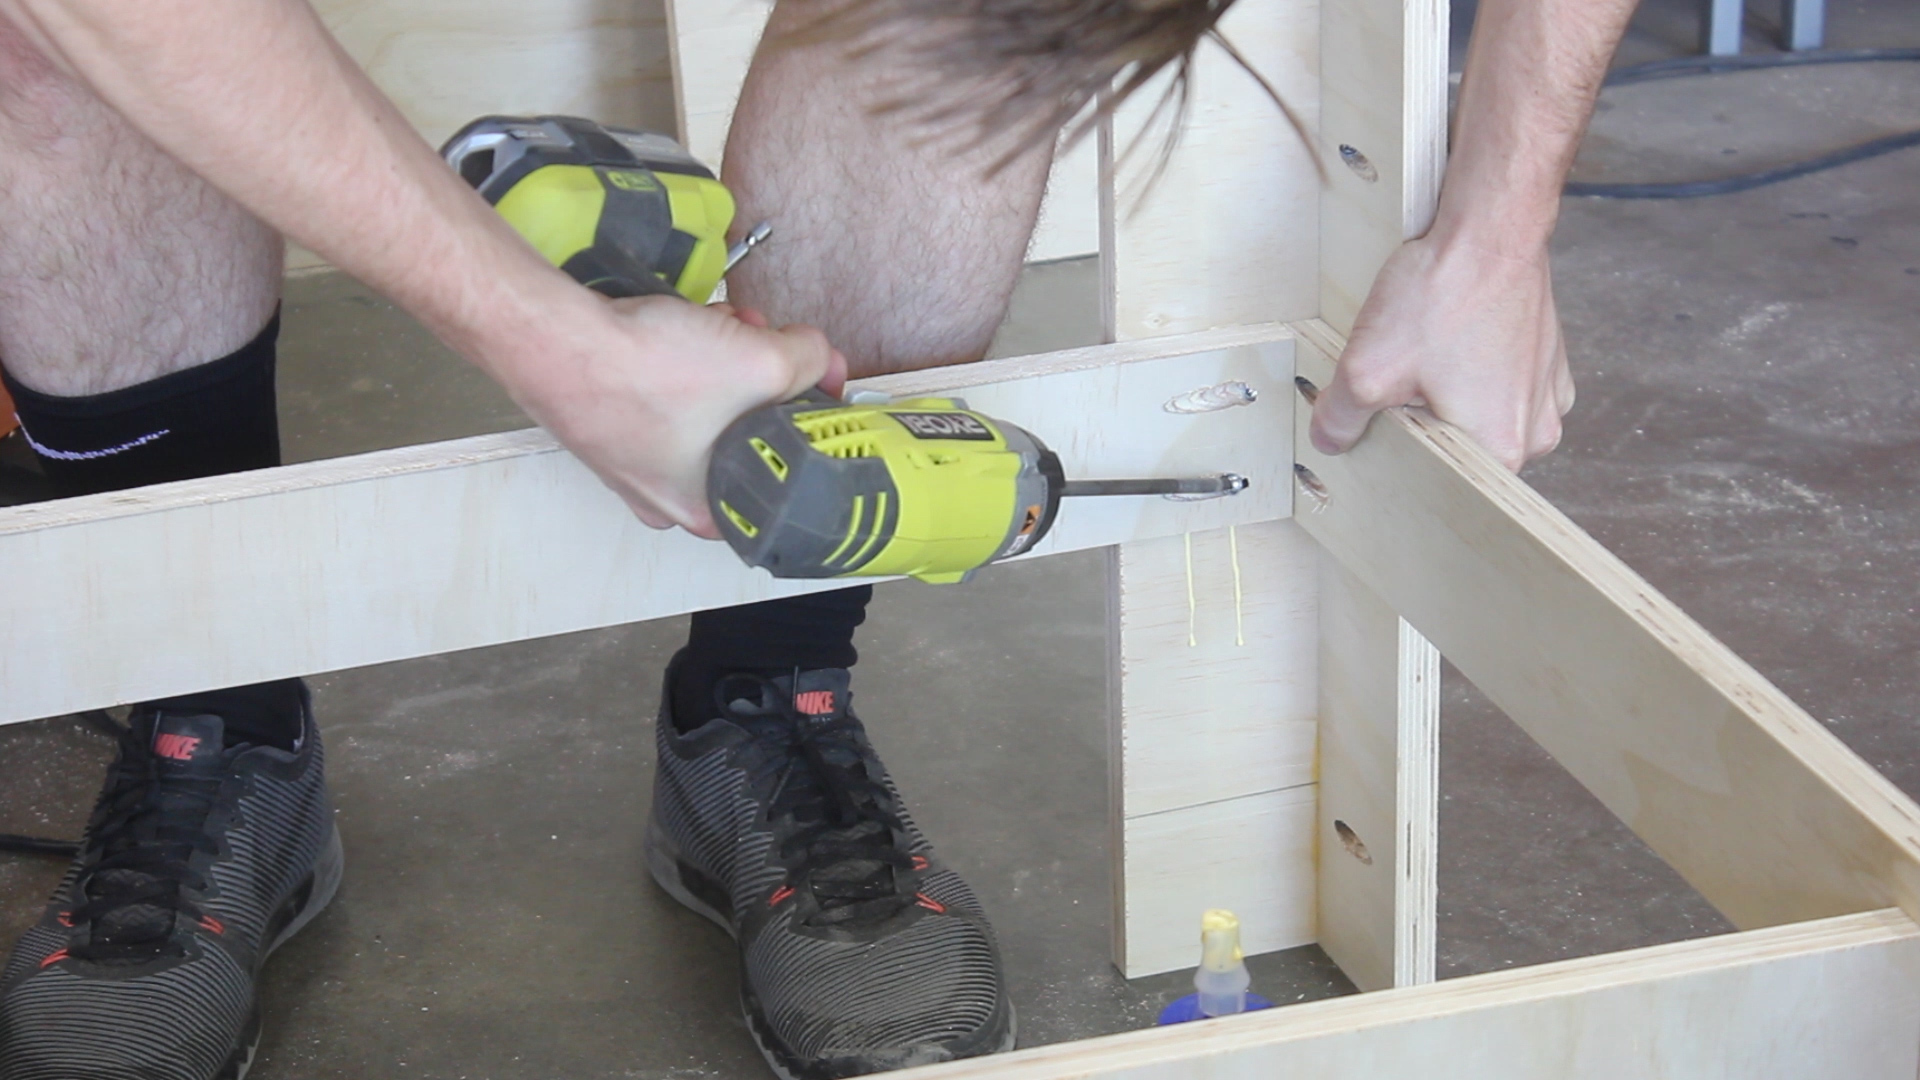
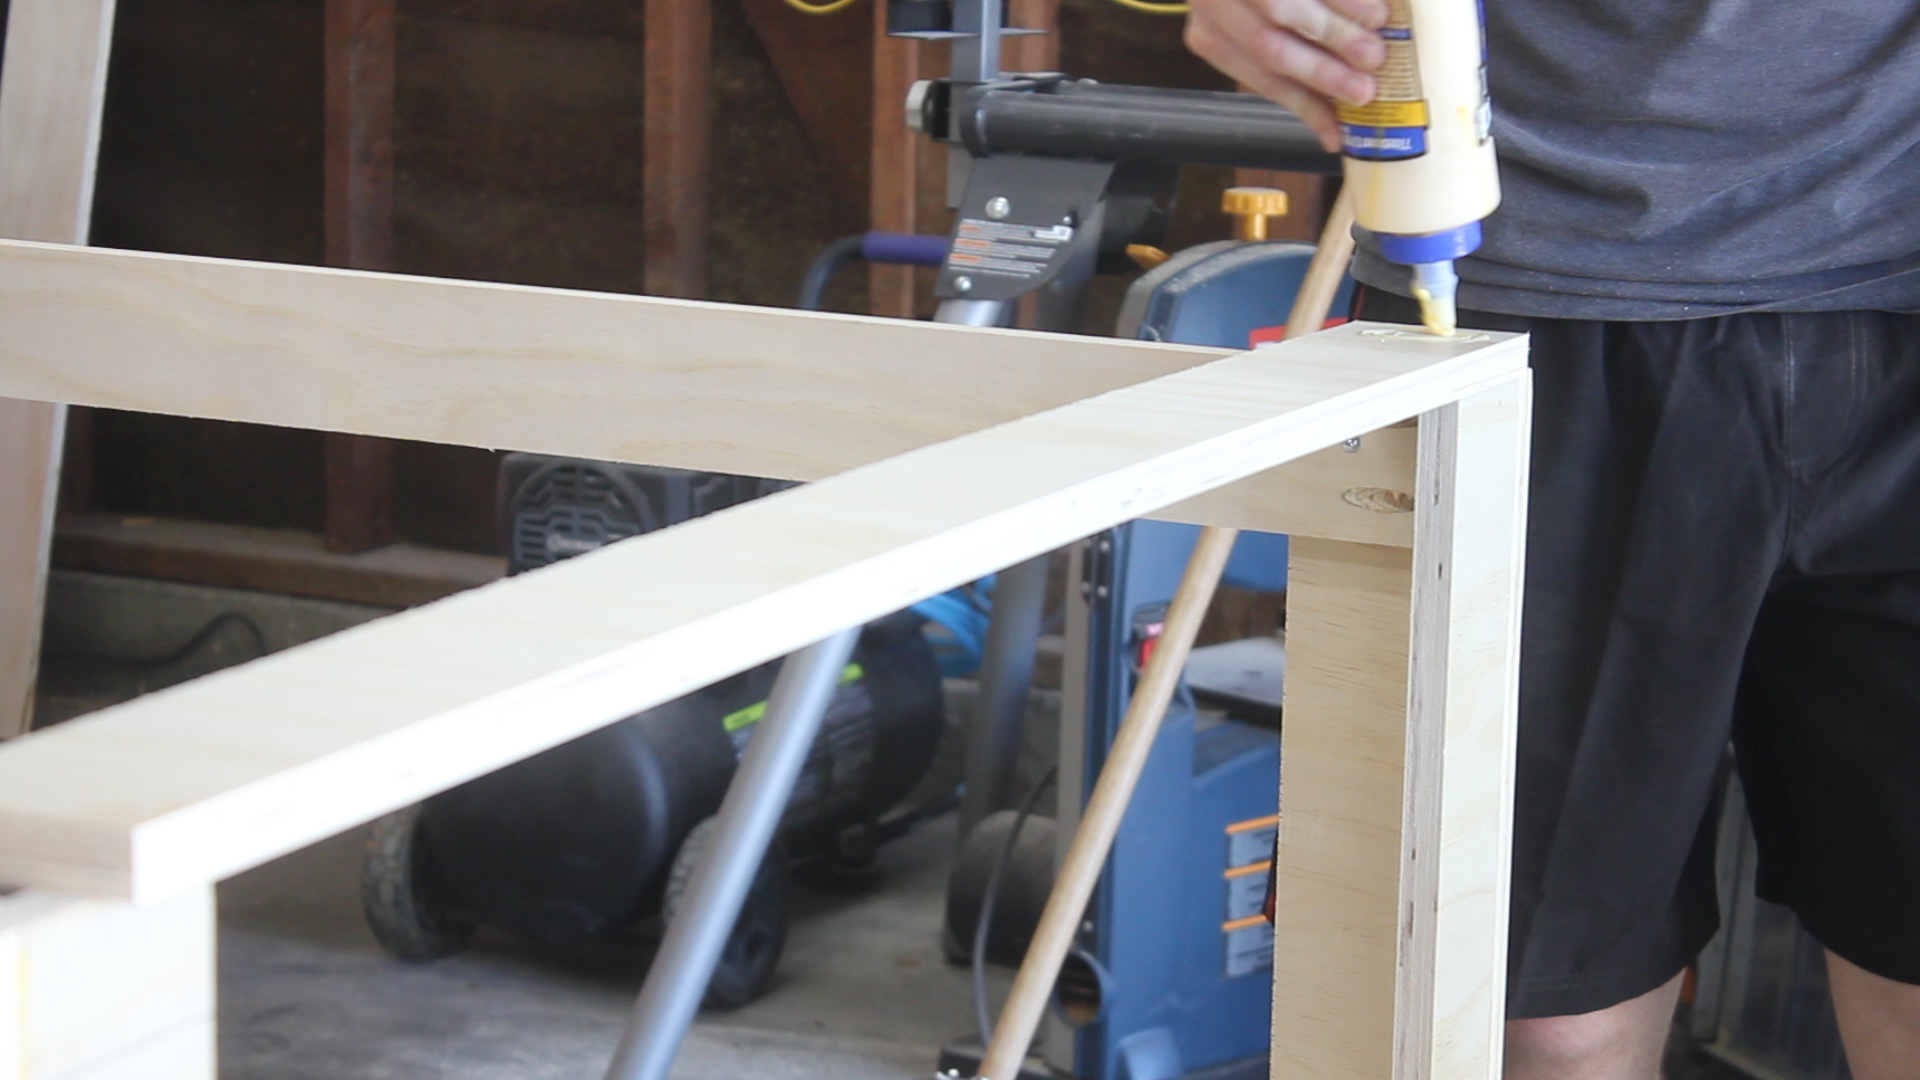
In Pics 3-5, I drilled pocket holes every 8-10 inches or so, apply glue, and then use pocket hole screws to combine the two pieces together. Pic 6 shows all four legs built identically.

Framing this table to combine legs was relatively straight forward. Each leg was connected by a stretcher running from leg to leg, on the top and bottom, so that I'd have two shelves.
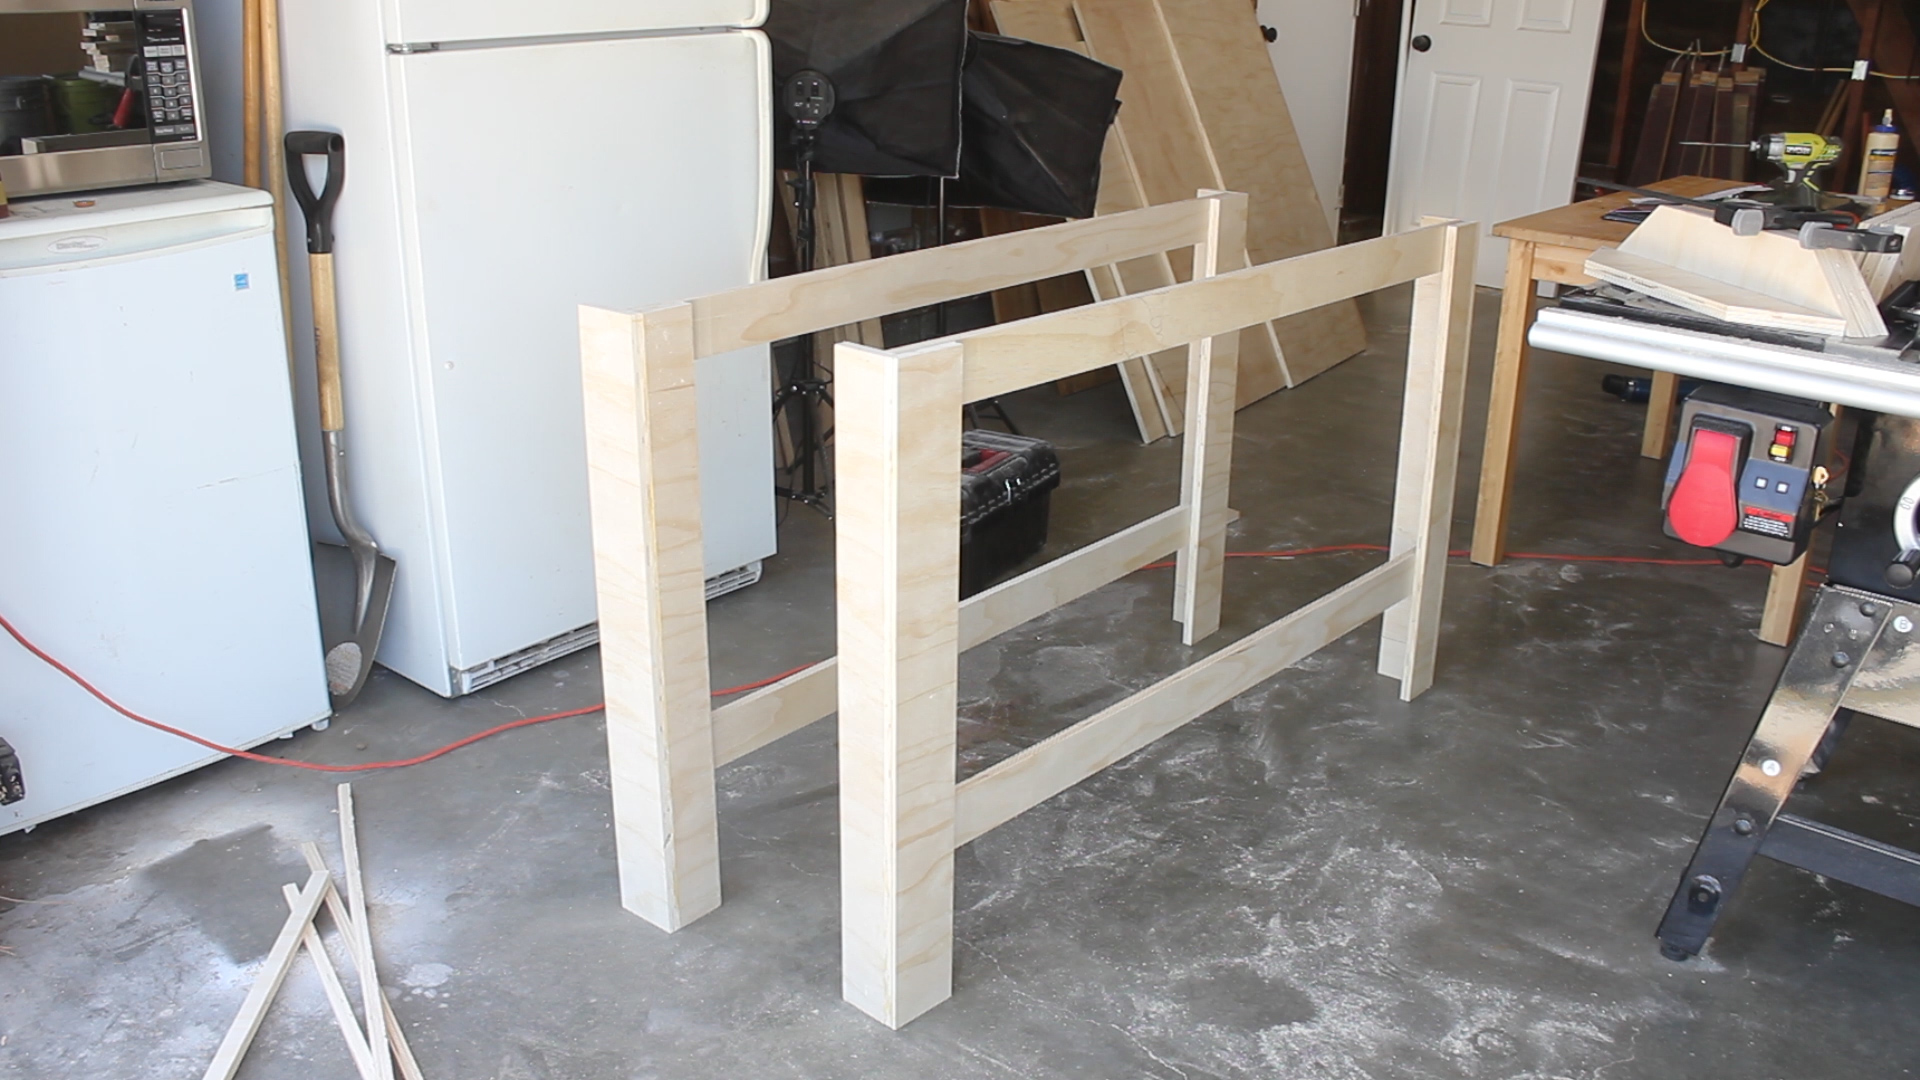
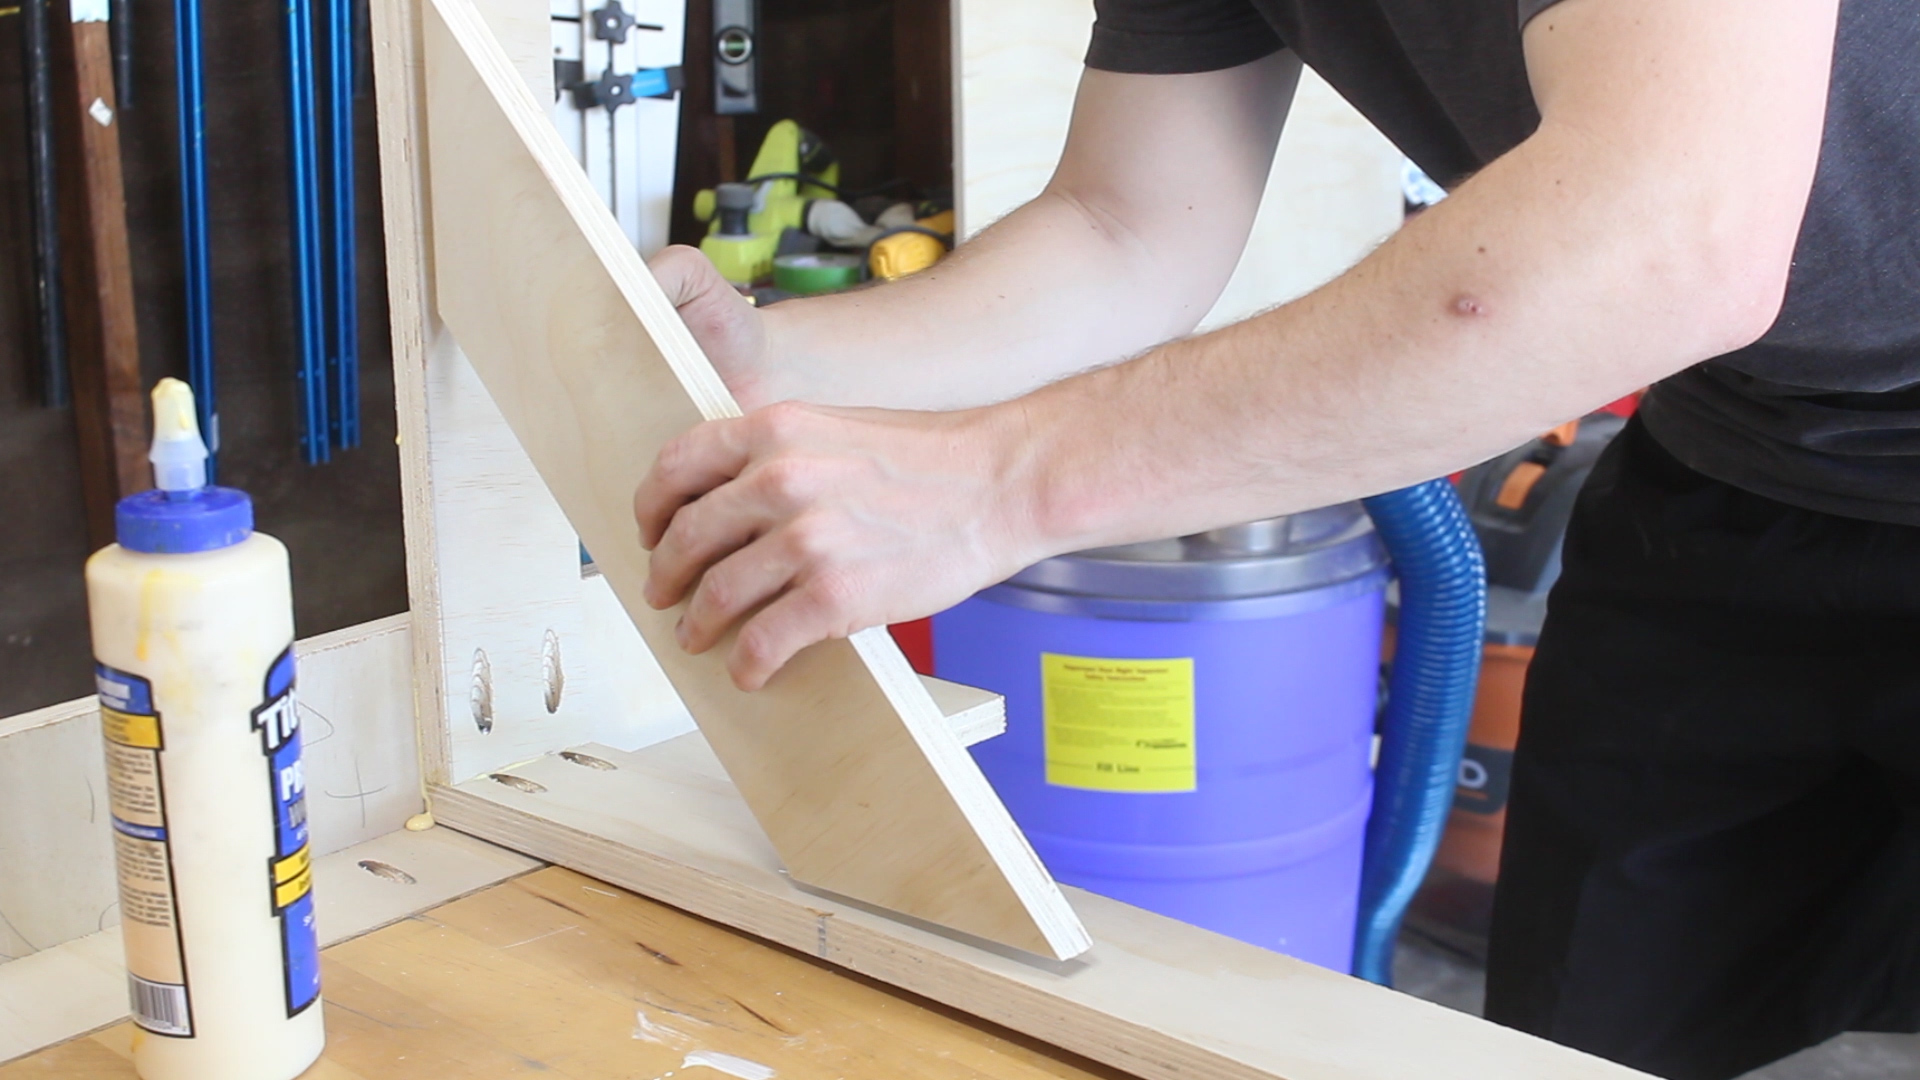
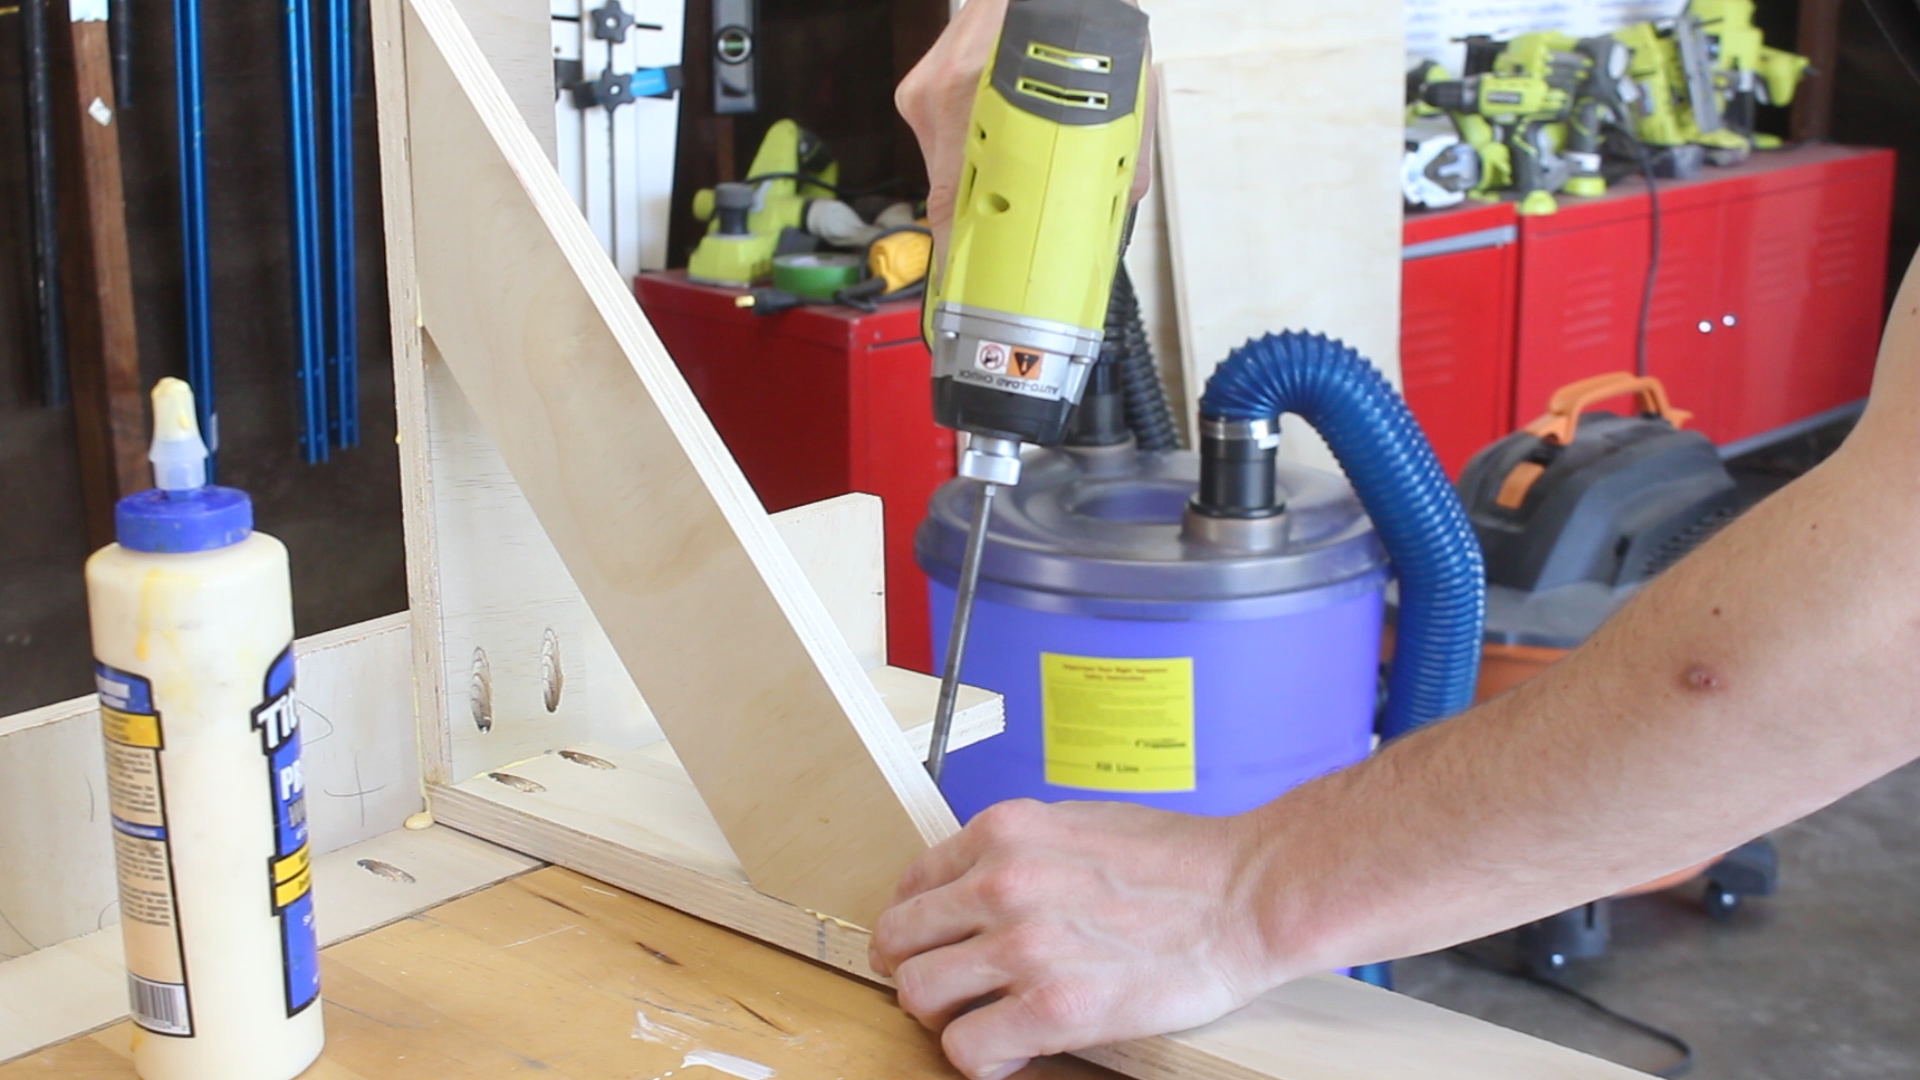
Pics 1-3 show me using glue and pocket hole screws to combine a set of legs together at the top and bottom (then repeating for the other set of legs), resulting in two sets of legs in Pic 4.
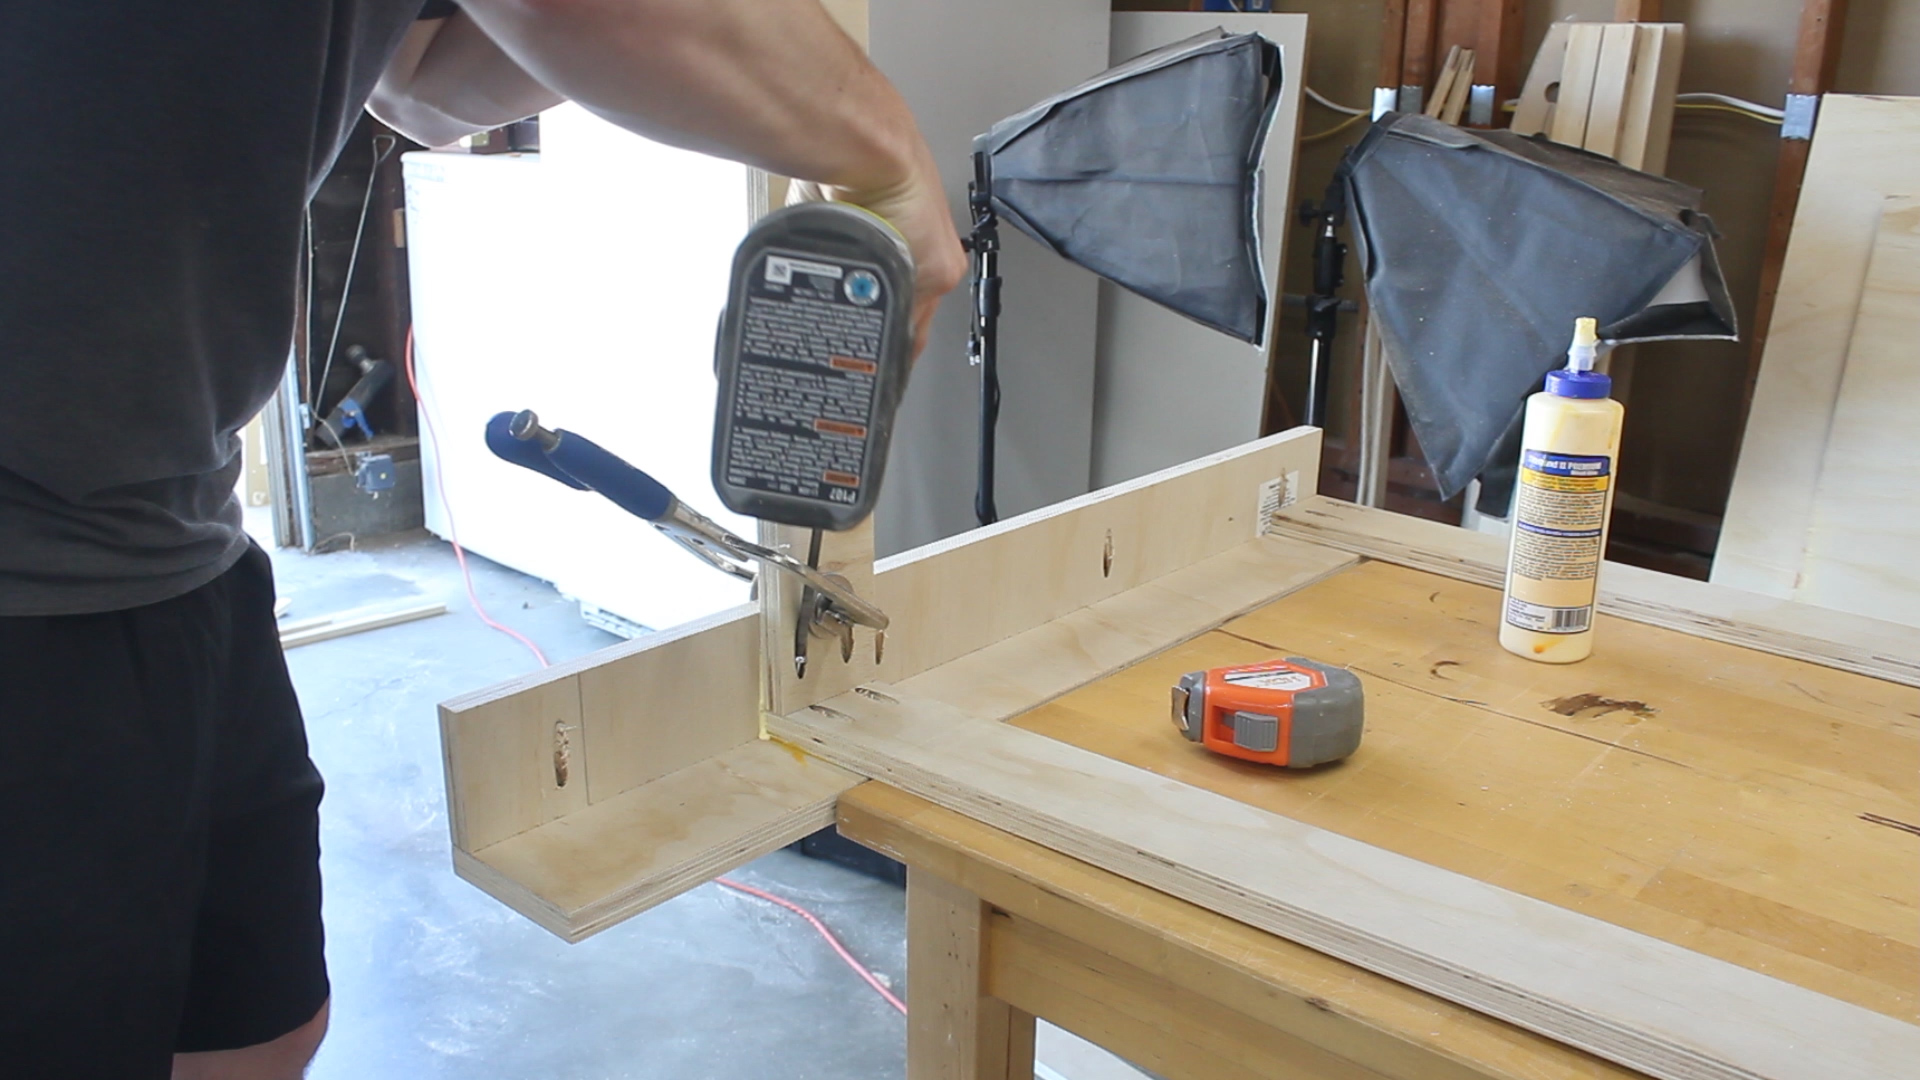
I ripped and cut a few additional strips with 45° miters on the end in Pic 5, then used glue and pocket hole screws in Pics 6-7 to attach them at the corners to add sheering strength. Lastly, in Pic 8, I attached 4 x stretchers at the bottom that would eventually bring the two sides together. You'll see what I mean in the next step.
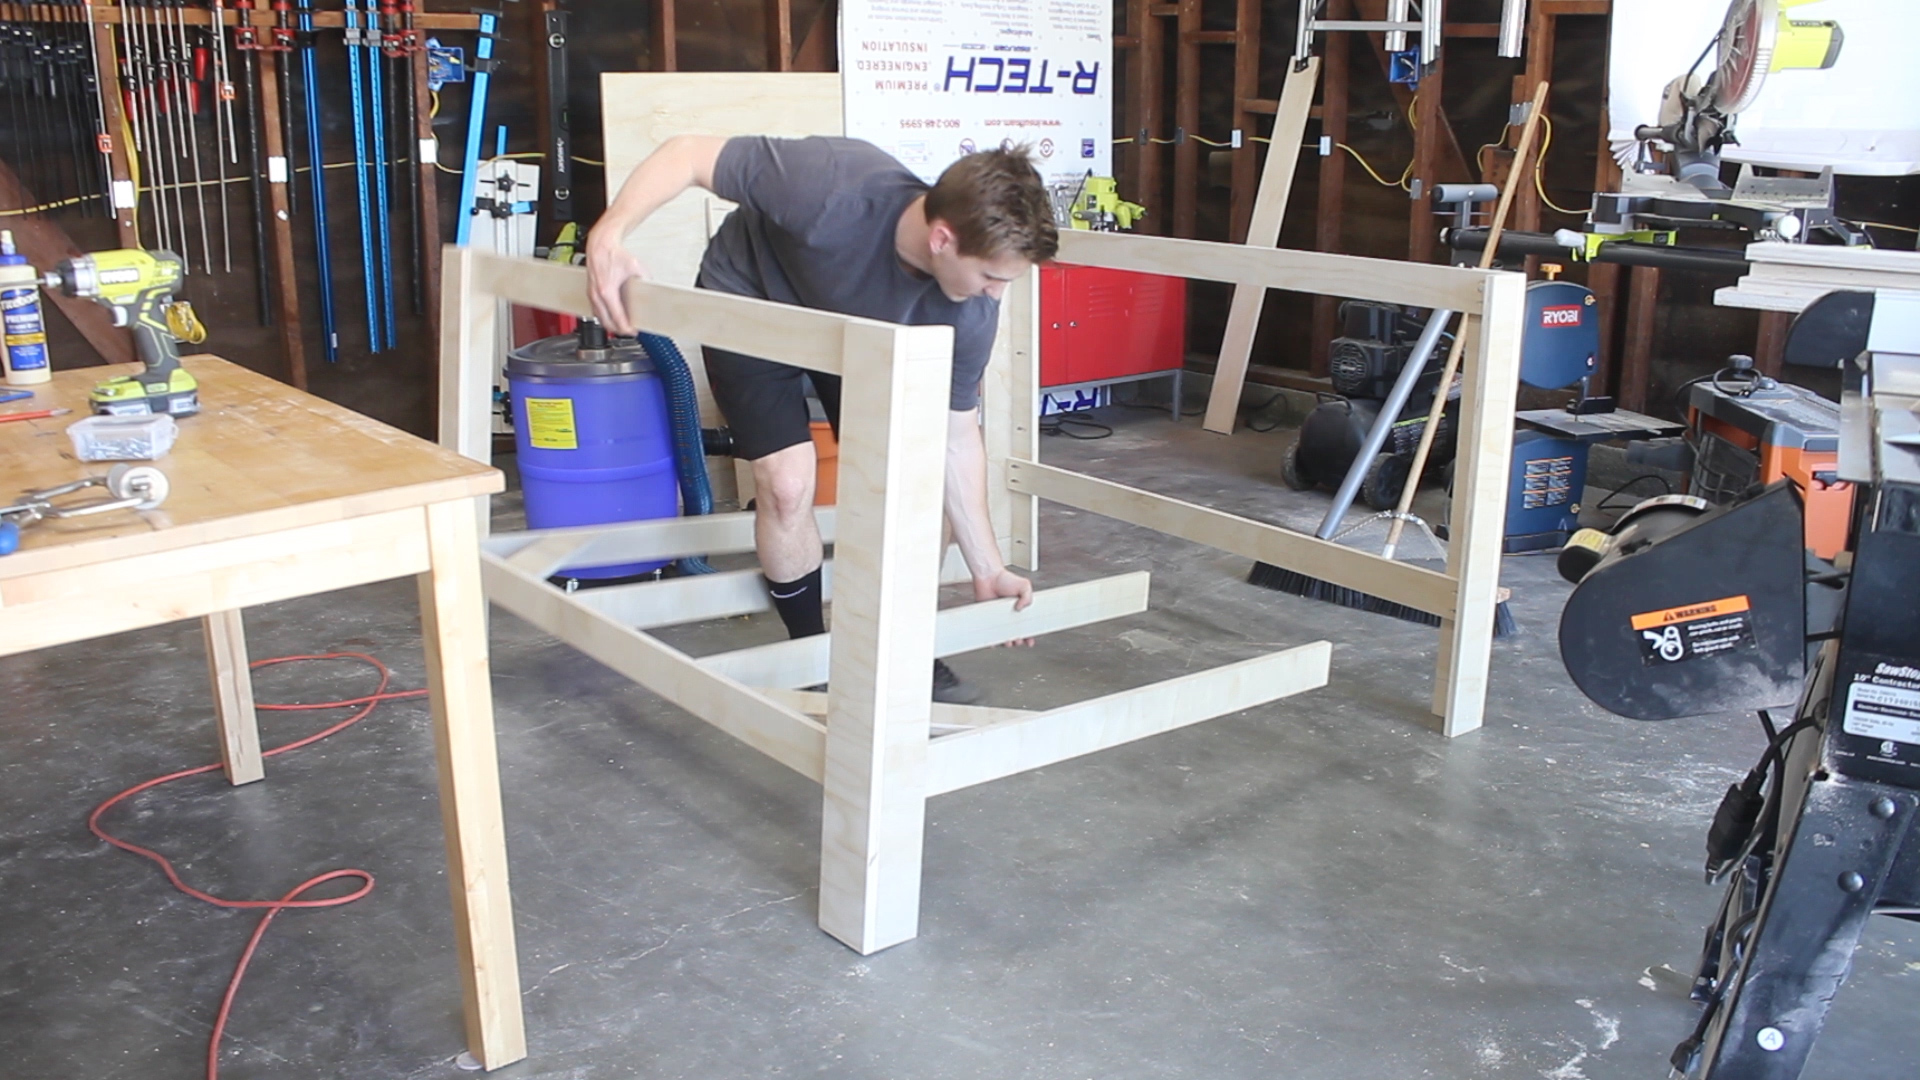
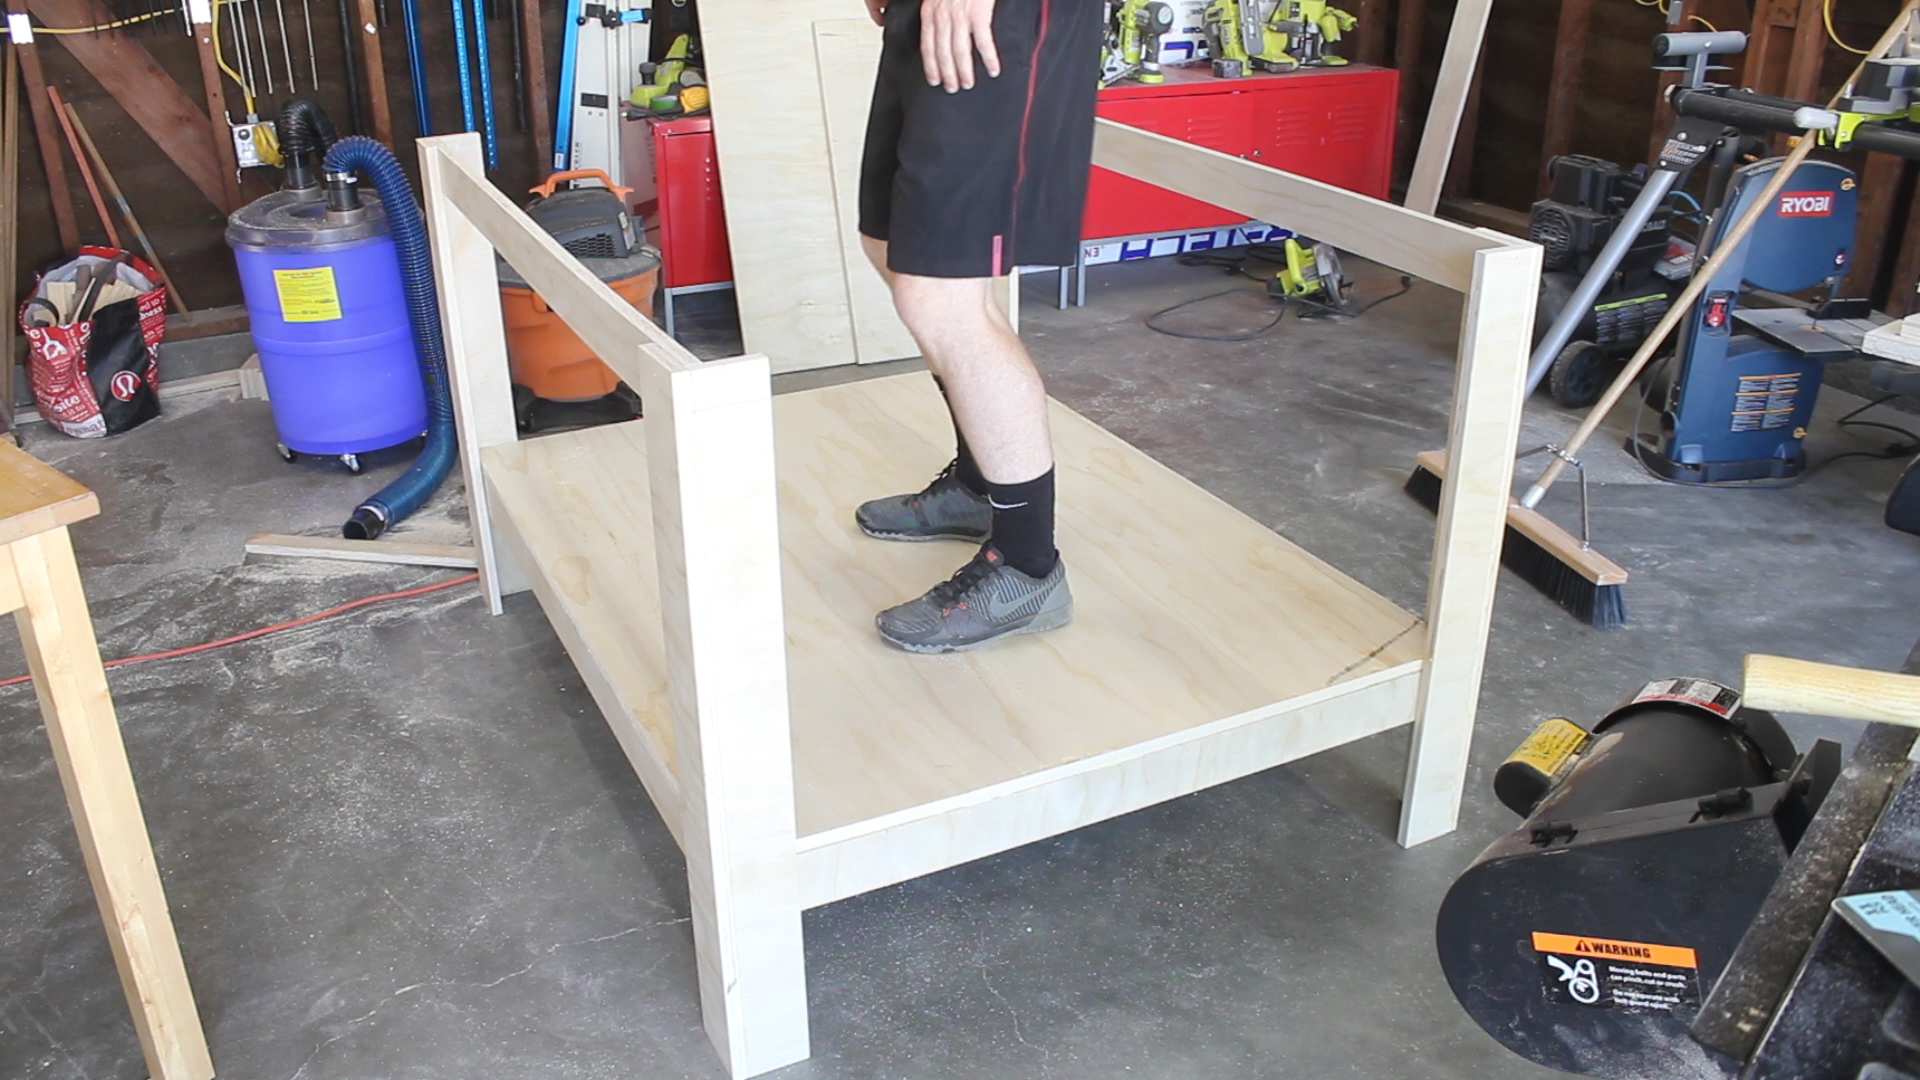
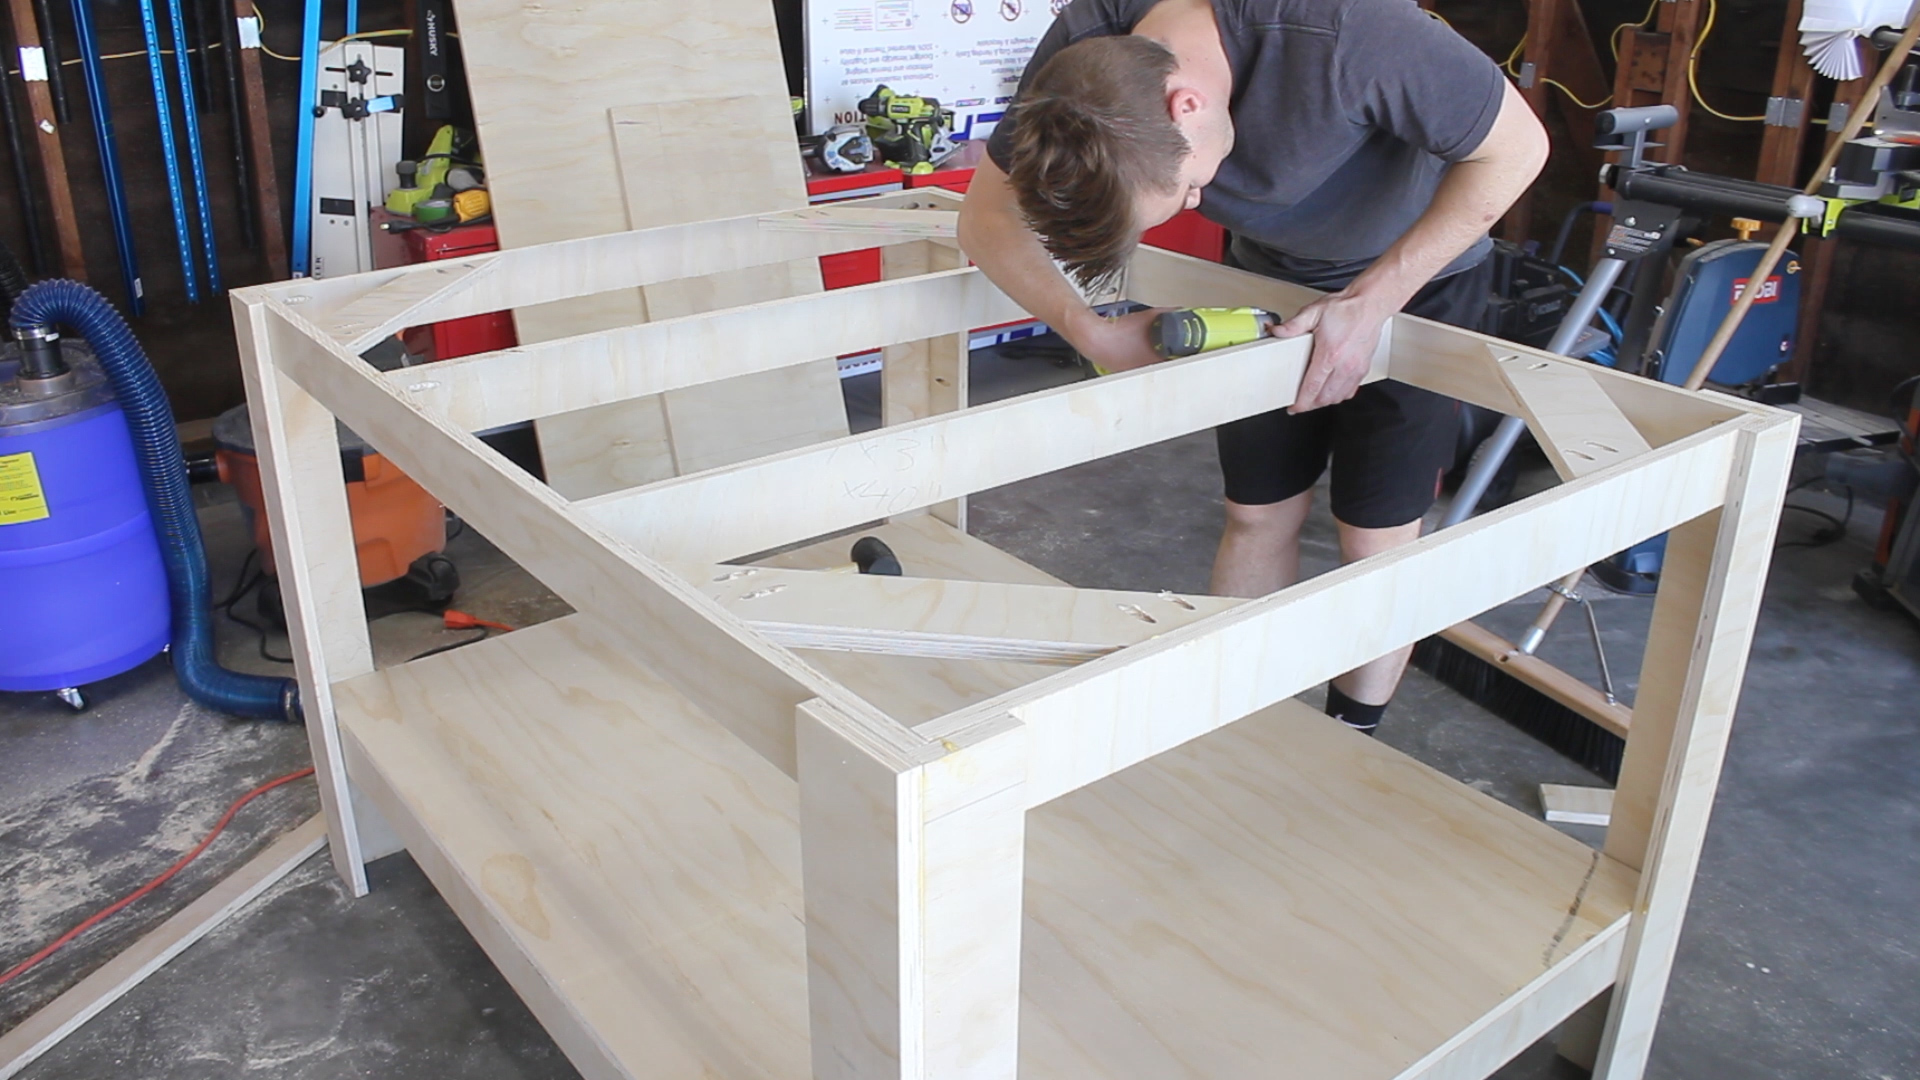
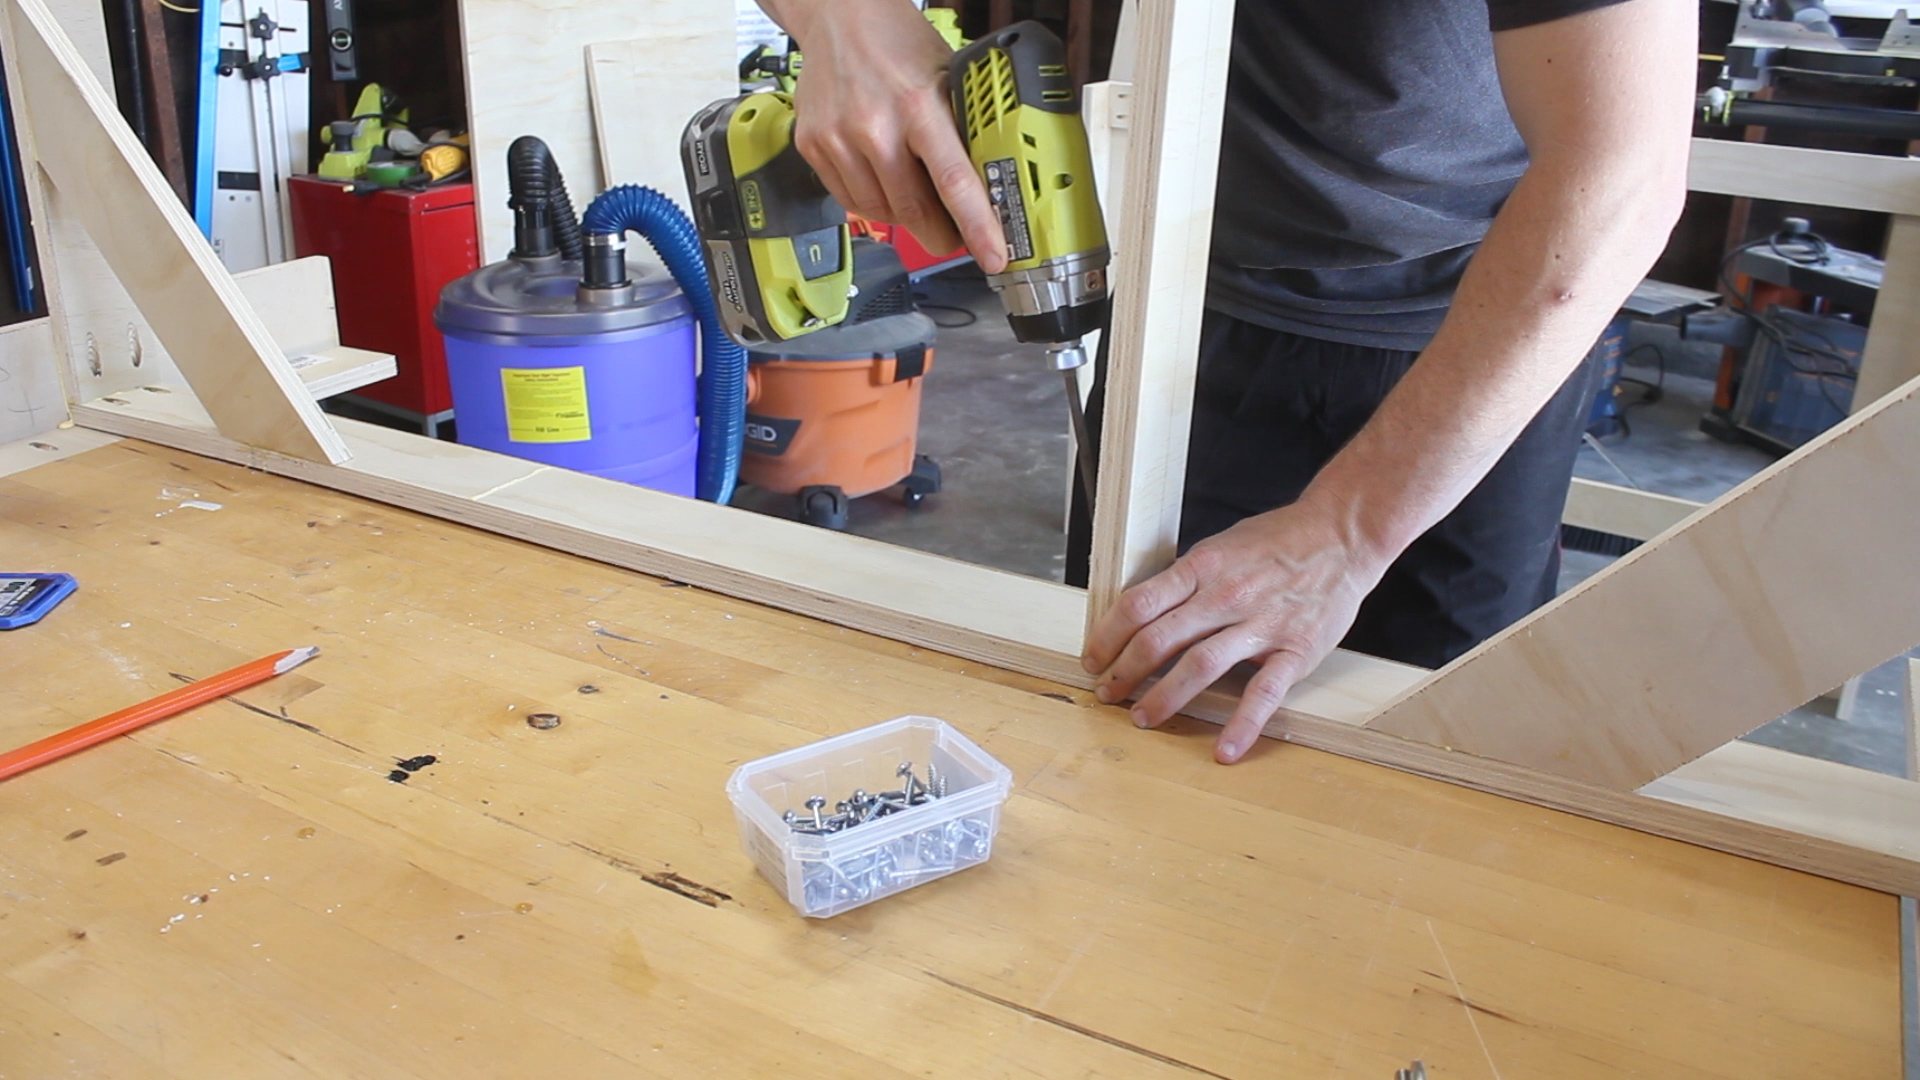
Pics 1-2 show me taking the two sides and combining together again using glue and pocket hole screws with the four stretchers I attached in the previous step. Pic 3 shows the result of this - I added more miters to the corners to fully strengthen the bottom piece. I used glue and finish nails in Pics 3-5 to hold down the shelf - this shelf was cut at the beginning of the build when I was breaking down my big sheets.
Then, in Pics 6-7, I repeated the entire process for the top that I had just done for the bottom, adding horizontal stretchers, as well as miter'd corners for shearing strength.
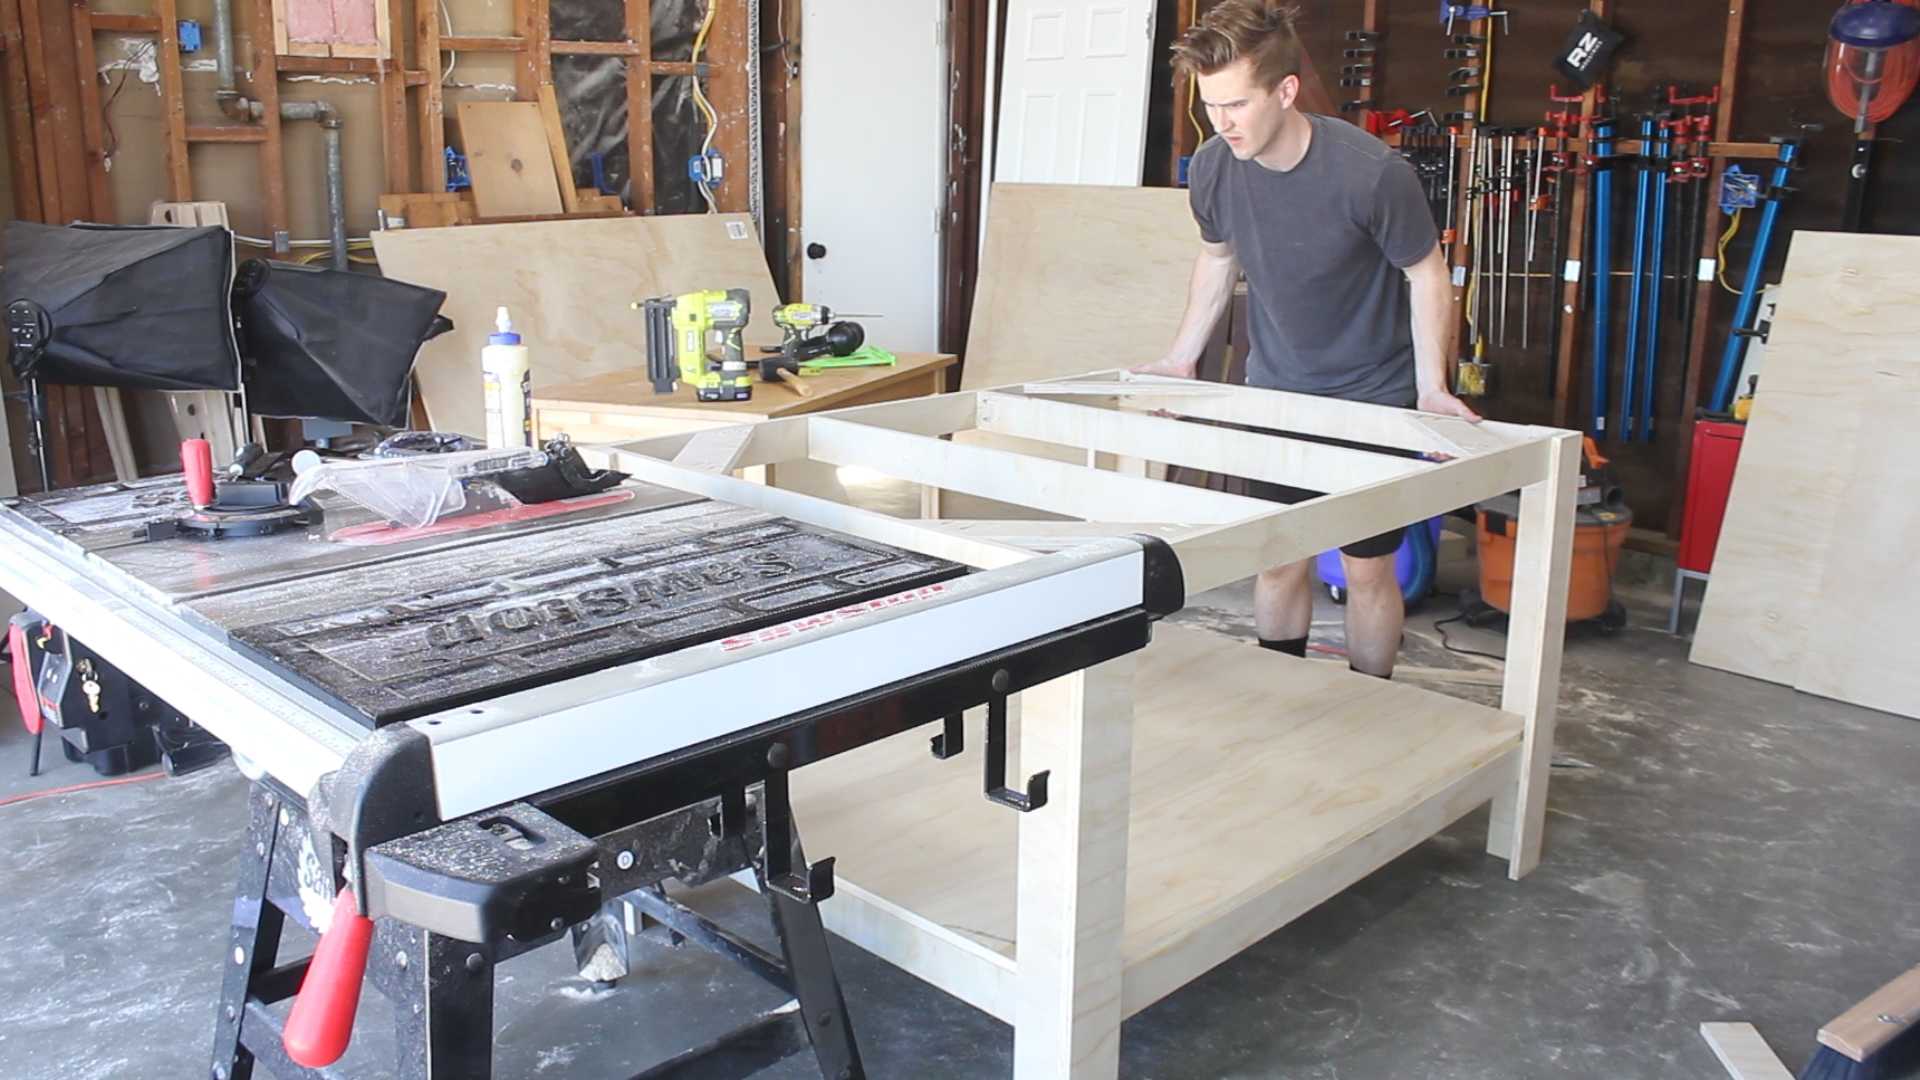


Next up was to finish the top. From my cut list, you can see that I planned it out so that left over, I'd have a piece that was 4' x 5' (final top), and two pieces that were 2' x 4' and 3' x 4'. The second two pieces were going to serve the purpose of a permanent bottom shelf, with the larger overall piece serving as a top shelf that could take wear and tear and be replaced if needed.
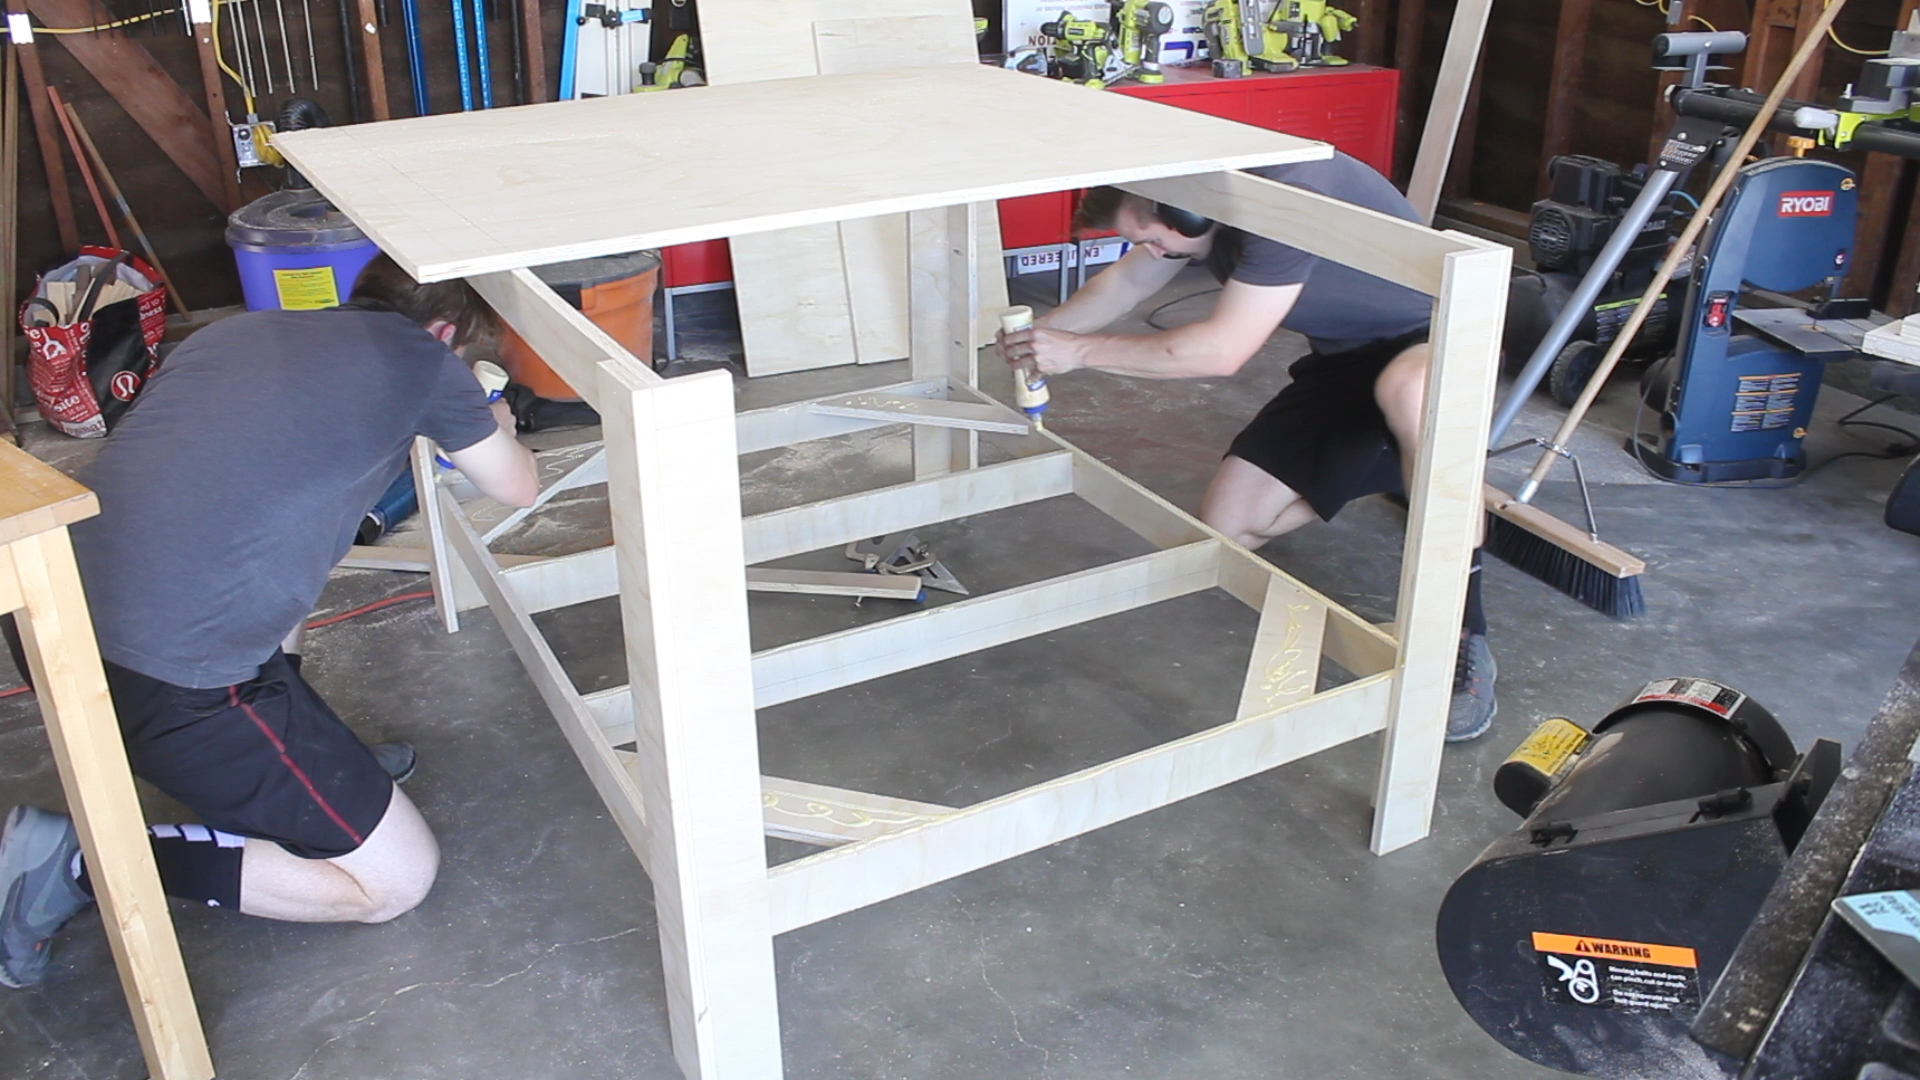
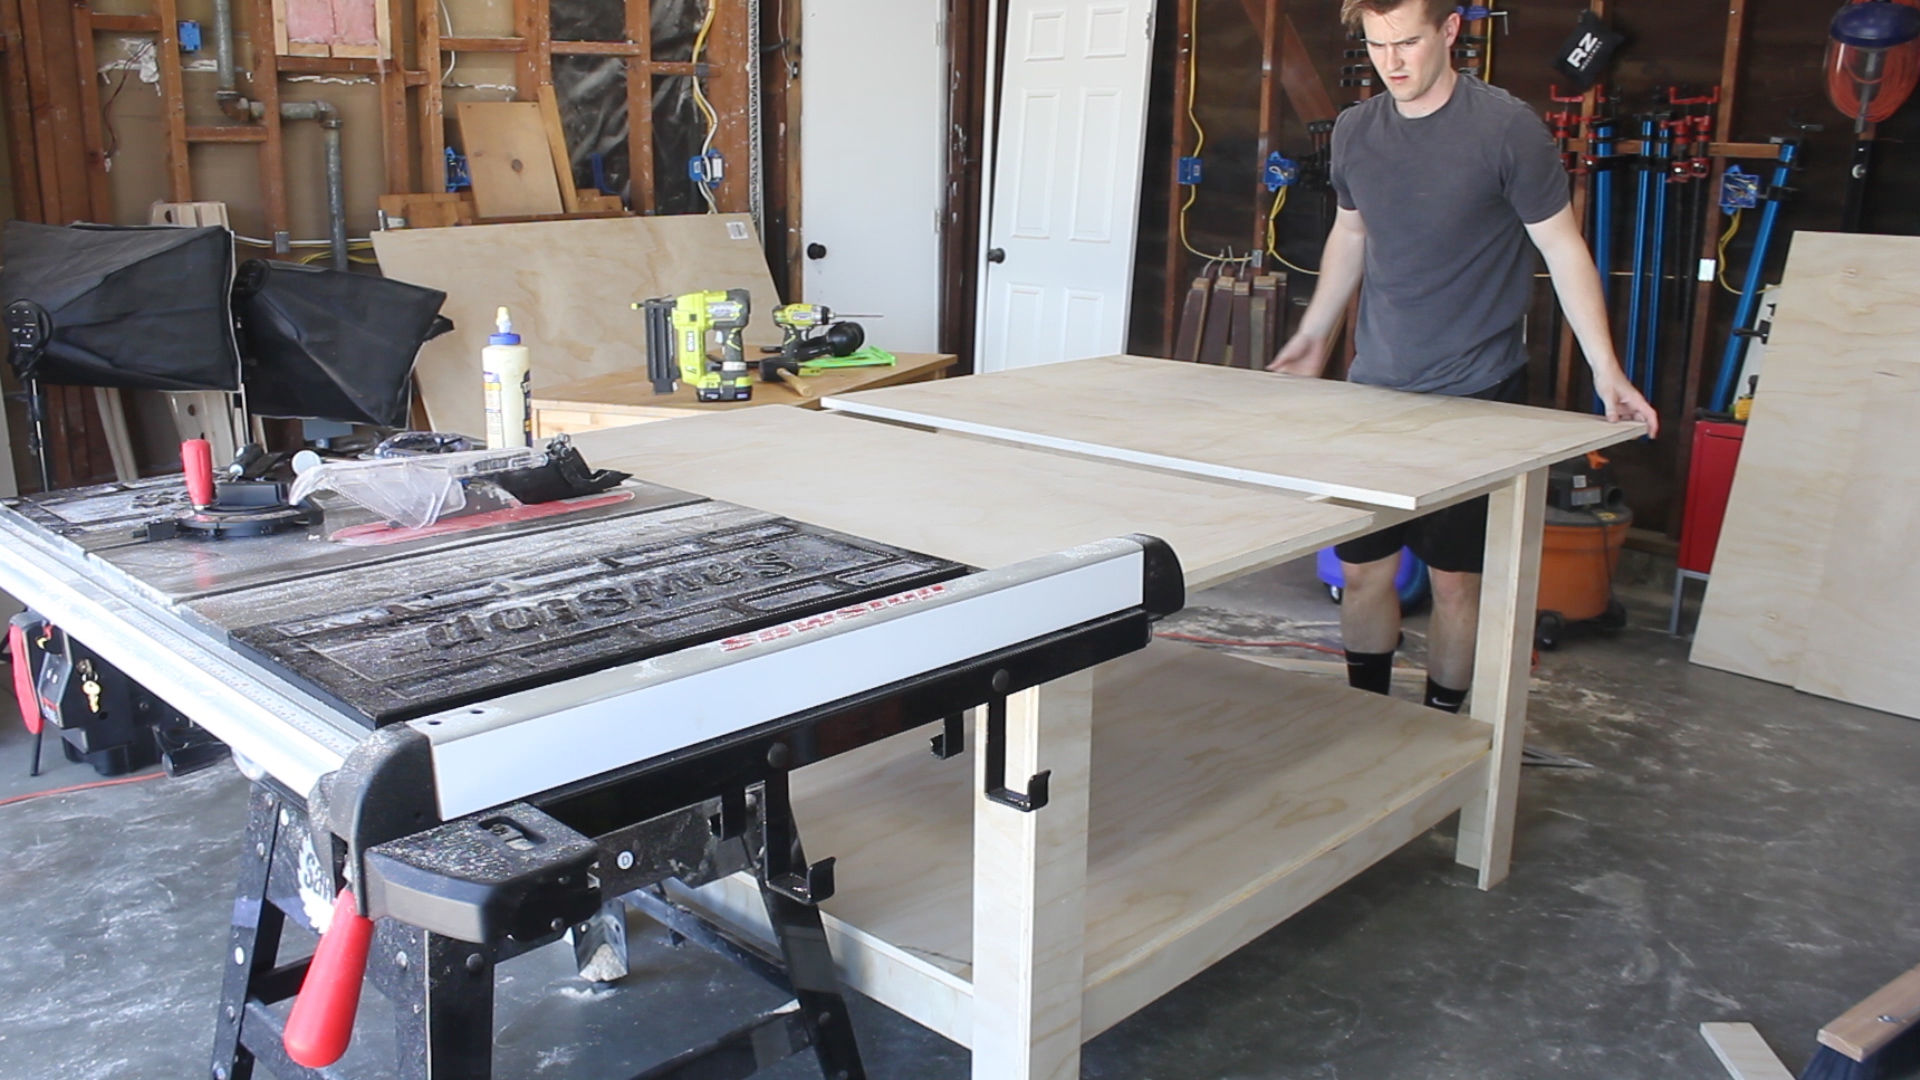
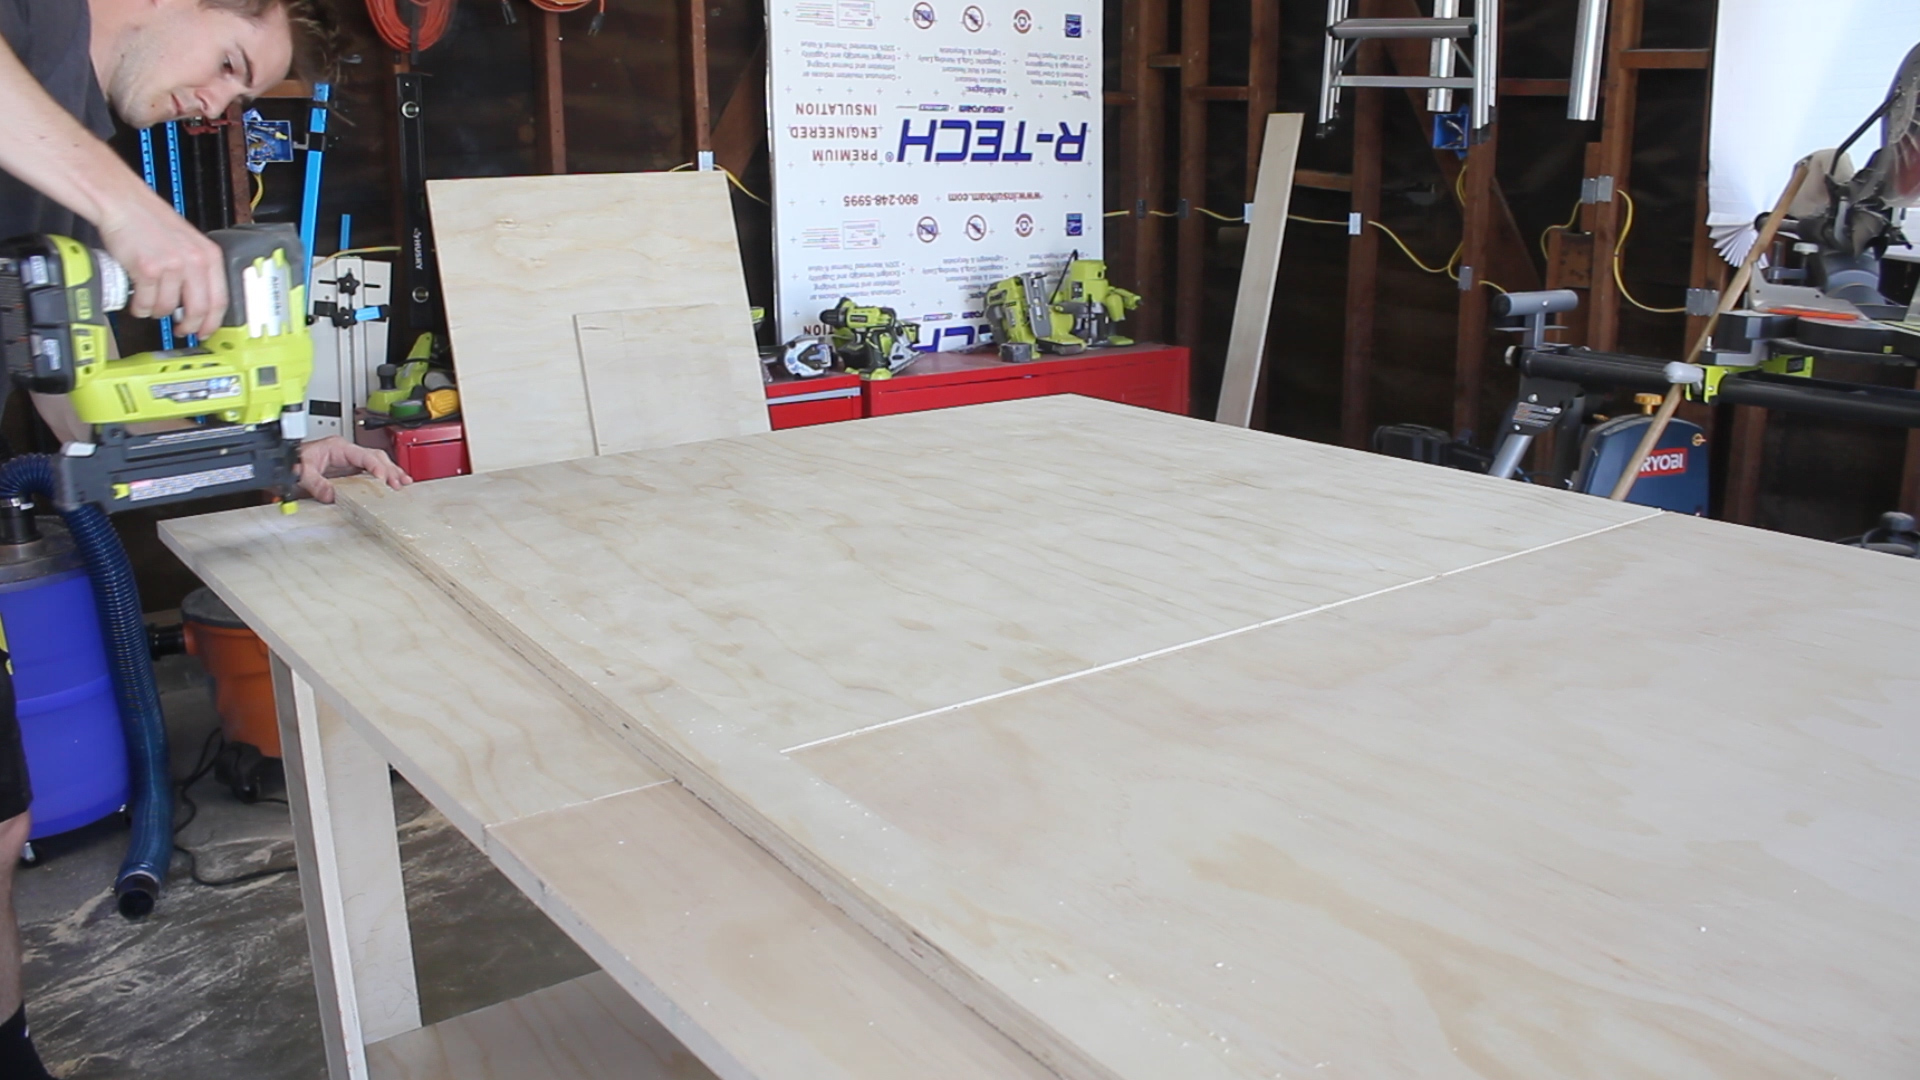
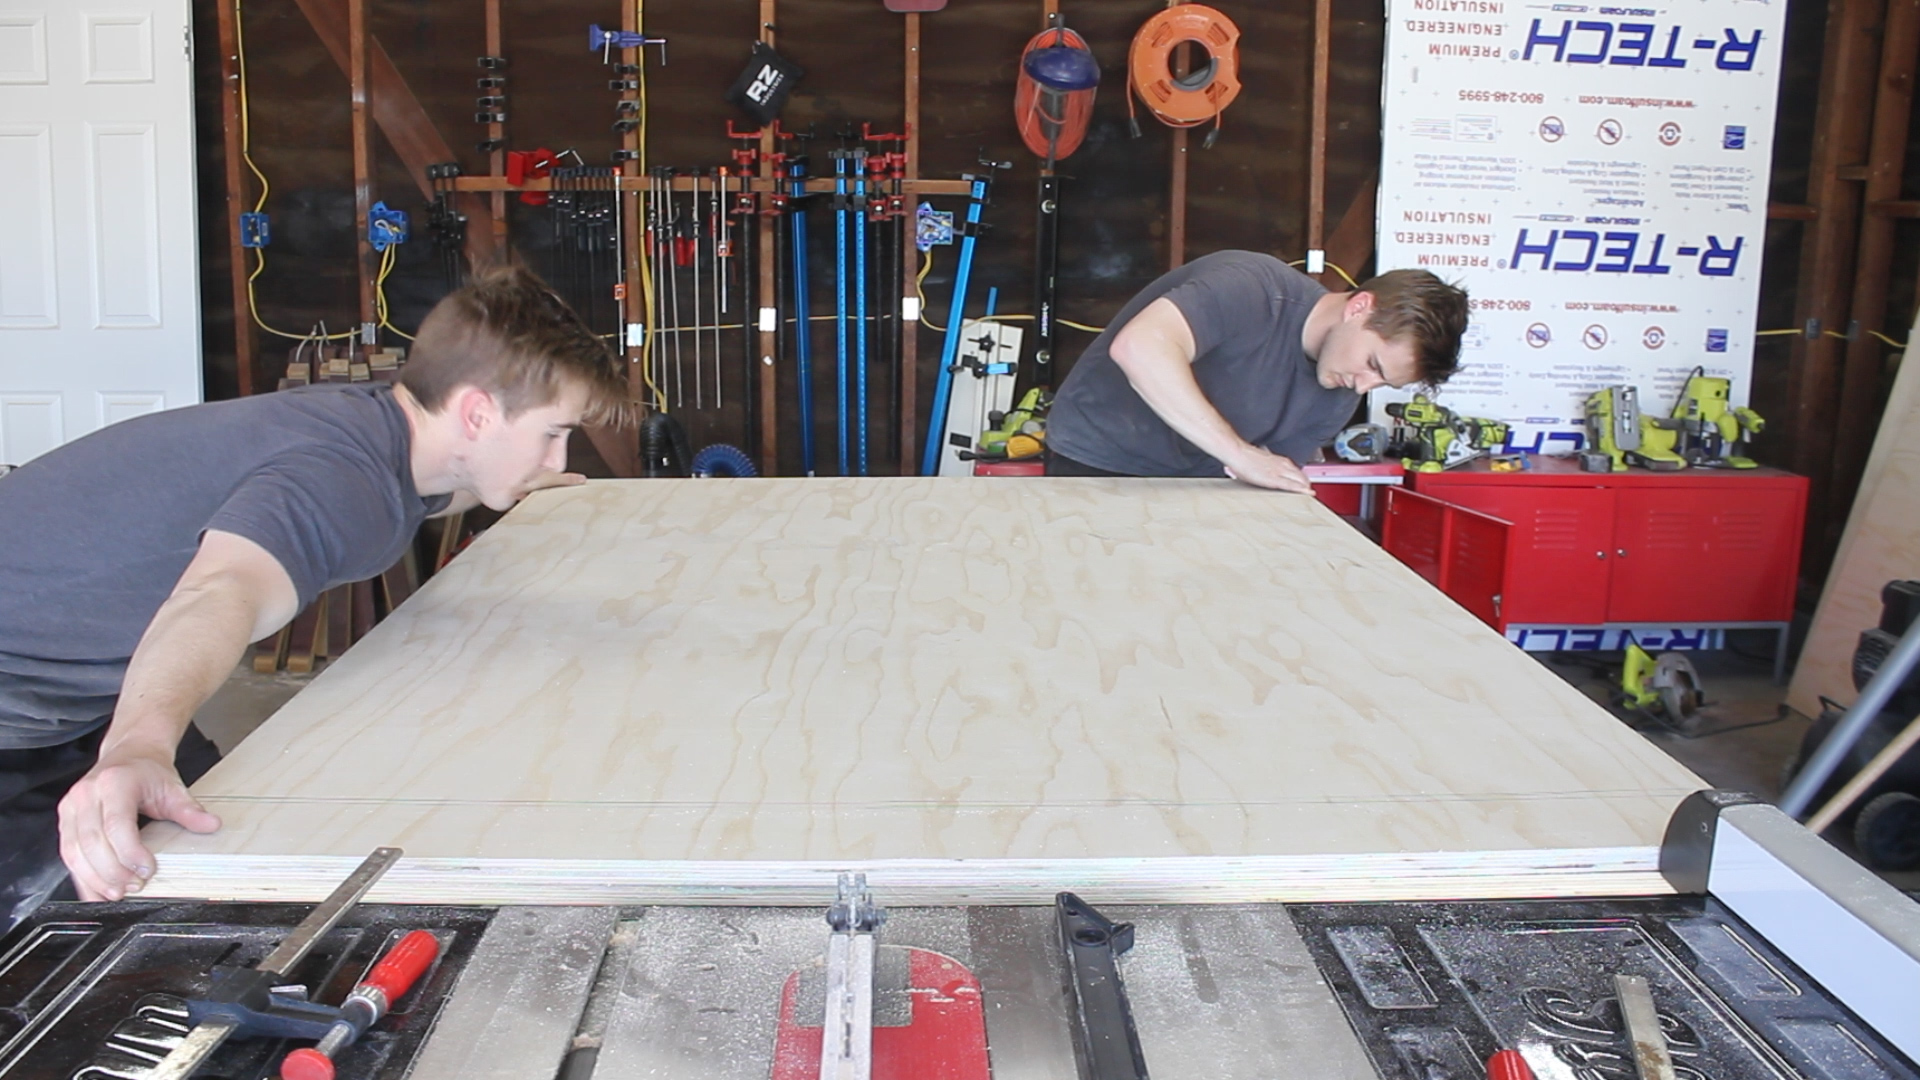
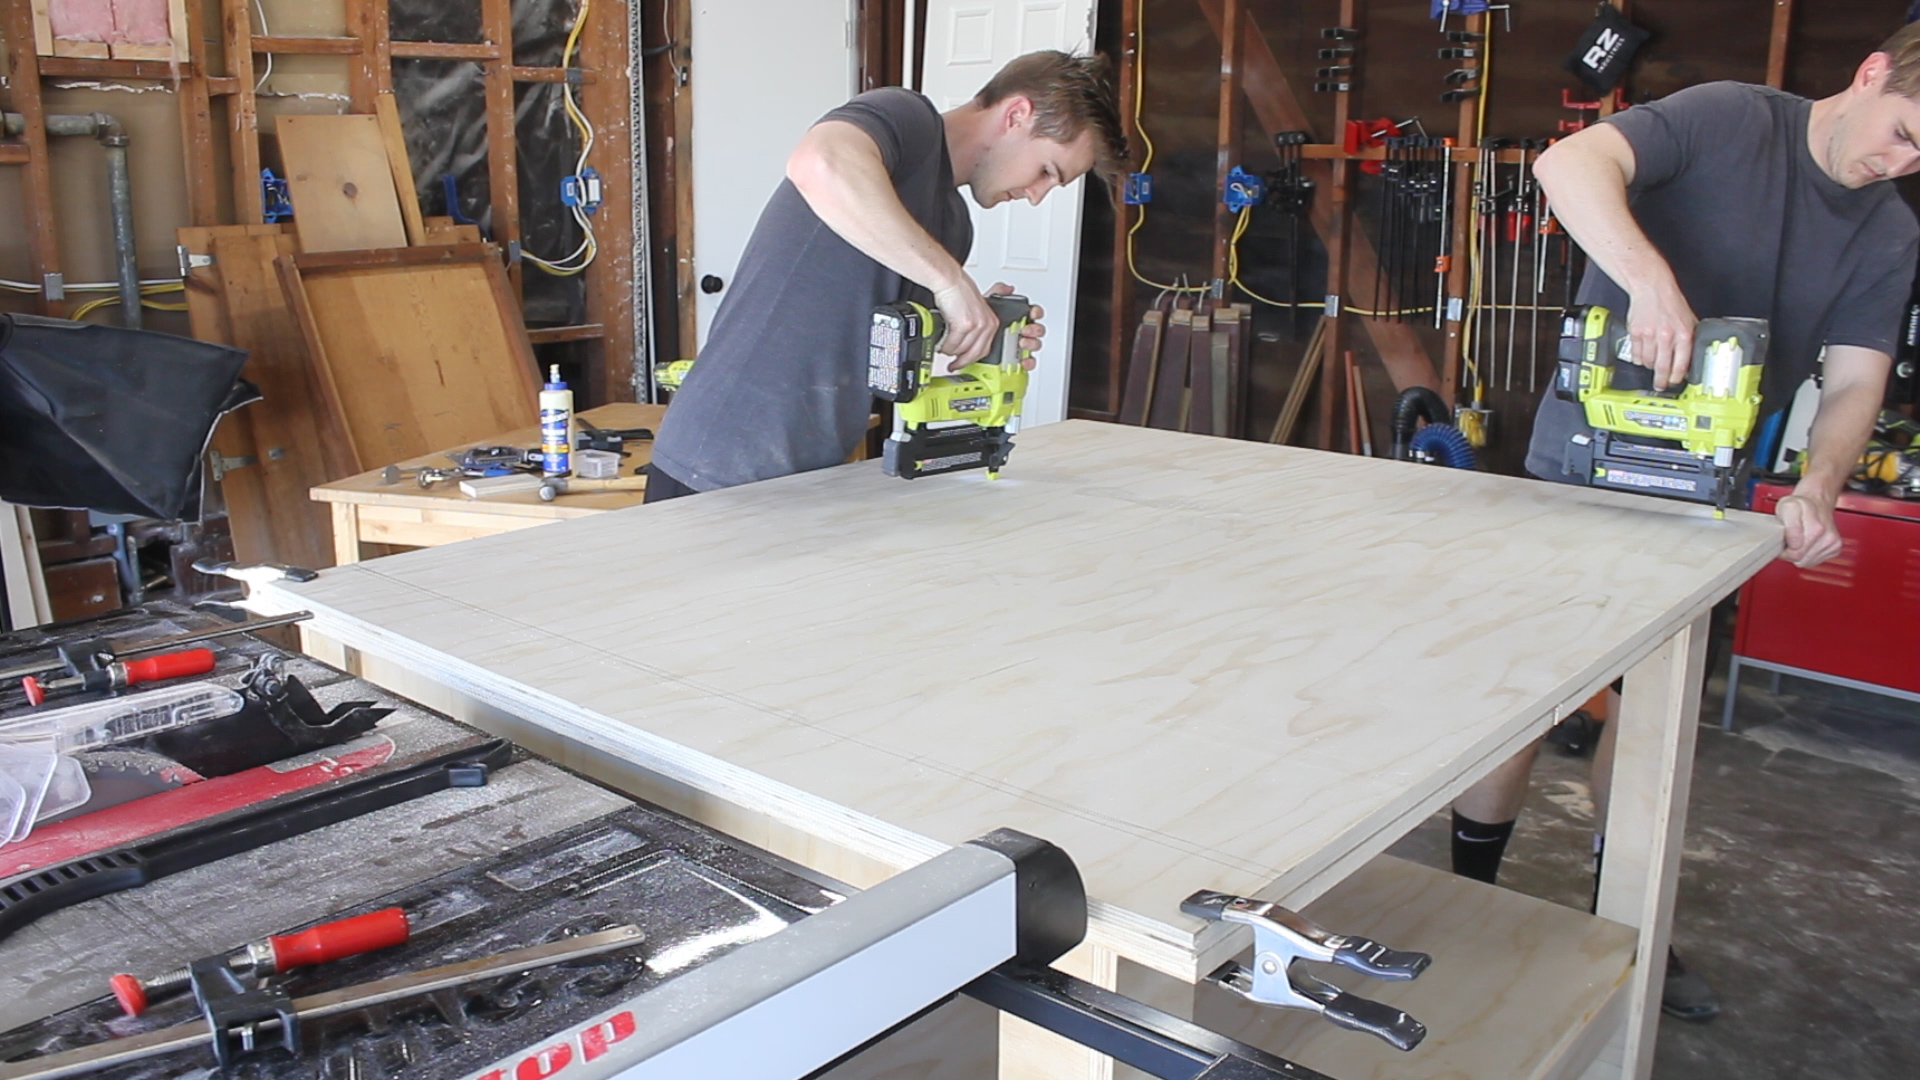
In pics 1-2, I am moving the table into place and moving the two smaller sheets into place. I then clamped one piece down (Pic 3), and removed the other piece to add glue (Pic 4). This way, everything stayed where I needed it. In Pic 5, I put the piece into place, use brad nails to hold it down (Pic 6), and then off camera, repeated that process for the other smaller piece. Then, I had a complete top.
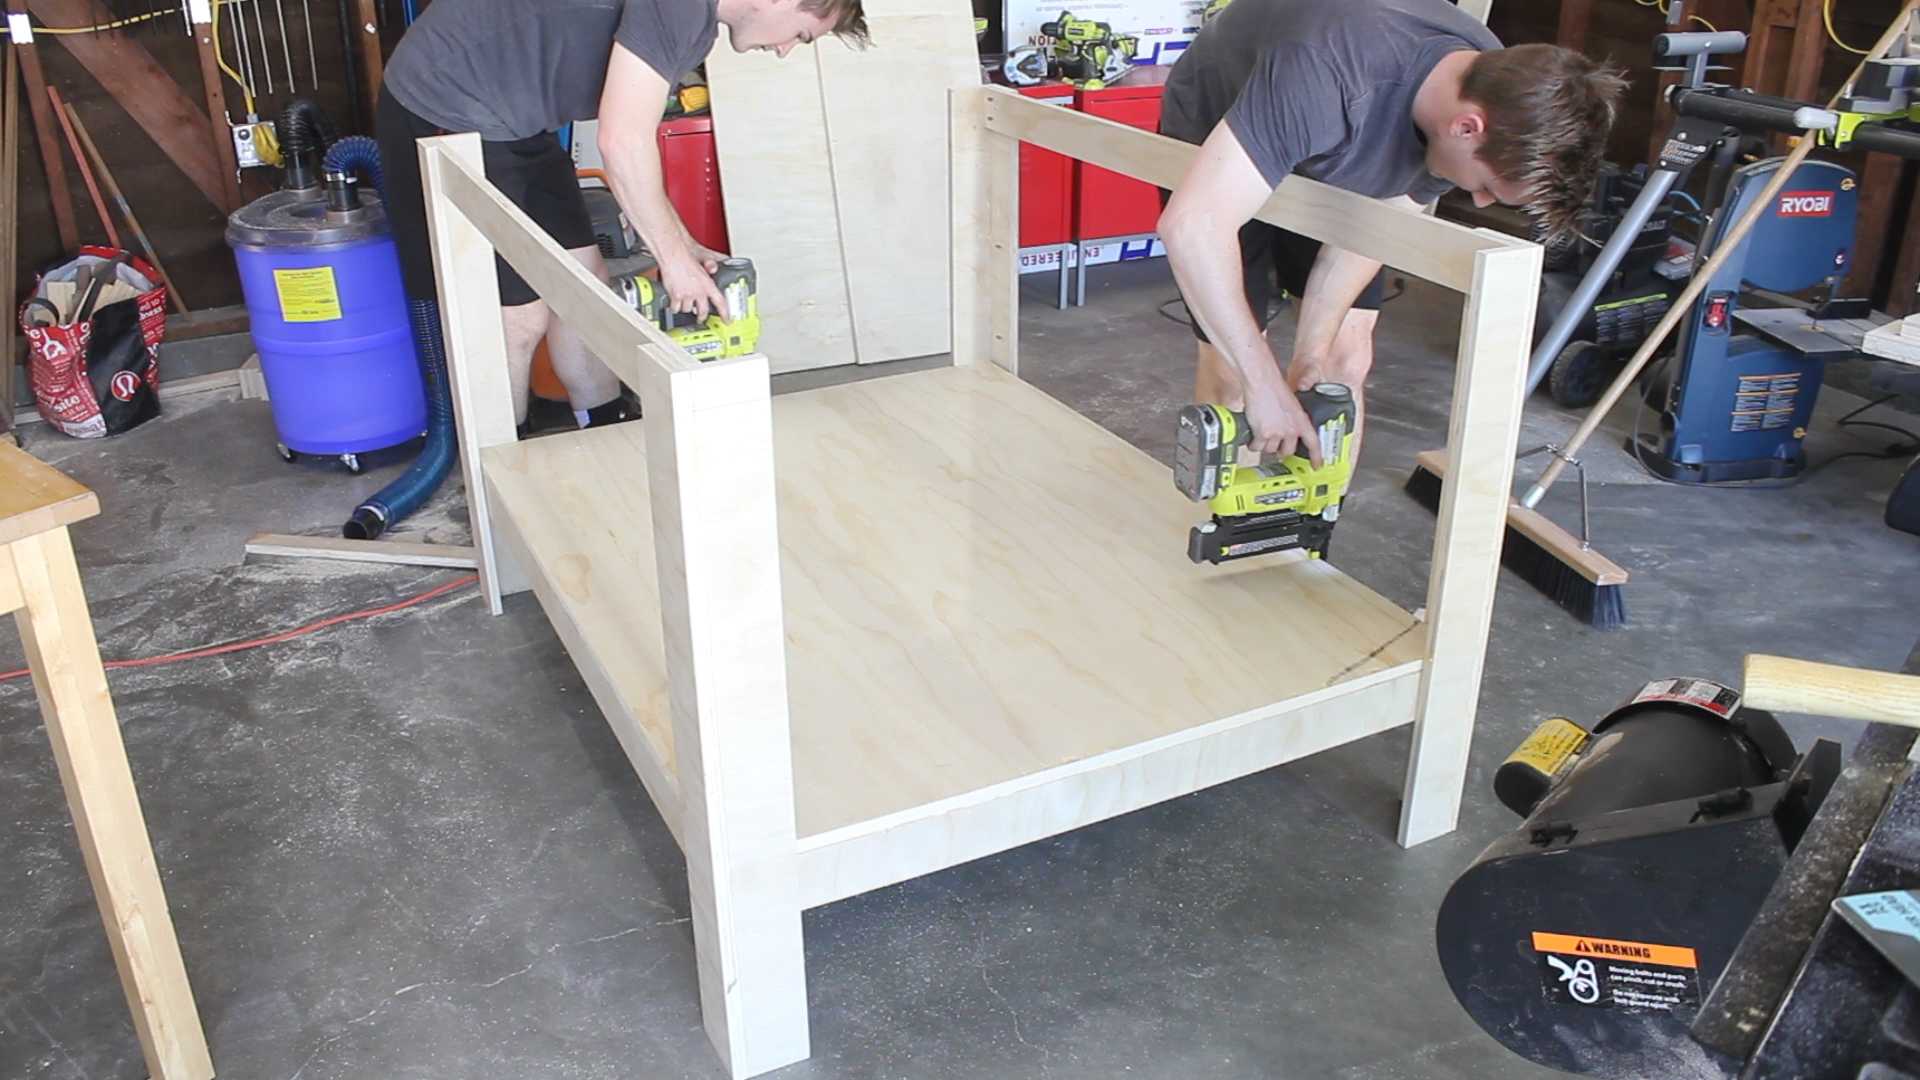
Pic 7 then shows me moving in the single large sheet on top of that and adding finish nails (Pic 8) to keep it in place. Again, this was so I could go back and remove / replace if I ever wanted as well as add weight and strength to the top.
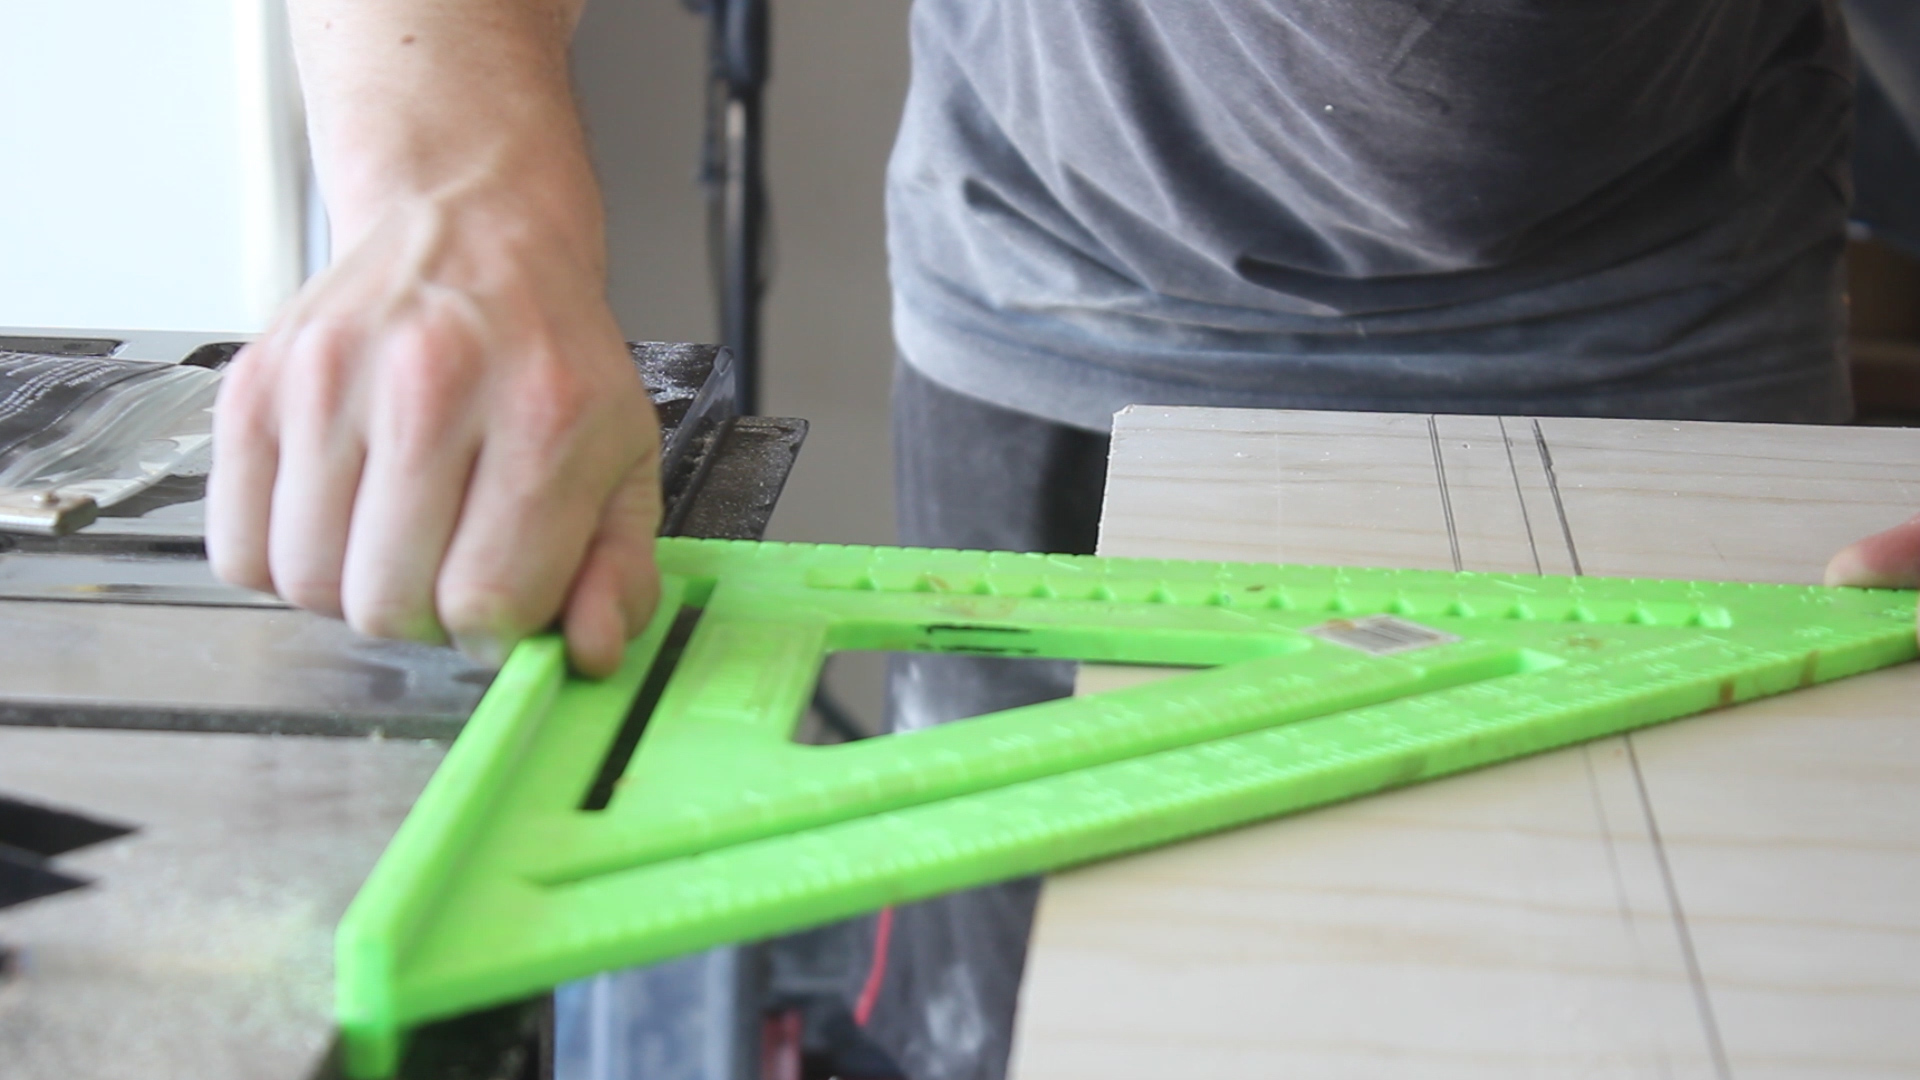
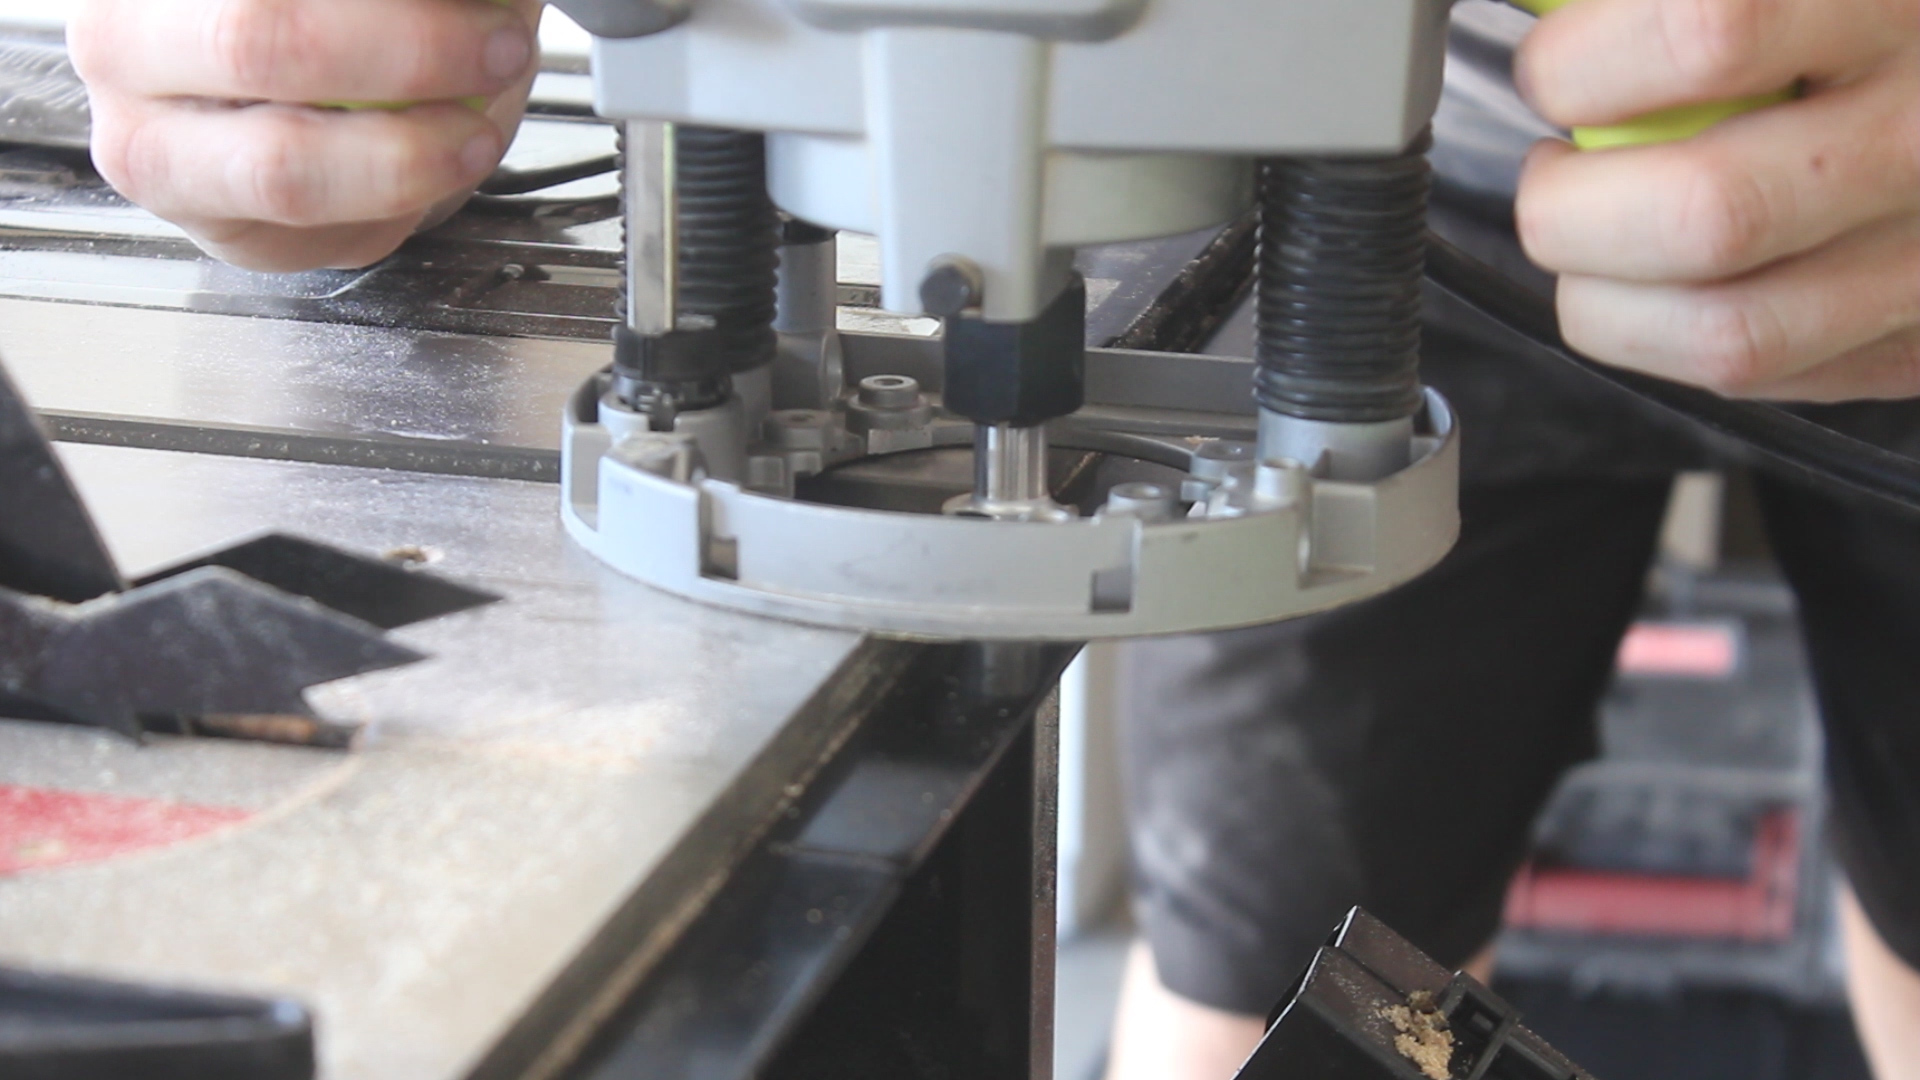
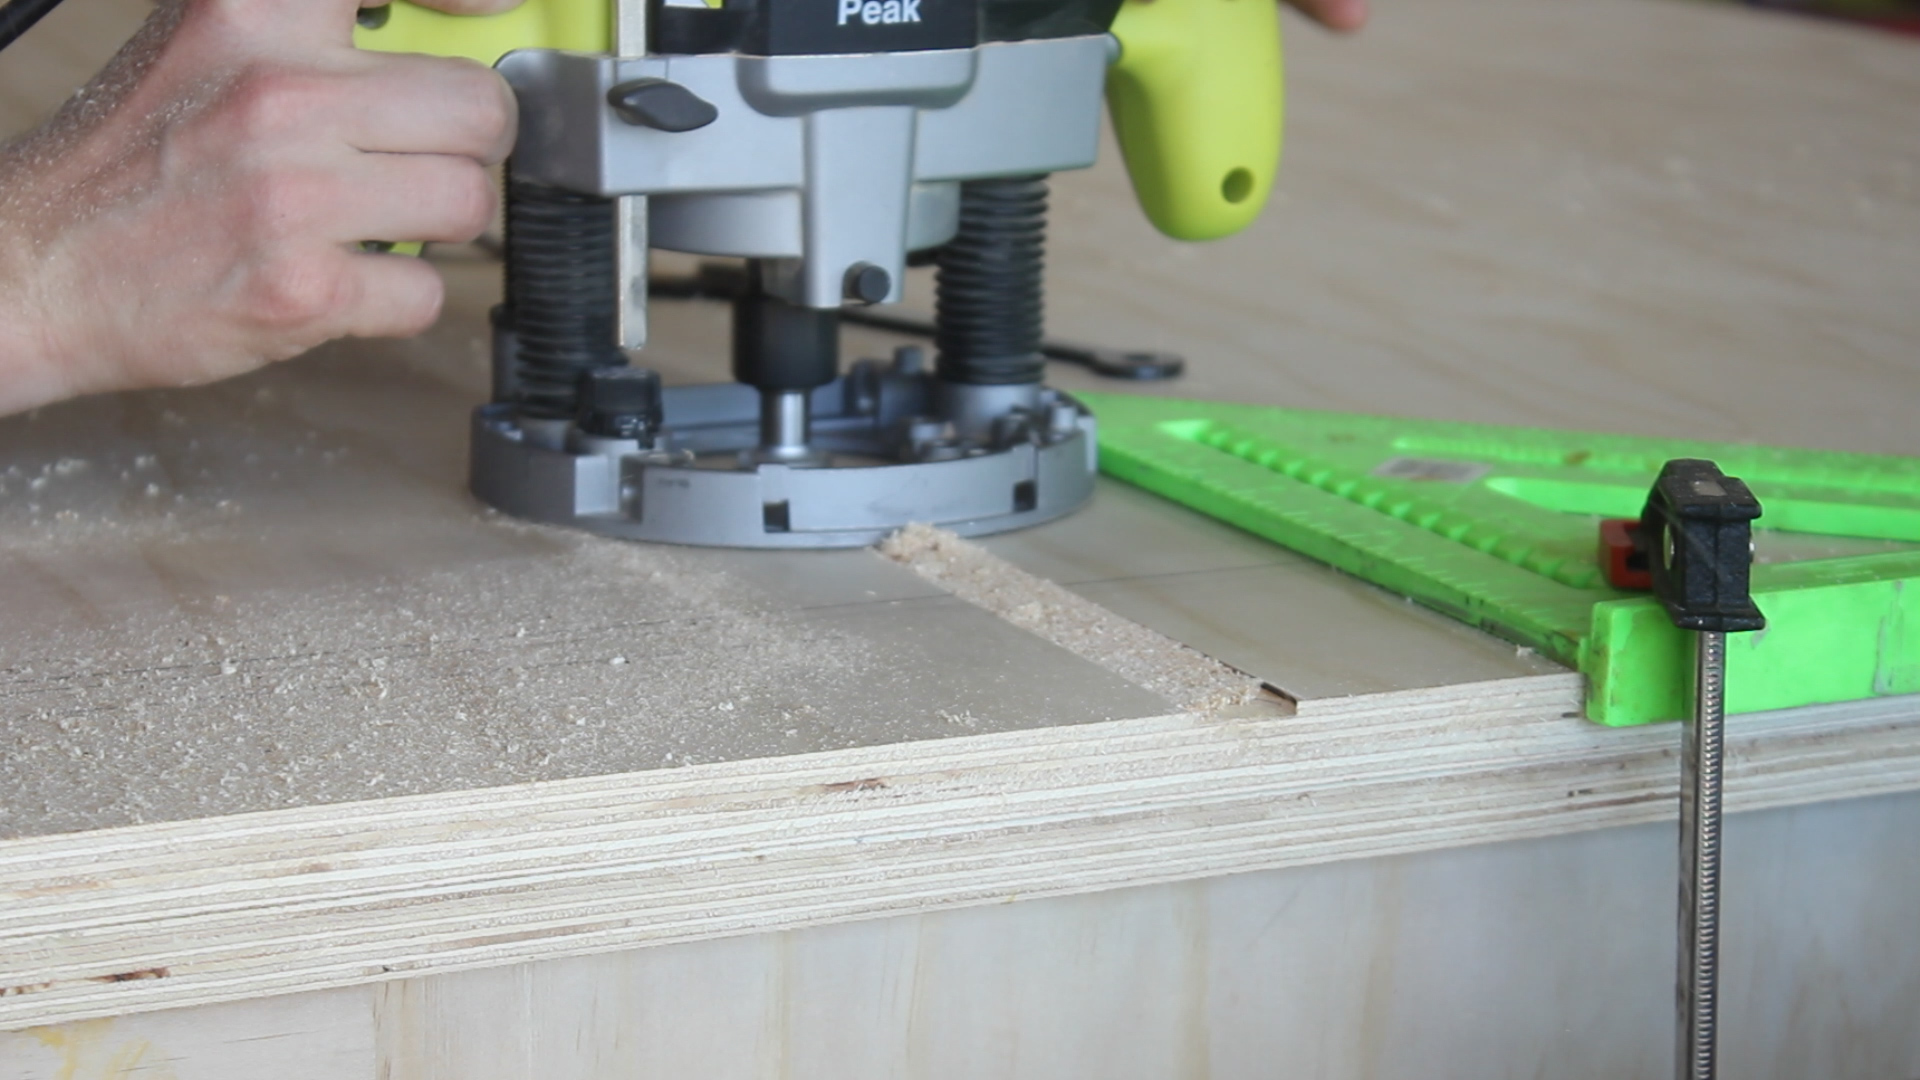
Because this was going to be an out feed table, i wanted to add miters to the side touching the table saw so that I could pass jigs and other miter tracks through the table saw and onto it if needed. I made sure the table saw was square to the table (Pic 1), and then used the miter gauge that the table saw came with to figure out where to cut my dados (not shown).
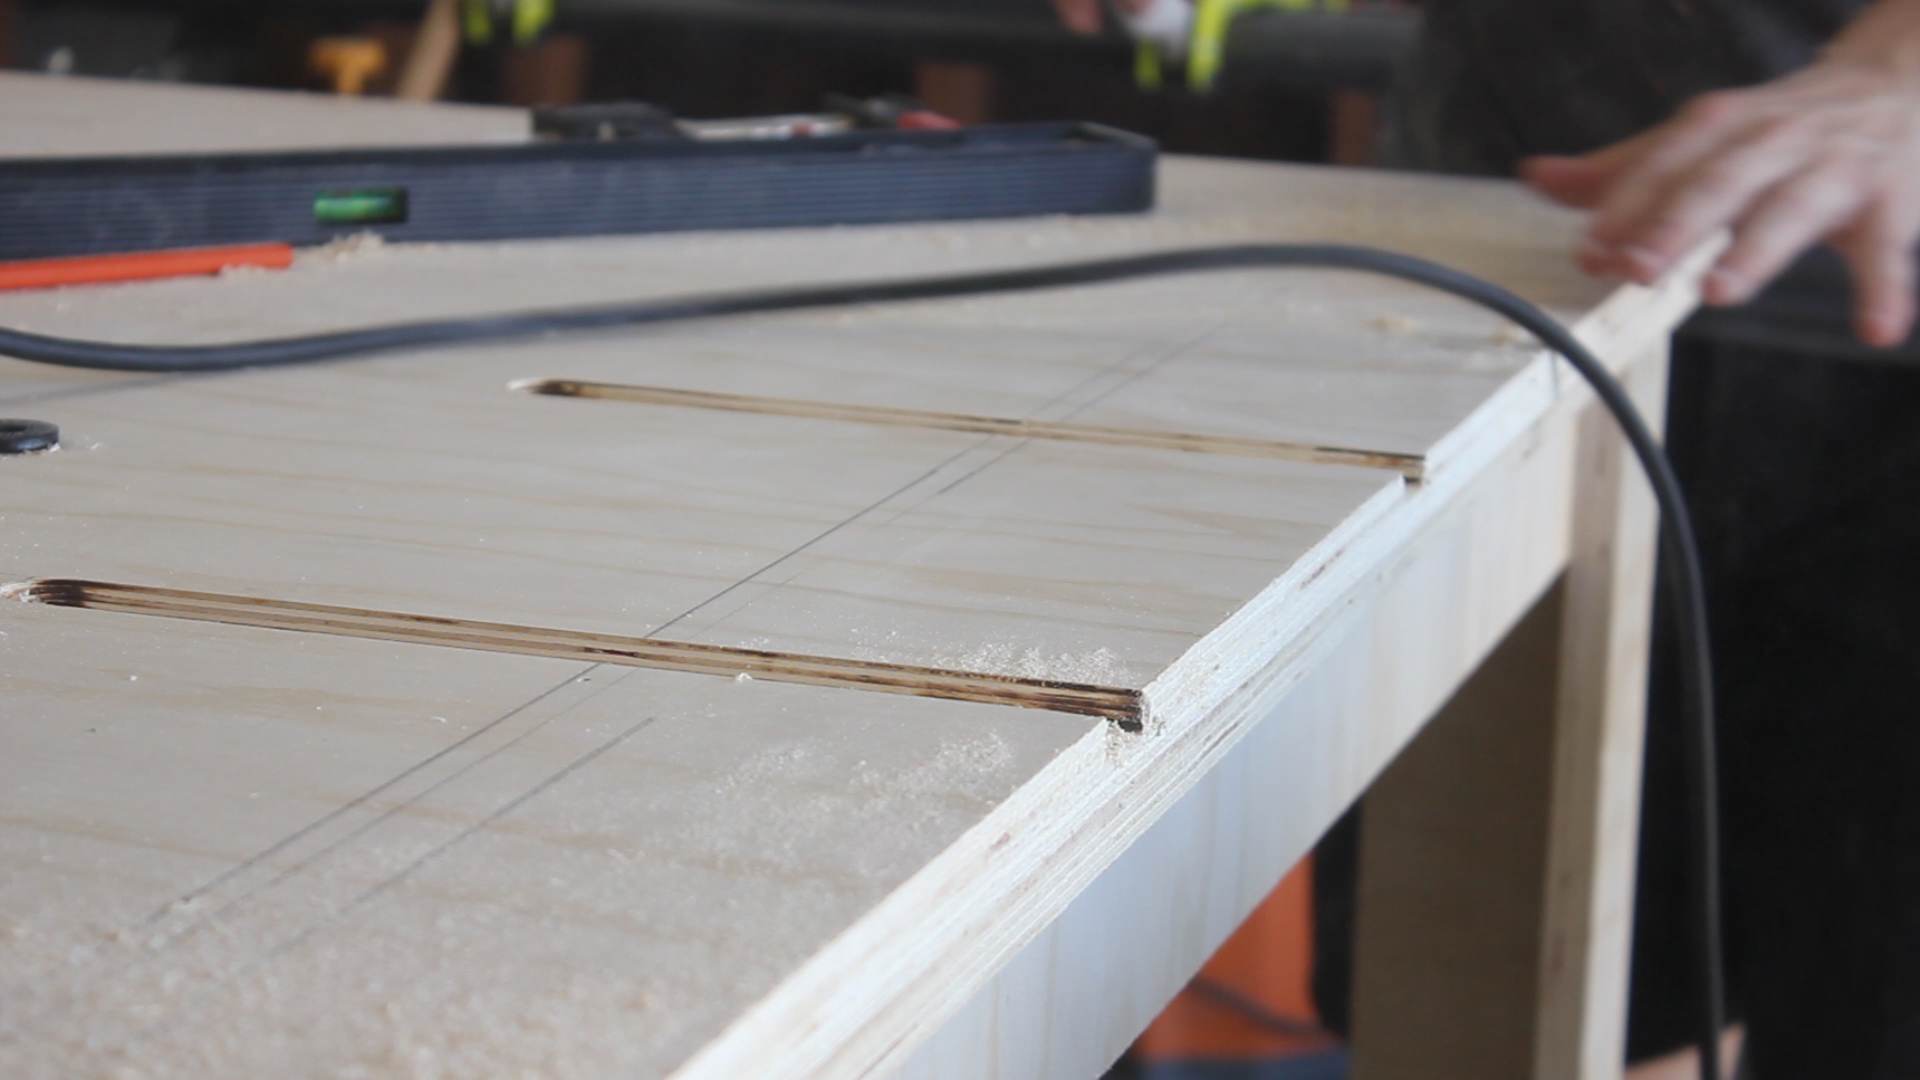
I used my plunge router to find the right depth (pic 2), and then took 2-3 passes with a 1" dado bit in Pic 3 for each miter slot, resulting in two nicely cut miters in the table top (pic 4).
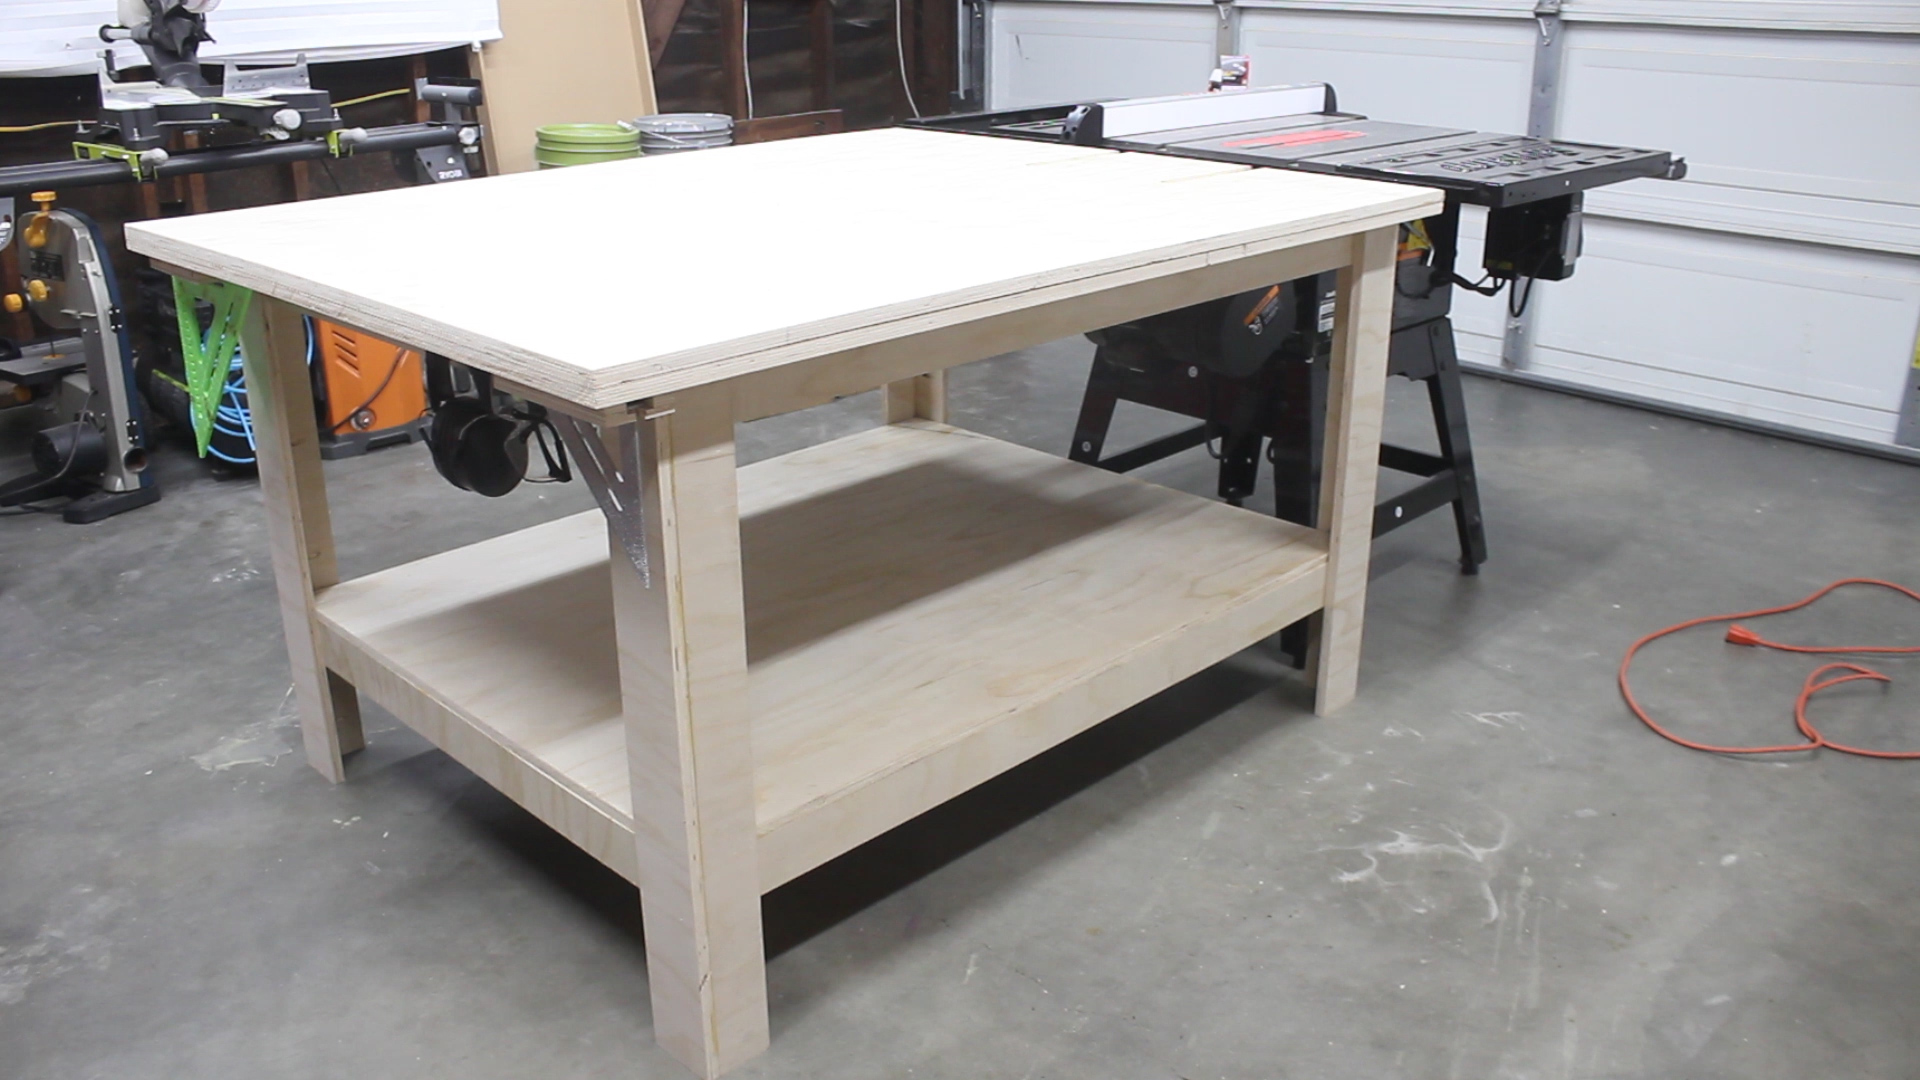
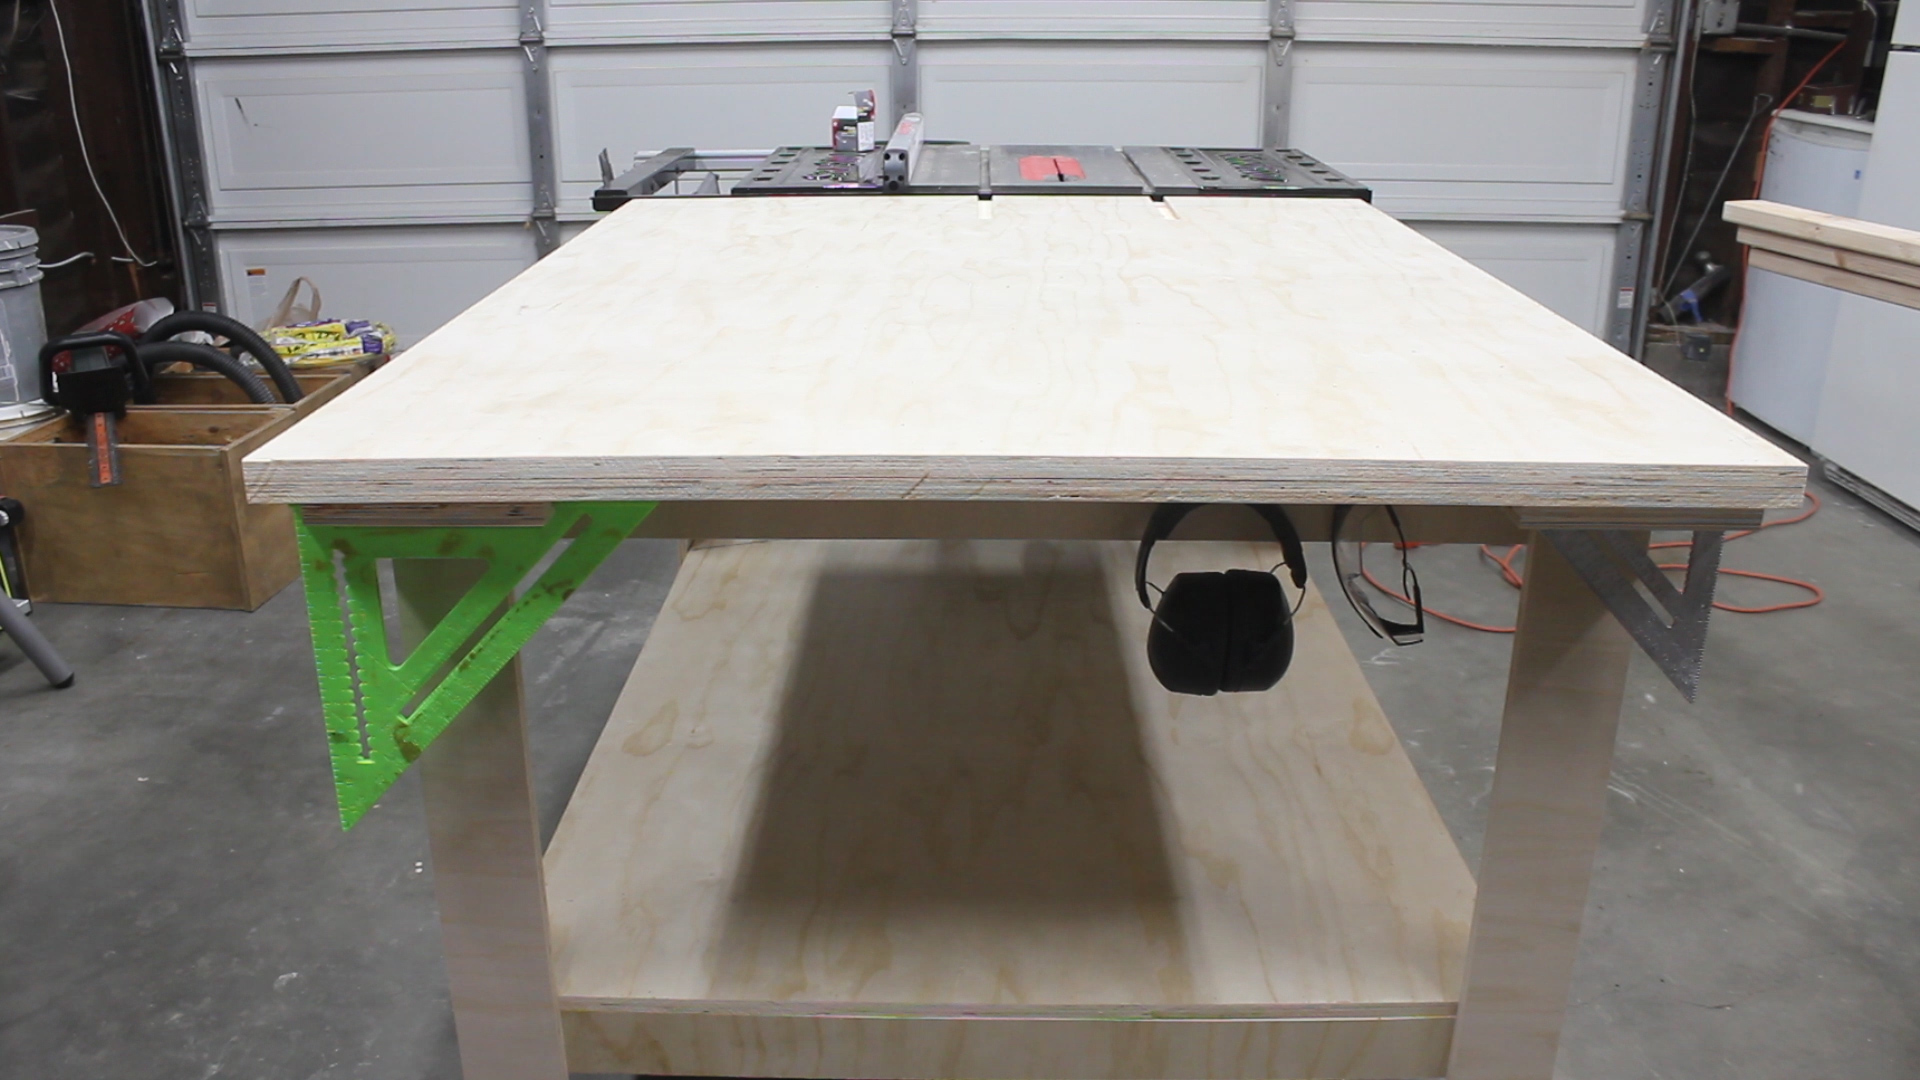
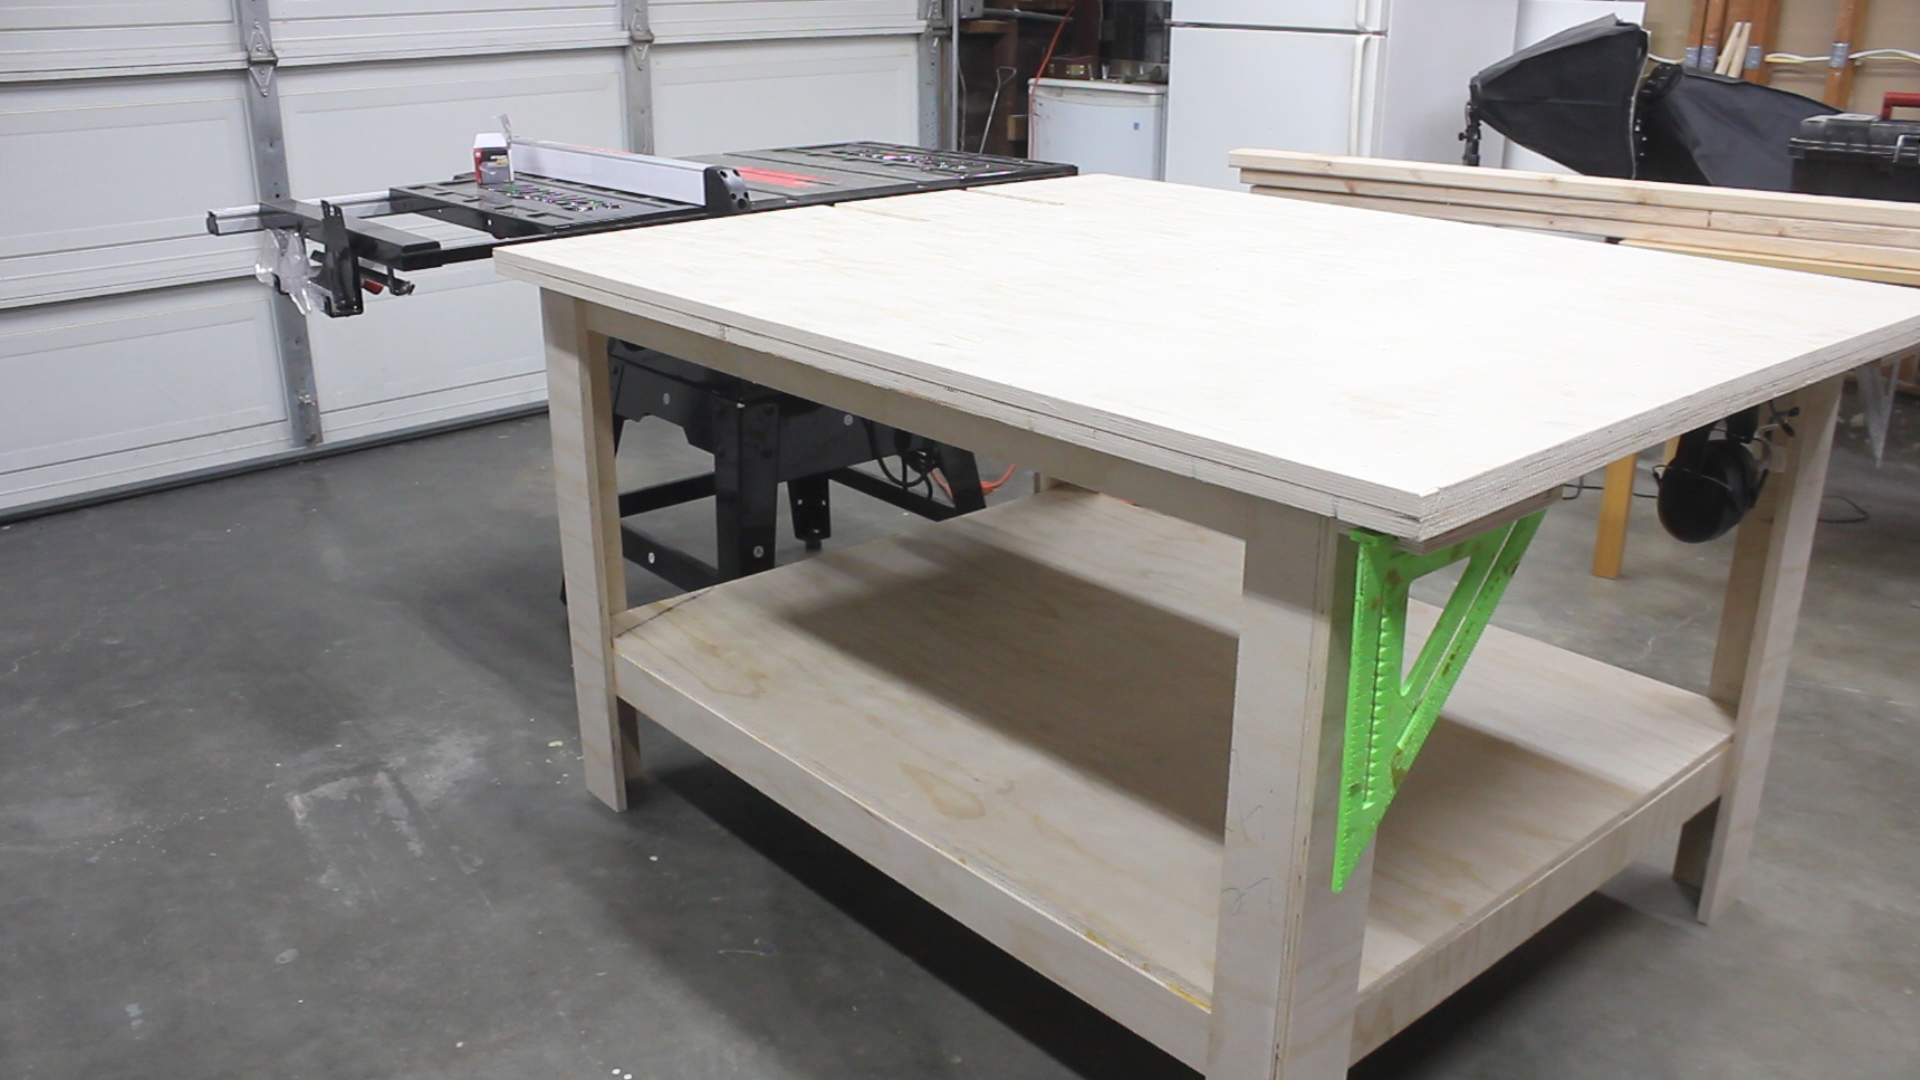

After finishing the miters, the table was done (for now). I have so many plans in mind for this down the road - additional storage, drawers, hardwood boarders, more hangers to add essentials (you can see things already being hung), adding casters for mobility.
I error'd on the side of simplicity for this build knowing that I would want to use it and see it in my space and then figure out what would be the best ways to build on it as I progress in my hobby.
If you want to know any materials, tools, or have any general questions answered, you can check out the second step or contact me via my website, thecuttingbored.com and I would be happy to do answer them.
As always, thank you for reading! I would be so grateful if you could please subscribe to my Youtube Channel for future projects.
I put out videos every few weeks.
Cheers!
Zach