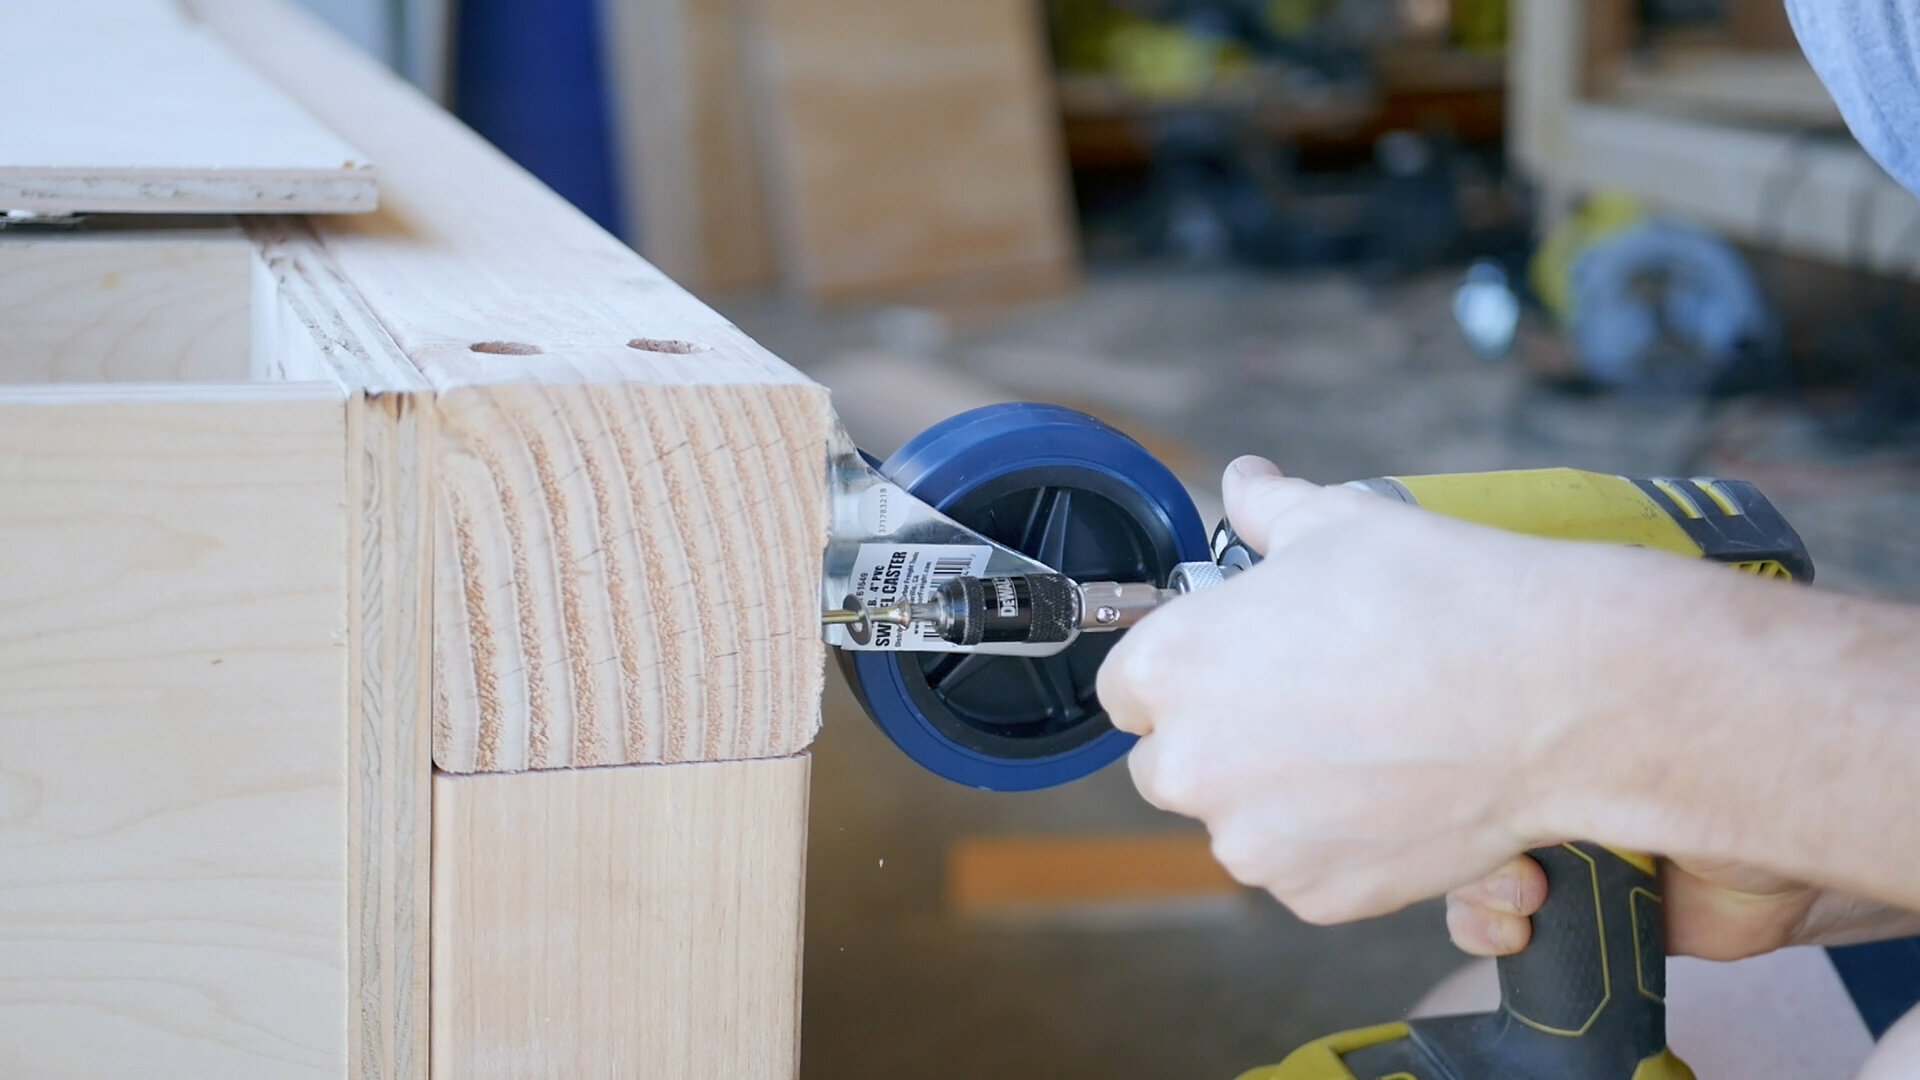
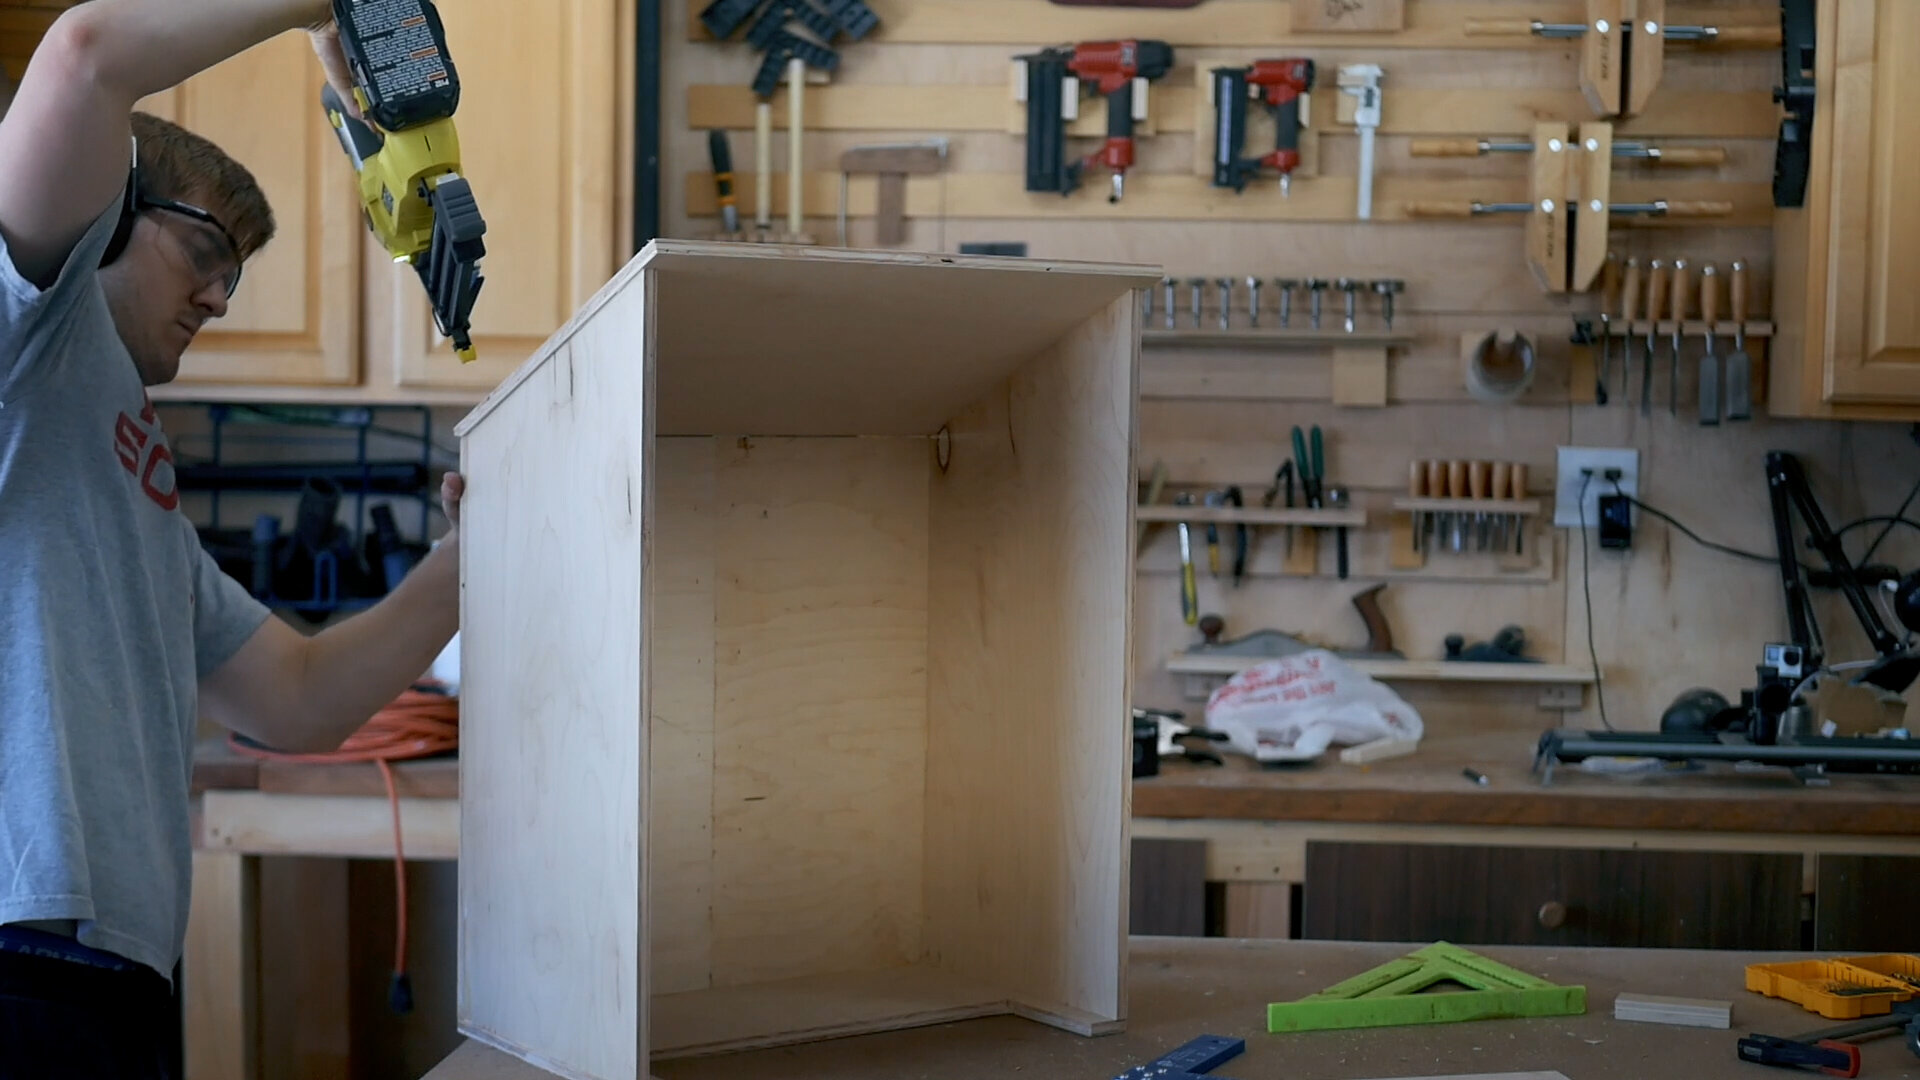
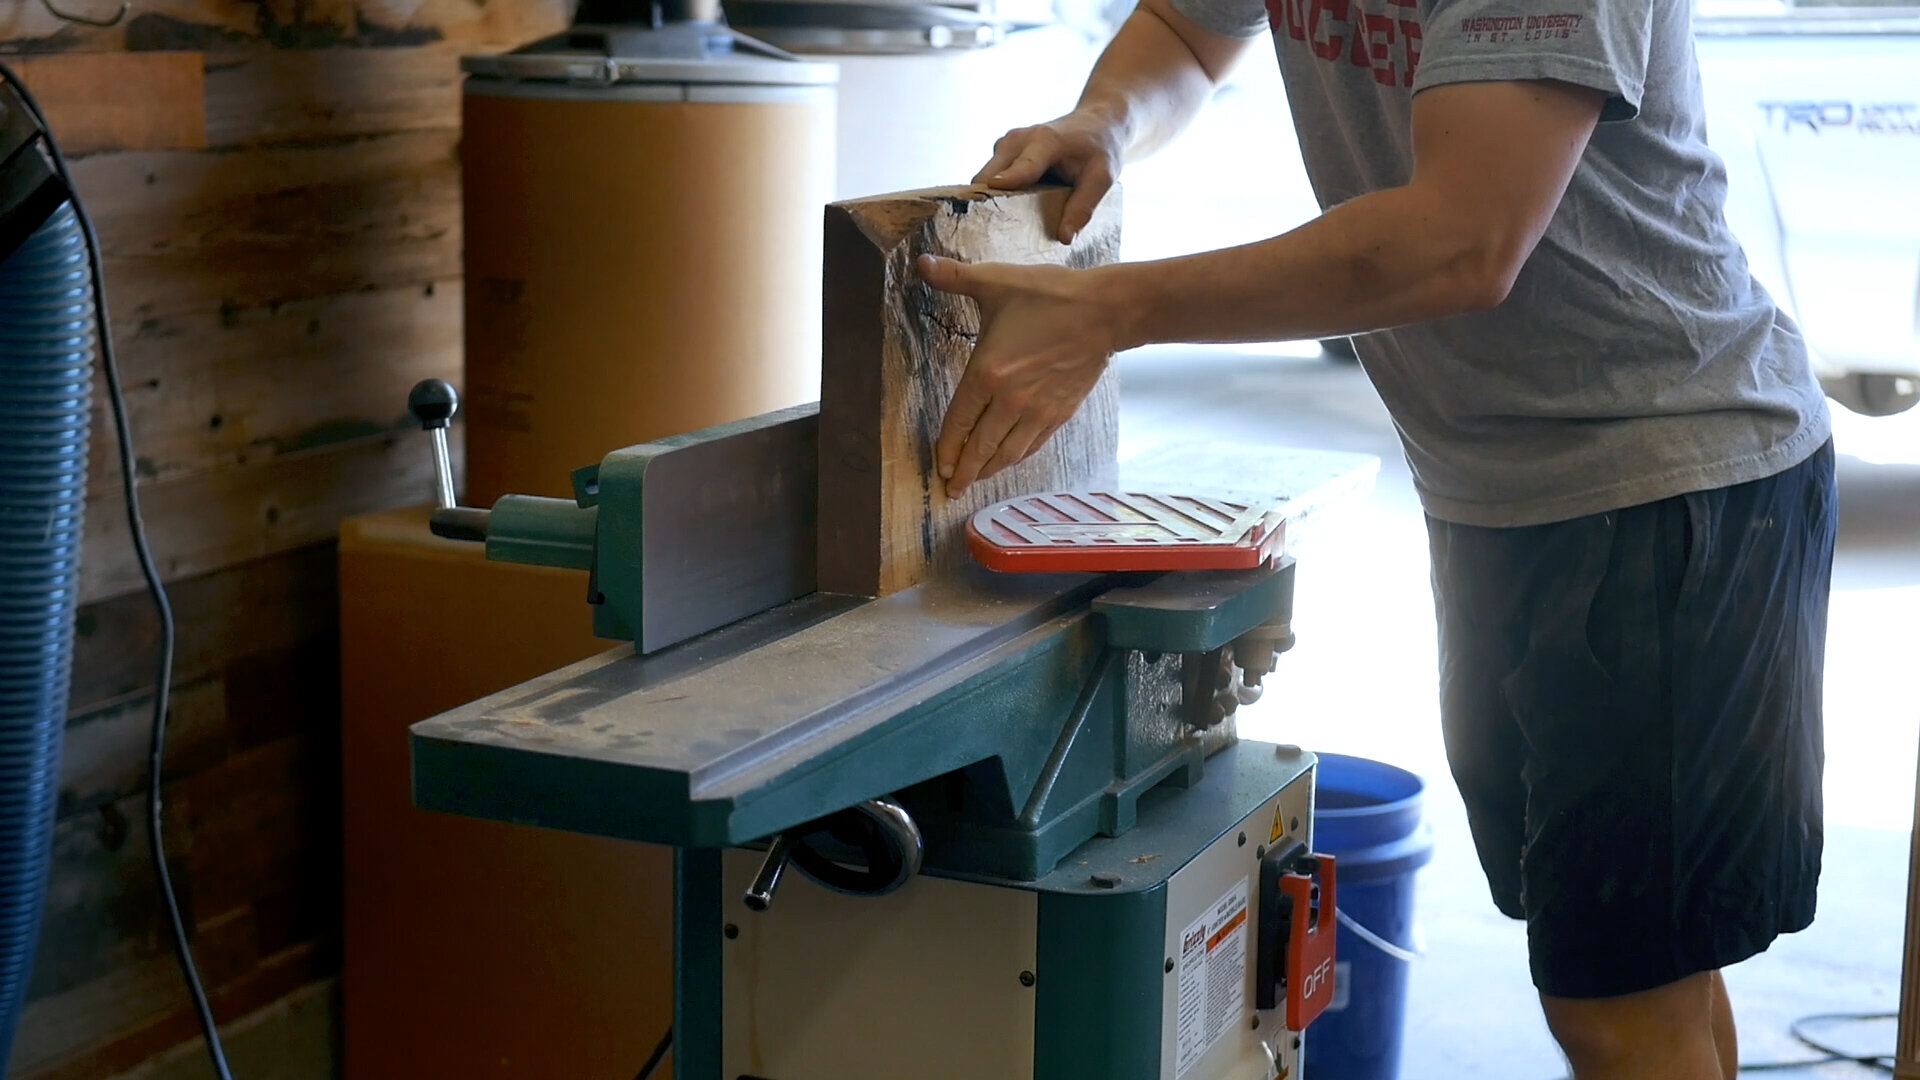
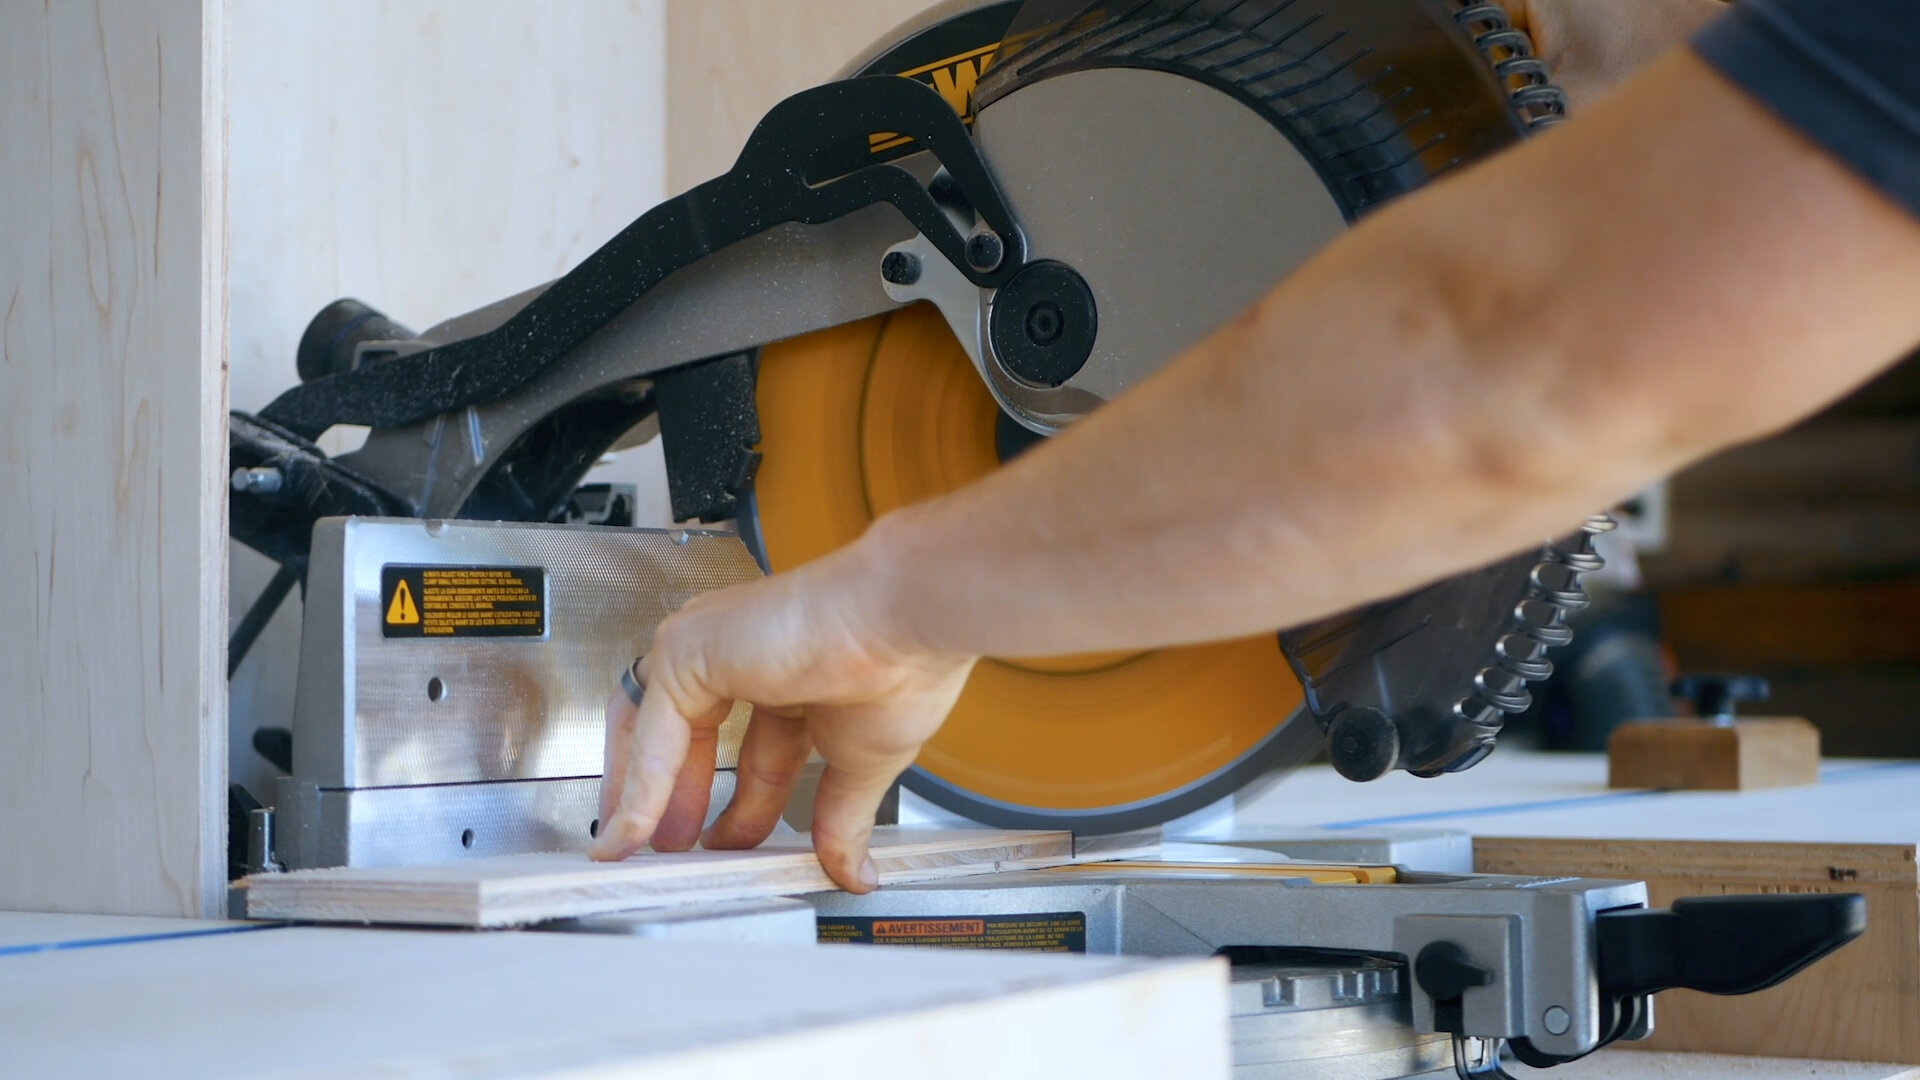
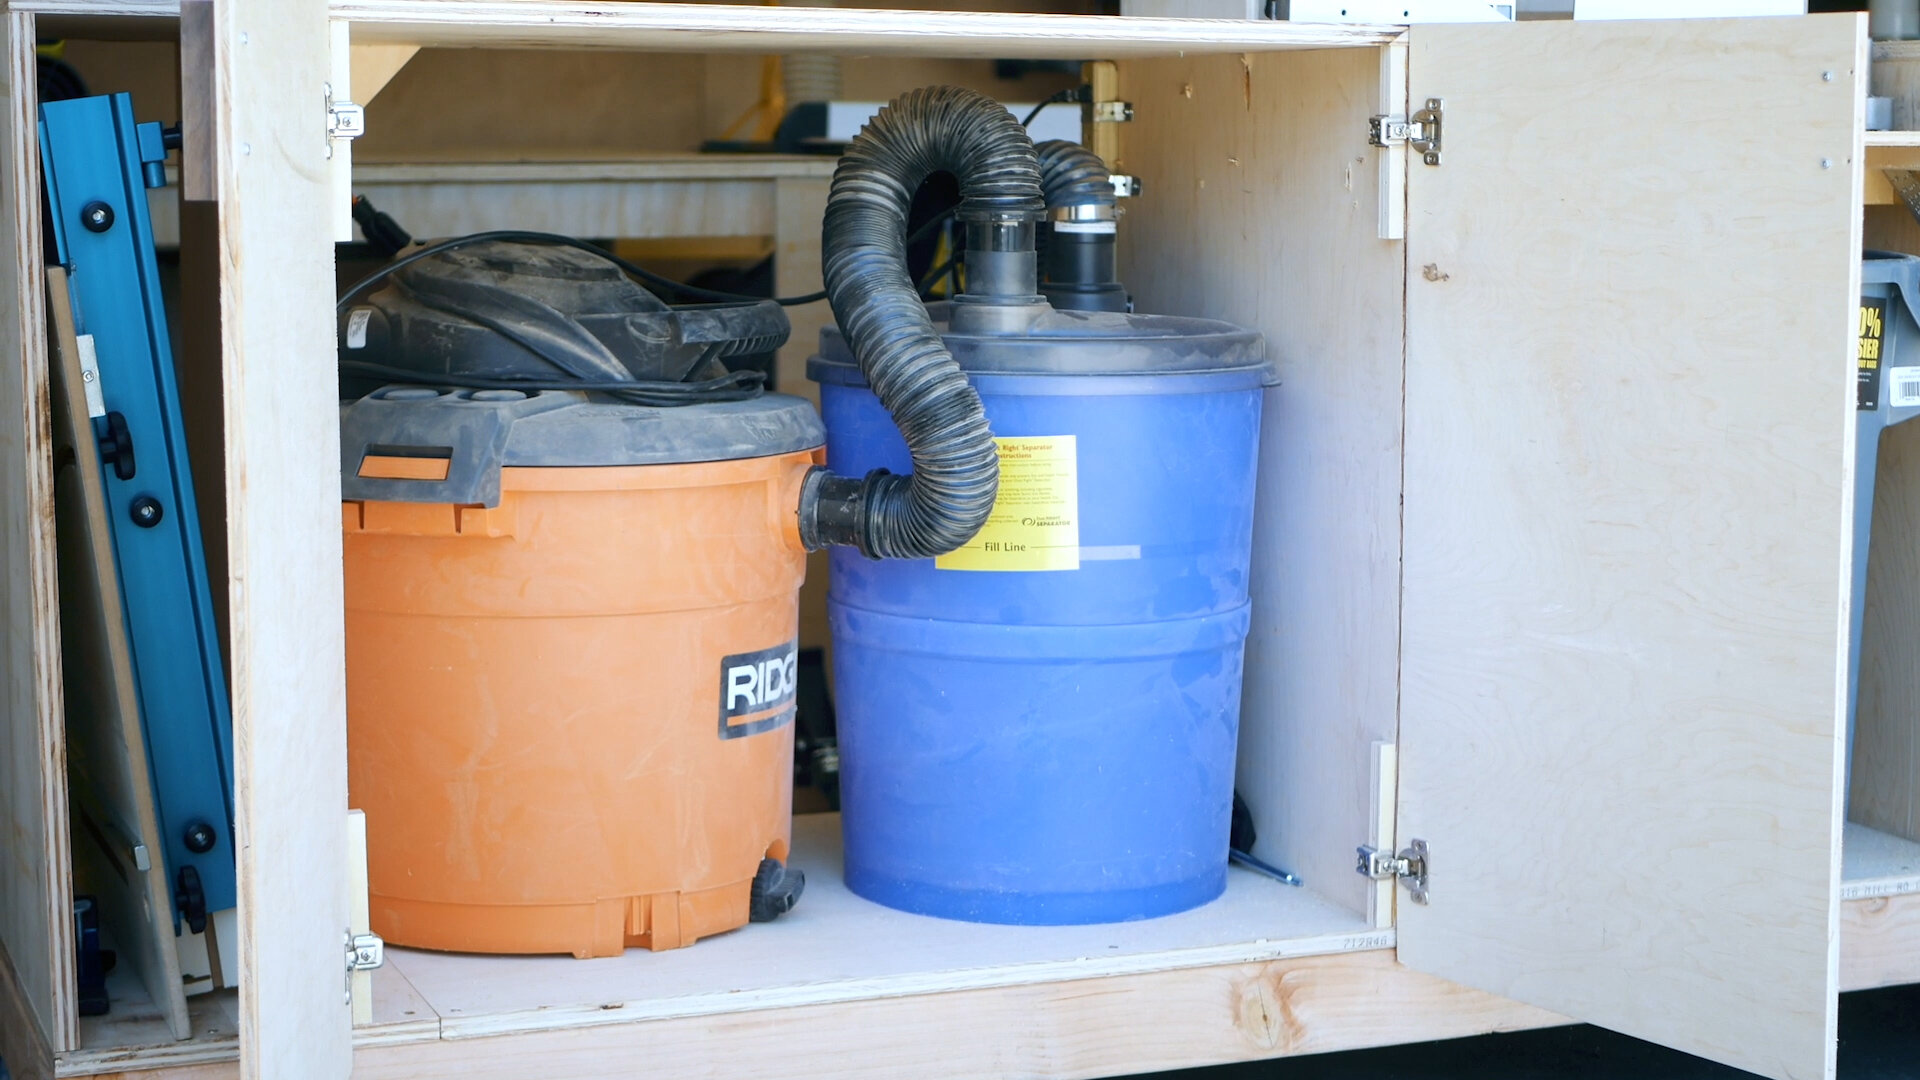
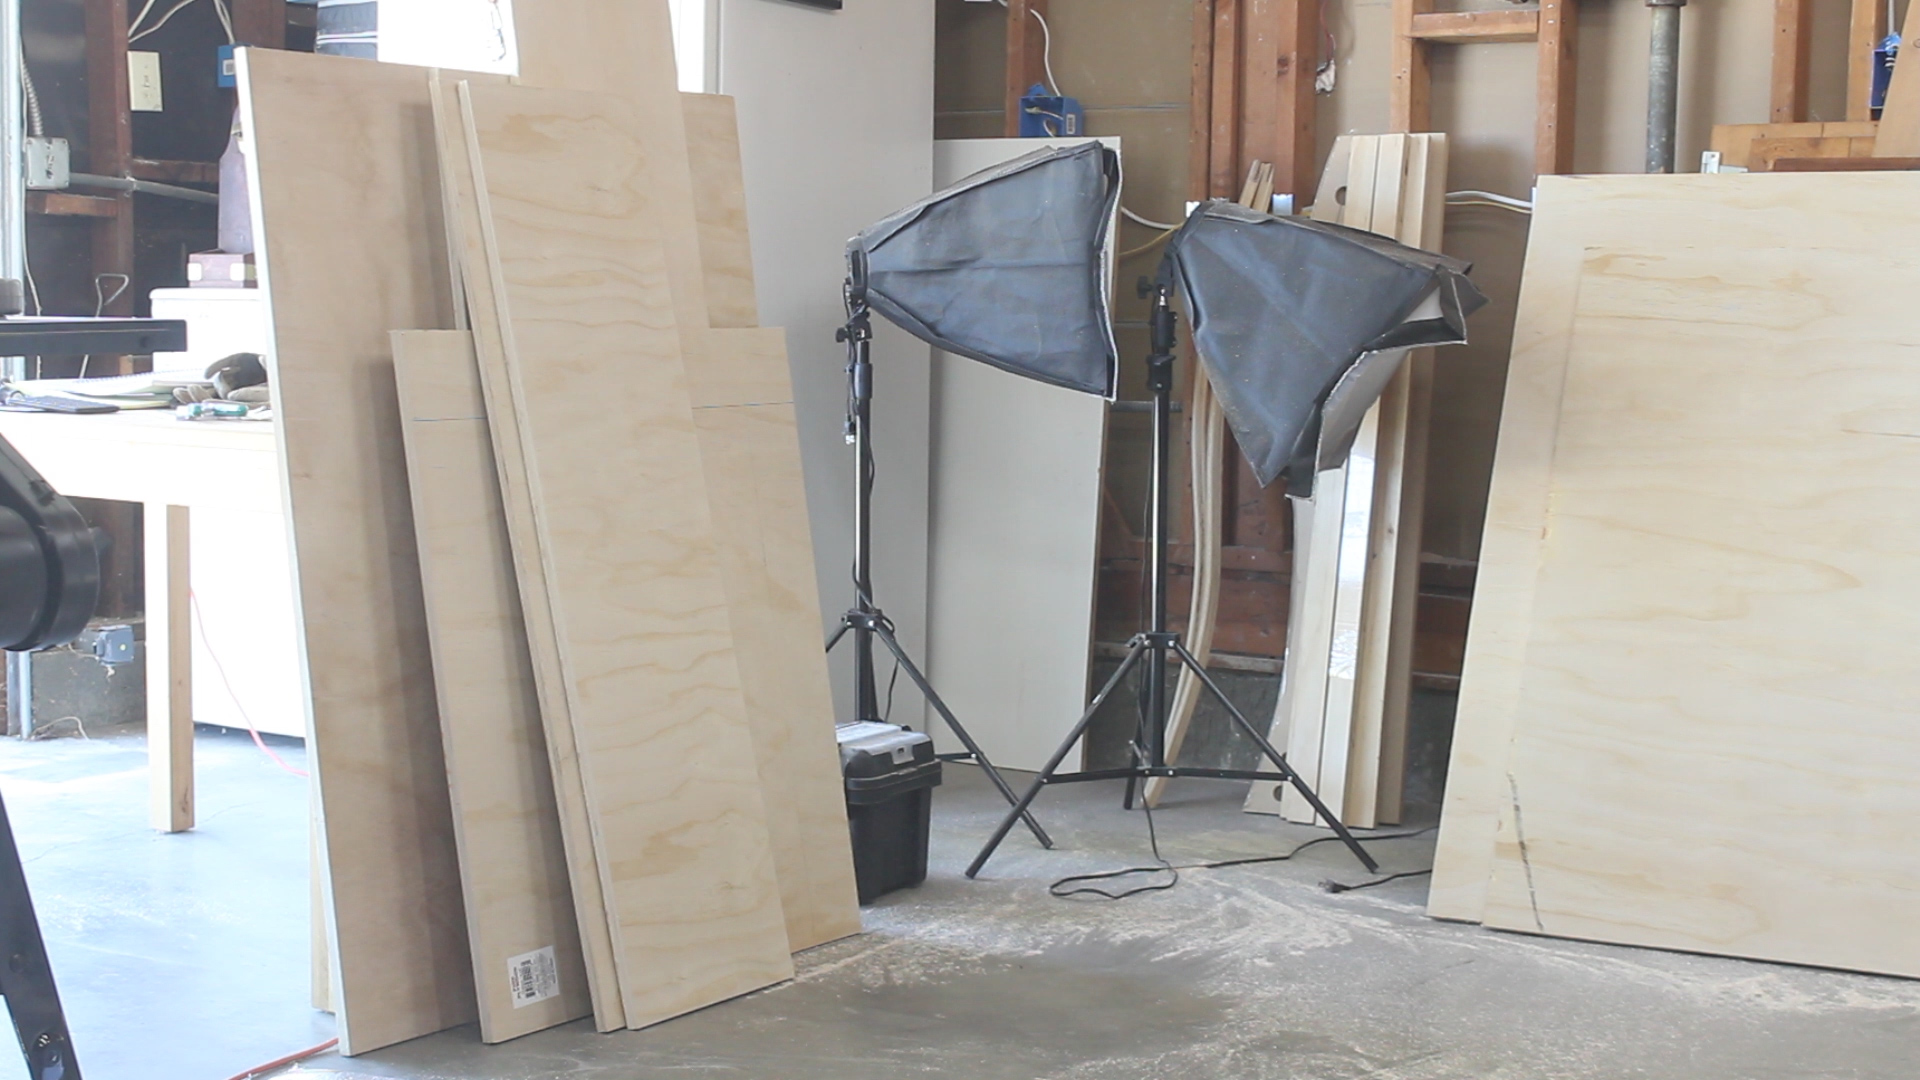
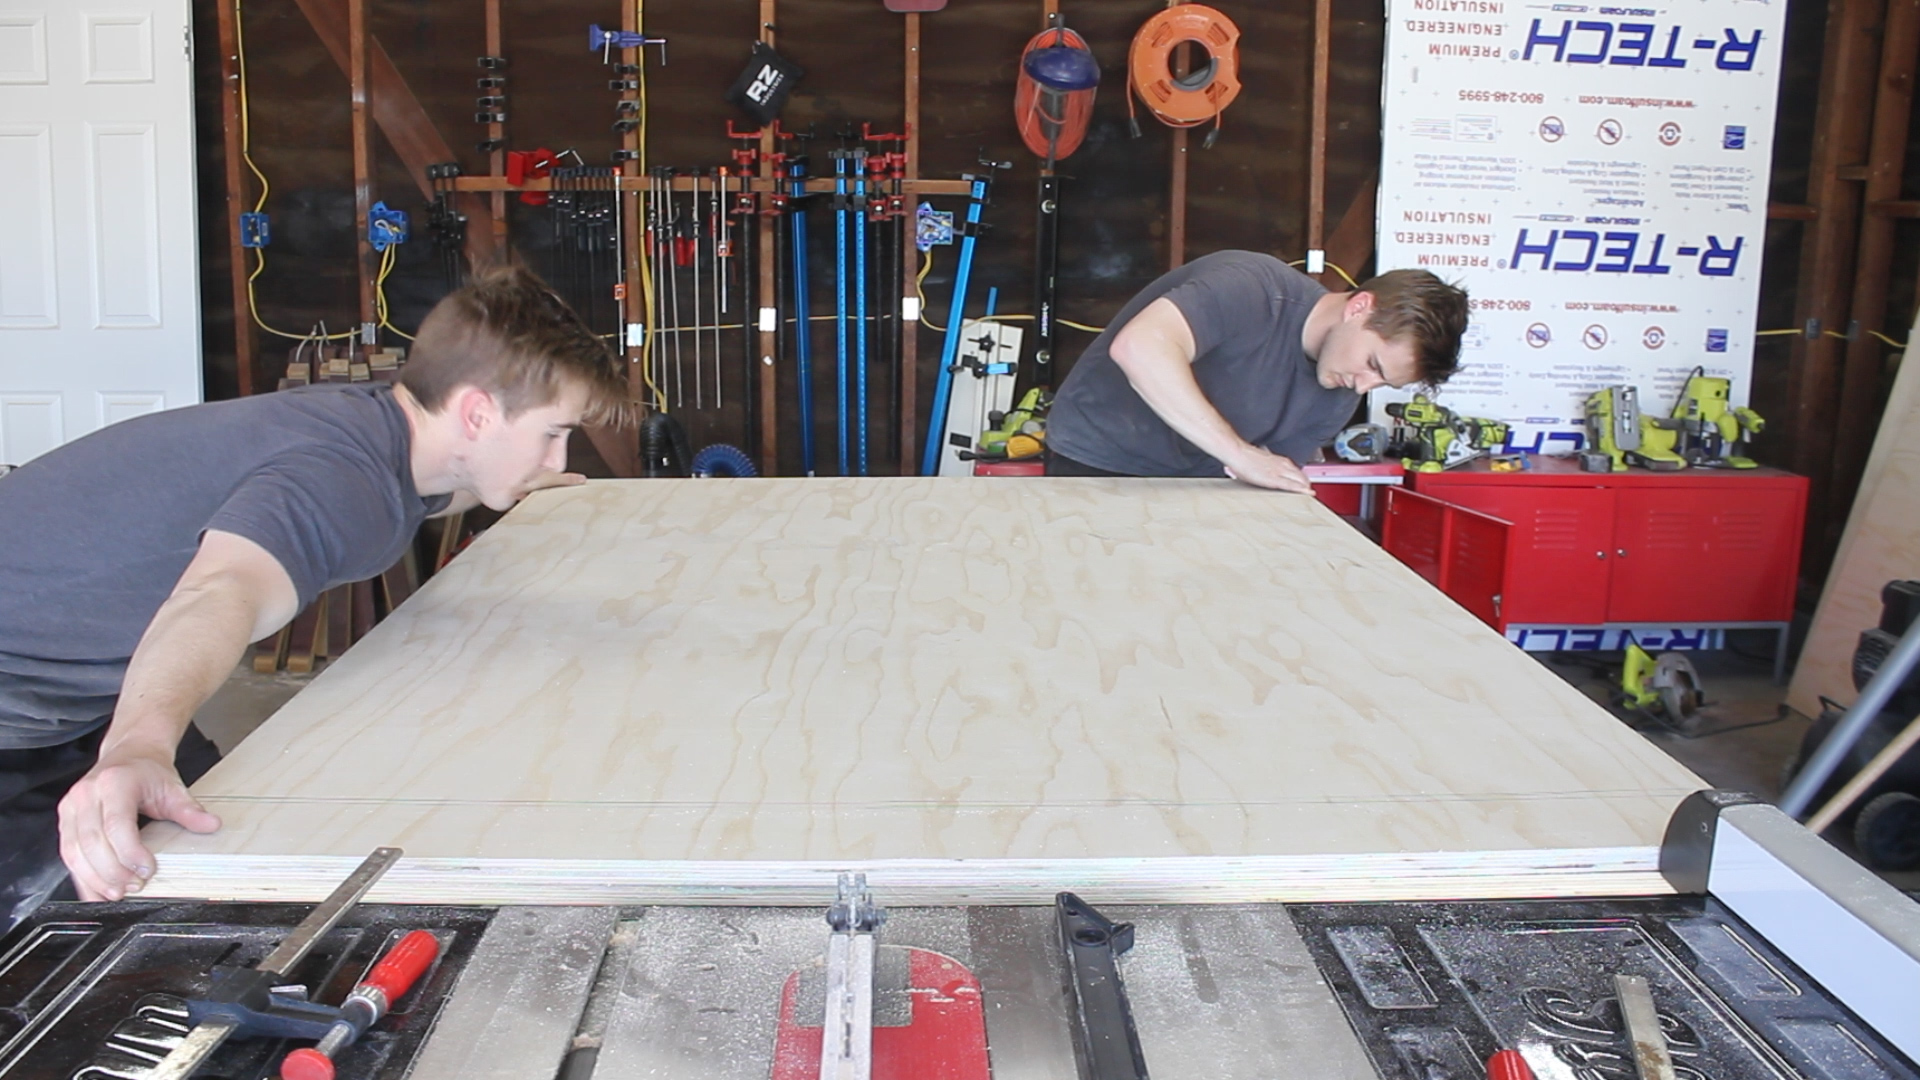
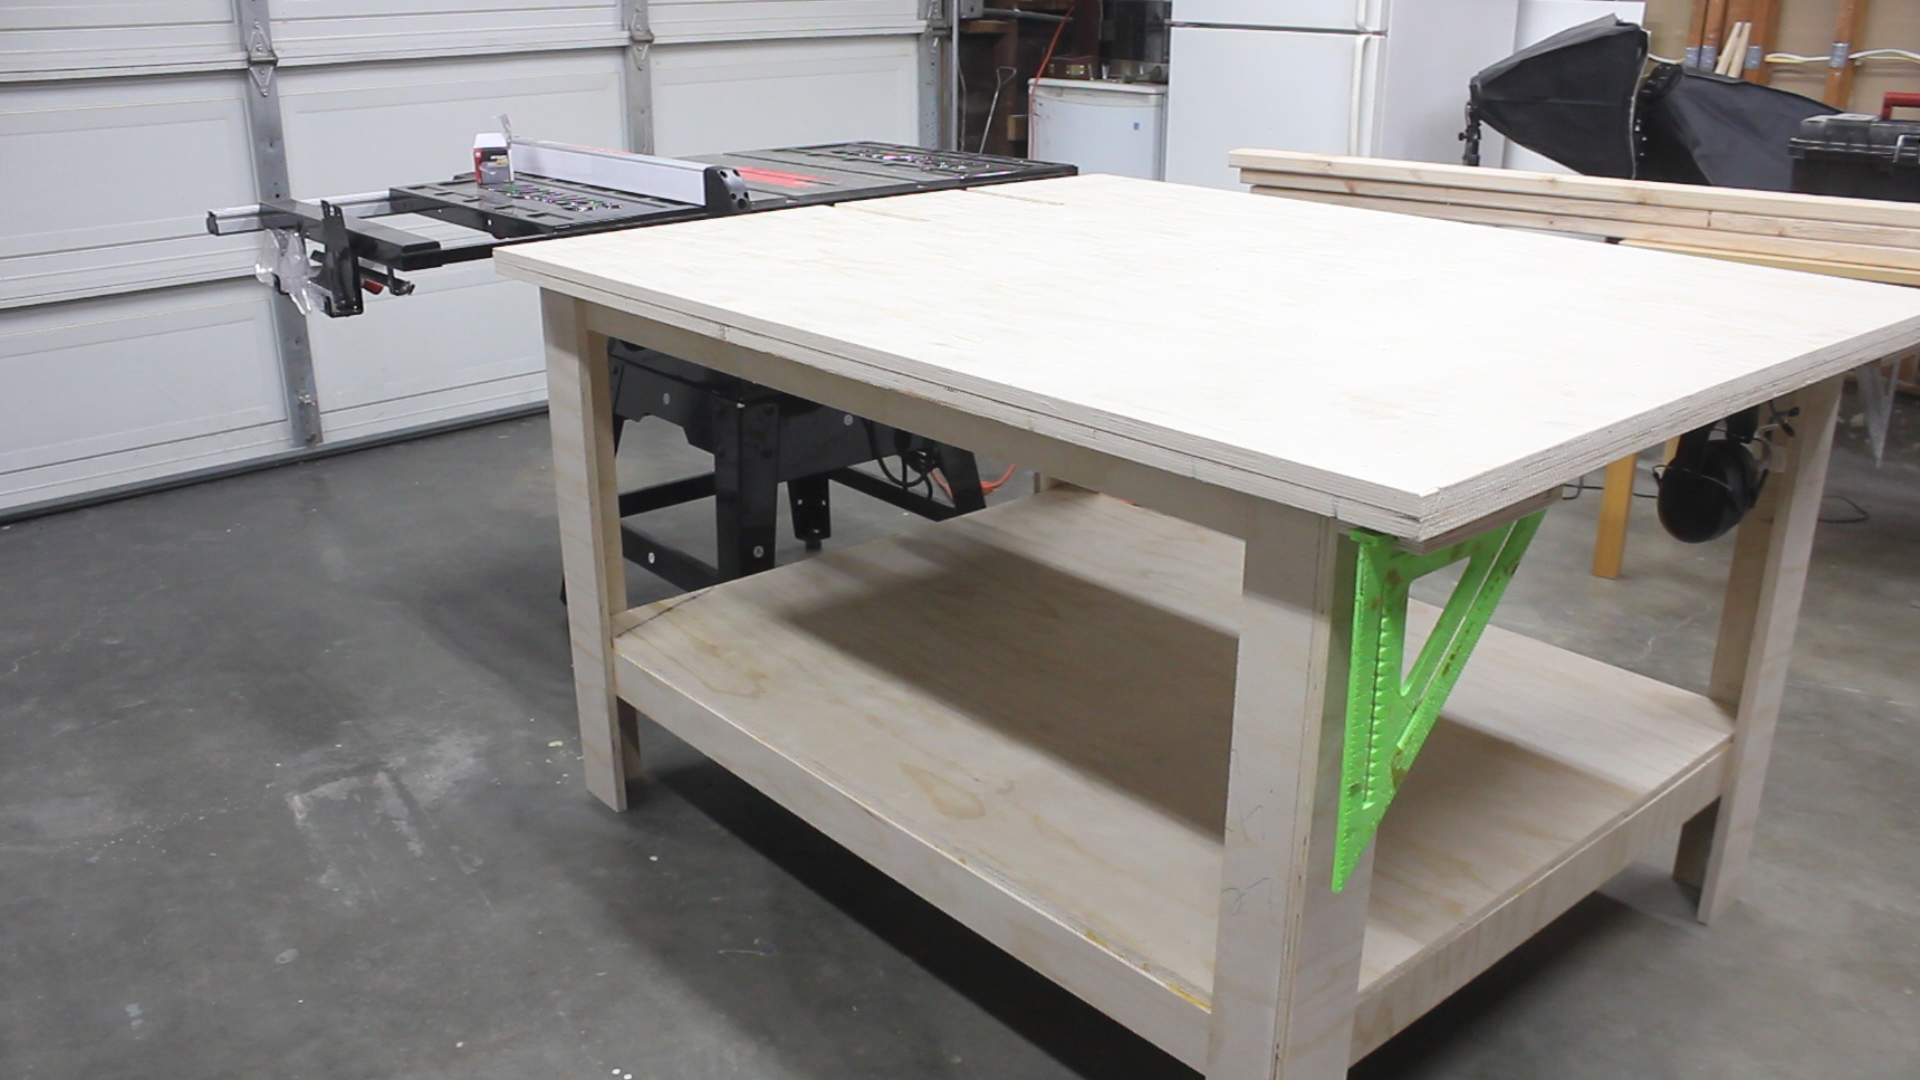
I finally purchased a 3D printer. I’ve been wanting one forever and after researching and figuring out my price point and the right model, I purchased the FlashForge Adventure 3.
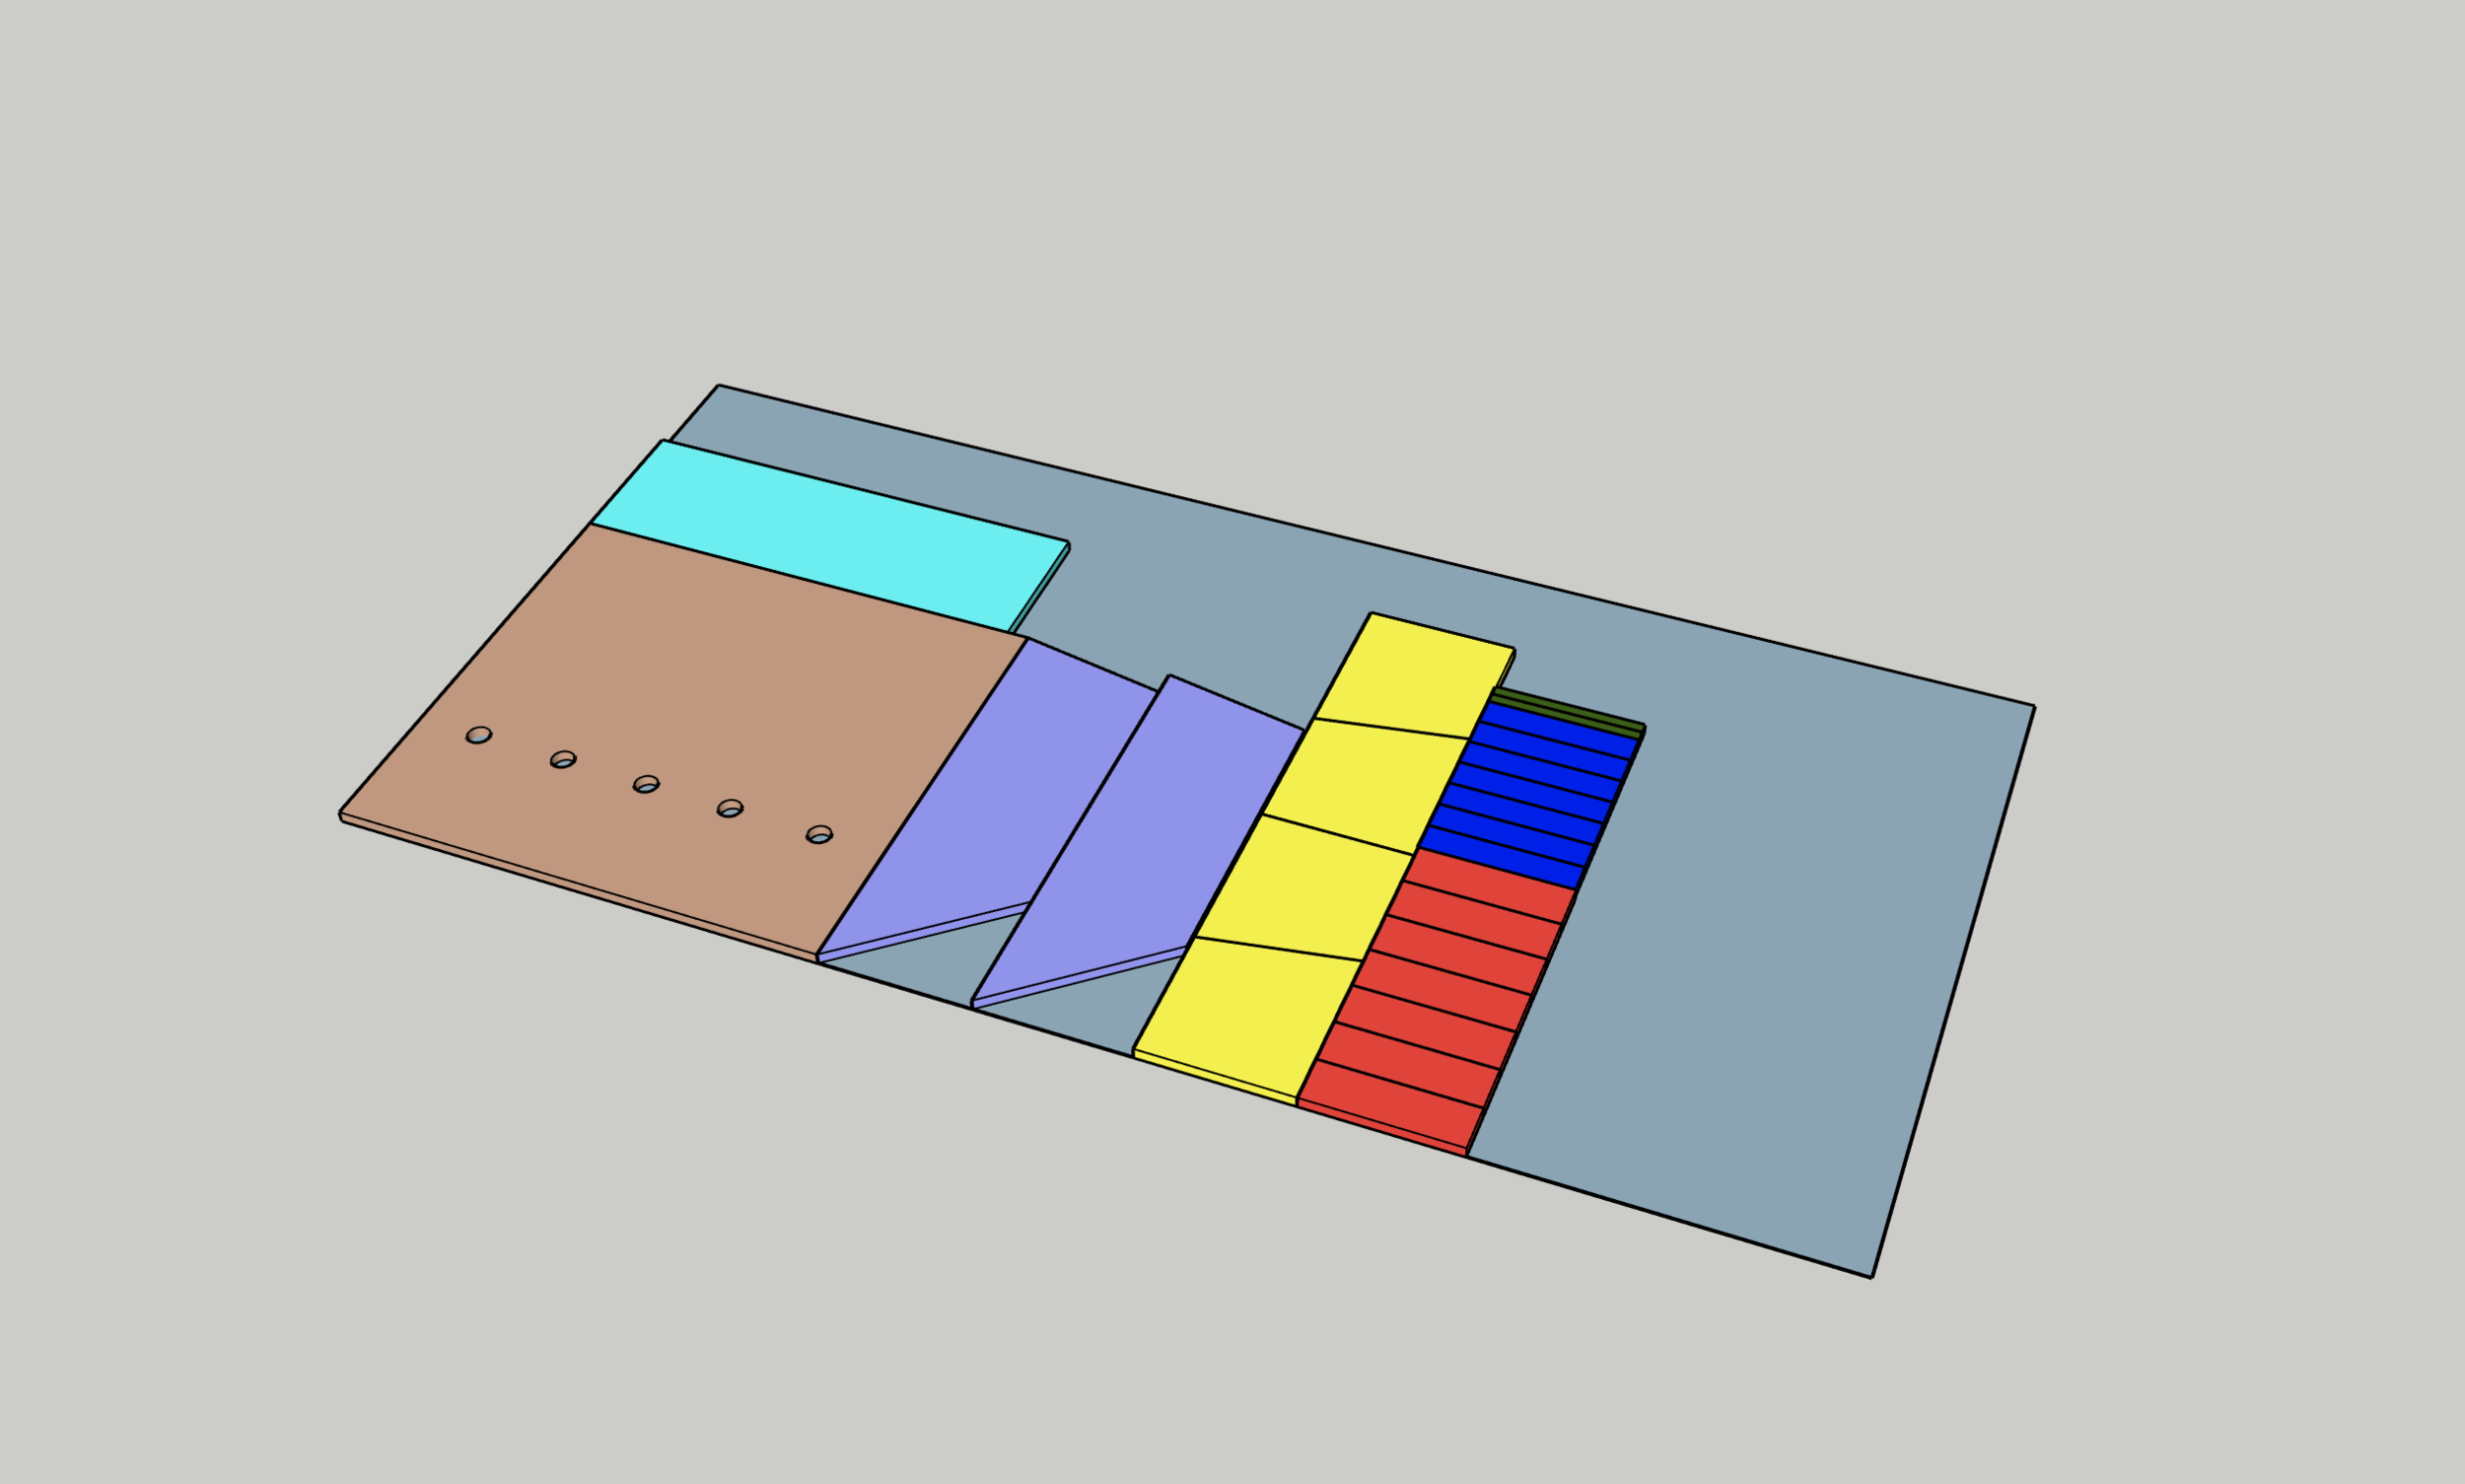
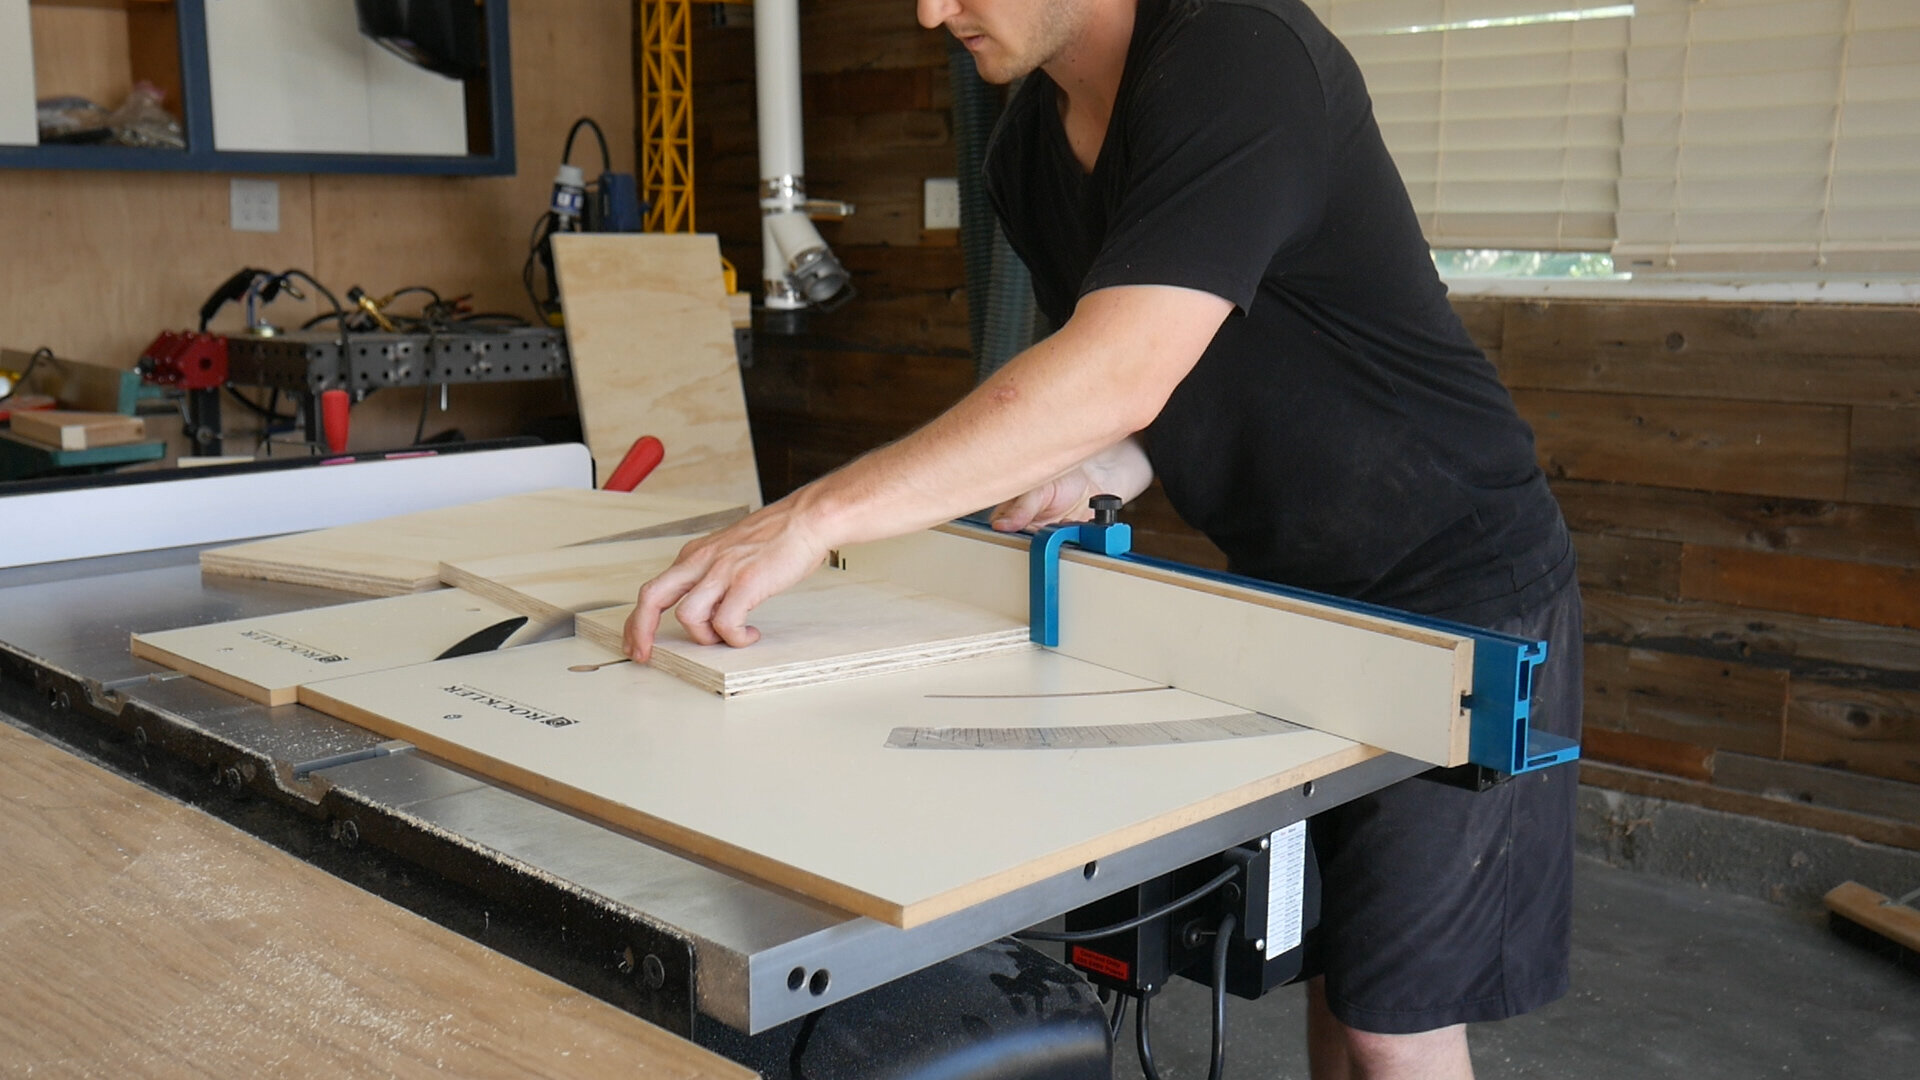
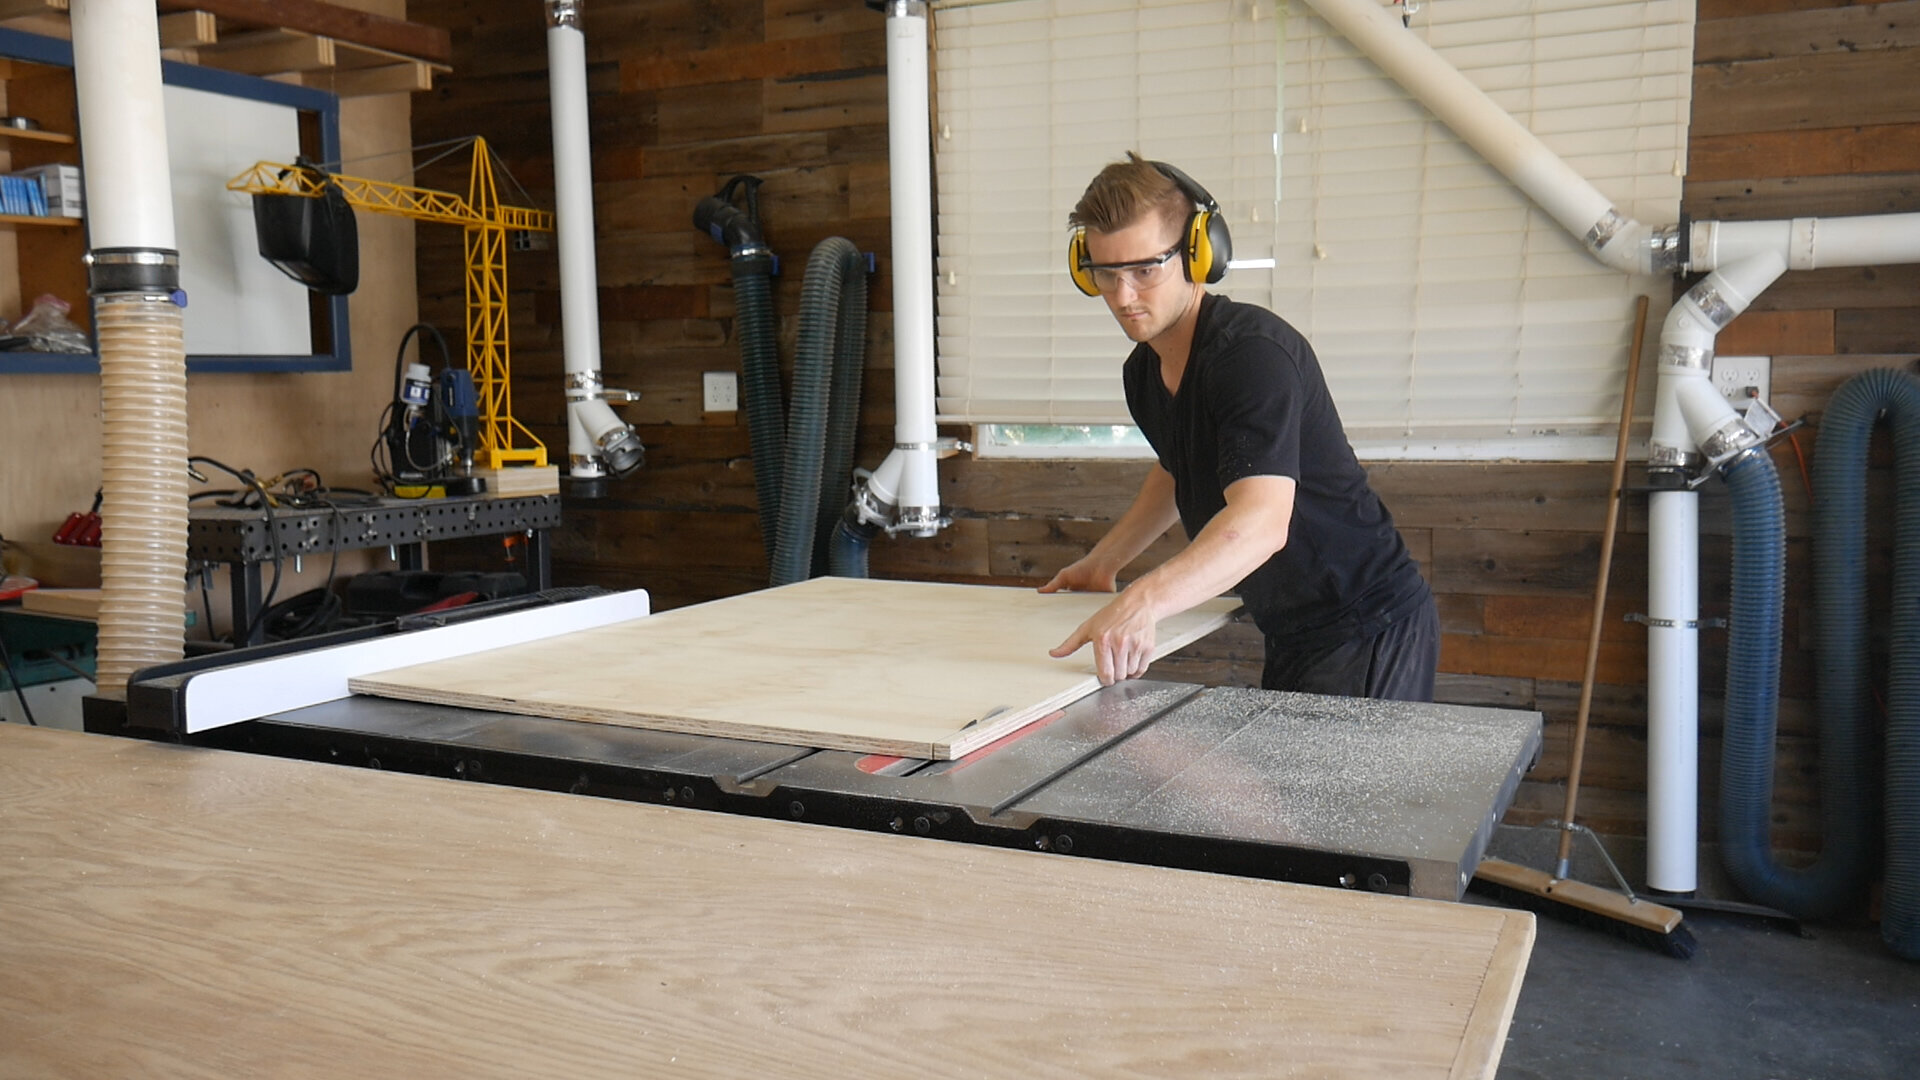
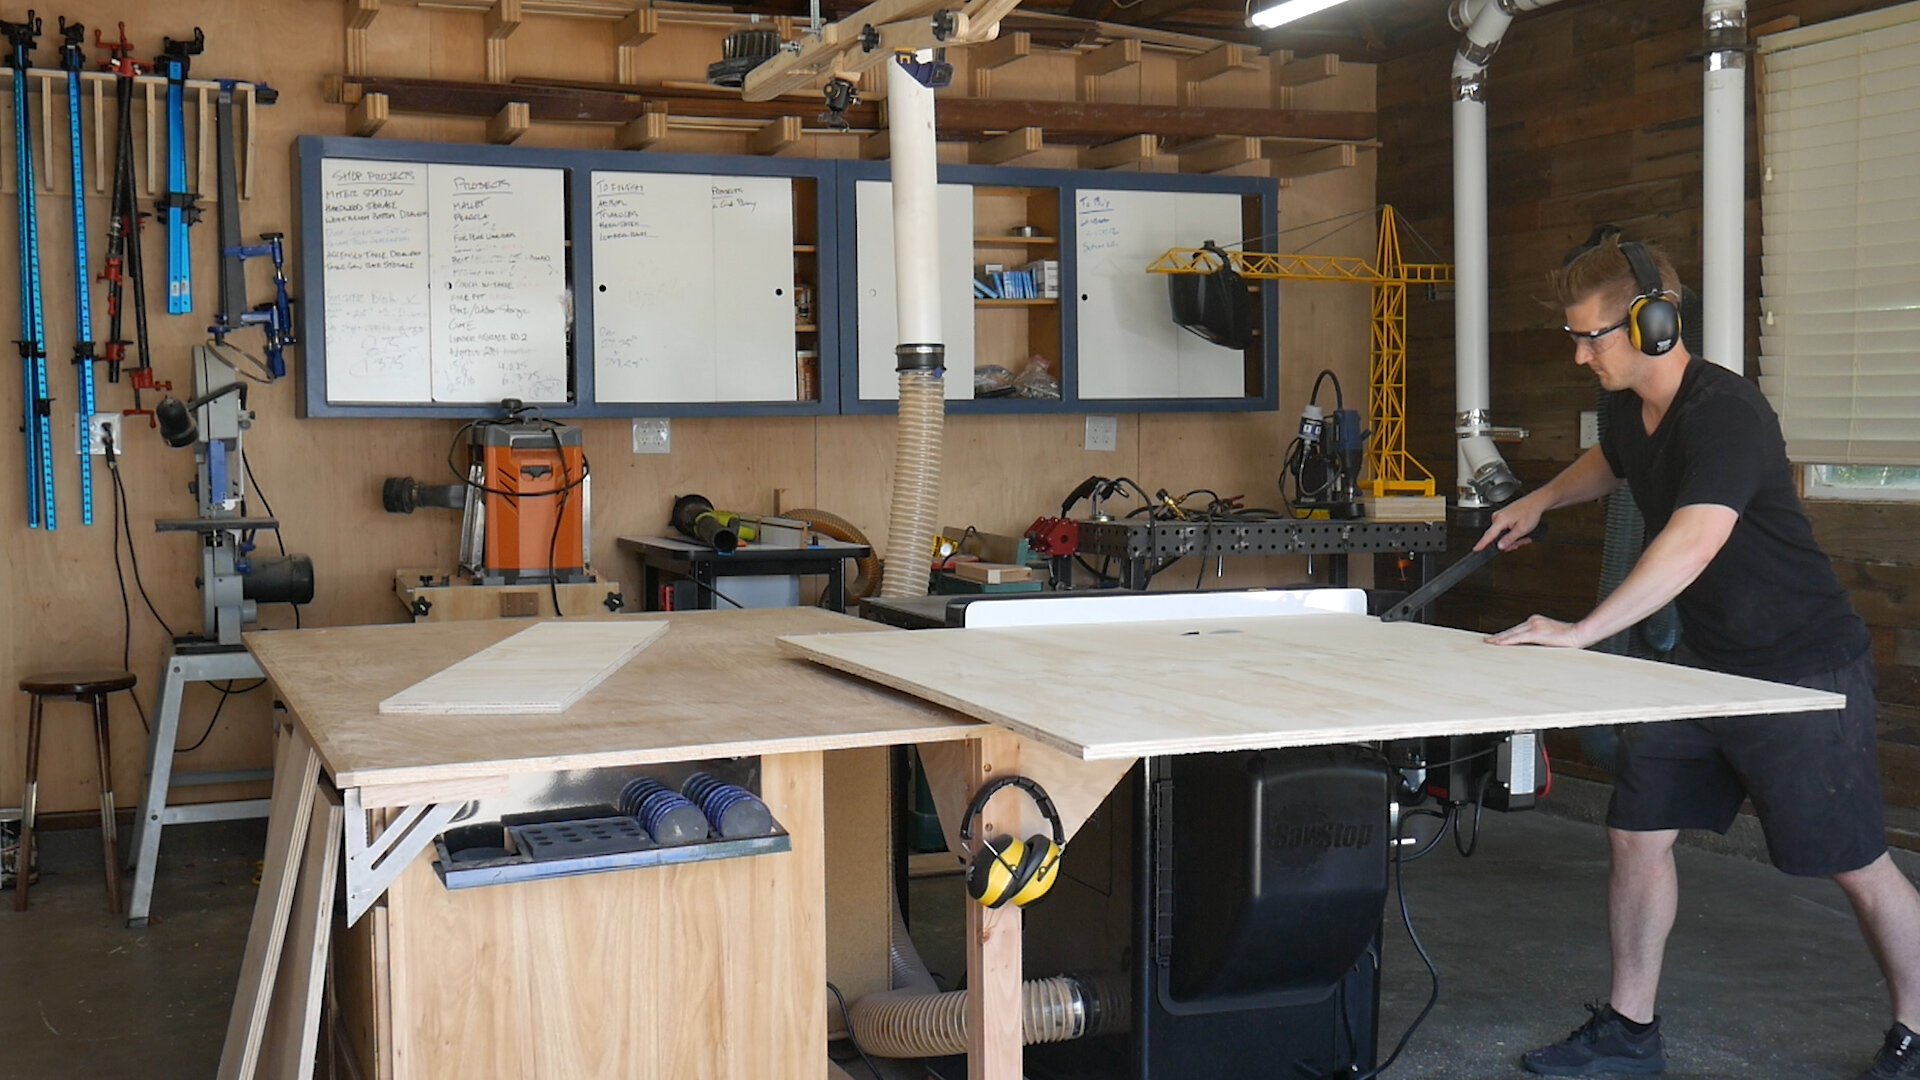
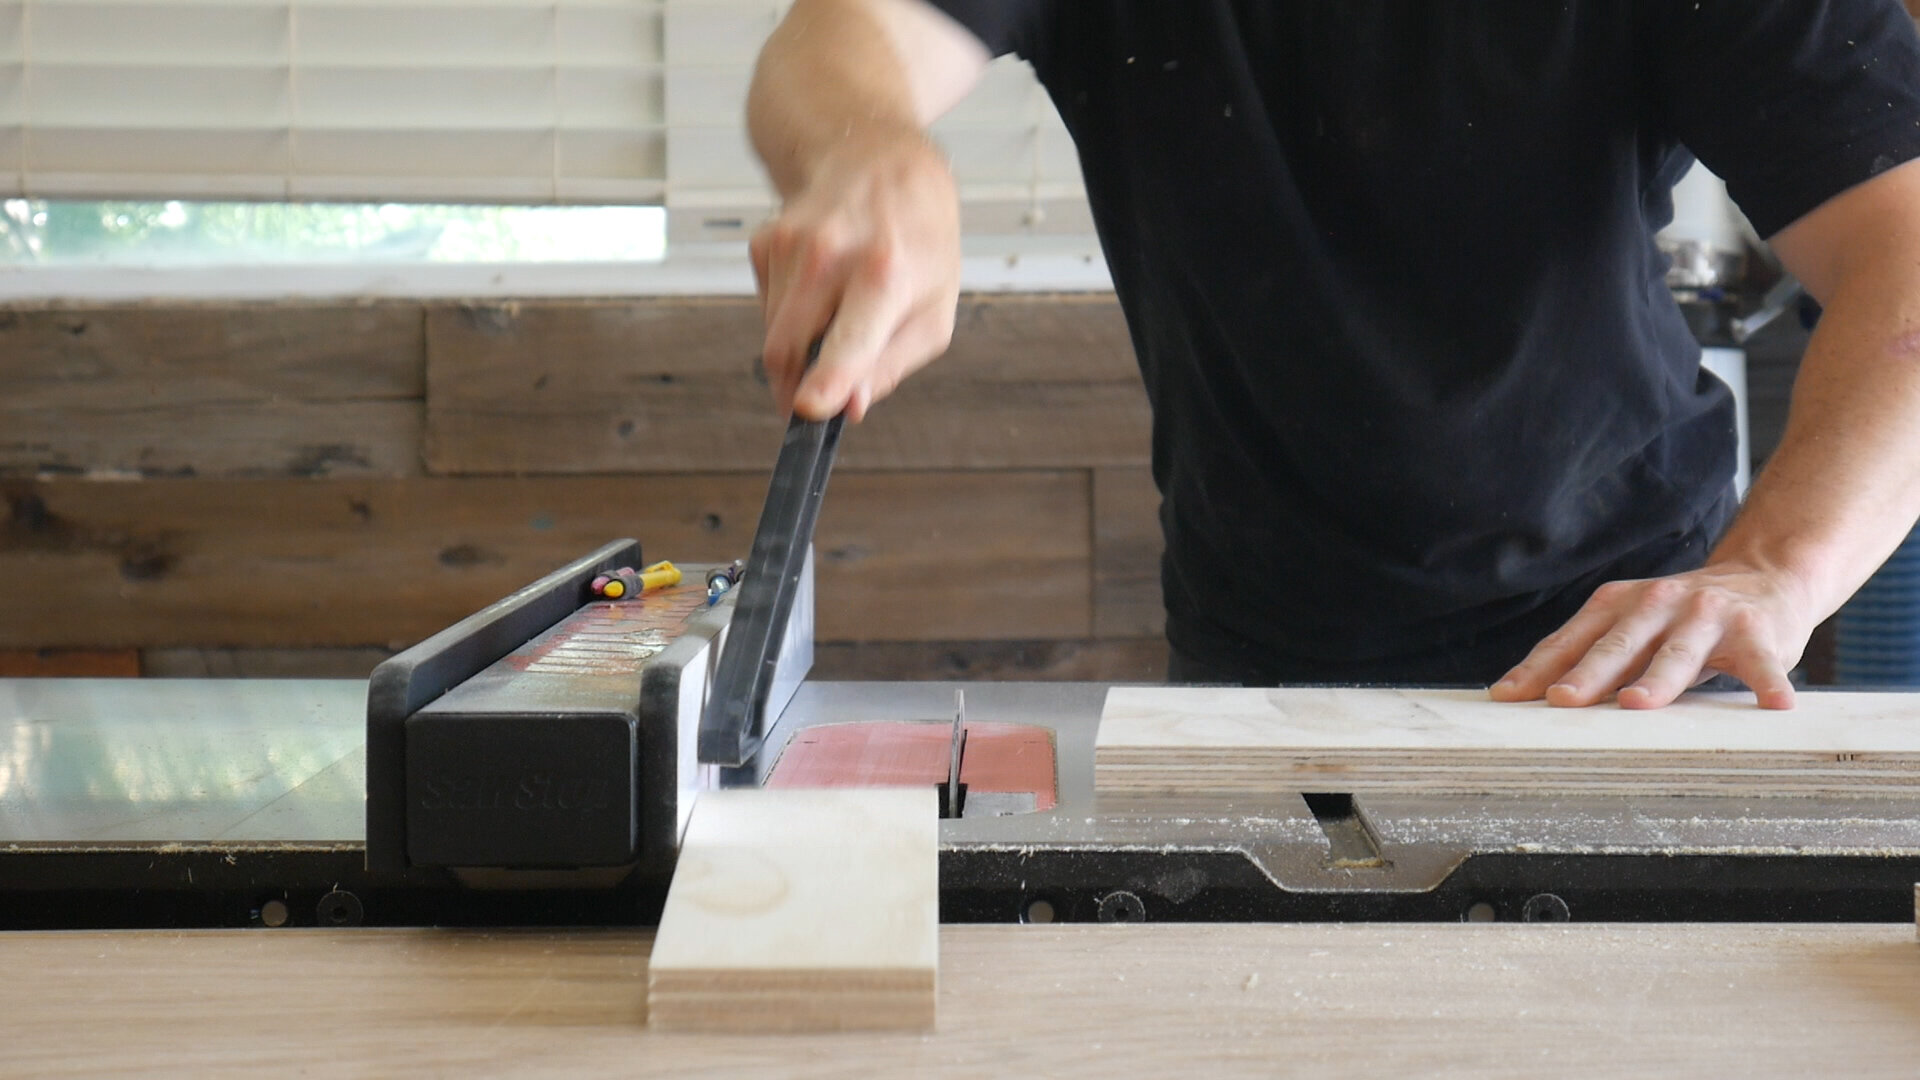
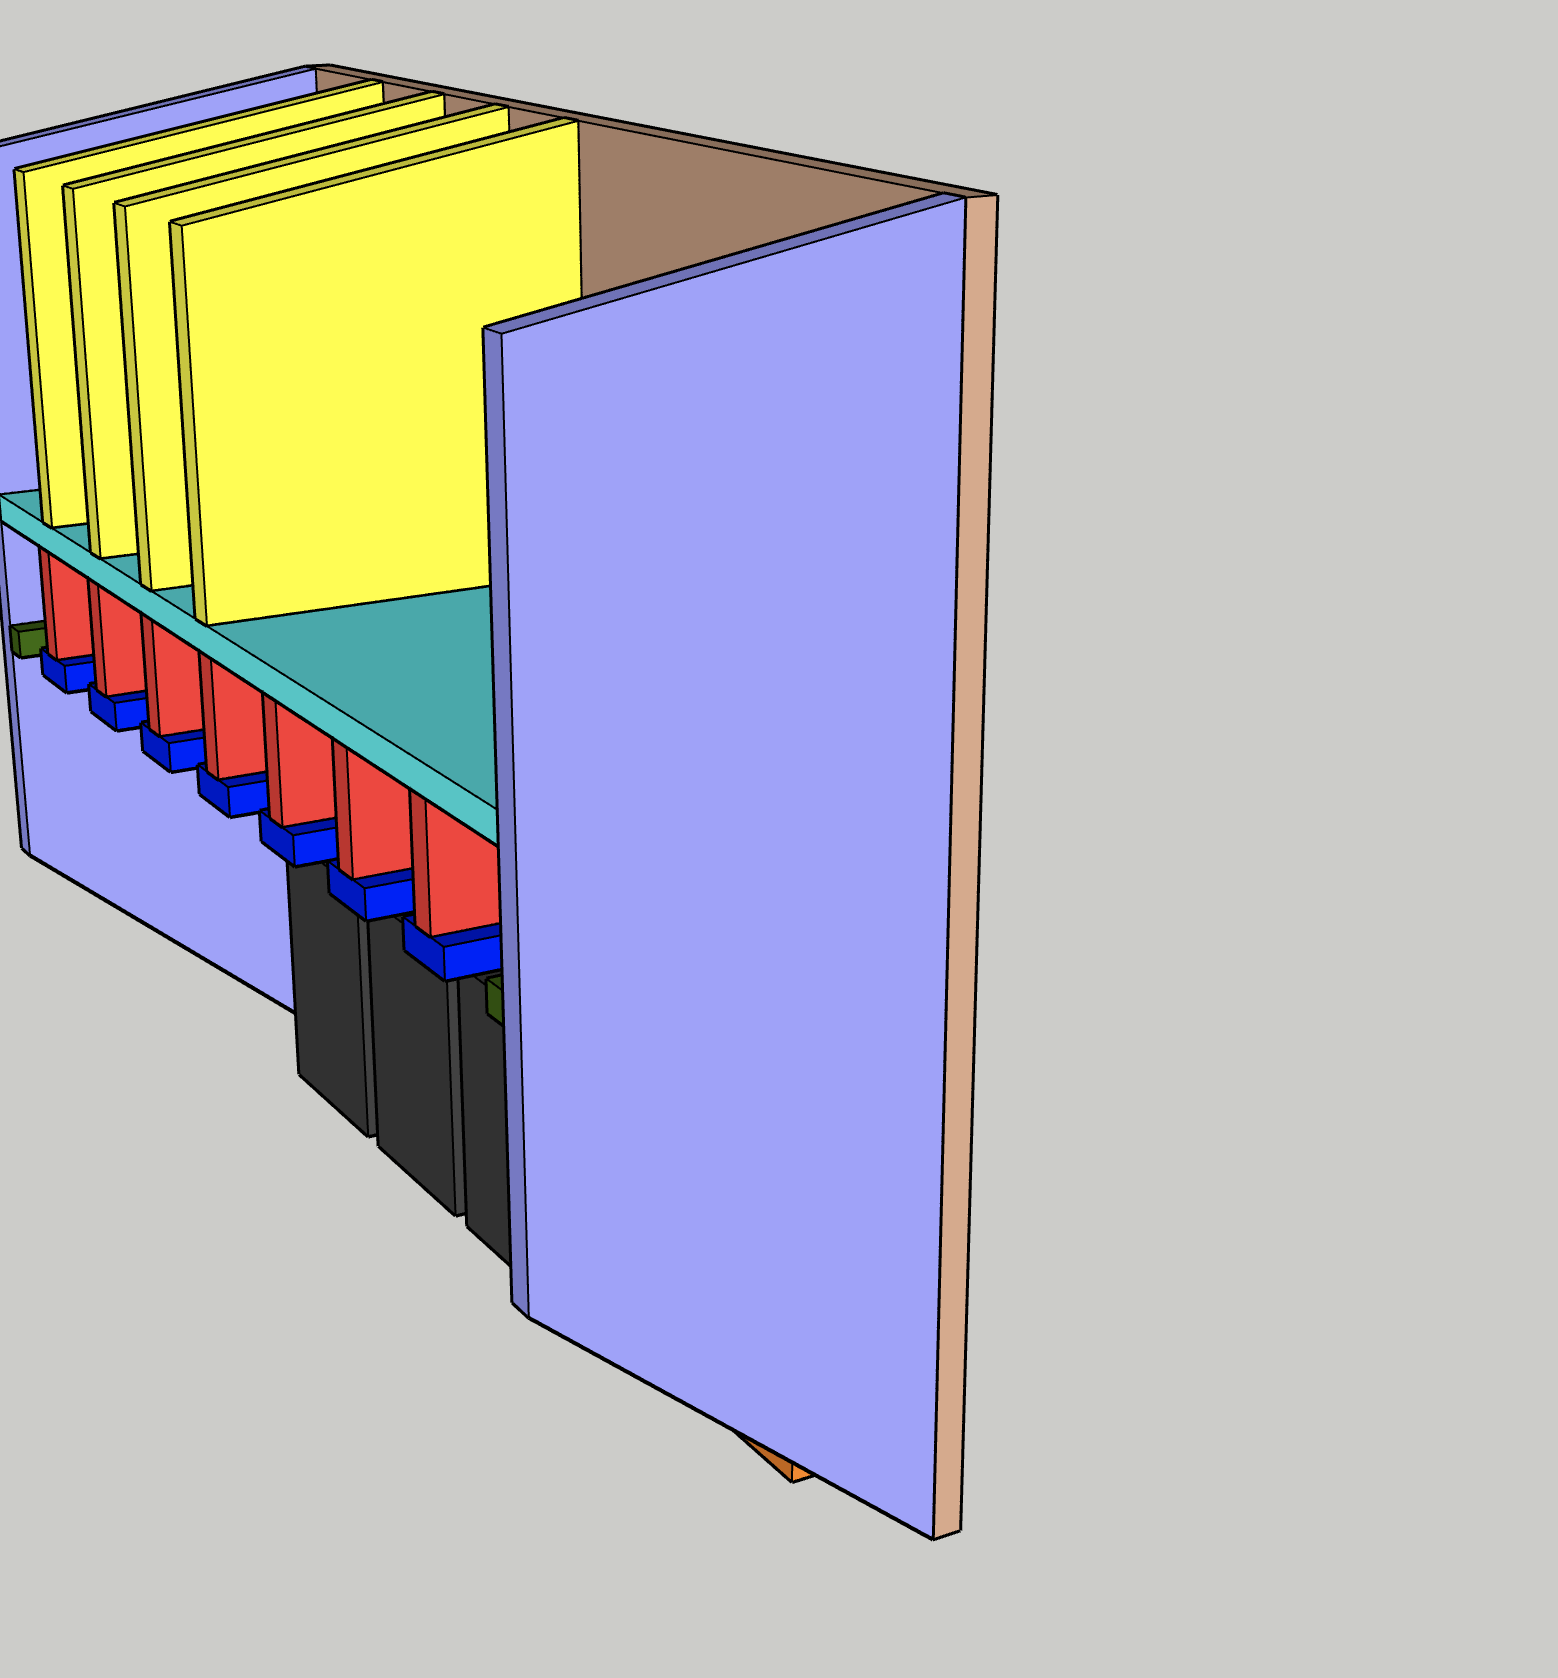
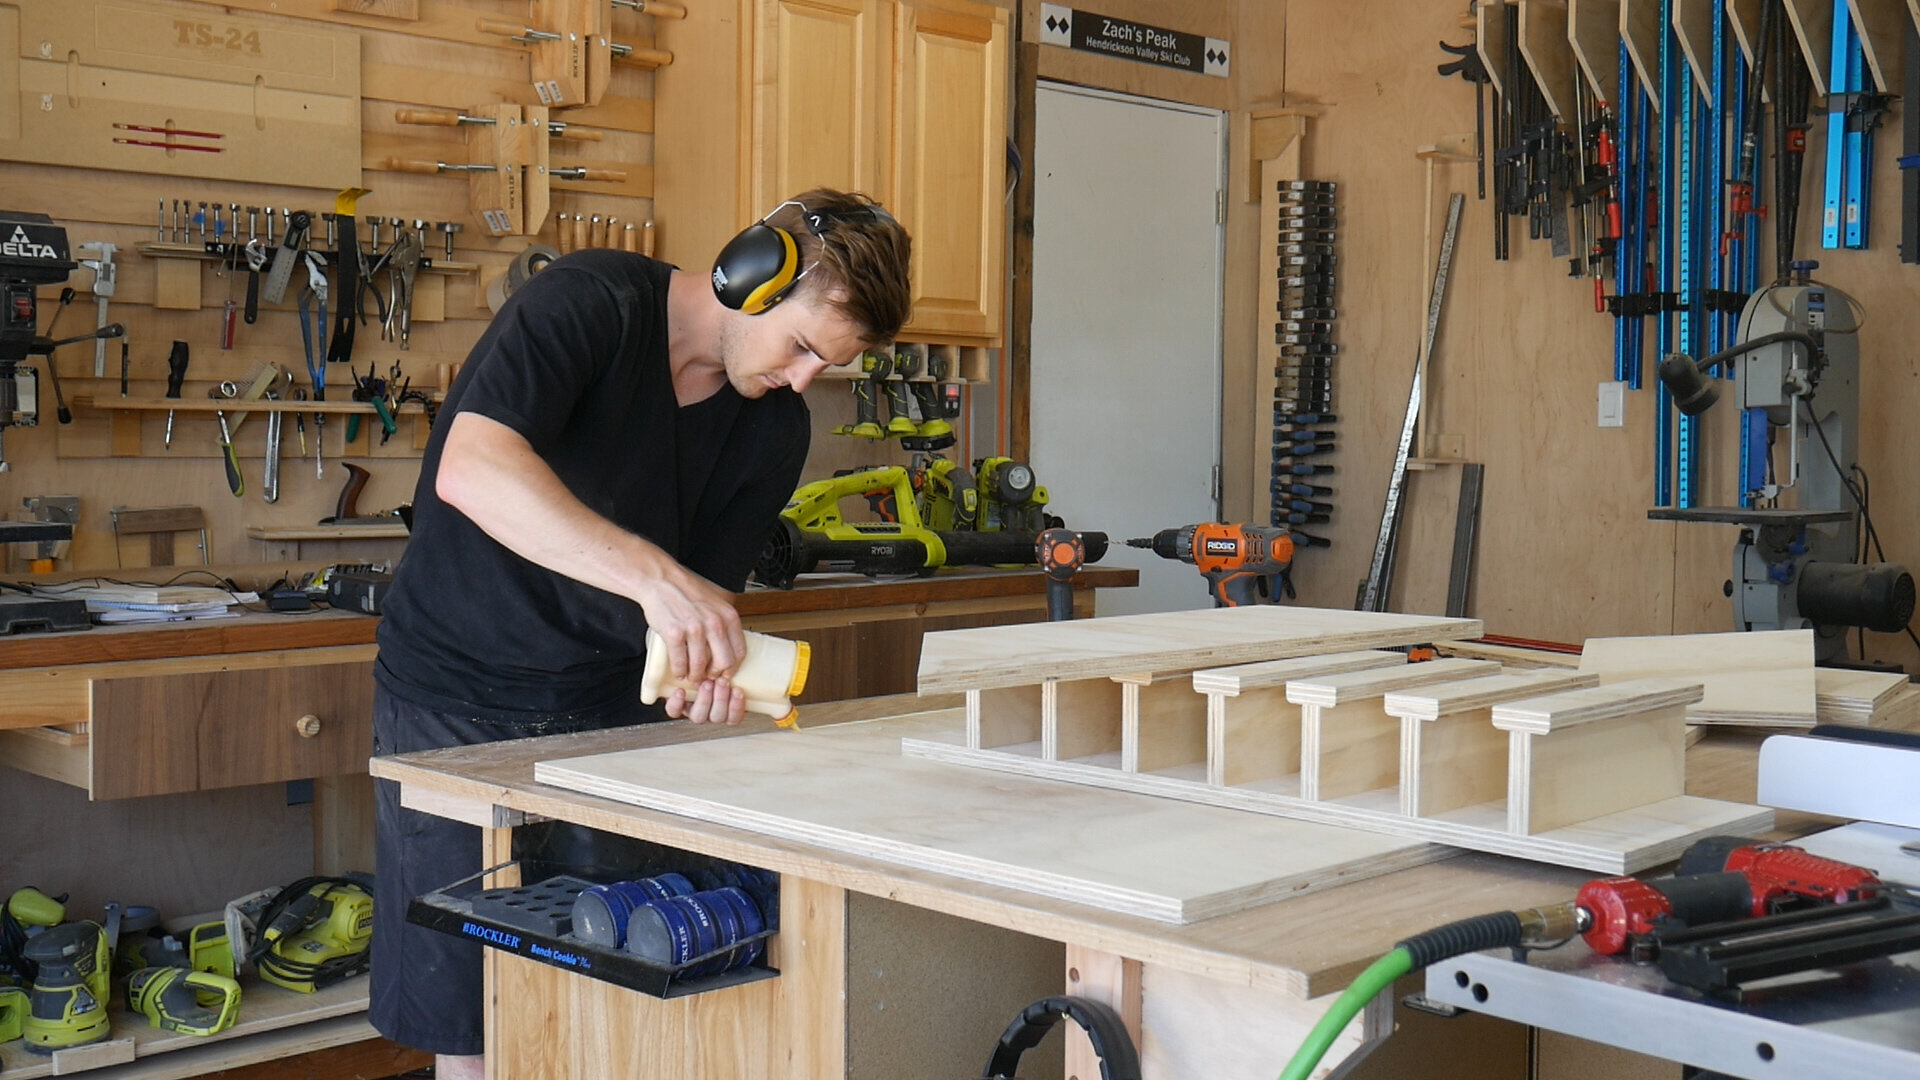
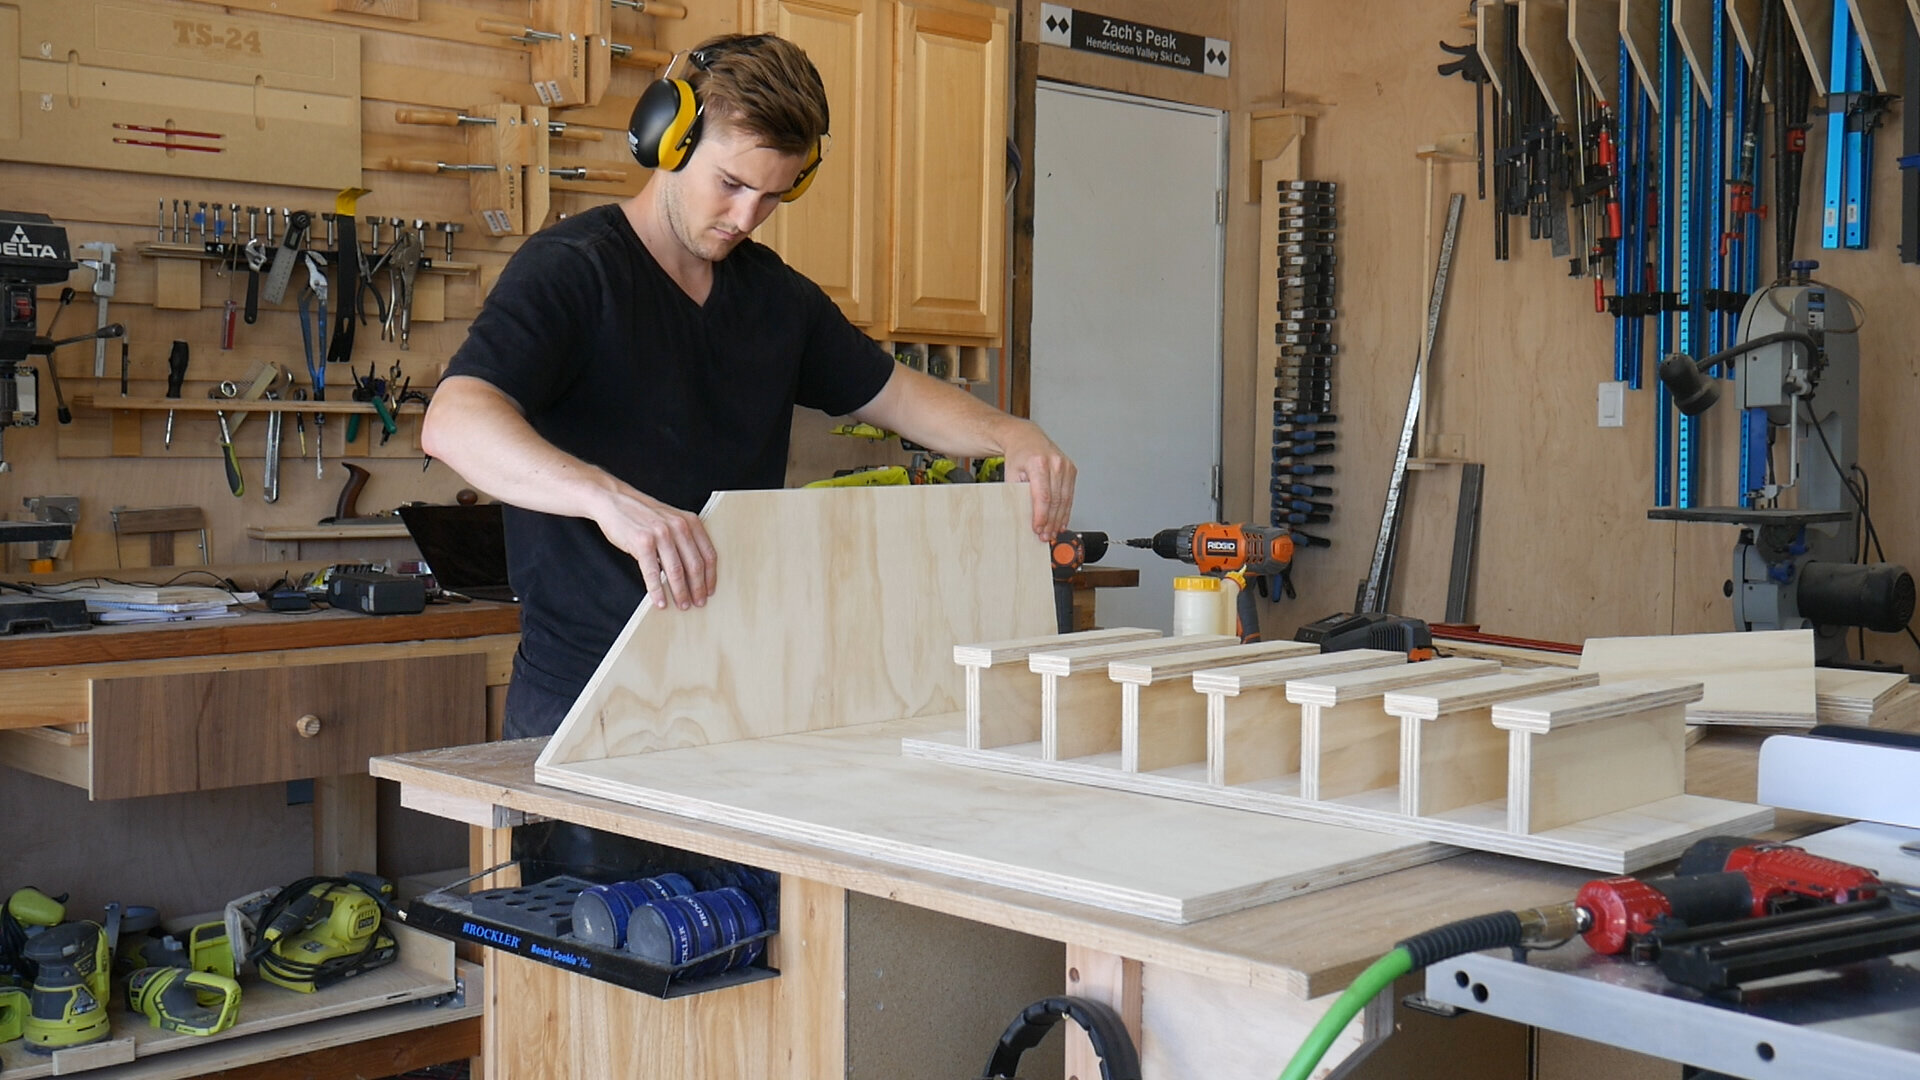
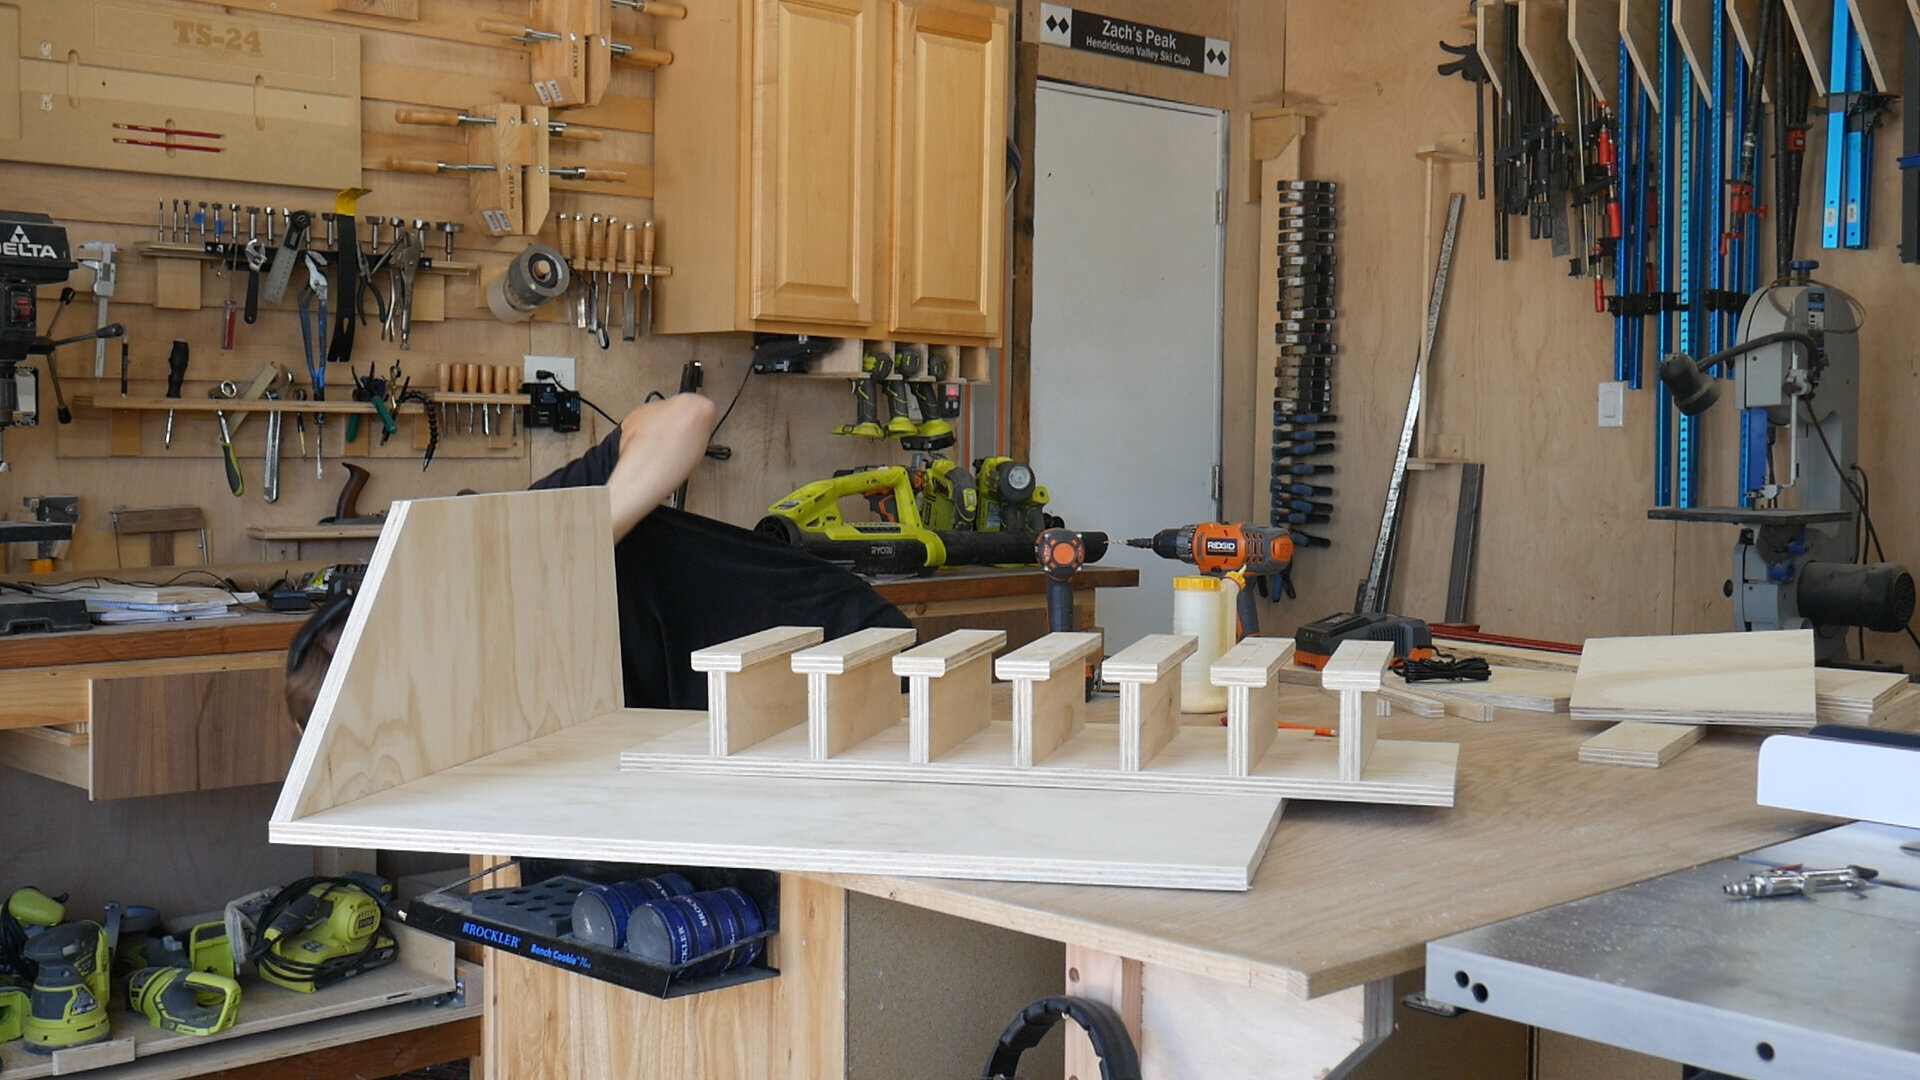
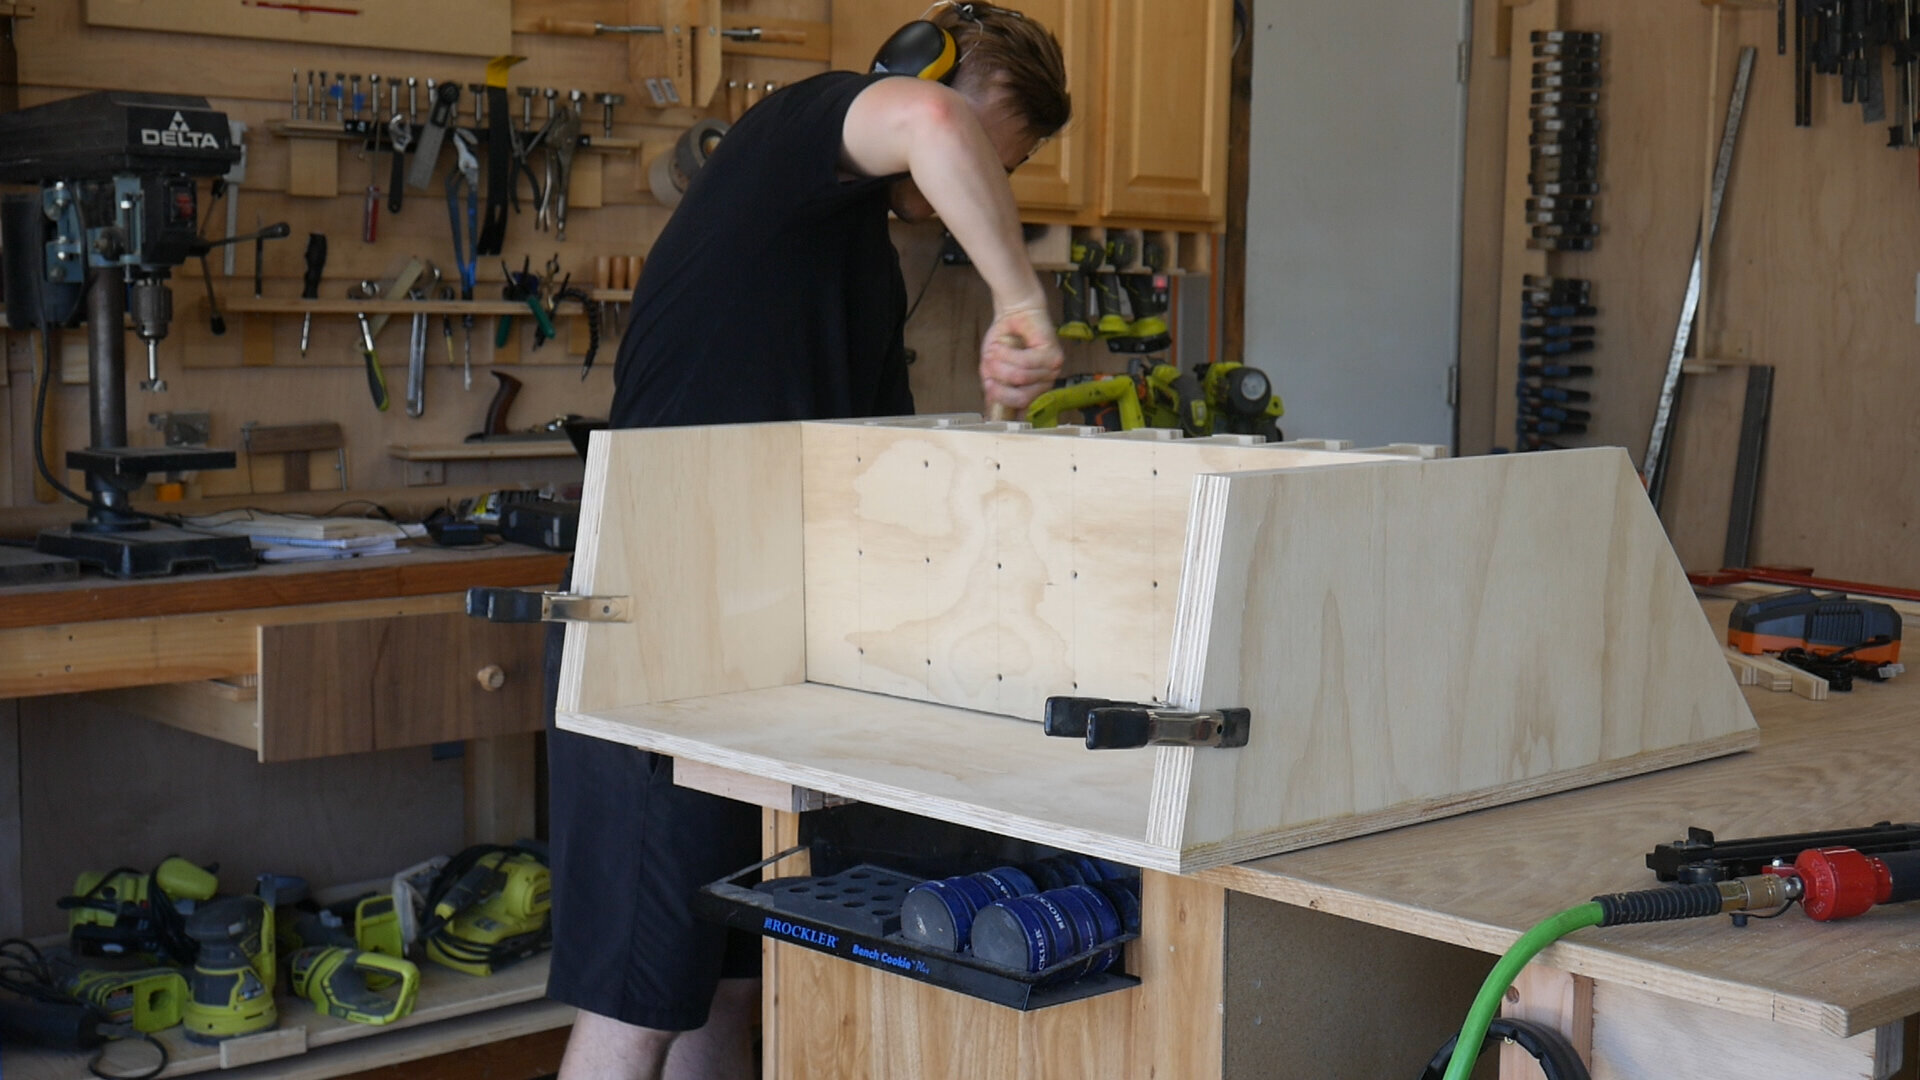
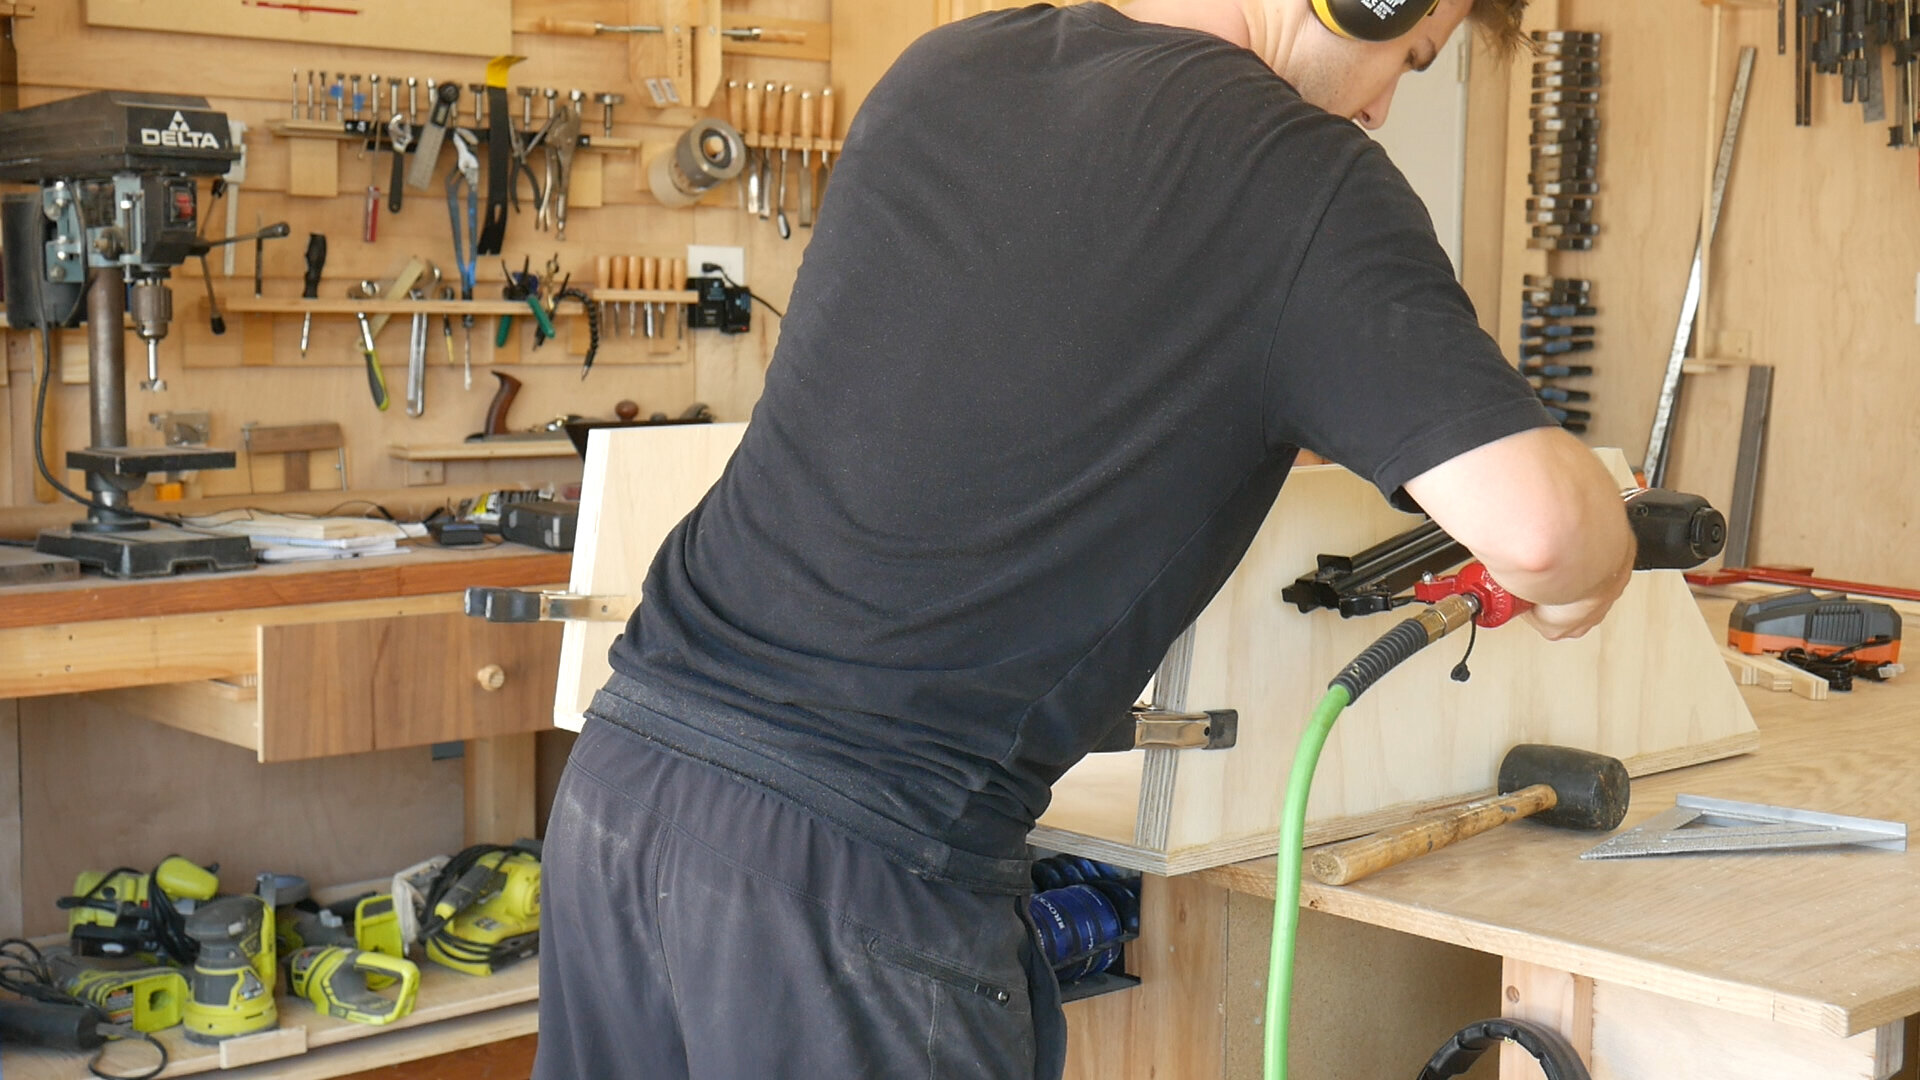
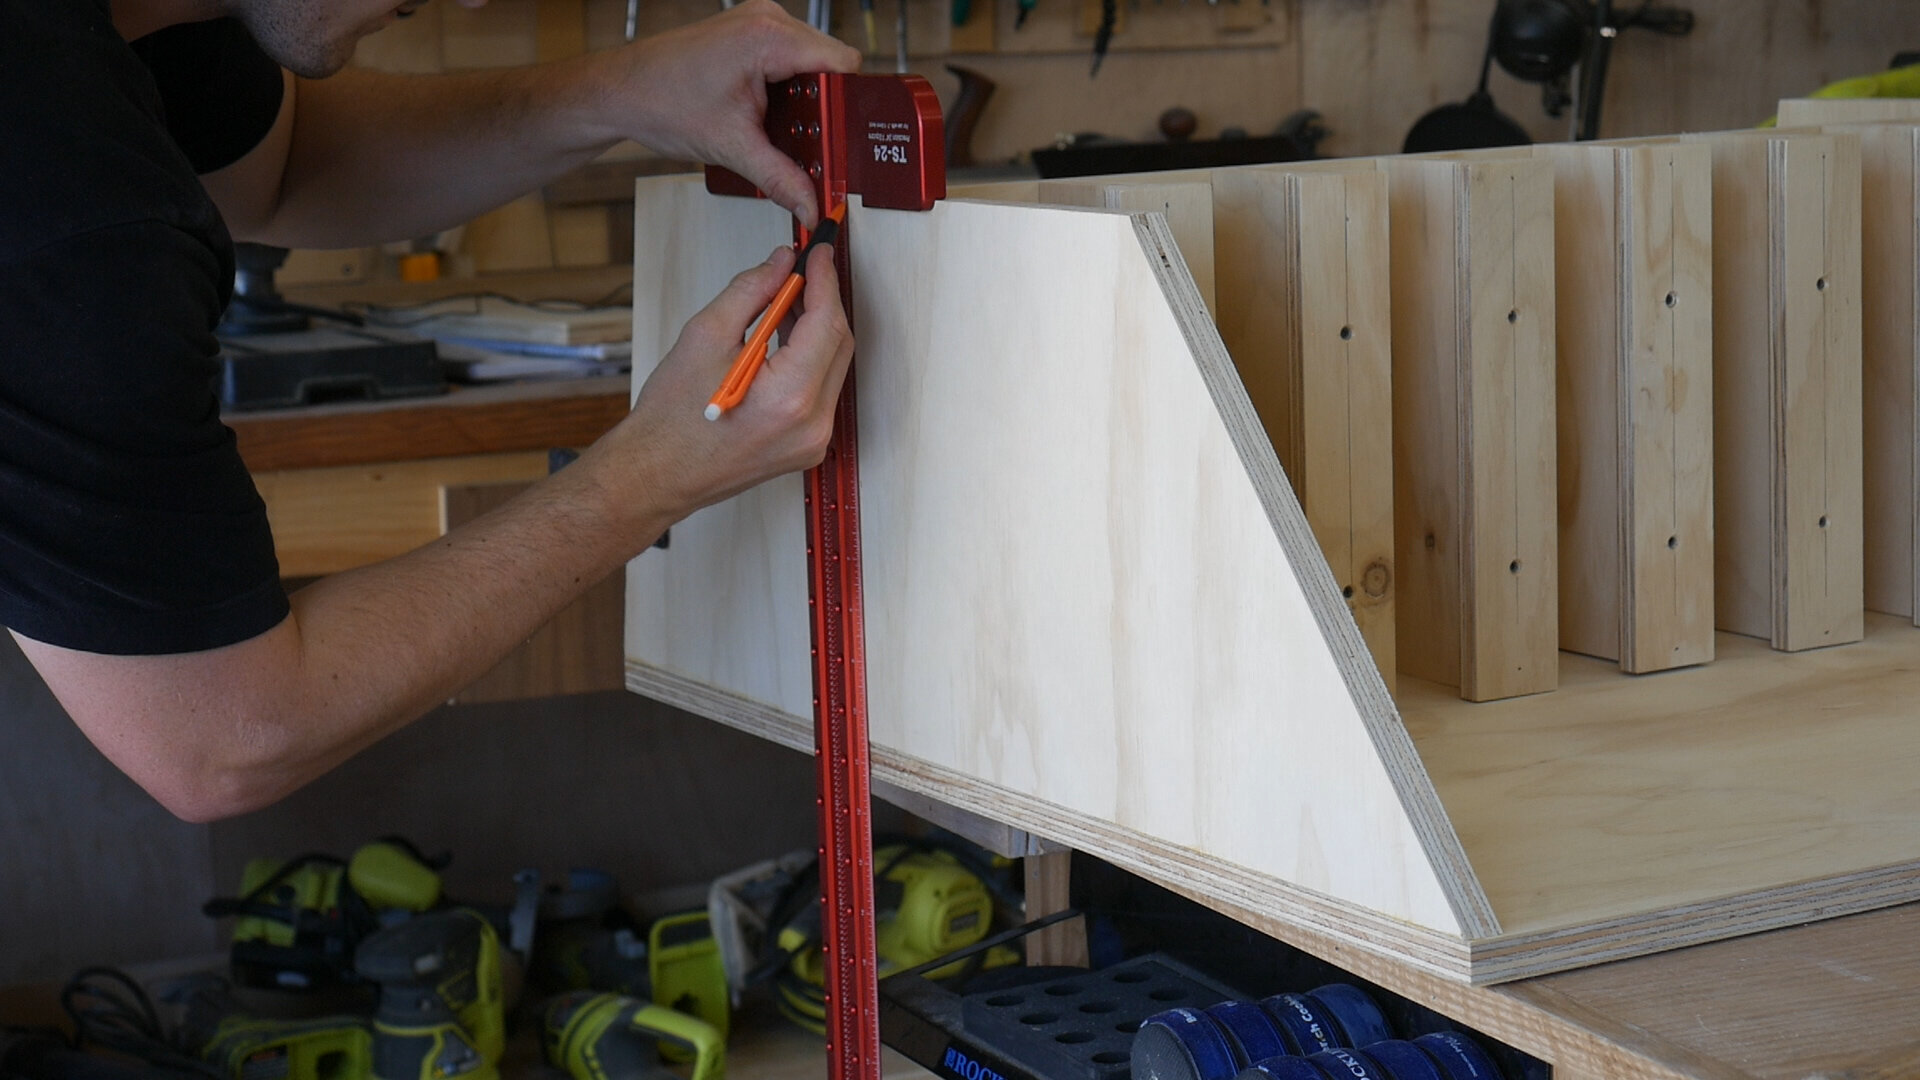
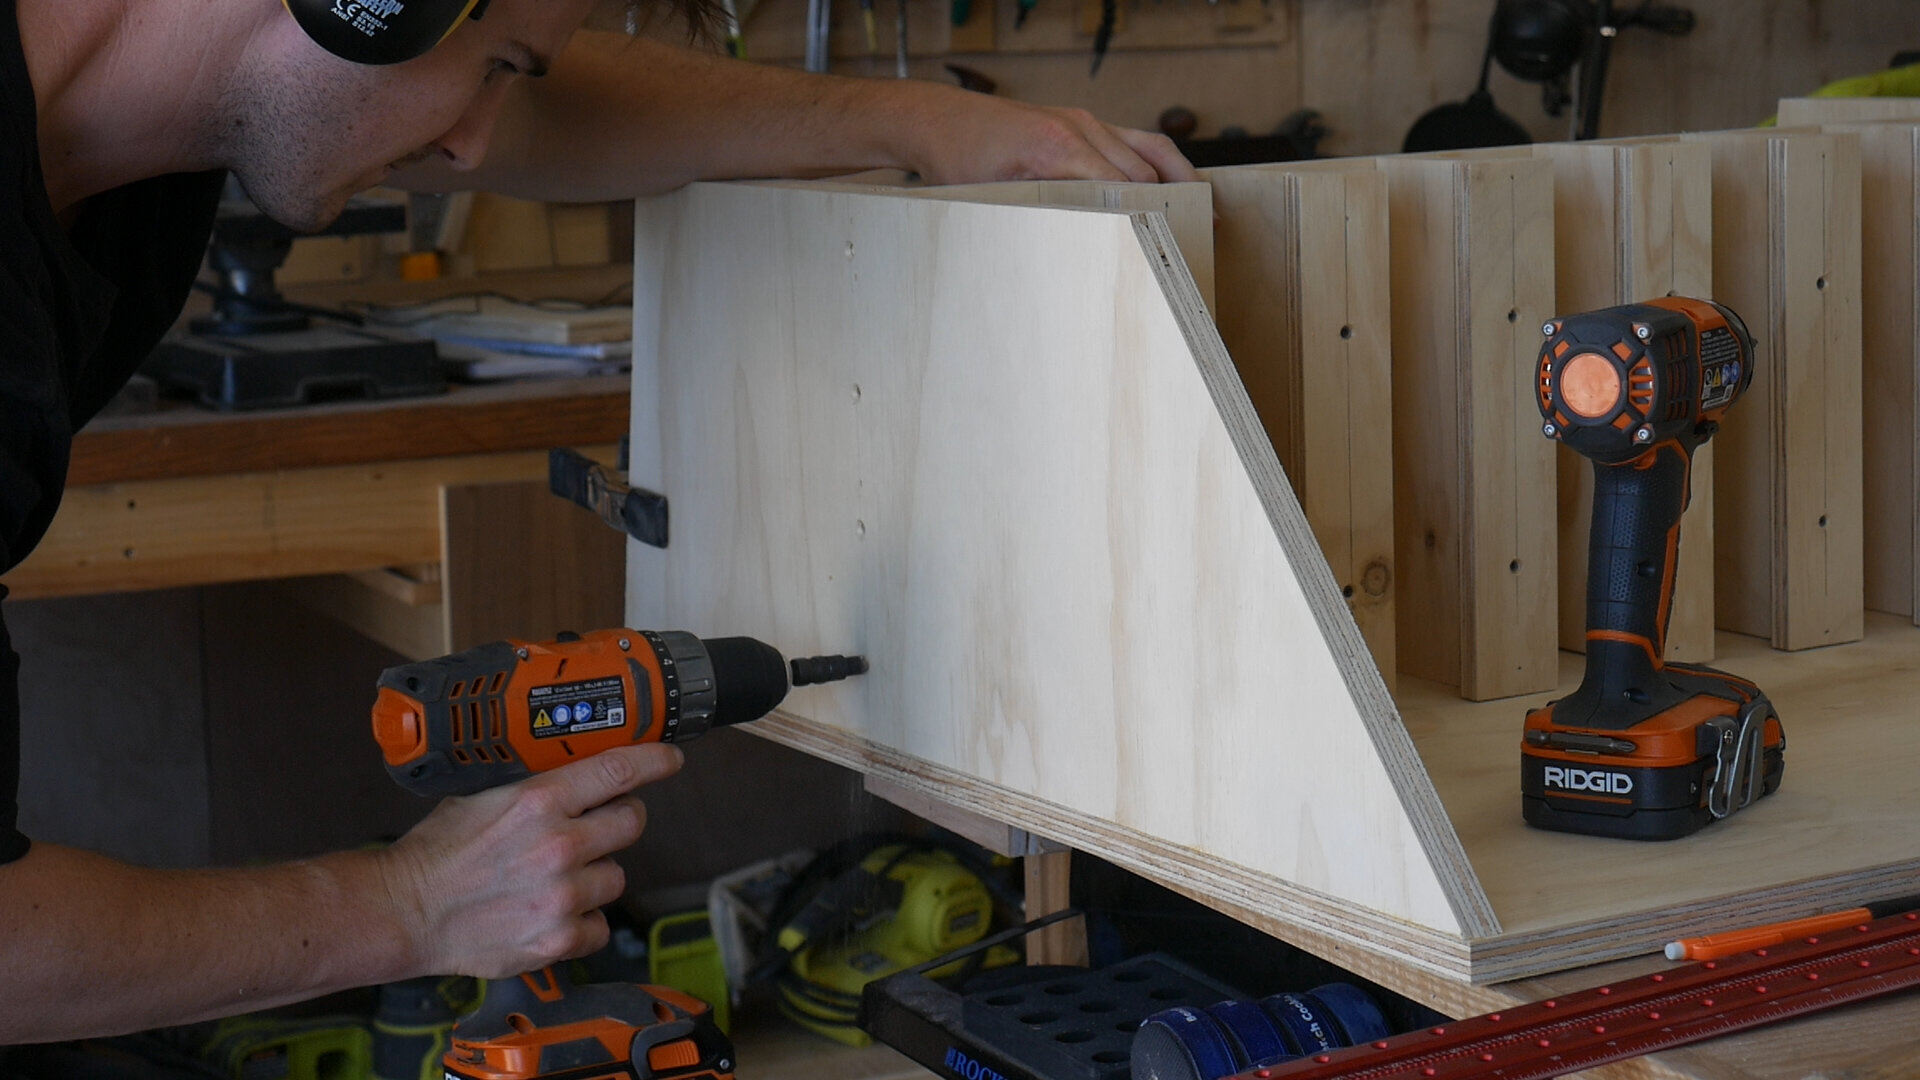
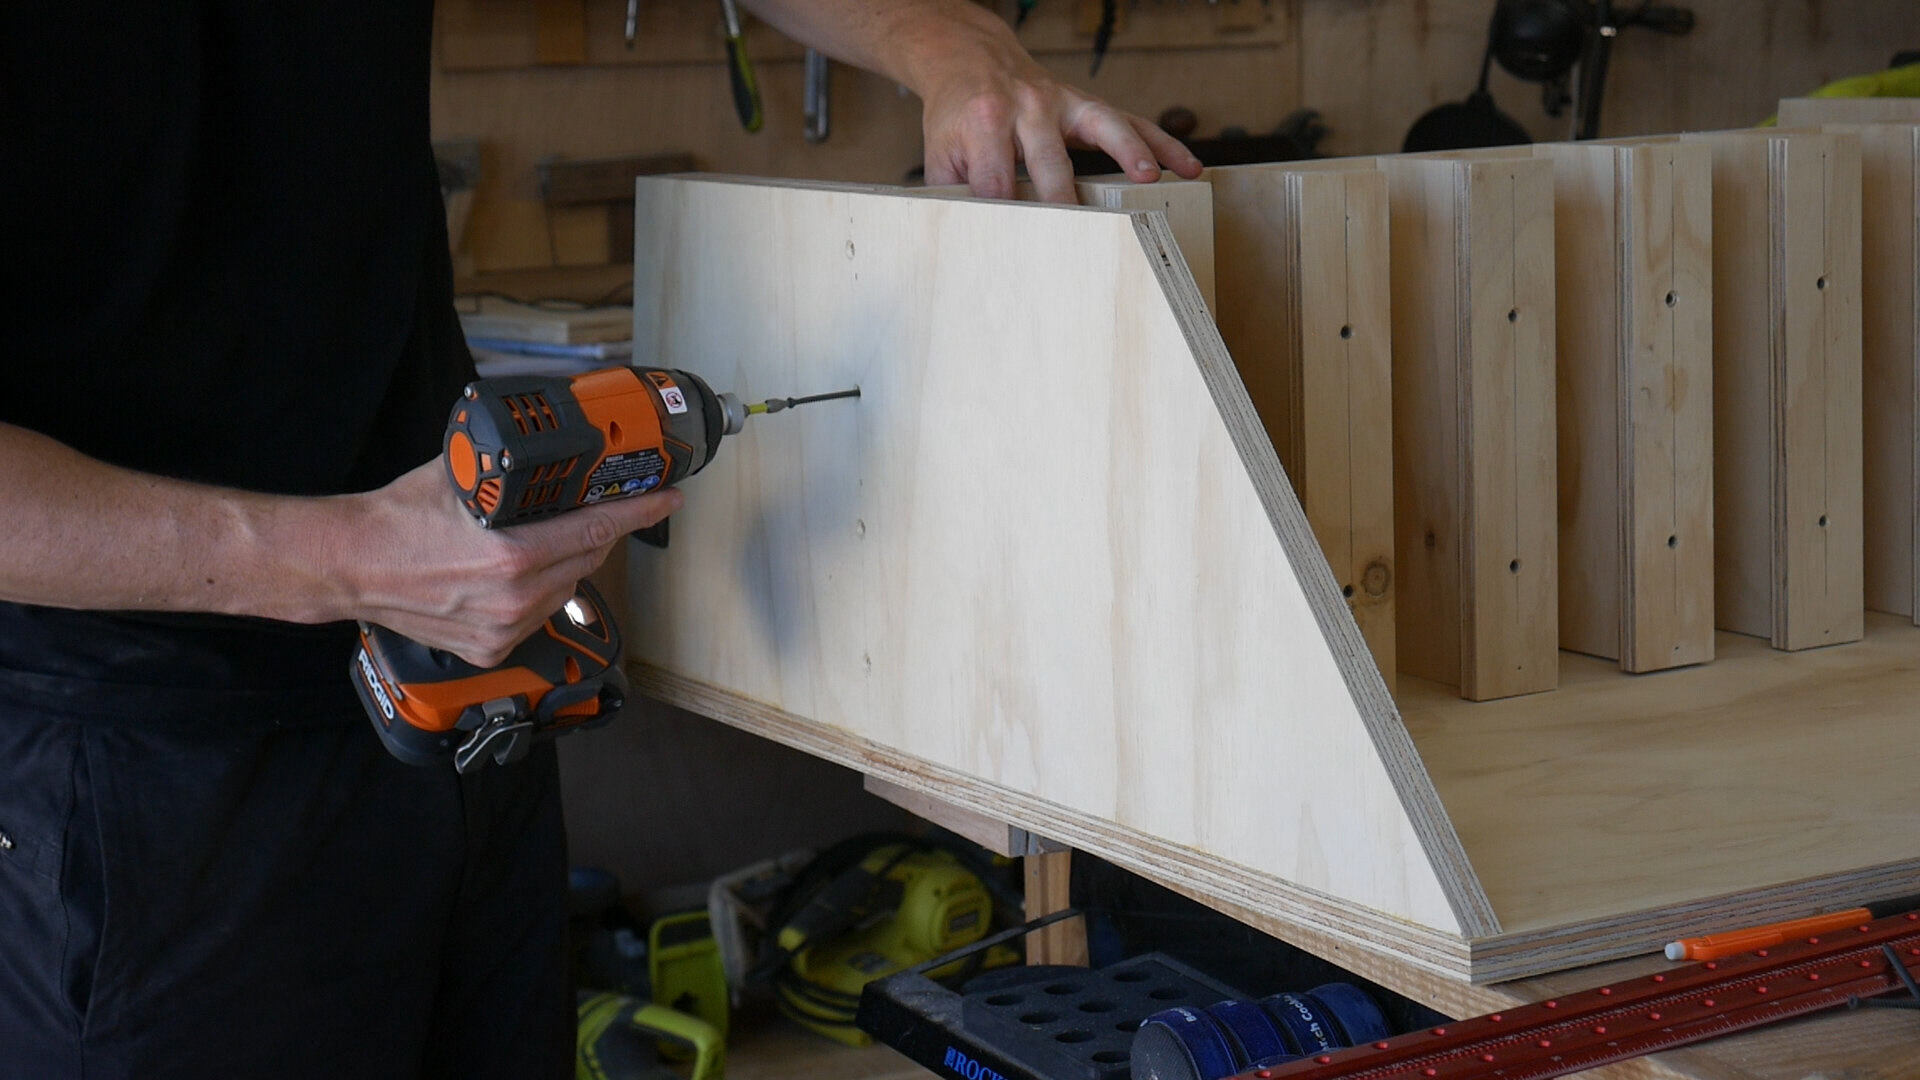
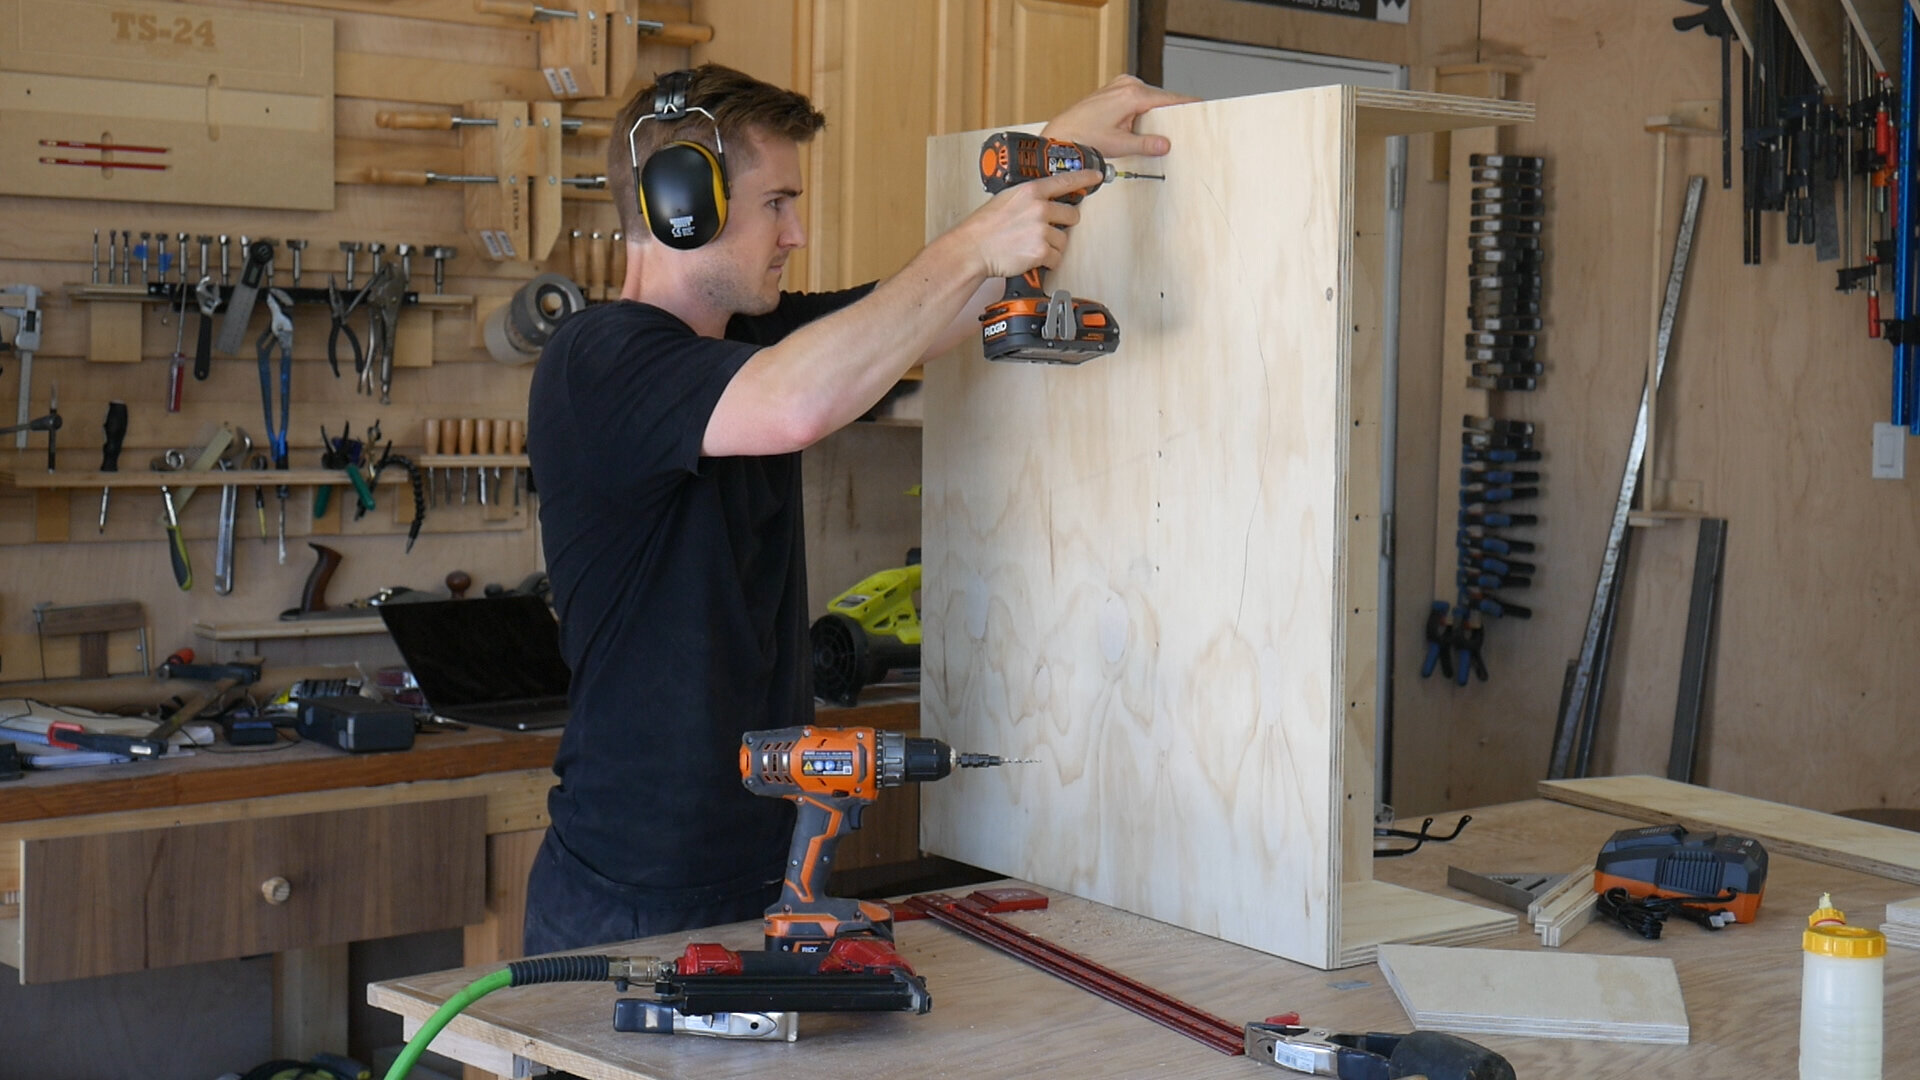
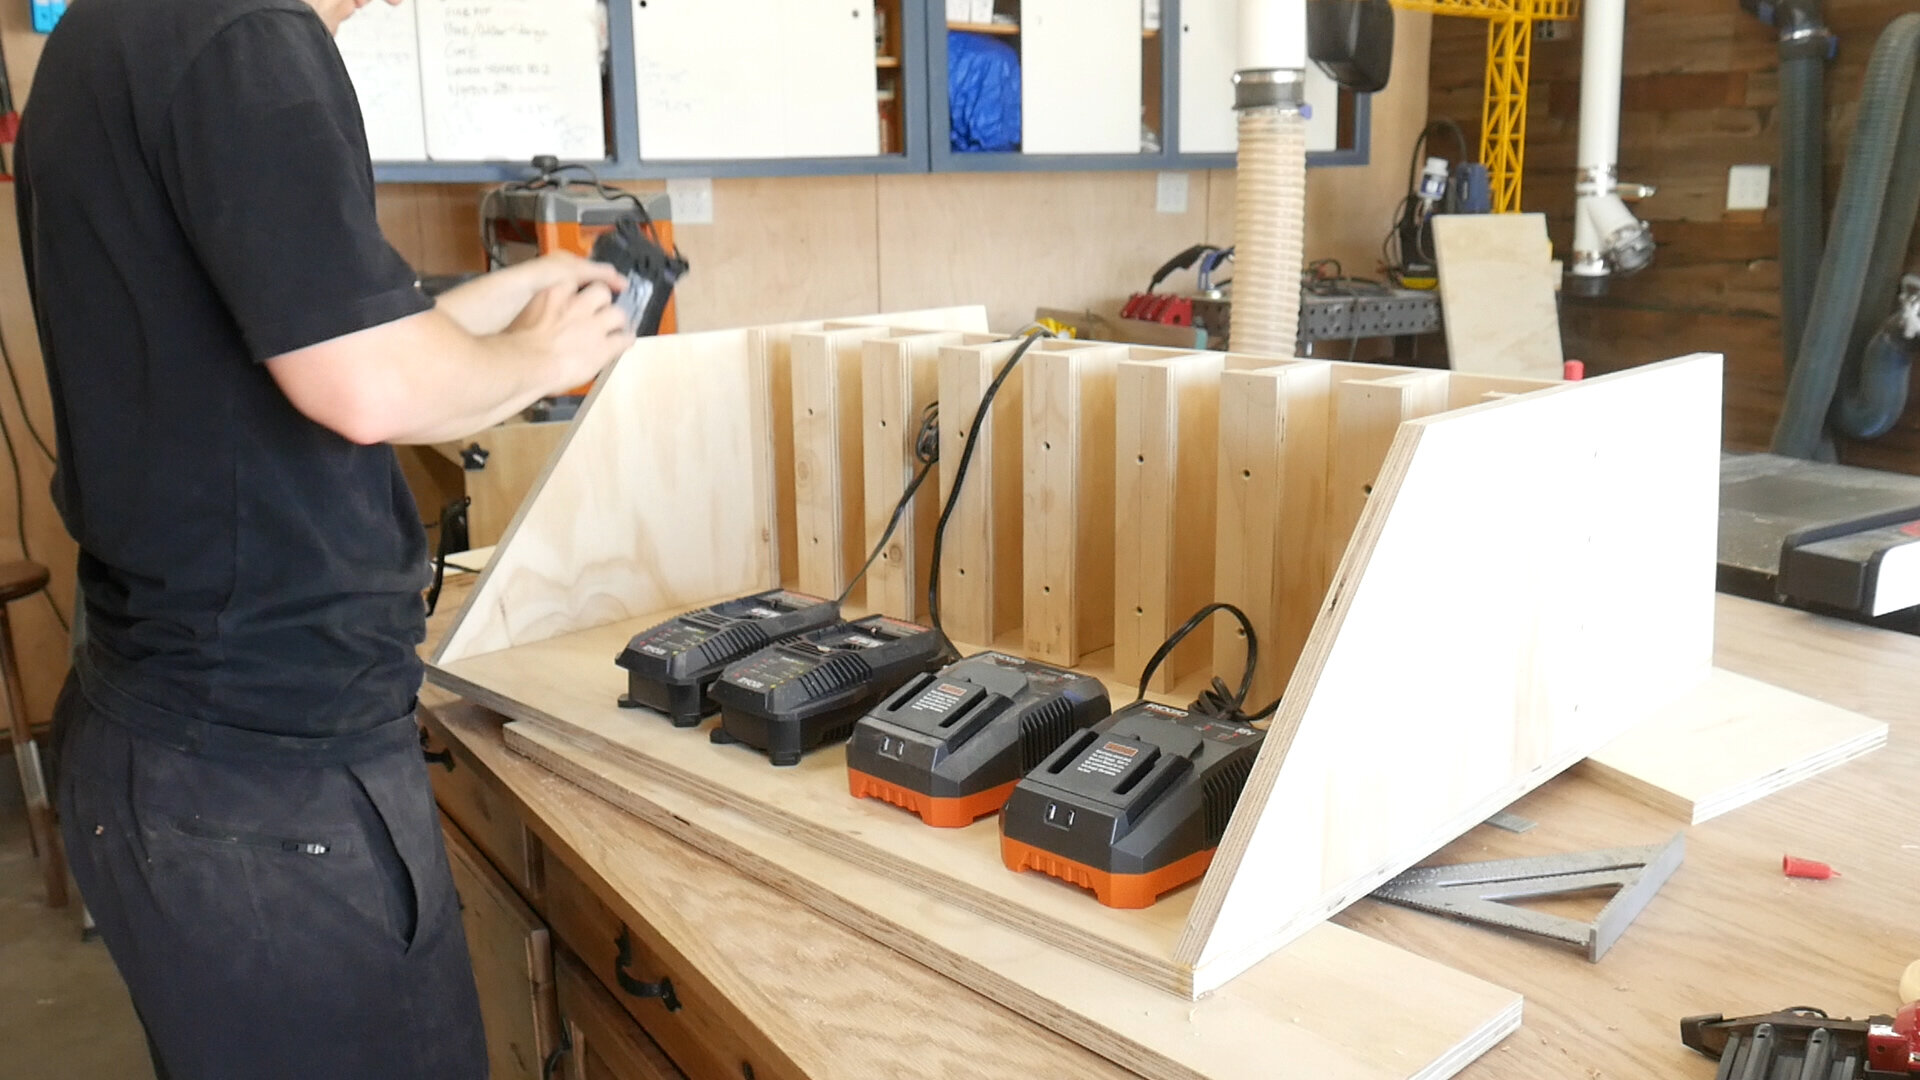
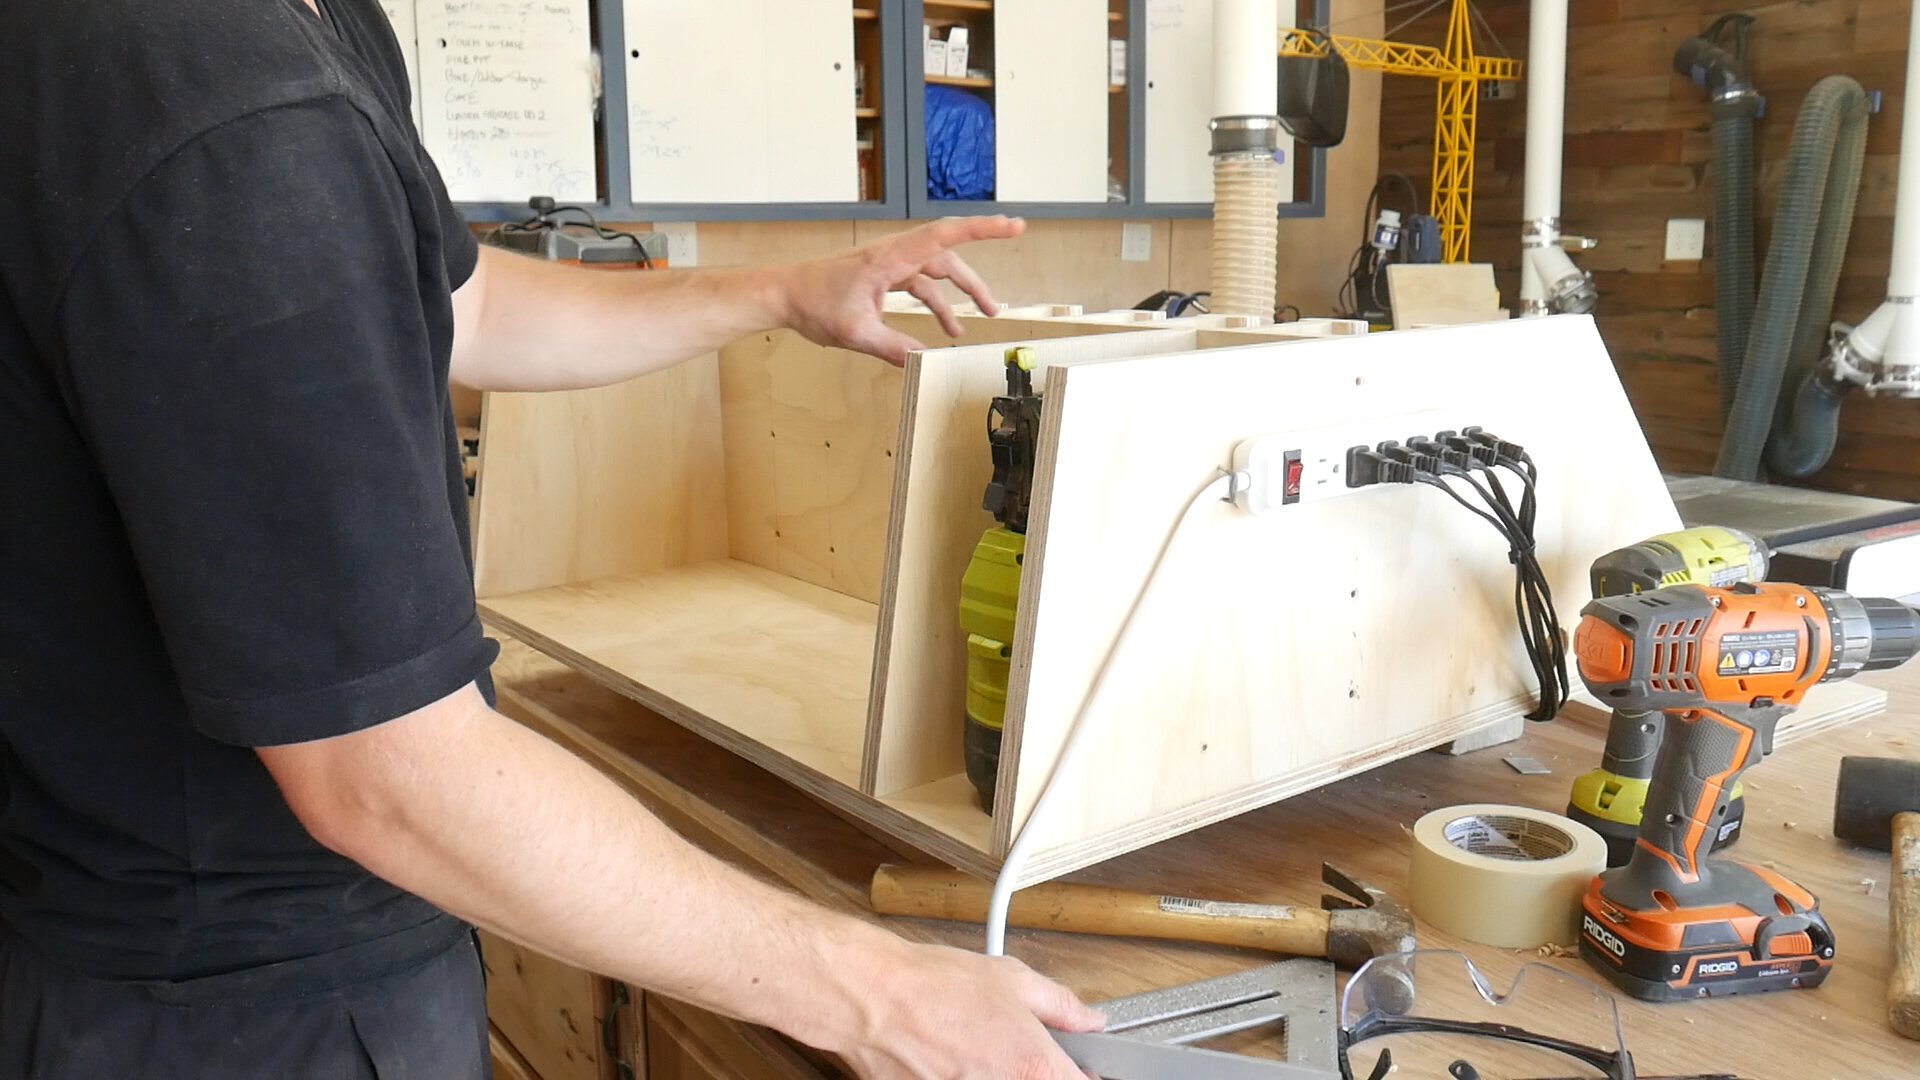
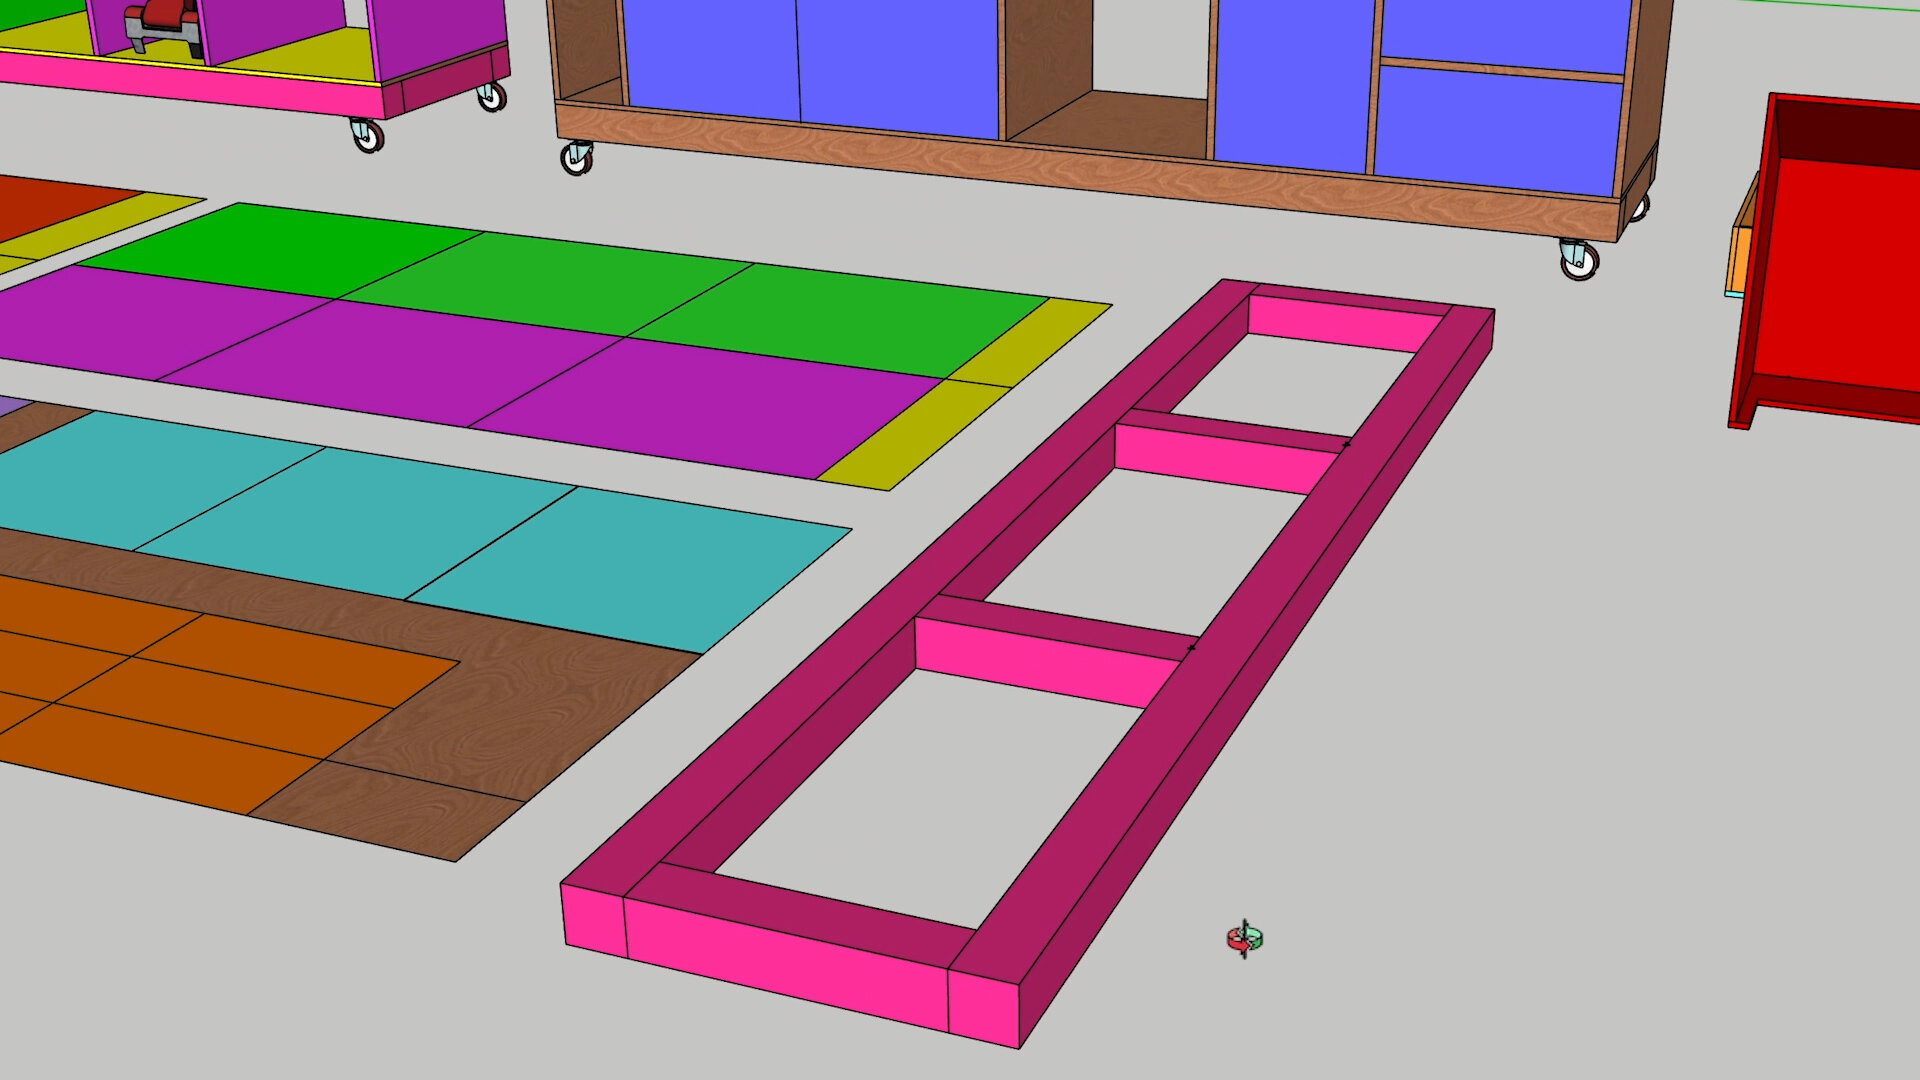
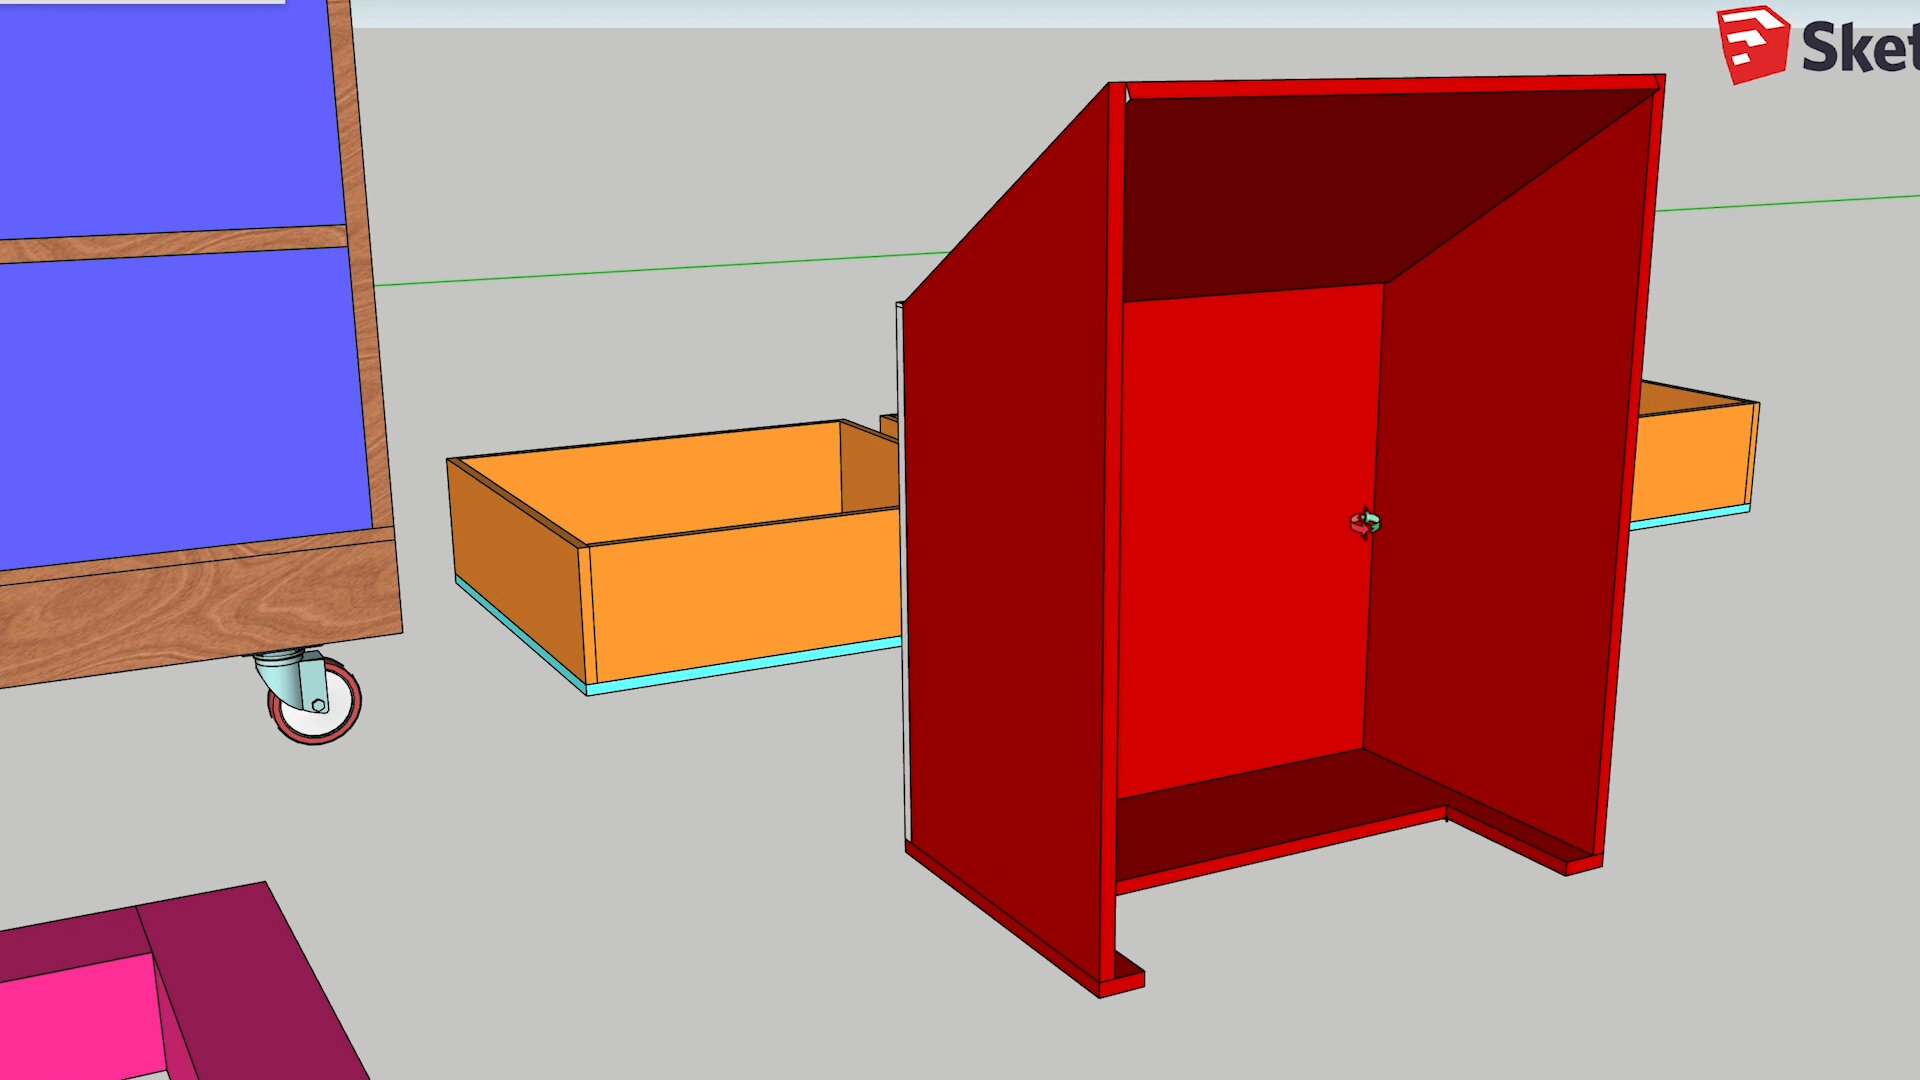
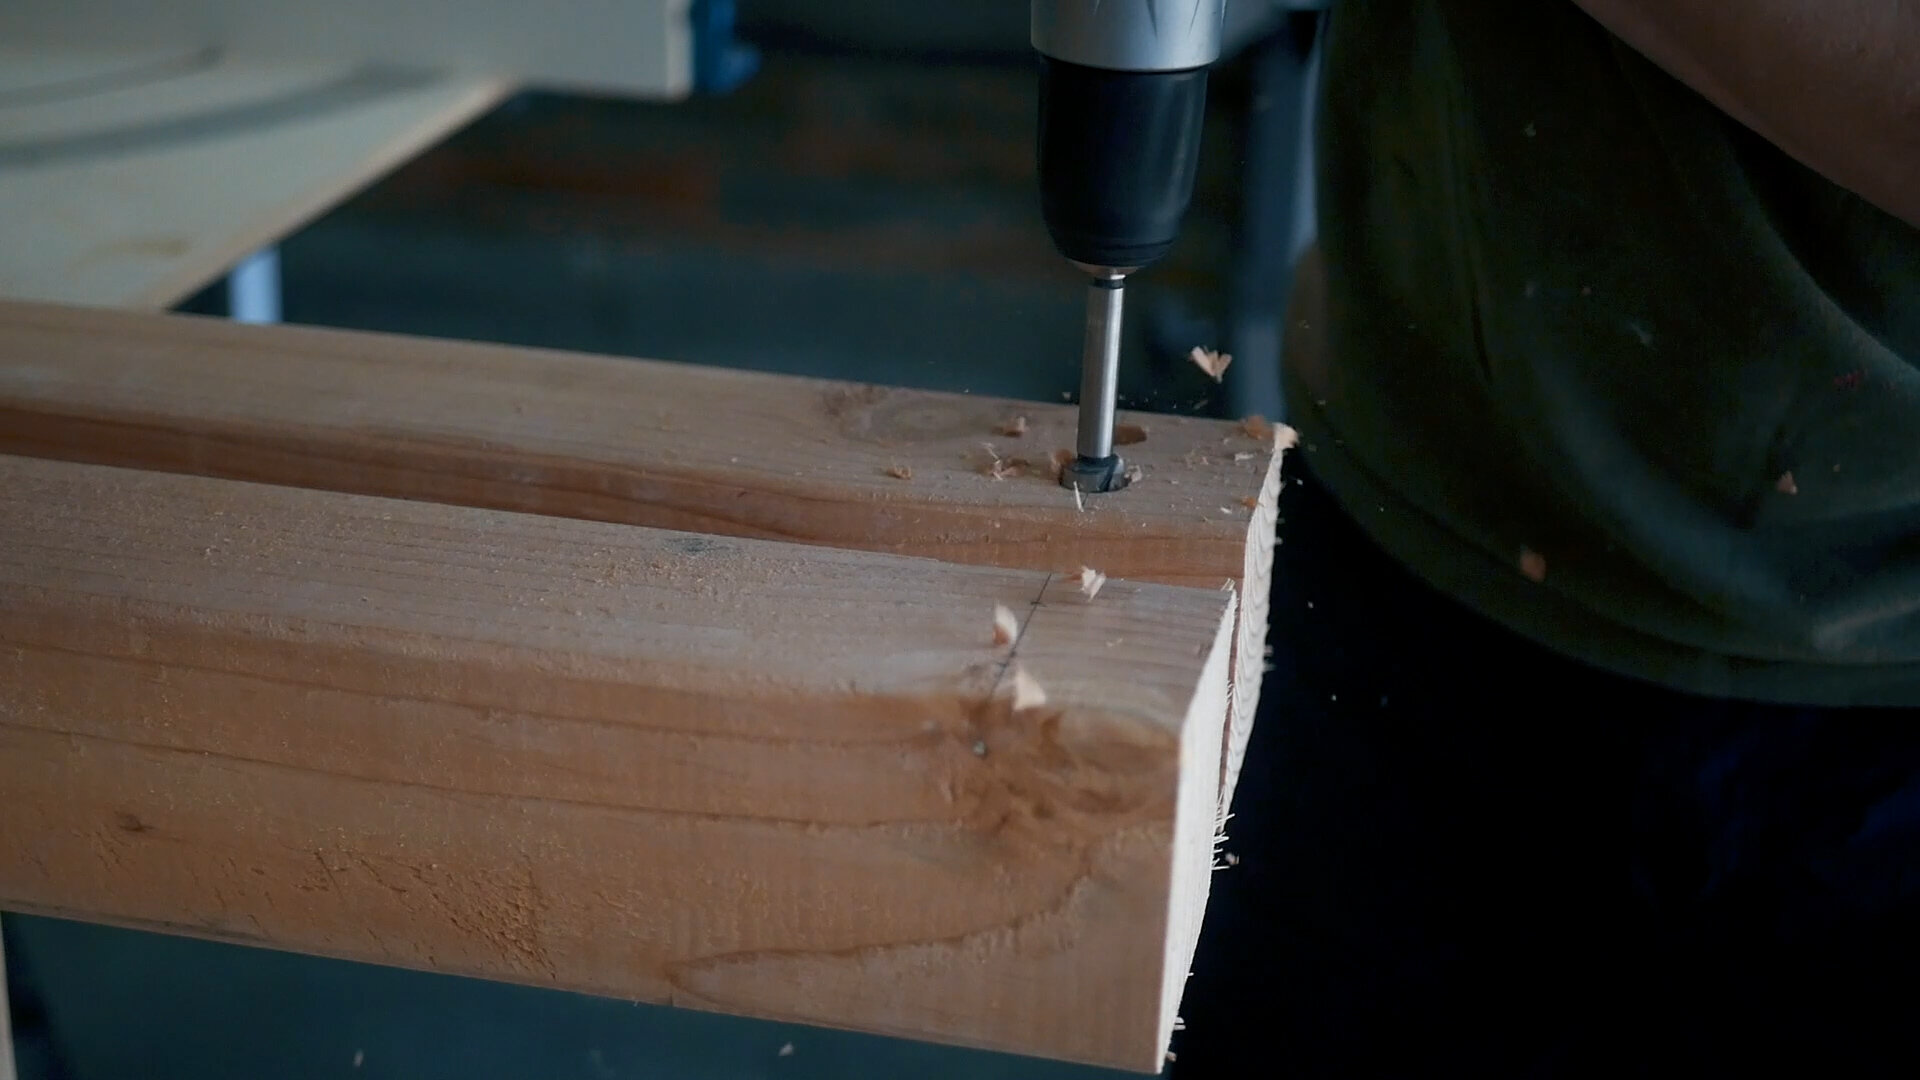
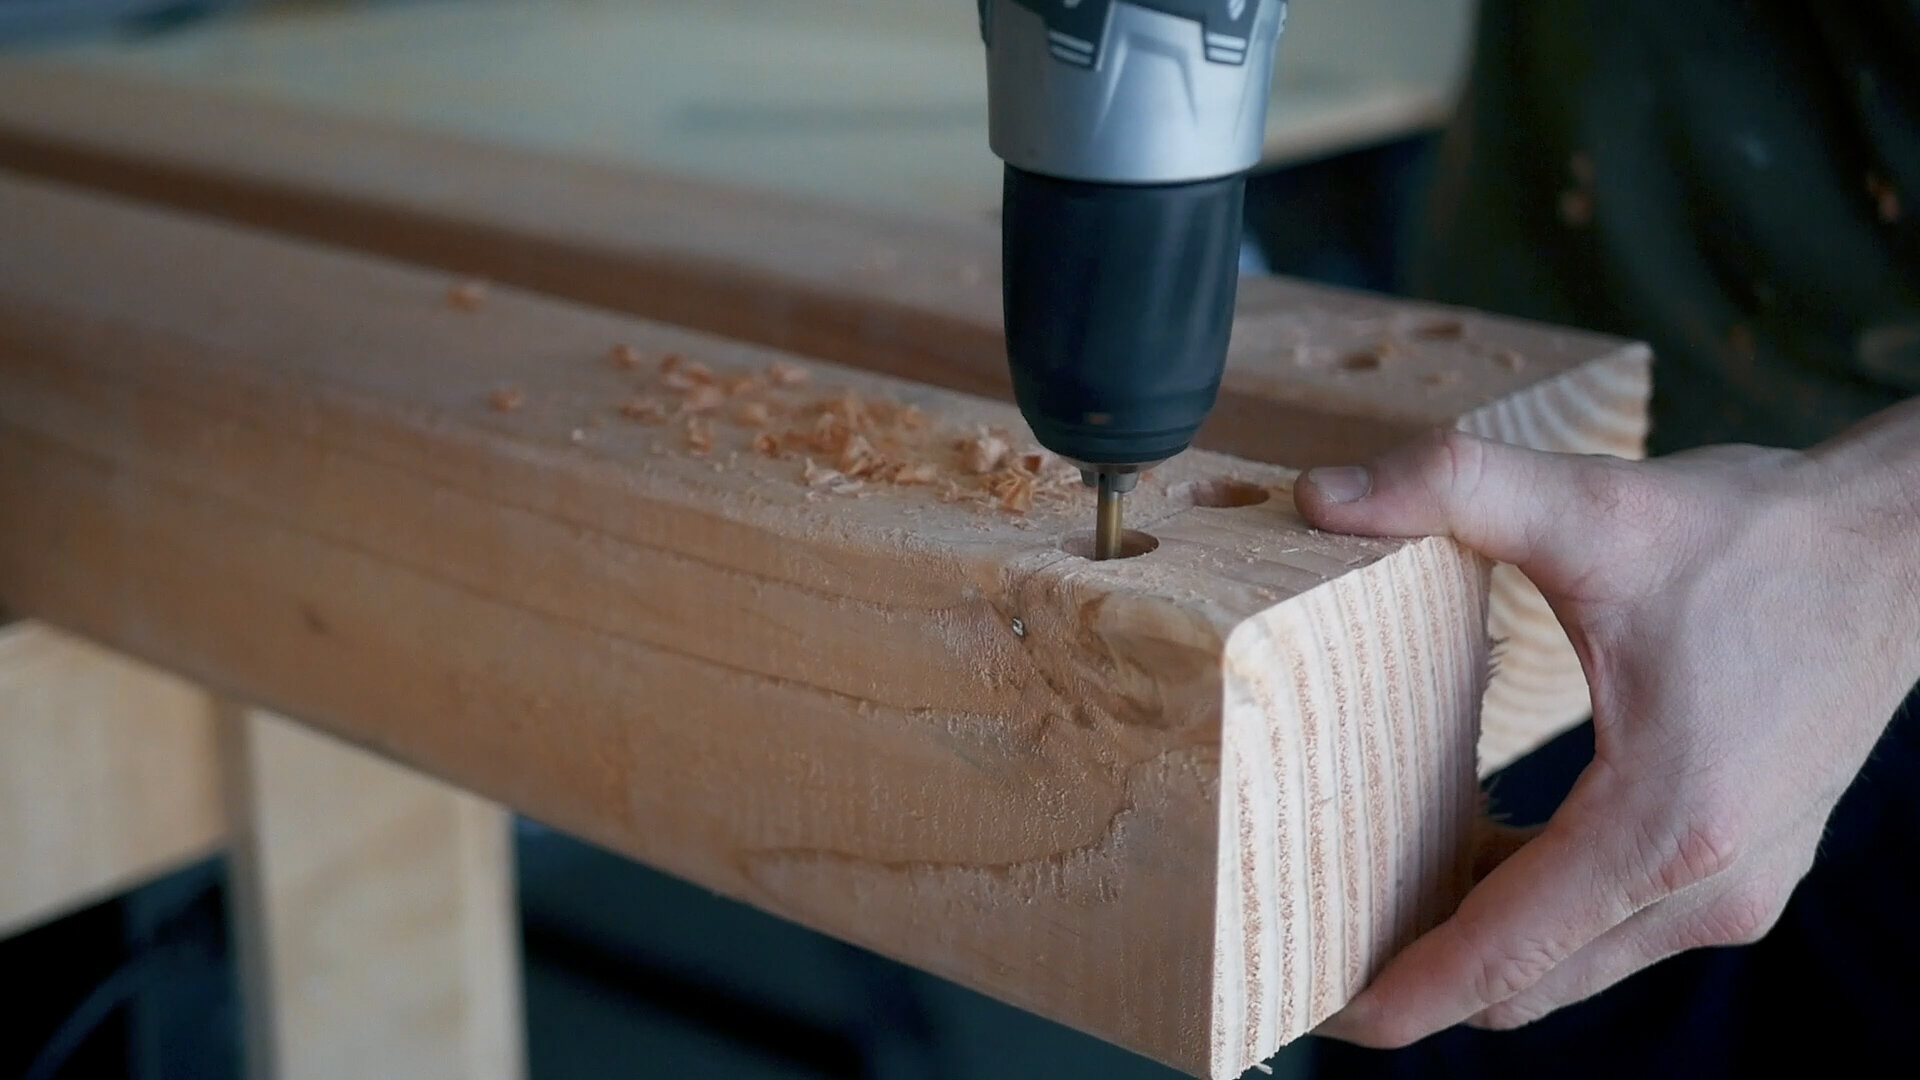
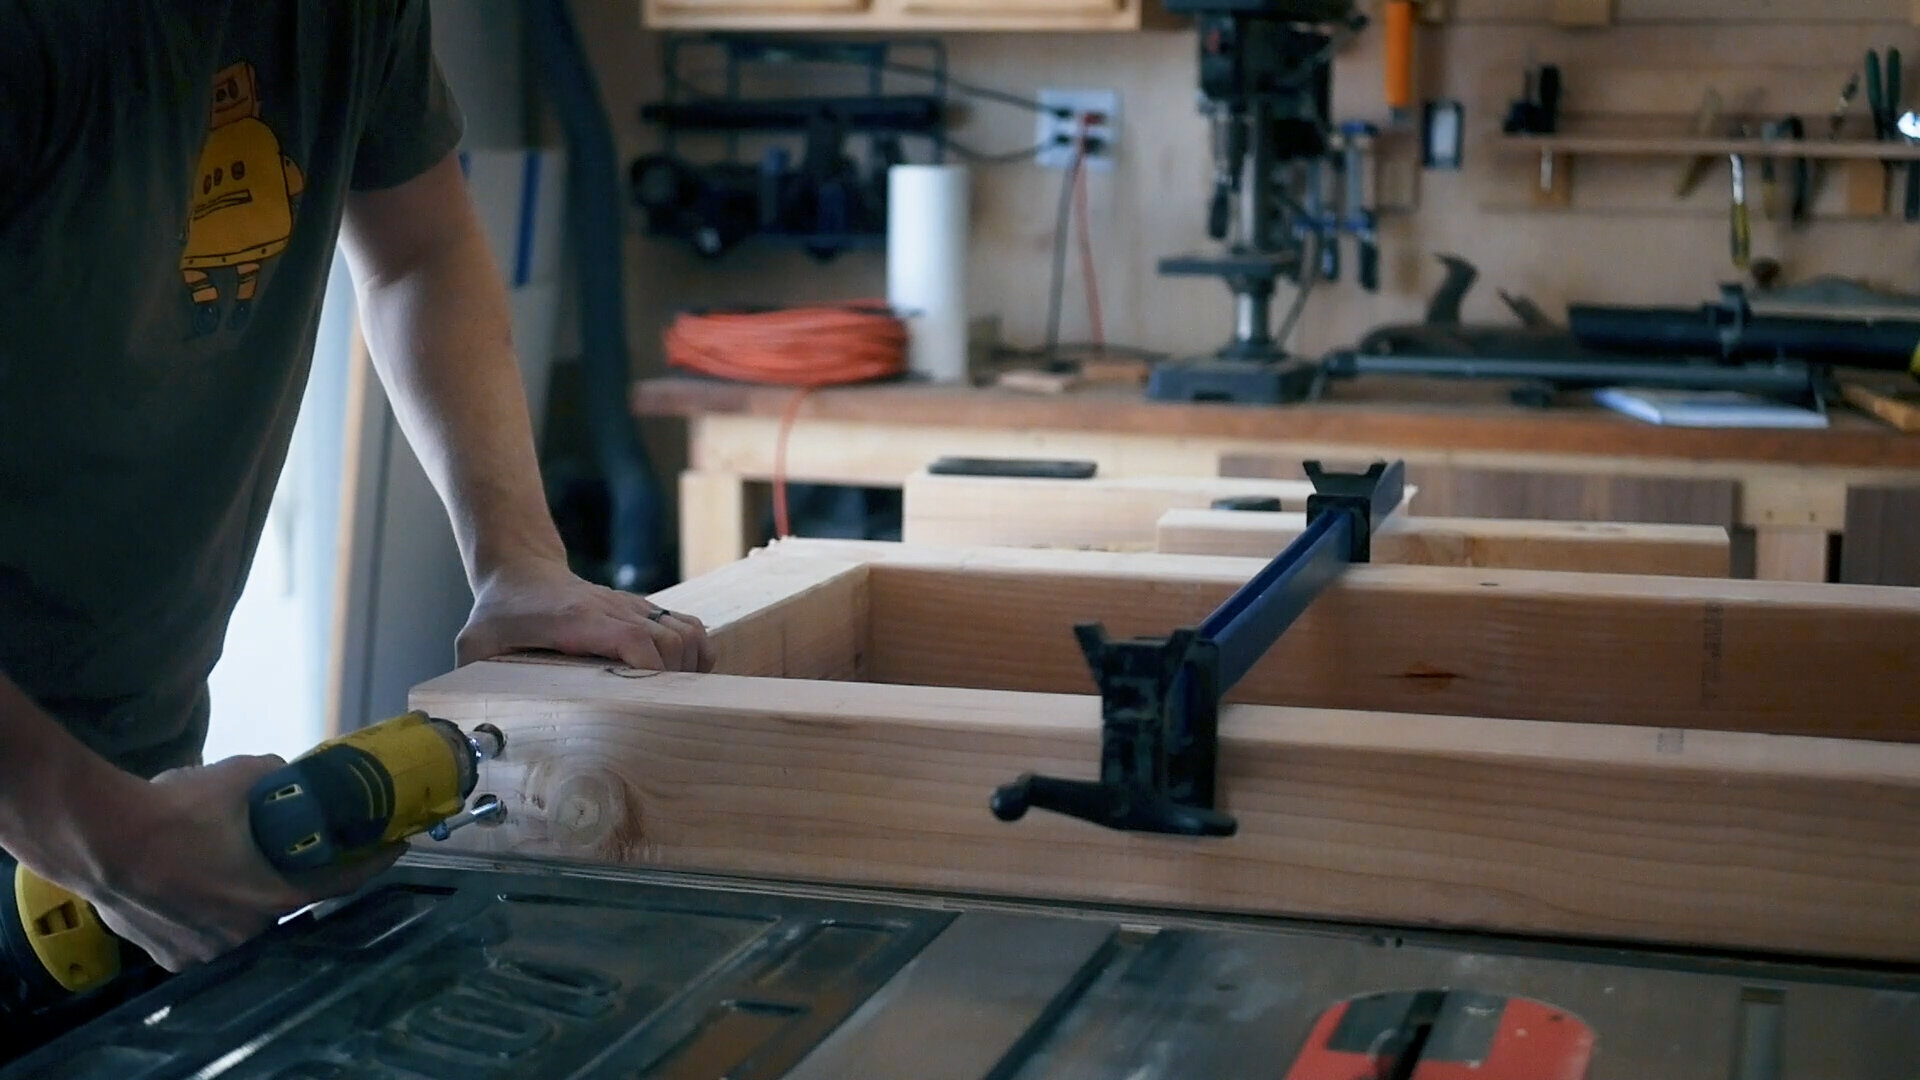
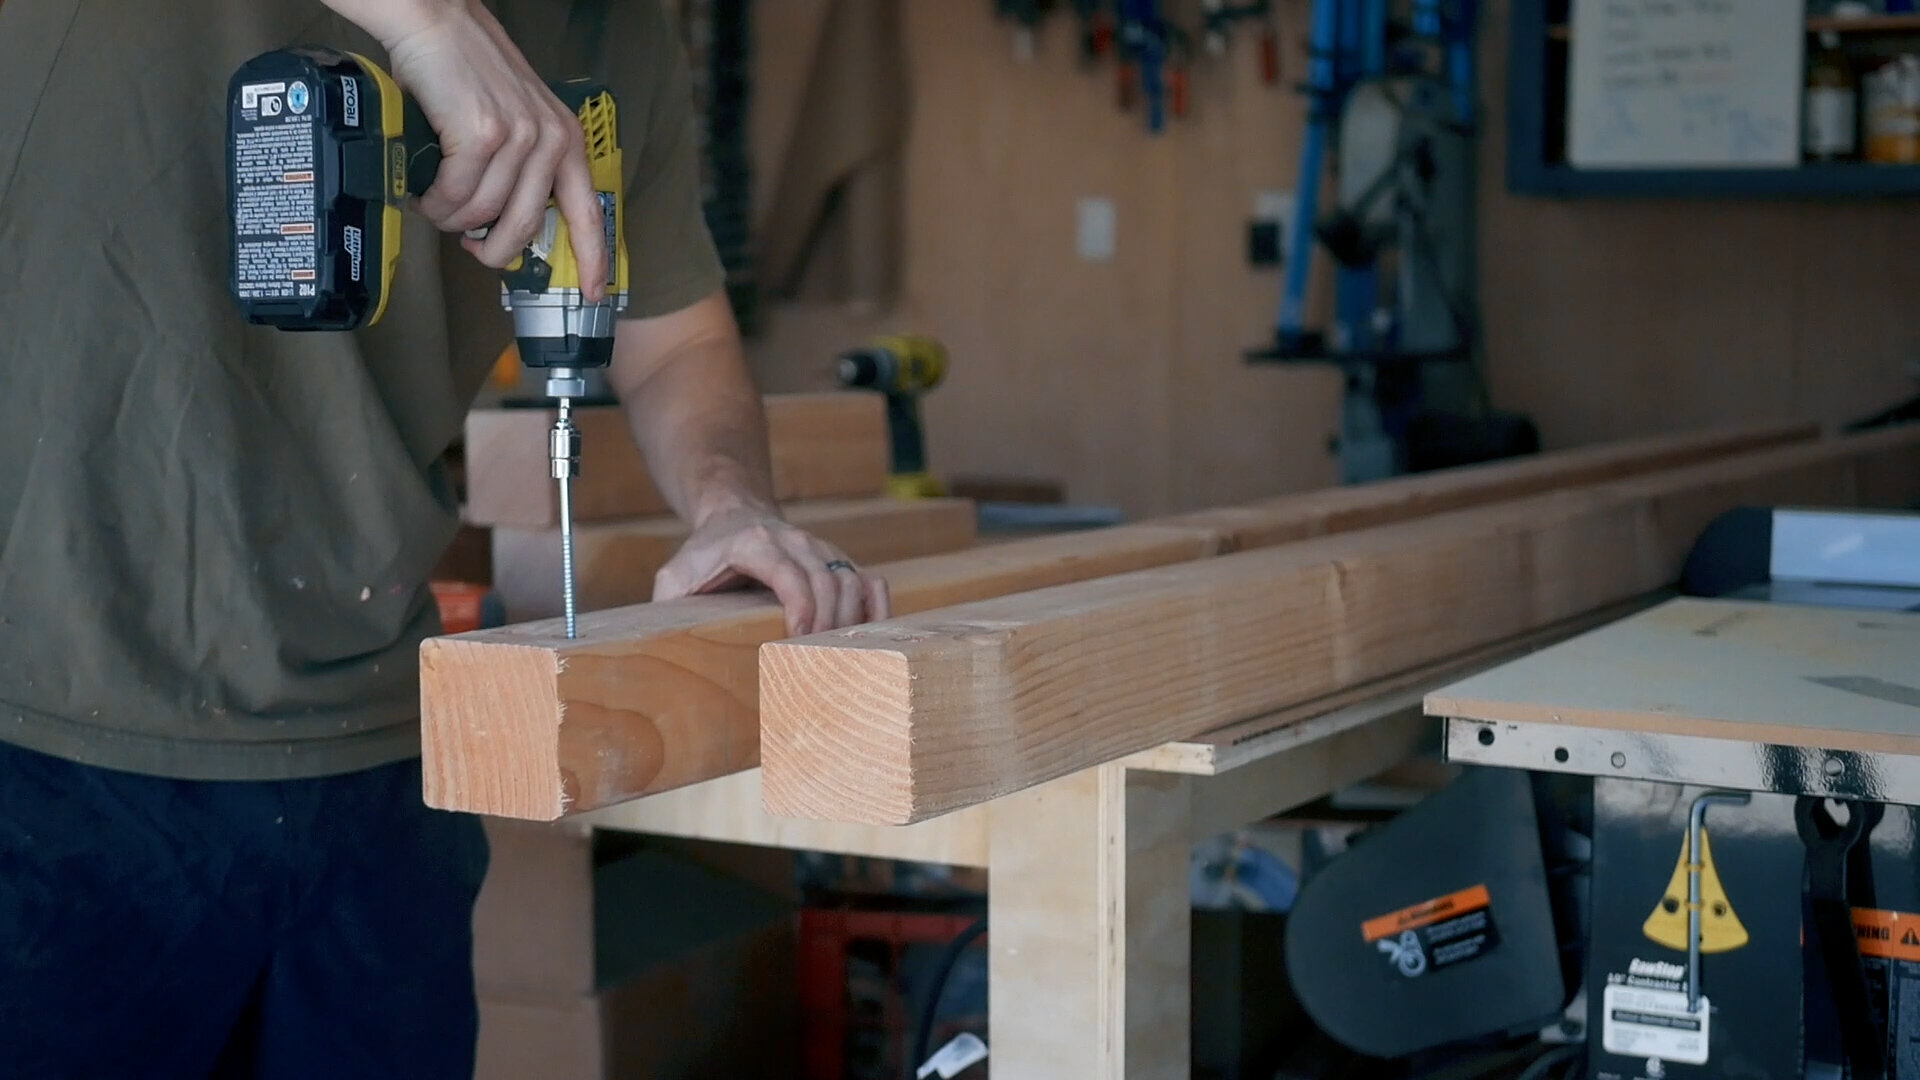
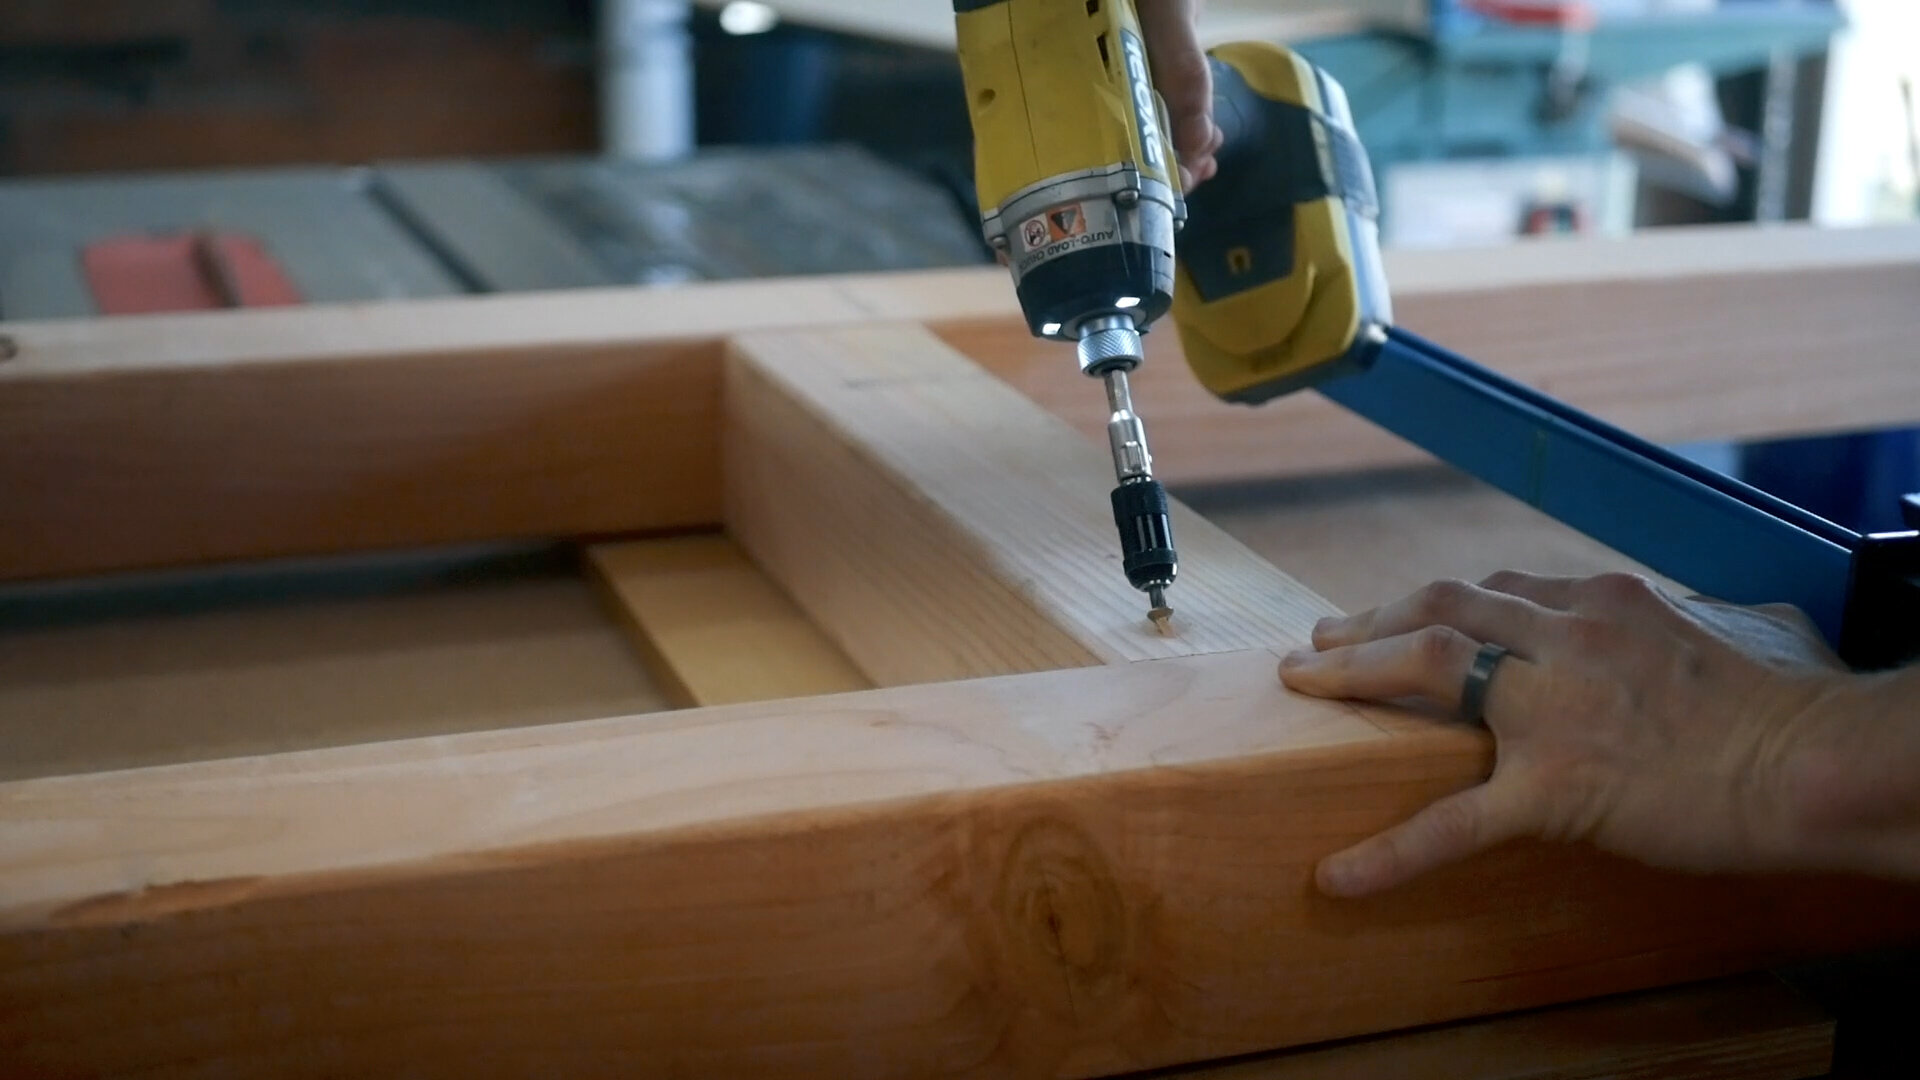
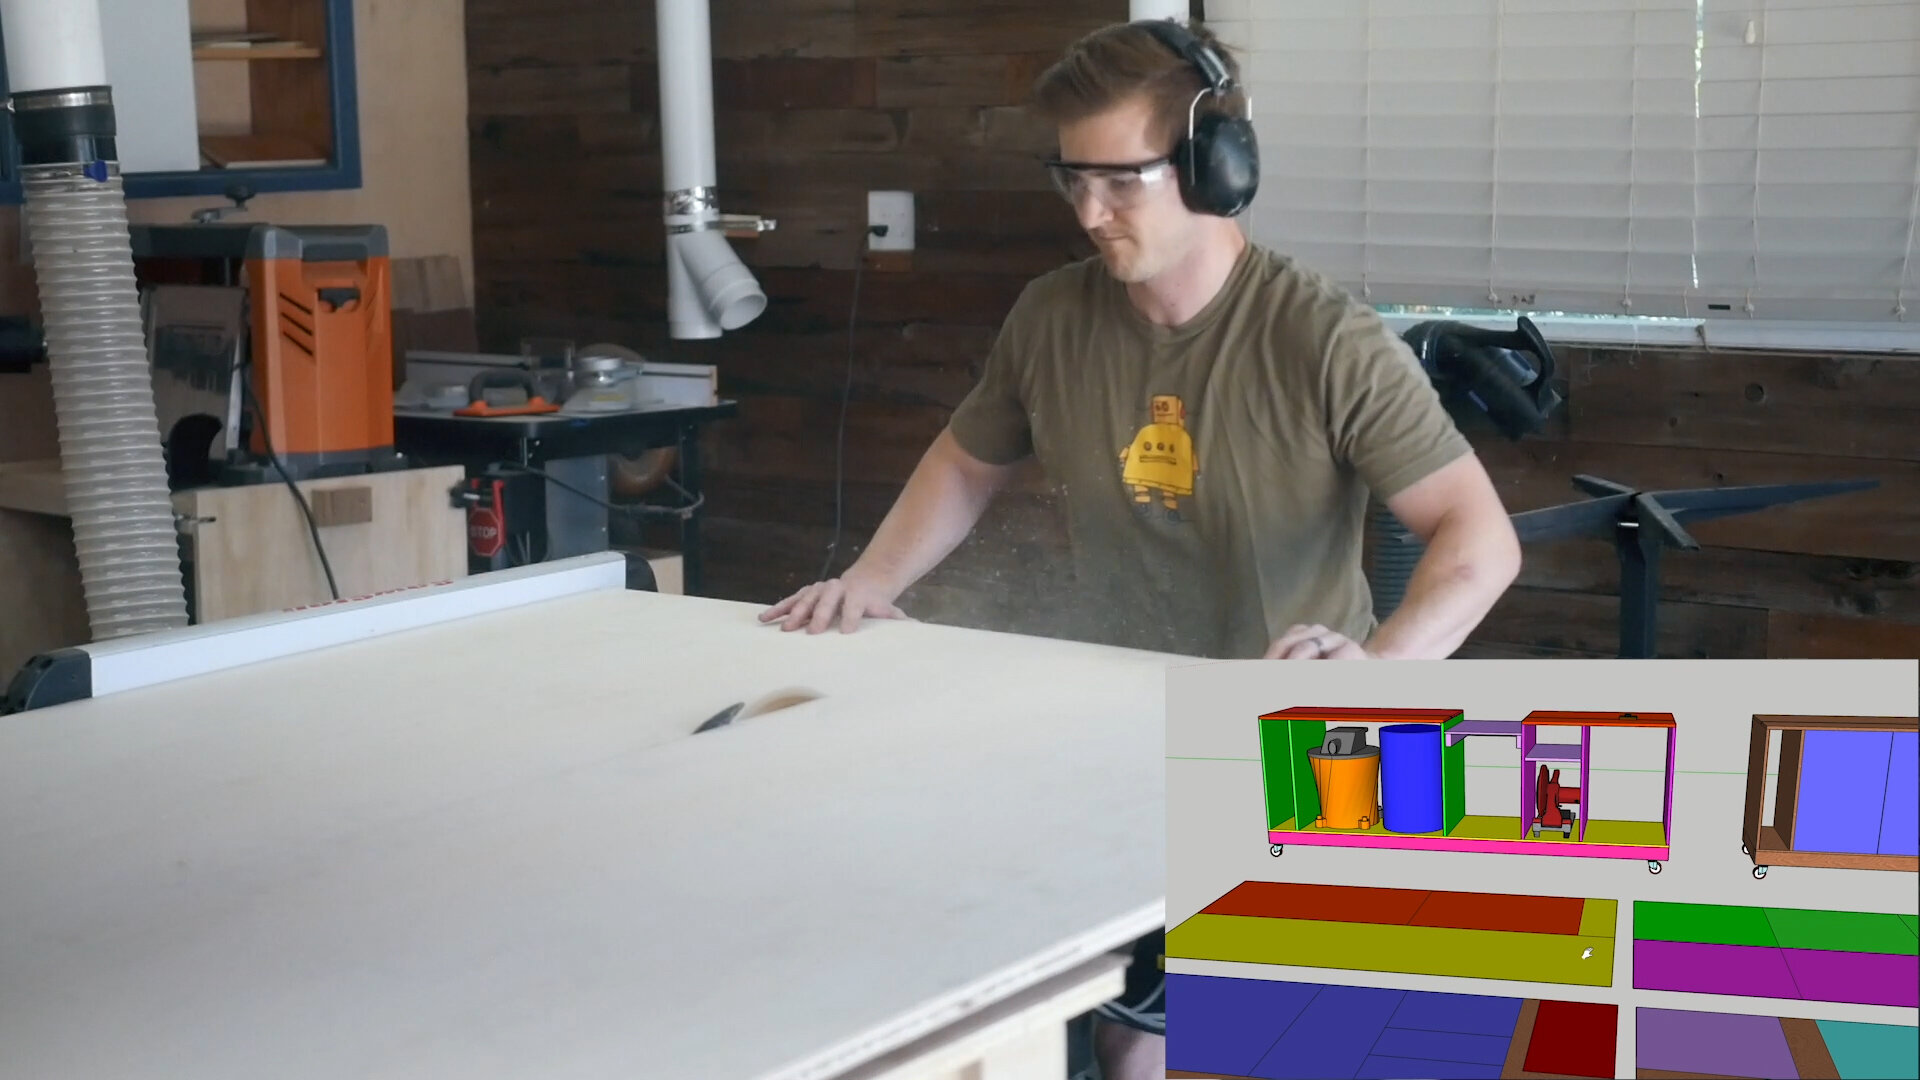
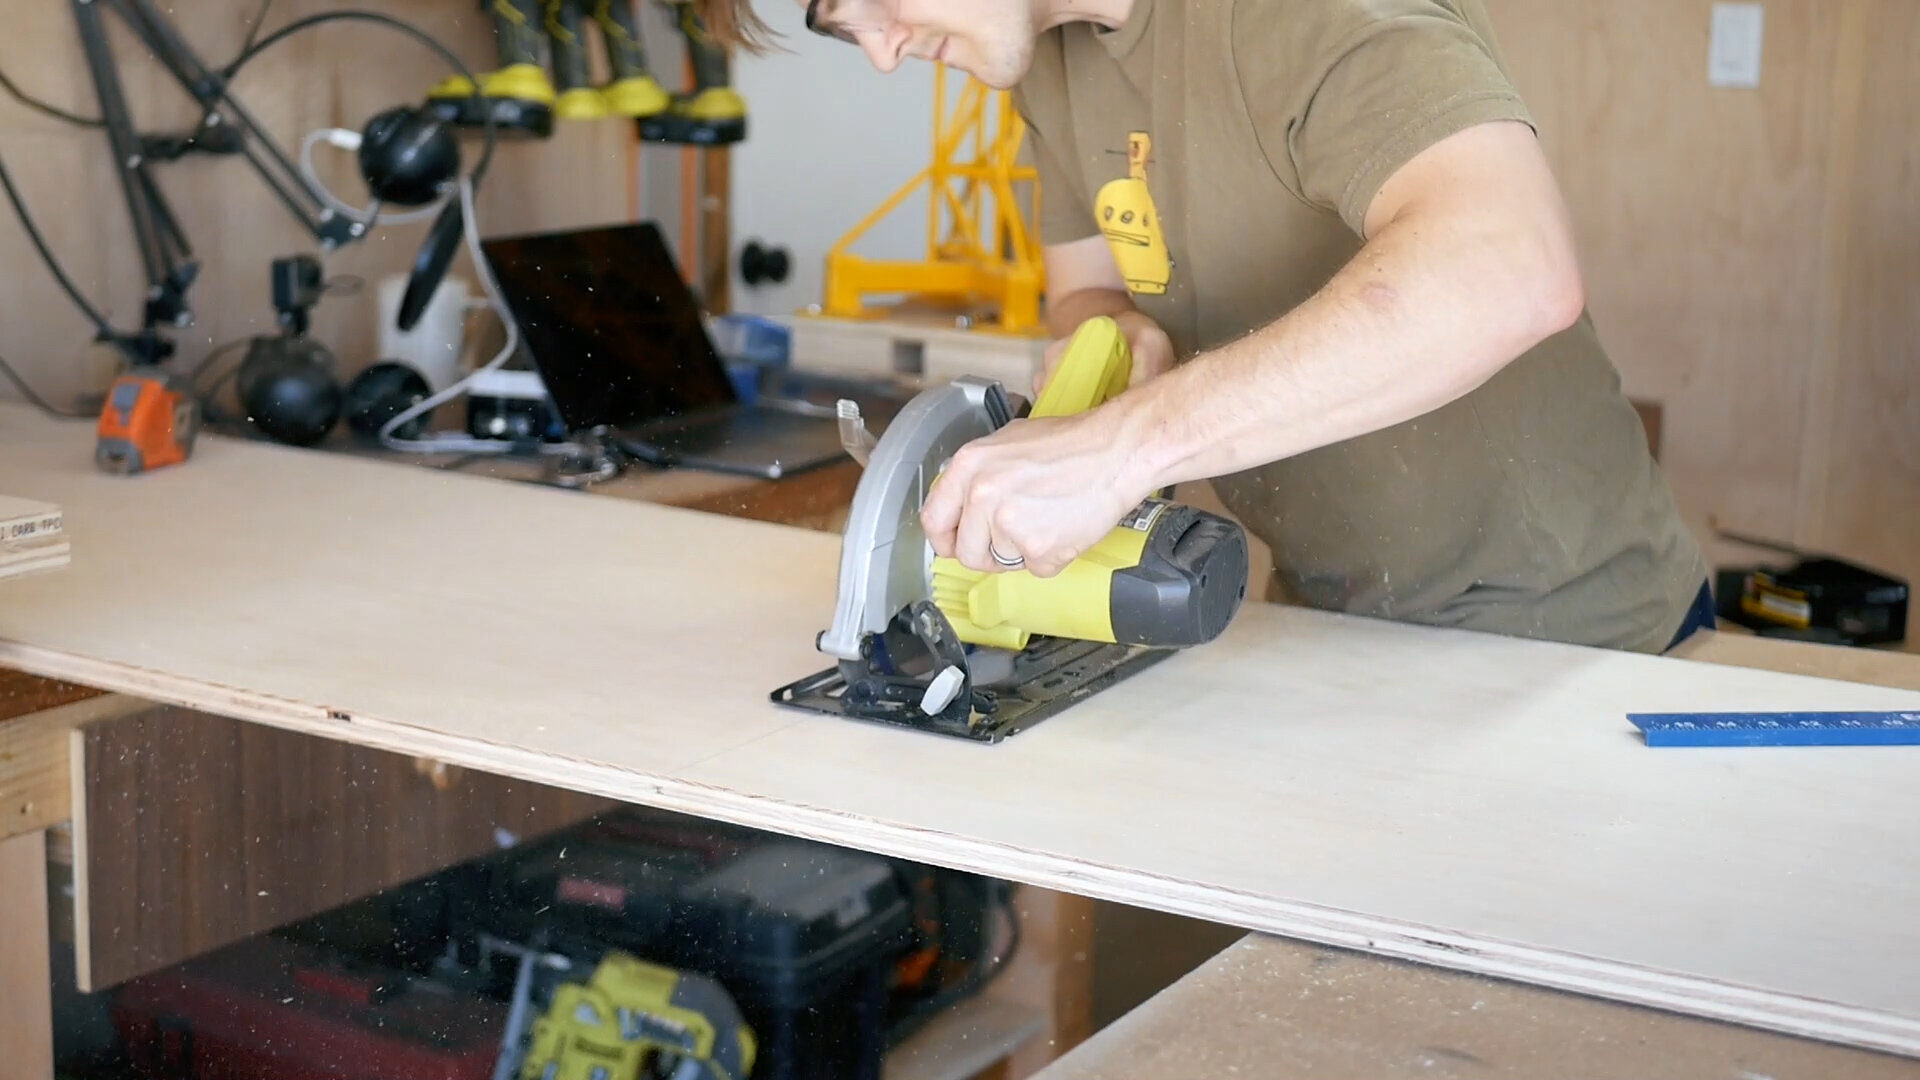
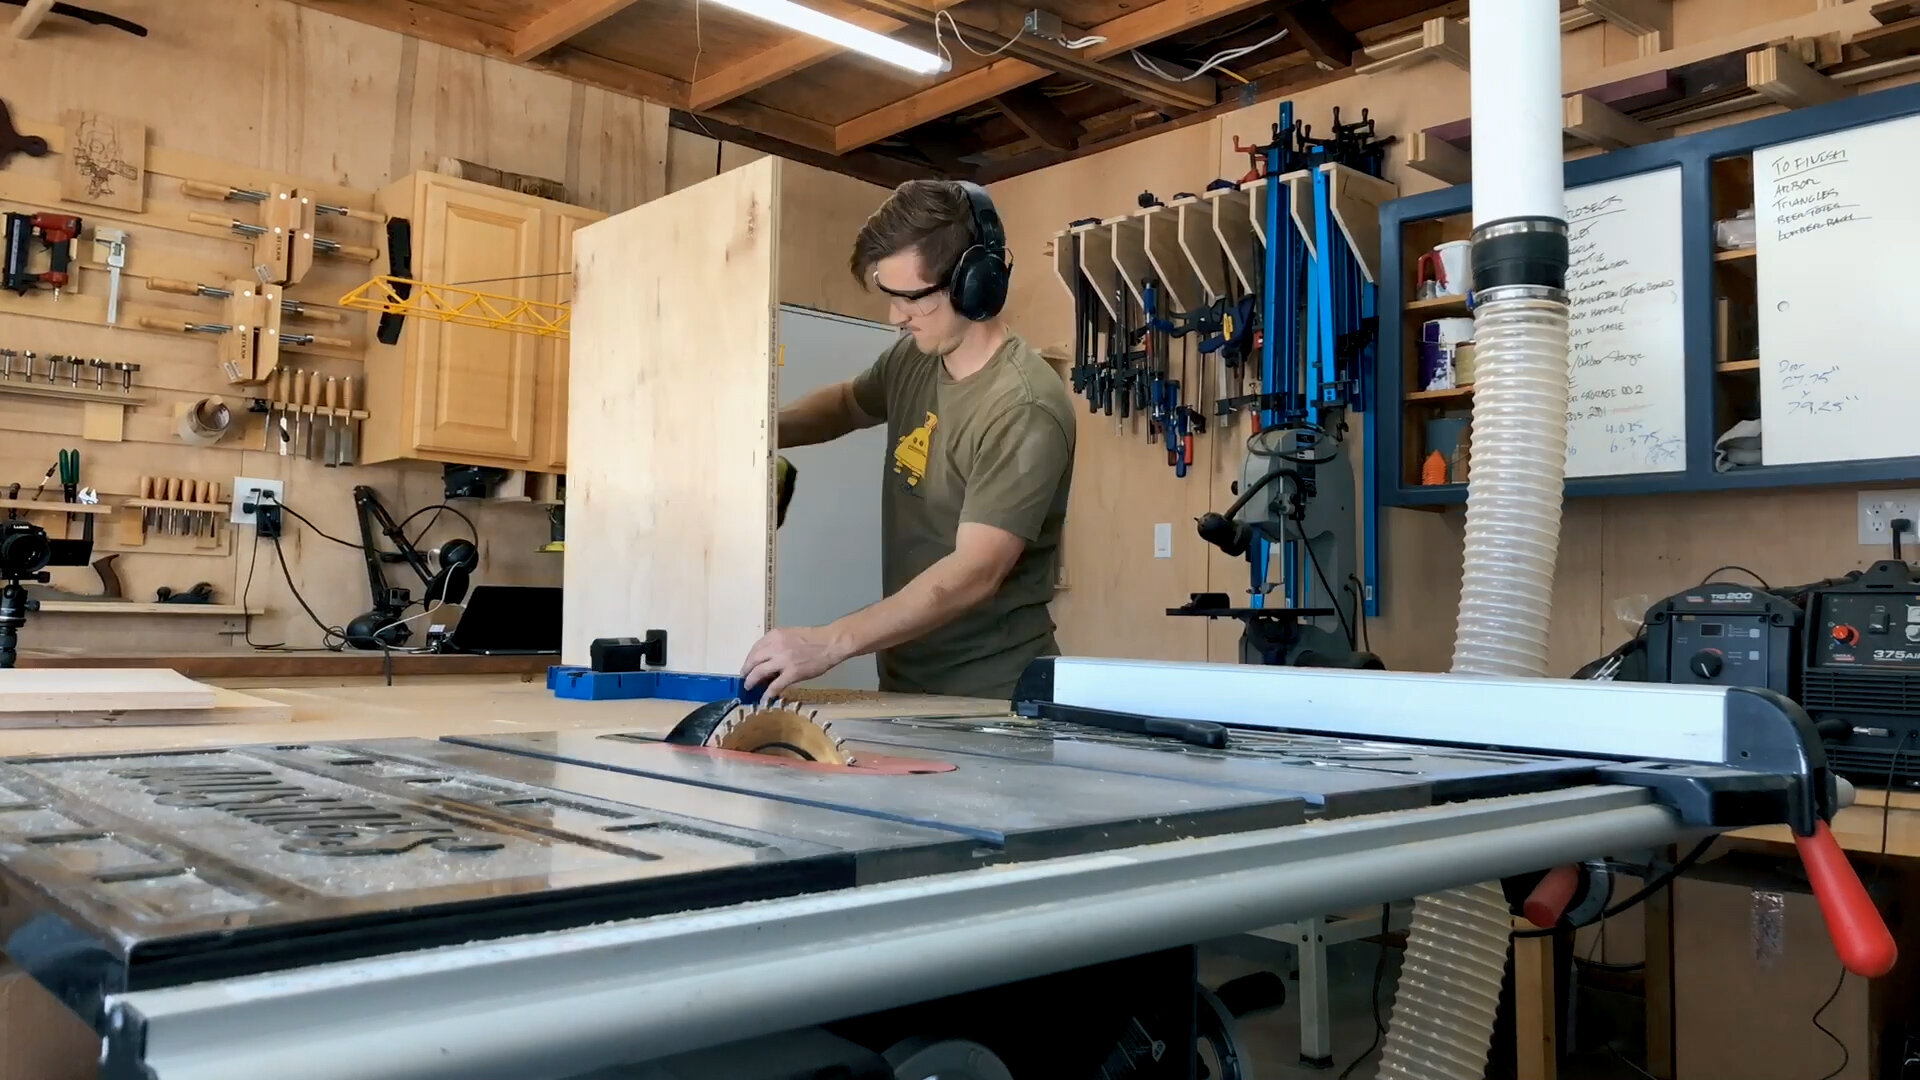
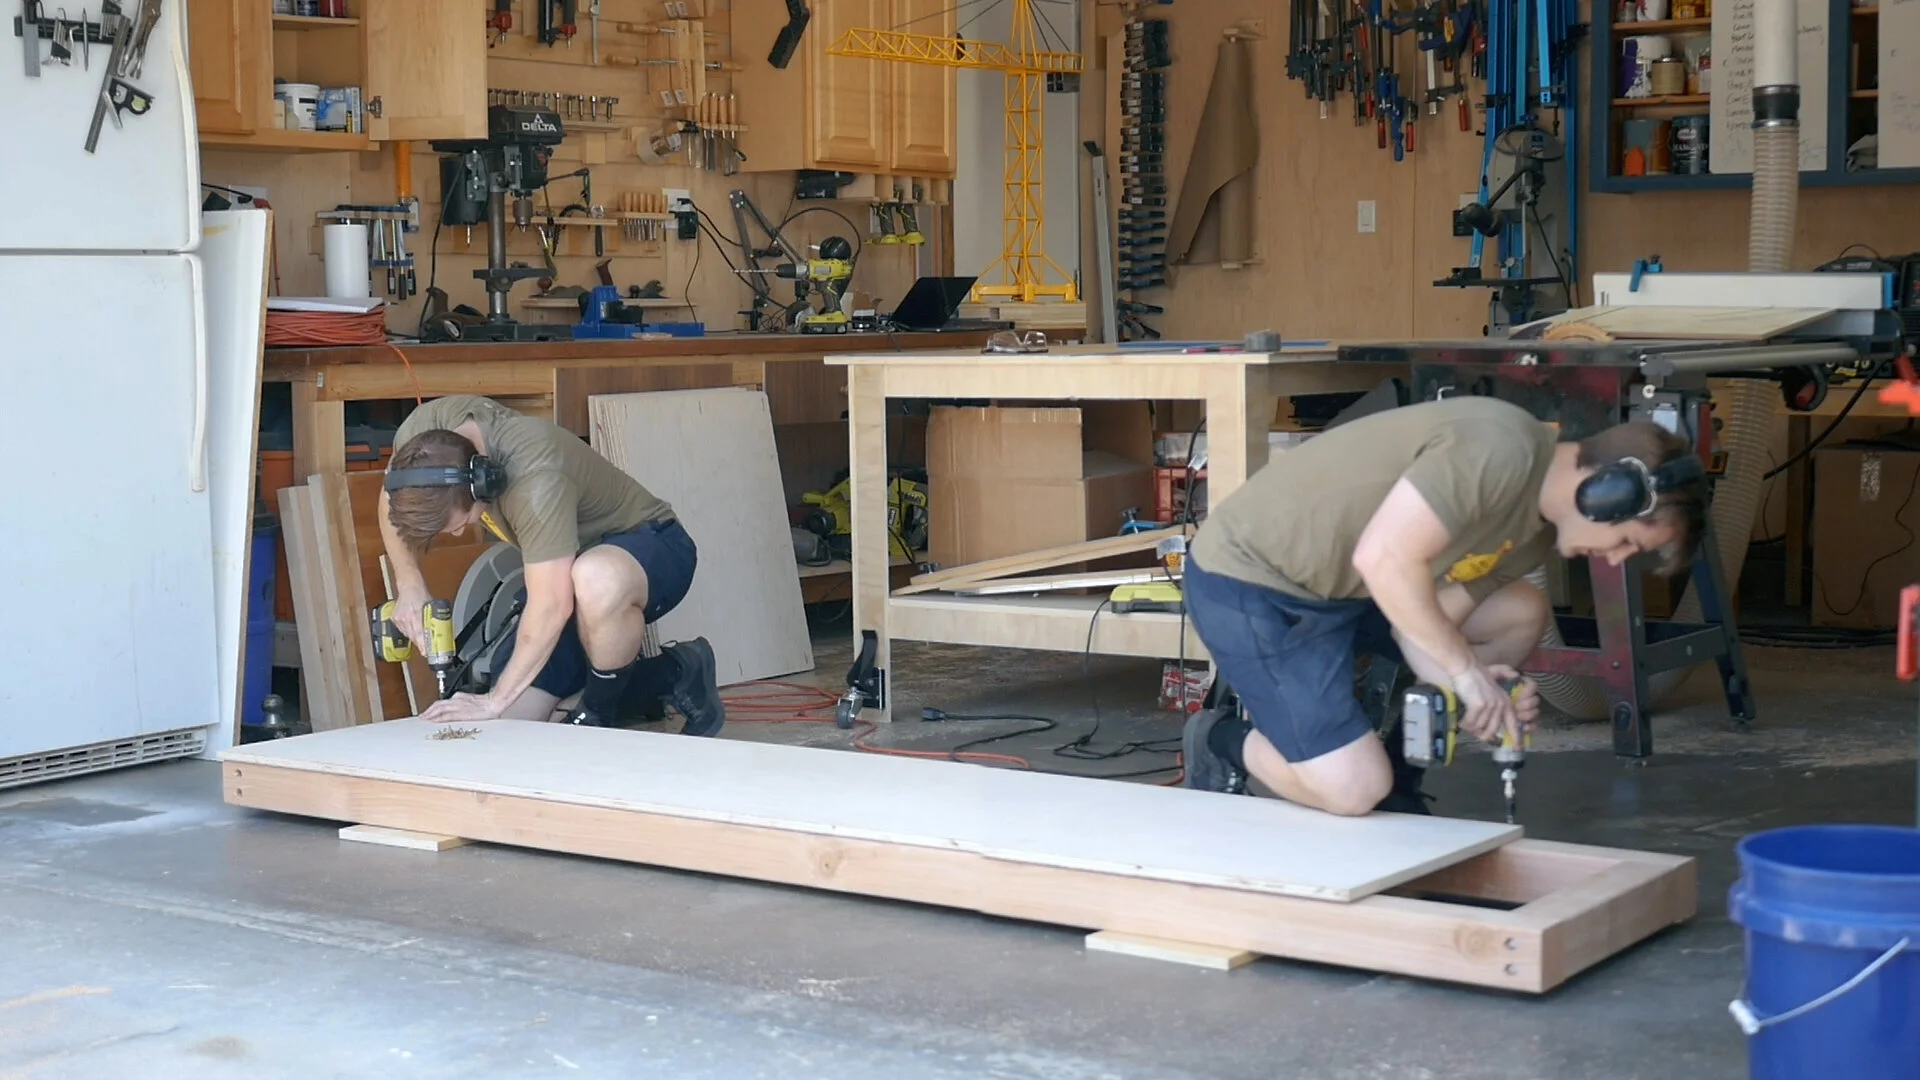
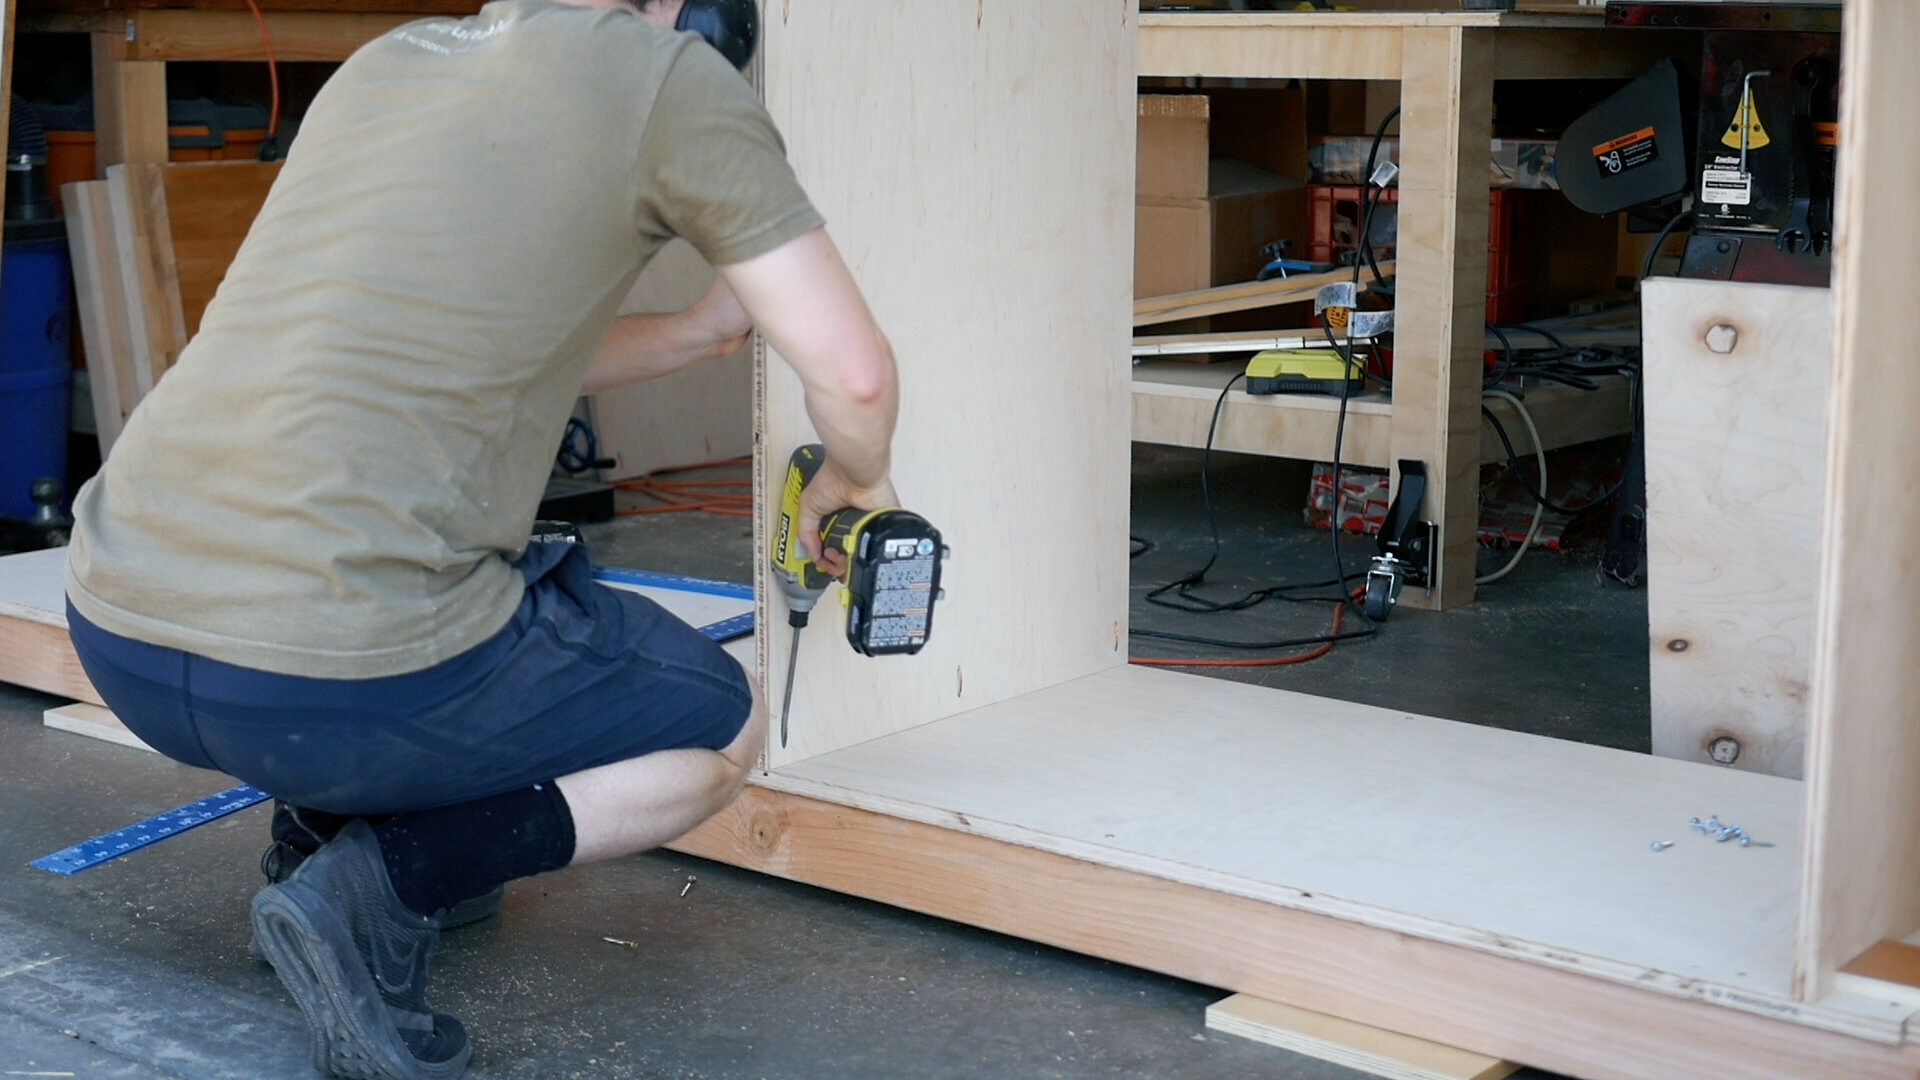
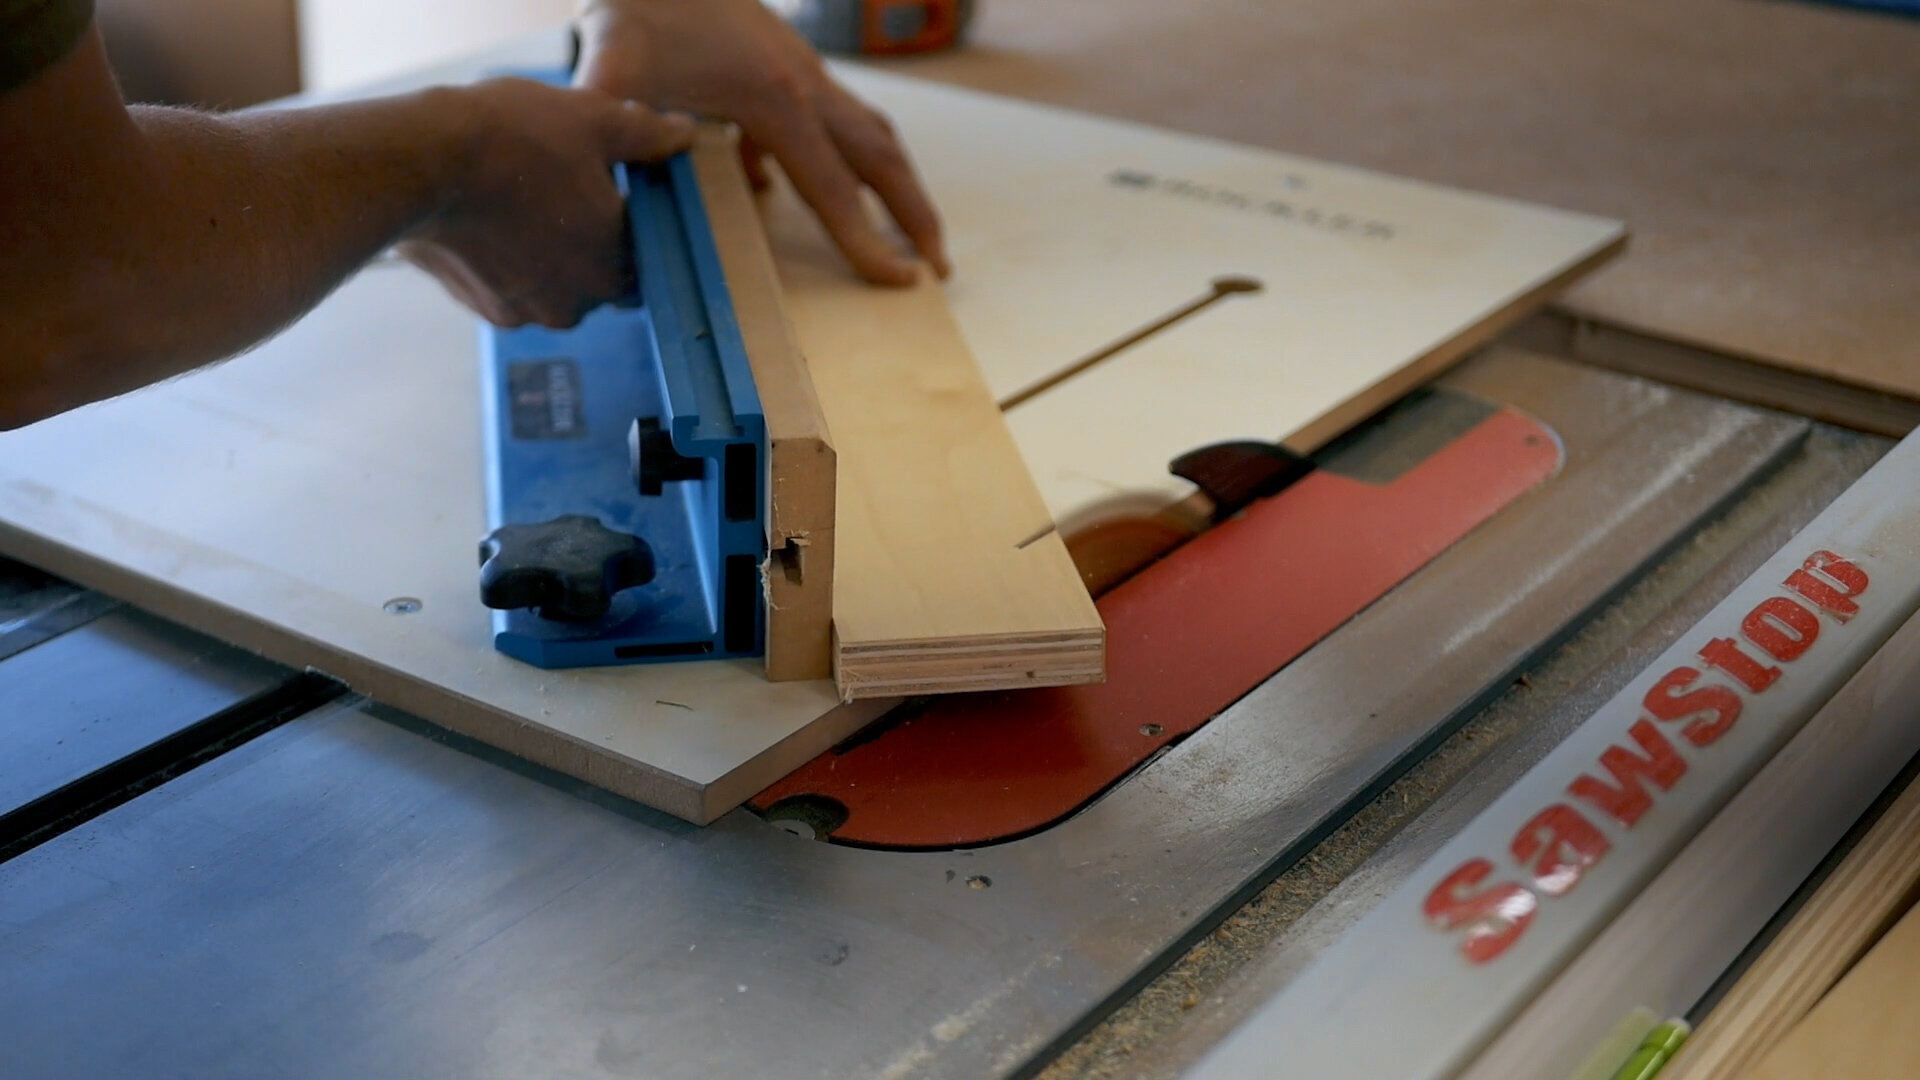
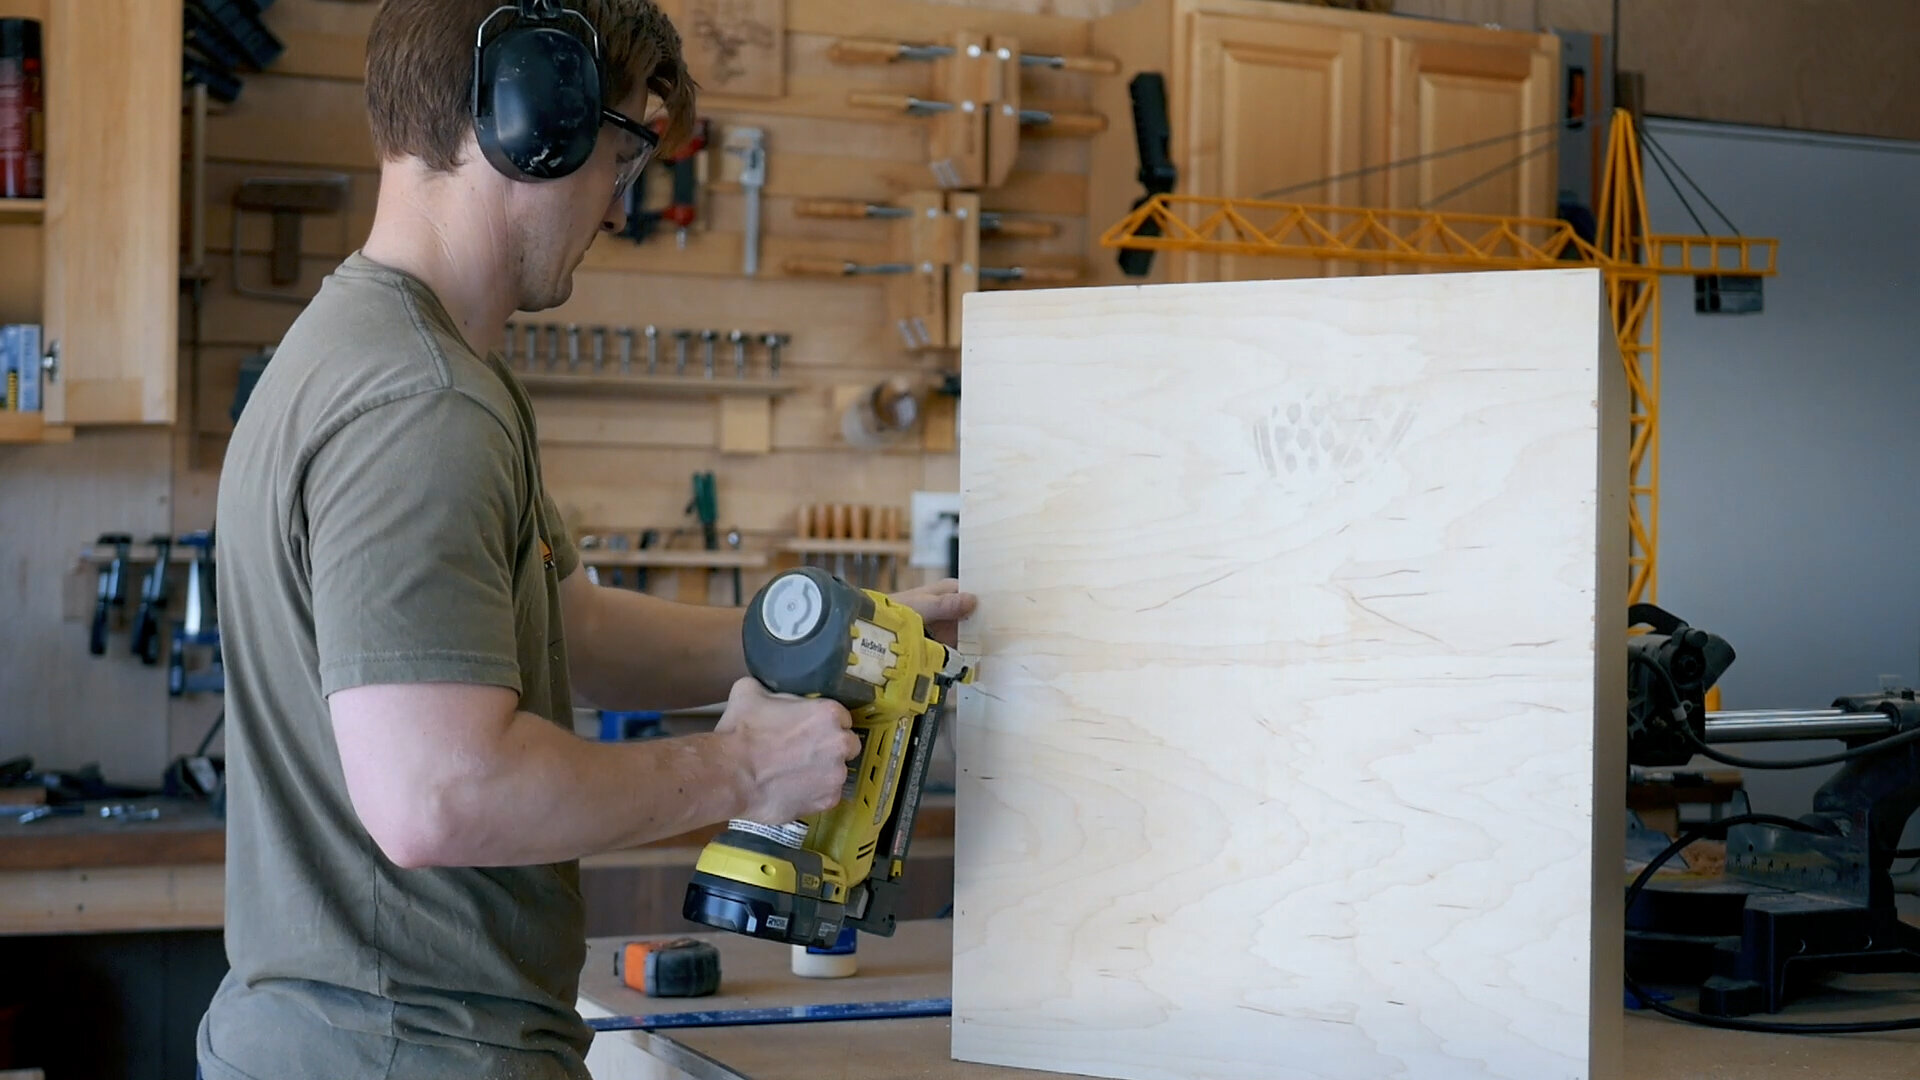
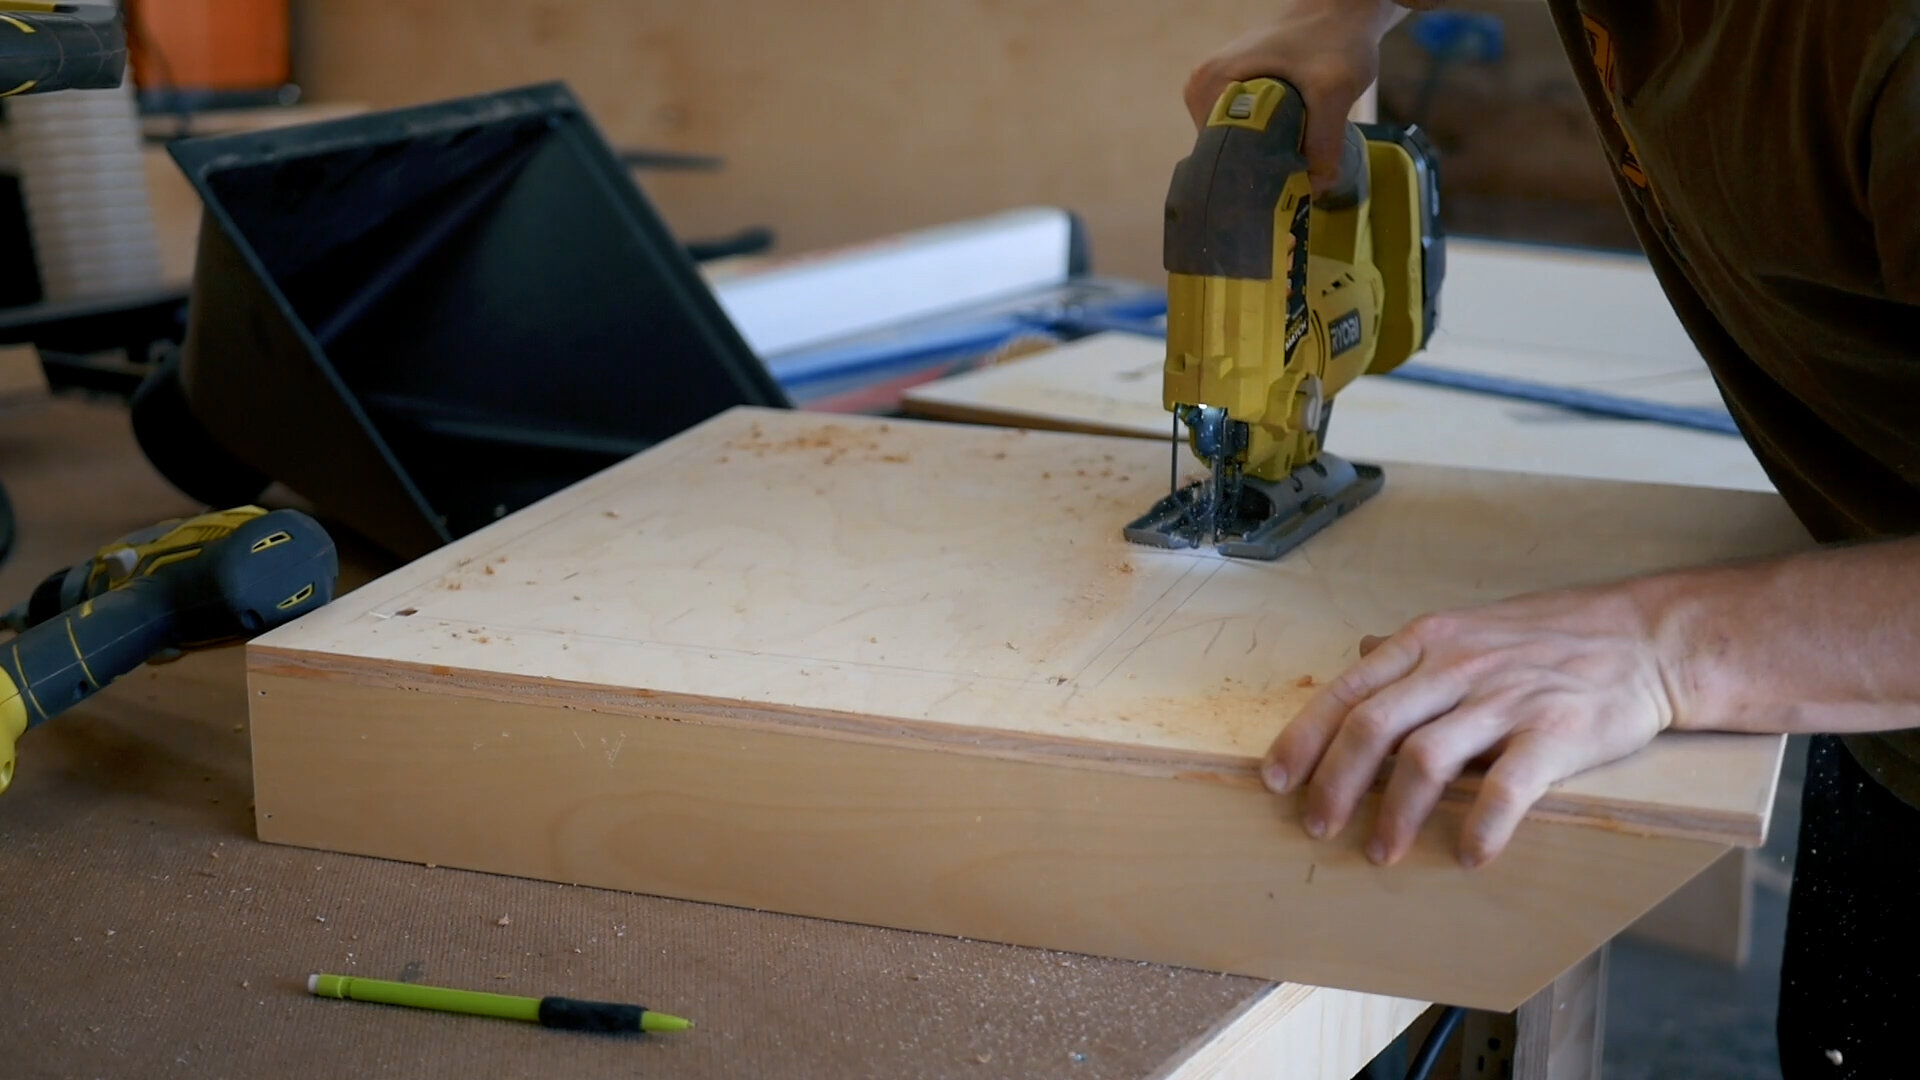
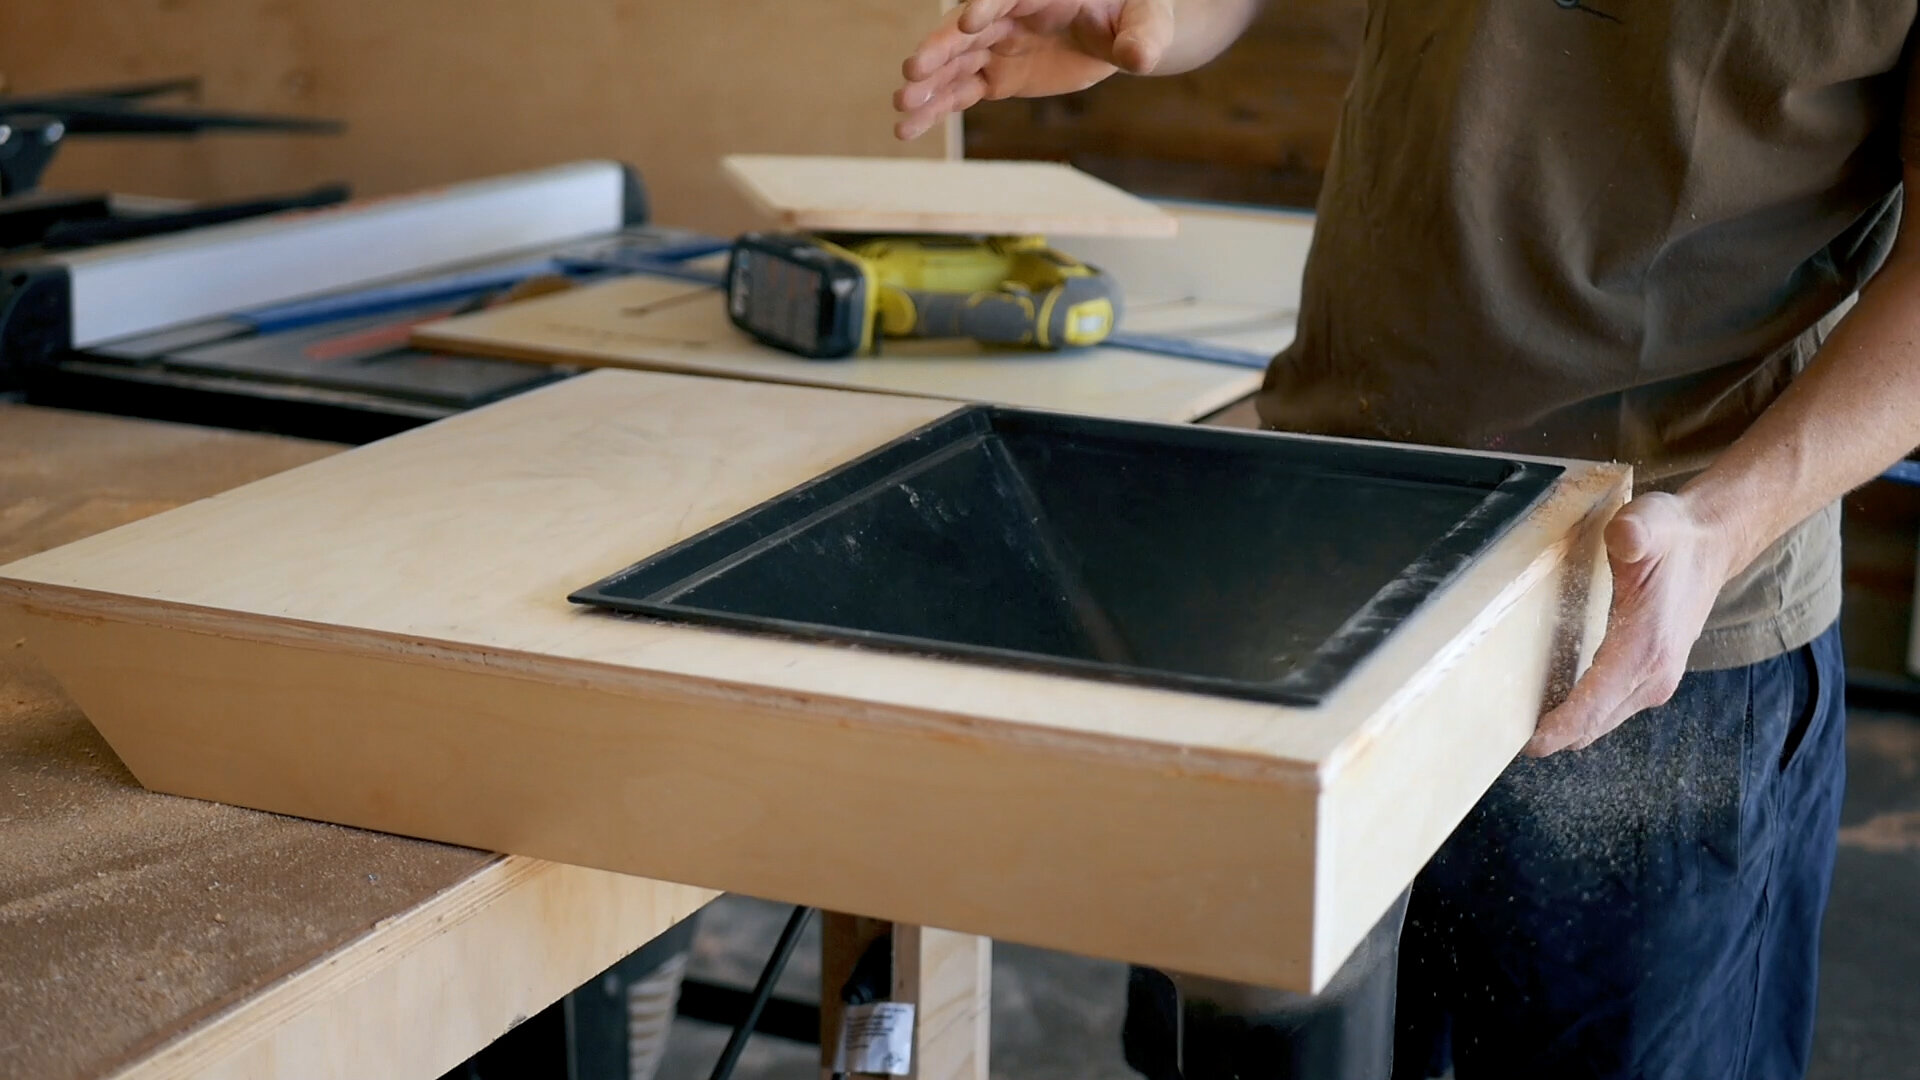
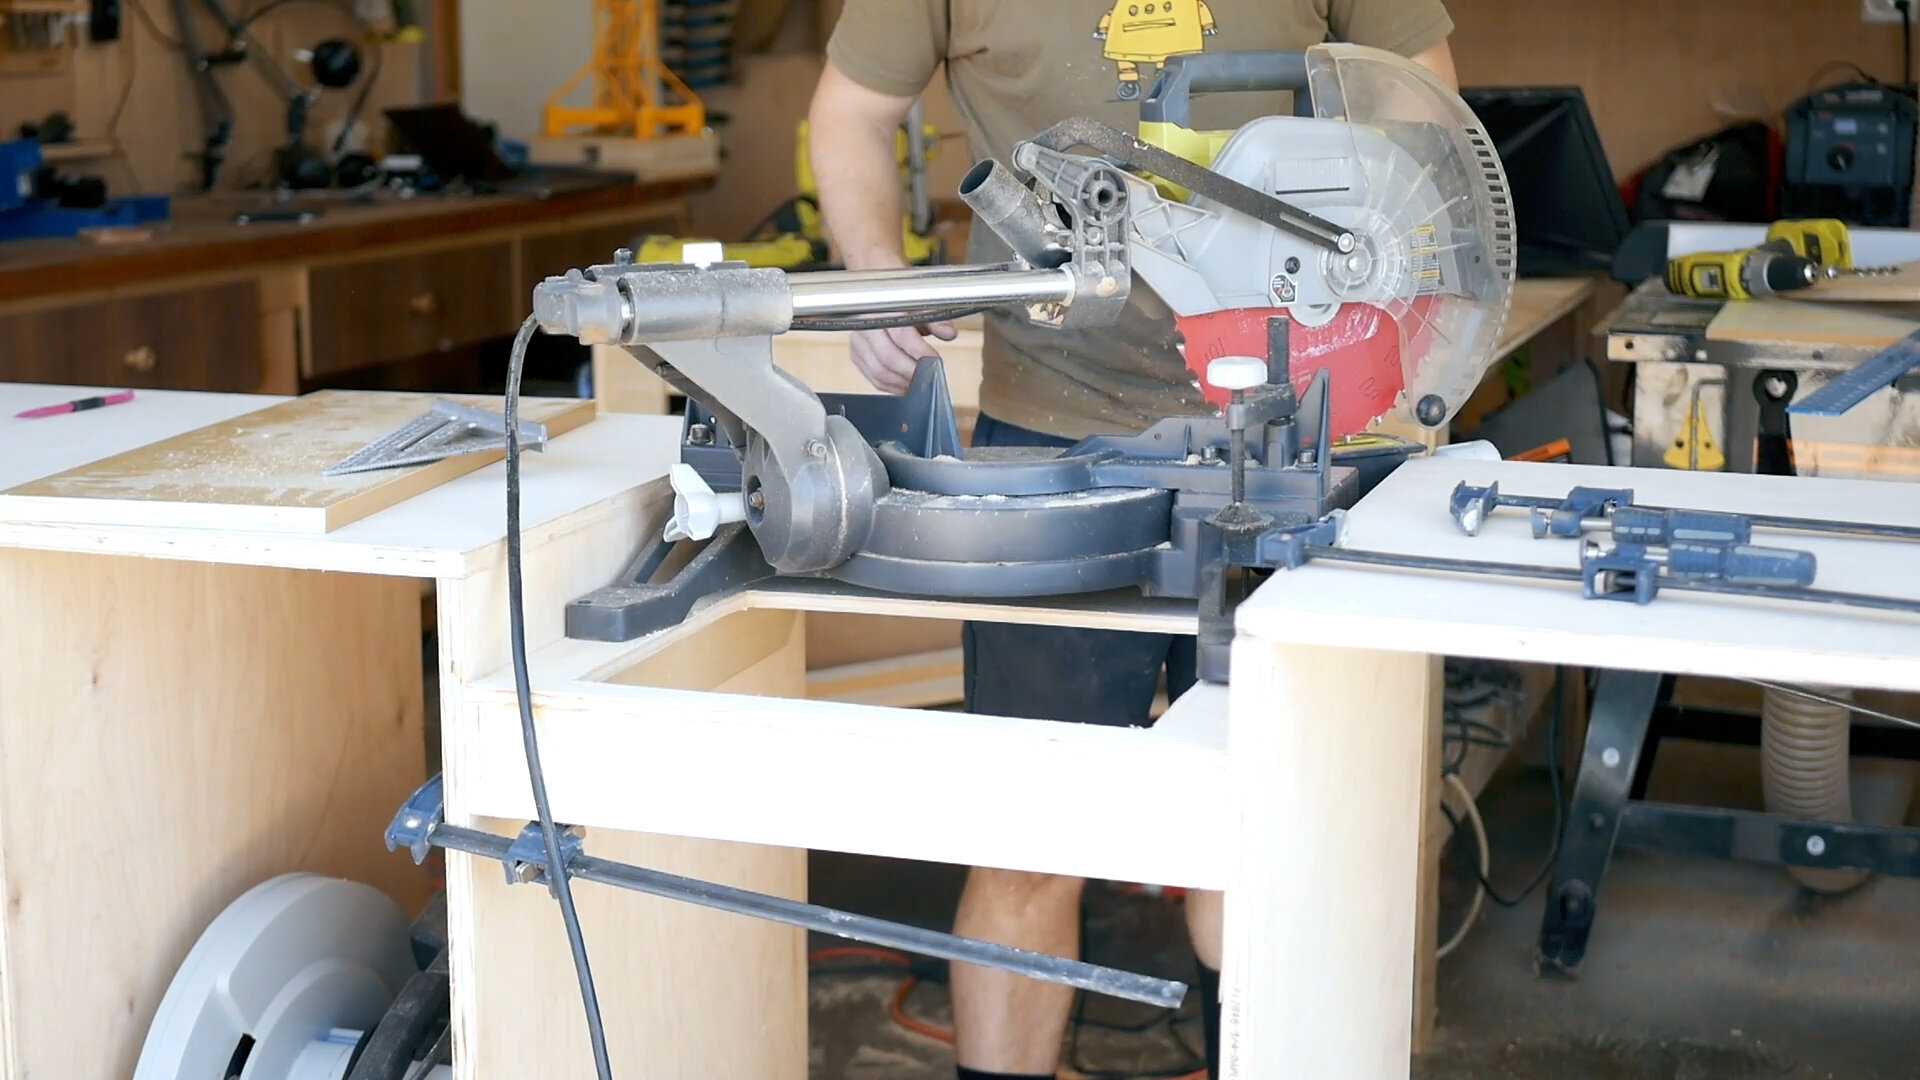
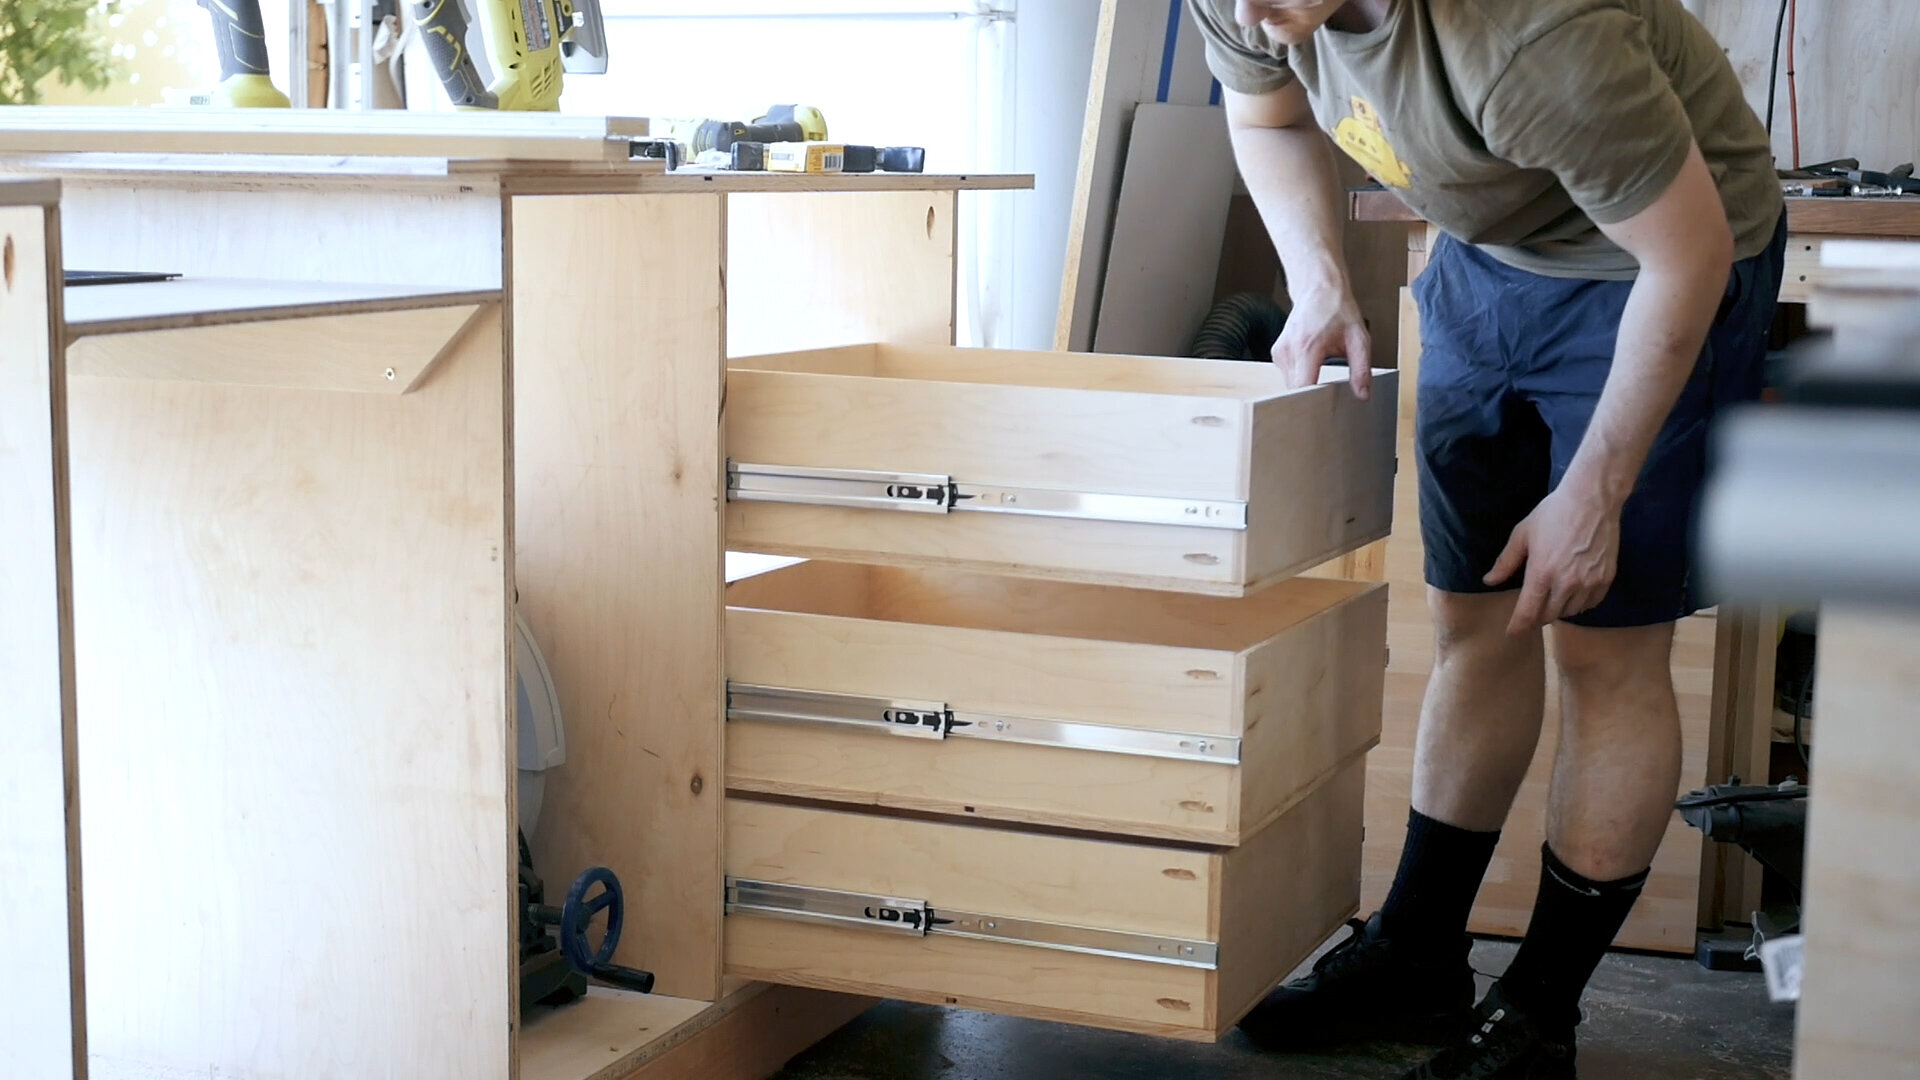
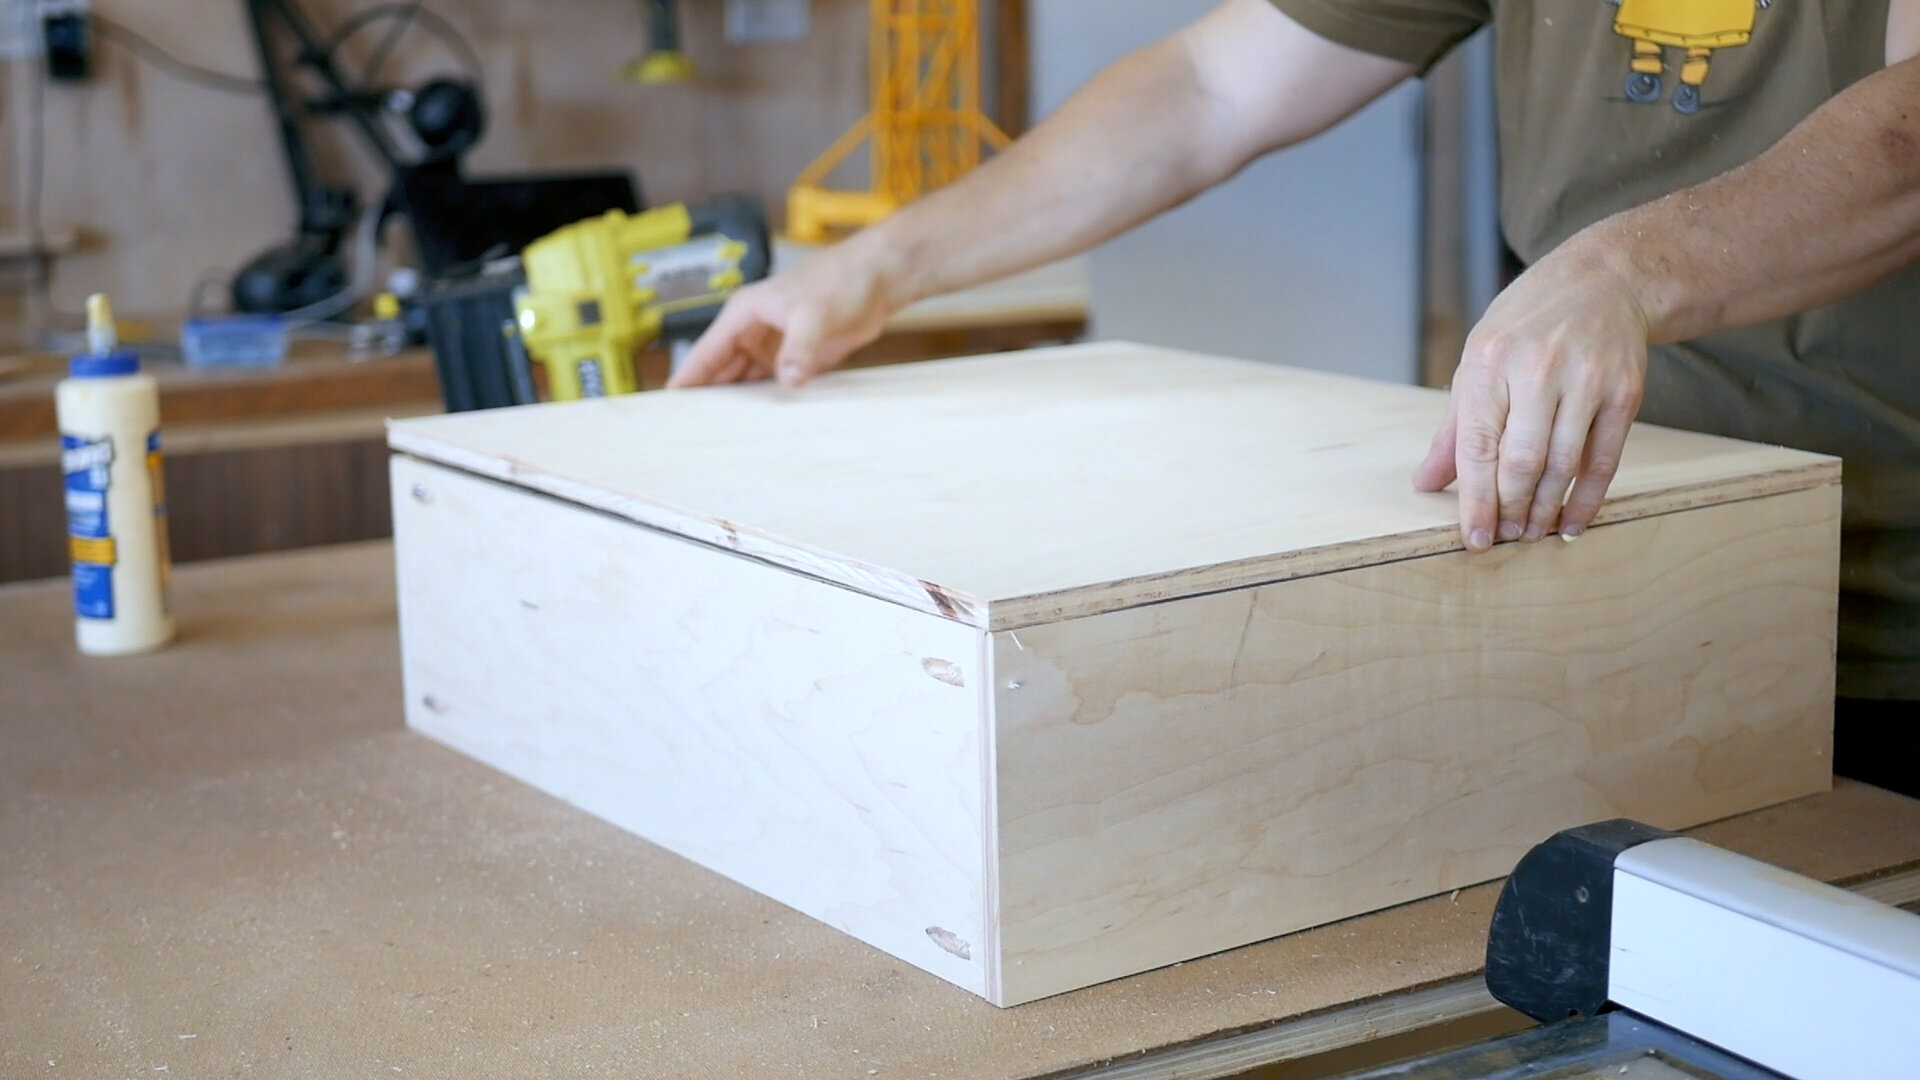
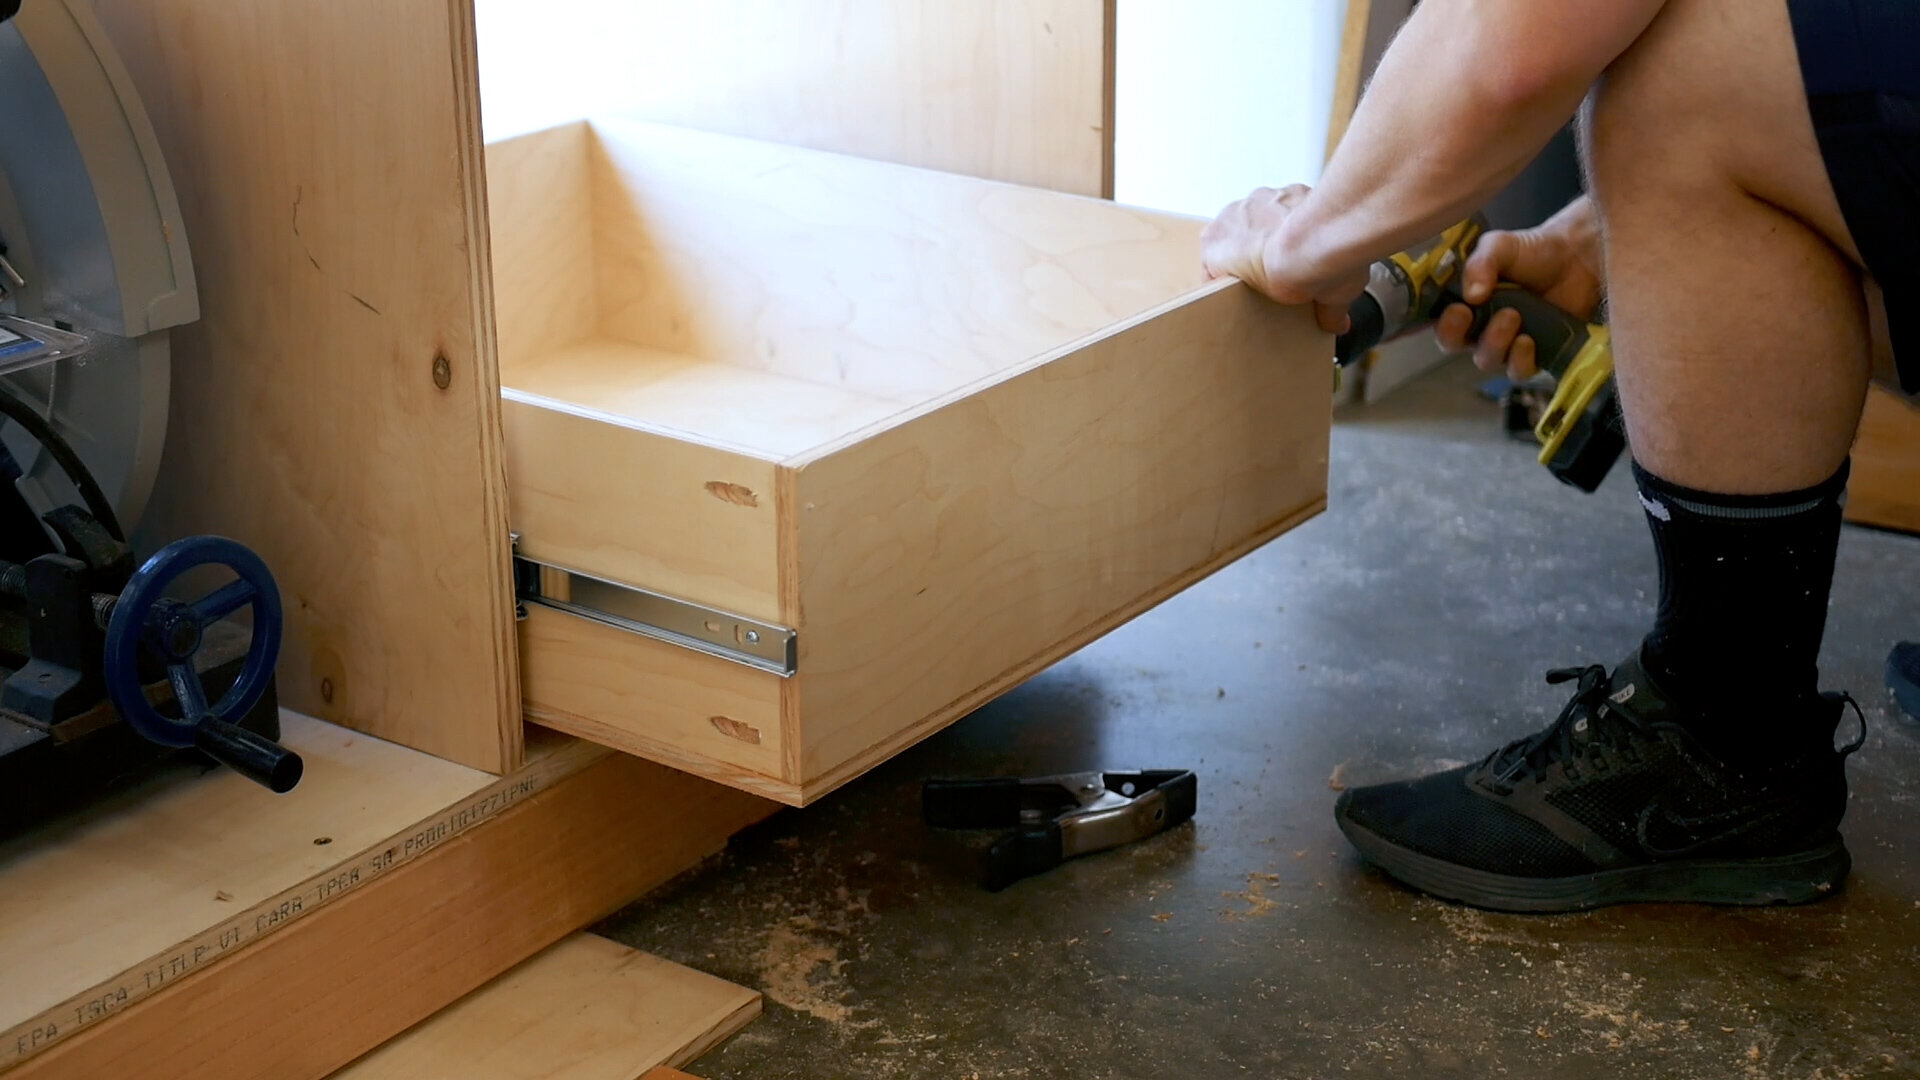
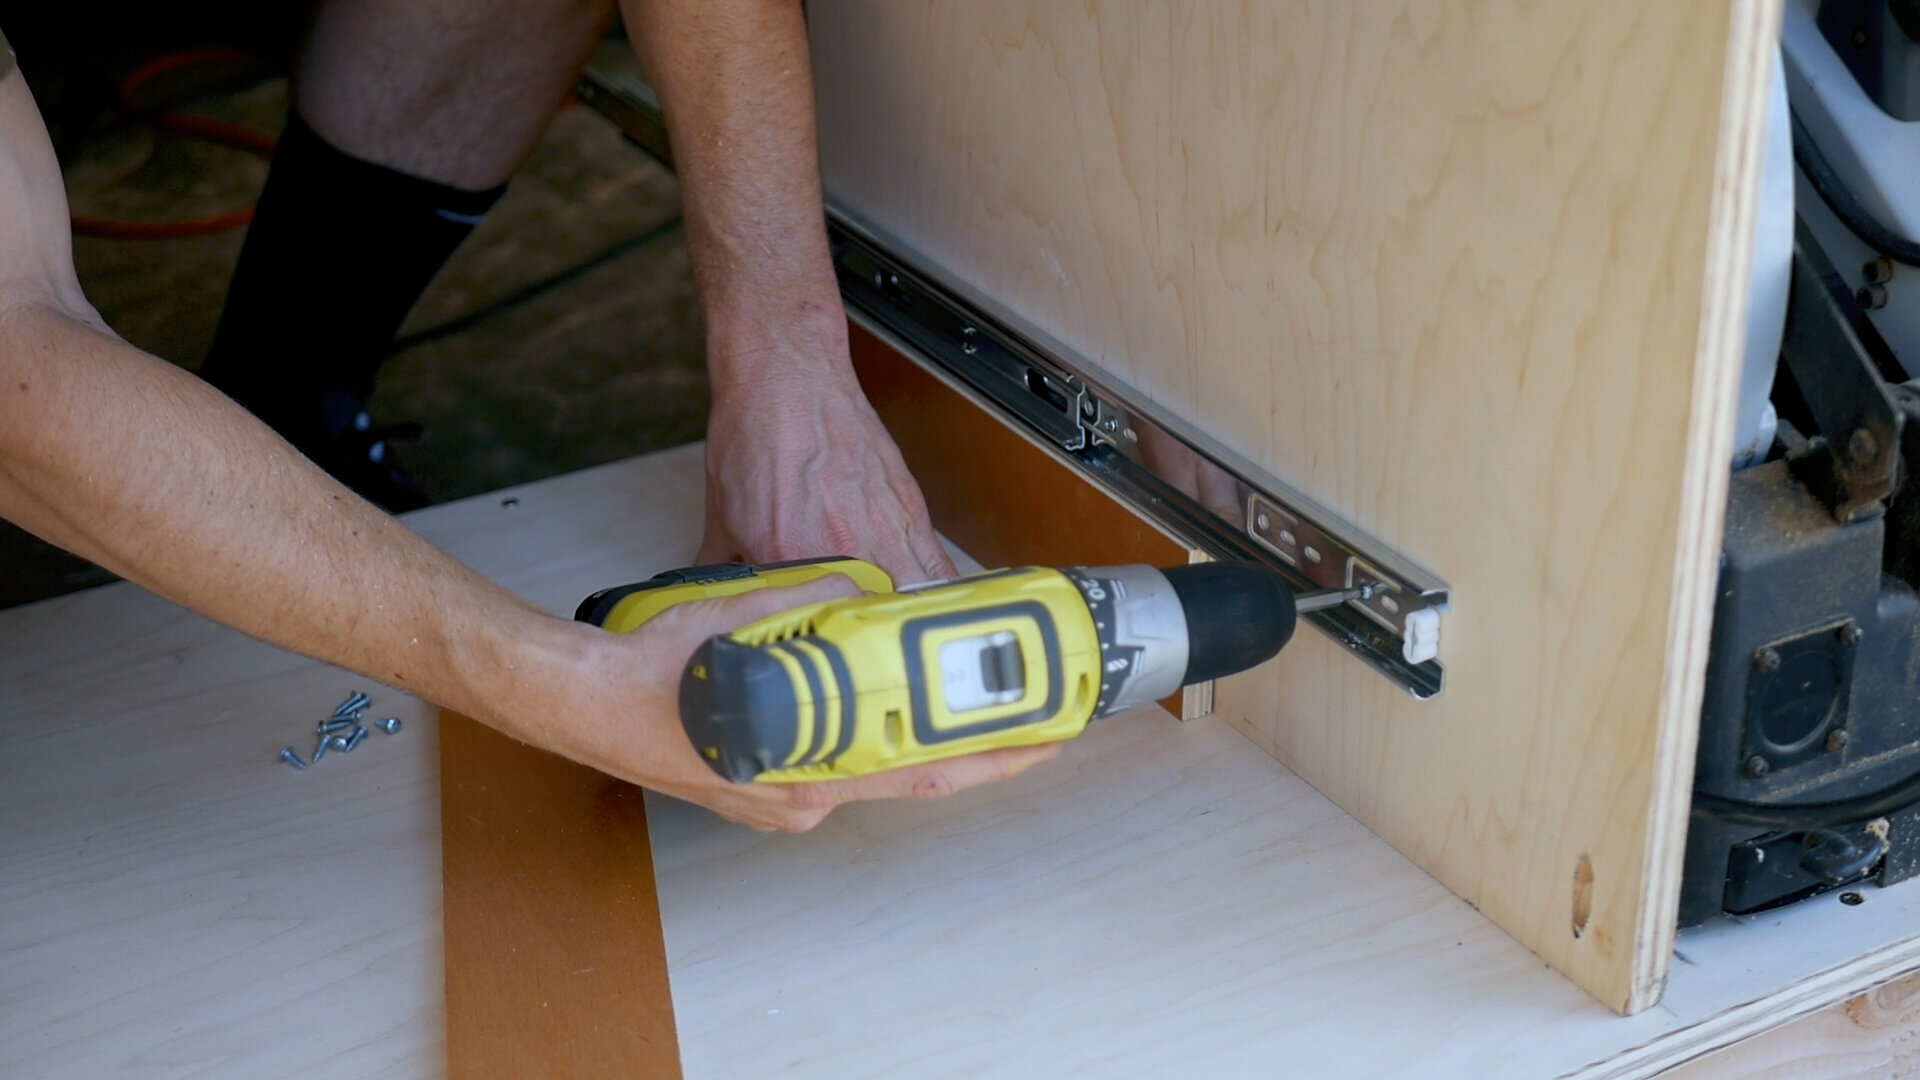
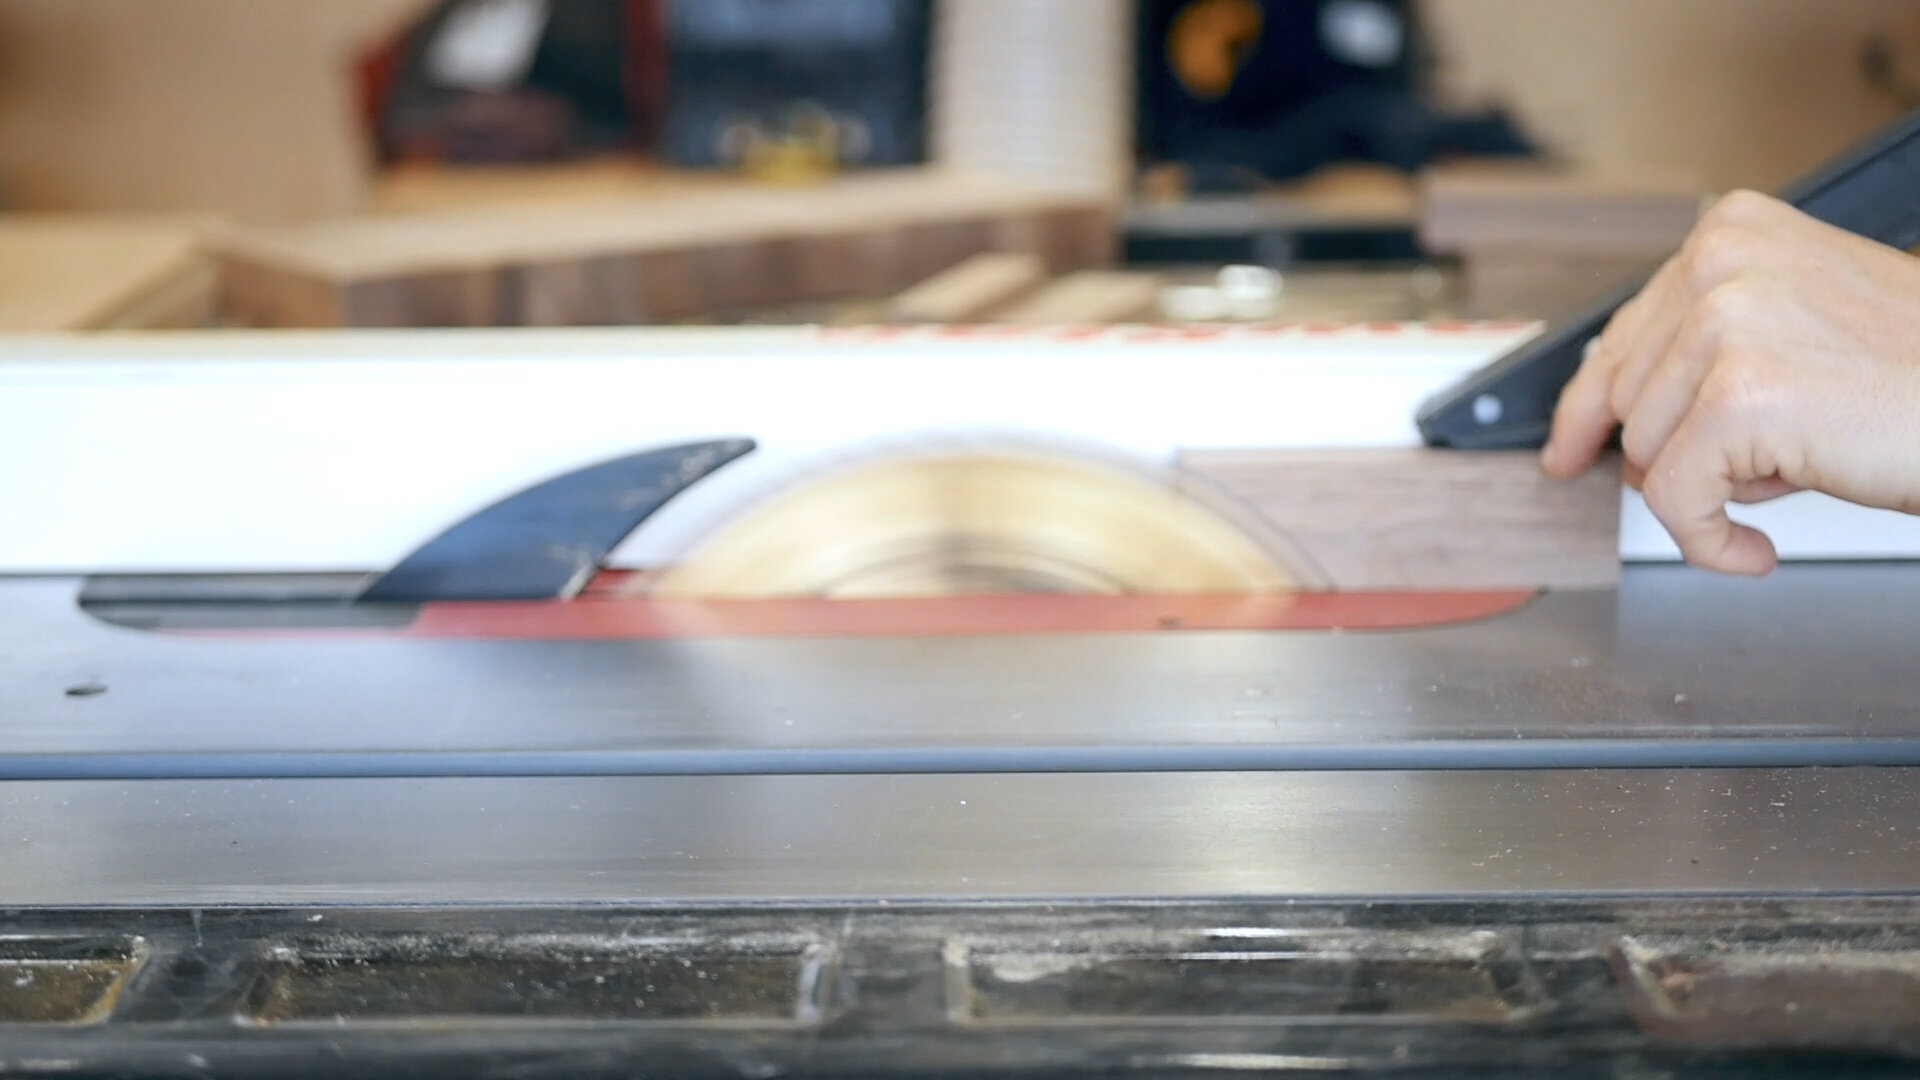
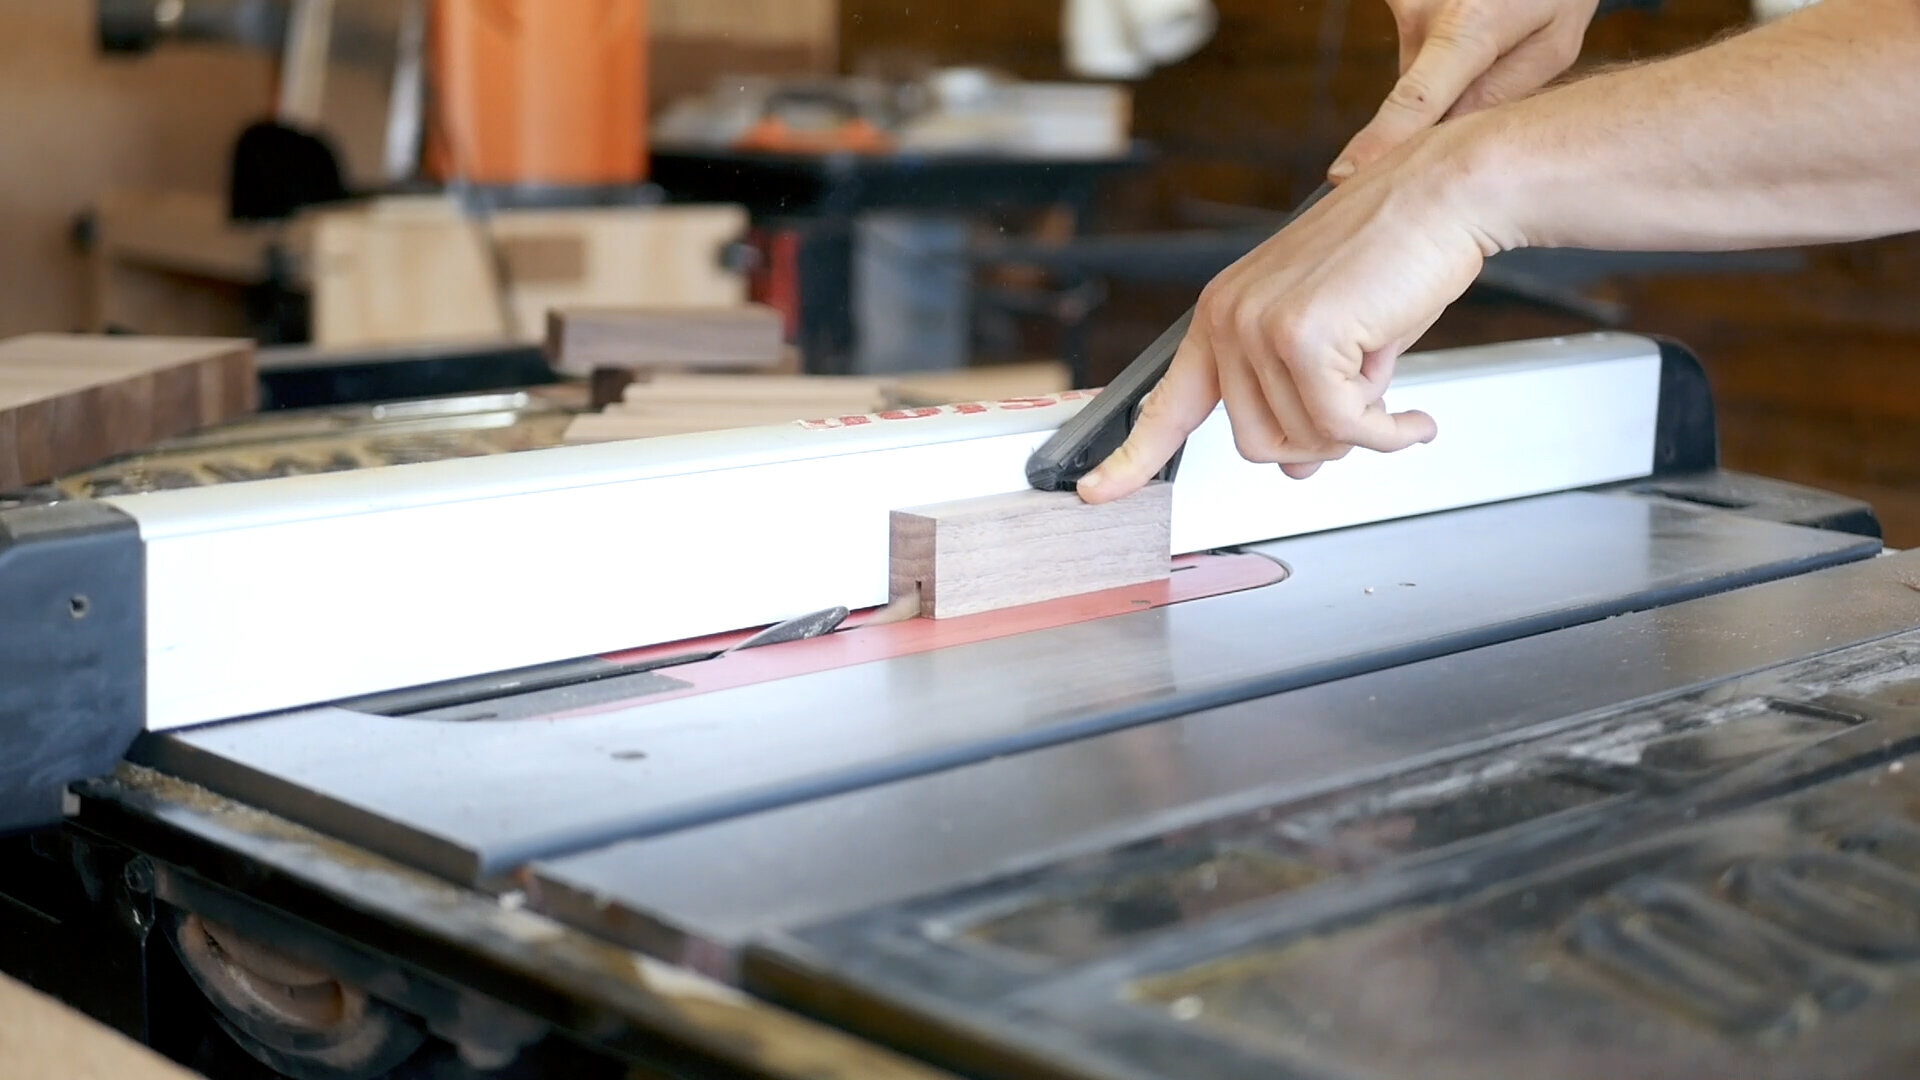
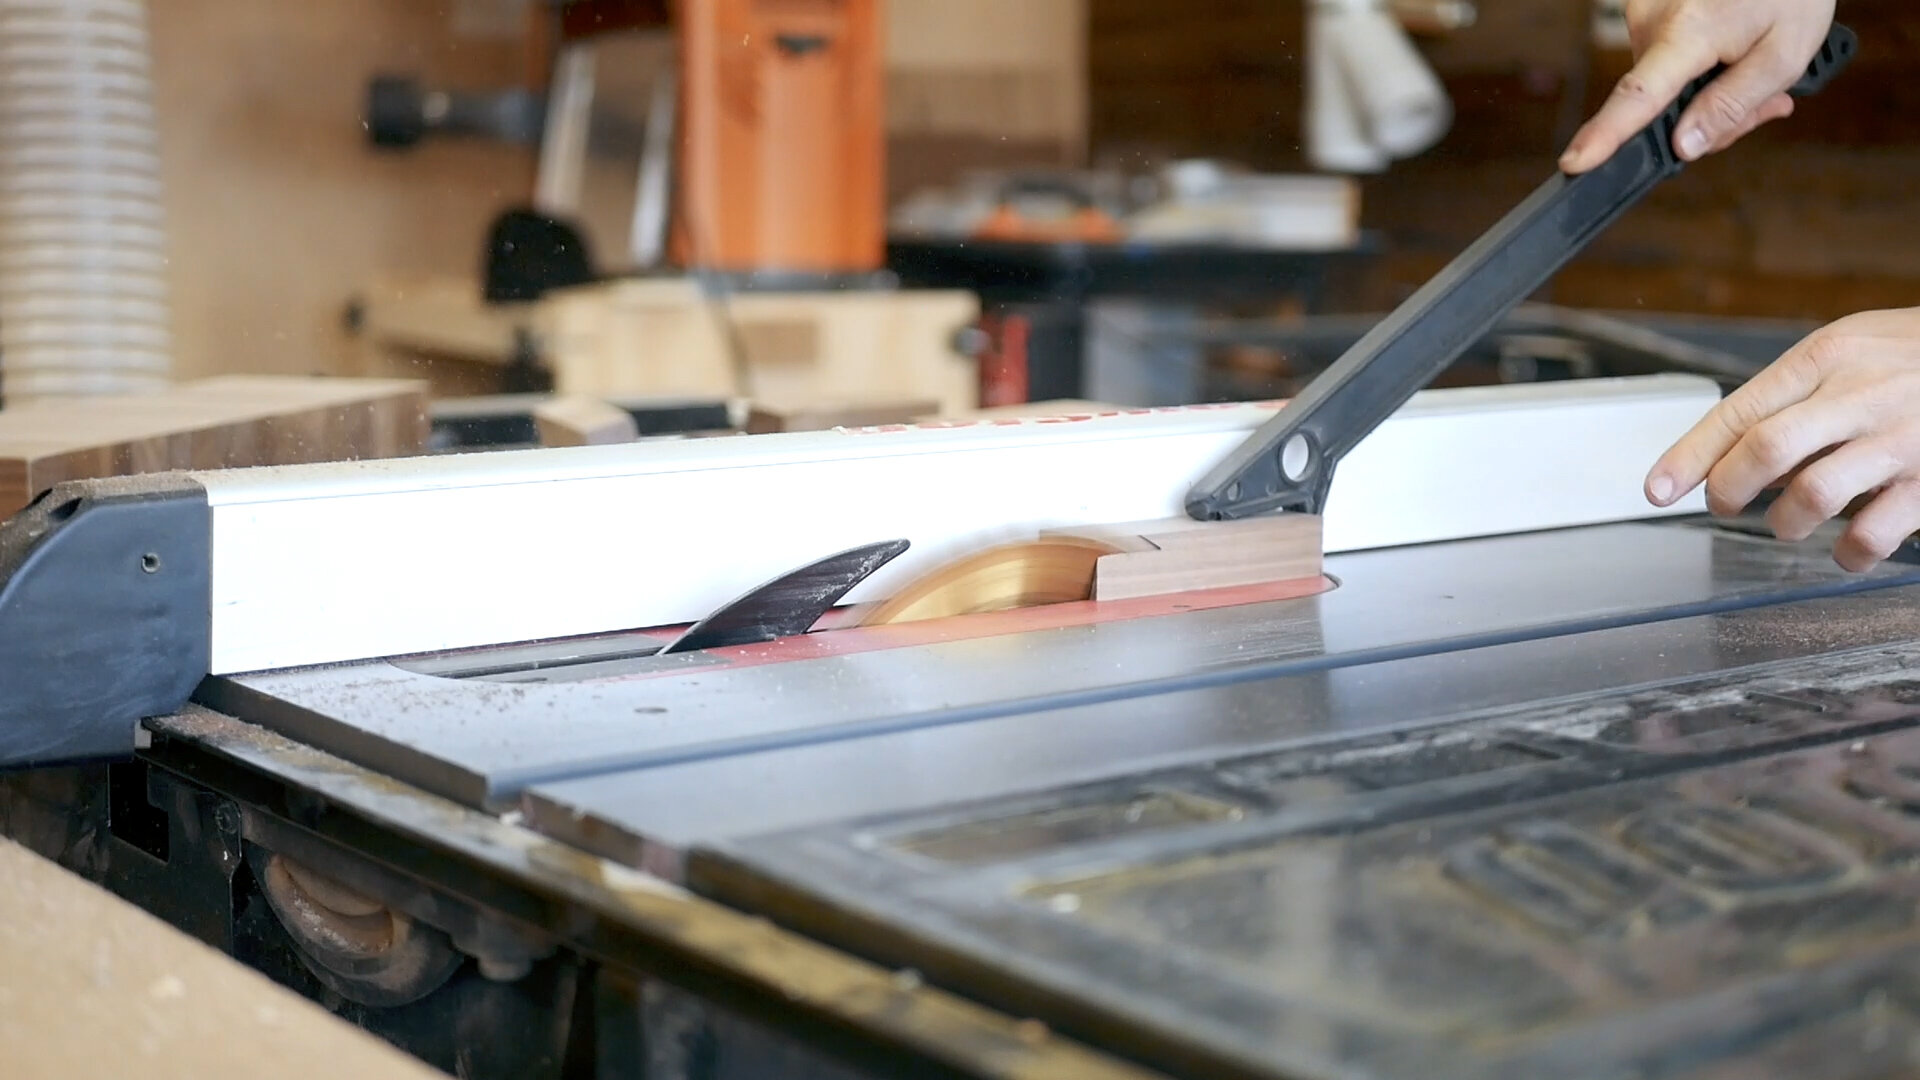
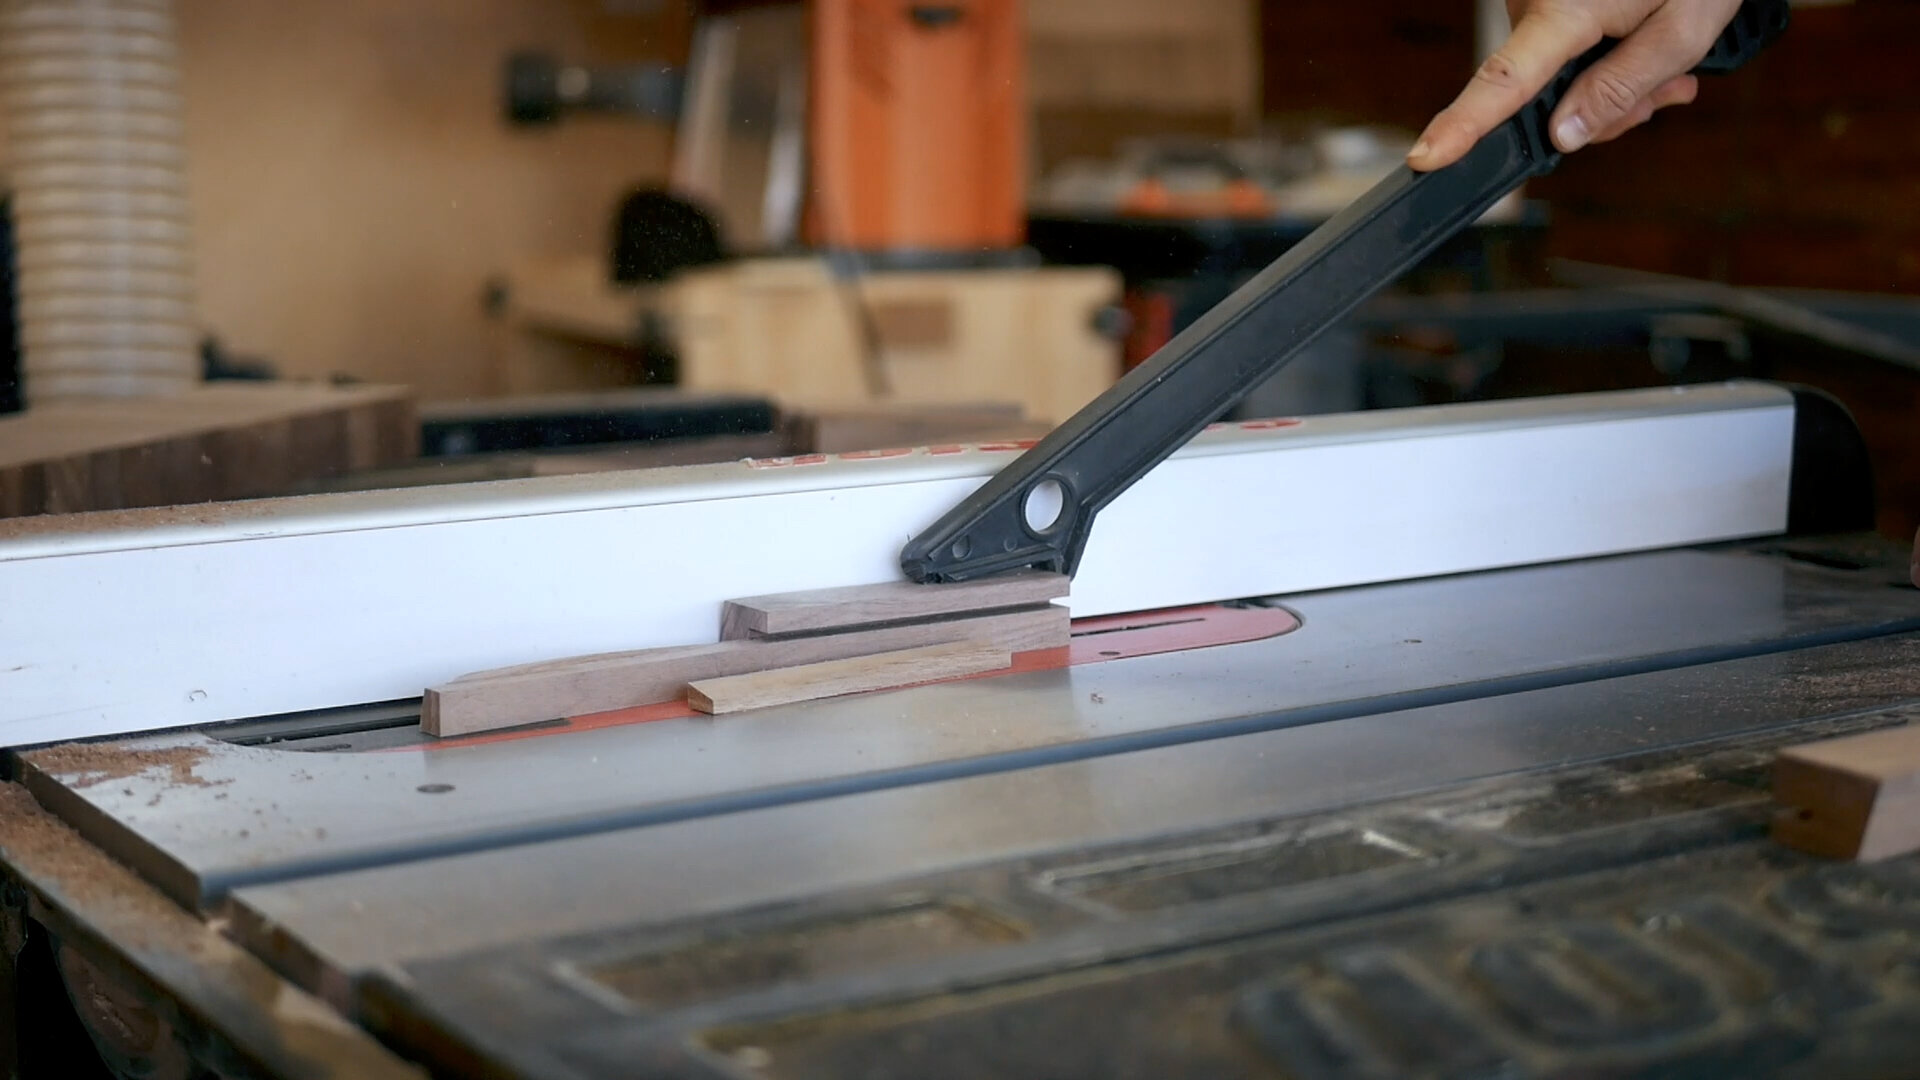
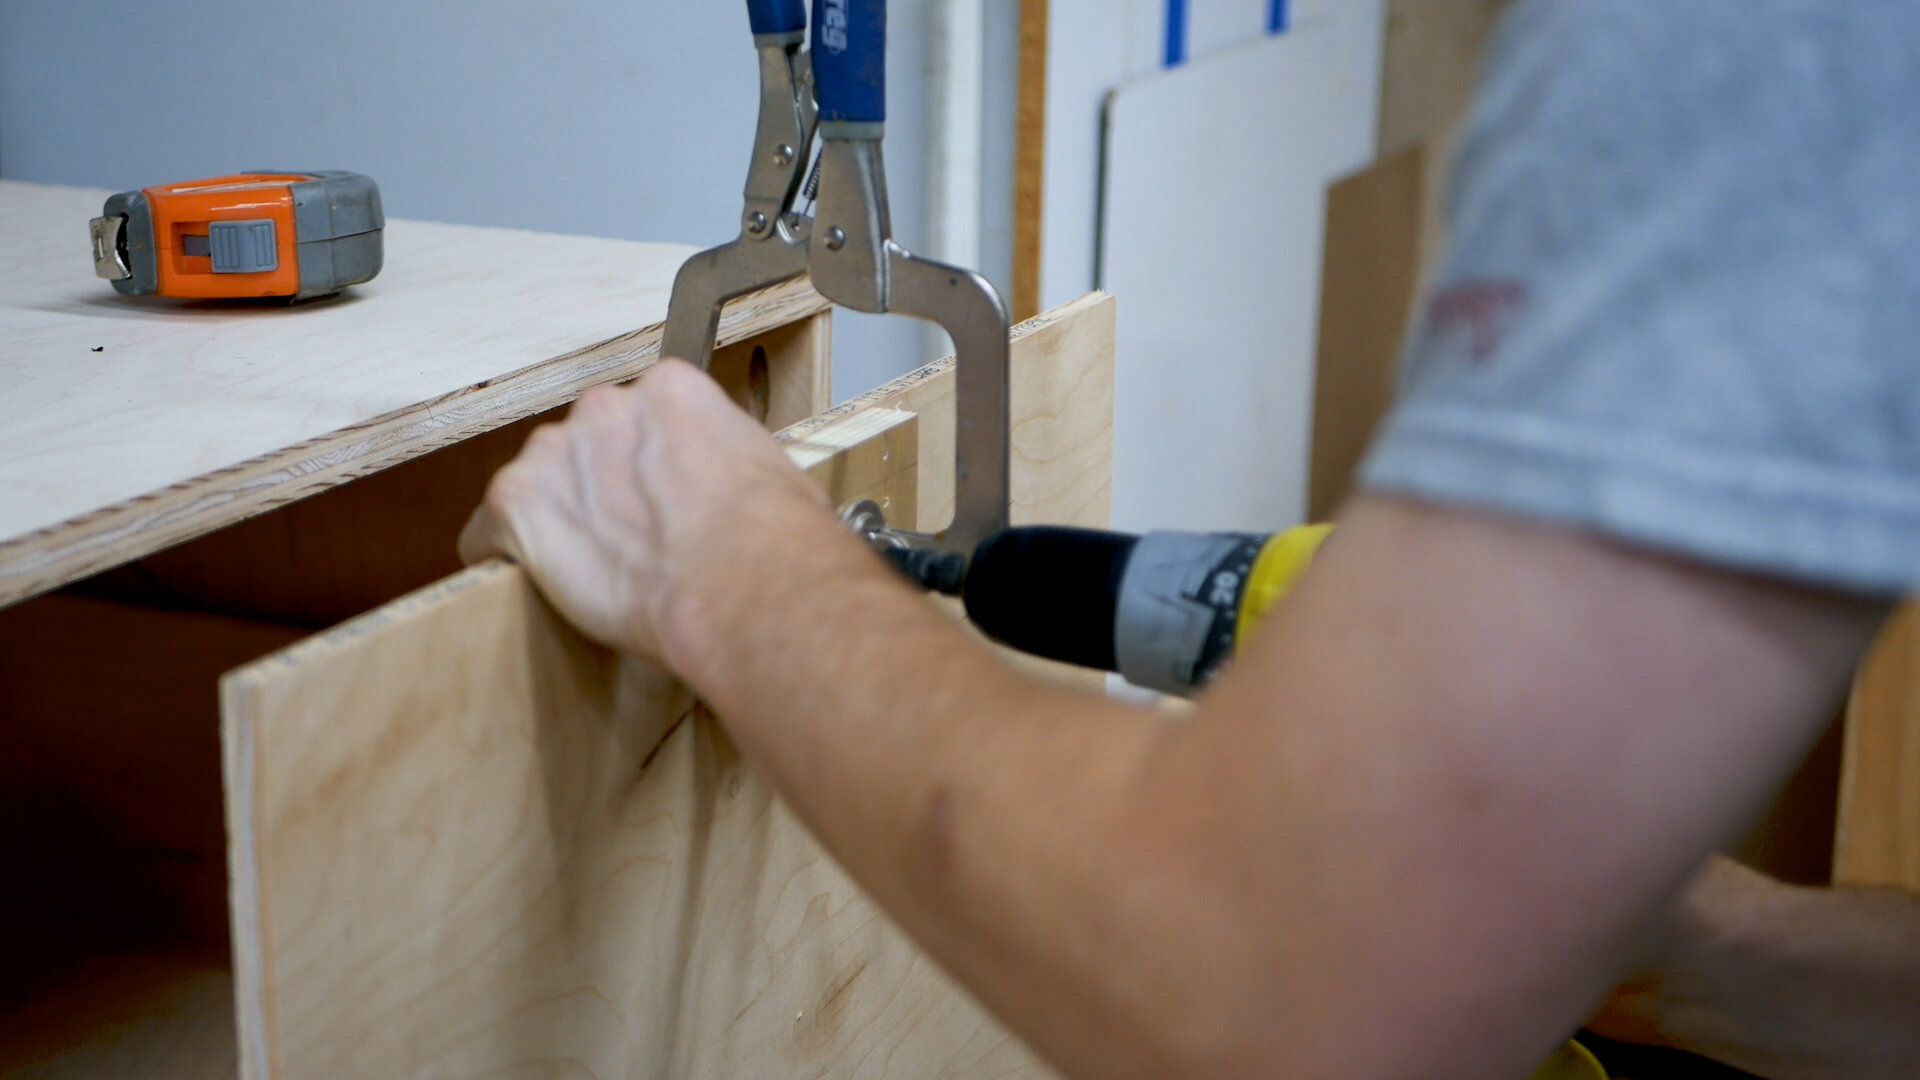
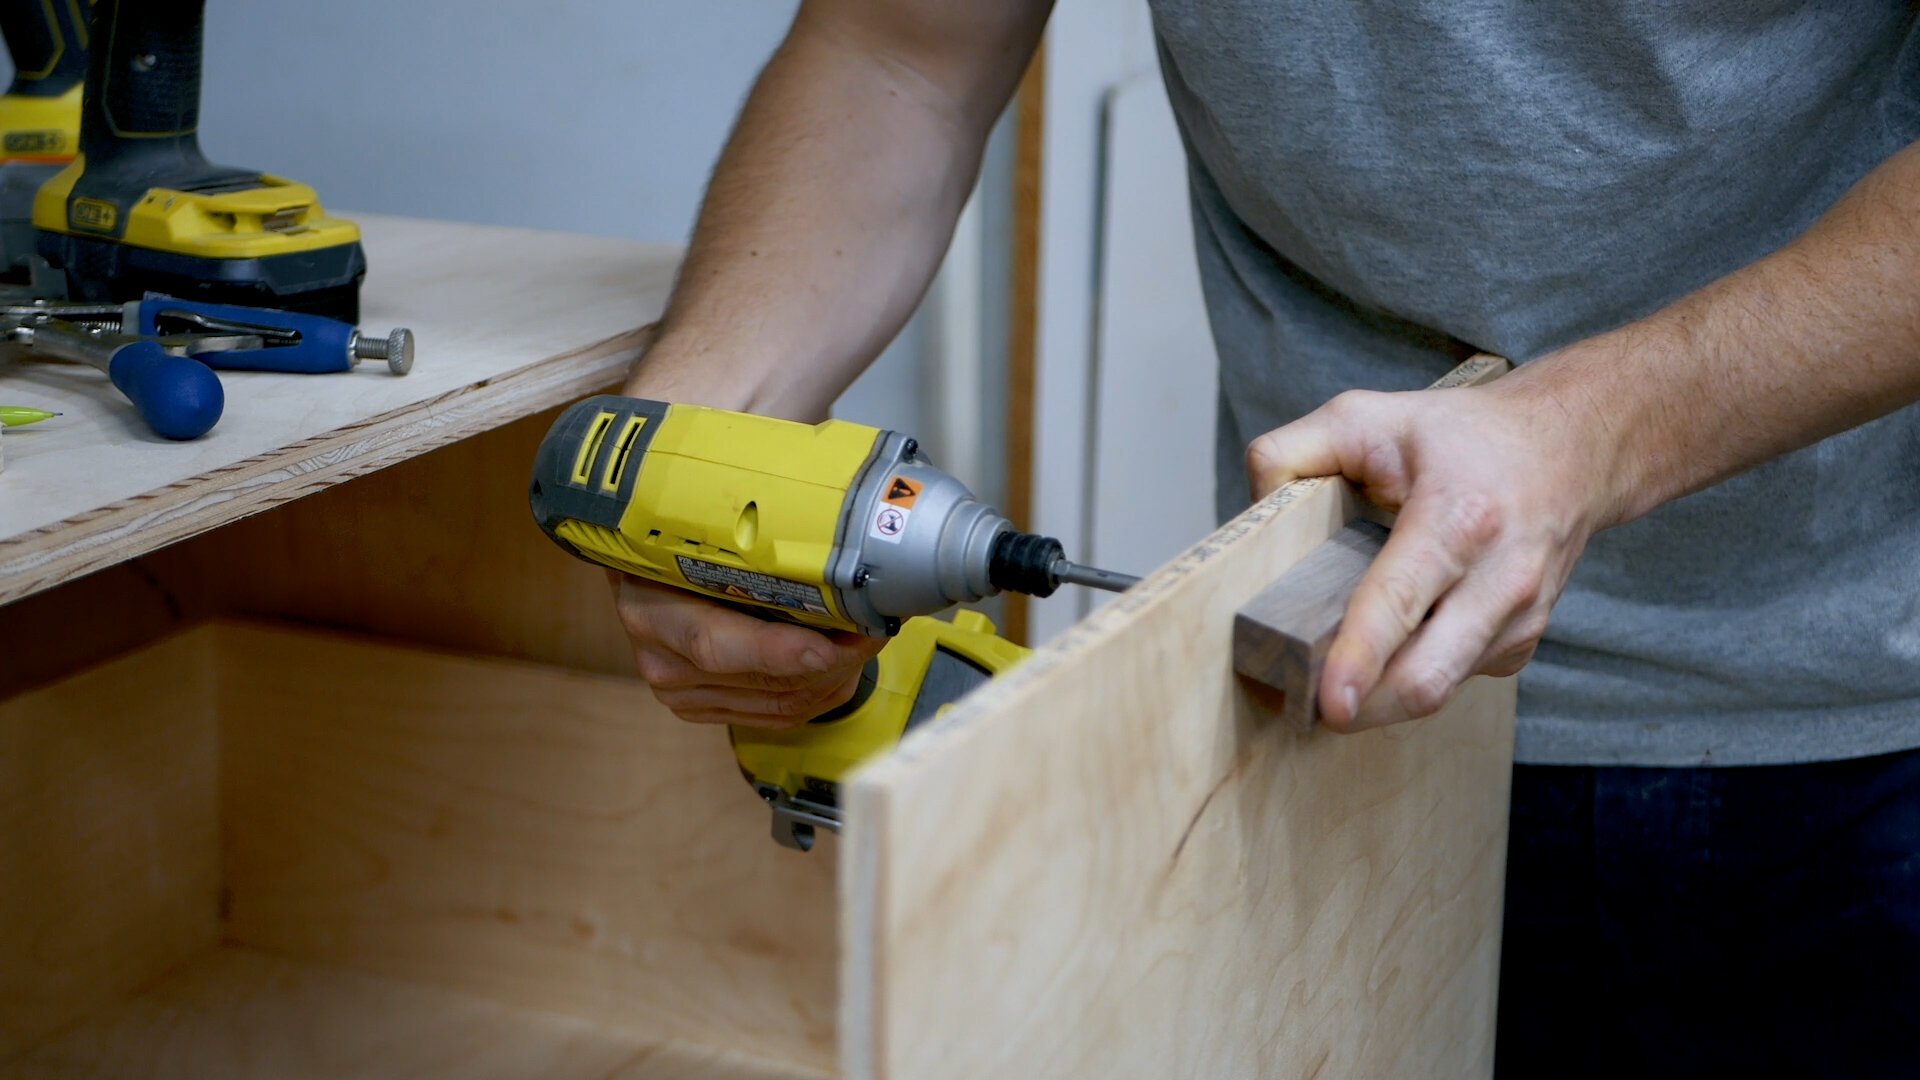
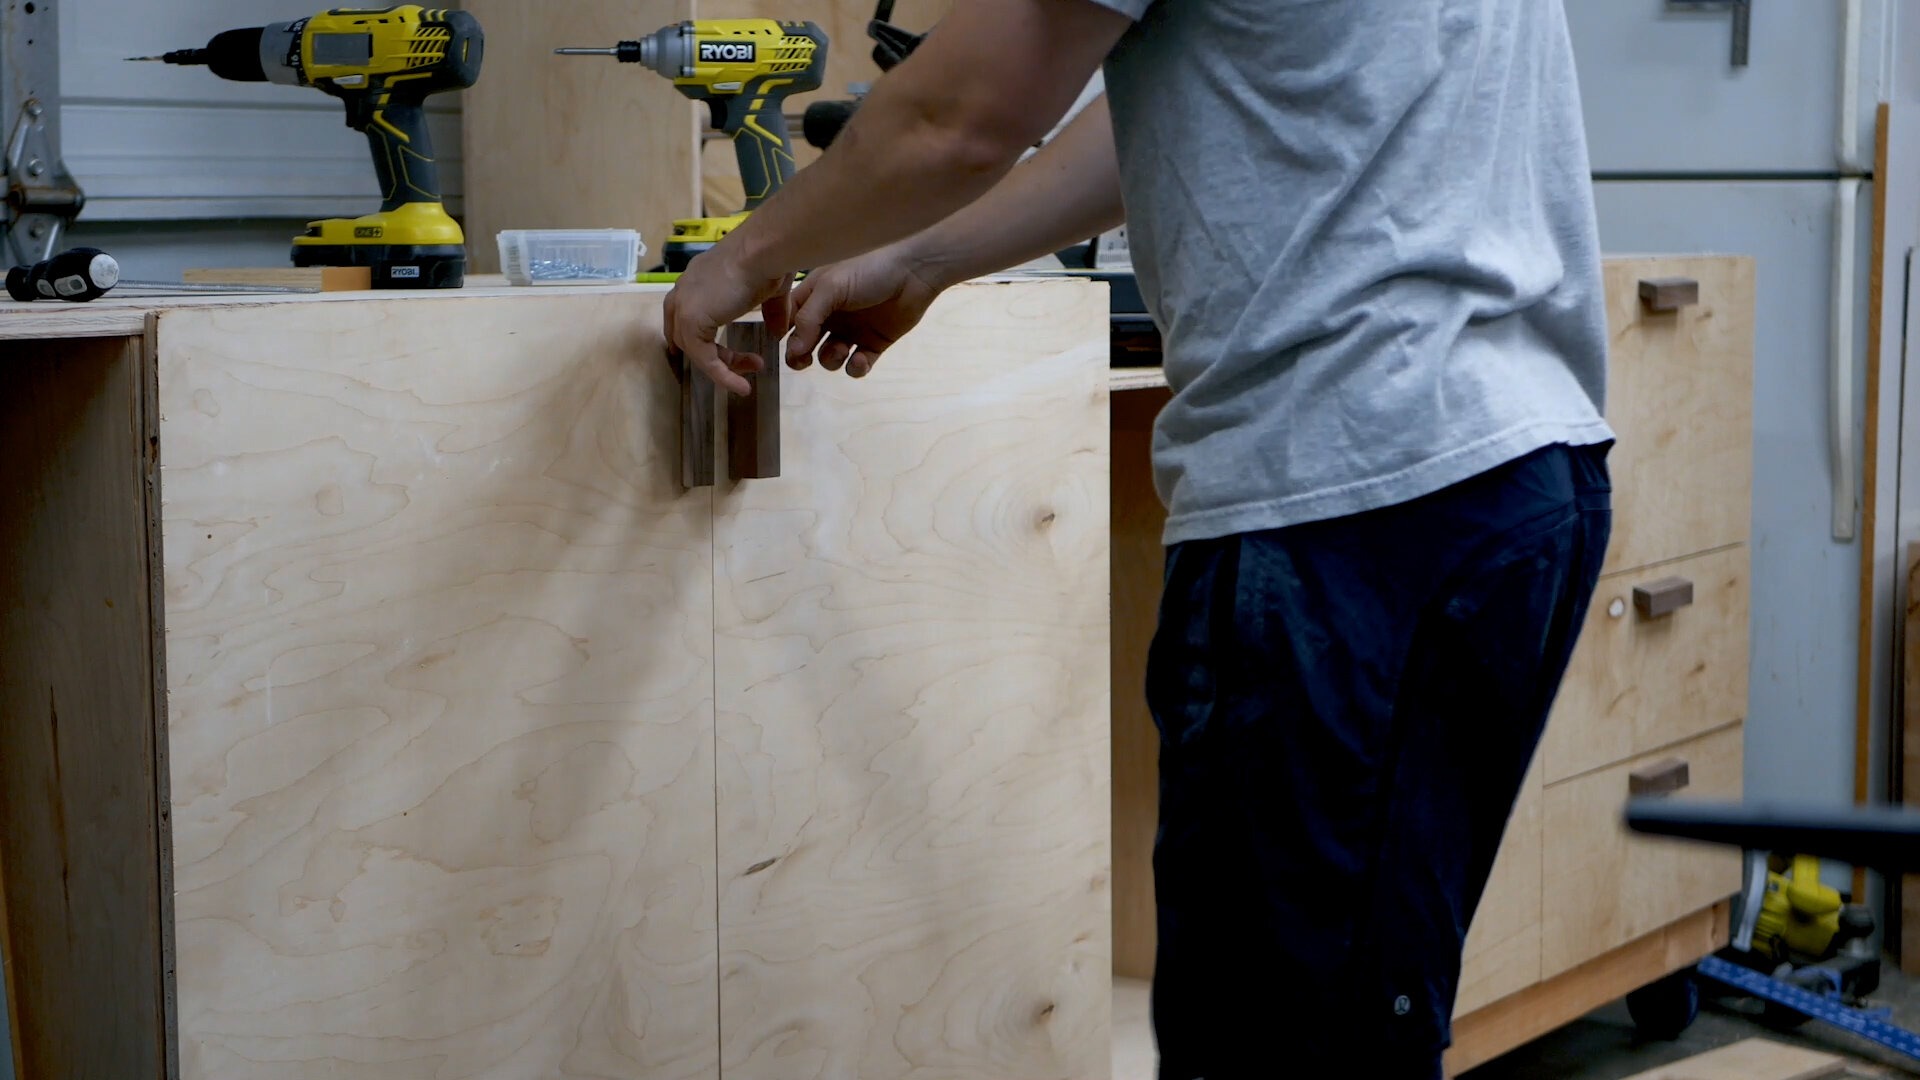
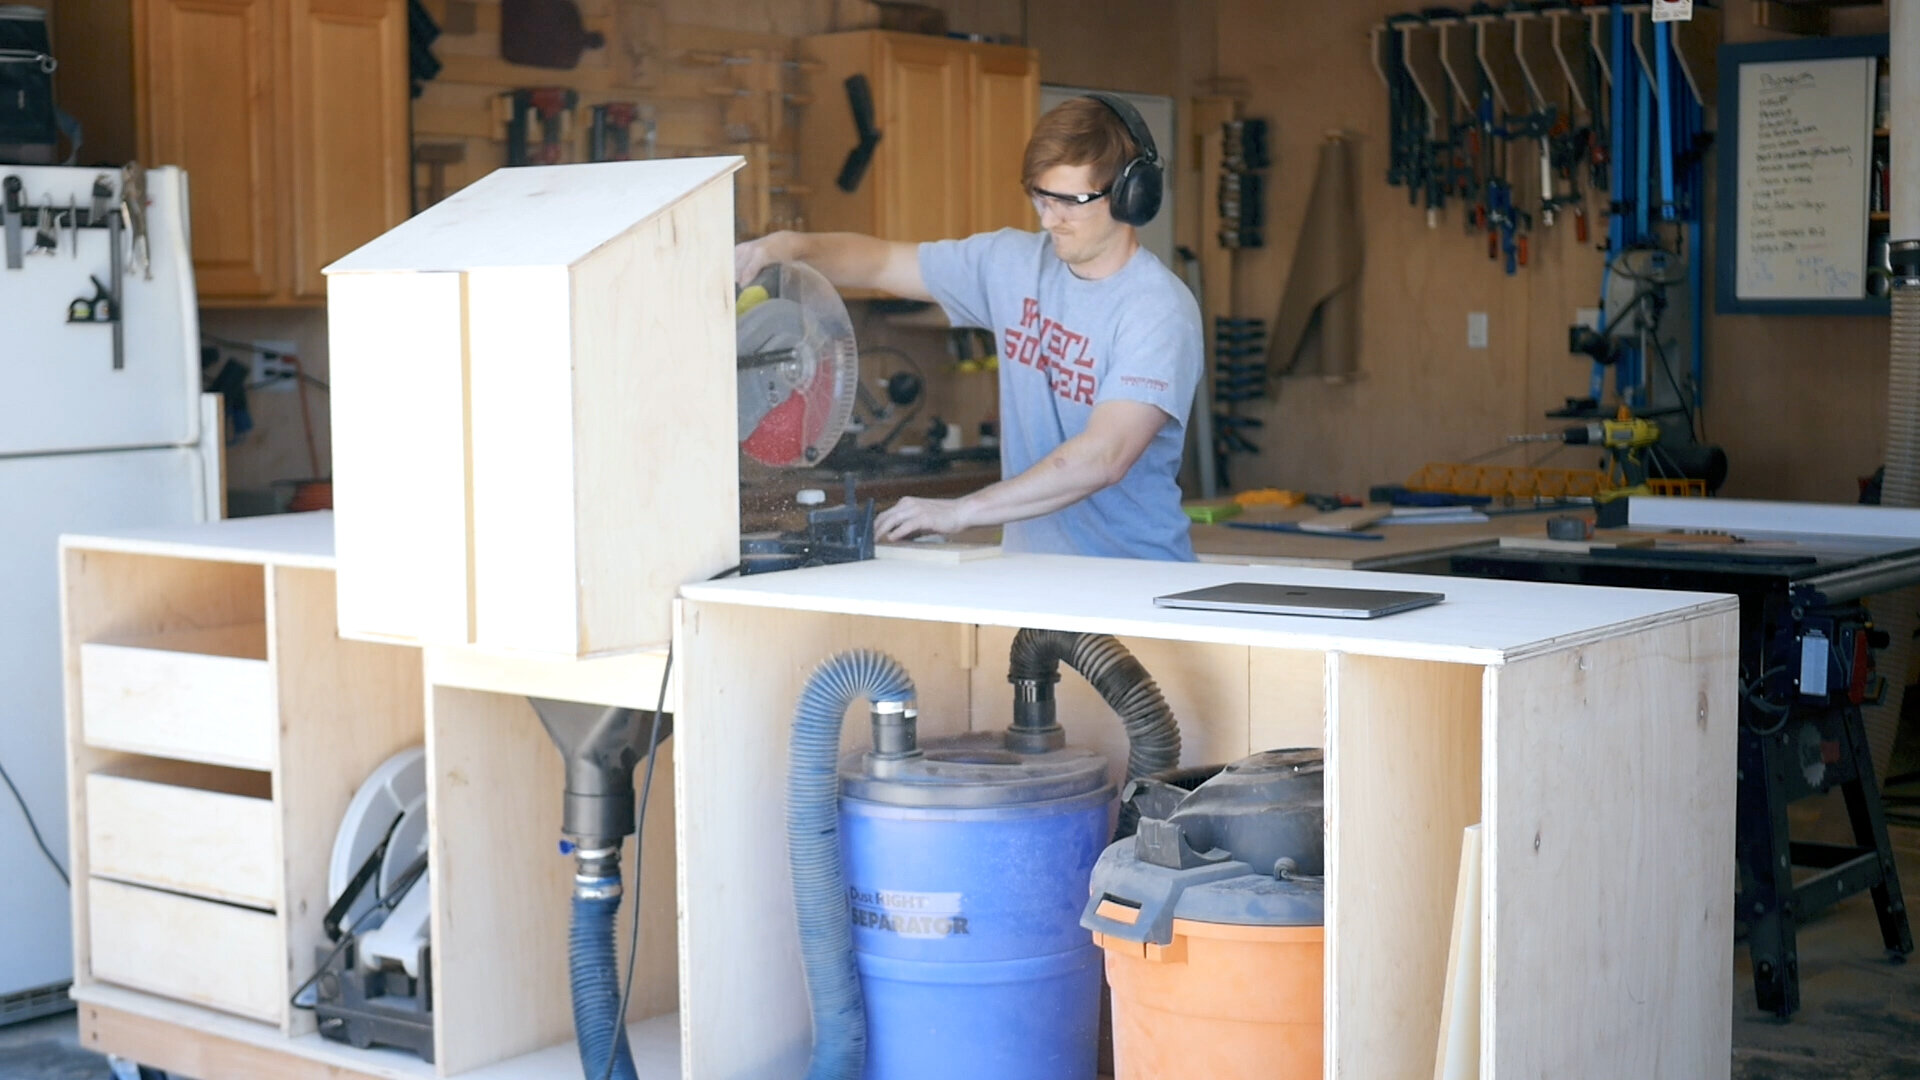
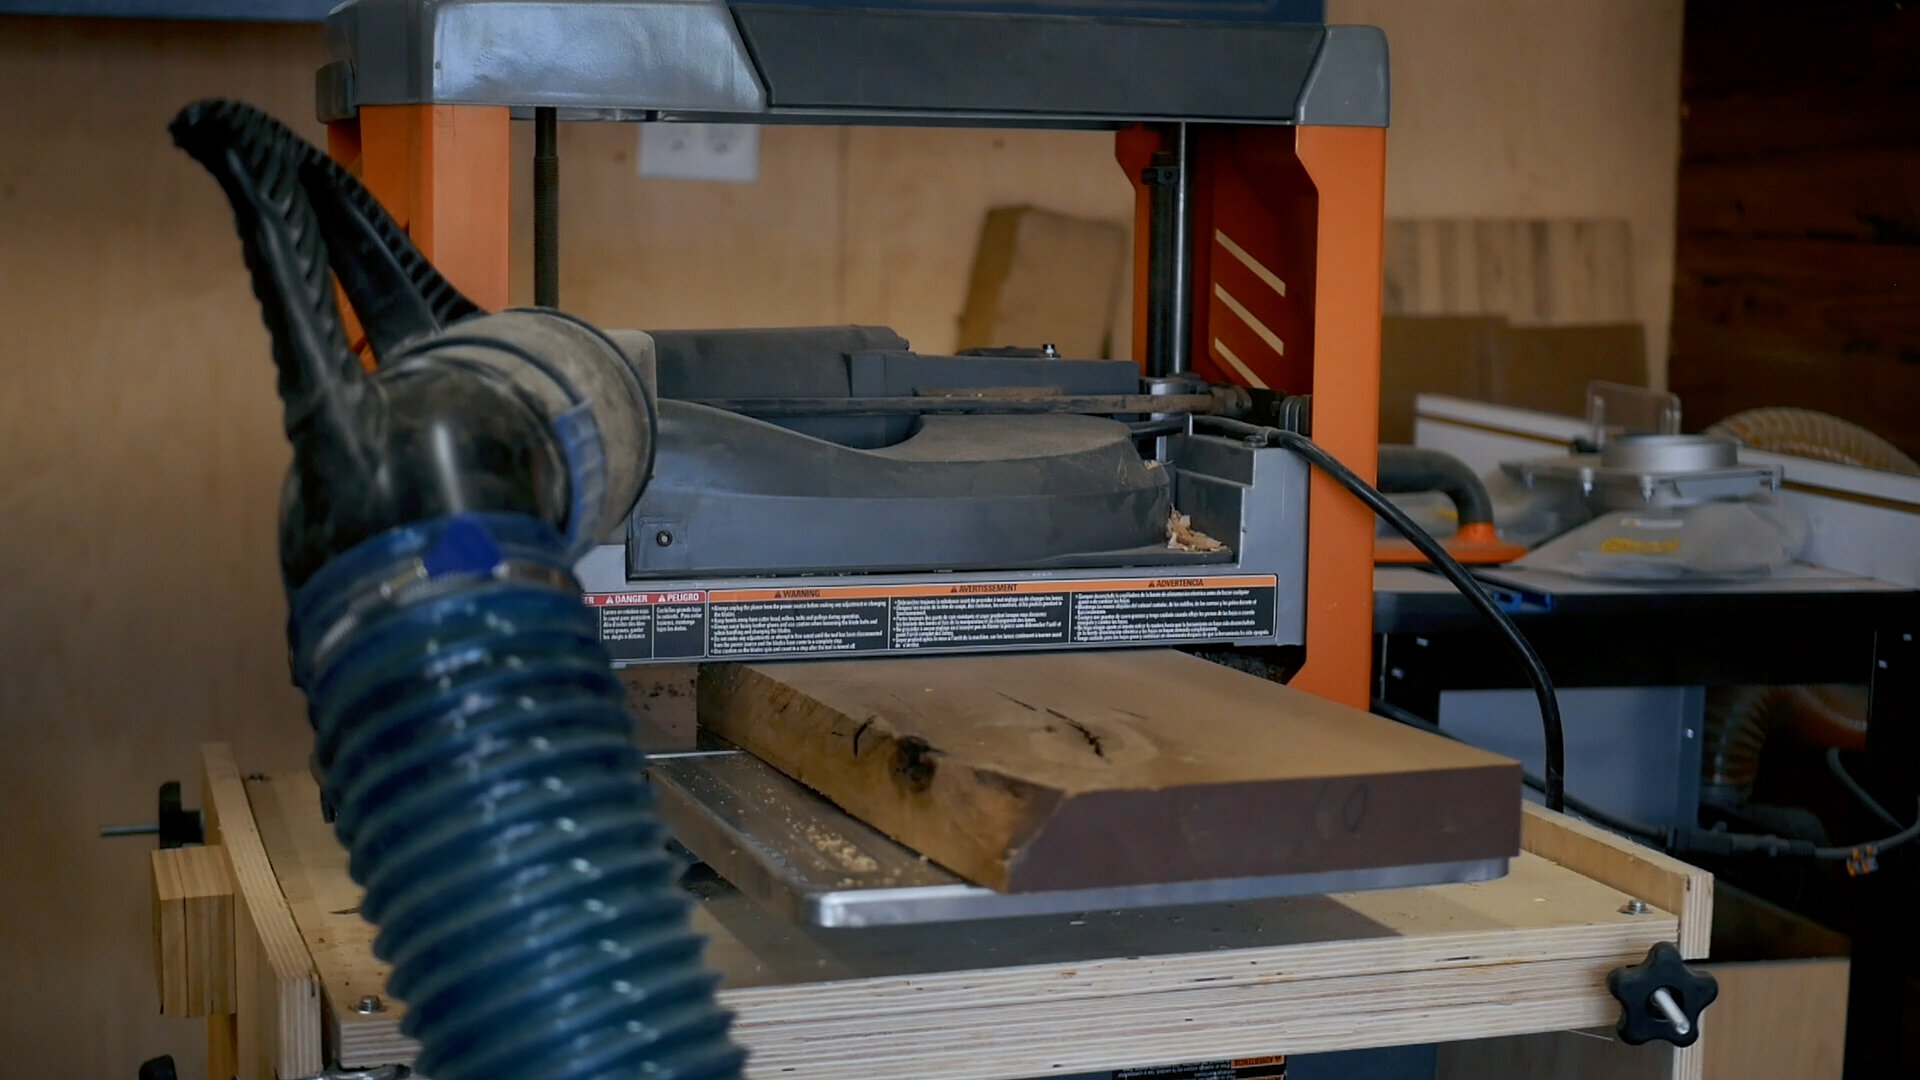
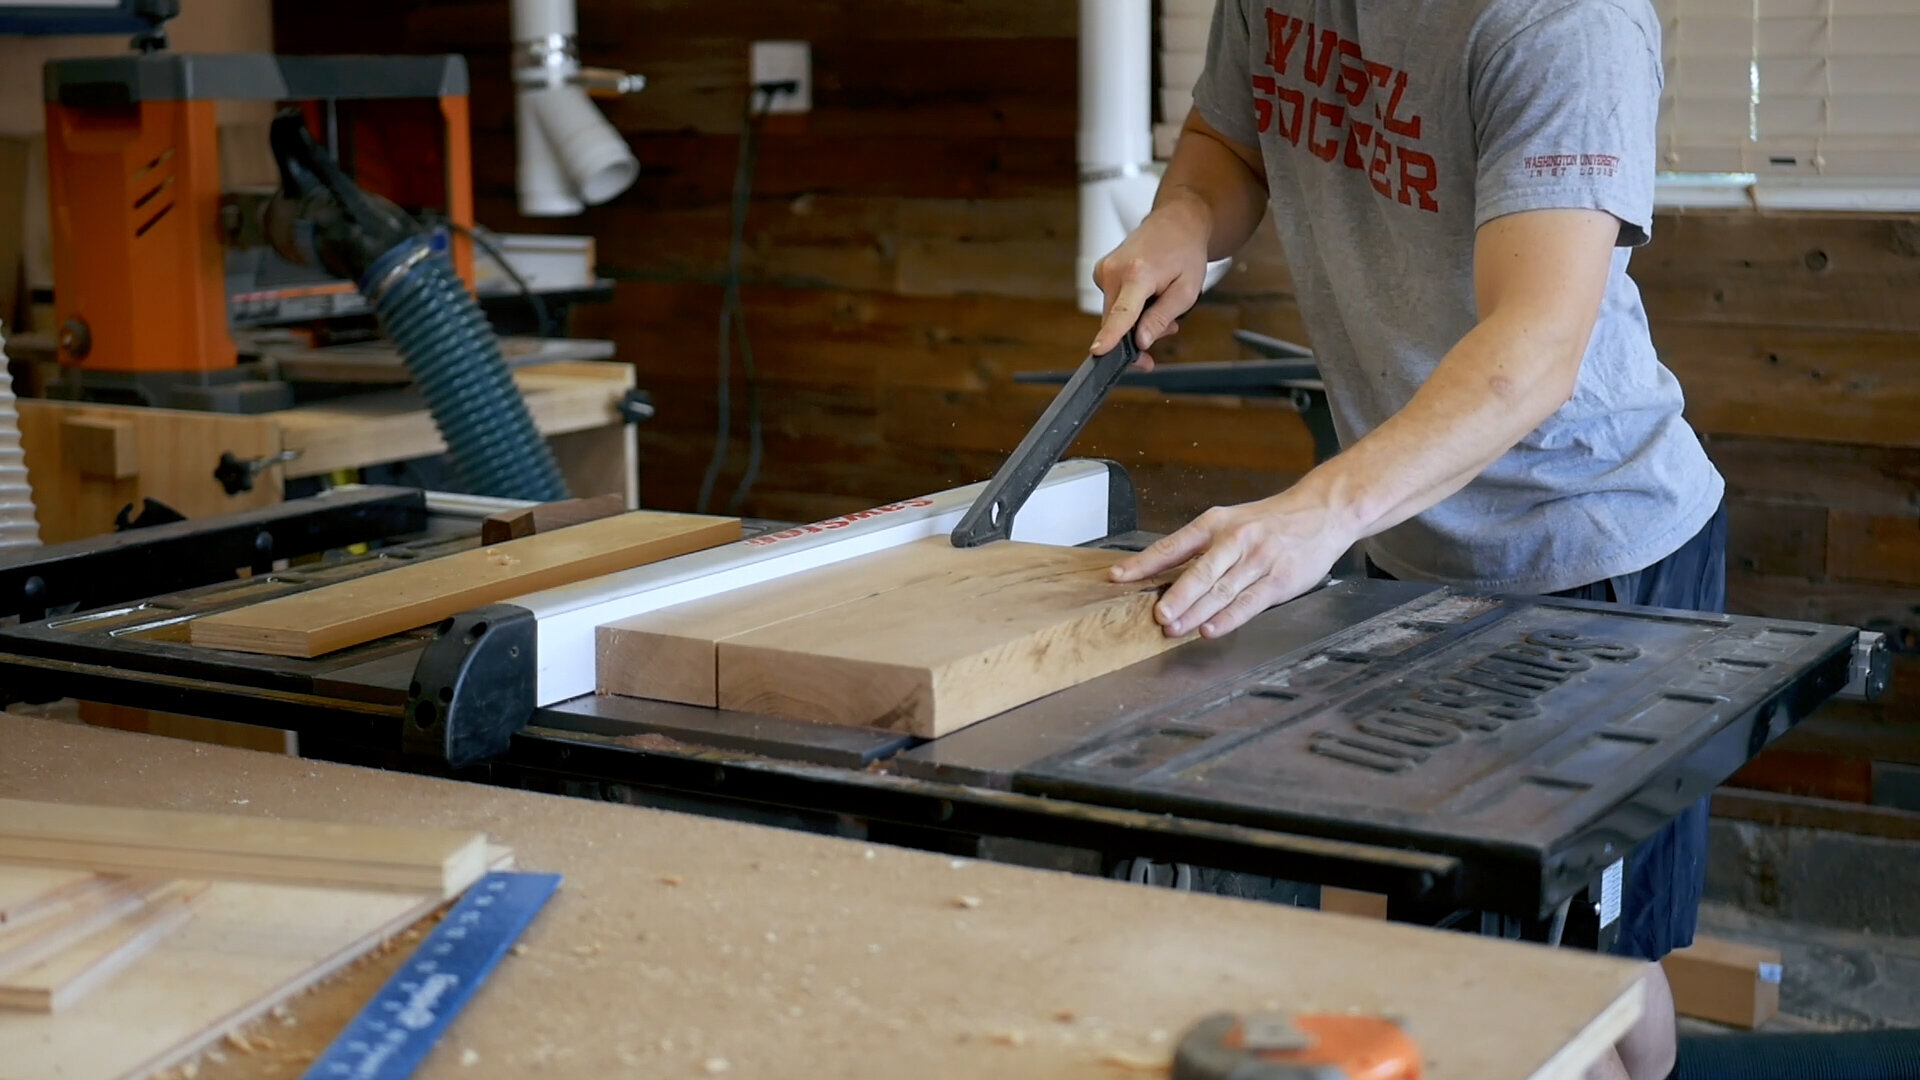
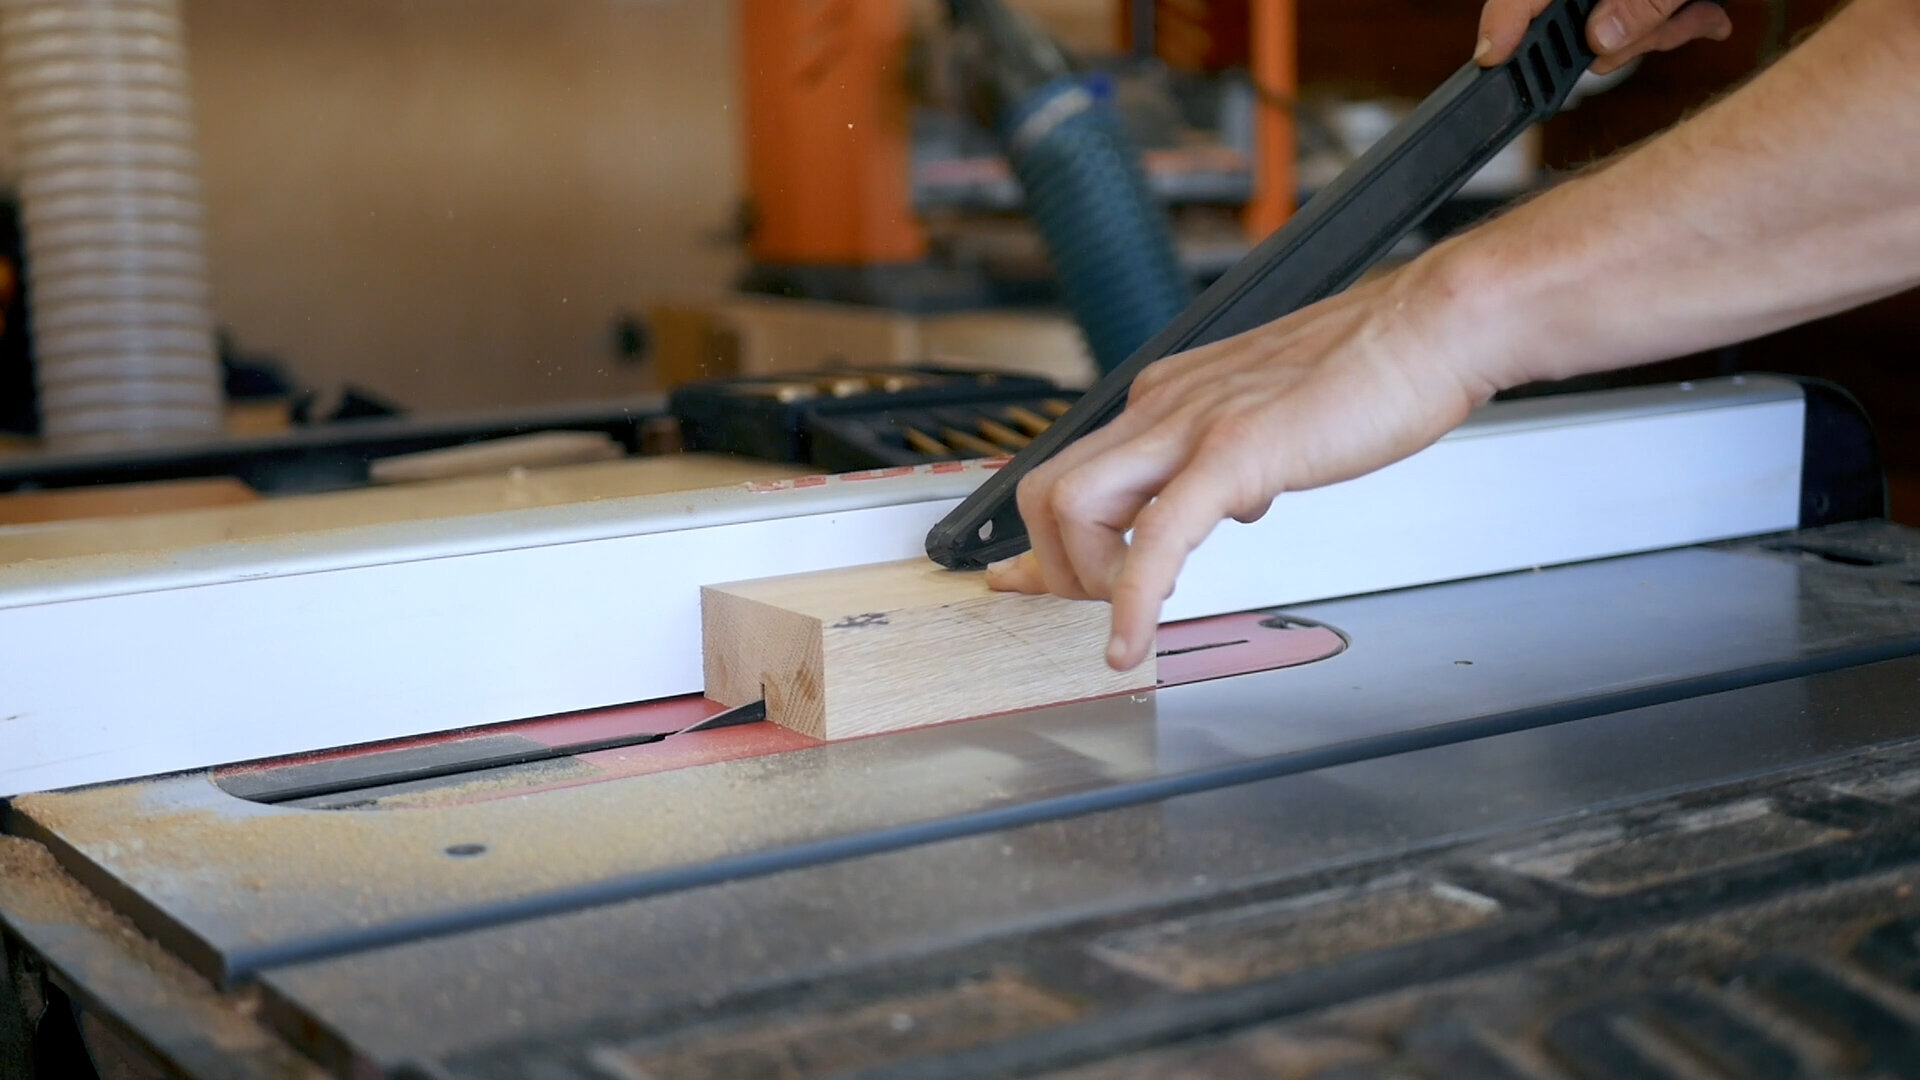
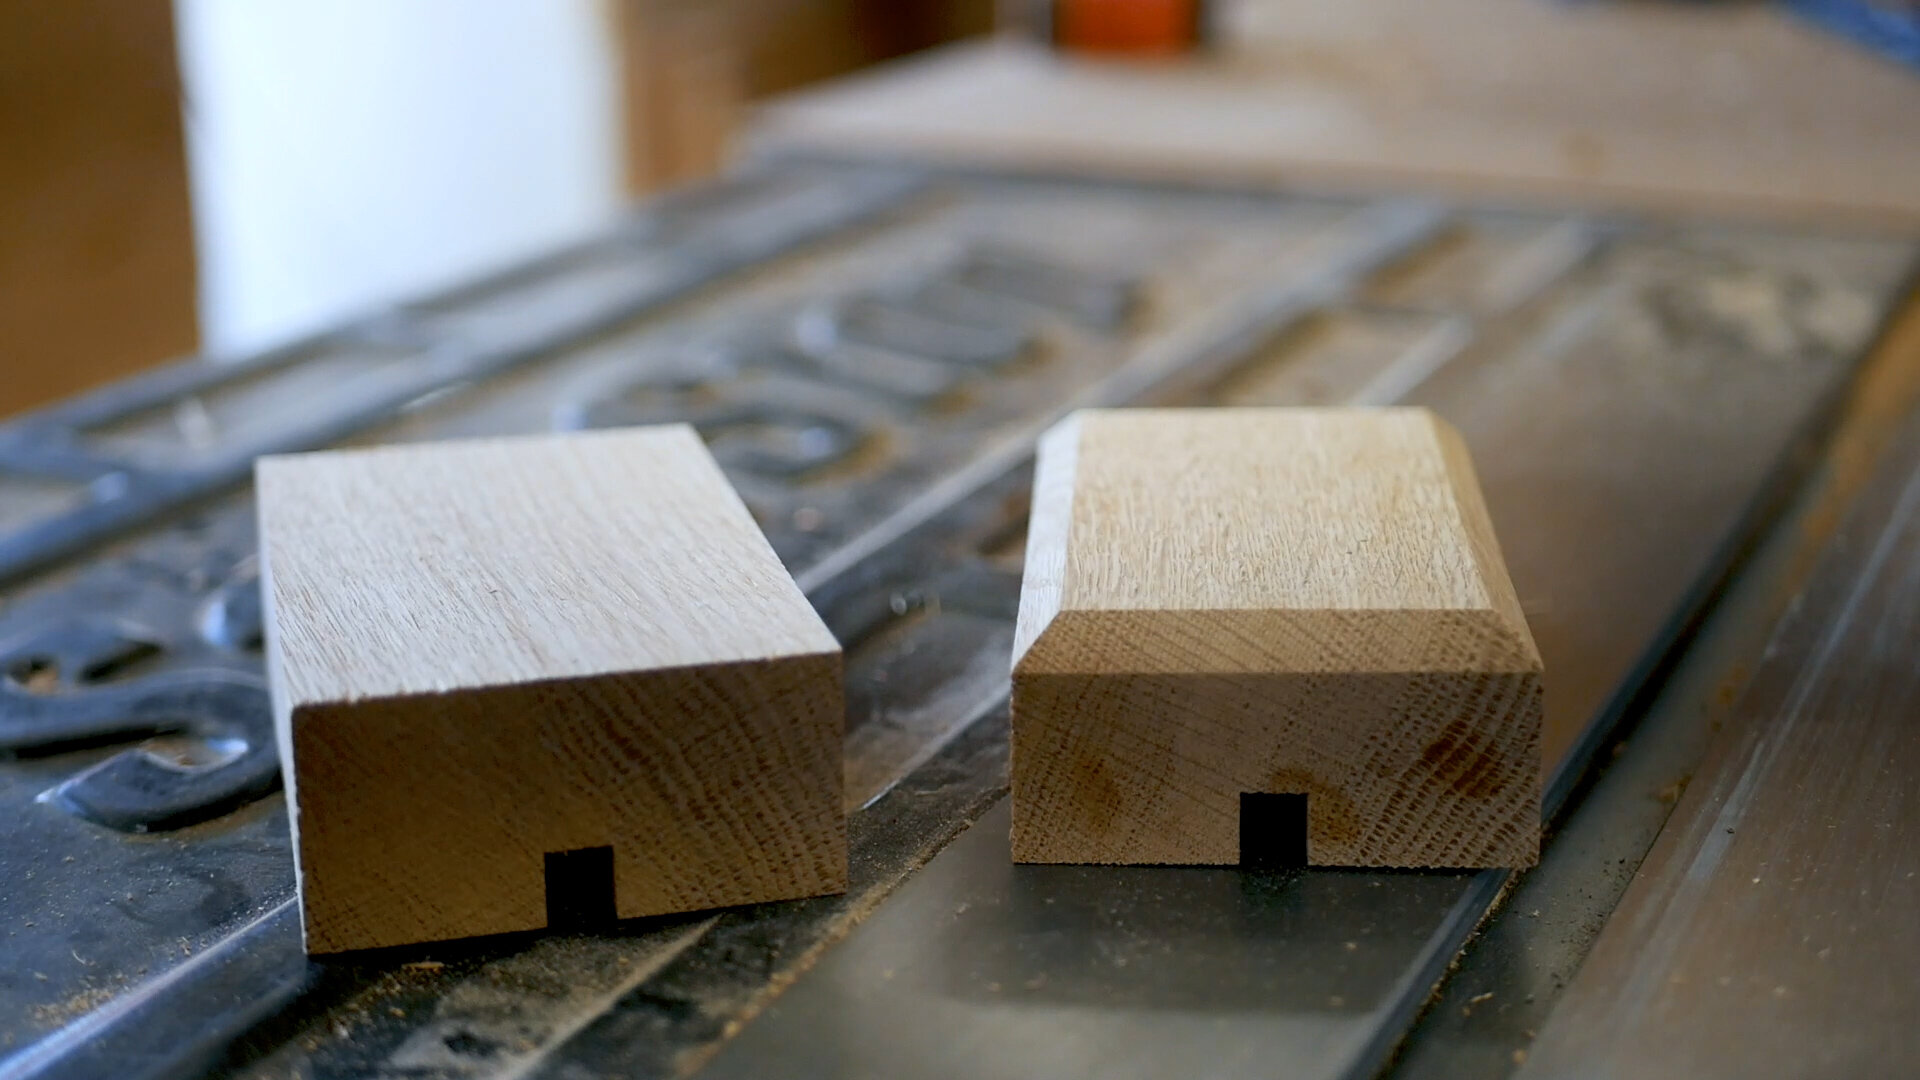
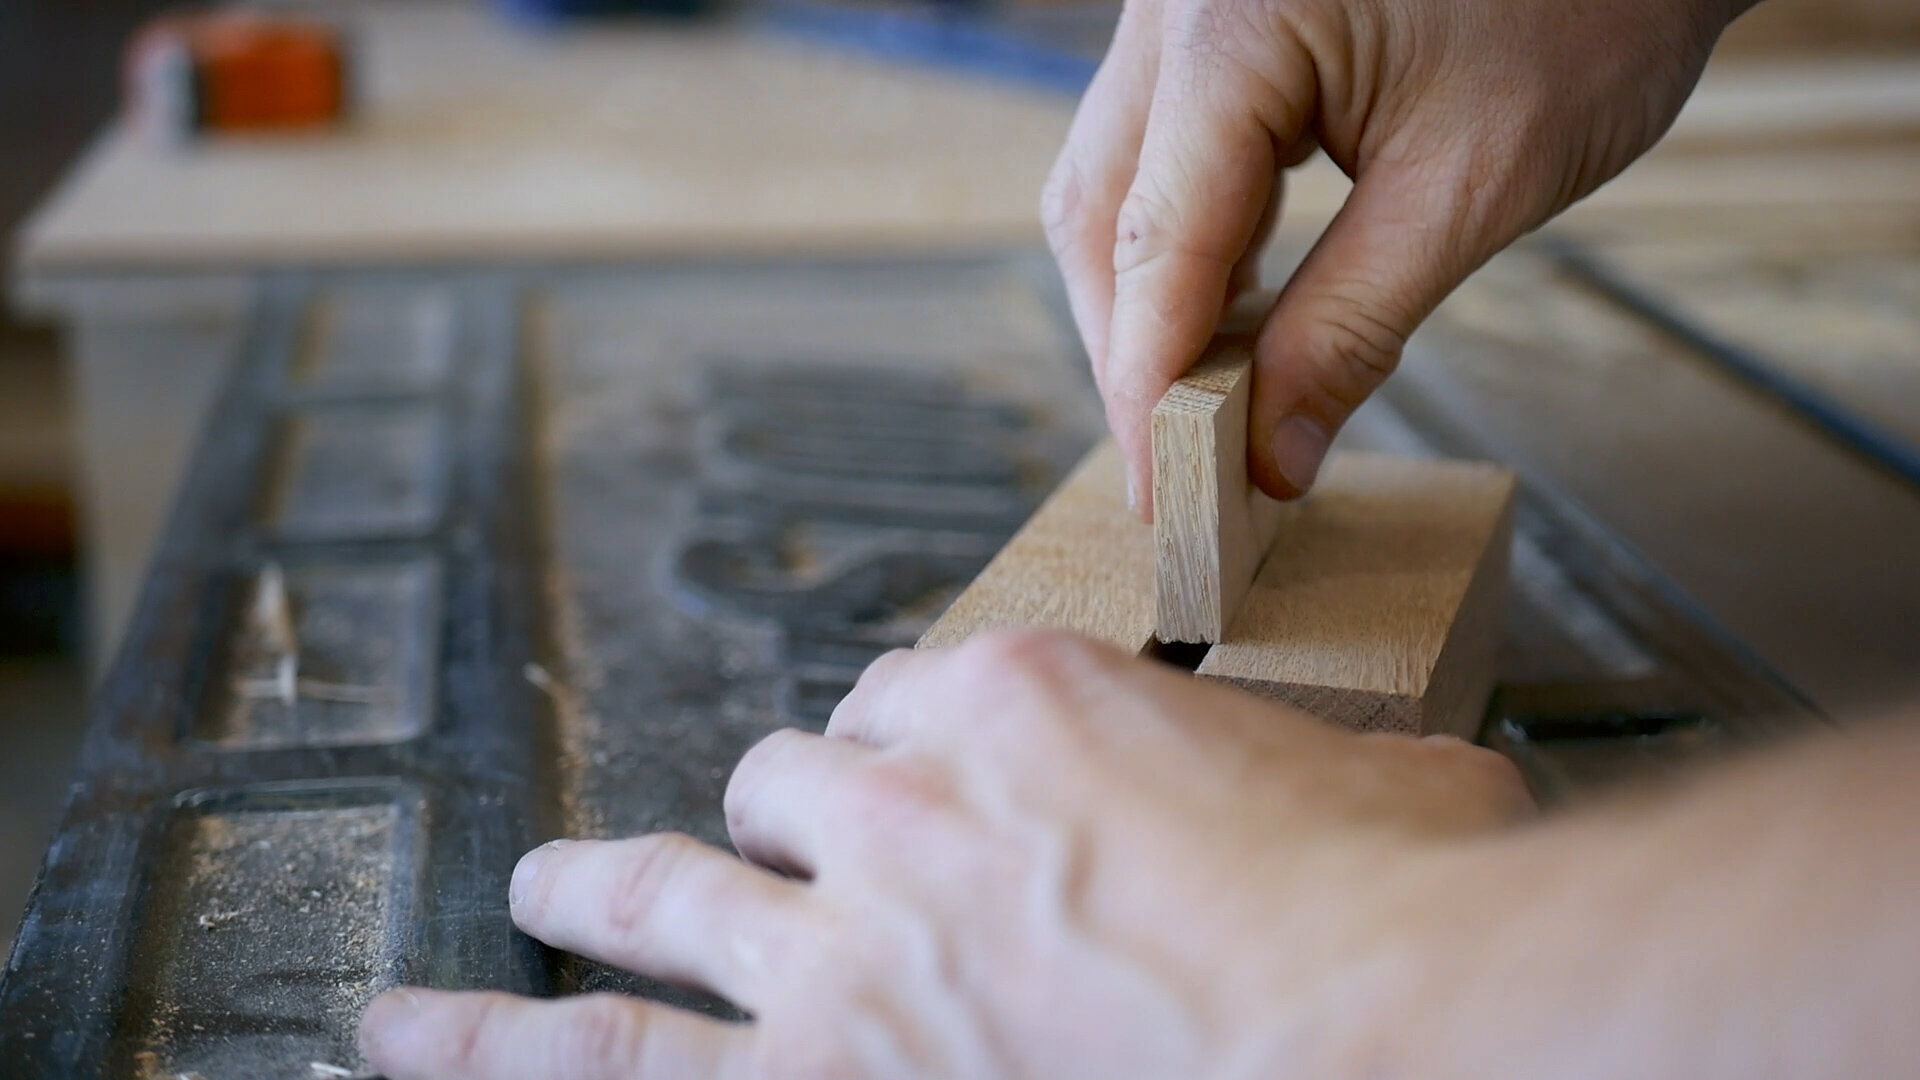
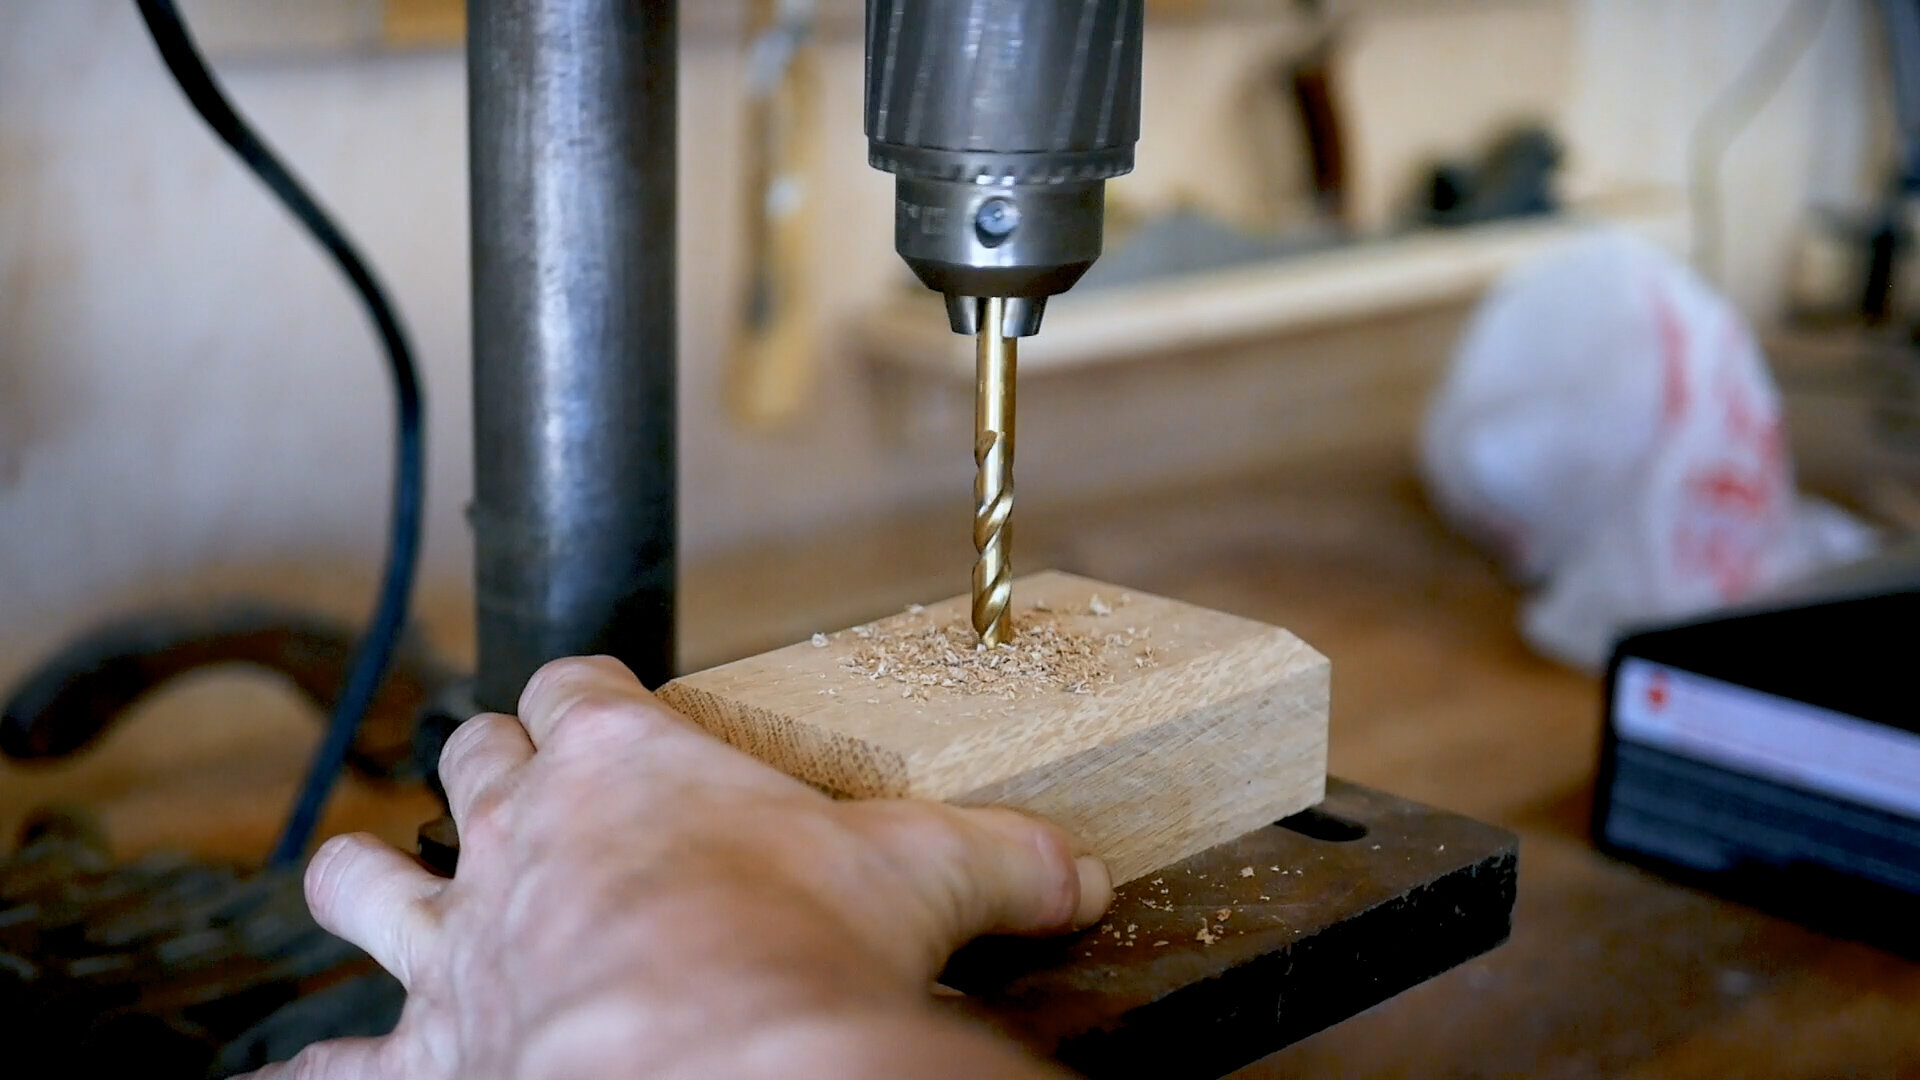
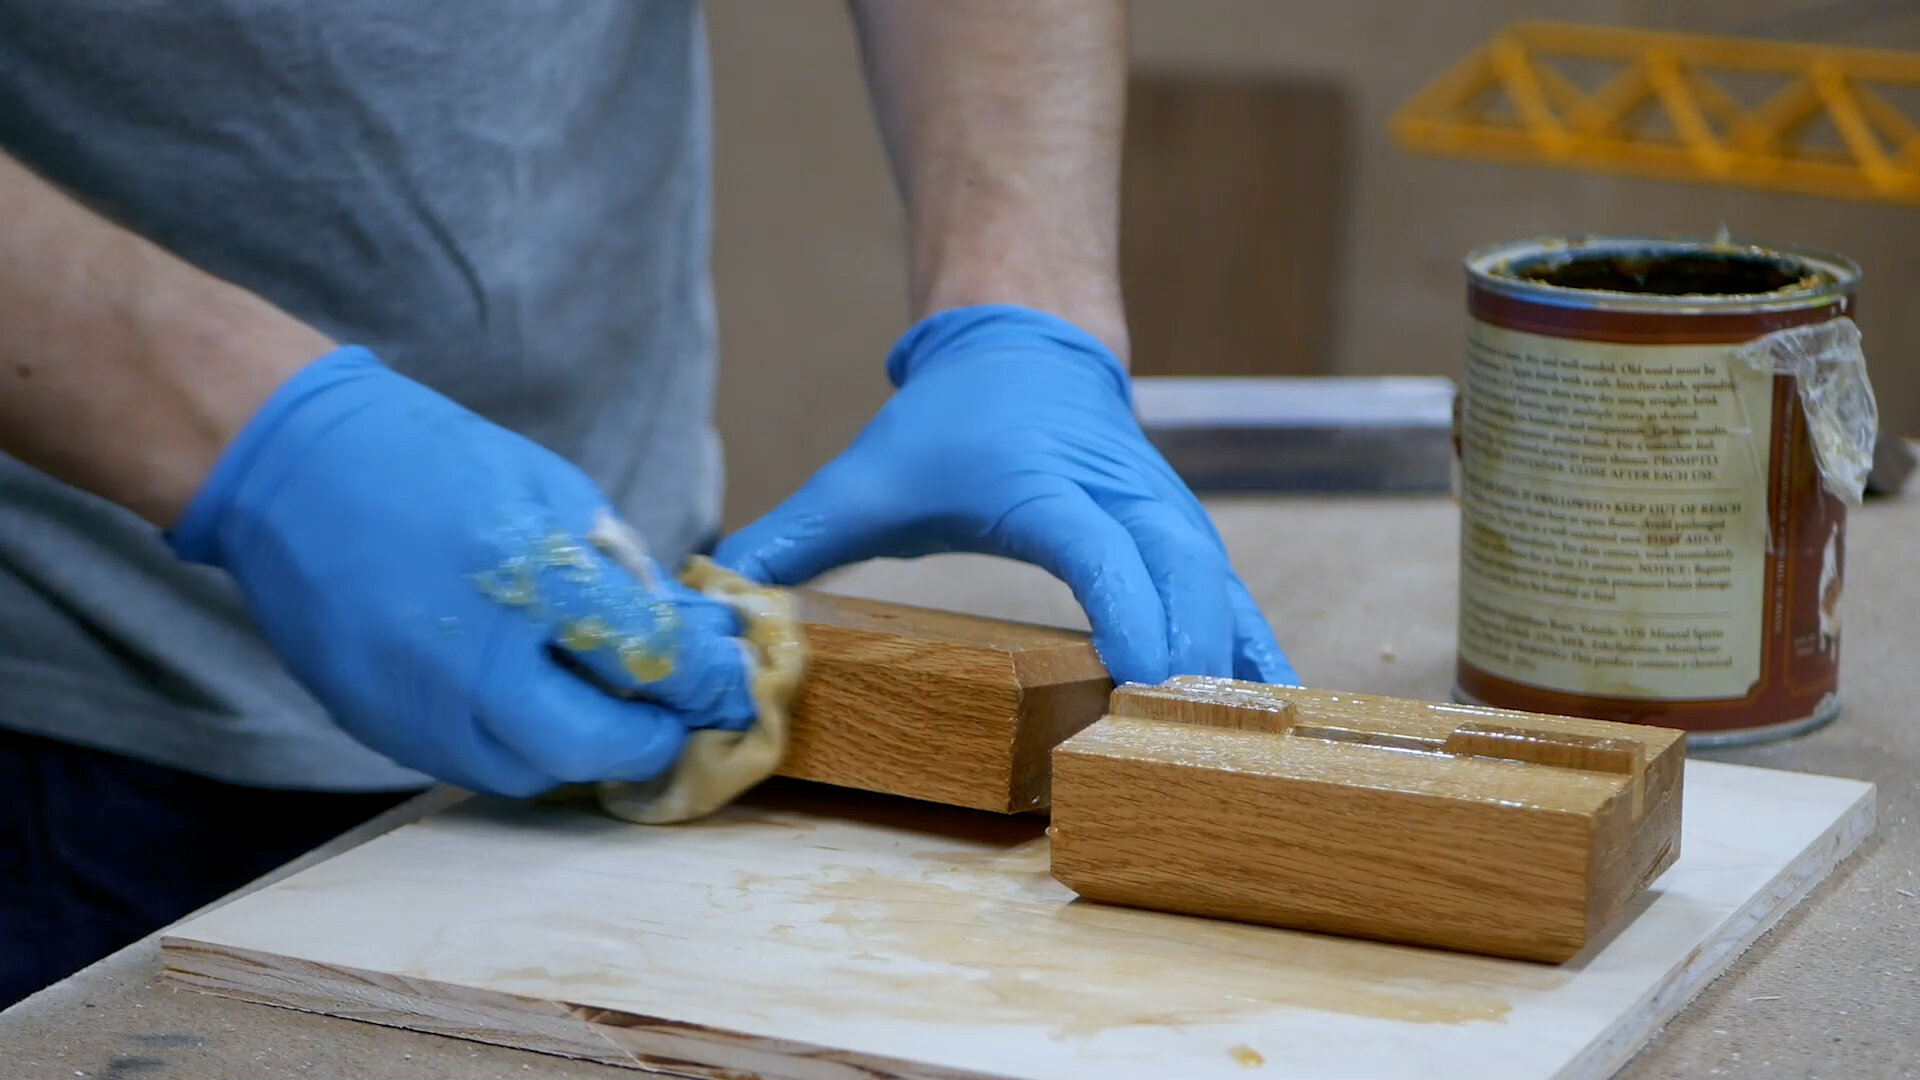
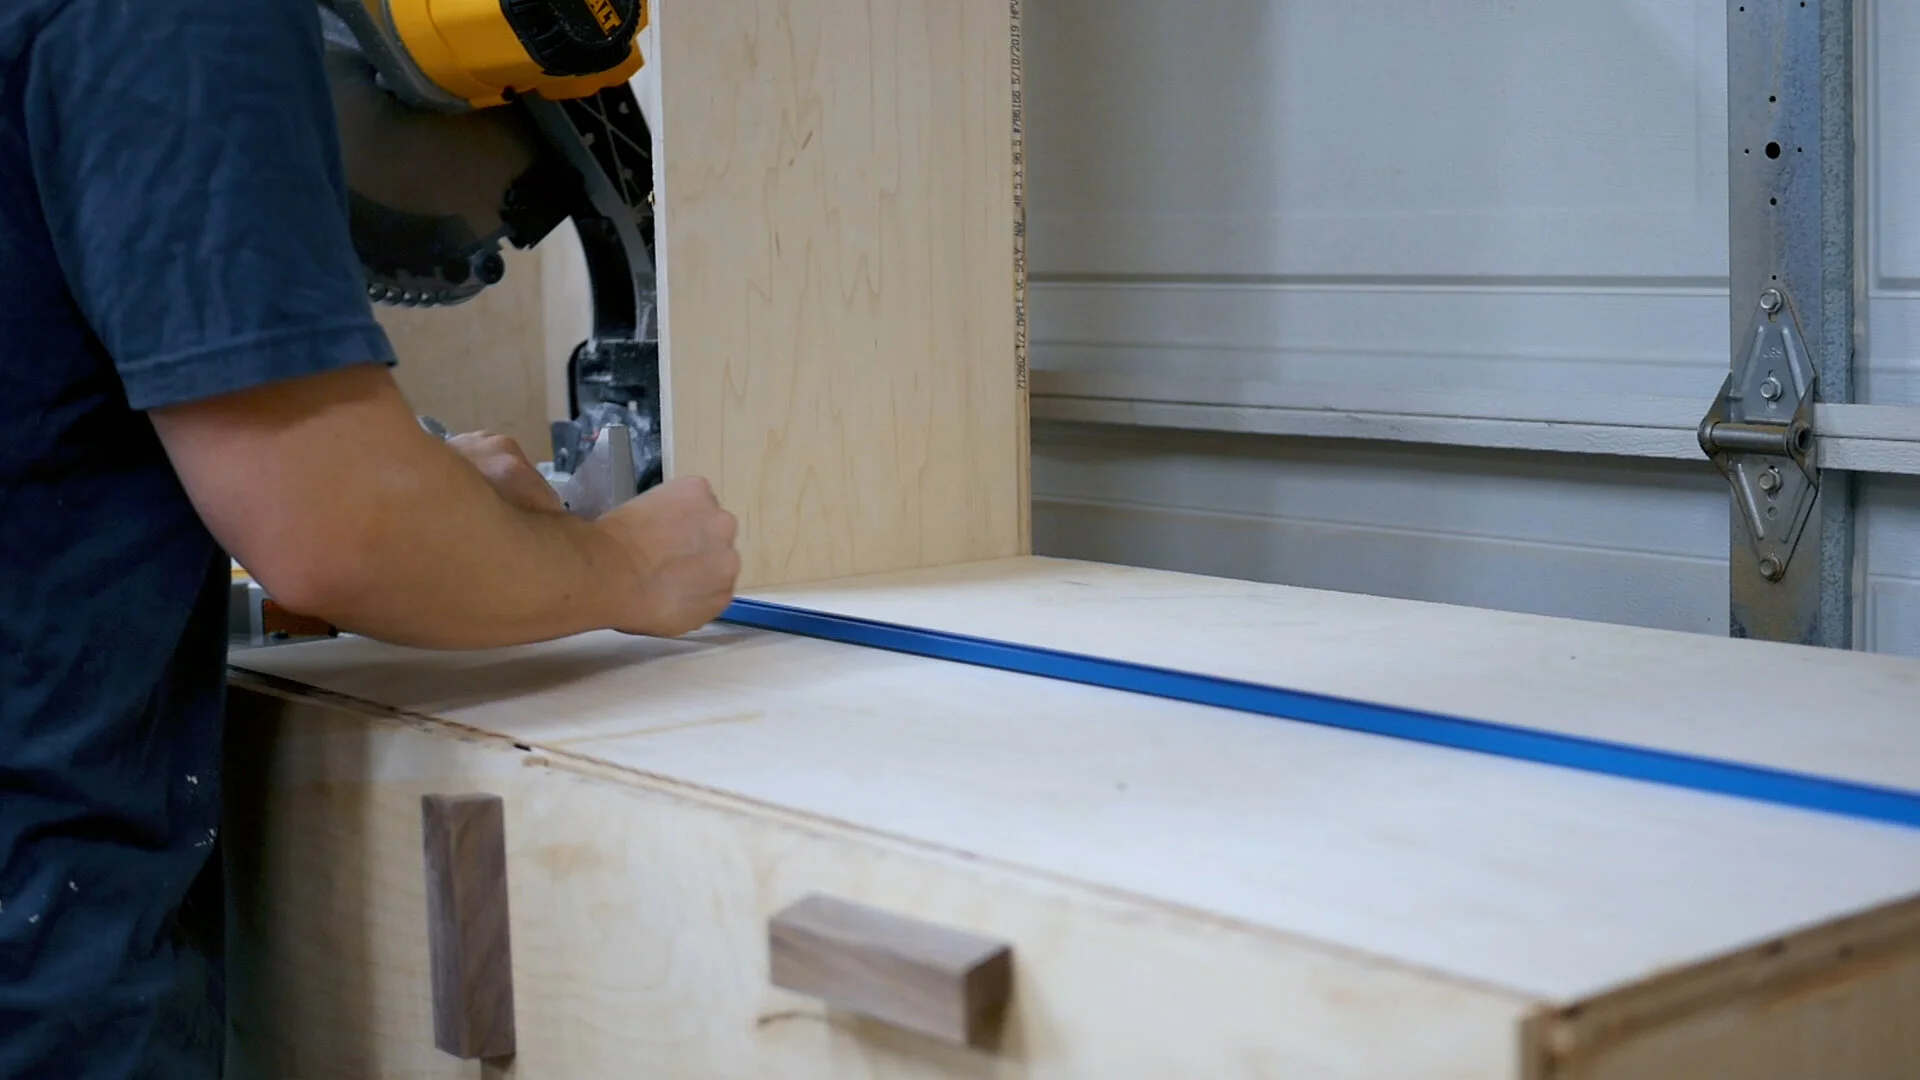
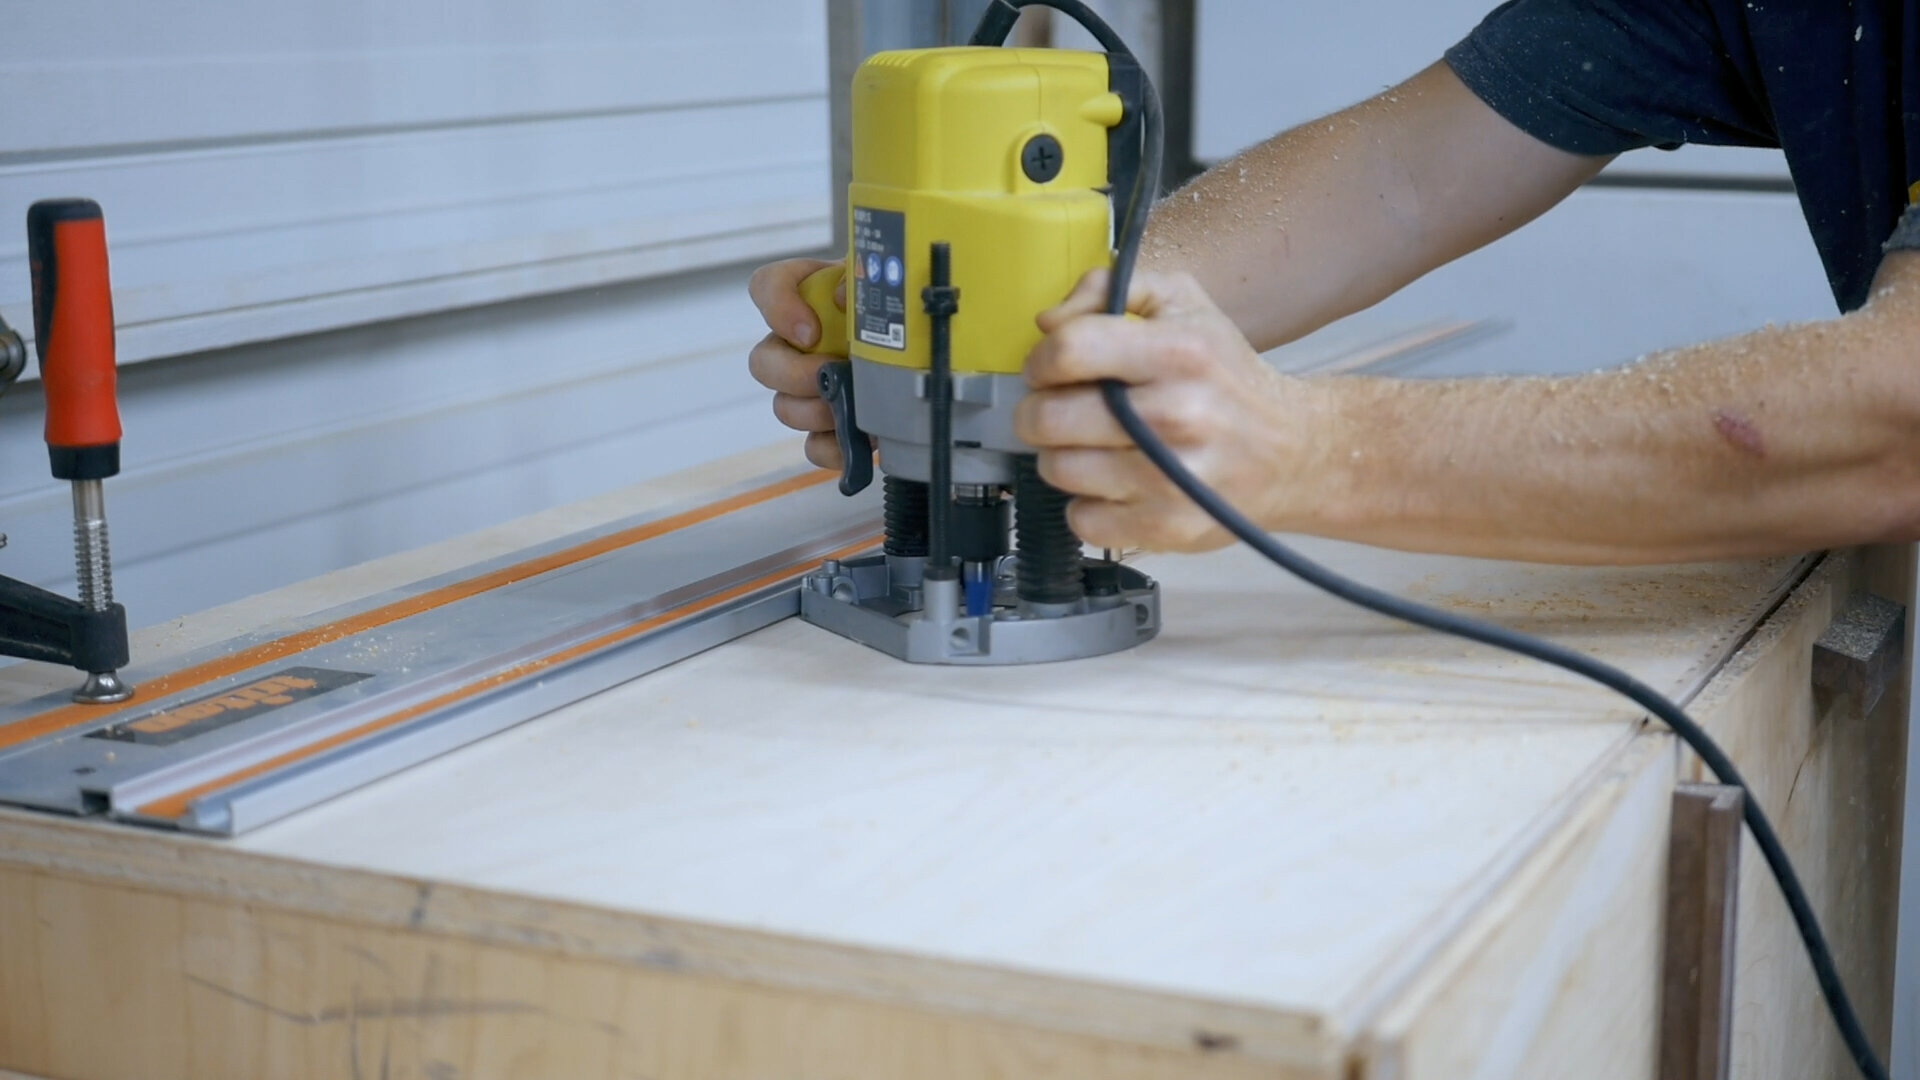
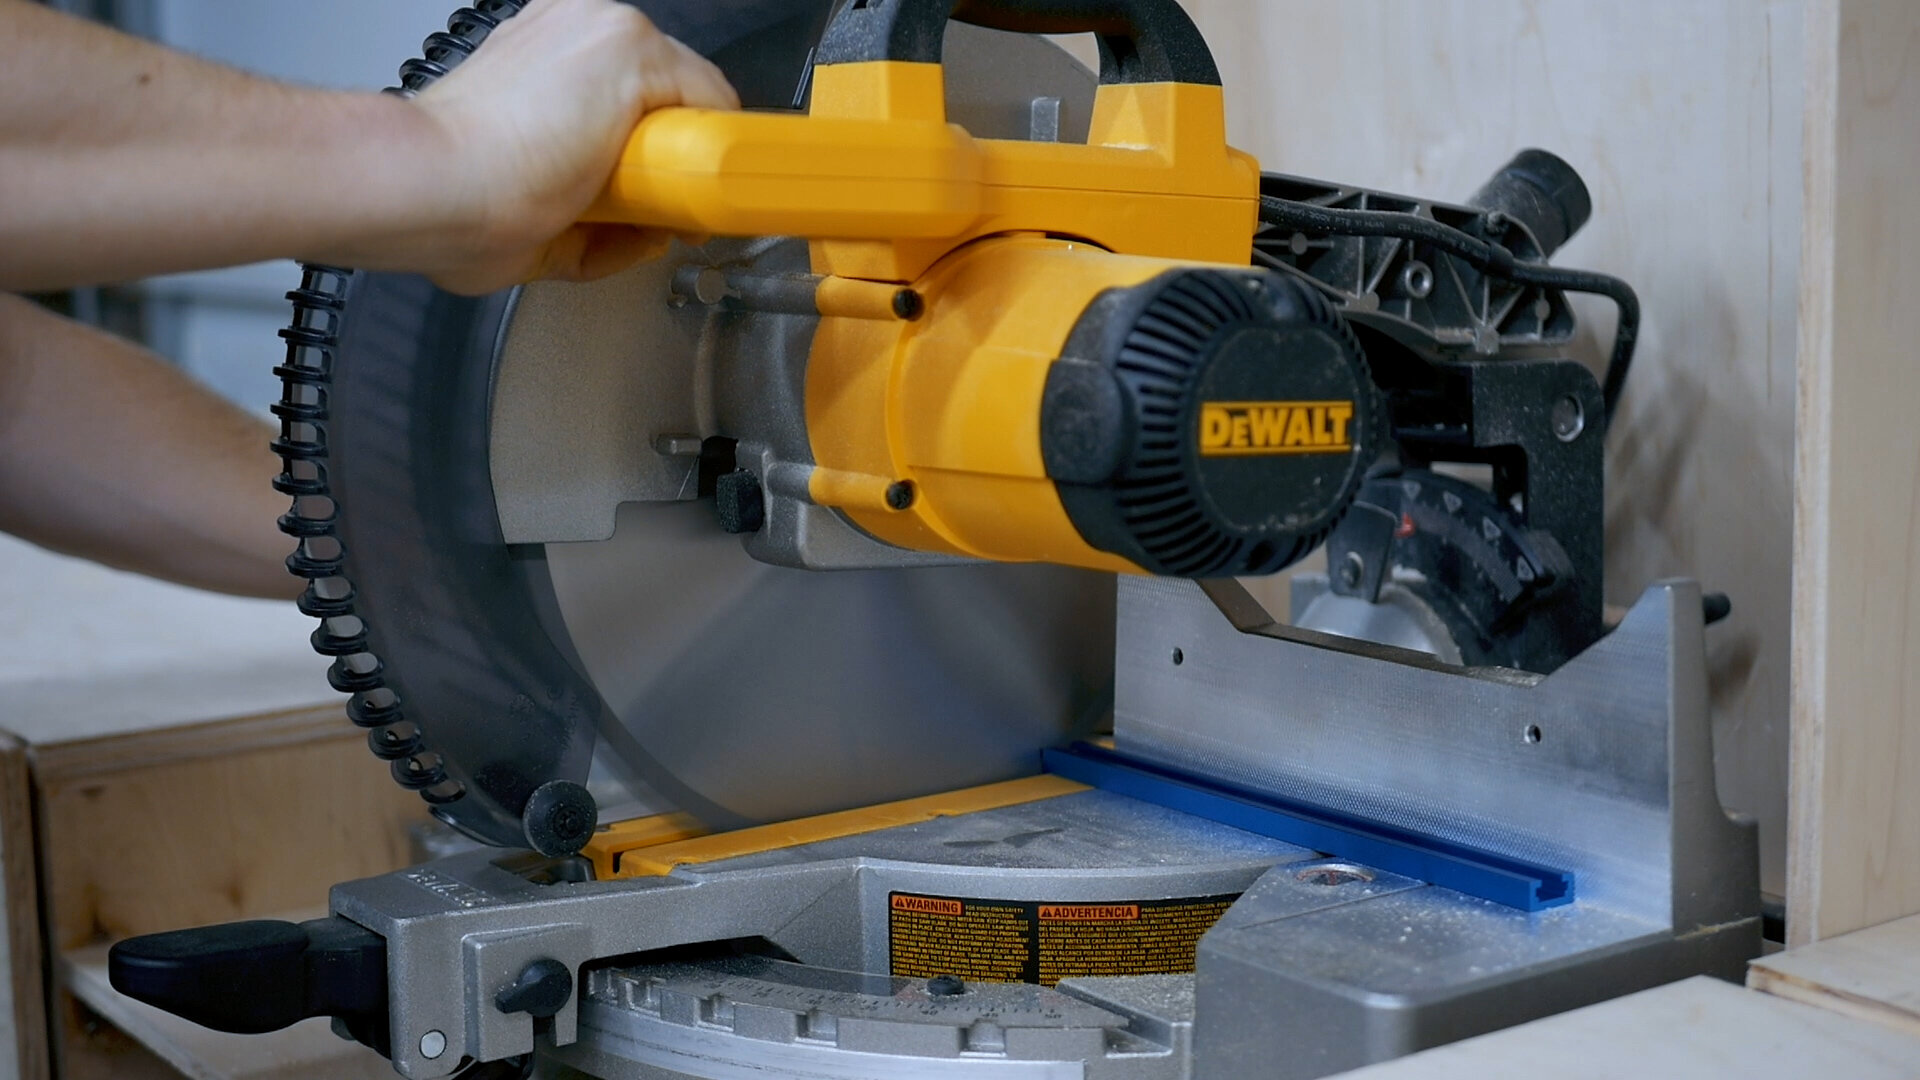
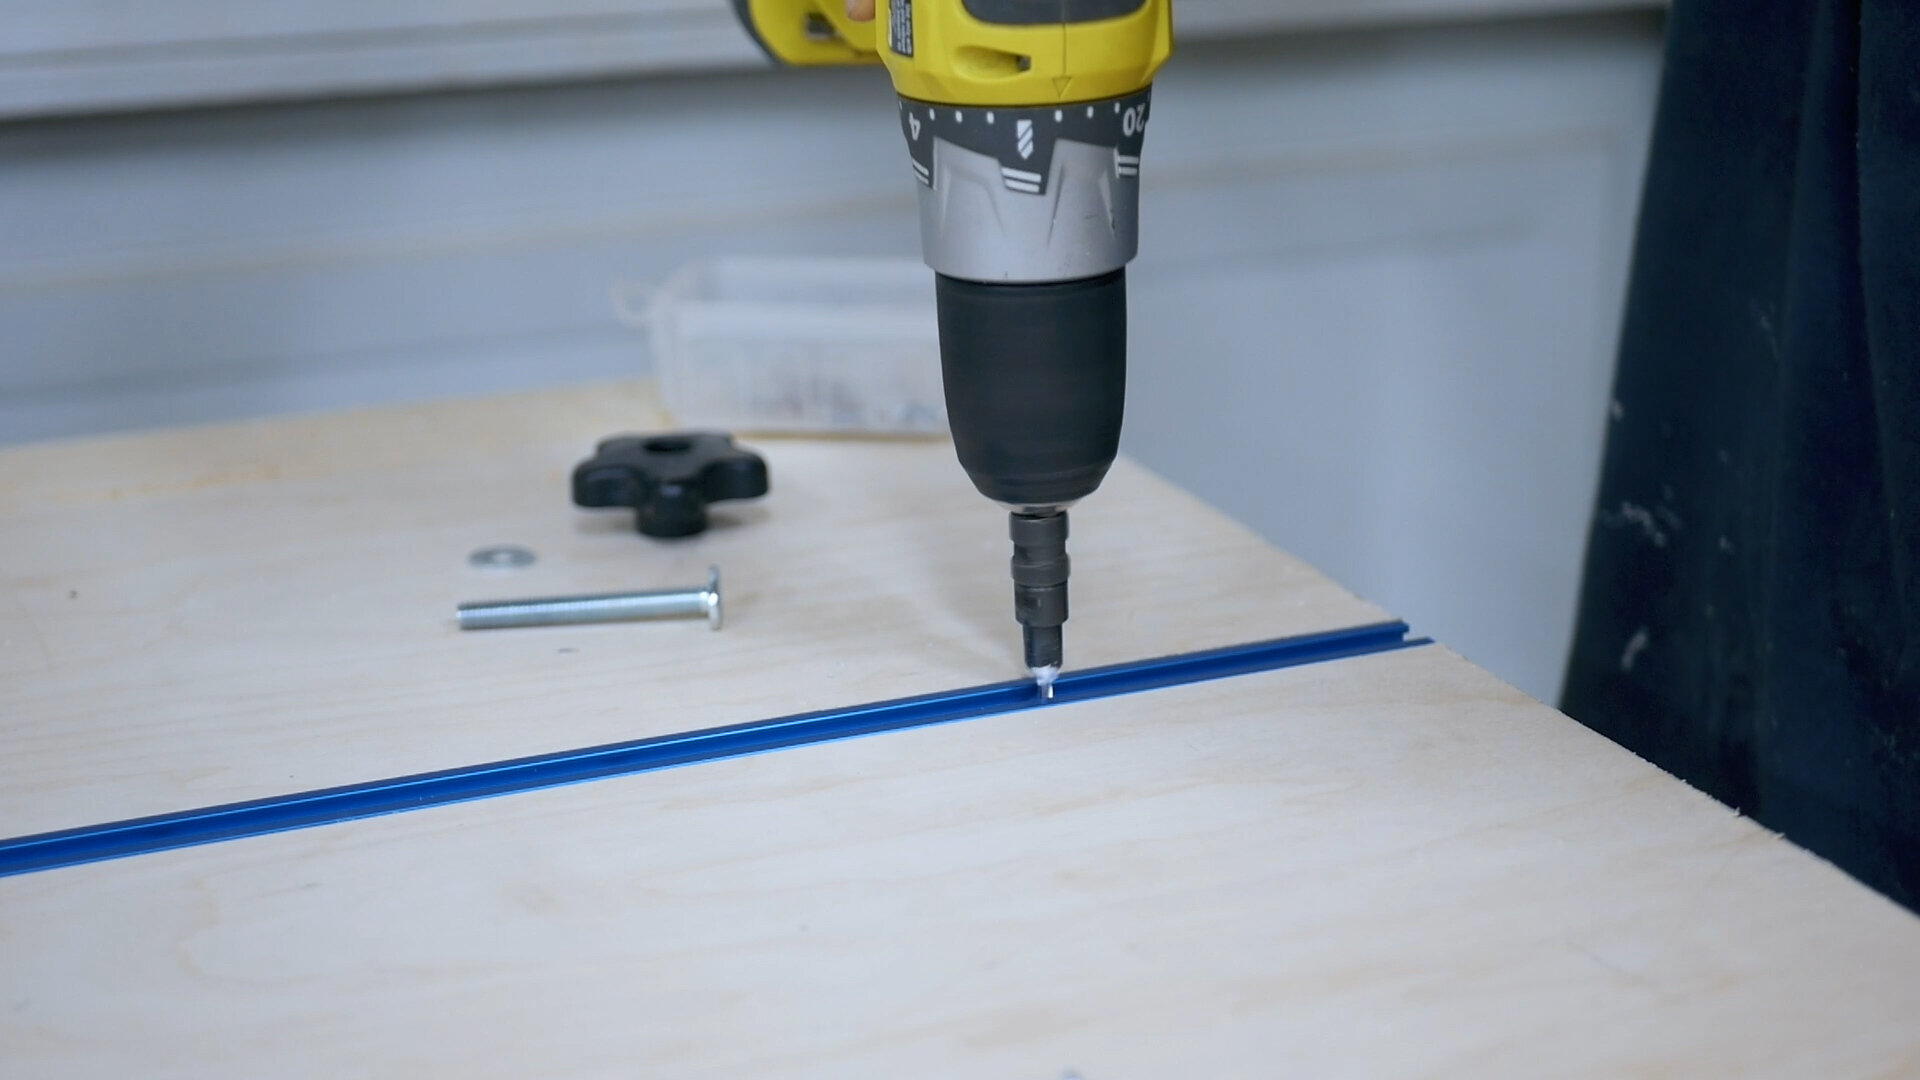
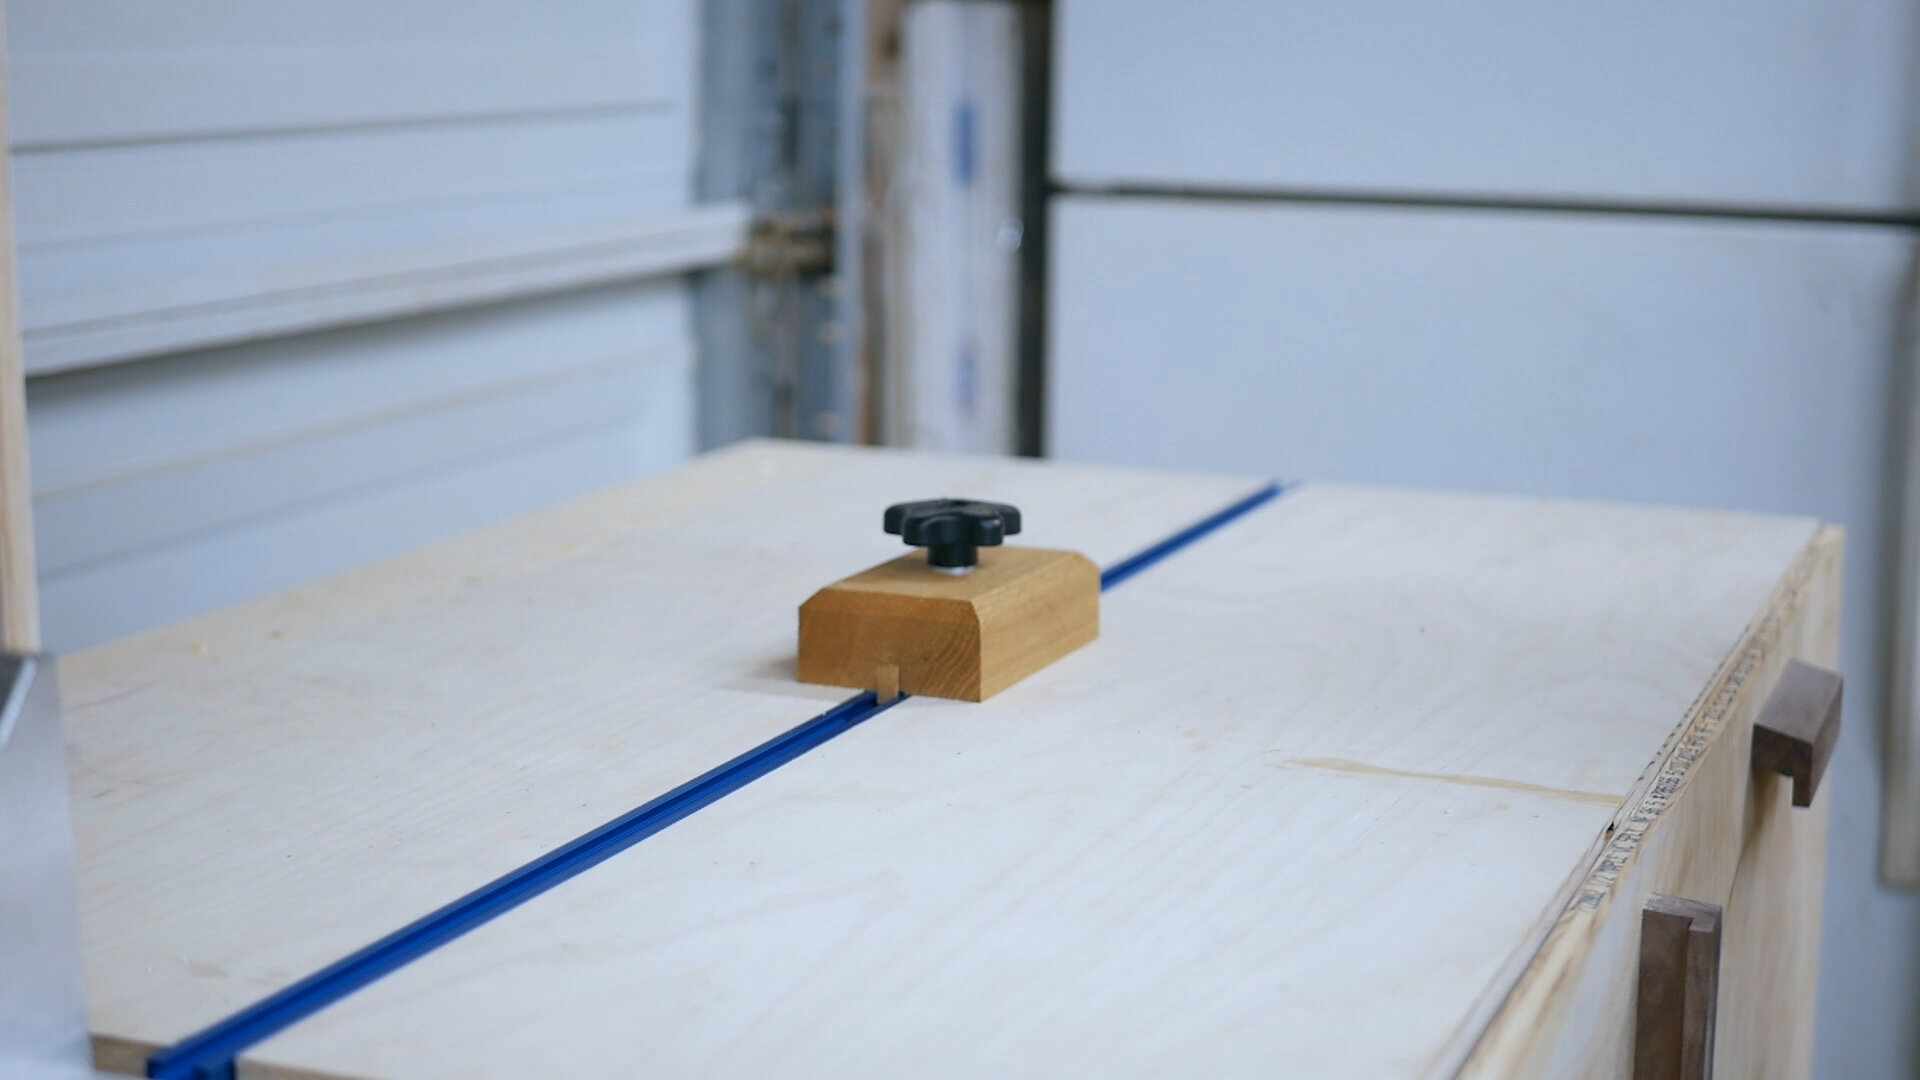
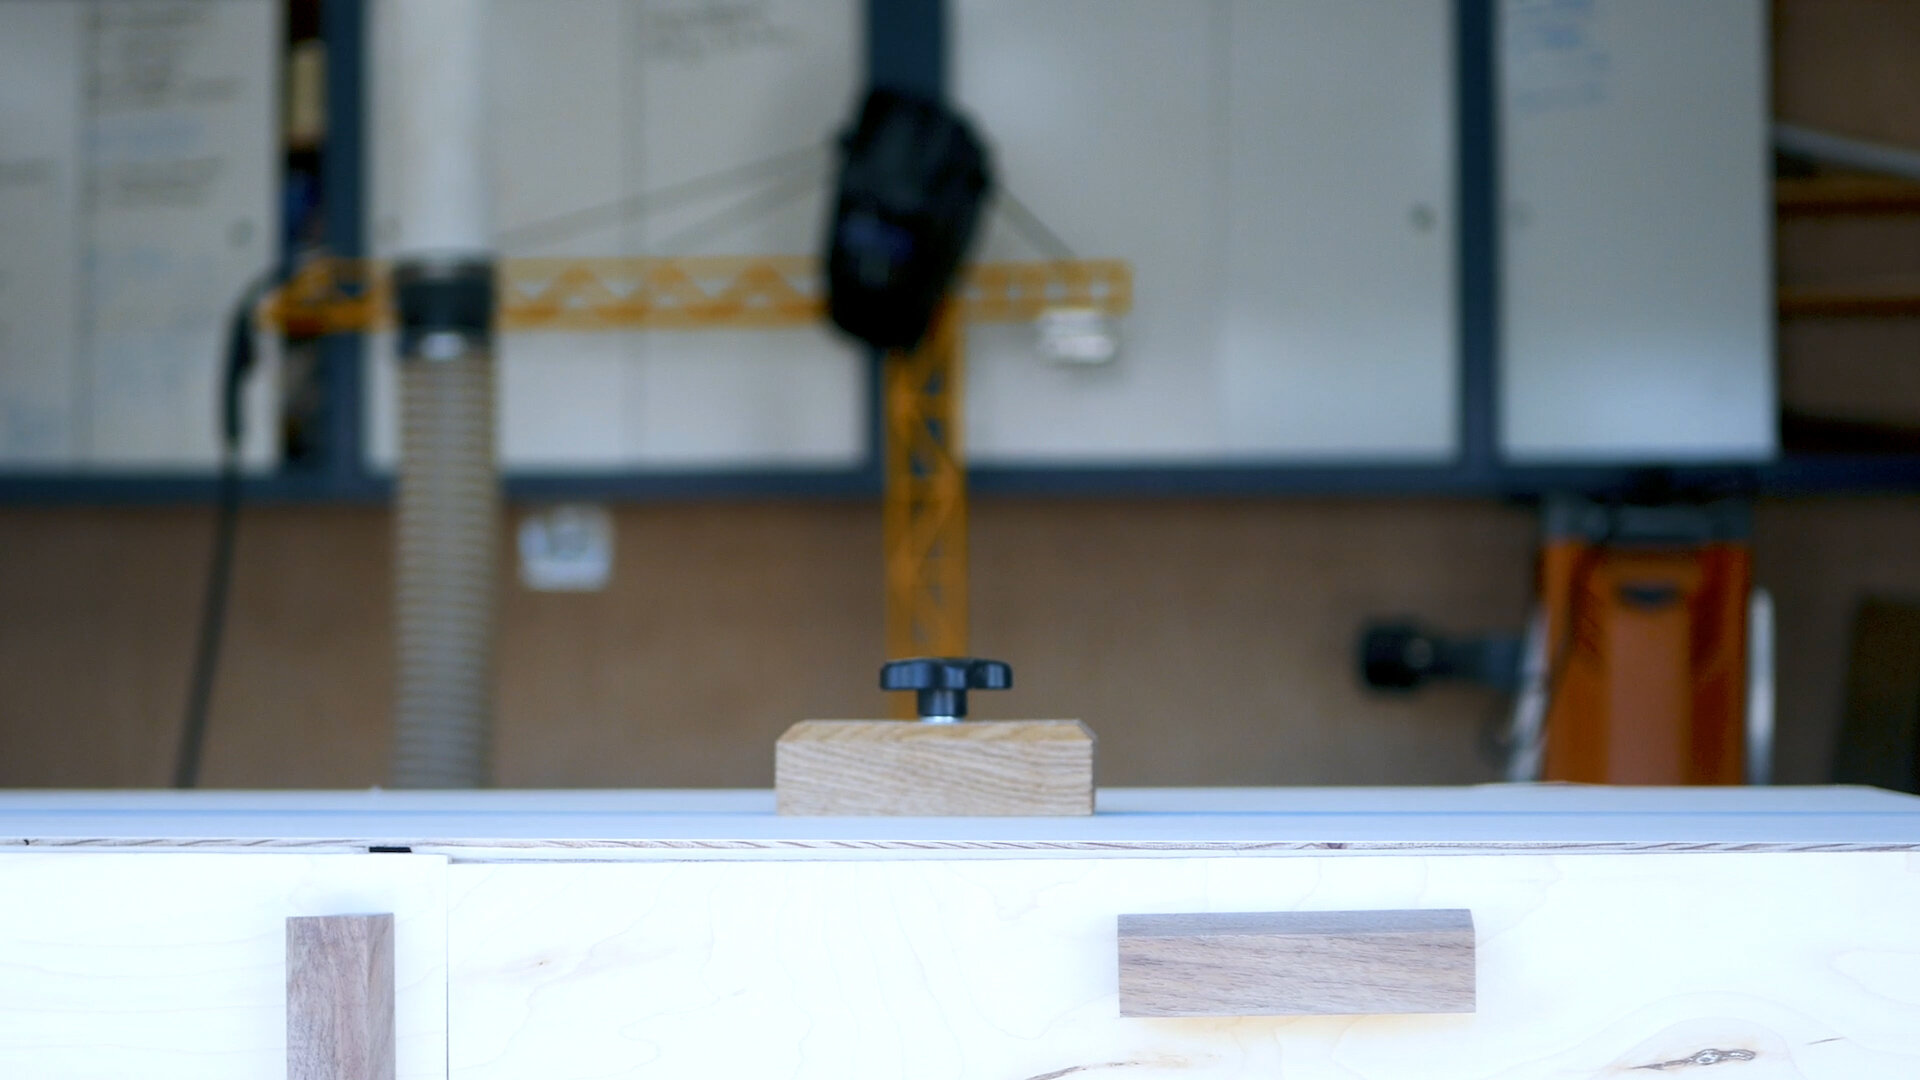
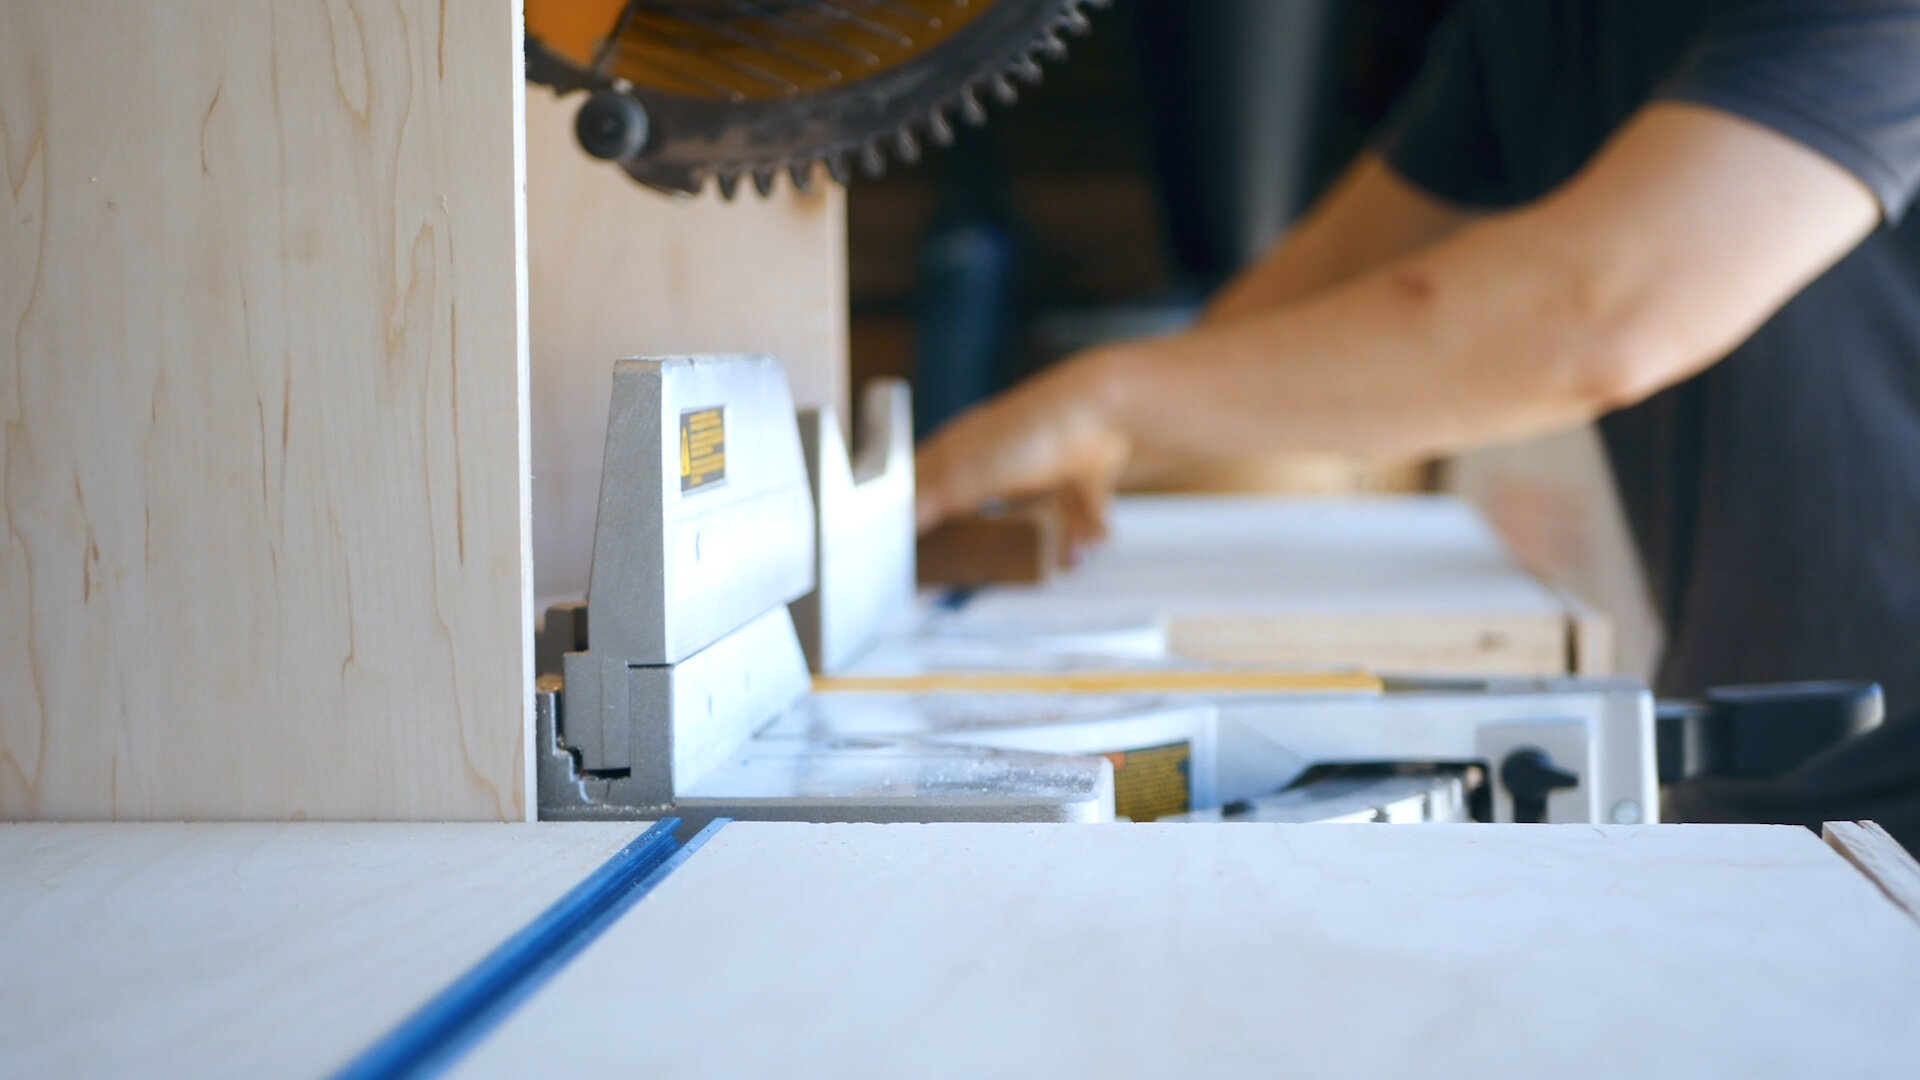
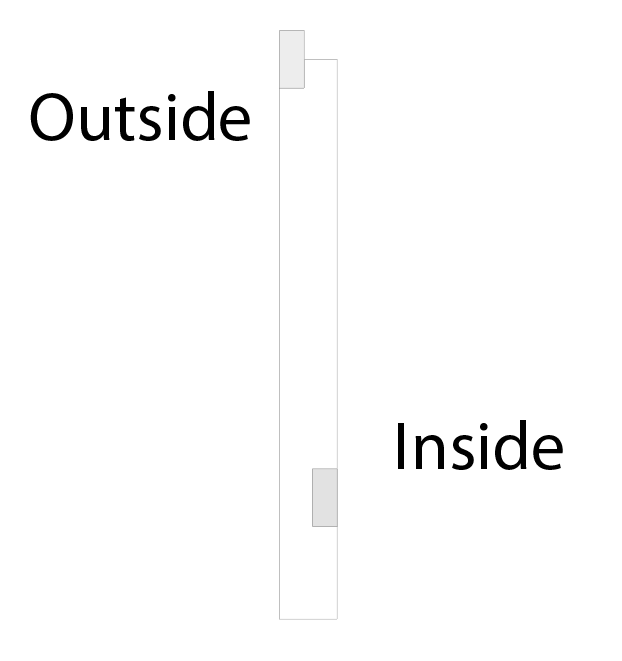
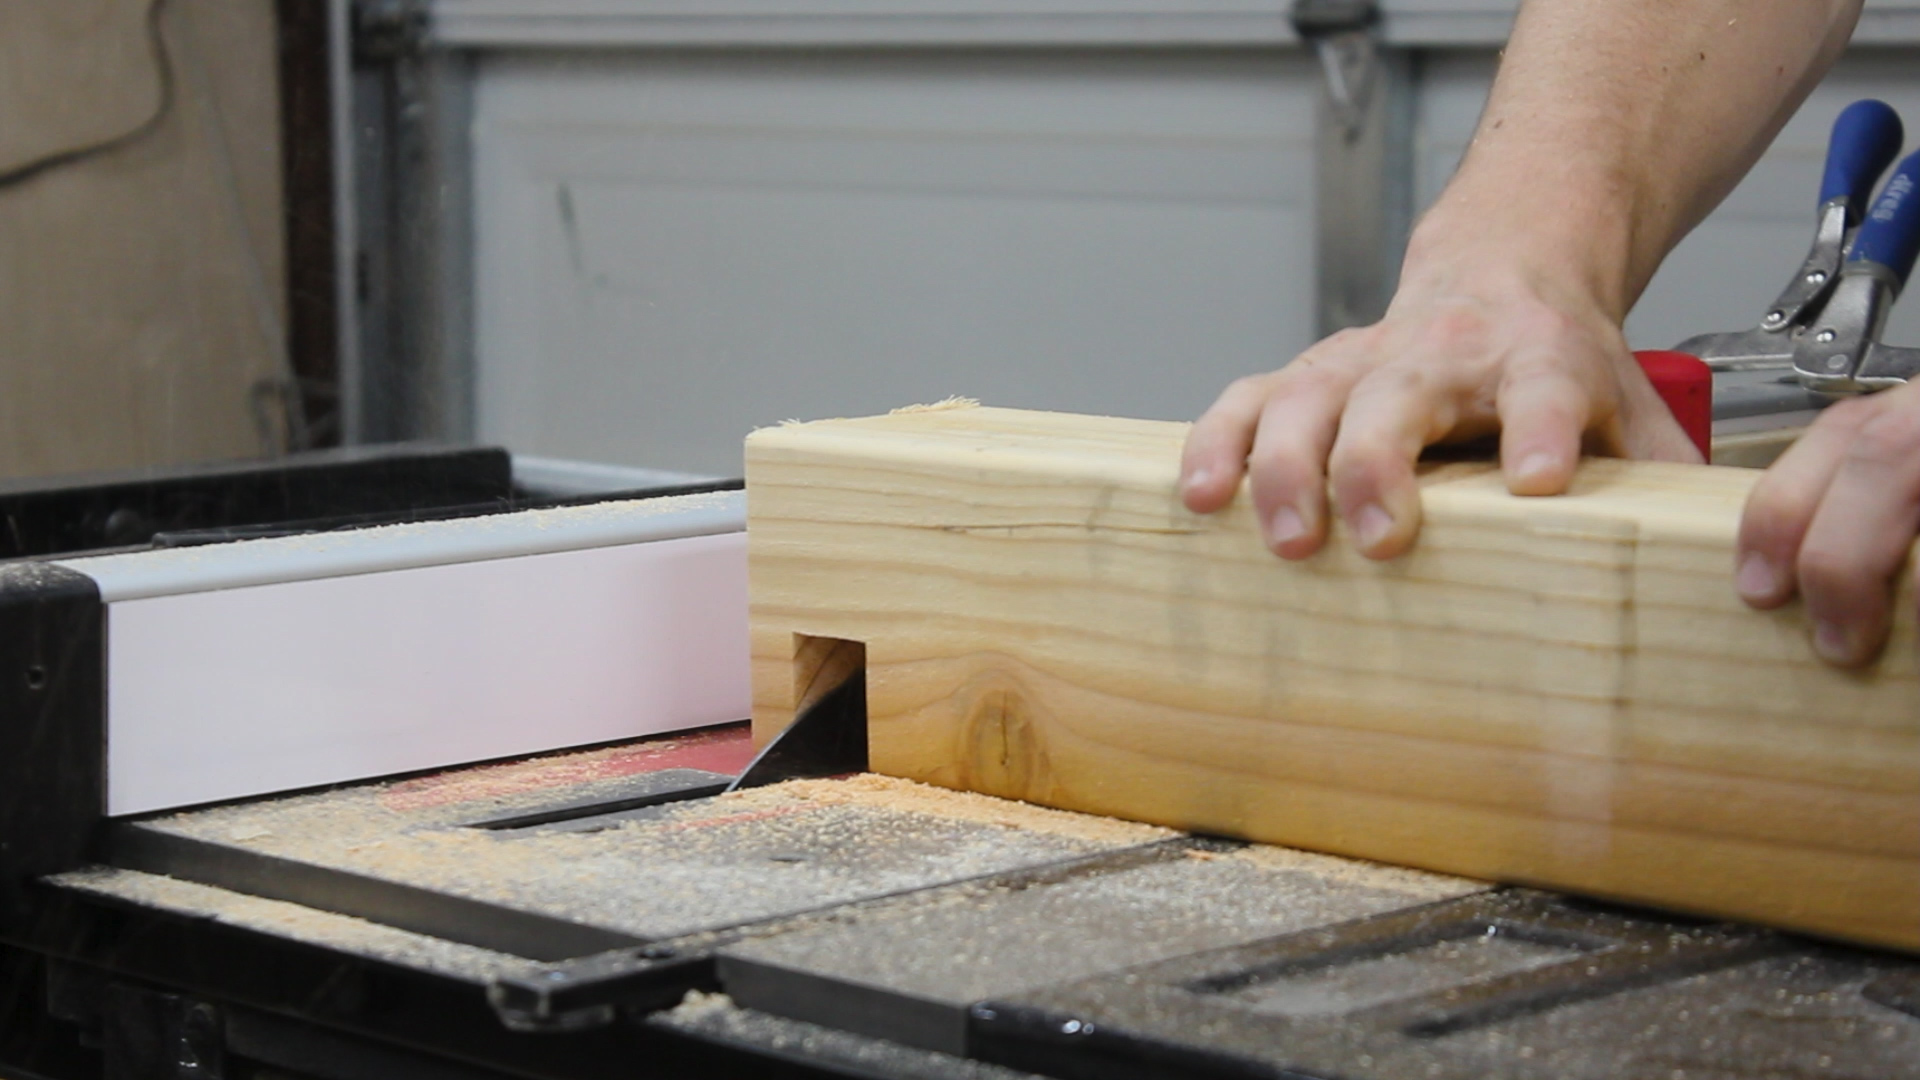
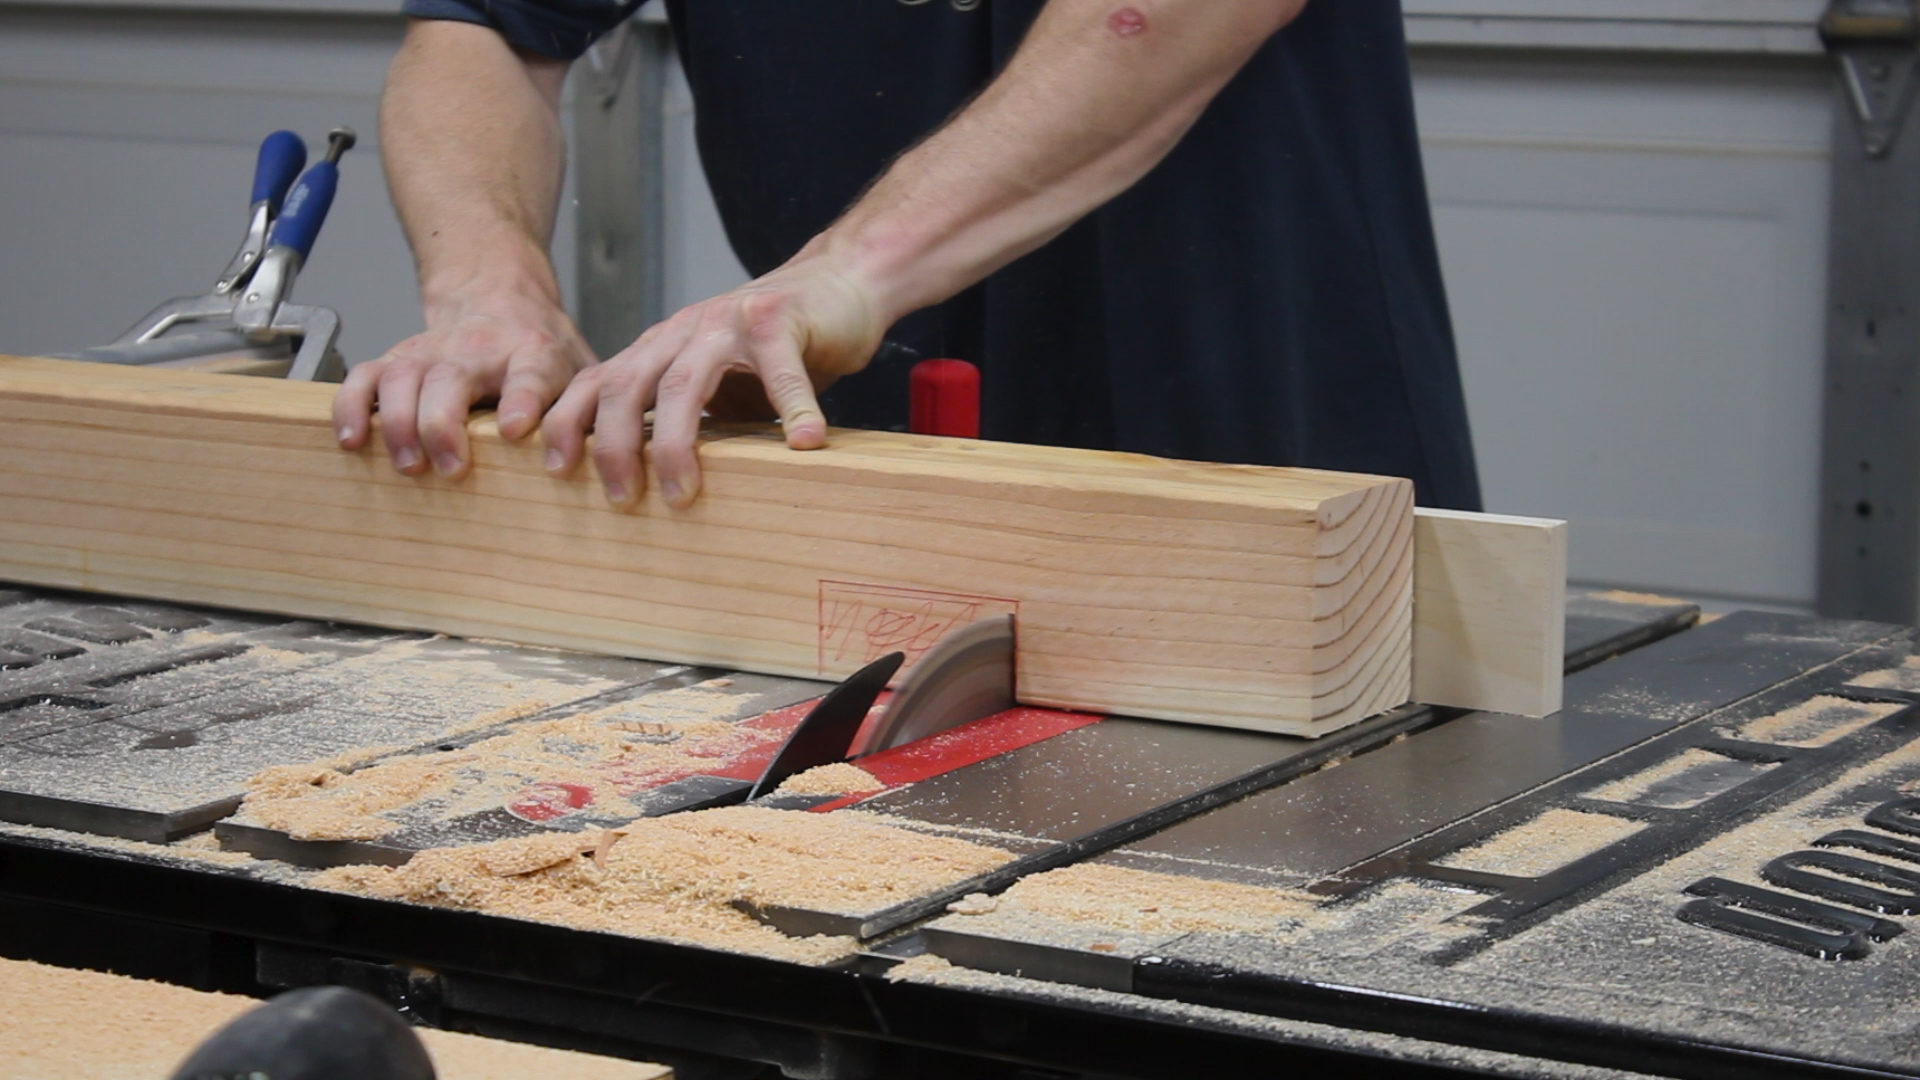
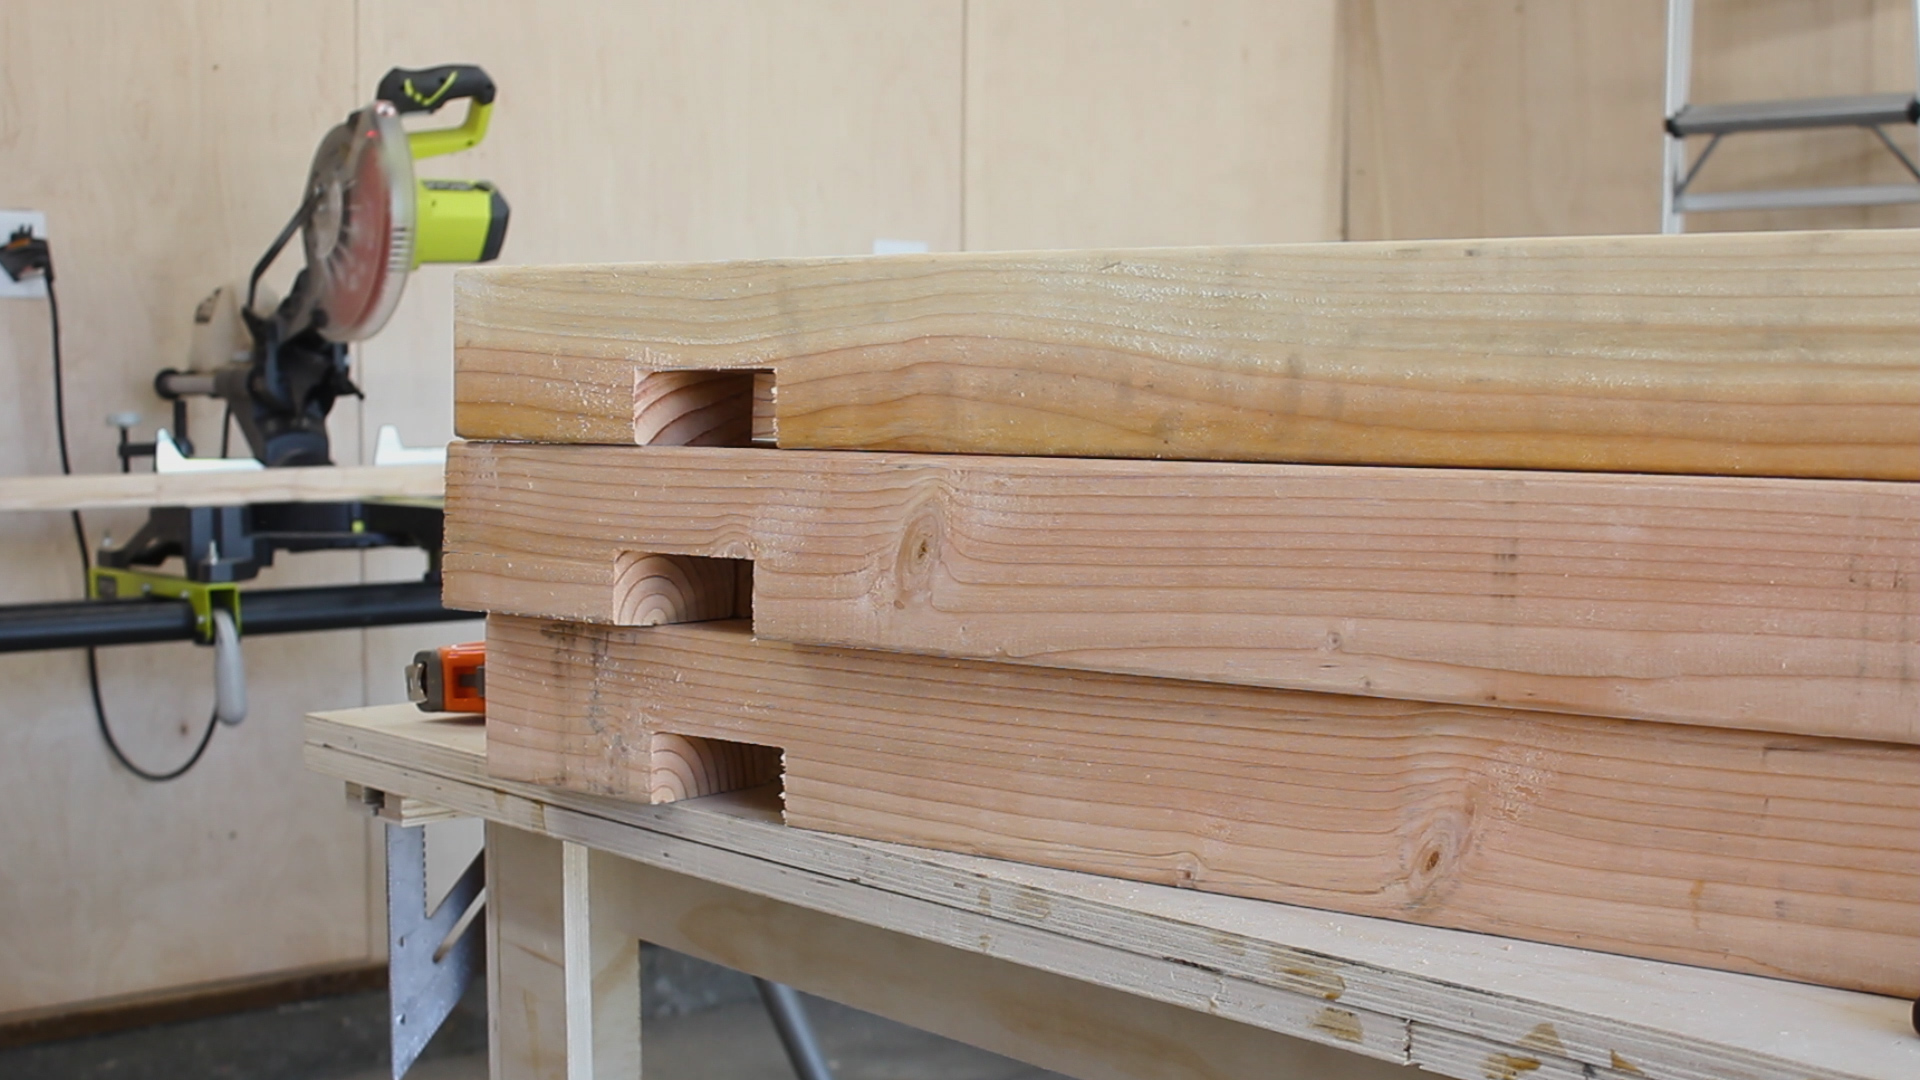
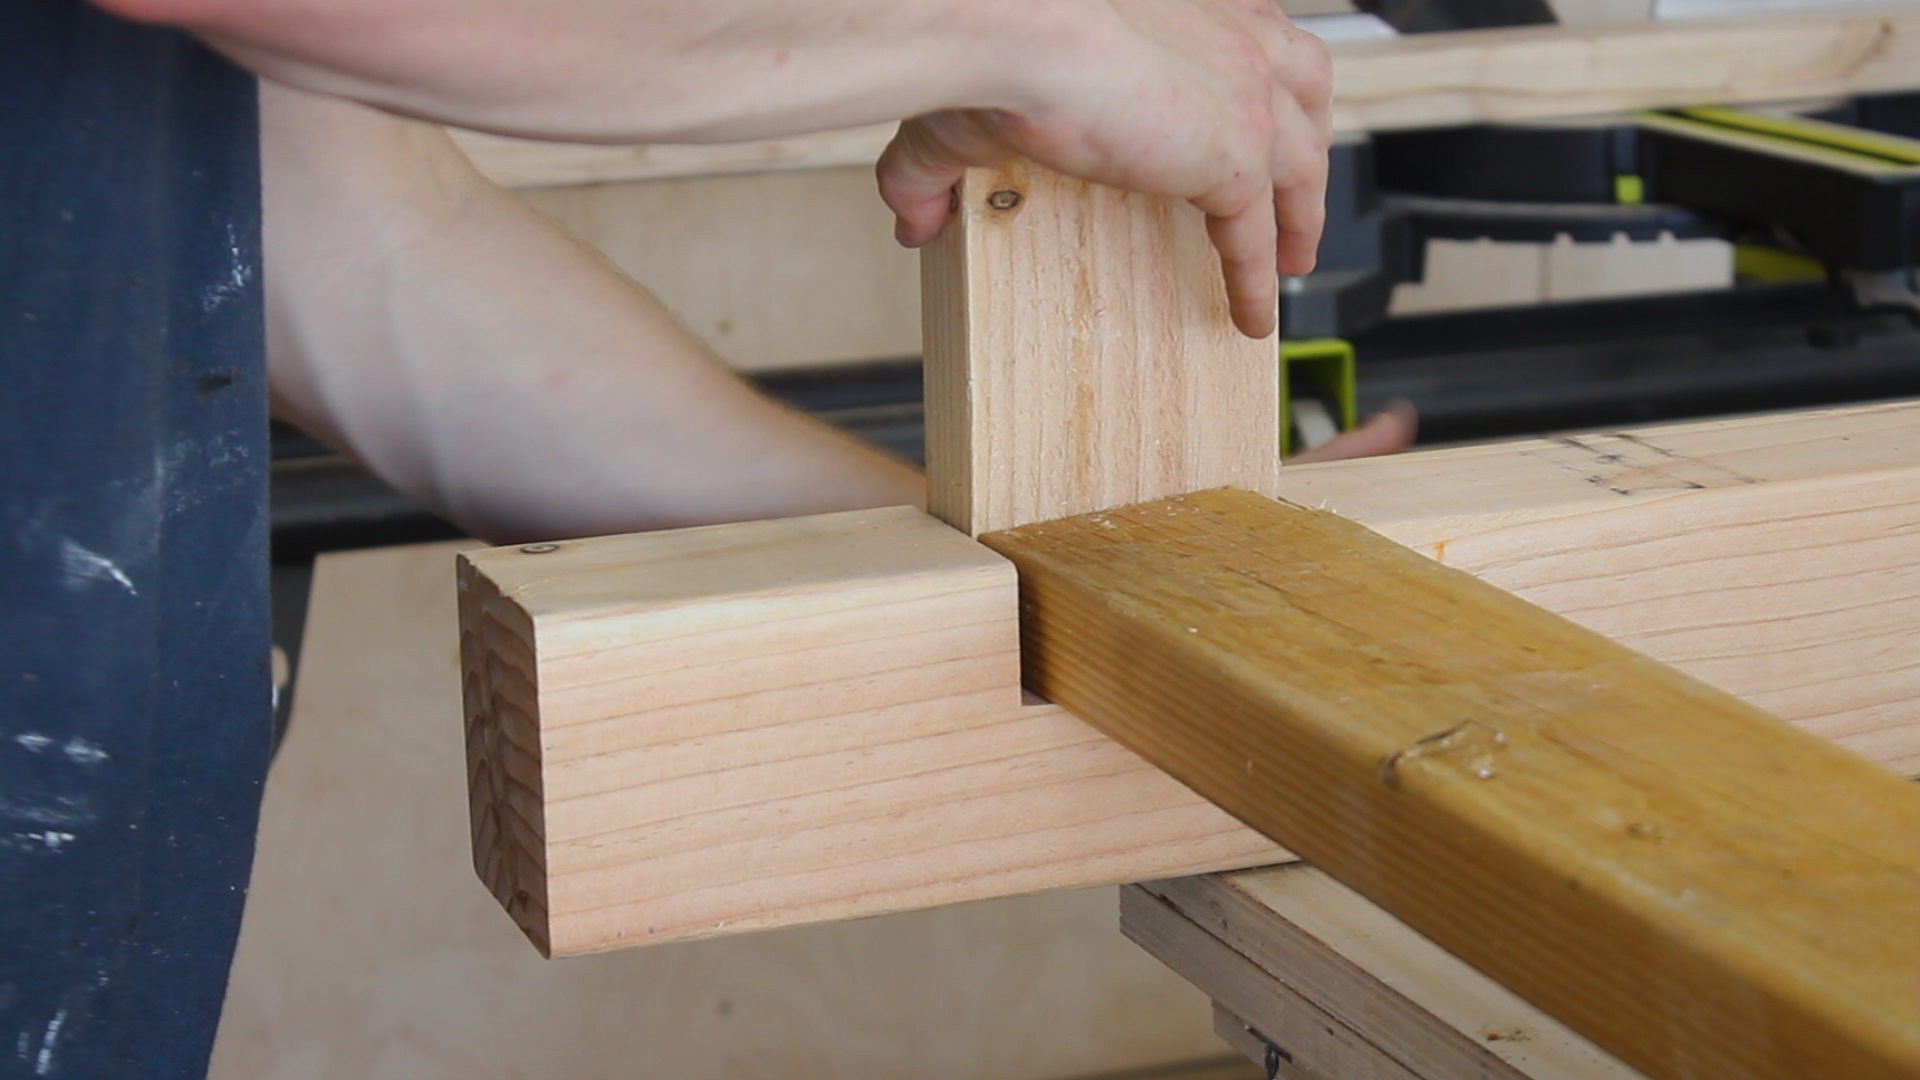
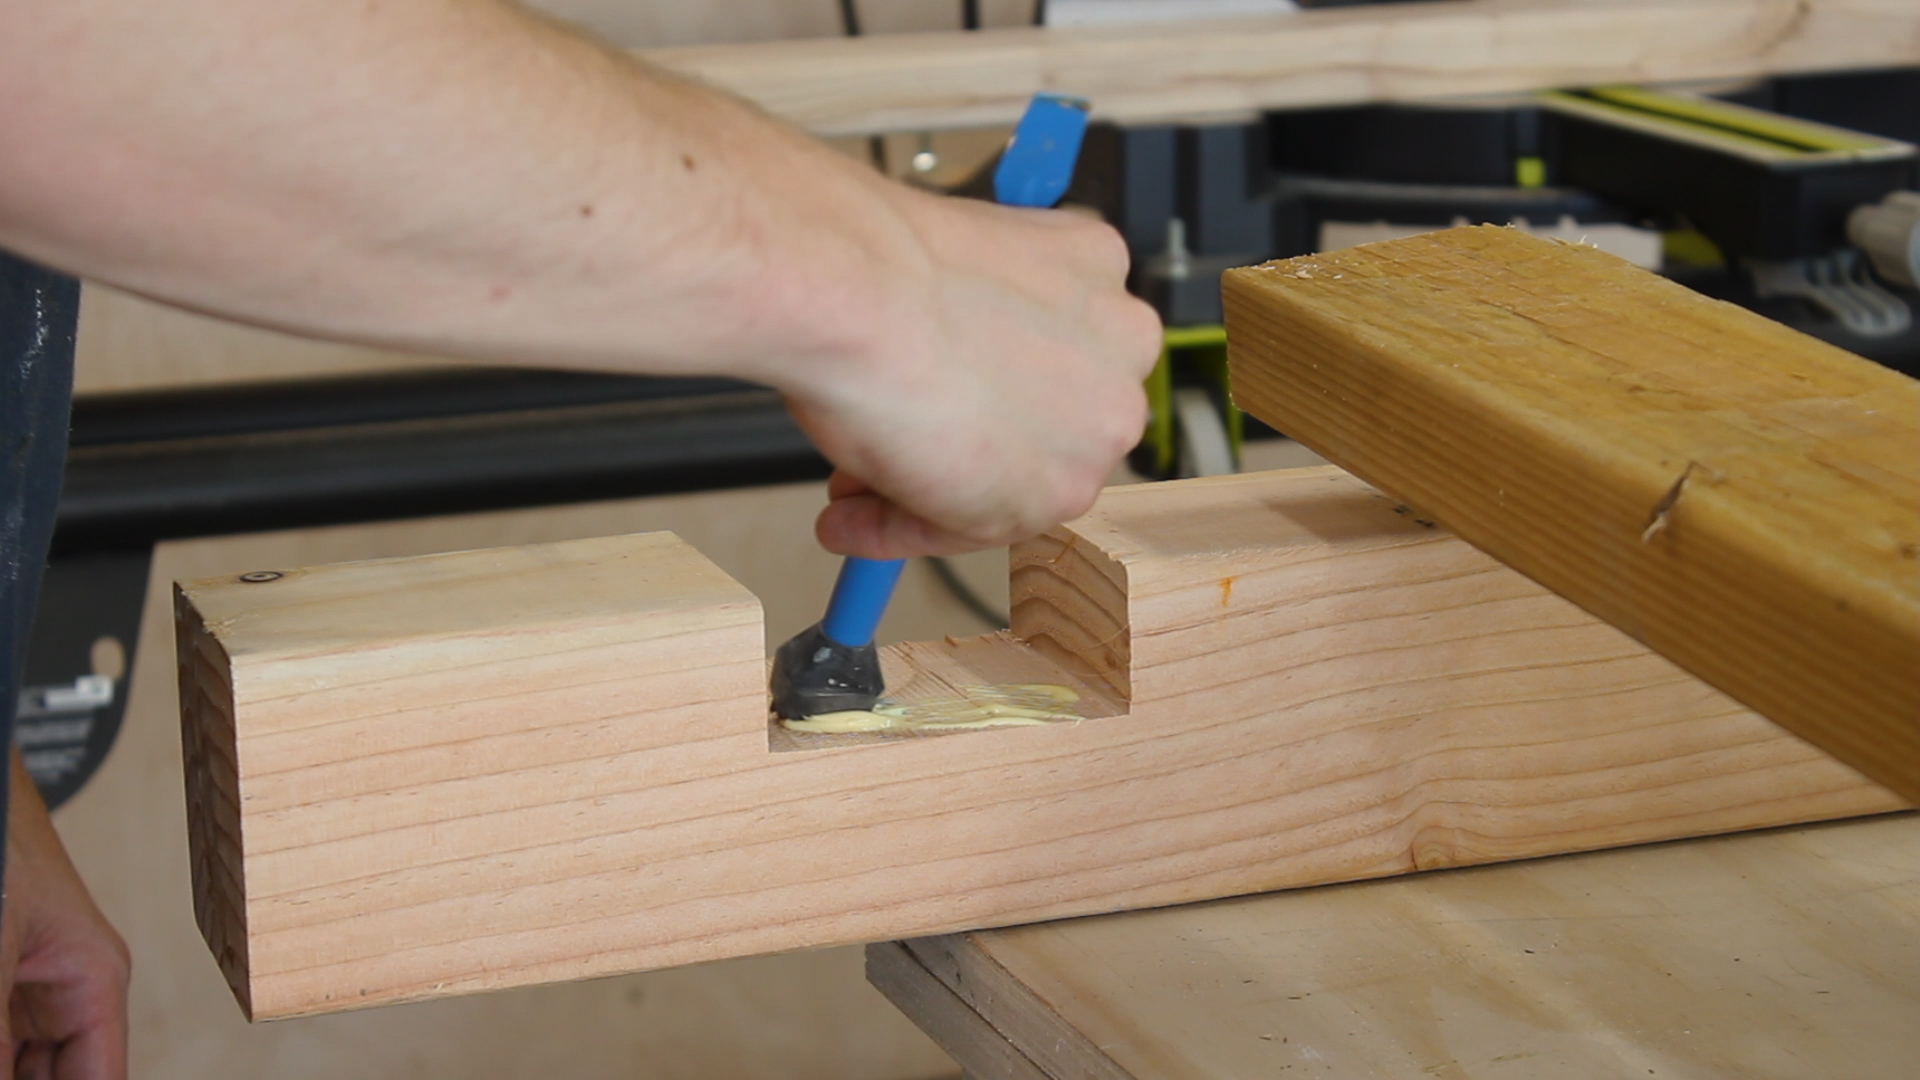
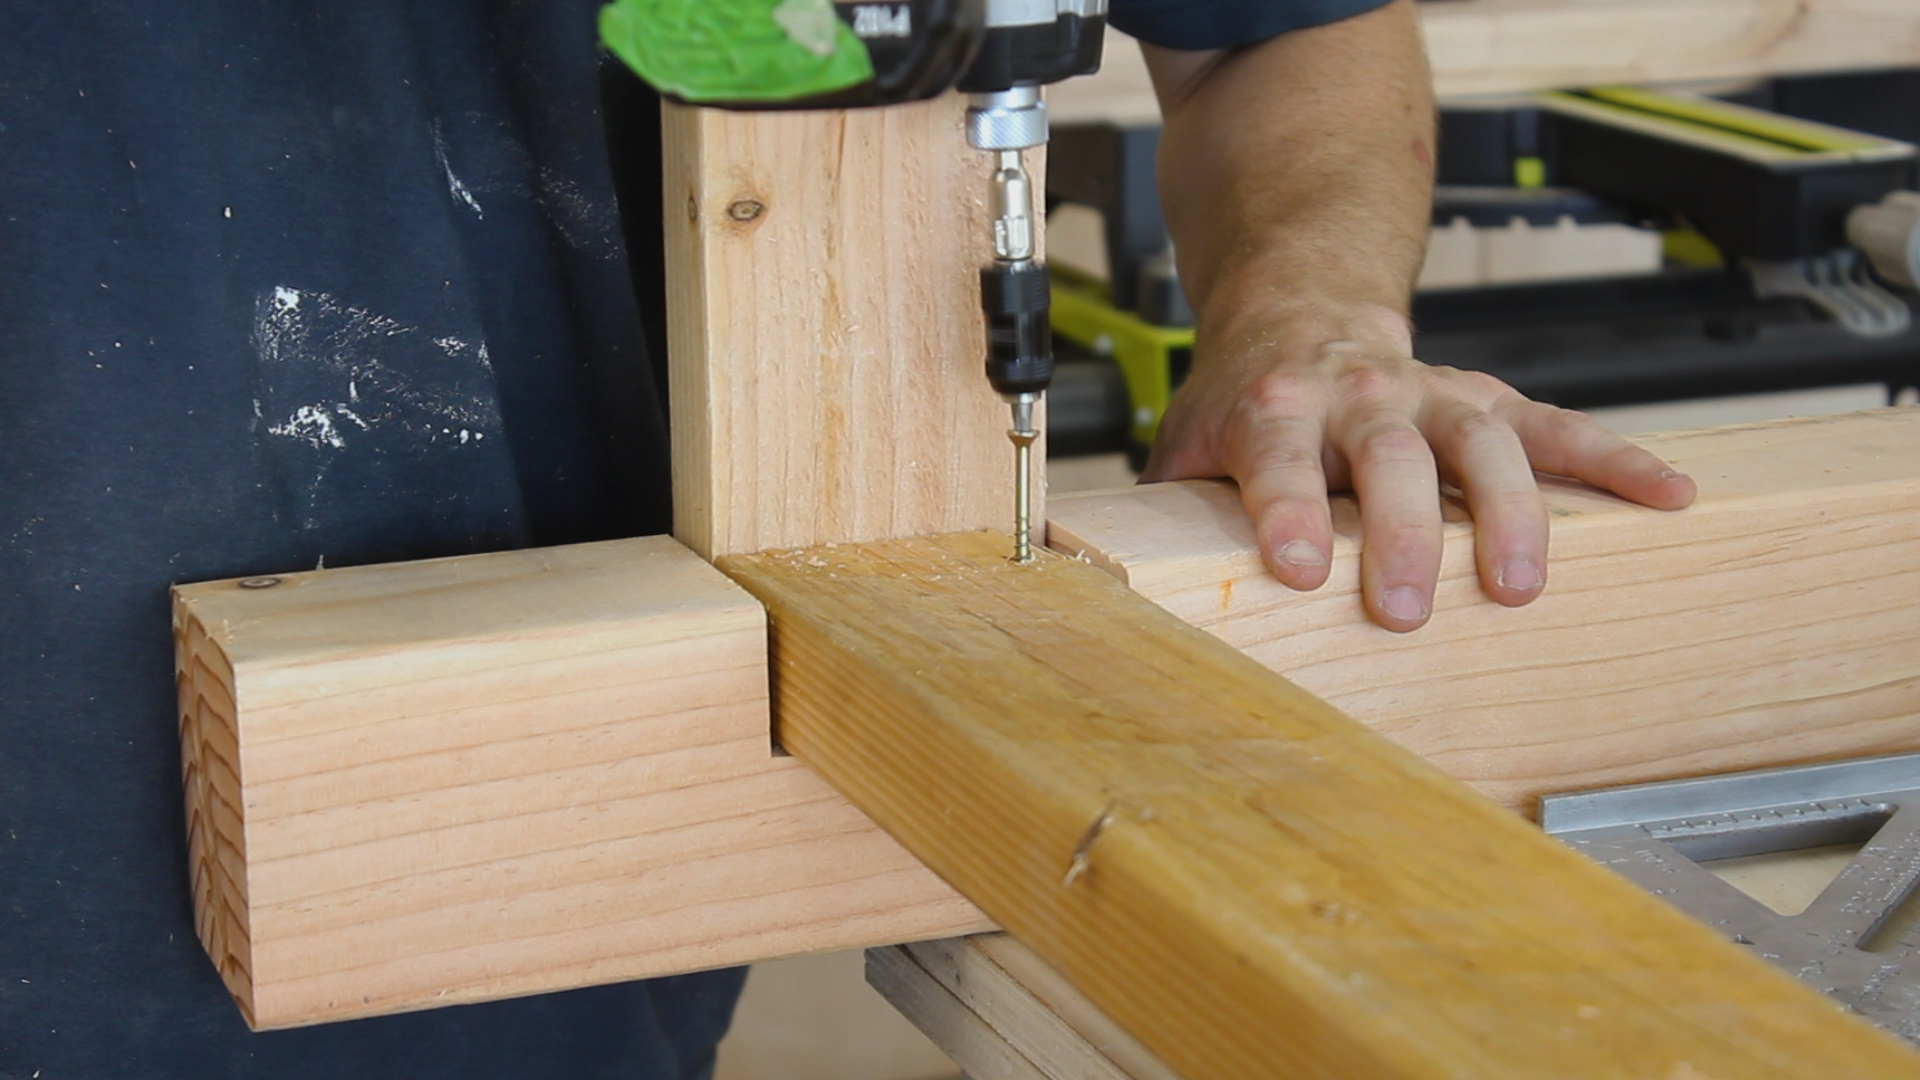
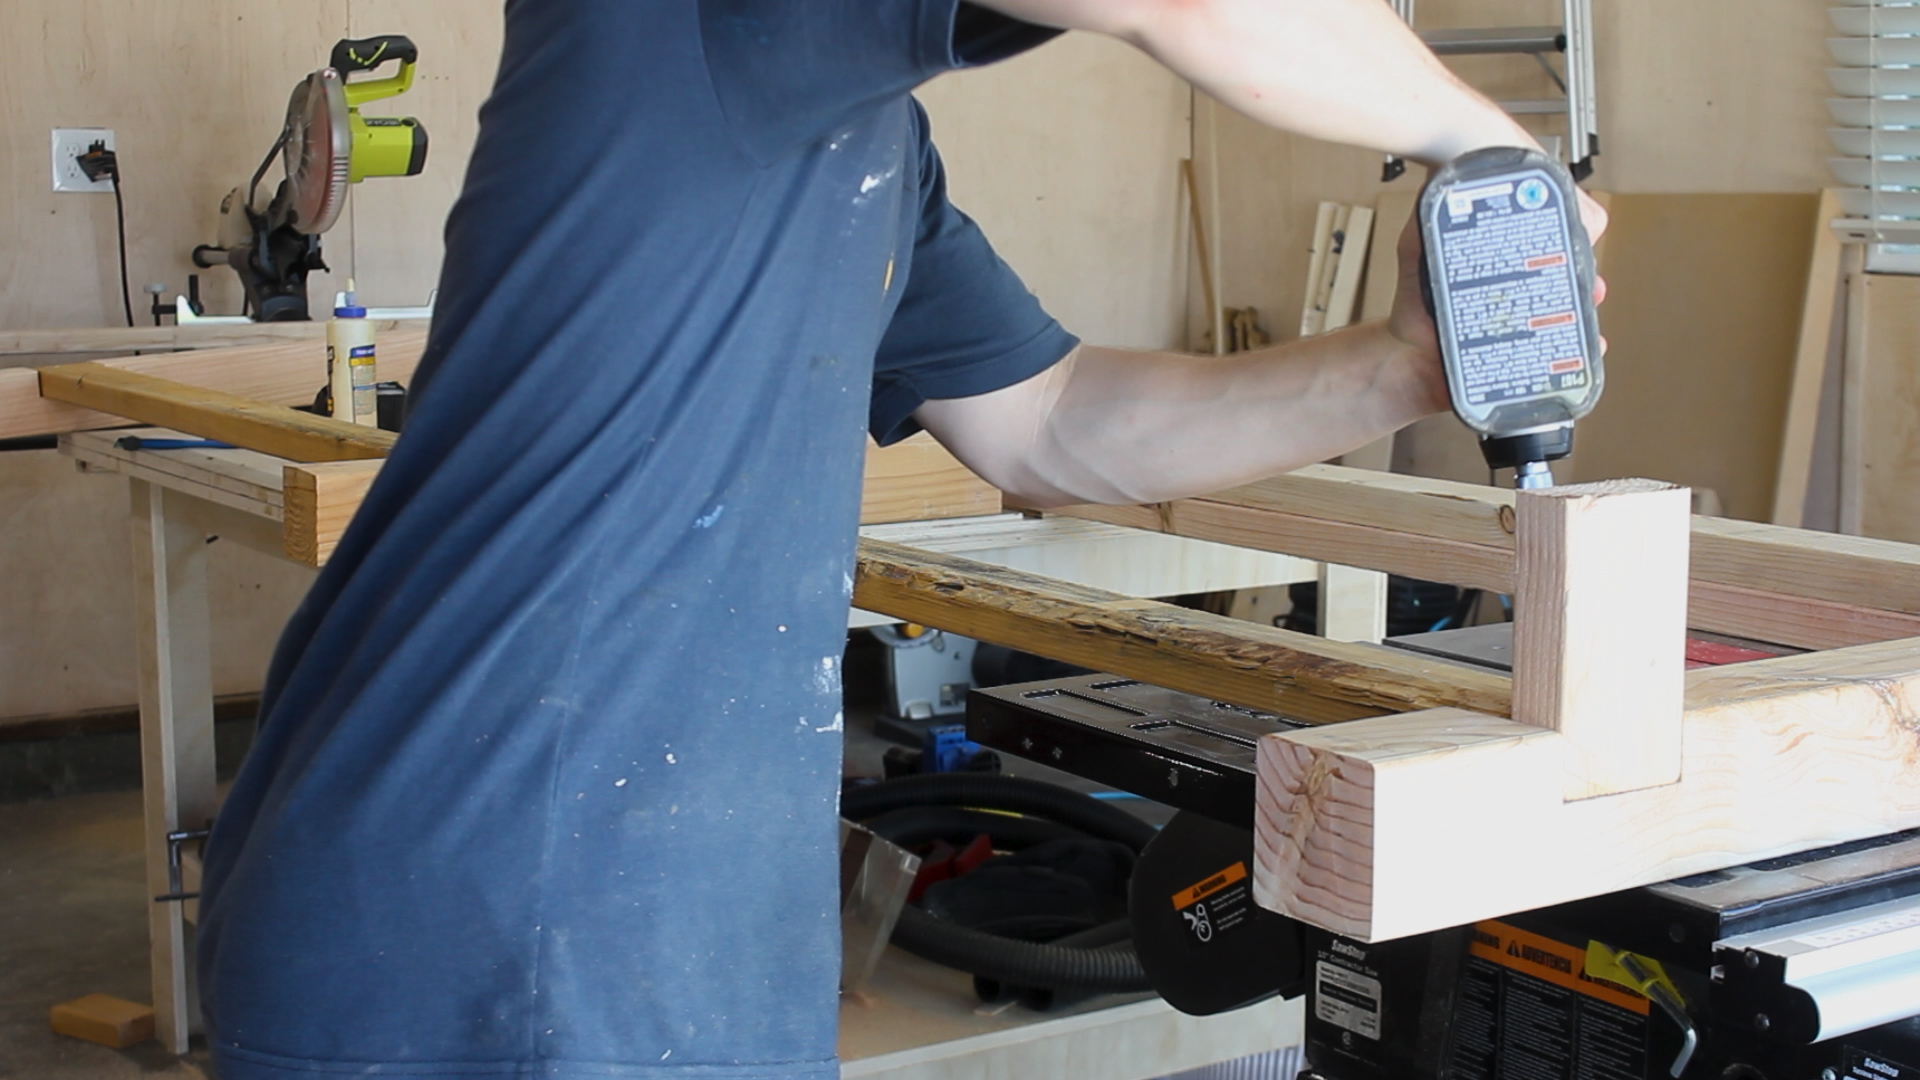
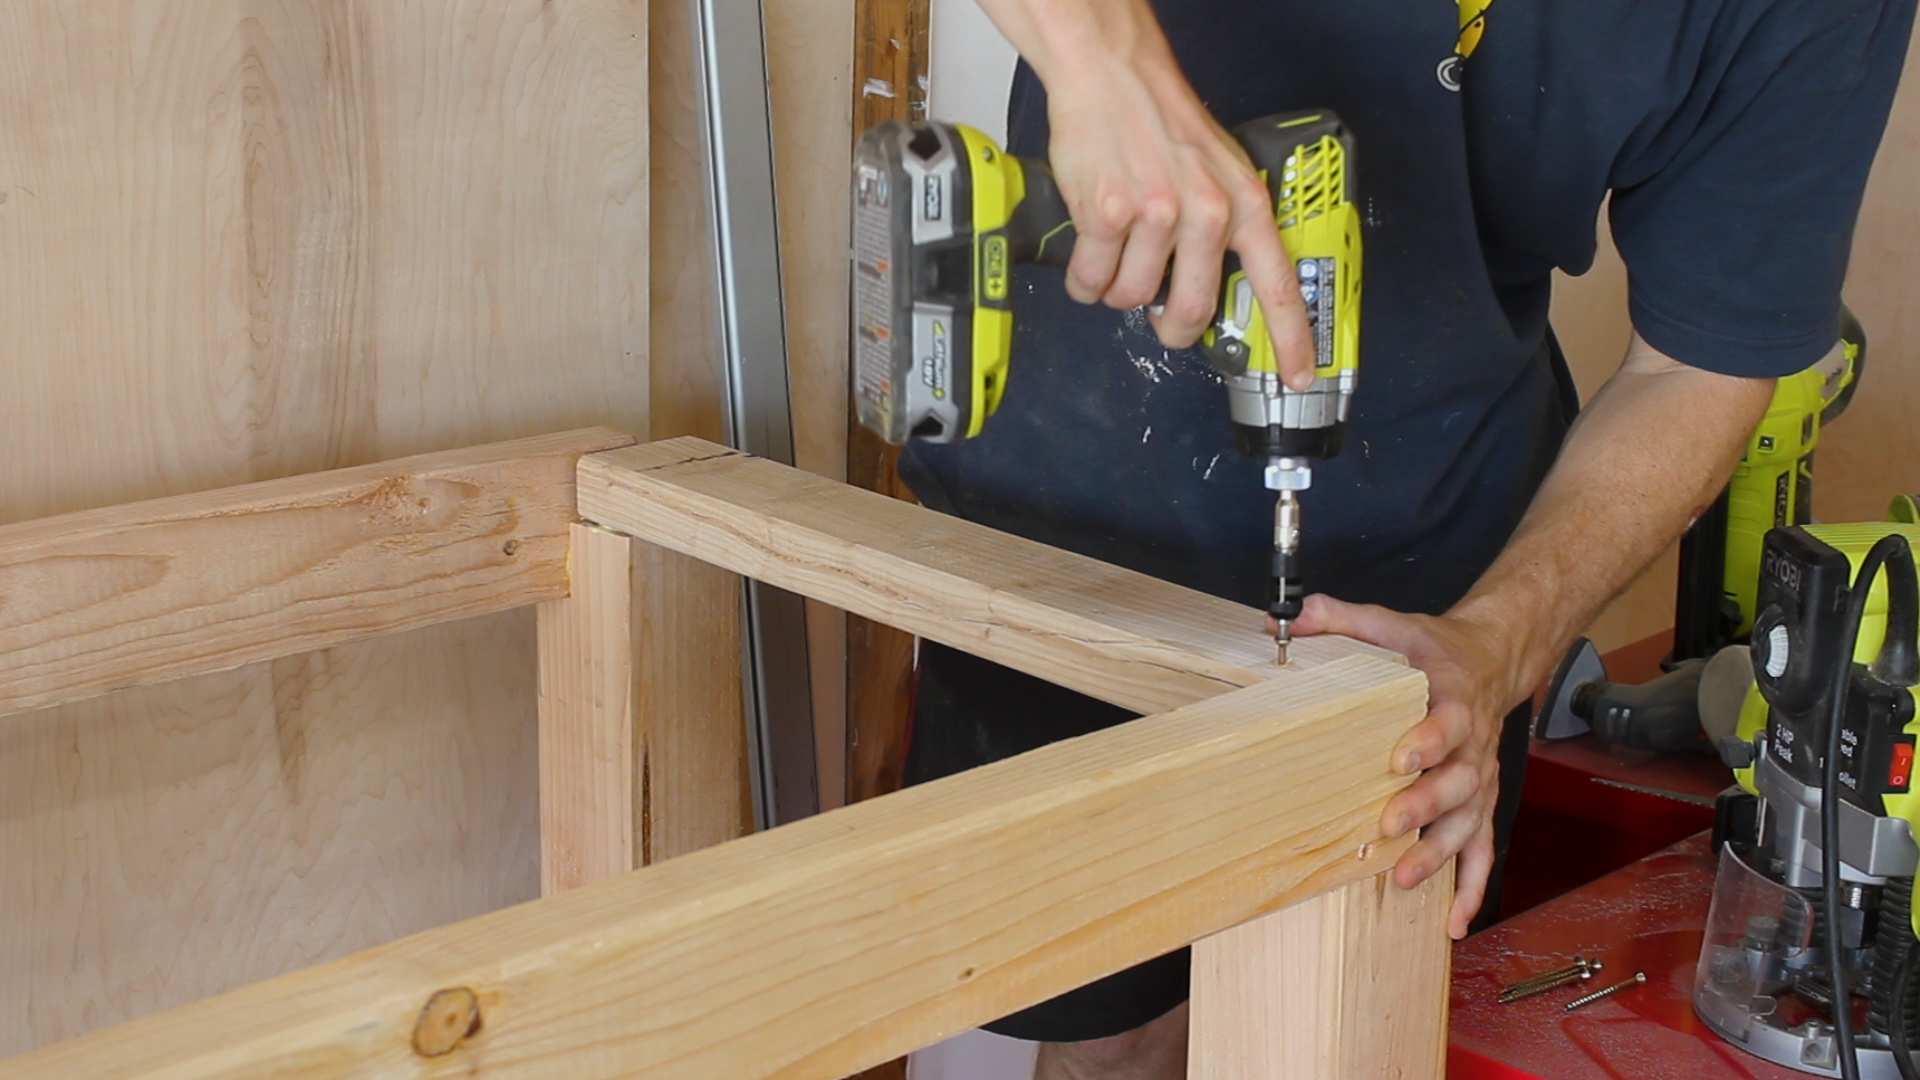
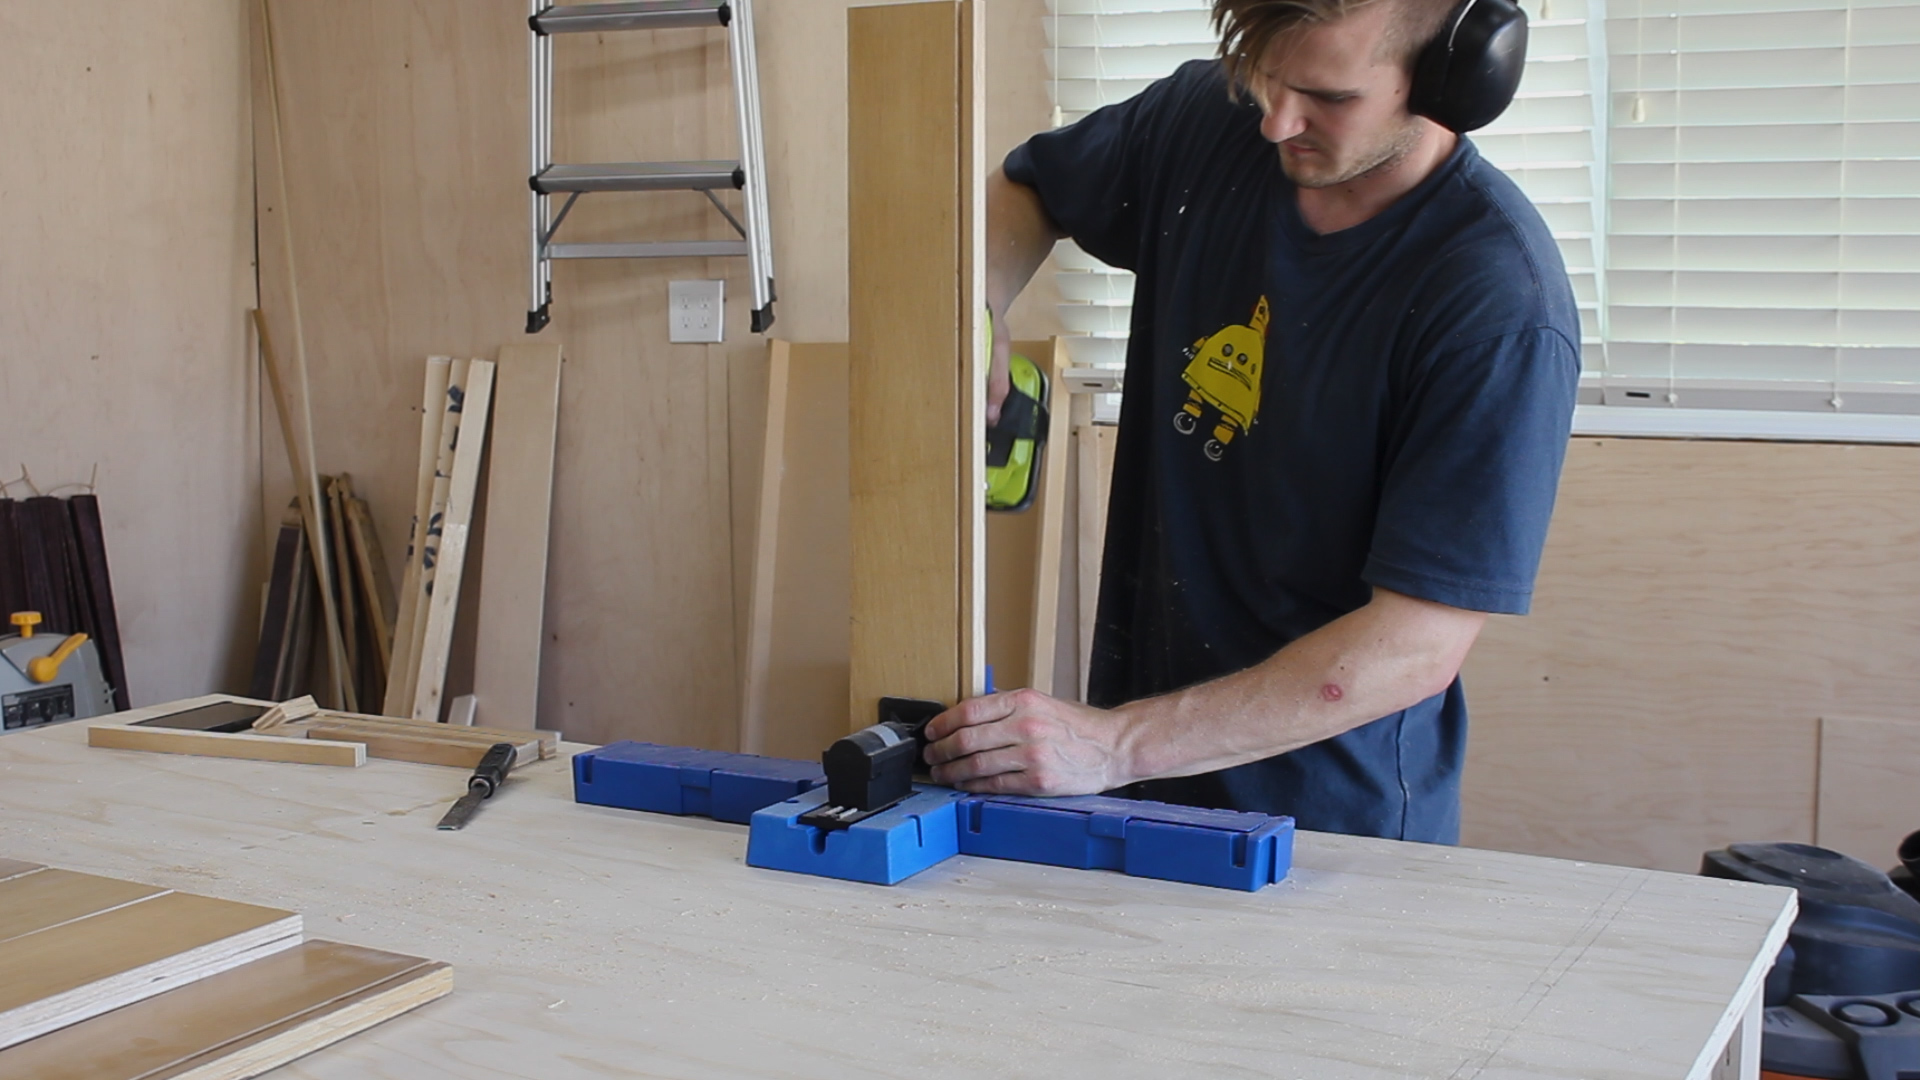
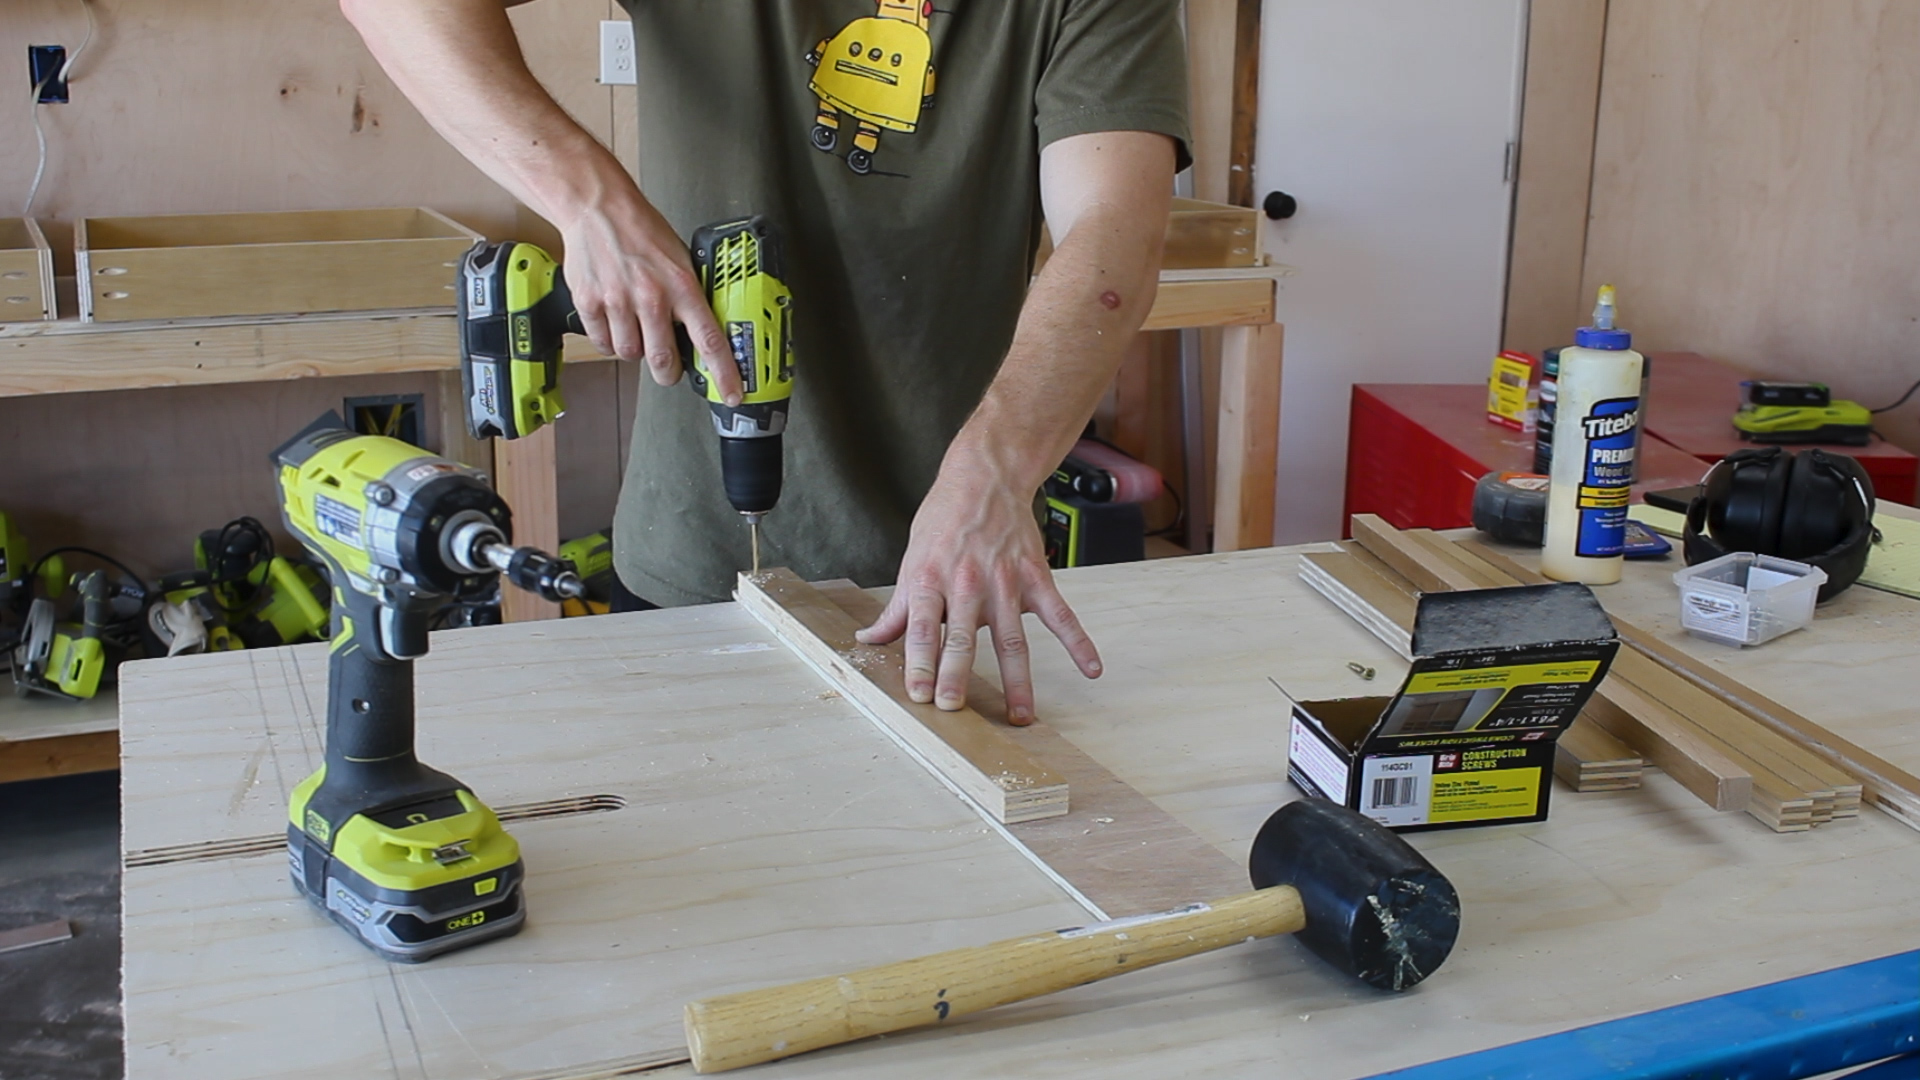
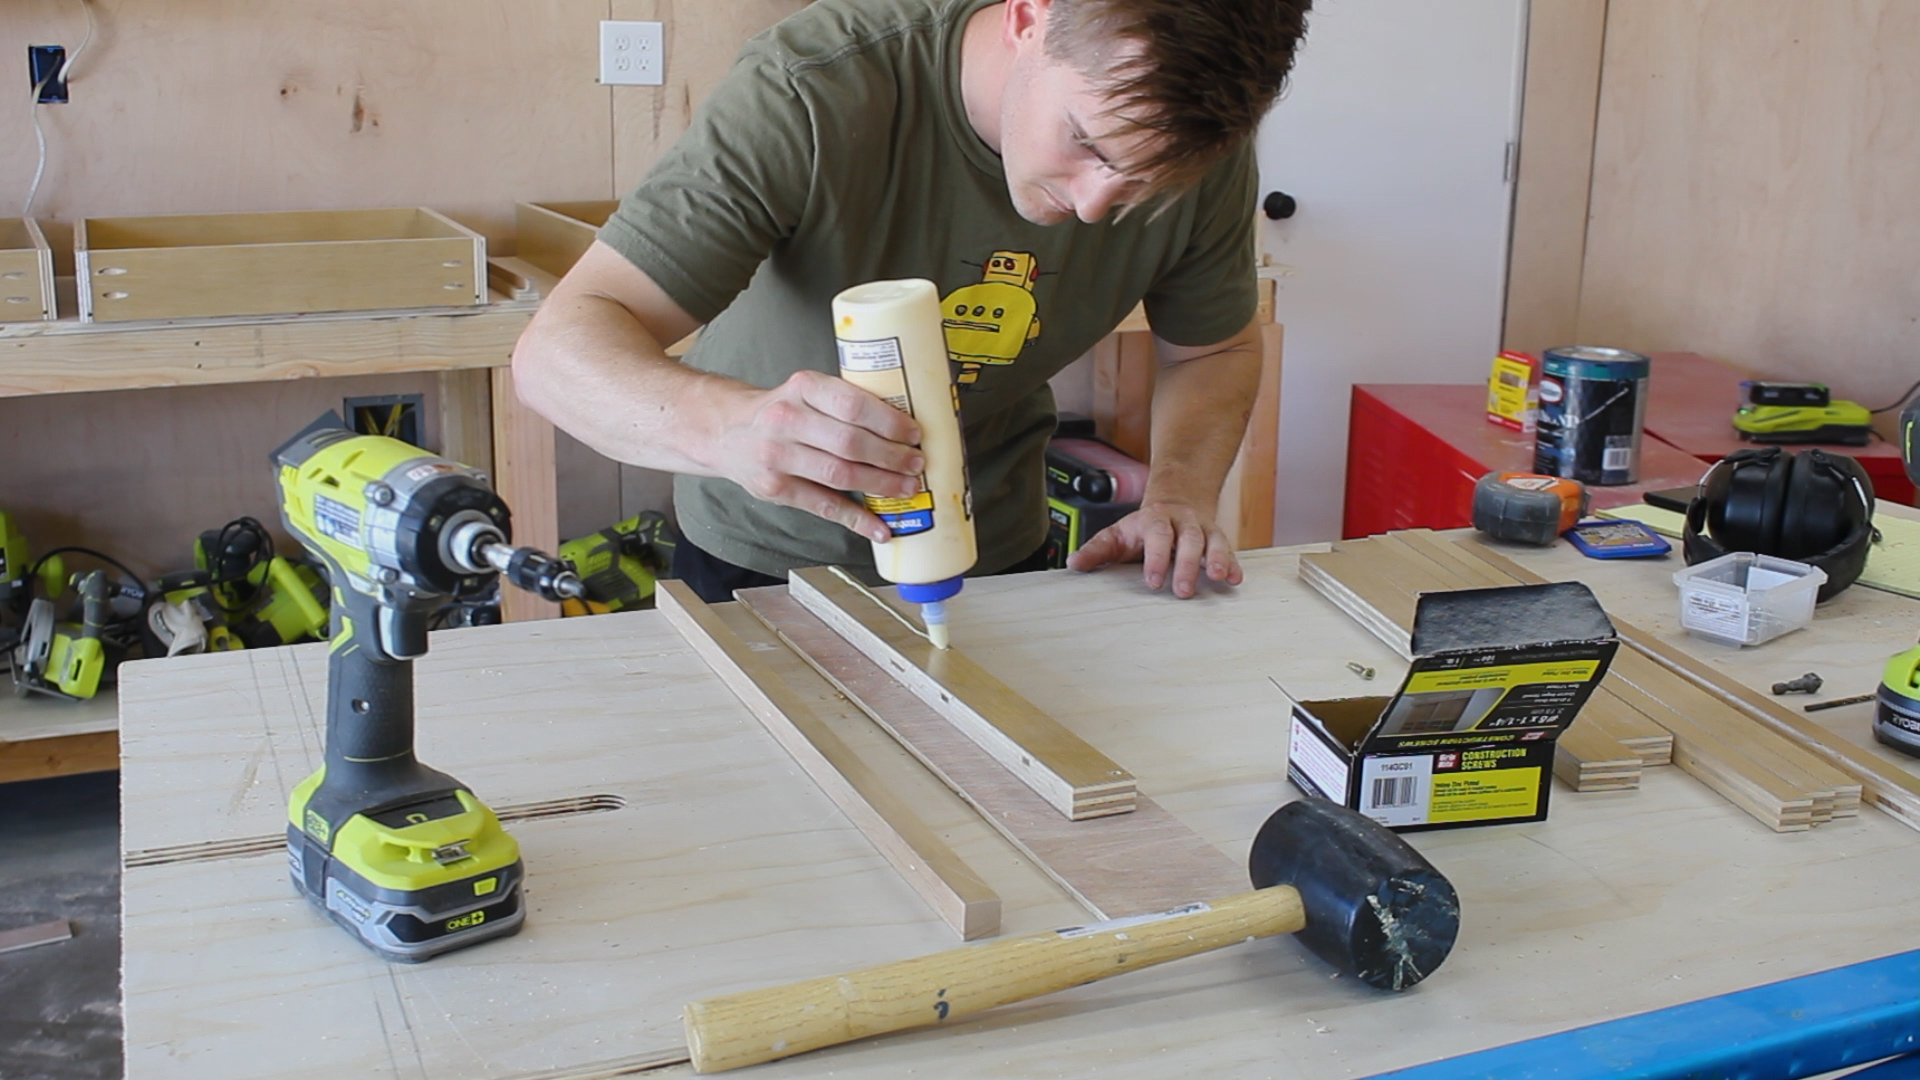
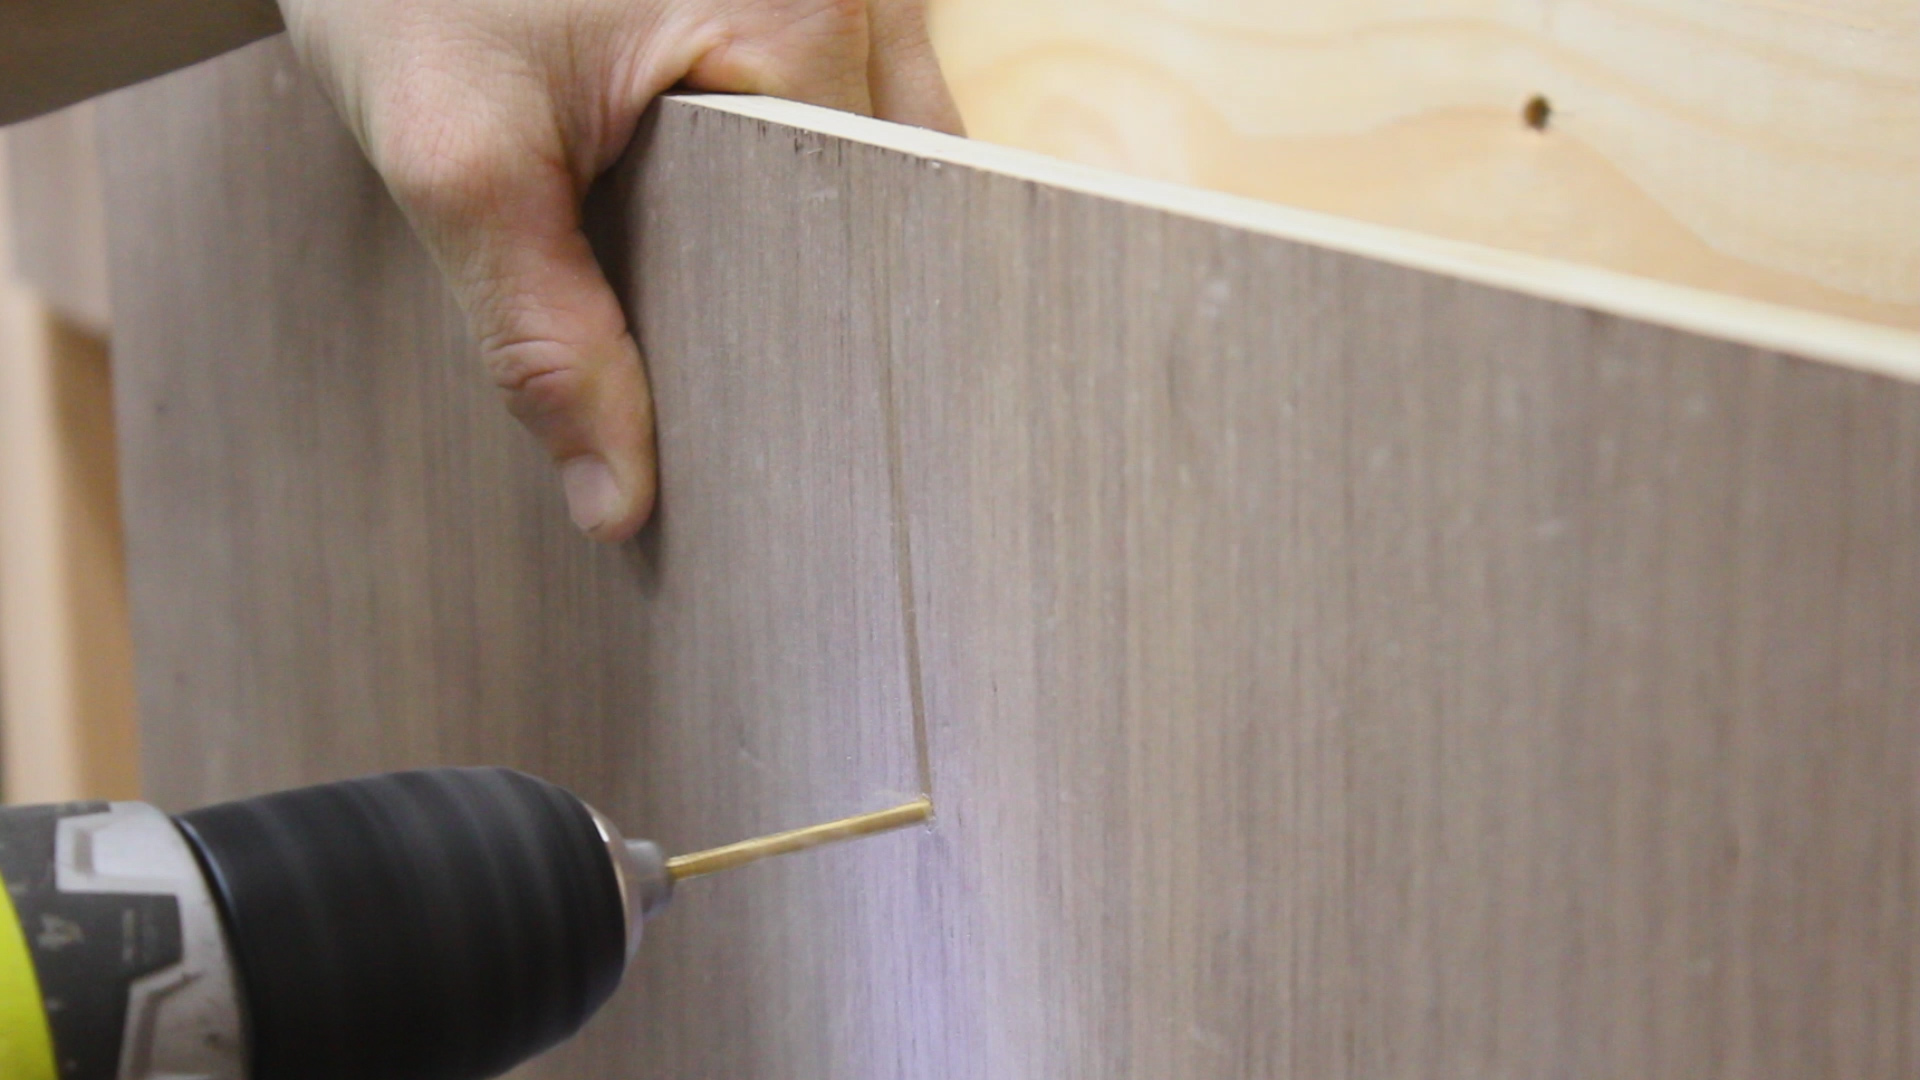
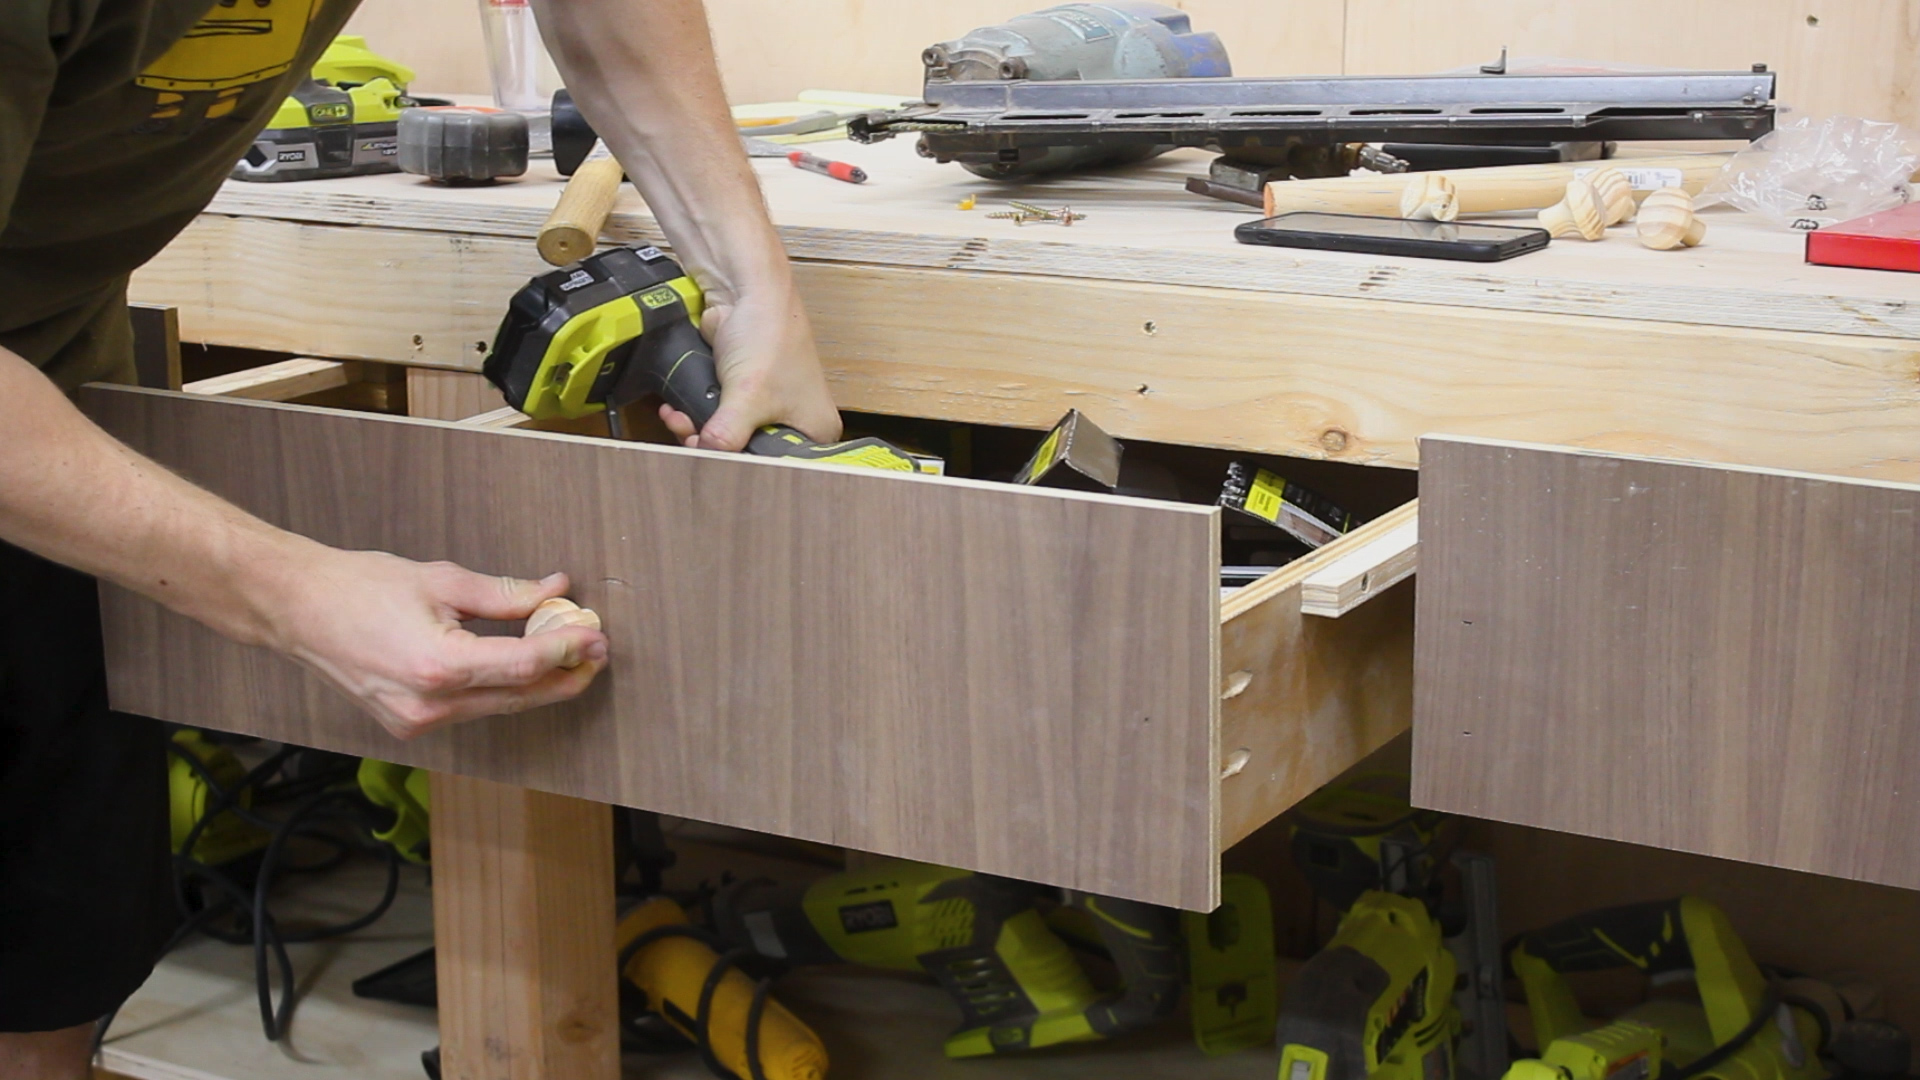
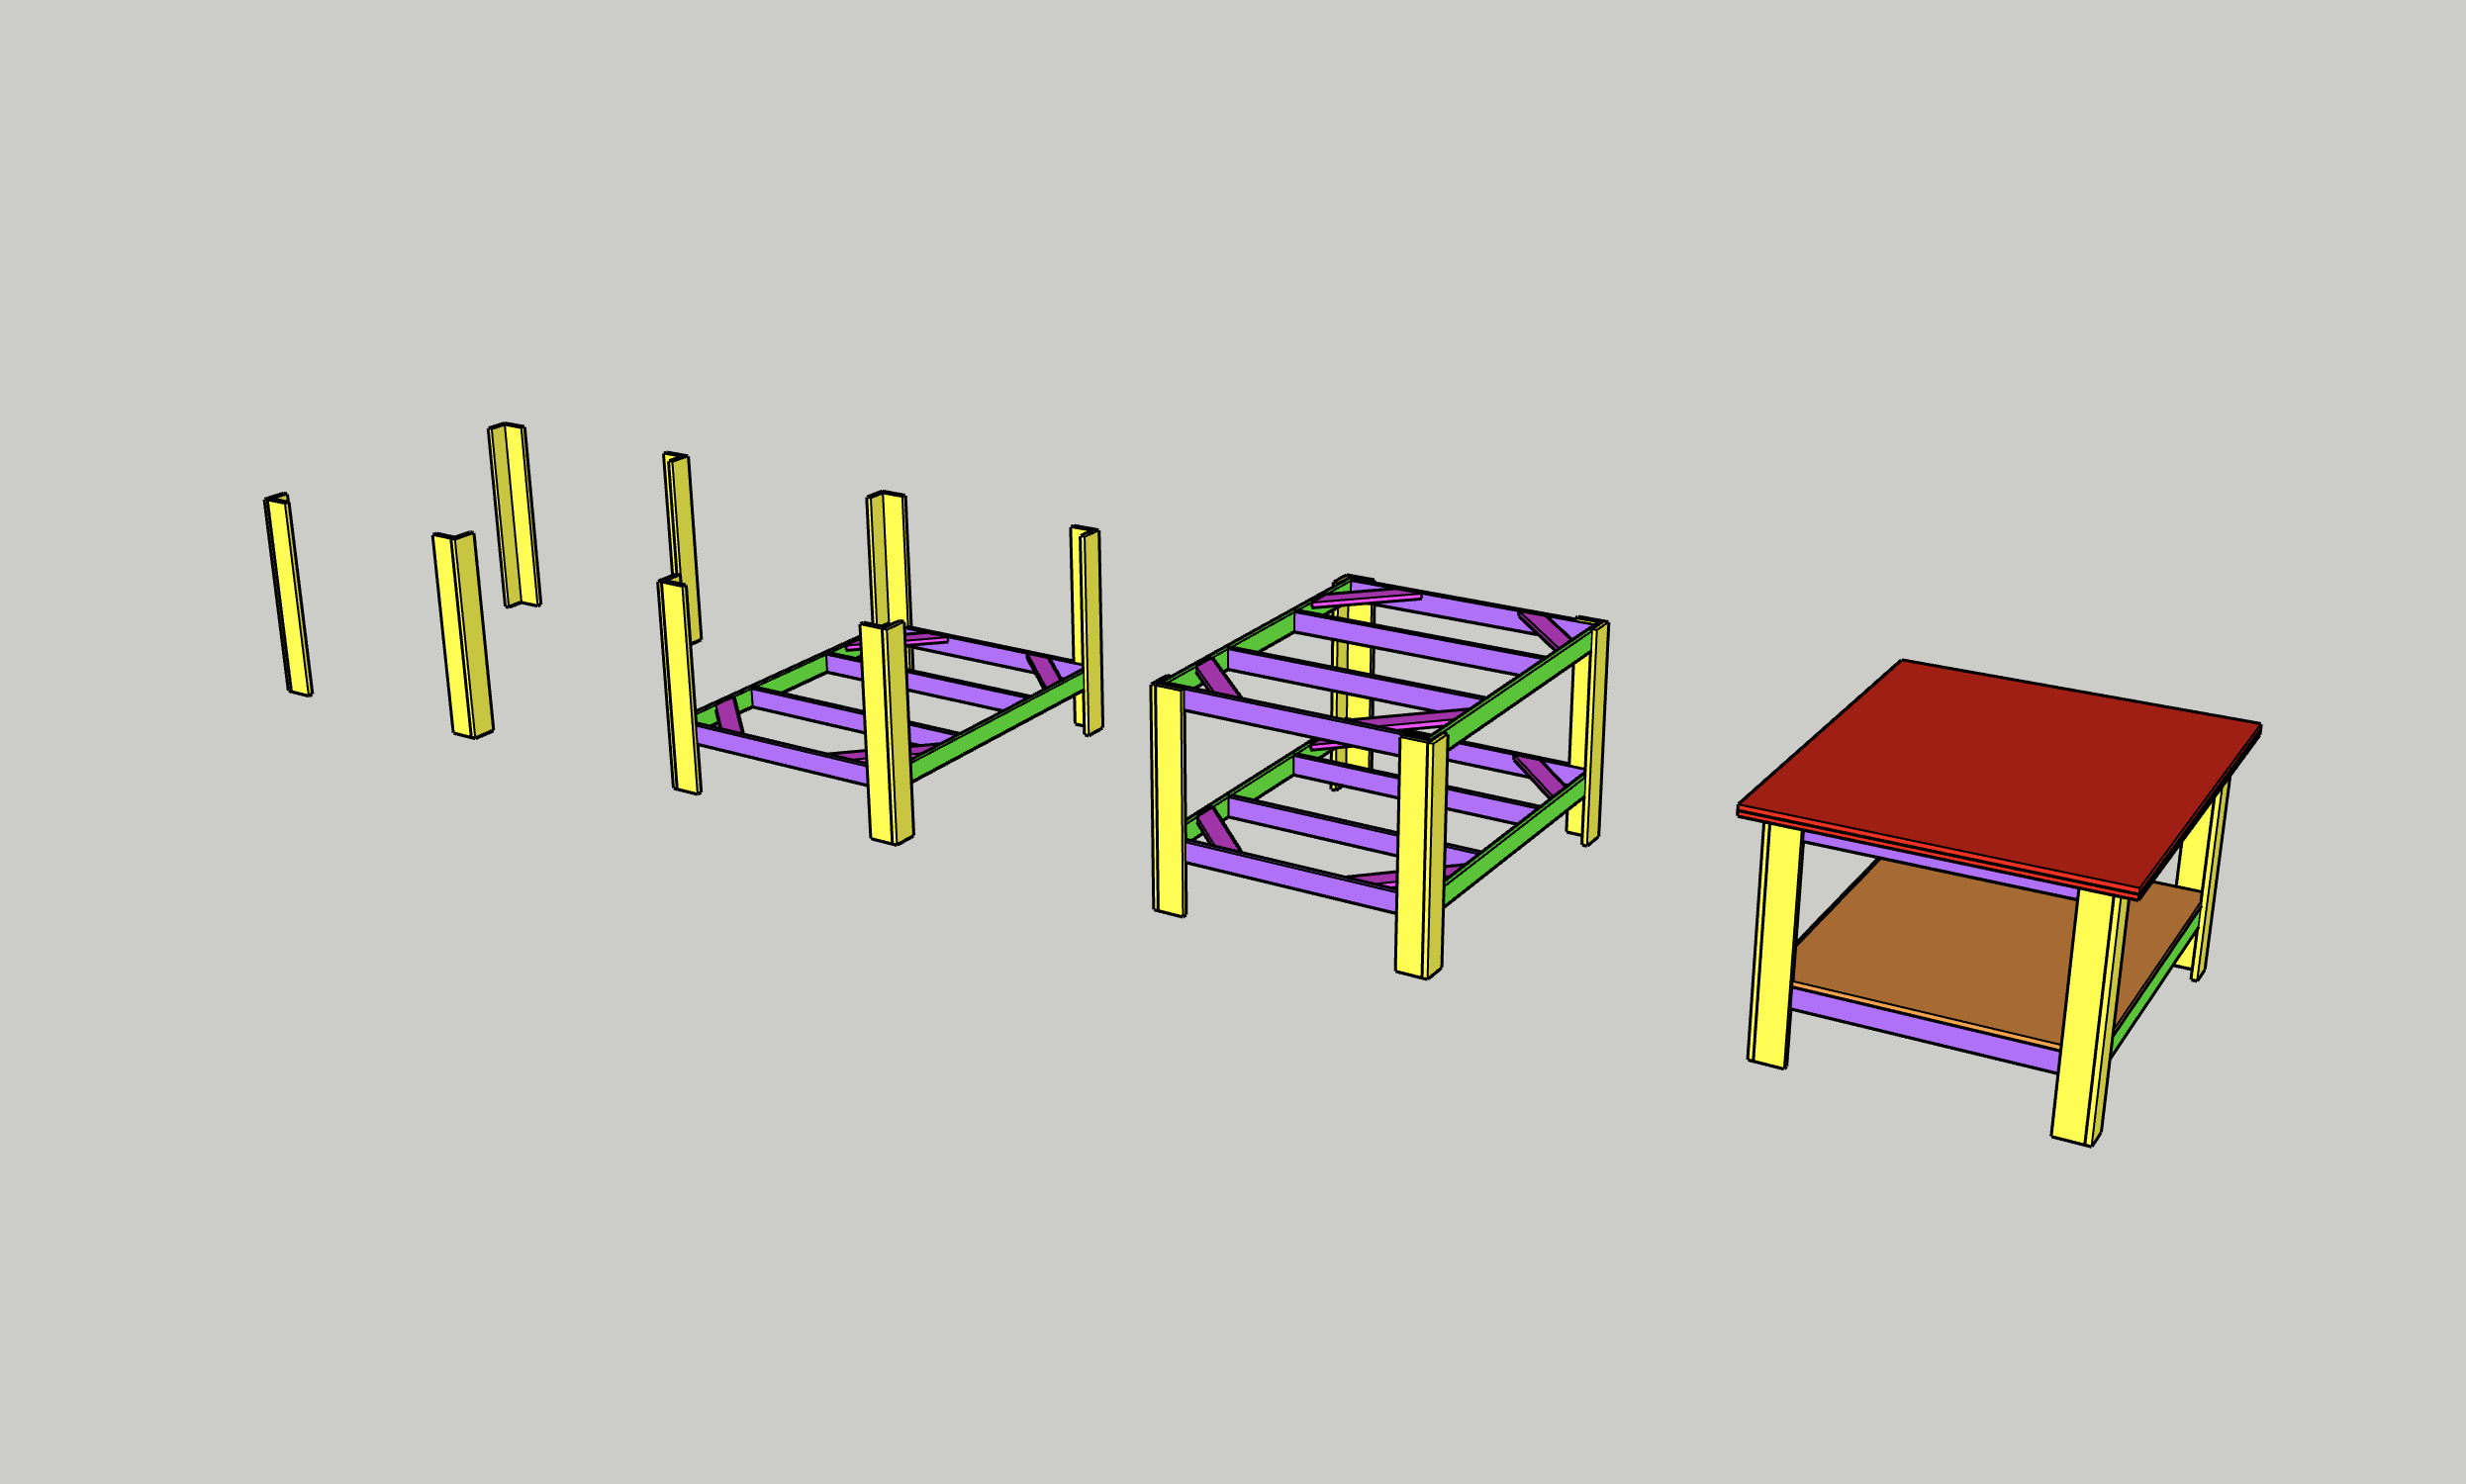
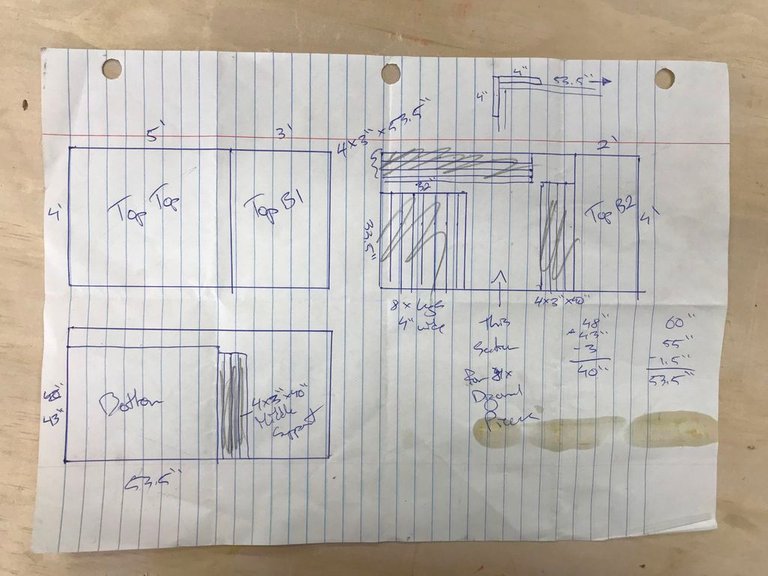
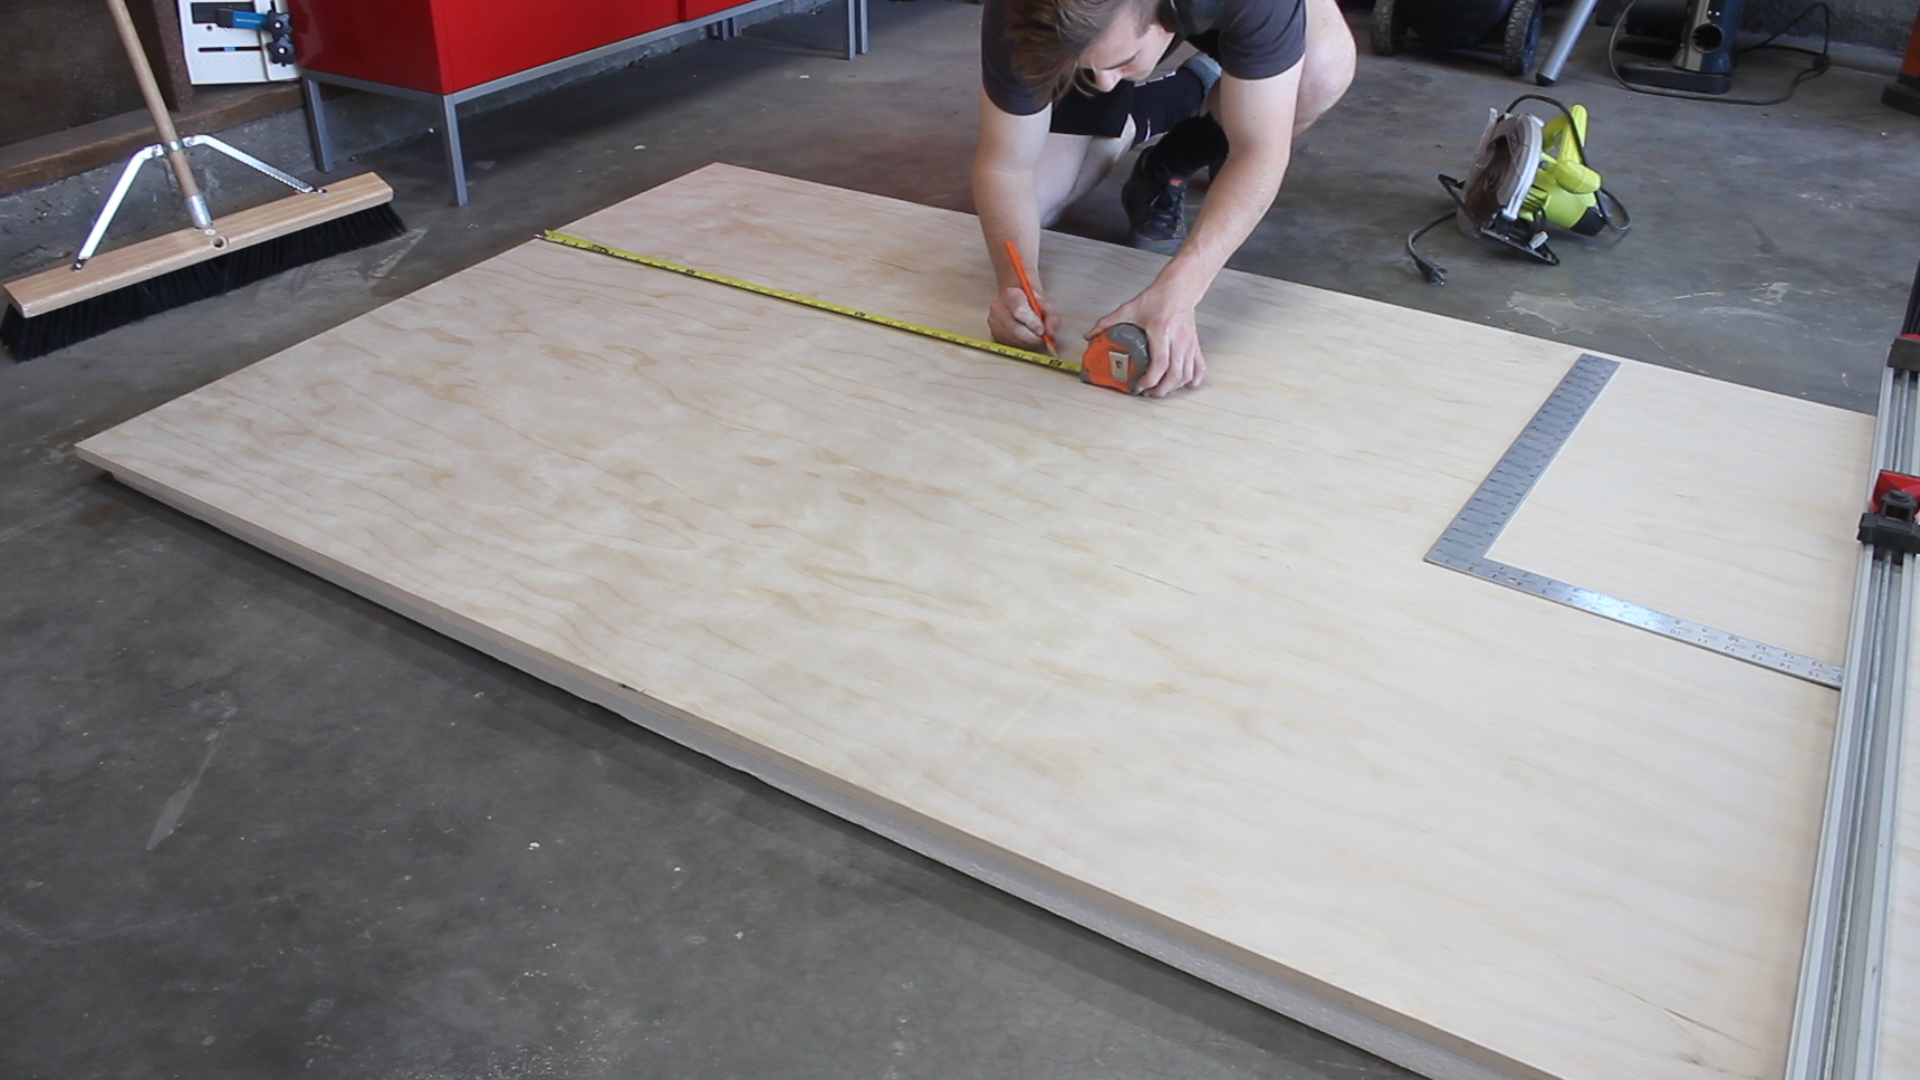
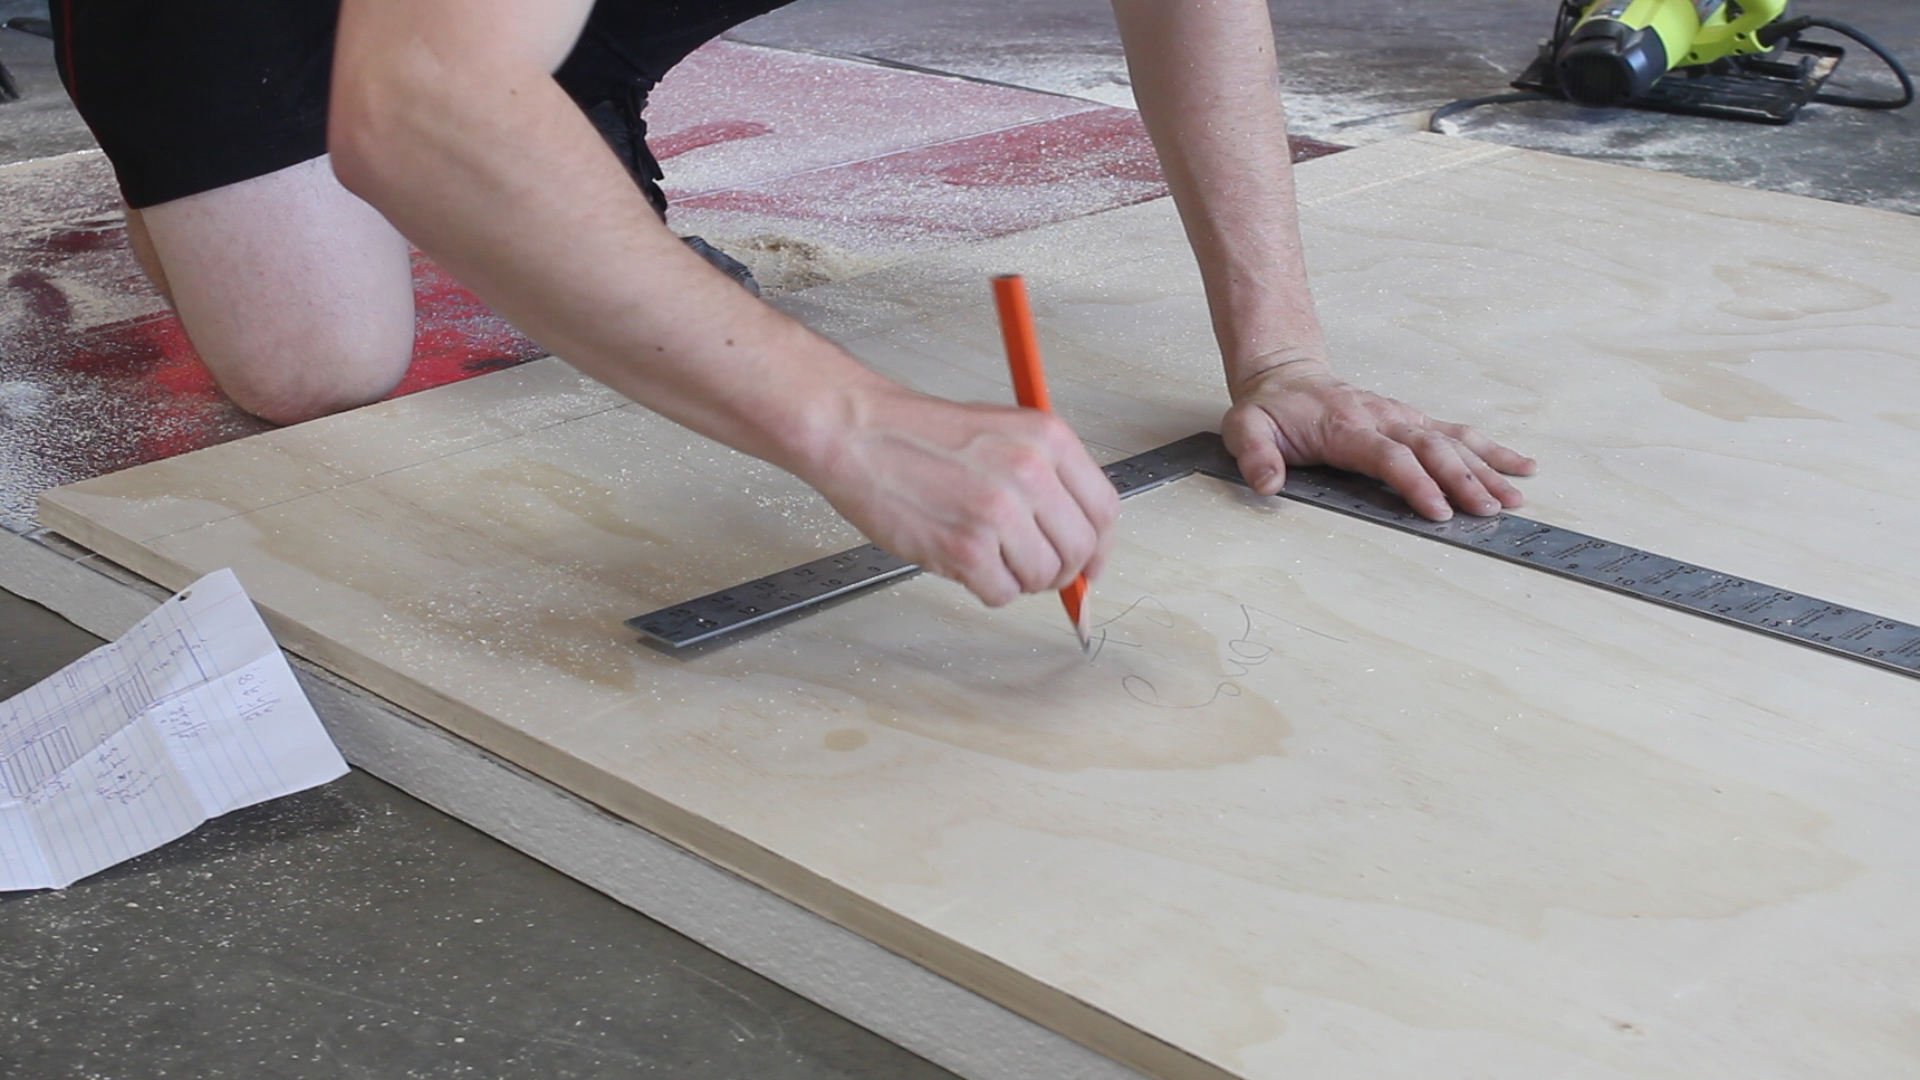
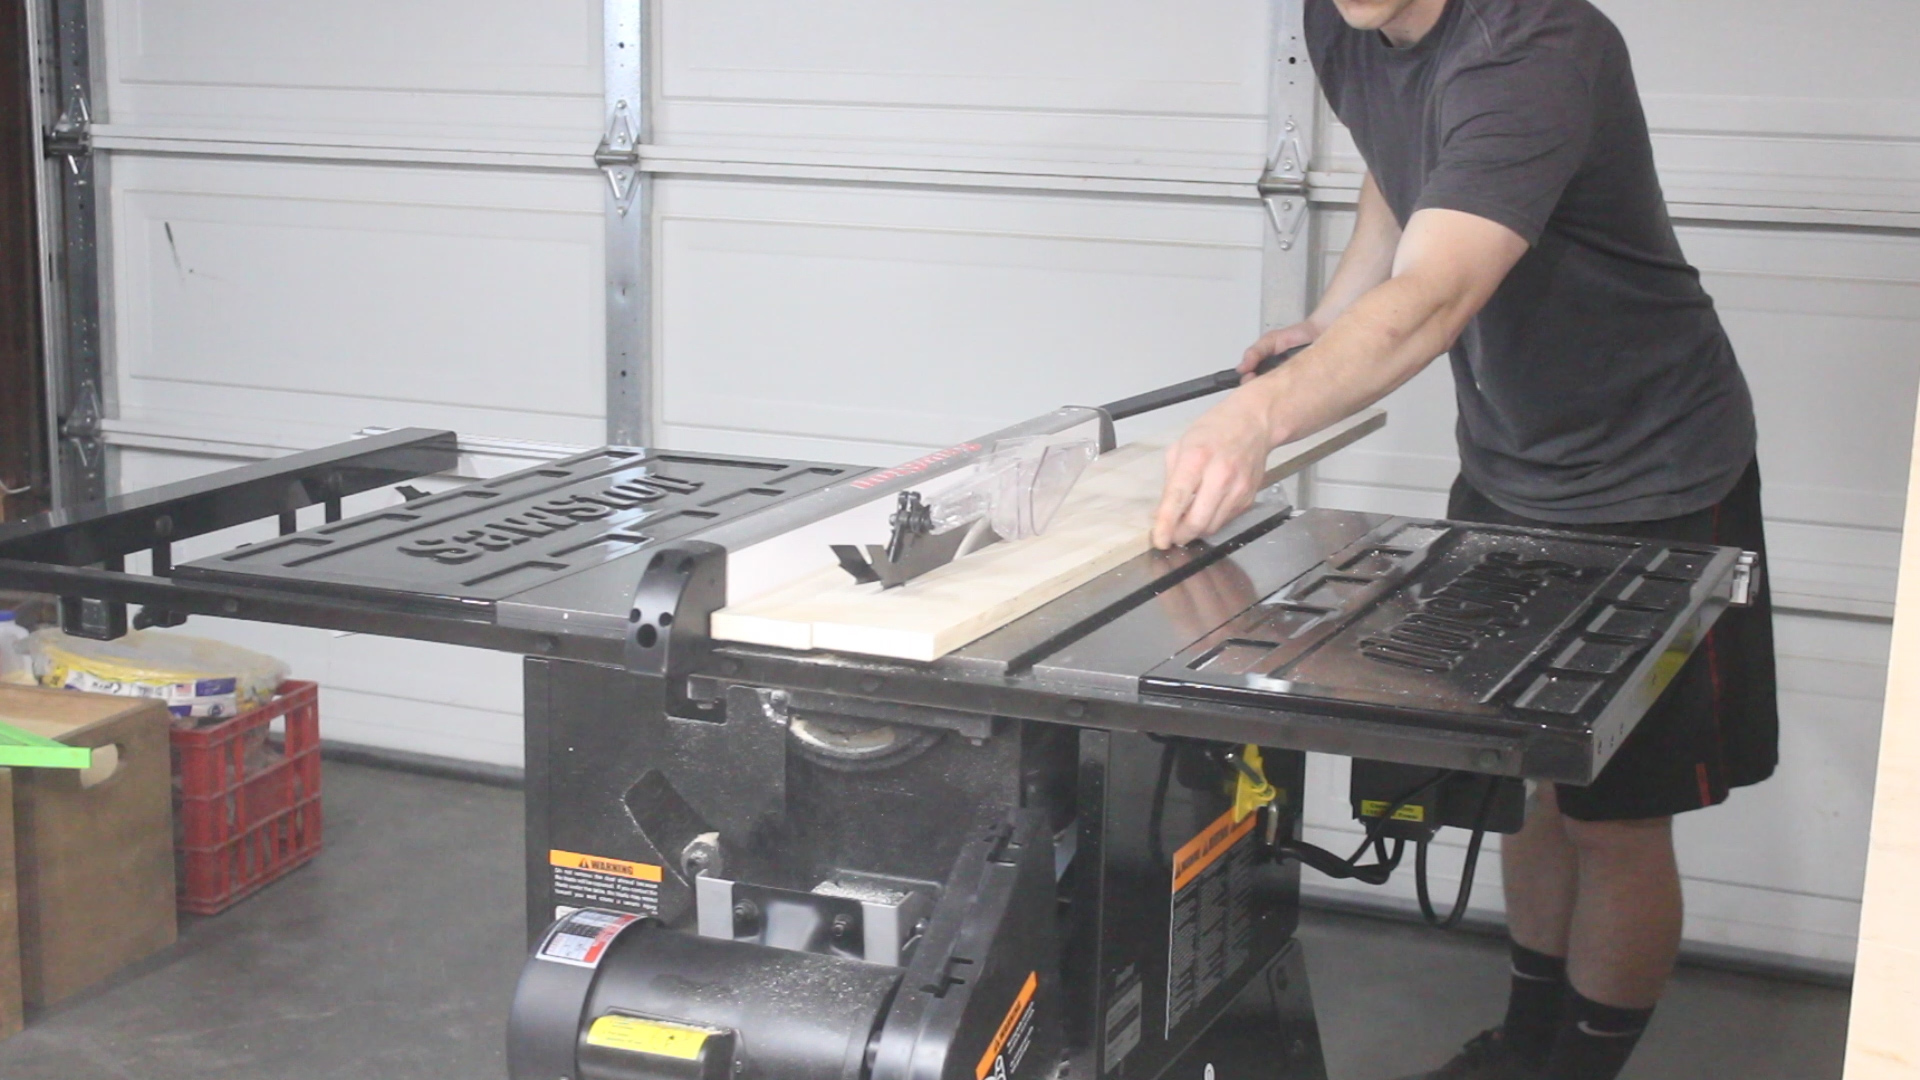
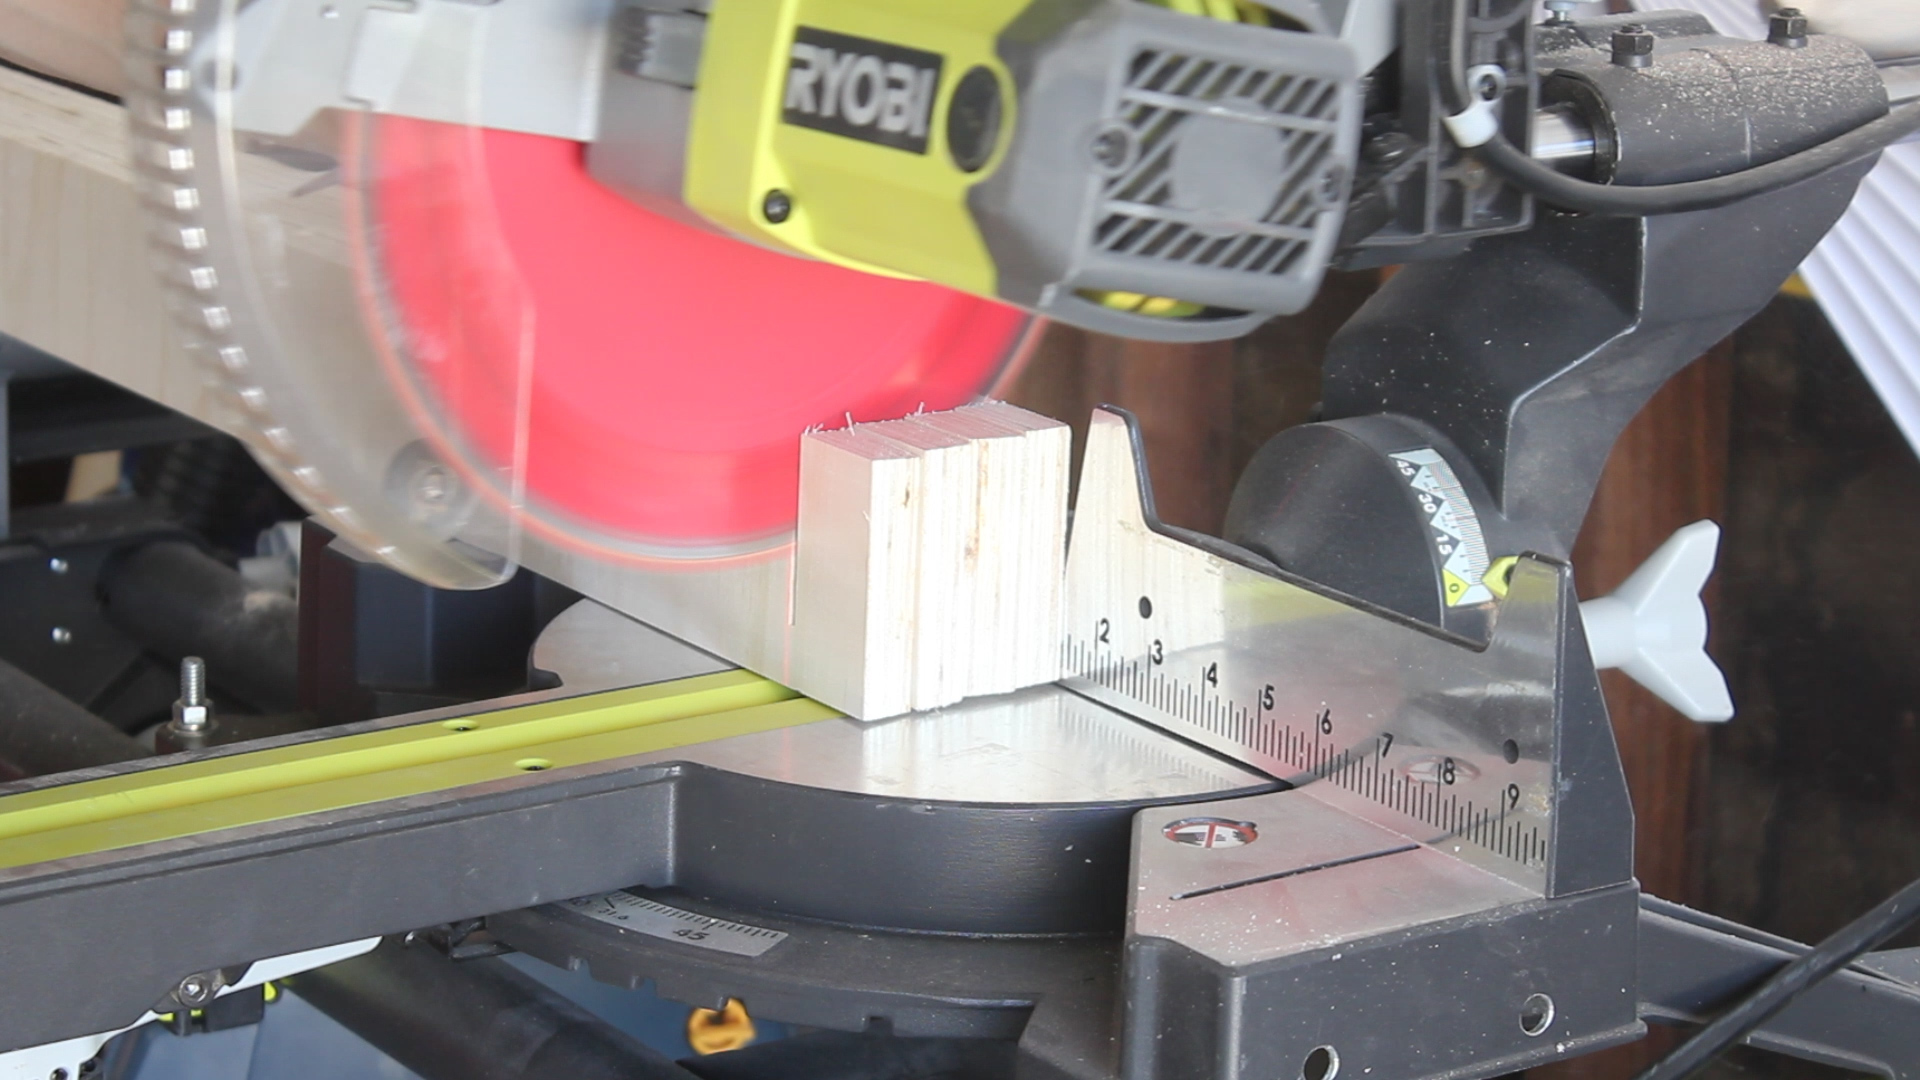
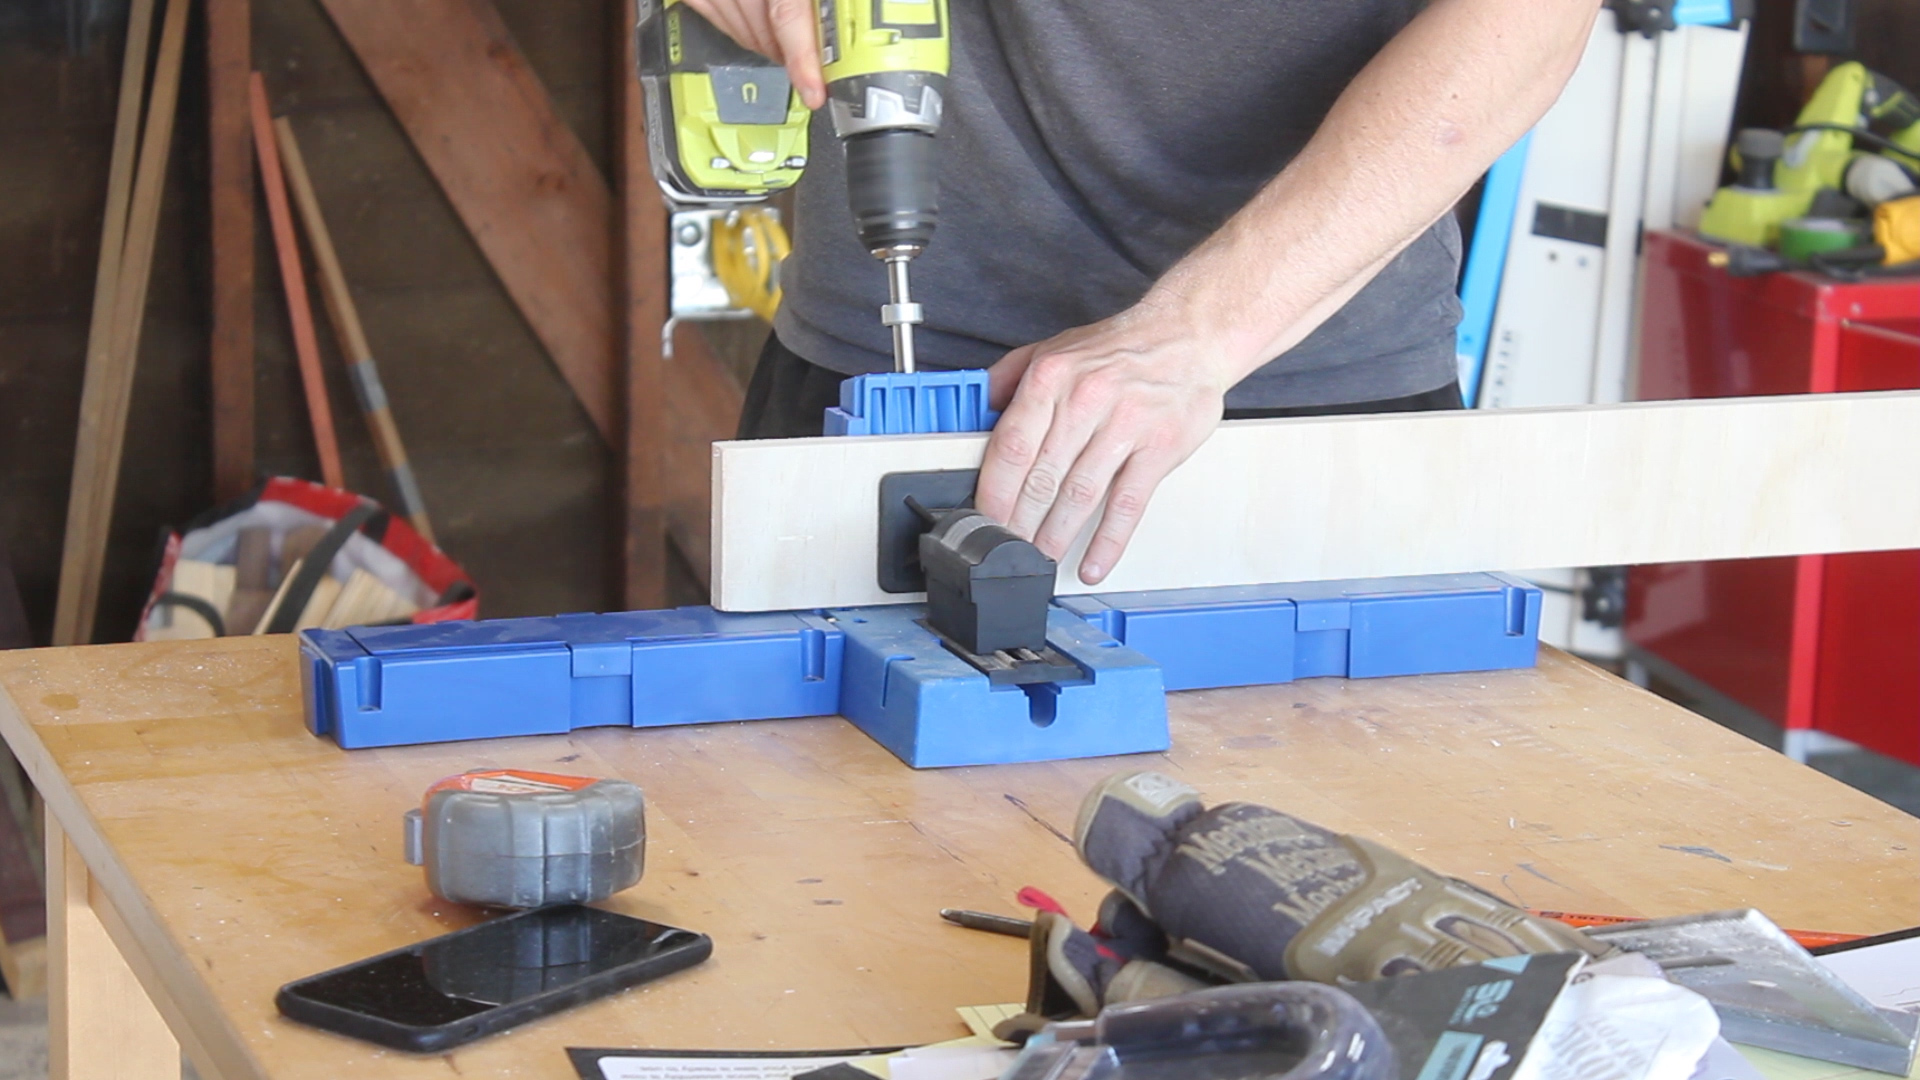
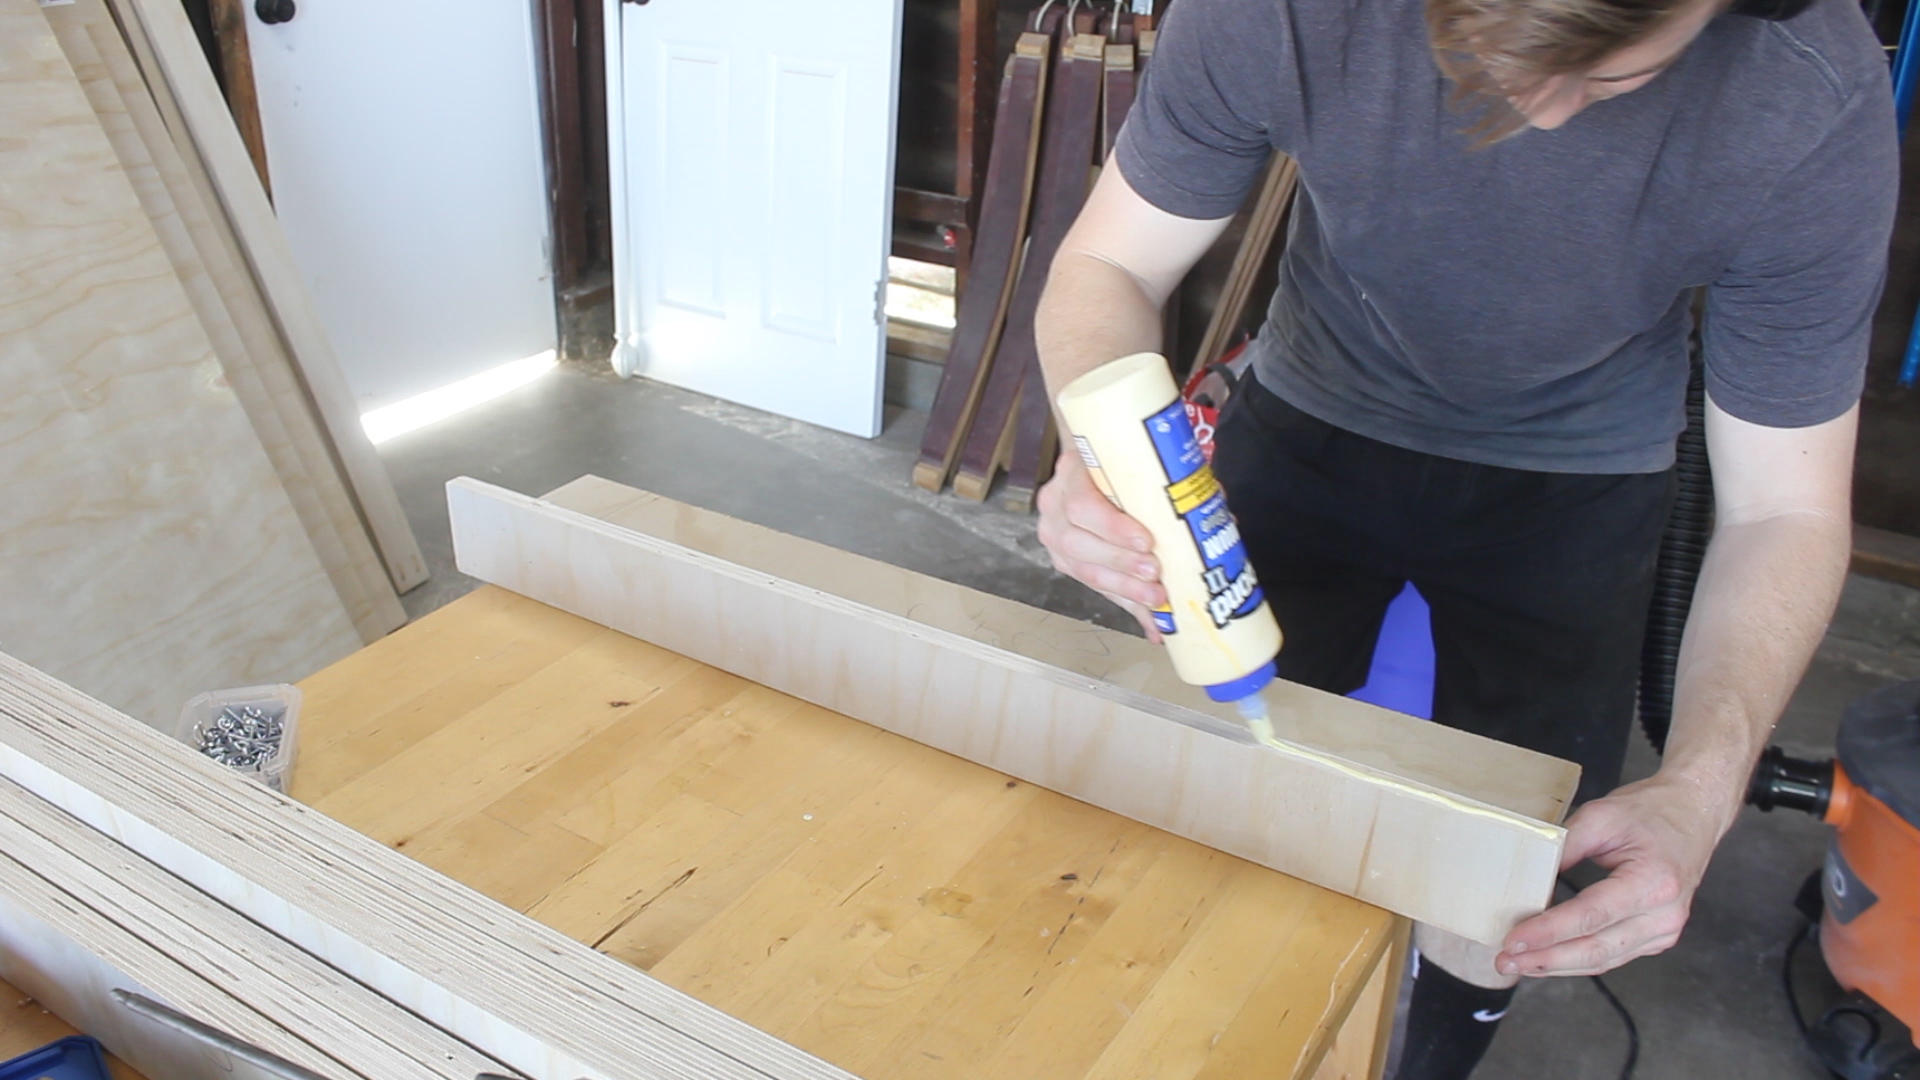
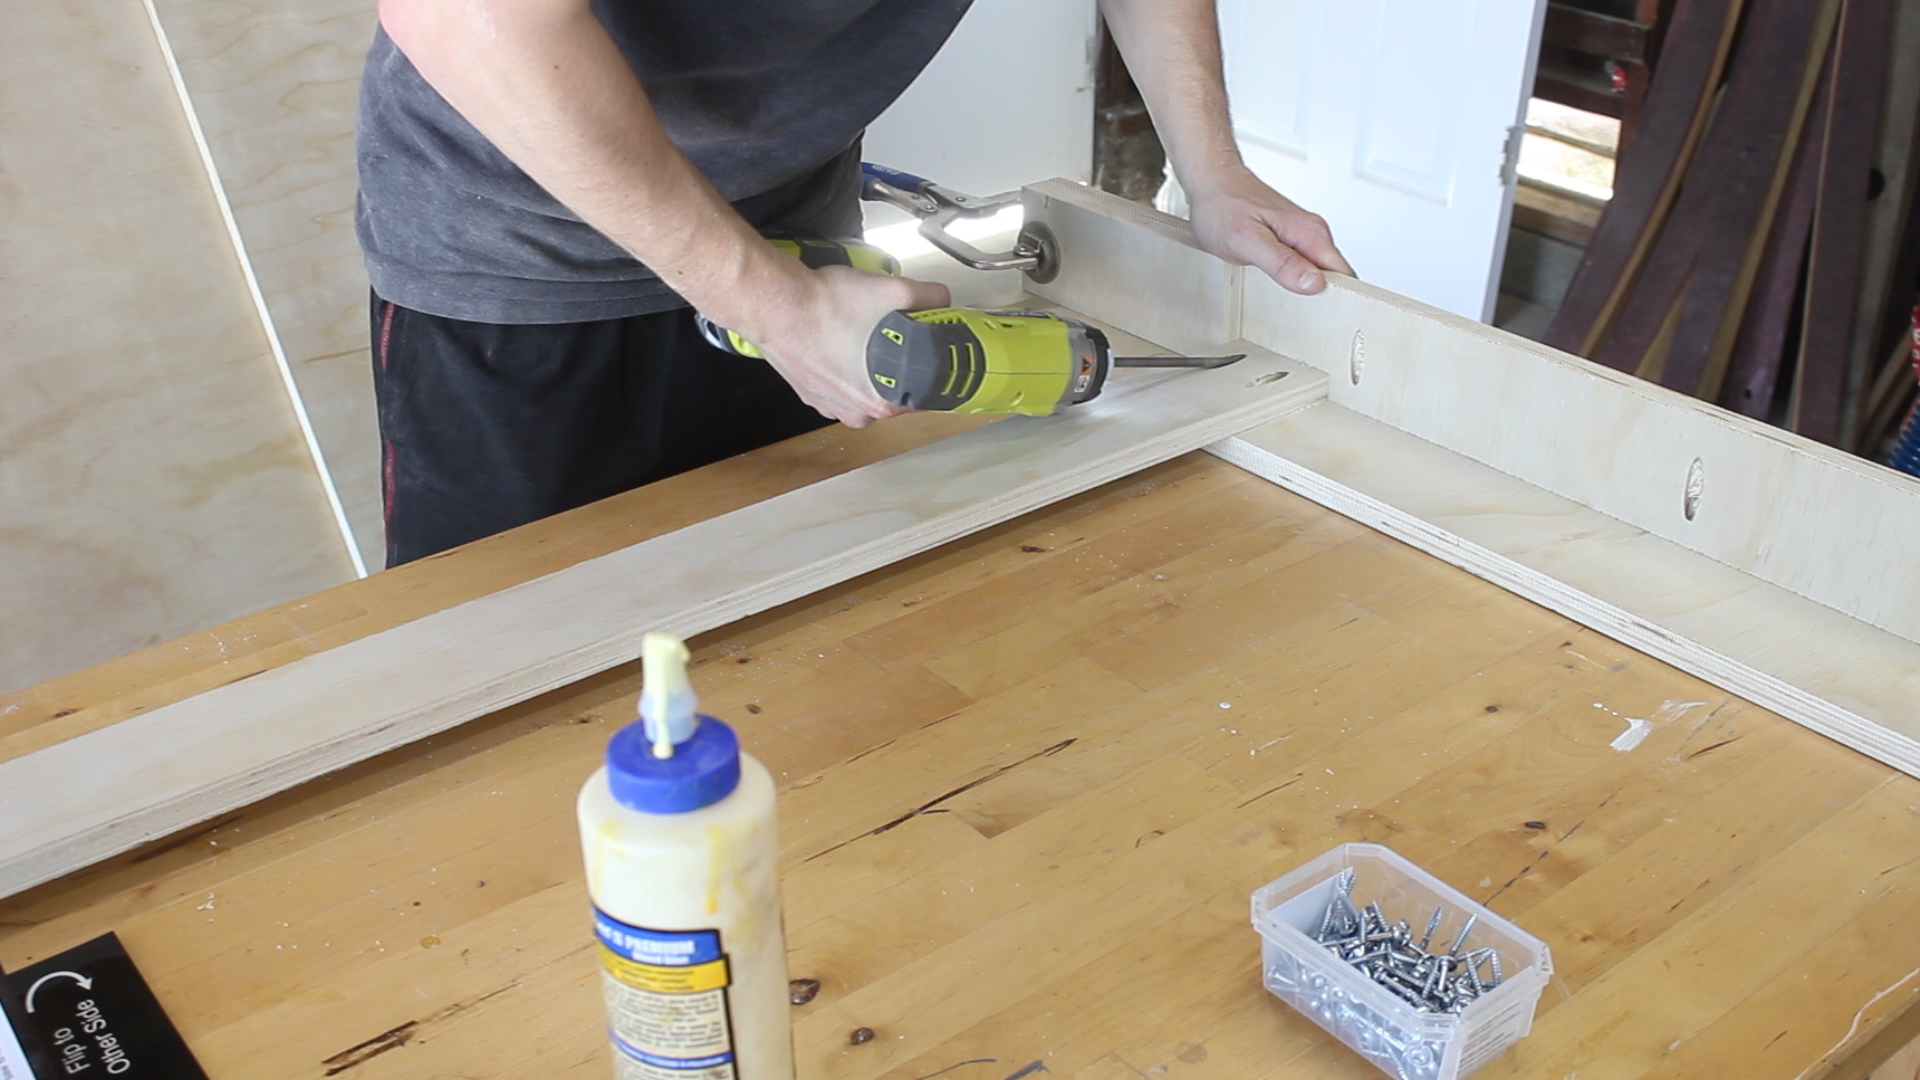
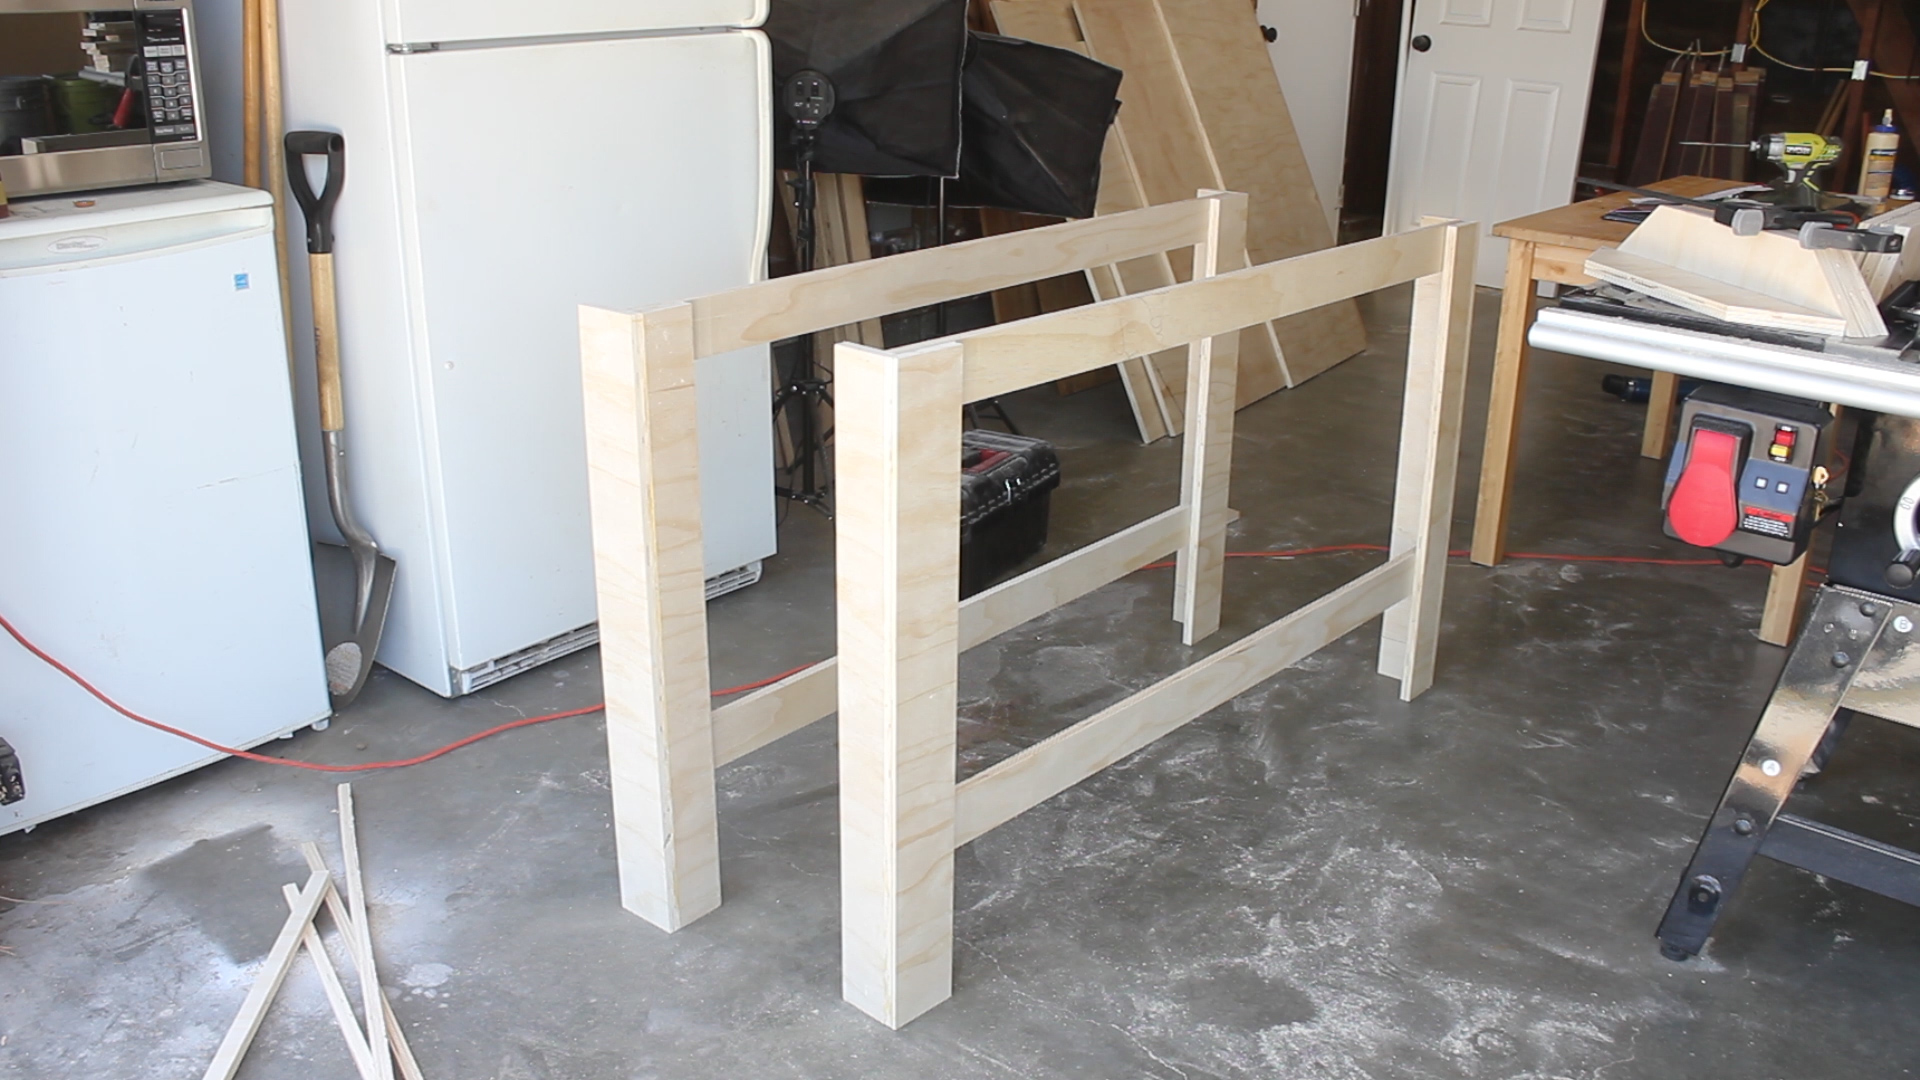
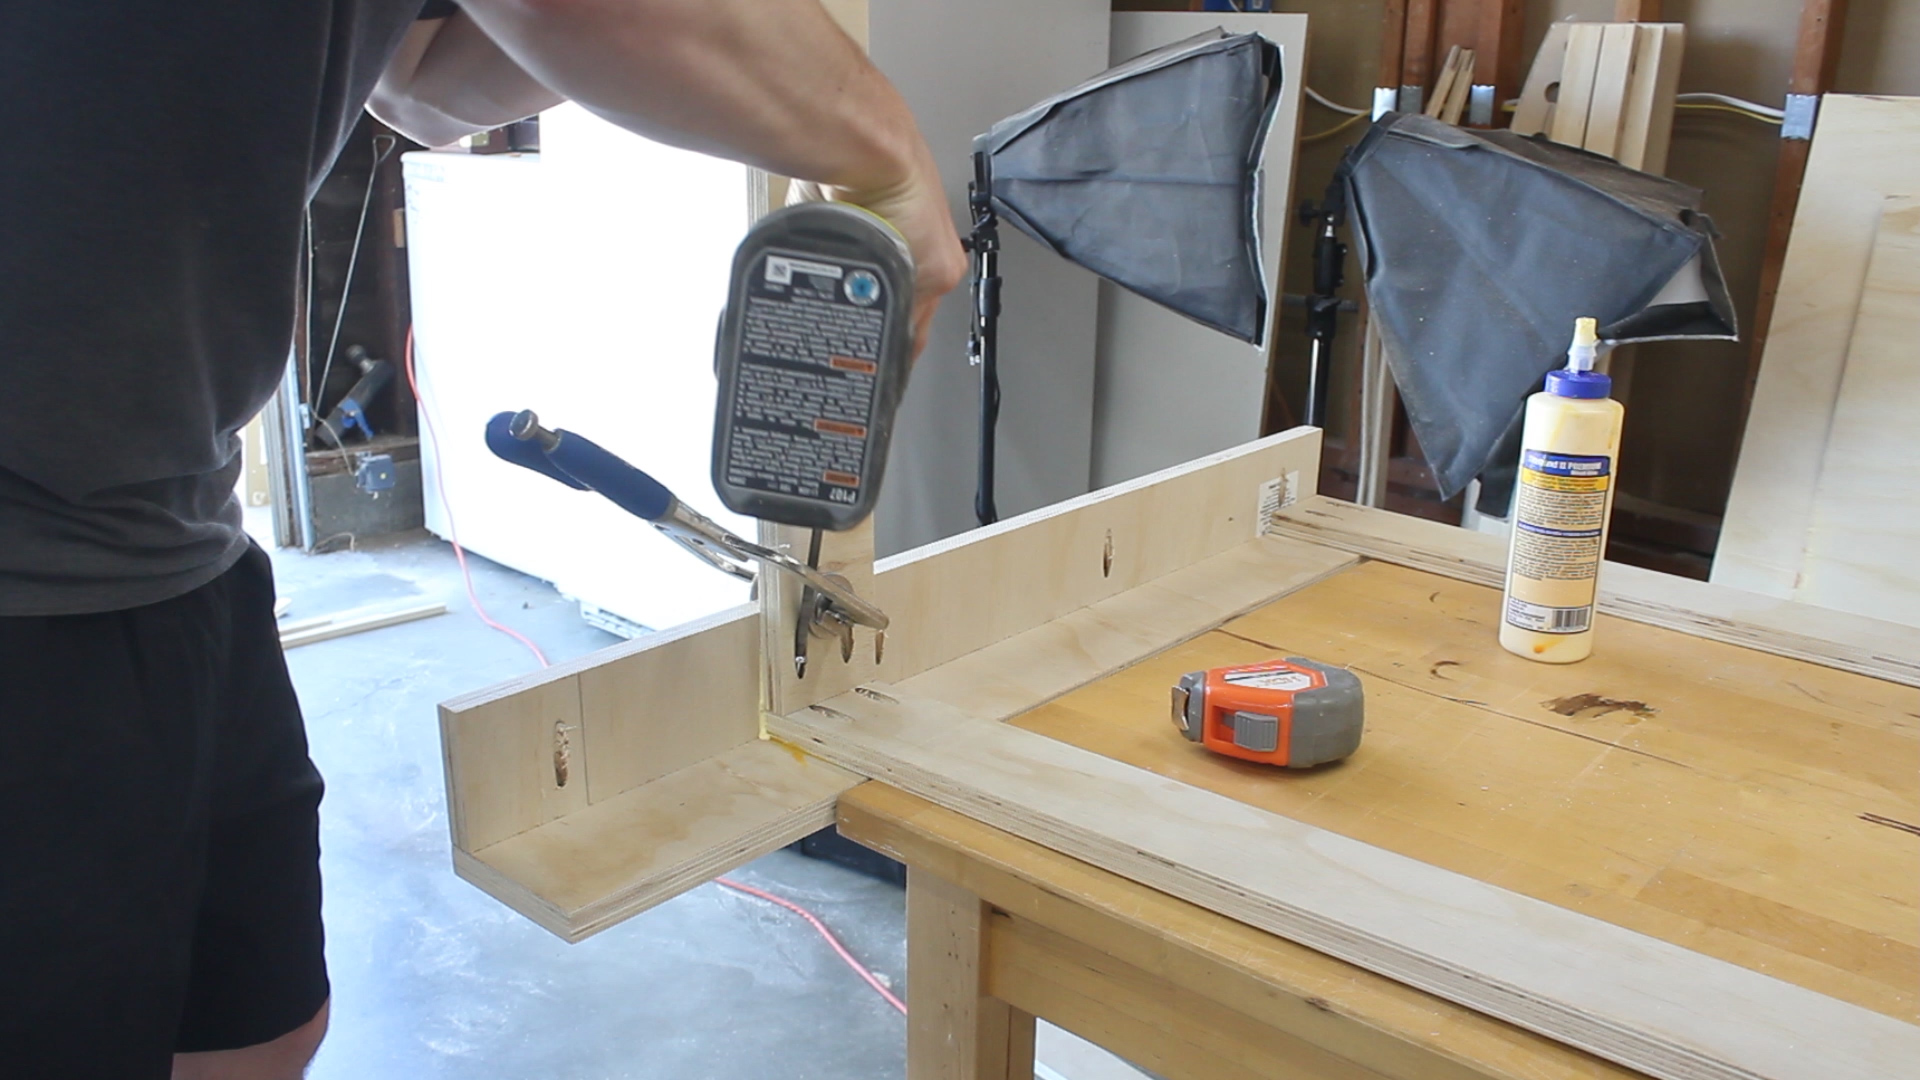
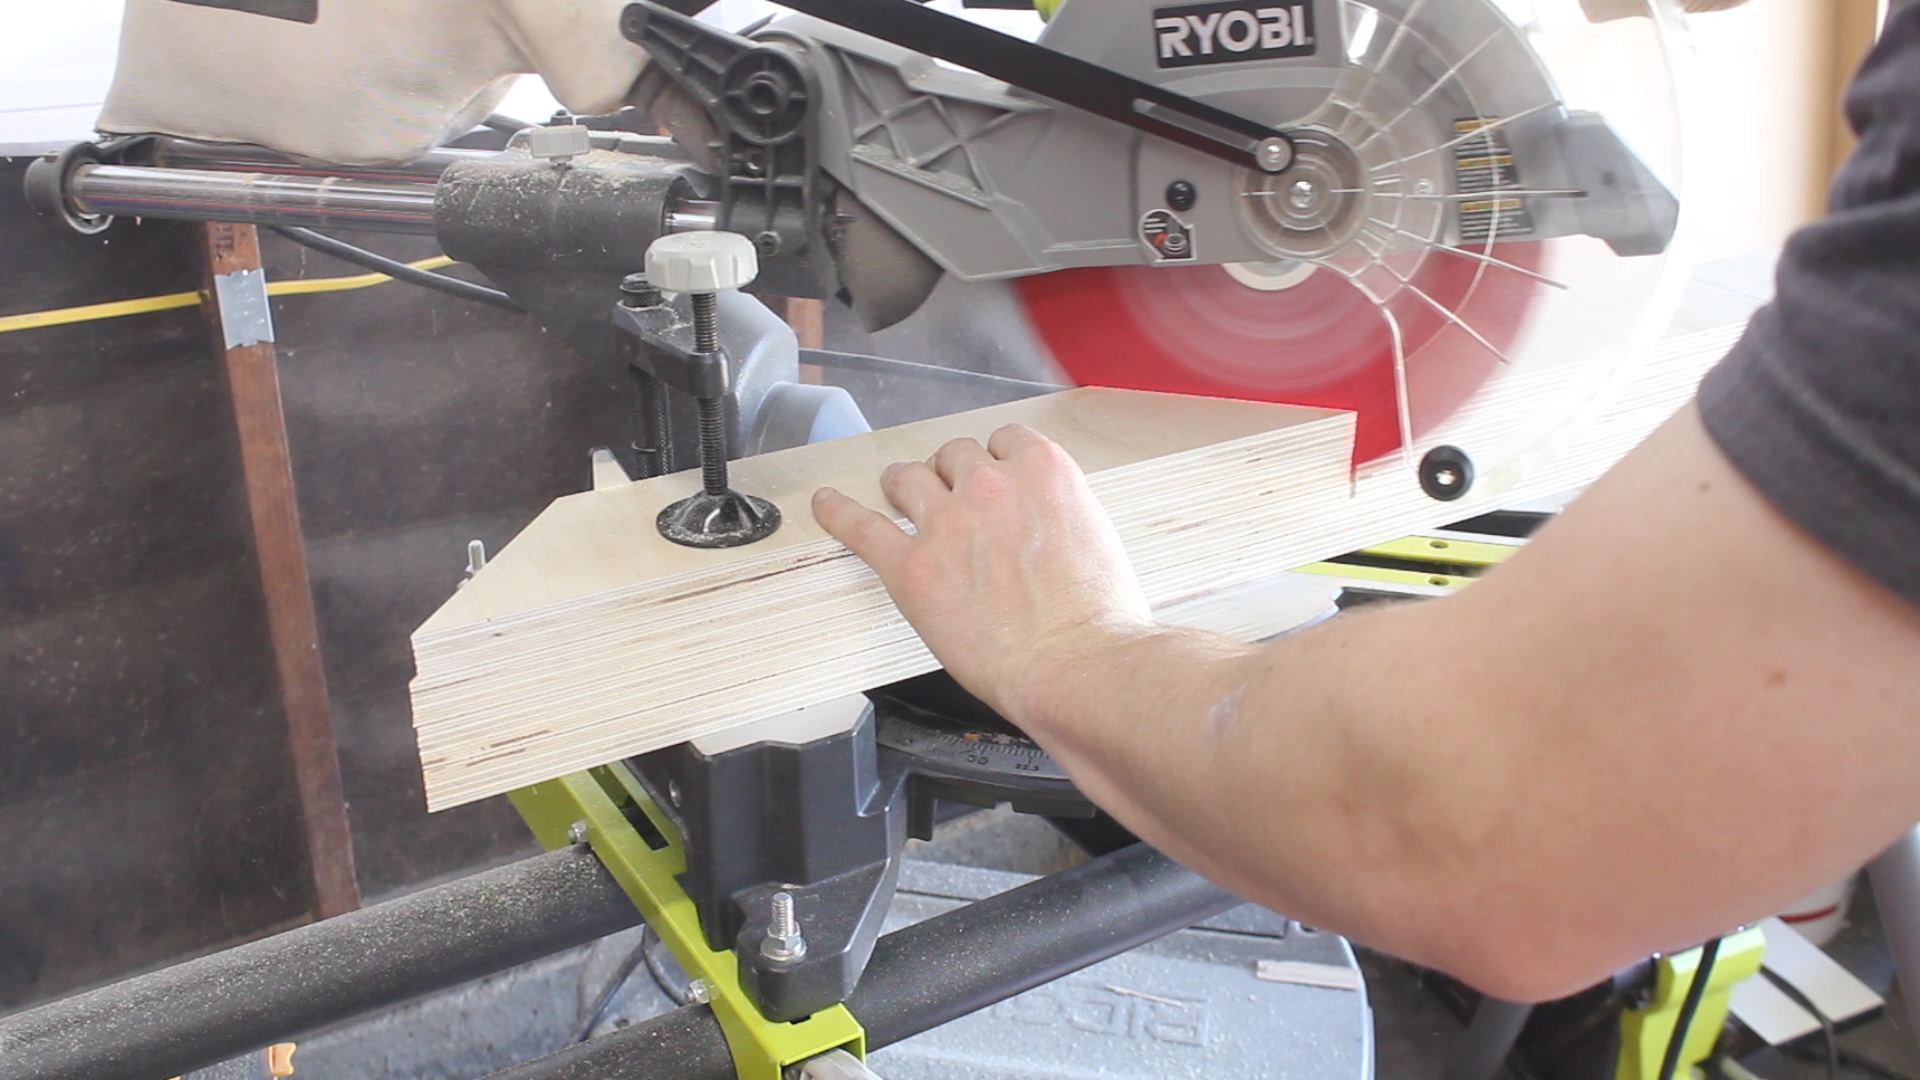
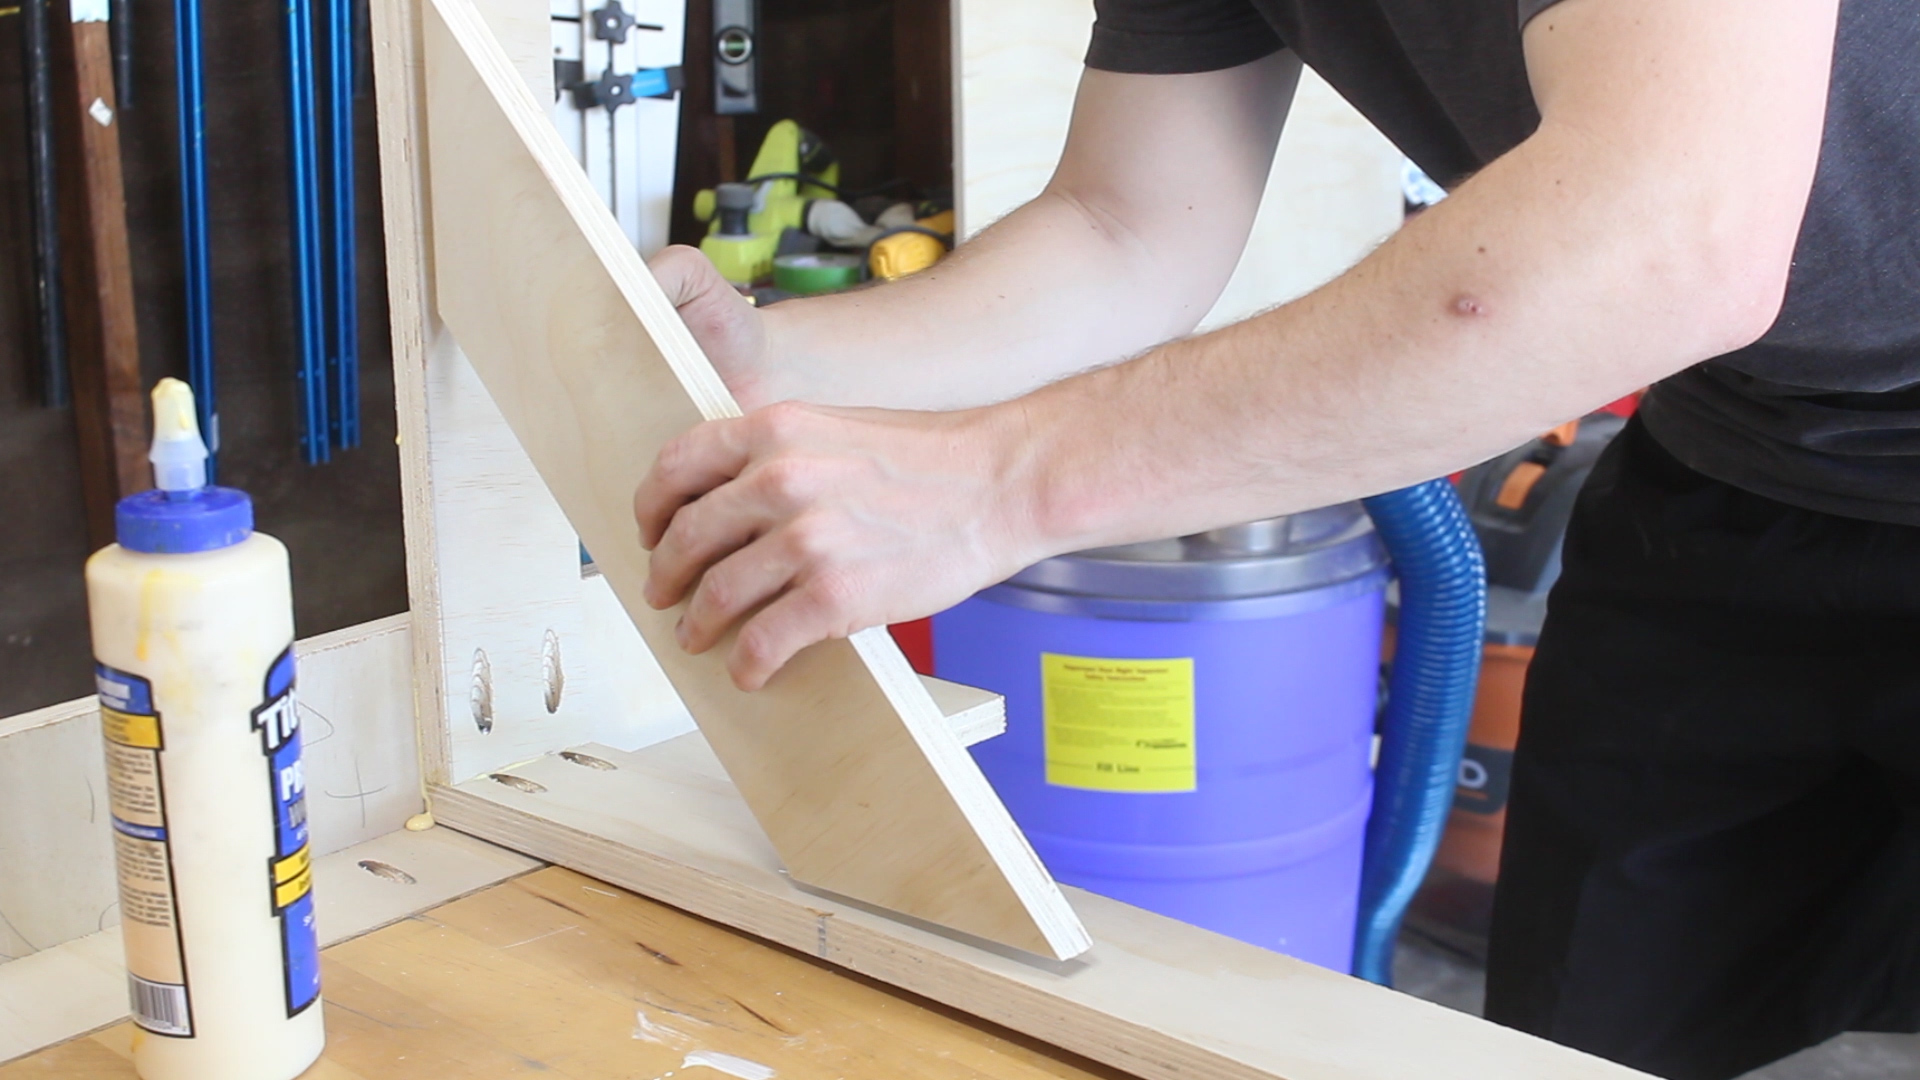
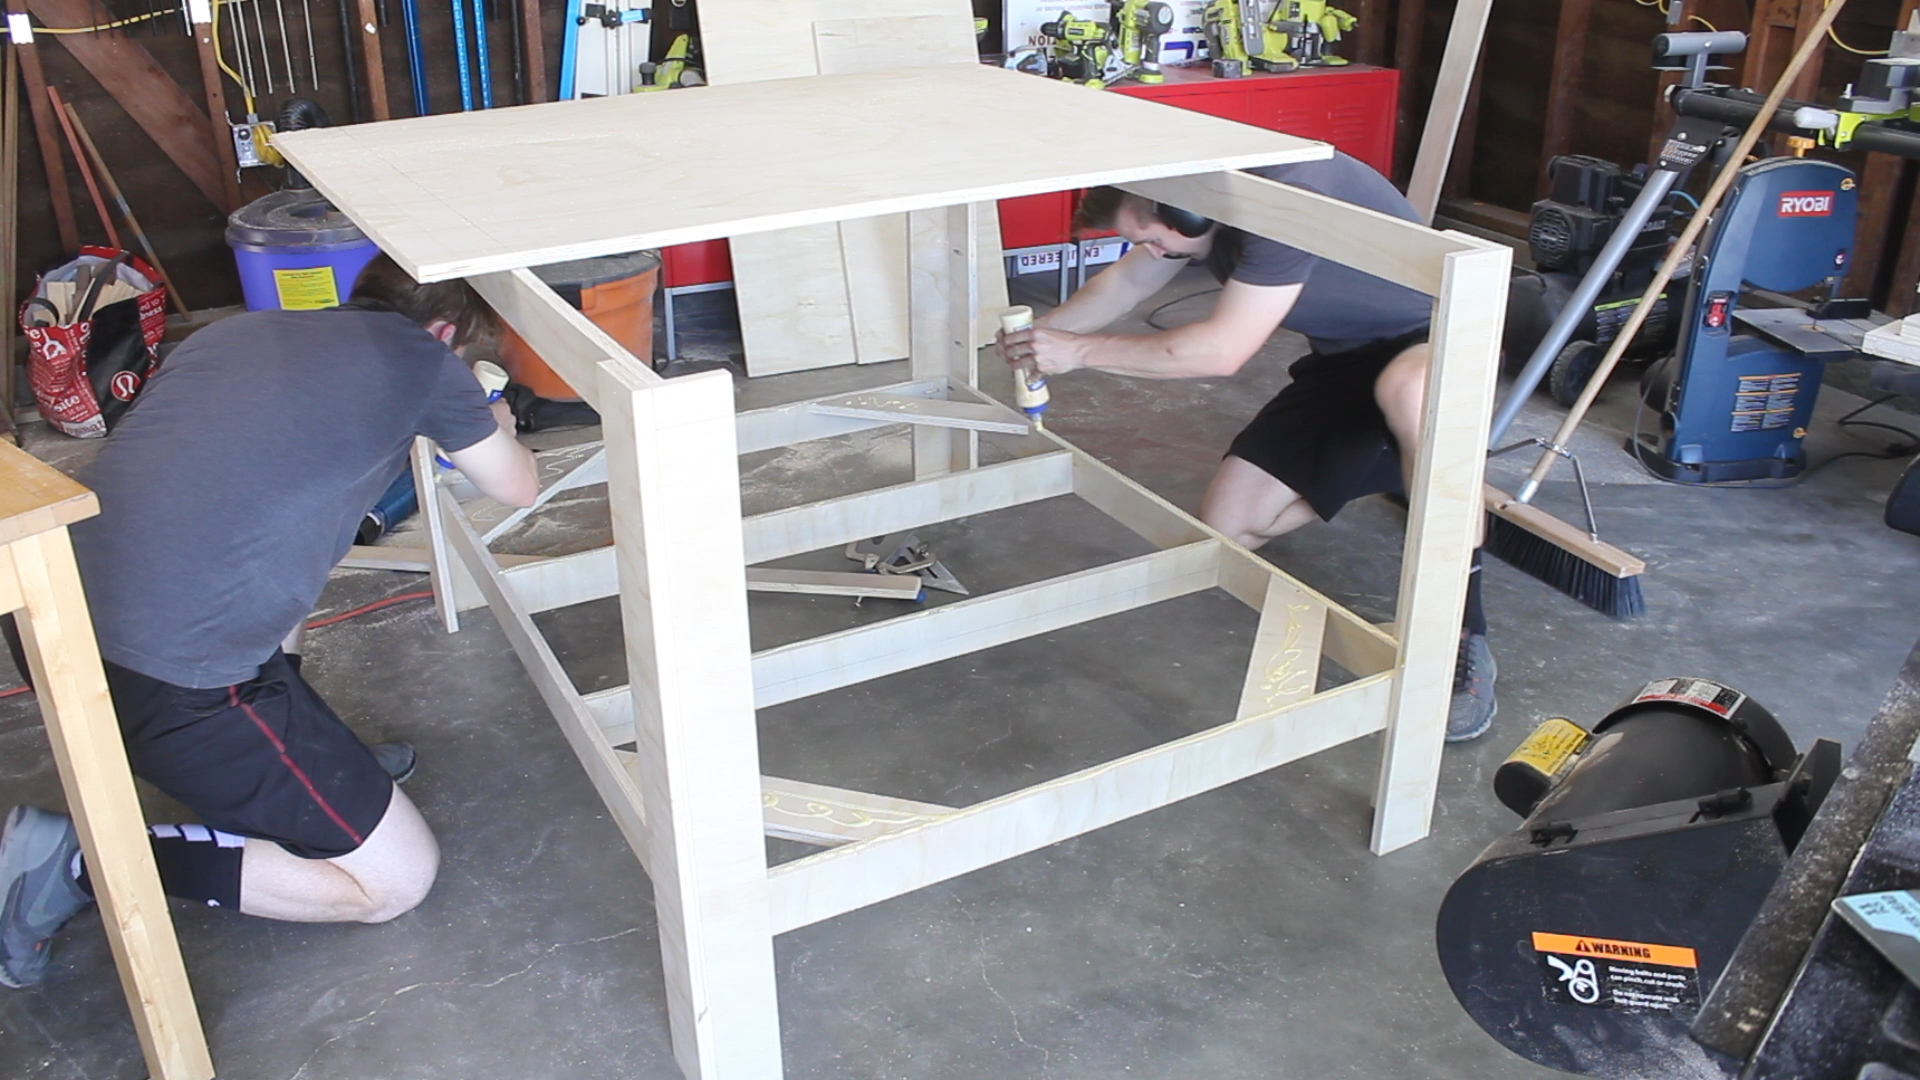
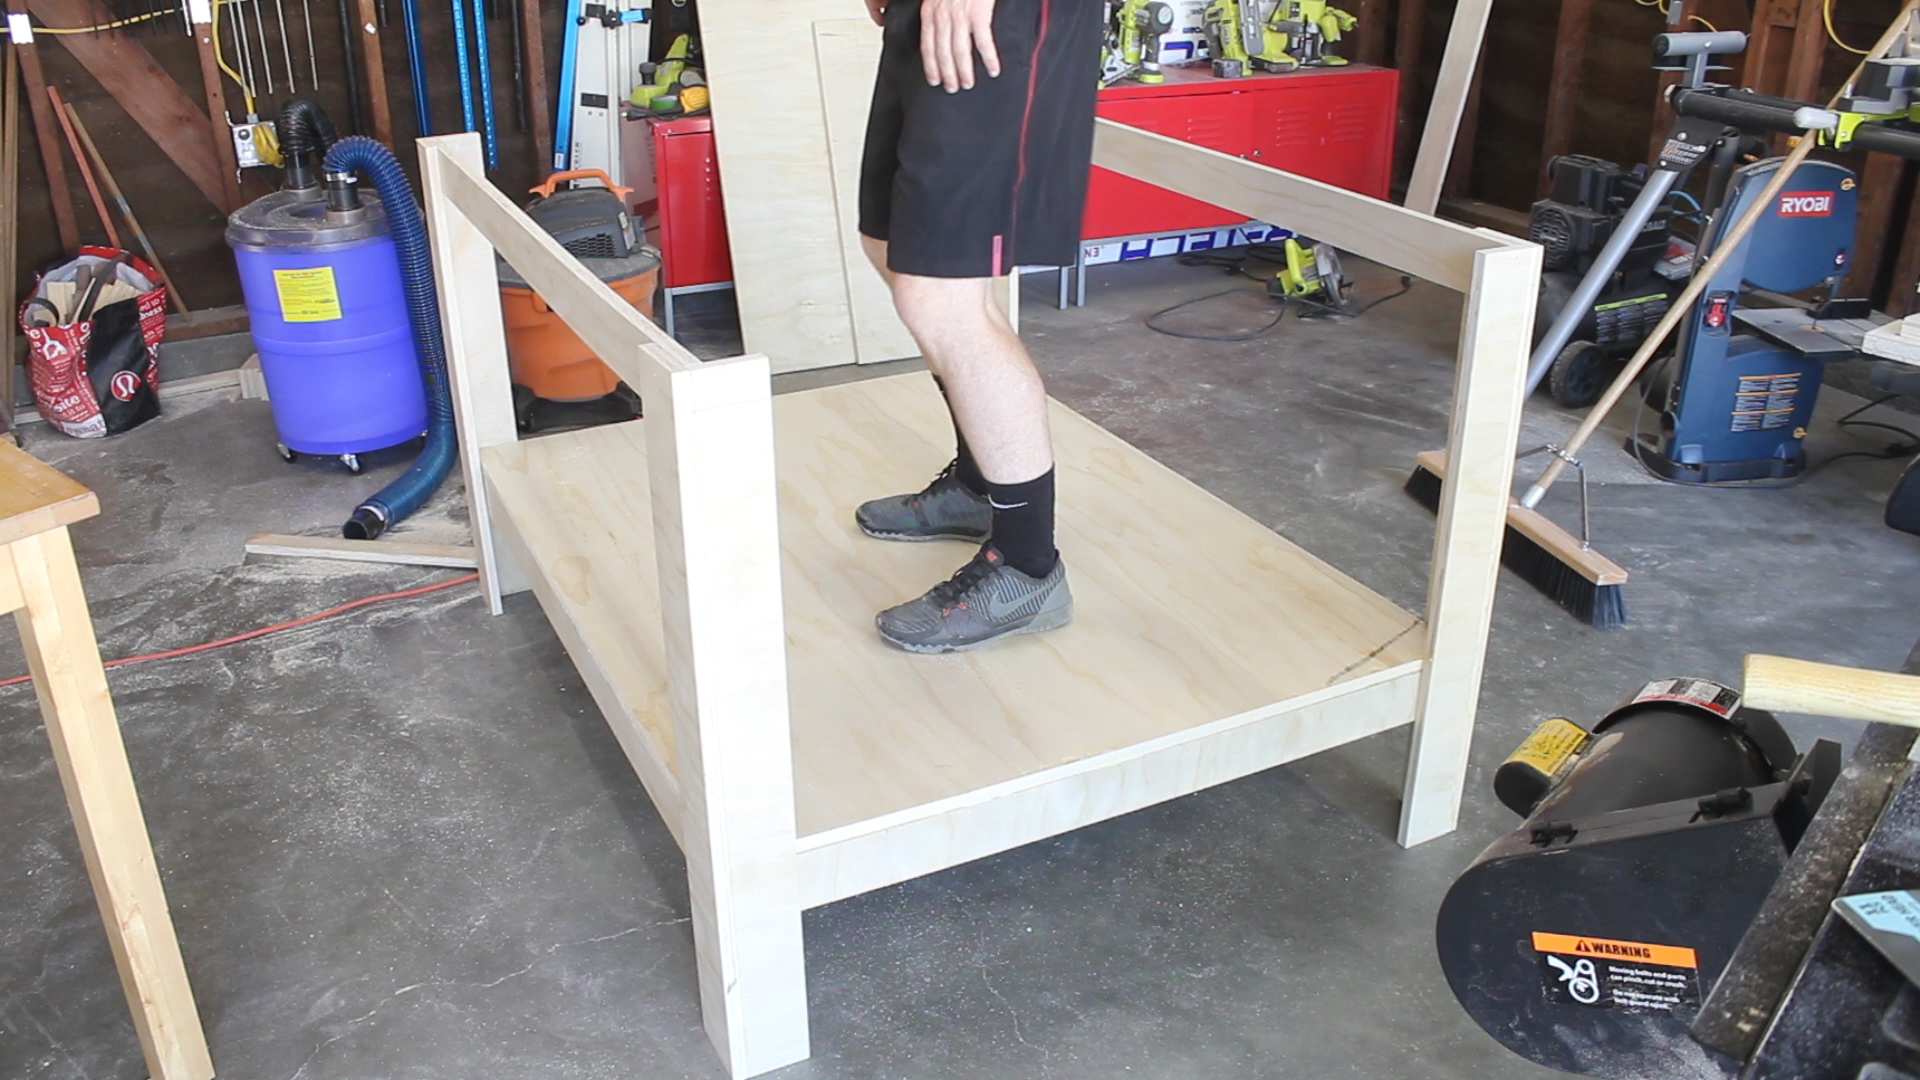
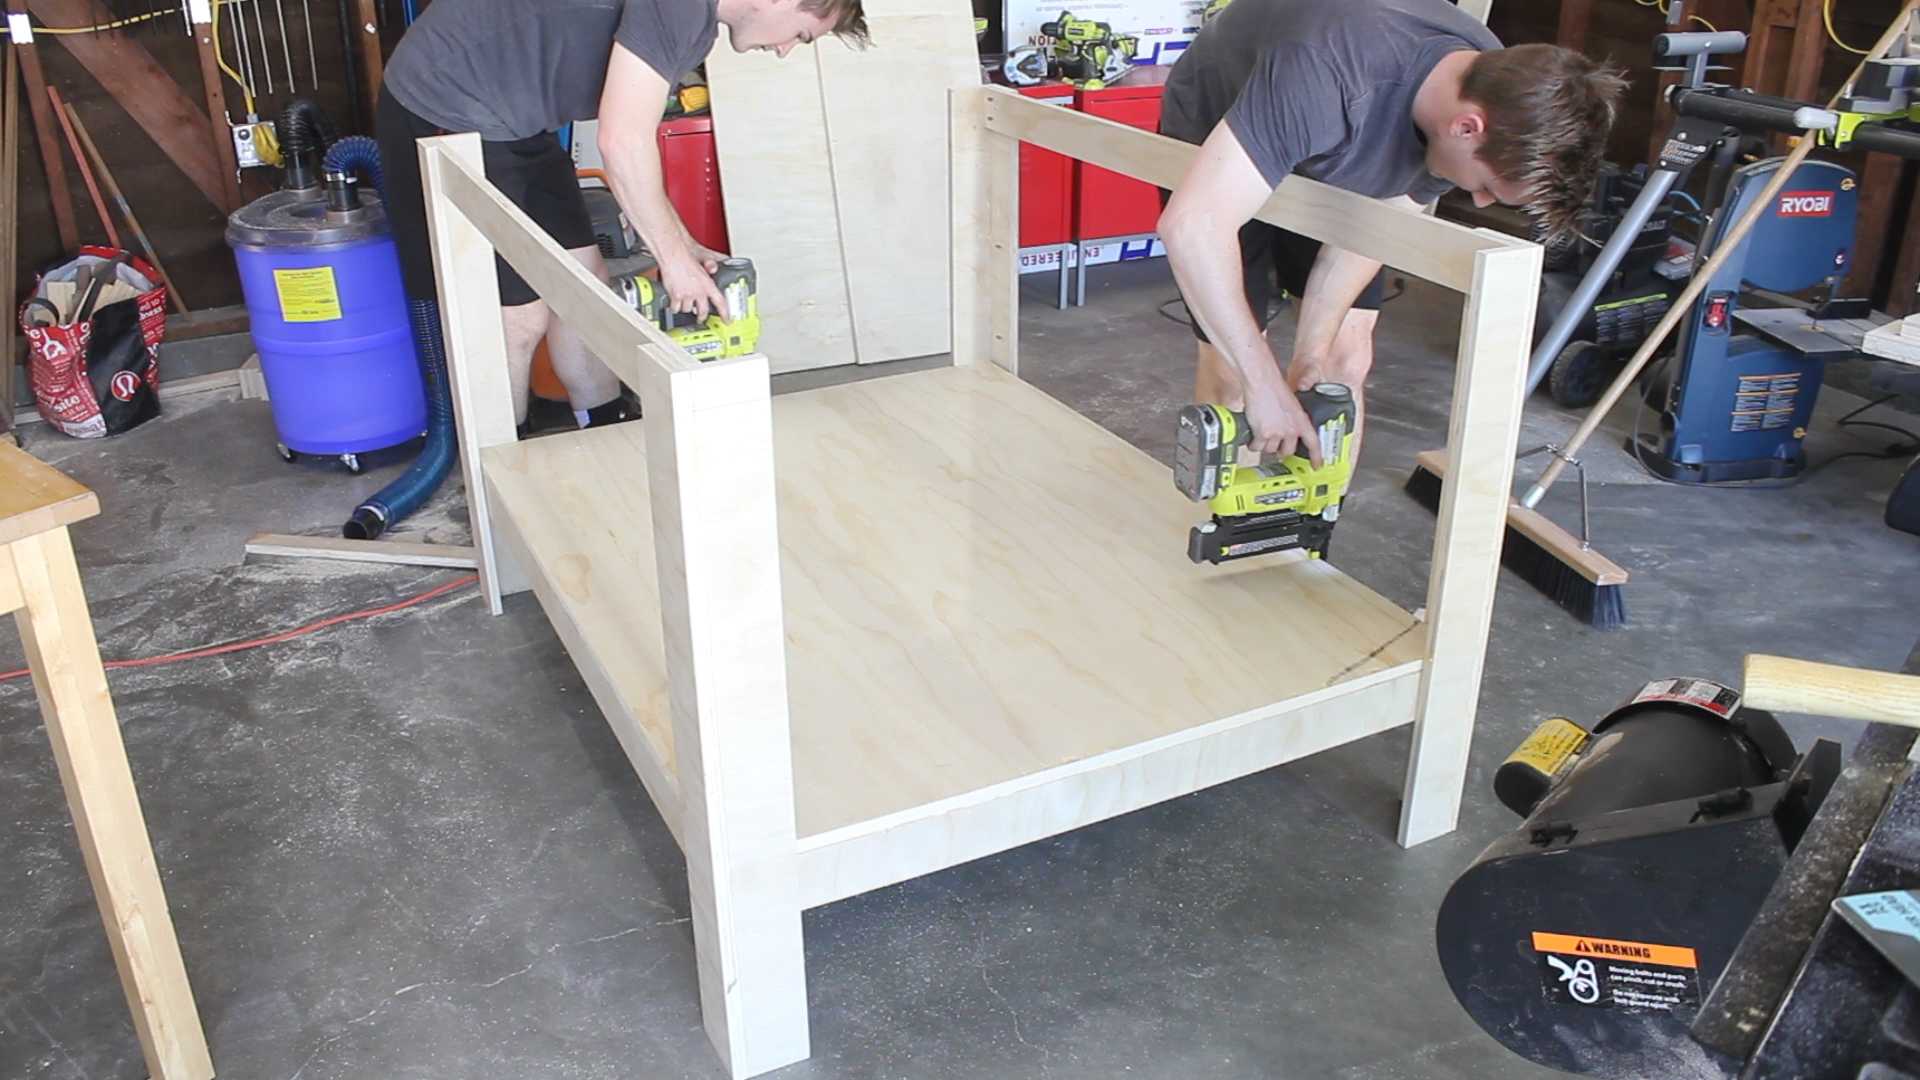
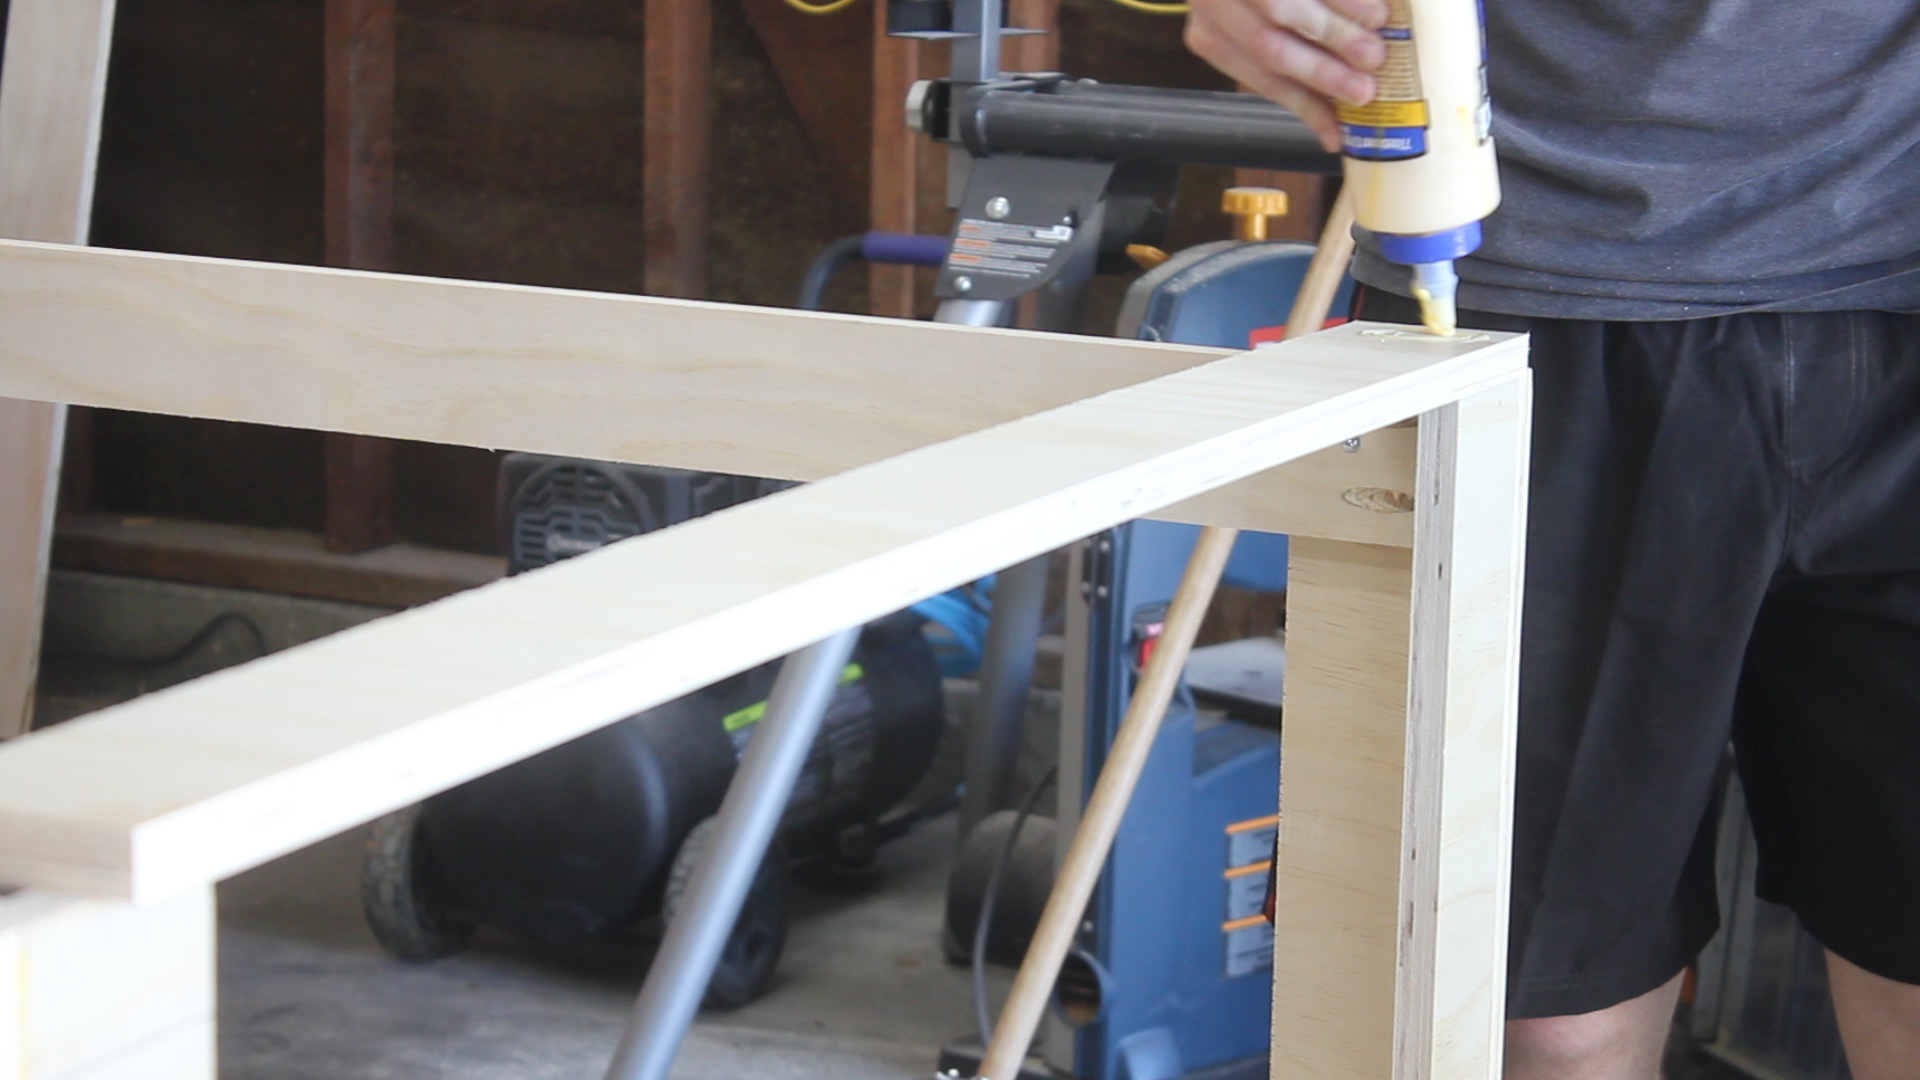
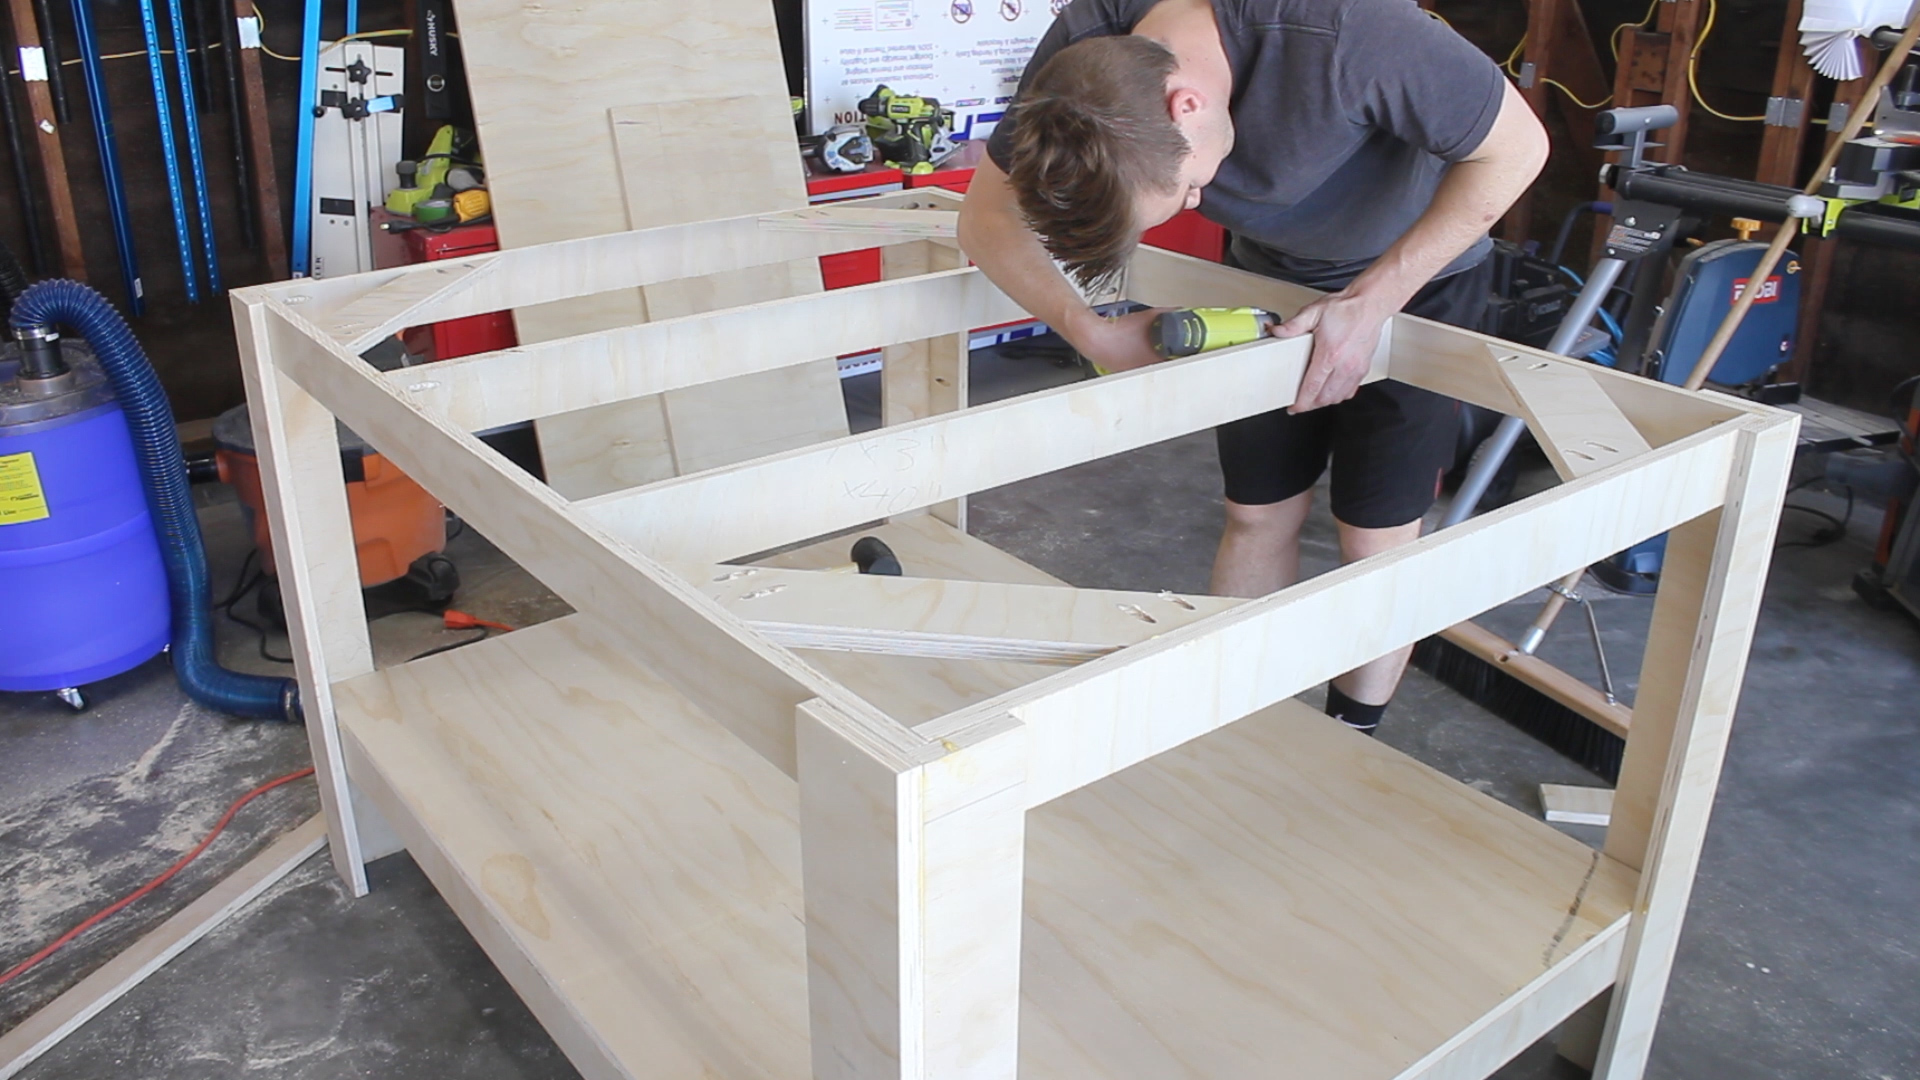
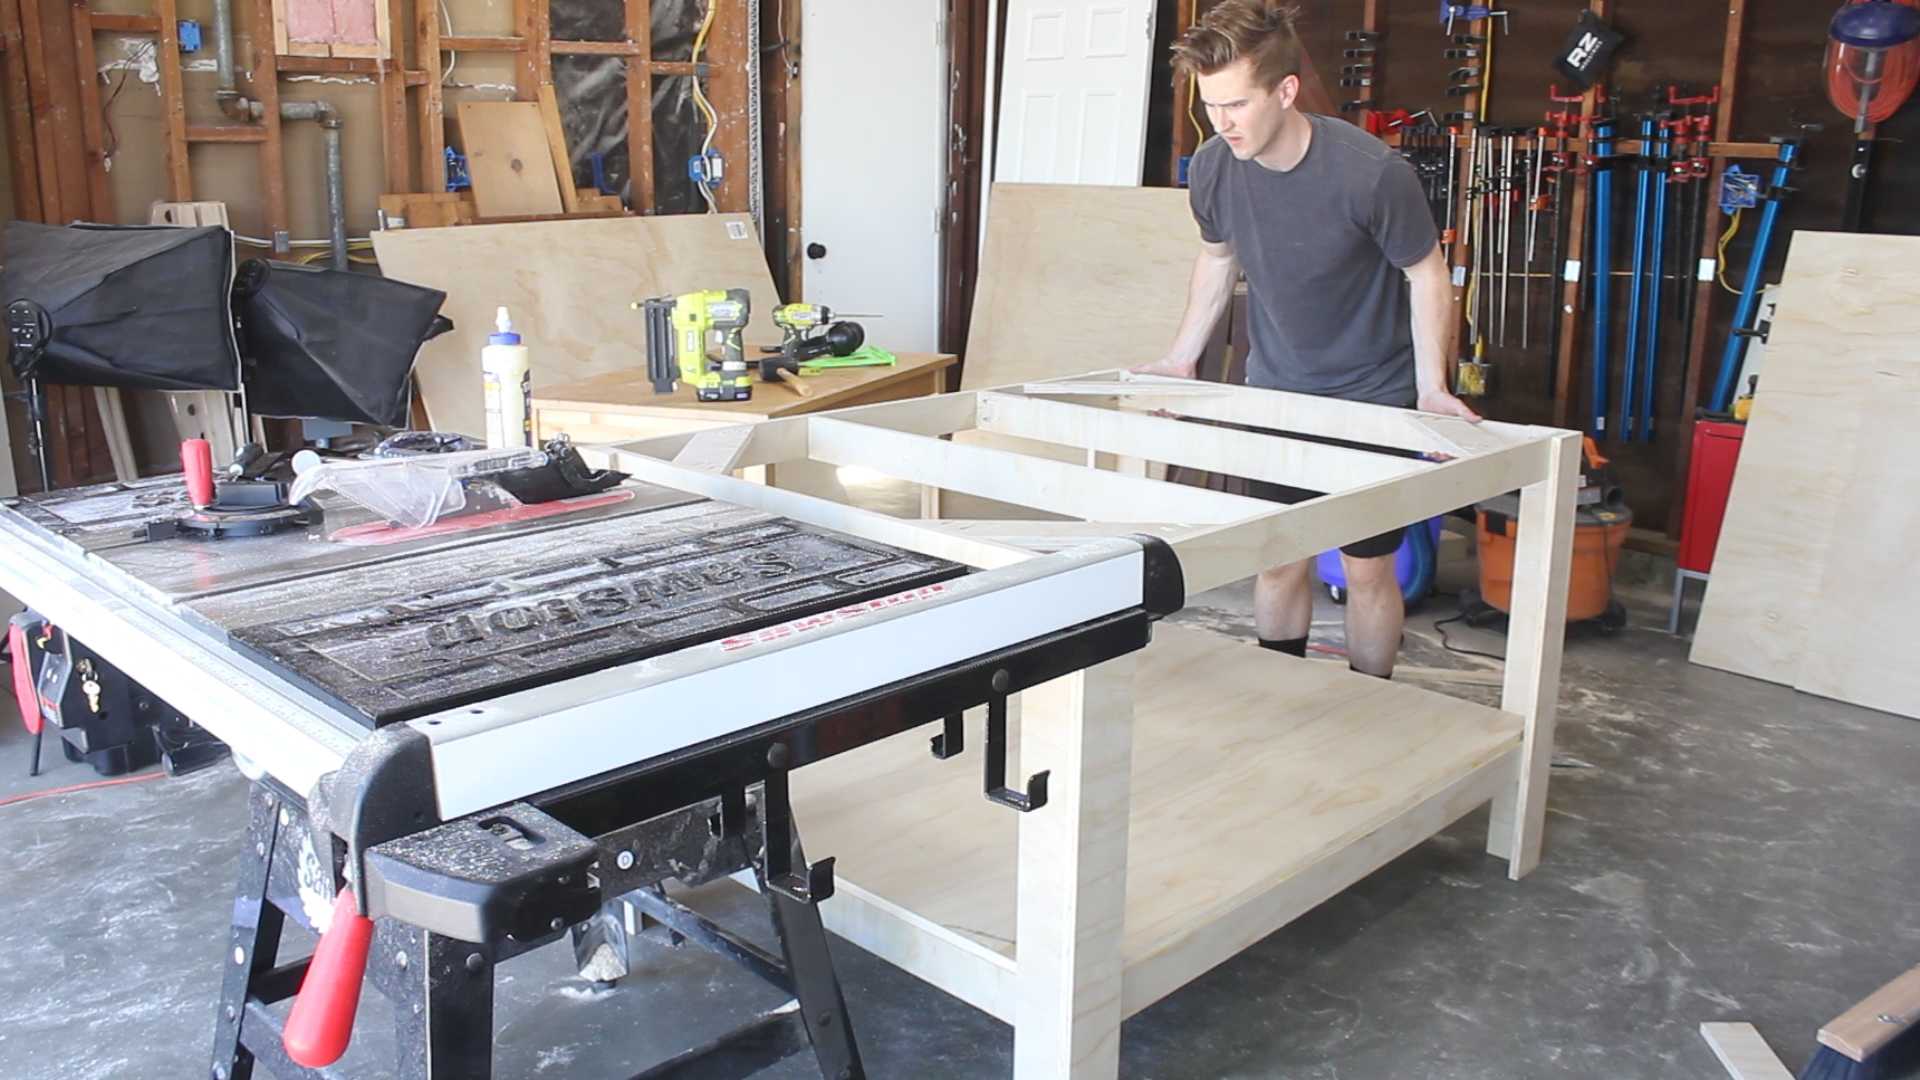
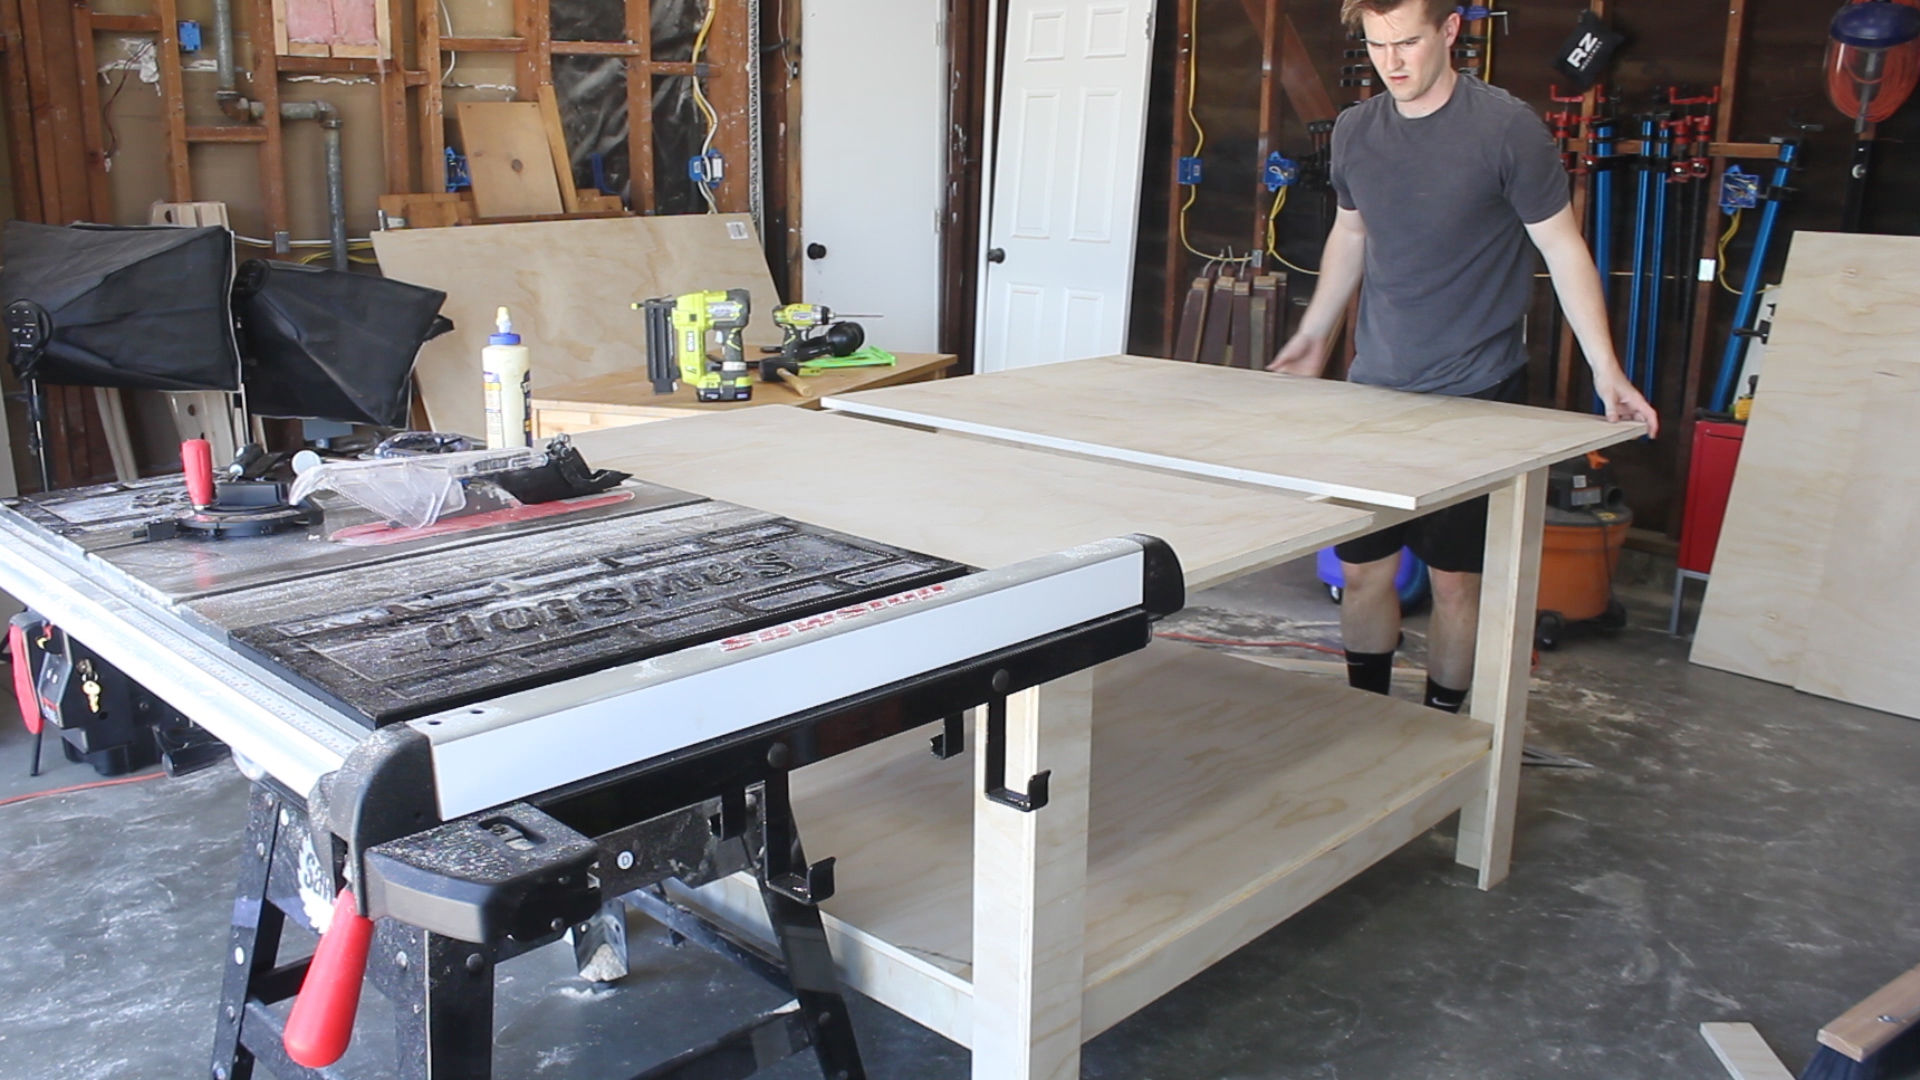
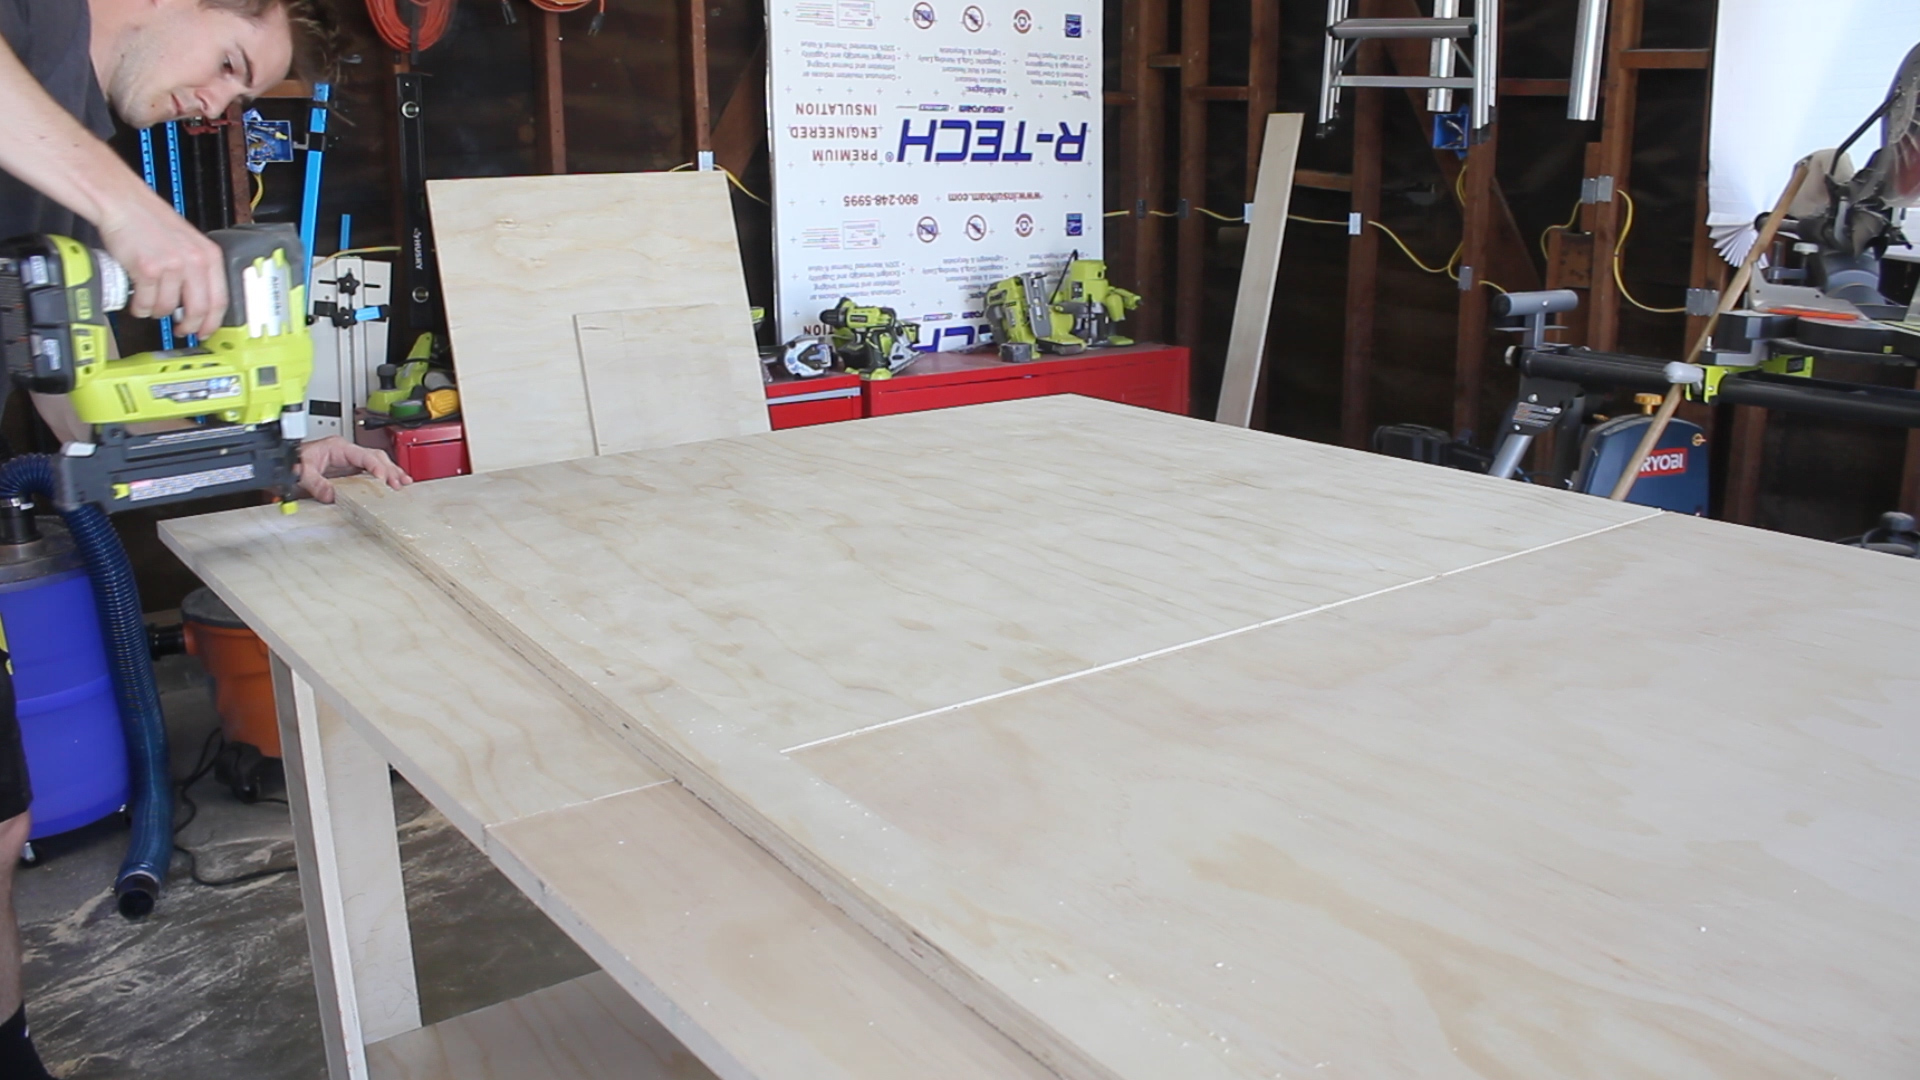
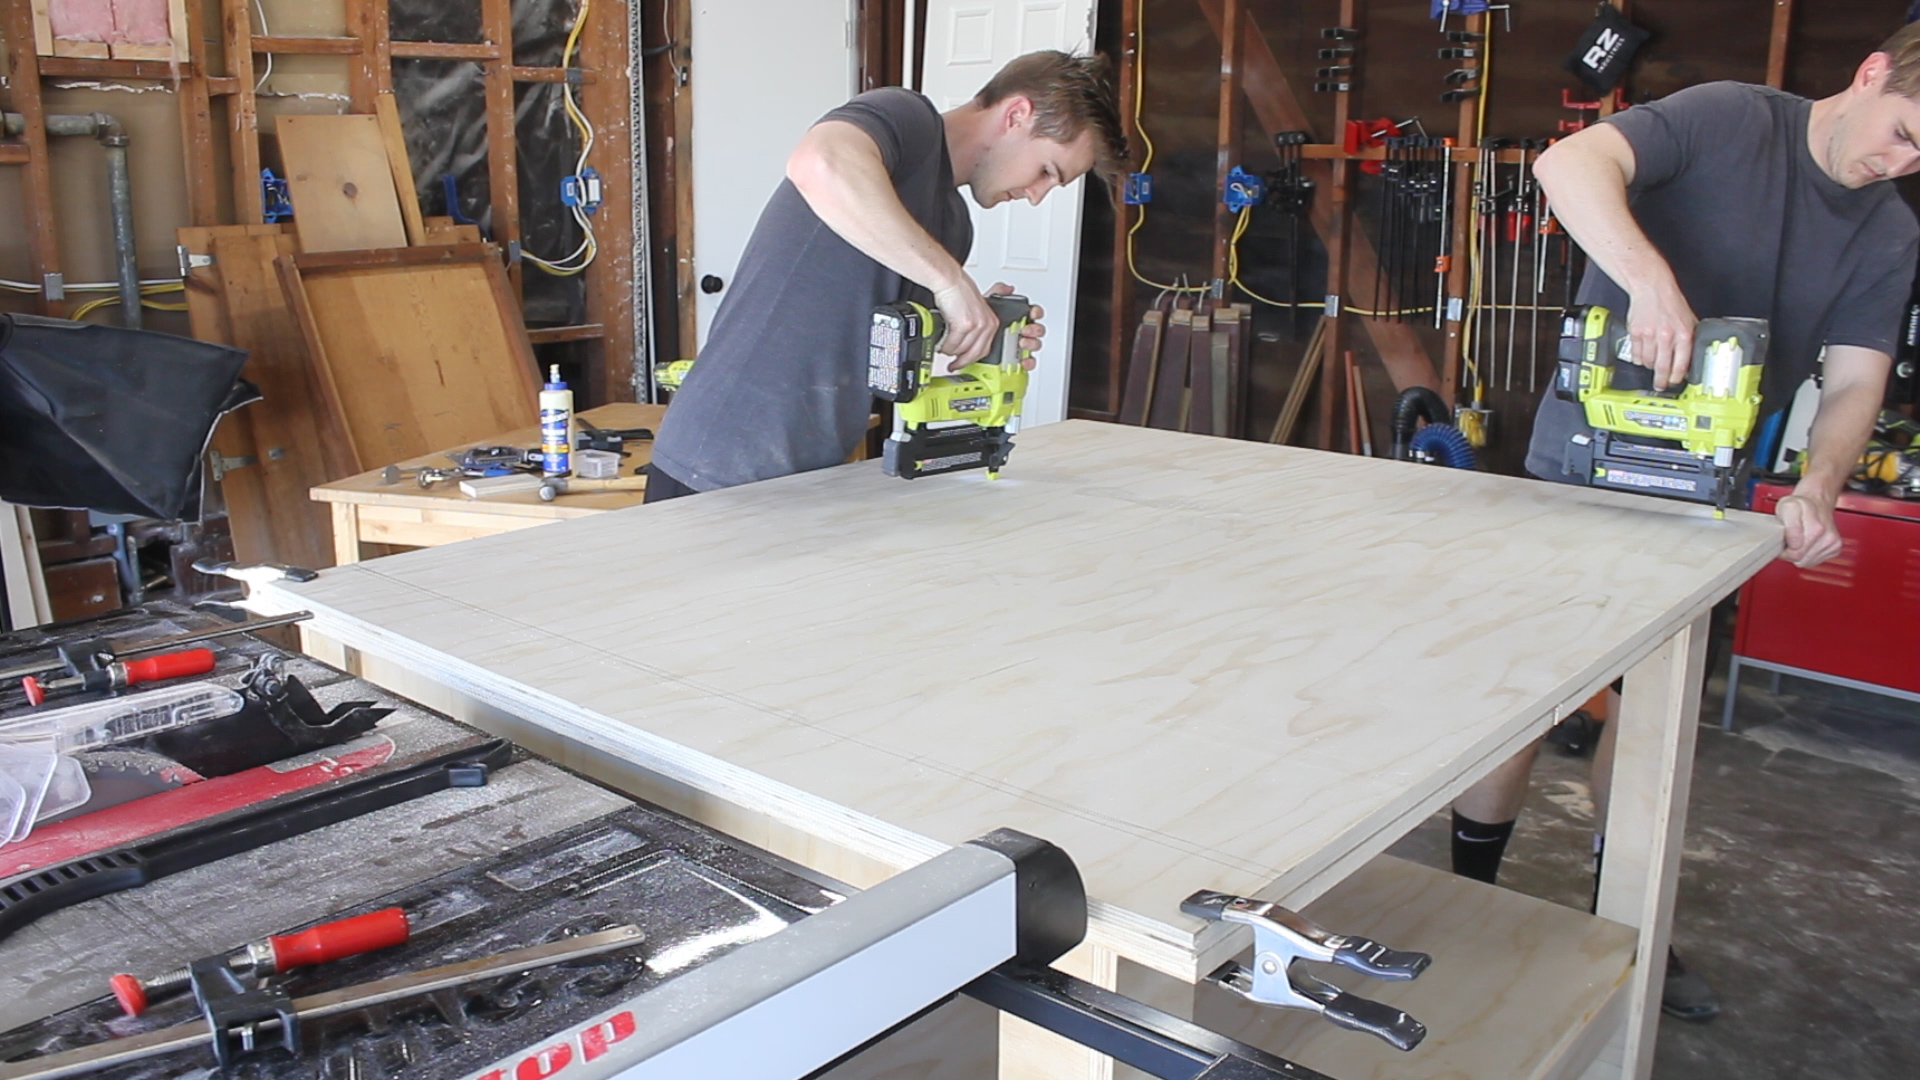
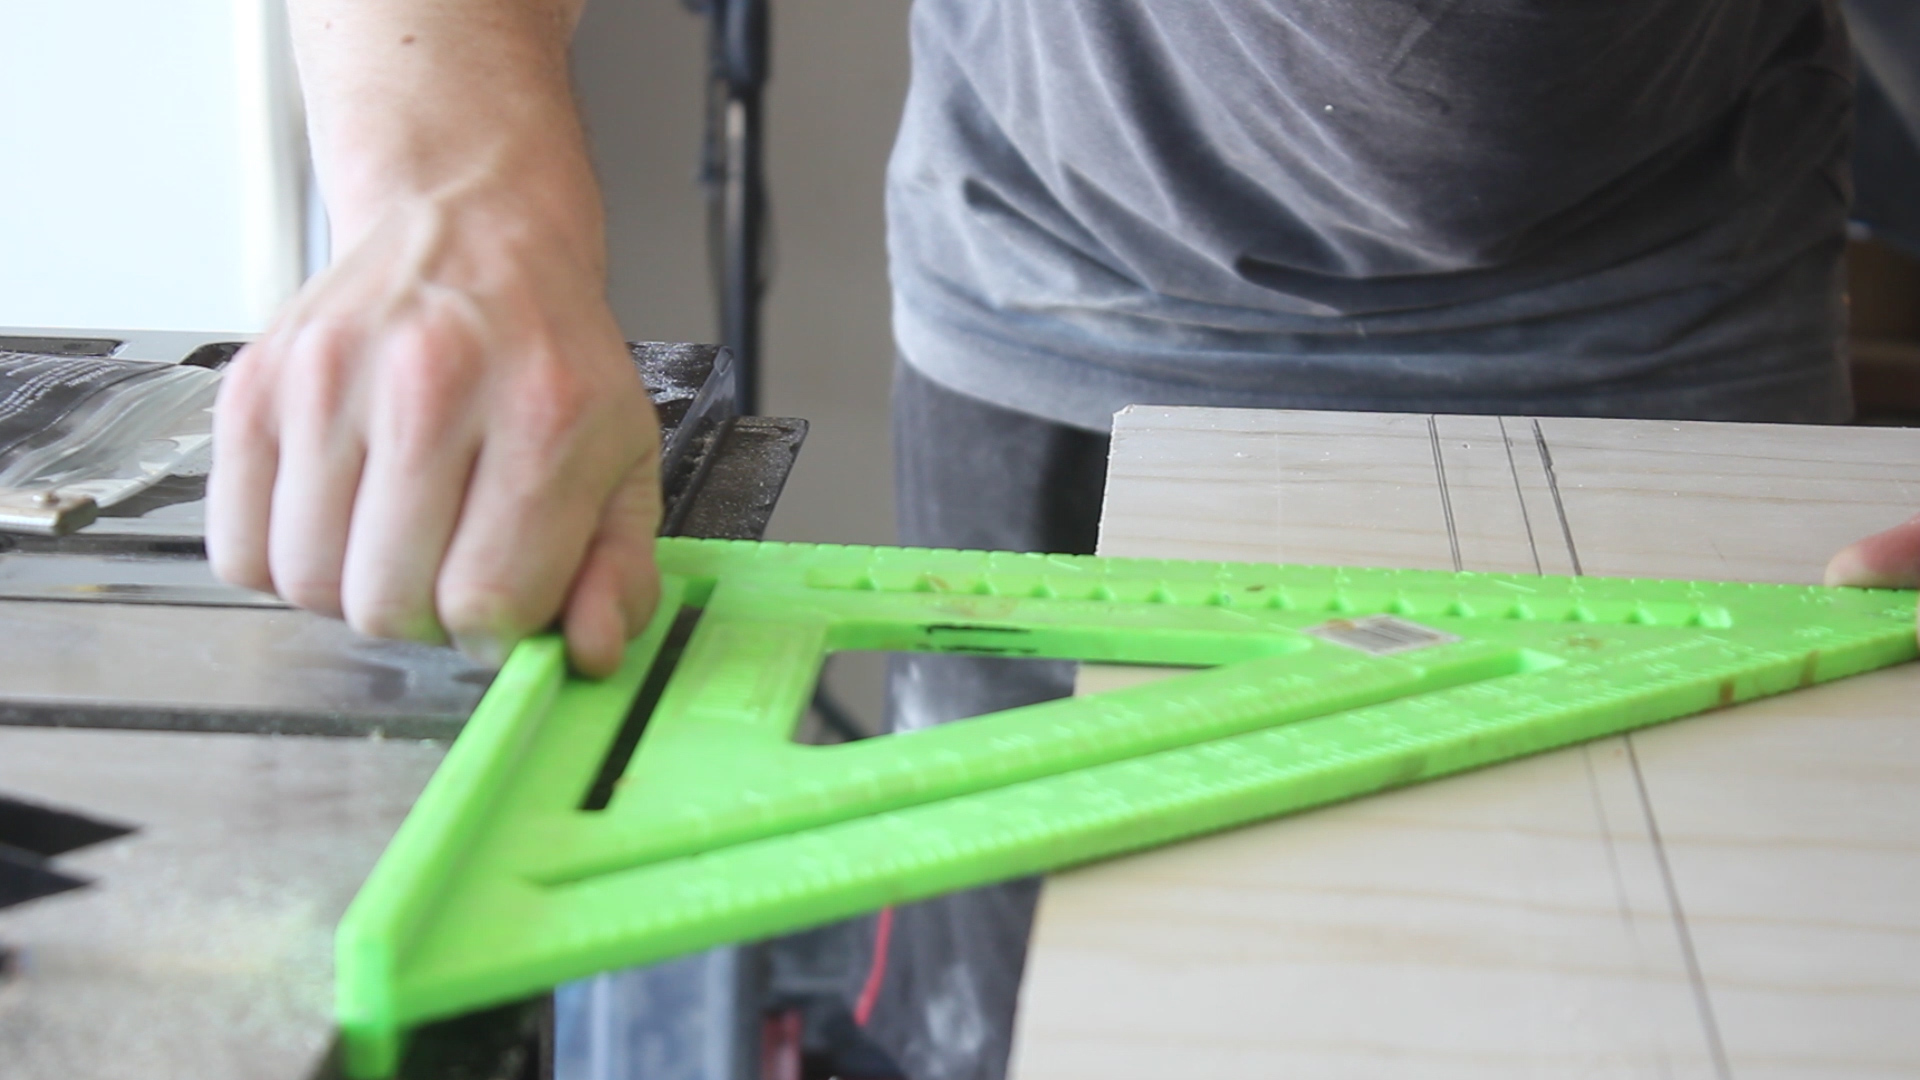
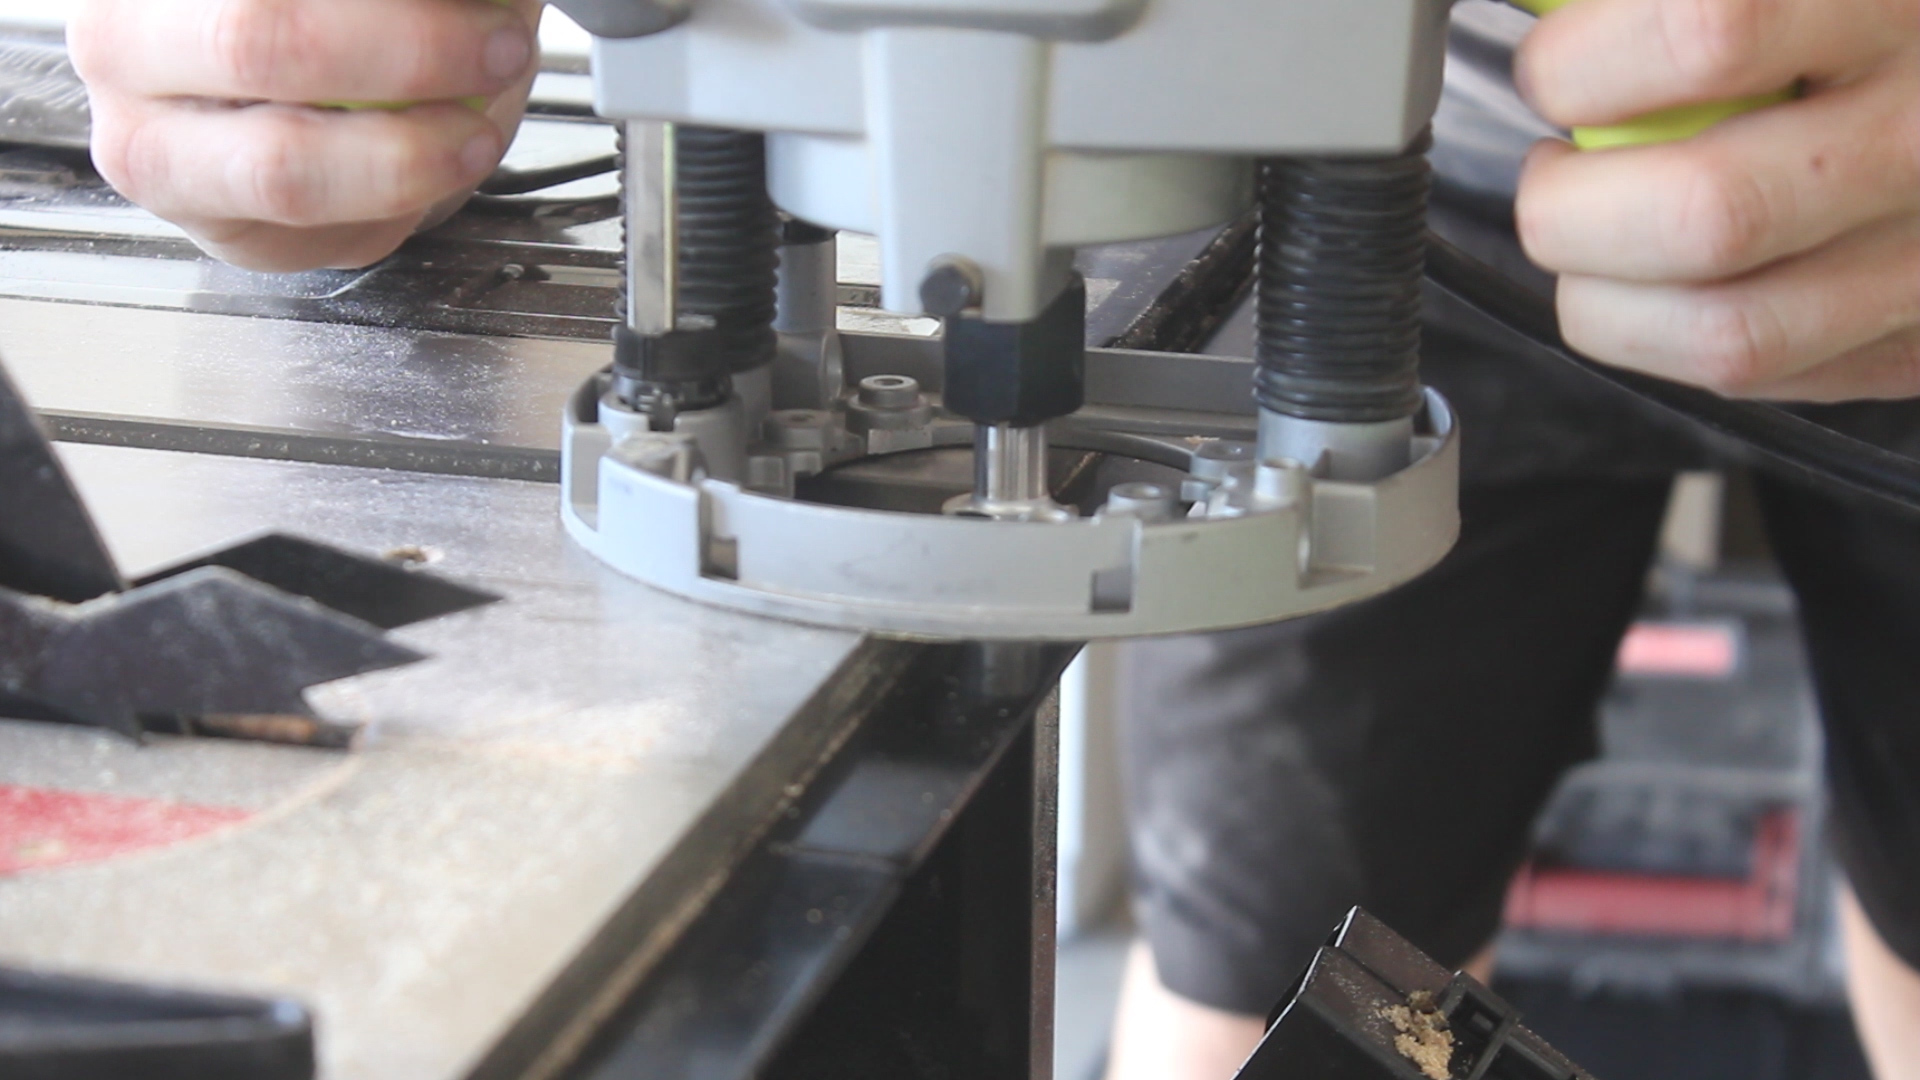
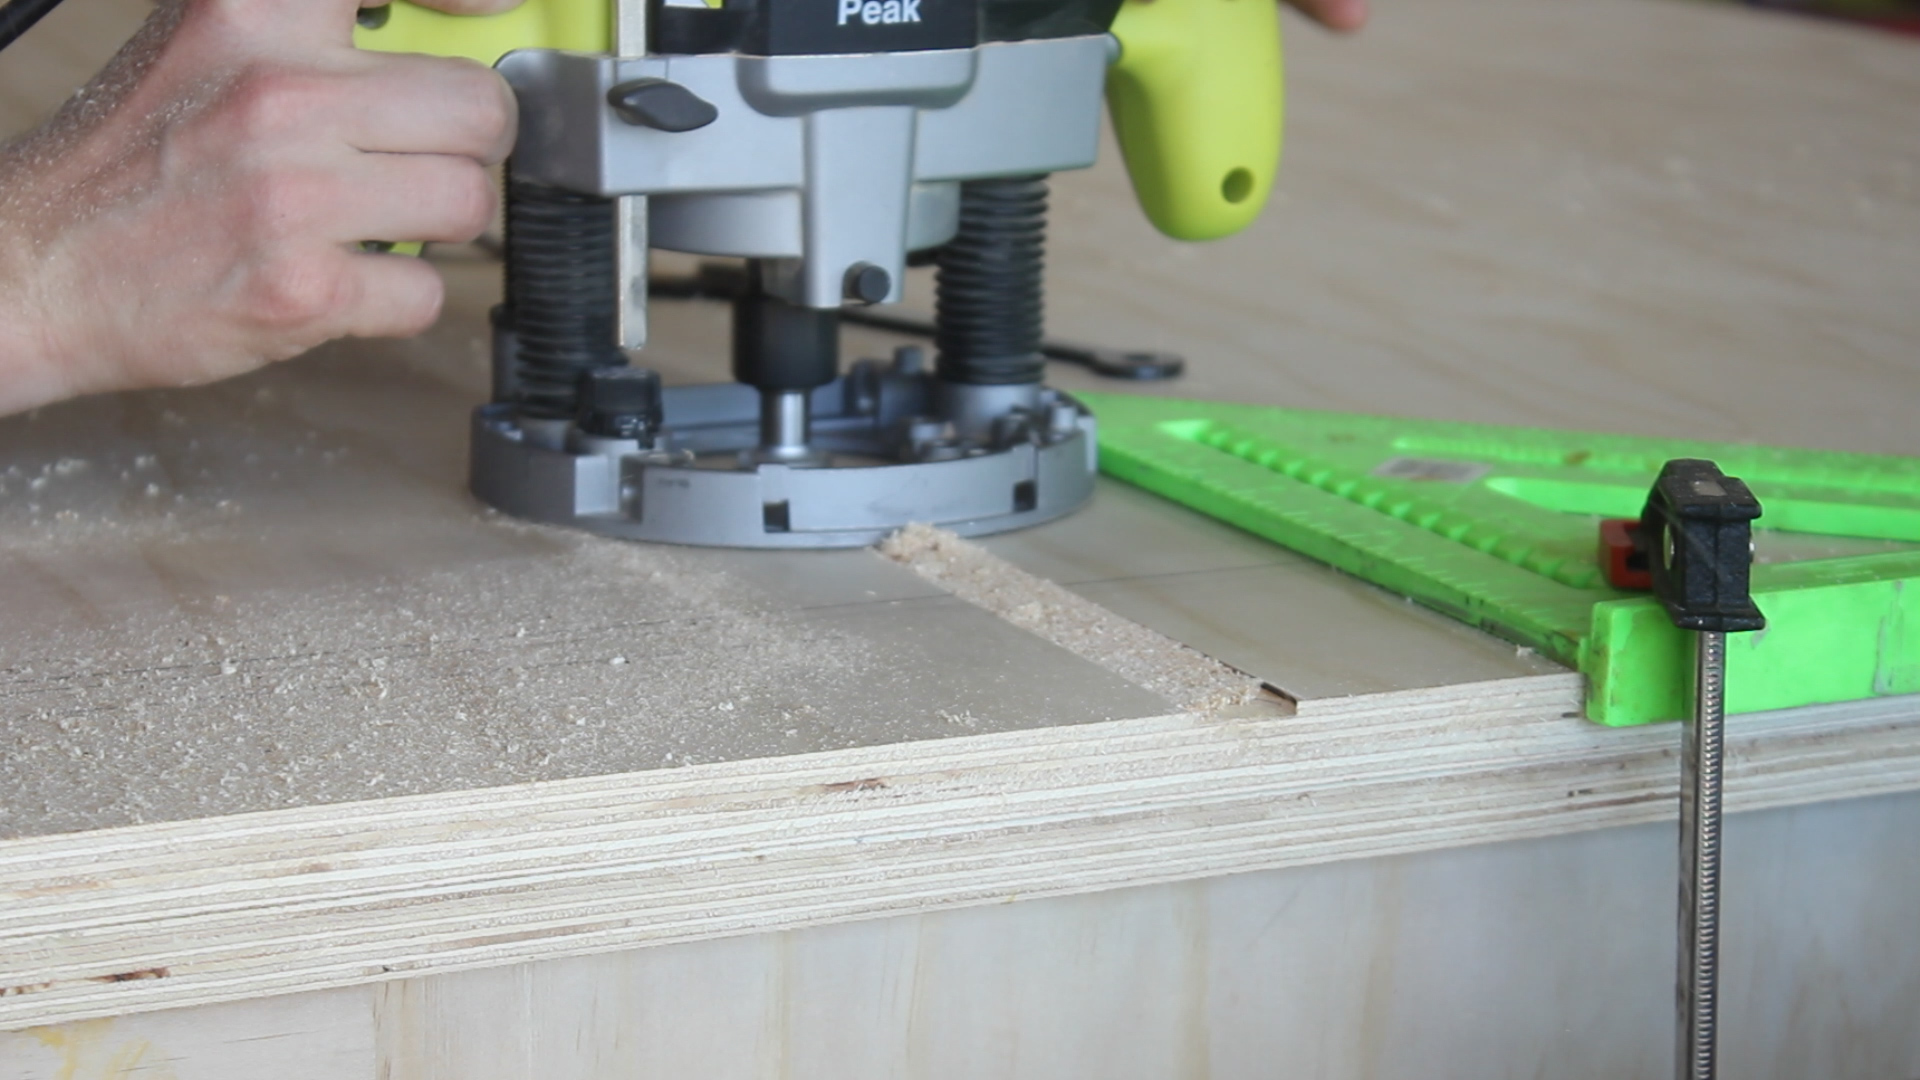
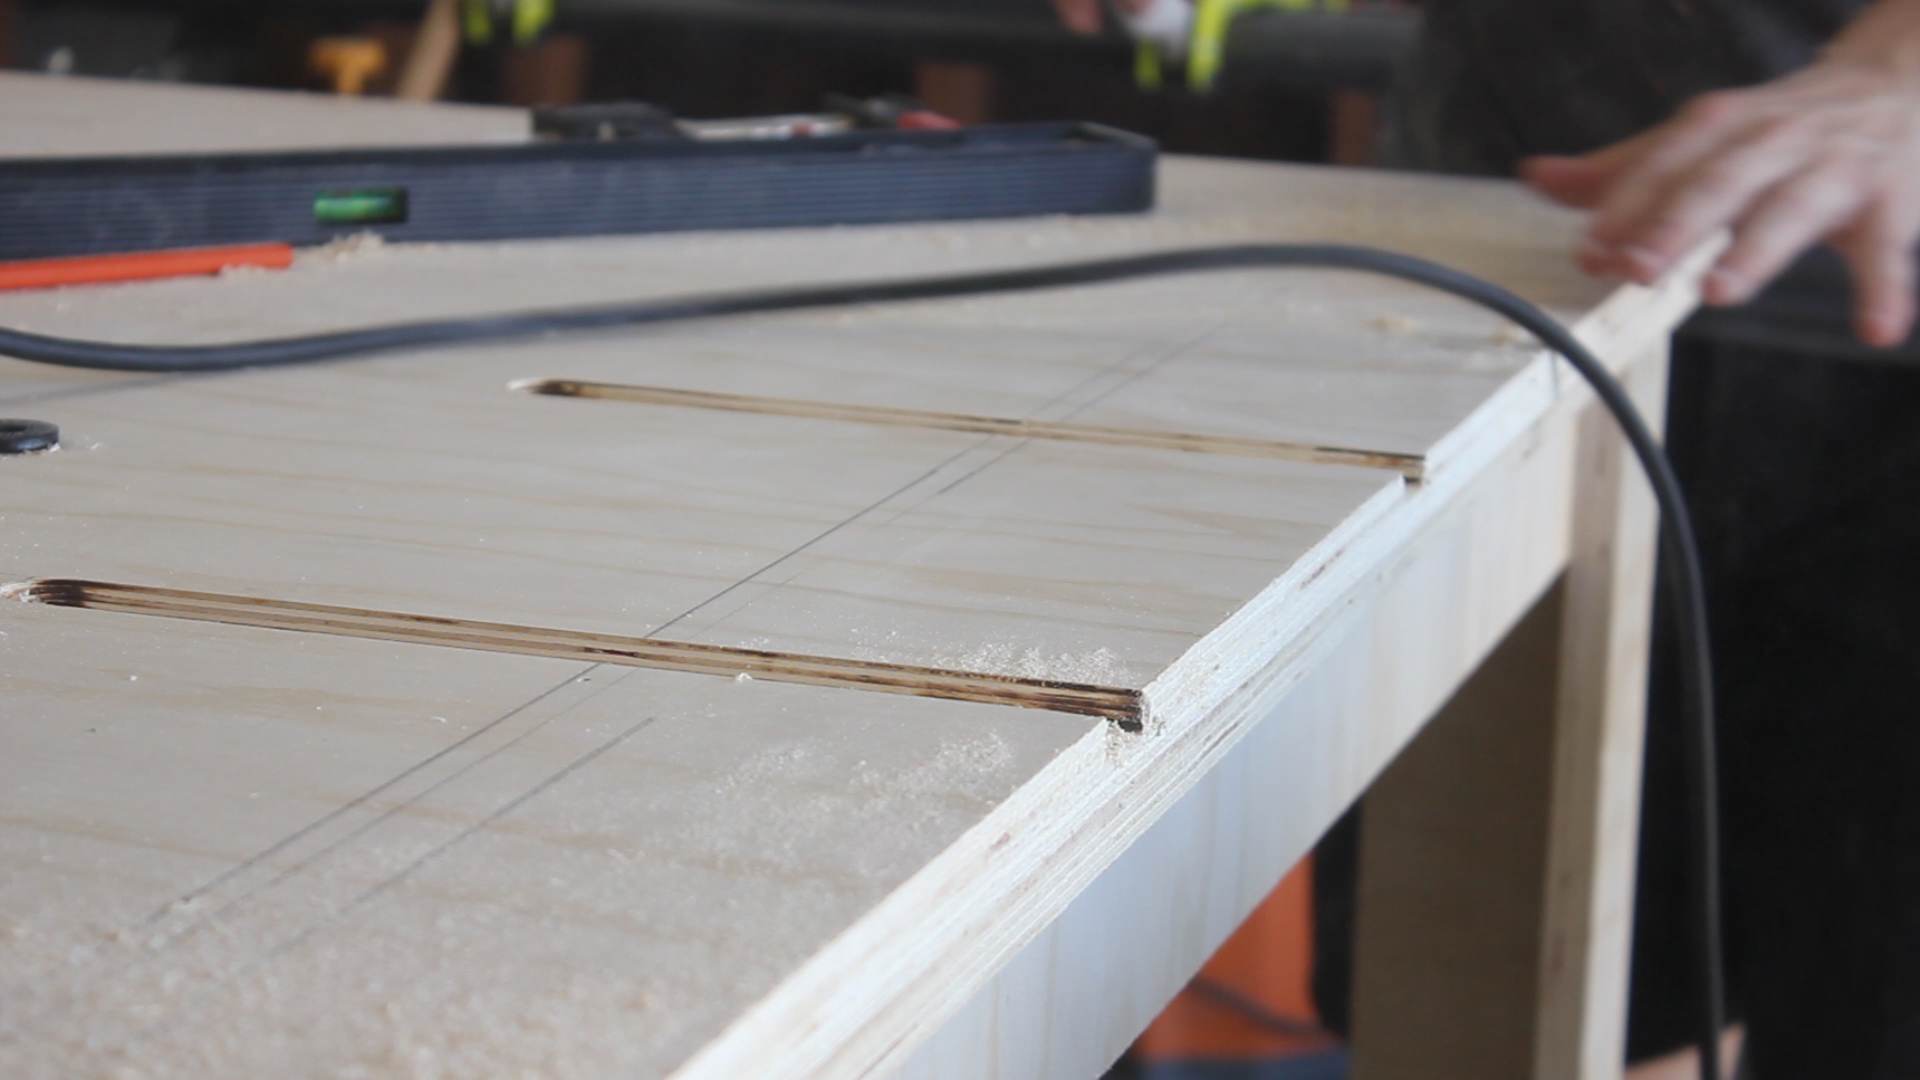
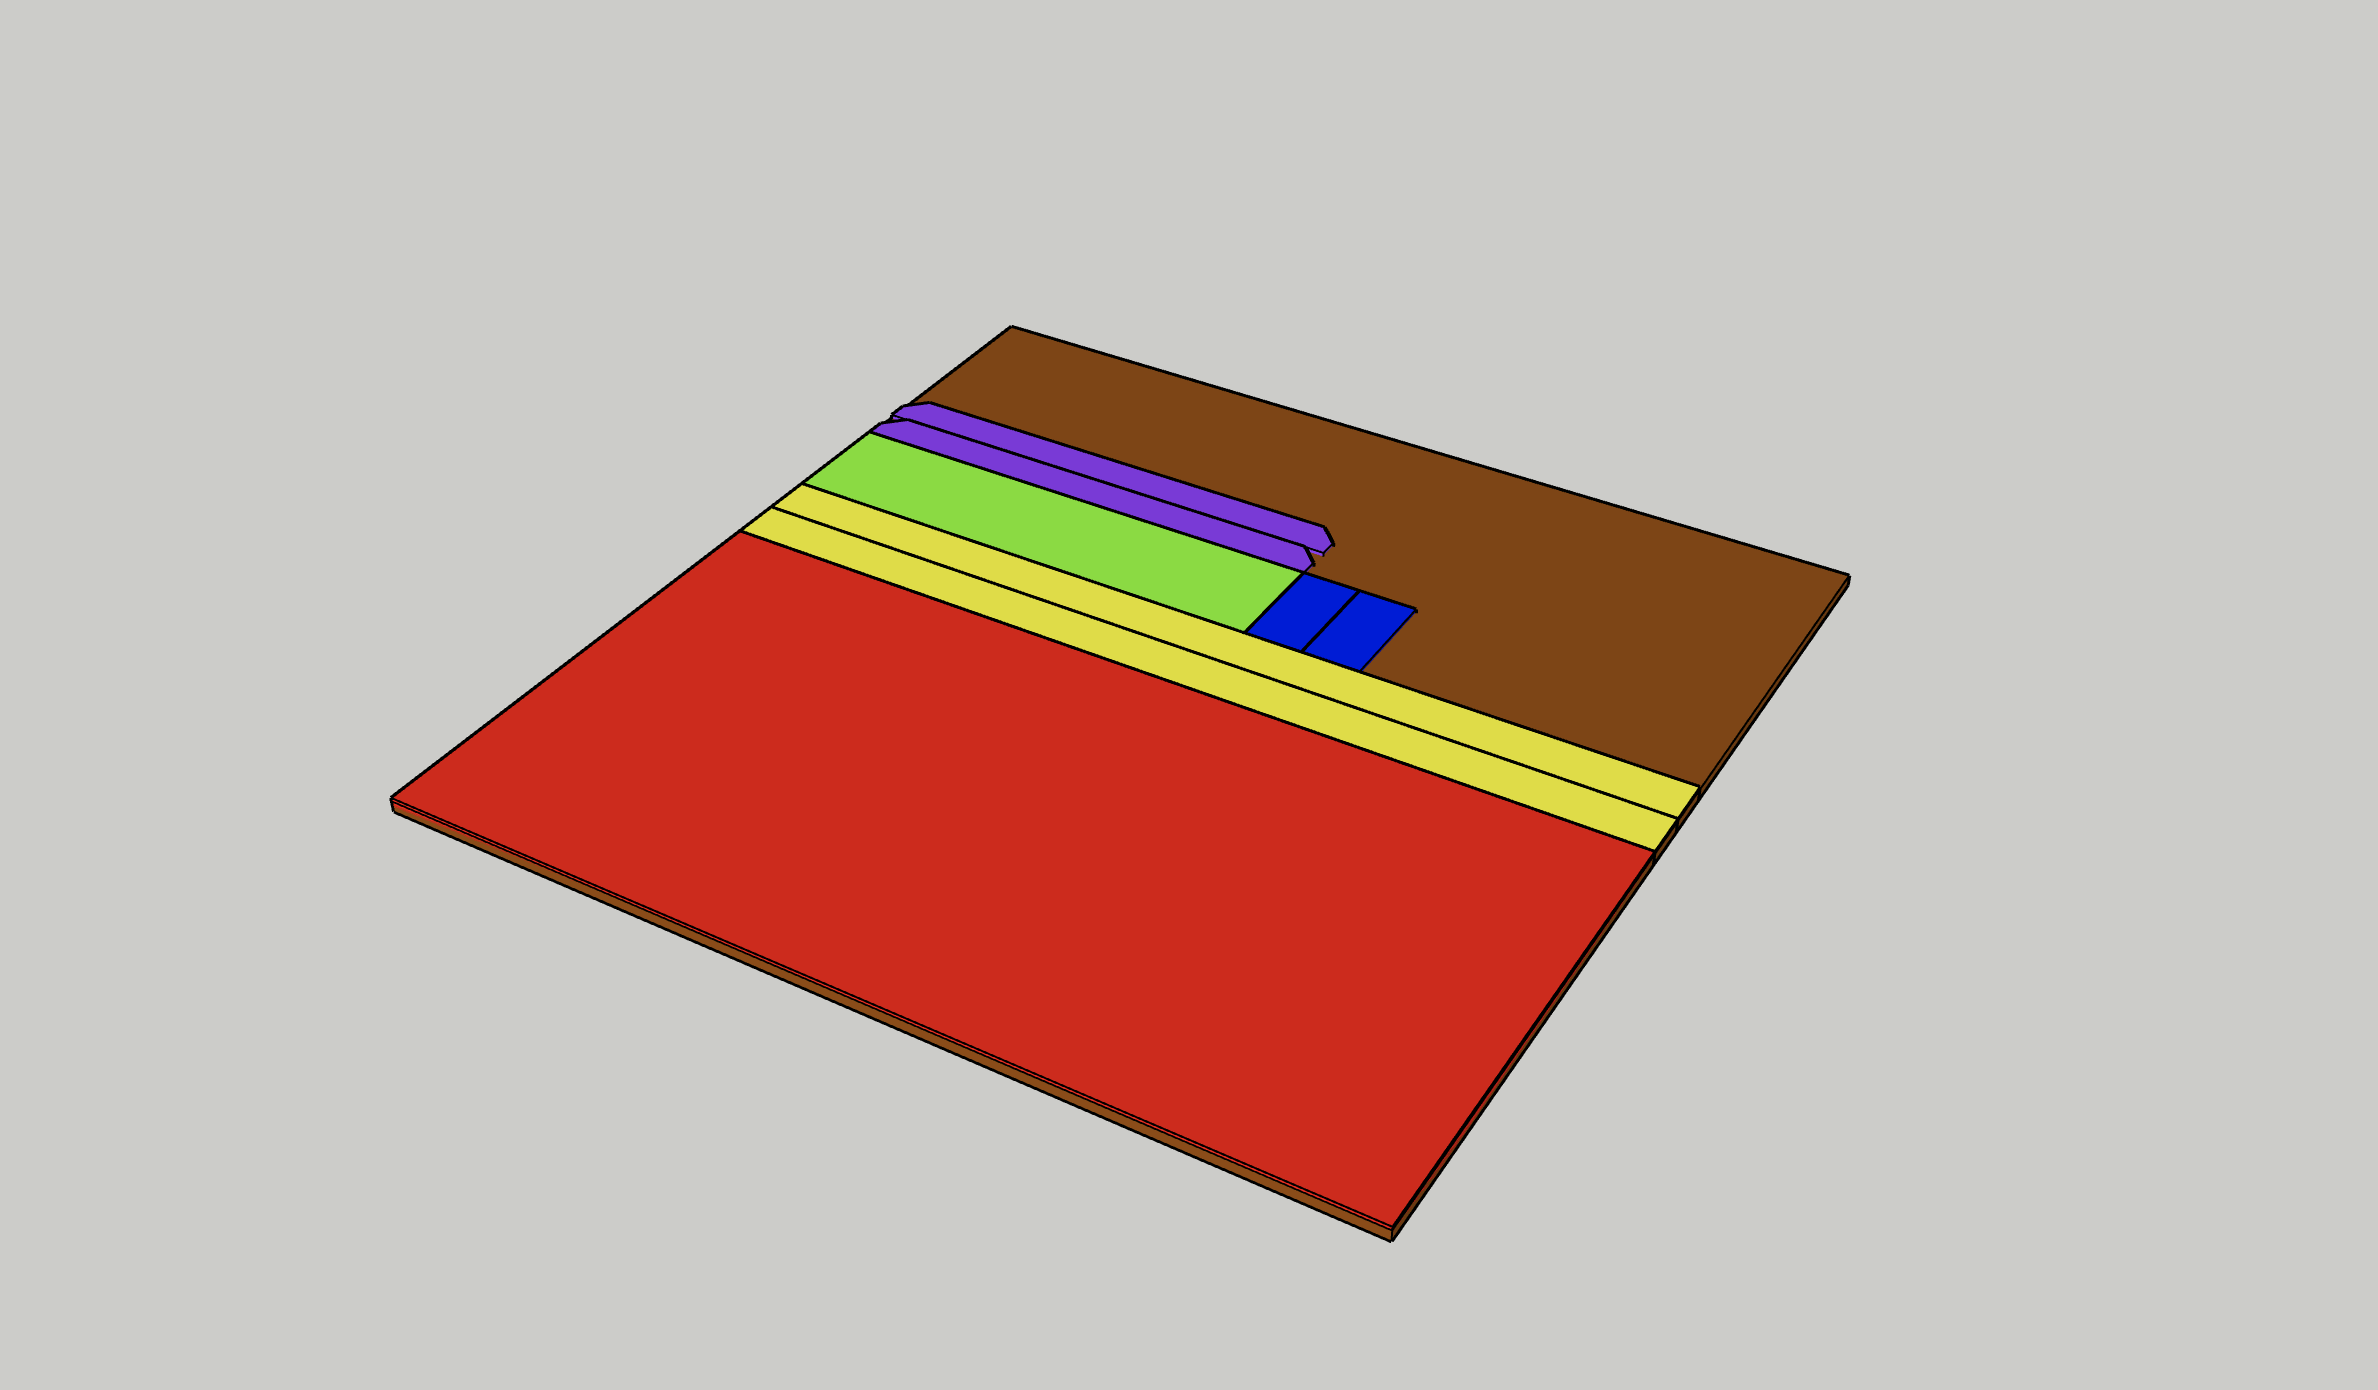
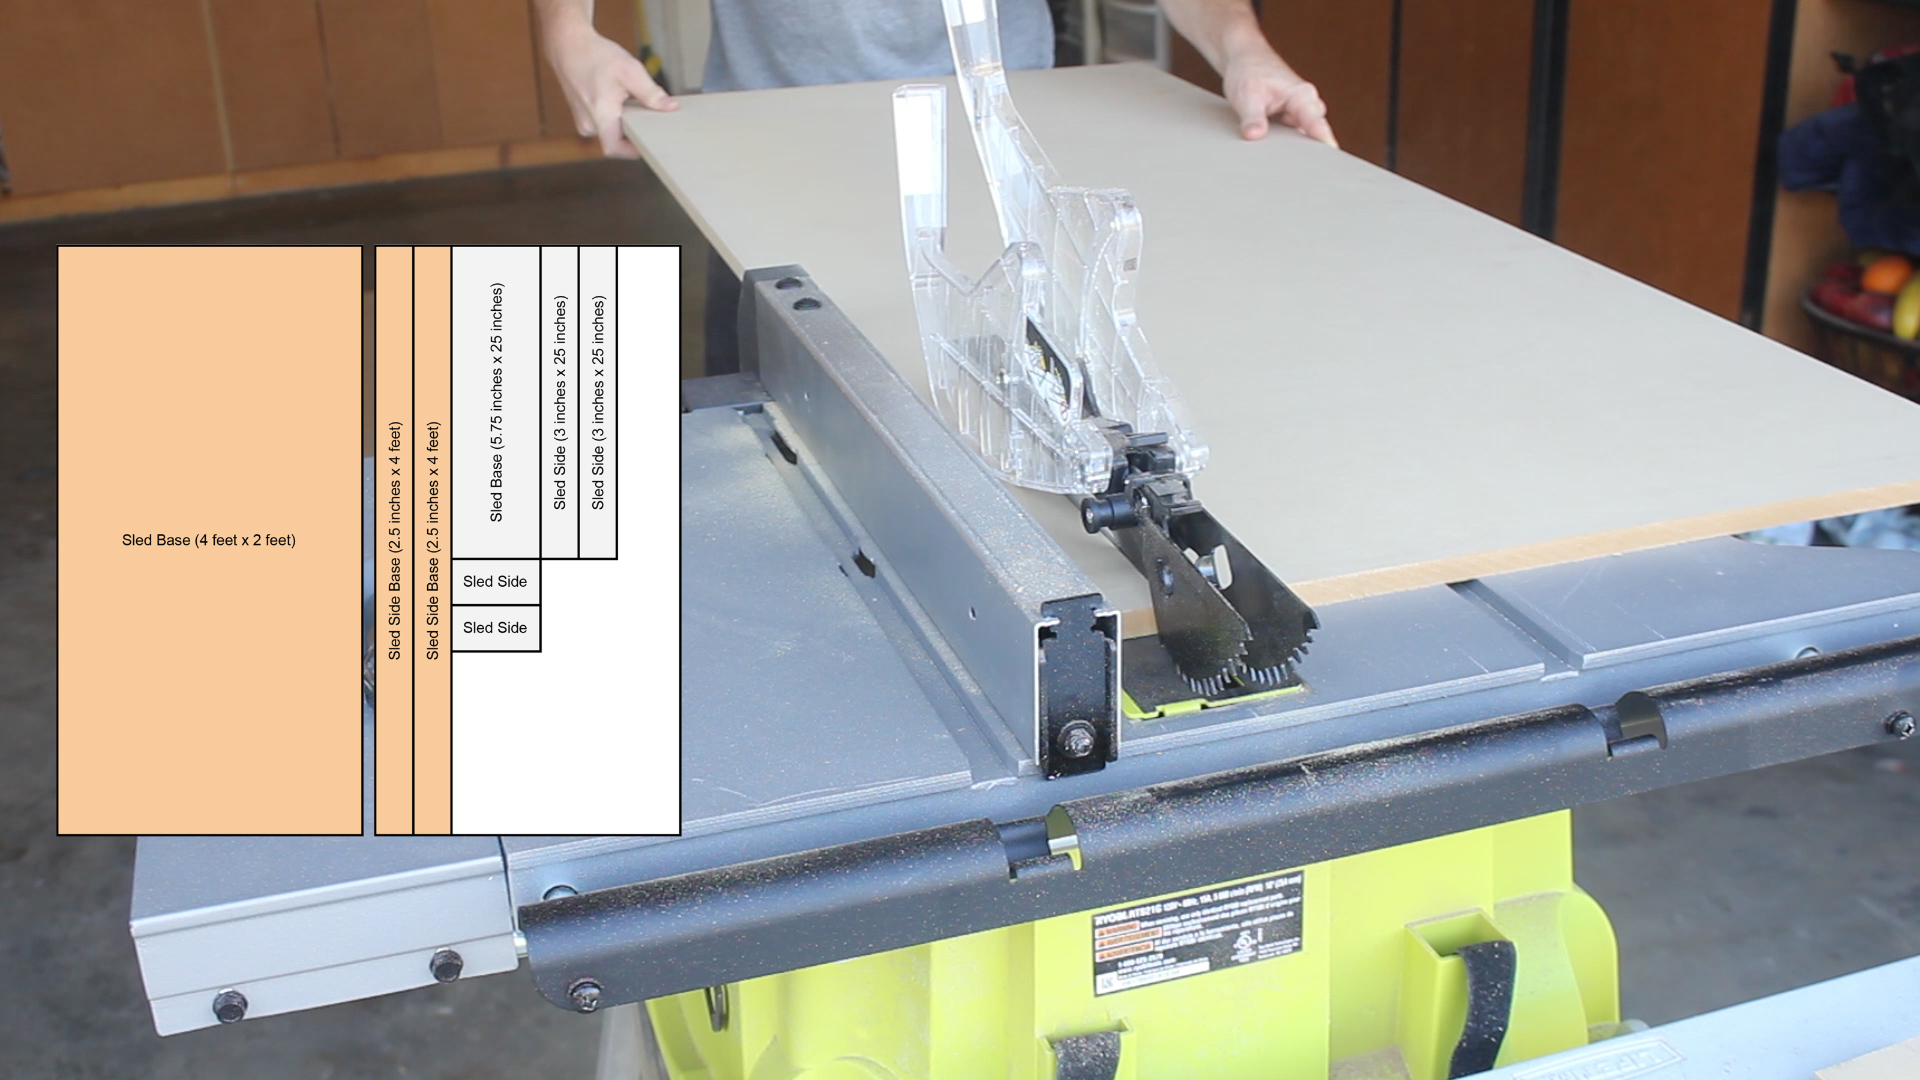
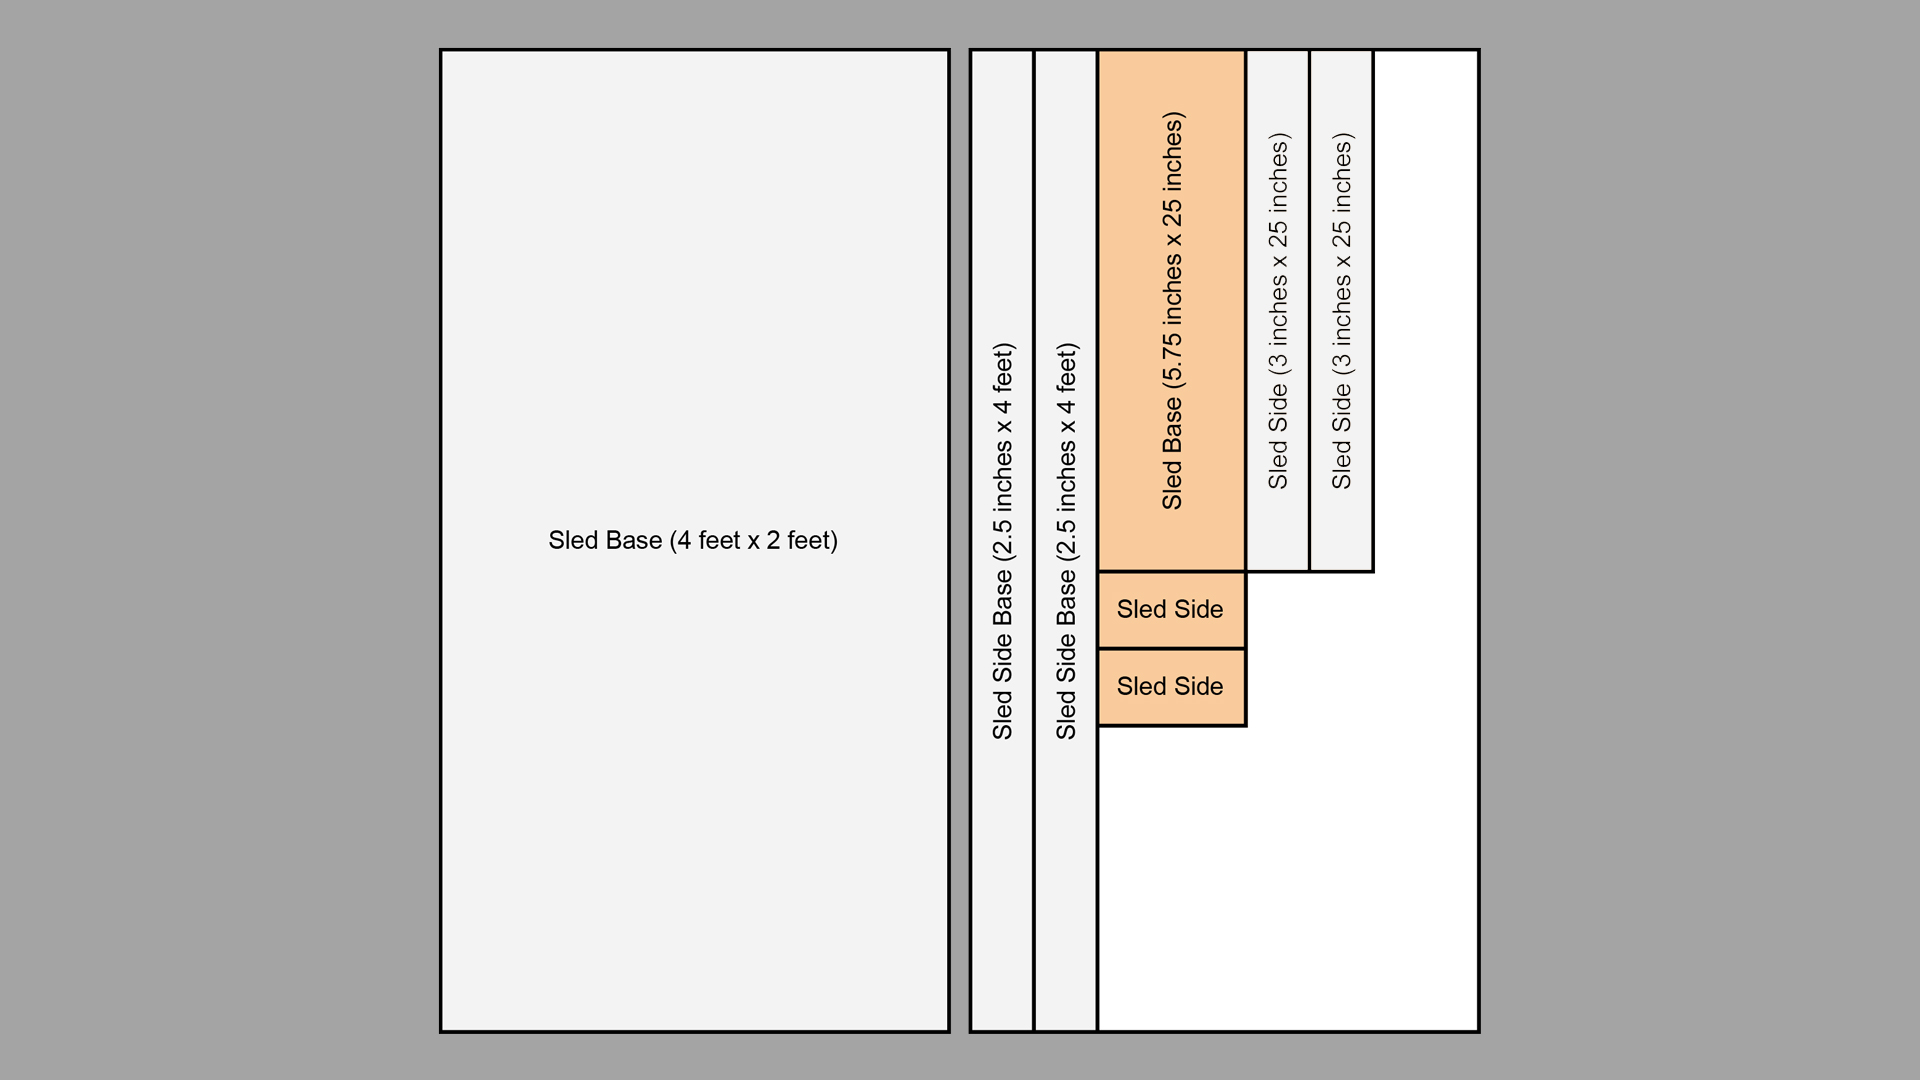
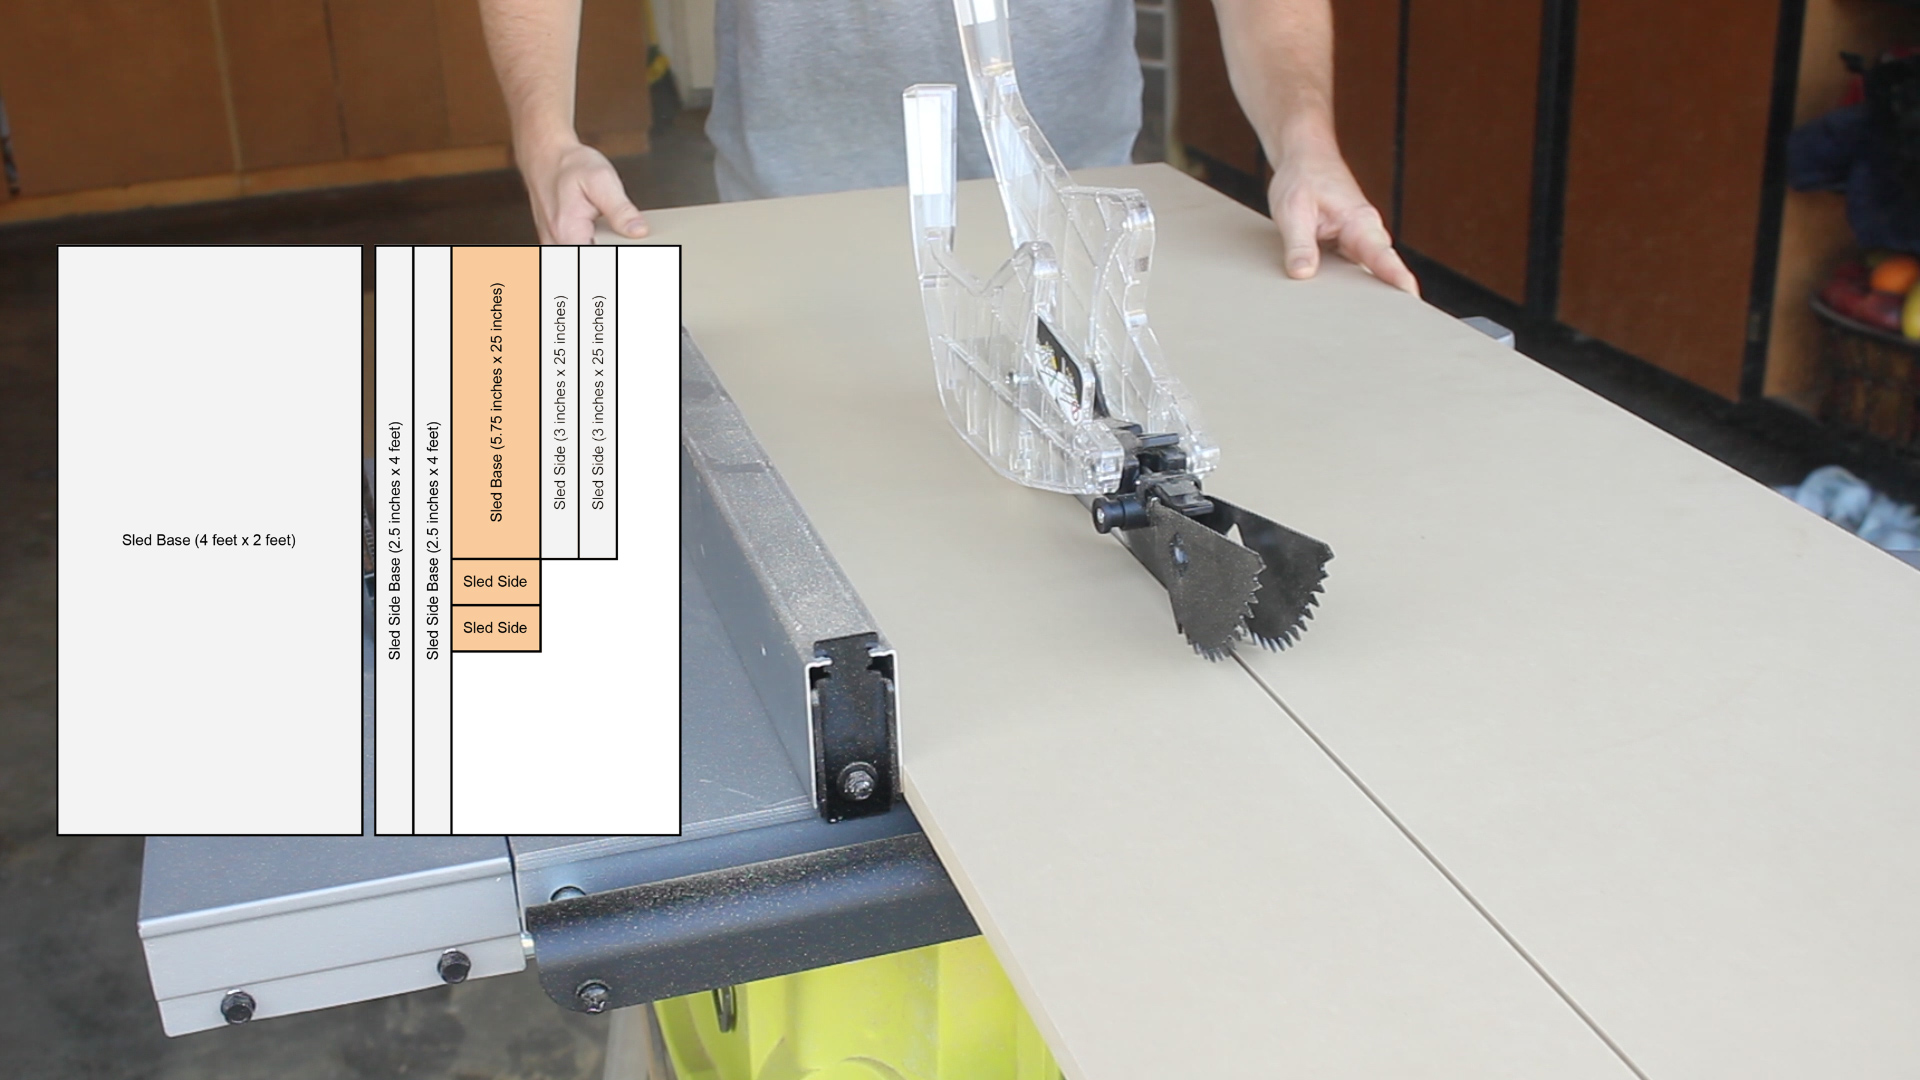
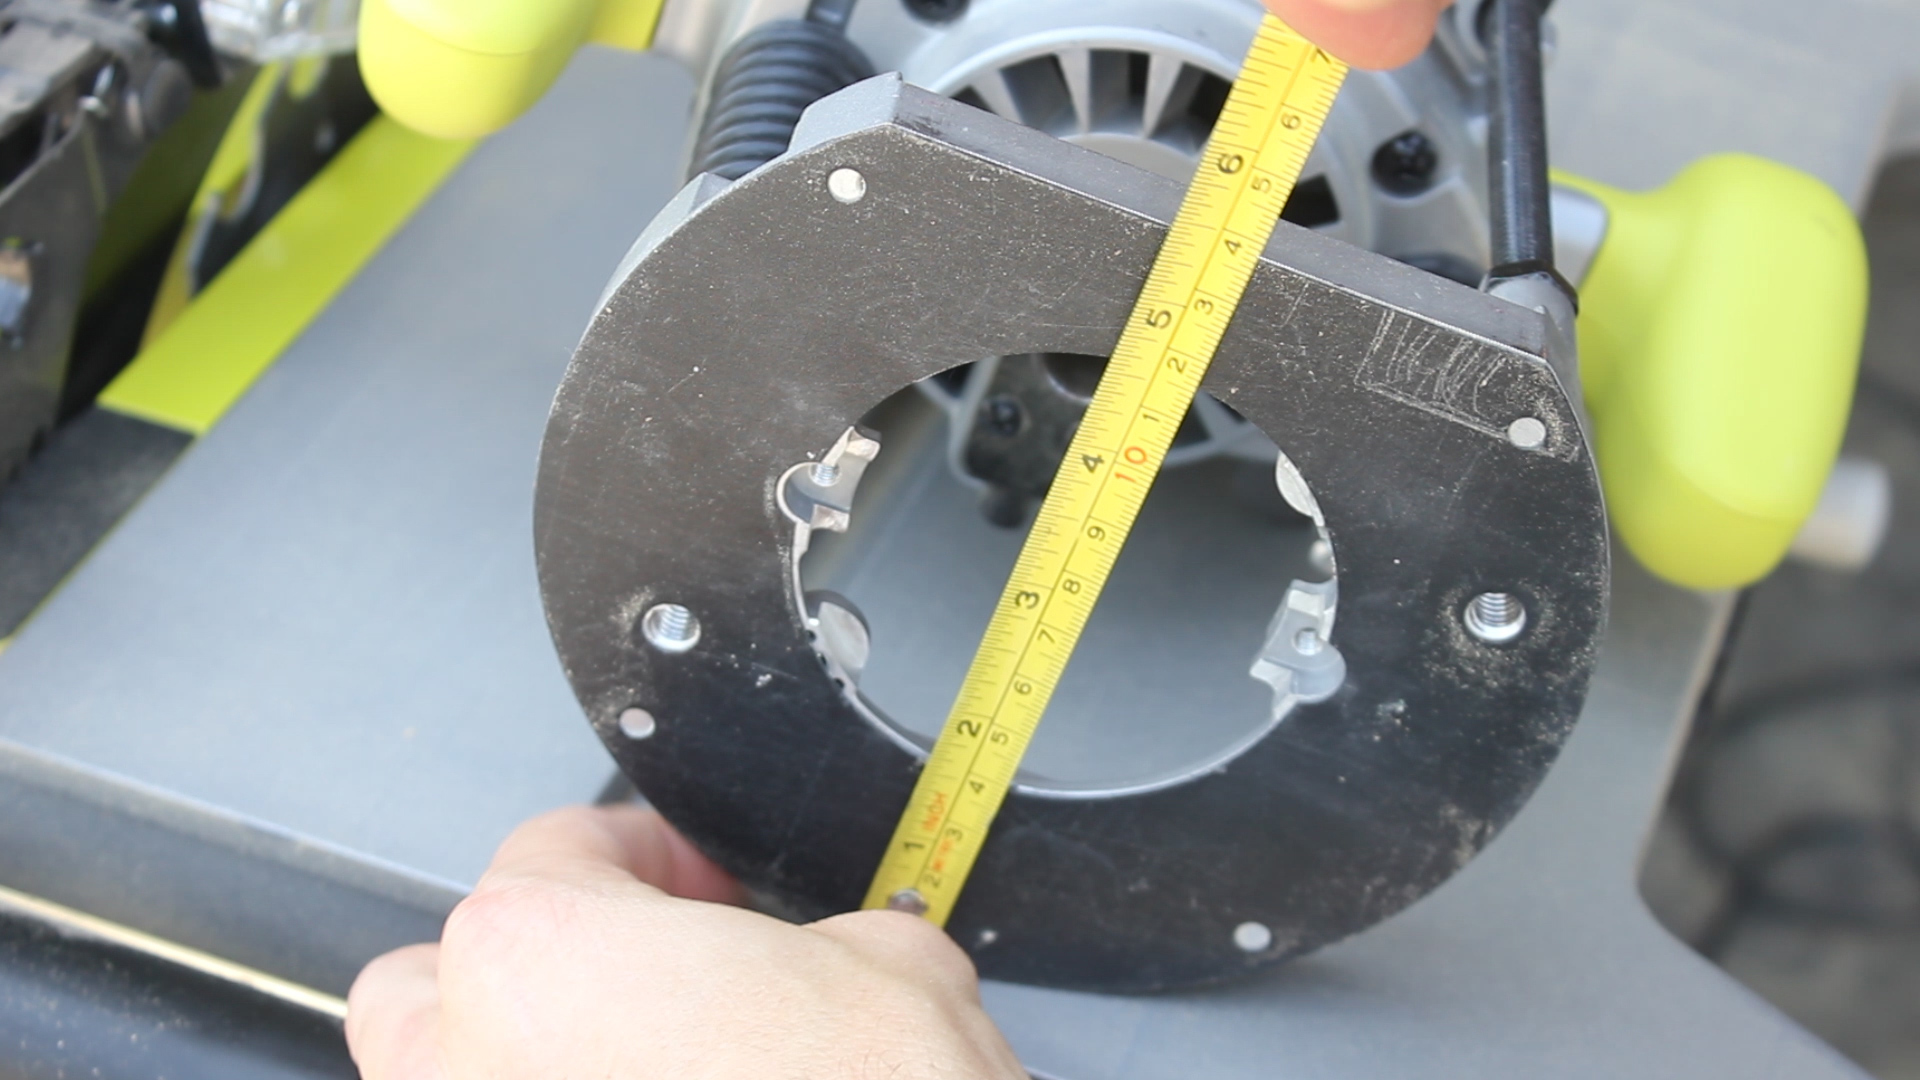
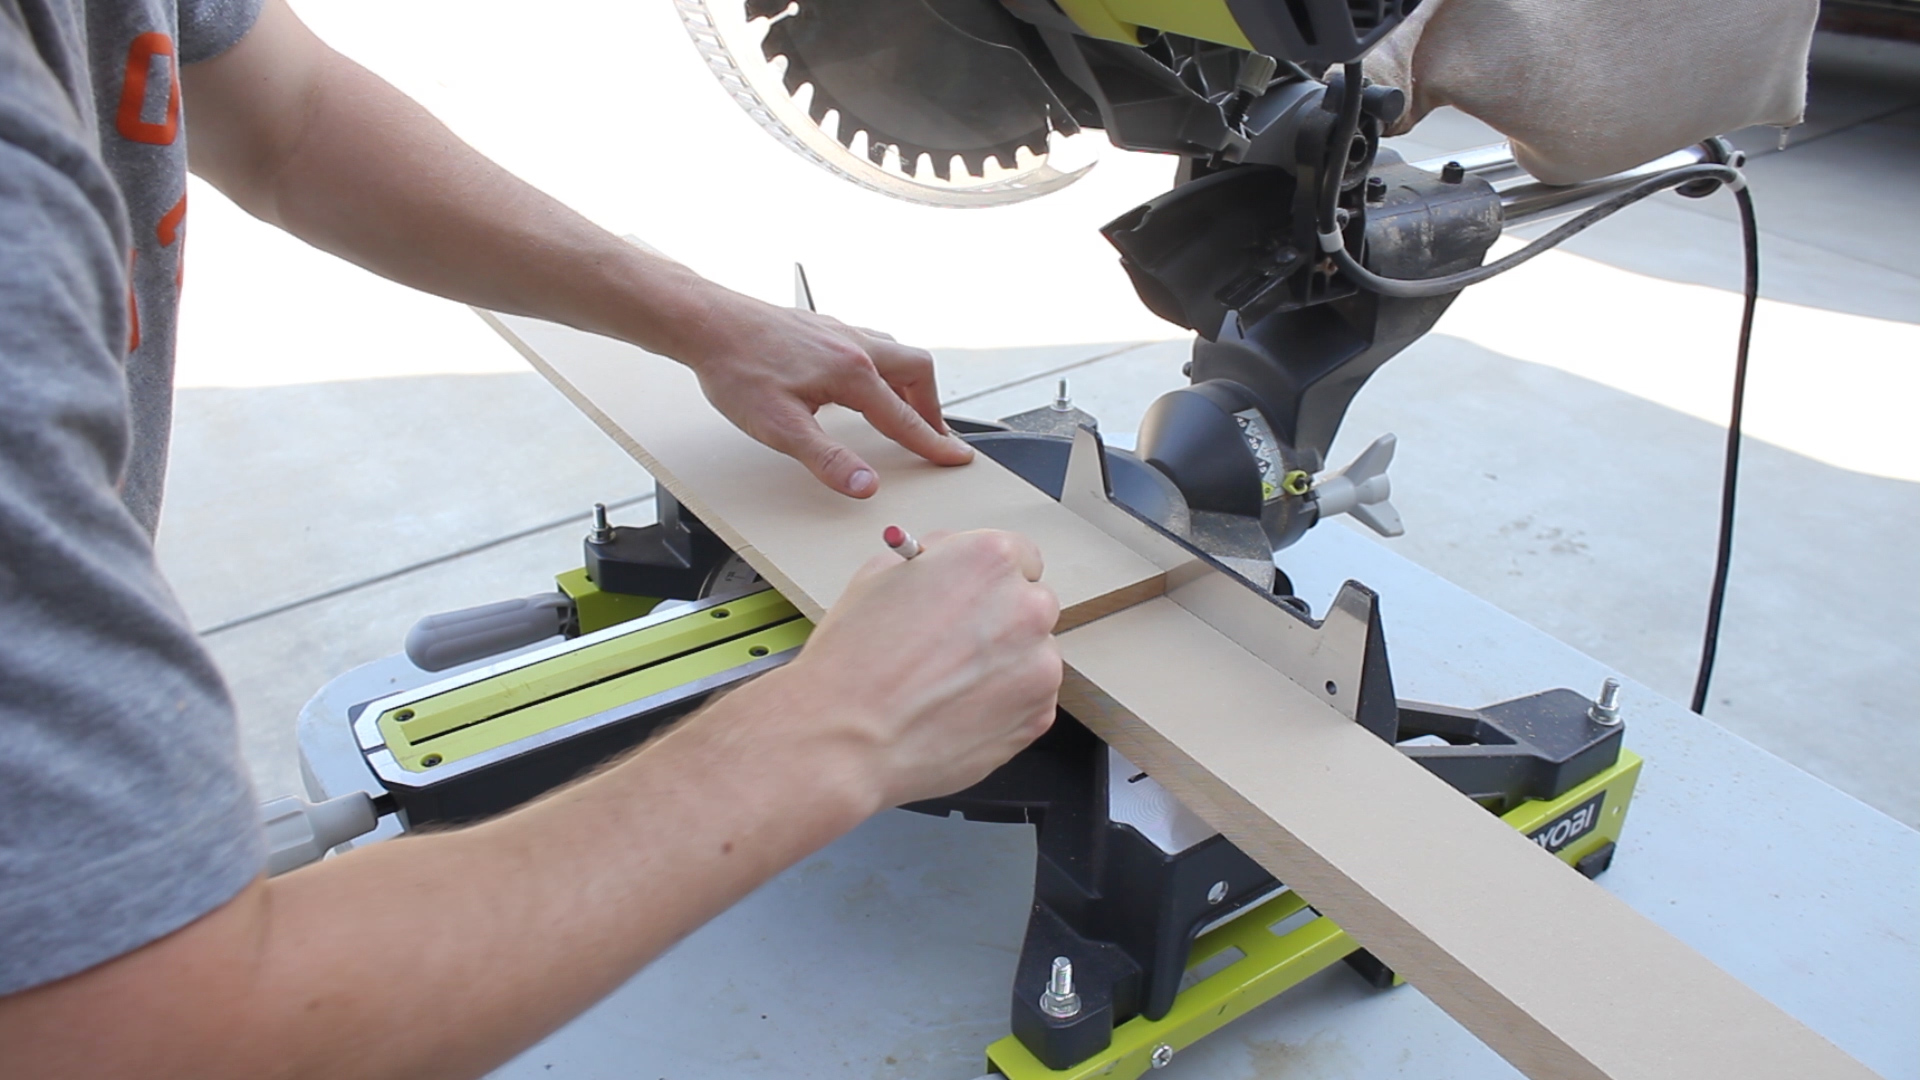
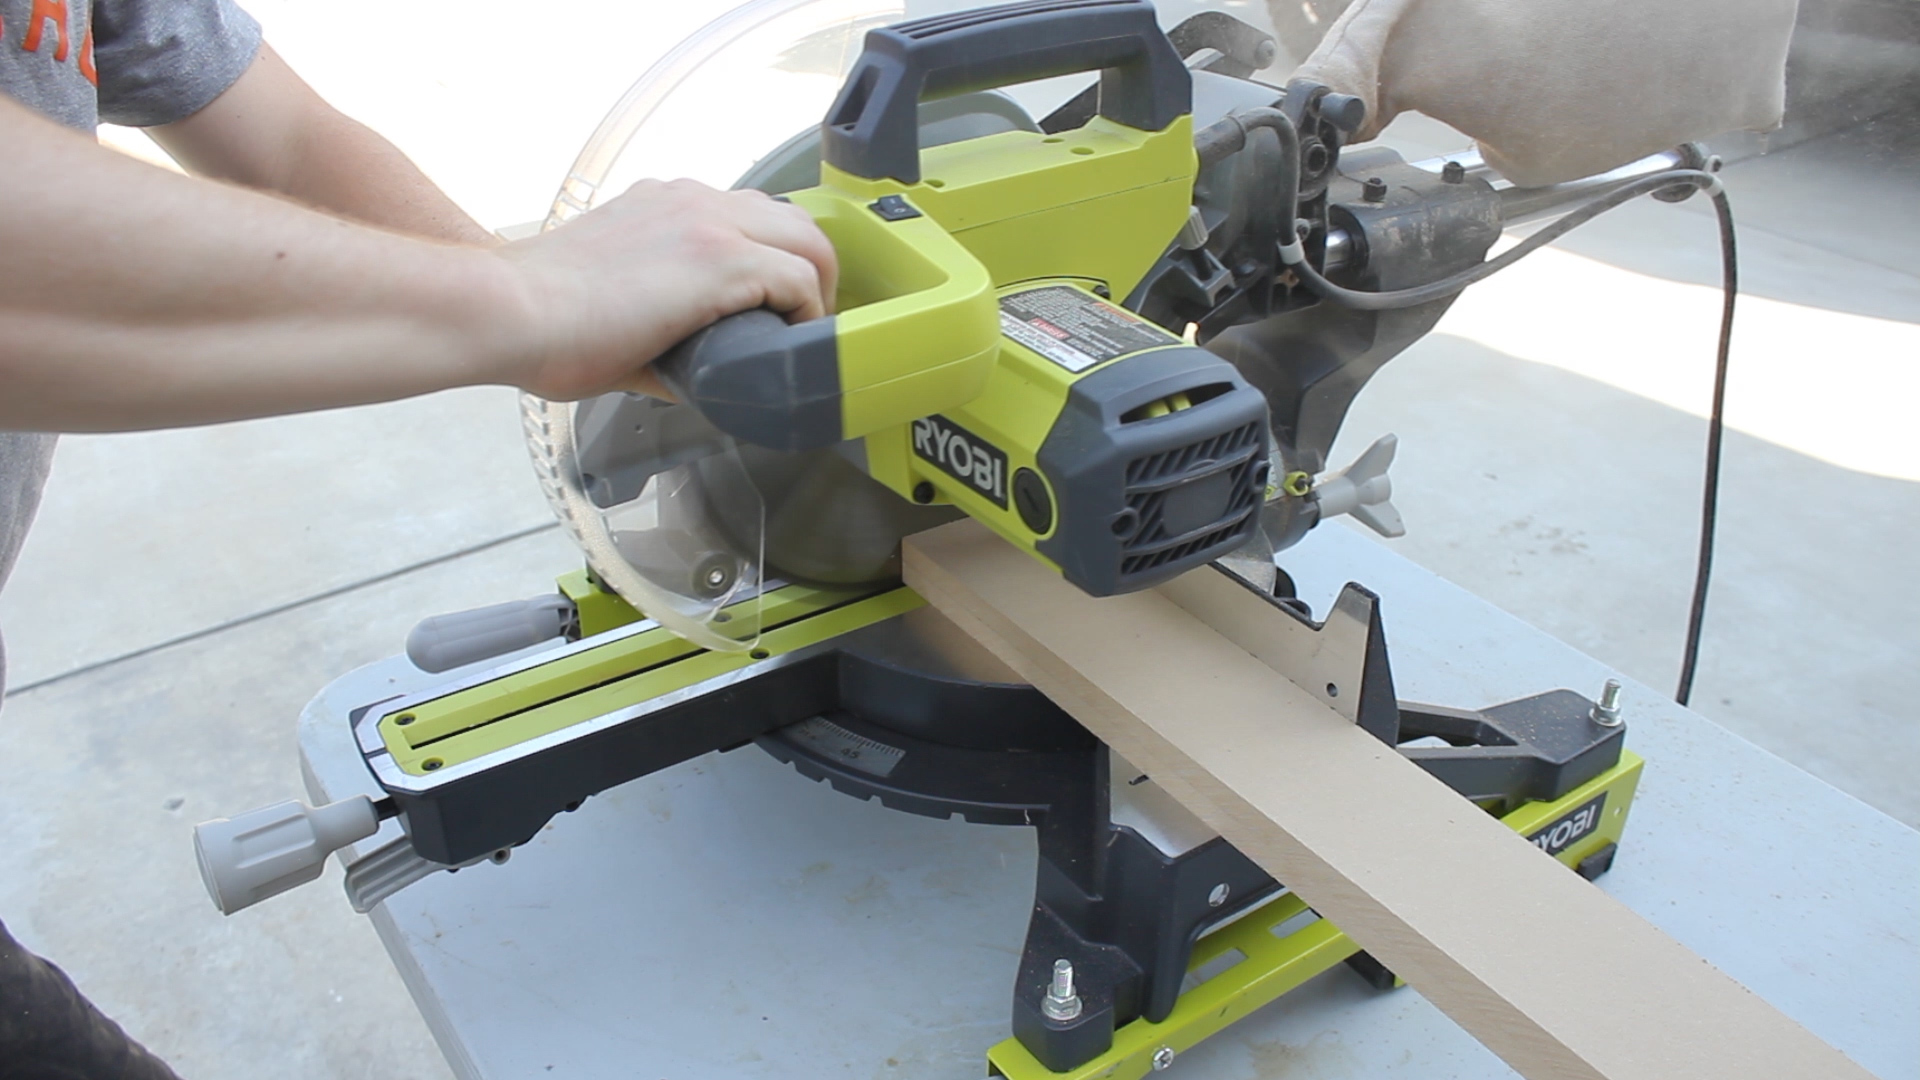
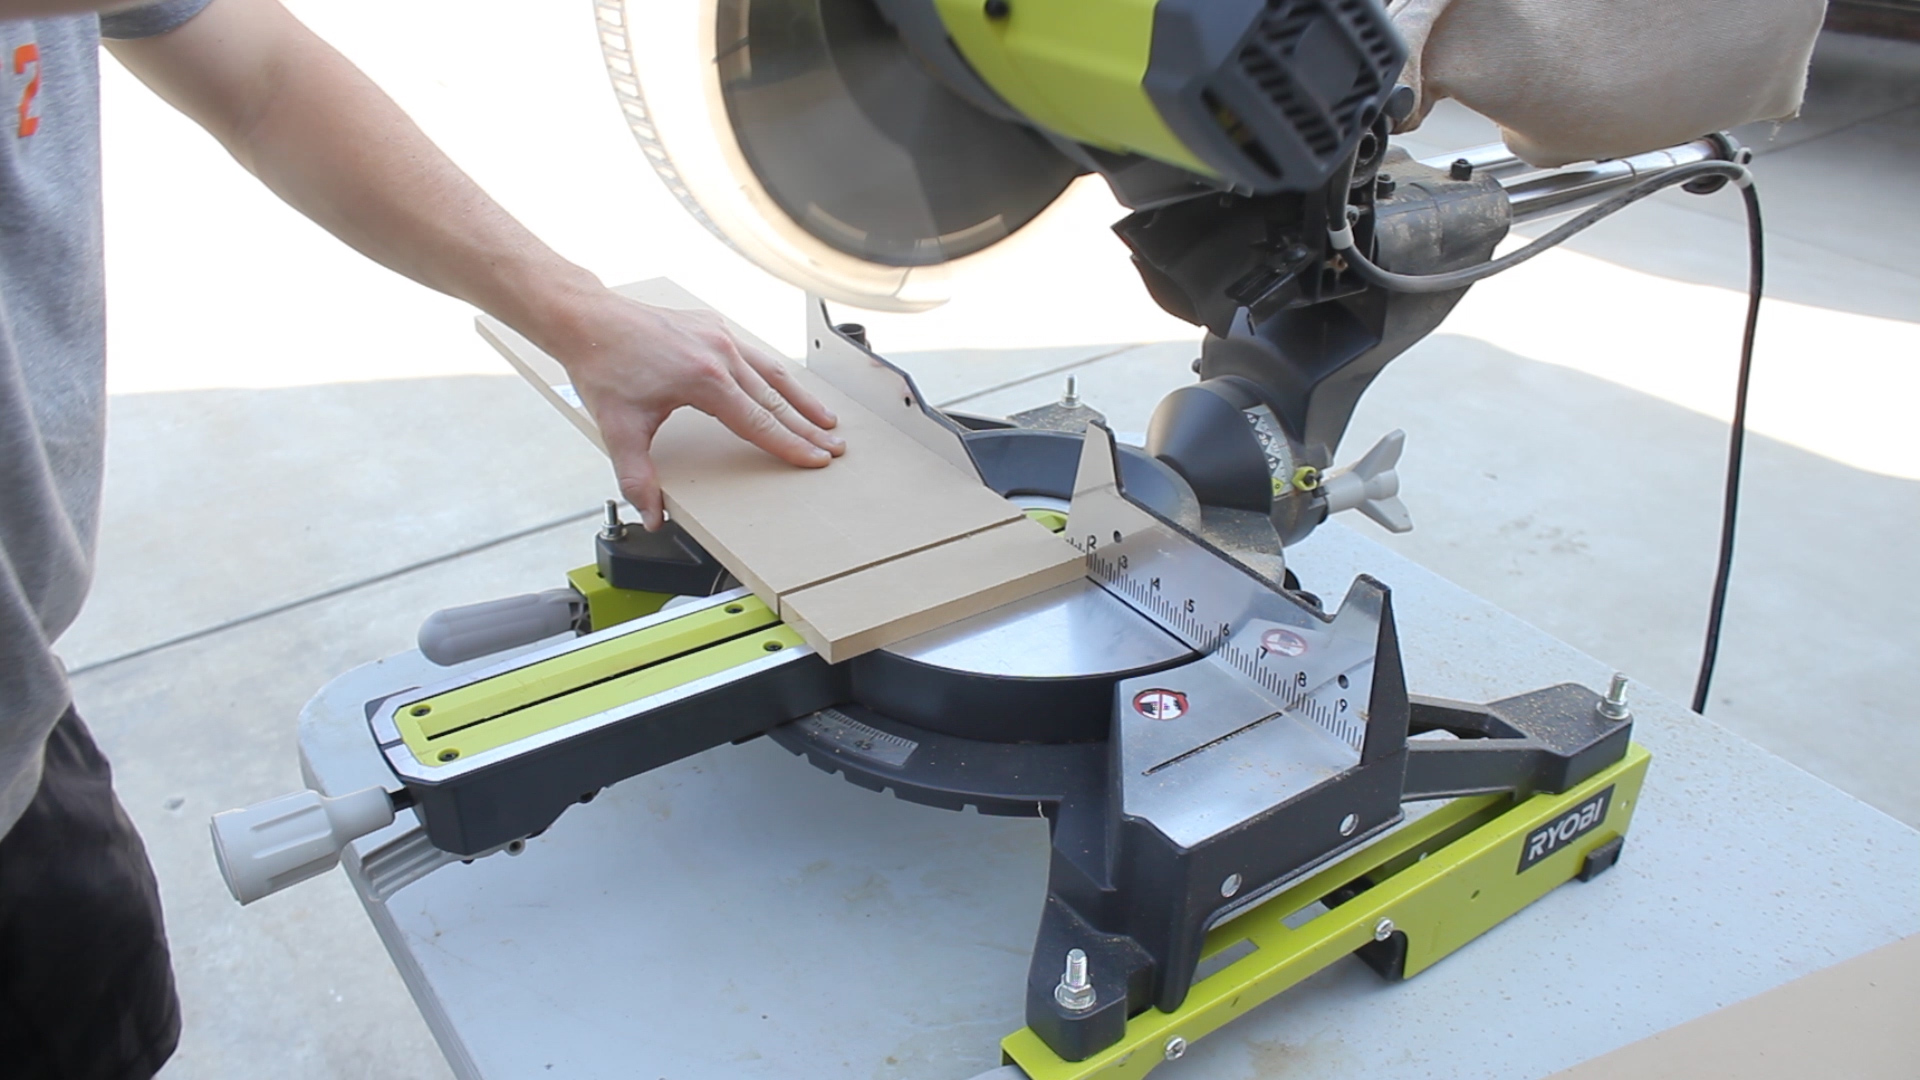
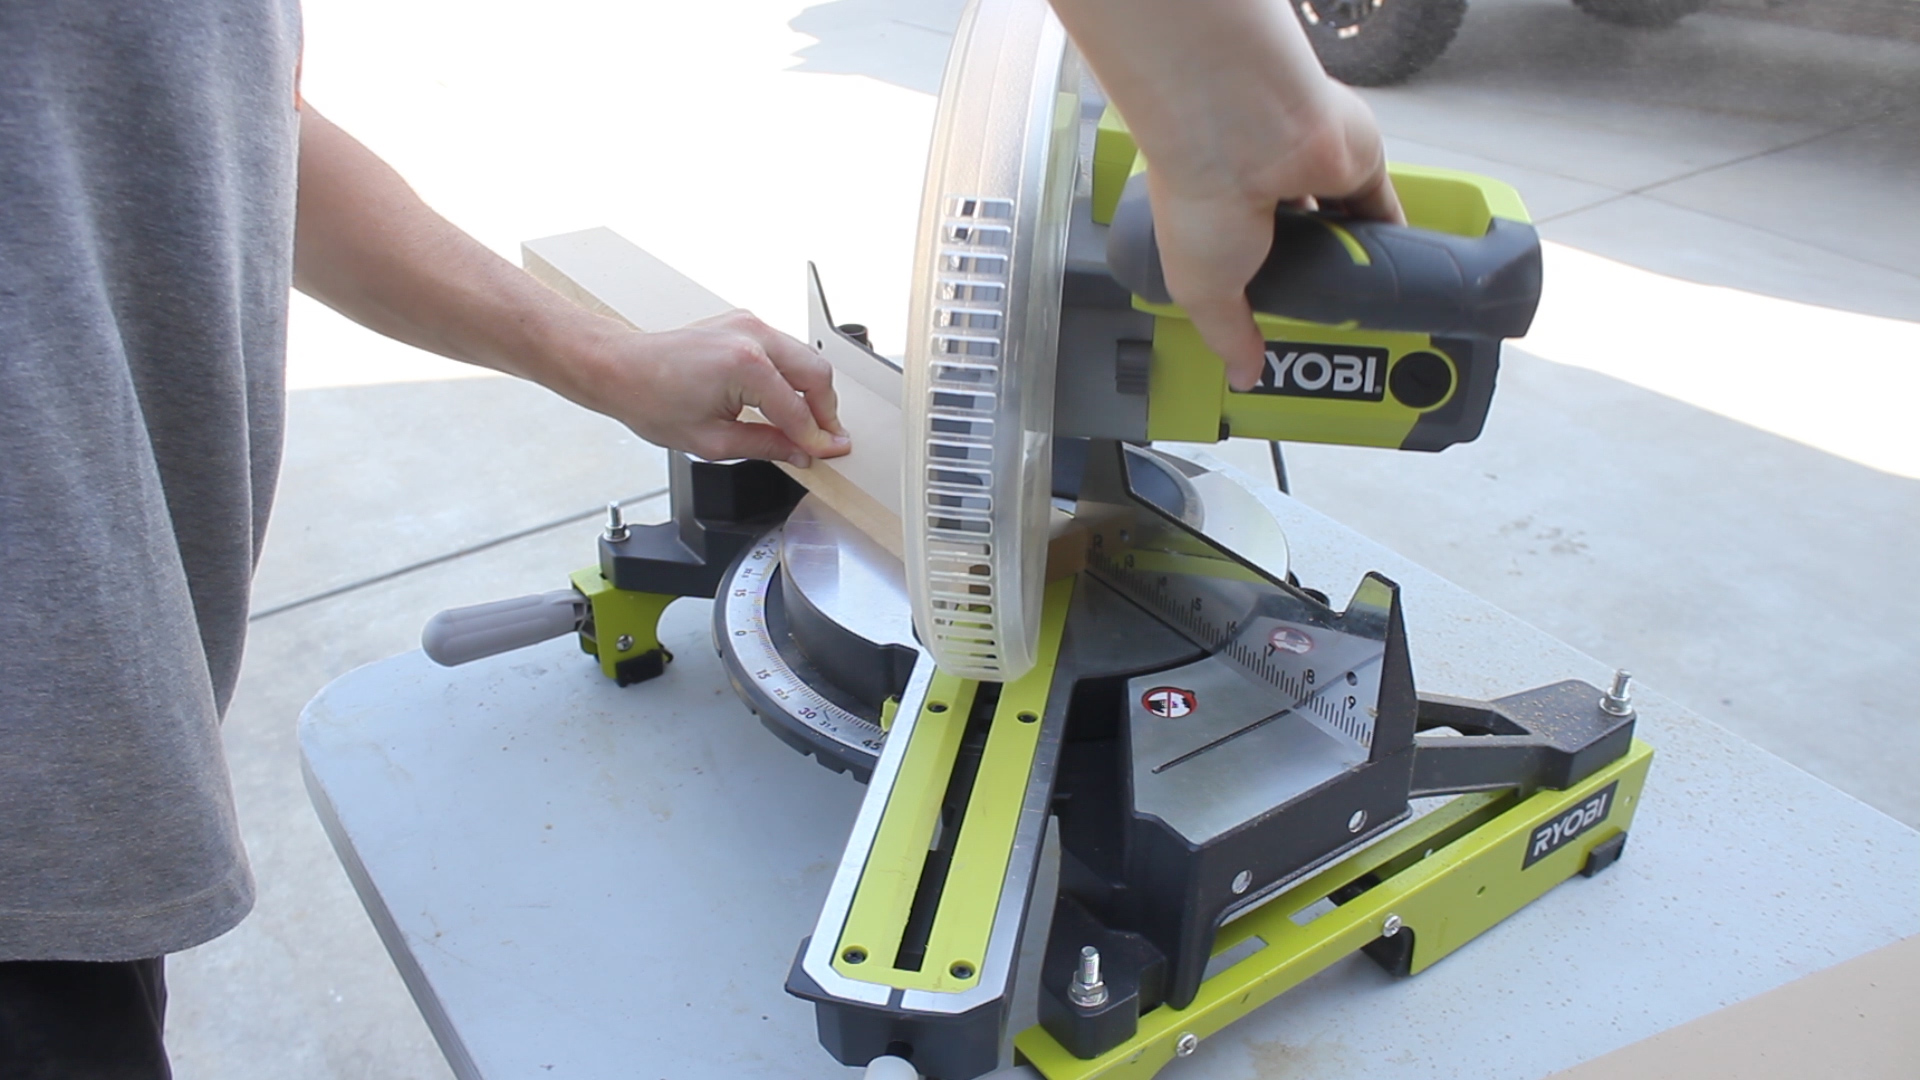
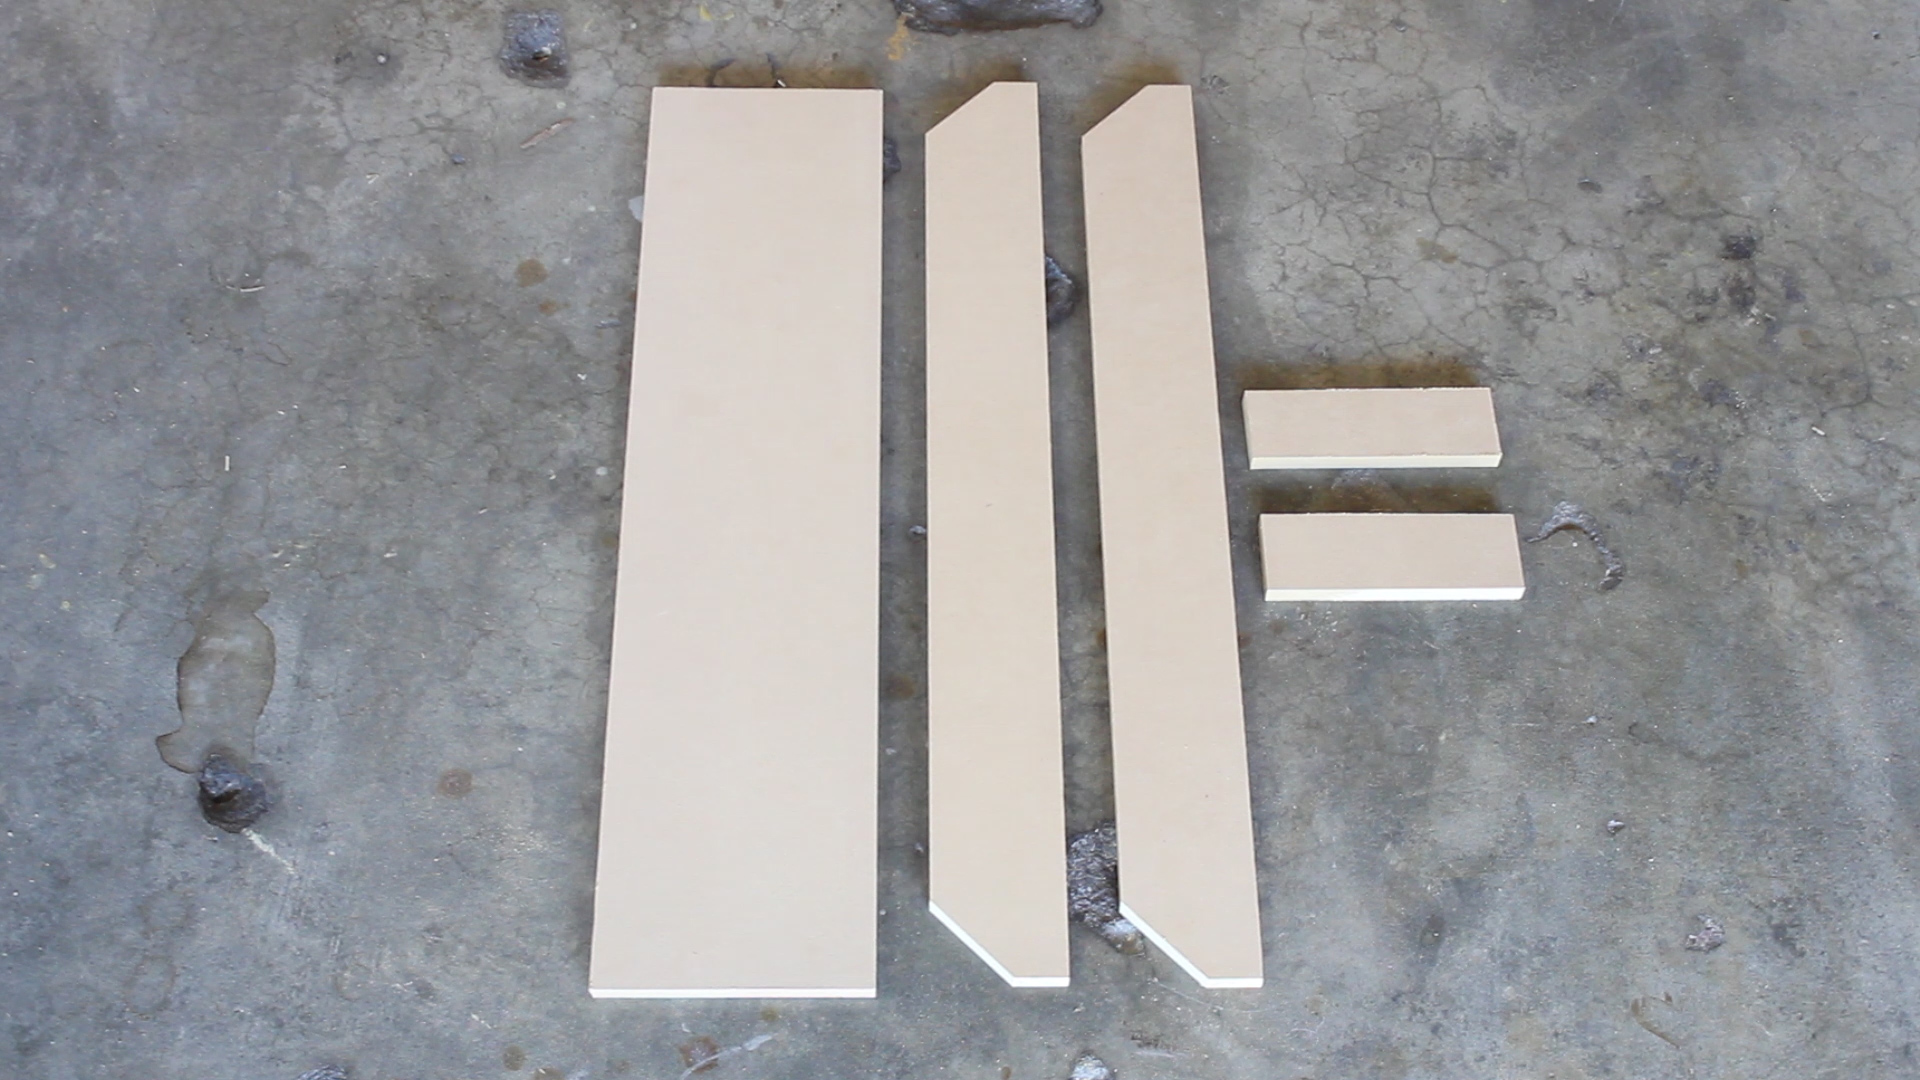
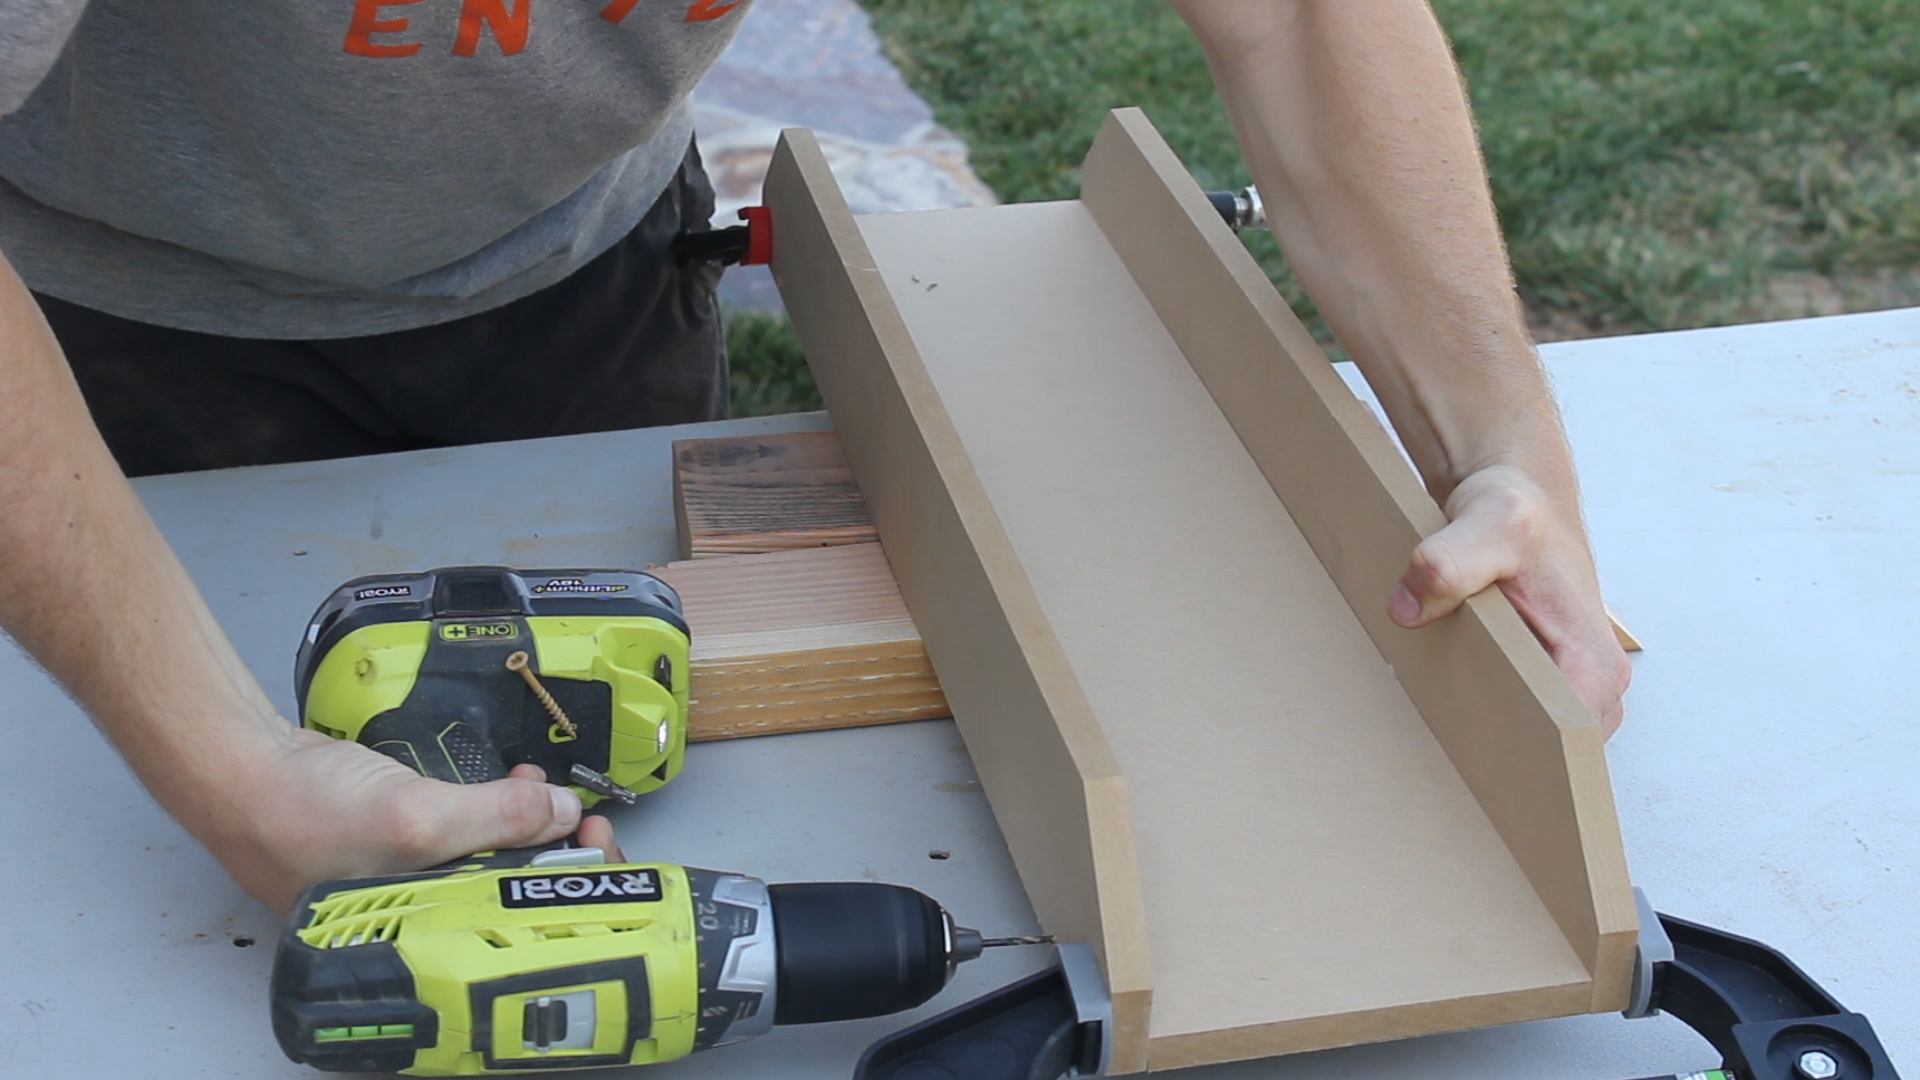
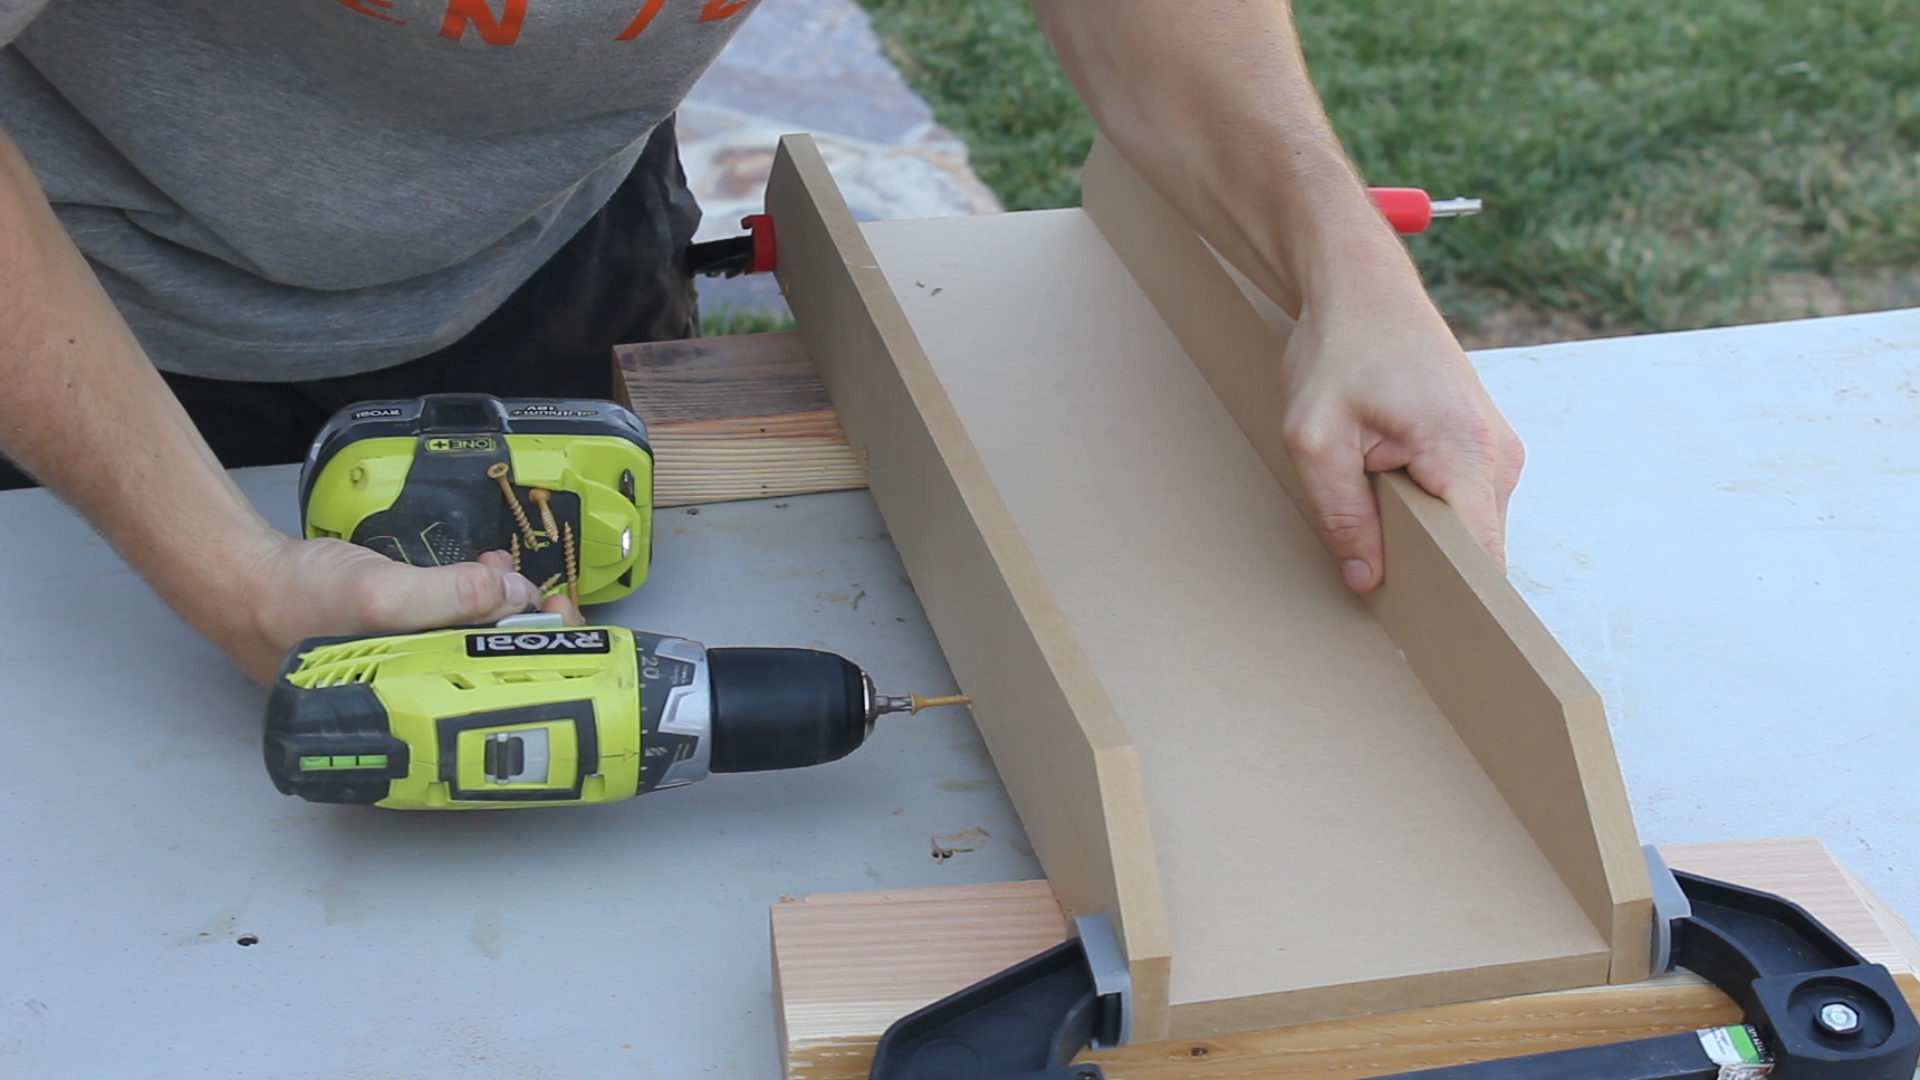
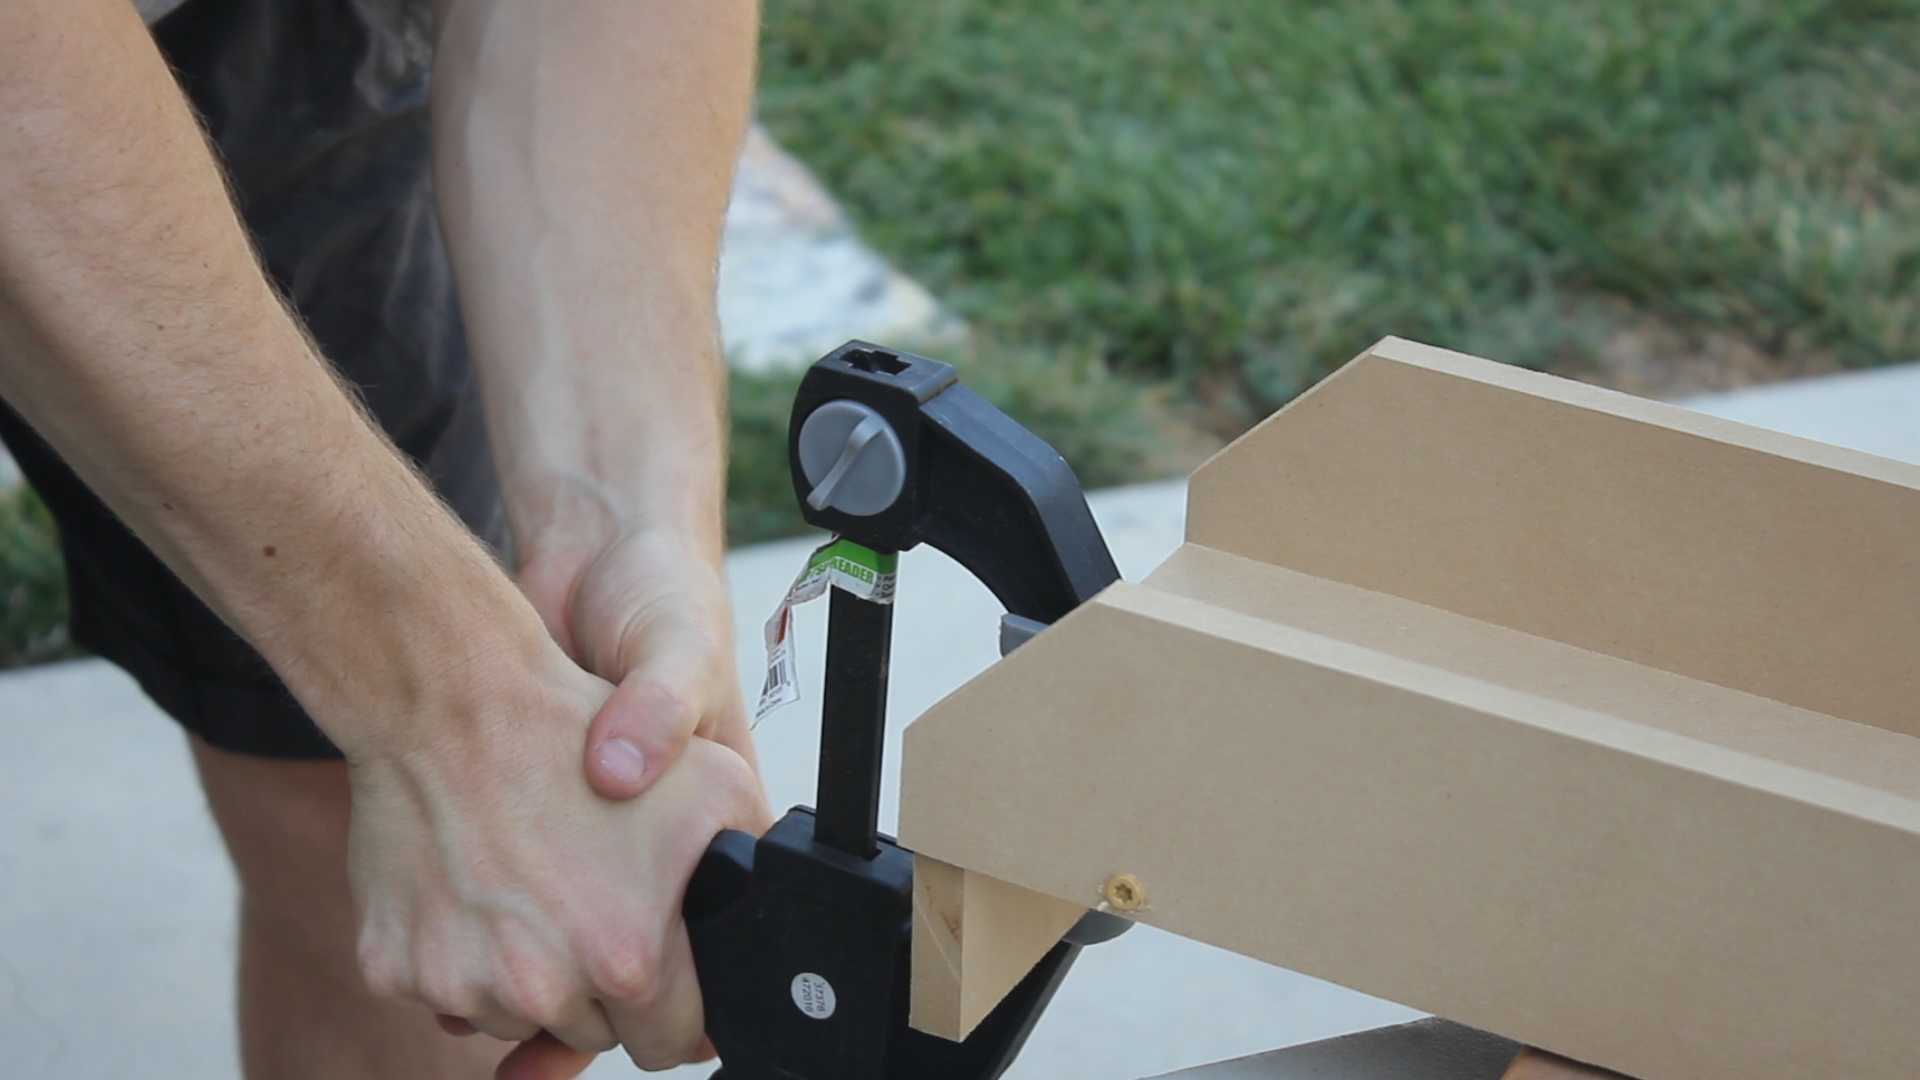
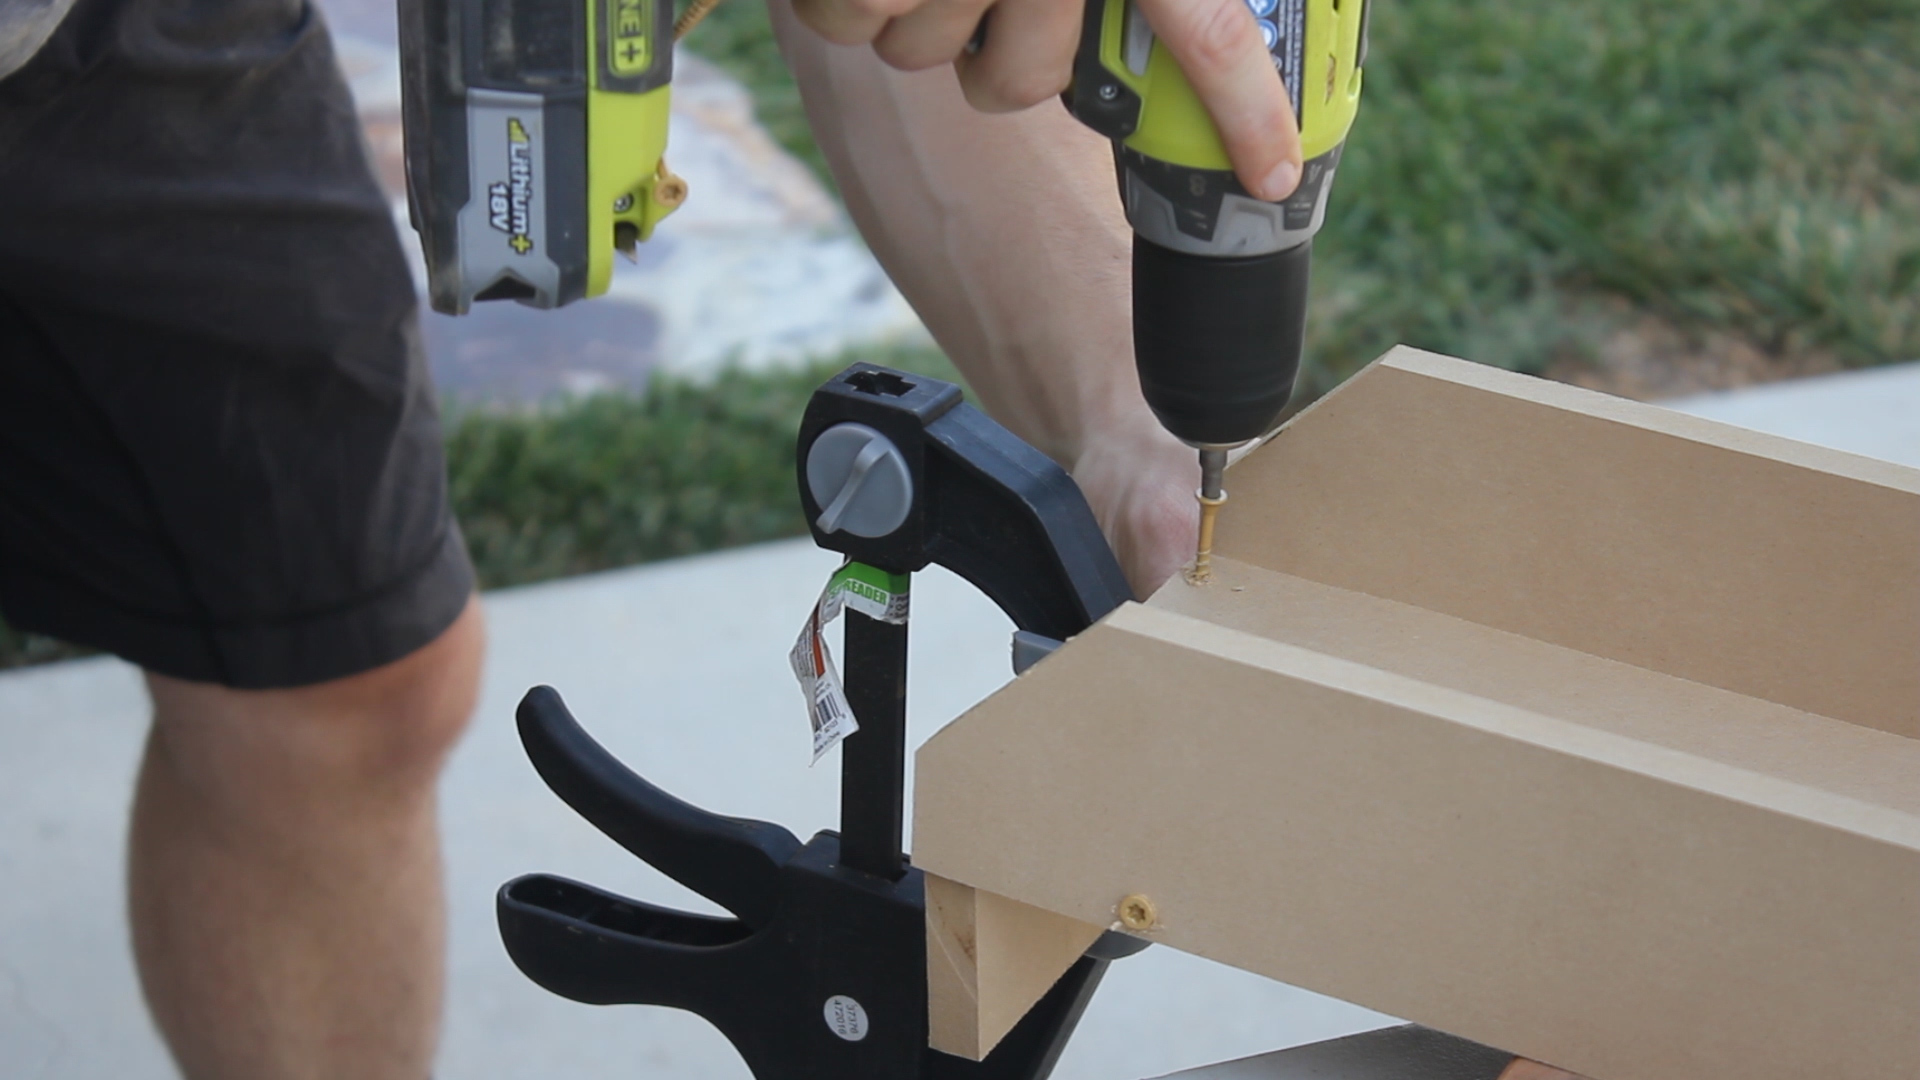
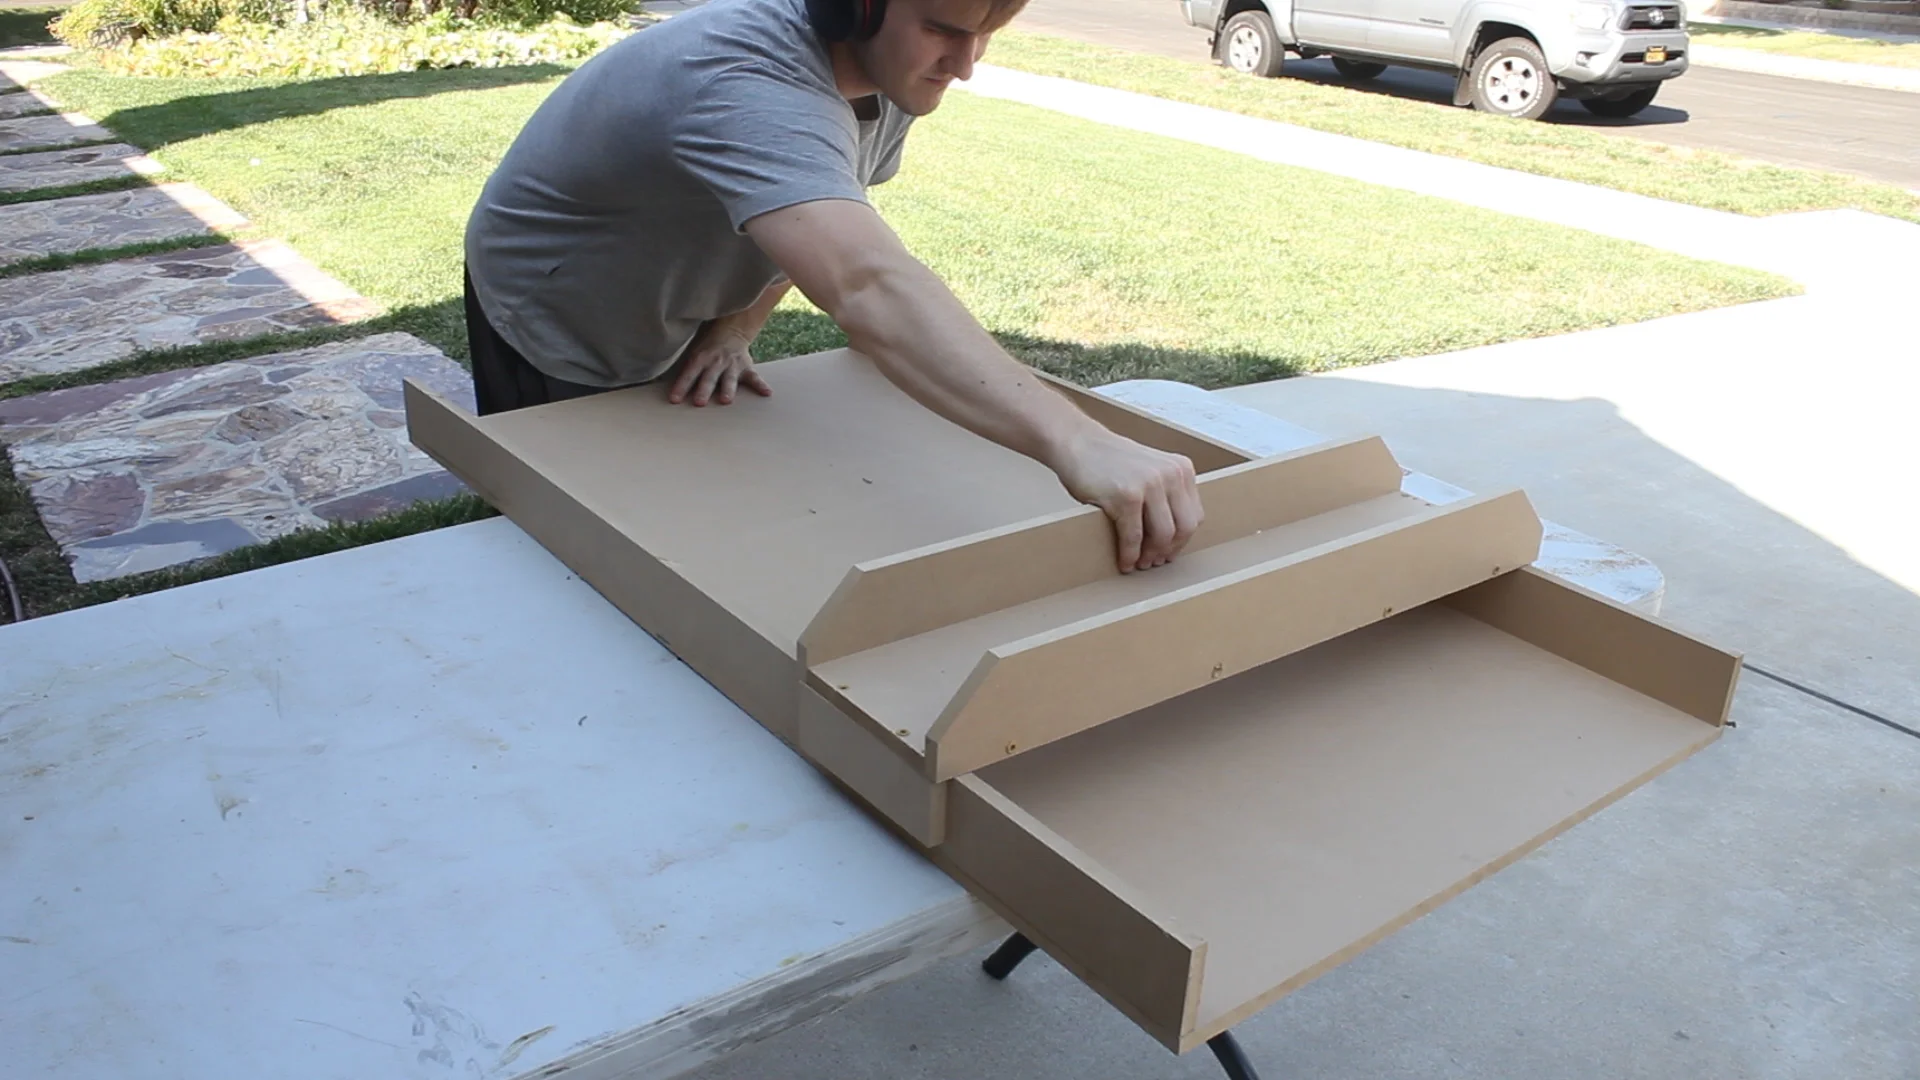
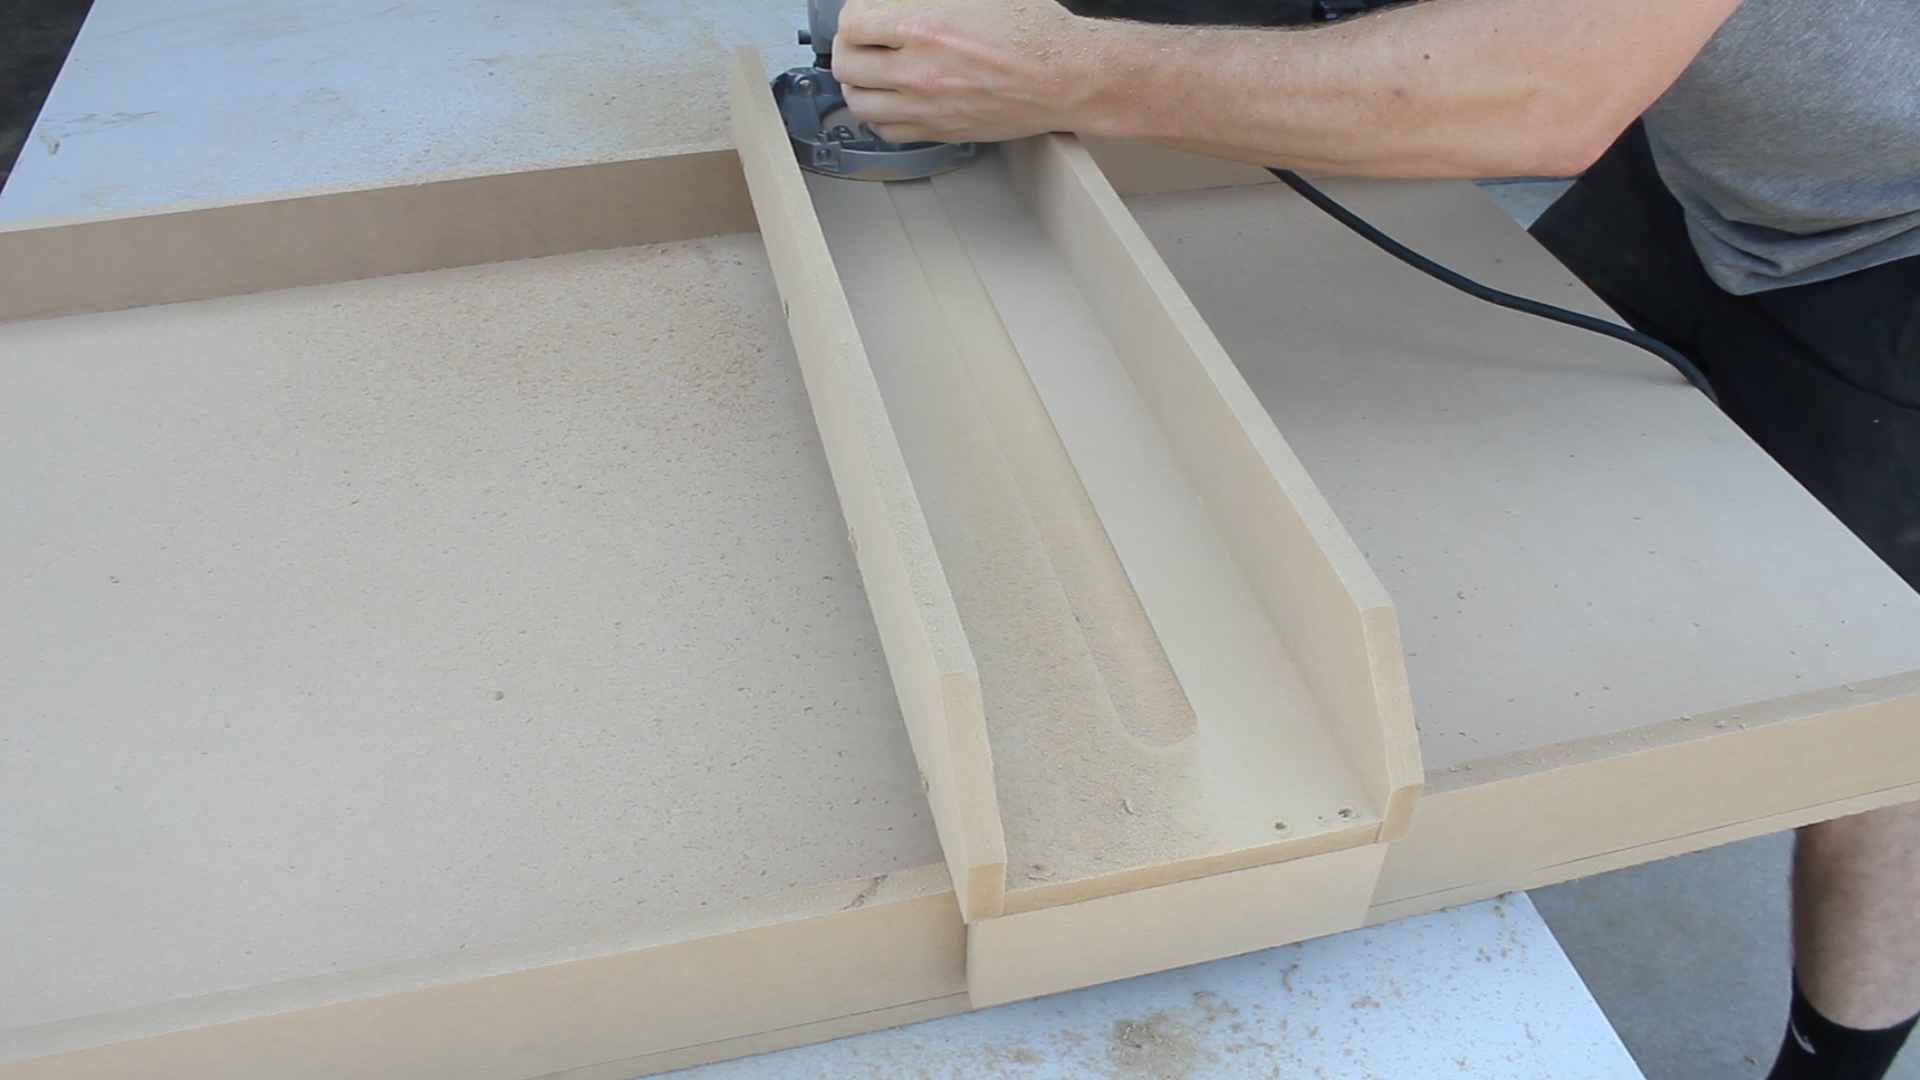
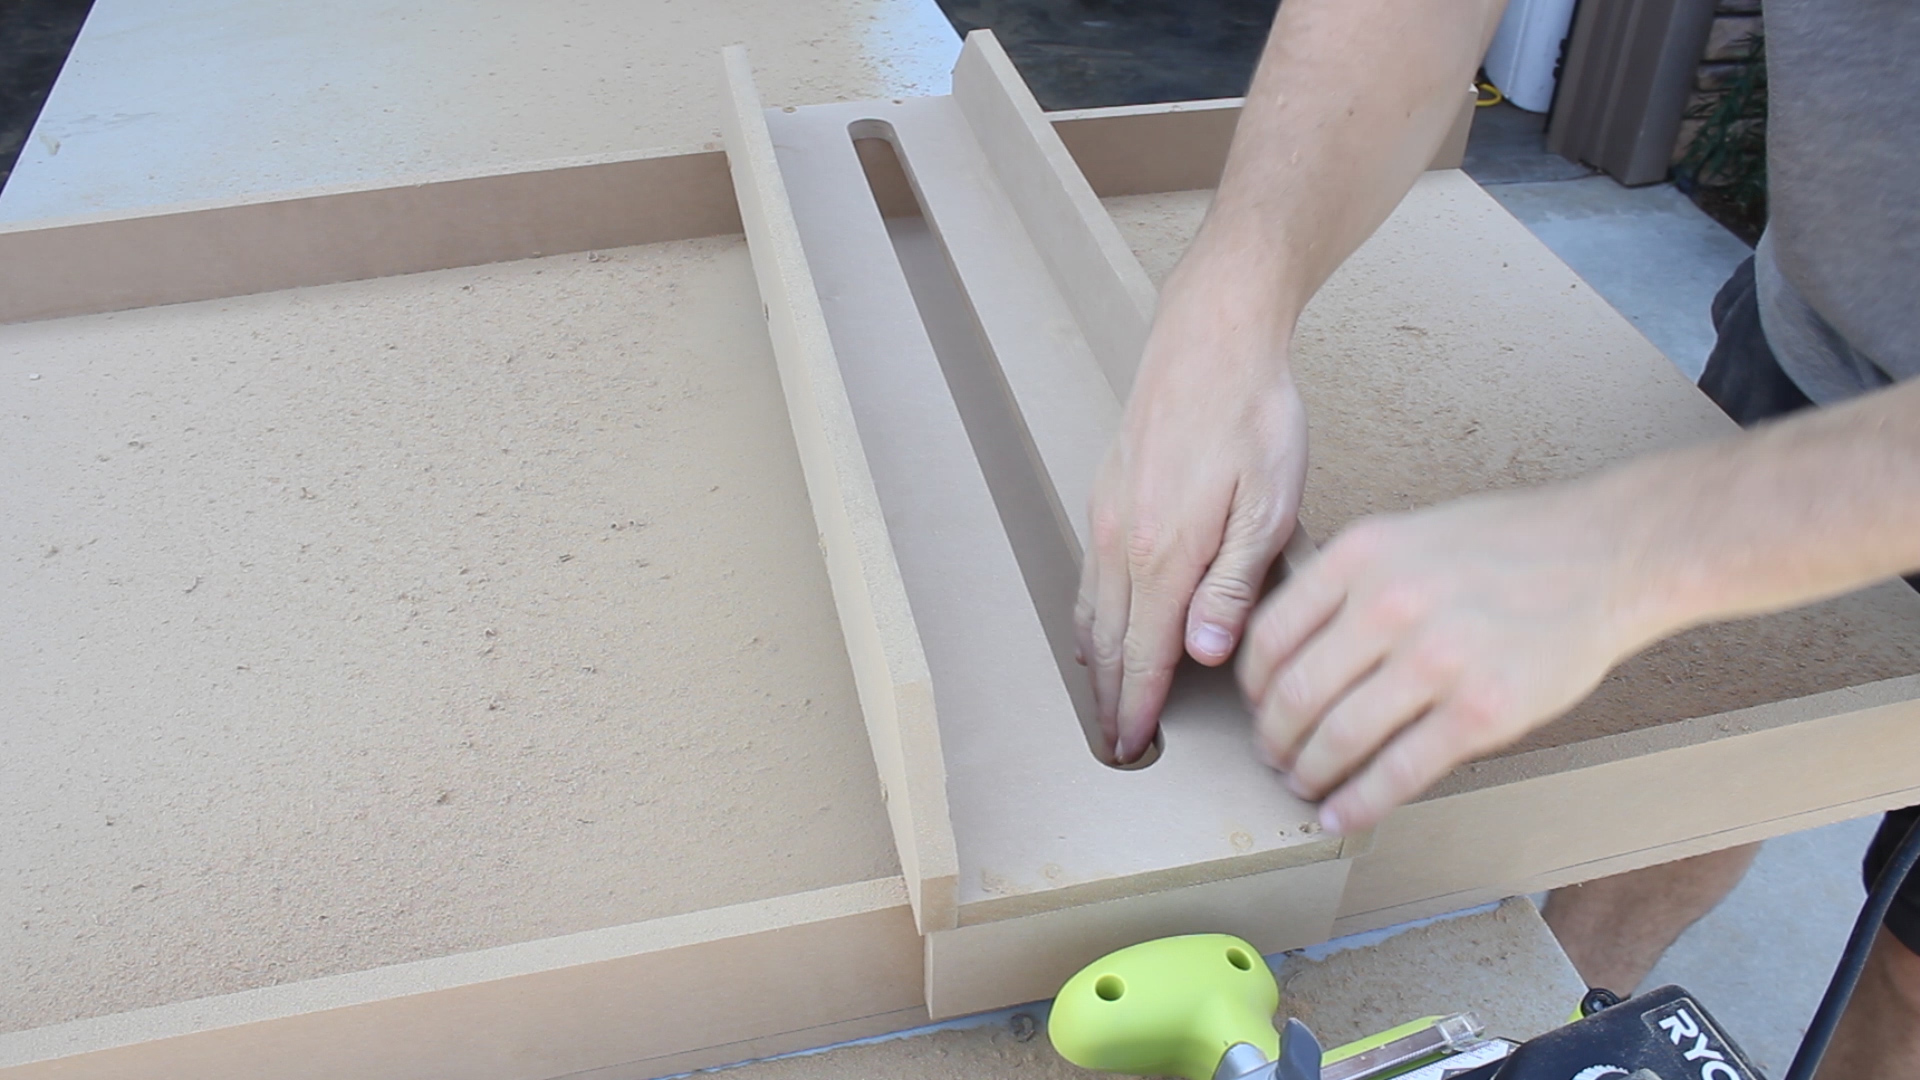
After learning the basics of Blender (modelling) and Flashprint (the Flashforge printing/splicing software), I designed a piece that slides over my table saw fence to serve as a spacer block for cutting safe miters on the table saw. It’s clean, sleek, and is a really fun execution of an idea I came up with entirely on my own.
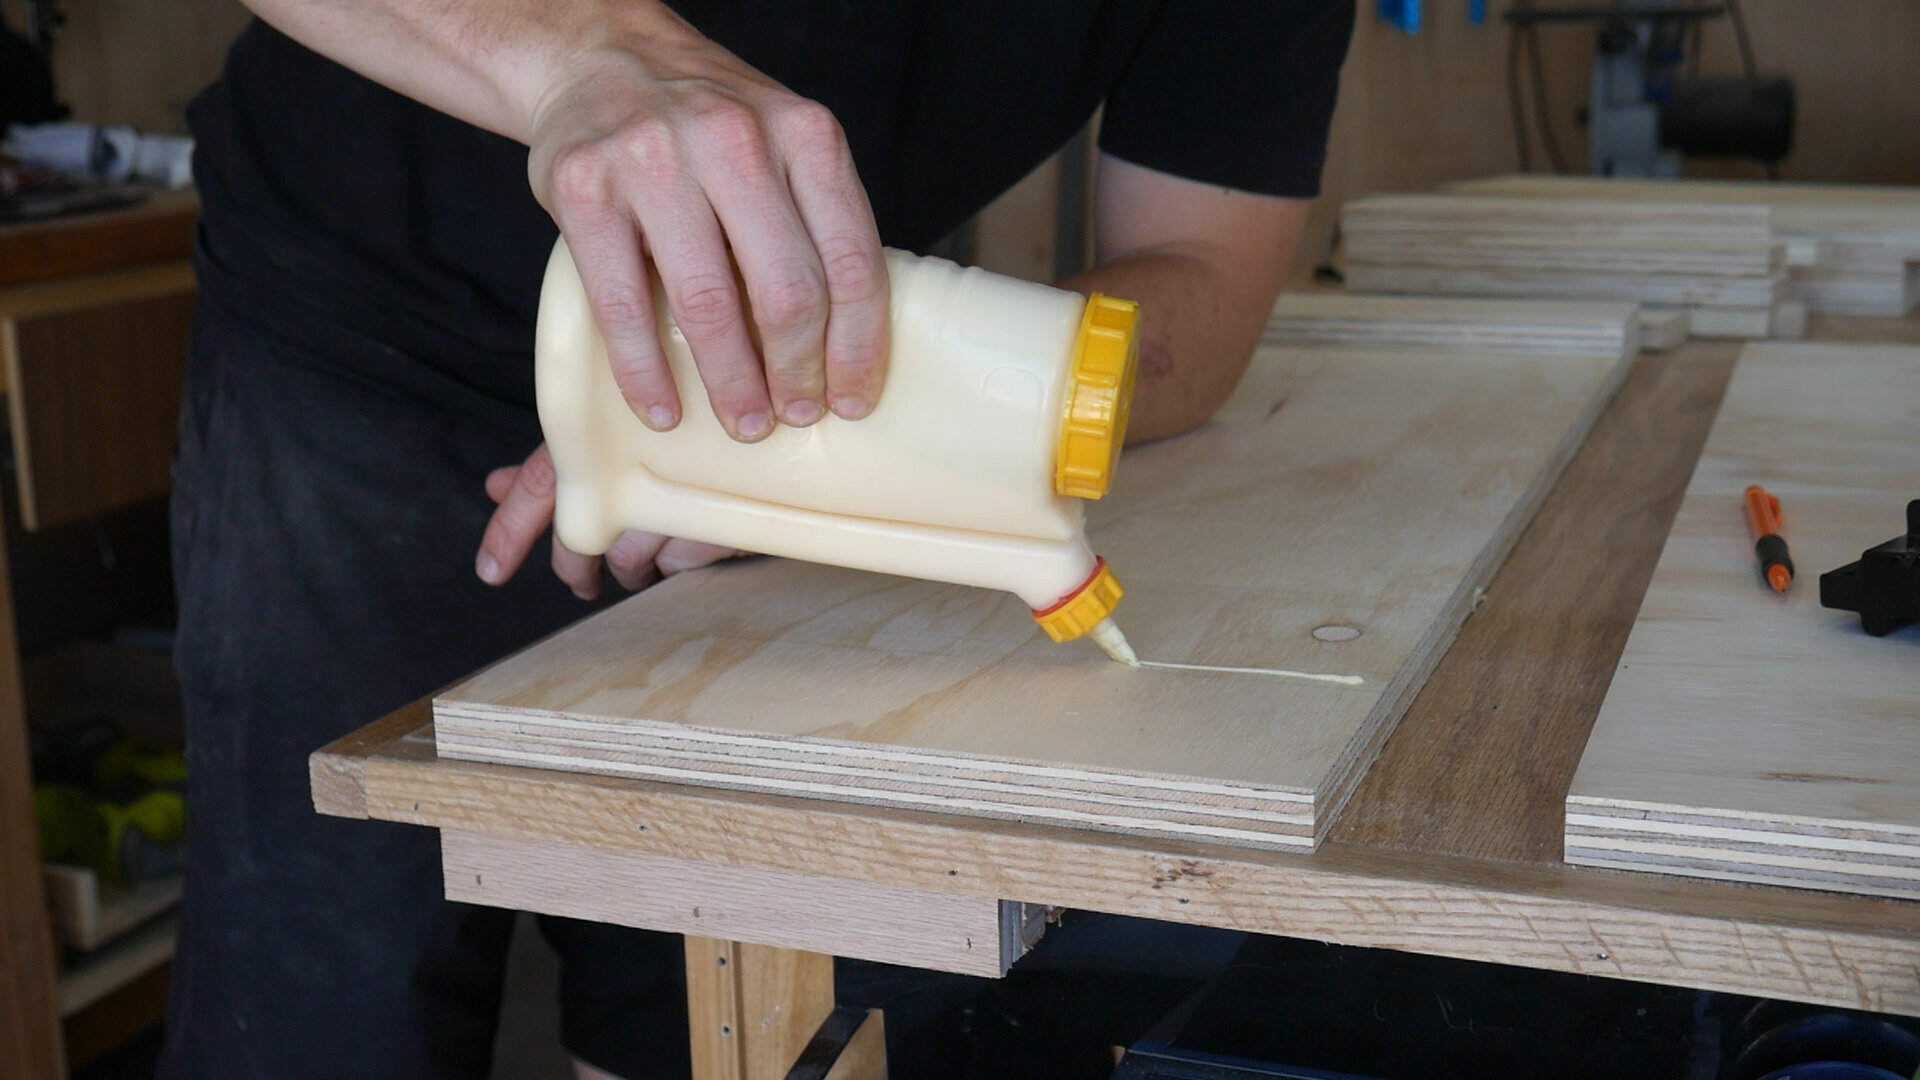
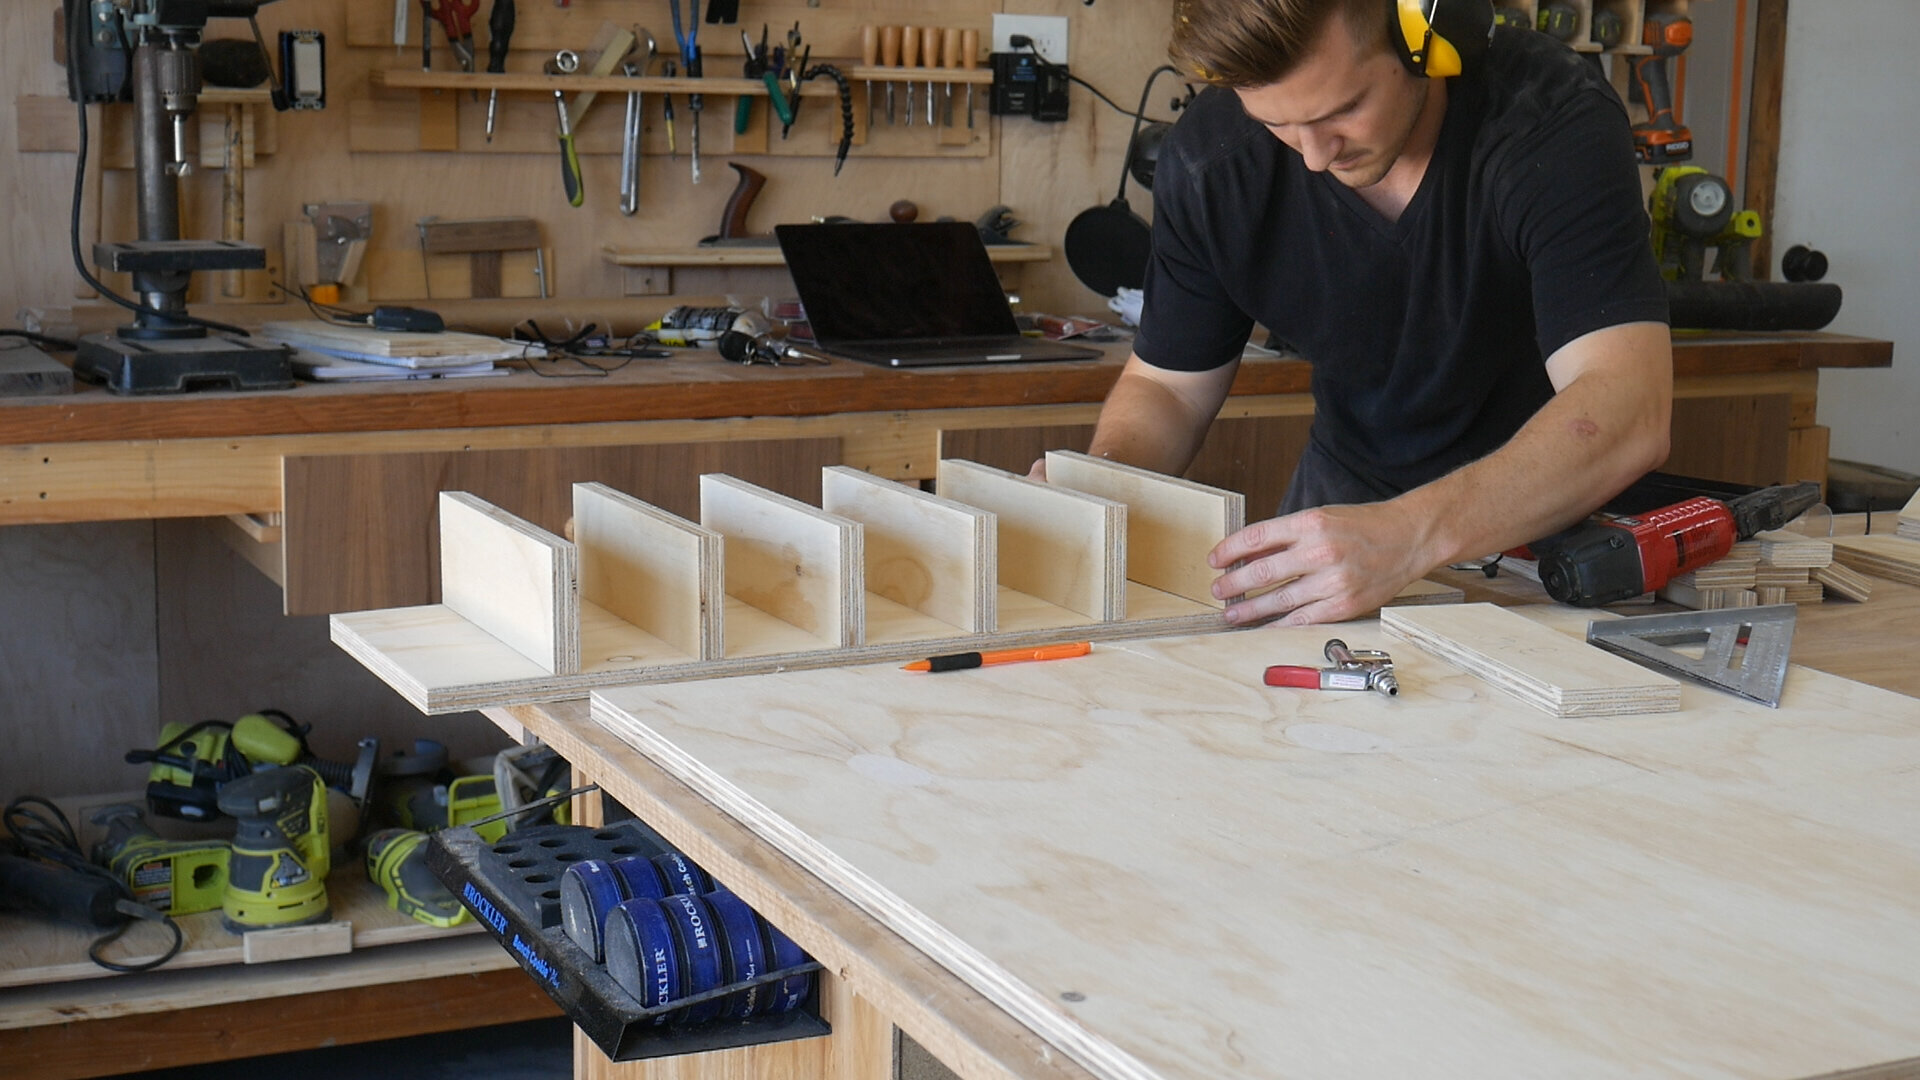
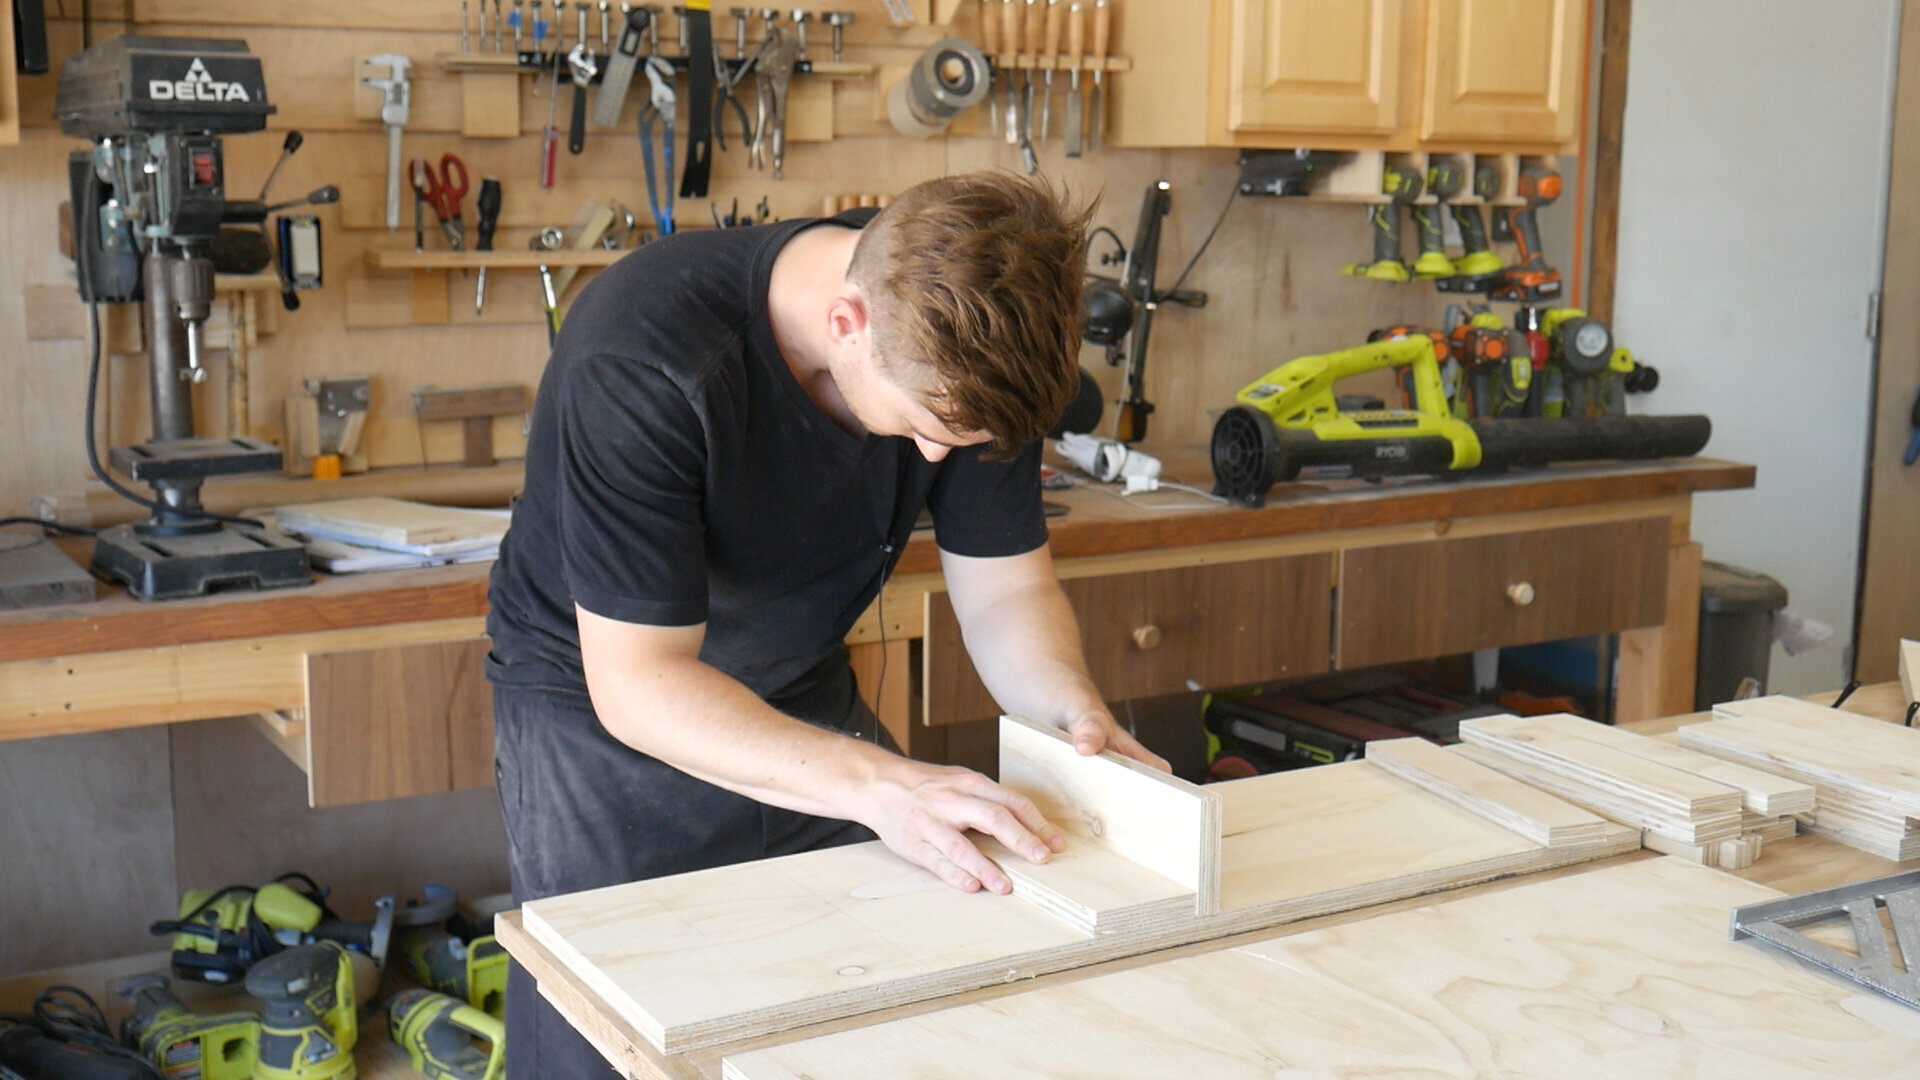
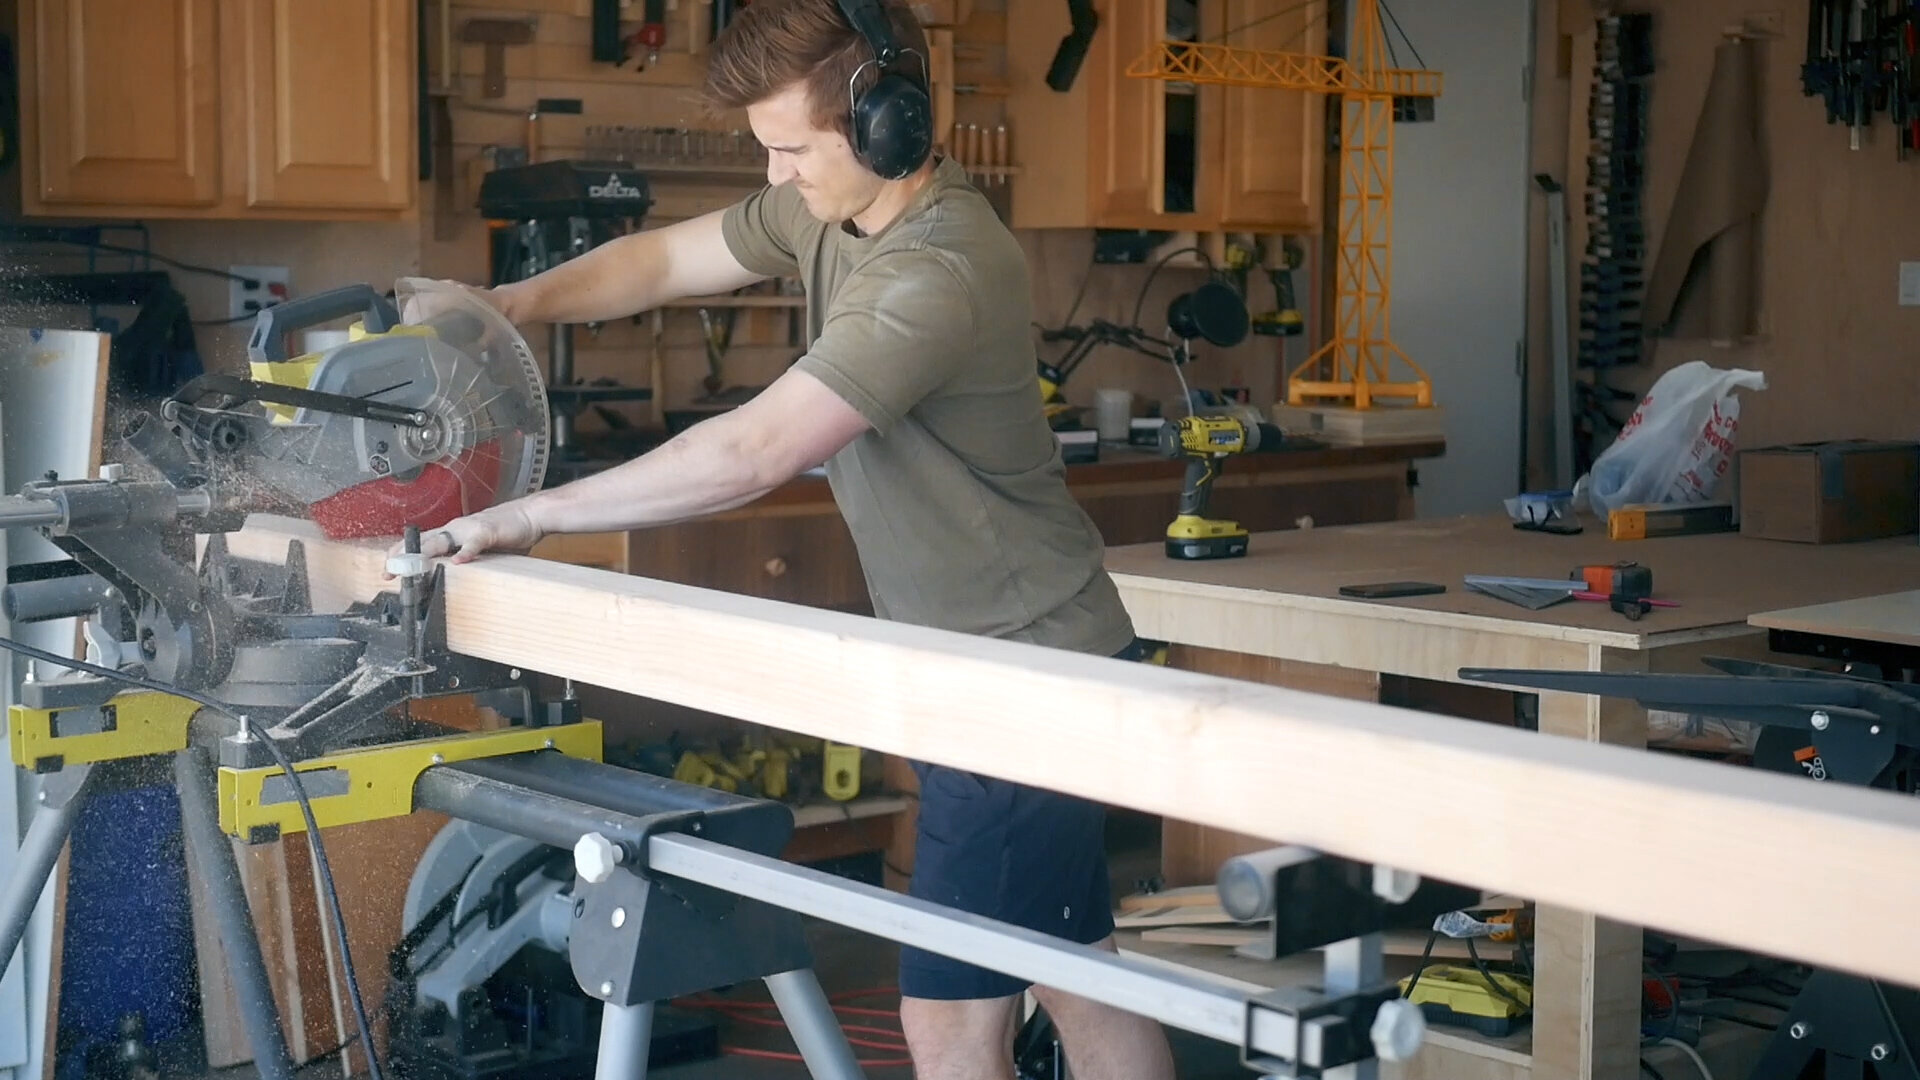
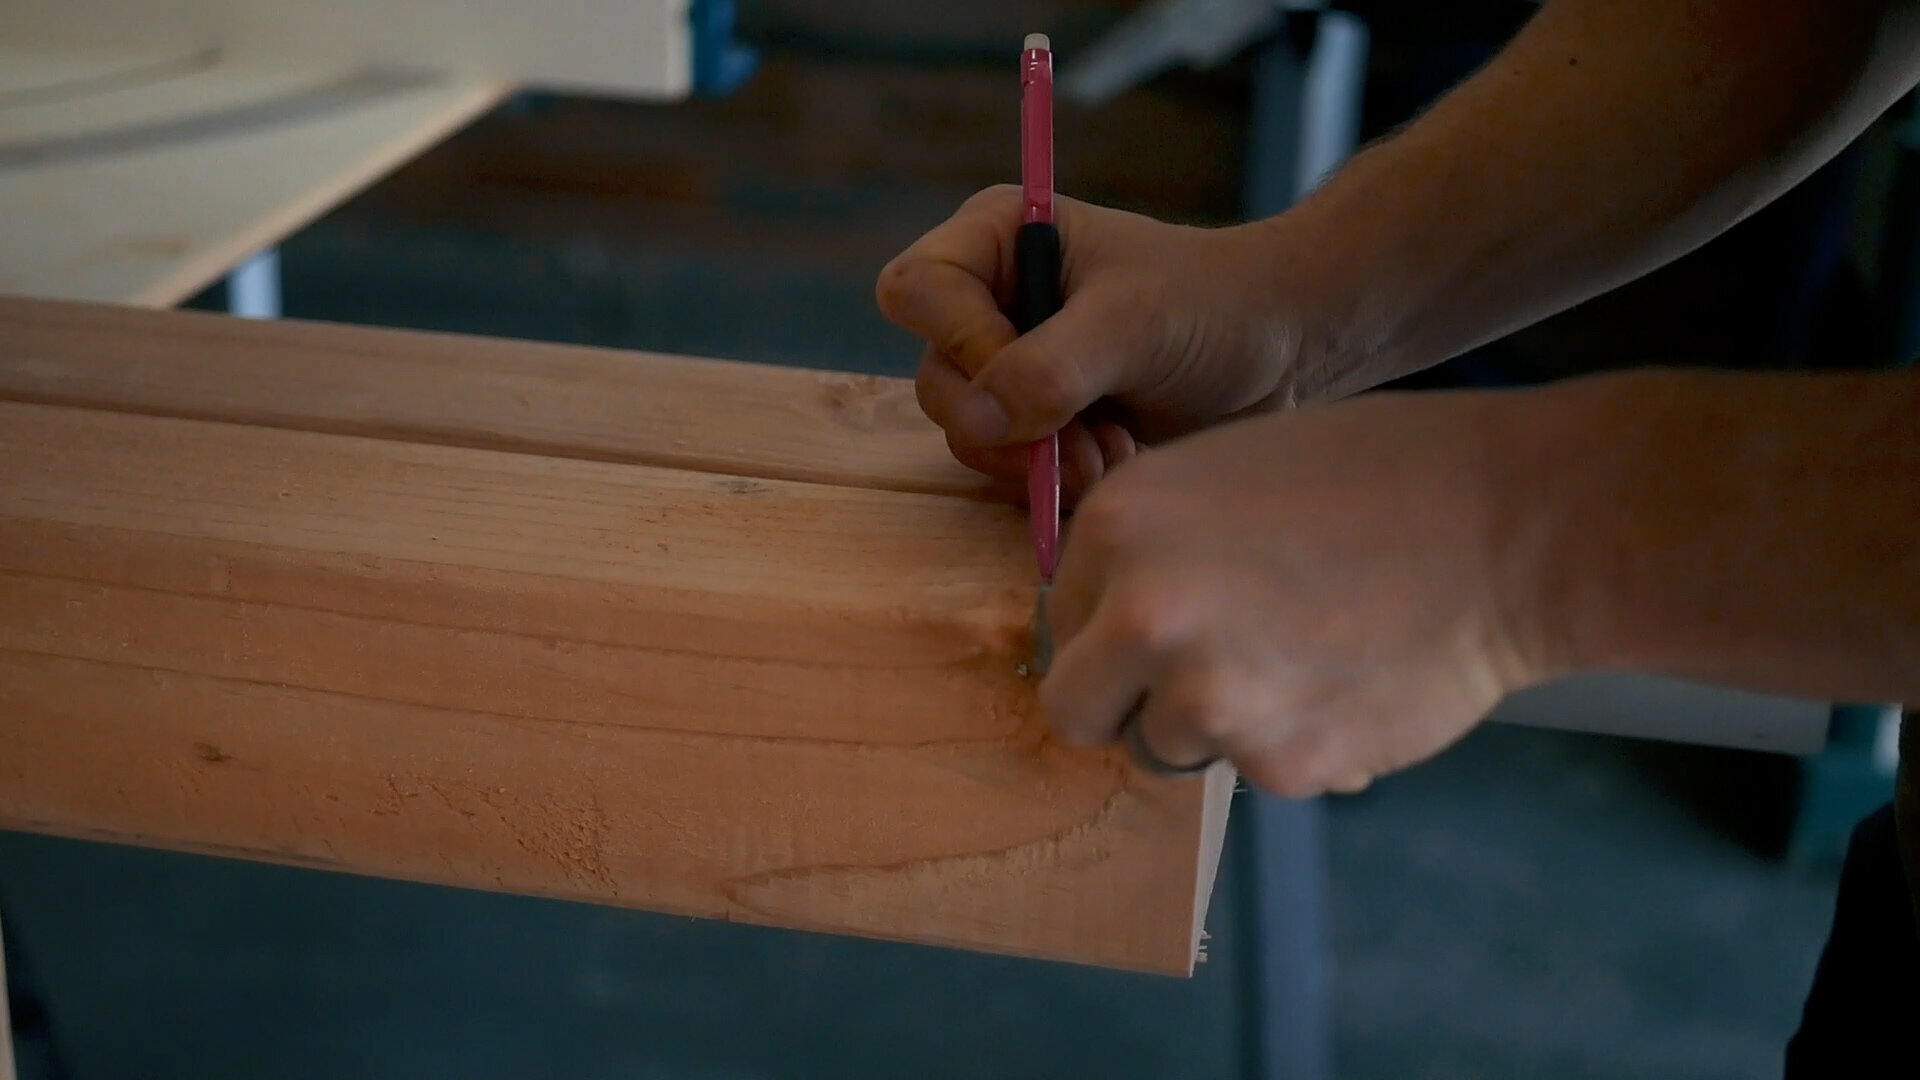
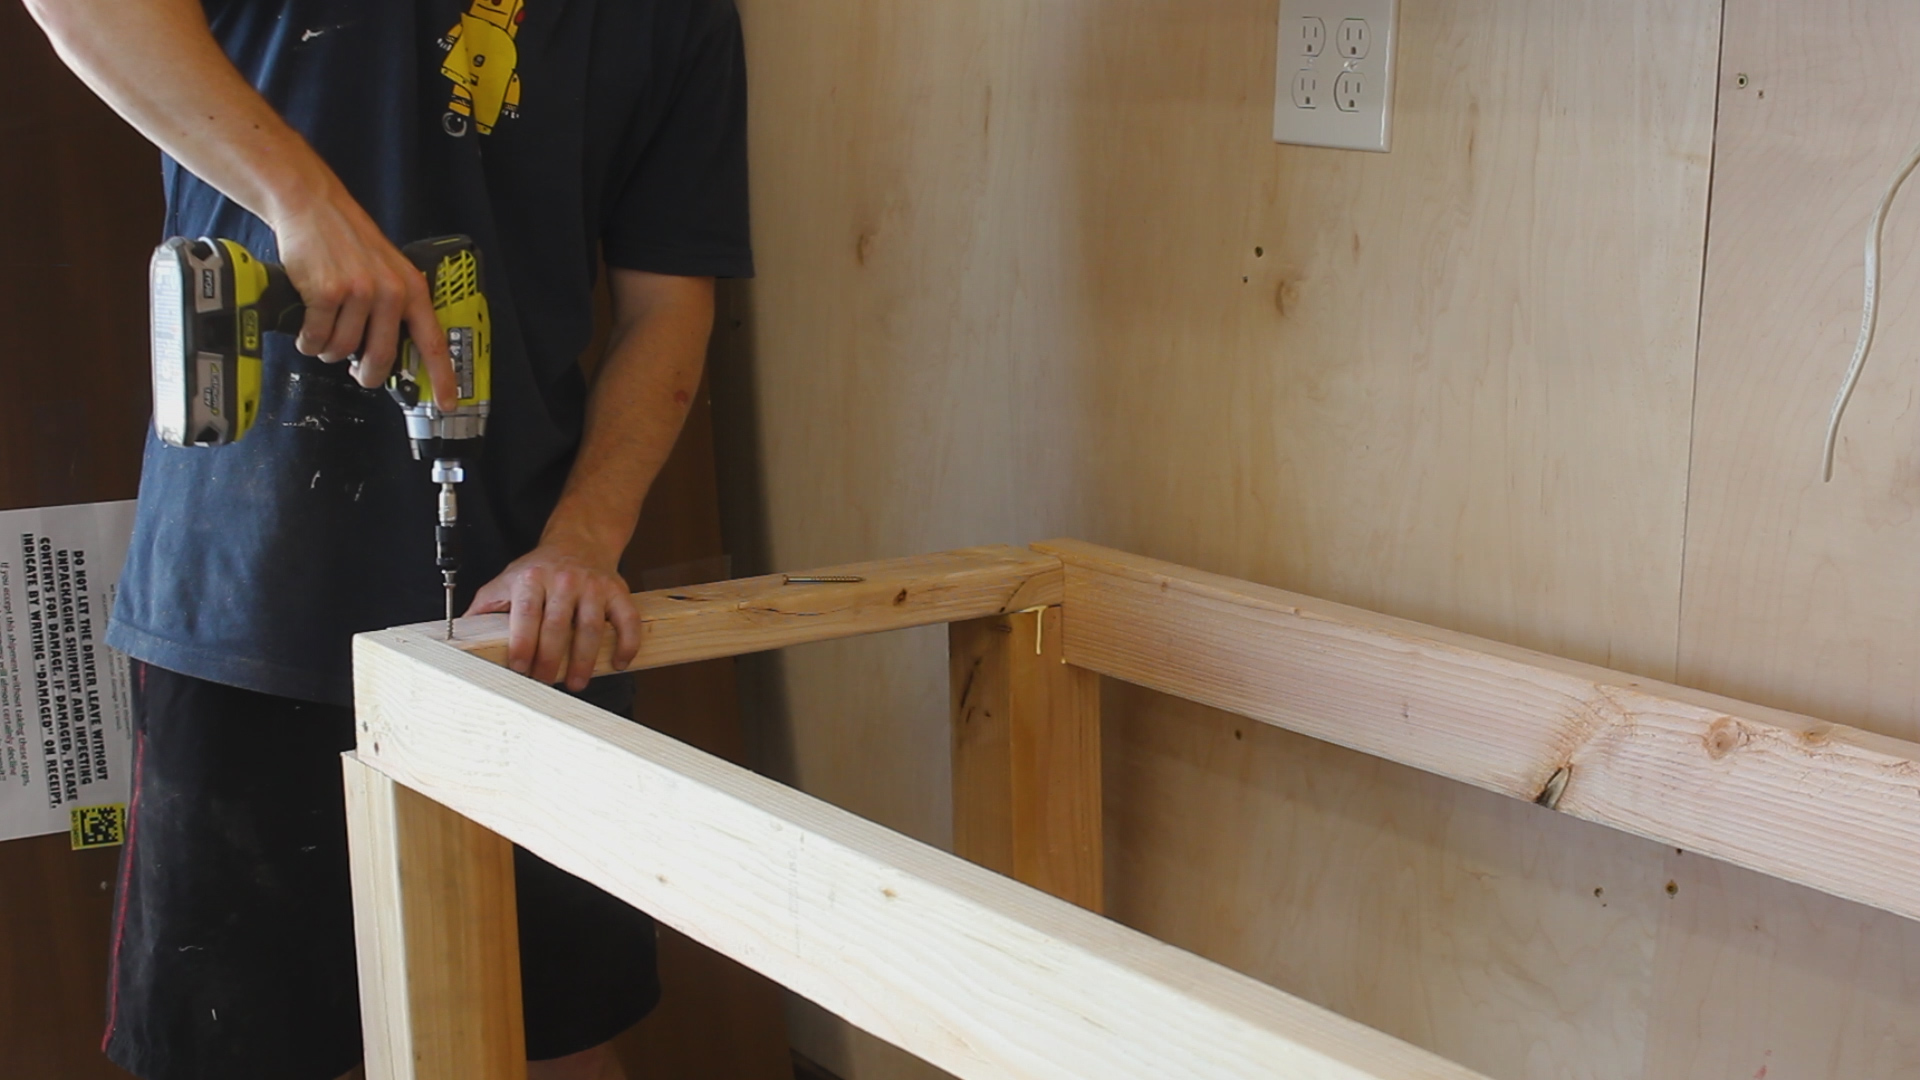
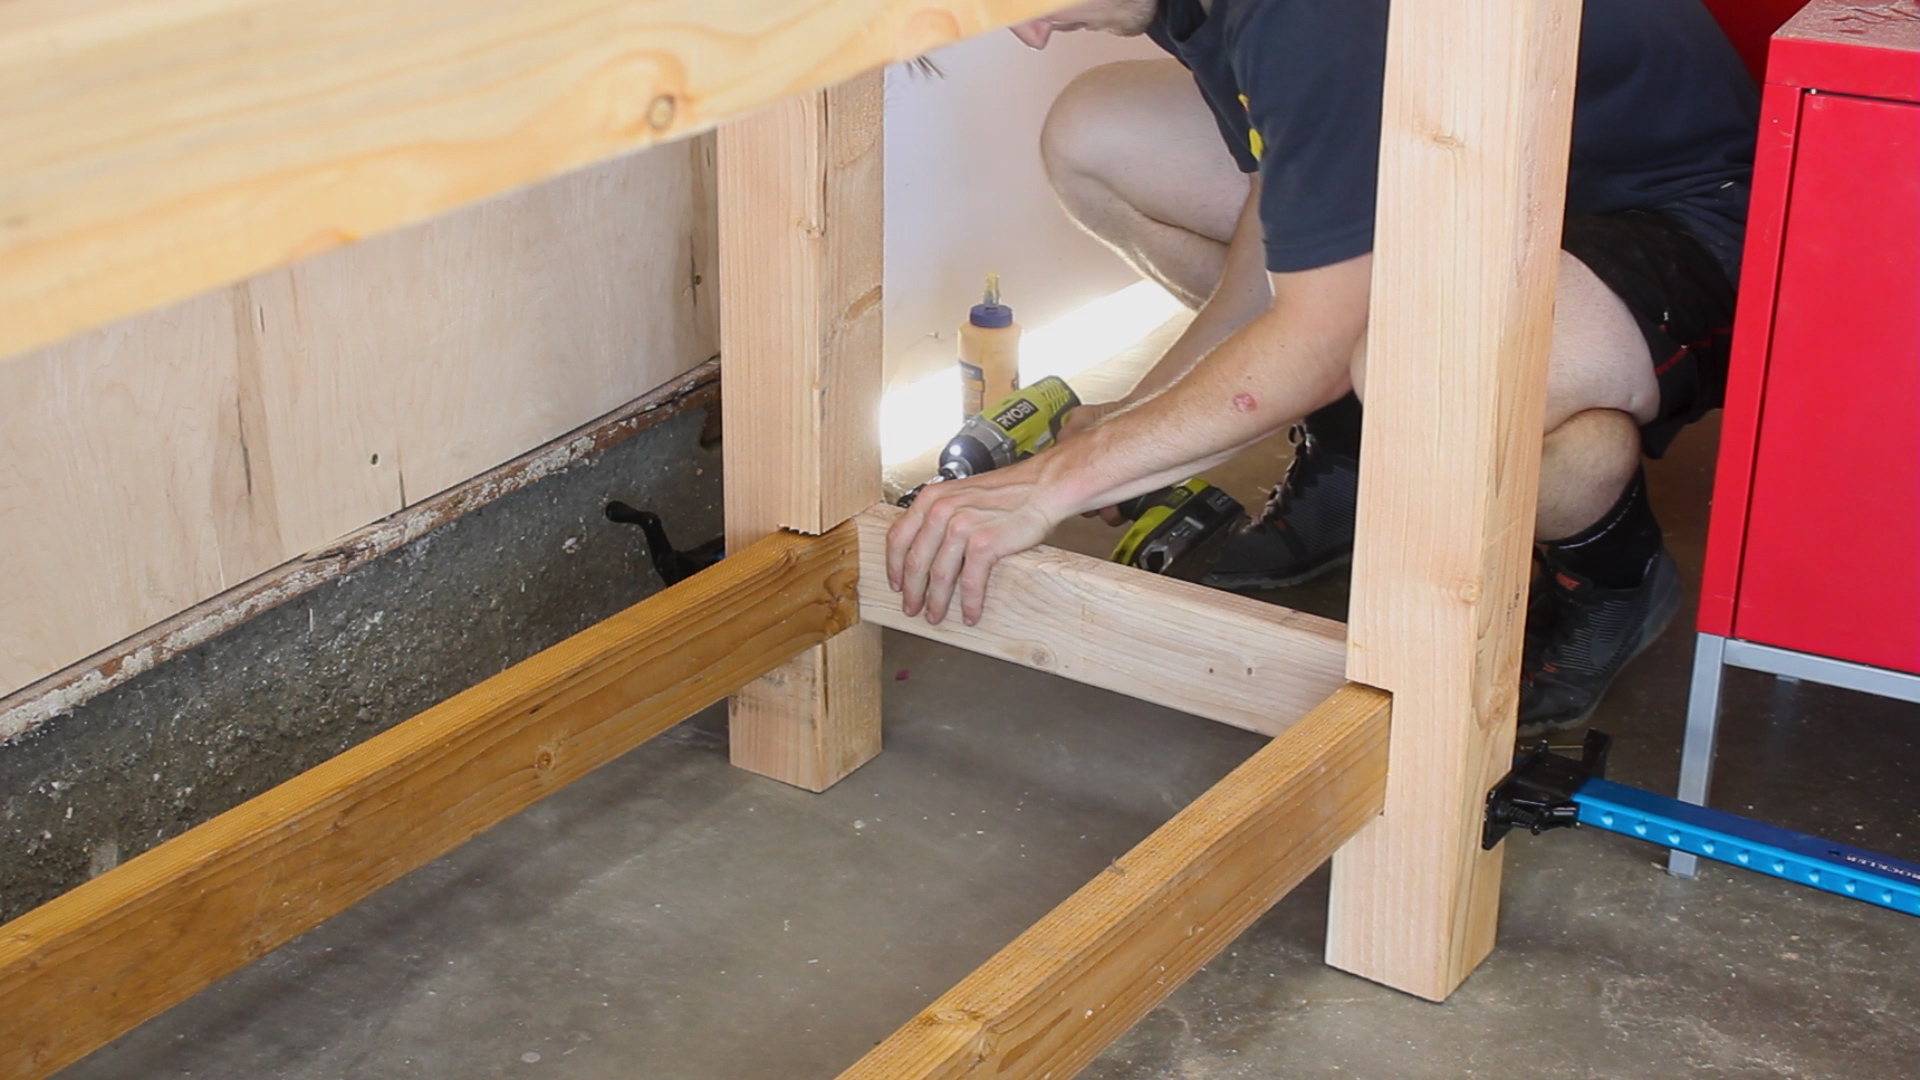
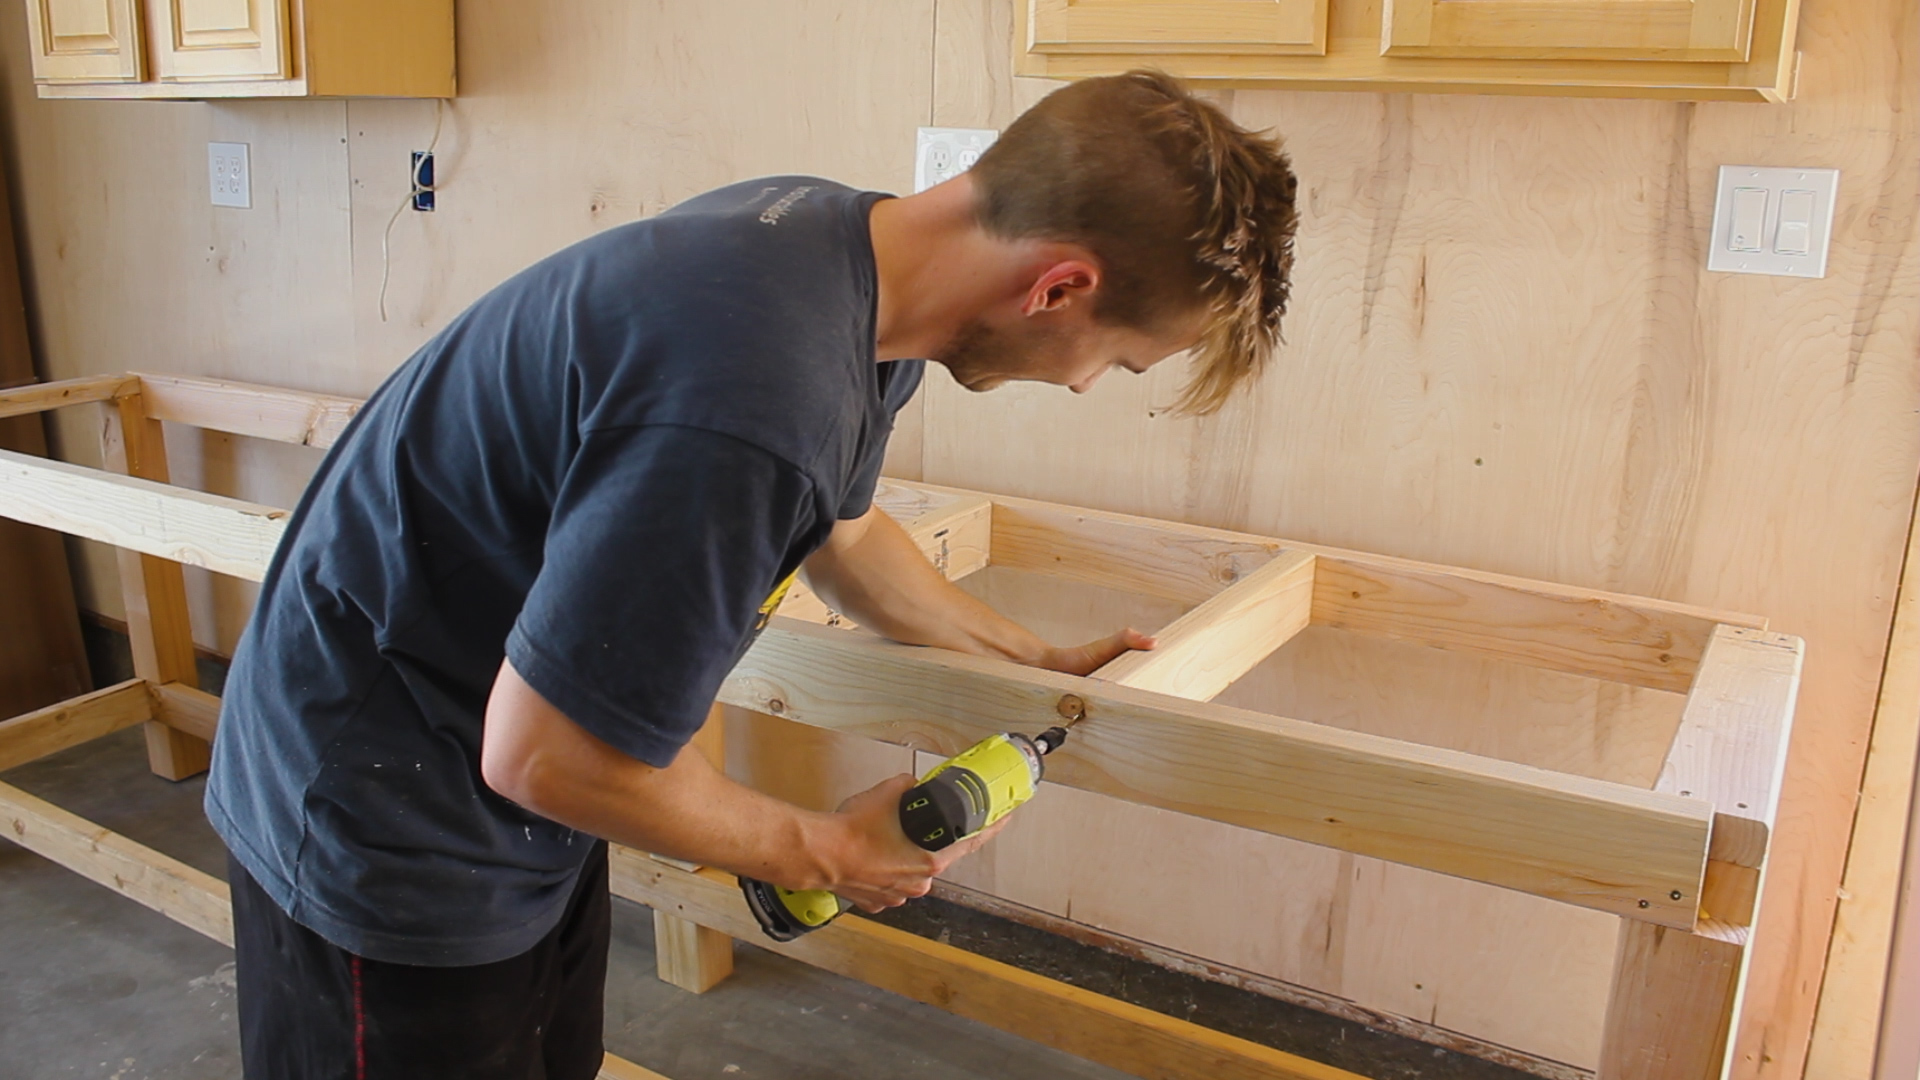
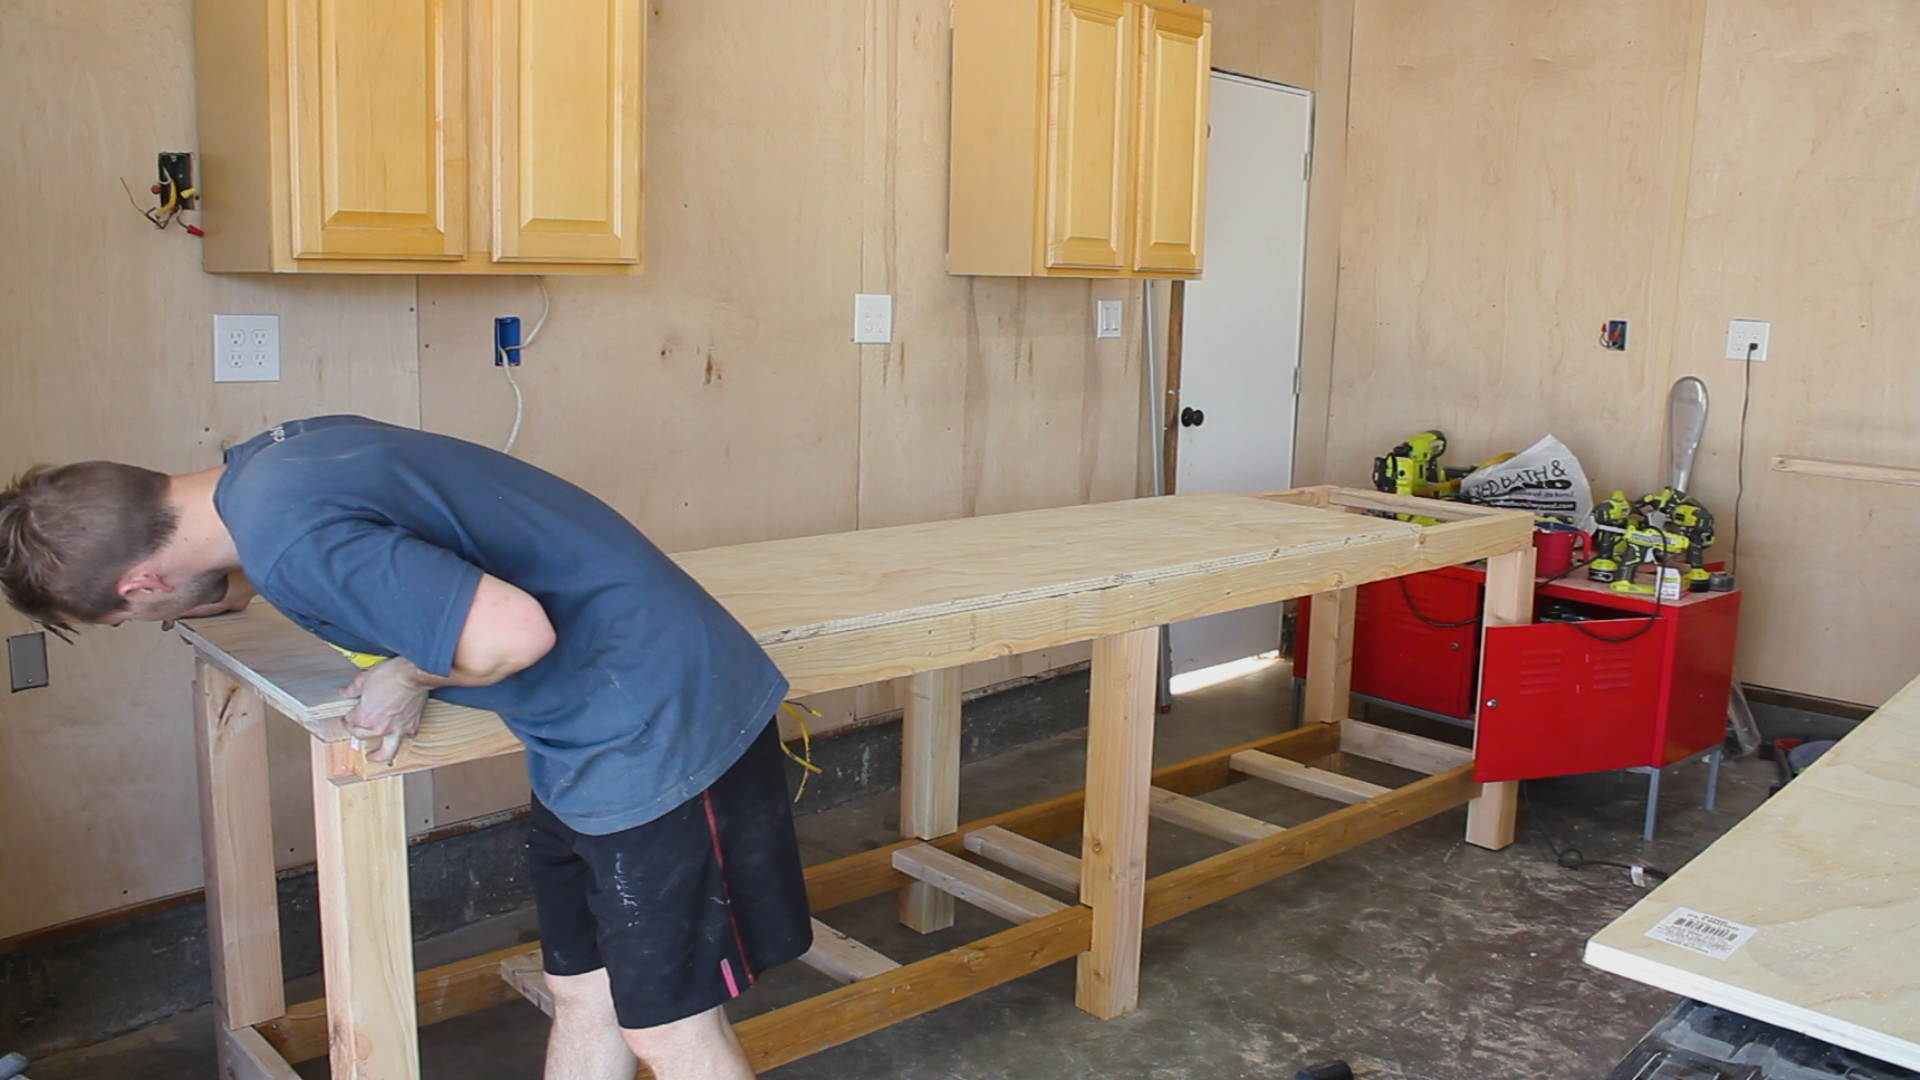
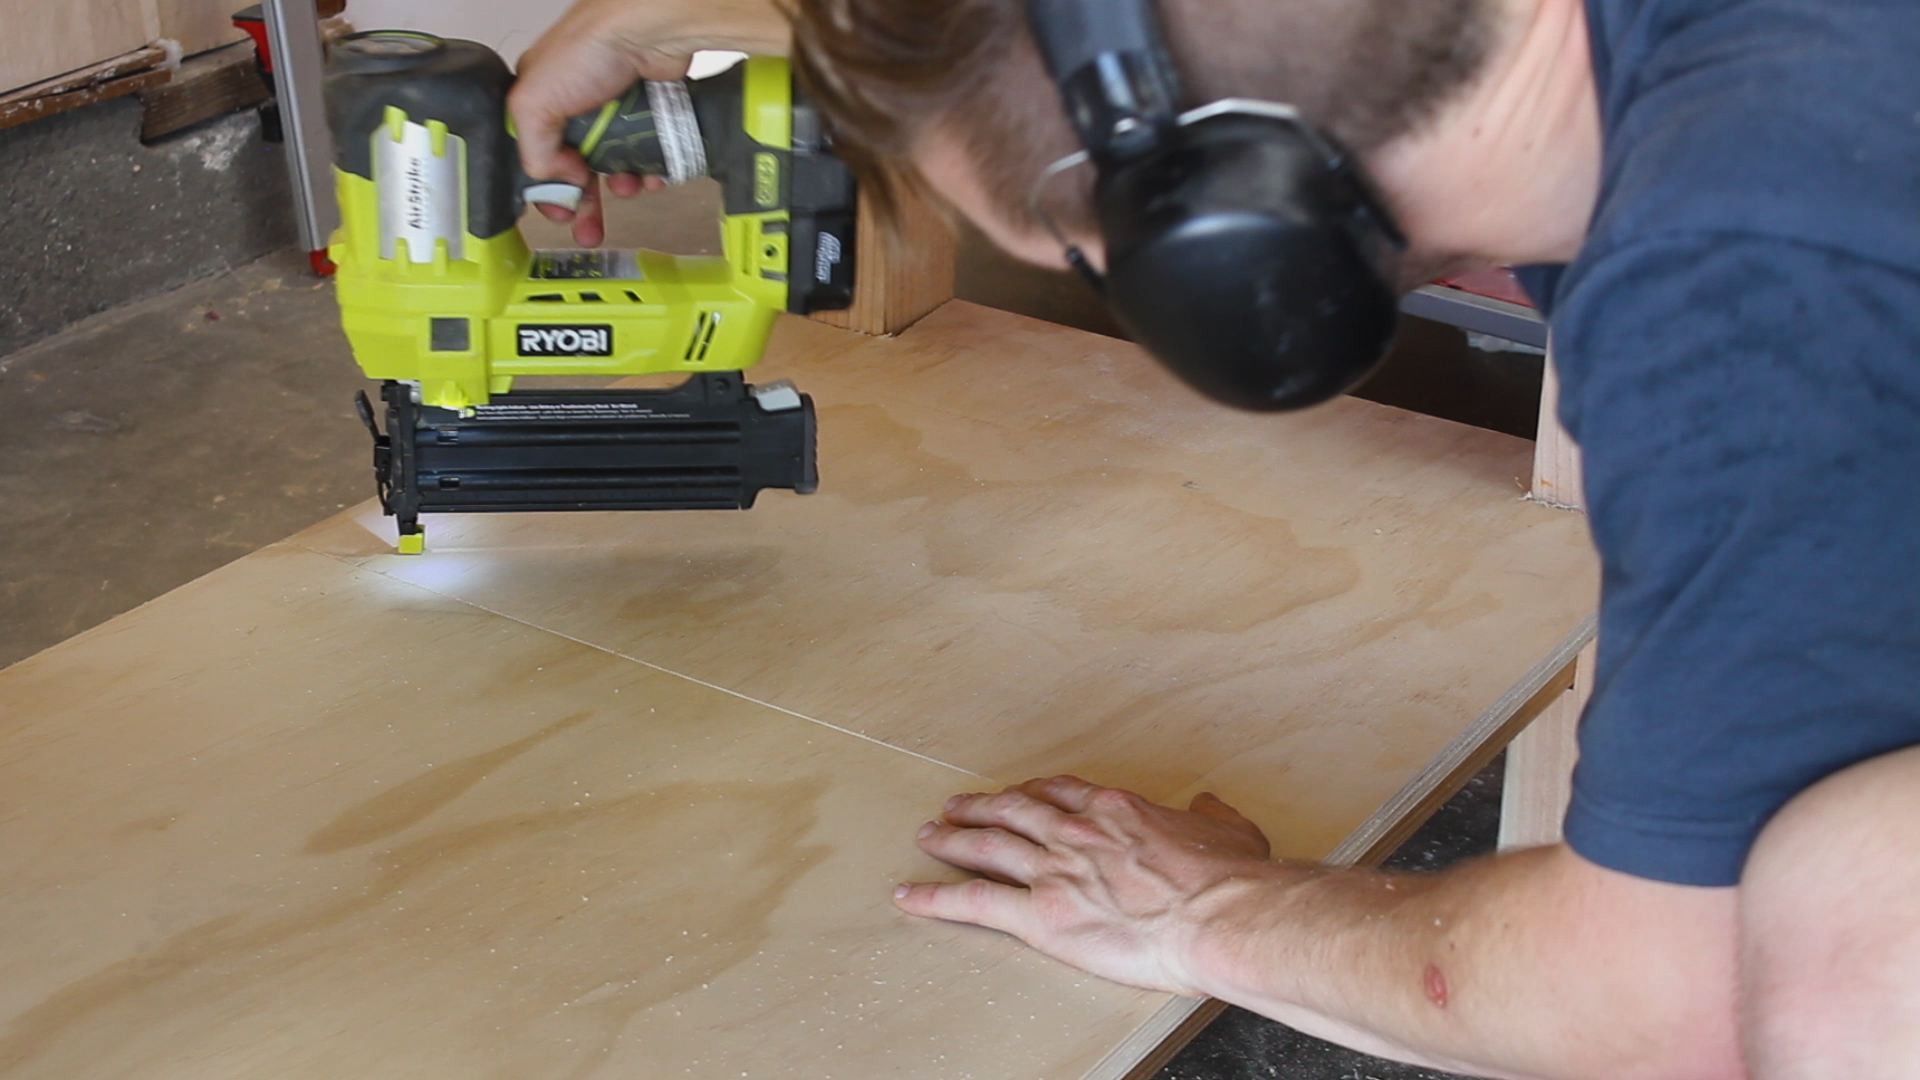
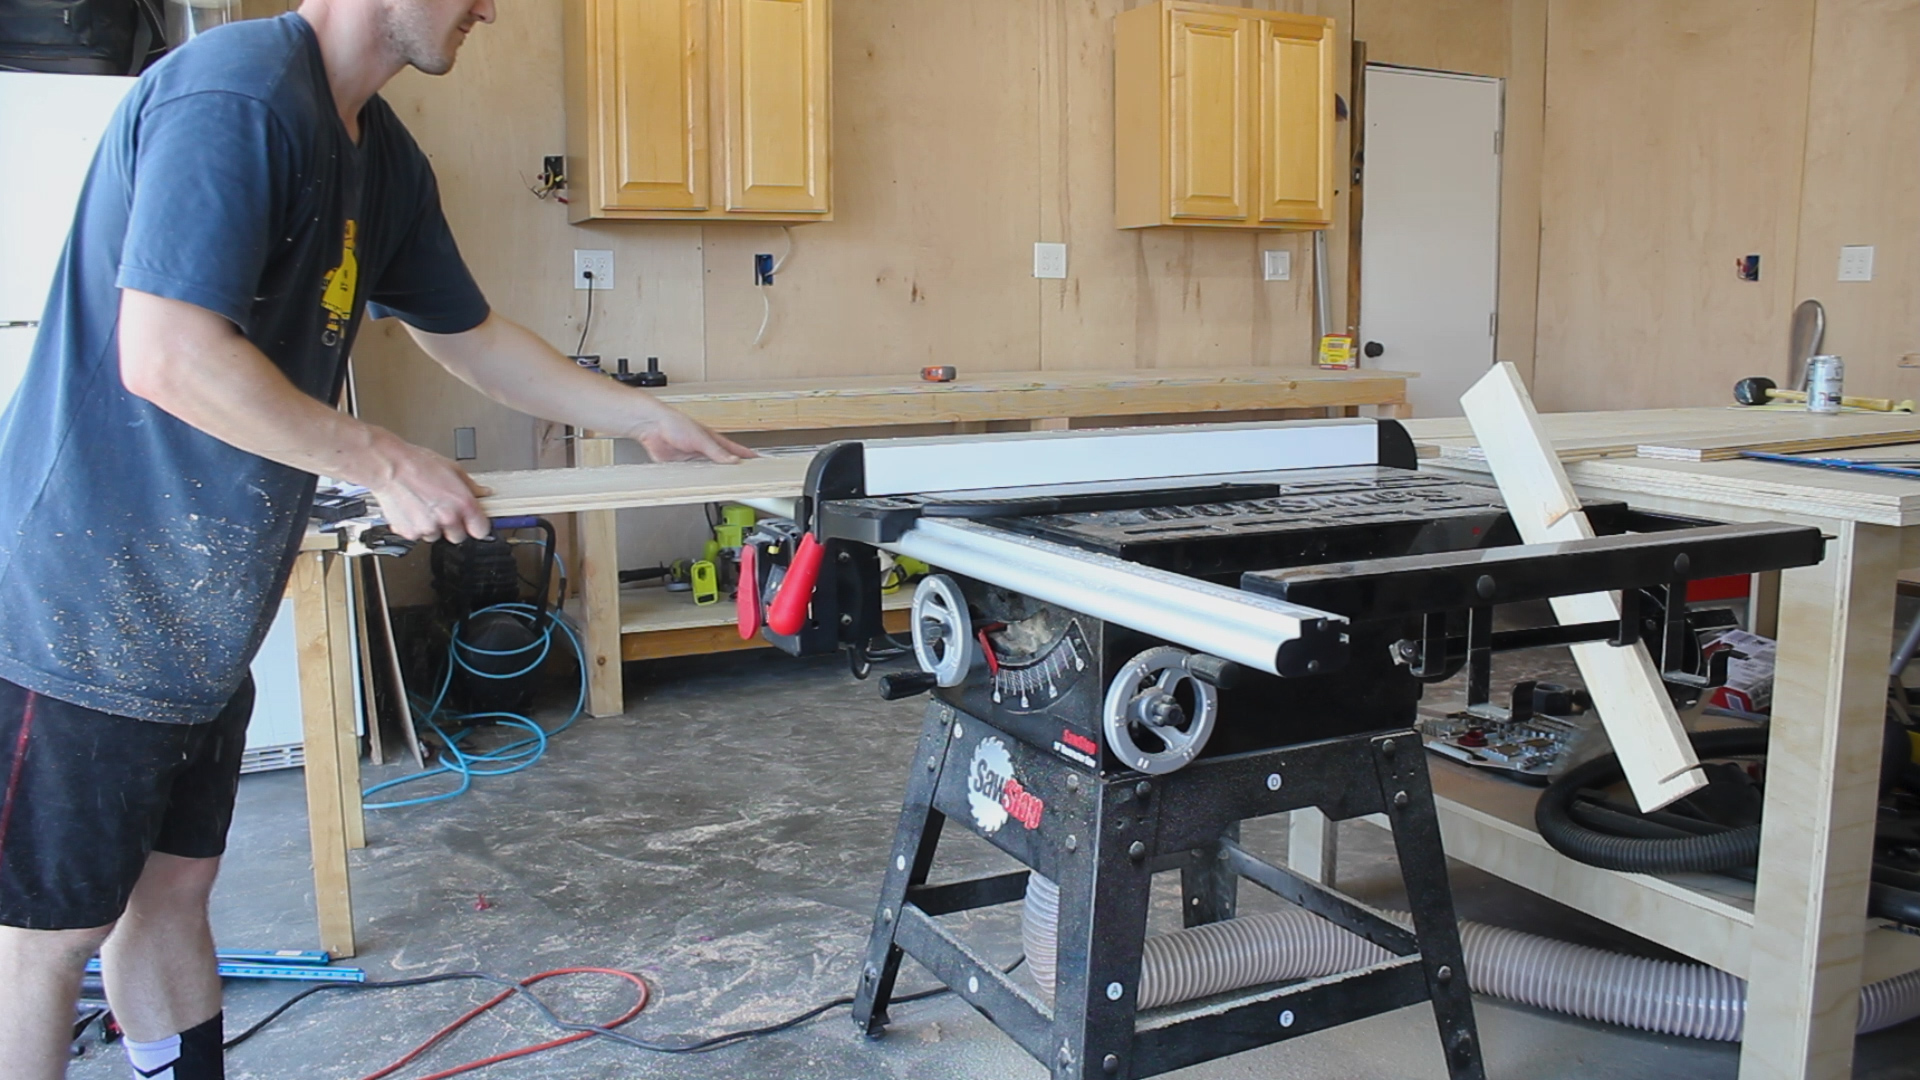
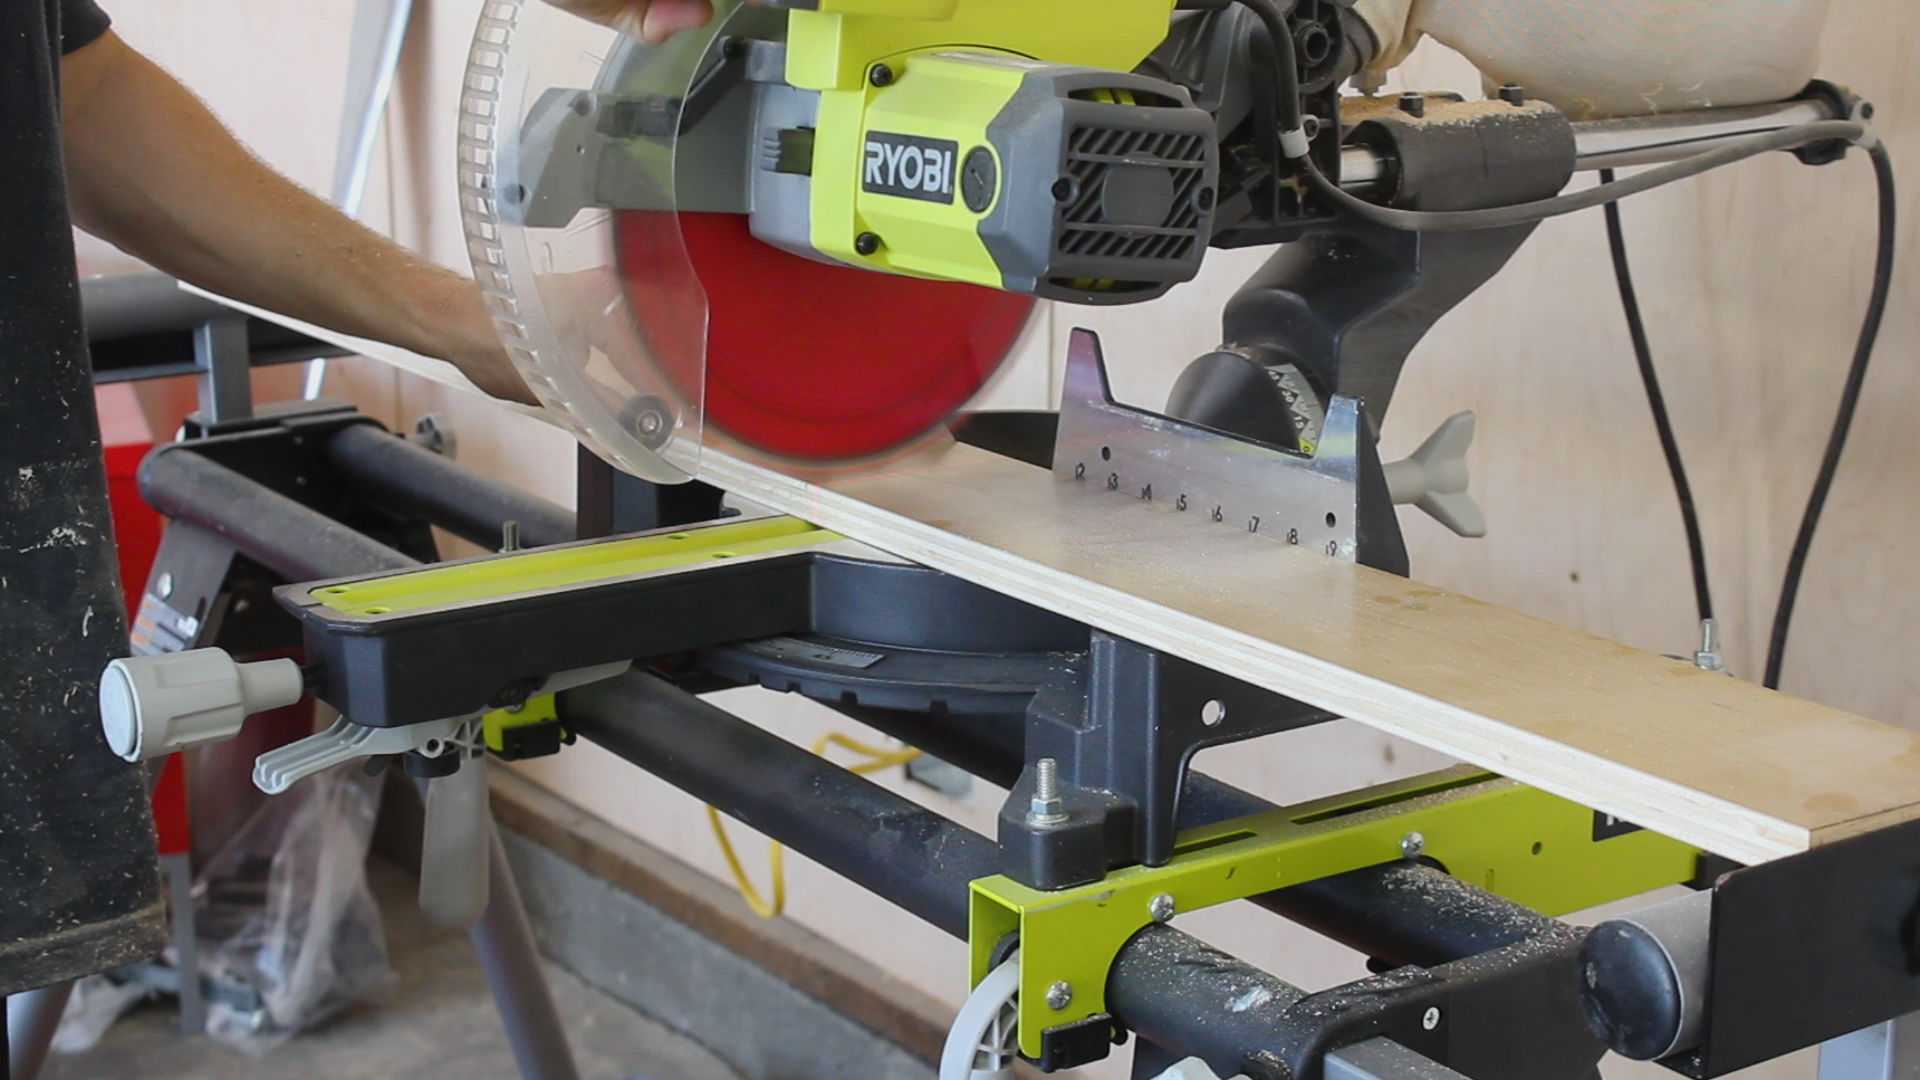
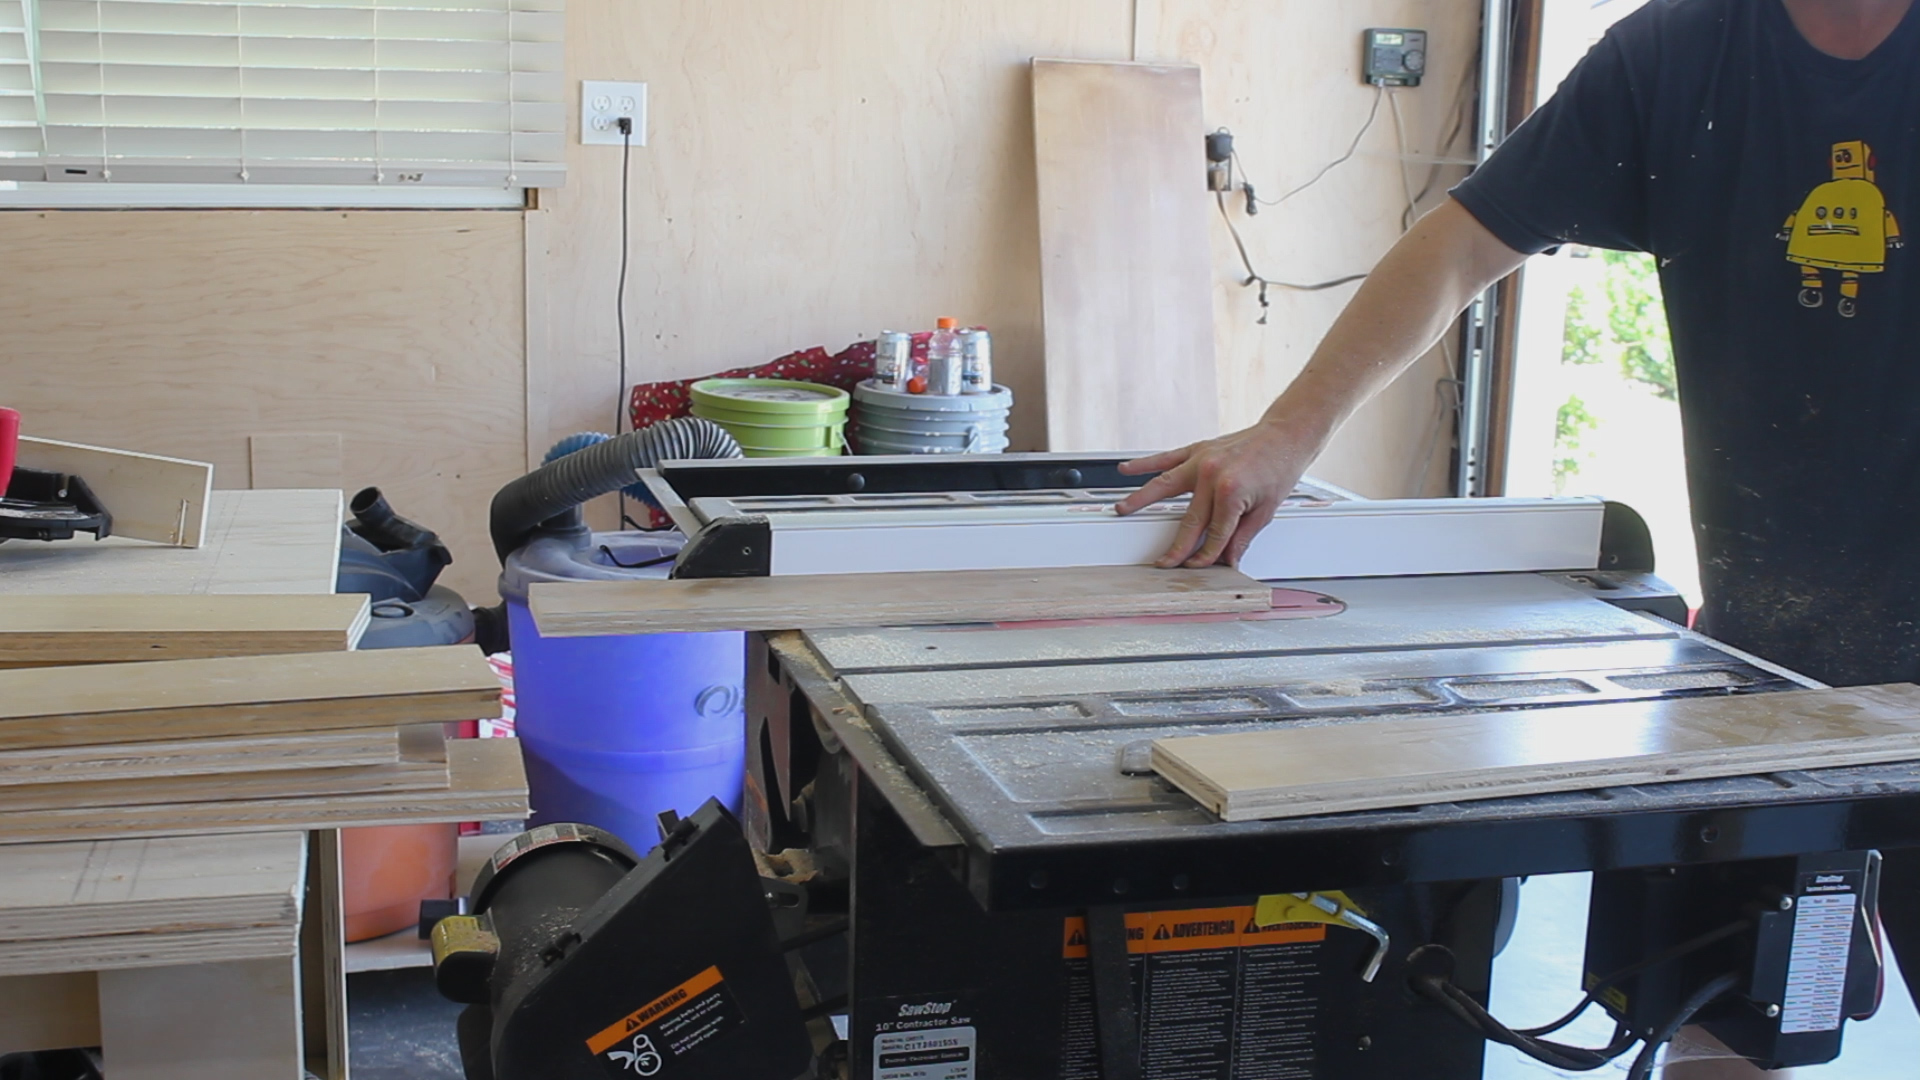
Make sure you check out the video to follow along with the design and build!
🗜 TOOLS
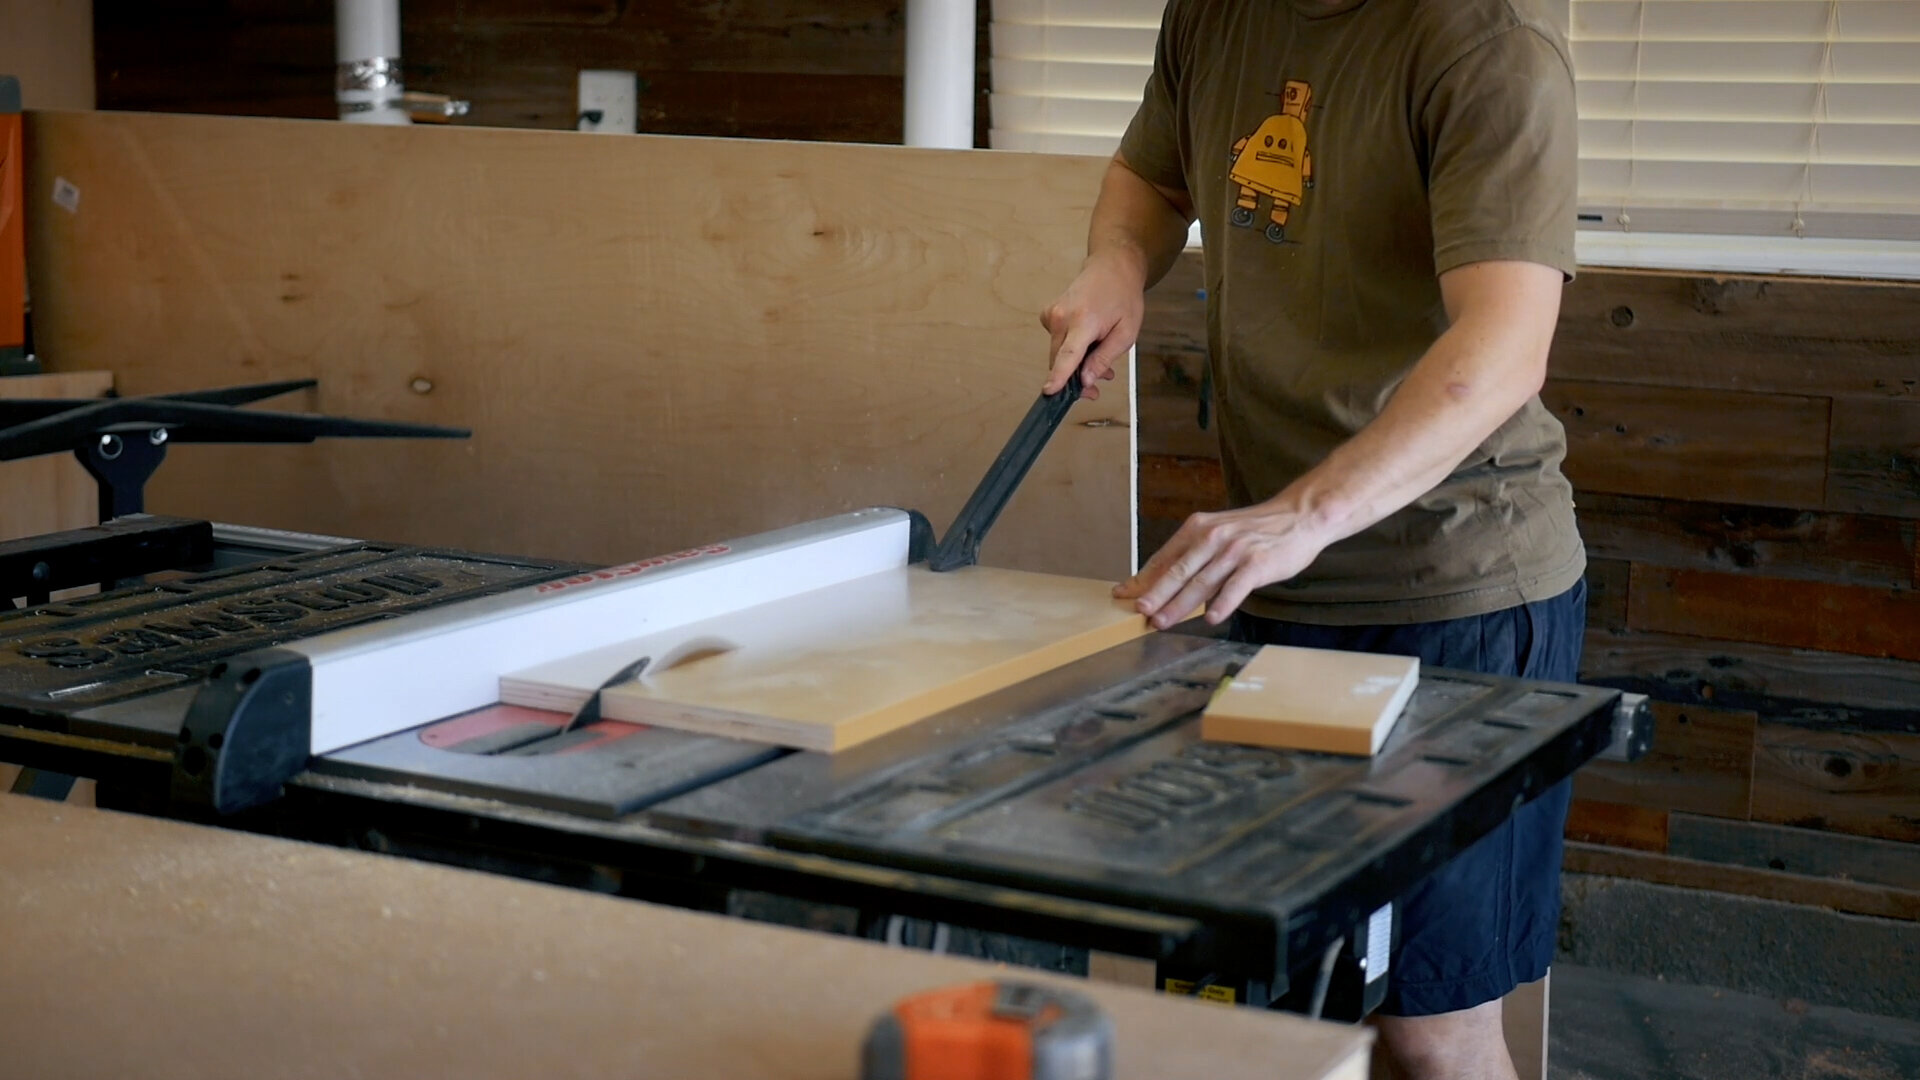
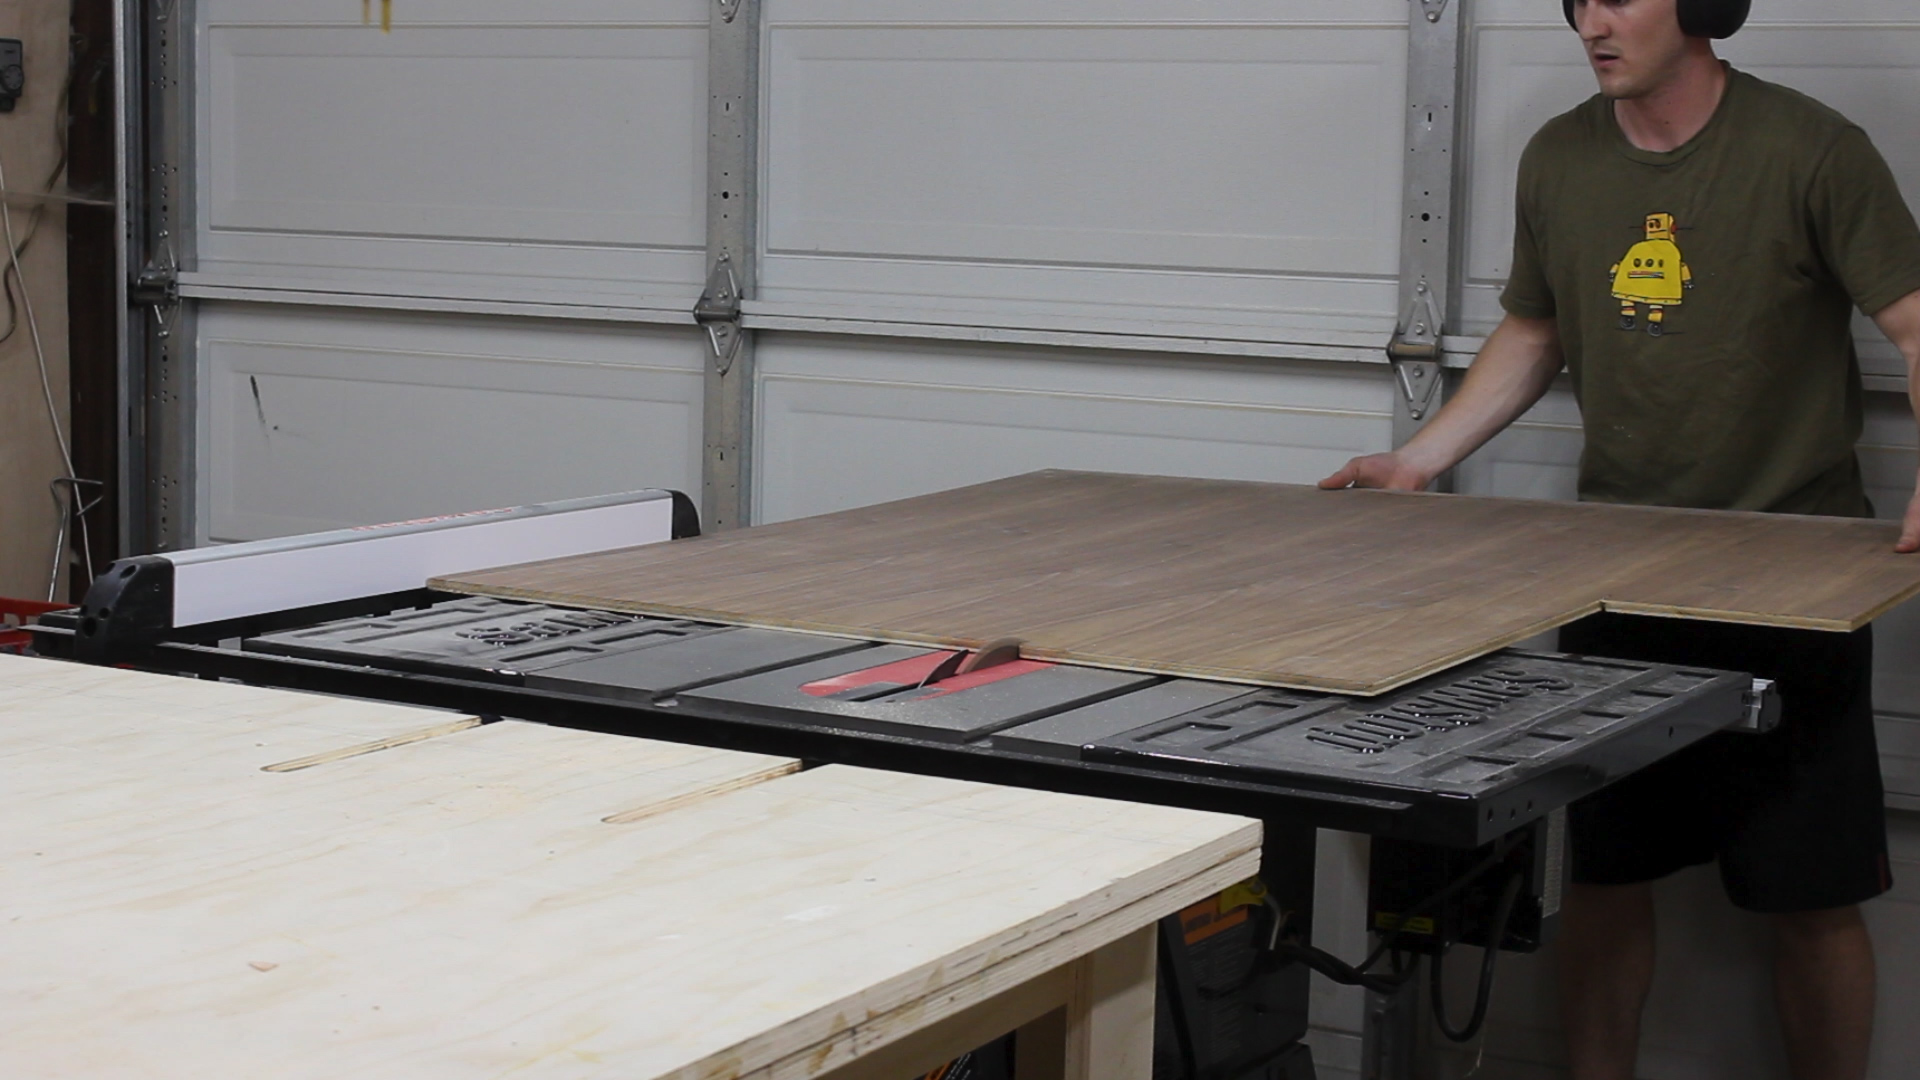
SAWSTOP 3HP PCS: https://amzn.to/3cr1dJO
FlashForge Adventure 3 (Lite Version) https://amzn.to/3a4H4vp
PLA Filament https://amzn.to/39ZNrQs

Above is an STL file for download incase you’re interested.
If you have any questions or find any issues with the article, feel free to get in touch.
Zach