We had been wanting a new bed for a long time - something that was less Ashley Furniture meh (see current bed below) and something more in line with the style of our apartment. I had nearly everything tool-wise at this point to make something awesome, so cue the research, design, sourcing of materials, and construction!

We decided a pallet bed frame would be the coolest option. The wood is easy to source on craigslist, easy to clean if needed, and can be broken down rather quickly. I only sourced heat treated pallet wood, as chemically treated can be harmful to your health long term. I found five pallets on craigslist for $20 from one guy in relatively great shape. I'm sure I could have found free ones somewhere, but $20 is nothing and I'd rather find good ones that are cleaner and properly labeled to be safe...
First, a quick note on the space I work in - my lovely carport.

I don't have a garage or anything, so anytime I build something, its a laborious process to bring all my tools down, set up, work, break down, clean up the entire space, and bring back up all over the course of each day. Any projects that go longer require me to repeat the process.
That being said, it's actually quite nice to work down there, and I'm able to make a lot out of a small space. A lot of people don't have this kind of space, so in a way, I consider myself lucky. Also, I have cool neighbors, so they don't care if I build down there. Plus, I end up leaving the entire driveway cleaner than before.
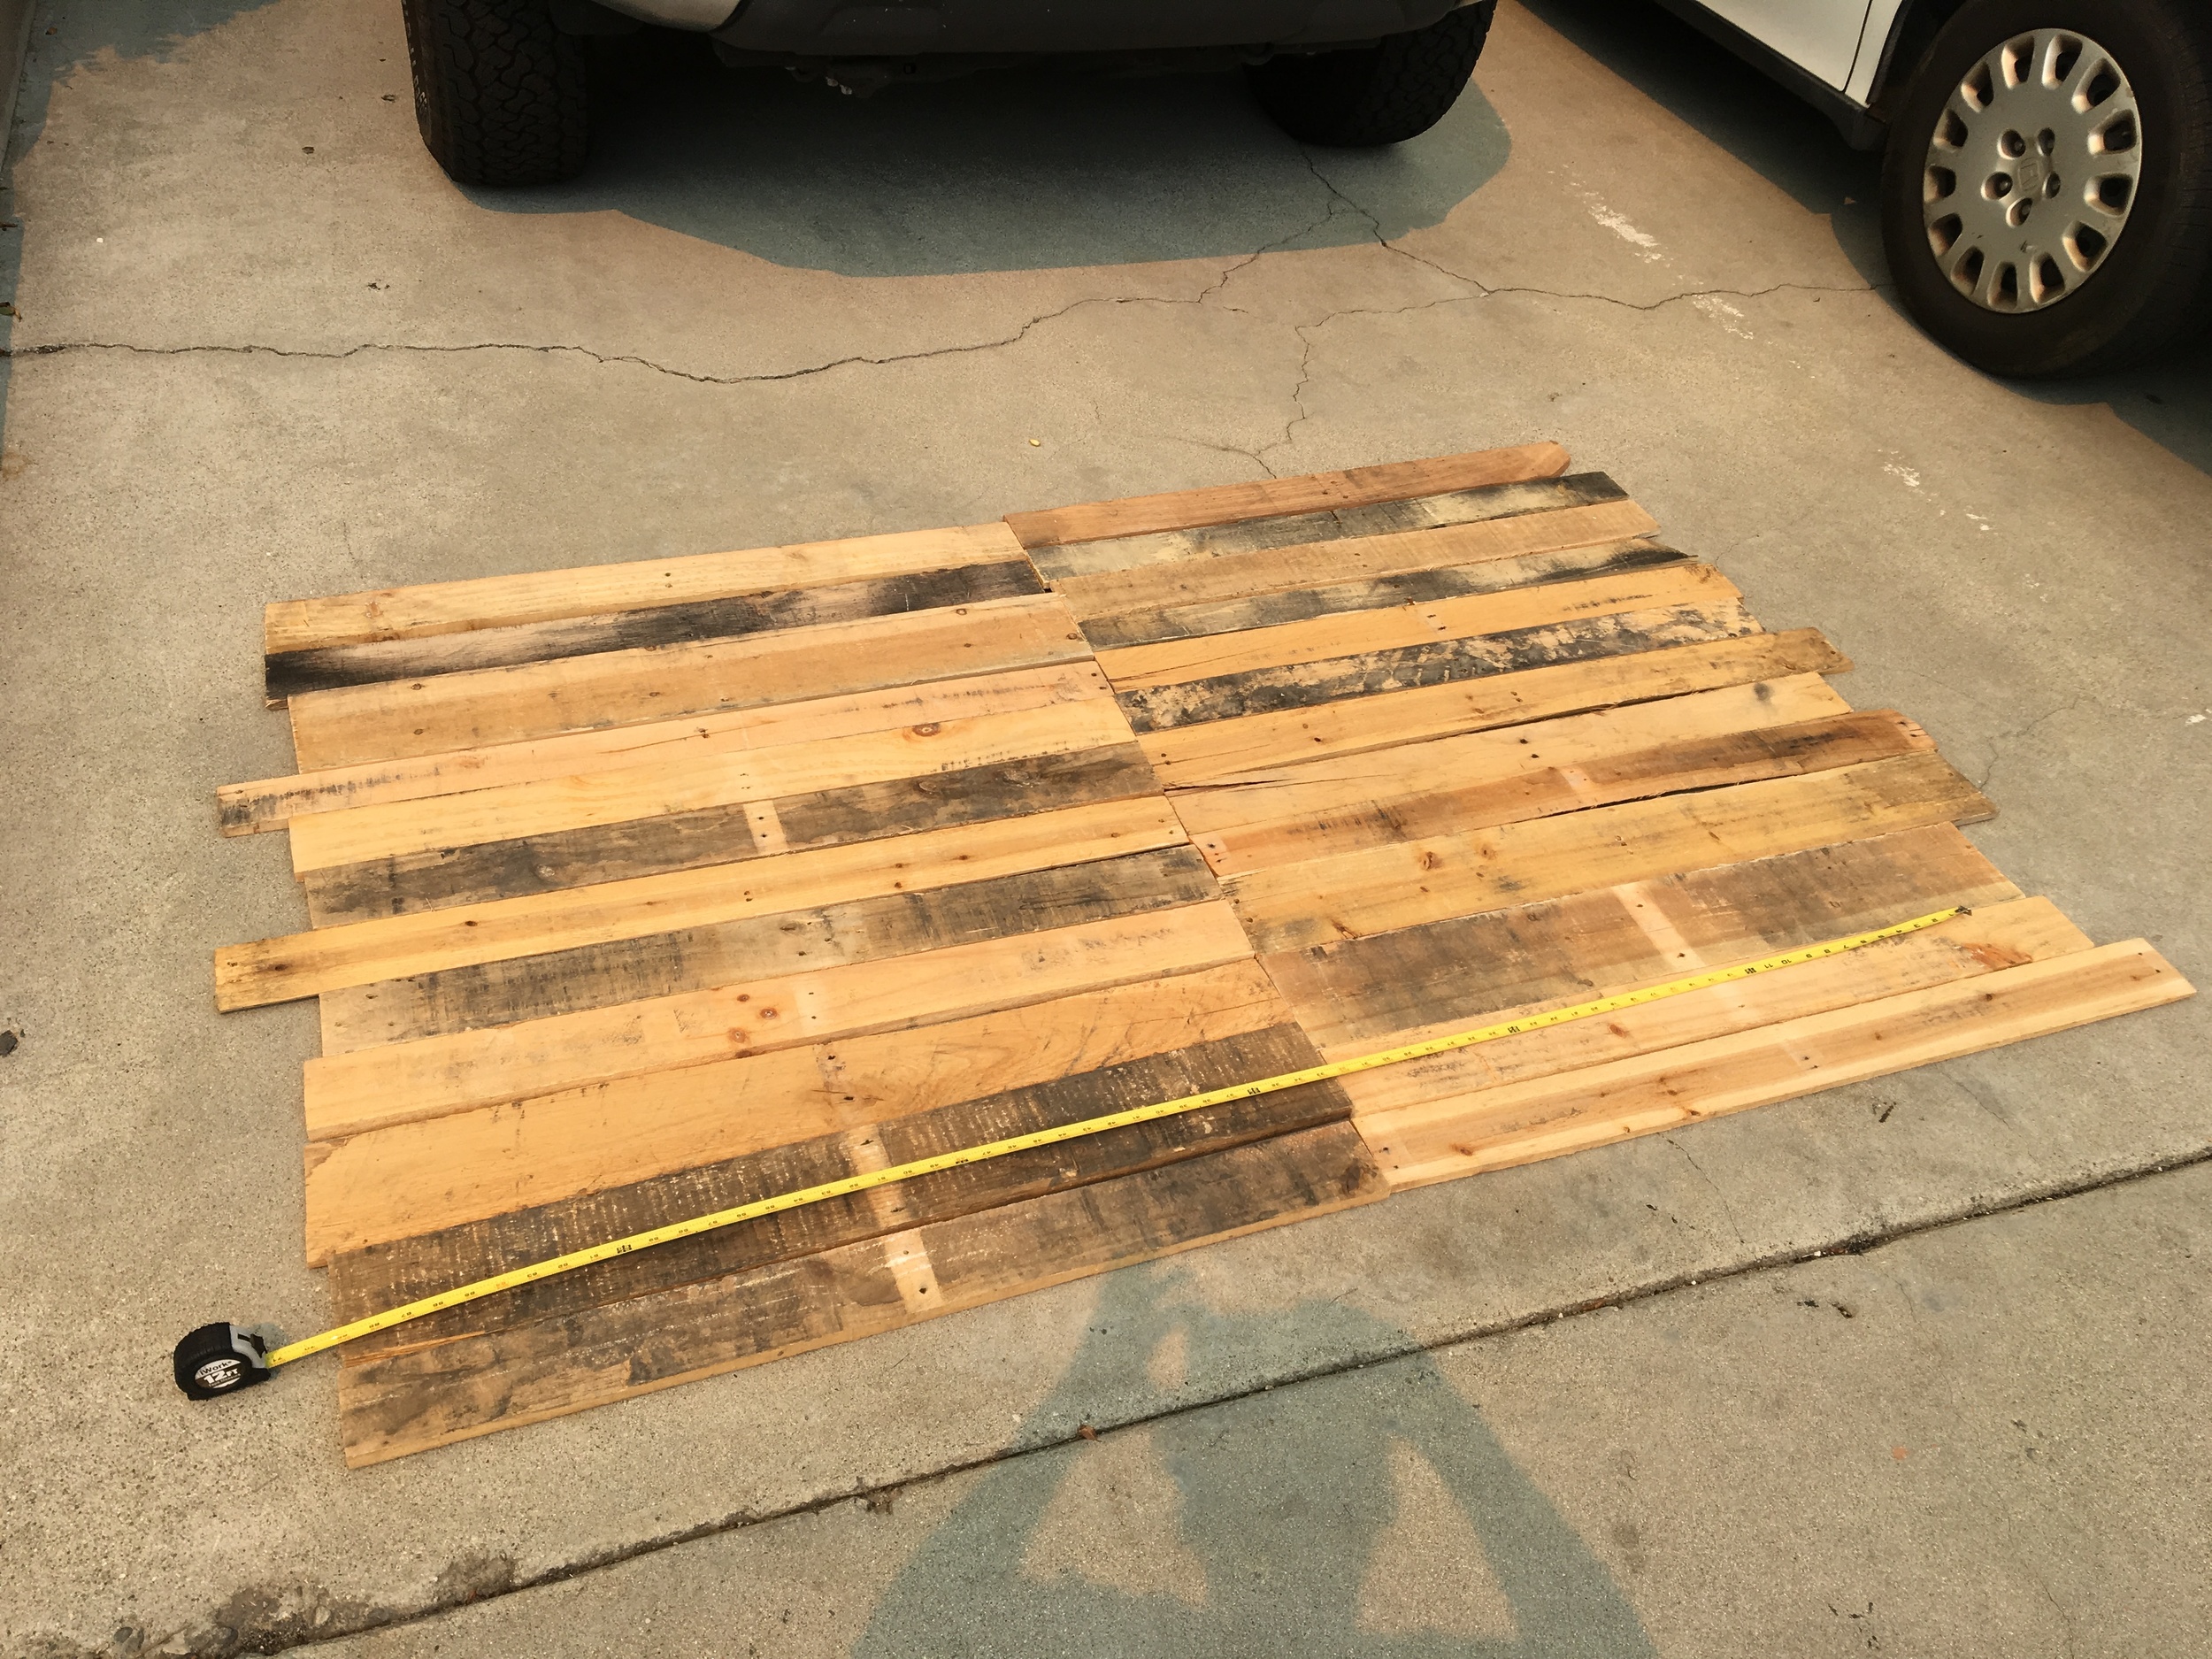
So the construction begins. Below is a series of images of the breakdown of the pallets.

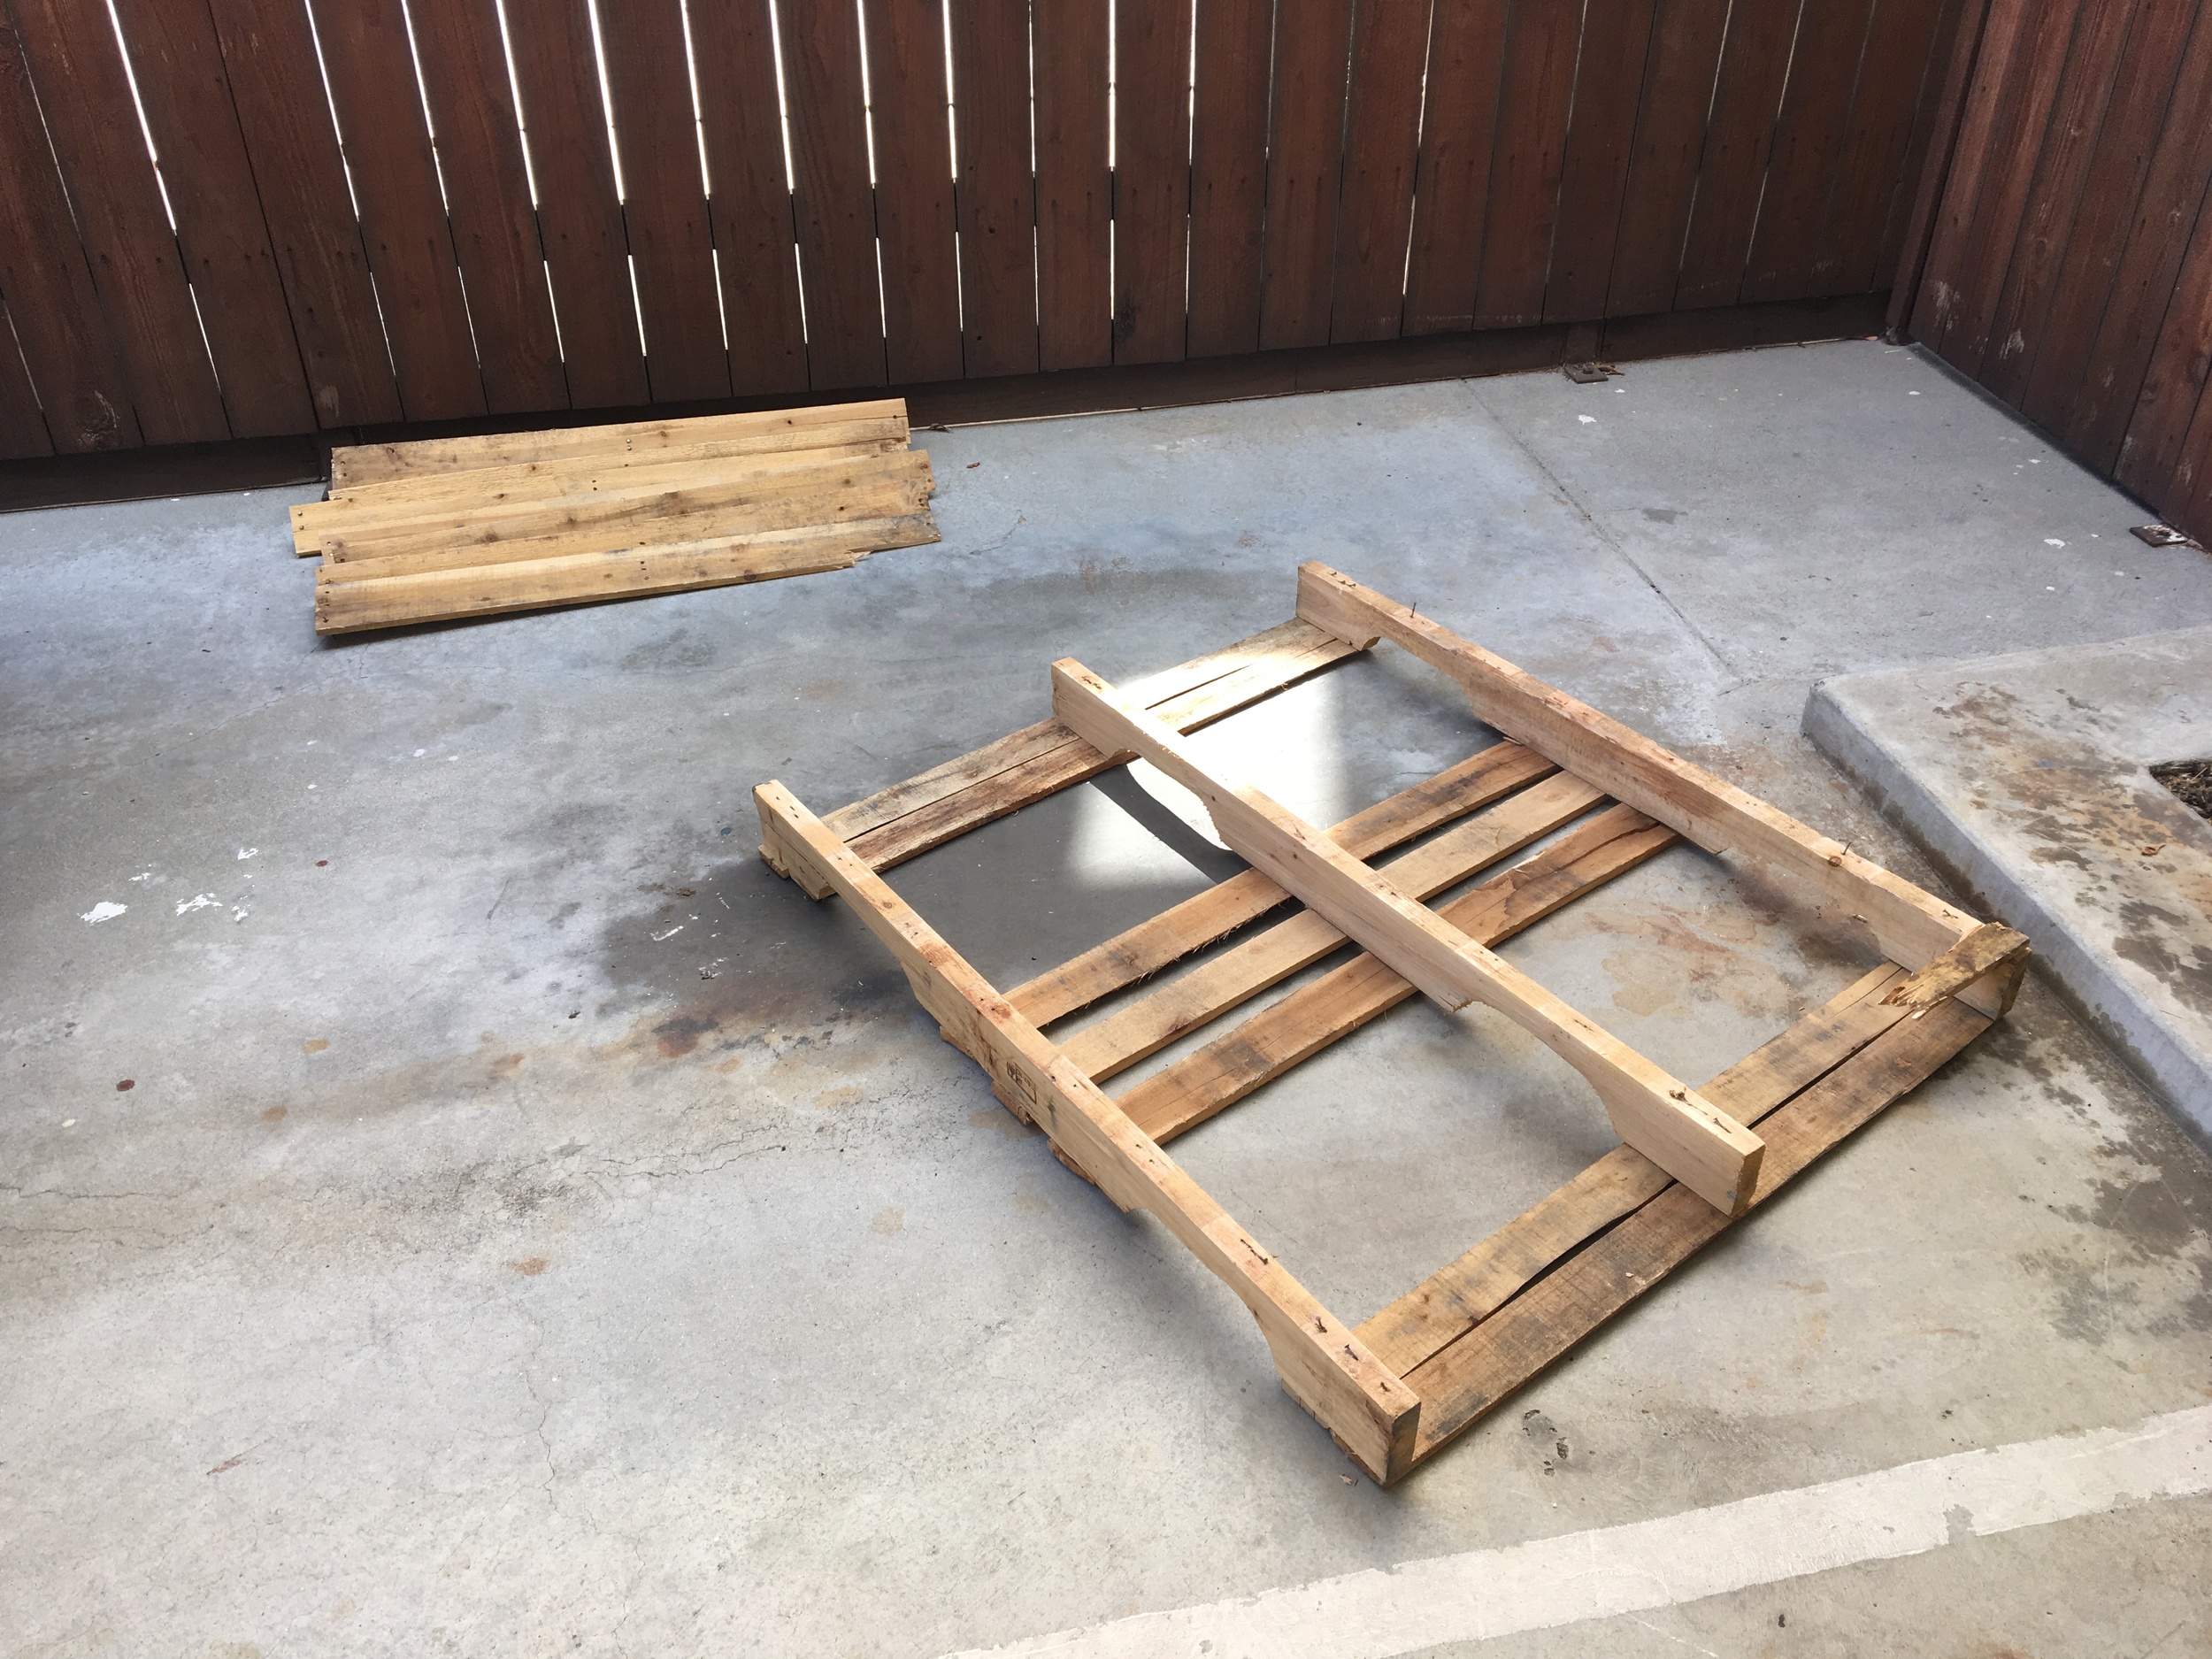
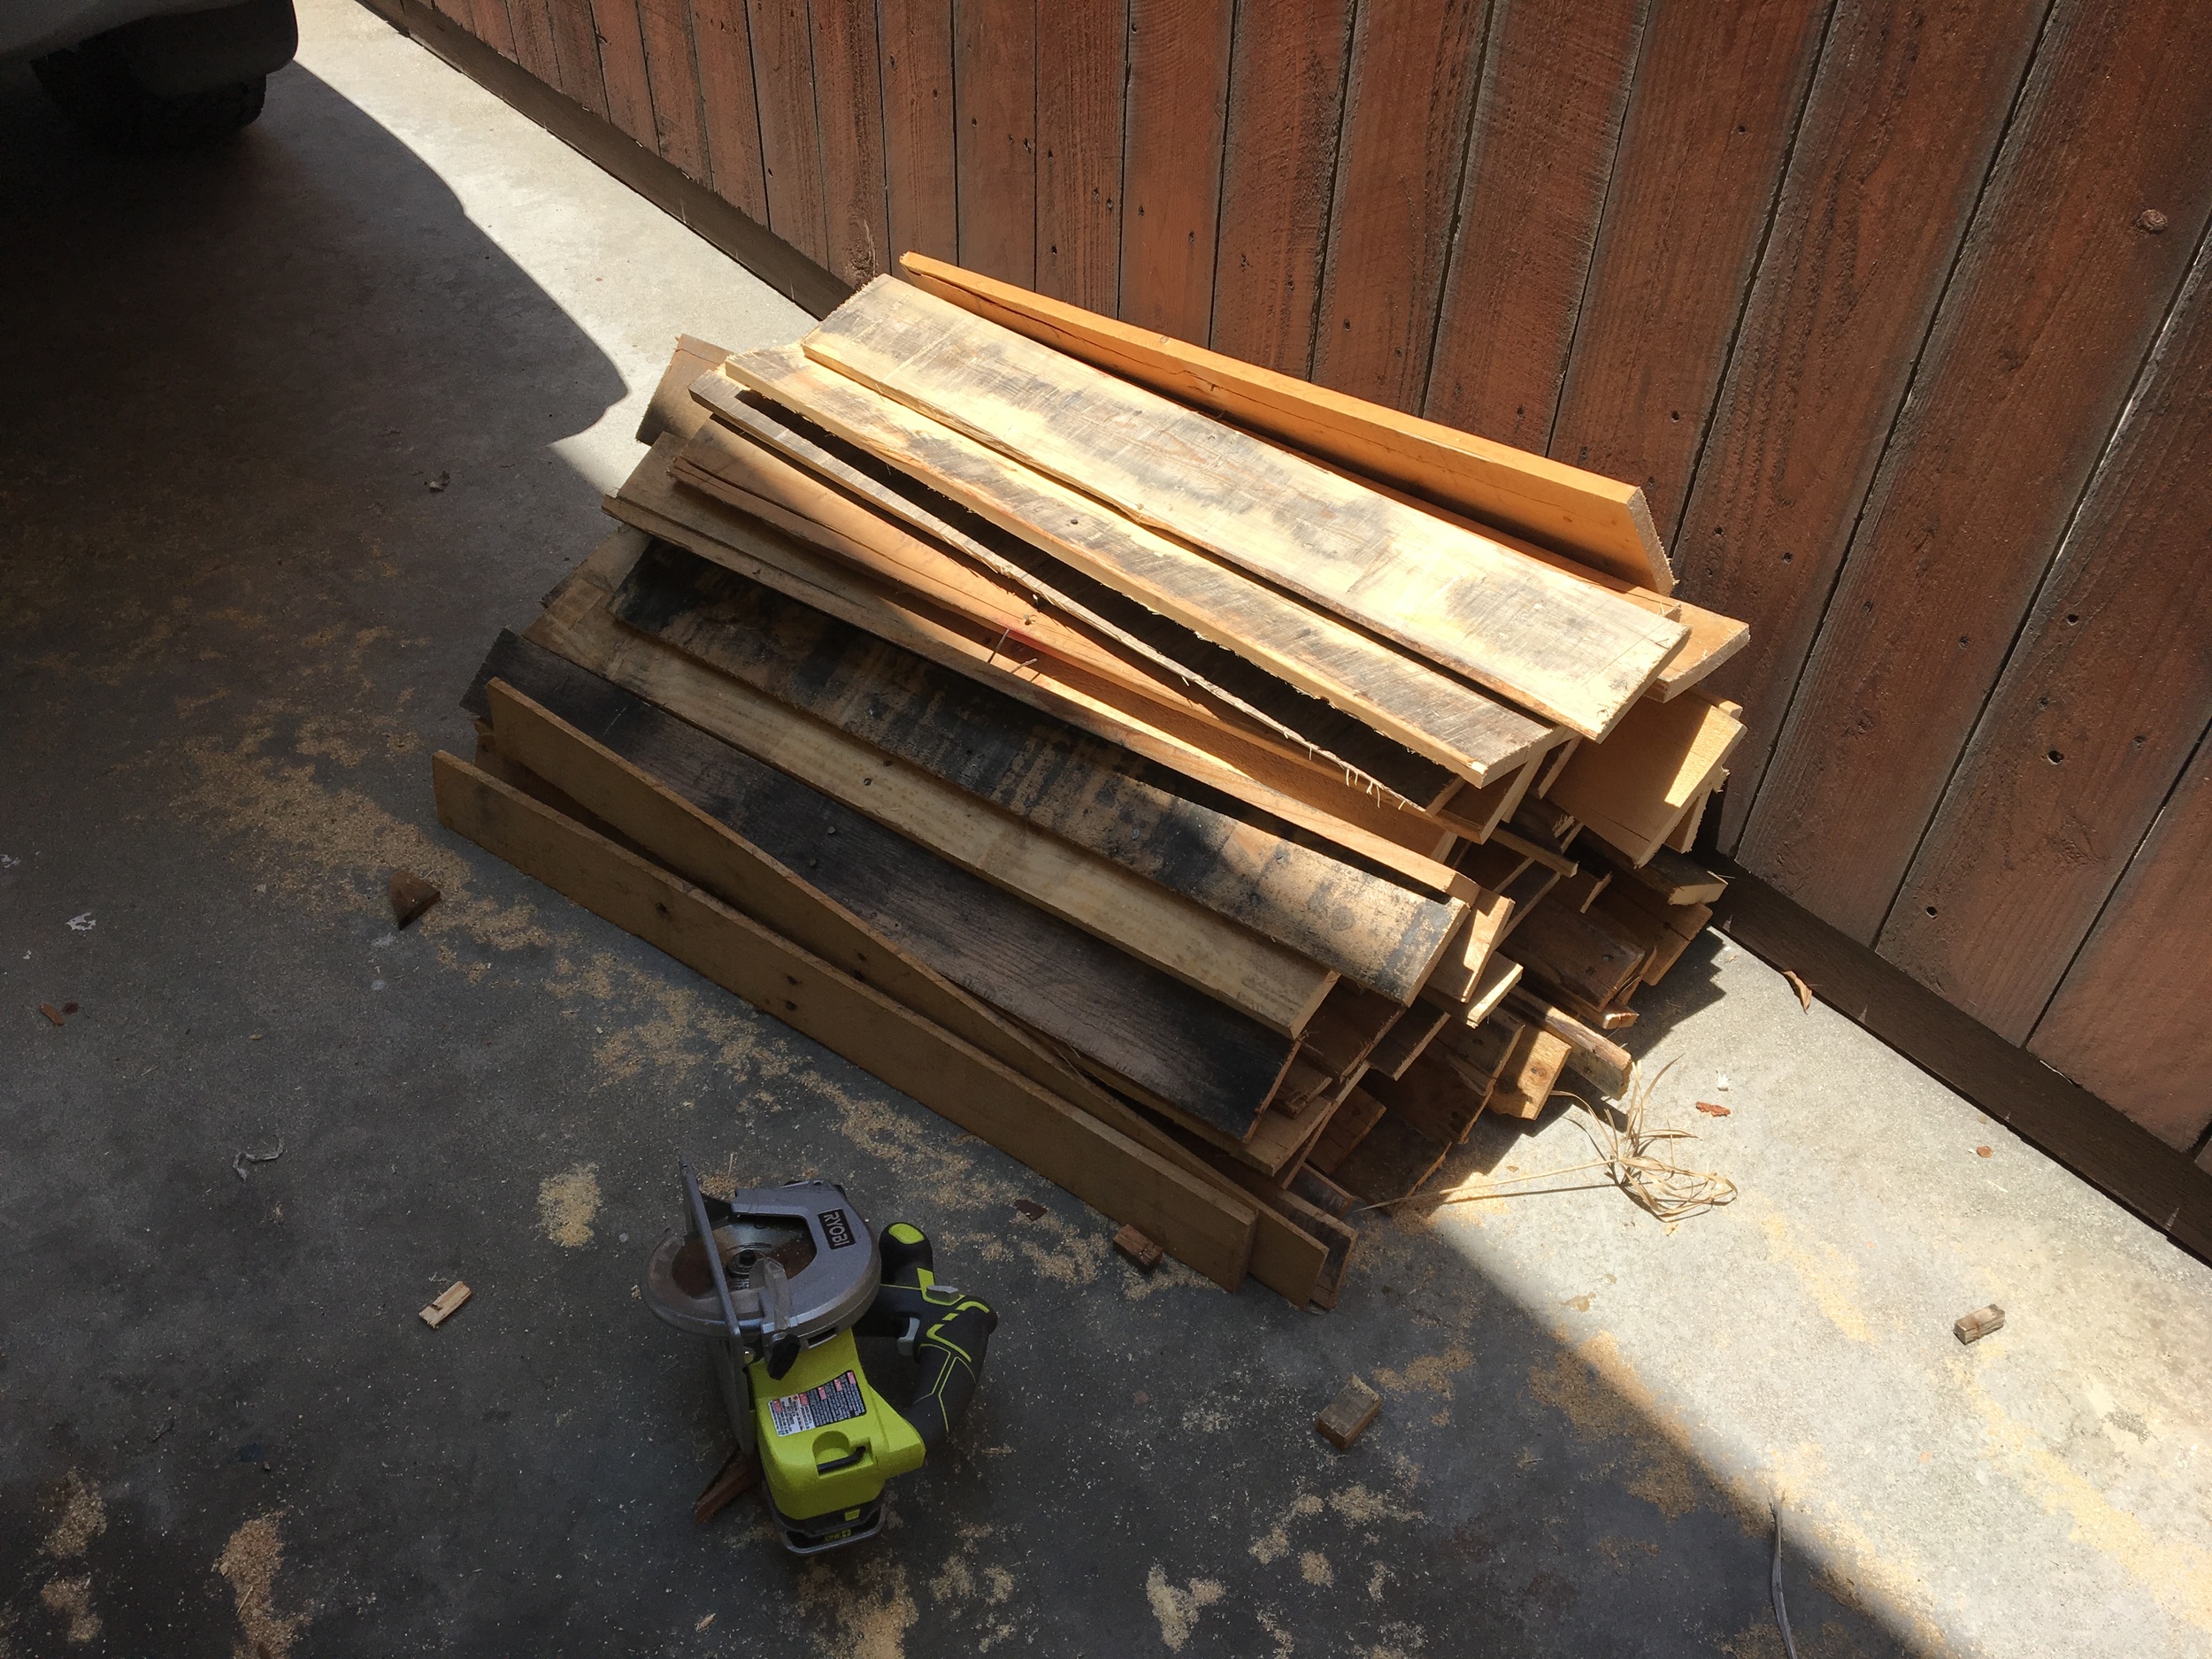

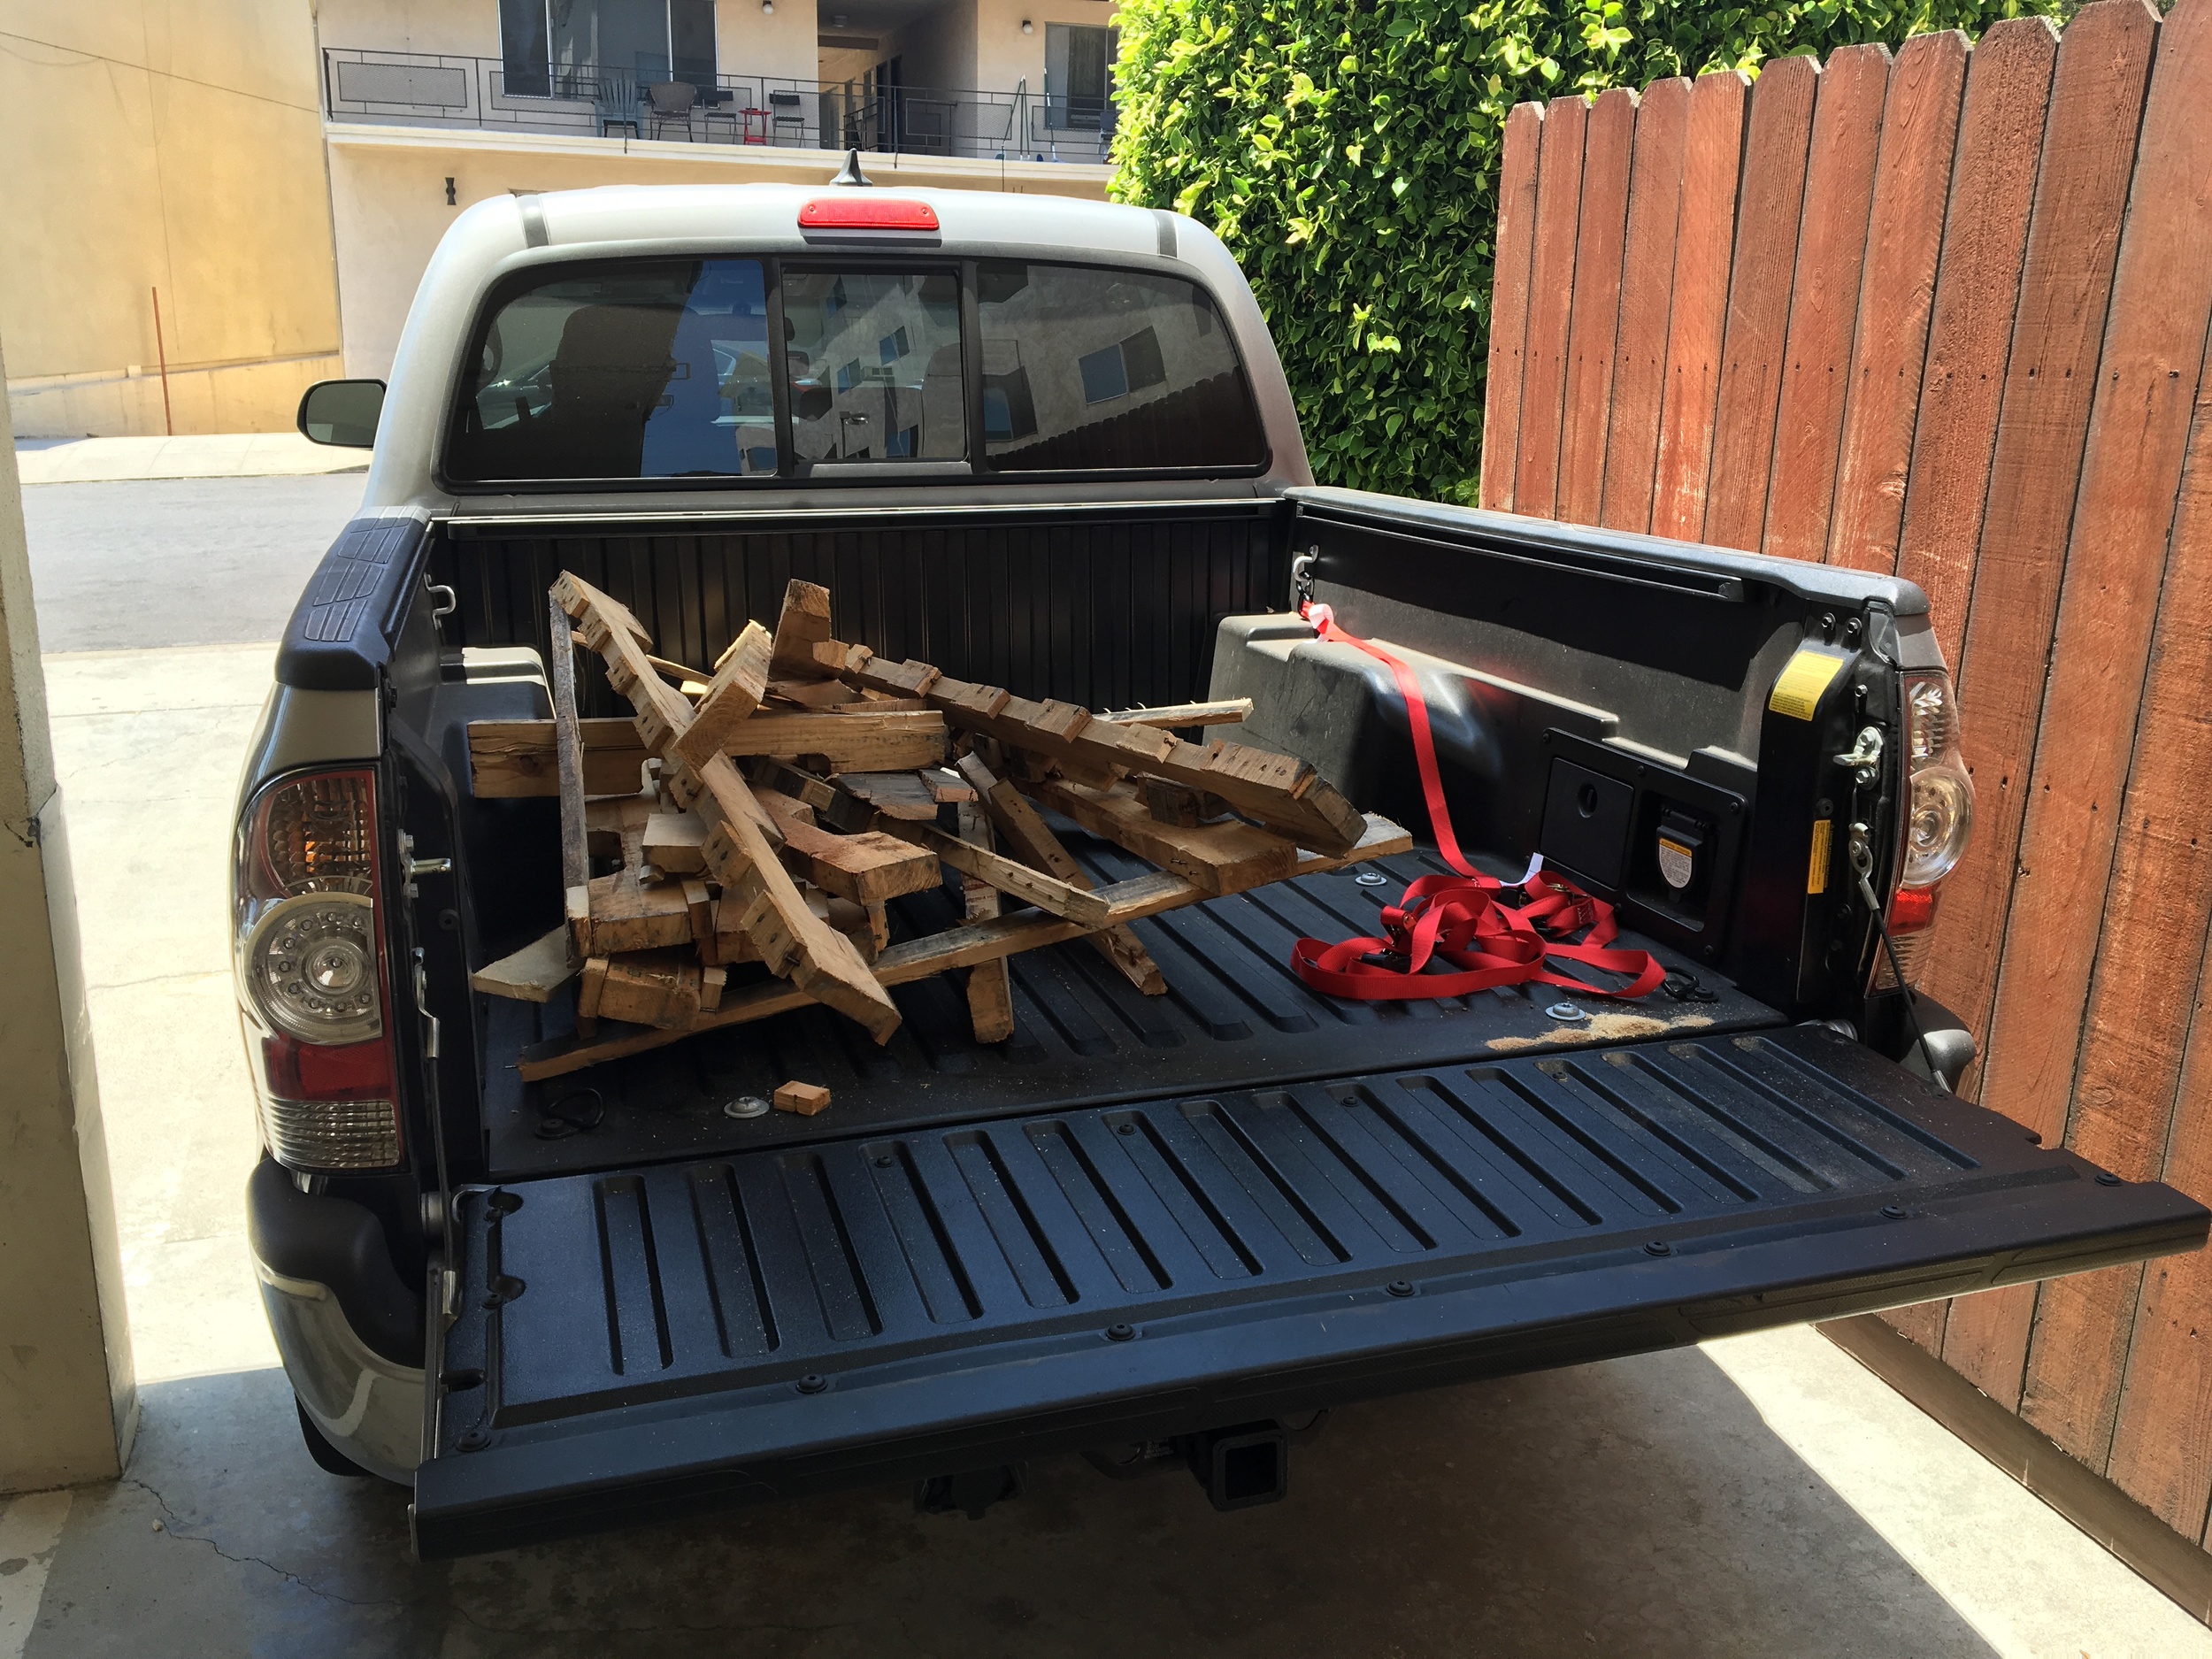
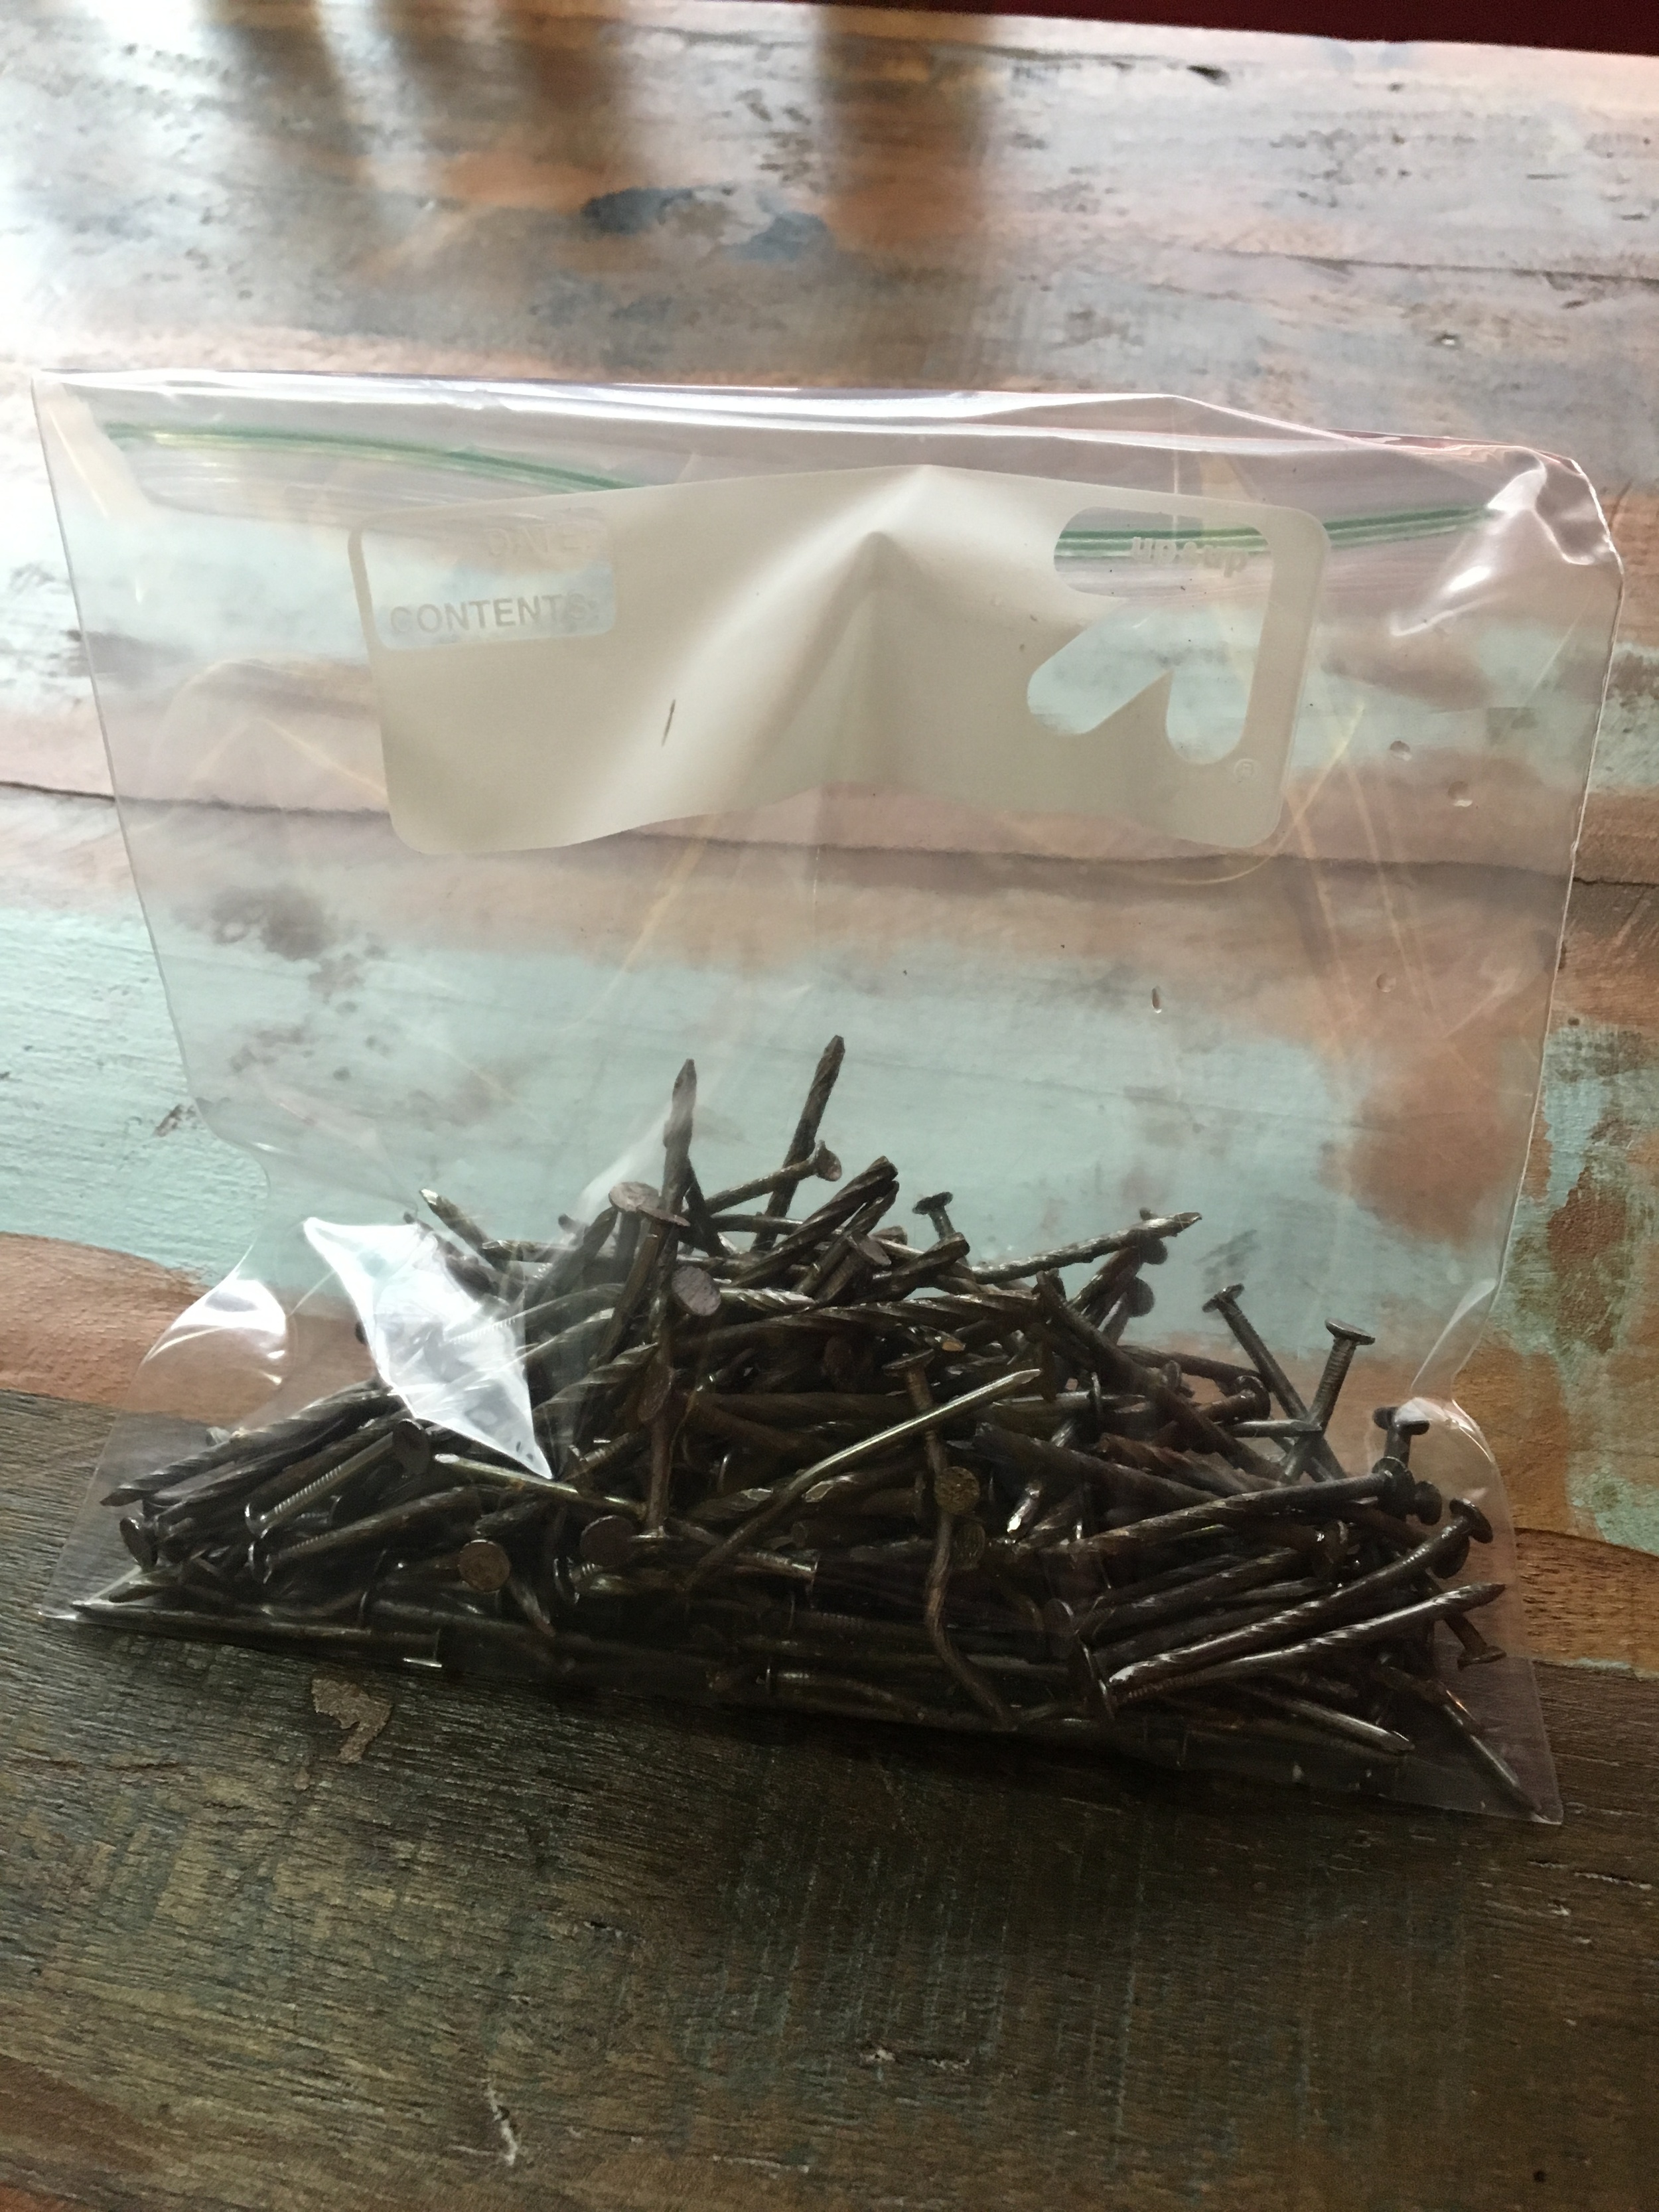
This was a lot easier than I expected. Took about 3.5 hours total to break down five of them, include cutting, ripping apart, removing nails, stacking, and cleaning. I found the best way to break them down is to run a circular saw along the edges of them, thus making it so you only need to rip off the pallet from the center nails. There were a shitload of nails in those things!
I was unbelievably sore after this for the next four days. My legs, back, and butt felt like I had been hit by a semi-truck. Once I recovered the following weekend, I was off to Home Depot, a place where, if given free reign, would accidentally spend all of the money I have in the bank.
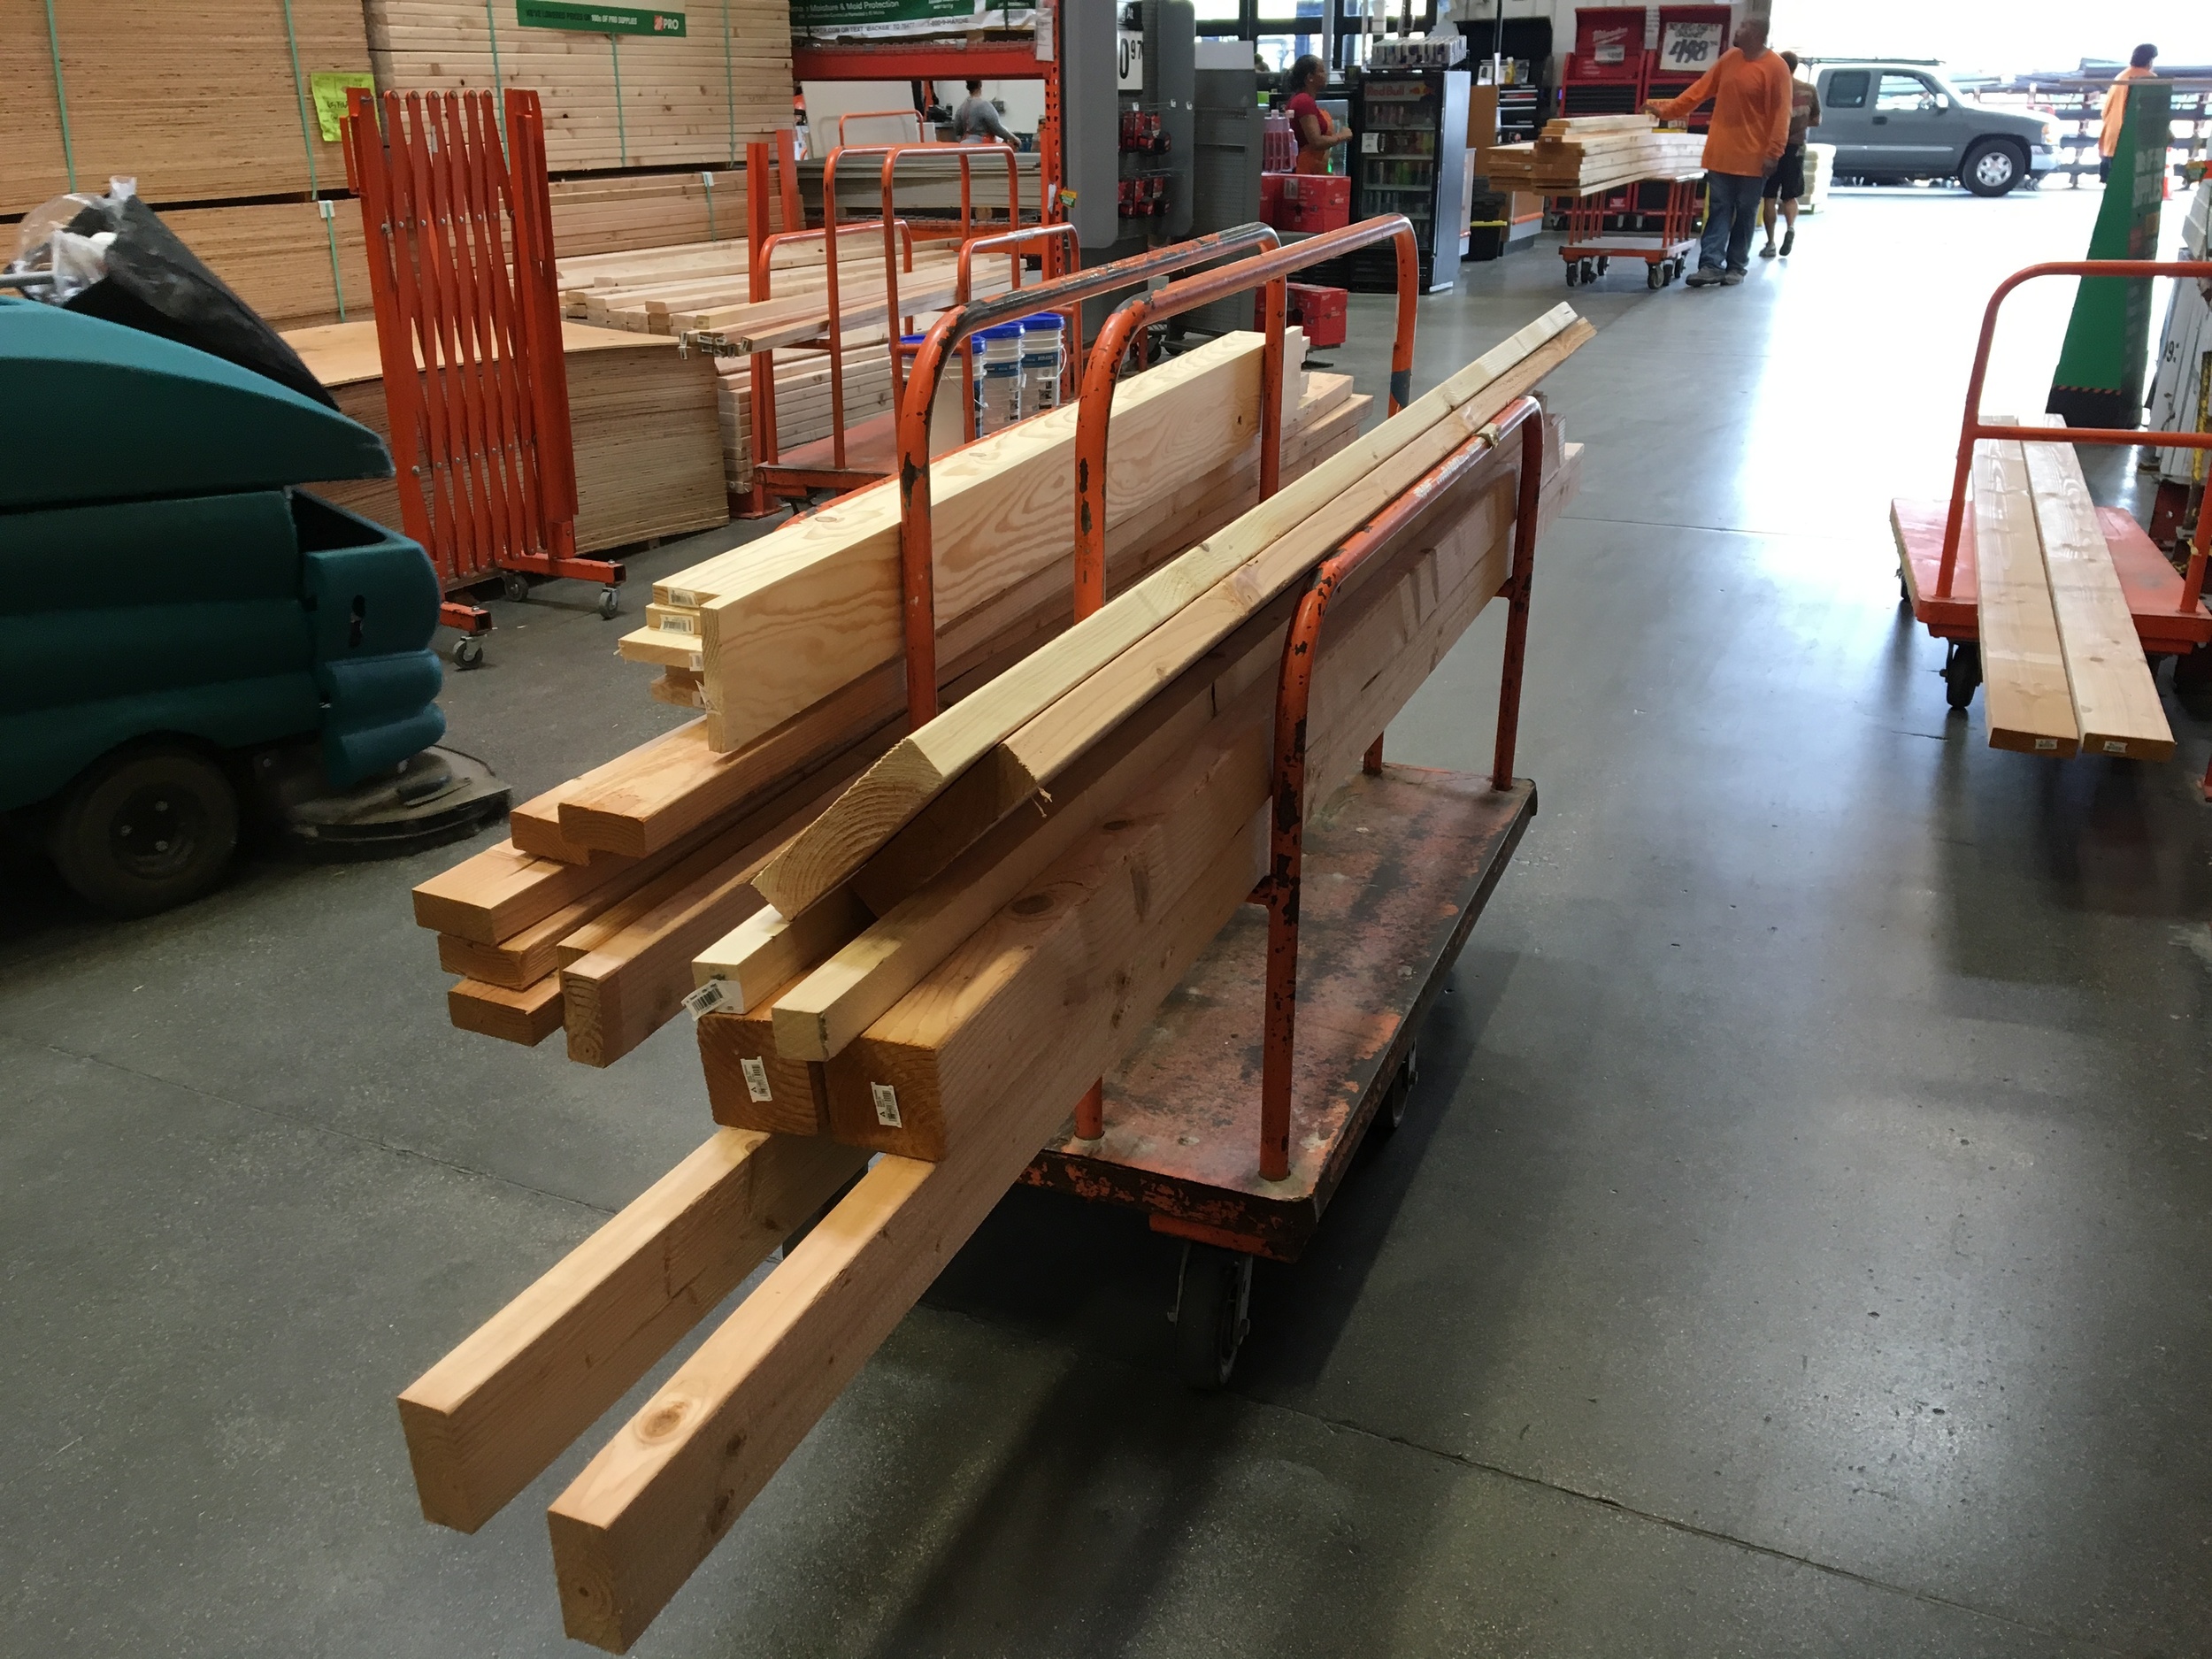
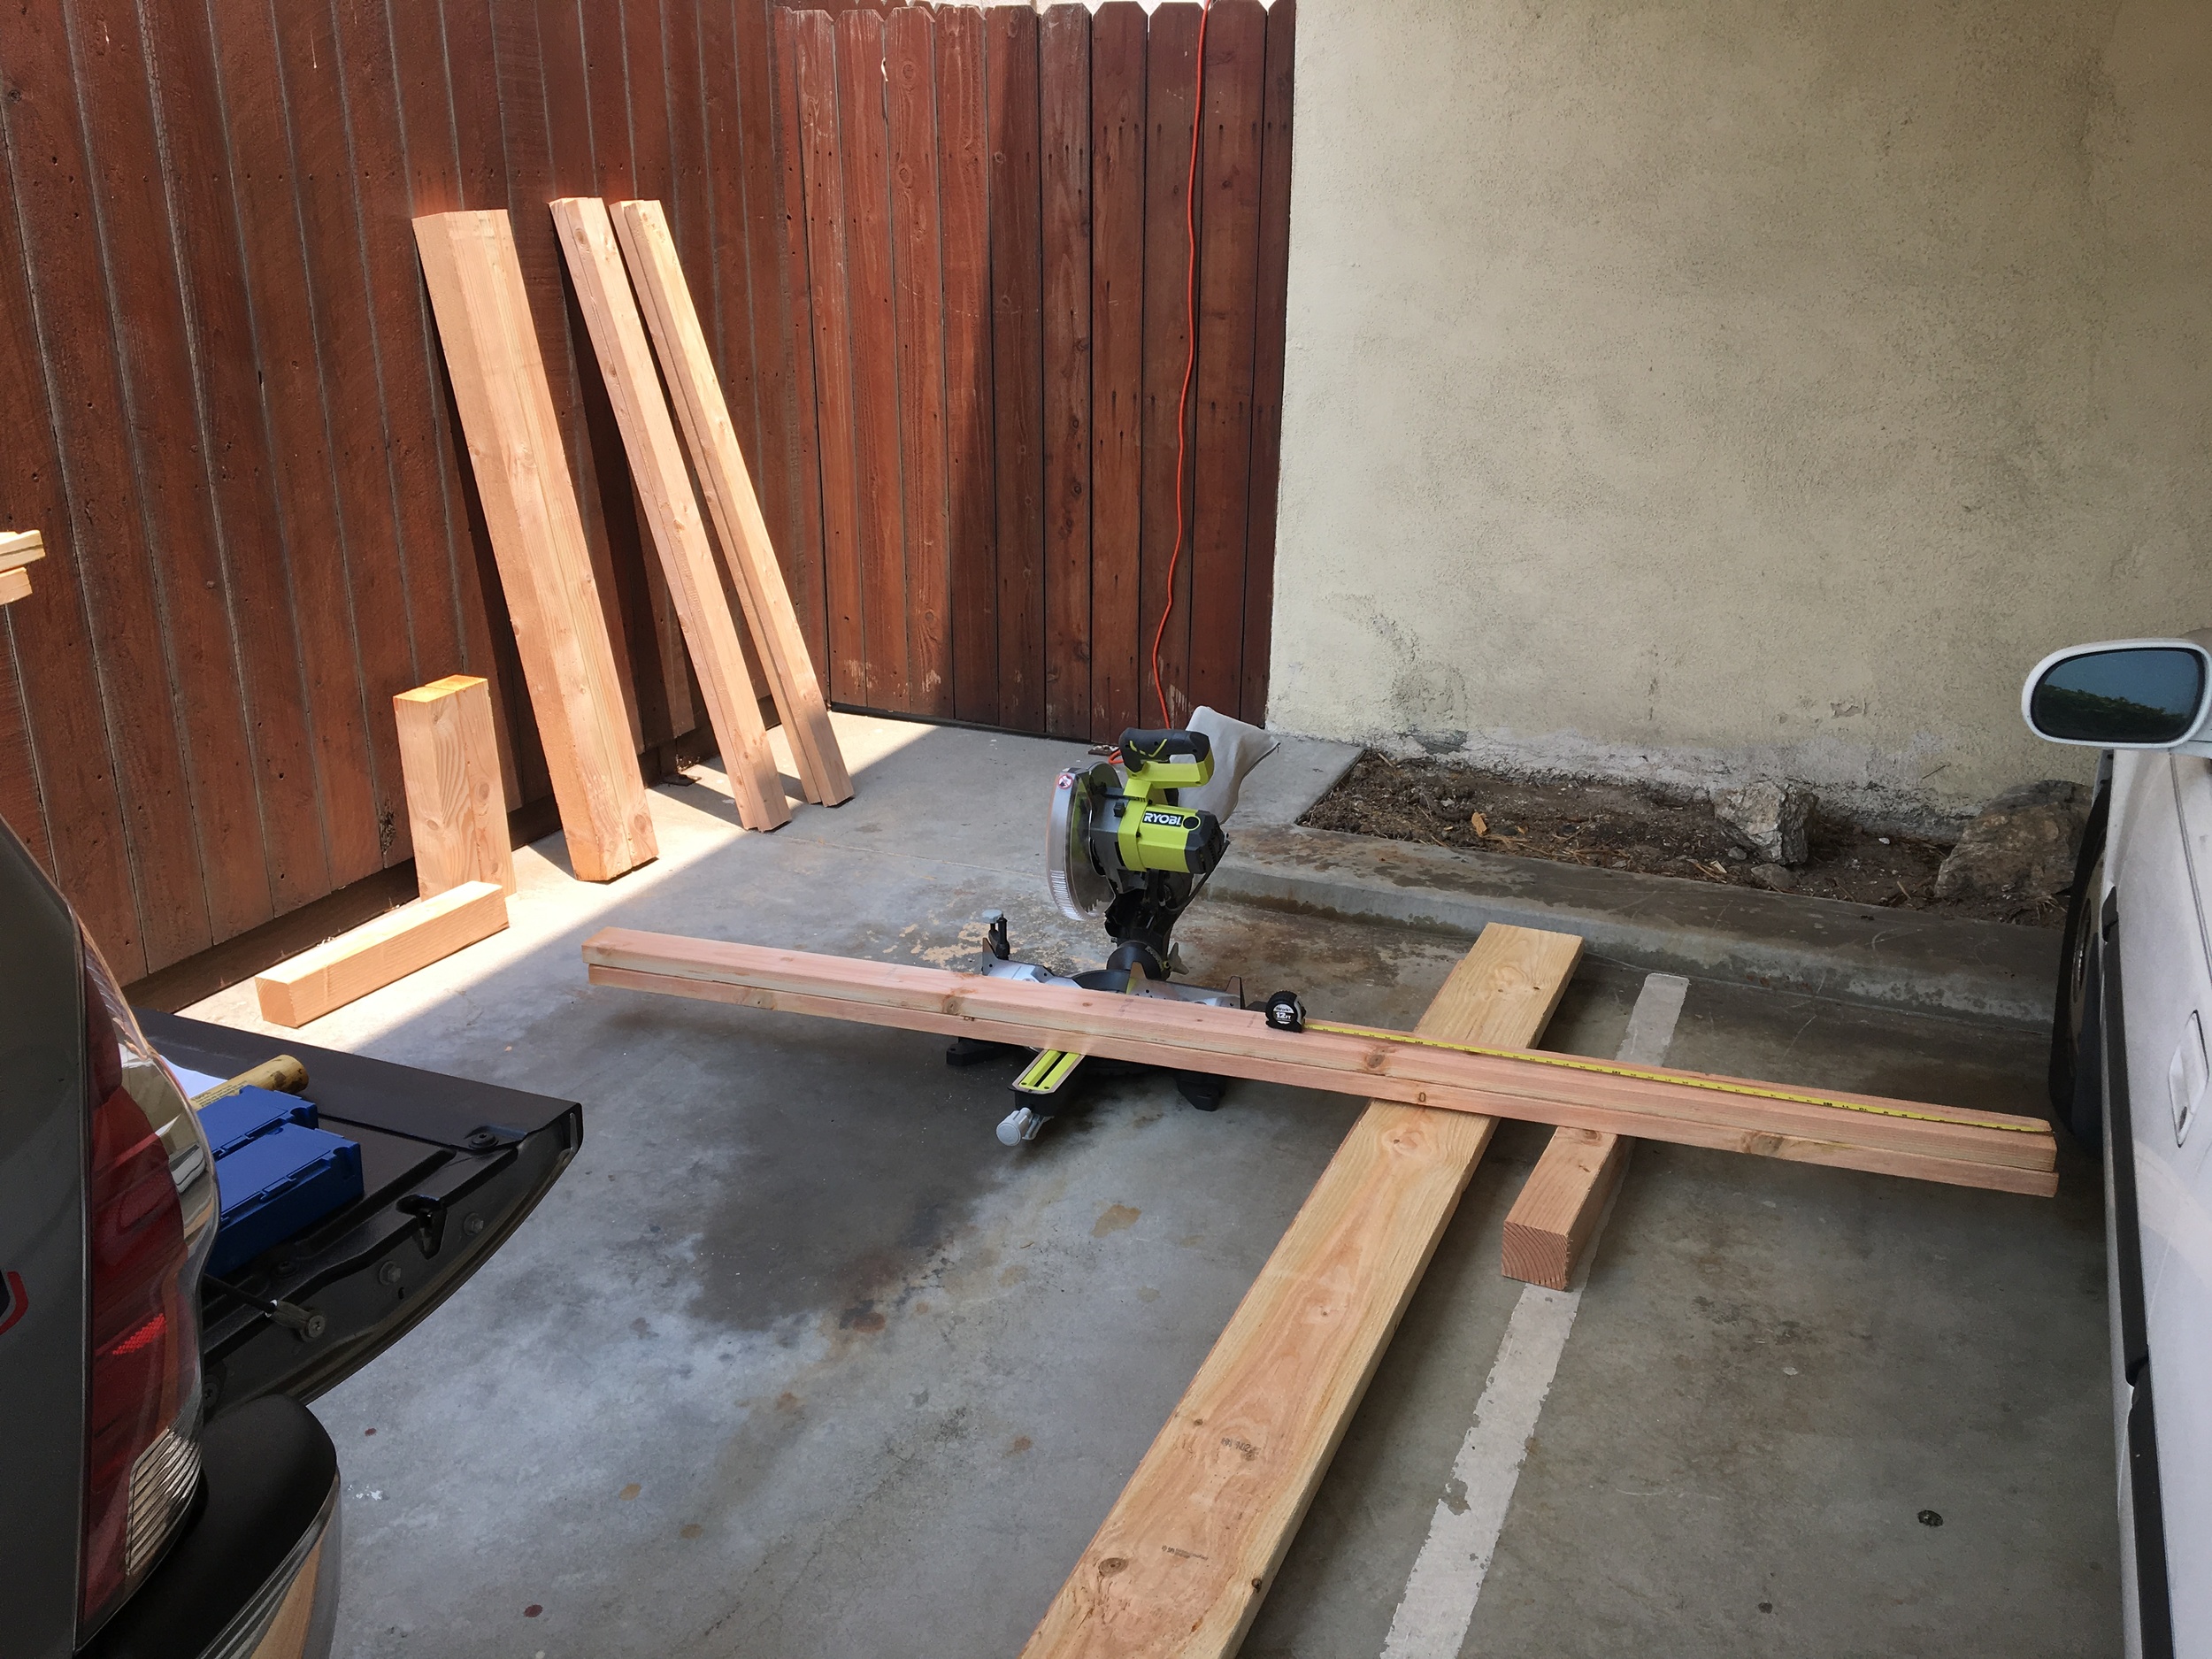
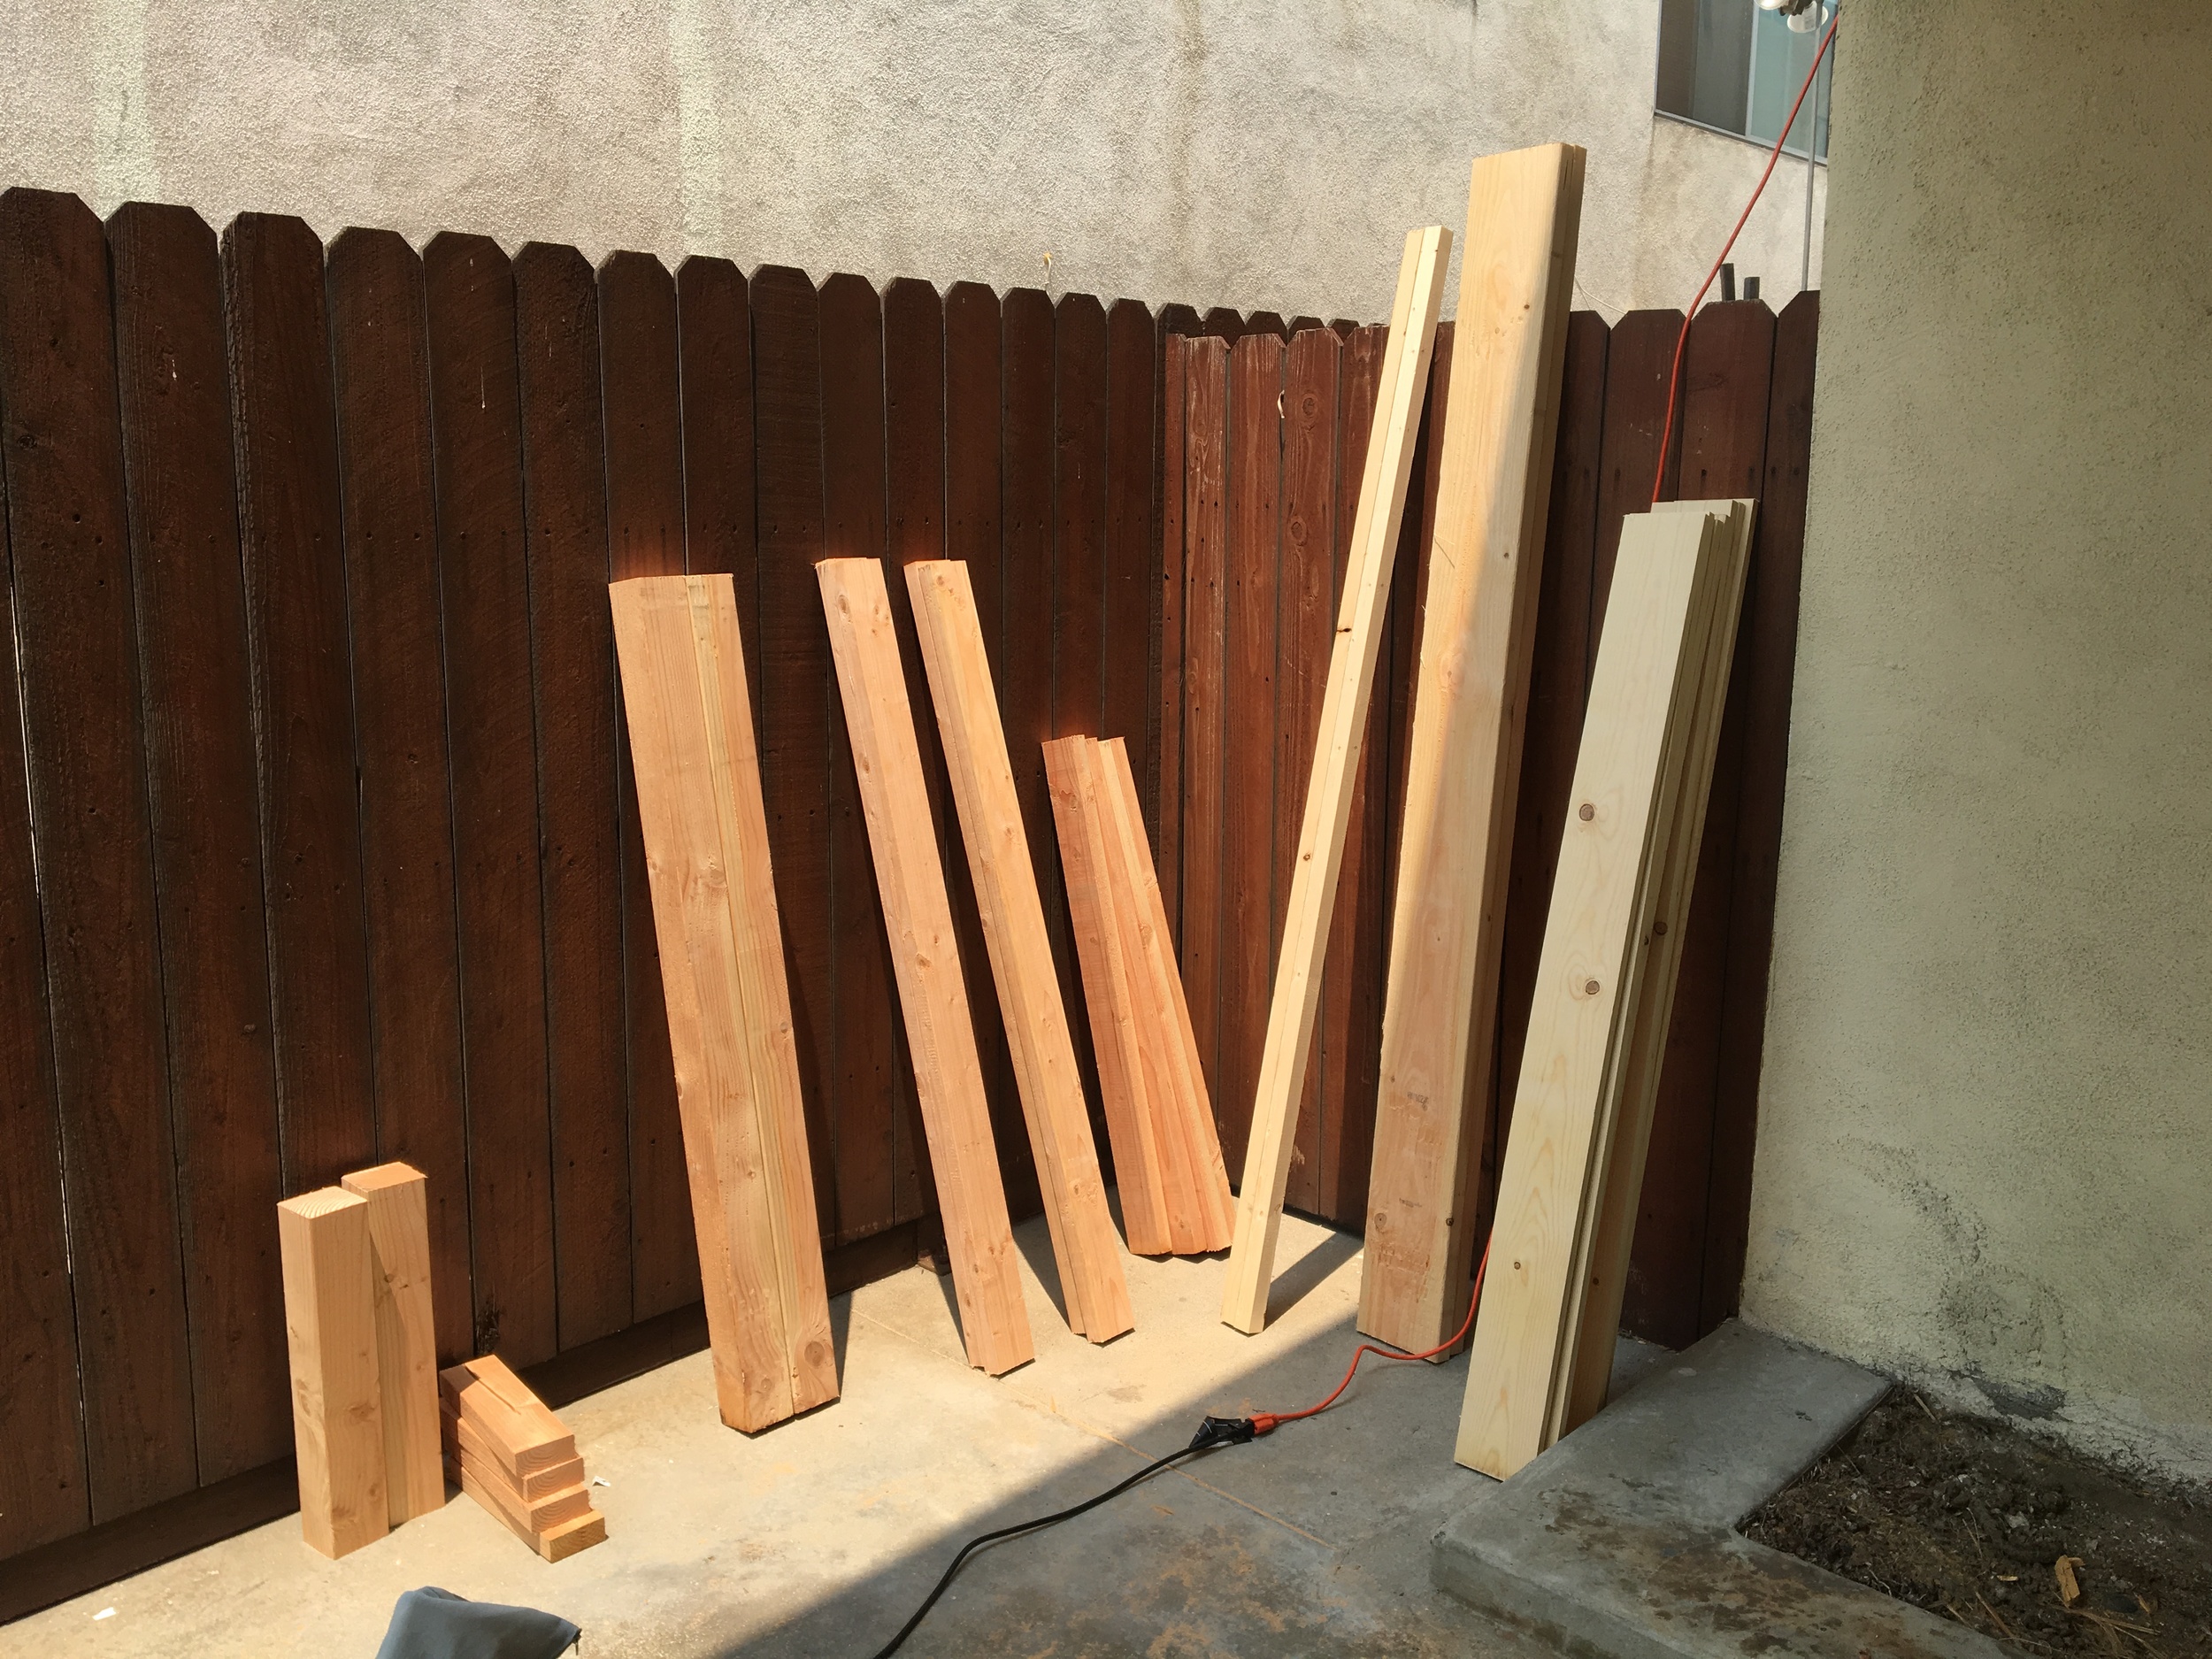
Lumber I purchased for this project is above. The series of pictures show it from purchase through to all being cut to length. All wood is douglas fir unless otherwise specified:
2 x 4" x 4" x 8'
2 x 2" x 4" x 10'
4 x 2" x 4" x 8'
2 x 2" x 8" x 8'
2 x 2" x 2" x 8' (whitewood)
7 x 1" x 6" x 6' (whitewood)
1.5” Pocket Hole Screws
Wood Screws (2.50”)
I also purchased a Ryobi Brad Nailer which I had wanted for sometime. It is cordless, so I don't need an air compressor to use it. I would have bought a different one had I also had space in my apartment to store an air compressor, but I don't. I also purchased additional wood glue, Kreg pocket hole screws (2.5"), and regular wood screws.
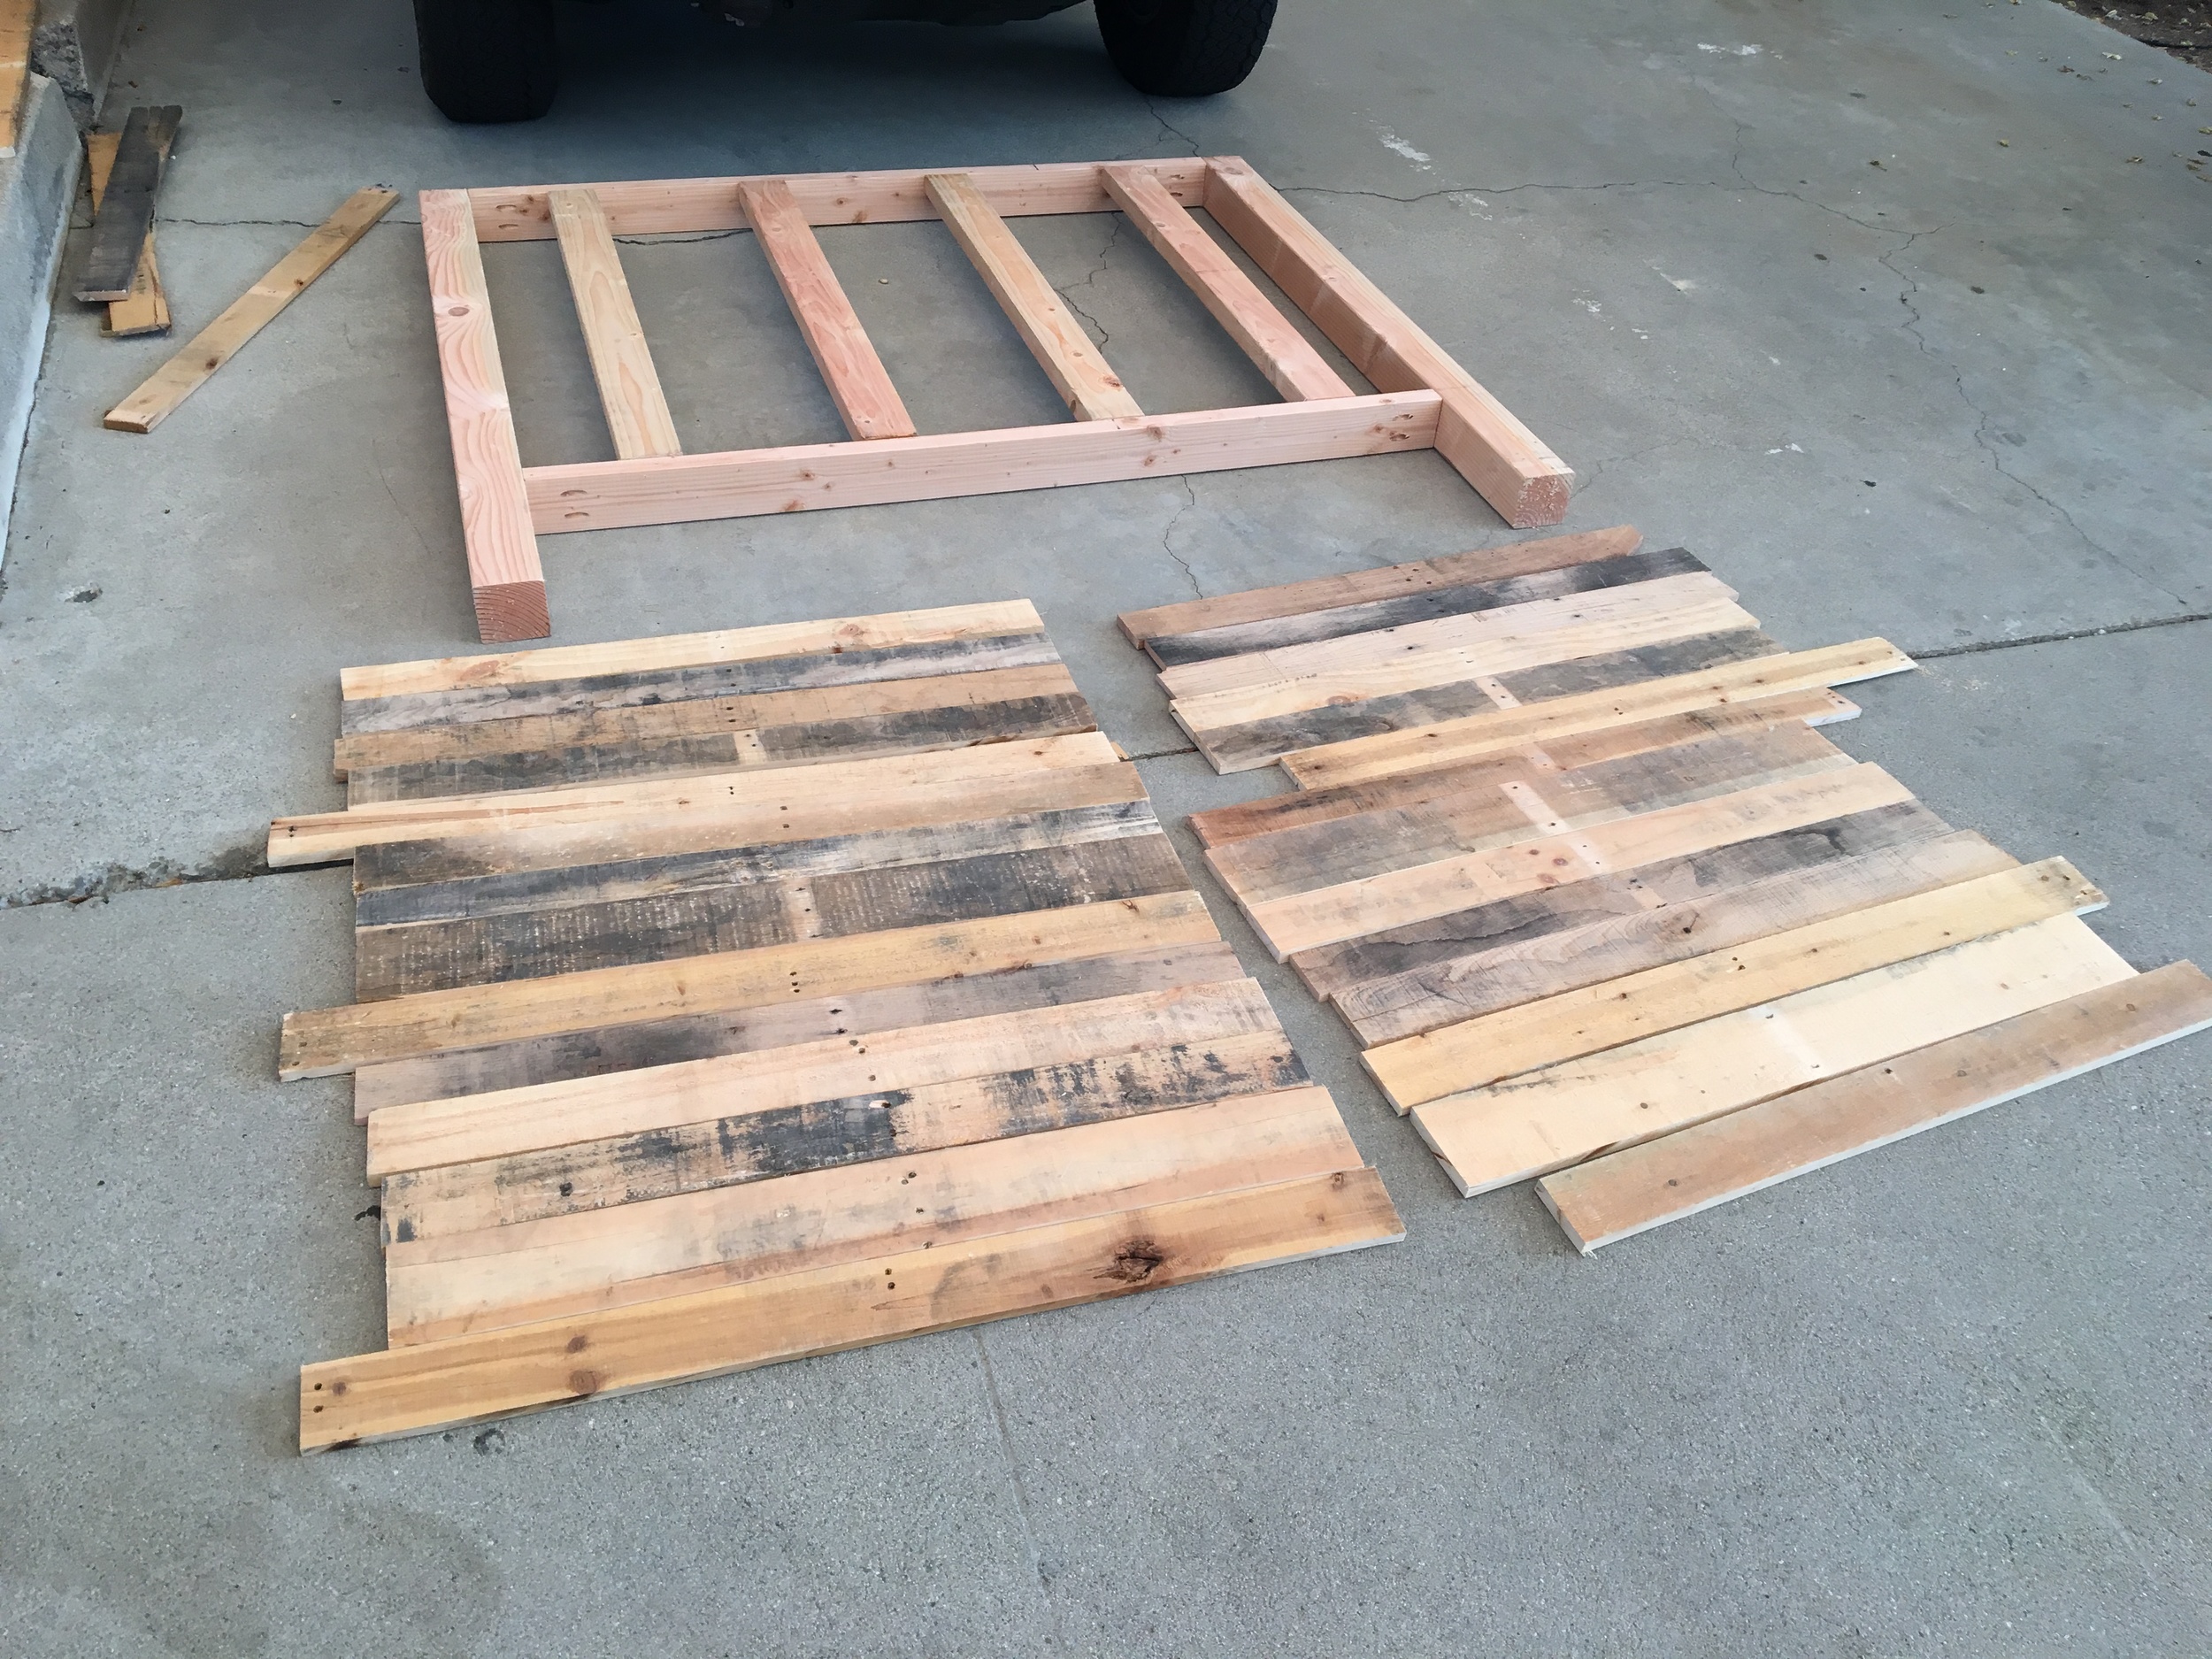
Next it was on to the assembly of the frames.
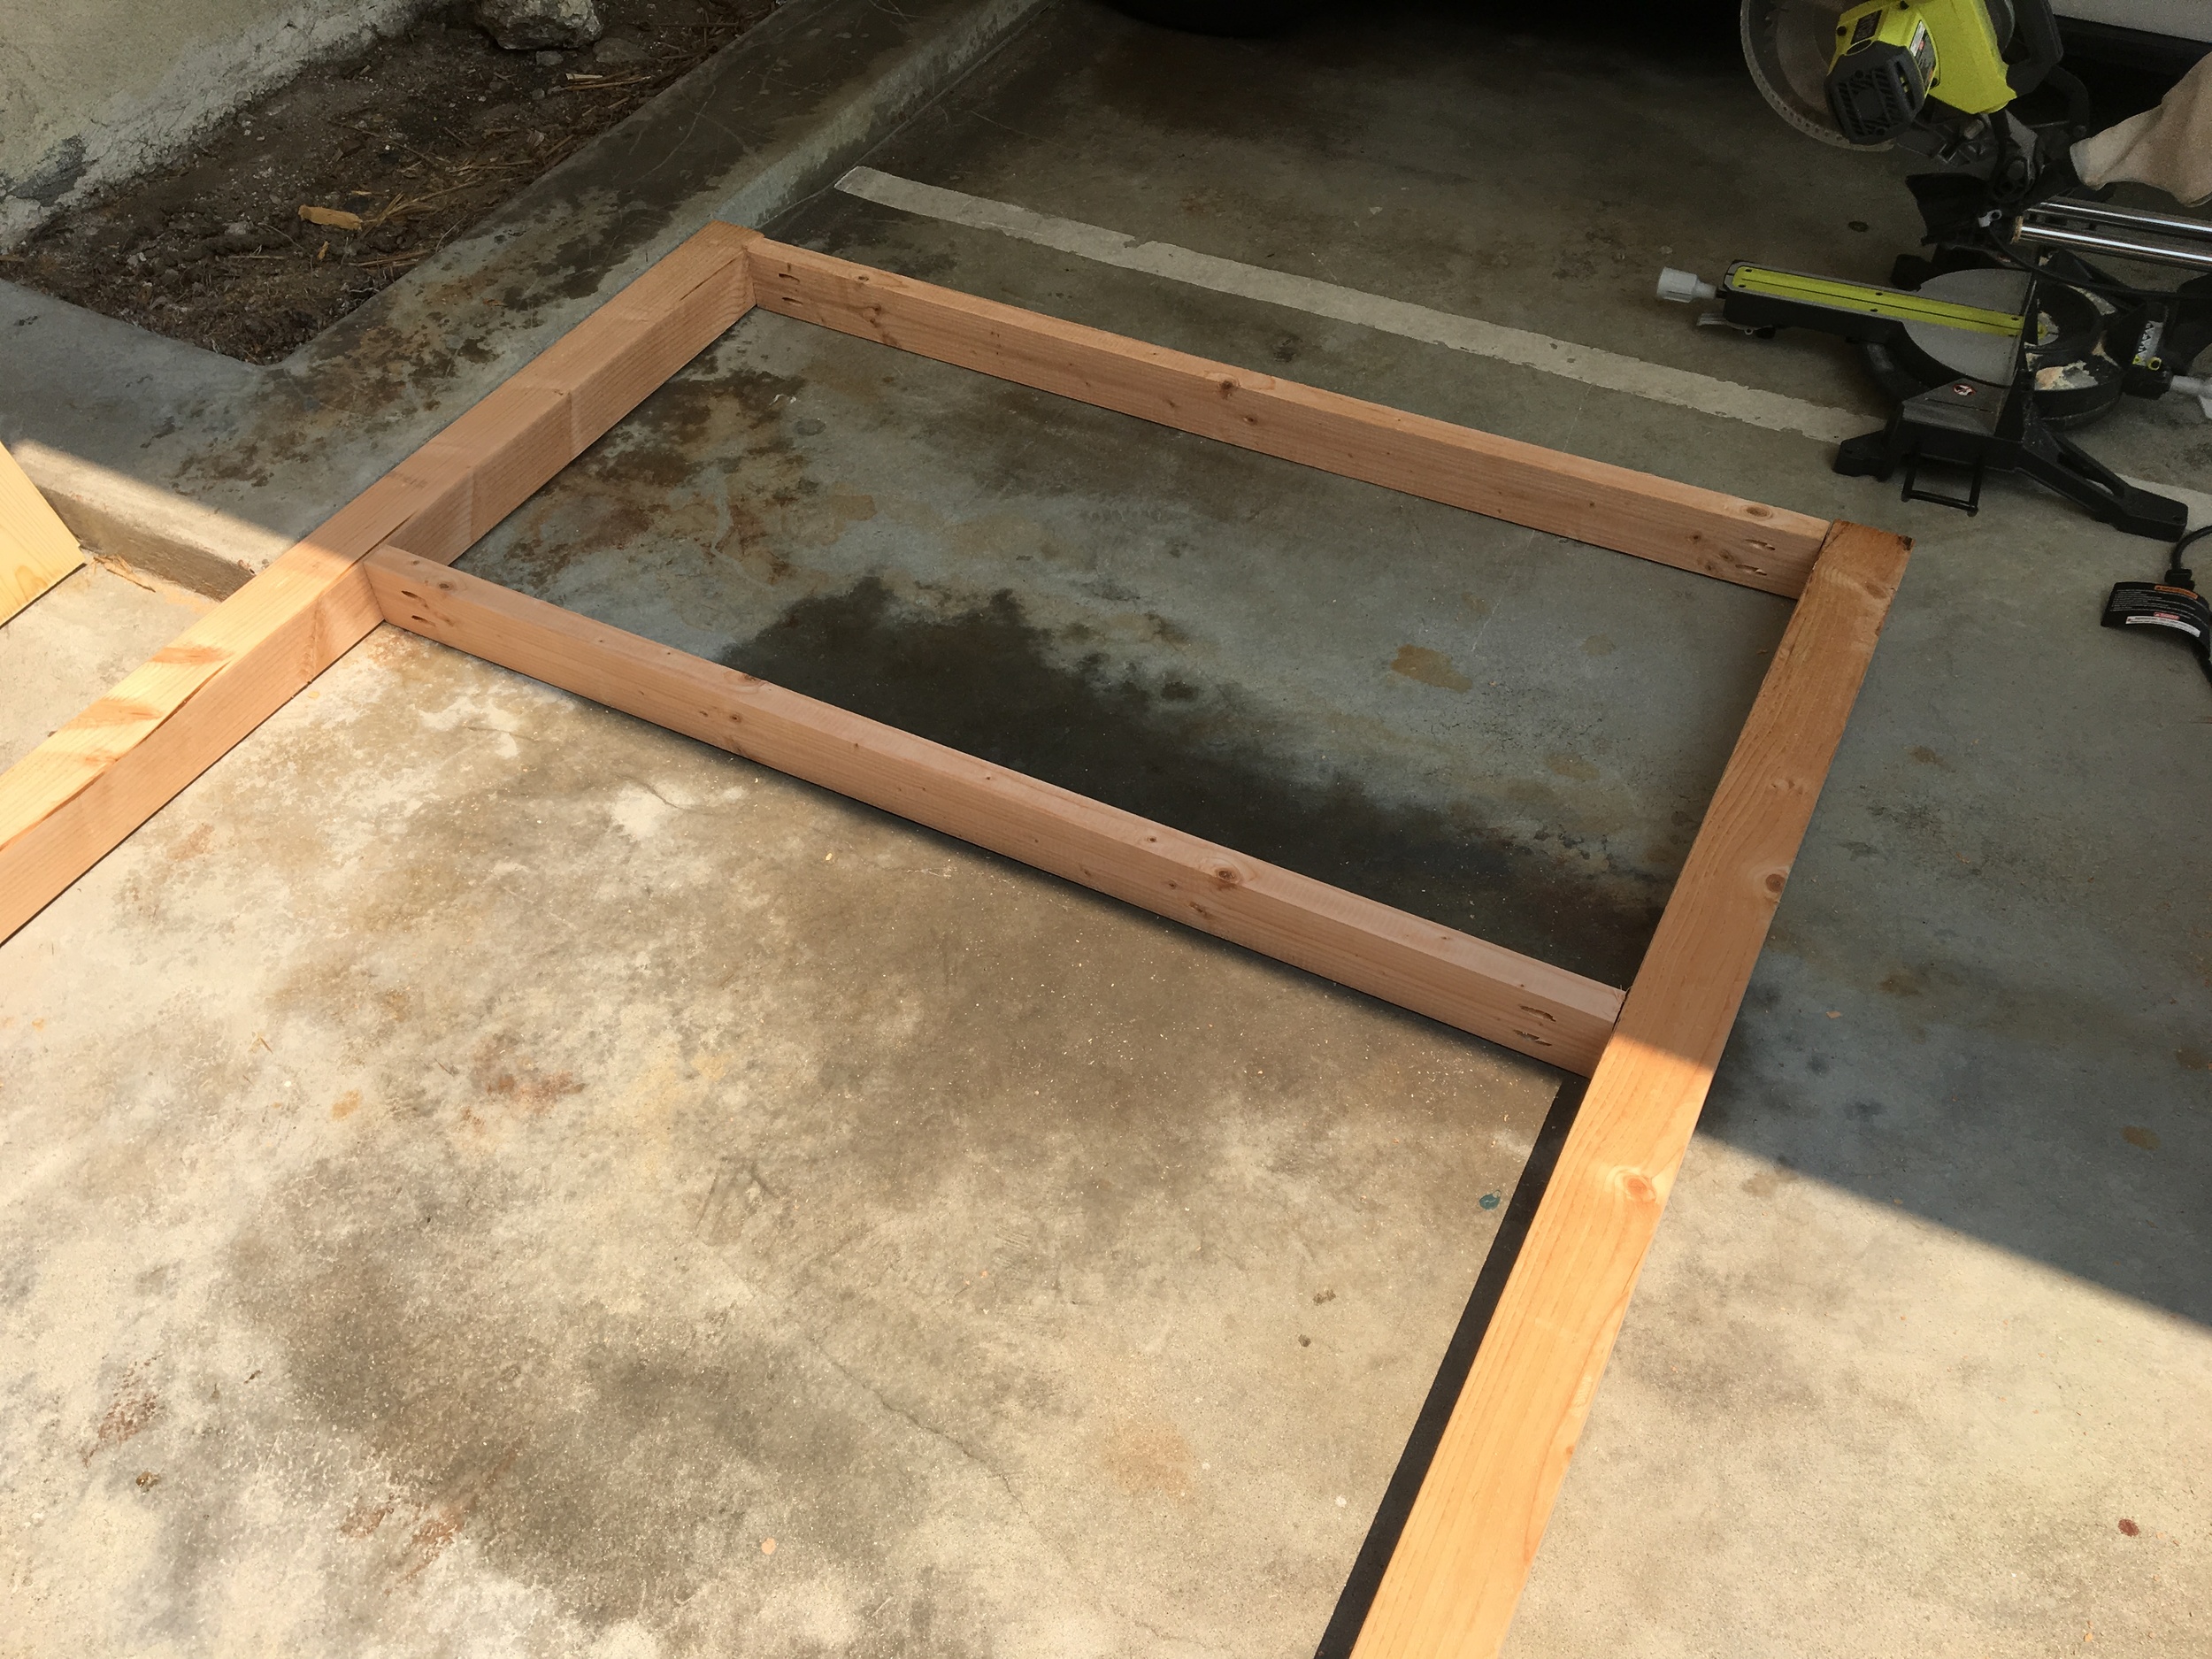
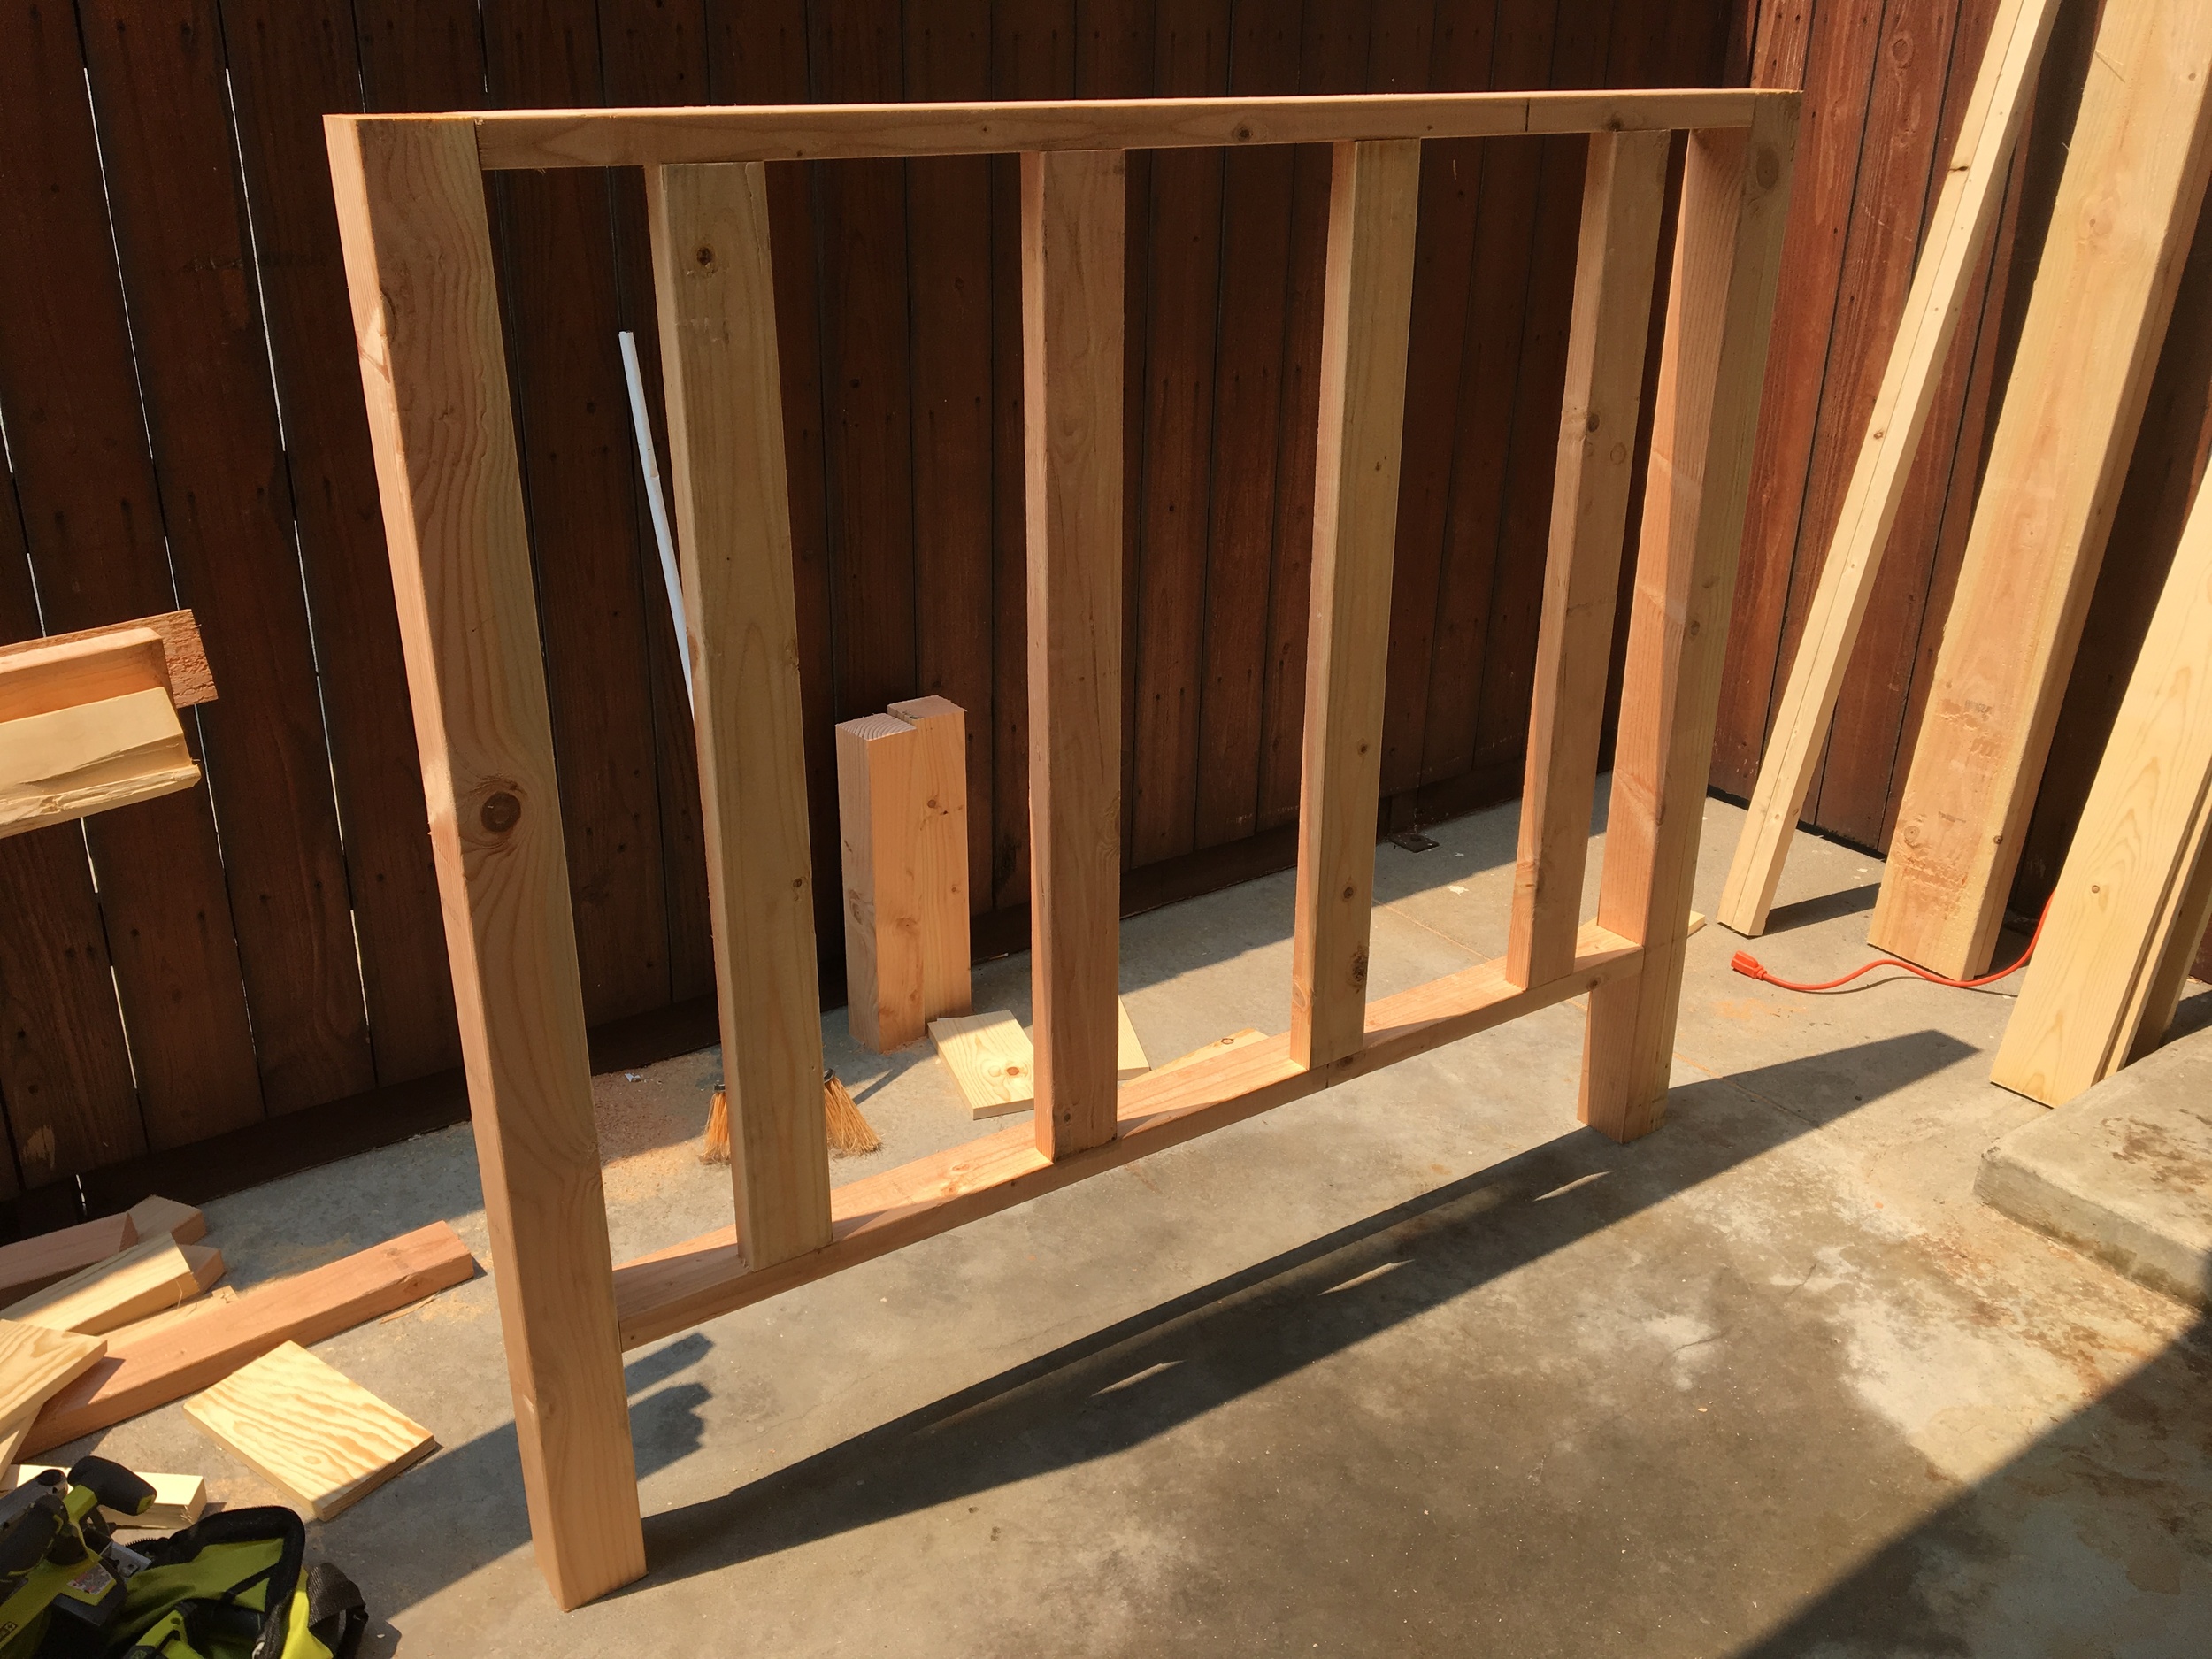
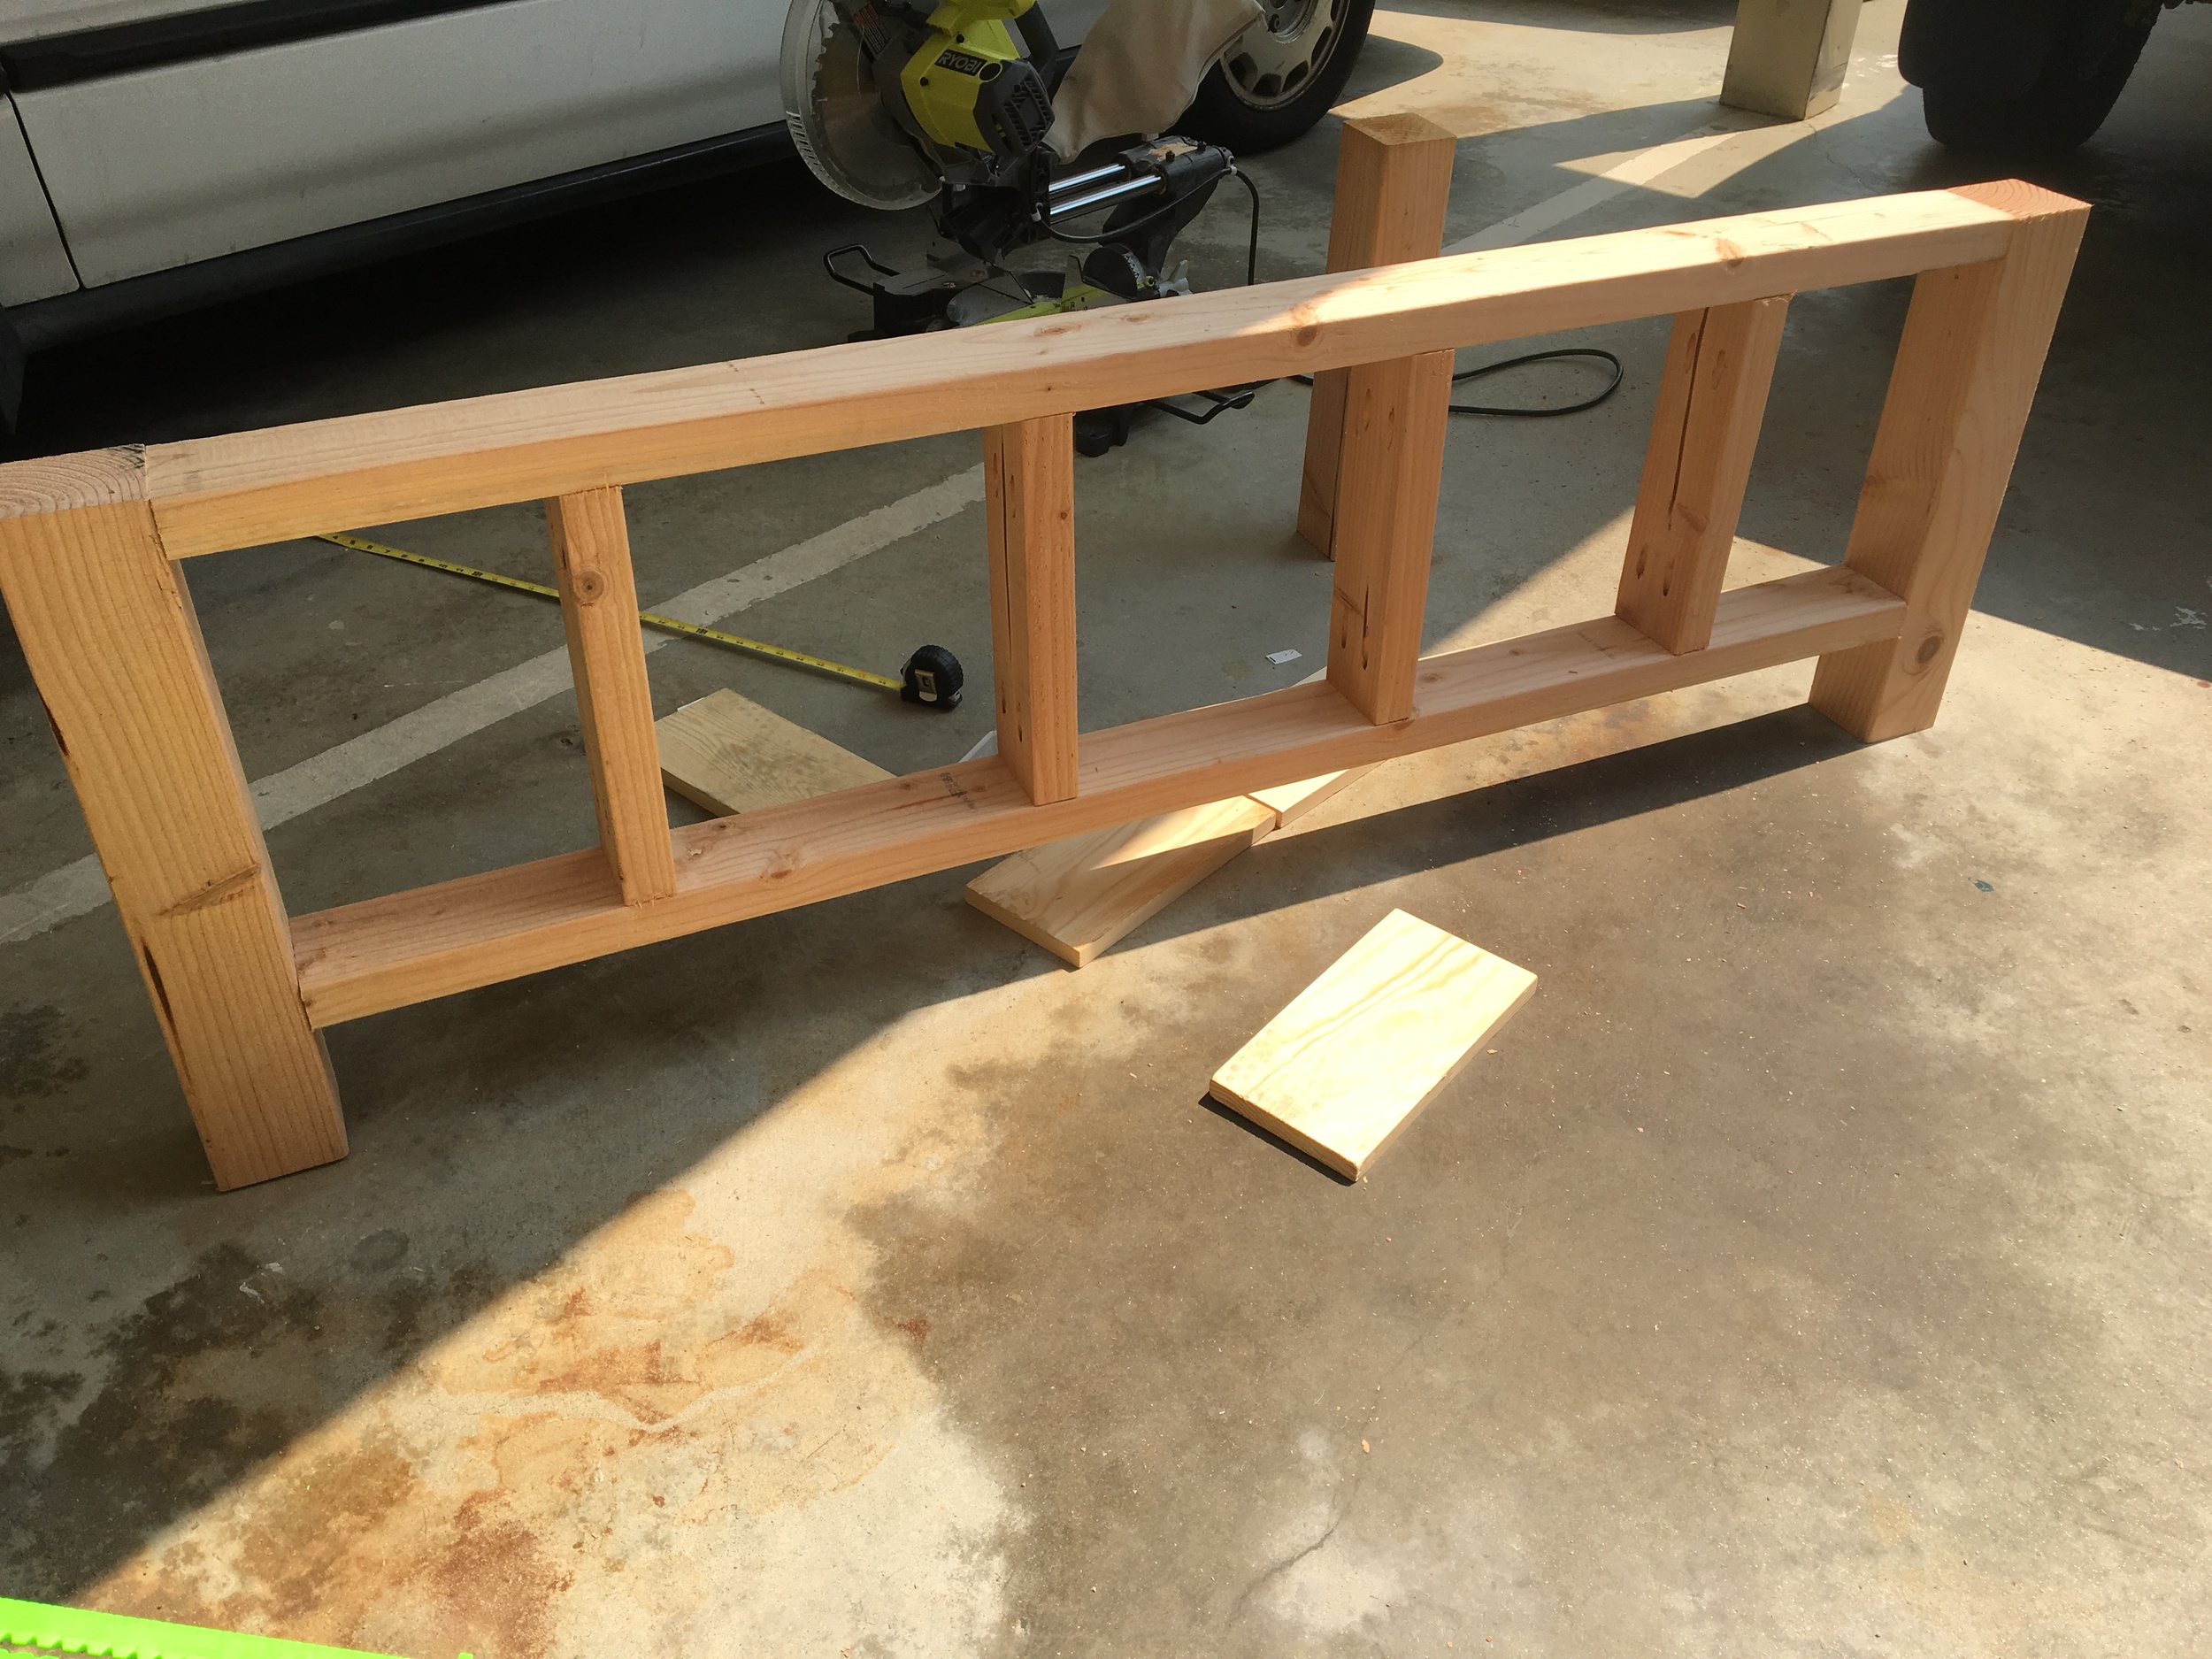
My go to for assembly is always pocket holes. They're wicked strong and incredibly easy to cut with the Kreg 5 Pocket Hole Jig and a semi-powerful drill.
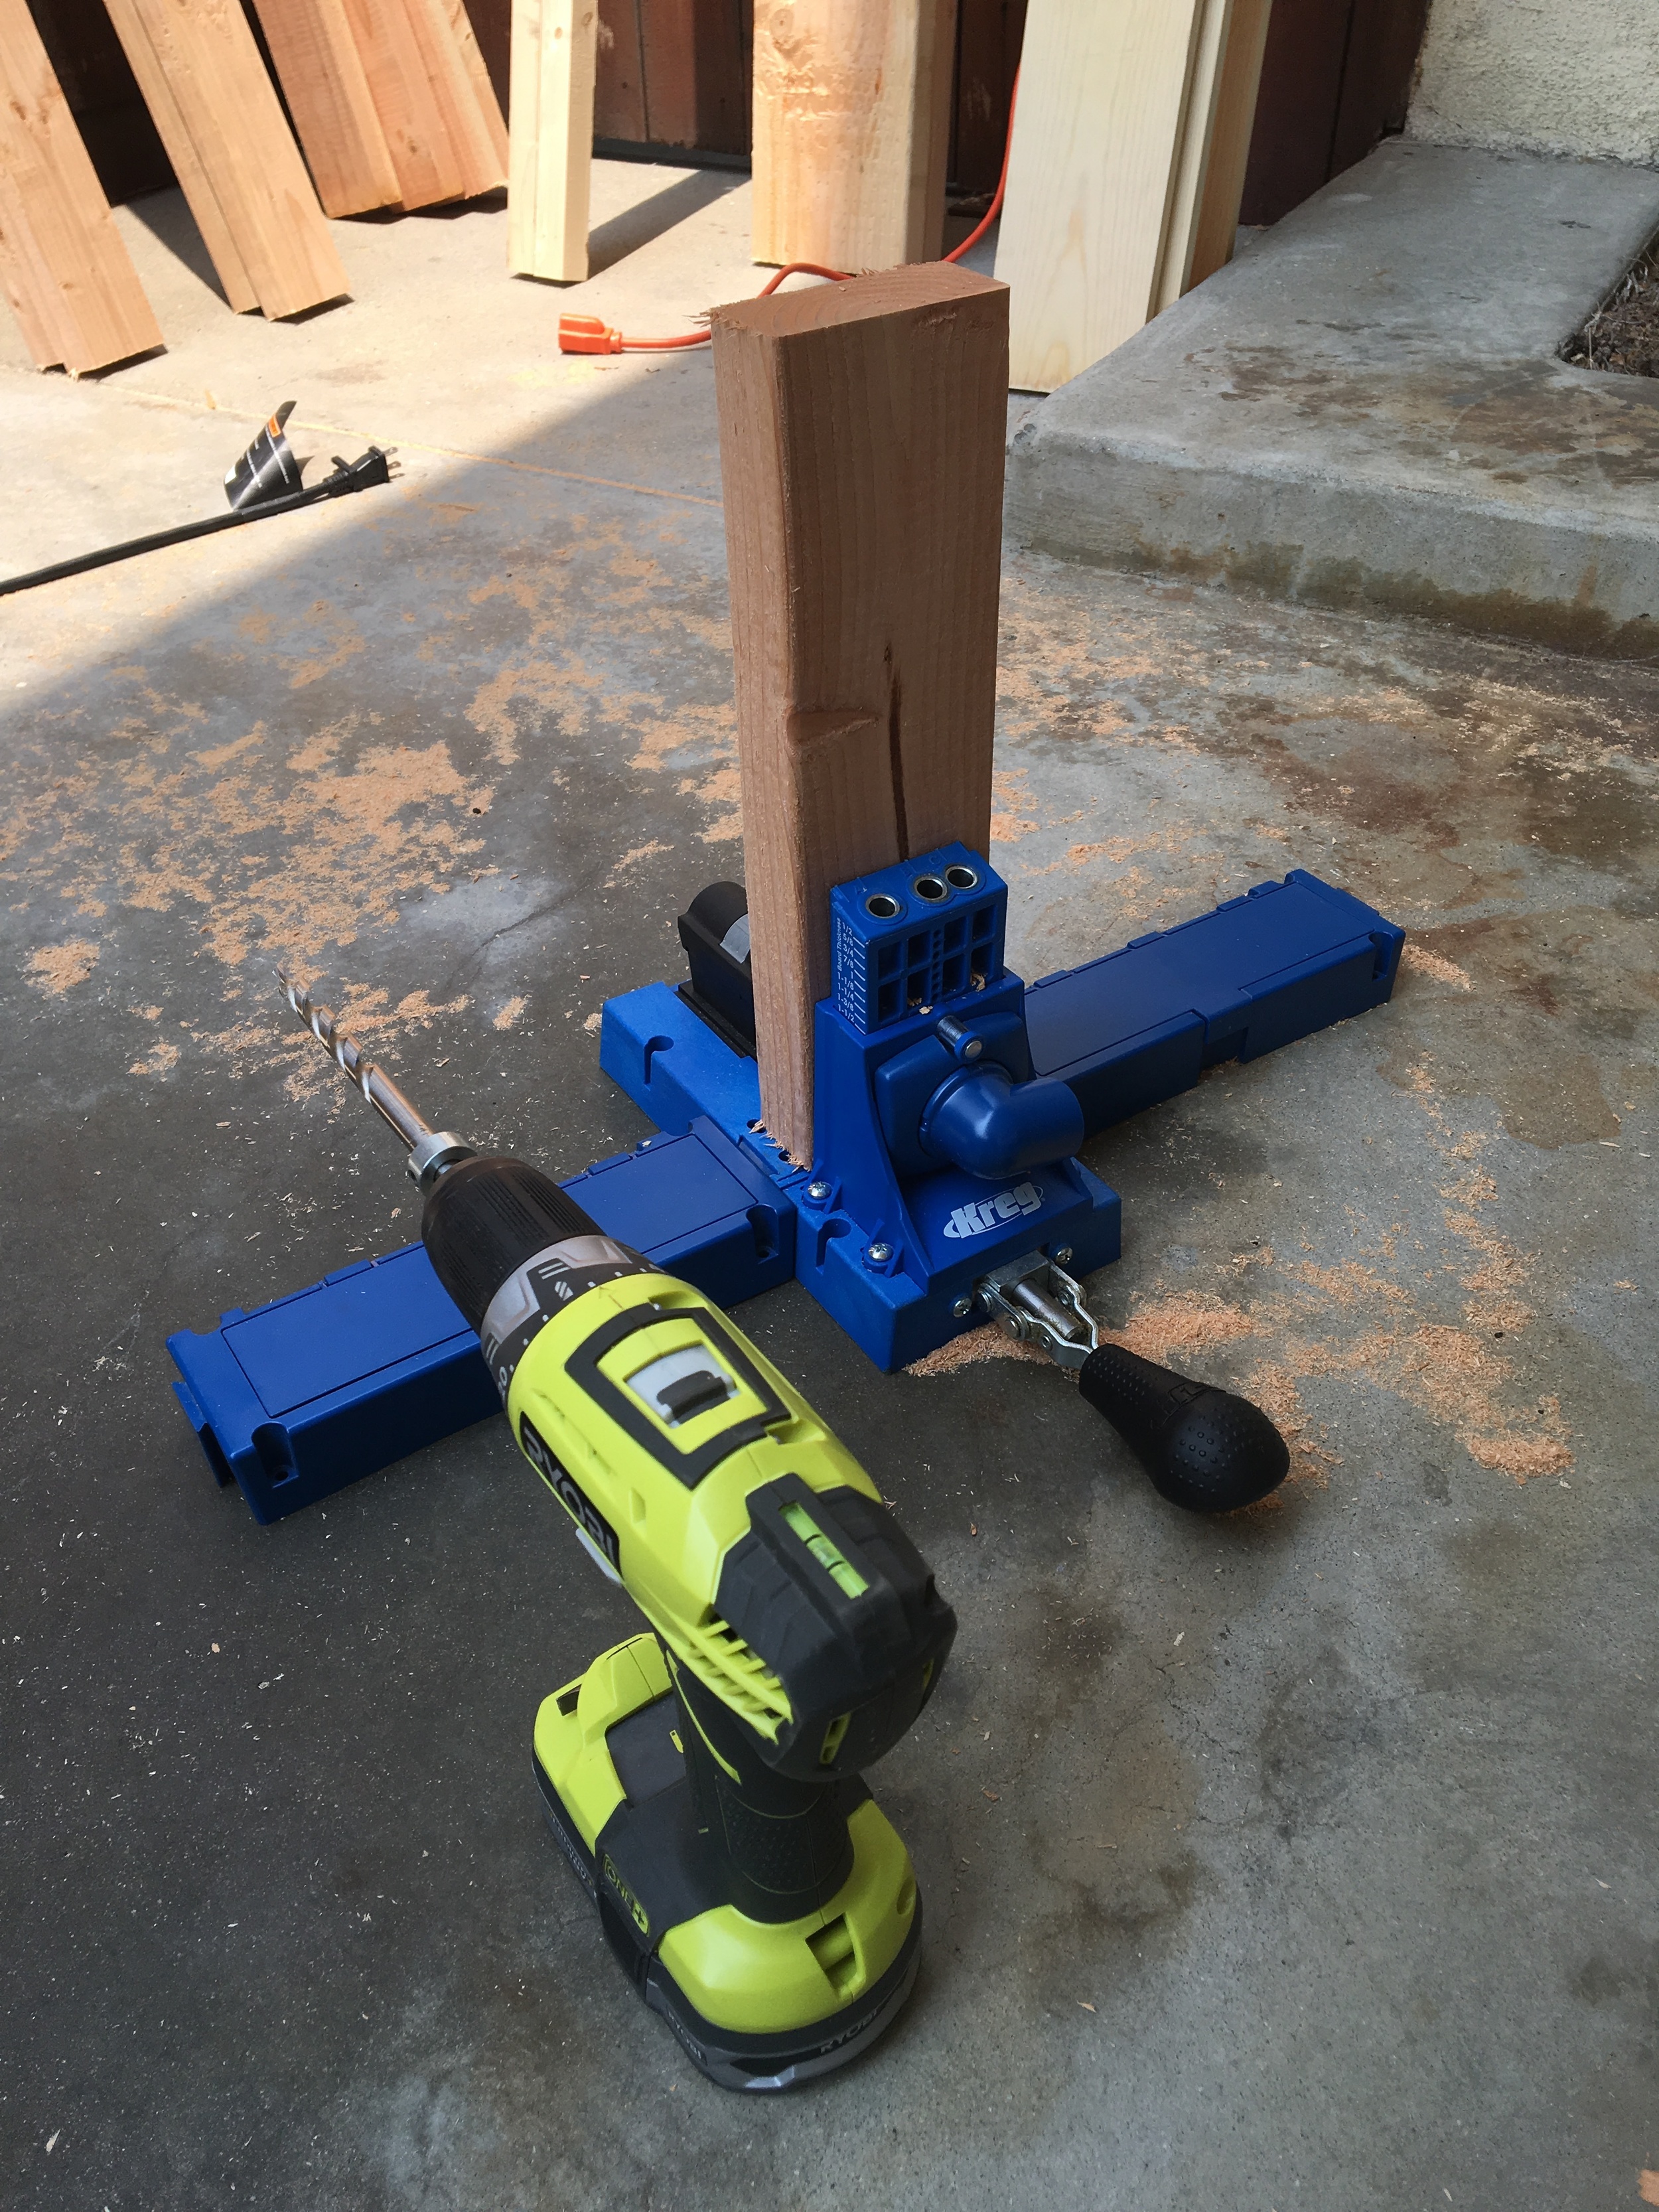
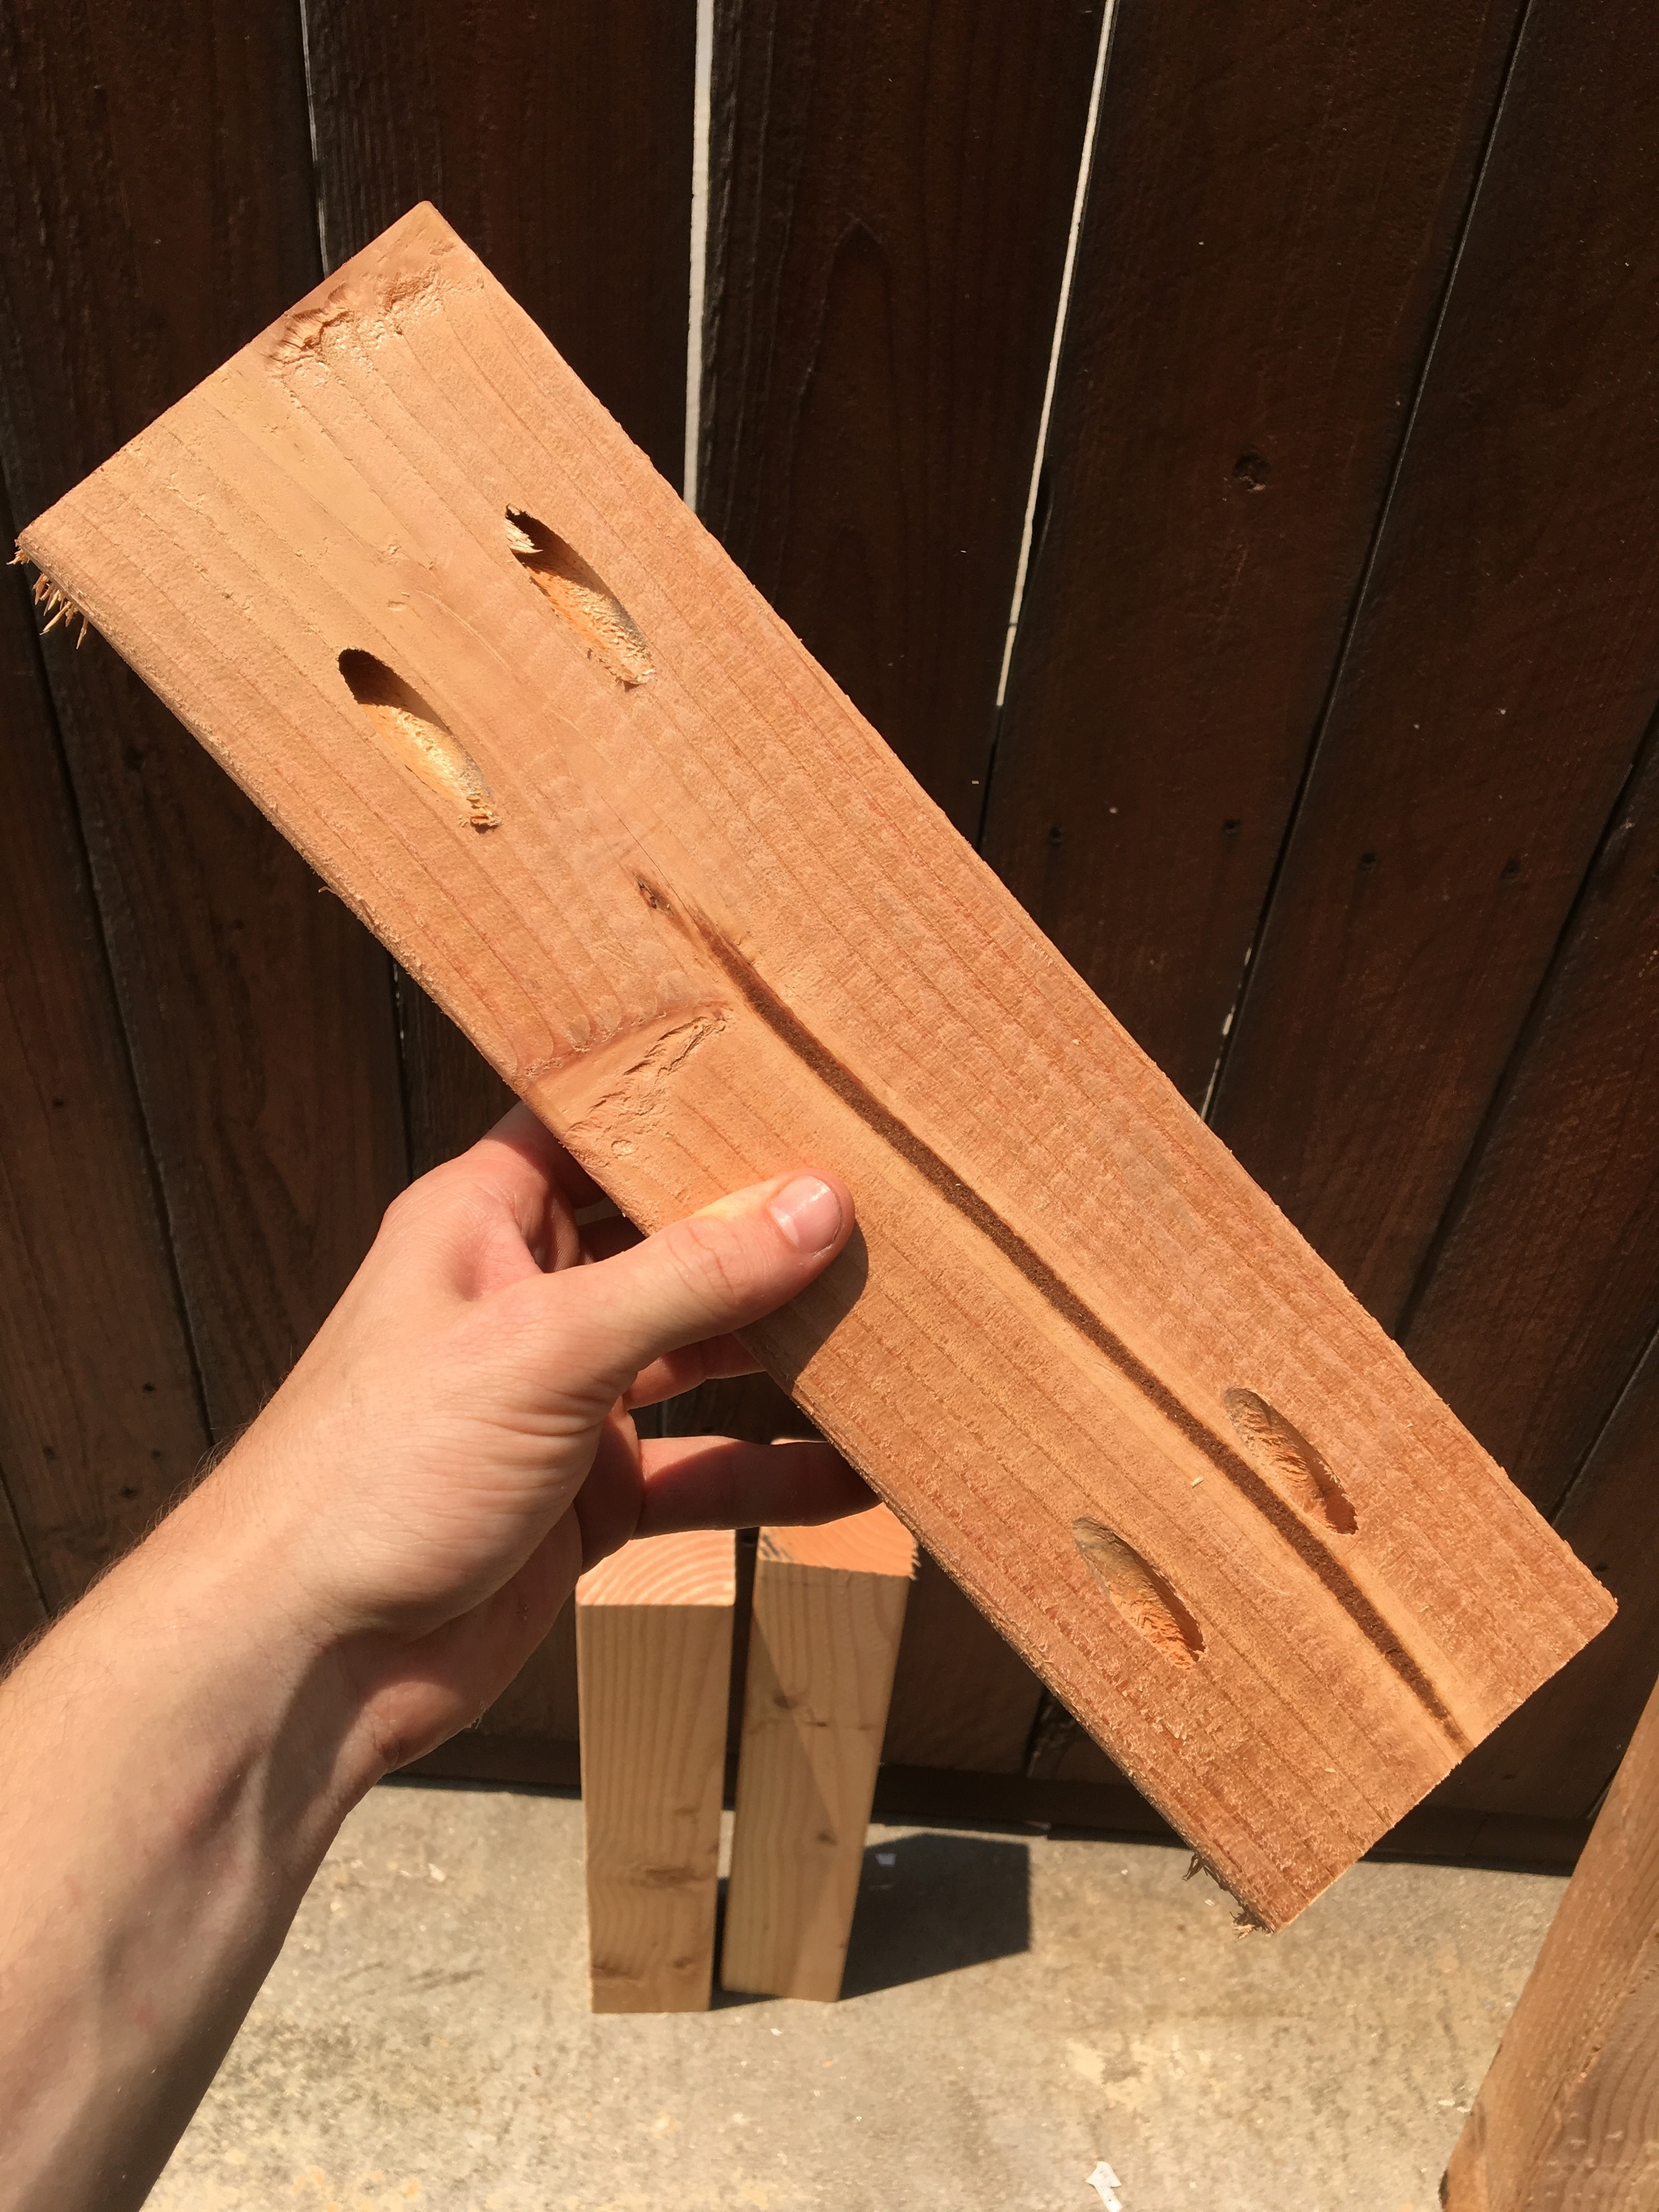
For anyone unfamiliar with what a pocket hole is, it is a hole that is cut 15° into the wood that allows you to drill at an angle to attach wood. The length of screw is contingent on the thickness of the material. Regardless, they're super strong, faster than biscuit jointing/gluing/clamping, and they can be hidden underneath and behind projects so the connection looks clean.
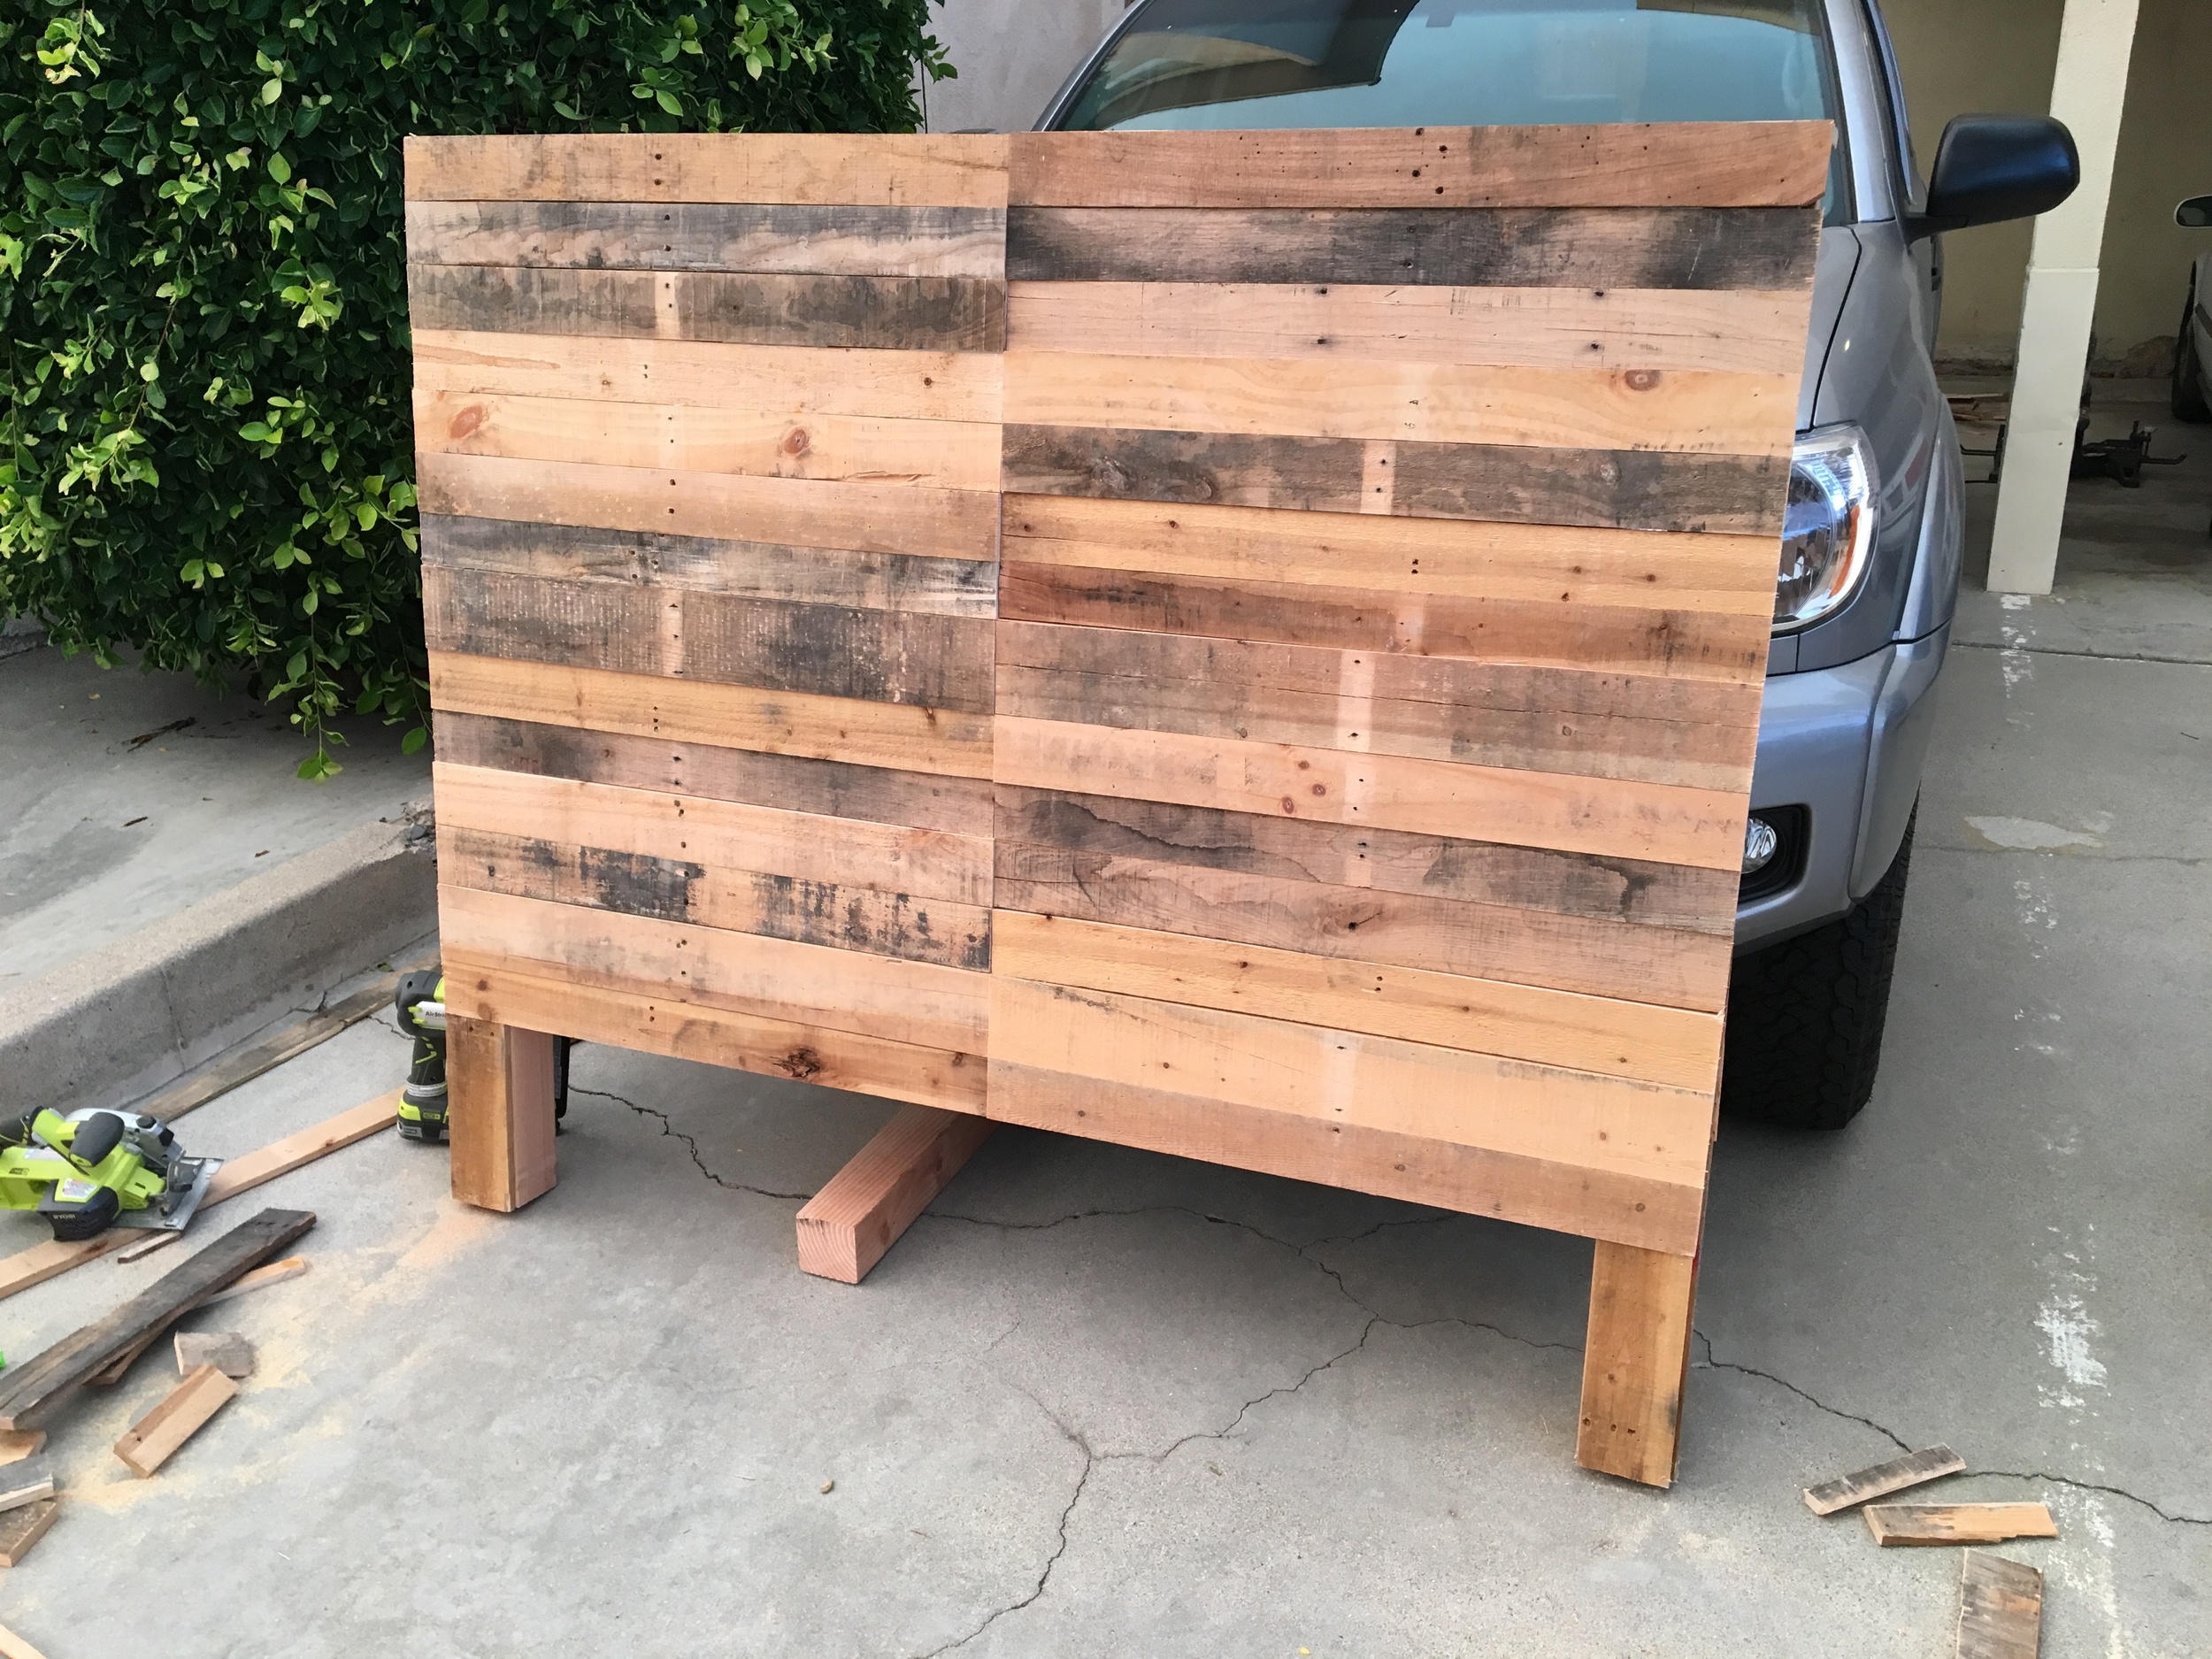
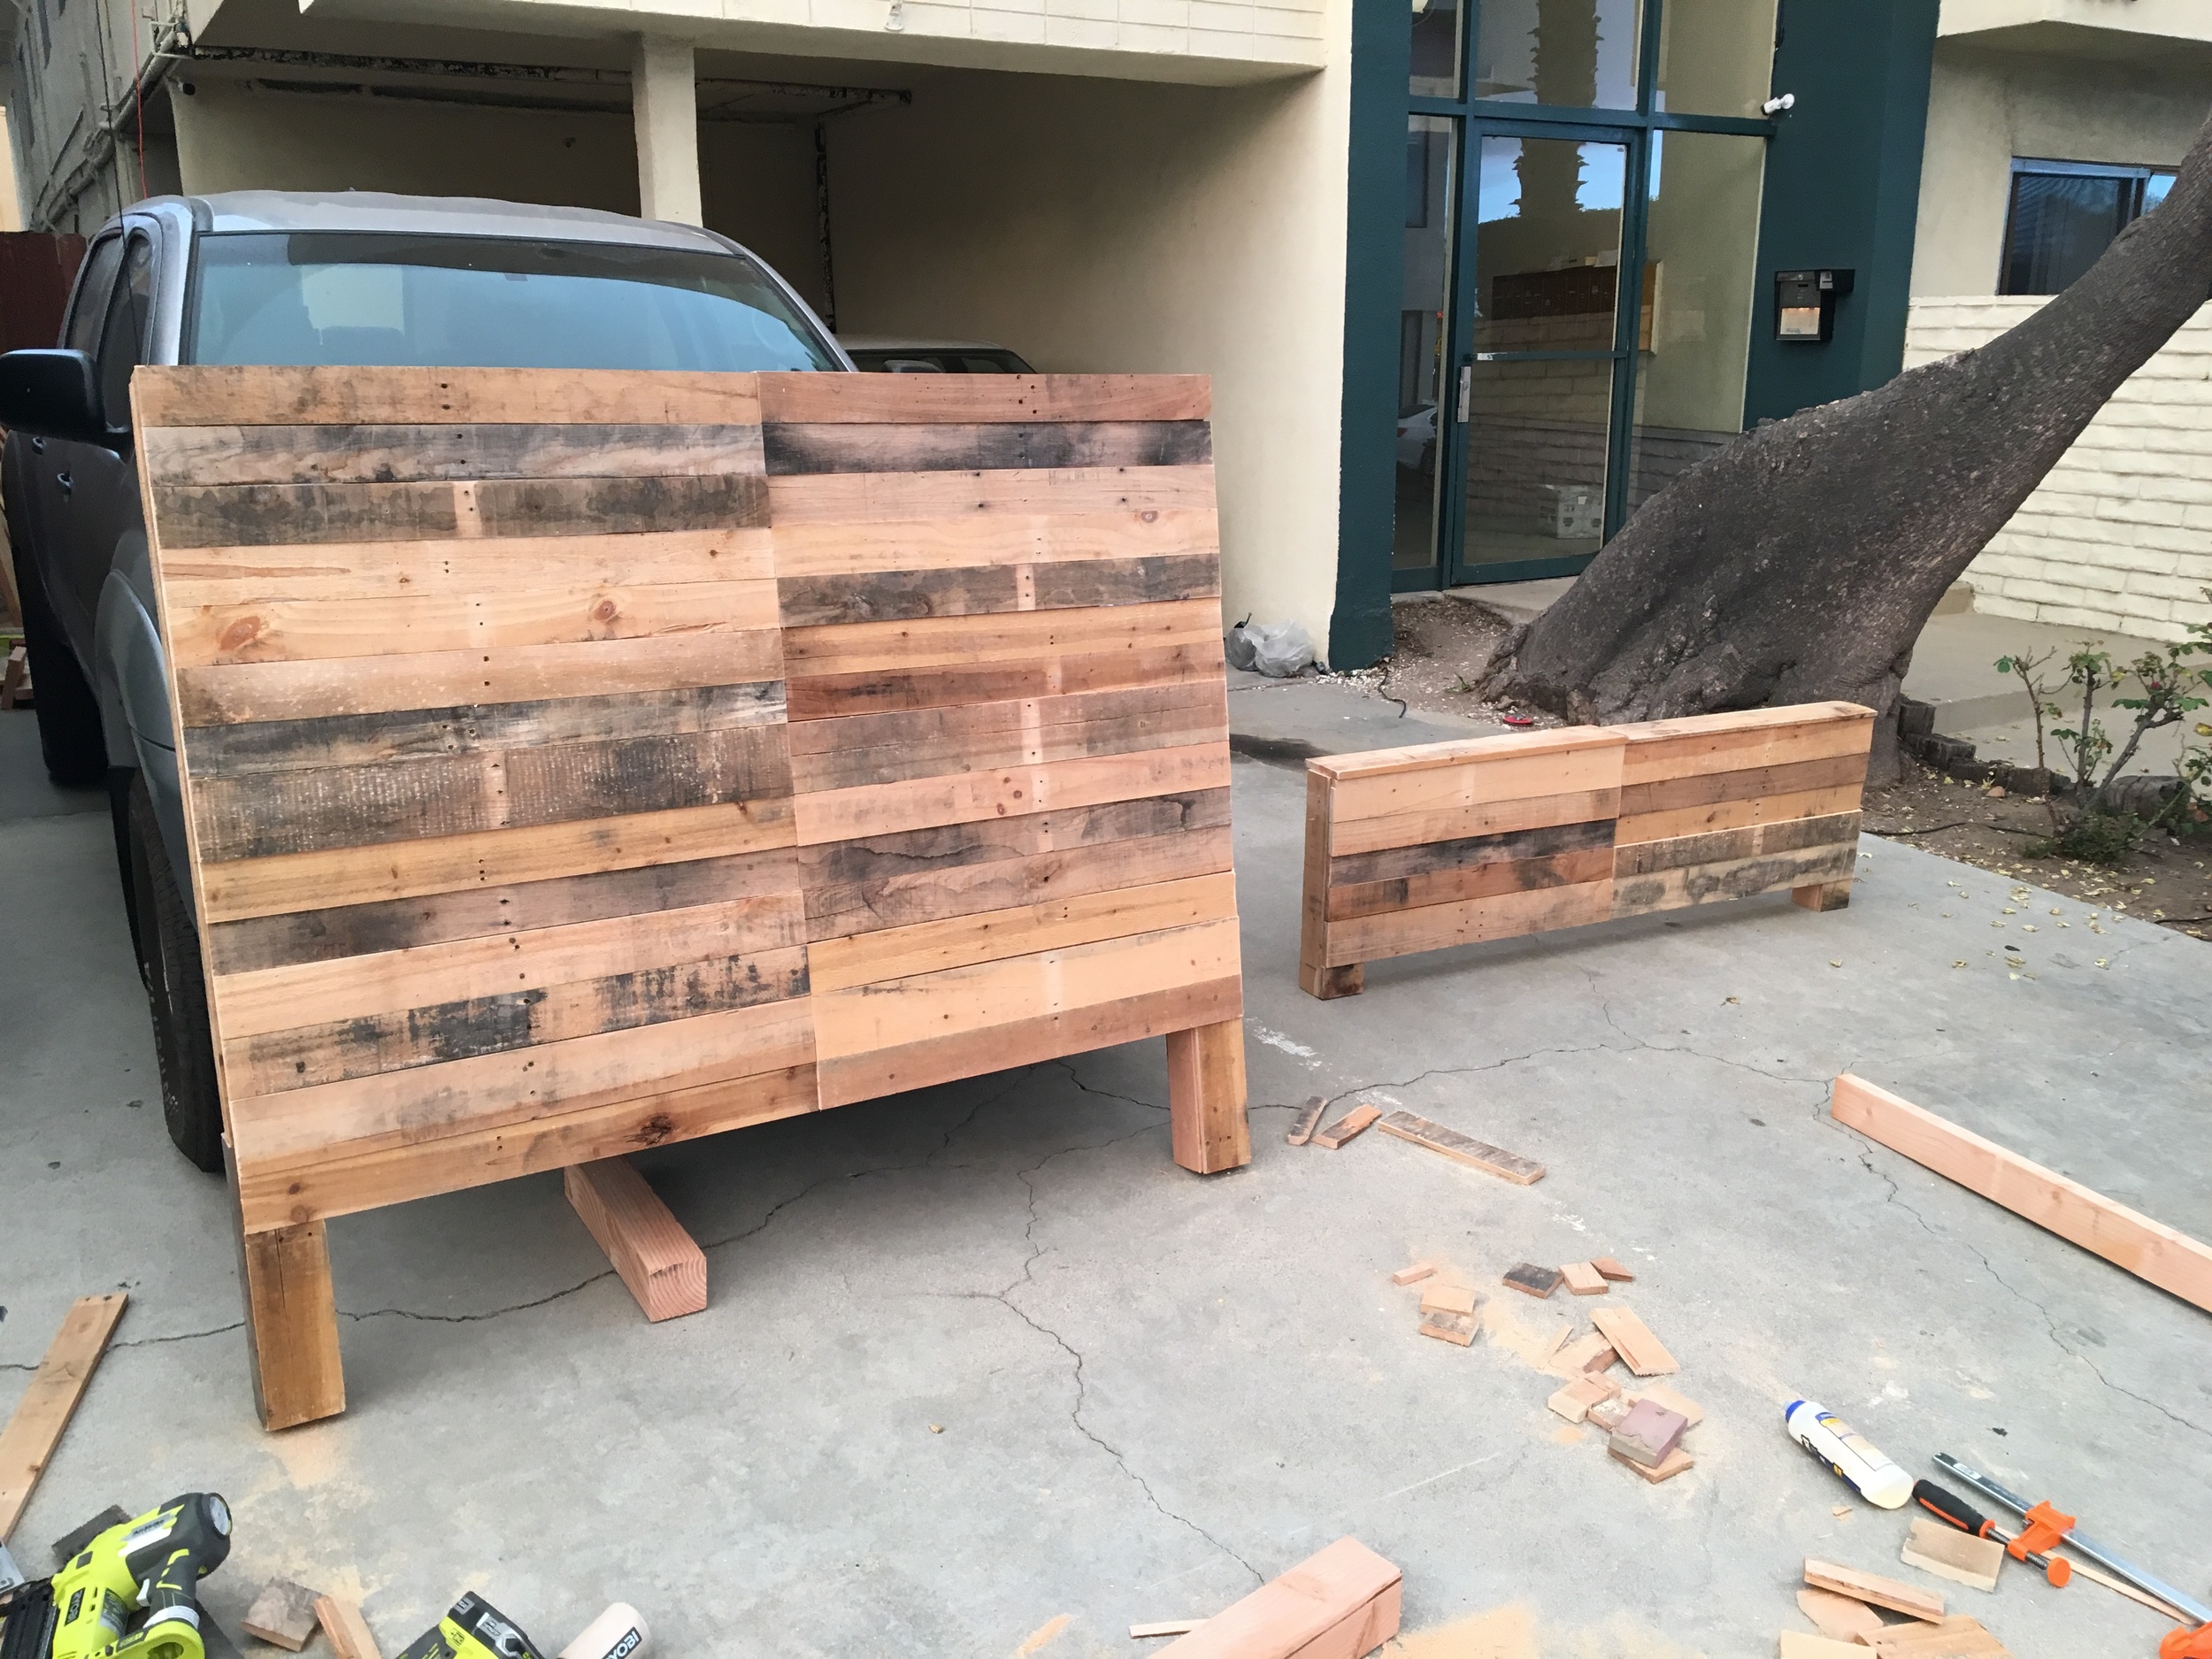
Next was the big task - adding the pallets.

Remember these guys? Want to hear a funny story. I strained my neck and chest muscles by trying to carry them all at once down to my driveway. That felt awesome for the rest of the day and throughout the night...
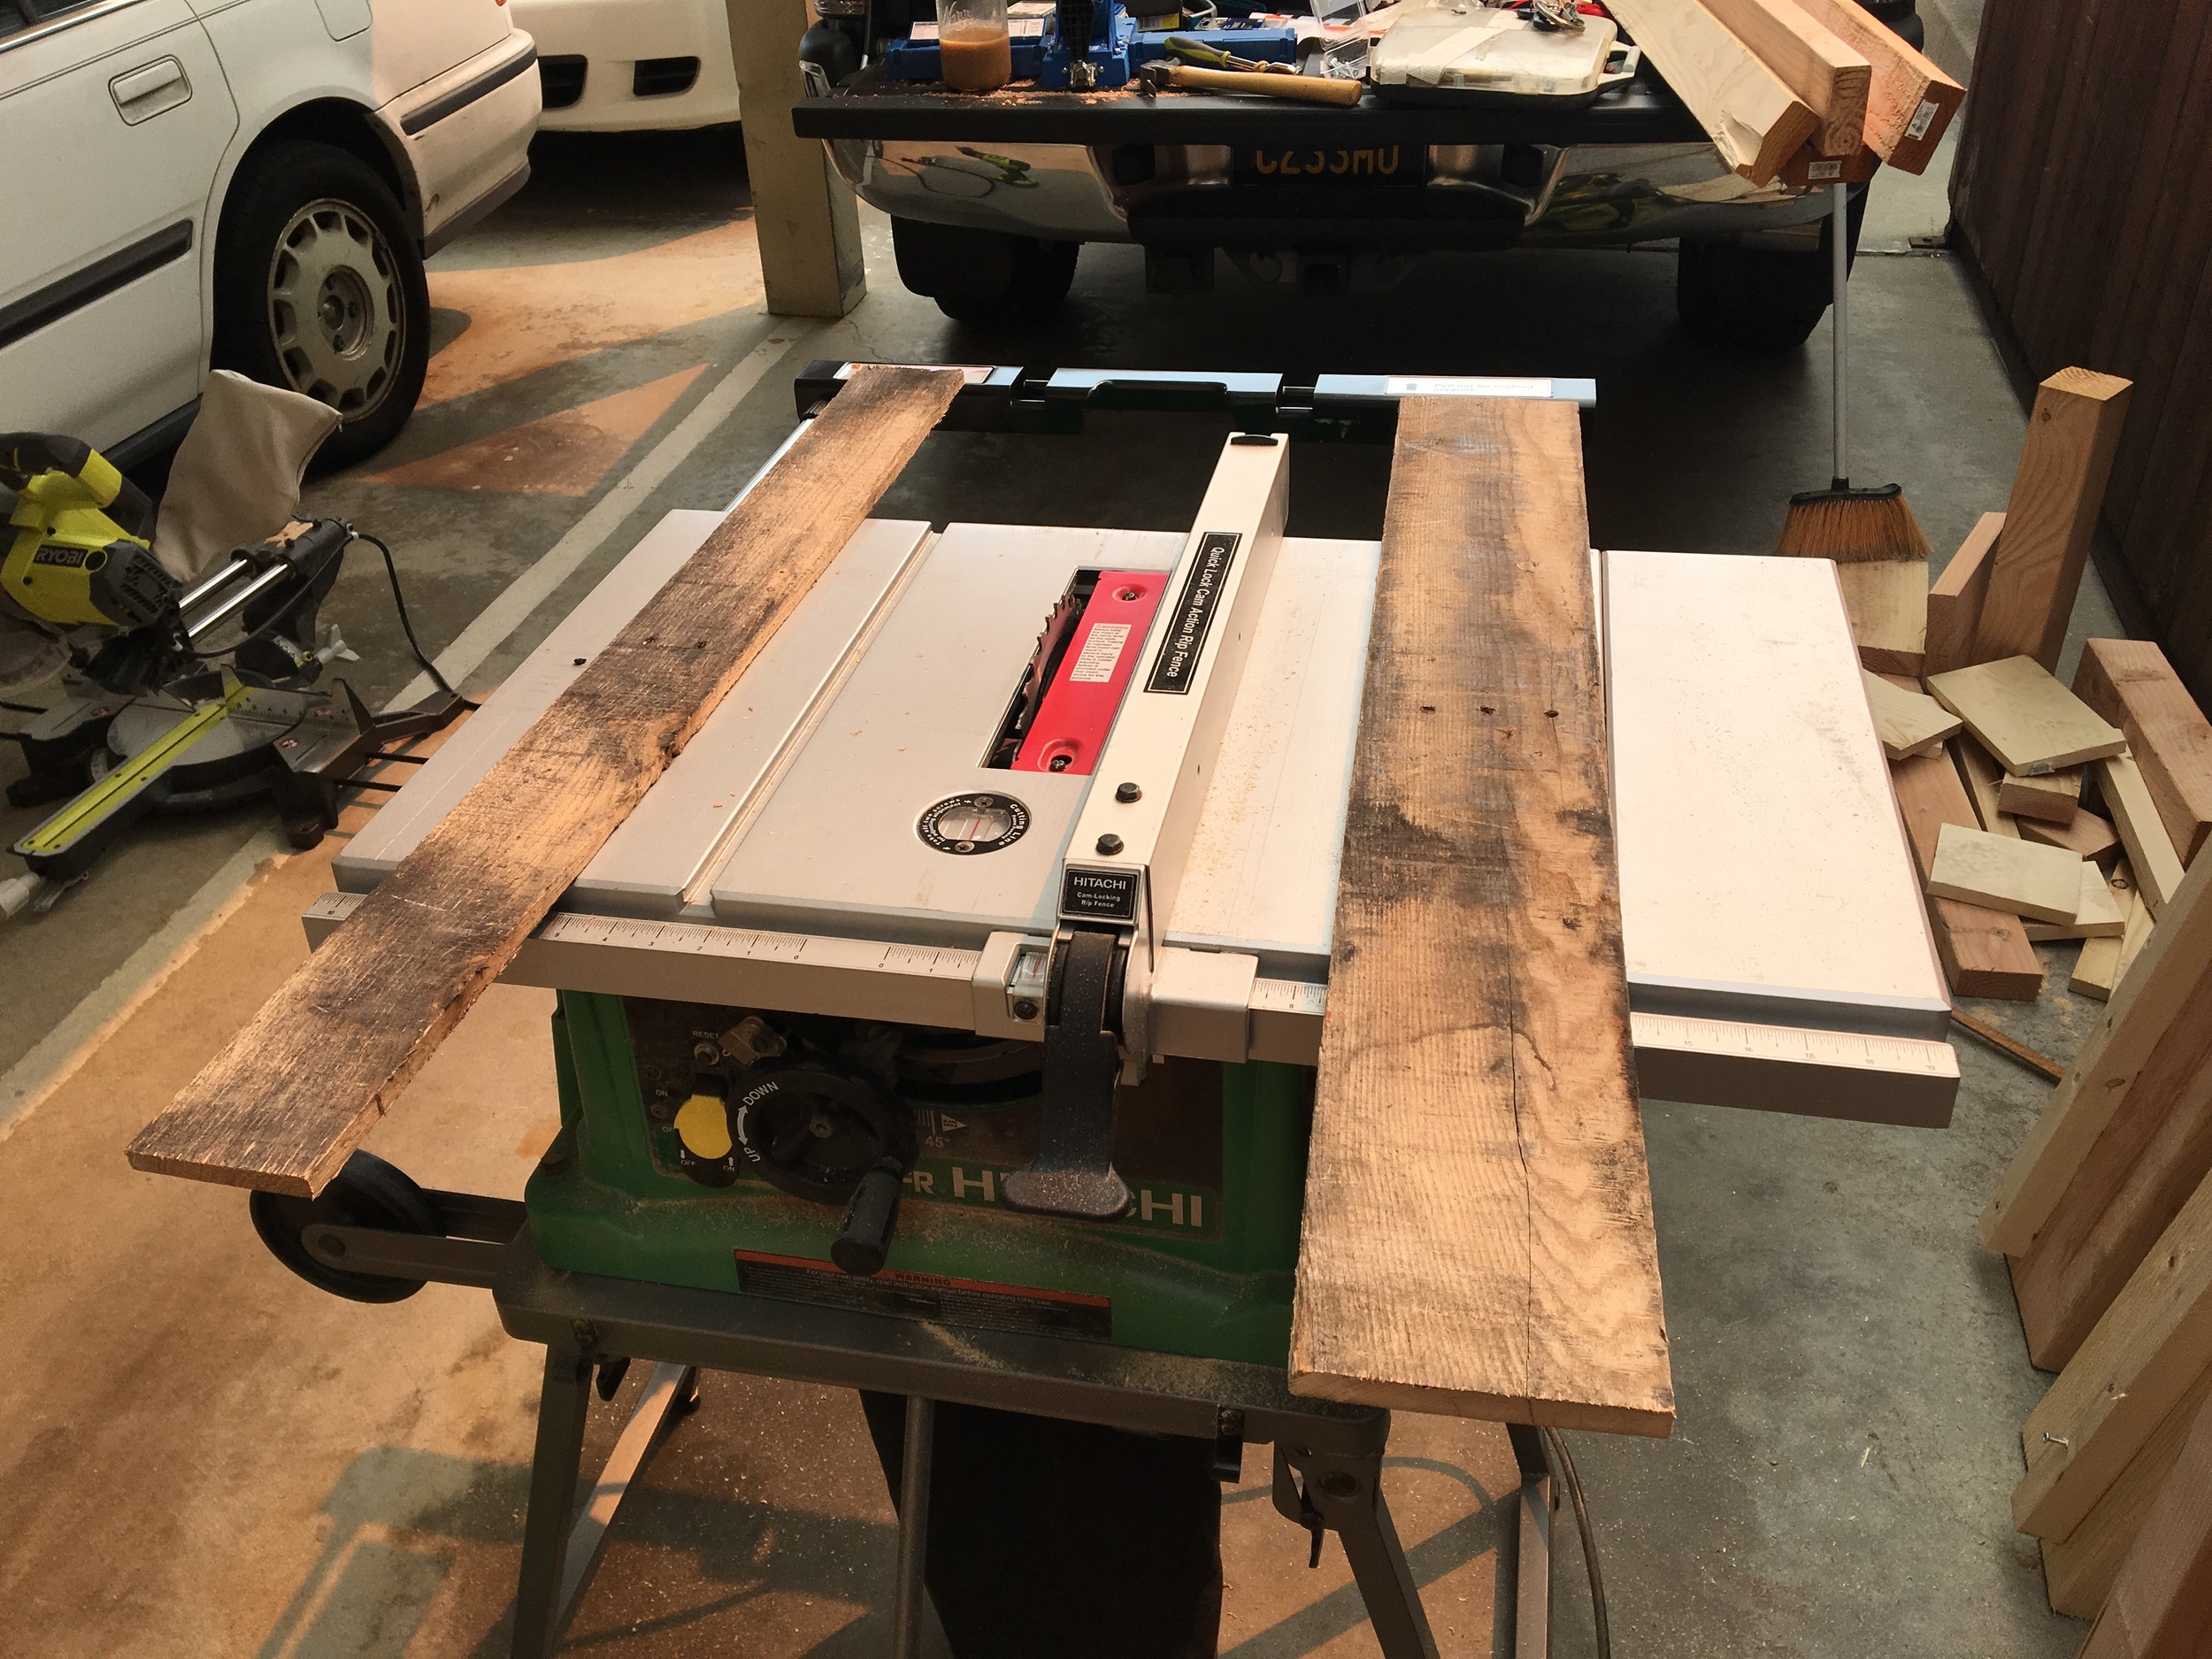
Below is a series of photos of me laying out the wood to the design I liked, cutting each row to an even length with the table saw (this took forever), squaring off the center edges, and assembling on the frames using glue and my new nail gun to hold in place while drying.
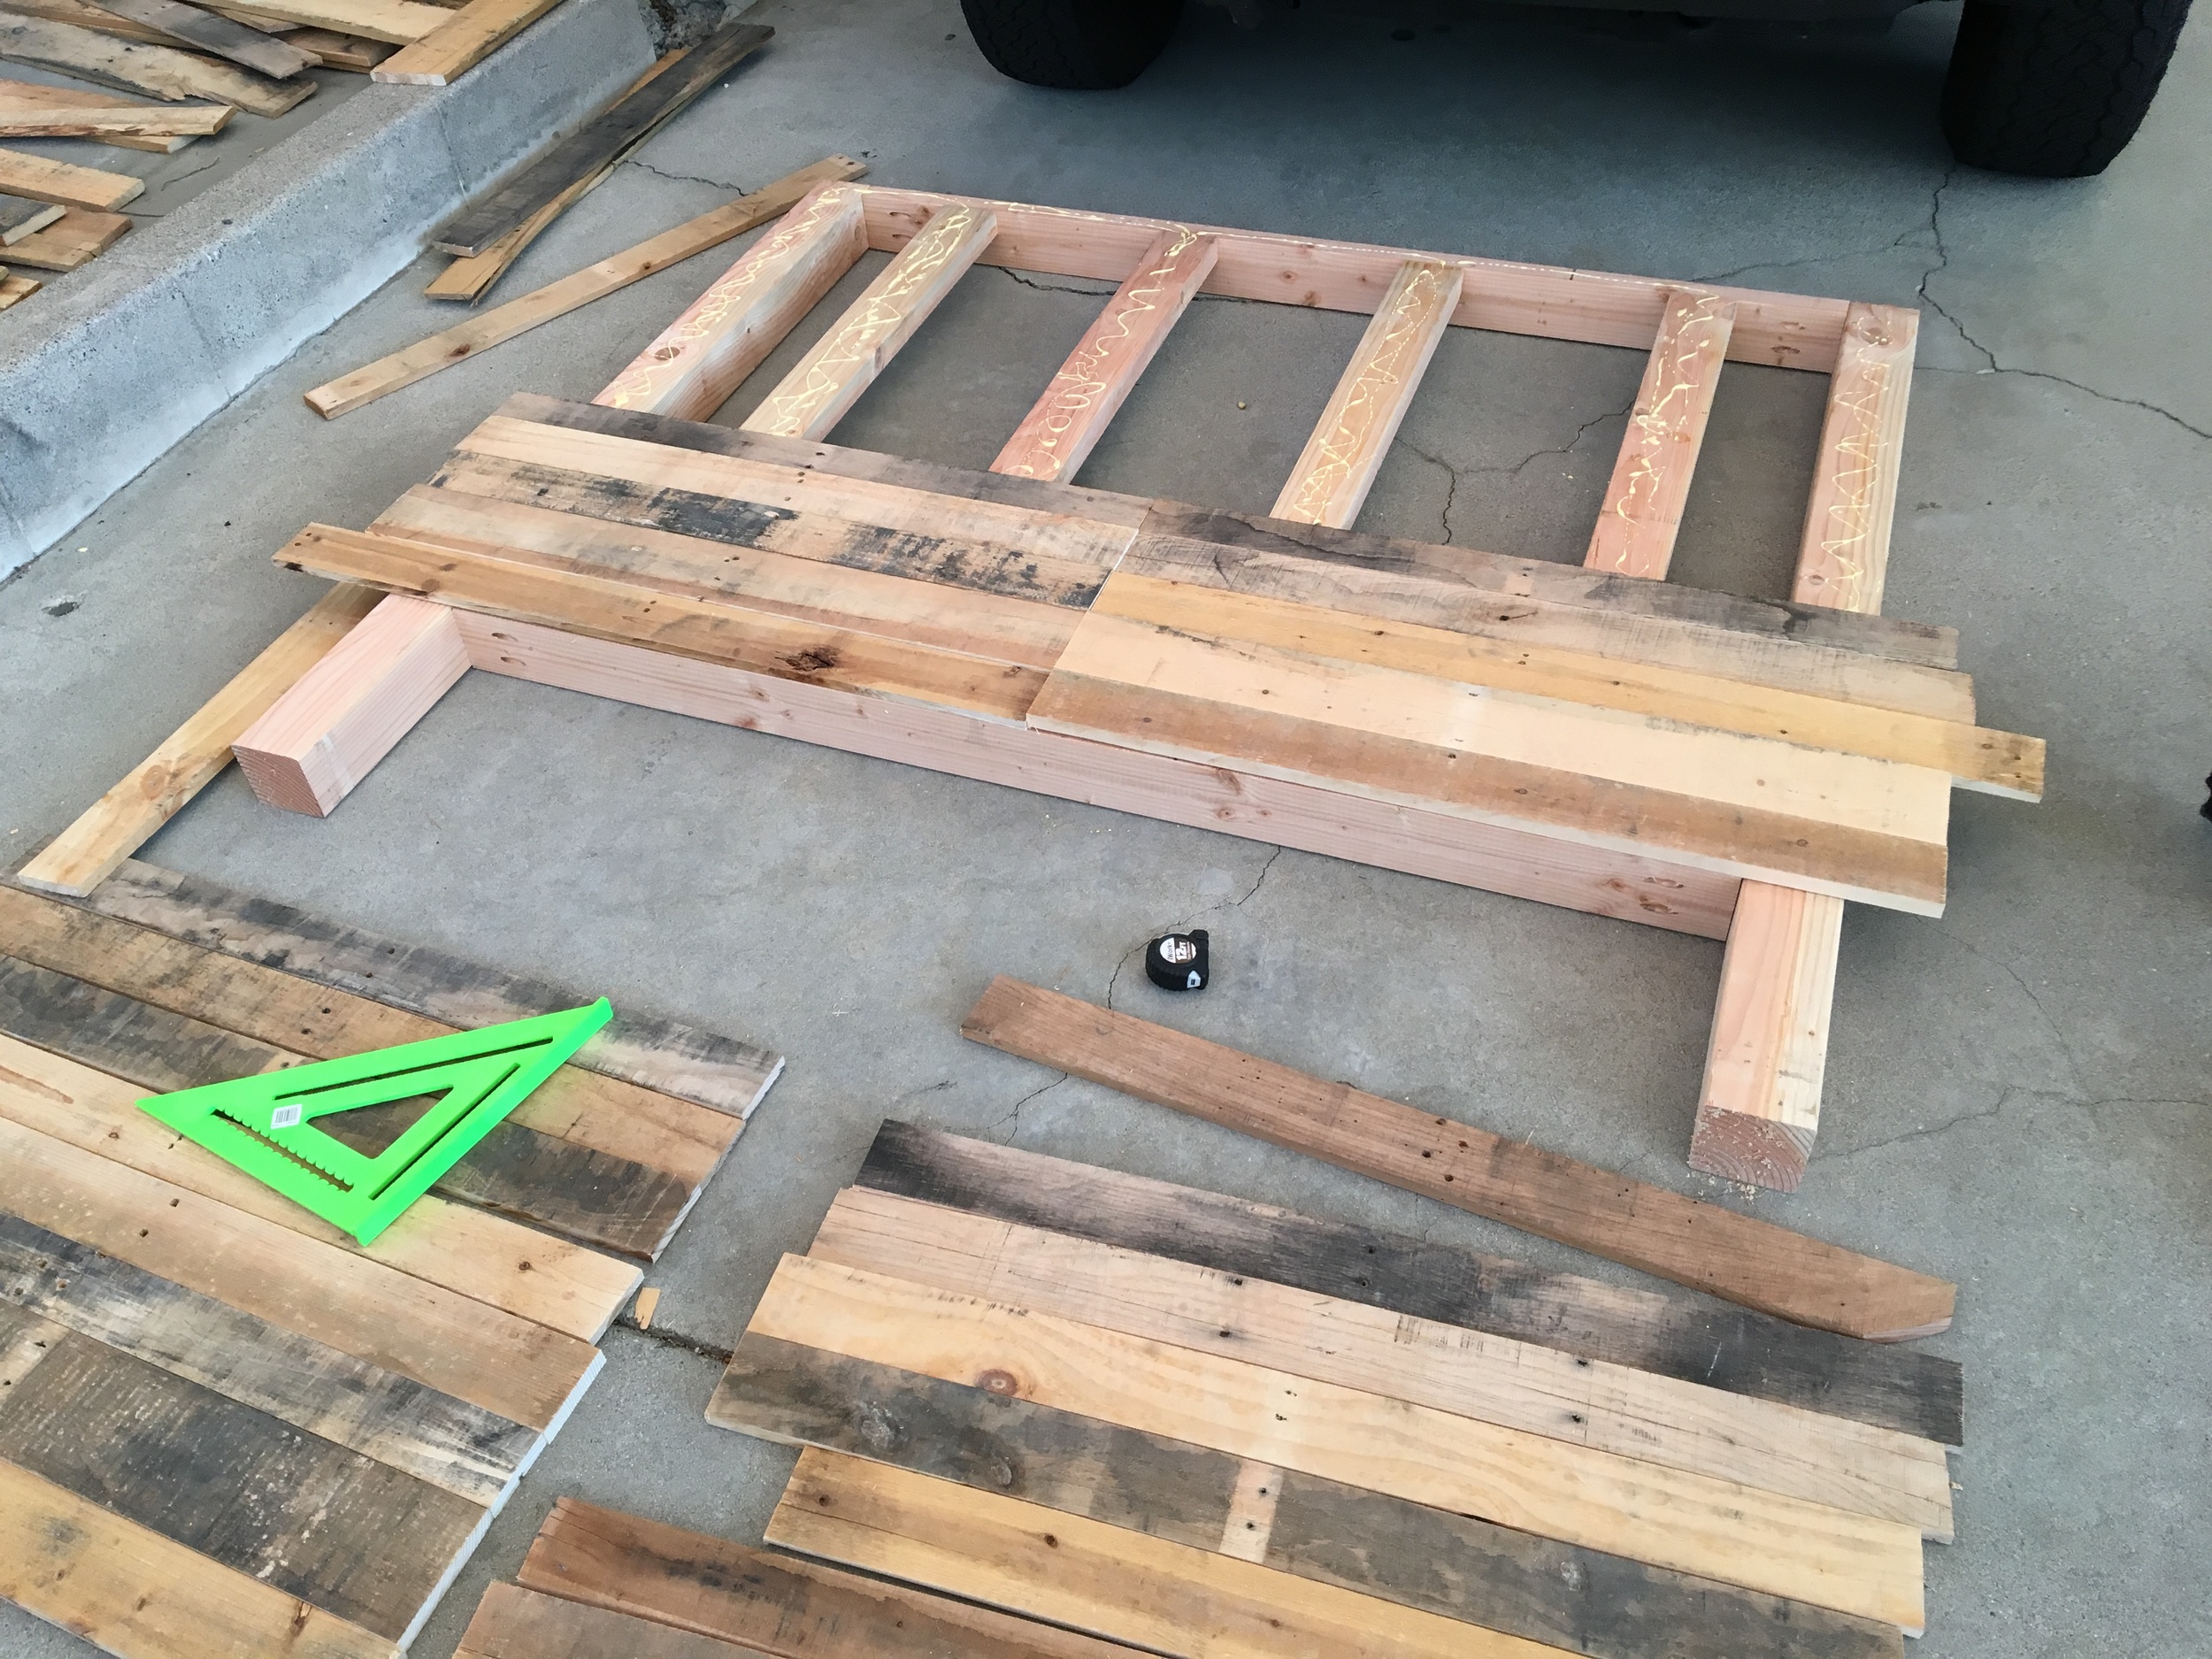
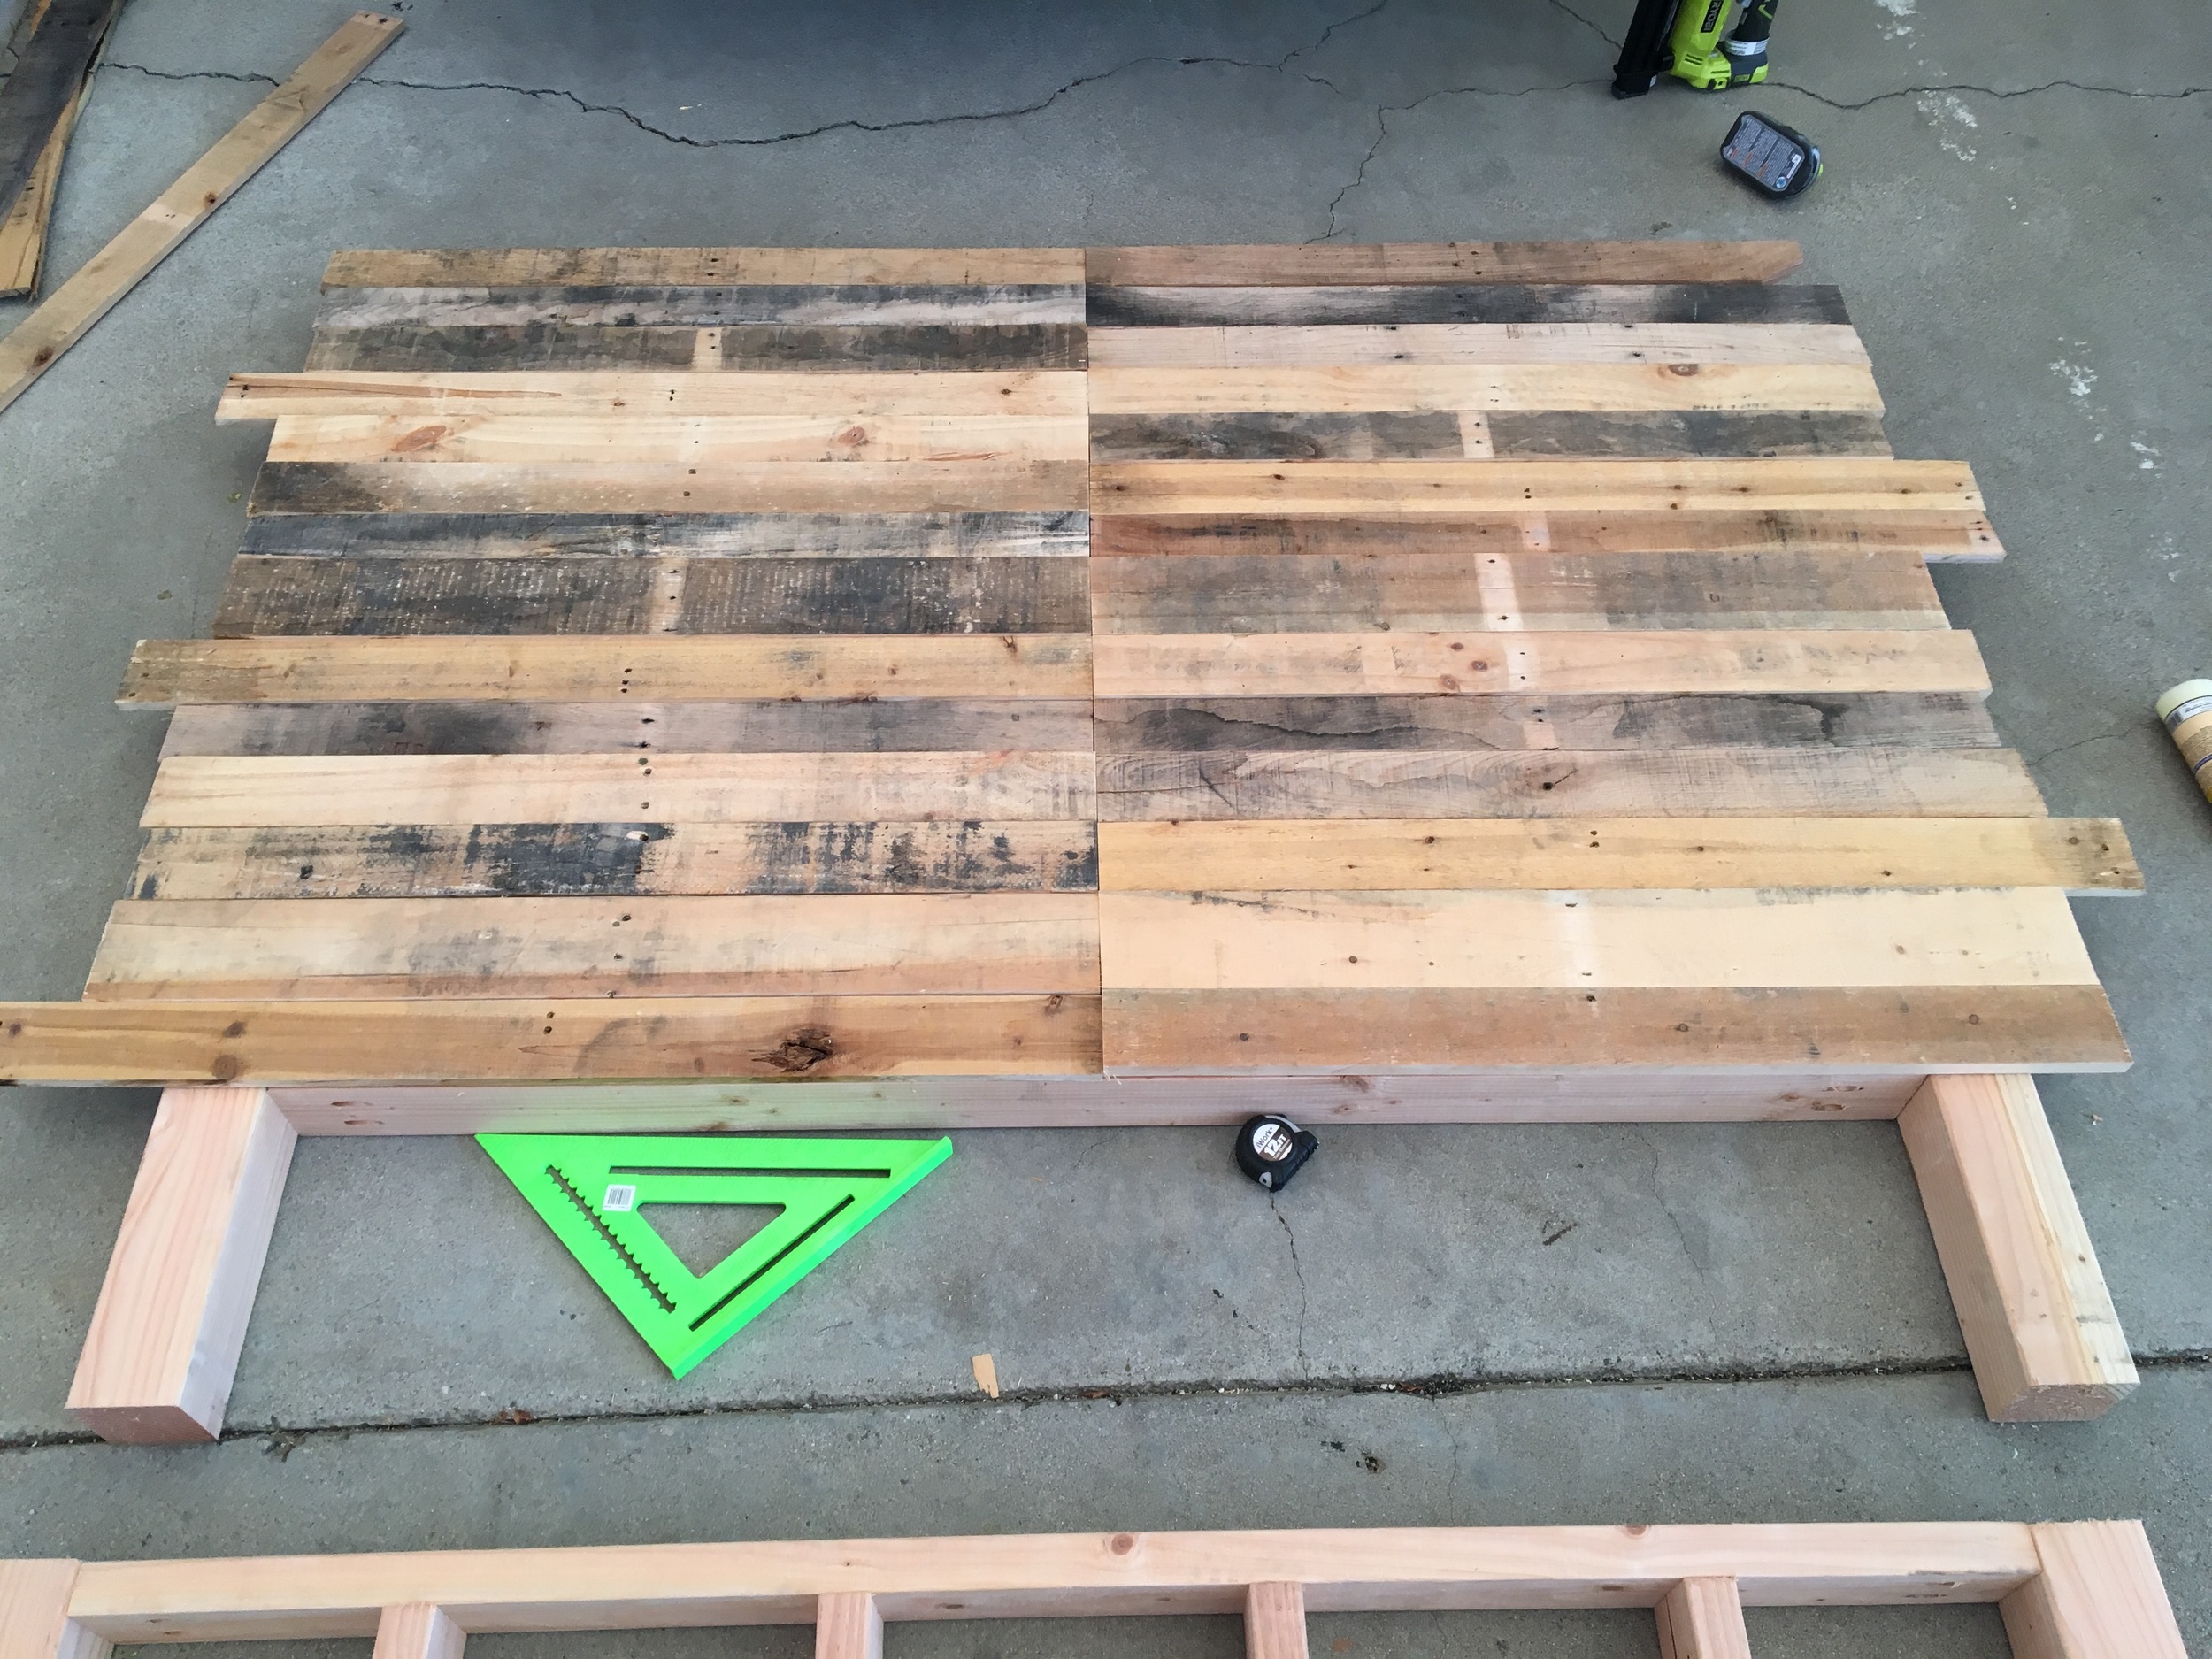
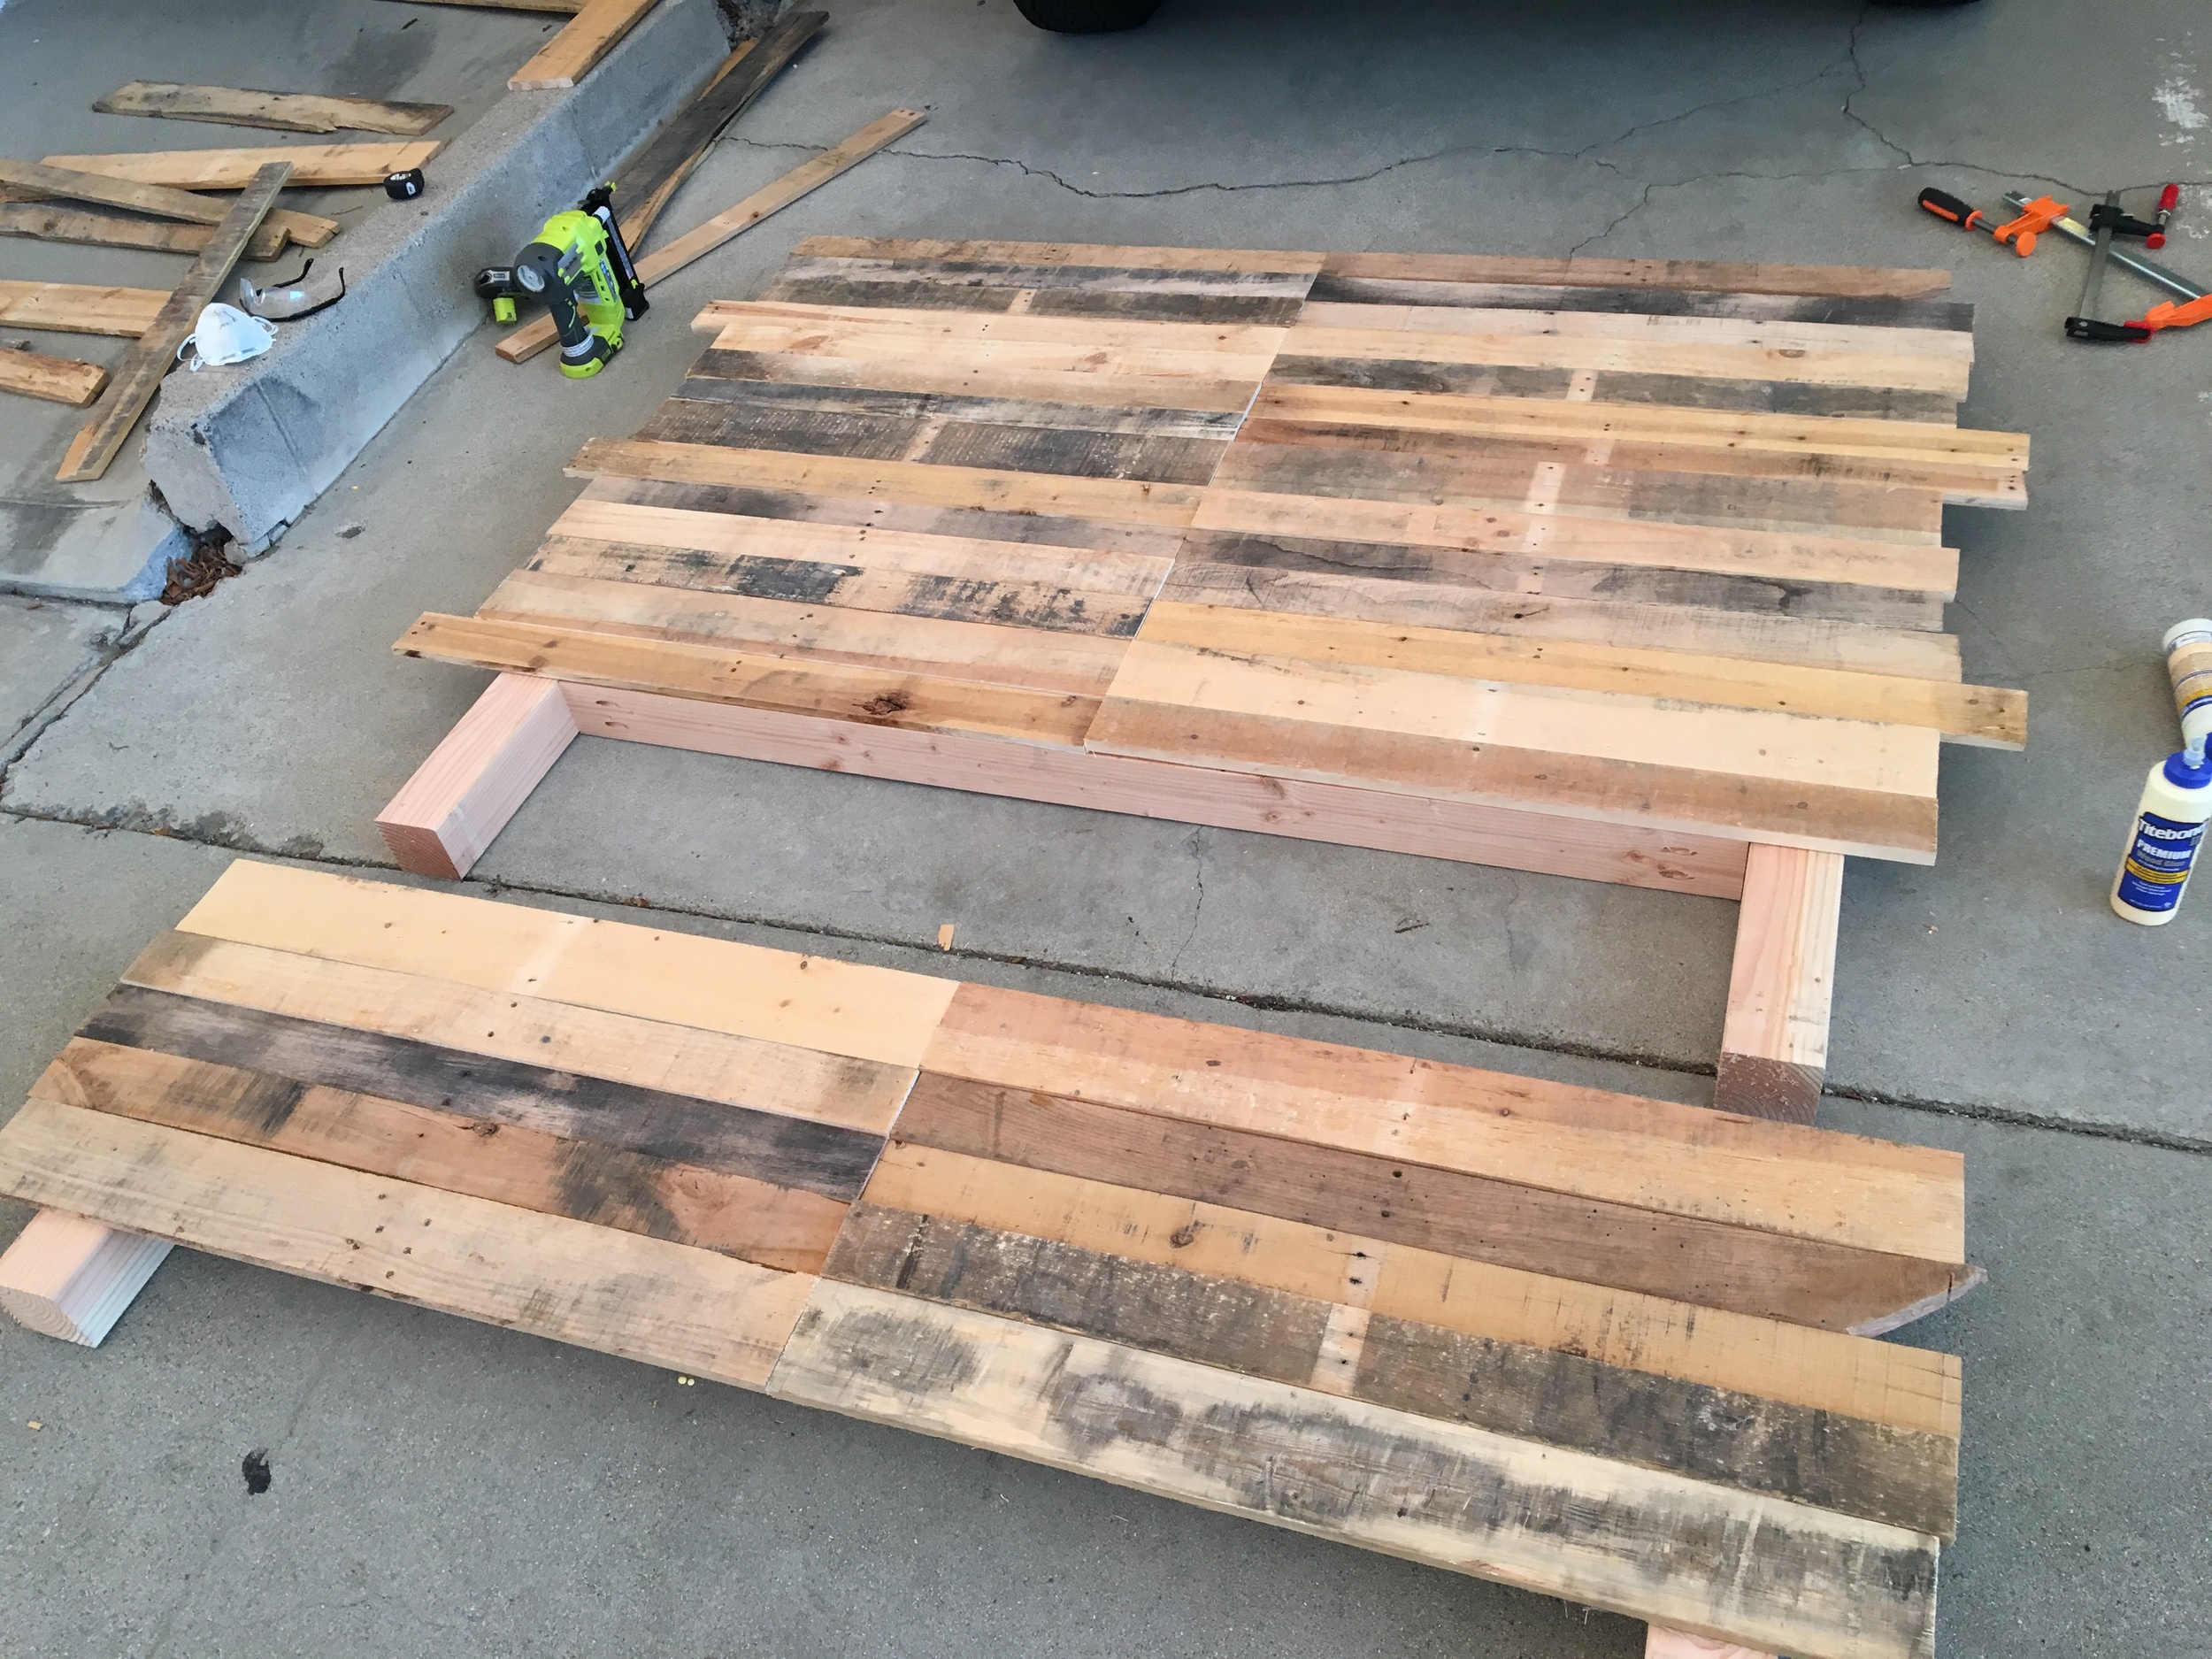
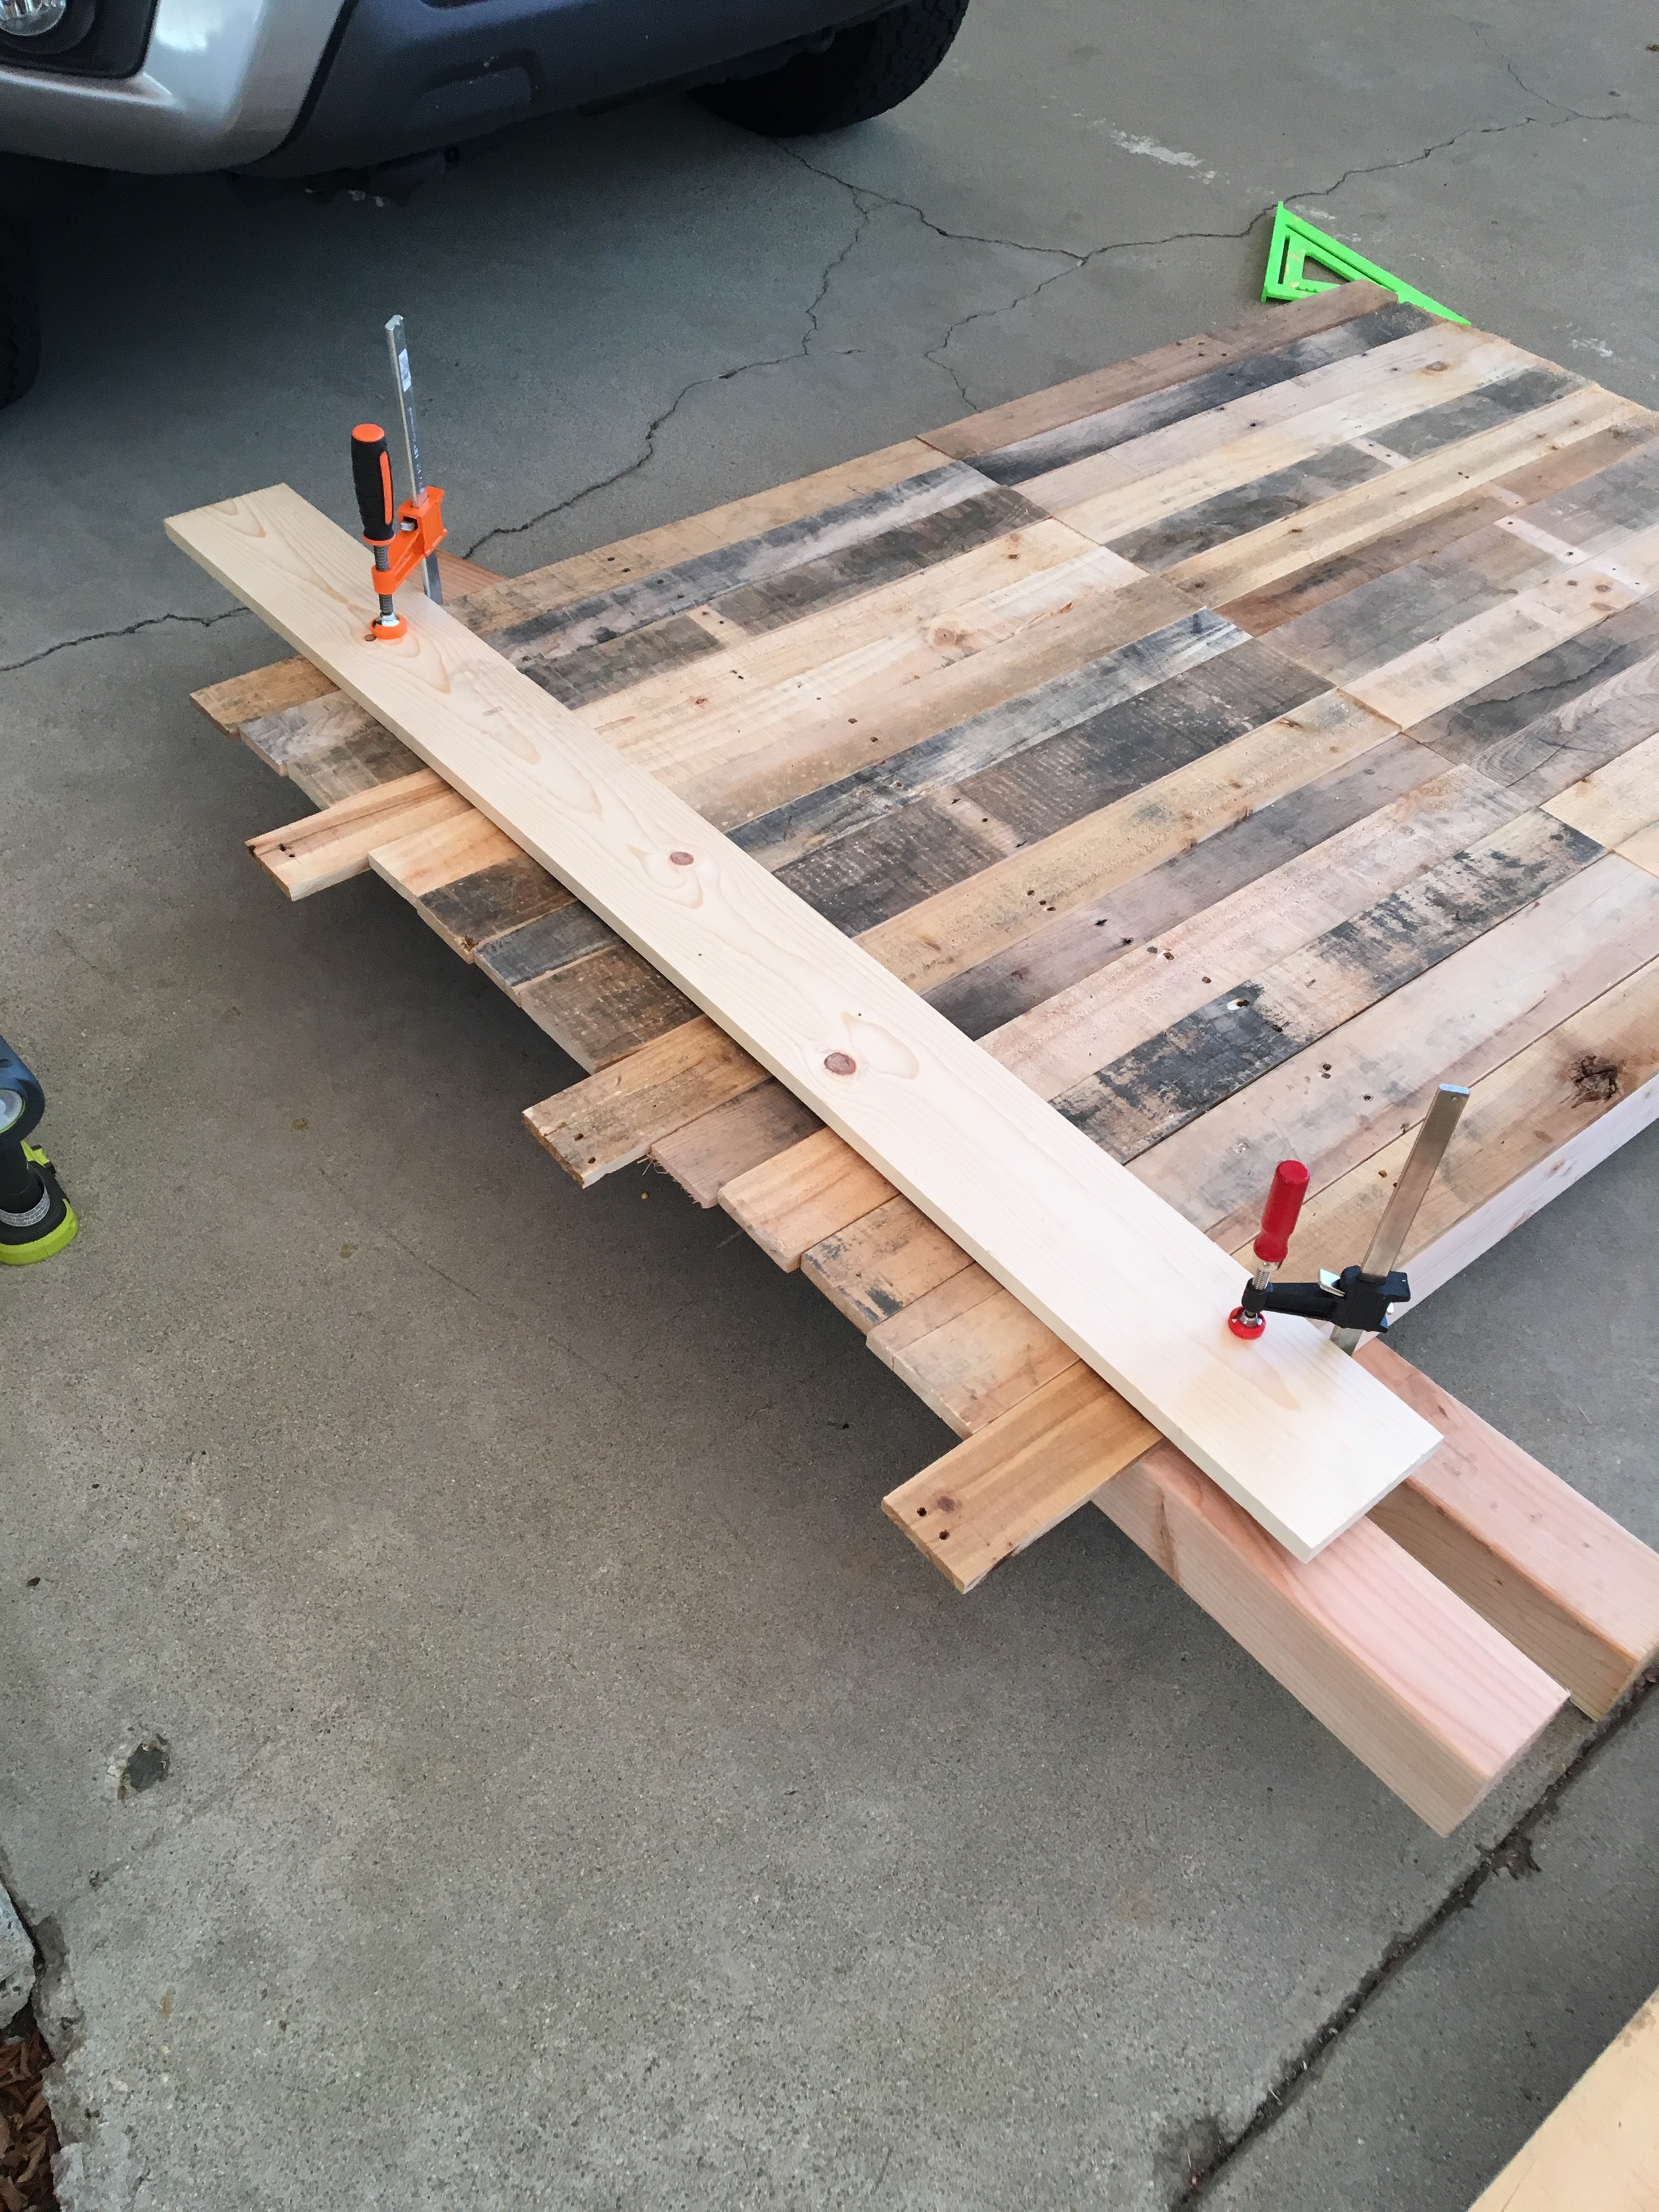
Then, I squared off the sides using my circular saw, a makeshift straight edge from whitewood, and clamps.
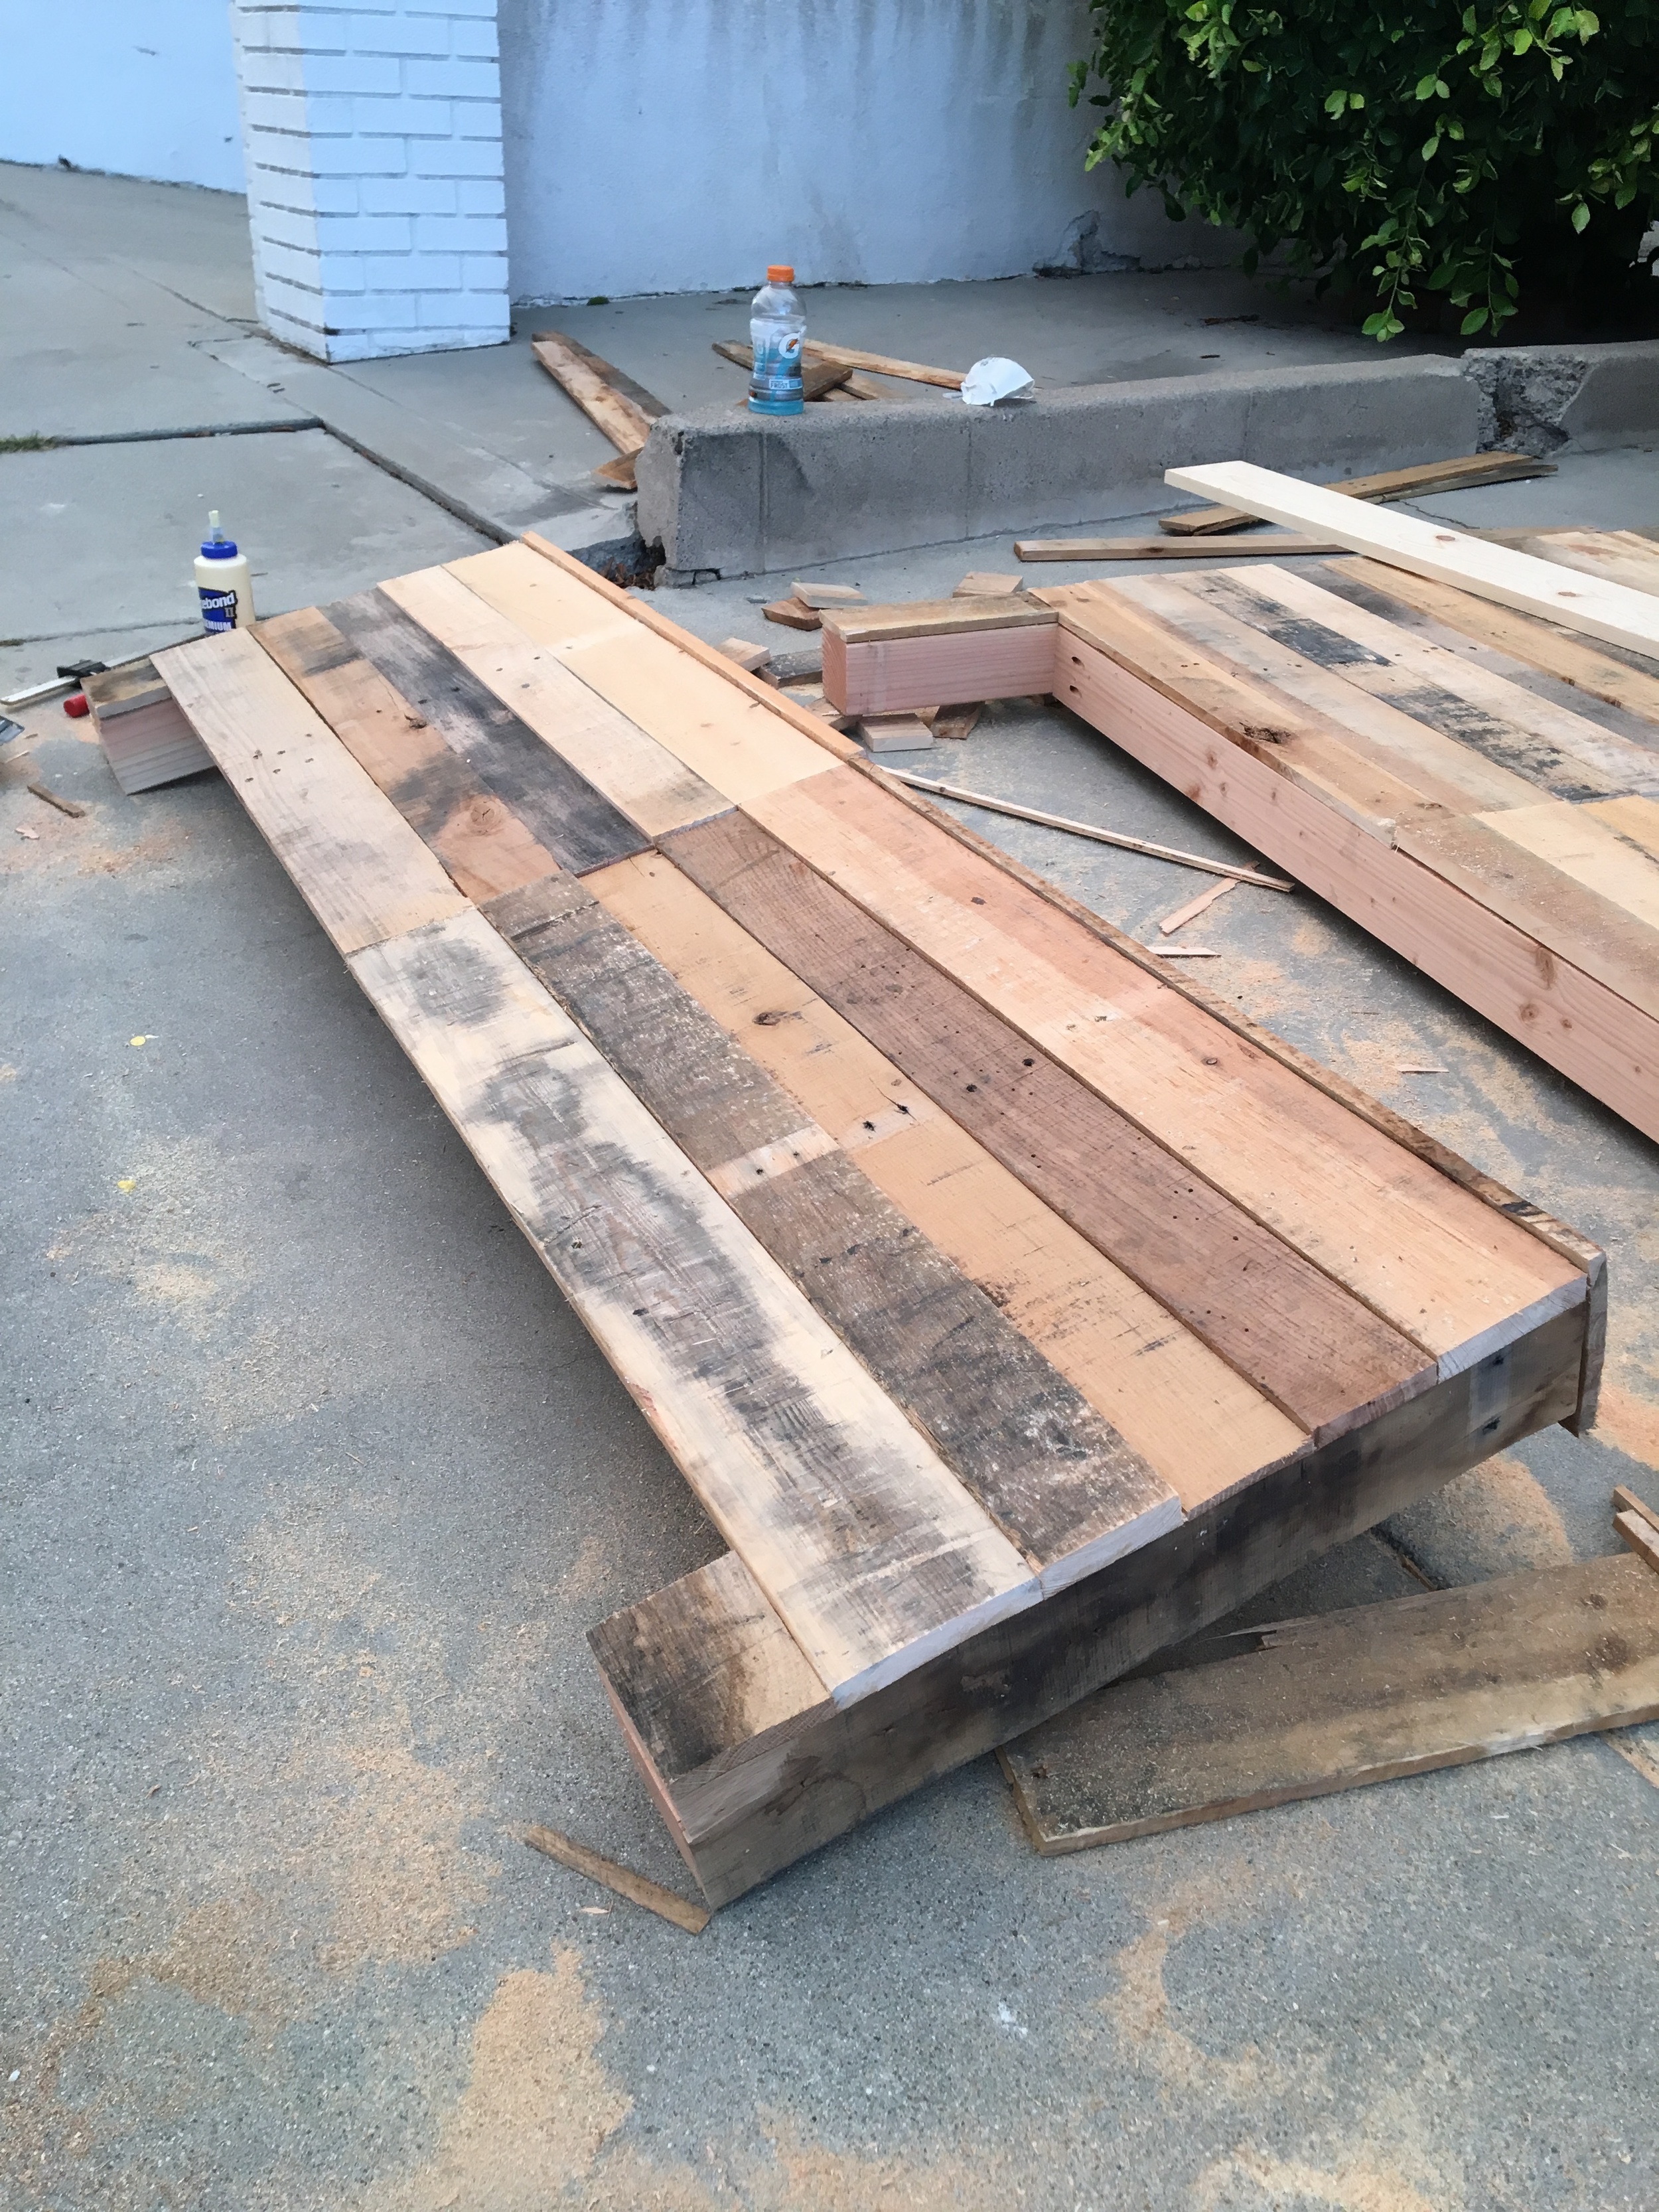
Lastly, I added pieces to the front and sides of the legs and tops of each piece, and they were done! I sanded the fronts and edges of everything with my orbital sander w/ 60 grit paper, just to take the rough parts off. I didn't want to lose any of the color variances.
Next, time for final assembly in the bedroom. I found these hooks on Amazon through a separate DIY blog that were recommended for DIY beds. They worked out great.


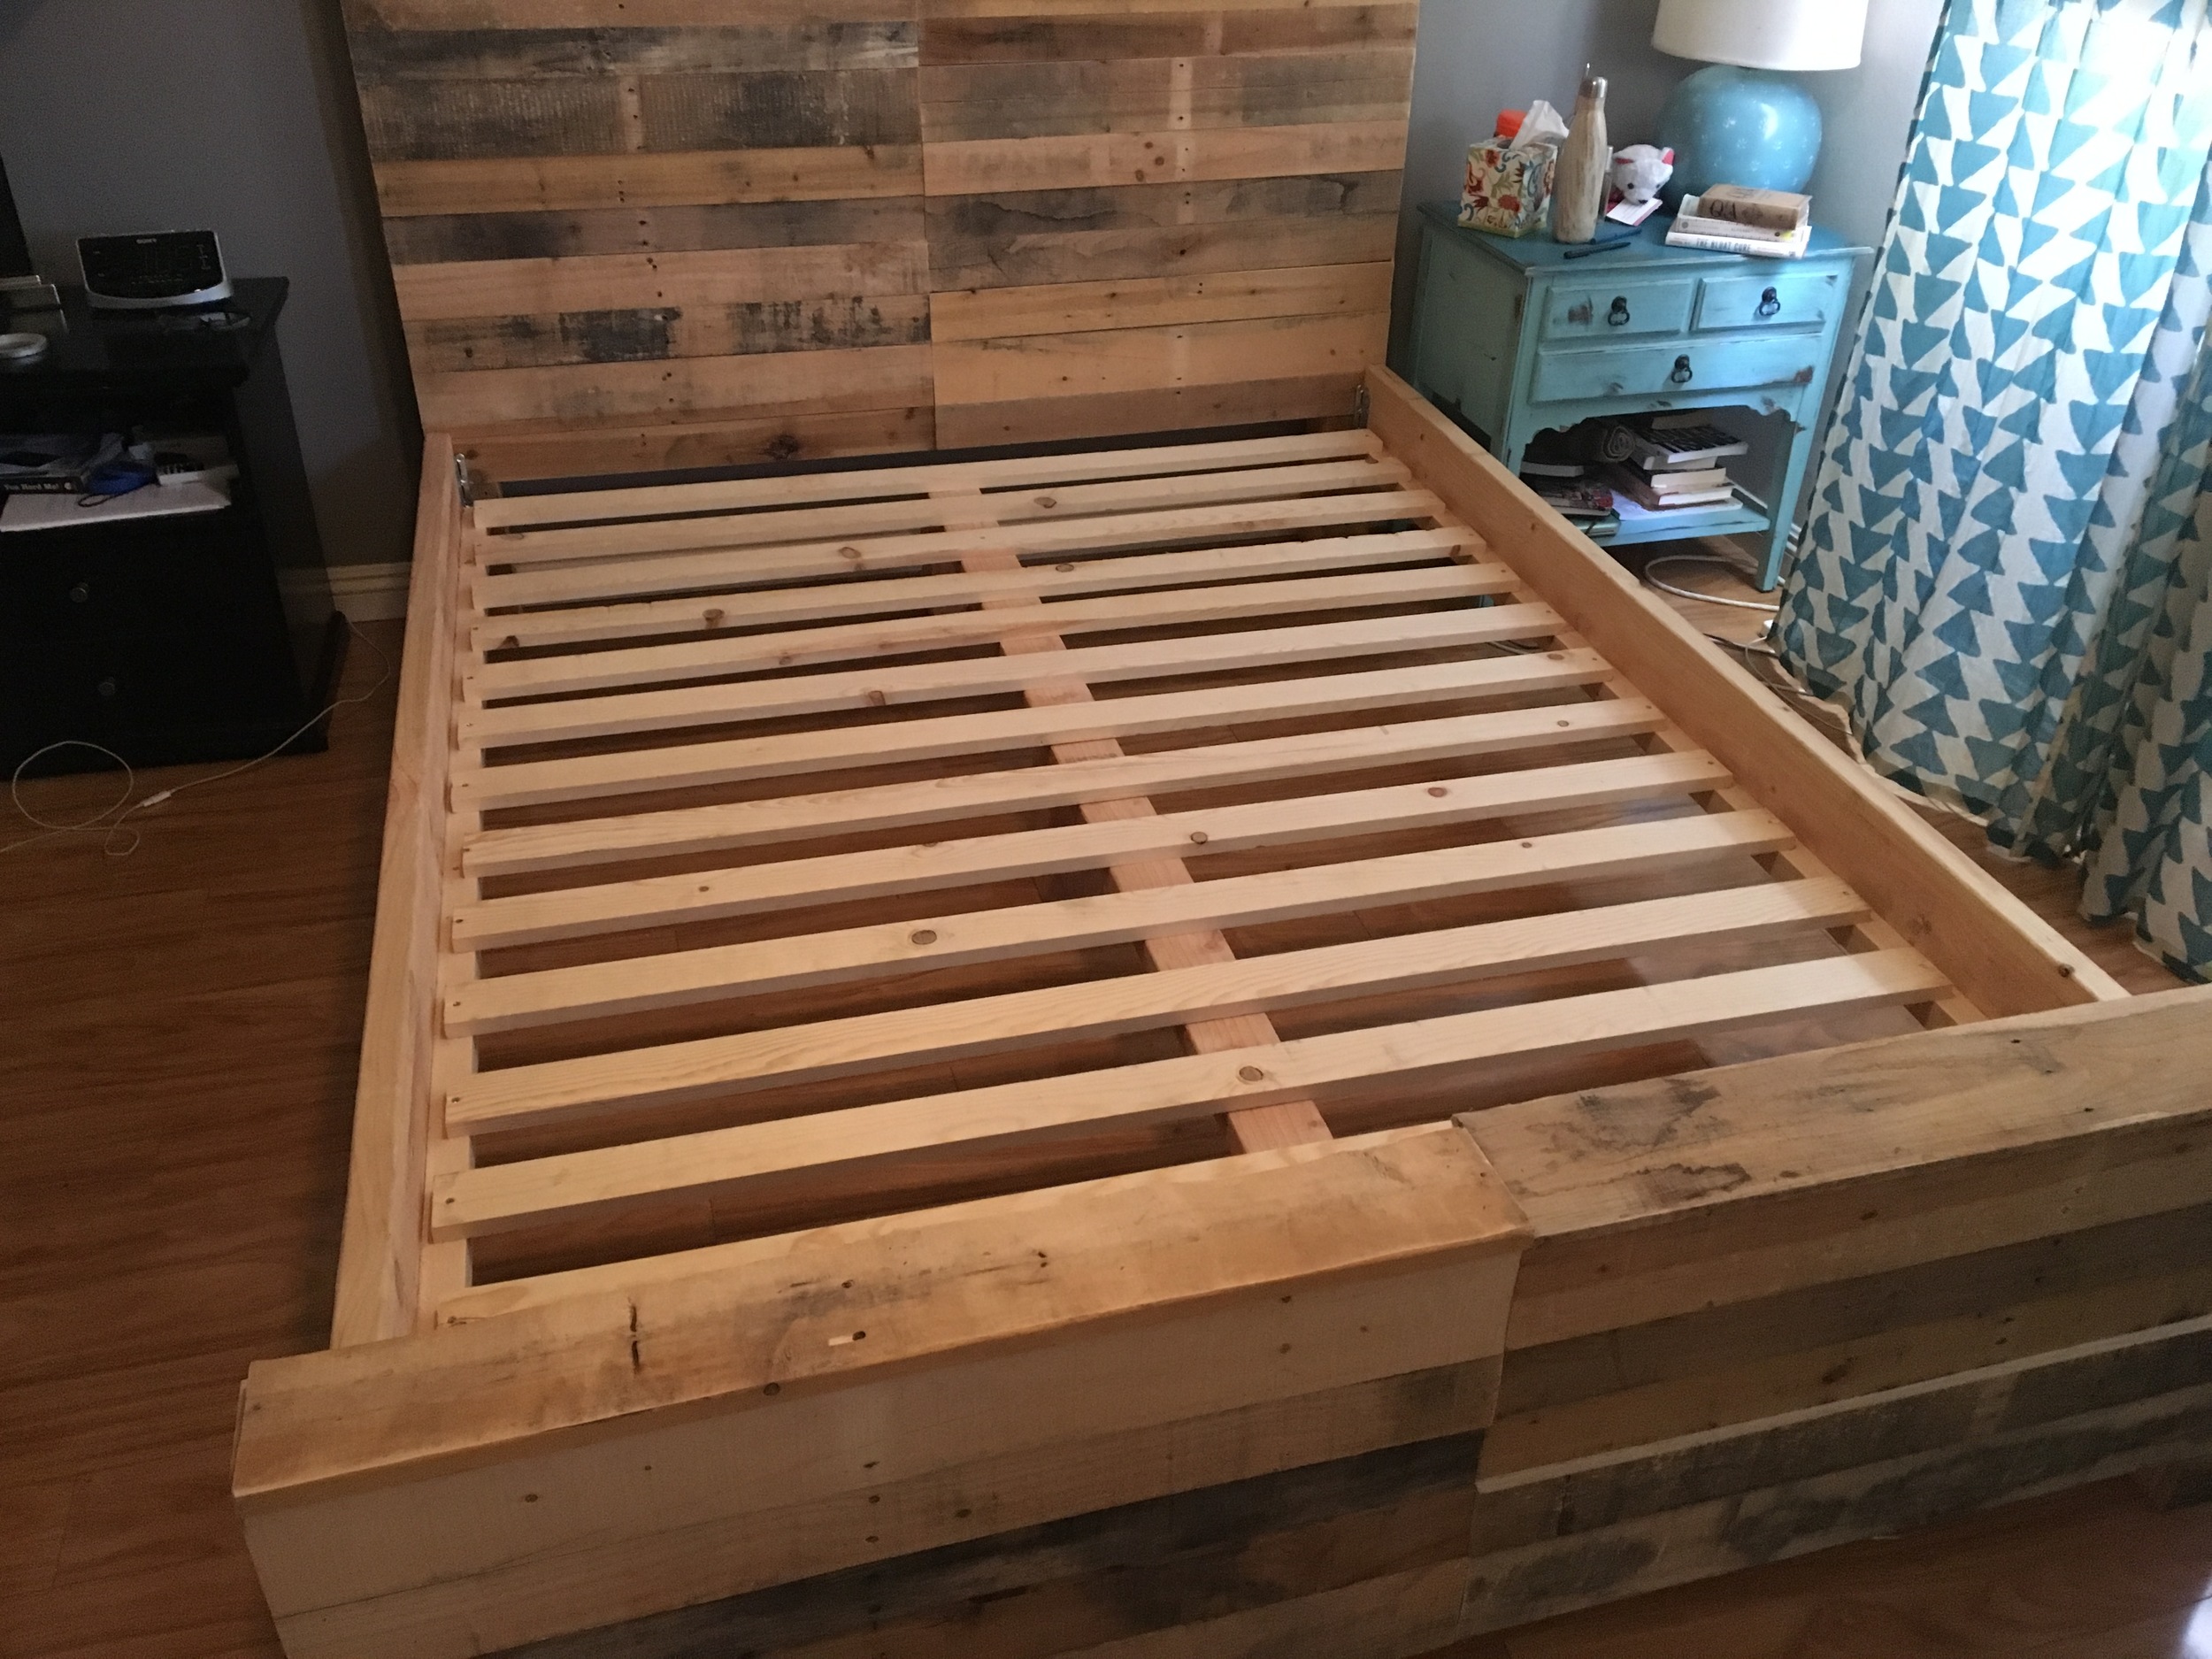
After adding in a center piece for center support and cutting the seven whitewood slabs in half to make 14 x 3" wide slabs for lateral support. I placed all pieces in place, screwed down, and was done! Shout of to Brooke for helping clean up everything and put it all together.
Below is the final bedding. Brooke also painted an accent wall light grey. I think it came out awesome, especially with the white window that we had found a few weeks prior.

Next up for us are new curtains (cause the ones we have are just awful )and we are going to paint both our nightstands white and distress to fit the more rustic theme we have throughout the apartment.
Total cost (sans the tool I bought, was about $140 for all materials. Total project time was about 15 hours.
TOOLS
RYOBI Circular Saw
RYOBI Power Drill
RYOBI Impact Driver
RYOBI 10 in. Sliding Compound Miter Saw
RYOBI Miter Saw Stand
RYOBI Cordless Orbital Sander
RYOBI Cordless Brad Nailer
HITACHI Table Saw
KREG K5 Pocket Hole Jig
Thanks for reading! This was a super challenging project, especially to assemble and build all in one day. That being said, I'm stoked at how it came out.
Check out my new Youtube Channel for other projects!
Cheers!
Zach