The Vintage Wooden Crates


Thanks for checking out the full article! Please Subscribe to our Youtube Channel by clicking here.

My full video of the build is below, followed by detailed instructions with tools, materials, and measurements! 

As stated in the video - the awesome thing about this project is how easy it is to make a few of these crates from just one sheet of plywood - I purchased a single $40 piece and was able to build three large ones specific to the free space I have.

MATERIALS
1 x 4' x 8' Plywood (3/4" thick)
Minwax Colonial Maple
Minwax Wipe On Satin Polyurethane
TiteBond II Wood Glue
1” Brad Nails
1” Pocket Hole Screws
Black Inkjet Printer Ink

Here is a simple diagram of how I went about slicing up my wood. The red highlights are excess wood you'll have left over for another project. I ended up not using all of the longer strips as well.

My measurements can be found below when I show all of my cut up pieces, but realistically, you can make these to any size or shape you want - just make sure you plan out roughly what you'll be able to cut from the wood you purchase so you don't run out halfway through and need to go to the store again!

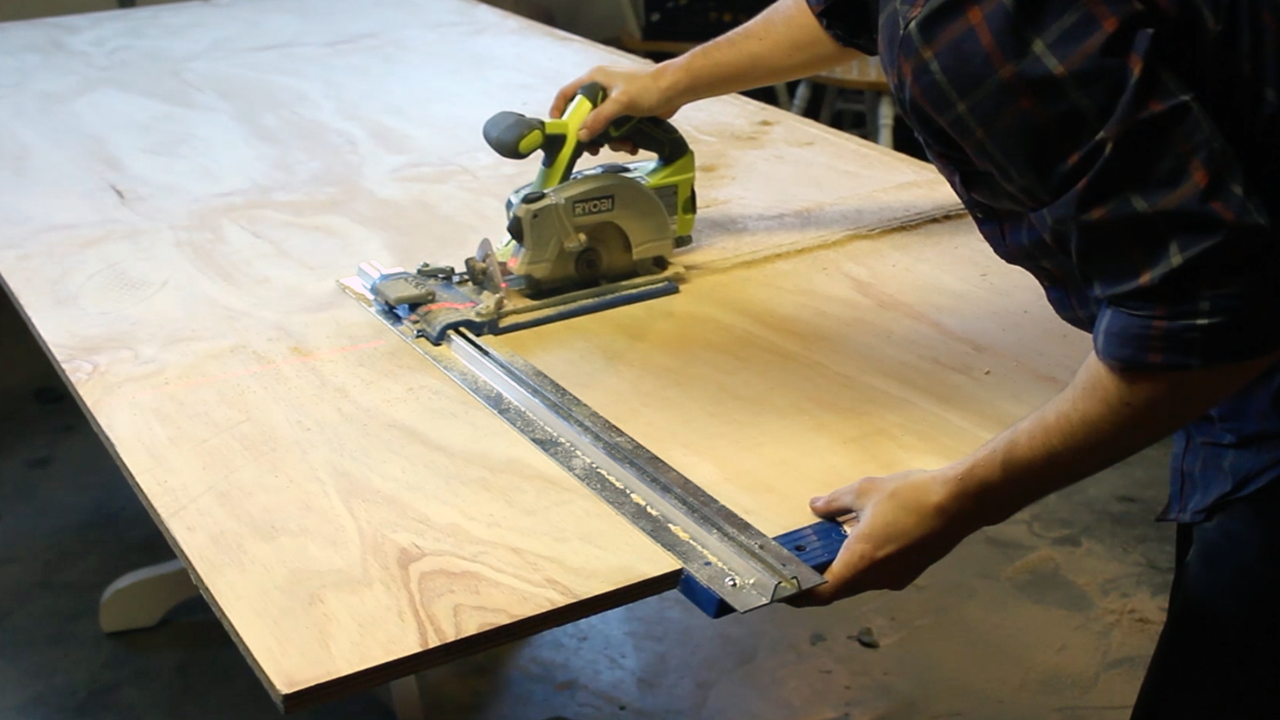
I started out by using my newly purchased Kreg Rip Cut and Ryobi Circular Saw to make large rips of my plywood - the Rip Cut is a great substitute tool for those who don't have a table saw or do not have someone to help assist you in feeding/ripping large pieces of wood. 

Once I had my larger strips ripped, I took to my Miter Saw to cut the pieces into their final size. In the pictures above, I'm ripping my Front/Back pieces as well as my Side pieces. For the side pieces, since they were 21" long (much longer than any Miter Saw can cut), I cut one side of the piece, then flipped it over and lined it back up with my blade to finish the cuts. 

Using the Miter Saw was much more efficient for the smaller cuts as the Rip Cut, although awesome, gets tricky when trying to make smaller cuts (the large straight ruler is not adjustable in length, so if you try to clamp small pieces of wood down, etc., the track will run into your clamps and you won't be able to make cuts without adjusting them). Hard to explain - but just trust me on this one. 

My measurements can be seen above as well - again - I cut them this way to fit my specific space. 

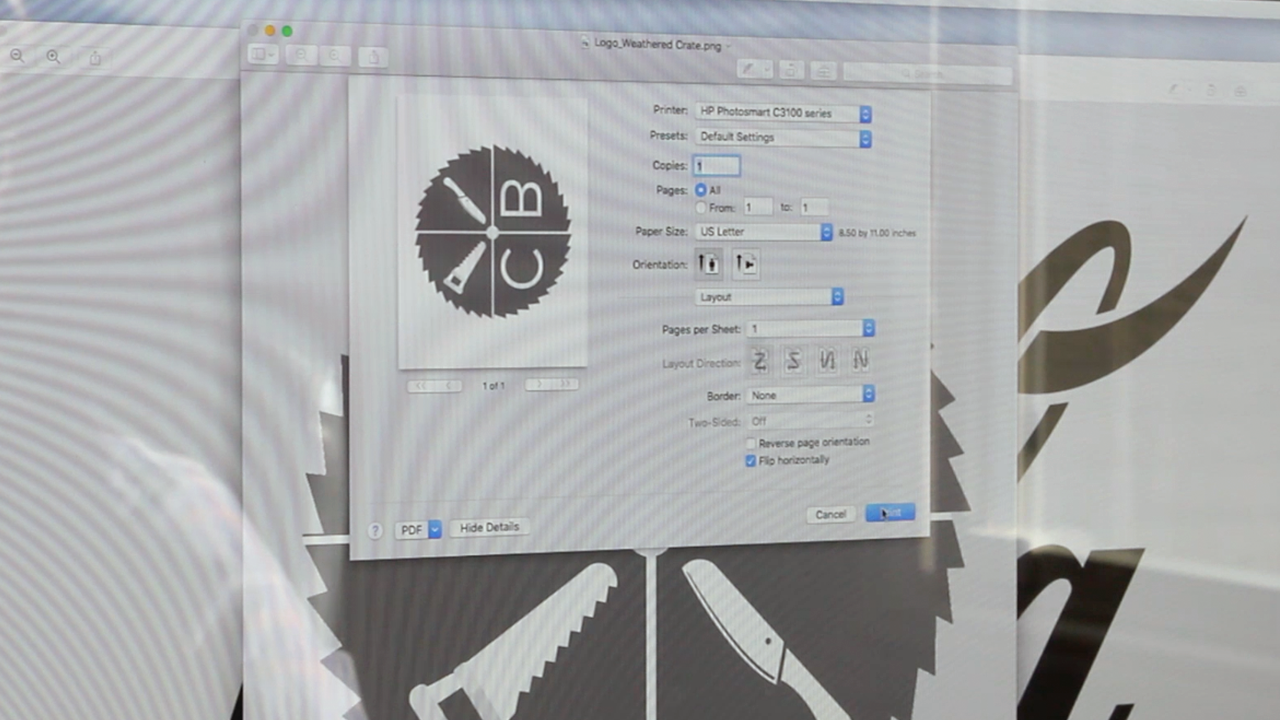
Next, I took to creating my logos. Now, I don't have a laser cutter or a CNC machine and I wasn't looking to purchase any stencils, etc., so I researched and found a DIY method that is awesome and can be easily replicated by anyone with a printer.

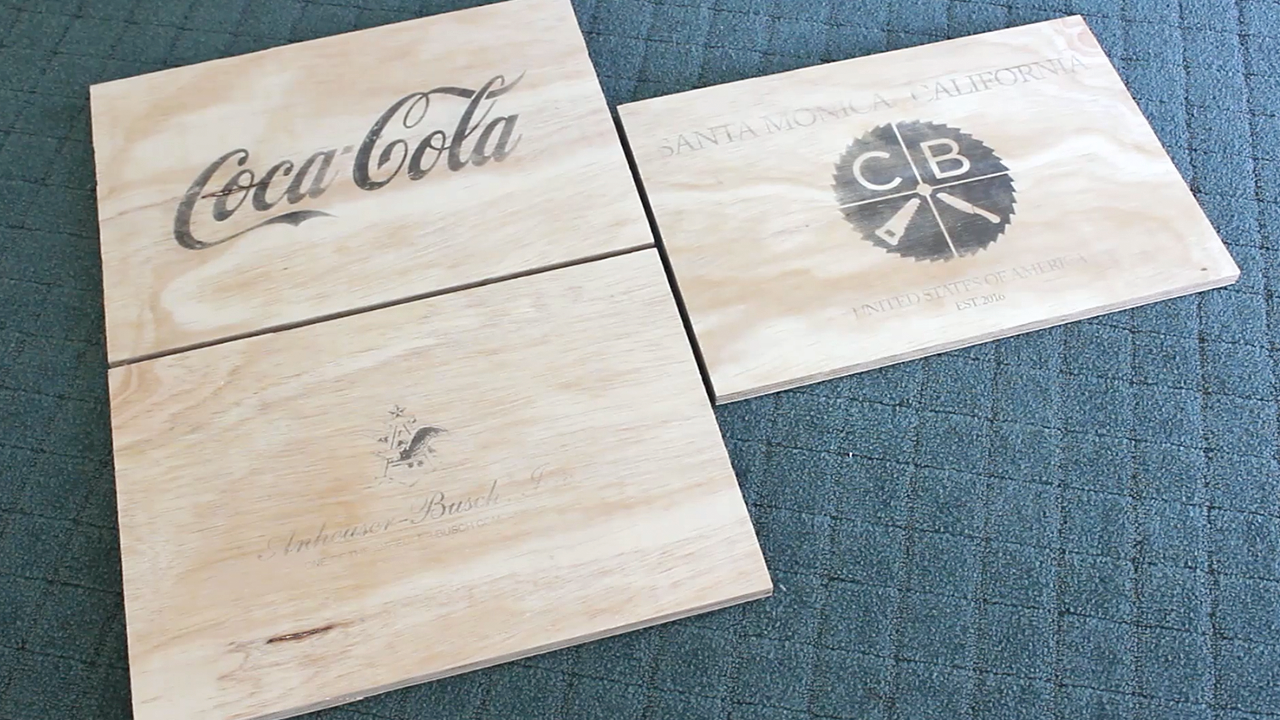
I chose Coca Cola and Anhueser Busch as my two "classic logos" and then created my own Cutting Bored logo w/location and dates using my own brand guidelines. Again - choose any logos you want for your projects!

This was an interesting process to go through as I had never done it before. The way you do it is to design your logos and then print them out at whatever size you want as a mirrored image onto wax paper. Wax paper is thin and tricky and can easily get bunched up in your printer feed, so I recommend taping it down to another sheet of regular printer paper so it feeds through easier. Also, feel free to print out very large logos on separate pieces of paper and then combine to form larger ones incase you think a standard 8.5 x 11" piece of paper will be too small - I did this with 2/3 of my boxes. 

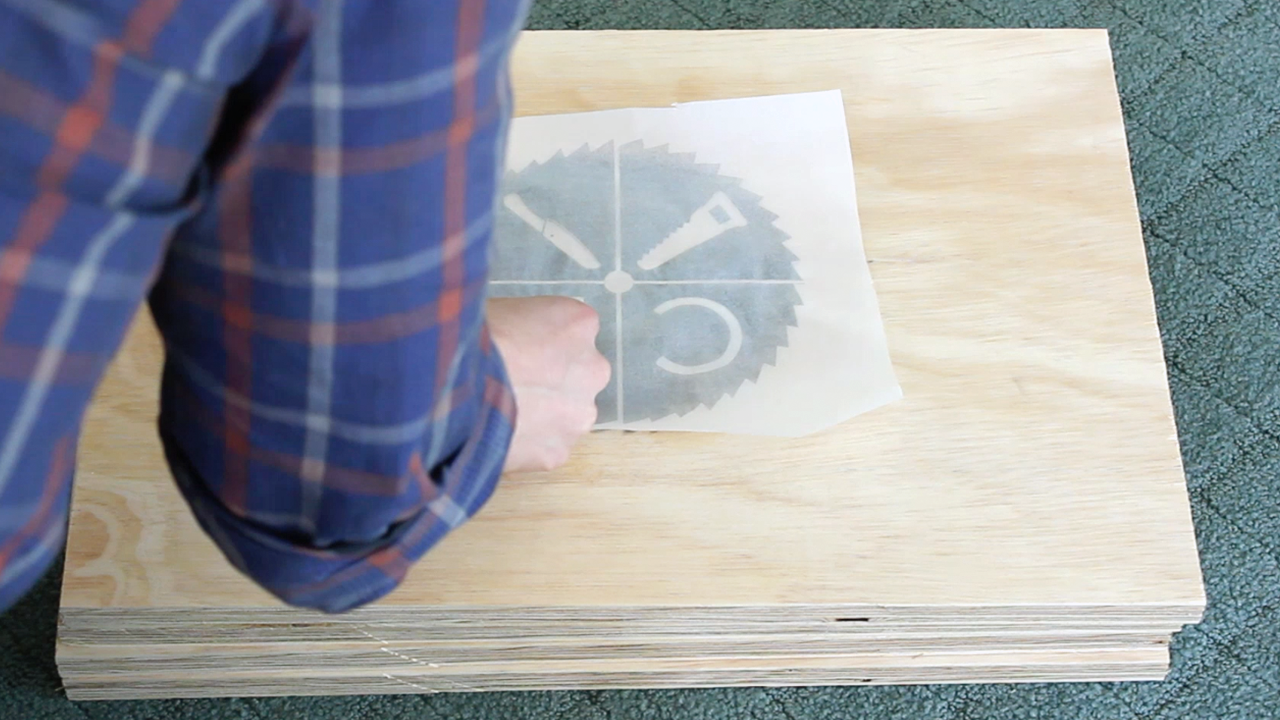
Once your logo prints, press it against the wood you want to to apply it to (be accurate and meticulous about this as the ink immediately begins to bleed over) and use any credit card type object to flatten and push the ink onto the wood fully. NOTE - only inkjet printers will work for this method as the ink will be wet and won't stick well to the wax paper. If done correctly, the ink will bleed nicely into the wood permanently. If you want to go a different route, you can absolutely purchase stencils and spray paint and apply accordingly.

I also recommend using thicker logos for the ink method specifically - as you can see - the Cutting Bored and Coca Cola logos are much more legible than the Anhueser Busch logo. Still look great though!

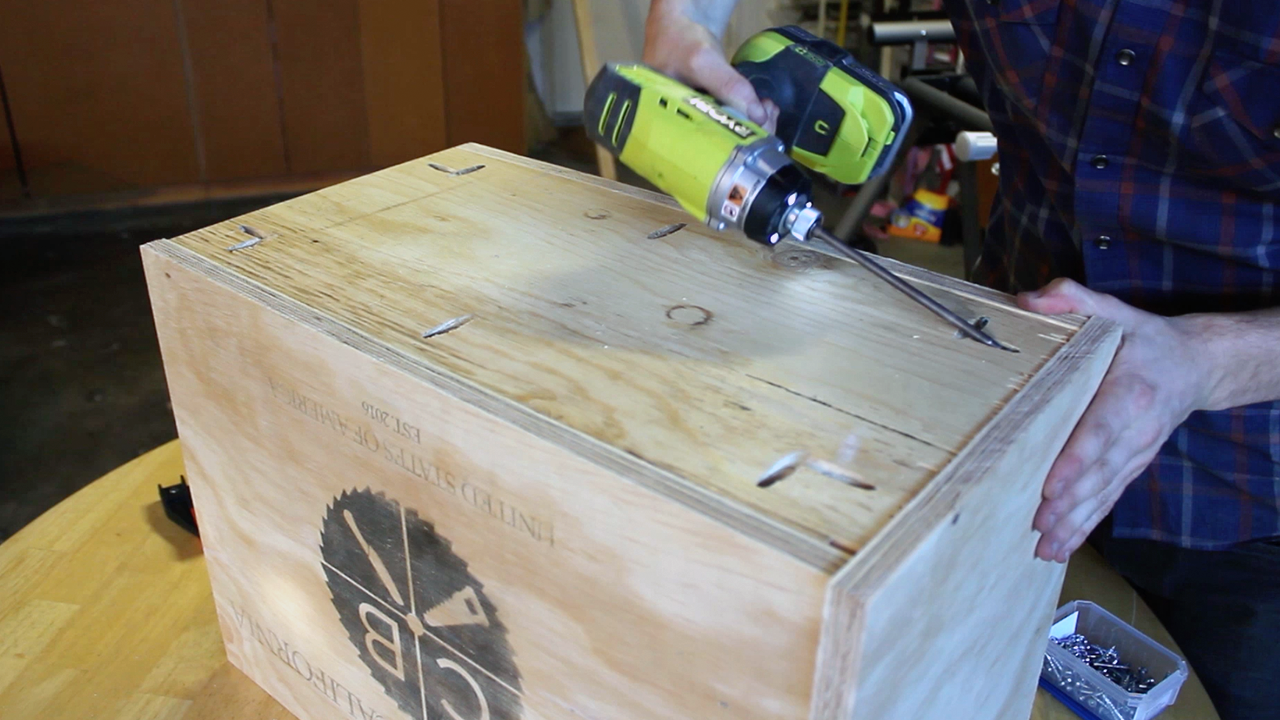
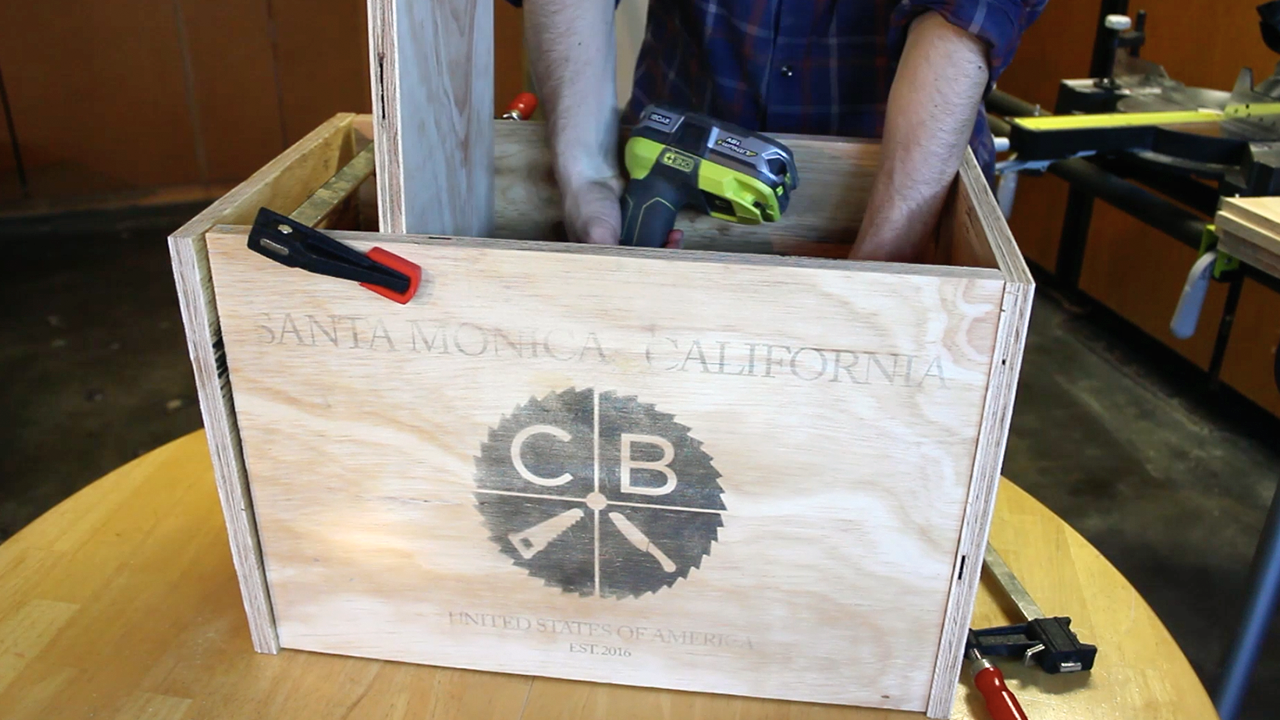
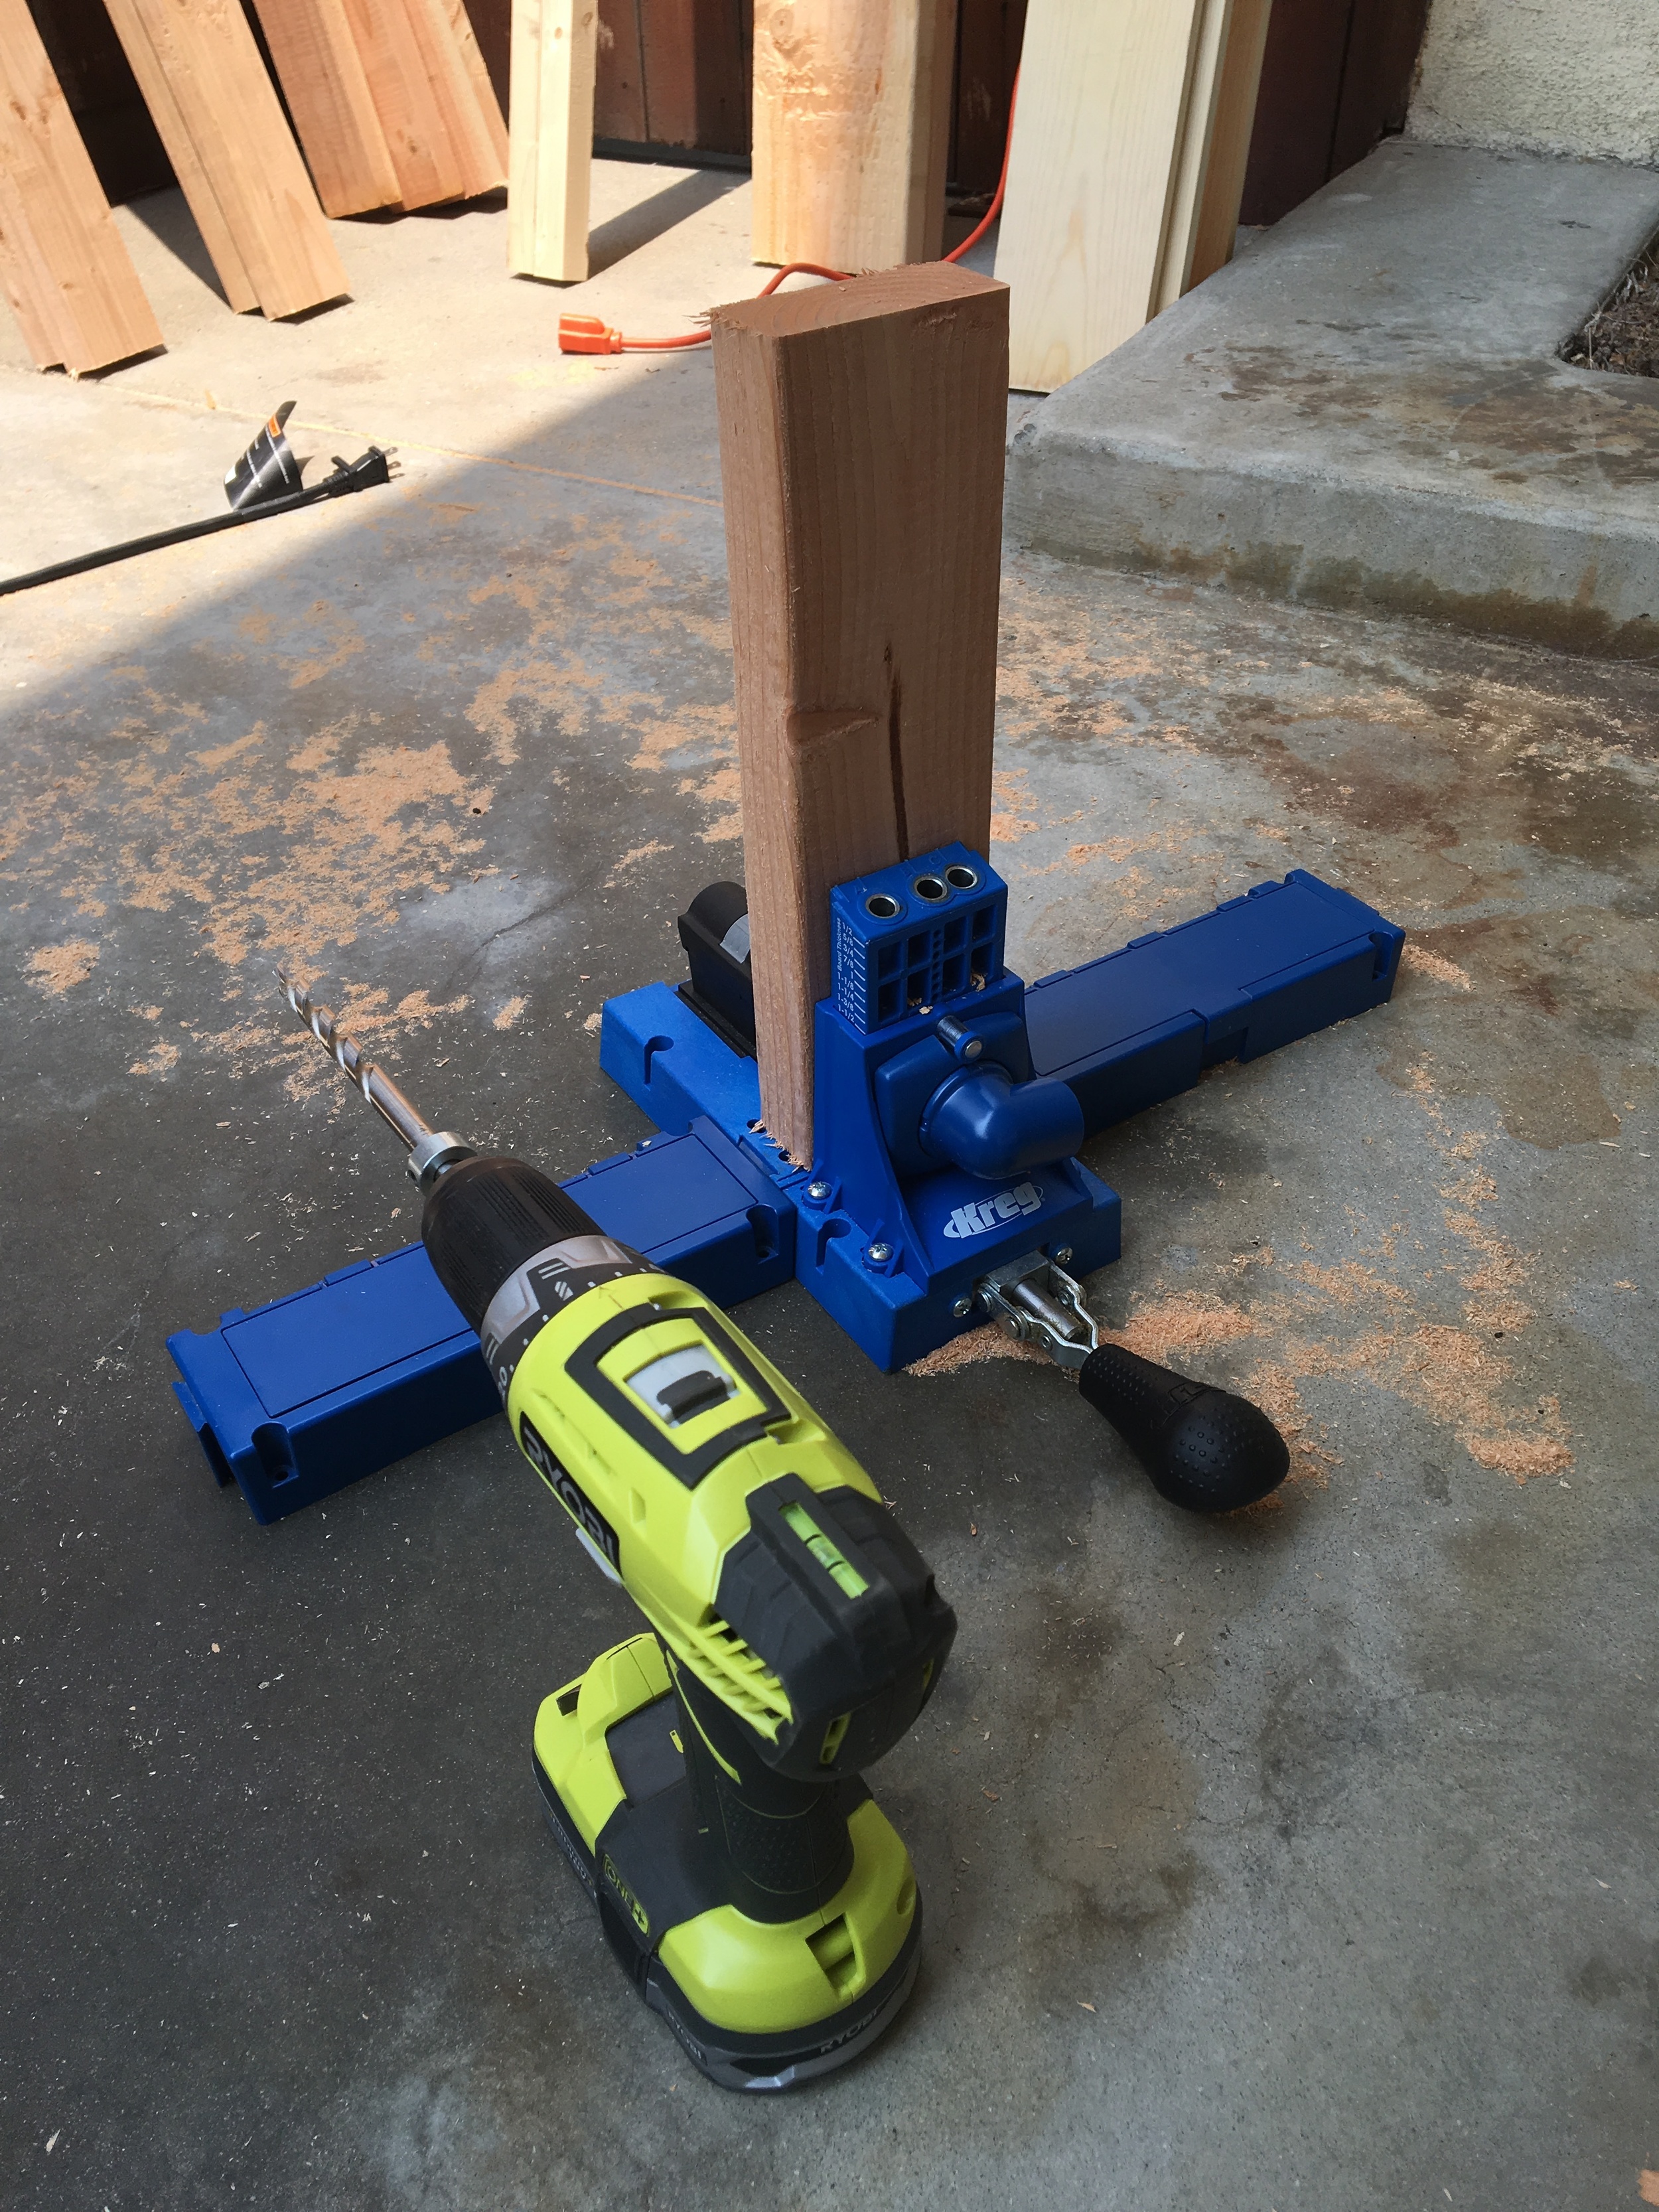
I then drilled and assembled using my pocket hole jig and pocket hole screws - this is always my go to method for assembling projects that will have hidden joints. If you don't have a pocket hole jig, you can use wood screws, nails, or other types of joinery to piece together. 

All assembled! 

Sanded down using 60 grit sand paper to round all the edges and wear them down - your goal is to make them look old!

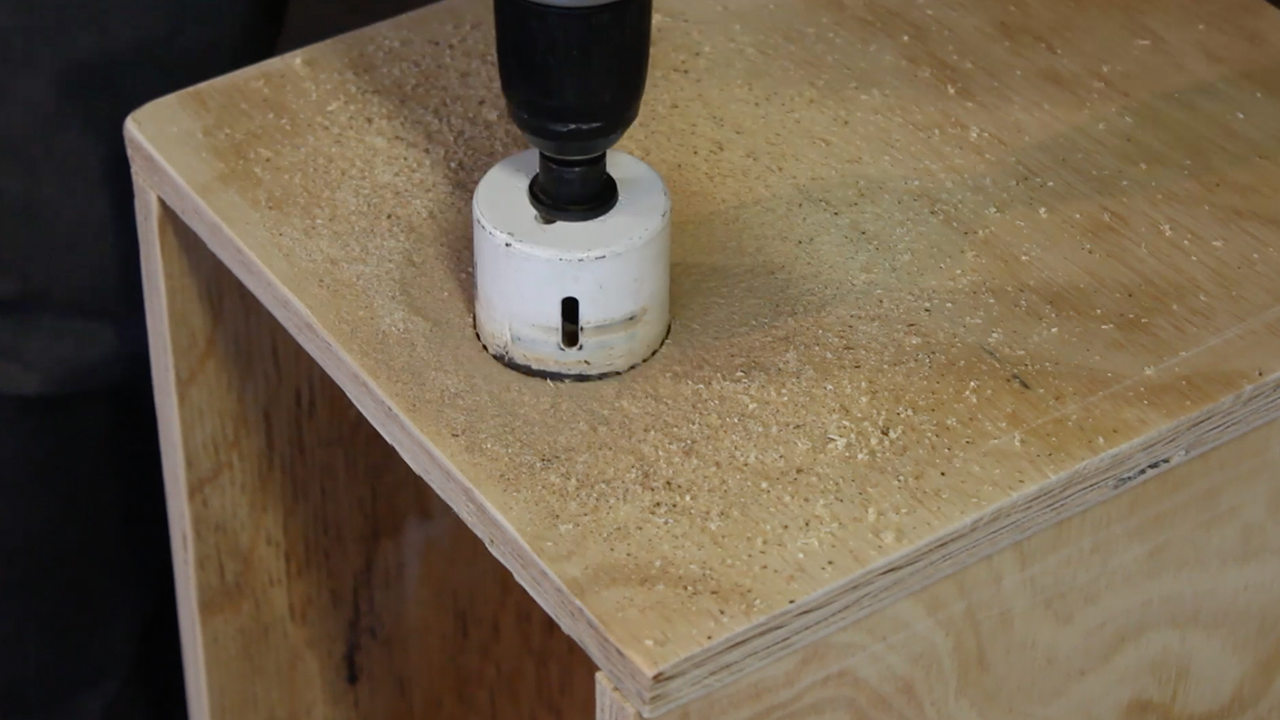
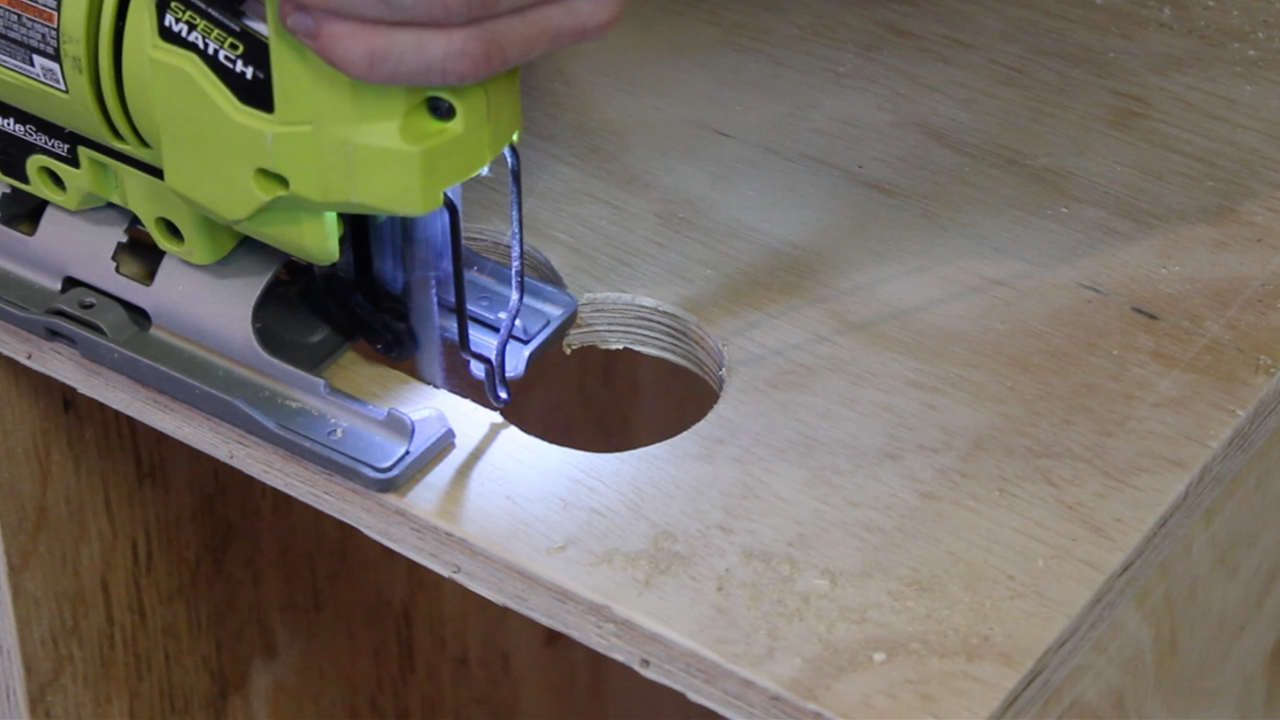
Decided to cut our holes for handles on the boxes. You can get super precise with this if you choose, but I mostly freehanded things using a hole saw and my jig saw - they work well for the theme of old/vintage for this project. 

I added a few slats to the Coca Cola box using glue and finish nails, then cut off the excess pieces using my jig saw. They help give a bit of different character to the box. 

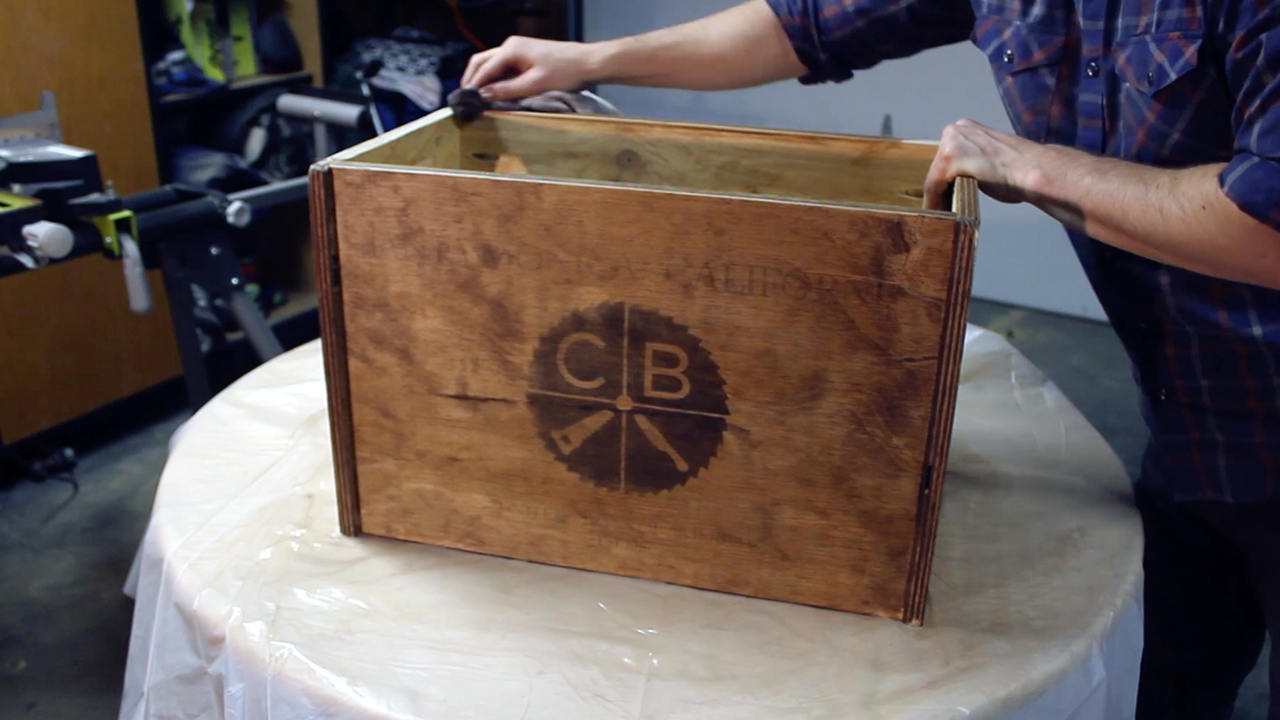
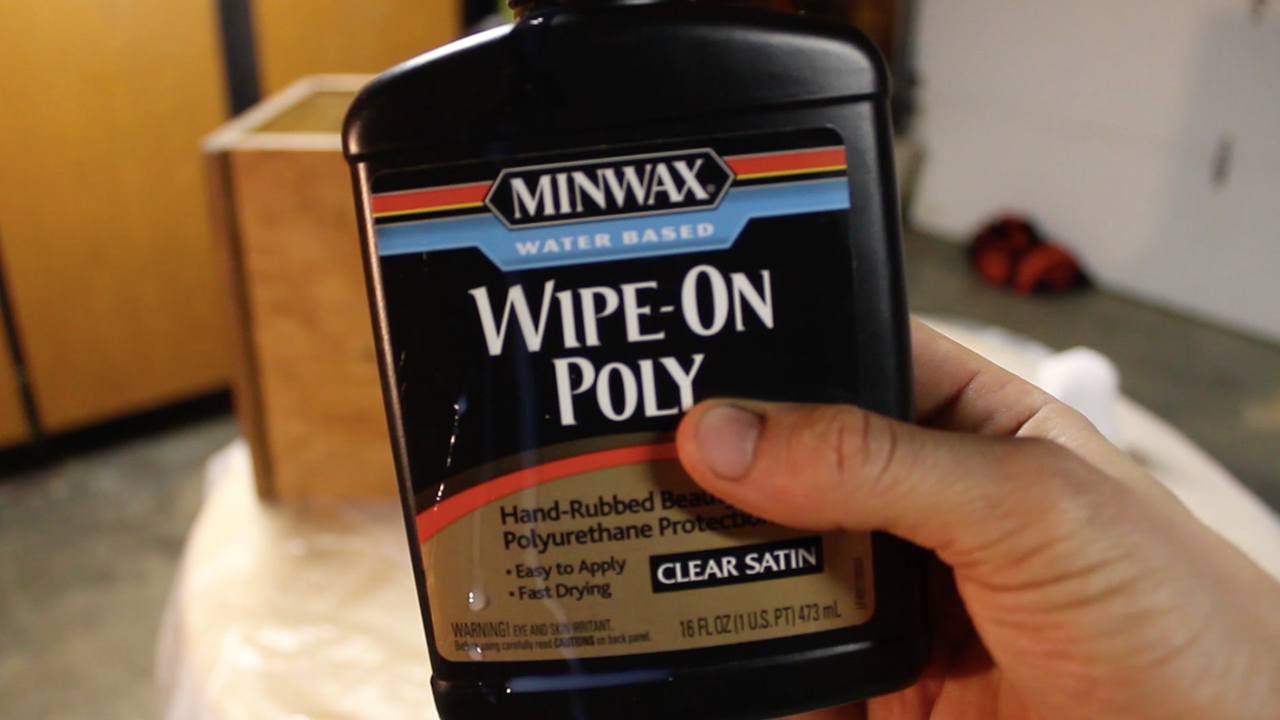
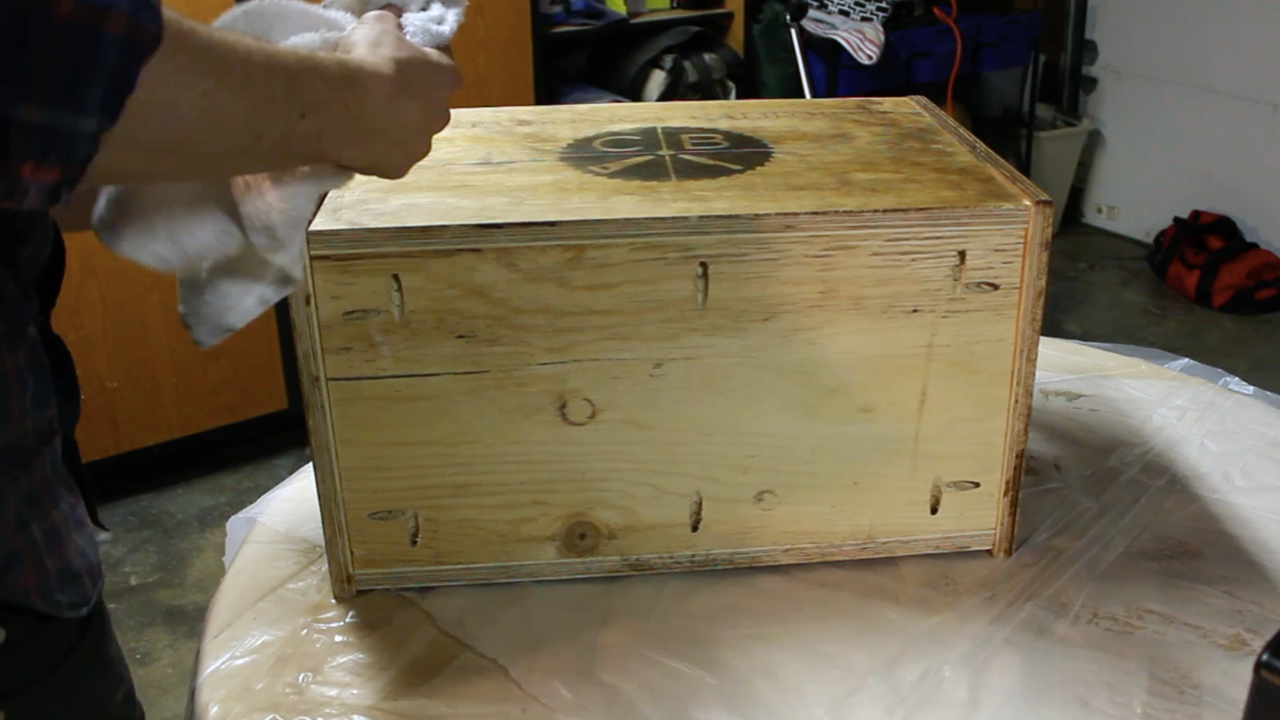
Lastly, I applied a single coat of Minwax's Colonial Maple stain - after looking at all of Minwax's collection, Colonial Maple tended to have the closest resemblance to what old crates look like. I also added in a bit of American Walnut to darken it. I think they came out great. If I could go back, I think it might be fun to stain them all slightly different as to give them variety, but to each their own! I also applied a single coat of Minwax's Wipe On Satin Polyeurethane finish to give them protection and a bit of sheen. 

All finished and in their new home! These are fantastic for extra storage (I will use them to store smaller tools, film production equipment, and other electrical and building related equipment I own. If you want building information on the bench featured above, you can check out my blog on it here.

Now get out there and make something unique of your own!

TOOLS
RYOBI 10 in. Sliding Compound Miter Saw
RYOBI Miter Saw Stand
RYOBI Cordless Orbital Sander (60 Grit)
RYOBI Combo Power Tool Kit (Drill, Impact Driver, Circular Saw, Multi-Tool)
KREG K5 Pocket Hole Jig
KREG Rip Cut
12” Rafter Square
Hammer
Hole Saw (2”)
Hand Sanding Sponges (120 Grit)


FILM / EDIT EQUIPMENT:
Canon Rebel EOS T2i
Canon EF-S 18-55mm f/3.5-5.6 IS II Lens
Rode Microphone
Voice Recording
Adobe Premiere (Editorial)

As always, thank you for reading! I would be so grateful if you could please subscribe to my new Youtube Channel for future projects. I put out videos every two weeks.

Cheers!

Zach


The Floating Stump Stool


Thanks for checking out the full article! 

Full video build is below, followed by detailed instructions with tools and measurements!
You can subscribe to our YouTube channel by clicking here!

NOTE for any stump project you take on:..
Embrace the flexibility of the project. Don't settle for simple stains or oils - figure out what will work the best for the vibe of your home through research and make your stump look the best you can. Stumps aren't cheap and sometimes tough to find, so make sure you do your homework on this project before diving in!

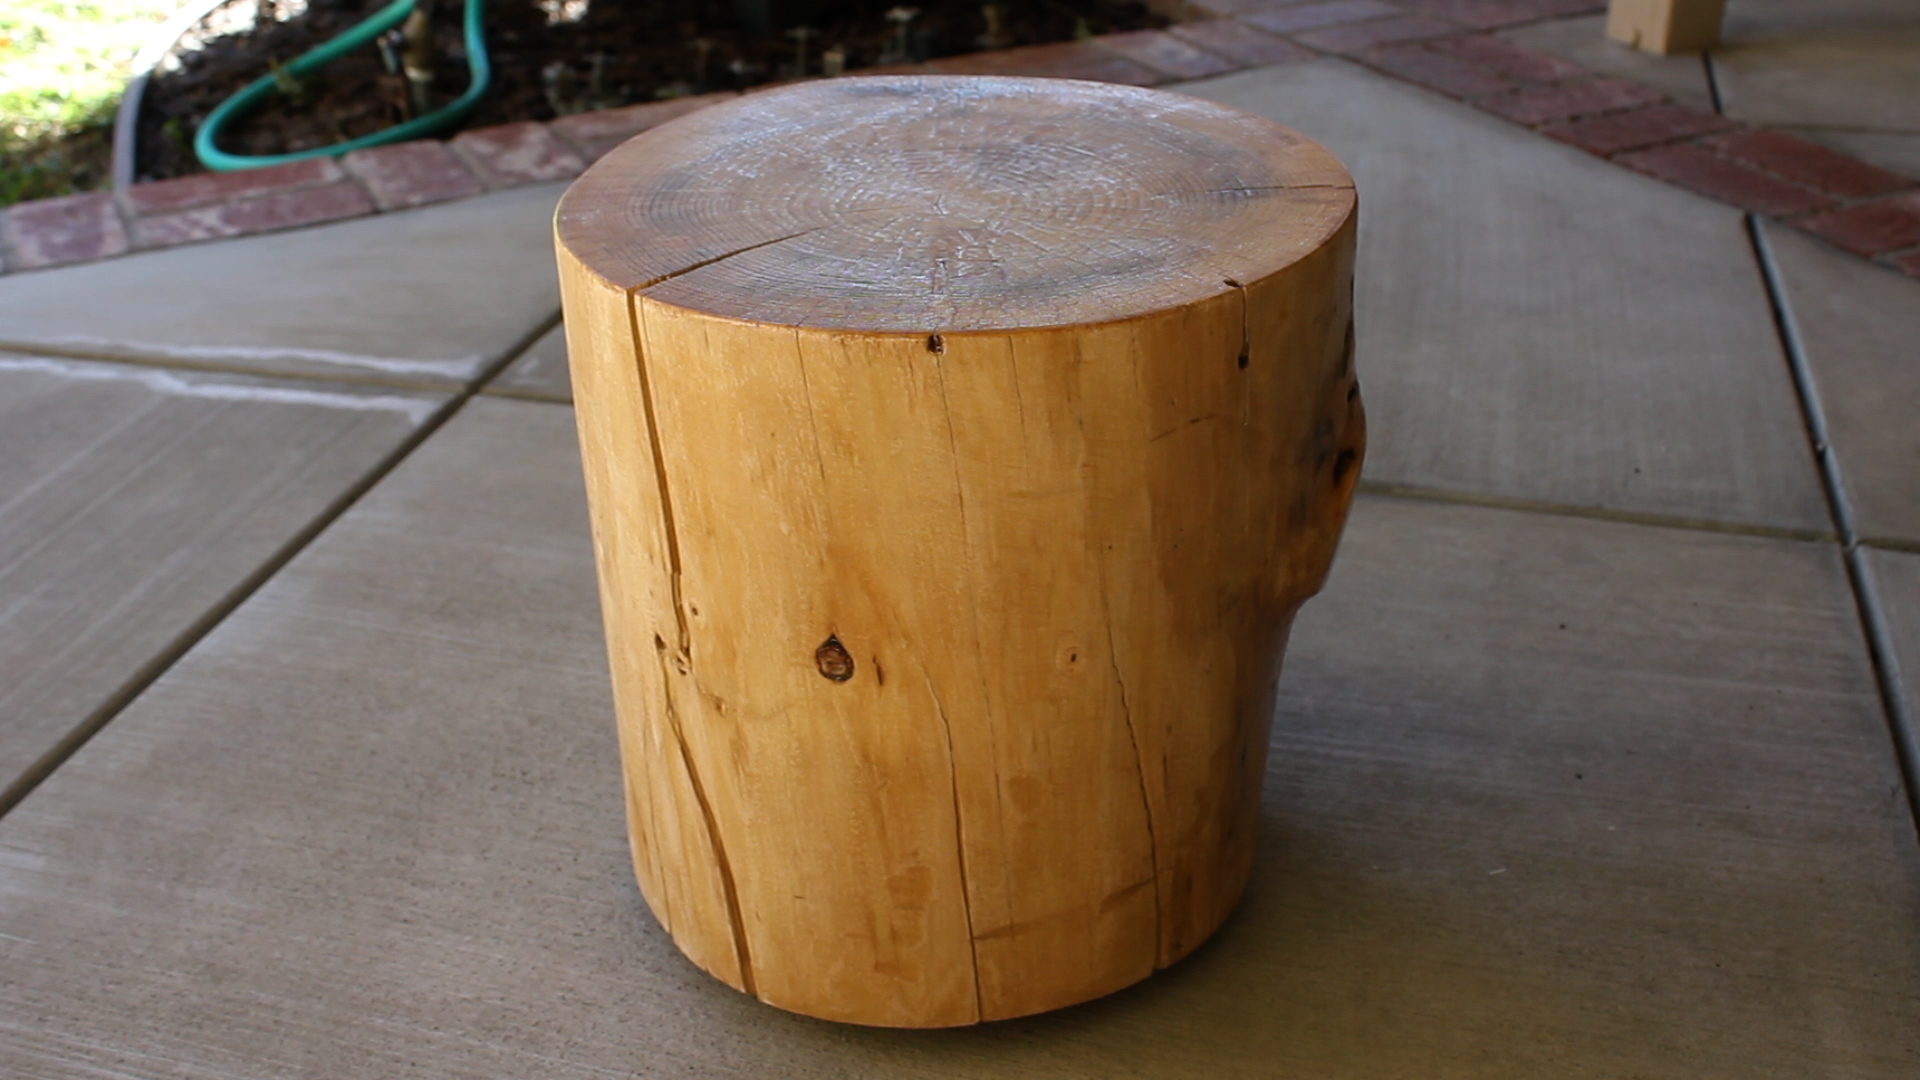
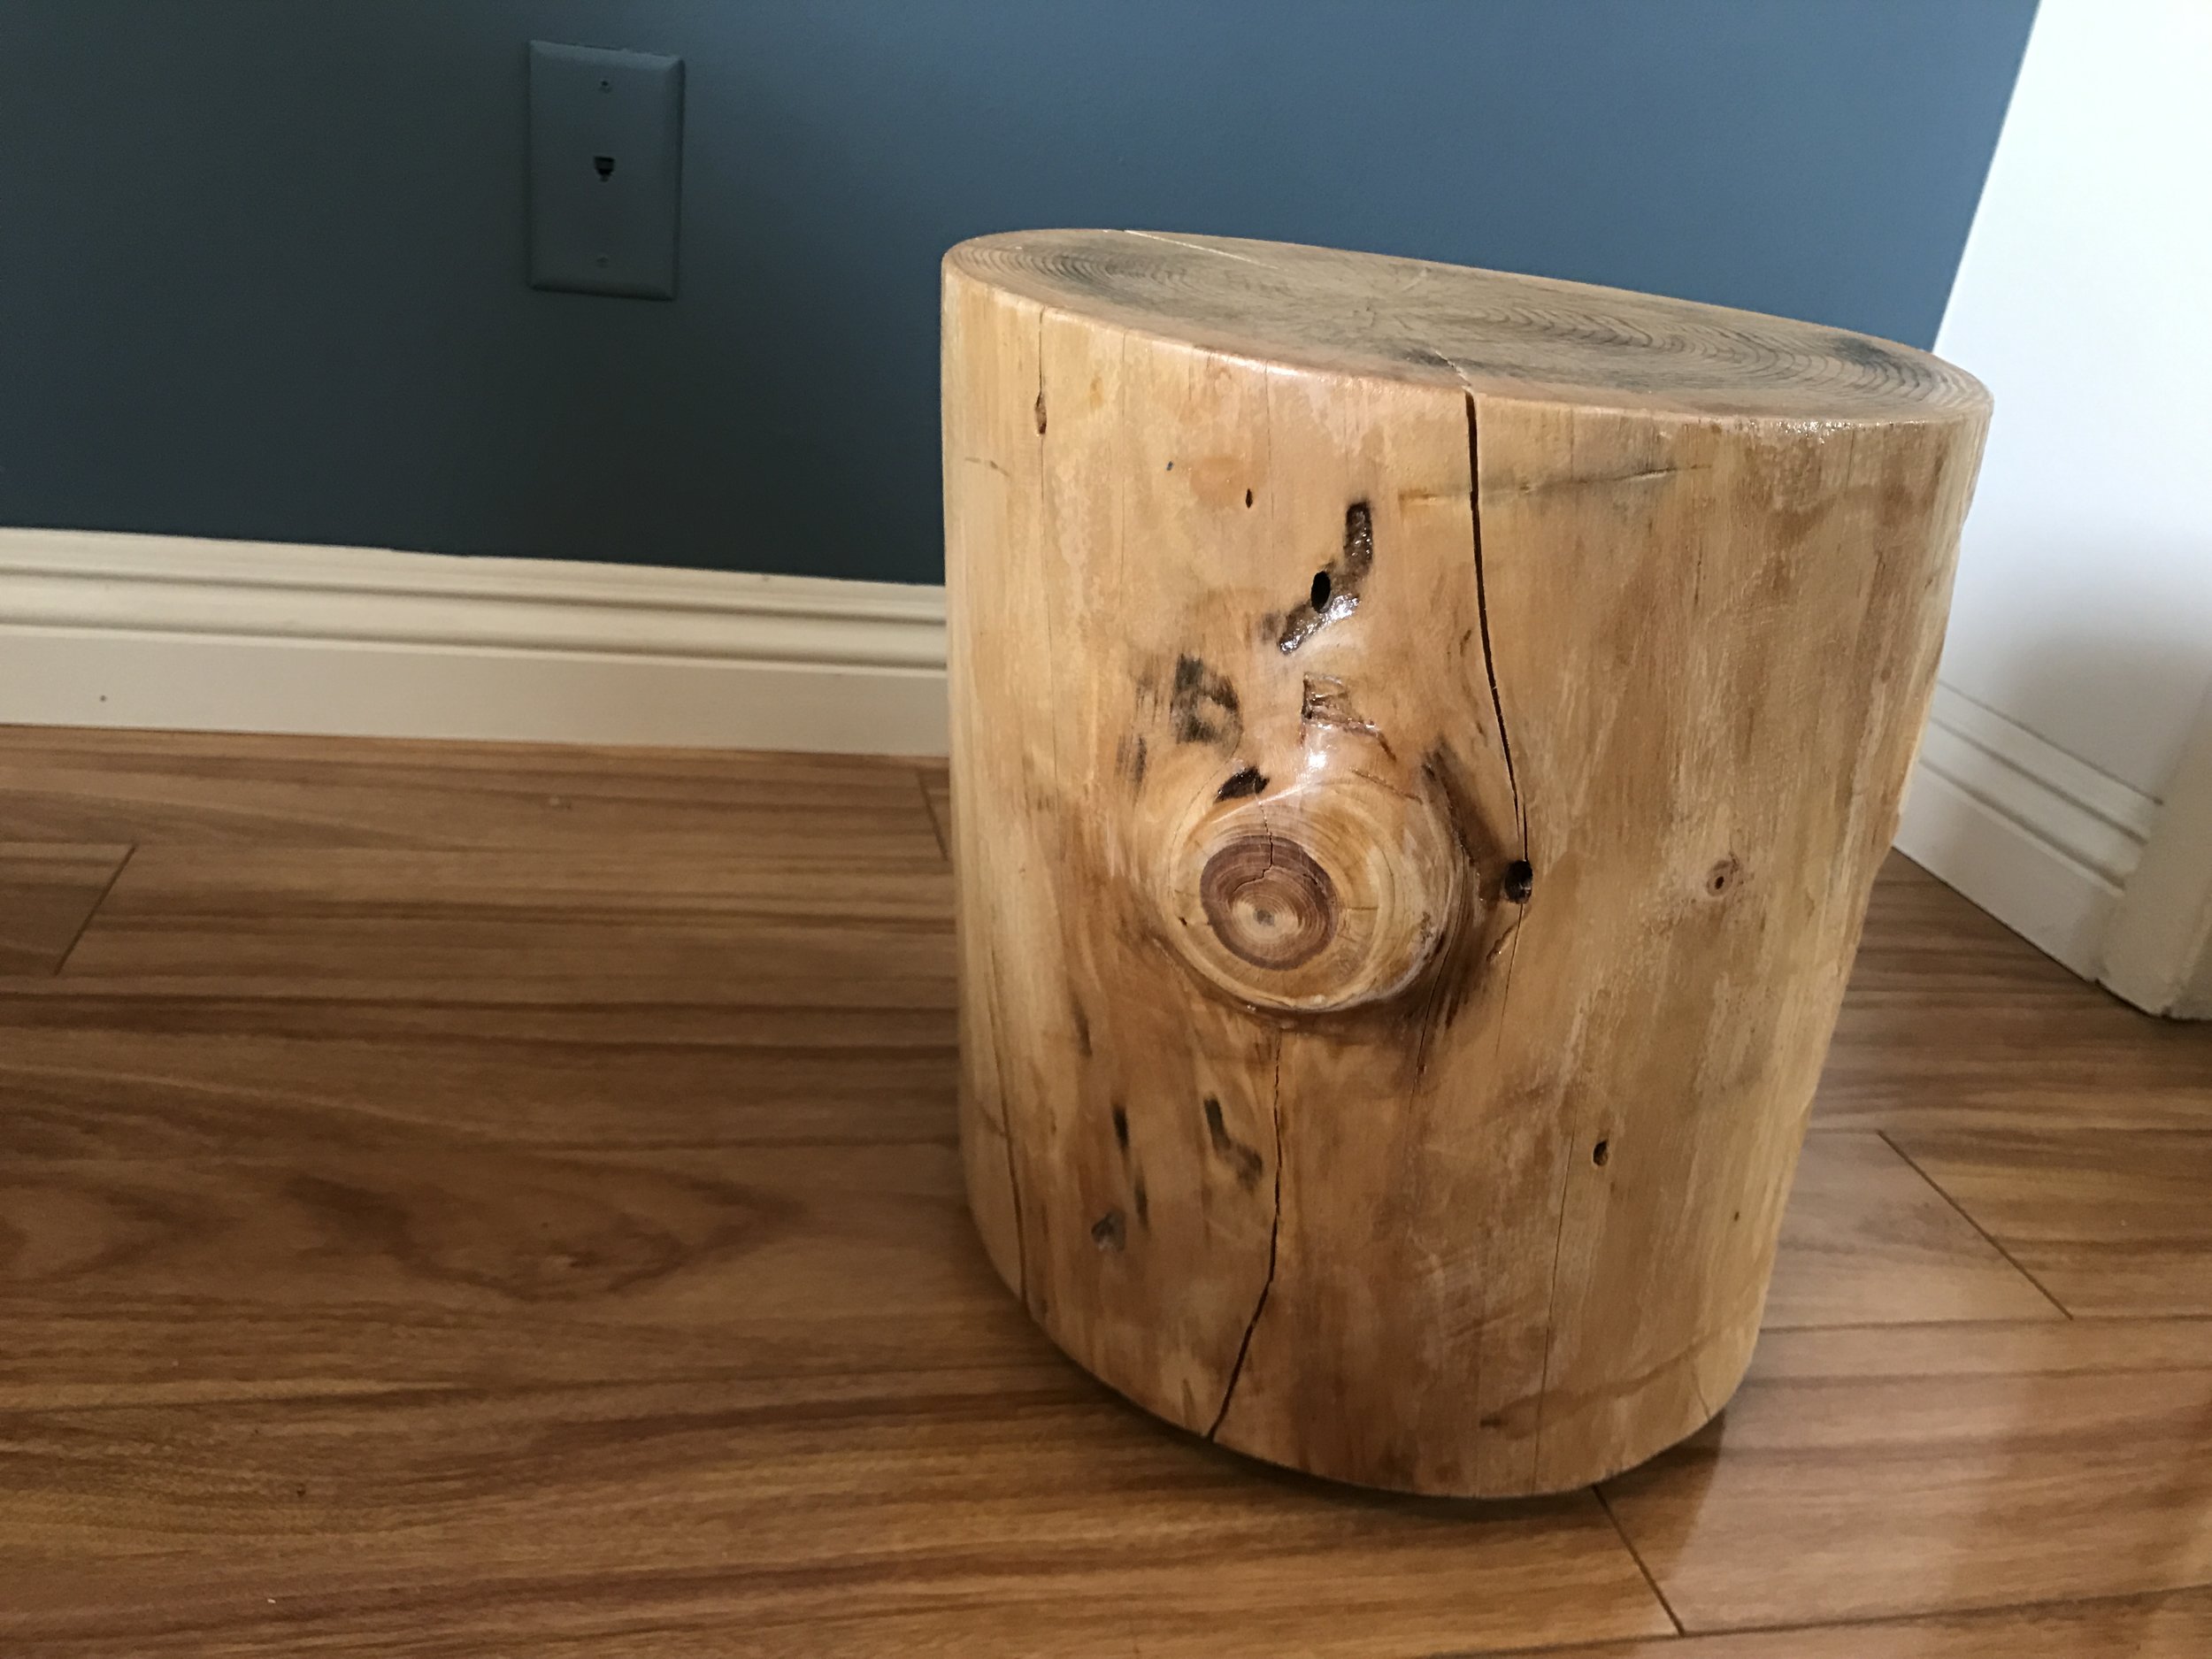
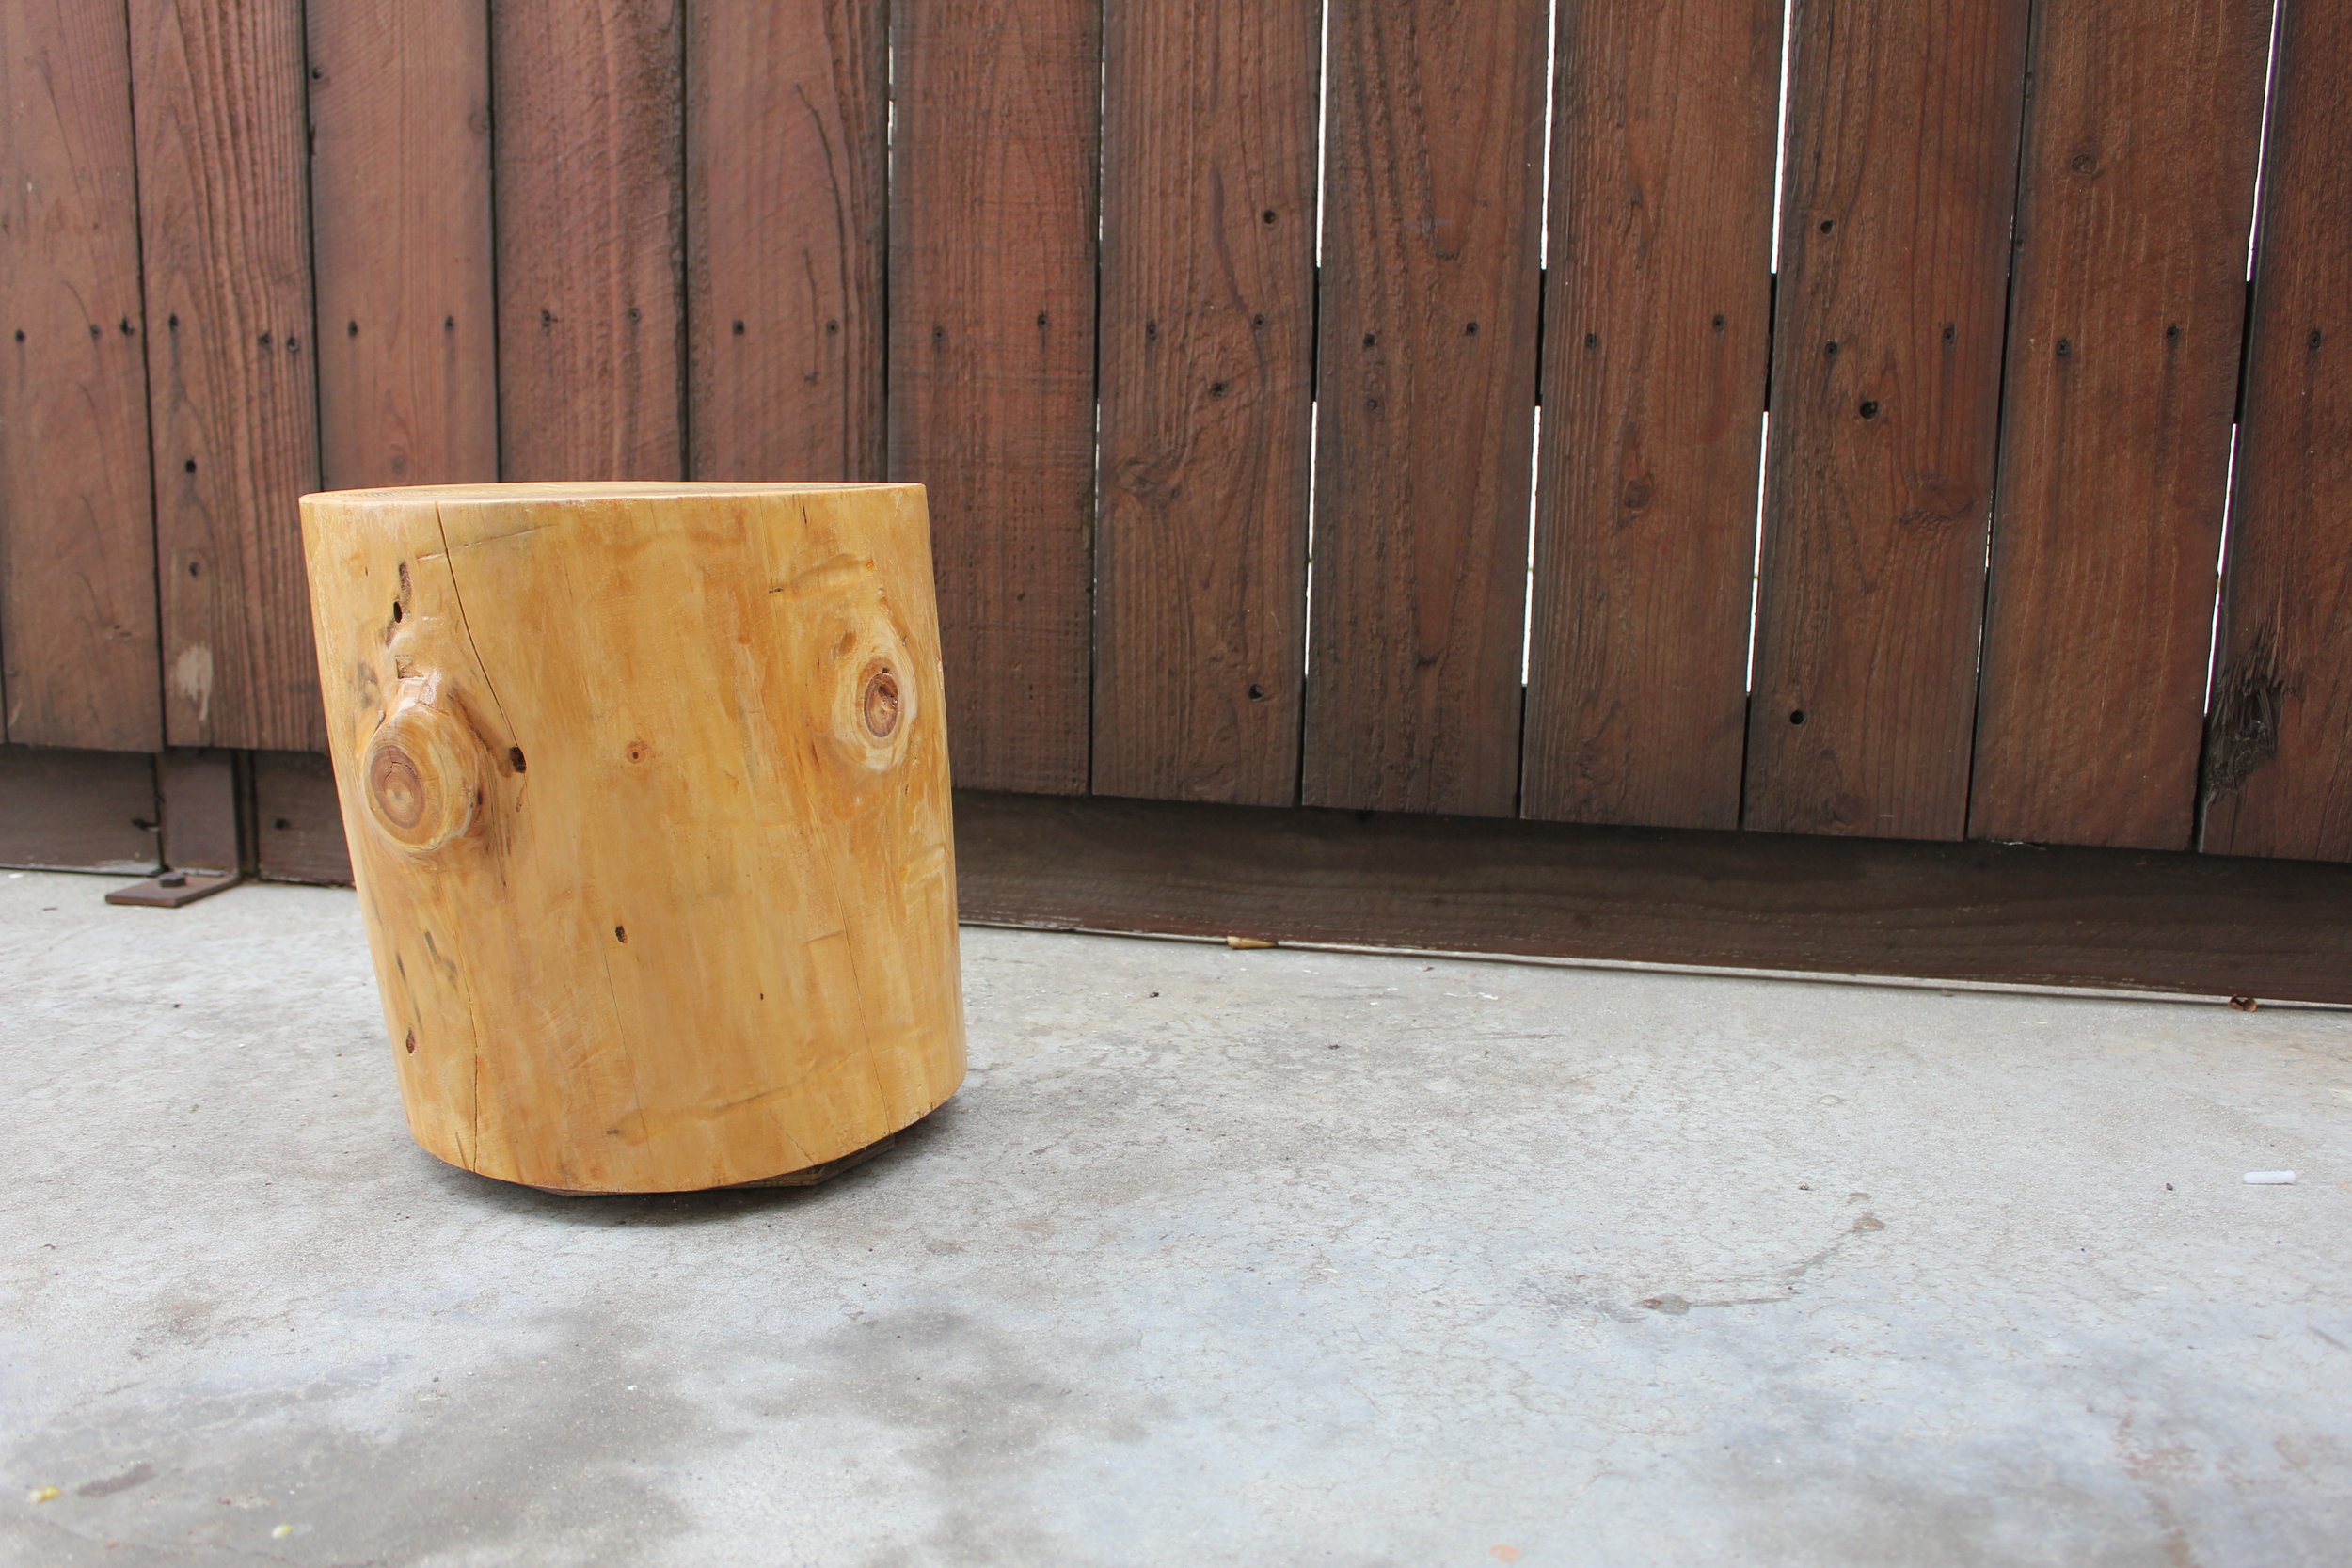
In the second episode of my stump series, I am going to upcycle a second stumped that I reclaimed from the Mammoth firewood pile  back in May of 2016. This stump had also been drying out for the better part of a year - amazing how much weight in moisture it lost!

MATERIALS
1 x Stump (I think it's oak but I have no clue)
1 x Scrap Plywood (9" x 9" at least for me)
Minwax Clear Finish Polyurethane
Bleach (to clean the wood)

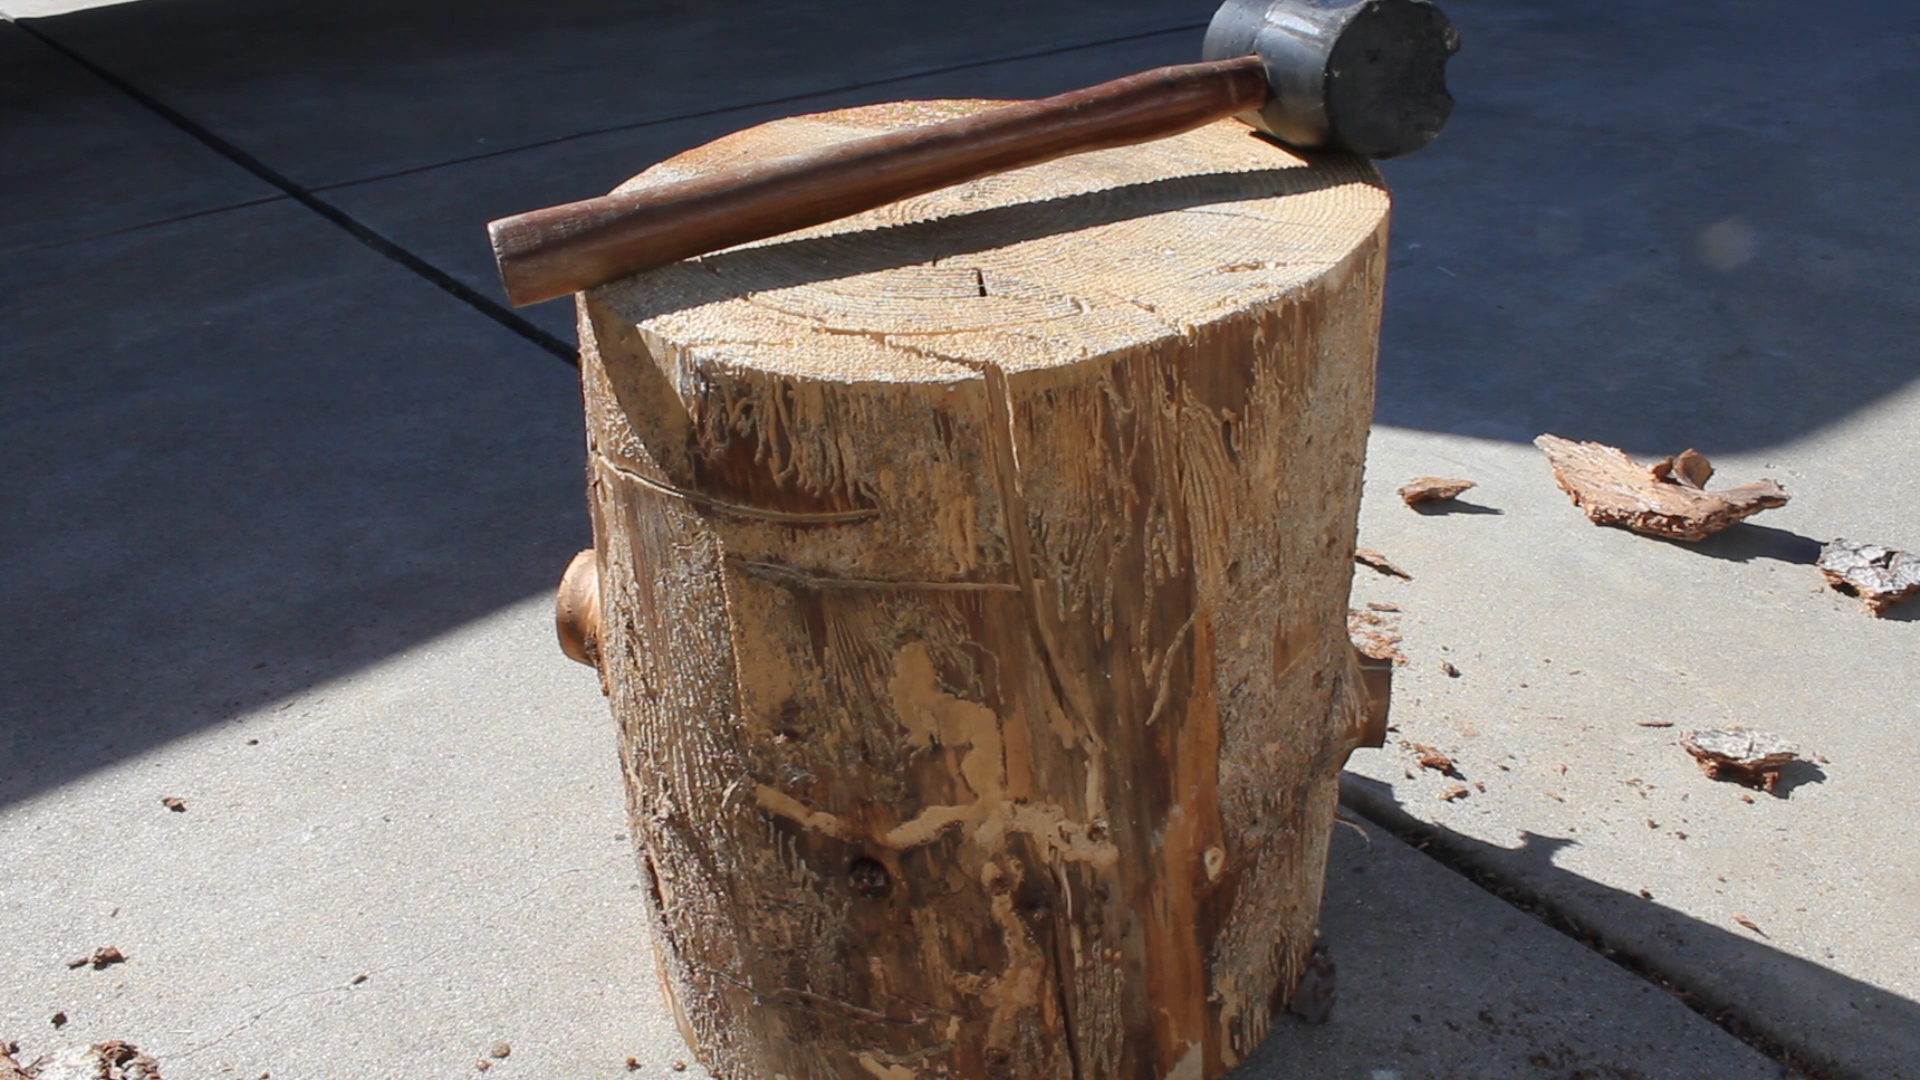
First up was debarking, which was even easier this time around. The bark basically fell off it was so dry. 

This stump had a few larger branch ends sticking out. My hacksaw was garbage, so I used a mix of my dull saw and a hammer/chisel to get most of this off - not efficient by any means. 

Next up was sanding in the following order:

Belt Sander (60 grit) - LOTS OF IT
Orbital Sander (90 grit)
Hand Sanding (120 grit)
Hand Sanding (220 grit)

My stump was already flat on the surface, but if you needed to square it up, you could do so with a router sled jig - here is a good article on using a router sled to flatten. 

Next up was finishing. Like my previous stump project, I wanted to avoid oils or stains as well as match the previous look, so I again chose to just use a semi gloss poly finish to bring out the grain and make the stump shine using just it's natural look.

I sprayed down my stump with compressed air before finishing to clear it of all saw dust. 

I applied four total liberal coats of poly onto my stump in total, letting each one dry properly then sanding down with 120 an 220 grit sandpaper in between each coat to keep it smooth and clean. After my final coat, I upped my sanding further using 320 and 420 grit paper. 

I wanted my stump to appear as though it floated. My next steps were as follows:

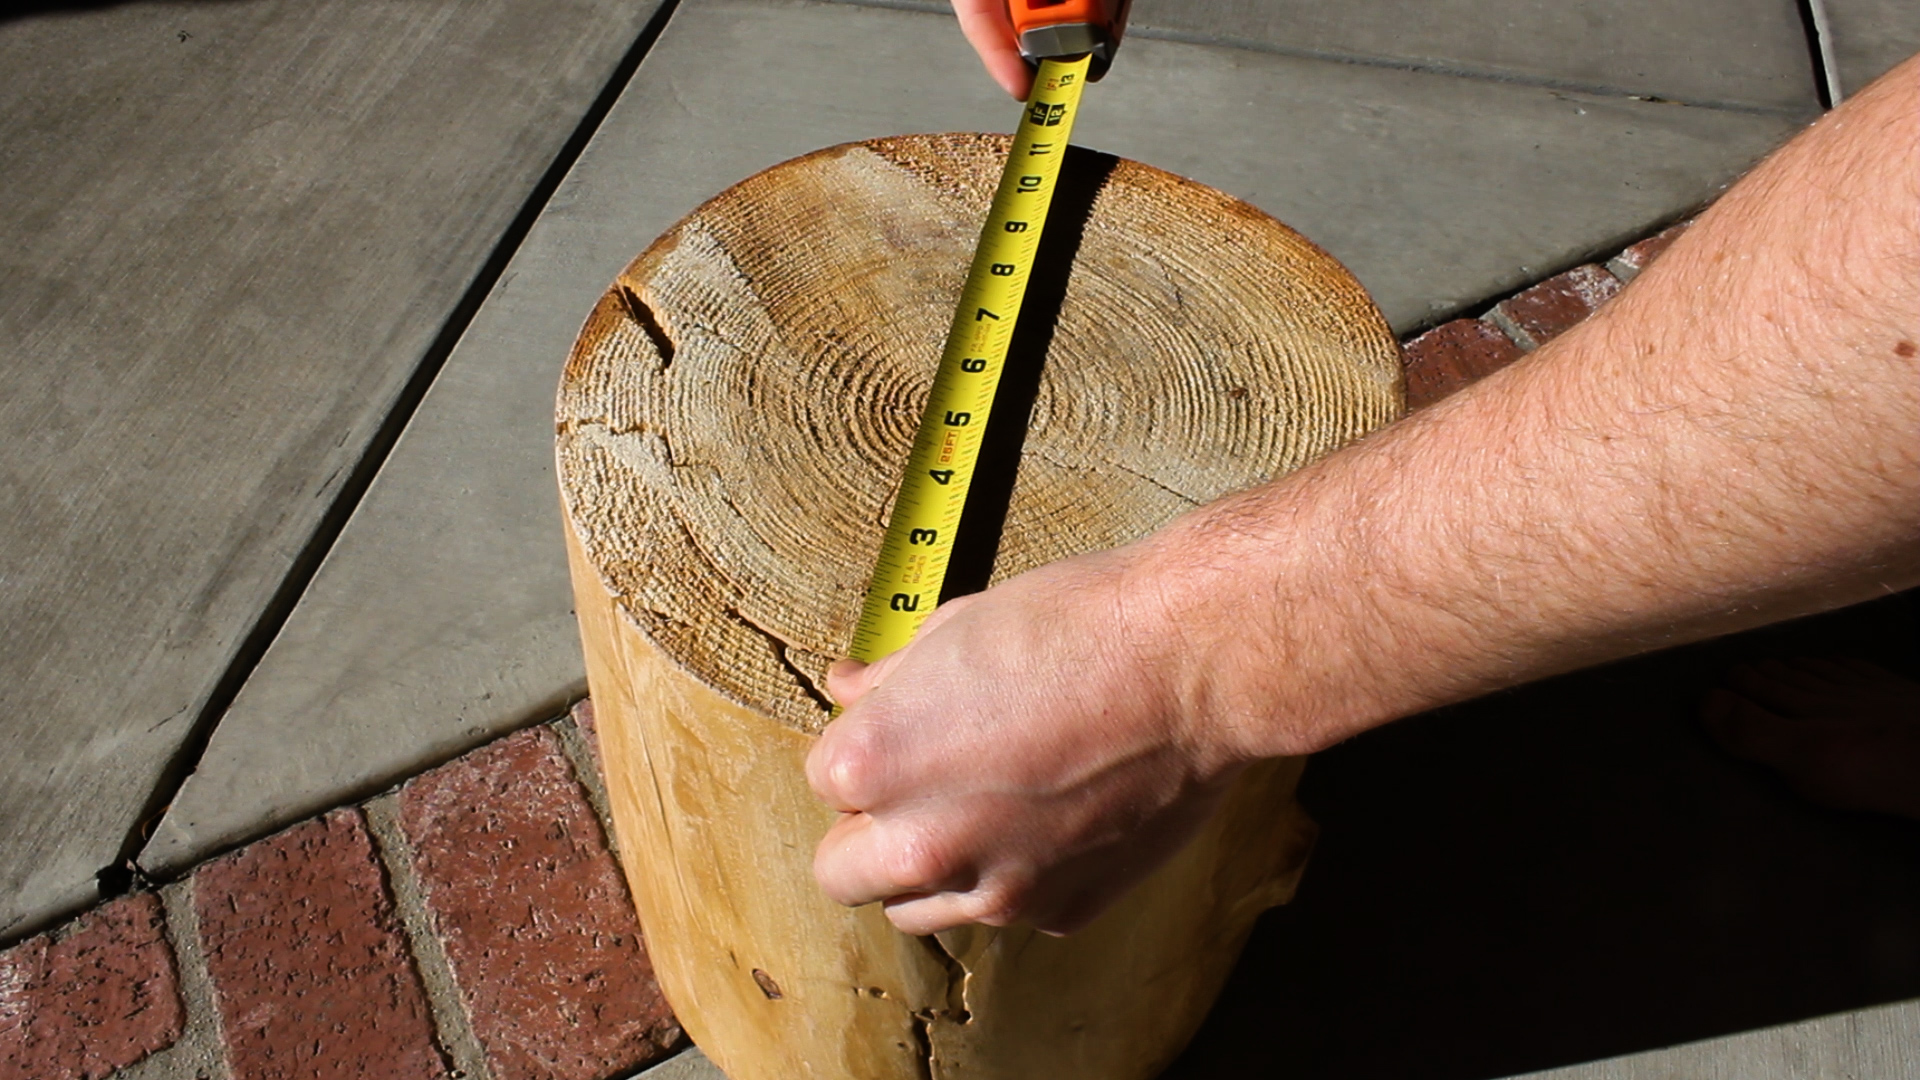
  1. Measure diameter of stump (12 inches)
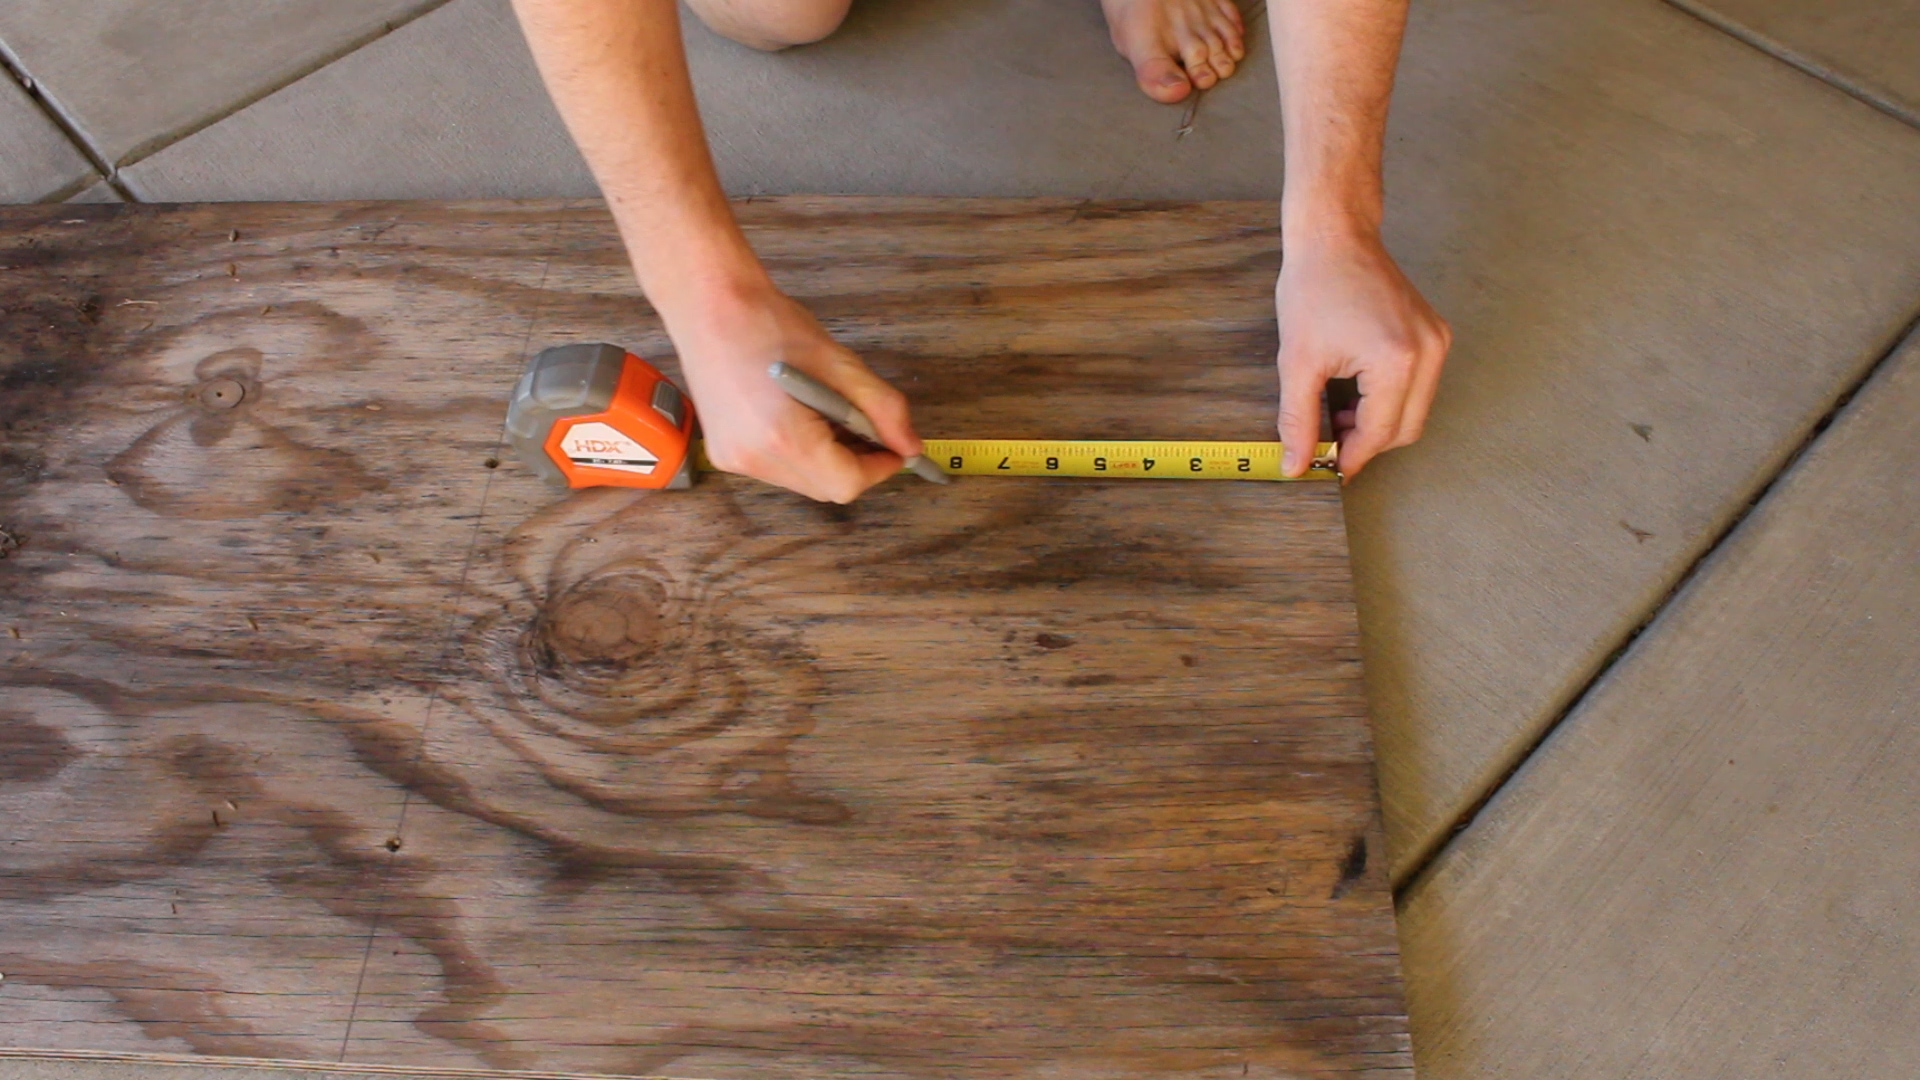
  2. Translate that measurement less three inches (9 inches) to a piece of scrap plywood
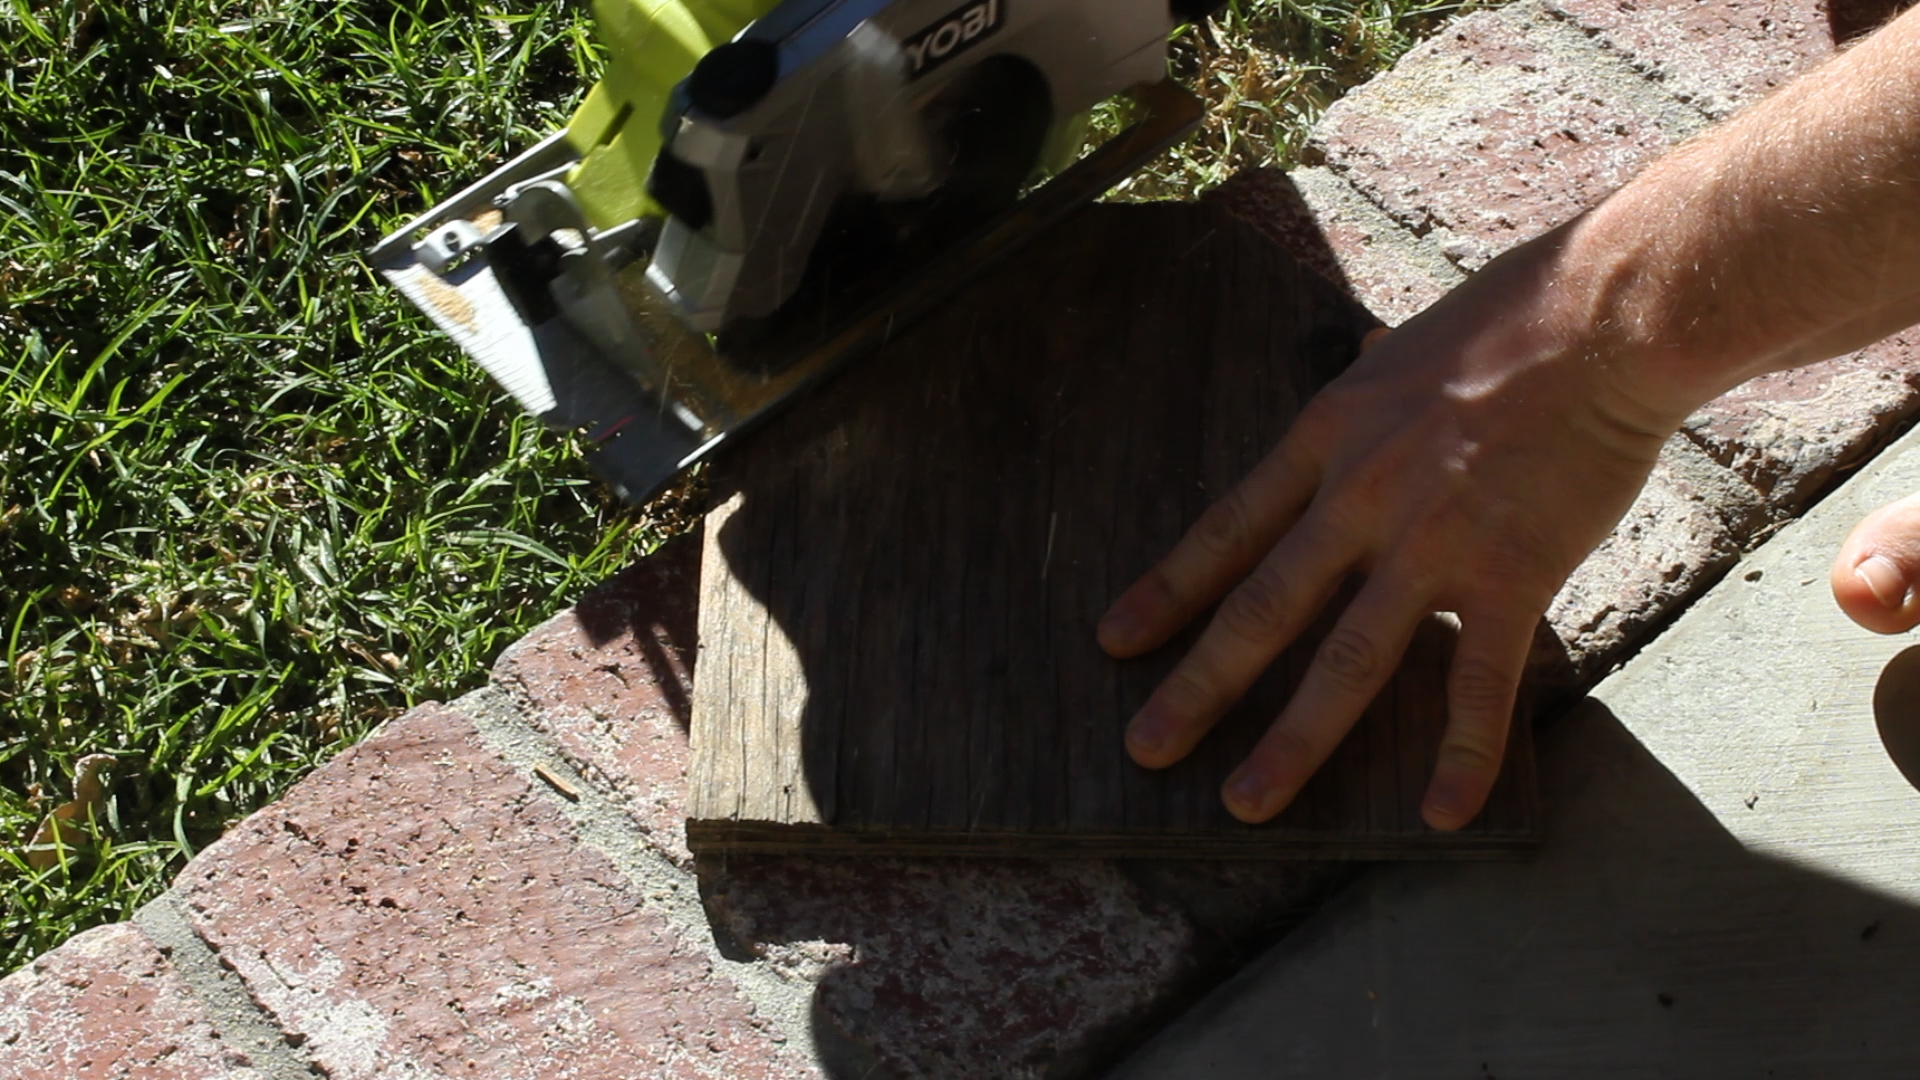
  3. Cut out my 9 inch square with circular saw
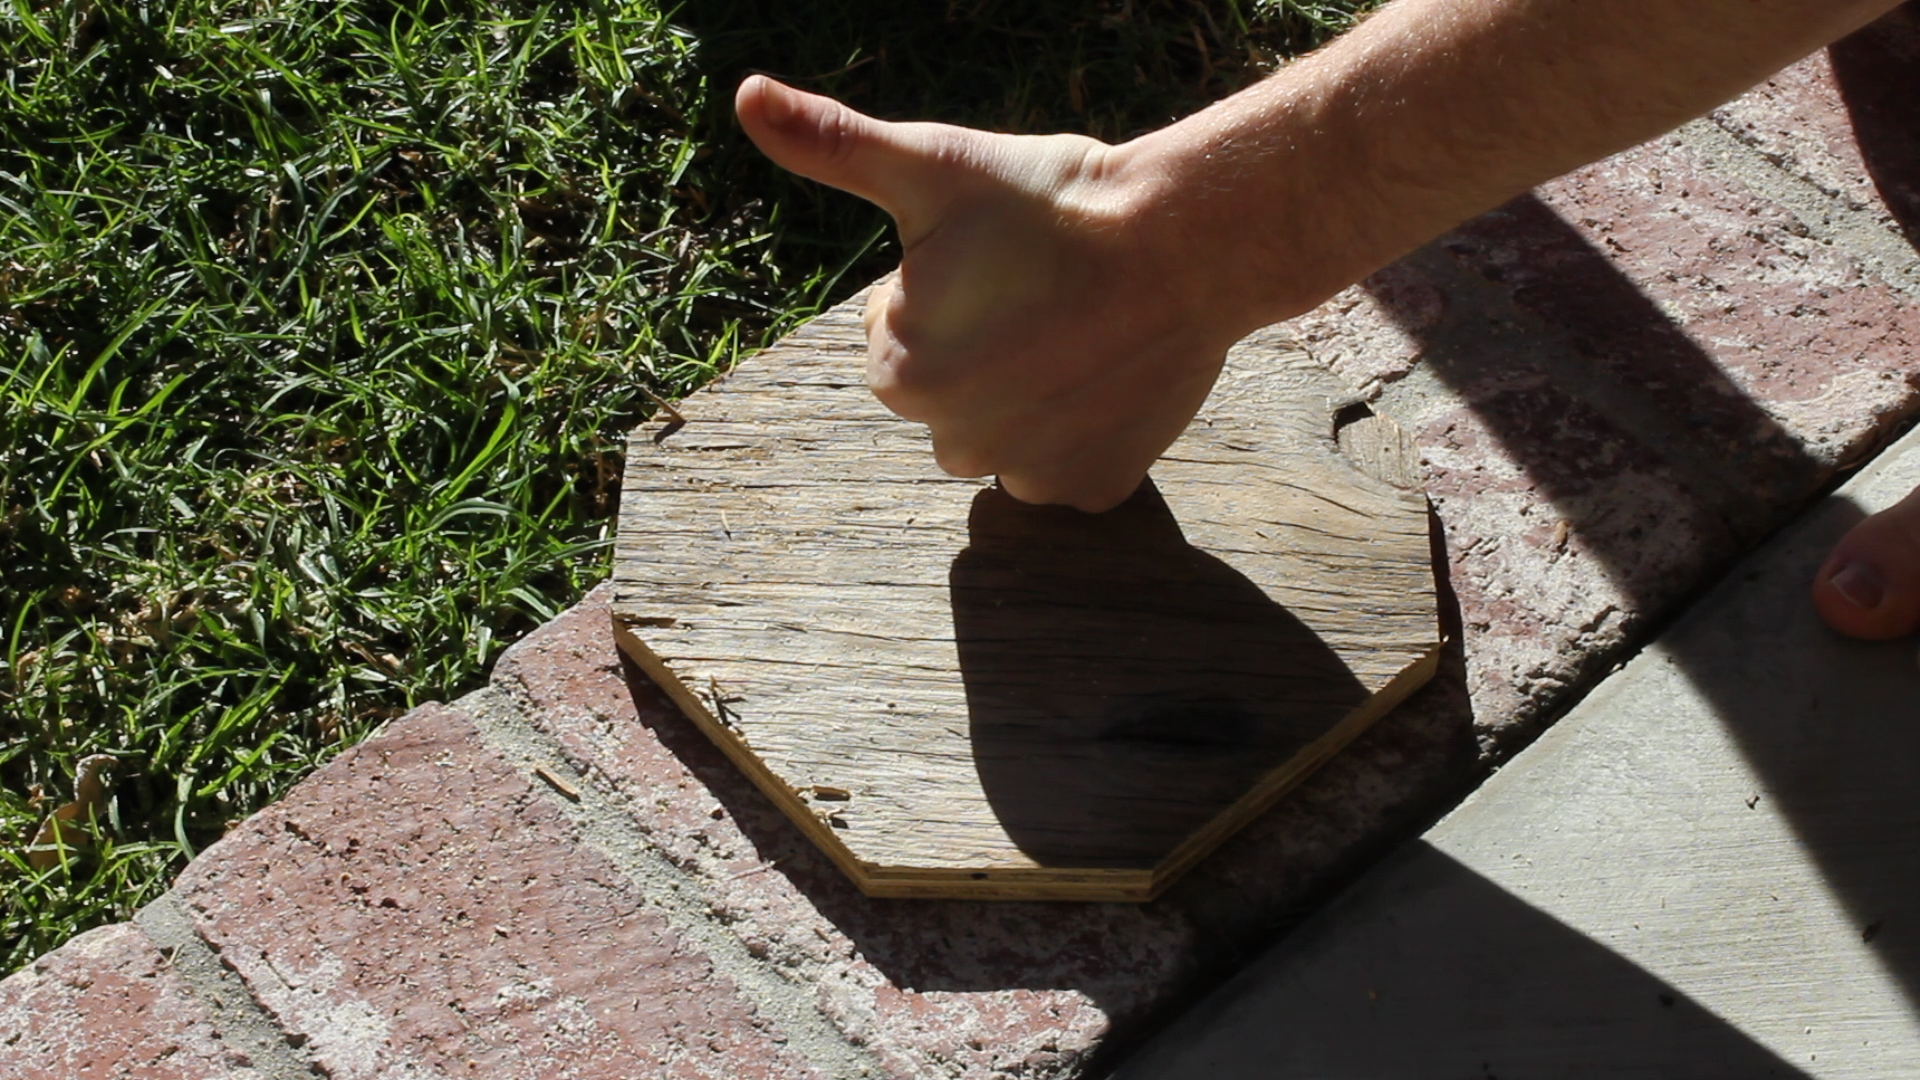
  4. Cut off corners to form rough octagon - goal here is just to round off. Ideally this would be a circle to fit the shape of the stump, but it isn't necessary as you'll never see this piece. 
  5. Give a thumbs up for cutting wood

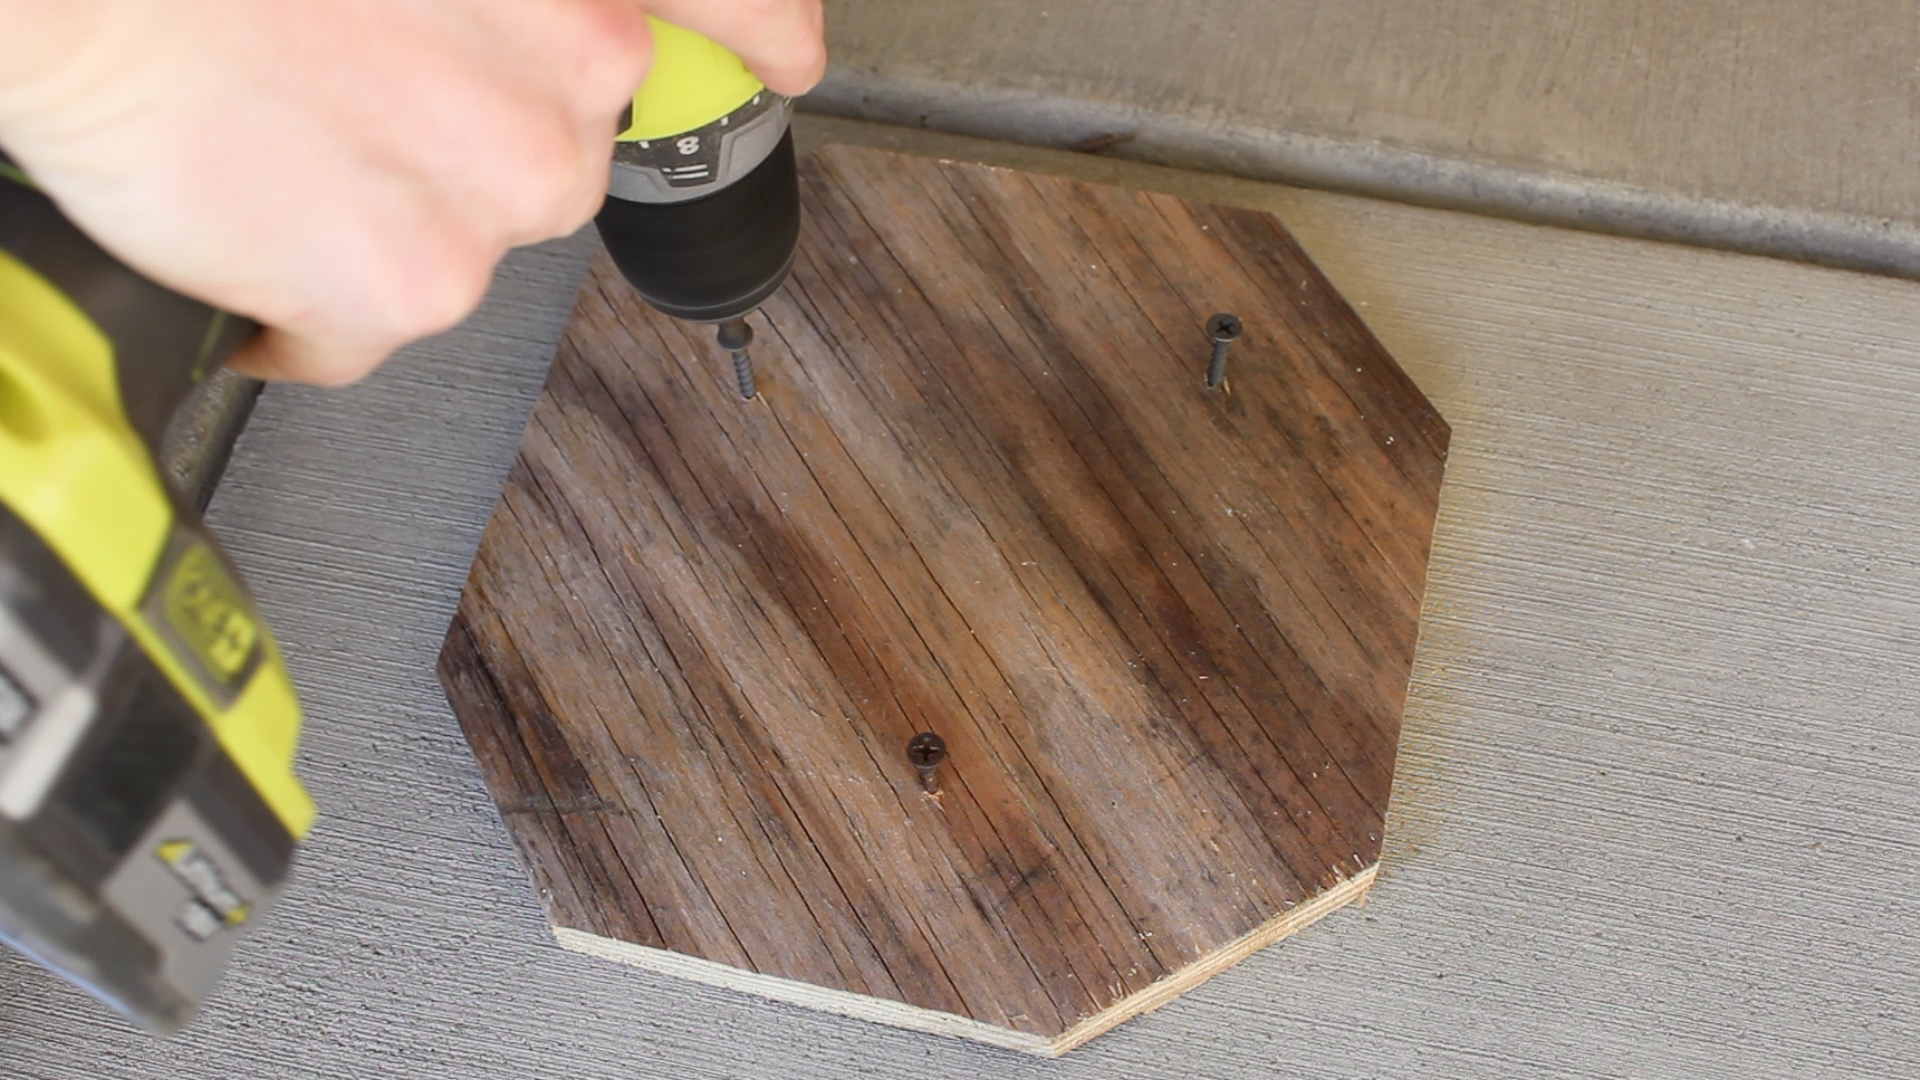
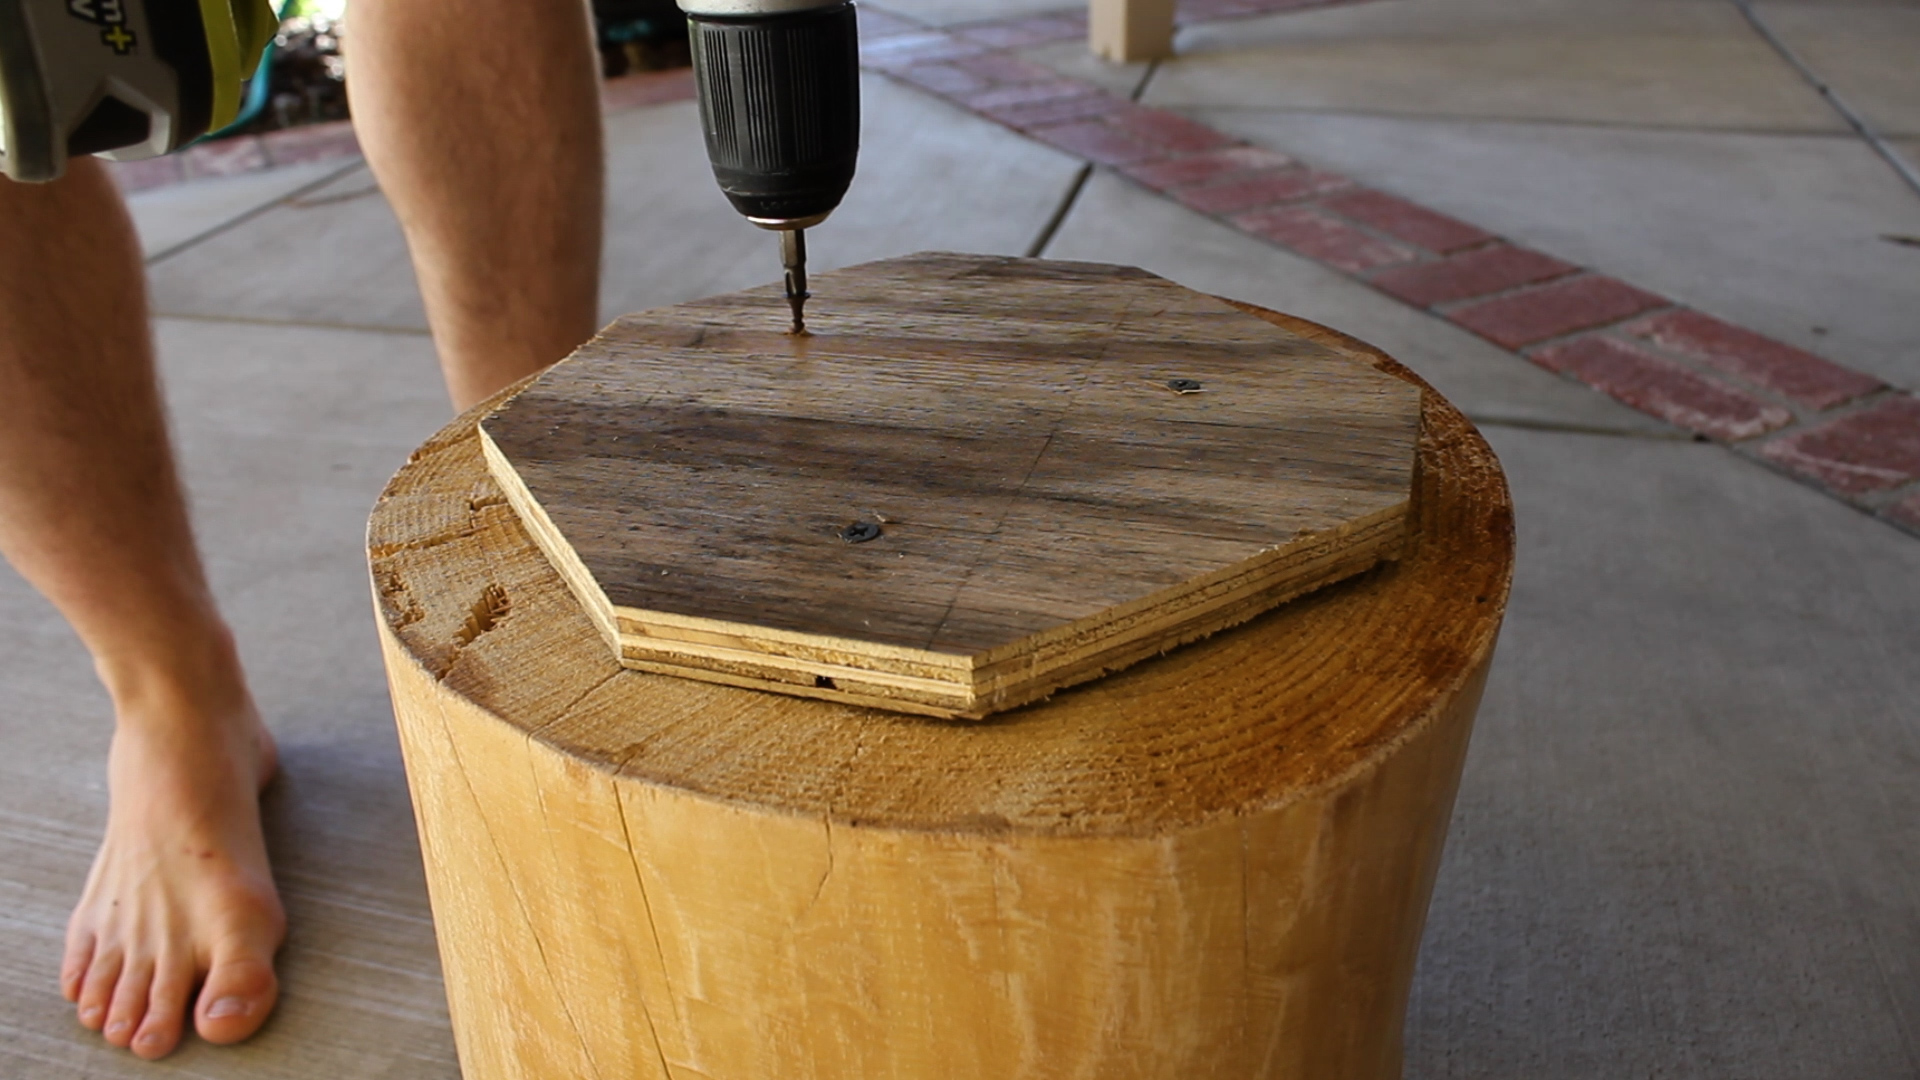
Next, you can take 3-4 wood screws and pre drill them into your piece. I didn't bother with pilot holes here but you're more than welcome to do it if you think you might get stuck and not be able to drill through. Then, flip your stump upside down, position the octagon in the middle of the stump, and drill in your three screws to the bottom of it.

This is where you can cheat the system and not fully drill in your screws. This will allow you to create a flat bottom for your stump, regardless of whether or not it is perfectly level. 

And then you're done. Simple. Beautiful. Flip that baby over and admire your new floating stump. 

TOOLS
RYOBI Cordless Orbital Sander
RYOBI Belt Sander
RYOBI Power Drill
RYOBI Drill Bit Set
Rubber Mallet
Chisel
Hand Sanding Sponges (120, 220, 320, and 420 grit)
5-Gallon 4.5 Peak HP Wet Dry Vacuum
Tape Measure
Paint Brush
Air Compressor (can't find my model anywhere!)
Shitty Old Hack Saw

FILM / EDIT EQUIPMENT: 
Canon Rebel EOS T2i:  
Canon EF-S 18-55mm f/3.5-5.6 IS II Lens
Rode Microphone
Voice Recording
Adobe Premiere (Editorial)

Thanks for reading! I would be so grateful if you could please subscribe to my new Youtube Channel for future projects. I put out videos every two weeks.

Cheers!

Zach


Building a Rustic Blanket Ladder


Thanks for checking out the full article! 

Full video build is below, followed by detailed instructions with tools and measurements! You can subscribe to our YouTube channel by clicking here!

I have now built a blanket ladder six times in my life. It is such a simple project and for anyone looking to add a cool wall fixture to any room, this is the perfect simple project for you. In this video/article, I will actually be building it two slightly different ways.

Like I say in my video, the best thing about this project is how simple it is to adapt to your specific needs - be that shape, size, color, wood type, and or additional hardware.

My hope is that, no matter what tools you have or what style your home is, you can still make this project for ~$10-20 instead of purchasing something for $200!

MATERIALS (For one ladder)
2 x 1" x 3" x 8' Whitewood
1 x 1" x 3" x 8' Whitewood
1” Pocket Hole Screws  or Wood Screws (1.25”)
Stain and Paint (your choice!)

I started off by cutting my ladder sides to length using my circular saw. My sides are 6' each, so if you want to follow my method, you'll just need to cut off 2' from each piece.

To do this, I clamped all four pieces together and ran my circular saw through all four of them one way, then flipped them over and ran it through along the same lines. My saw only cuts to 1.5" deep, so I needed to do a pass from each side to cut through fully. 

Sometimes, like in my case, by using a circular saw from two ends, you end up without the cleanest. I recommend using your sander (belt, orbital, or by hand) to clean this up if it bothers you! However, you can also make these your bottoms, so you never see them anyways!

Next, I cut each of my ladder steps to 19" each. This is just the length I use - you have full control over how wide or narrow you want your project to be - just remember that if you're using a 96" piece, you will not want to cut longer than 23.75" each or you'll run out of wood!

If you watched the video, you'll know I used two methods for this project - below are both of them:

Method 1 - Pocket holes

To connect the steps to the side pieces, I set my pocket hole jig to the right height and adjust my drill bit depth as needed and drill a single pocket hole on each side of the steps. 

Method 2 - Wood Screws + Dowels

For the second method, I used a 3/4" wood spade bit to drill a dowel hole and pilot hole for wood screws. This was the first time I had done this. You can see below that I drilled a test hole, then used that test hole to measure out a standard depth that I would drill for my final project. You'll drill four of these pilot holes on each side wood piece for your ladder. 

Note - you will not do this if you are doing the pocket hole version. 

In order to avoid splitting the wood, I drilled pilot holes for the wood screws. 

Now it was time to attach it all together. 

For my pocket hole version, I used my 1" pocket hole screws and my impact driver to connect my pieces.

For my wood screw + dowel version, I used my drill to attach the pieces through my pilot holes using my 1.5" wood screws. 

IMPORTANT! Make sure, as you attach the second side to your steps that you attach at a right angle! I use my rafter square to confirm I am doing this. If you do mess up, it is very easy to unscrew and reattached at the proper angle. Note - even 1 or 2 degrees will make the ladder look very janky, so do your due dilligence!

After connecting all the pieces, I moved onto staining. For each version, I gave them a base stain of Minwax's Special Walnut

For my pocket hole version, I then added a light stain of the Classic Grey stain. This does not need to cover the whole ladder - the goal is to make it look as though the stain has been wearing off, allowing the Walnut color to show through. 

For my dowel version, I used a flat white primer mixed with water to again, give the look of a weather/rustic barn wood feel. 

Here I am white washing the wooden dowel version. Again, stains, colors, and paint styles are totally up to you! Make it work for your apartment!

At this point, my pocket hole version is complete. 

Last up was to add in my wooden dowels to cover my wood screws. I cut a 3/4" dowel using my circular saw into short pieces. I then glued and hammered in my pieces to the eight 3/4" holes I had drilled earlier. This will be a nice snug fit! Once they dry, I can use my coping saw or a flush trim saw to saw off the pieces. Lastly, to make them stand out more, I added a light coat of the Classic Grey Stain. This is totally optional but I figured it would look great against the white. 

And then I was finished with both. They both came out great and made excellent Christmas gifts for various family members who had requested them!

TOOLS
RYOBI Circular Saw
RYOBI Power Drill
RYOBI Impact Driver
RYOBI Cordless Orbital Sander (60 Grit)
12” Rafter Square
Coping Saw
Hand Sanding Sponges (120 Grit)

FILM / EDIT EQUIPMENT: 
Canon Rebel EOS T2i:  
Canon EF-S 18-55mm f/3.5-5.6 IS II Lens
Rode Microphone
Voice Recording
Adobe Premiere (Editorial)

Thanks for reading! I would be so grateful if you could please subscribe to my new Youtube Channel for future projects. I put out videos every two weeks.

Cheers!

Zach


Build your own Pallet Bed


We had been wanting a new bed for a long time - something that was less Ashley Furniture meh (see current bed below) and something more in line with the style of our apartment. I had nearly everything tool-wise at this point to make something awesome, so cue the research, design, sourcing of materials, and construction!

We decided a pallet bed frame would be the coolest option. The wood is easy to source on craigslist, easy to clean if needed, and can be broken down rather quickly. I only sourced heat treated pallet wood, as chemically treated can be harmful to your health long term. I found five pallets on craigslist for $20 from one guy in relatively great shape. I'm sure I could have found free ones somewhere, but $20 is nothing and I'd rather find good ones that are cleaner and properly labeled to be safe...

First, a quick note on the space I work in - my lovely carport. 

I don't have a garage or anything, so anytime I build something, its a laborious process to bring all my tools down, set up, work, break down, clean up the entire space, and bring back up all over the course of each day. Any projects that go longer require me to repeat the process.

That being said, it's actually quite nice to work down there, and I'm able to make a lot out of a small space. A lot of people don't have this kind of space, so in a way, I consider myself lucky. Also, I have cool neighbors, so they don't care if I build down there. Plus, I end up leaving the entire driveway cleaner than before. 

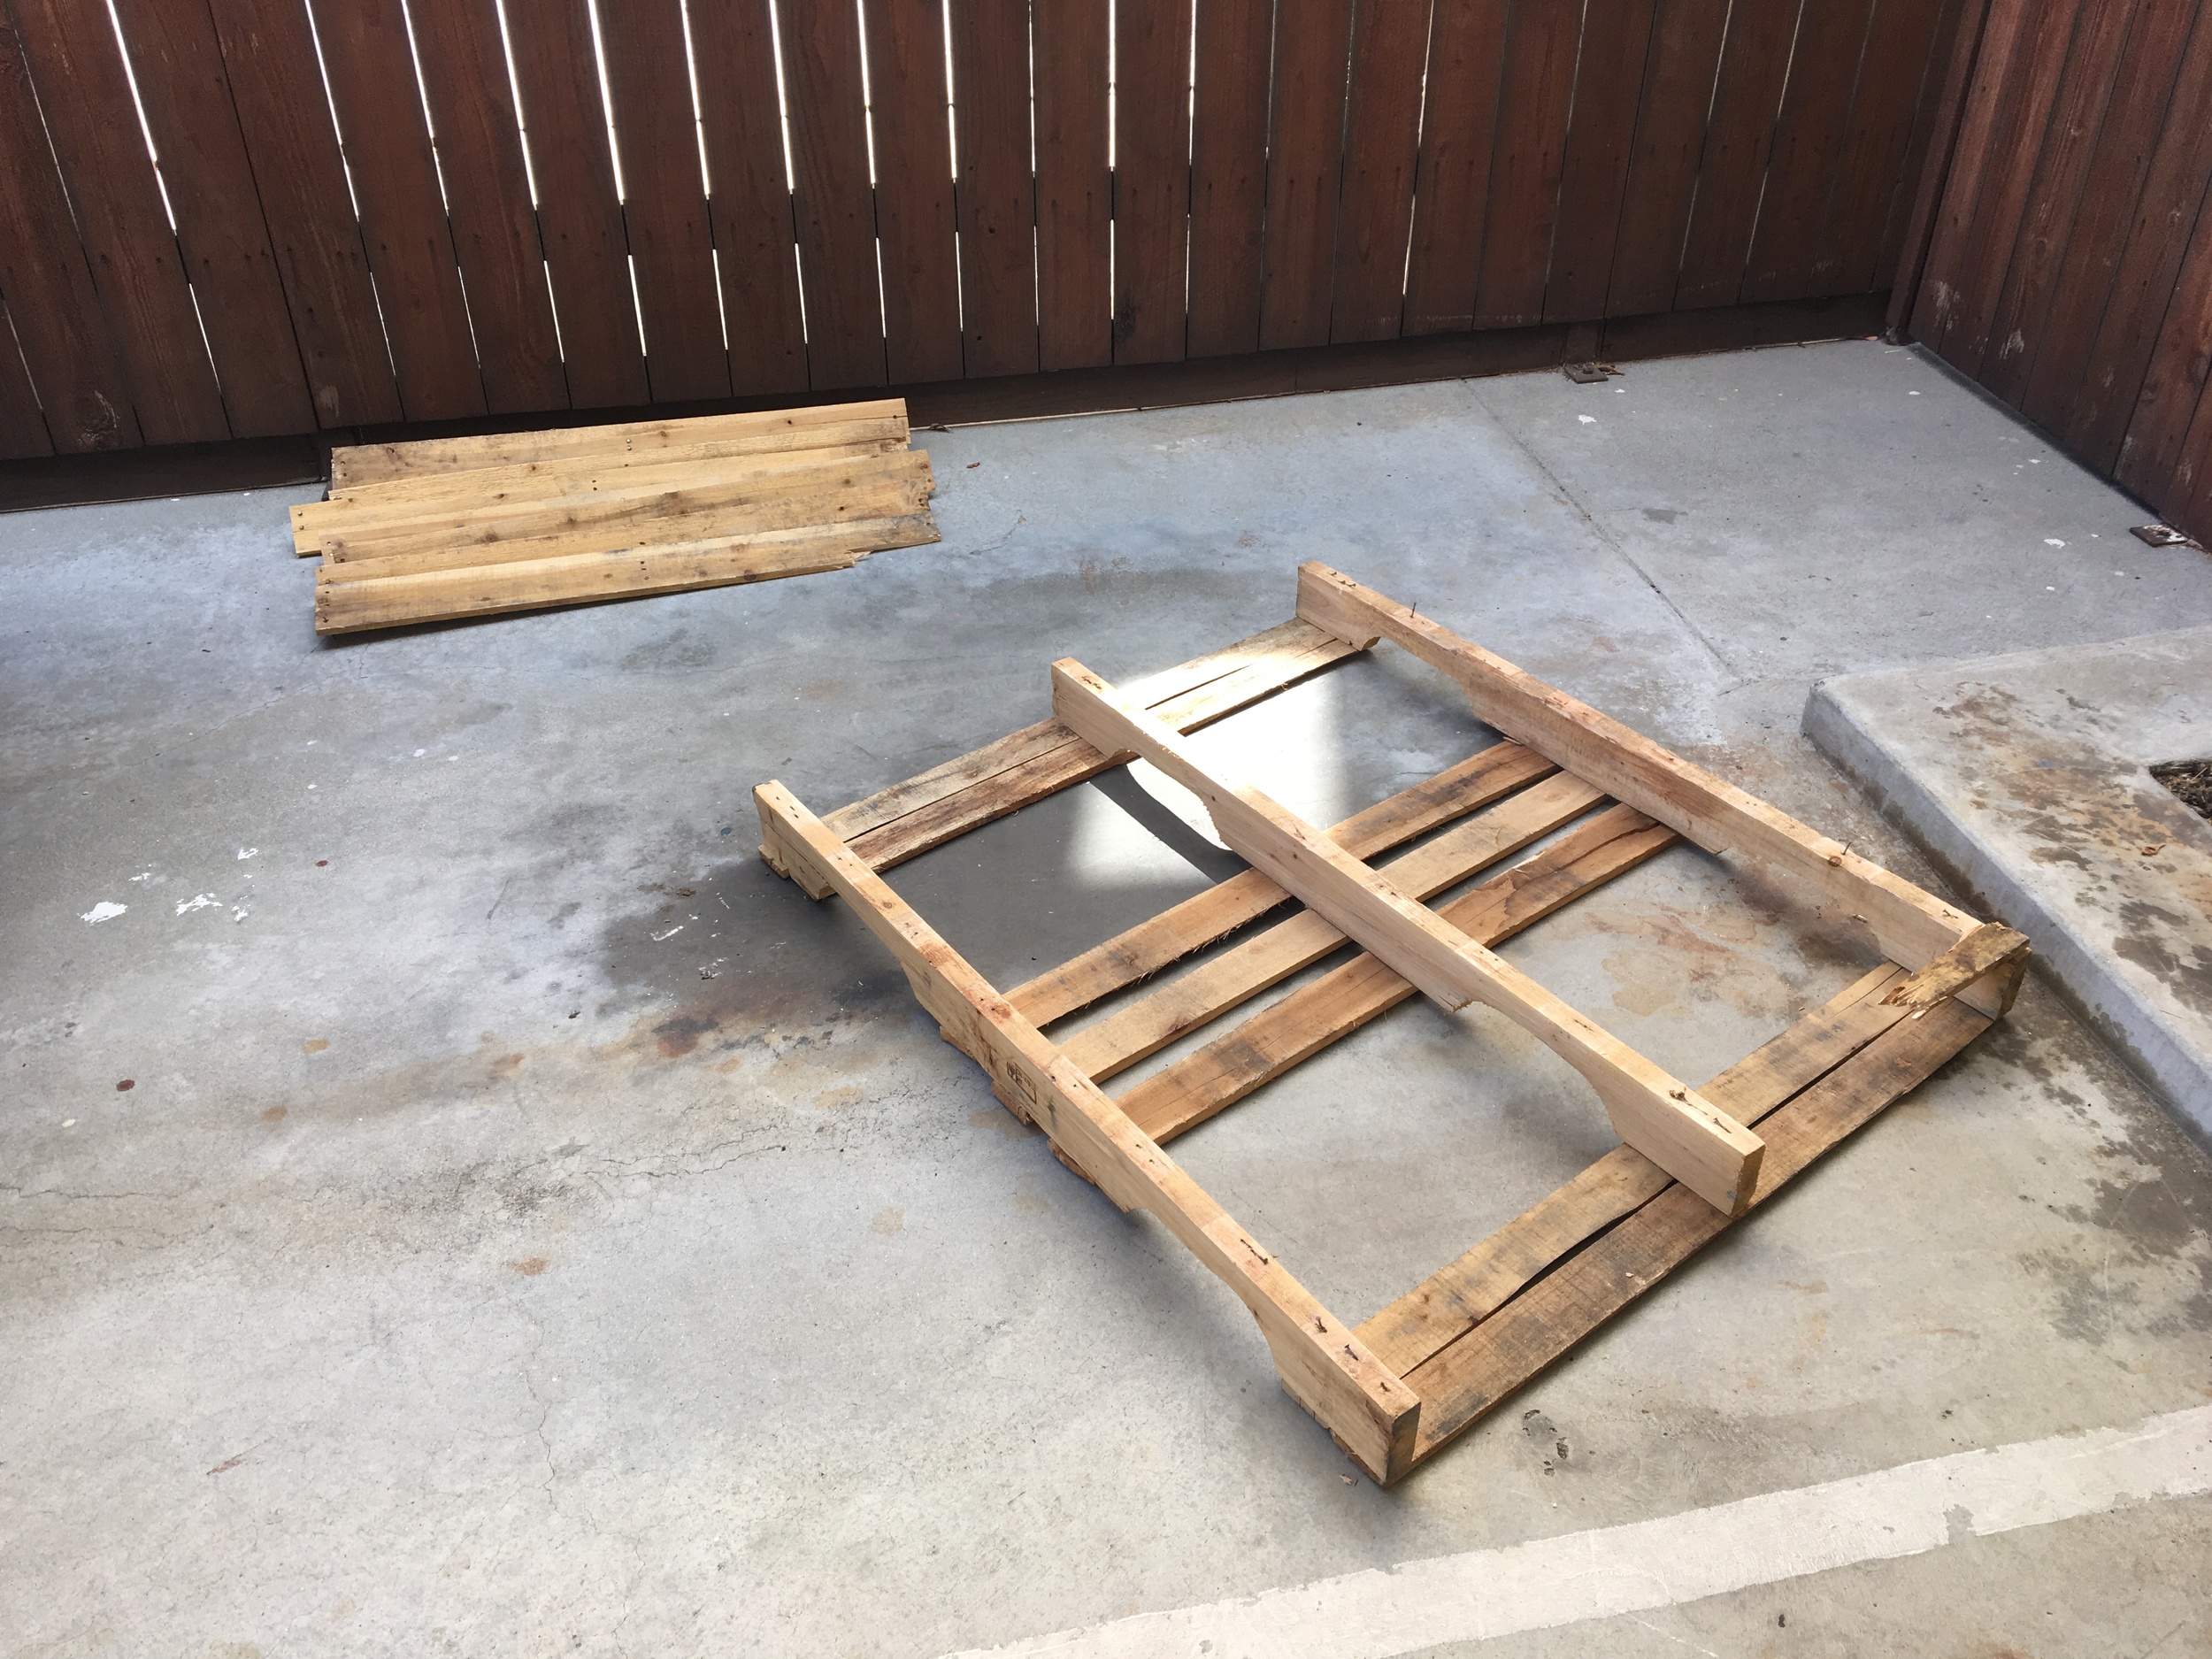
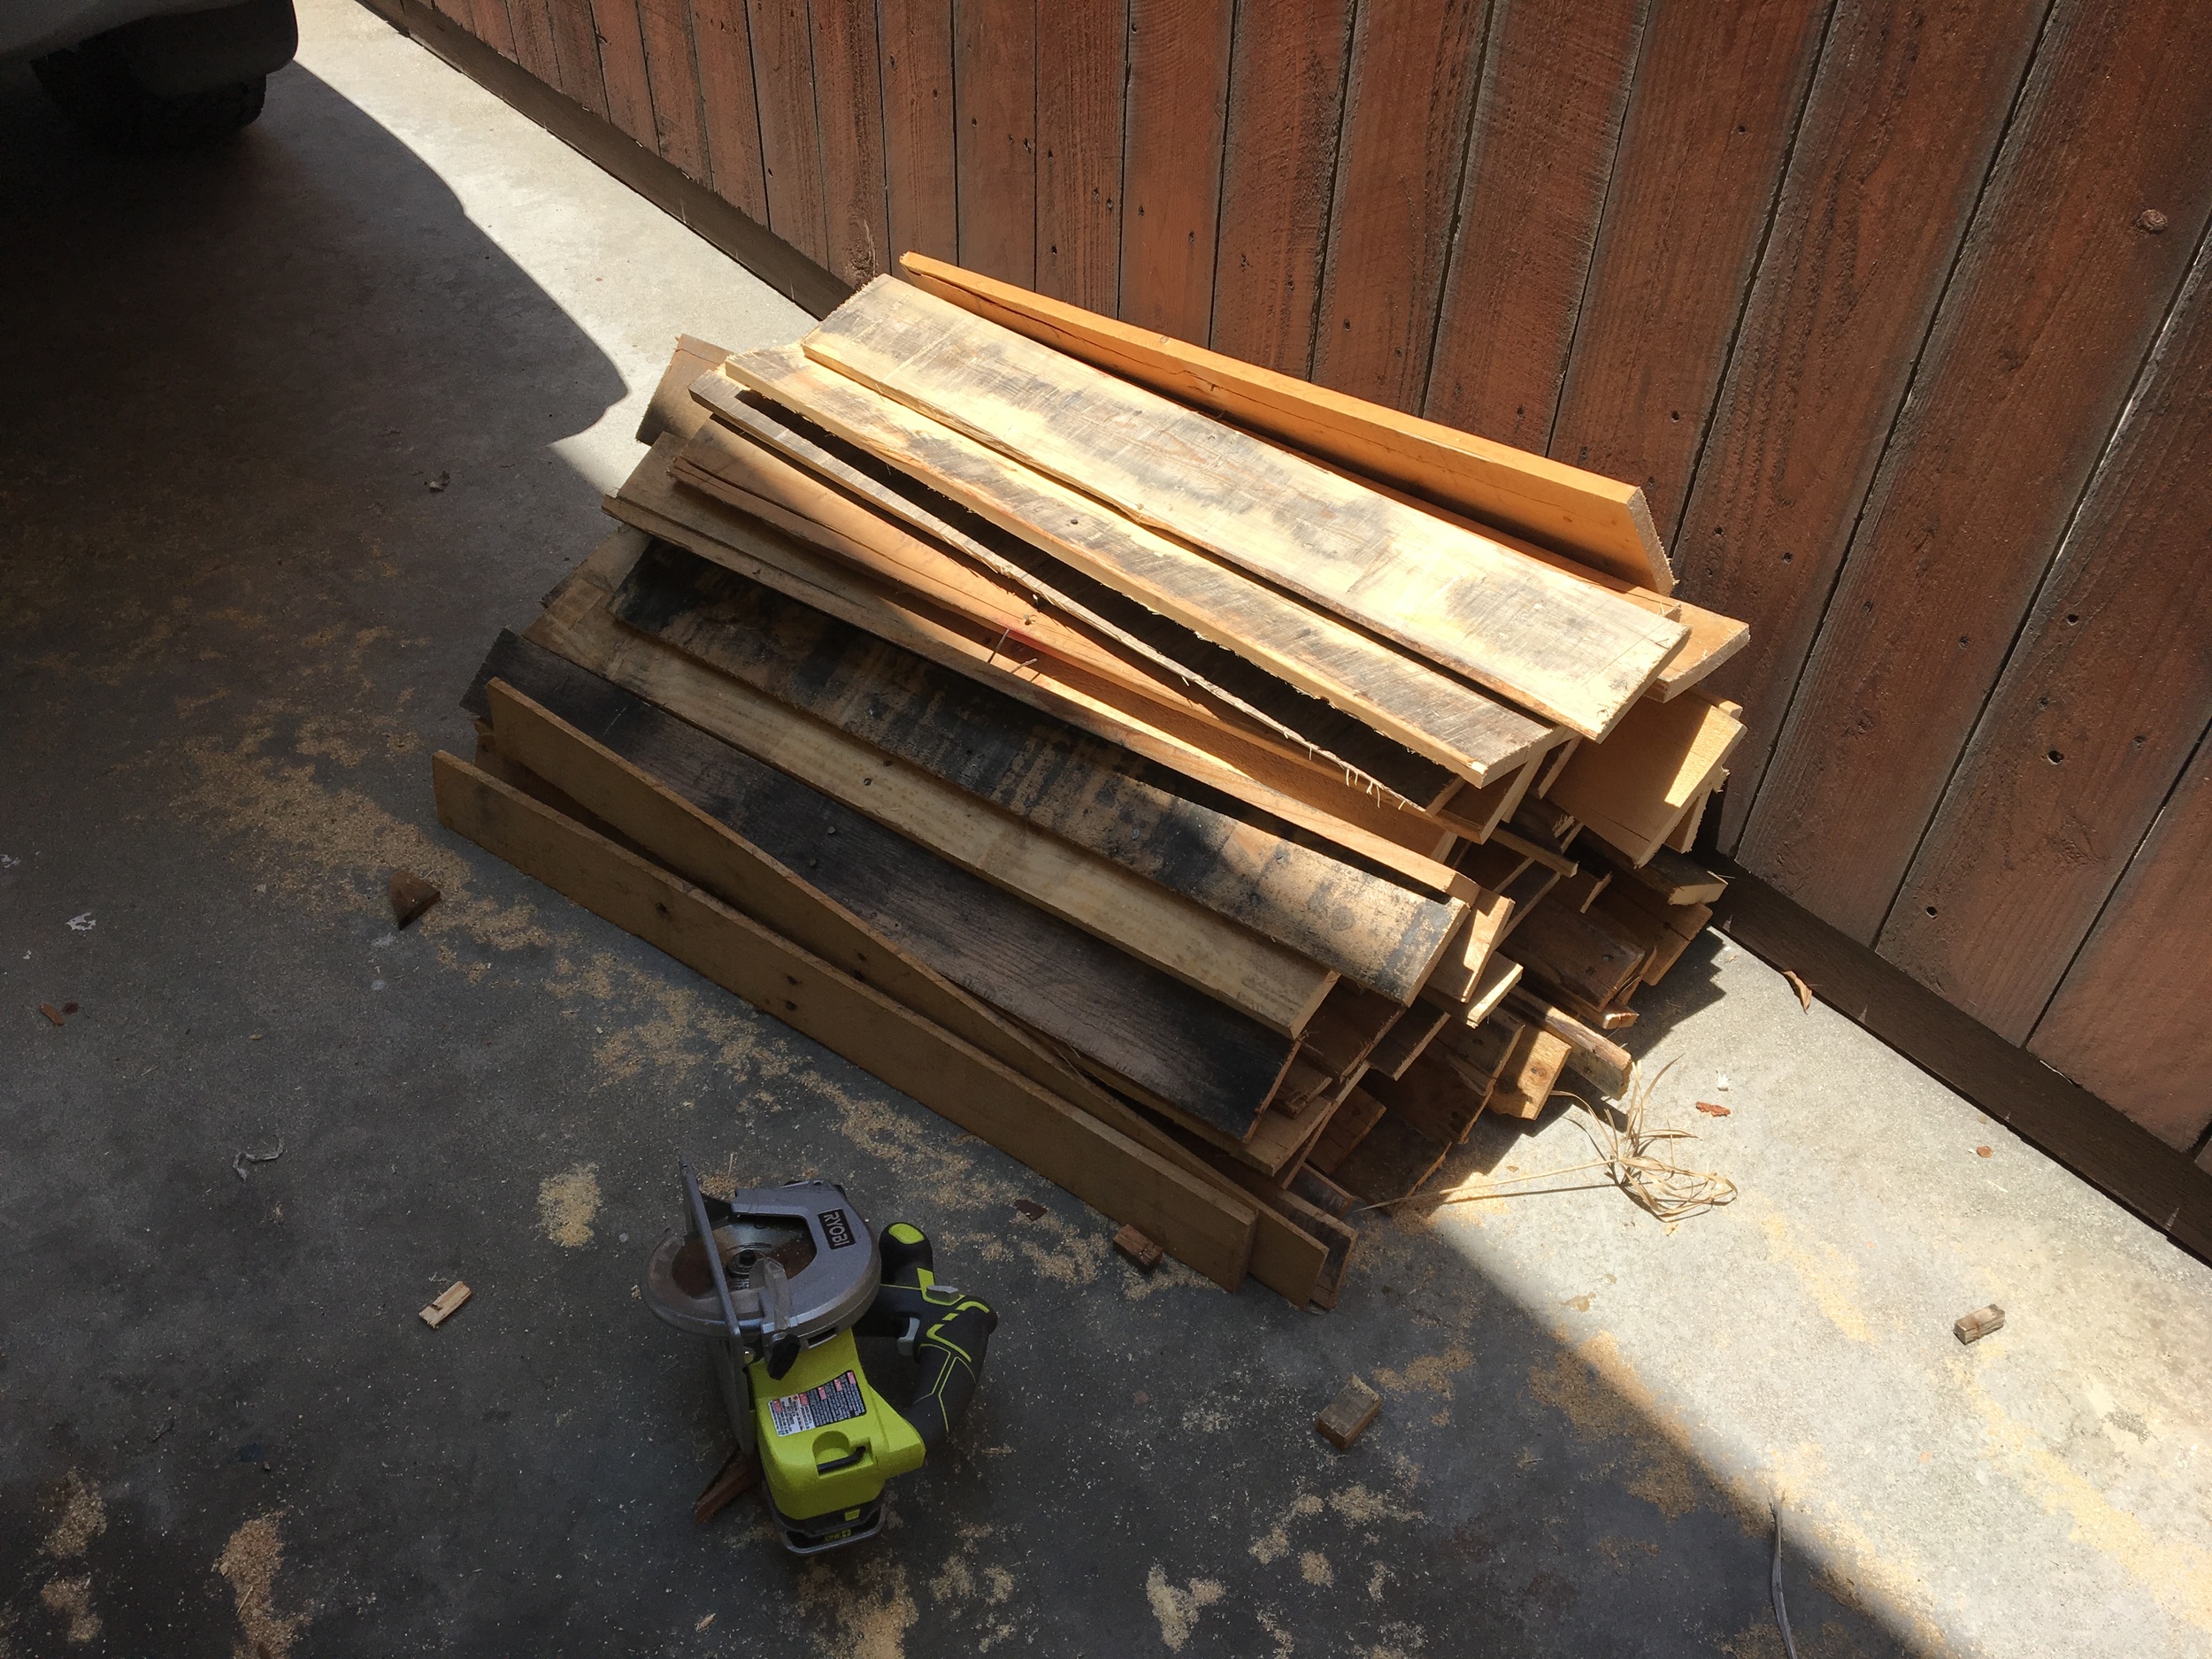
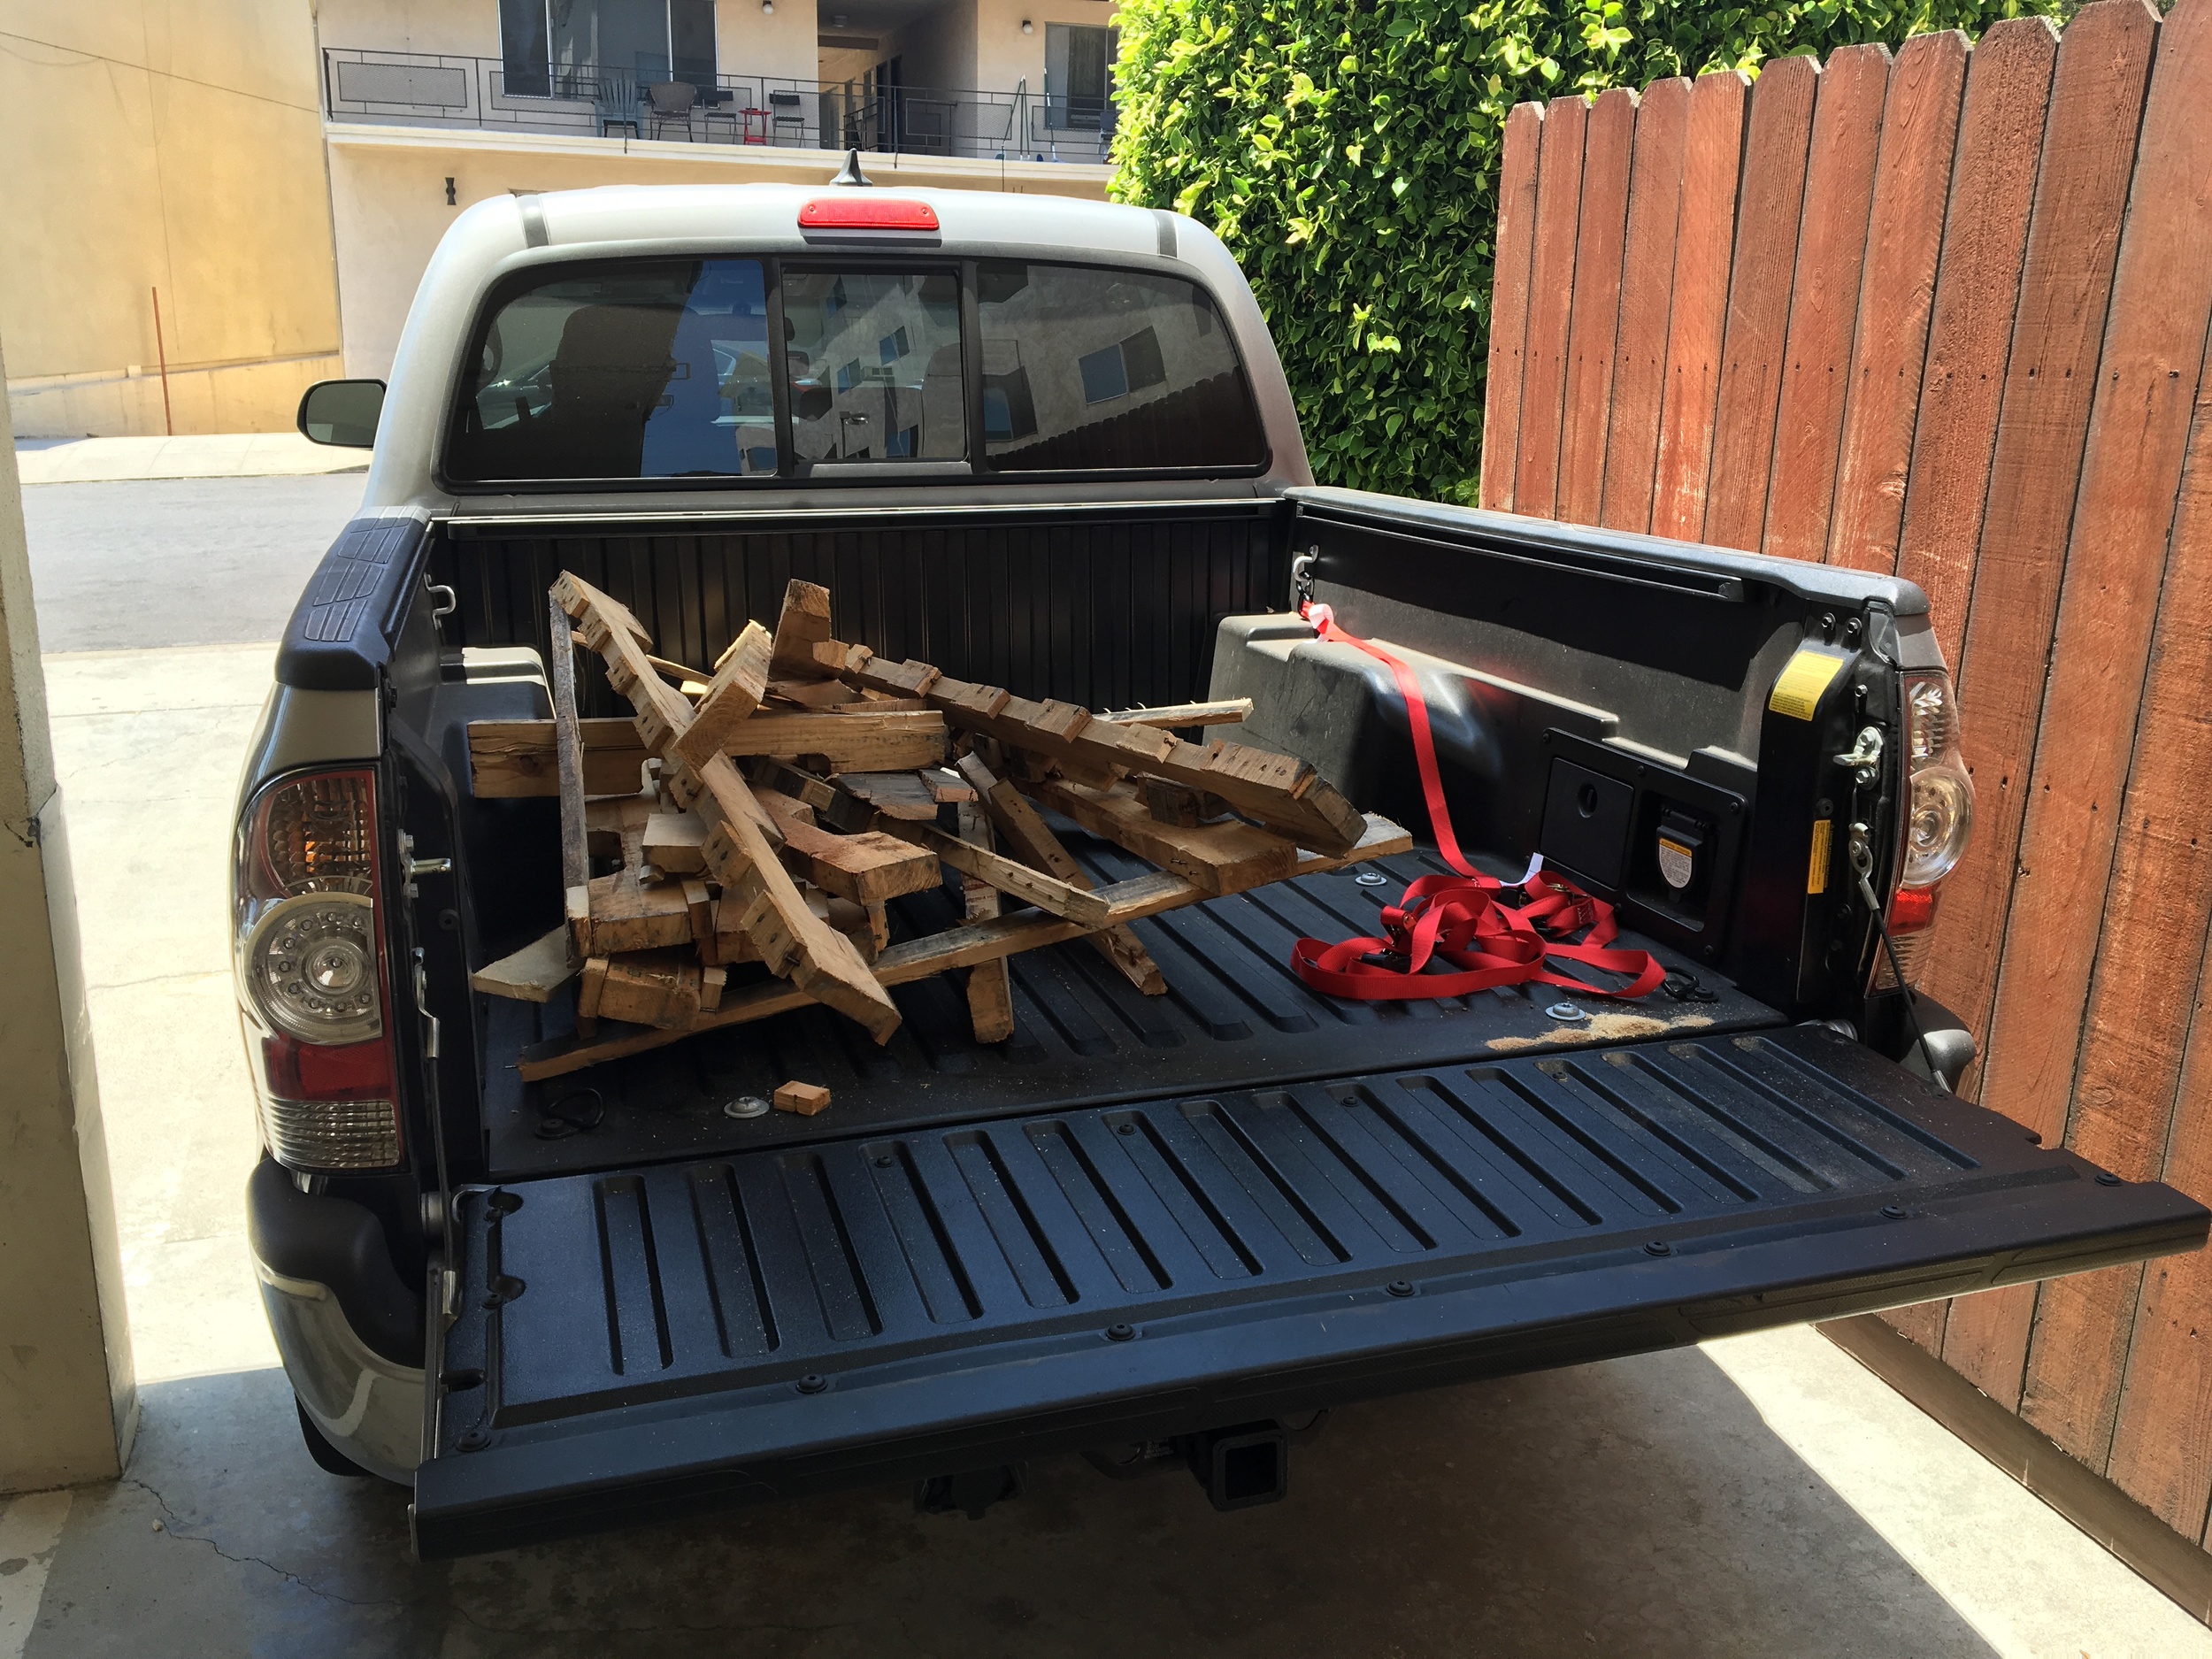
So the construction begins. Below is a series of images of the breakdown of the pallets. 

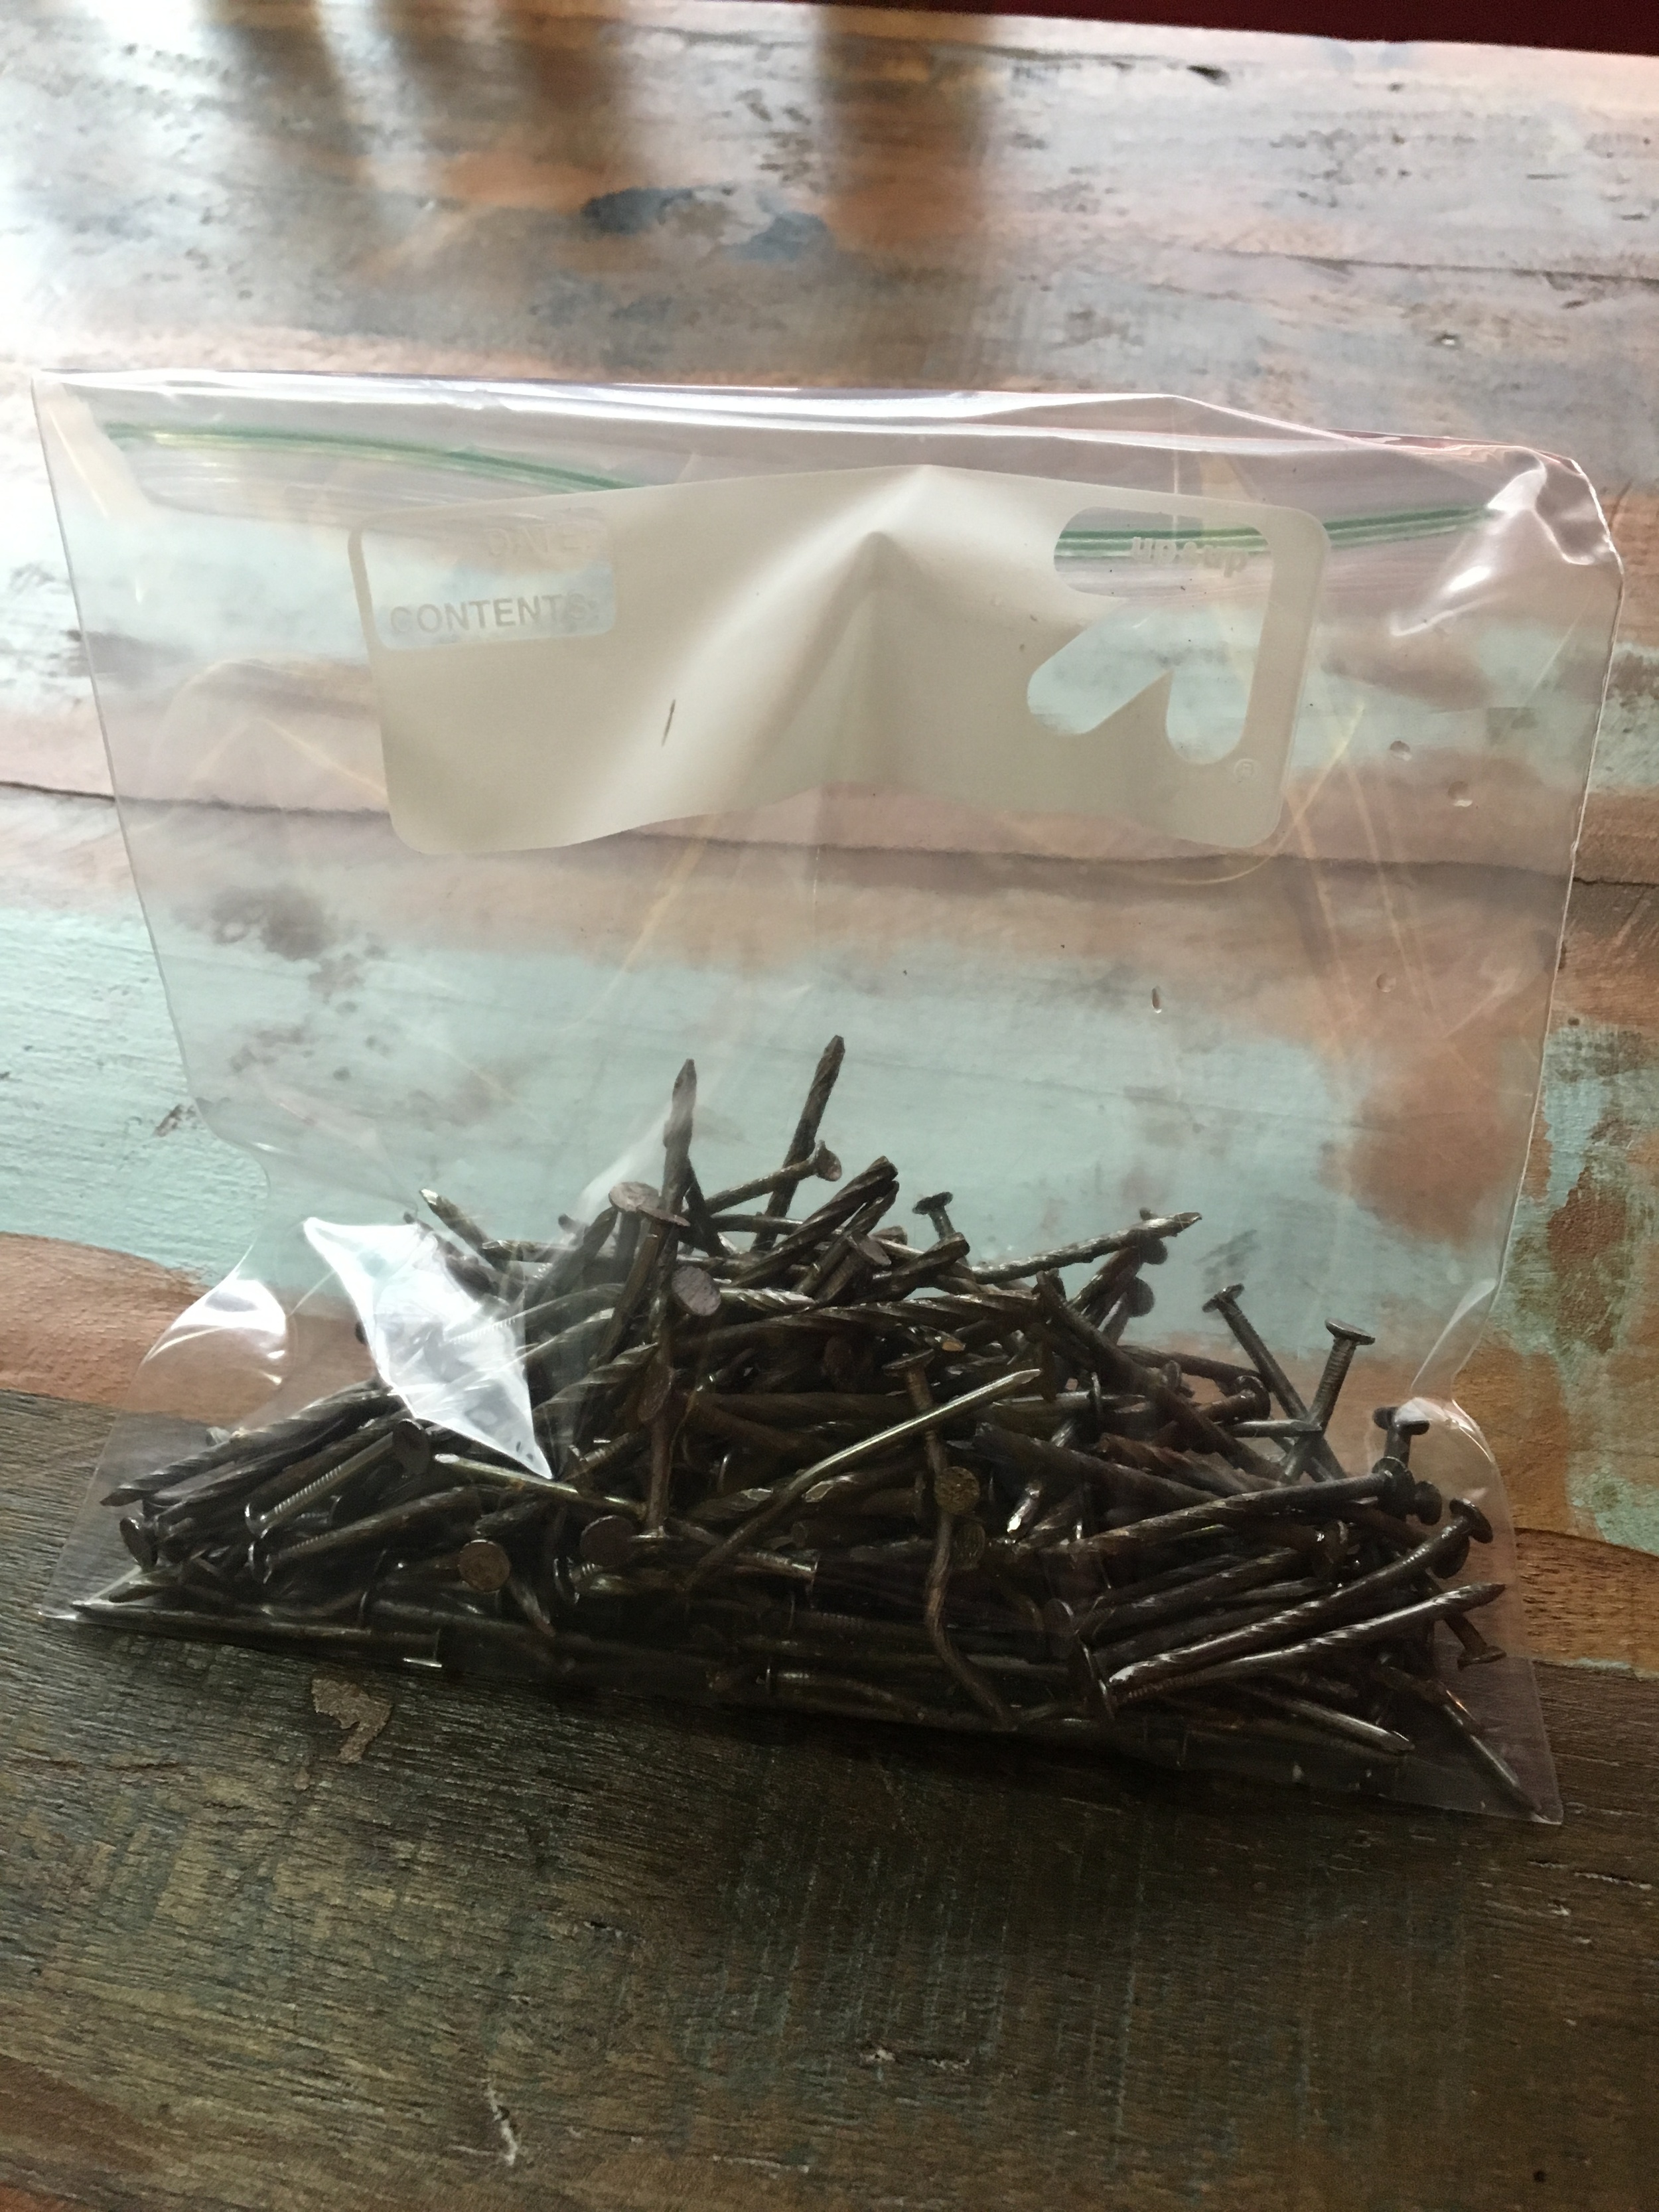
This was a lot easier than I expected. Took about 3.5 hours total to break down five of them, include cutting, ripping apart, removing nails, stacking, and cleaning. I found the best way to break them down is to run a circular saw along the edges of them, thus making it so you only need to rip off the pallet from the center nails. There were a shitload of nails in those things!

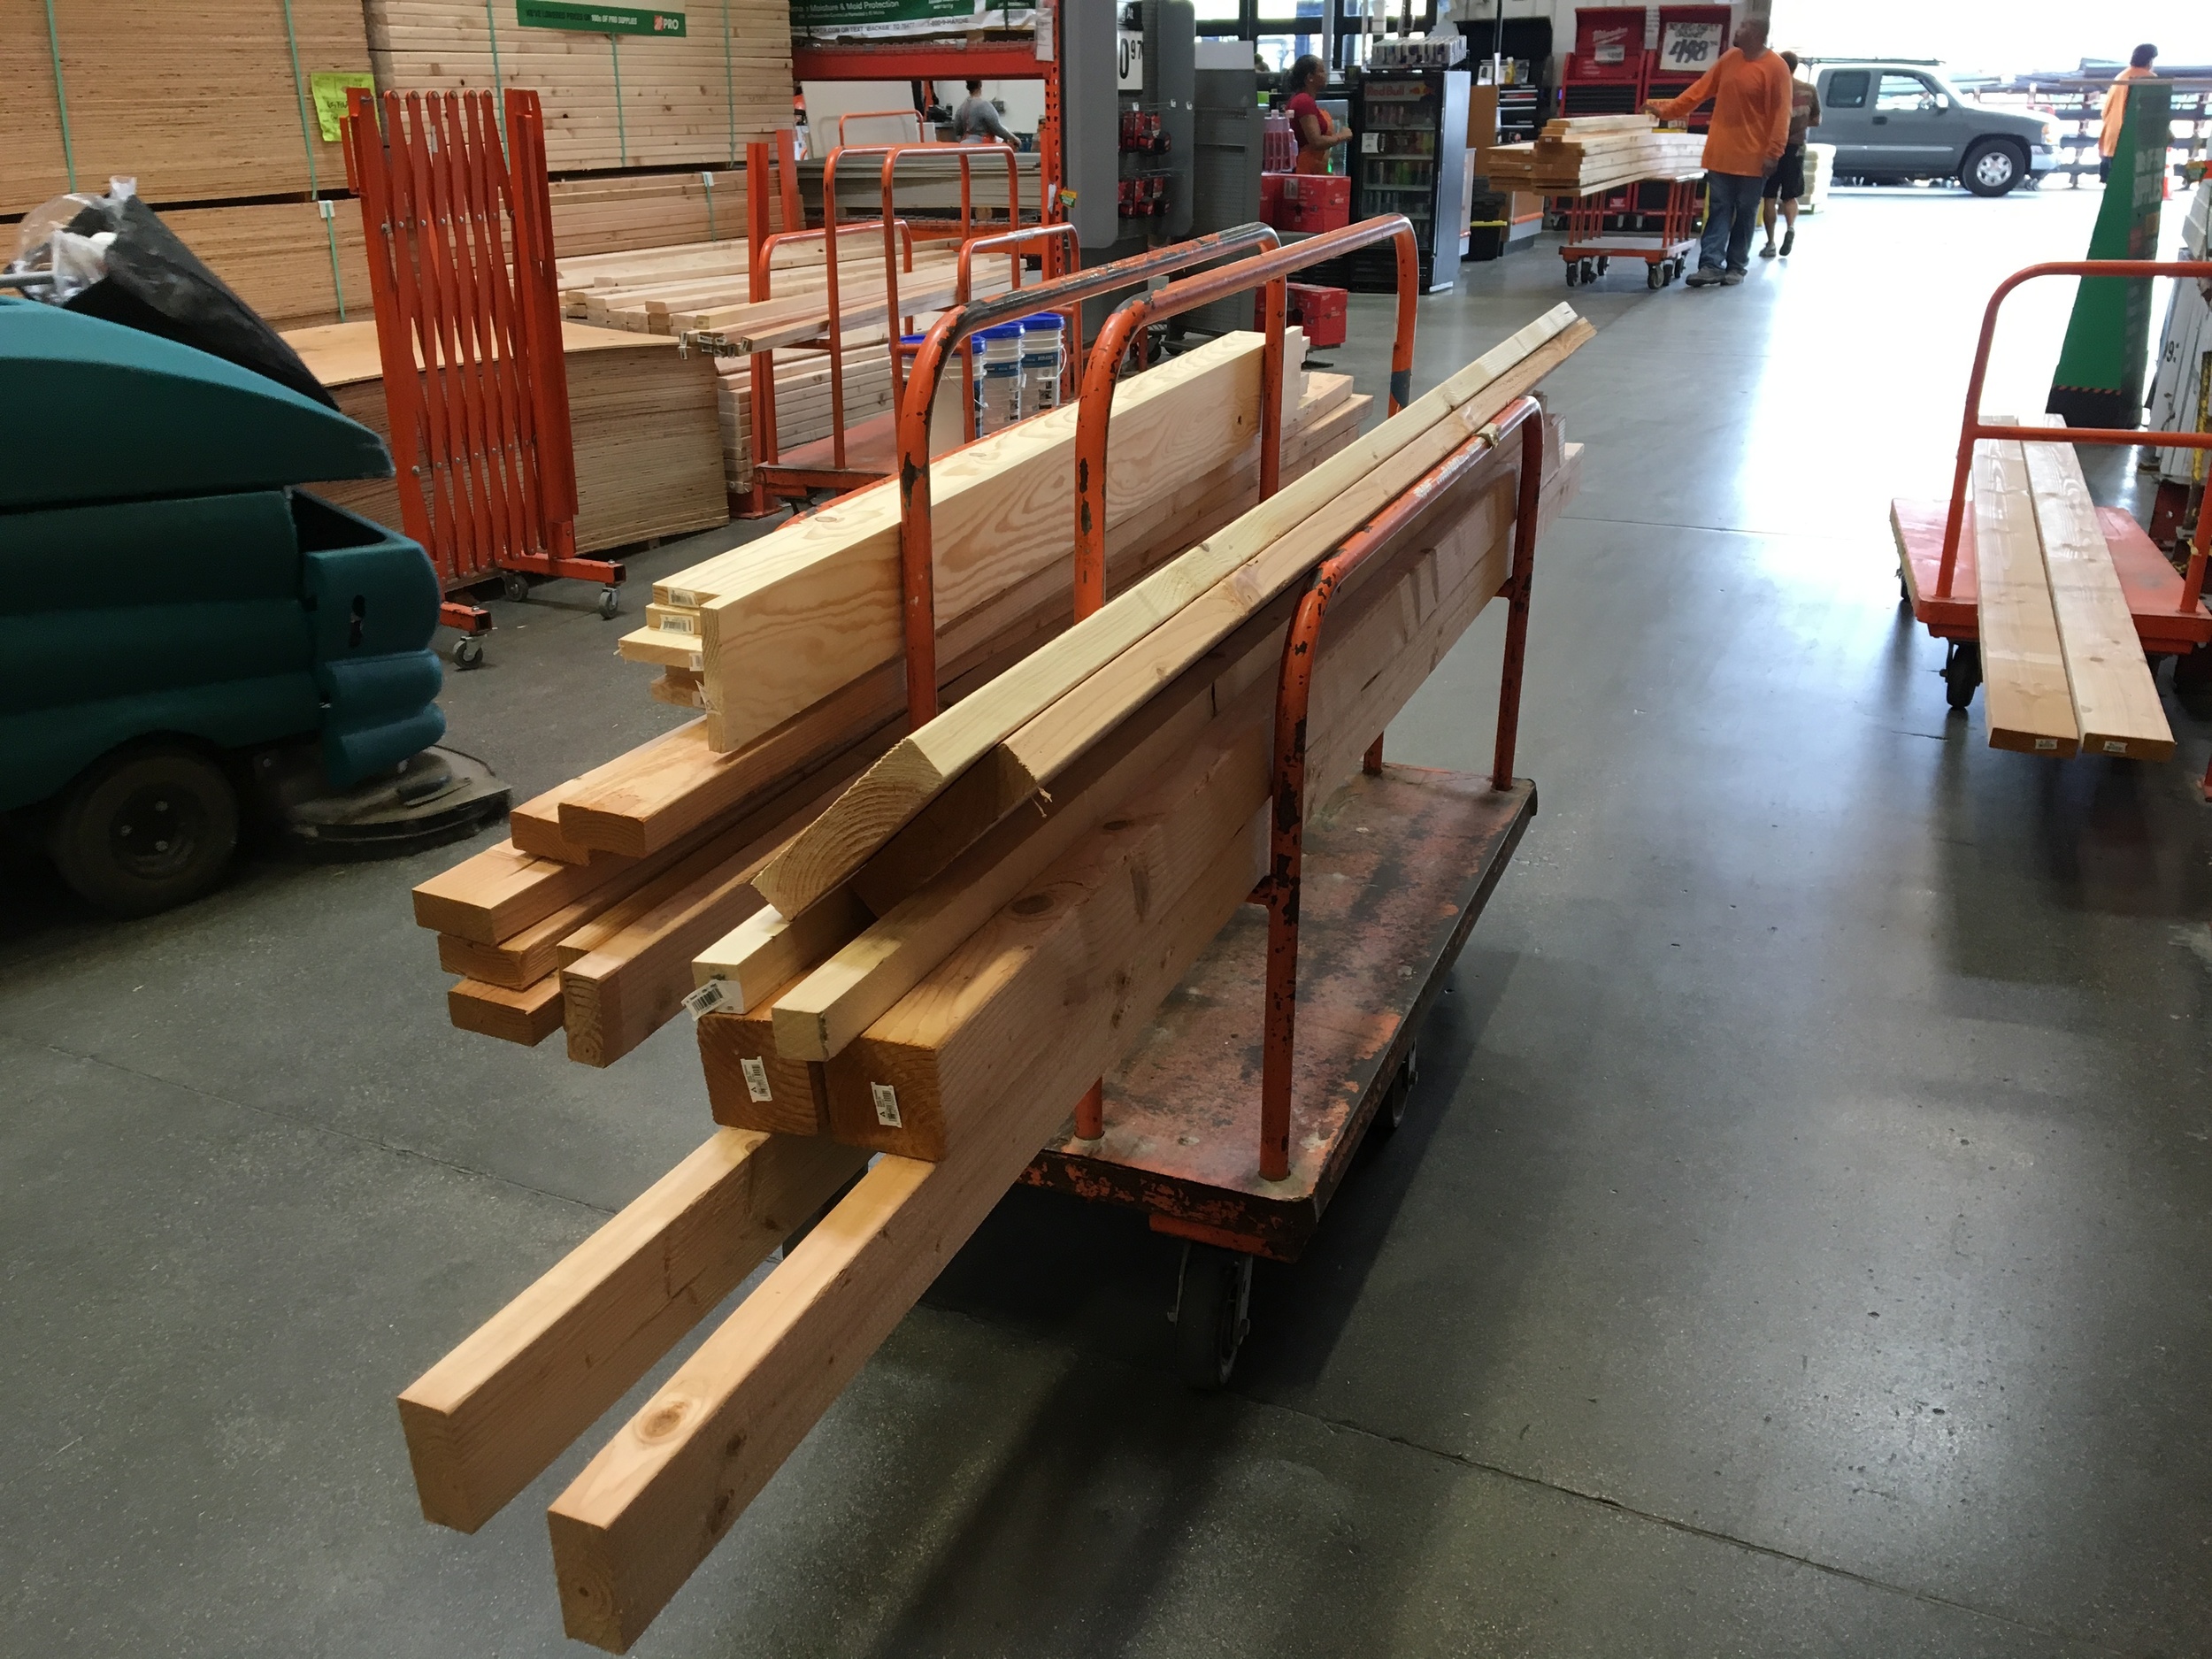
I was unbelievably sore after this for the next four days. My legs, back, and butt felt like I had been hit by a semi-truck. Once I recovered the following weekend, I was off to Home Depot, a place where, if given free reign, would accidentally spend all of the money I have in the bank.

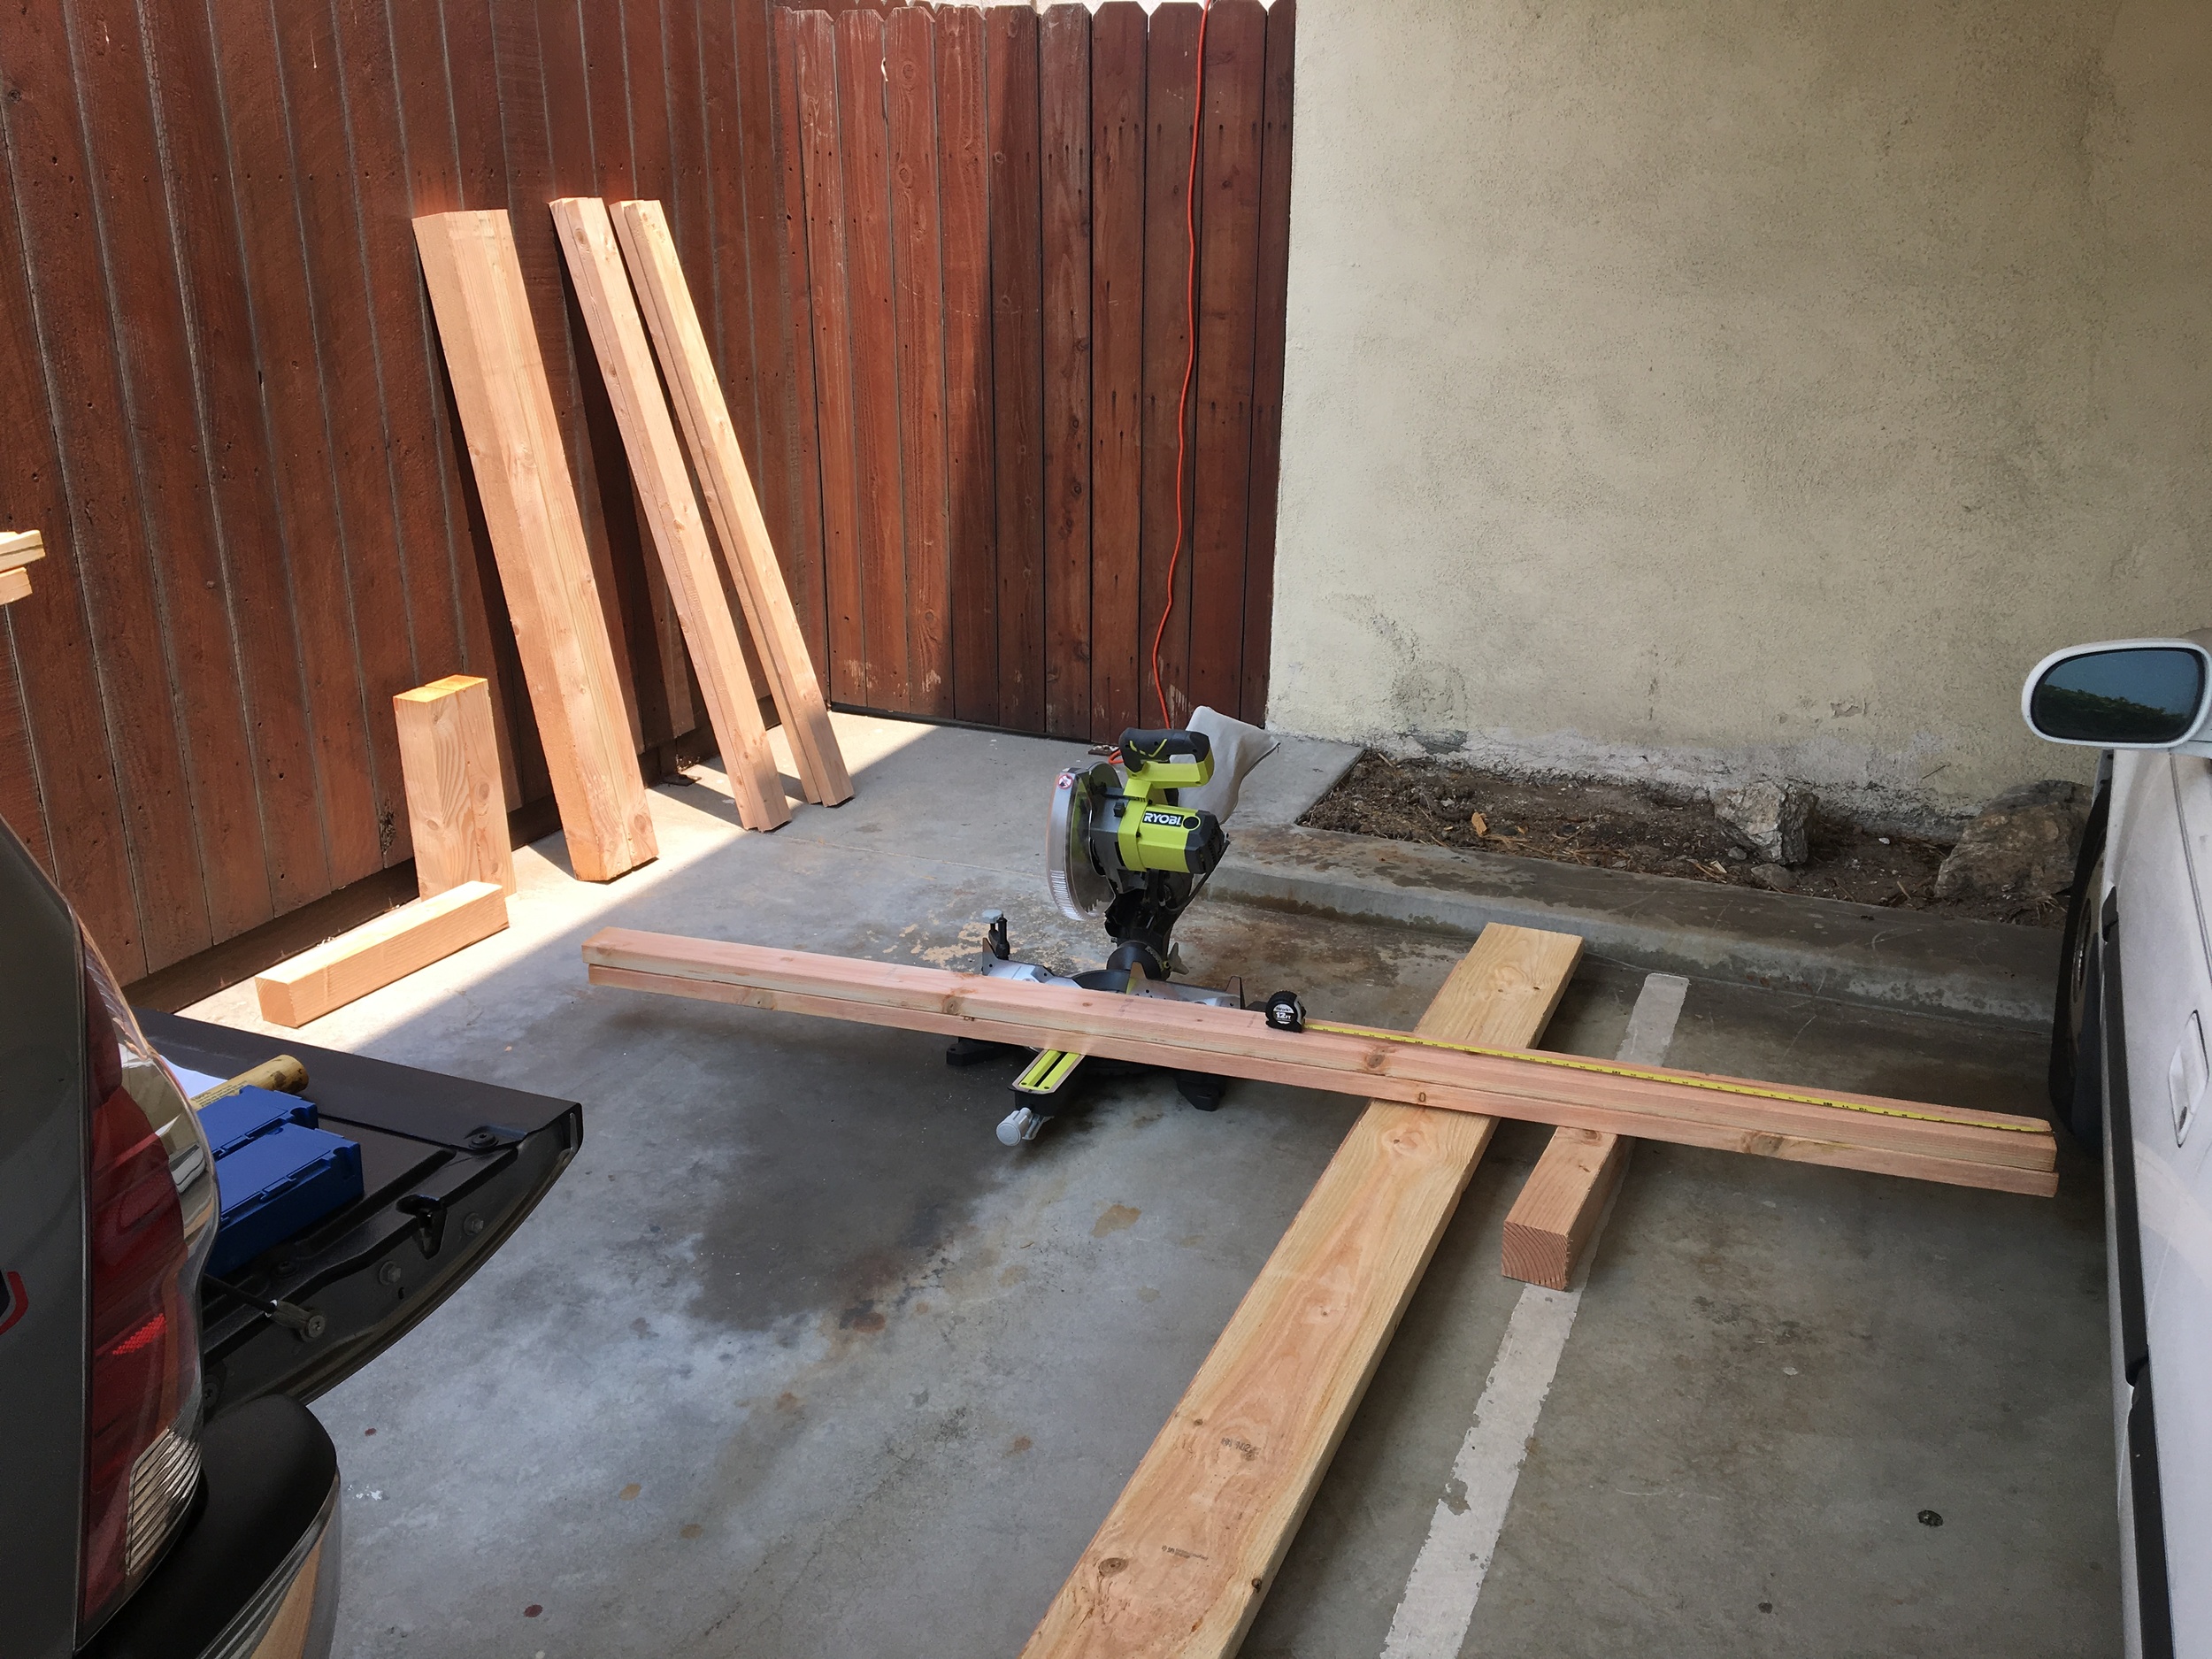
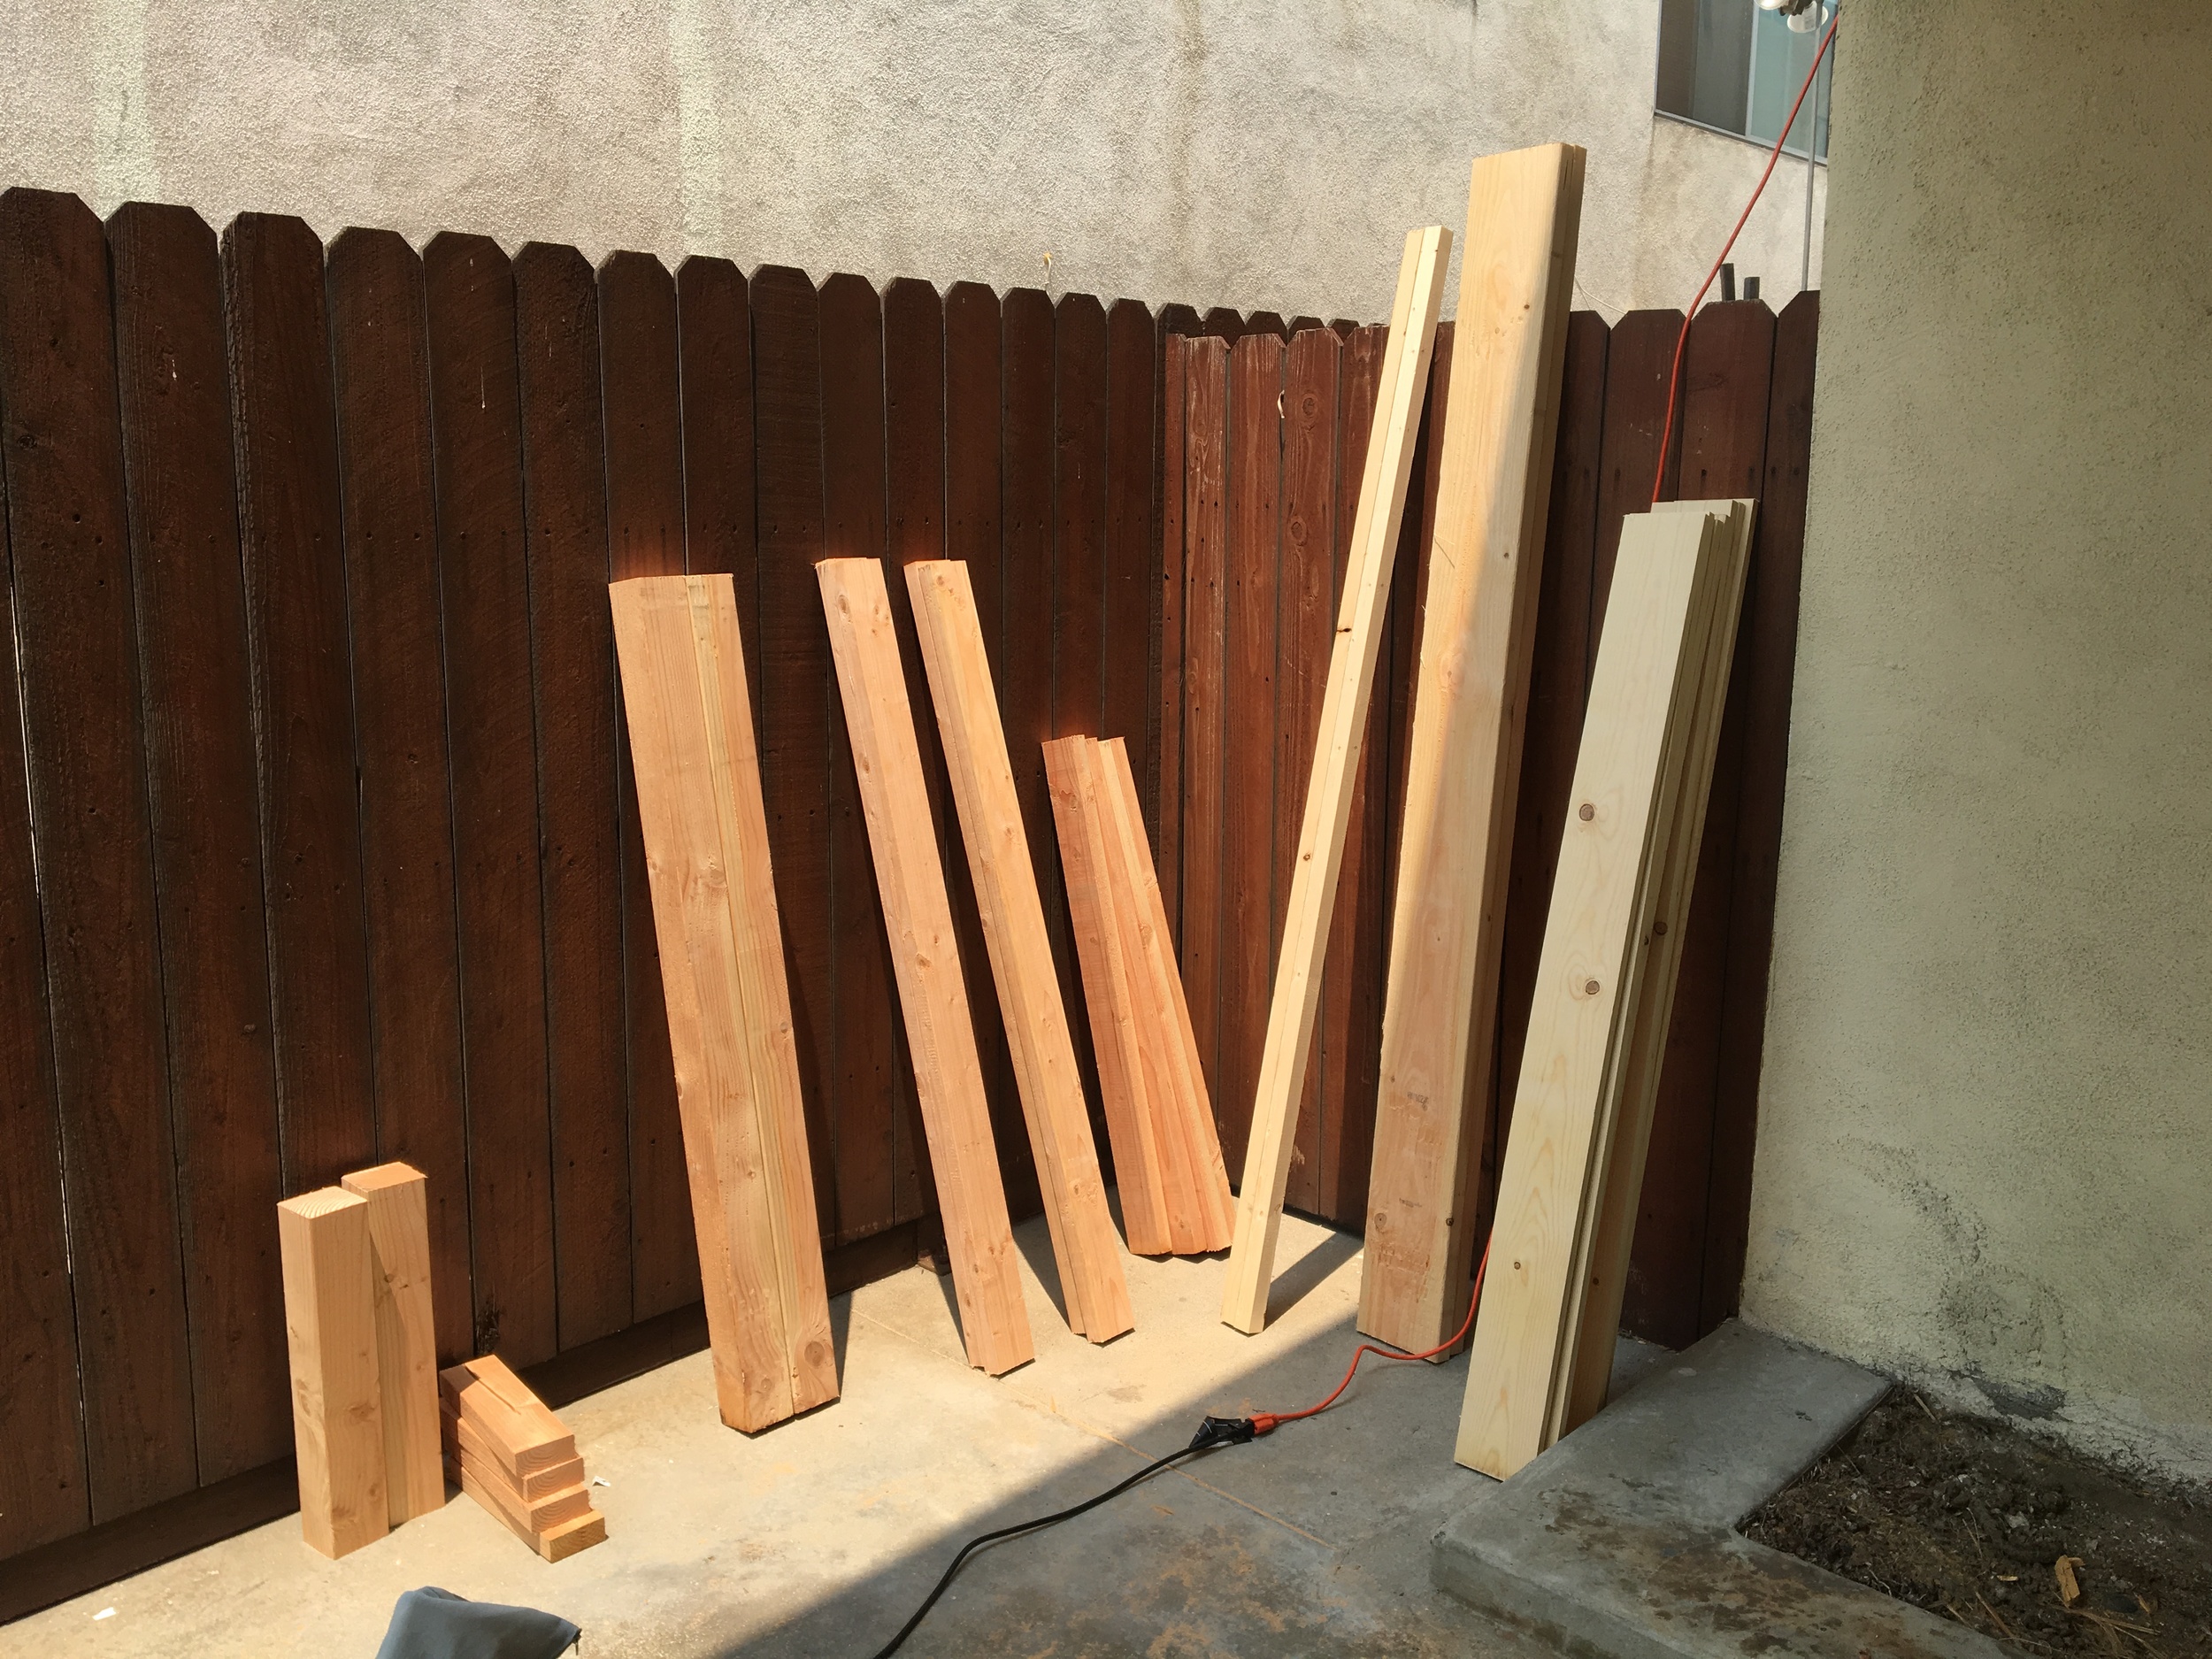
Lumber I purchased for this project is above. The series of pictures show it from purchase through to all being cut to length. All wood is douglas fir unless otherwise specified:

2 x 4" x 4" x 8'
2 x 2" x 4" x 10'
4 x 2" x 4" x 8'
2 x 2" x 8" x 8'
2 x 2" x 2" x 8' (whitewood)
7 x 1" x 6" x 6' (whitewood)
1.5” Pocket Hole Screws
Wood Screws (2.50”)

I also purchased a Ryobi Brad Nailer which I had wanted for sometime. It is cordless, so I don't need an air compressor to use it. I would have bought a different one had I also had space in my apartment to store an air compressor, but I don't. I also purchased additional wood glue, Kreg pocket hole screws (2.5"), and regular wood screws. 
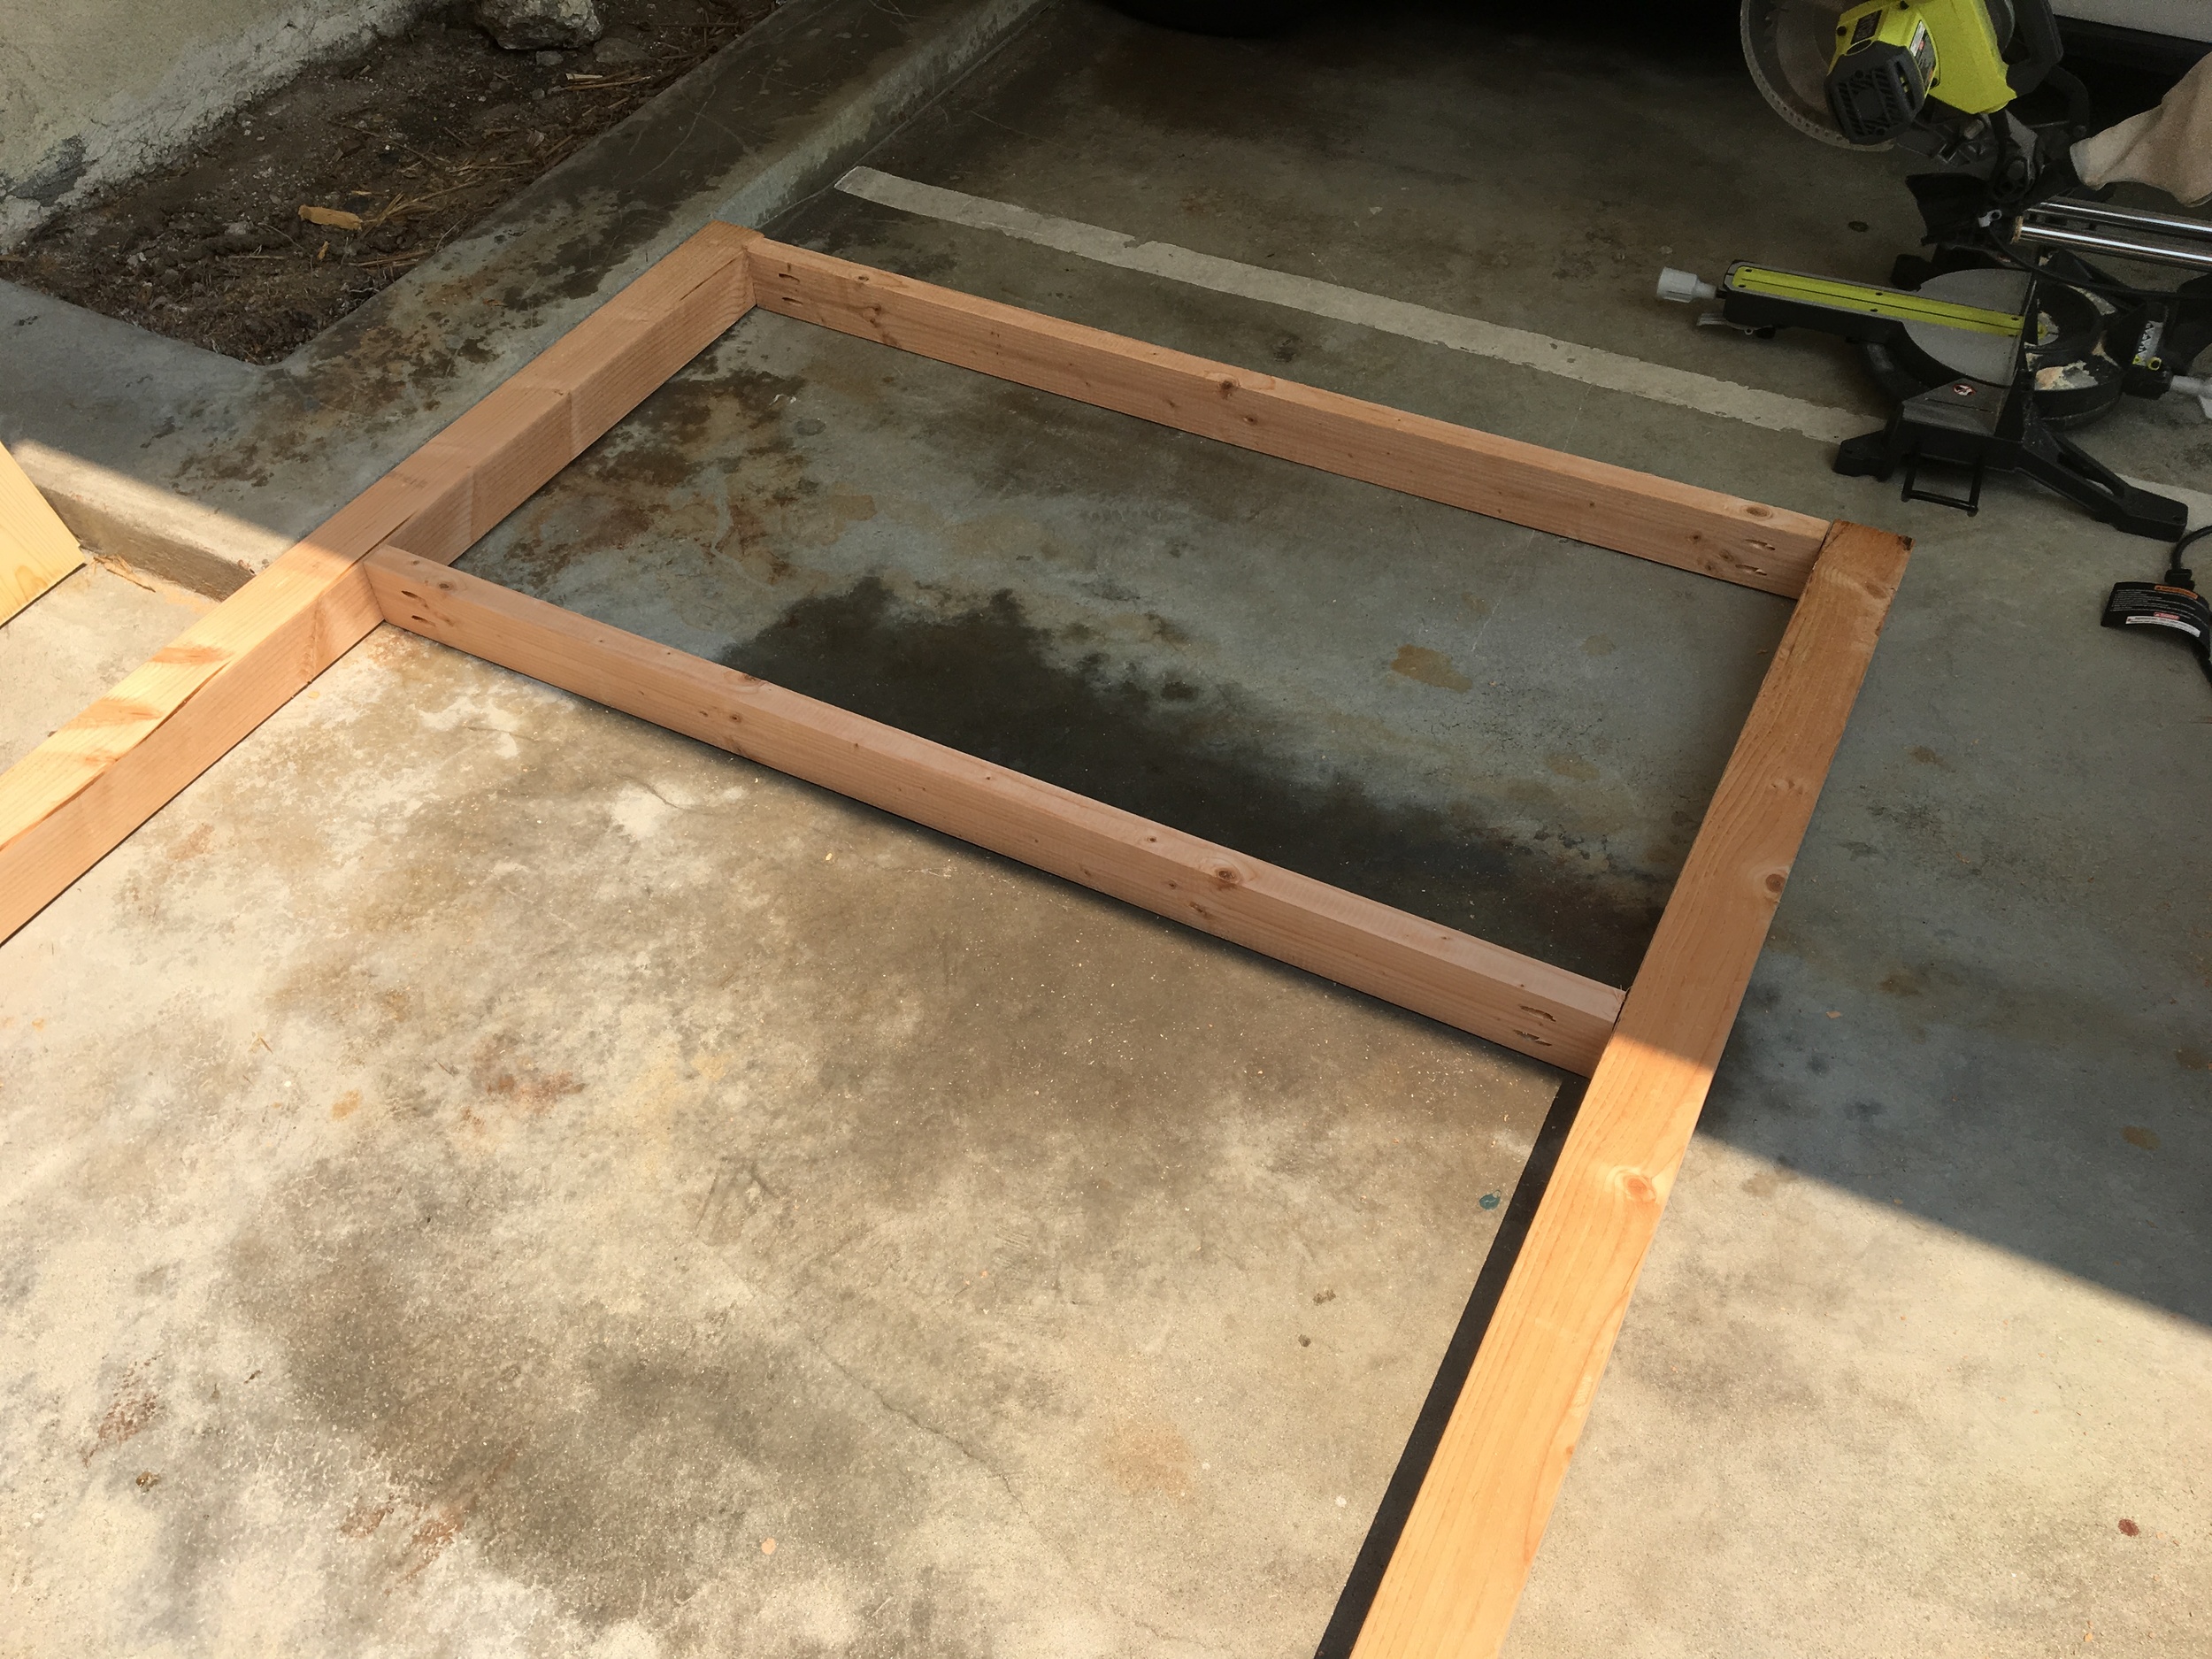
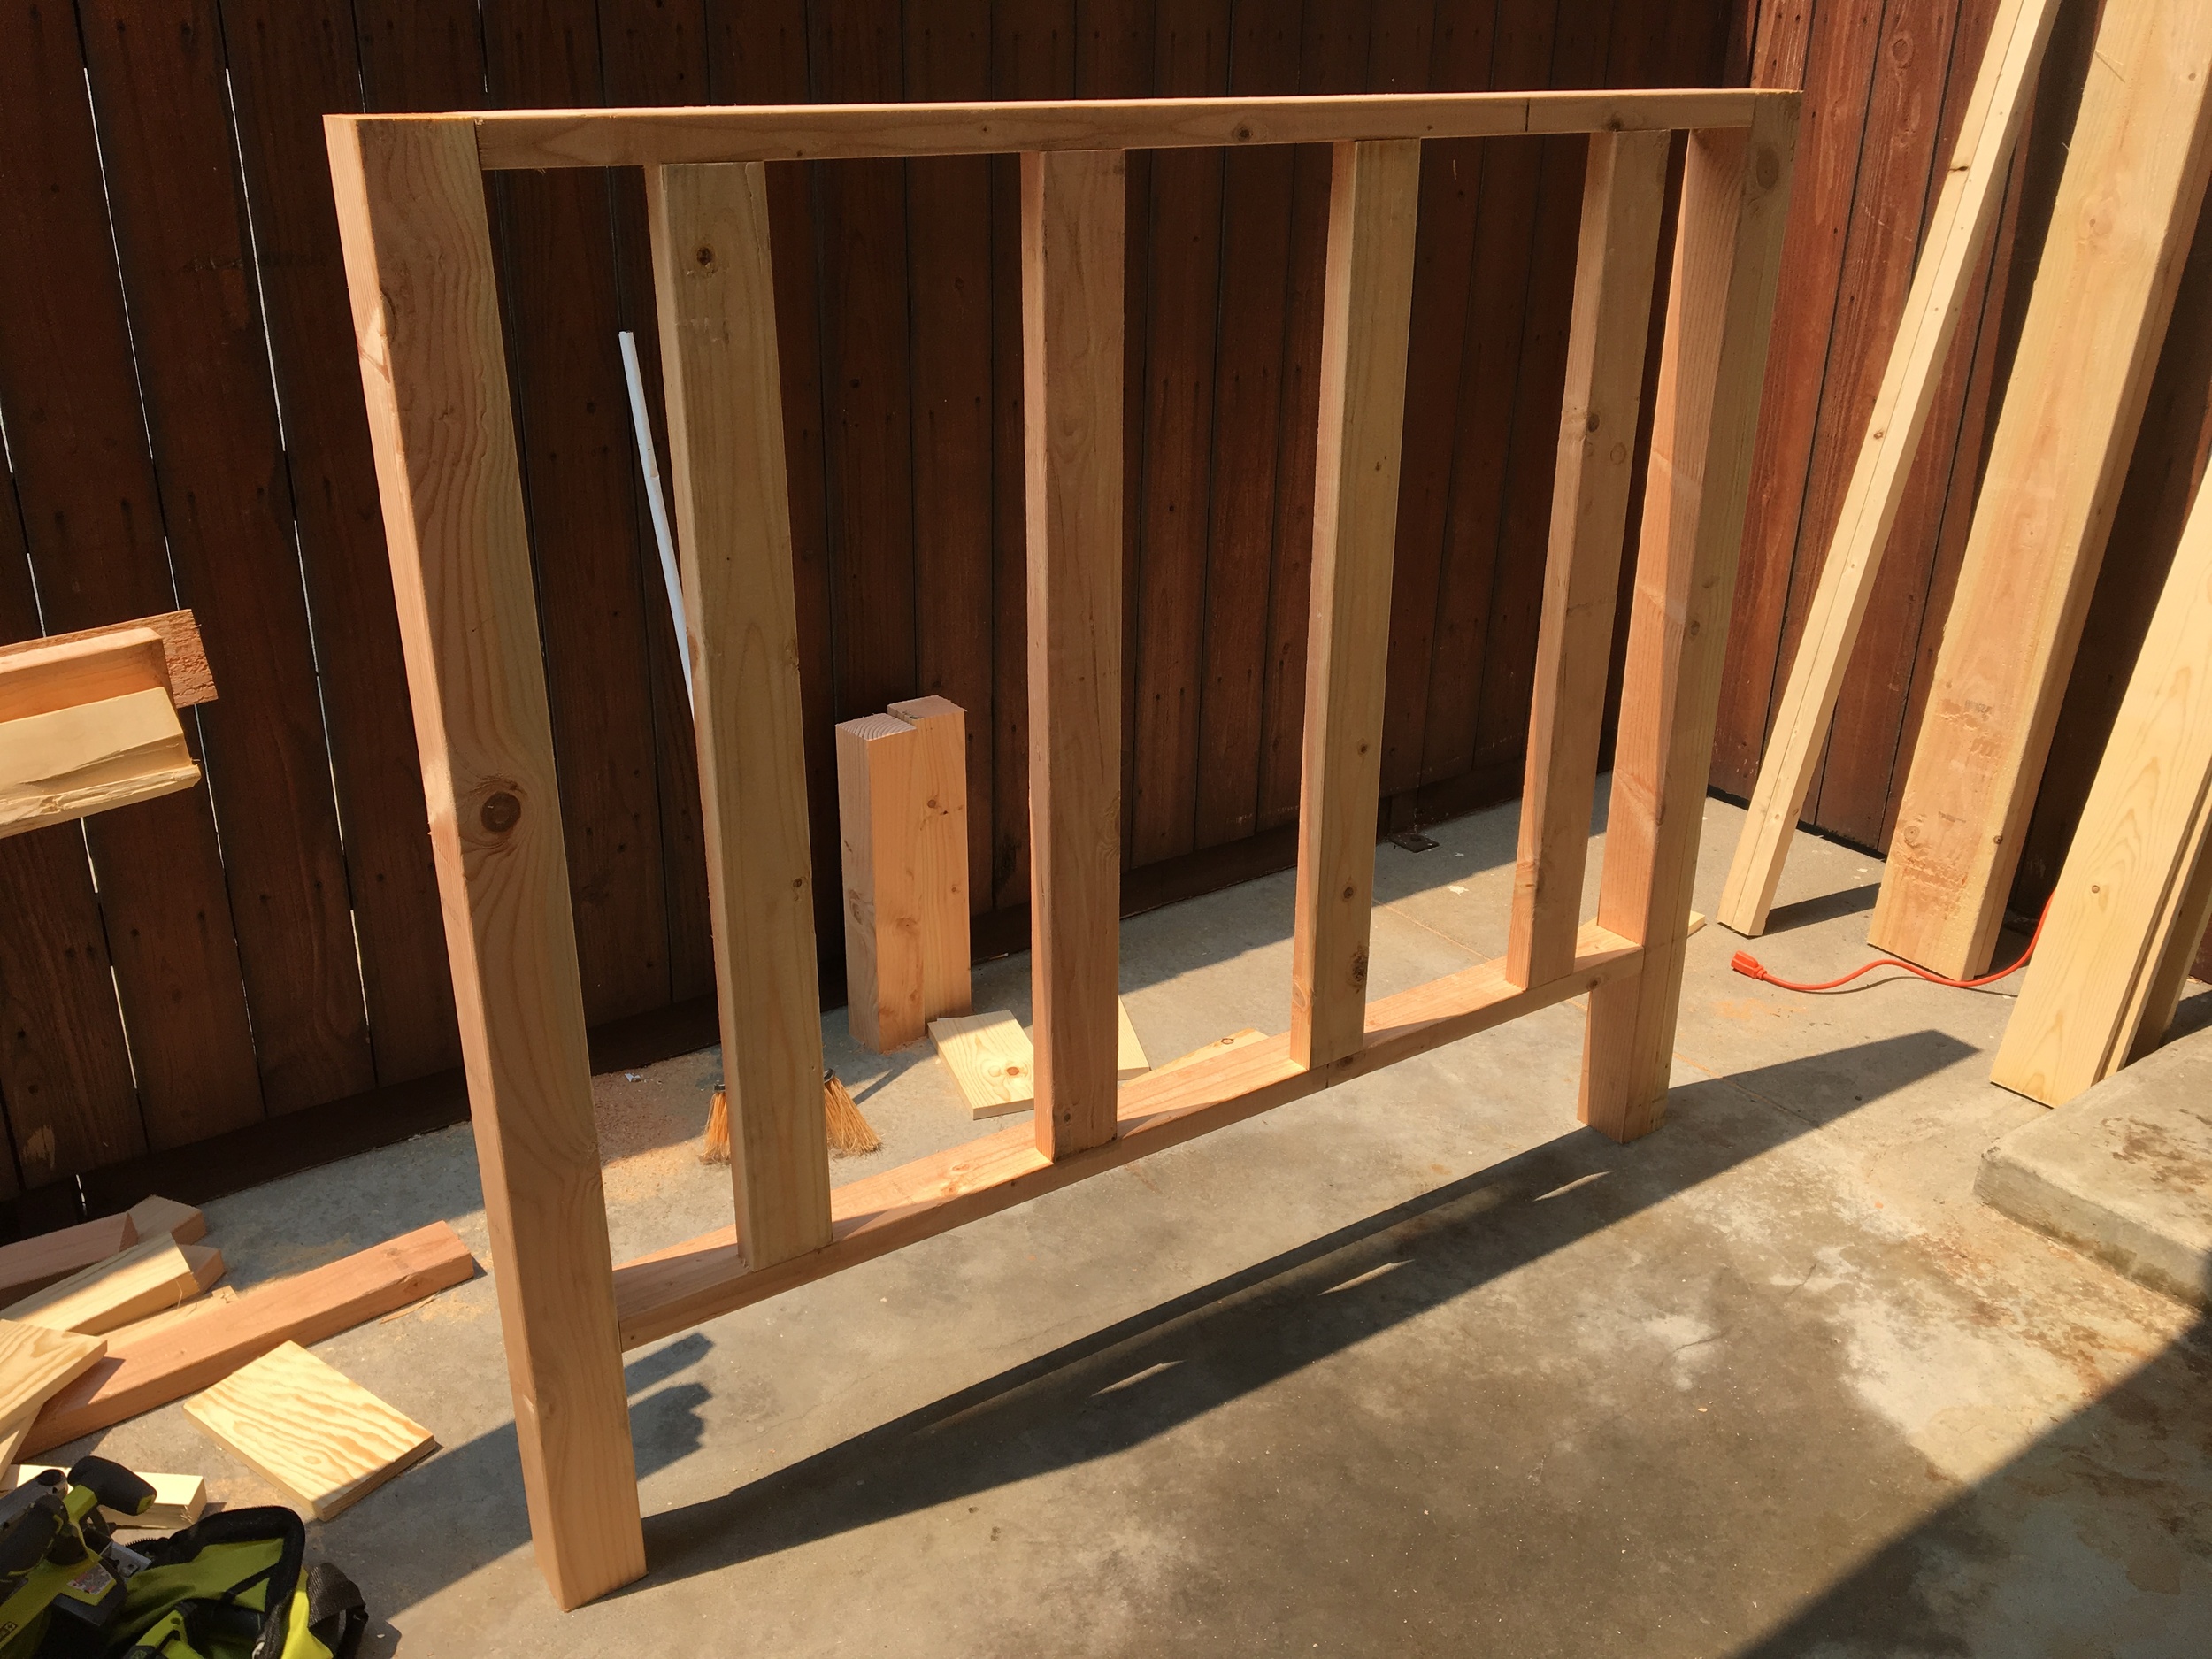
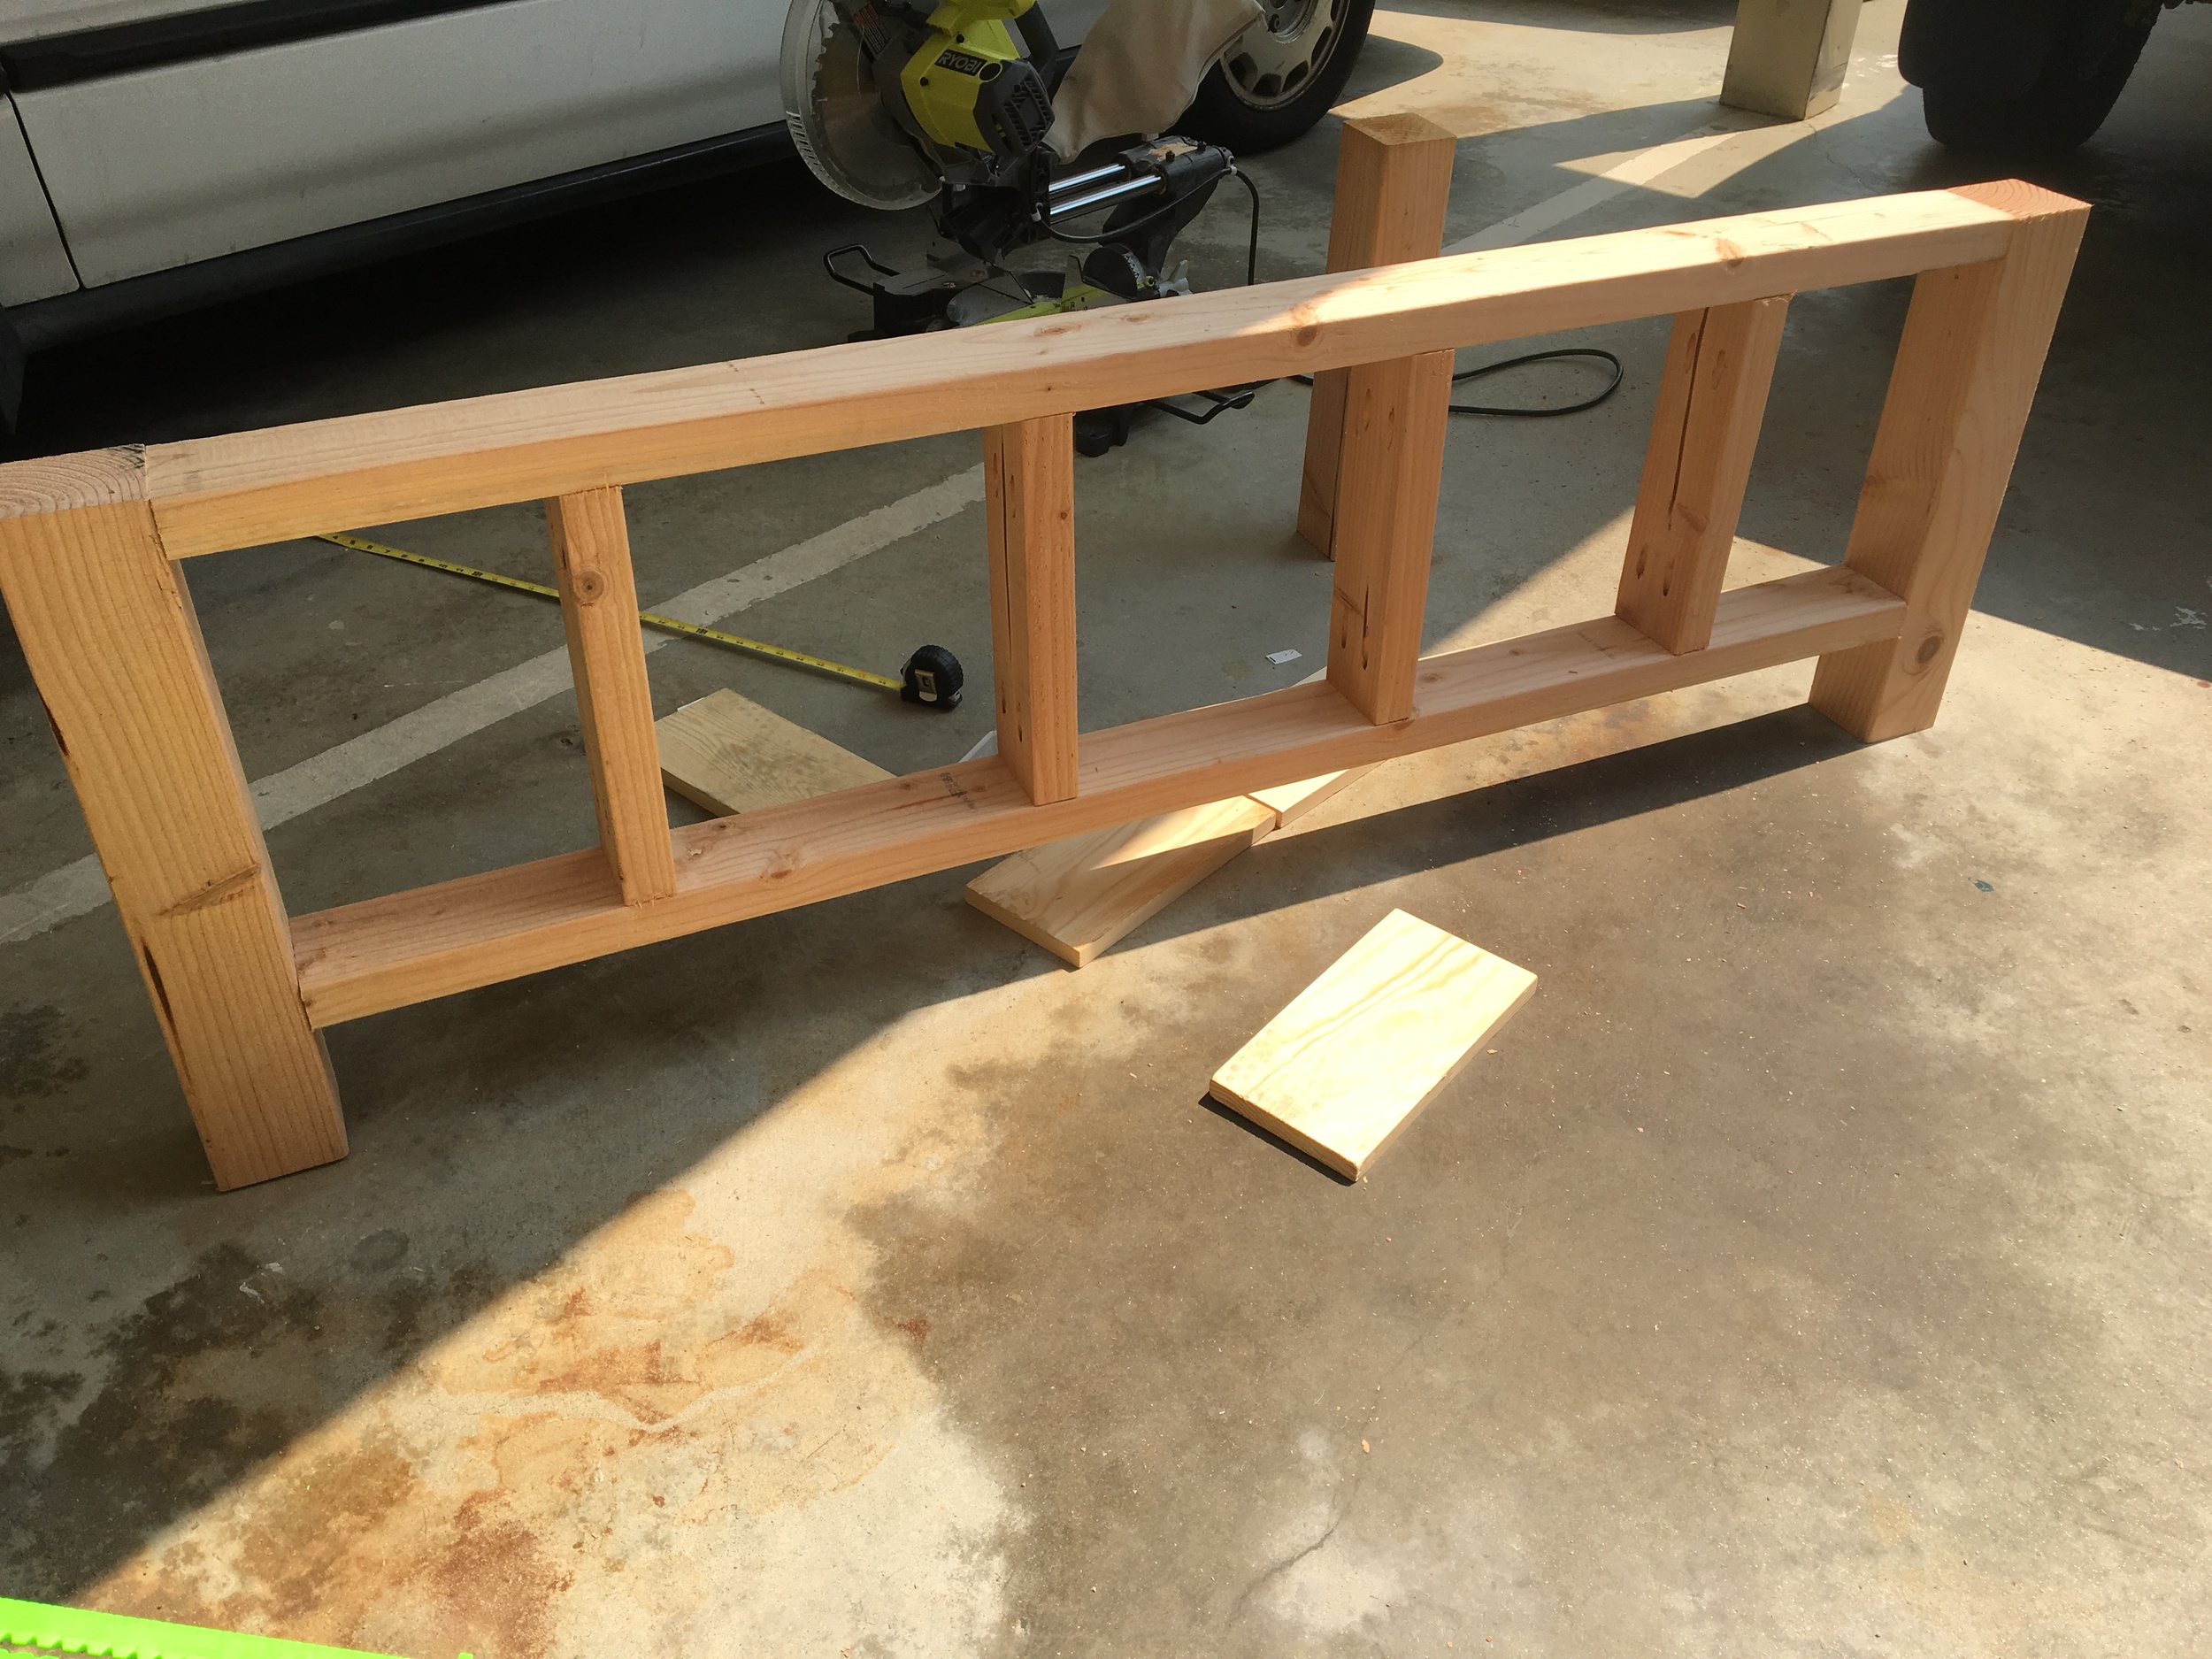
Next it was on to the assembly of the frames. 

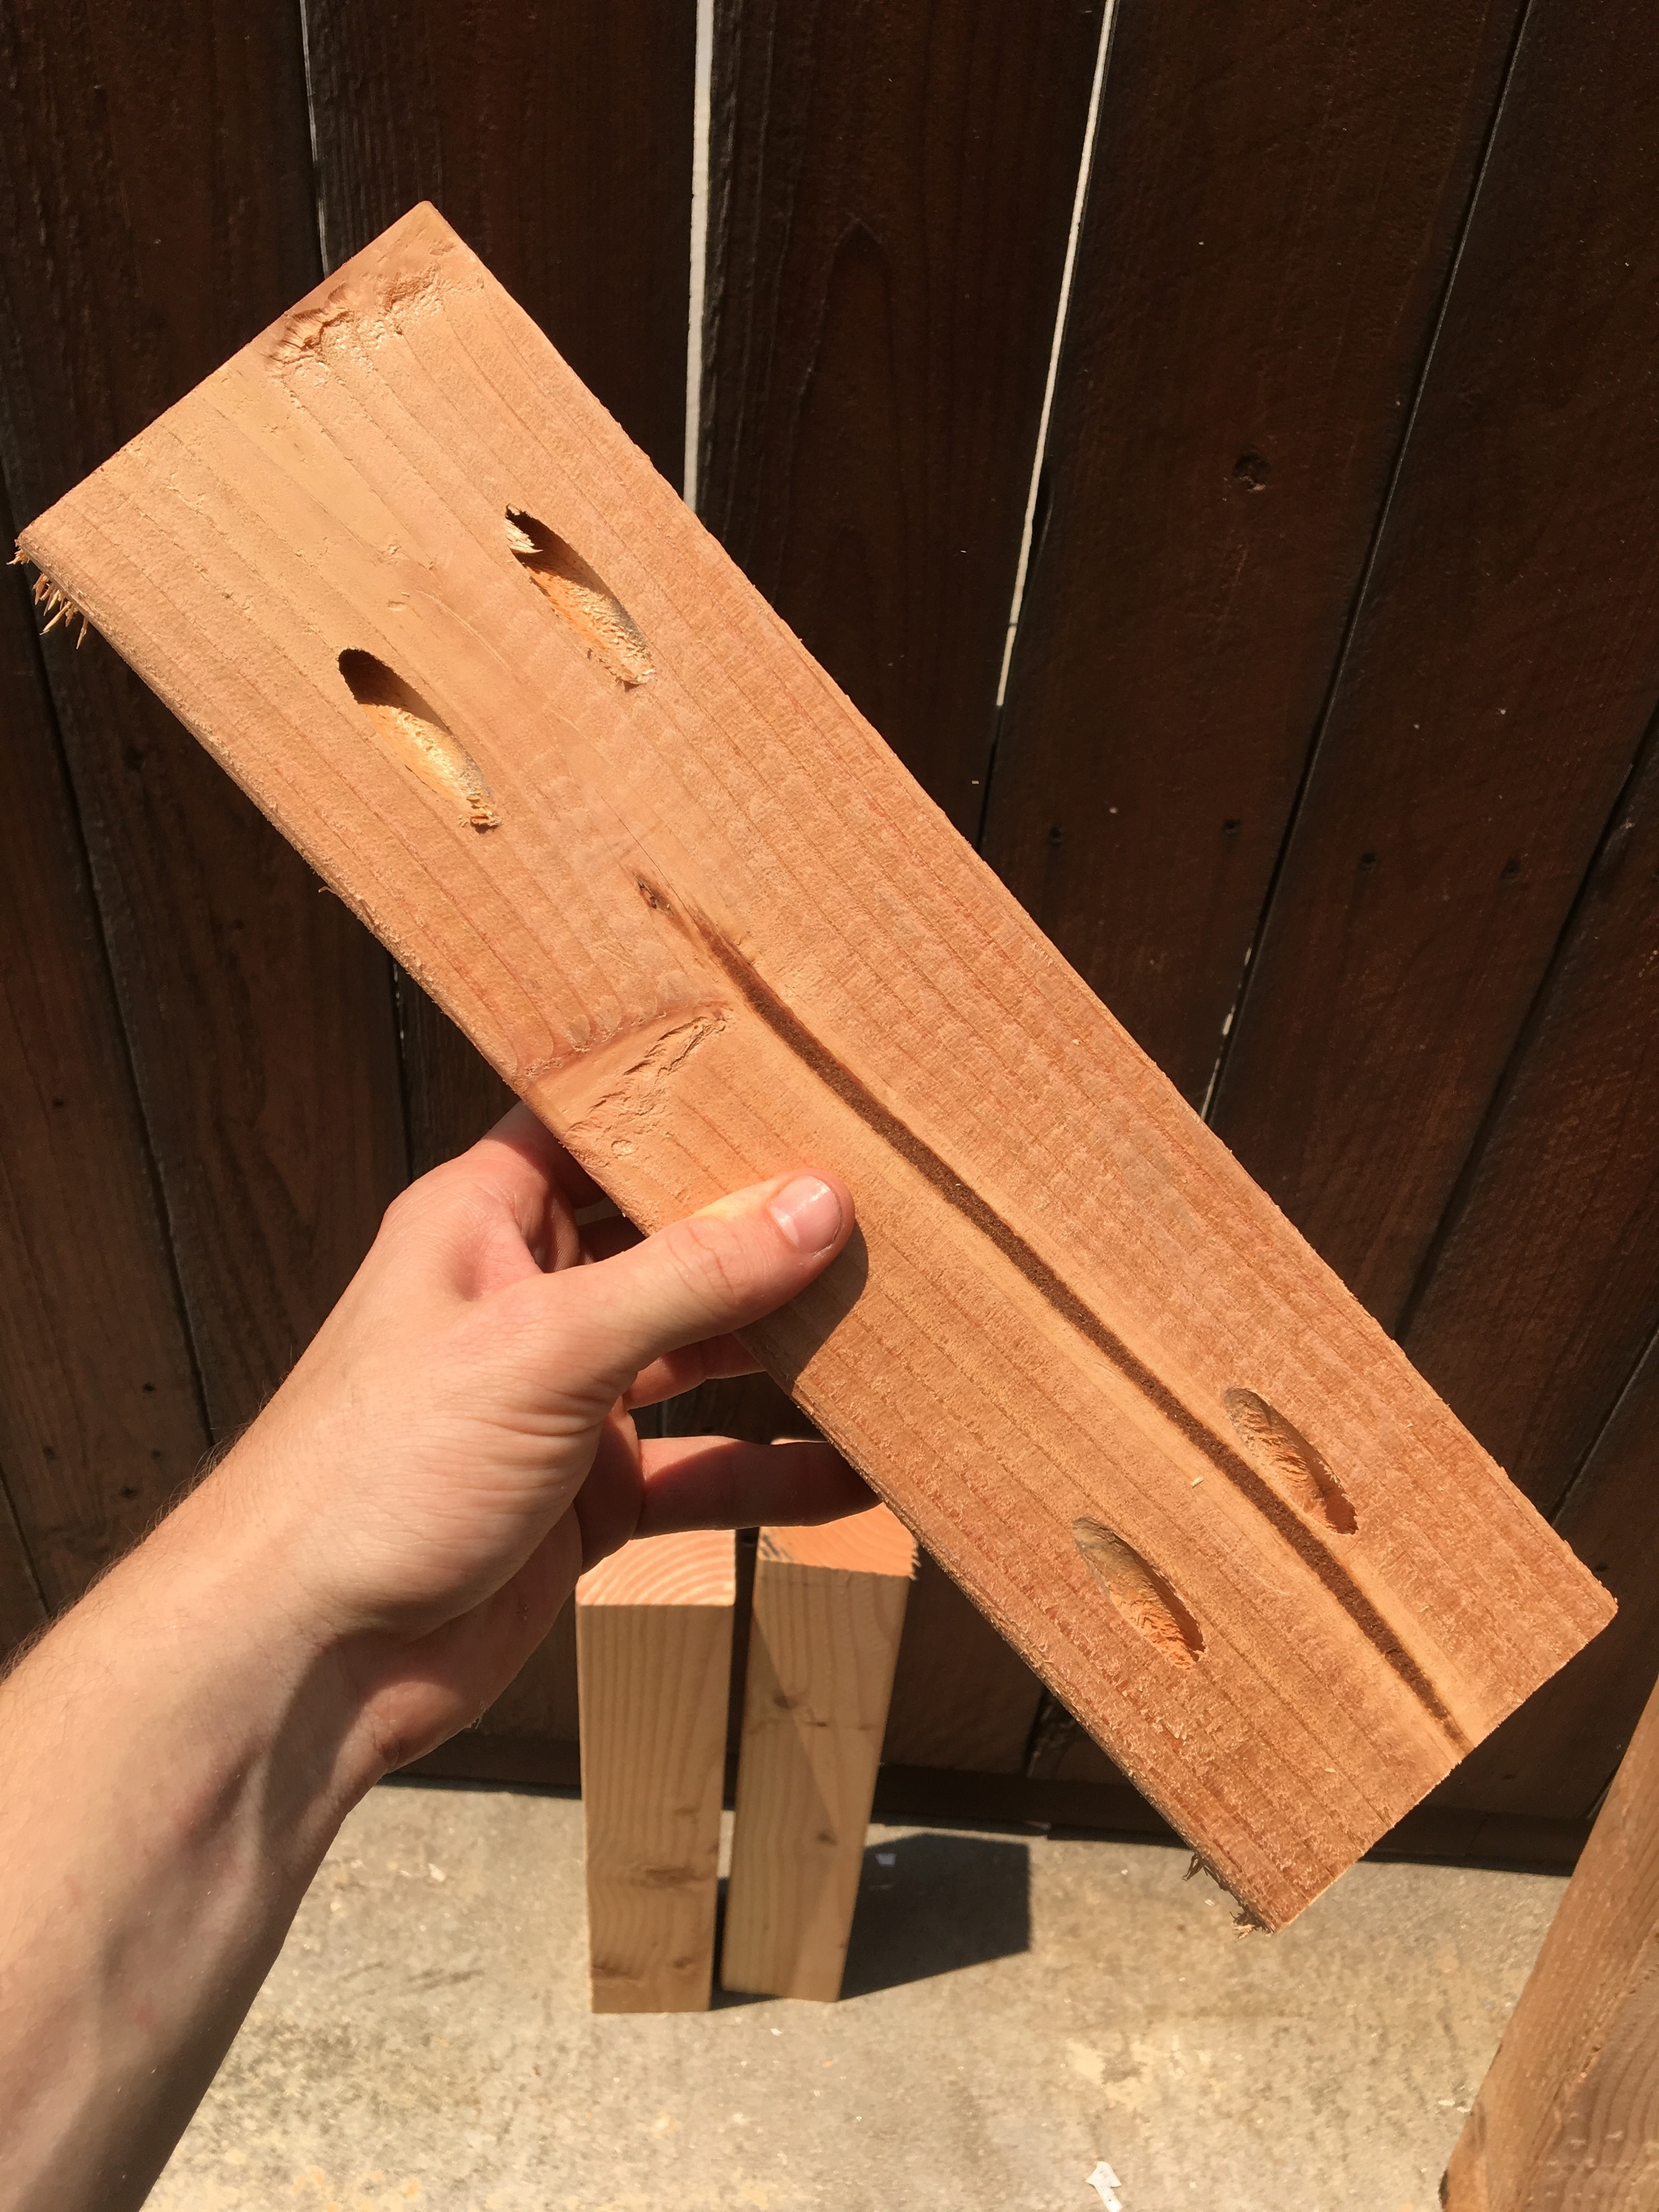
My go to for assembly is always pocket holes. They're wicked strong and incredibly easy to cut with the Kreg 5 Pocket Hole Jig and a semi-powerful drill. 
For anyone unfamiliar with what a pocket hole is, it is a hole that is cut 15° into the wood that allows you to drill at an angle to attach wood. The length of screw is contingent on the thickness of the material. Regardless, they're super strong, faster than biscuit jointing/gluing/clamping, and they can be hidden underneath and behind projects so the connection looks clean. 
Next was the big task - adding the pallets.

IMG_1040.JPG

Remember these guys? Want to hear a funny story. I strained my neck and chest muscles by trying to carry them all at once down to my driveway. That felt awesome for the rest of the day and throughout the night...

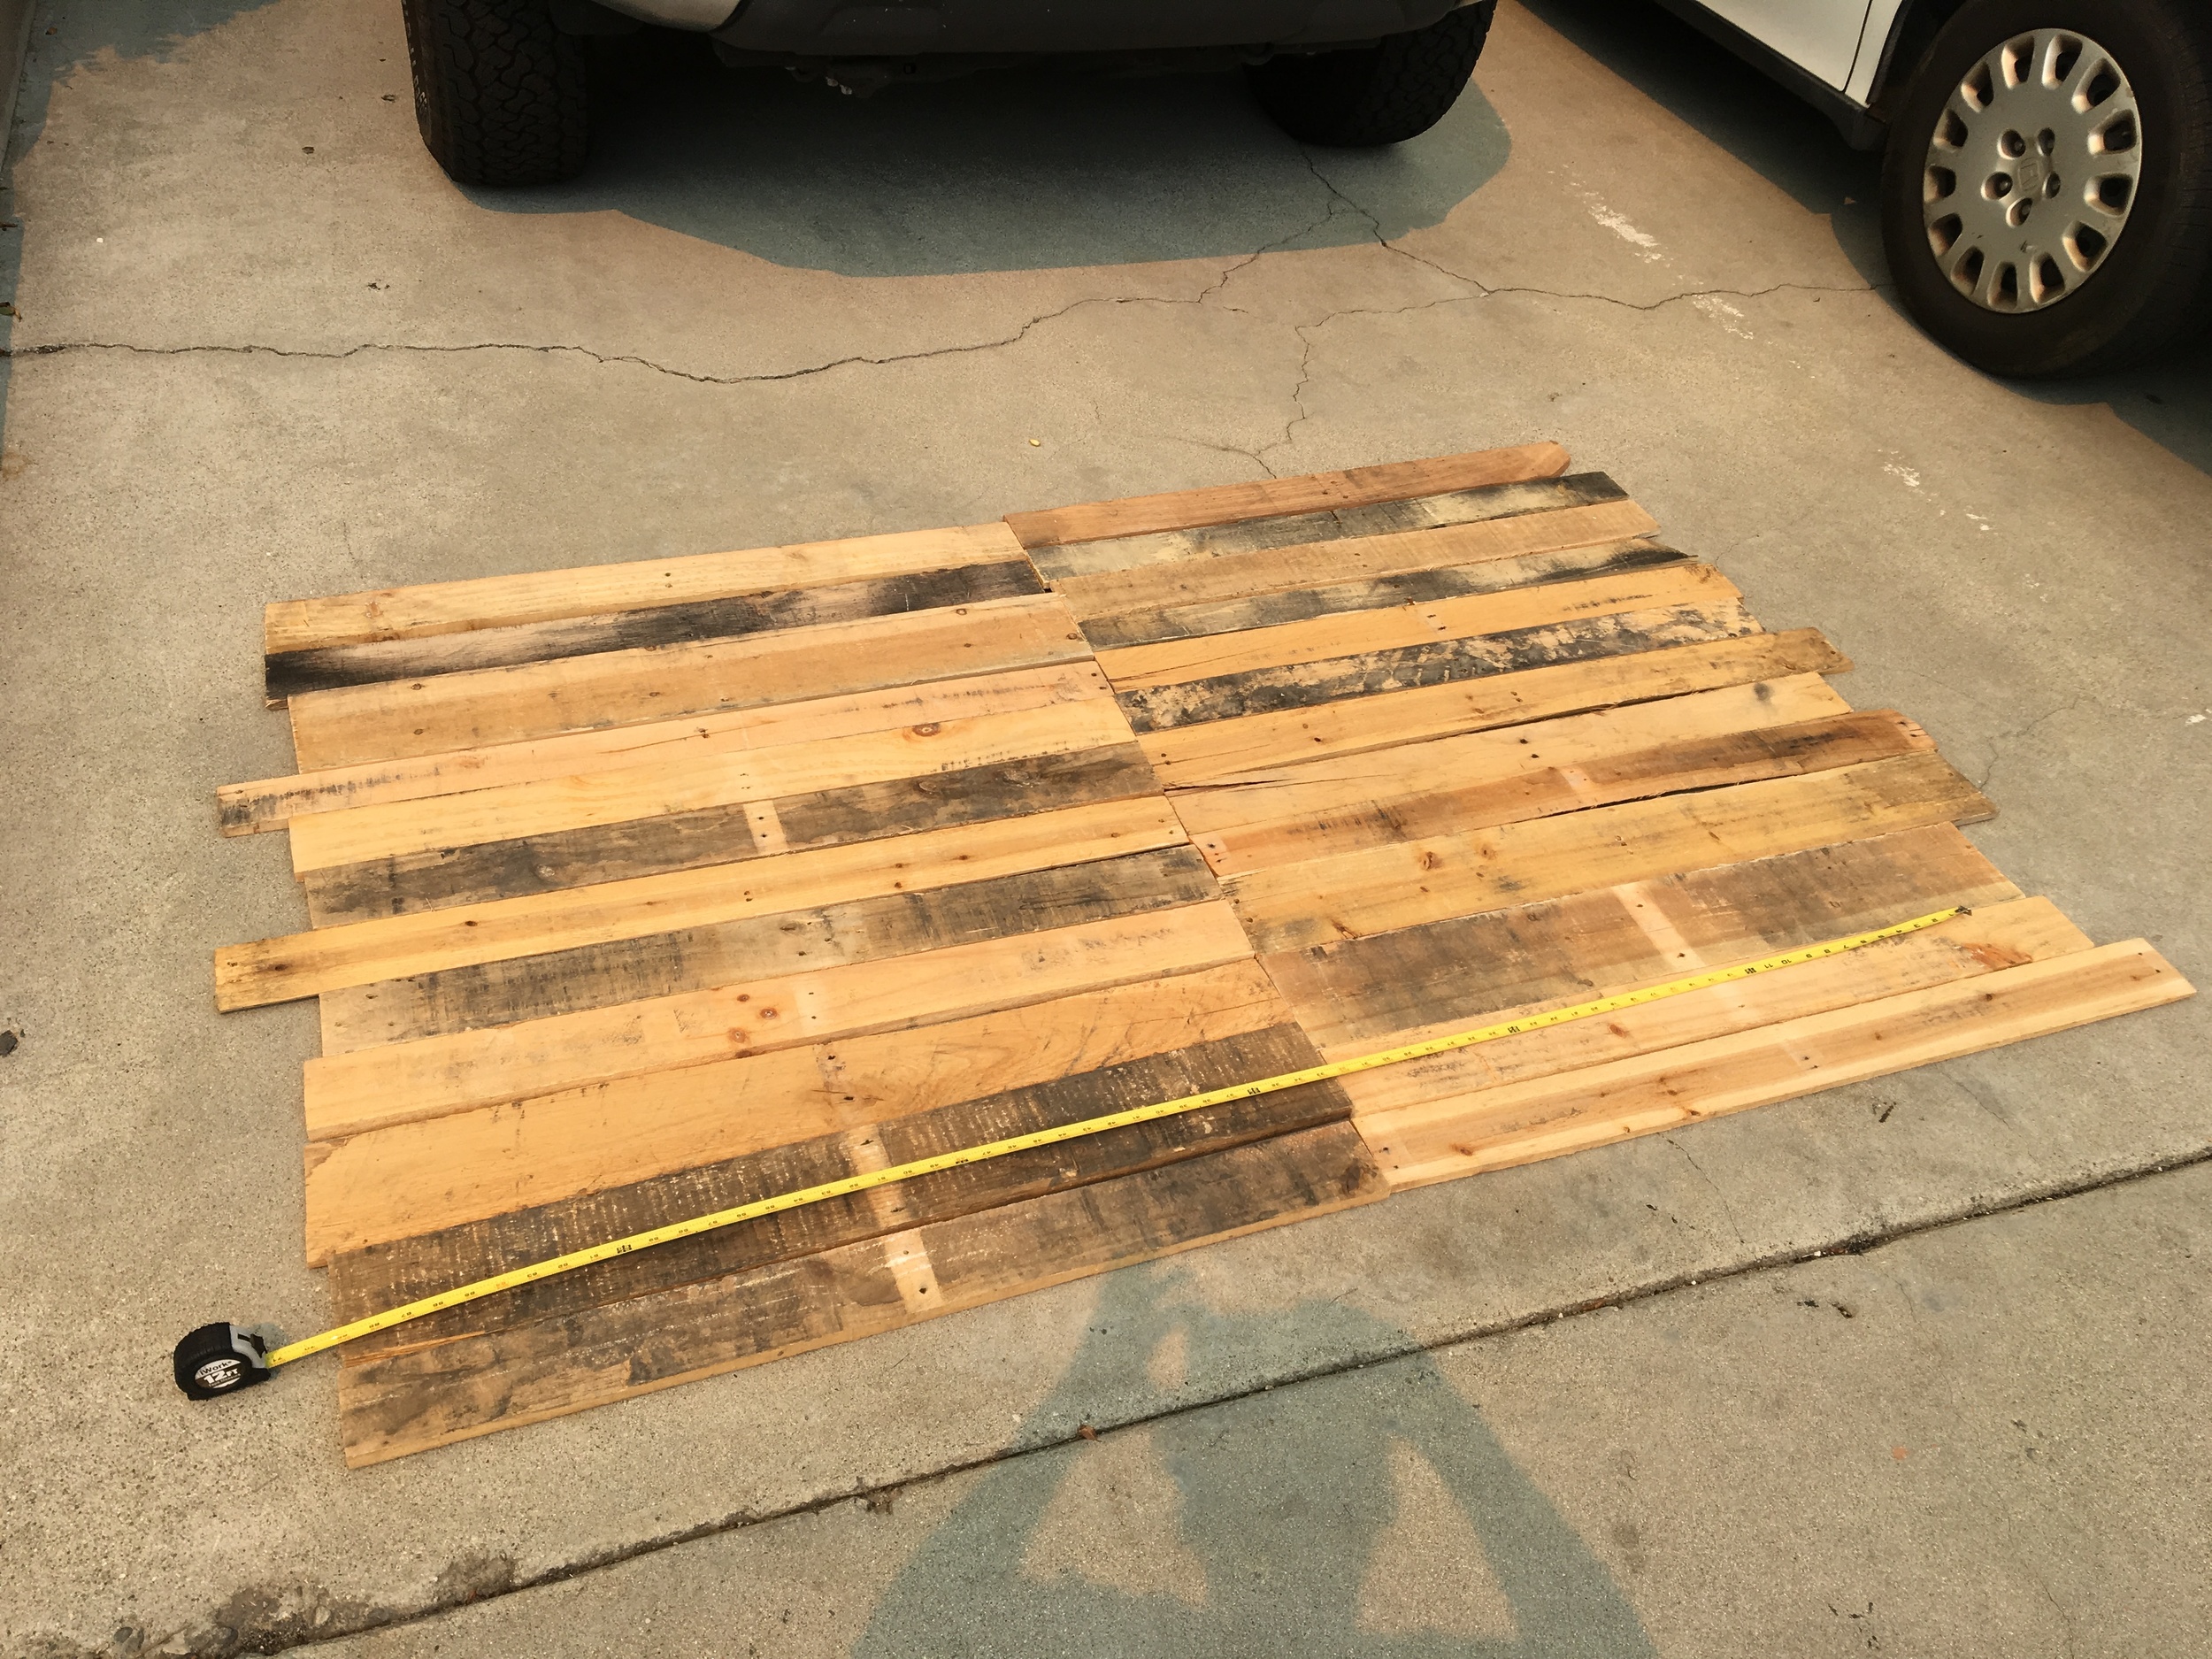
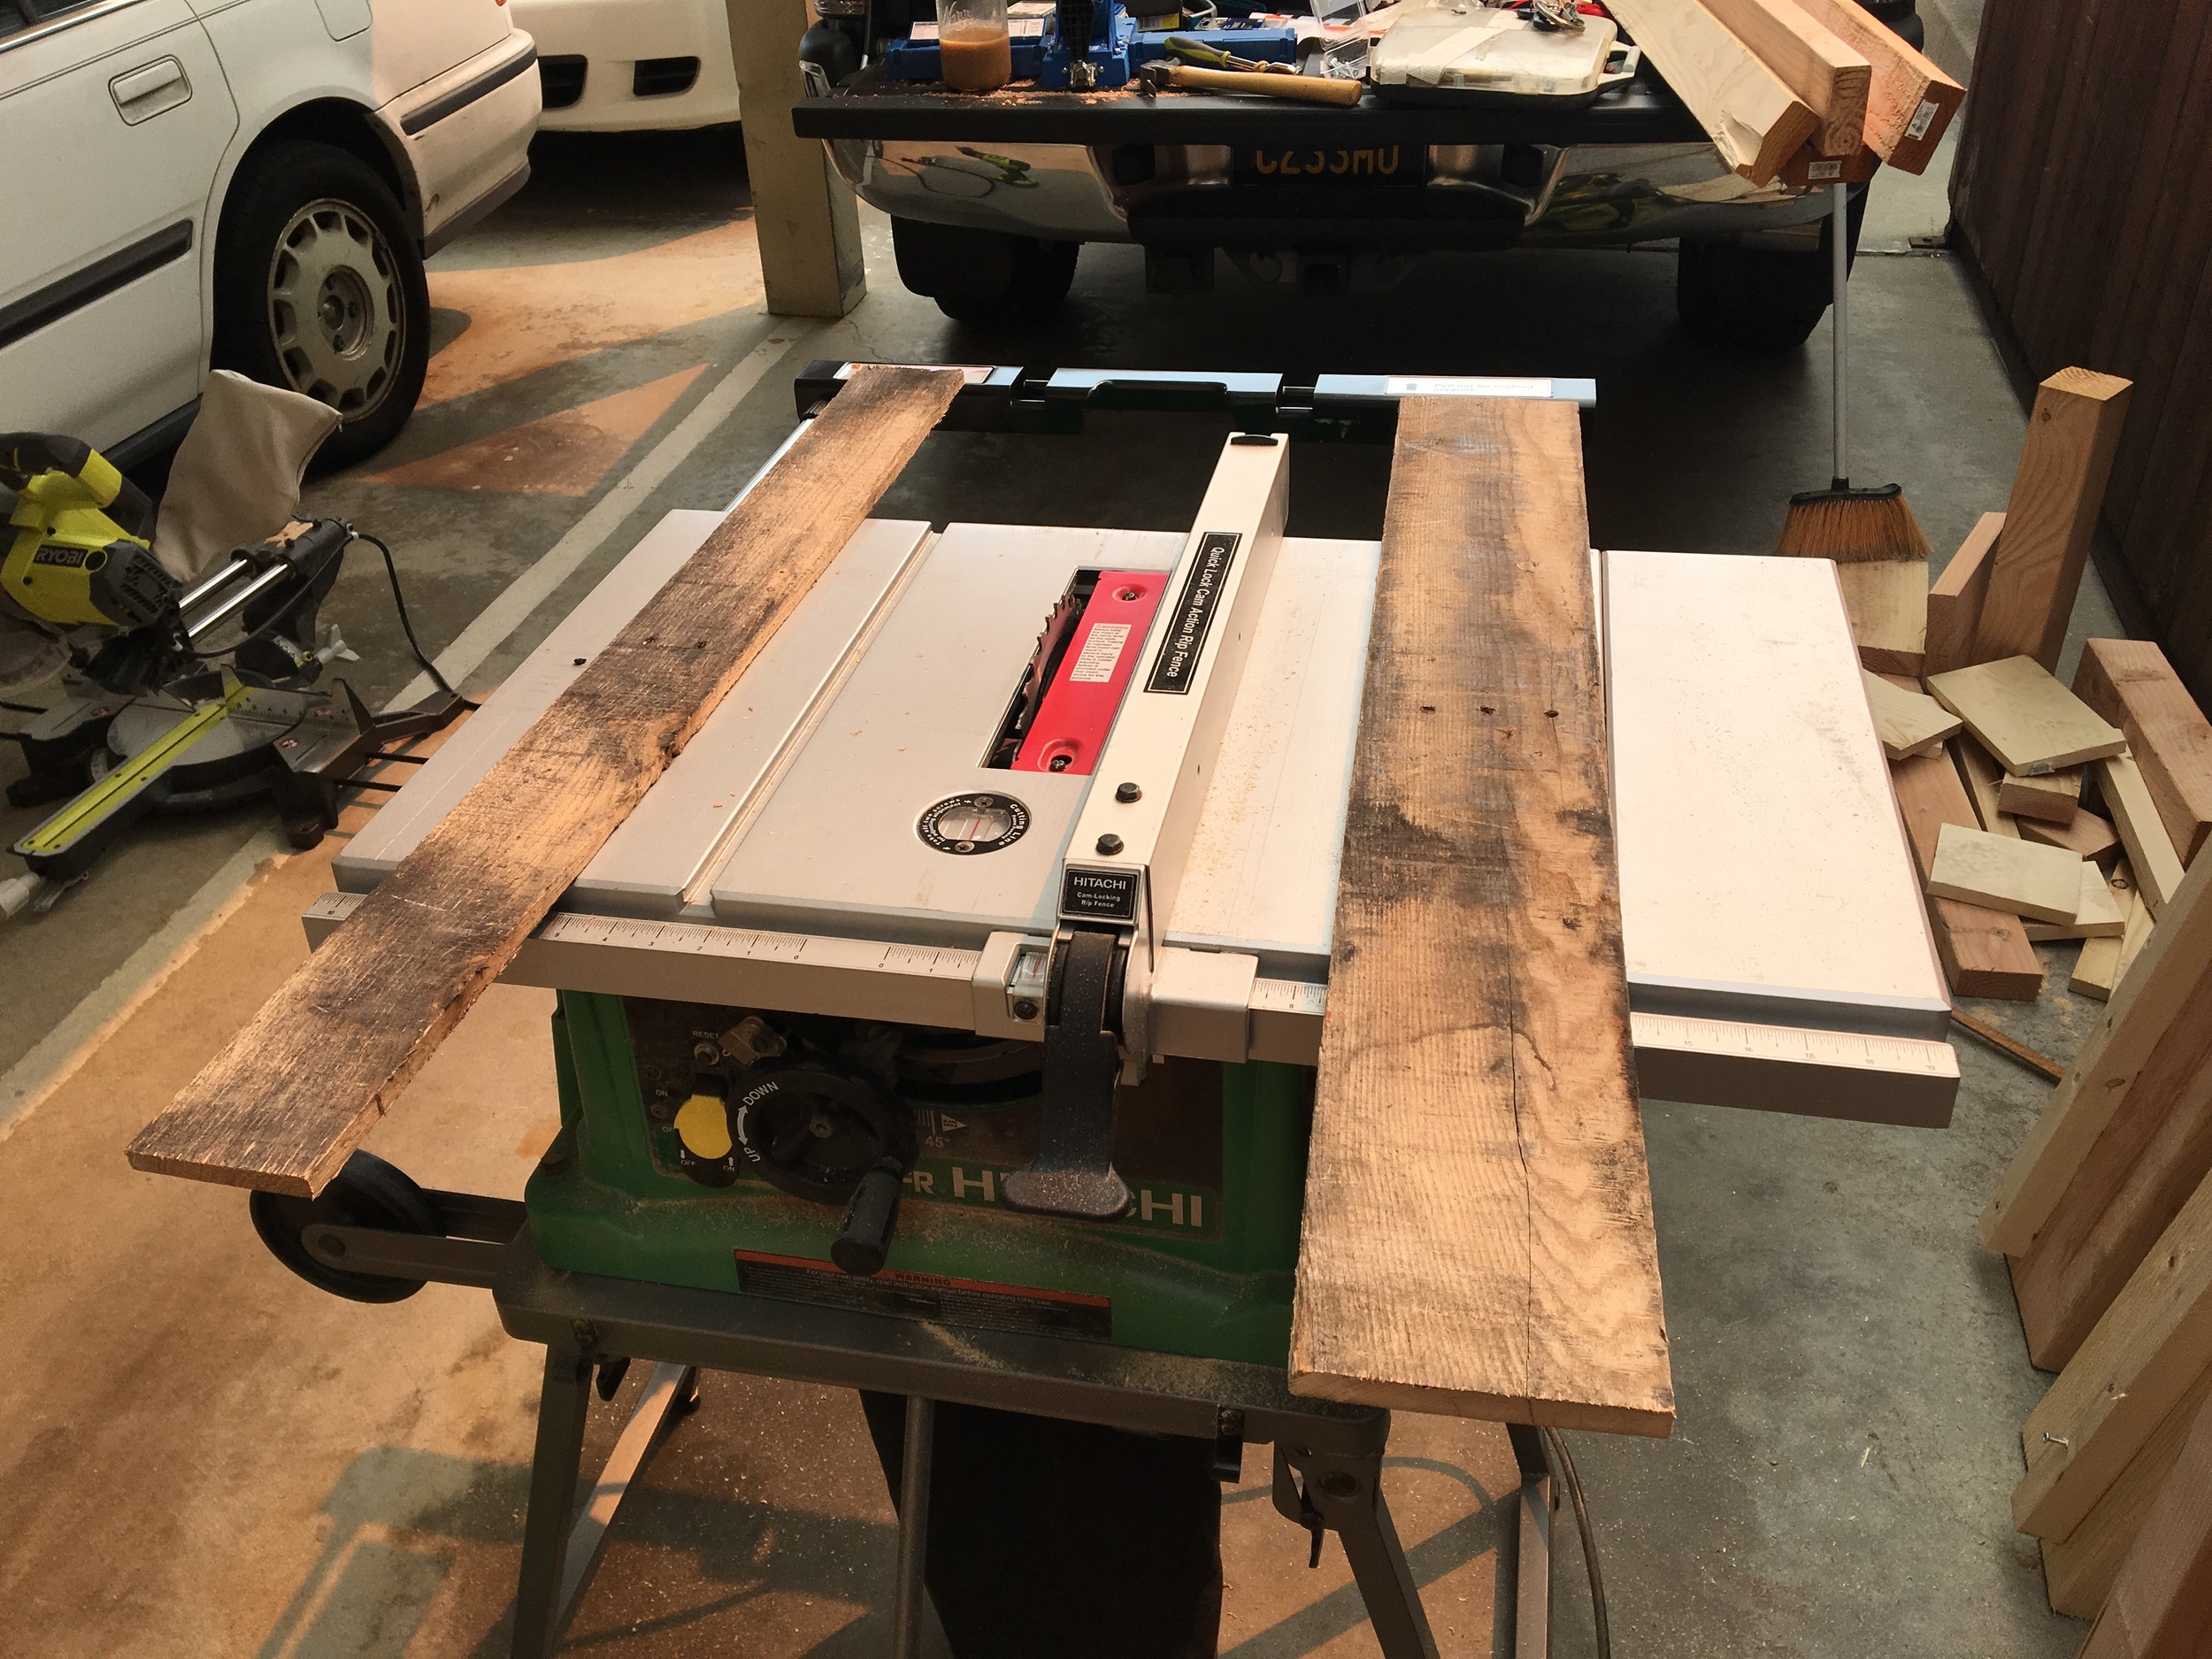
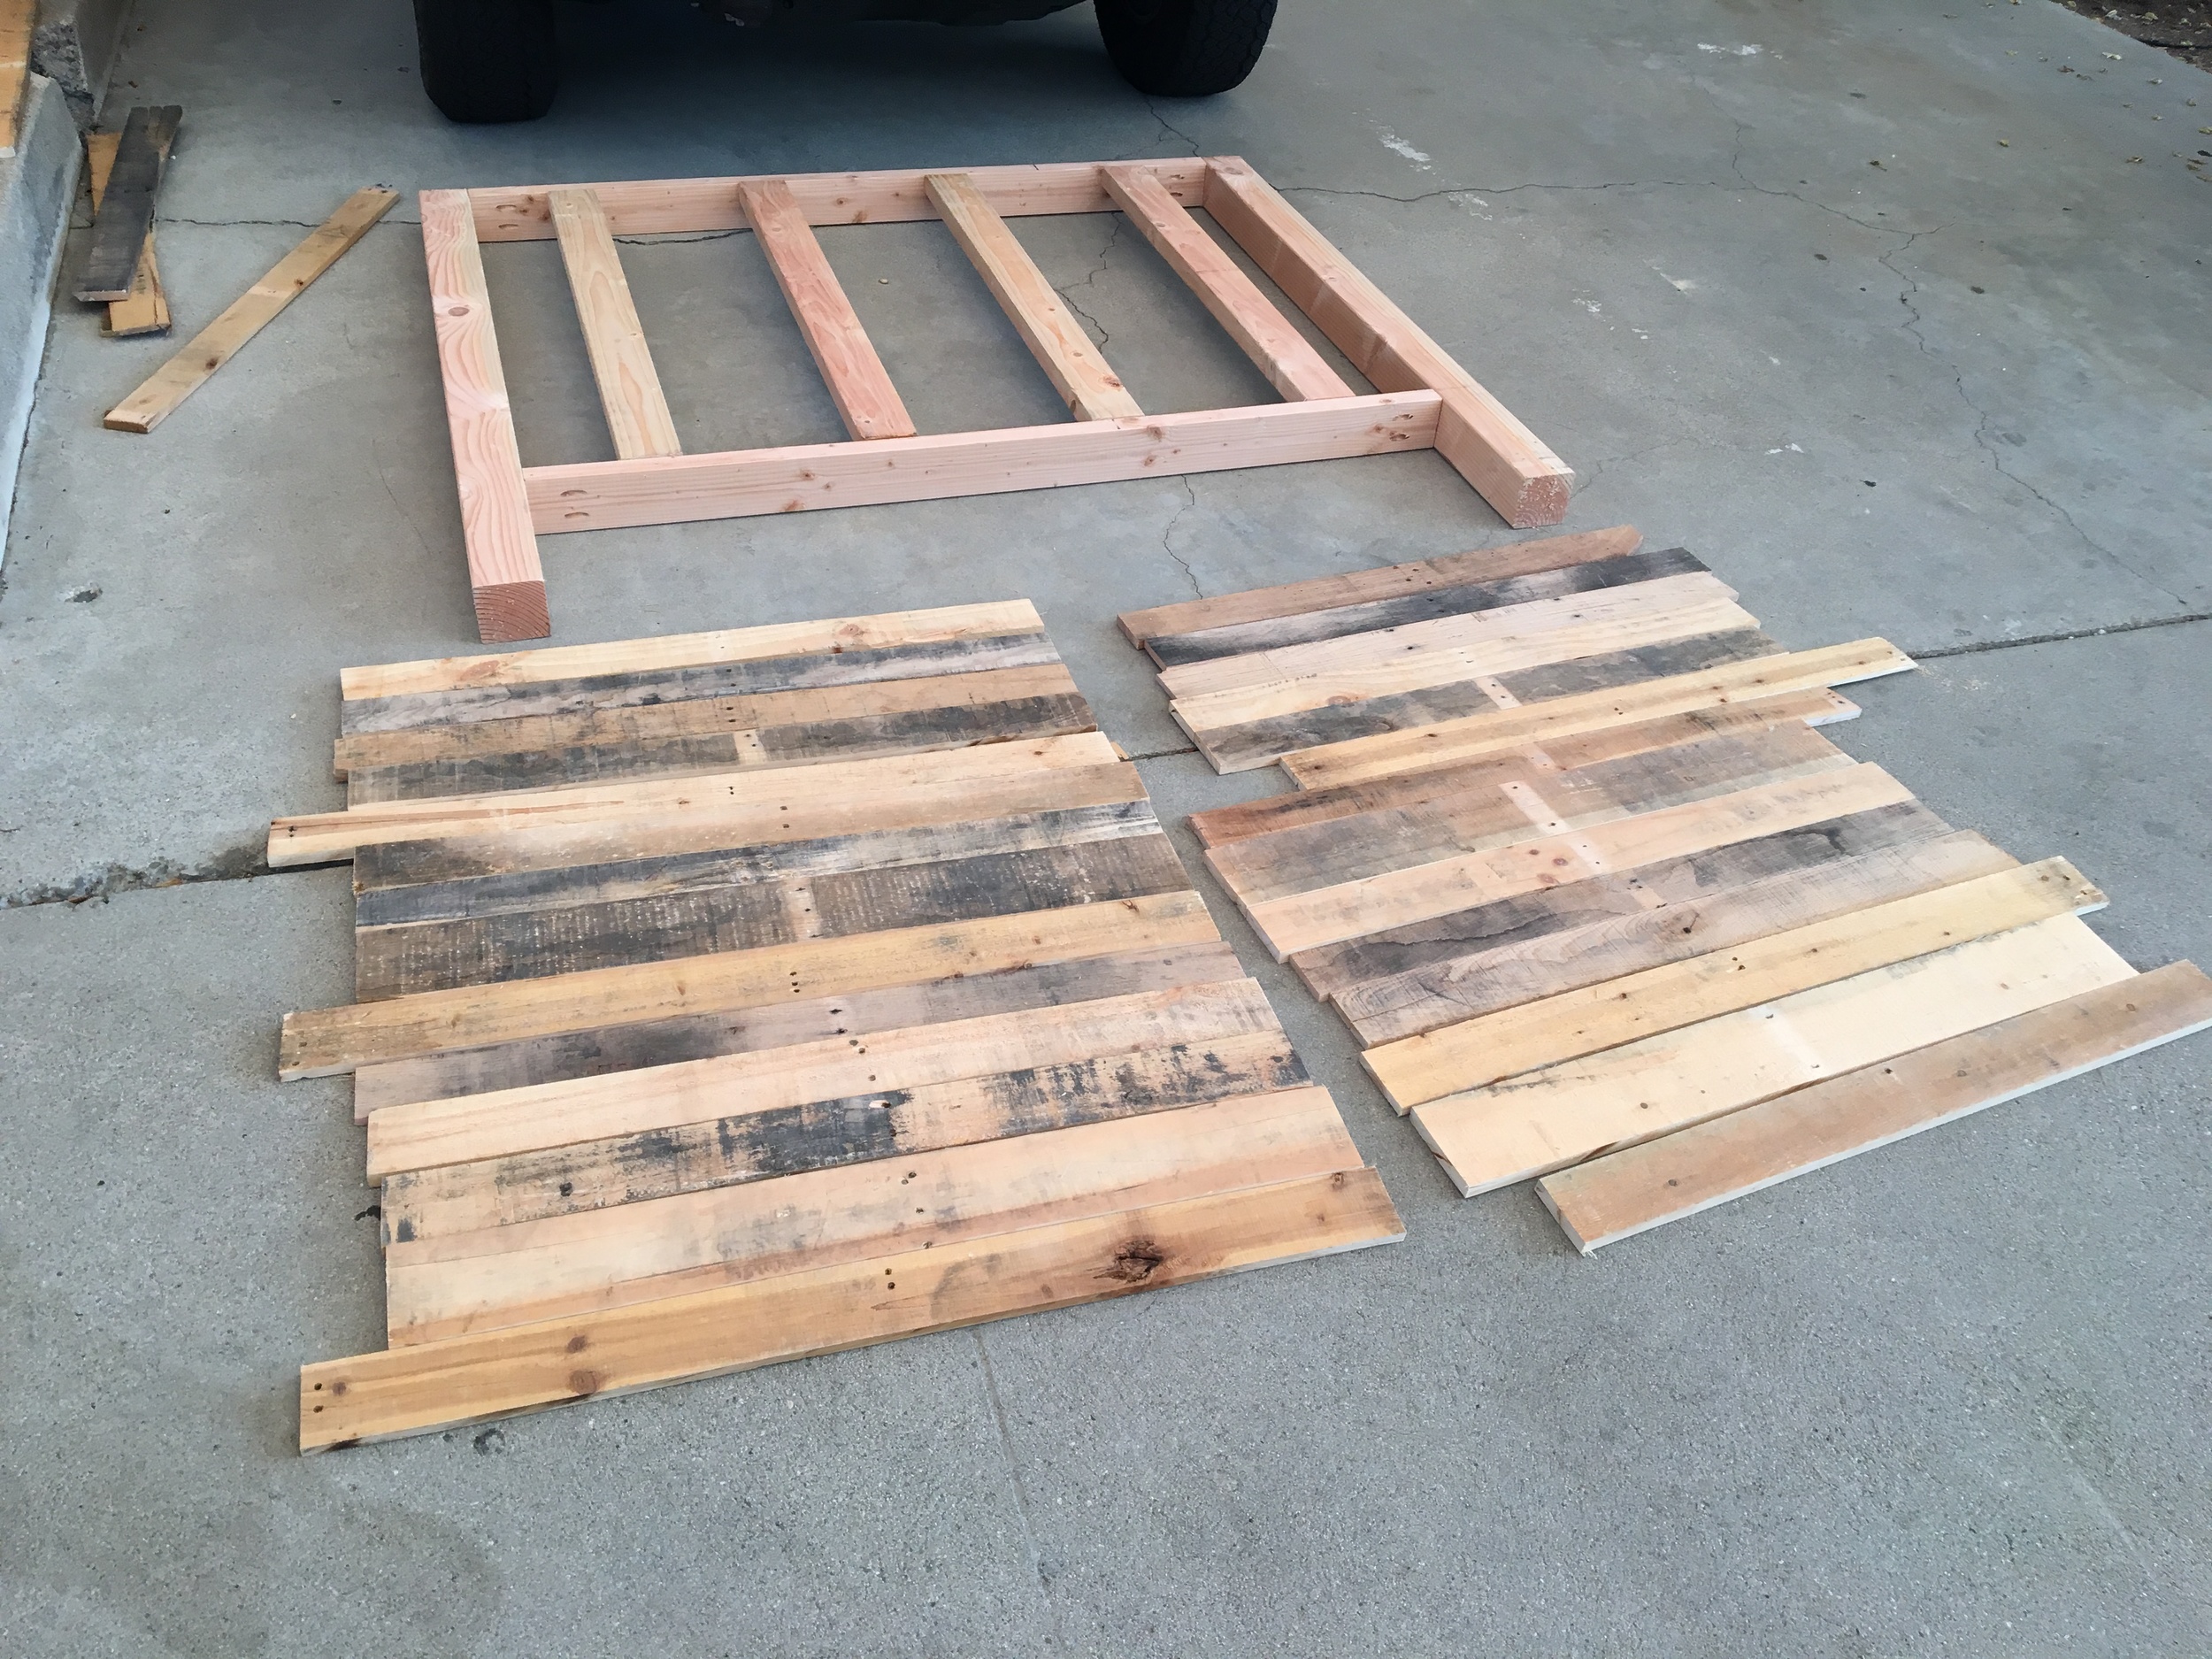
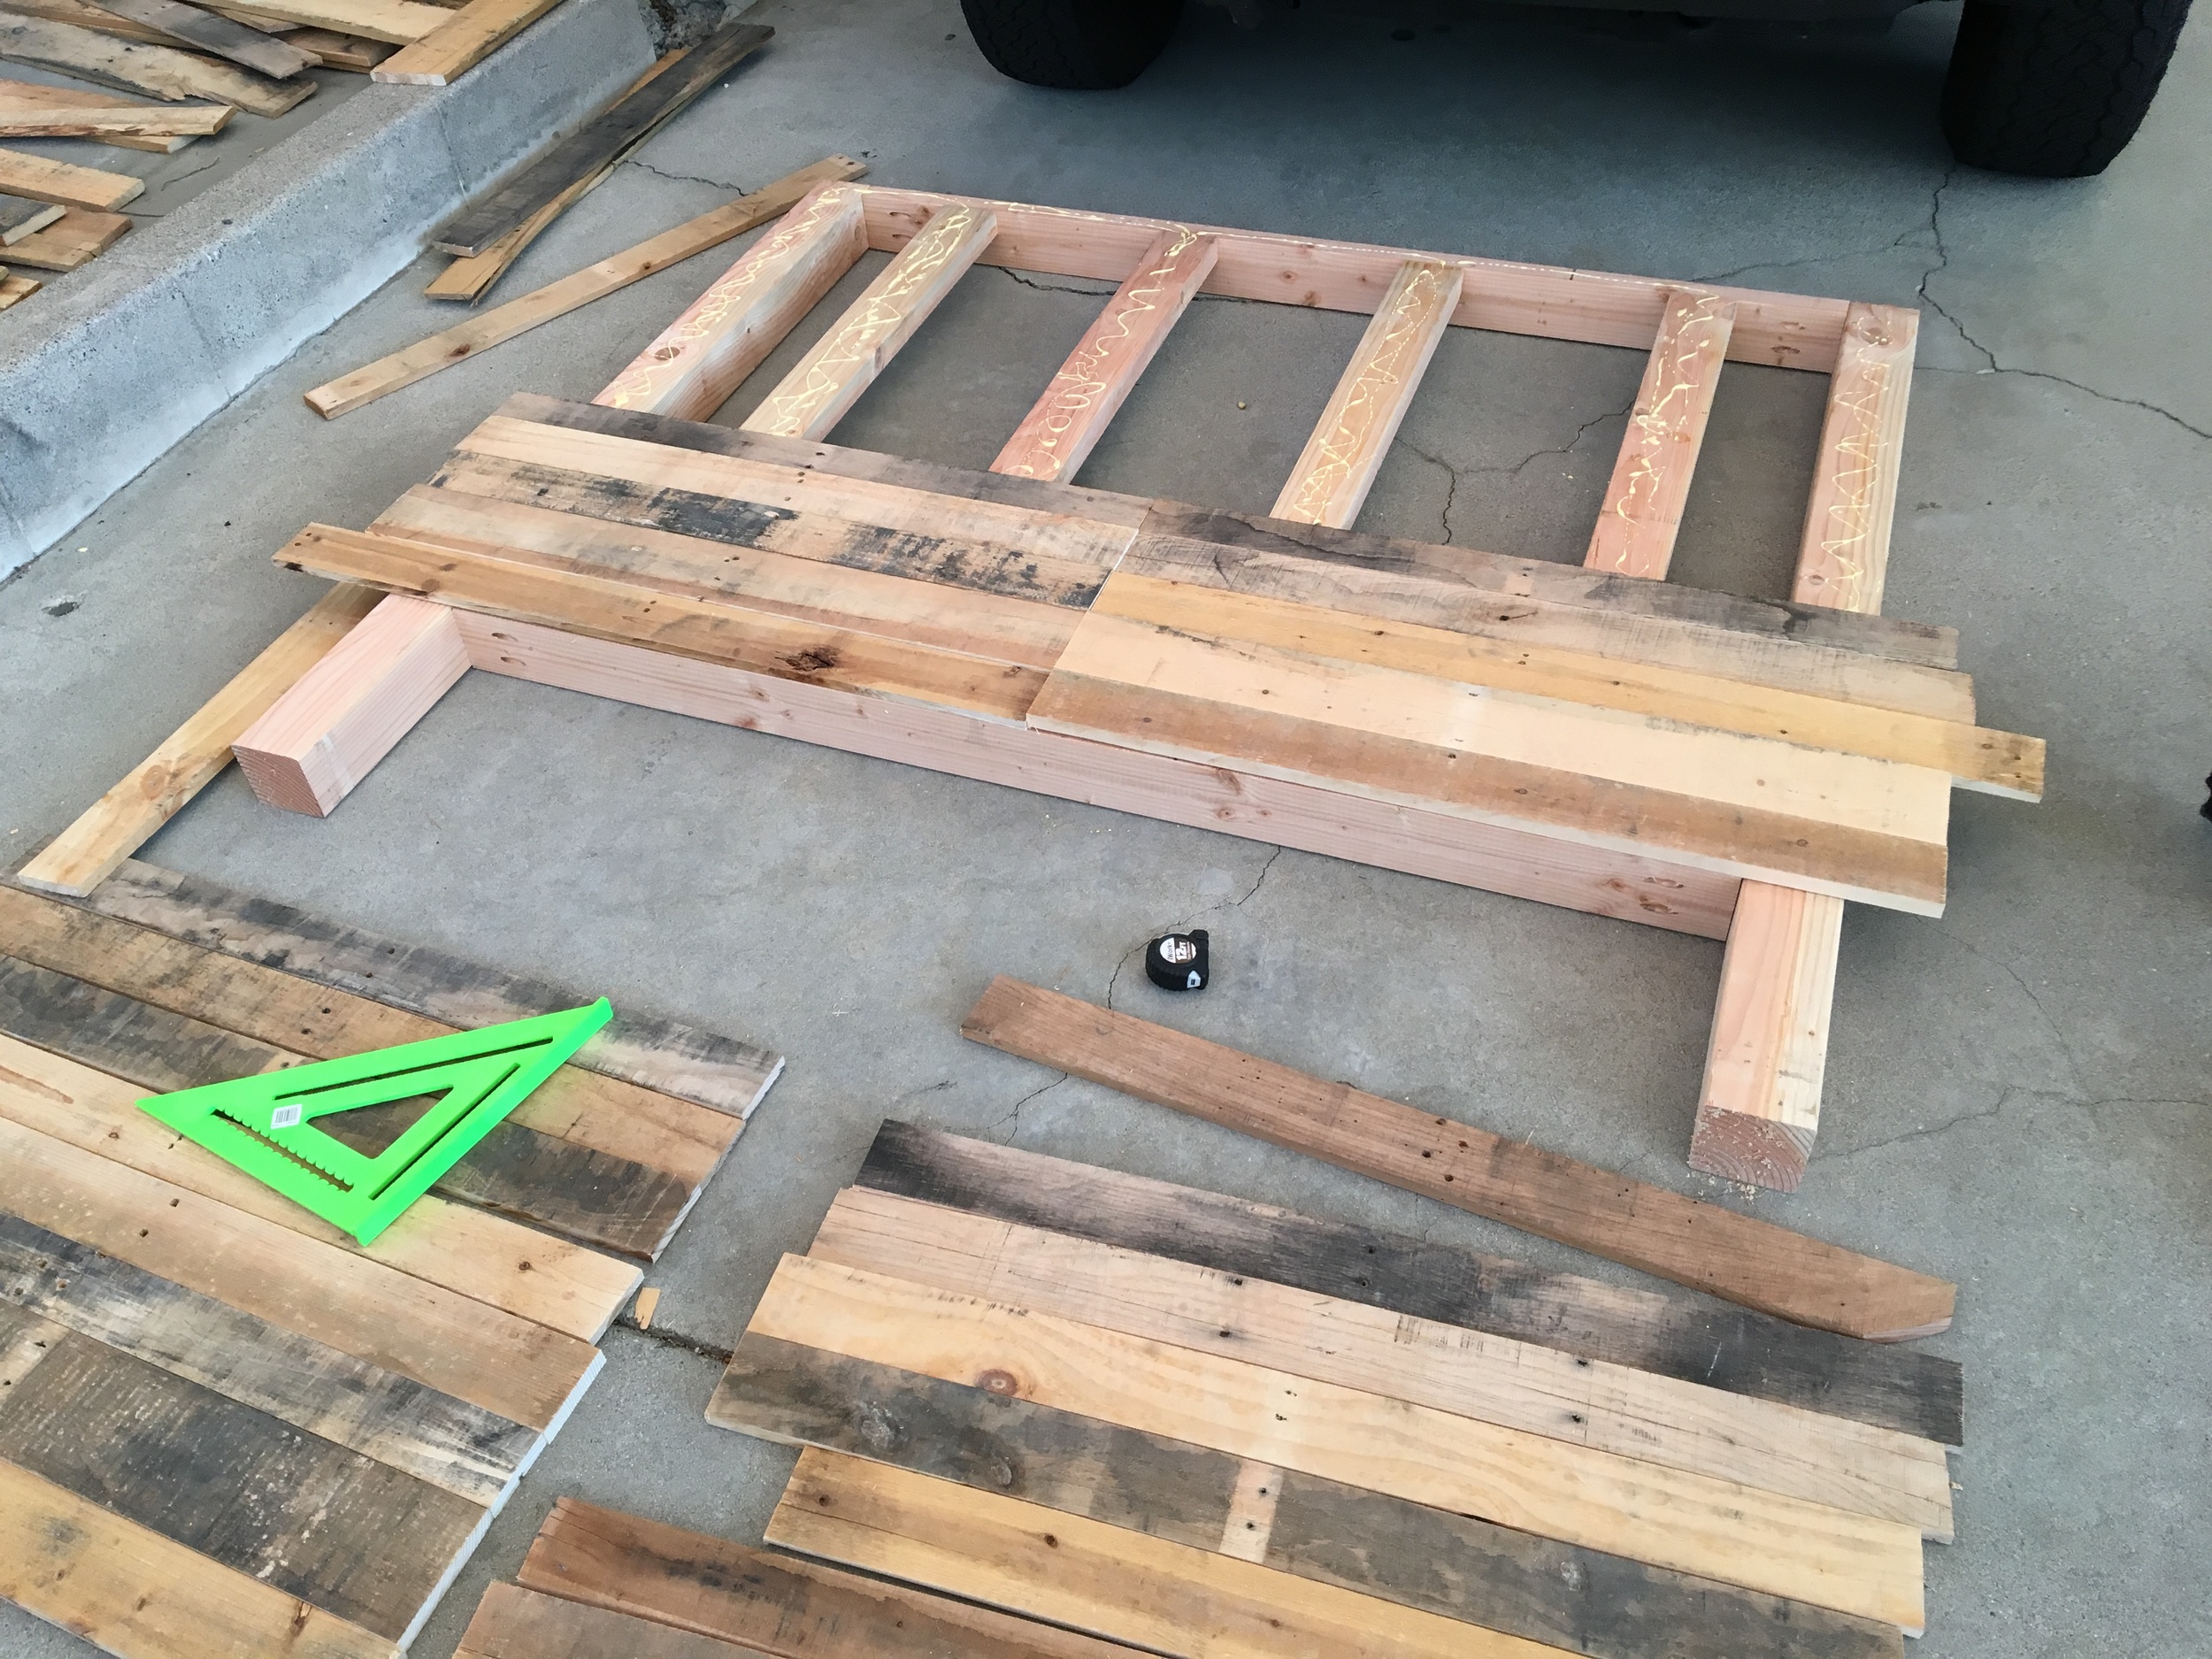
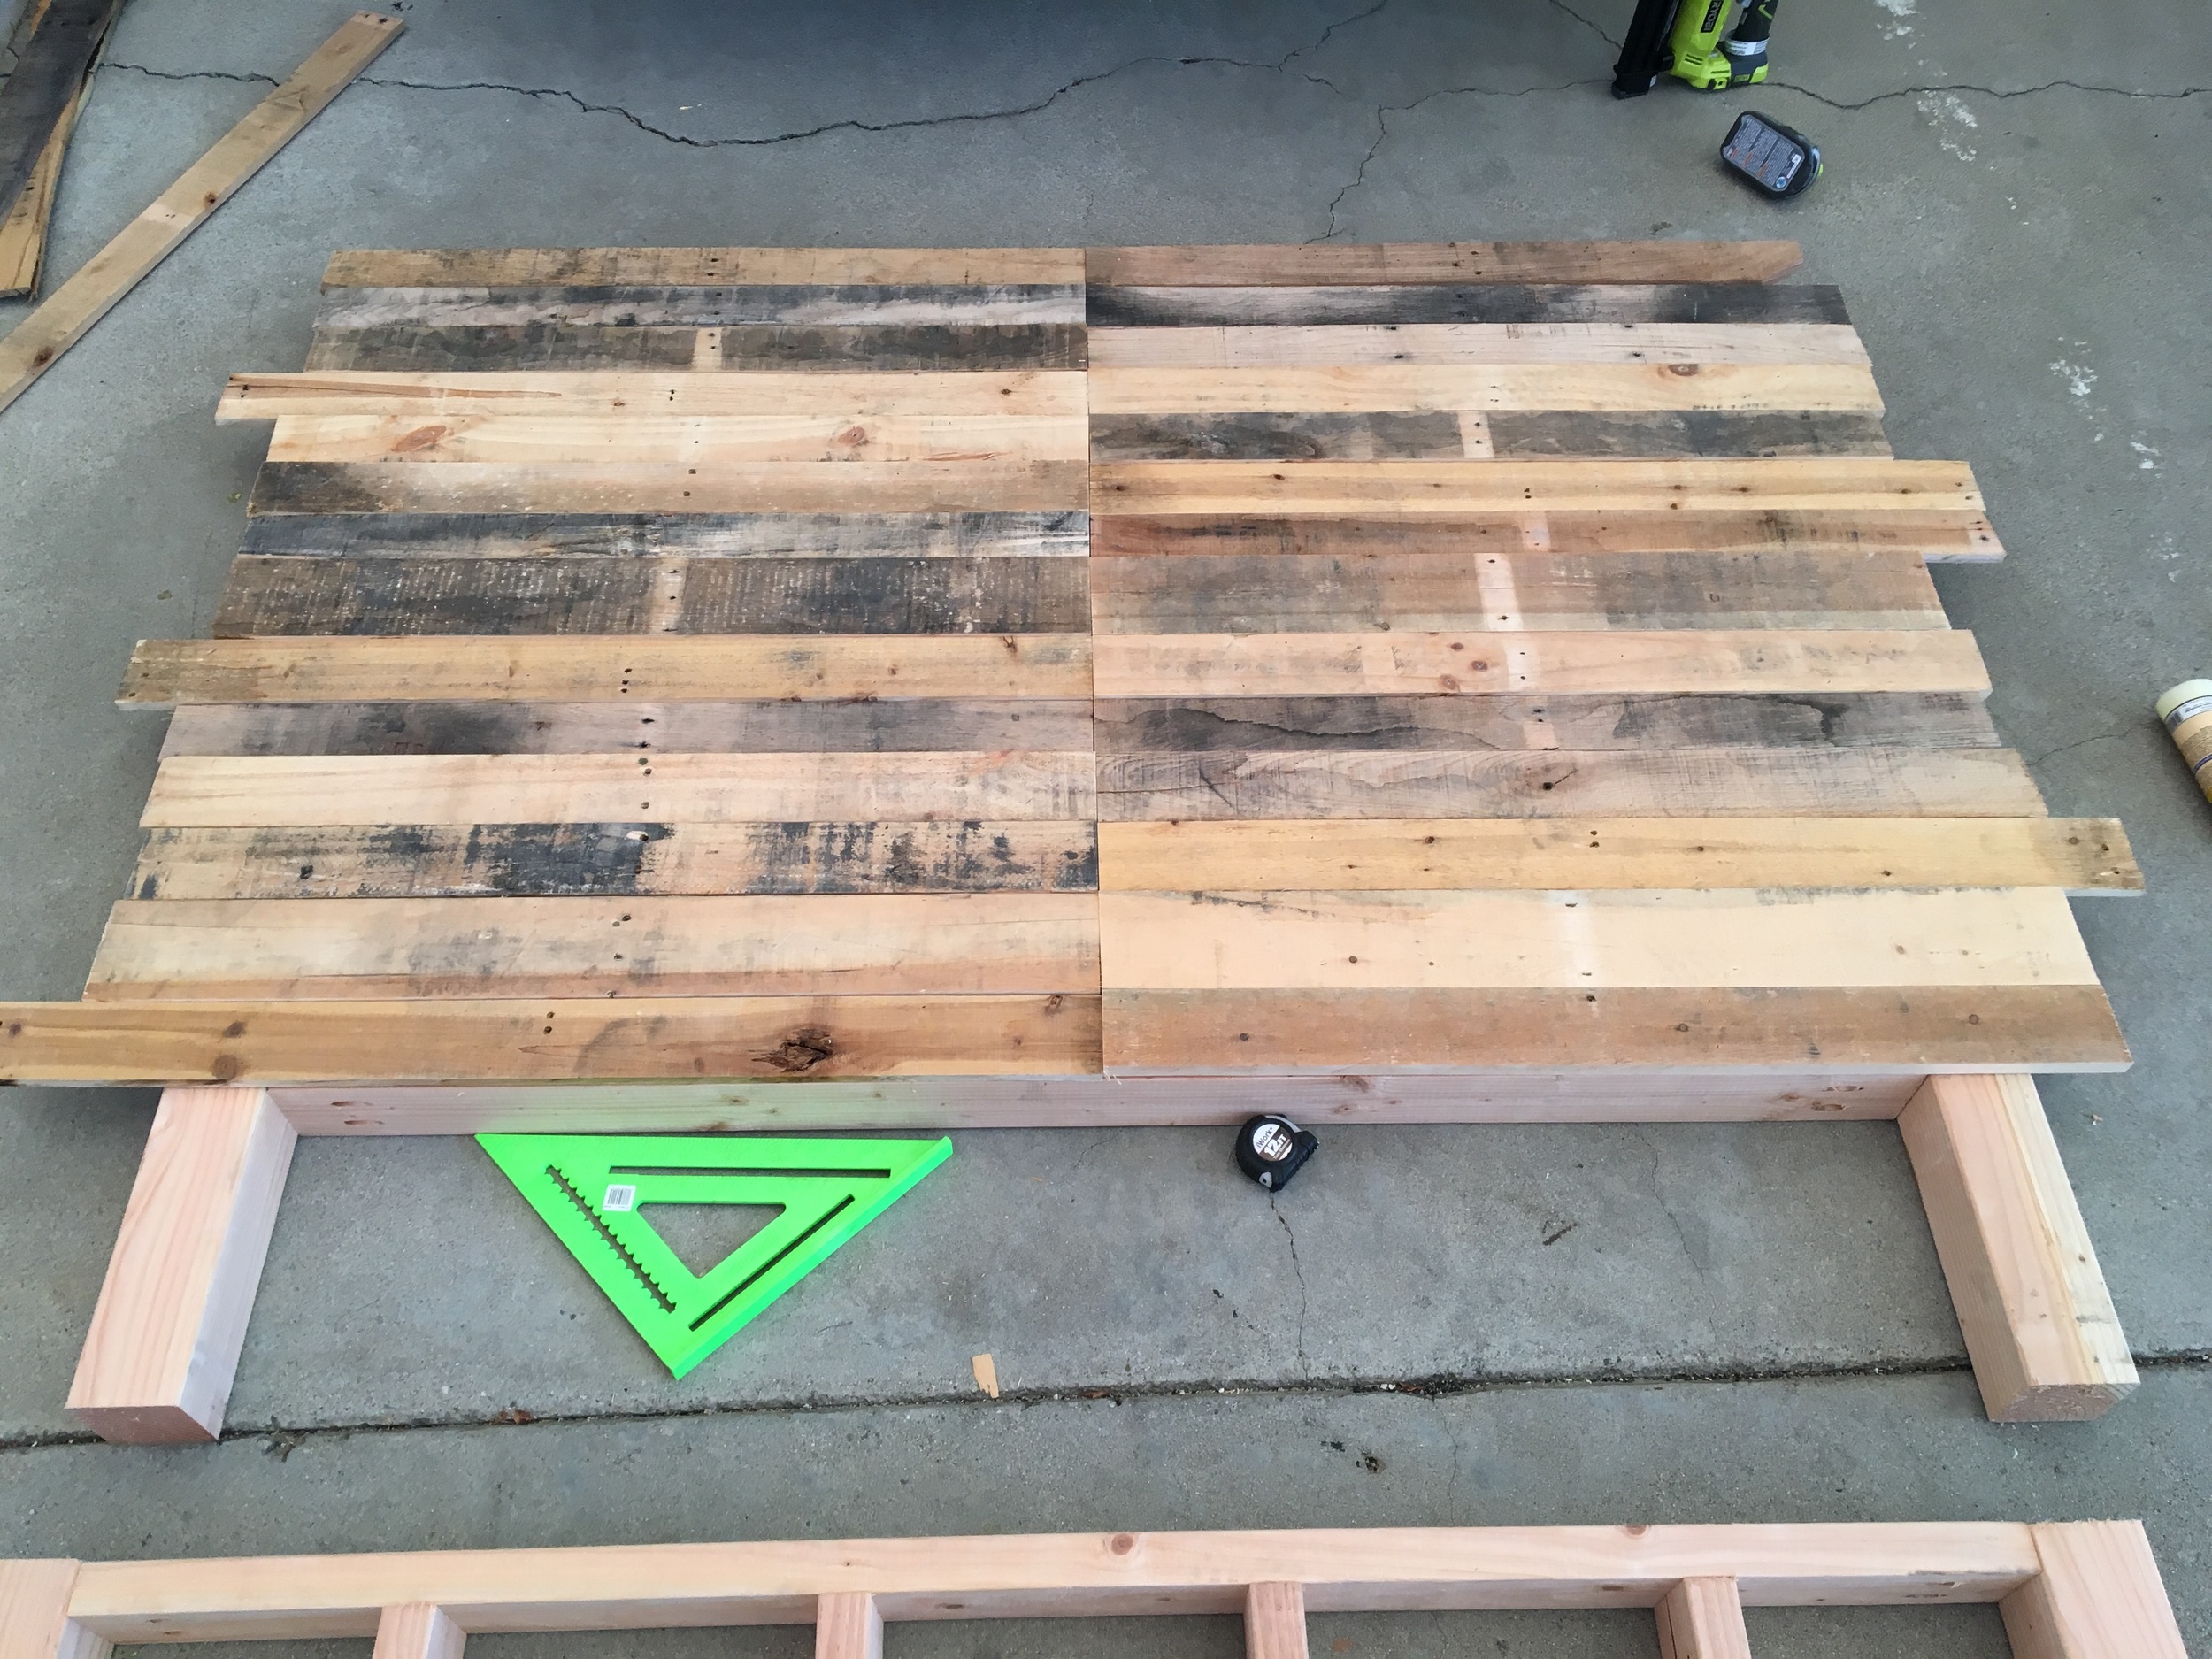
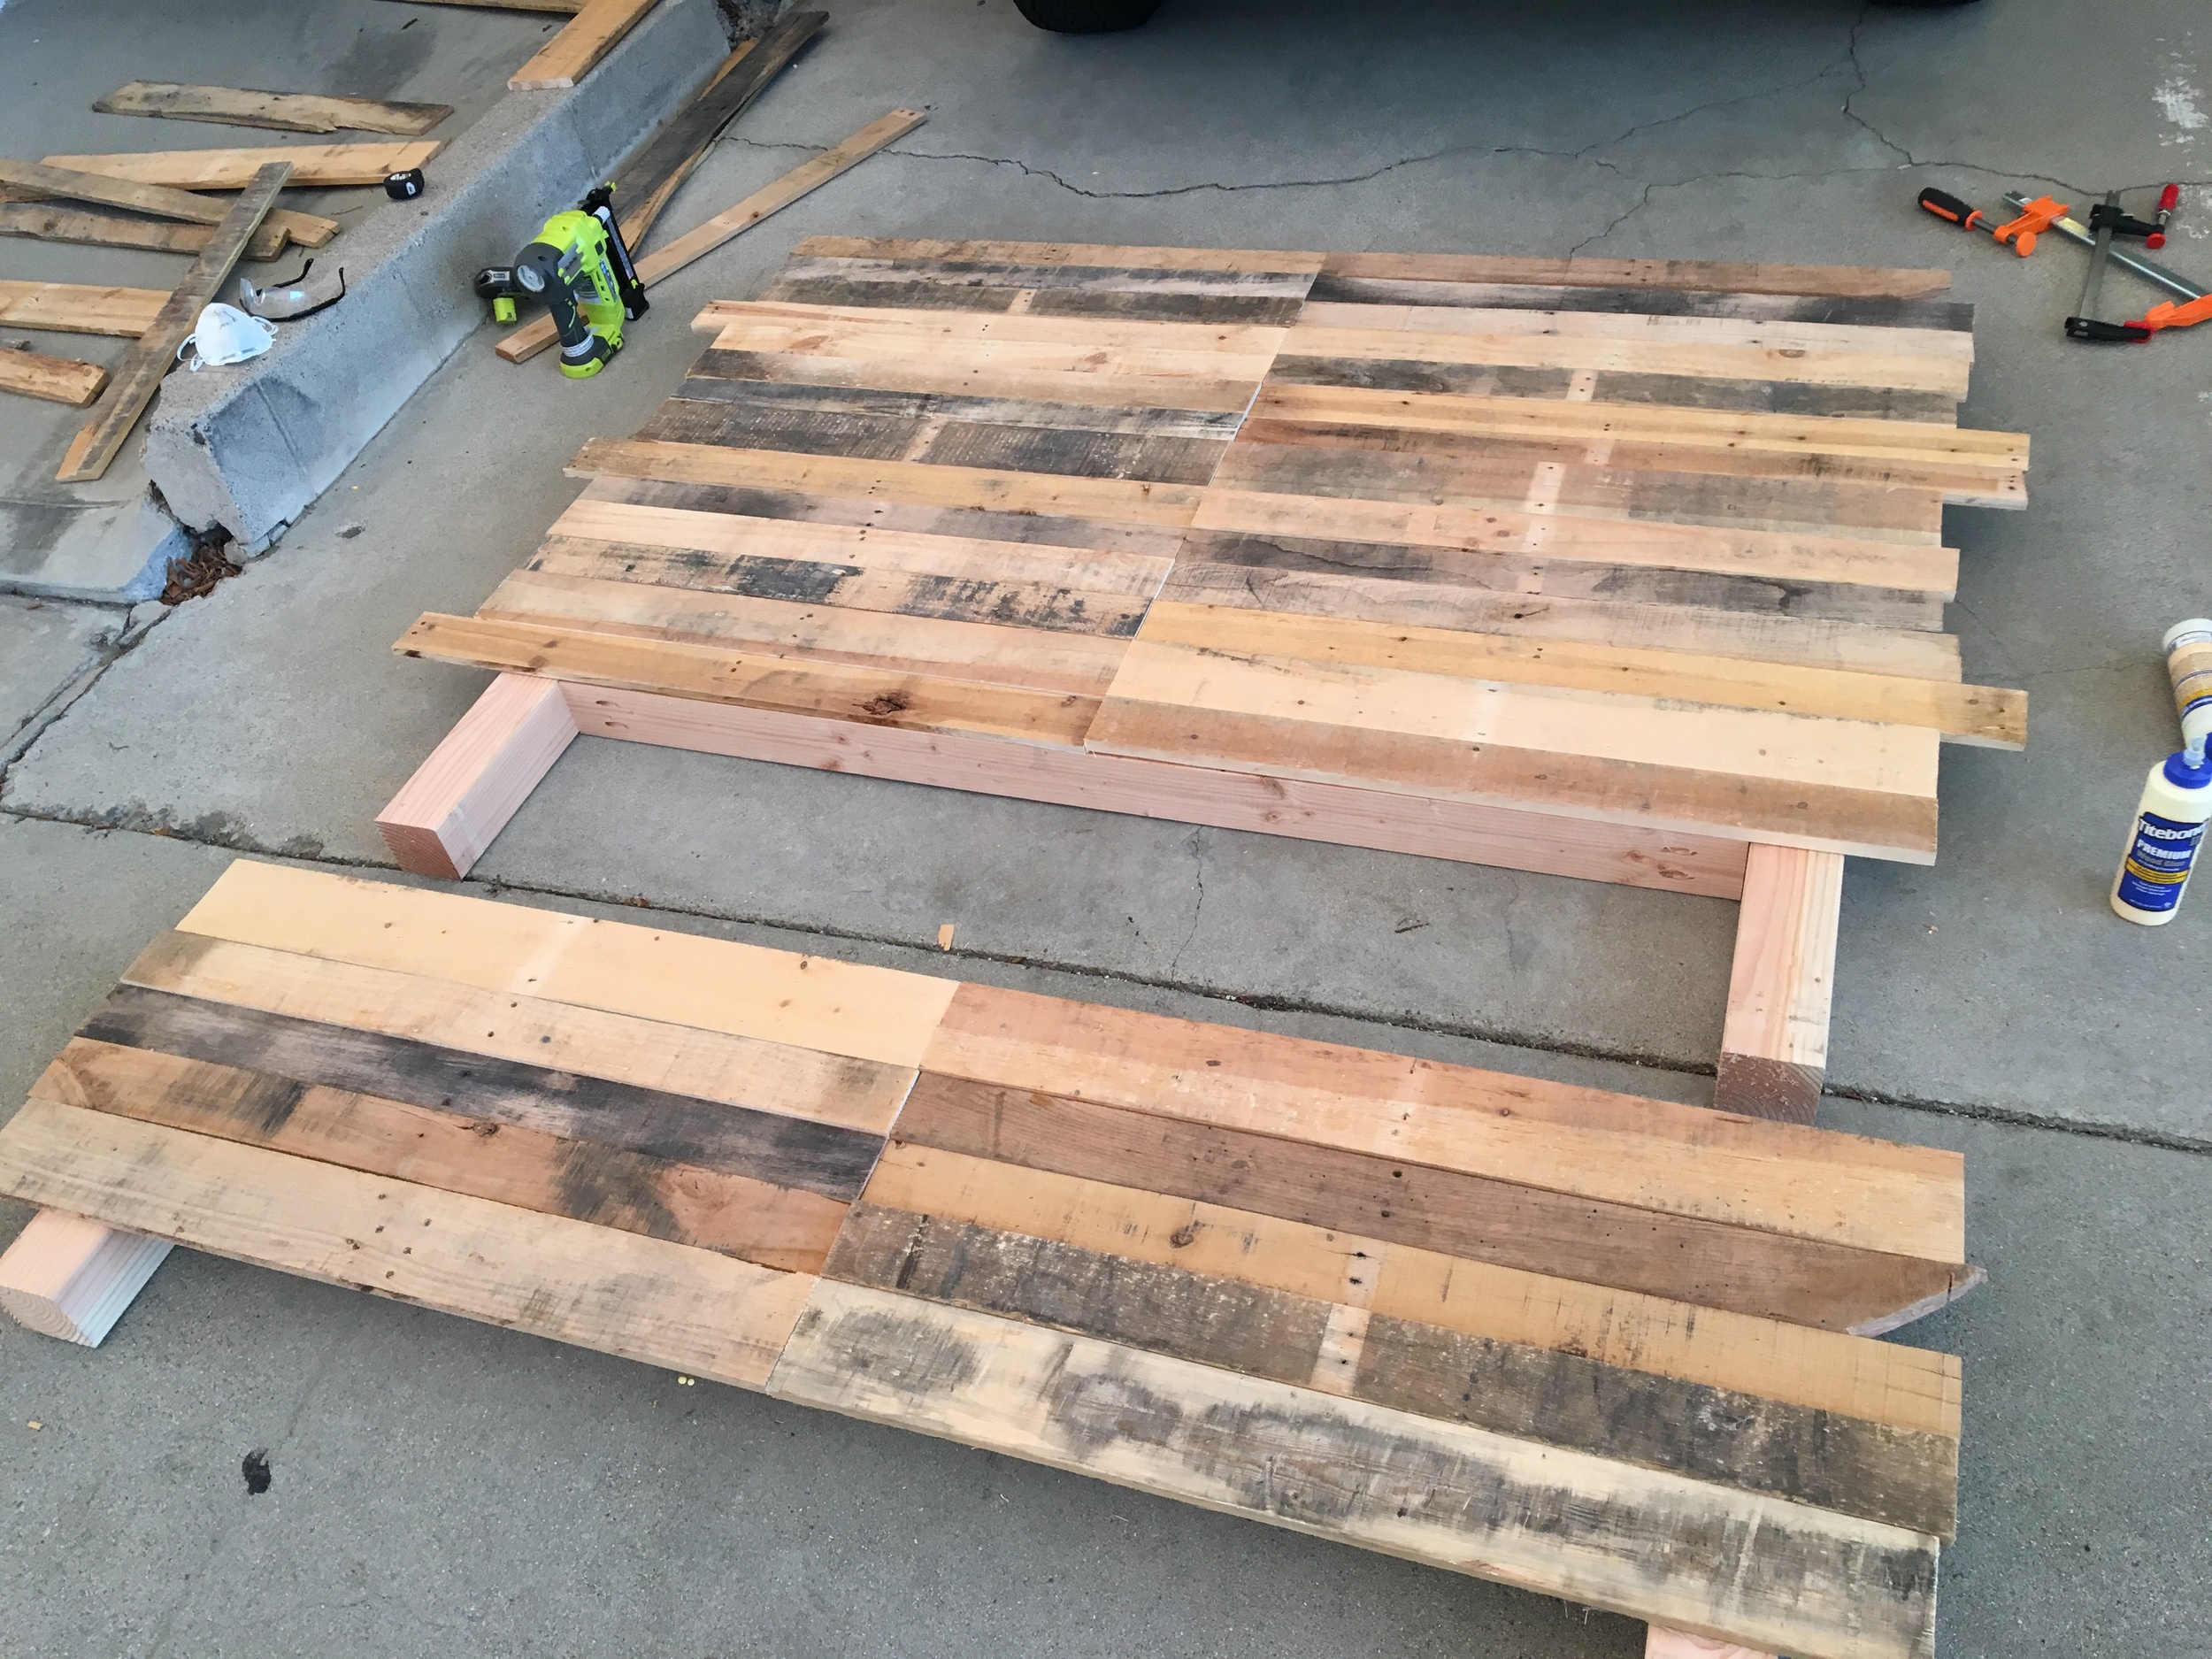
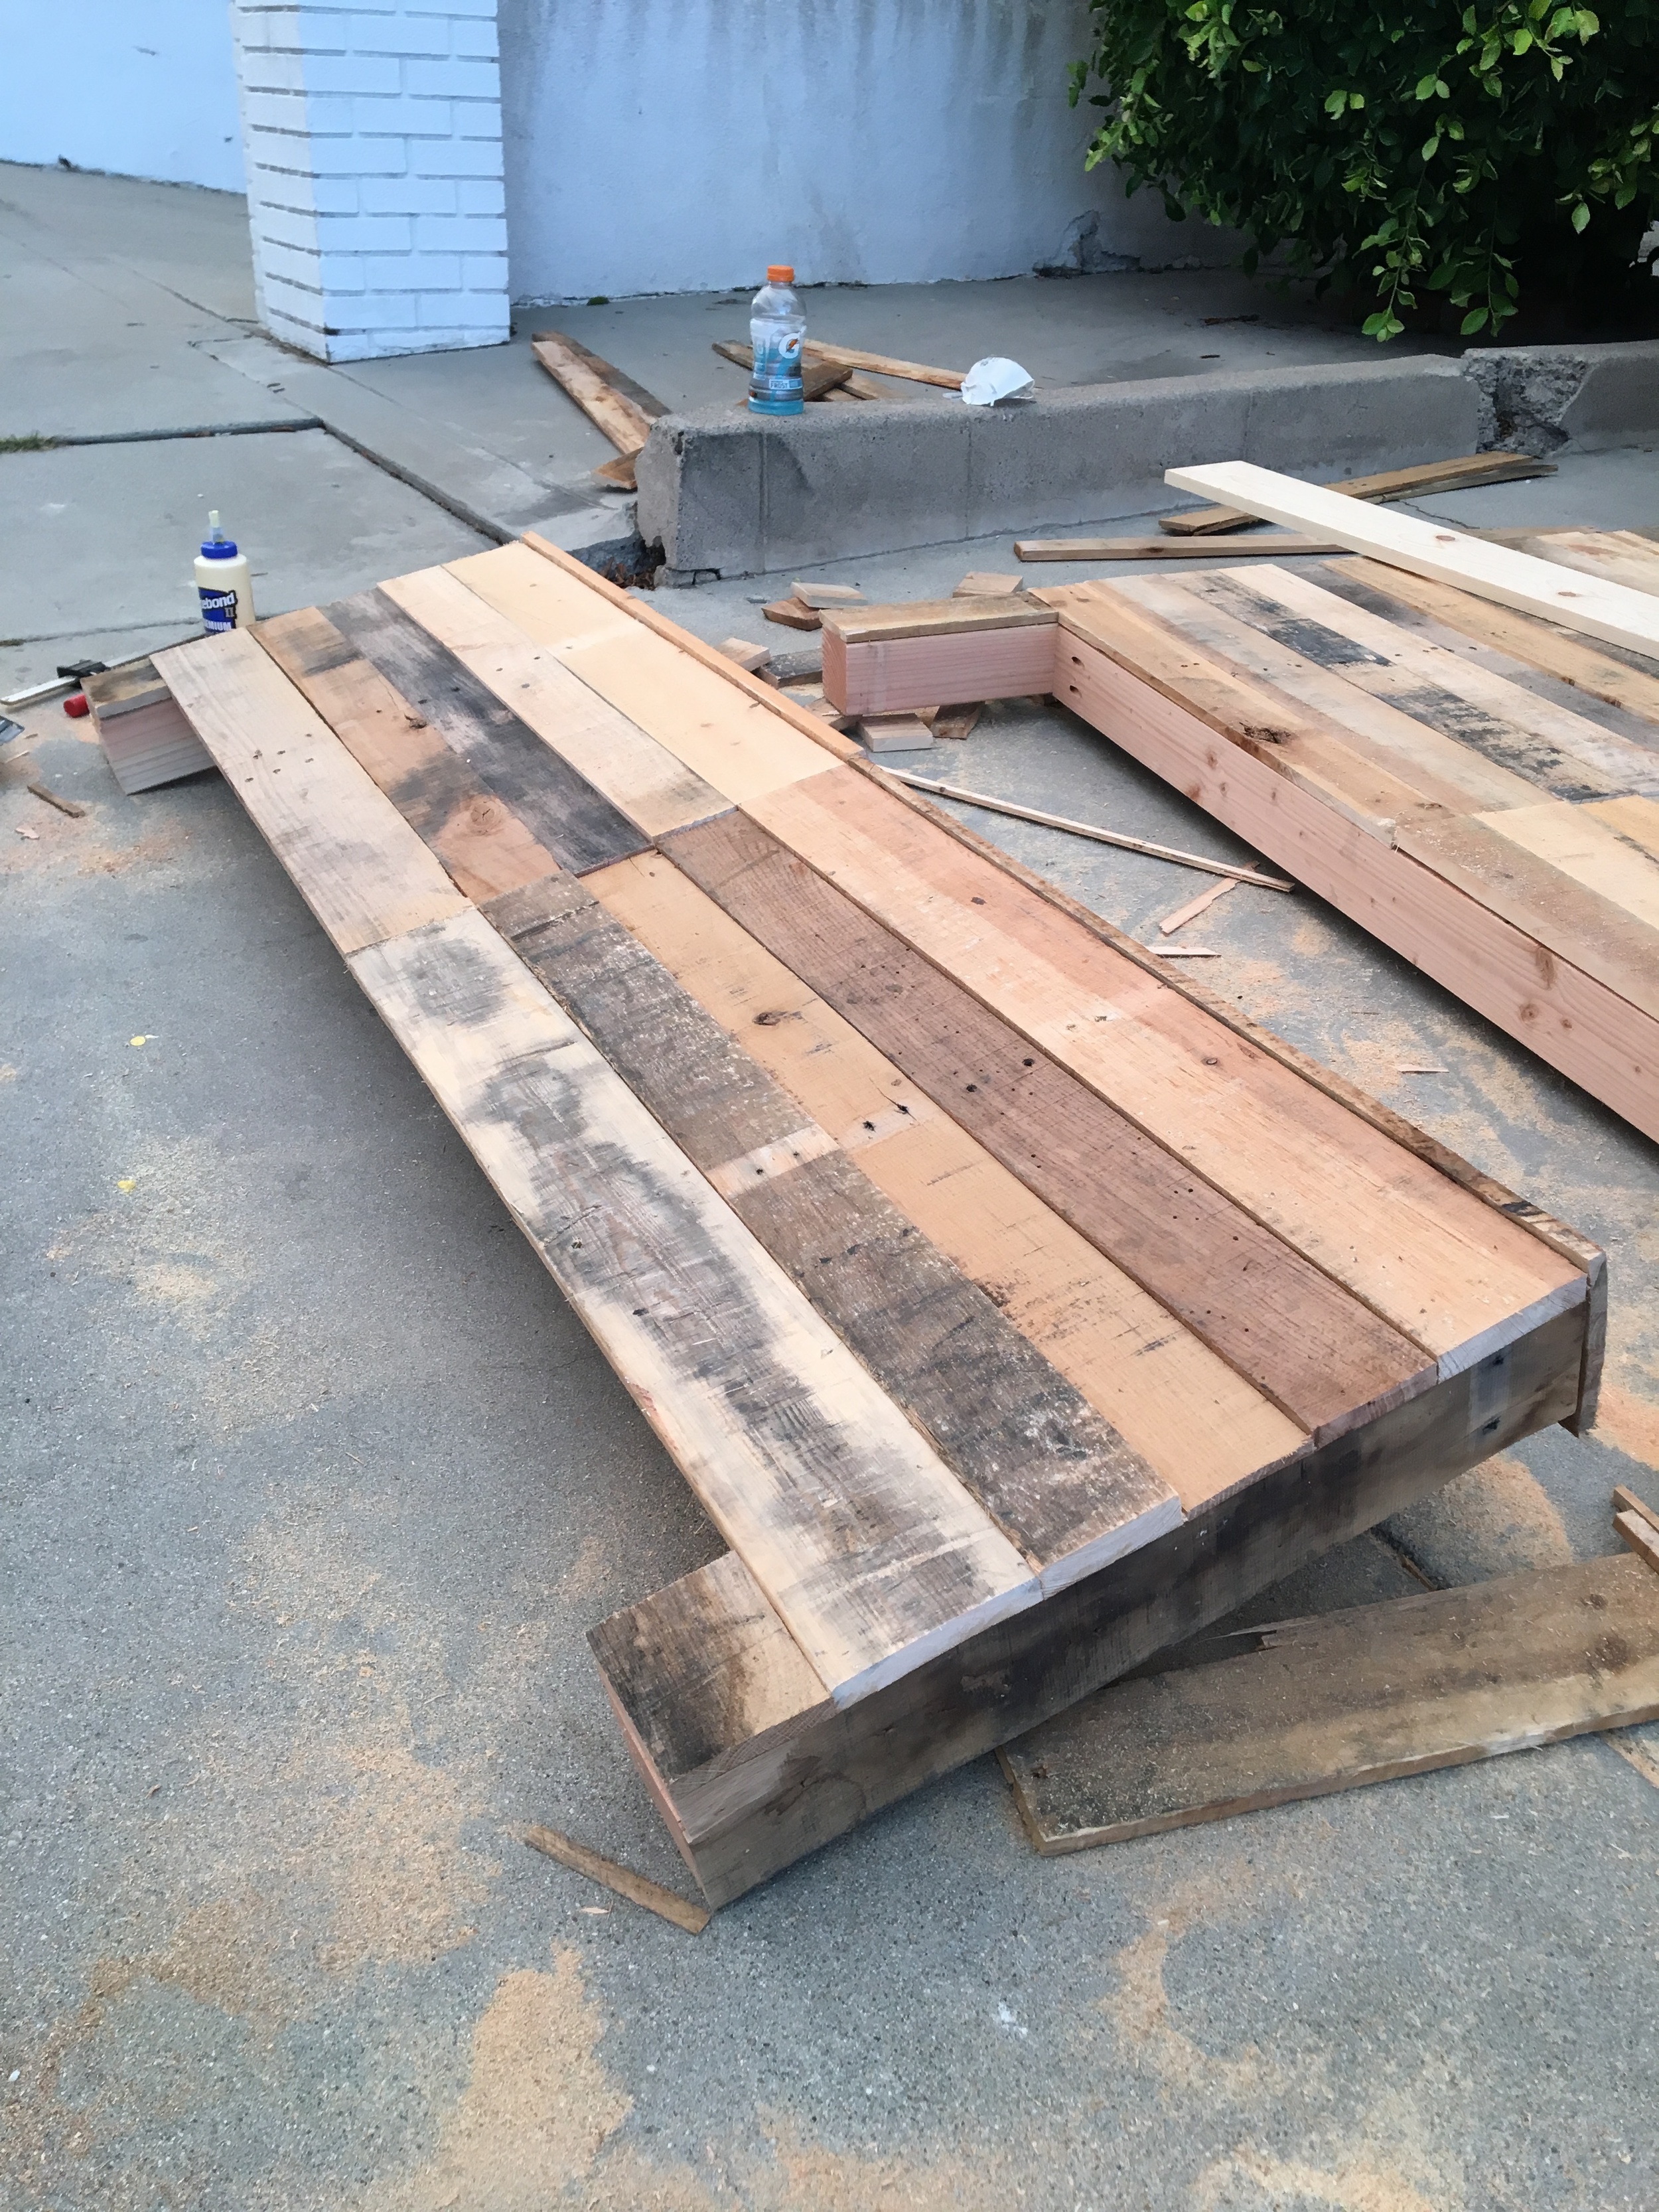
Below is a series of photos of me laying out the wood to the design I liked, cutting each row to an even length with the table saw (this took forever), squaring off the center edges, and assembling on the frames using glue and my new nail gun to hold in place while drying.

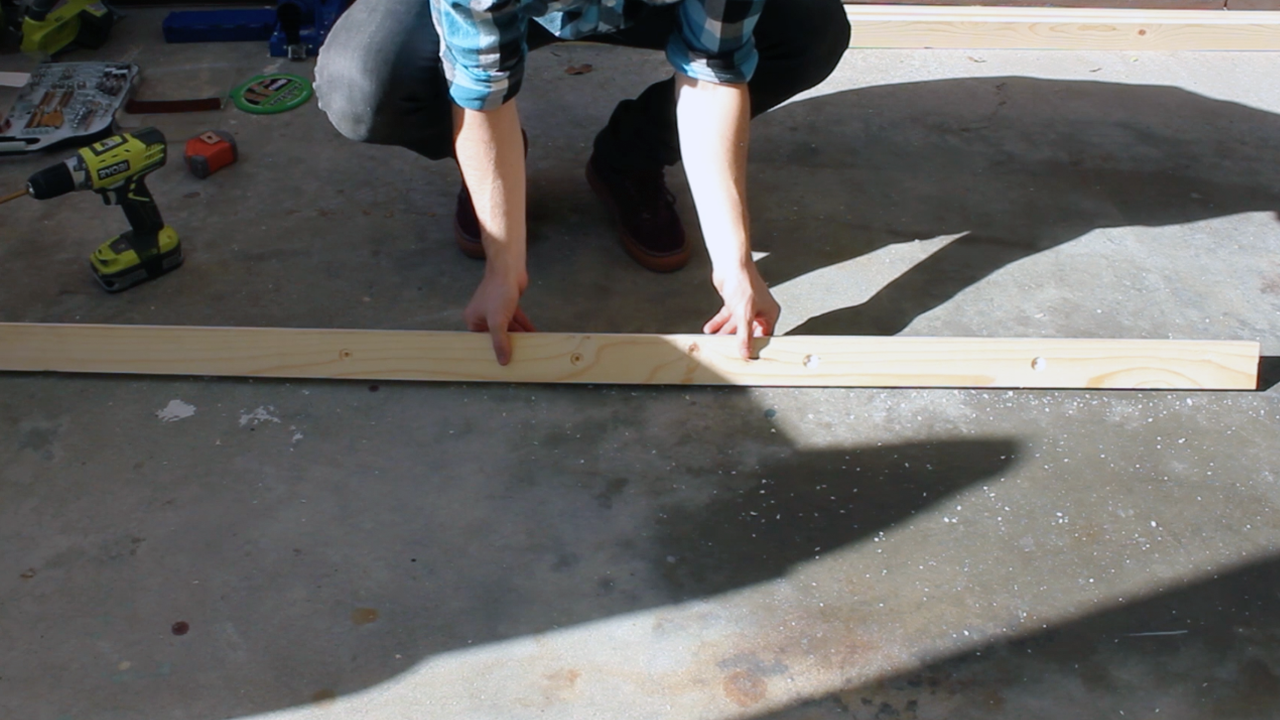
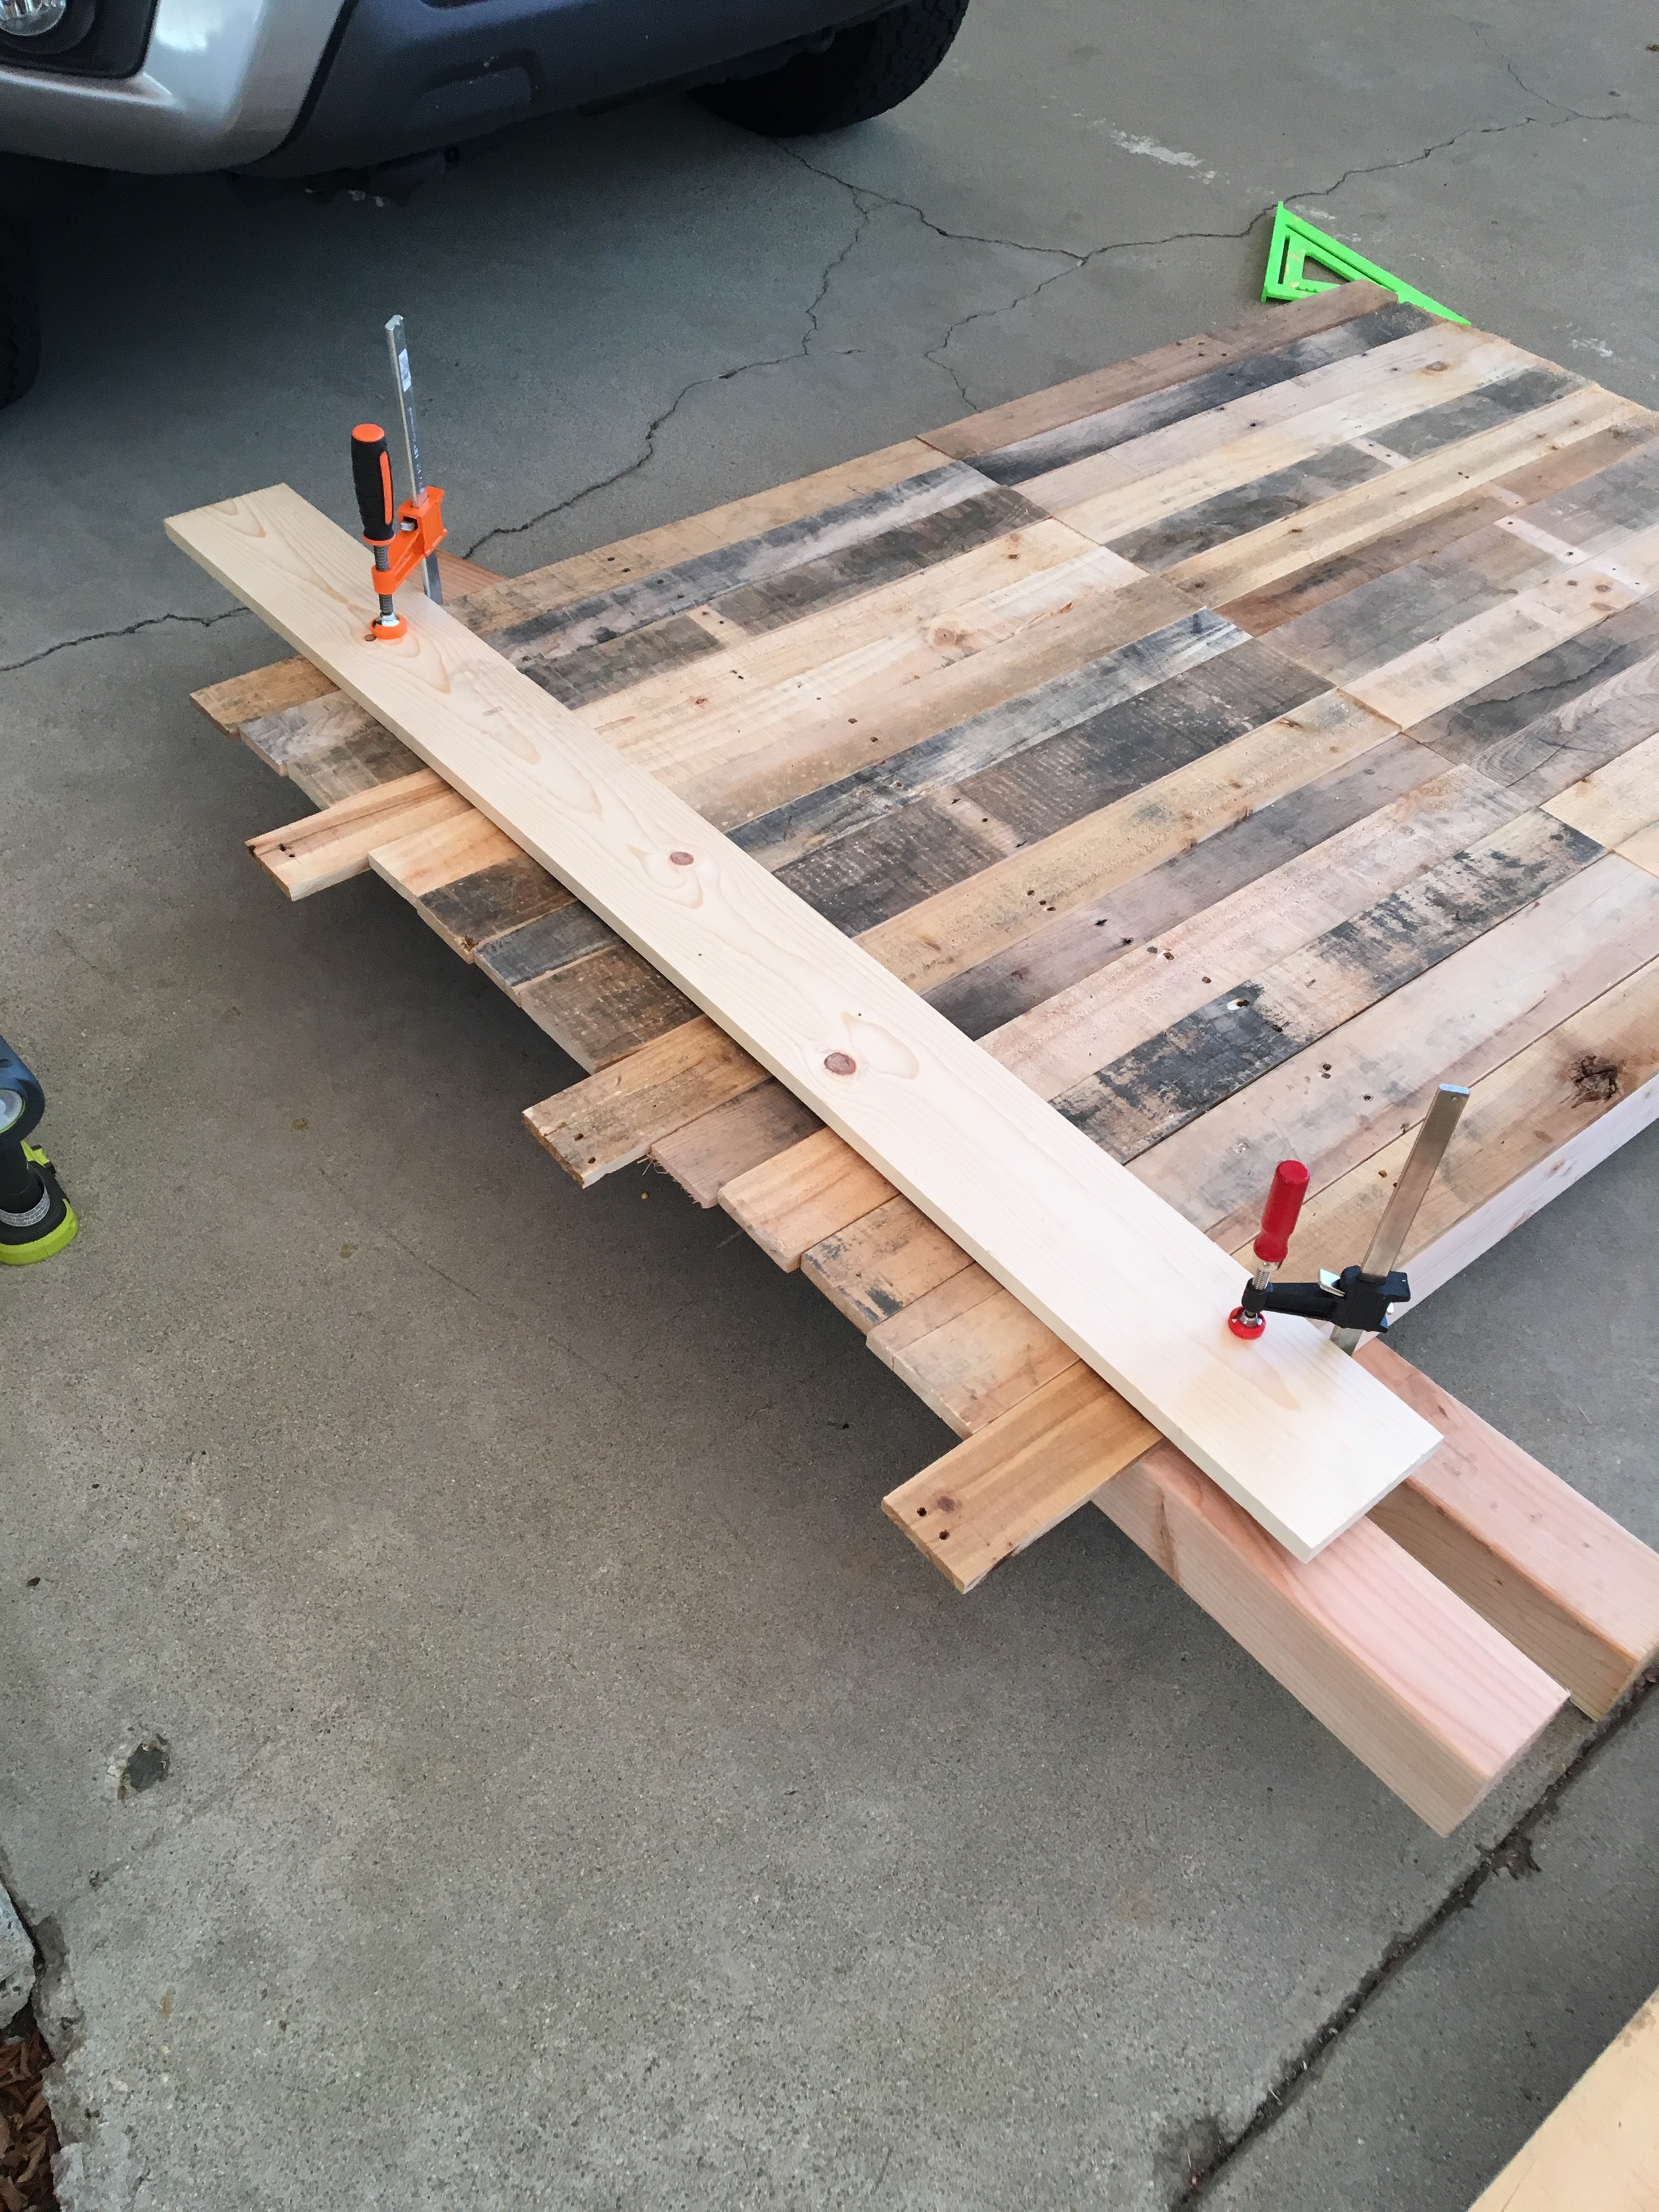
Then, I squared off the sides using my circular saw, a makeshift straight edge from whitewood, and clamps. 

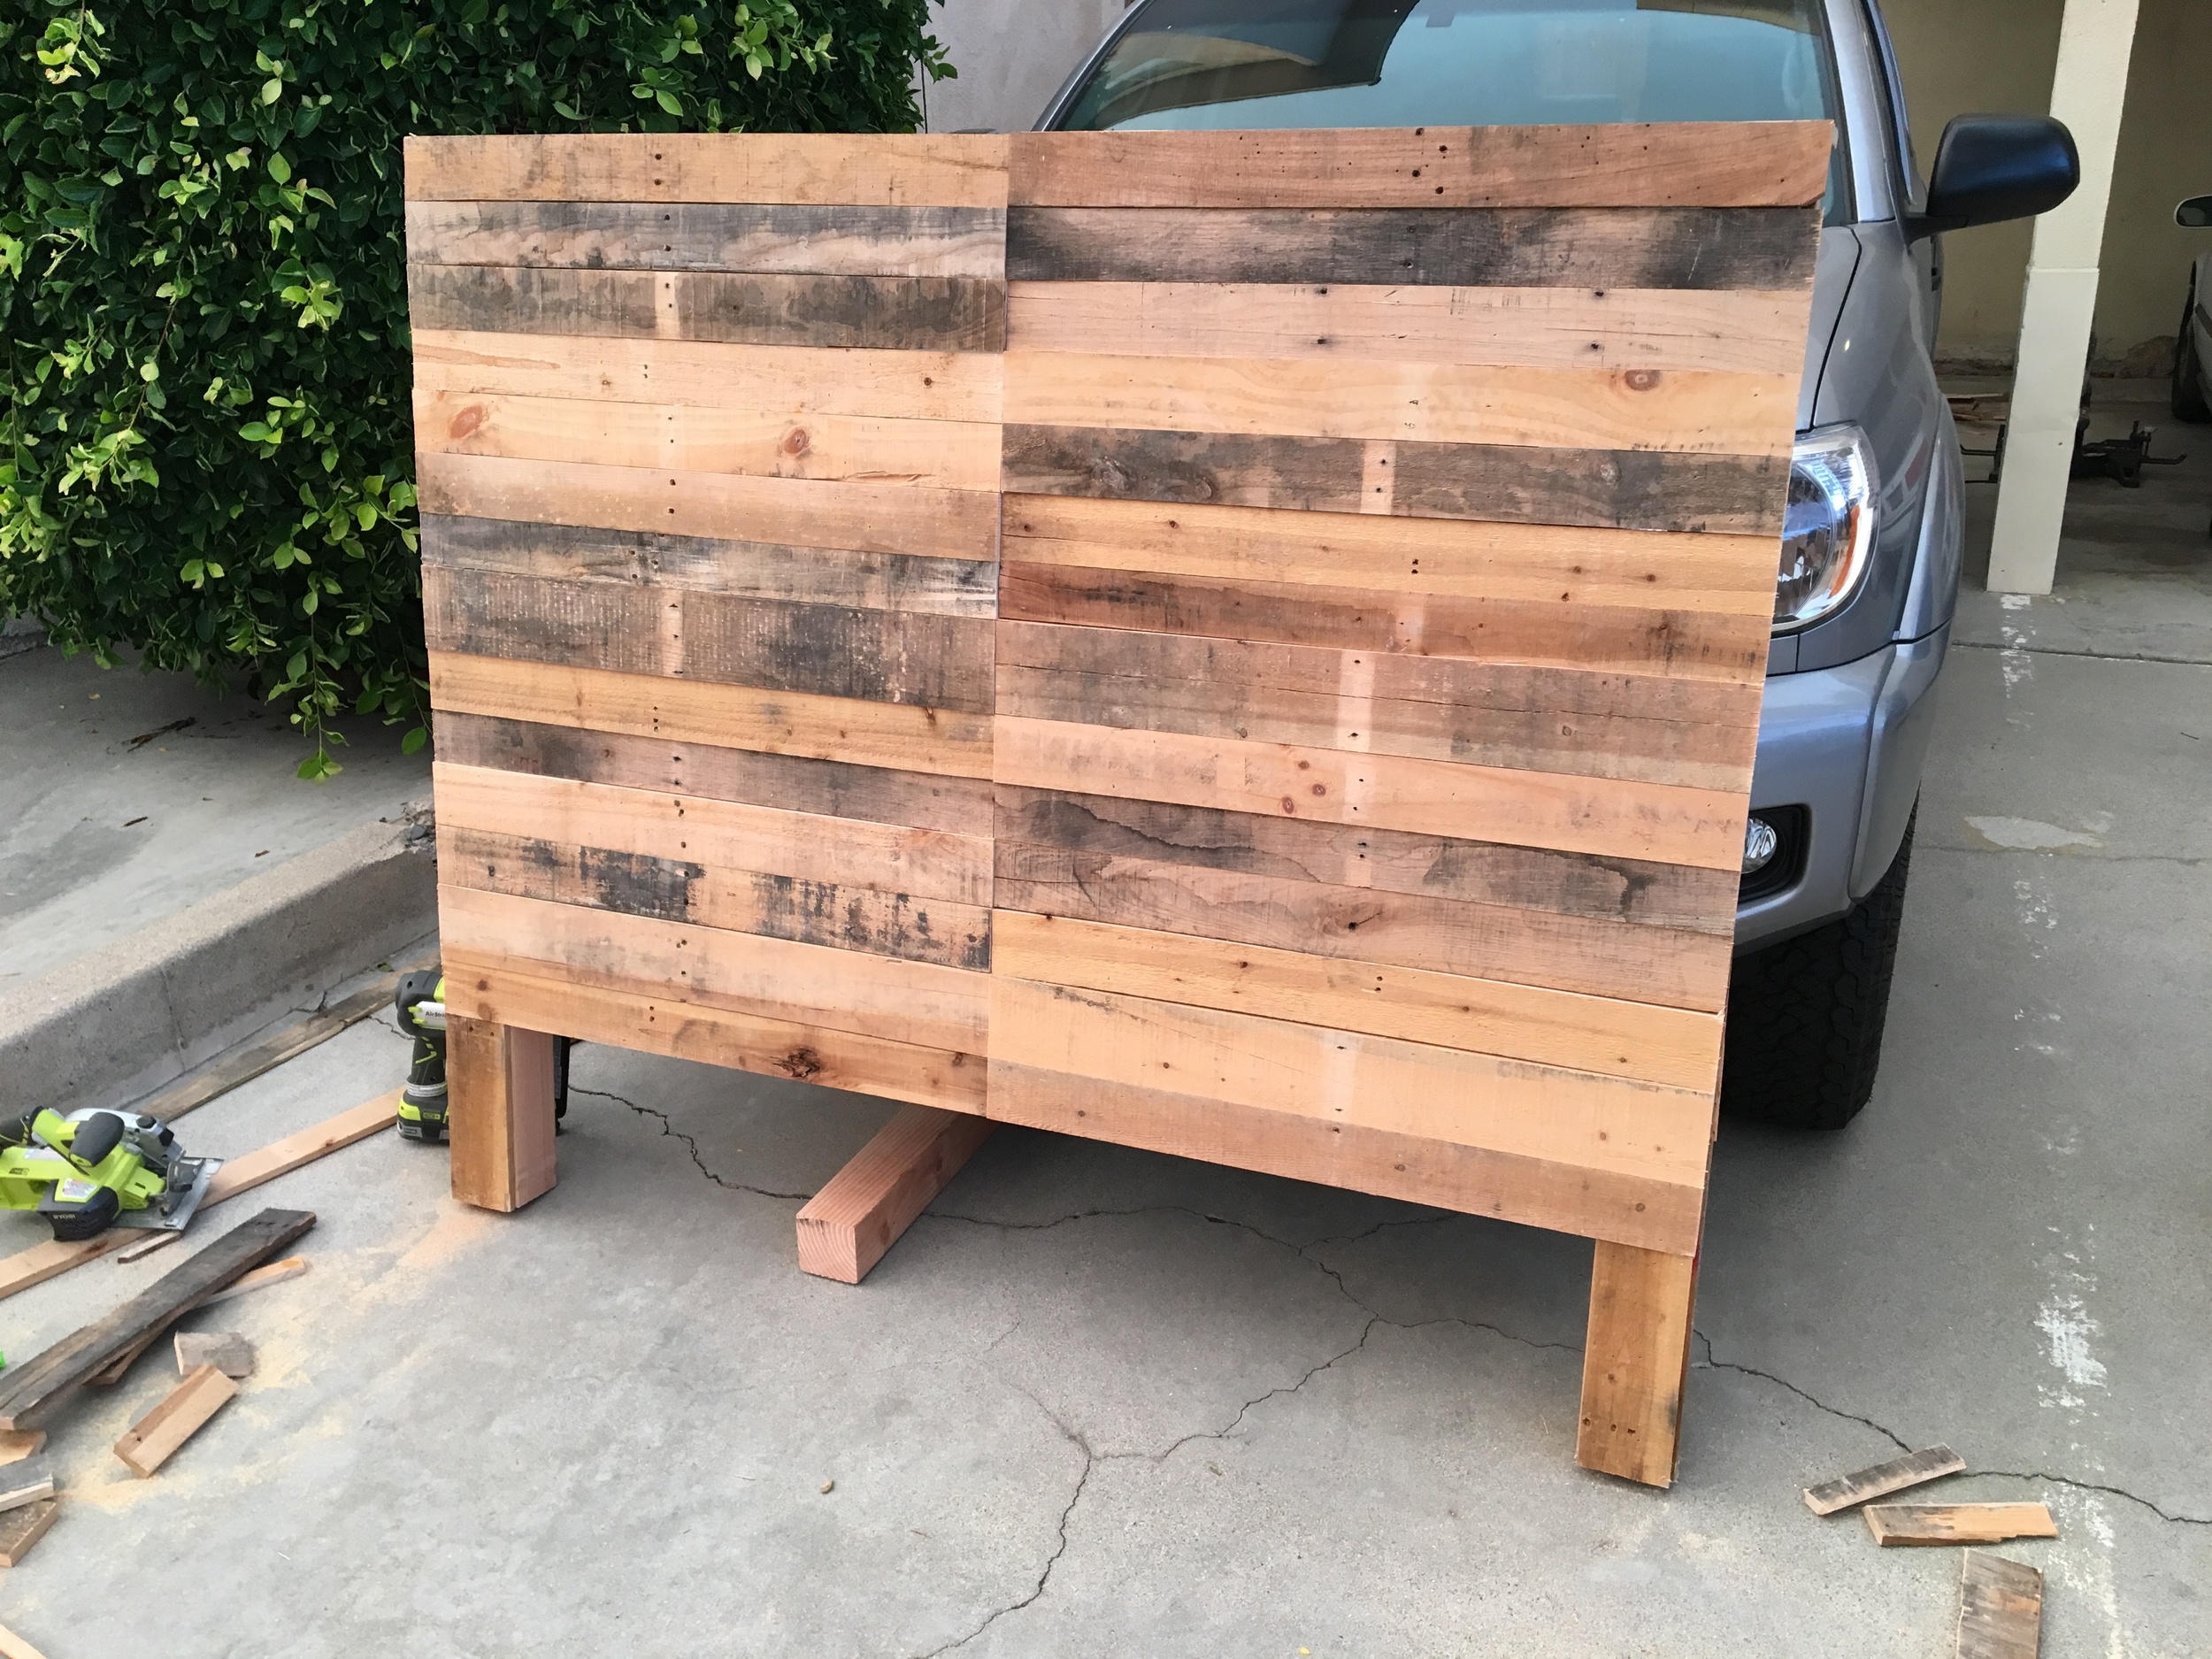
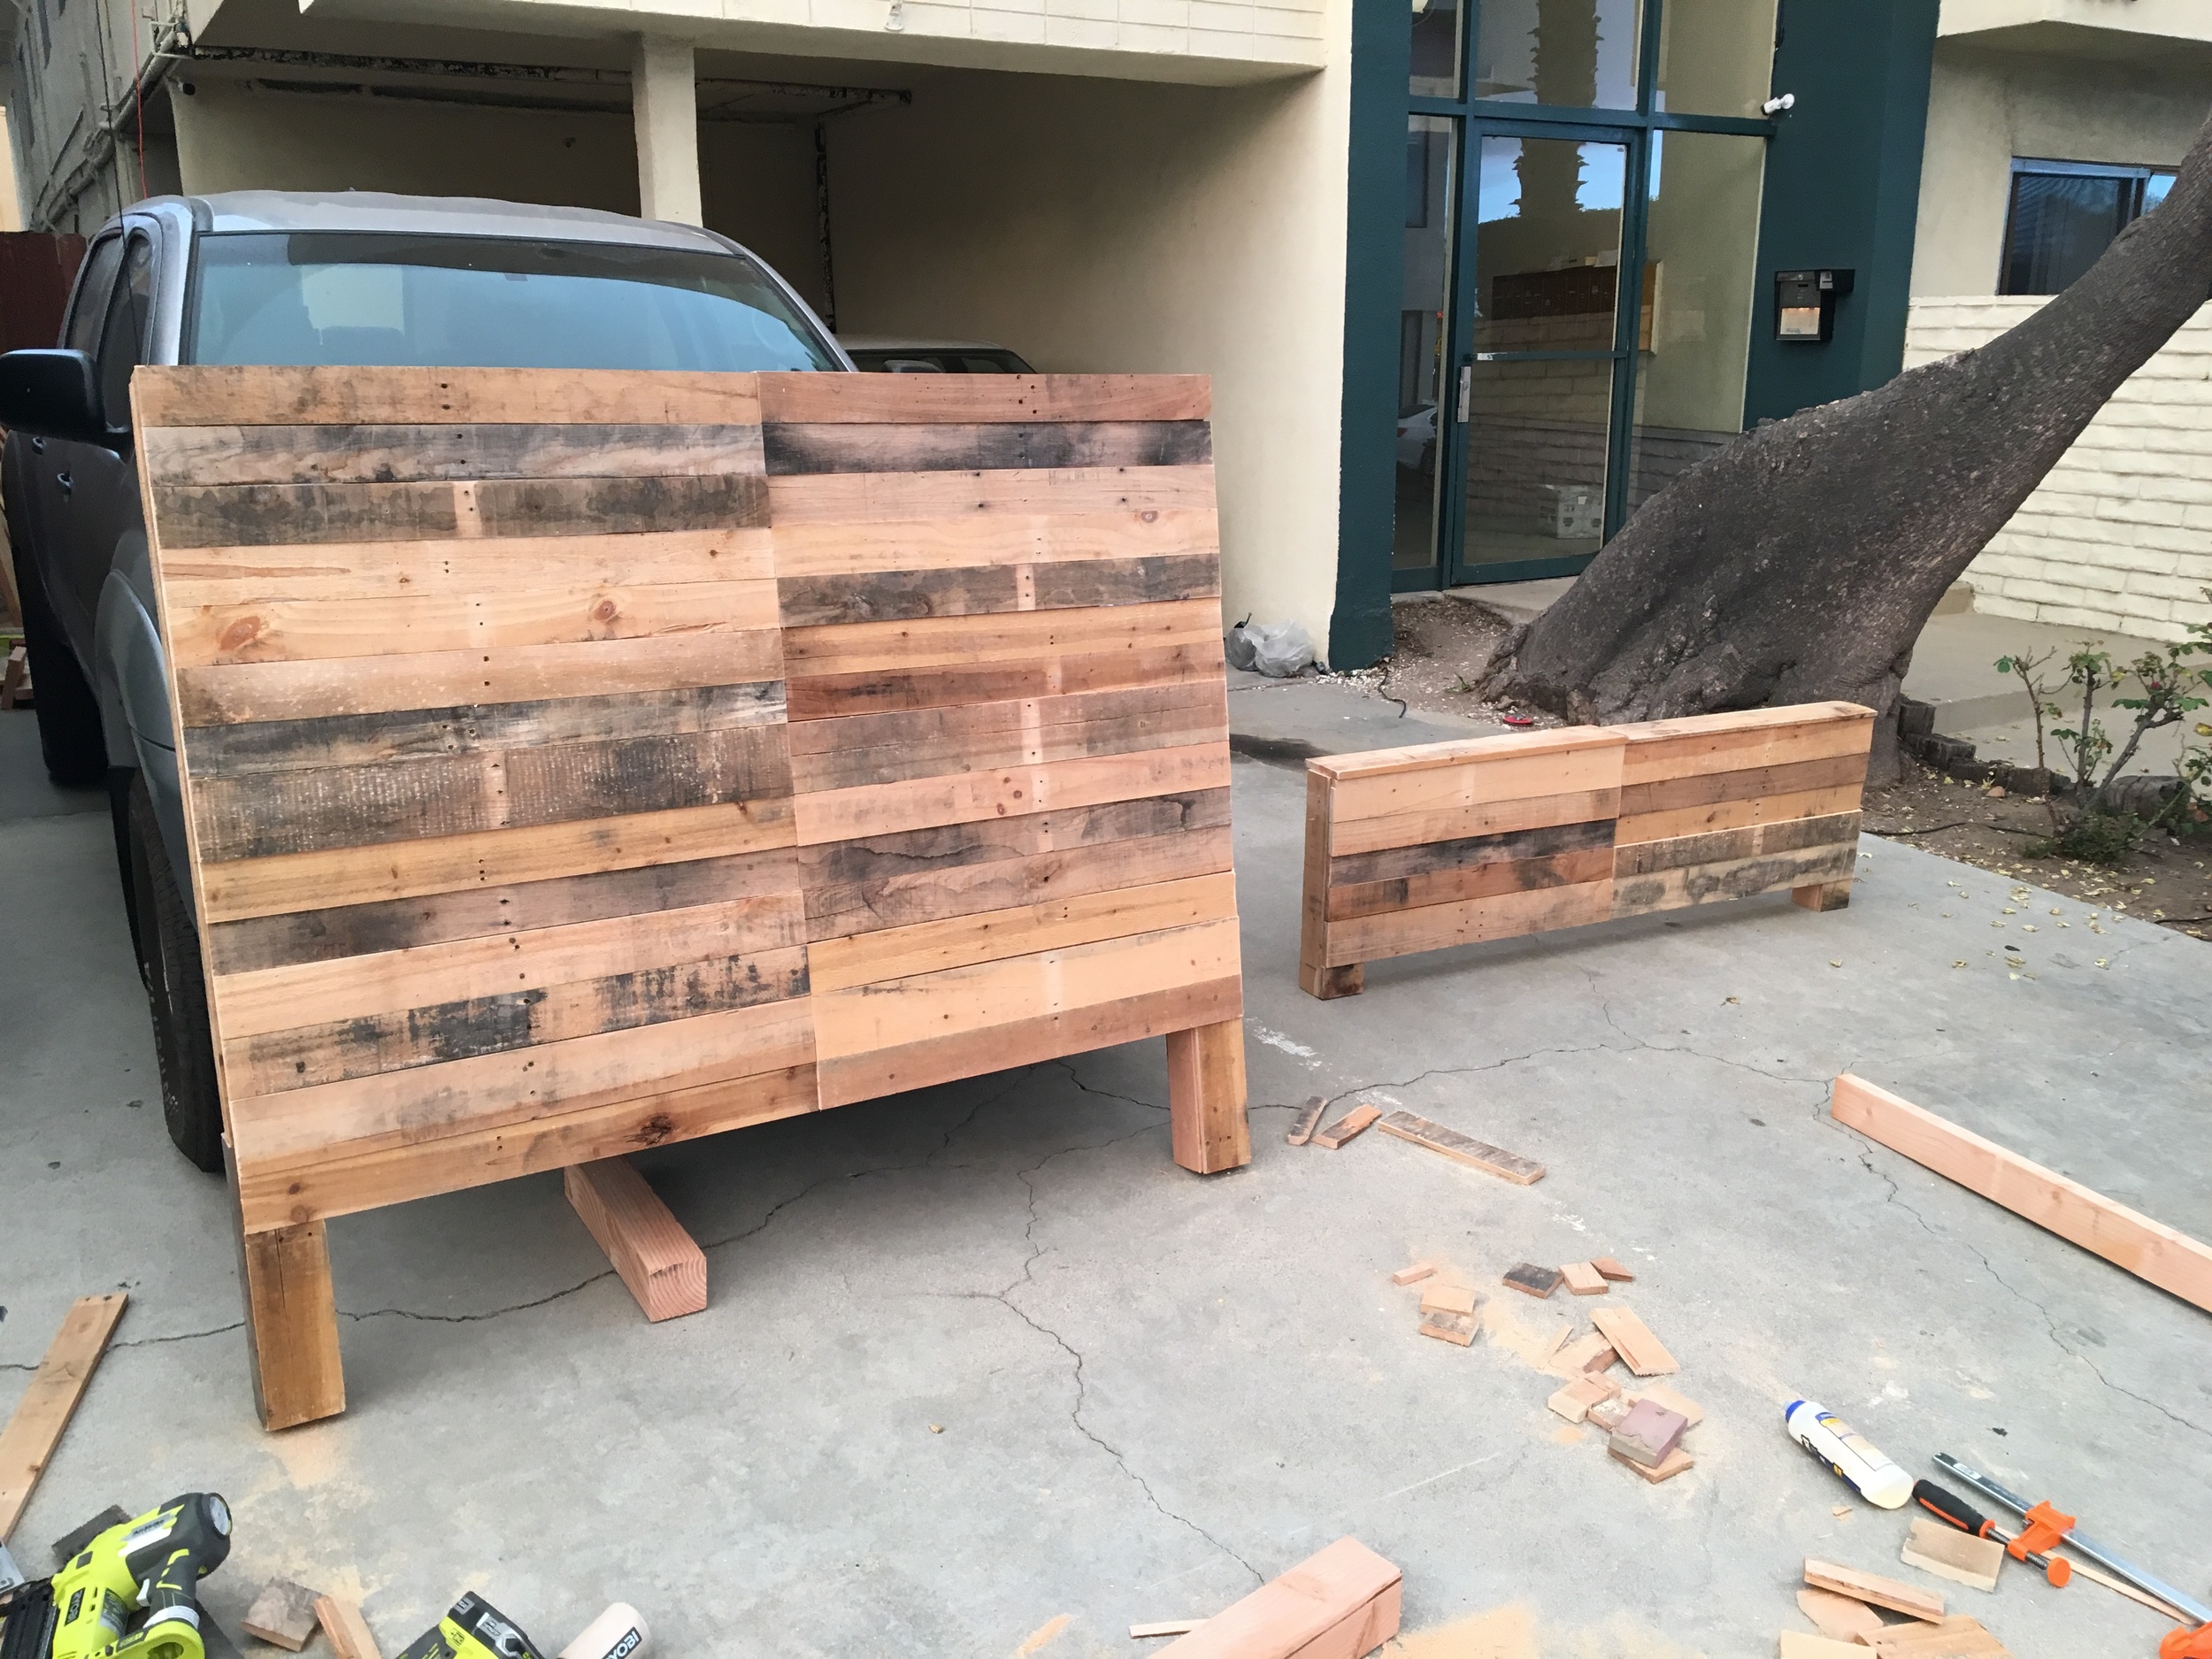
Lastly, I added pieces to the front and sides of the legs and tops of each piece, and they were done! I sanded the fronts and edges of everything with my orbital sander w/ 60 grit paper, just to take the rough parts off. I didn't want to lose any of the color variances.

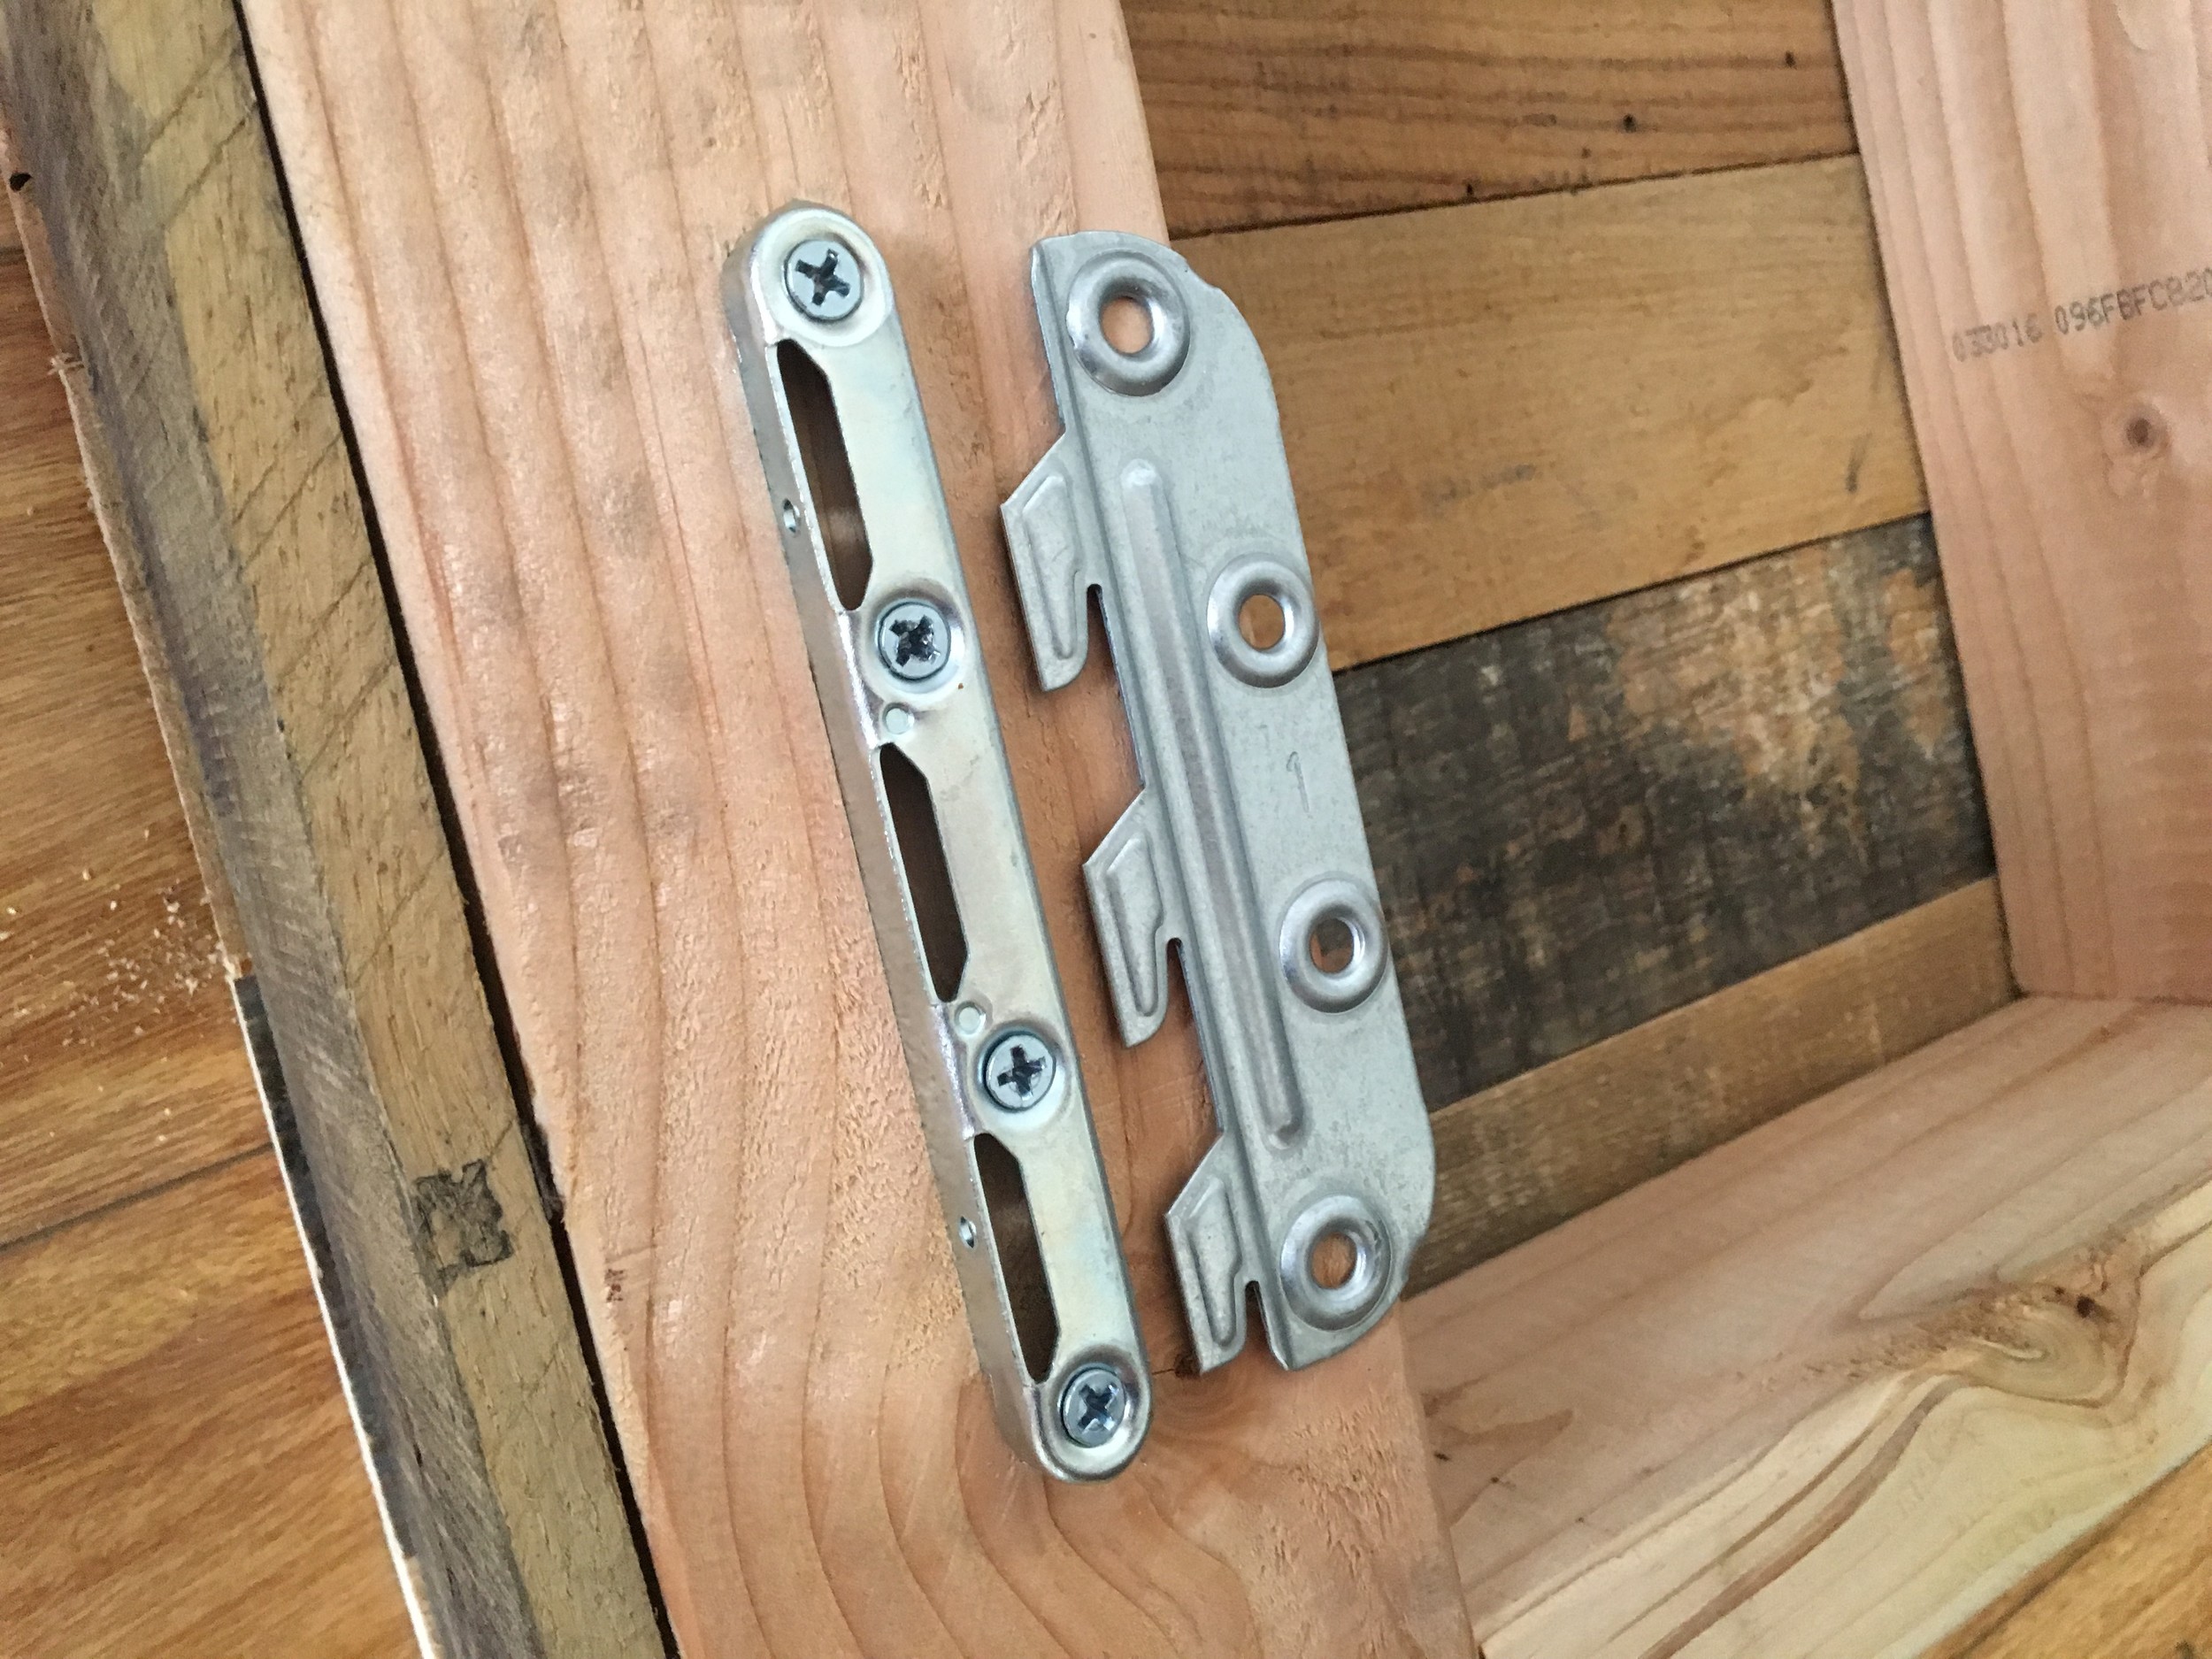
Next, time for final assembly in the bedroom. I found these hooks on Amazon through a separate DIY blog that were recommended for DIY beds. They worked out great.

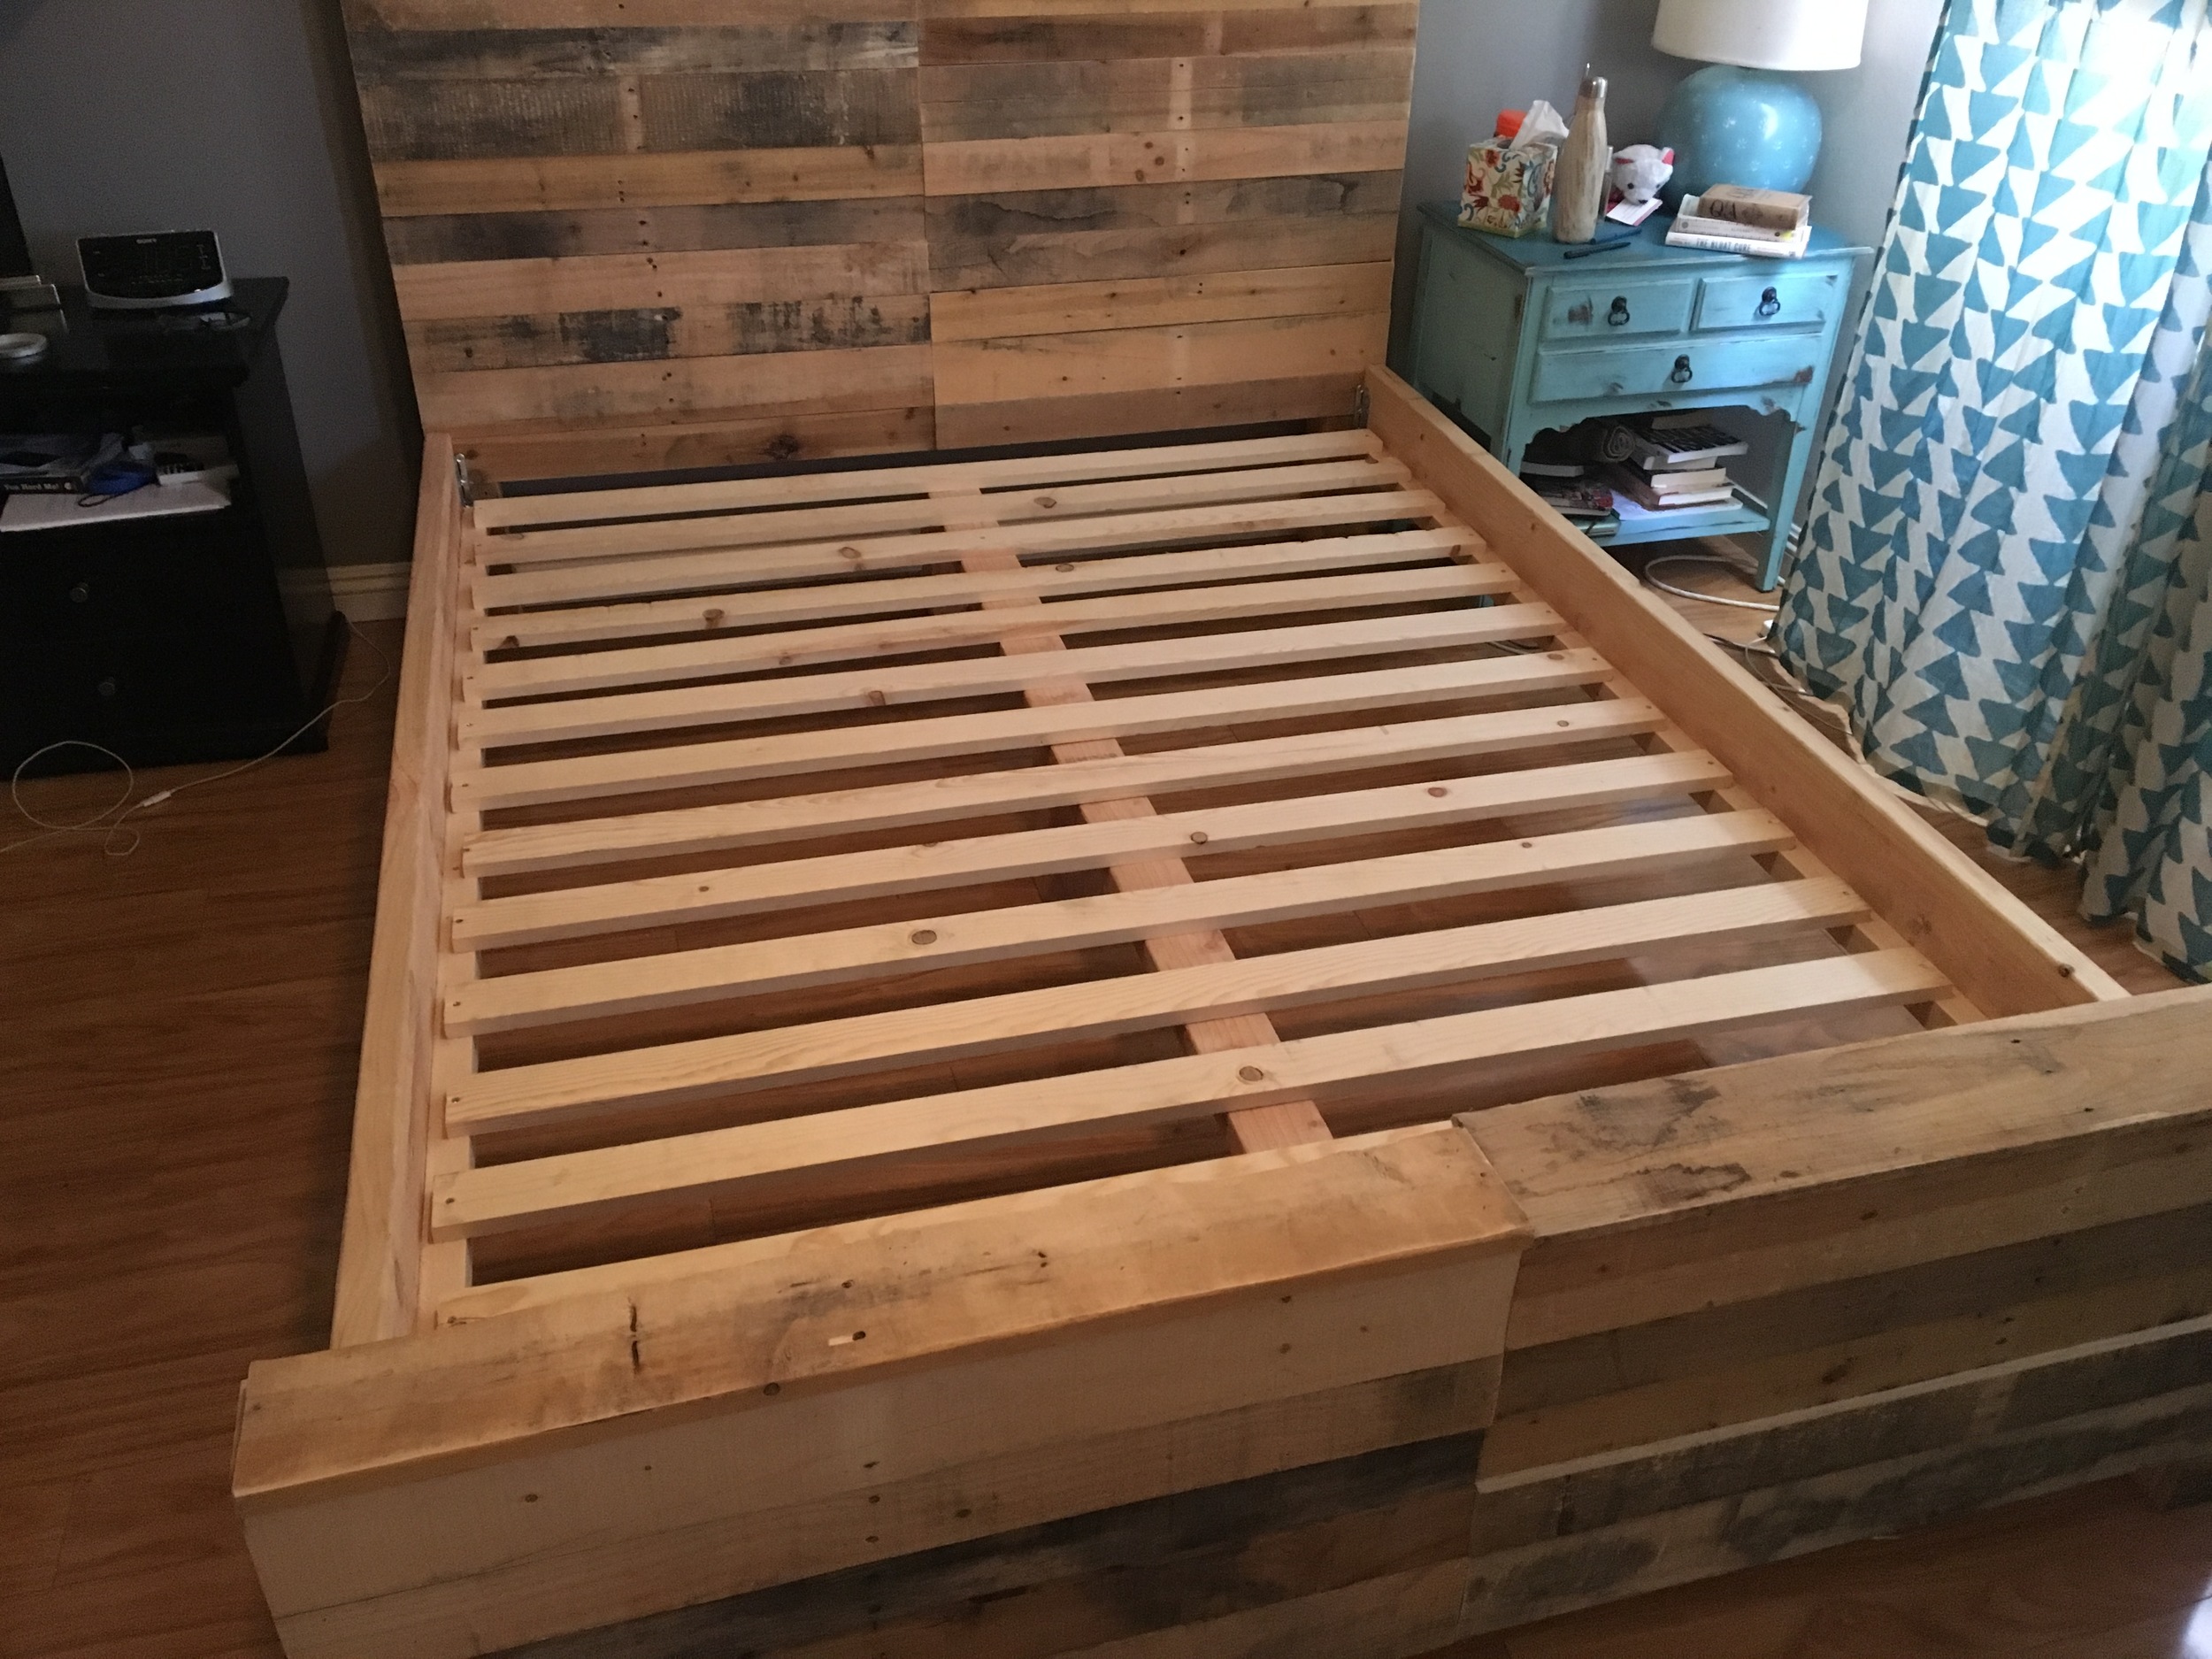
After adding in a center piece for center support and cutting the seven whitewood slabs in half to make 14 x 3" wide slabs for lateral support. I placed all pieces in place, screwed down, and was done! Shout of to Brooke for helping clean up everything and put it all together. 

Below is the final bedding. Brooke also painted an accent wall light grey. I think it came out awesome, especially with the white window that we had found a few weeks prior. 

Next up for us are new curtains (cause the ones we have are just awful )and we are going to paint both our nightstands white and distress to fit the more rustic theme we have throughout the apartment. 

Total cost (sans the tool I bought, was about $140 for all materials. Total project time was about 15 hours. 

TOOLS
RYOBI Circular Saw
RYOBI Power Drill
RYOBI Impact Driver
RYOBI 10 in. Sliding Compound Miter Saw
RYOBI Miter Saw Stand
RYOBI Cordless Orbital Sander
RYOBI Cordless Brad Nailer
HITACHI Table Saw

KREG K5 Pocket Hole Jig

Thanks for reading! This was a super challenging project, especially to assemble and build all in one day. That being said, I'm stoked at how it came out. 

Check out my new Youtube Channel for other projects!

Cheers!

Zach