Thanks for checking out the full article! Please Subscribe to our Youtube Channel by clicking here.
My full video of the build is below, followed by detailed instructions with tools, materials, and measurements!
As stated in the video - the awesome thing about this project is how easy it is to make a few of these crates from just one sheet of plywood - I purchased a single $40 piece and was able to build three large ones specific to the free space I have.
MATERIALS
1 x 4' x 8' Plywood (3/4" thick)
Minwax Colonial Maple
Minwax Wipe On Satin Polyurethane
TiteBond II Wood Glue
1” Brad Nails
1” Pocket Hole Screws
Black Inkjet Printer Ink

Here is a simple diagram of how I went about slicing up my wood. The red highlights are excess wood you'll have left over for another project. I ended up not using all of the longer strips as well.
My measurements can be found below when I show all of my cut up pieces, but realistically, you can make these to any size or shape you want - just make sure you plan out roughly what you'll be able to cut from the wood you purchase so you don't run out halfway through and need to go to the store again!

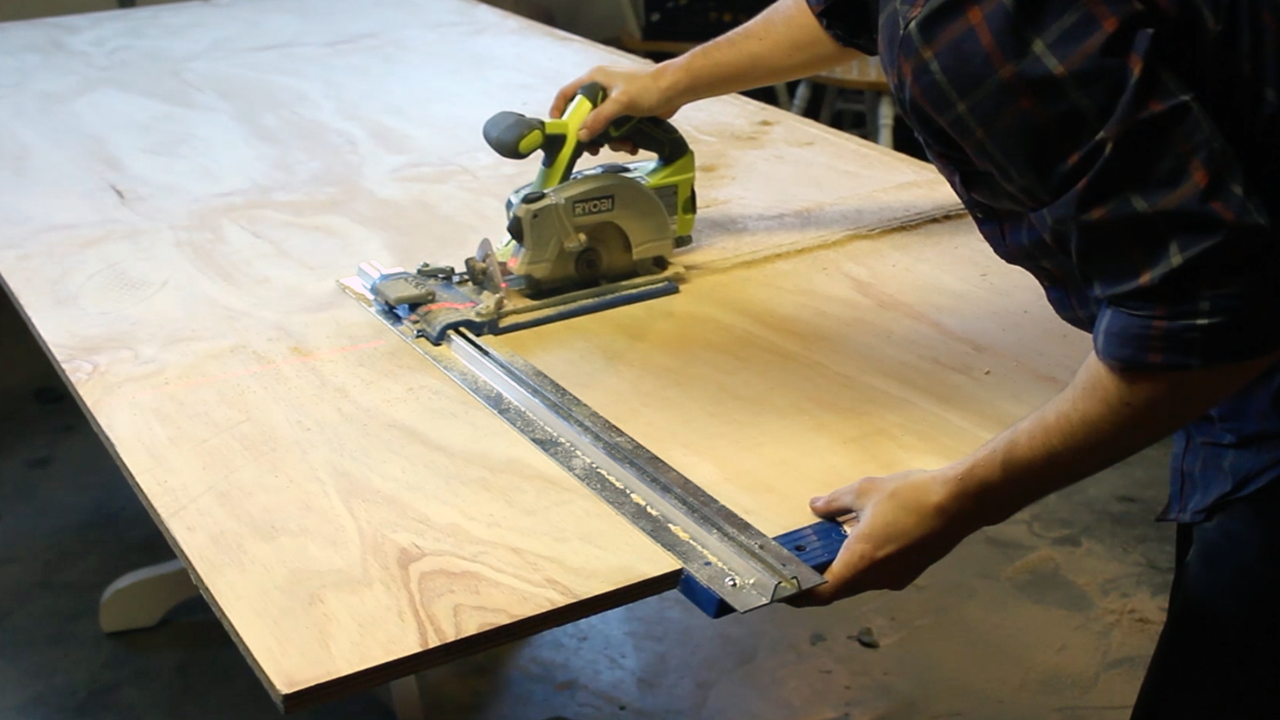
I started out by using my newly purchased Kreg Rip Cut and Ryobi Circular Saw to make large rips of my plywood - the Rip Cut is a great substitute tool for those who don't have a table saw or do not have someone to help assist you in feeding/ripping large pieces of wood.


Once I had my larger strips ripped, I took to my Miter Saw to cut the pieces into their final size. In the pictures above, I'm ripping my Front/Back pieces as well as my Side pieces. For the side pieces, since they were 21" long (much longer than any Miter Saw can cut), I cut one side of the piece, then flipped it over and lined it back up with my blade to finish the cuts.
Using the Miter Saw was much more efficient for the smaller cuts as the Rip Cut, although awesome, gets tricky when trying to make smaller cuts (the large straight ruler is not adjustable in length, so if you try to clamp small pieces of wood down, etc., the track will run into your clamps and you won't be able to make cuts without adjusting them). Hard to explain - but just trust me on this one.
My measurements can be seen above as well - again - I cut them this way to fit my specific space.

Next, I took to creating my logos. Now, I don't have a laser cutter or a CNC machine and I wasn't looking to purchase any stencils, etc., so I researched and found a DIY method that is awesome and can be easily replicated by anyone with a printer.
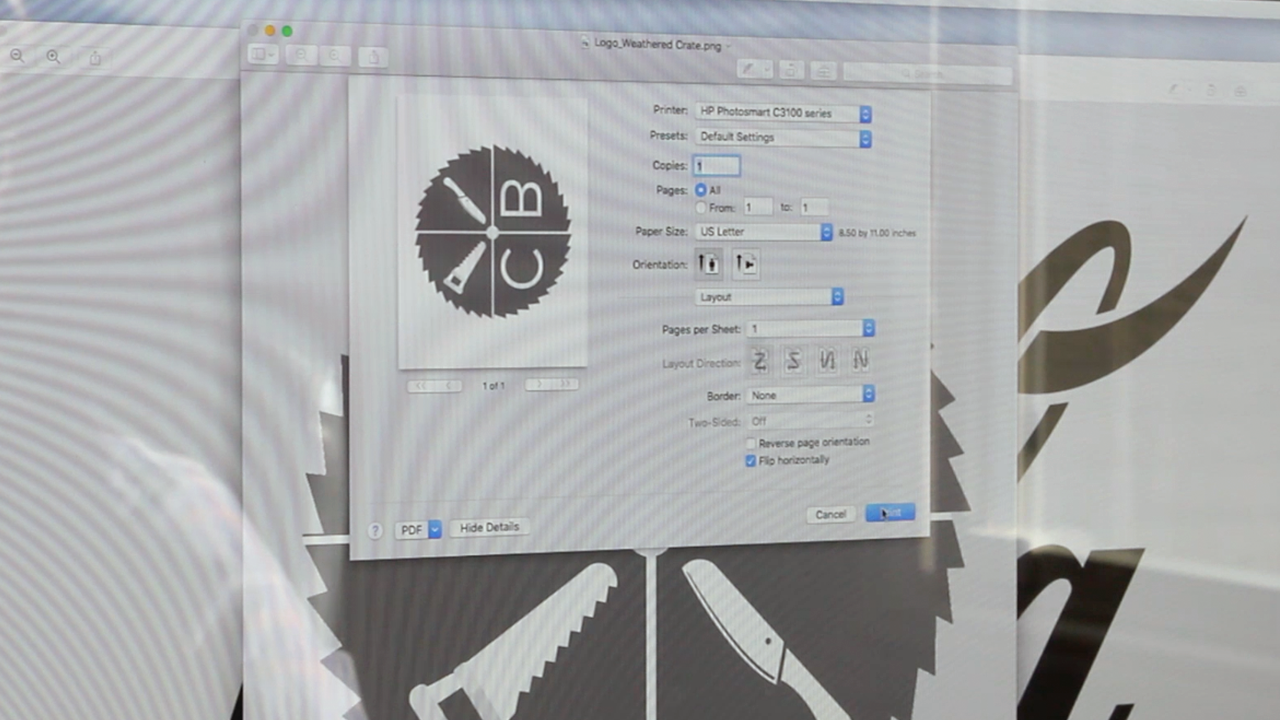
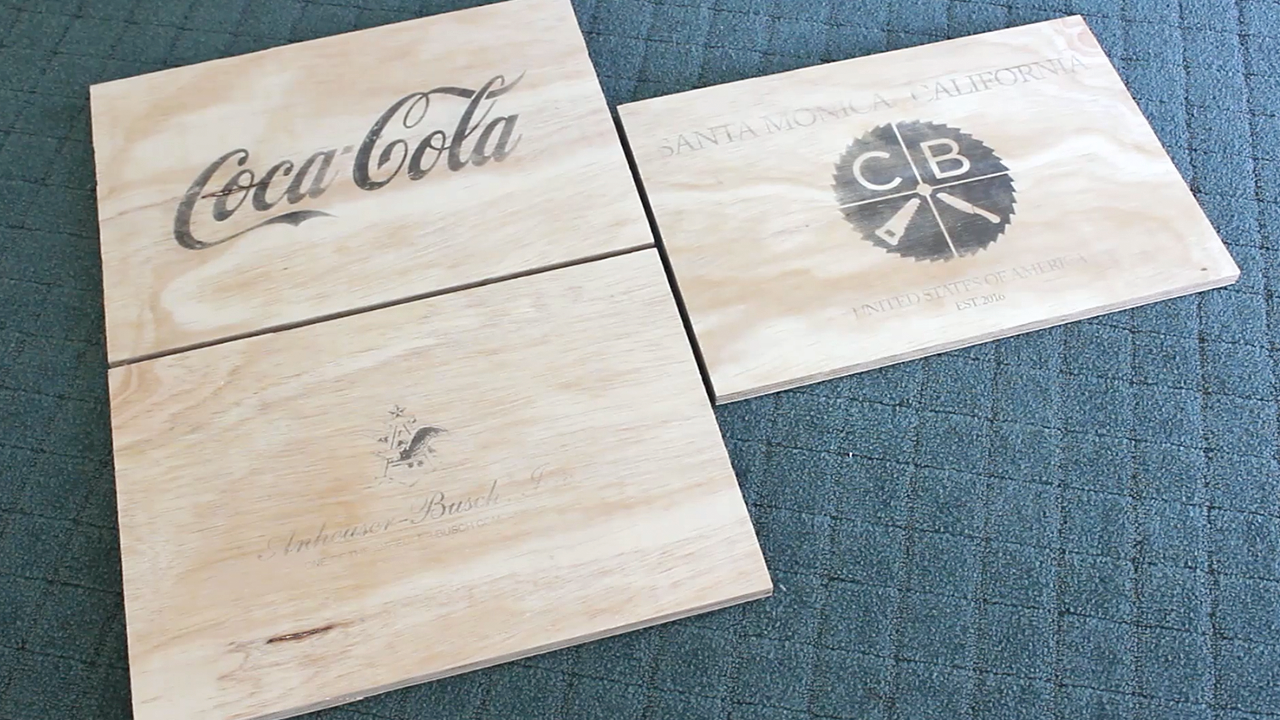
I chose Coca Cola and Anhueser Busch as my two "classic logos" and then created my own Cutting Bored logo w/location and dates using my own brand guidelines. Again - choose any logos you want for your projects!
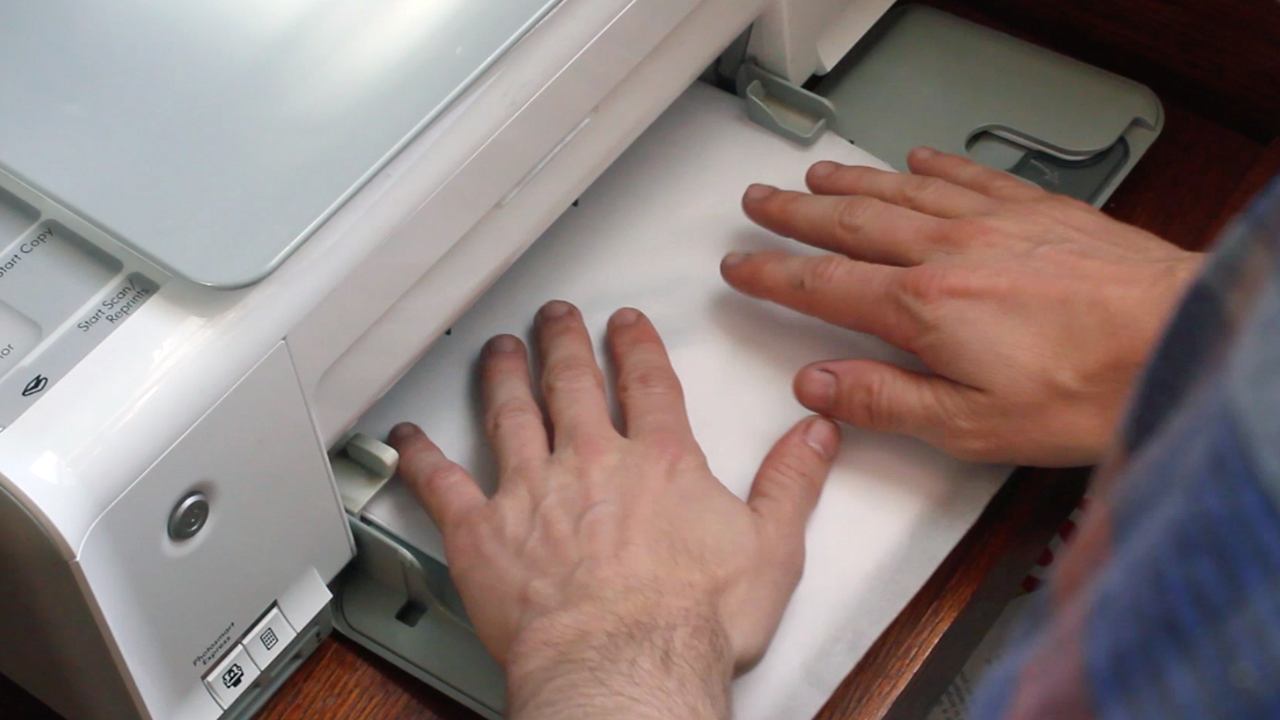
This was an interesting process to go through as I had never done it before. The way you do it is to design your logos and then print them out at whatever size you want as a mirrored image onto wax paper. Wax paper is thin and tricky and can easily get bunched up in your printer feed, so I recommend taping it down to another sheet of regular printer paper so it feeds through easier. Also, feel free to print out very large logos on separate pieces of paper and then combine to form larger ones incase you think a standard 8.5 x 11" piece of paper will be too small - I did this with 2/3 of my boxes.
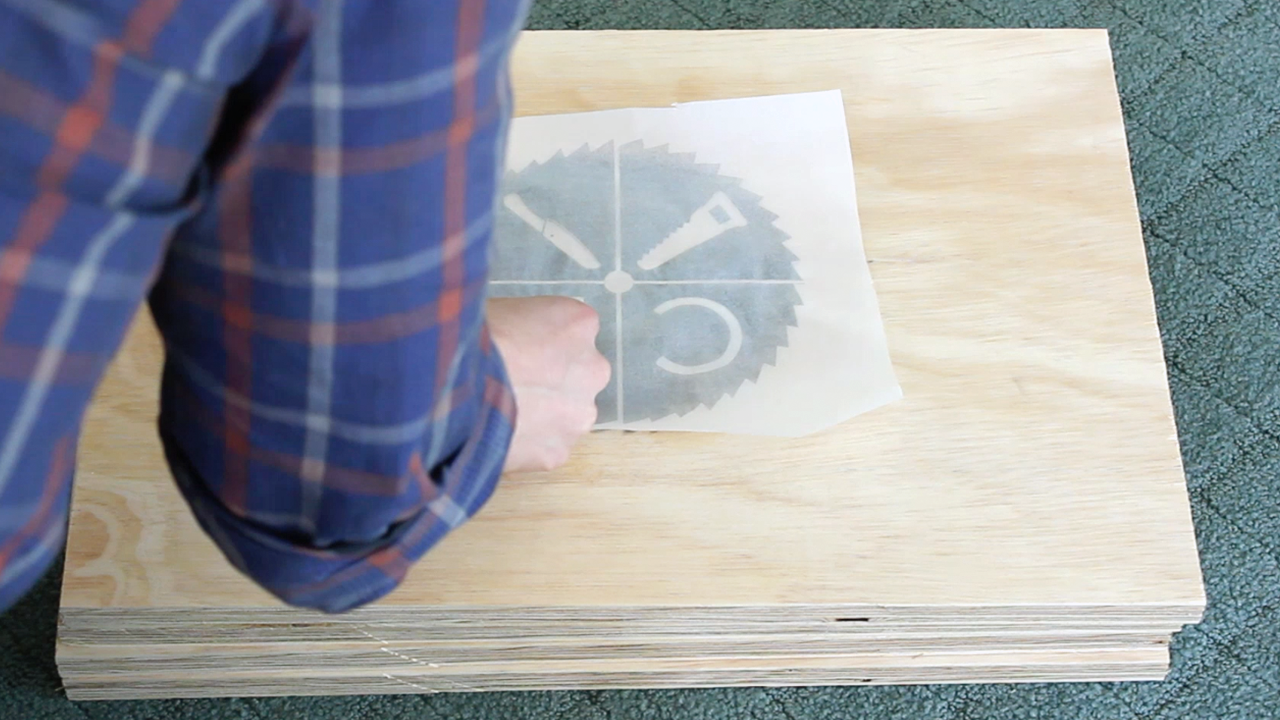
Once your logo prints, press it against the wood you want to to apply it to (be accurate and meticulous about this as the ink immediately begins to bleed over) and use any credit card type object to flatten and push the ink onto the wood fully. NOTE - only inkjet printers will work for this method as the ink will be wet and won't stick well to the wax paper. If done correctly, the ink will bleed nicely into the wood permanently. If you want to go a different route, you can absolutely purchase stencils and spray paint and apply accordingly.
I also recommend using thicker logos for the ink method specifically - as you can see - the Cutting Bored and Coca Cola logos are much more legible than the Anhueser Busch logo. Still look great though!
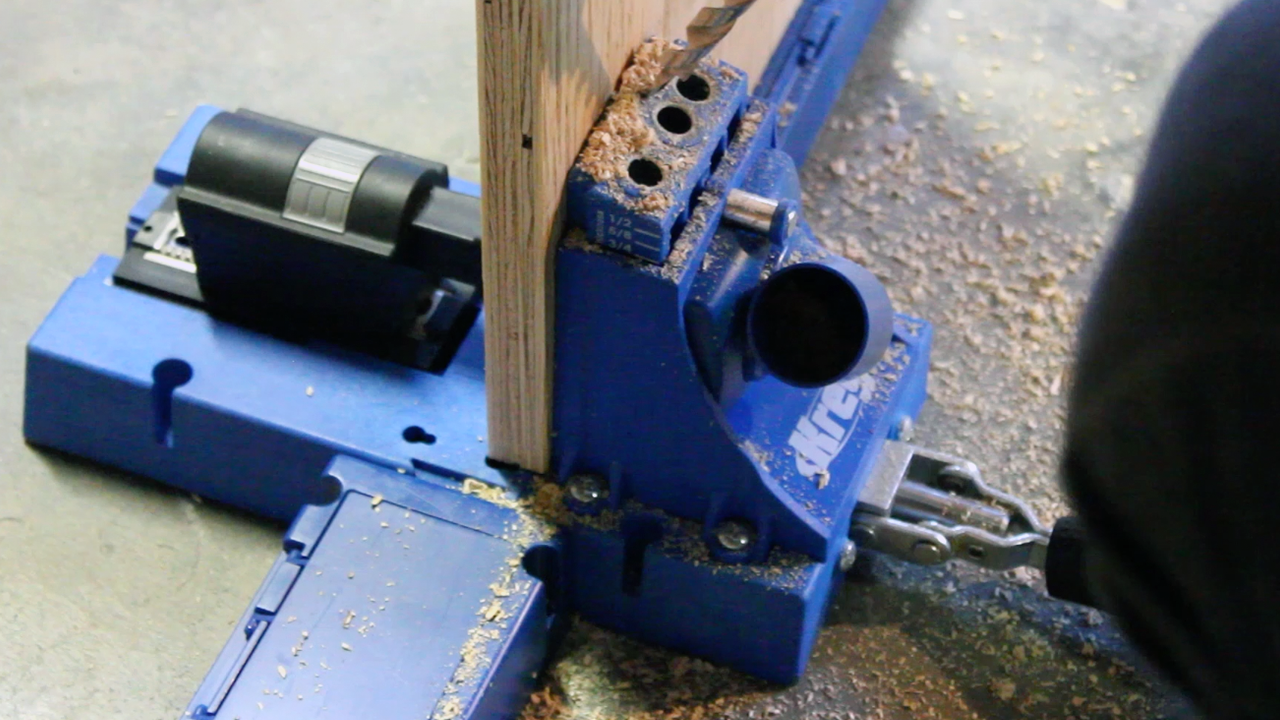
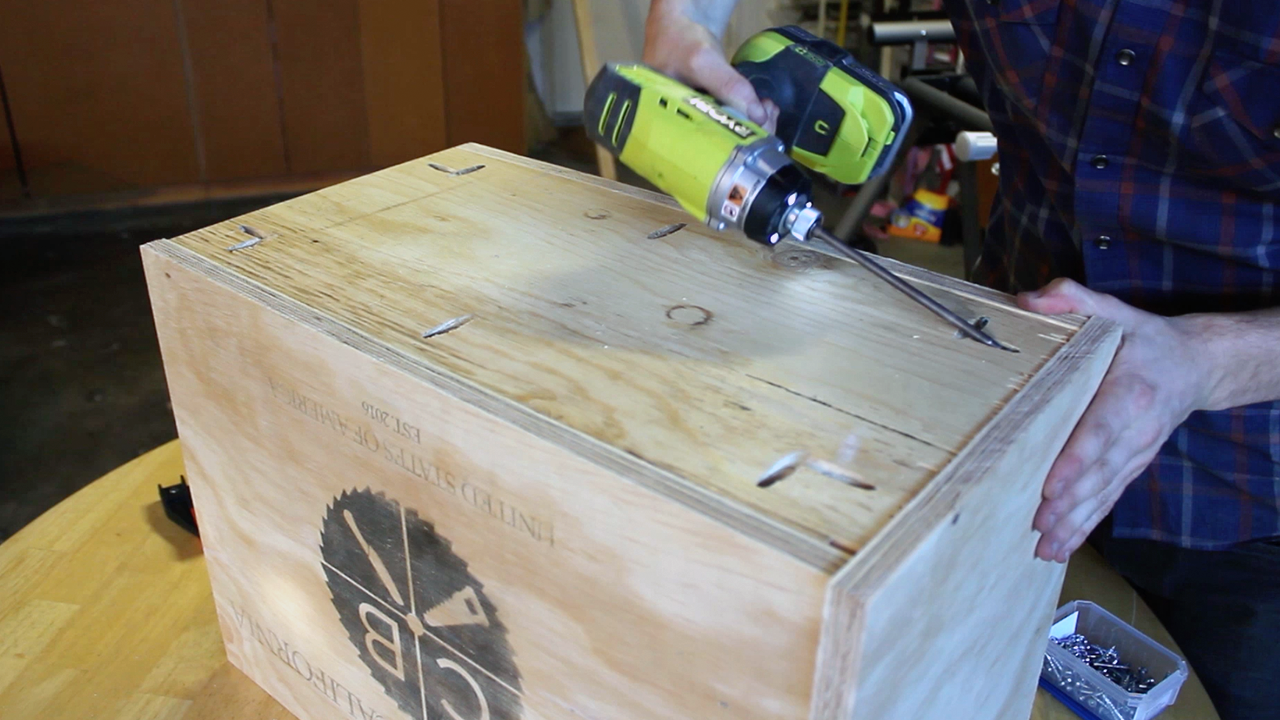

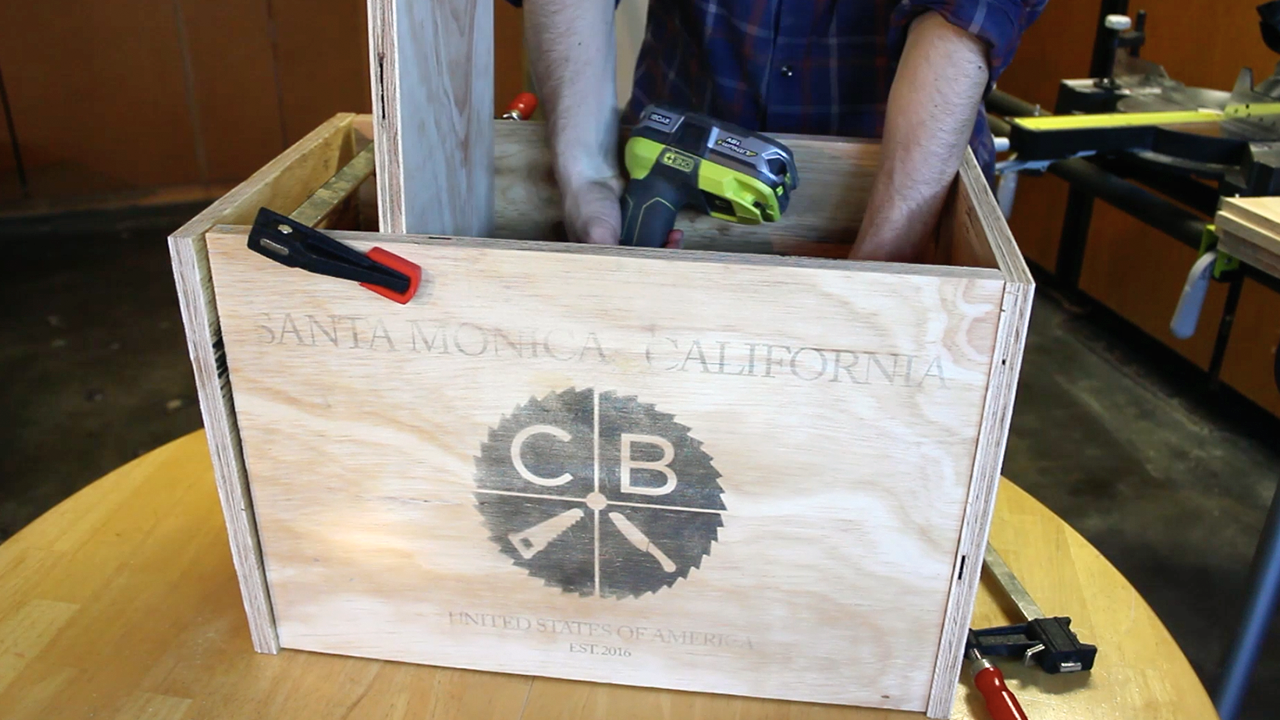
I then drilled and assembled using my pocket hole jig and pocket hole screws - this is always my go to method for assembling projects that will have hidden joints. If you don't have a pocket hole jig, you can use wood screws, nails, or other types of joinery to piece together.

All assembled!

Sanded down using 60 grit sand paper to round all the edges and wear them down - your goal is to make them look old!

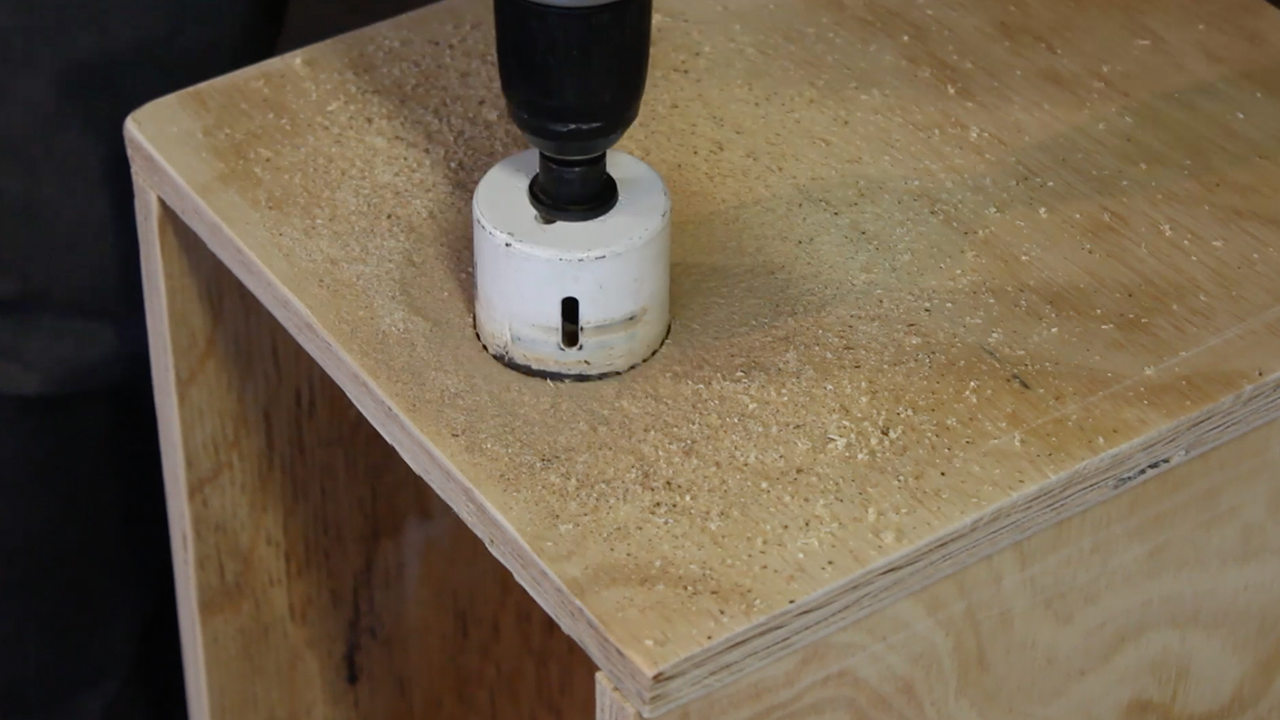
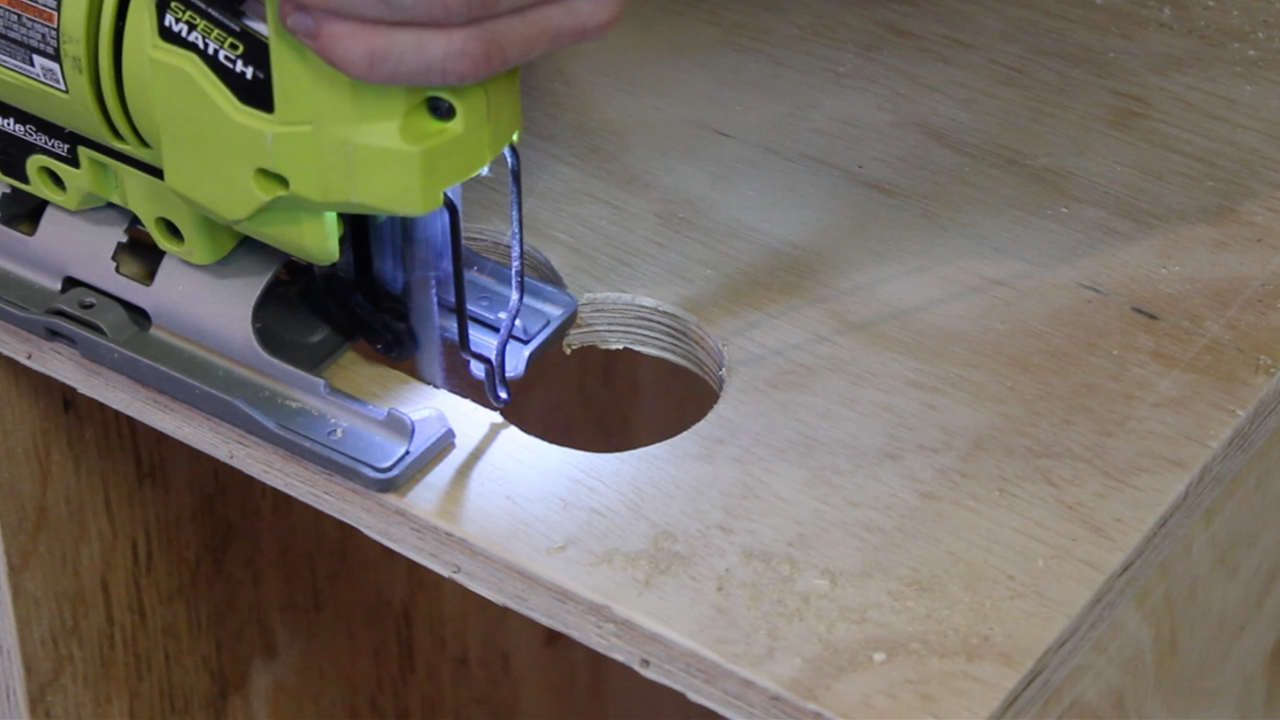
Decided to cut our holes for handles on the boxes. You can get super precise with this if you choose, but I mostly freehanded things using a hole saw and my jig saw - they work well for the theme of old/vintage for this project.

I added a few slats to the Coca Cola box using glue and finish nails, then cut off the excess pieces using my jig saw. They help give a bit of different character to the box.
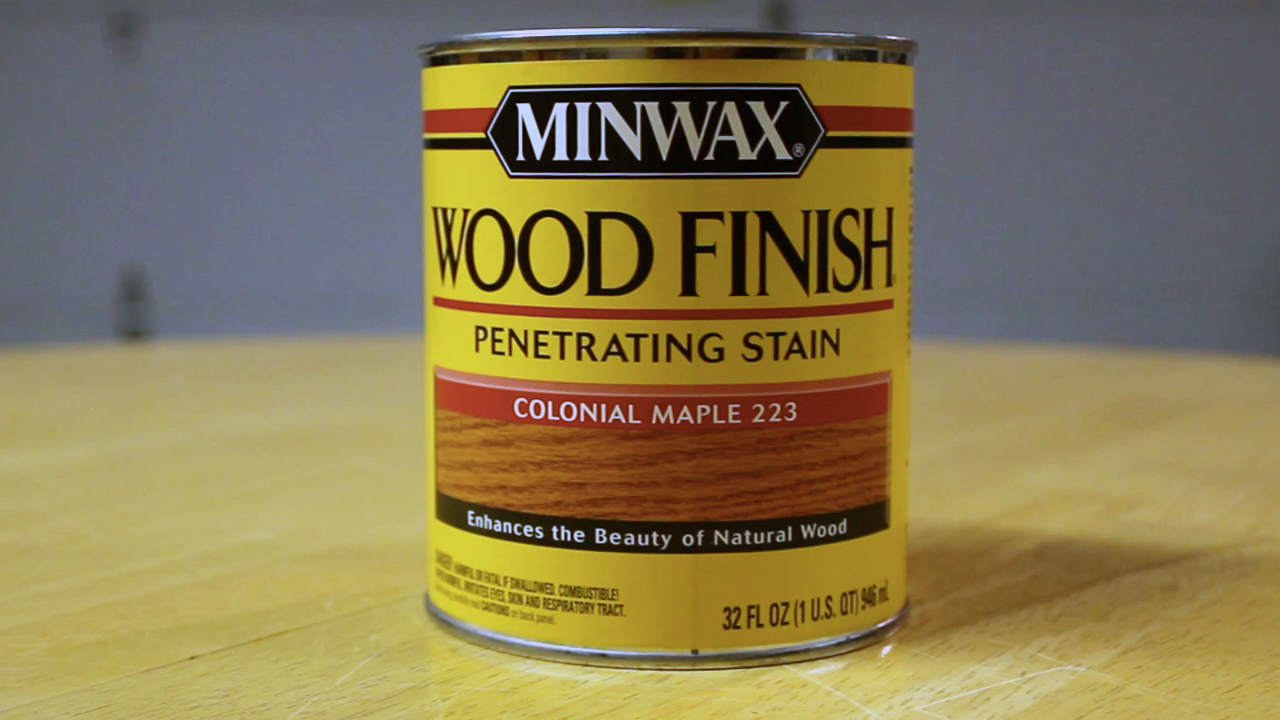
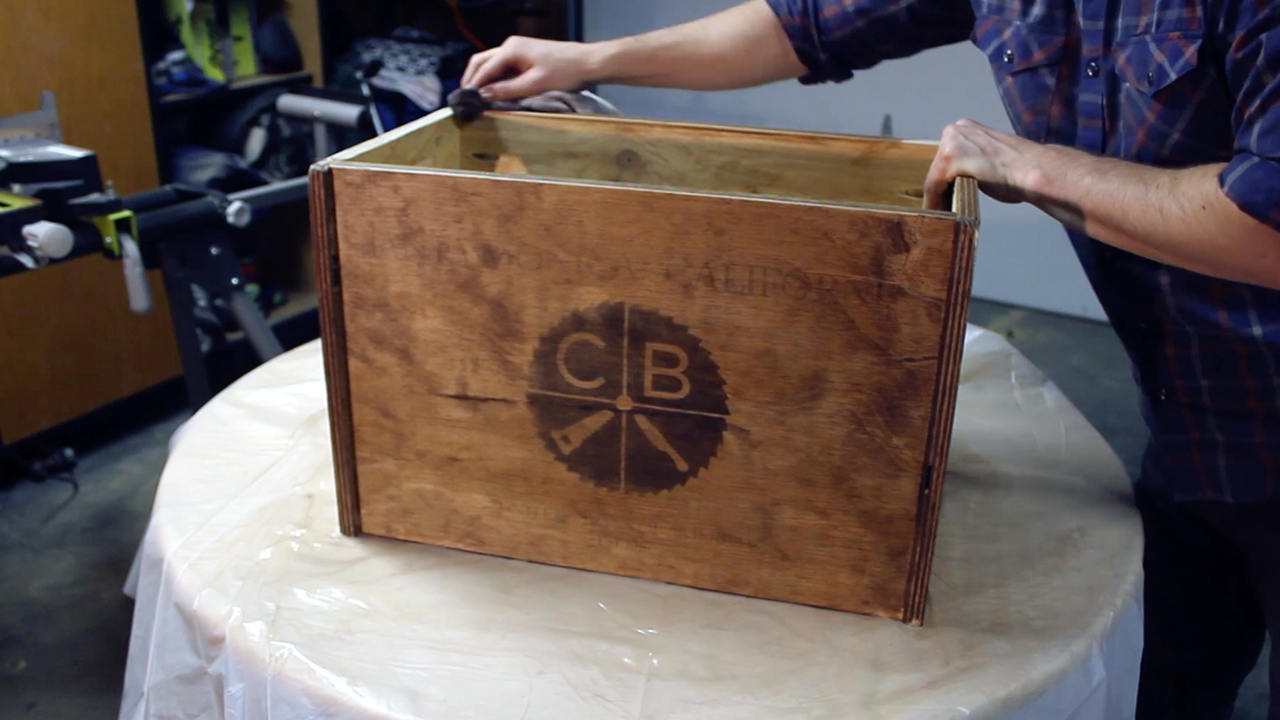
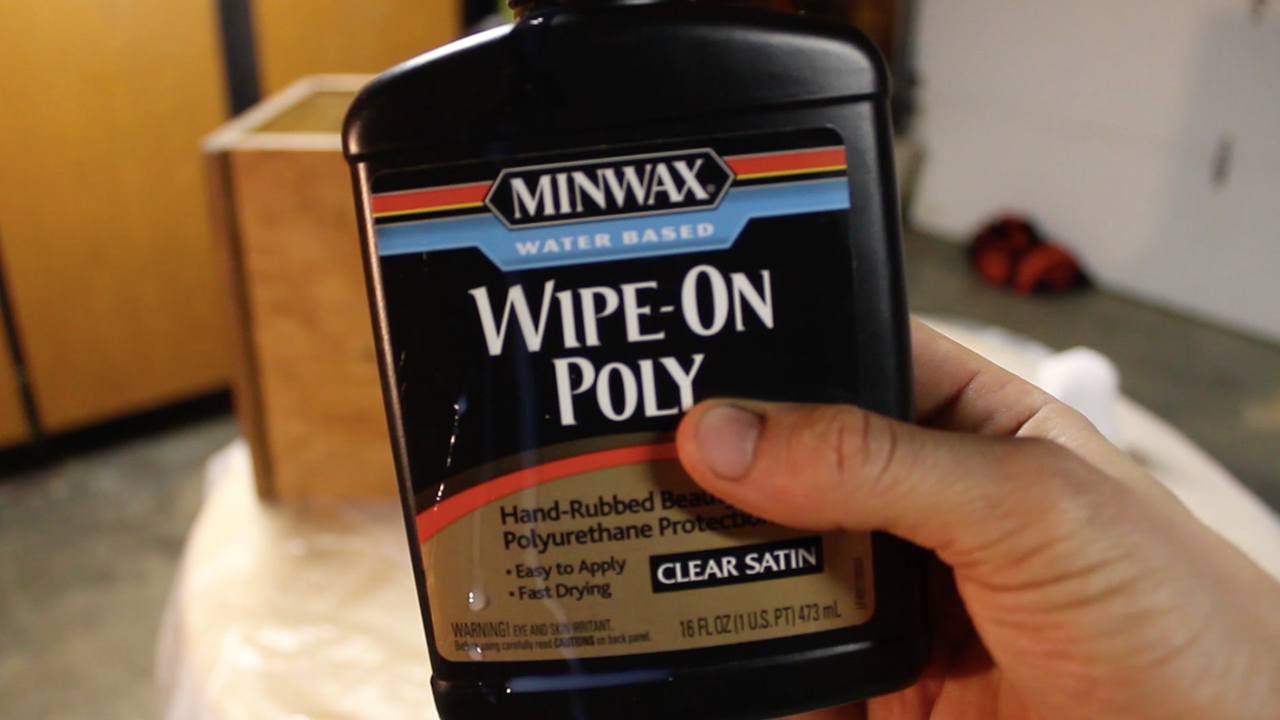
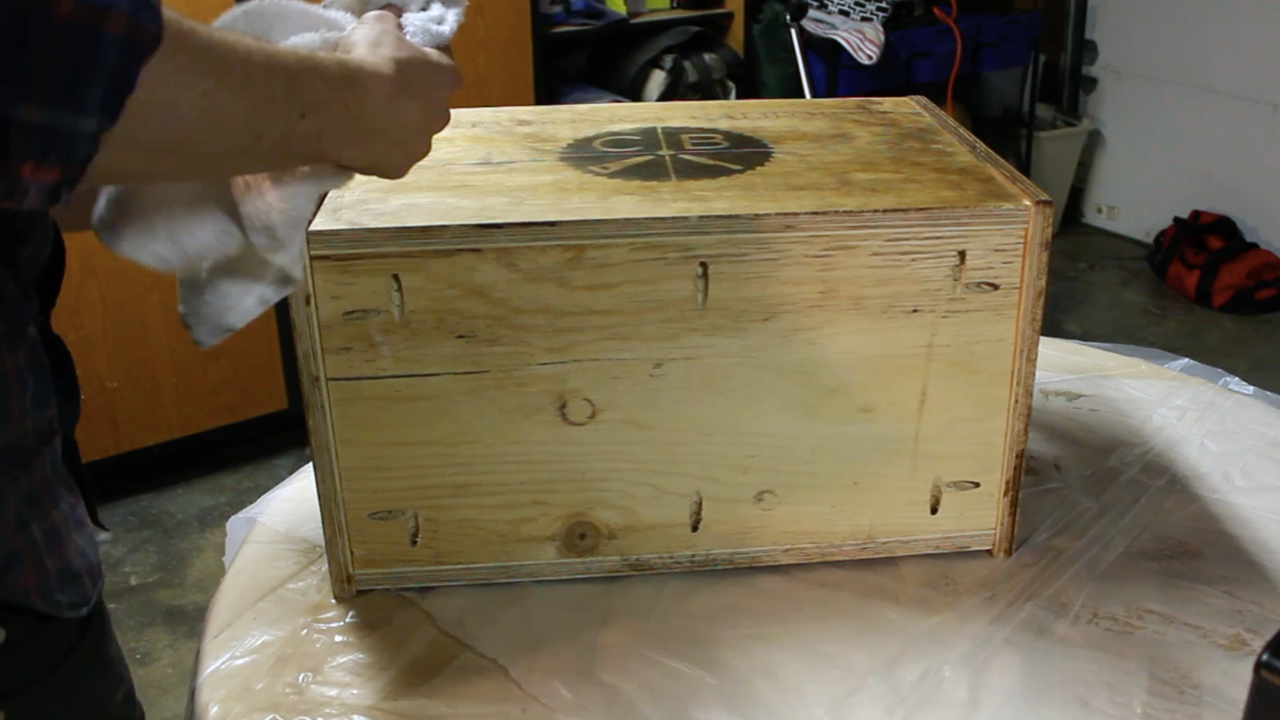
Lastly, I applied a single coat of Minwax's Colonial Maple stain - after looking at all of Minwax's collection, Colonial Maple tended to have the closest resemblance to what old crates look like. I also added in a bit of American Walnut to darken it. I think they came out great. If I could go back, I think it might be fun to stain them all slightly different as to give them variety, but to each their own! I also applied a single coat of Minwax's Wipe On Satin Polyeurethane finish to give them protection and a bit of sheen.

All finished and in their new home! These are fantastic for extra storage (I will use them to store smaller tools, film production equipment, and other electrical and building related equipment I own. If you want building information on the bench featured above, you can check out my blog on it here.
Now get out there and make something unique of your own!
TOOLS
RYOBI 10 in. Sliding Compound Miter Saw
RYOBI Miter Saw Stand
RYOBI Cordless Orbital Sander (60 Grit)
RYOBI Combo Power Tool Kit (Drill, Impact Driver, Circular Saw, Multi-Tool)
KREG K5 Pocket Hole Jig
KREG Rip Cut
12” Rafter Square
Hammer
Hole Saw (2”)
Hand Sanding Sponges (120 Grit)
FILM / EDIT EQUIPMENT:
Canon Rebel EOS T2i
Canon EF-S 18-55mm f/3.5-5.6 IS II Lens
Rode Microphone
Voice Recording
Adobe Premiere (Editorial)
As always, thank you for reading! I would be so grateful if you could please subscribe to my new Youtube Channel for future projects. I put out videos every two weeks.
Cheers!
Zach