Thanks for checking out the full article!
Full video build is below, followed by detailed instructions with tools and measurements! You can subscribe to my YouTube channel by clicking here!
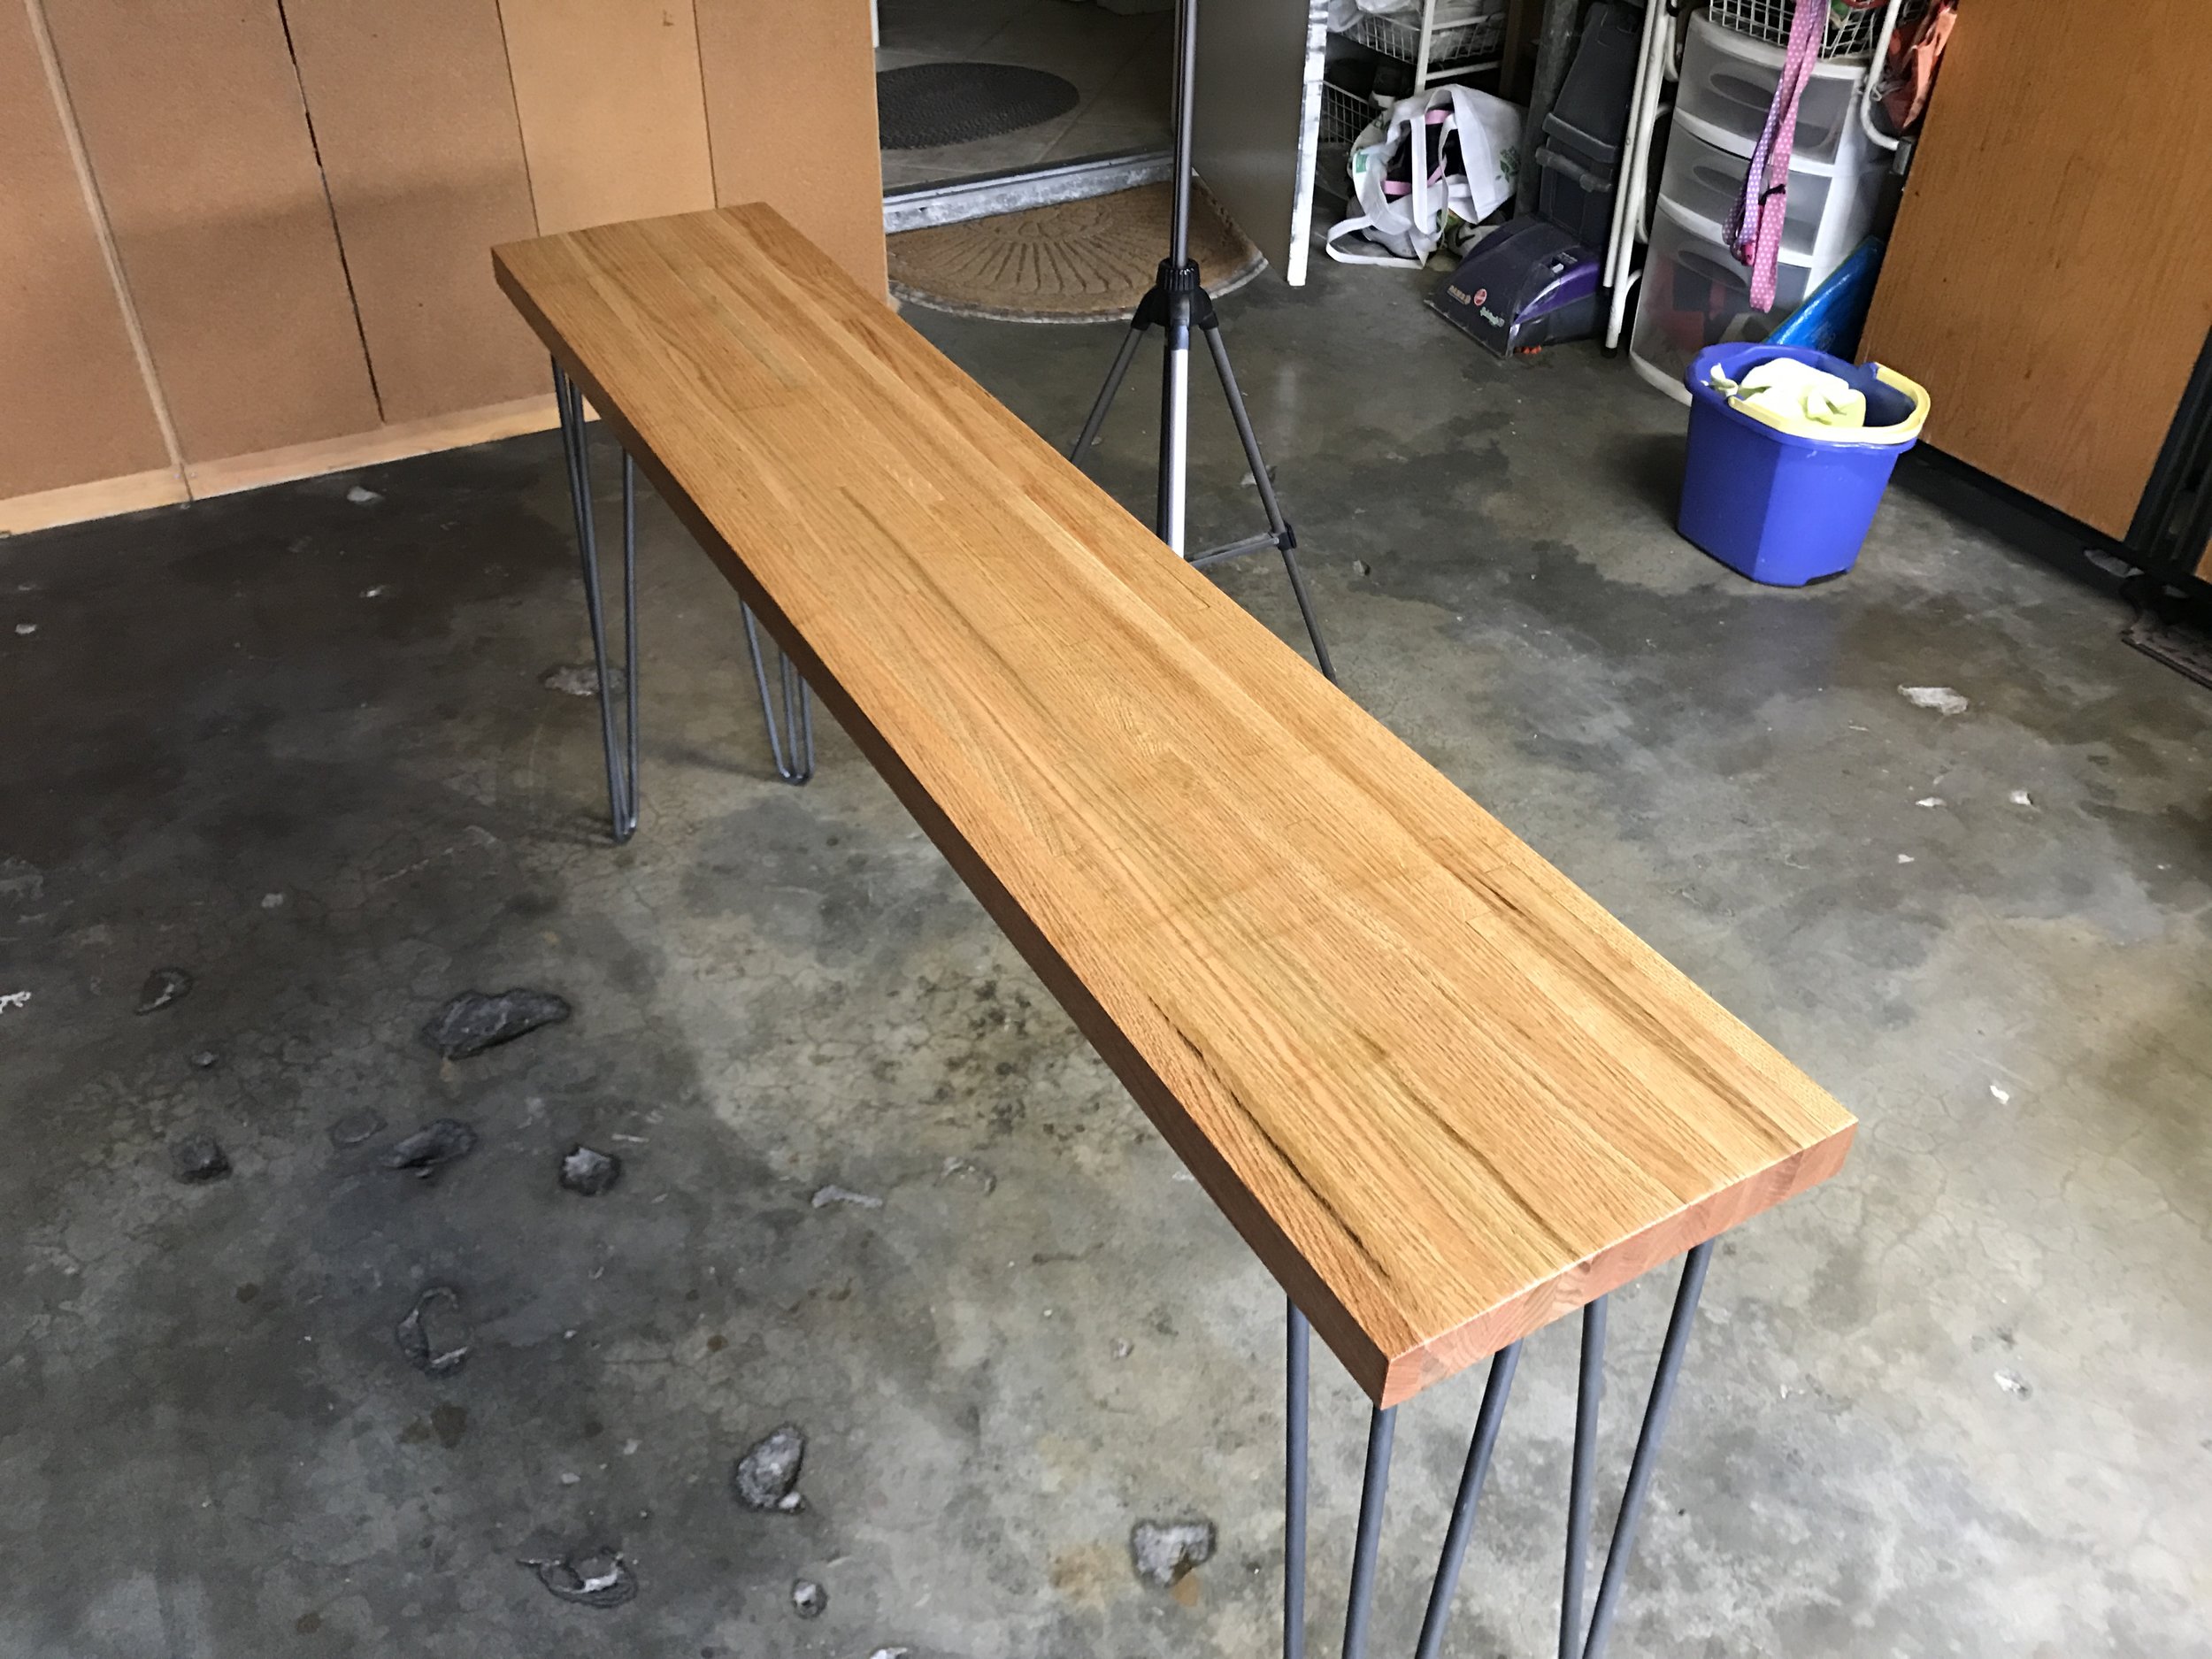
I have been really excited to build this project. This was one of those projects that was simple and complex all at once, with the goal being that the final result comes off as very minimal and sleek looking.
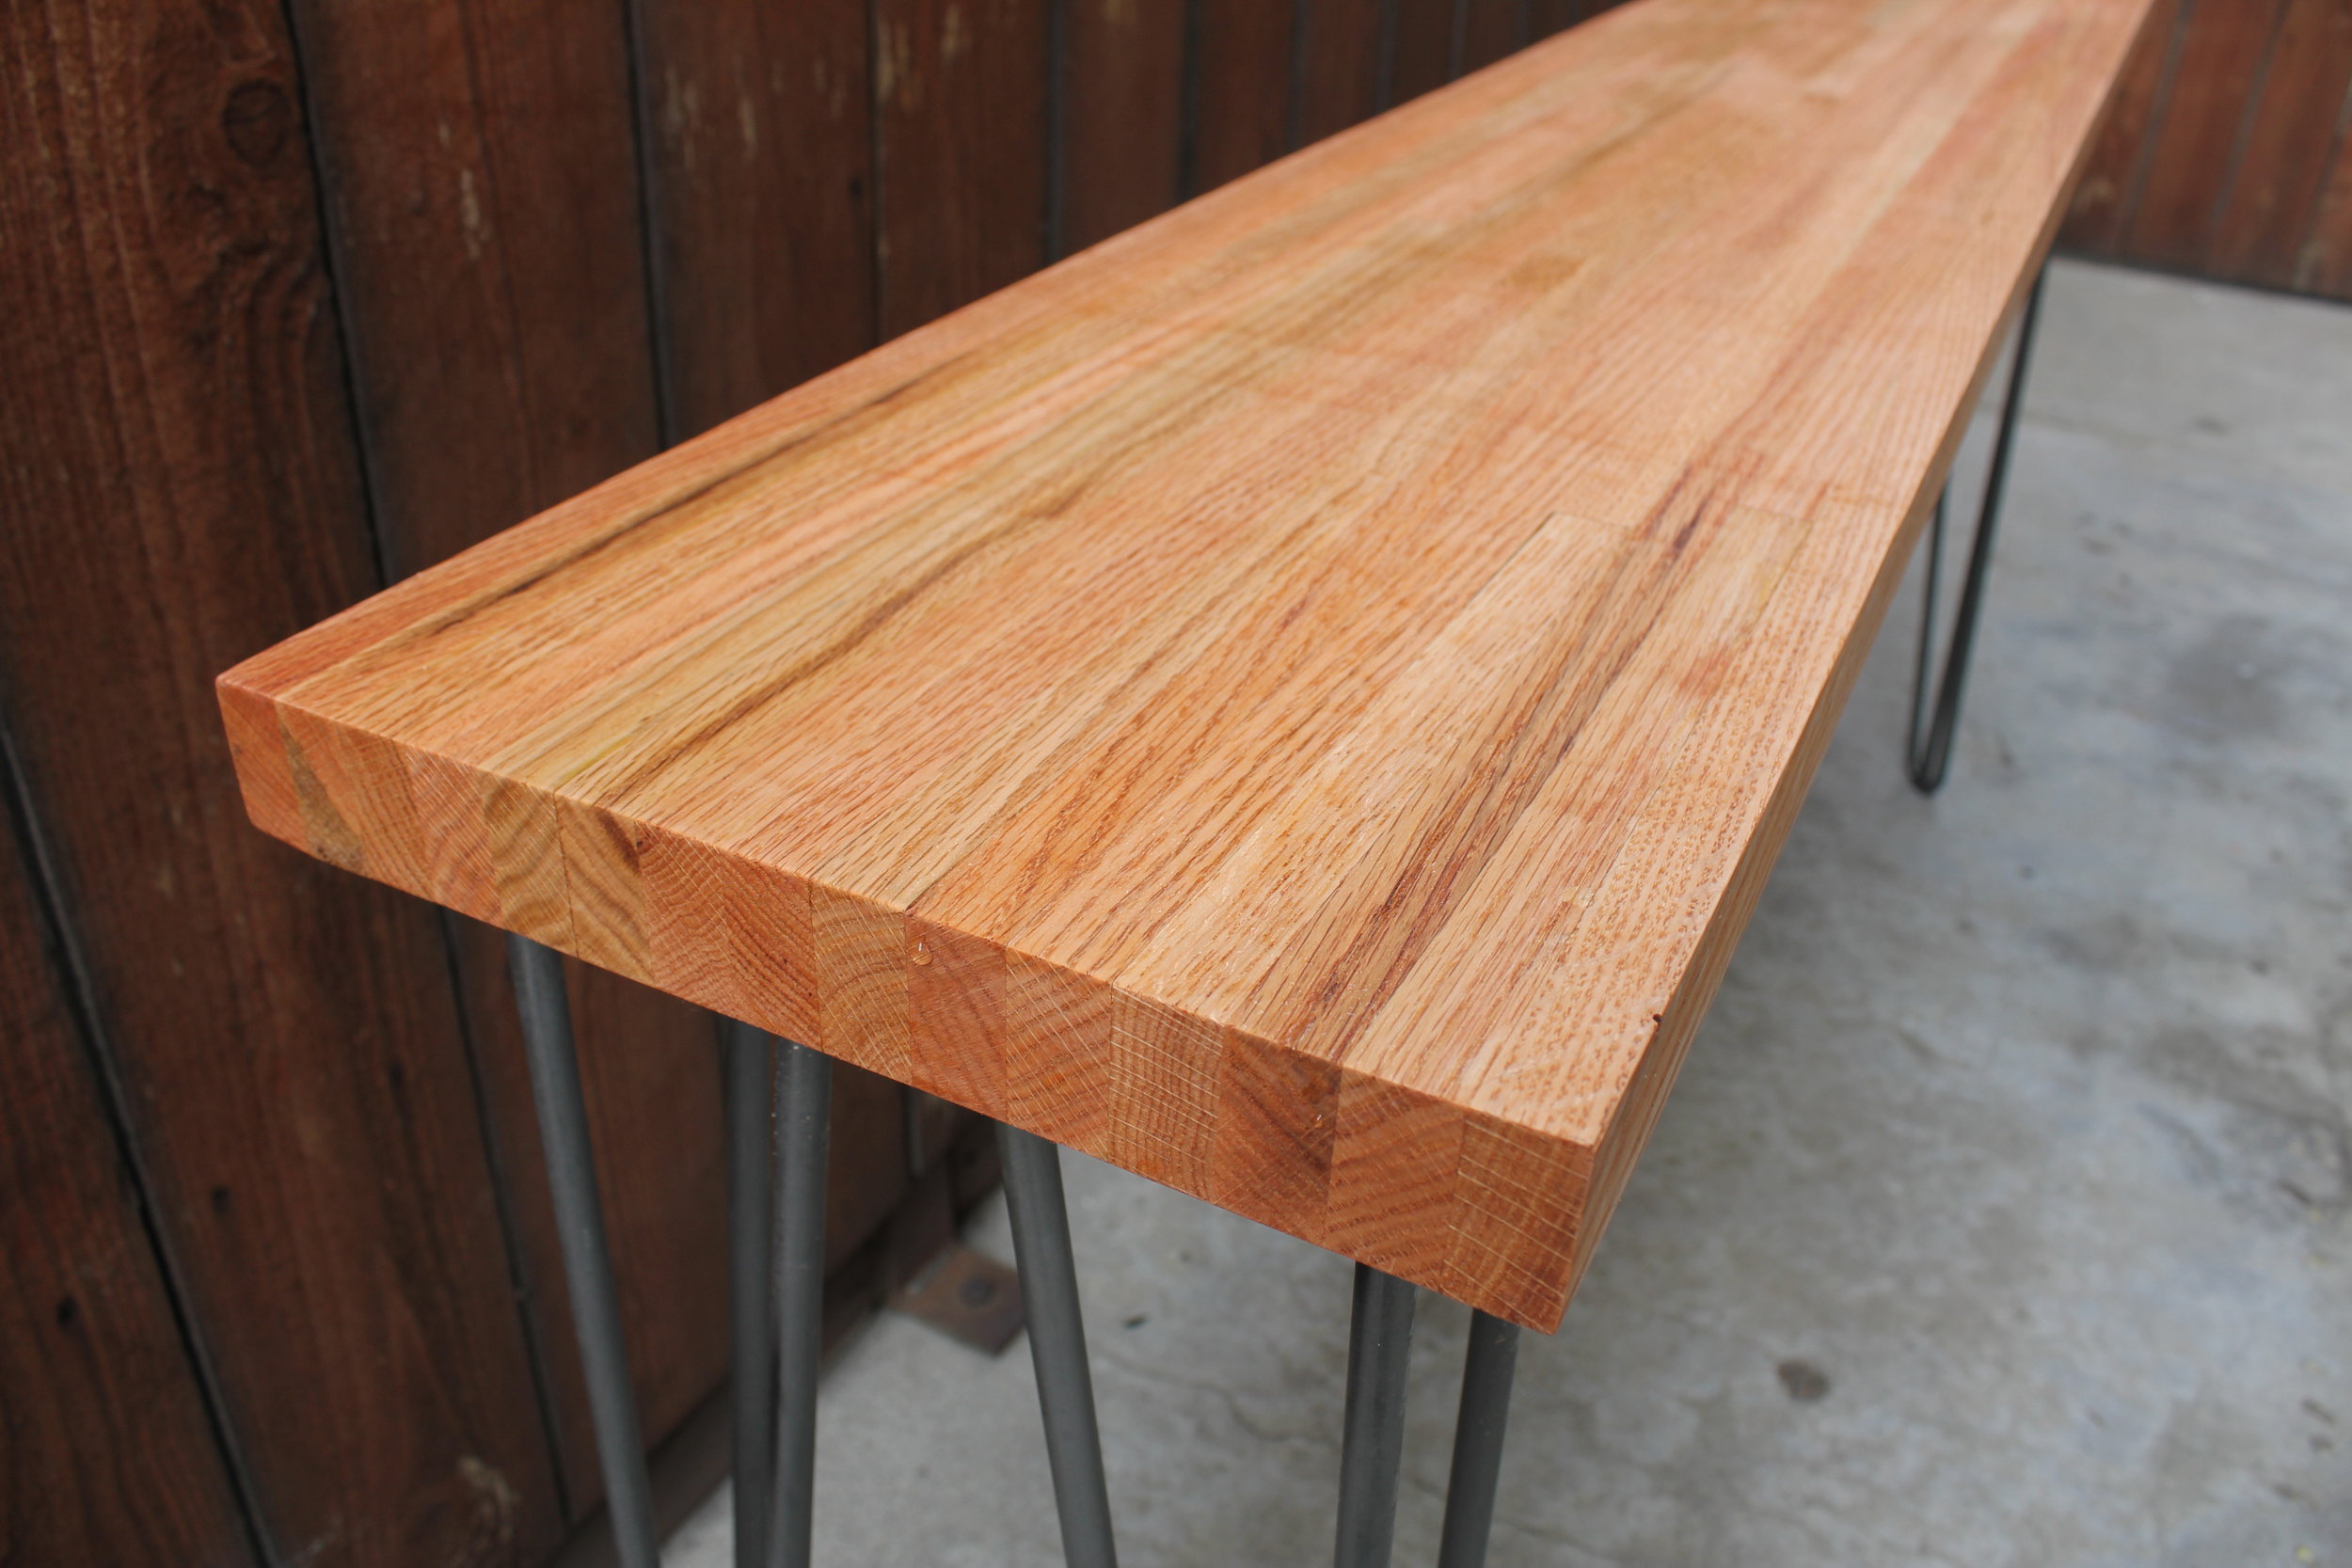
I did my research and couldn't really find any cool projects involving skinny modern desks, but knew I wanted a cool butcher block look to my desk - so I got to work.
MATERIALS
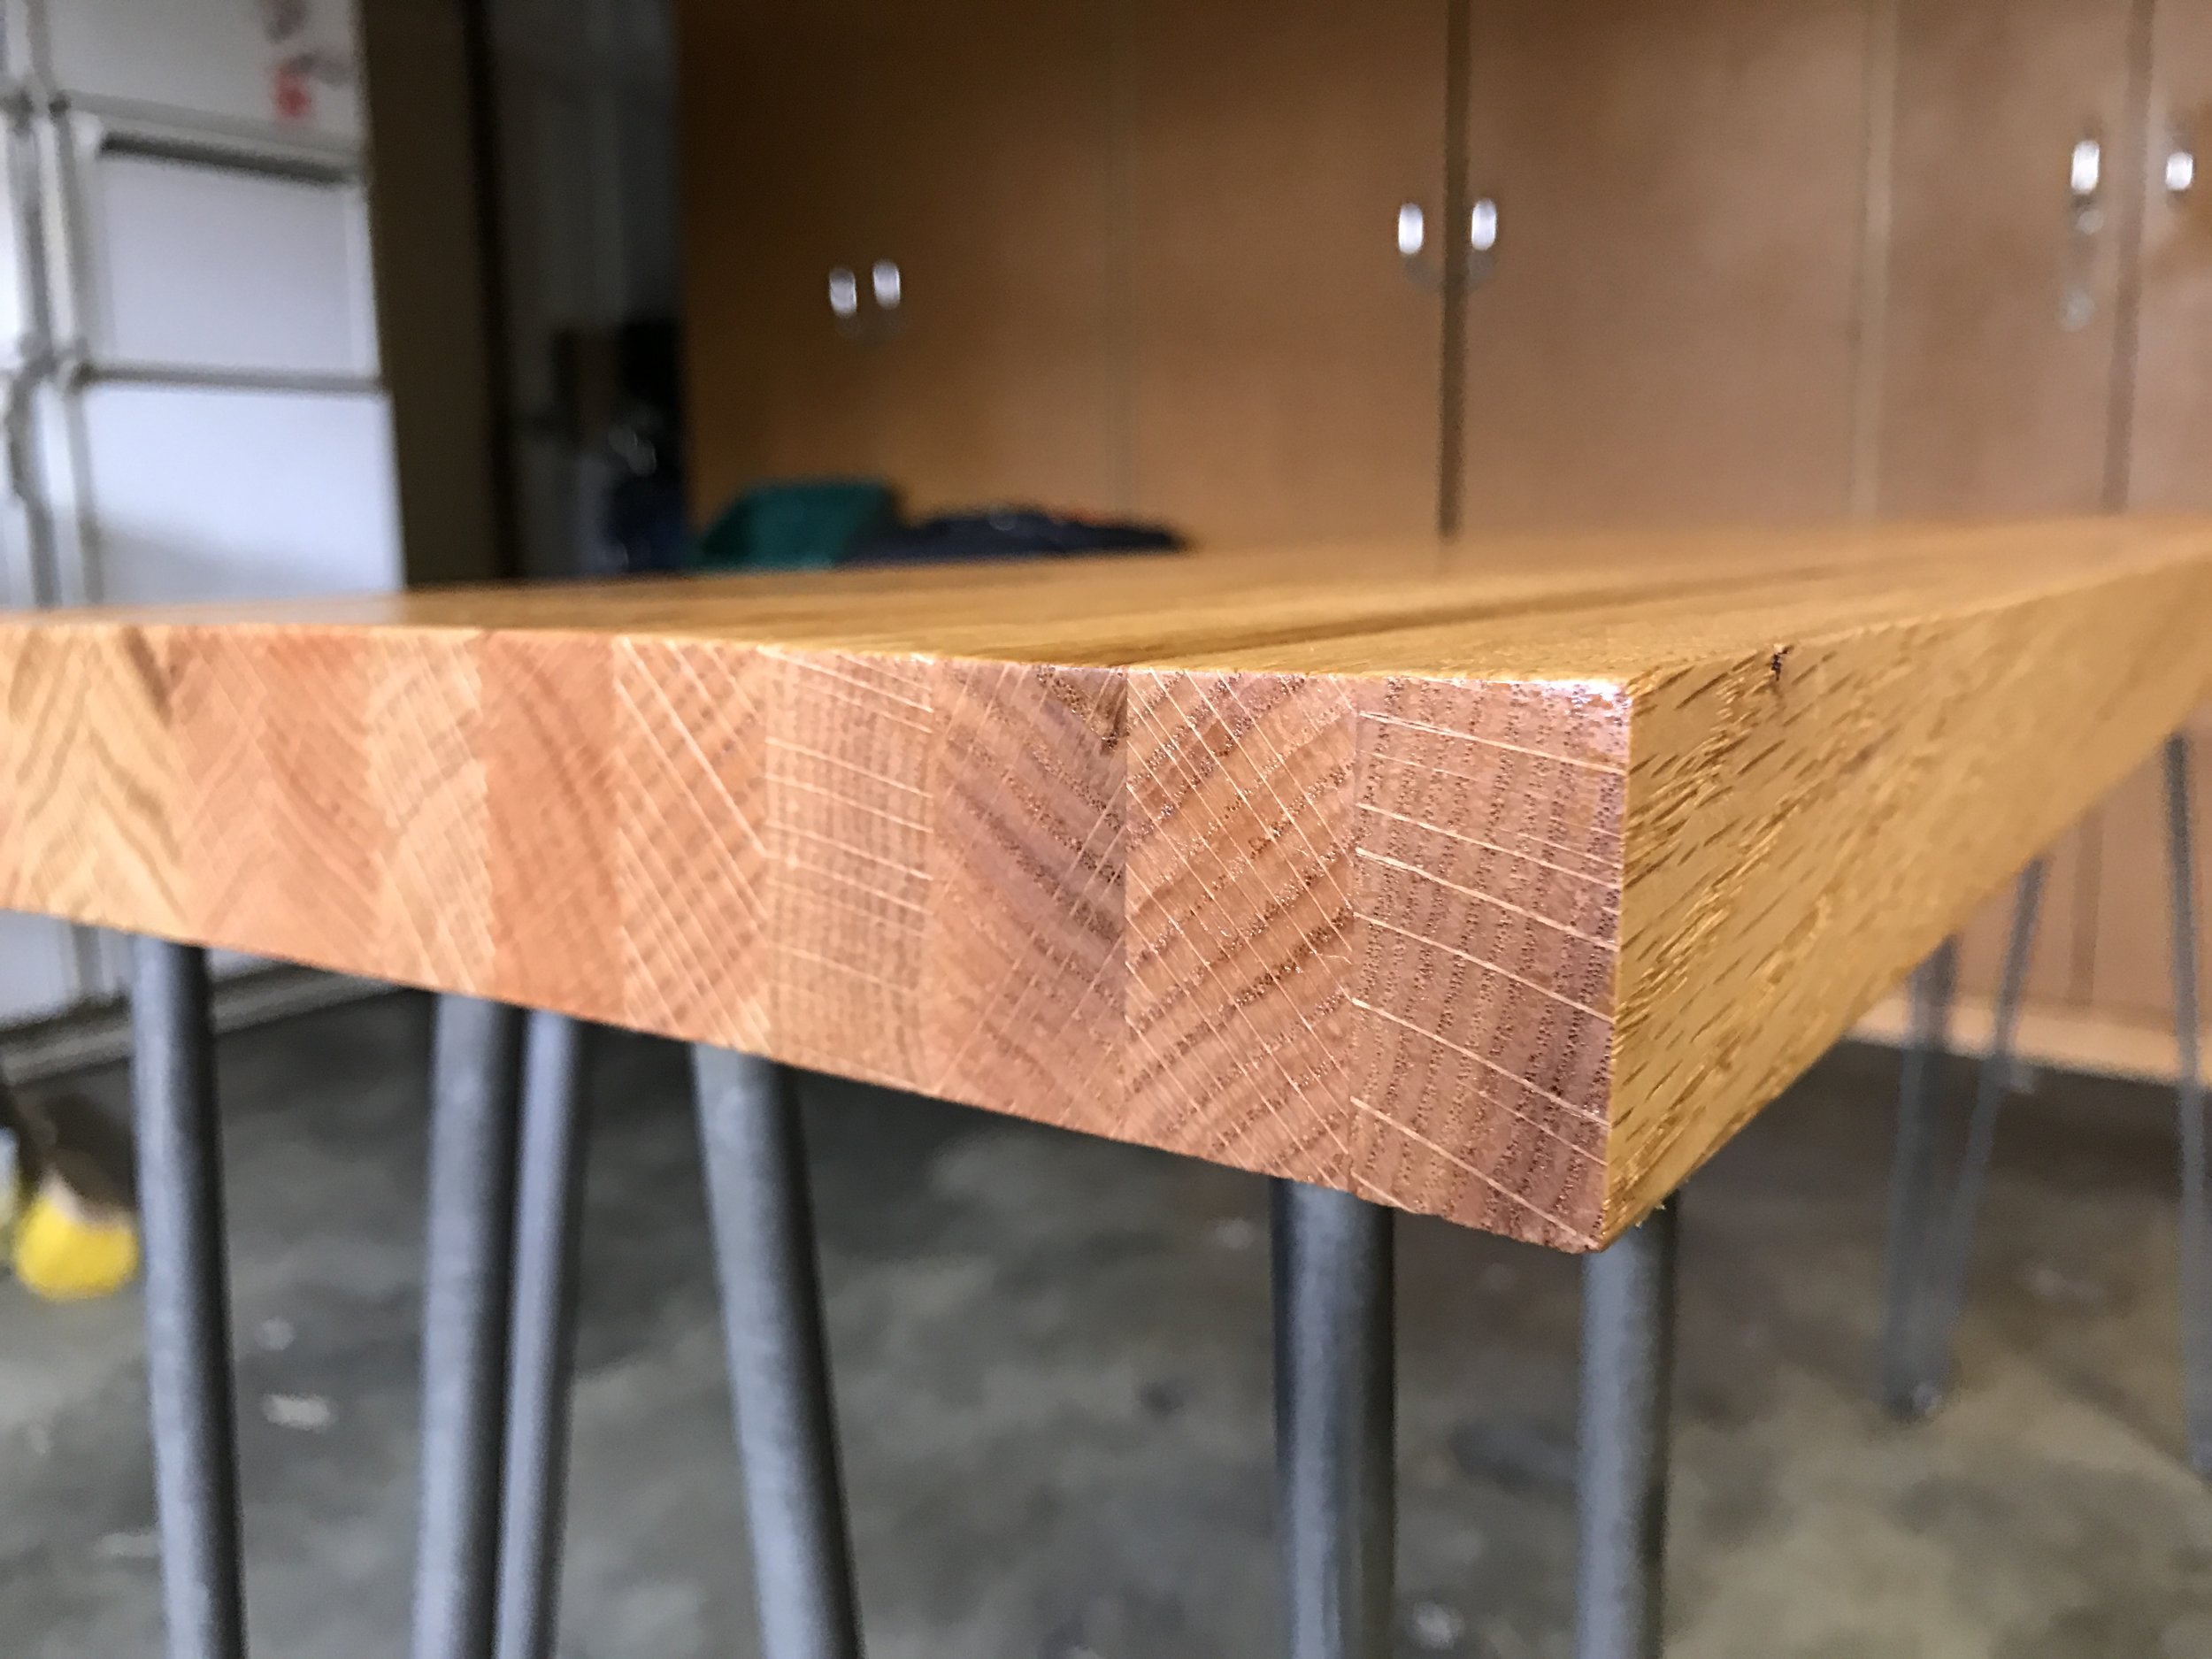
10 x 1" x 2" Red Oak Slats (buy from a local hardwood dealer!)
4 x 28” Three Rod Raw Steel Hairpin Legs
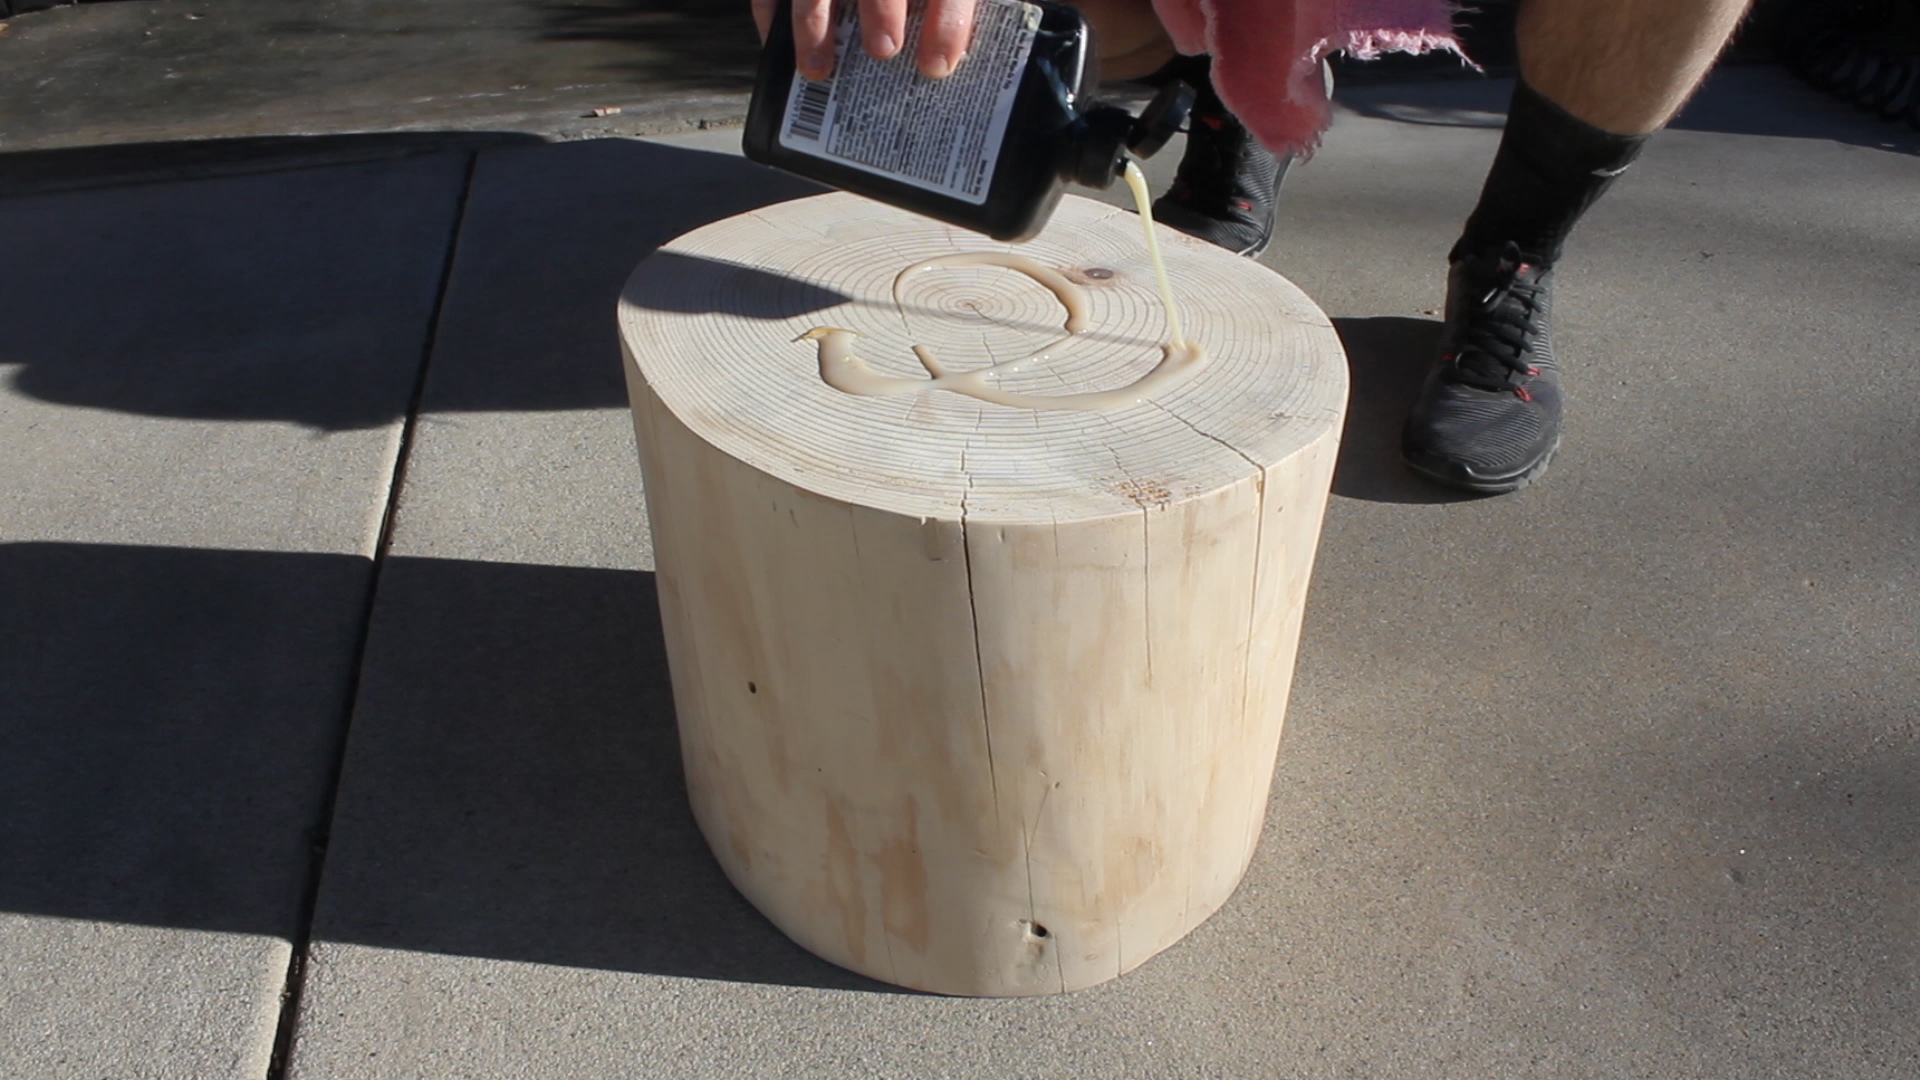
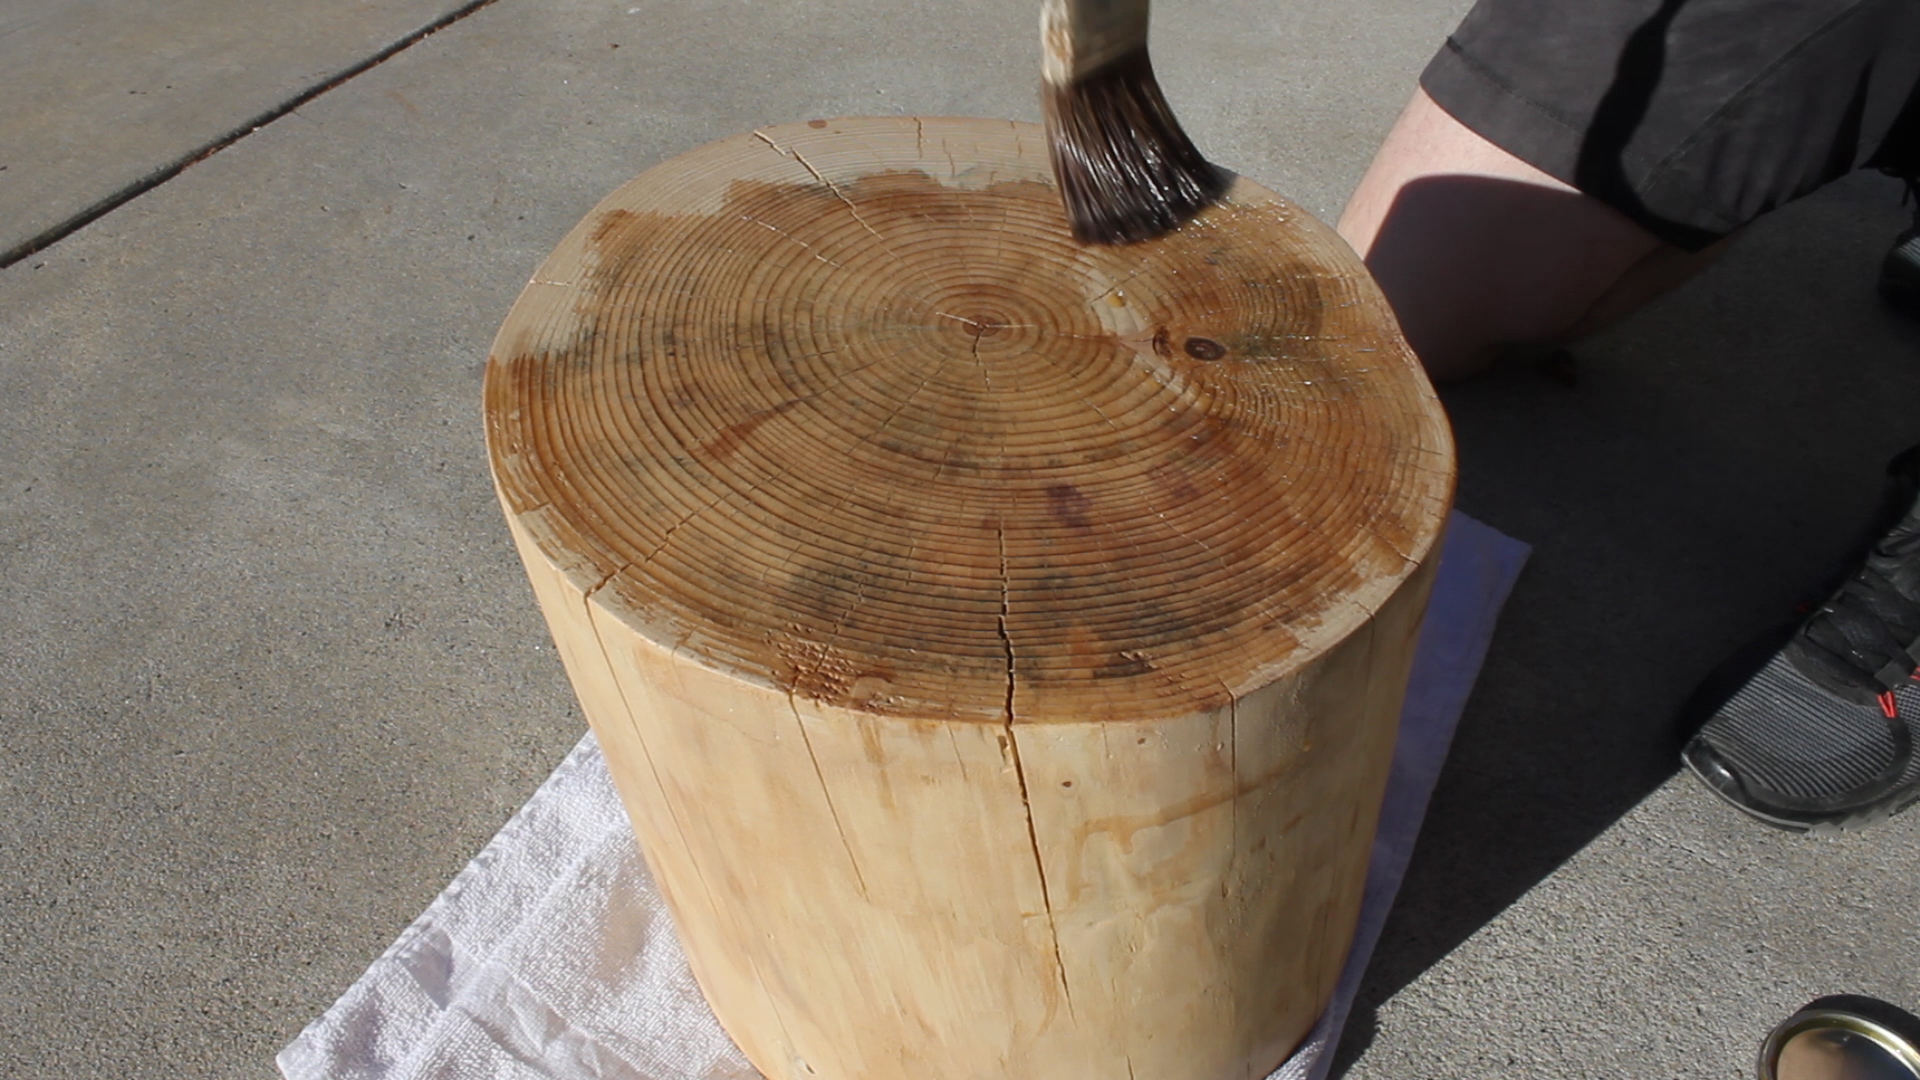
Natural Danish Oil
TiteBond II Wood Glue
1.5” Brad Nails
Frog Tape

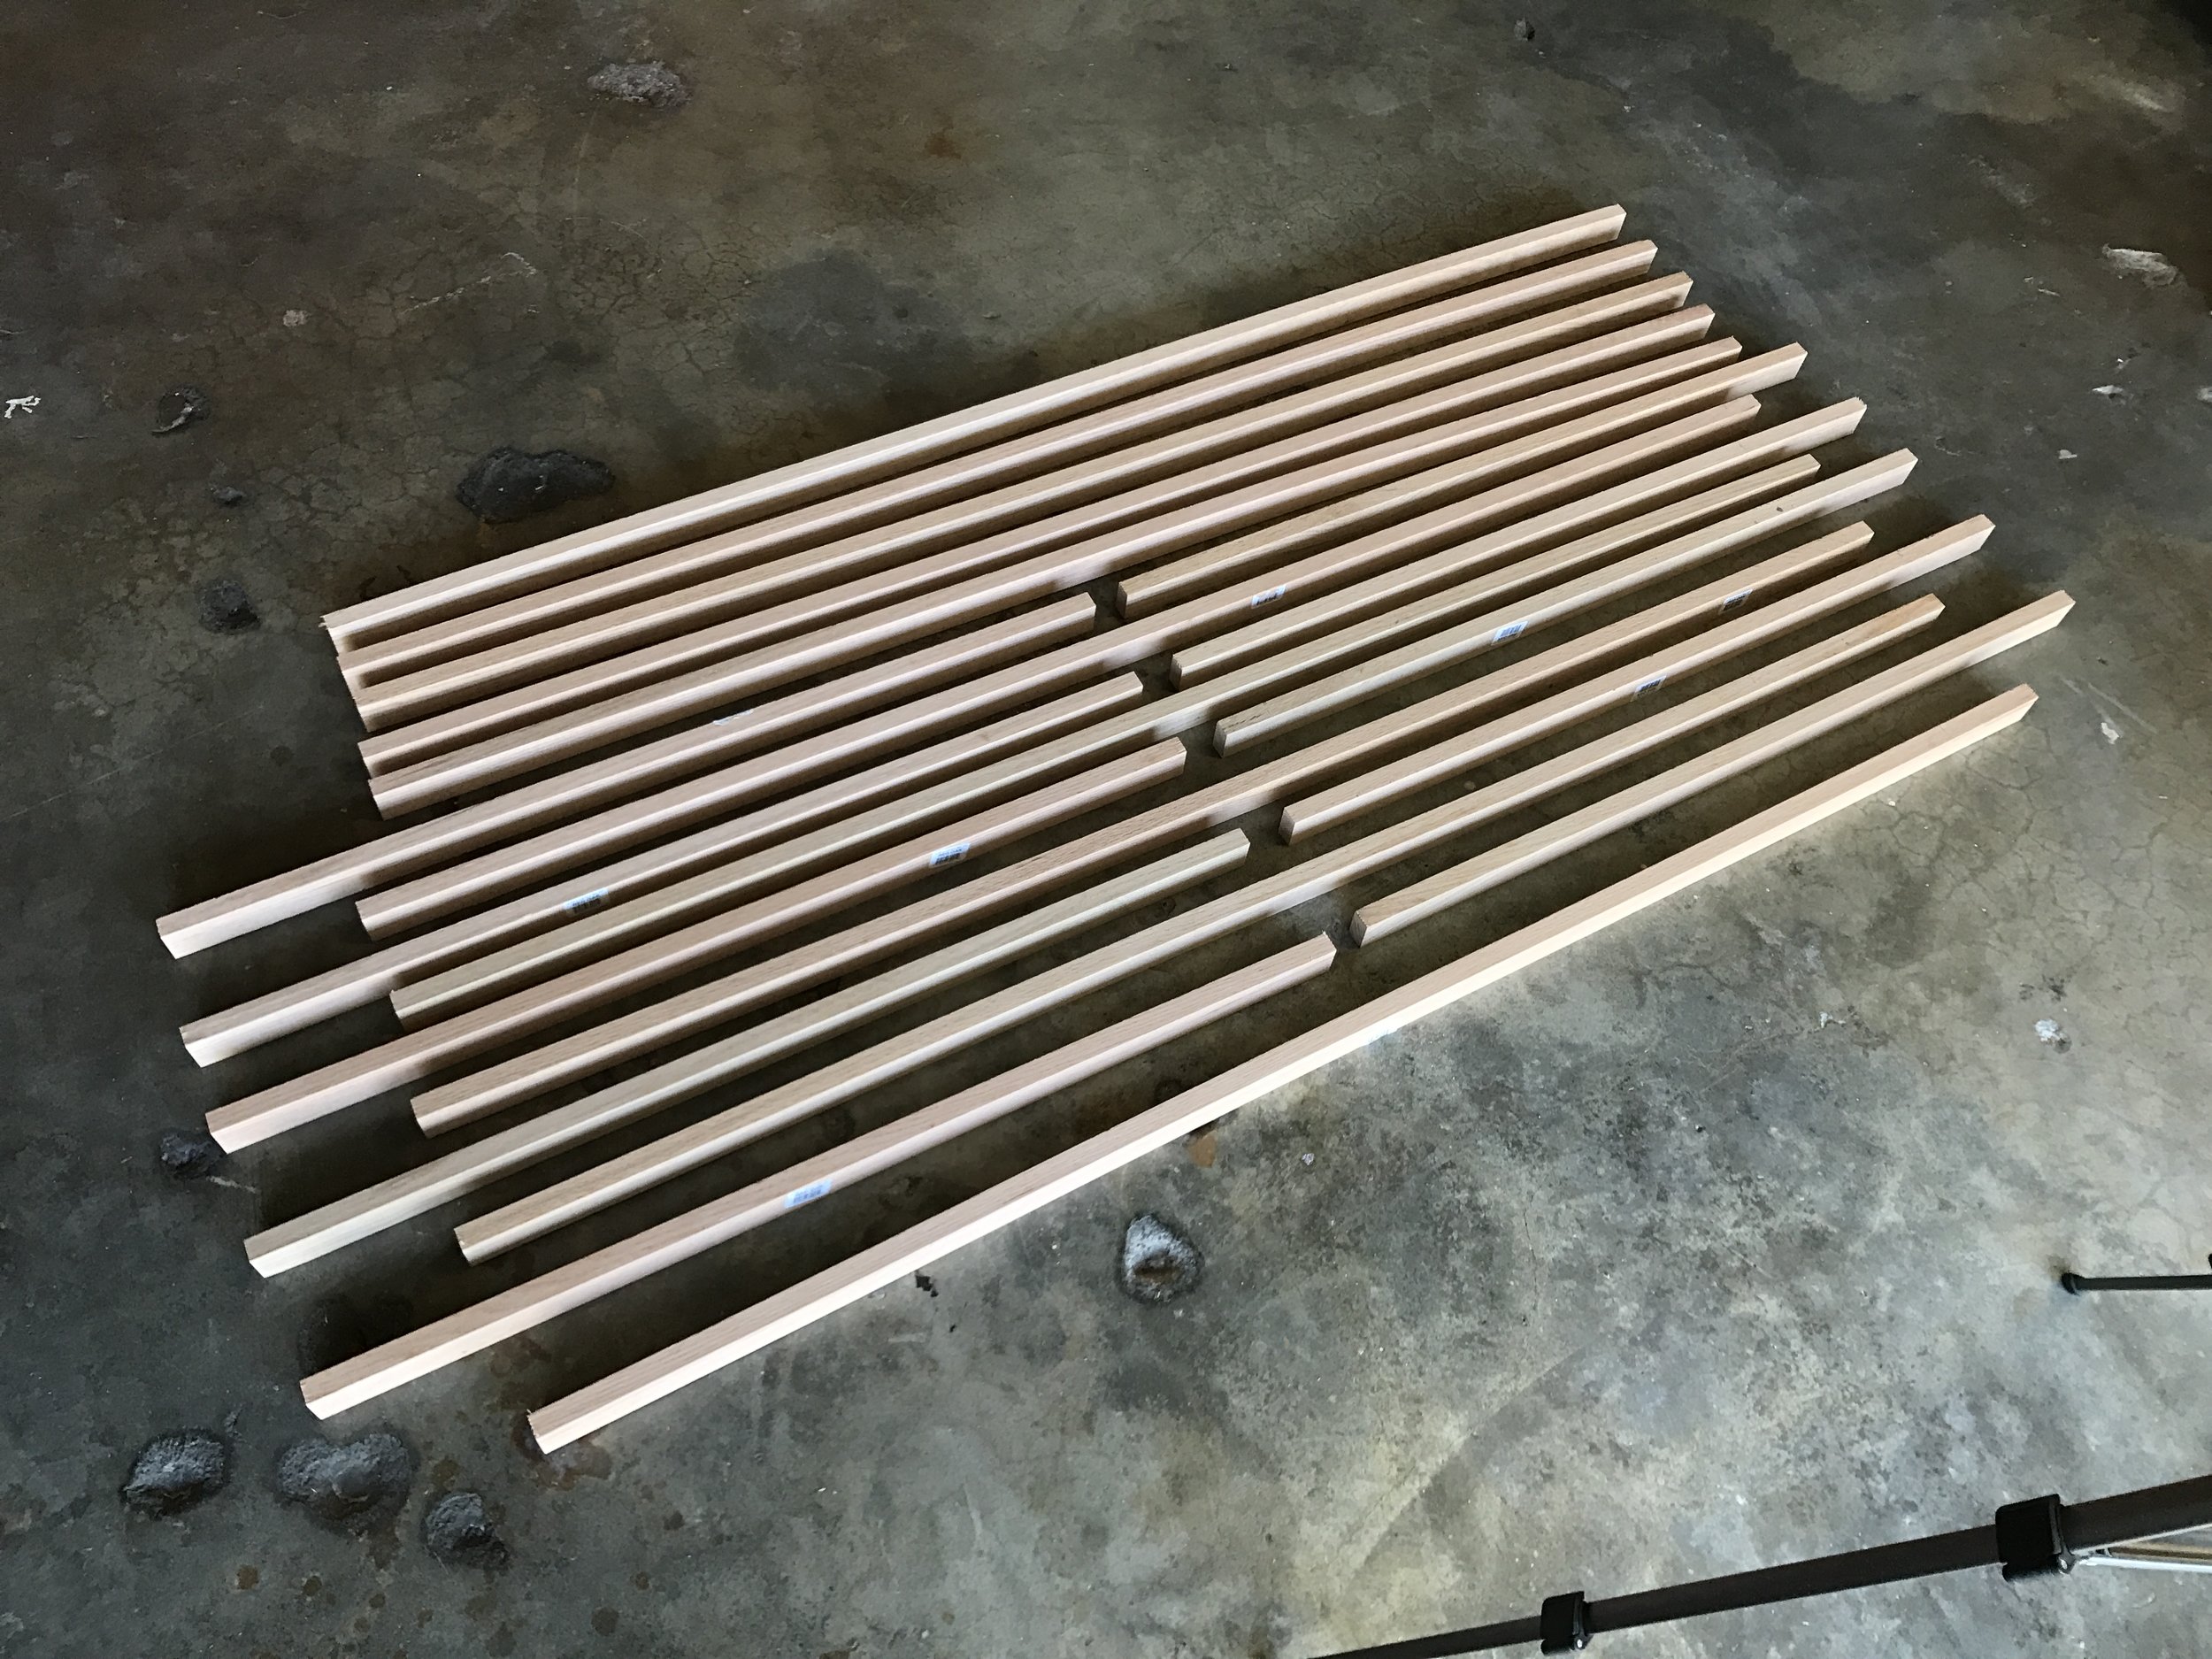
I purchased 10 x 8 ft Red Oak slats at Home Depot in their premium hardwood section by the lumber. About $126 worth which was way too much money for wood (that I later found out...). I wanted my desk to be about 5 feet in length and just under a foot wide, so purchasing 10 was perfect for this project BUT left me very little wiggle room on the back end - so be aware of that.
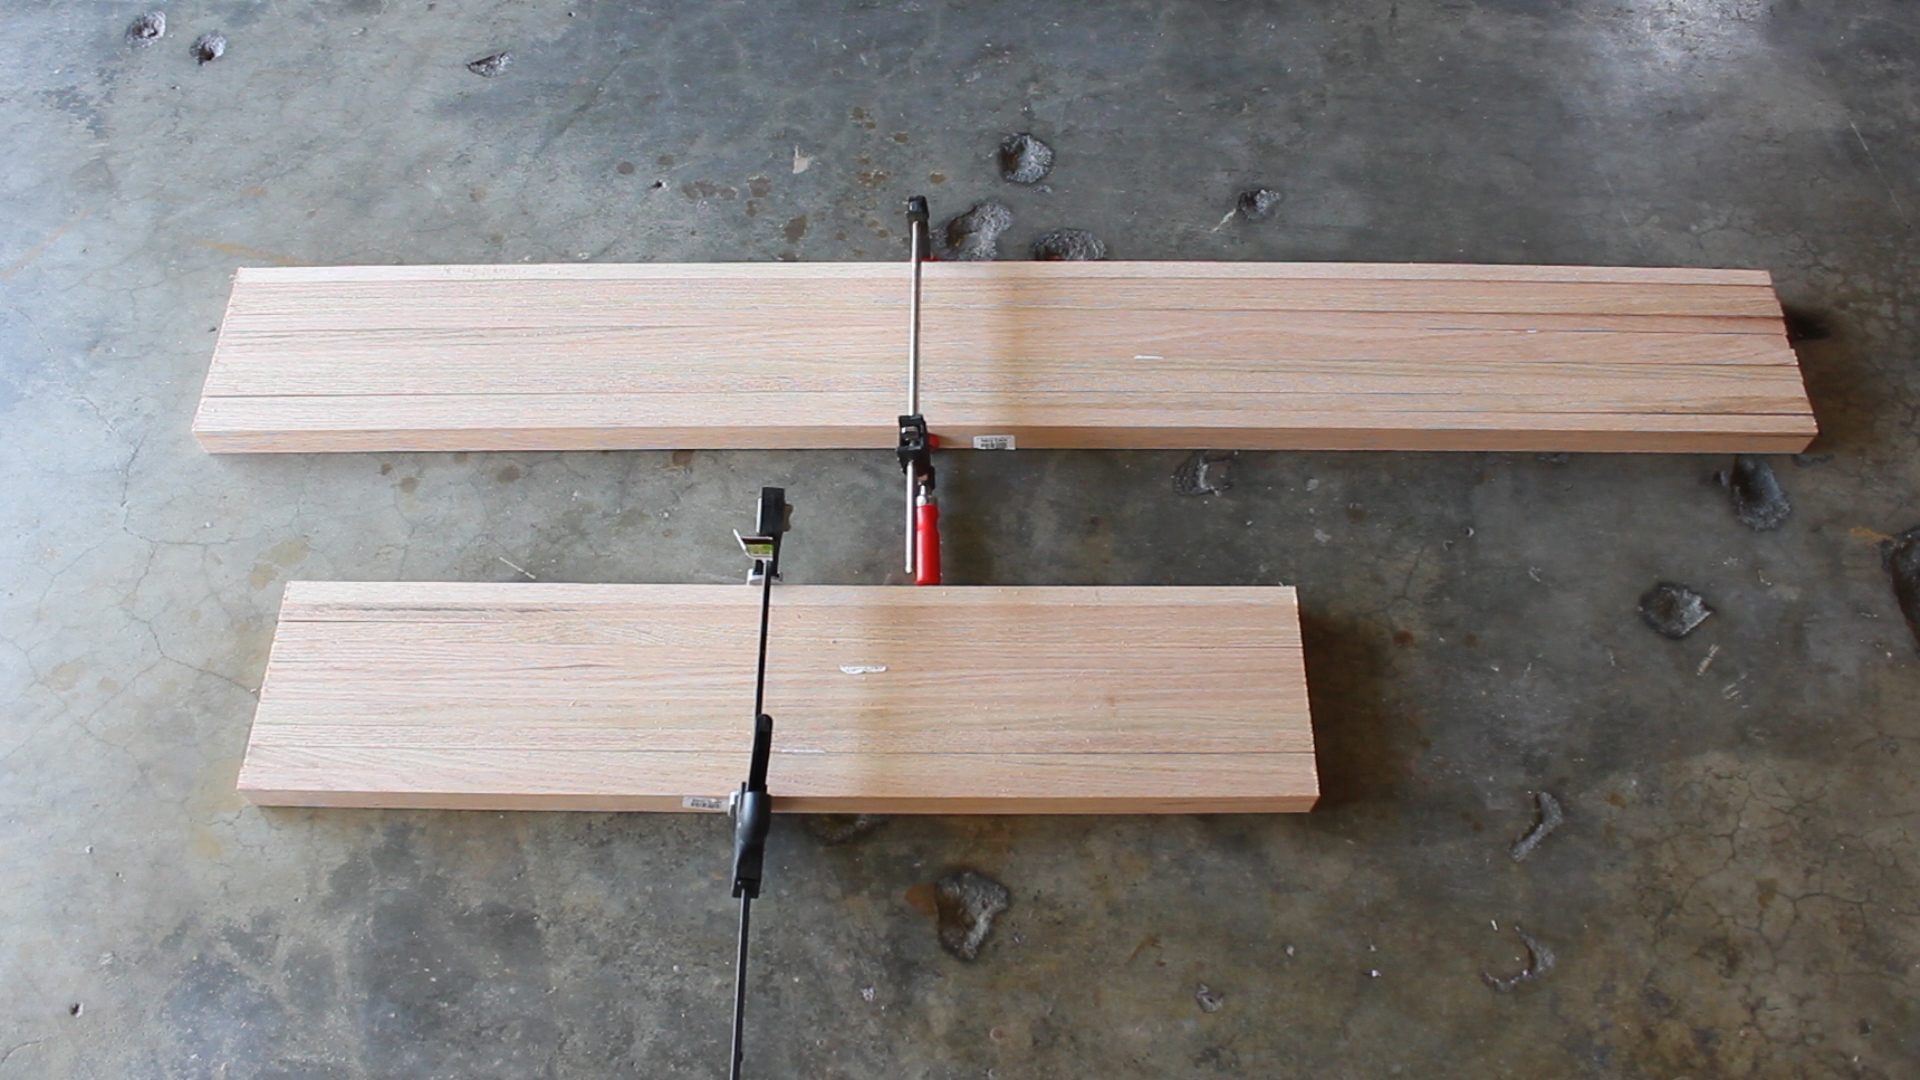
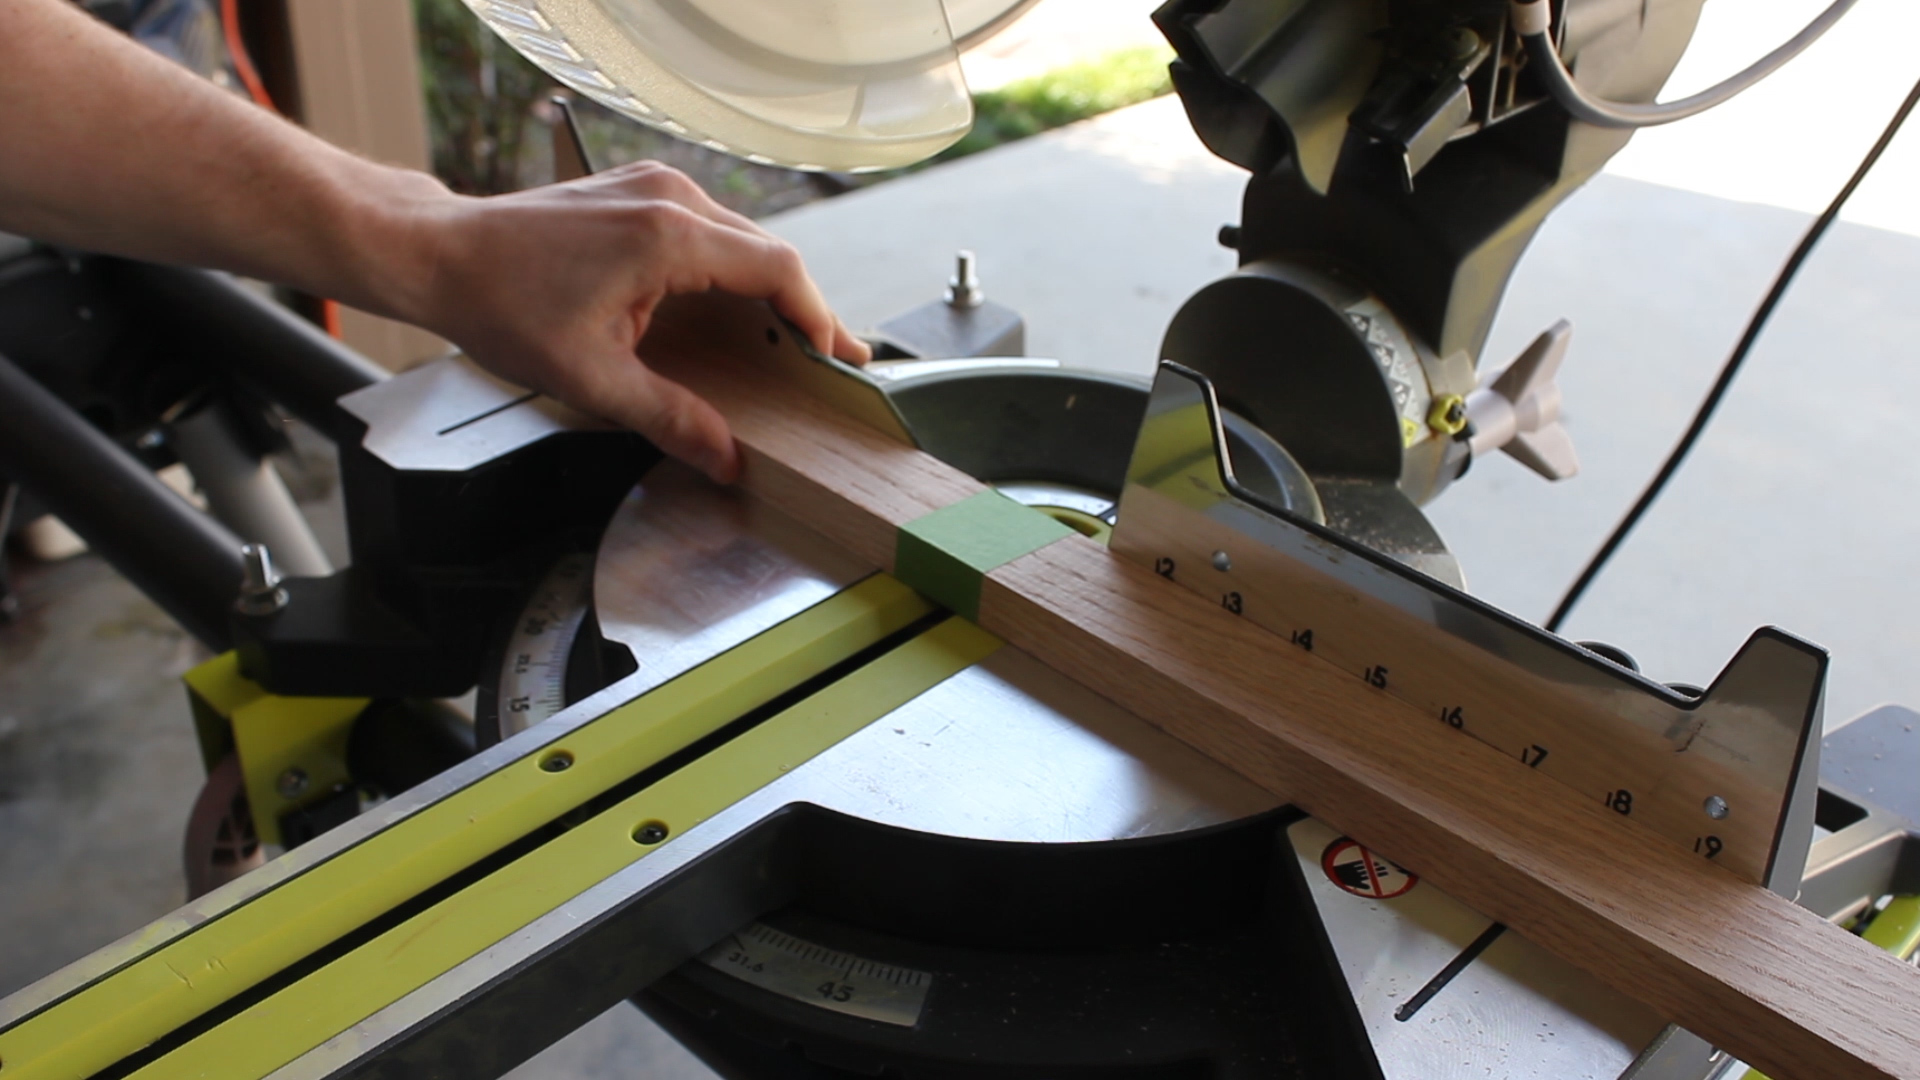
I clamped my wood together and cut it all at once on the miter saw - taking it slow to avoid any tear out. I cut 10 slats into 61", leaving me another 10 at 35" which I could then mix into the larger slats to make the final desk width, as seen in the third pic above.
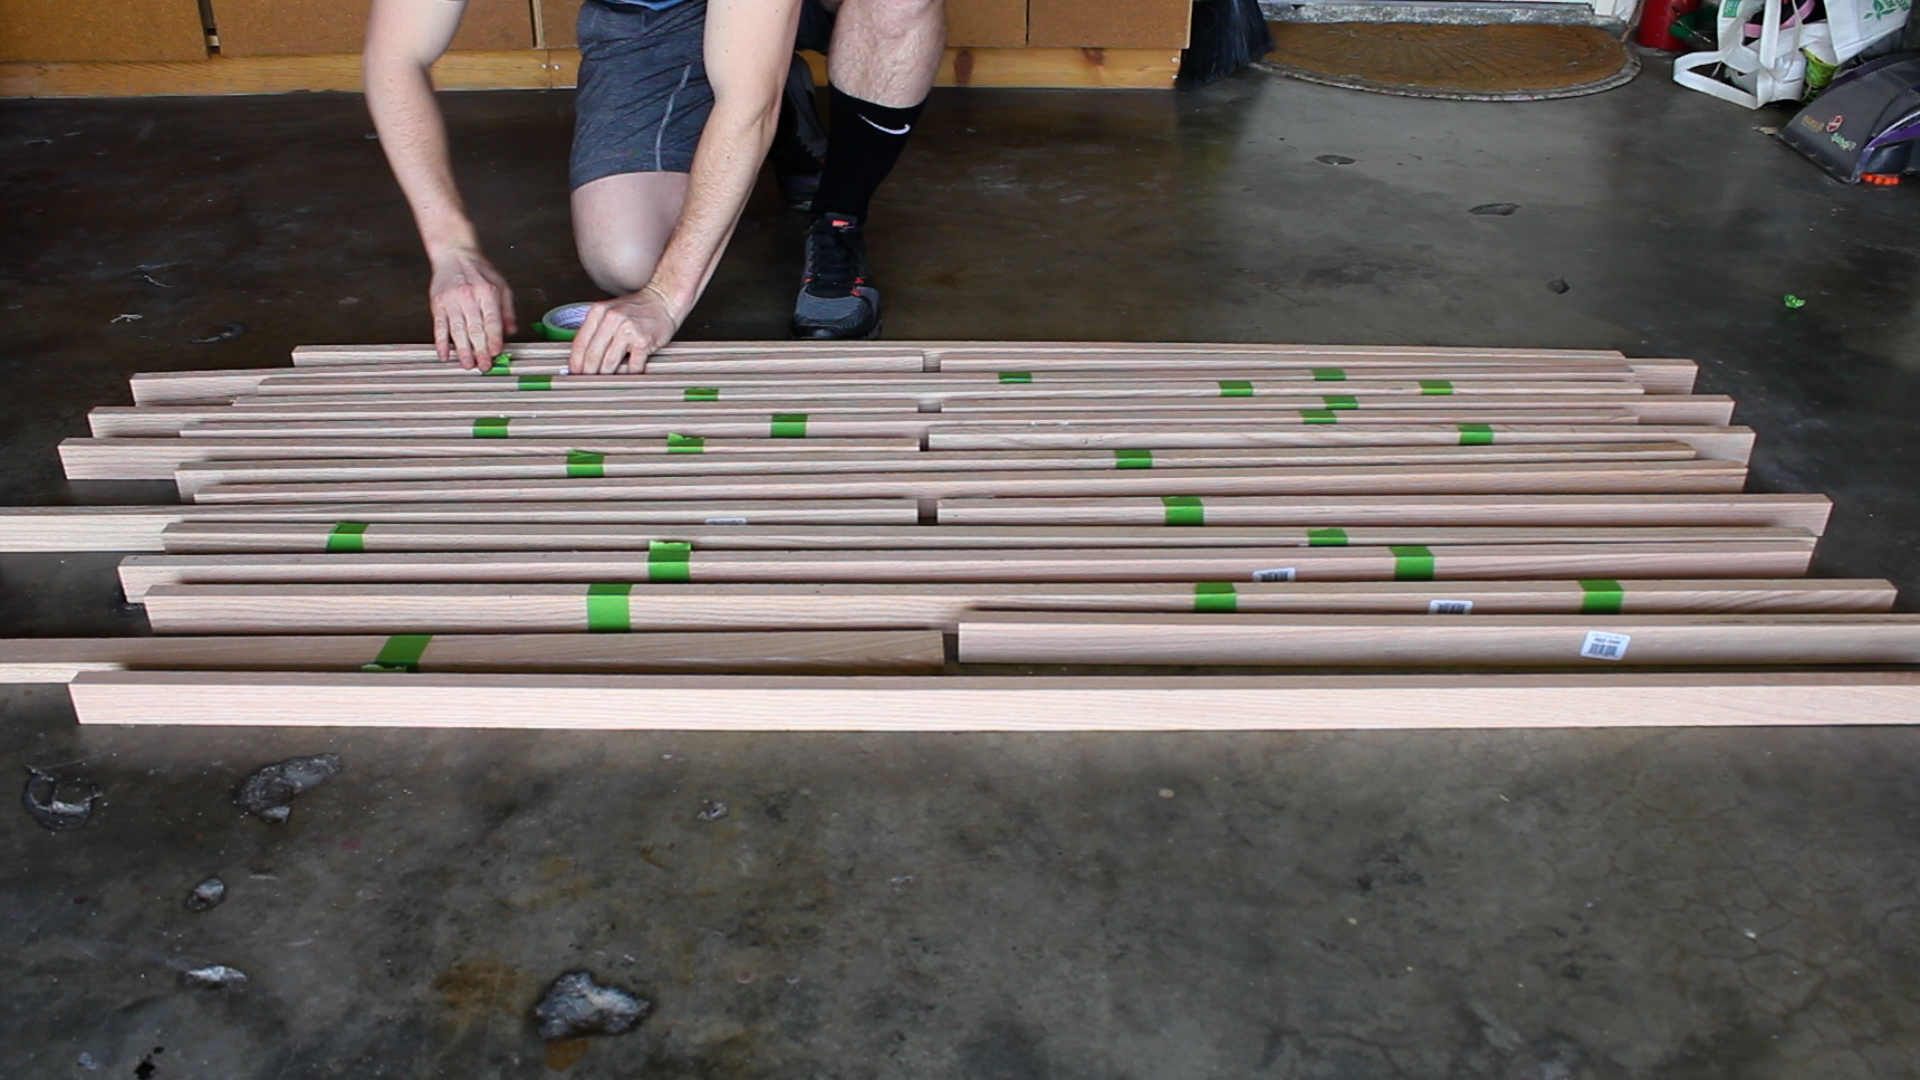
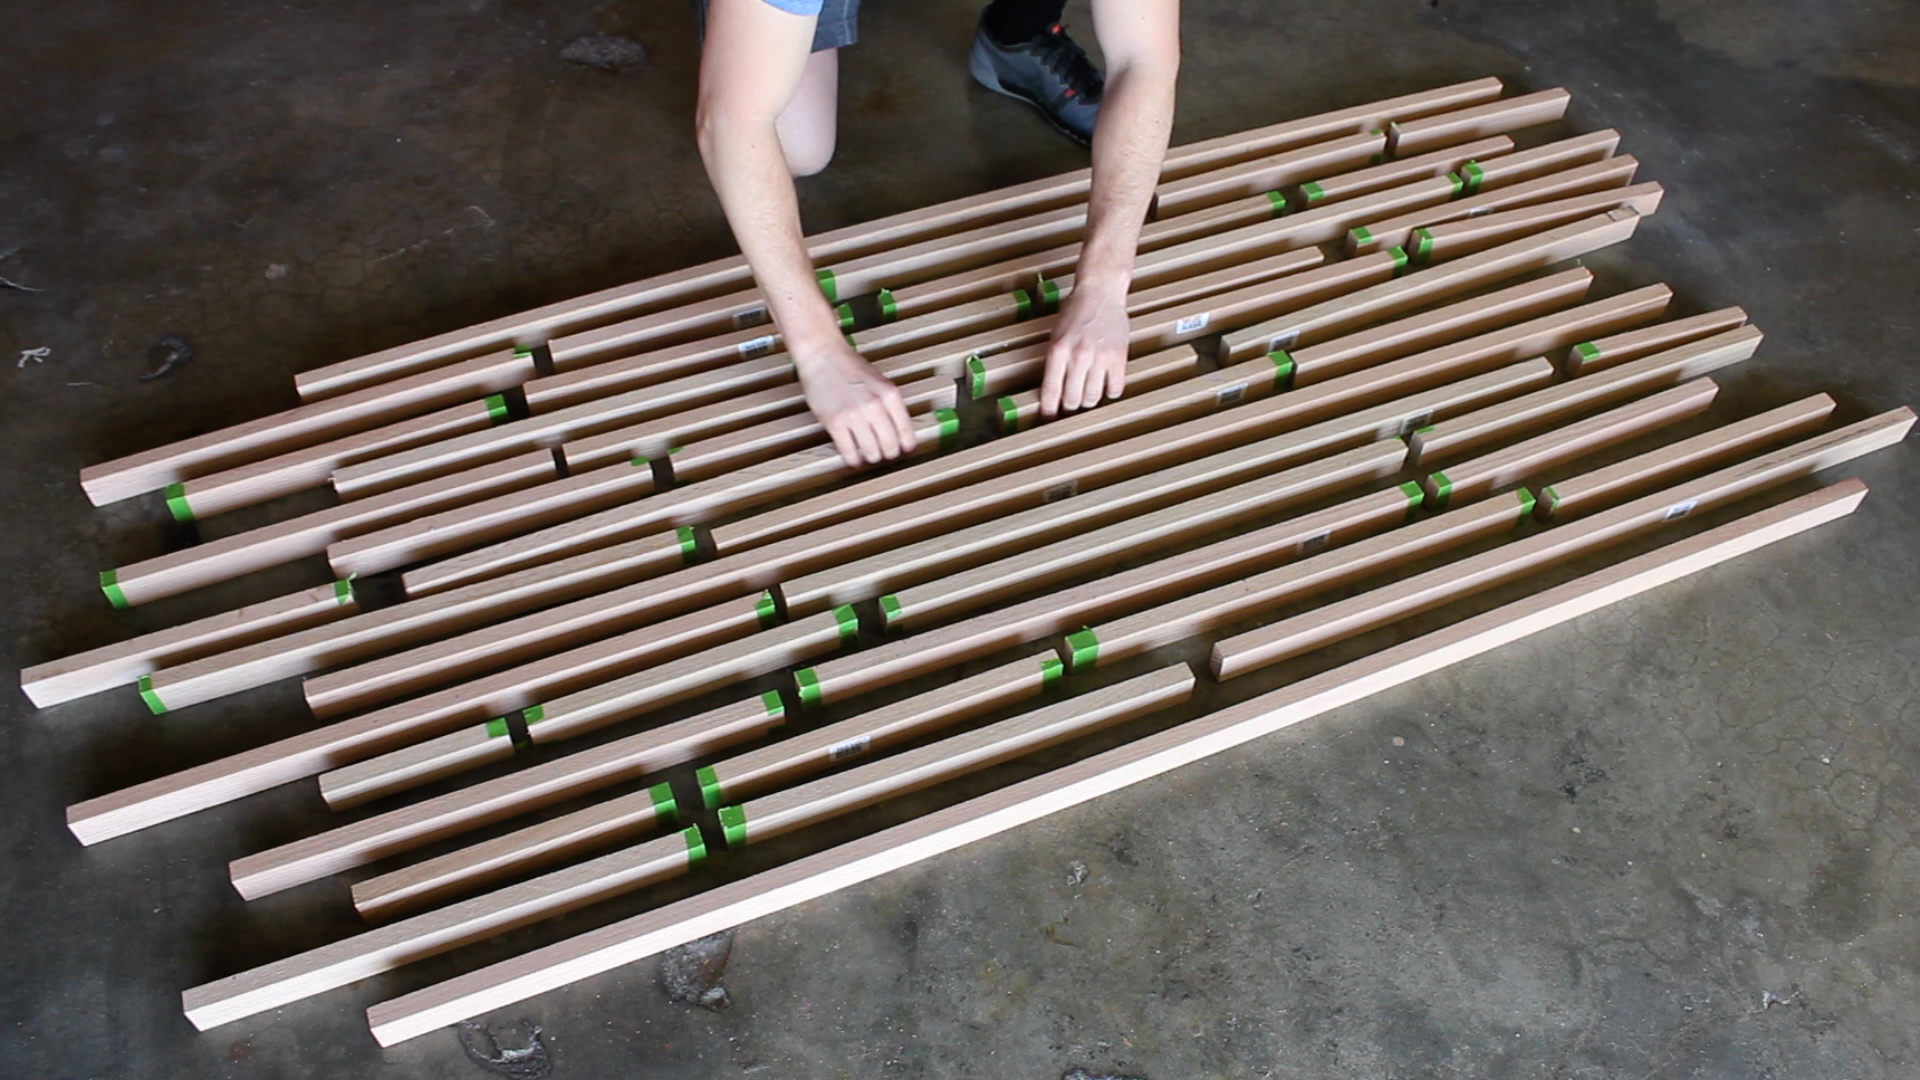
Next up, because I wanted a butcher block look to my desk, I went in an marked and taped up (again to avoid tear out) a bunch of additional areas that I wanted to cut further. This technique works great - highly recommend the tape!
Once I had cut everything, I went back and rearranged pieces, flipped them over, swapped them for pieces of similar length, etc. just to mix up the variety of the grain.
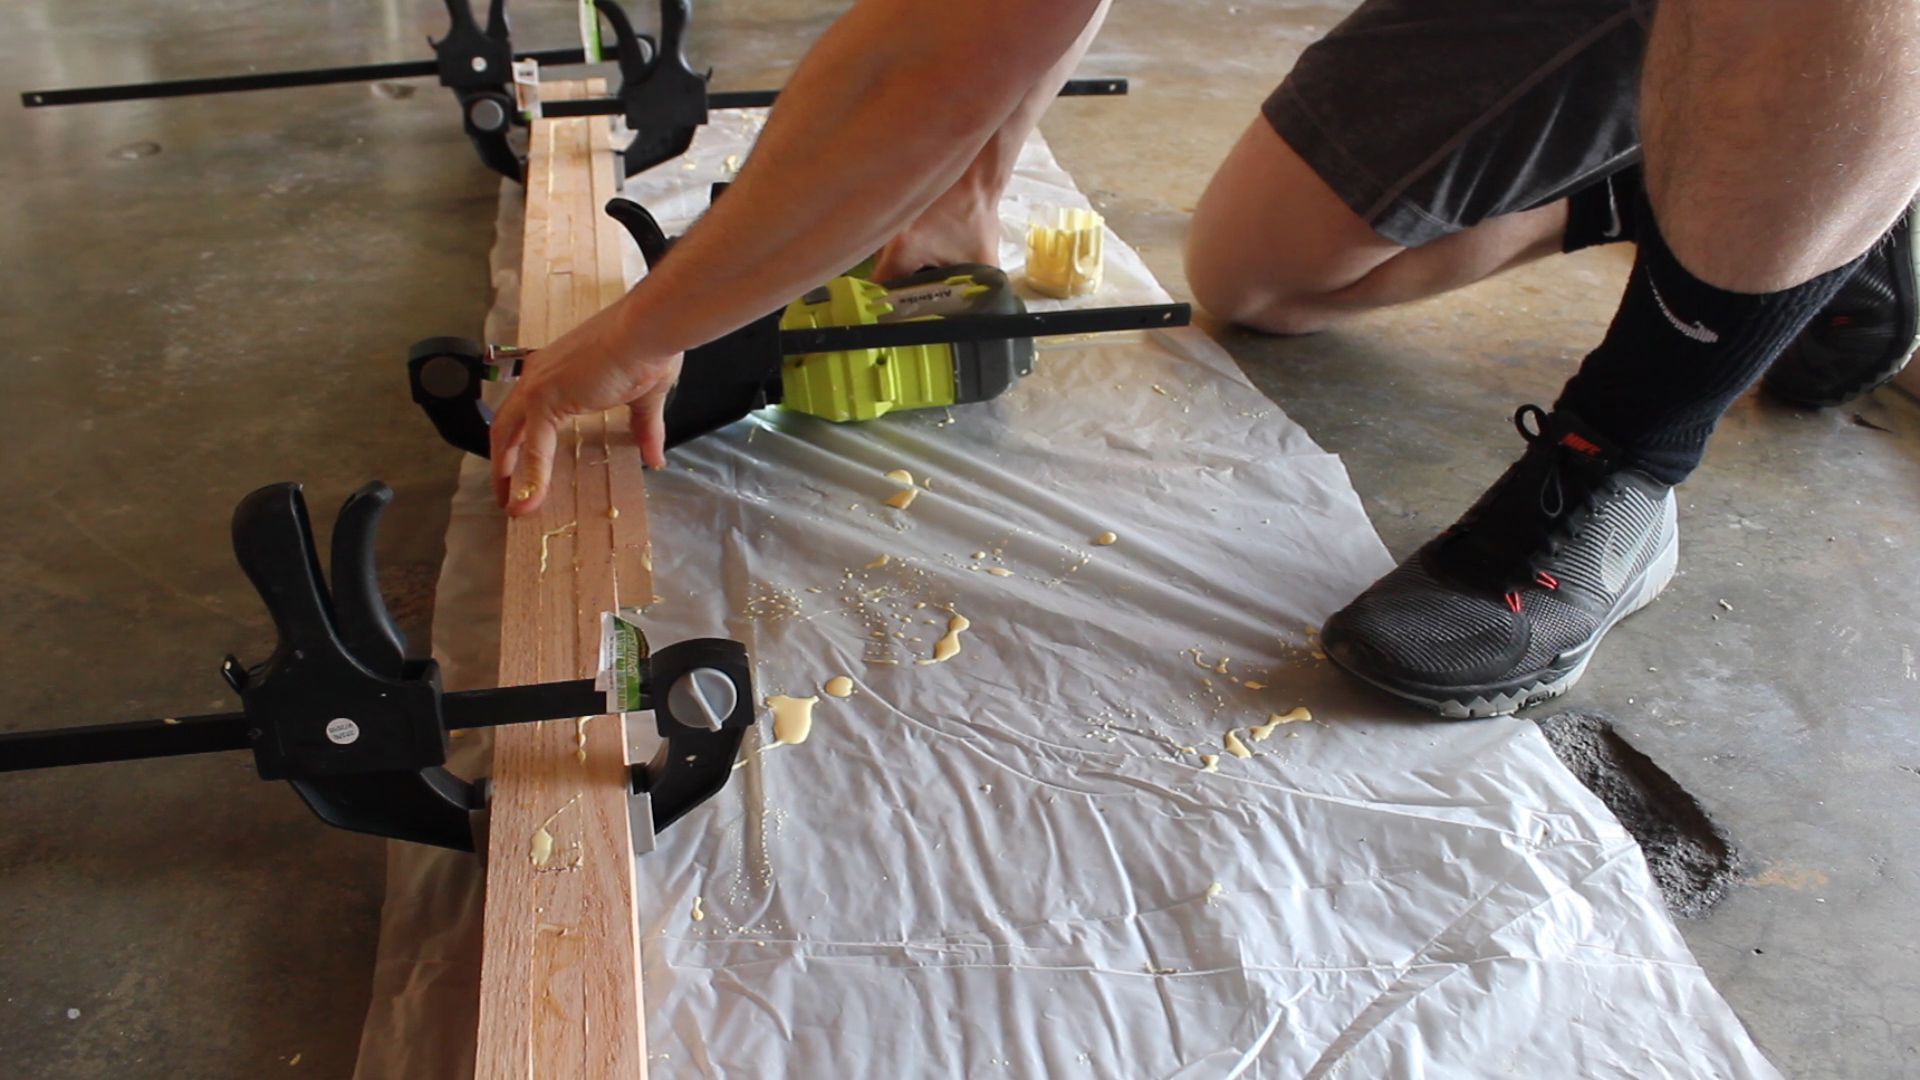
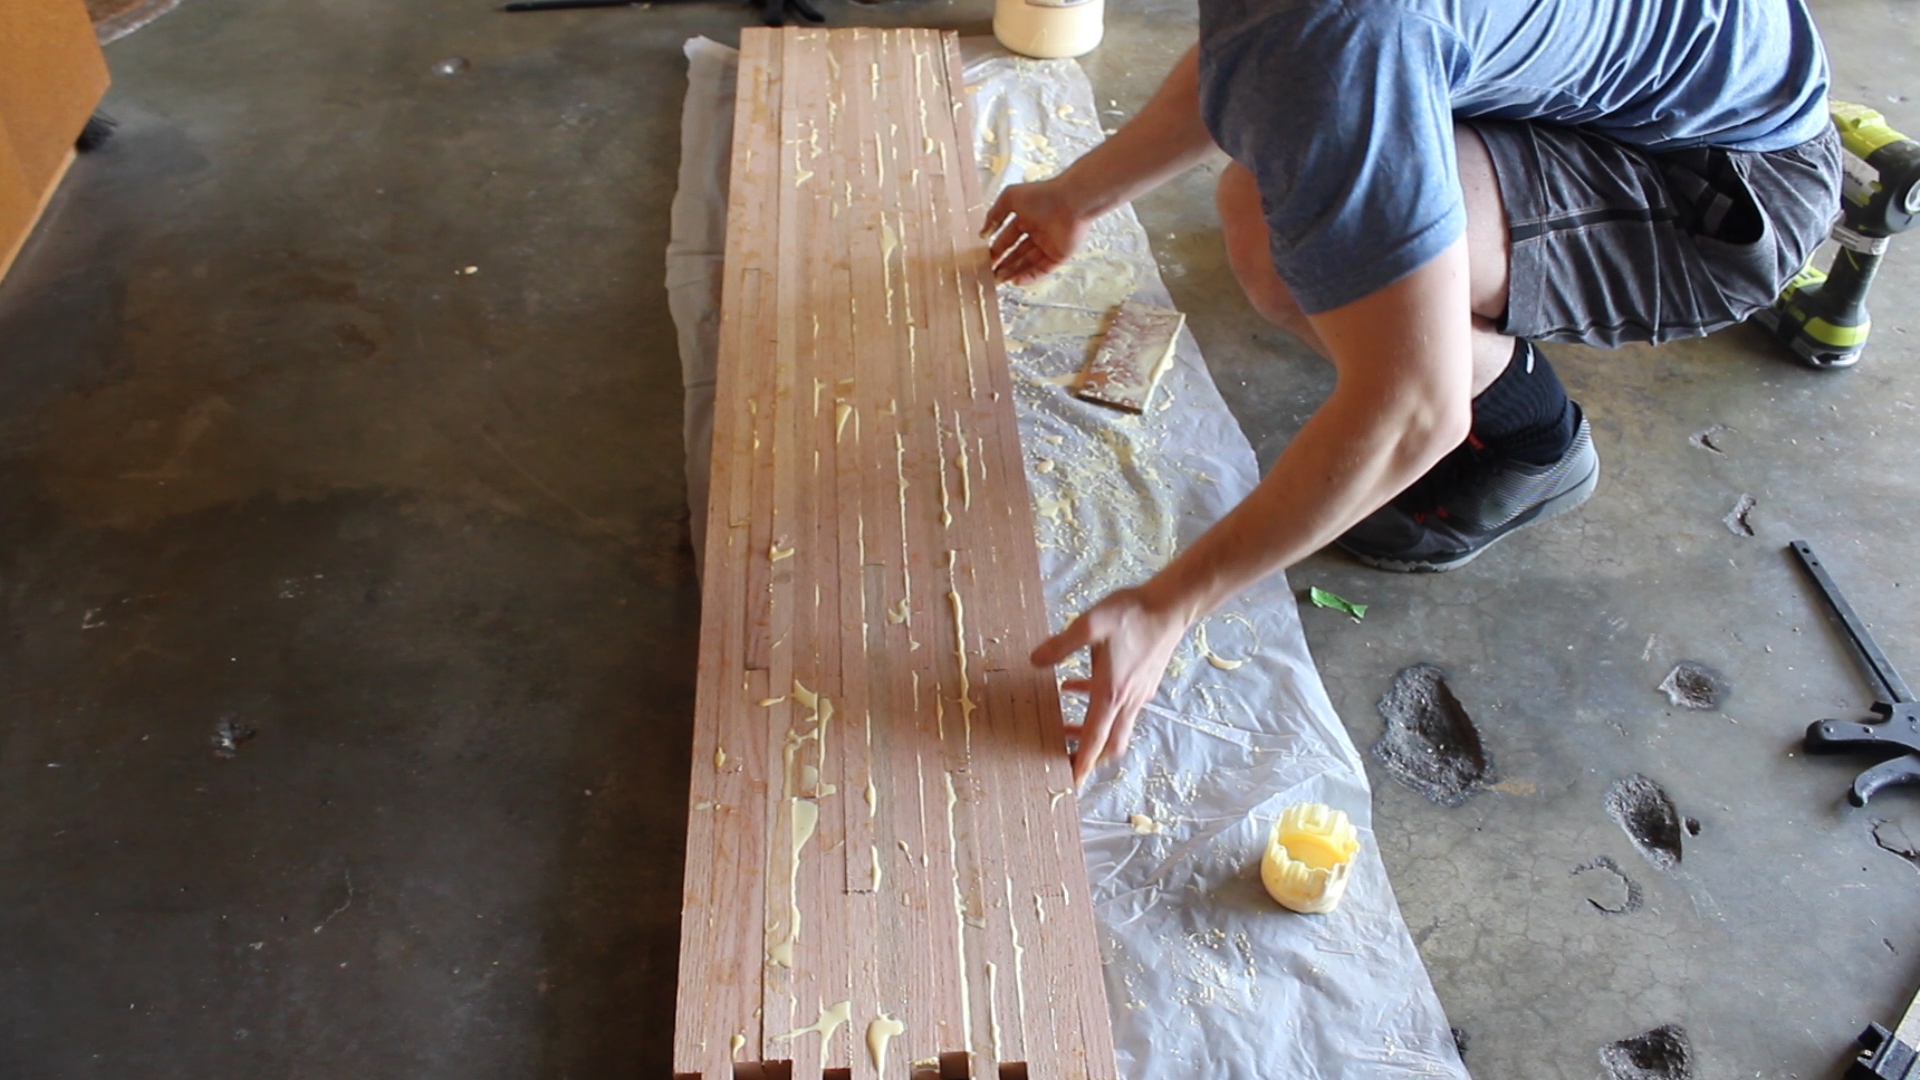

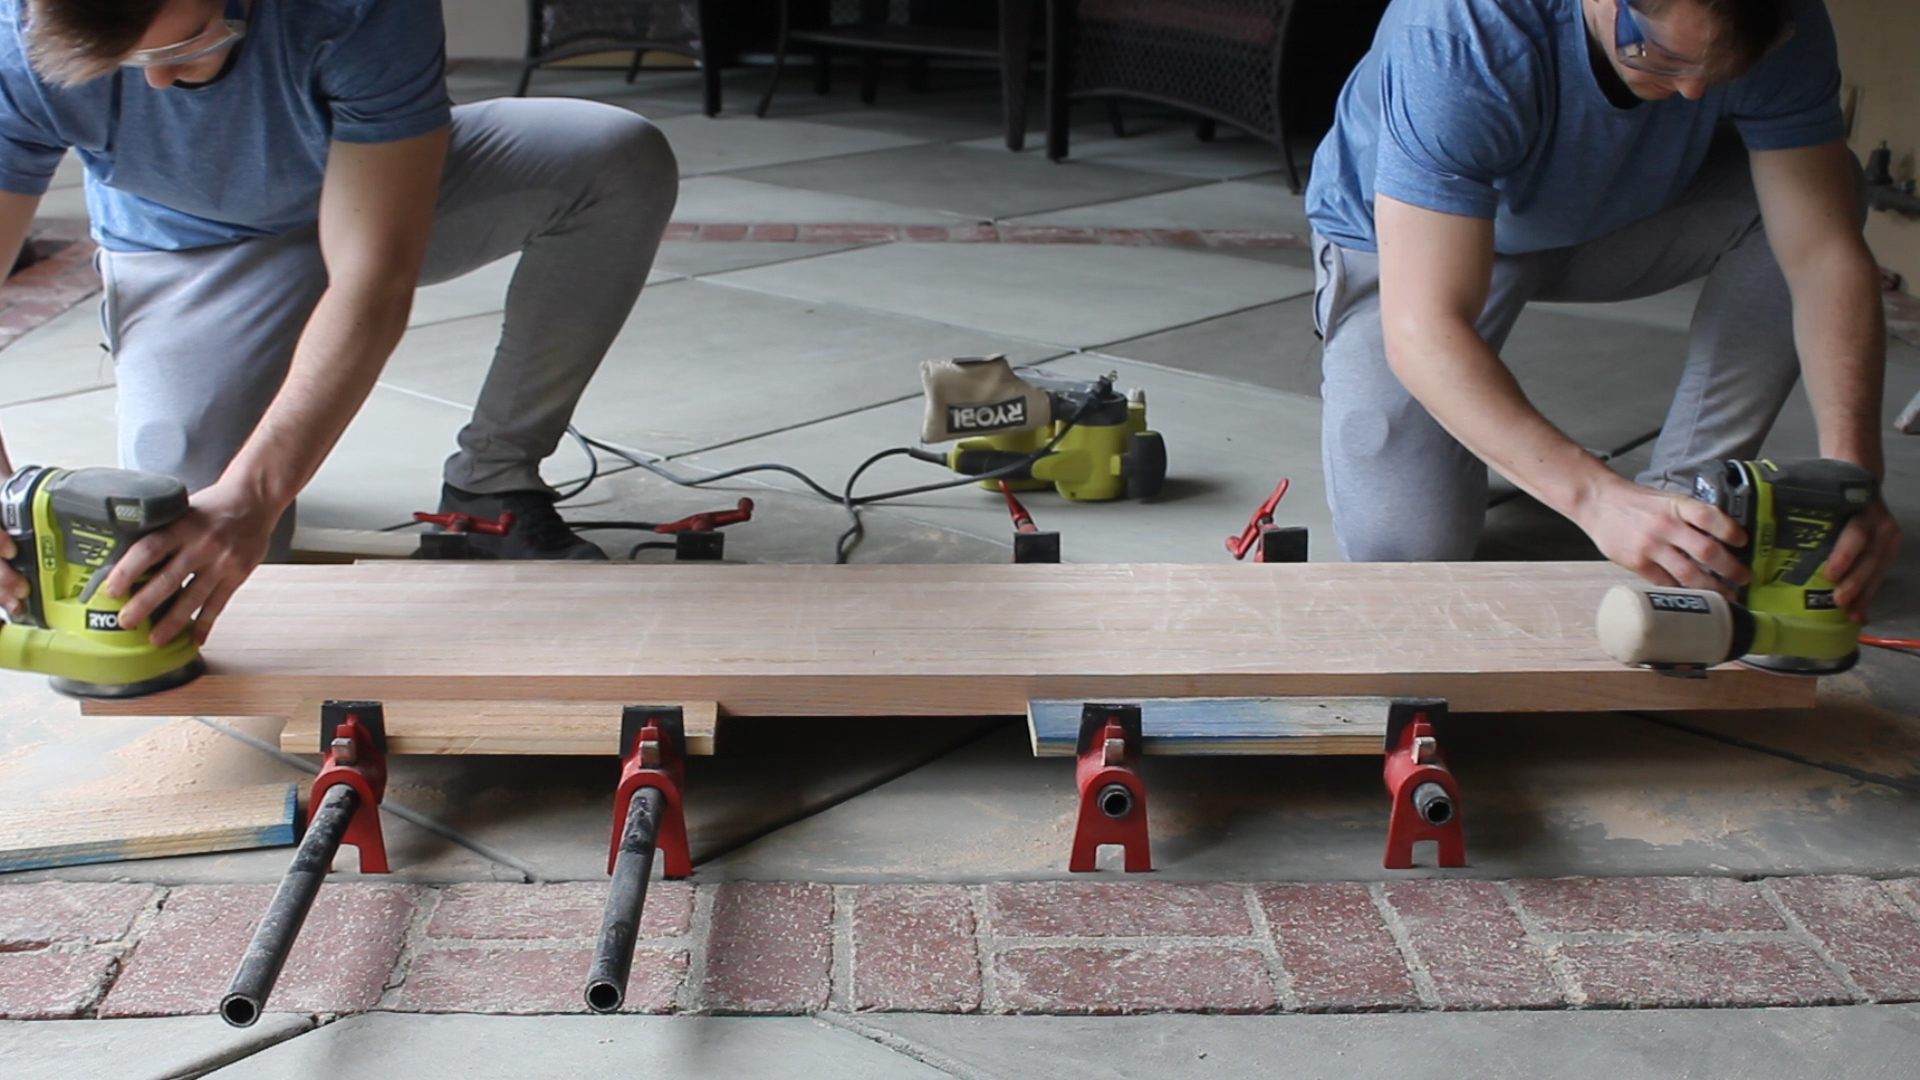
I then removed the tape and began the glue up. I took this once slat at a time, making sure to apply a shitload of glue to maximum squeeze out and keep everything flat to the wood as well as the ground. I did this by gluing up a piece, pushing it against the other piece of wood, clamping it temporarily in place, then using finish nails to keep it there temporarily and avoid slipping in the final clamp up.
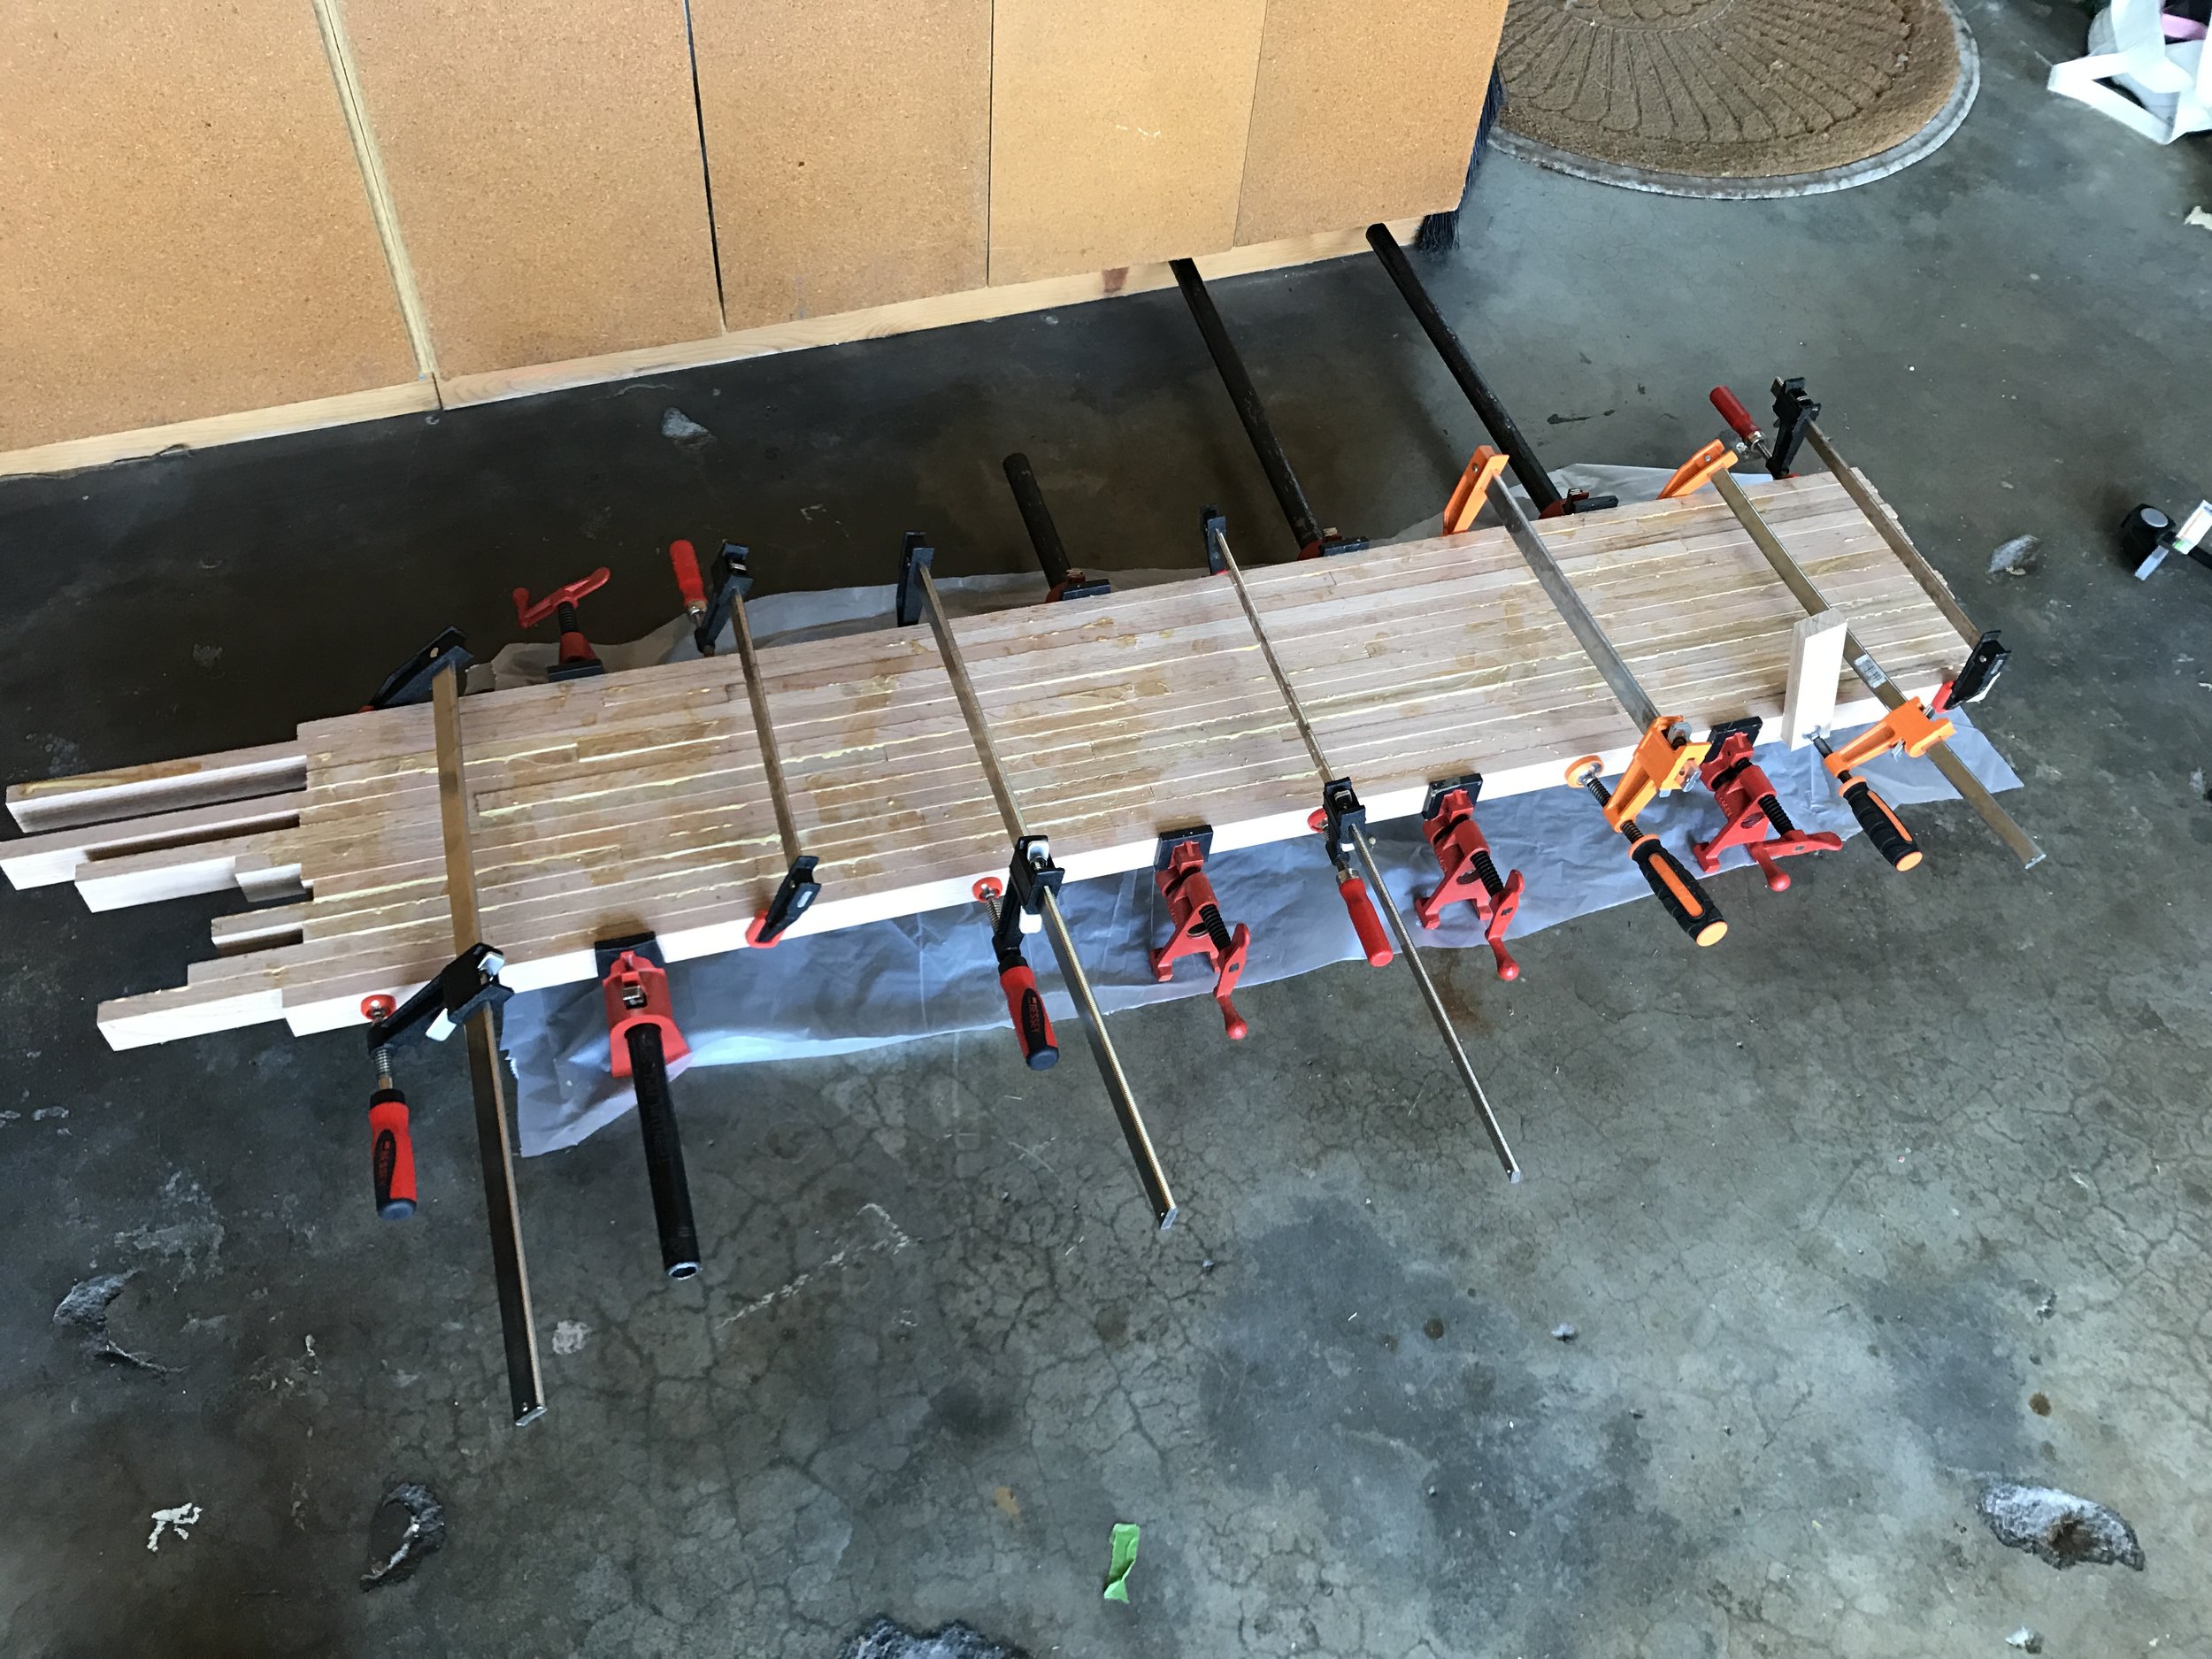
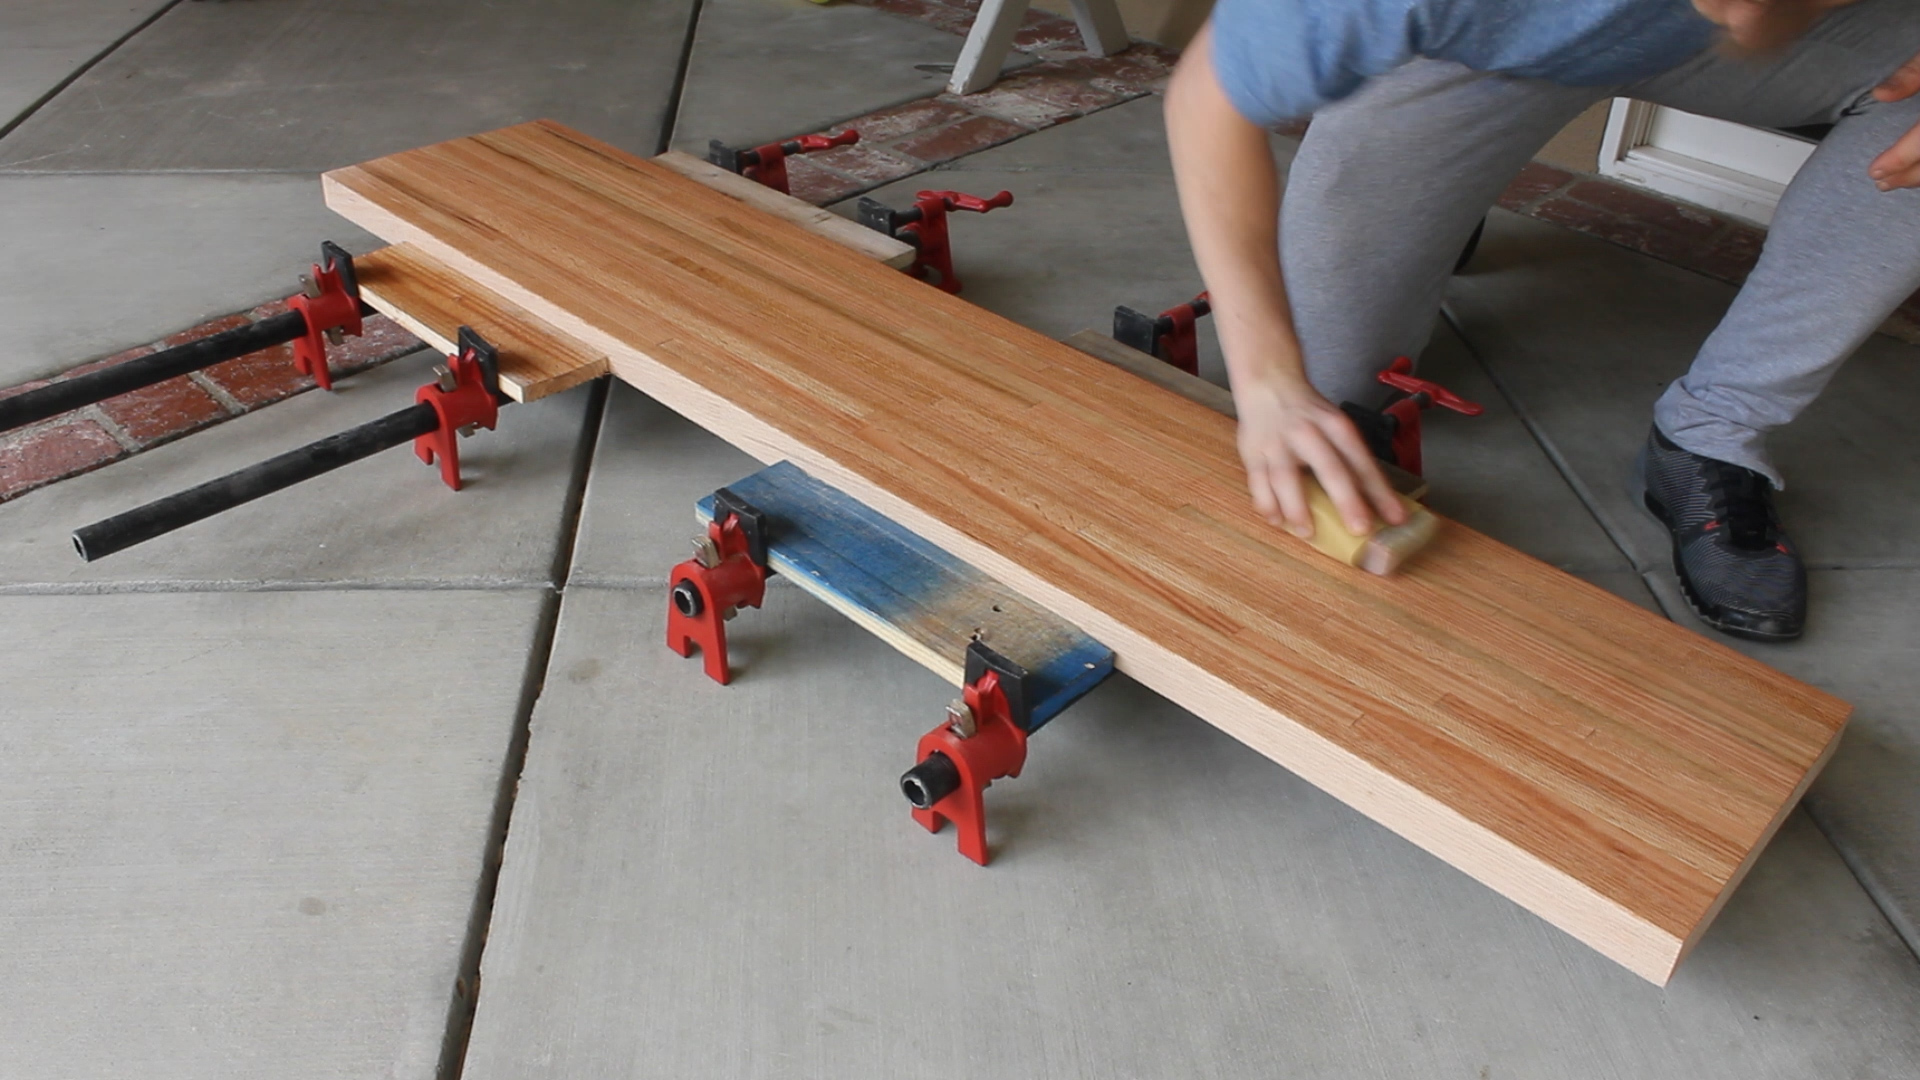
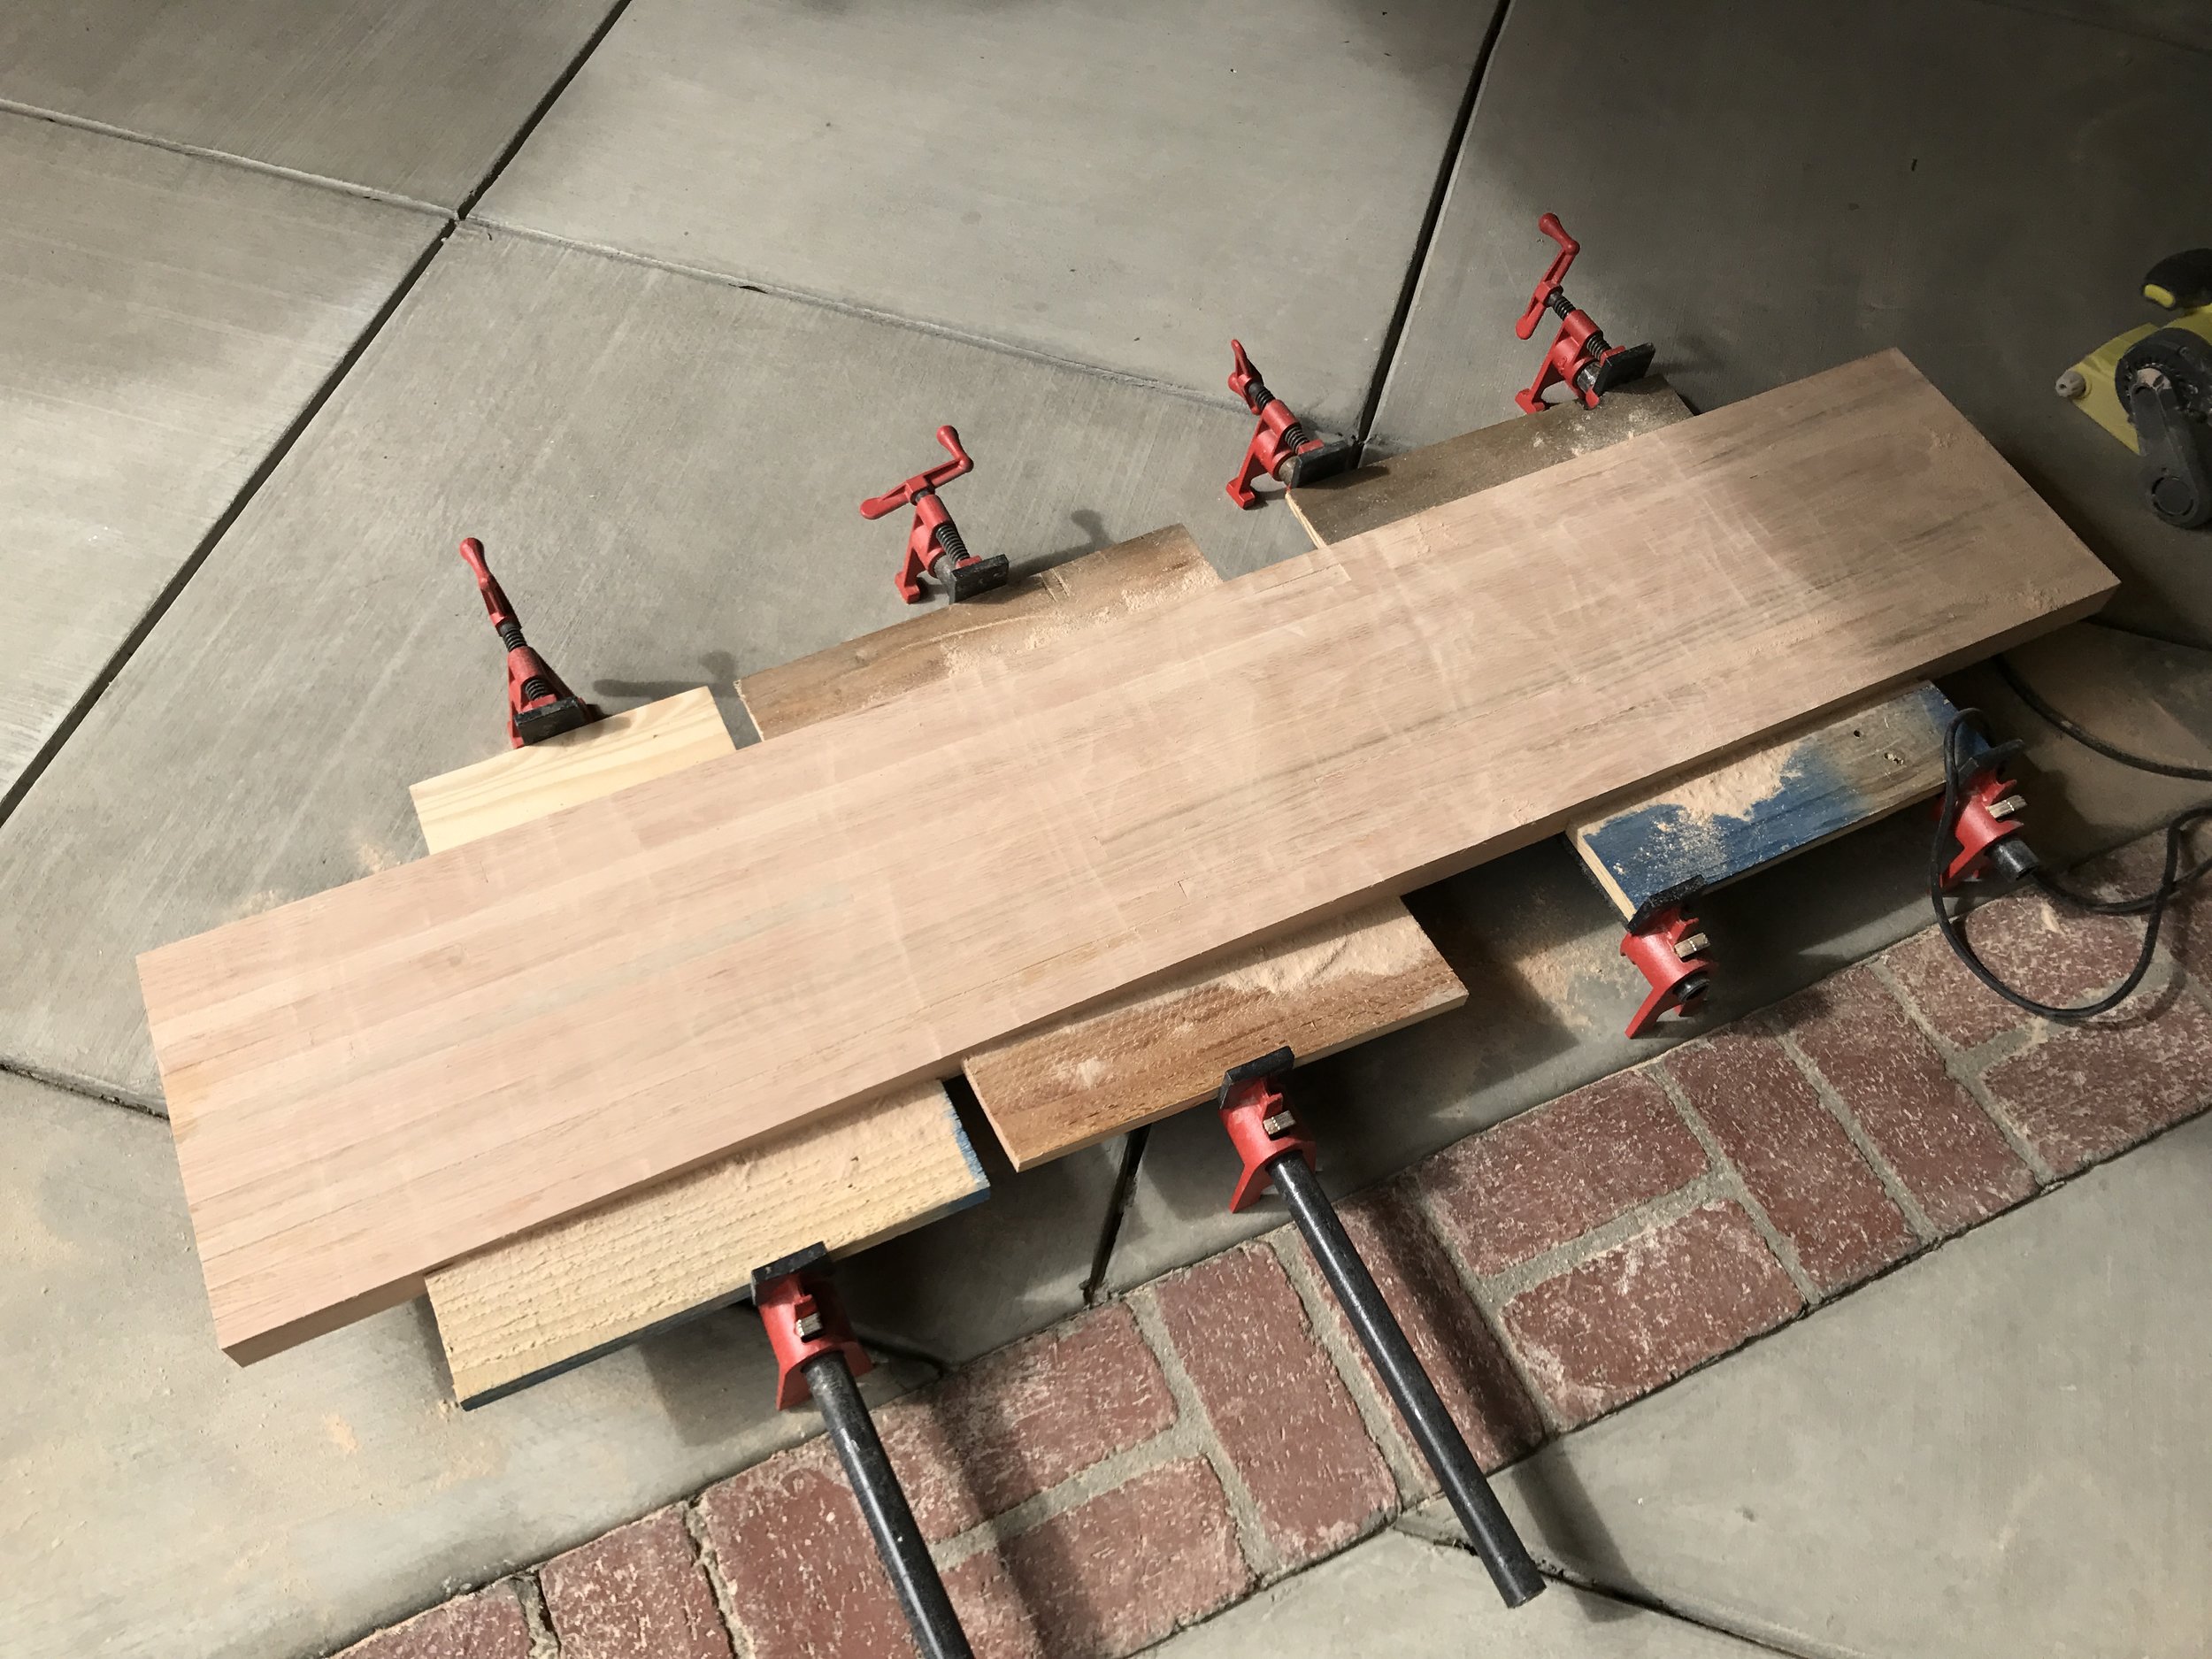
I used about 11 clamps overall for the final clamp up and it was just the right amount. After your glue has settled for roughly 30 minutes, i went in and wiped and scraped off all of the excess you can to make the clean up the next day easier.
I let it cure for roughly 20 hours (12 should do just fine!)
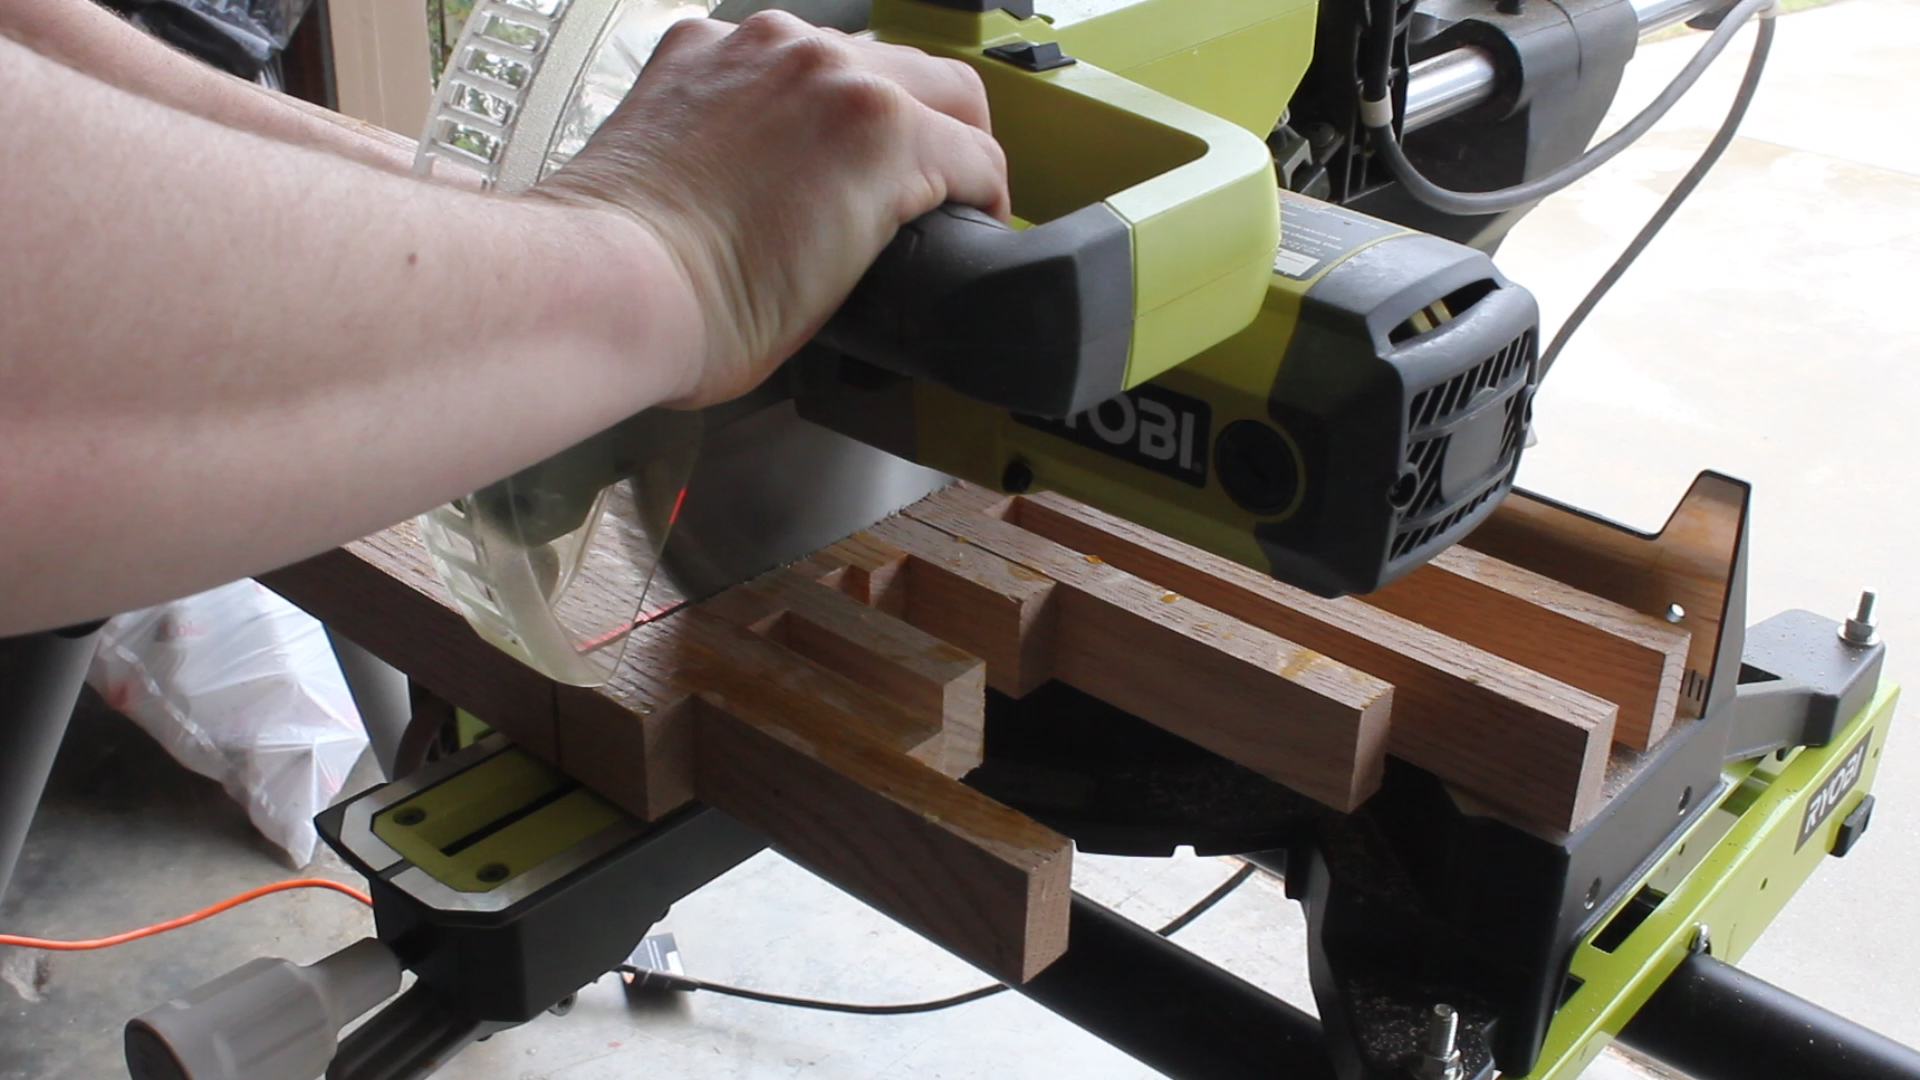
I then squared everything up on the miter saw the next day, taking me to my final length. I forgot tape here, so if you choose to not use tape on your square ups, just take the cuts slow. My stock carbide blade on my miter saw handled it just fine.
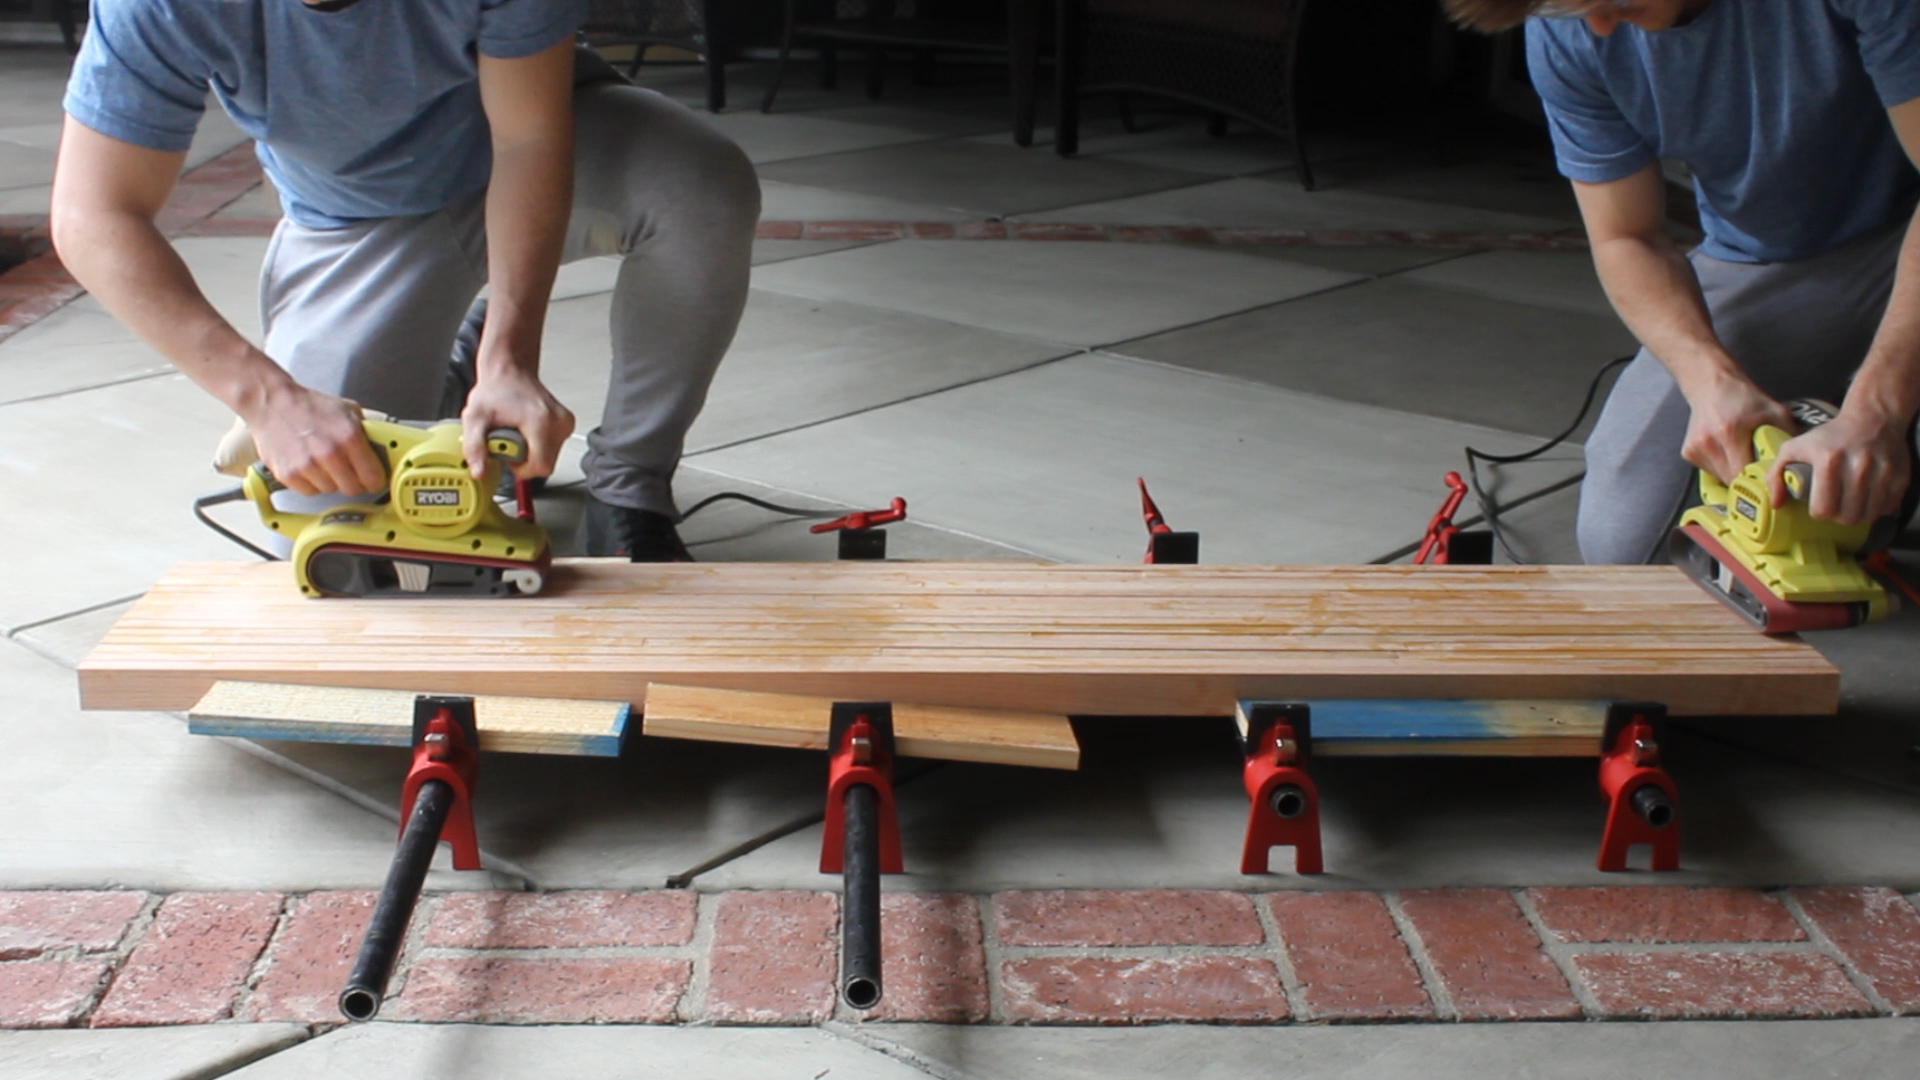
Next was sanding (and in this order):
60 grit (belt sander)
90 grit (orbital sander)
120 grit (hand sanding)
220 grit (hand sanding)
220 grit (wet hand sanding to raise grain)
320 grit (hand sanding)
400 grit (hand sanding)
This thing was incredibly smooth by the end. I recommend using scrap wood to put on the outside of your piece if you use pipe clamps like I do as it allows you to get to all the edges with now issues.
BTW - a router jig sled or a thickness planer can solve a good portion of the tedious flattening process I went through. I just don't have either nor can I afford them or store them anywhere.

Big shout out to The Hairpin Leg Co for their support in making this project happen. Cheers boys.
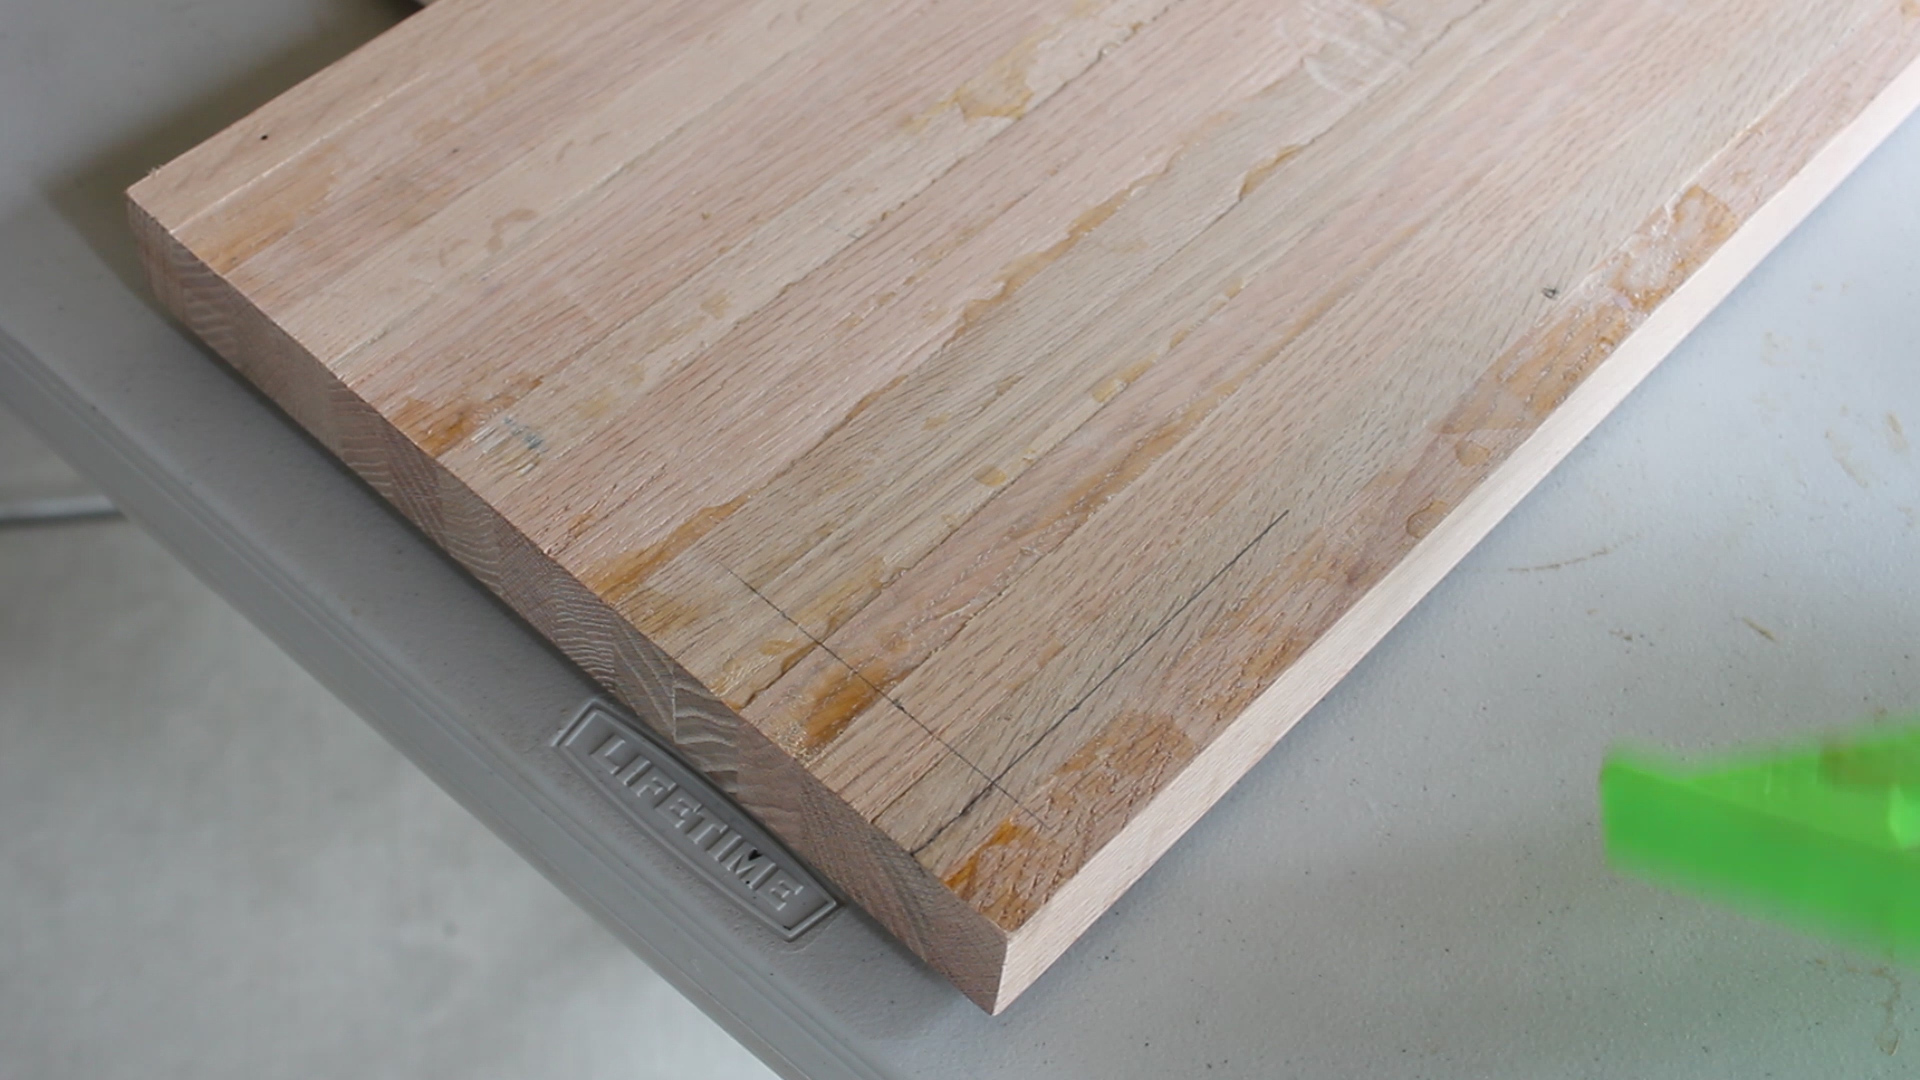
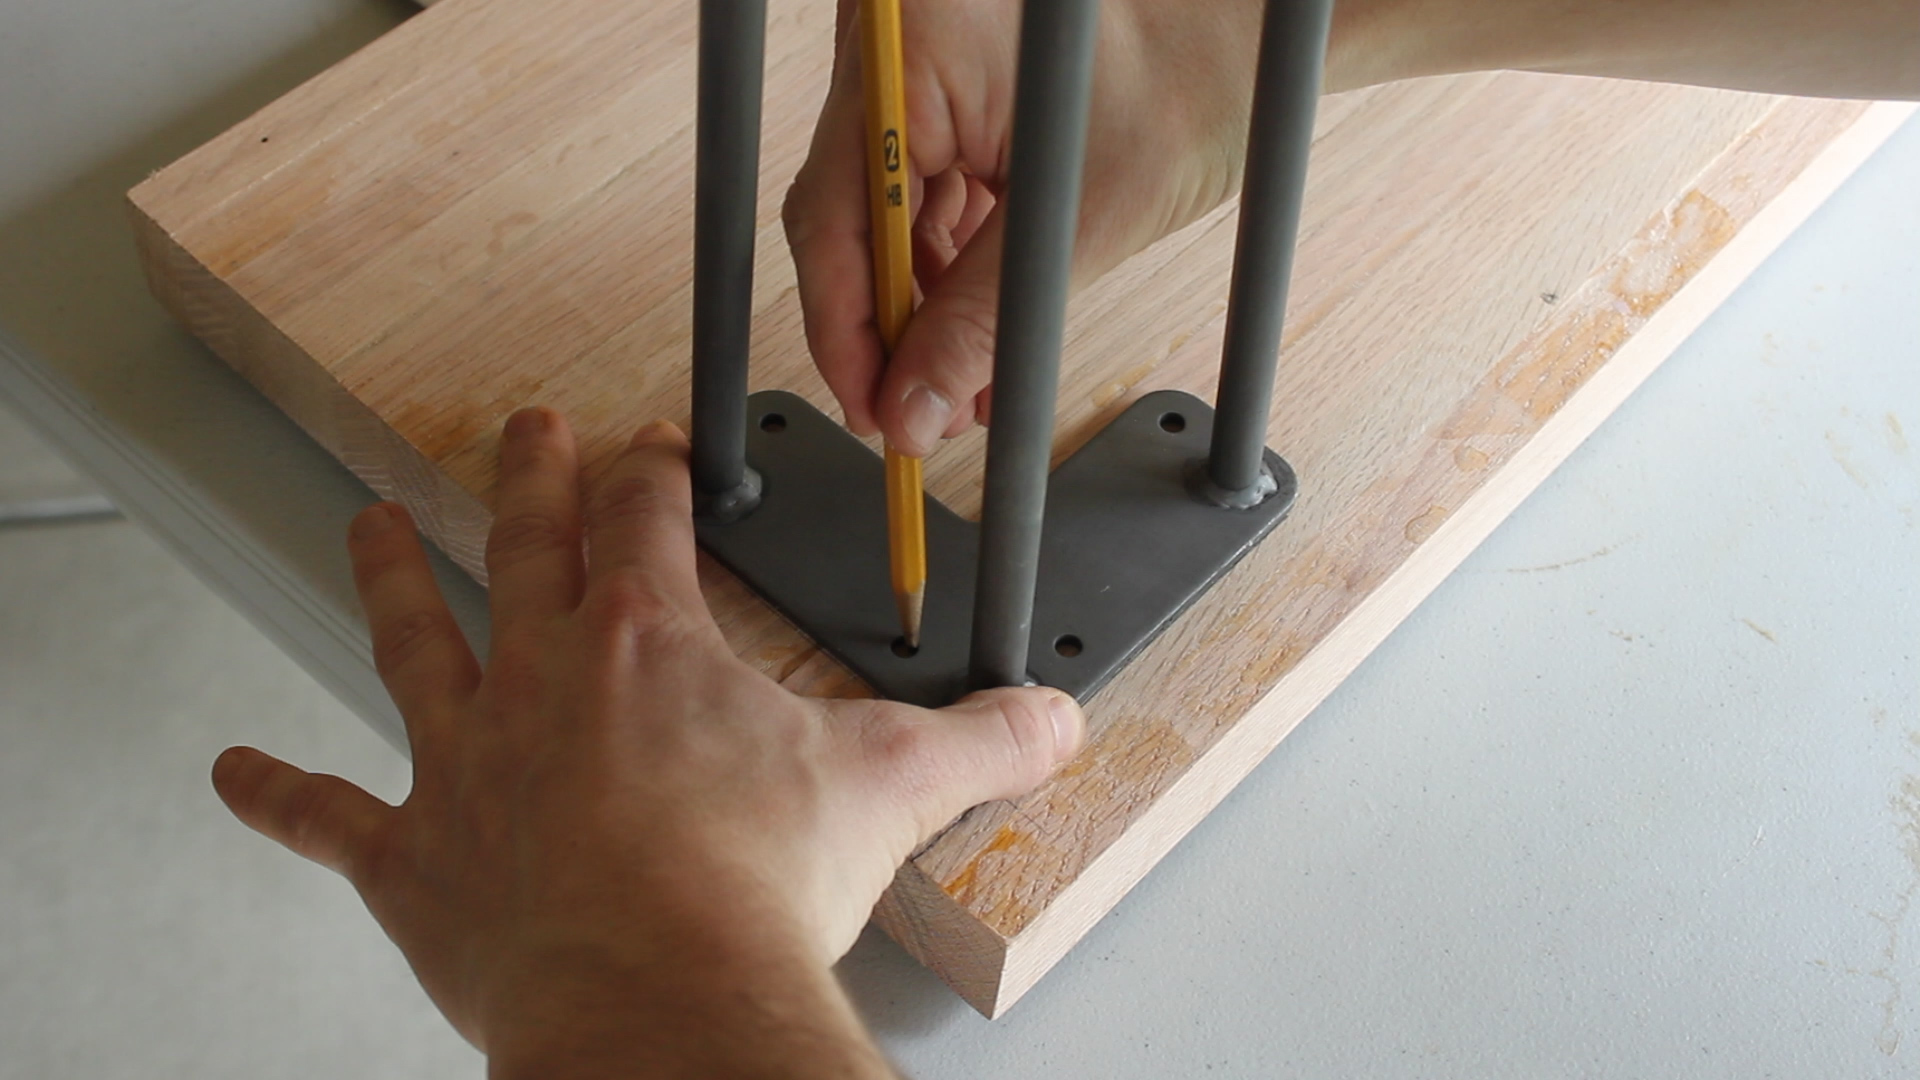
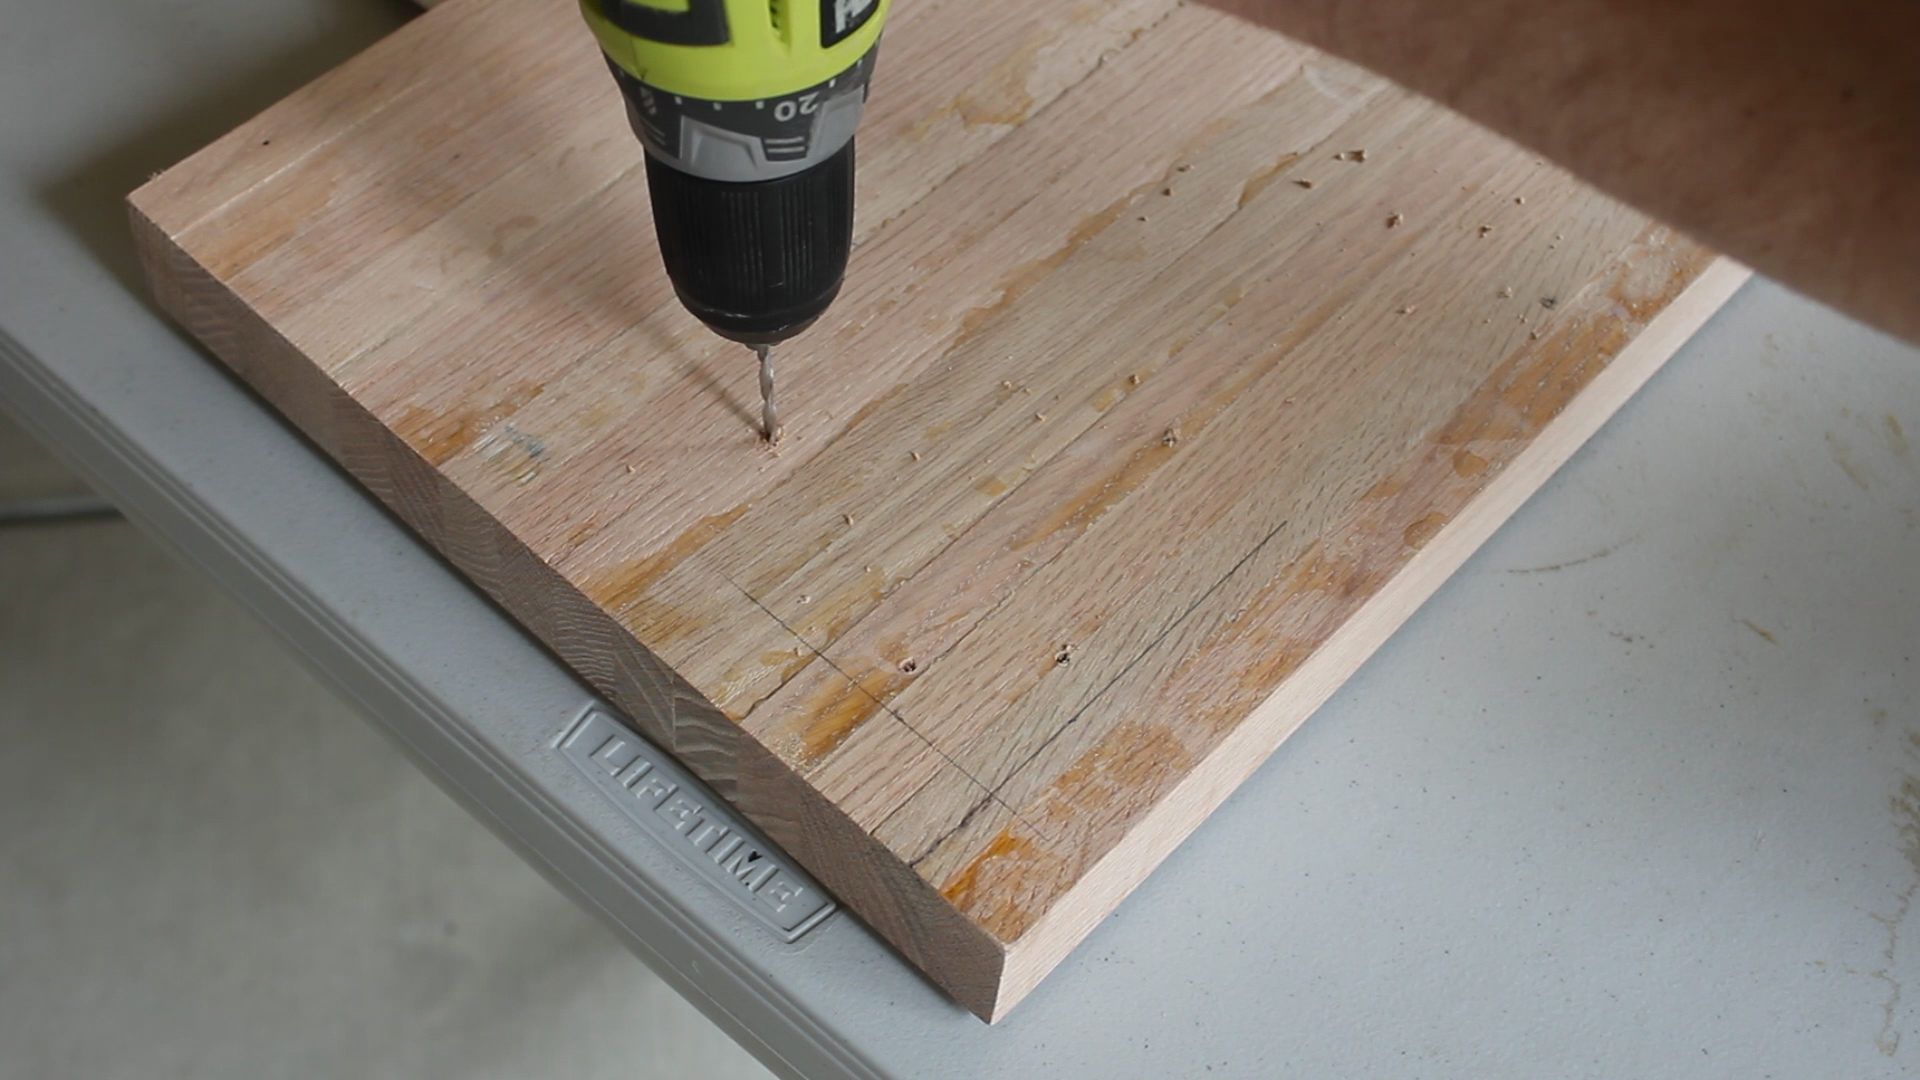
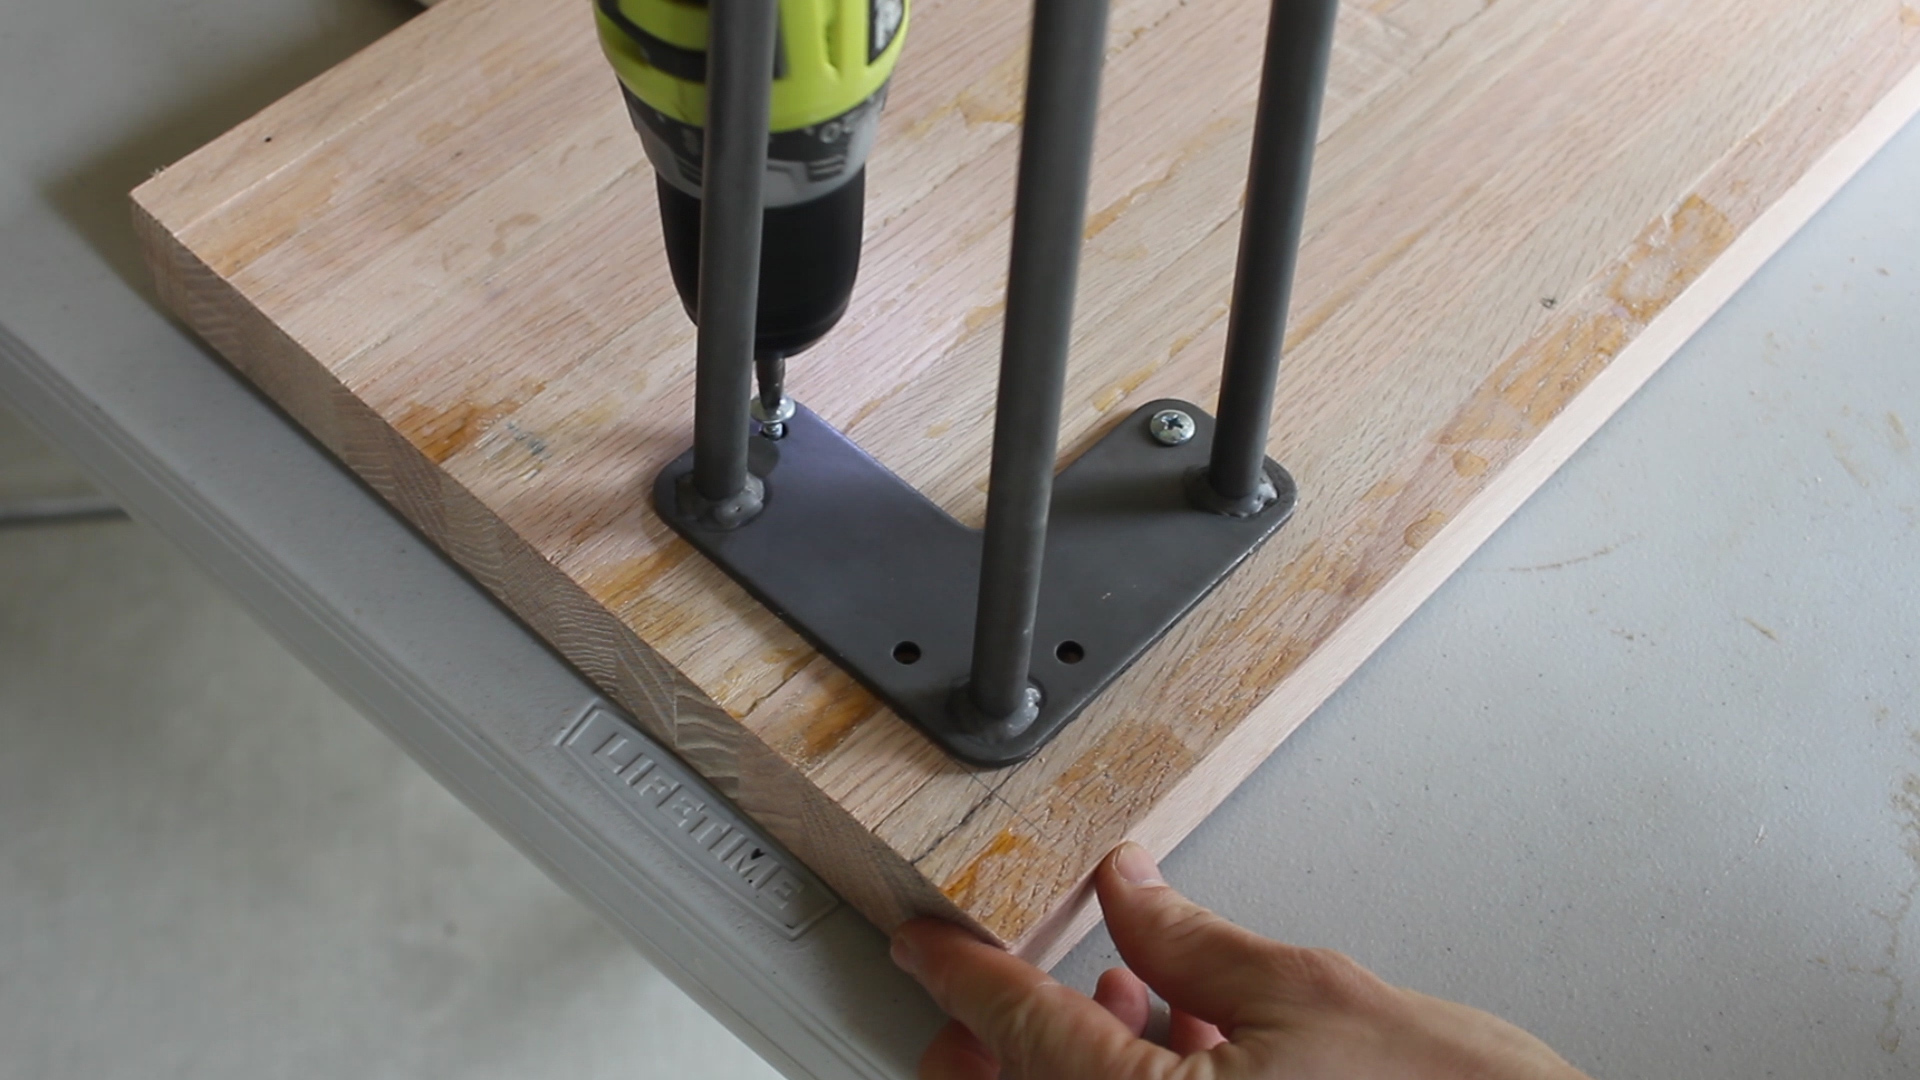
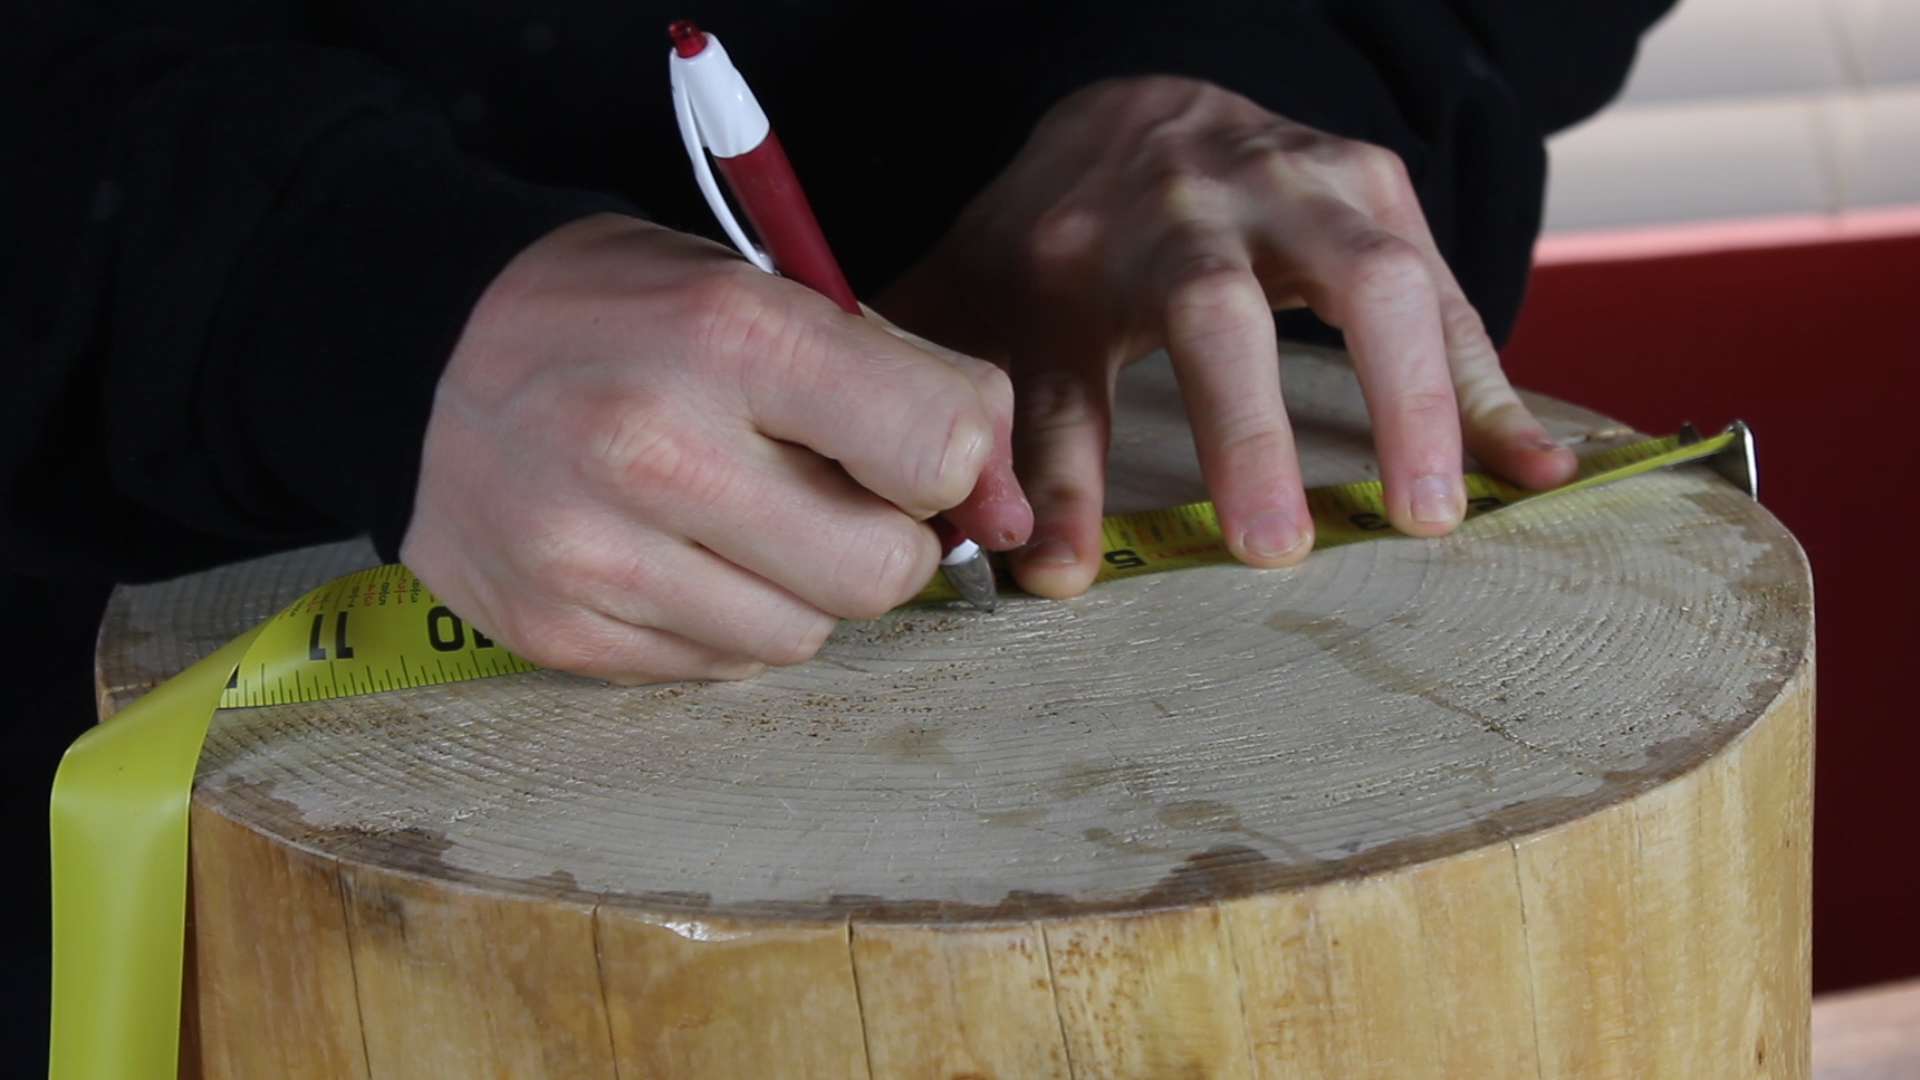
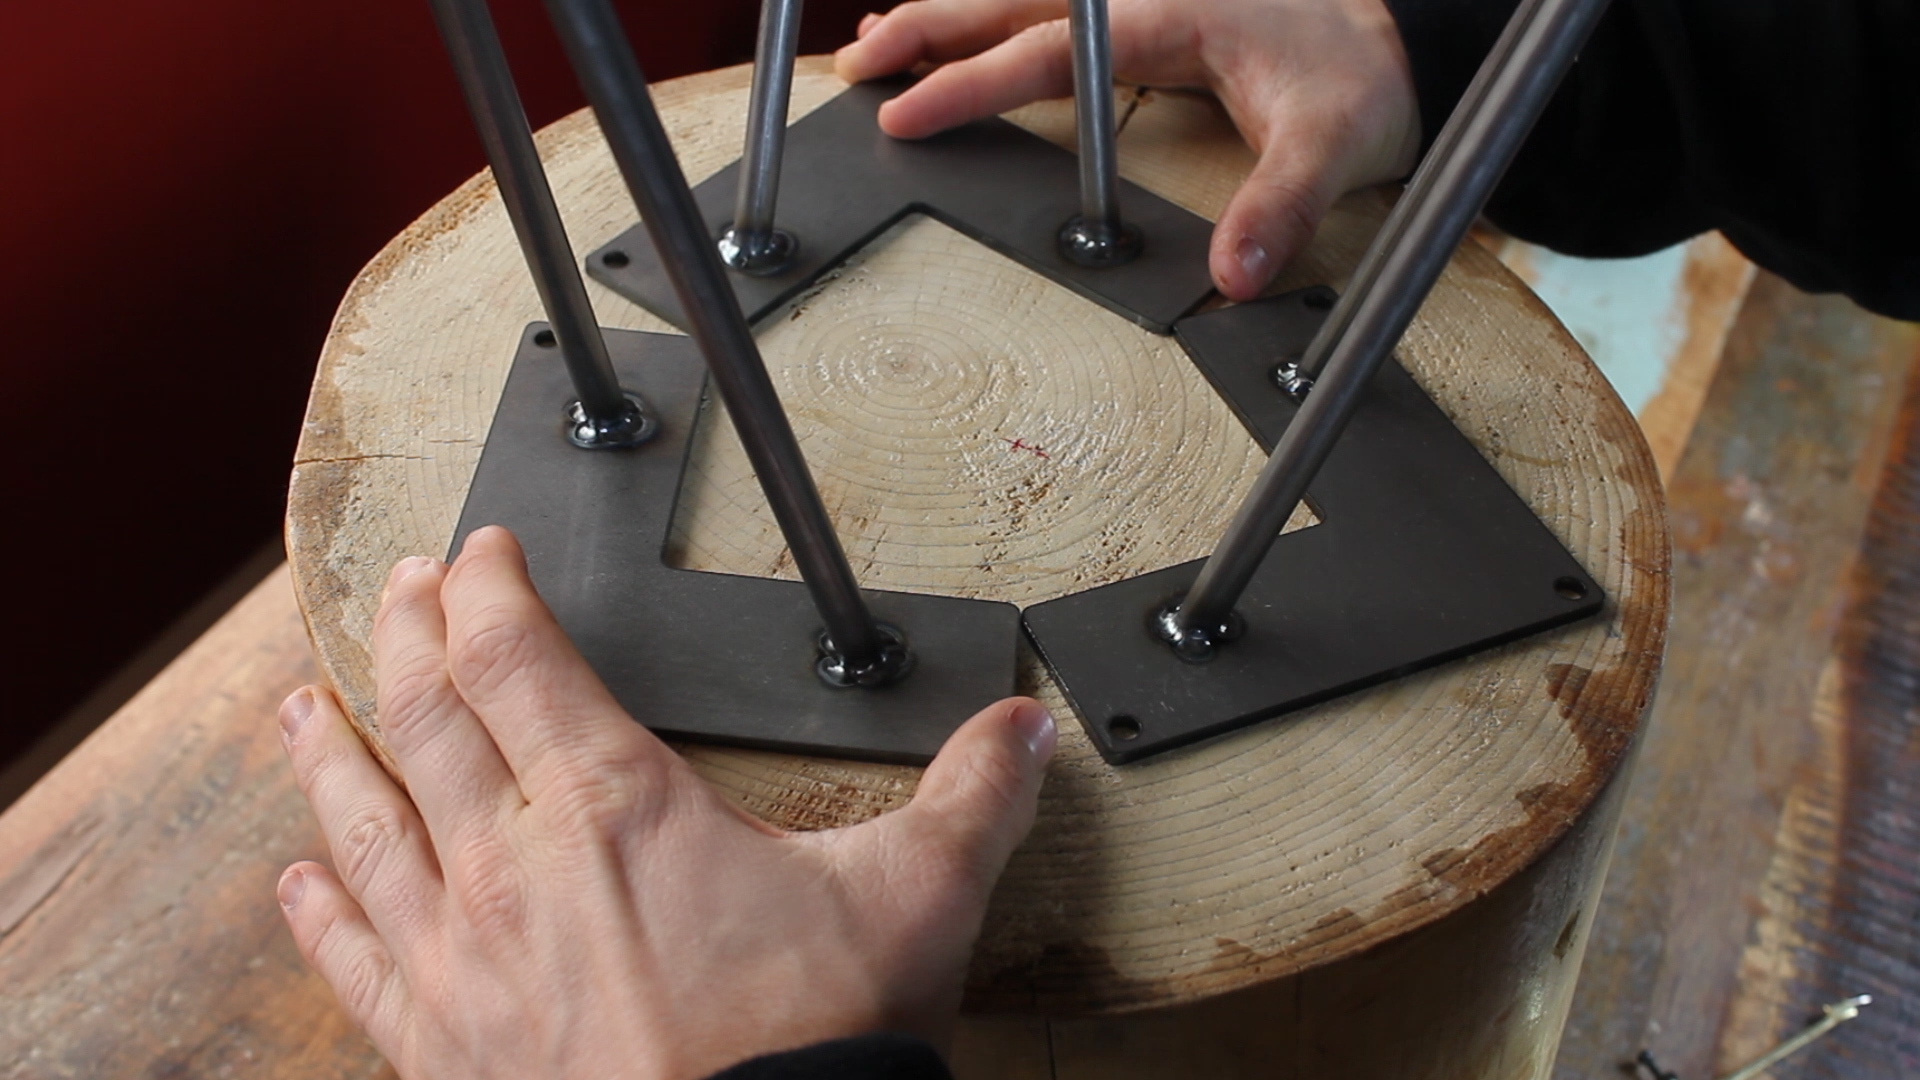
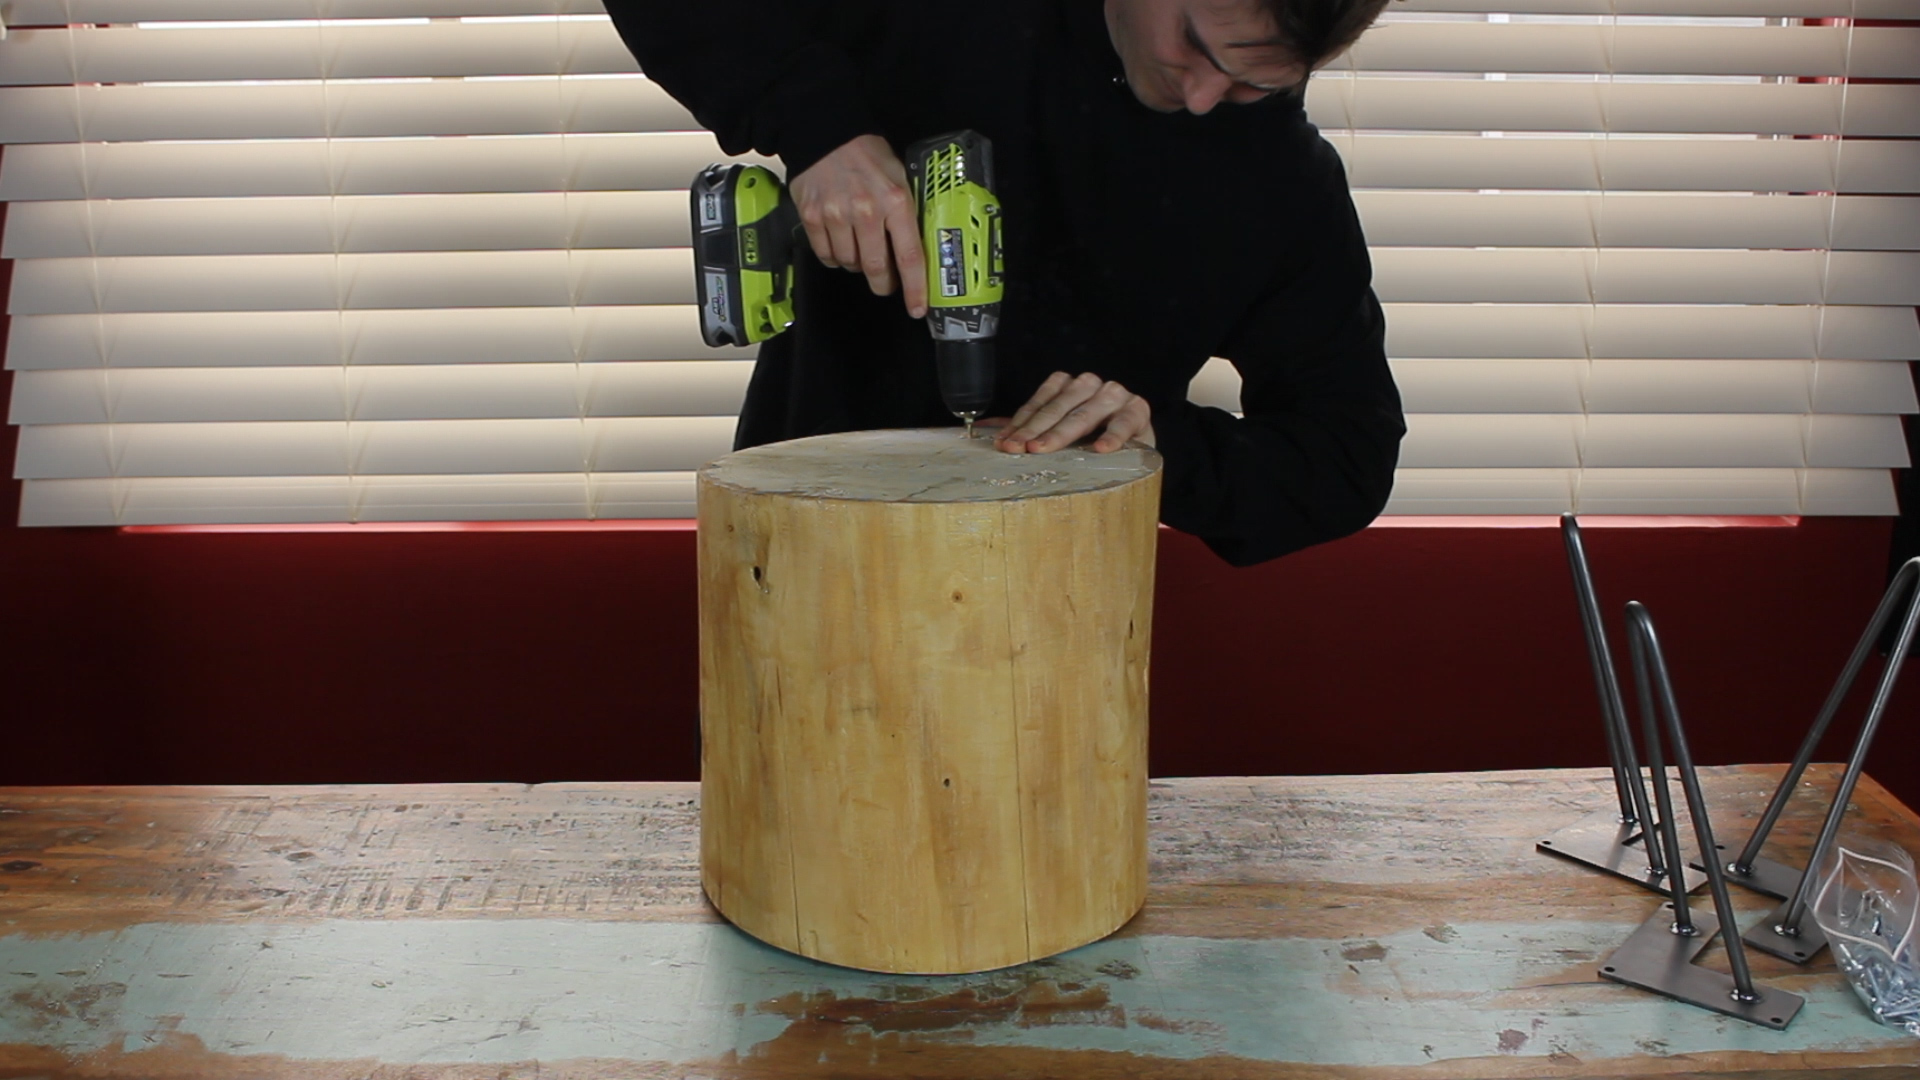
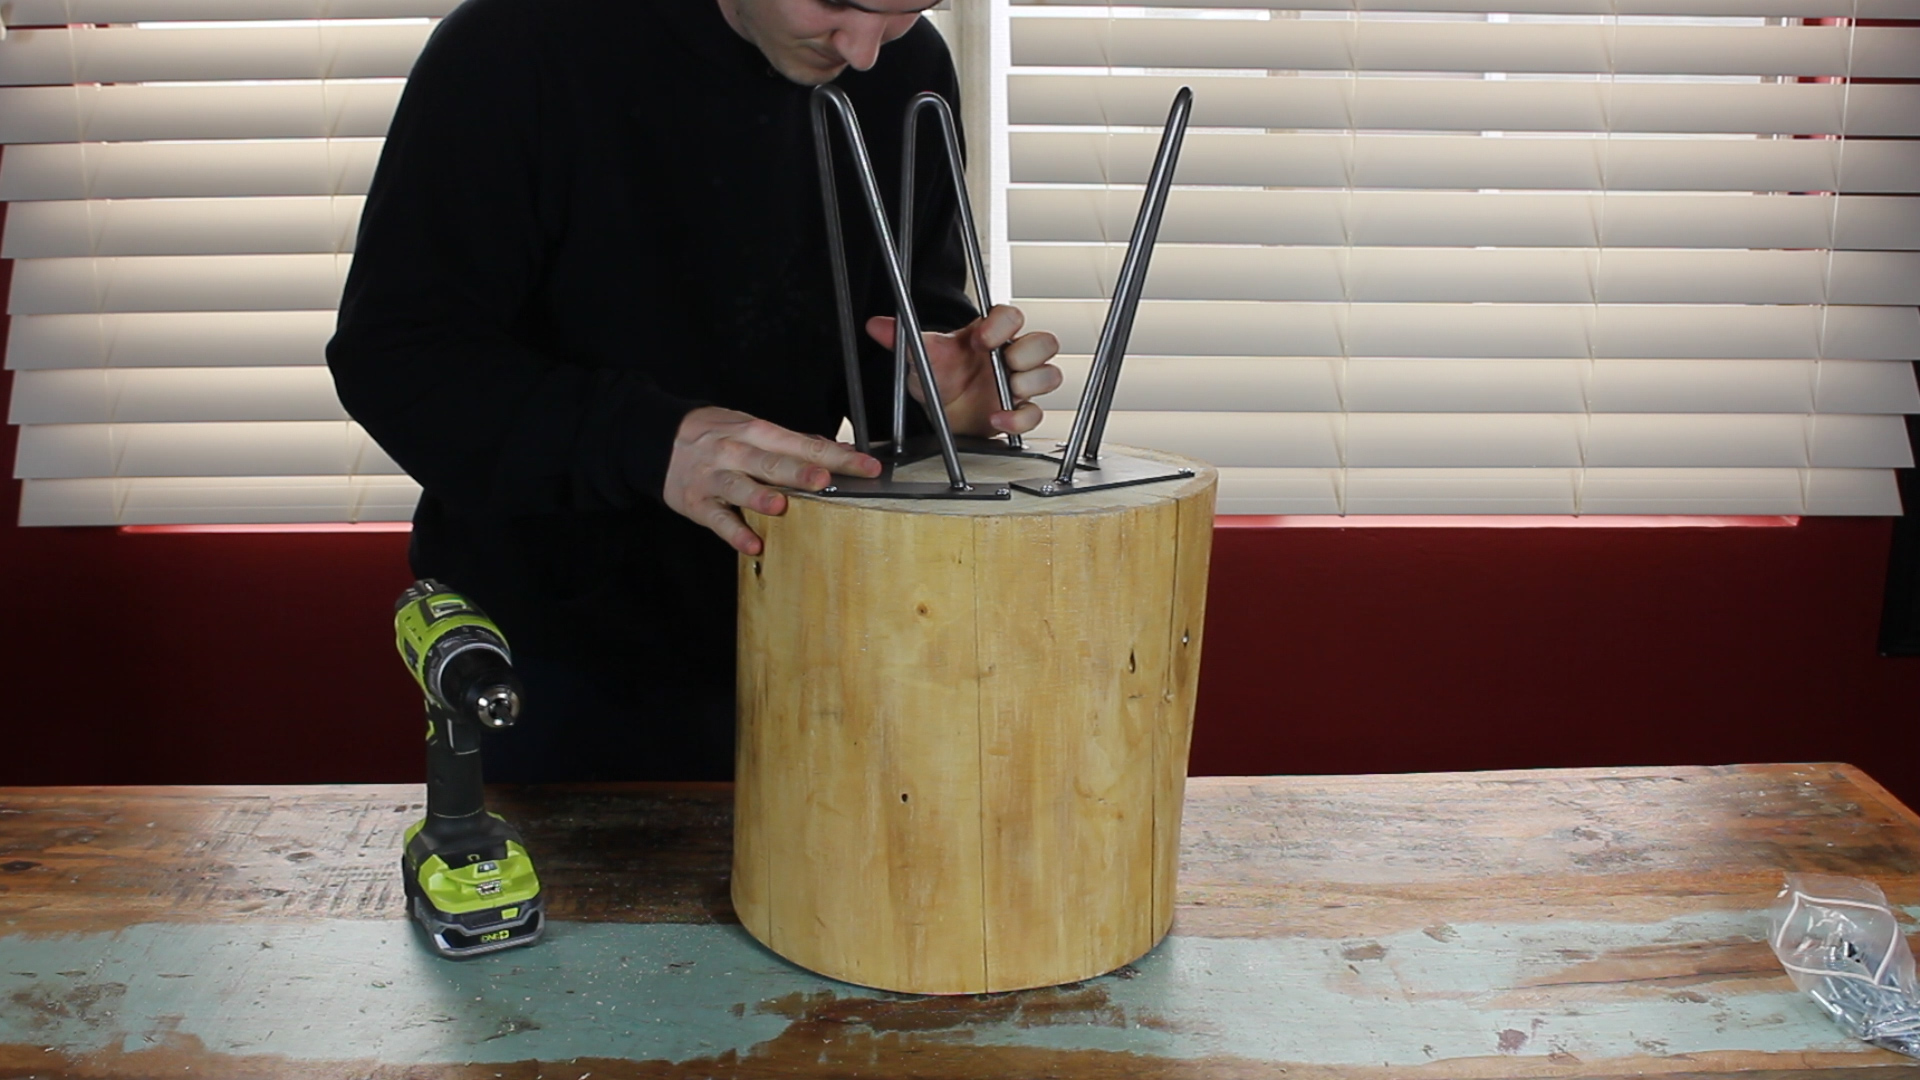
Next, I attached the legs. I measured 1" in from each corner using my rafter square to mark a location to put my legs. I then marked and predrilled holes for my screws, and then secured the hardware using 4 x screws for each hairpin leg that were provided. They are very sturdy.
Make sure you don't drill through your desktop - you can use tape to help indicate a depth to drill to on your drill bit if you have any reservations. About 3/4" should do just fine for you.
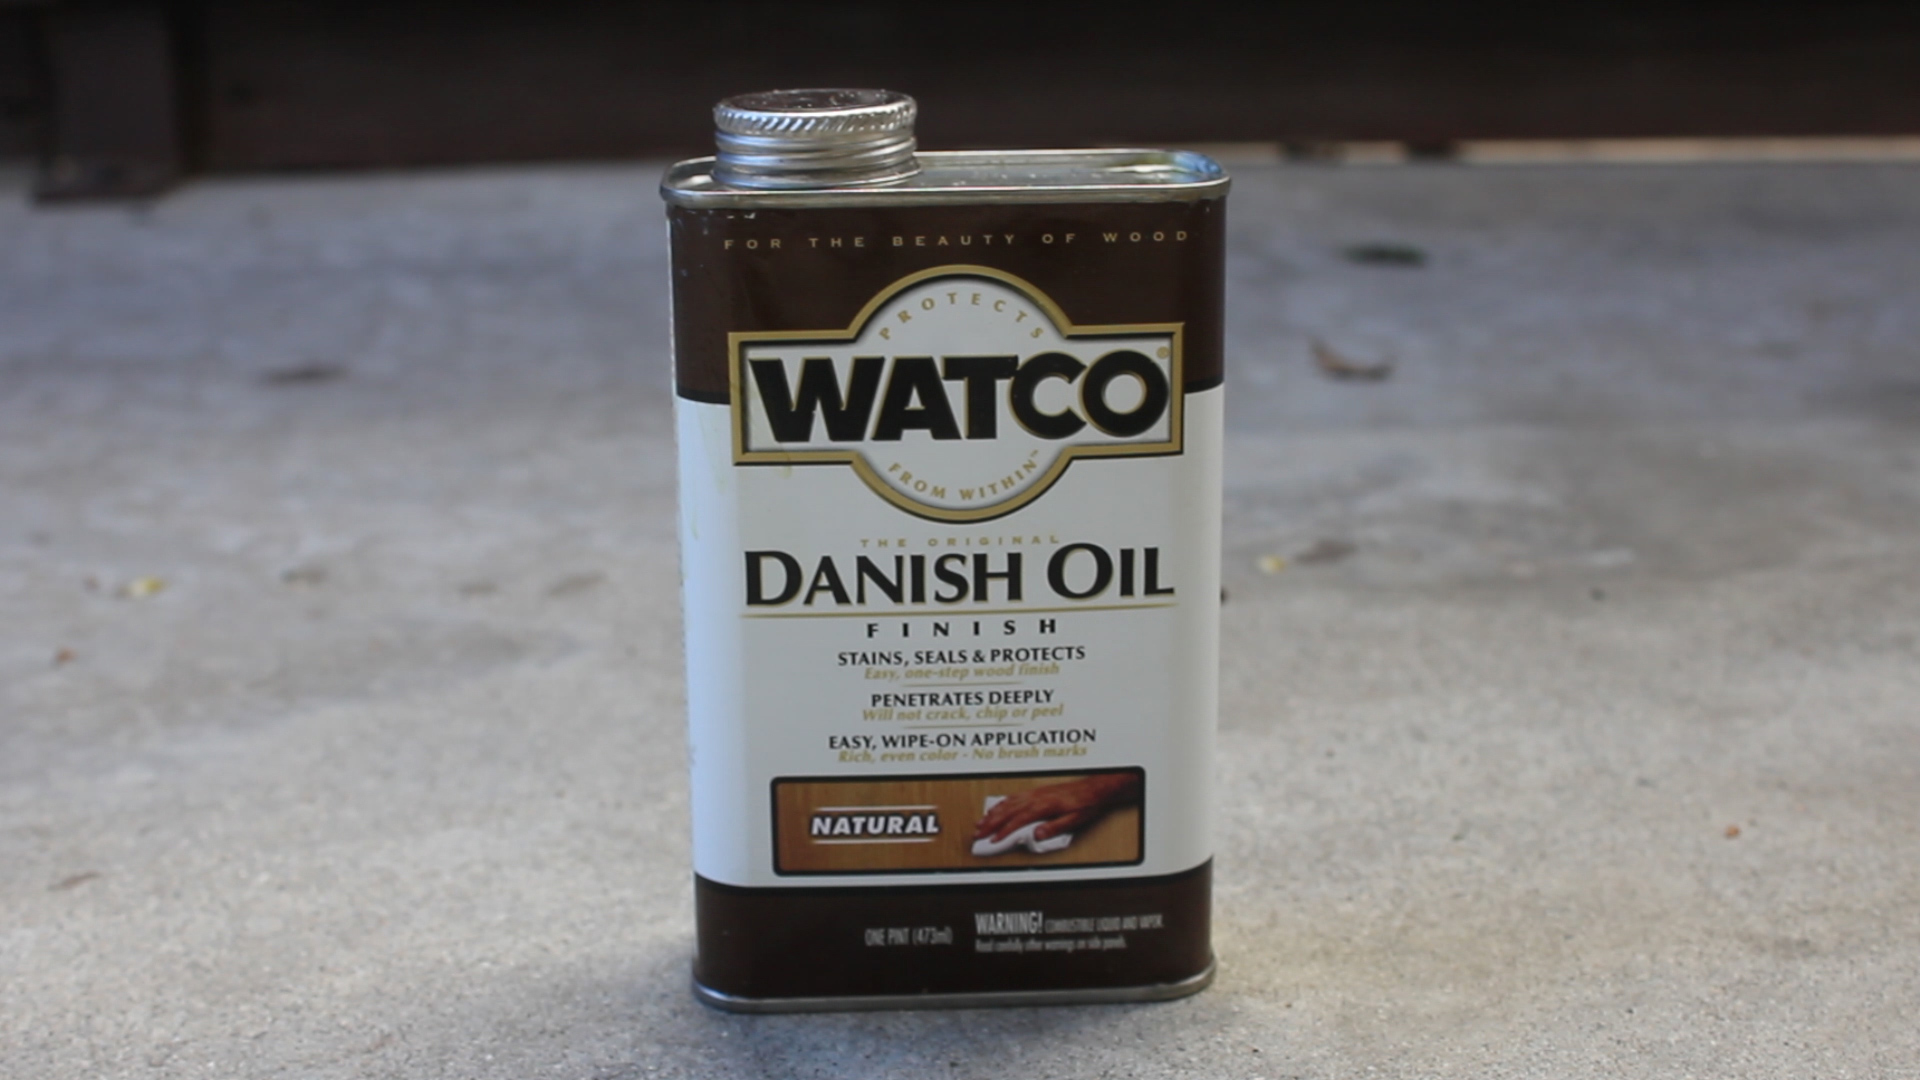

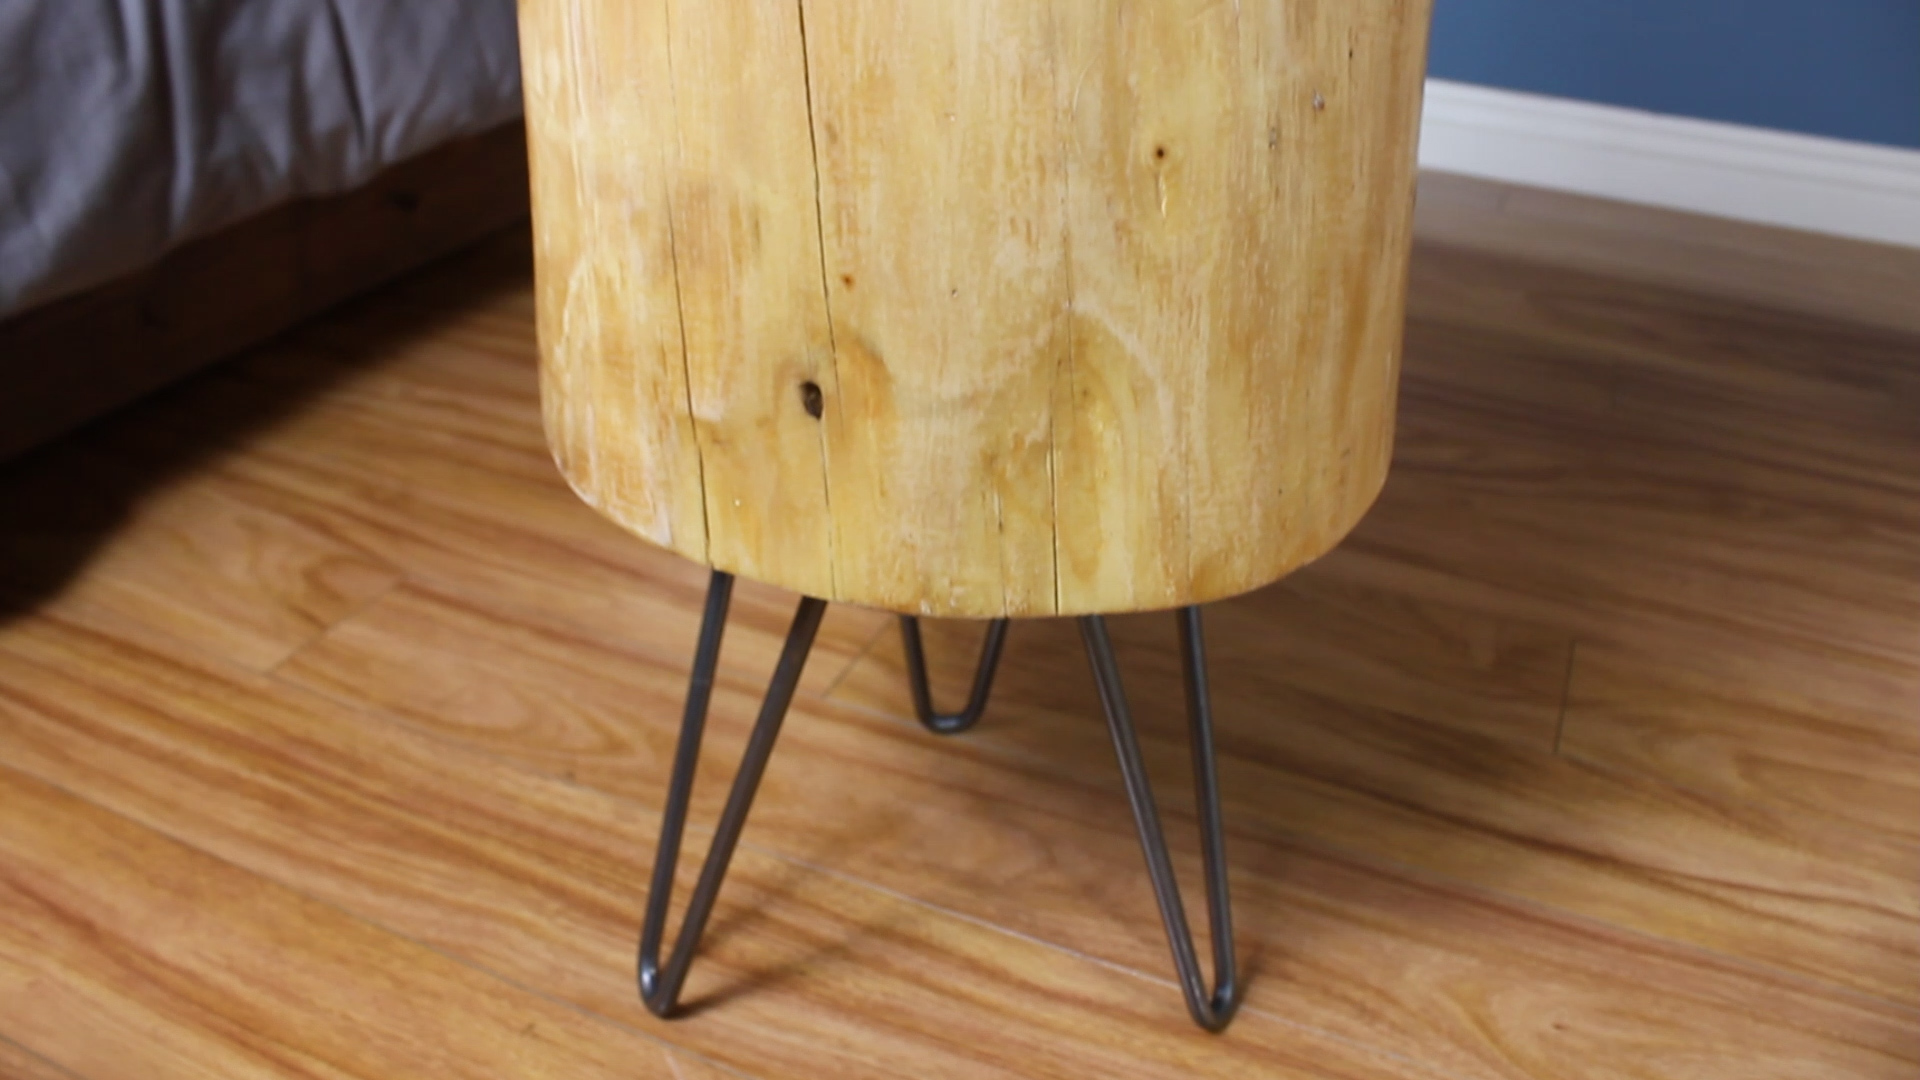
Last up was finishing. I used a natural Danish Oil finish. I love Danish Oil as it soaks into the wood nicely leaving a very smooth finish that brings out the grain and protects the wood but still allows you to feel that grain when you touch your project. I applied two coats 30 min apart, letting the oil soak in each time and harden, then wiped off the excess. After 24 hours and one final wipe down, I was all done!
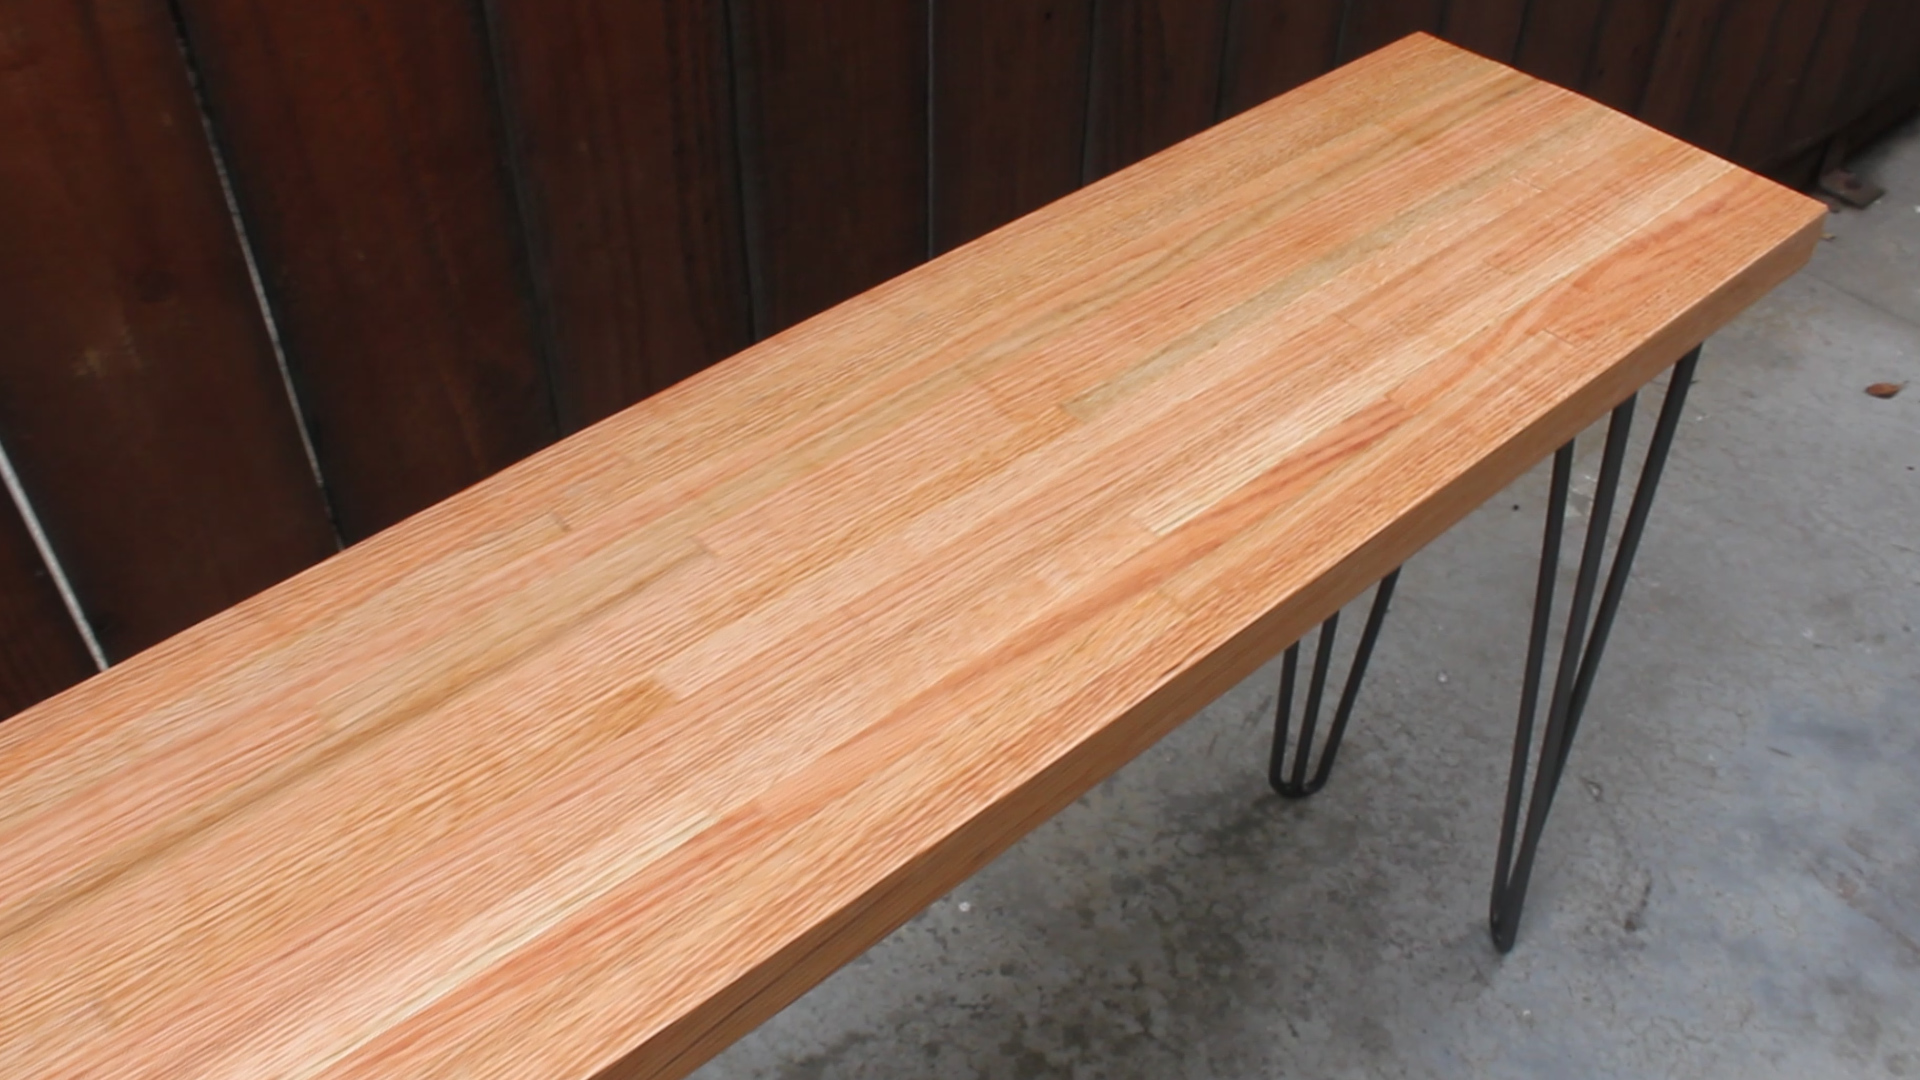
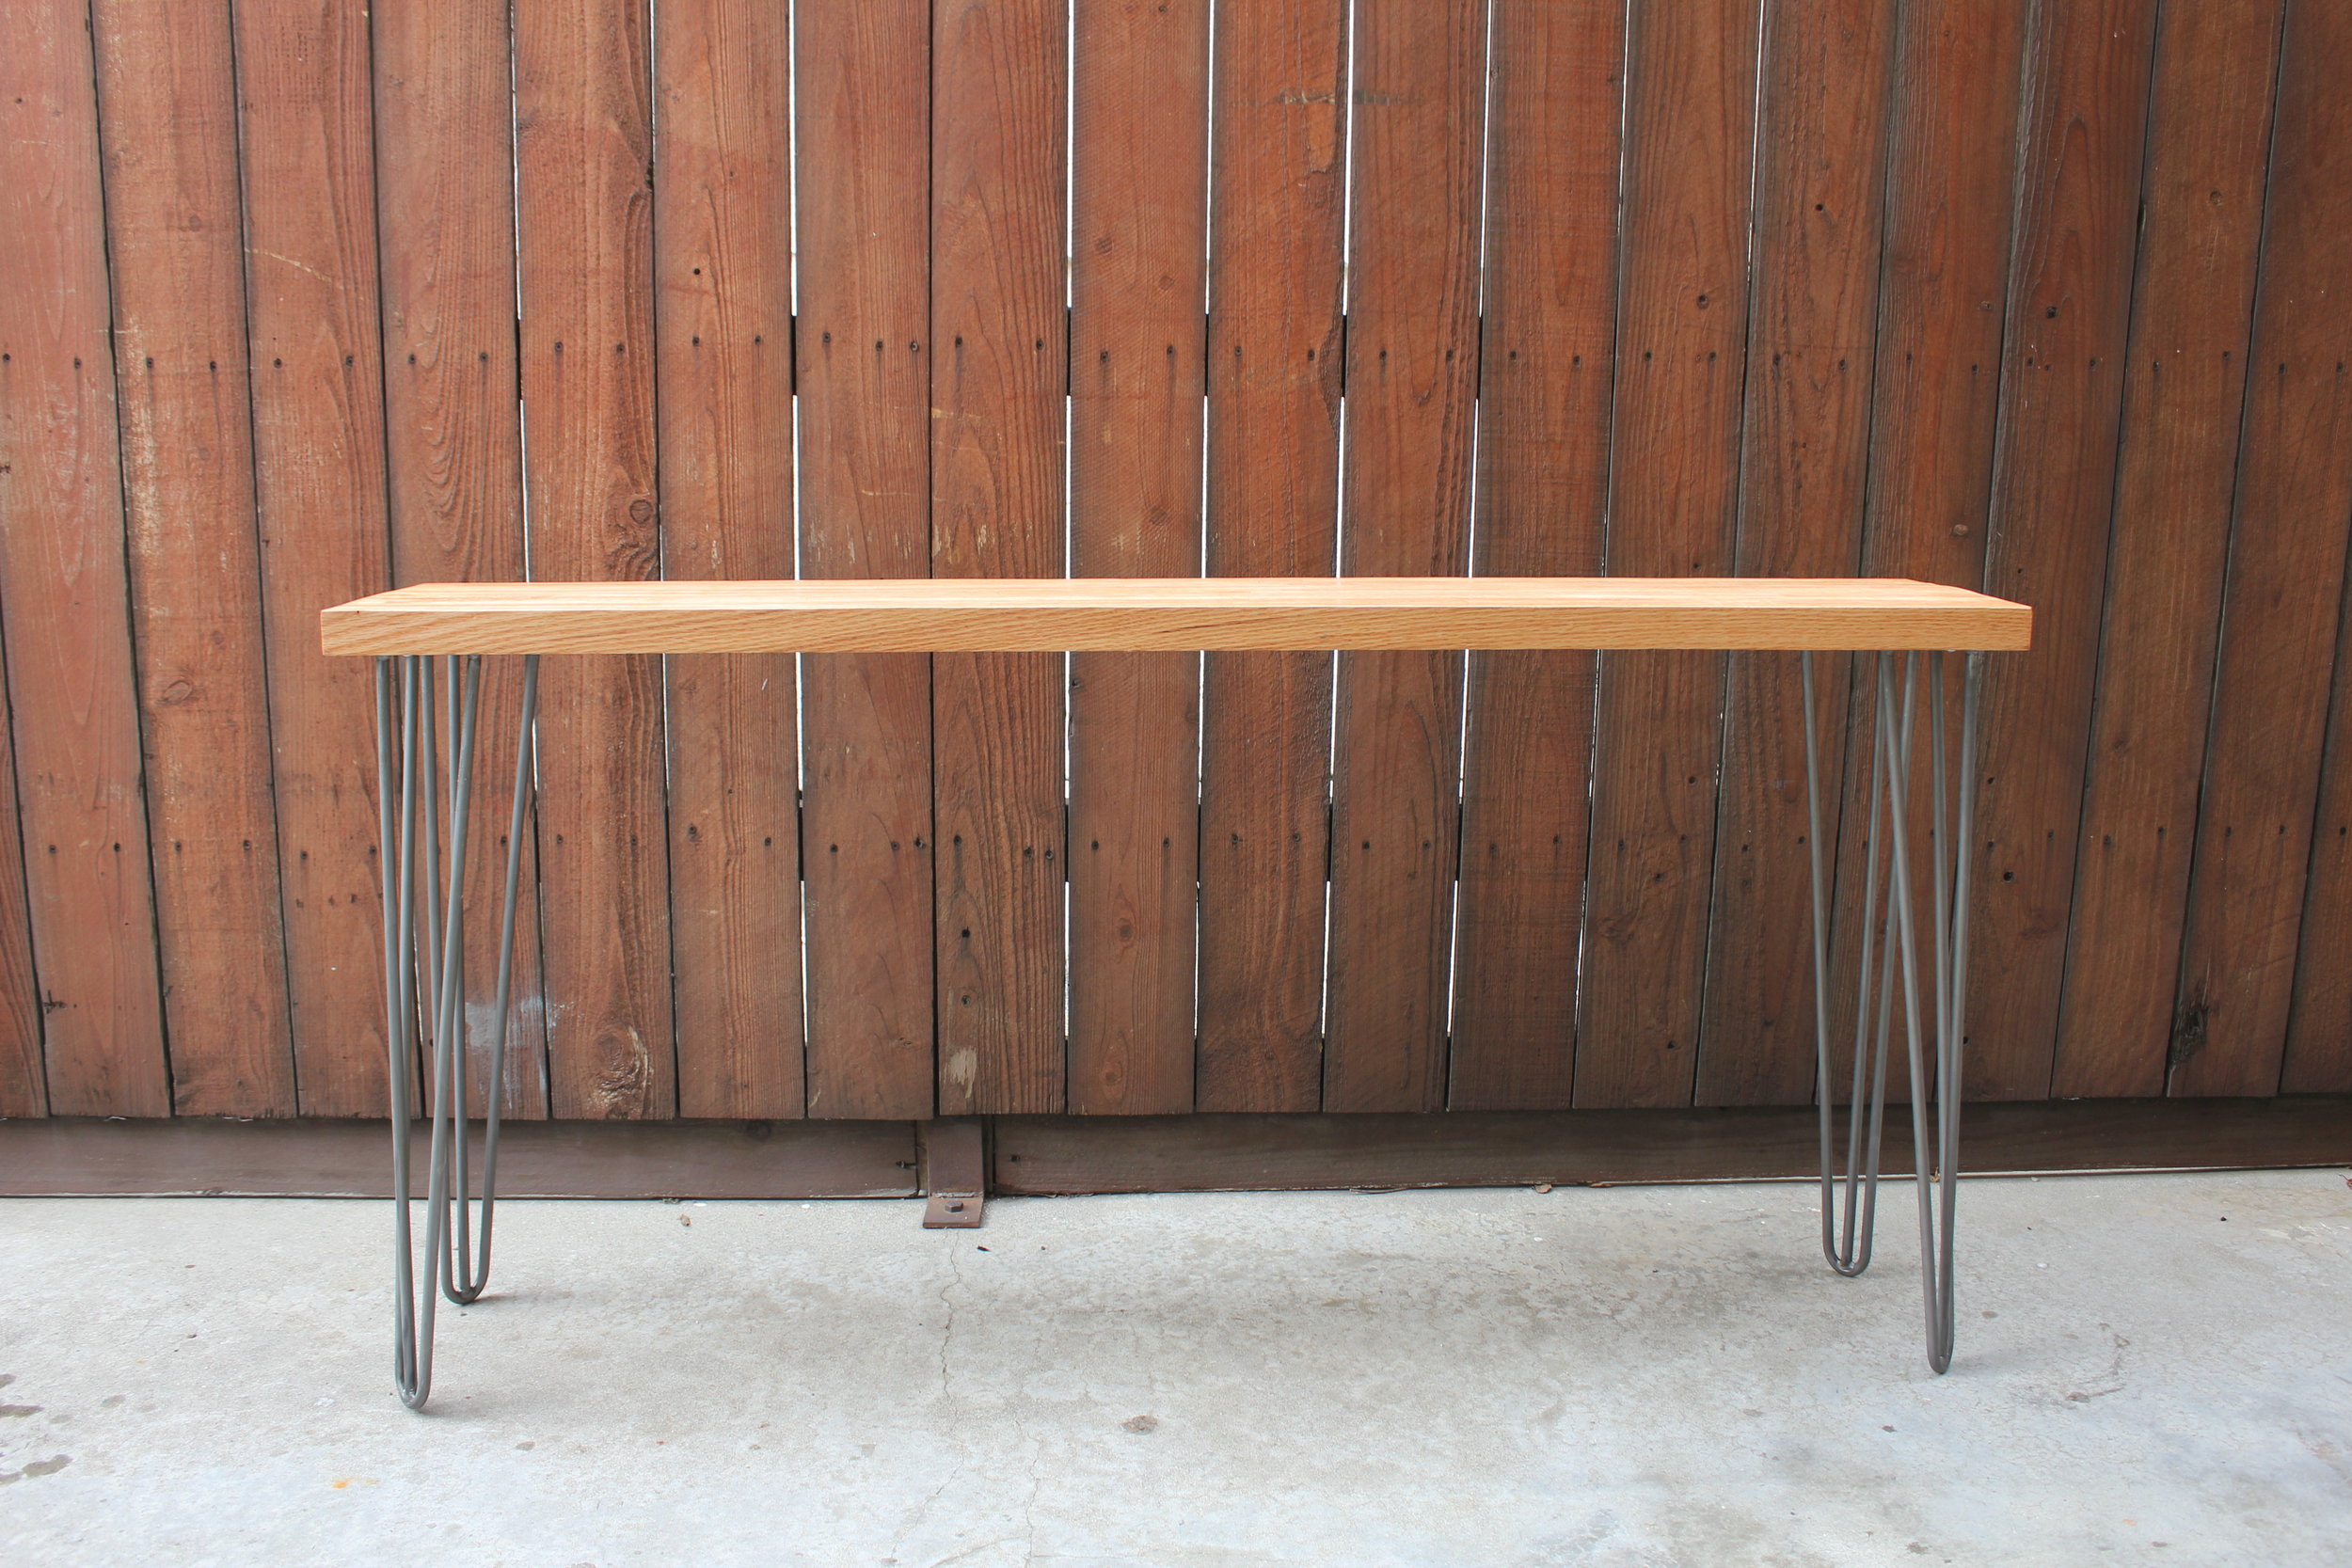
Couple of final shots for you. Now this thing is not perfectly flat, which is a product of using only sanding to get it down. Not an excuse, but hard to monitor sometimes and even harder to perfect. If I ever have convenient access to a planer I might run it through a few times and reapply oil as it will be even flatter. But whatever, right?
TOOLS
RYOBI 10 in. Sliding Compound Miter Saw
RYOBI Miter Saw Stand
RYOBI Cordless Orbital Sander
RYOBI Belt Sander
RYOBI Cordless Brad Nailer
RYOBI Drill Bit Set
BESSEY Economy 2.5” x 12” Clutch Clamps
BESSEY Economy 2.5” x 24” Clutch Clamps
BESSEY H Style Pipe Clamps
12” Rafter Square
Hammer
Rubber Mallet
Hand Sanding Sponges (120, 220, 320, and 400 grit) + Spray Bottle
5-Gallon 4.5 Peak HP Wet Dry Vacuum
Tape Measure
Air Compressor
FILM / EDIT EQUIPMENT:
Canon Rebel EOS T2i:
Canon EF-S 18-55mm f/3.5-5.6 IS II Lens
Rode Microphone
Voice Recording
Adobe Premiere (Editorial)
Thanks for reading! I would be so grateful if you could please subscribe to my new Youtube Channel for future projects. I put out videos every two weeks.
Cheers!
Zach