Thanks for checking out the full article!
Full video build is below, followed by detailed instructions with tools and measurements! You can subscribe to our YouTube channel by clicking here!
I have now built a blanket ladder six times in my life. It is such a simple project and for anyone looking to add a cool wall fixture to any room, this is the perfect simple project for you. In this video/article, I will actually be building it two slightly different ways.
Like I say in my video, the best thing about this project is how simple it is to adapt to your specific needs - be that shape, size, color, wood type, and or additional hardware.
My hope is that, no matter what tools you have or what style your home is, you can still make this project for ~$10-20 instead of purchasing something for $200!
MATERIALS (For one ladder)
2 x 1" x 3" x 8' Whitewood
1 x 1" x 3" x 8' Whitewood
1” Pocket Hole Screws or Wood Screws (1.25”)
Stain and Paint (your choice!)
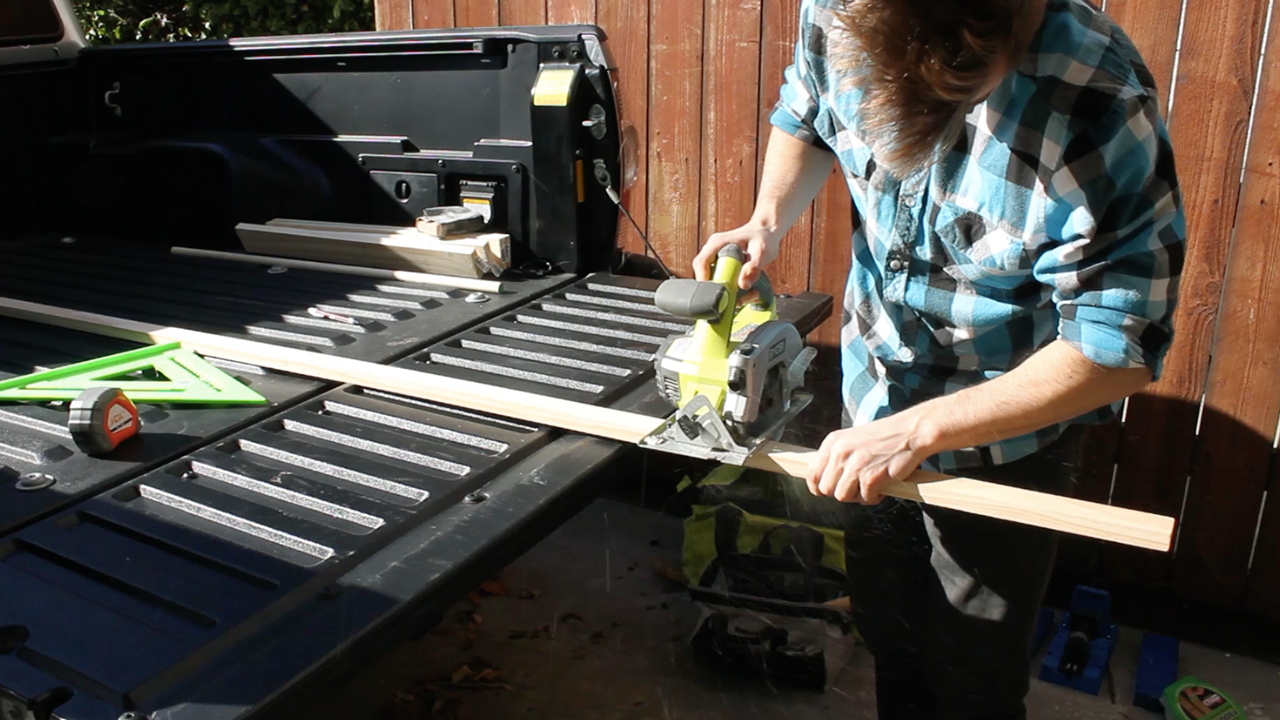
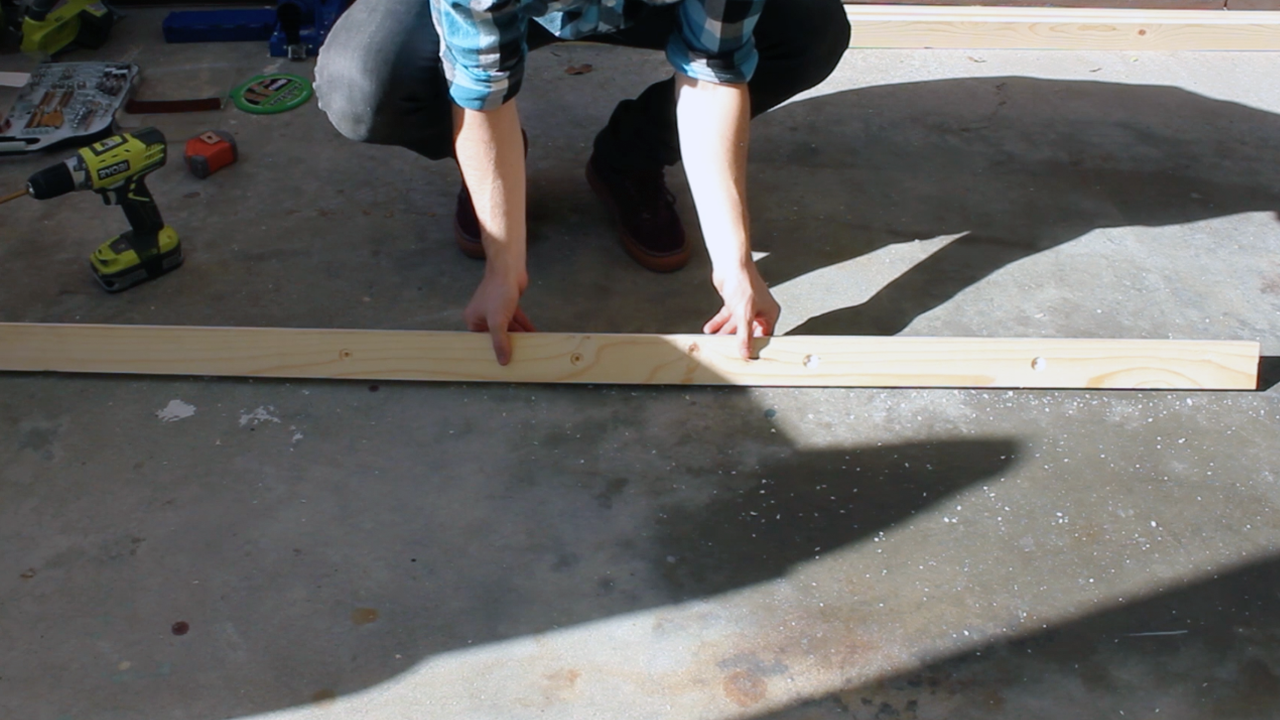
I started off by cutting my ladder sides to length using my circular saw. My sides are 6' each, so if you want to follow my method, you'll just need to cut off 2' from each piece.
To do this, I clamped all four pieces together and ran my circular saw through all four of them one way, then flipped them over and ran it through along the same lines. My saw only cuts to 1.5" deep, so I needed to do a pass from each side to cut through fully.

Sometimes, like in my case, by using a circular saw from two ends, you end up without the cleanest. I recommend using your sander (belt, orbital, or by hand) to clean this up if it bothers you! However, you can also make these your bottoms, so you never see them anyways!

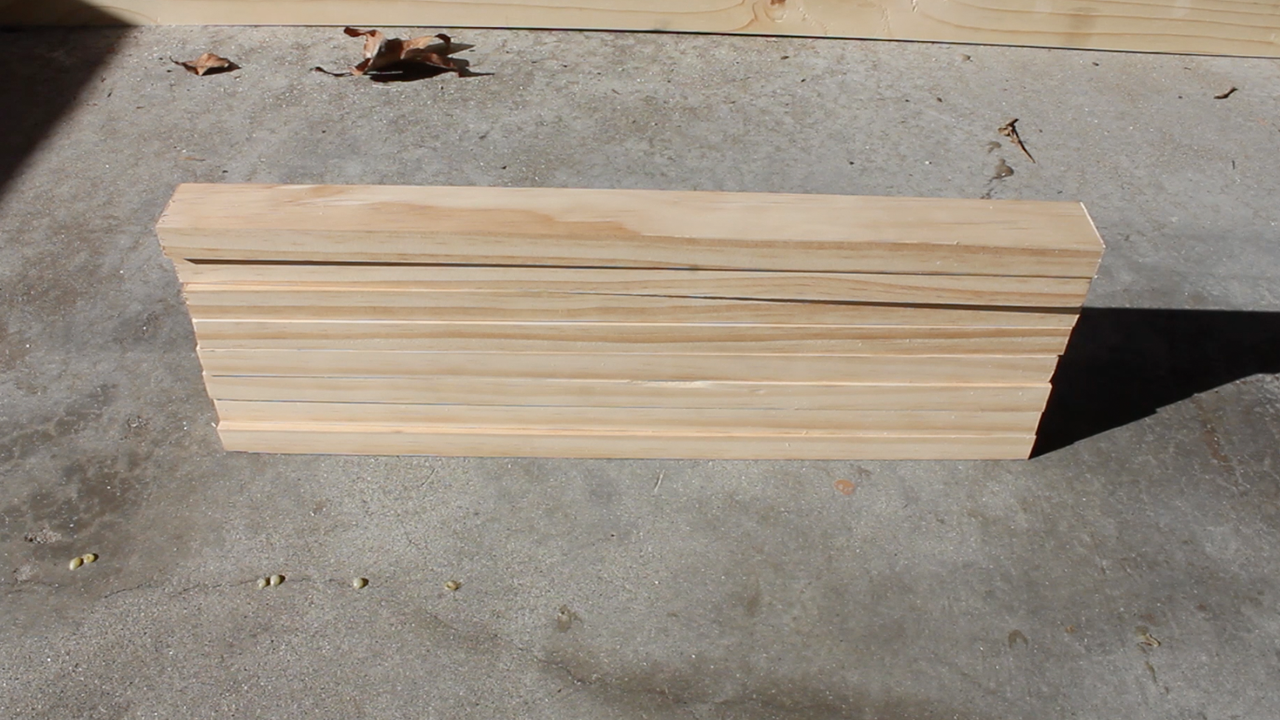
Next, I cut each of my ladder steps to 19" each. This is just the length I use - you have full control over how wide or narrow you want your project to be - just remember that if you're using a 96" piece, you will not want to cut longer than 23.75" each or you'll run out of wood!
If you watched the video, you'll know I used two methods for this project - below are both of them:
Method 1 - Pocket holes
To connect the steps to the side pieces, I set my pocket hole jig to the right height and adjust my drill bit depth as needed and drill a single pocket hole on each side of the steps.

Method 2 - Wood Screws + Dowels
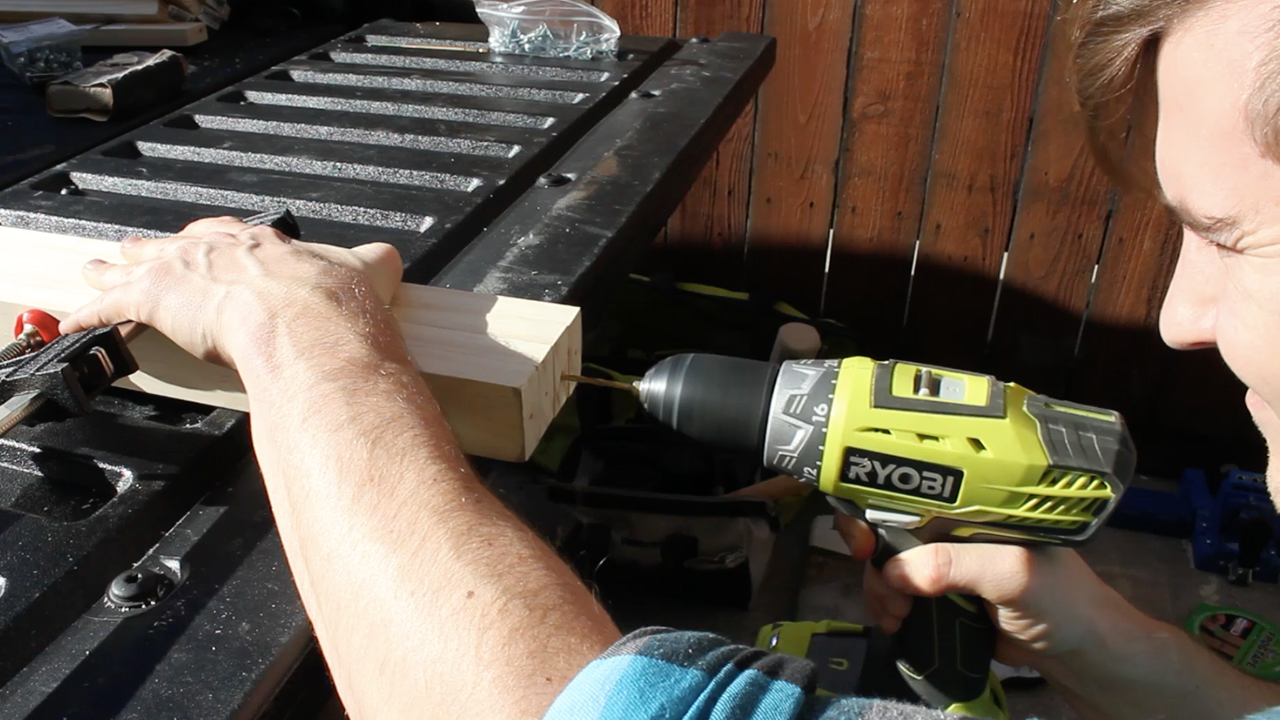
For the second method, I used a 3/4" wood spade bit to drill a dowel hole and pilot hole for wood screws. This was the first time I had done this. You can see below that I drilled a test hole, then used that test hole to measure out a standard depth that I would drill for my final project. You'll drill four of these pilot holes on each side wood piece for your ladder.
Note - you will not do this if you are doing the pocket hole version.
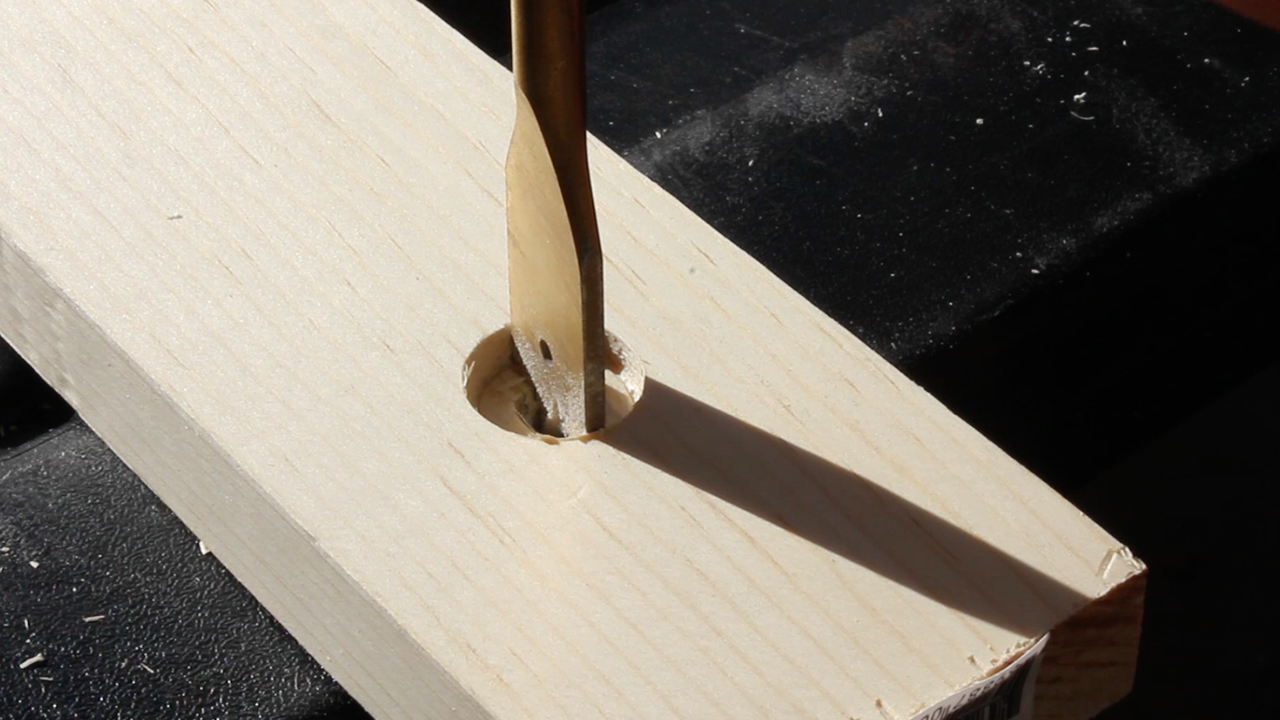
In order to avoid splitting the wood, I drilled pilot holes for the wood screws.
Now it was time to attach it all together.
For my pocket hole version, I used my 1" pocket hole screws and my impact driver to connect my pieces.

For my wood screw + dowel version, I used my drill to attach the pieces through my pilot holes using my 1.5" wood screws.

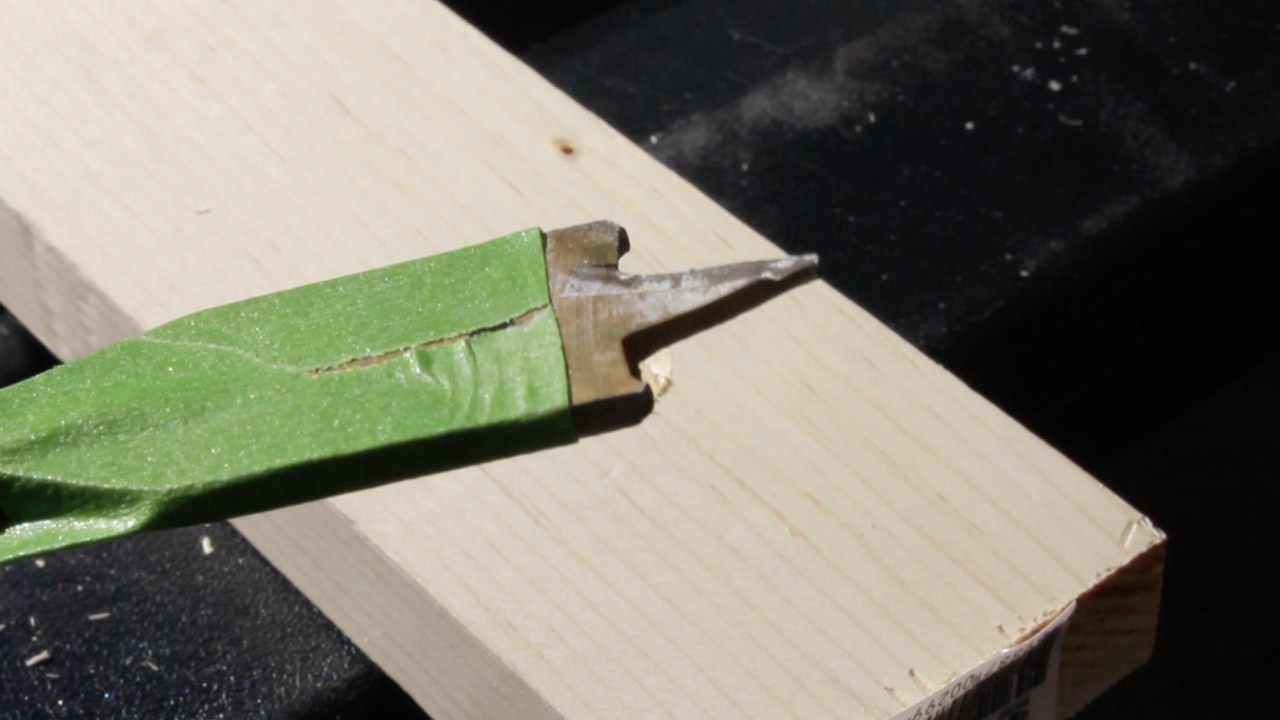
IMPORTANT! Make sure, as you attach the second side to your steps that you attach at a right angle! I use my rafter square to confirm I am doing this. If you do mess up, it is very easy to unscrew and reattached at the proper angle. Note - even 1 or 2 degrees will make the ladder look very janky, so do your due dilligence!

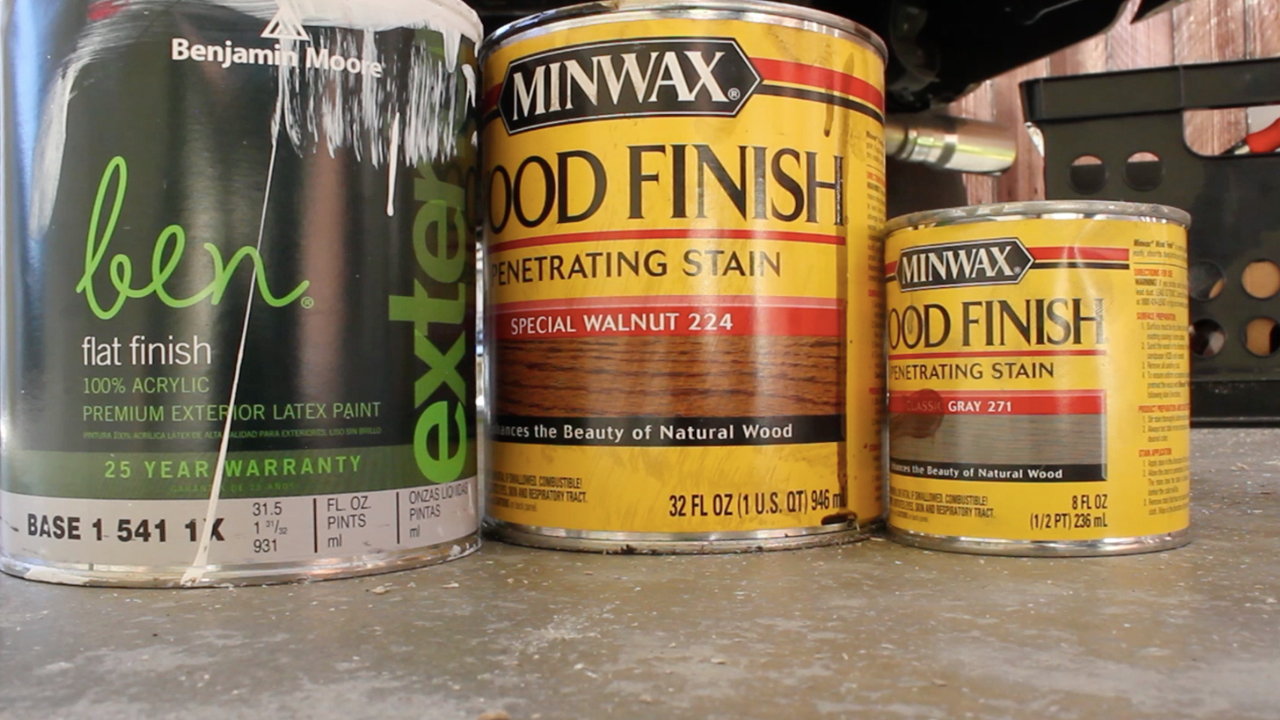
After connecting all the pieces, I moved onto staining. For each version, I gave them a base stain of Minwax's Special Walnut
For my pocket hole version, I then added a light stain of the Classic Grey stain. This does not need to cover the whole ladder - the goal is to make it look as though the stain has been wearing off, allowing the Walnut color to show through.
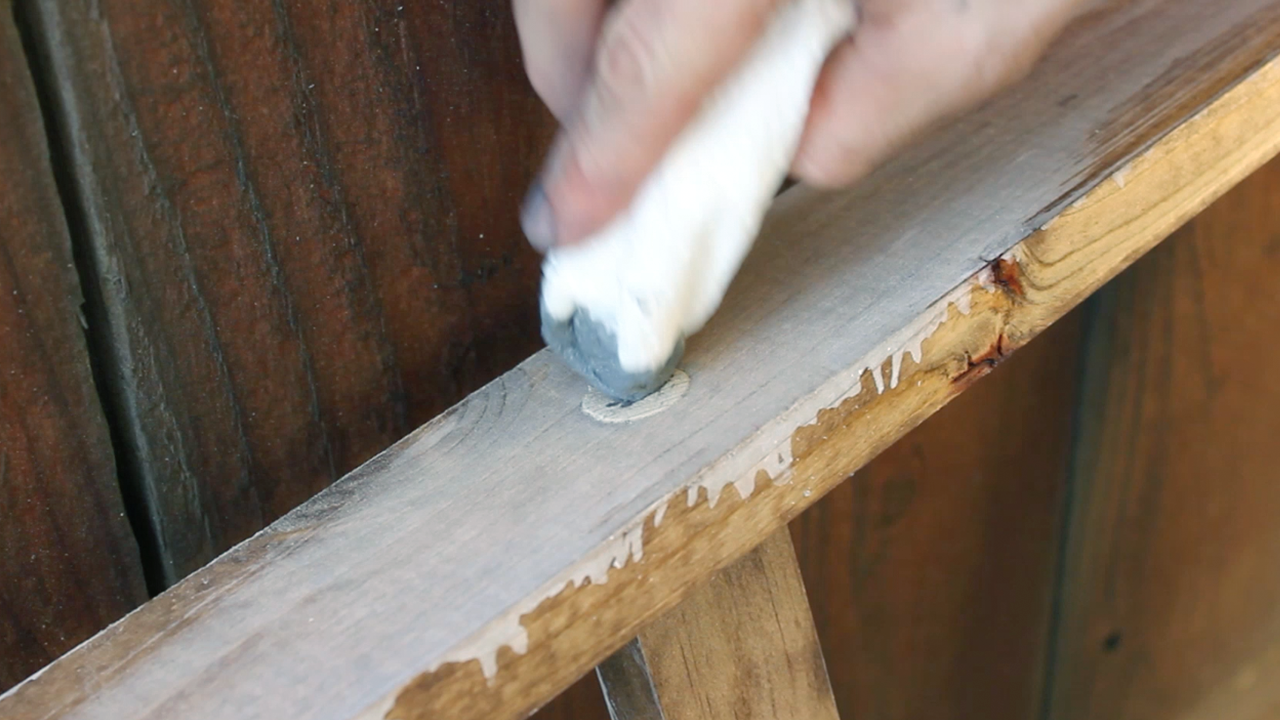
For my dowel version, I used a flat white primer mixed with water to again, give the look of a weather/rustic barn wood feel.
Here I am white washing the wooden dowel version. Again, stains, colors, and paint styles are totally up to you! Make it work for your apartment!

At this point, my pocket hole version is complete.
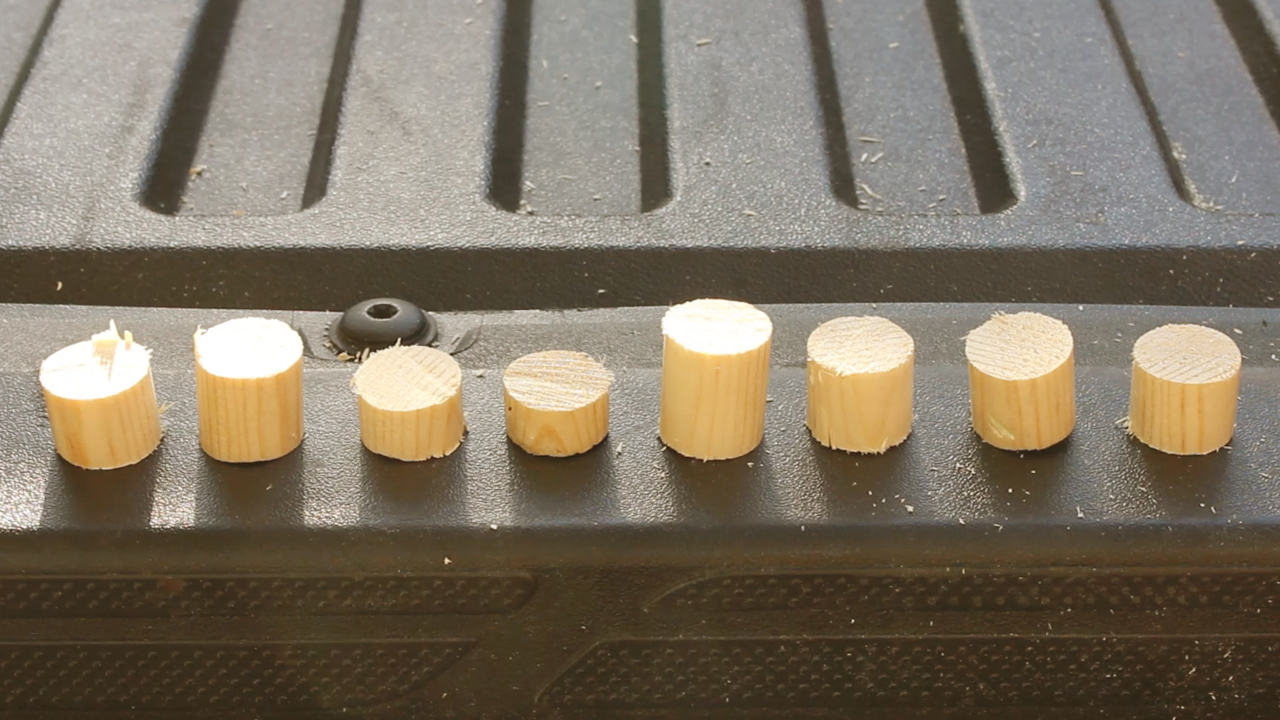
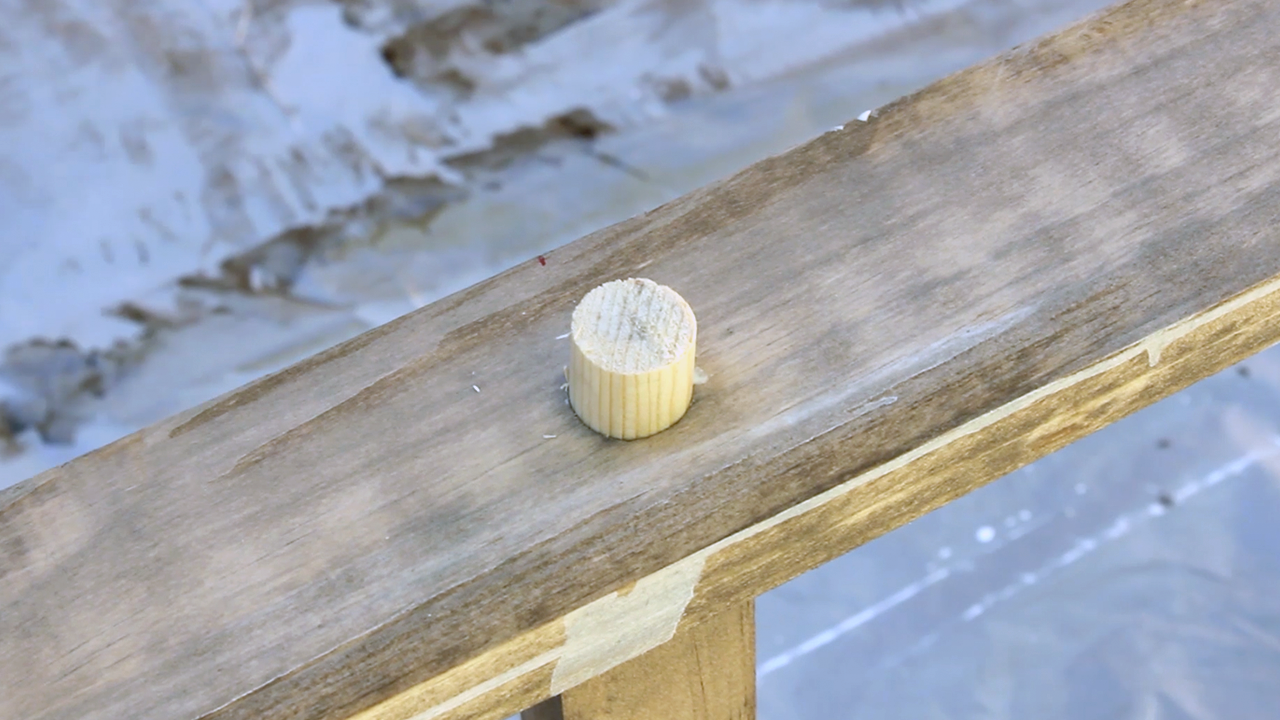
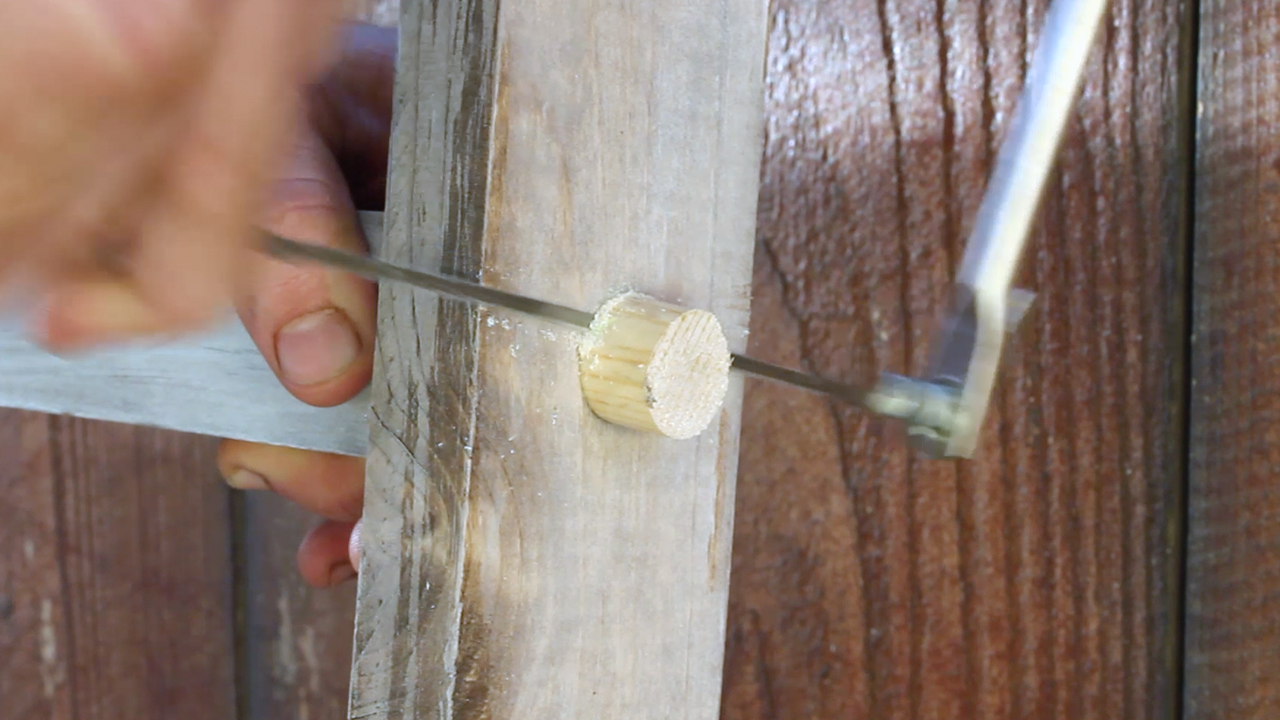
Last up was to add in my wooden dowels to cover my wood screws. I cut a 3/4" dowel using my circular saw into short pieces. I then glued and hammered in my pieces to the eight 3/4" holes I had drilled earlier. This will be a nice snug fit! Once they dry, I can use my coping saw or a flush trim saw to saw off the pieces. Lastly, to make them stand out more, I added a light coat of the Classic Grey Stain. This is totally optional but I figured it would look great against the white.

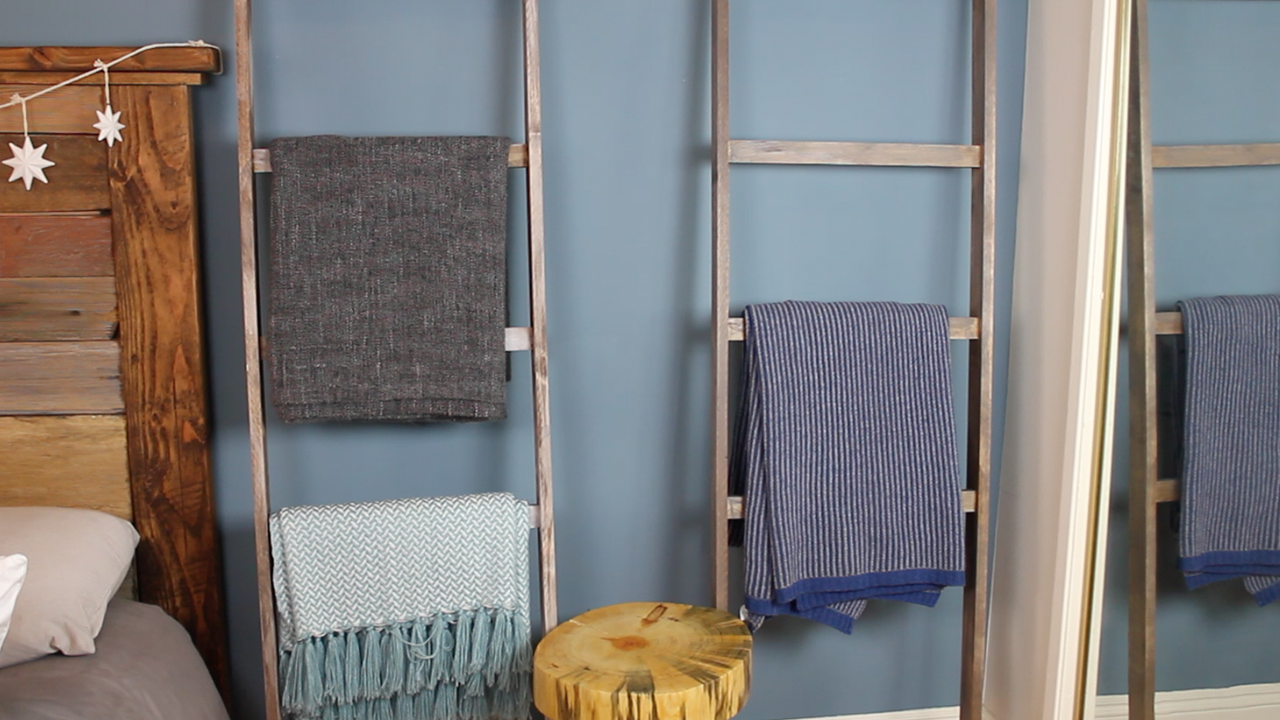
And then I was finished with both. They both came out great and made excellent Christmas gifts for various family members who had requested them!
TOOLS
RYOBI Circular Saw
RYOBI Power Drill
RYOBI Impact Driver
RYOBI Cordless Orbital Sander (60 Grit)
12” Rafter Square
Coping Saw
Hand Sanding Sponges (120 Grit)
FILM / EDIT EQUIPMENT:
Canon Rebel EOS T2i:
Canon EF-S 18-55mm f/3.5-5.6 IS II Lens
Rode Microphone
Voice Recording
Adobe Premiere (Editorial)
Thanks for reading! I would be so grateful if you could please subscribe to my new Youtube Channel for future projects. I put out videos every two weeks.
Cheers!
Zach