Make sure you check out my new YouTube Channel,
The Cutting Bored for future project updates!
Want to start this blog off by giving a shout out to ModernBuilds for the inspiration for this project. The Box Joint Bench is a simple design but took a bit of skill and hard work to pull off and the final product is amazing in my opinion. Below is how I built it!

Standard Home Depot Trip.
Materials I sued for this project:
11 x 2" x 4" x 8" Framing Lumber
TiteBond II Wood Glue
2” Brad Nails
Dark Walnut Danish Oil
I chose not to use a polyurethane sealant for this - the bench will be indoors and the Danish oil stains and seals.

Measuring things out before ripping - need to make the most of the wood as I bought just enough to allow for one small mistake.

Cuts for length I made are:
10 x 18"
8 x 15"
4 x 76"
5 x 70"

Next step is to rip 1/8" off each side of your pieces of wood to square them up as 2x4 wood is rounded. This took the longest time - I will be purchasing a new table saw blade soon.
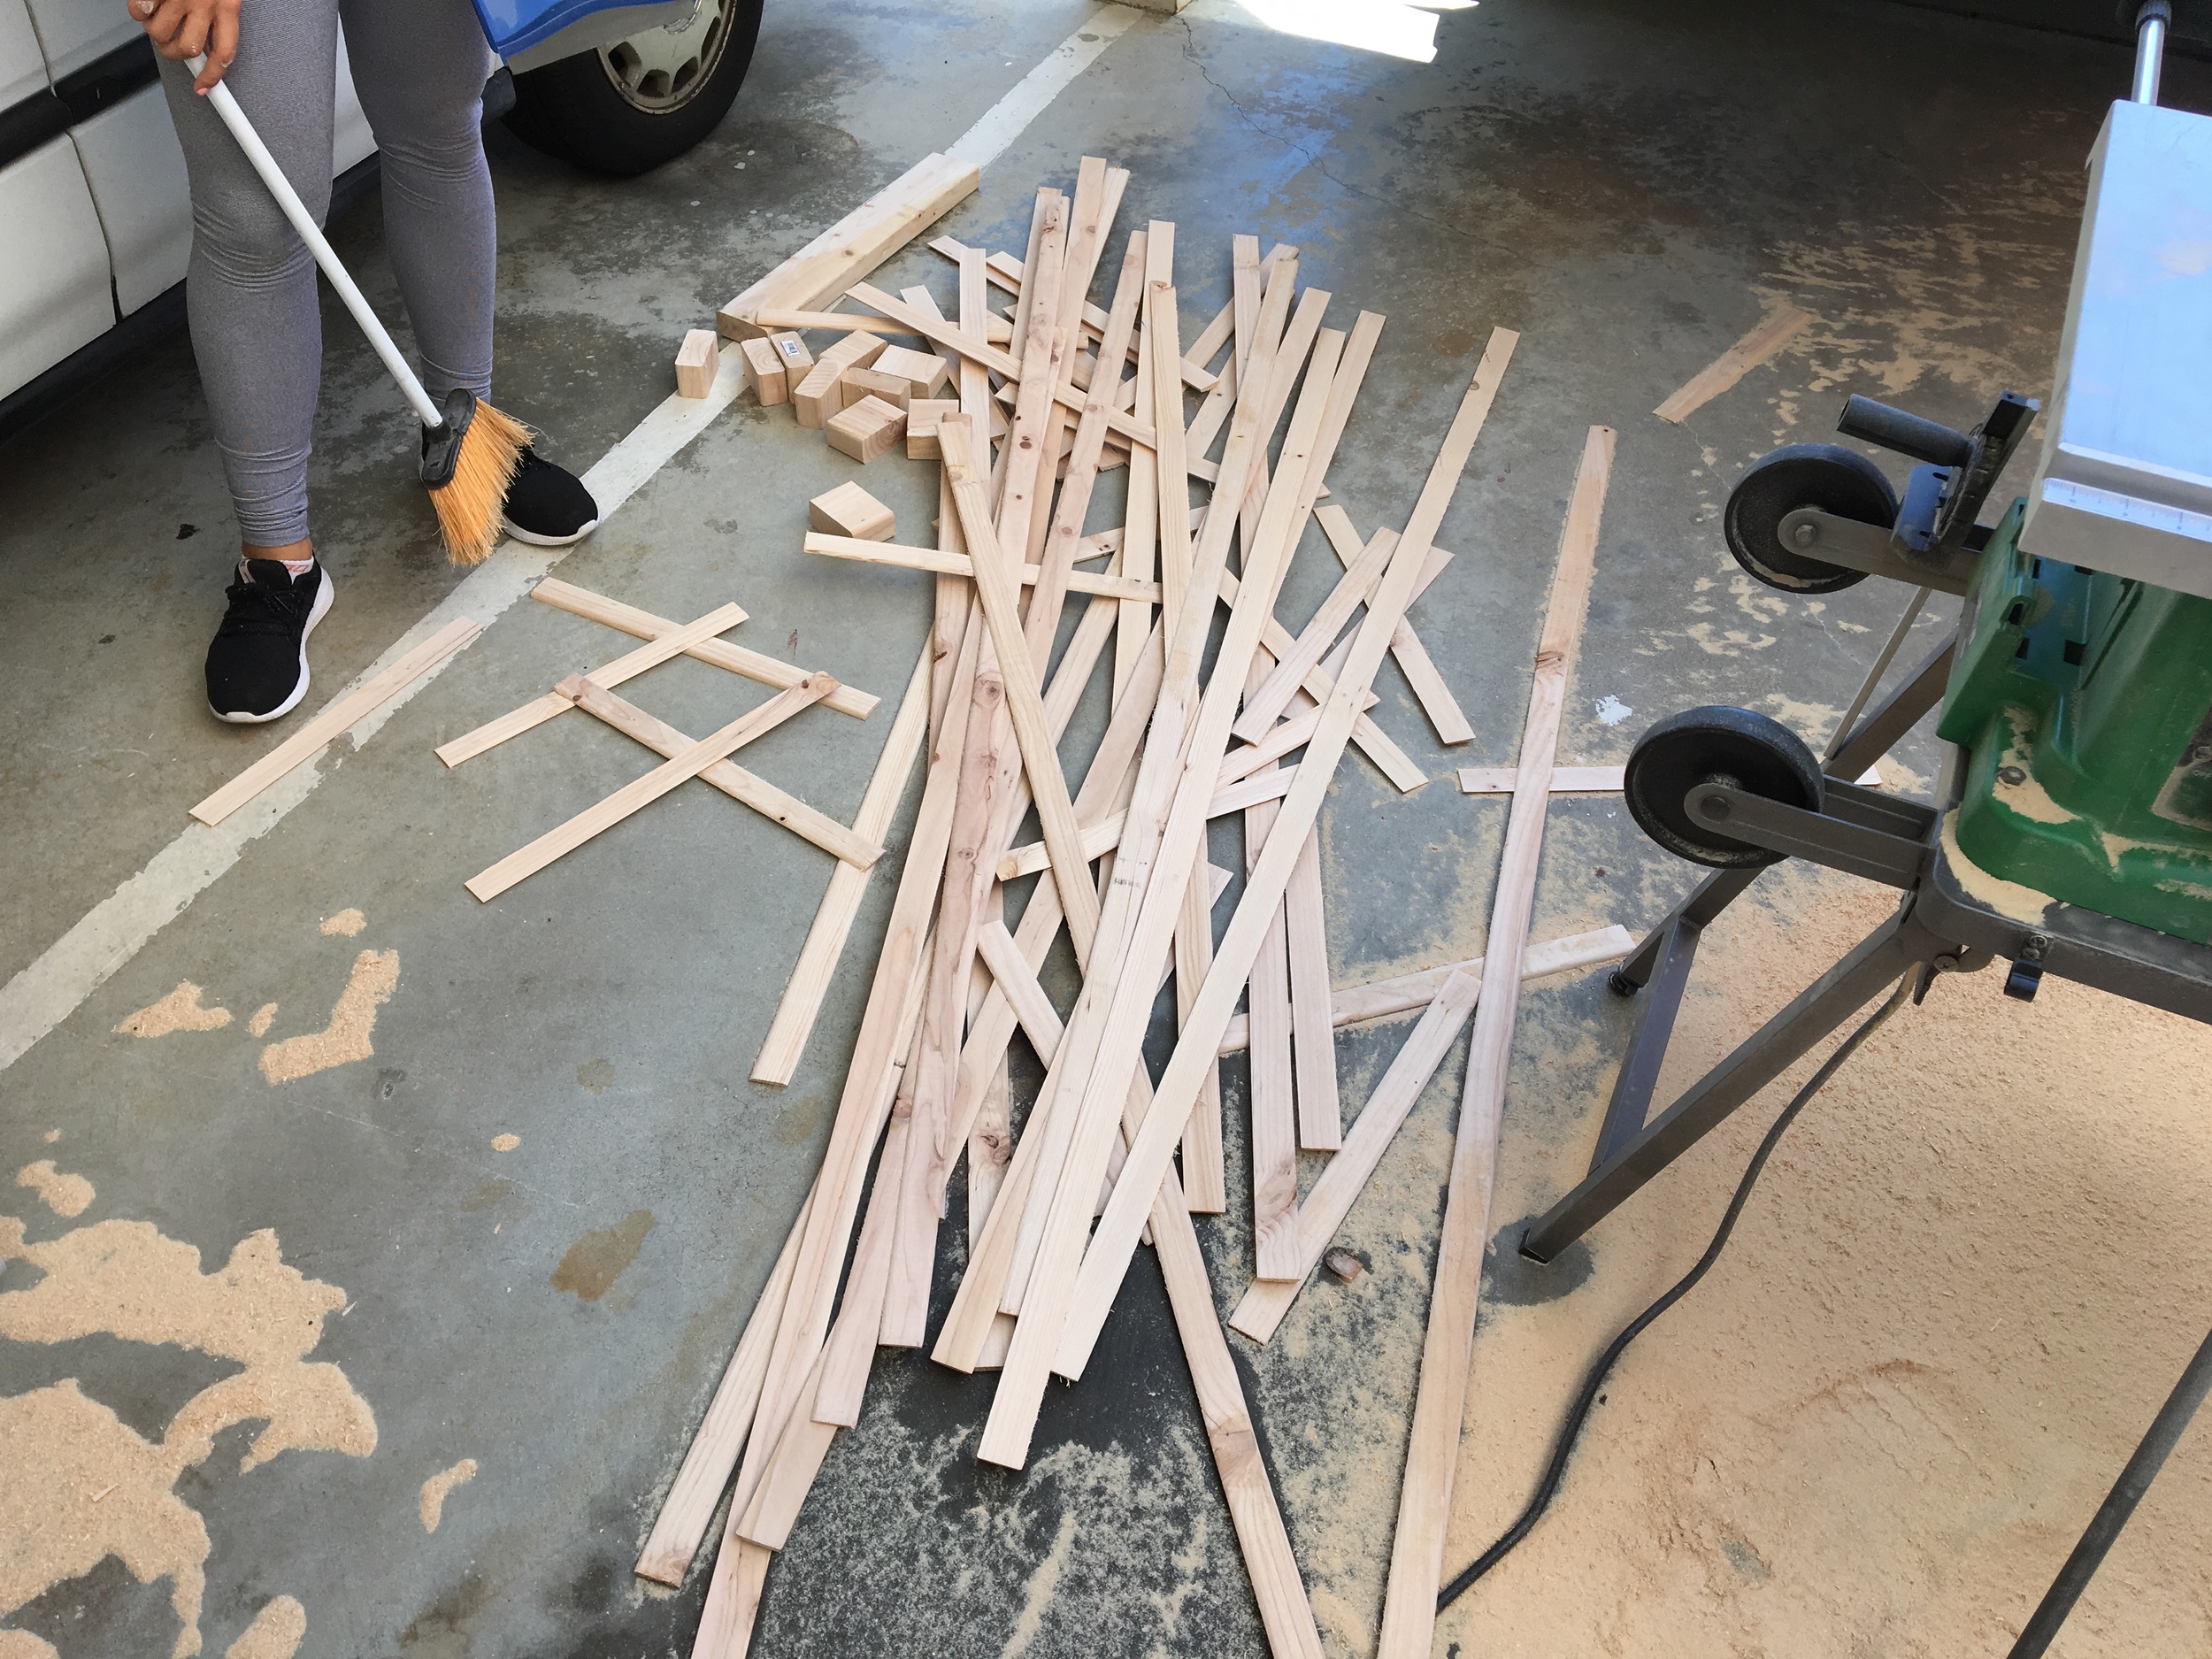
So many end pieces - I'm told pine can be chemically treated, so burning them is out of the question anyways. Also note to self - use the saw dust collection bag underneath the table saw. Otherwise, you'll need to bring in an assistant for sweeping.

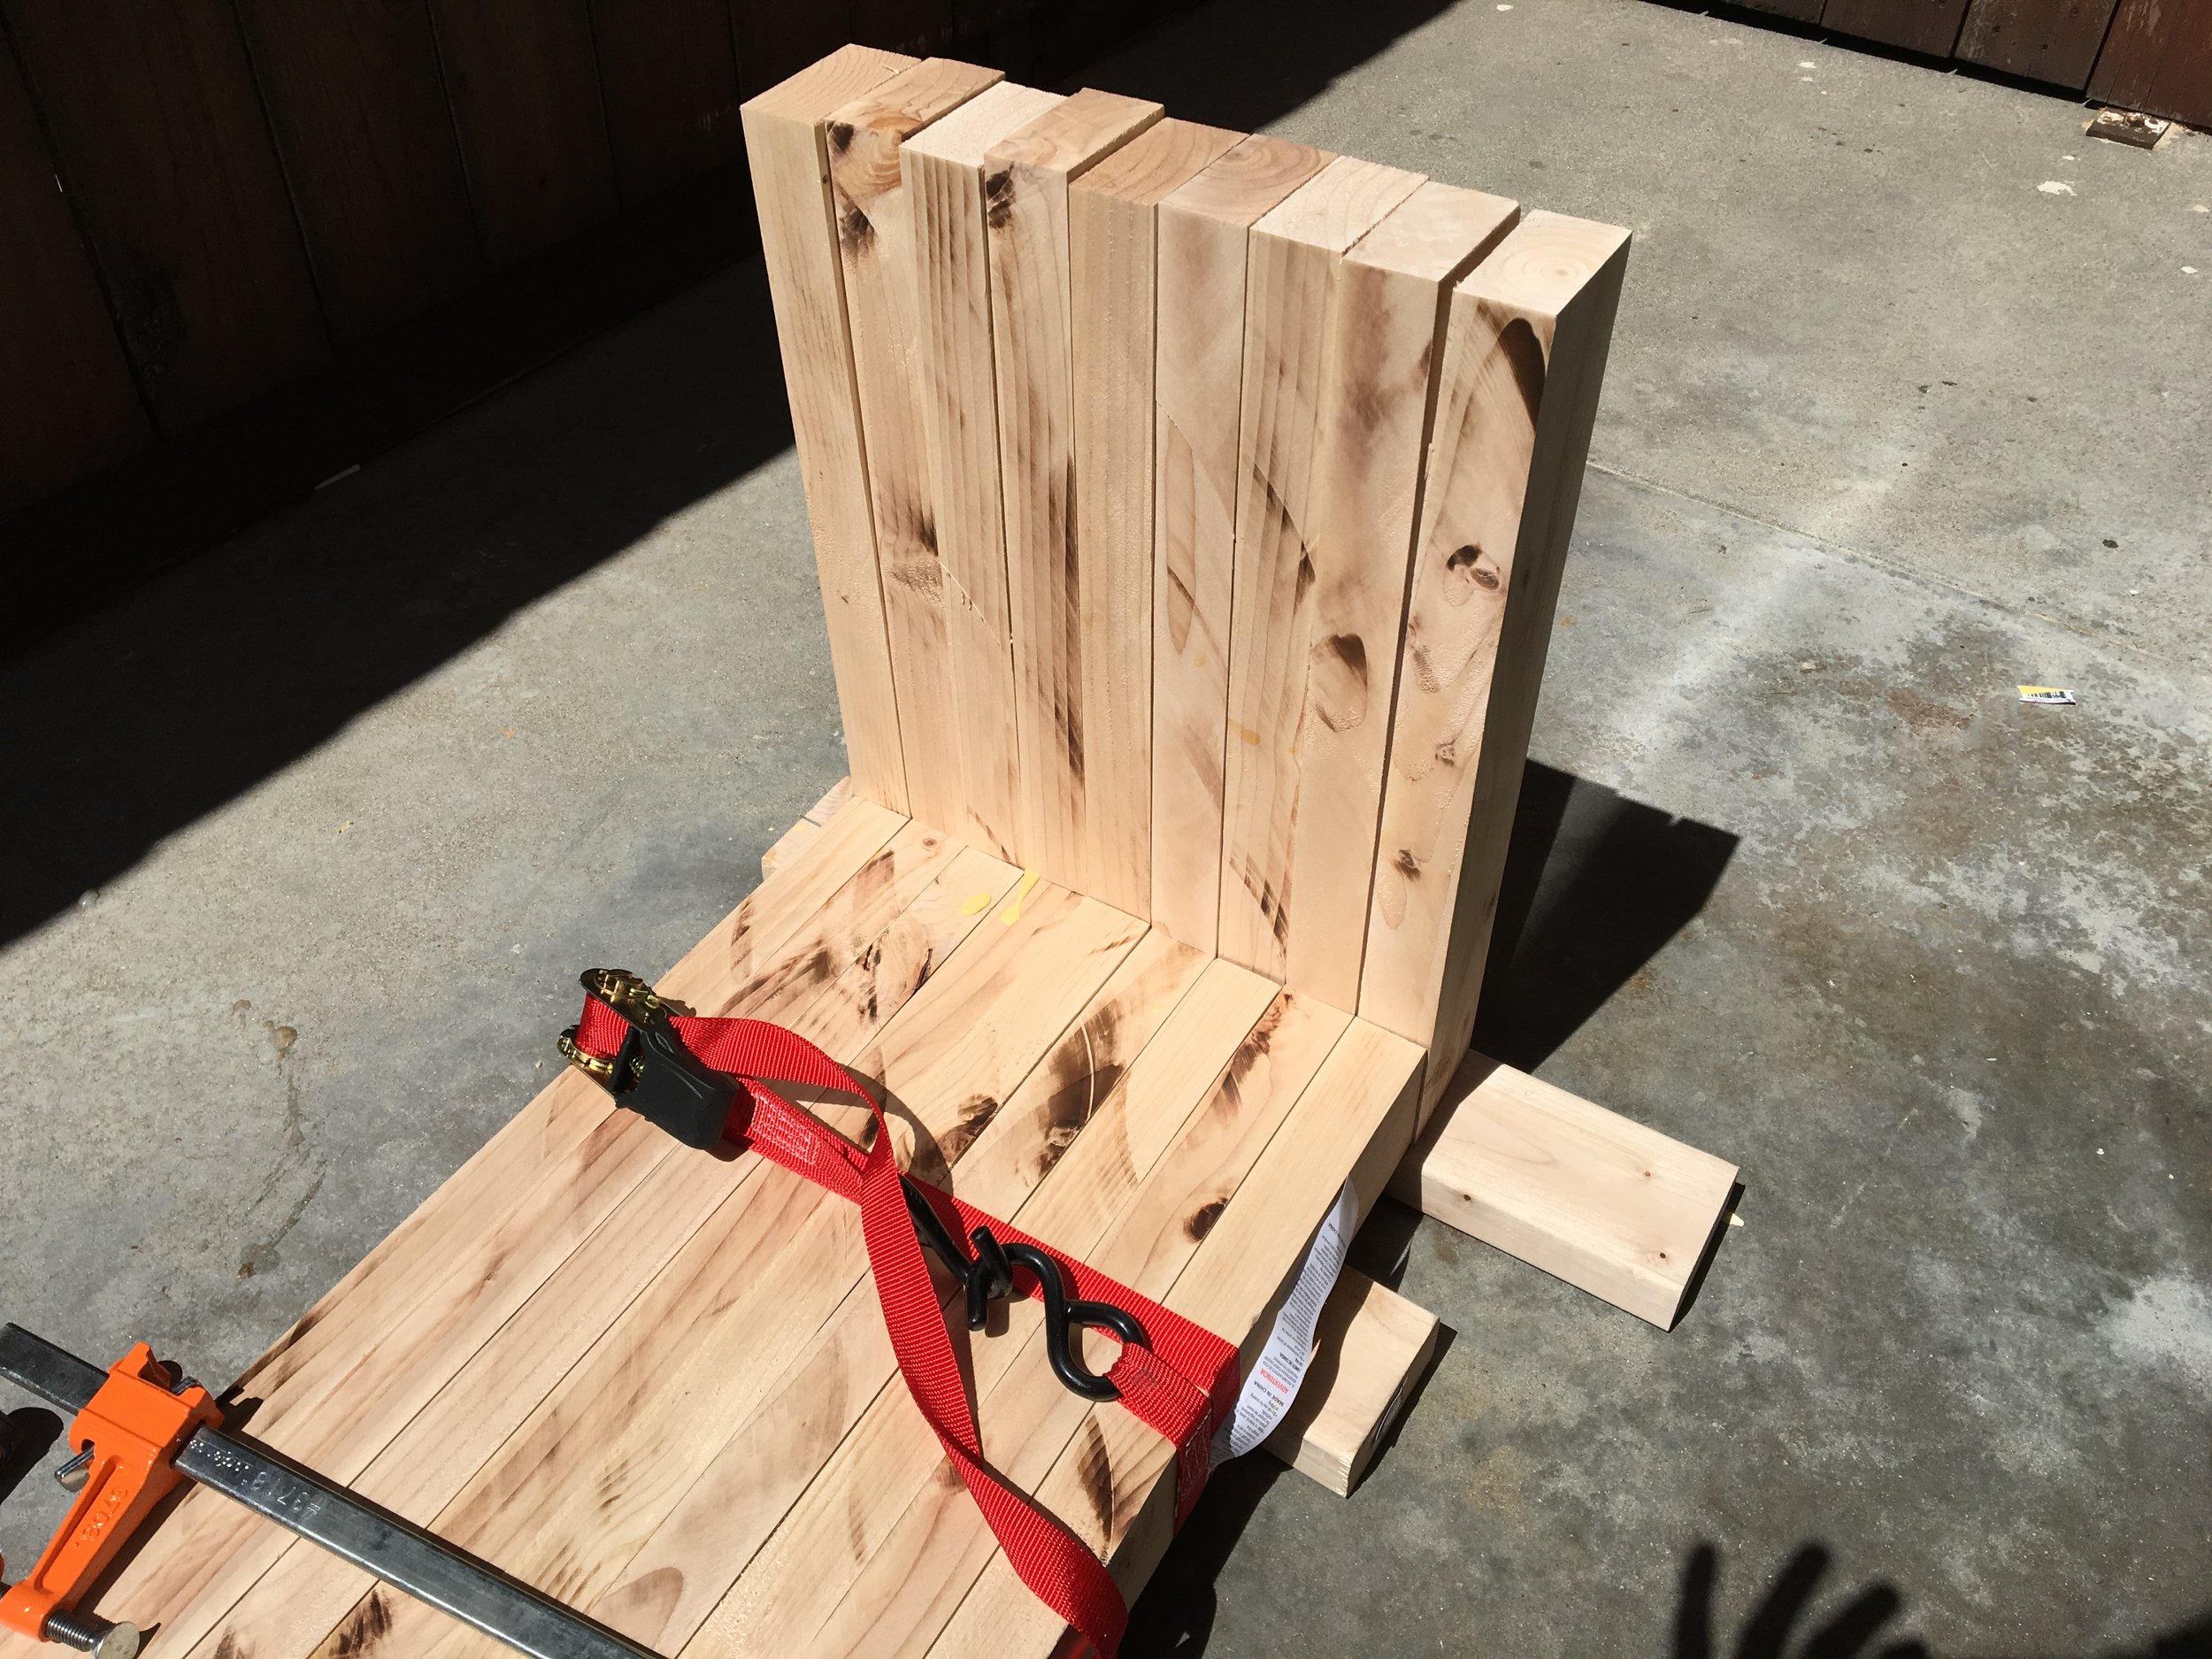
Setting up wood for gluing.

Turns our the finish nails I bought were just slightly too short and was forced to improvise with ratchet straps to clamp together the wood as I only had one clamp wide enough.
Actually worked out pretty well but wasn't as good as a real clamp.
Starting work on the ends.

Same process - not enough clamps.
Solution = ratchet straps.
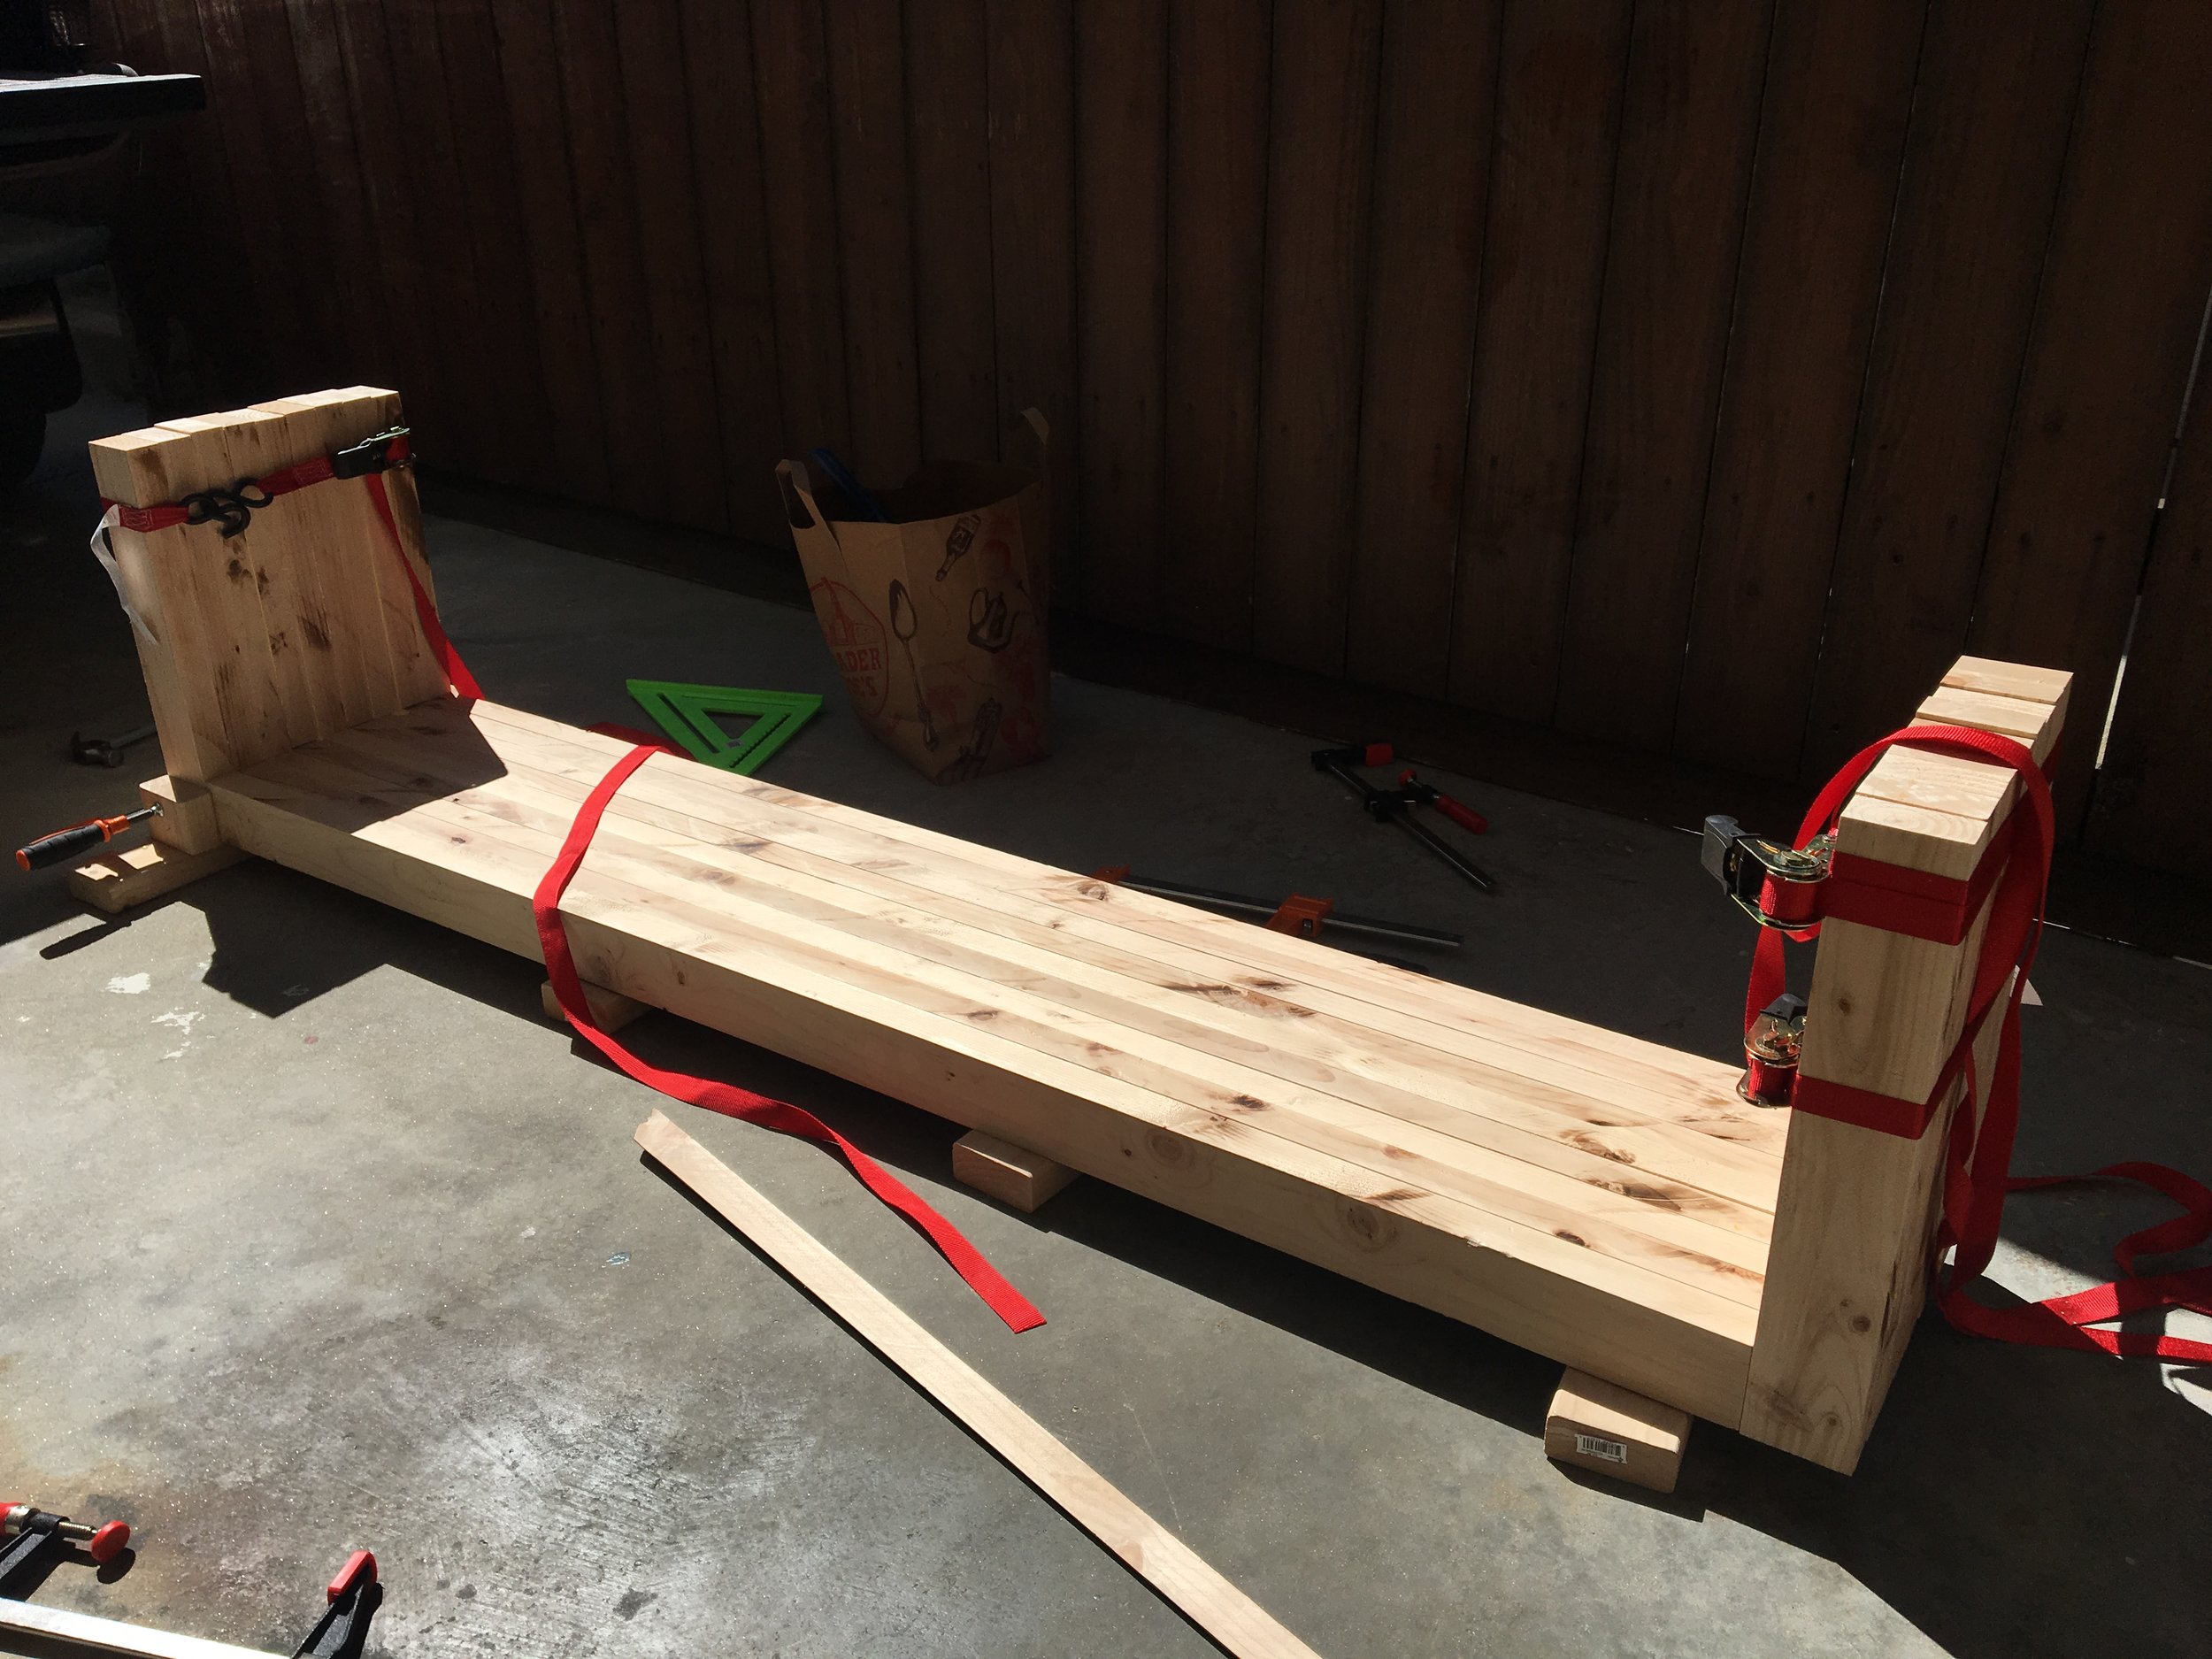
Actually impressed that it came out as well and tight as it did.
#Nailedit

Once everything was dry, I used my newly bought belt sander to flatten everything out as best I could. For the ends, to make it as square as possible, I resorted to using my electric hand planer to take off small layers at a time. Belt sander worked well w/80 grit paper.
Shout out to my neighbor for yelling at me during the sanding phase.

Once all was planed, sanded, etc., I spent a few hours gluing up areas that still had gaps due to my lack up clamps. This method worked quite well, and it just required another round of belt sanding, followed by finer orbital sanding and a round of hand sanding.

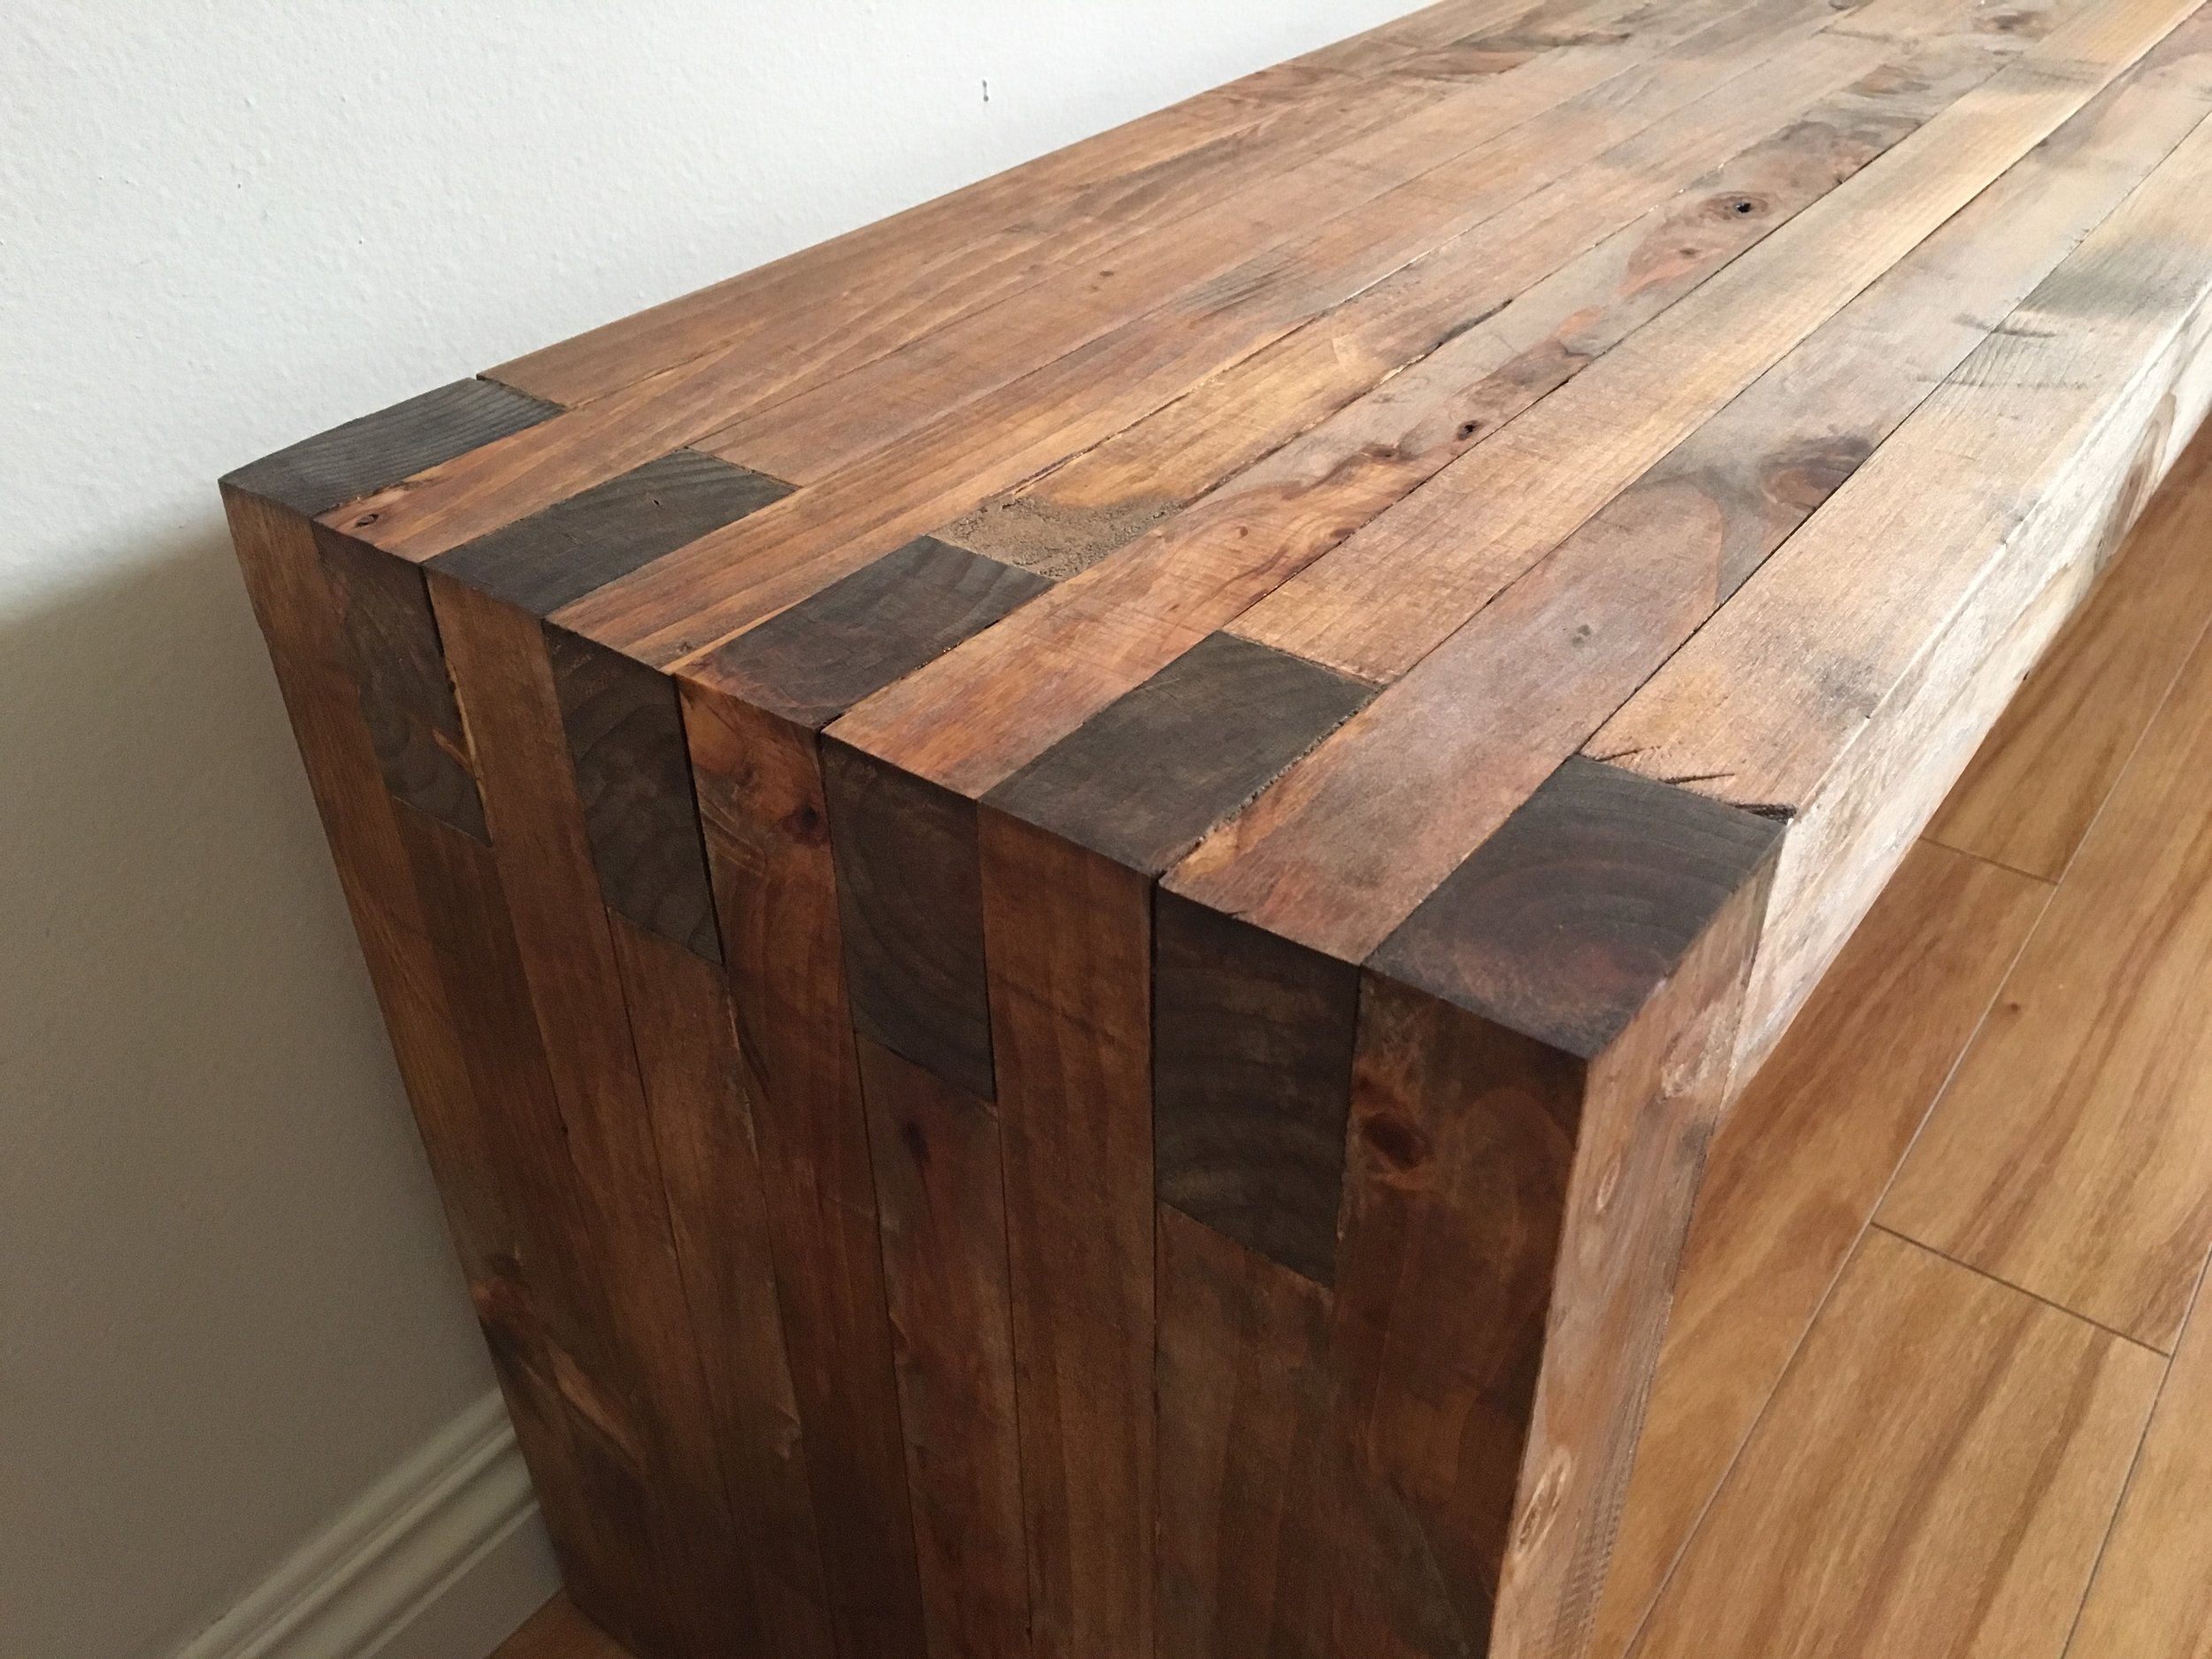
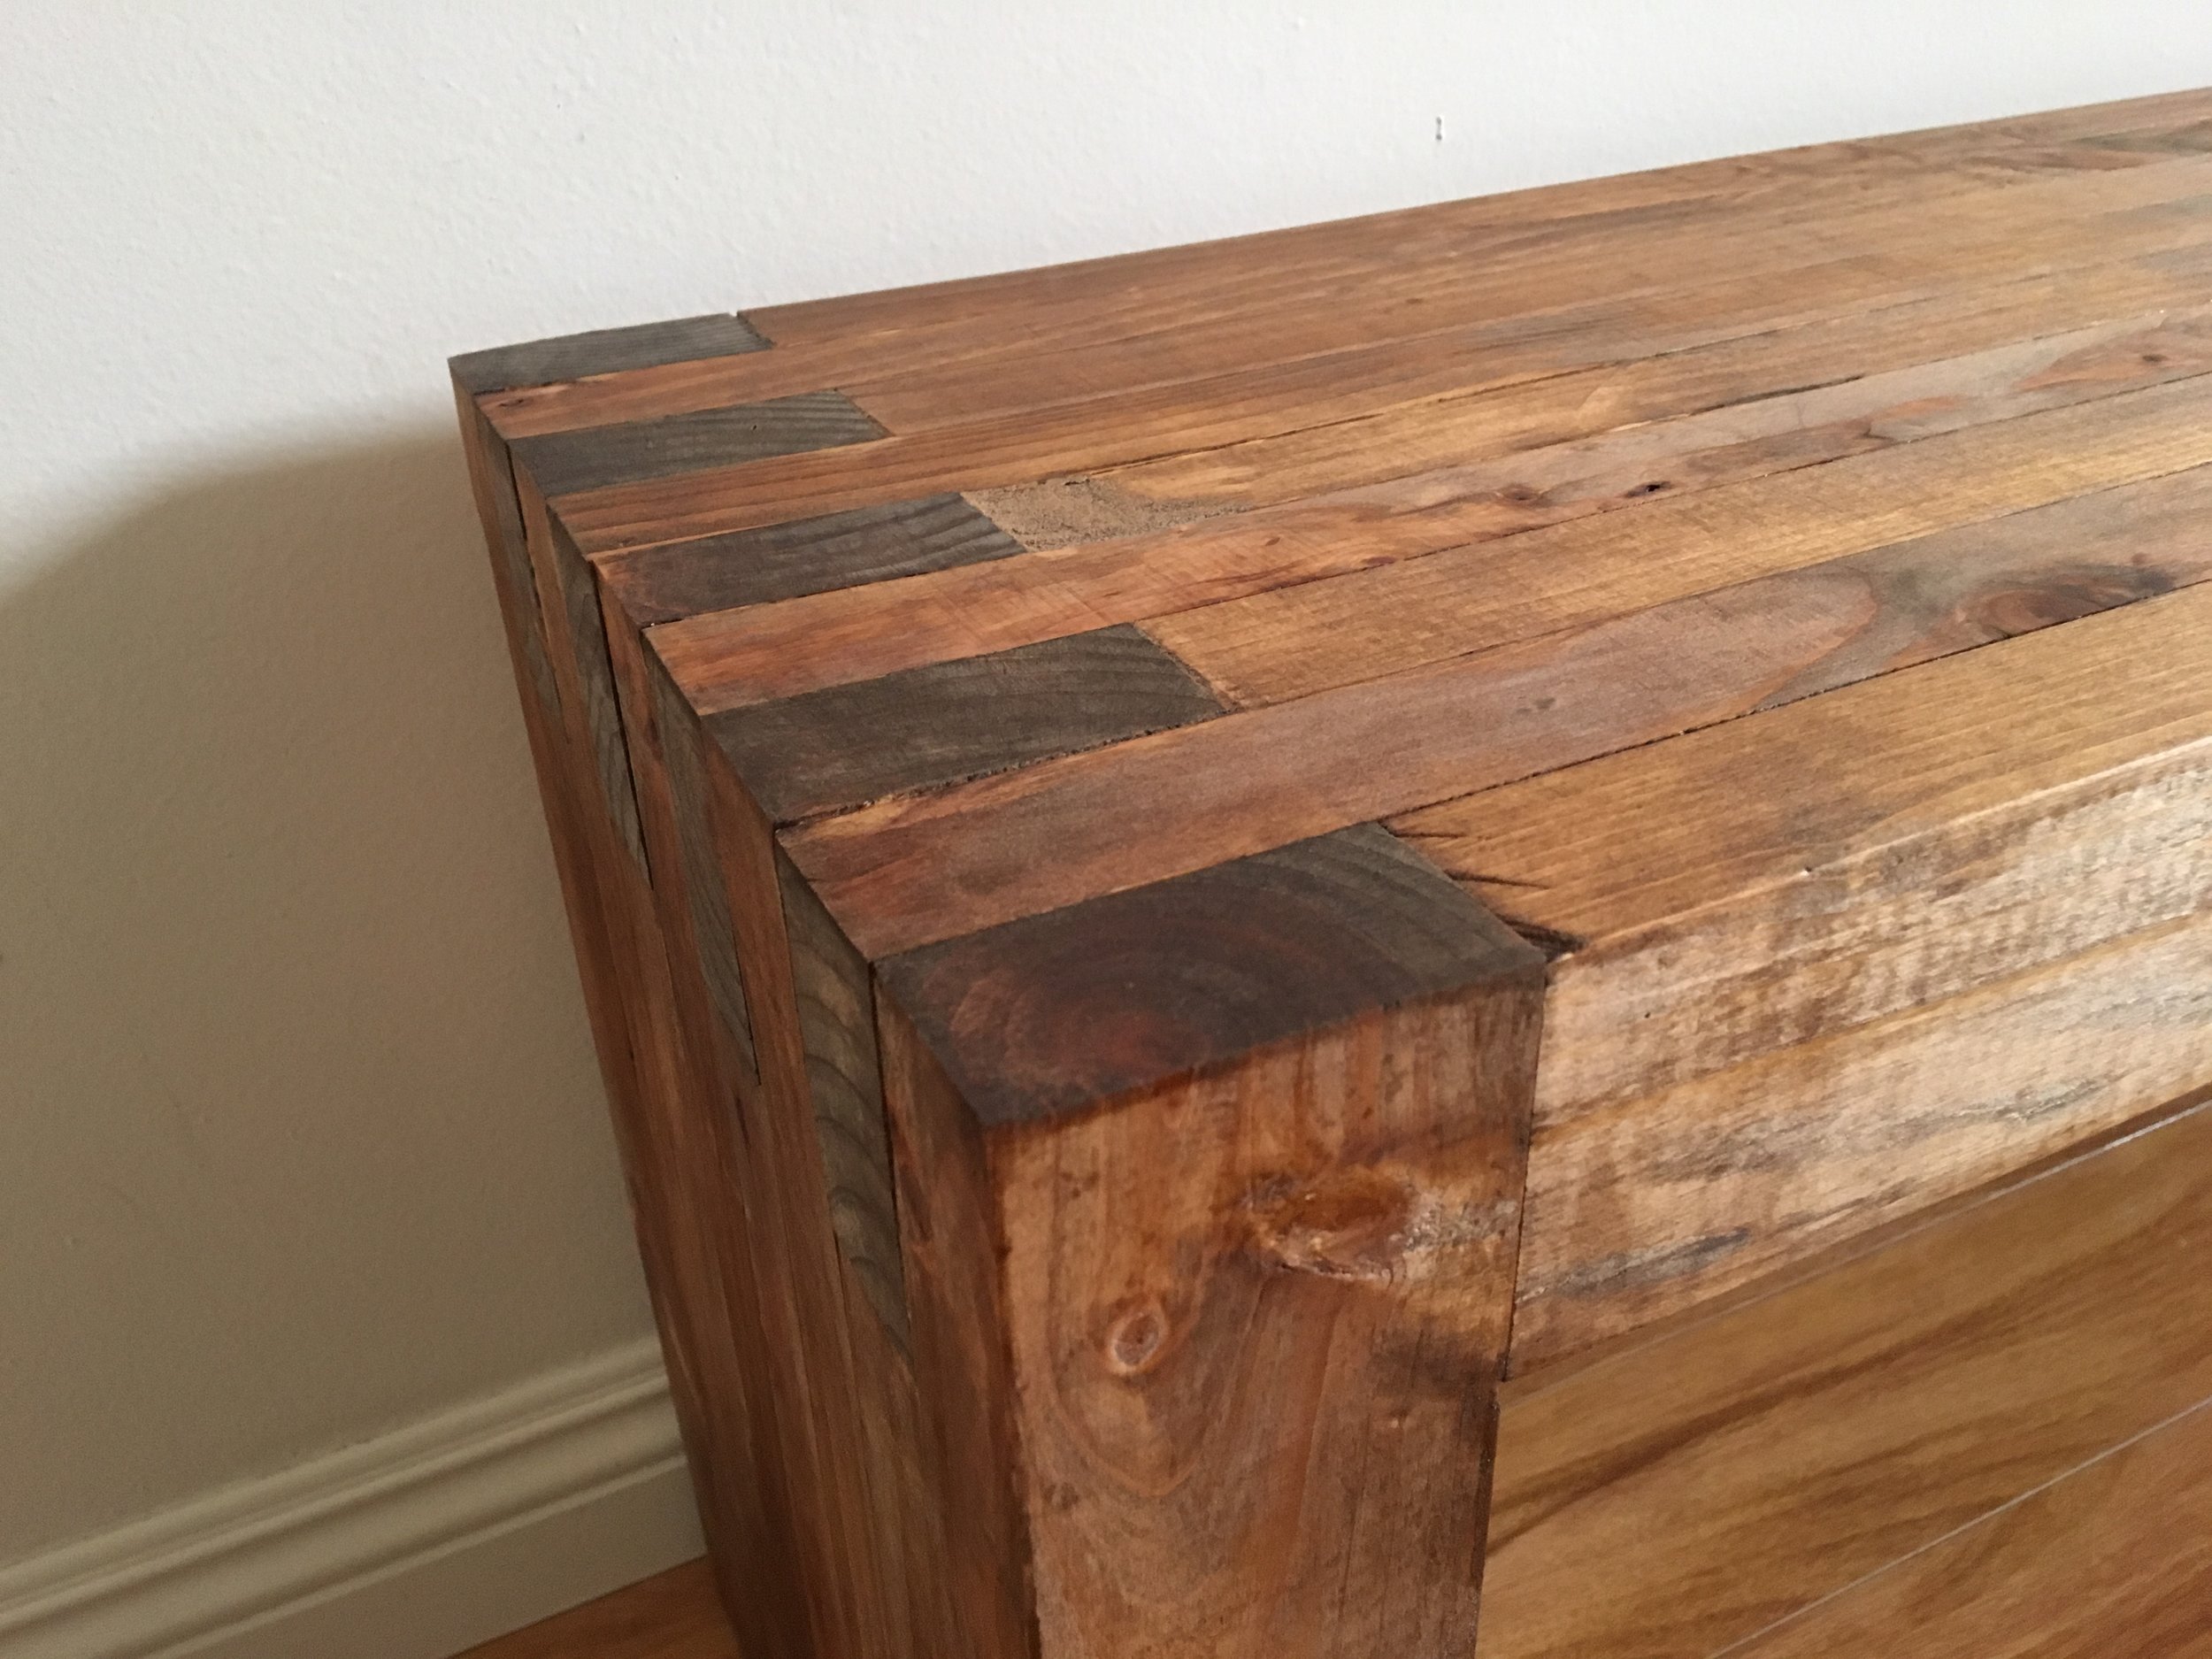
Close up on the box joint corners after most of the sanding was complete and pre-danish oil-application. Just needed to hand scrape off the rest of the excess glue.

First round of danish oil.

Close up on the end grain.

Second round of danish oil. Lighting isn't great but it looks fantastic in person.

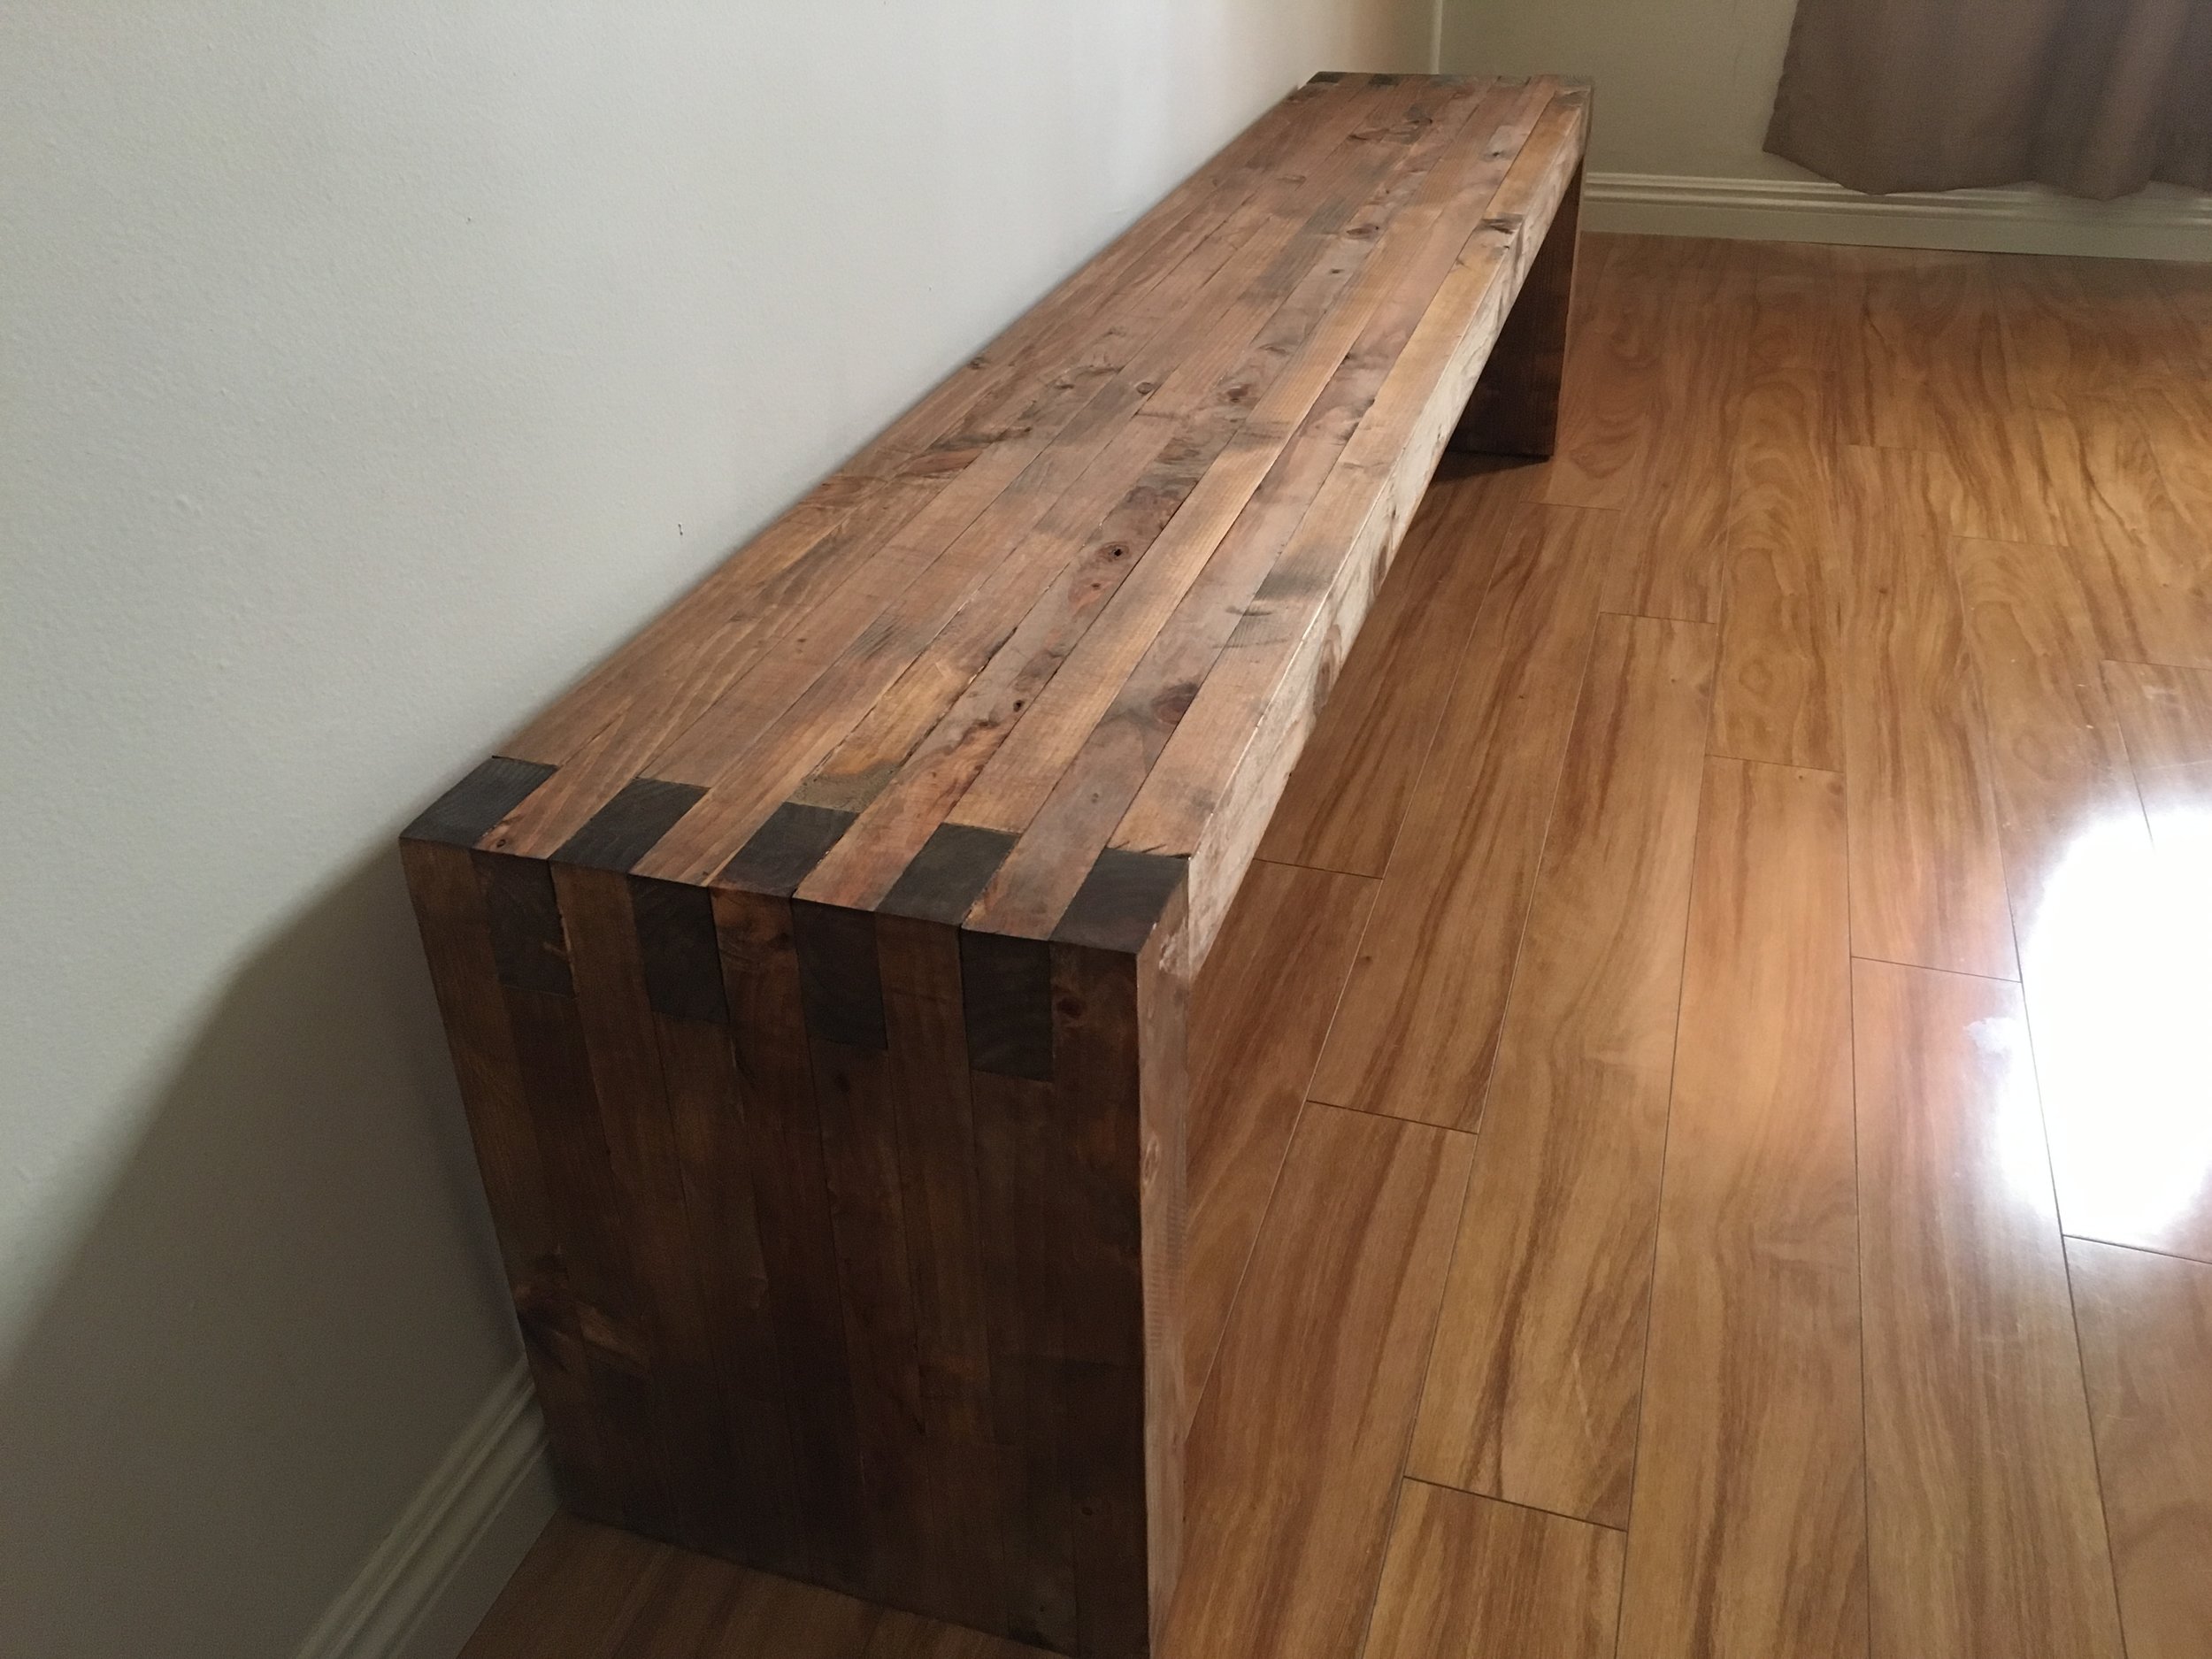
Final bench! Multiple photos for you to look at. Added a few small adjustable feet to the bottom to set it off the ground. I am incredibly excited with how this bench came out.
TOOLS
HITACHI Table Saw
RYOBI 10 in. Sliding Compound Miter Saw
RYOBI Miter Saw Stand
RYOBI Cordless Orbital Sander
RYOBI Belt Sander
RYOBI Corded Hand Planer
RYOBI Cordless Brad Nailer
BESSEY Economy 2.5” x 12” Clutch Clamps
BESSEY Economy 2.5” x 24” Clutch Clamps
BESSEY H Style Pipe Clamps
12” Rafter Square
Hand Sanding Sponges
Chisel (for scraping glue)
For $75 (and the necessary tools), I made something very similar to a bench that retails online for $1300!
Hope you enjoyed! I'd love it if you shared this out with friends and subscribed to The Cutting Bored YouTube Channel for future project updates!
Thank you!