THANKS FOR CHECKING OUT THE FULL ARTICLE!
Full video build is below, followed by detailed instructions with tools and measurements! You can subscribe to our YouTube channel by clicking here!
I have a 13" Ridgid thickness planer that is a tank. However, I can only plane up to that width, and it is unsafe to do anything end grain (in my personal opinion), so I have, for a long time, wanted to build my own jig. I chose to use MDF wood knowing that it was already very smooth, very easy to cut and rip into the right dimensions, and is quite cheap.
Also, I stand by this design - it worked incredibly well for me on my first go around and I cannot wait to use it again.
MATERIALS
2 x 2' x 4' Pieces of MDF Wood (1/2" thick)
1 5/8" Wood Screws
TOOLS
RYOBI Table Saw: http://amzn.to/2h6ZQc4
RYOBI Power Drill: http://amzn.to/2q1l5wn
RYOBI 10 in. Sliding Compound Miter Saw: http://amzn.to/2q1klHw
RYOBI Miter Saw Stand: http://amzn.to/2p1072e
RYOBI Plunge Router: http://amzn.to/2p15eiC
1” Dado Bit: http://amzn.to/2eR6tOO
RYOBI Drill Bit Set: http://amzn.to/2oKKWXi
BESSEY 2.5” x 12” Clamps: http://amzn.to/2oIJGVy
AUDIO / VISUAL EQUIPMENT
Canon Rebel EOS T2i: http://amzn.to/2pwwlDI
Canon EF-S 18-55mm f/3.5-5.6 IS II Lens: http://amzn.to/2pwmuhi
Rode Microphone: http://amzn.to/2oIExg3
Studio Lighting Equipment: http://amzn.to/2rtrkg0
Adobe Premiere (Editorial): http://amzn.to/2oIXKhE
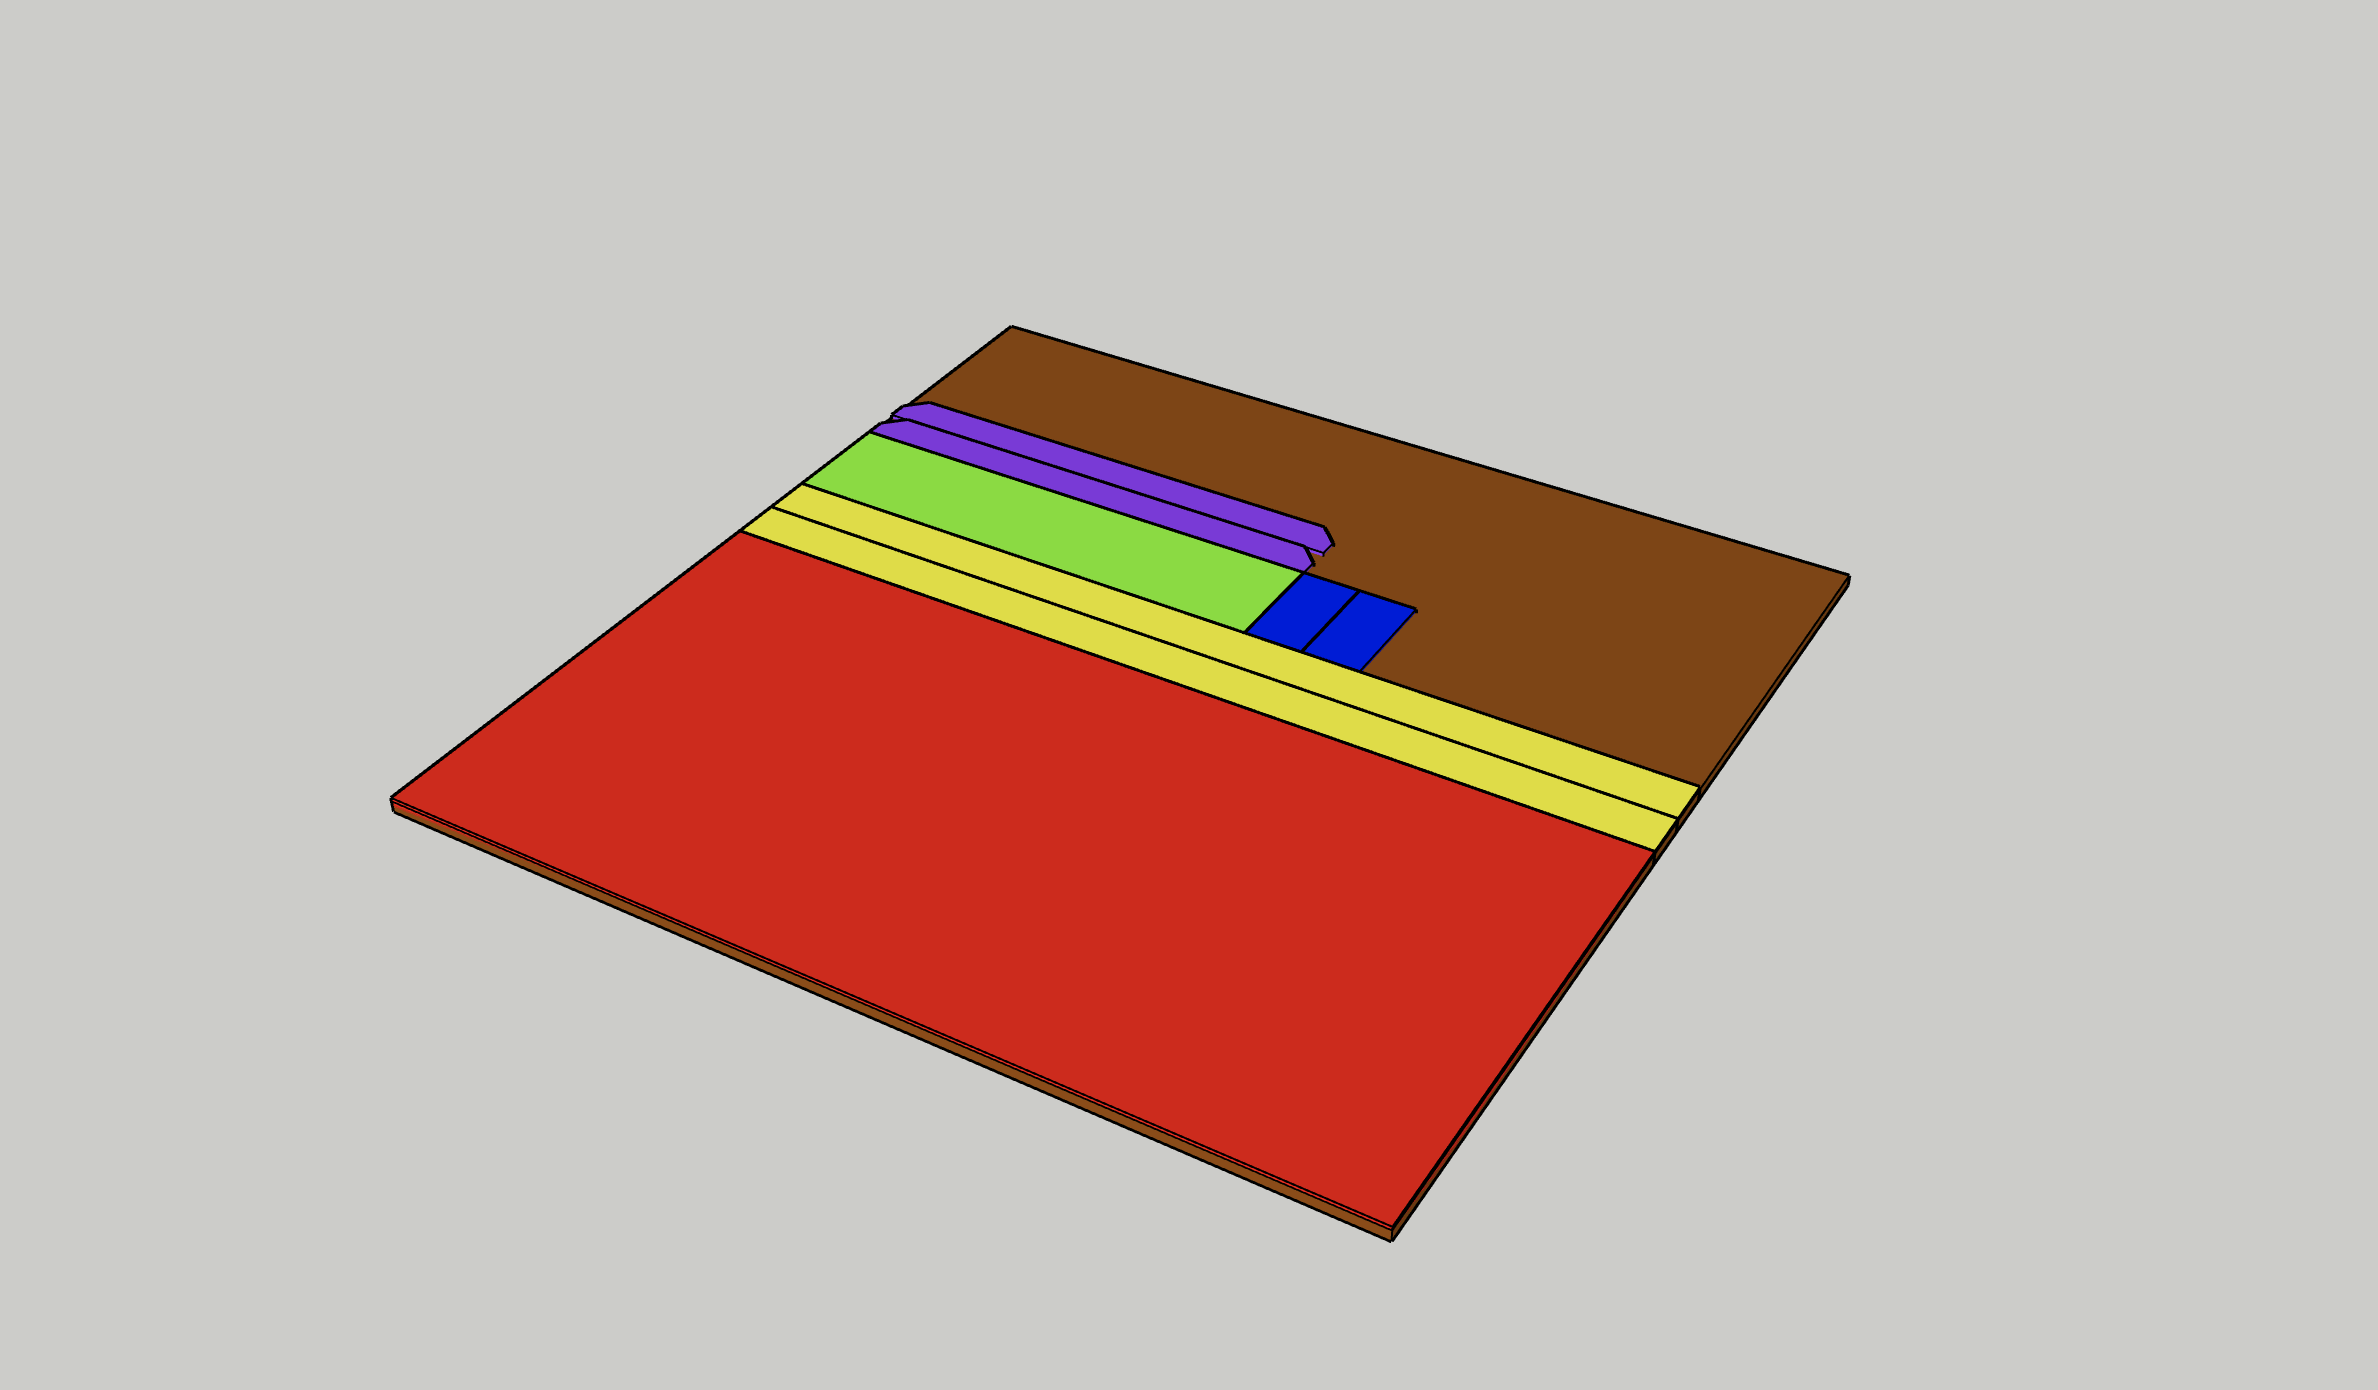
Here is a link to a SketchUp model of the entire build for purchase.
My build video uses uses a single piece of 4' x 4' x .5" MDF; this model using a single piece of 4' x 4' x .75" MDF as it will be more rigid, flat, and sturdy. Good luck!
I'd love to hear if you build this, so make sure you send me a picture or tag me in your build @workshopedits on IG. Cheers!
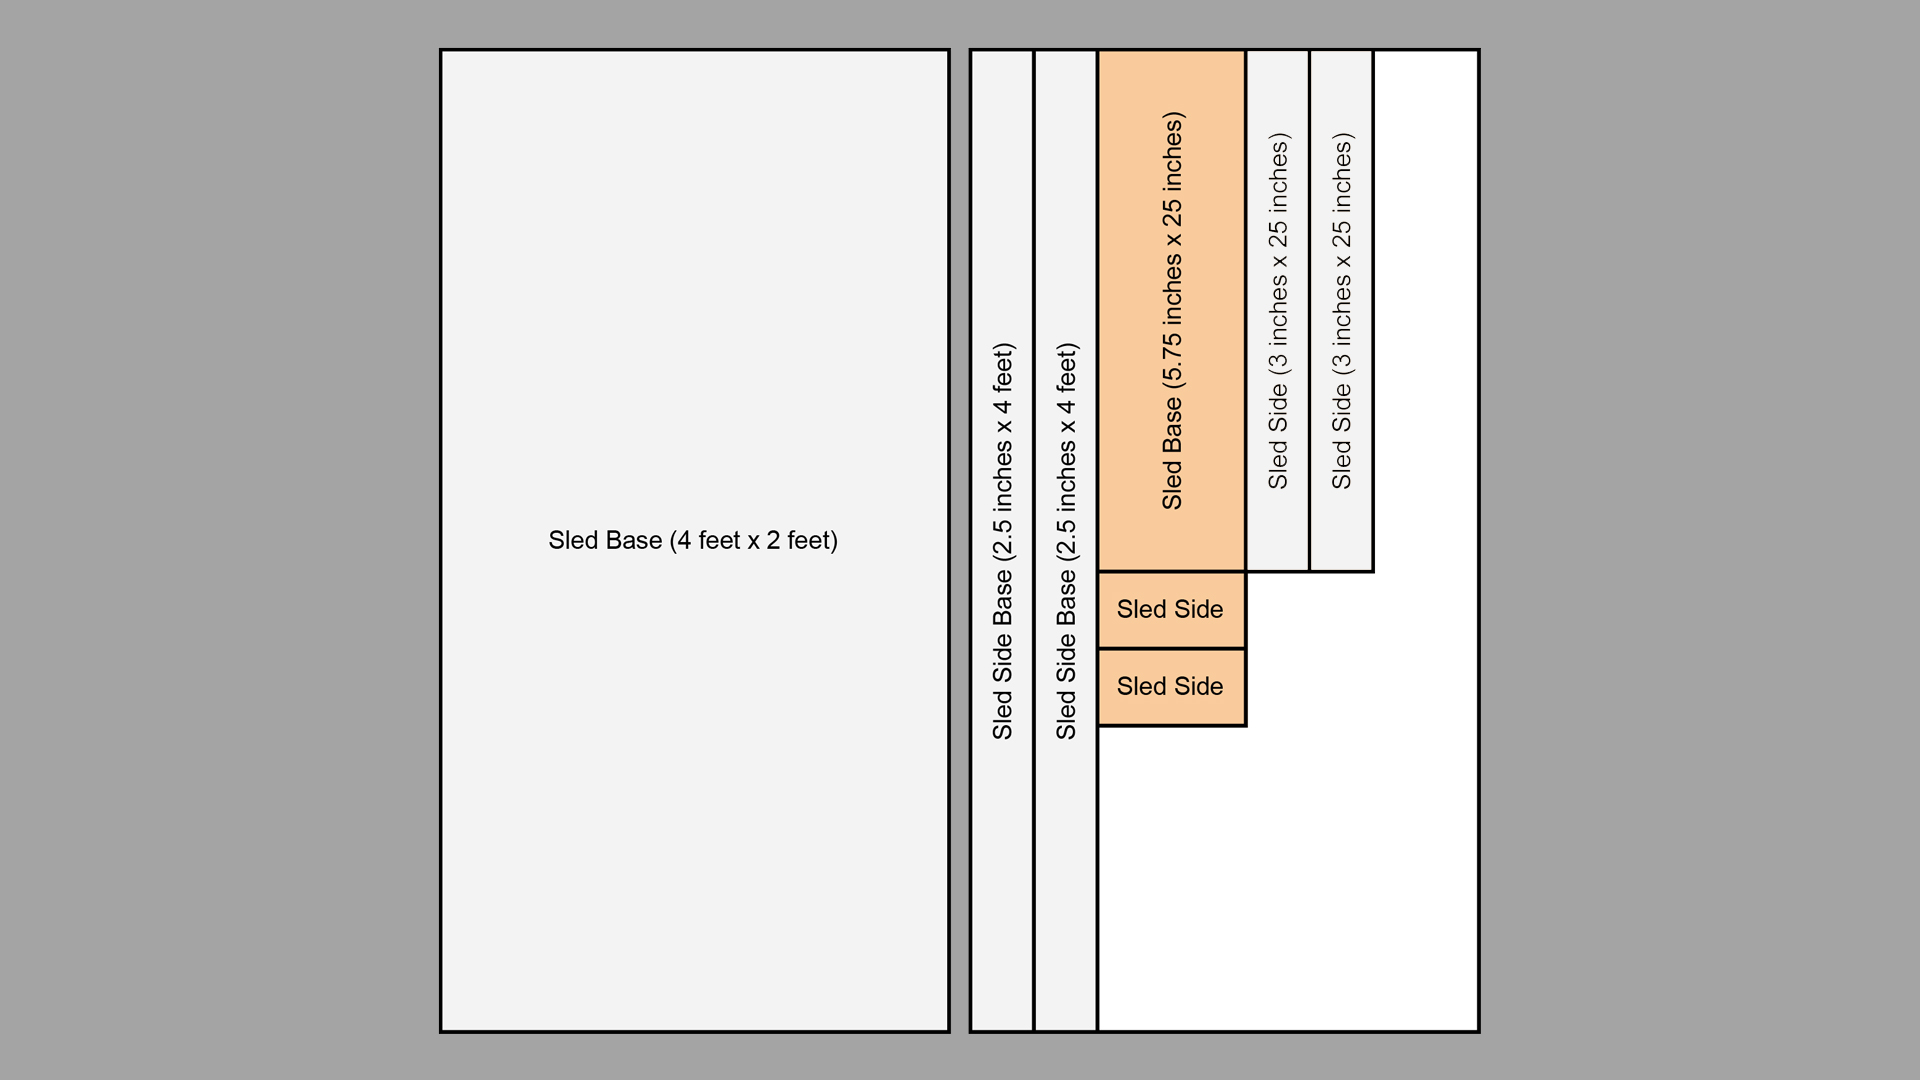
Below is the full design of my build in 2D if you are uncomfortable with SketchUp (remember - SketchUp is free to use online so don't be afraid to learn to use the software!). It took me 2 hours of videos and hands on use to get the feel for how it works, the shortcuts, etc. It’s incredible. Go. Learn. It.
I purchased my MDF material at Orchard Supply Hardware in SoCal, where they sell it in 2' x 4' sections for $8 each. EDIT in 2020 - RIP to OSH - you were incredible. You can still get the same wonderful MDF at Home Depot, Lowest, etc., but in 4' x 8' sheets
You can use the large amount of excess to build additional jigs or just build a larger sled if you'd like!
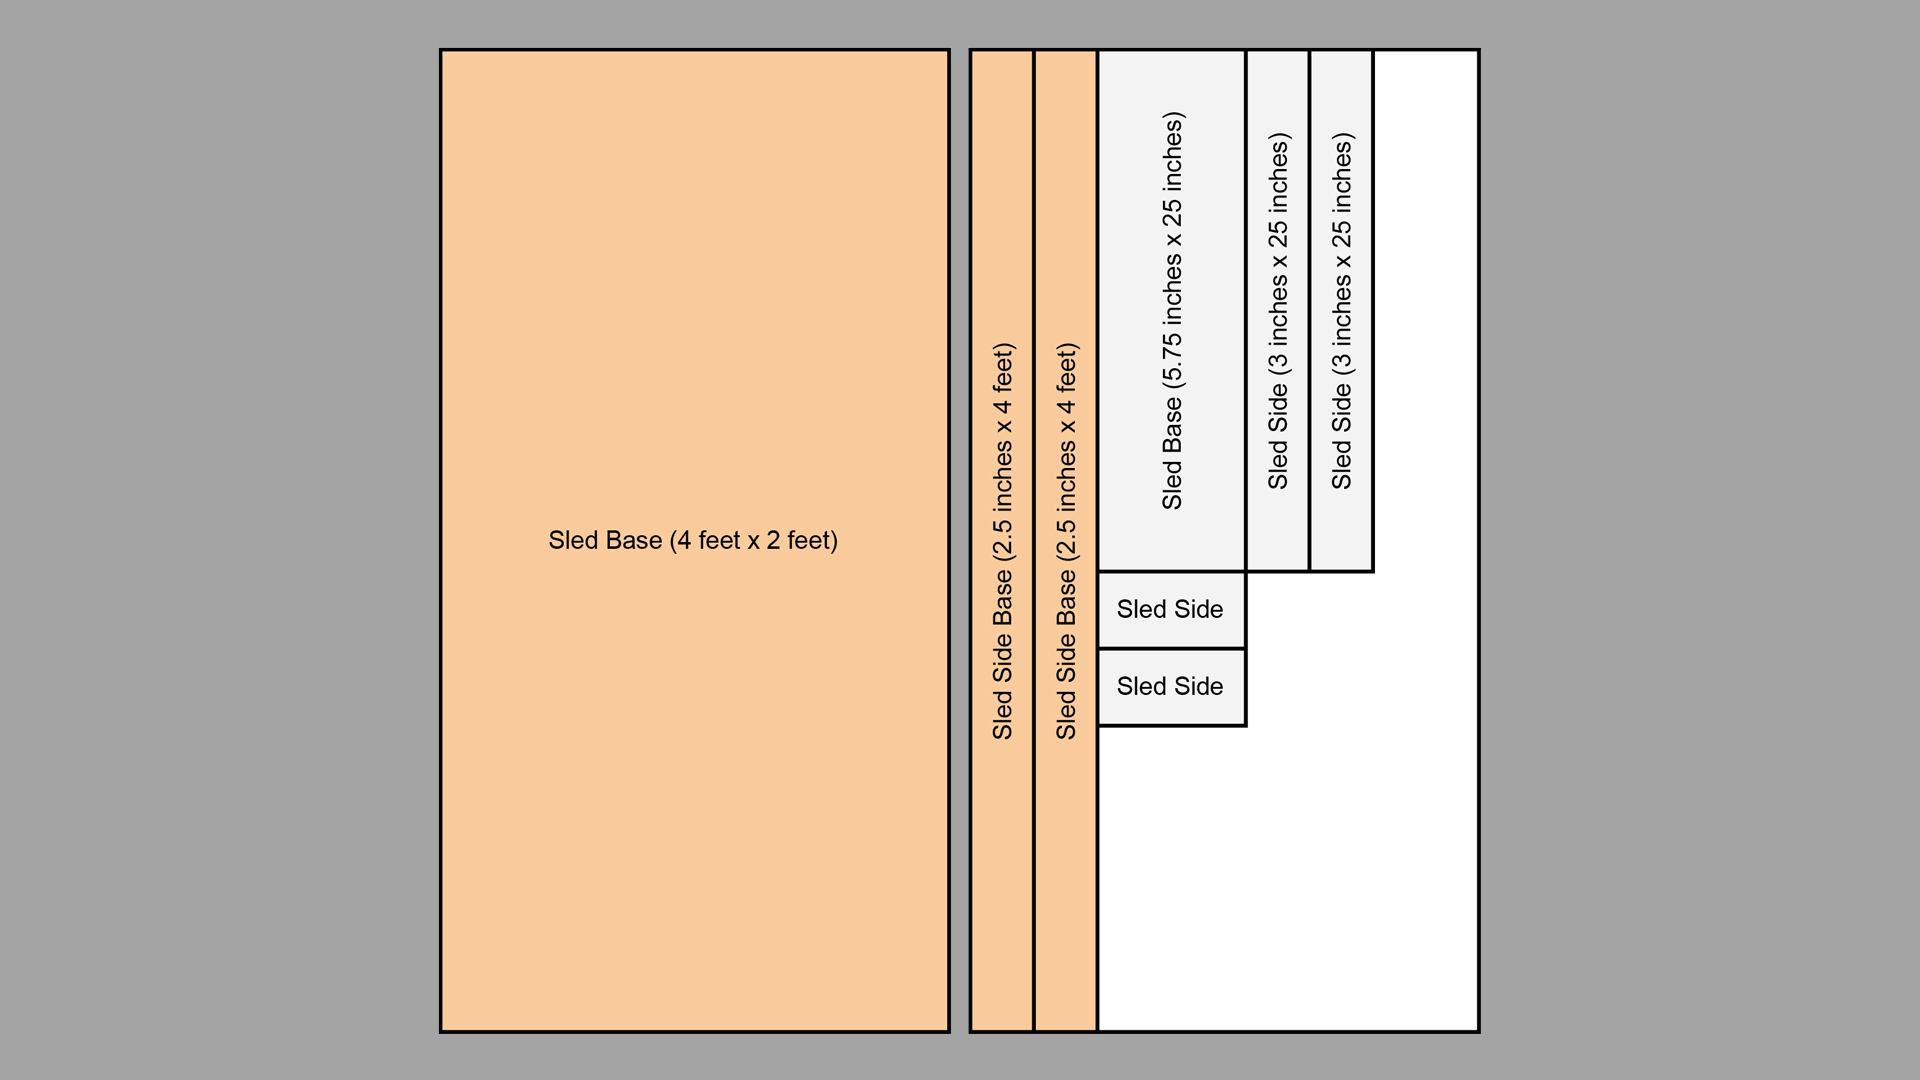
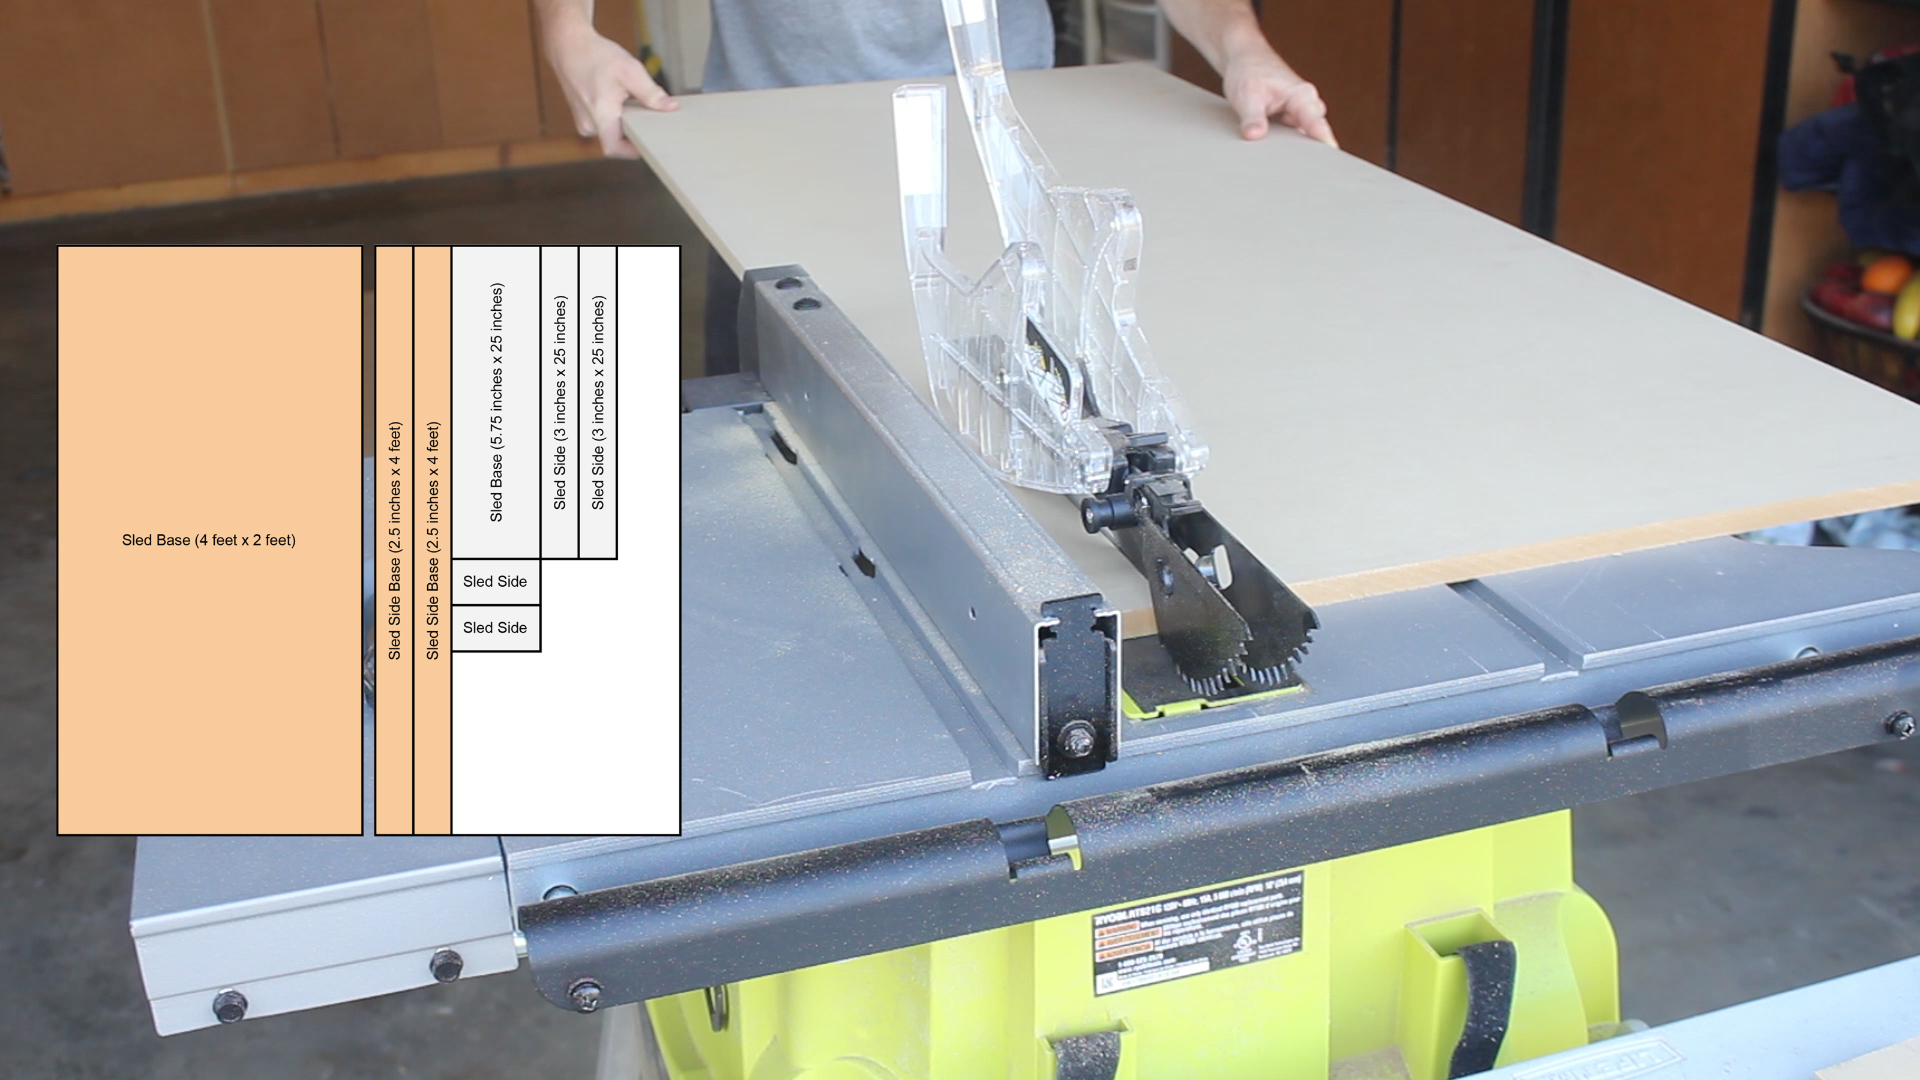
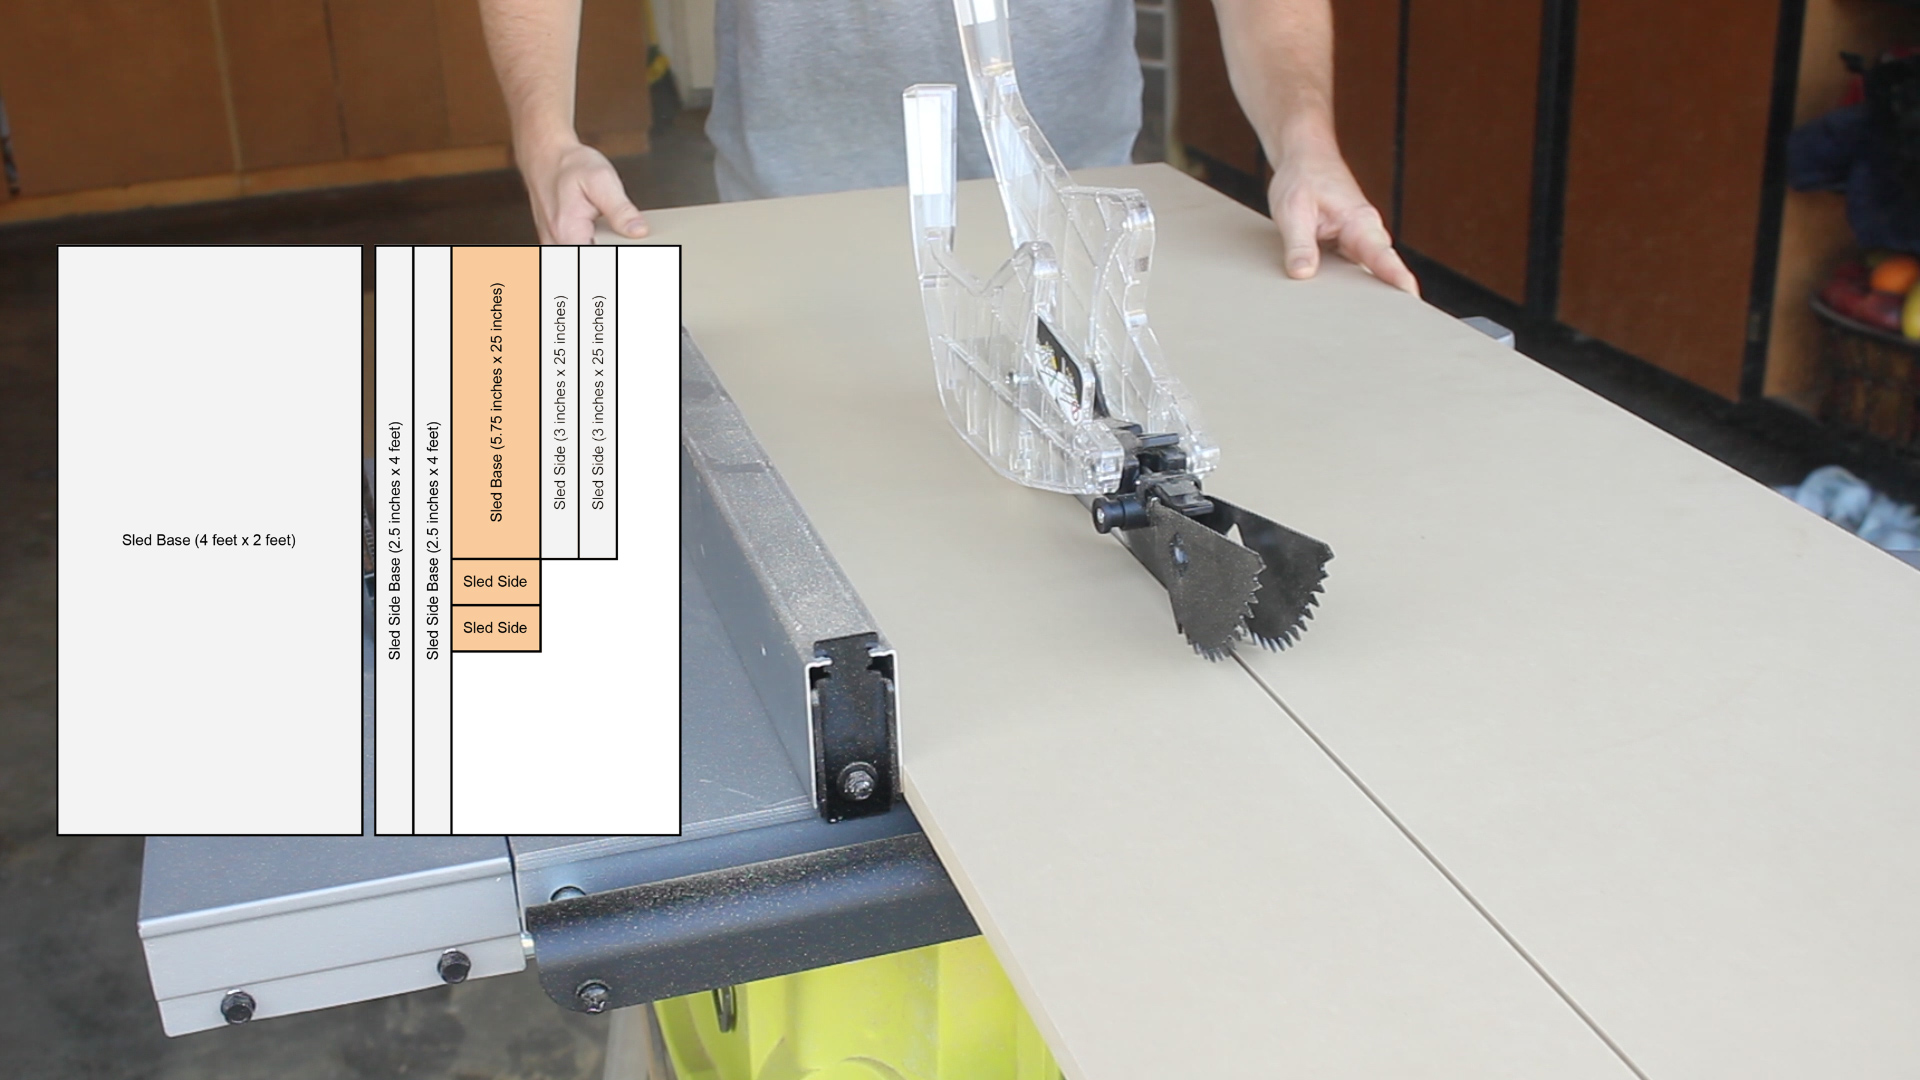
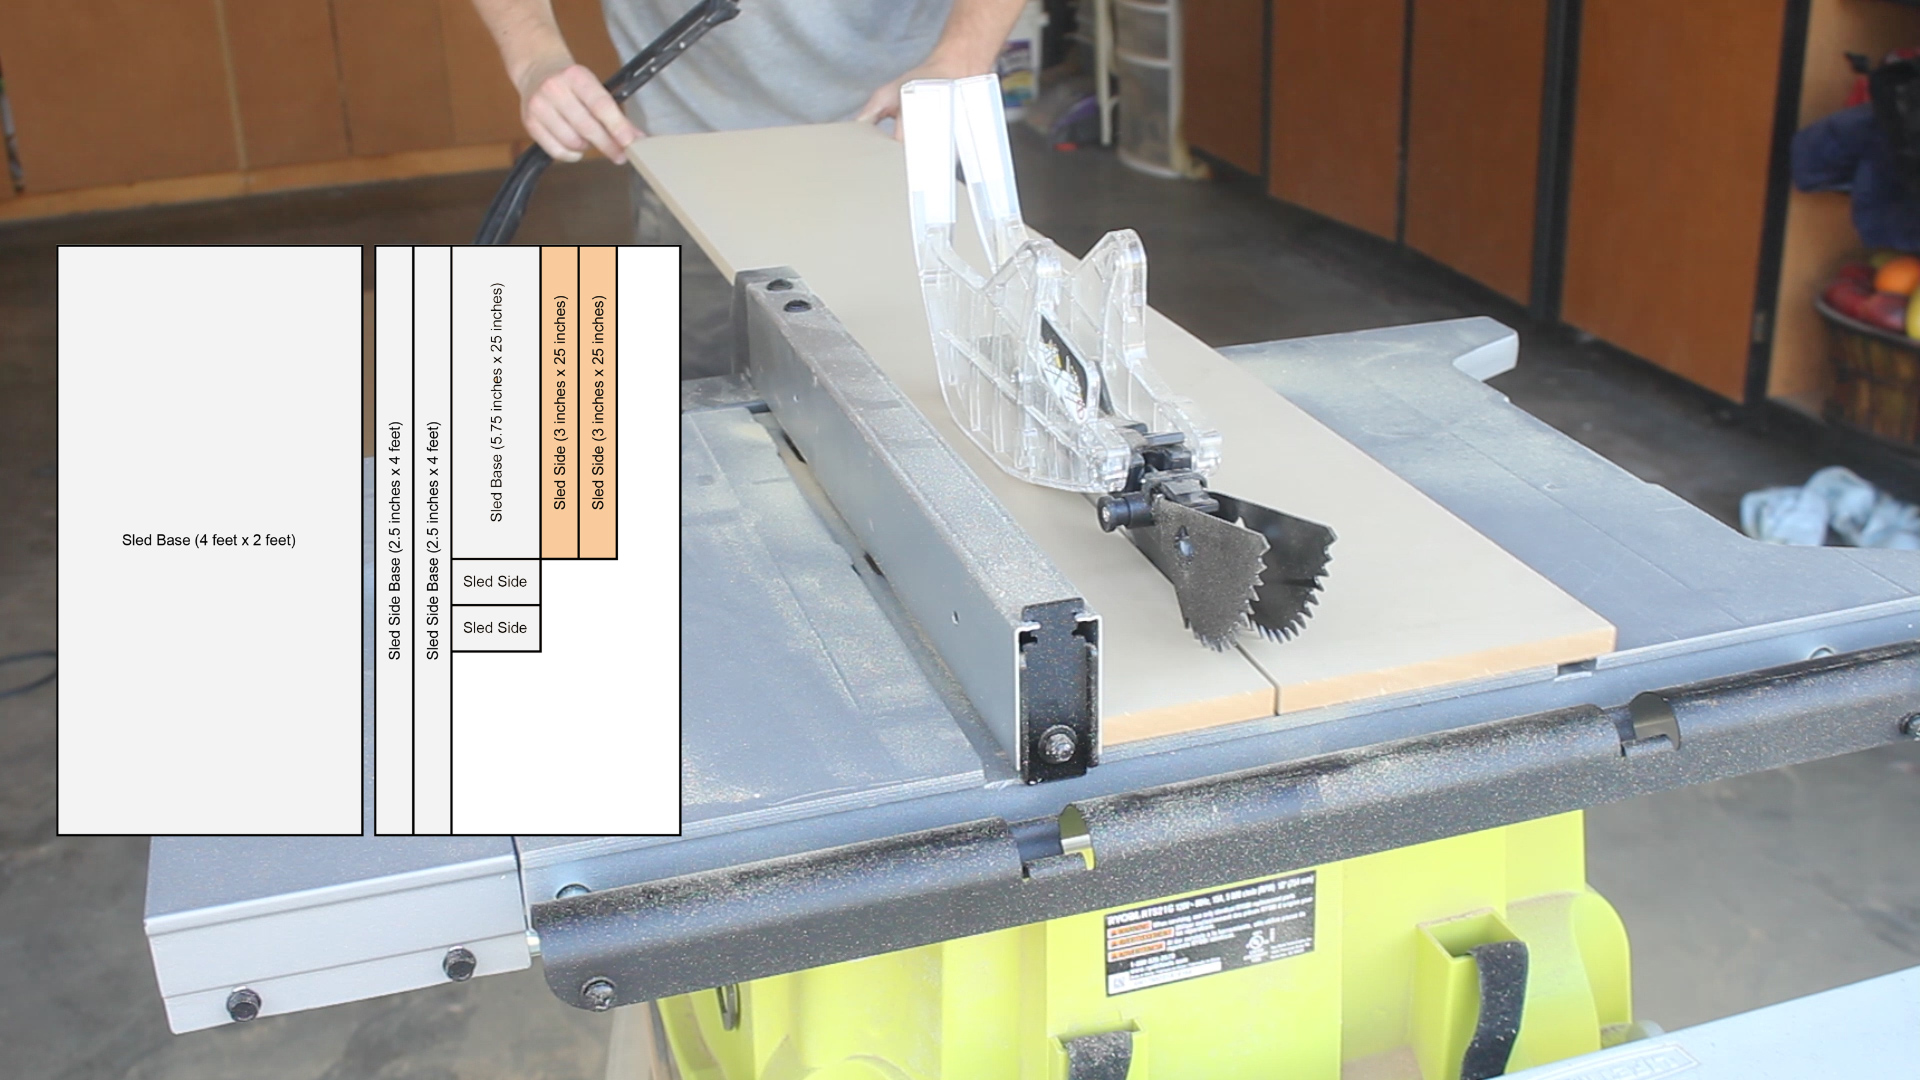
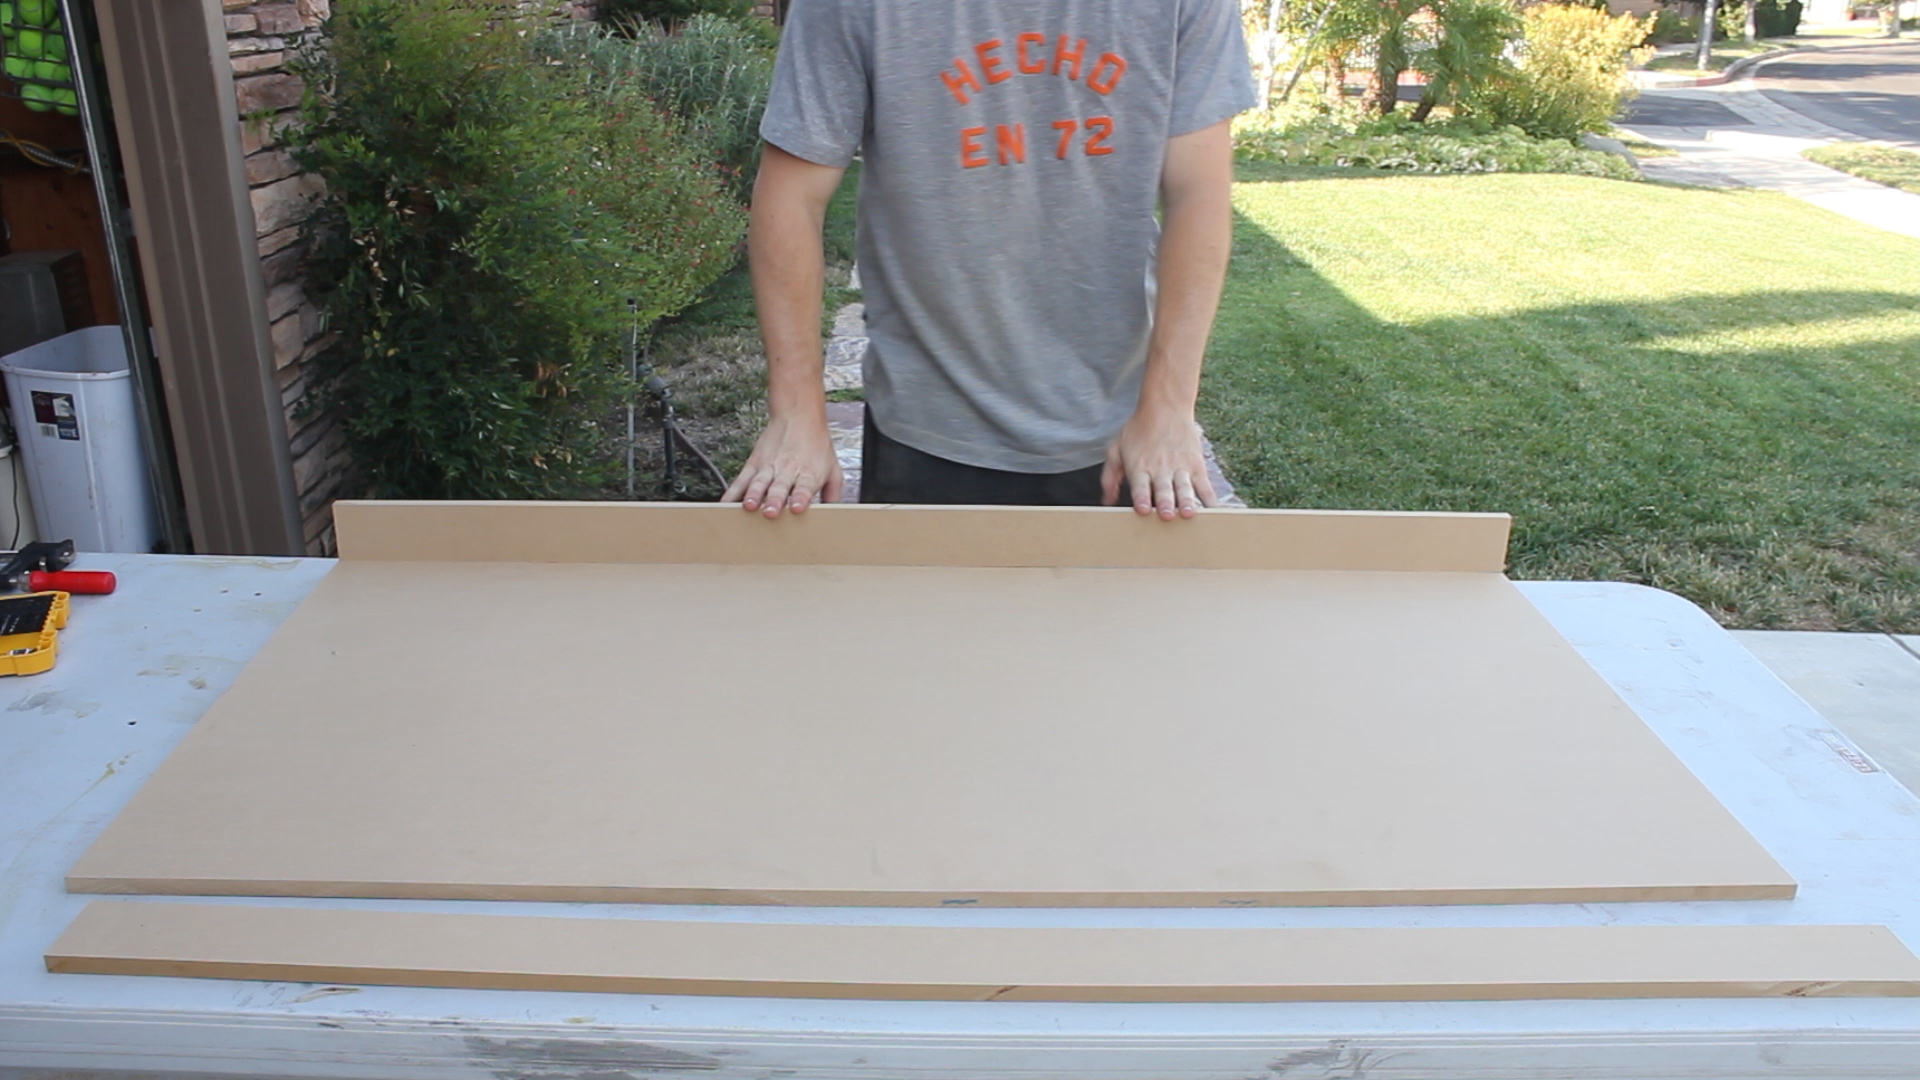
Picture 1 shows the cuts needed for the sled base
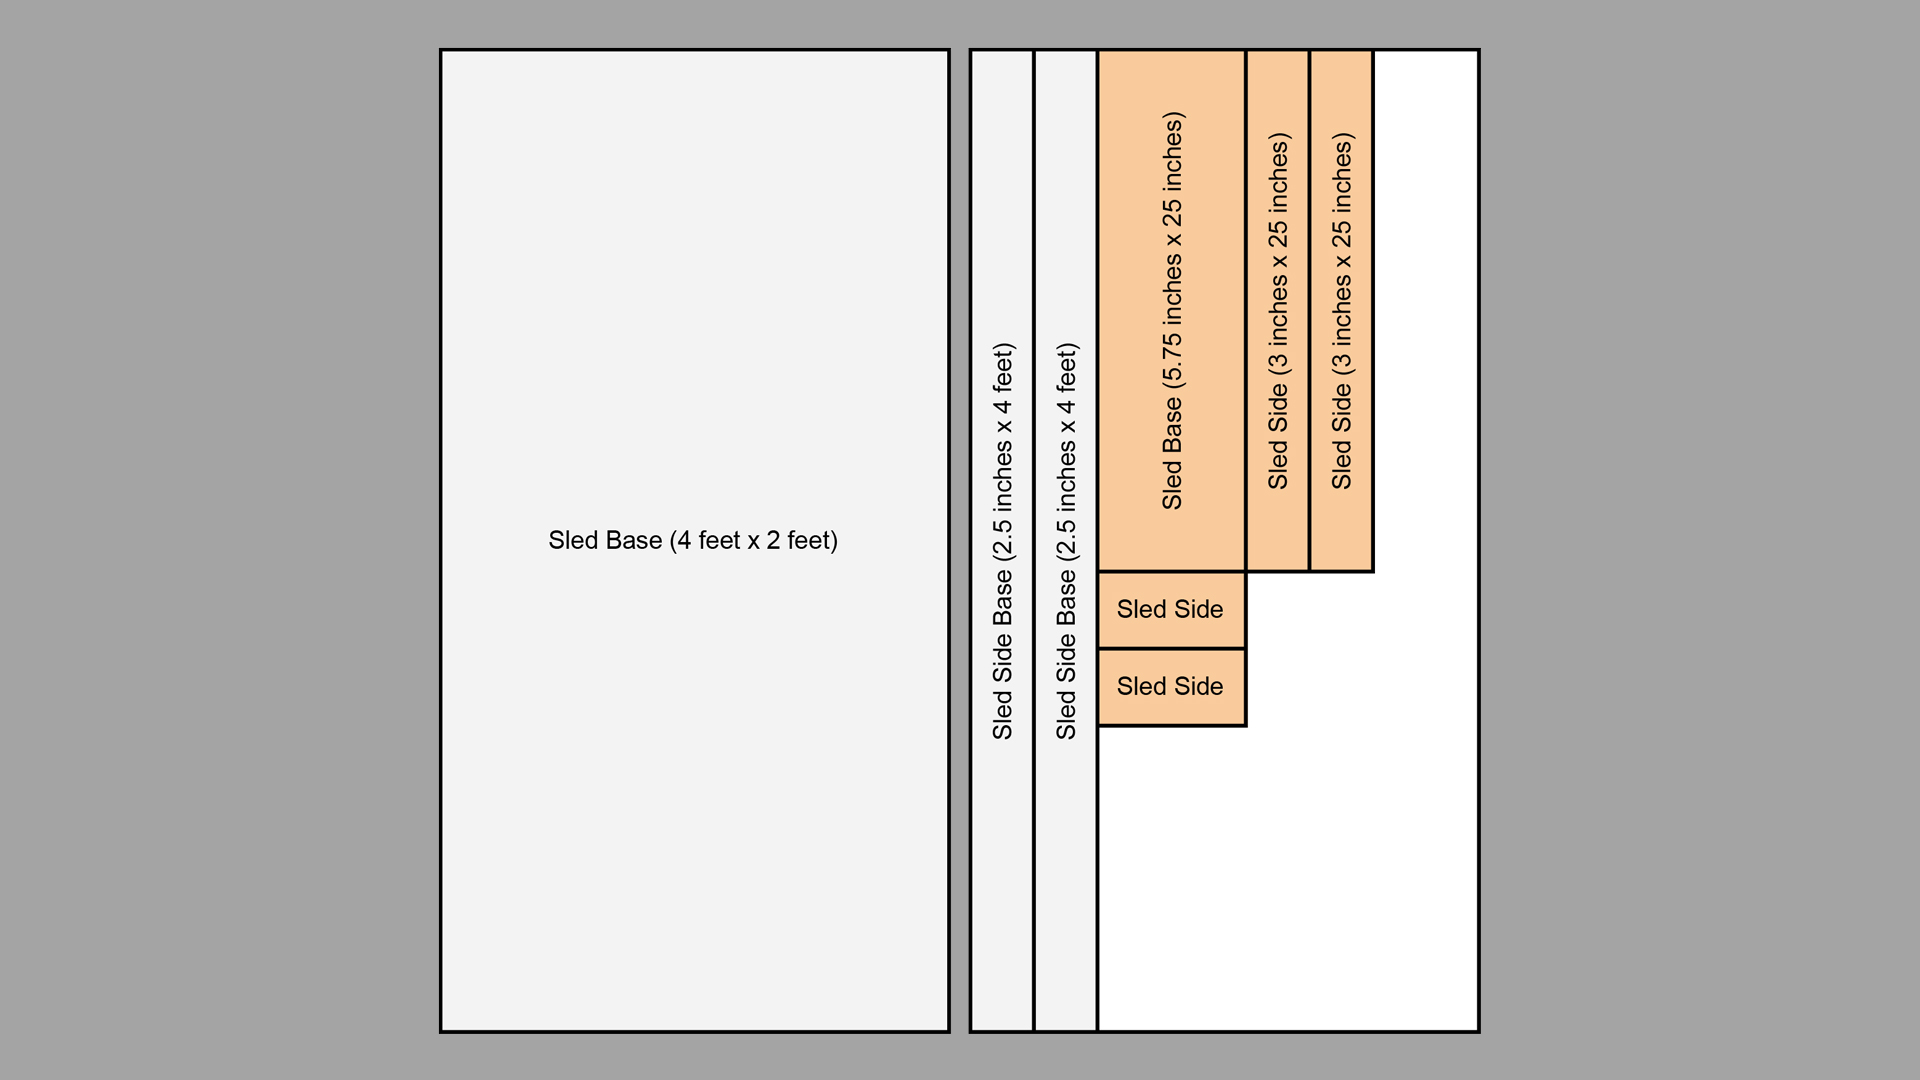
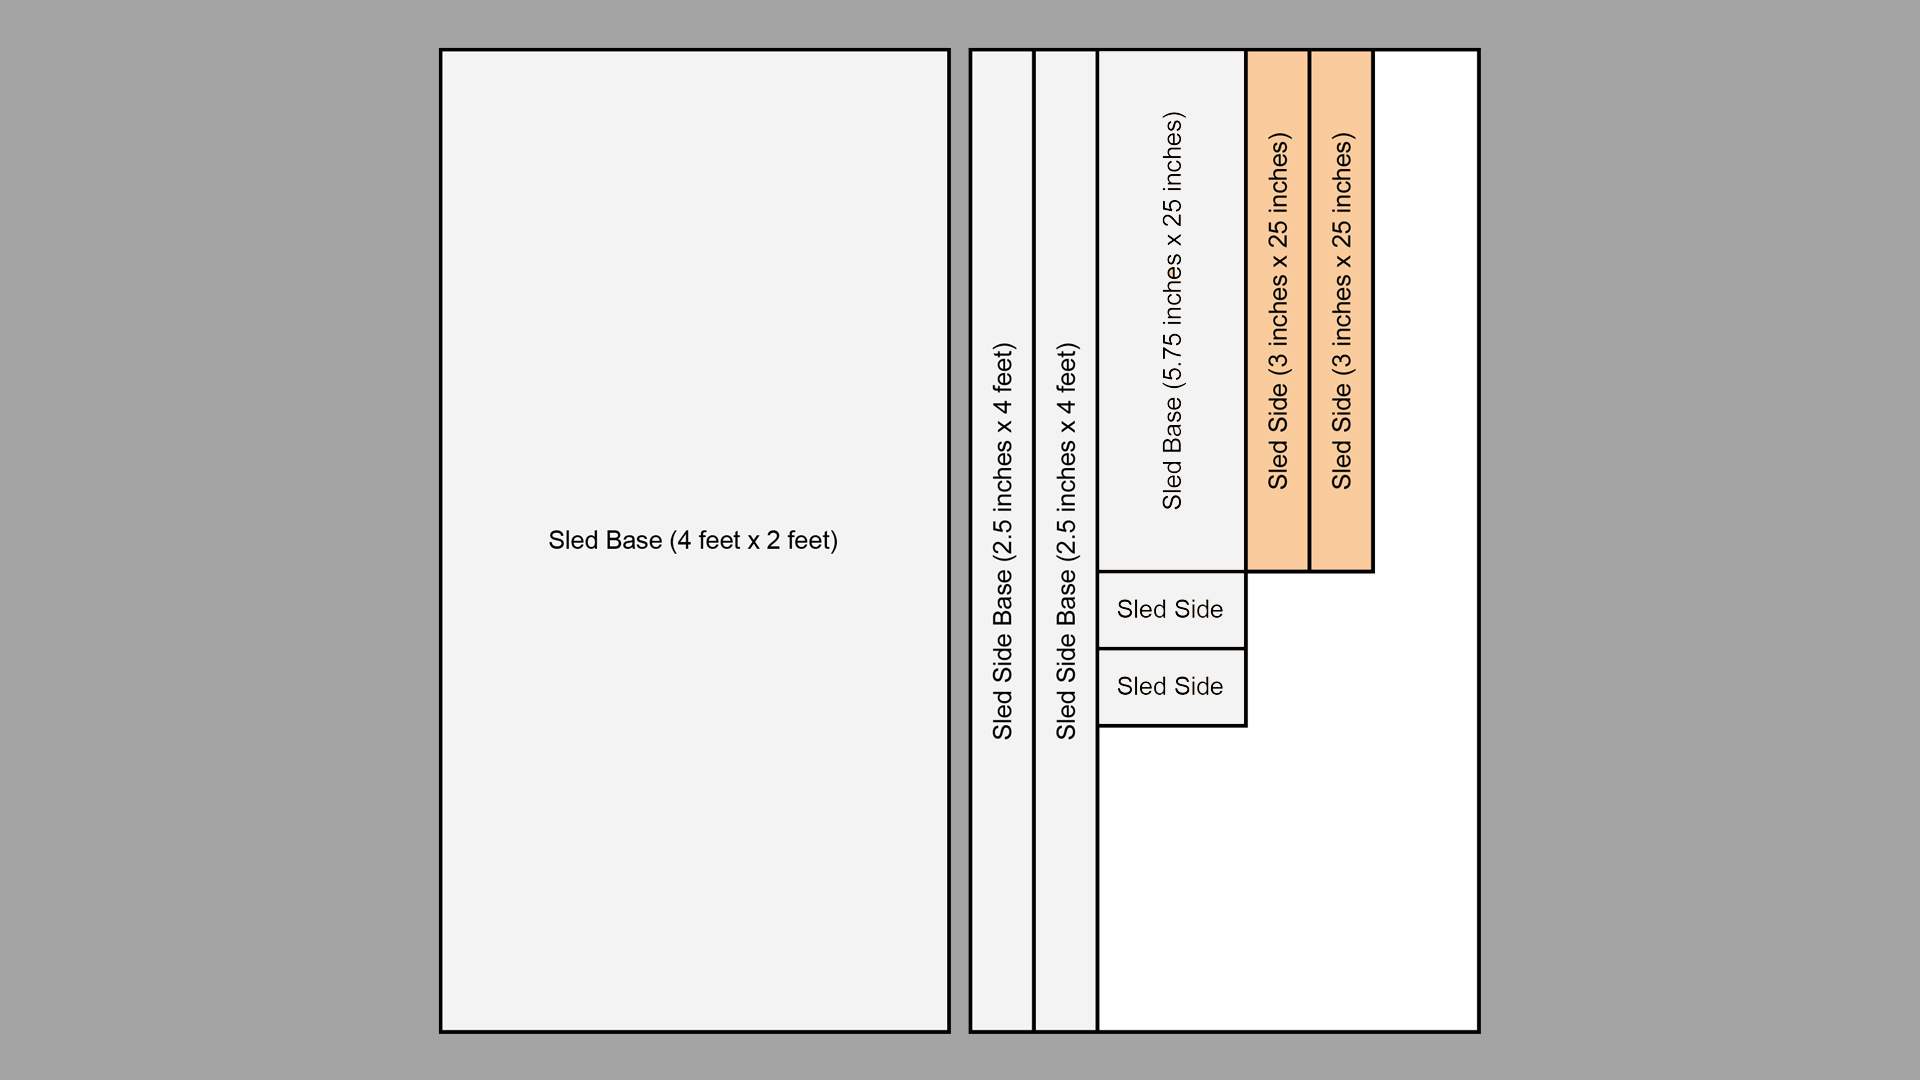
Picture 2 shows the cuts needed for the sled.
My design leveraged the original size of my MDF. So, if you want to design the same one, then you don't need to make any cuts. High five yourself because you just saved yourself 3 minutes.
I cut two strips from the second piece of MDF all the way through at 2.5" wide. I chose this as it would translate to me being able to plane surfaces up to that thickness. I can always cut larger strips to make the sled higher if needed for very cheap.
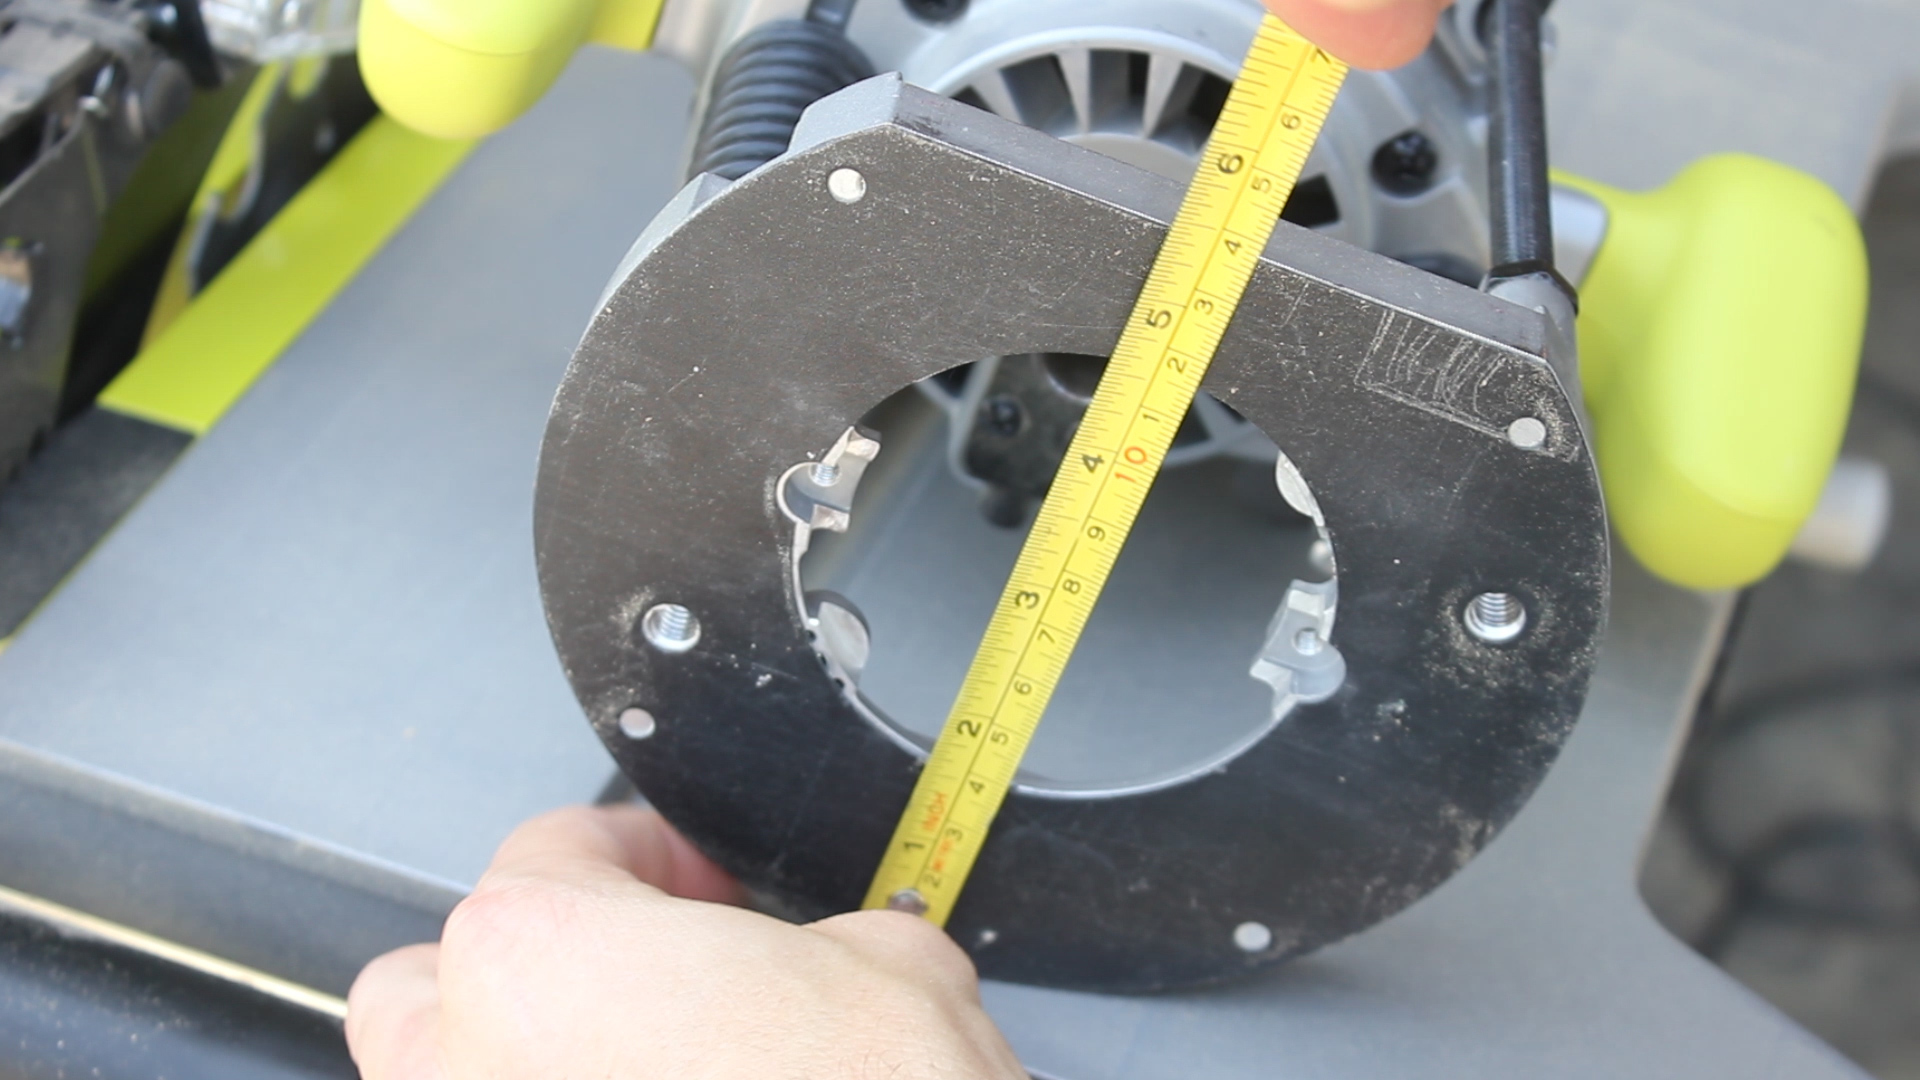
Next, I measured the width of the base of my router plate - this will change based on what router you have. Mine was a little over 5.5". I went ahead and added 1/4" - 1/8" to that width, and then ripped down another strip of MDF from the same piece that would later become the floor of my sled and the outside guides.
Lastly, I ripped two more strips, 3 inches wide to serve as the walls of my sled. Given that the sled itself will be about 25" wide, you'll need to rip two strips as cutting one single strip and then cutting in half will not yield you enough material (48" / 2 = 24" < 25"). #Math
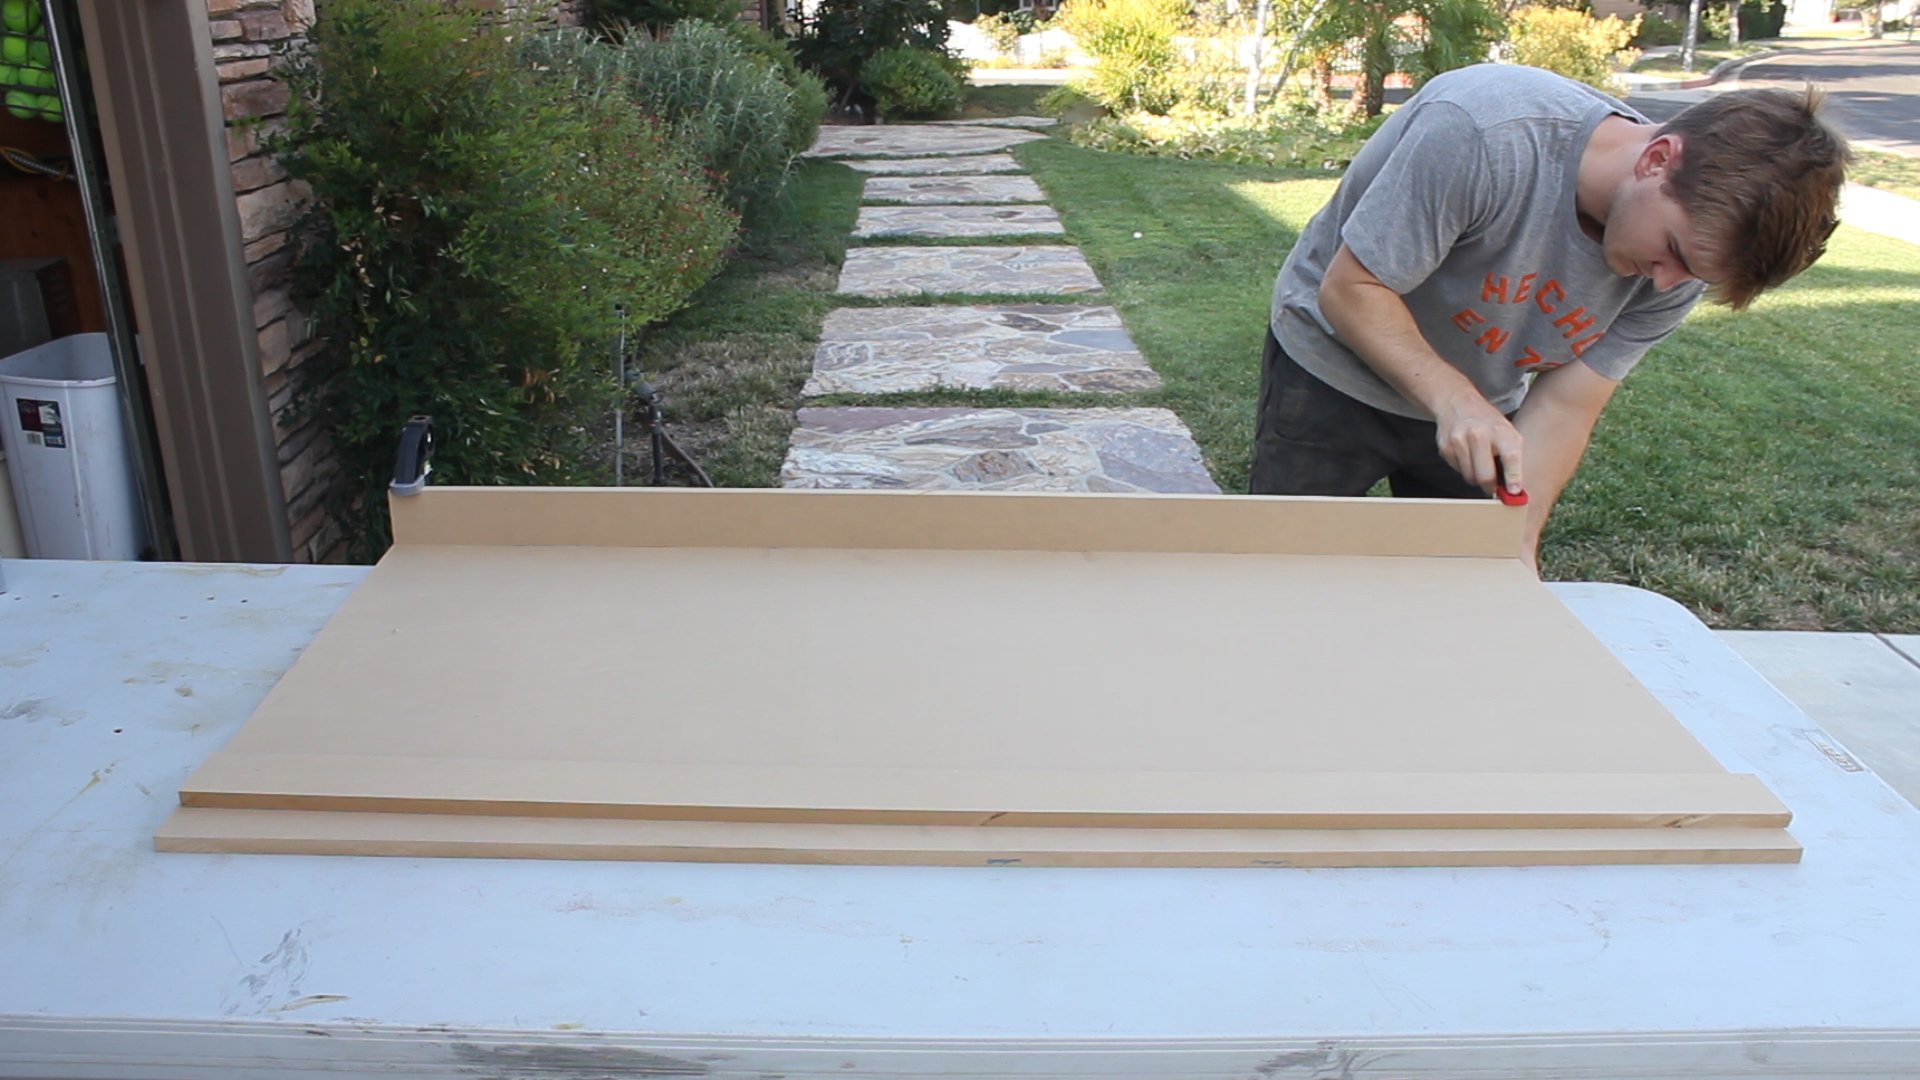
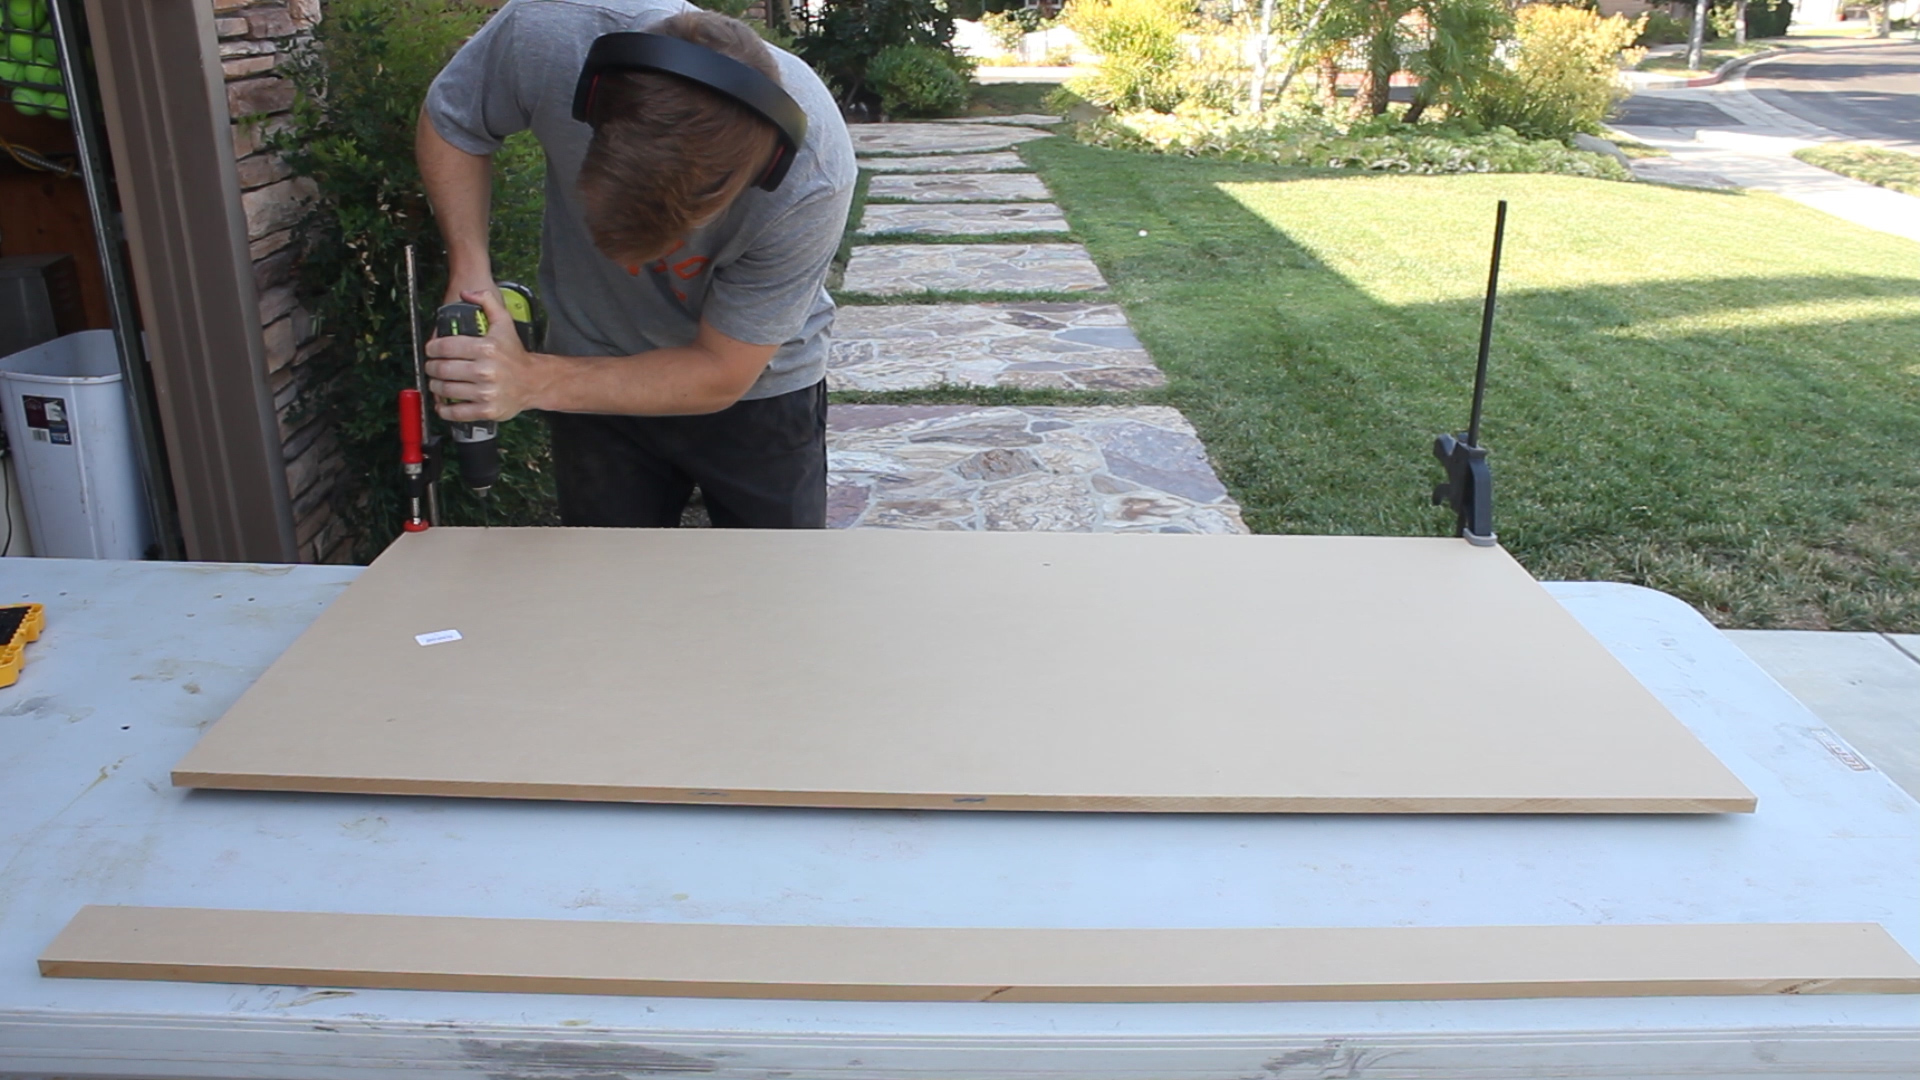
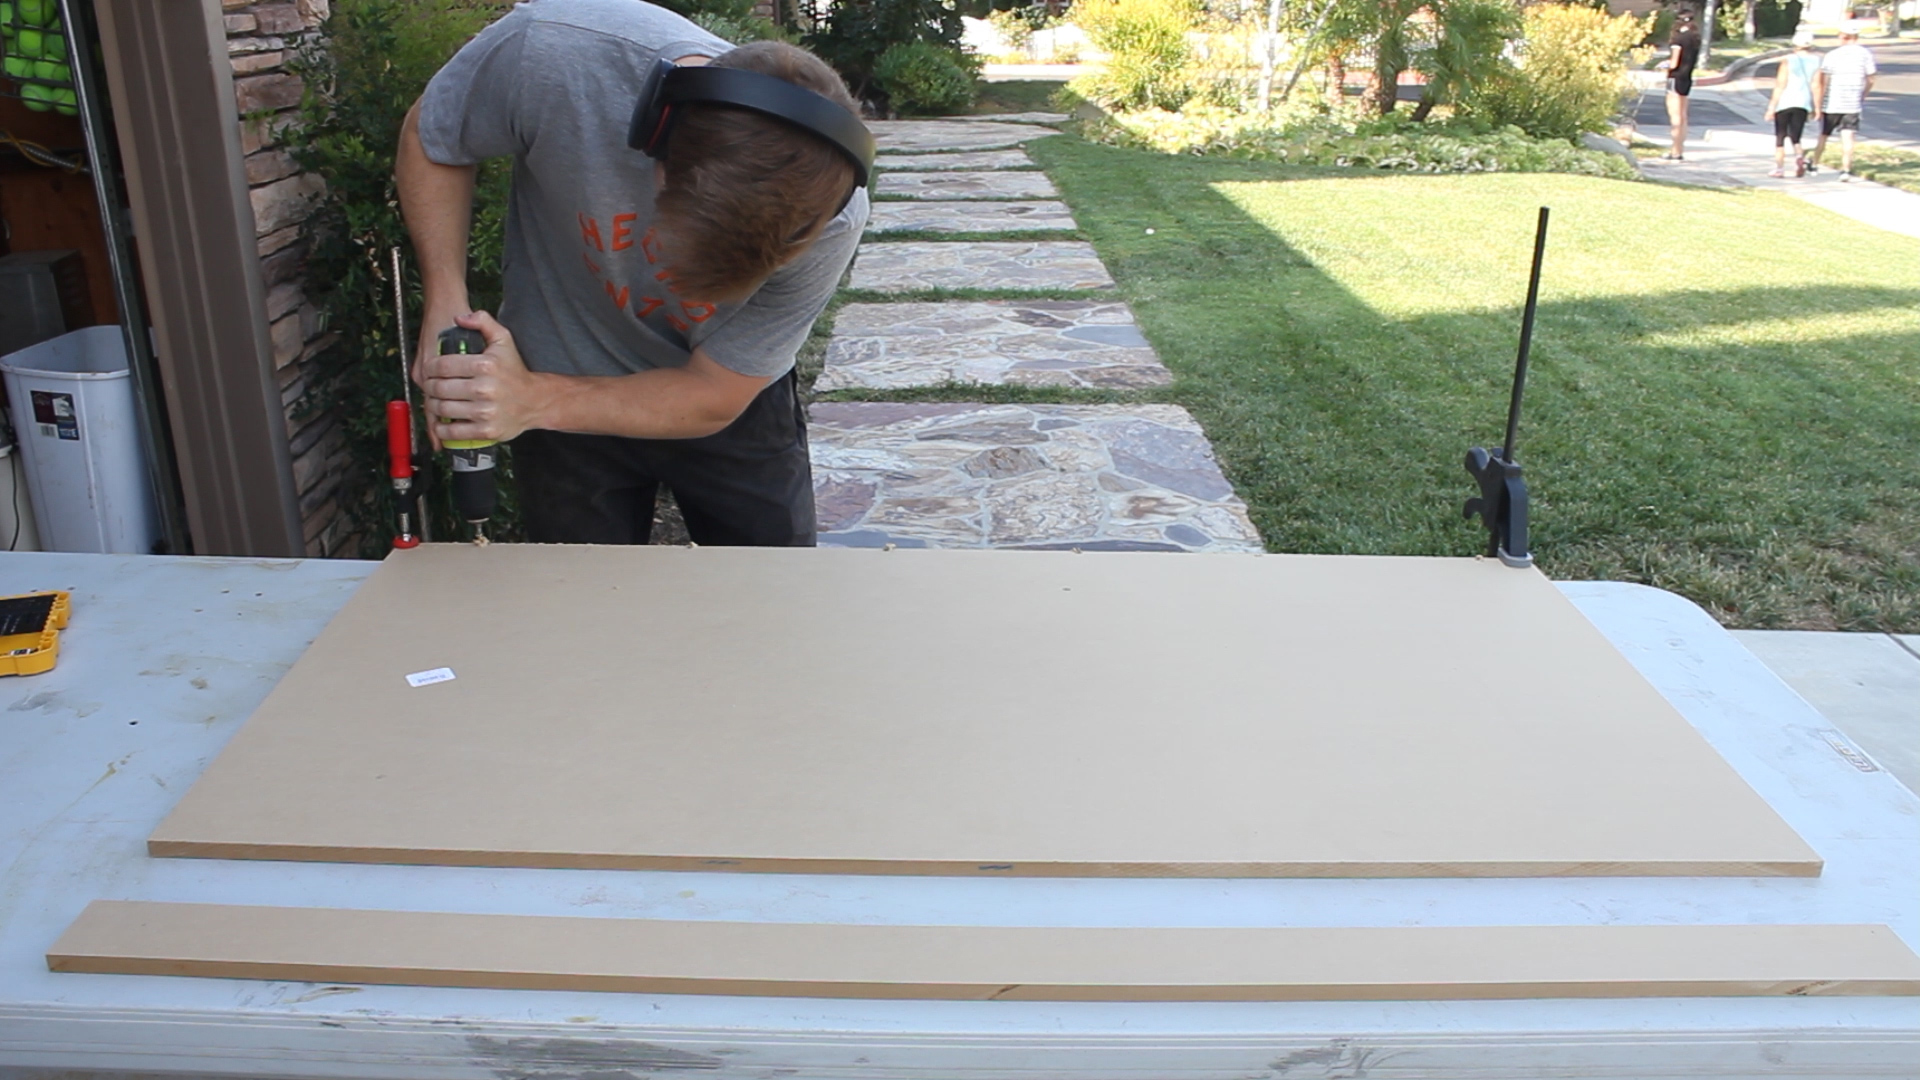
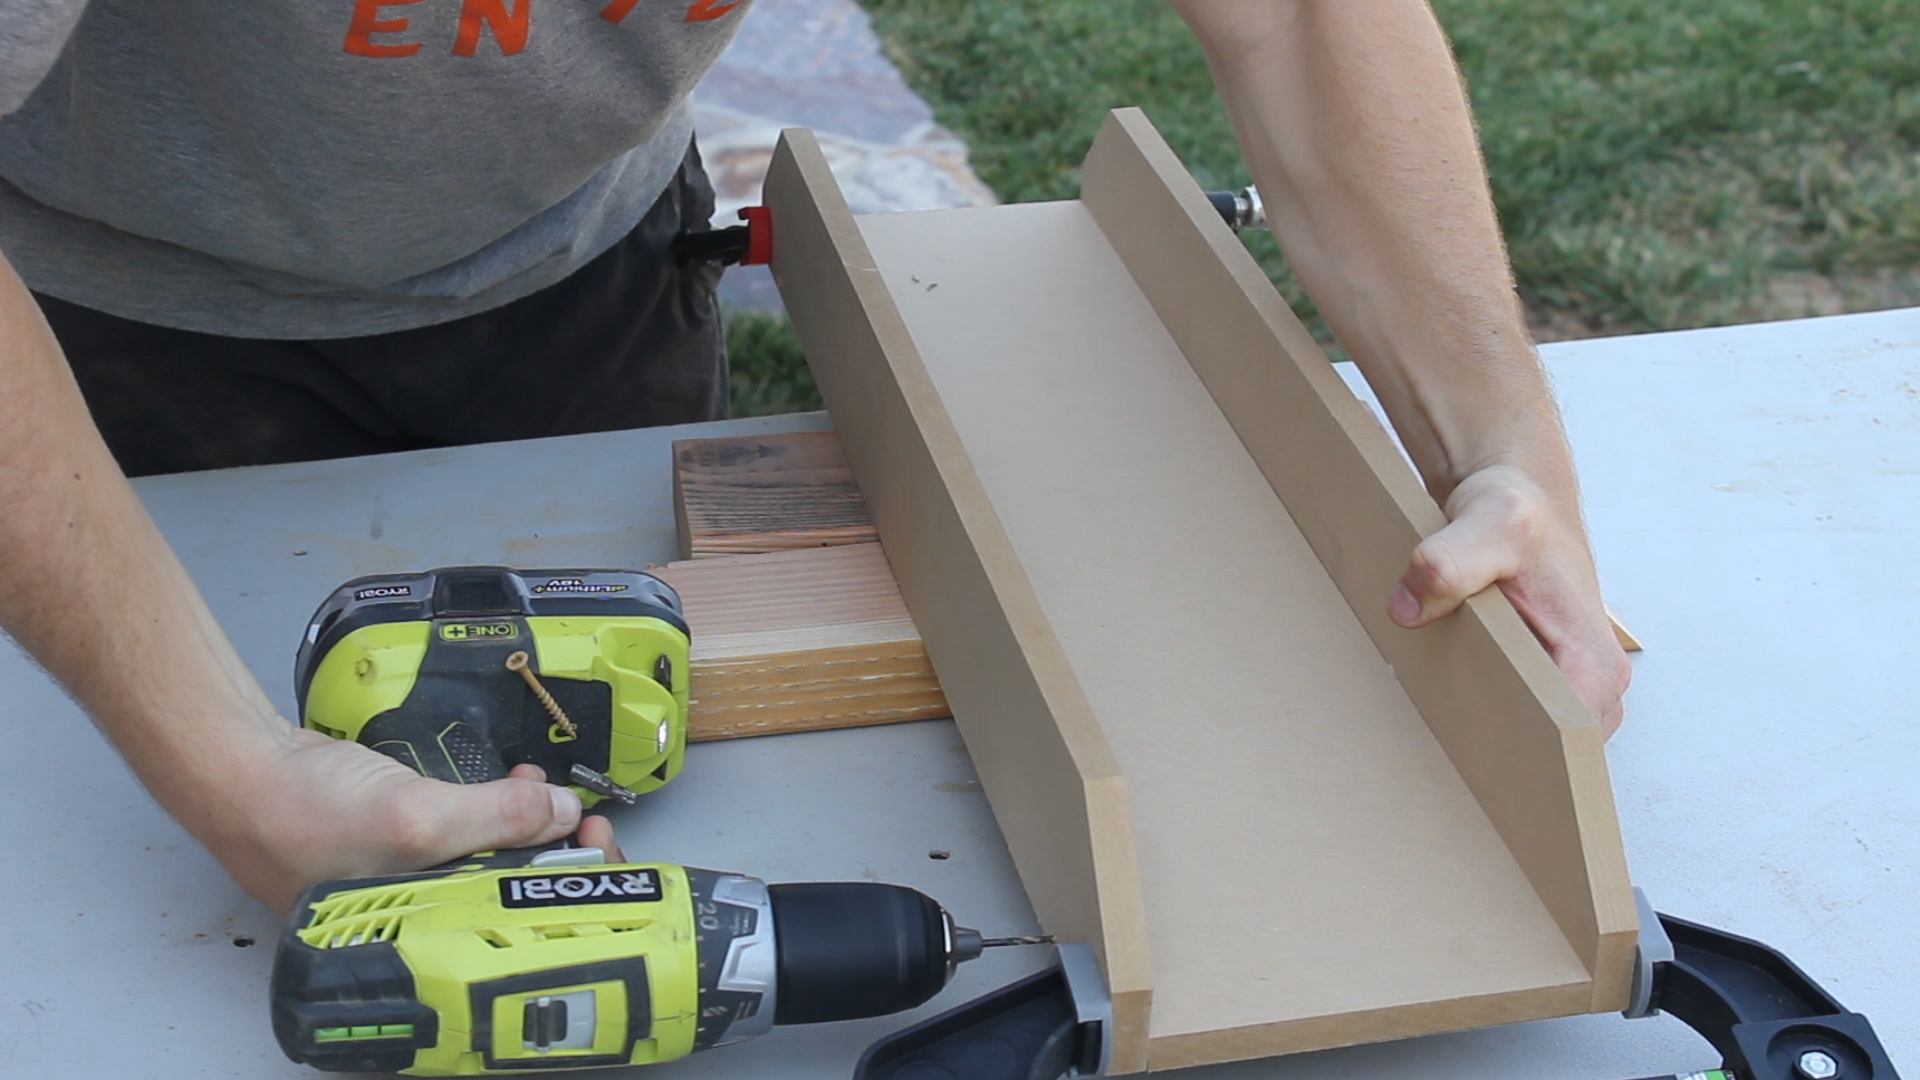
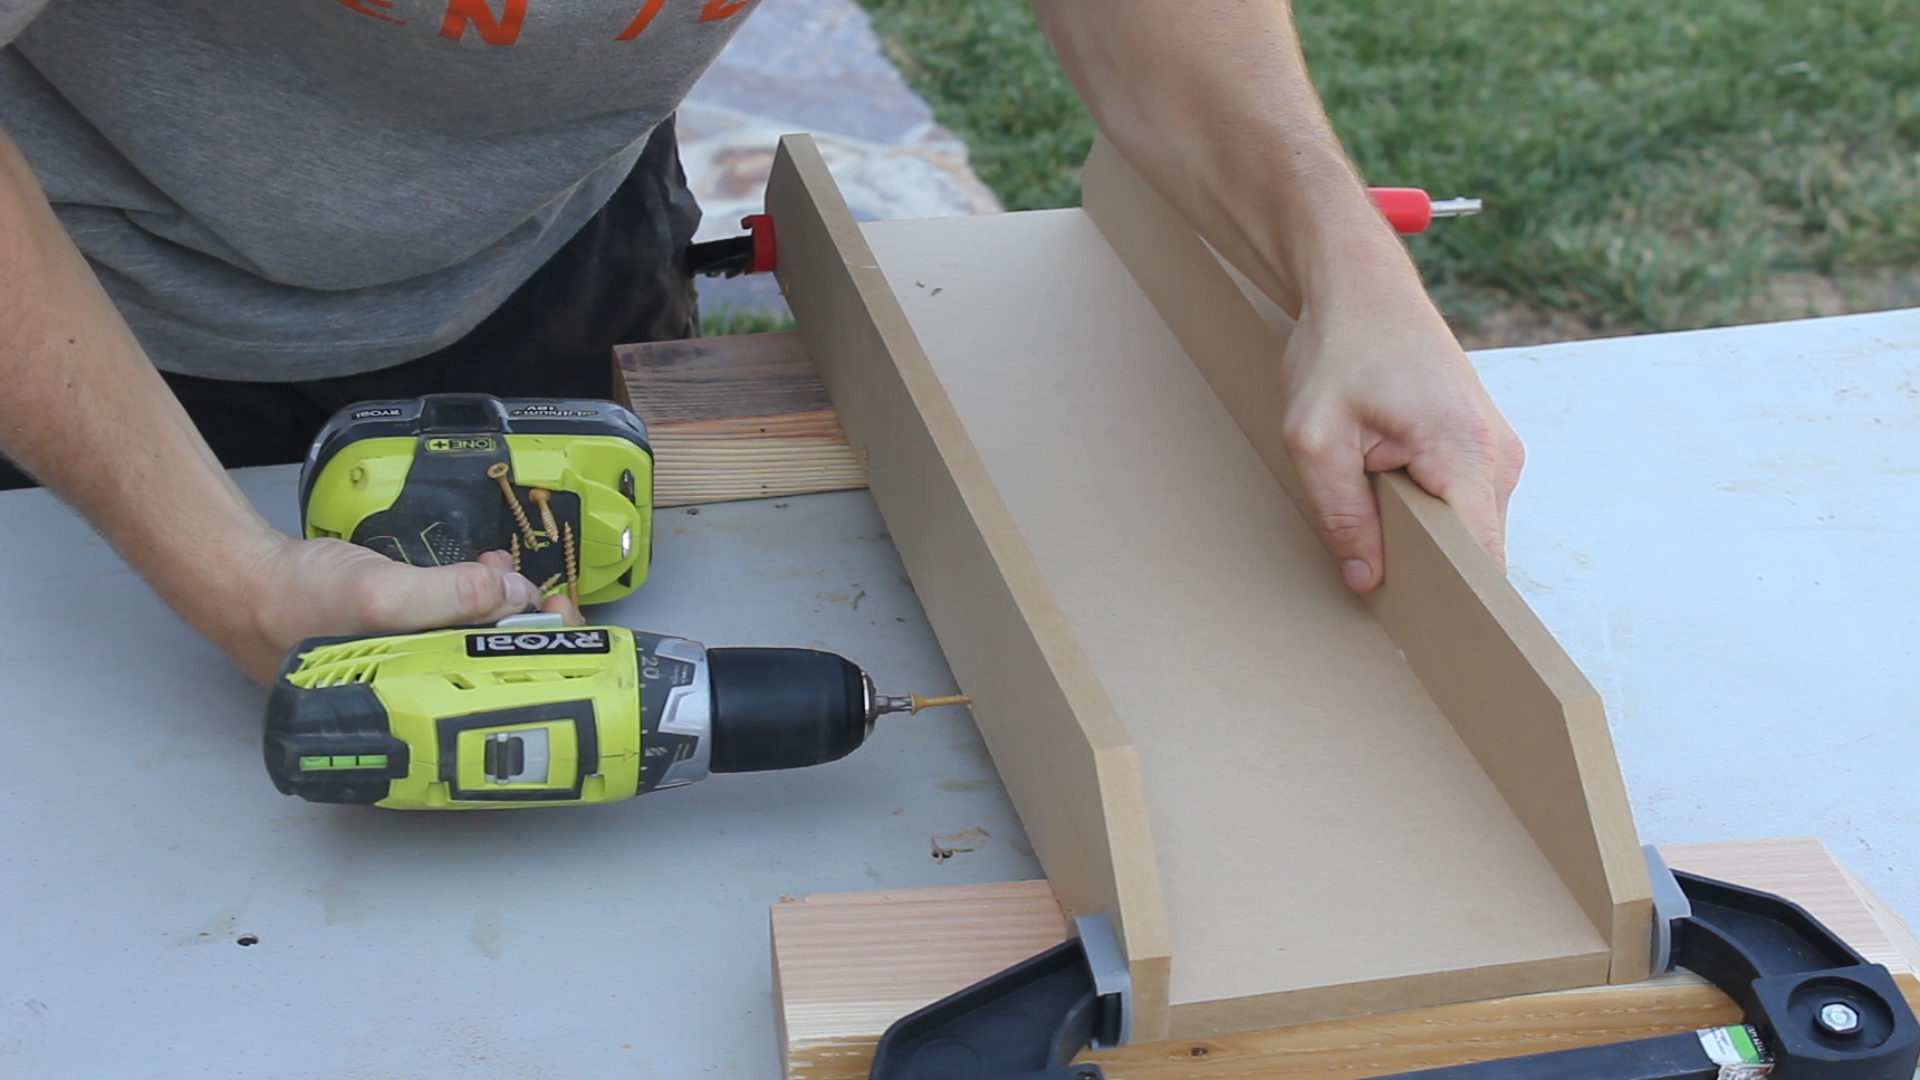
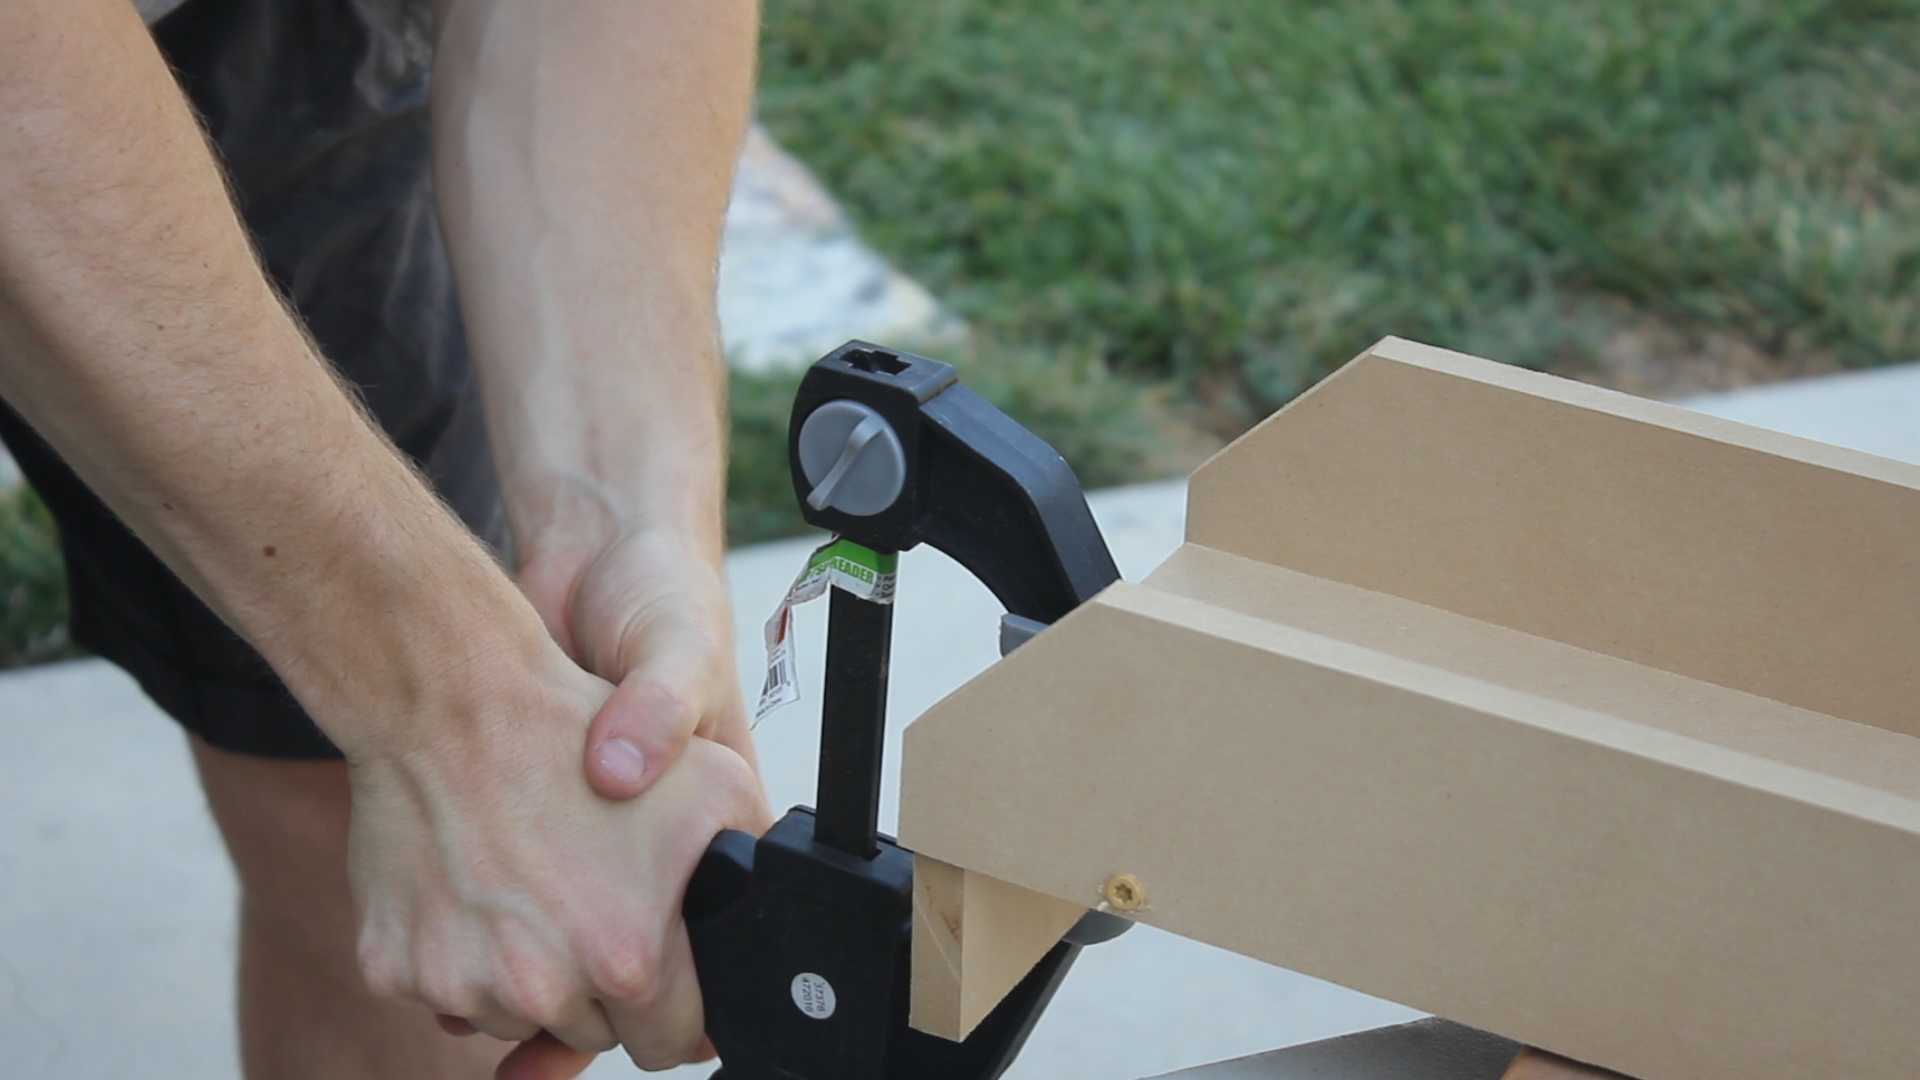
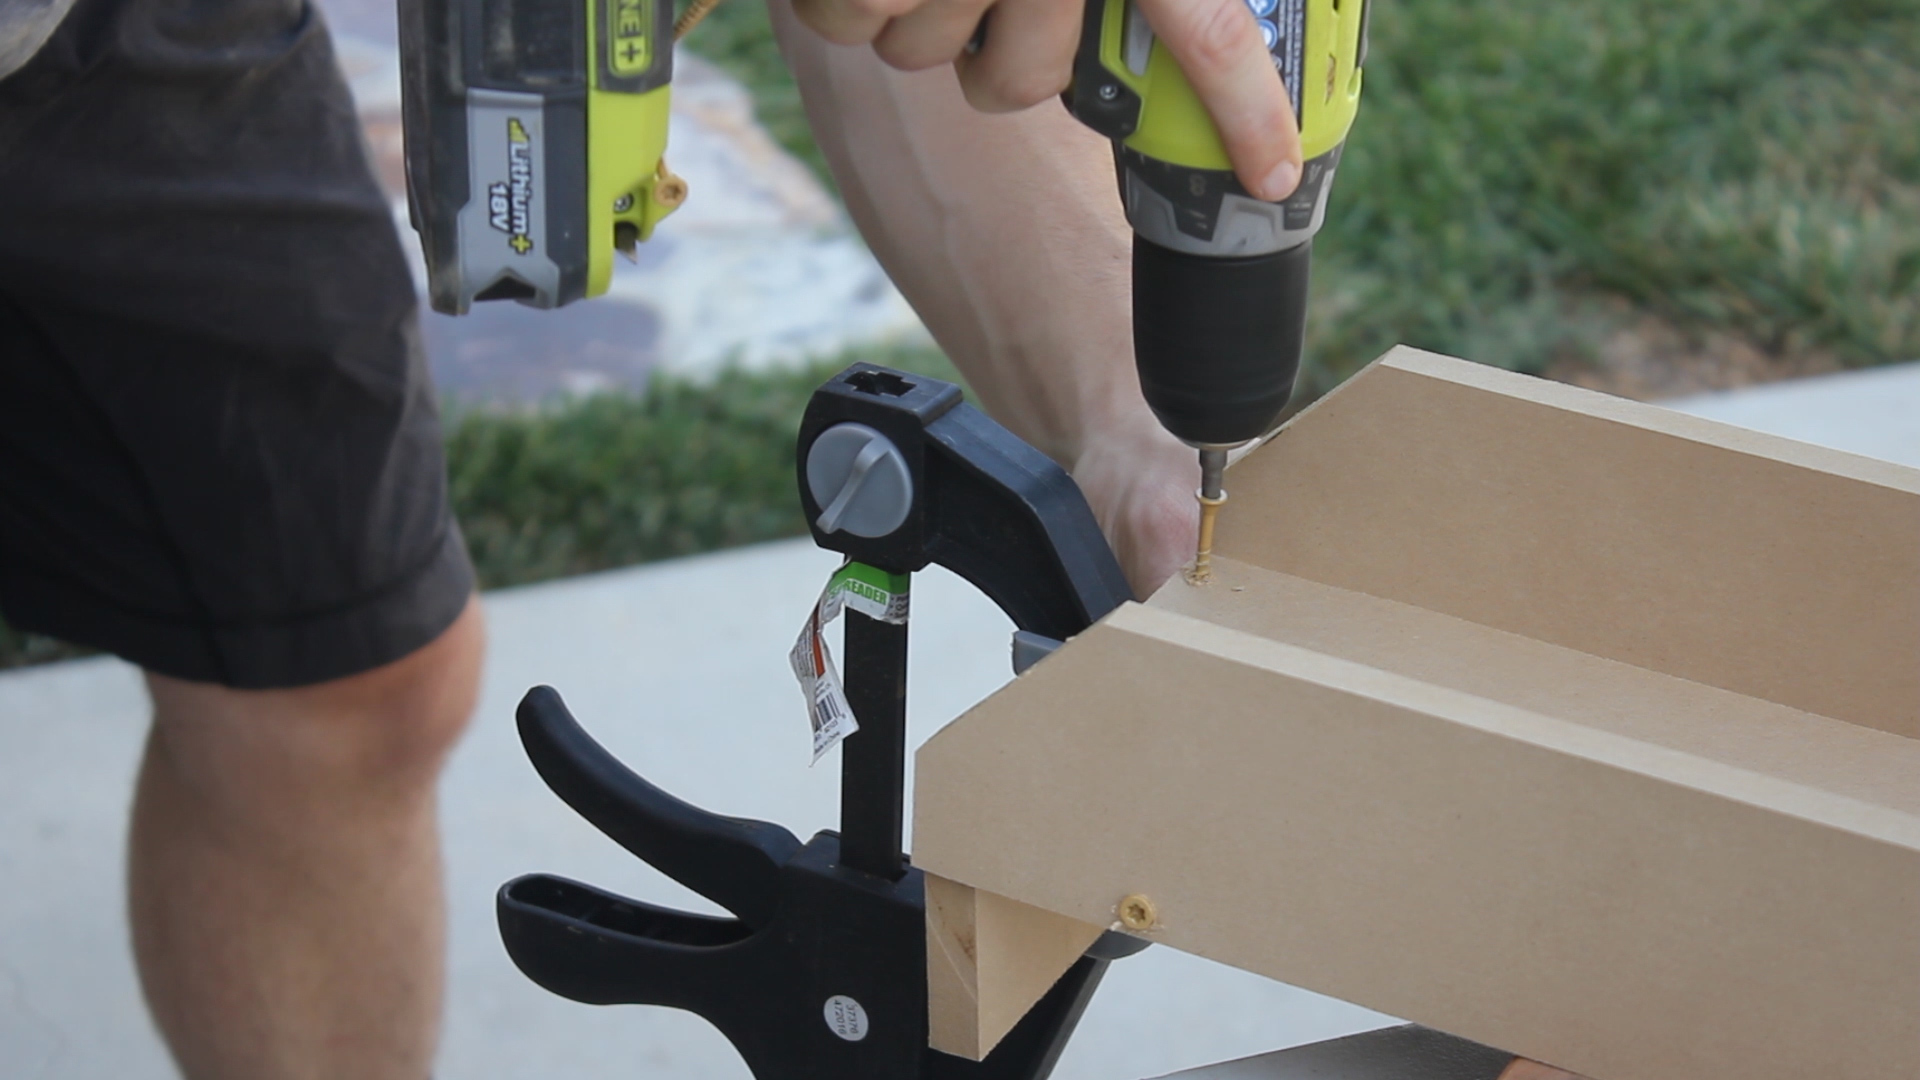
To begin the assembly, I clamped a single base wall to the edge of my large base piece, making sure everything was as flush and straight as can be (Pic 1), pre drilled holes for the screws (Pic 2), then screwed in and attached the sled base wall (Pic 3).
Picture 4 shows the final result. I then repeated for my other wall and was finished with the base
NOTE - You must pre drill with MDF as it'll split very easily otherwise.
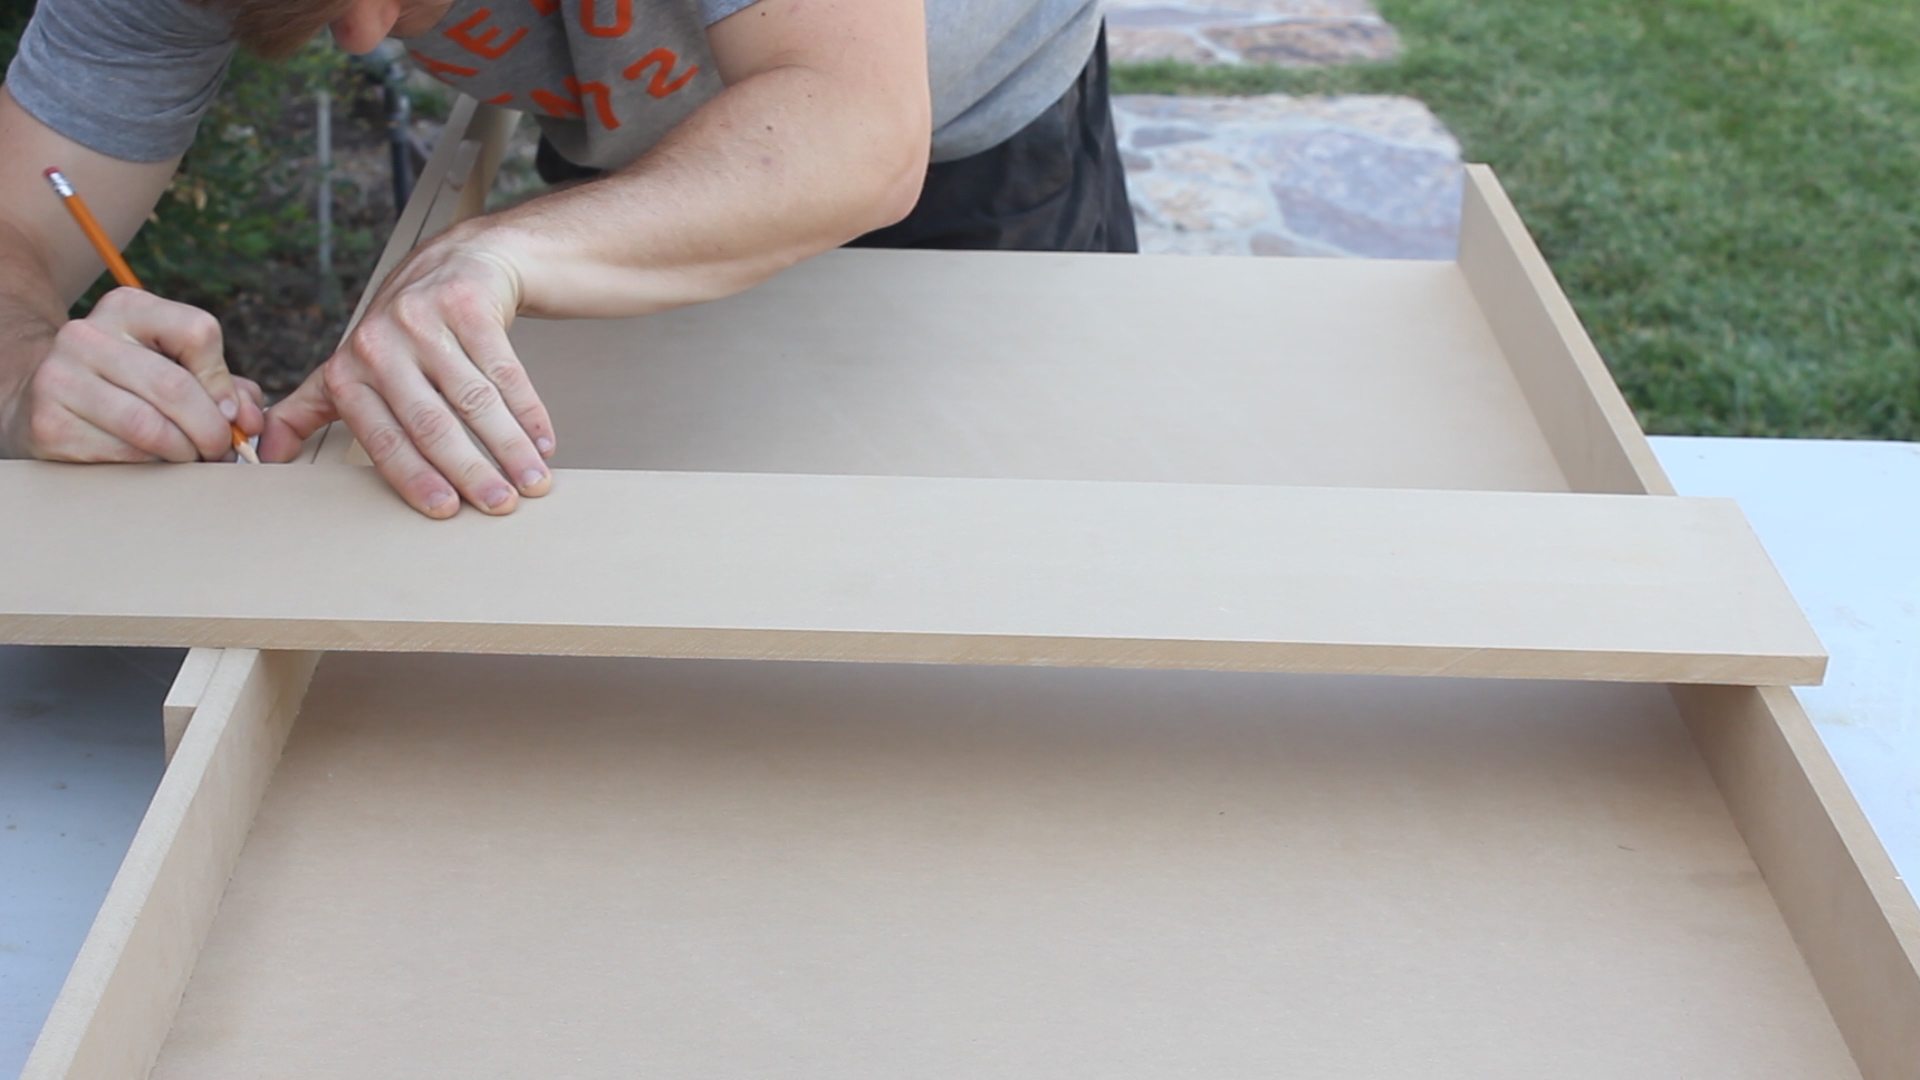
The goal of the sled is to hang over the railings of your base by the same width as your material. My sled is 24" wide, so I measured out, using scrap pieces of MDF, the exact width of the bottom of my sled. This came out to be 25' (24" sled width + 2 x 1/2" material).
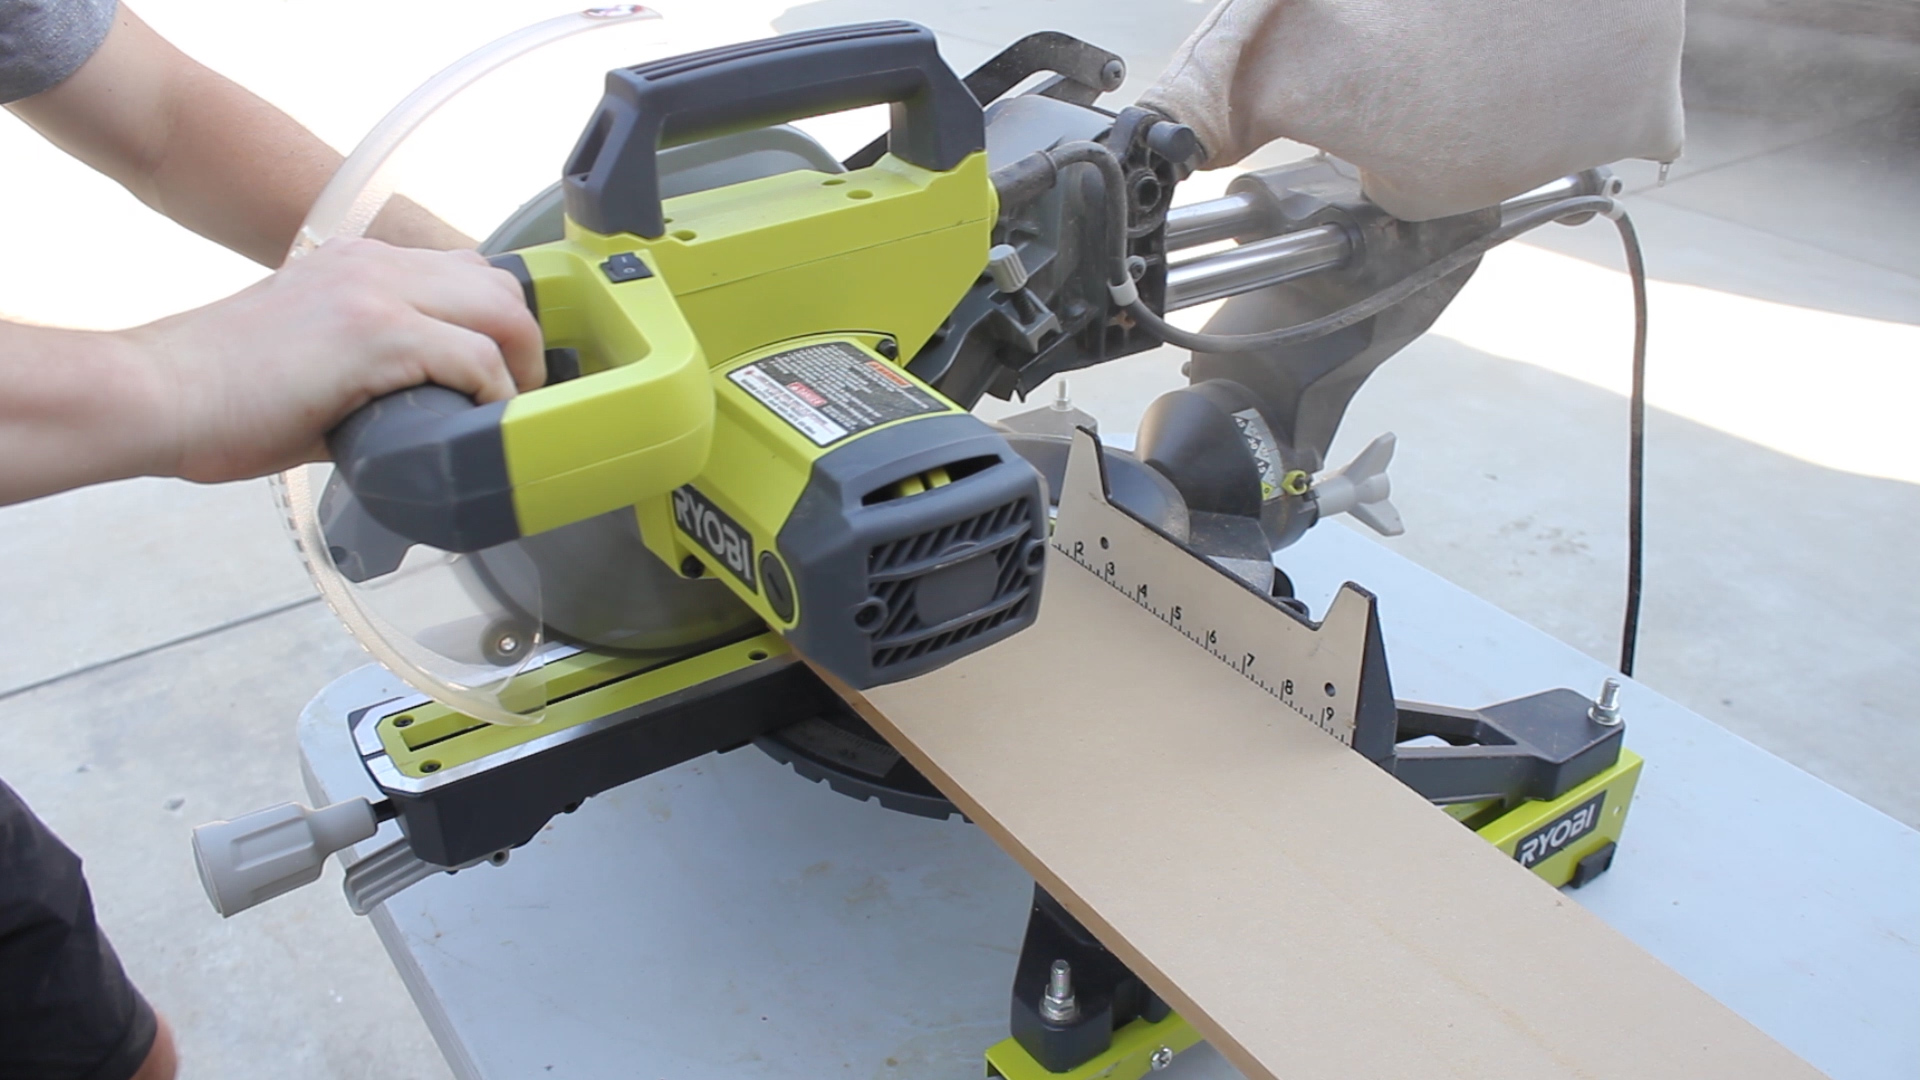
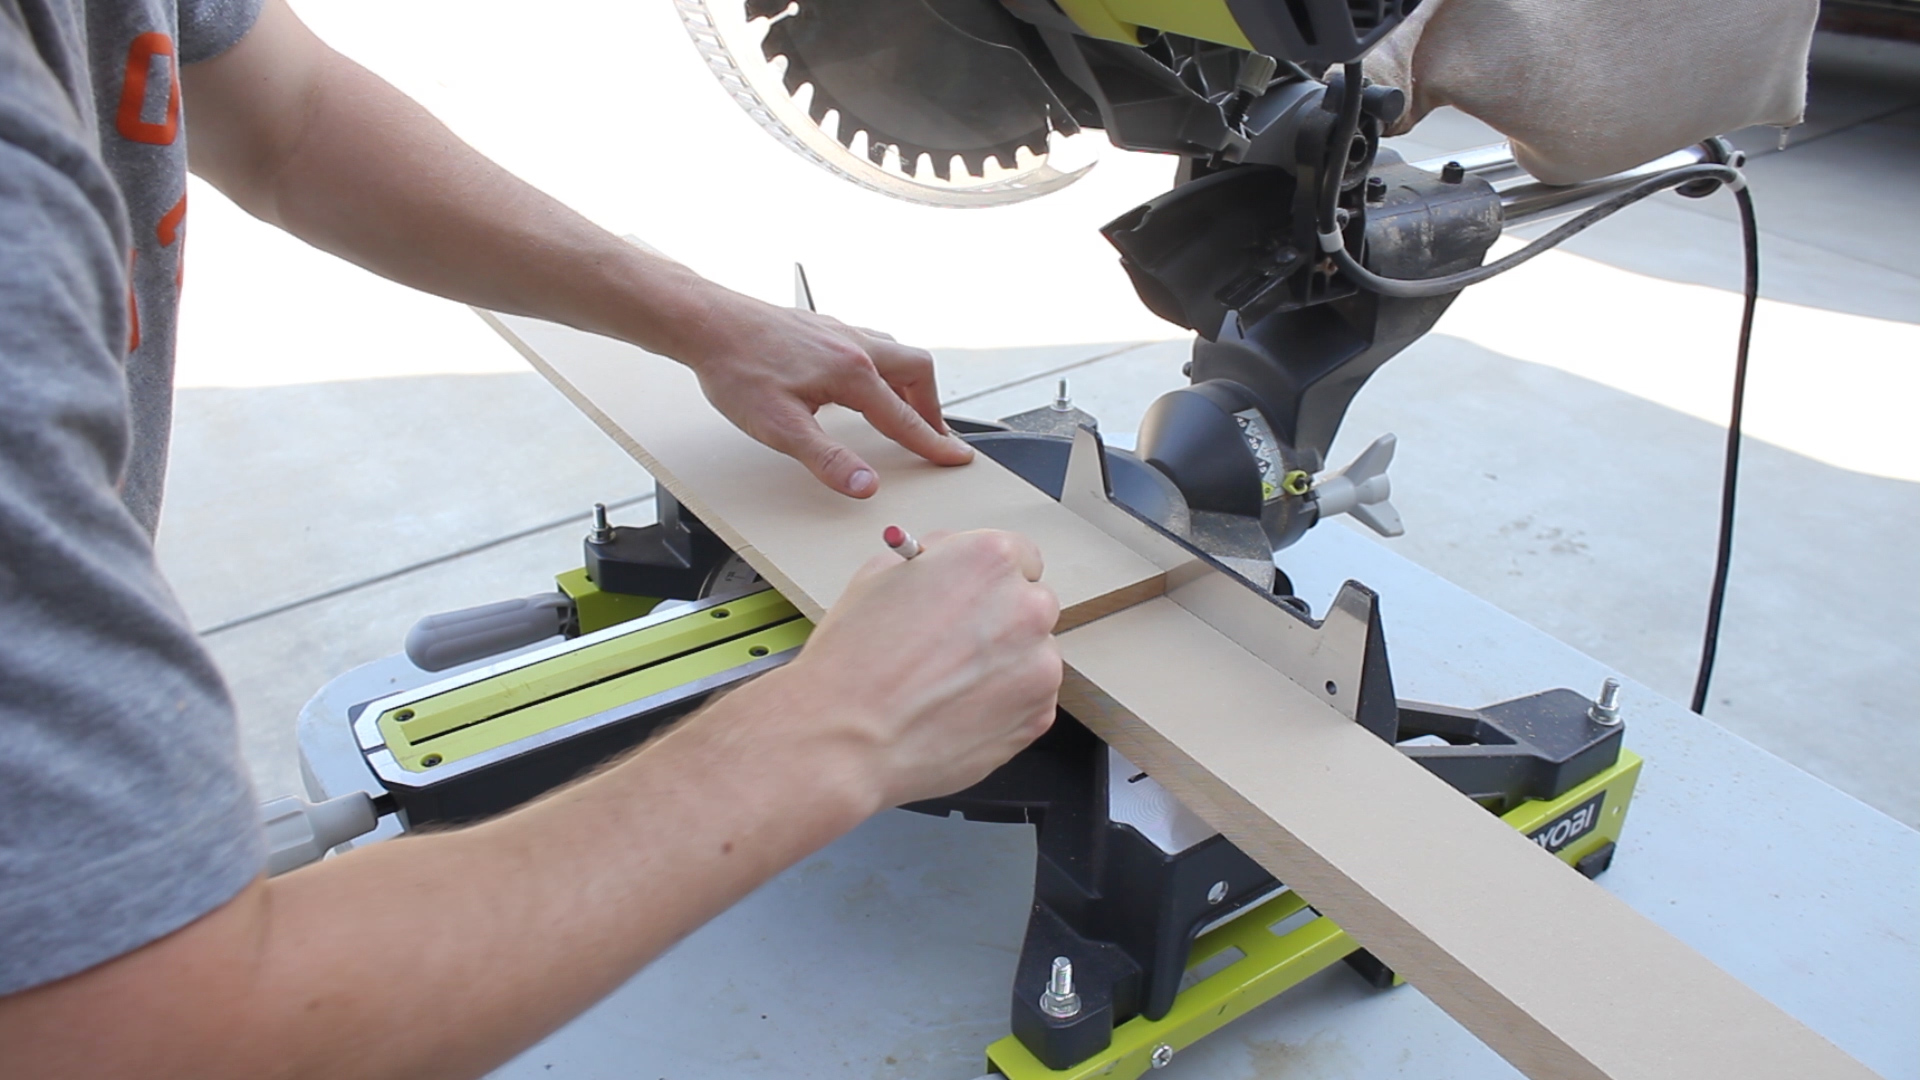
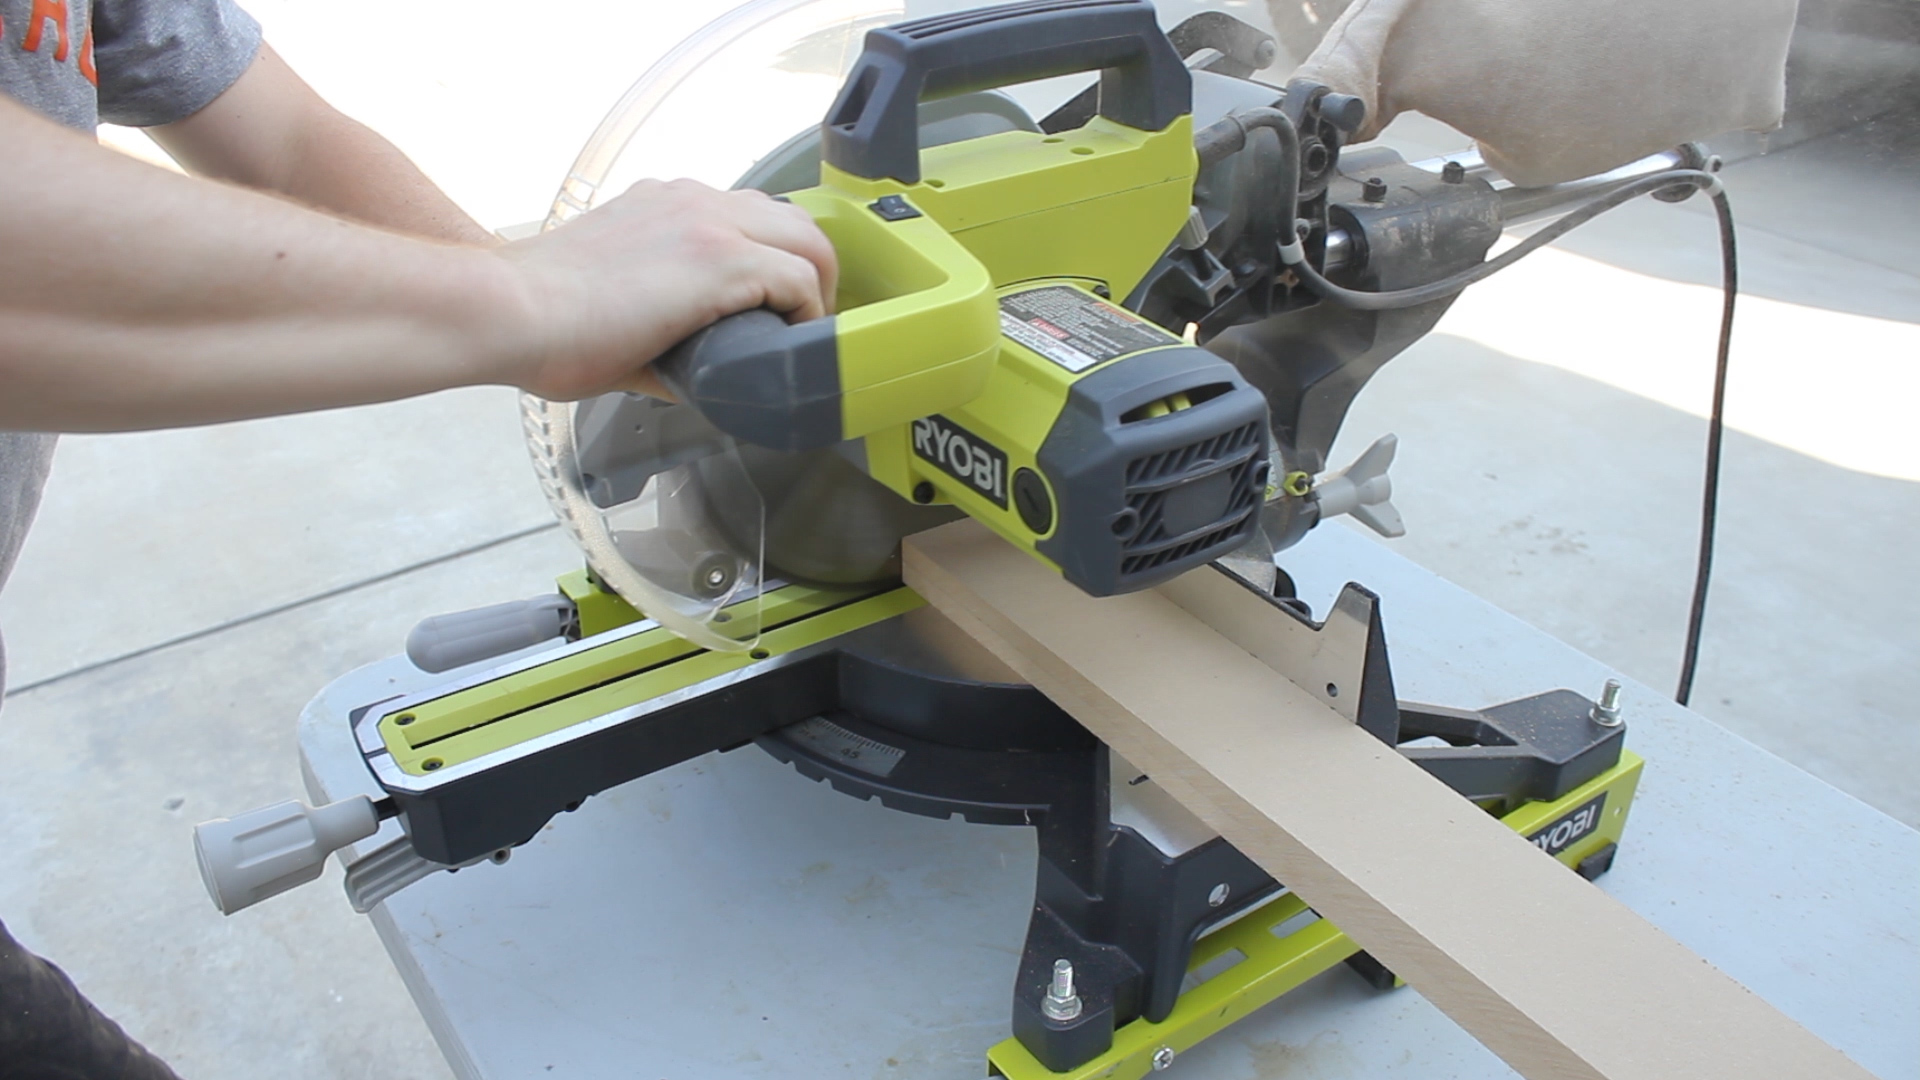
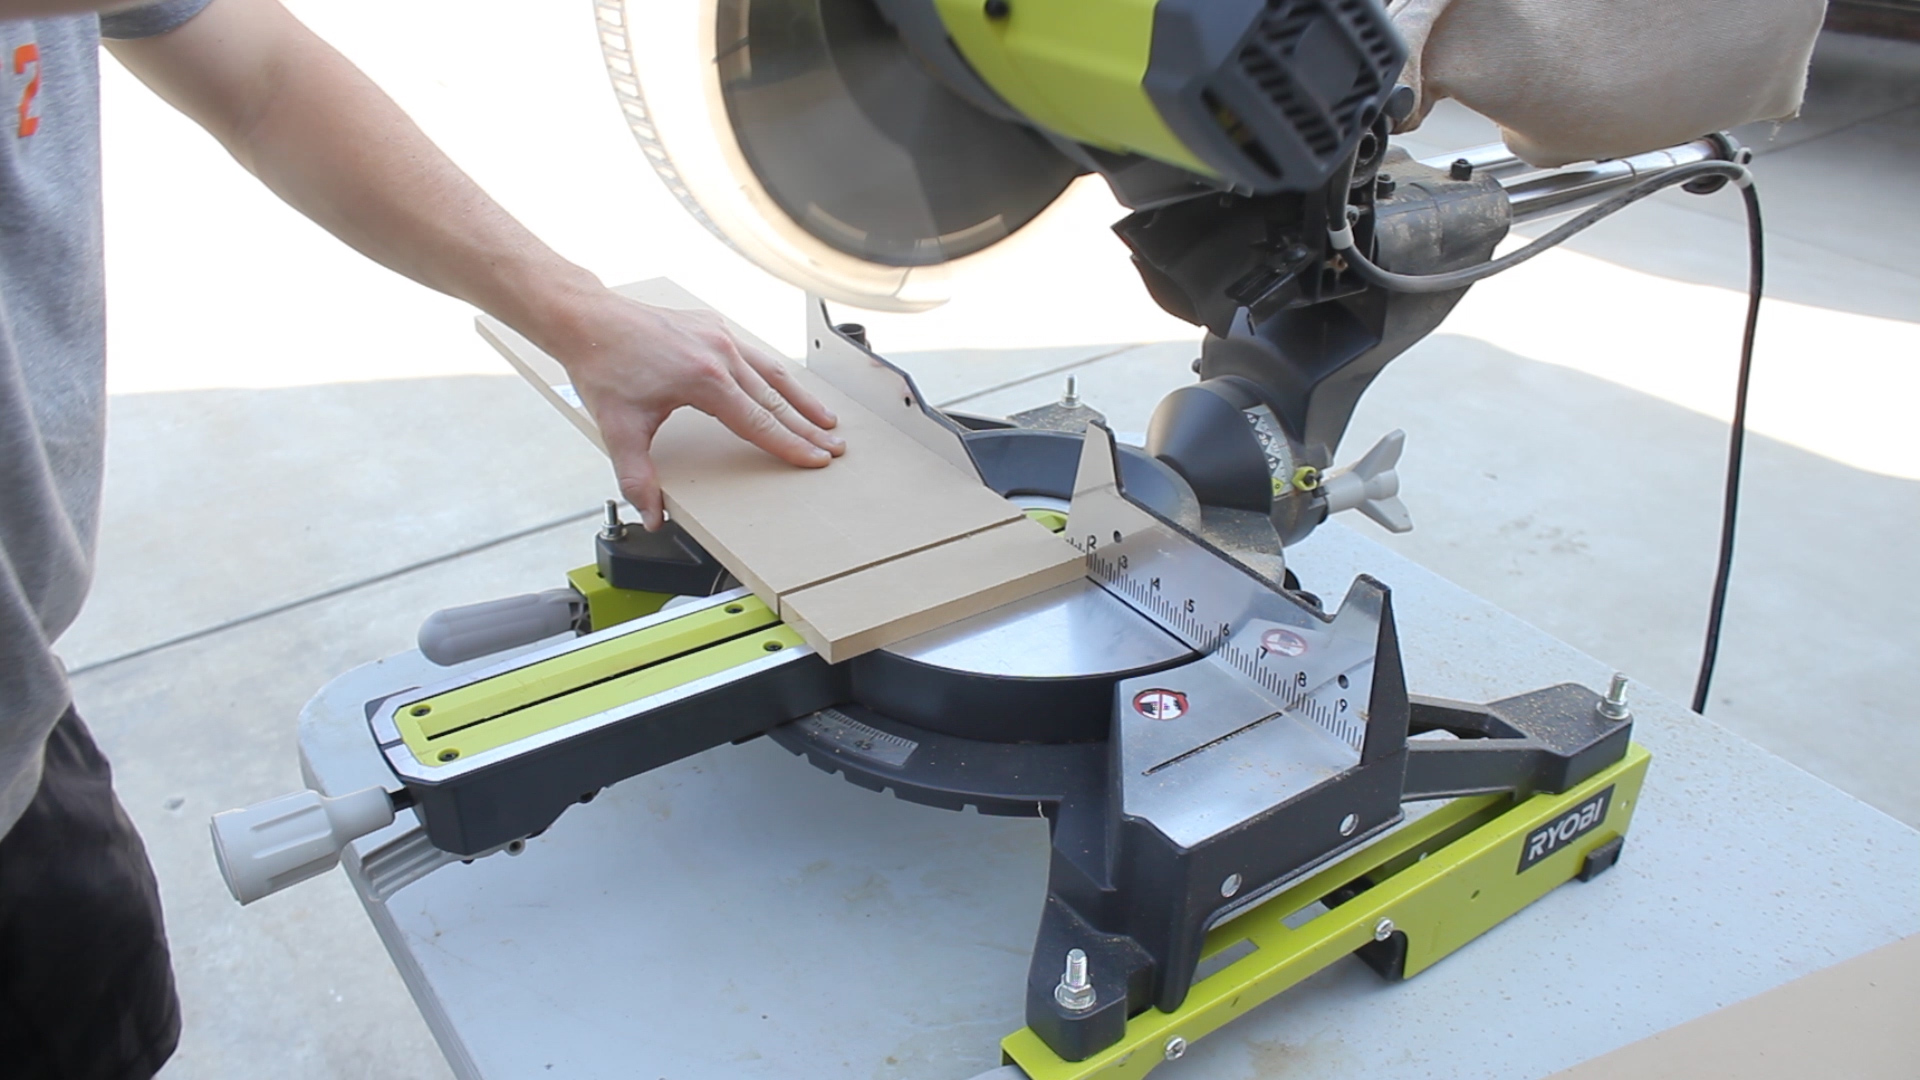
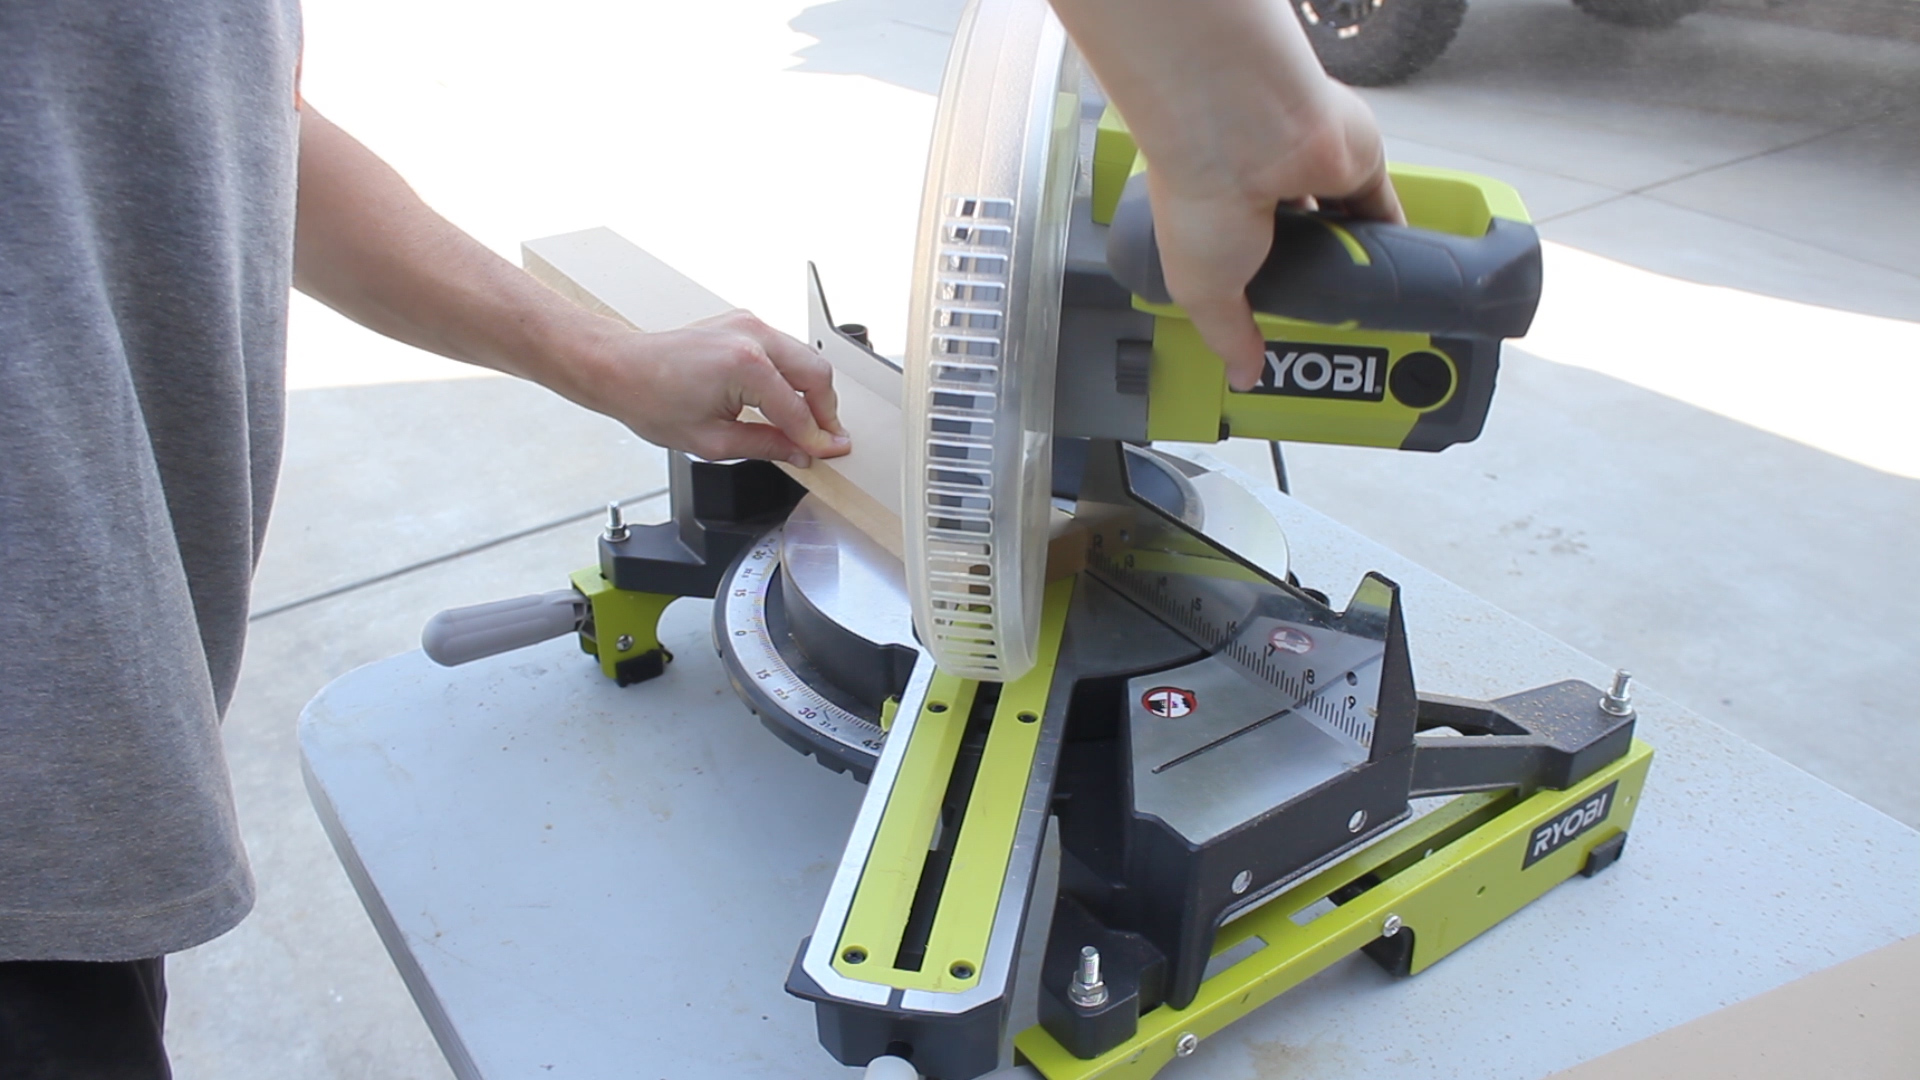
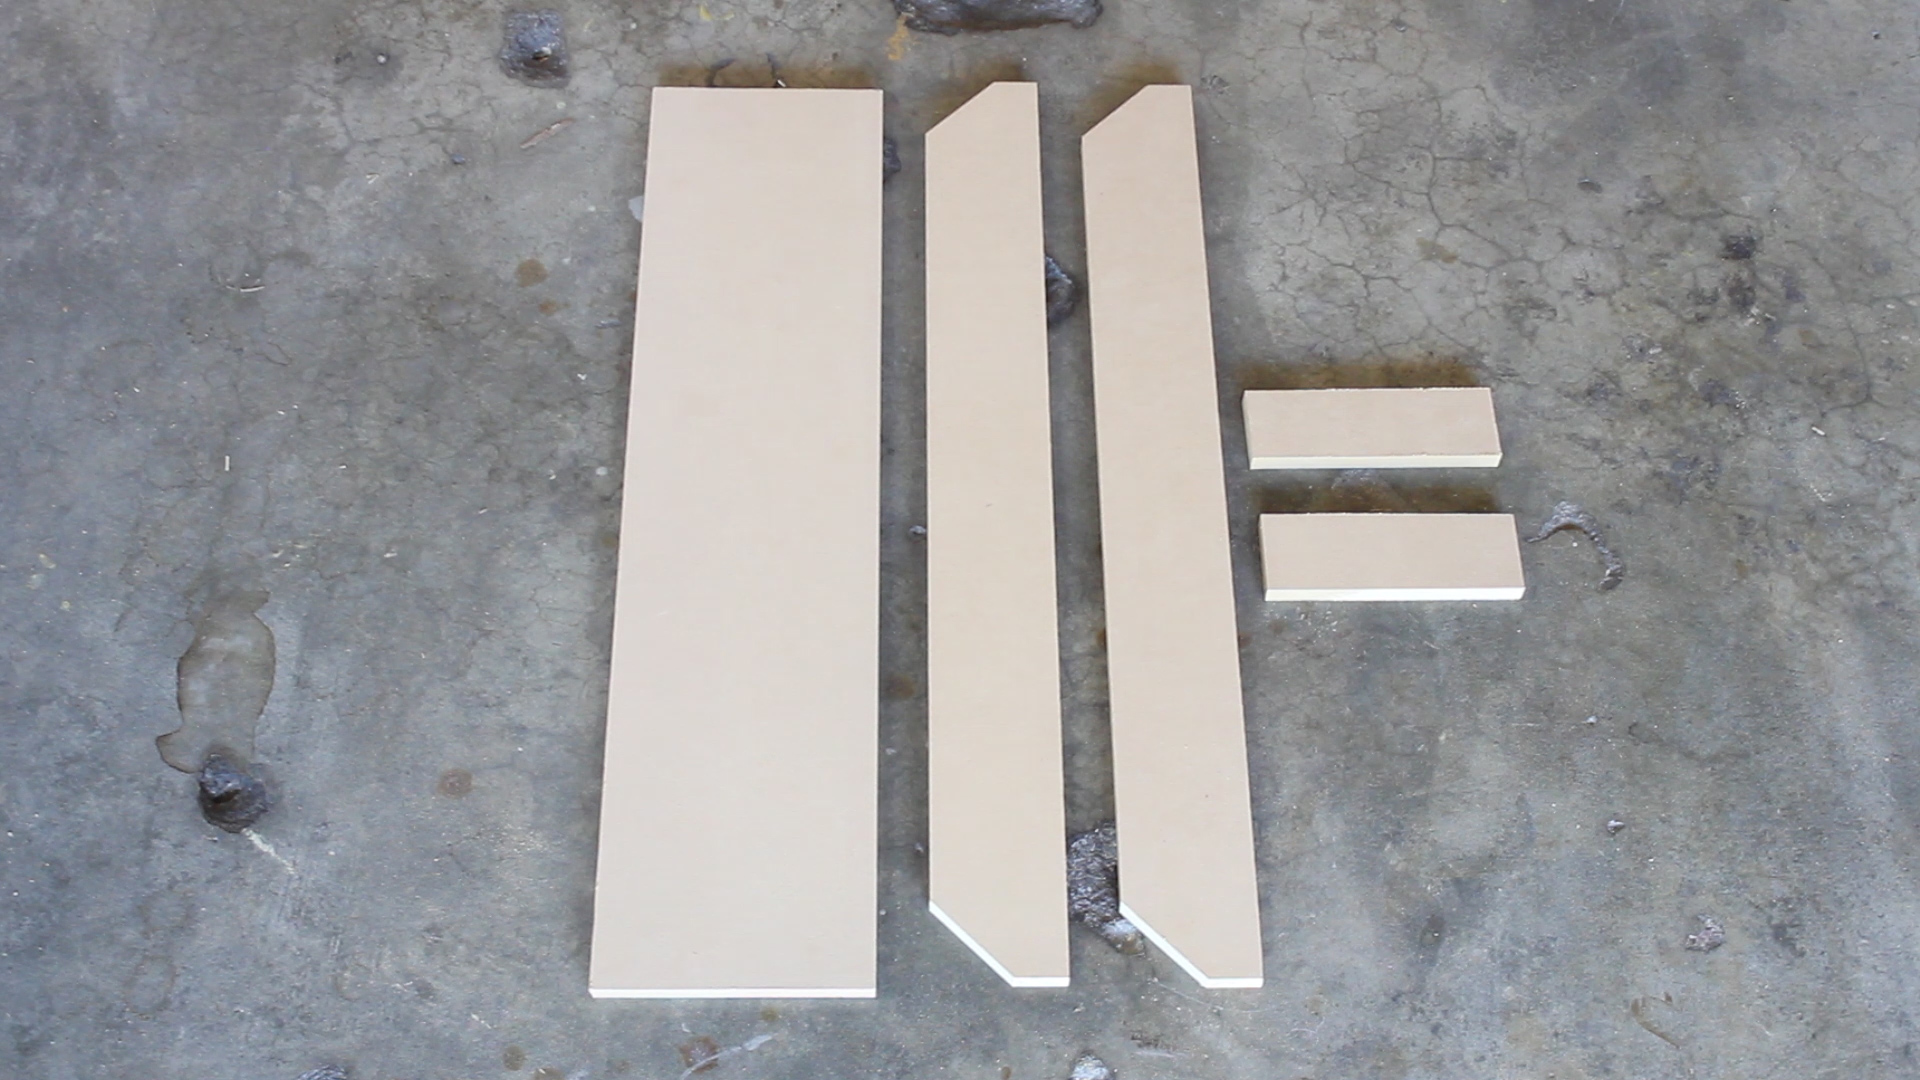
I then made the cuts (Pic 2) on my Miter Saw. I then measured our the sled sides to be the exact same with as the sled bottom (Pic 3) and cut to length (Pic 4). Then, using left over pieces from cutting my sled bottom (from Pic 2), I cut two pieces at 2" wide to serve as the guides for the sled against the walls (Pic 5). I also decided to add 45° angles to the sled walls (Pic 6), which has no function, I just thought it looked better aesthetically.
Picture 7 shows all of the final cuts (sled bottom, sled sides x 2, sled guides x 2)
Clamp our Sled Wall pieces to the outside of your sled bottom piece (Pic 1). Double check that your router will fit comfortably but still tightly in between.
Pre-drill holes (Pic 2) and screw in (Pic 3) your wood screws like you did with the sled base to assemble the sled. Repeat this process for the second wall on the other side.
Finally, clamp on your guides underneath the ends of the sled base (Pic 4), pre-drill holes again (Pic 5), and screw in screws (Pic 6) to attach the guide. Repeat this process for second guide on the other side.
Double check your sled fits and slides tightly but freely on your sled base. If you are careful with measurements and make clean cuts, this shouldn't be an issue at all!
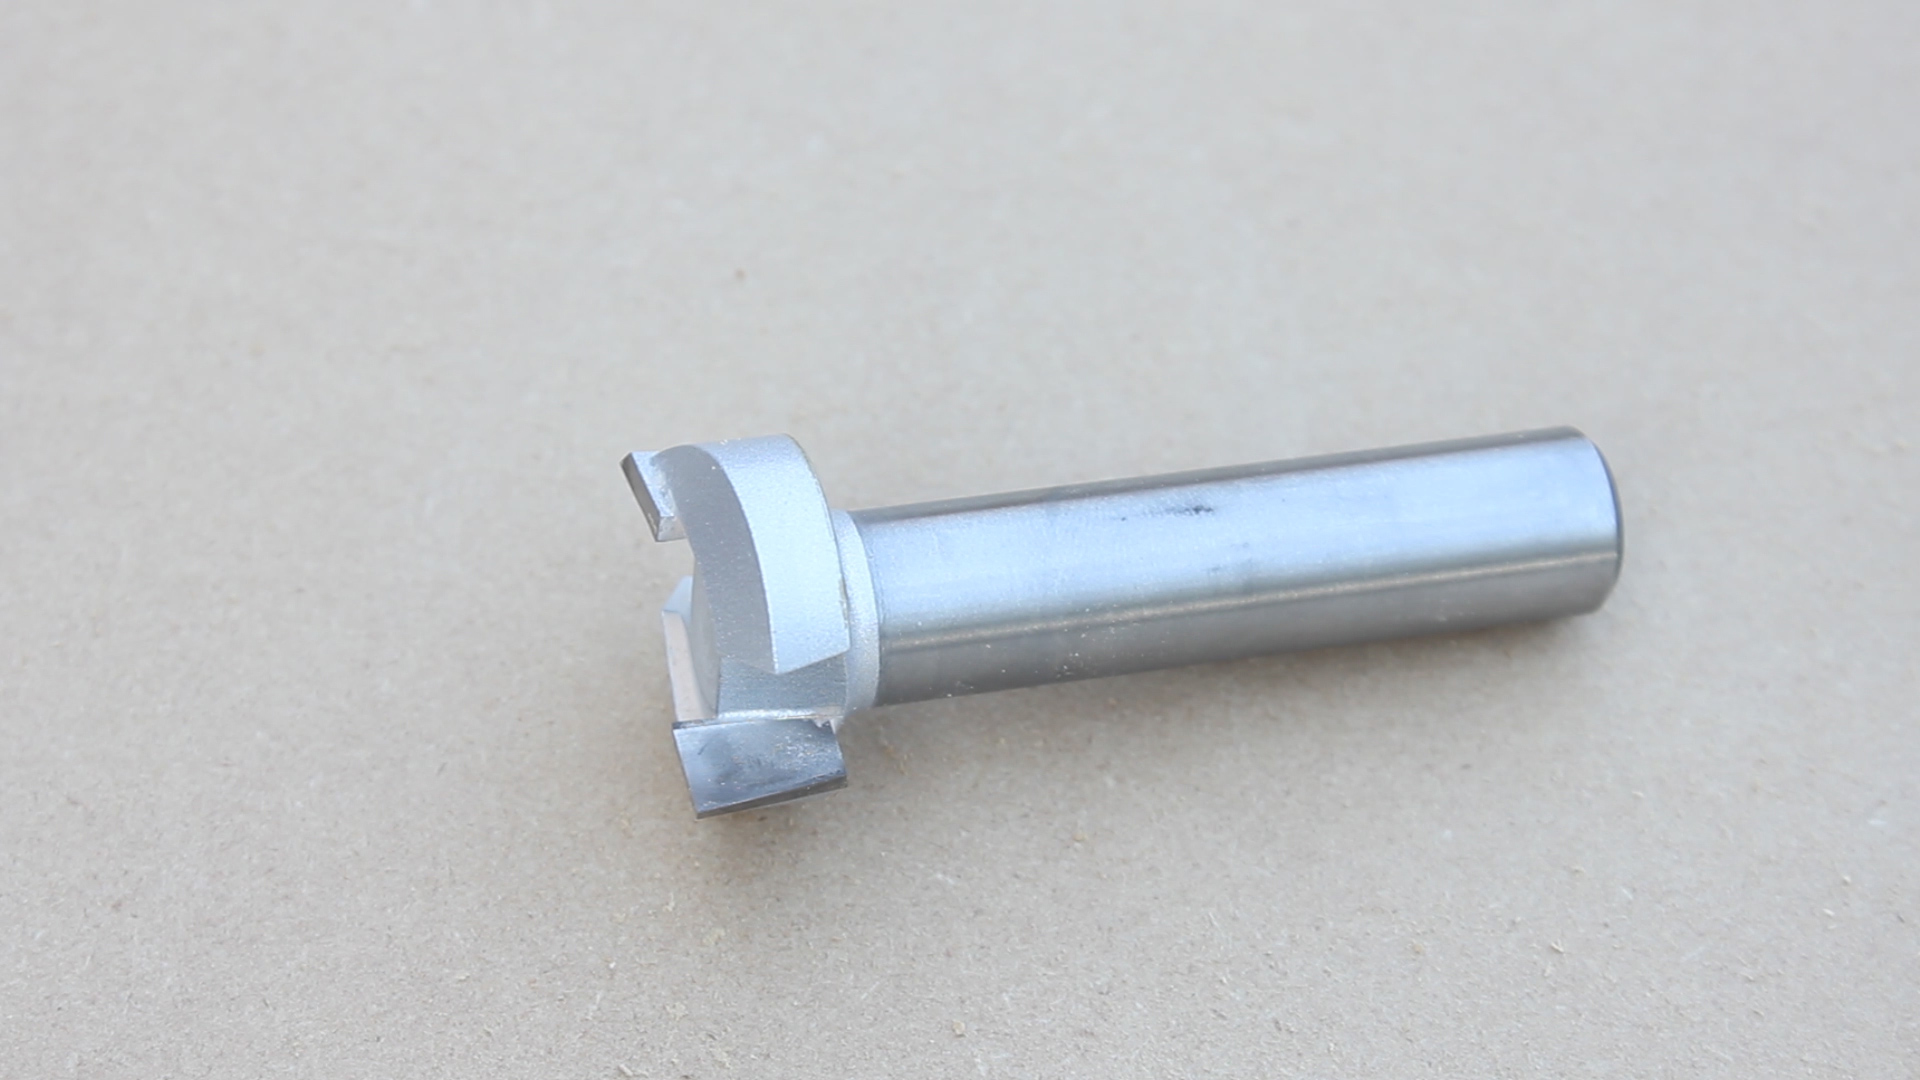
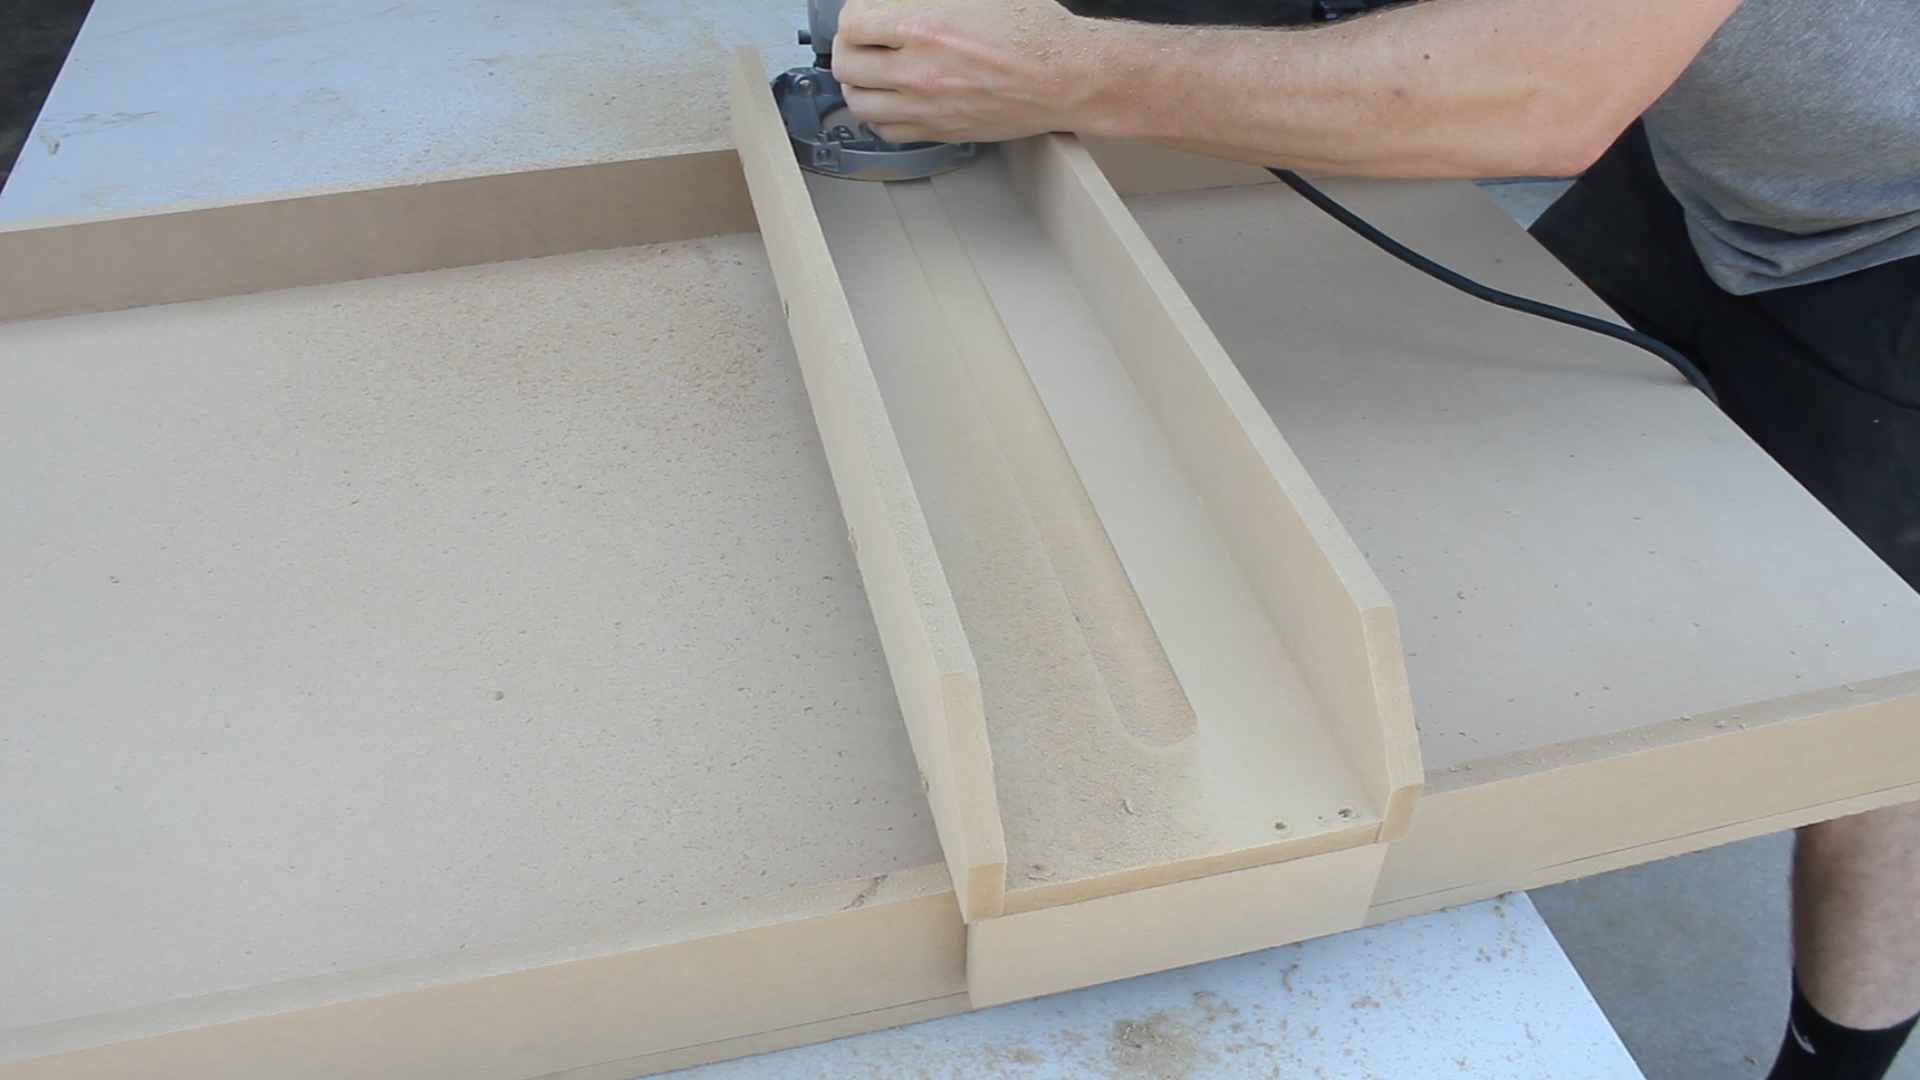
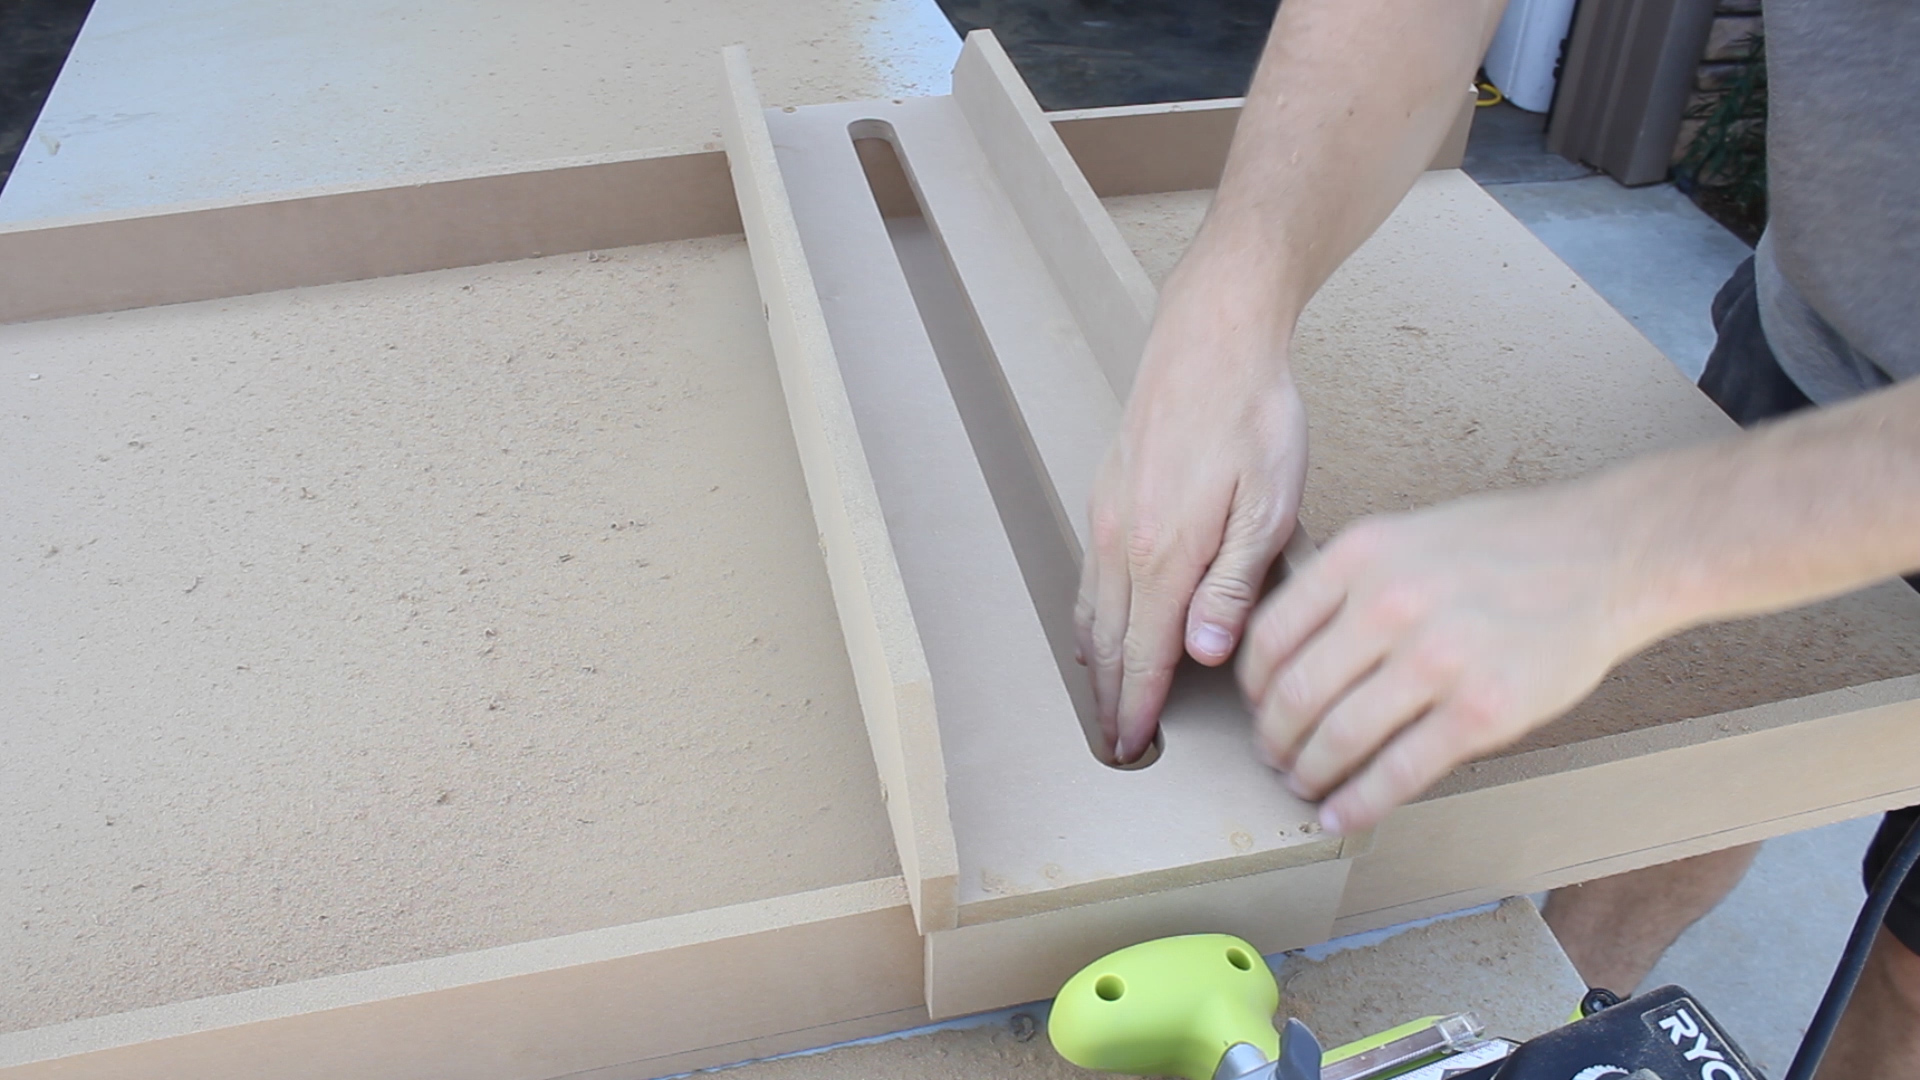
Using your Plunge Router and a Dado Bit (Pic 1), plunge your router into your sled to begin routing a groove (Pic 2). Once you have made multiple passes and cut all of the way through, you should end up with a groove (Pic 3) that you can now pass your dado bit through and surface any piece of wood, etc. that you place under the sled.
NOTE - You have the freedom to route this hole as wide as you'd like, but be careful not to do it too wide as you'll hit your sled base walls. Also, because your router will have a bit of wiggle room, you'll want to make passes with your router base plate up against both walls so the hole is clean, consistent, and slightly larger than your actual dado bit width.
Below is the full video of me using it for the first time on a set of Walnut Butcher Block Bedside Tables I was making.
I am so thrilled with how well it works, and it will work for ANY type of wood material you put underneath, all you need to do is make sure the piece is secured and shimmed properly so that you begin with as flat and stable of a surface as you can (I held it with weights, but you can look into your own solutions that work for you!).
The best part is, between the tools you need for the sled, and the materials, it will still be about half (or less) the price of a standard thickness planer, which many people can't afford and will be limited by anyways.
If you want to know any materials, tools, or have any general questions answered, you can check out the second step or contact me via my website, thecuttingbored.com and I would be happy to do answer them.
As always, thank you for reading! I would be so grateful if you could please subscribe to my Youtube Channel for future projects.
I put out videos every few weeks.
Cheers!
Zach
