Thanks for checking out the full article!
Full video build is below, followed by detailed instructions with tools and measurements!
You can subscribe to our YouTube channel by clicking here!
NOTE for any stump project you take on:..
Embrace the flexibility of the project. Don't settle for simple stains or oils - figure out what will work the best for the vibe of your home through research and make your stump look the best you can. Stumps aren't cheap and sometimes tough to find, so make sure you do your homework on this project before diving in!
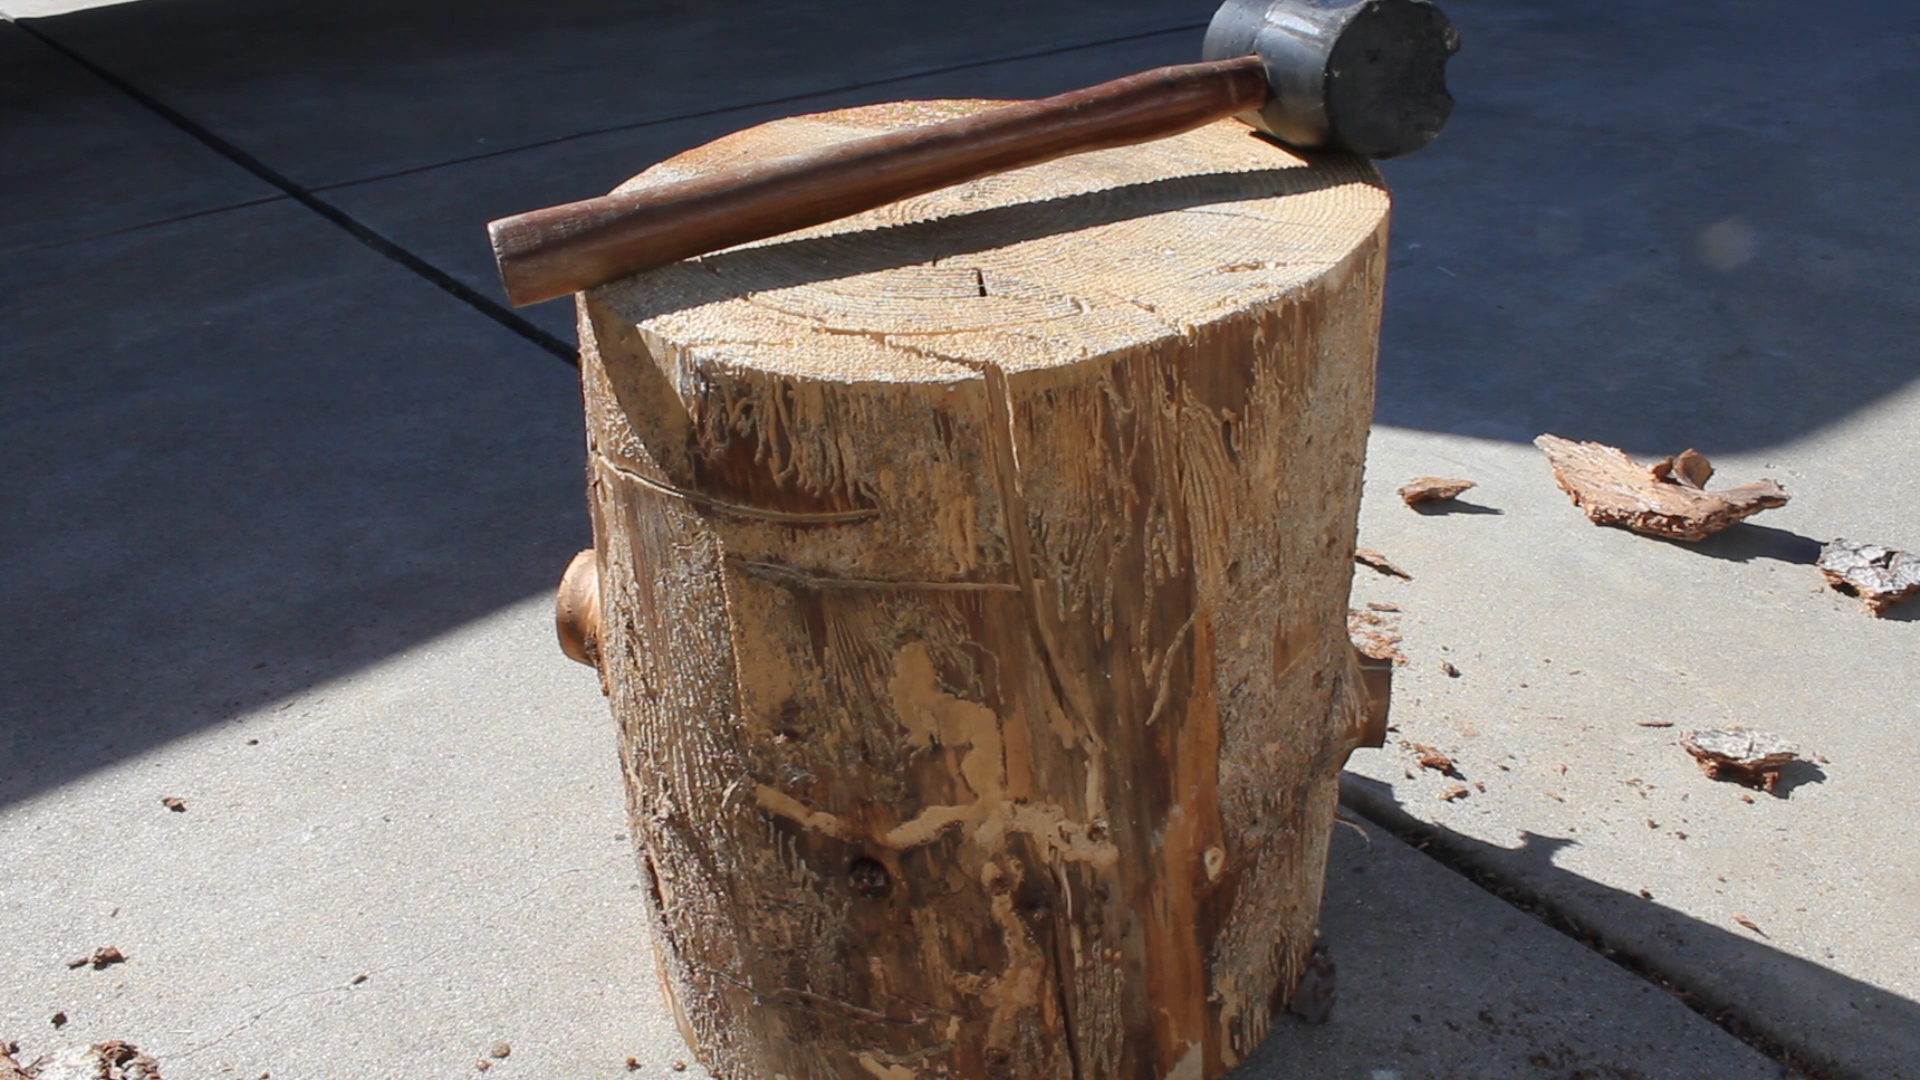
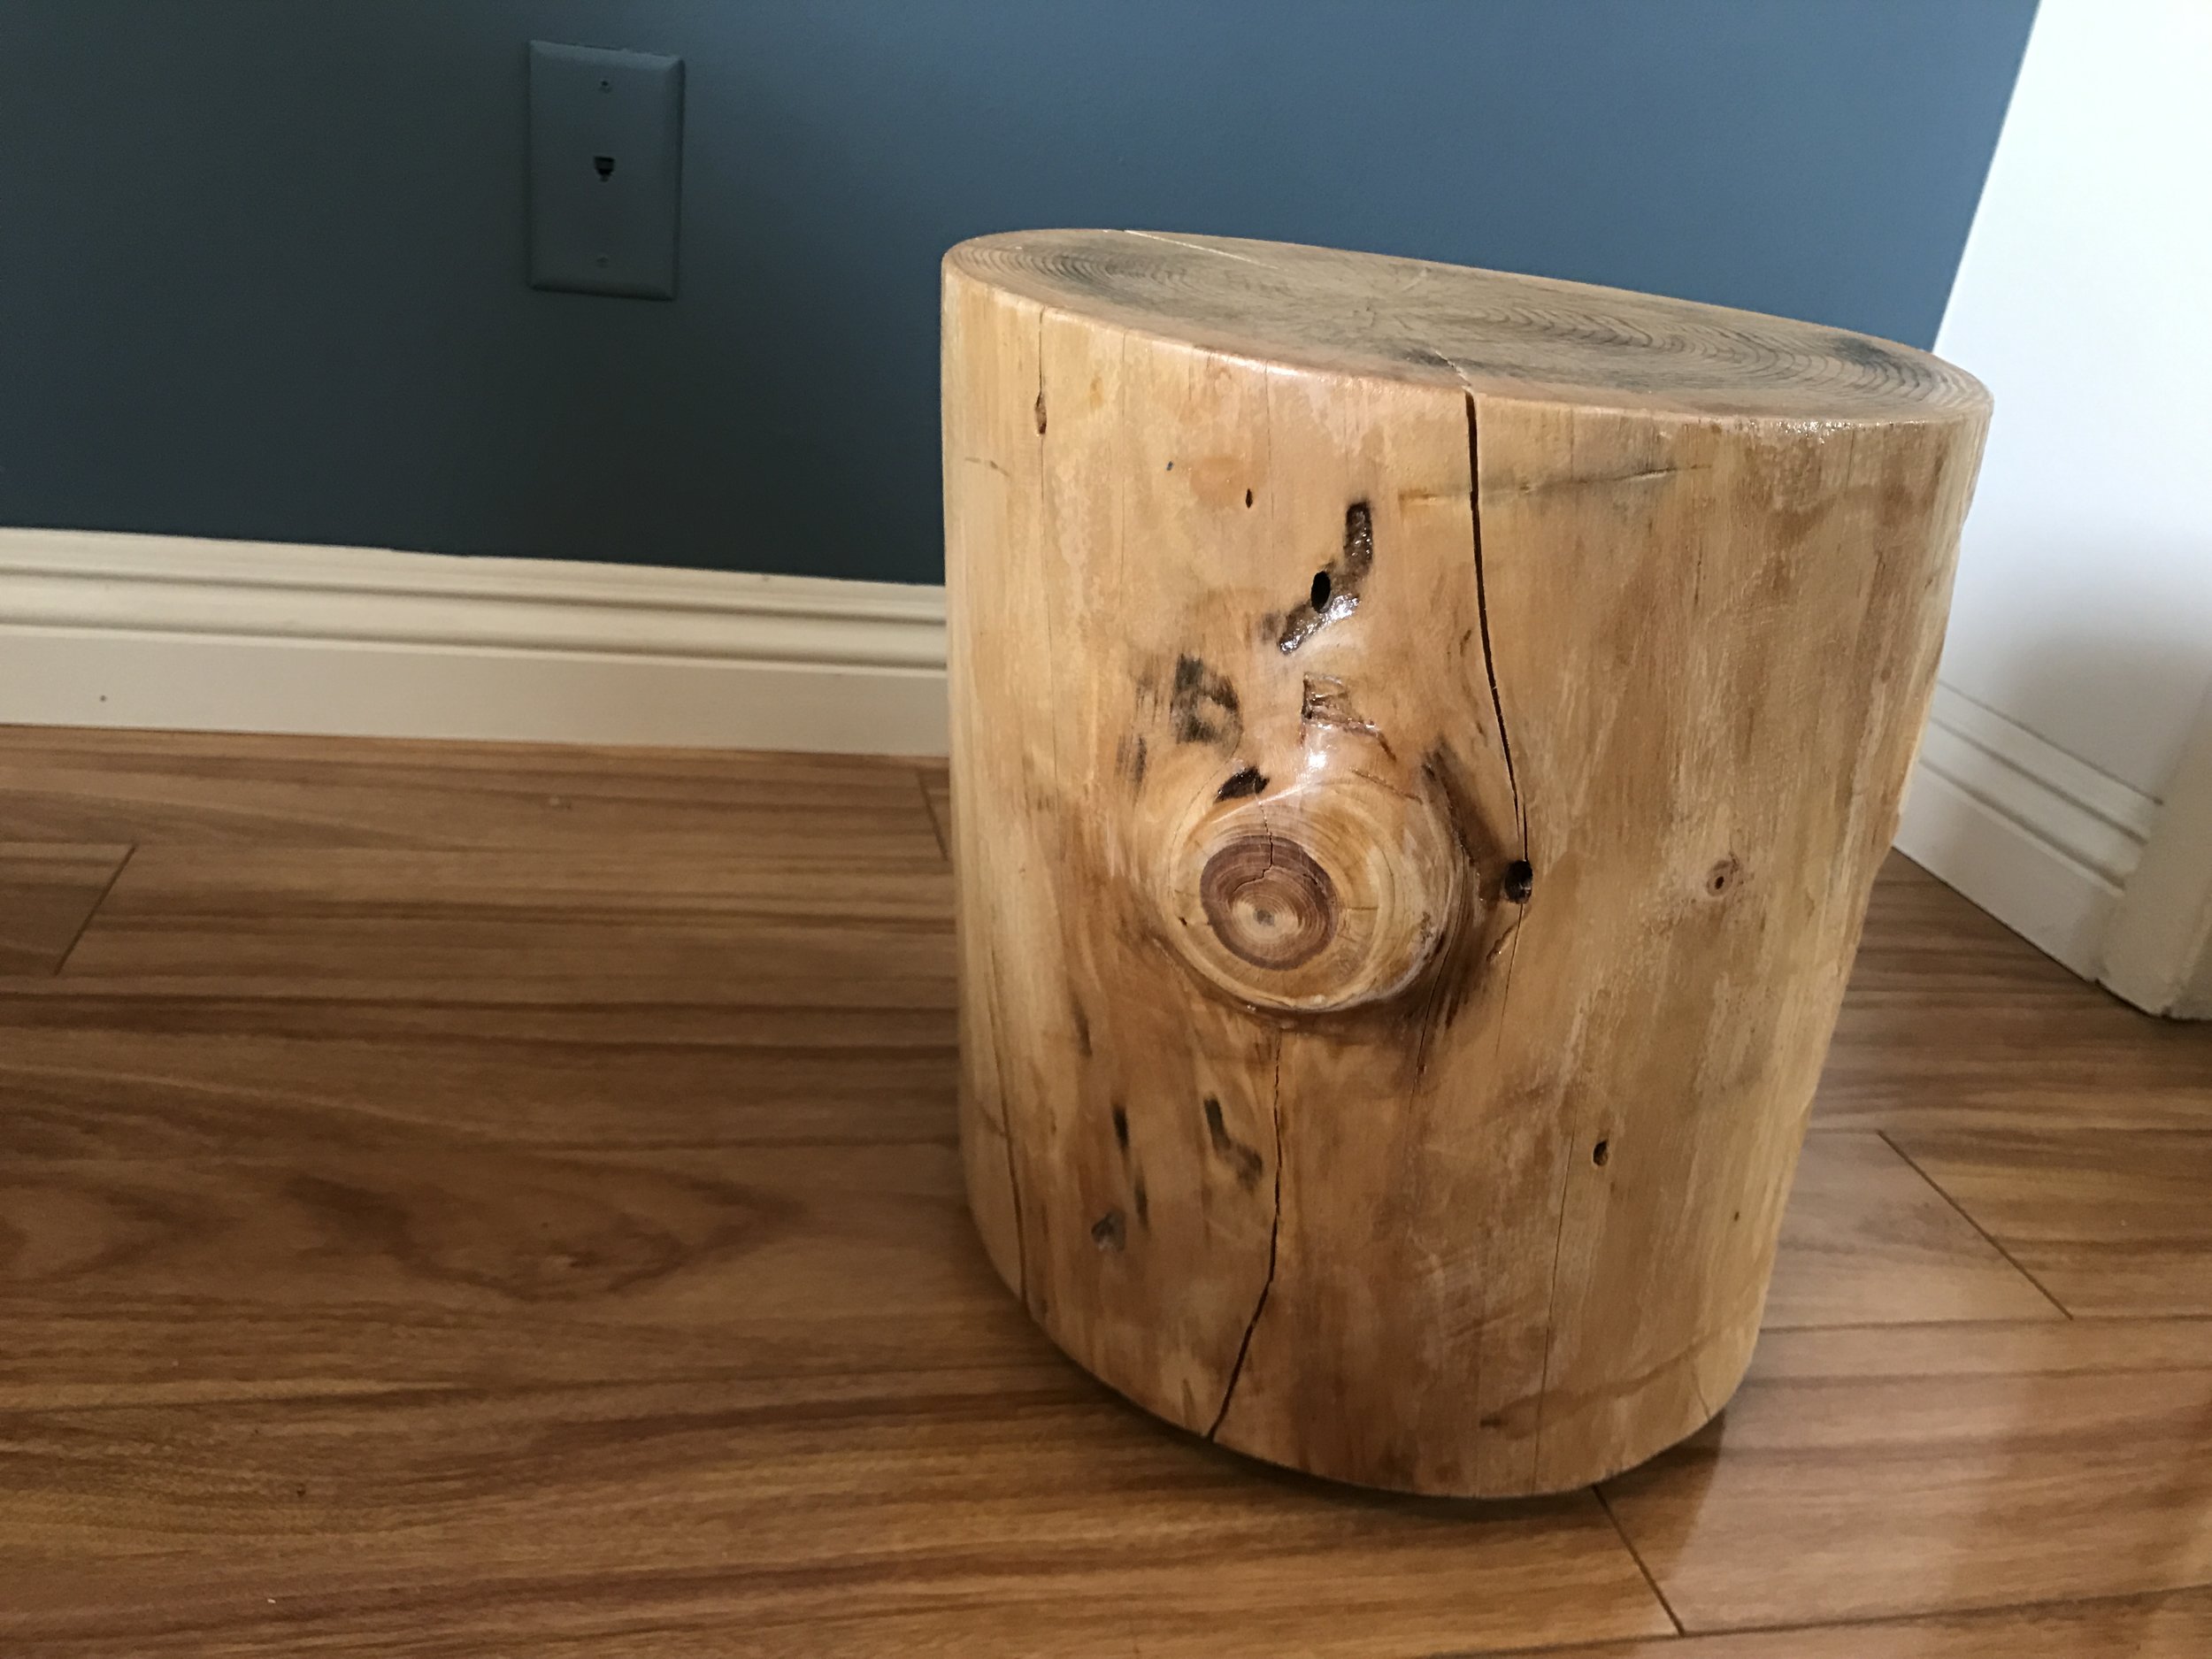
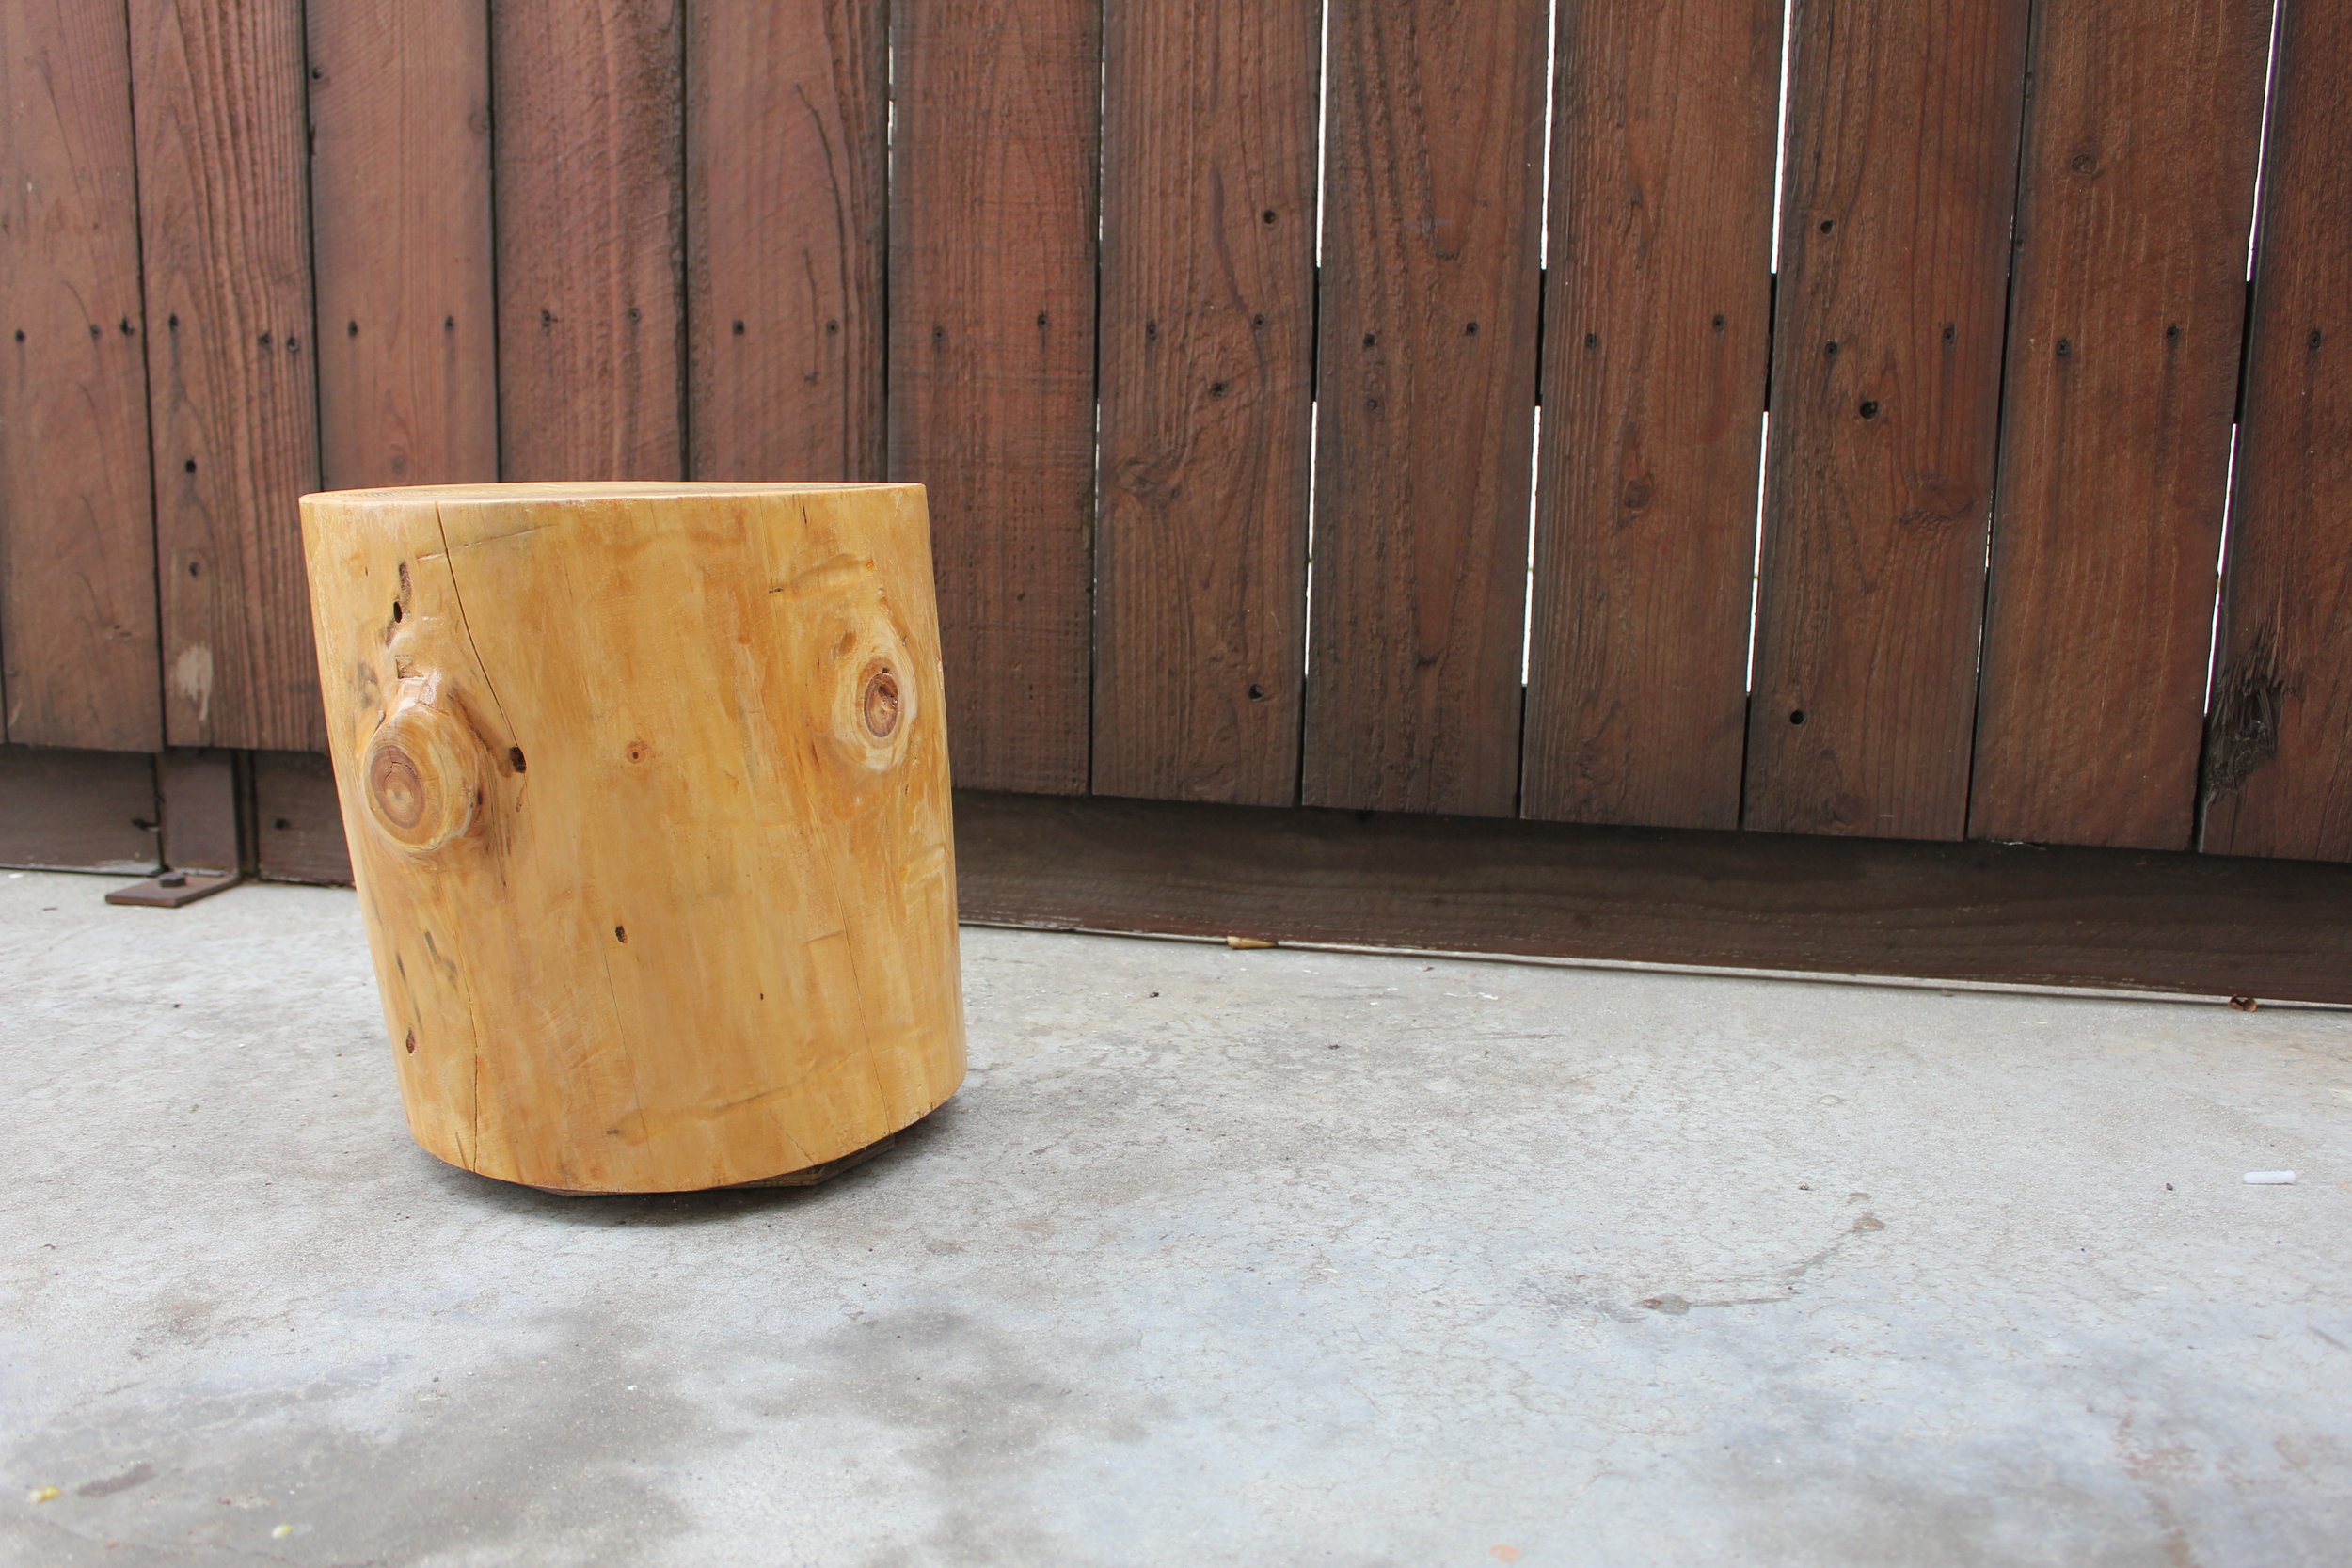
In the second episode of my stump series, I am going to upcycle a second stumped that I reclaimed from the Mammoth firewood pile back in May of 2016. This stump had also been drying out for the better part of a year - amazing how much weight in moisture it lost!
MATERIALS
1 x Stump (I think it's oak but I have no clue)
1 x Scrap Plywood (9" x 9" at least for me)
Minwax Clear Finish Polyurethane
Bleach (to clean the wood)
First up was debarking, which was even easier this time around. The bark basically fell off it was so dry.
This stump had a few larger branch ends sticking out. My hacksaw was garbage, so I used a mix of my dull saw and a hammer/chisel to get most of this off - not efficient by any means.
Next up was sanding in the following order:
Belt Sander (60 grit) - LOTS OF IT
Orbital Sander (90 grit)
Hand Sanding (120 grit)
Hand Sanding (220 grit)
My stump was already flat on the surface, but if you needed to square it up, you could do so with a router sled jig - here is a good article on using a router sled to flatten.
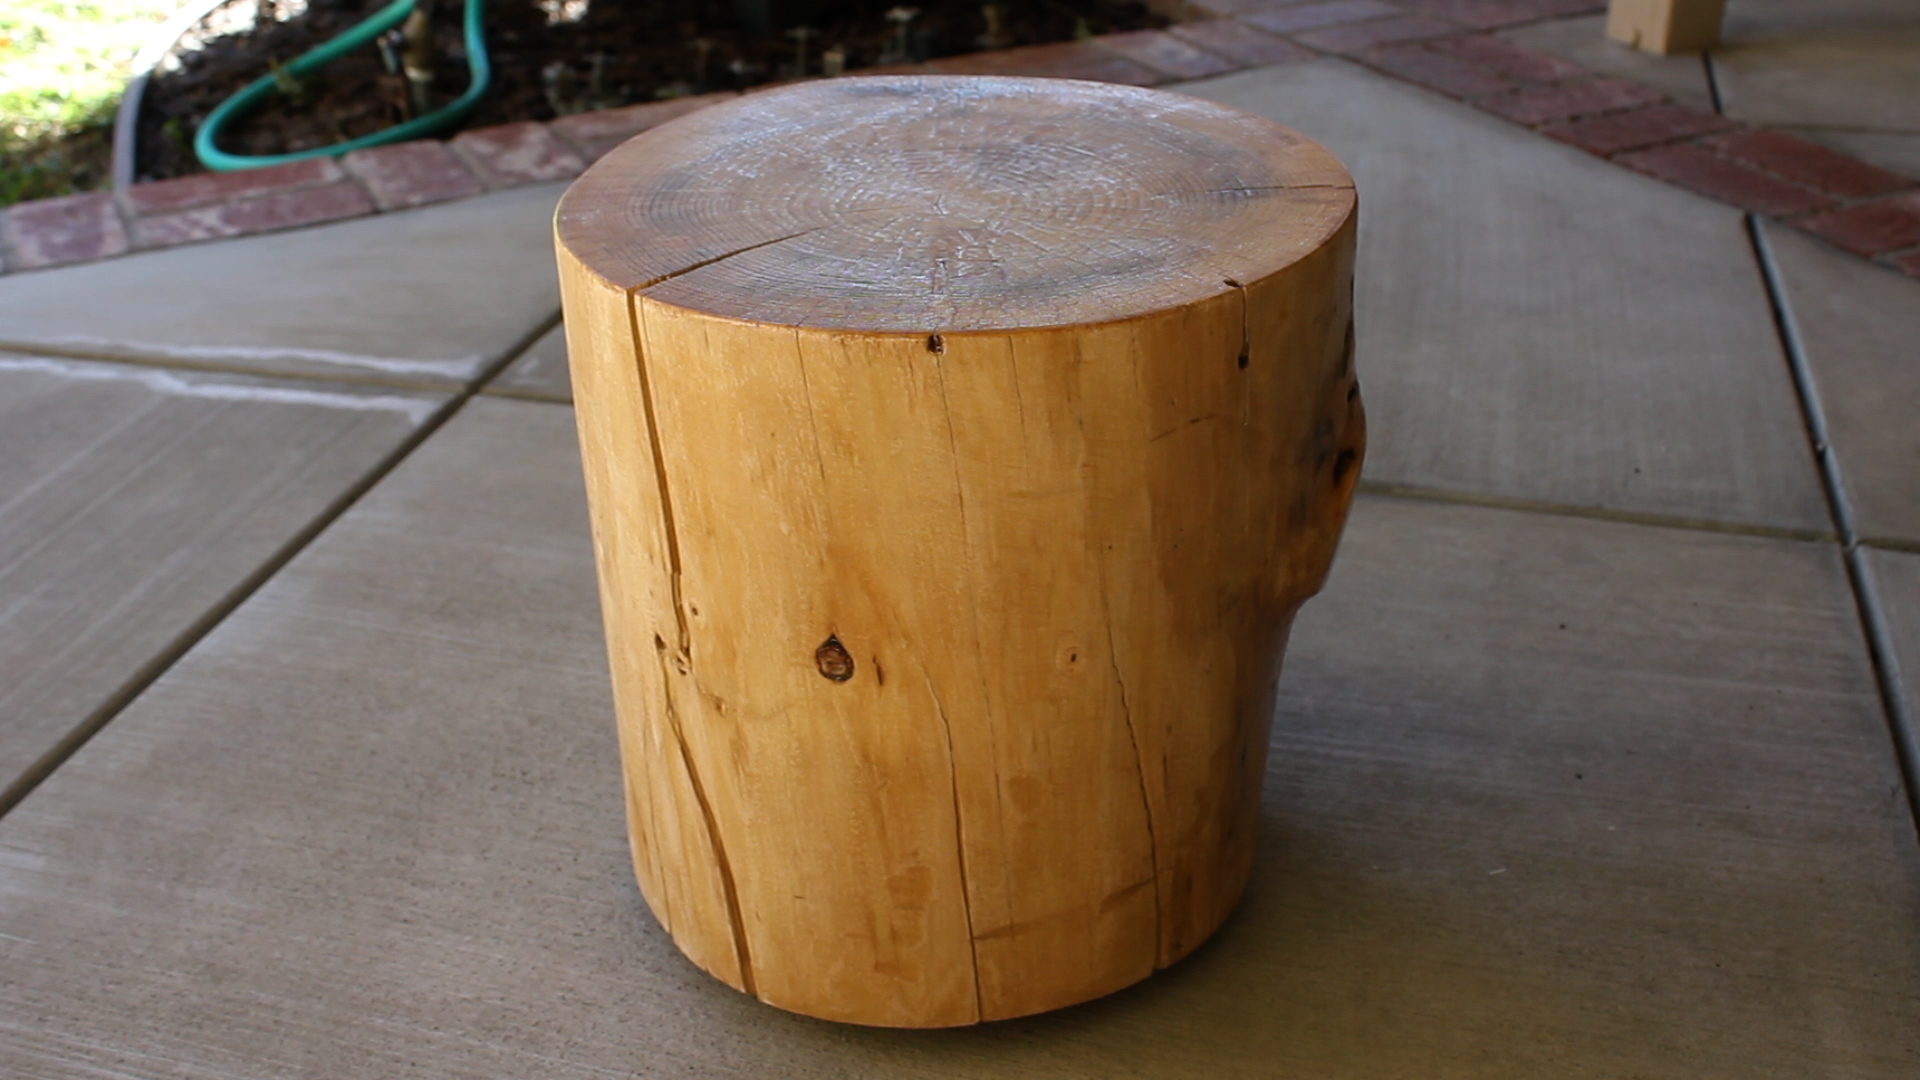
Next up was finishing. Like my previous stump project, I wanted to avoid oils or stains as well as match the previous look, so I again chose to just use a semi gloss poly finish to bring out the grain and make the stump shine using just it's natural look.
I sprayed down my stump with compressed air before finishing to clear it of all saw dust.
I applied four total liberal coats of poly onto my stump in total, letting each one dry properly then sanding down with 120 an 220 grit sandpaper in between each coat to keep it smooth and clean. After my final coat, I upped my sanding further using 320 and 420 grit paper.
I wanted my stump to appear as though it floated. My next steps were as follows:
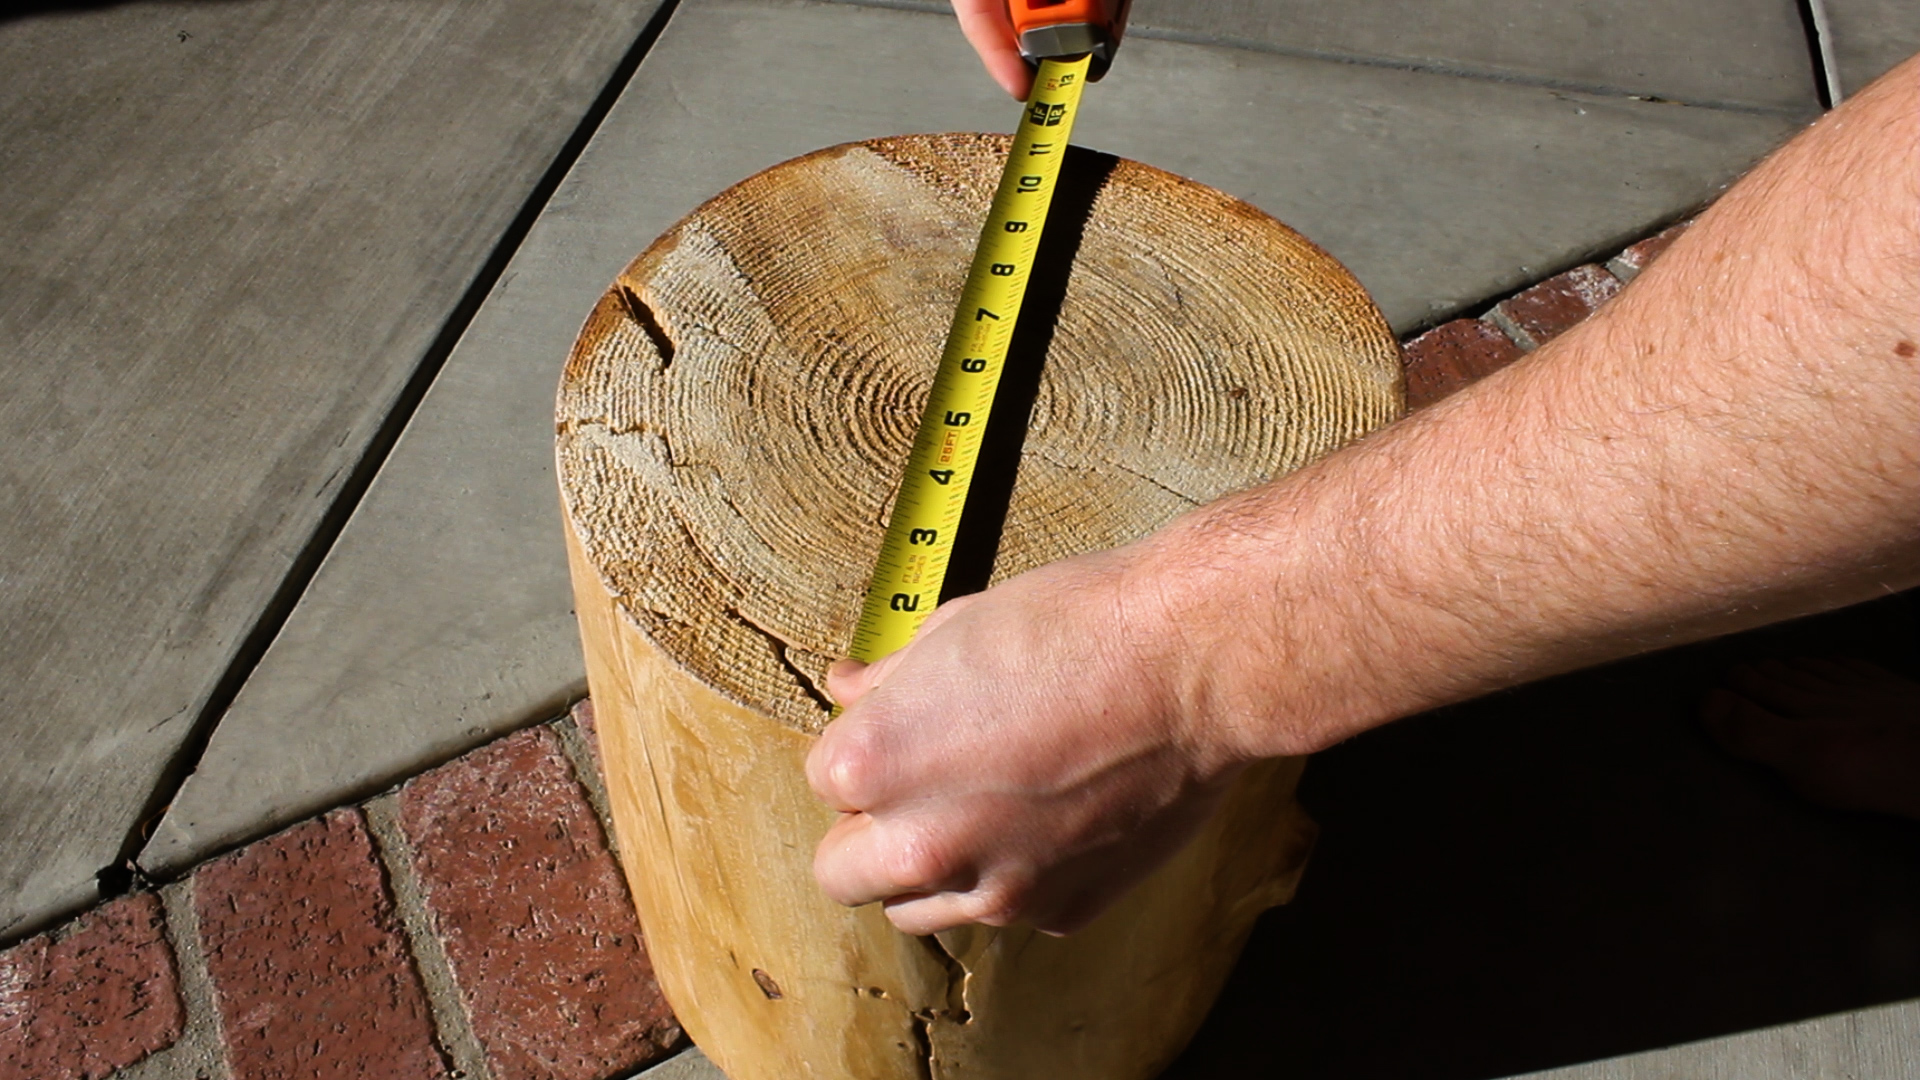
- Measure diameter of stump (12 inches)
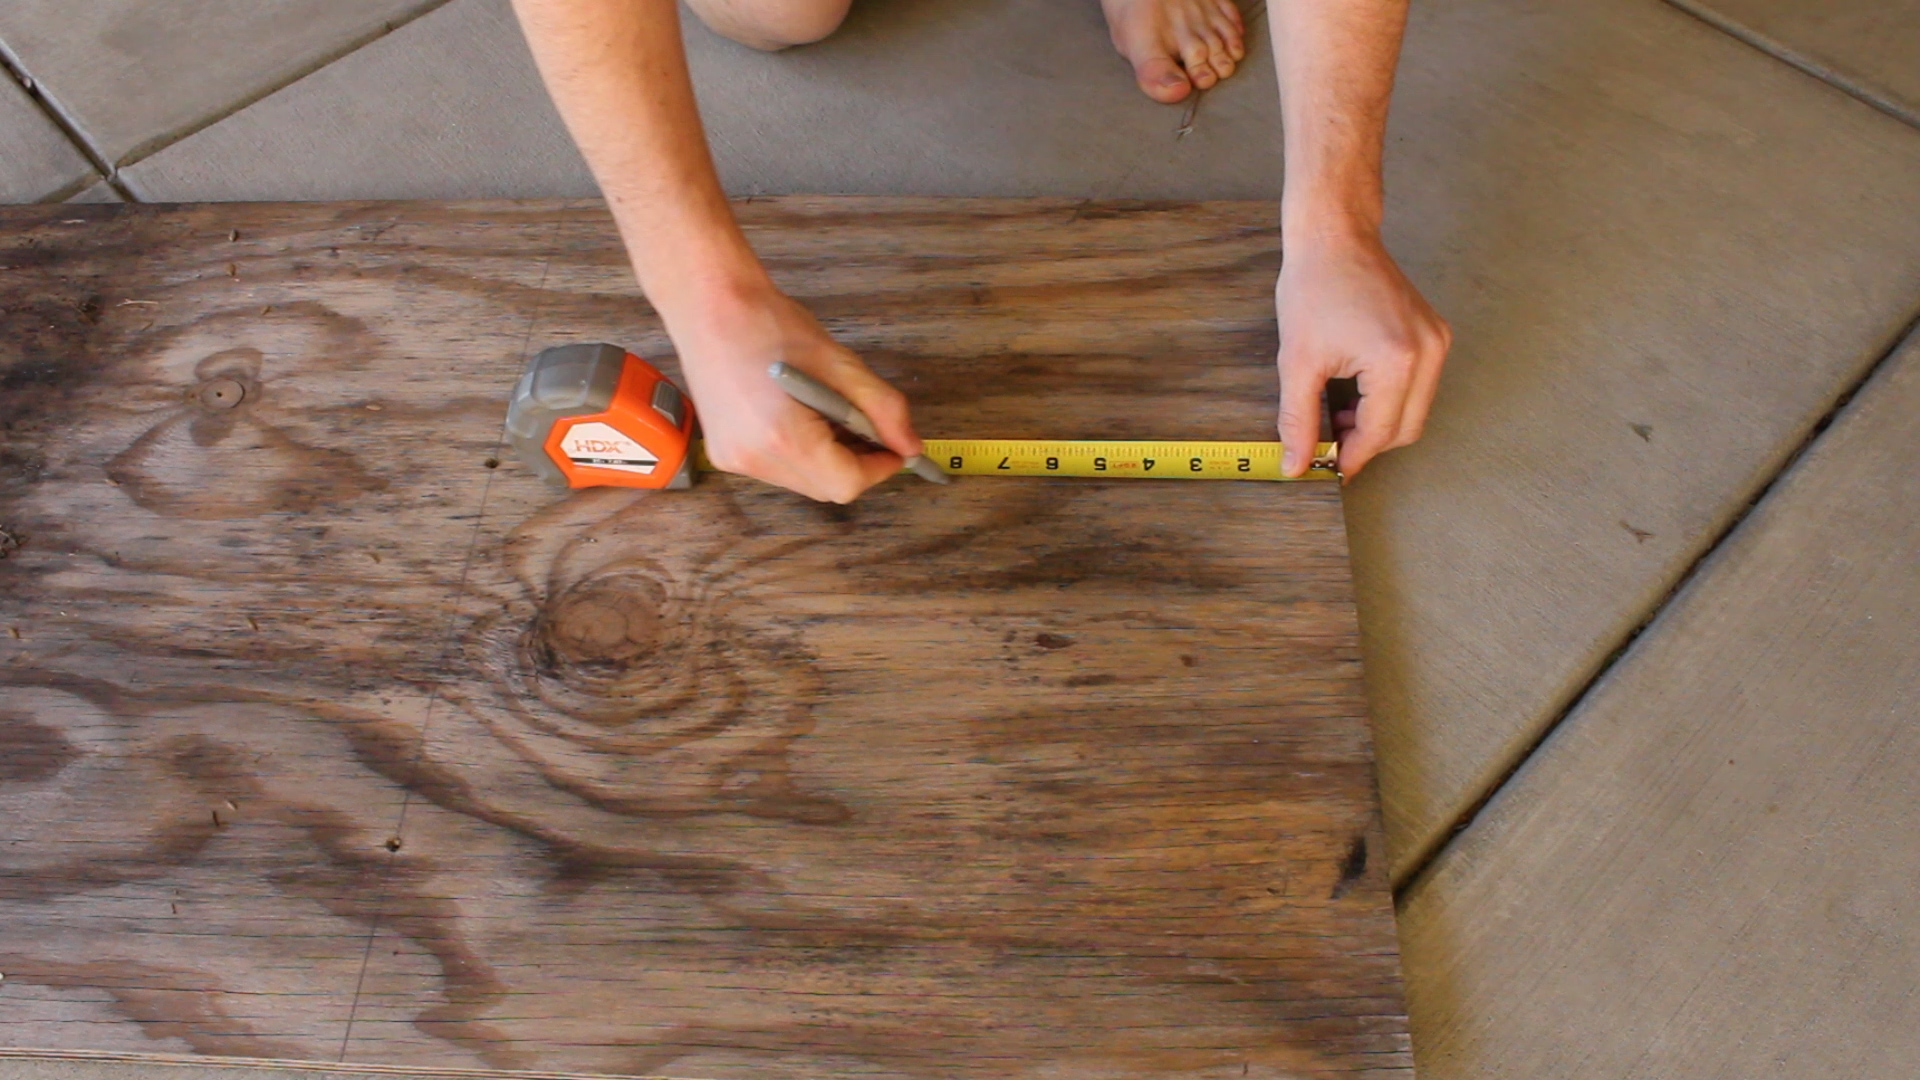
- Translate that measurement less three inches (9 inches) to a piece of scrap plywood
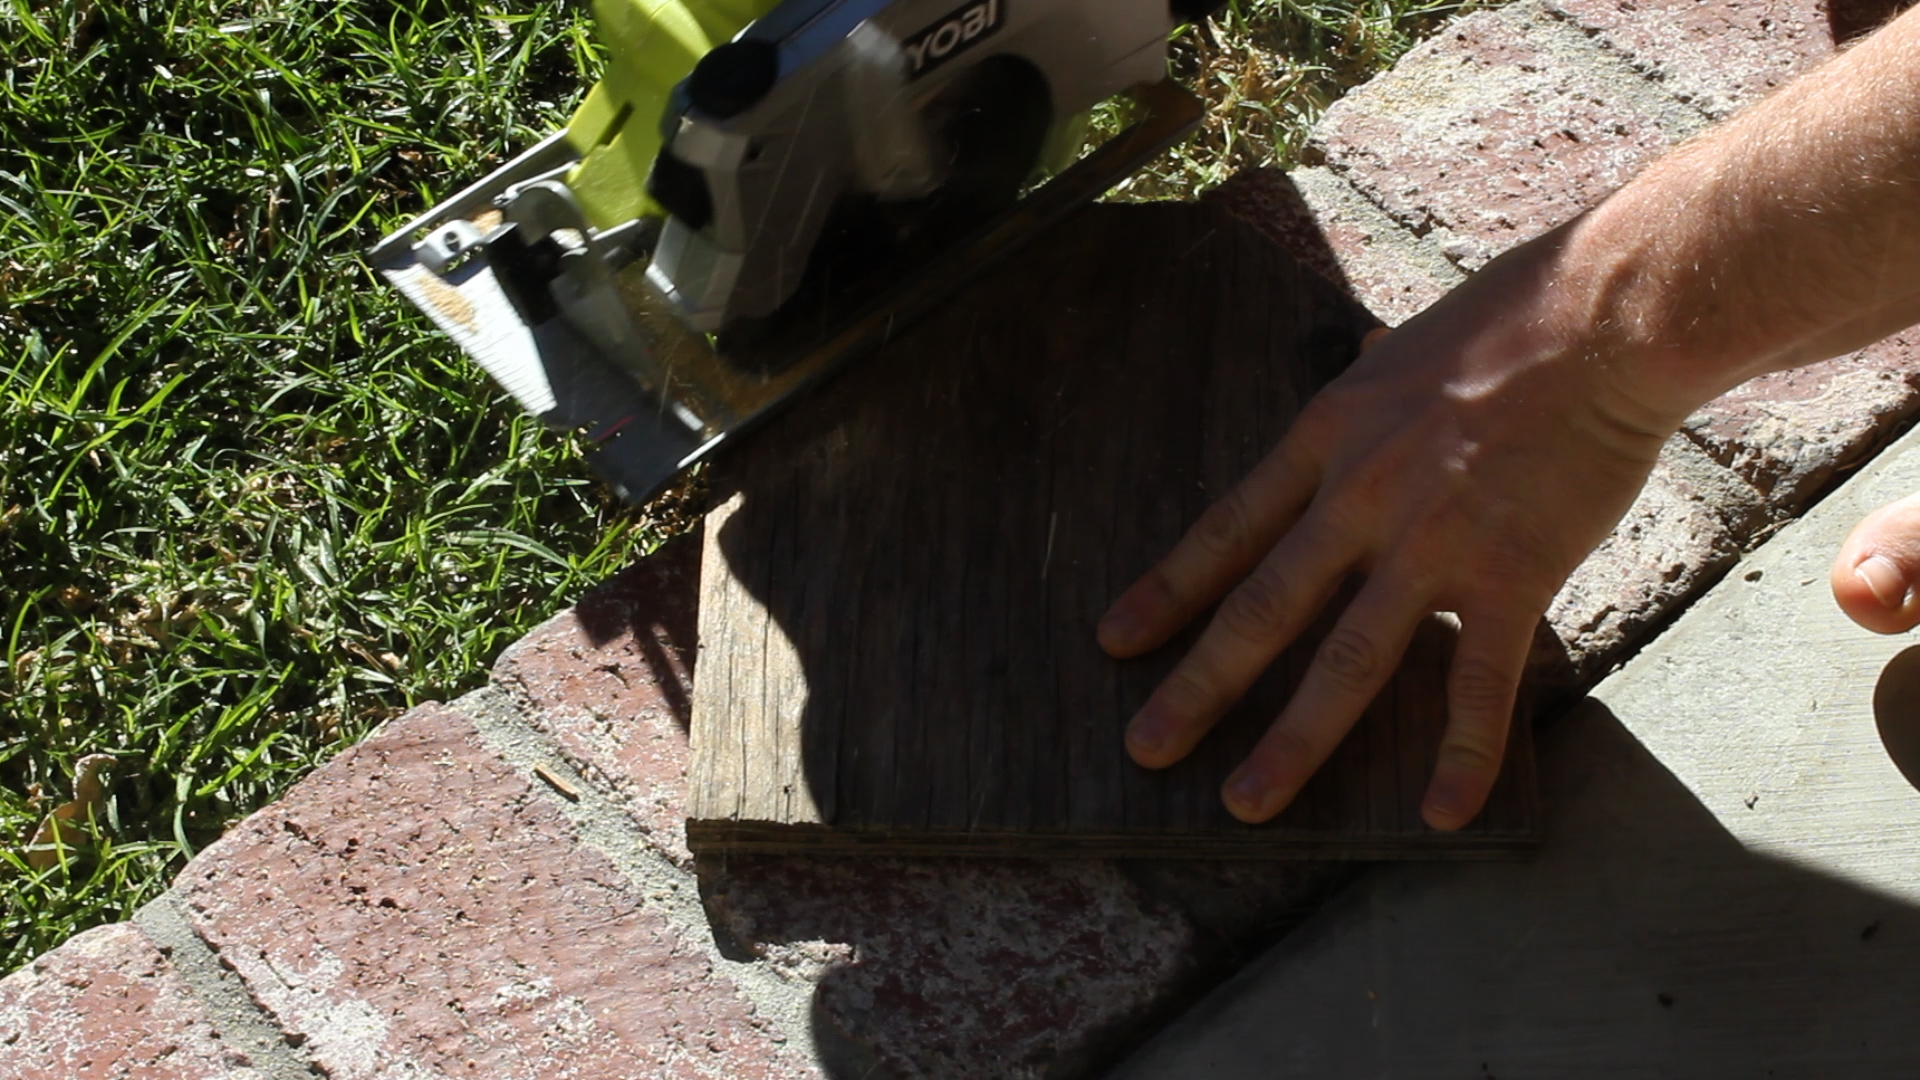
- Cut out my 9 inch square with circular saw
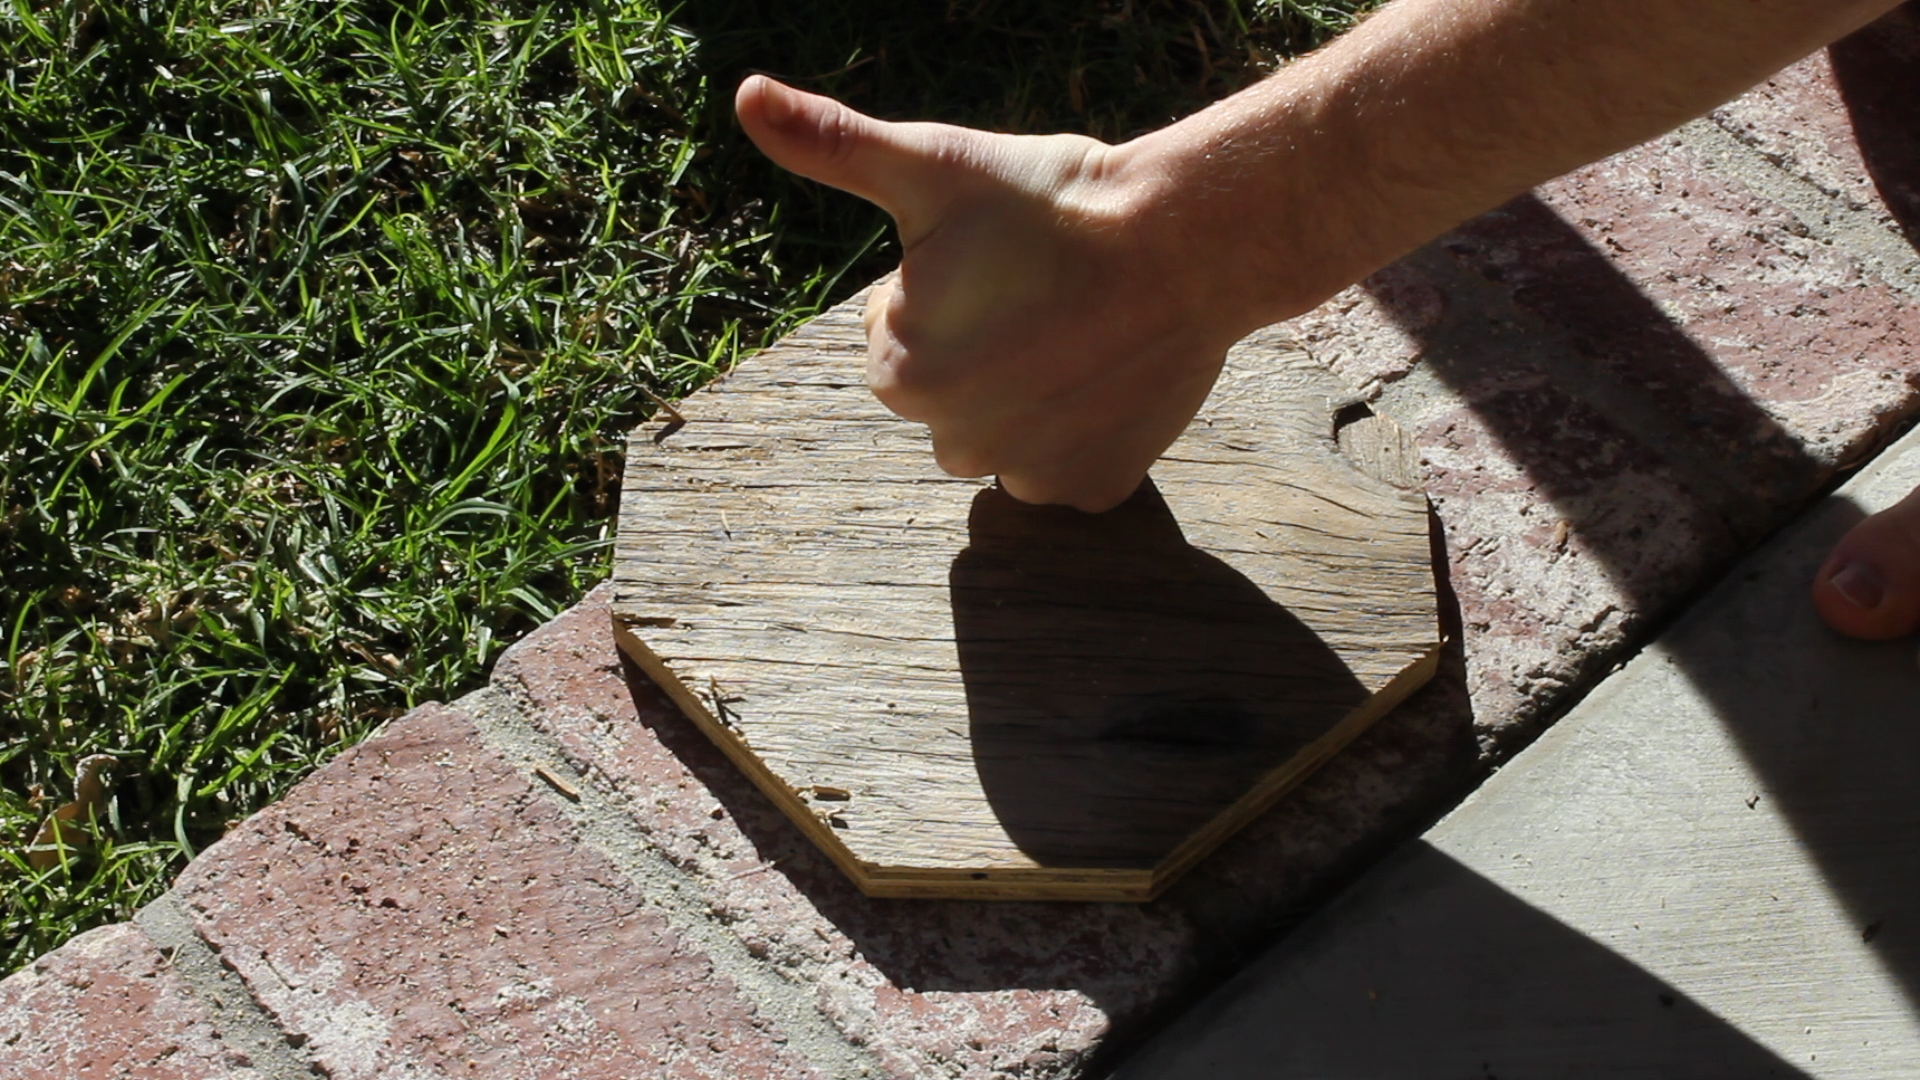
- Cut off corners to form rough octagon - goal here is just to round off. Ideally this would be a circle to fit the shape of the stump, but it isn't necessary as you'll never see this piece.
- Give a thumbs up for cutting wood
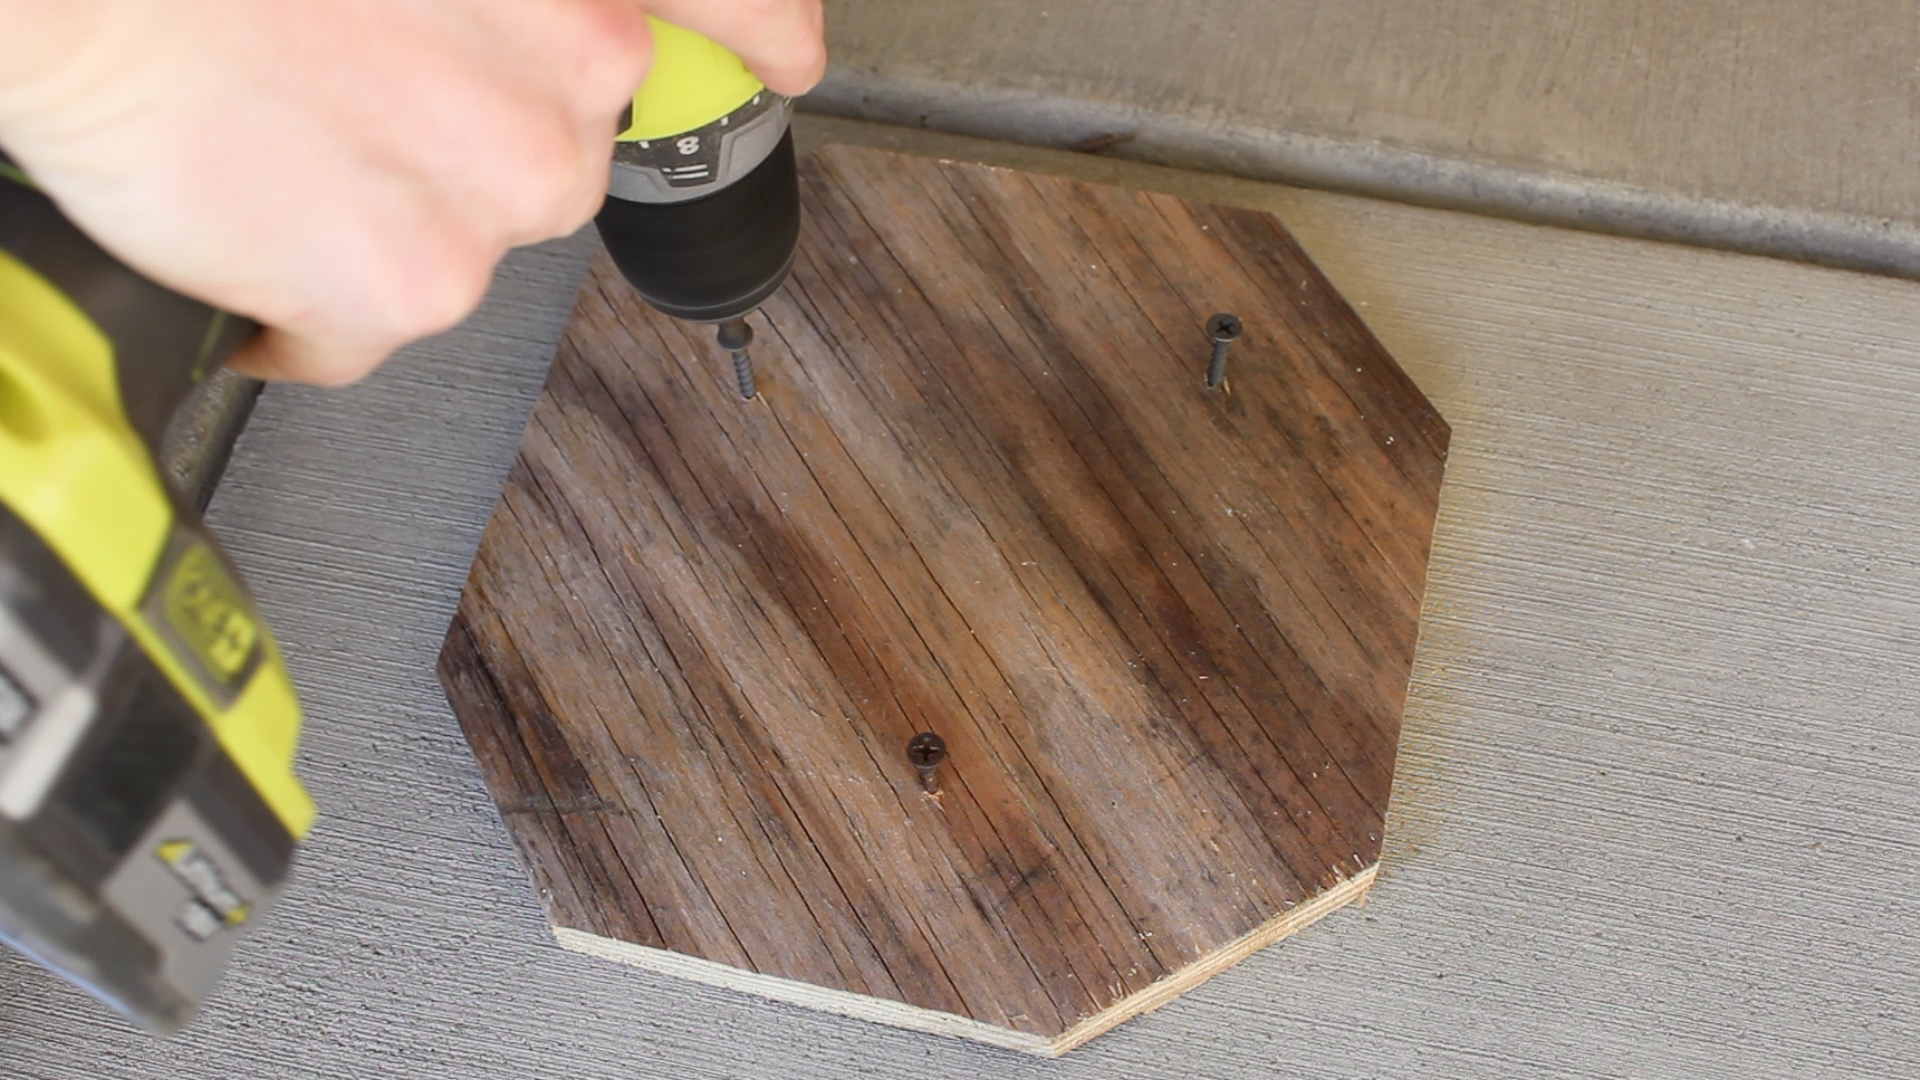
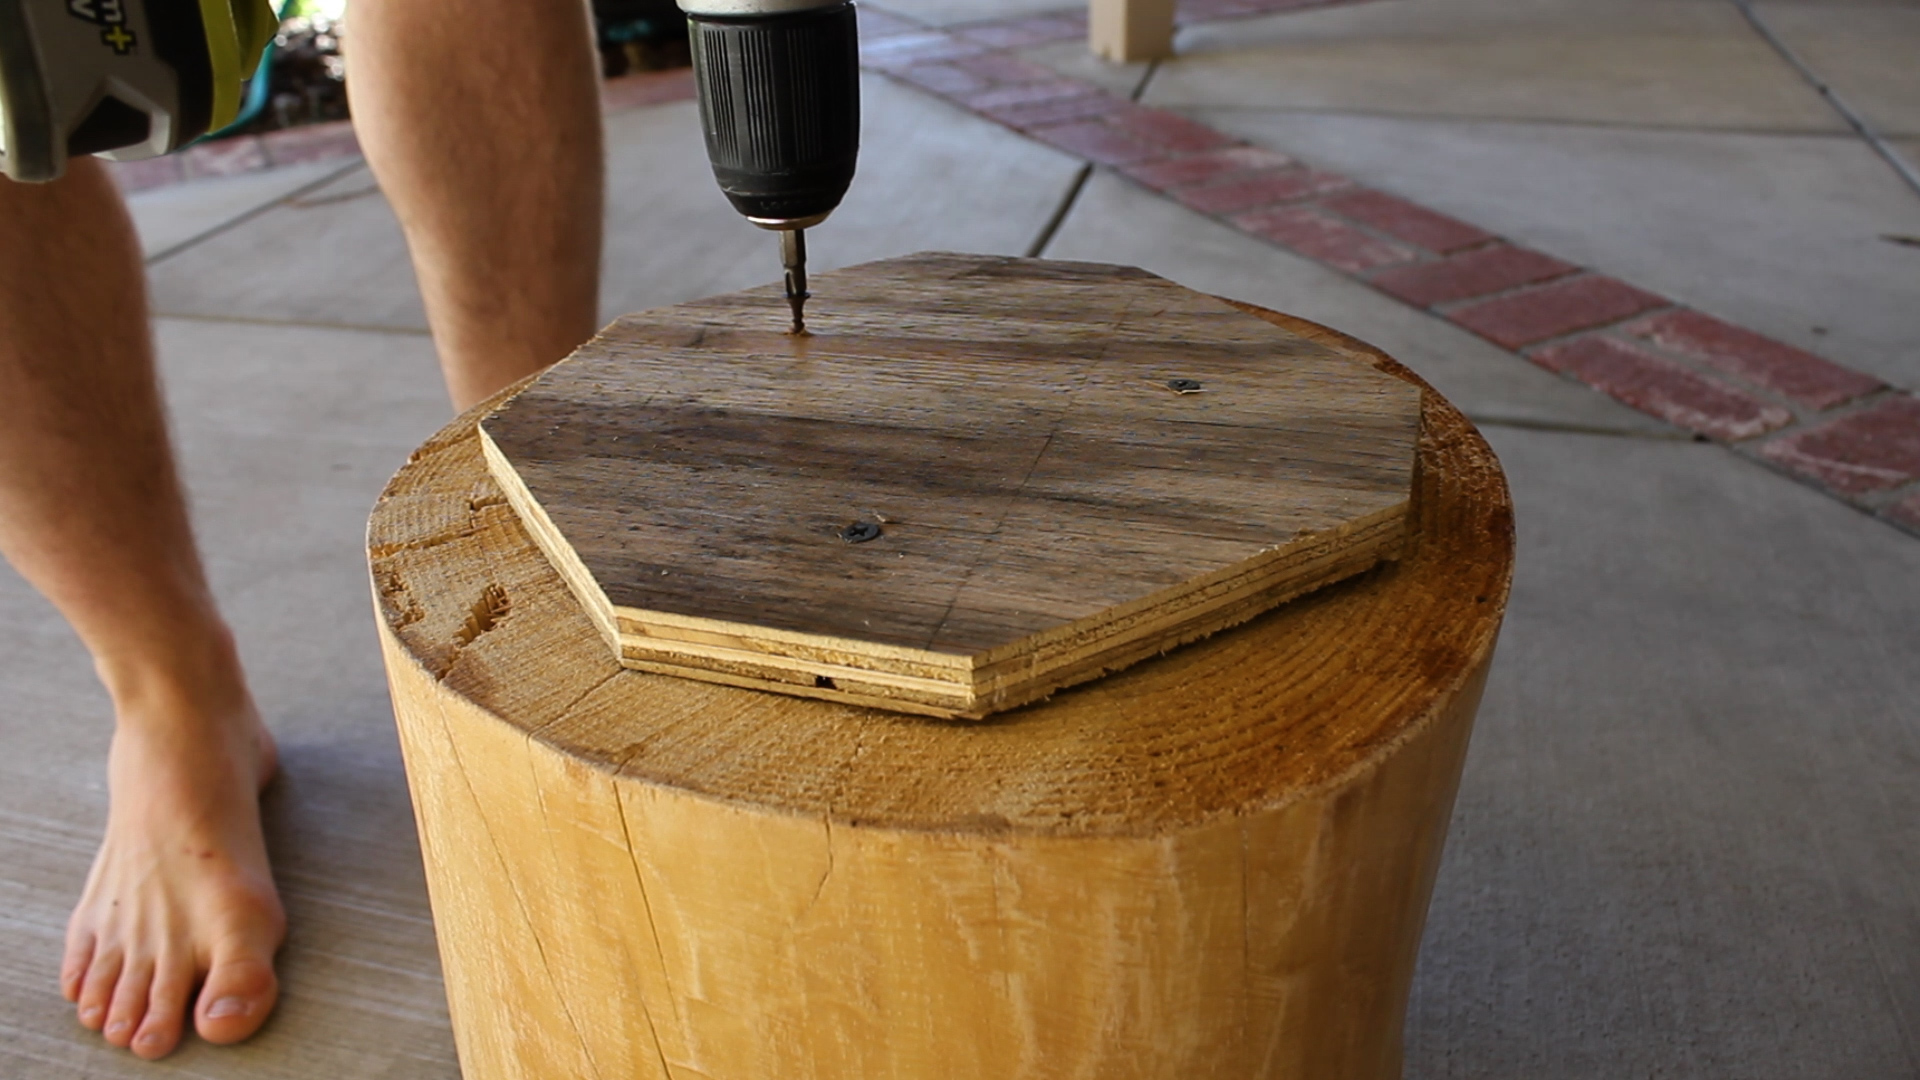
Next, you can take 3-4 wood screws and pre drill them into your piece. I didn't bother with pilot holes here but you're more than welcome to do it if you think you might get stuck and not be able to drill through. Then, flip your stump upside down, position the octagon in the middle of the stump, and drill in your three screws to the bottom of it.
This is where you can cheat the system and not fully drill in your screws. This will allow you to create a flat bottom for your stump, regardless of whether or not it is perfectly level.
And then you're done. Simple. Beautiful. Flip that baby over and admire your new floating stump.
TOOLS
RYOBI Cordless Orbital Sander
RYOBI Belt Sander
RYOBI Power Drill
RYOBI Drill Bit Set
Rubber Mallet
Chisel
Hand Sanding Sponges (120, 220, 320, and 420 grit)
5-Gallon 4.5 Peak HP Wet Dry Vacuum
Tape Measure
Paint Brush
Air Compressor (can't find my model anywhere!)
Shitty Old Hack Saw
FILM / EDIT EQUIPMENT:
Canon Rebel EOS T2i:
Canon EF-S 18-55mm f/3.5-5.6 IS II Lens
Rode Microphone
Voice Recording
Adobe Premiere (Editorial)
Thanks for reading! I would be so grateful if you could please subscribe to my new Youtube Channel for future projects. I put out videos every two weeks.
Cheers!
Zach


