I’ve been wanting my own personalized miter saw station basically since I moved into my shop. After months of researching my needs and designing for my space, I landed on the following project!
Thanks for checking out the article and video!
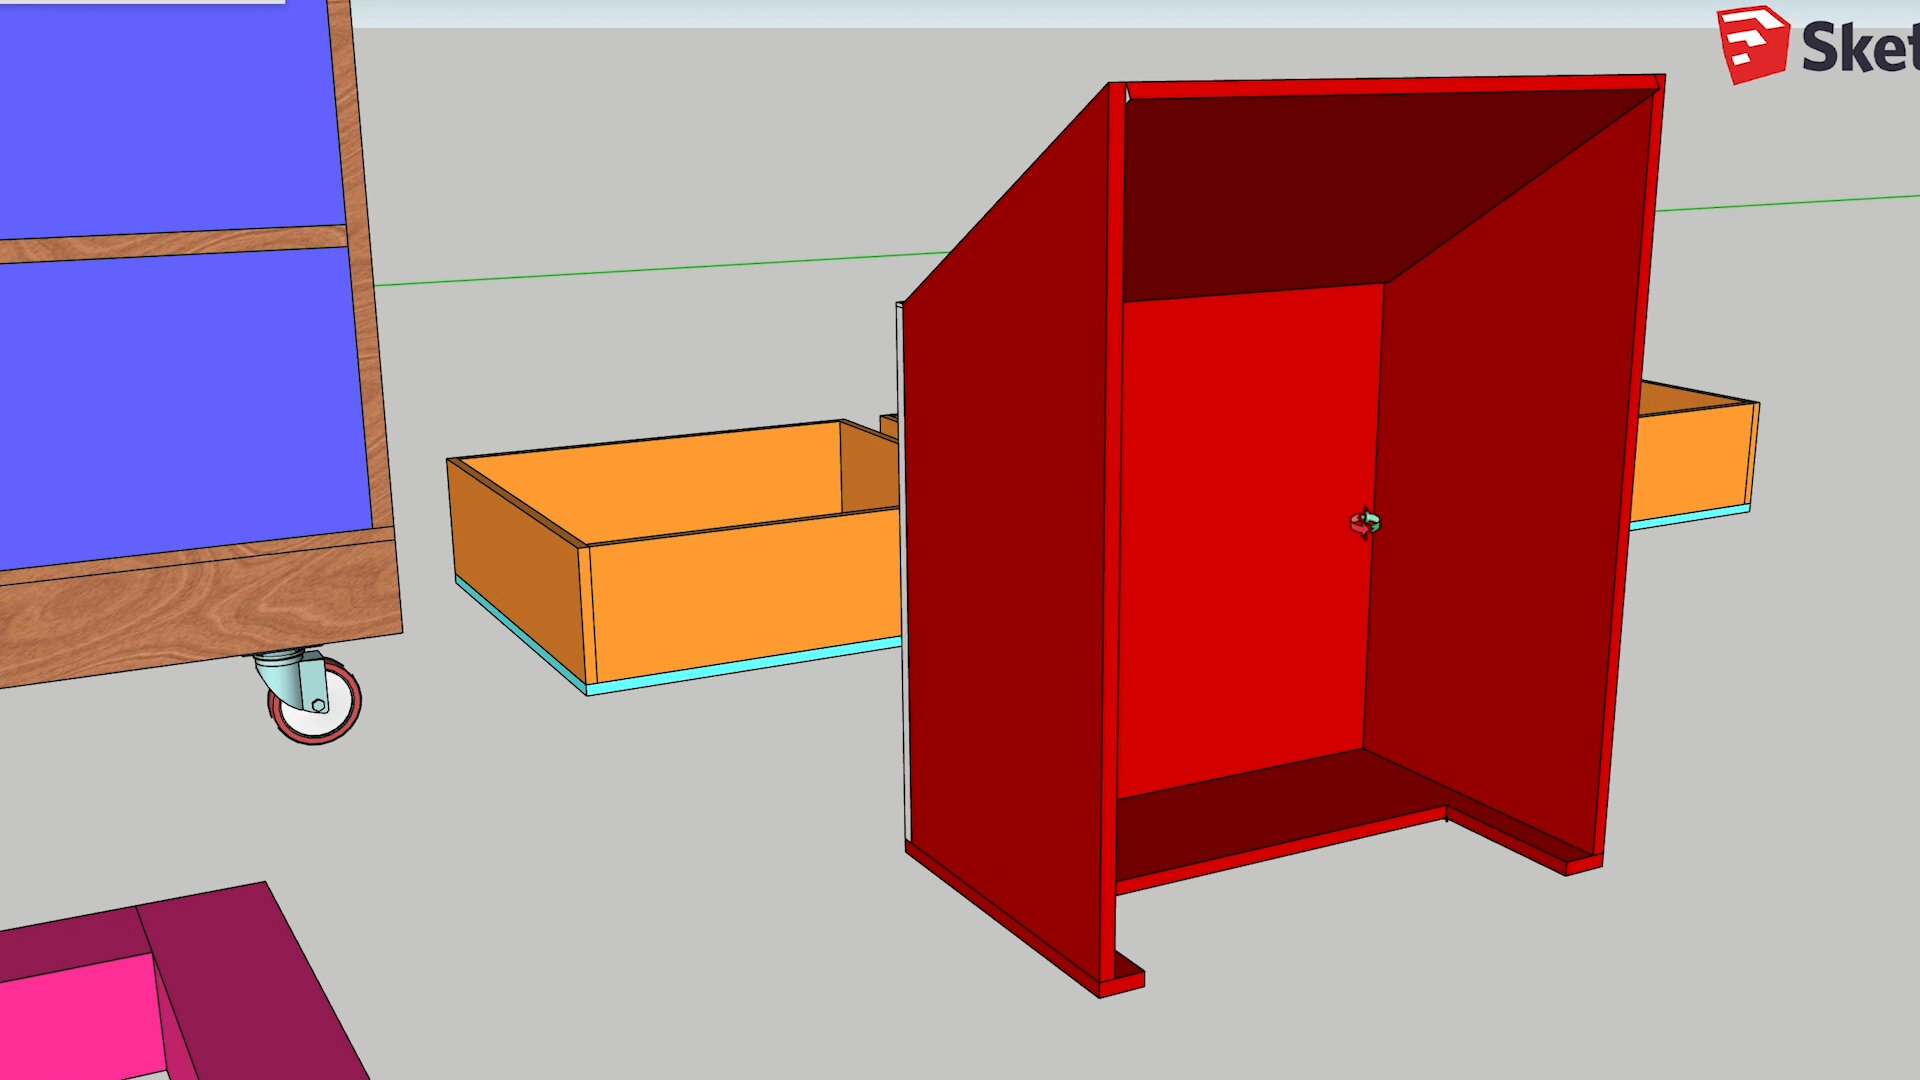
Free SketchUp Model for Download
MATERIALS
36 x 2"x4" 3 x 2" x 4" pressure treated lumber
39 x Cedar Fencing Planks
~200 3" wood screws
~500 1.5" brad nails
Red Chestnut Stain (or whatever you prefer)
Roofing Shingles + Roofing Nails
TOOLS
Sliding Compound Miter Saw: http://amzn.to/2q1klHw
Circular Saw: http://amzn.to/2q1l5wn
Impact Driver: http://amzn.to/2q1l5wn
Miter Saw Stand: http://amzn.to/2p1072e
Cordless Brad Nailer: https://amzn.to/2Uz6tCI
**Optional** SAWSTOP Contractors 30” Saw: https://amzn.to/2Luh91q
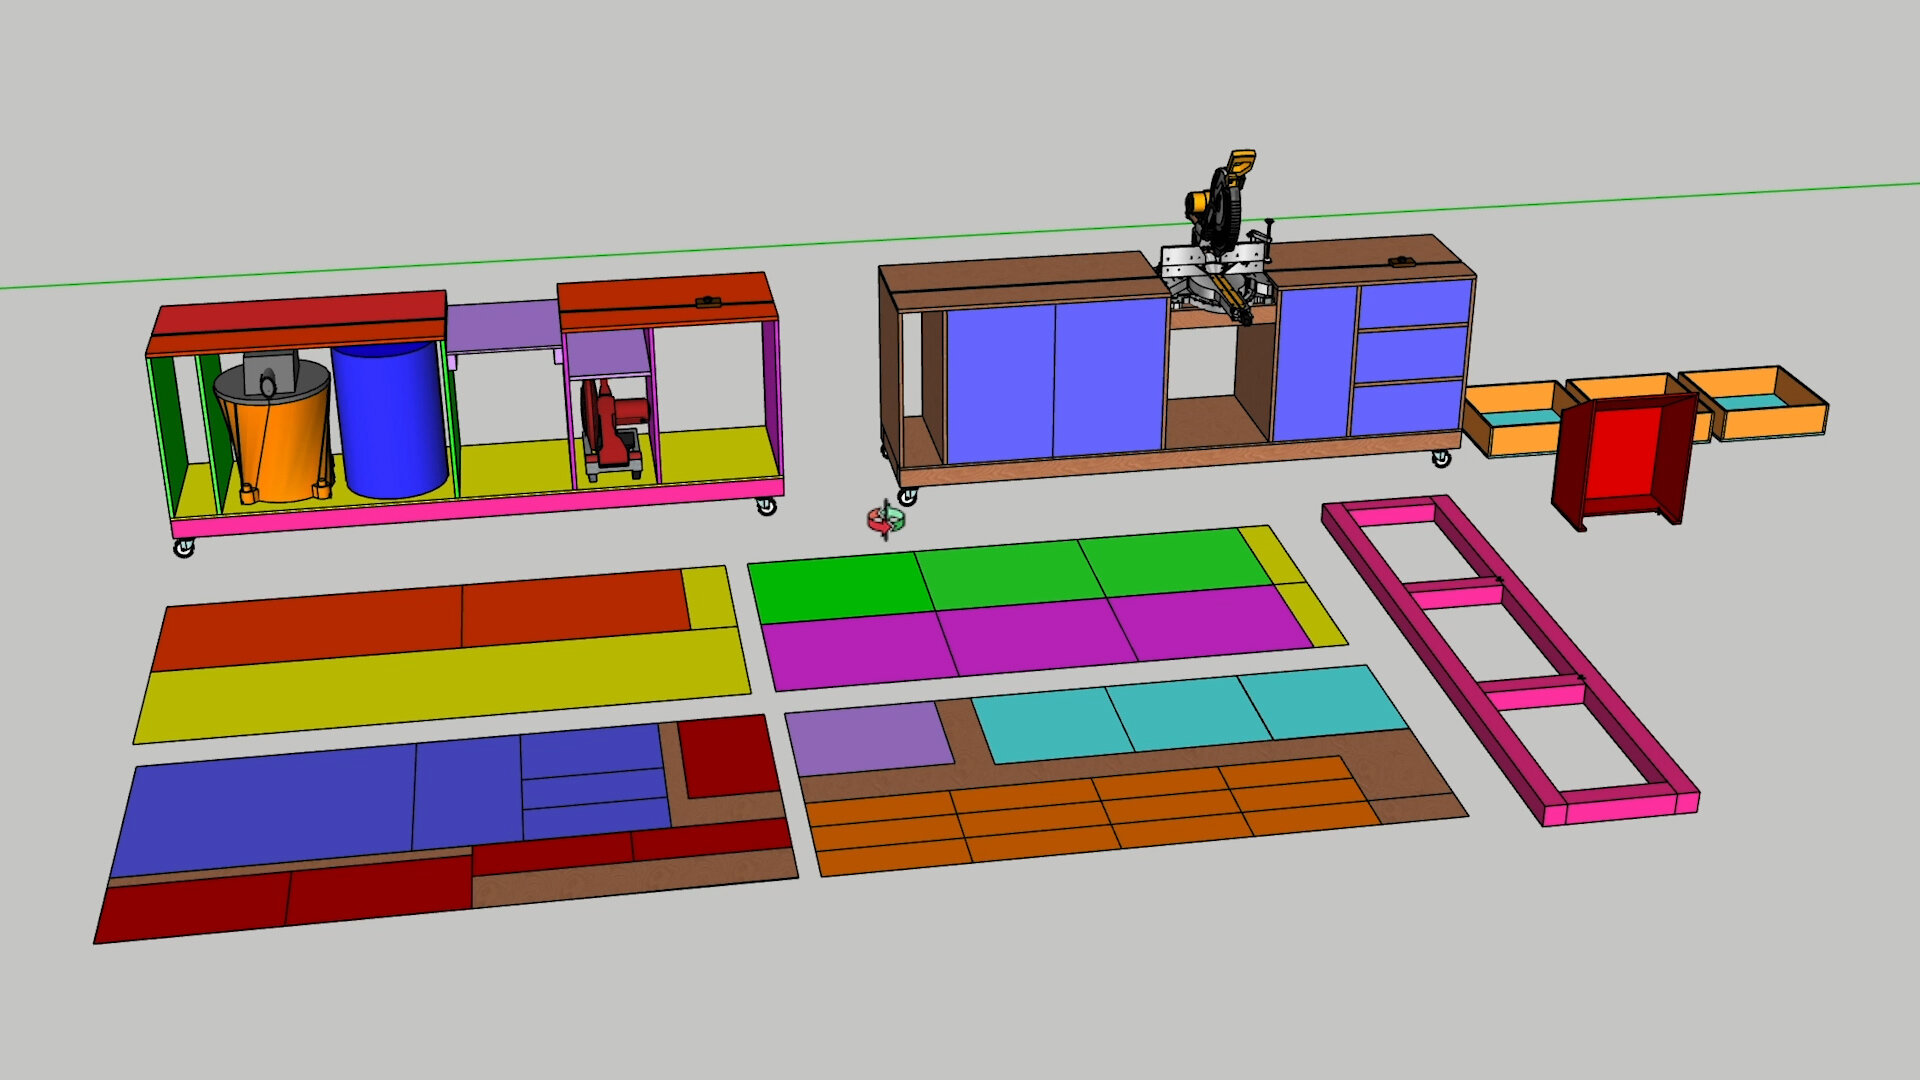
I spent a very long time figuring out what I wanted out of a miter saw station. Here is my checklist based on having a 19’ x 19’ garage workshop.
Mobile so it can move around the shop and swing outside on sunny days (I’m in SoCal)
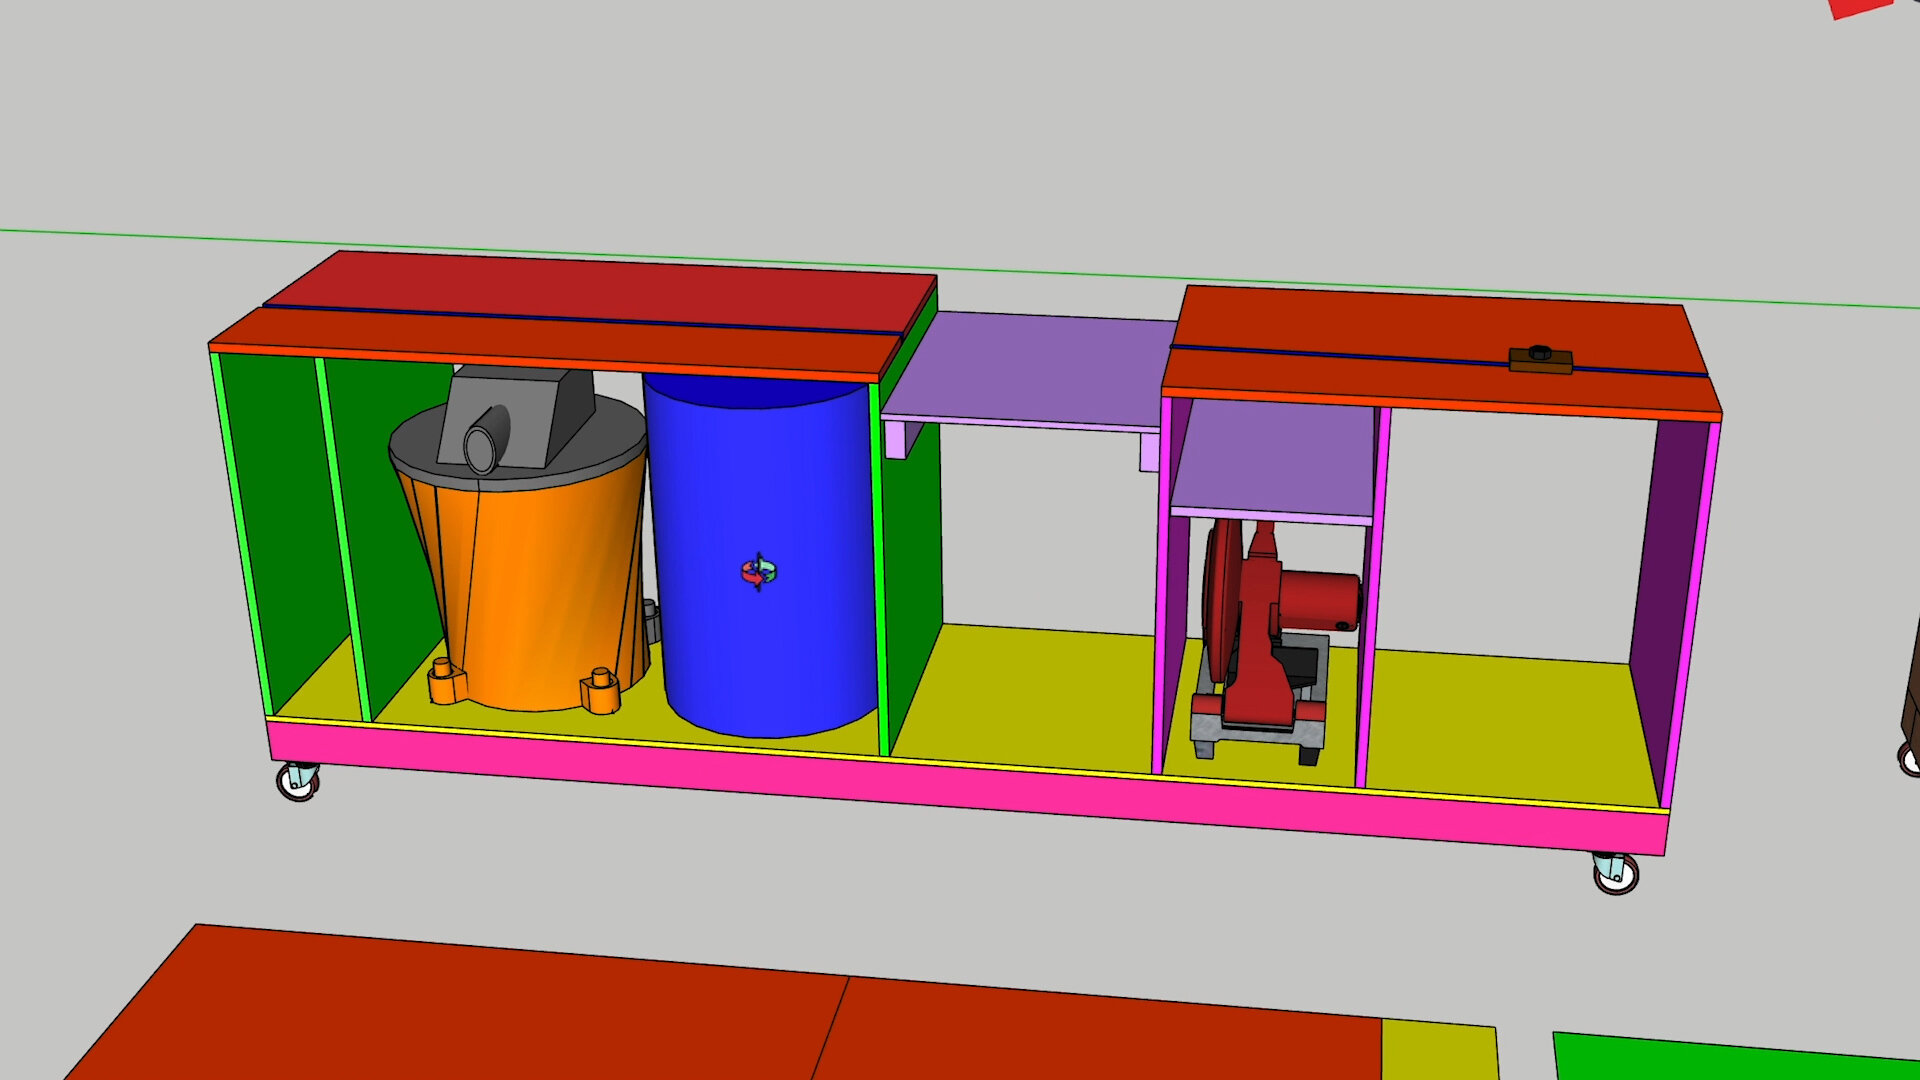
Self contained and automated dust collection system (my old set up was an absolute mess)
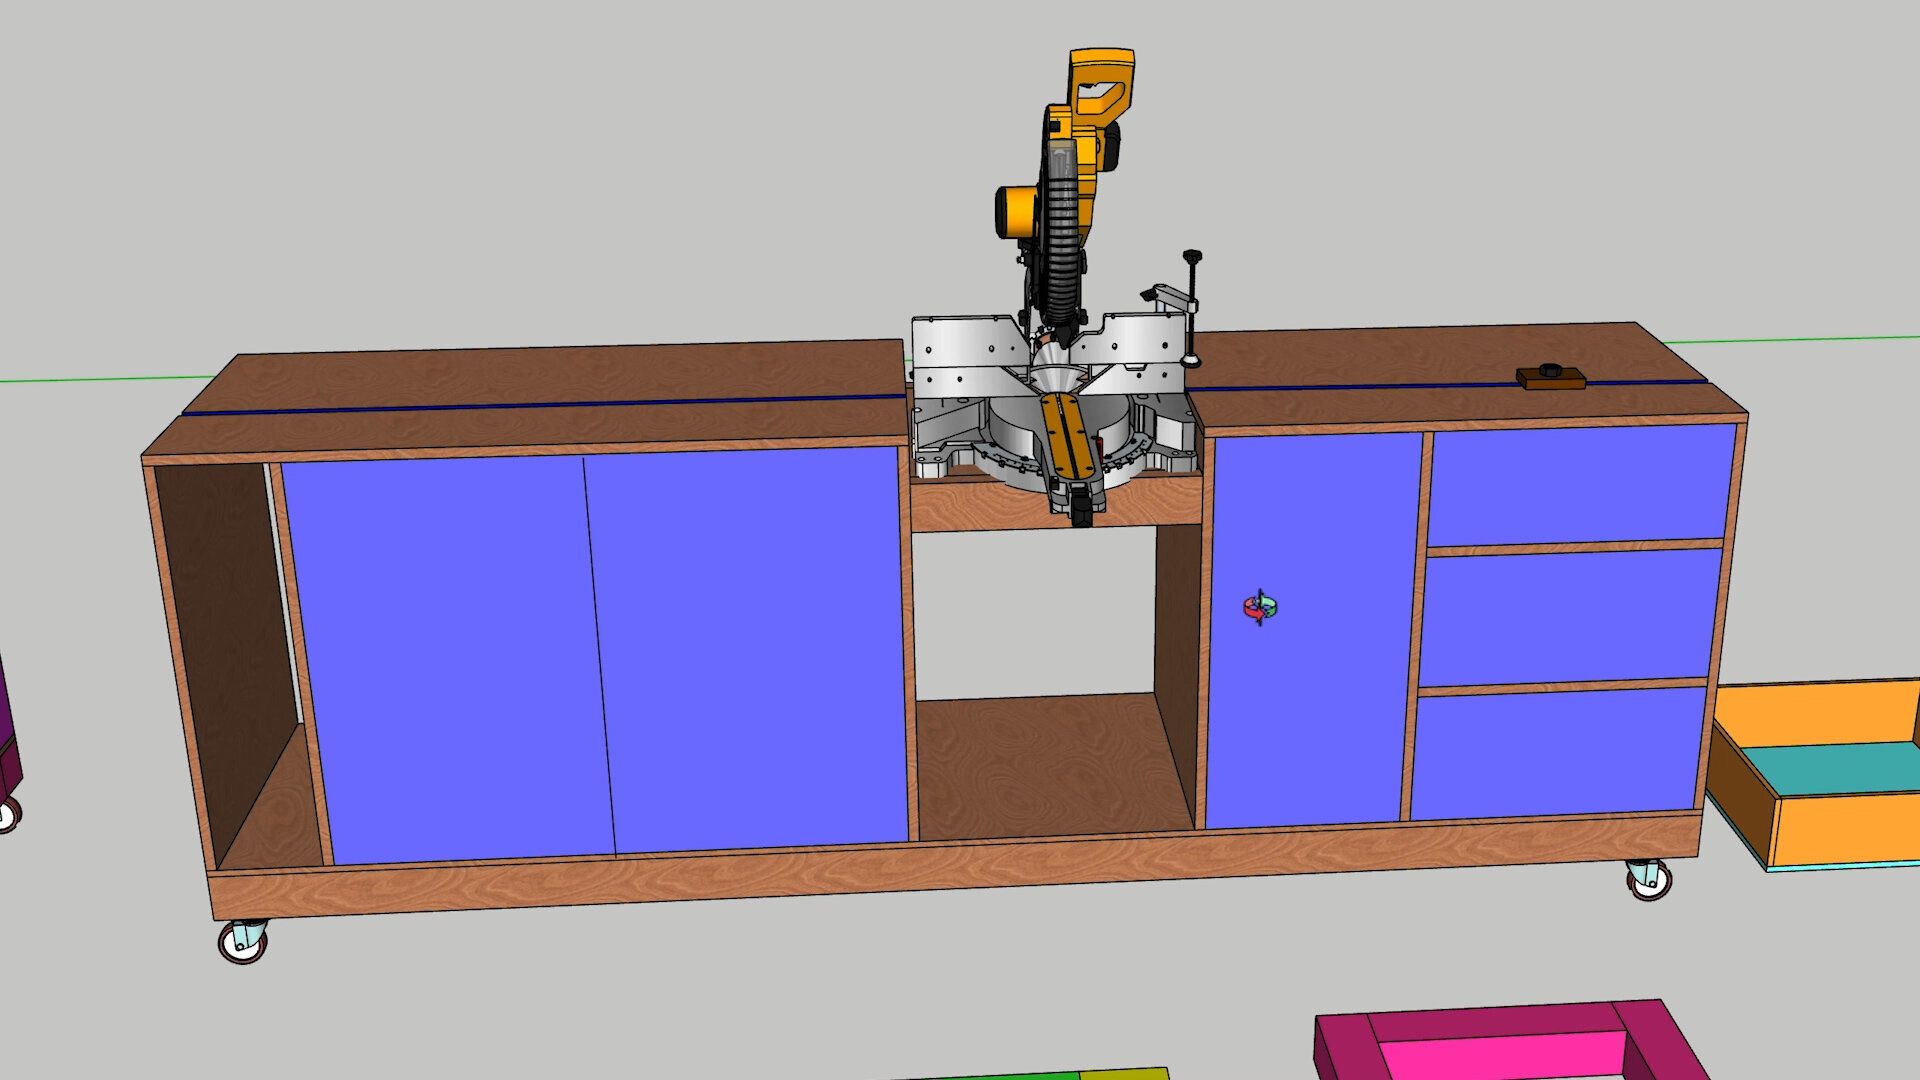
Place to store a few tough to store tools, including metal chop saw and table saw sleds
Additional drawer storage
Work with a non-sliding miter saw - you can adapt for a sliding, it will just have a deeper footprint.
No fence-system to allow for extra storage
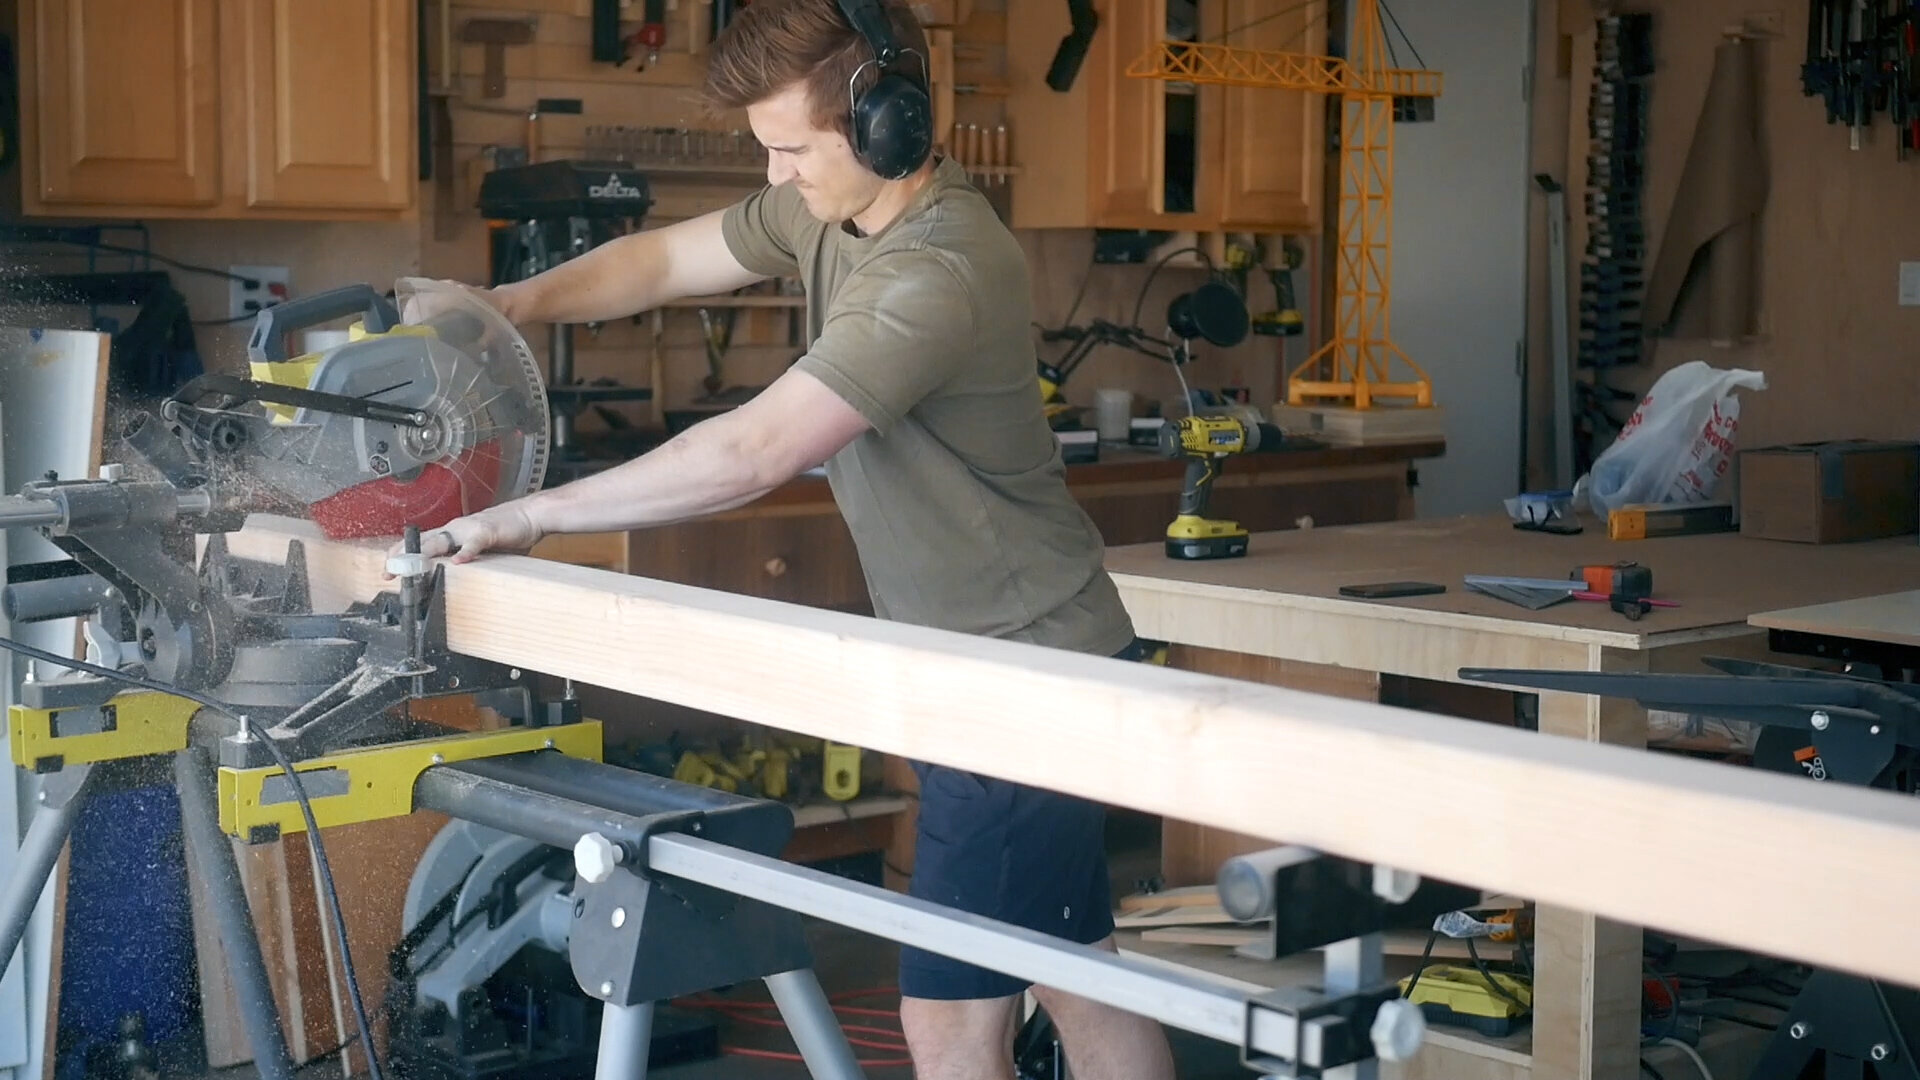
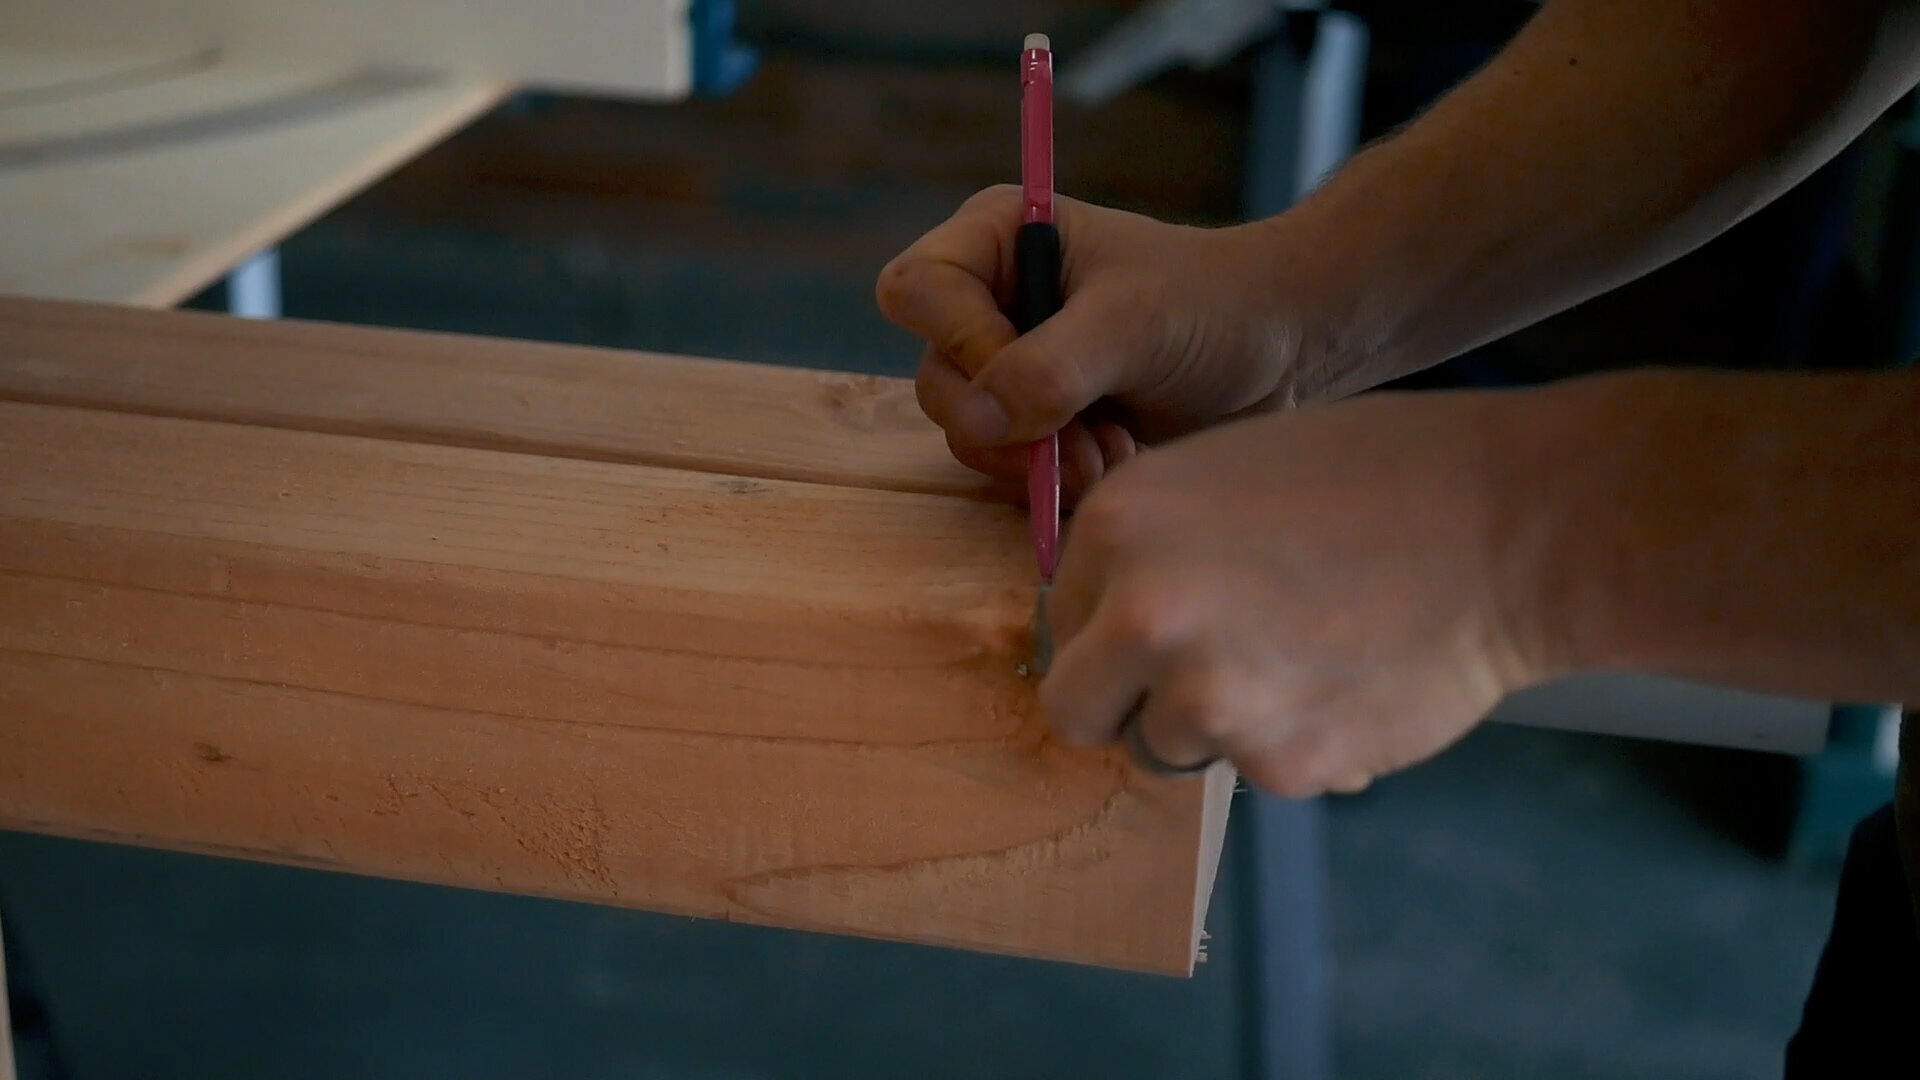
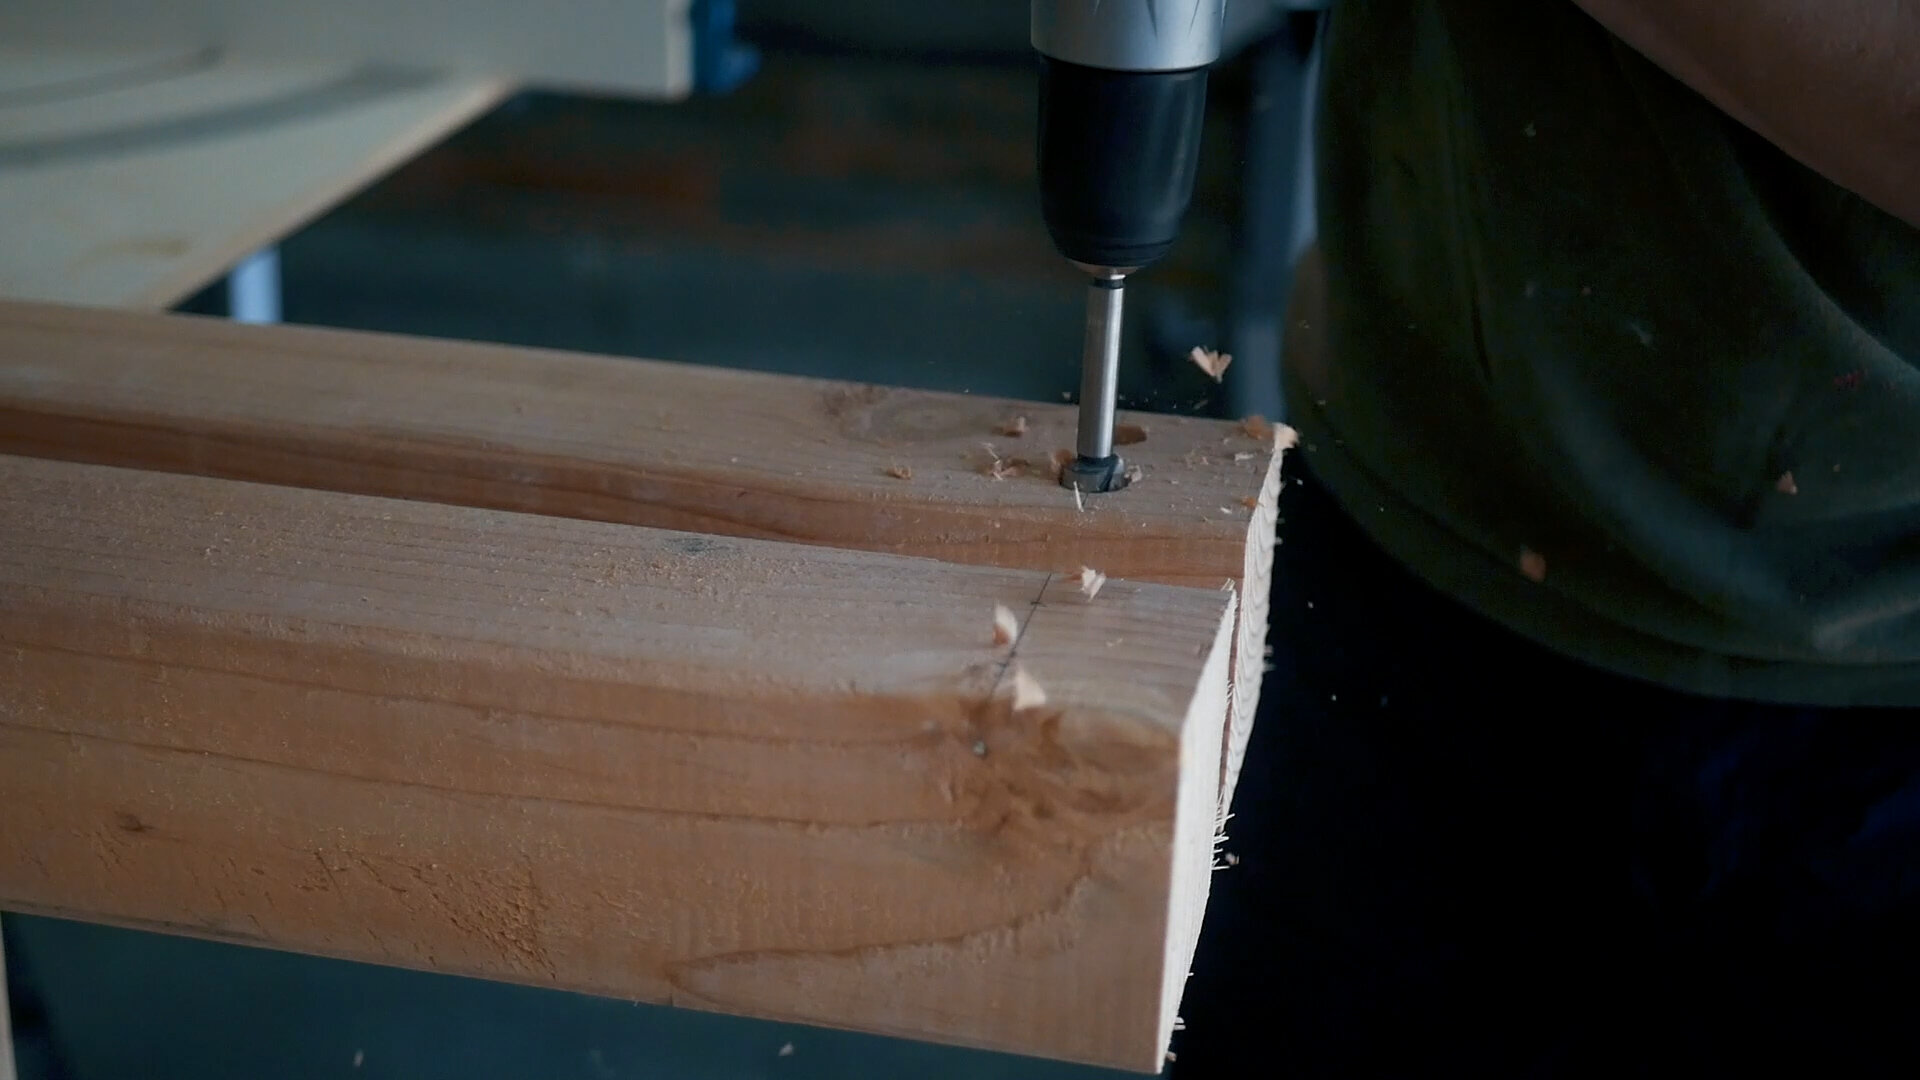
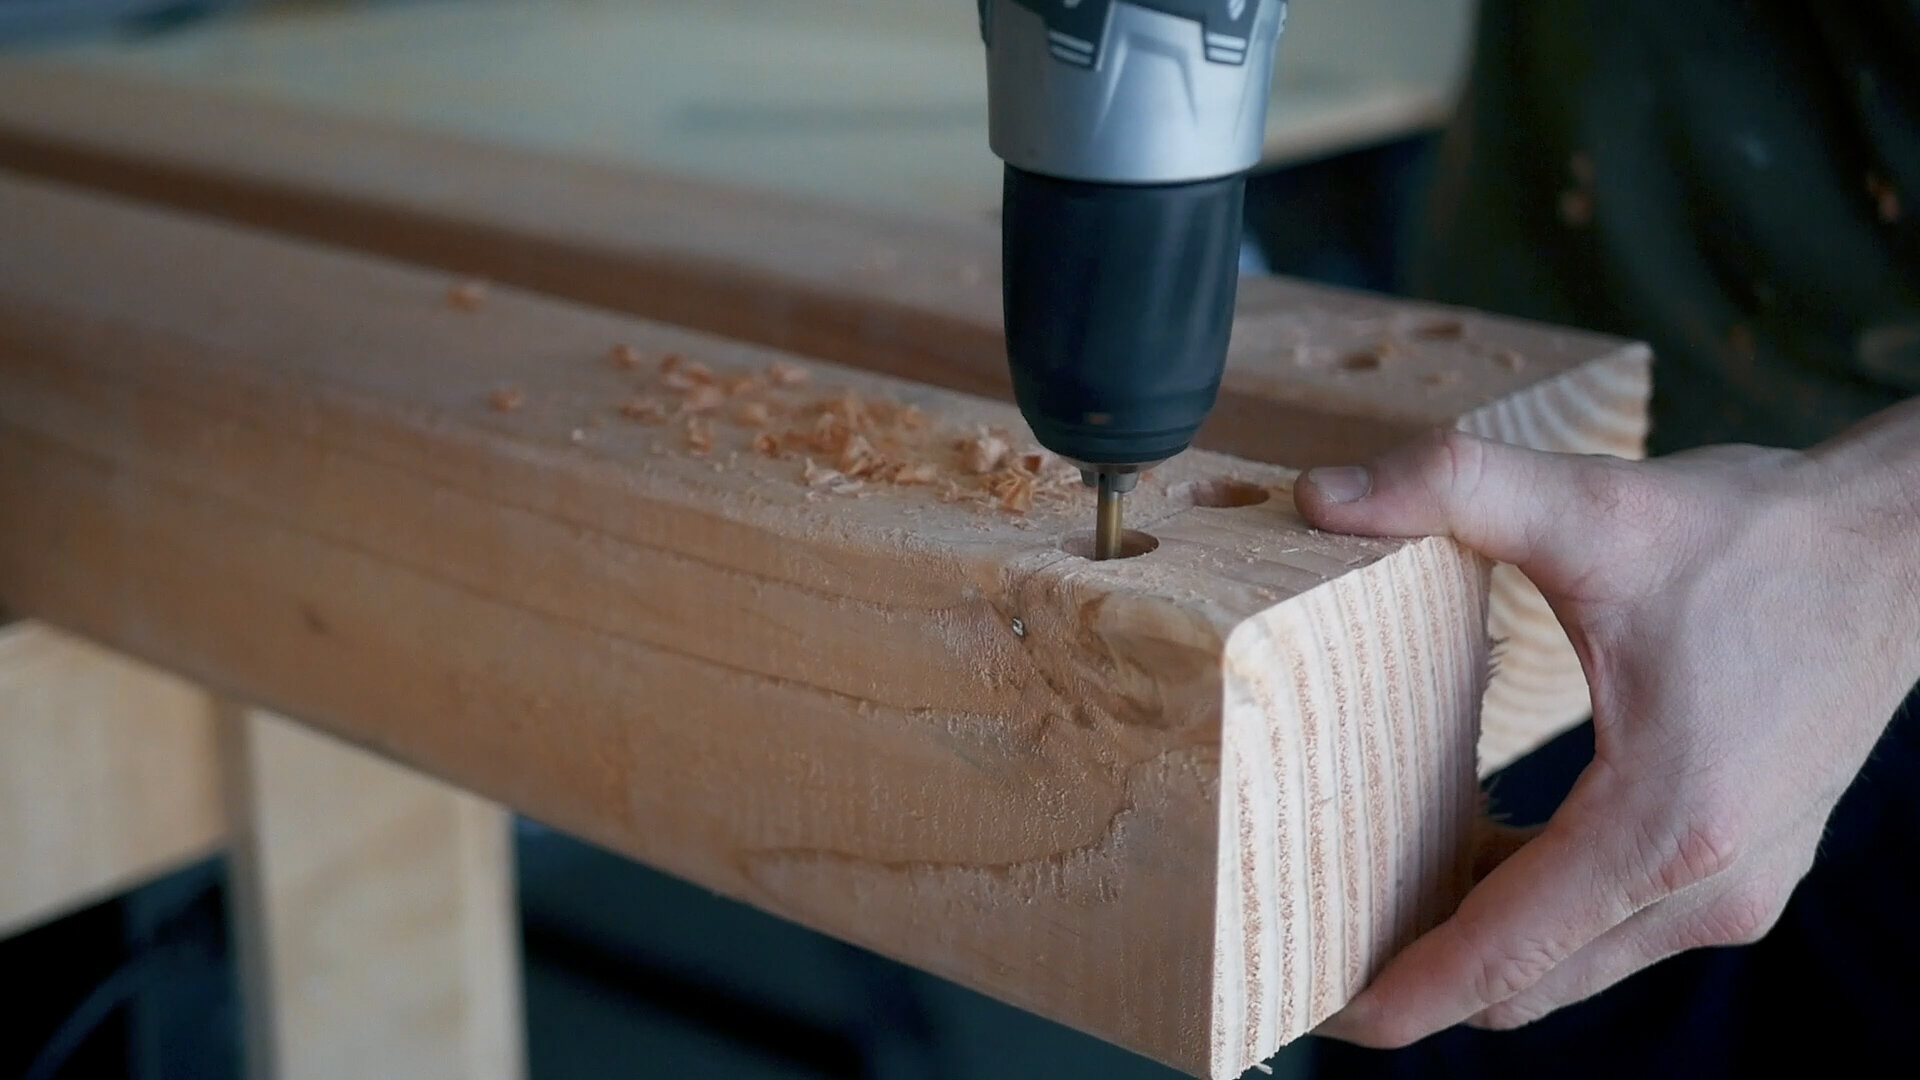
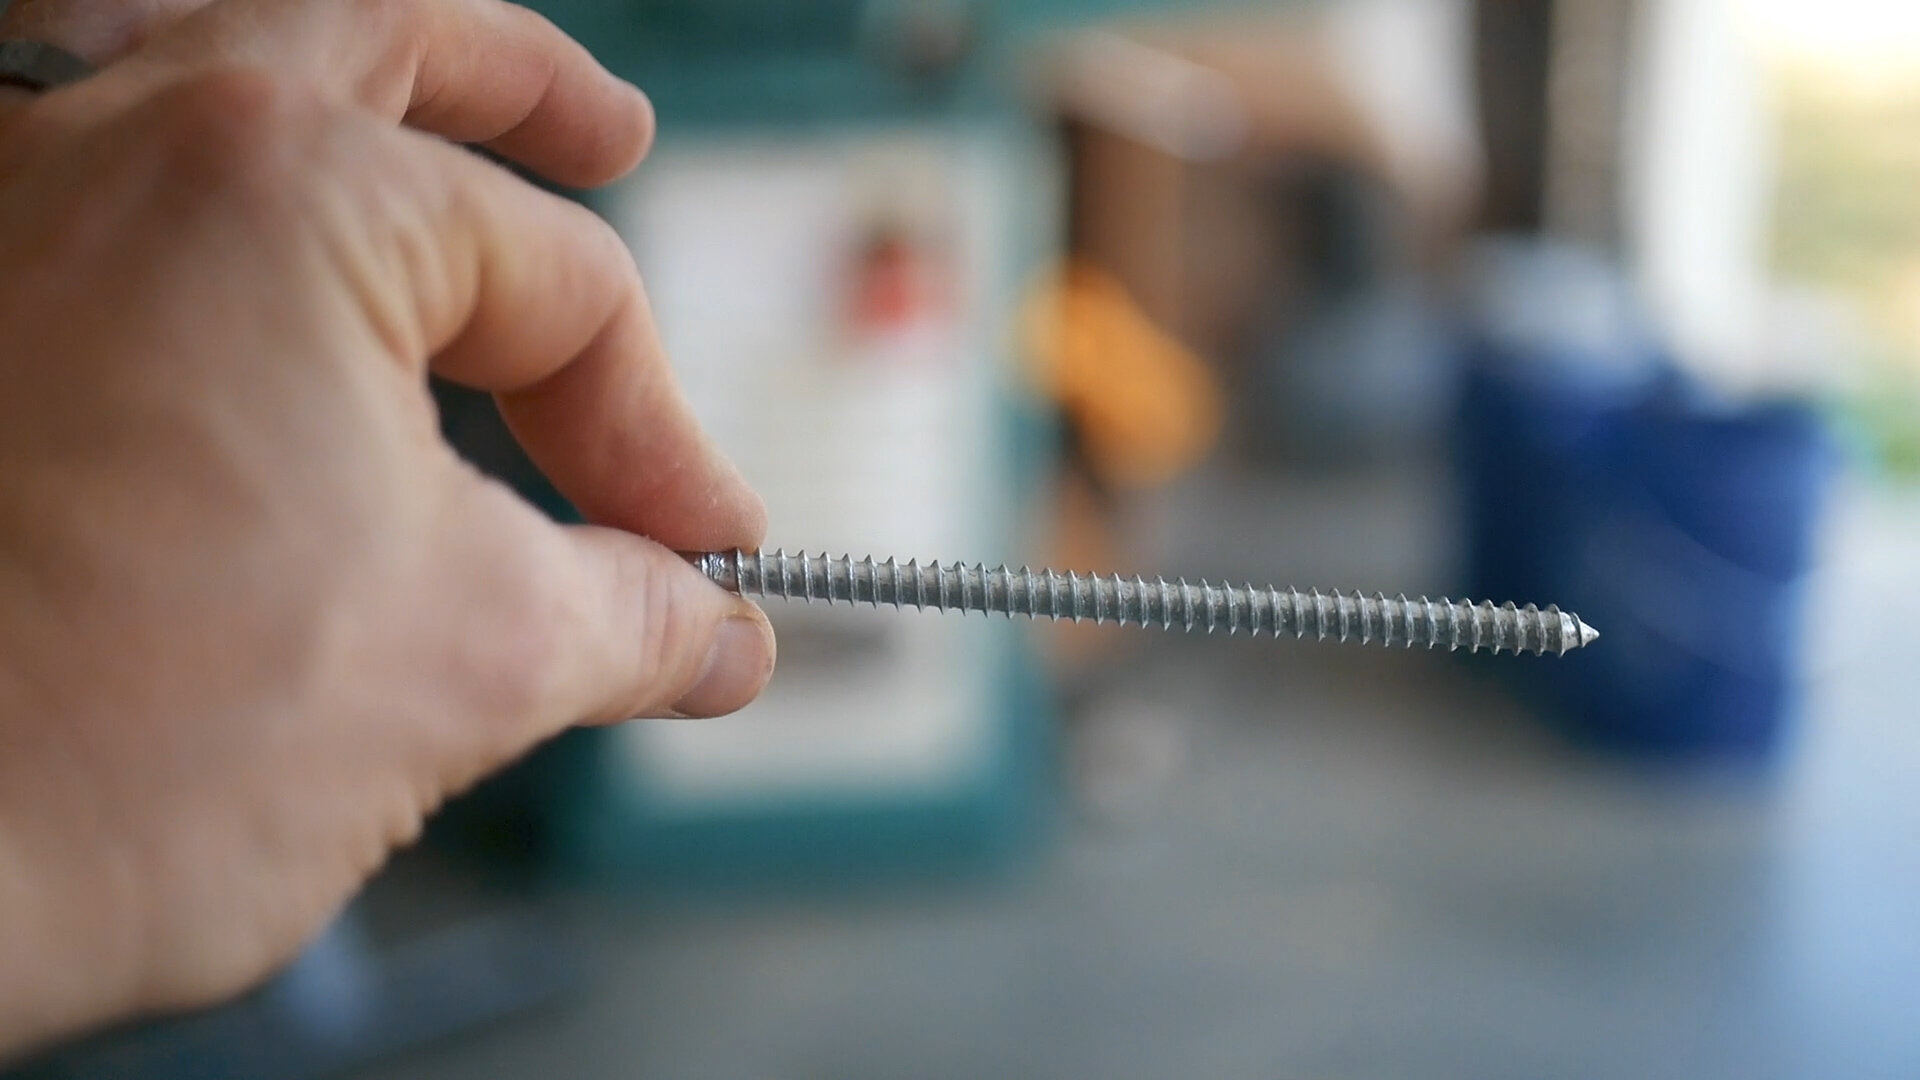
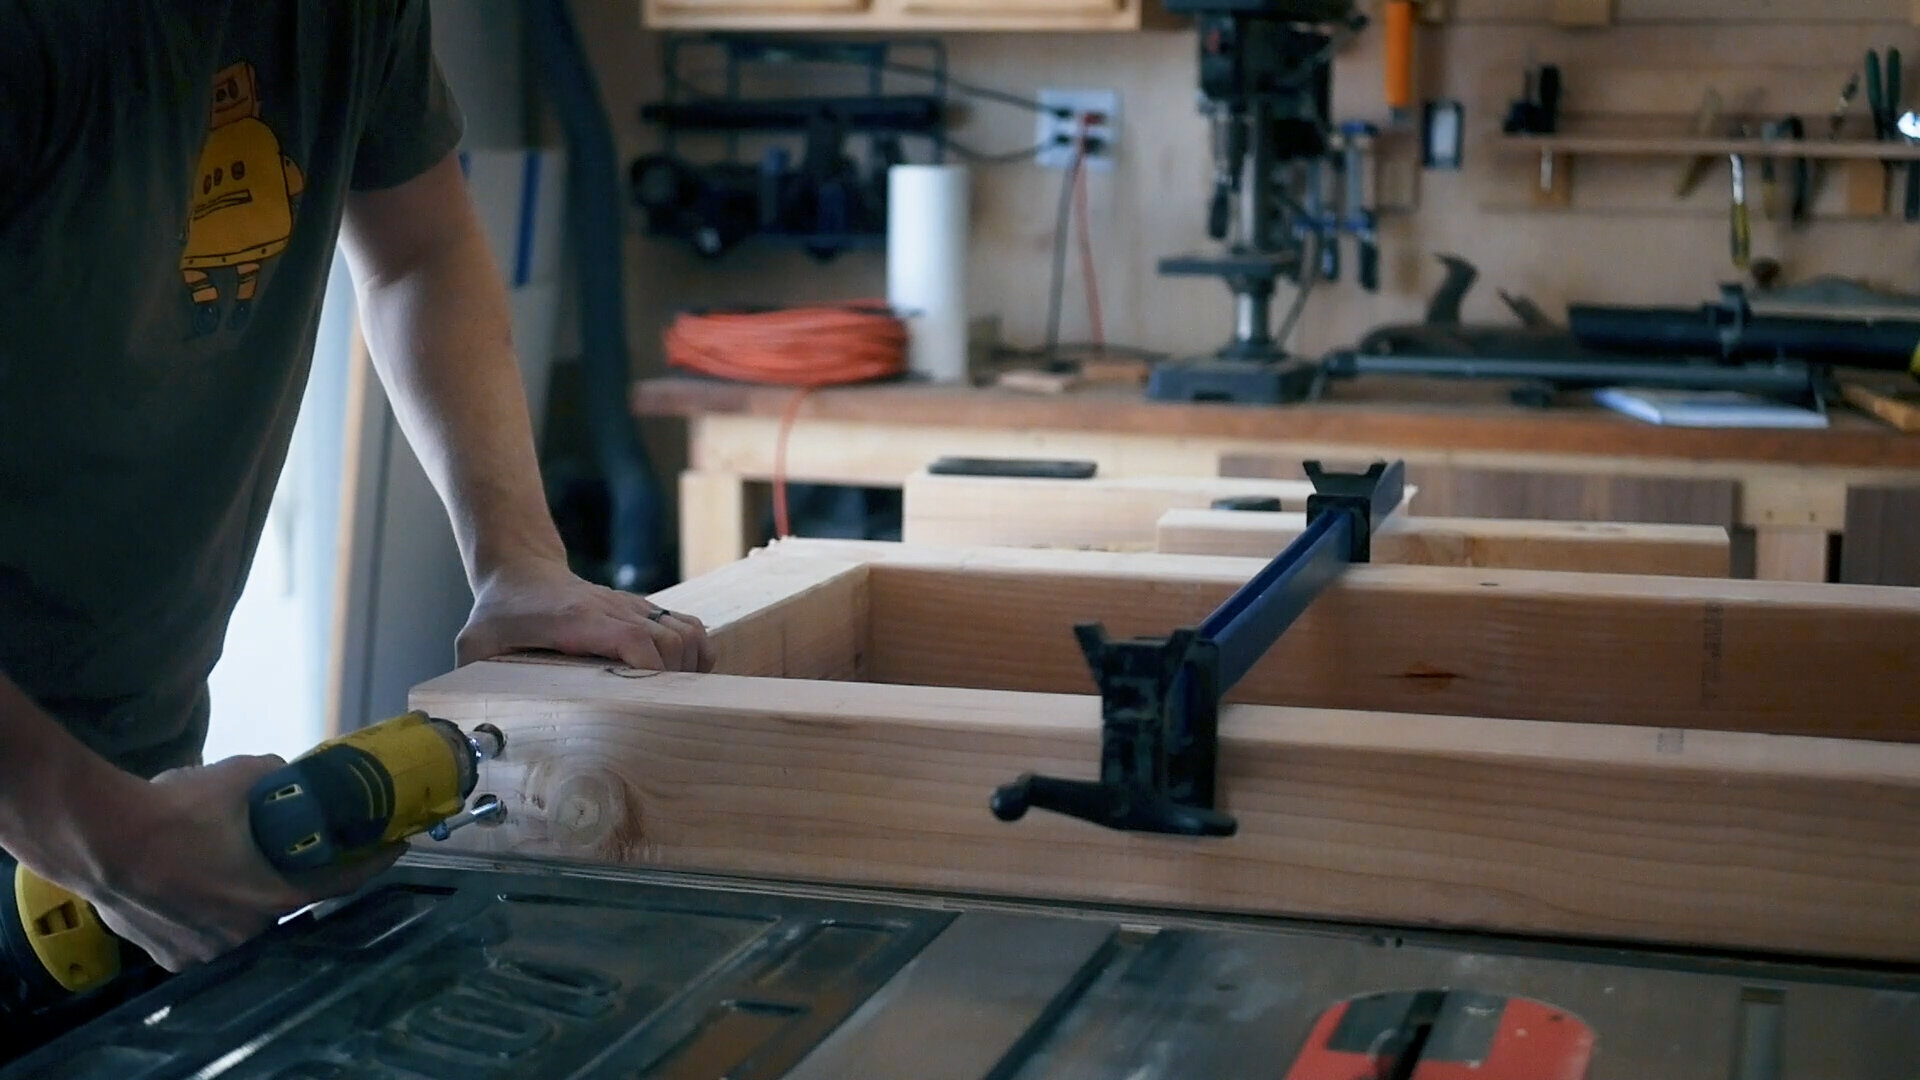
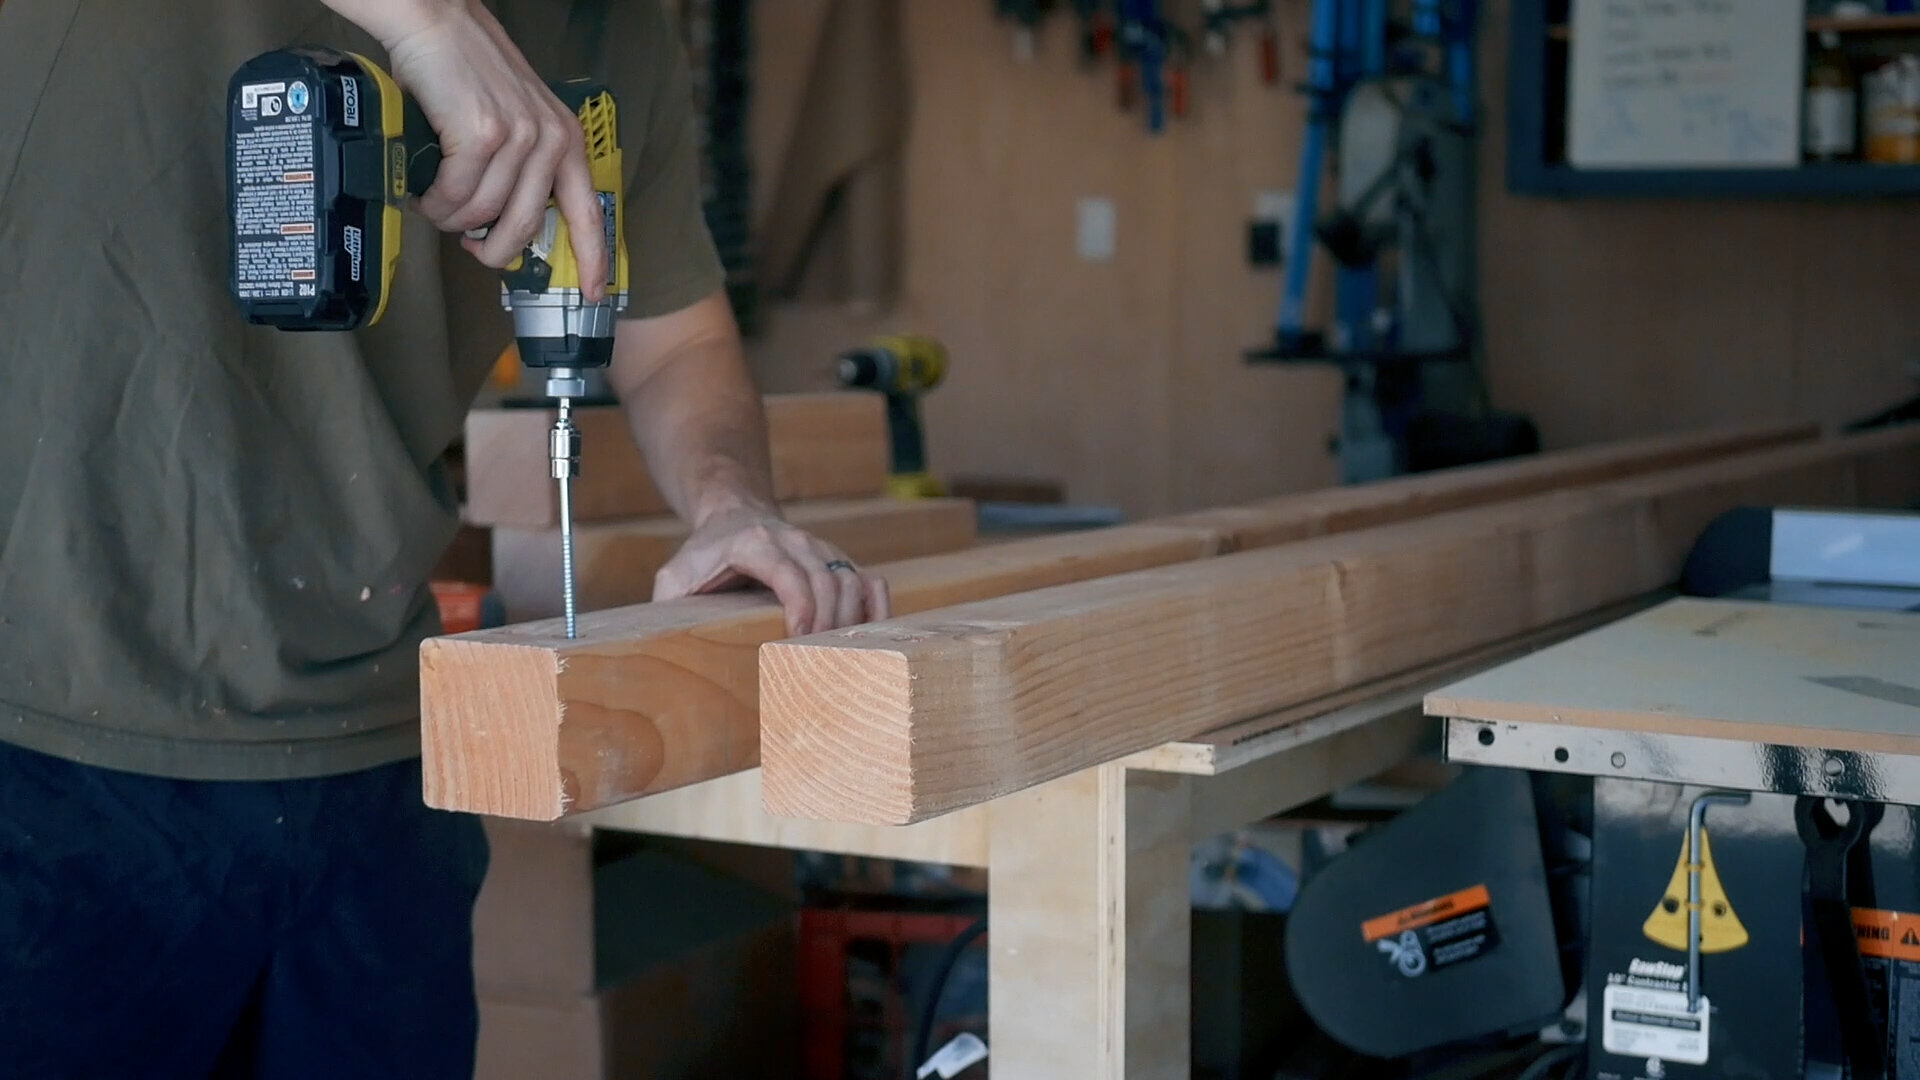
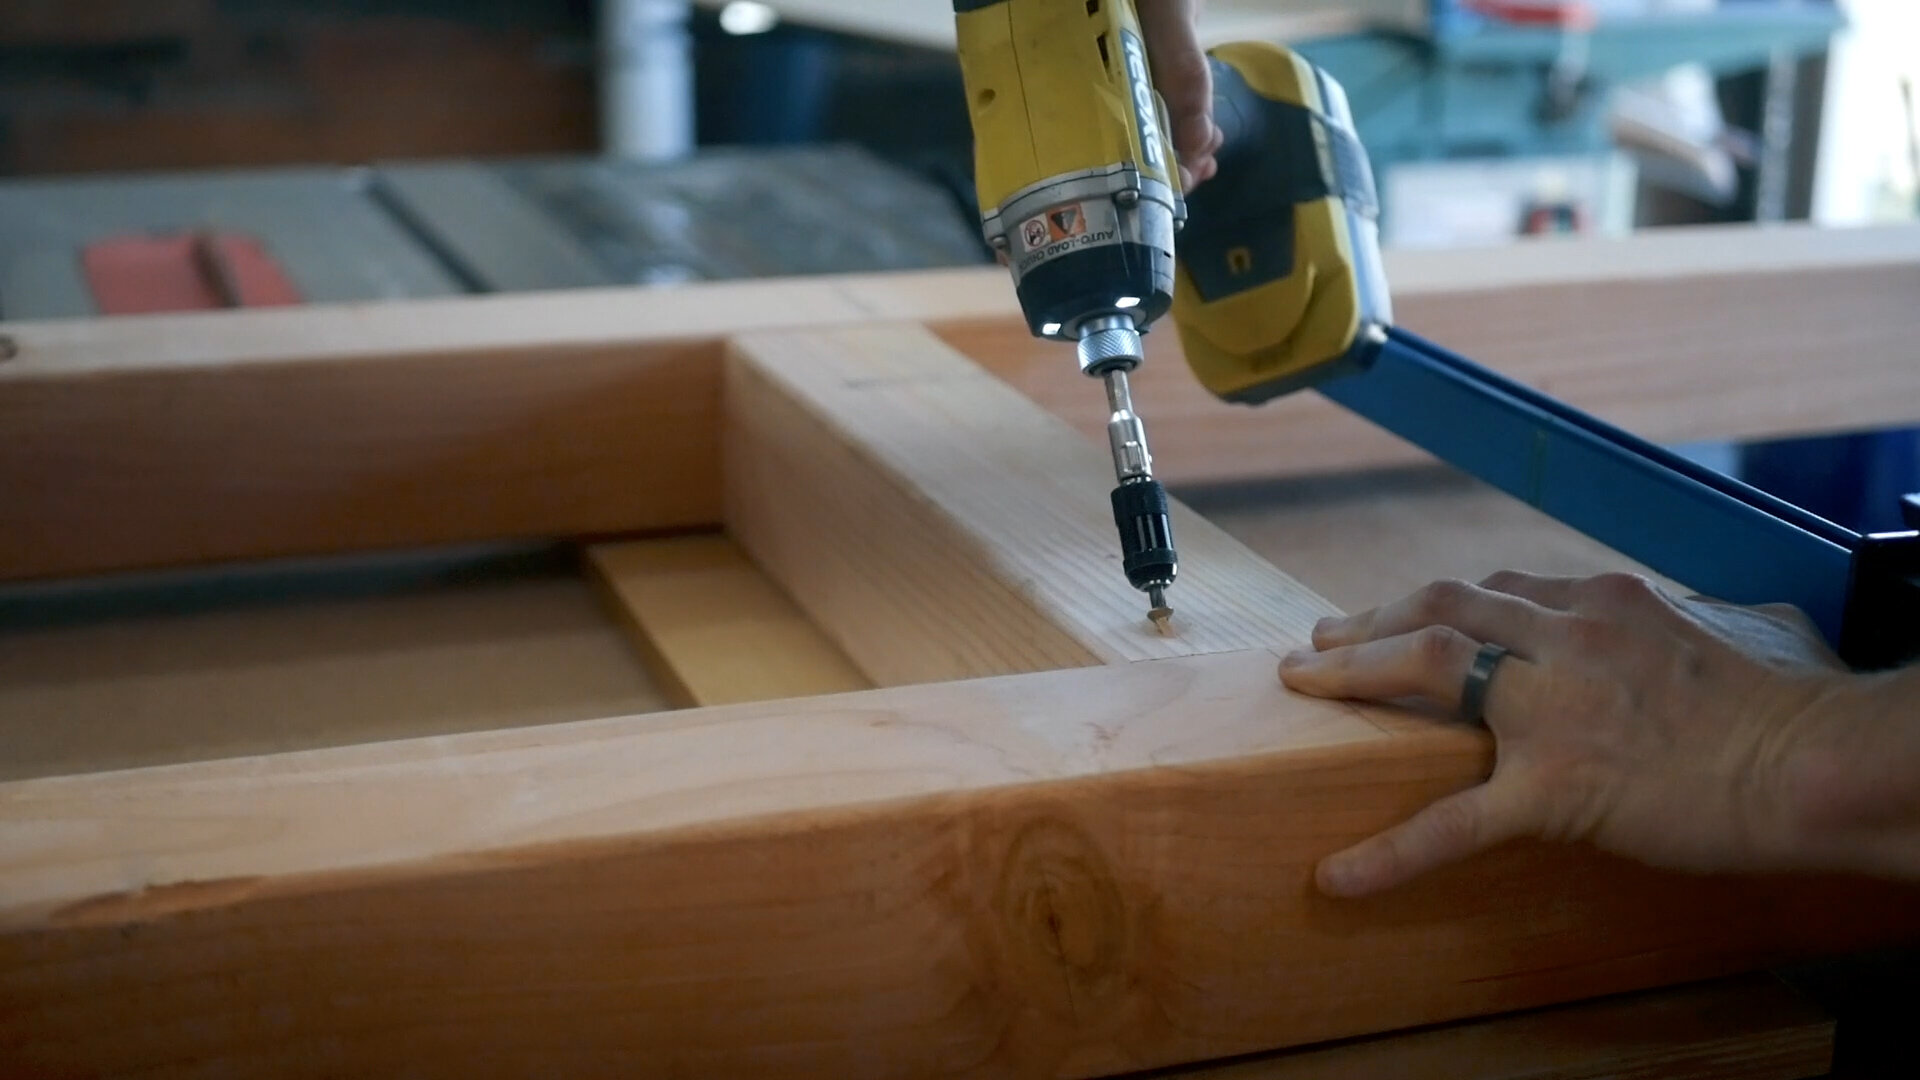
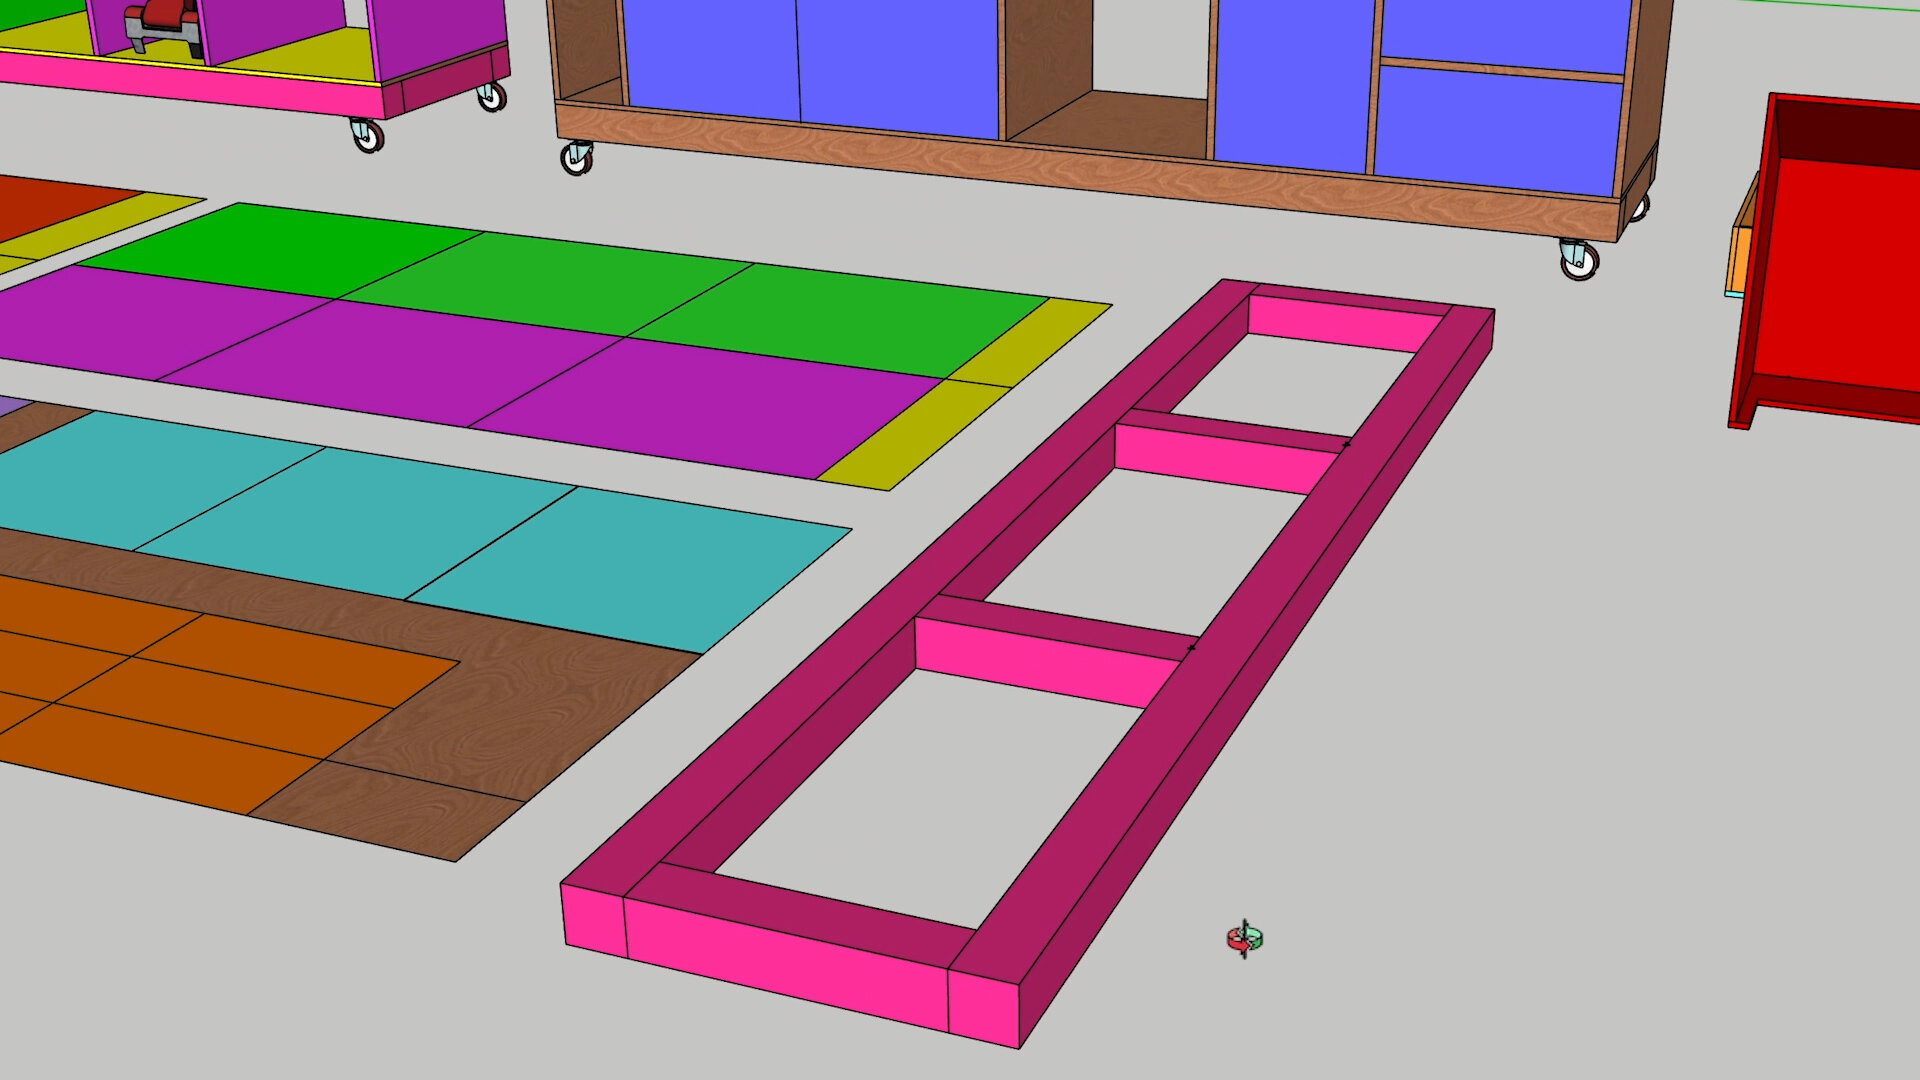
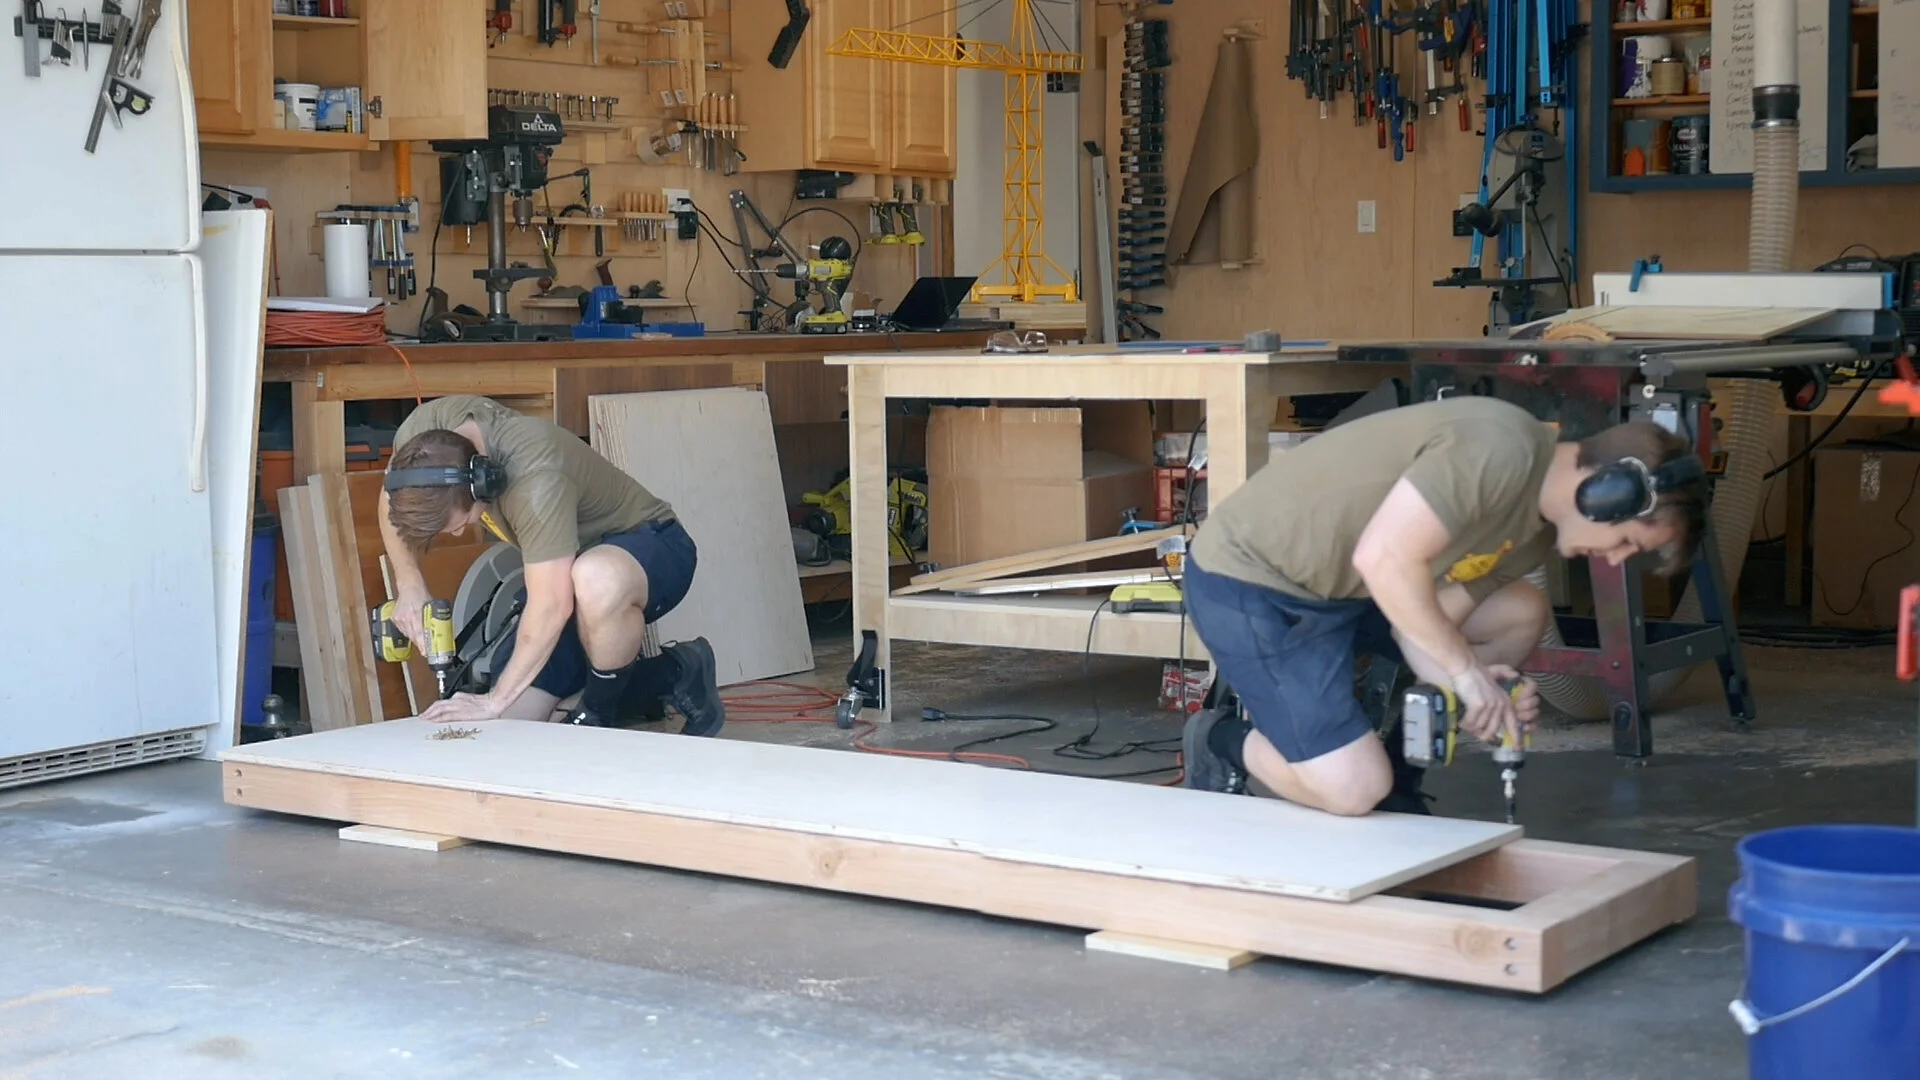
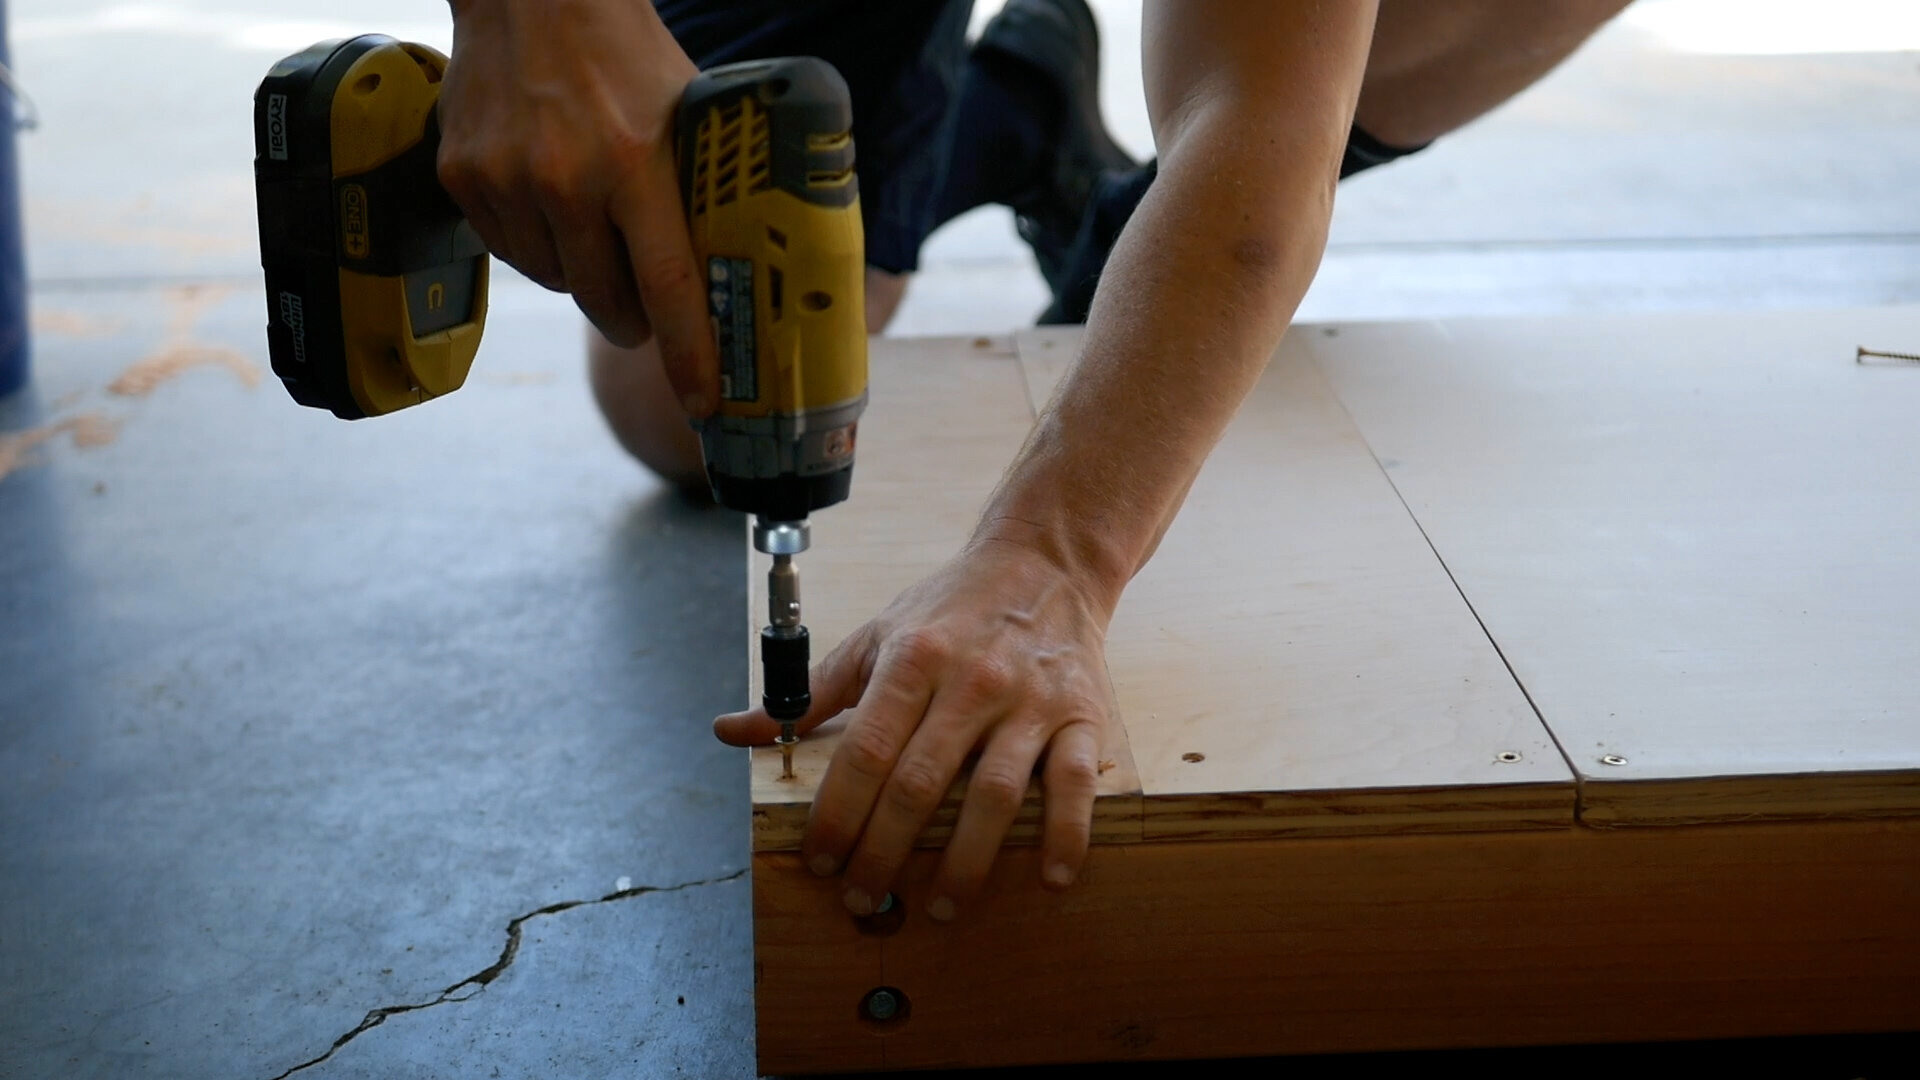
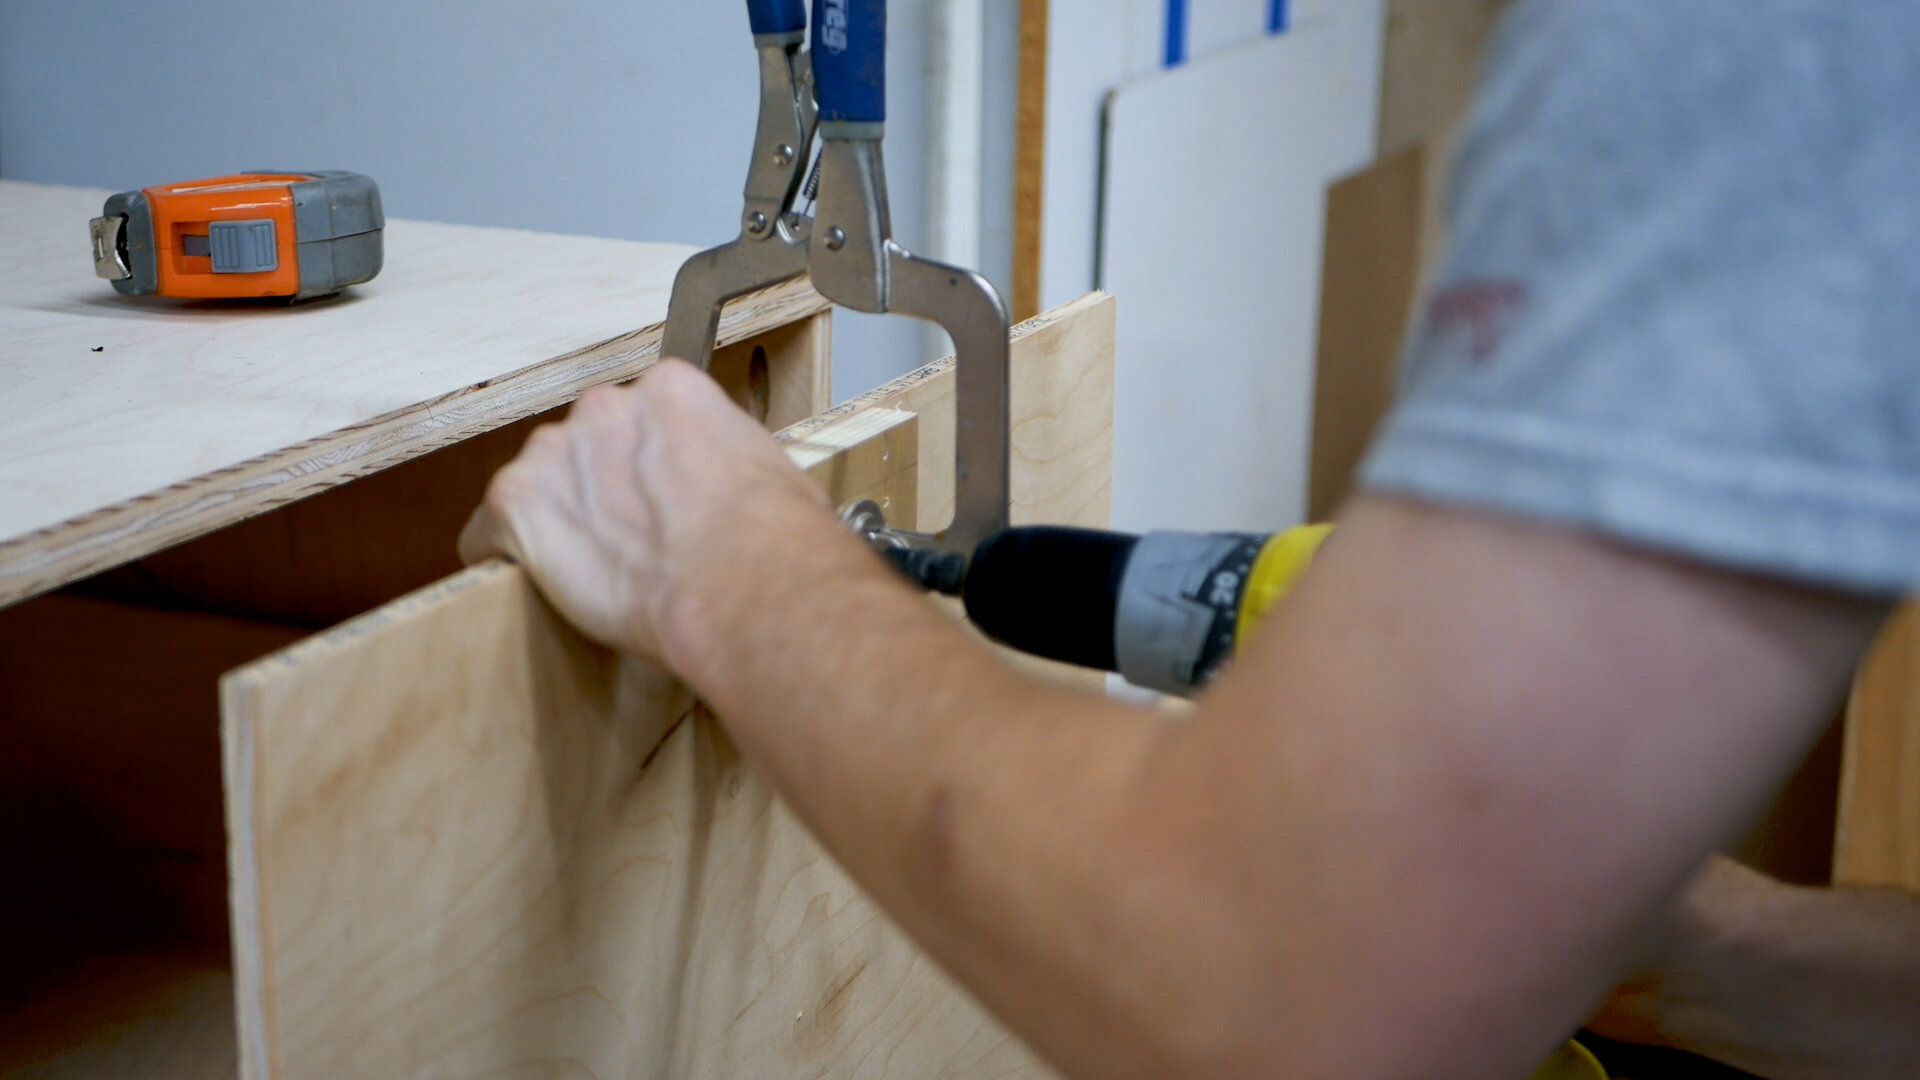
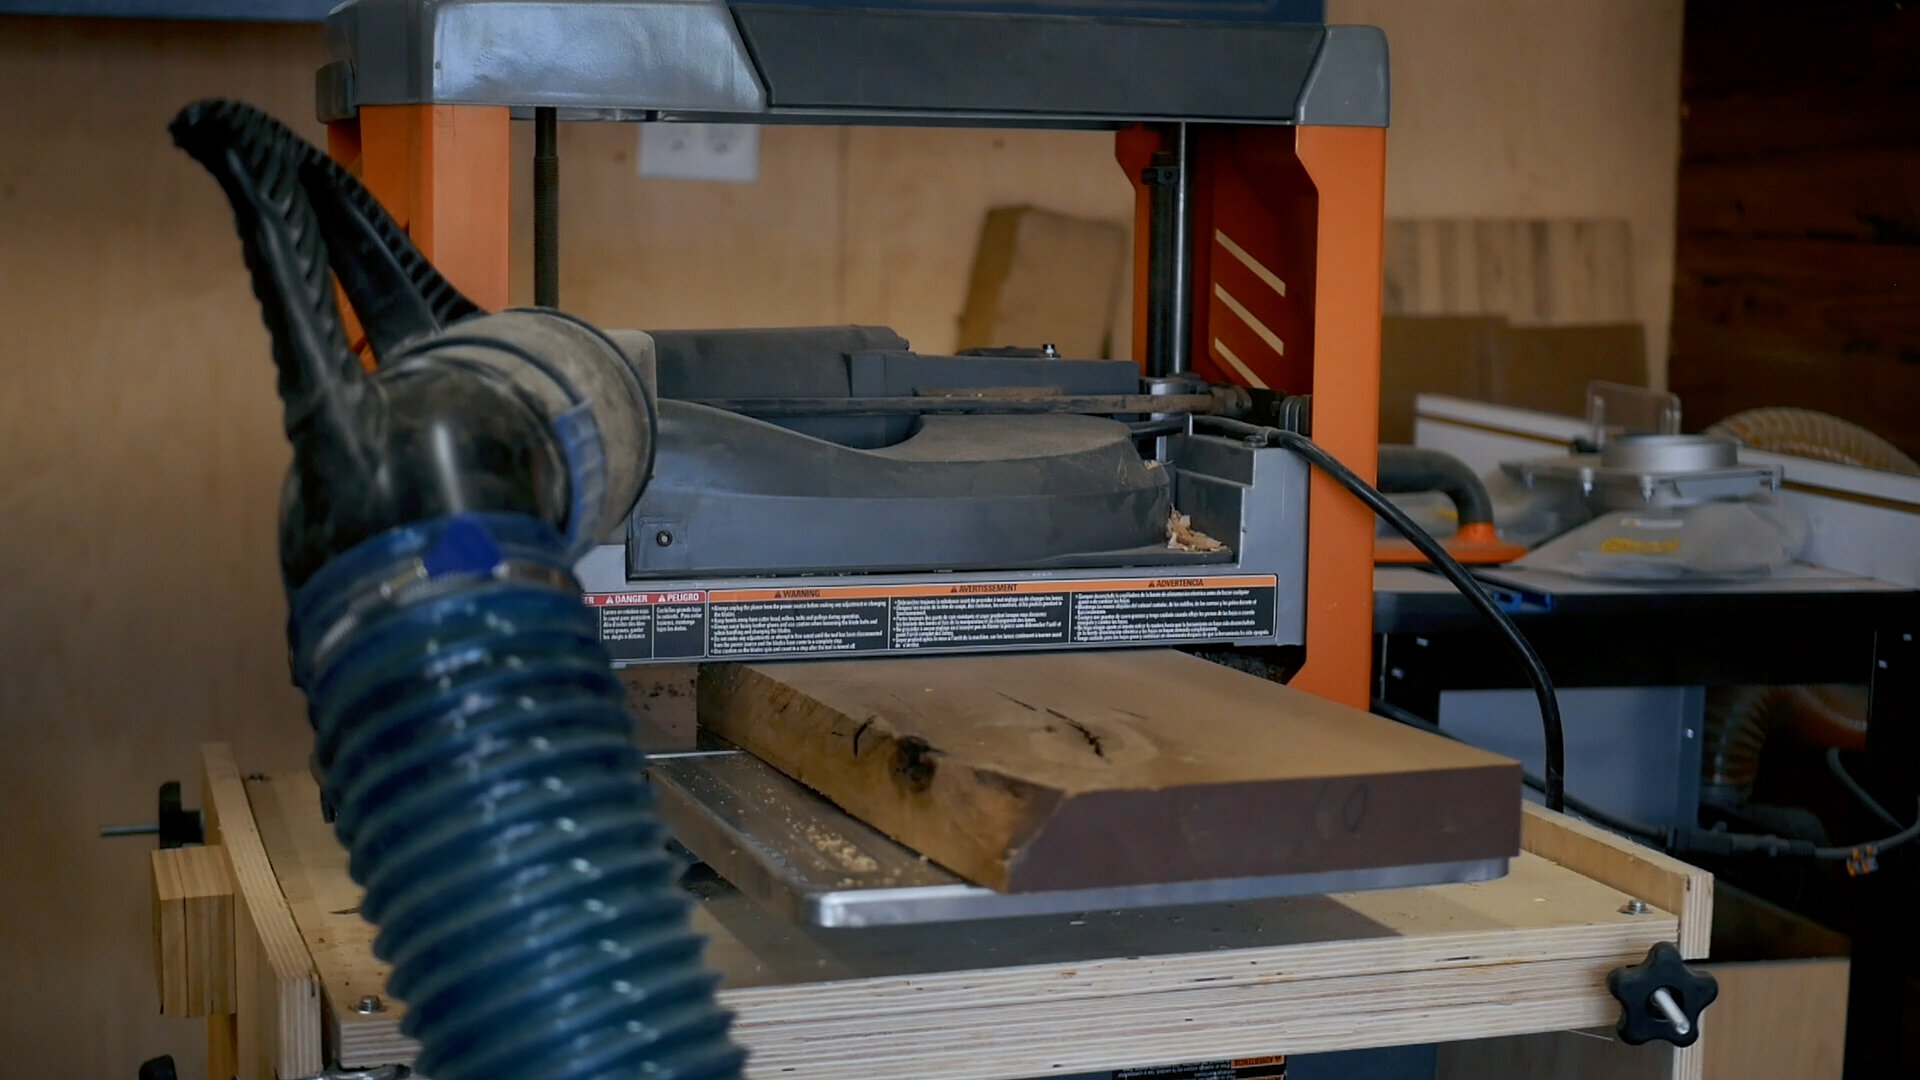
The first step was to break down my 4x4 lumber based on my SketchUp file to create the base of the build. I chose 4x4s for strength and rigidity as this would have to carry the weight of a heavy 9 foot long station. I used large lag screws to connect everything on the exterior (these were recessed so they didn’t sit proud of the wood), and 3” wood screws for the center supports. I found using a clamp in this step helped square everything together.
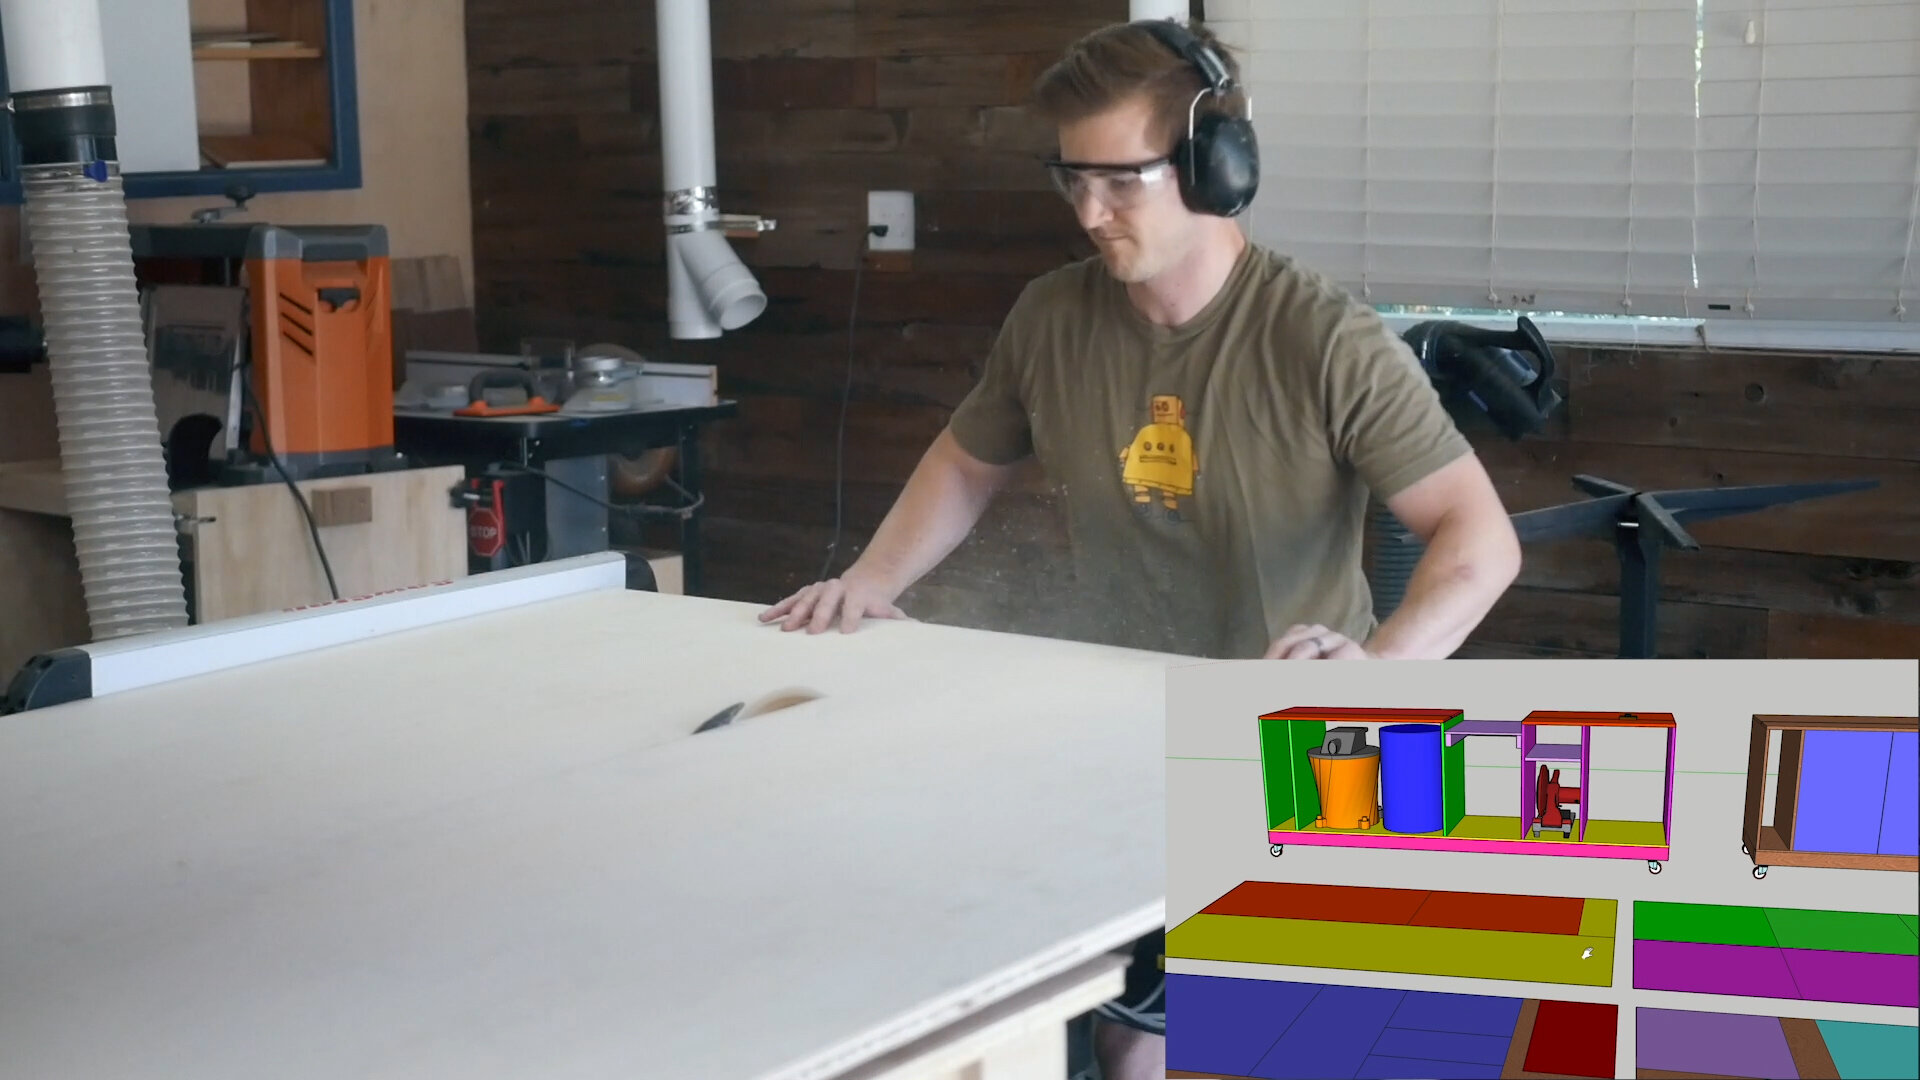
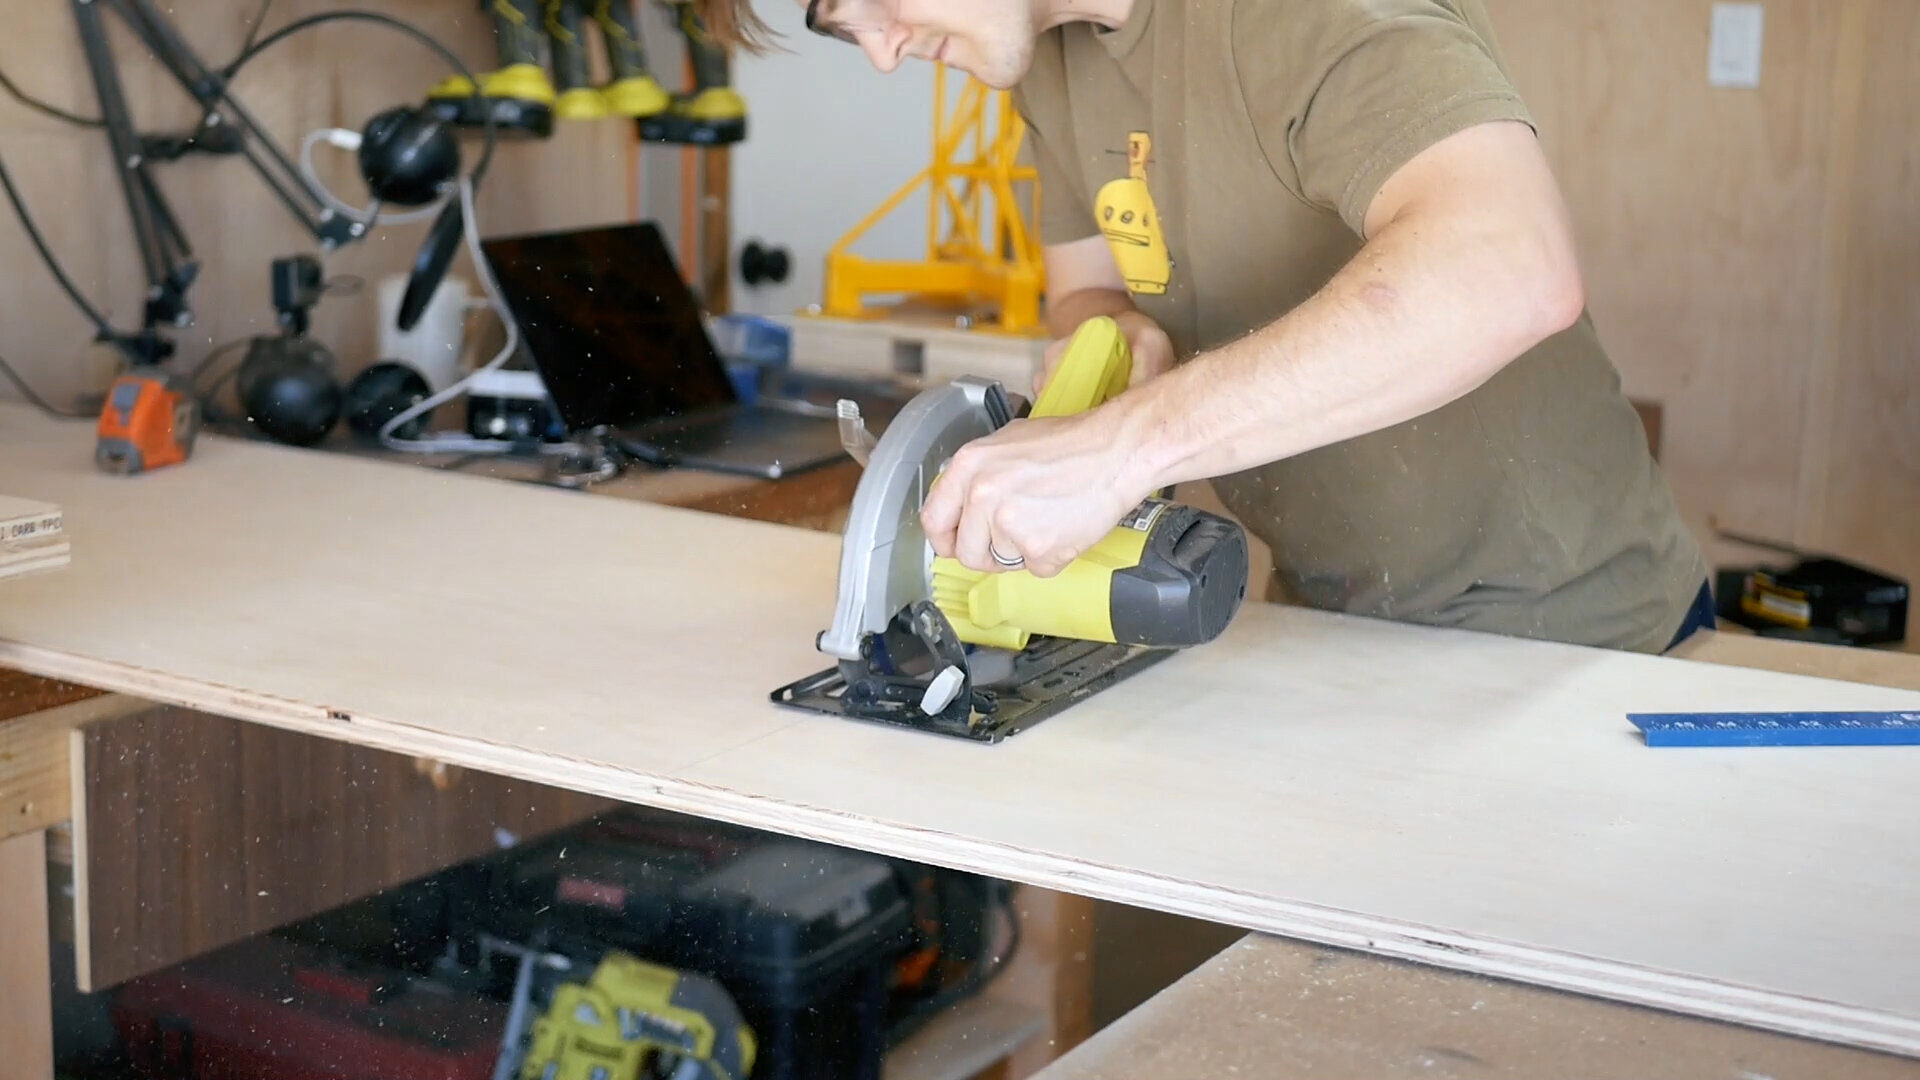
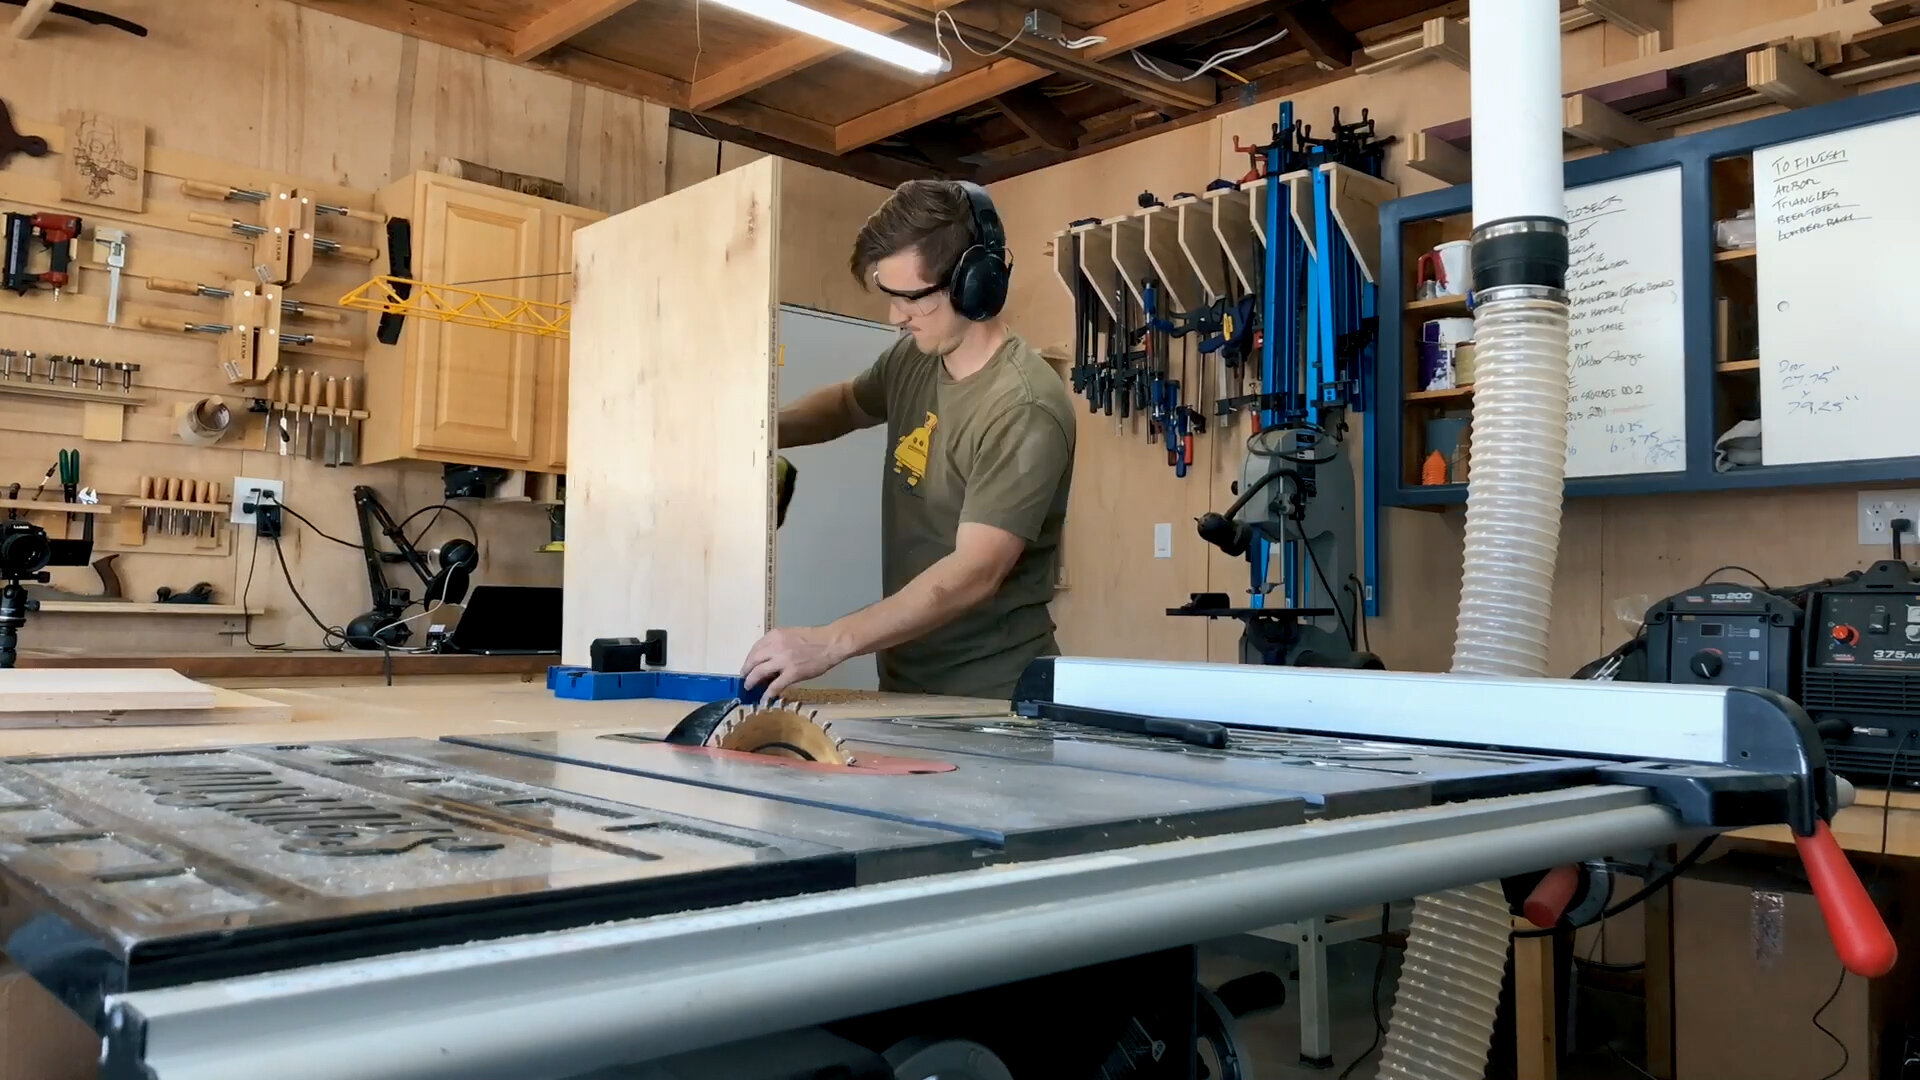

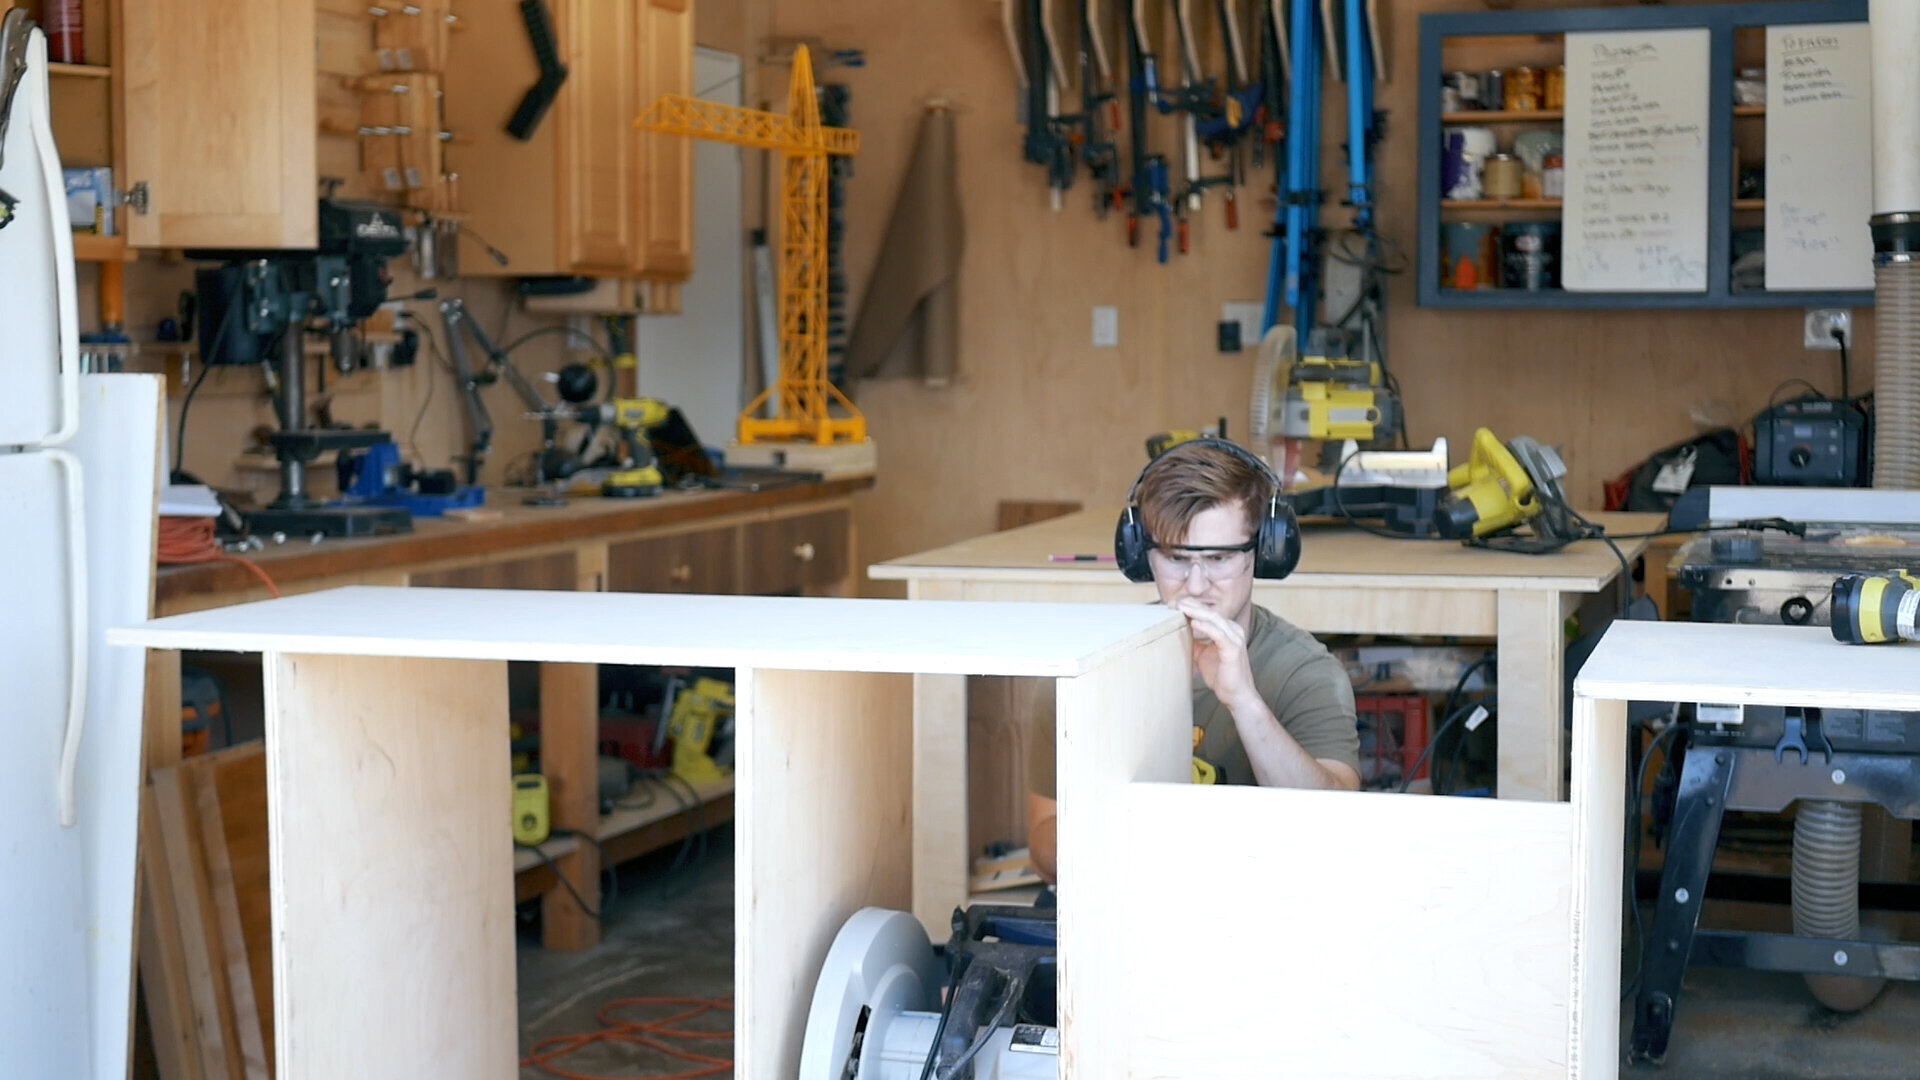
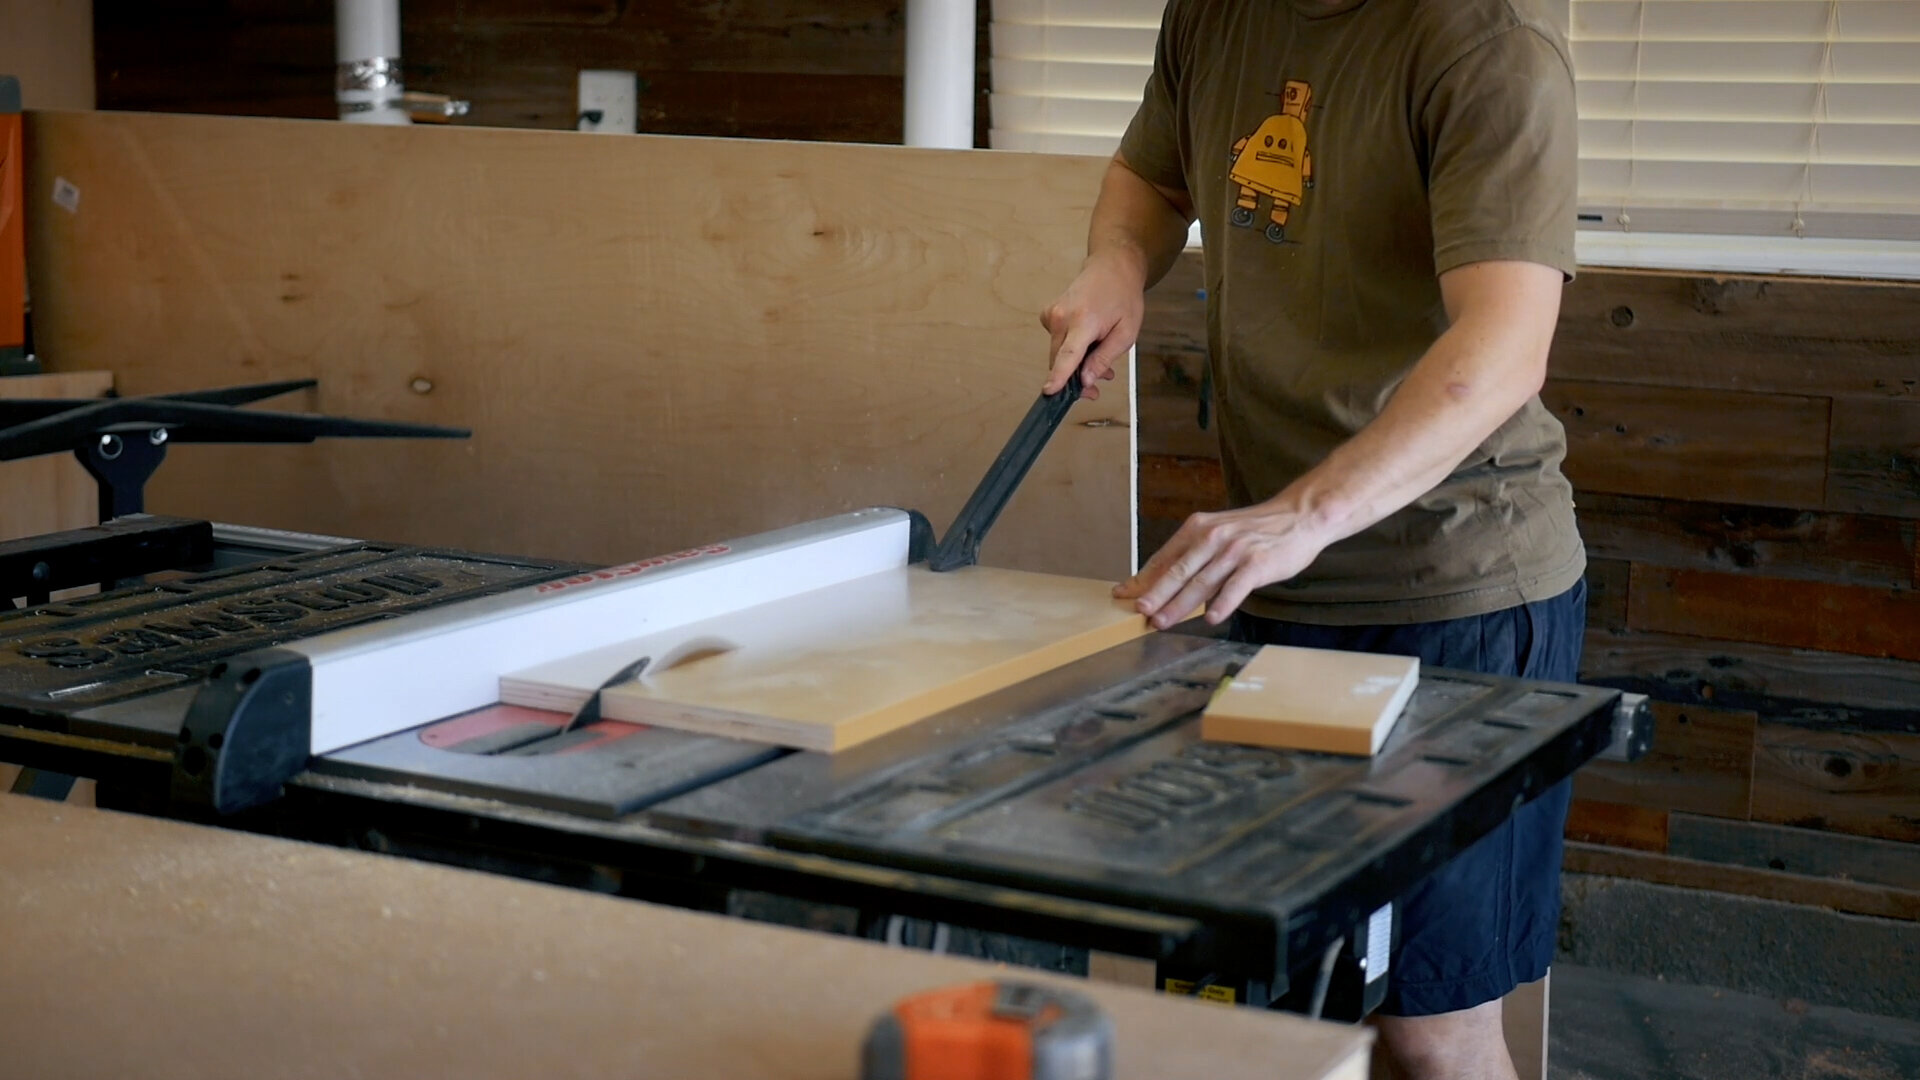
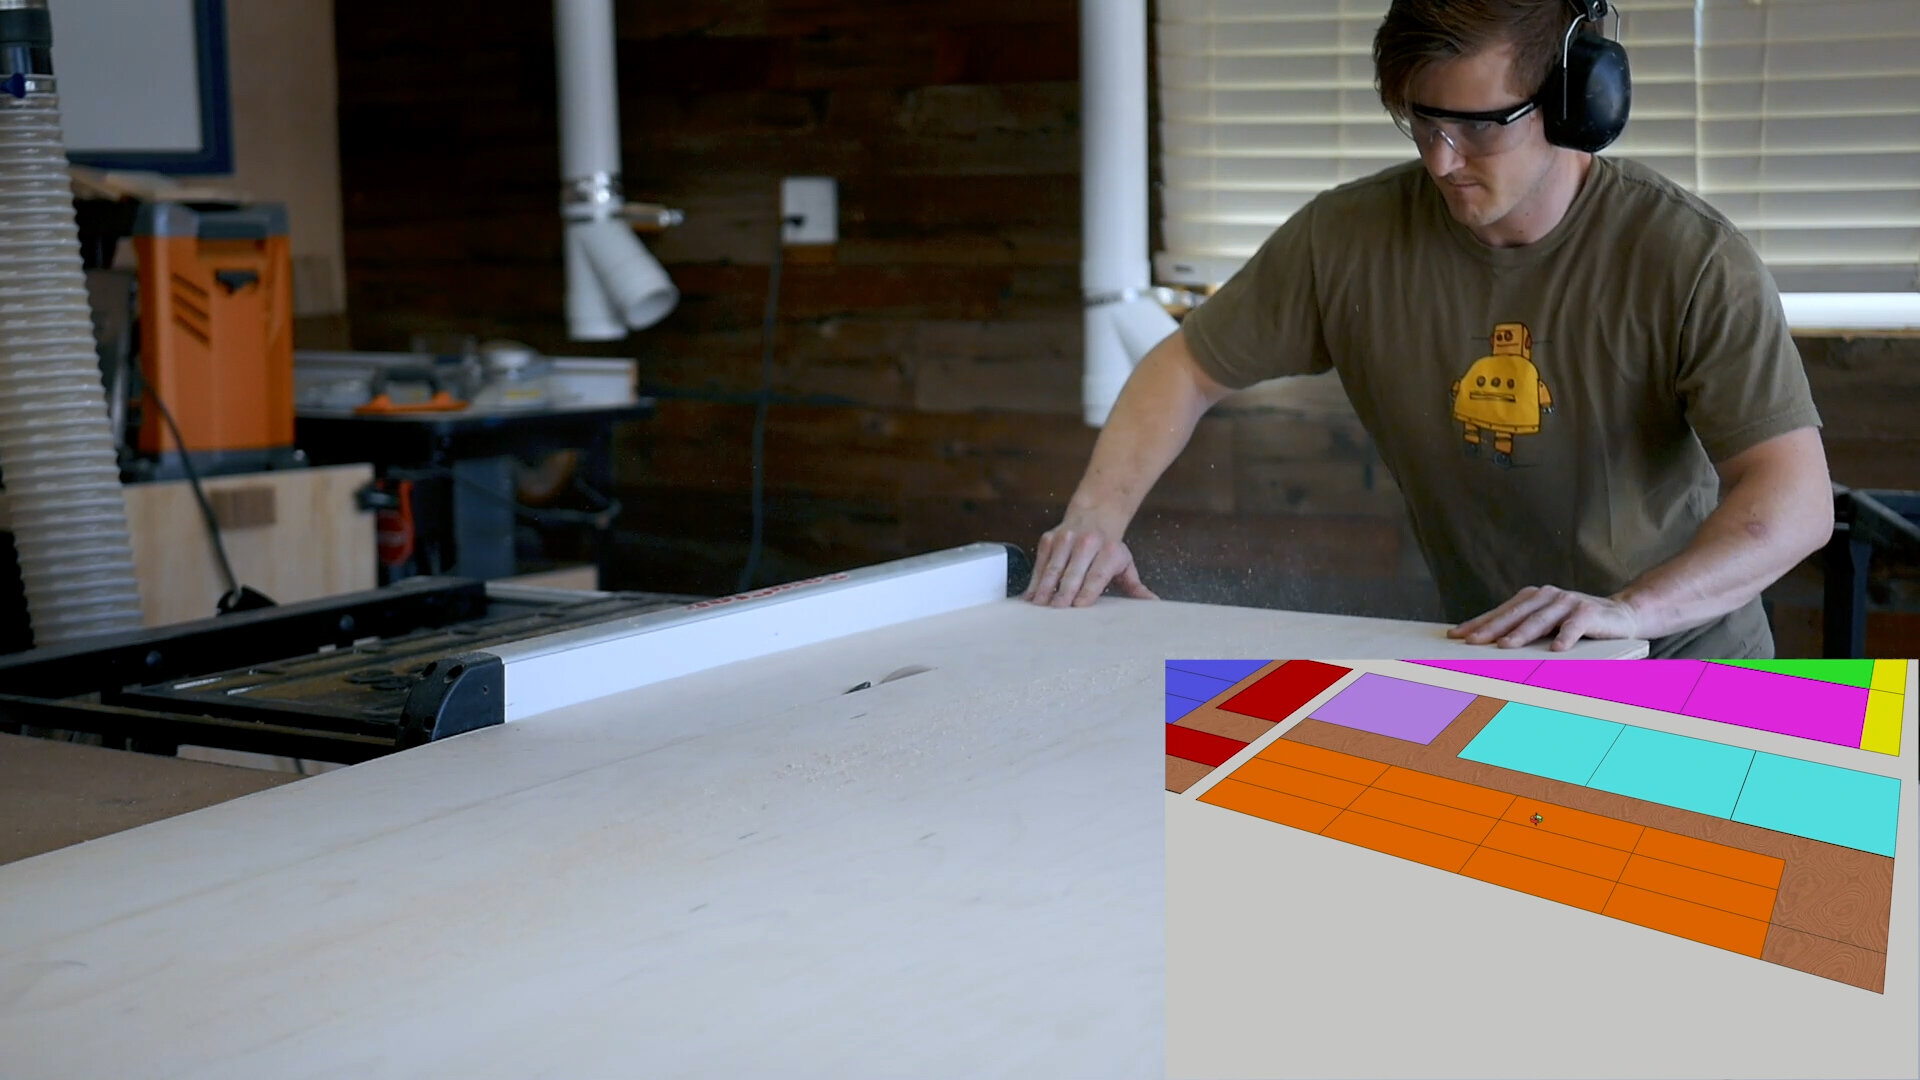
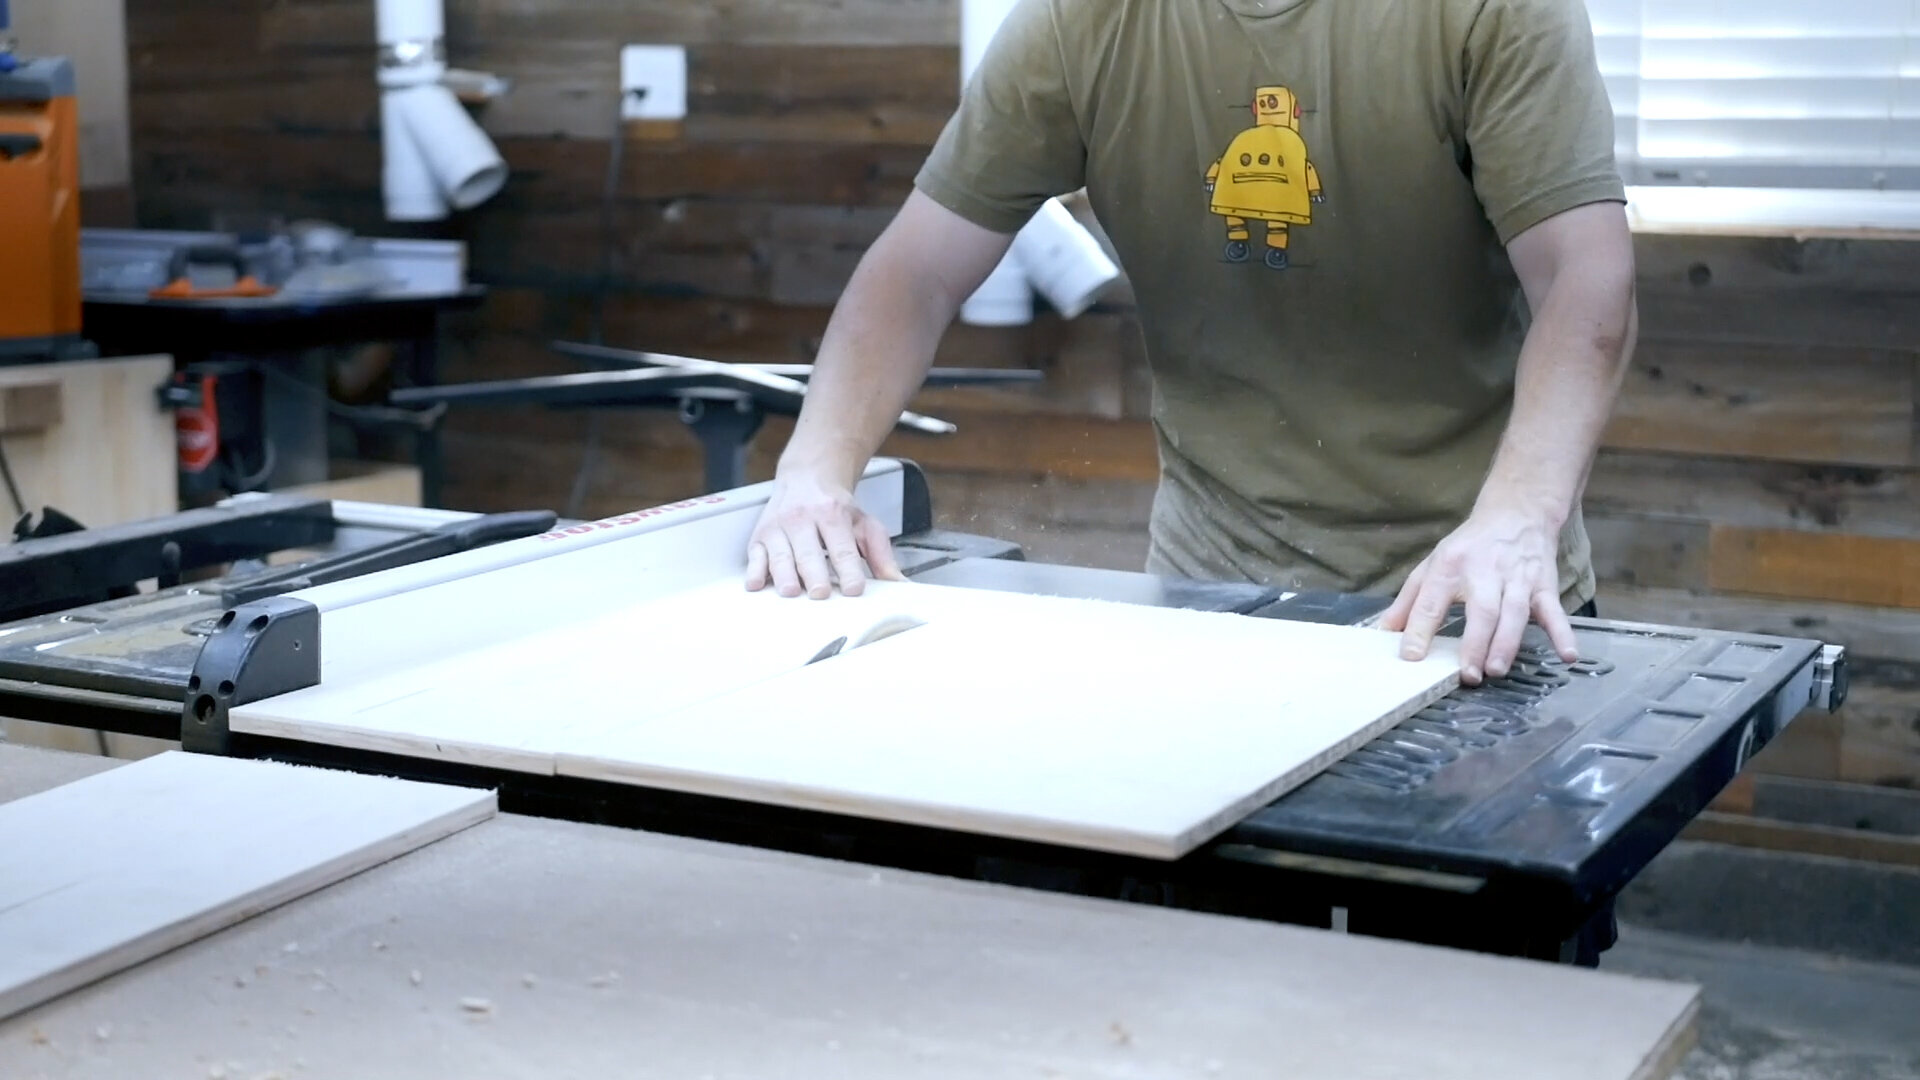
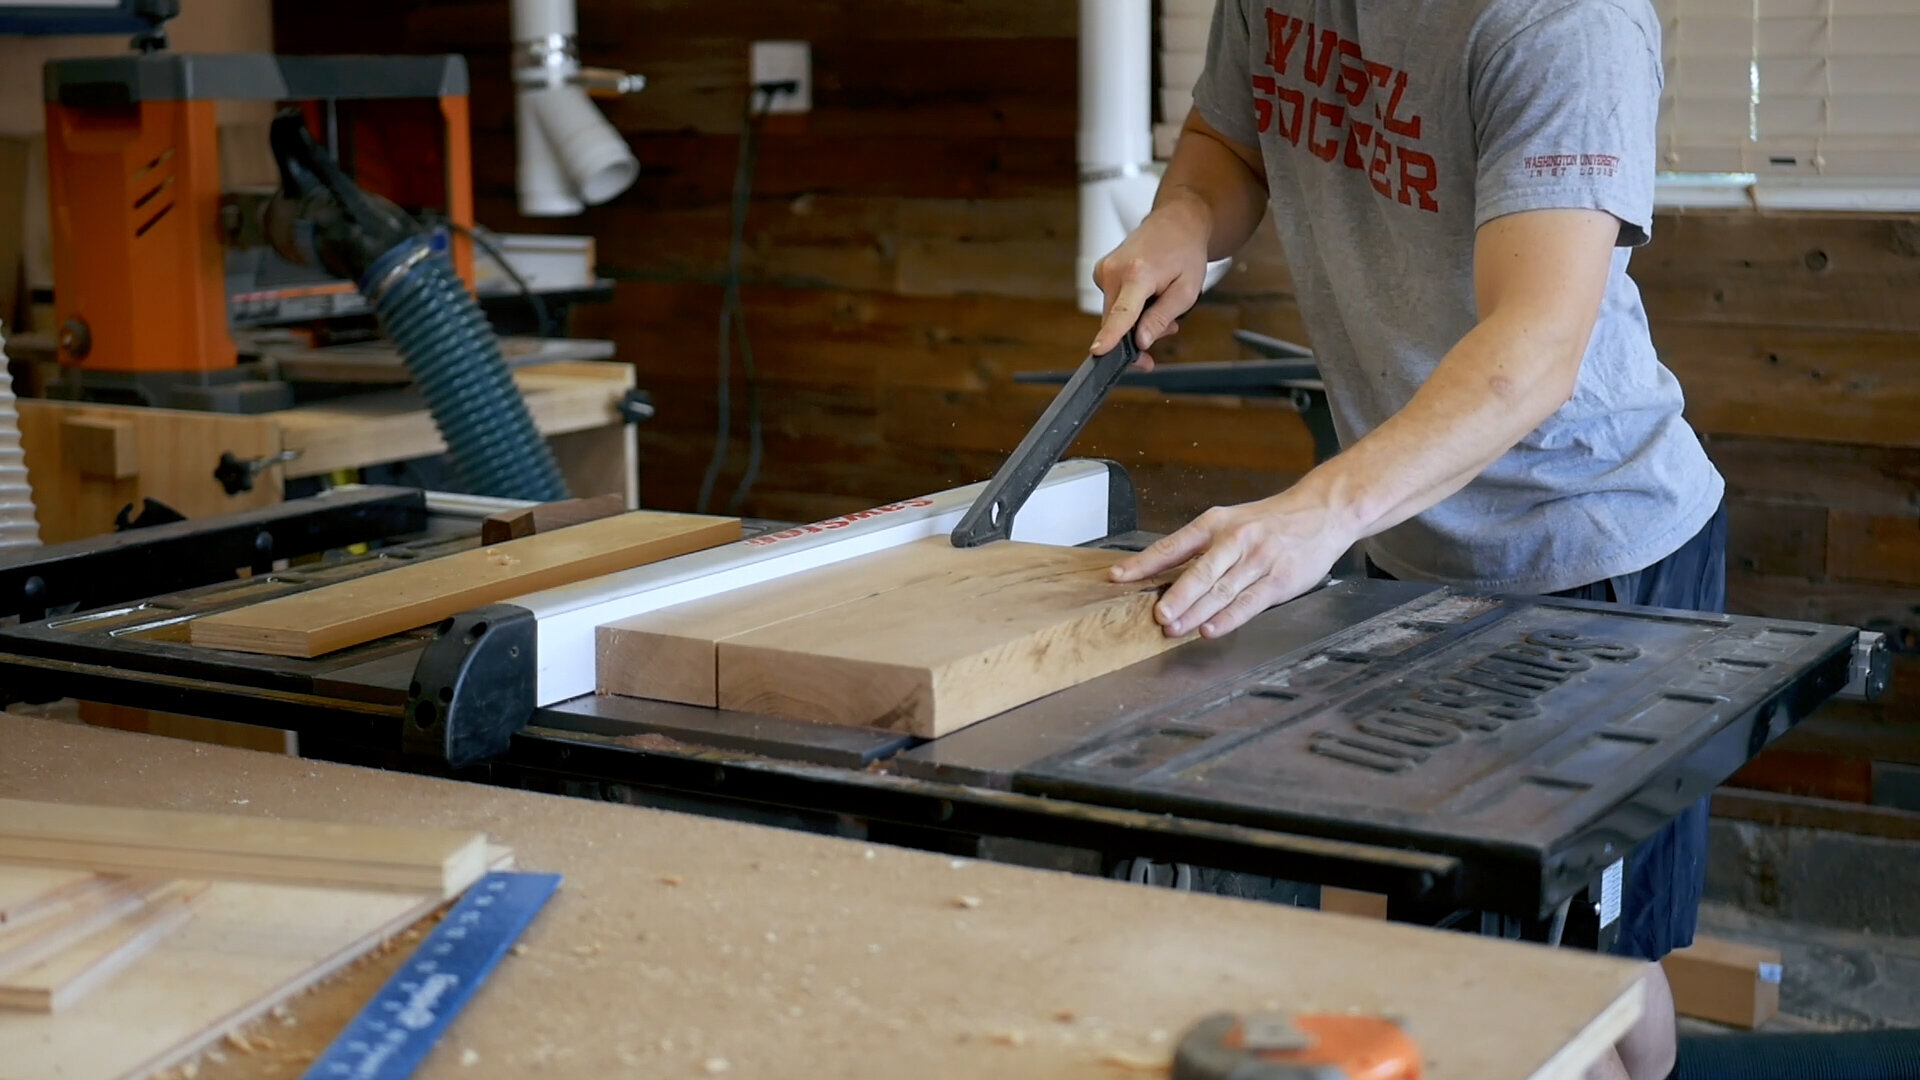
The next steps were all relatively straight forward. Following my SketchUp model, I broke down all of my sheets fo plywood using a combination of my table saw and circular saw. I then drilled pocketholes for all of the vertical pieces - 3-4 per piece per side.
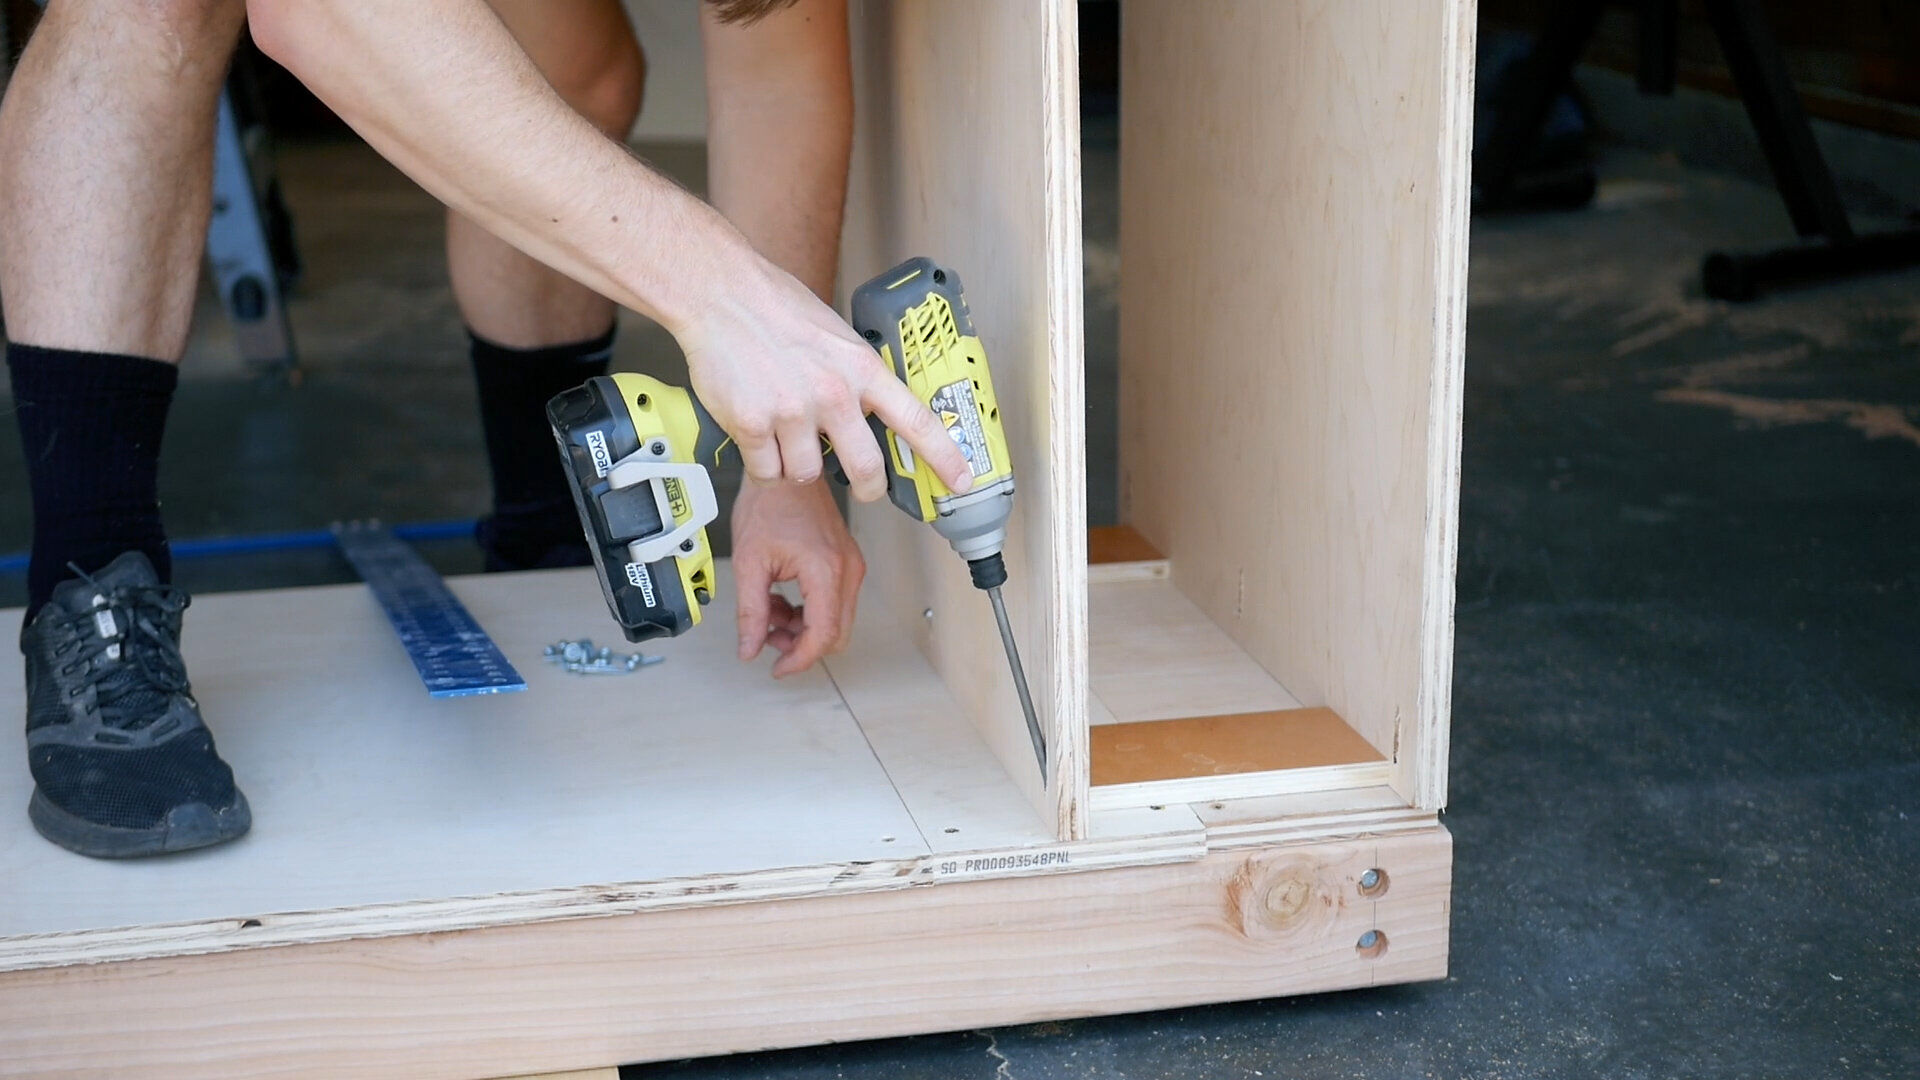
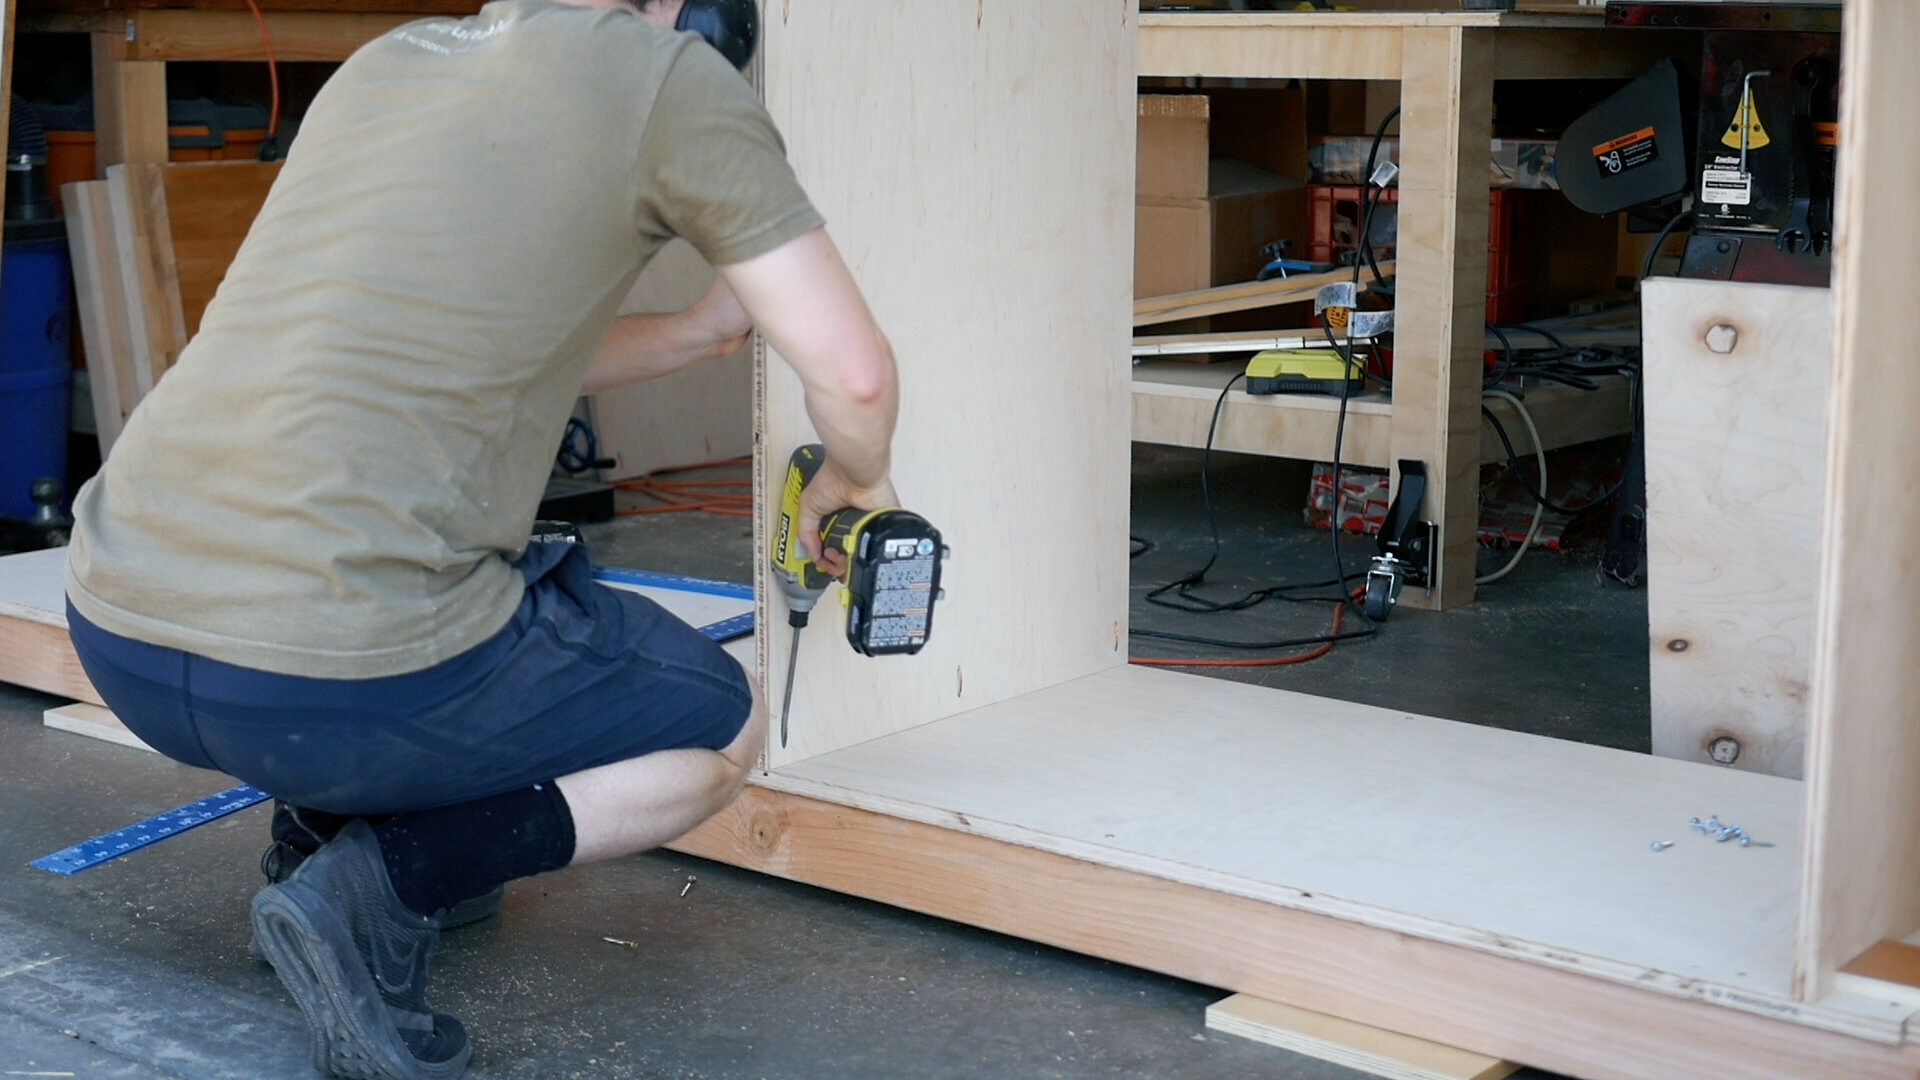
I then could begin attaching all of my plywood pieces to the base.
I first attached the flat base piece - an 8’ sheet won’t cover it so you’ll want to make sure you’re cutting properly against the cut list. Then, using pocketholes and some spacers I cut, I could assemble the vertical walls of each section, followed by adding the top section. The framing was now complete.
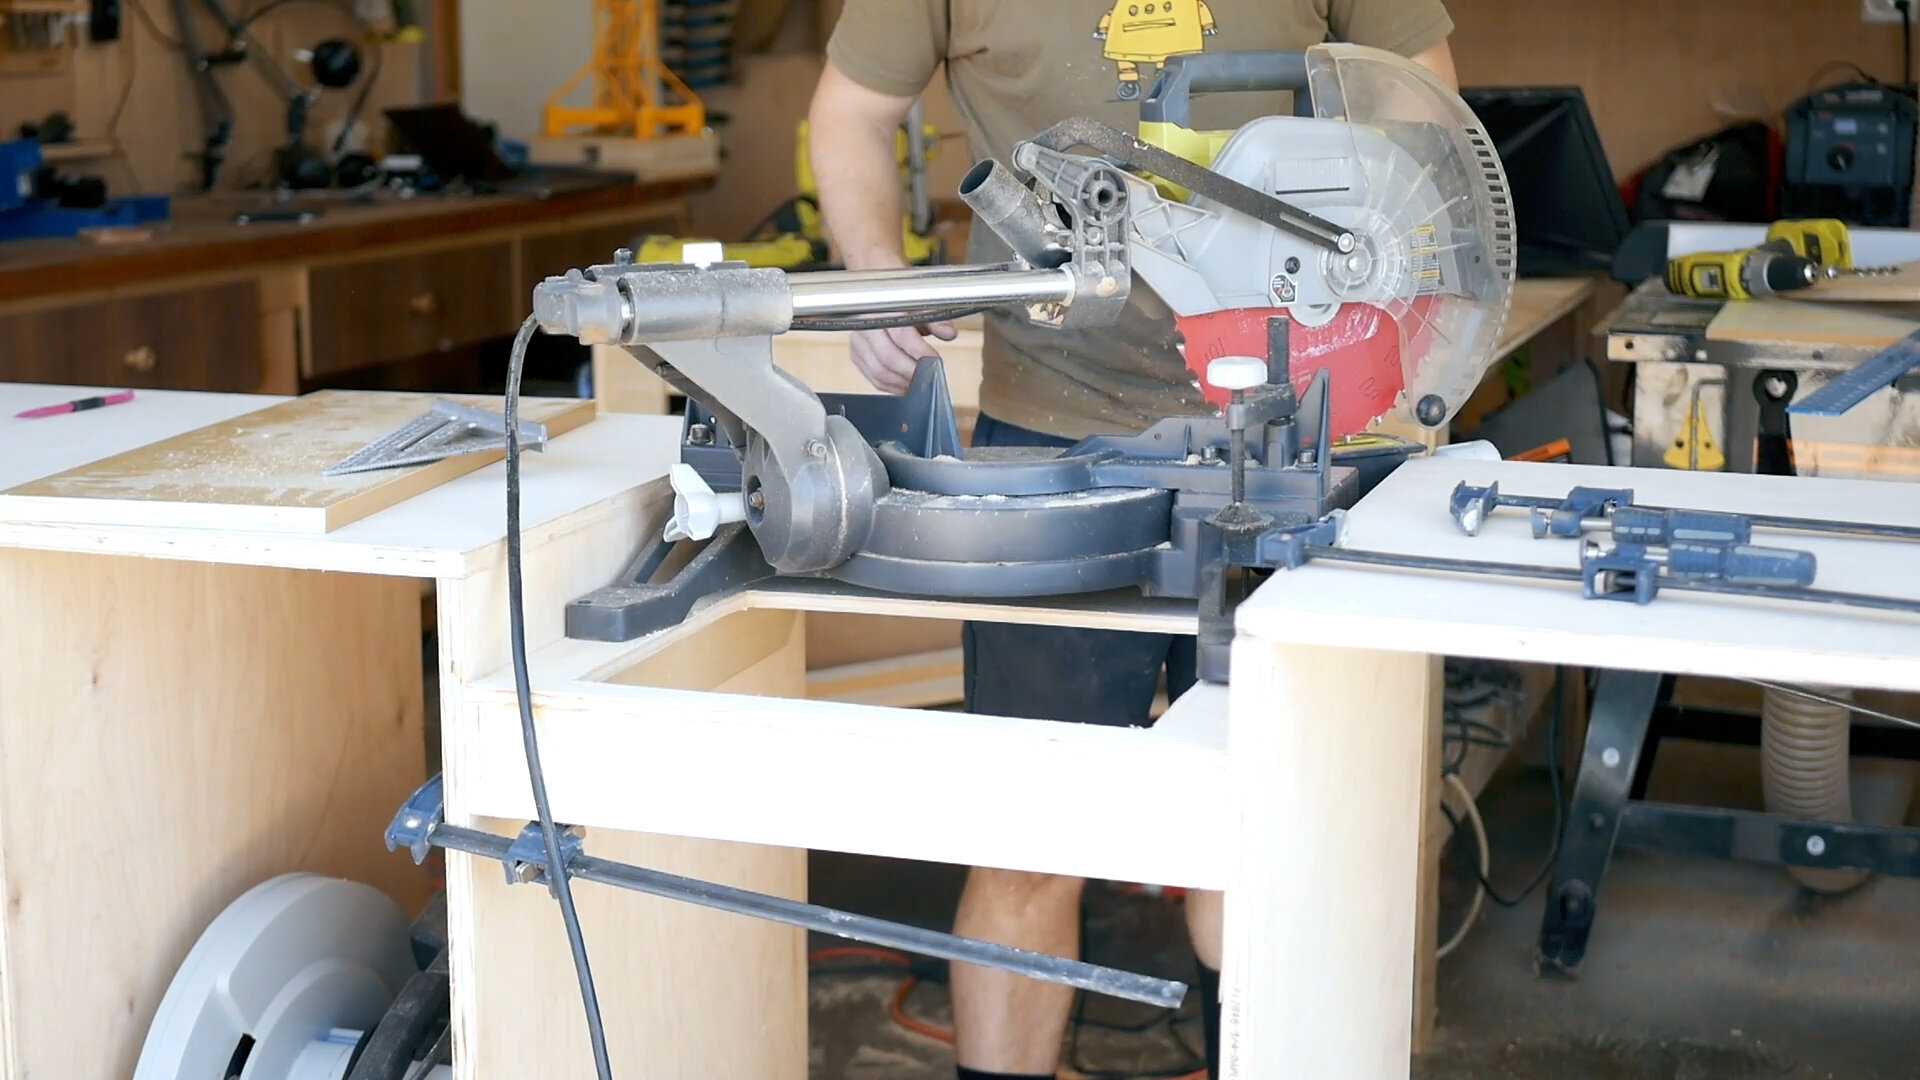
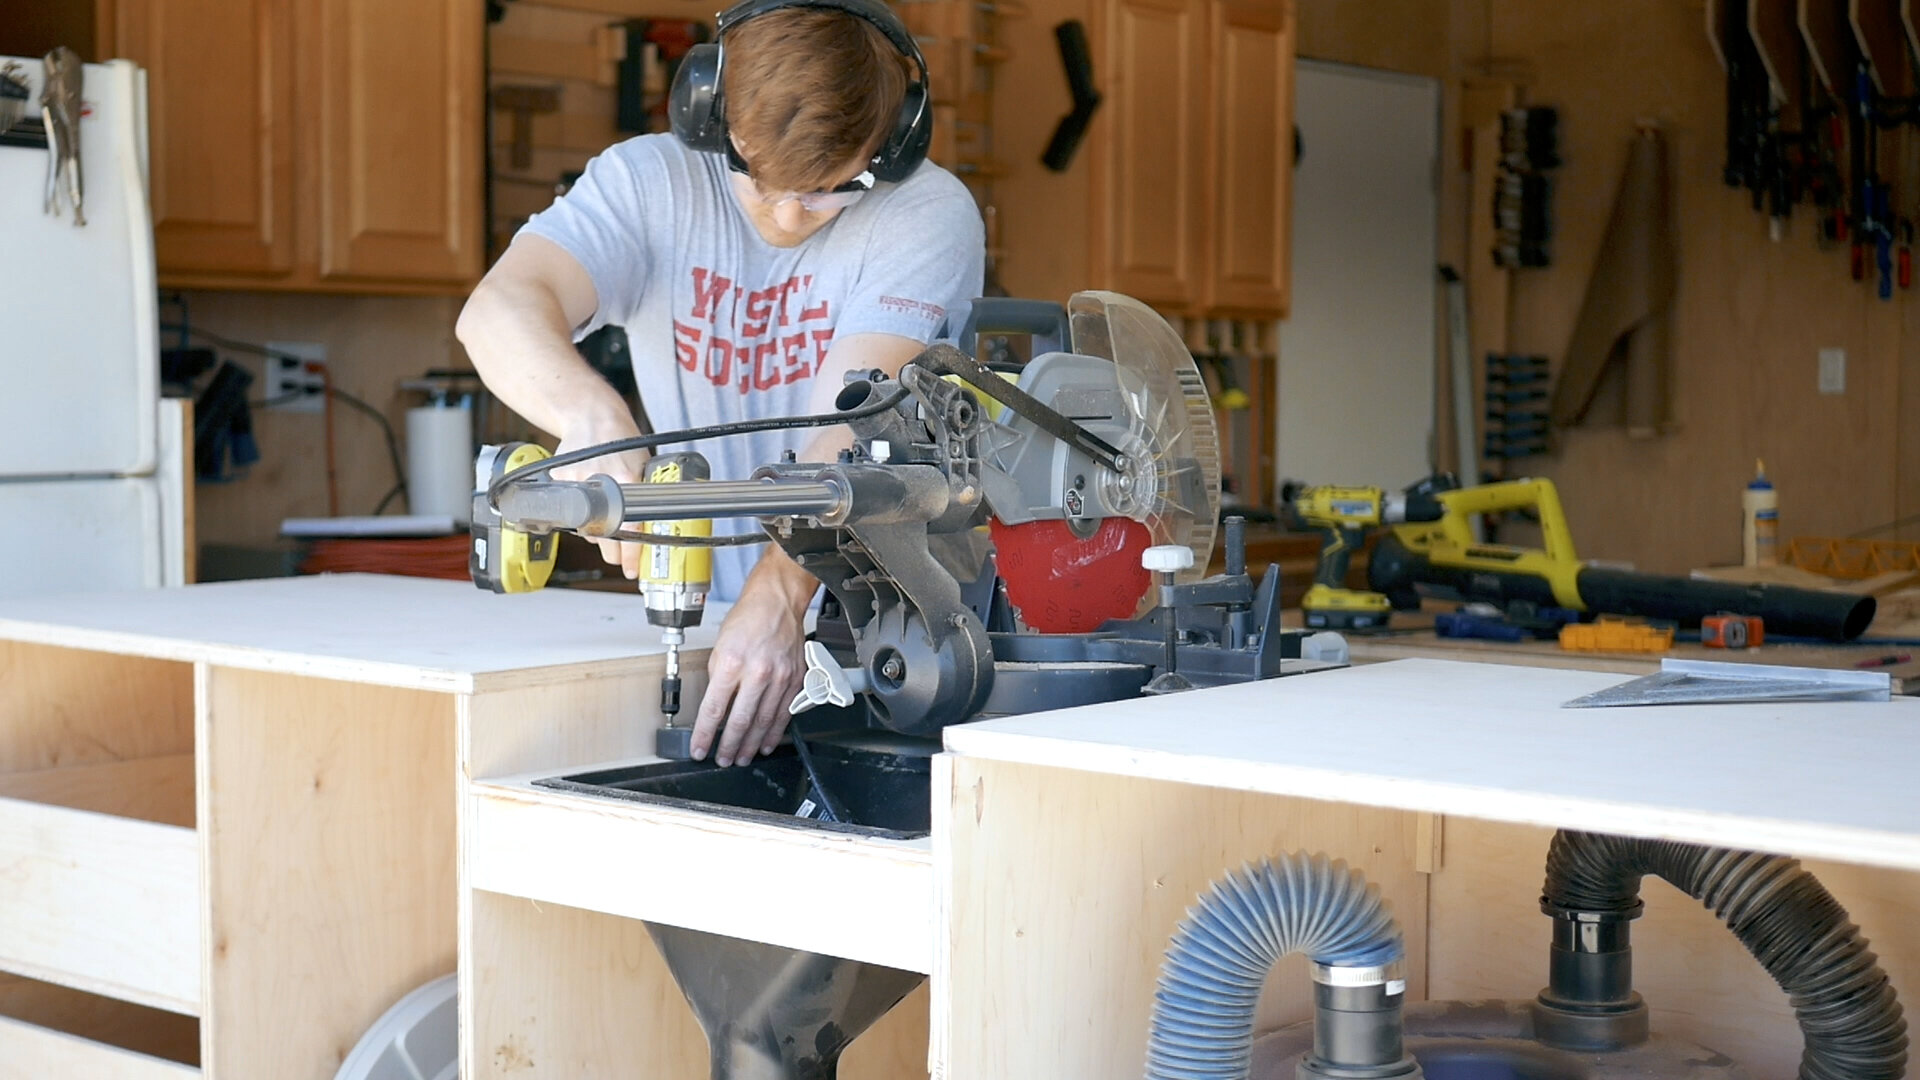
After assembling the framing, I turned my attention to building the base that would hold the miter saw. Now, I should add, the framing of my design and the base for the saw are both designed to fit my saw width. I actually ended up getting a new saw in the process of making this and had to go back and make the space wider to accompany the new saw. Since this isn’t a flexible system, that meant moving the framing of my plywood out (basically redoing part of the previous step).
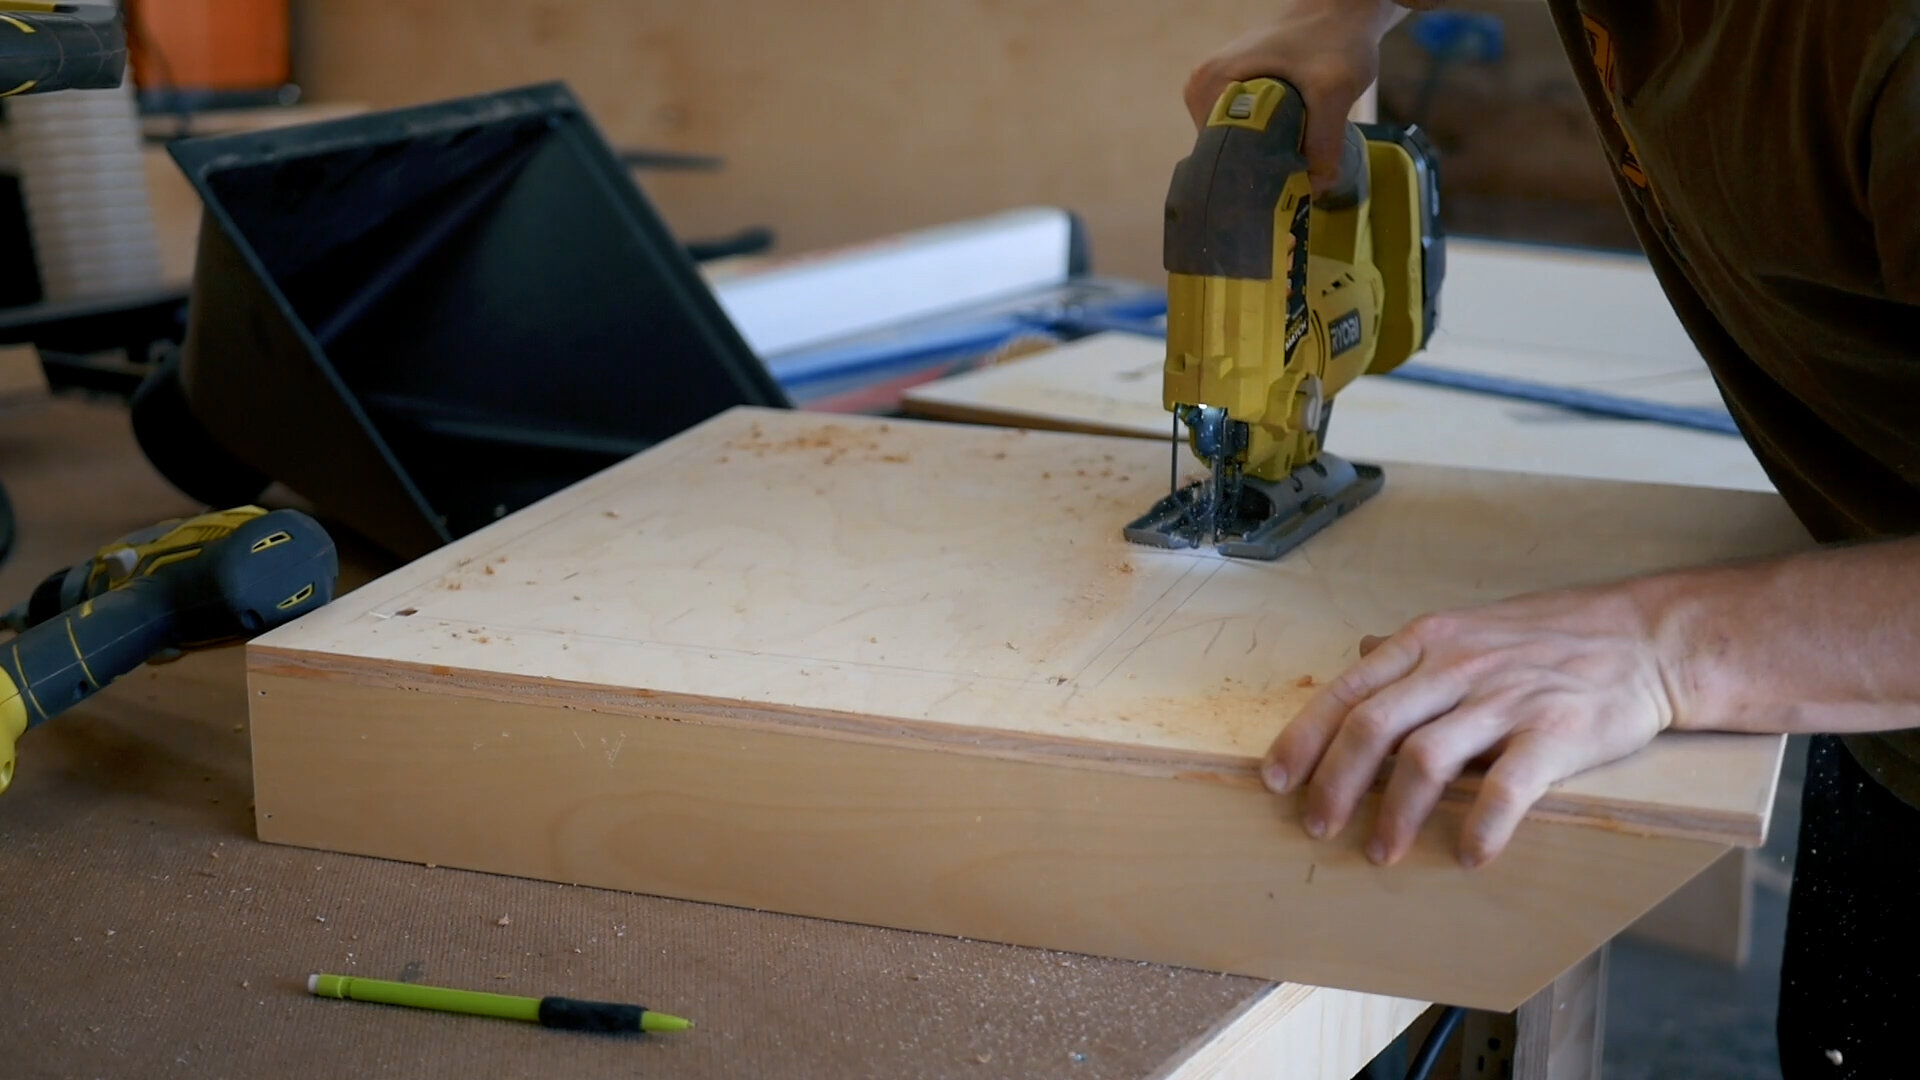
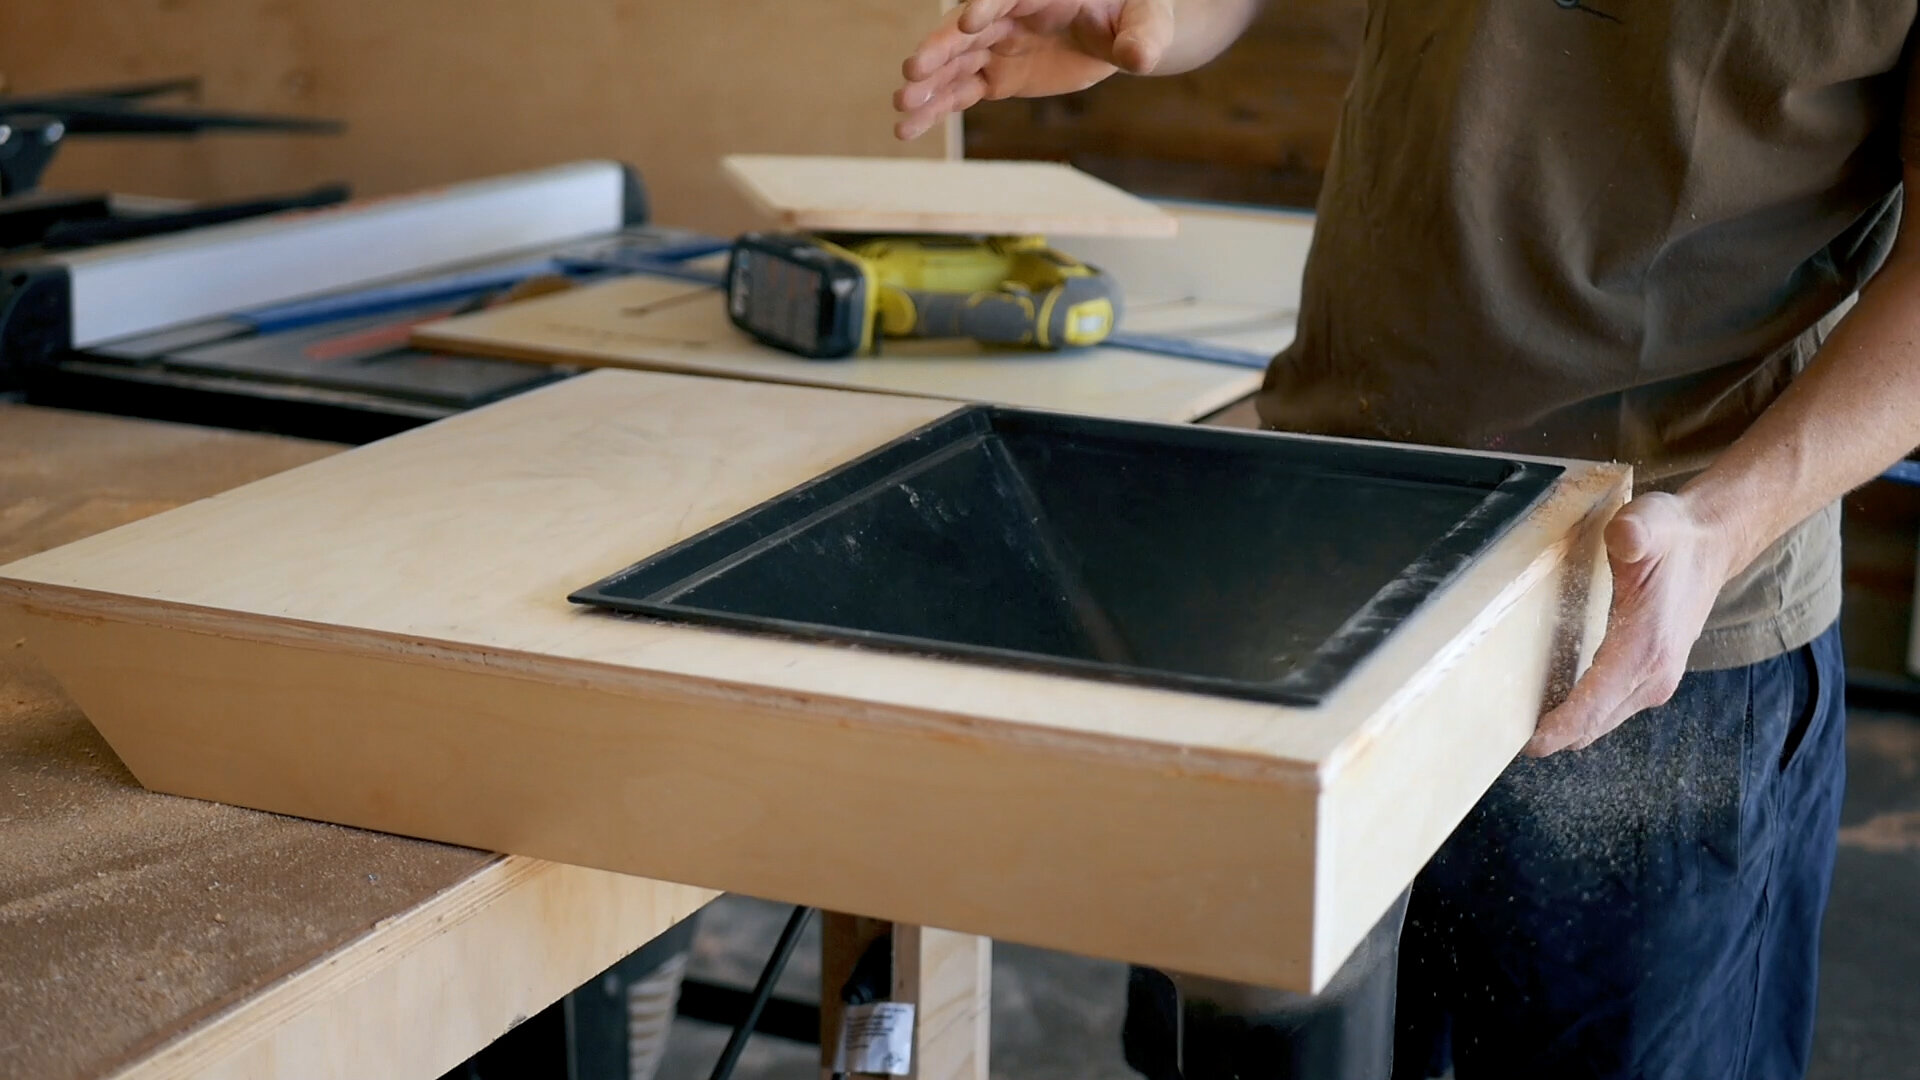
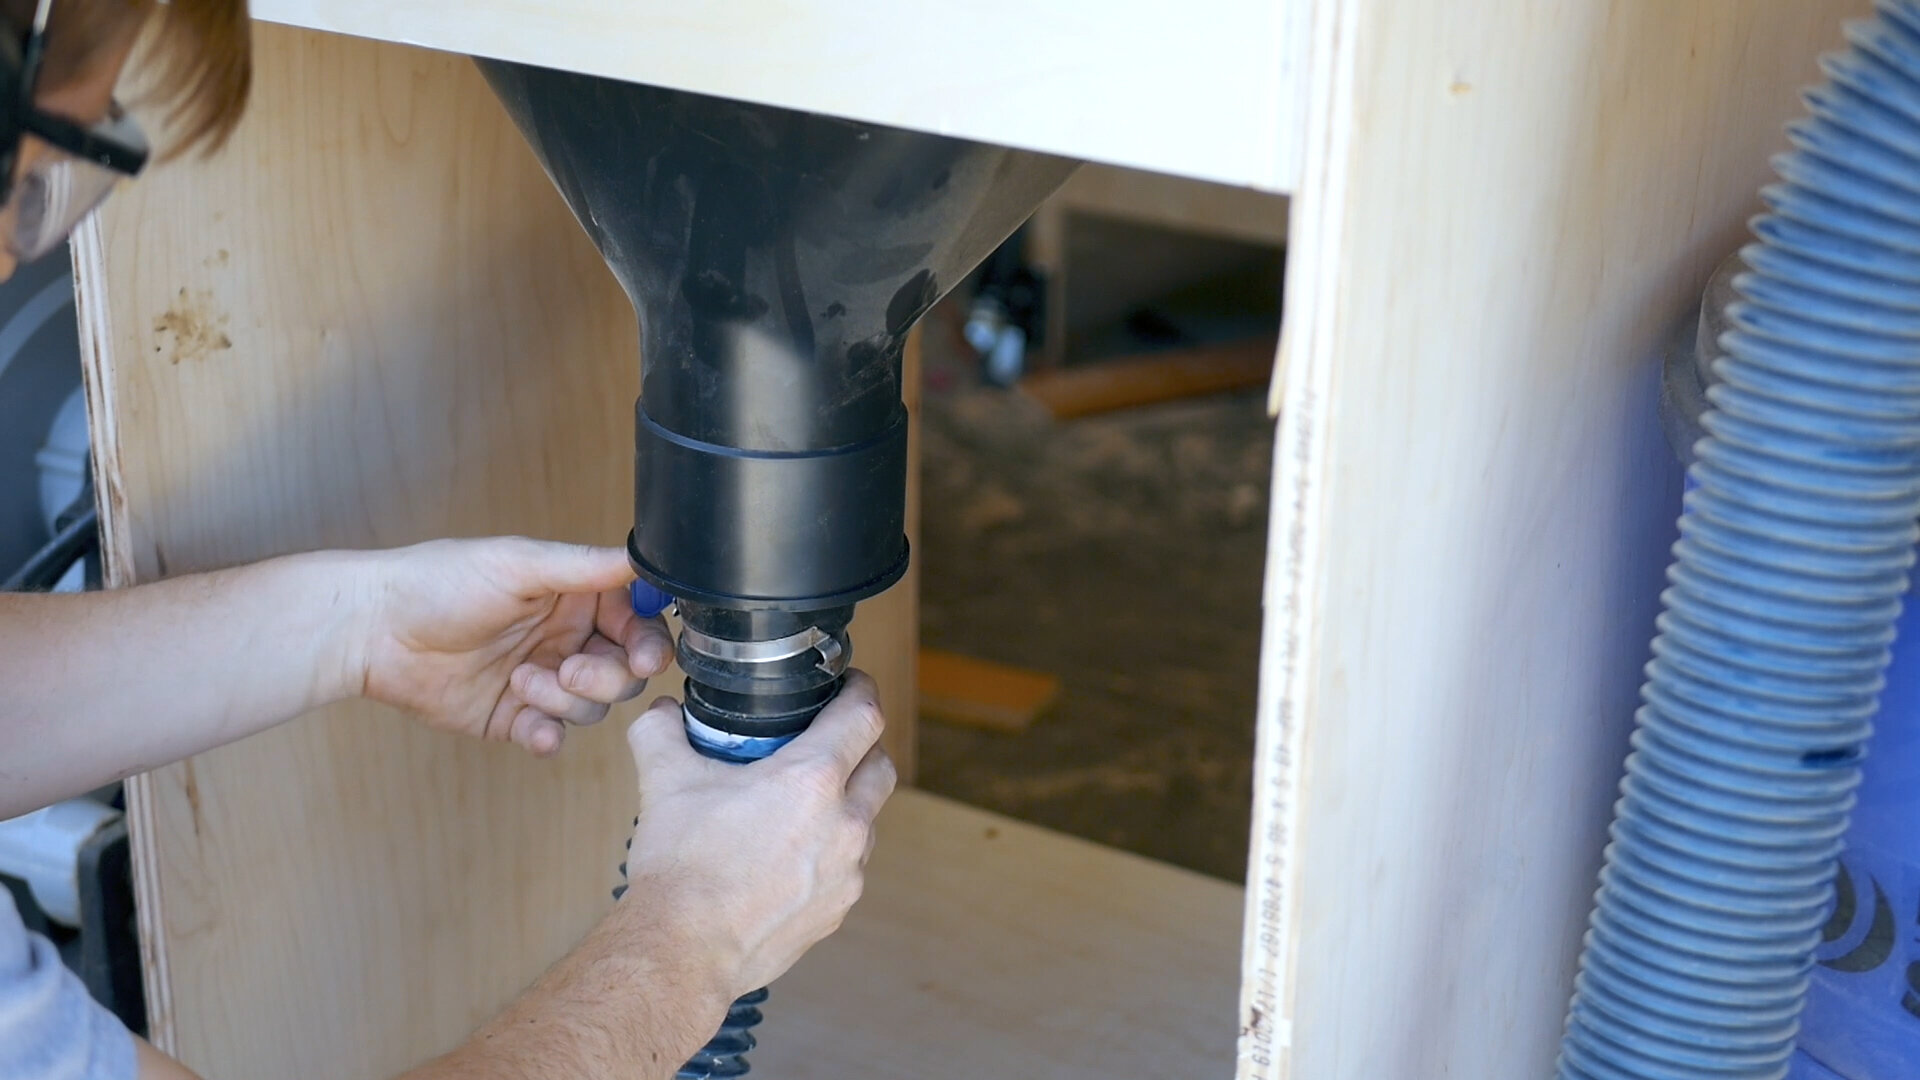
Before completing, I cut out a gap in the base and inserted a large dust port from Rockler that could catch dust that shot out the back. This later would be hooked up to a self-contained dust collection system.
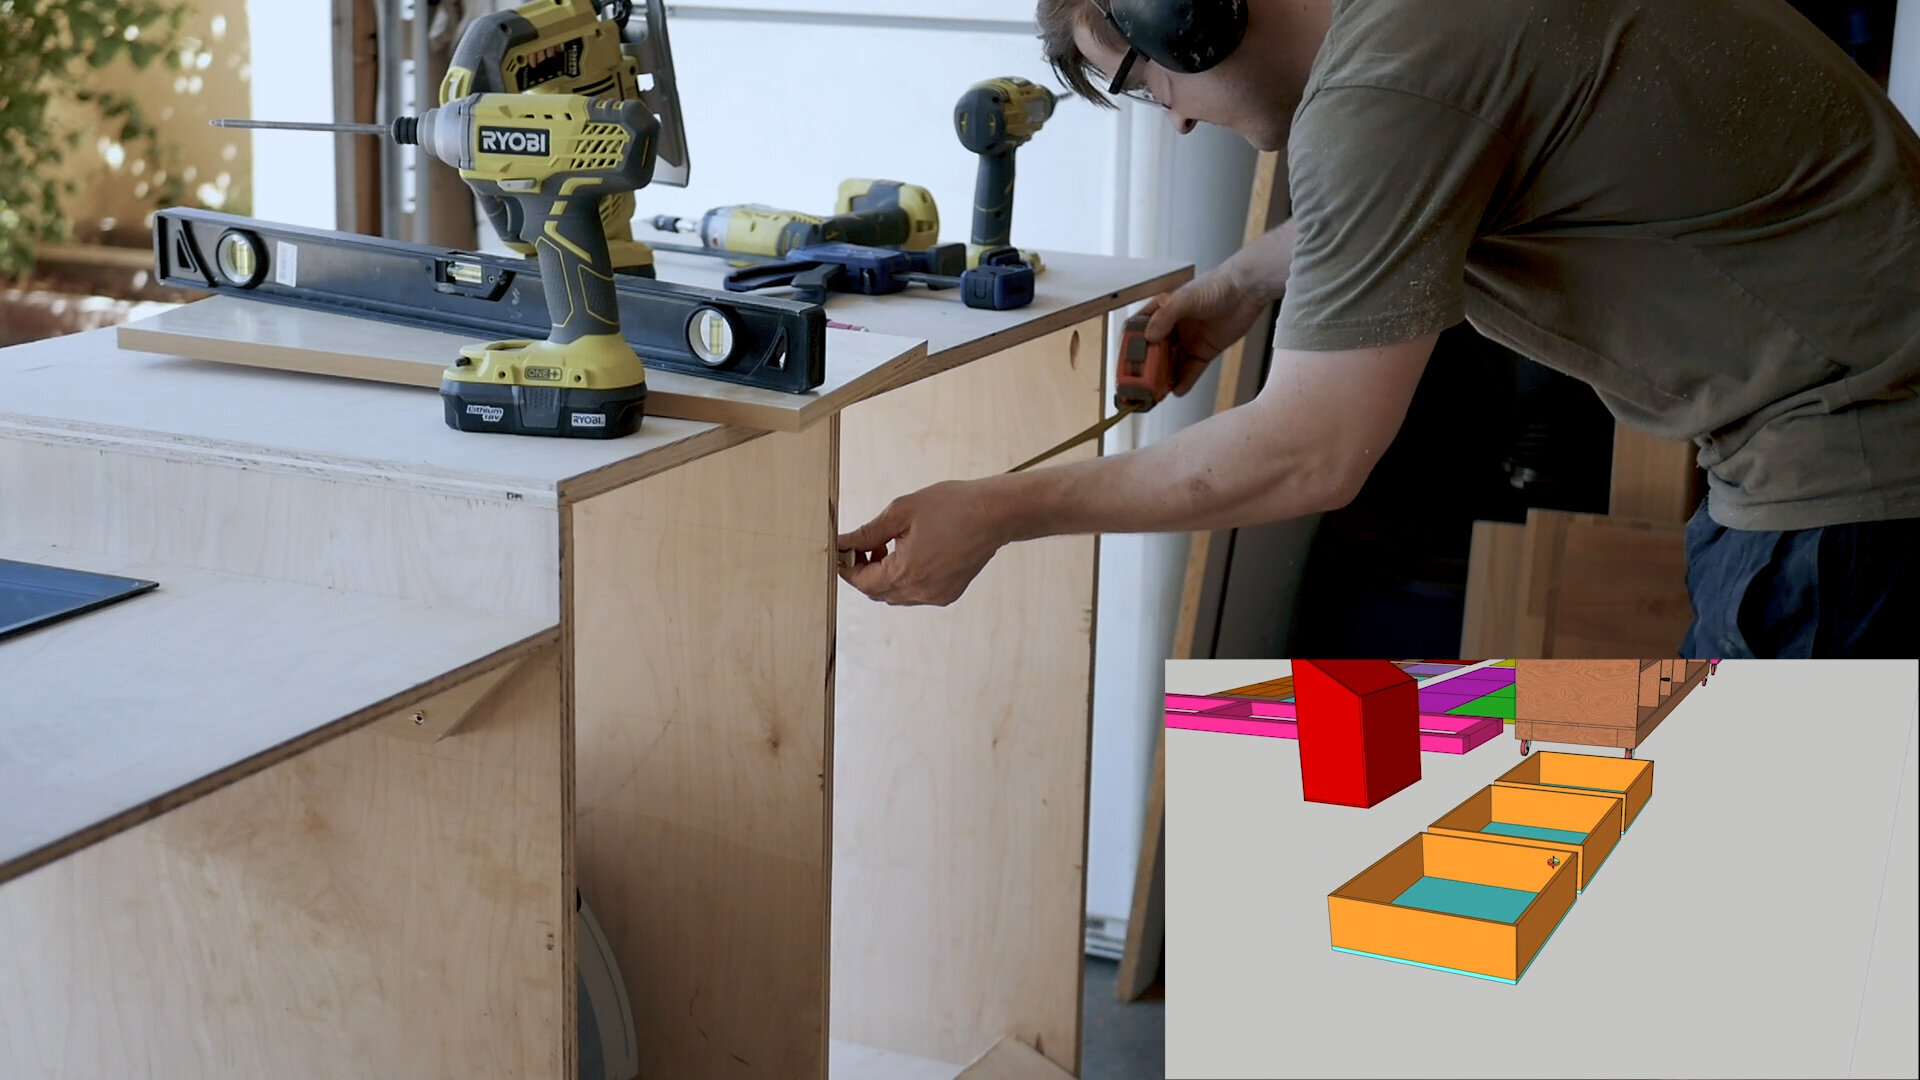

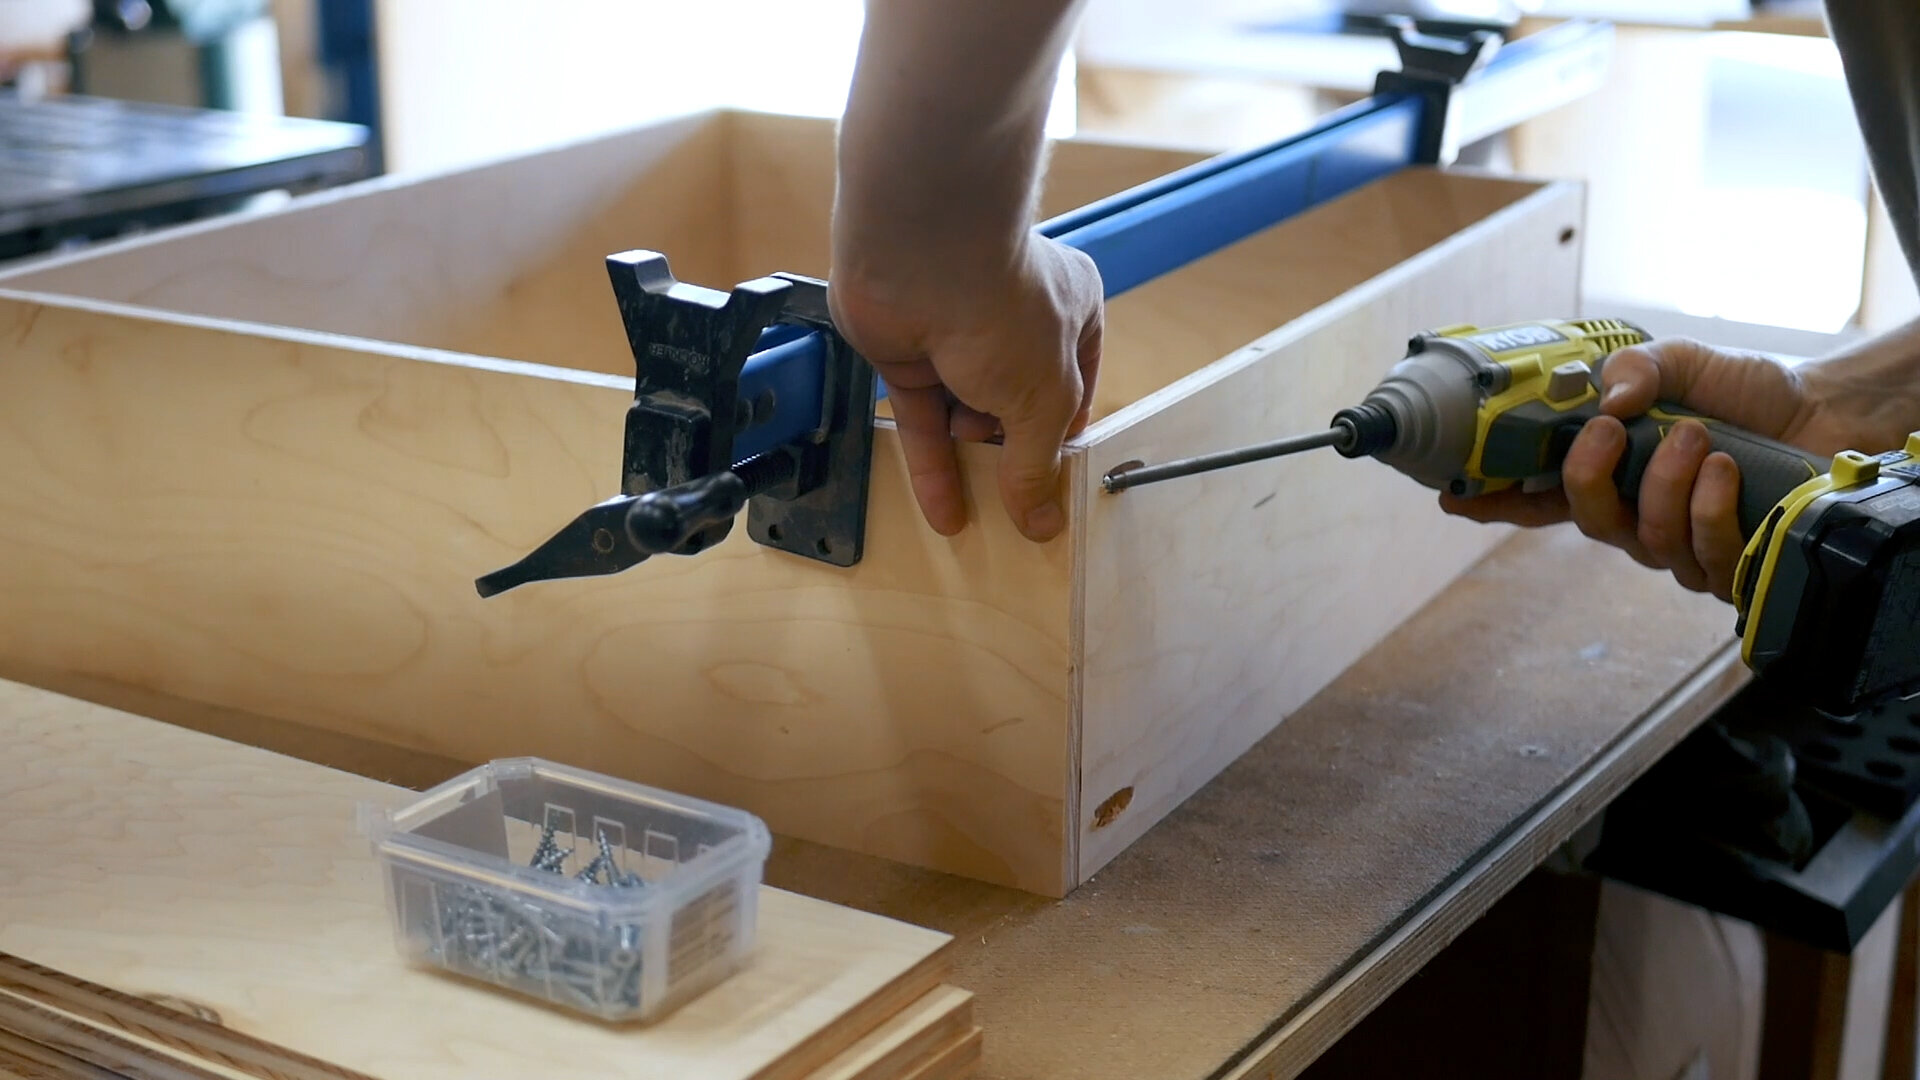
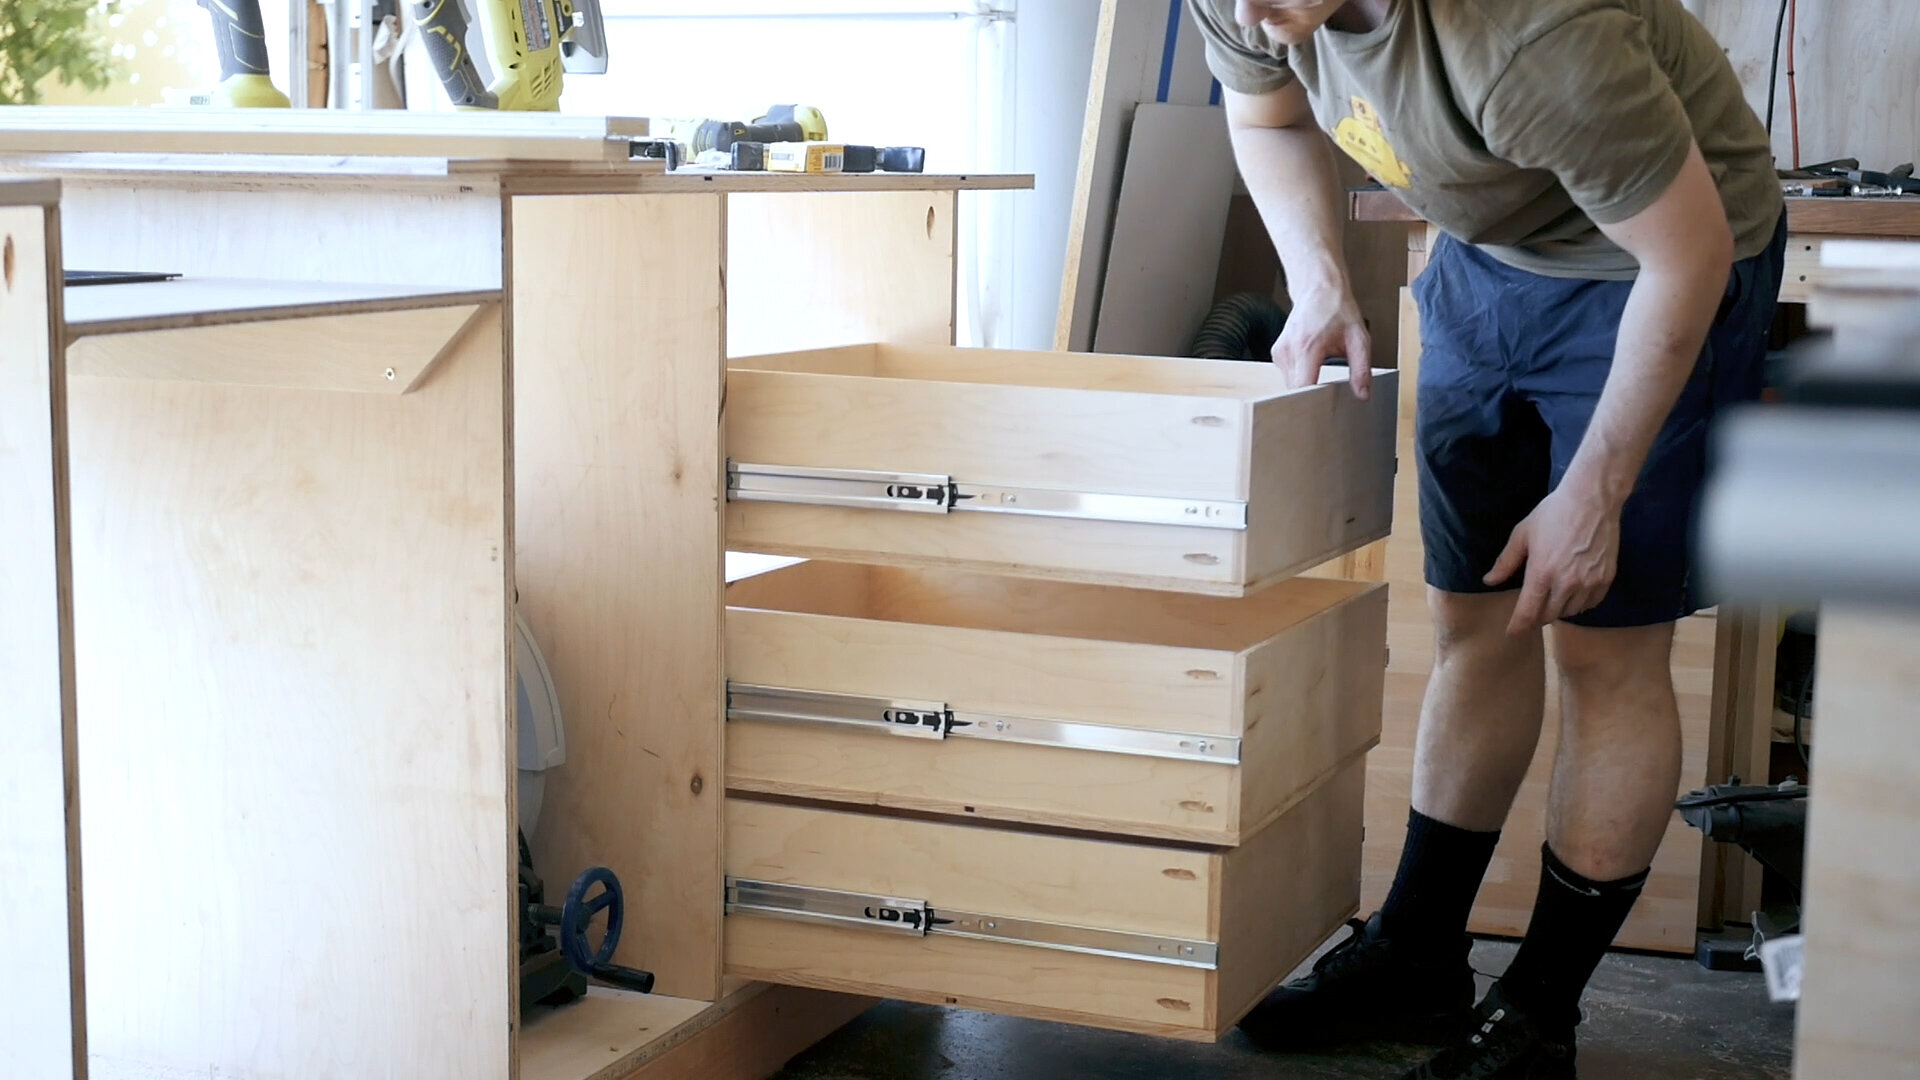
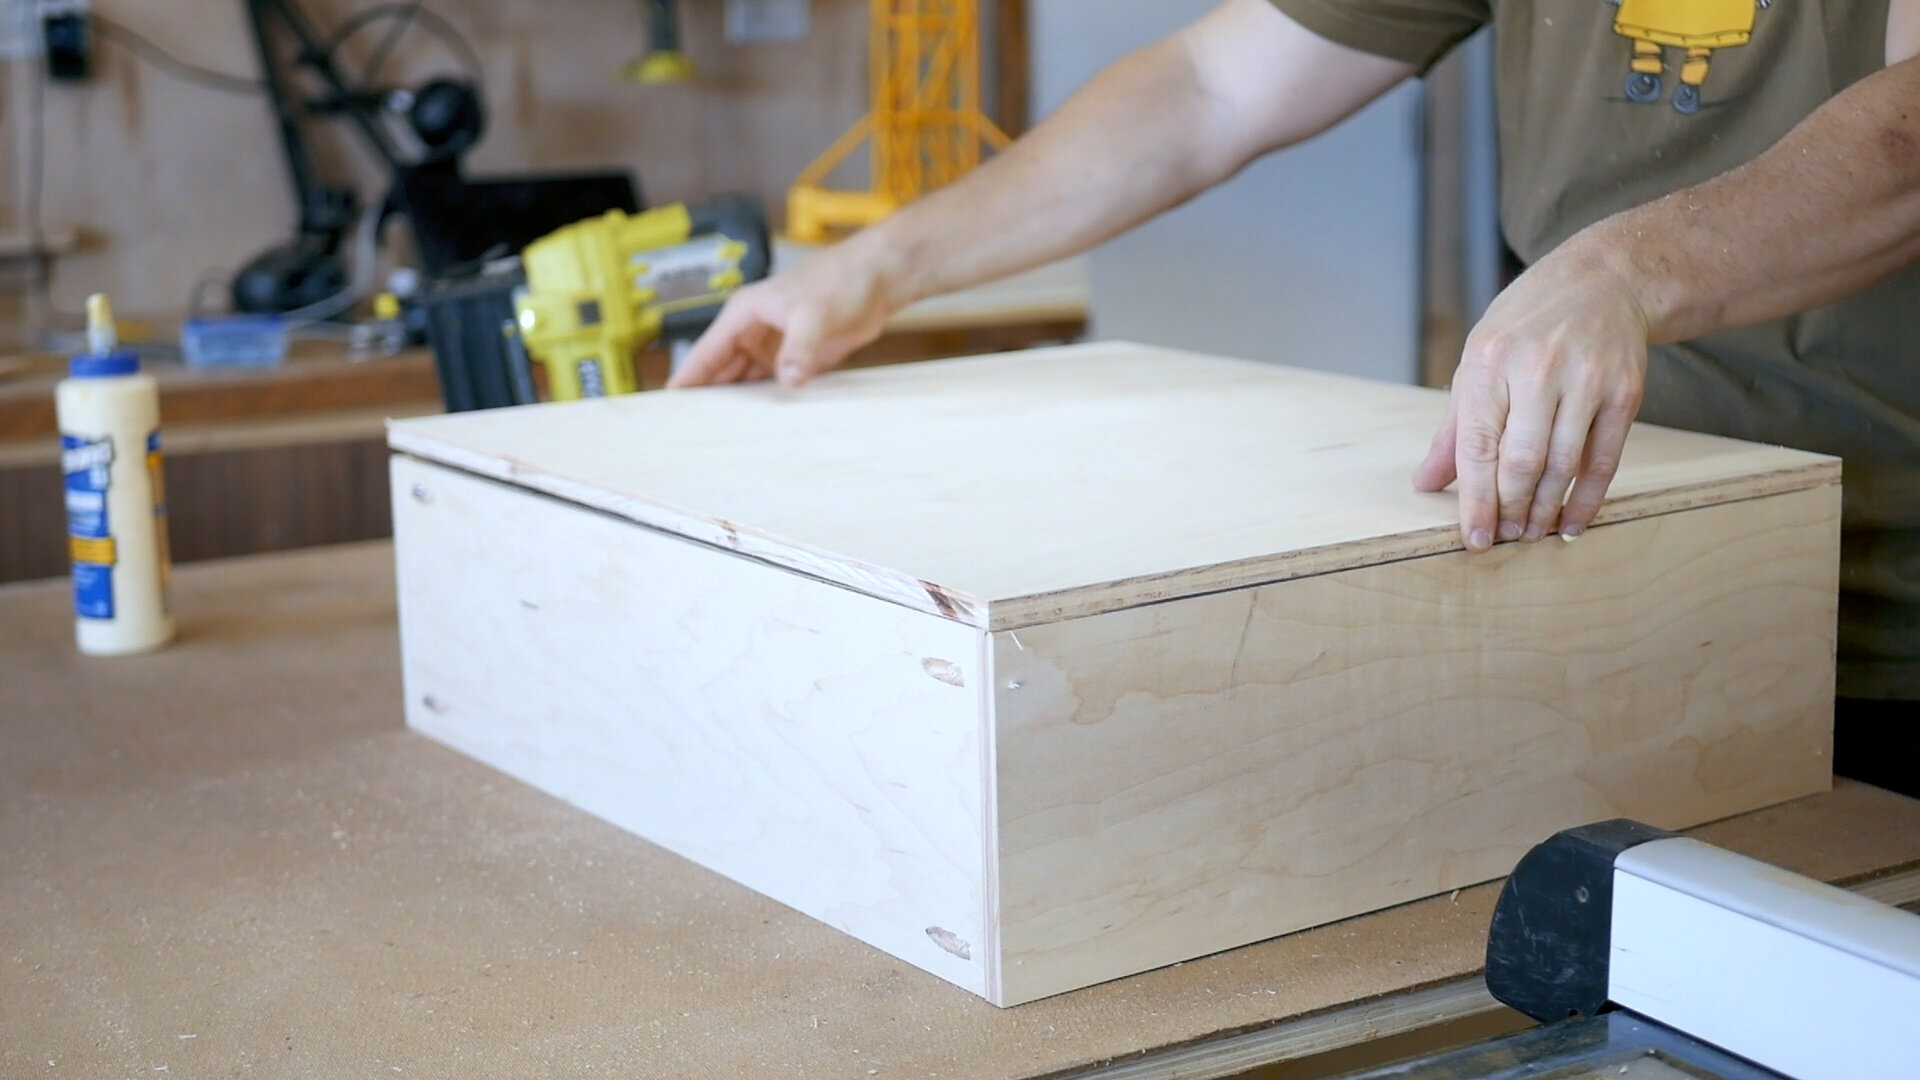
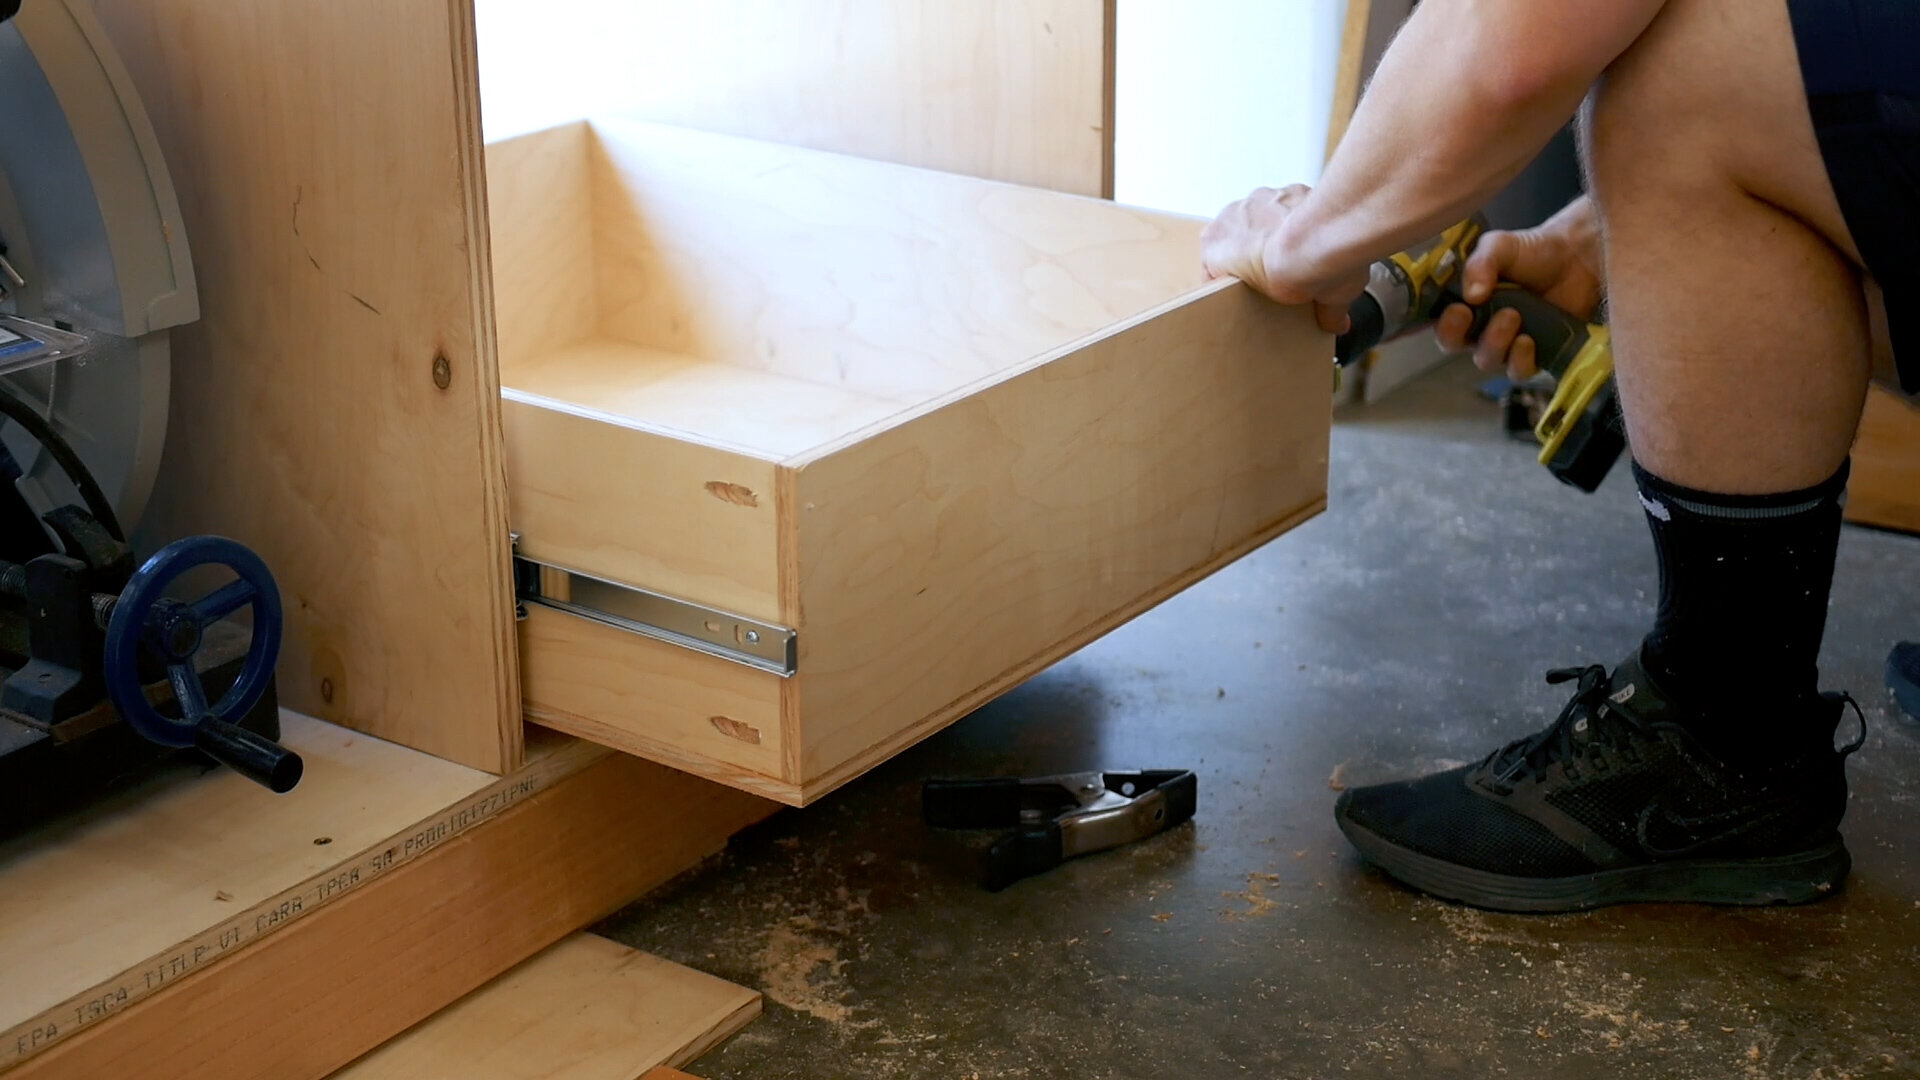
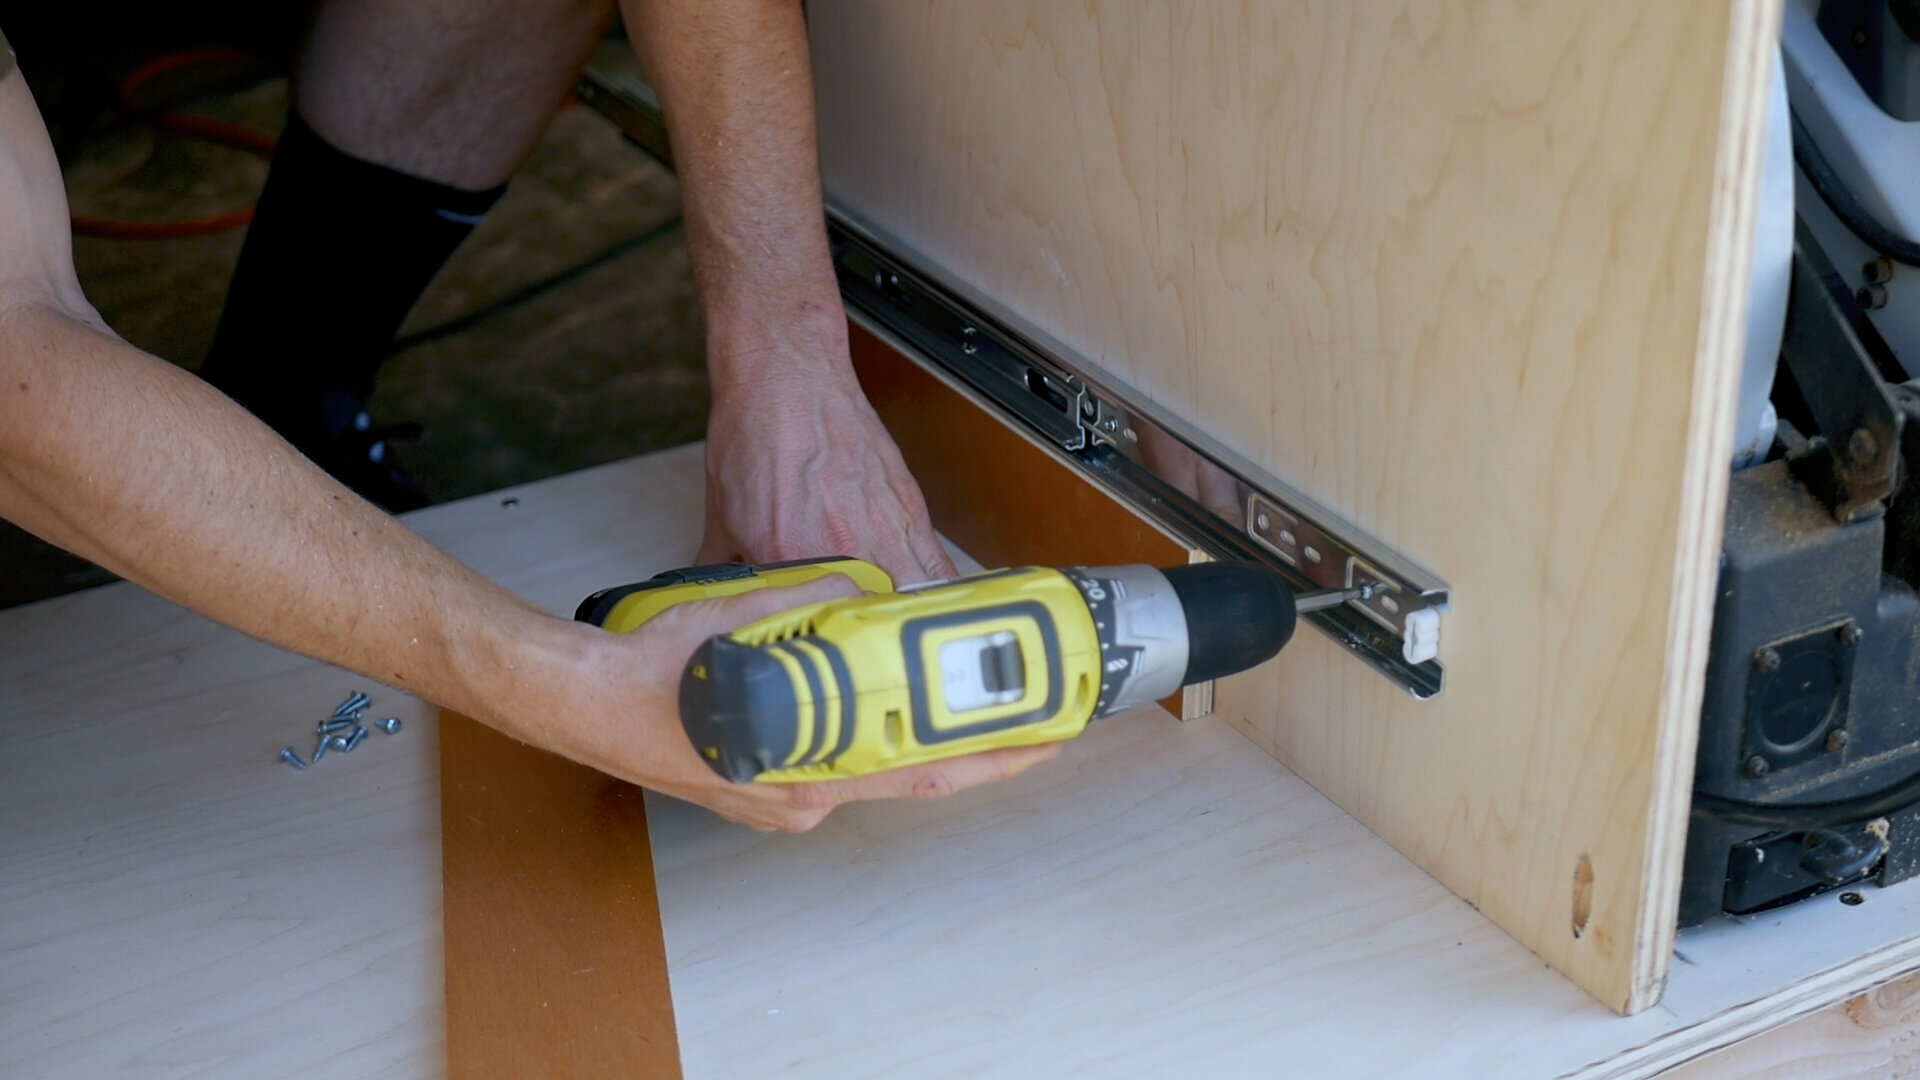
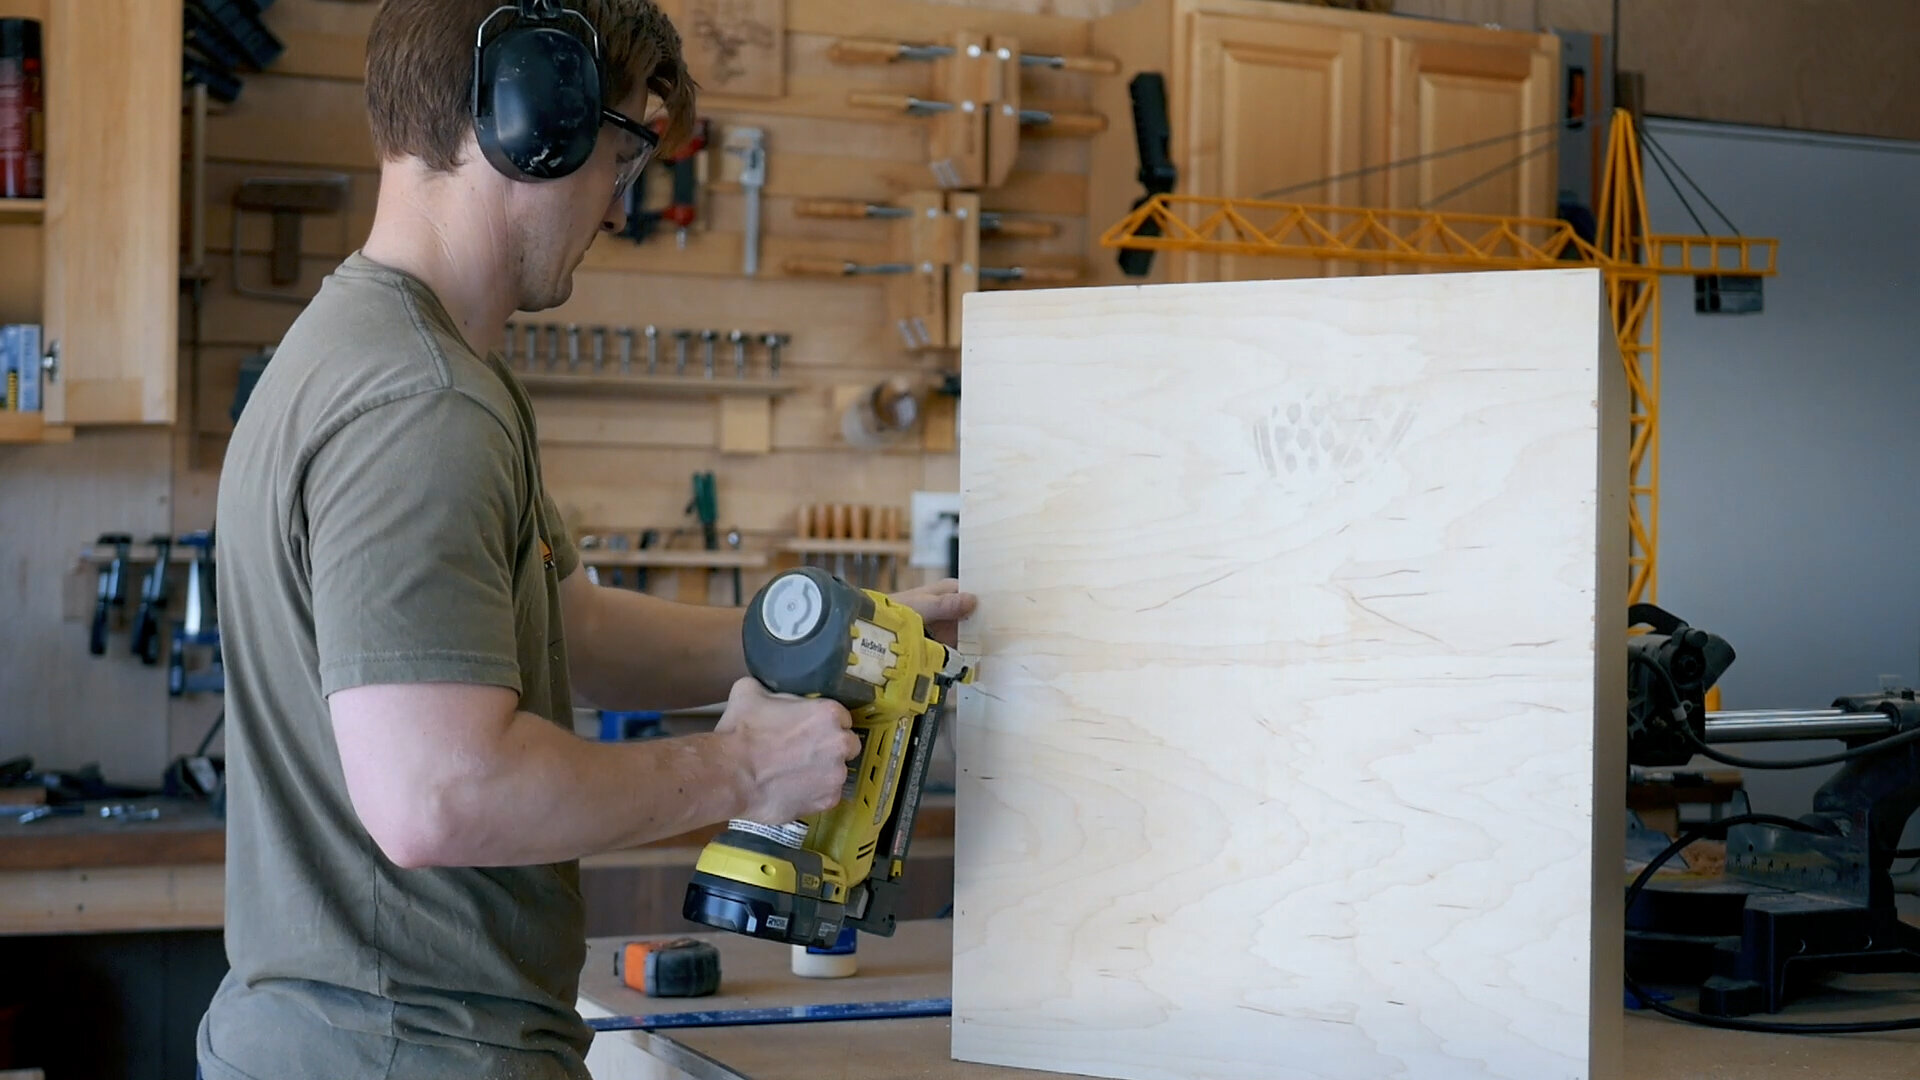
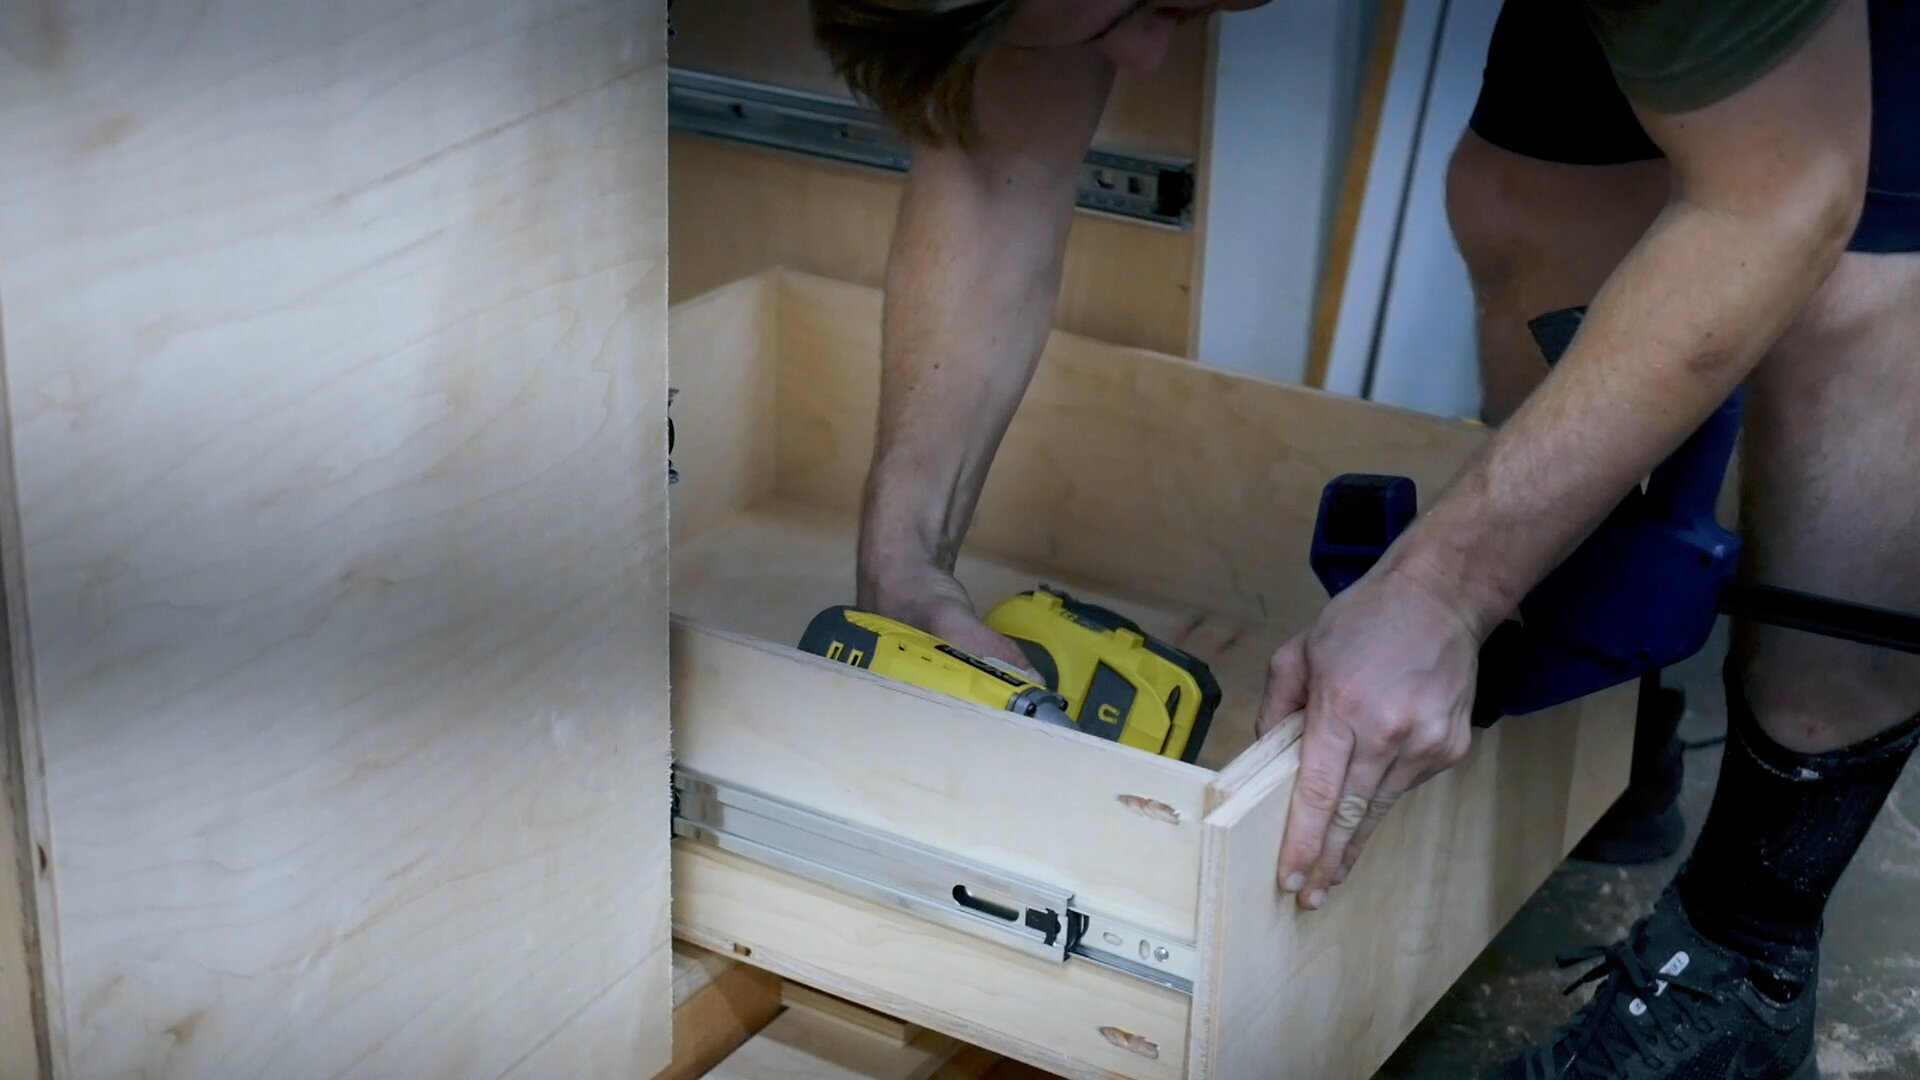
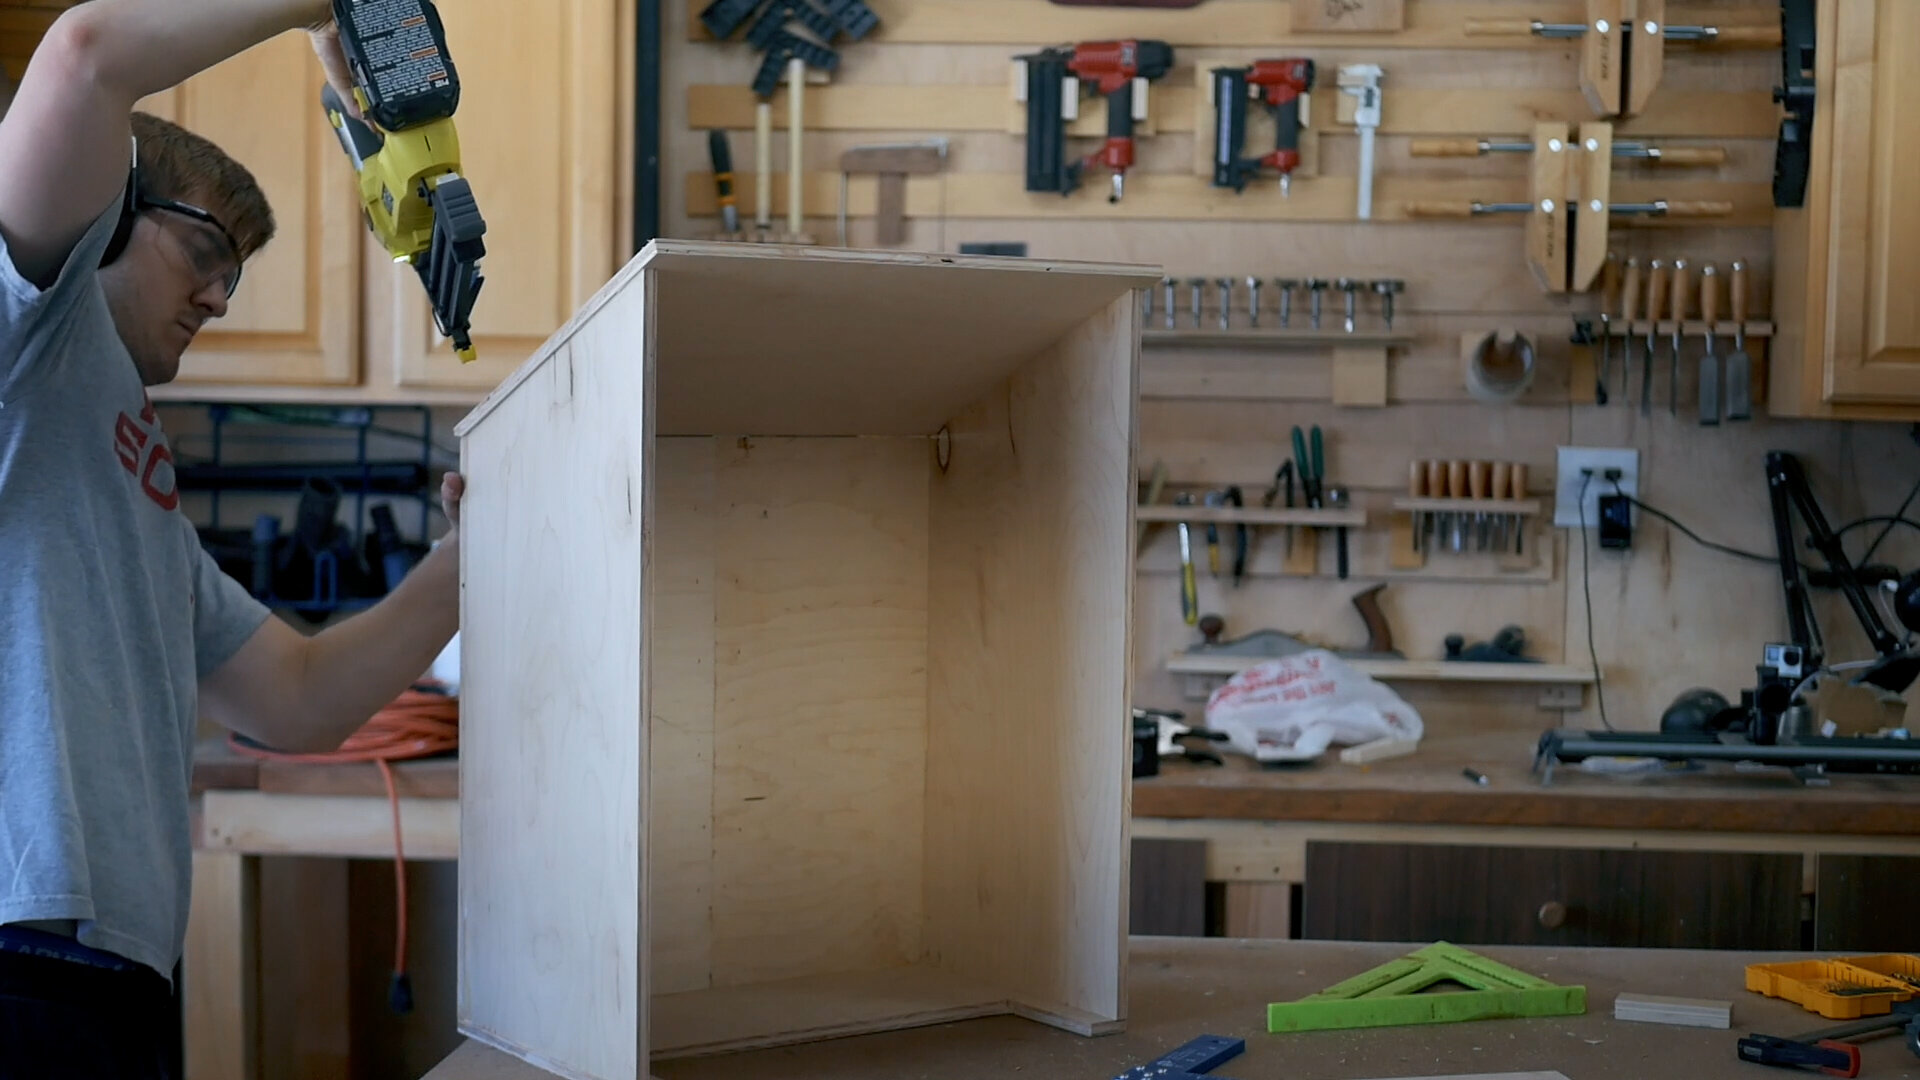
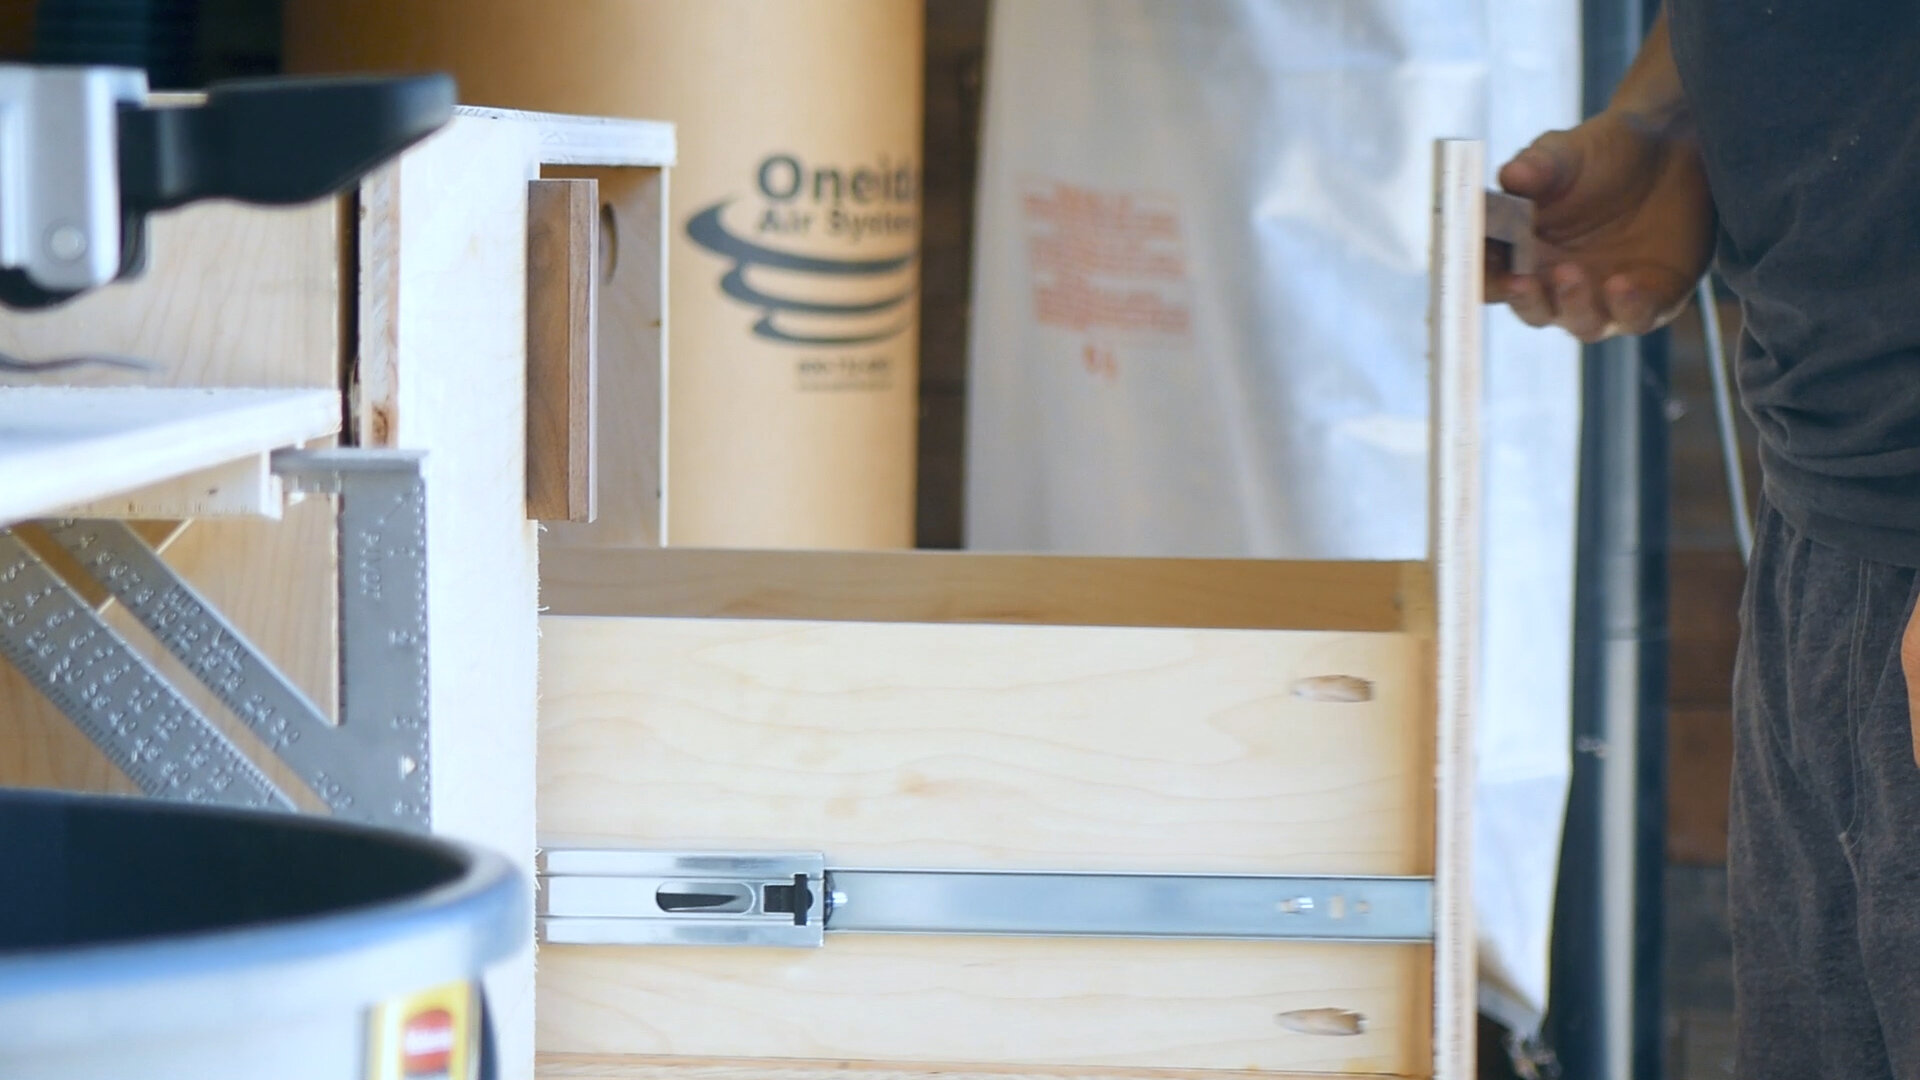
Next came the three sets of drawers. Following my model again, I ripped up the next set of plywood on the table saw, drilled out my pocketholes, and assembled everything using pockethole screws, glue, and brad nails. I could then mark out where I wanted my drawers to go, install the drawer slides, and test out all three.
I chose to make the top drawer a very tall drawer so I could hold tall items like big bottles of glue. Feel free to do this however you want!
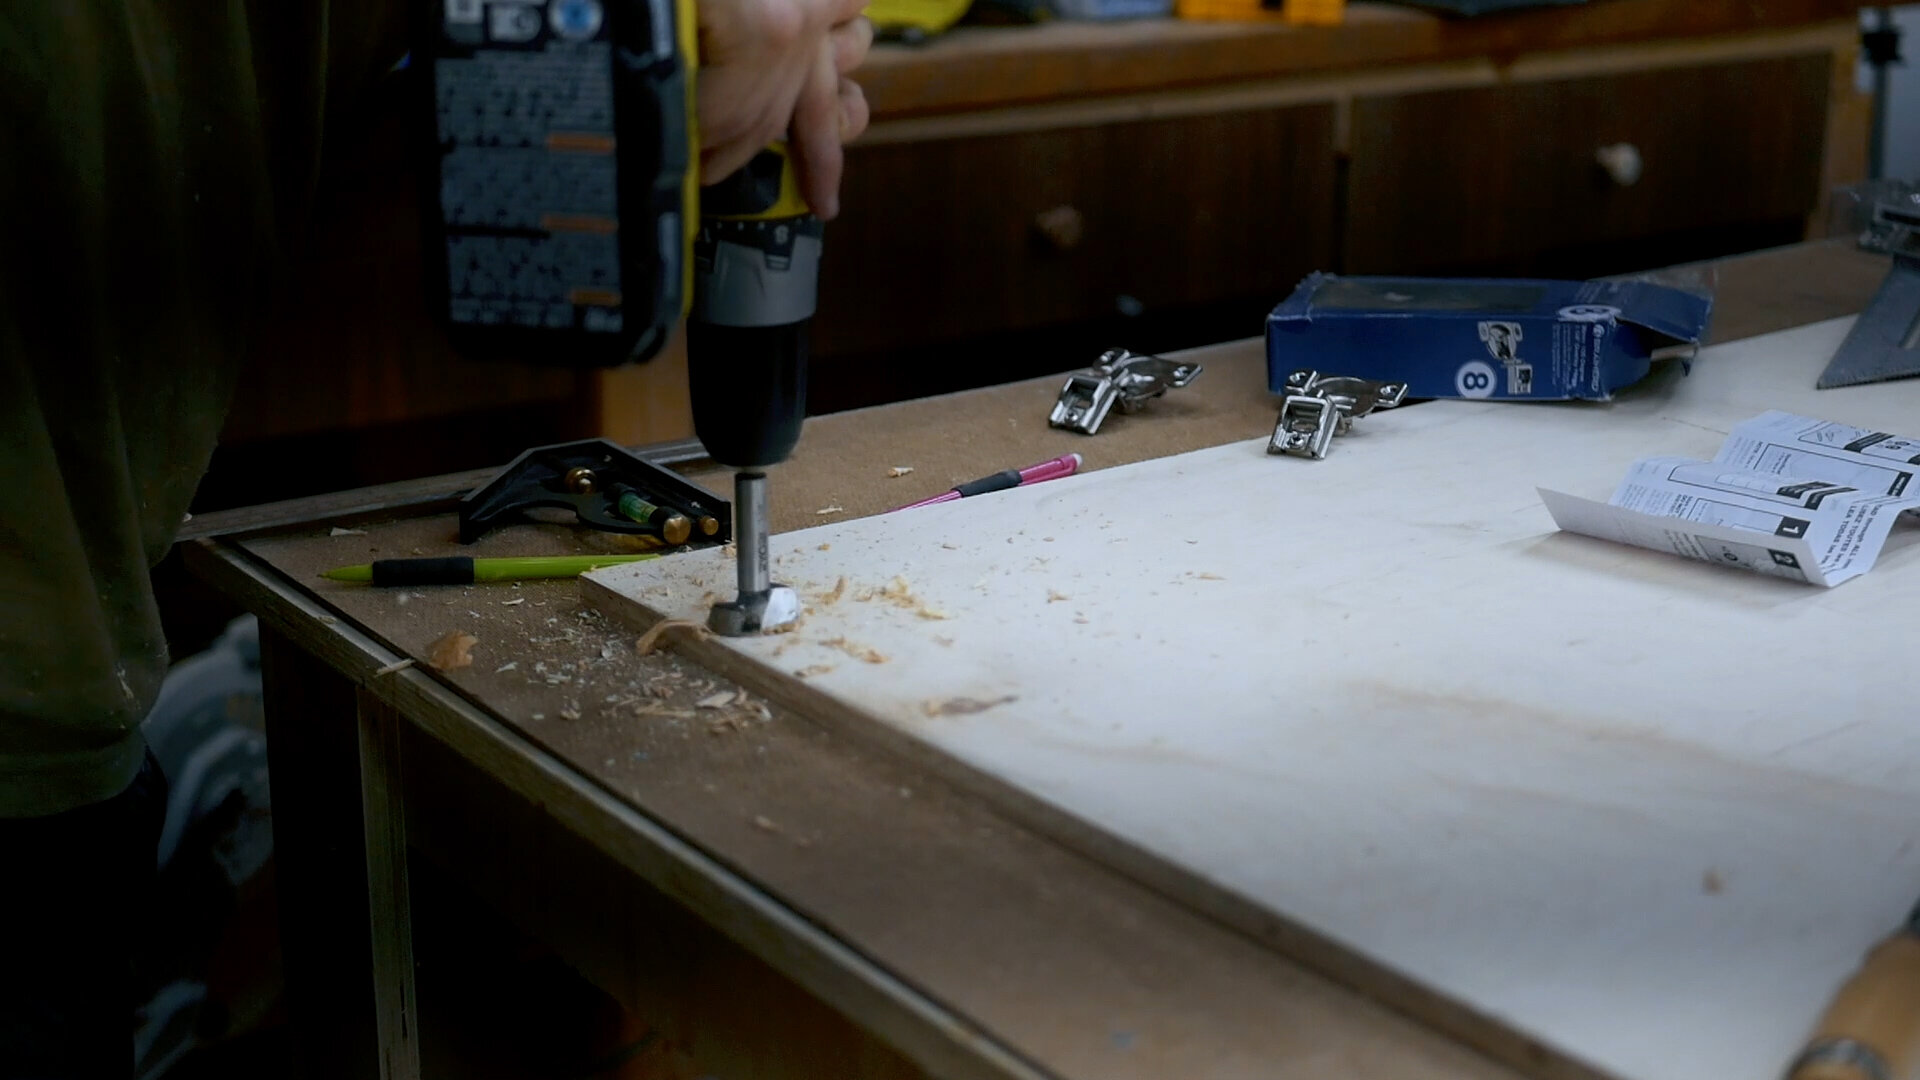
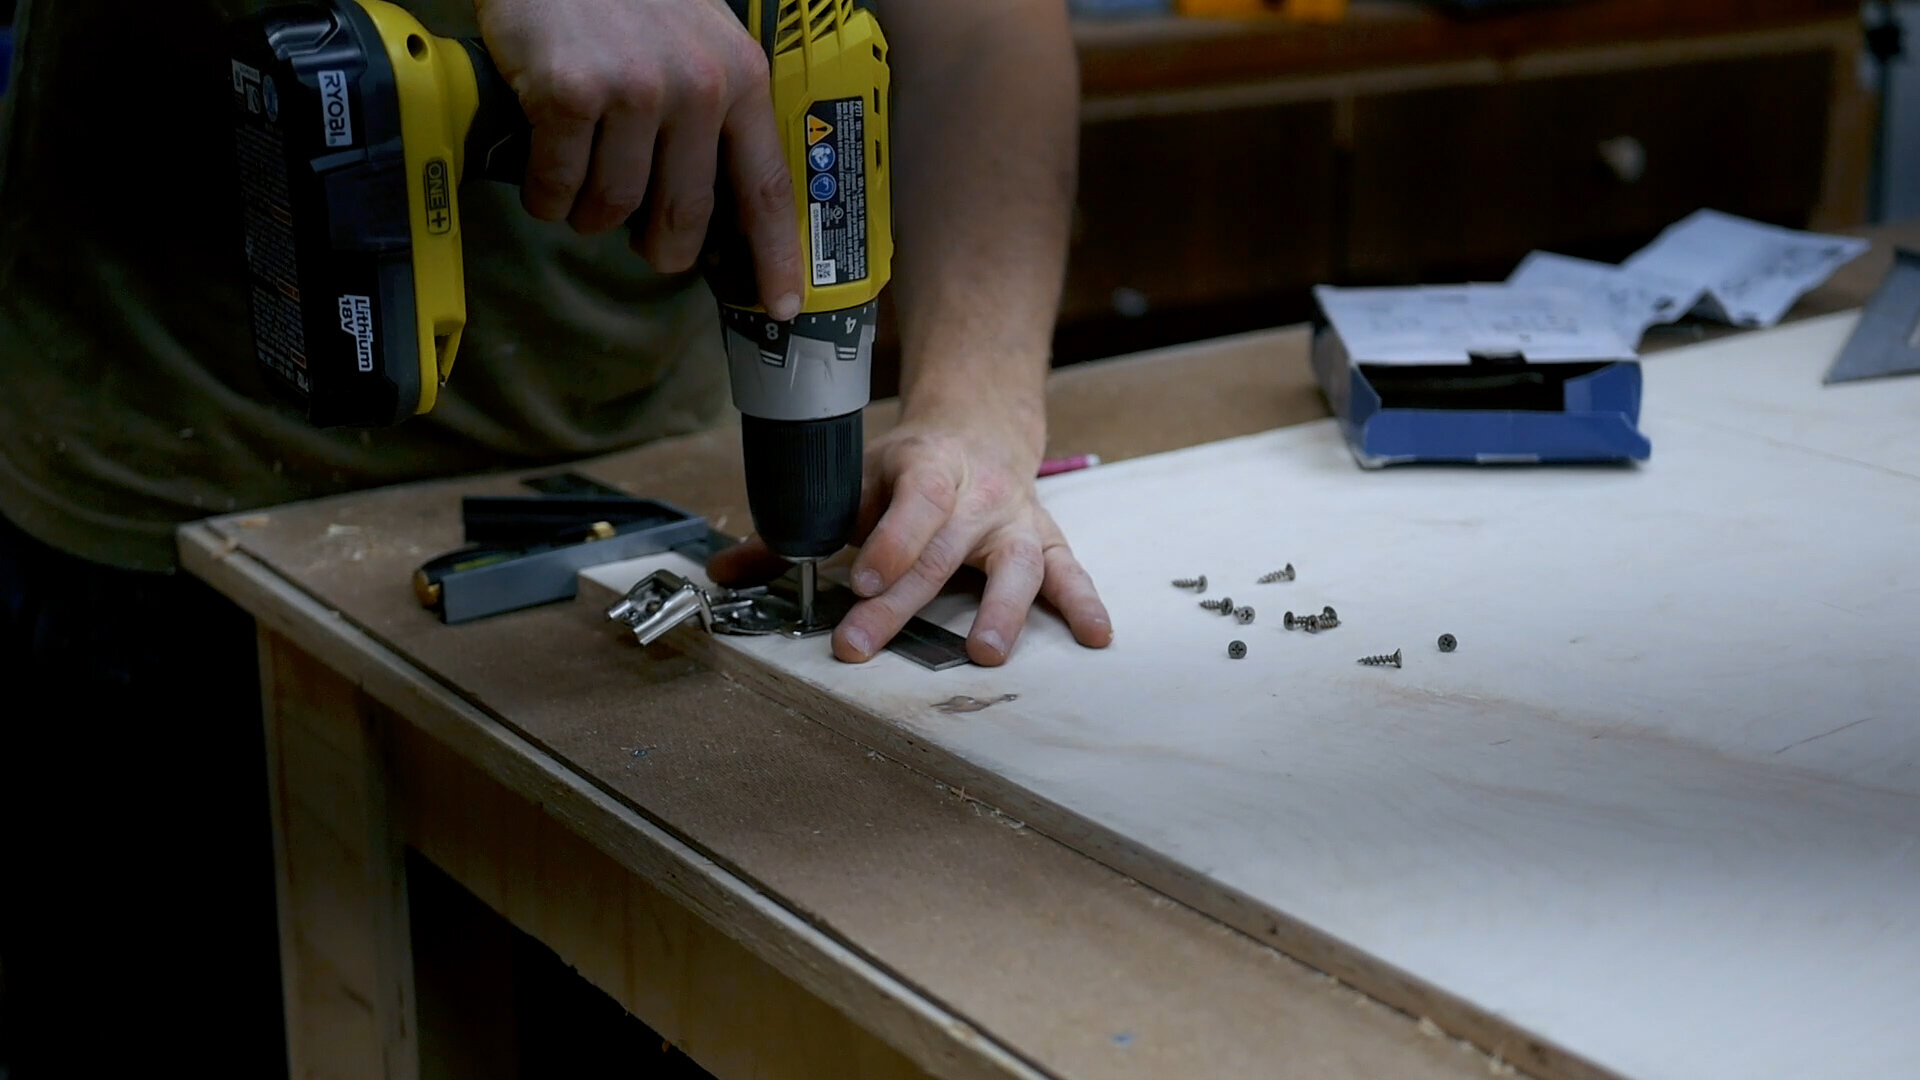
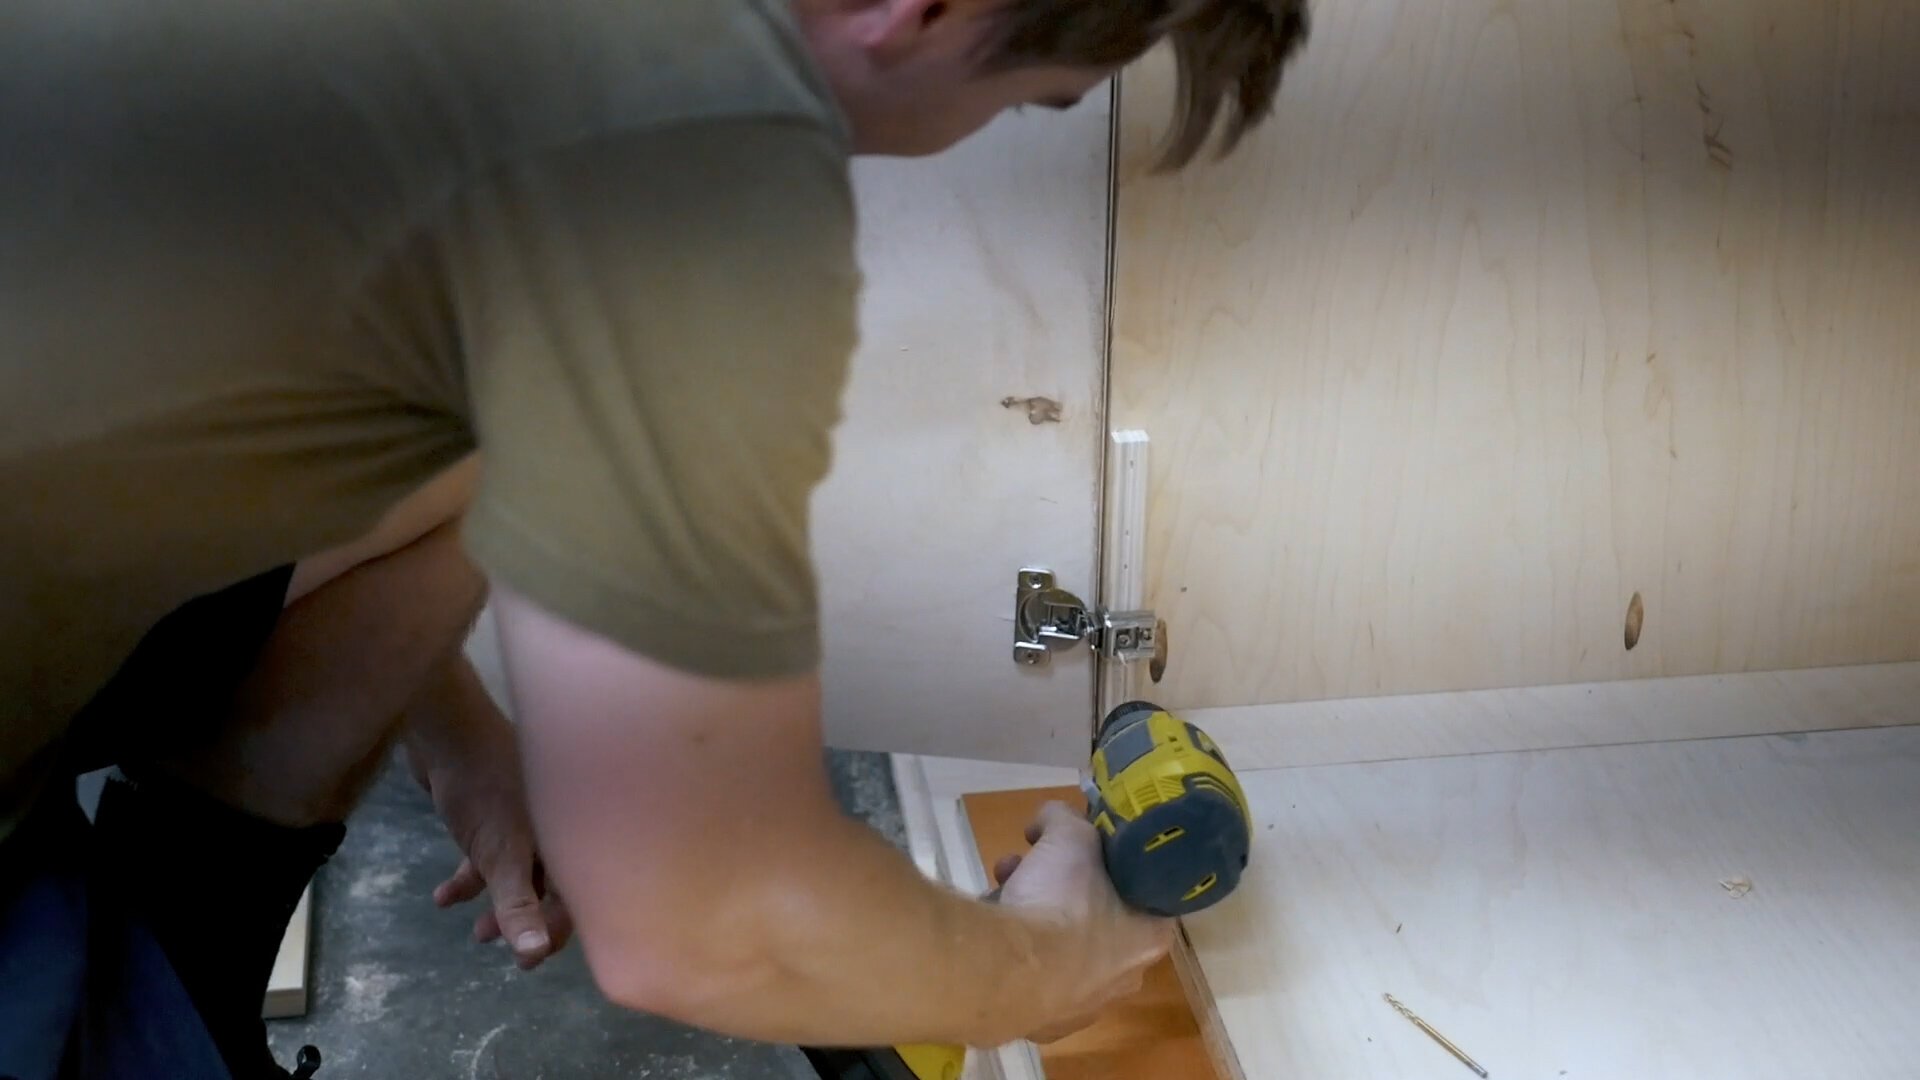
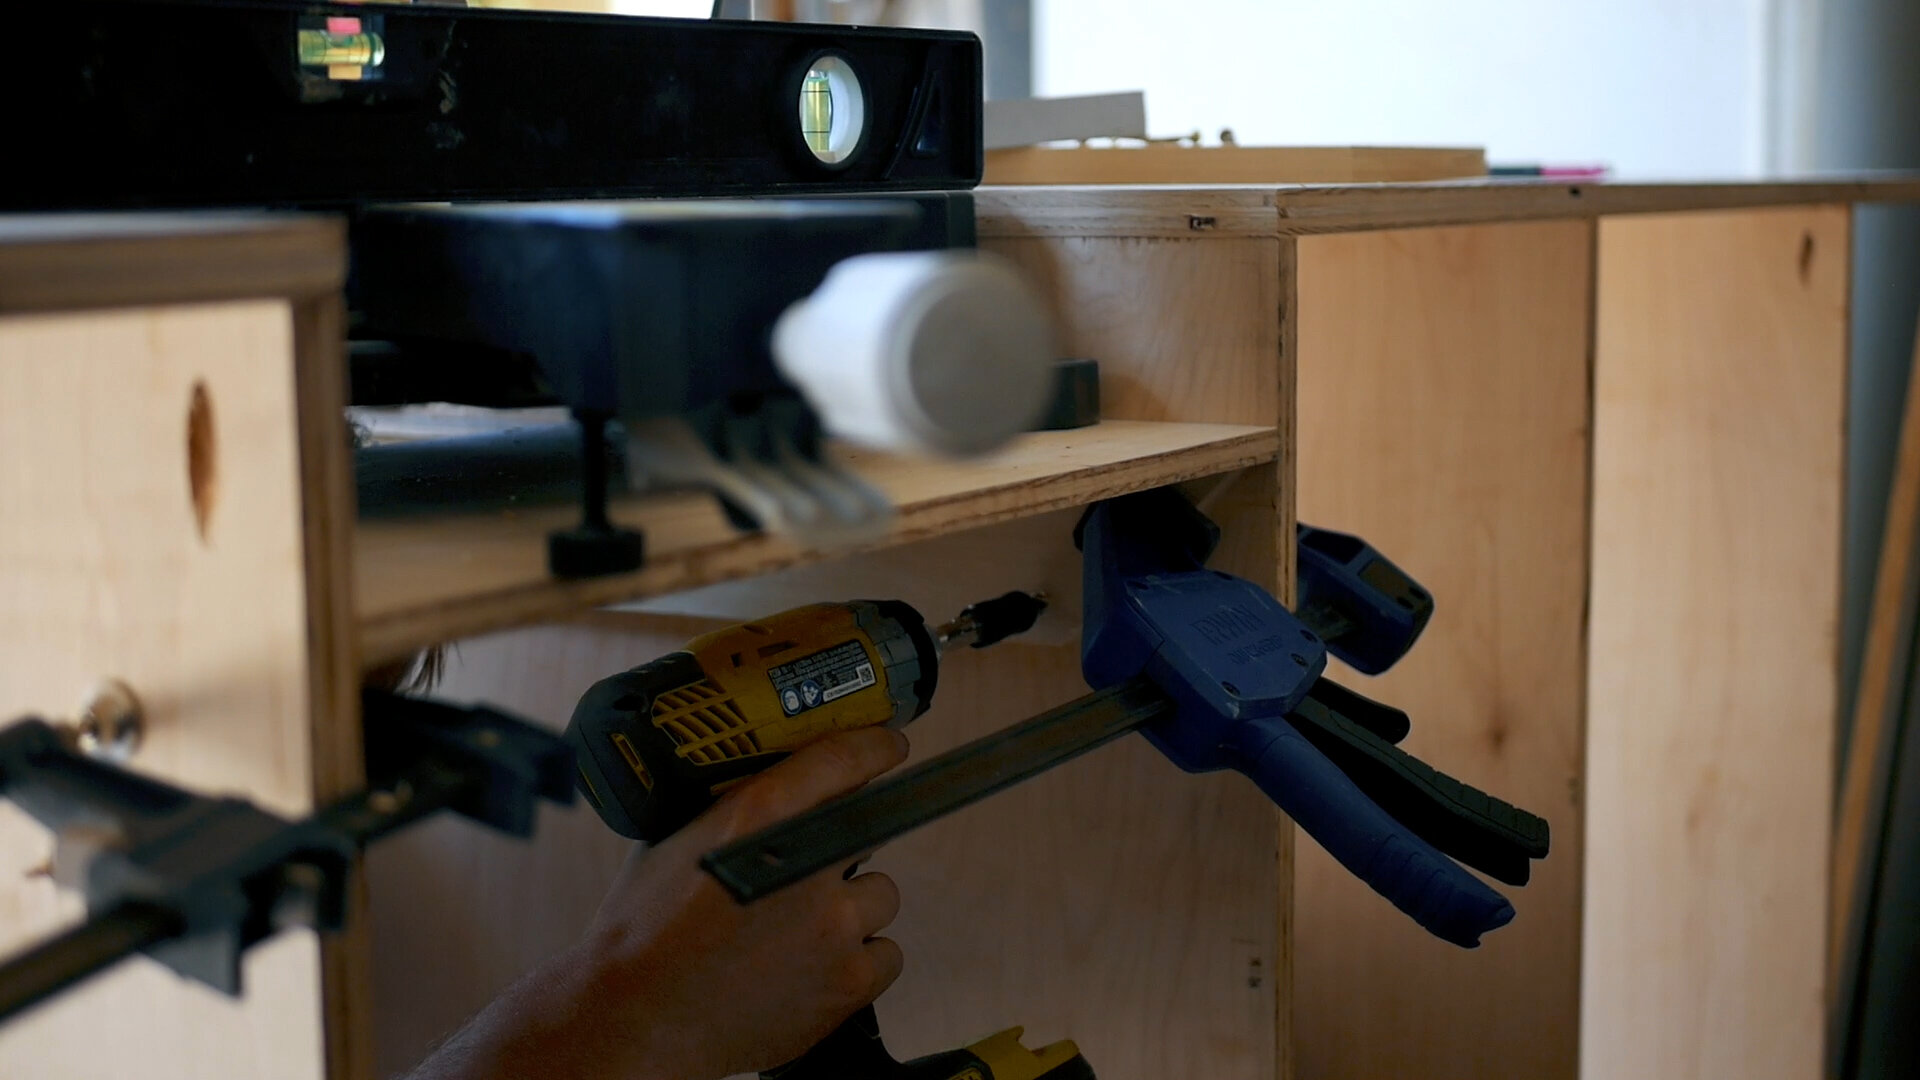
Next up were my two cabinets that would hold the dust collection system. These were made from 1/2” maple plywood that I had previously broken down on the table saw. The hinges could be installed using a forsner bit to recess them. I think Kreg makes a jig for this which I’d love to have, but it’s not necessary.
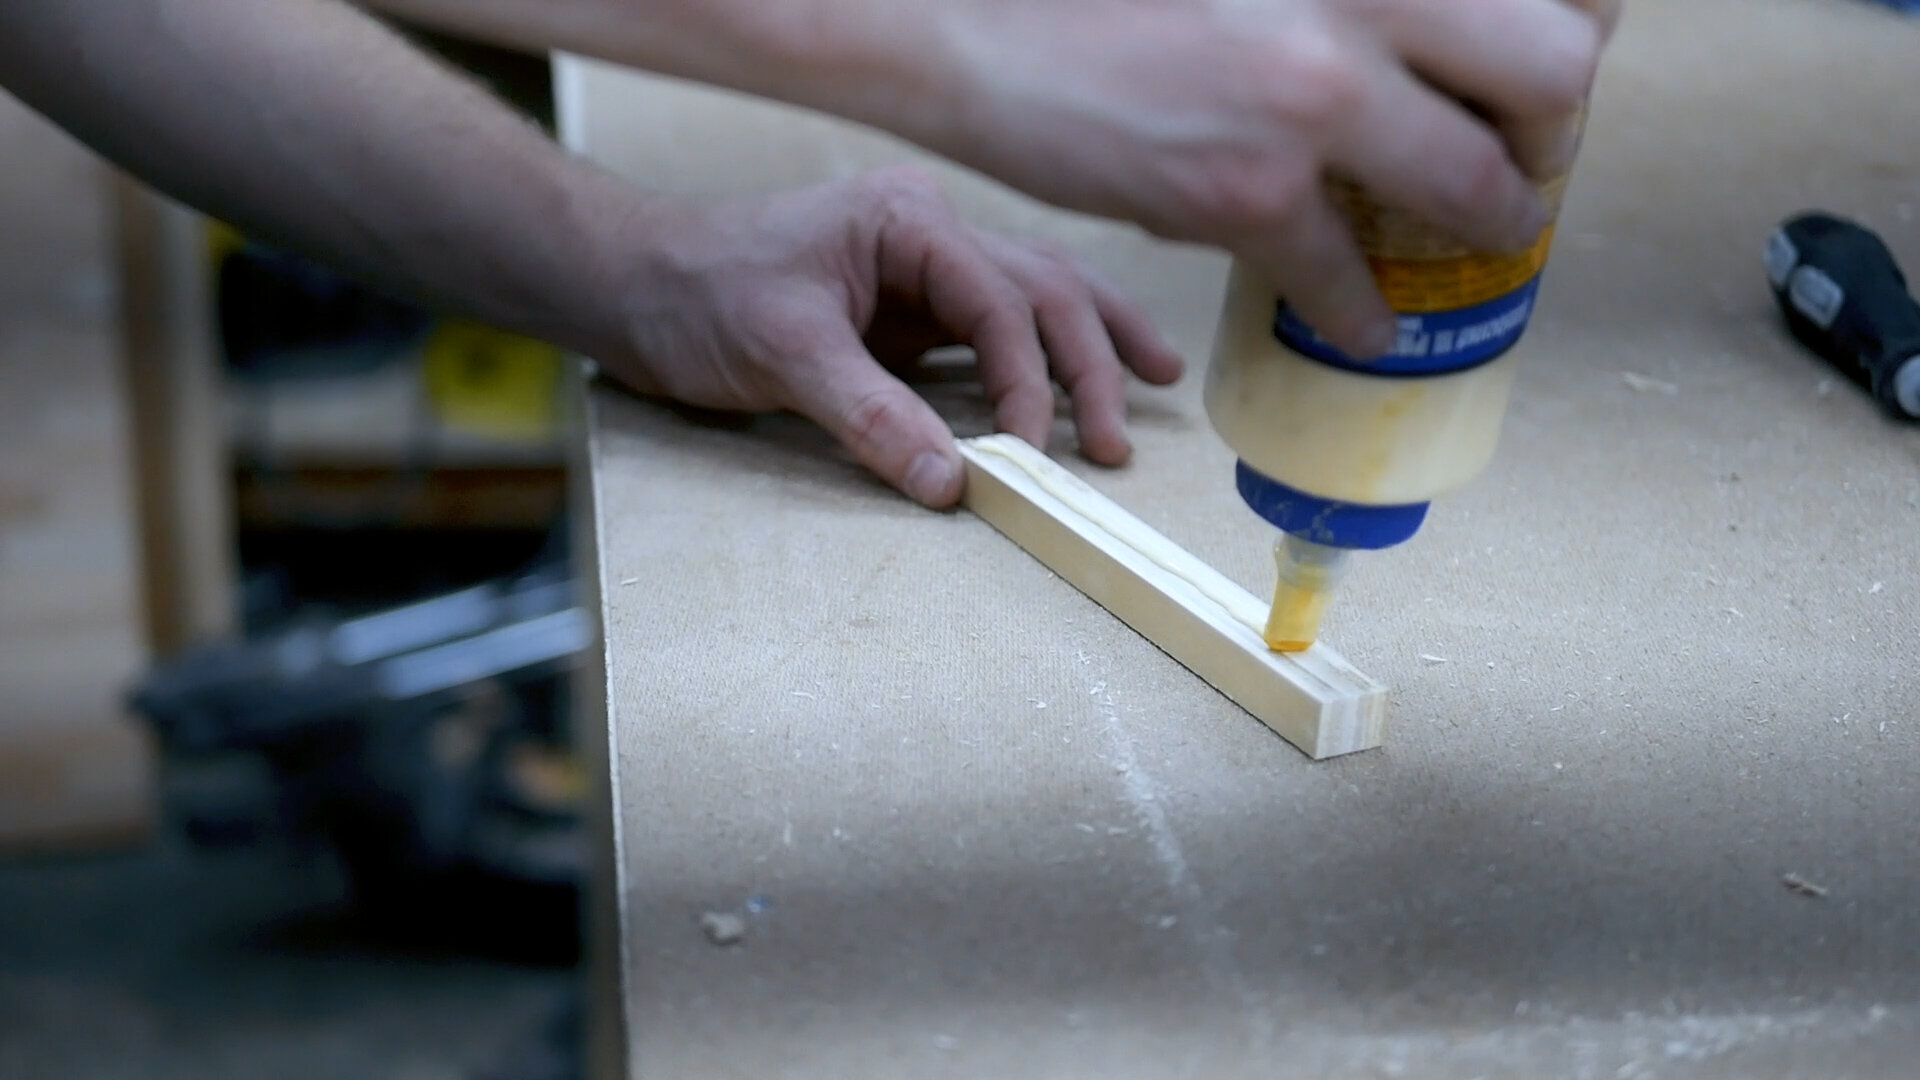
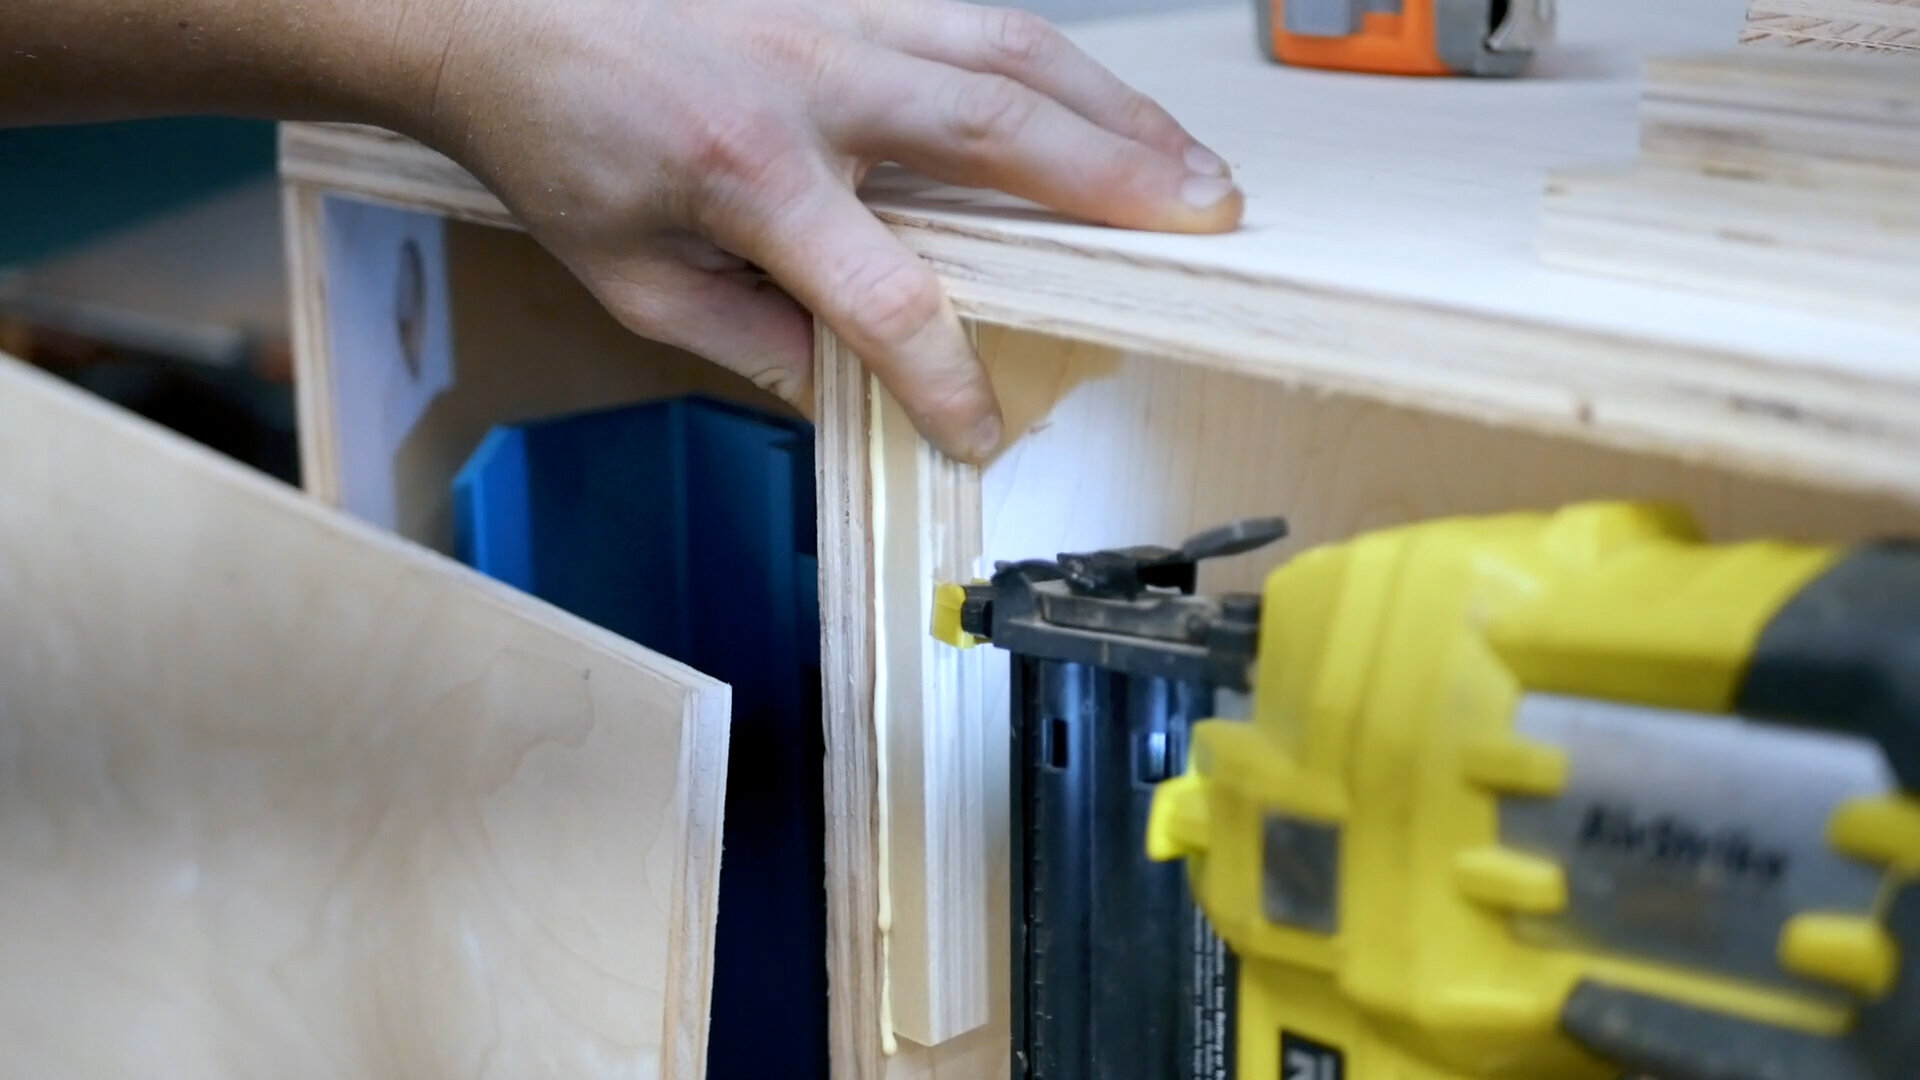
The hinges are built actually for cabinets with face frames, so I needed to add little strips of plywood where the hinges would attach in order to properly screw them into the miter saw. I used glue and brad nails to hold these in place, and then could install each of the hinges to the station for the two doors.
Next up, I cut to side the faces of my drawers and installed all three from the rear using some spacers, a squeeze clamp and a few screws. Pretty straight forward. These drawers do have a continuous grain pattern which I think adds a bit to the aesthetic of the design.
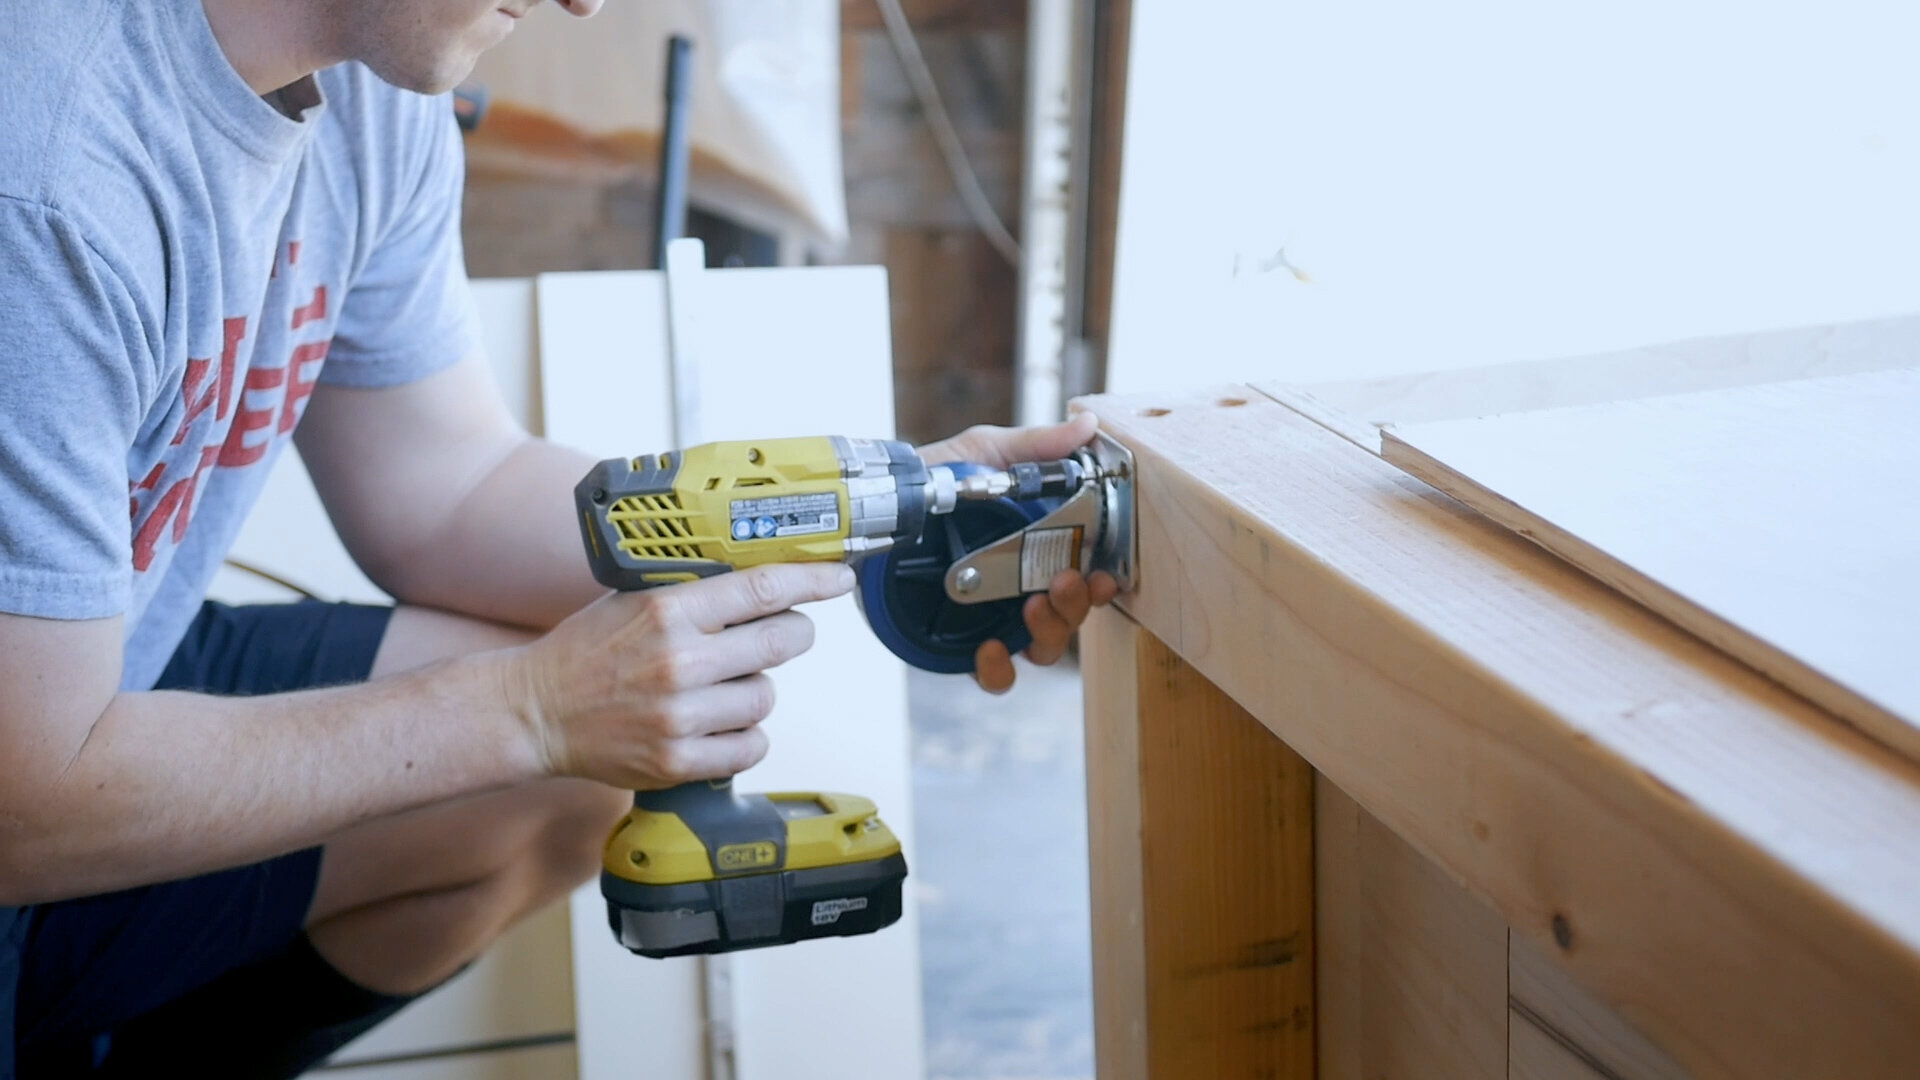
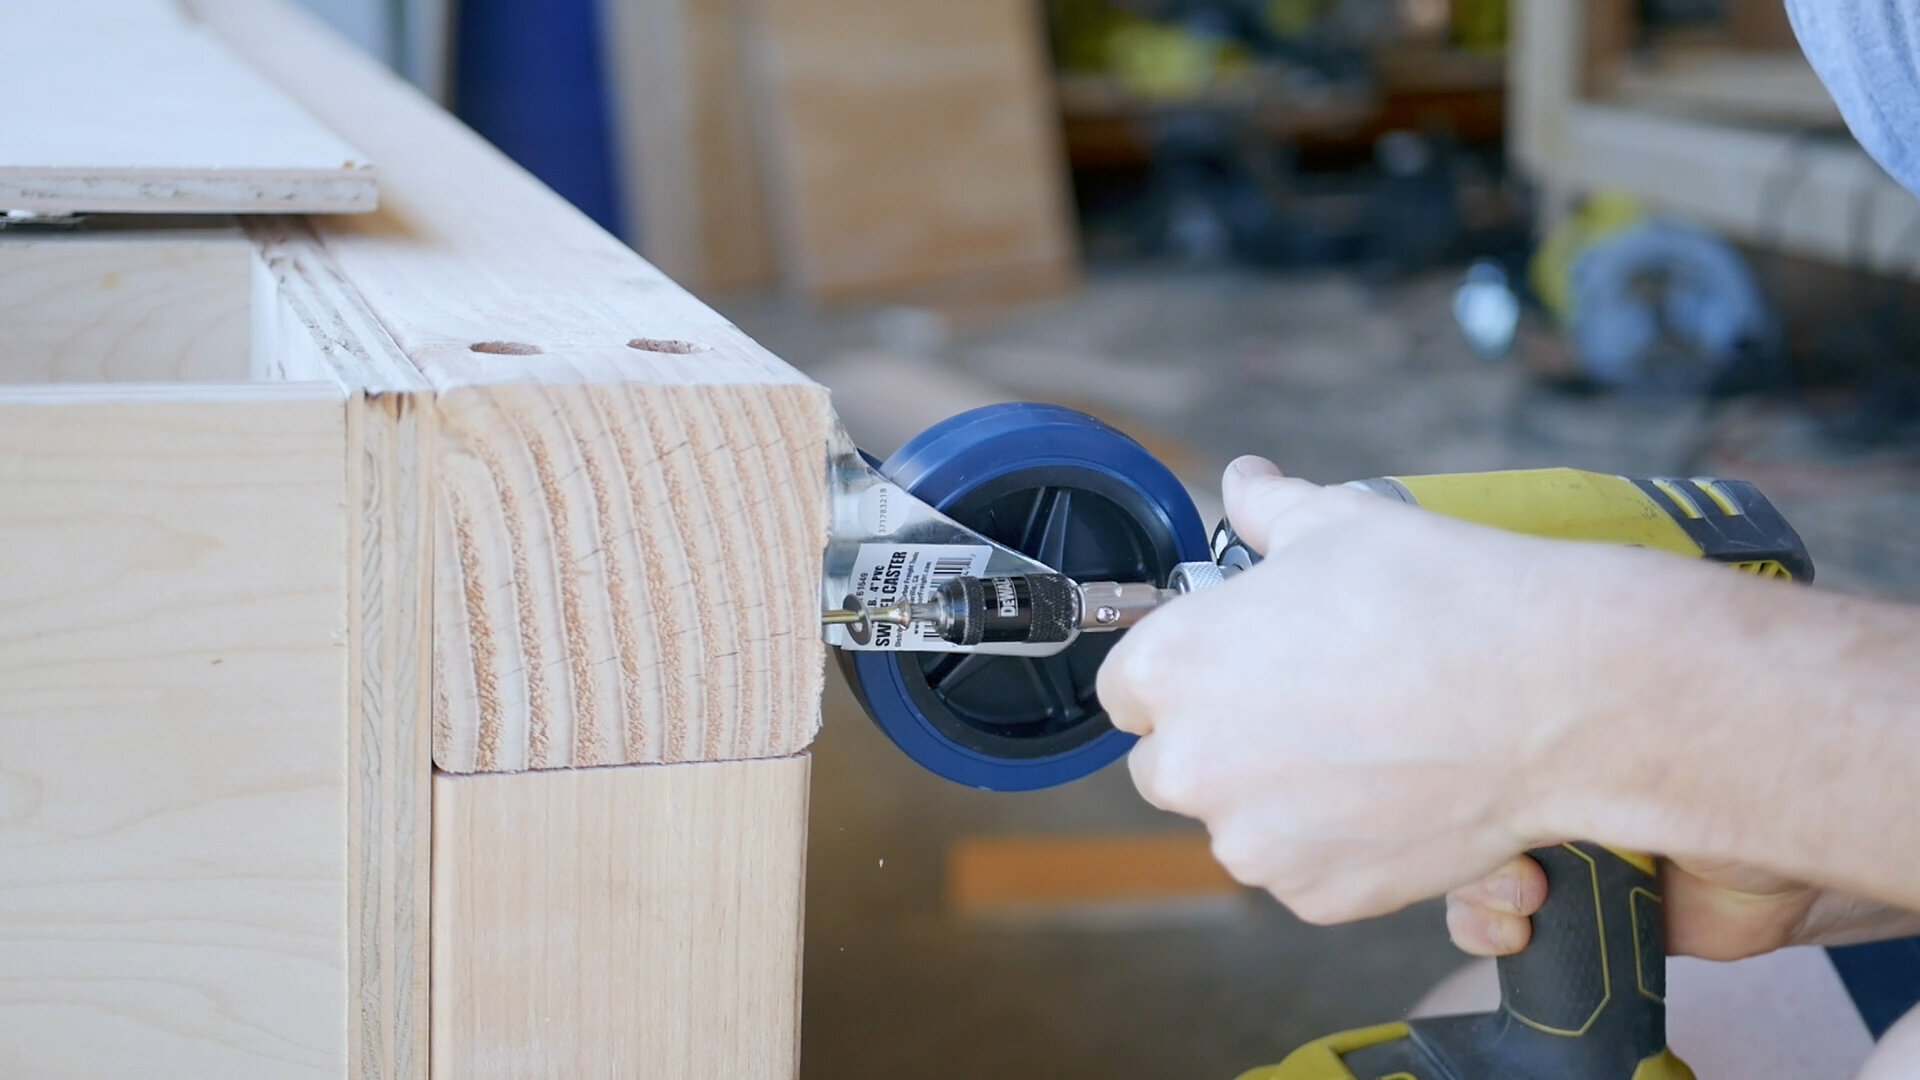
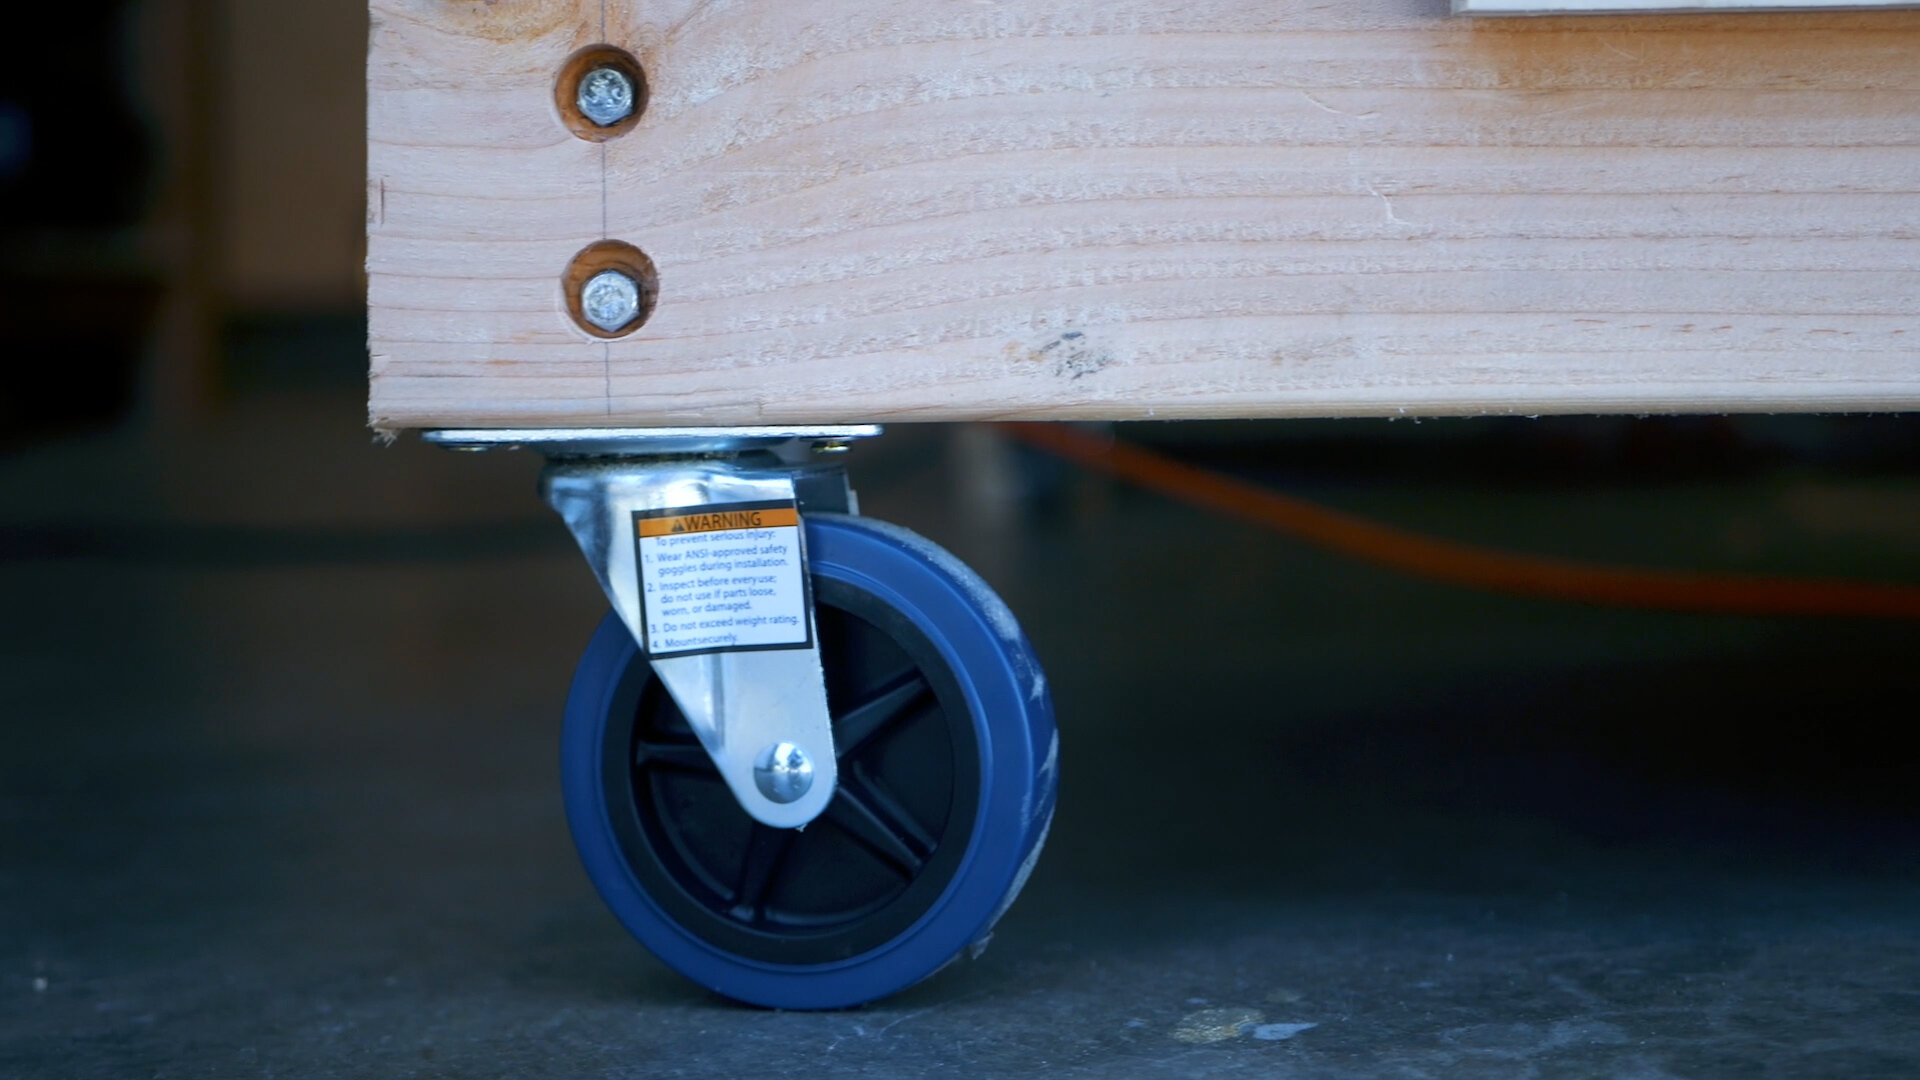
Before taking it any further, I stopped and added the wheels to the base. These are 4” casters rated for 100 pounds each - plenty for this build. They don’t have locks on them - maybe one thing I would change? The saw never moves on me when using it, but also moves really easily when I want it to. I used 3” wood screws to attach these.
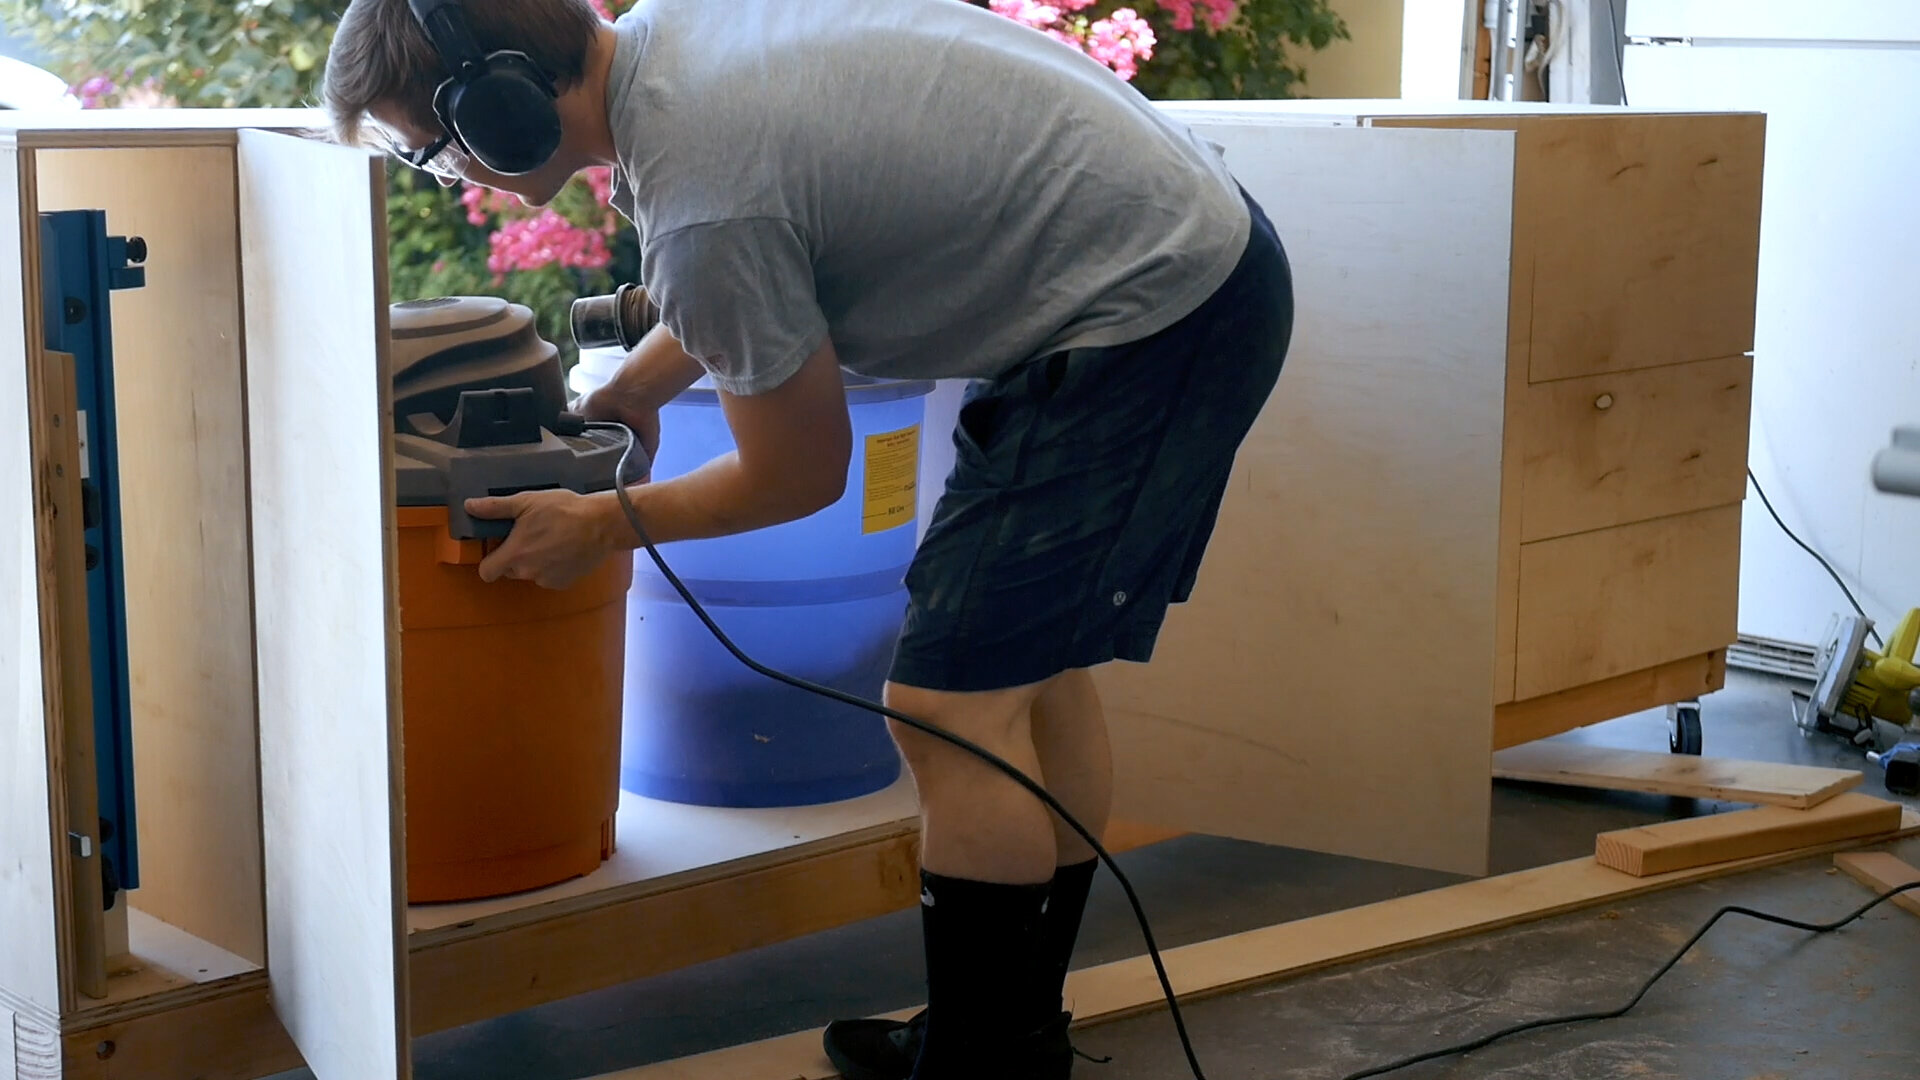
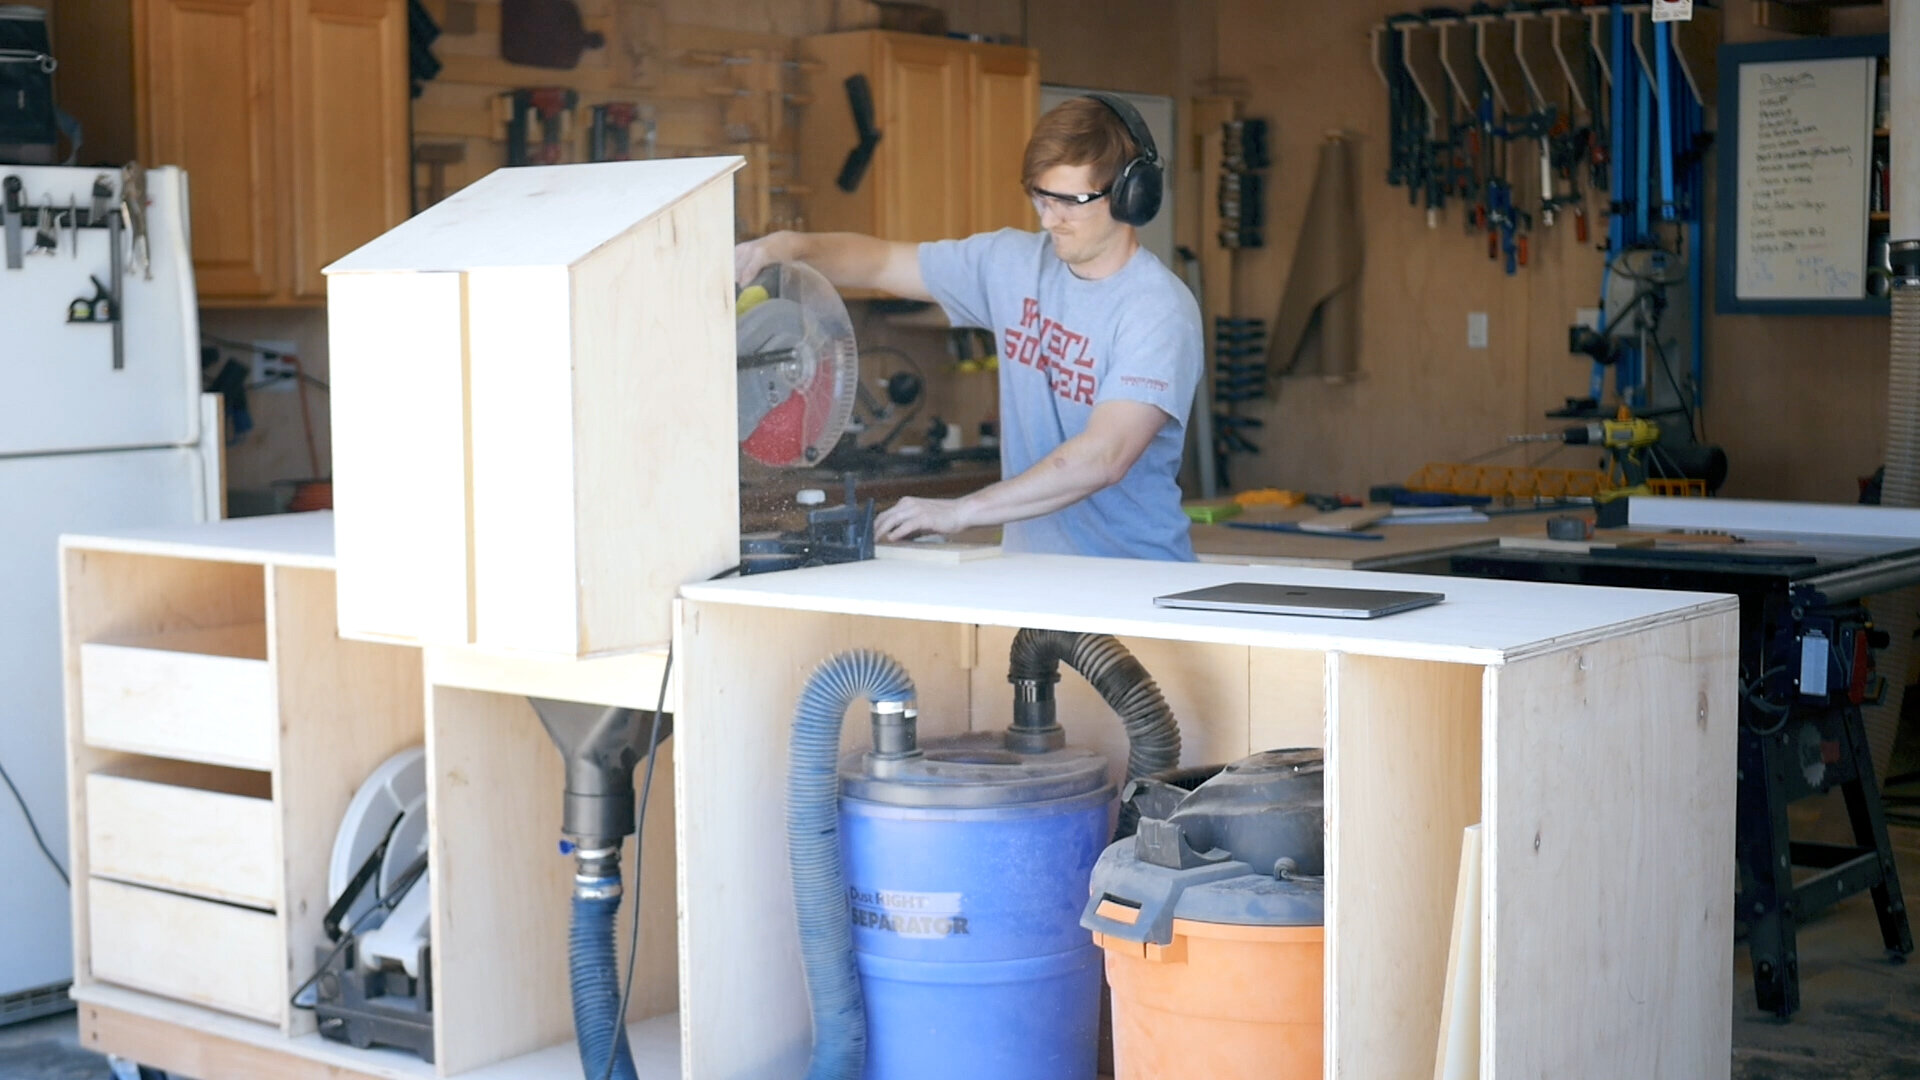
Now that the framing was done and the base was mobile, I could finish out the dust collection system.
The way this works is pretty straight forward but I’ll still break it down.
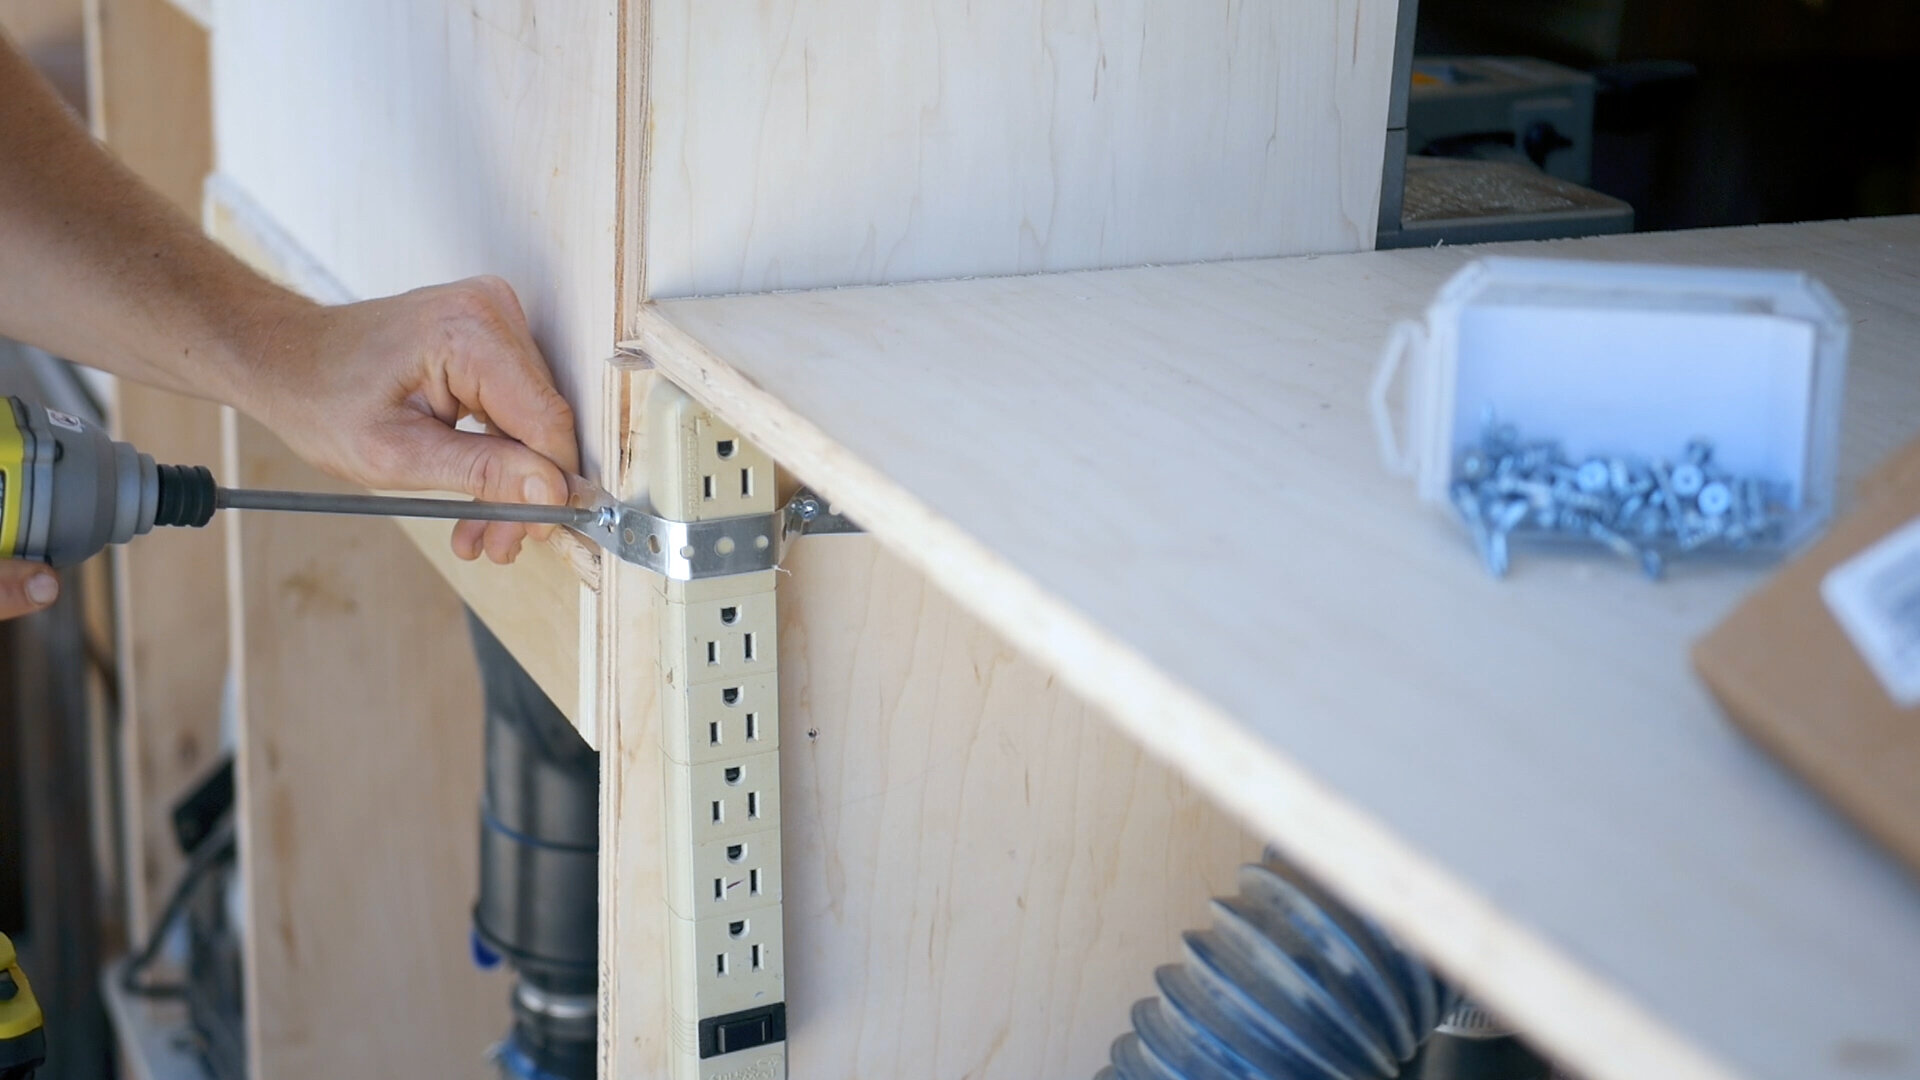
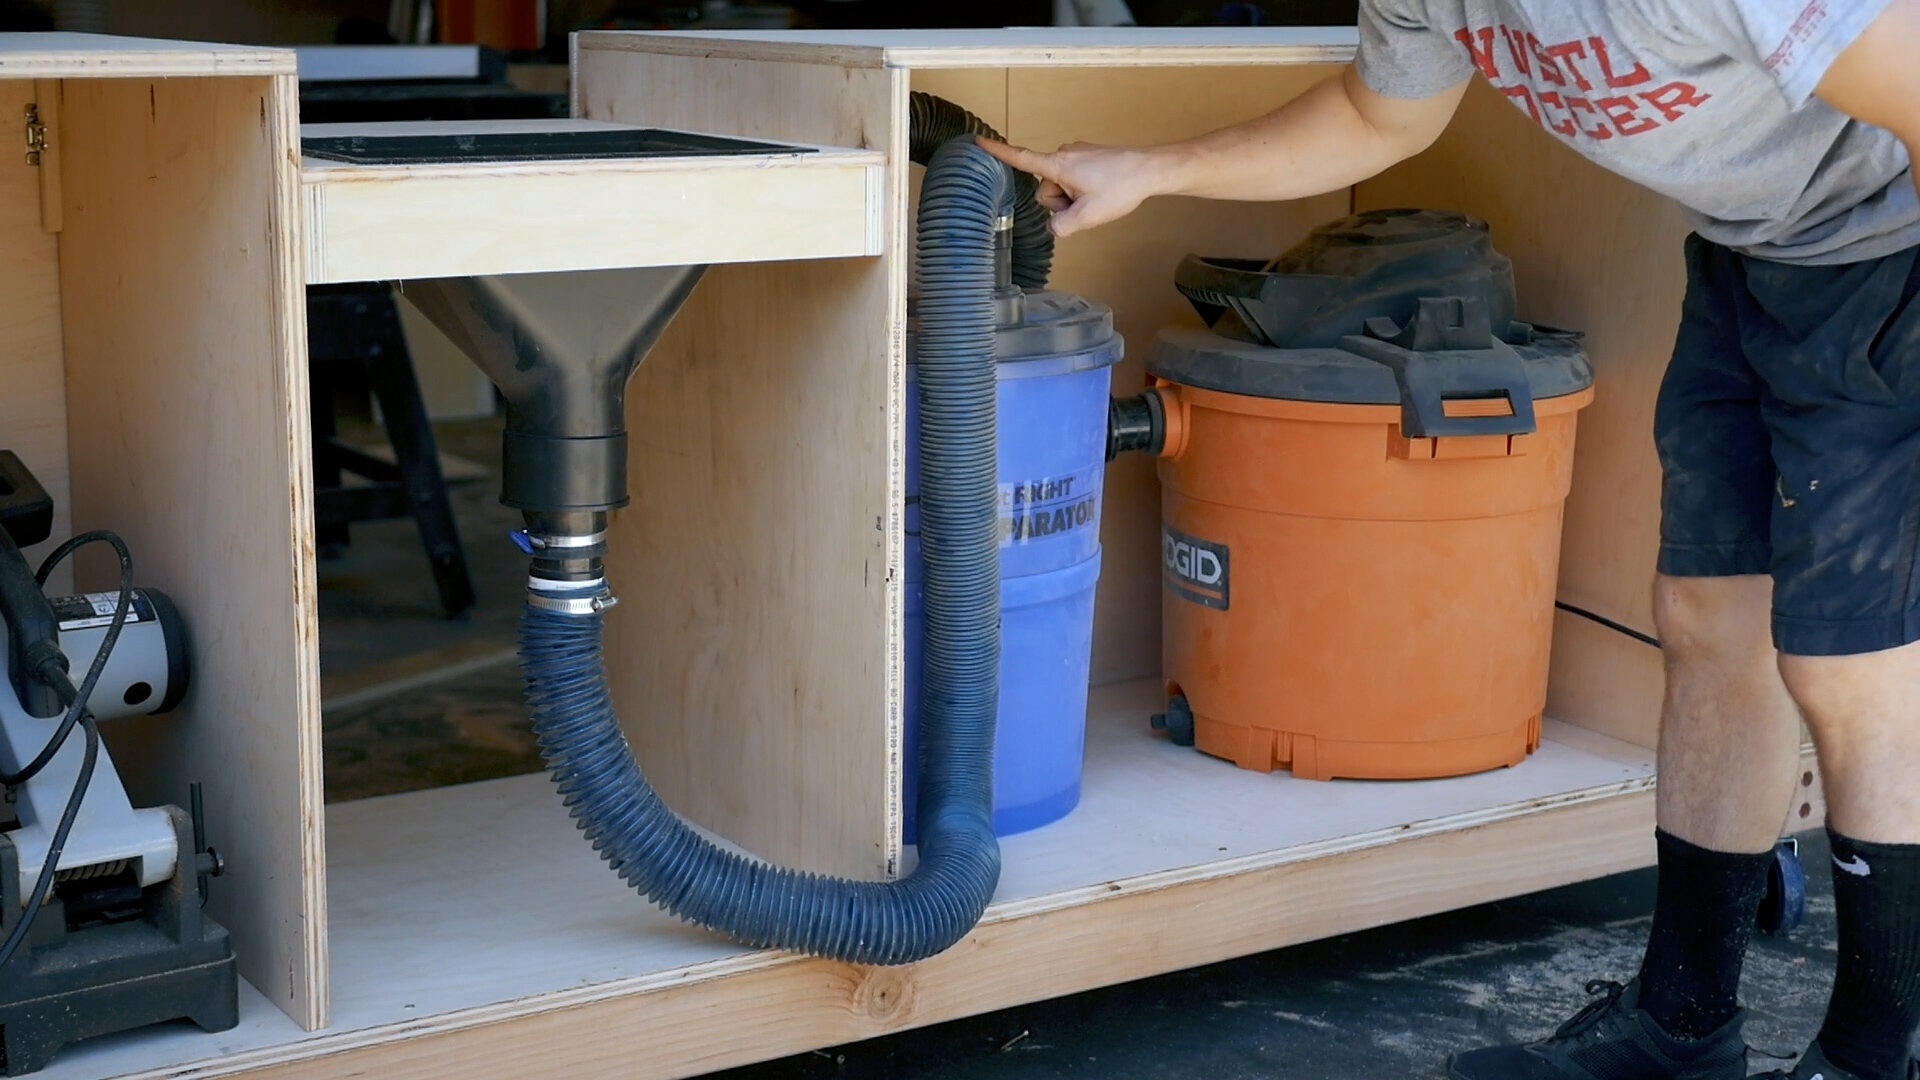
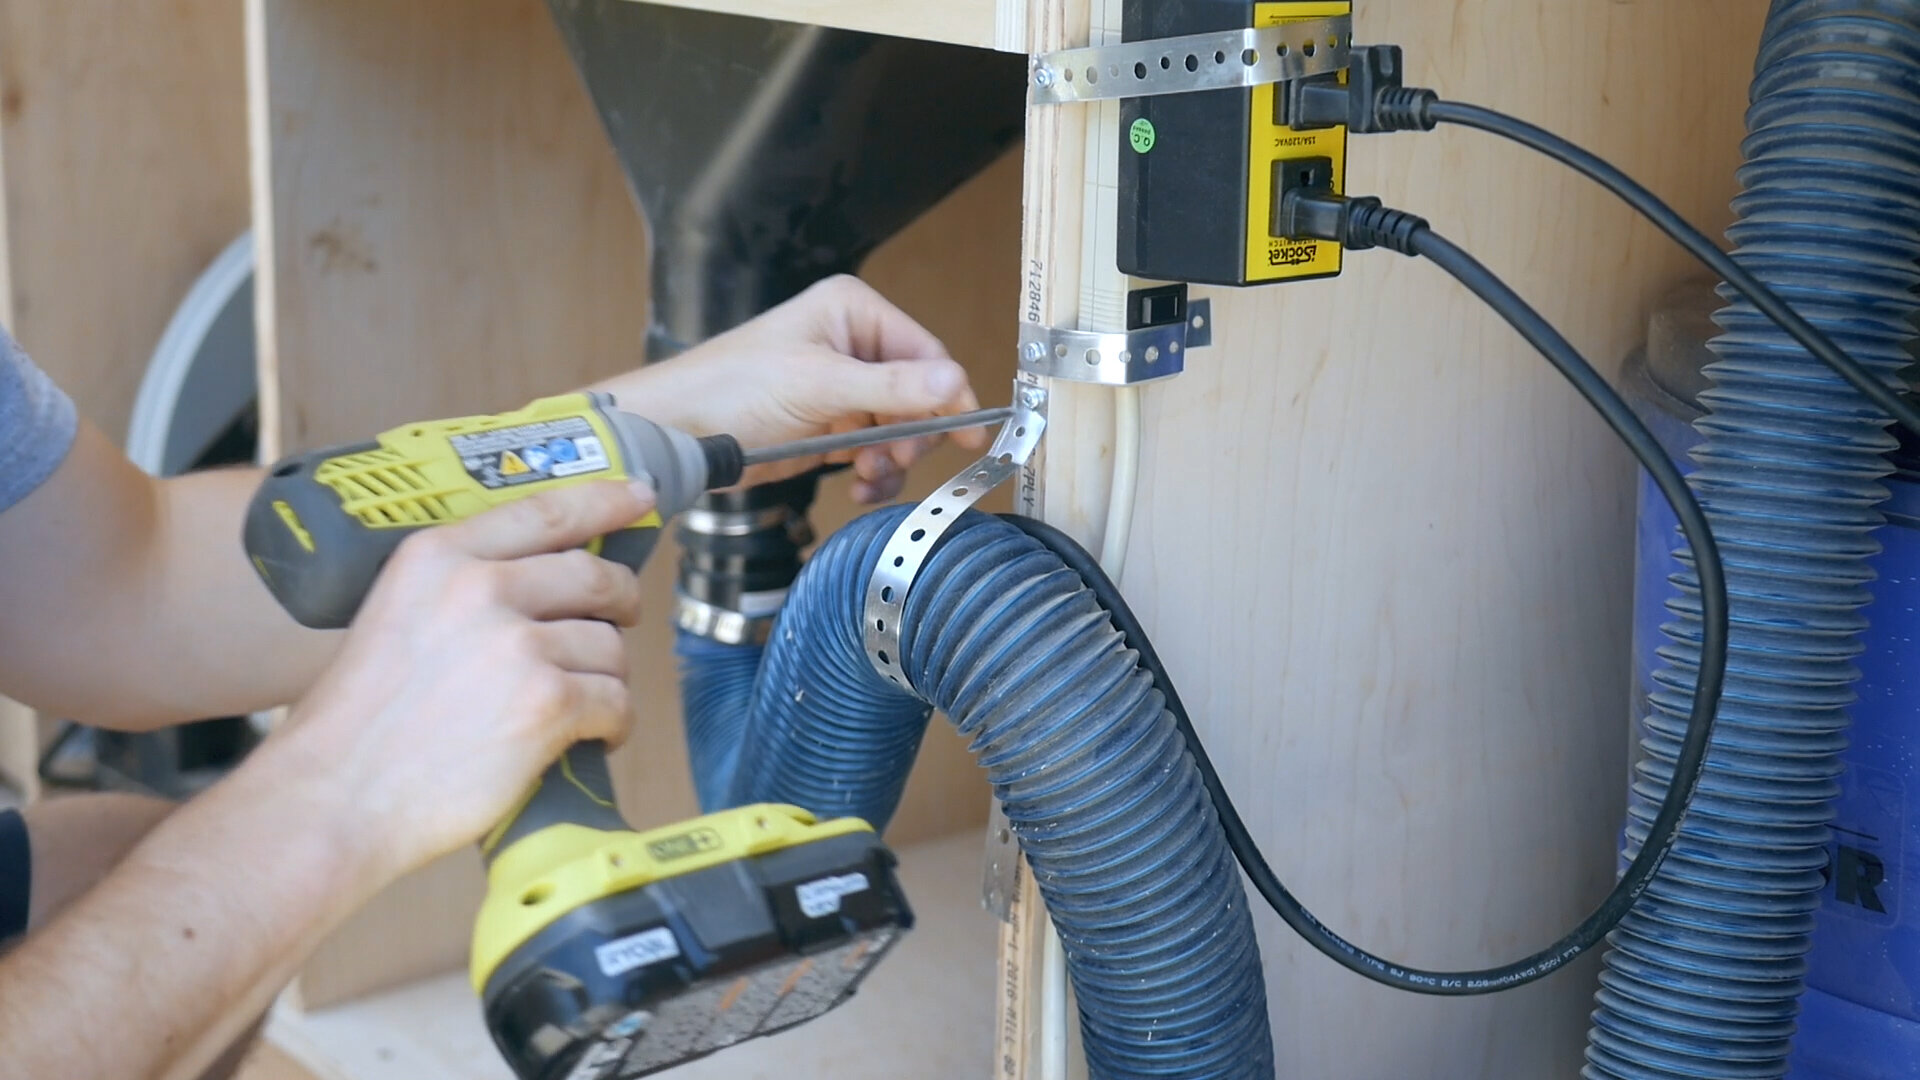
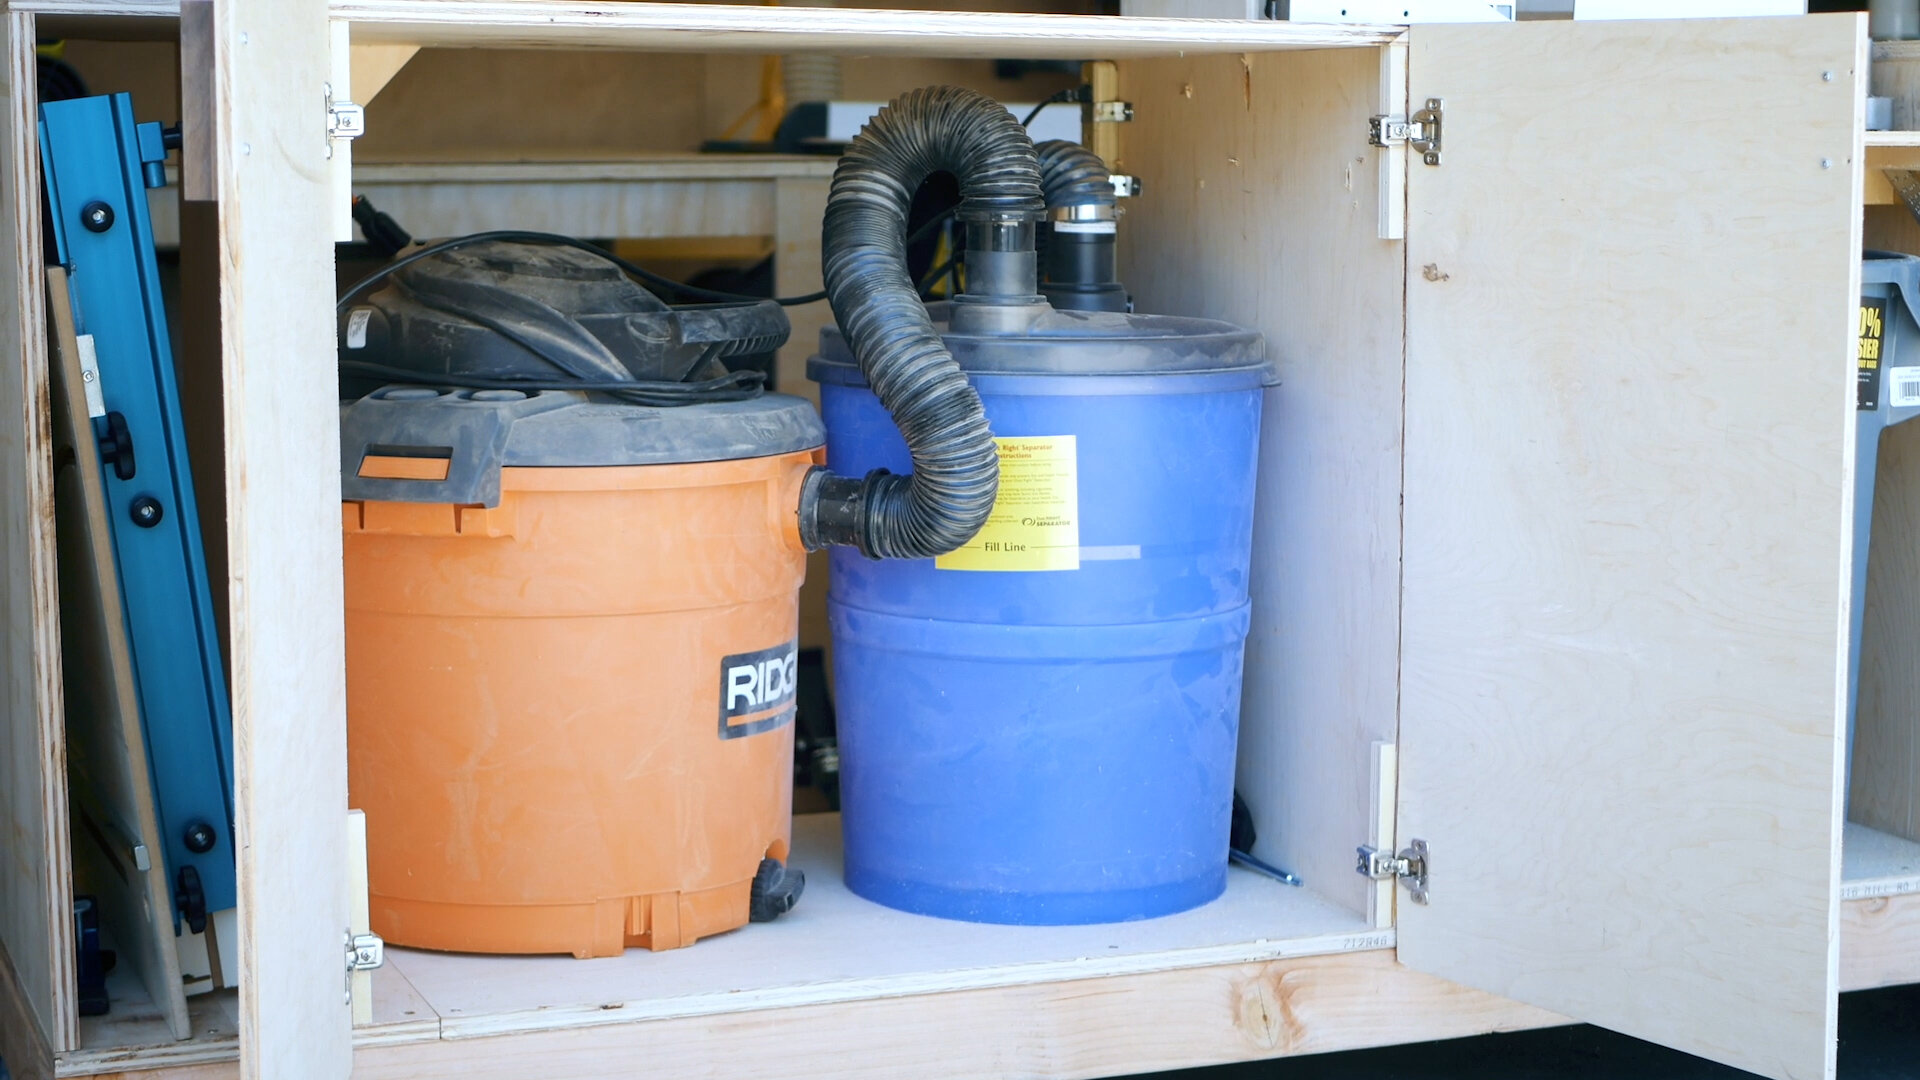
There is a power surge attached to the inside of the cabinet space which is plugged into an extension chord going to the house that powers the whole thing. The base where the saw sits has a large dust collector port from Rockler, attached to a 2.5”hose that goes directly to a Dust Rite separator for shop vacuums that then is attached to my massive 16 gallon Ridgid shop vacuum.
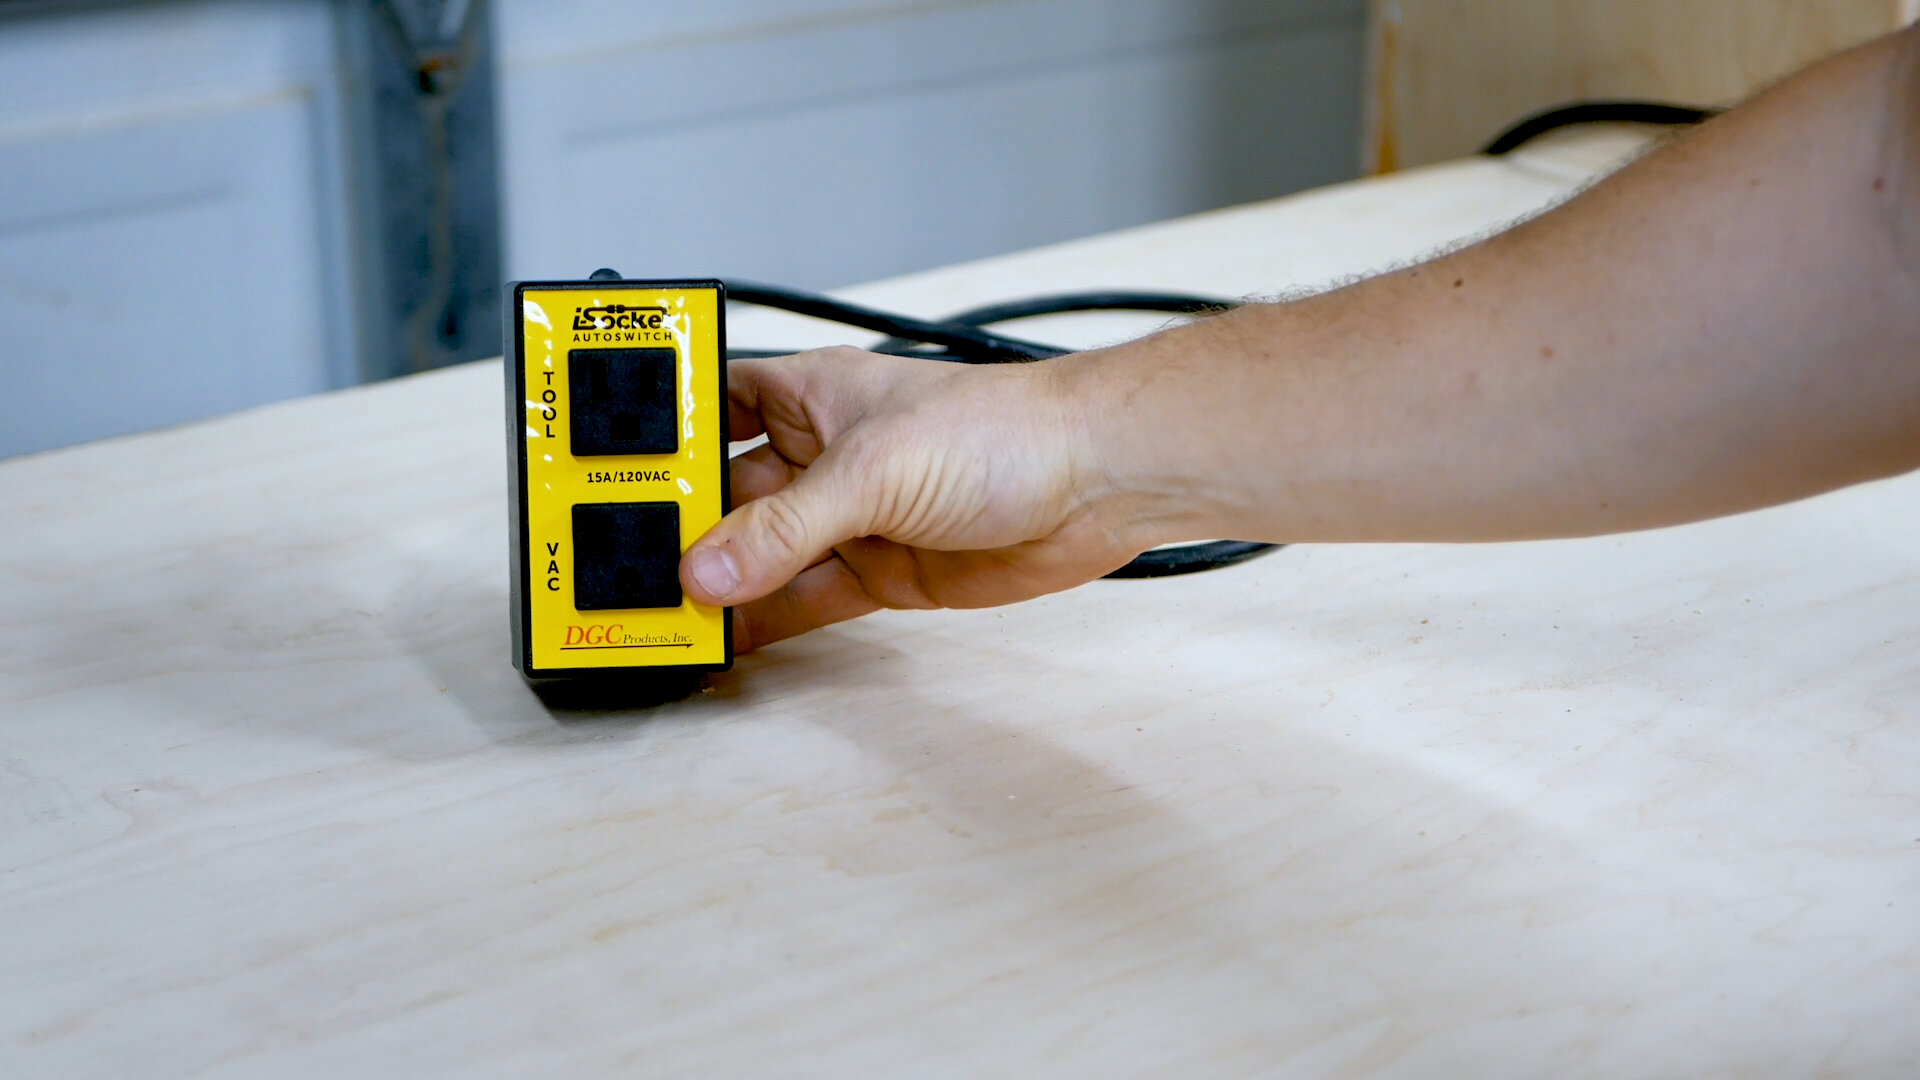
The miter saw is plugged into a special outlet where, once the saw is engaged, the outlet will cause the vacuum to turn on automatically and run for an additional 5 seconds. It’s pretty amazing and is such a great simple $30 addition to have in your shop for any tool that you want to power an additional system connected to it. Everything was then held in place with some metal strapping. Overall - highly recommend.
The dust collection system isn’t perfect, but coupled with the dust collection box I’ll show later, it really helps minimize the mess. I’m sure I could refine this even further.
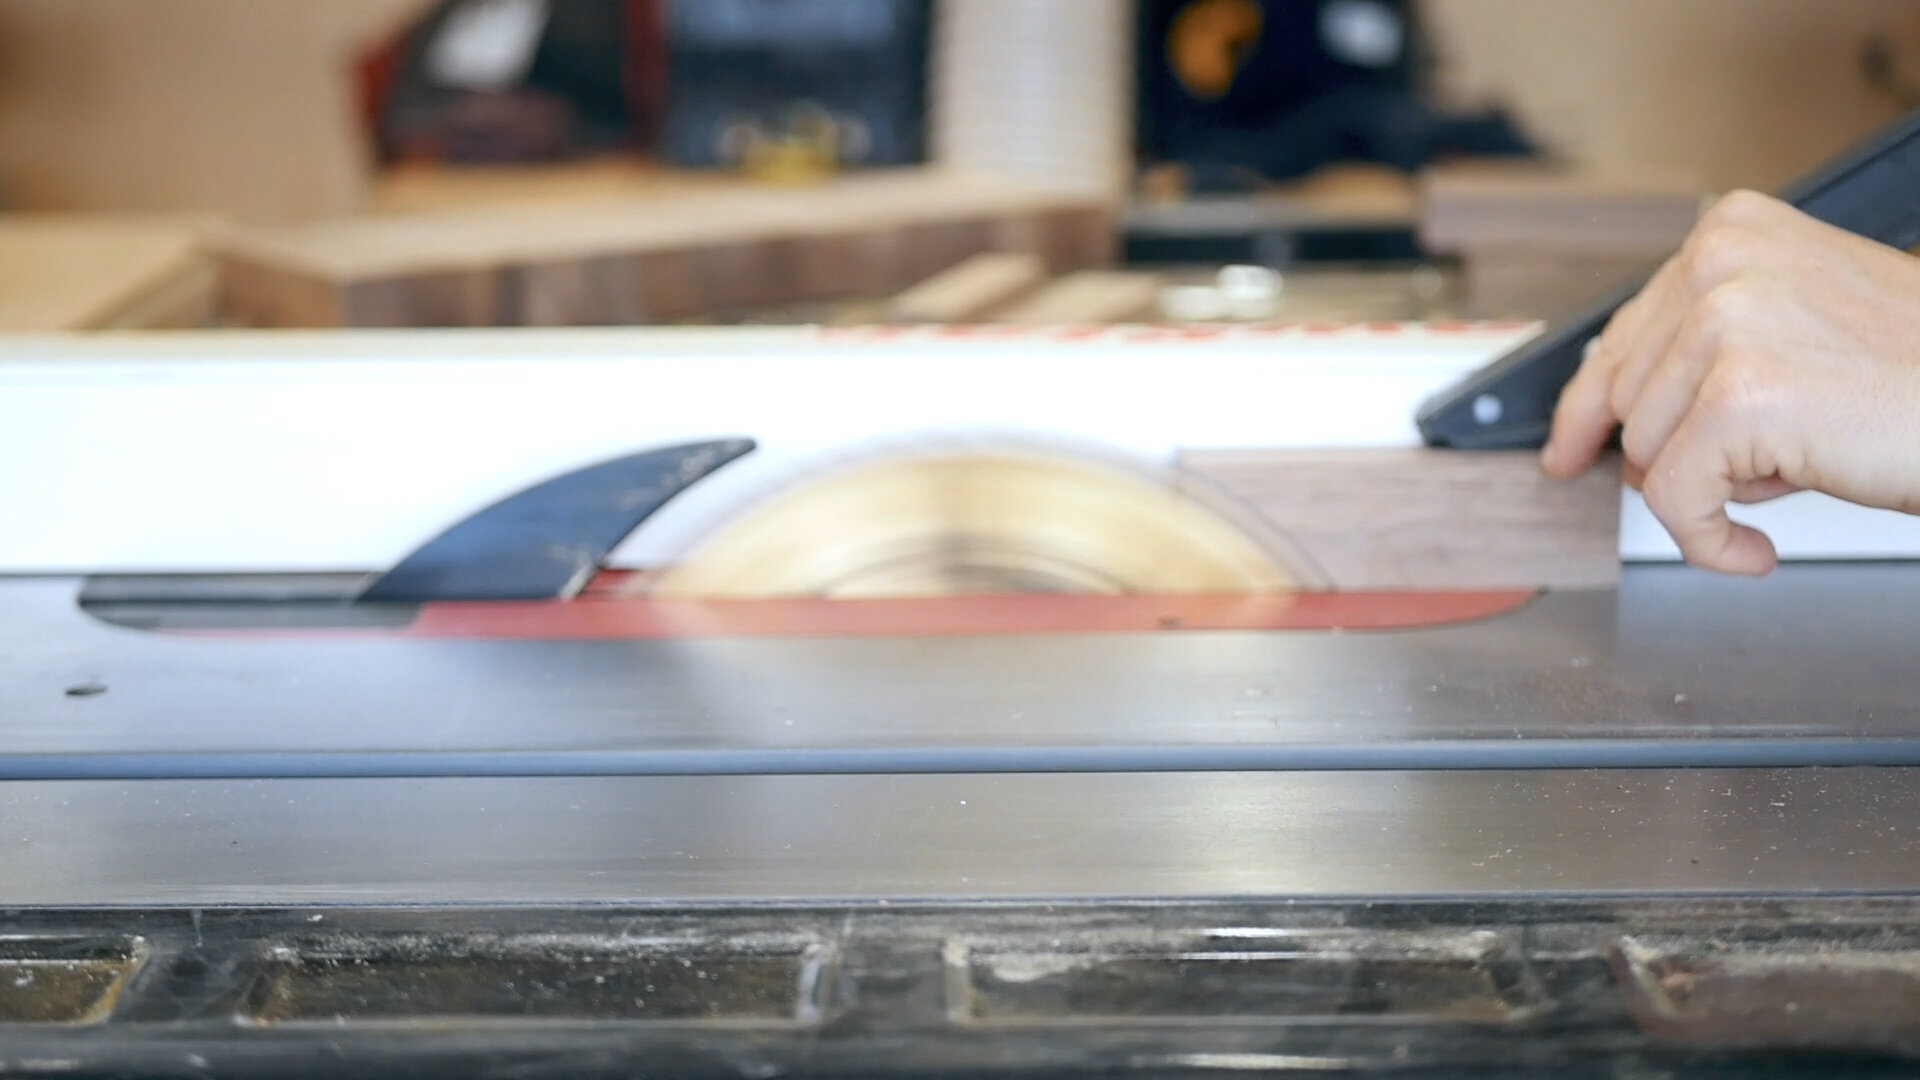
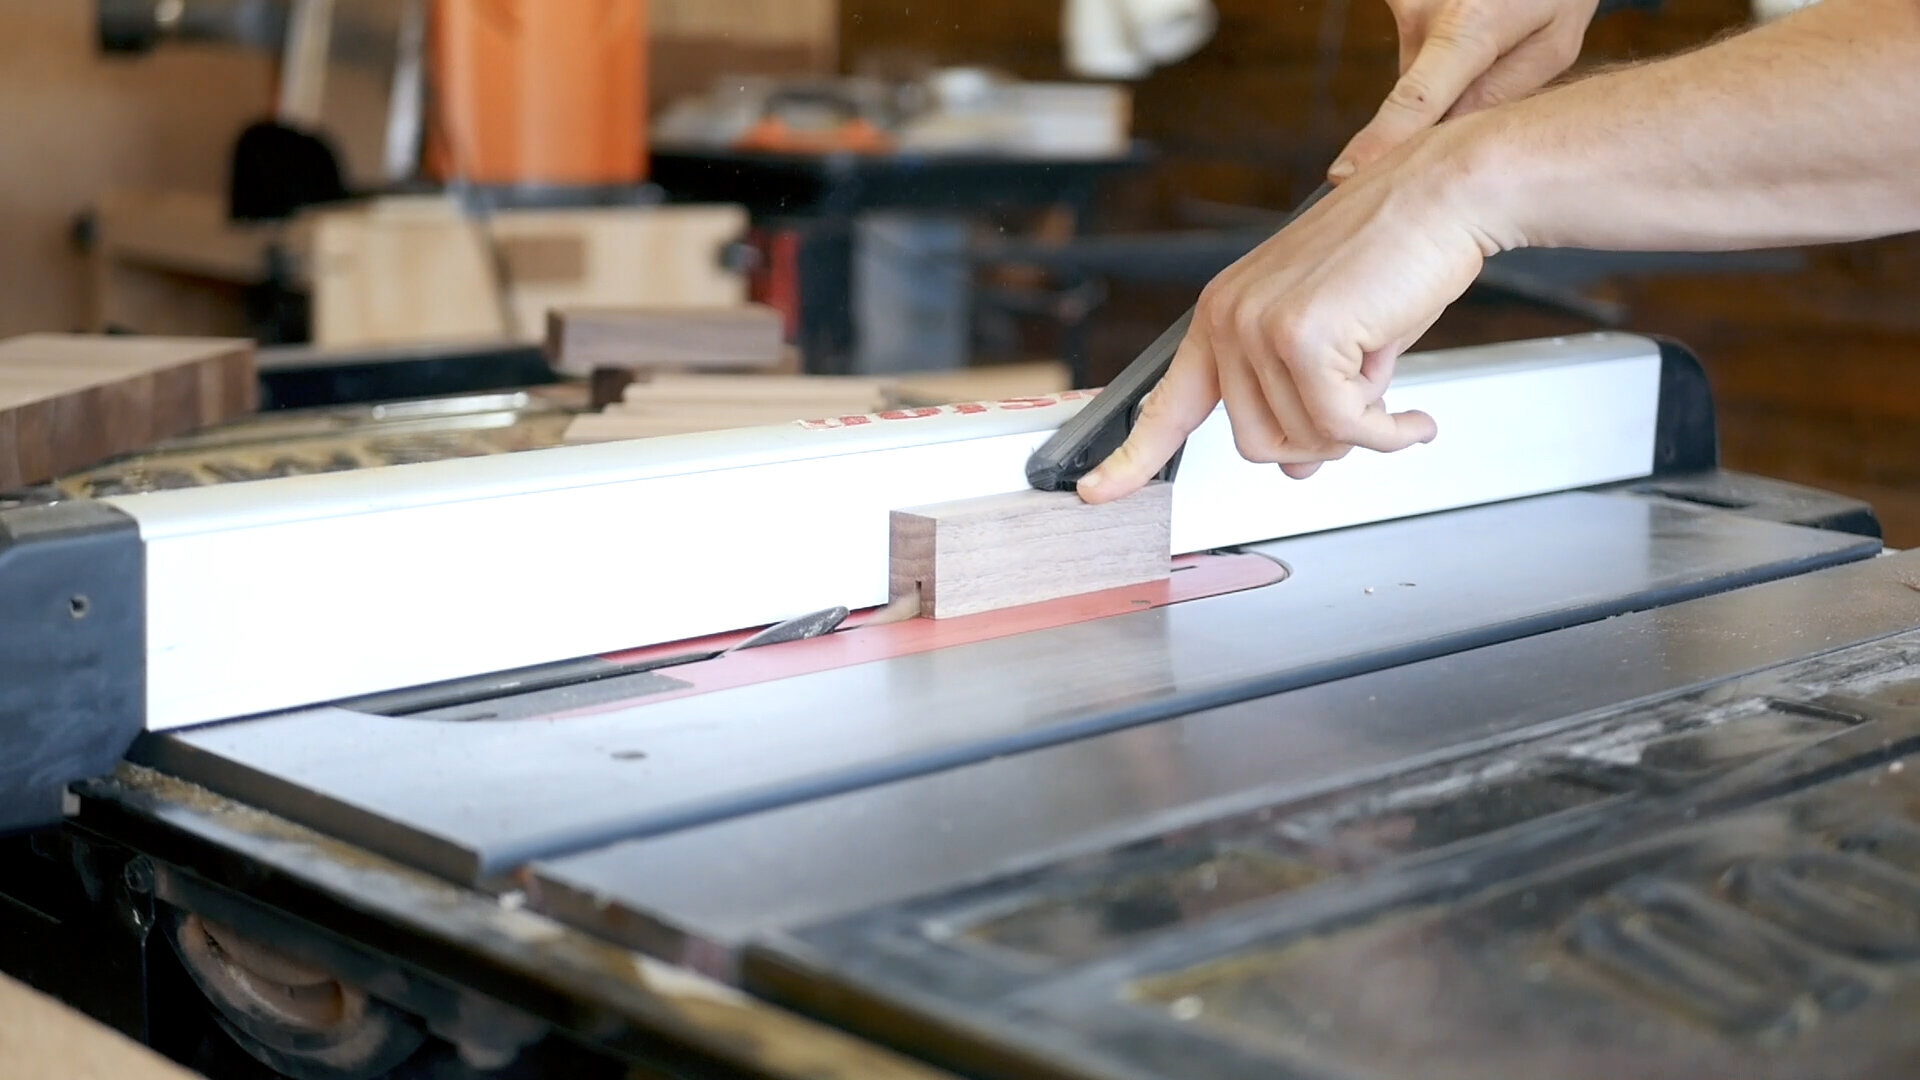

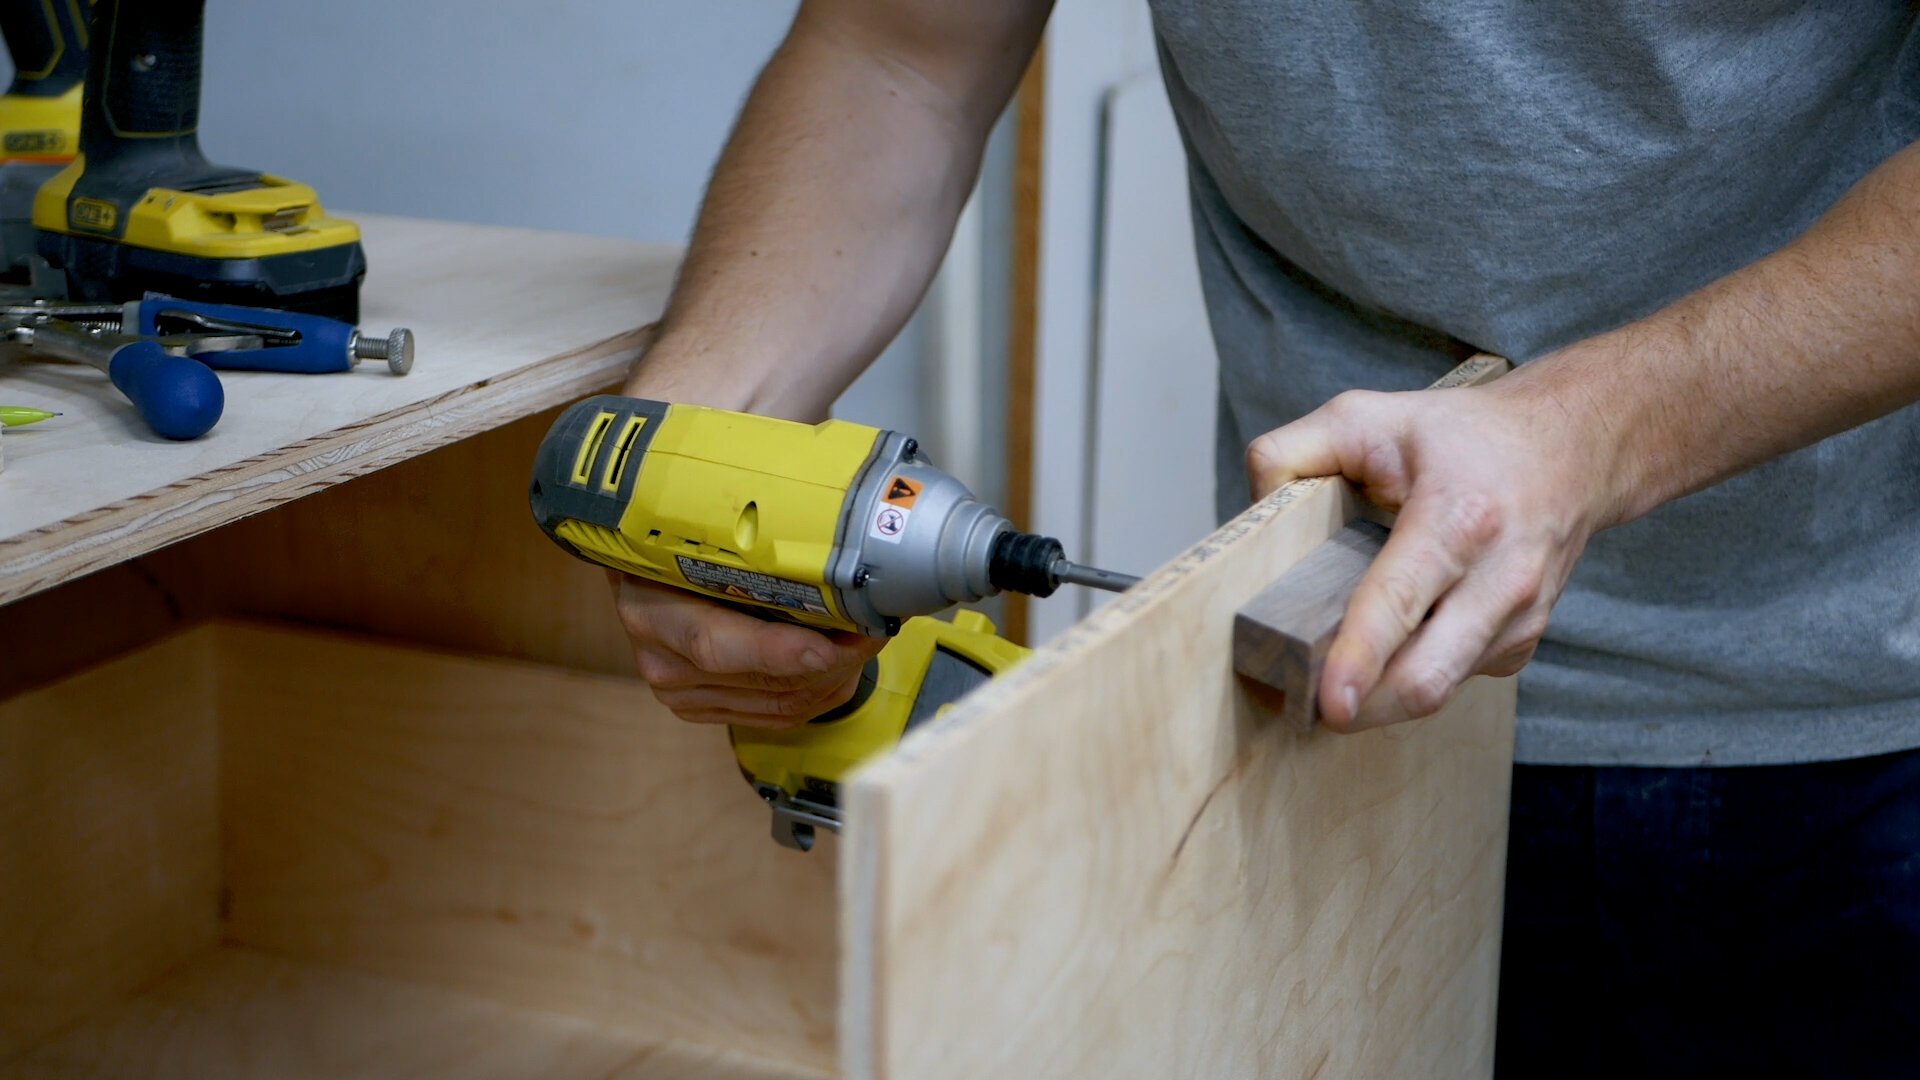
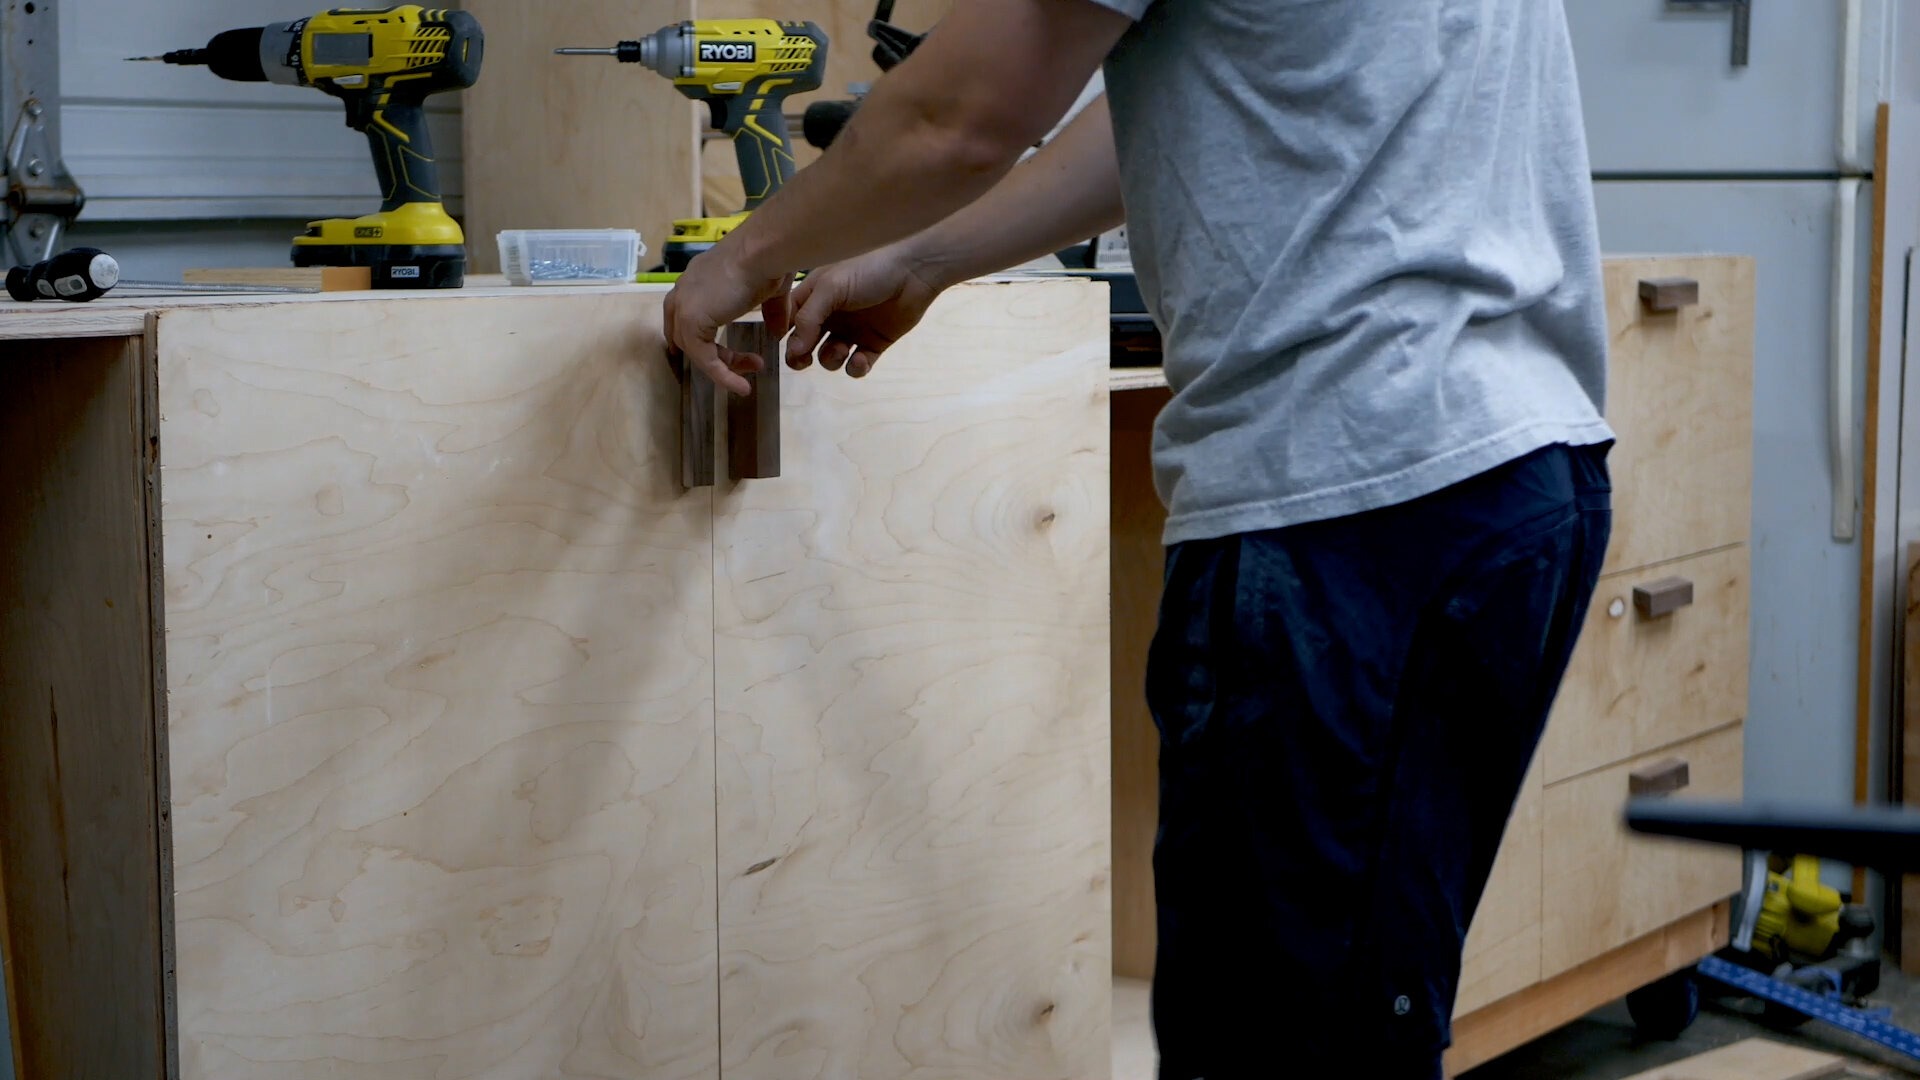
This step is totally optional - you can just purchase drawer handles. However, I had some leftover walnut that I wanted to create custom pulls for. i won’t go into too much detail on this as the design is not mine - instead you can check out Brad Rodriguez’ video from Fix This Build That to learn about them.
To install them easily, I made a little template from plywood to drill holes, and then secured them from the rear of my cabinets and drawers.
Next I turned my attention to the dust hood. I speak more about this in the video, but I ended up rebuilding it to be a little deeper and fit my new saw better. You’ll want it to have walls that come as close to your fence as possible to capture as much dust. I’ve seen other versions that also include a front piece that will frame the miter saw itself to be more efficient. I didn’t do that, but might eventually. So far, what I have works pretty well to capture 90% of the dust, or at least contain it.
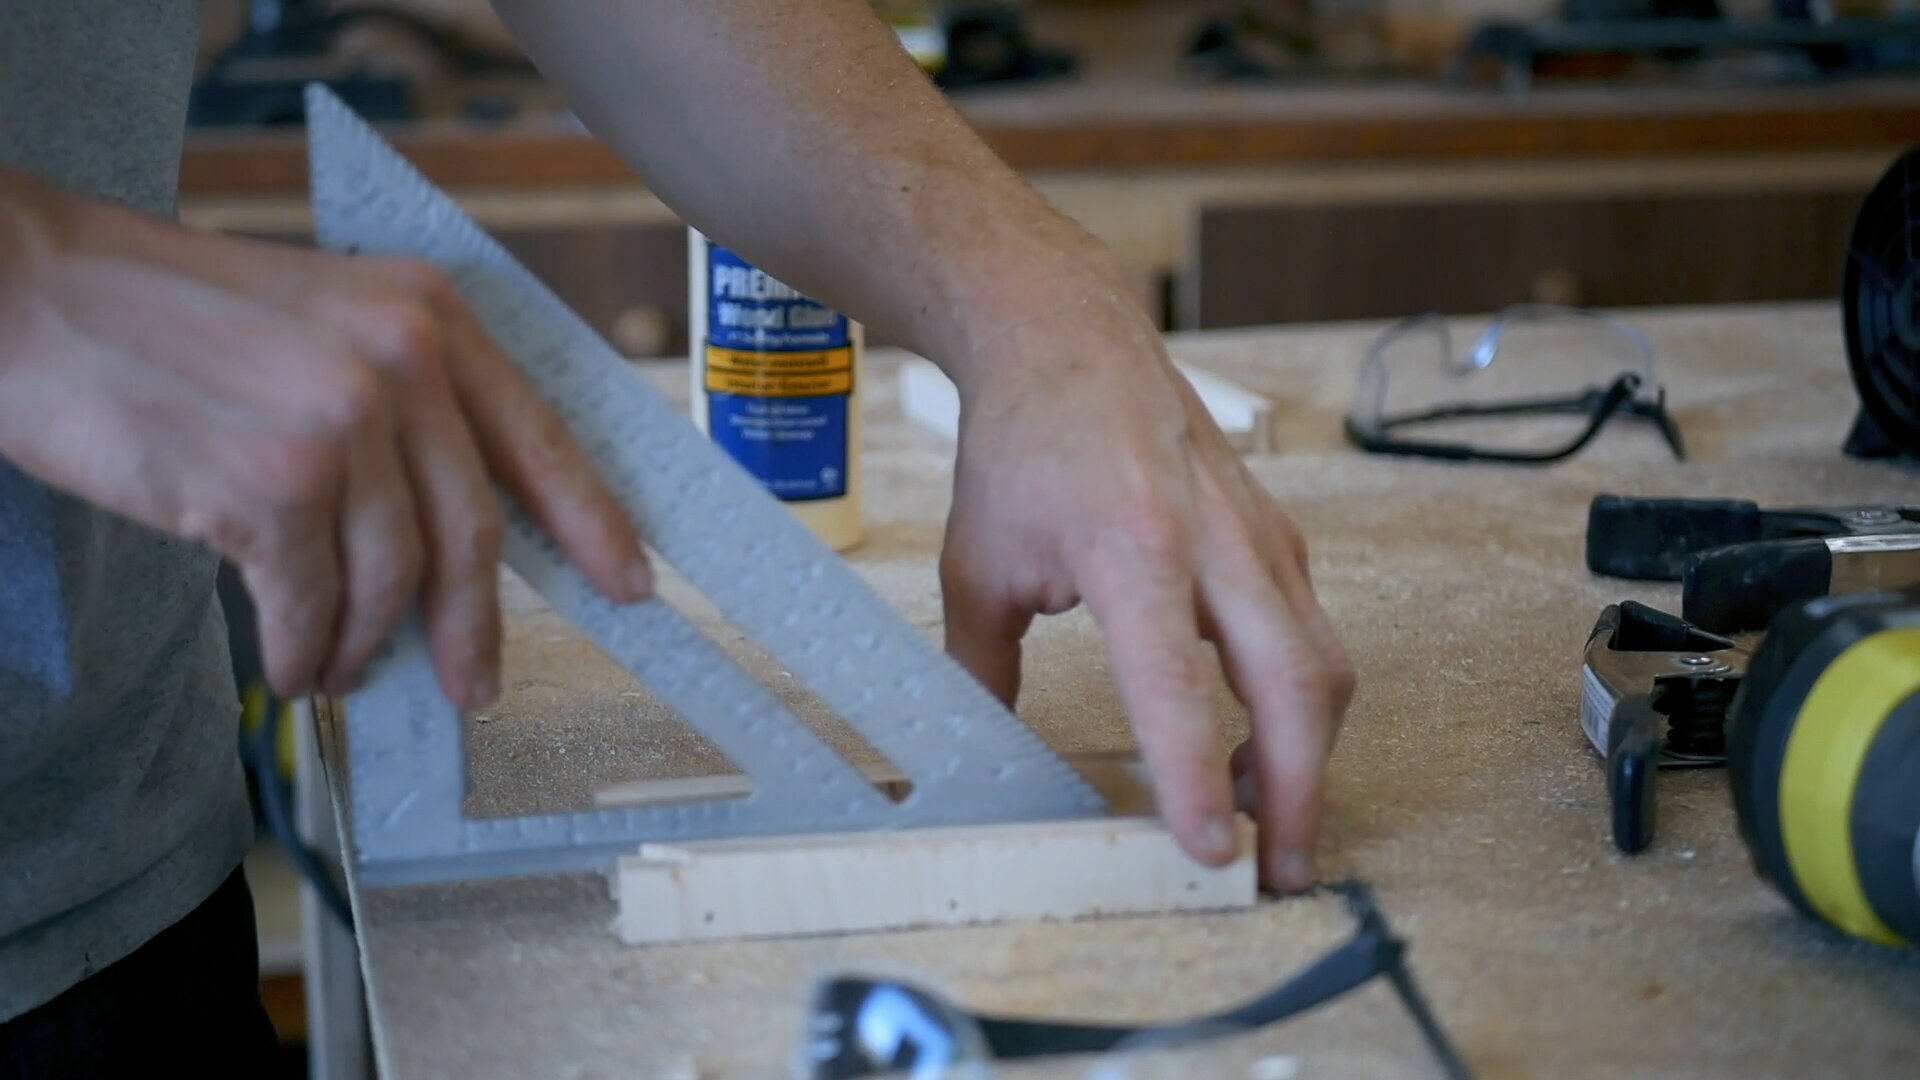
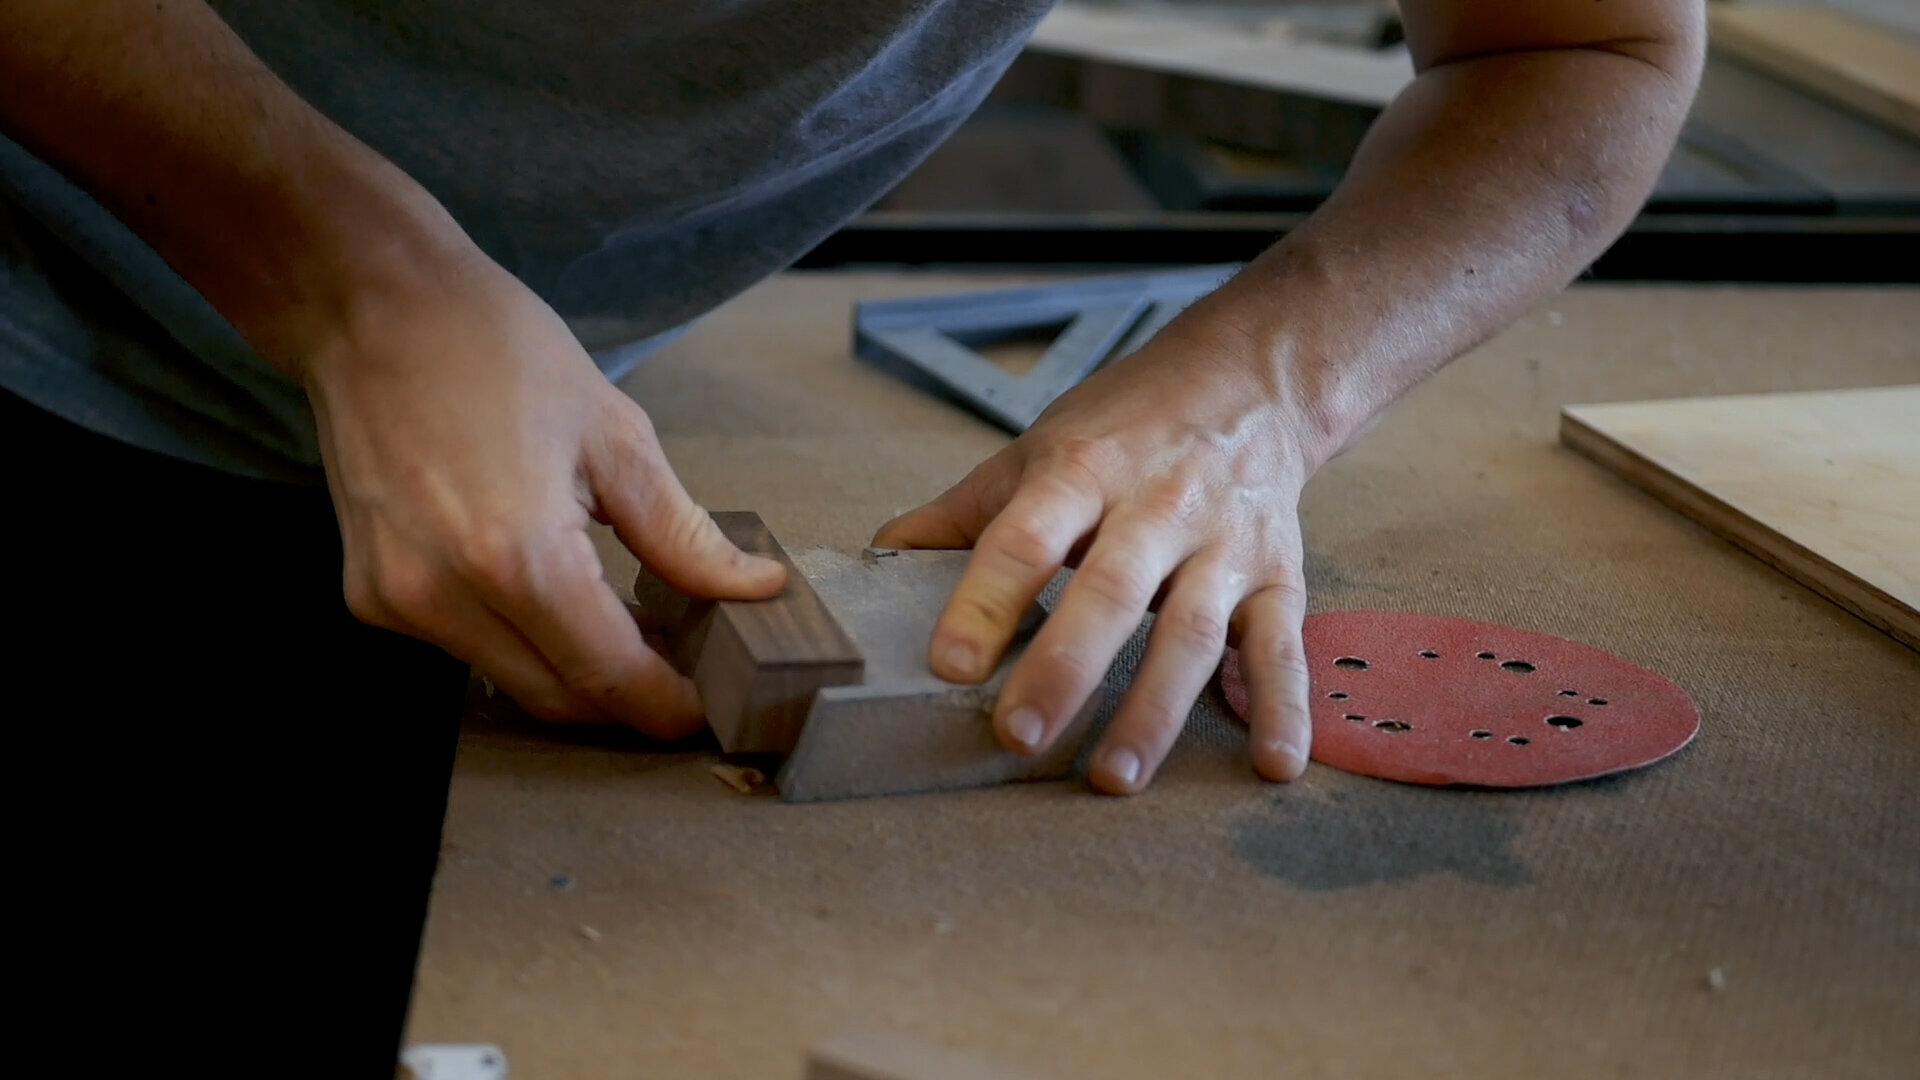
I also made this little simple holder for a speed square. This little idea came from an April Wilkerson video. I have five speed squares throughout my shop. Having them readily available at pretty much all of the major areas in my shop is such a valuable time saver.
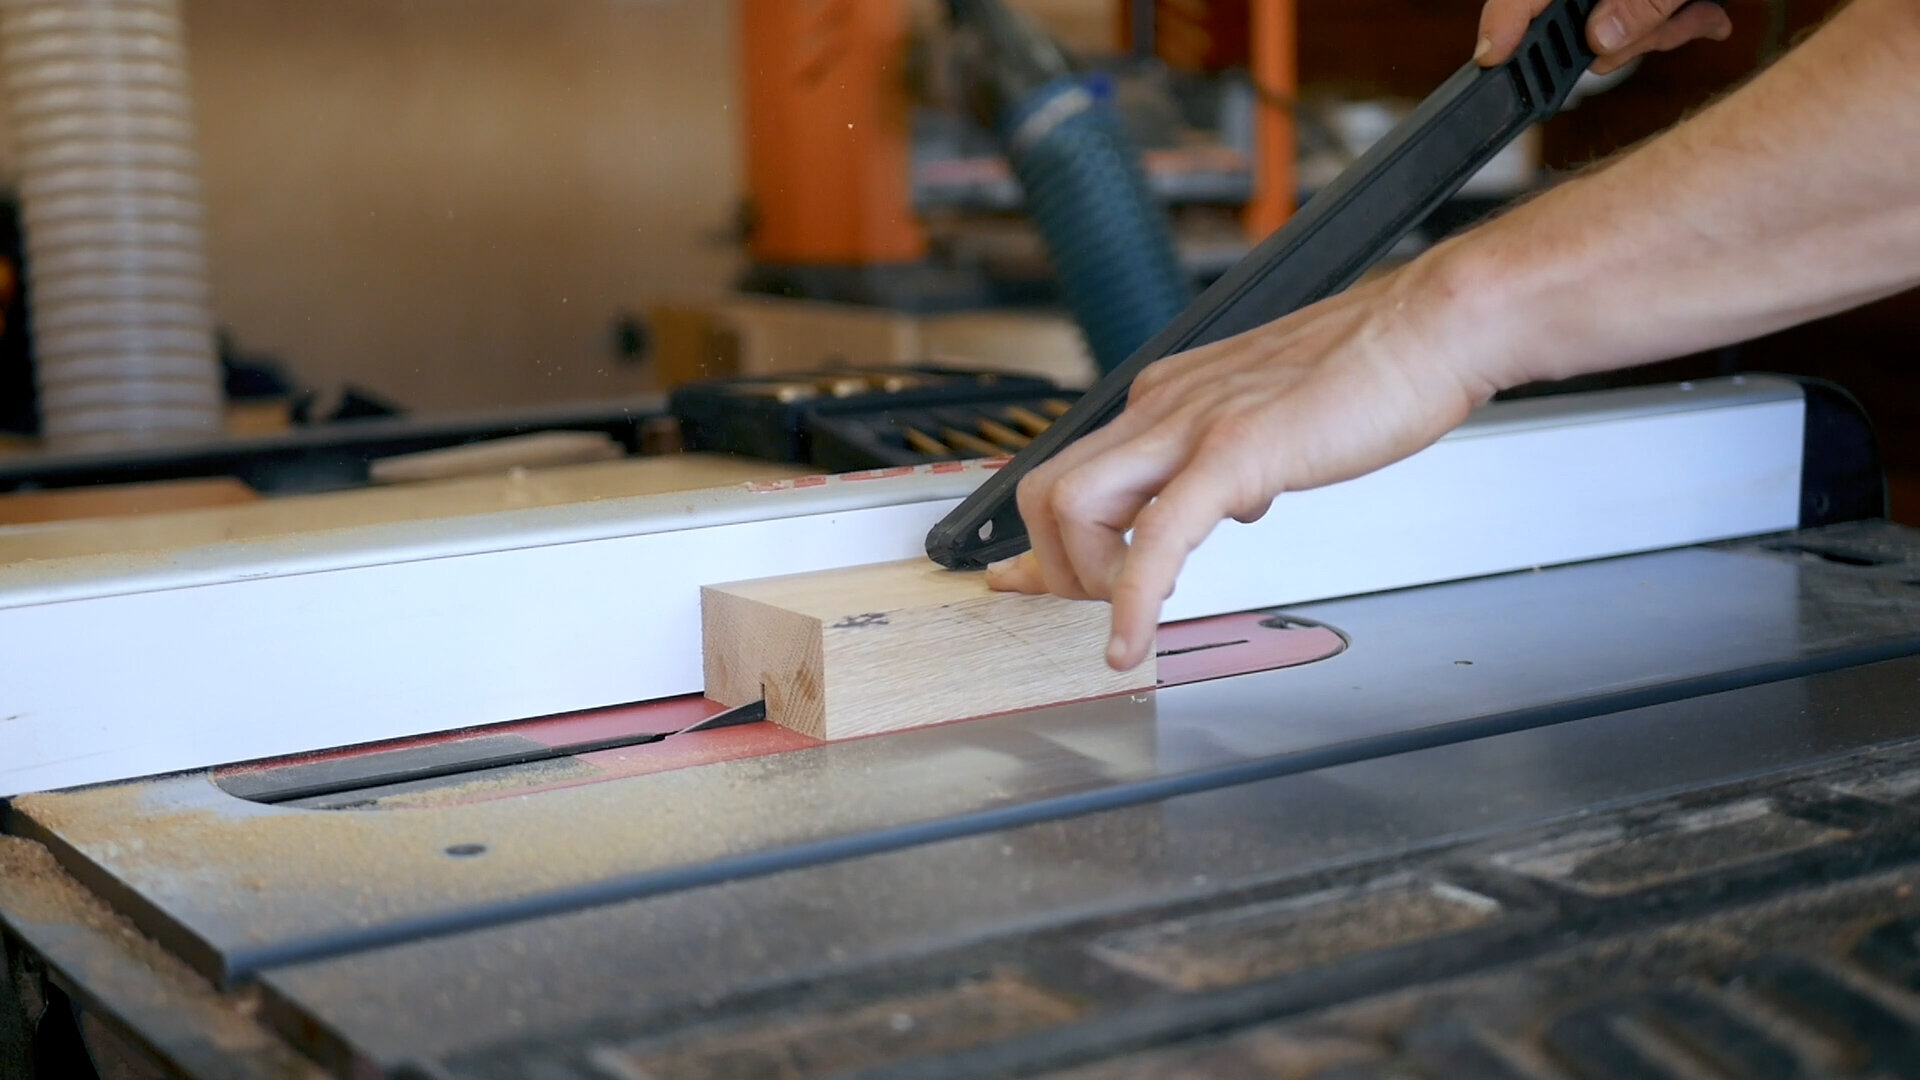
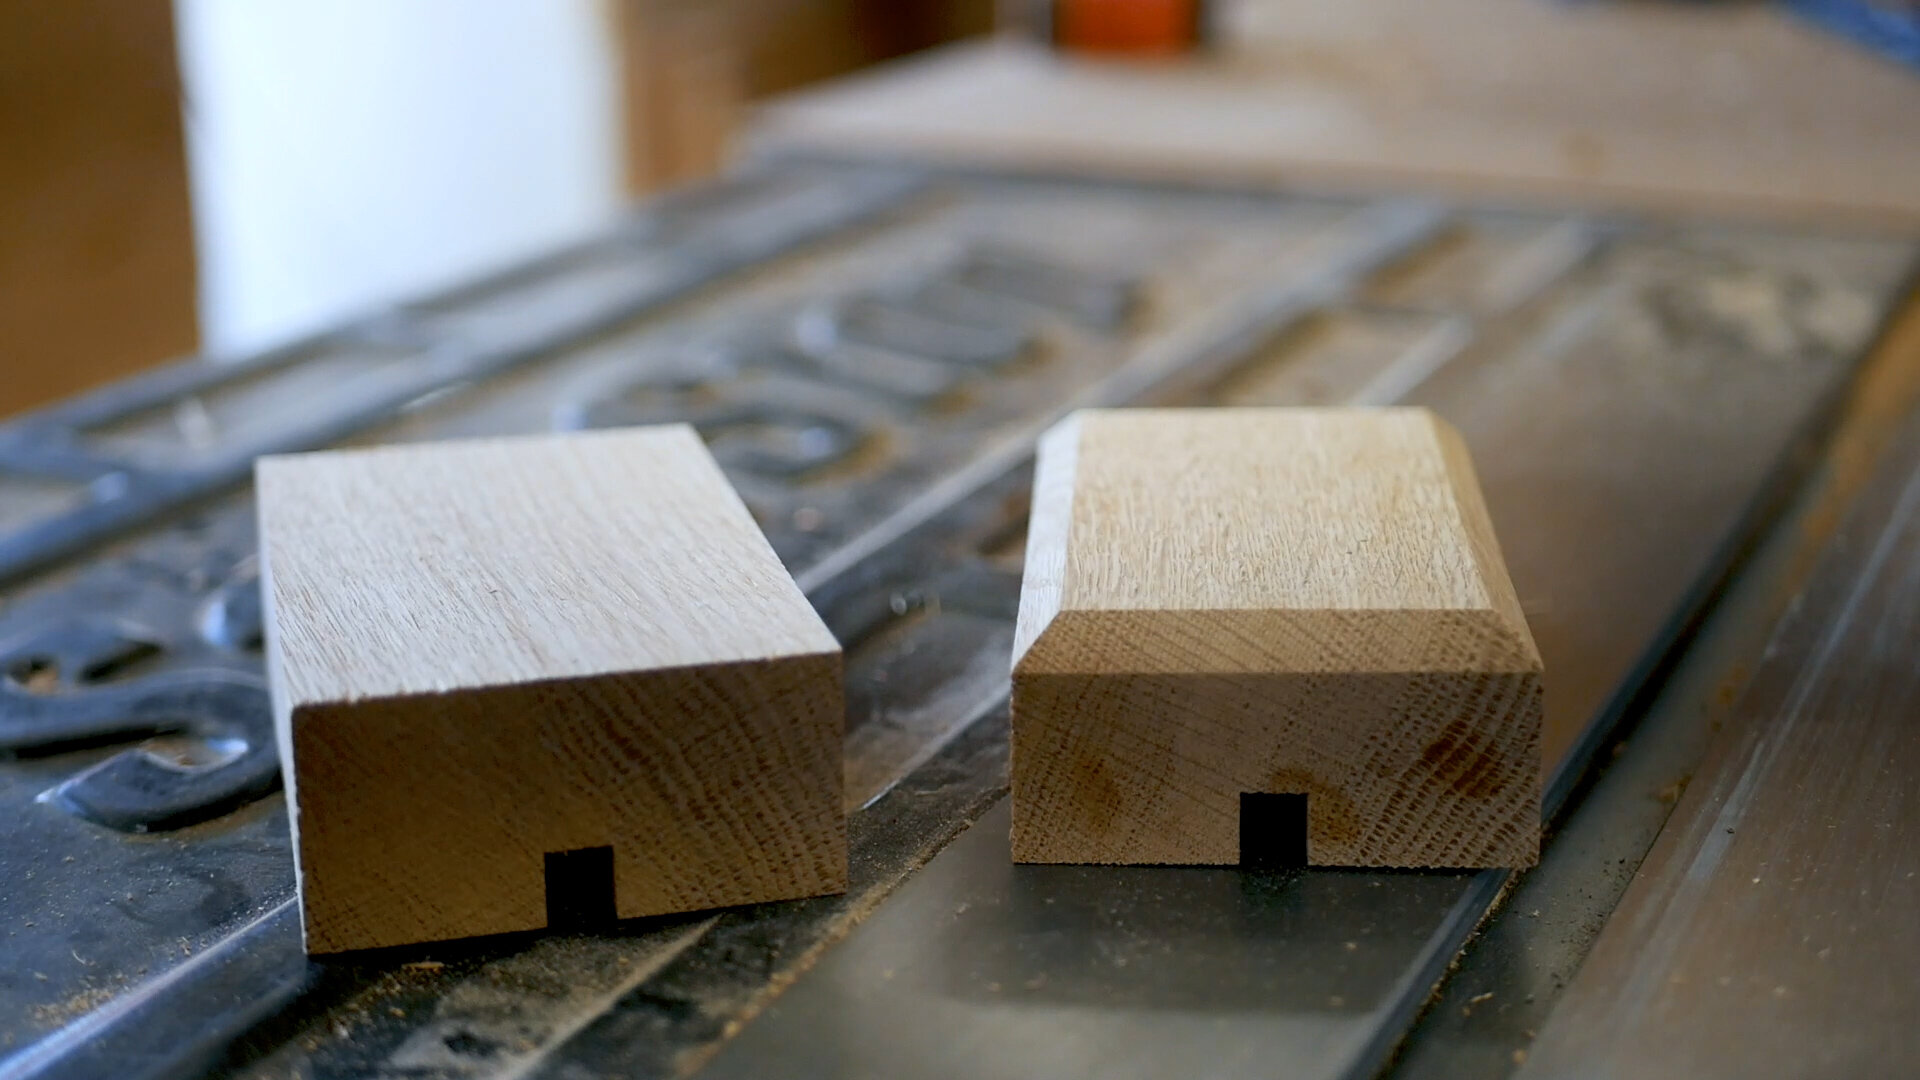
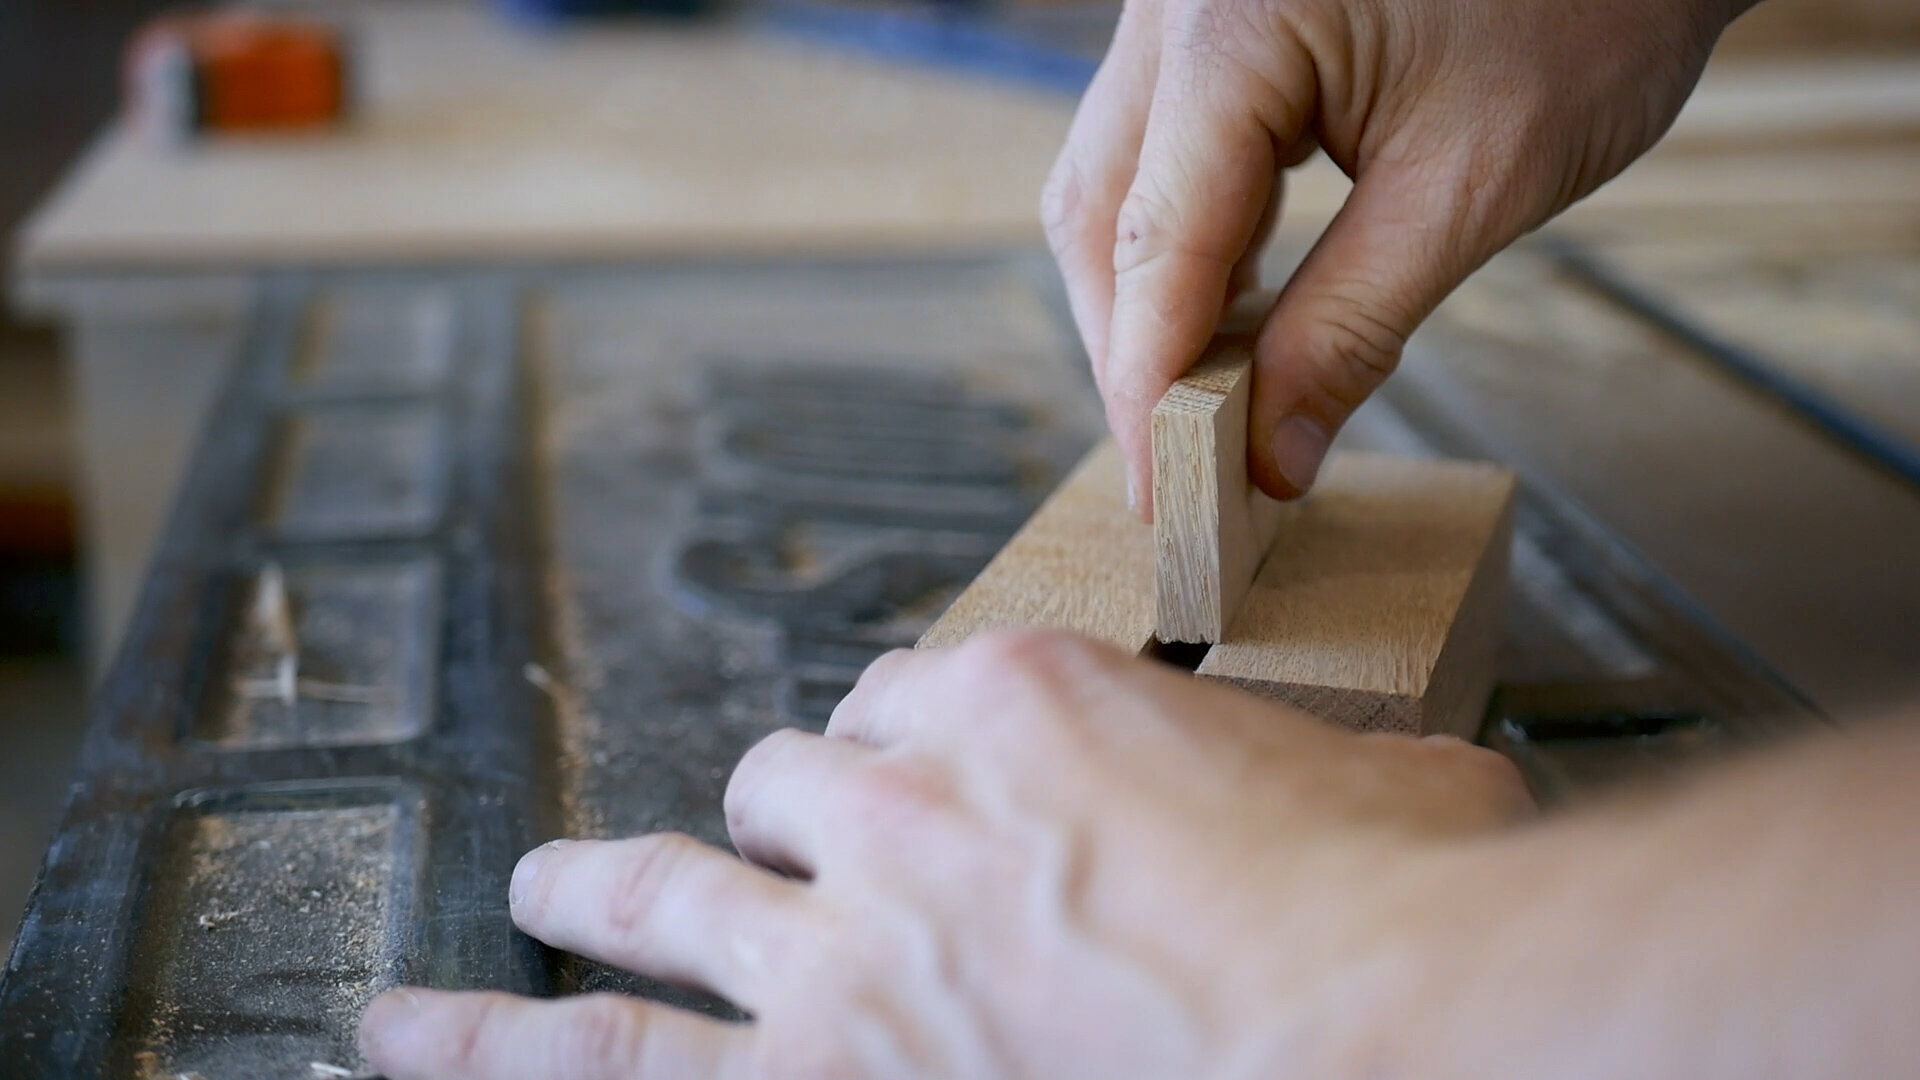
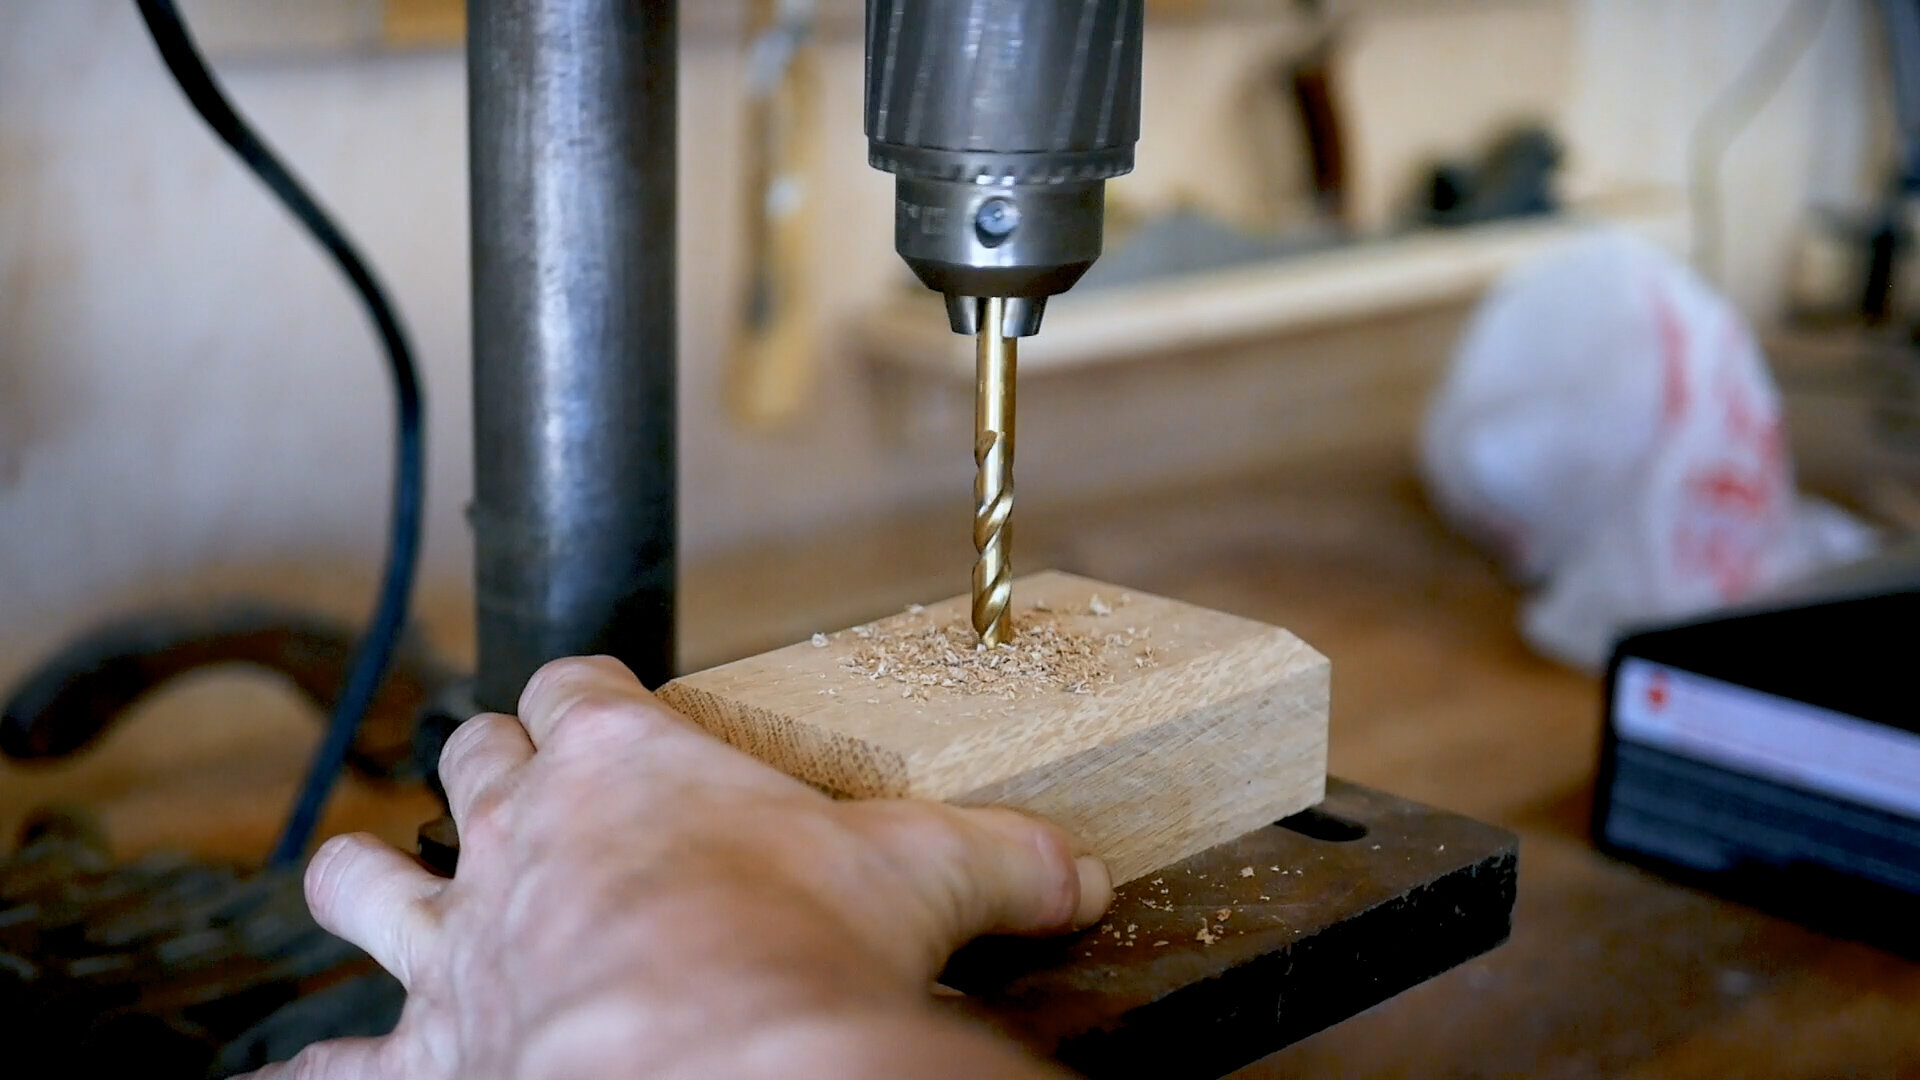
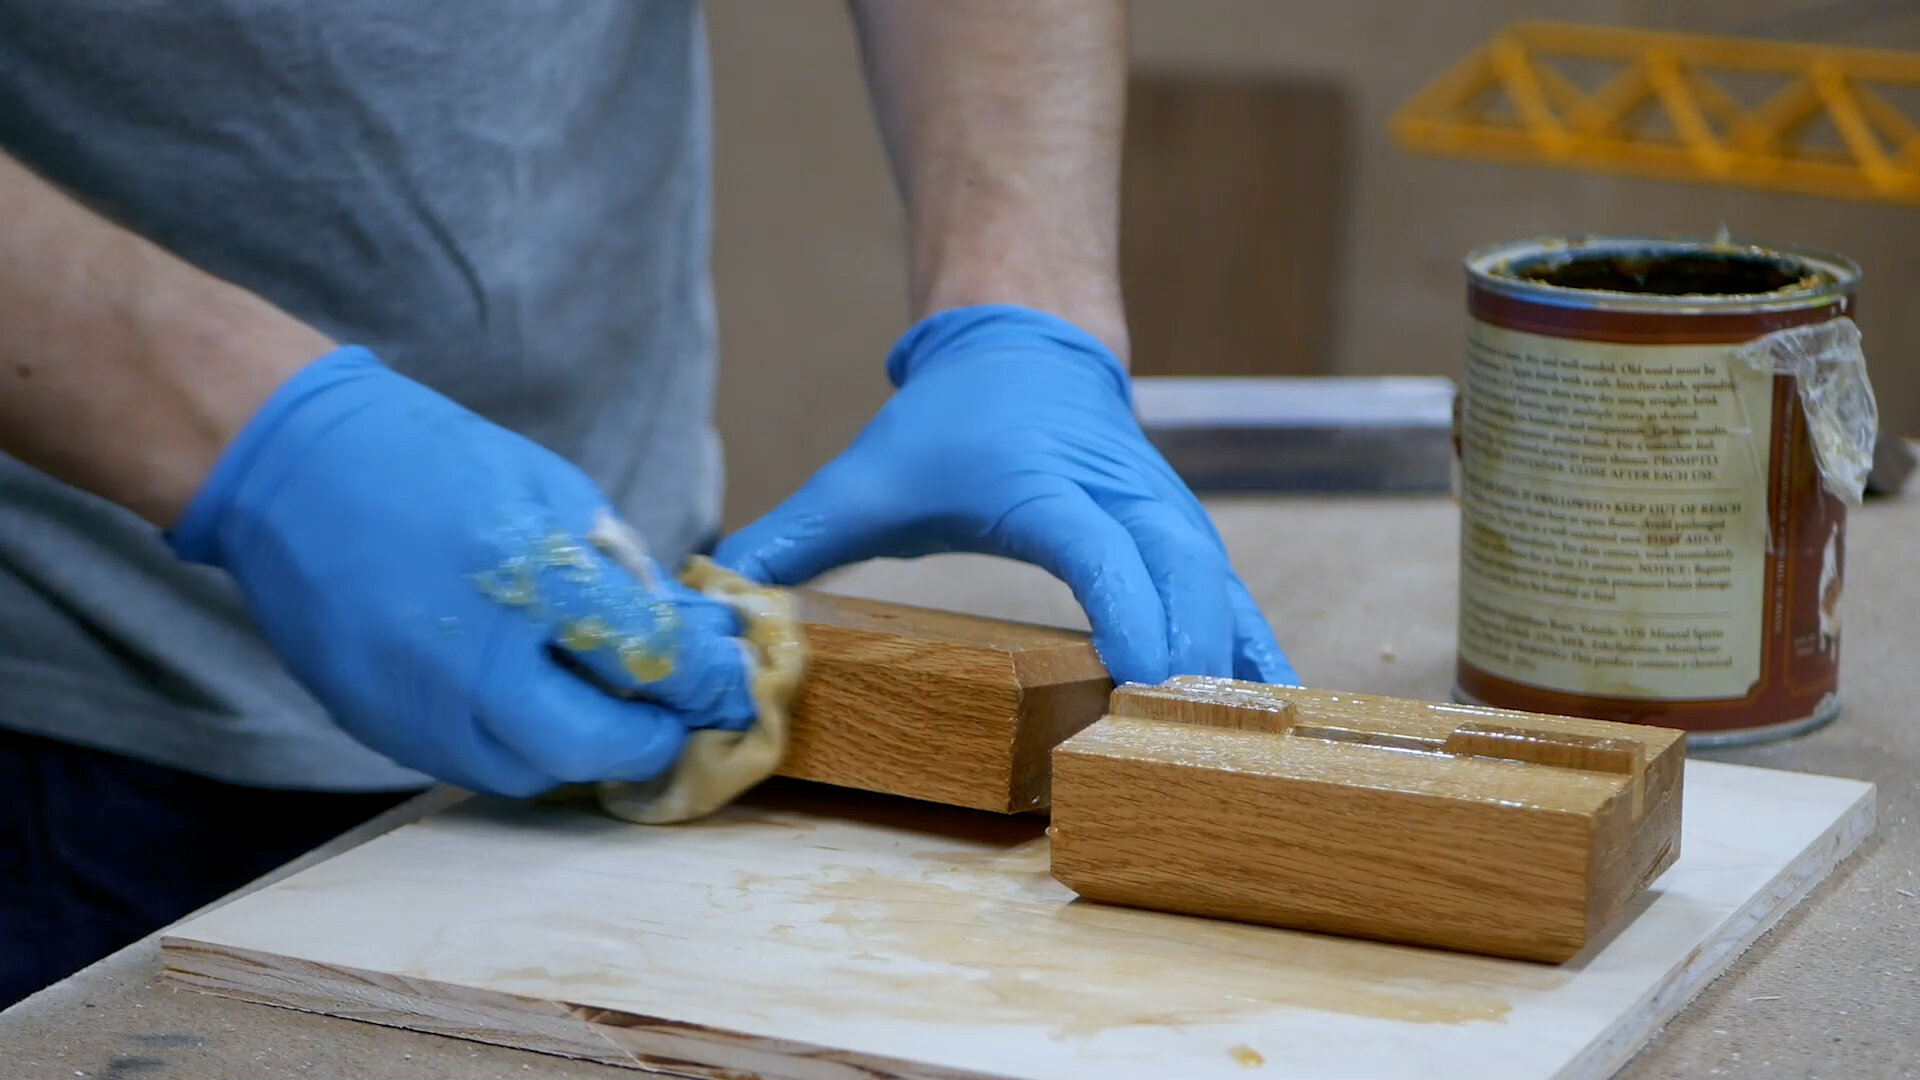
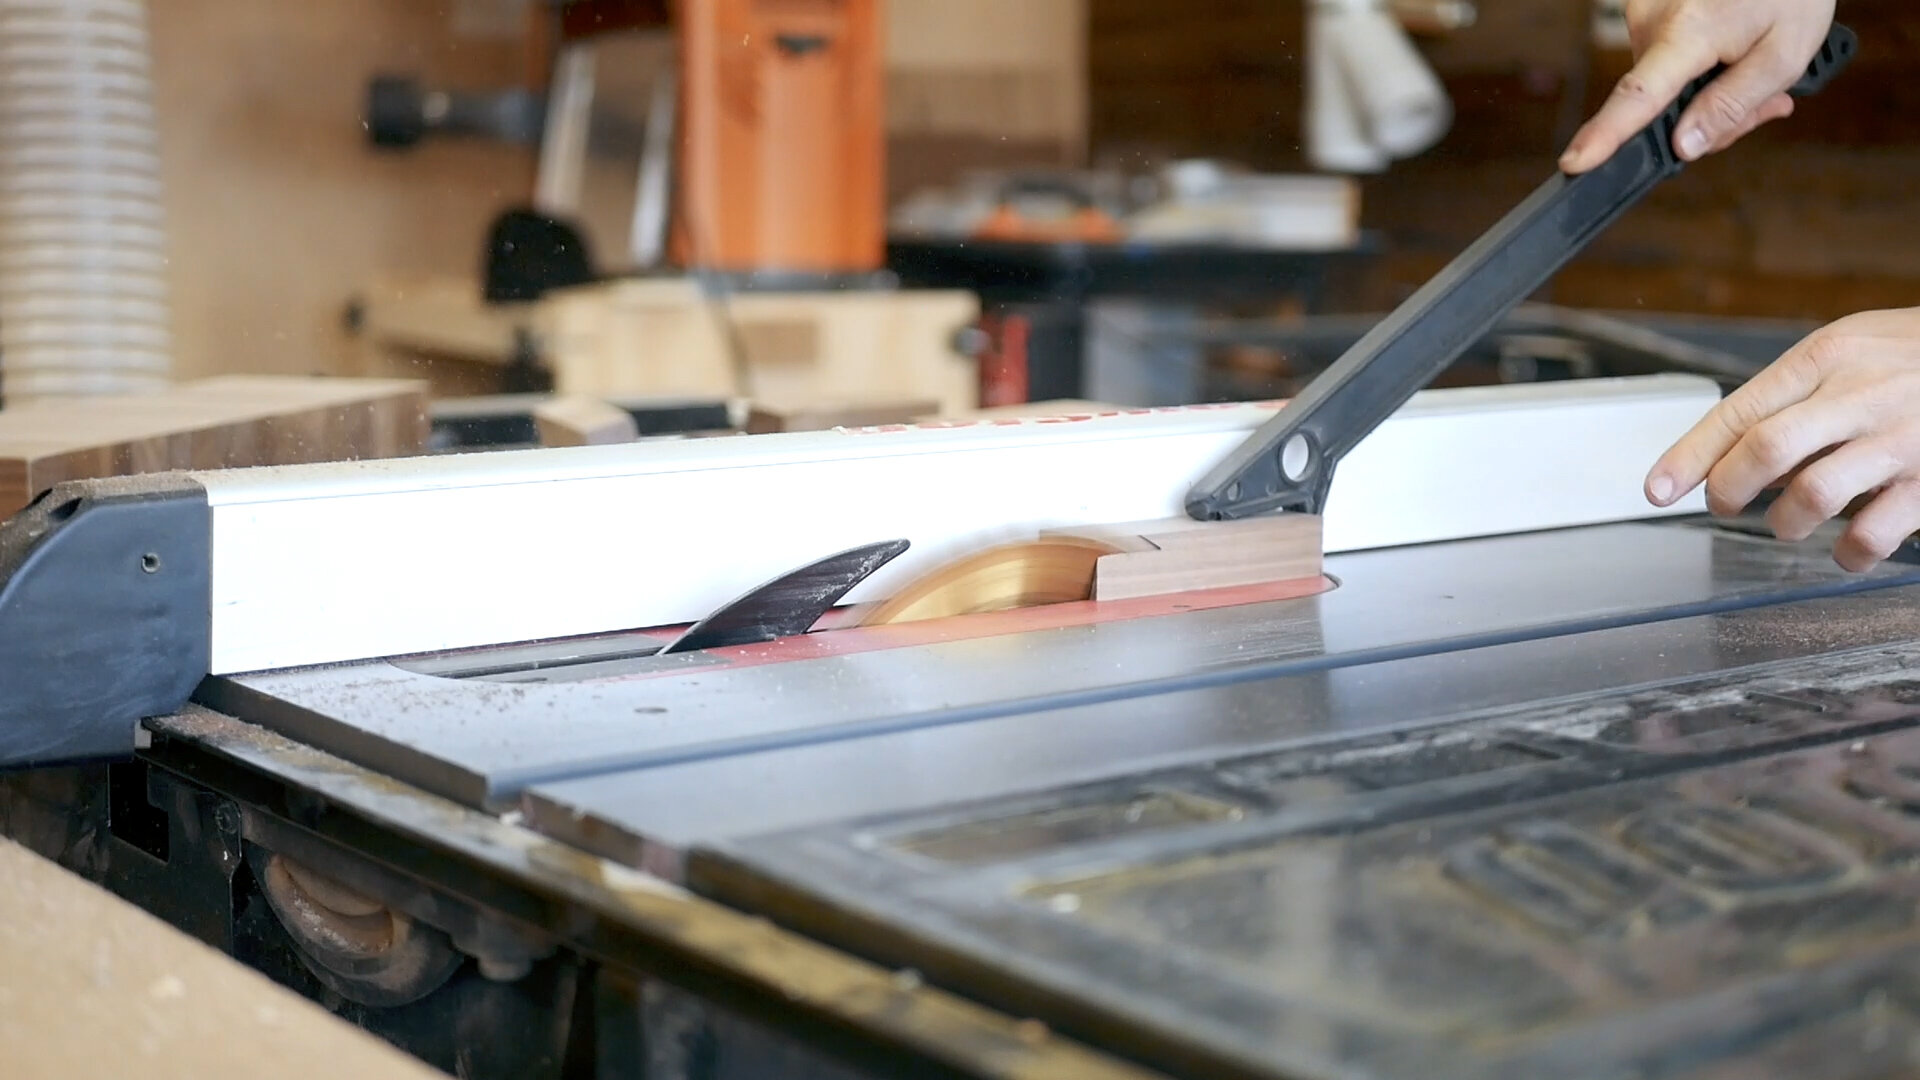
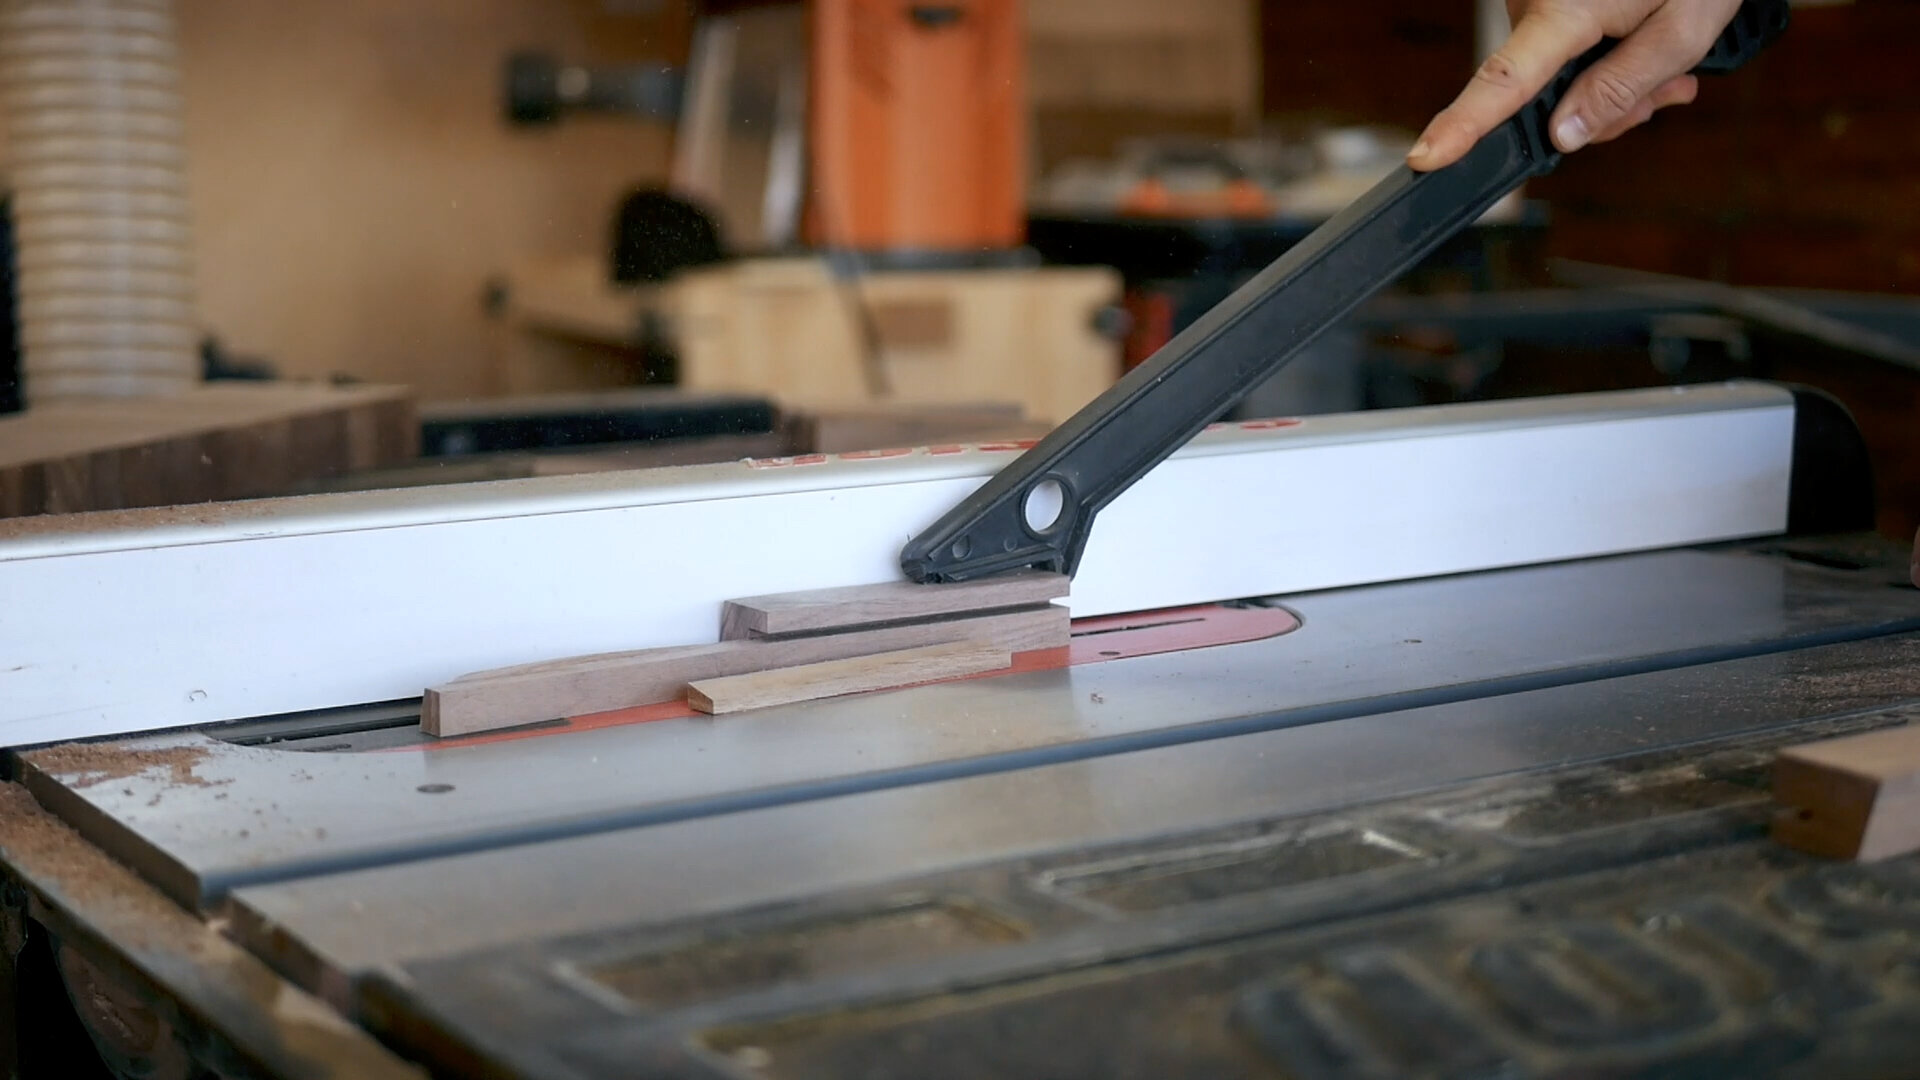
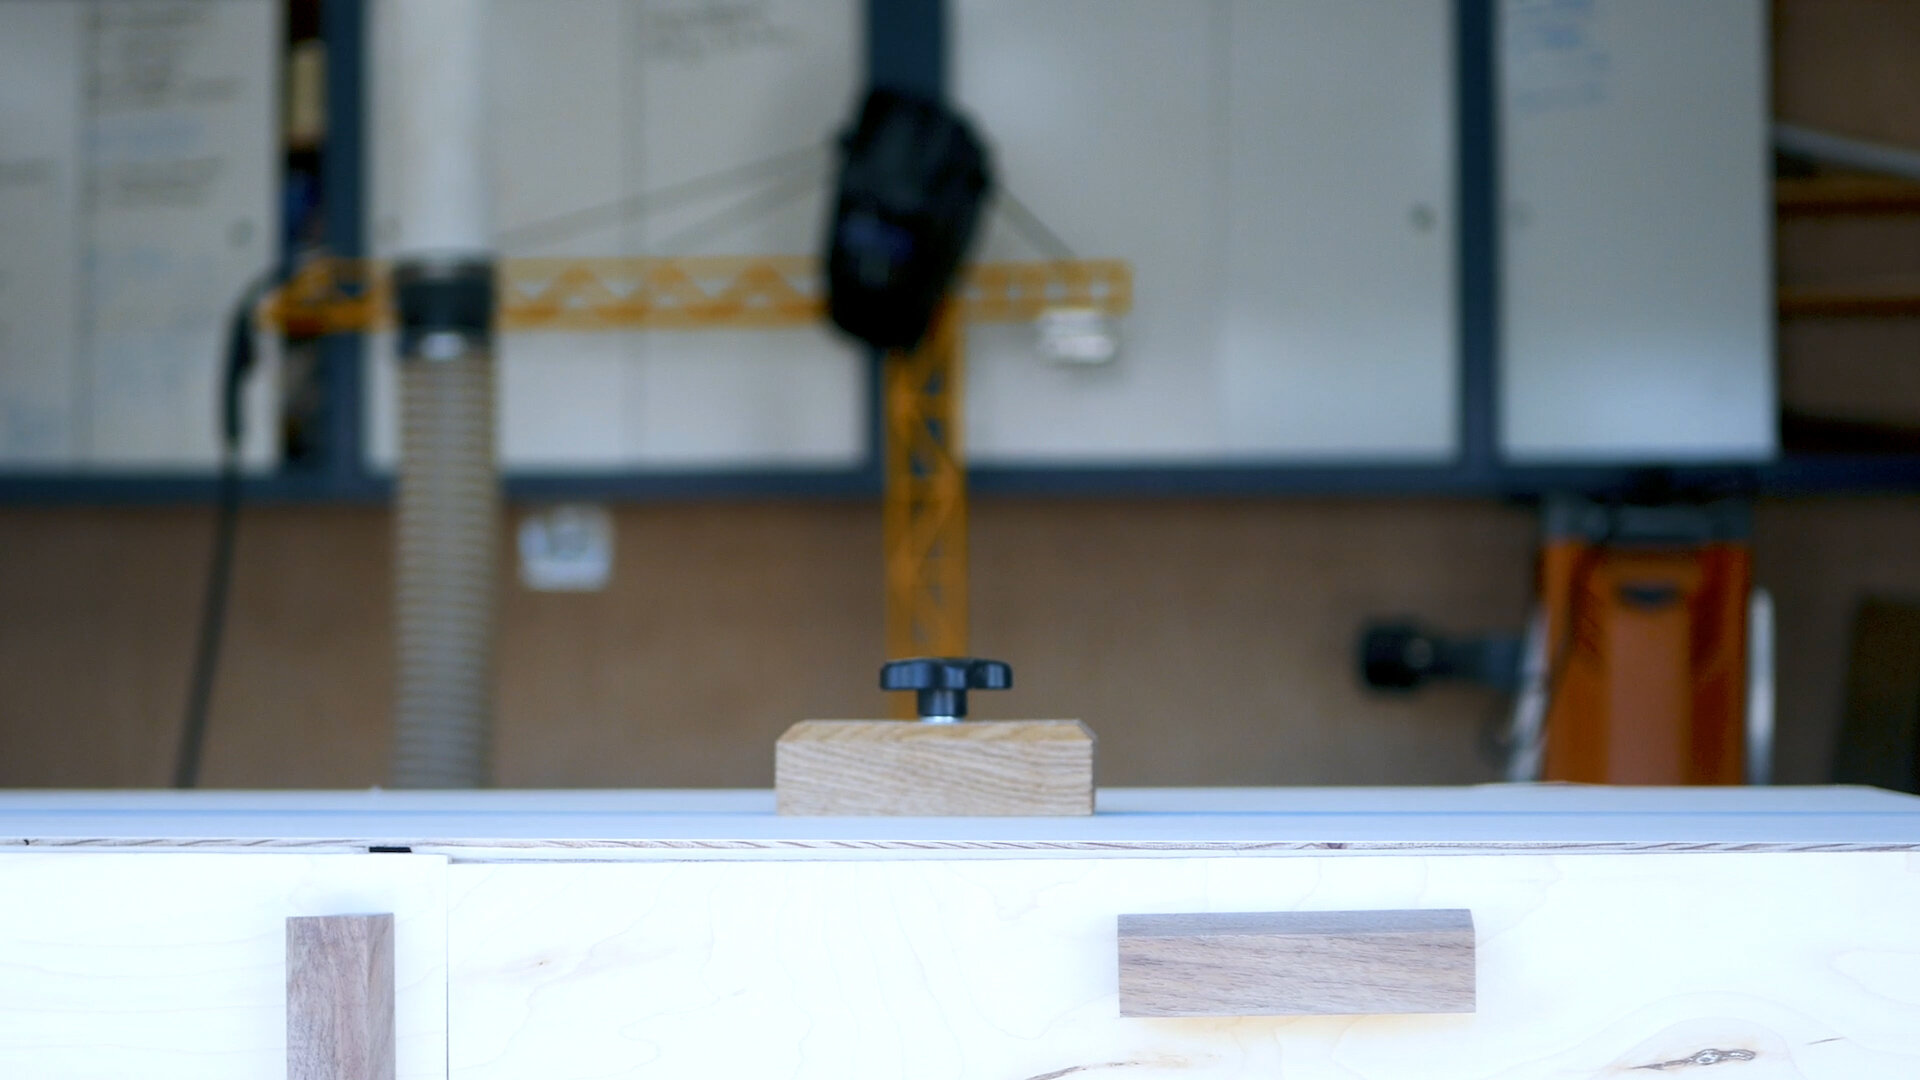
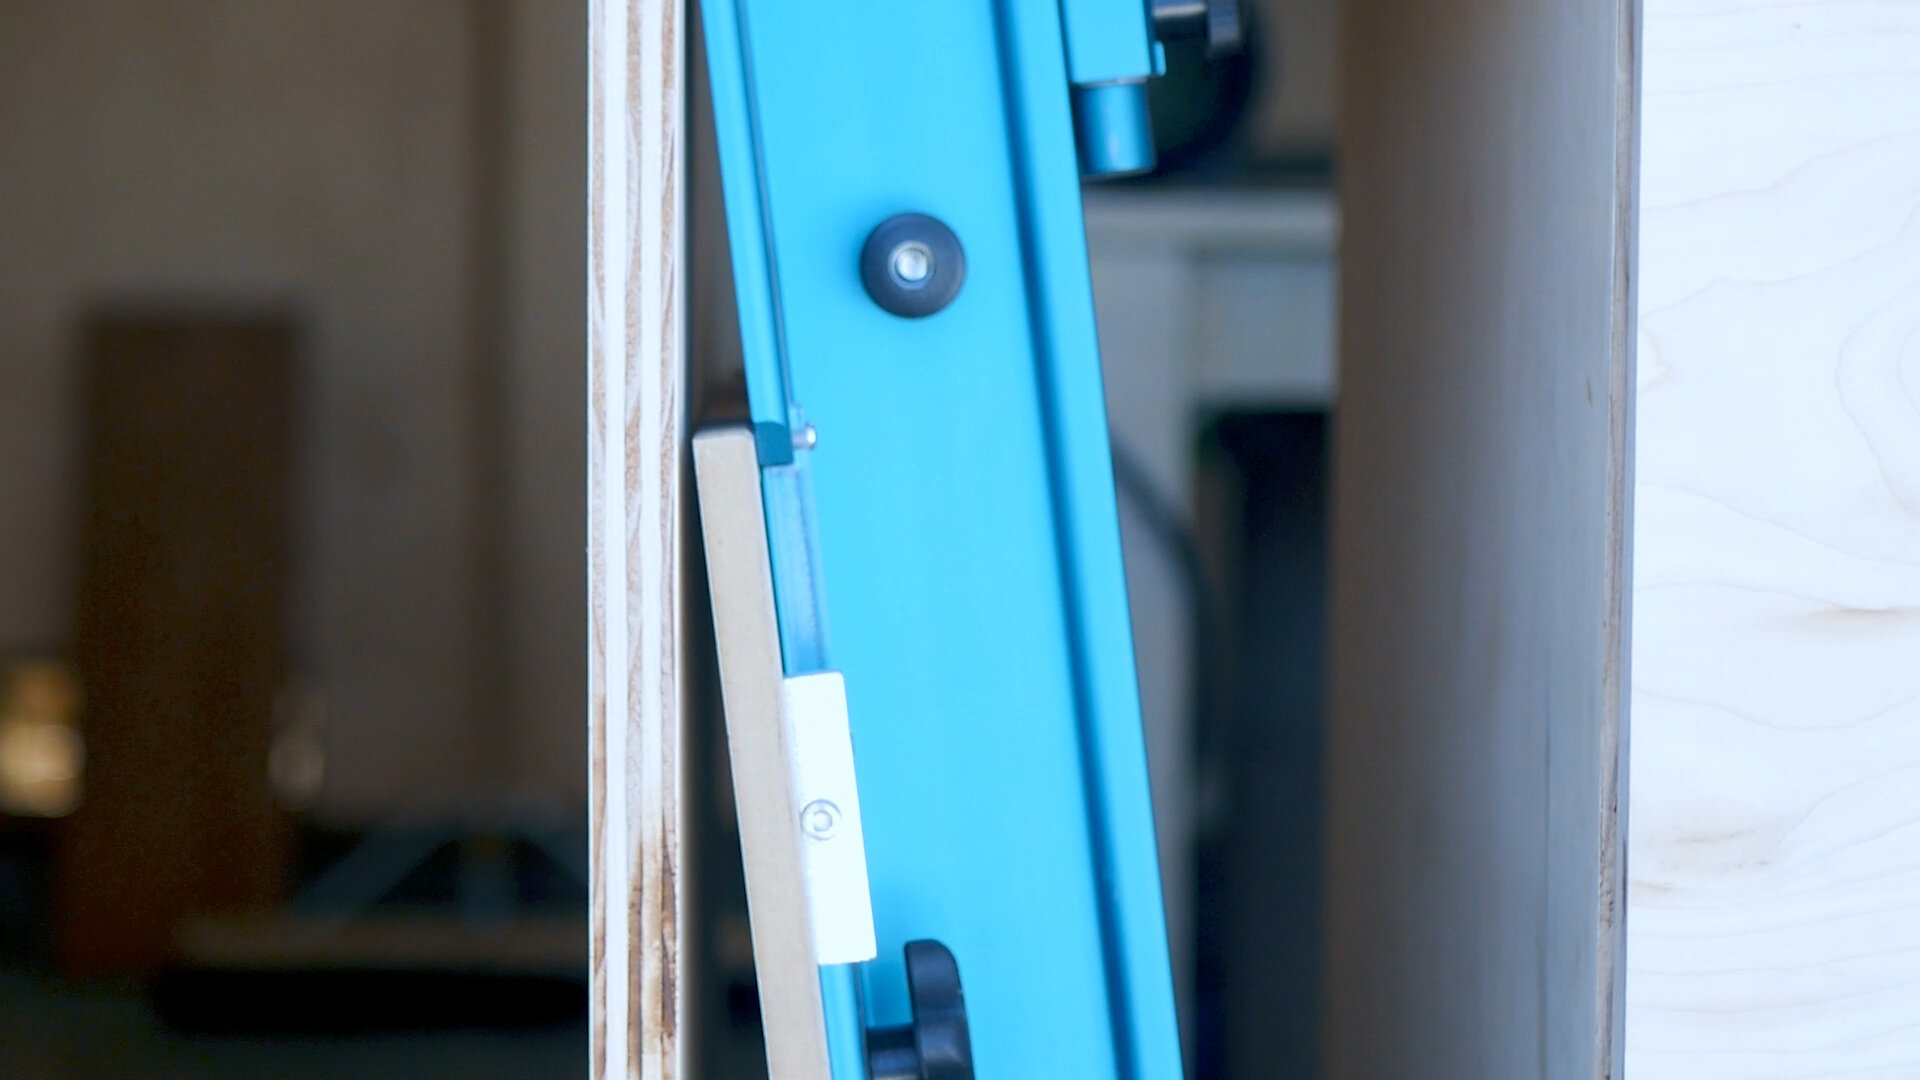
I don’t want a fence on my miter saw system. I’ve seen enough stations to know it’s not super useful and definitely not necessary, and by not having one, it actually allows for storage expansion. I won’t go into a huge amount of detail on this set up, but basically the replacement for a fence is a stop block system that runs on Rockler T Tracks. I made my set of two blocks from some spare white oak I had. The system and design was lifted from a Make Something video - check out the full build video here.
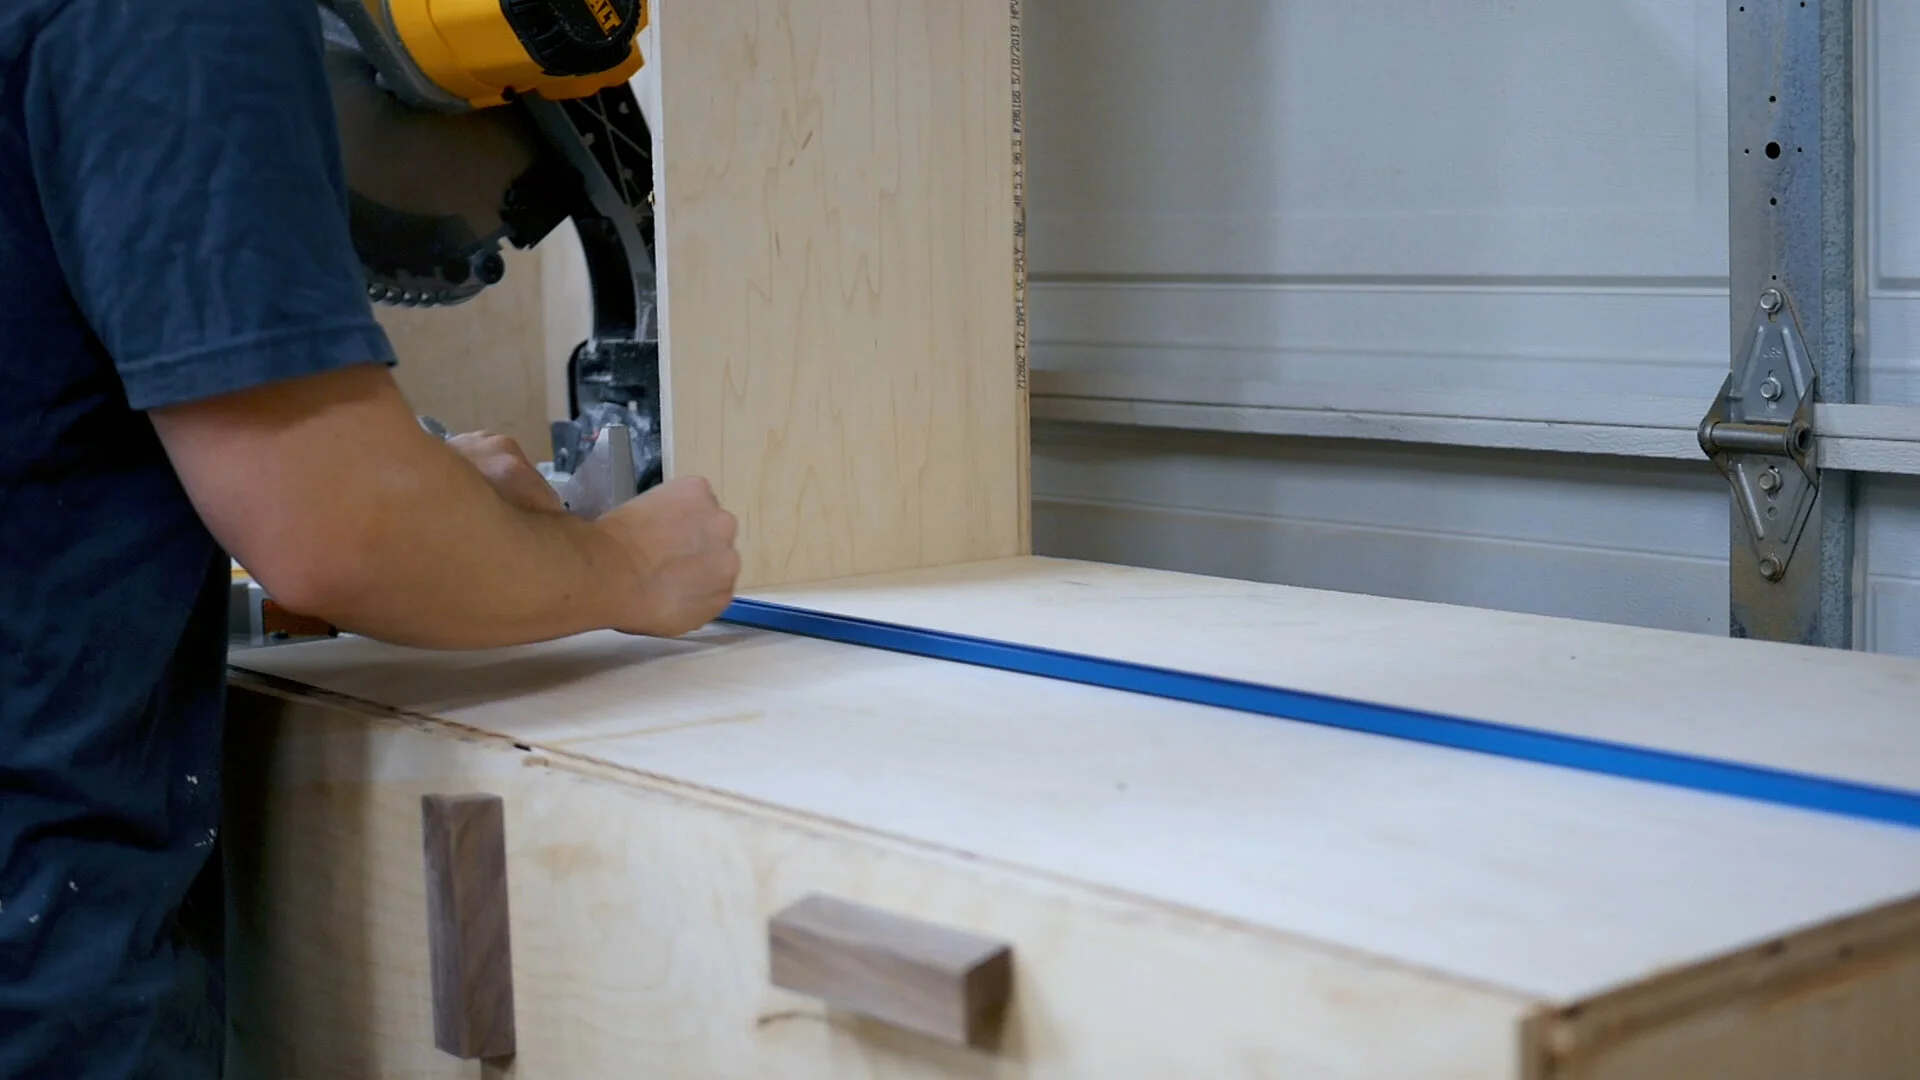

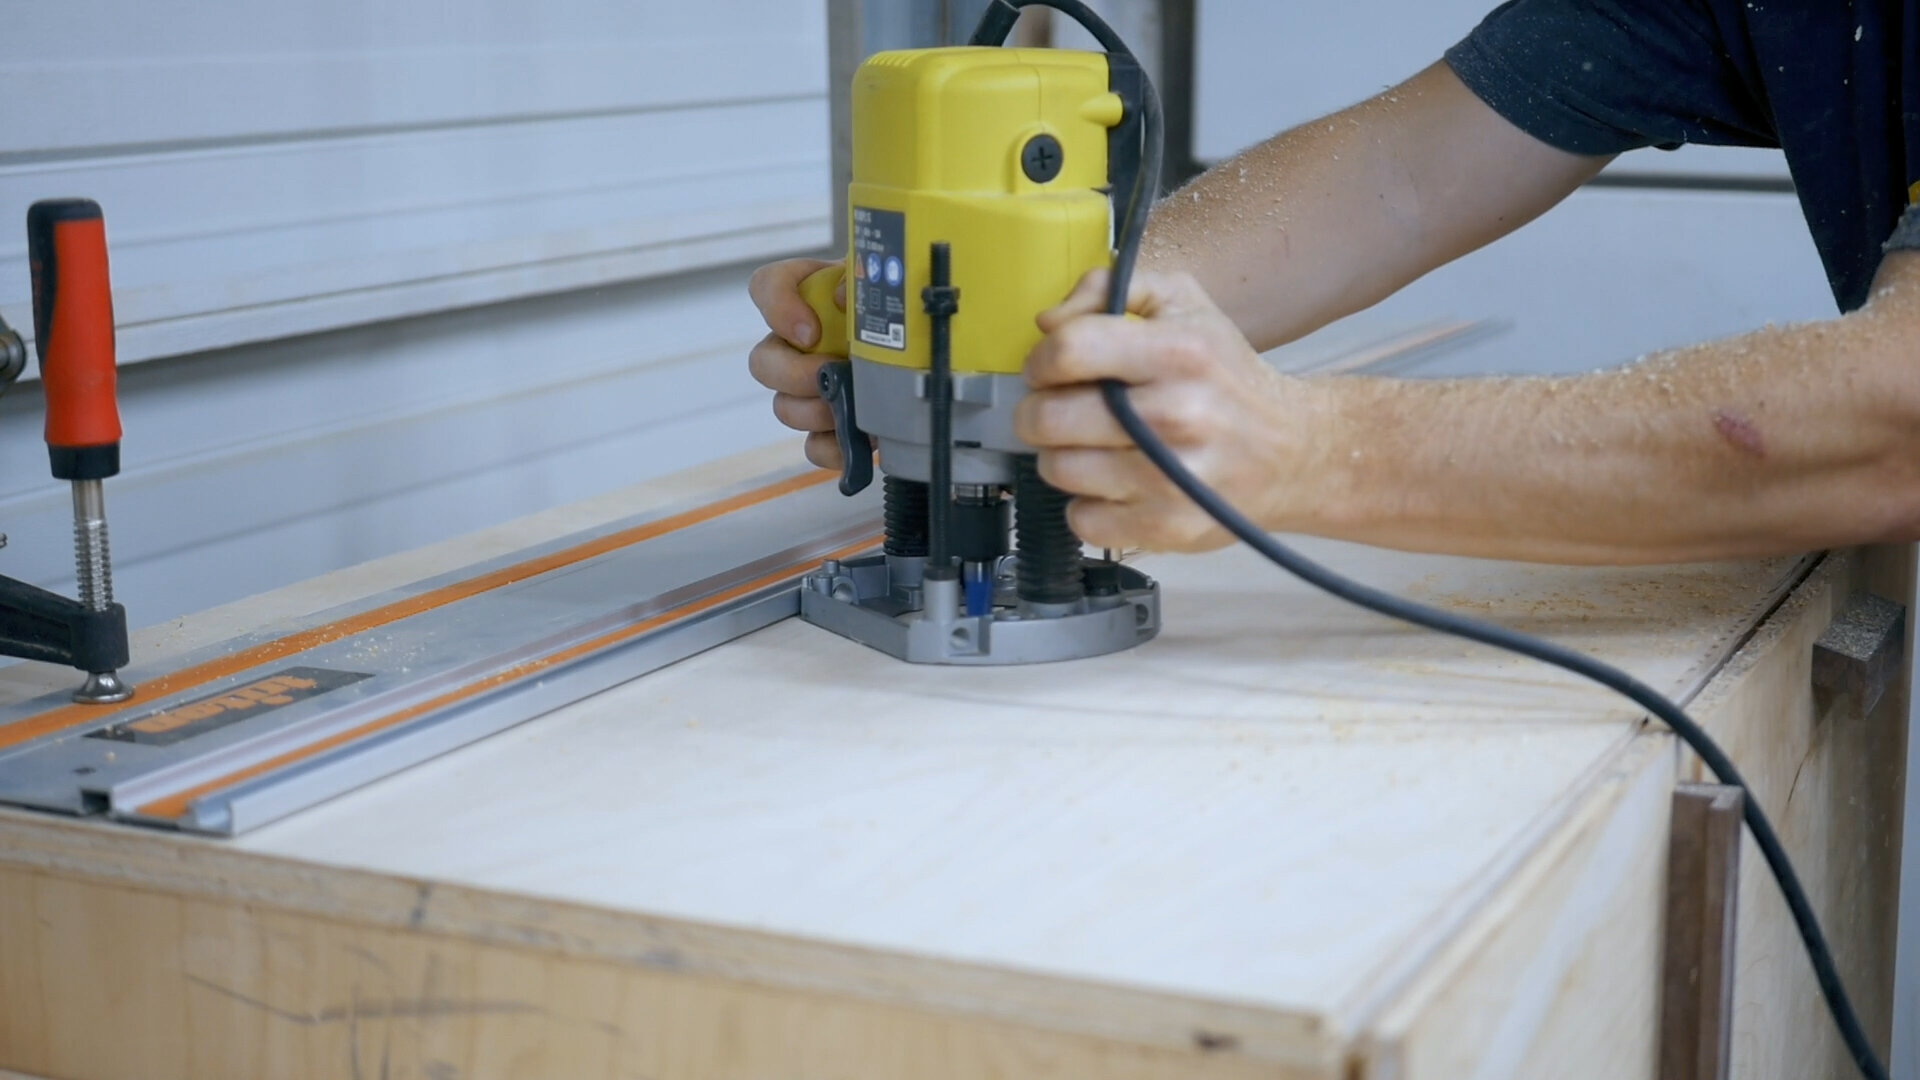
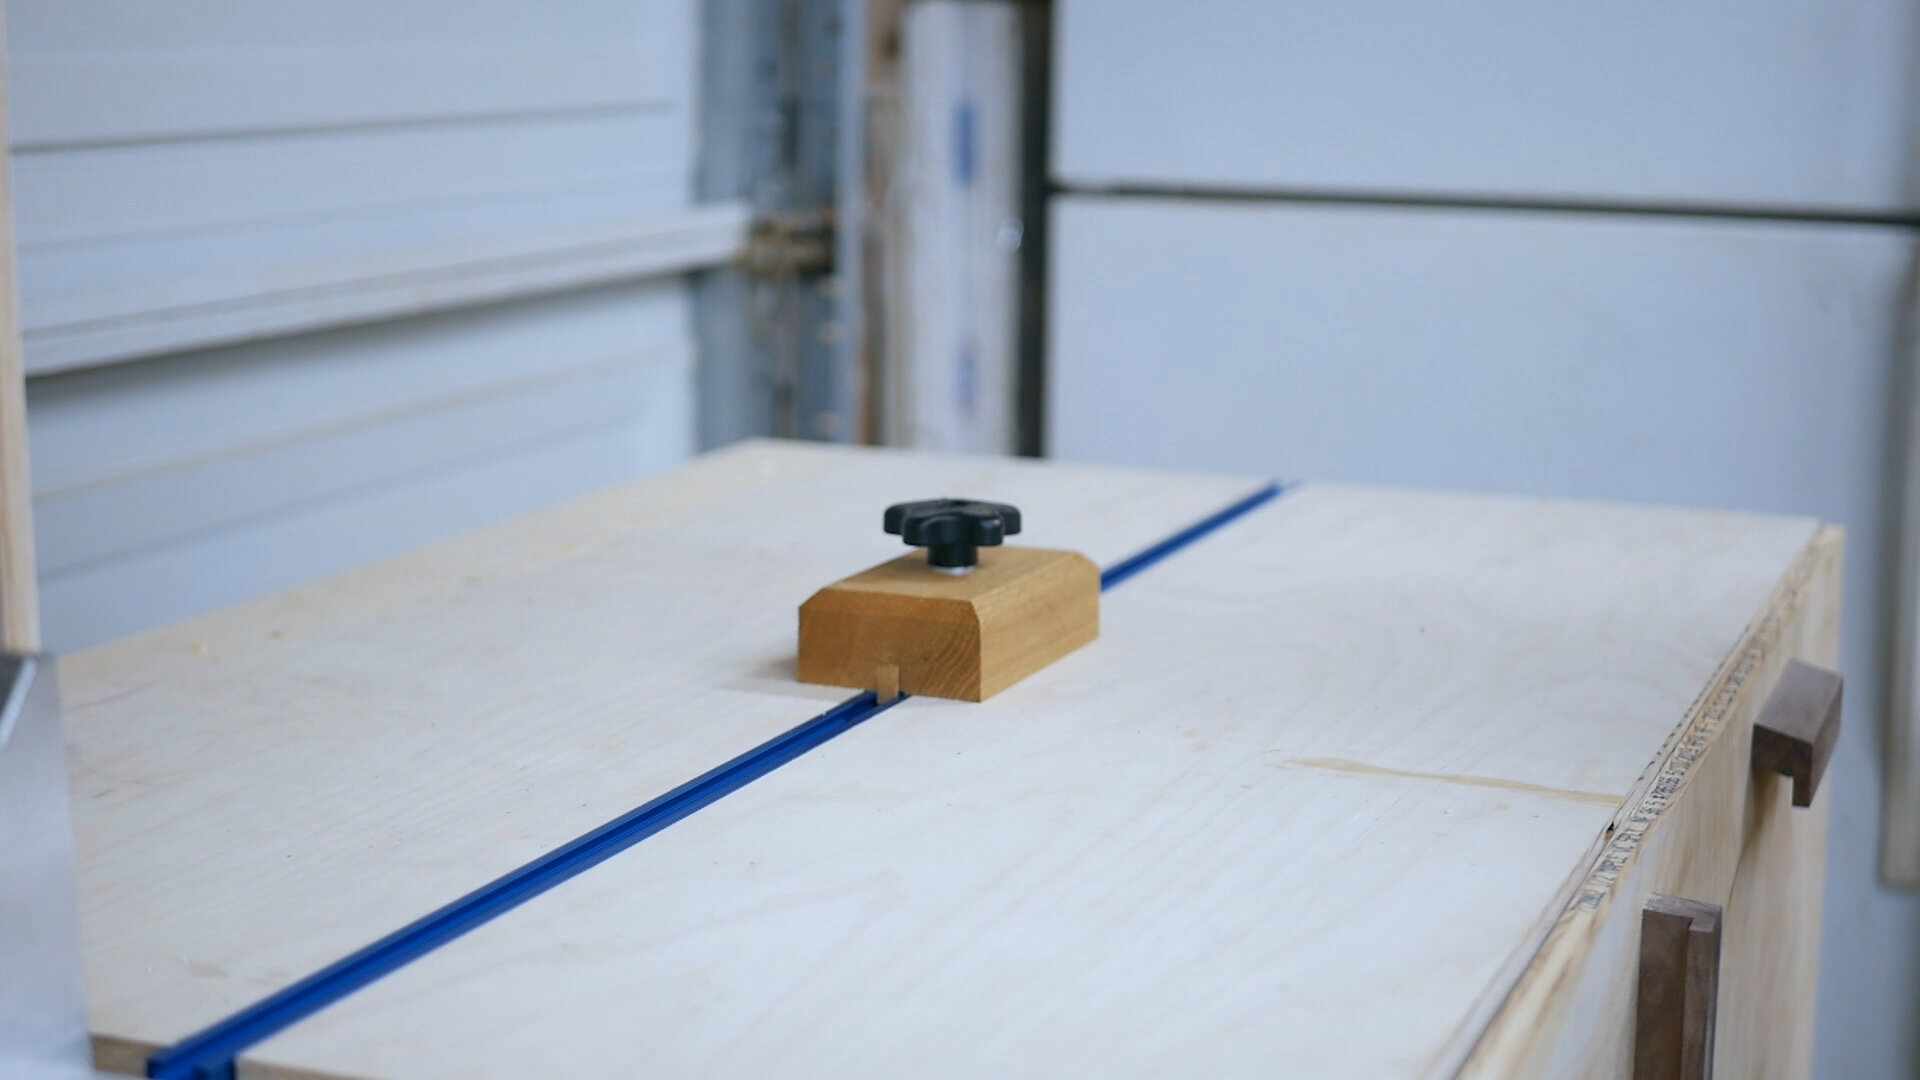
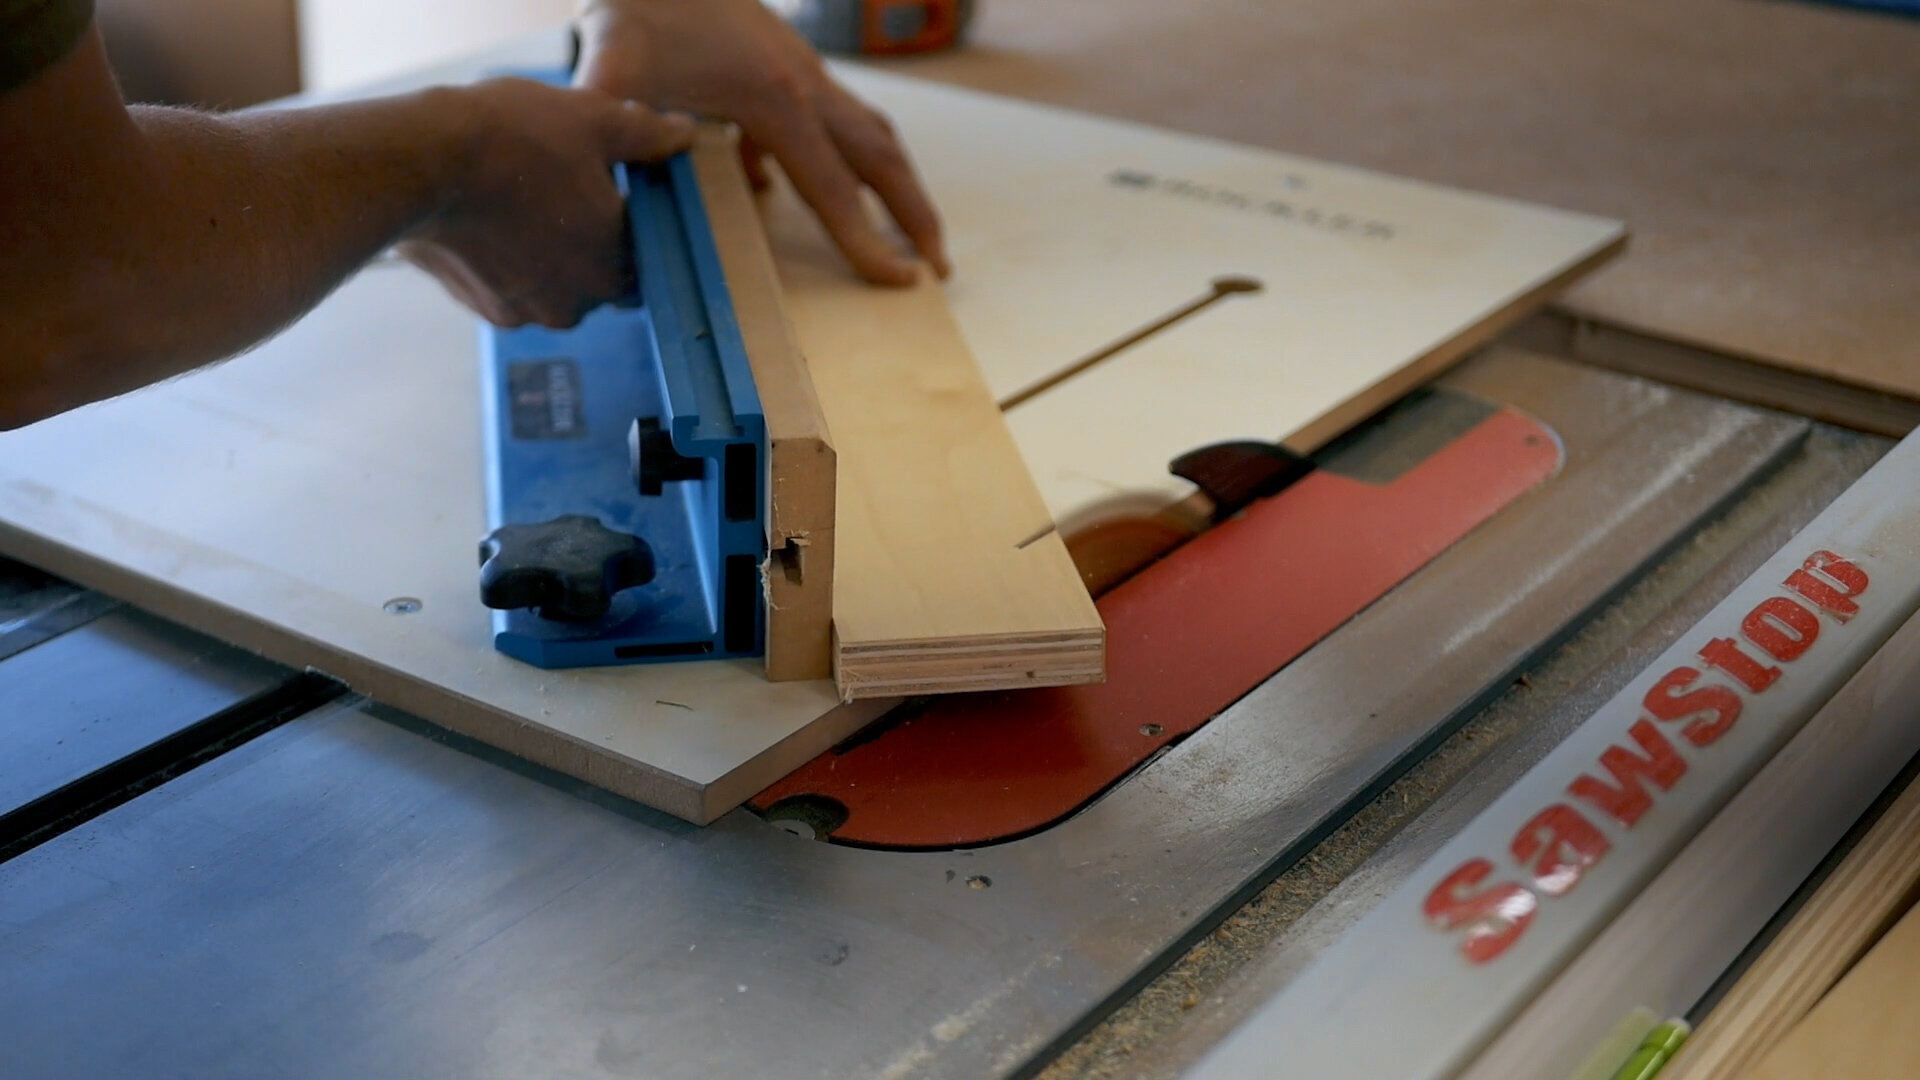
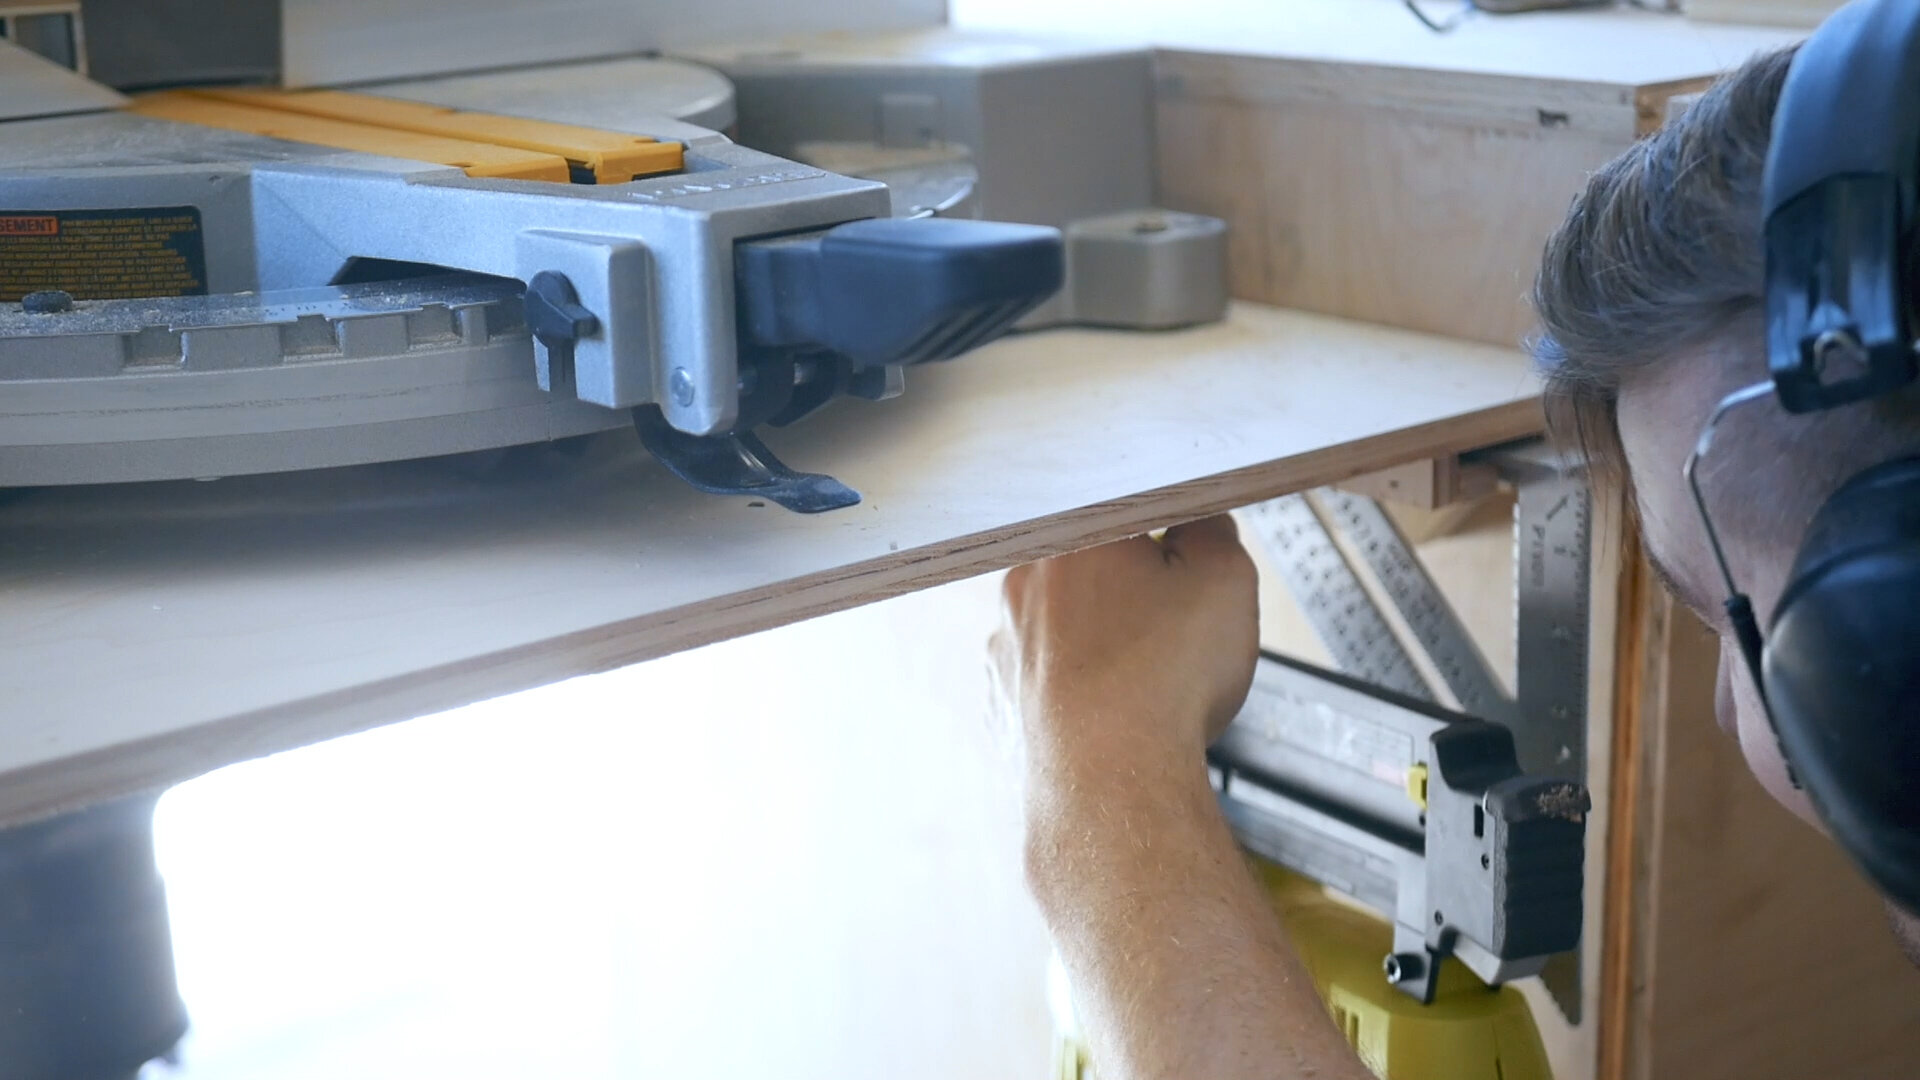
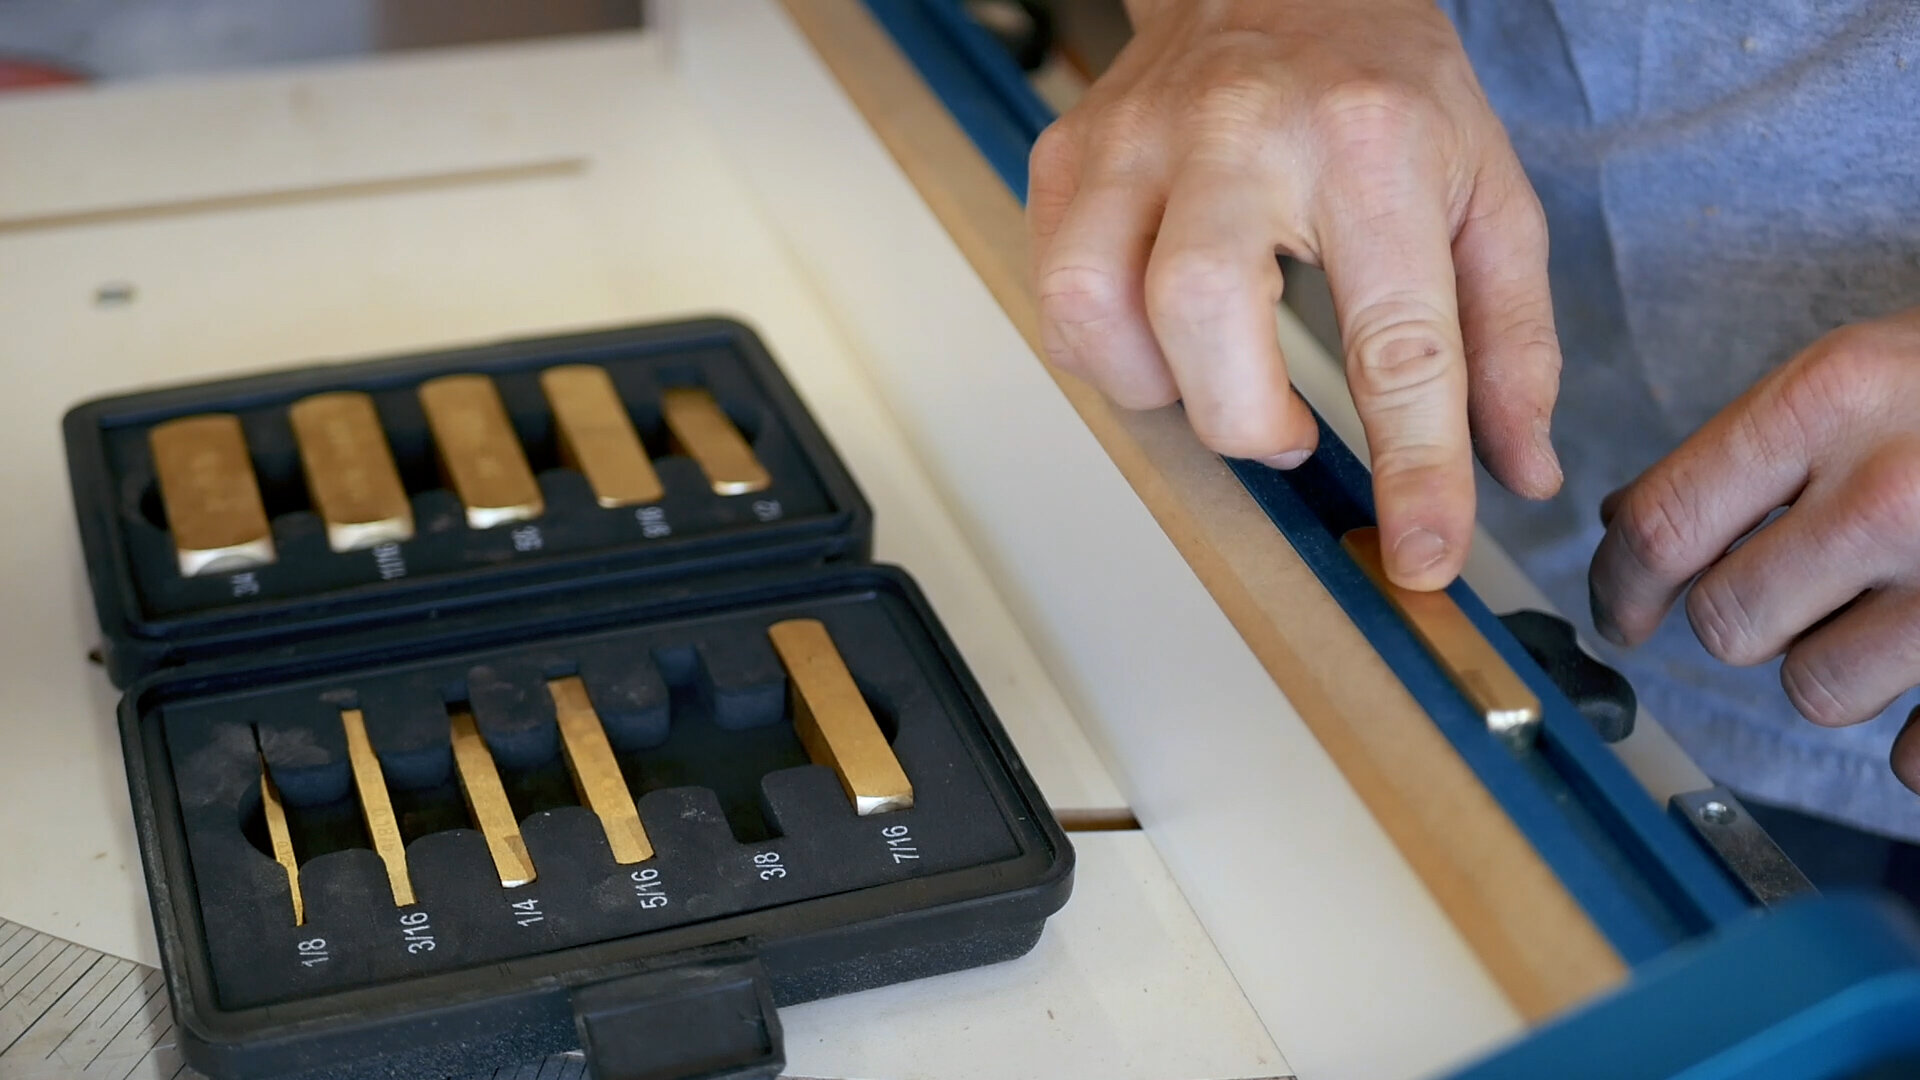
Installation of the T Track system is relatively straight forward, it just requires patience and a steady hand. I marked out exactly where I wanted mine to go on each side of the station - this will be relative to where you position your miter saw. I then set the depth of my track using an actual piece of track against the cut depth stop of my plunge router.
Then, using a straight bit and my tracksaw track as a straight edge, I routed my channel. The bit I had was only a half inch bit, so I had to move the fence inward 1/4” to finish the groove. I think I routed each groove in 2-3 passes to avoid tear out.
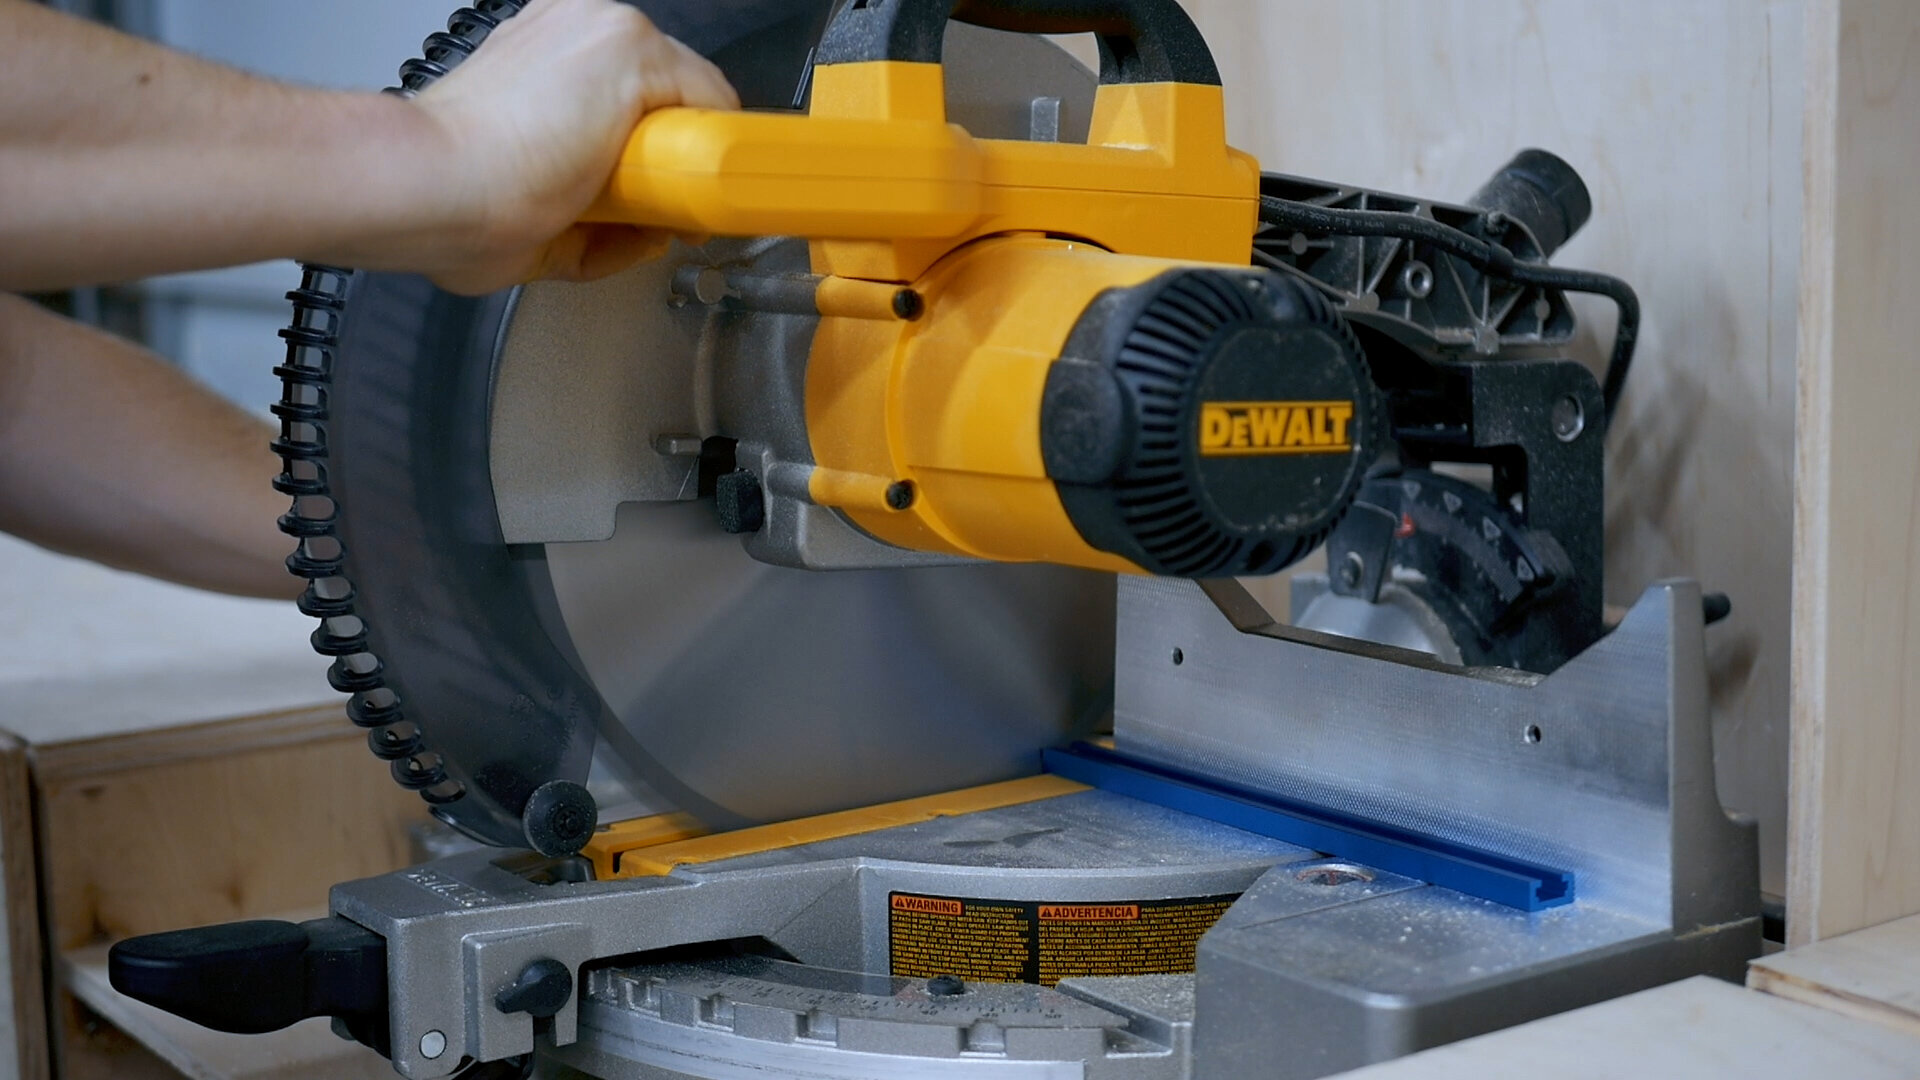
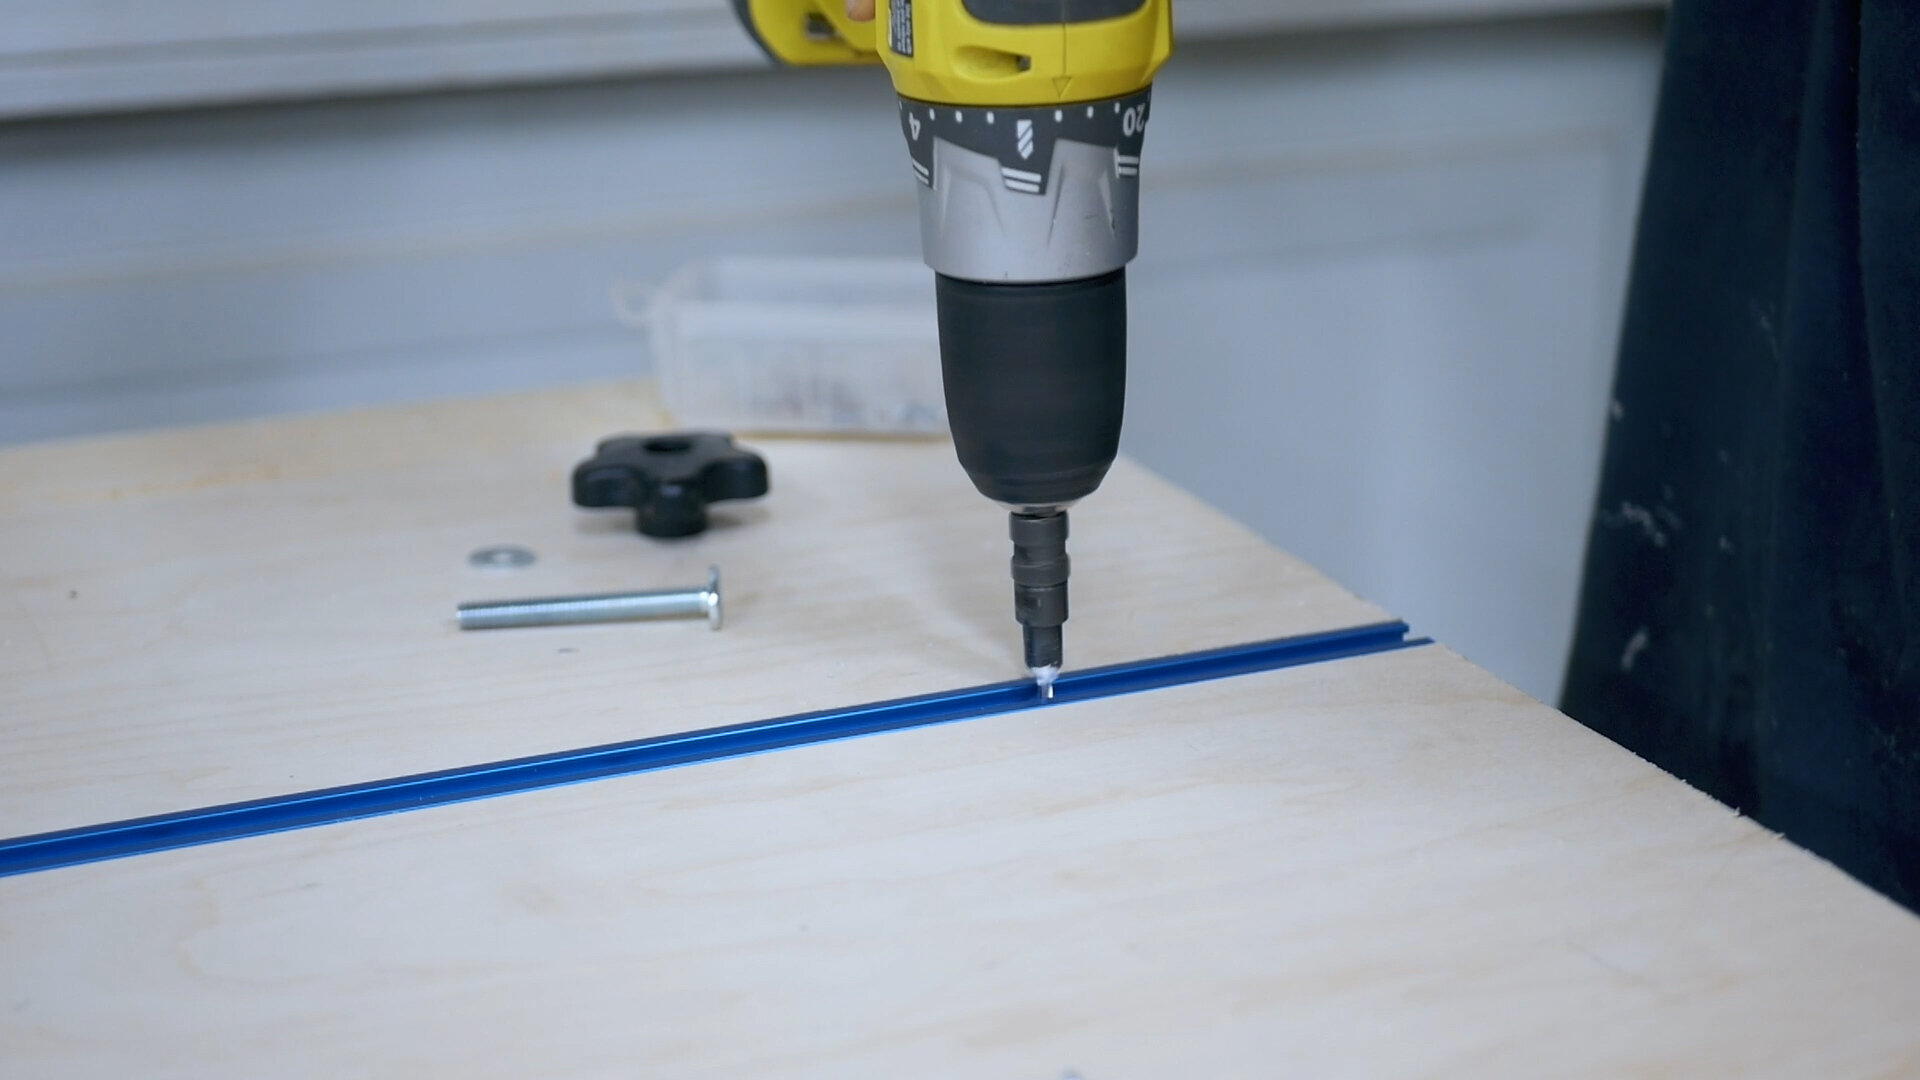
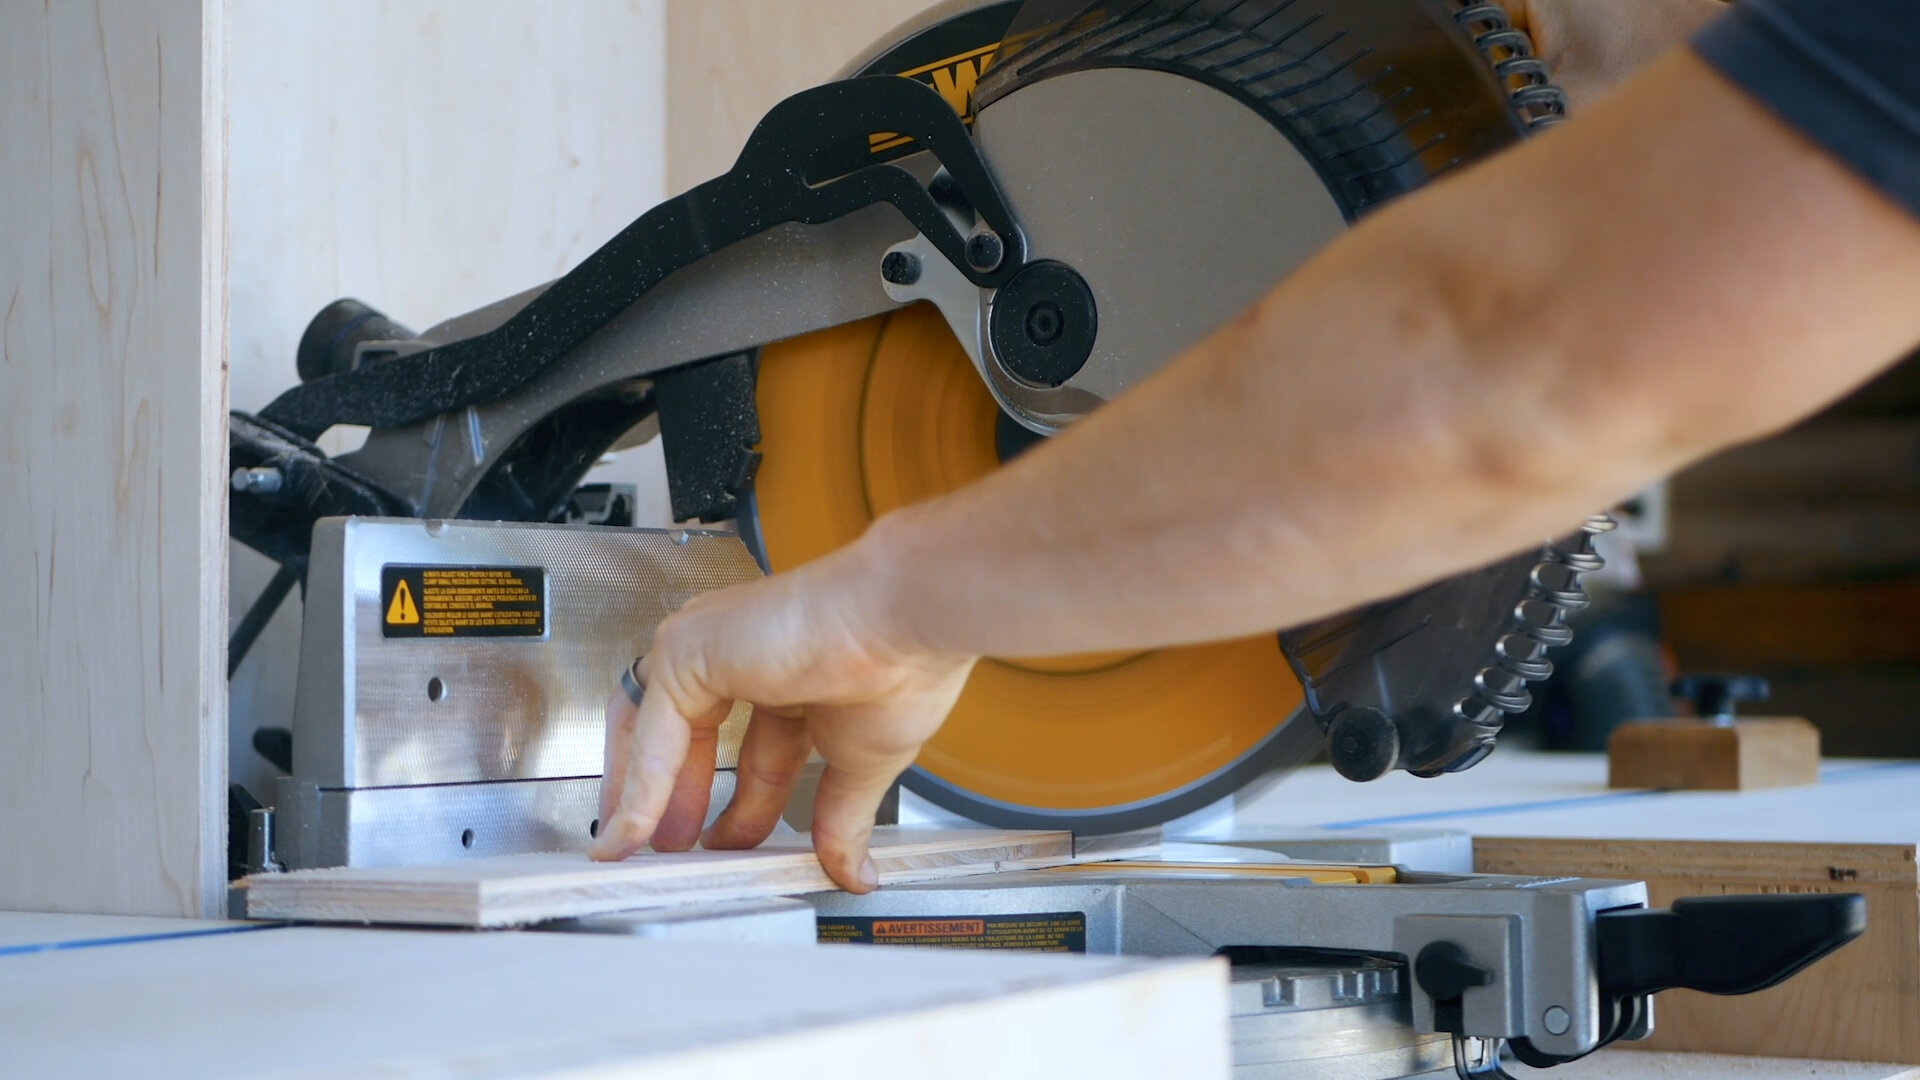
I then cut the aluminum track to length on my new miter saw station (Aluminum can be cut on a regular miter saw), drilled pilot holes for installation, and then installed the track. You can see how the block fits in the track to serve as a stop for repeated cuts.
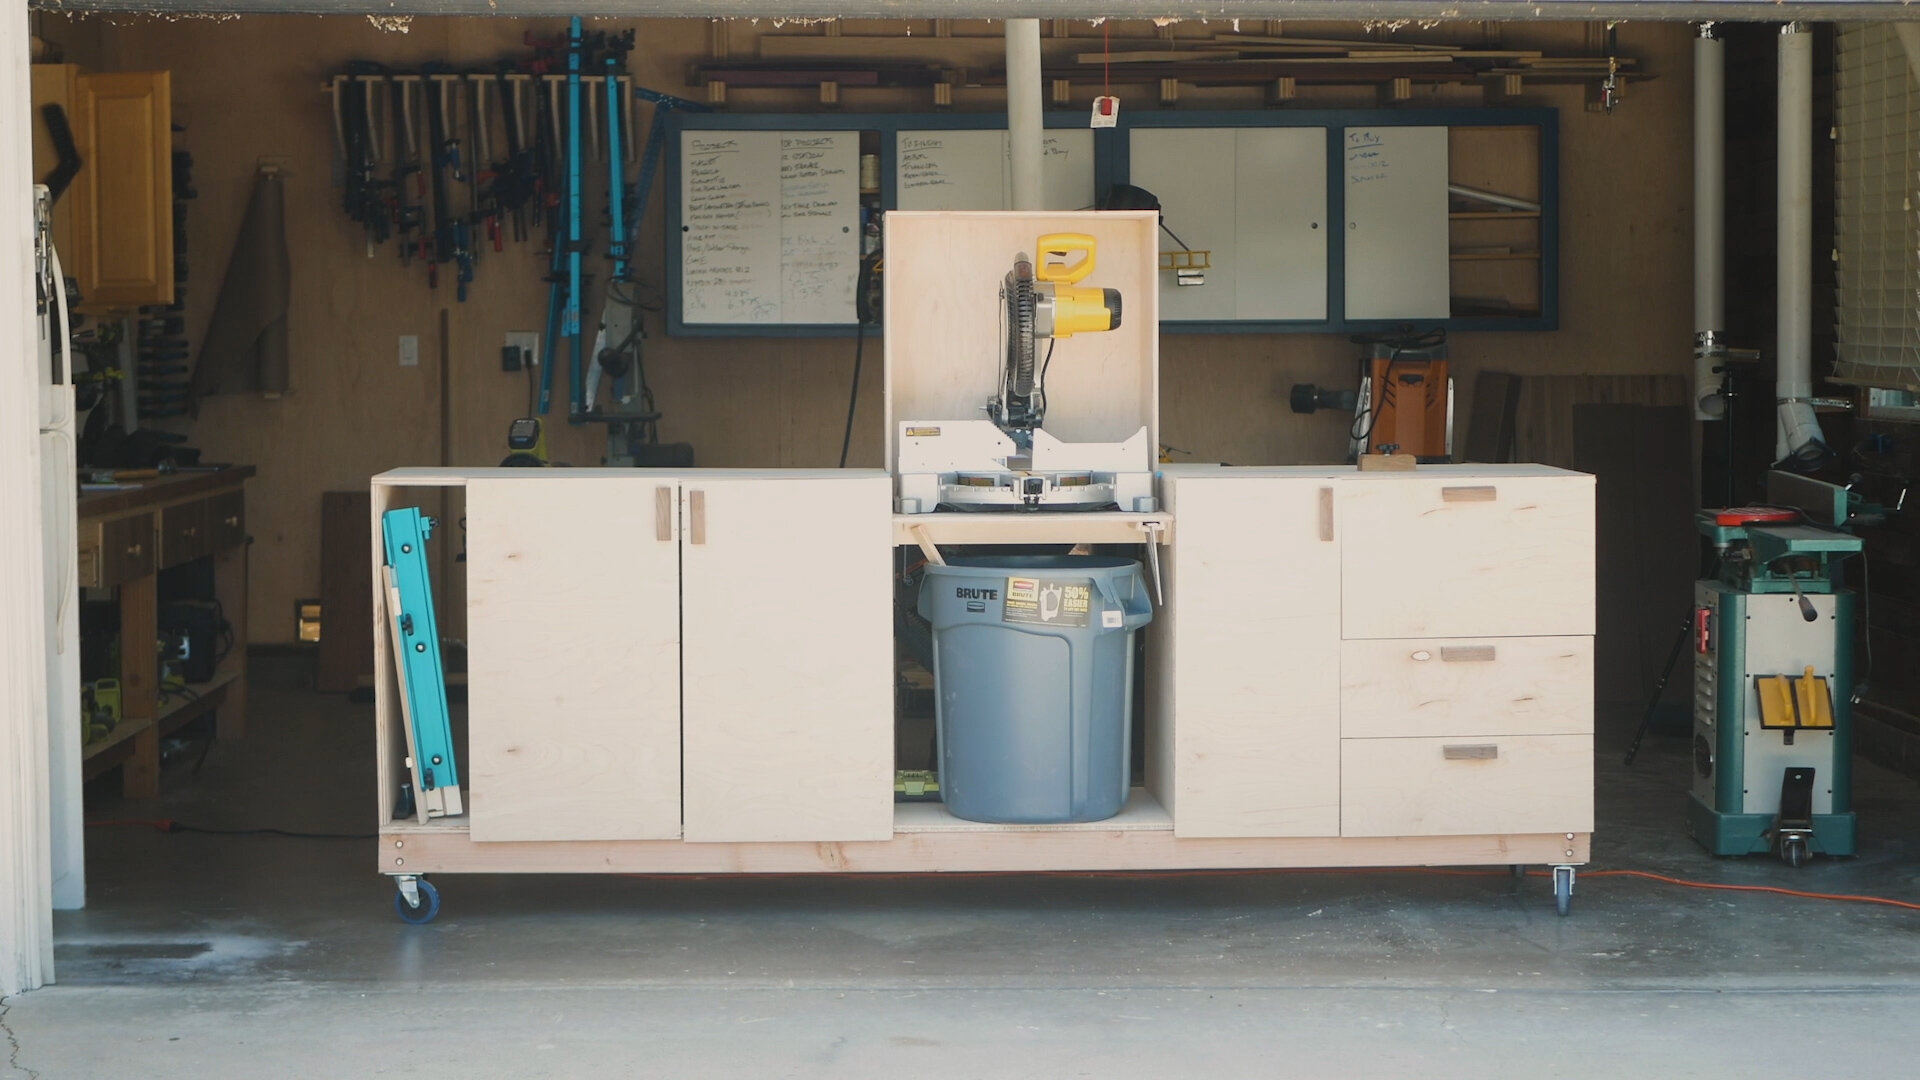
All done! I fucking love this thing. Also, there is great space underneath it for either a scrap shop trashcan or more storage to store offcuts and other tools that are handy to have on hand over at the miter station. In particular - the storage for my table saw sleds has been wonderful, because there is no good place for those!
Thanks for checking out the project! Make sure you check out the video in the first step on my YT channel!
See you around!
Zach