We have some dead space behind our couch in the entry way area of our living room. My wife suggested a thin table to go behind the couch - I saw it as a good project to practice welding and integrate some steal into our furniture aesthetic. Everything was designed in the free version of Sketchup!
Thanks for checking out the article and video!
Free SketchUp Model for Download
MATERIALS
1" Tube Steal Flat 1-2" steal
10" x 10" x 1/4" Steel
4/4 Walnut
Titebond 2 Glue
Semi Gloss Polyurethane
1/2" Plywood
9" Drawer Slides: https://amzn.to/35Et1qY
TOOLS
SAWSTOP Contractors 30” Saw: https://amzn.to/2Luh91q
Table Saw Sled: https://amzn.to/2t2qVjD
Miter Saw: https://amzn.to/2lmqIHy
6” Jointer: https://amzn.to/2Y7THgb
13” Thickness Planer: http://amzn.to/2u7YrmK
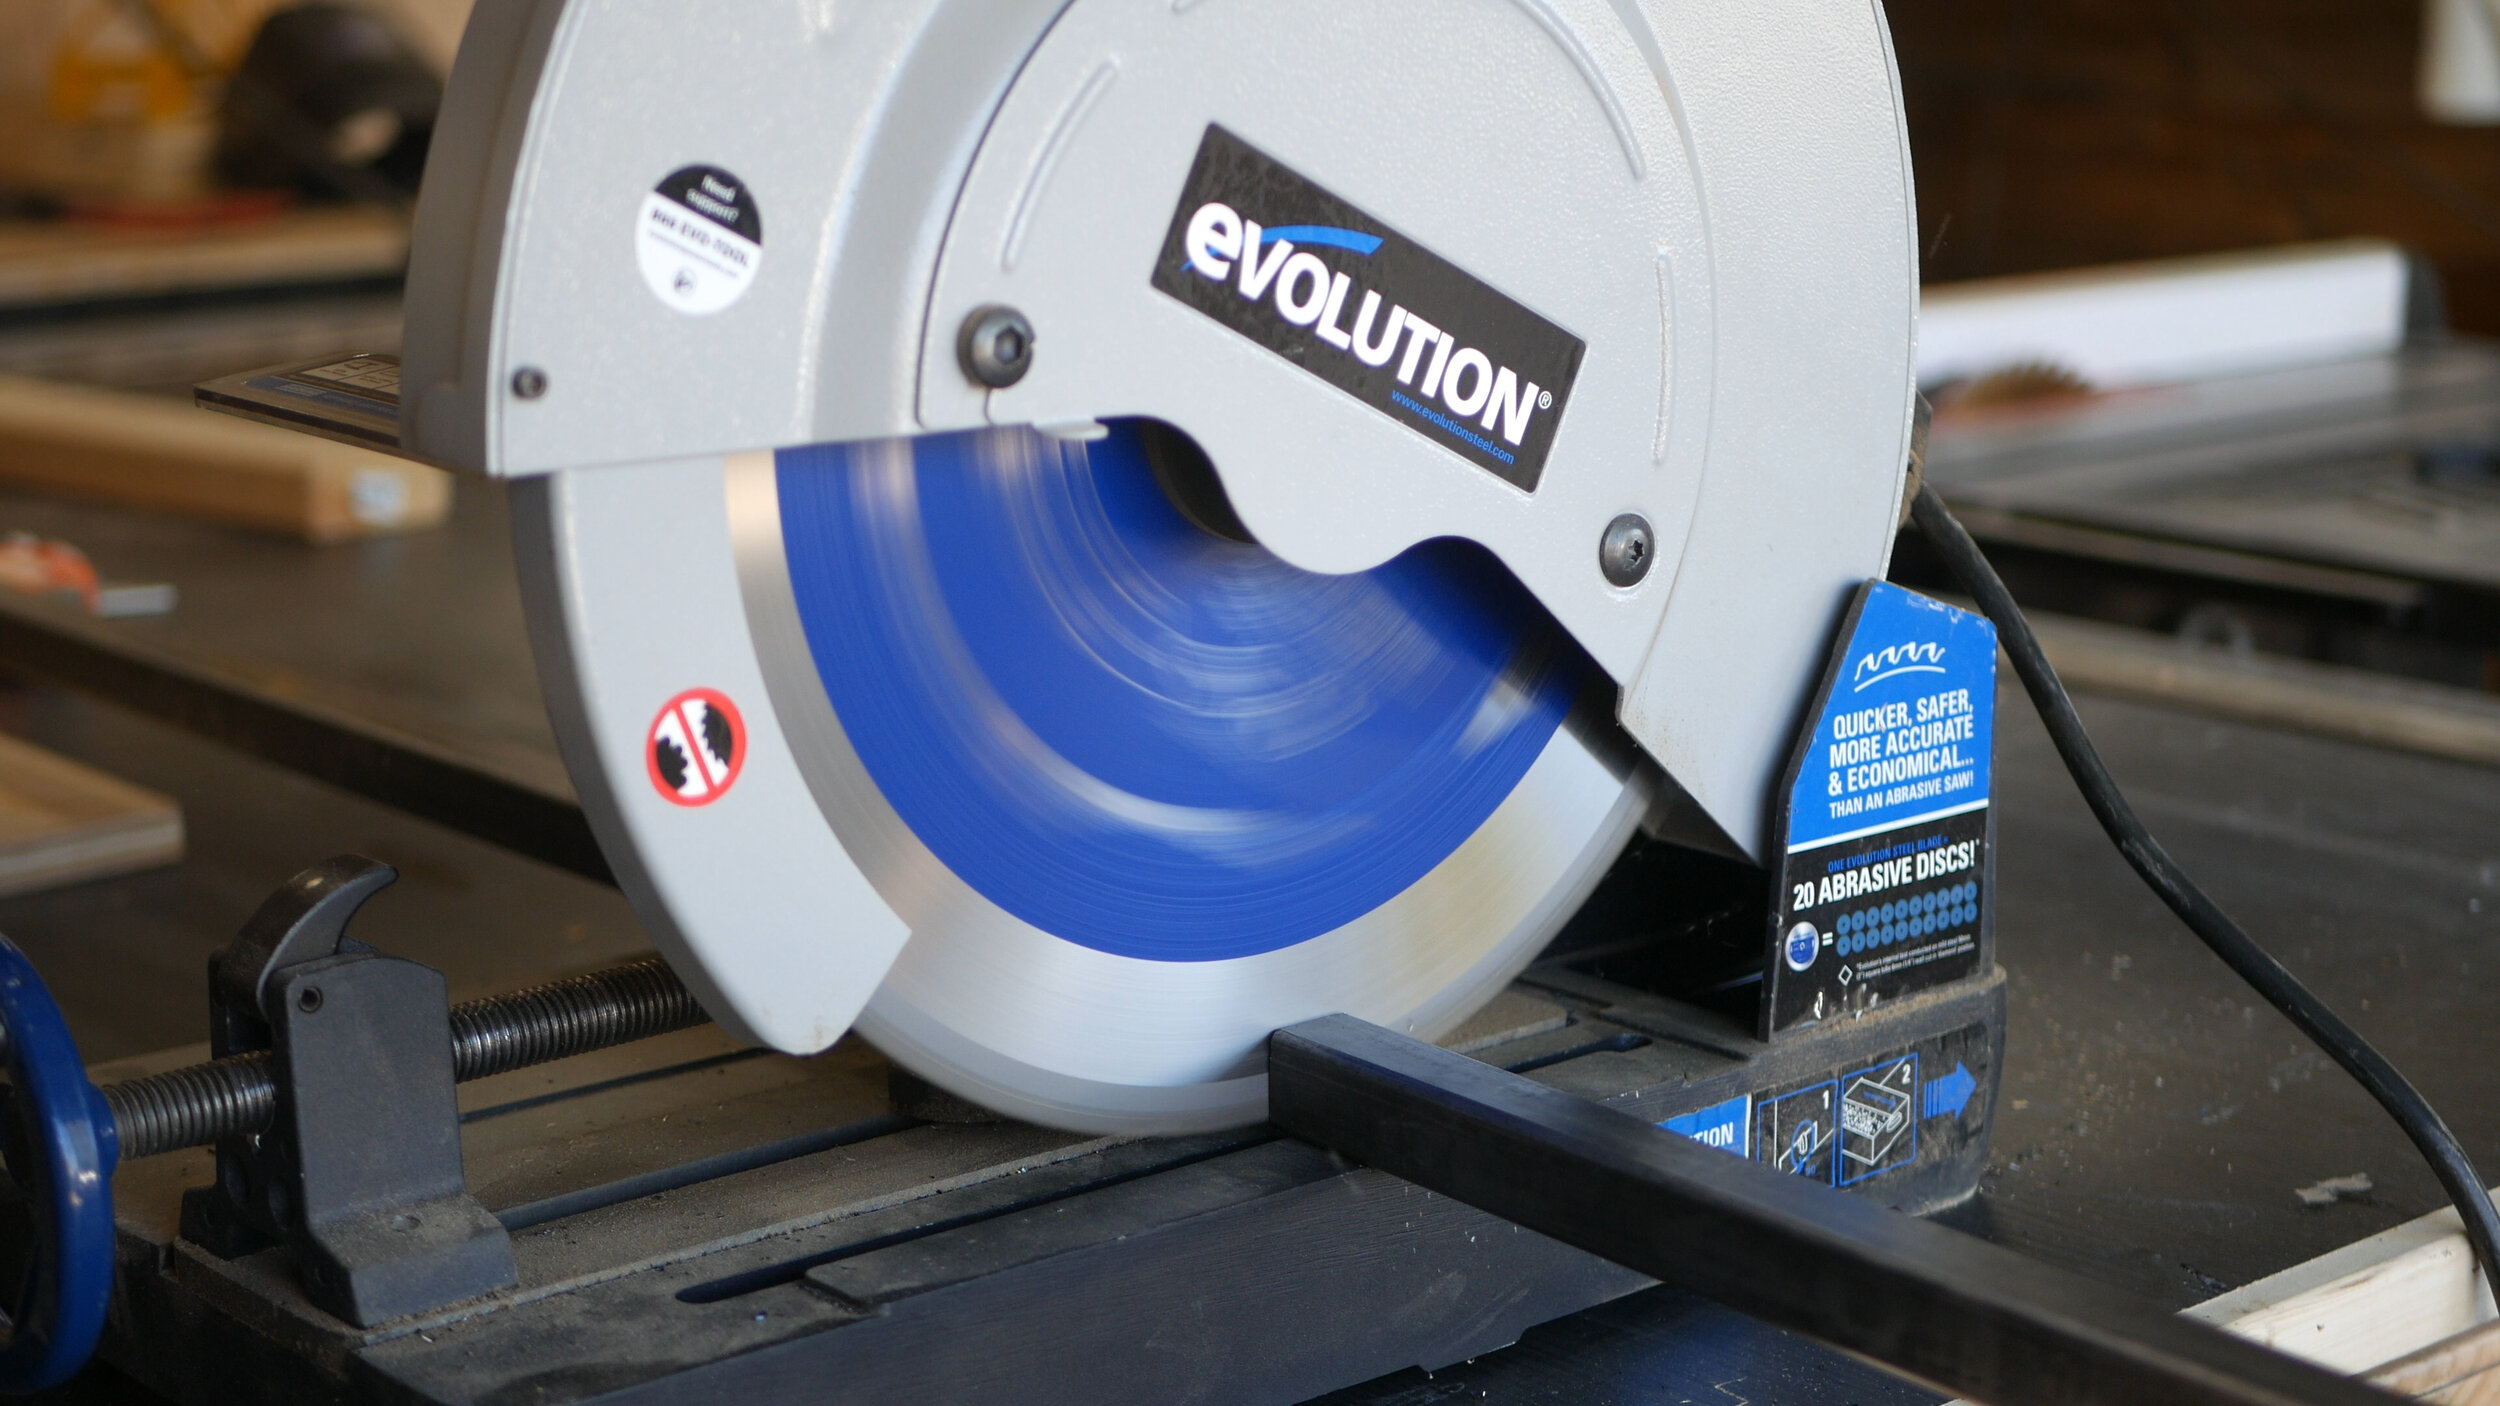
Metal Chop Saw: https://amzn.to/2HNowU4
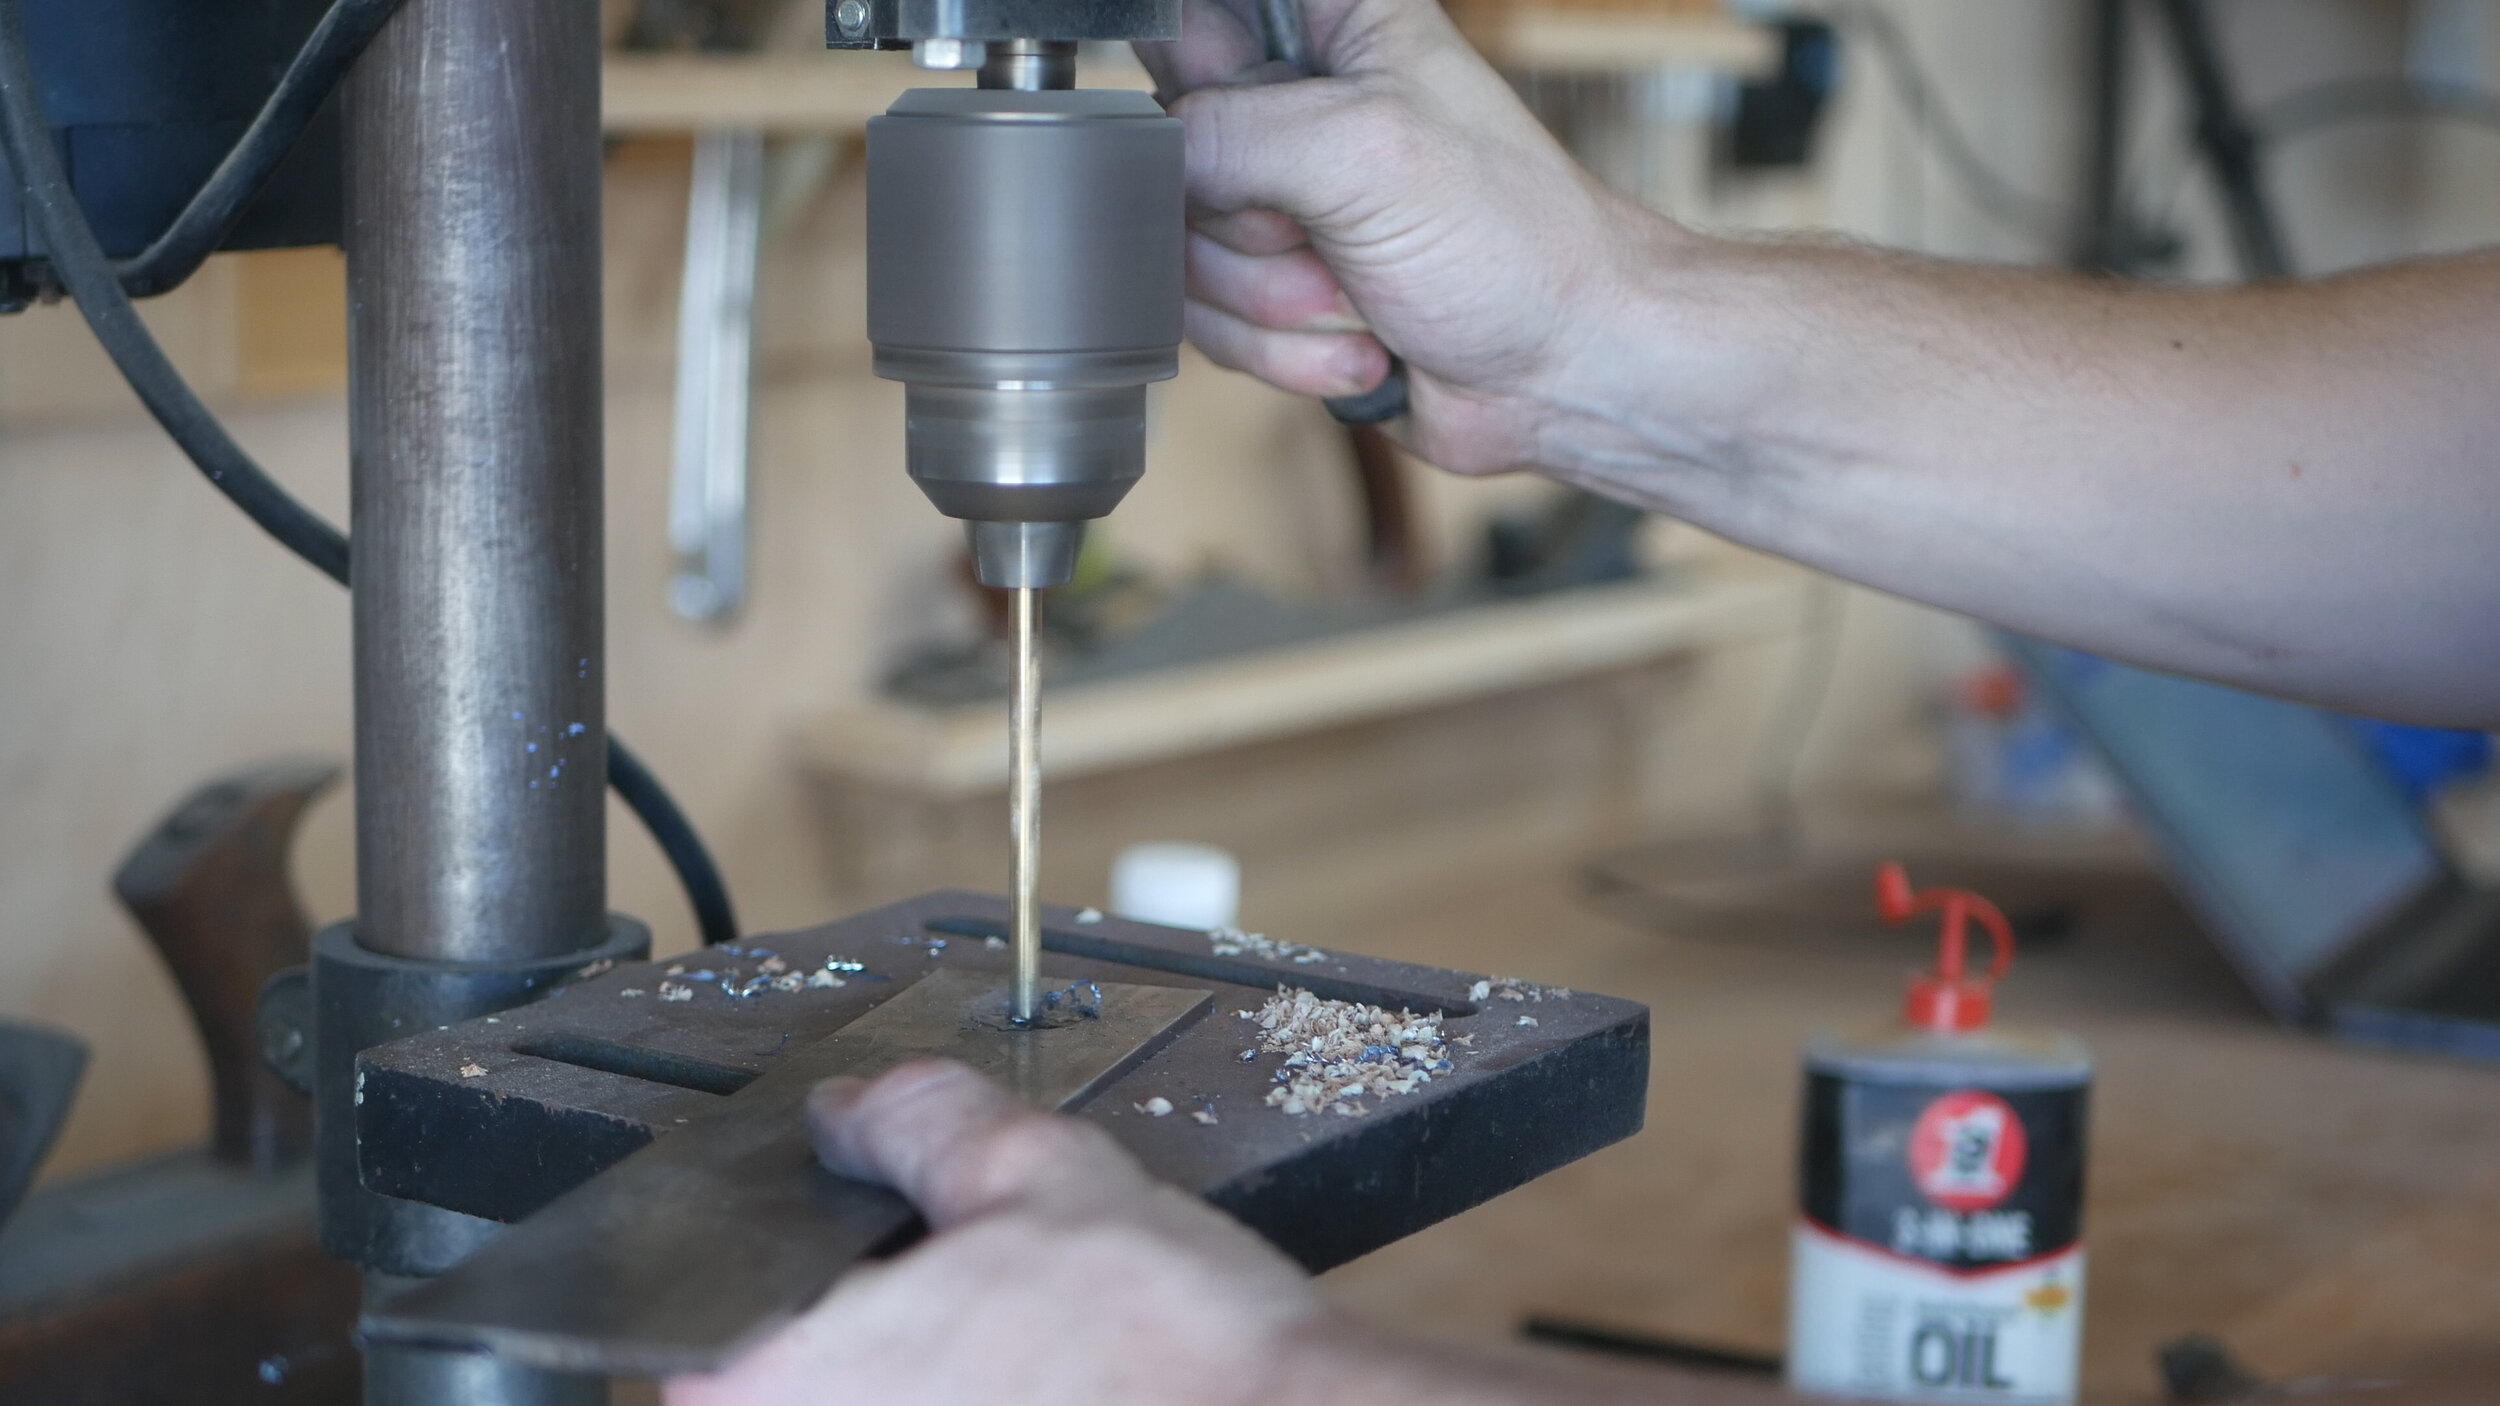
Power Drill: http://amzn.to/2q1l5wn
Impact Driver: http://amzn.to/2q1l5wn
Cordless Brad Nailer: http://amzn.to/2p1dYFD
Orbital Sander: https://amzn.to/2ALtz16
WELDING
PowerMig 210 https://amzn.to/33cDCs3

After some research and inspiration from the wife, I hopped into SketchUp and within the hour, had something approved by her and I got to planning the build.
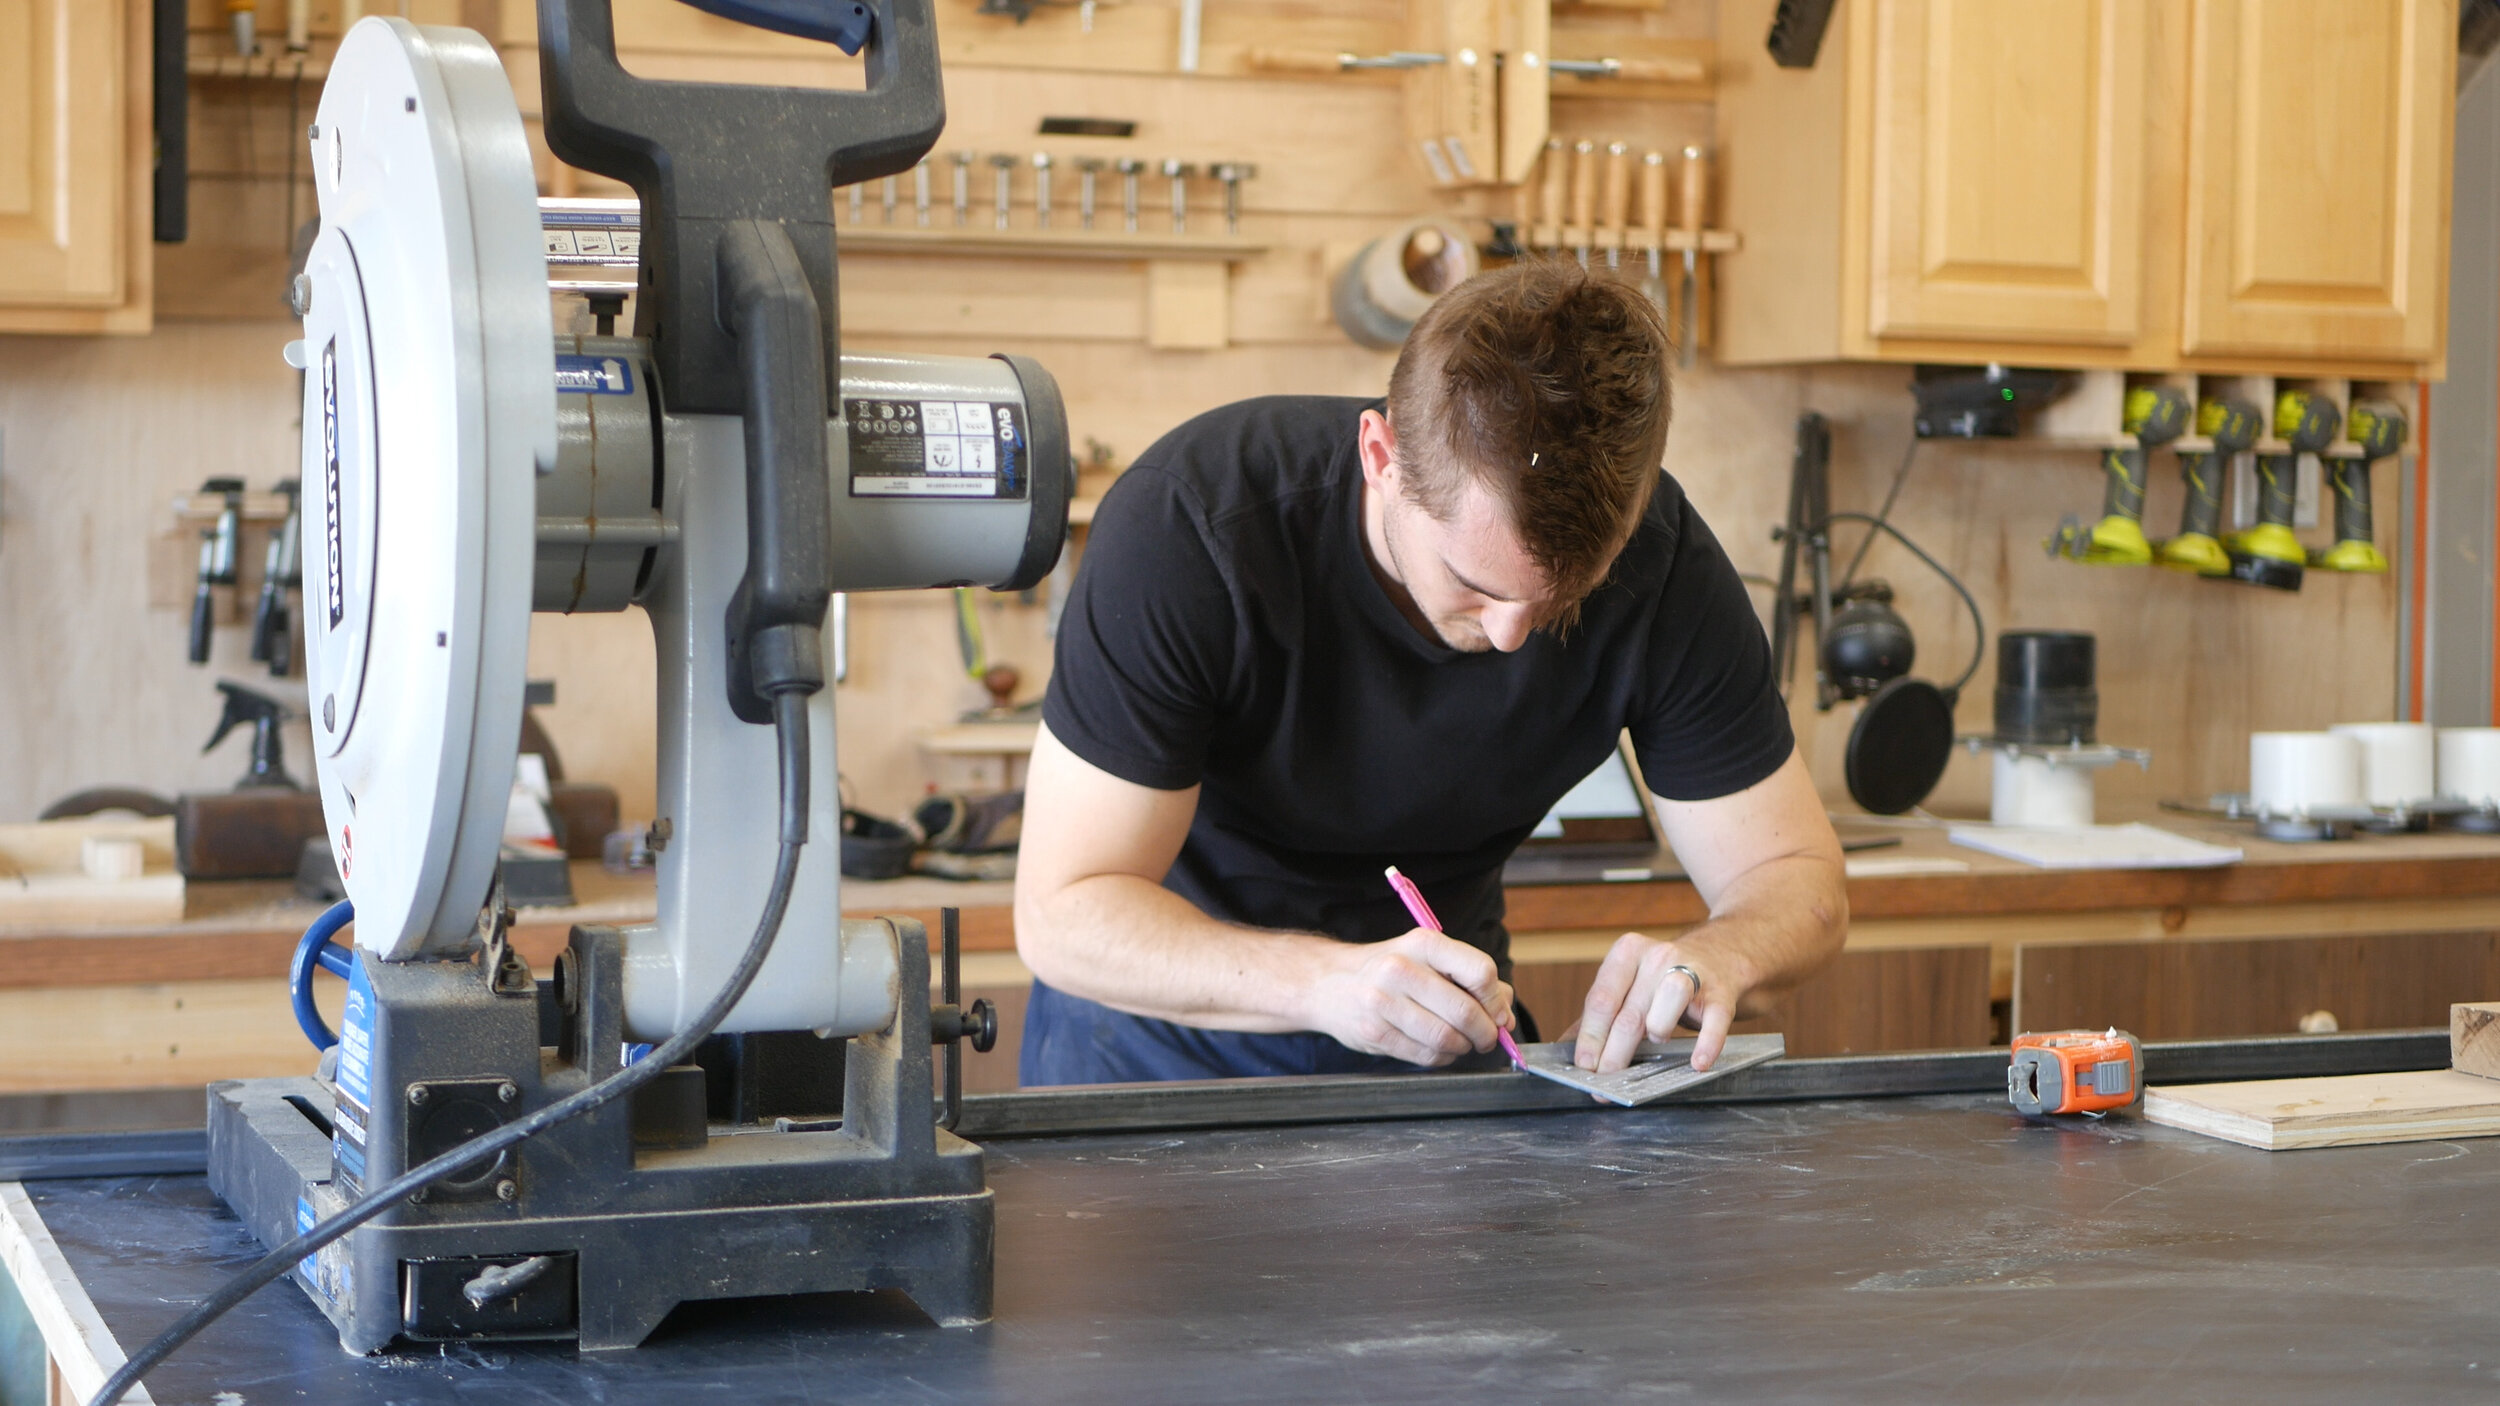
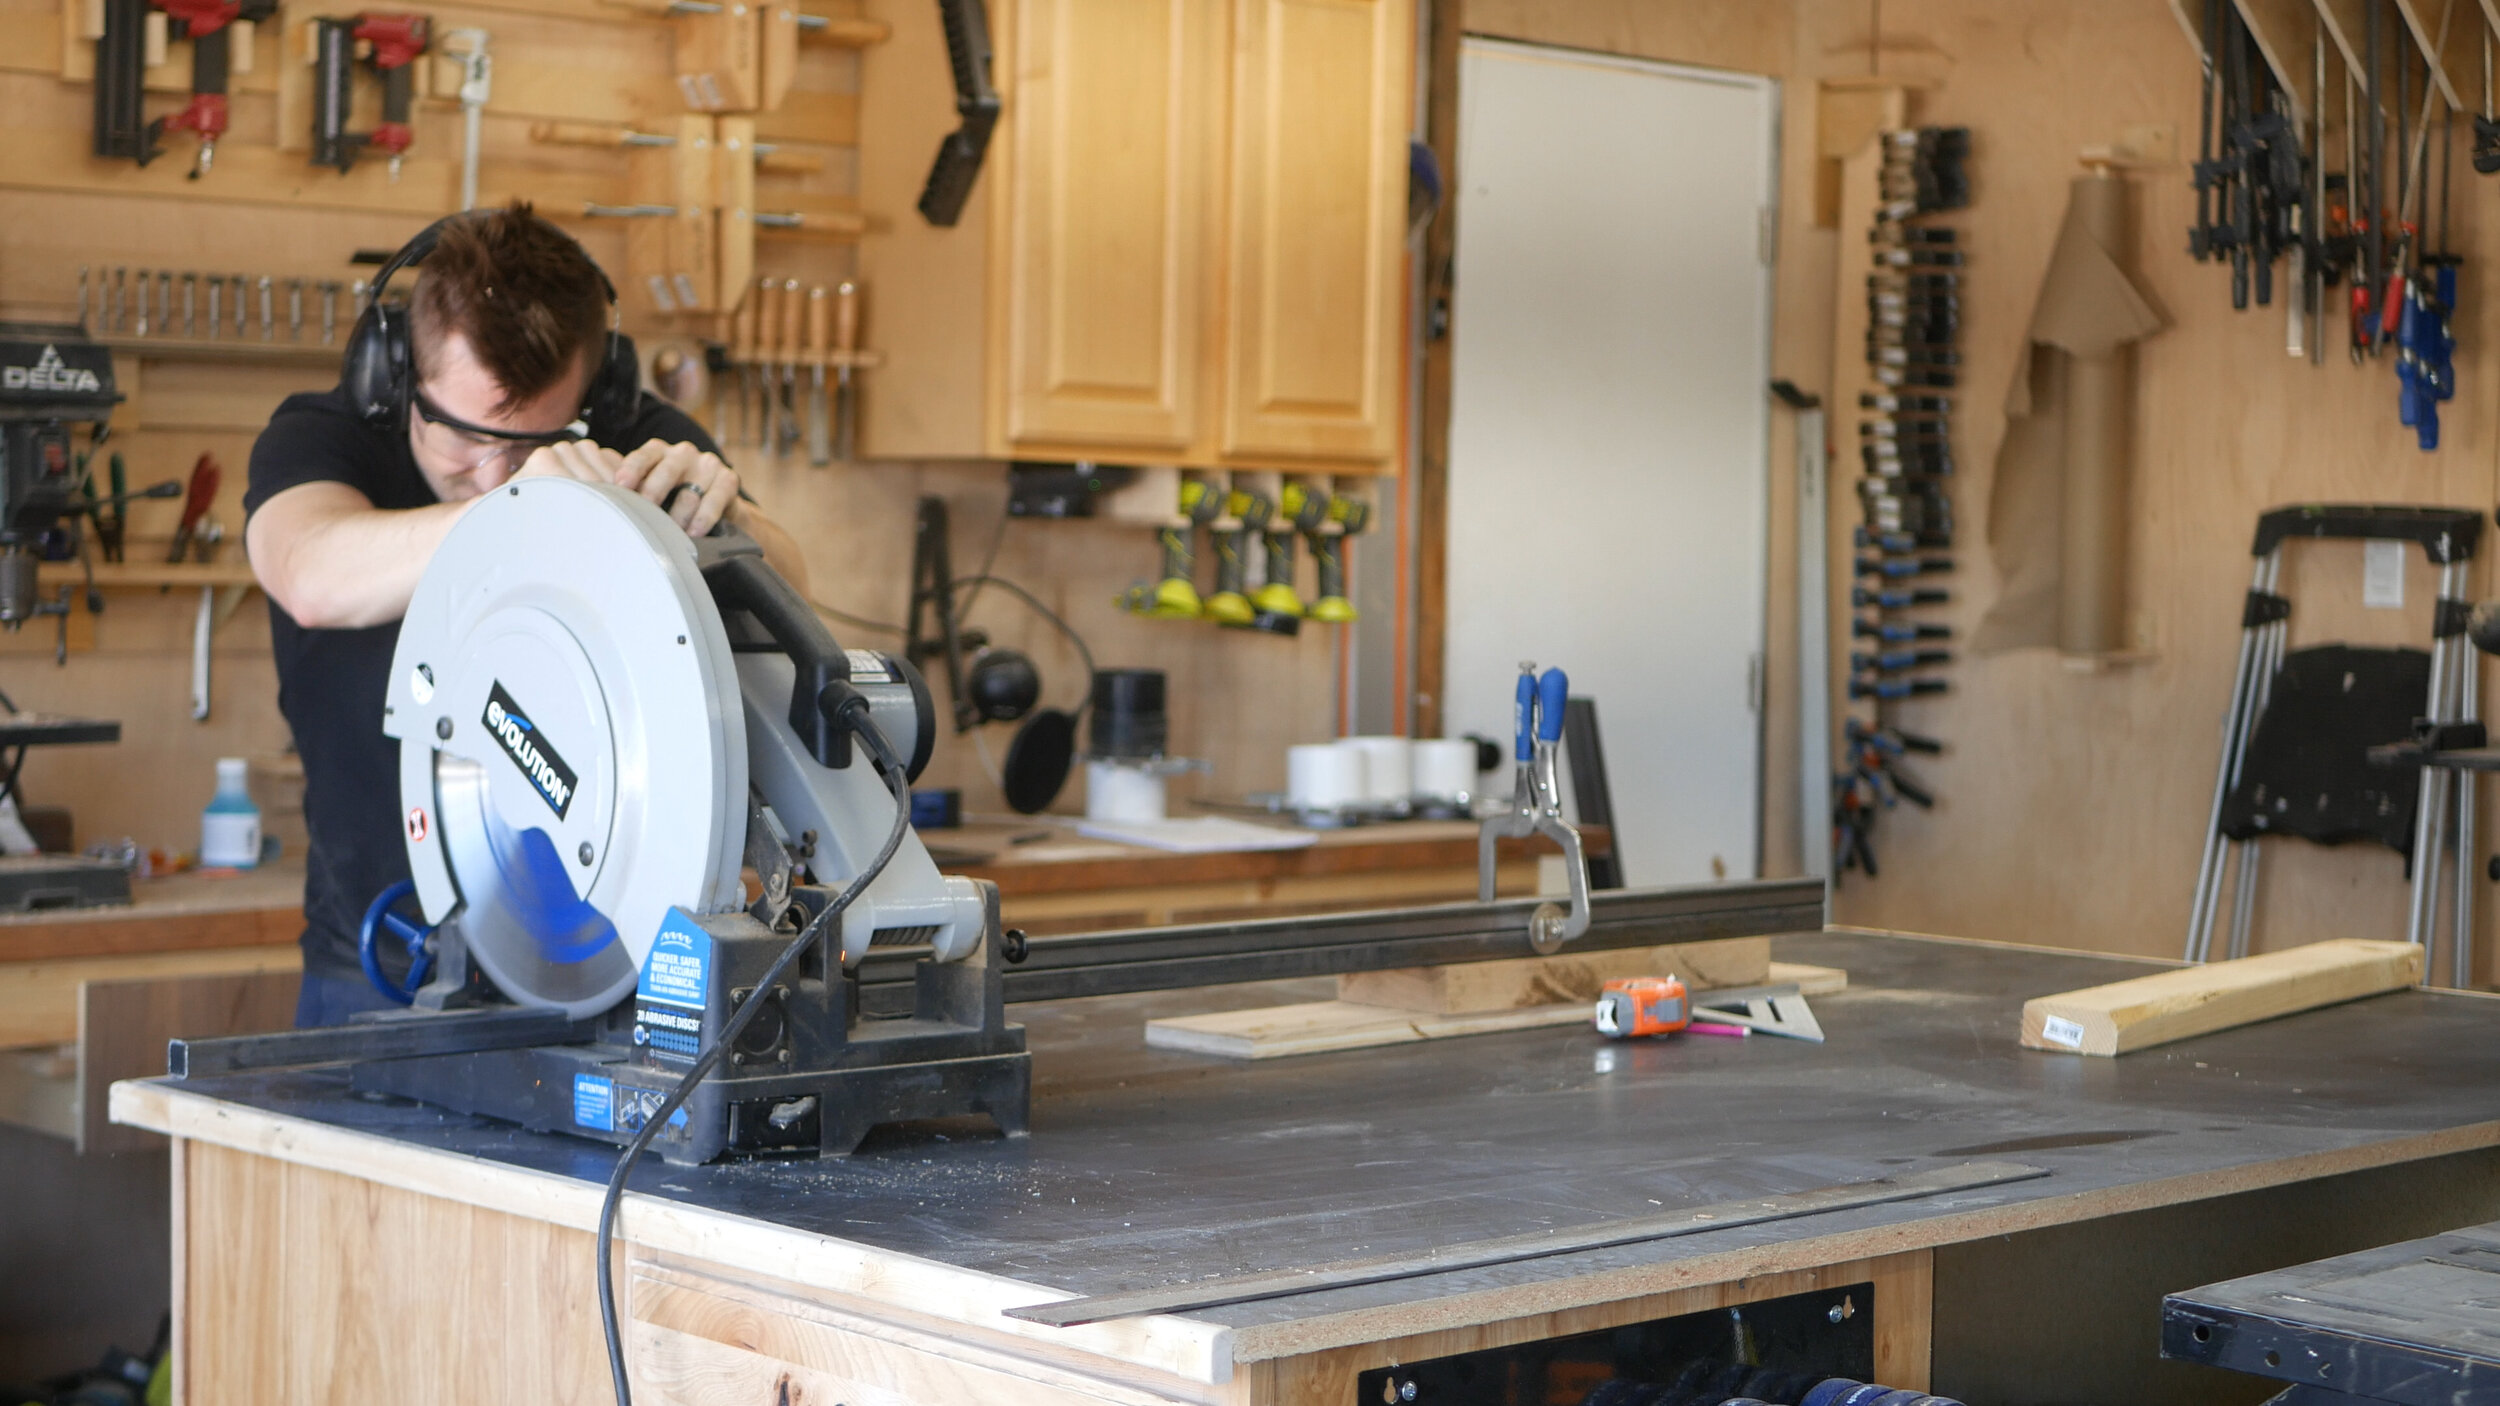
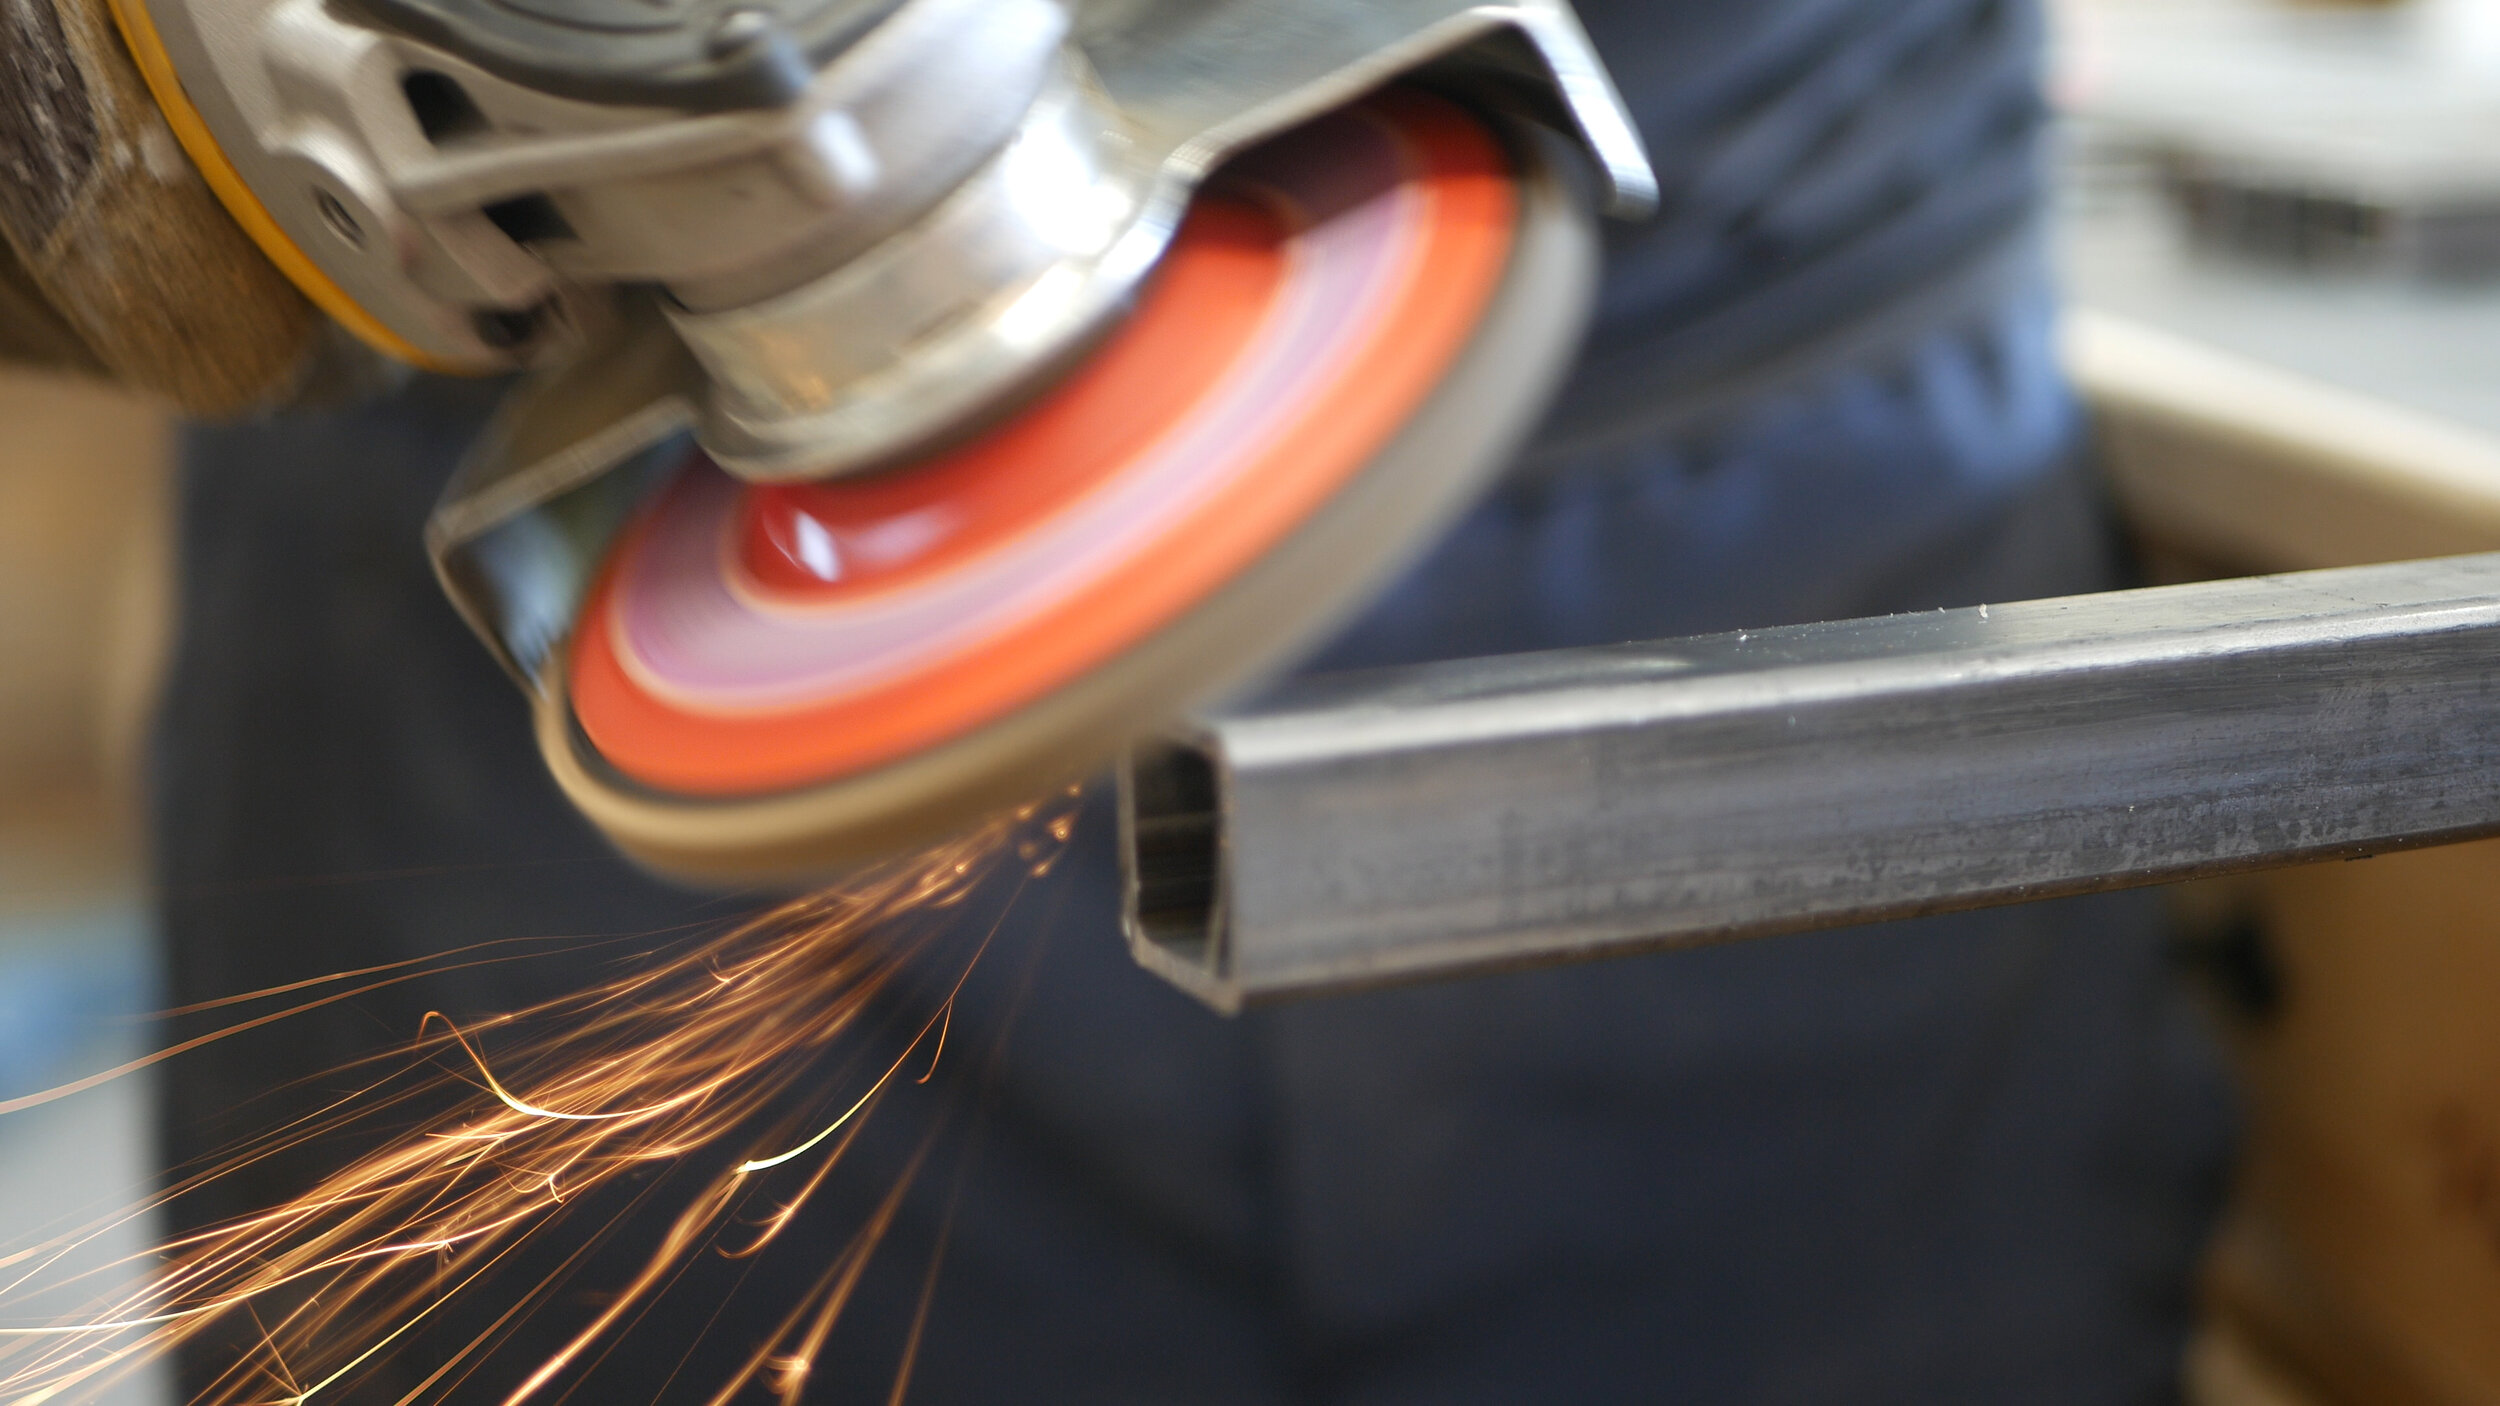
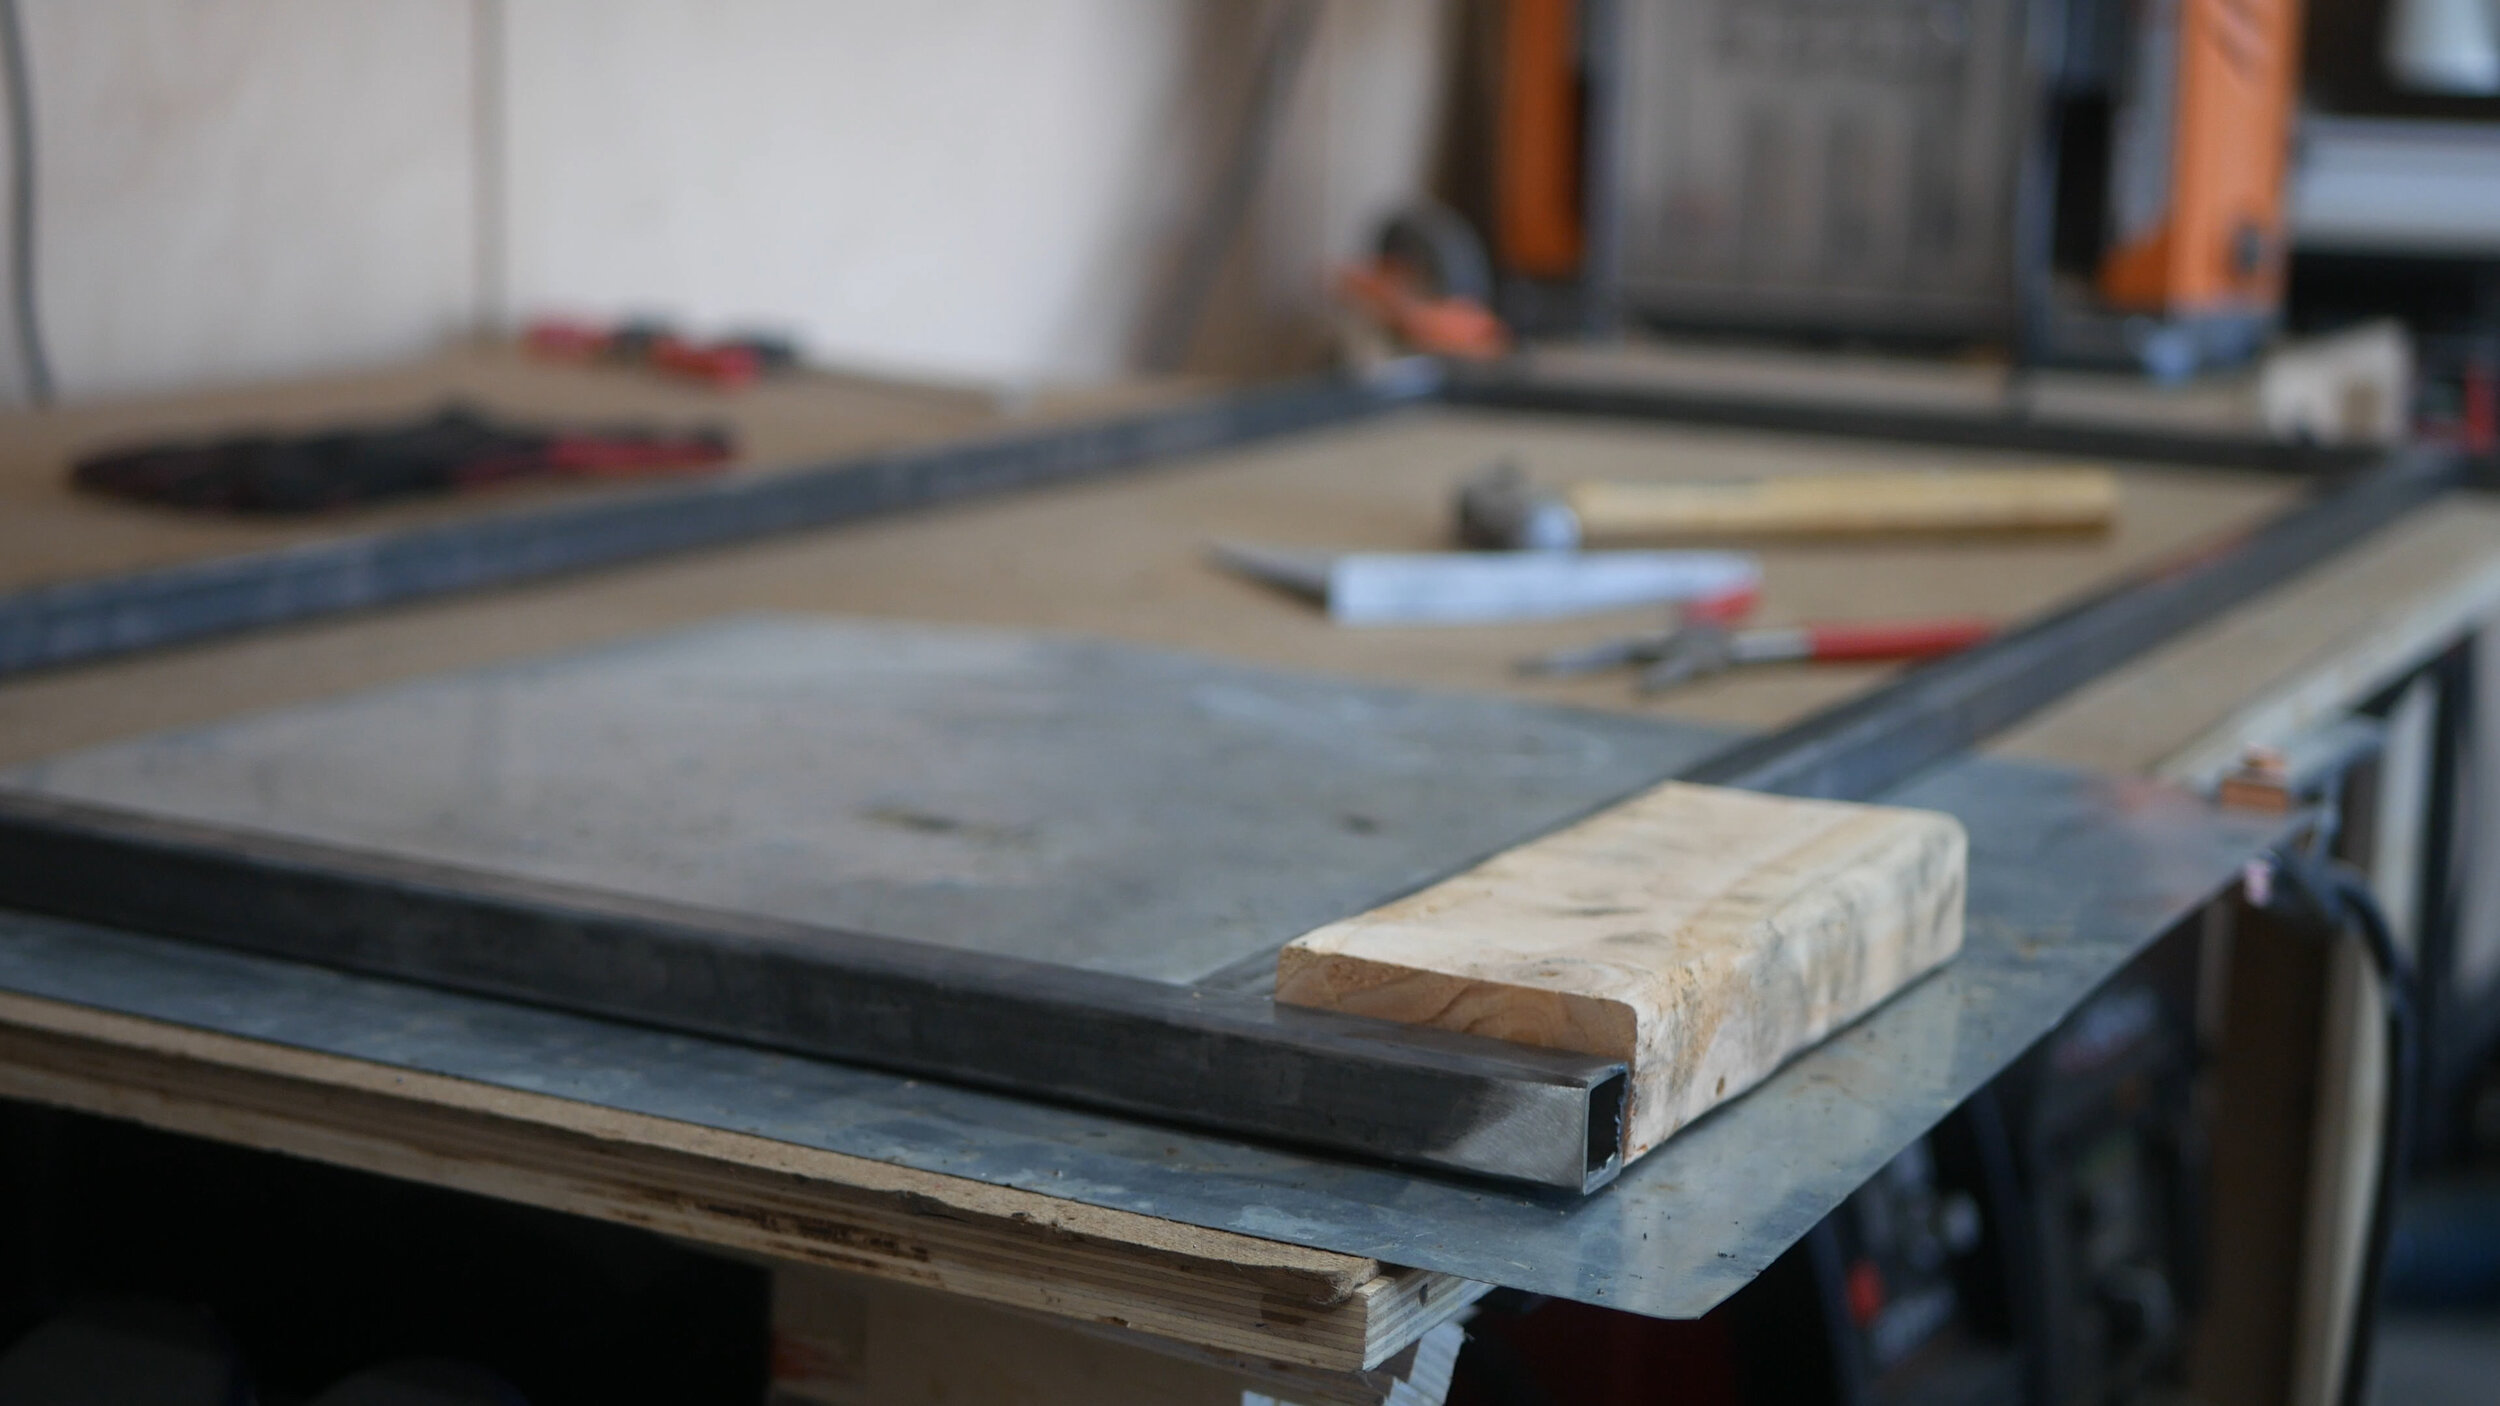
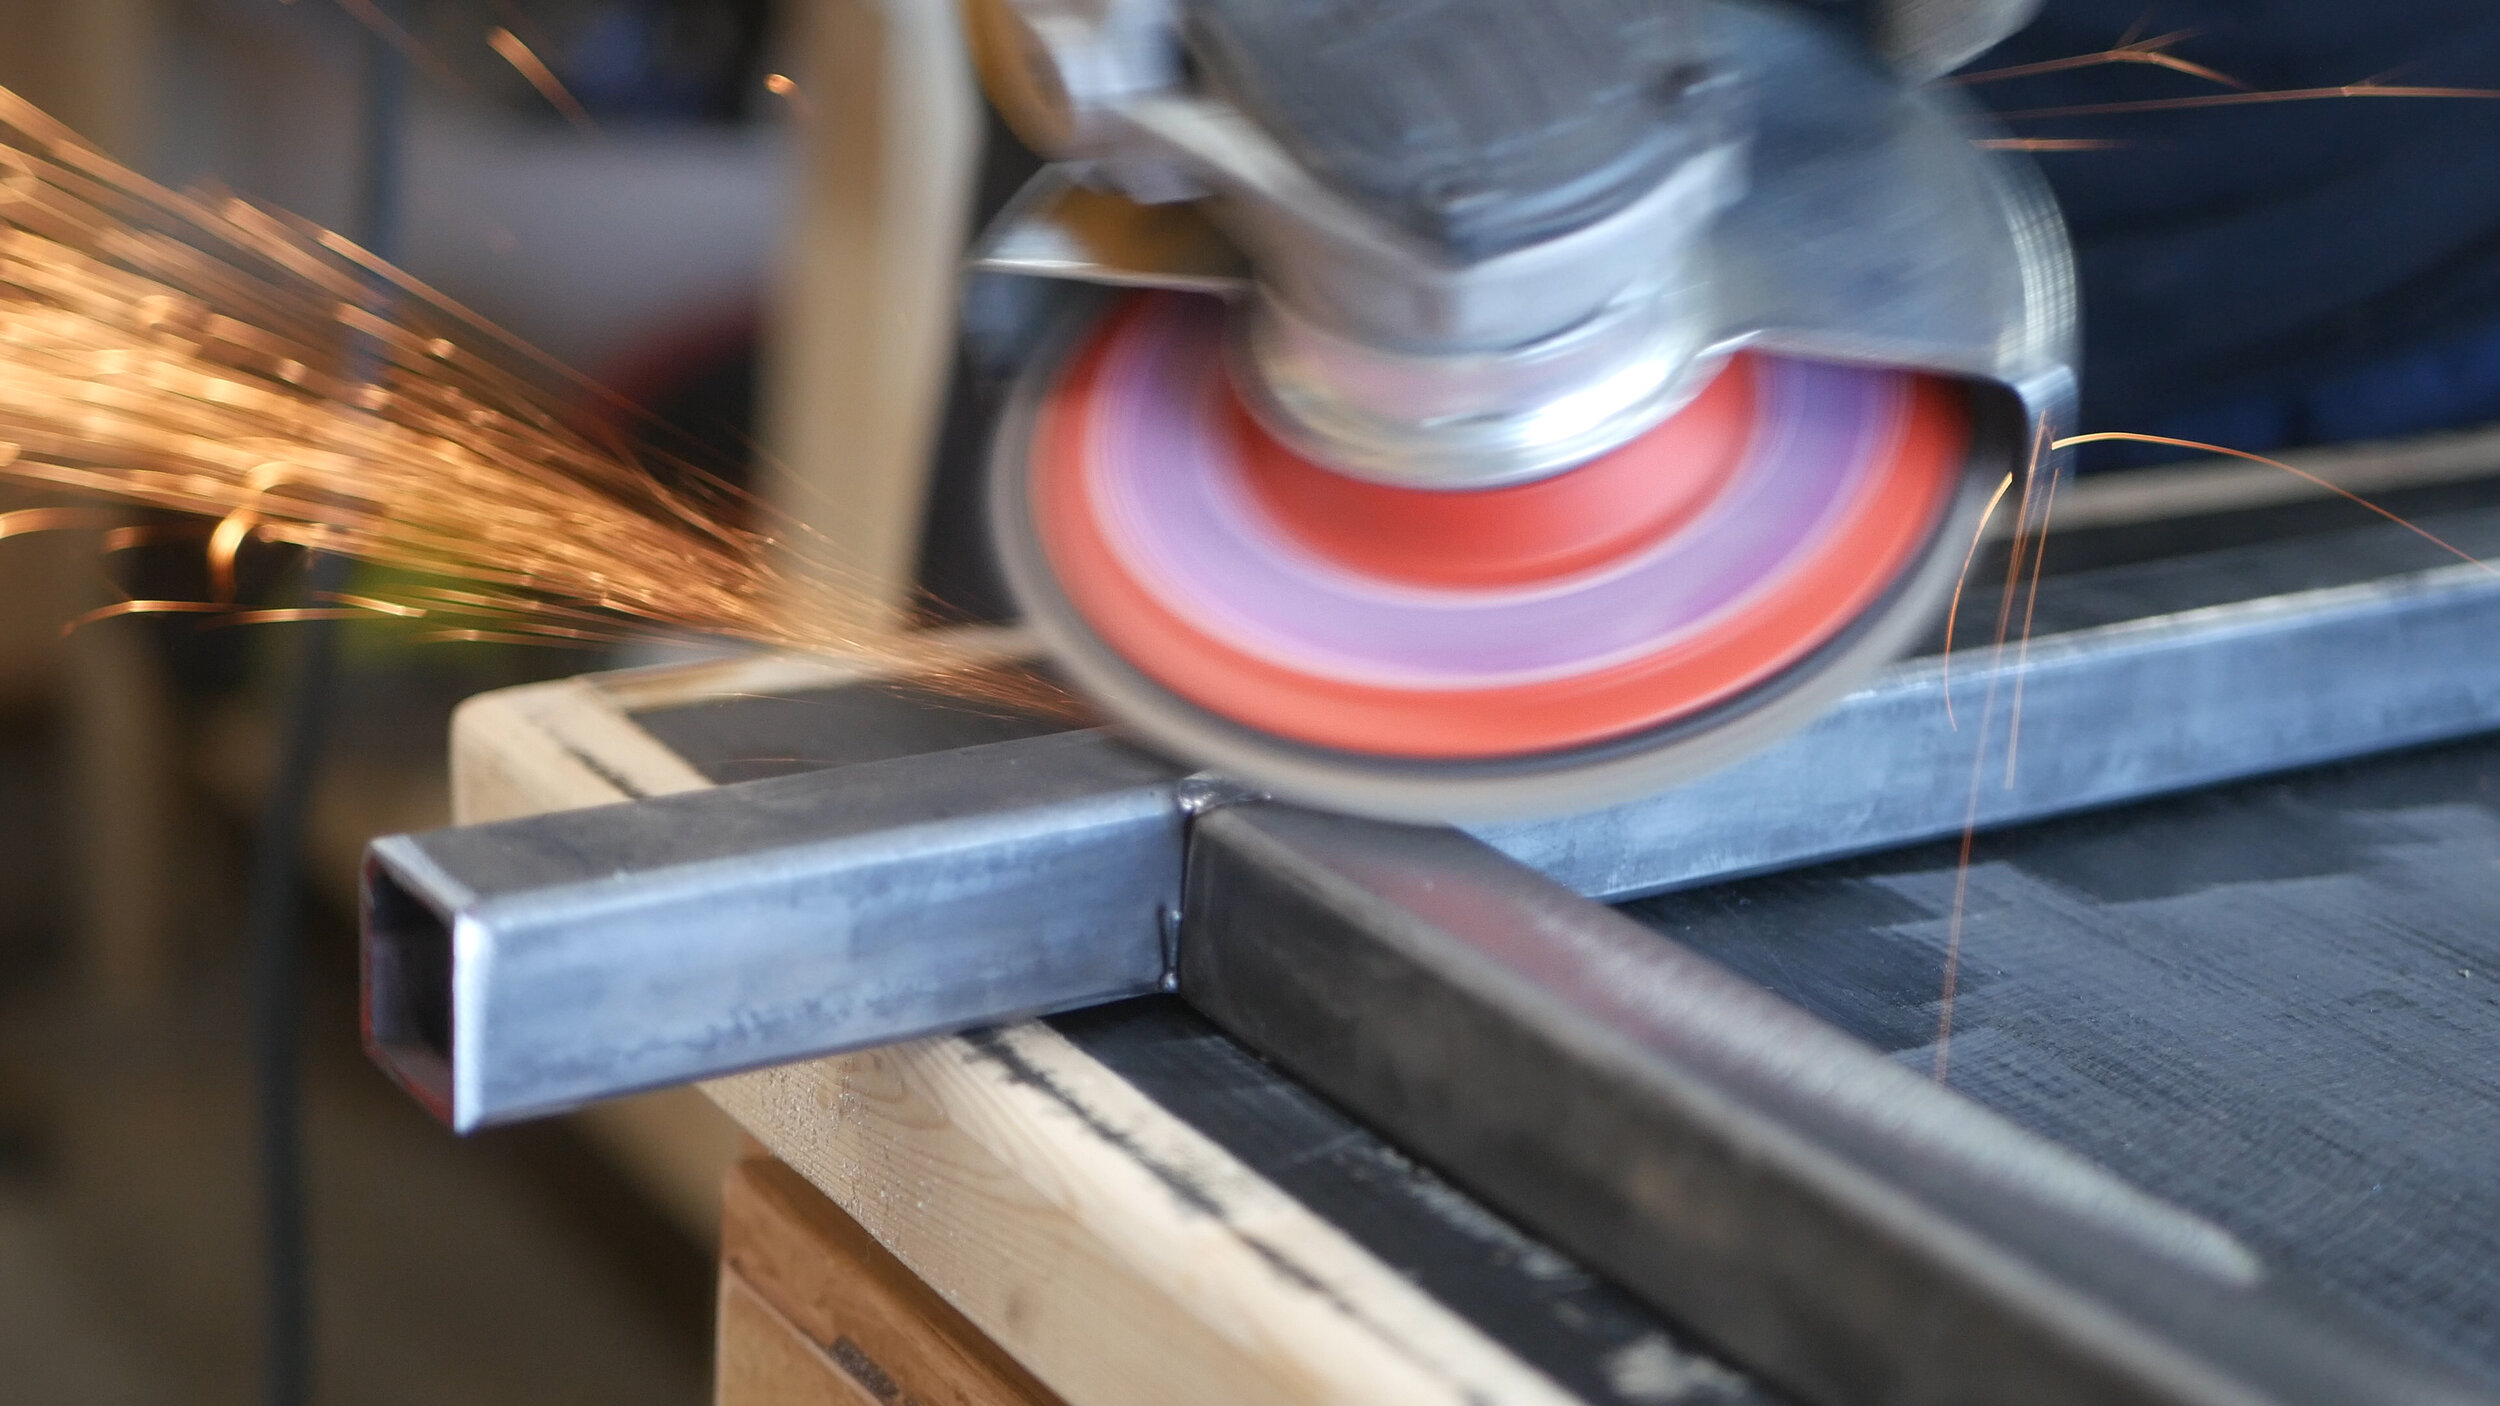
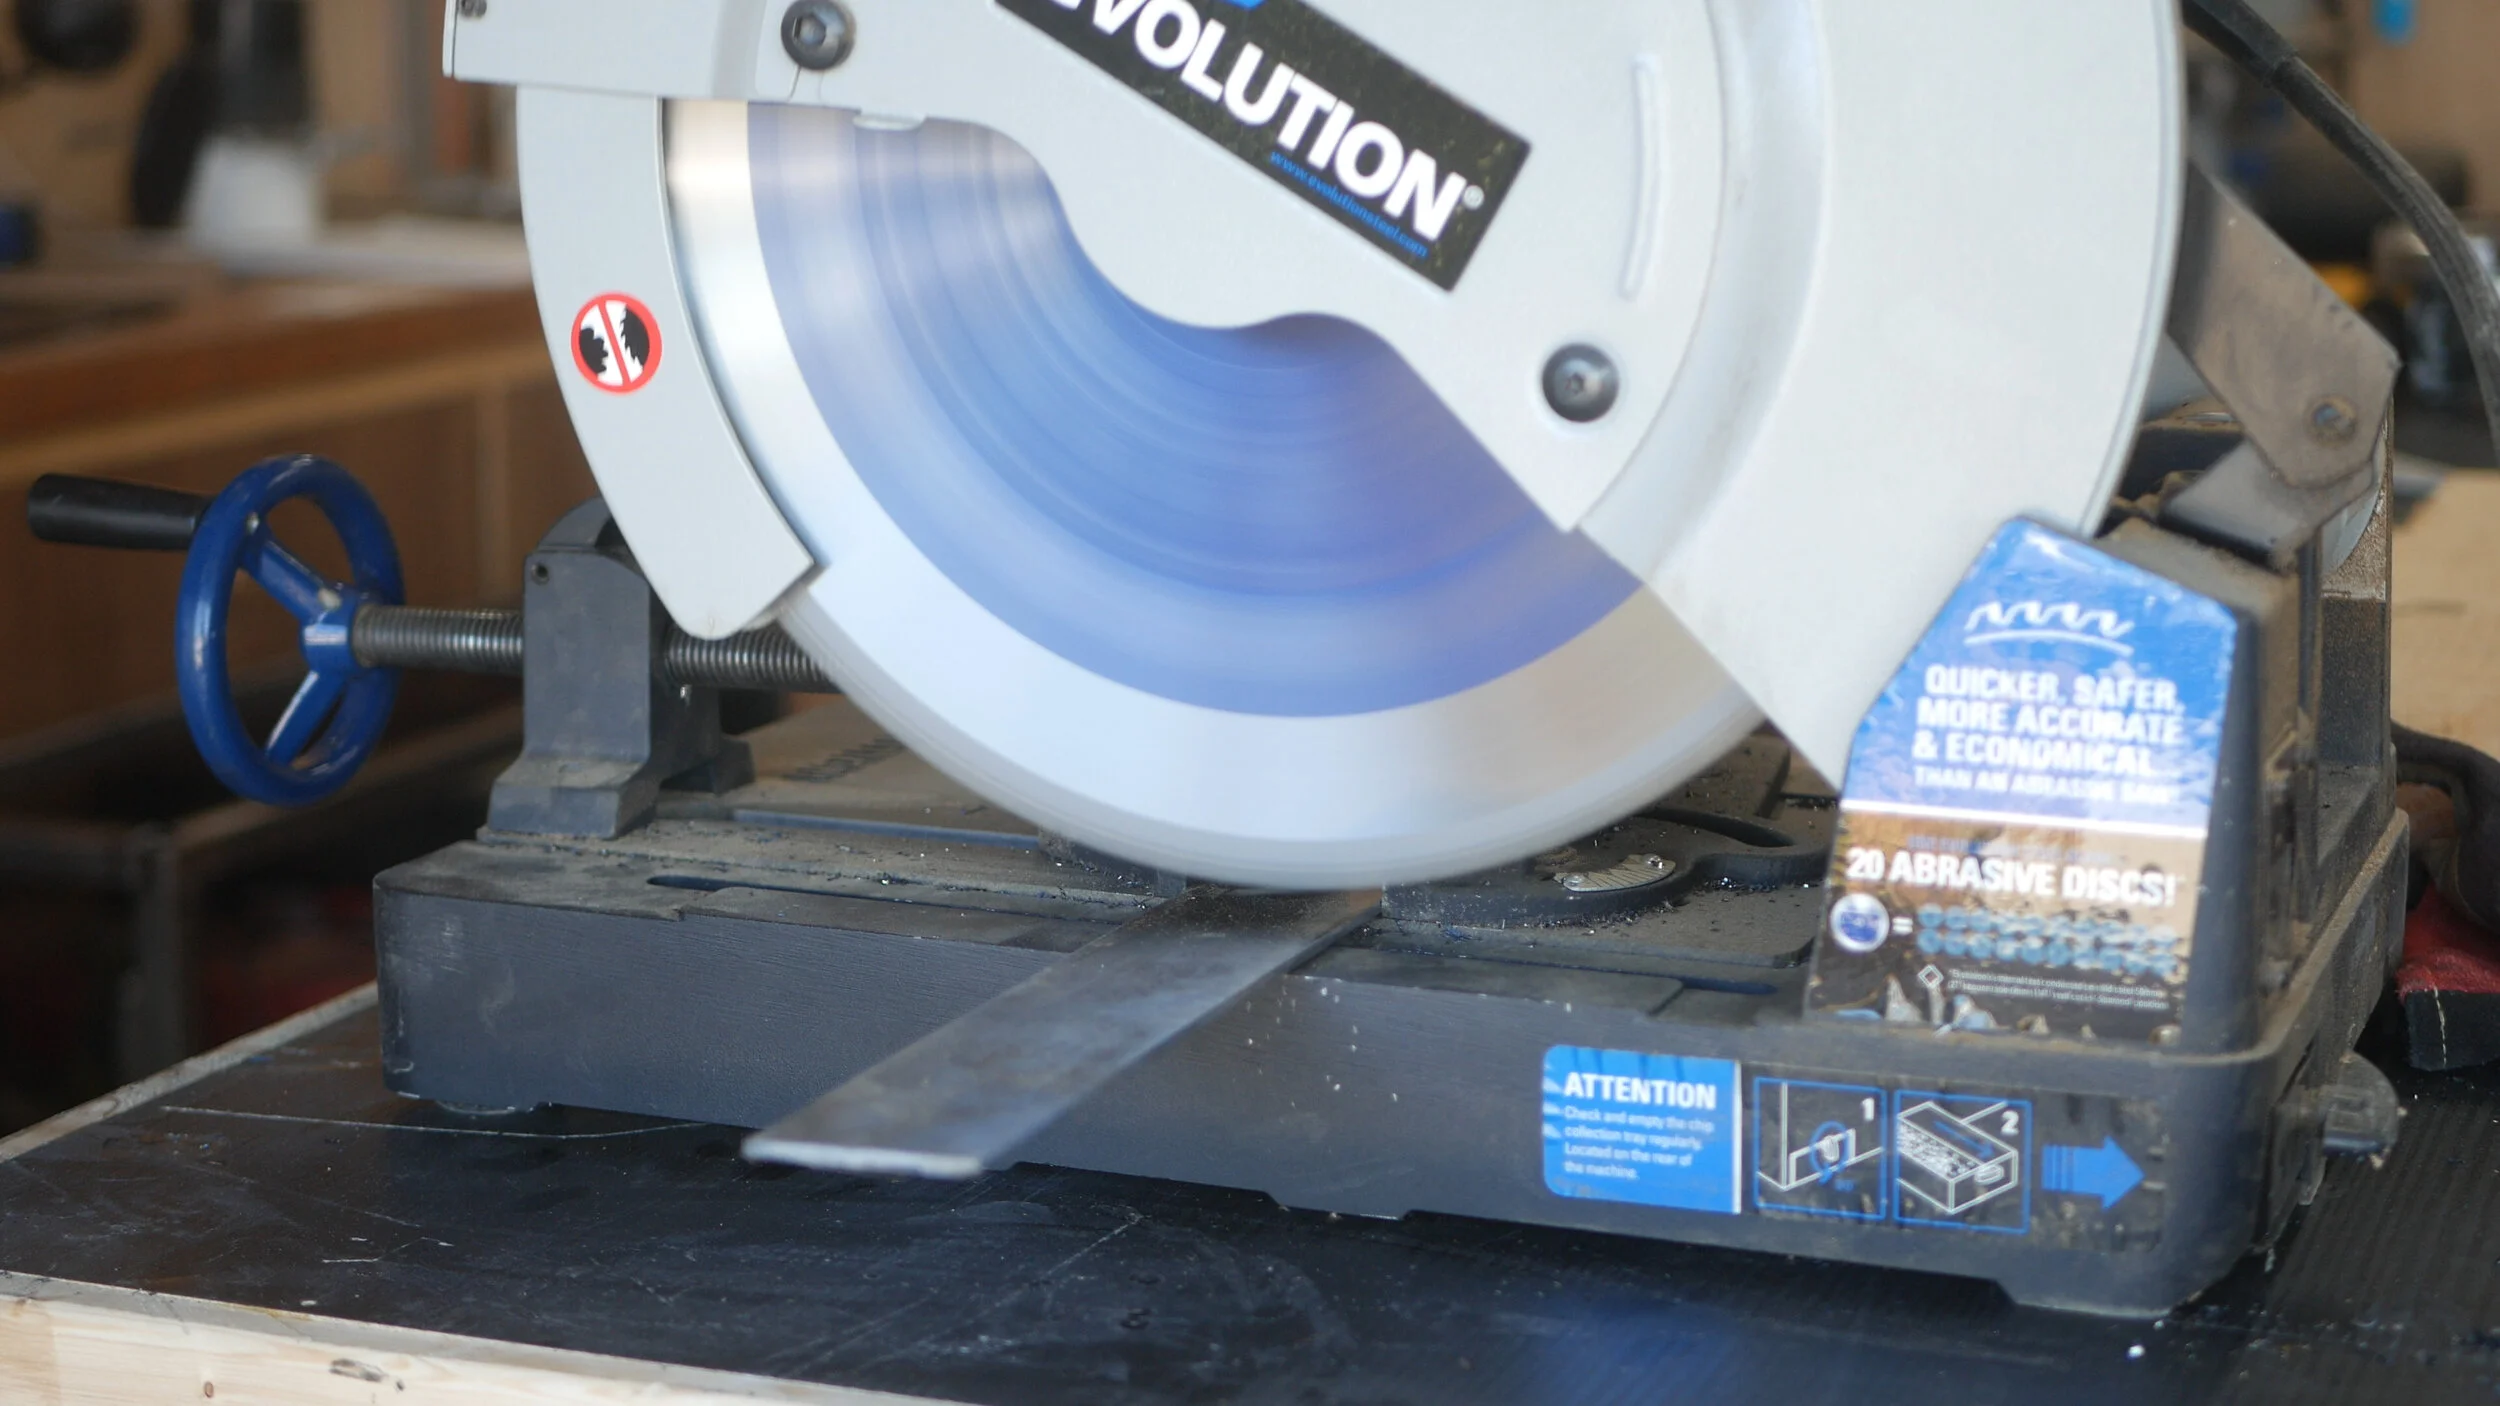
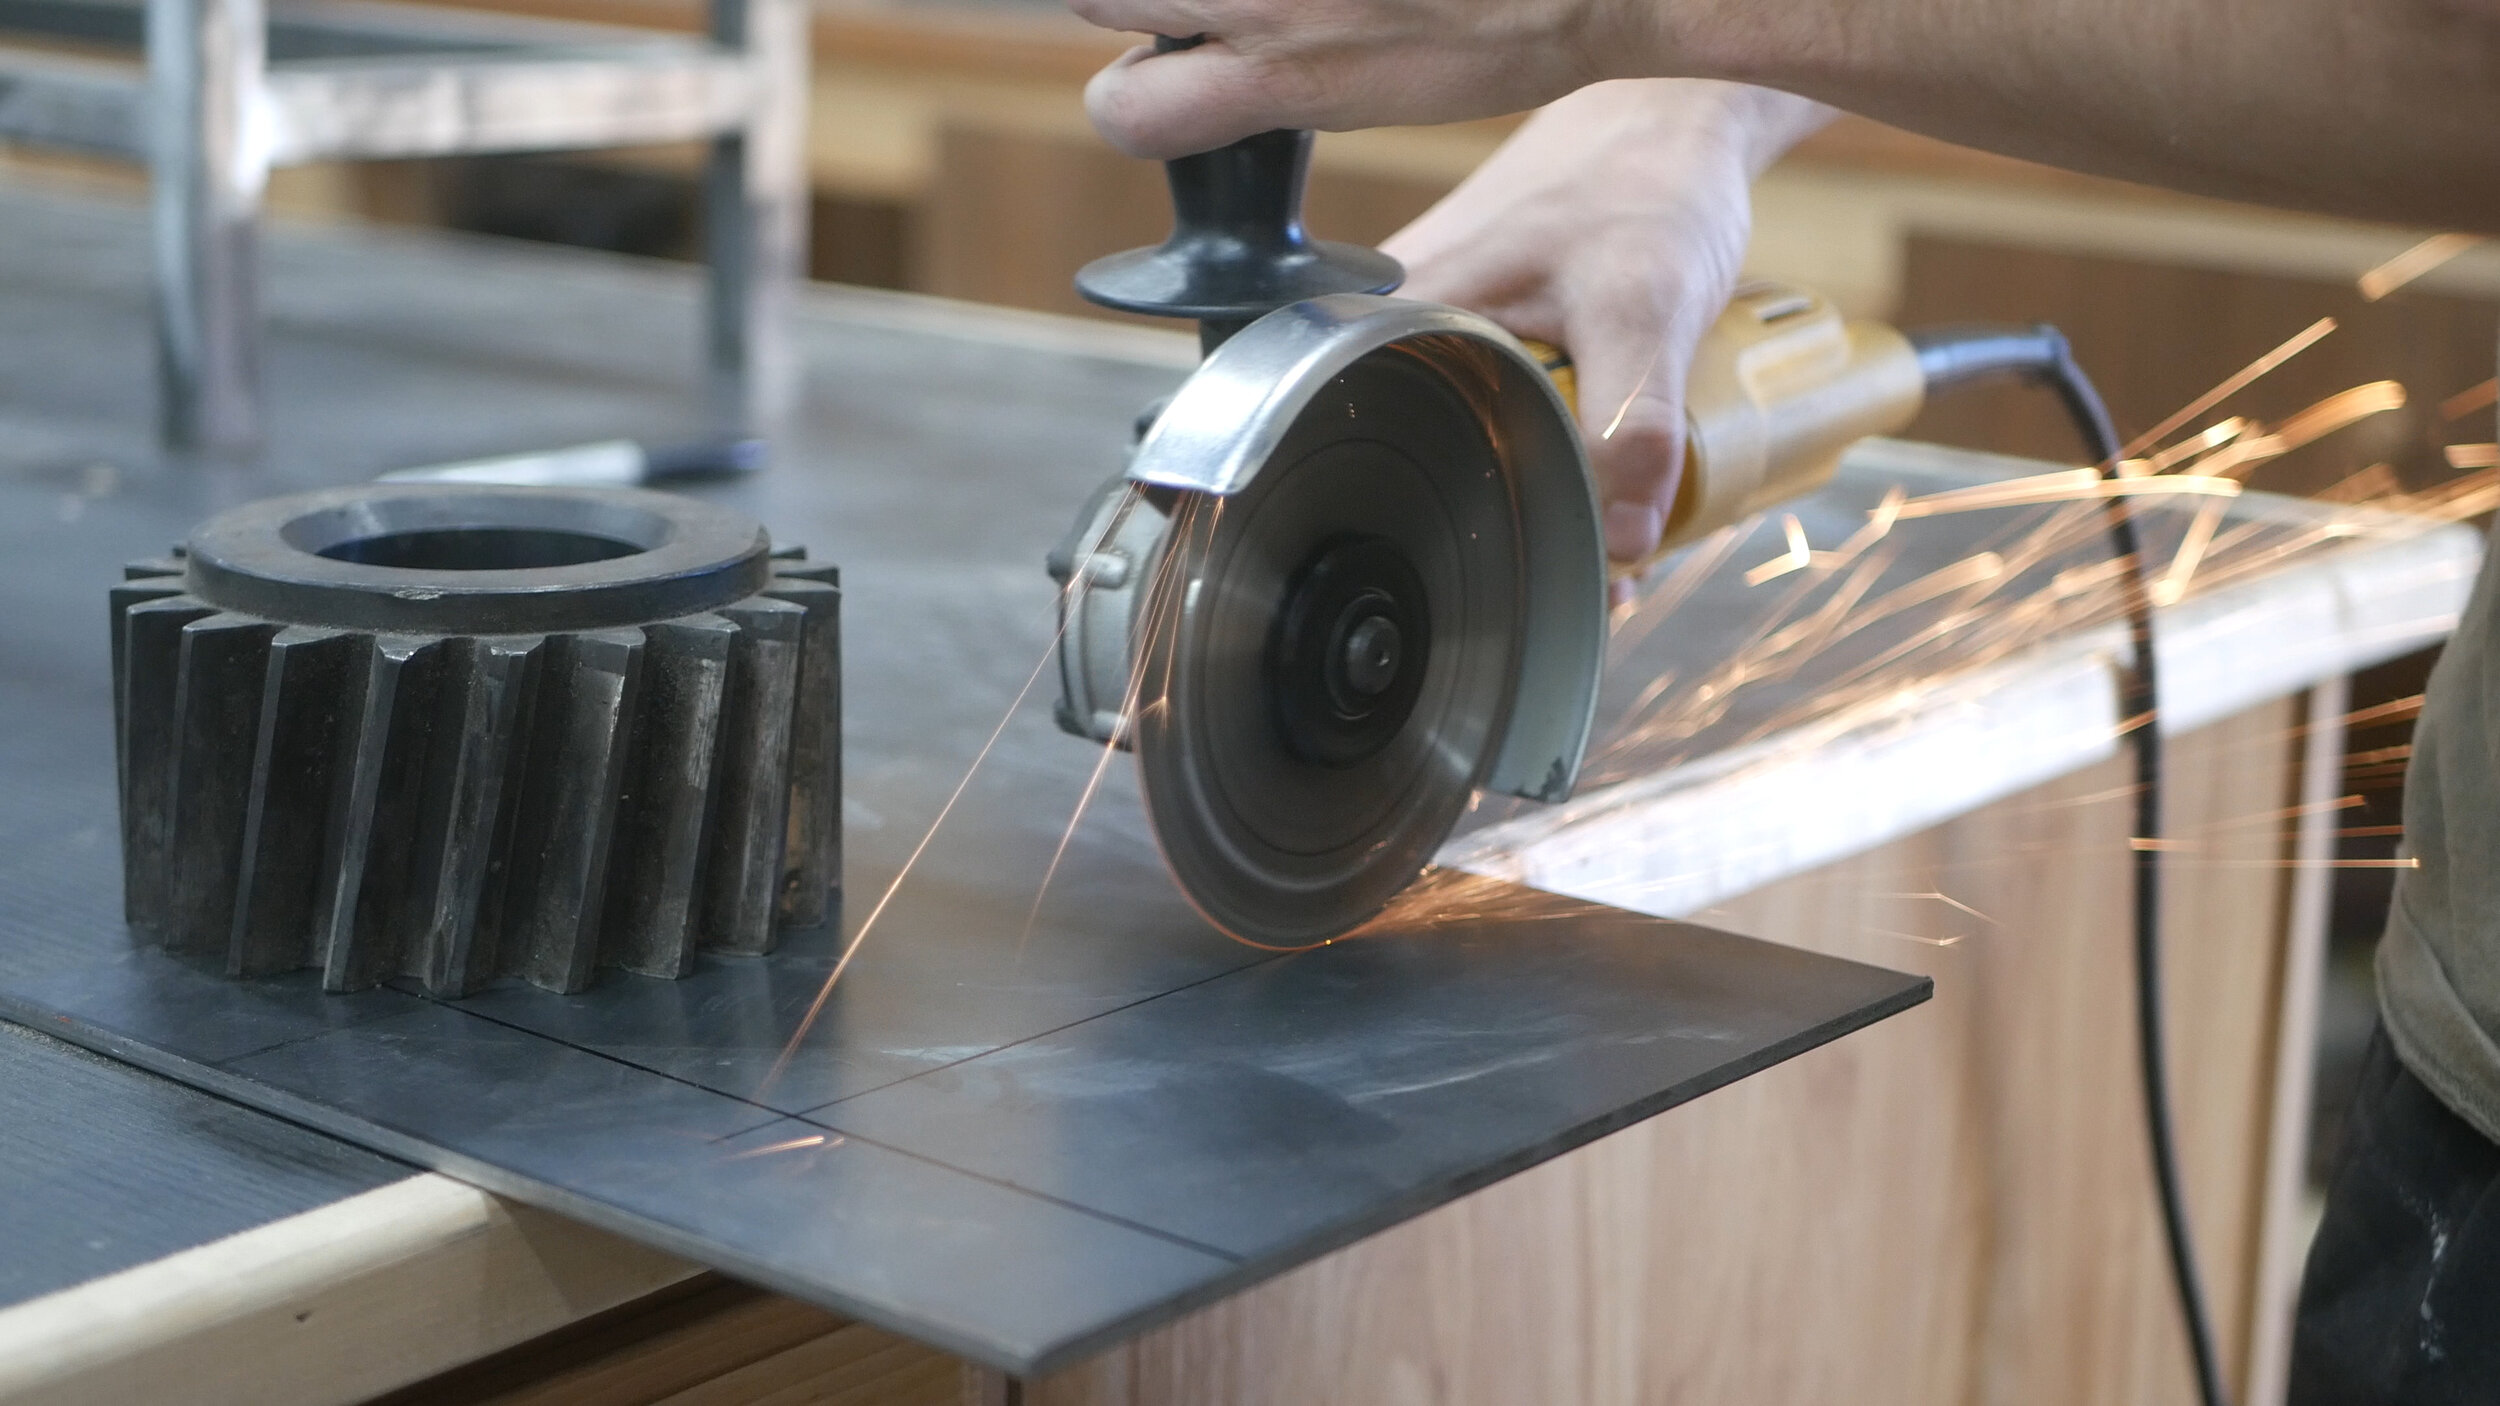
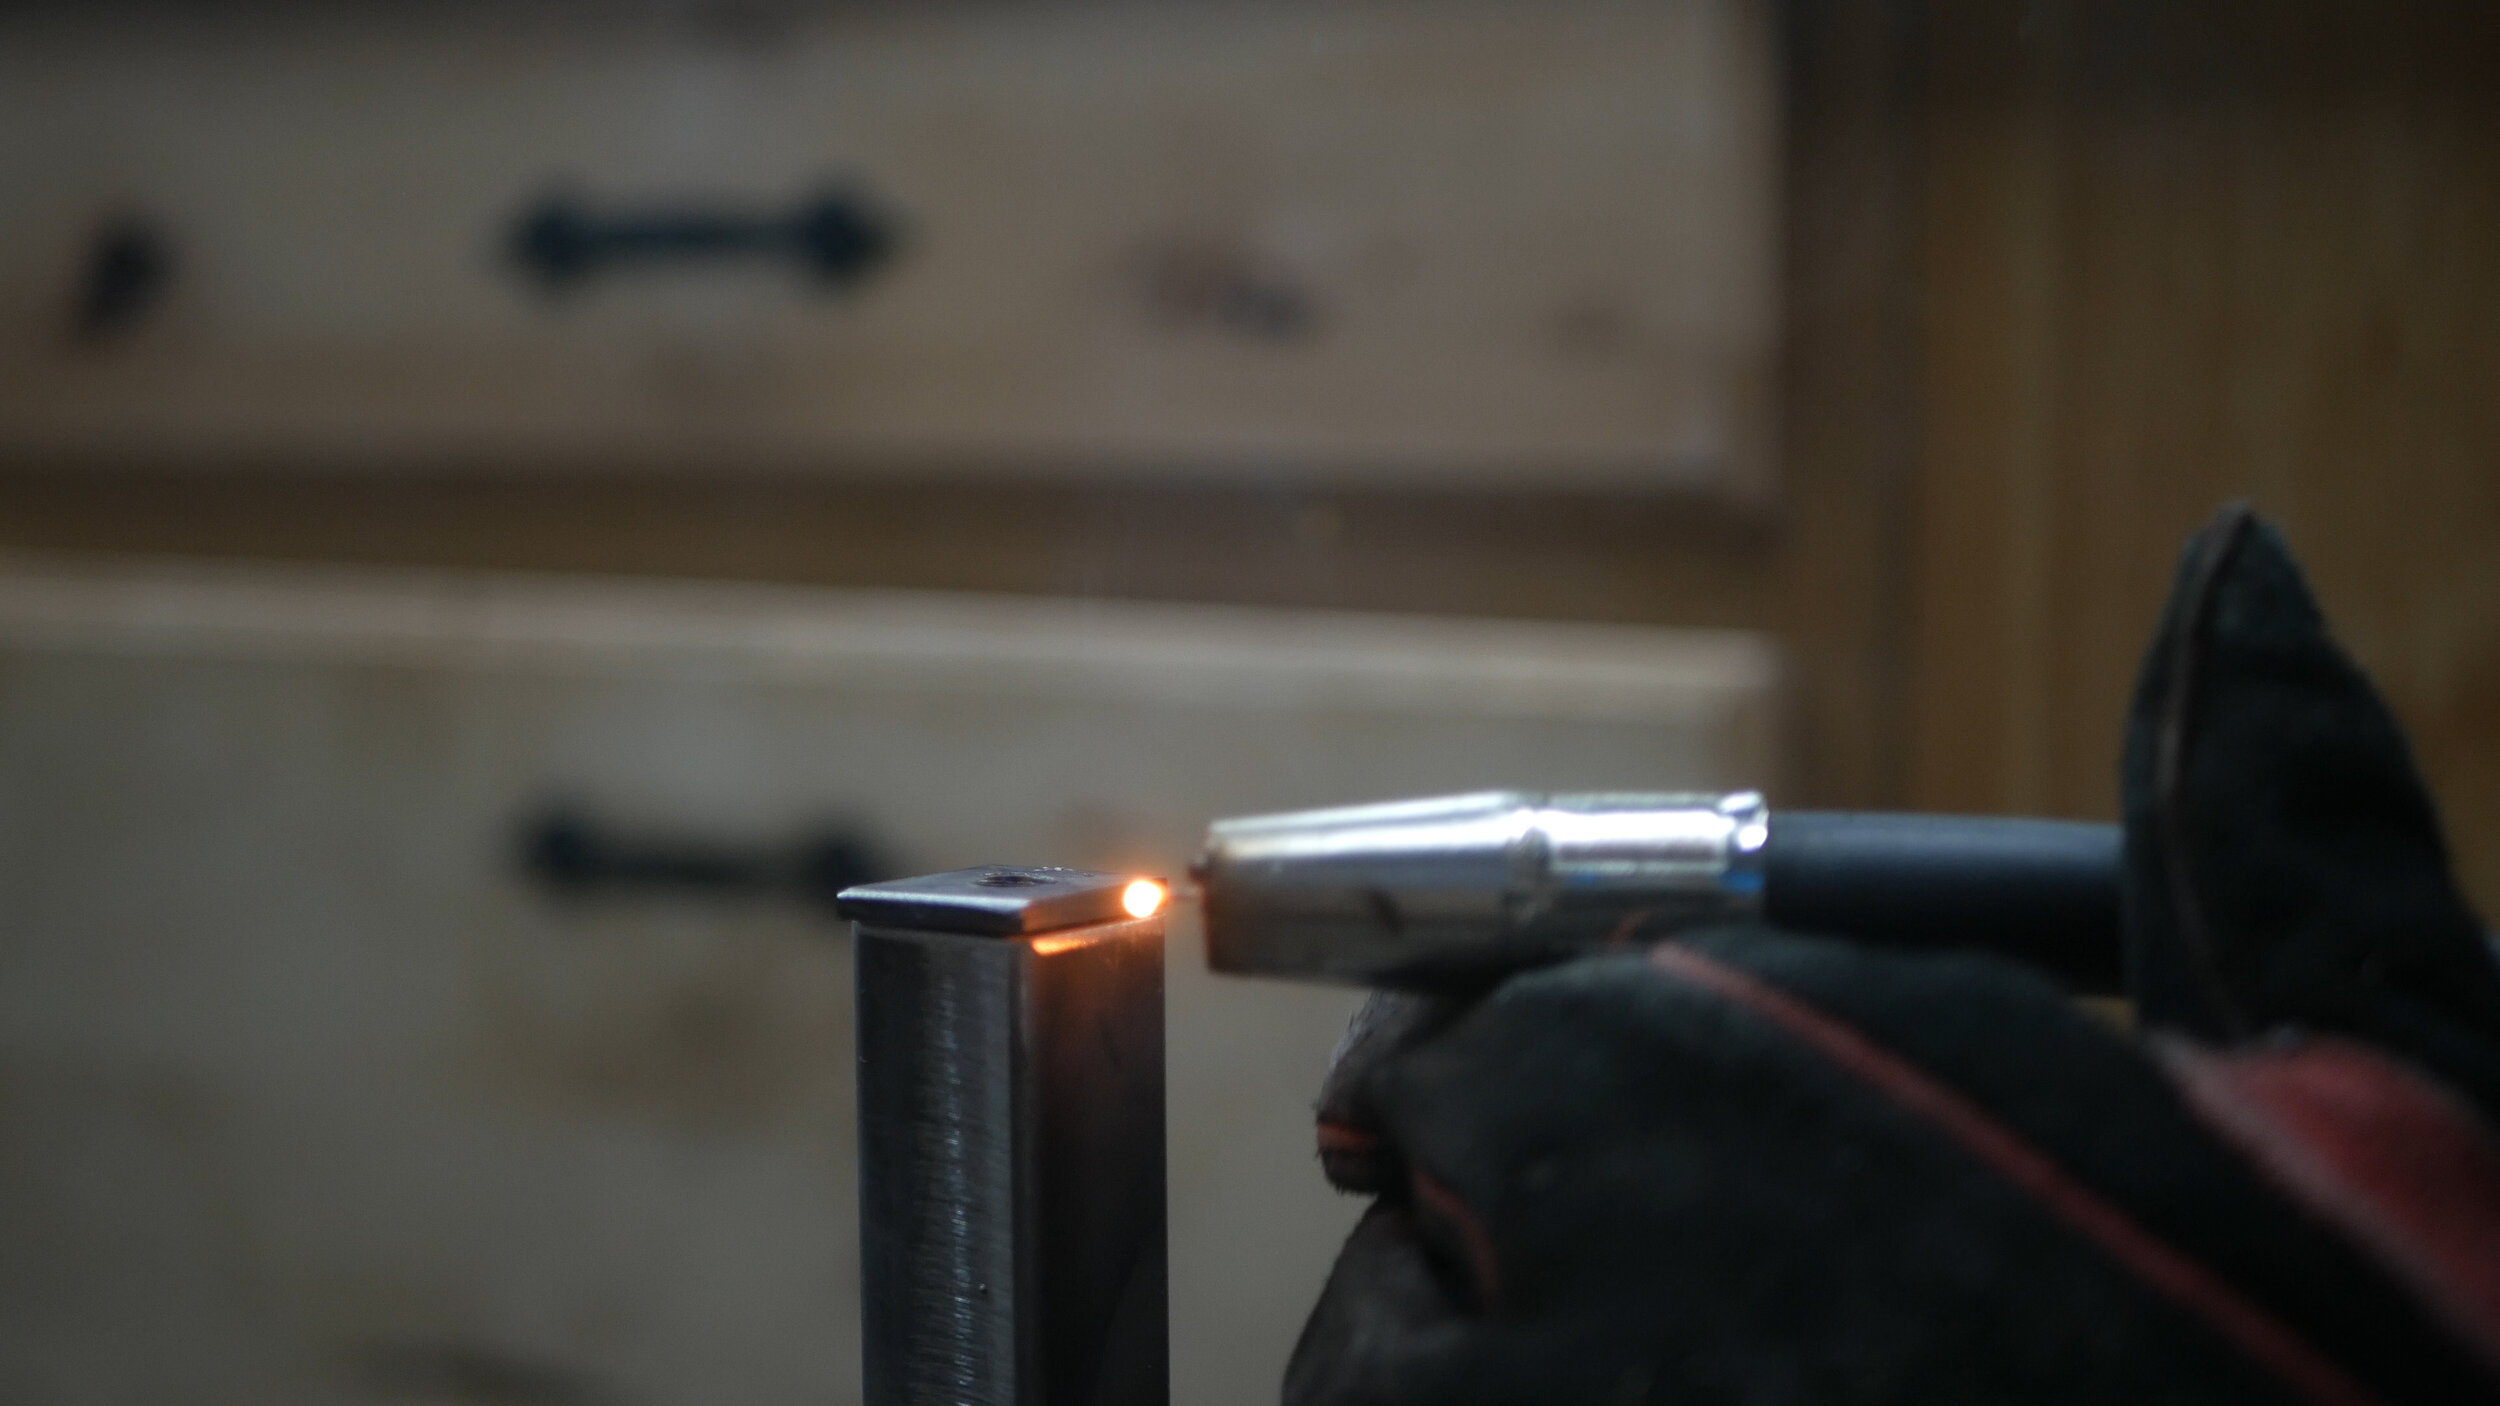
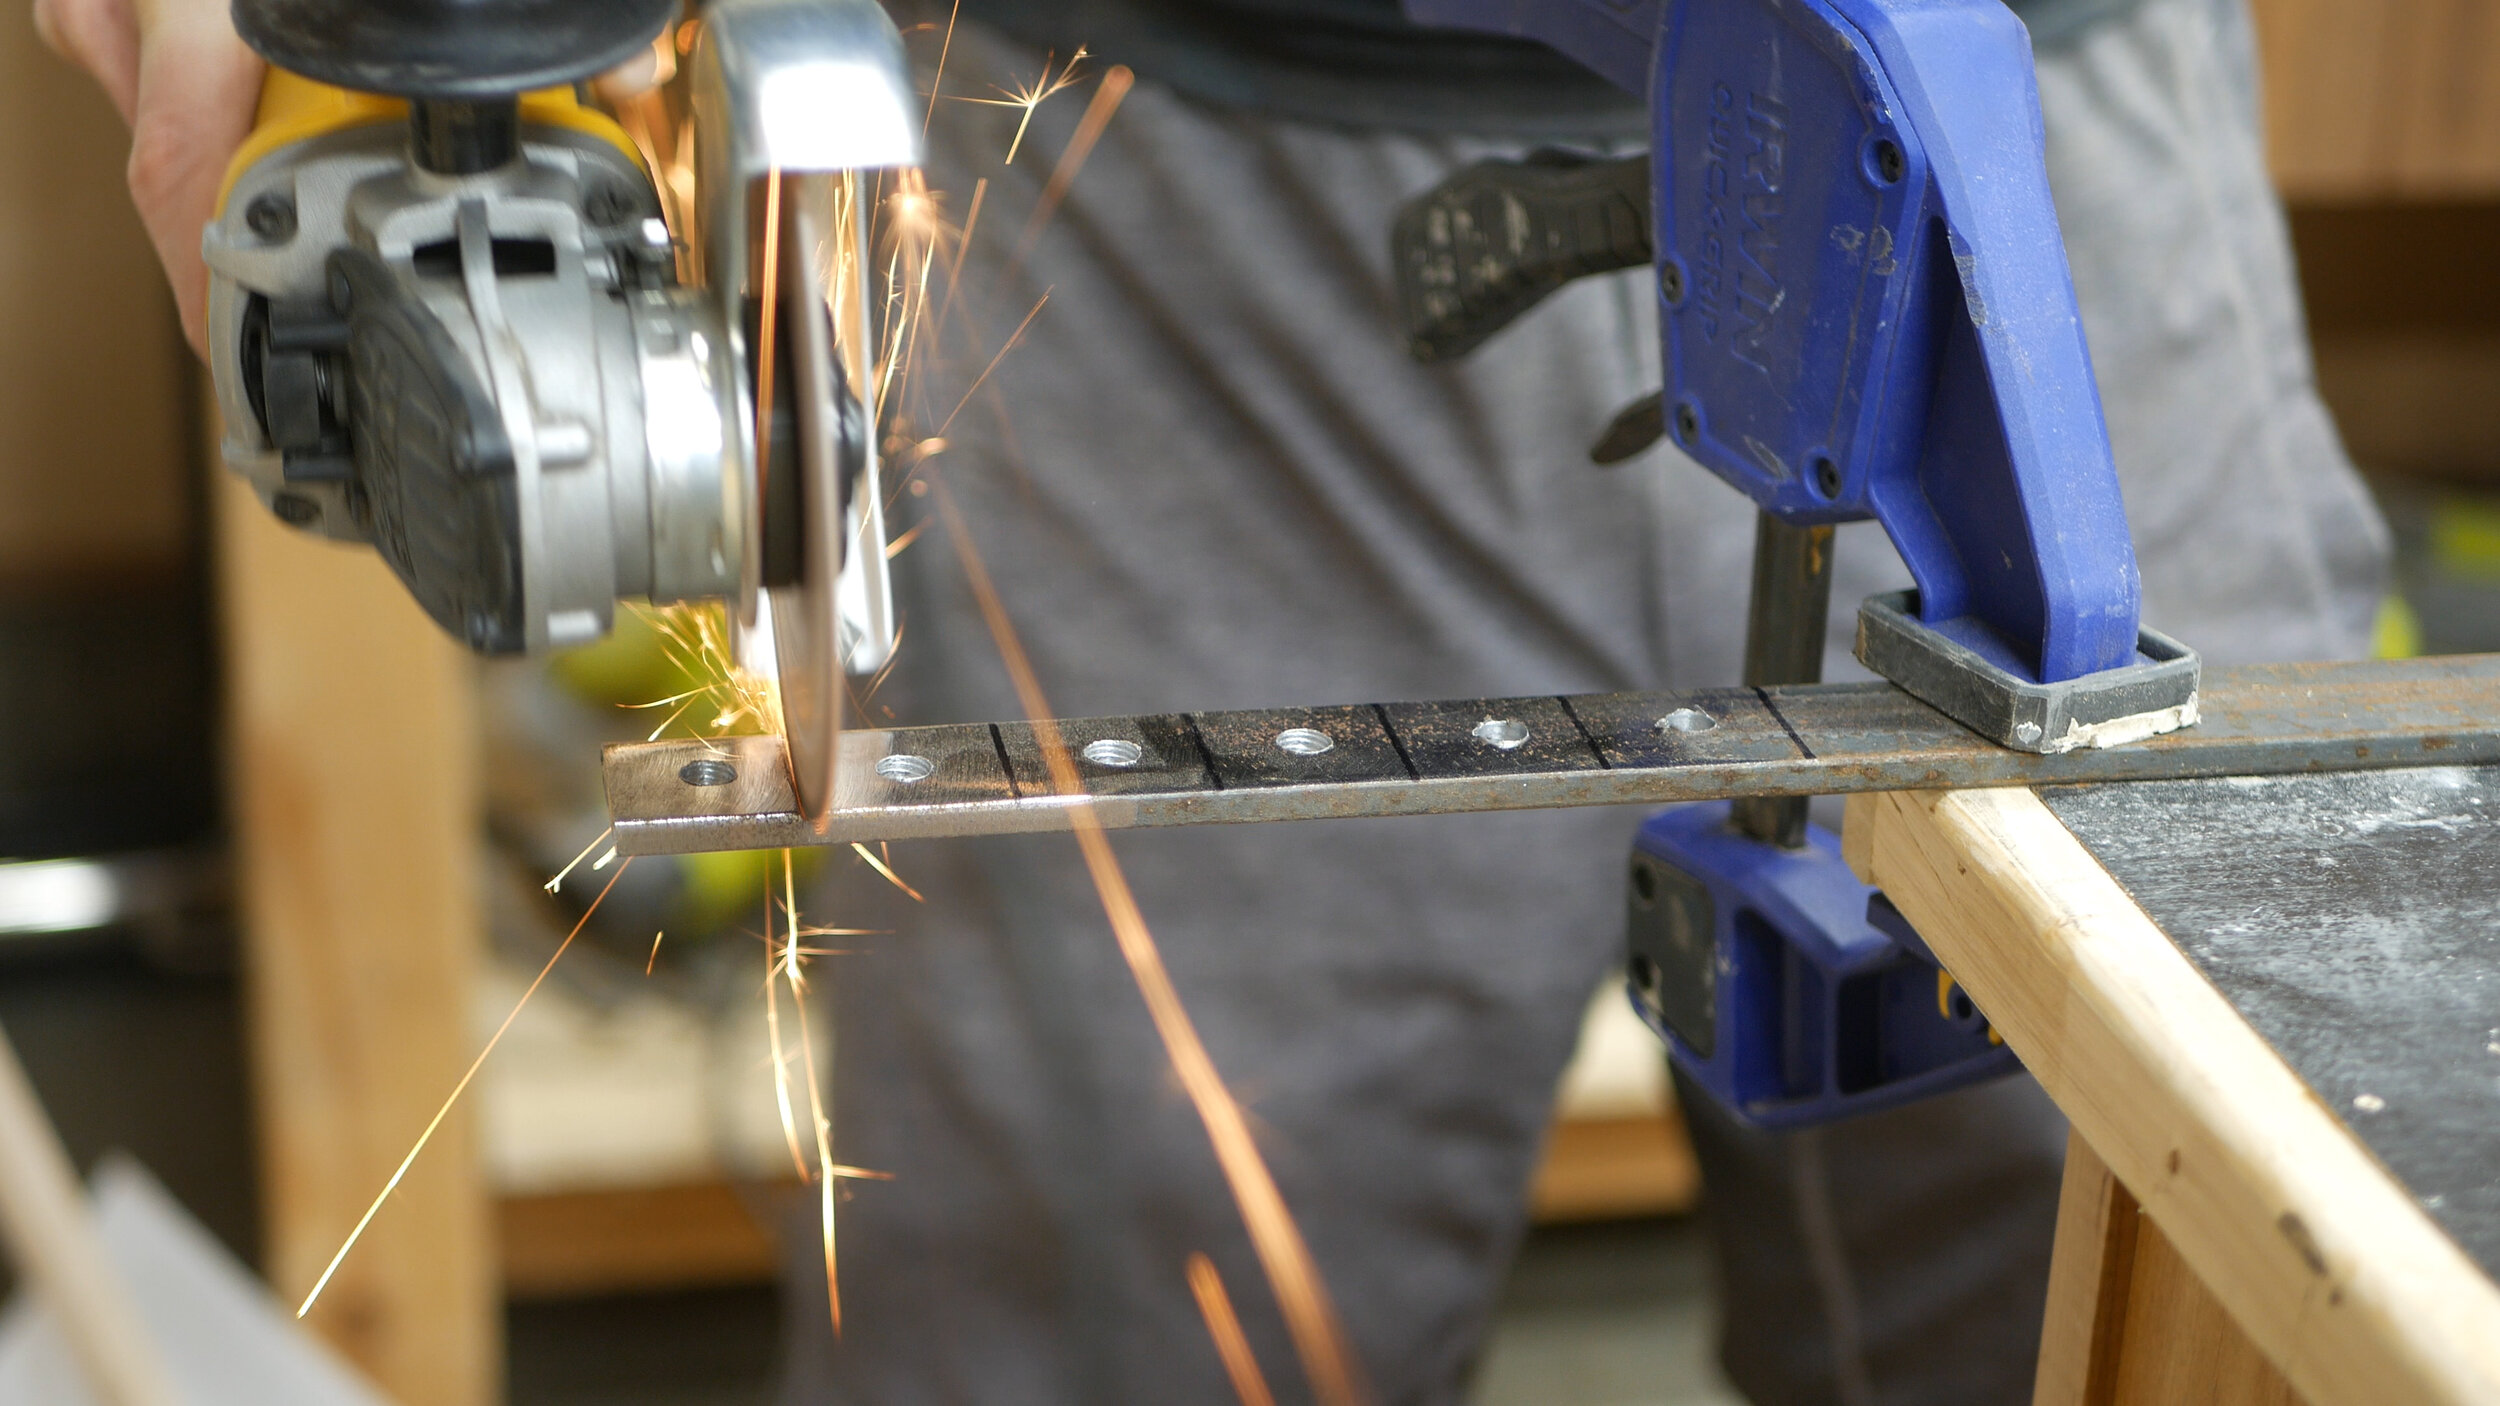
Following my SketchUp model, I marked out a series of cuts on my square steel tubing and cut to length on the metal chop saw. Unrelated, but I need to figure out a slightly better set up for this saw - its messy. After cutting all my pieces to their final length, I cleaned up all four edges of each side with a grinder and flap disc in preparation for welding.
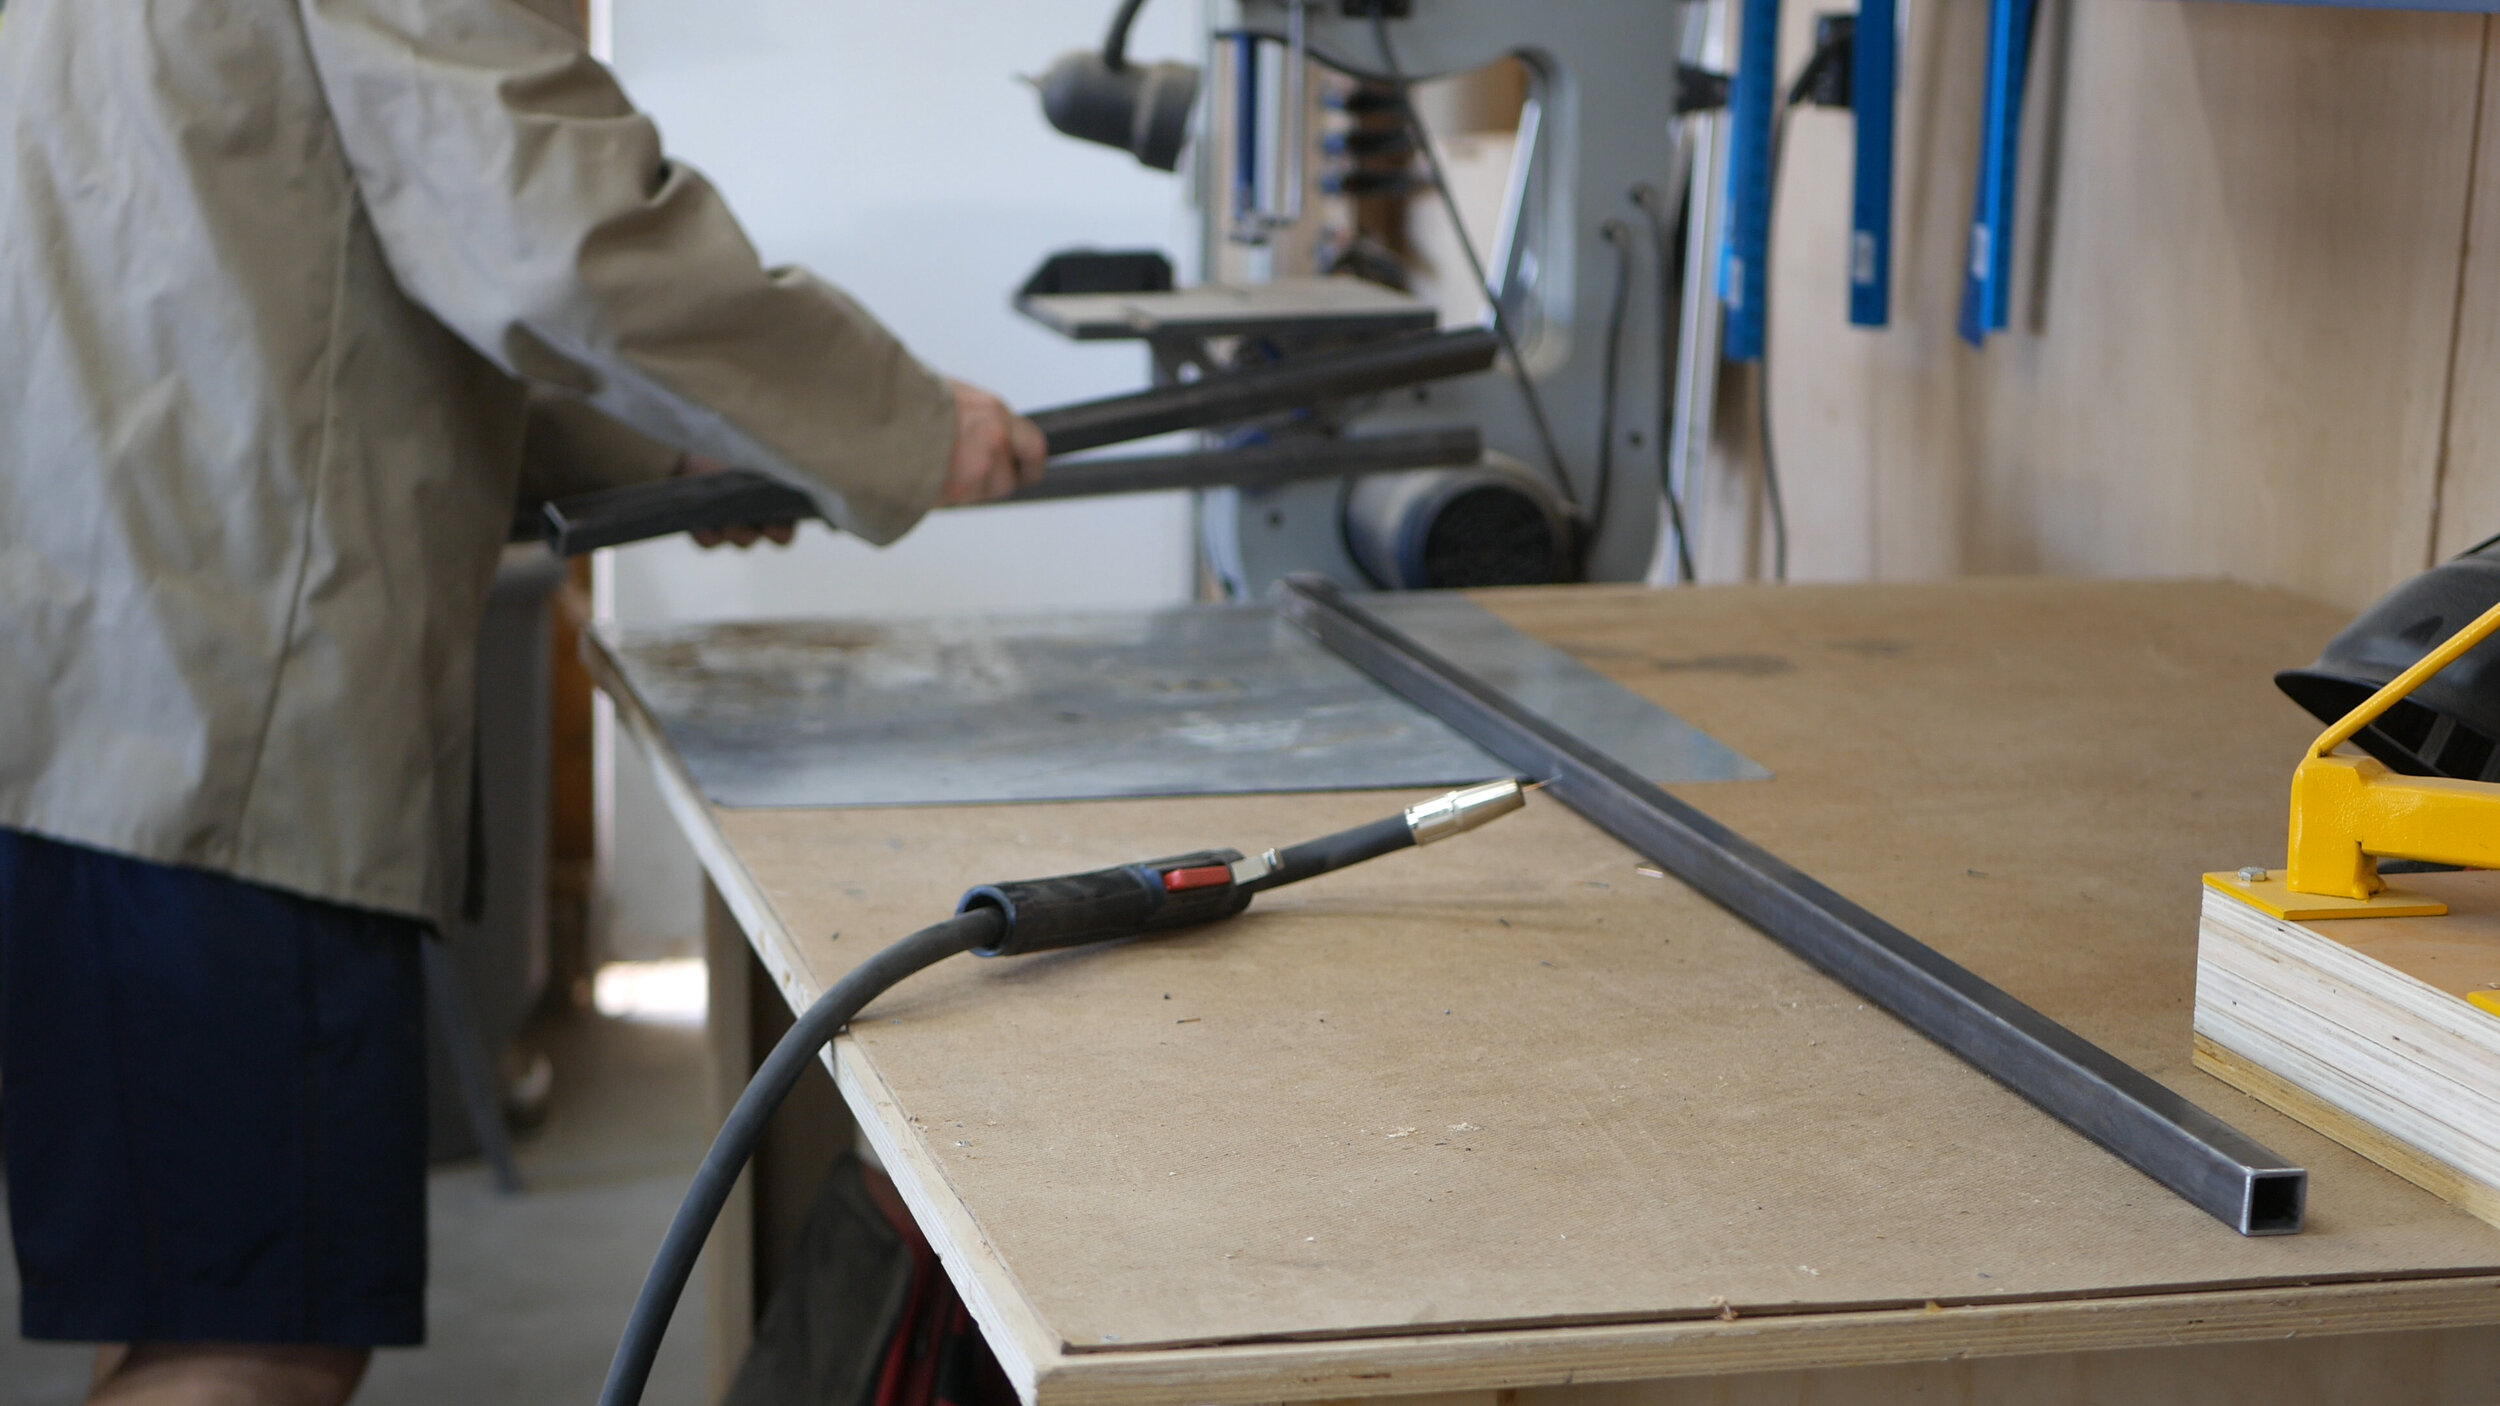
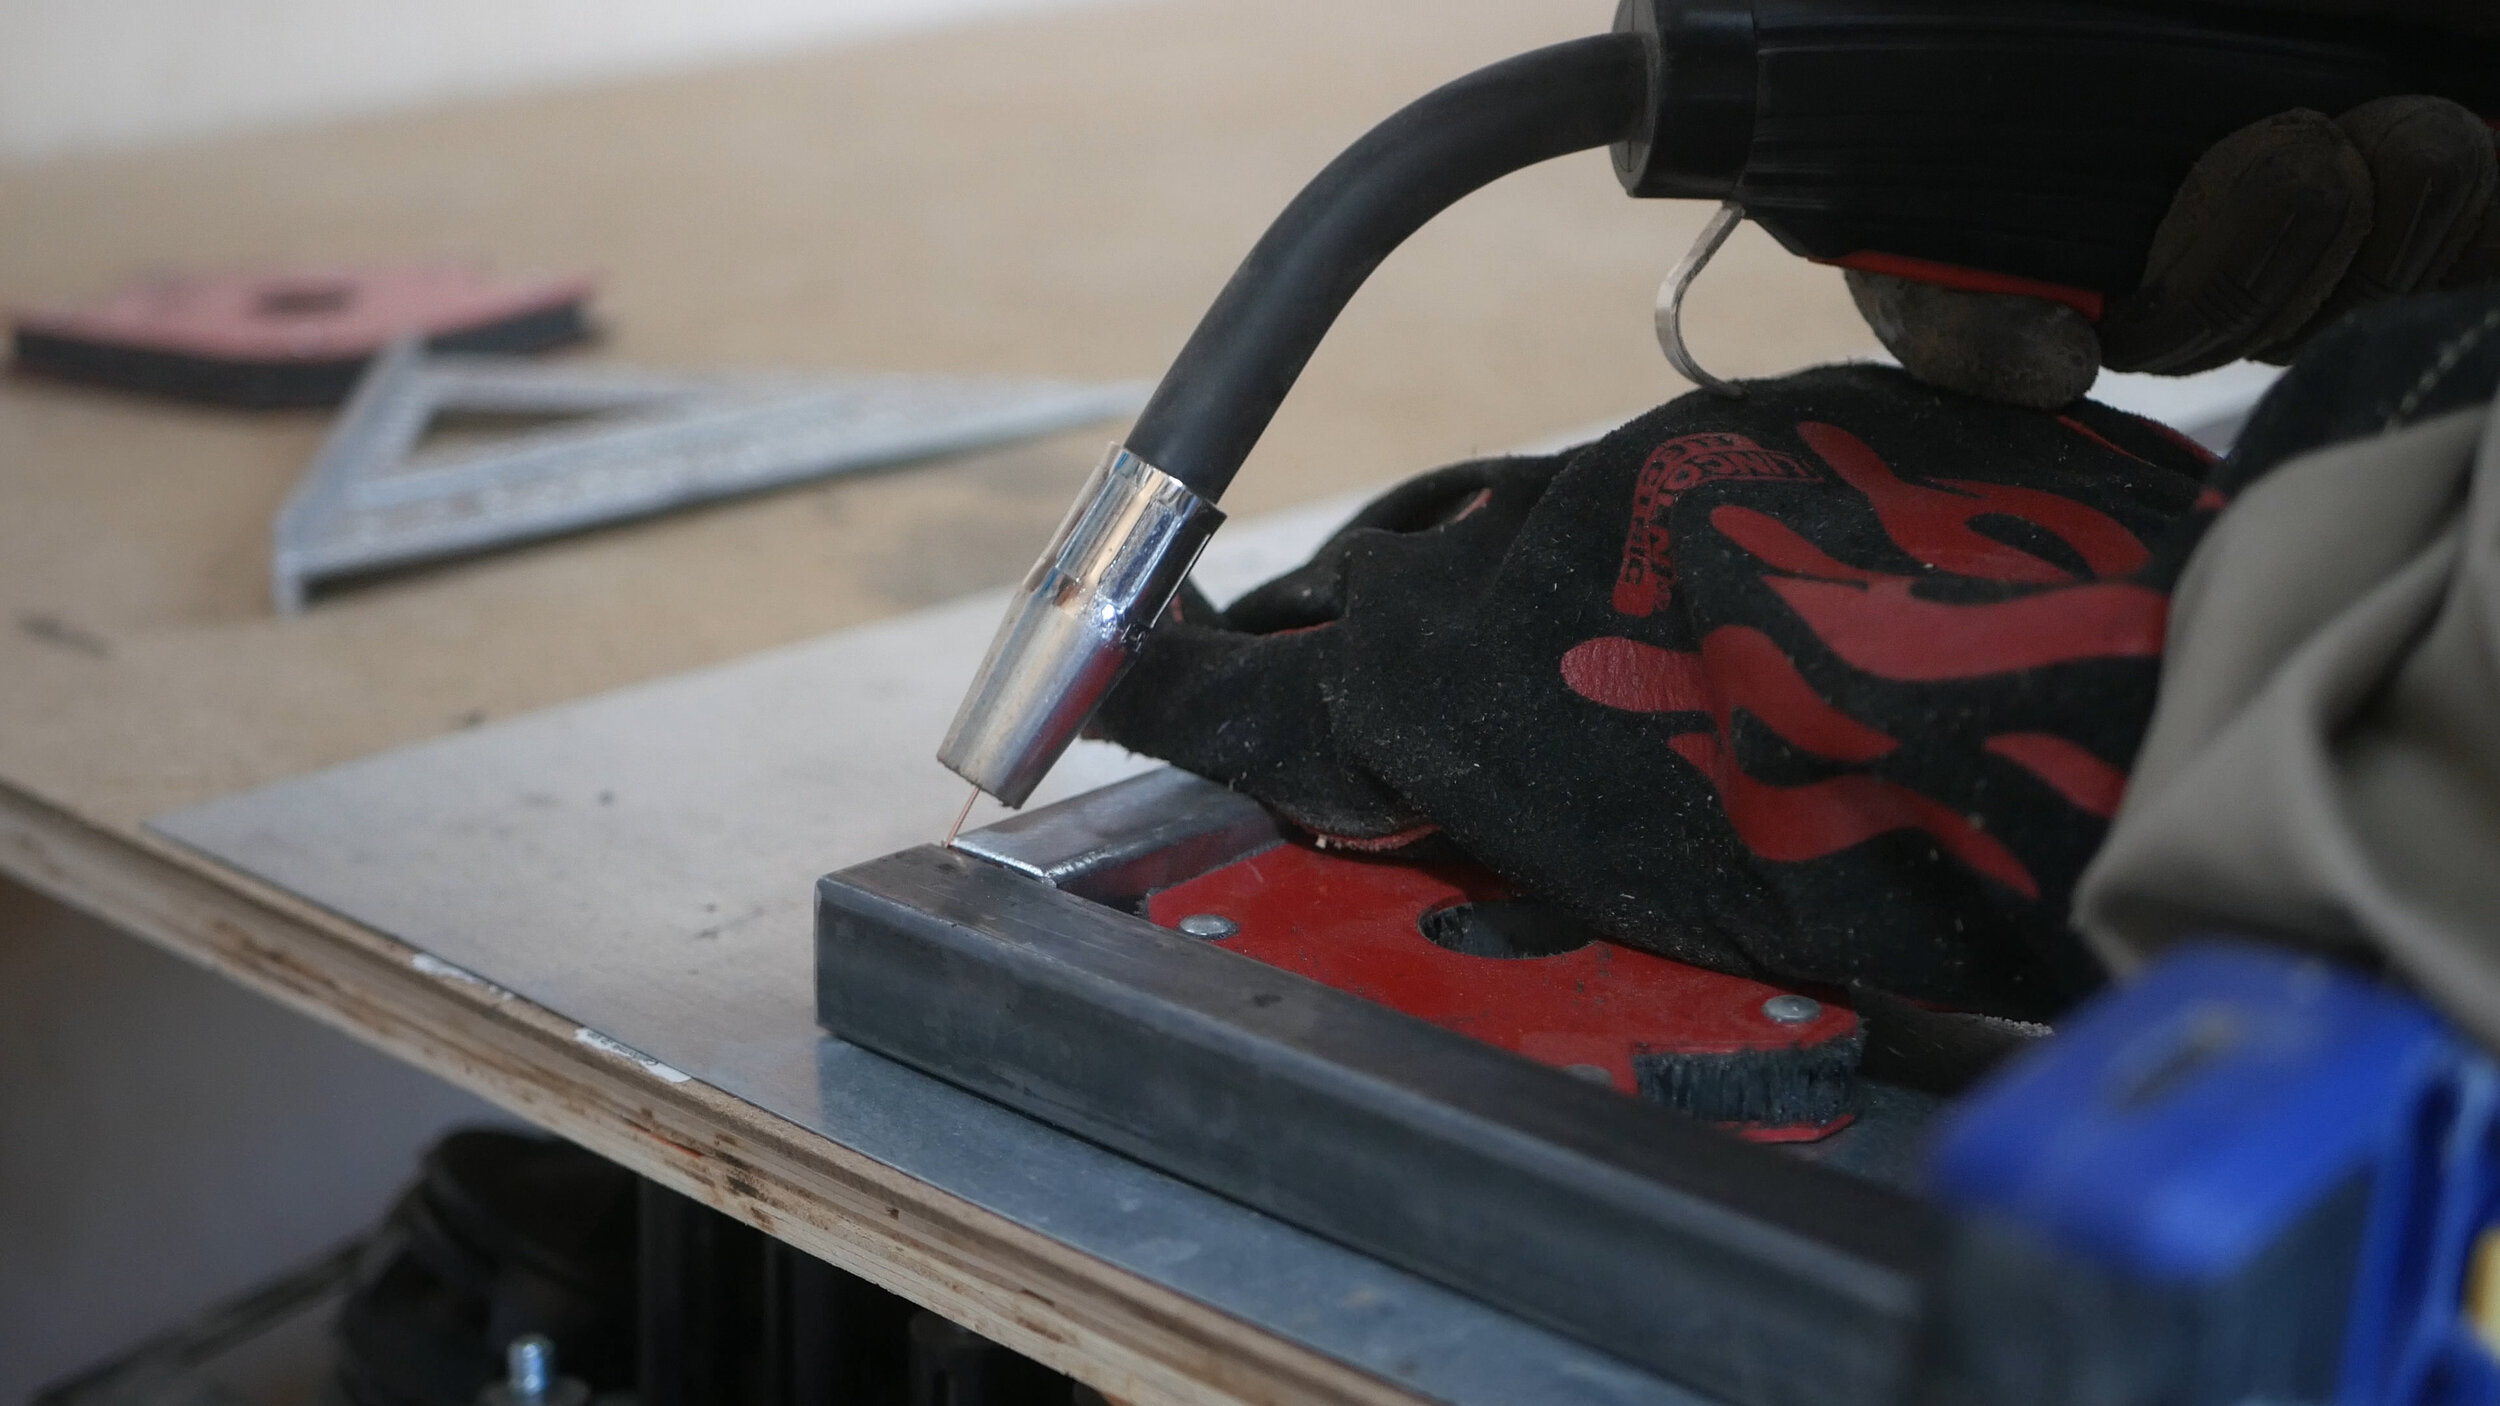
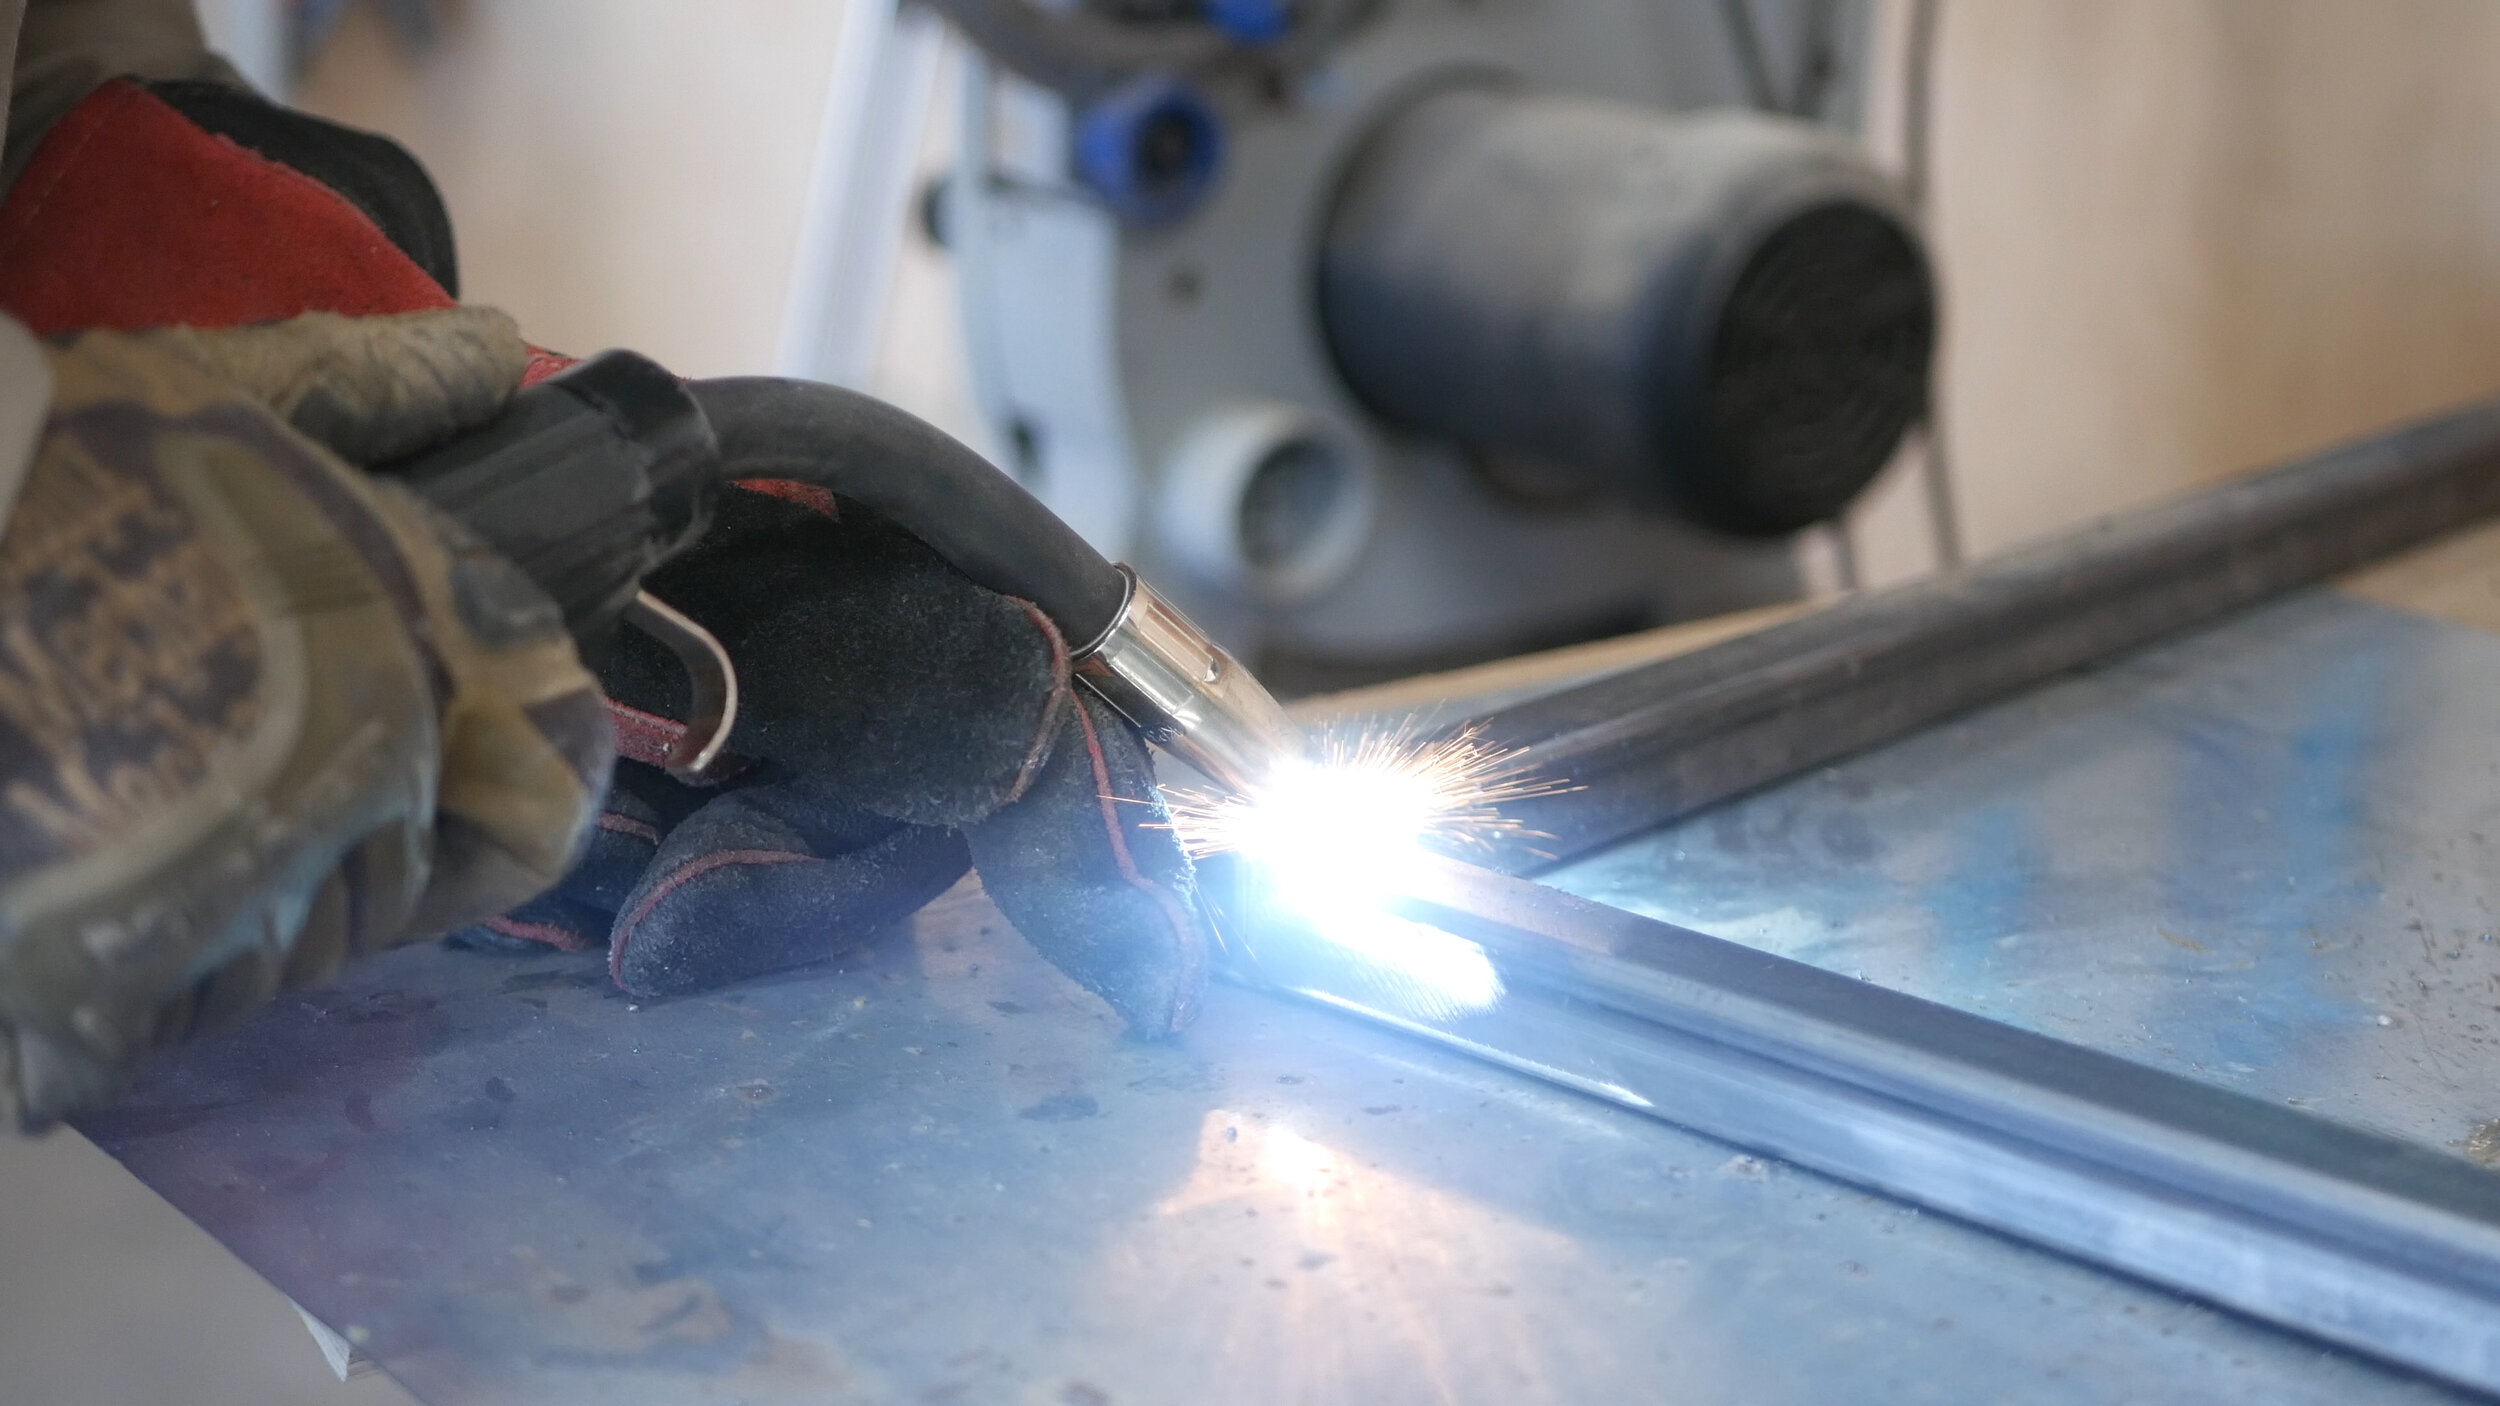
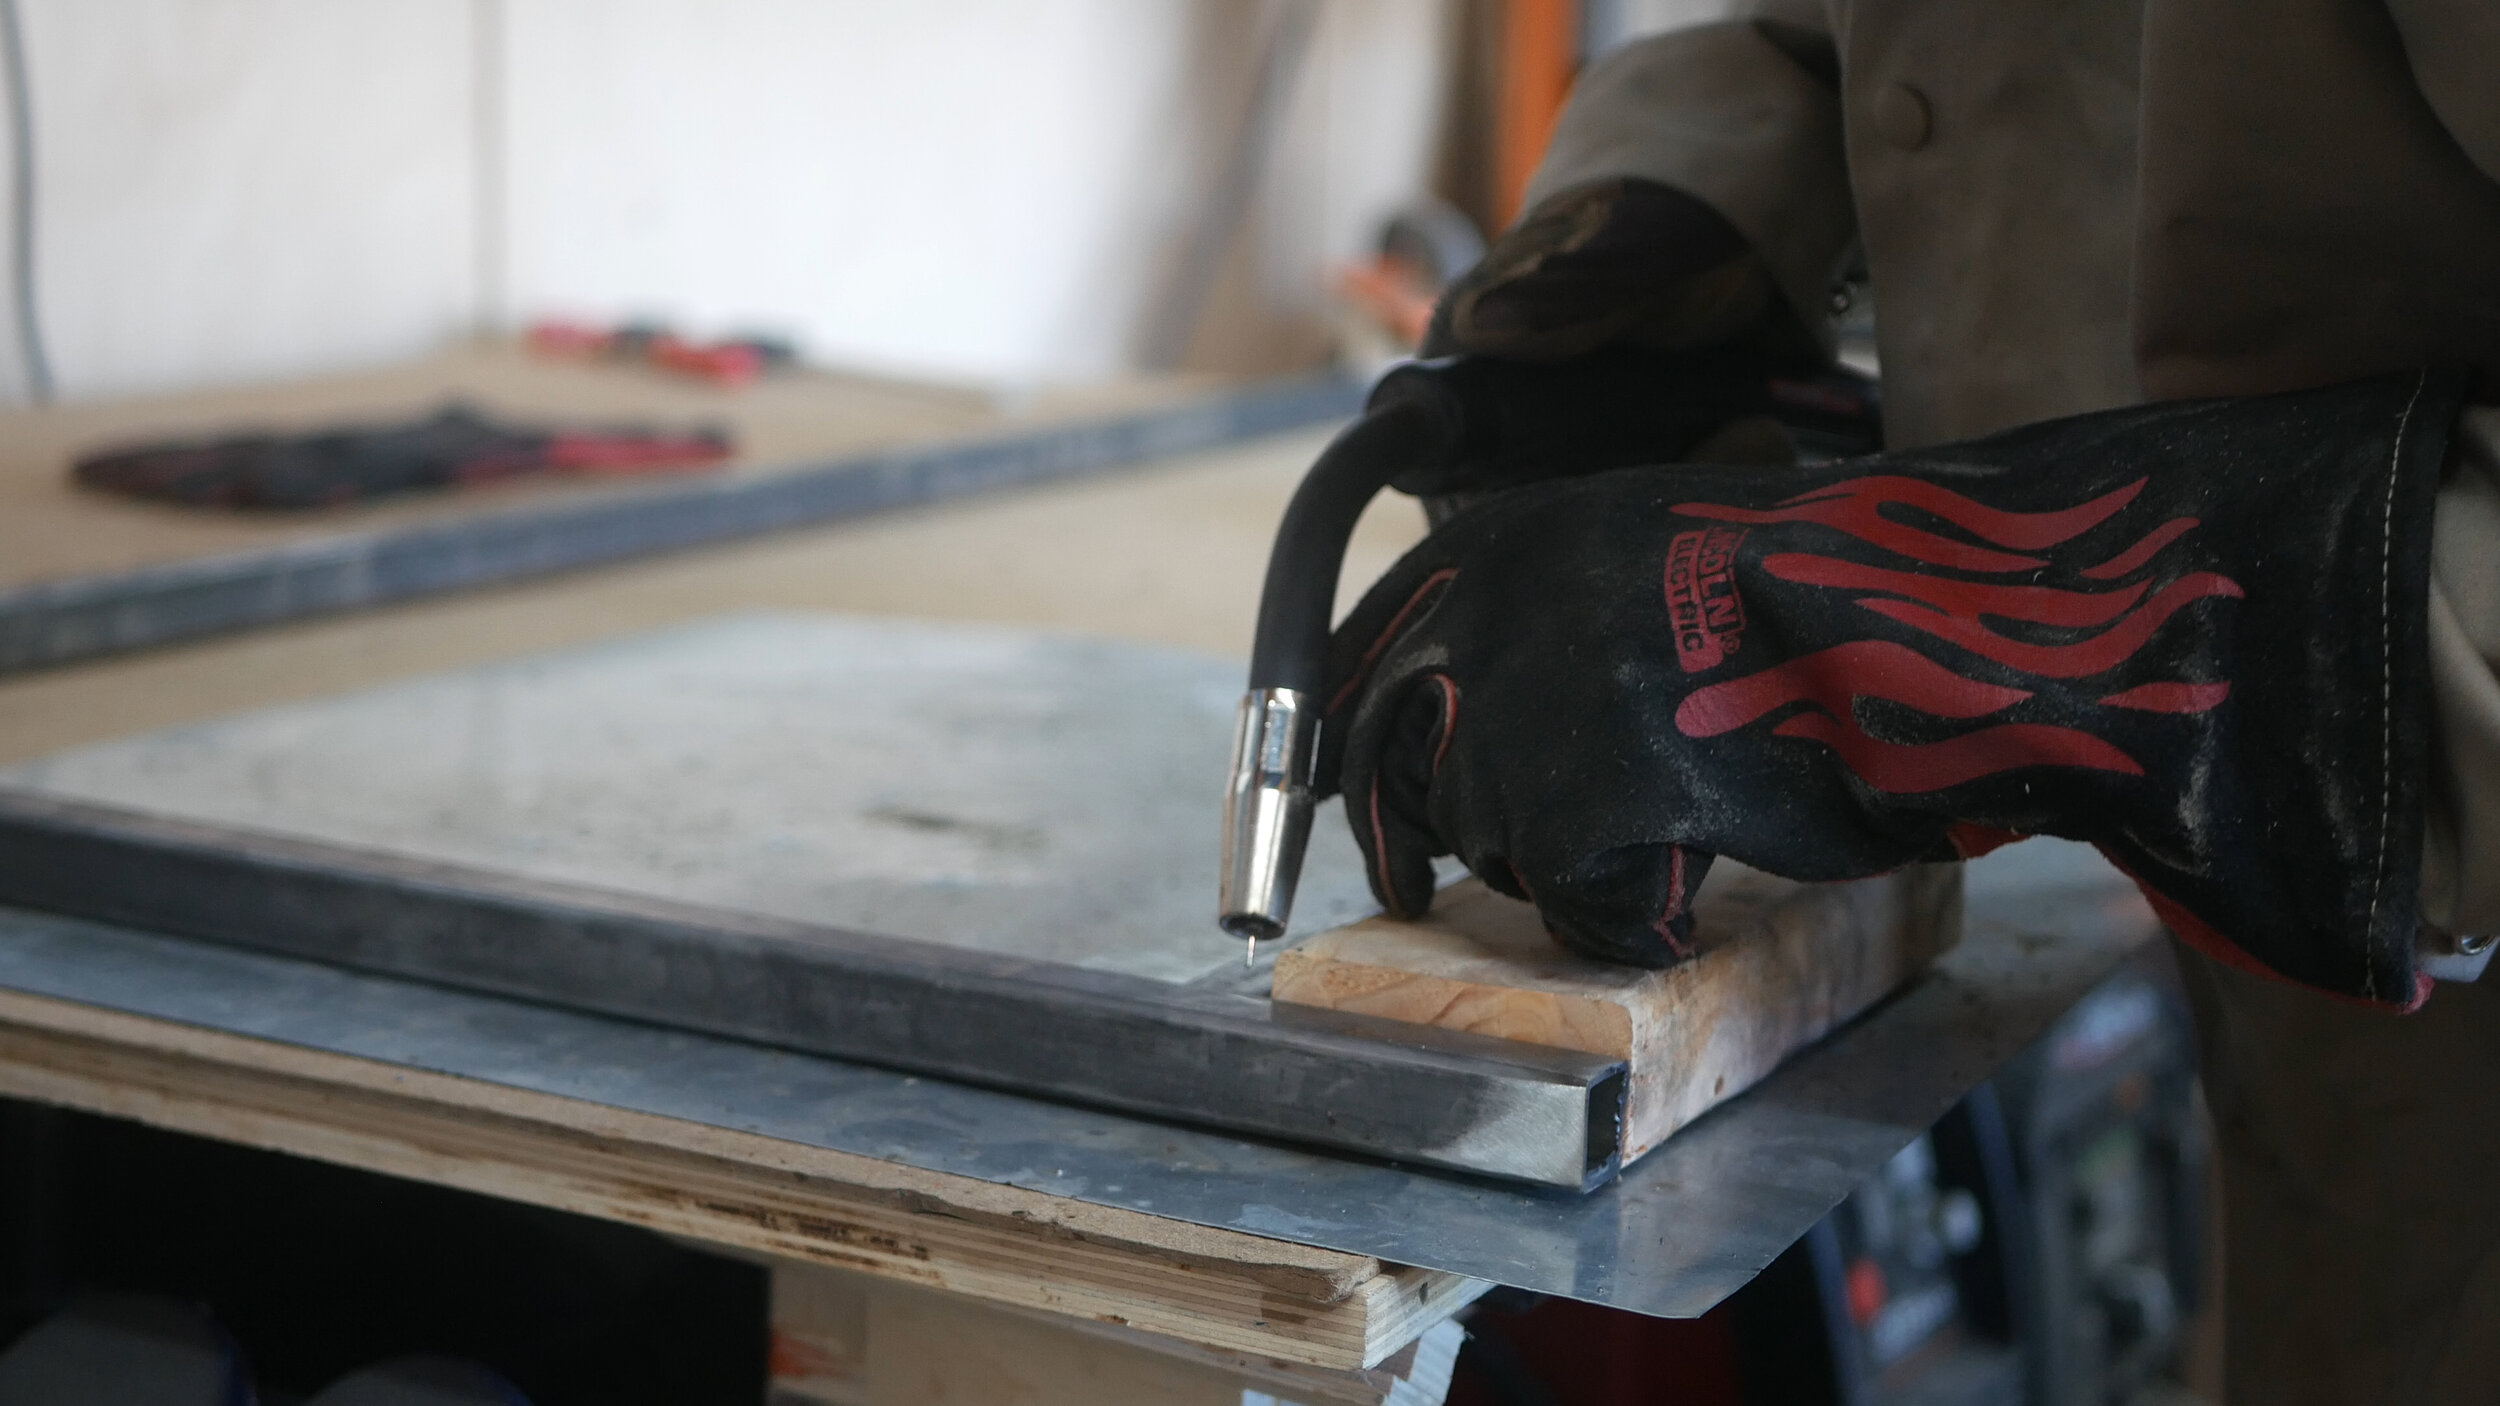
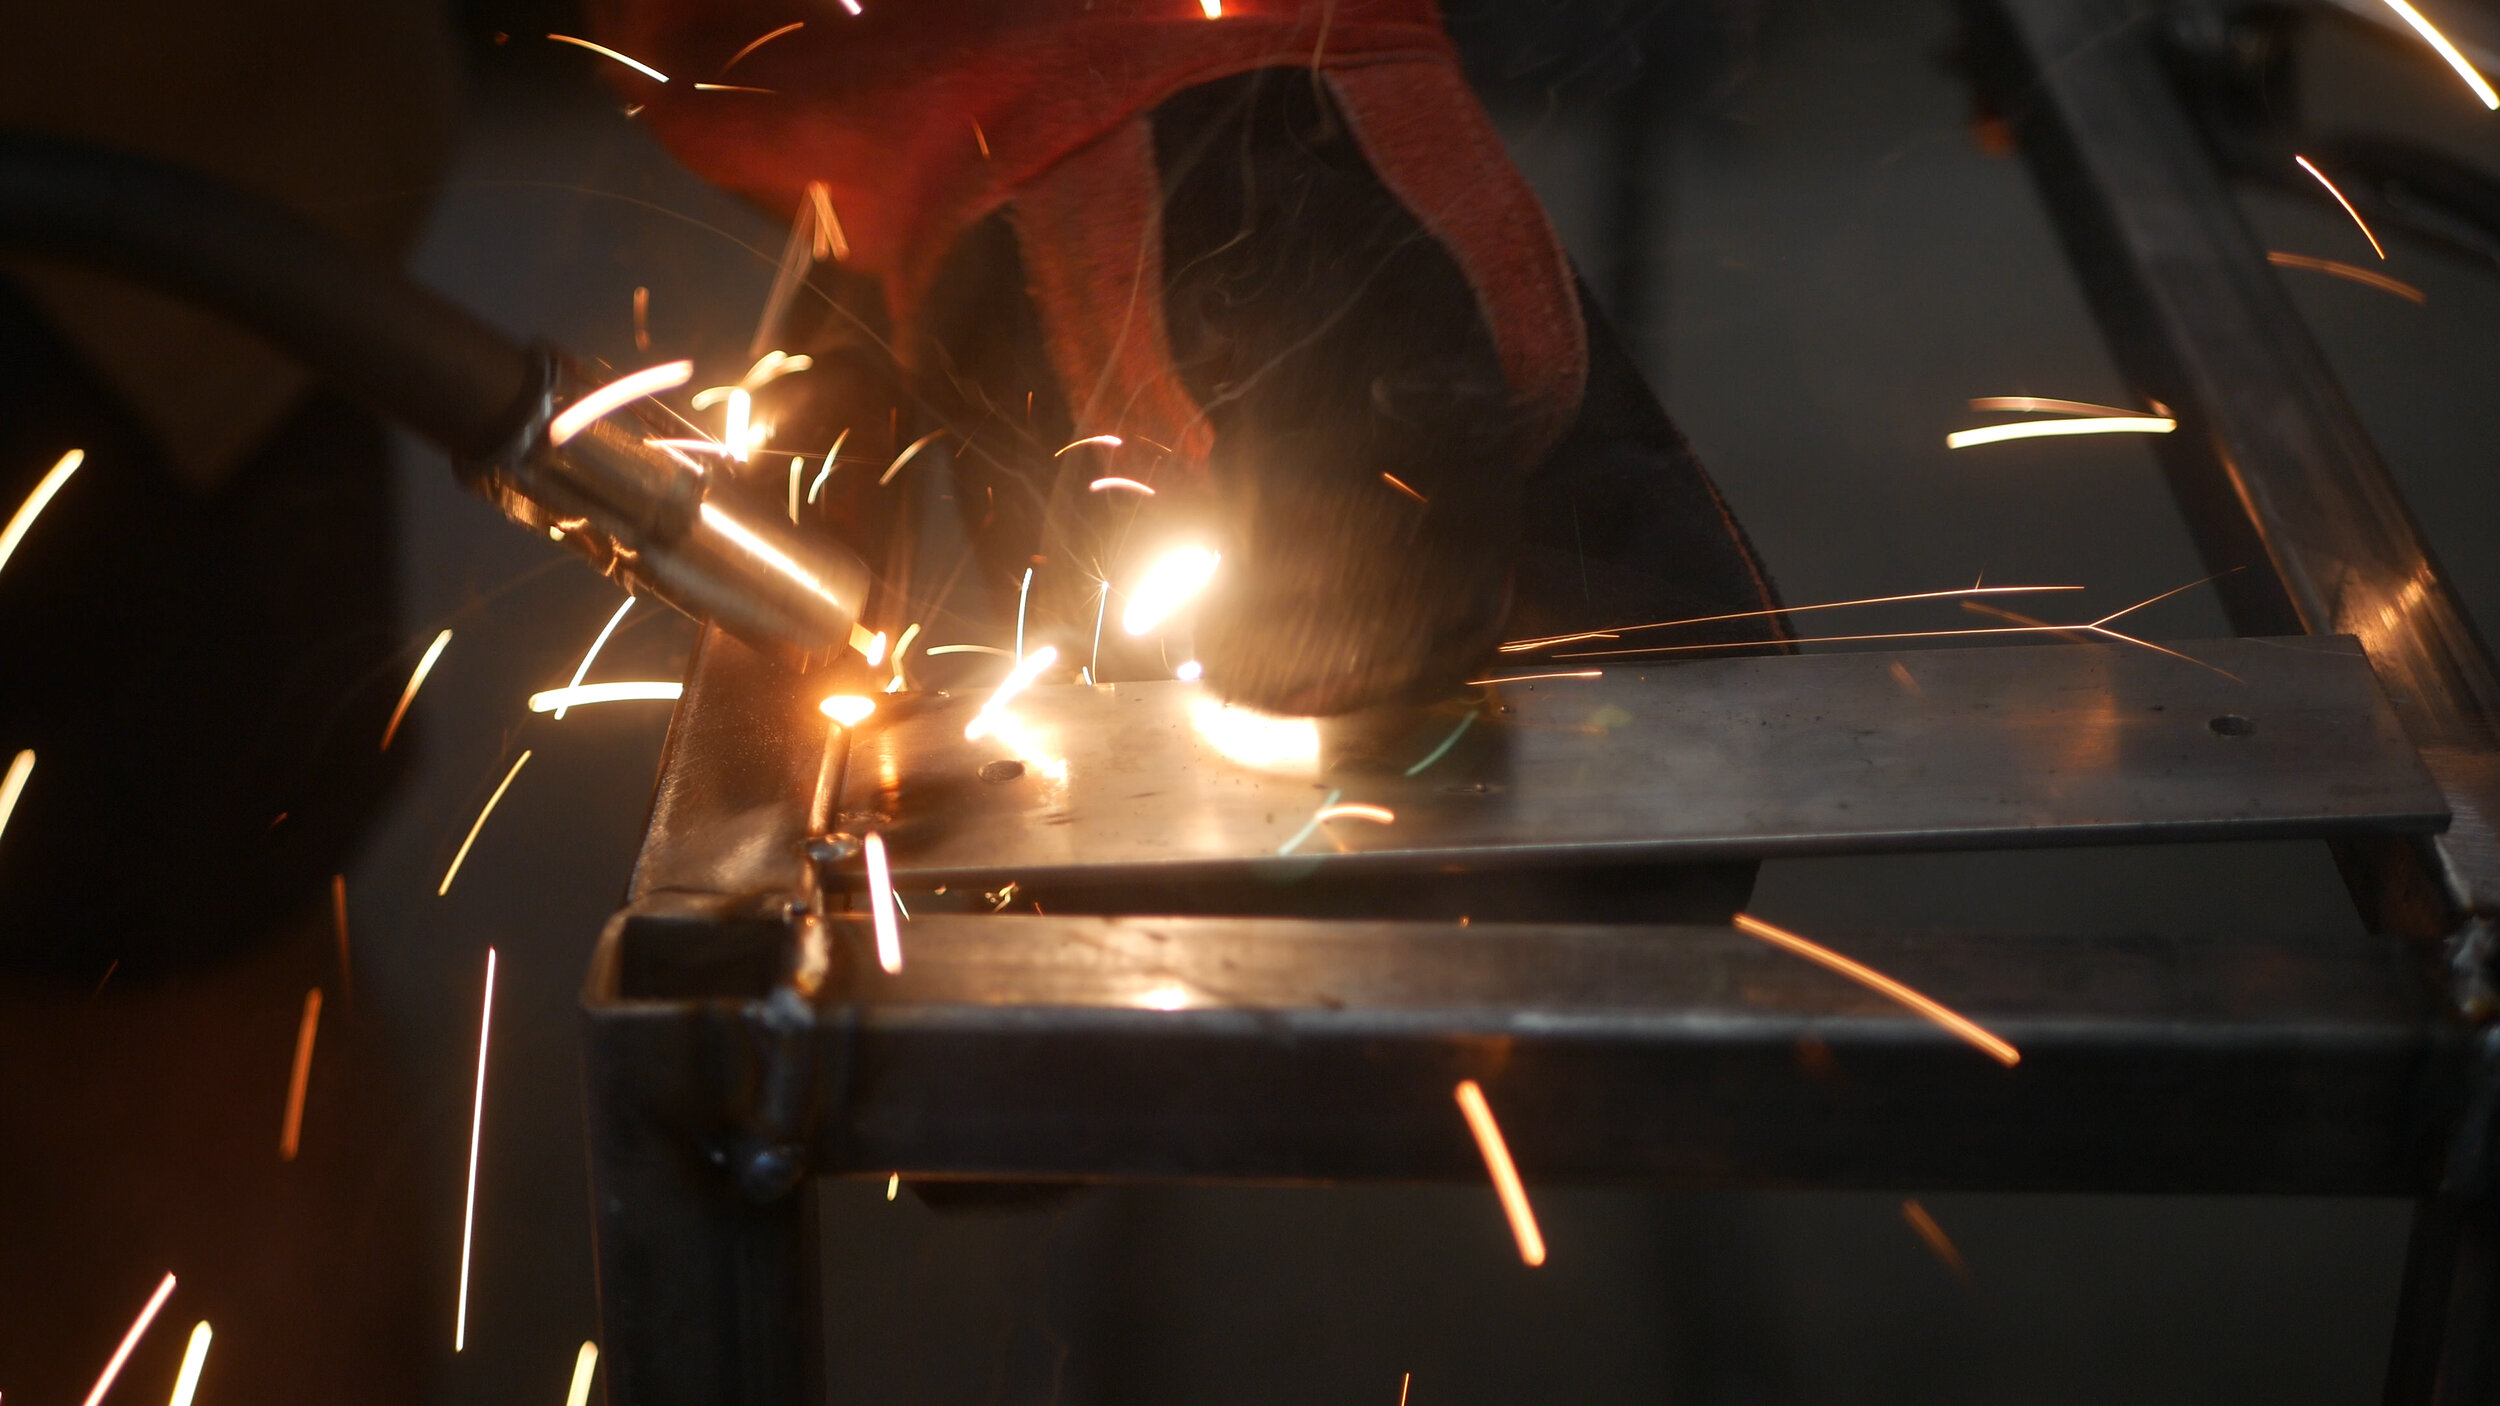
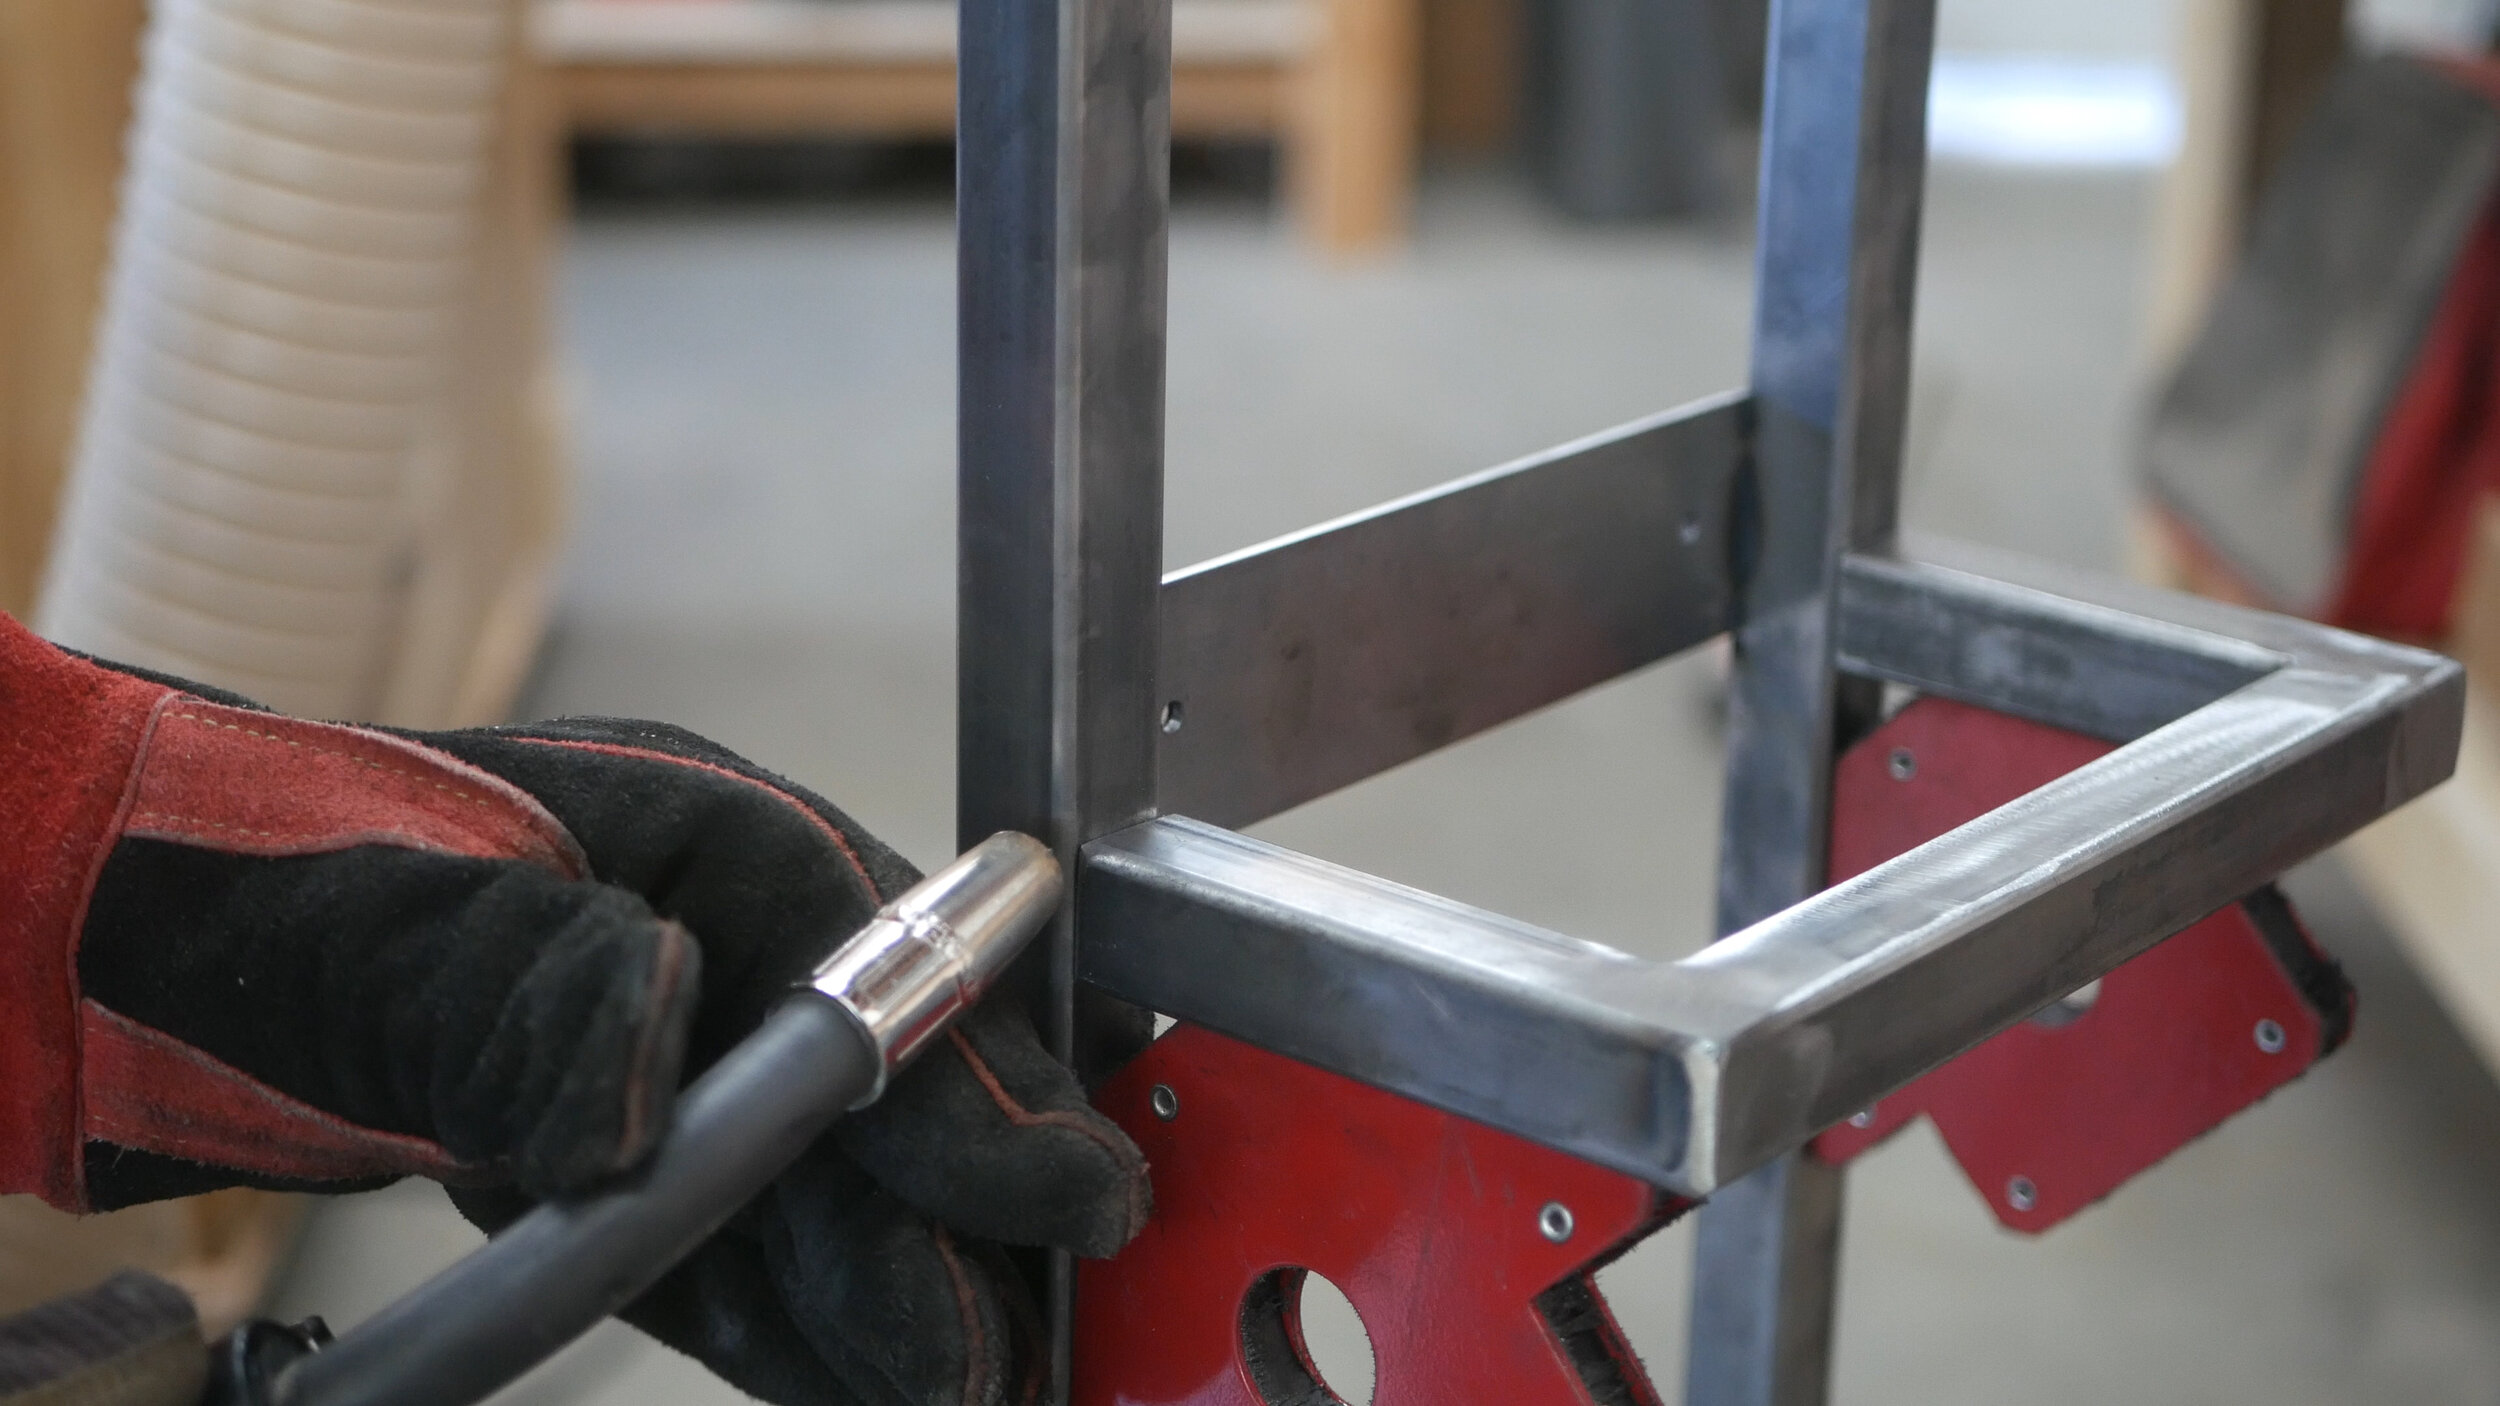
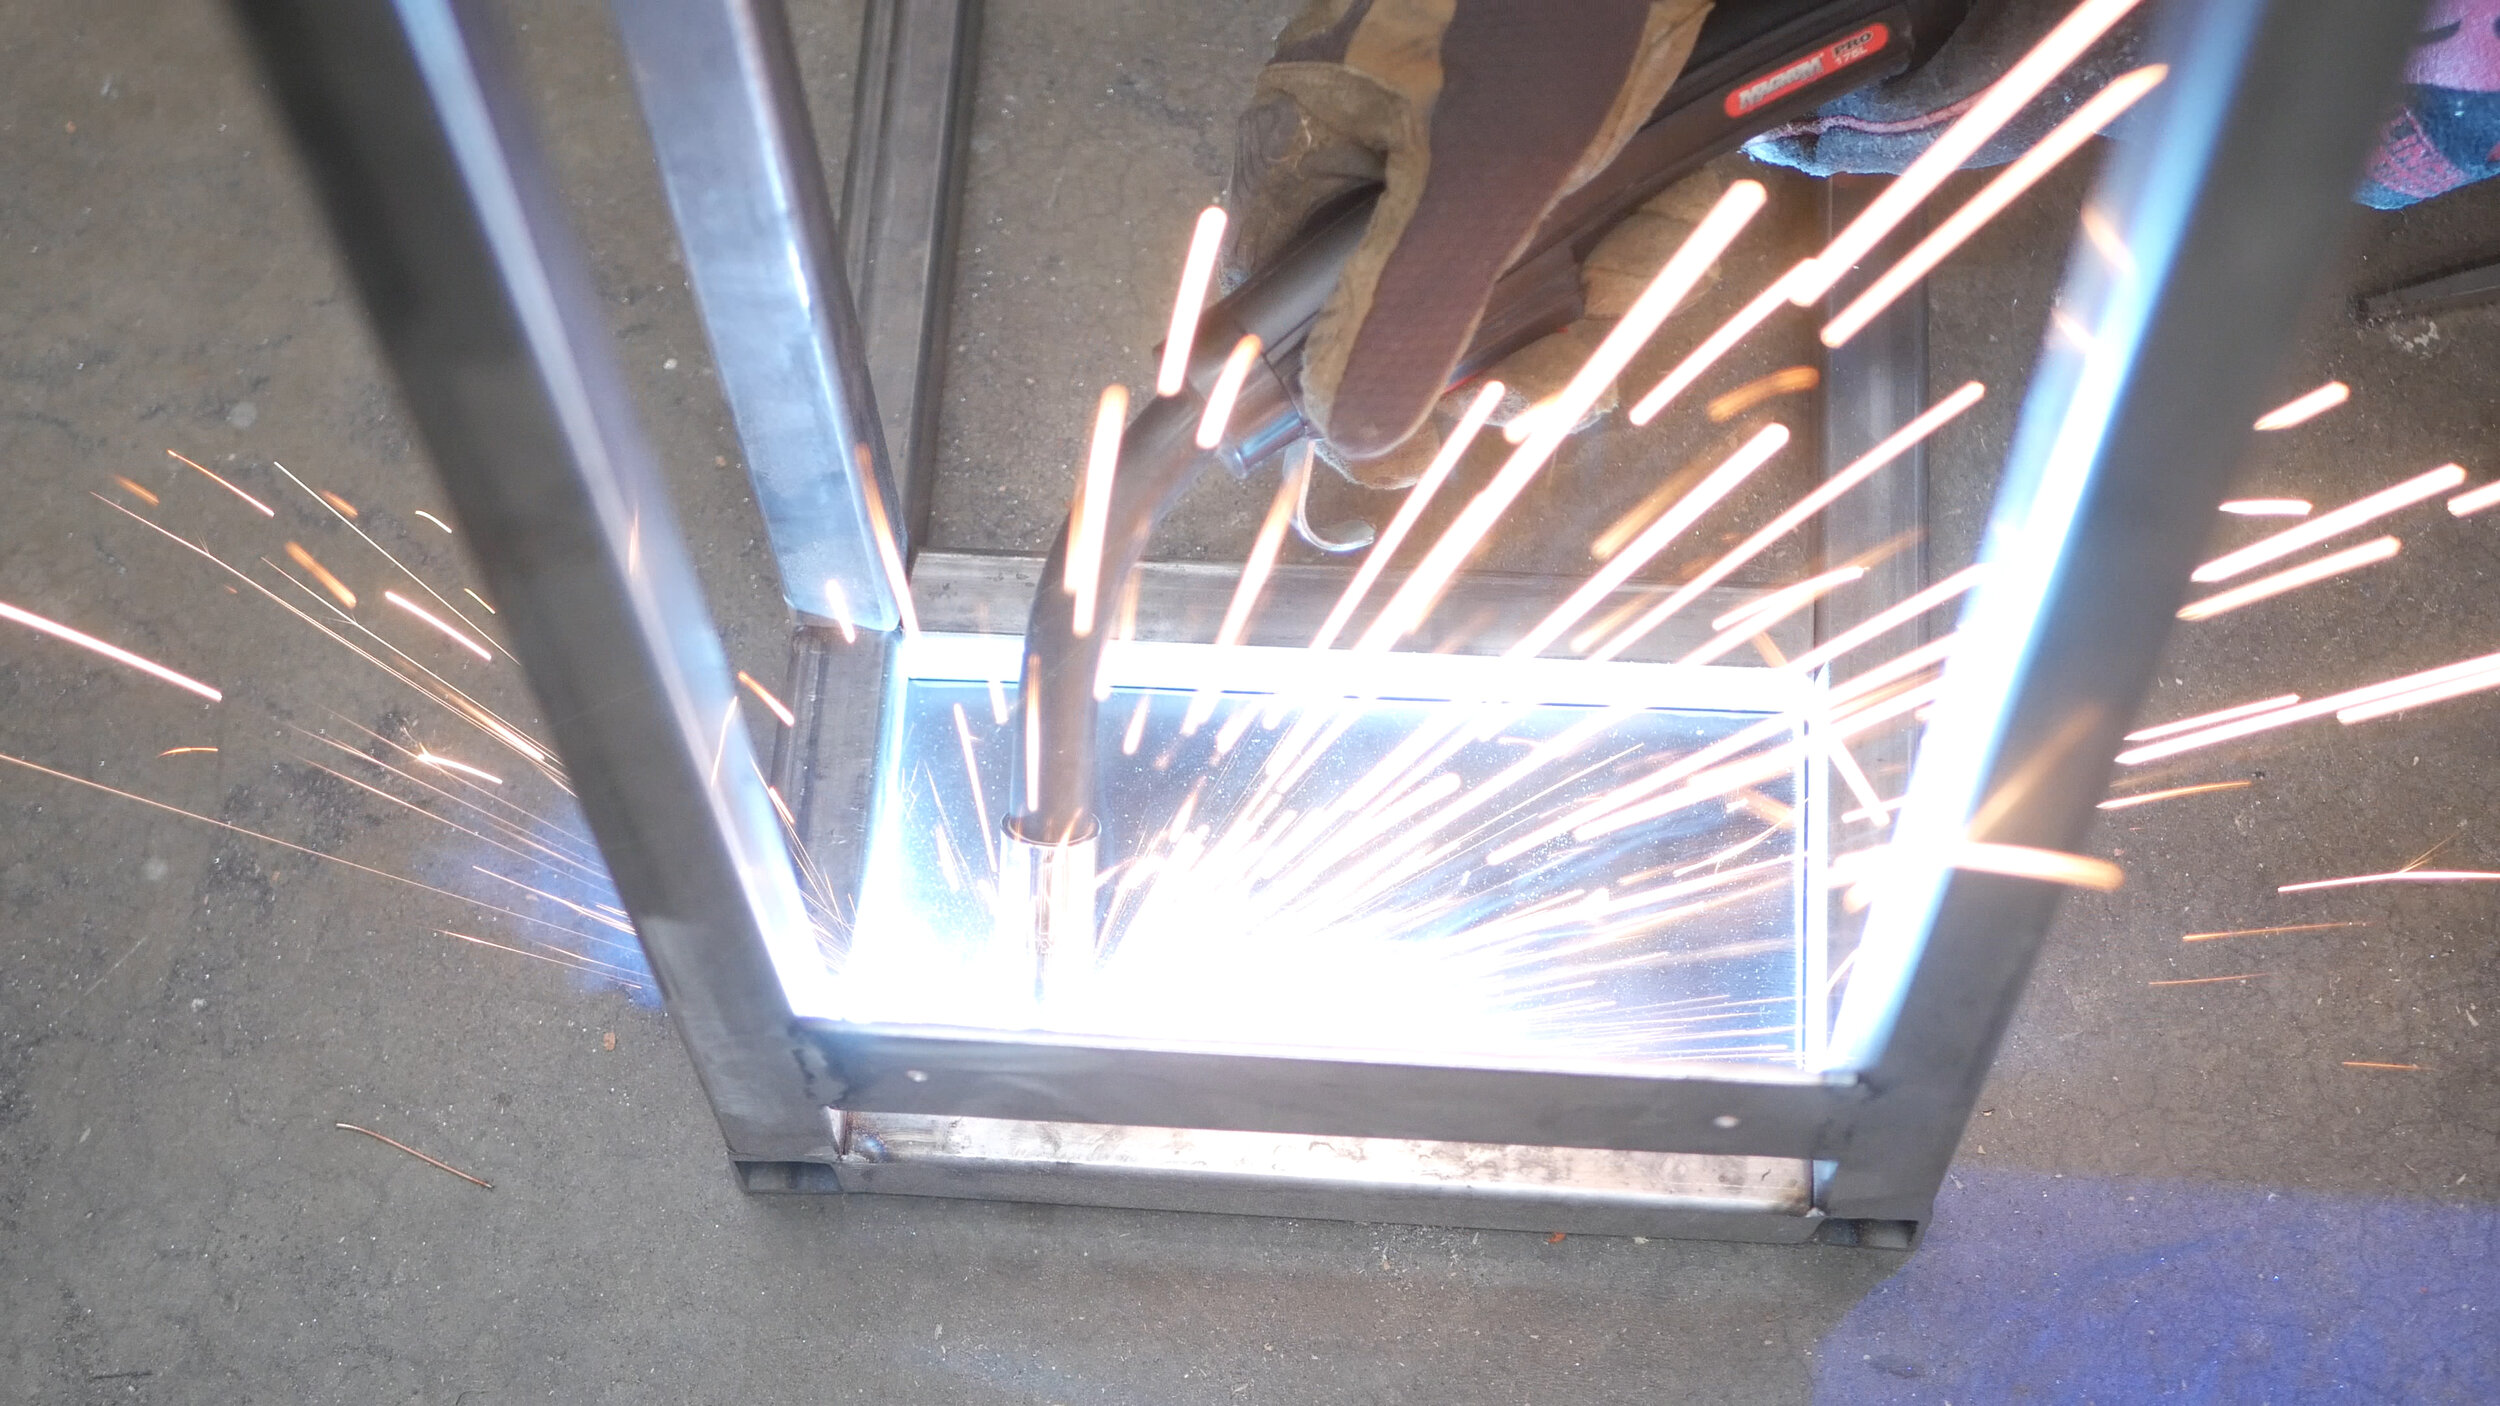
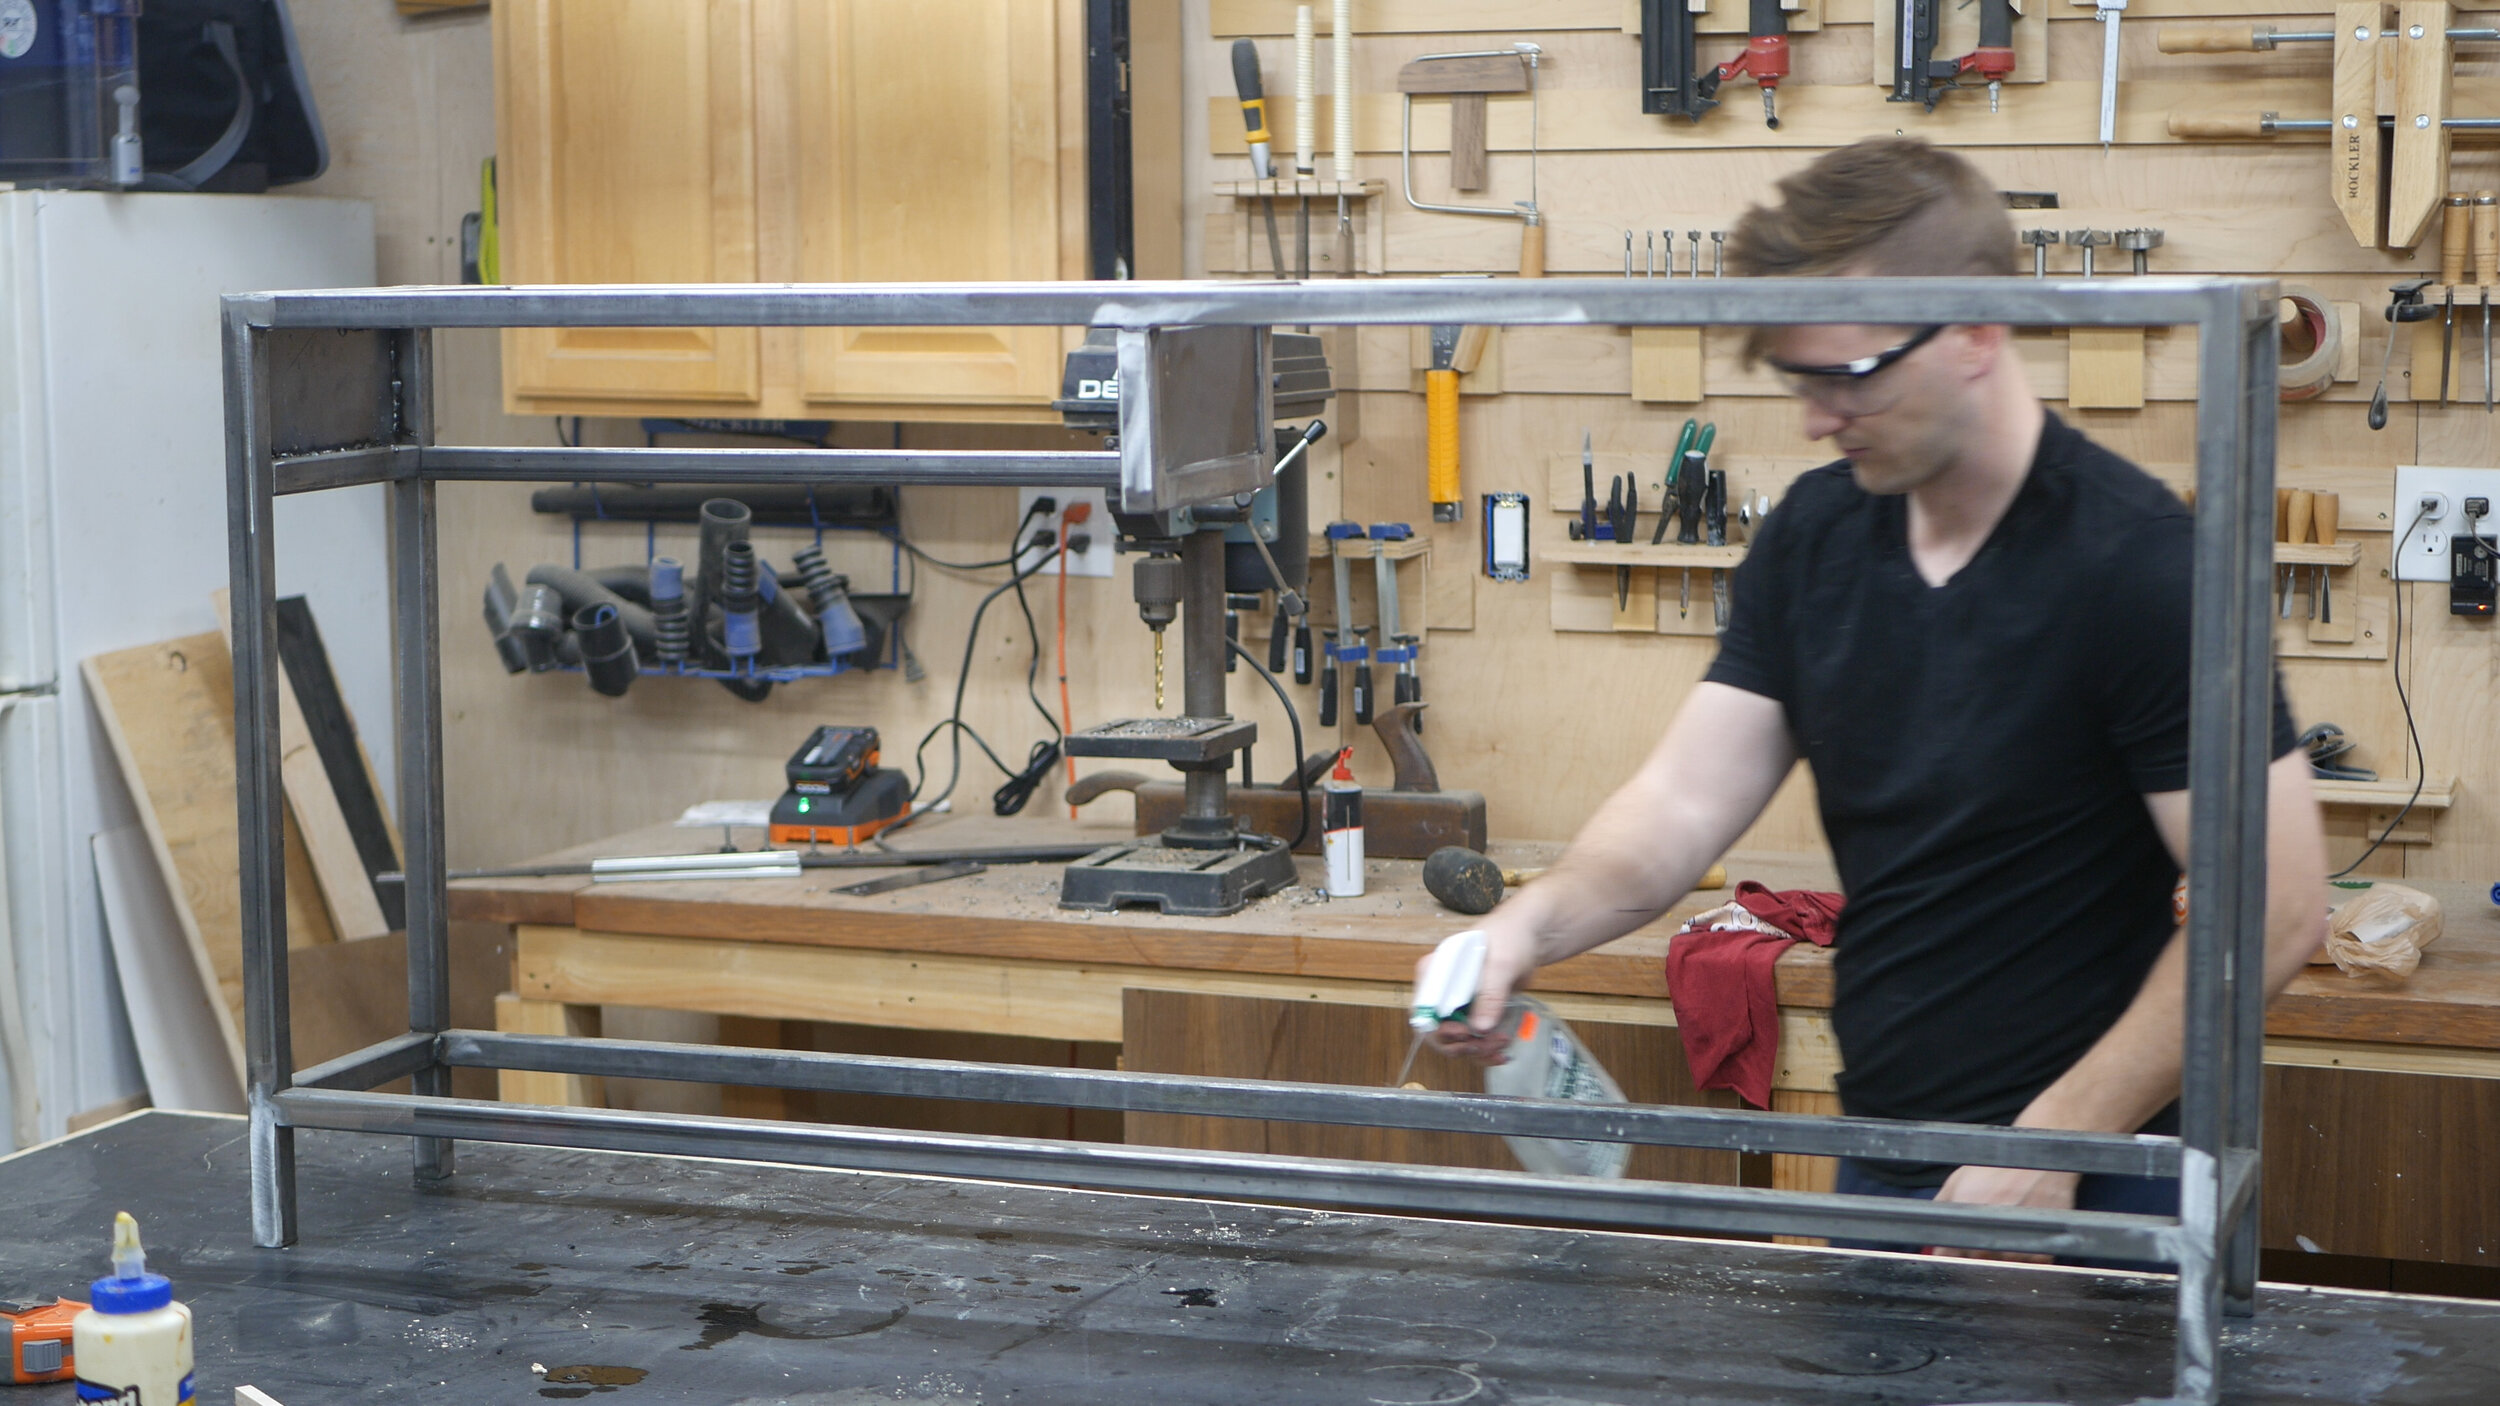
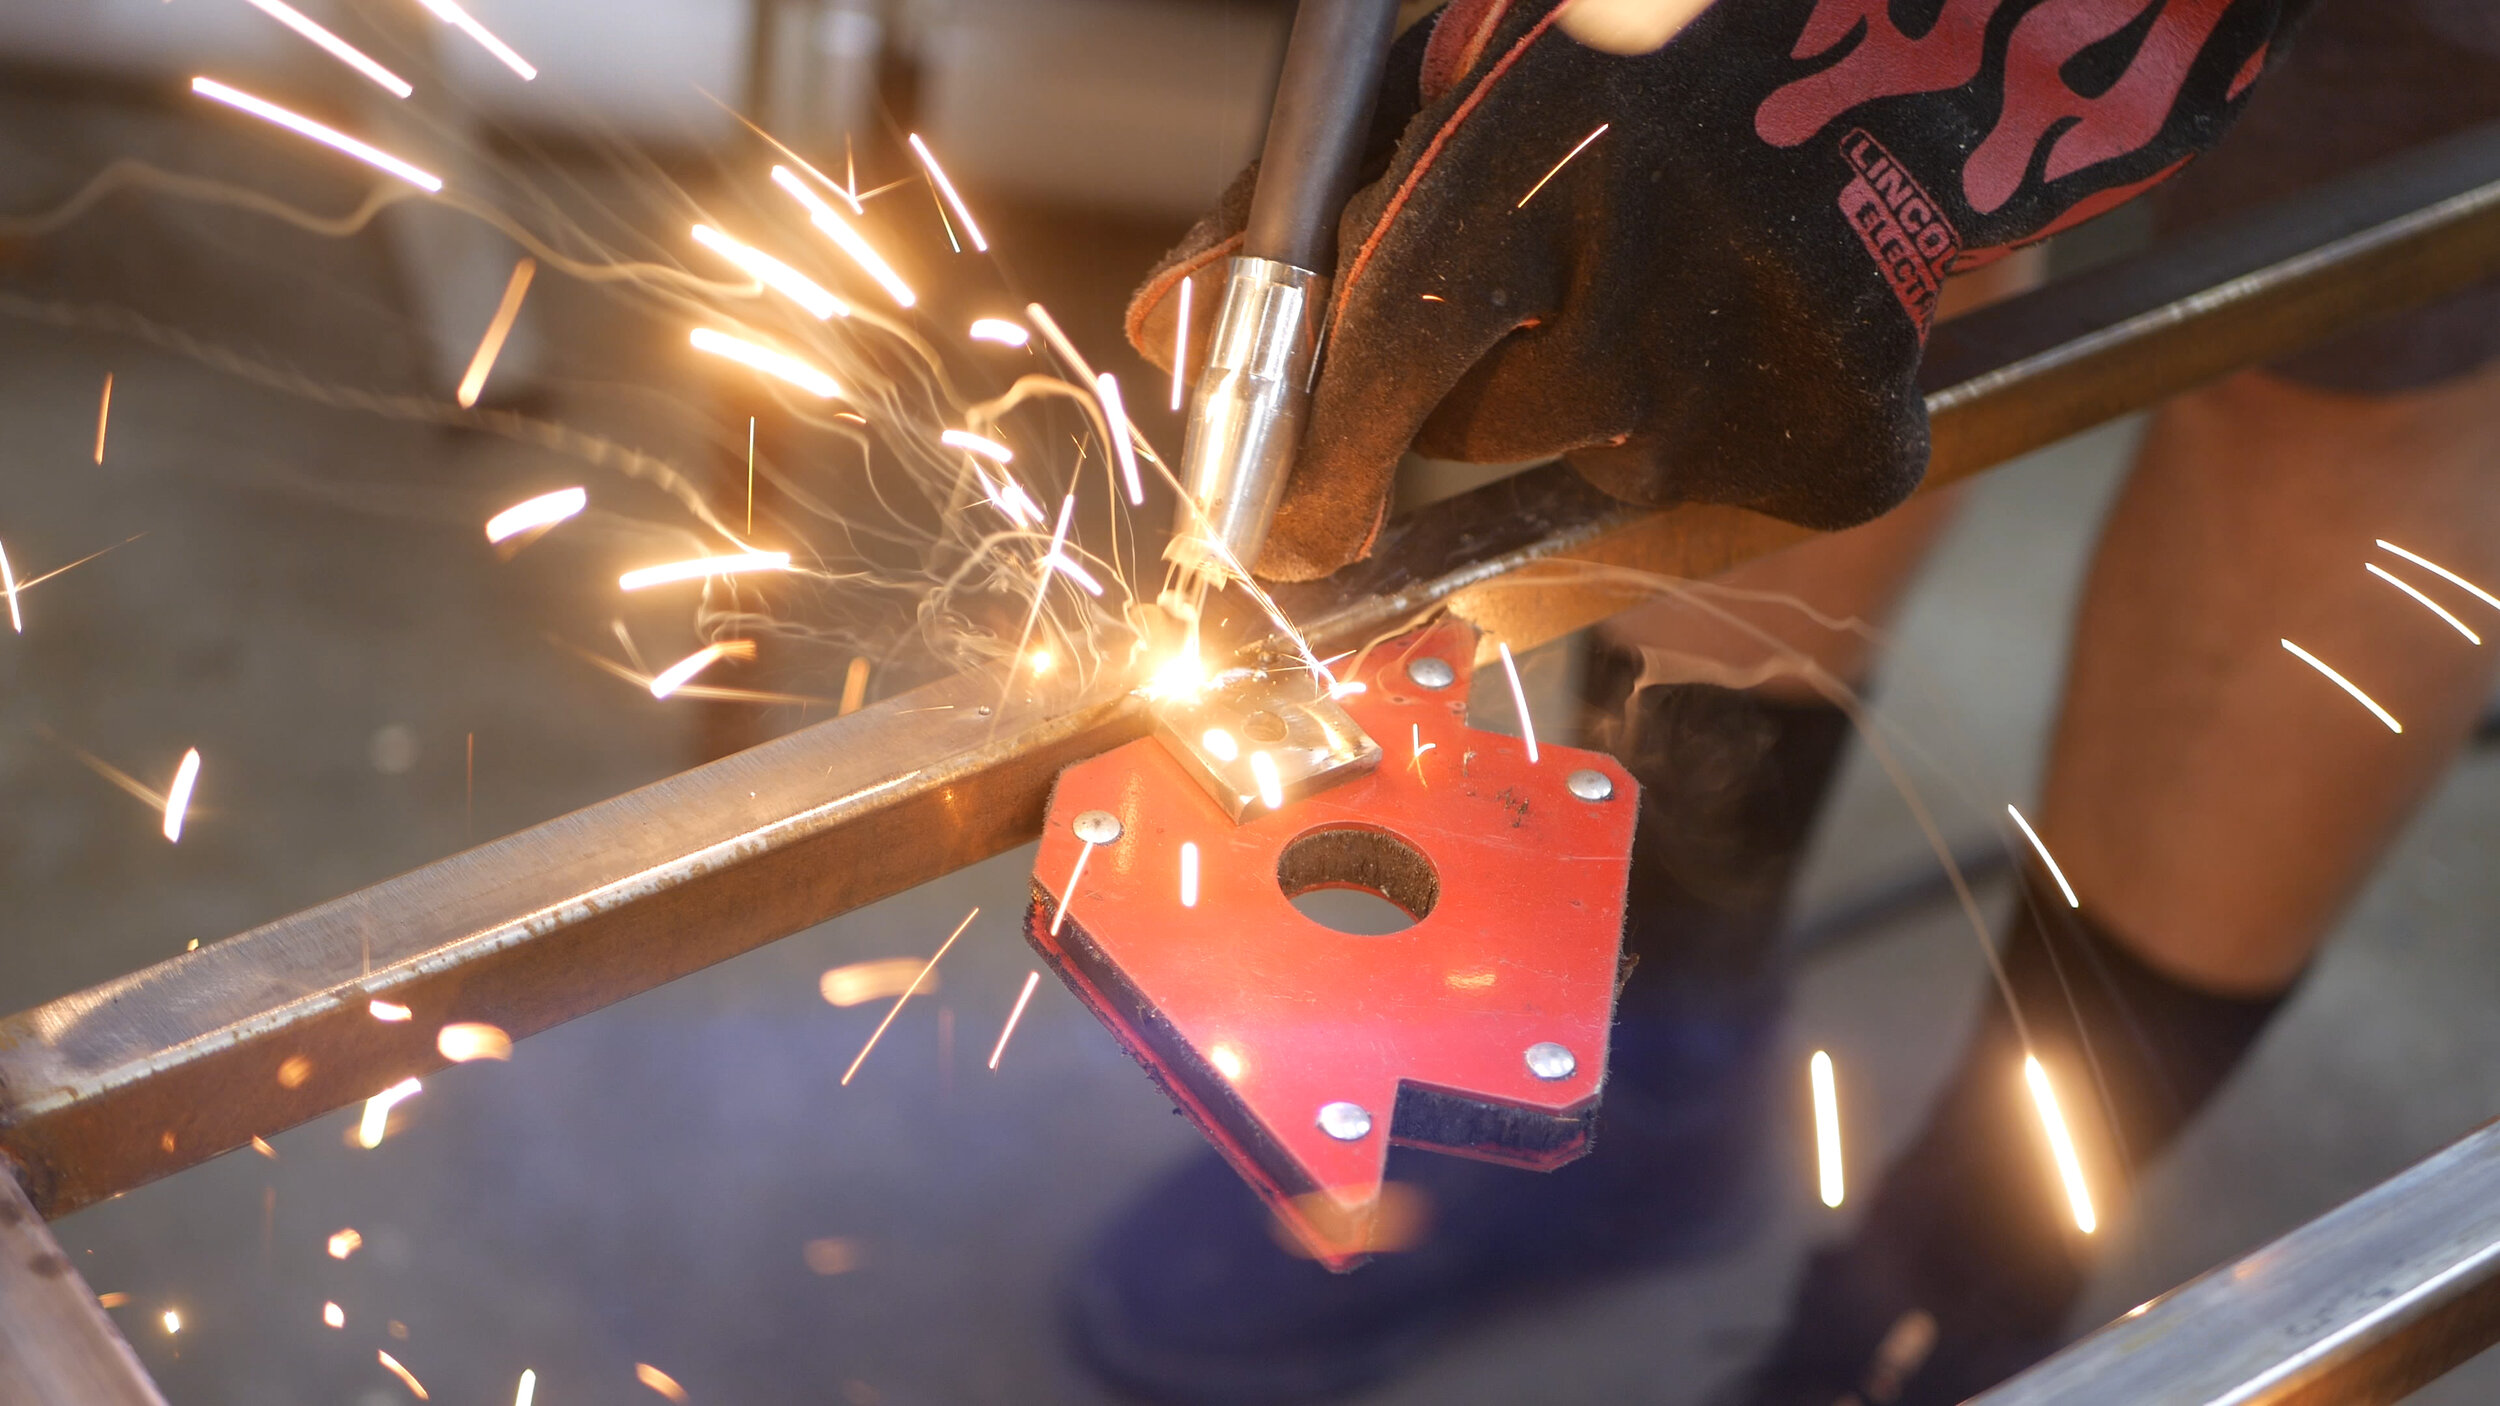
With everything cut to length, I could begin welding. My plan was to weld the two larger matching sides, and then connect them with the shorter stretchers. I squared up and clamped down where I could, and began welding, first by tacking all of my pieces in place, followed by full beads one each piece was held in place. Too much heat in one area will warp the whole piece.
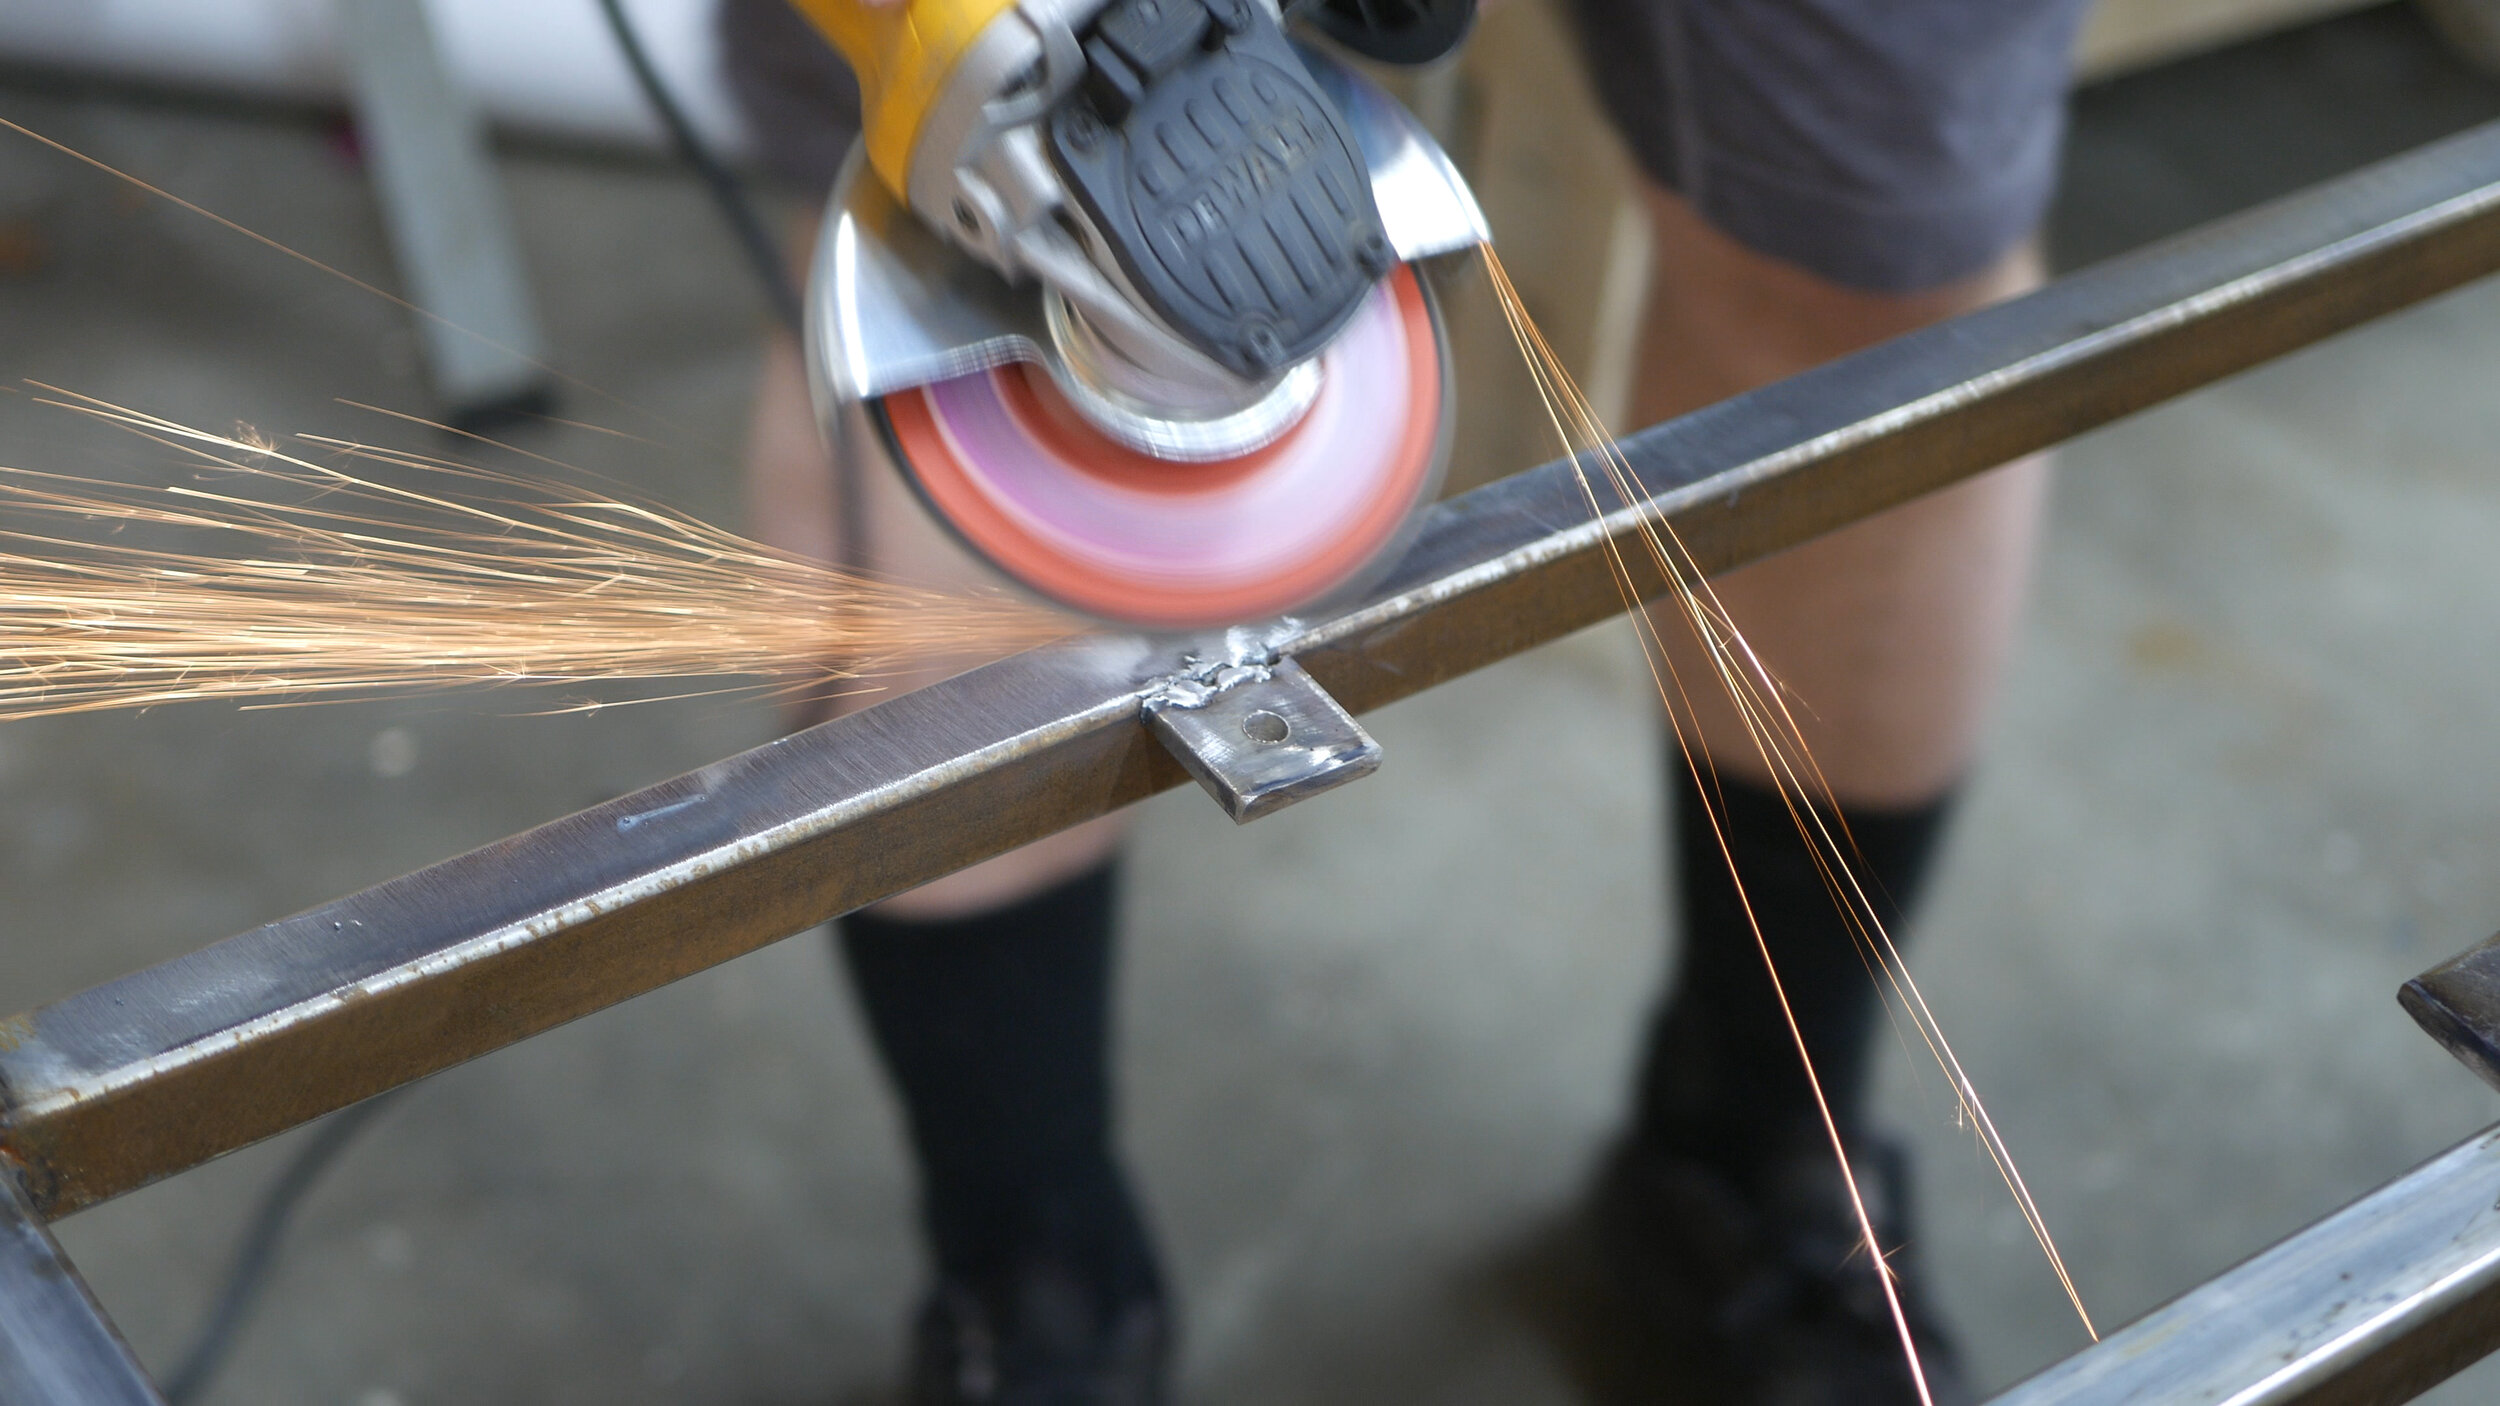
For the second piece, in order to make an exact copy, I laid it on top of the existing piece and repeated the process. I also used a scrap 2x4 as a spacer block to make sure the bottom shelf was even on each leg. I then ground down all the welds. Easier to do now versus when it’s all welded into one larger piece.

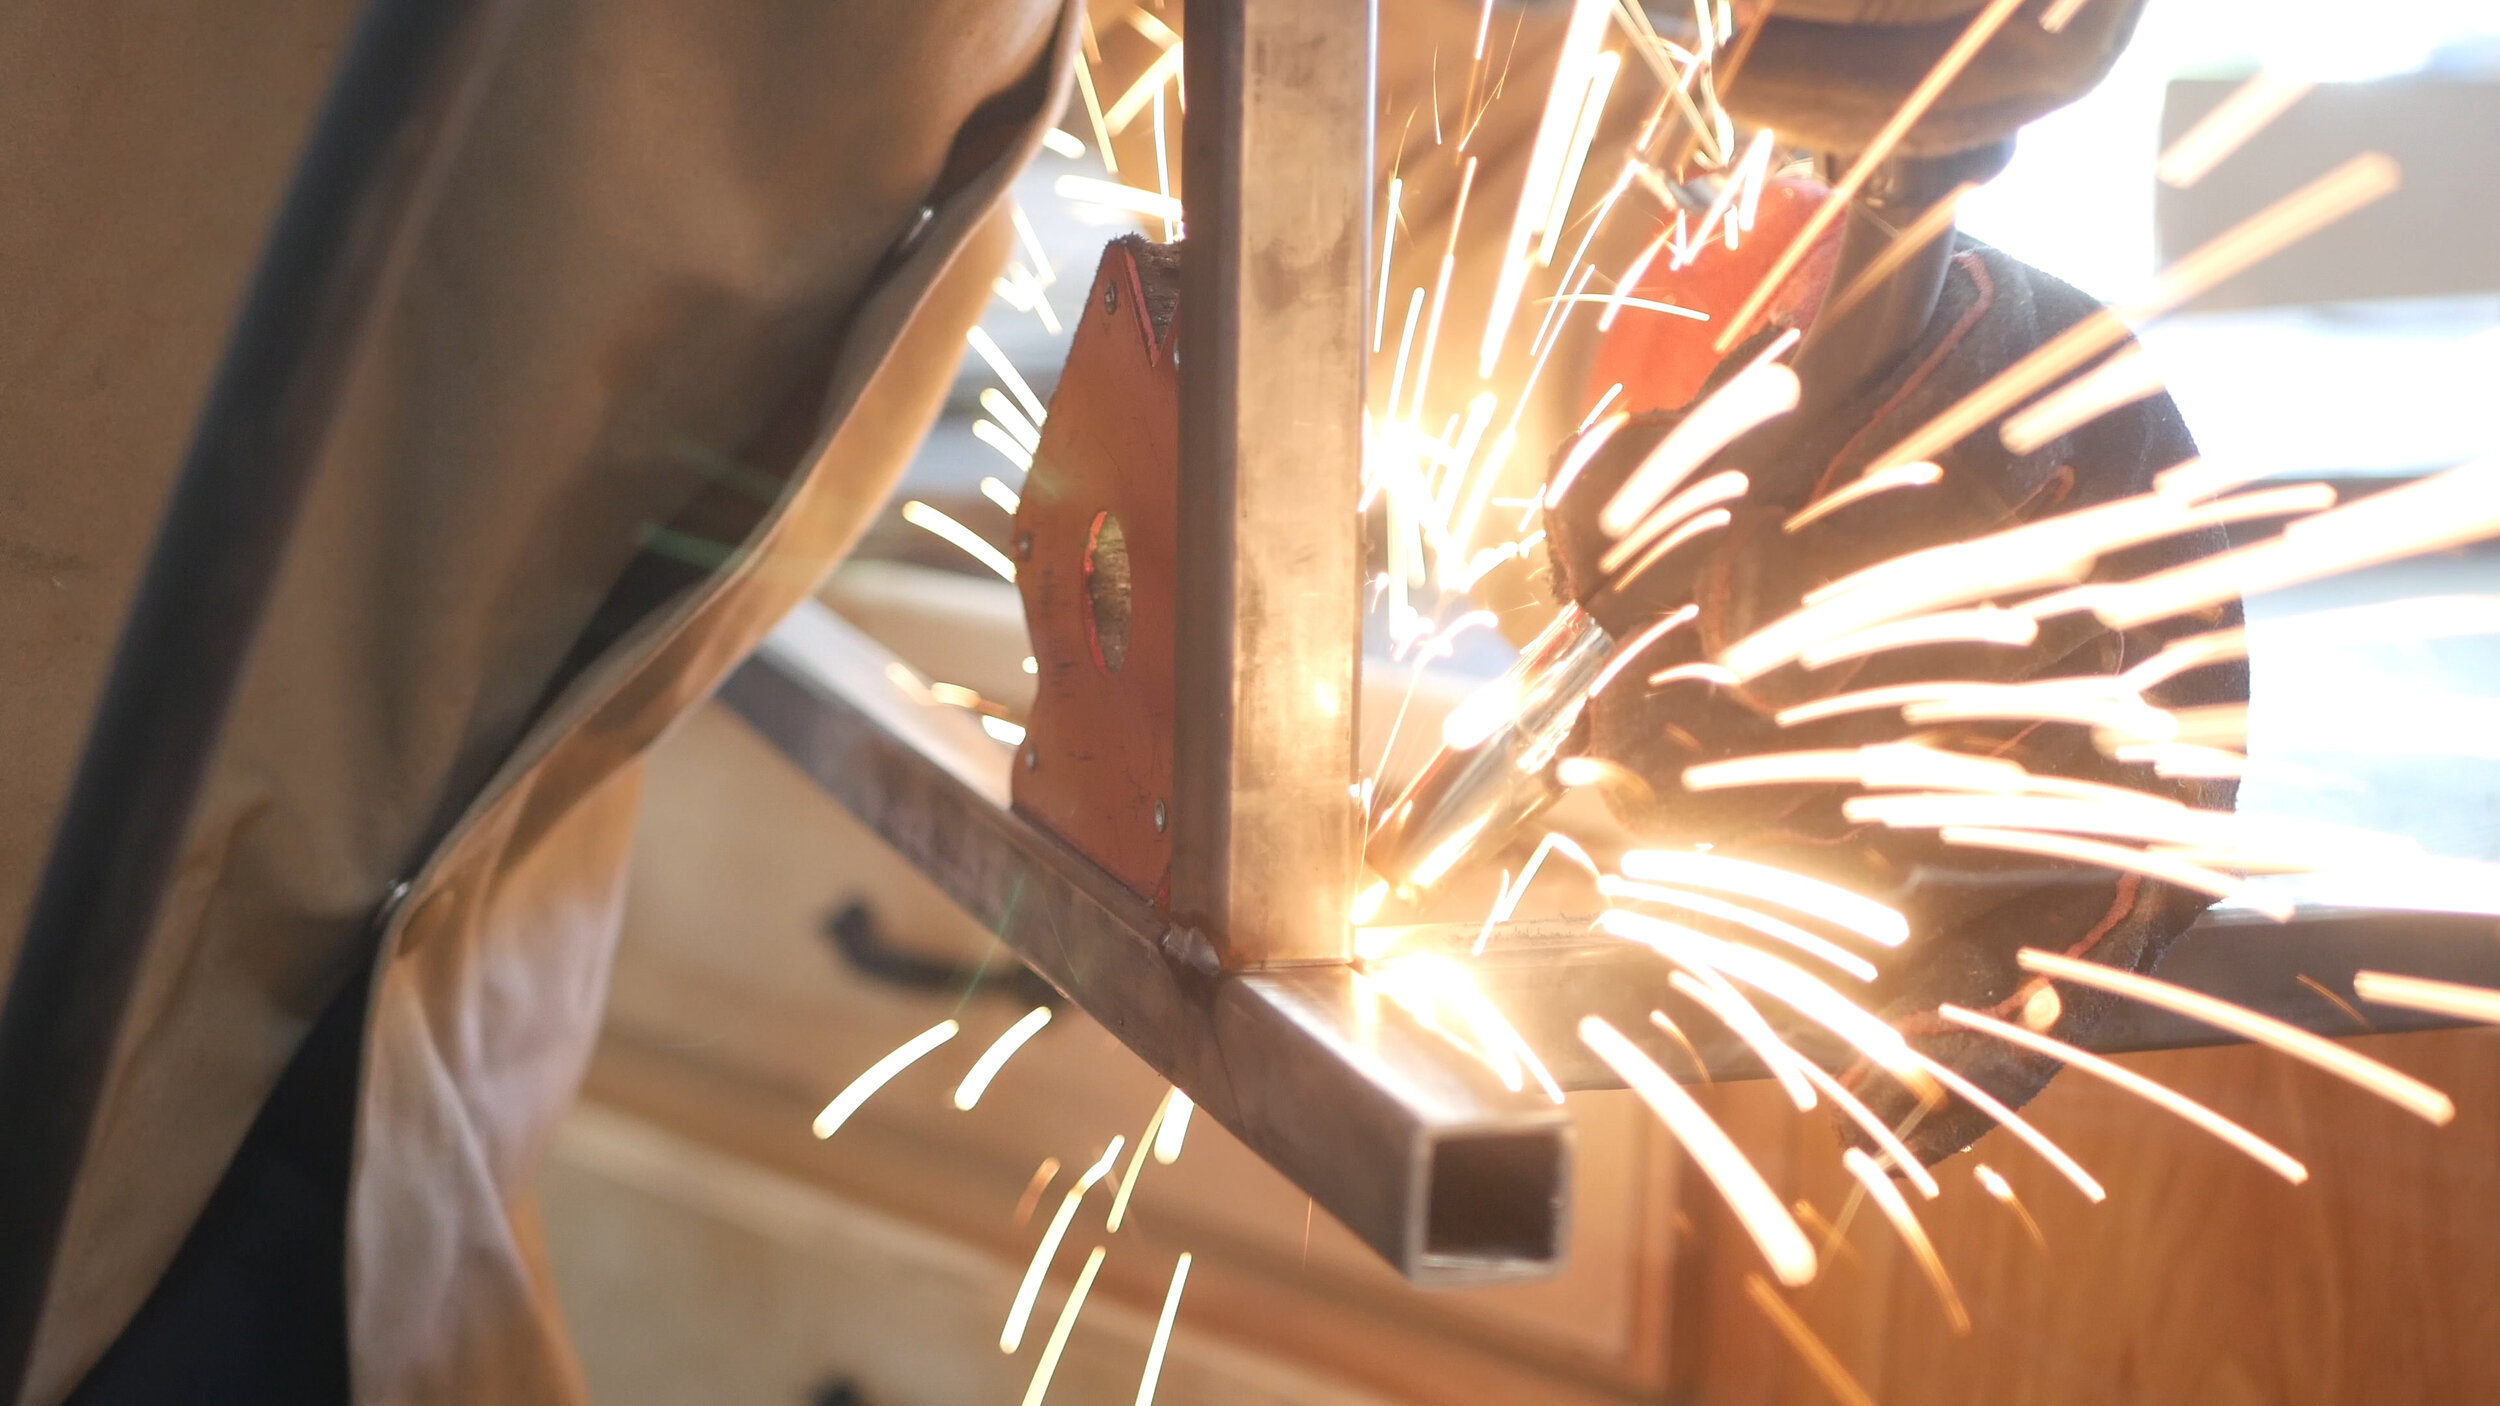
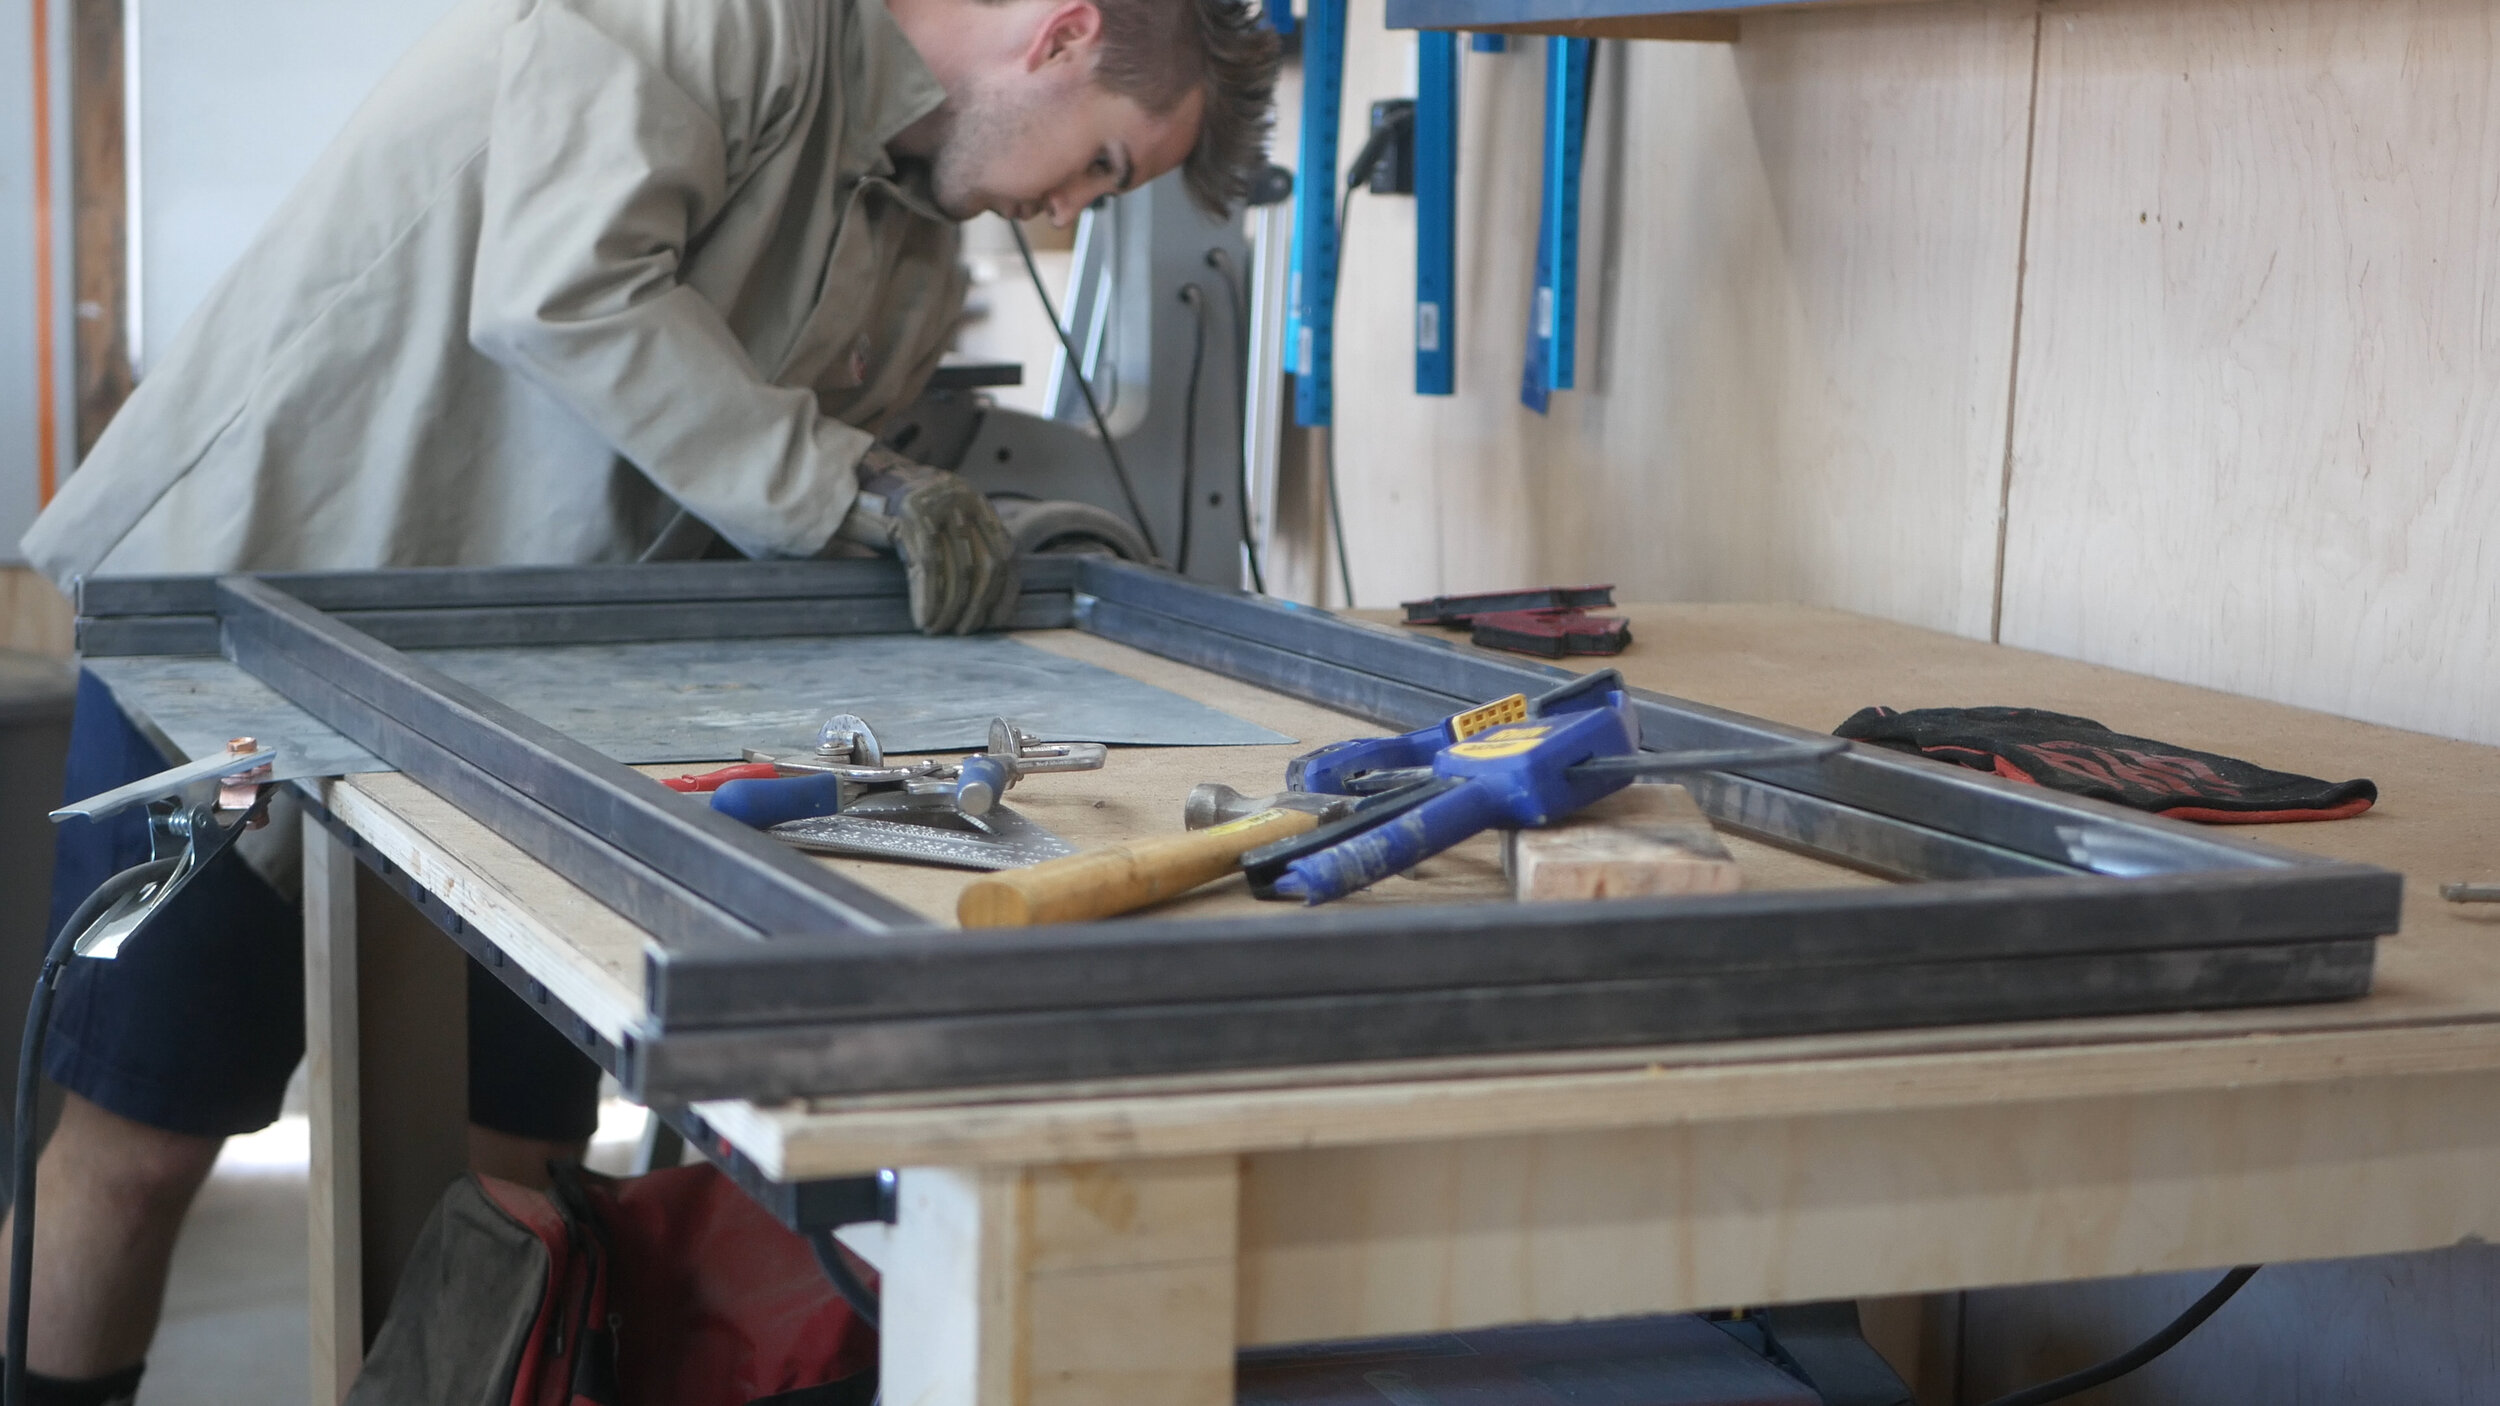
Using a series of right angle magnetic clamps and a speed square, i then began tacking and welding the two larger pieces together. Same process as the previous step welding-wise - it became easier the more the piece was connected.
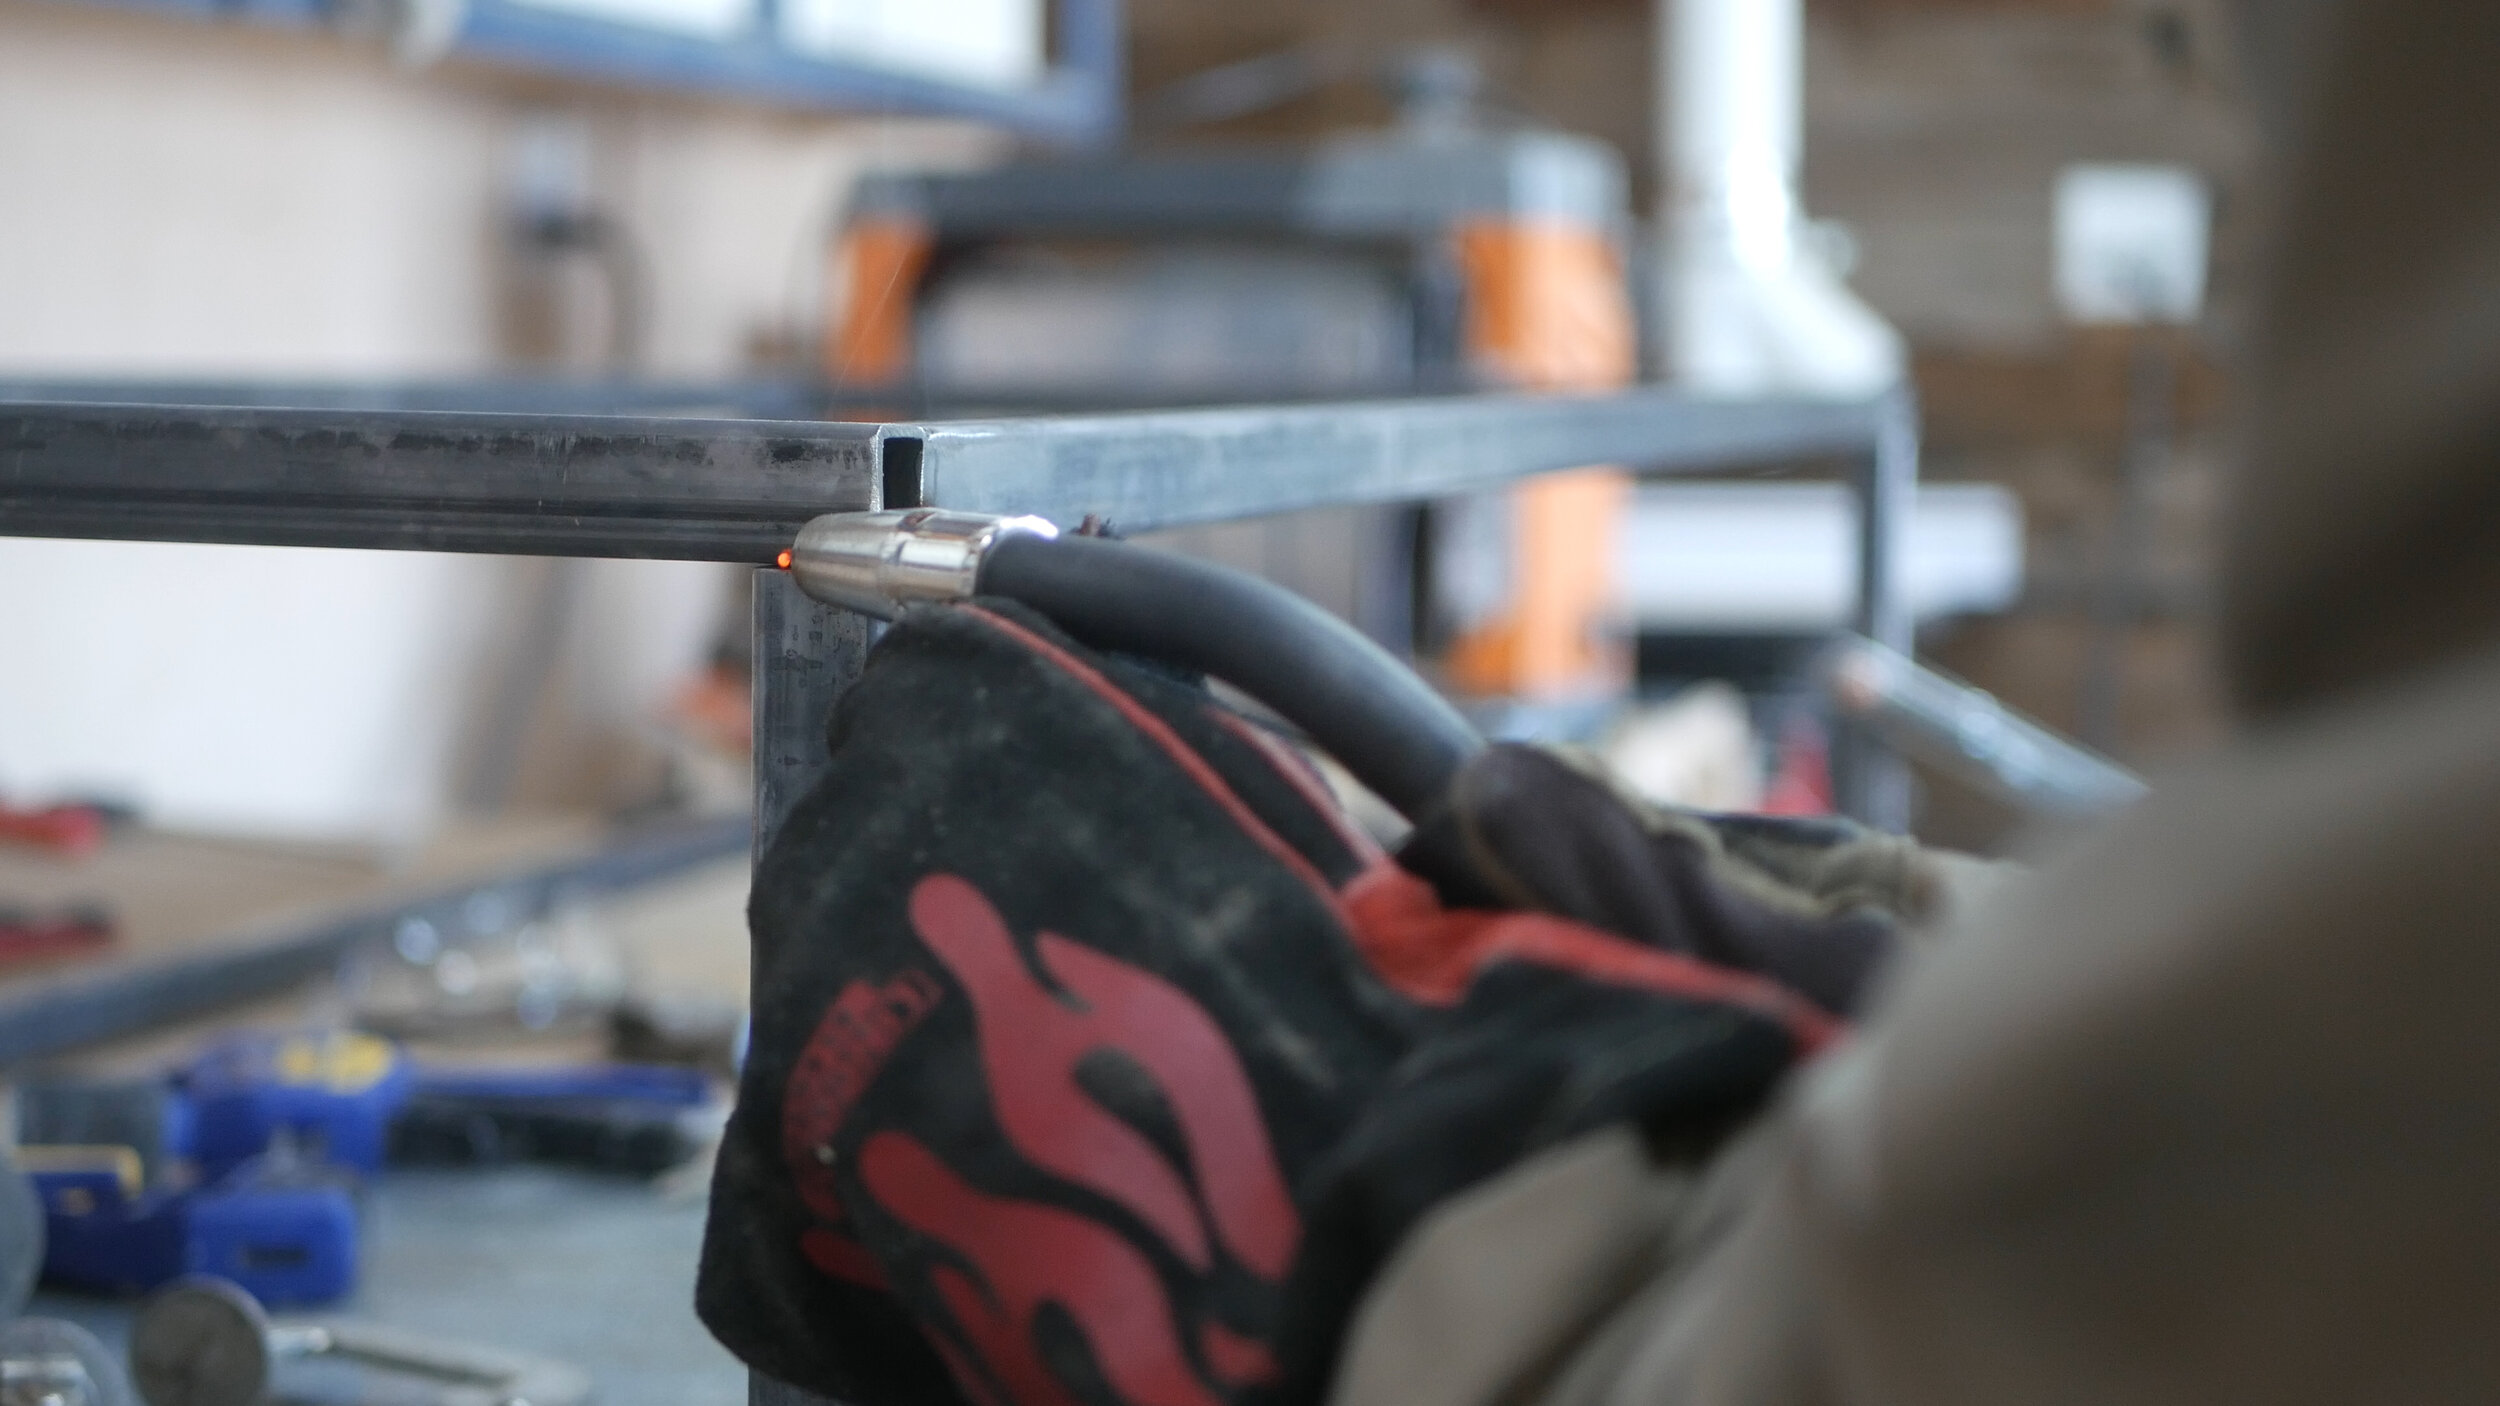
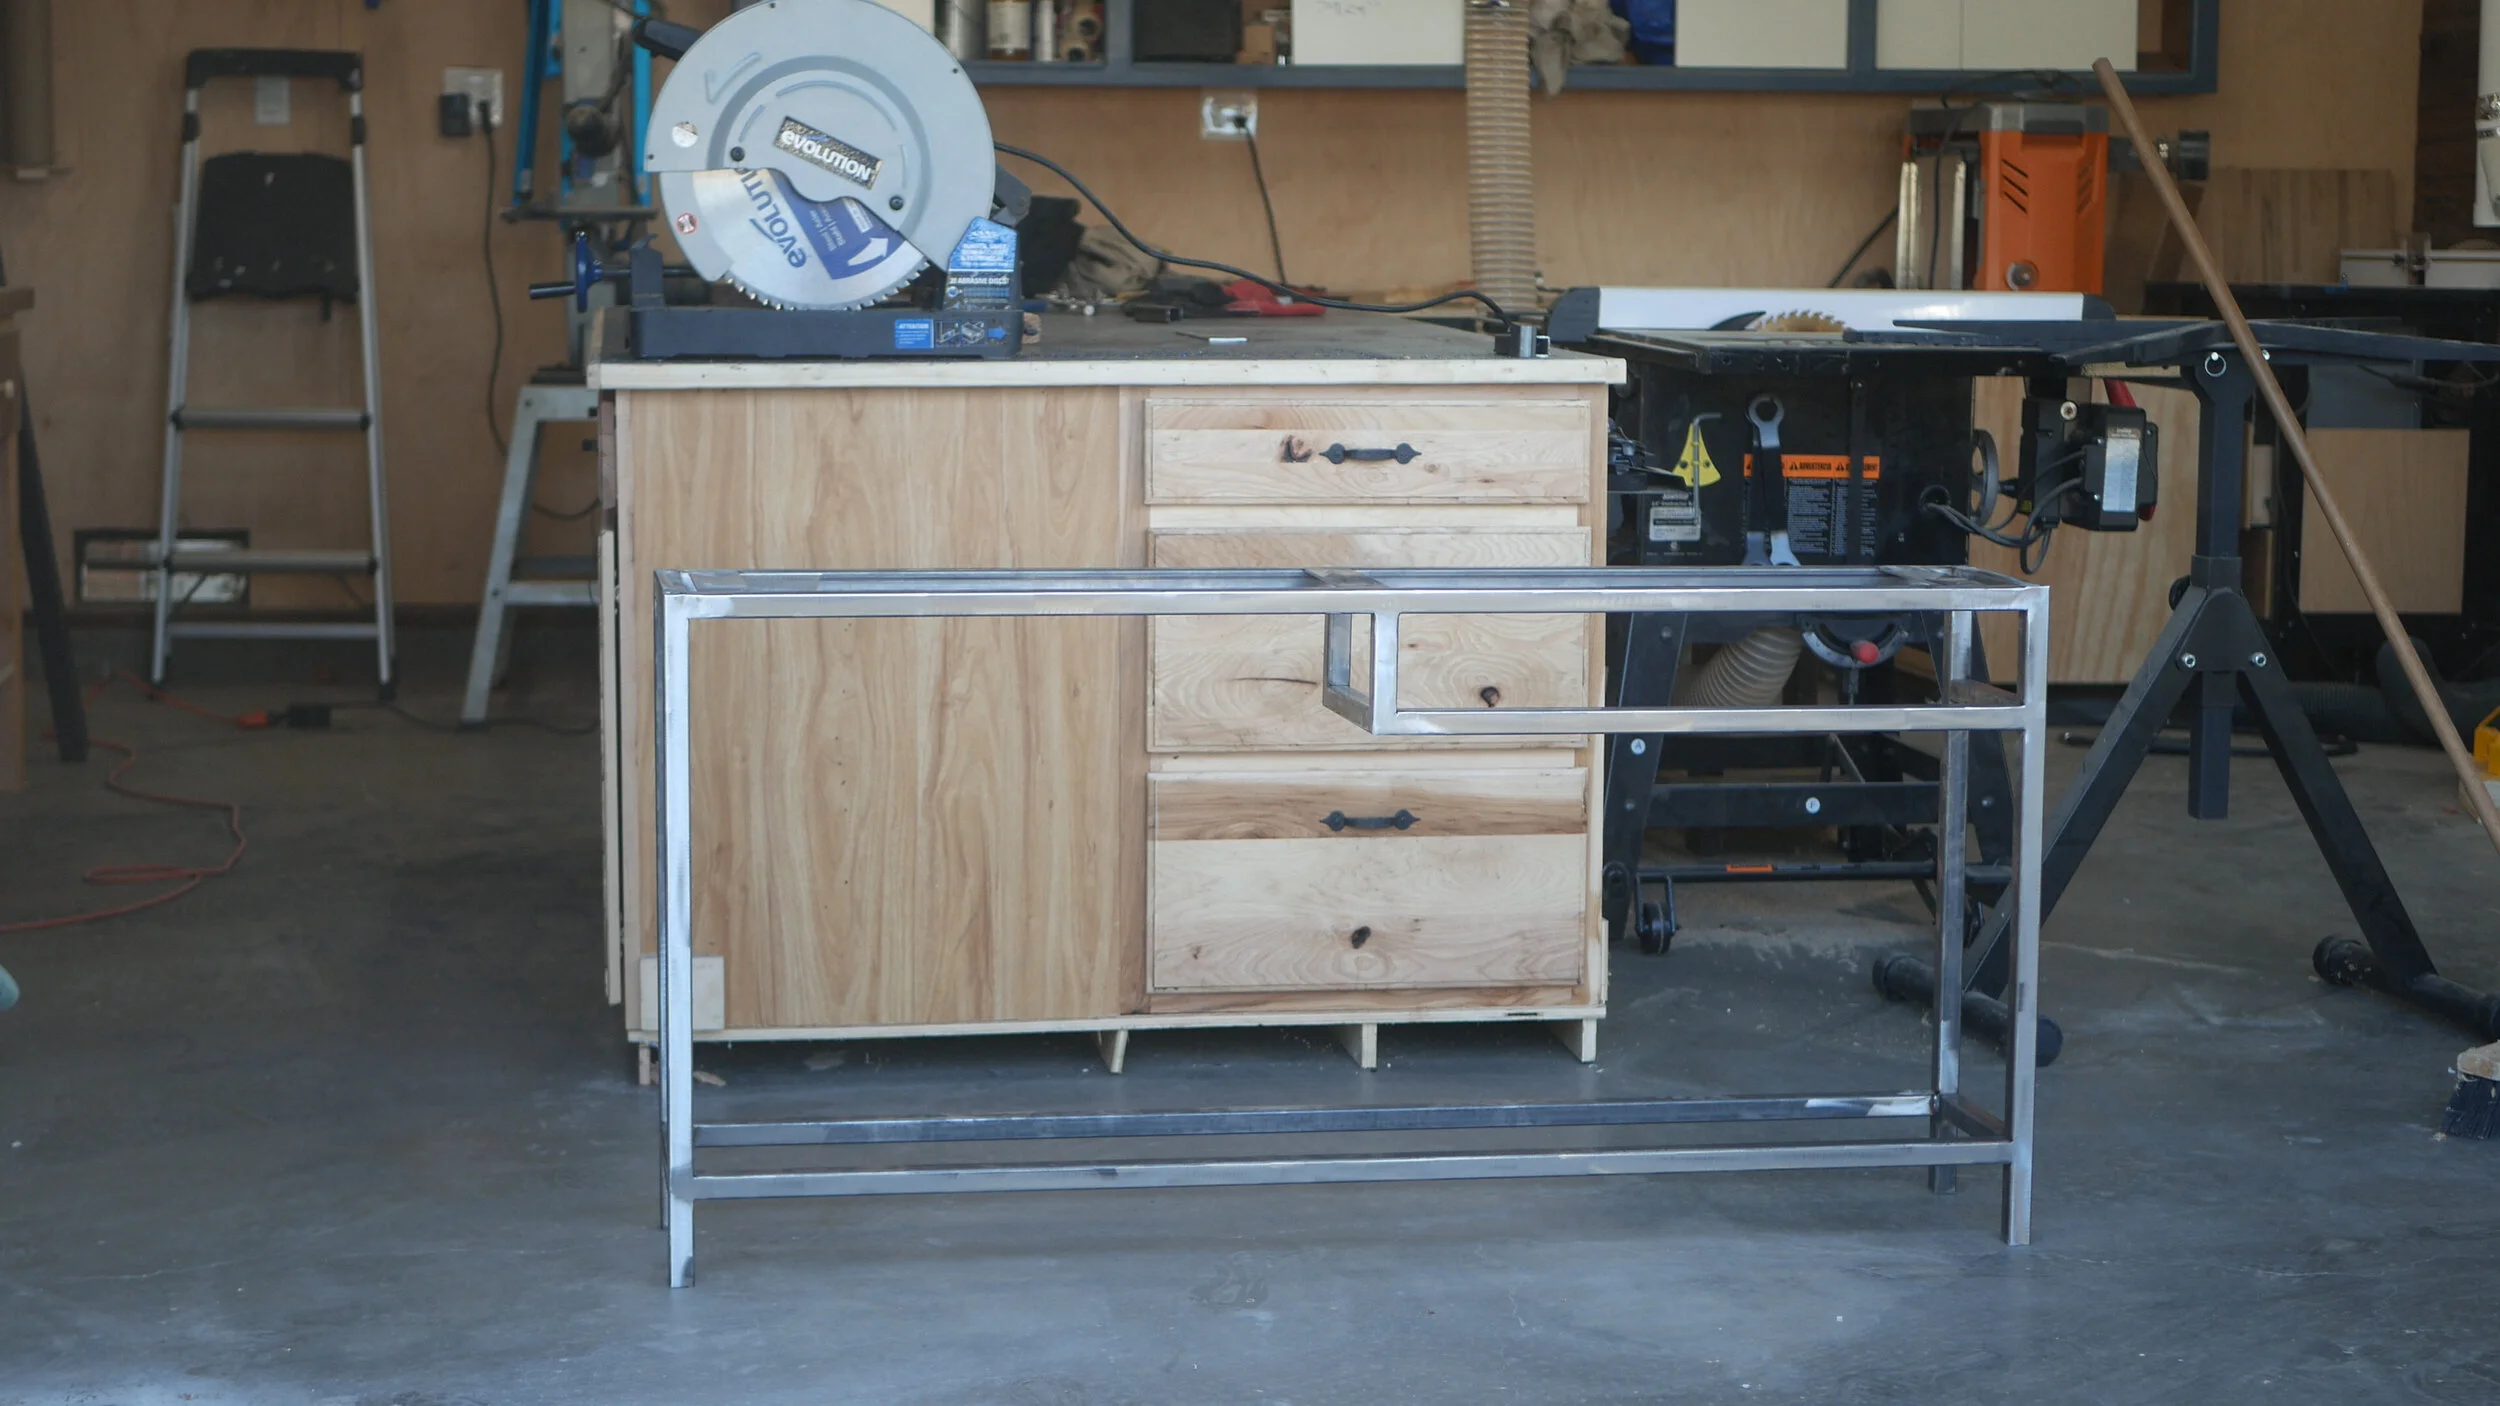
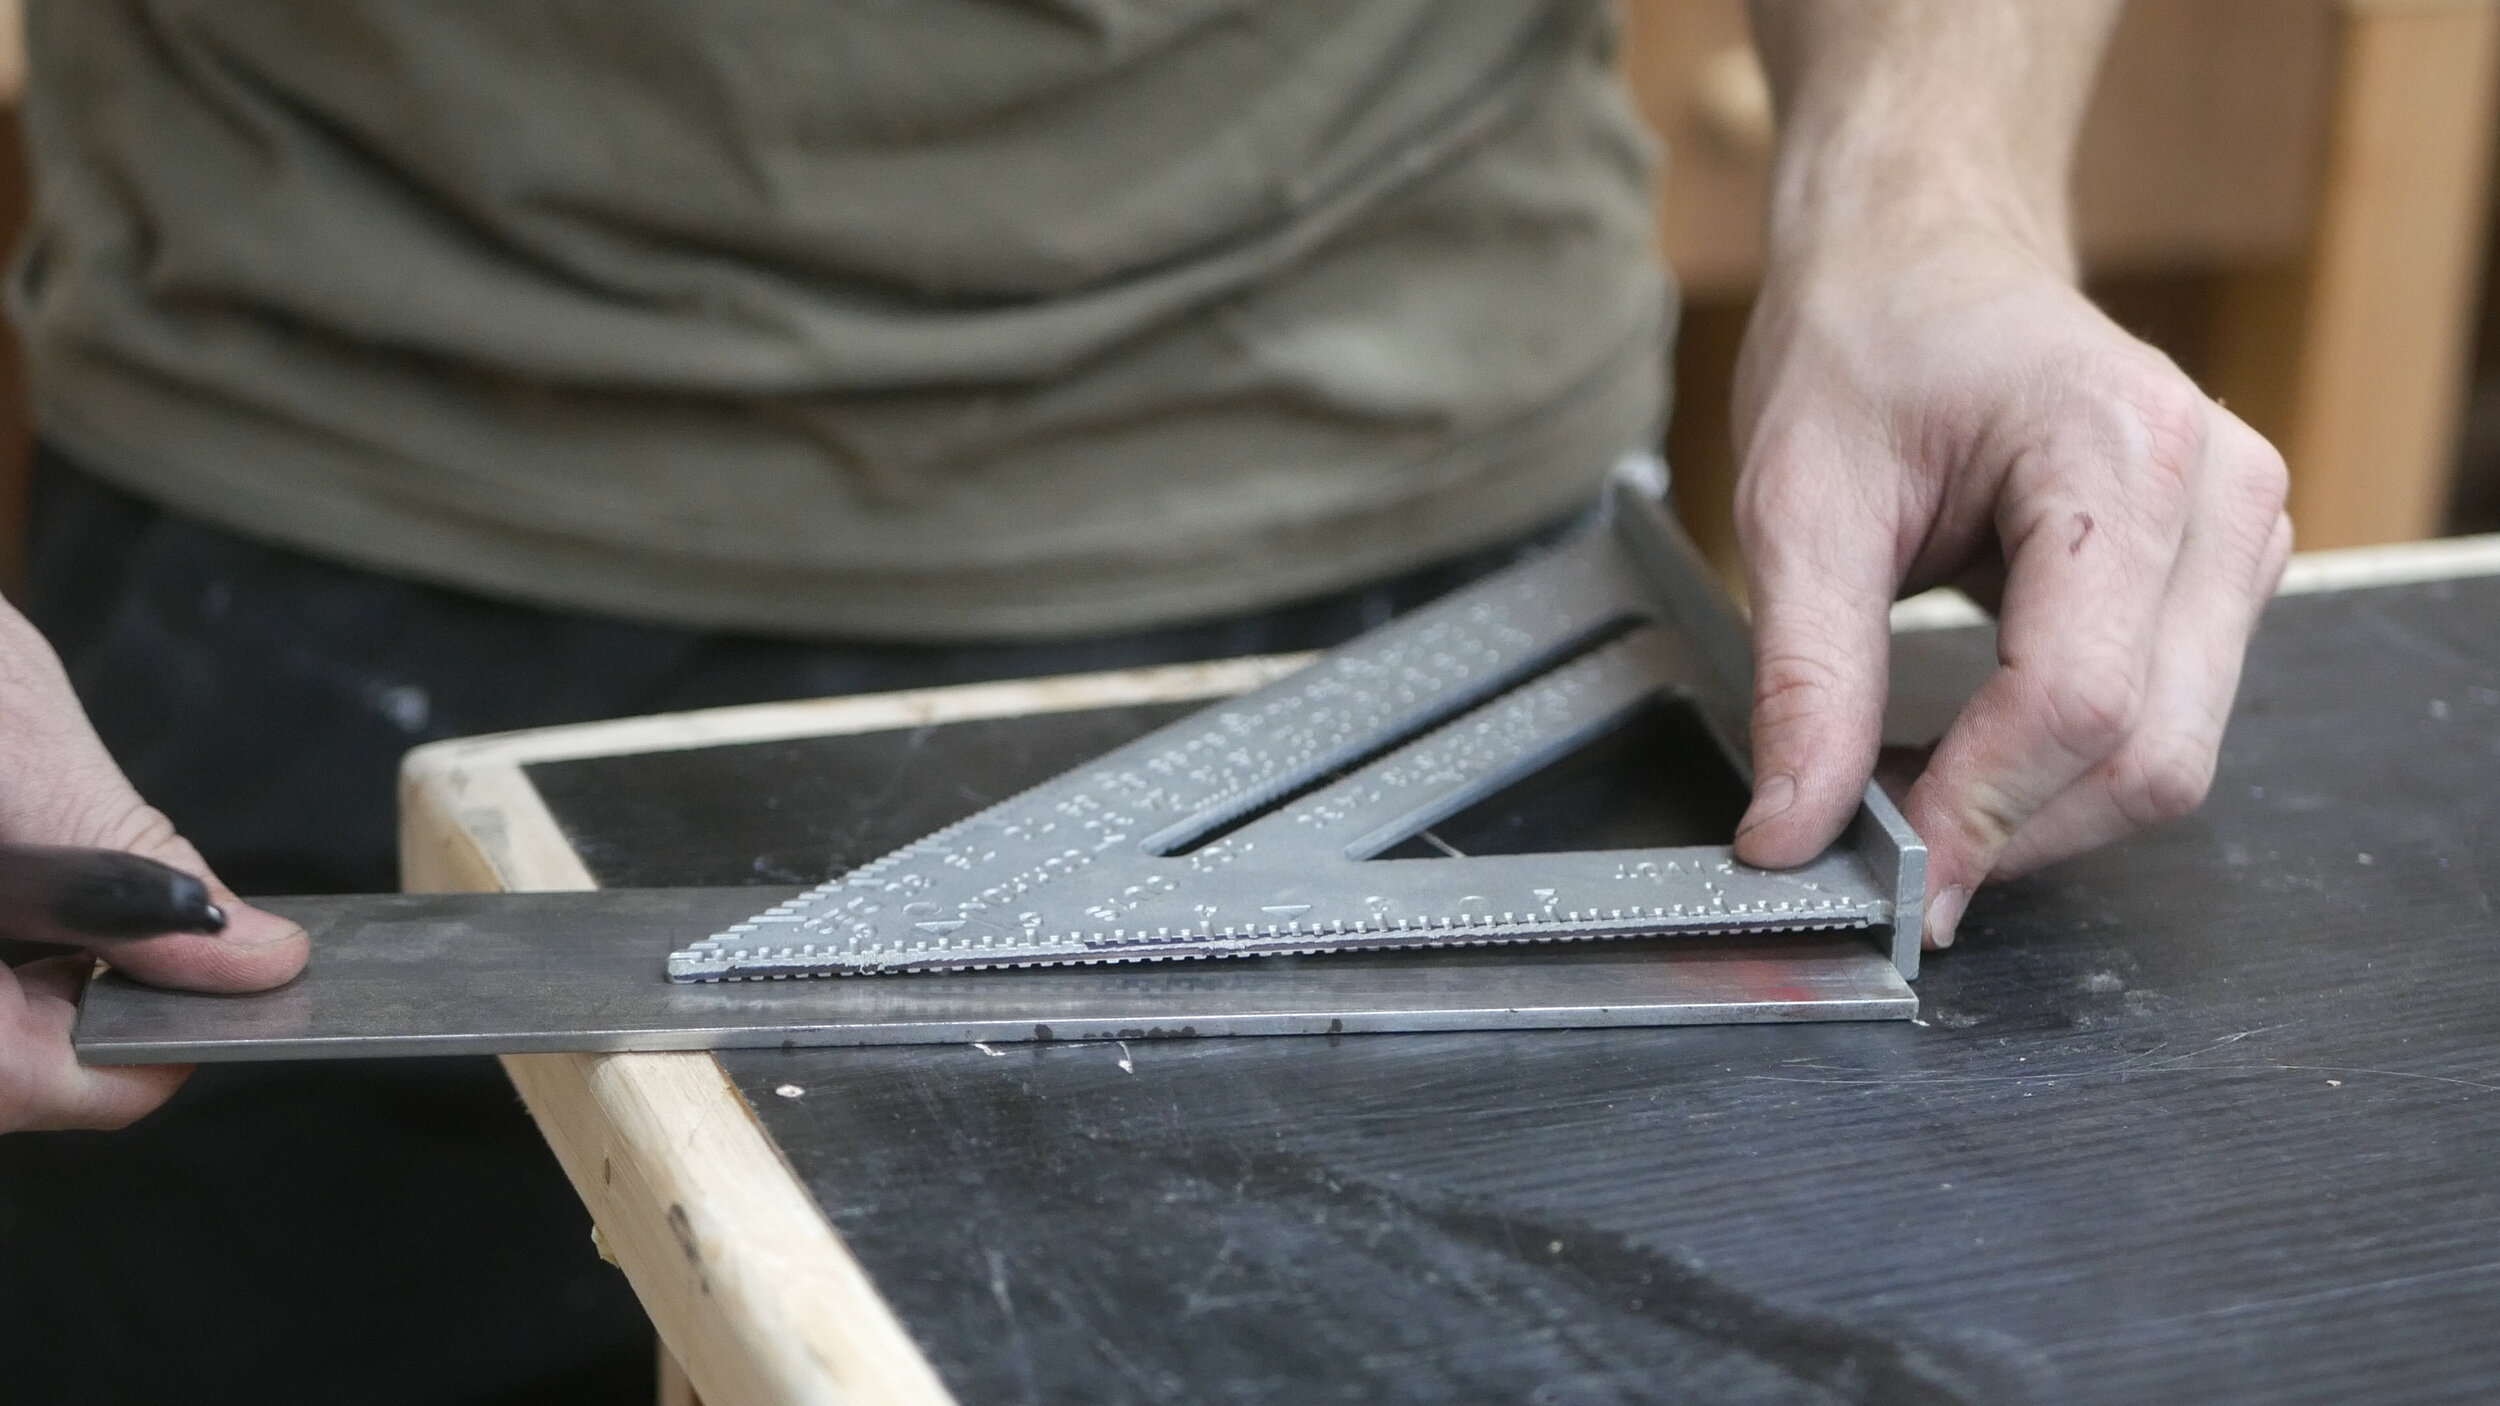
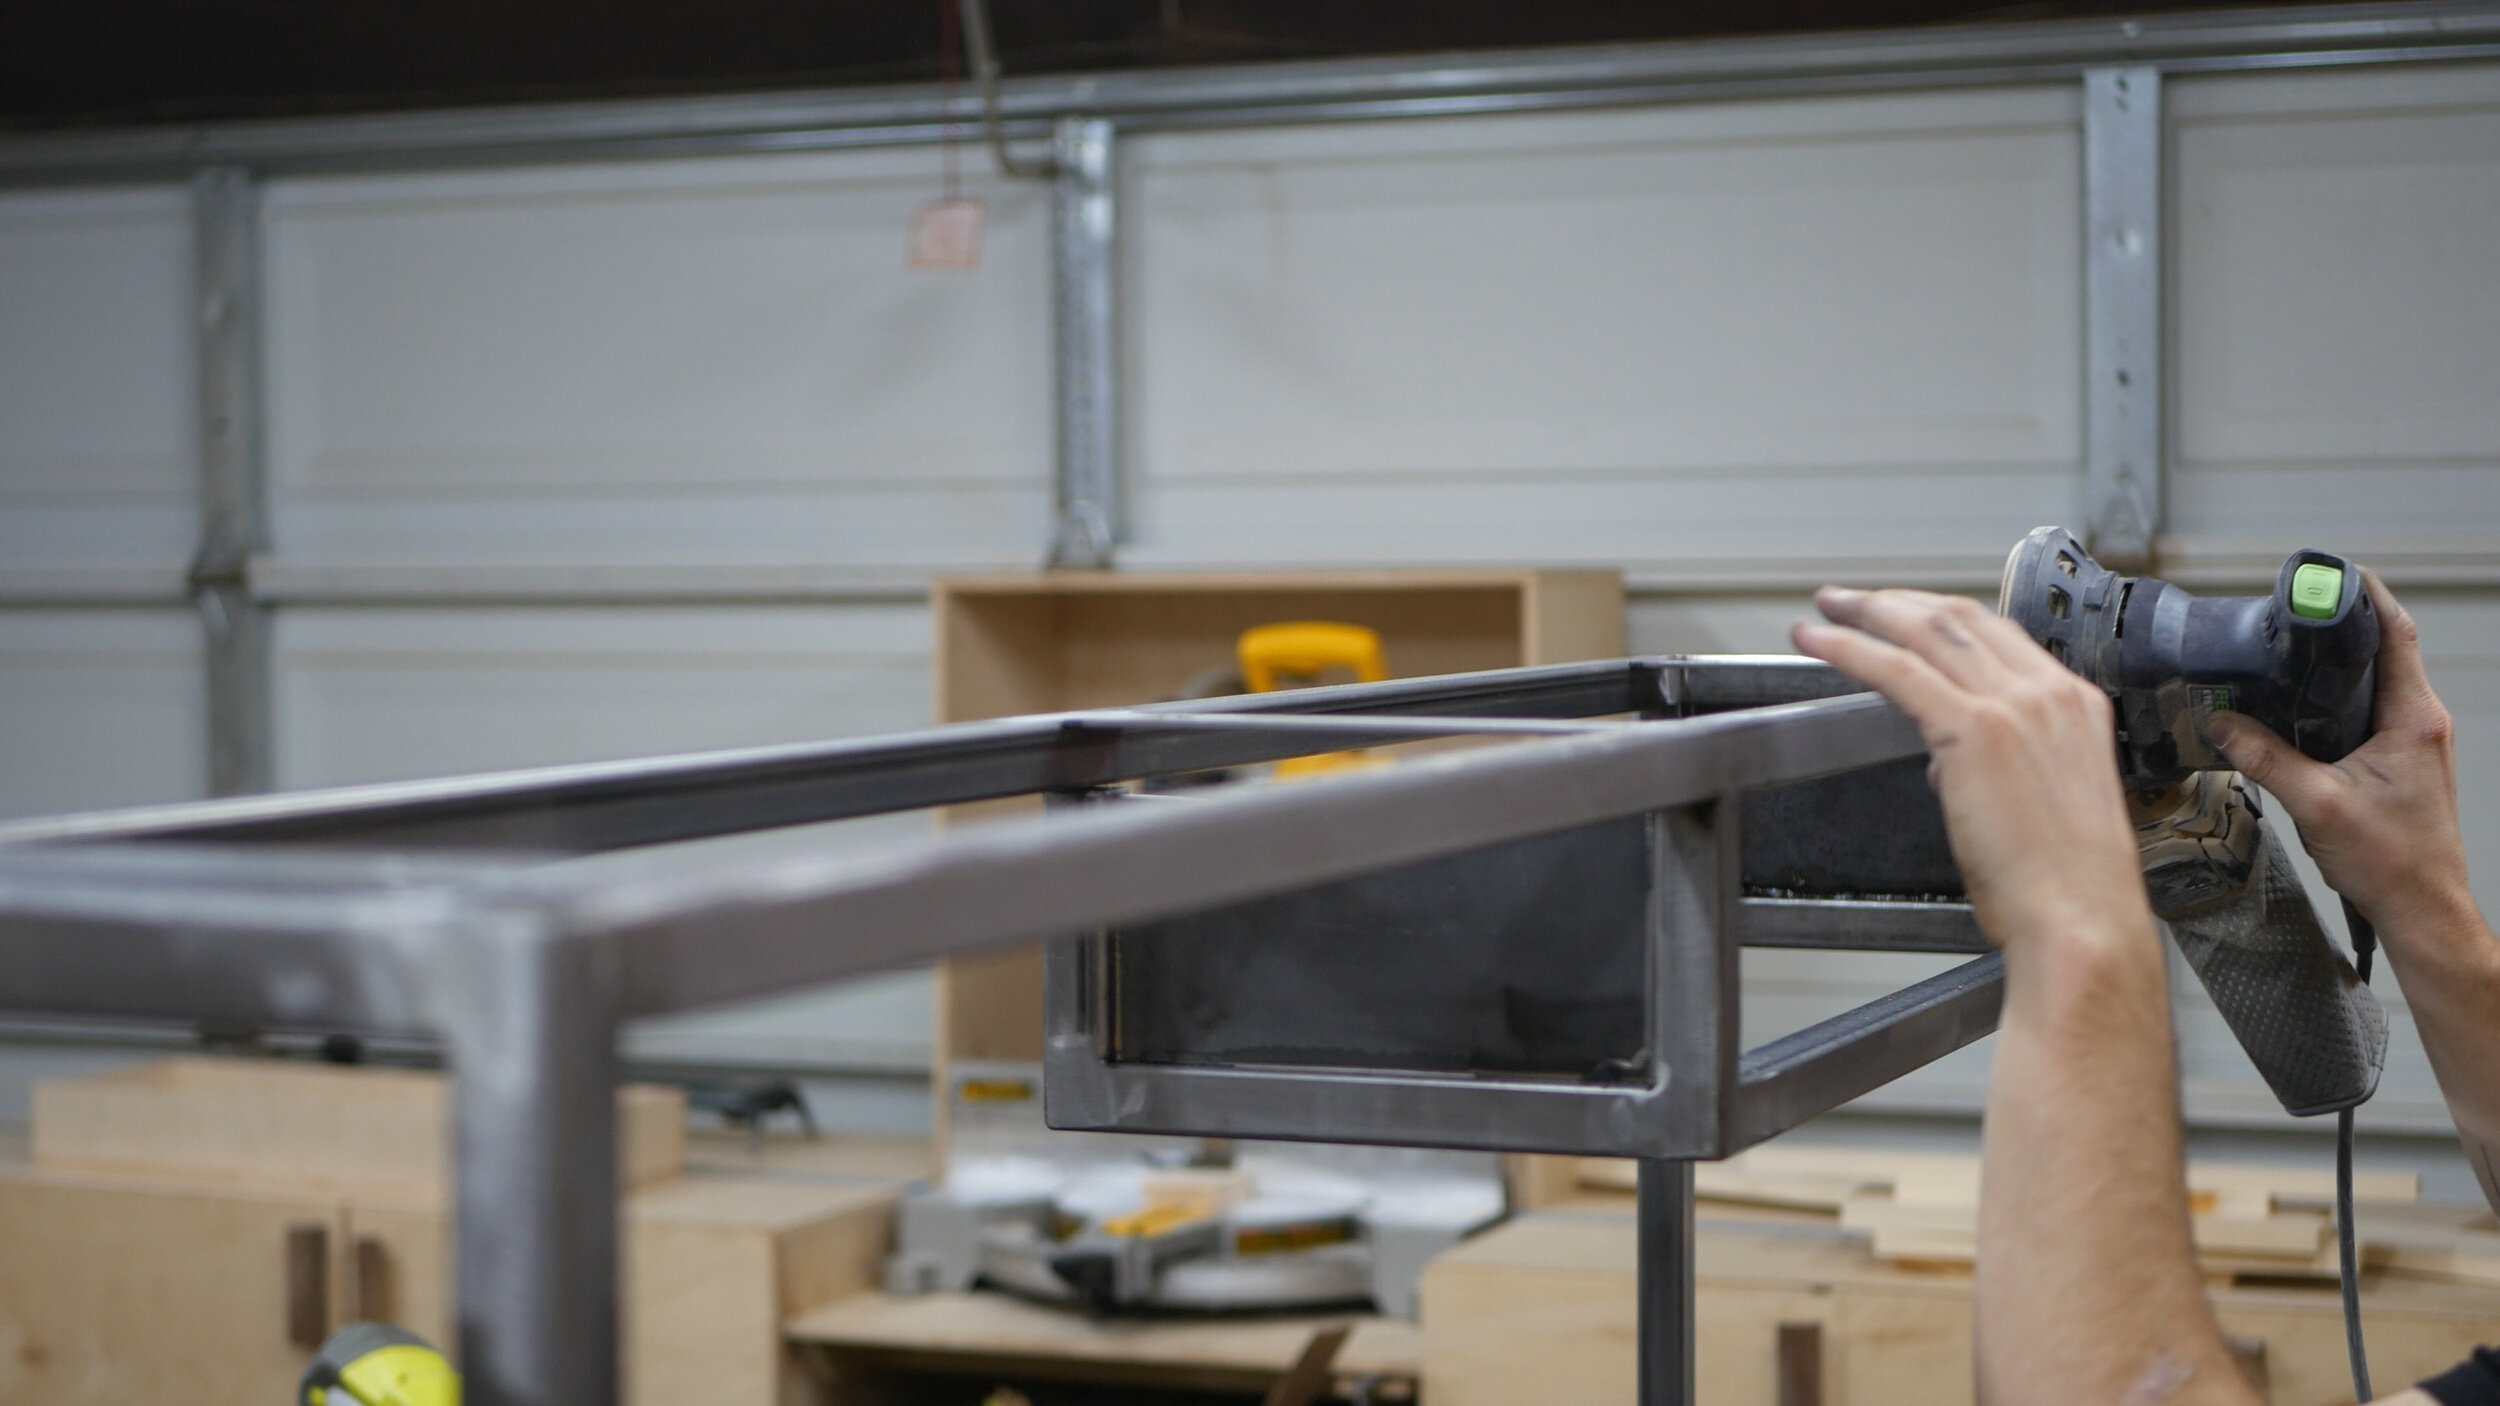
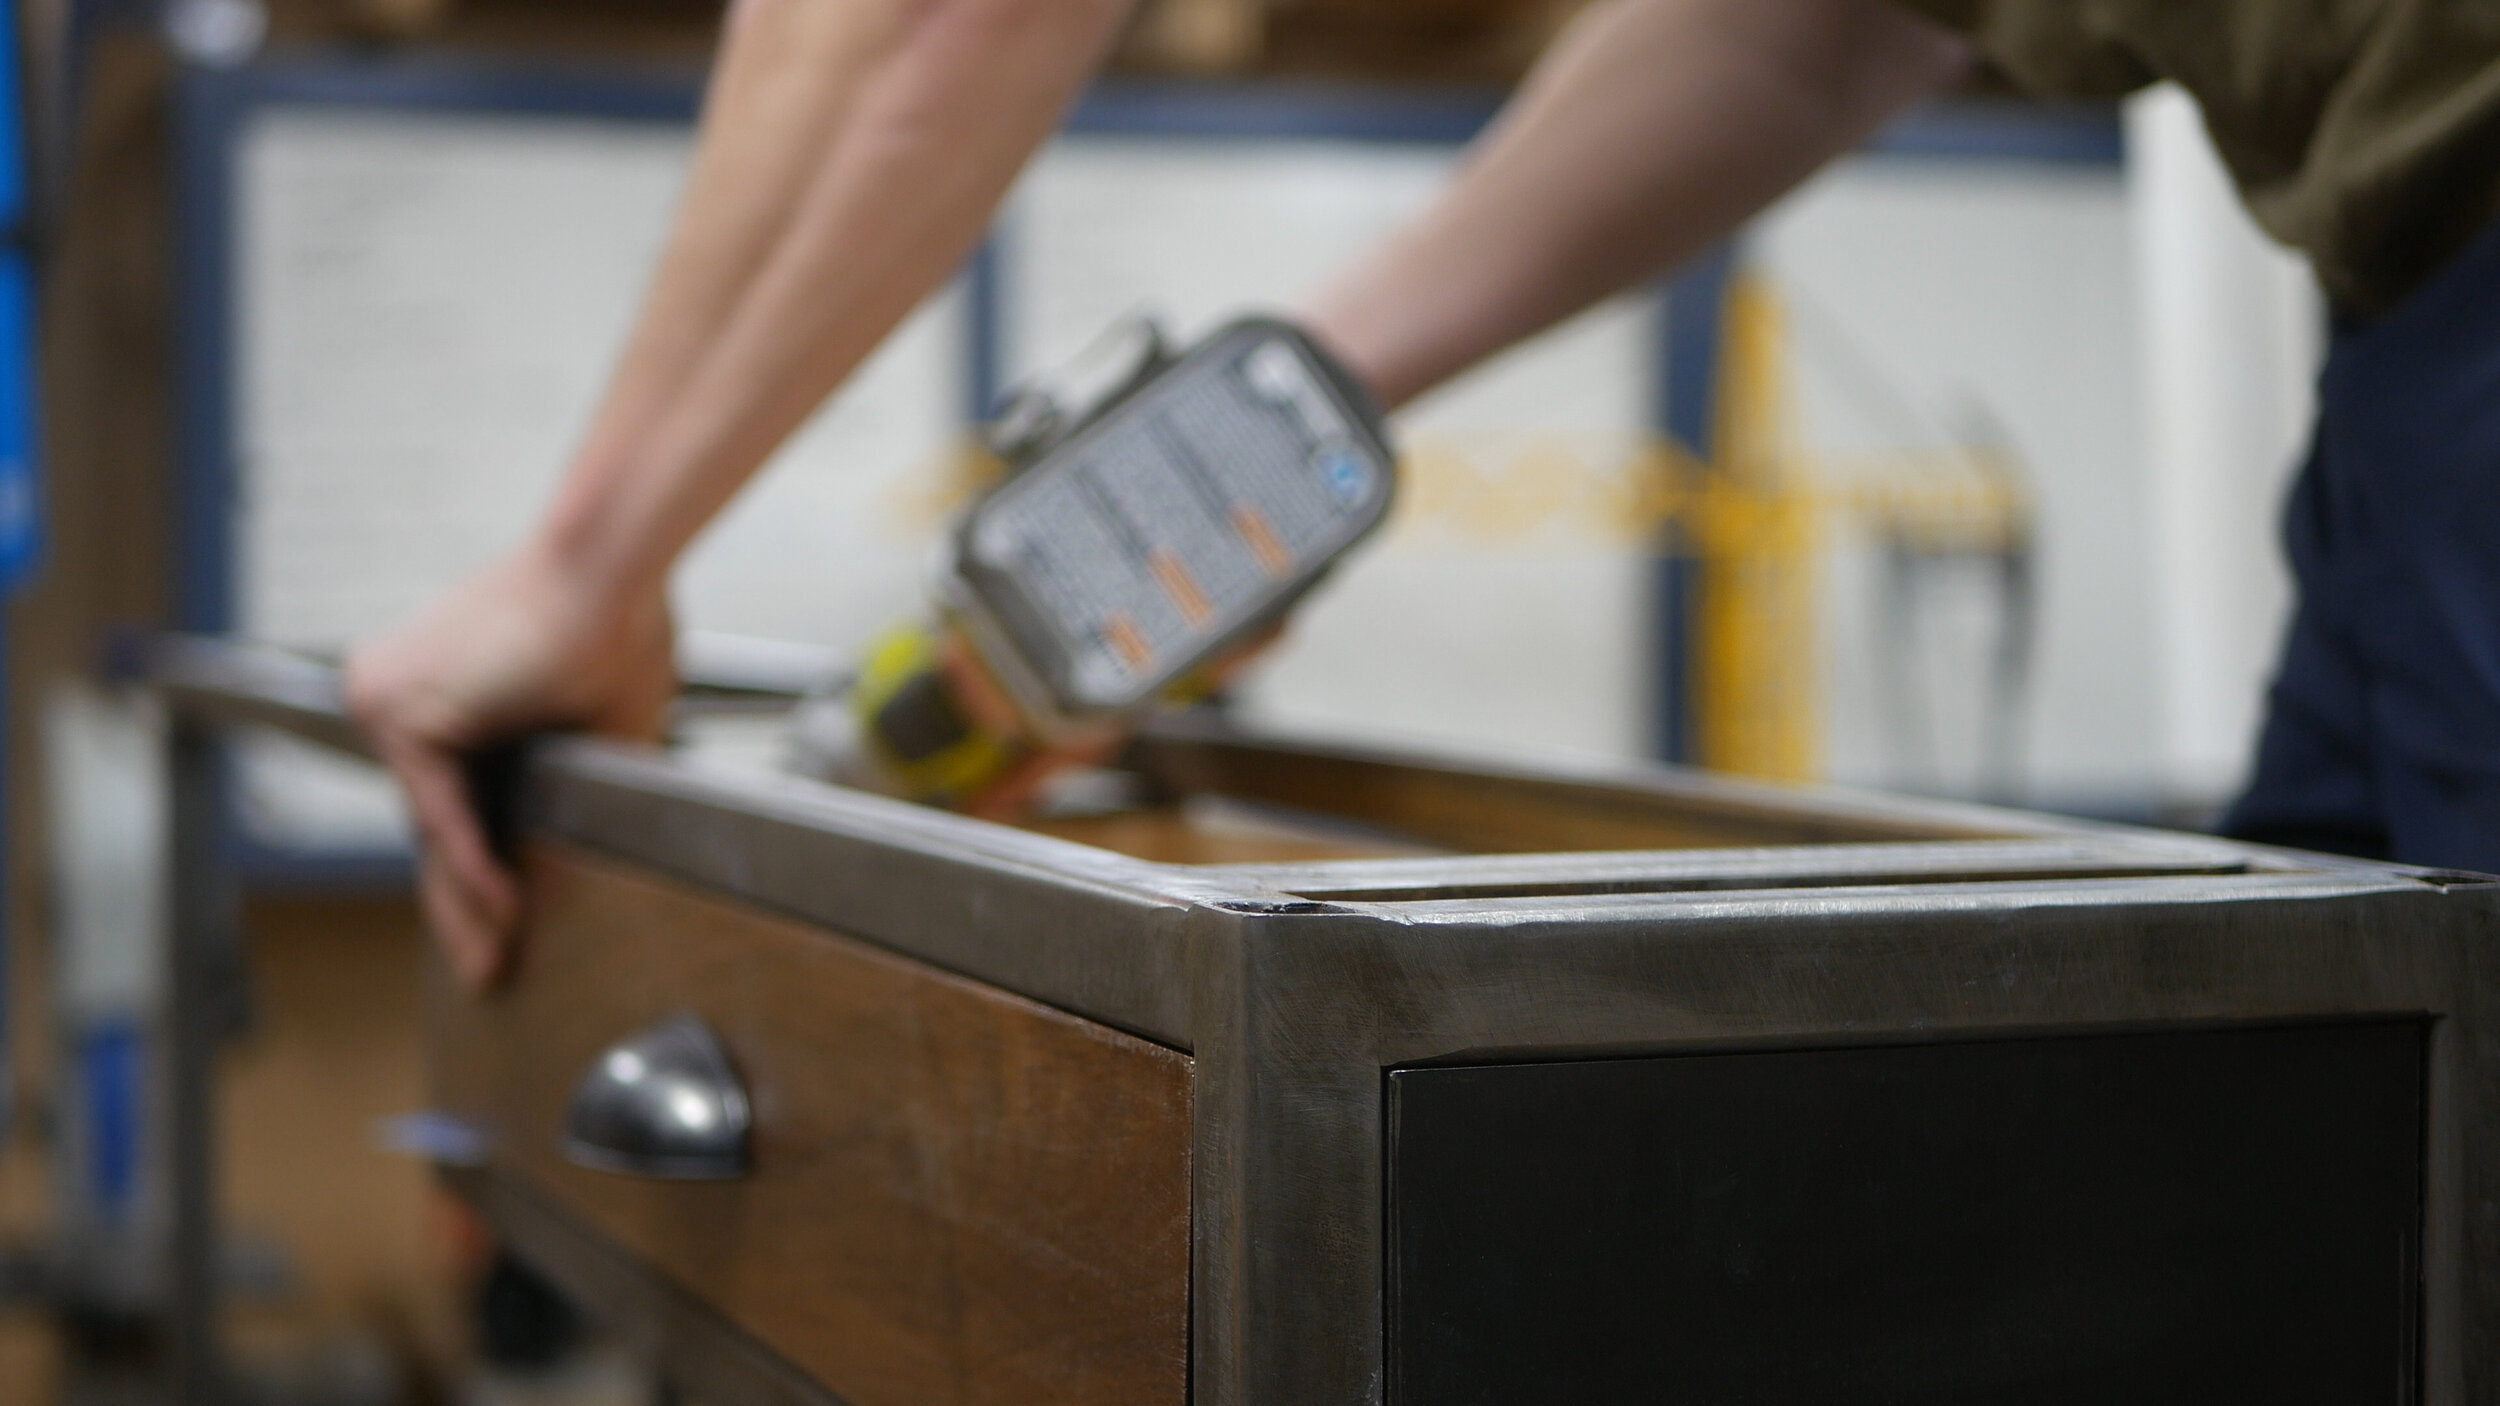
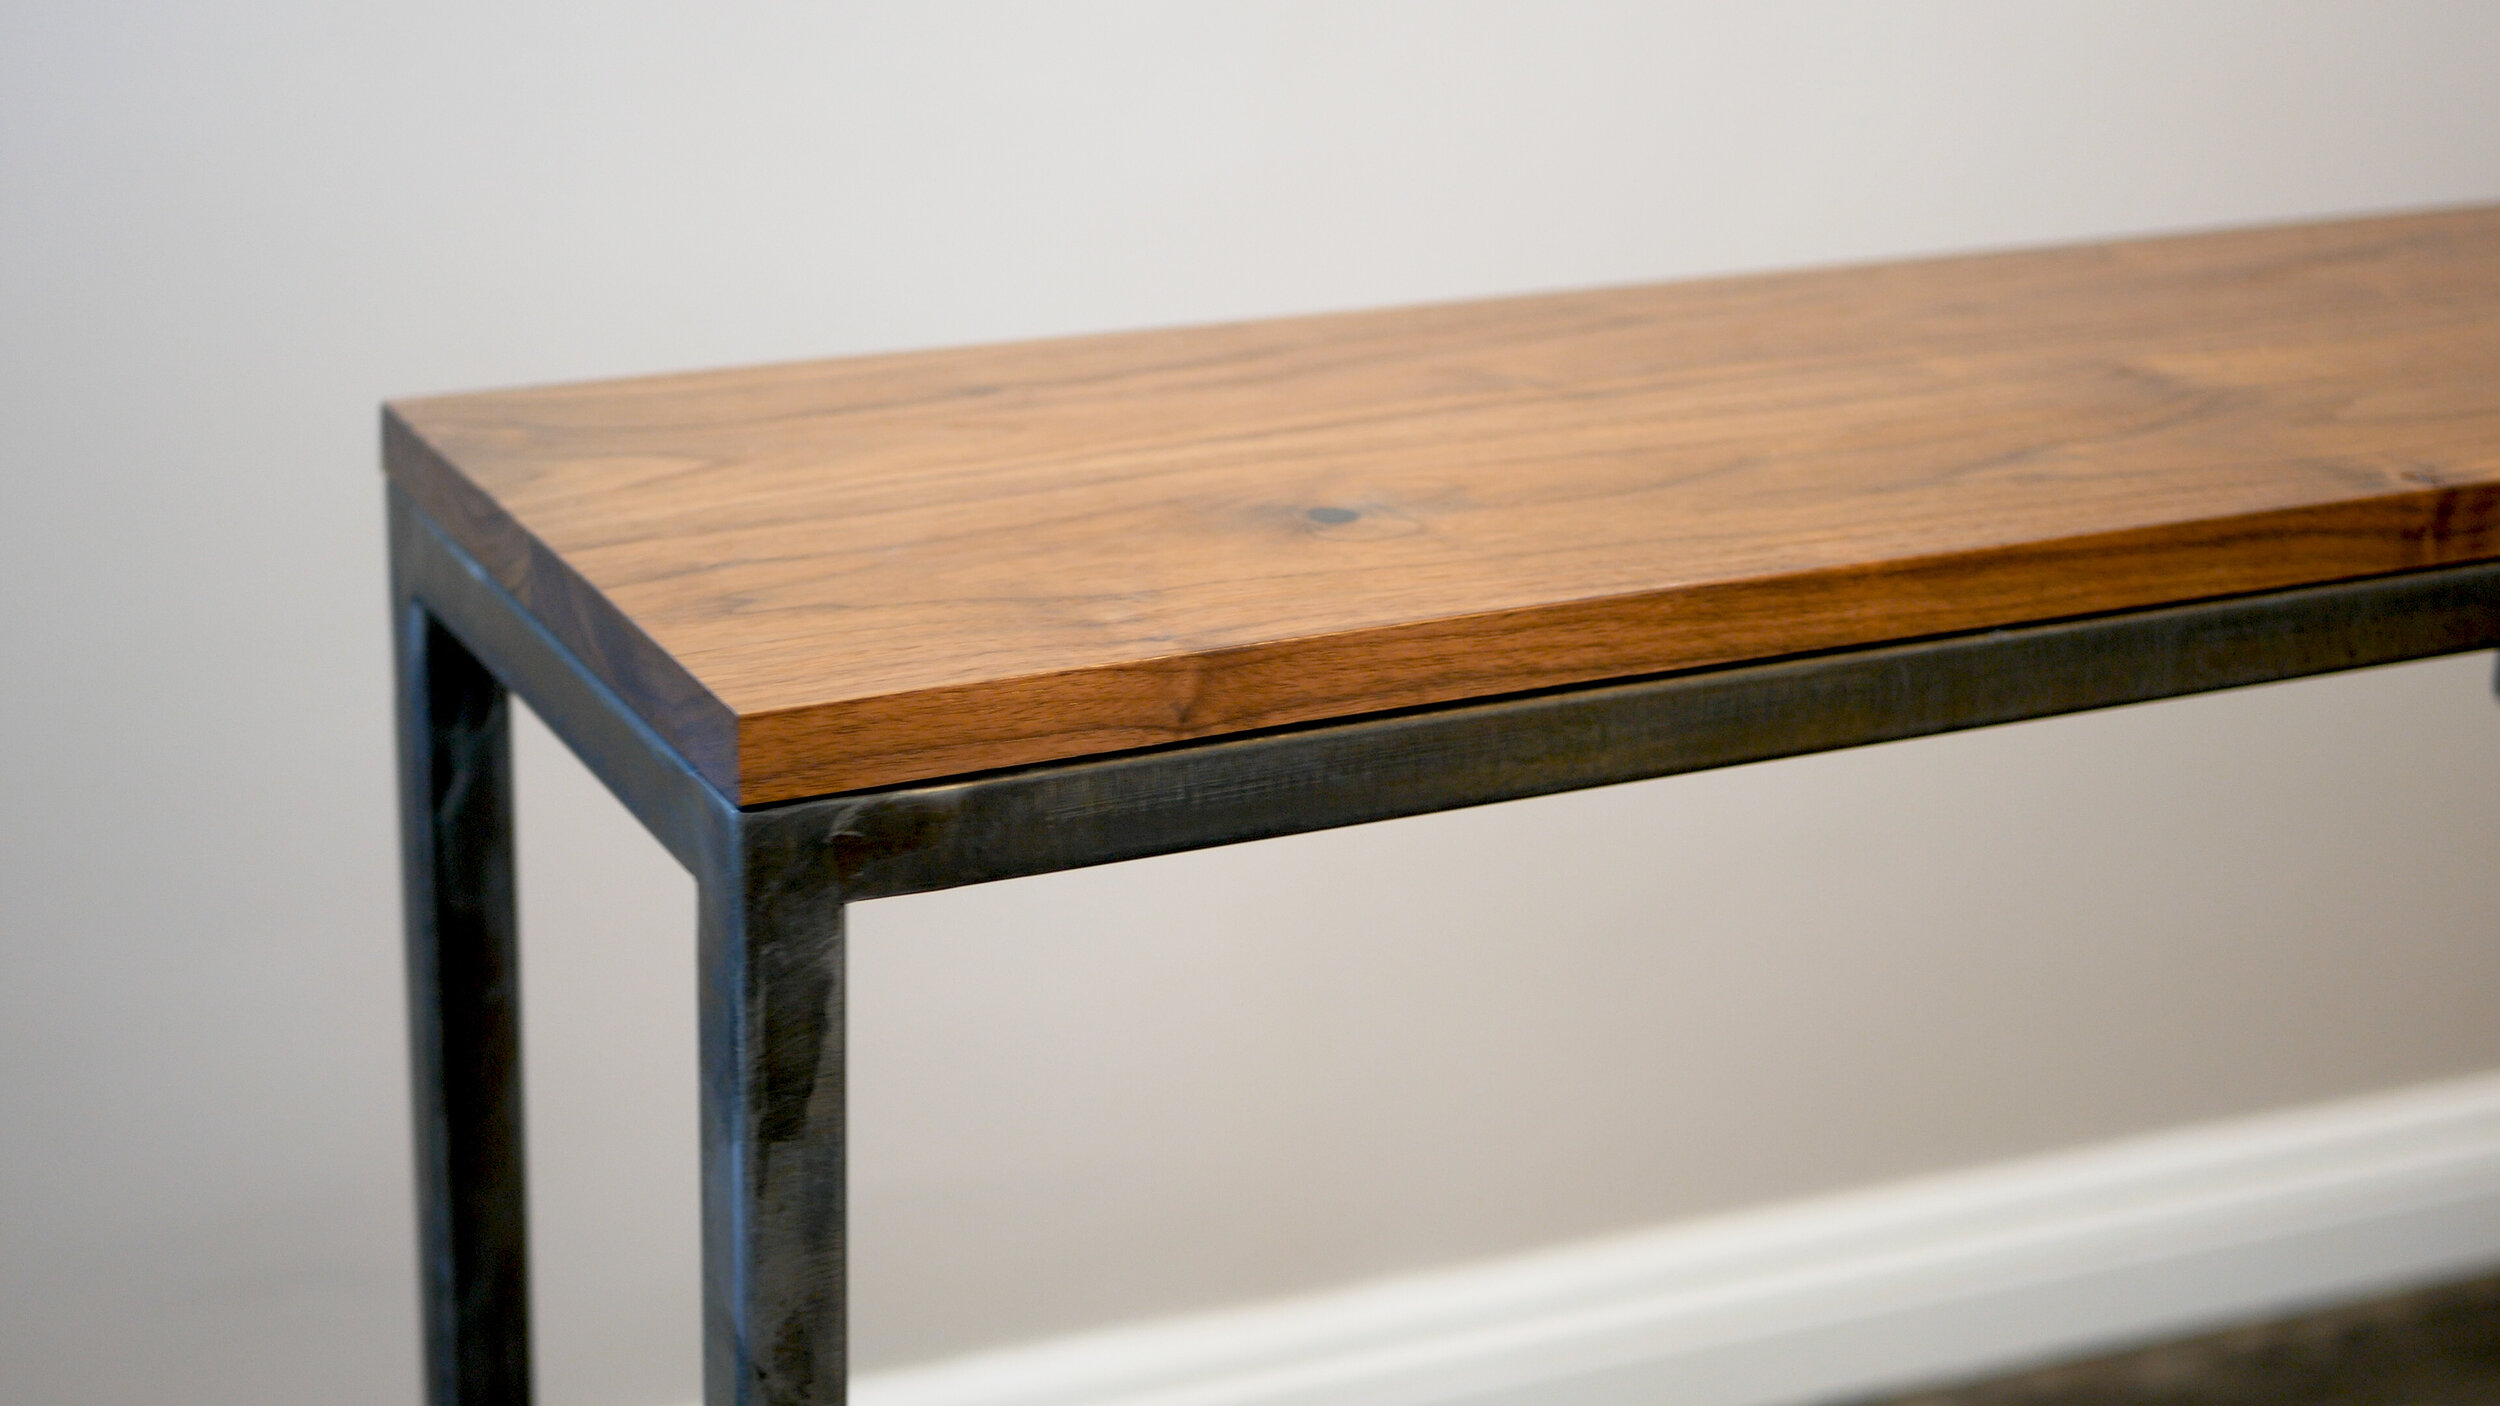
Later in the build, I’ll be securing a big piece of walnut to the top of the steel frame, so the next step was to cut a flat strip, drill holes into it for screws, and weld it flush to the top of the framing. .
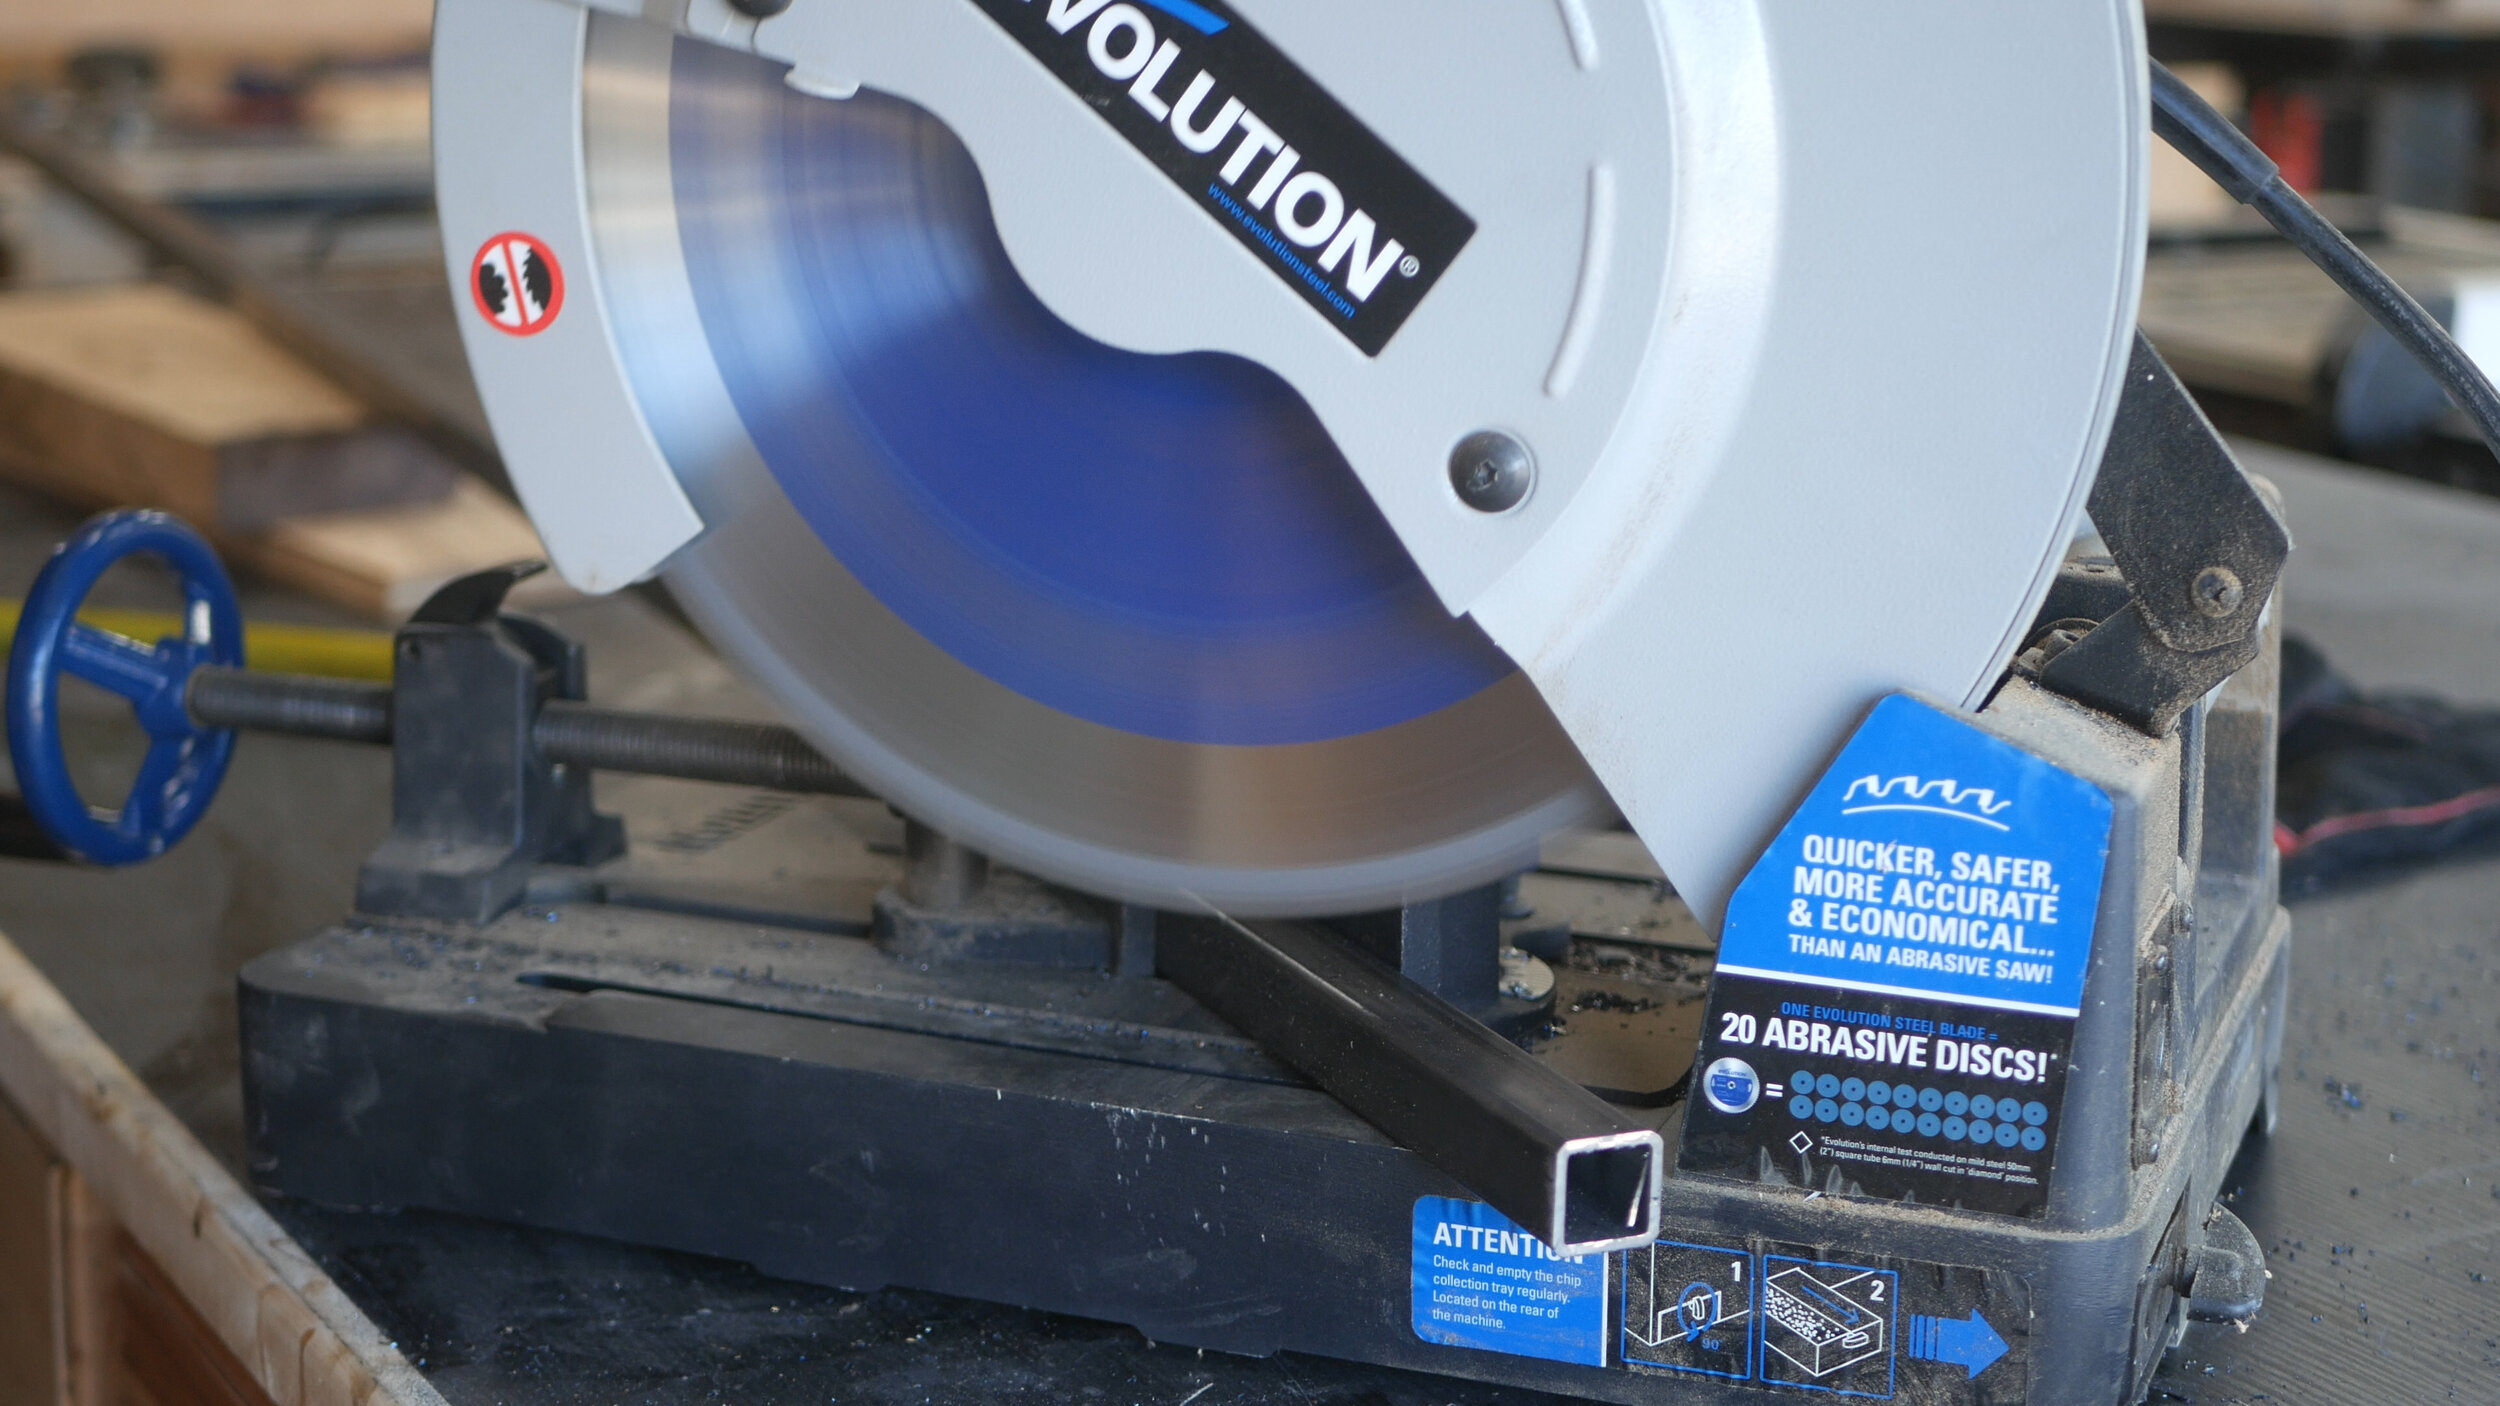
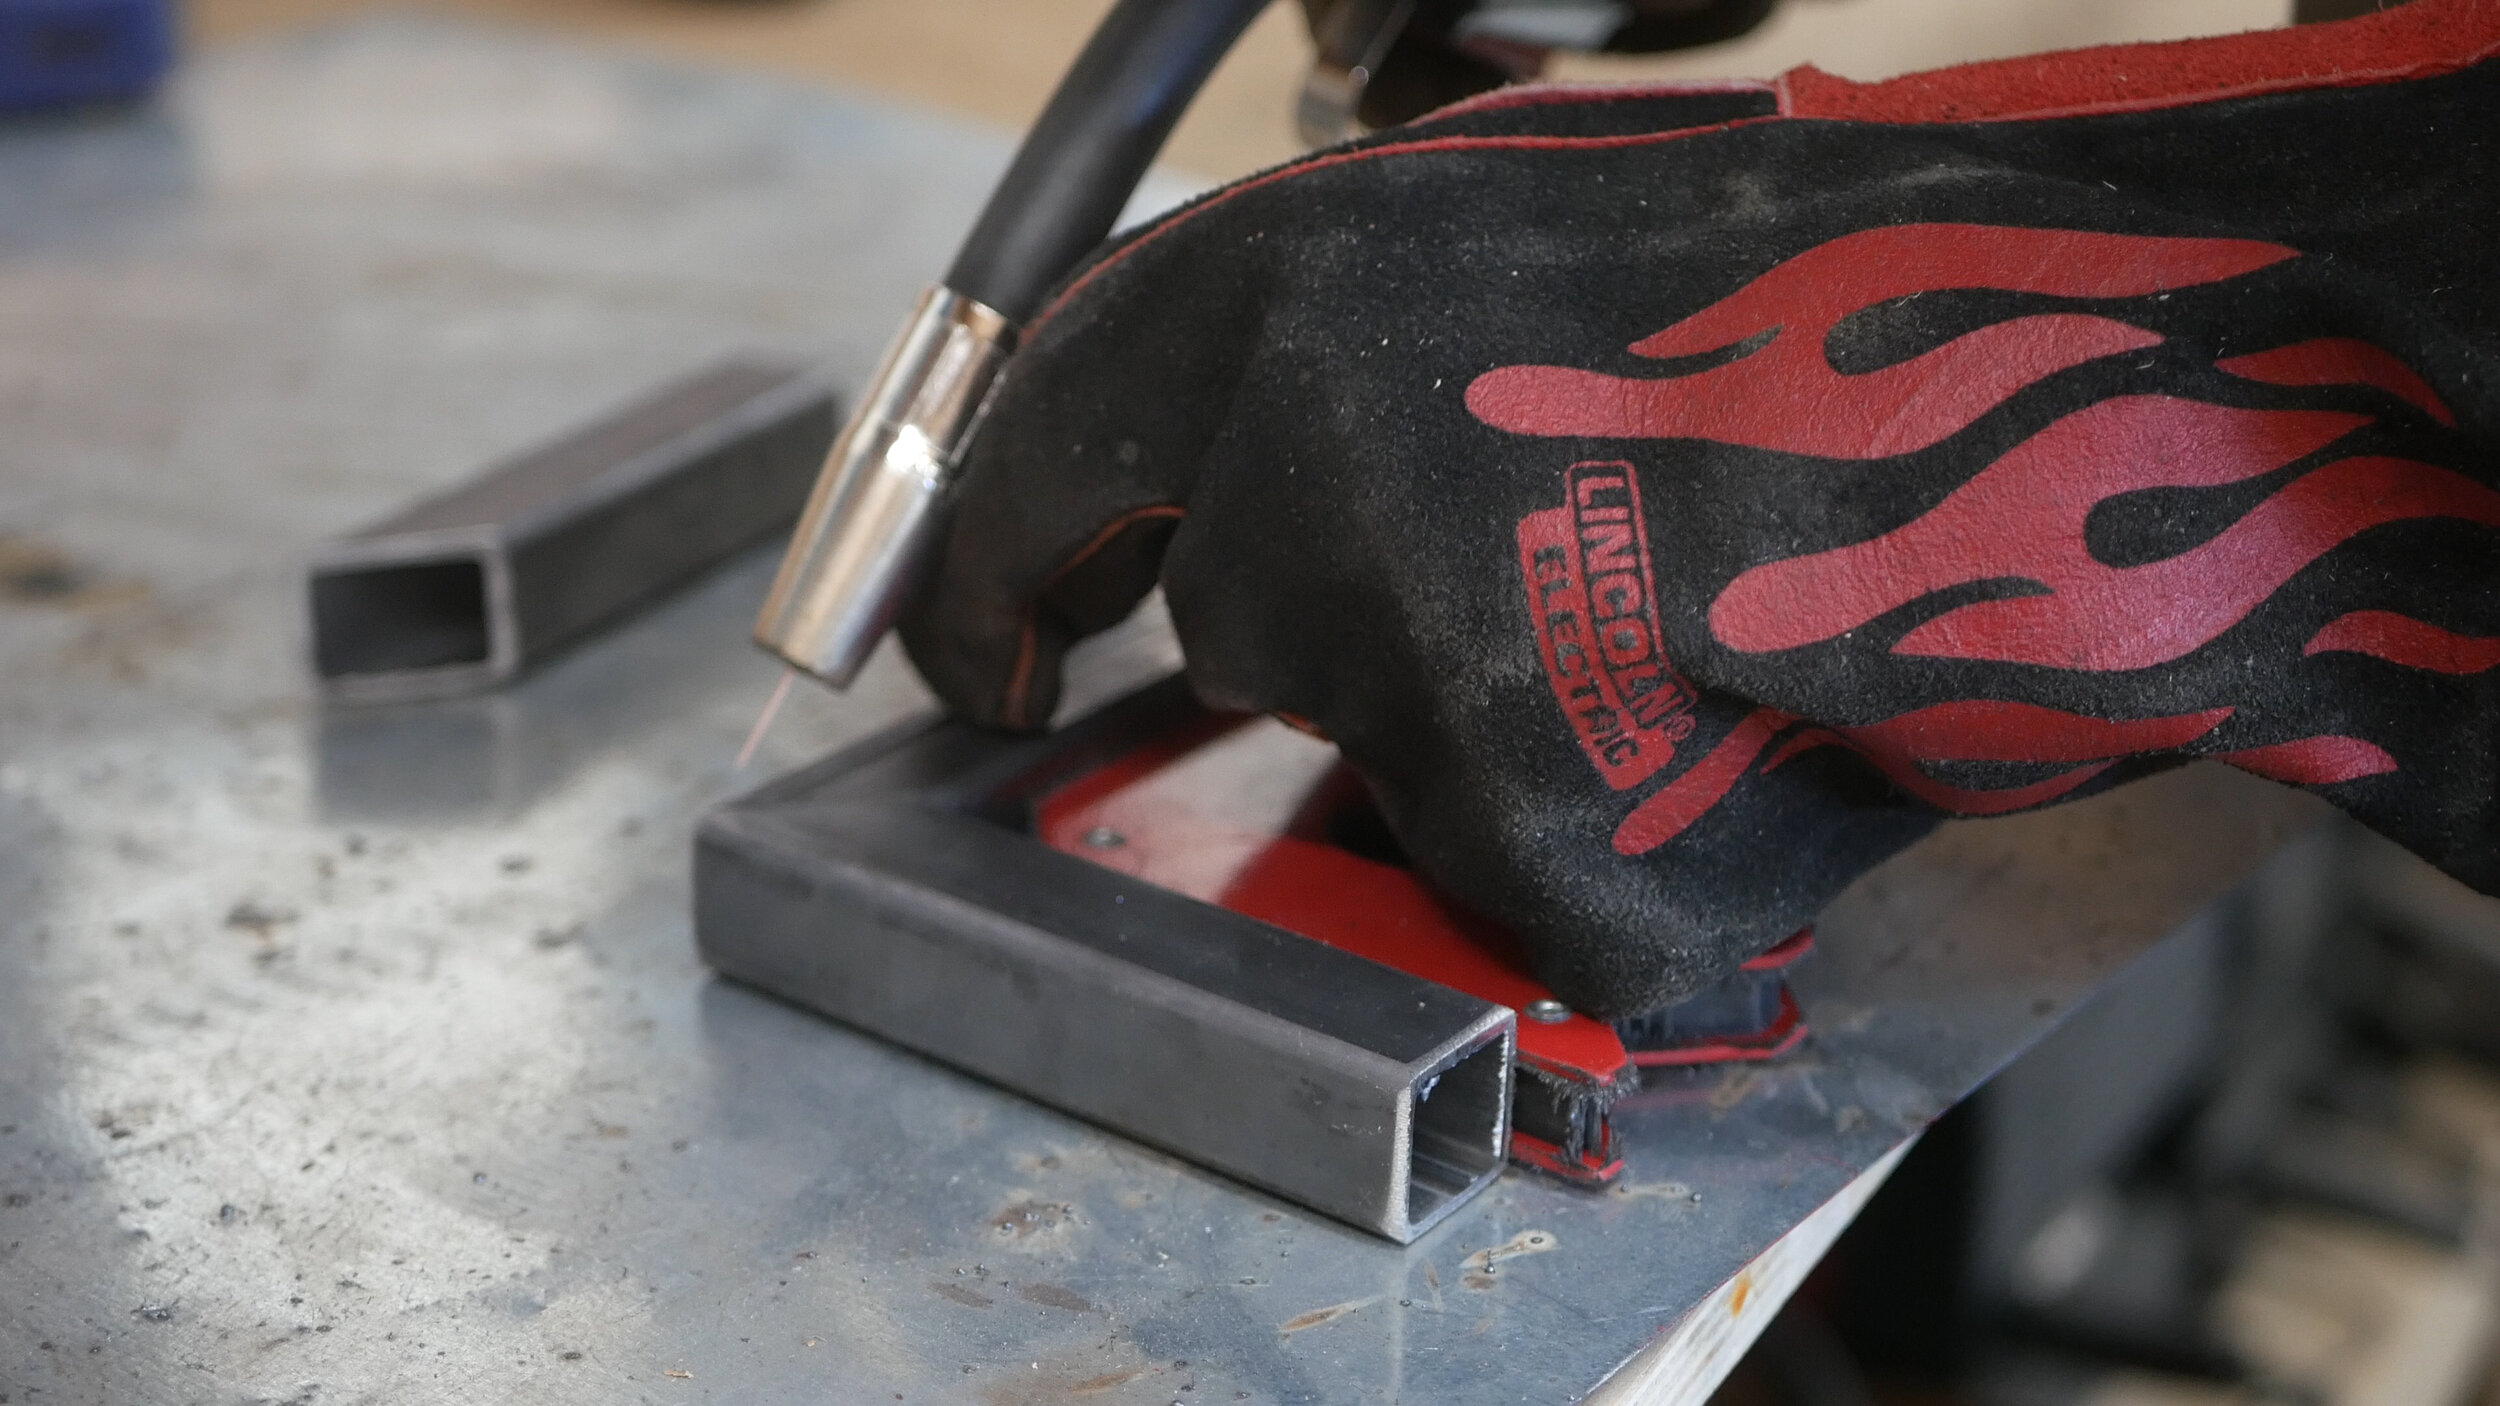
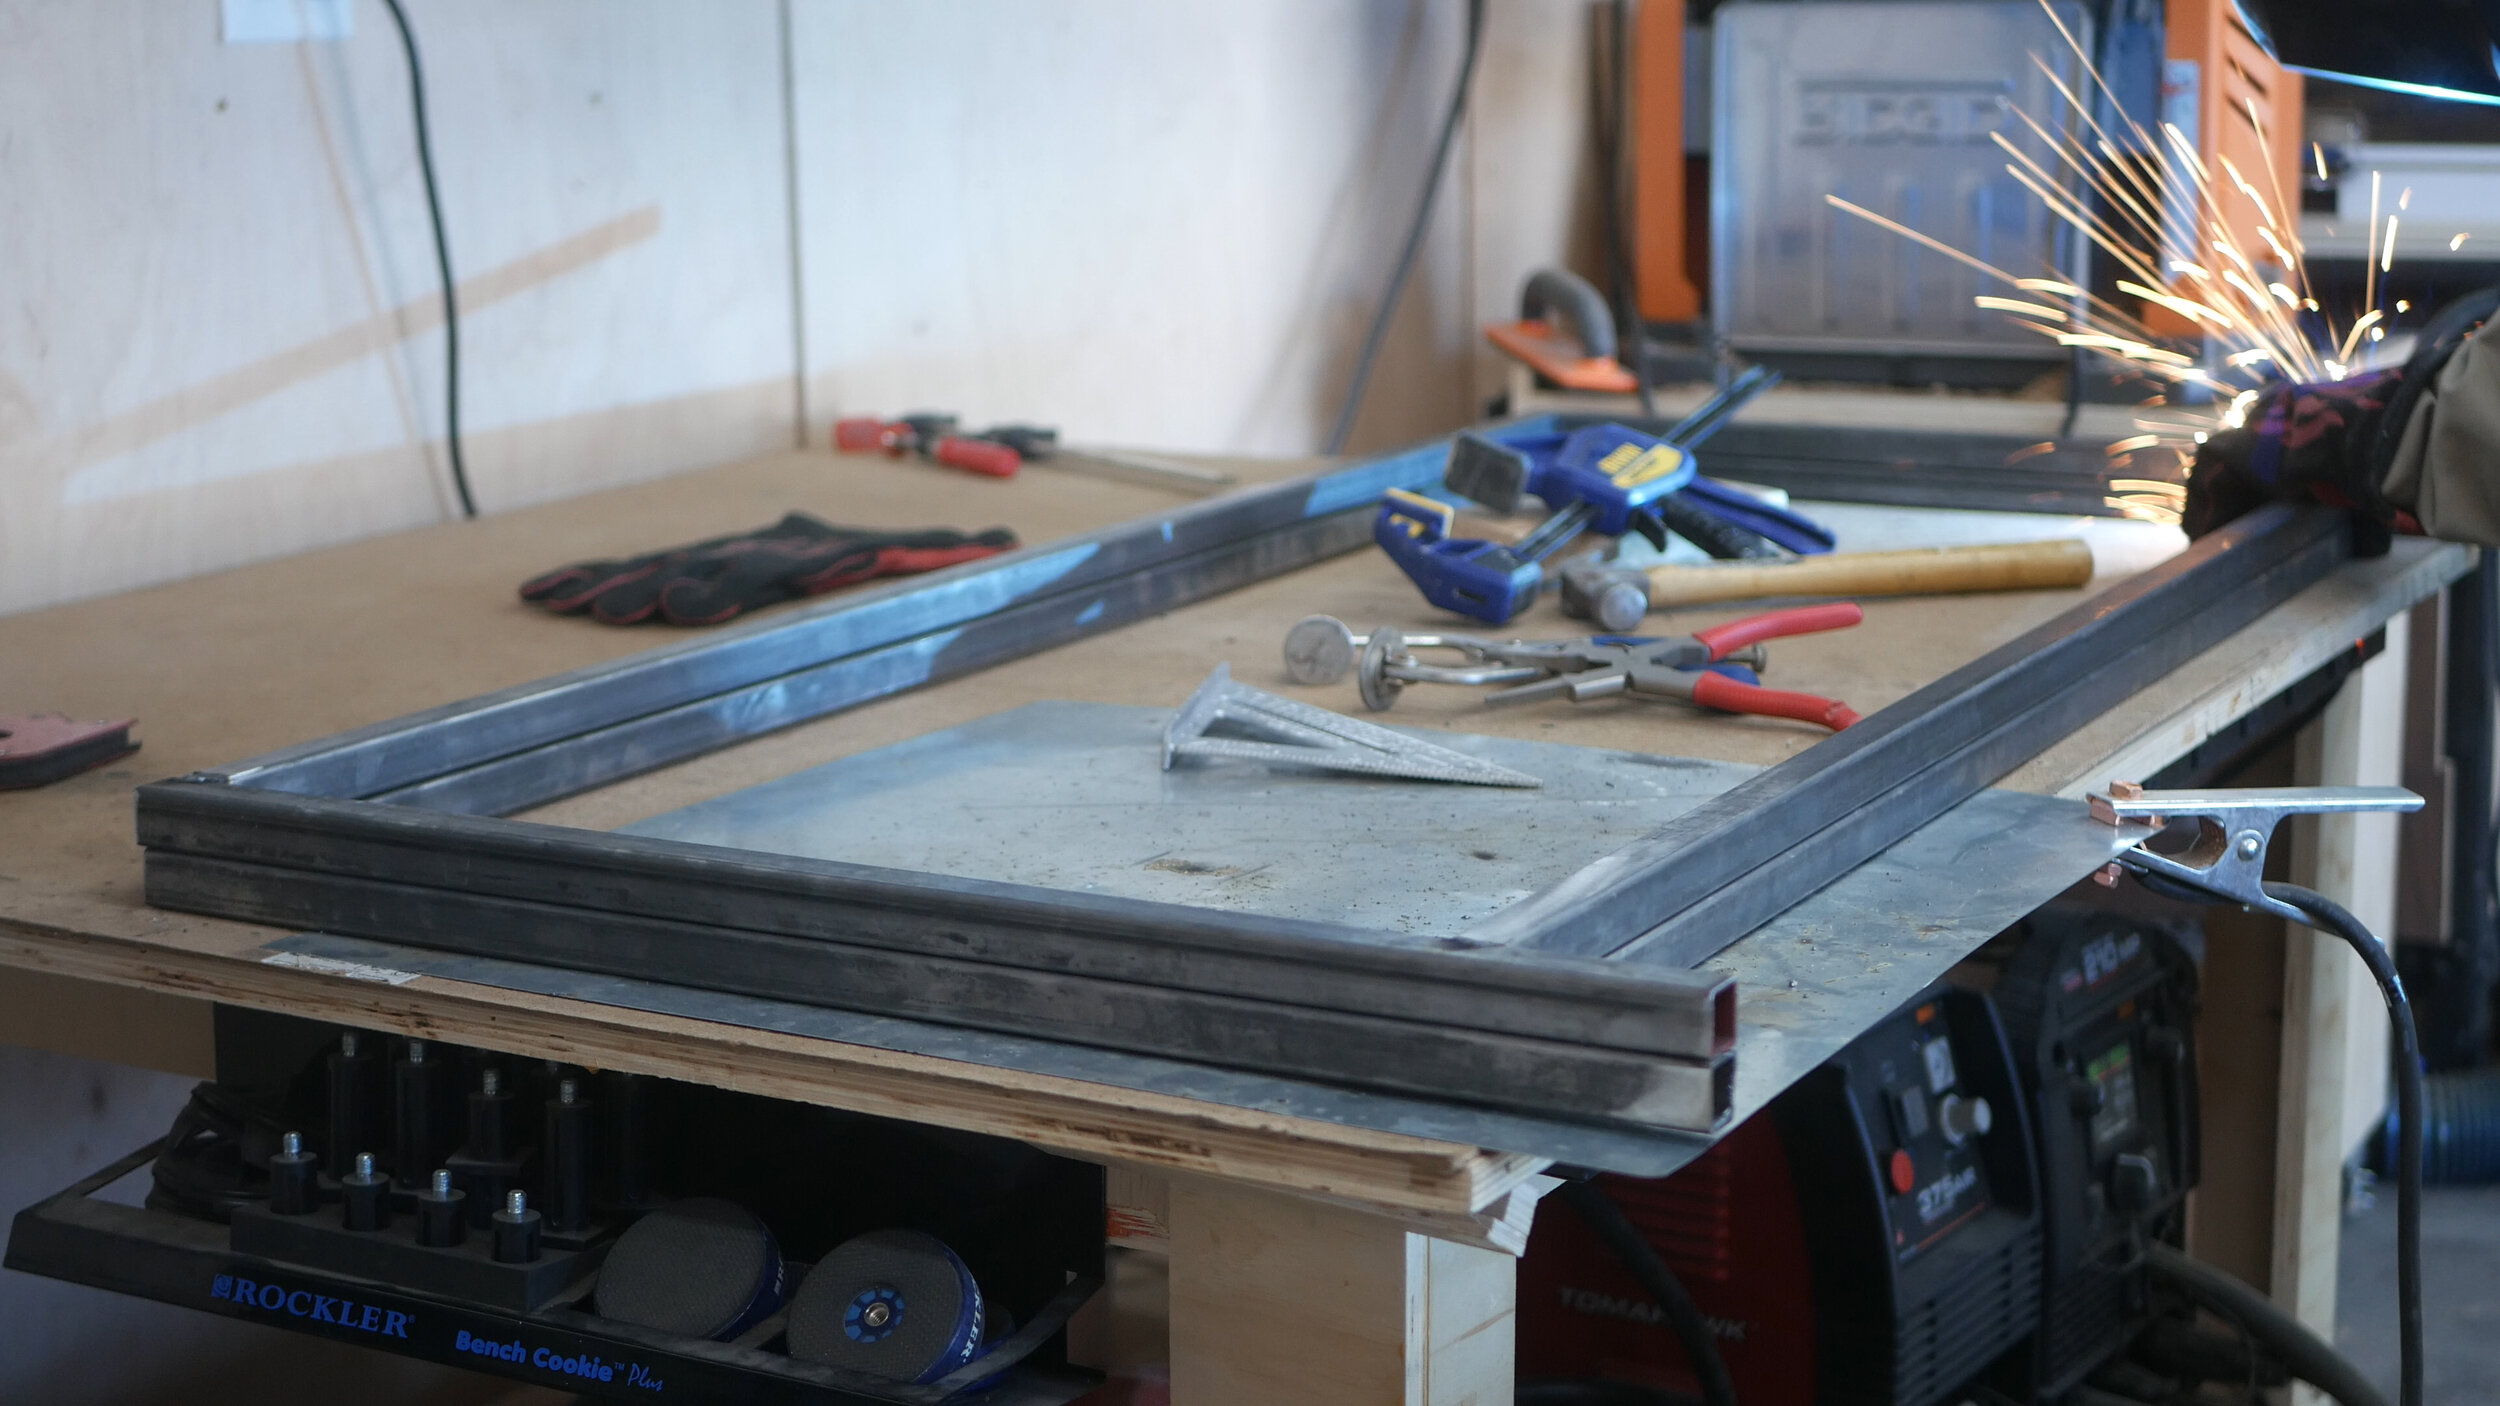
The table design includes a single shallow drawer, so after completing the main structure, I went back to the chop saw and cut more square steel to length. The only difference here from the previous cuts was I had to cut a series of 45° angles on each piece so that when welded together, they appeared as a single piece of bent steal. But joints wouldn’t work for this design.

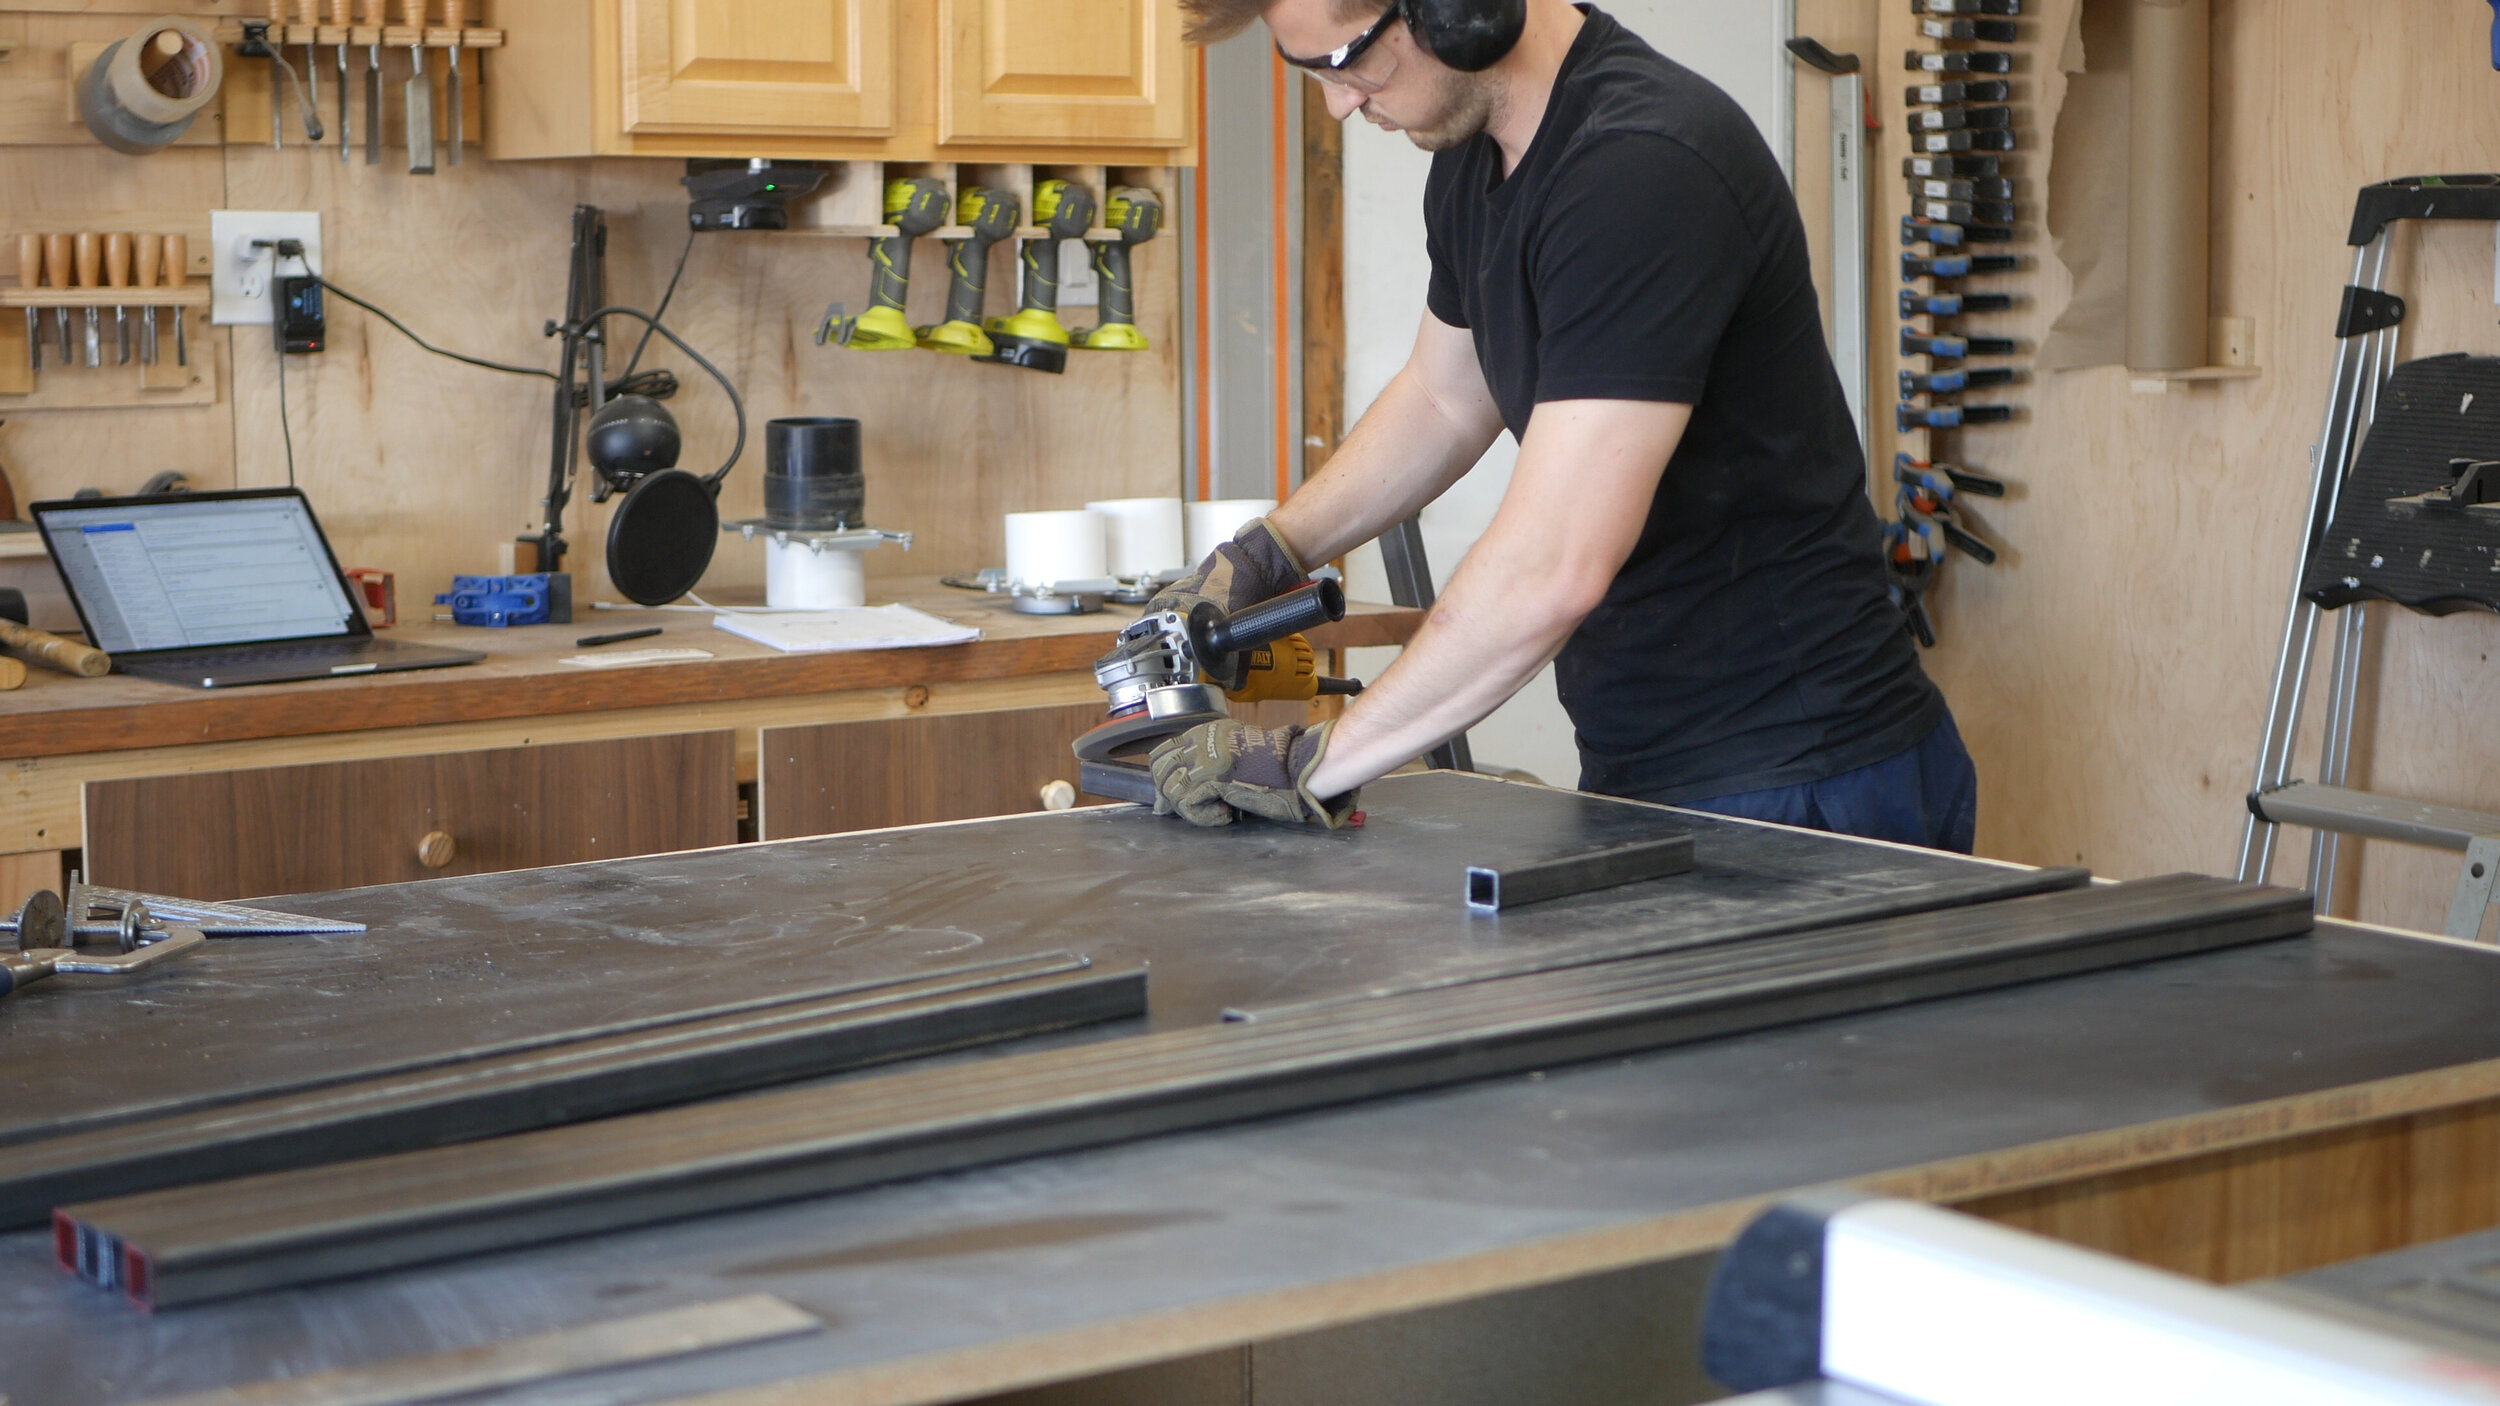
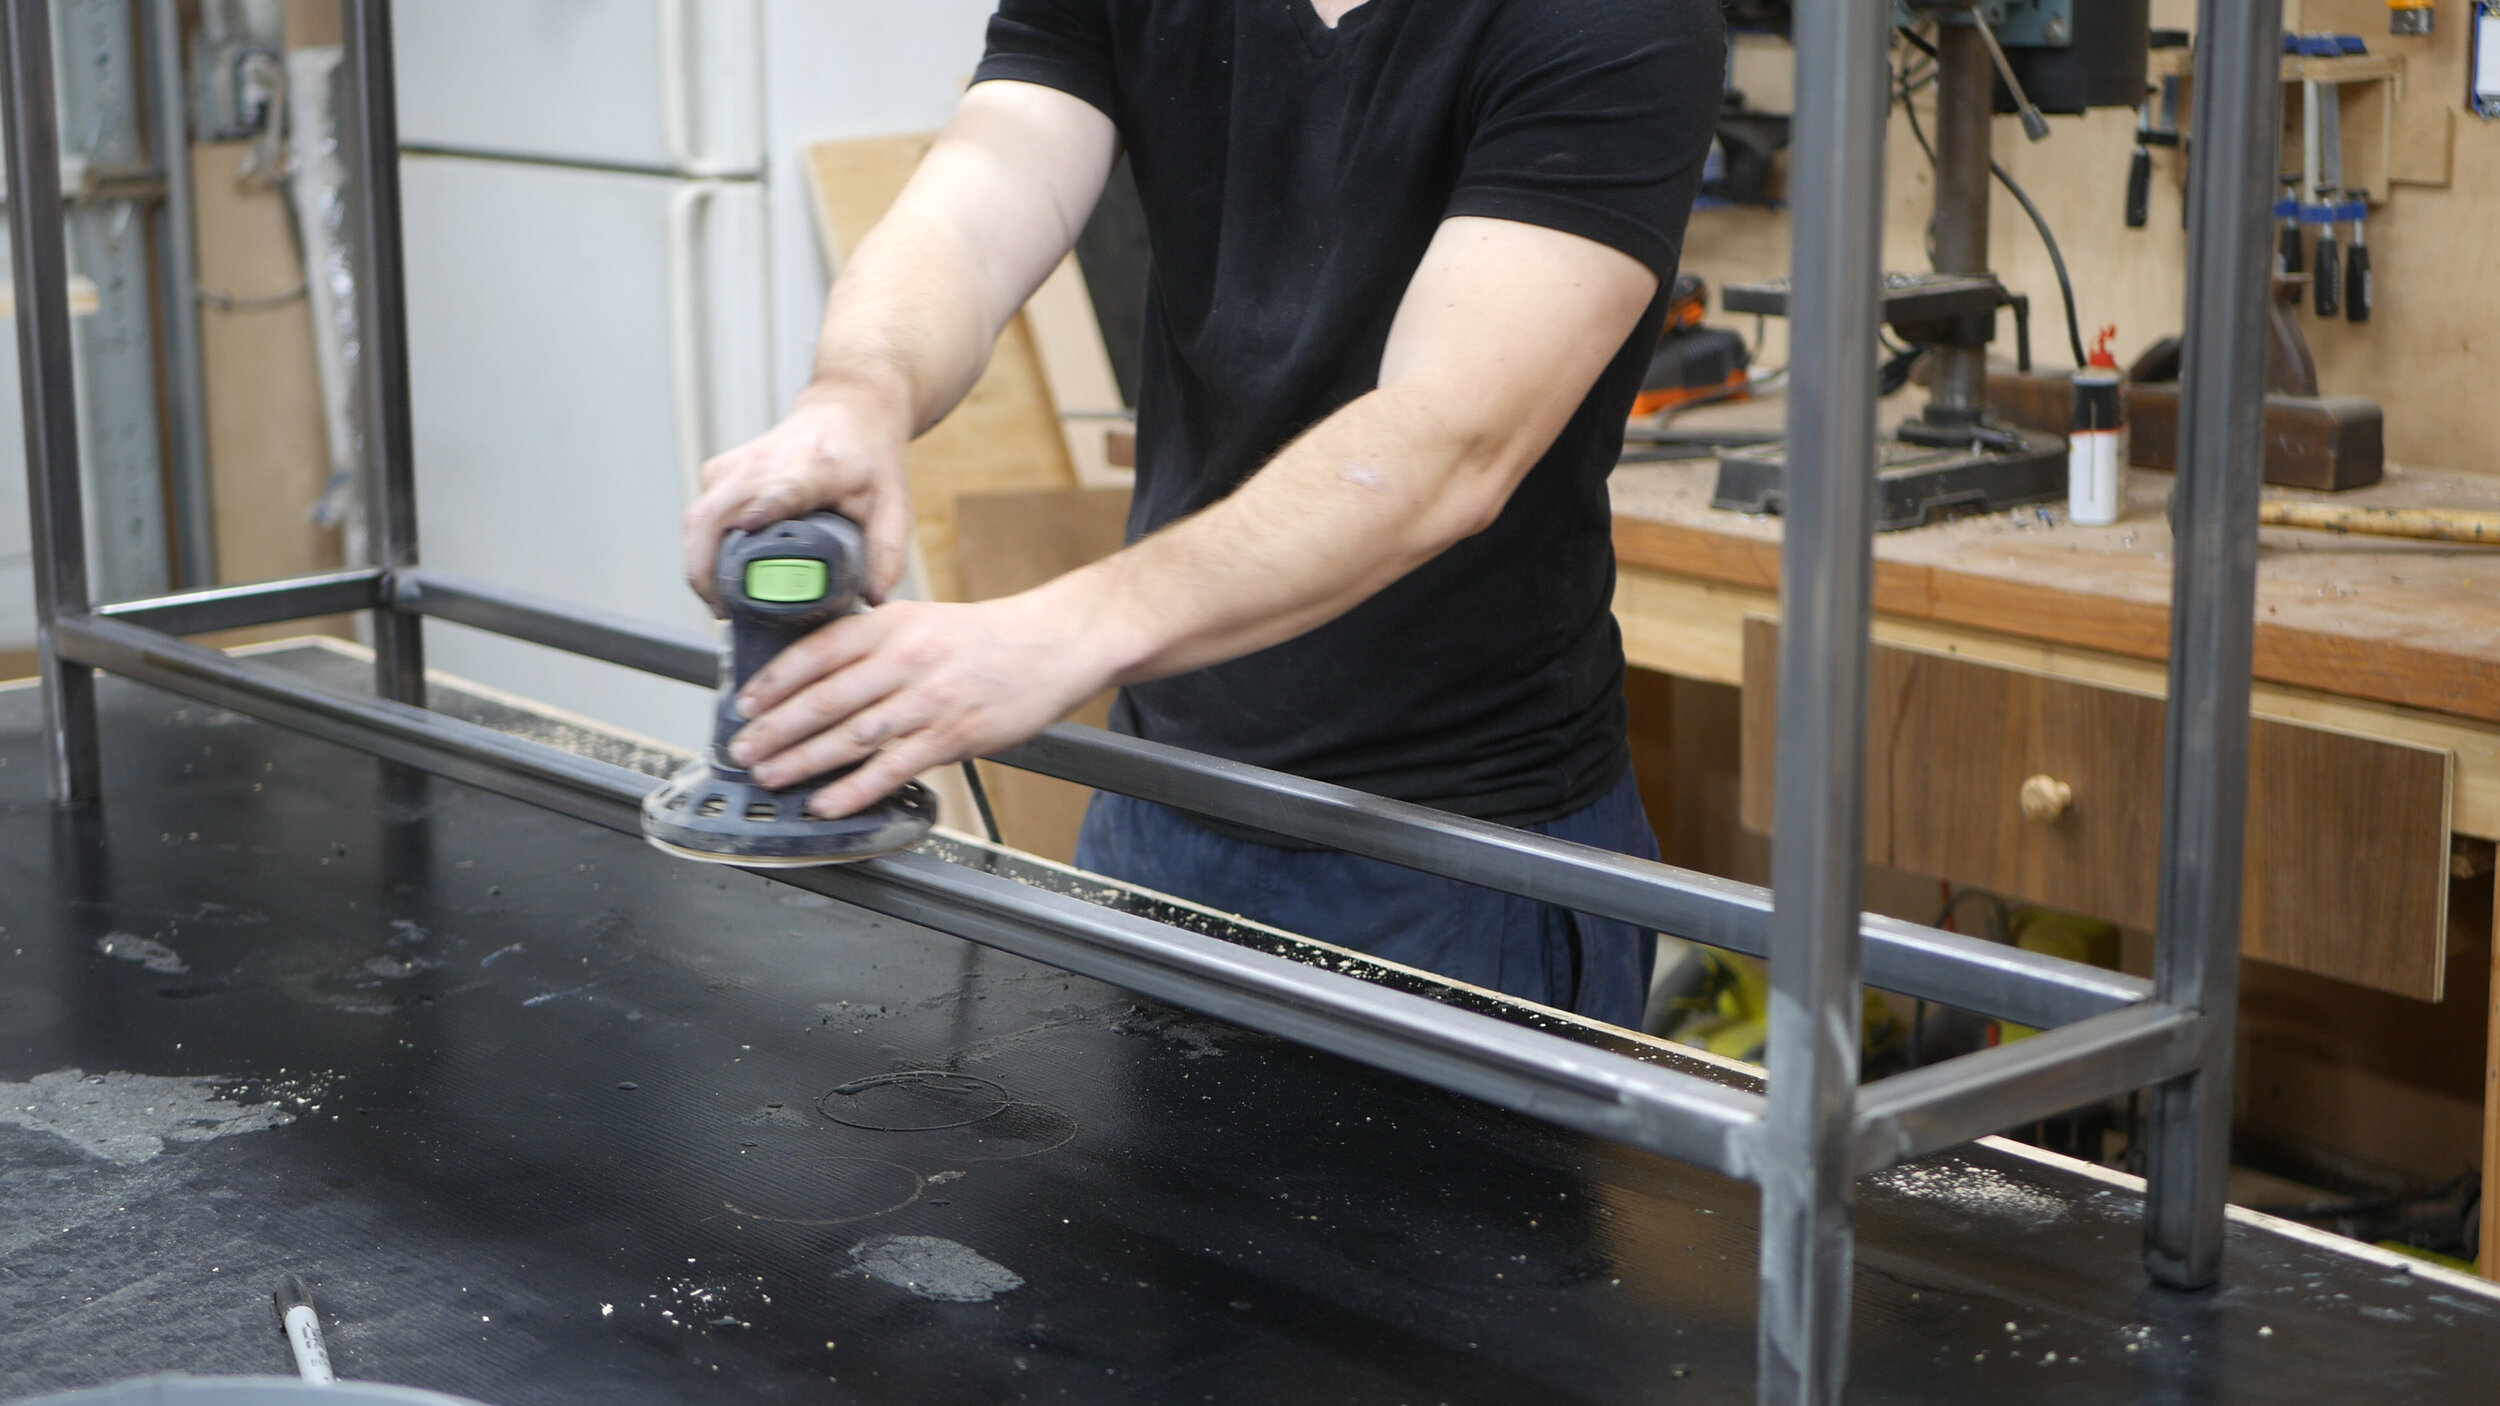
Now that the steel structure was complete, I moved on to one final pass at grinding down any high points of the welds. I think for still being very new to welding, it came out pretty good!

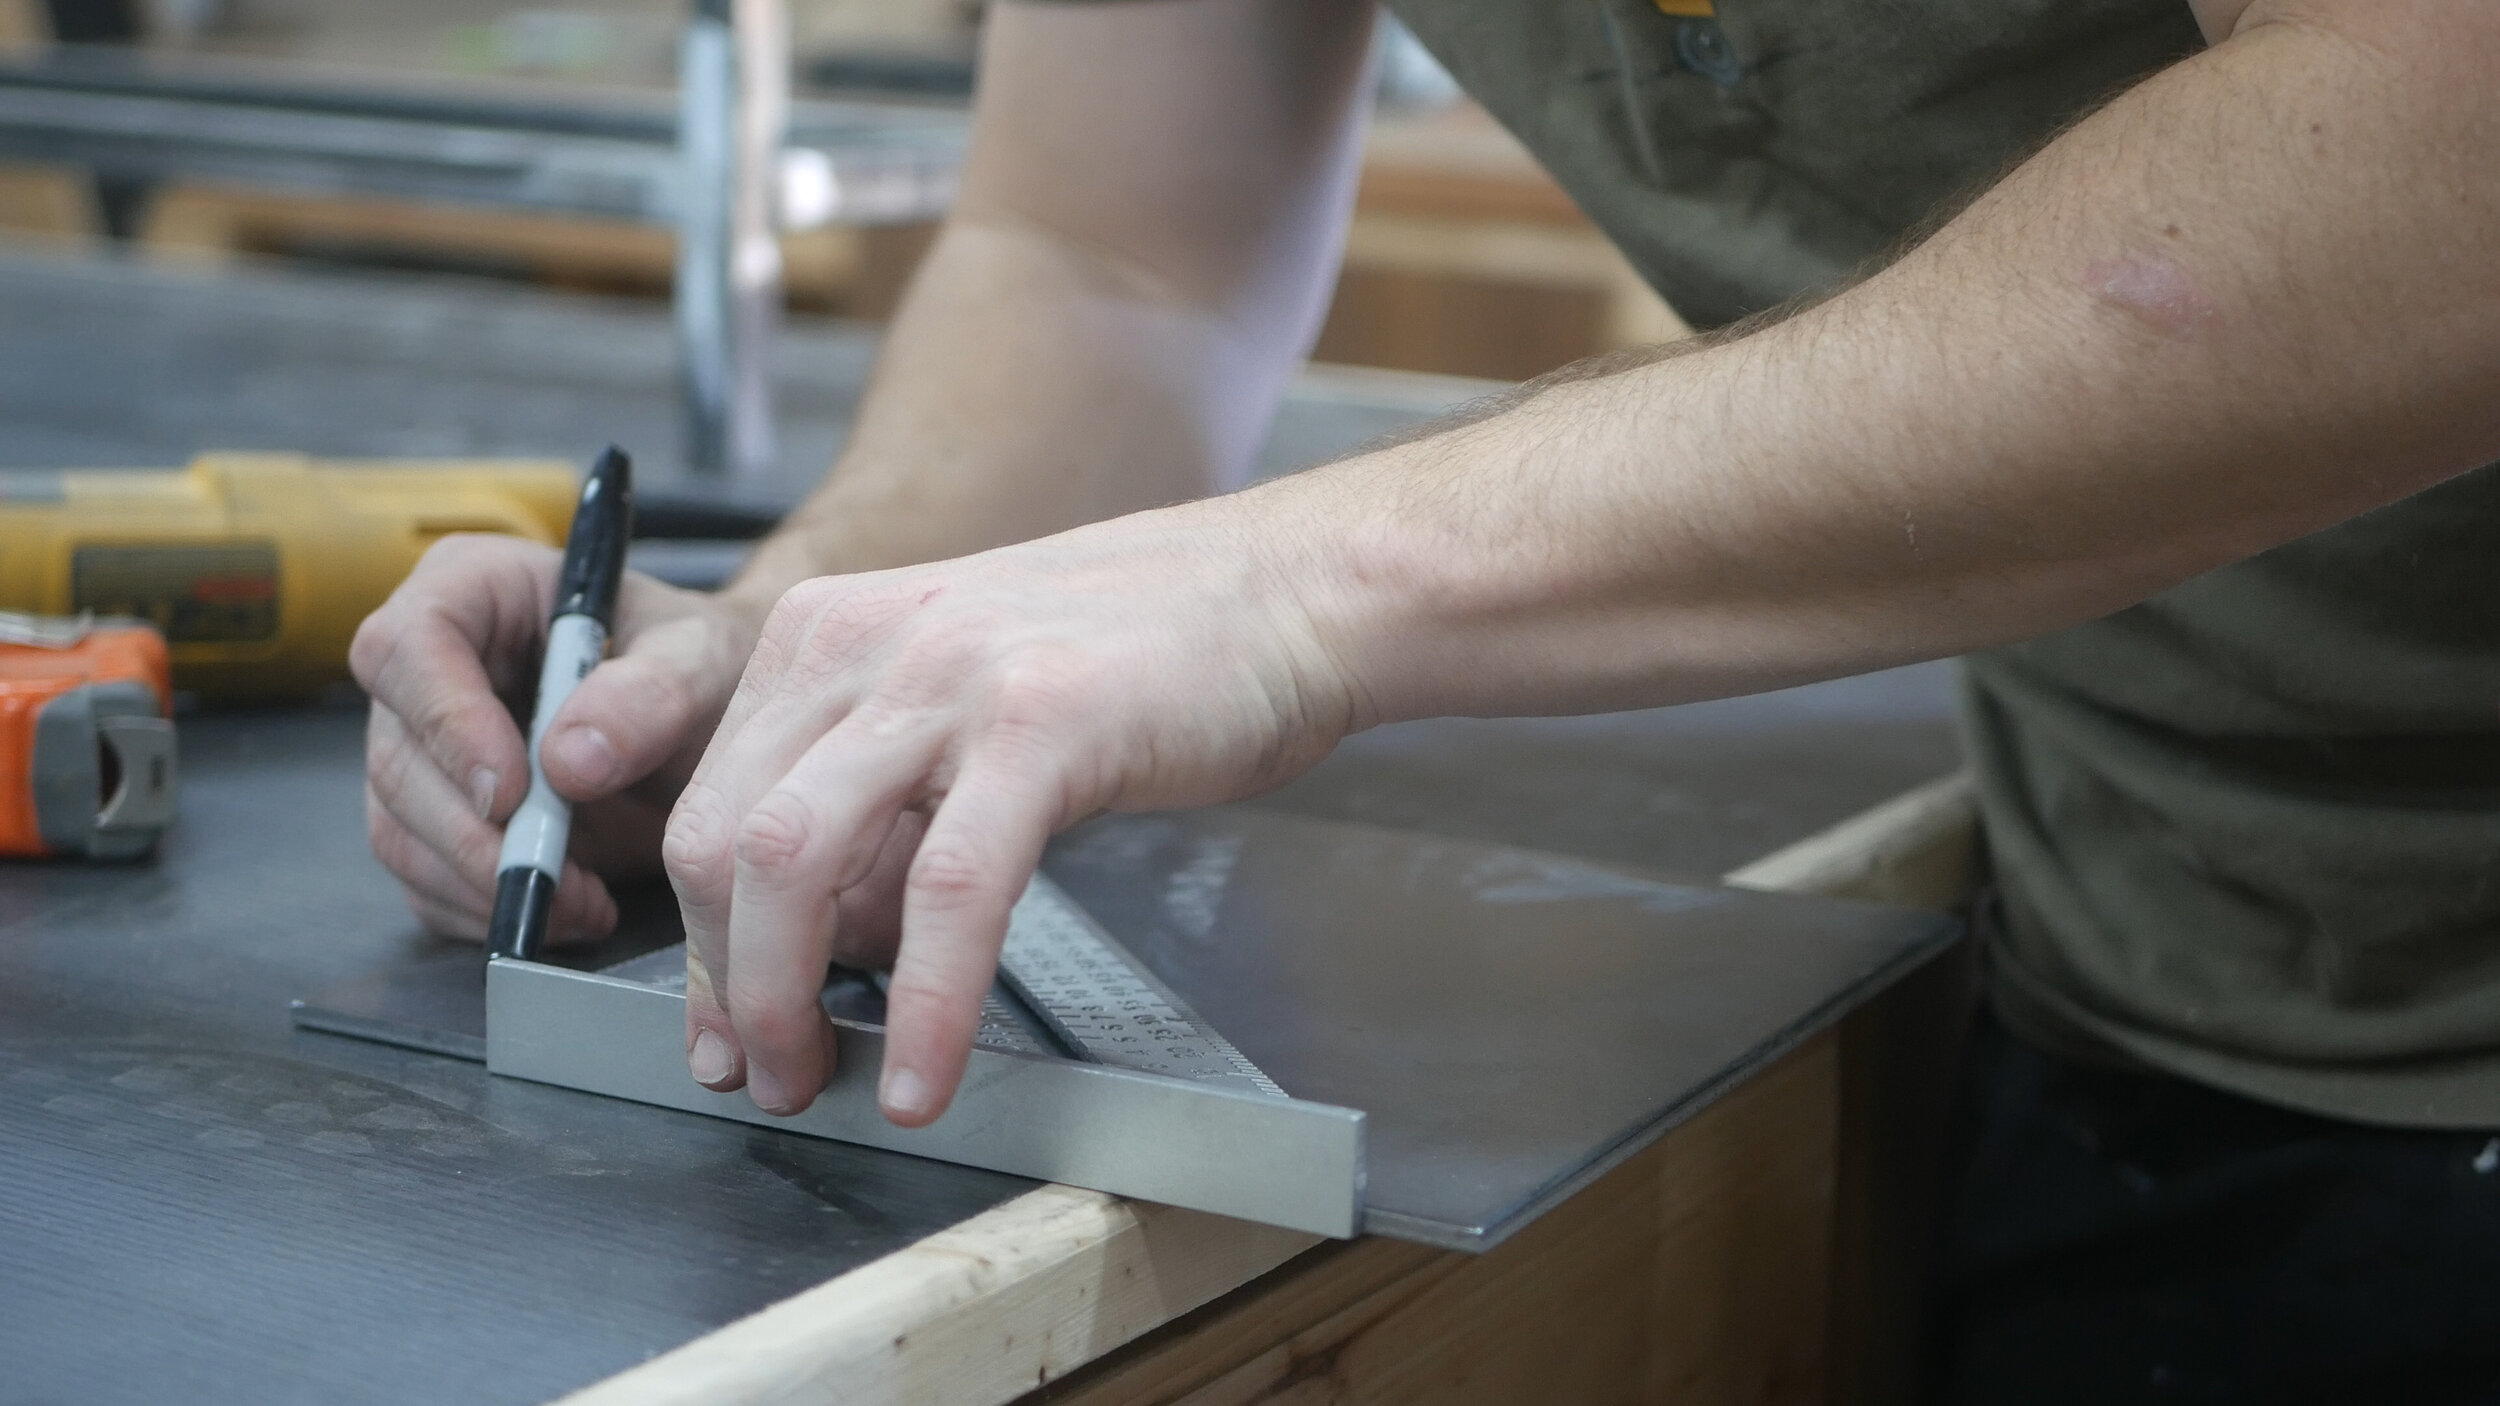
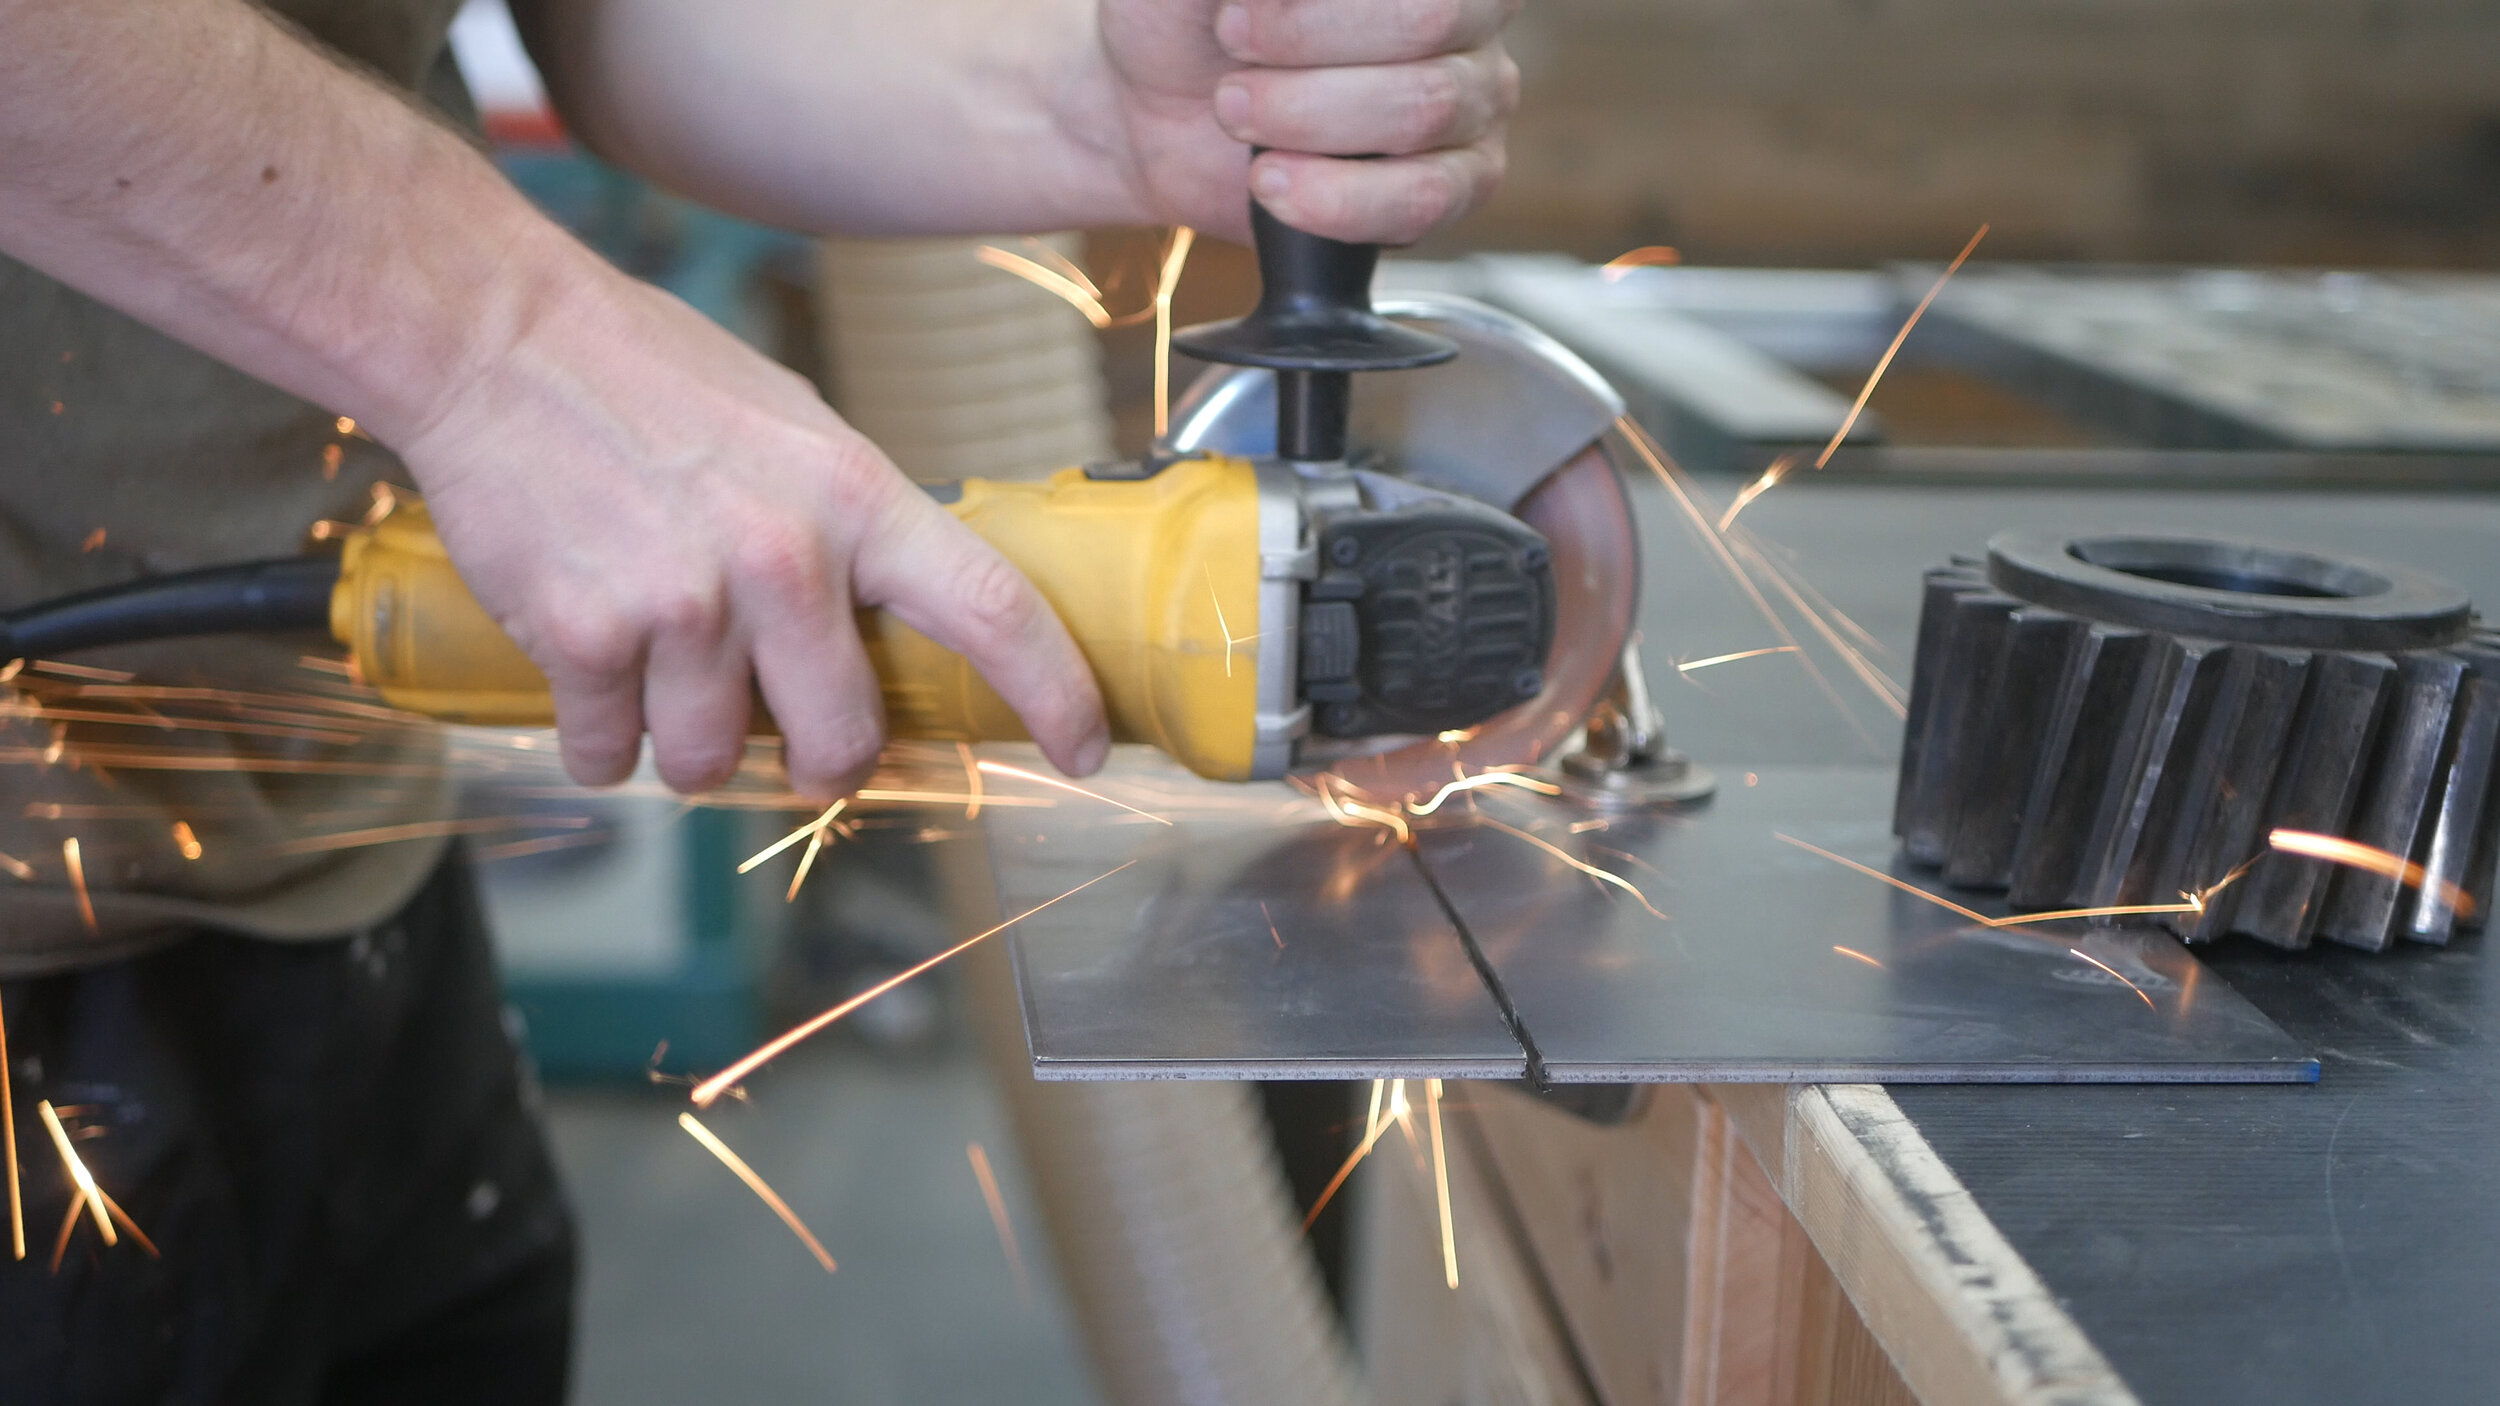
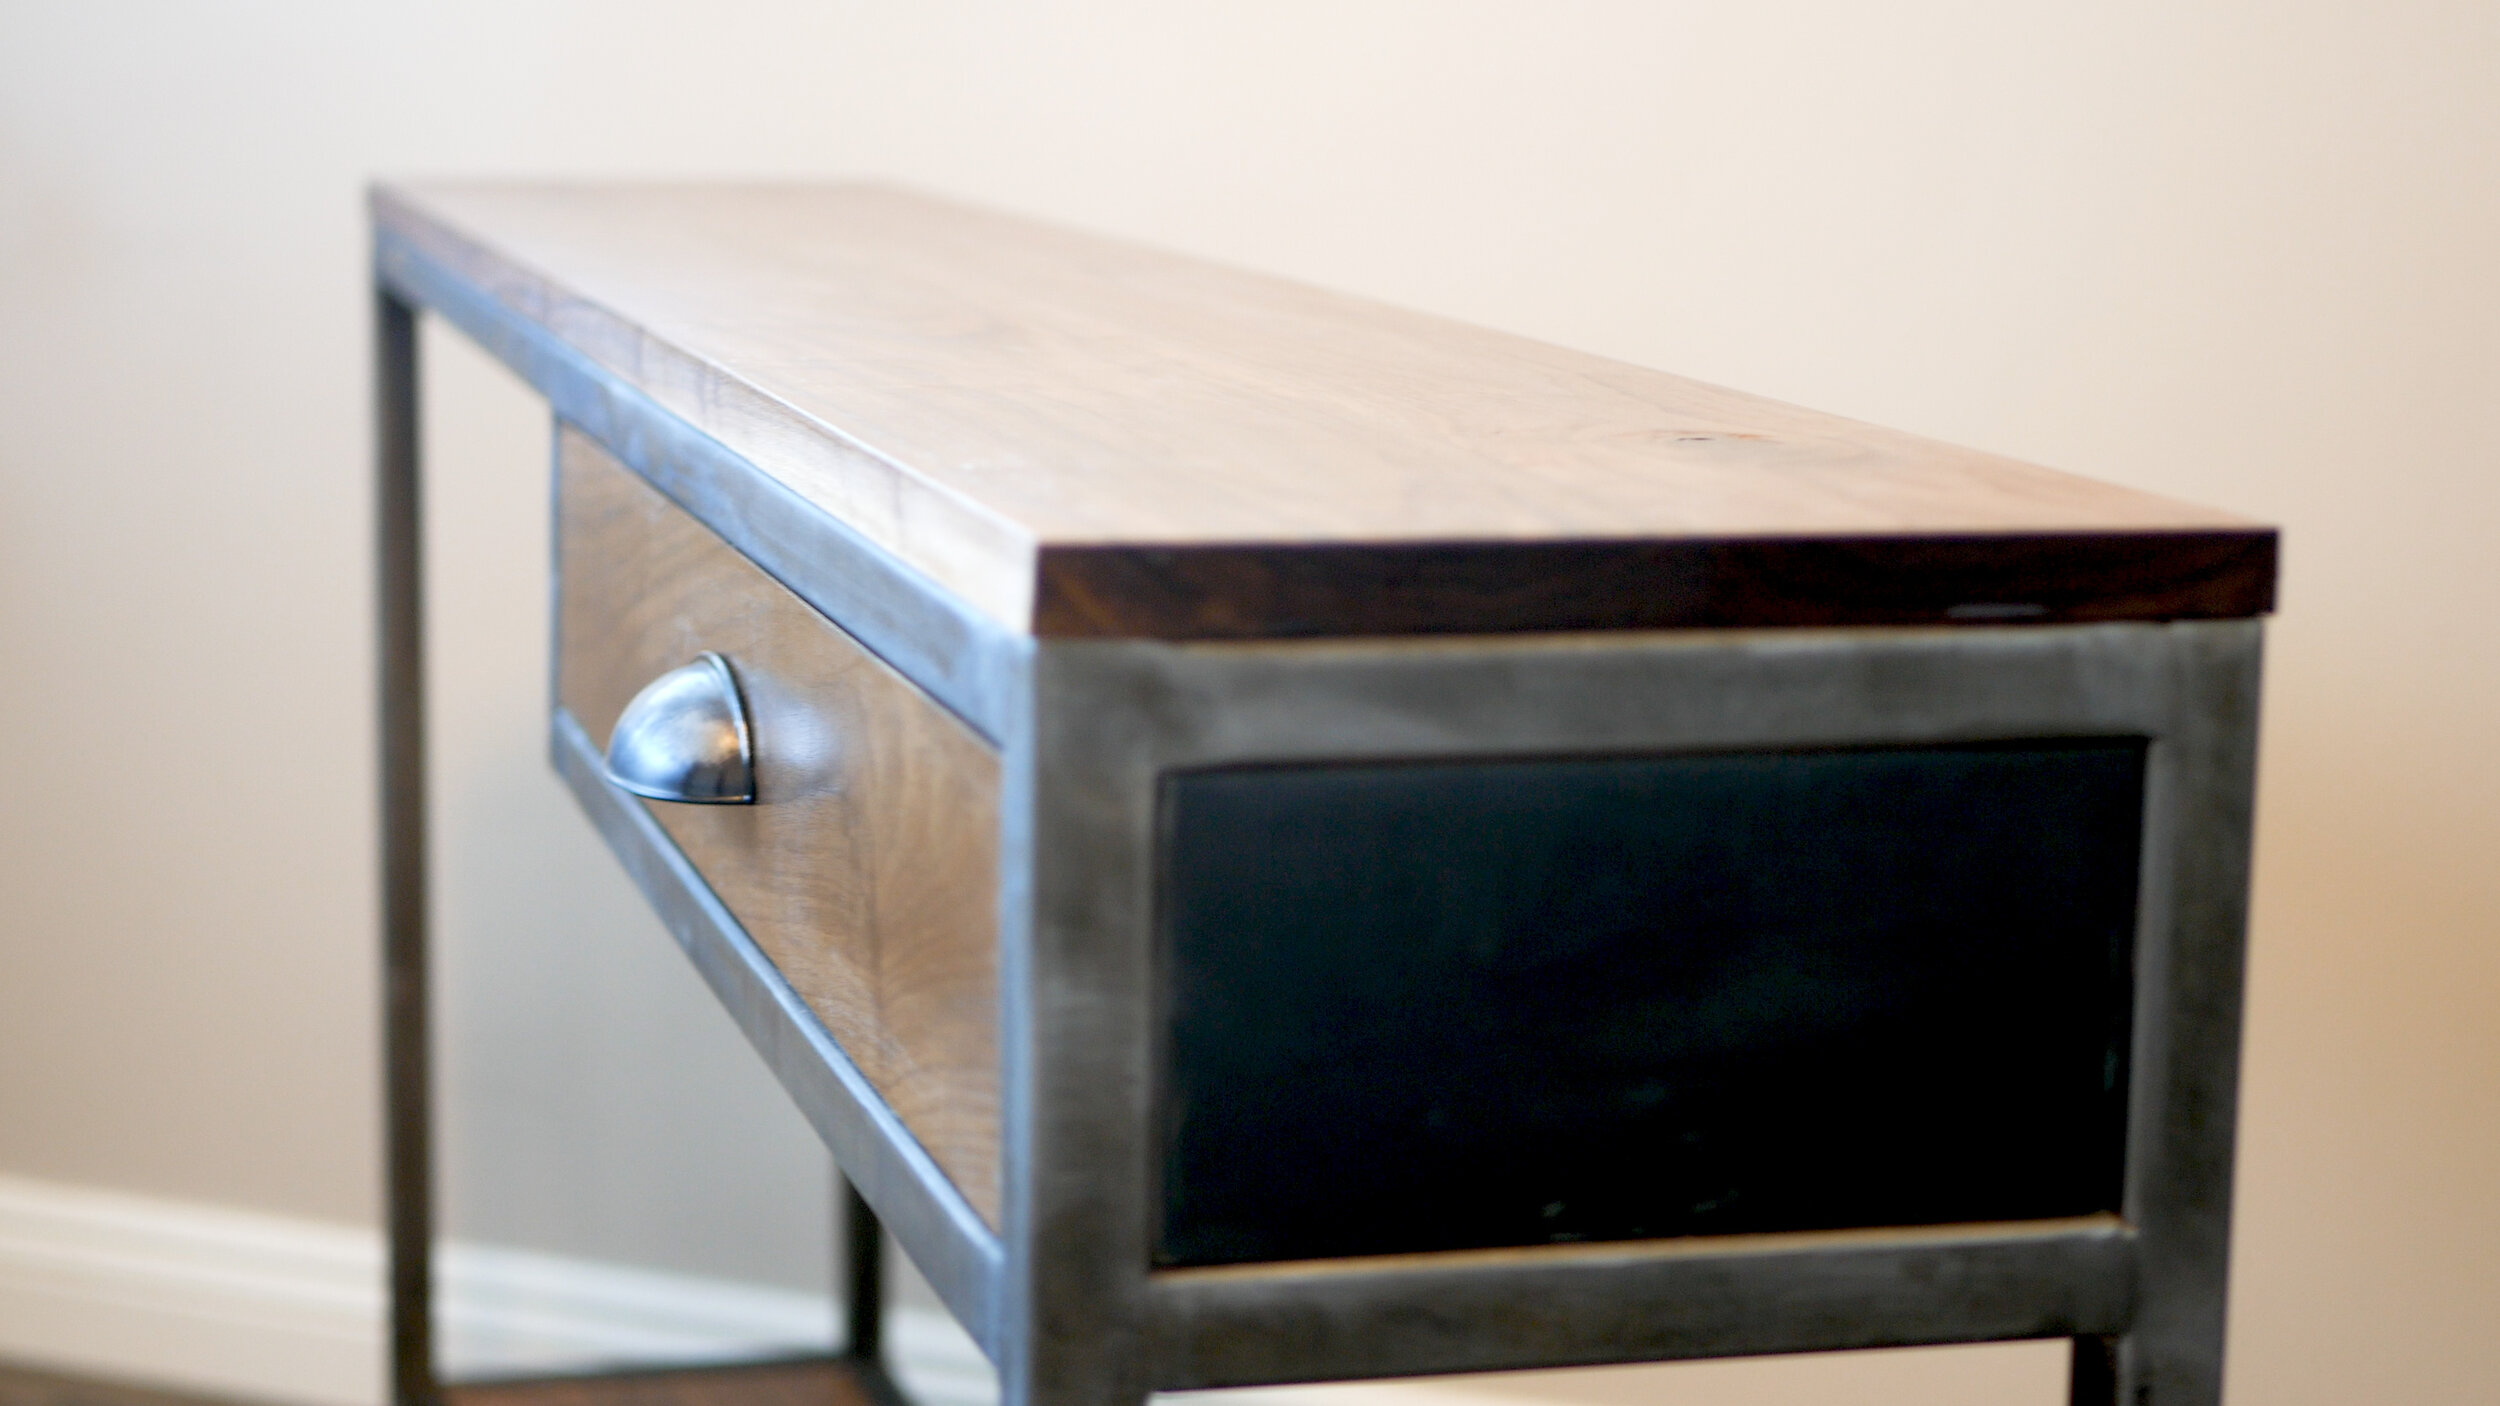
Both sides of the drawer had a large flat piece of steel sheeting on the inside of each - basically this would add to the aesthetic of the design but also hide the drawer slides and drawer. I marked out the sizes I needed on the flat piece of stock and cut out to size with my angle grinder and cutoff wheel. I then welded them into place from the inside which was great because you’d never see these welds and thus I didn’t even bother to clean them up.
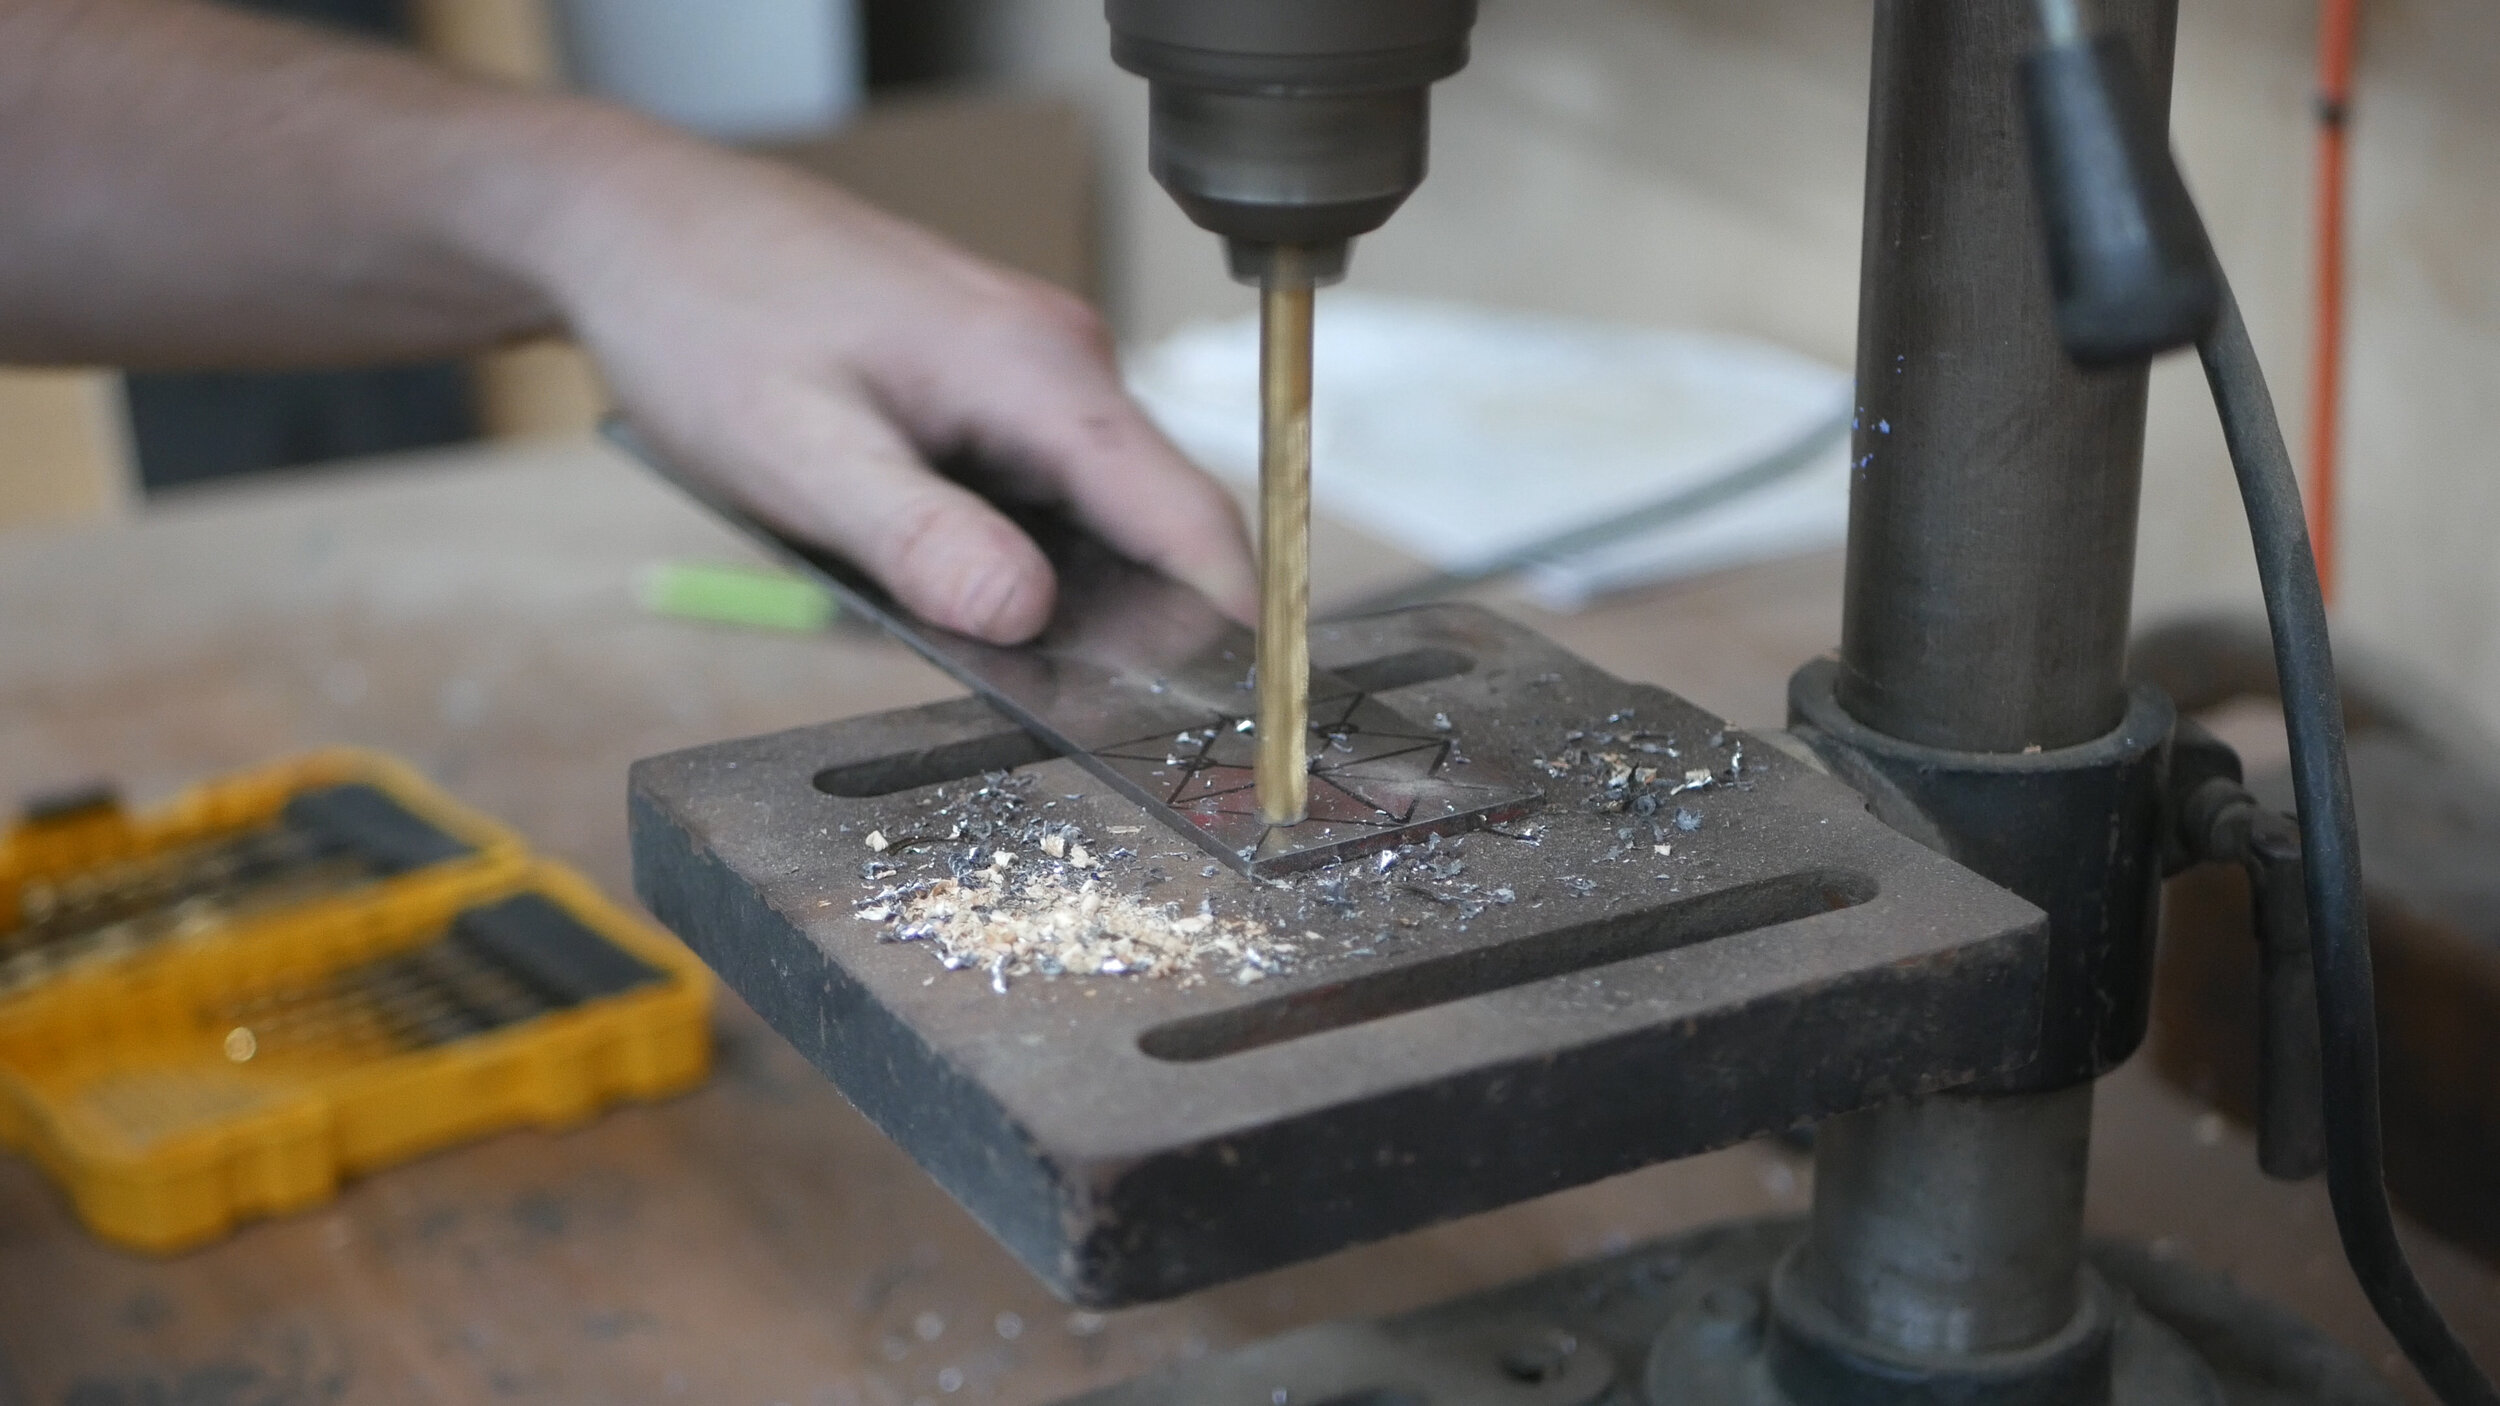
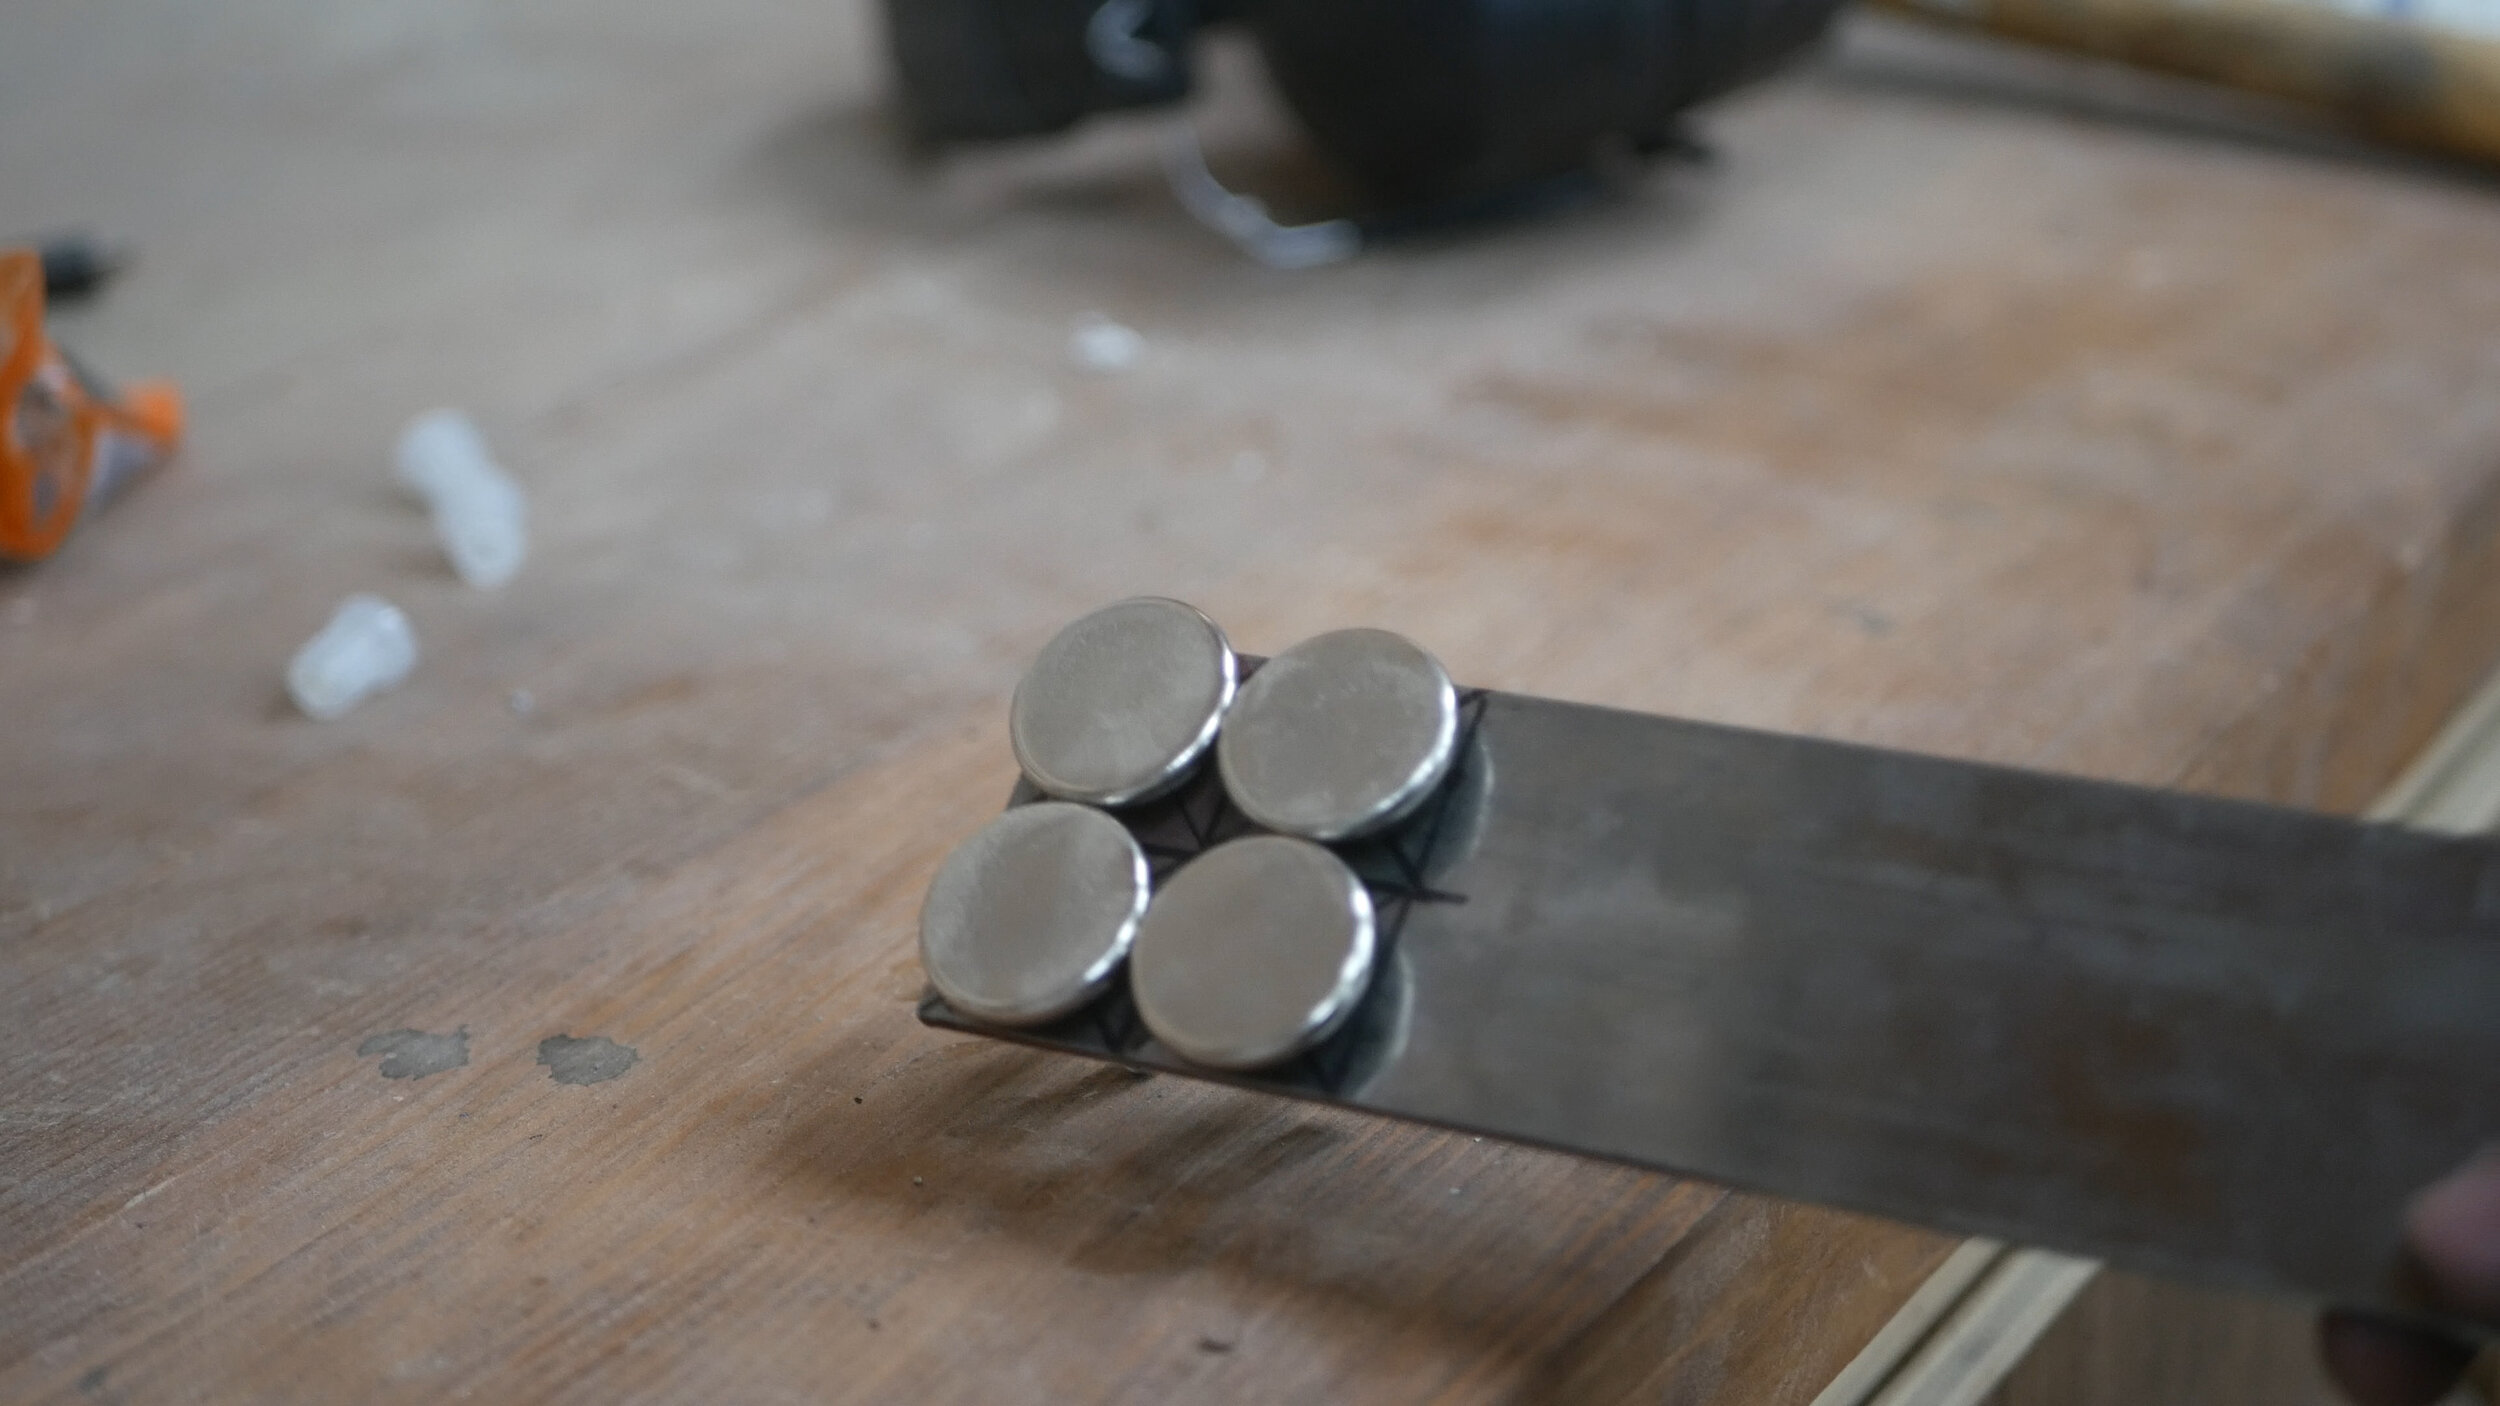
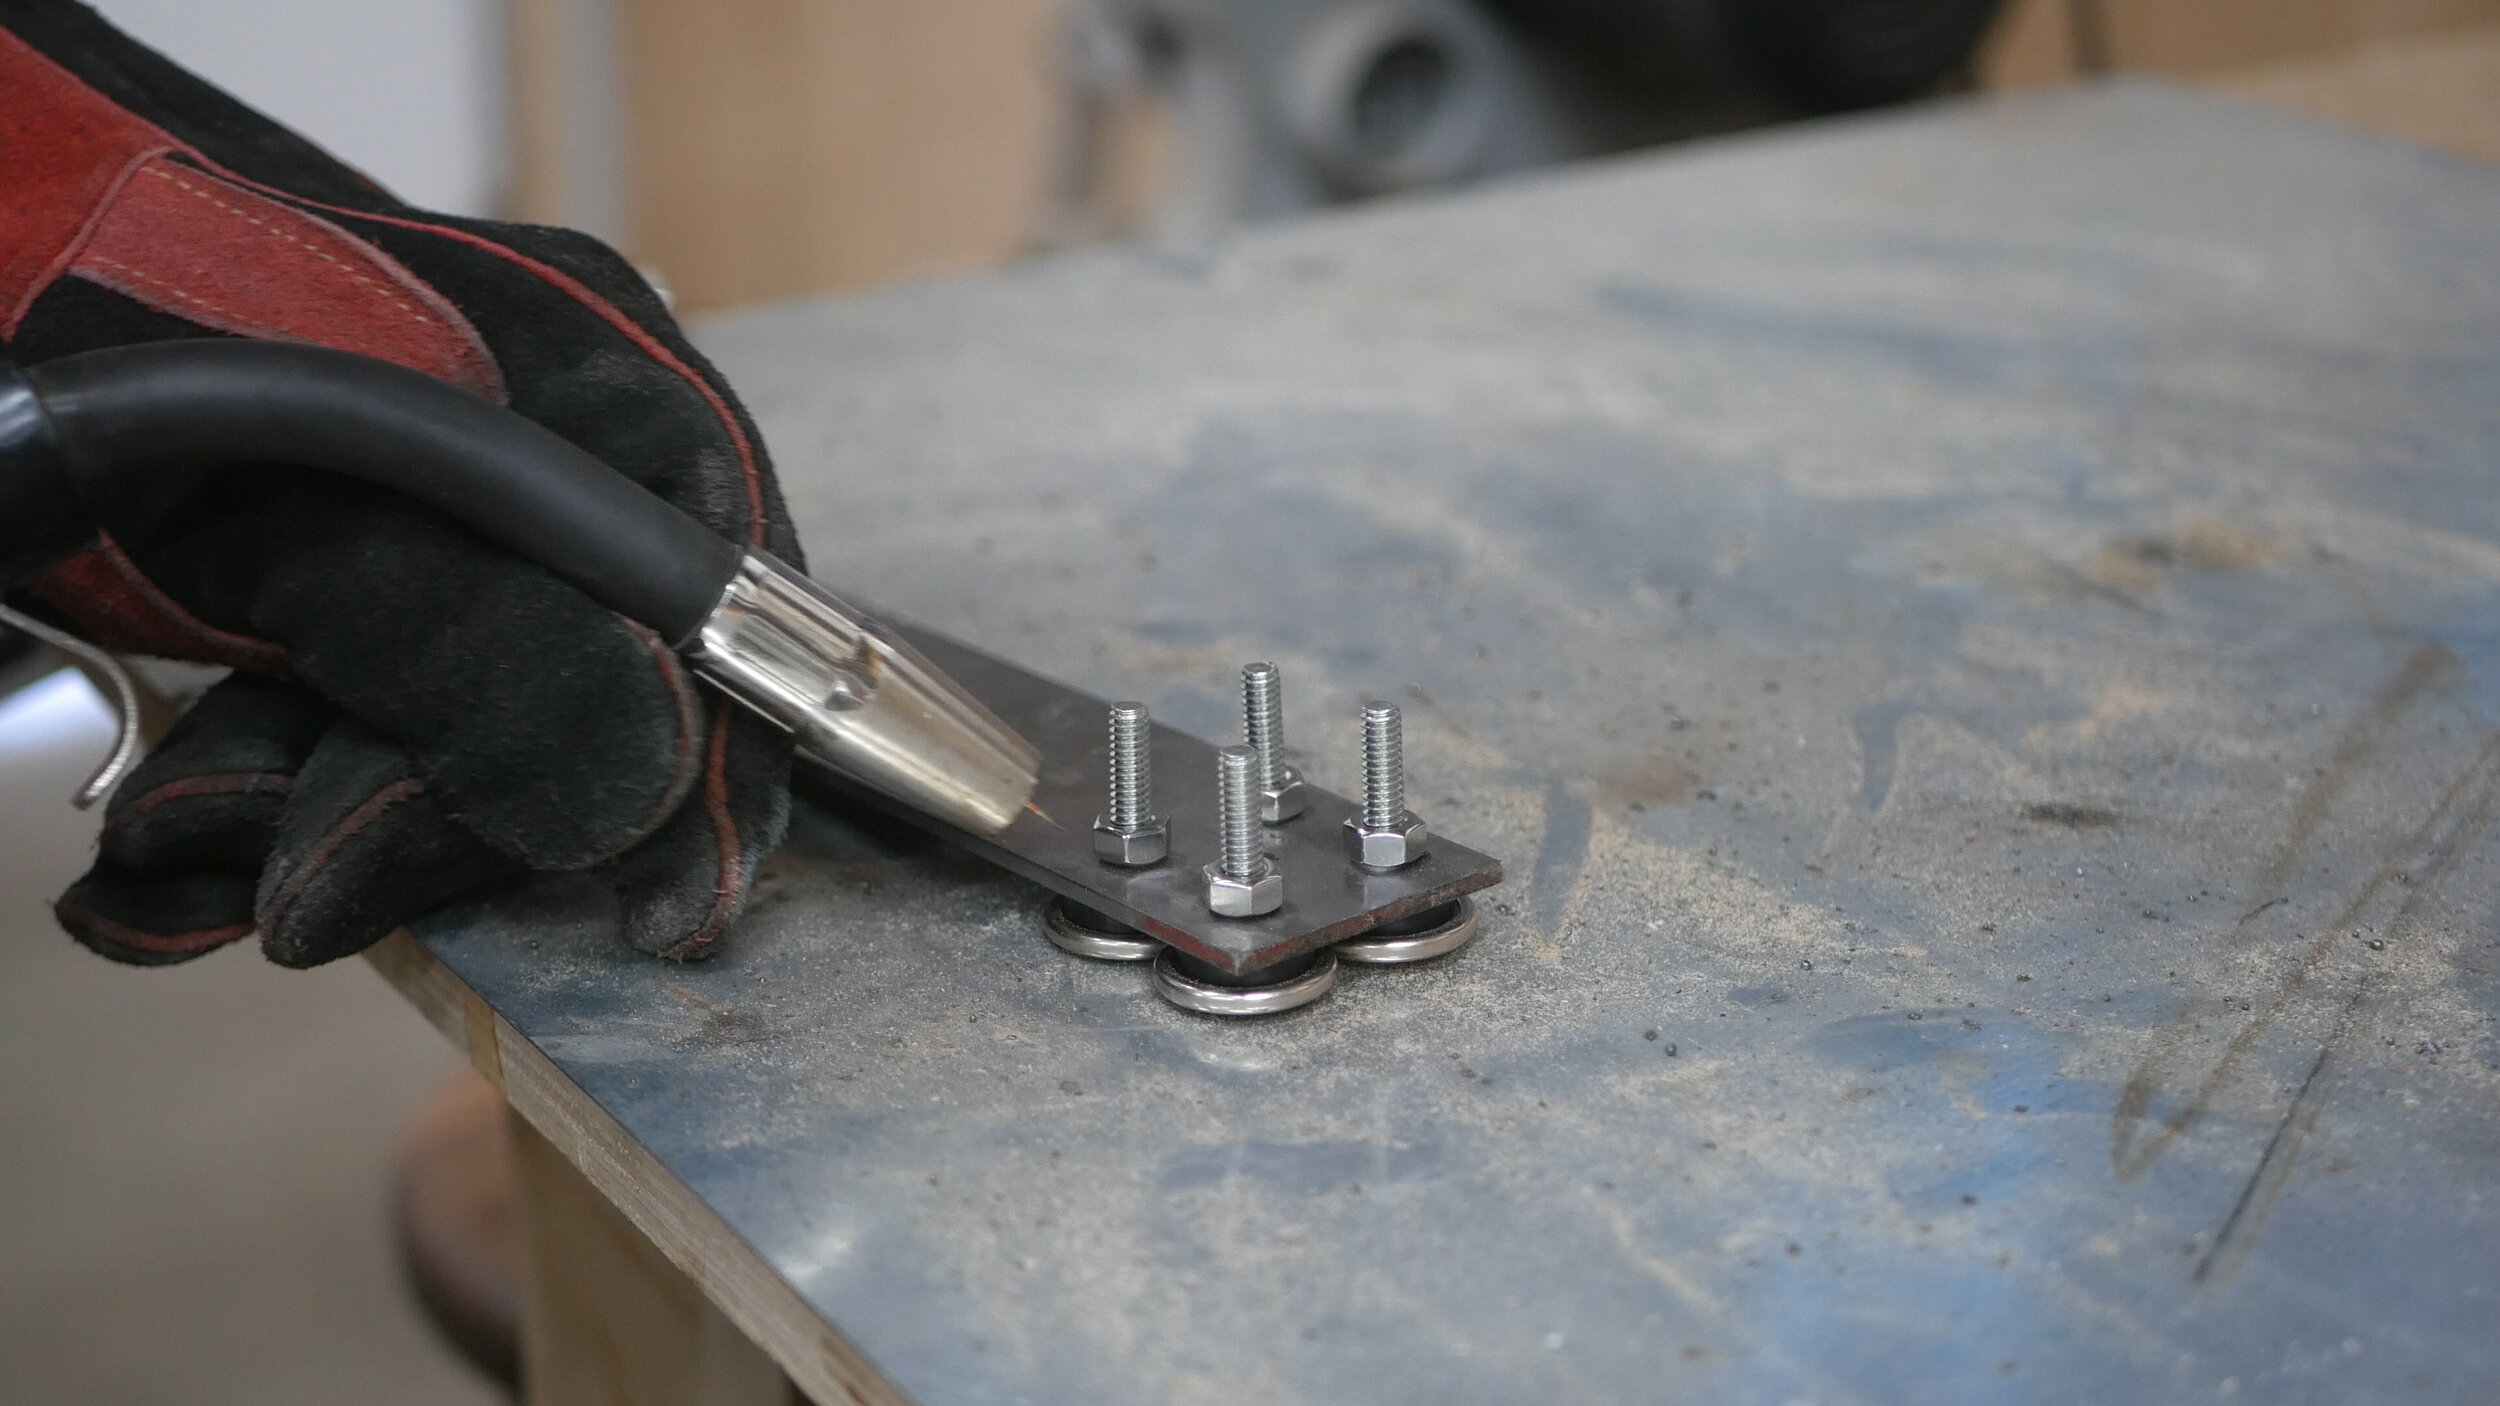

In order to account for uneven floors or small errors in the squareness of my welding, I wanted to add leveling feet to the bottom of each leg - plus it will protect the floor. I measured out four 1” squares on a flat piece of stock, drilled holes at the center of each square, dropped in the feet, and tightened them to the steel with corresponding nuts. I then welded each nut in place.
These were stainless steel so they gave off some harmful fumes. I was aware of this, but just as a warning, avoid welding stainless steel where possible, and if you do, do it in a well ventilated area.
I then unscrewed the feet from the piece and tackle each flat square into place that also now had the corresponding nut. Once they were in place, I ground down the weld, and now had places to insert leveling feet at each end.

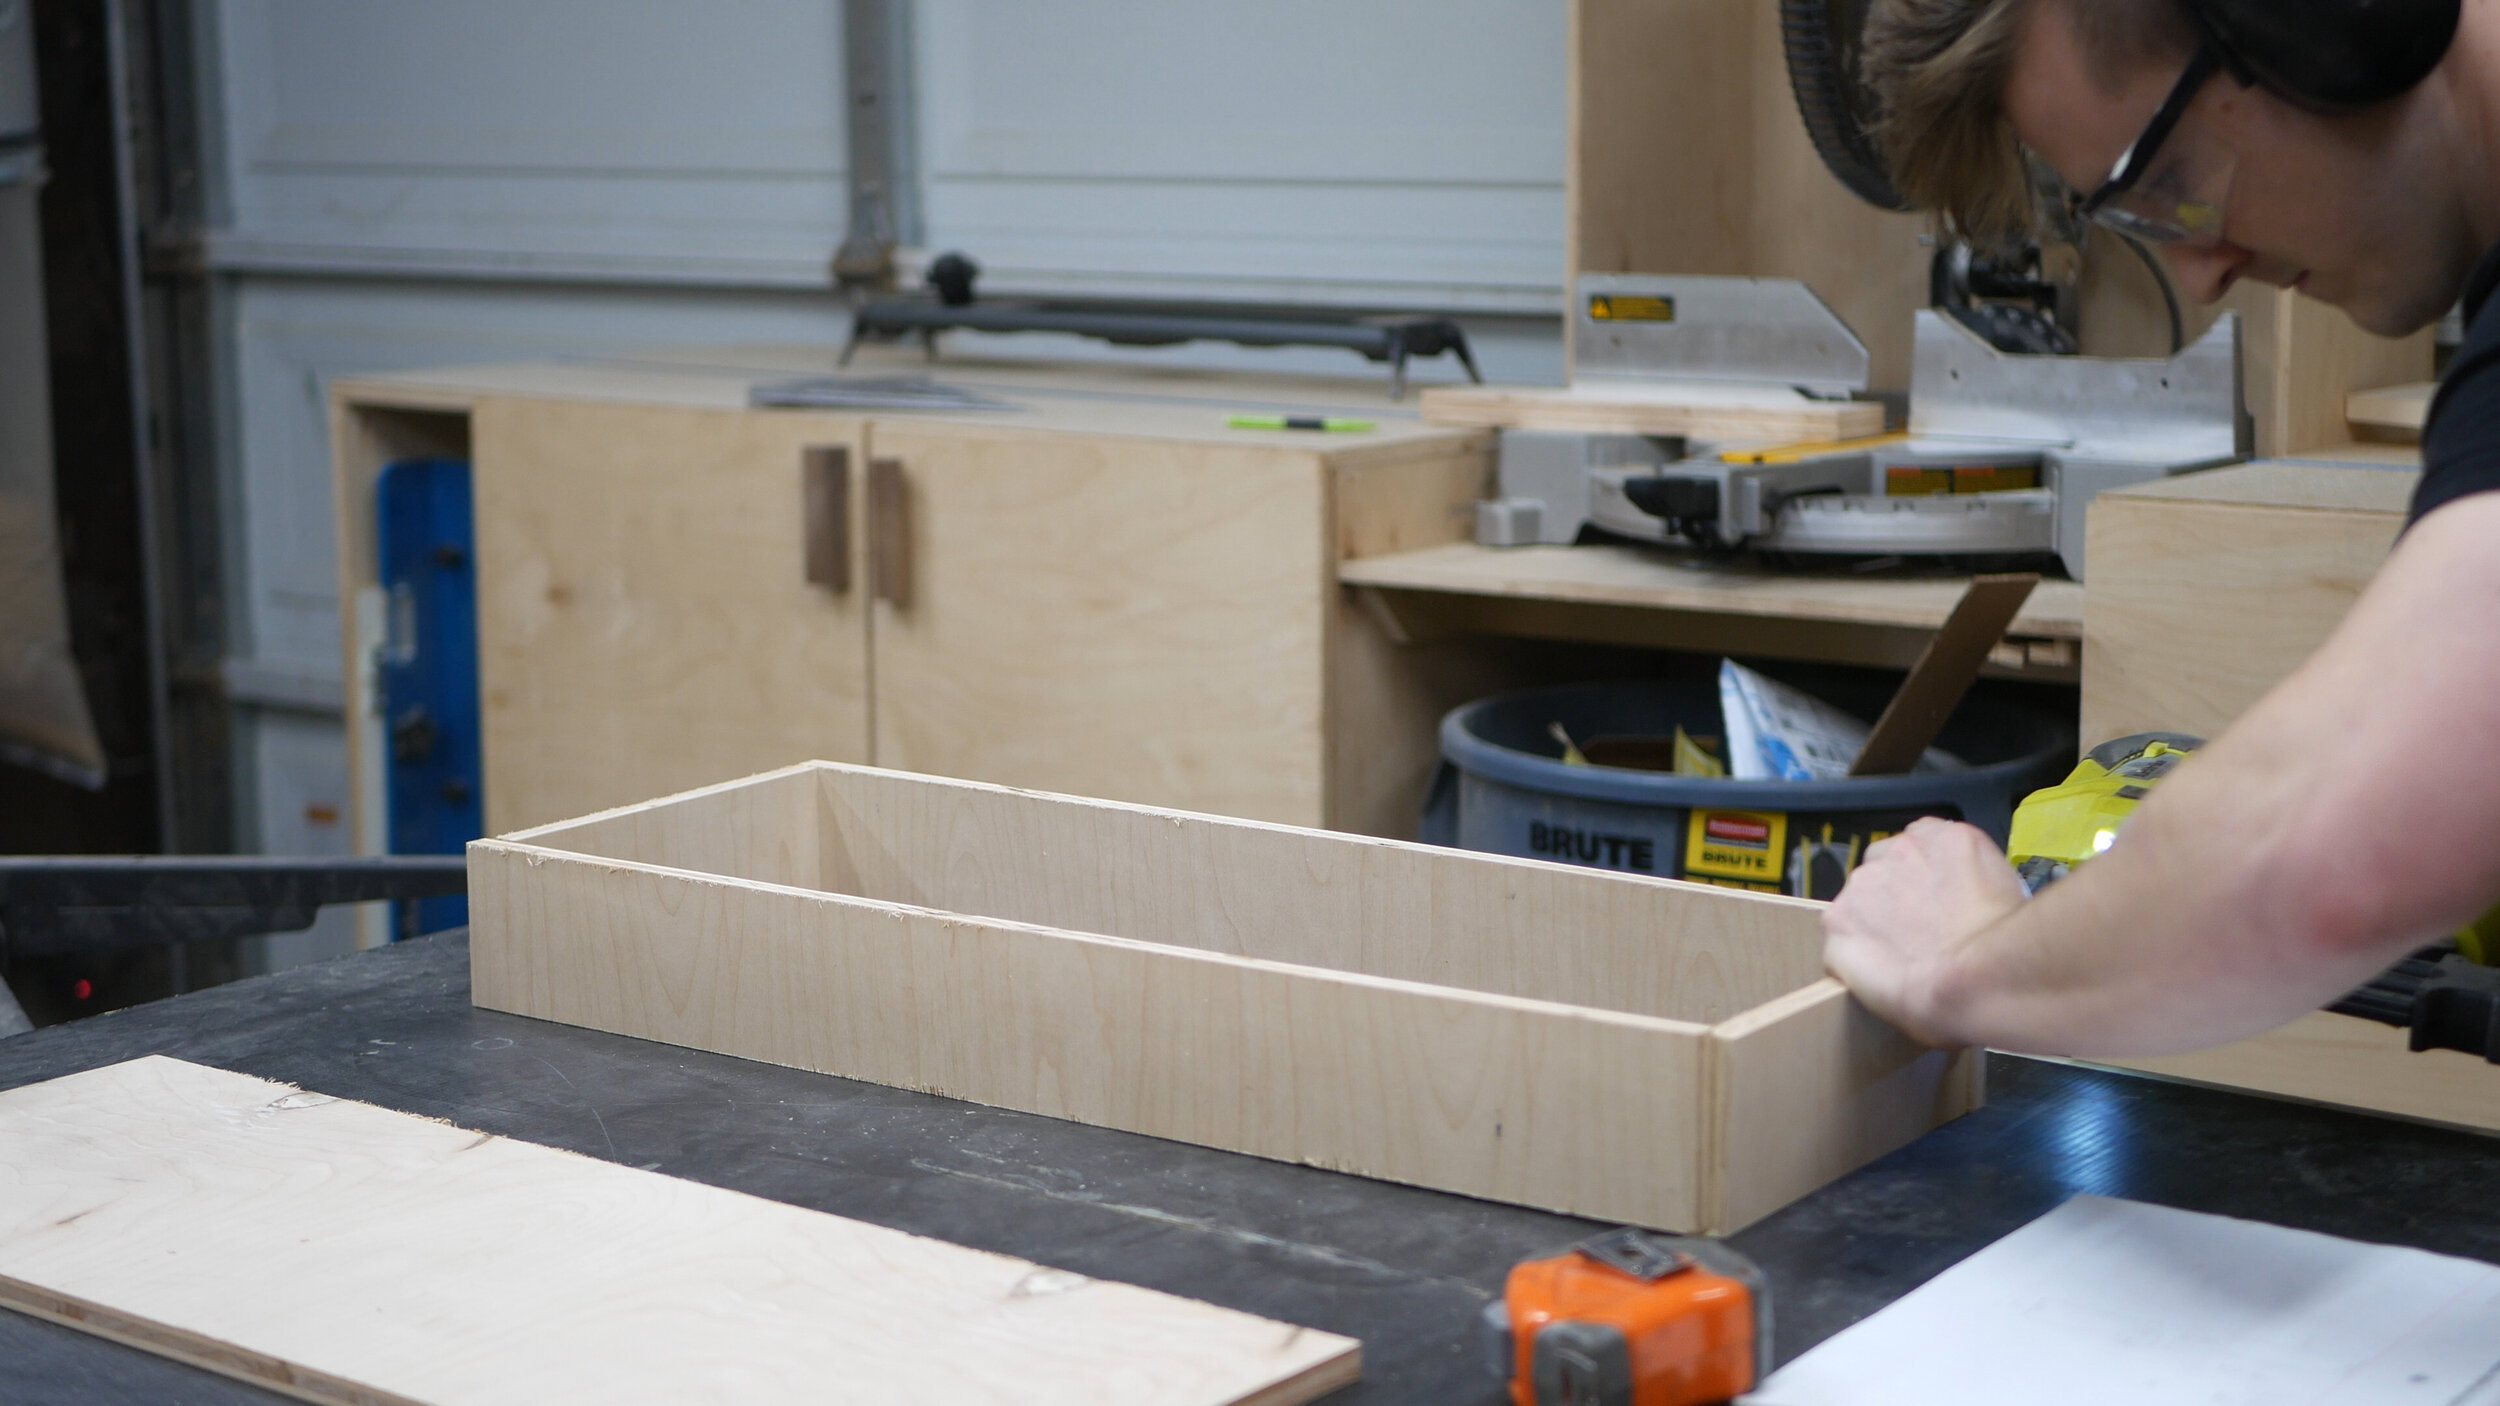
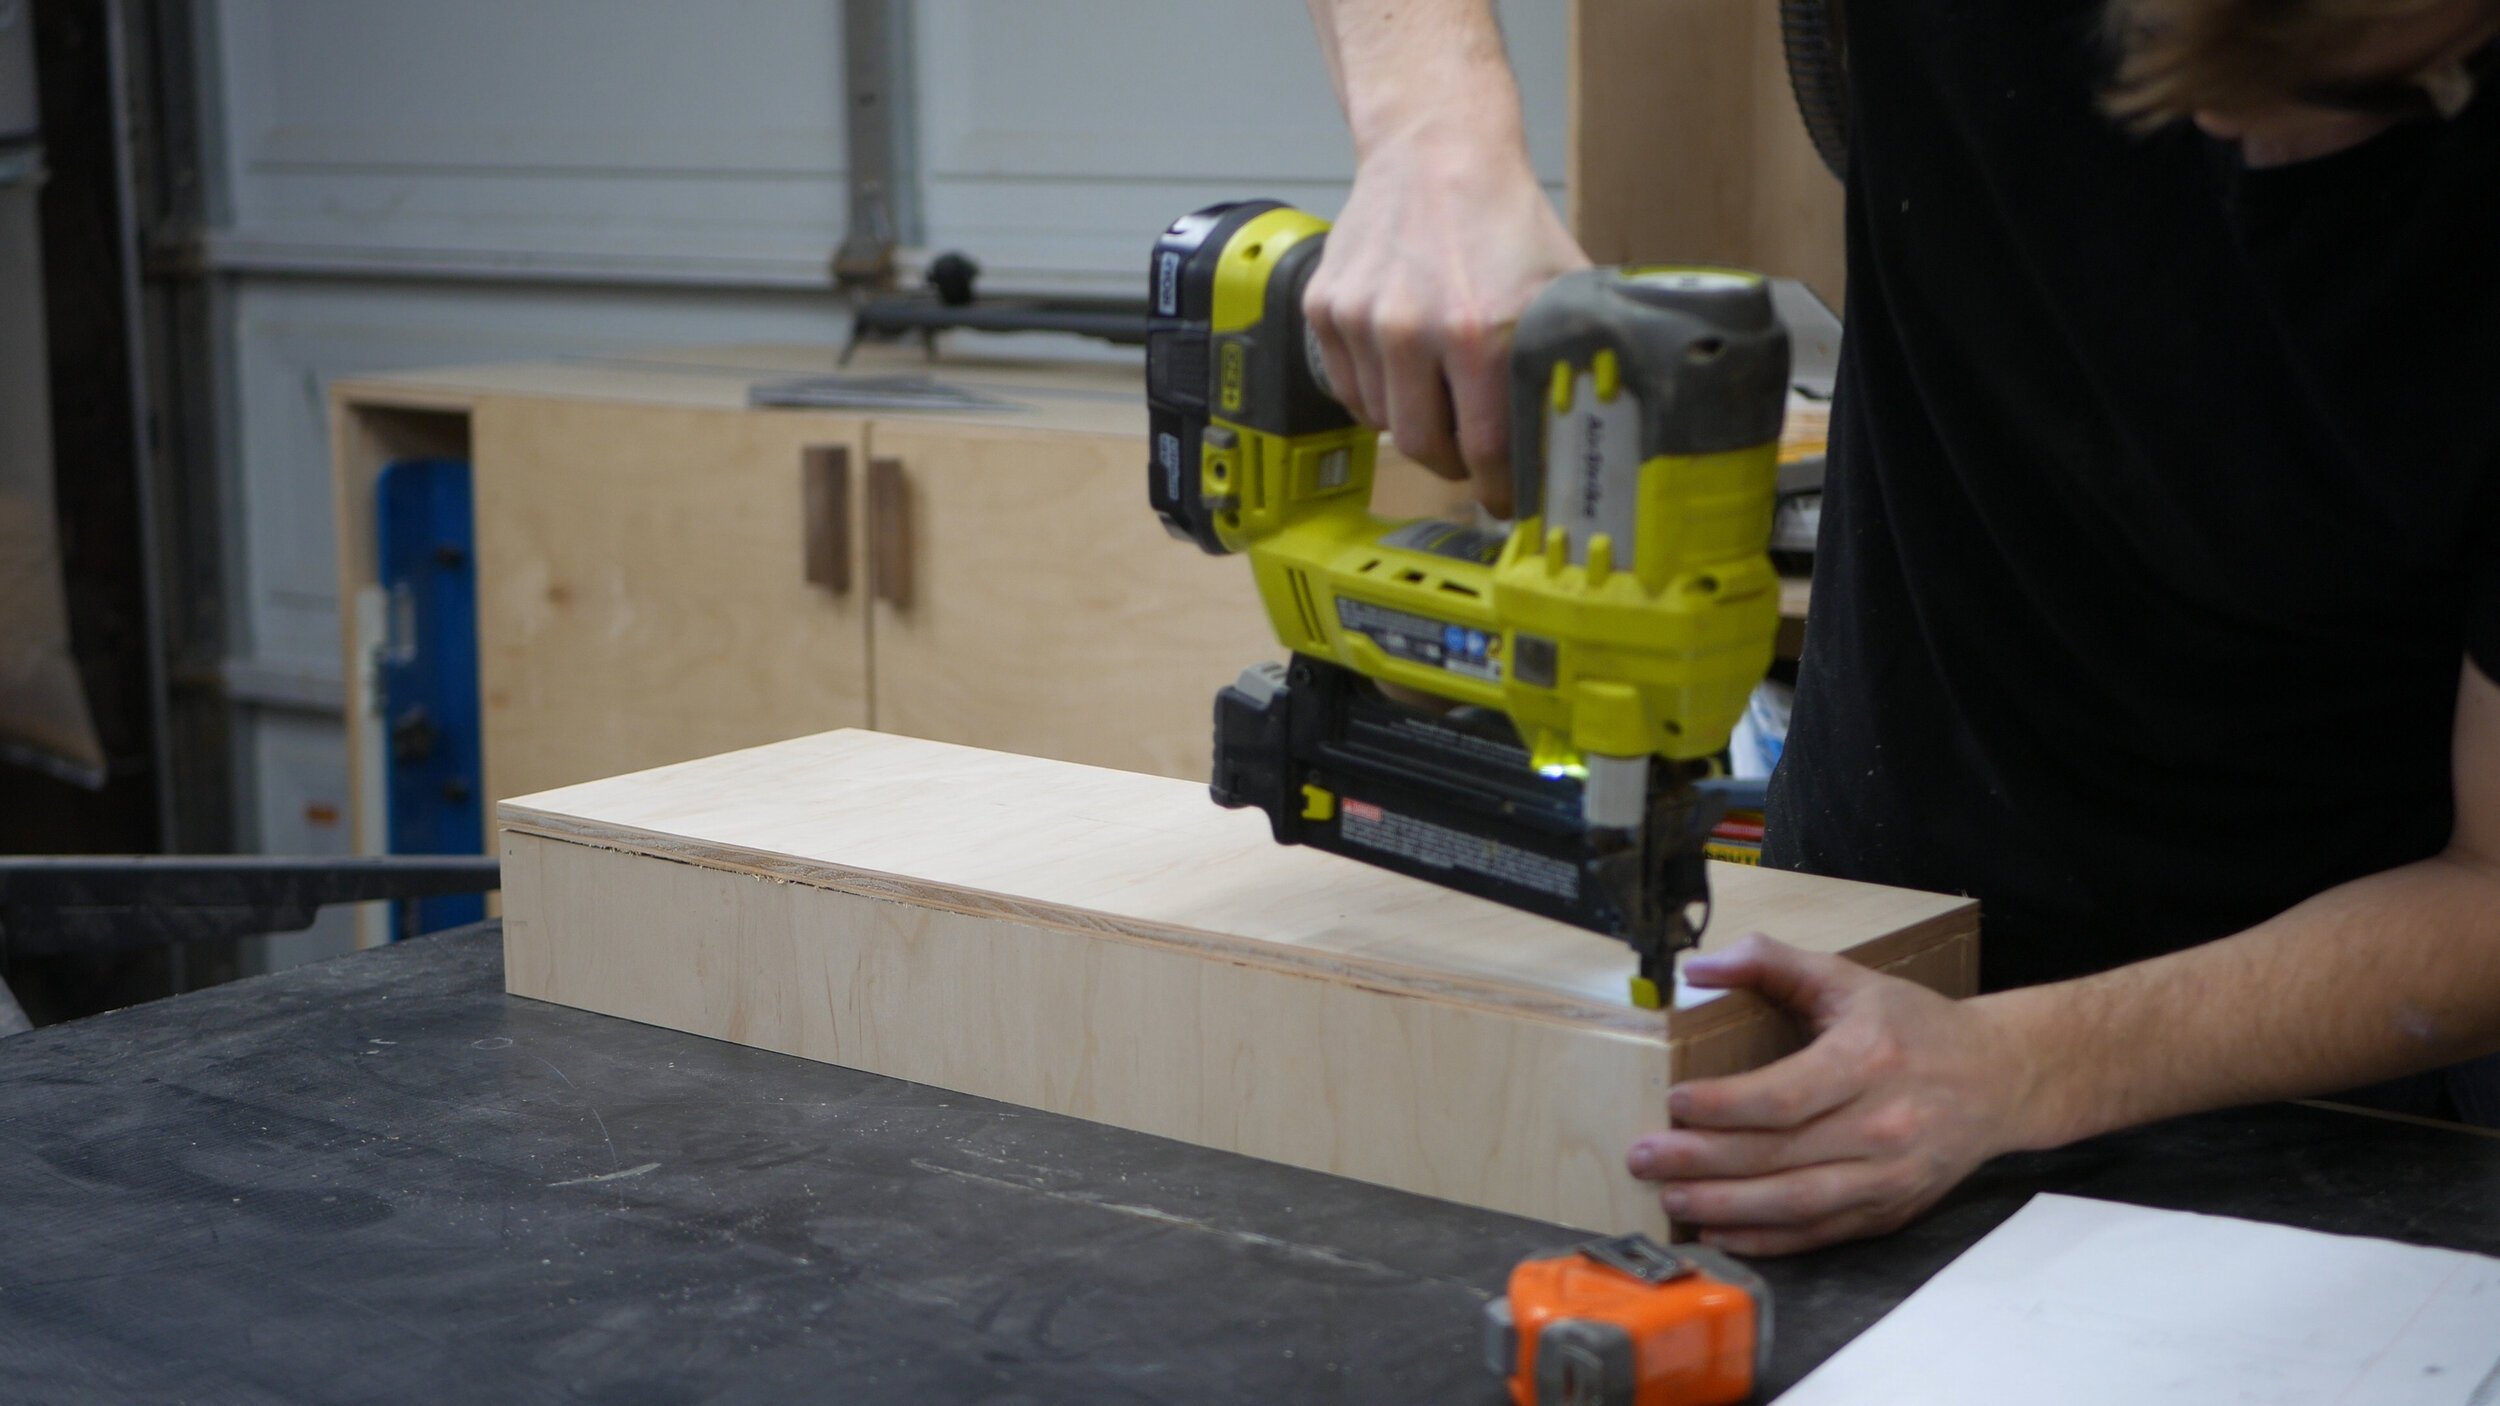
Now that welding was 99% finished, I turned my attention to the drawer. This was build from scrap half inch maple plywood. I ripped it to size on the table saw and used a mixture of my miter saw and miter gauge to cut the five pieces to their final length. I them assembled with glue and brad nails - this would barely be holding anything heavy so this was plenty to hold it all together!
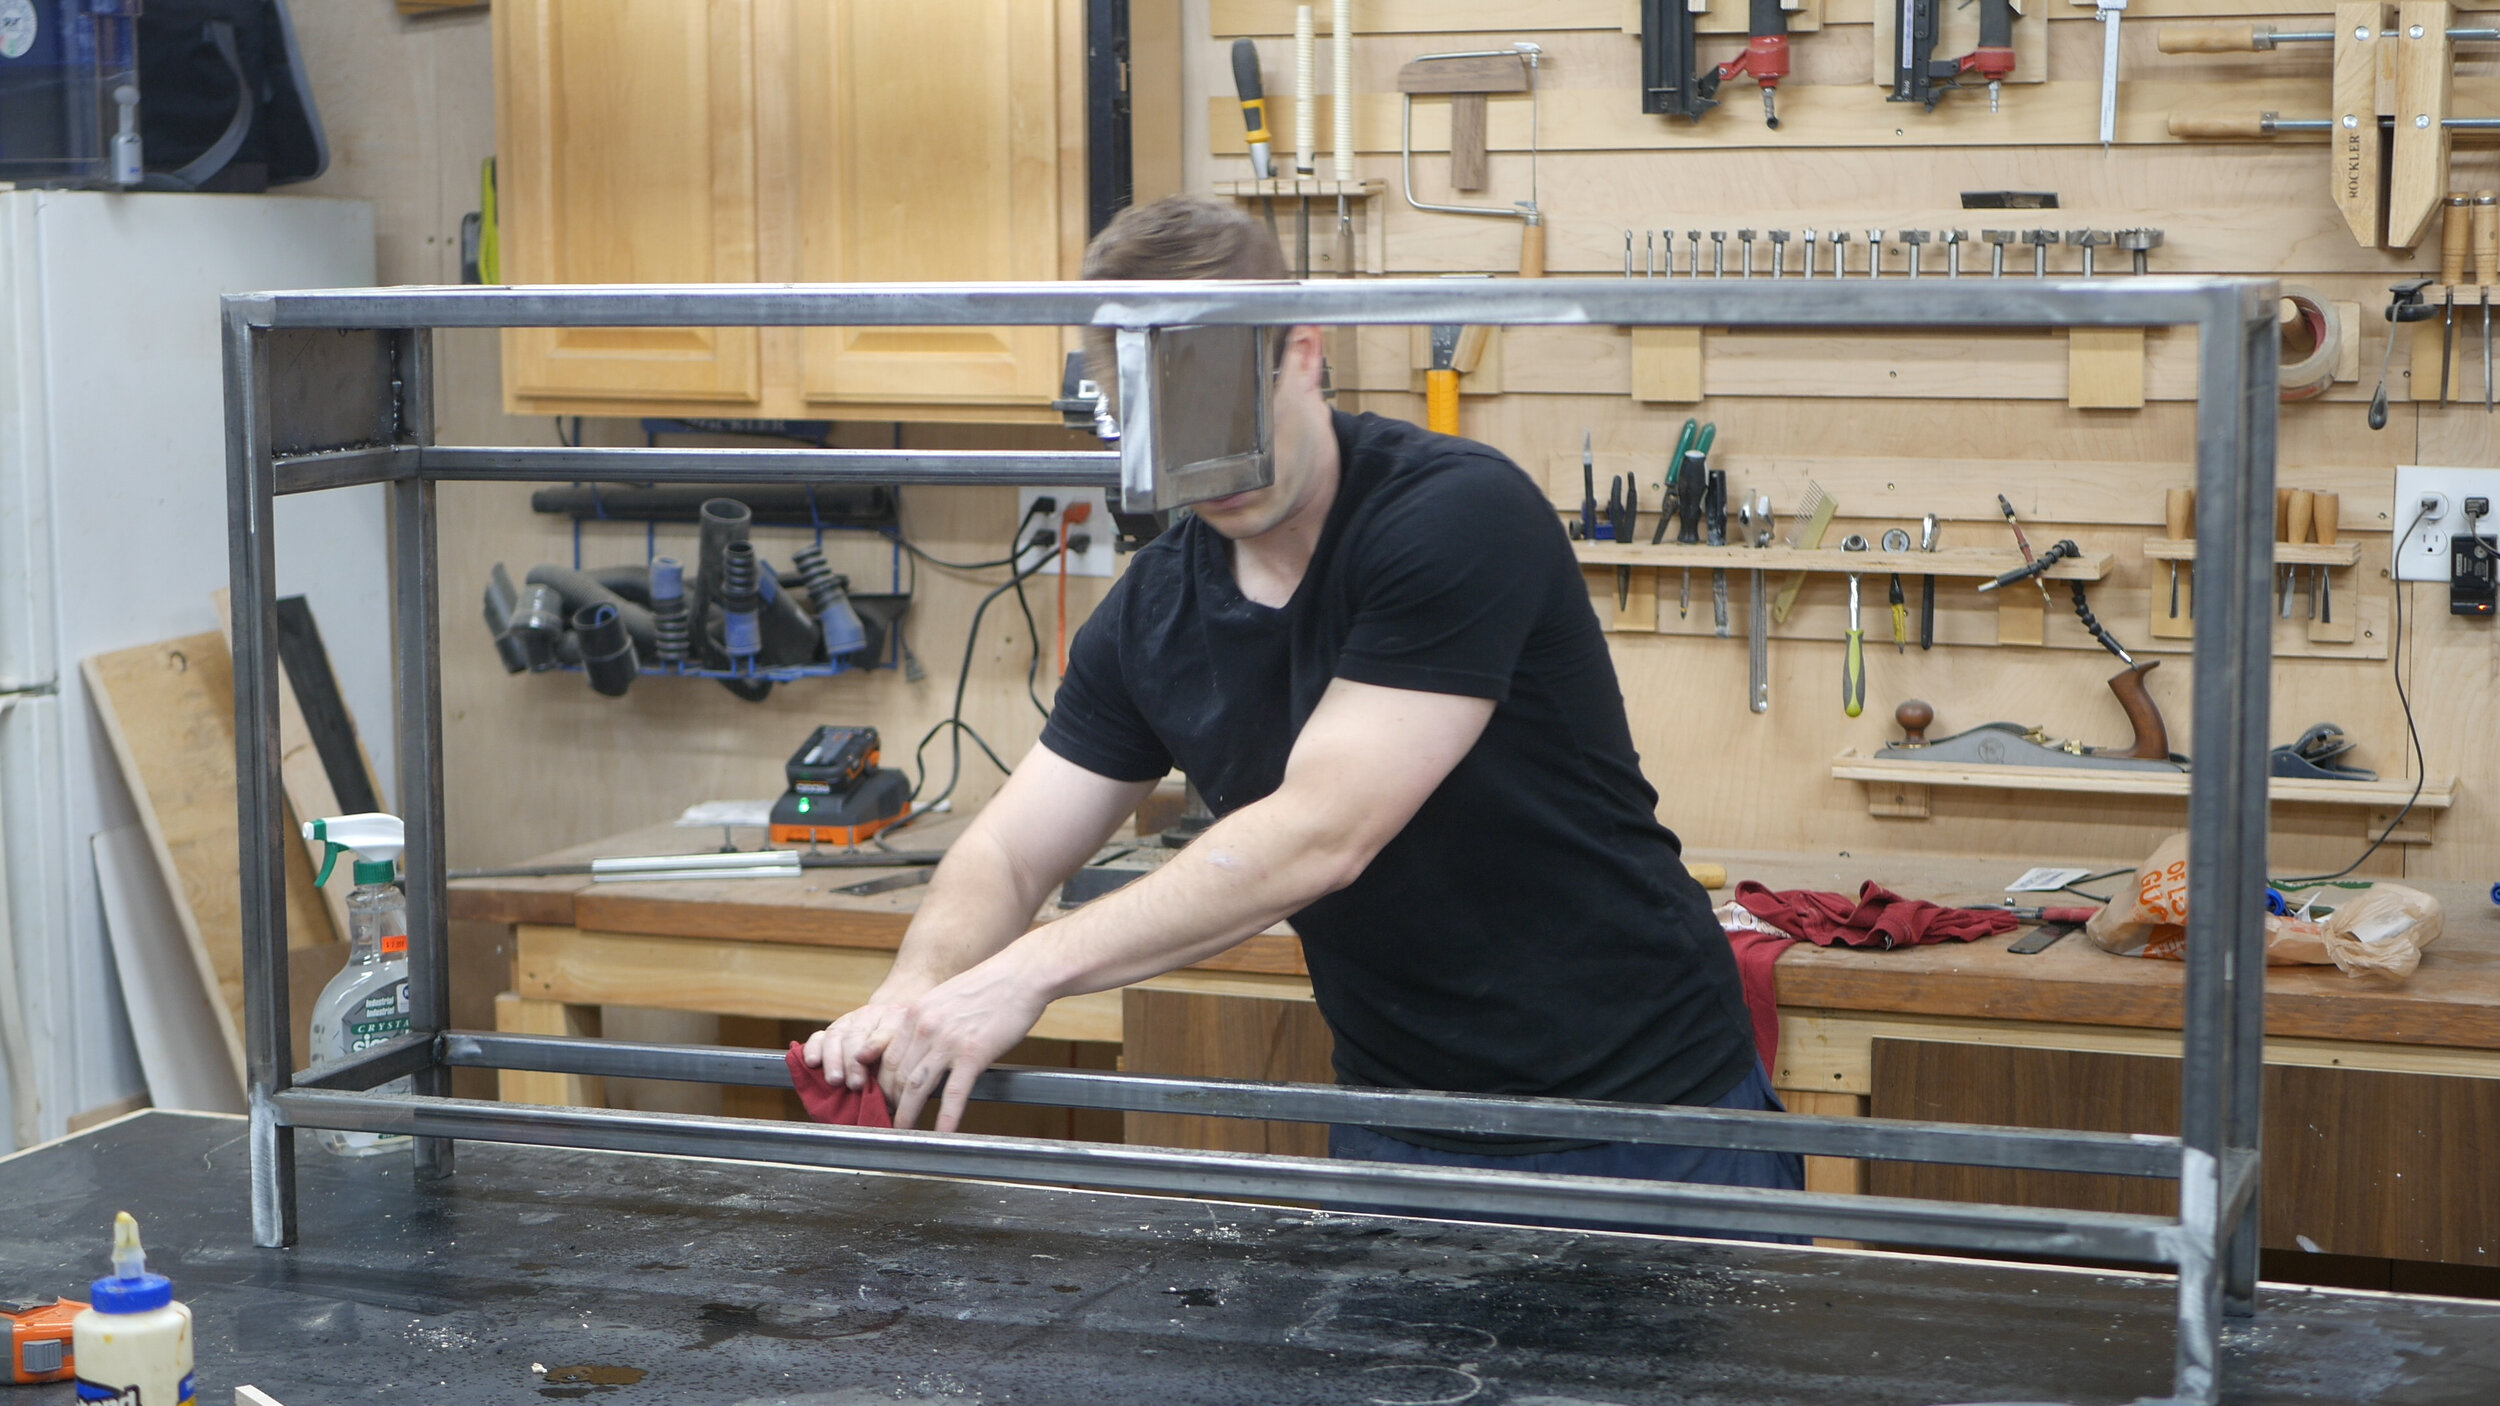
My plan all along was to blacken the steel using a patina - a first for me. in order to prep for this, I did as much homework as possible and learned a few things.
The surface should be as clean as possible, so make sure to degrease it
The surface should be sanded and free of rust so the metal is of an even consistency on the surface - that allows the patina to attach evenly to it.
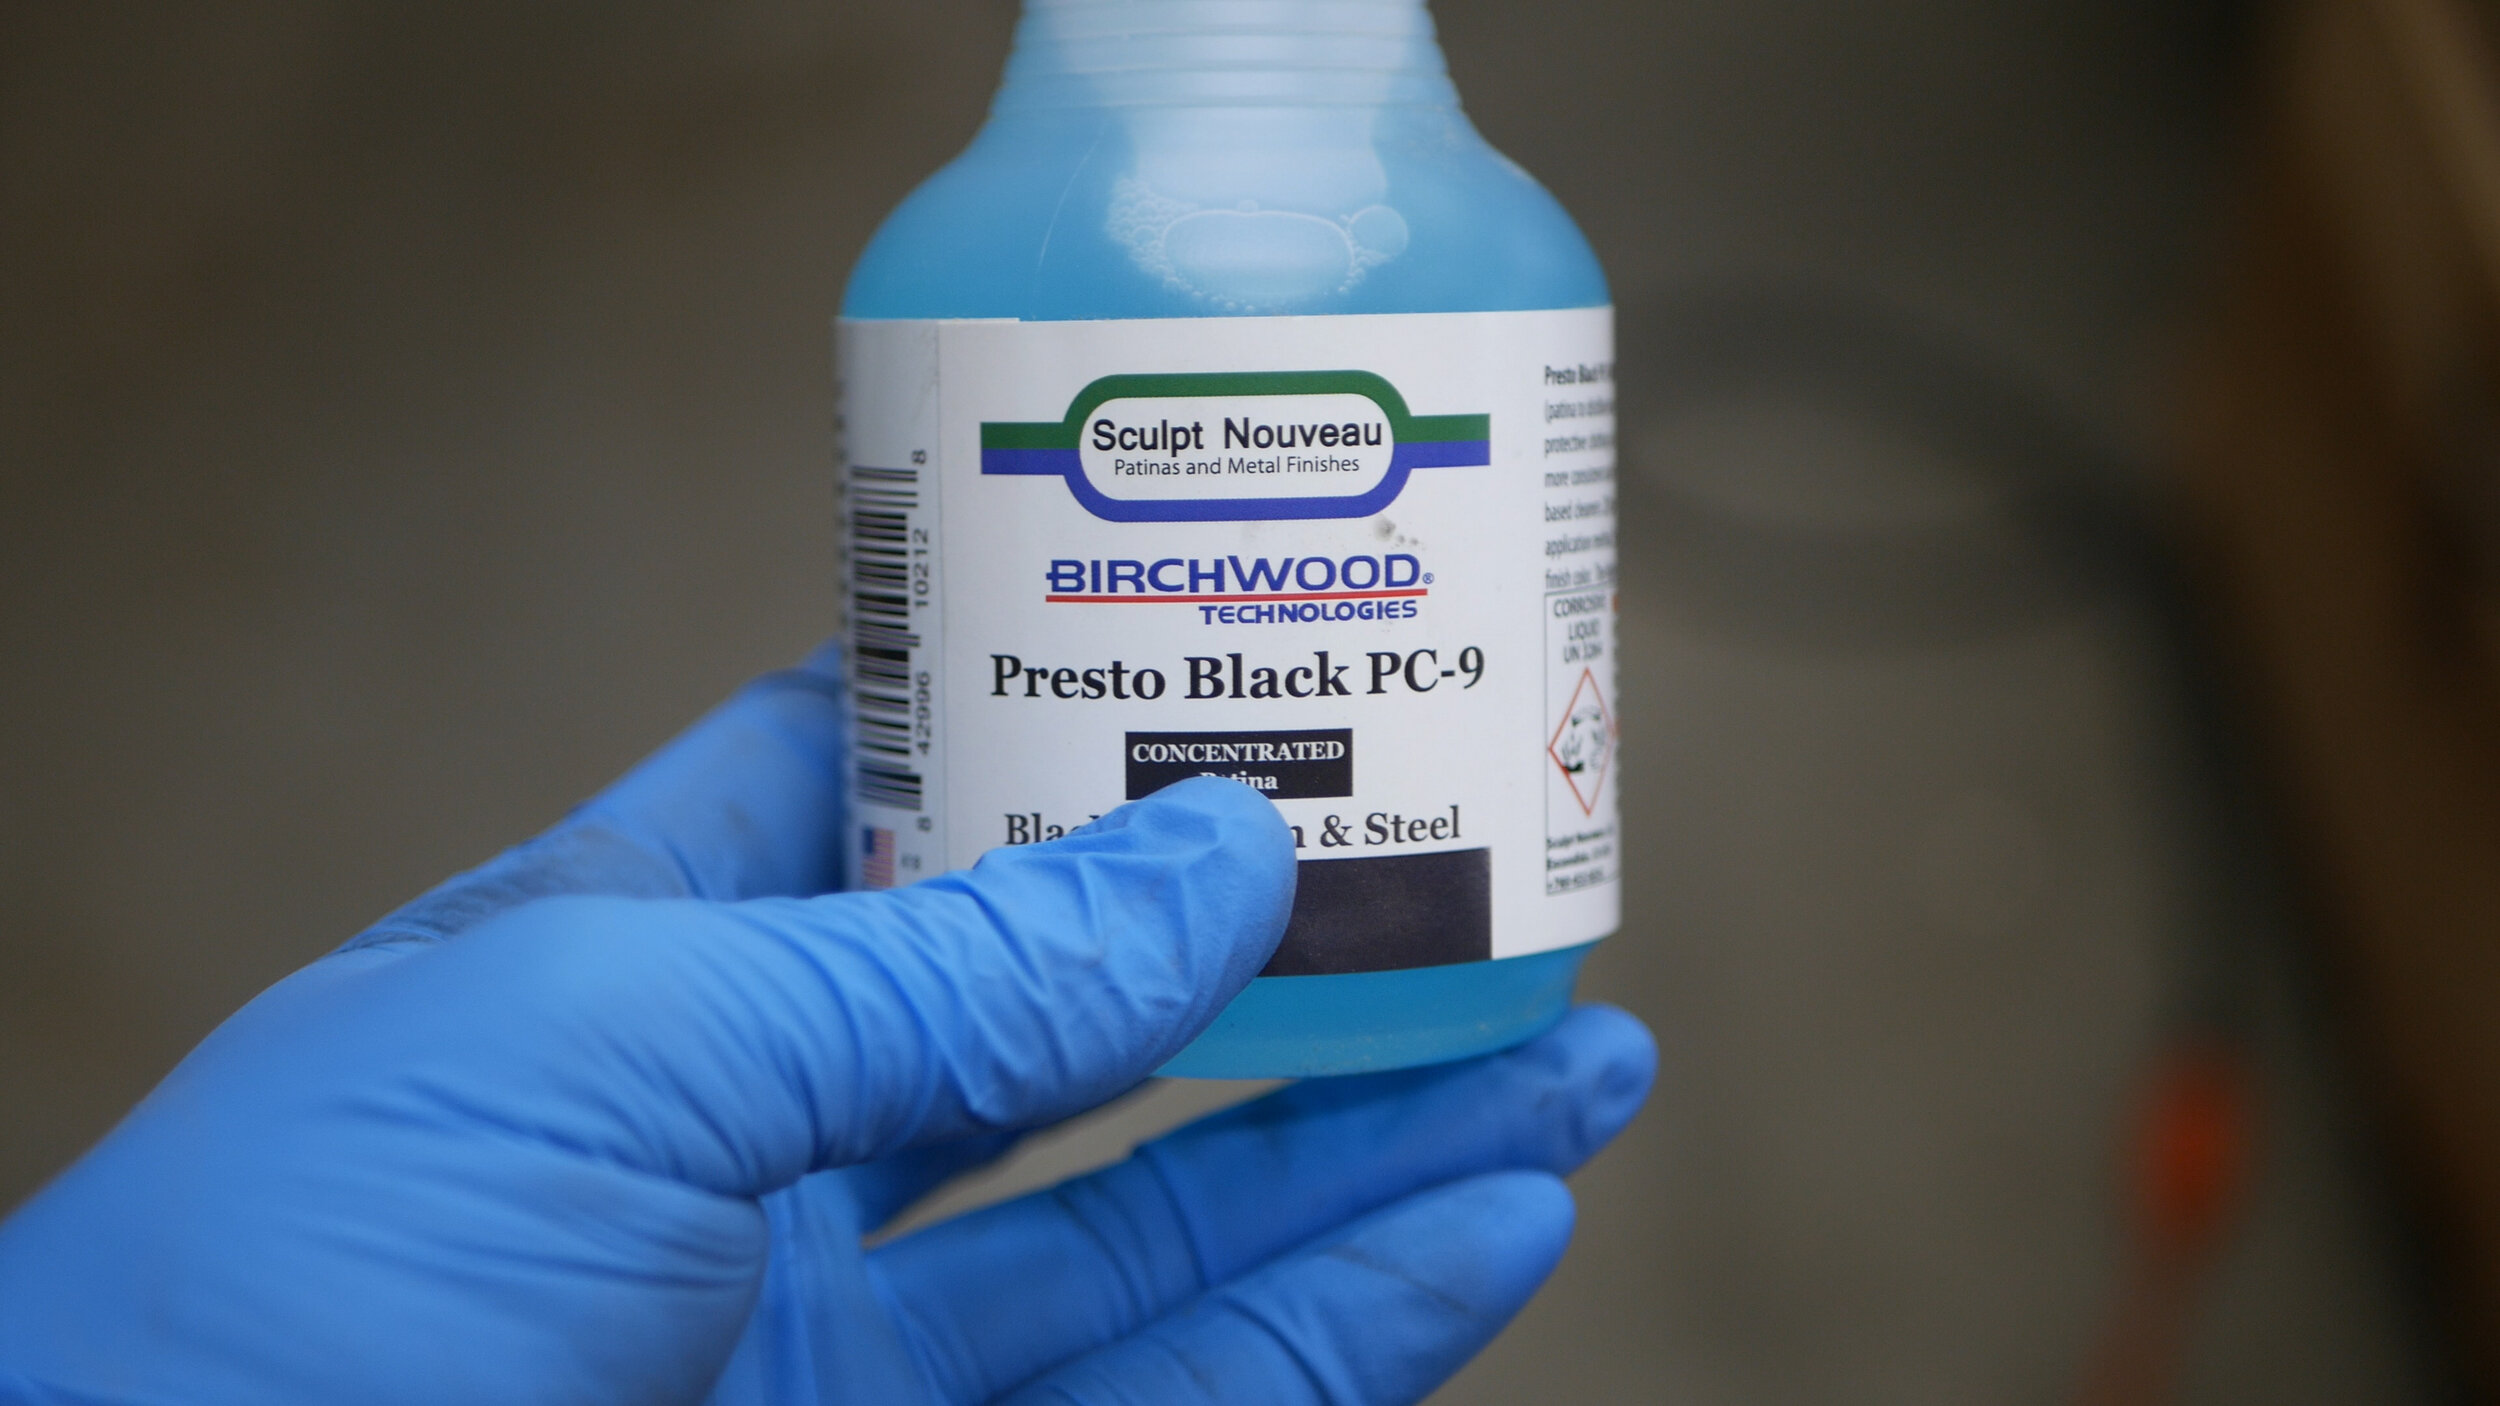
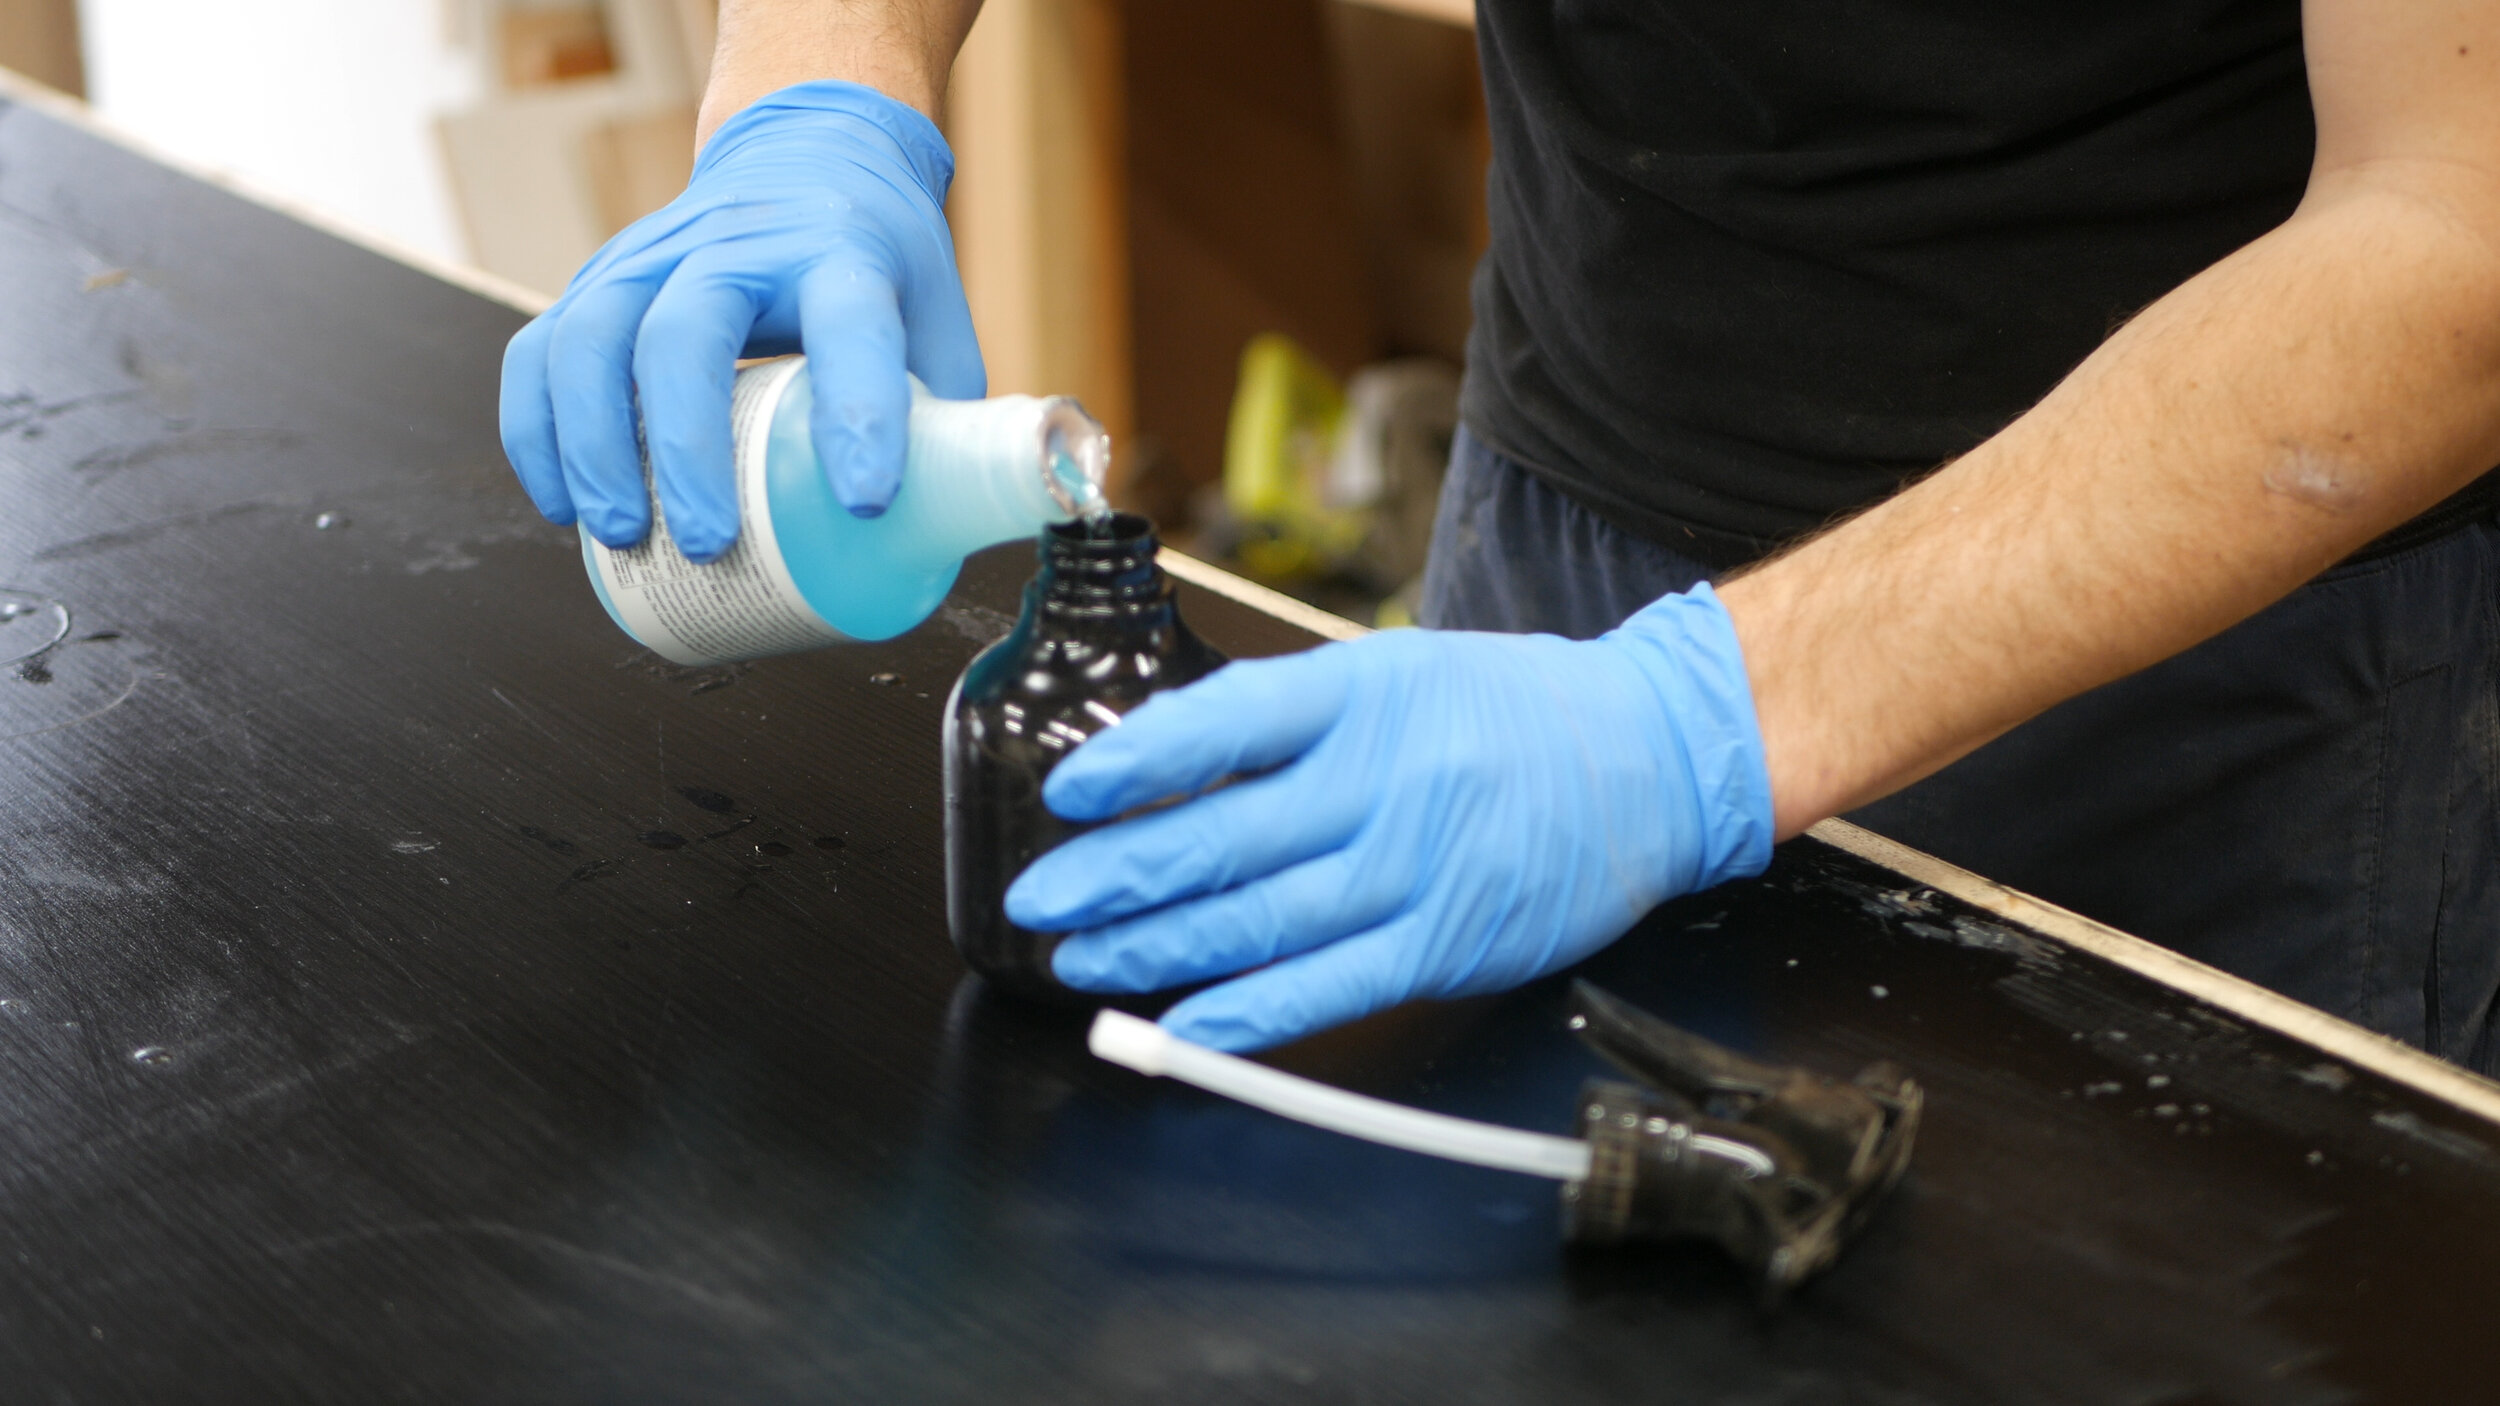
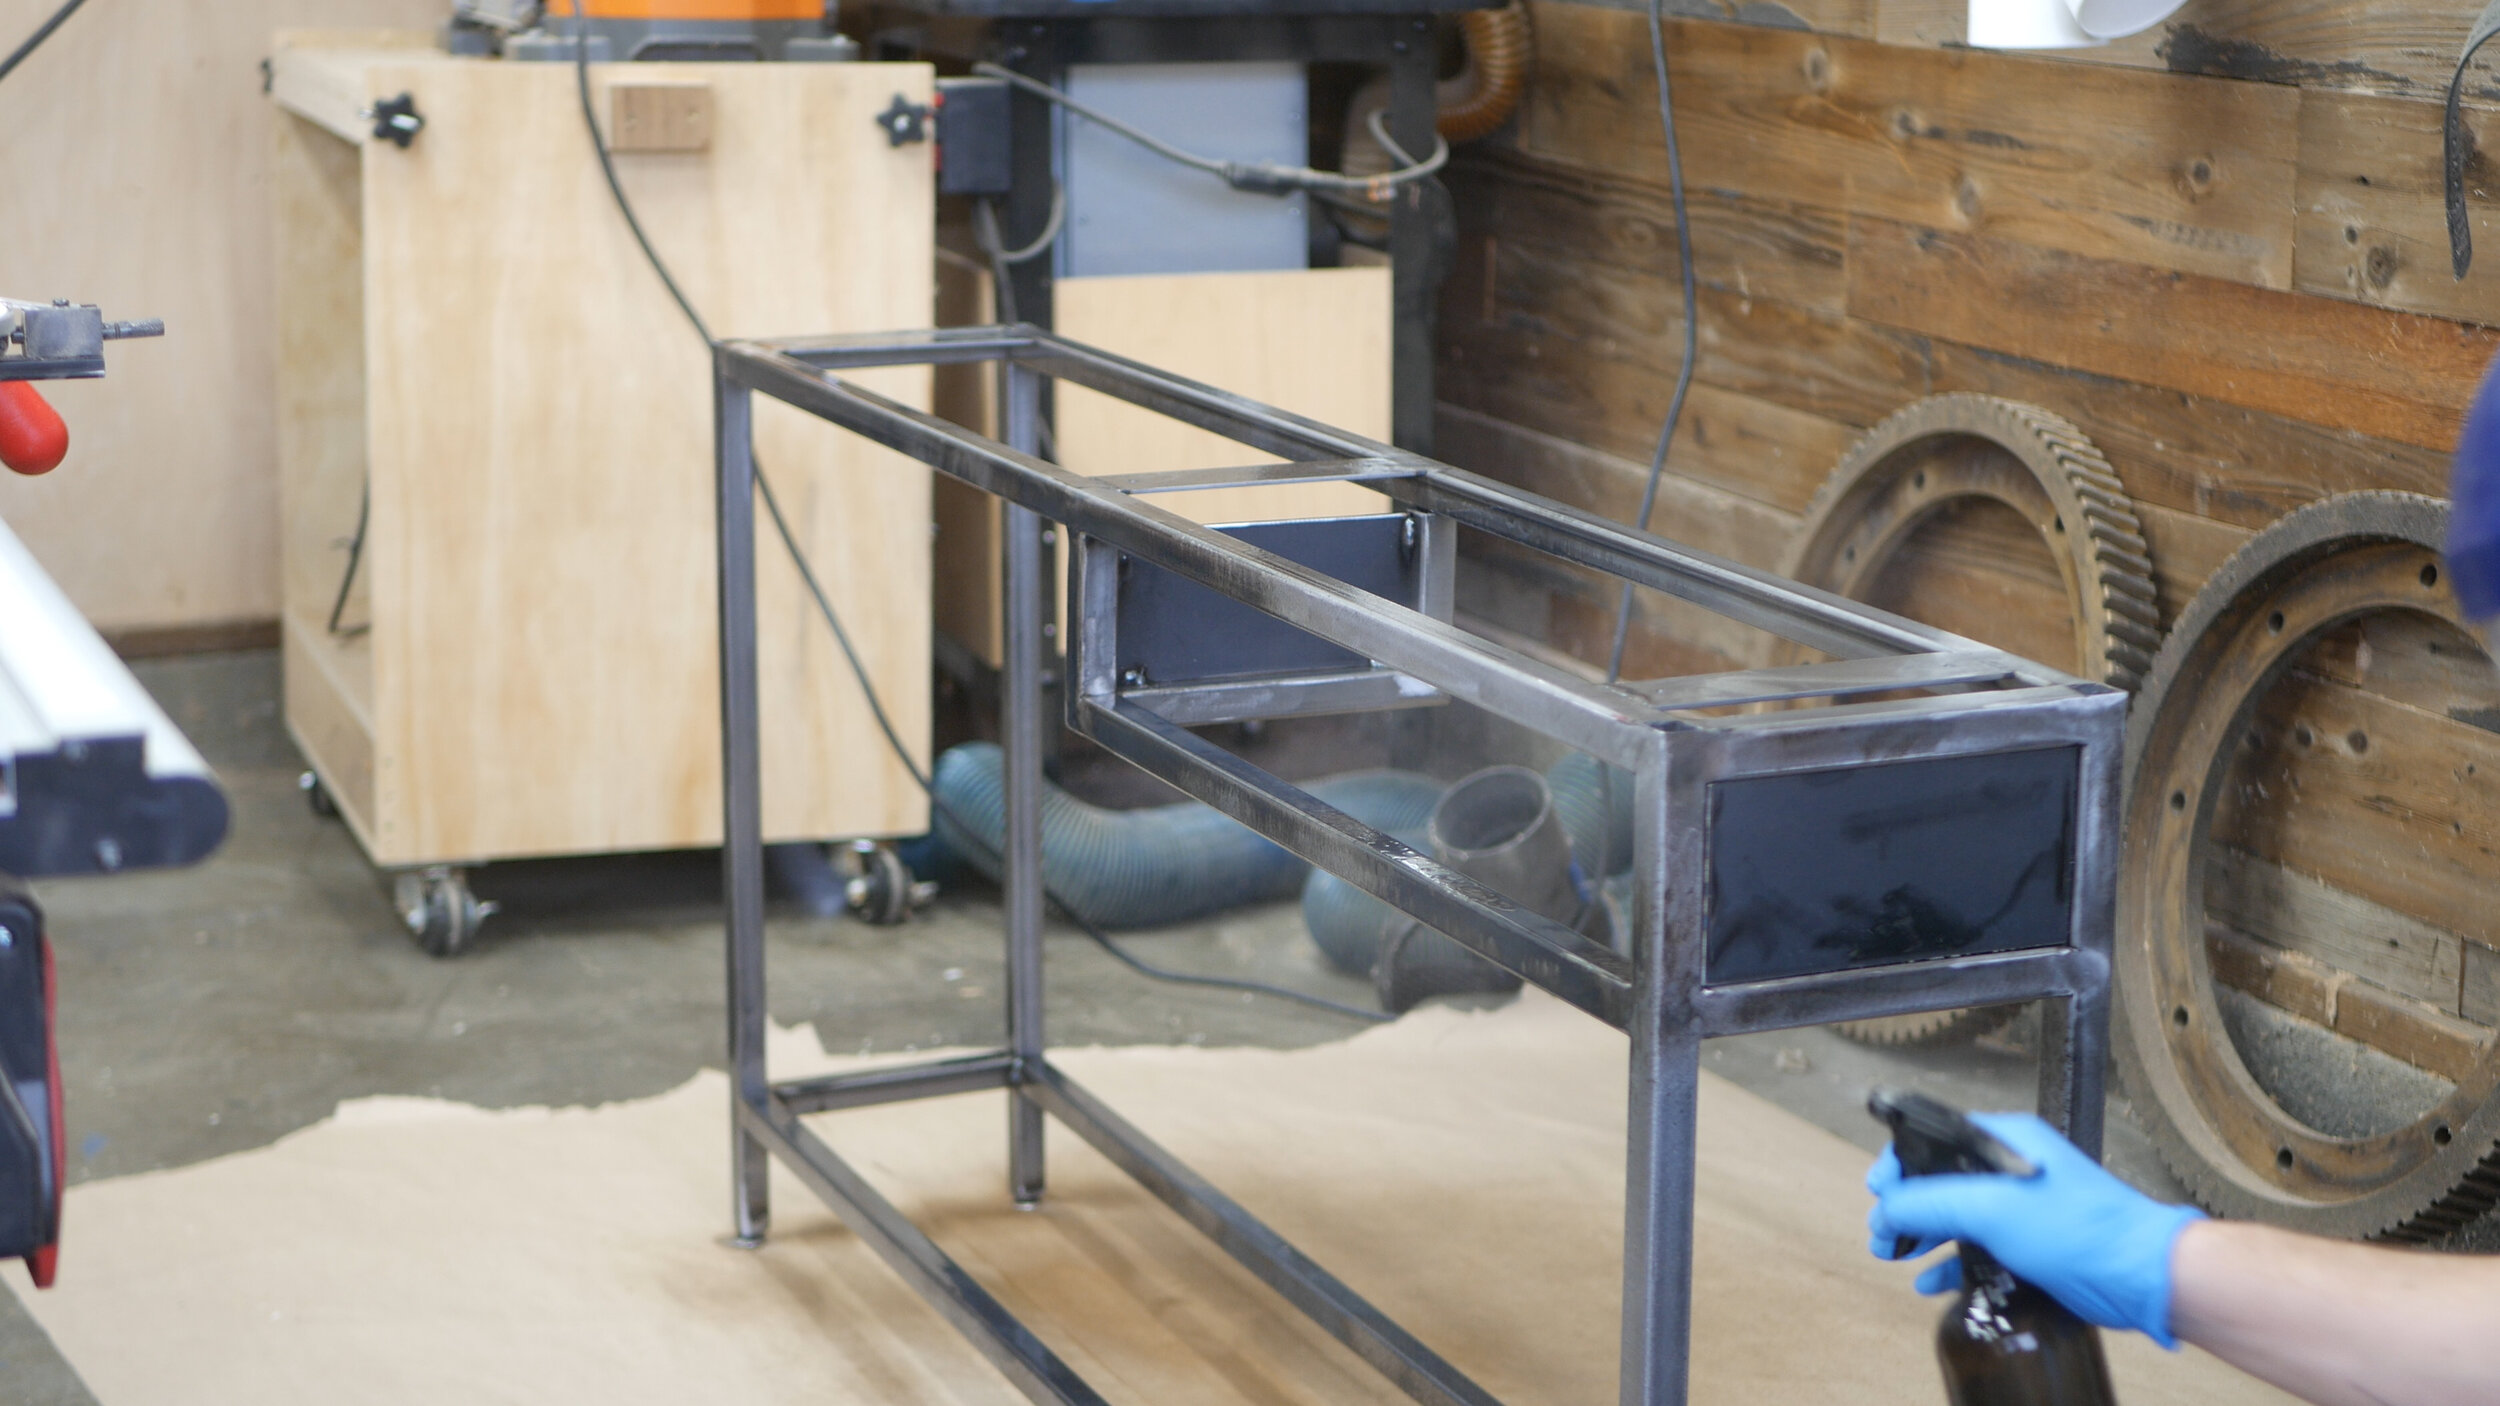
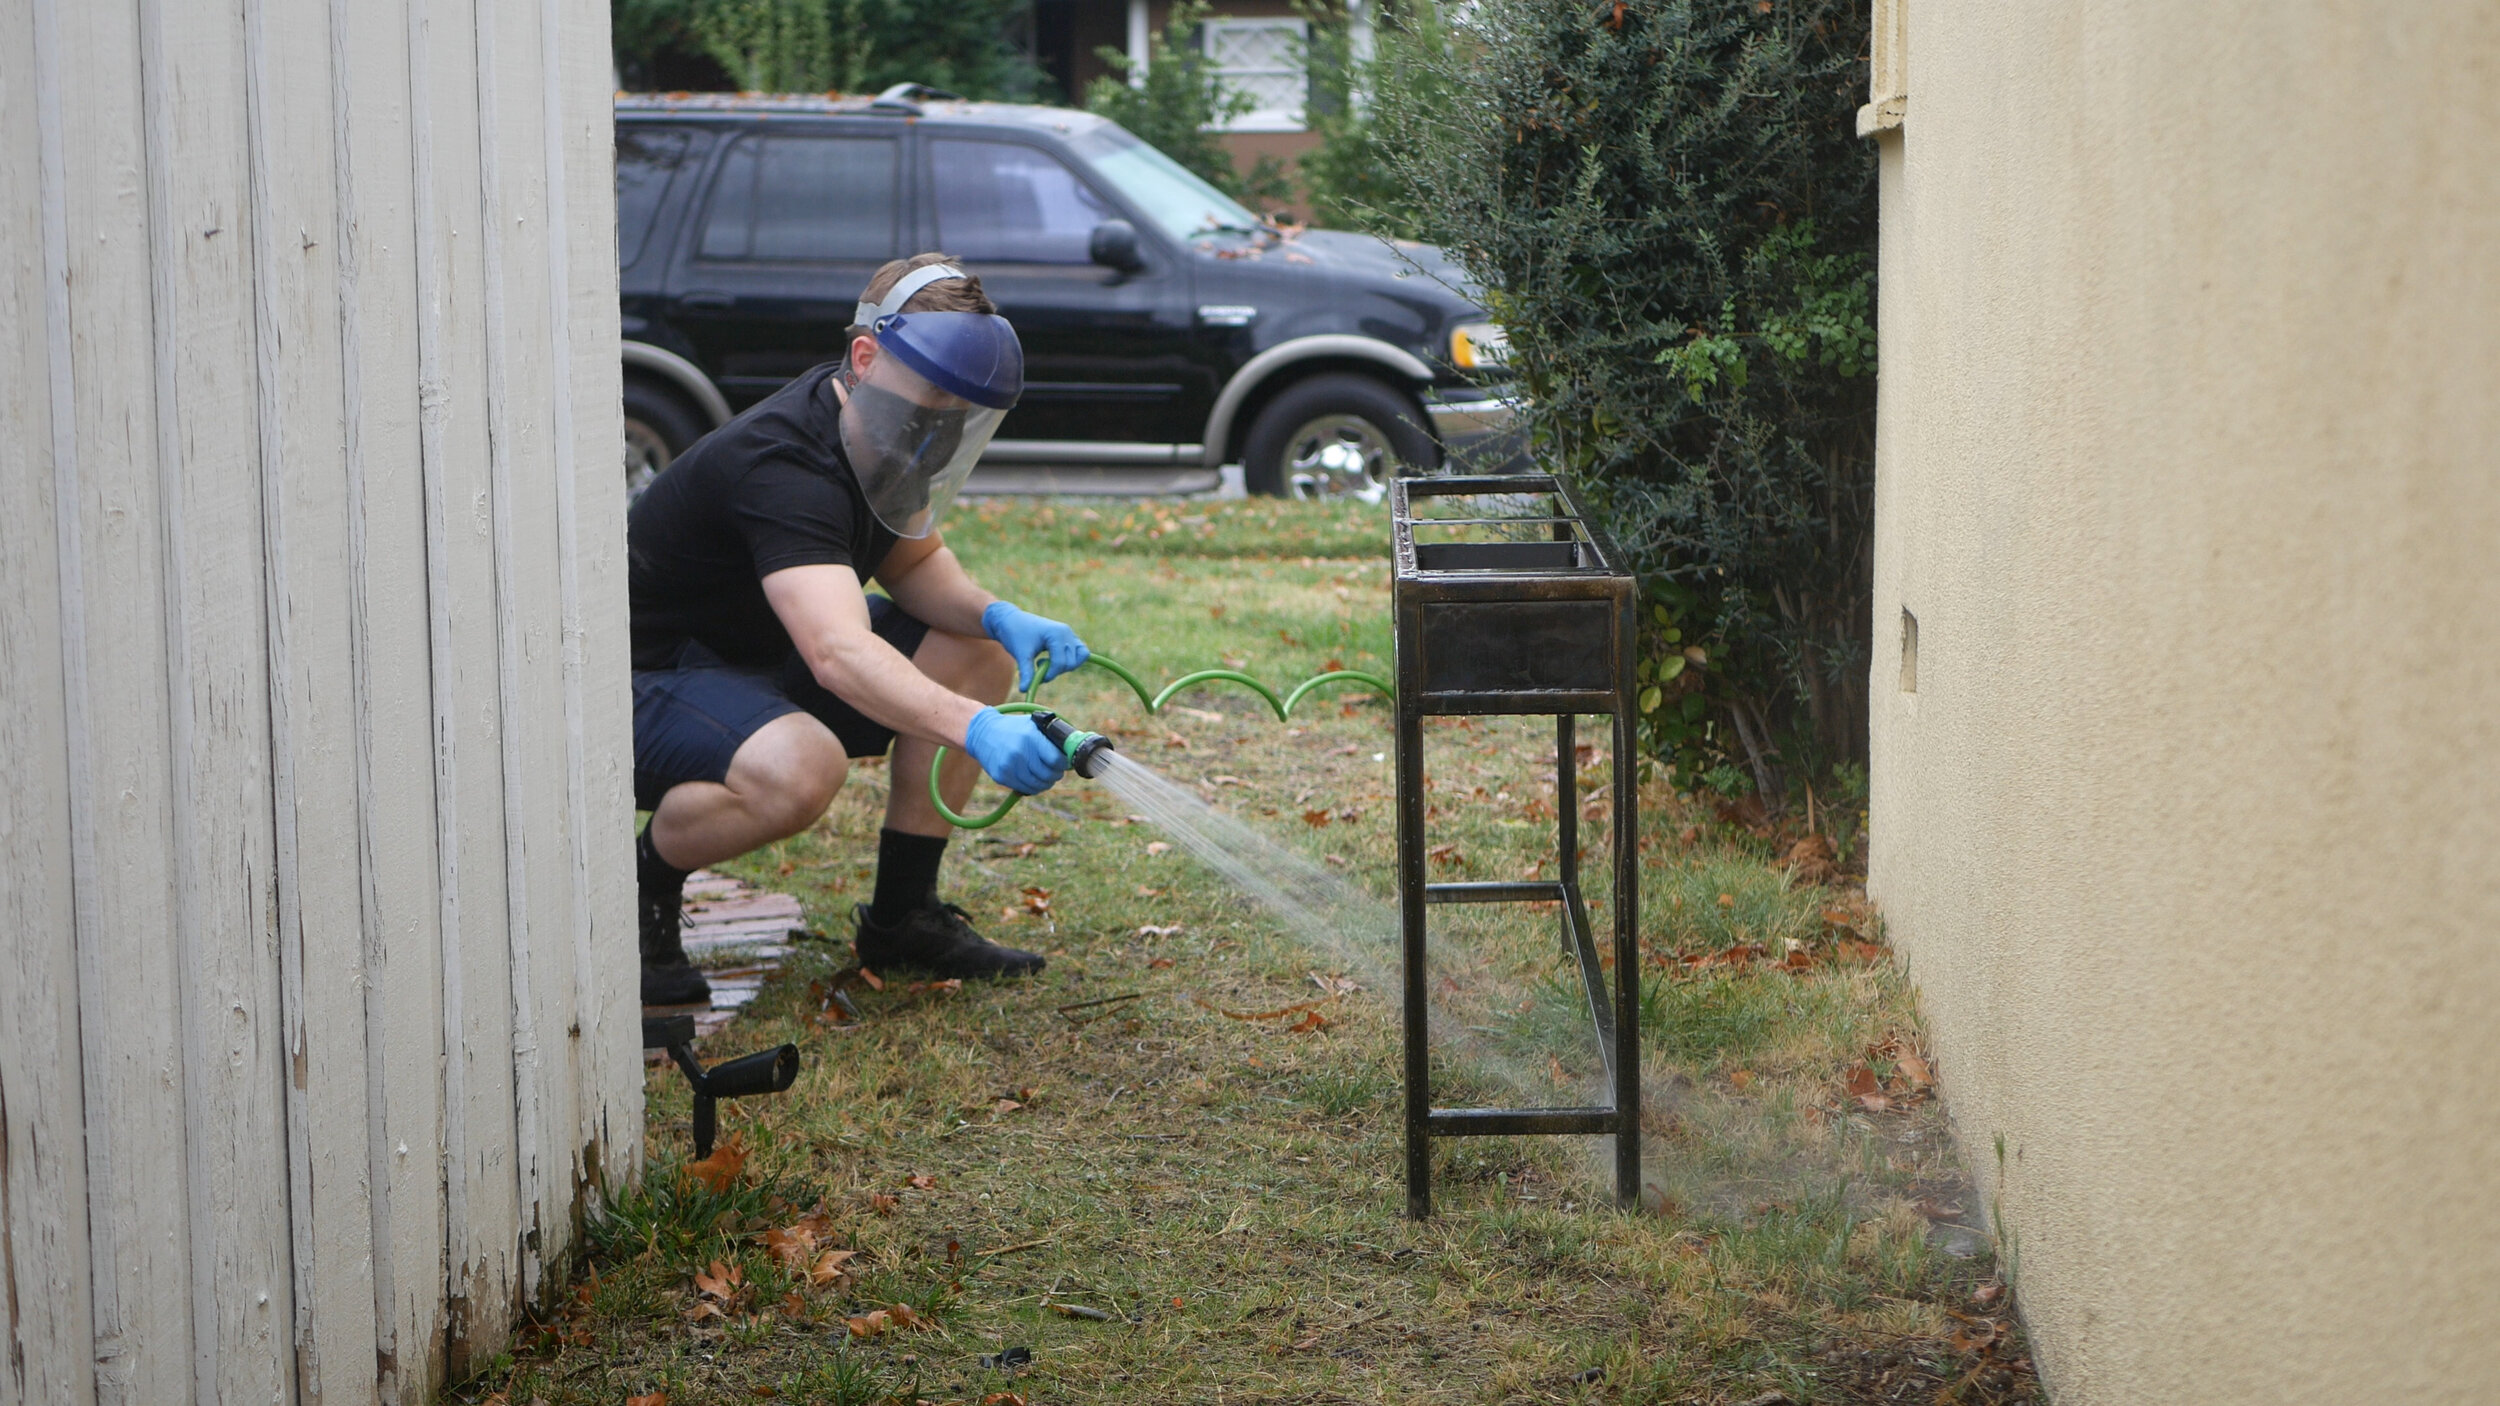
The next step was to blacken the steel. The patina I purchased recommended doing a 50/50 mix with water and spraying on. The metal will begin to blacken almost immediately; however, because you’re using water mixed with it, if you don’t time things properly, it can rust the metal.
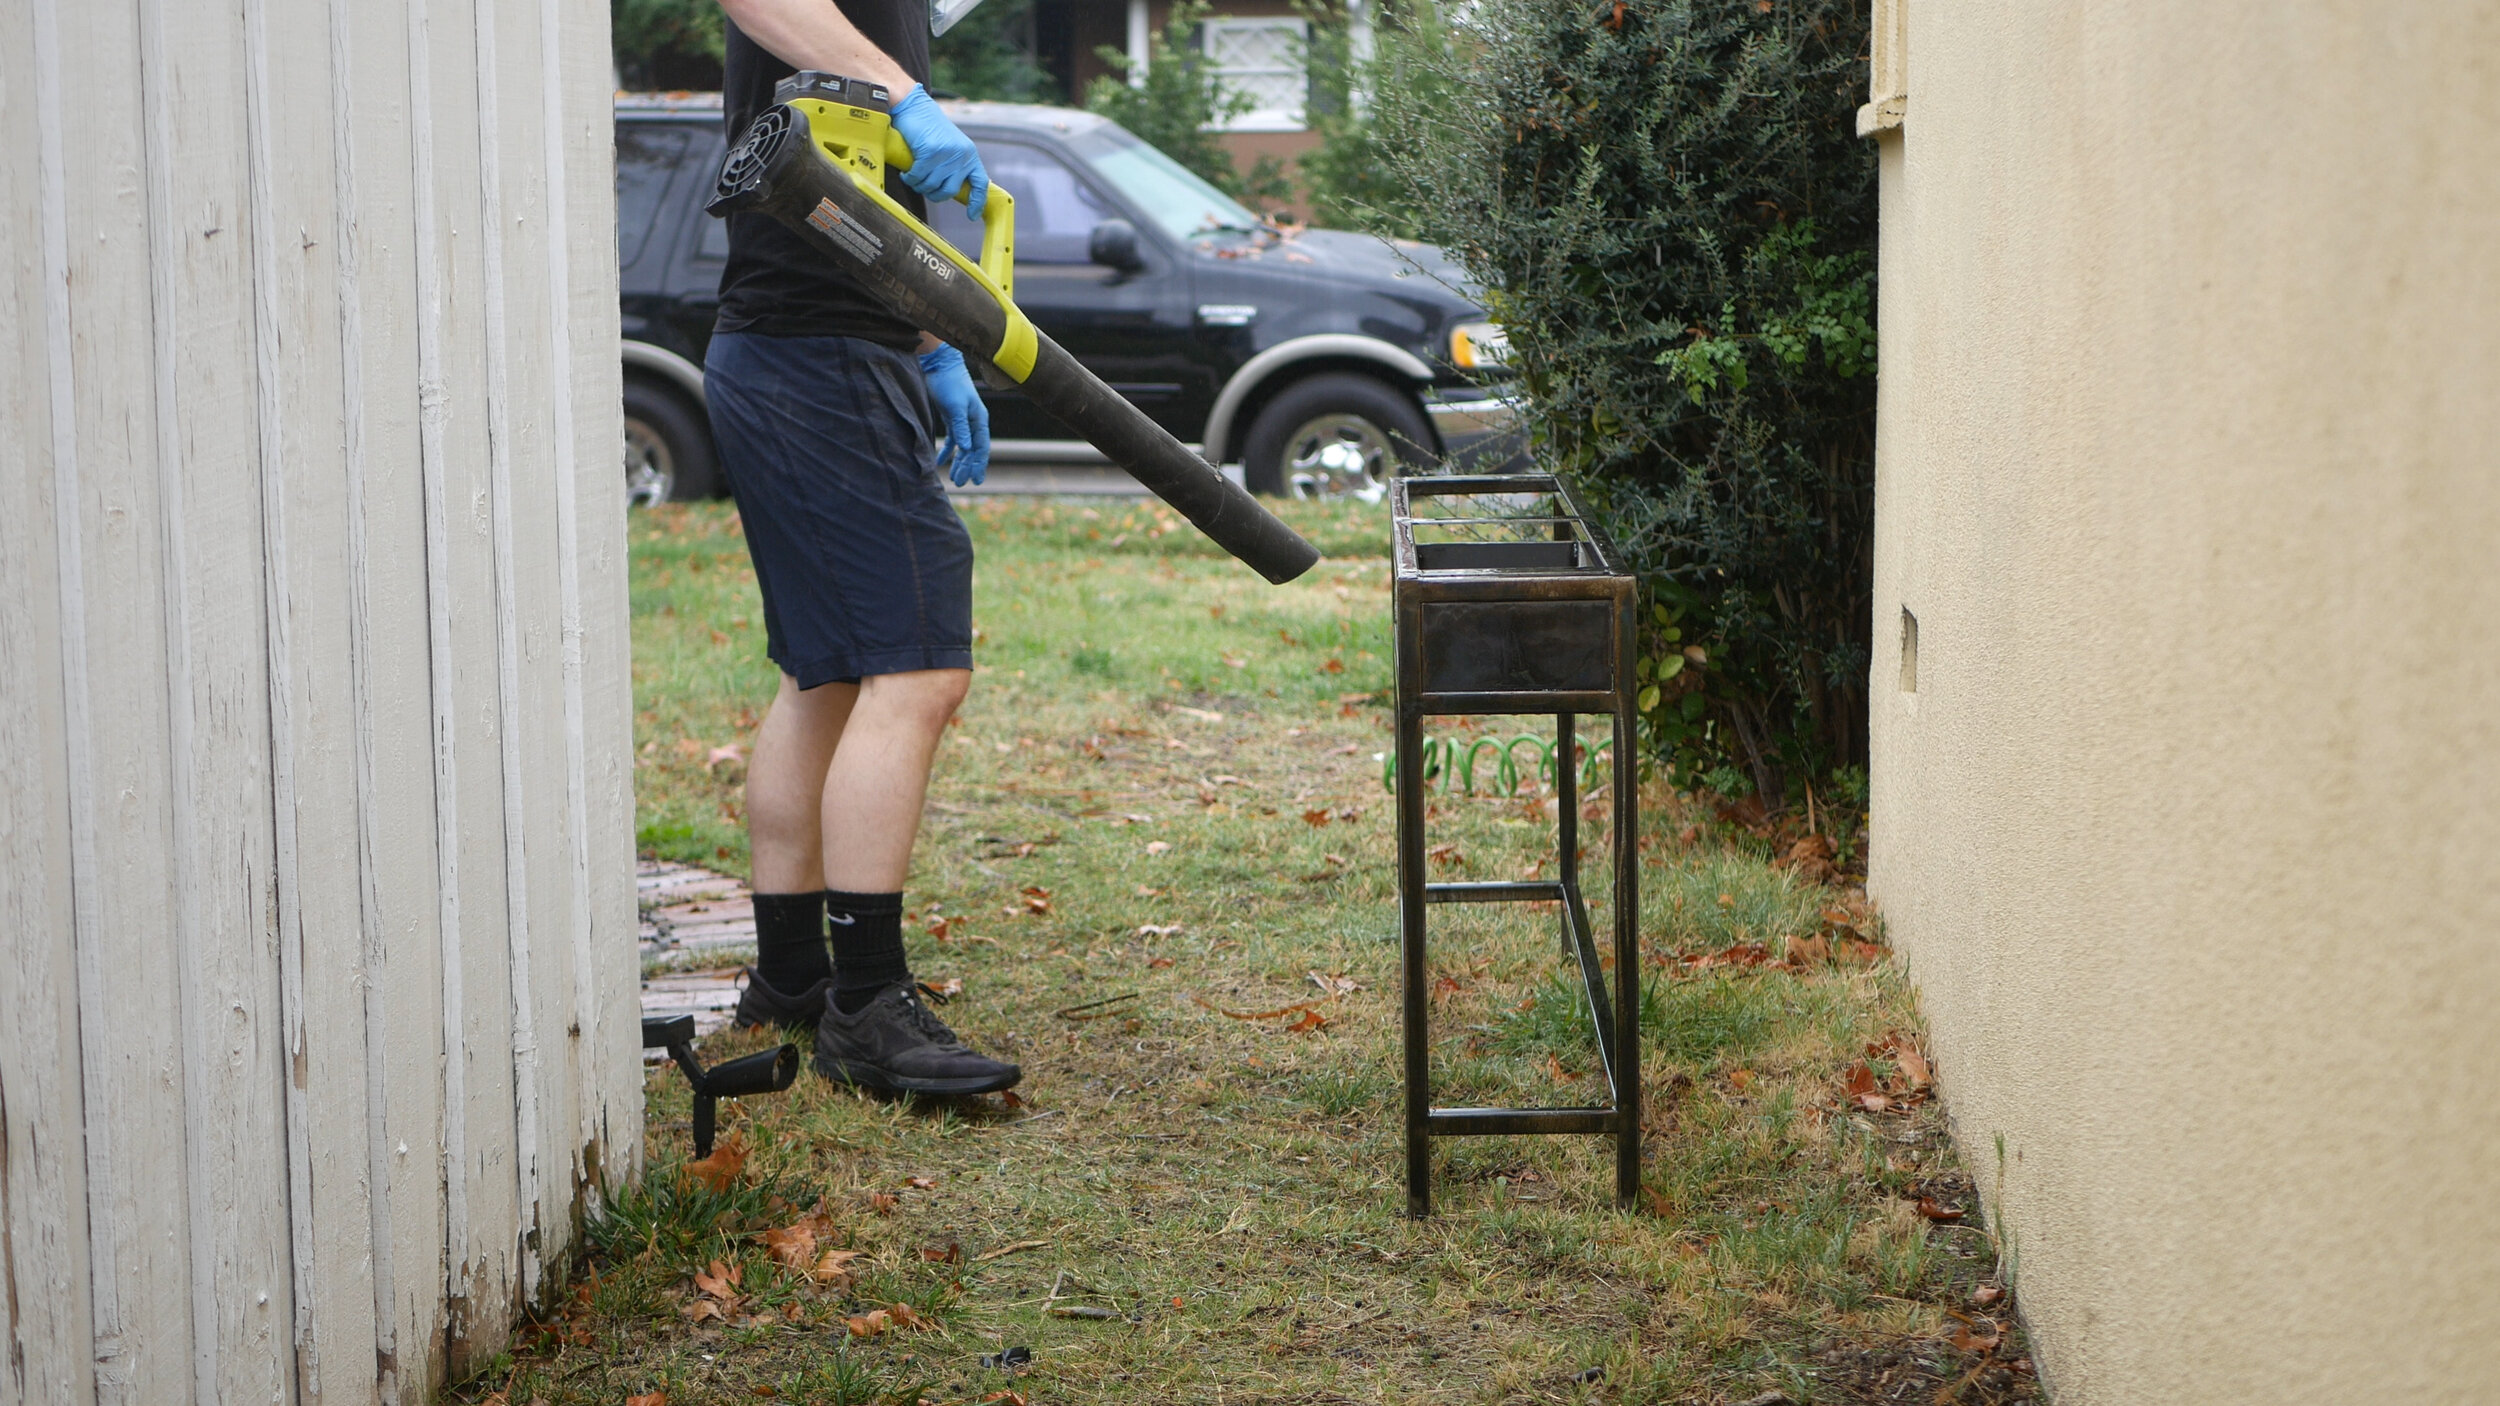
After letting the patina sit on the metal for 3-5 minutes, you need to wash it off. The metal will be a lot less black than it was when you had the spray on it but will be darkened. Next, you should use a blow torch or rubbing alcohol to quickly remove the remaining moisture, or the metal will start to rust. Do not use an air blower like I demonstrate, as you’ll end up needing to wirebrush off rust and it will start to mess up your Patina surface.
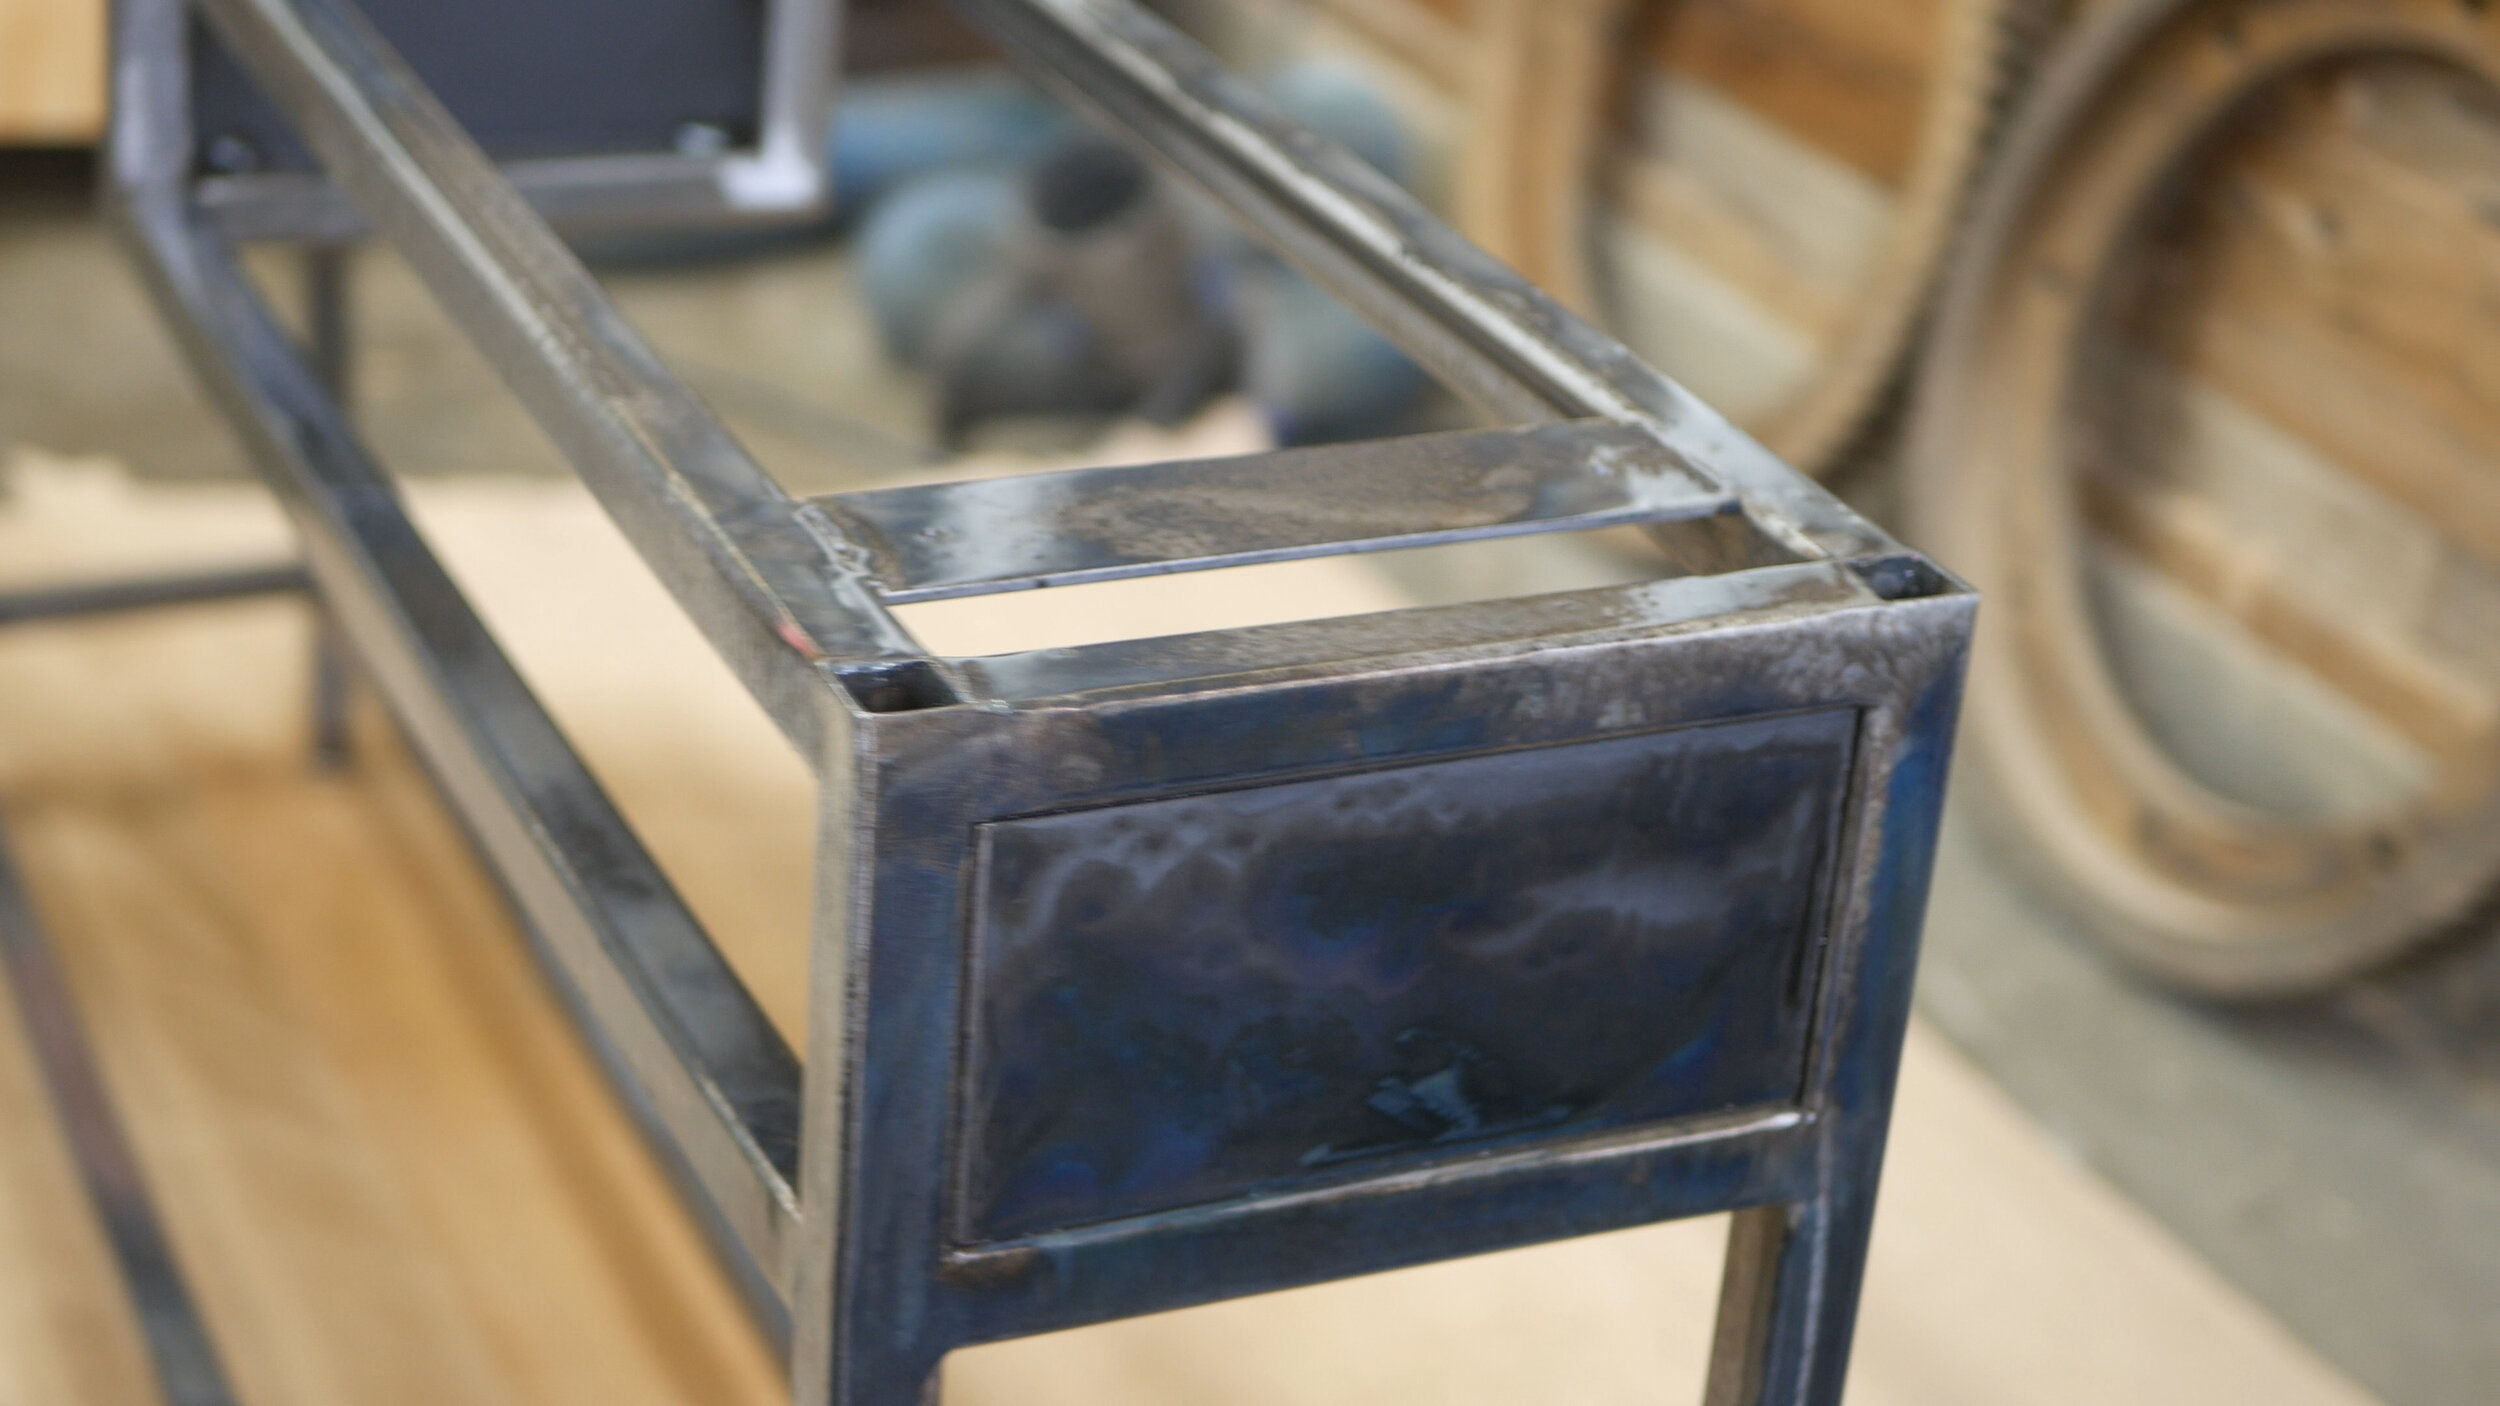
If you repeat the above process properly a few more times, you should end up with a decent black steel color. It’s a tough process though!
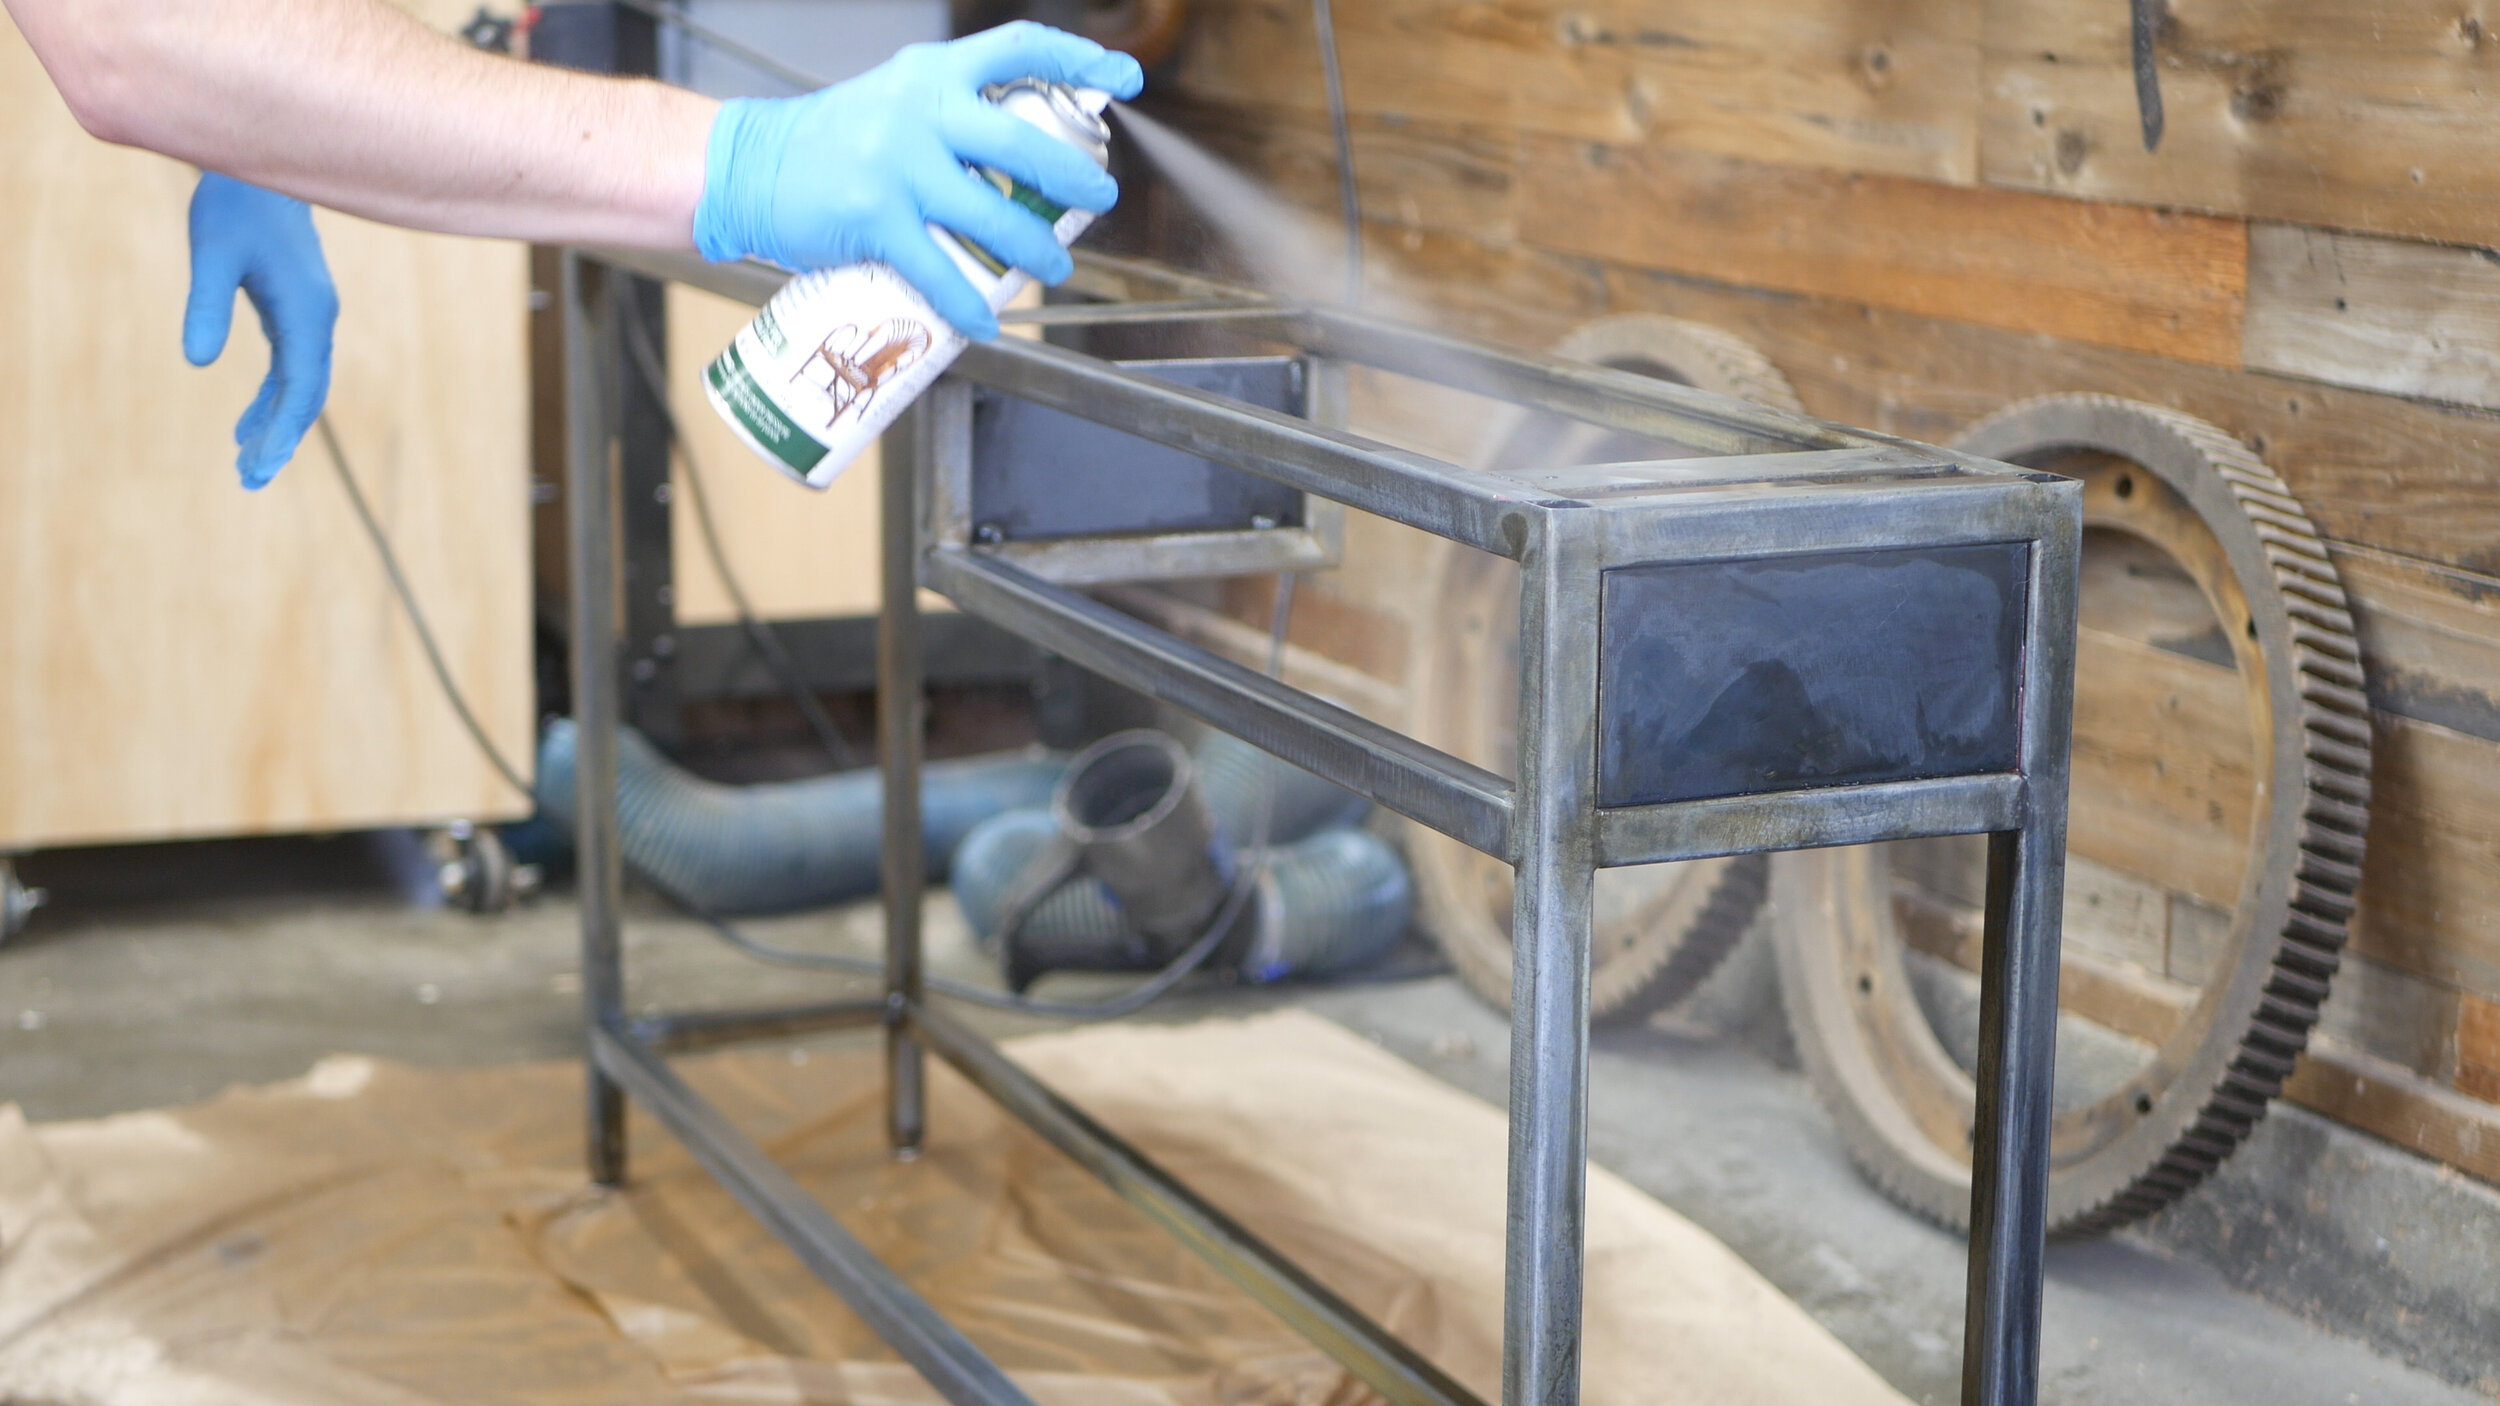
End the patina process by adding a clear coat to protect from scratches and rusting.
After you finish blackening the steal, you can insert your drawer slide. These are 9” slides I got off Amazon, and I actually ended up welding them directly to the framing off camera instead of using screws - worked great!
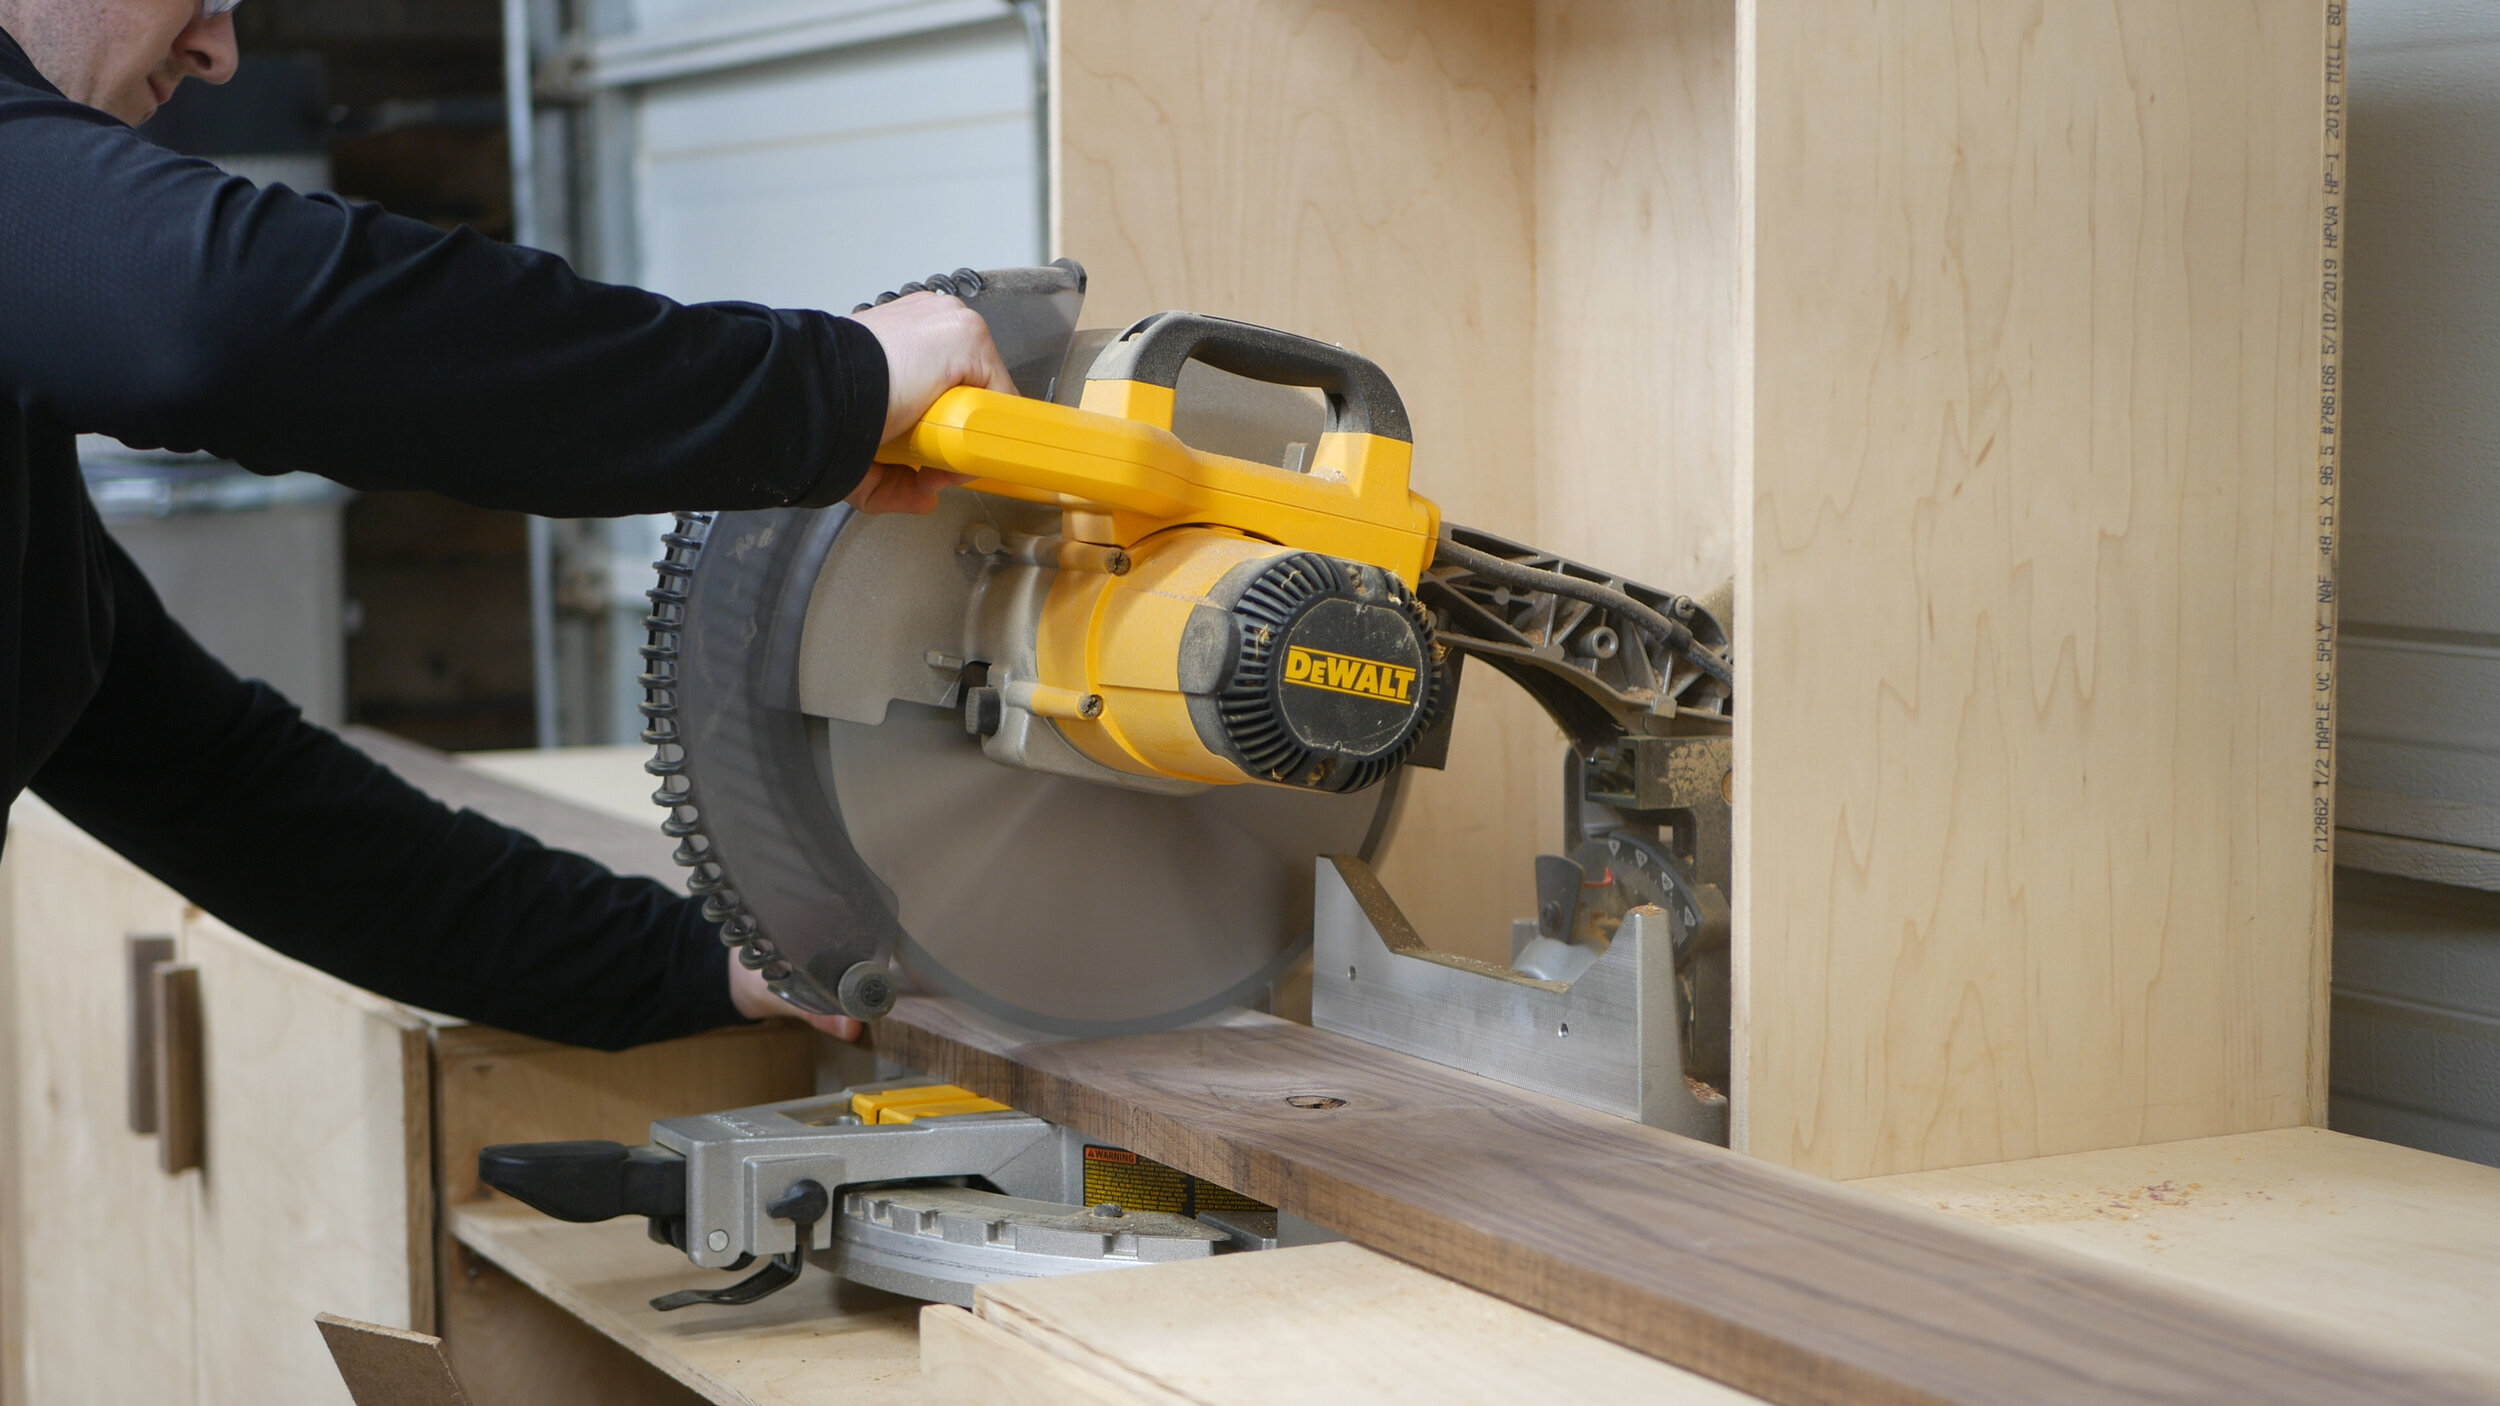
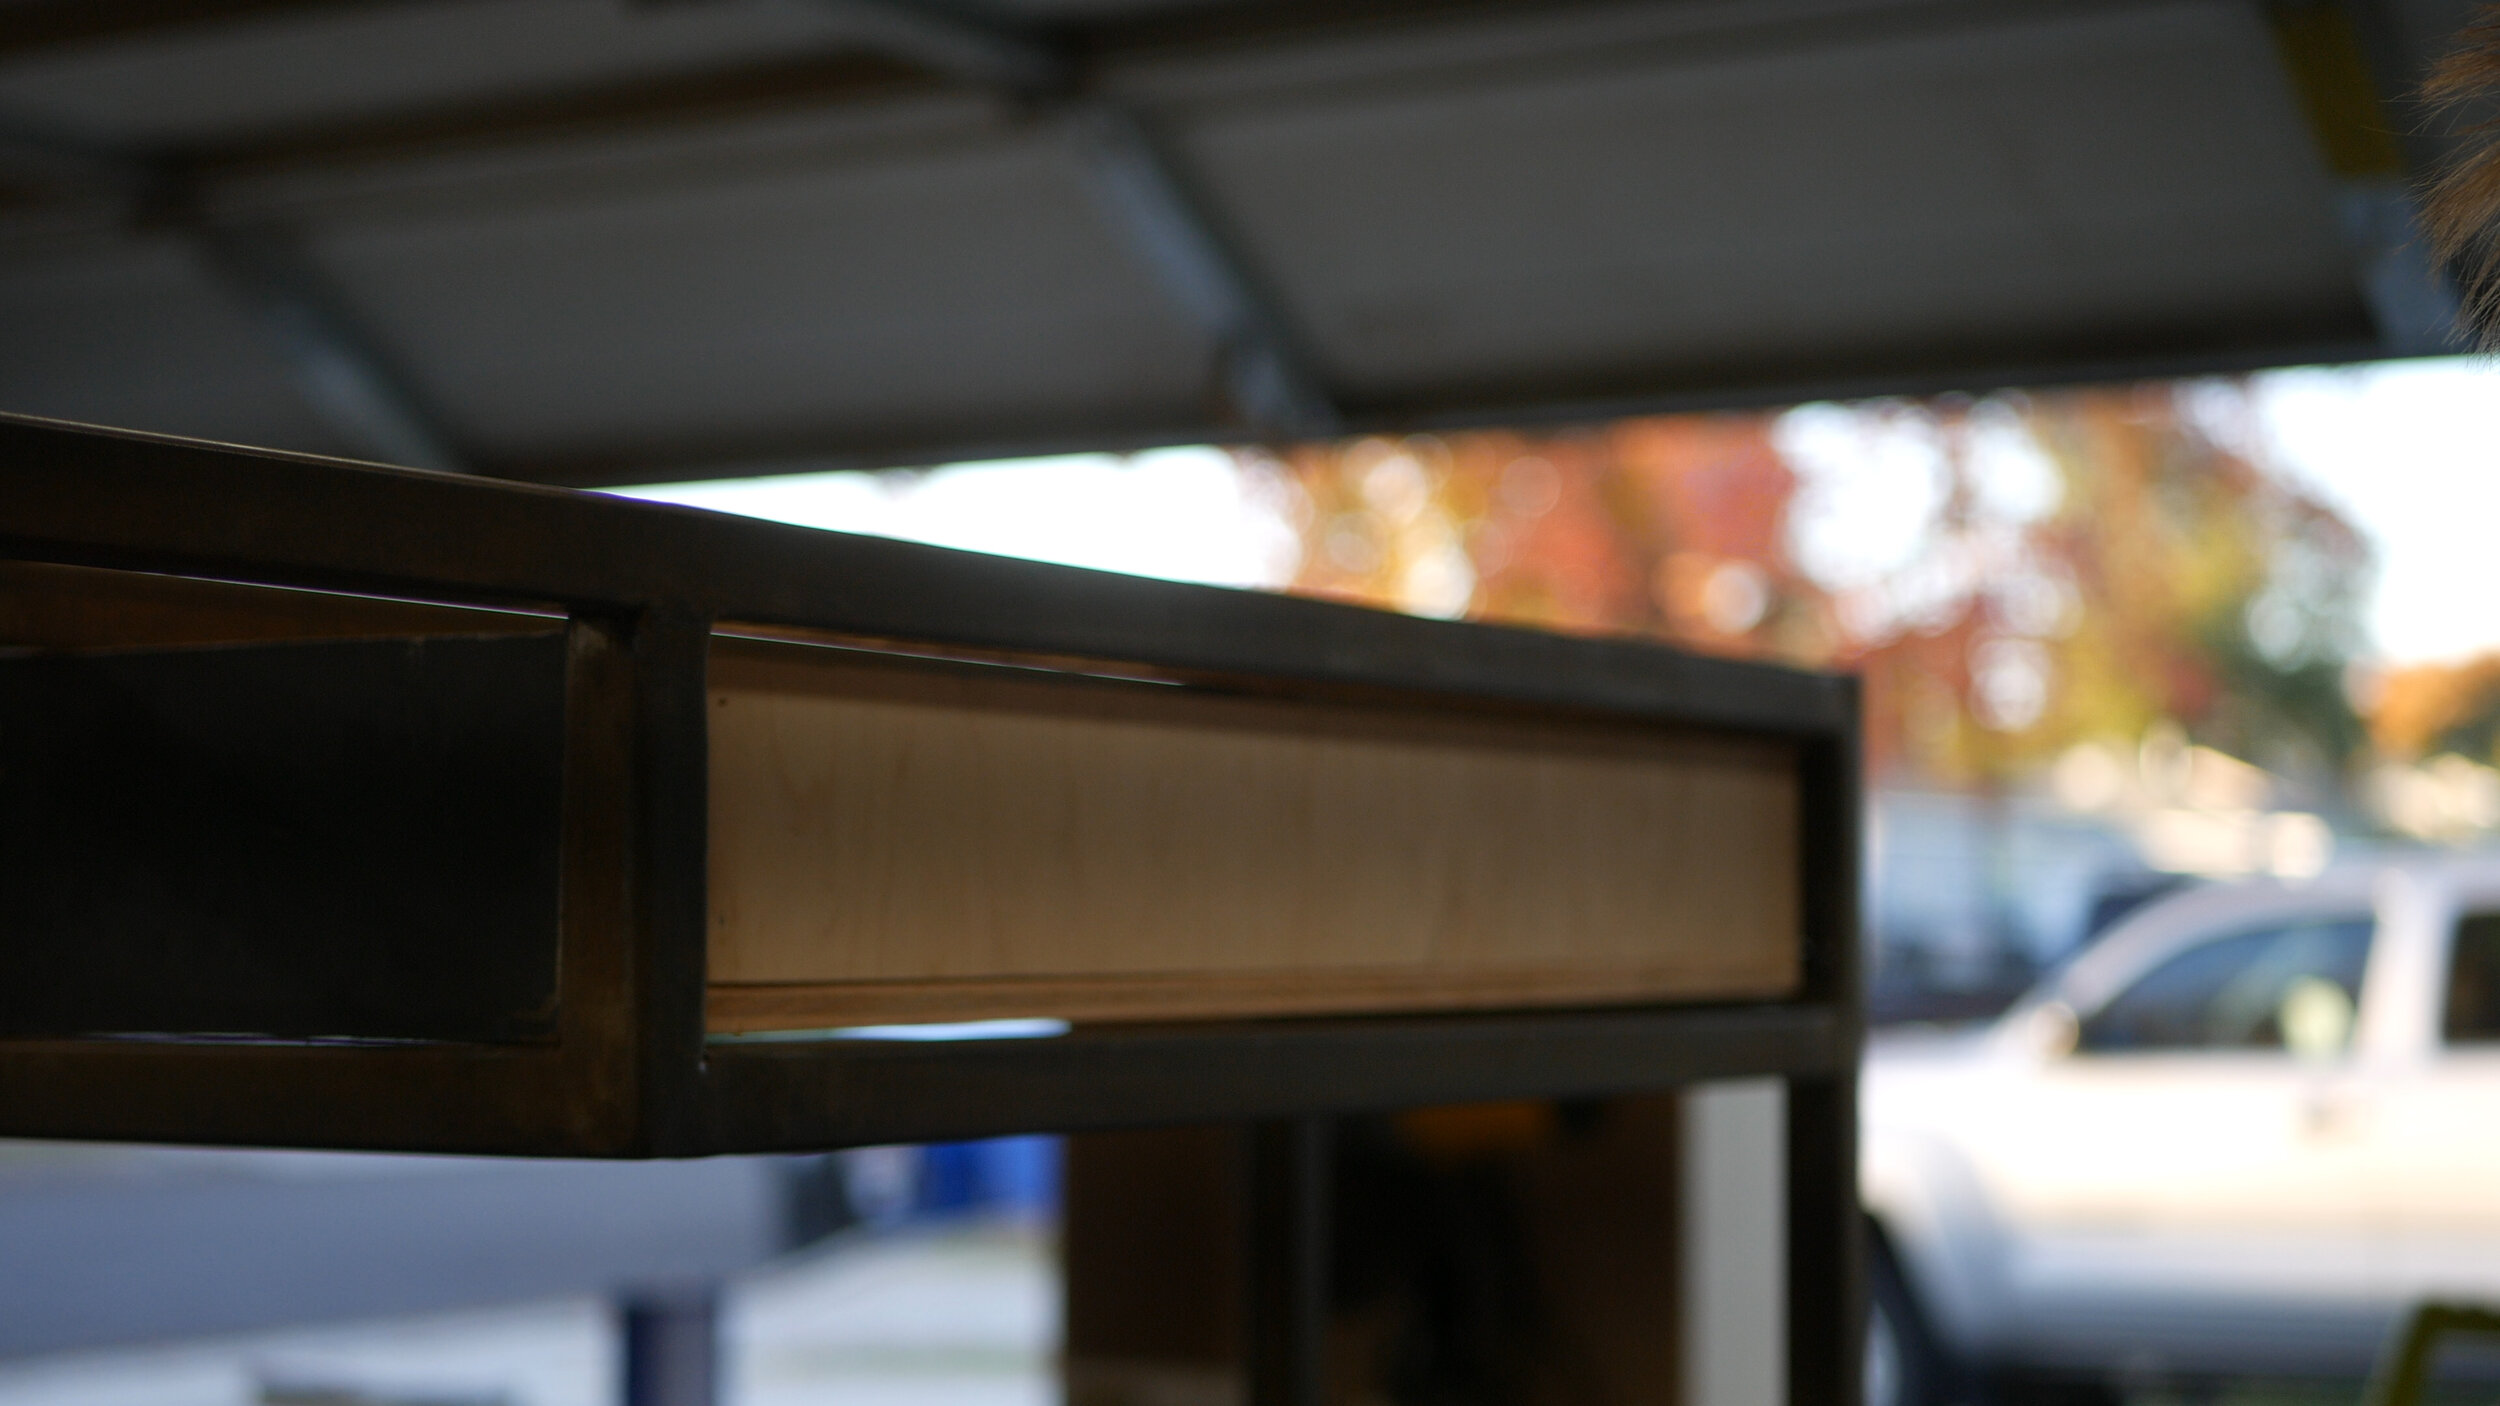
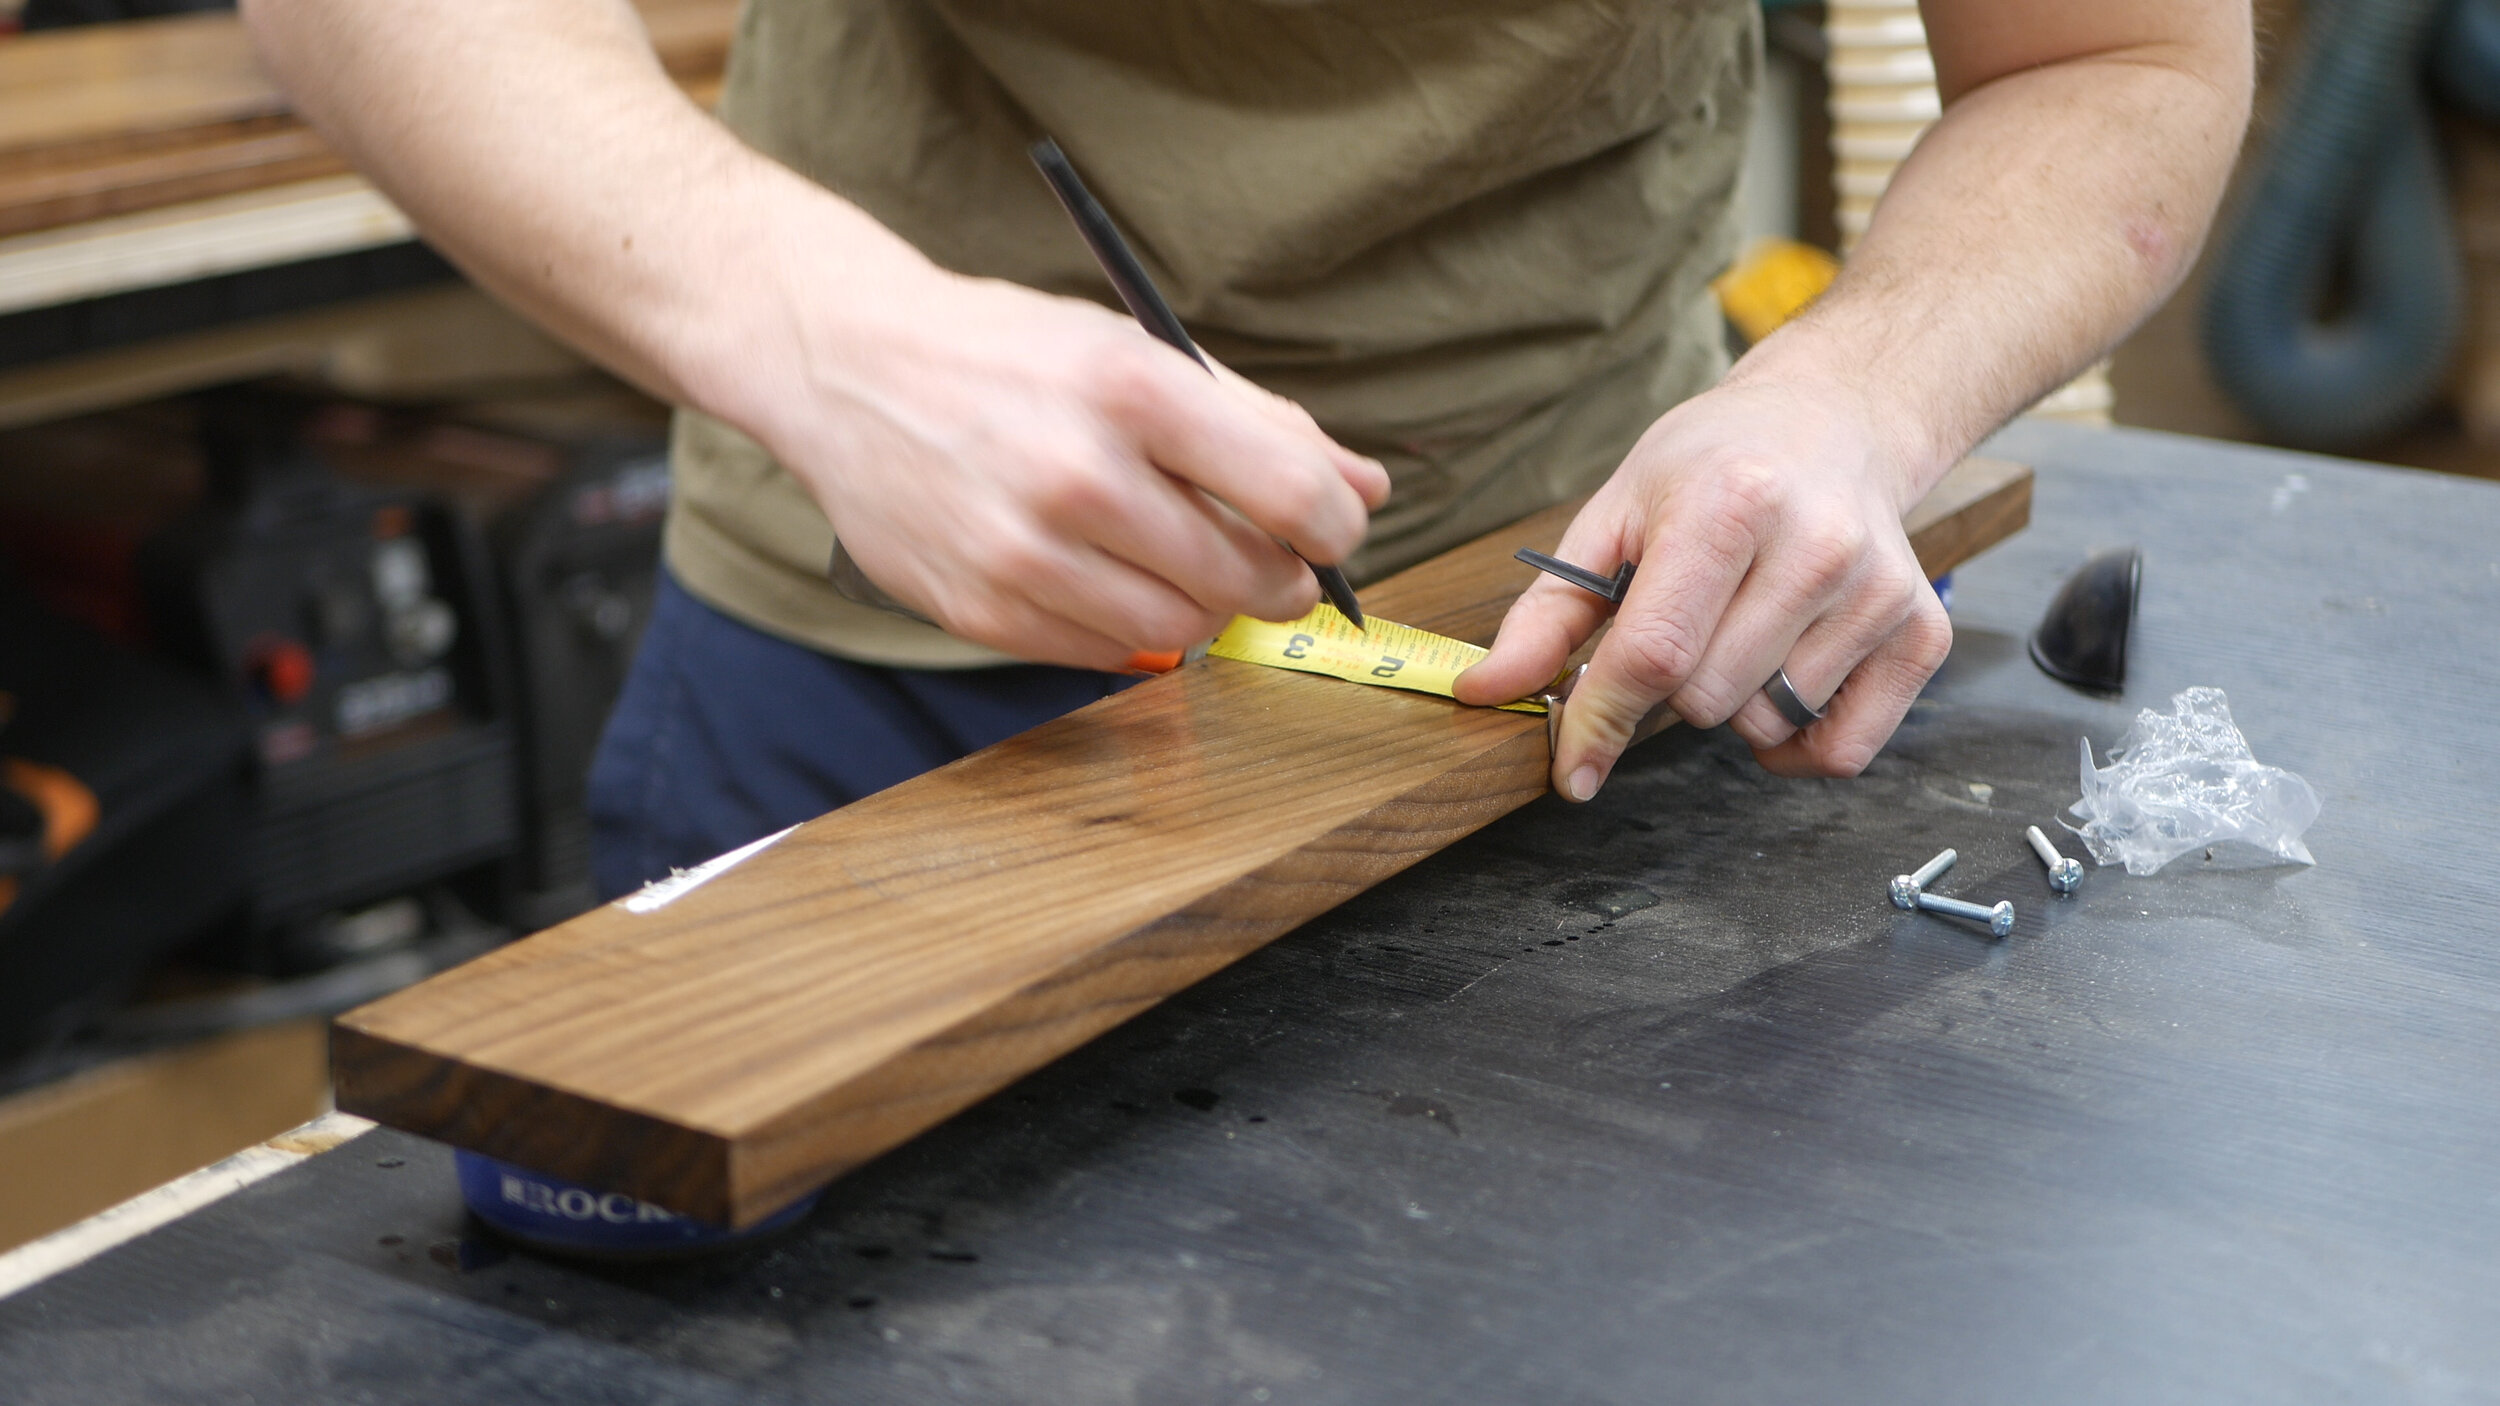
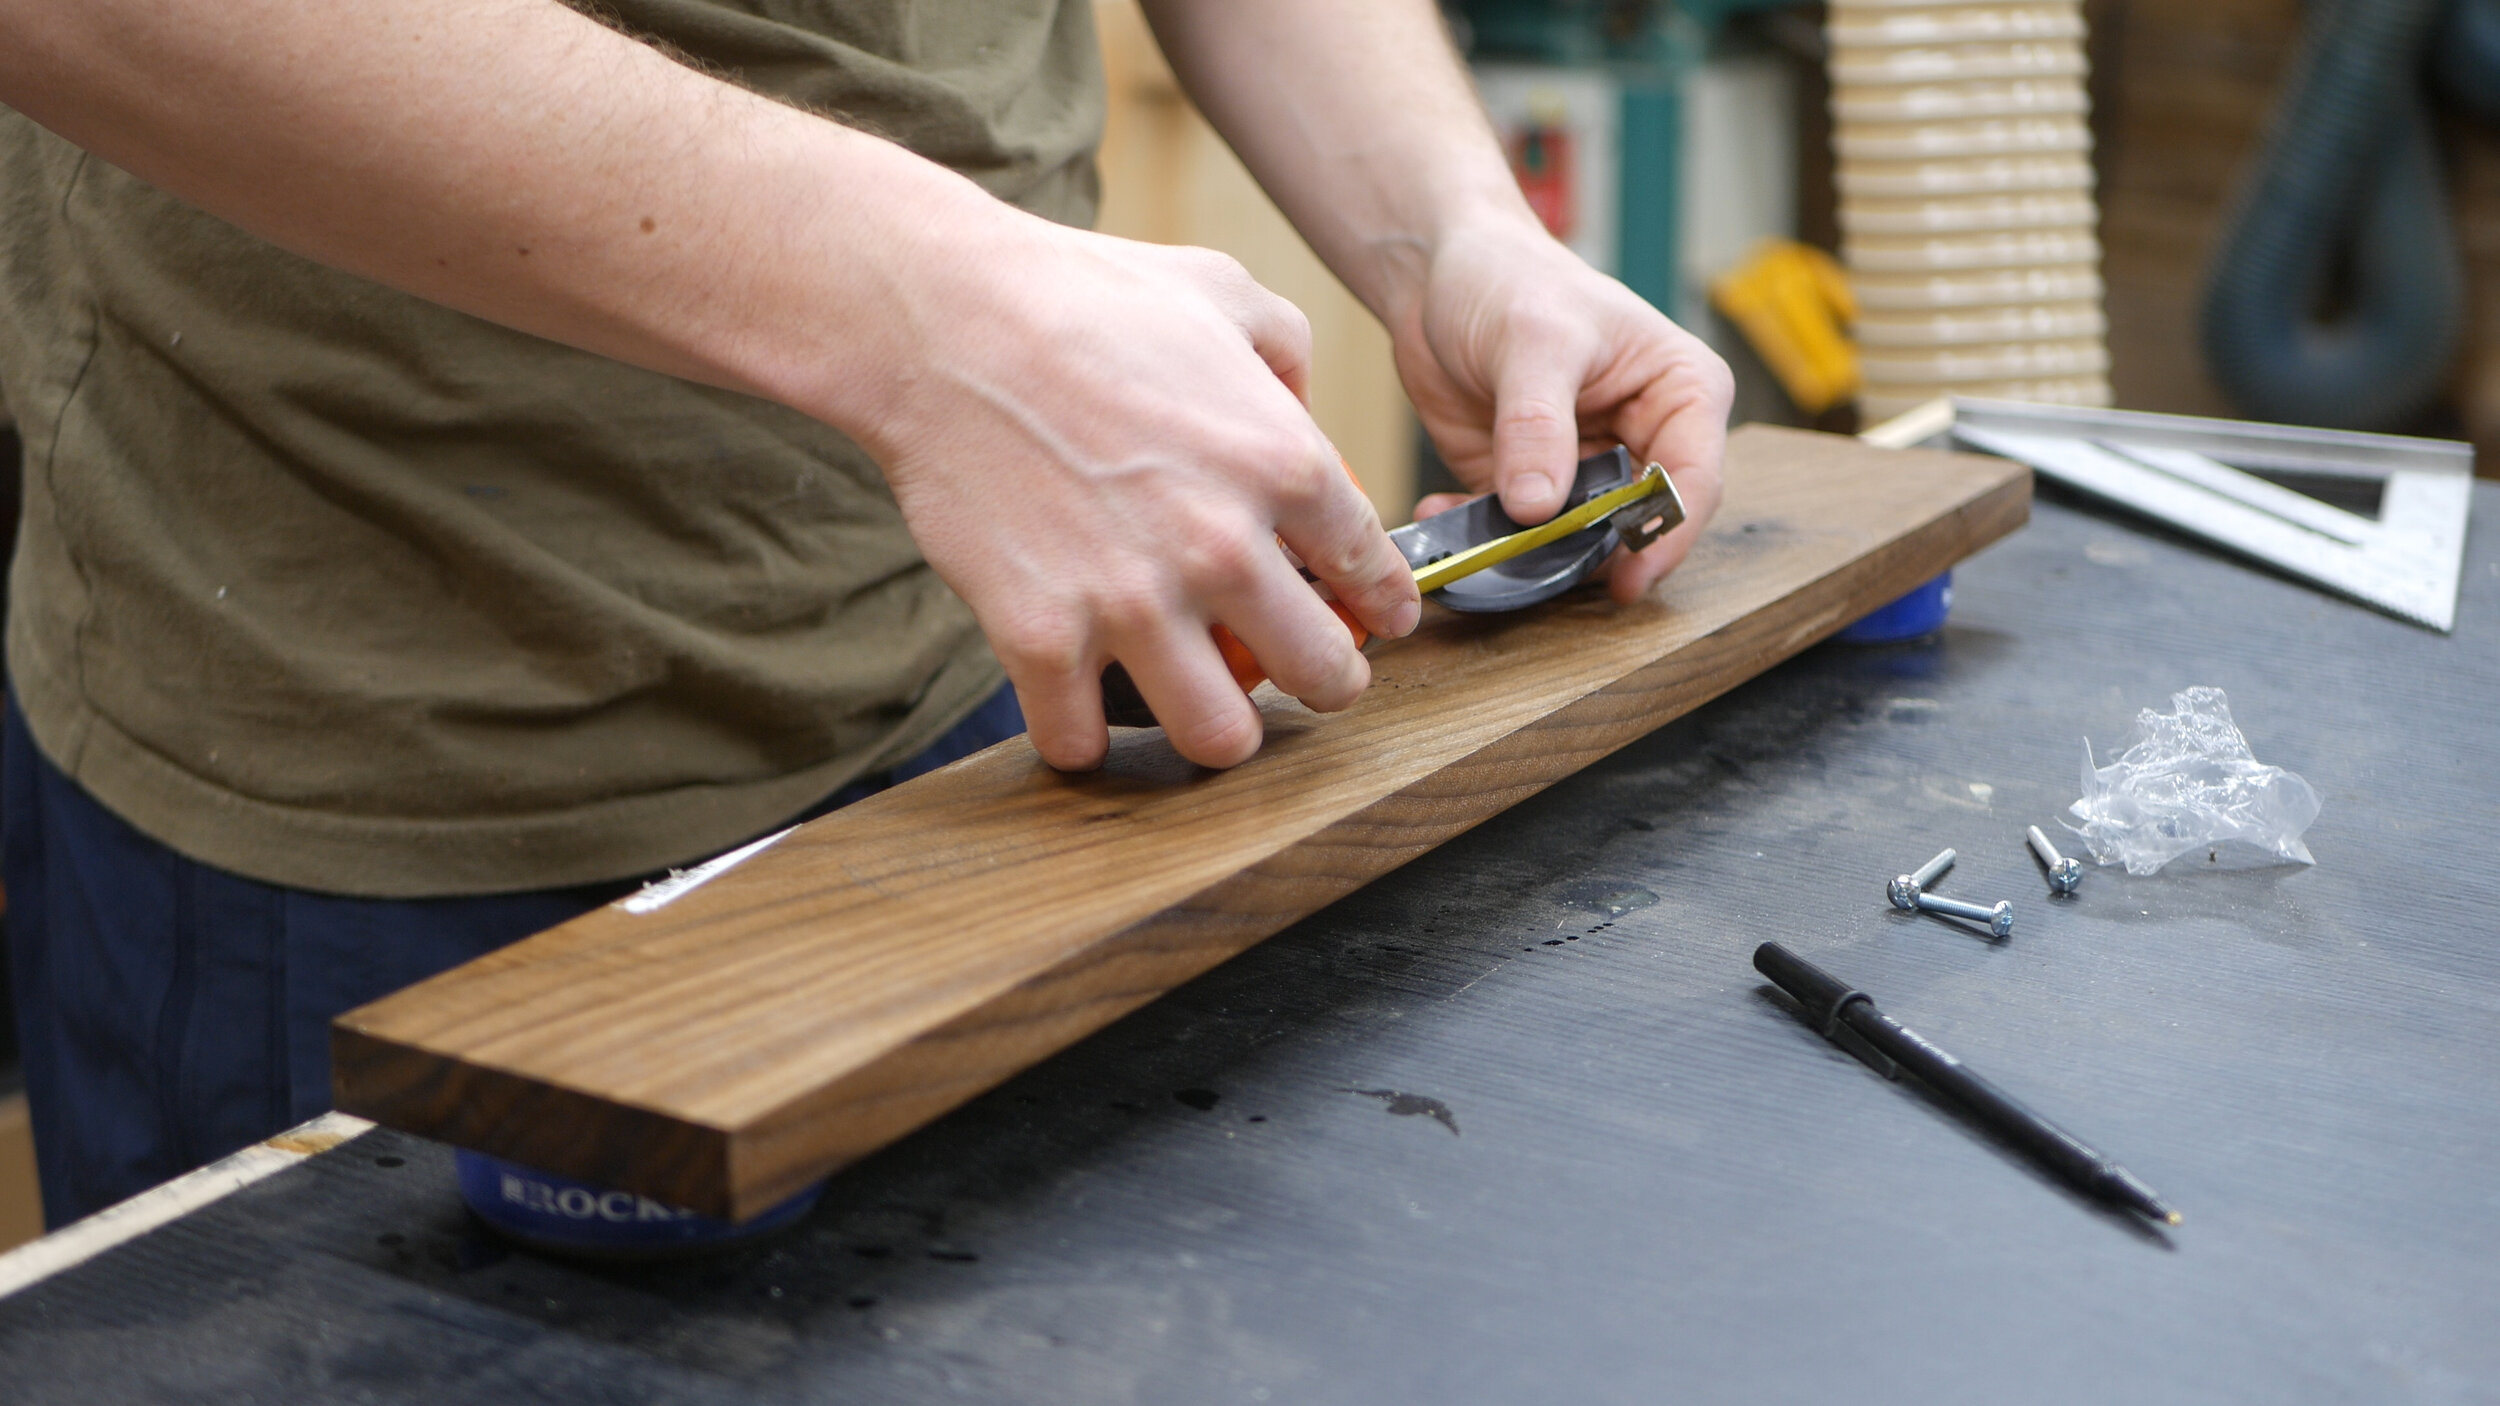
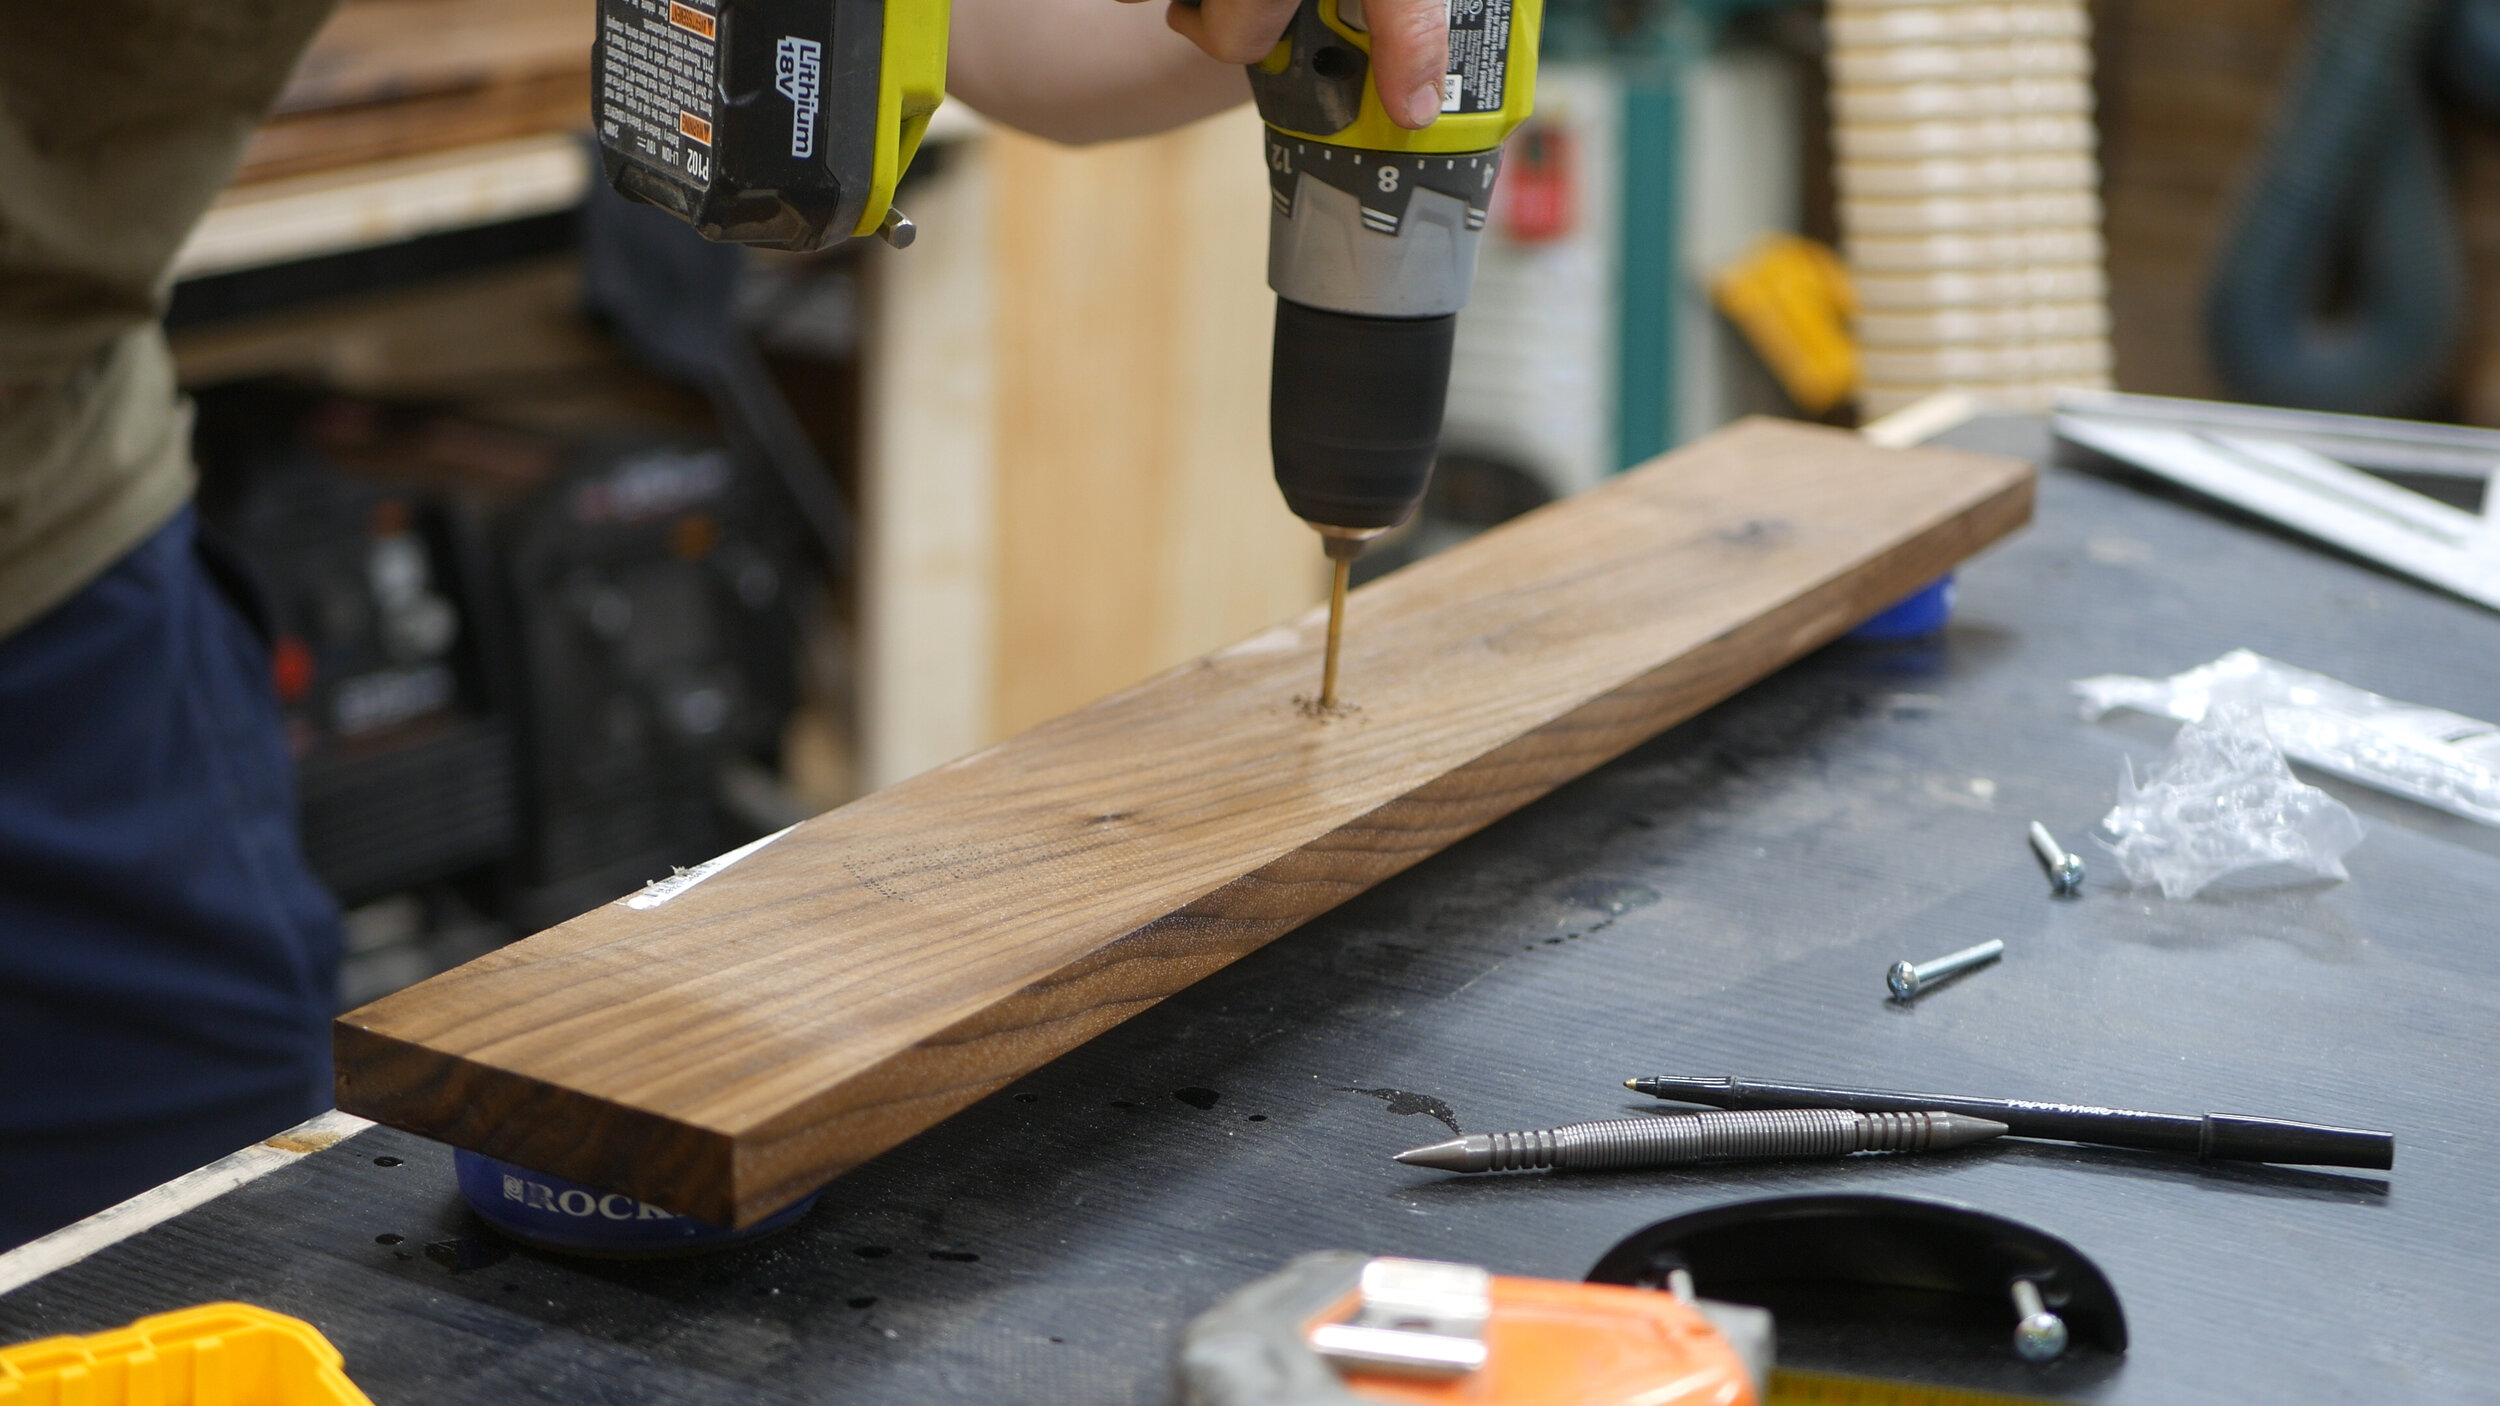
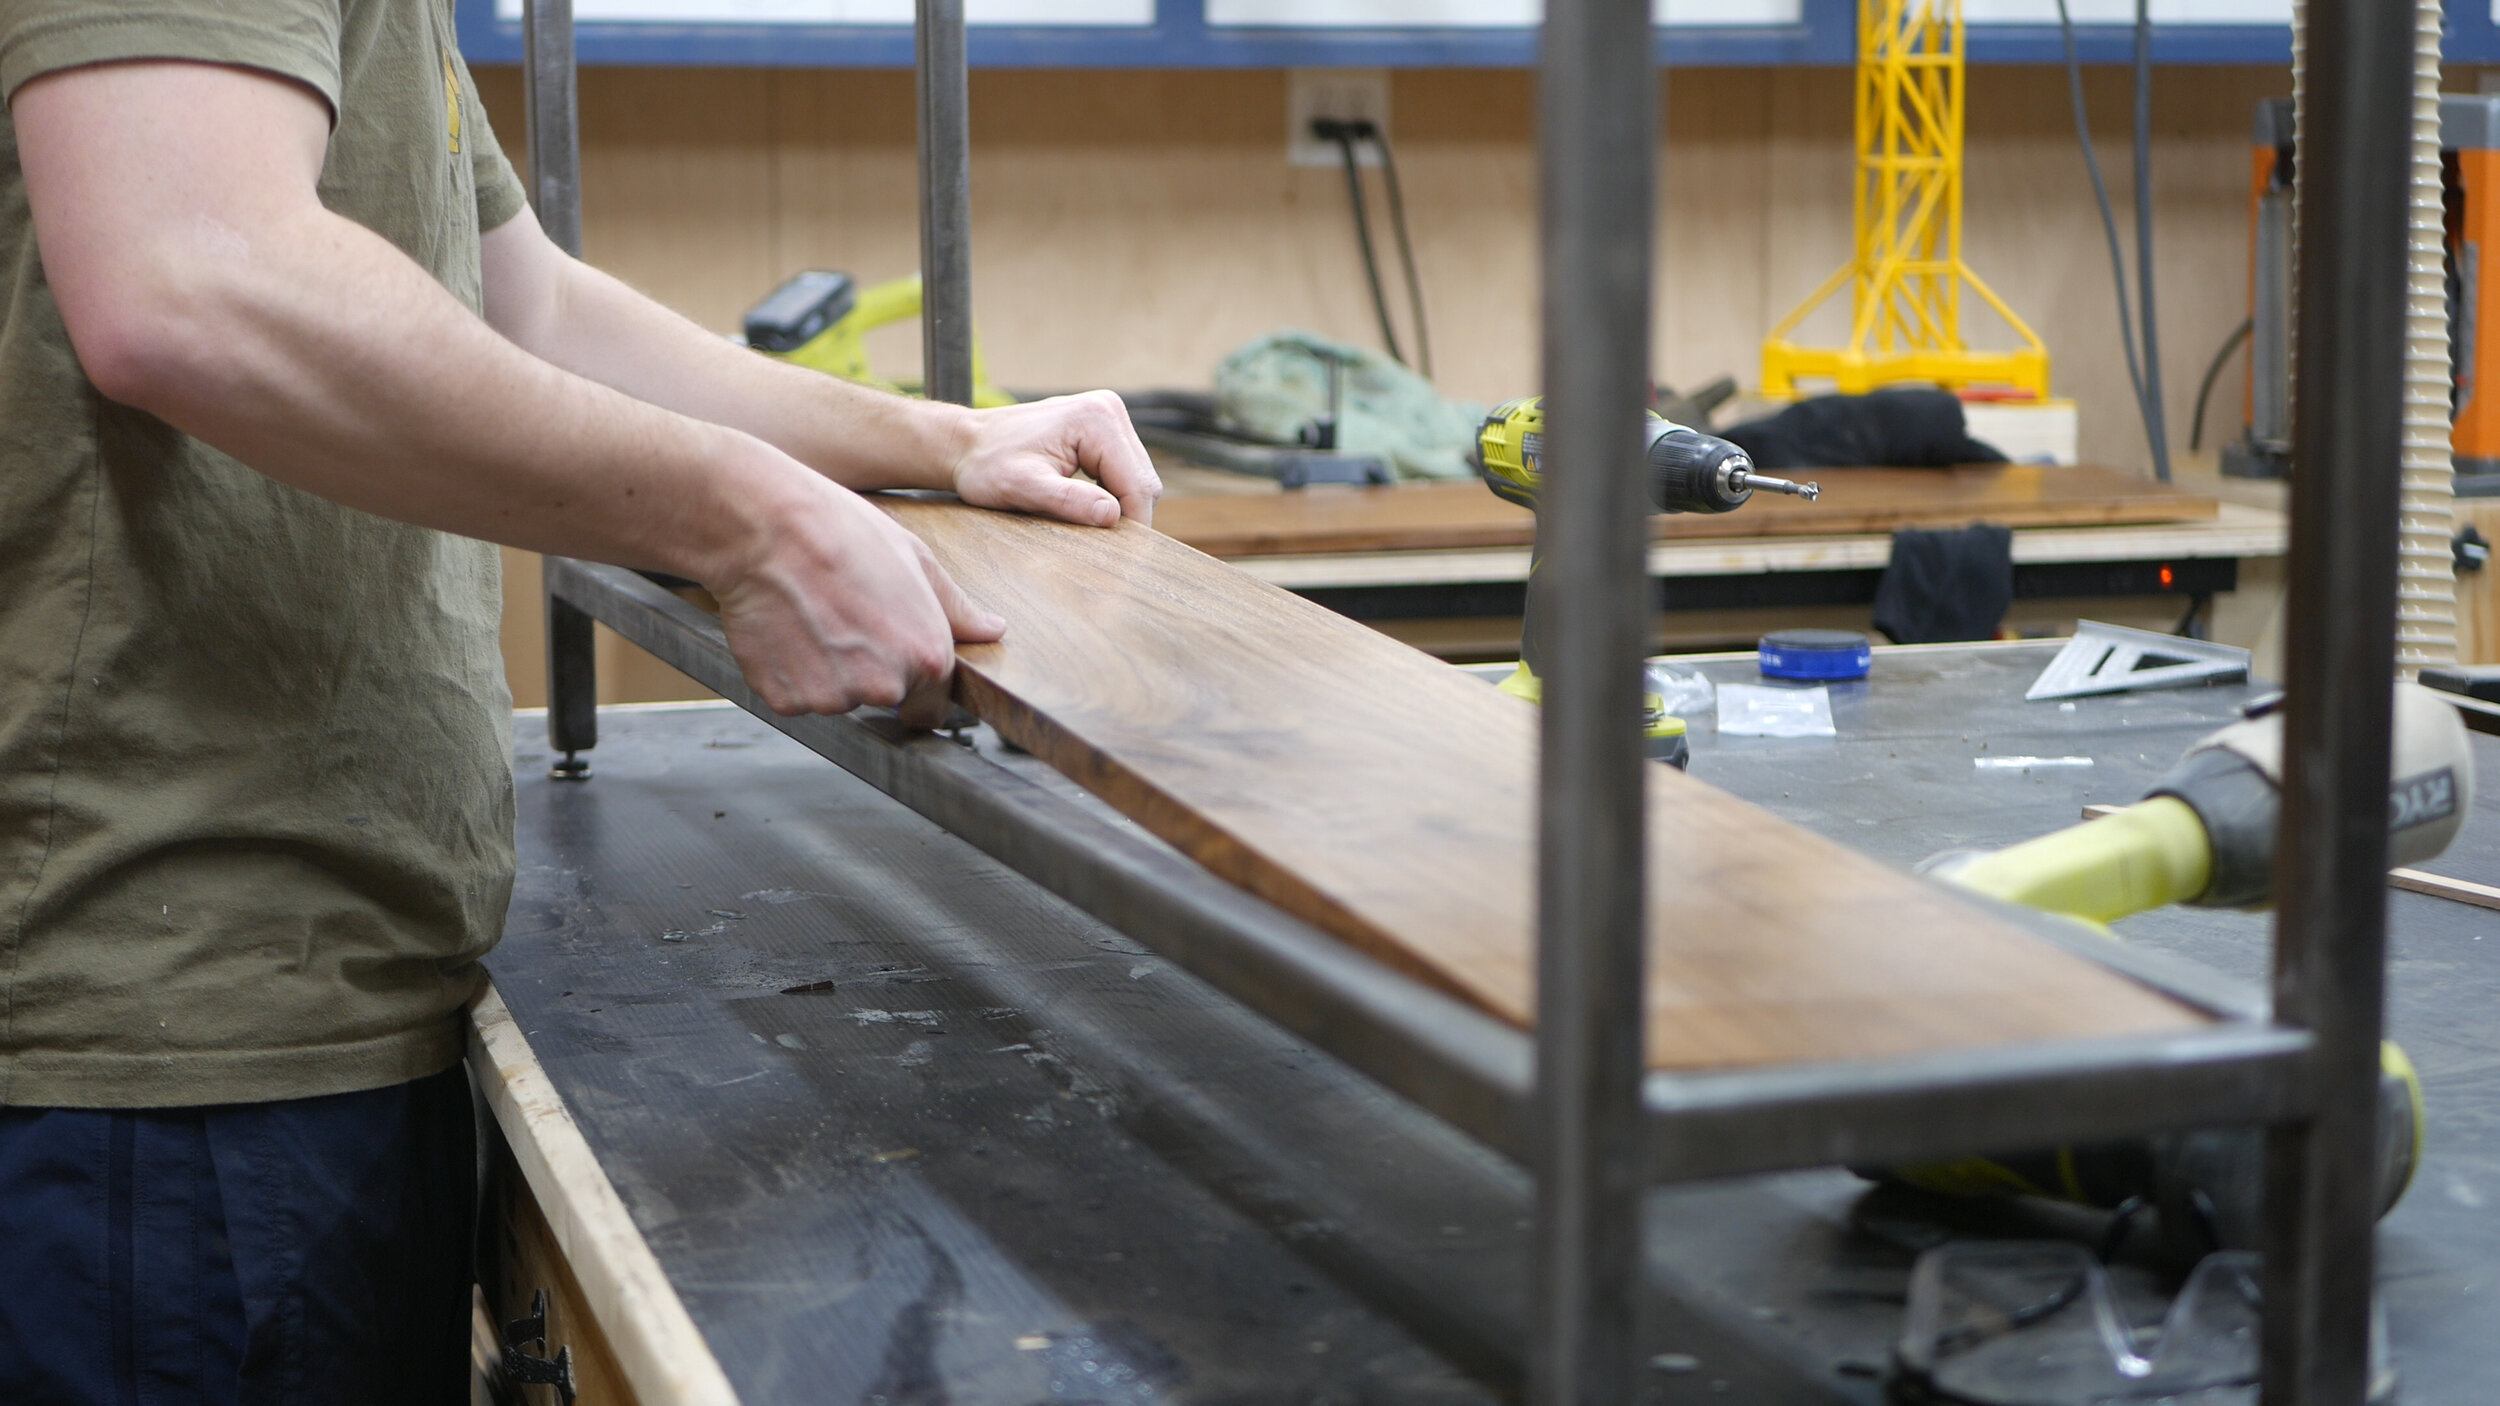
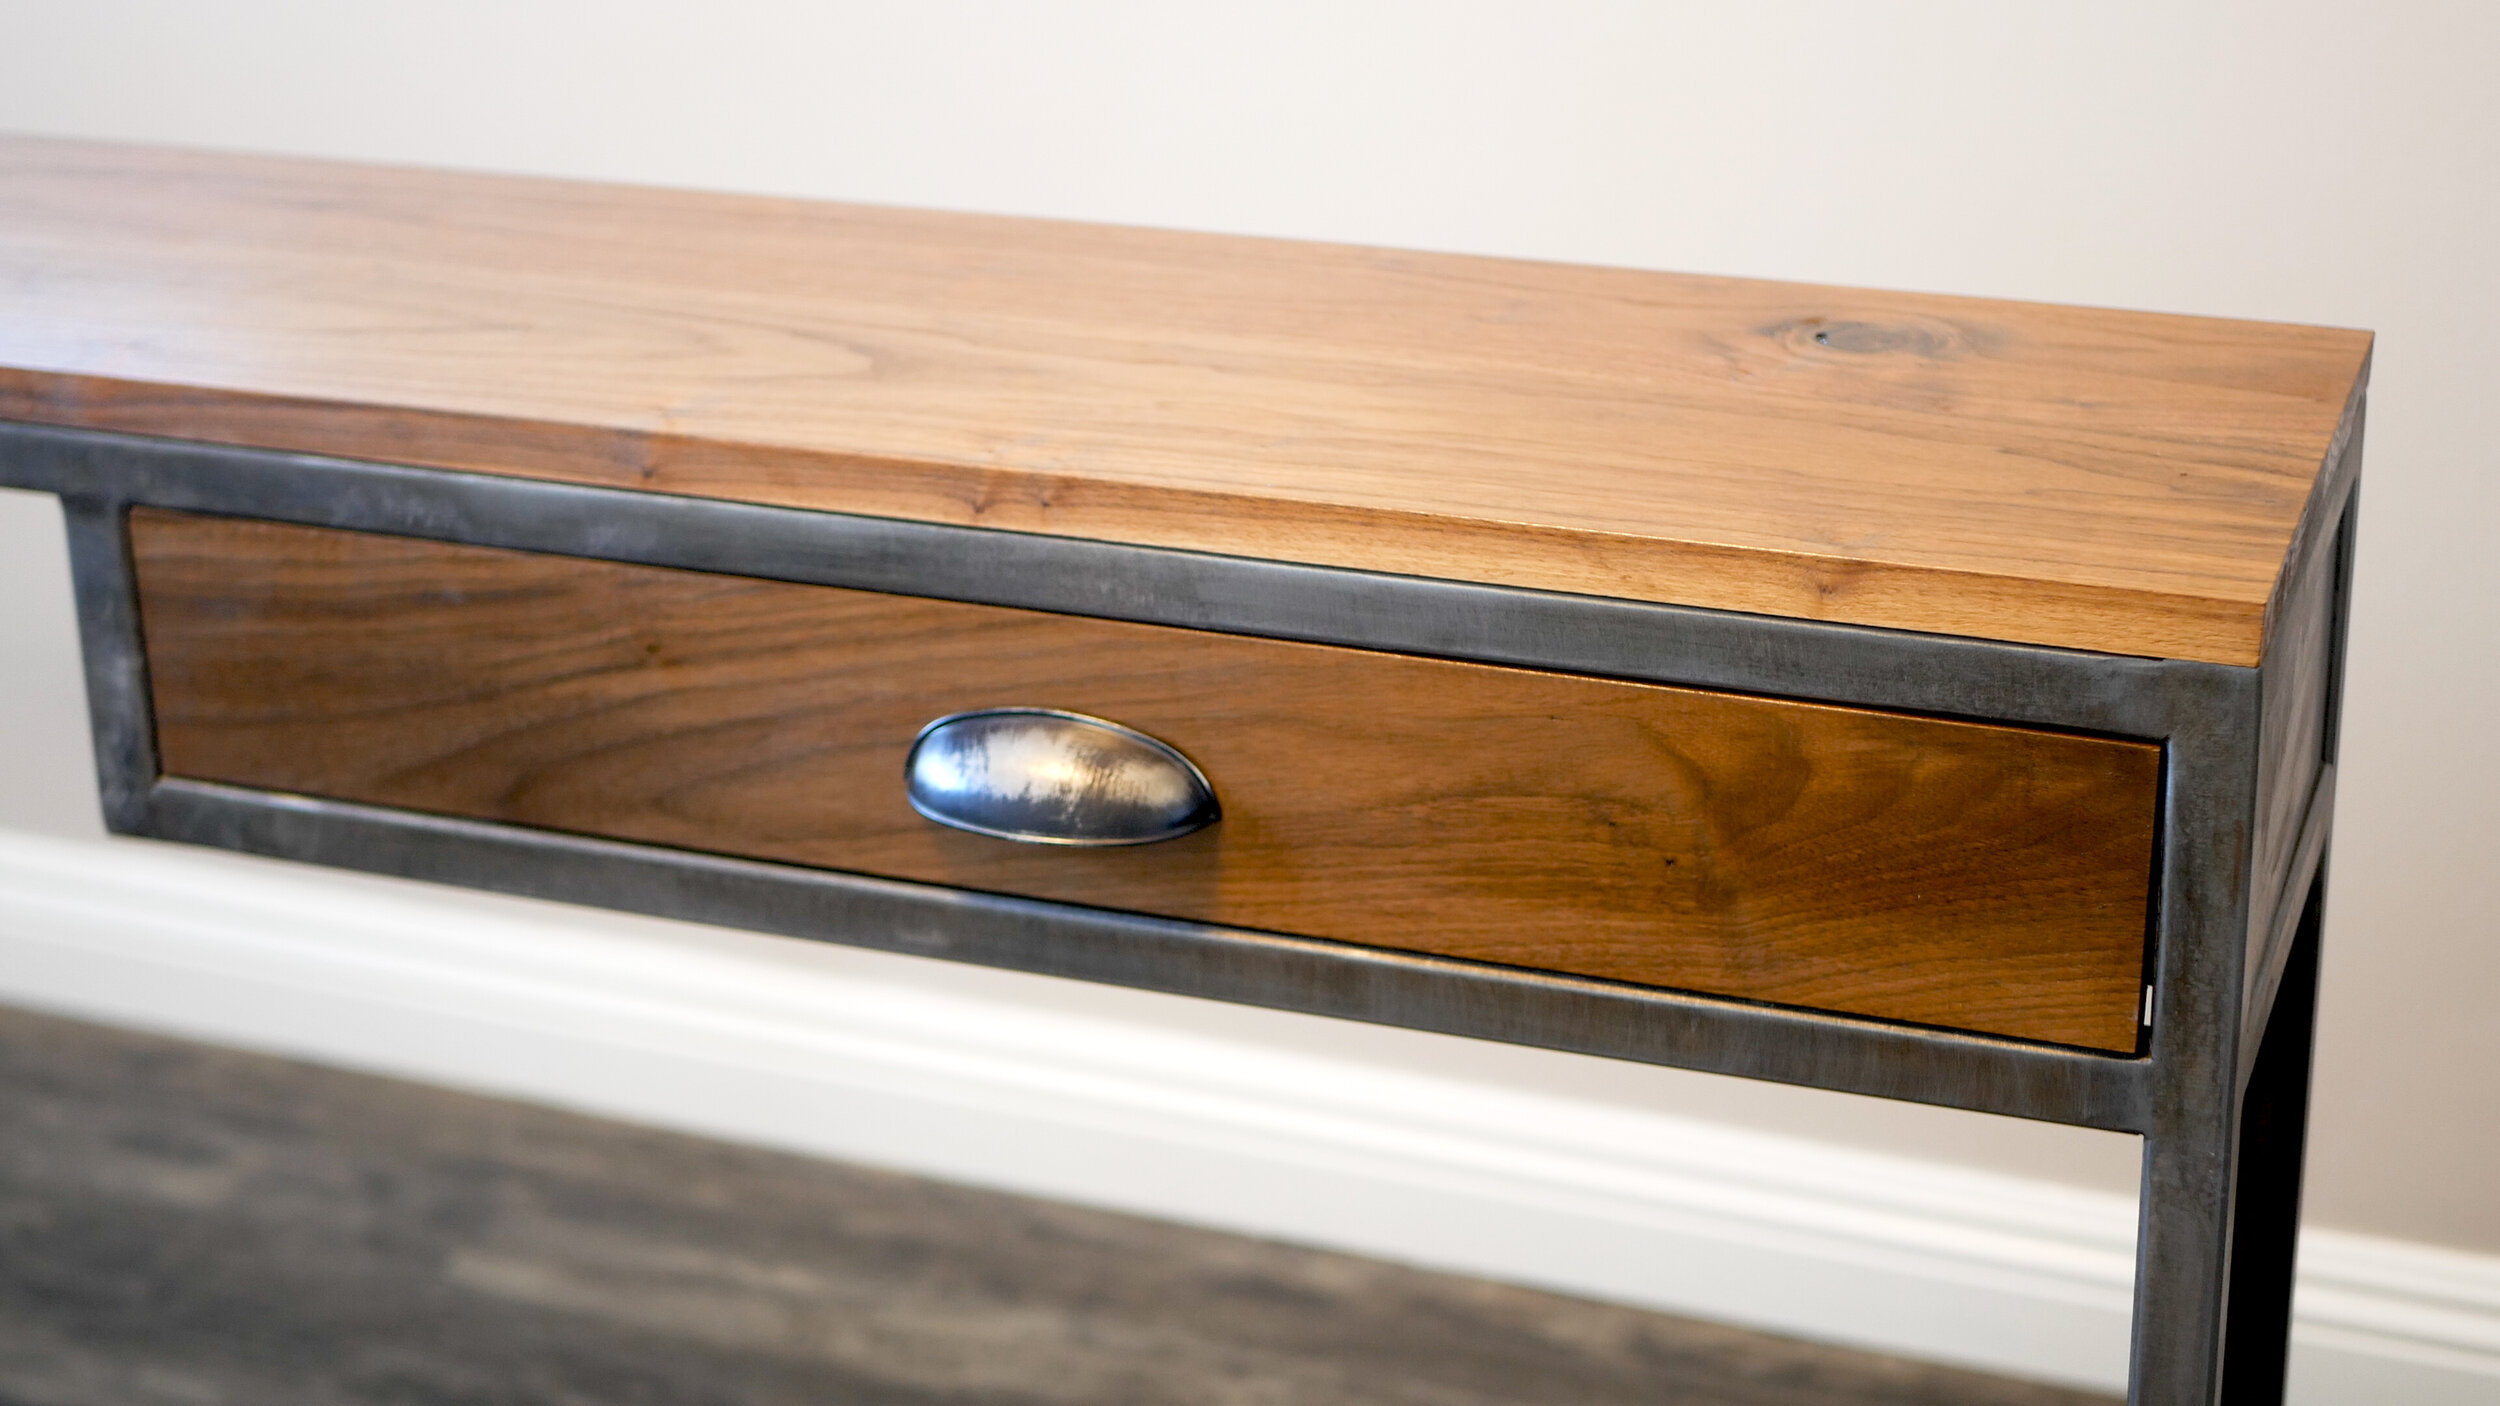
On to the woodworking portion of the build. The top shelf, bottom shelf, and drawer front were all made of walnut.
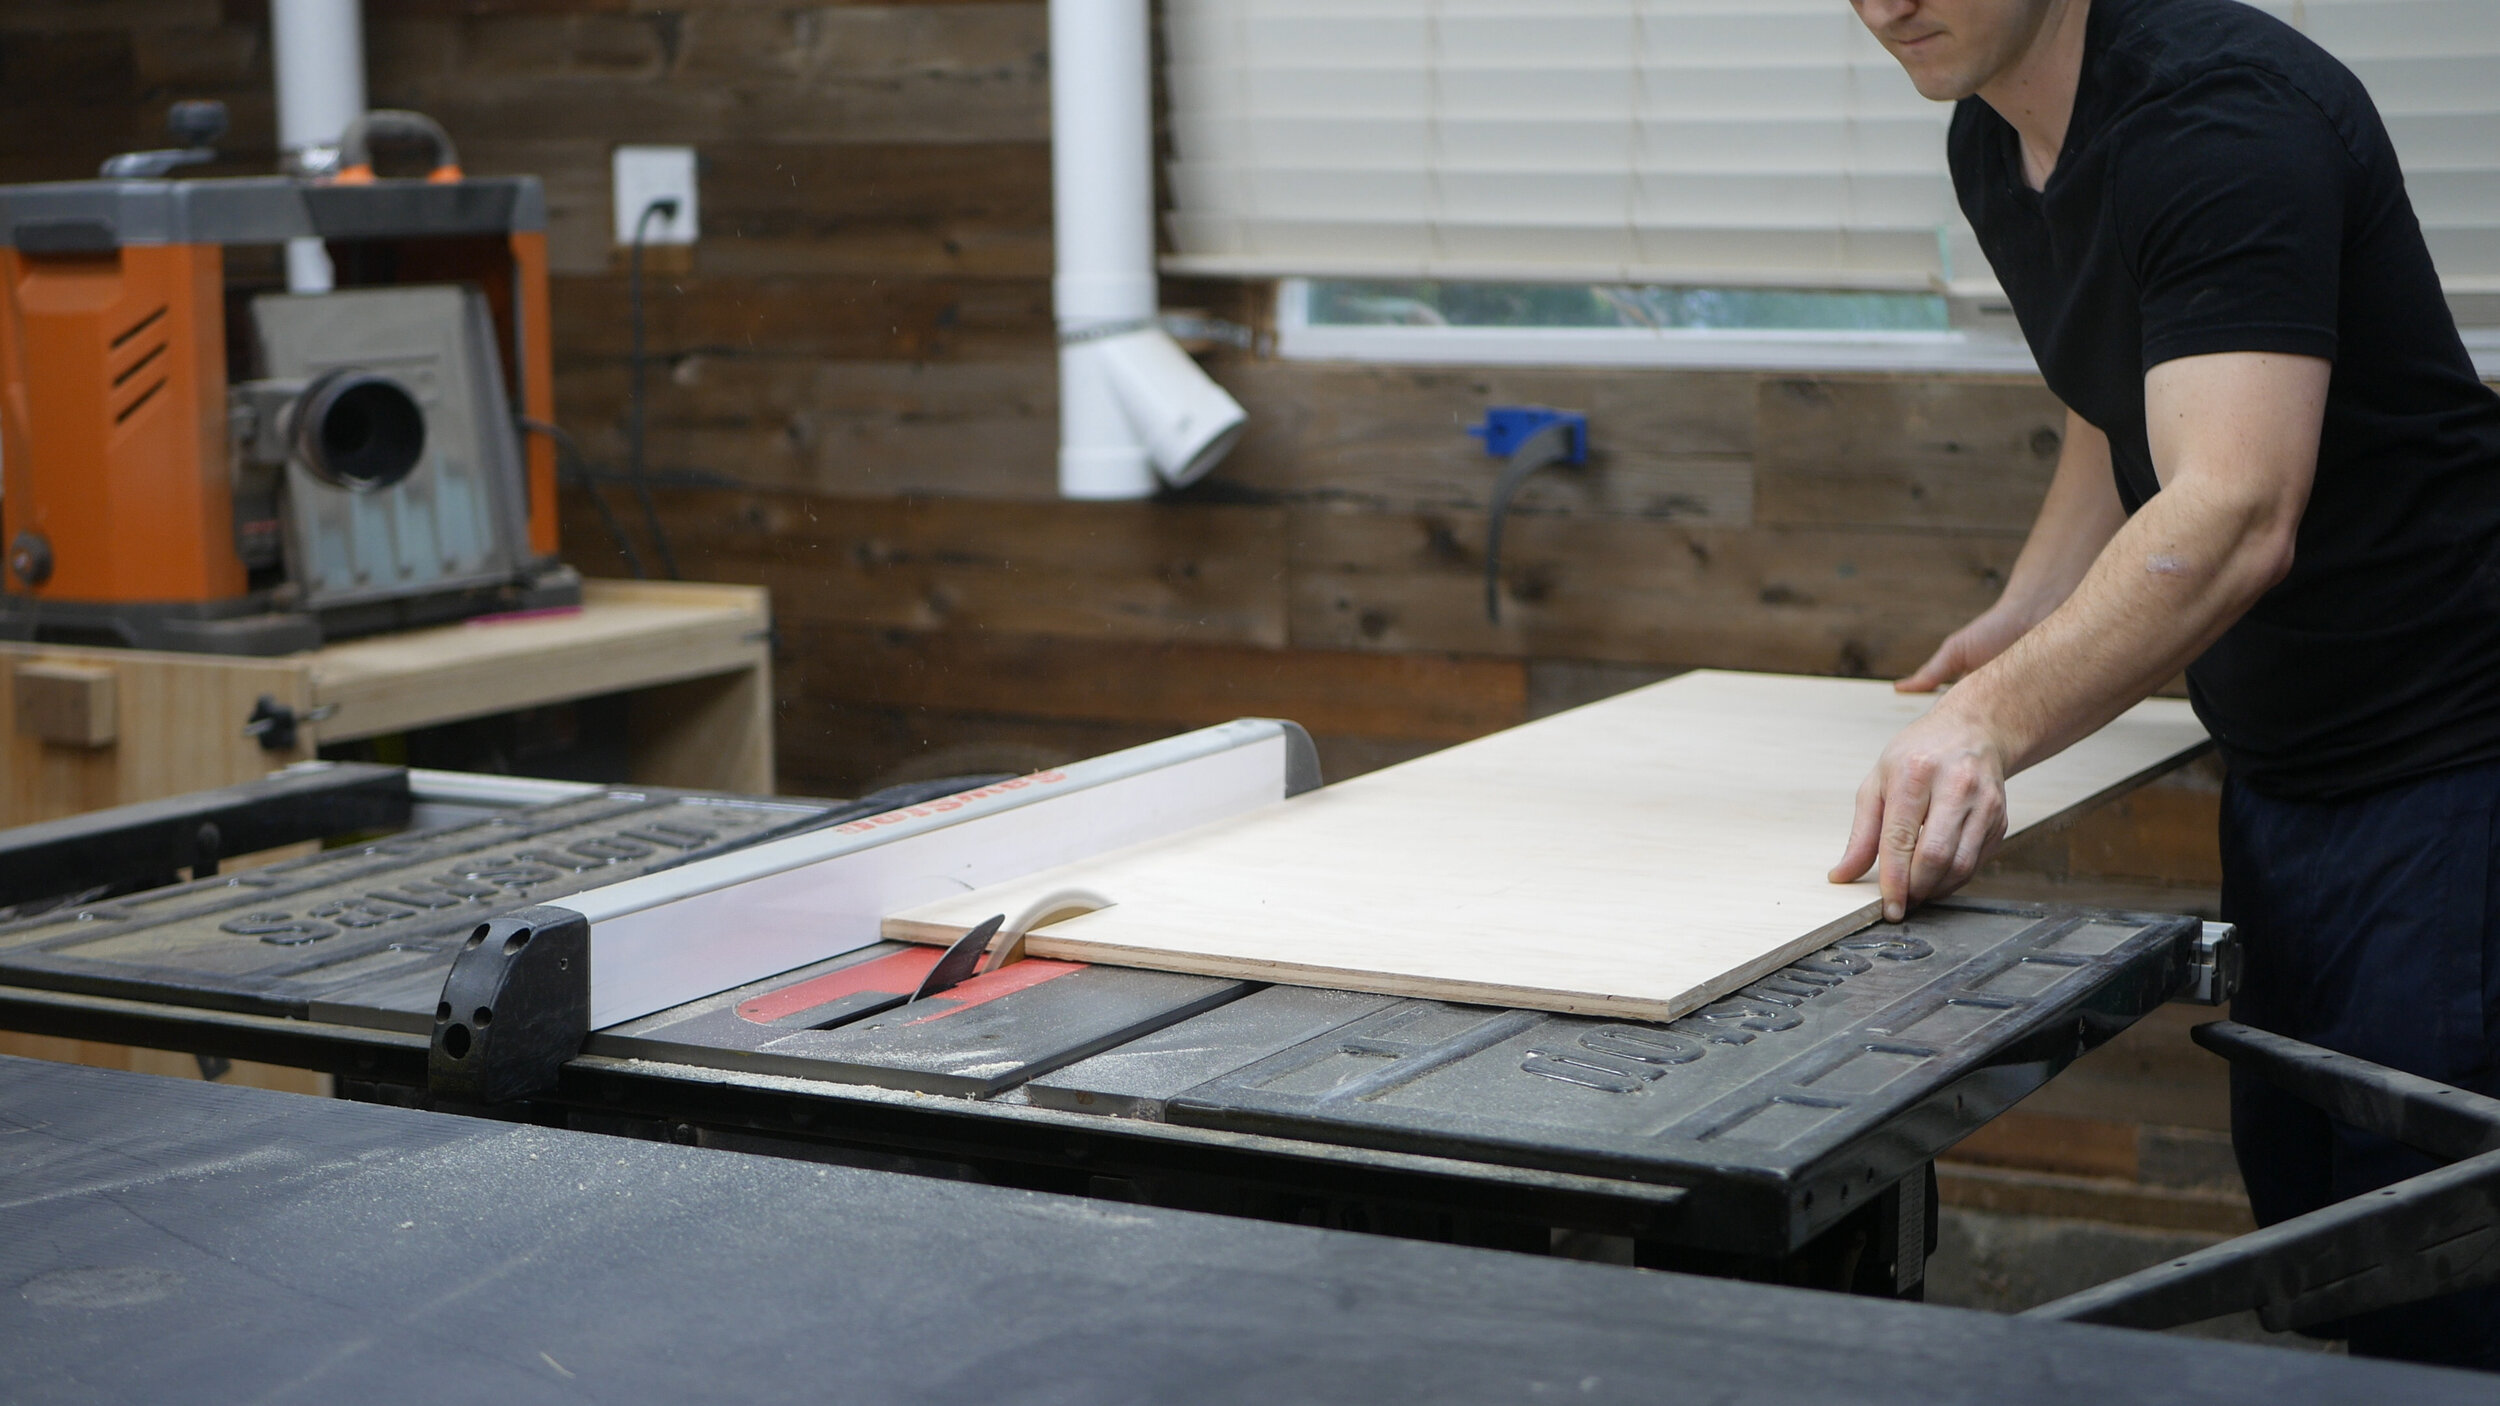
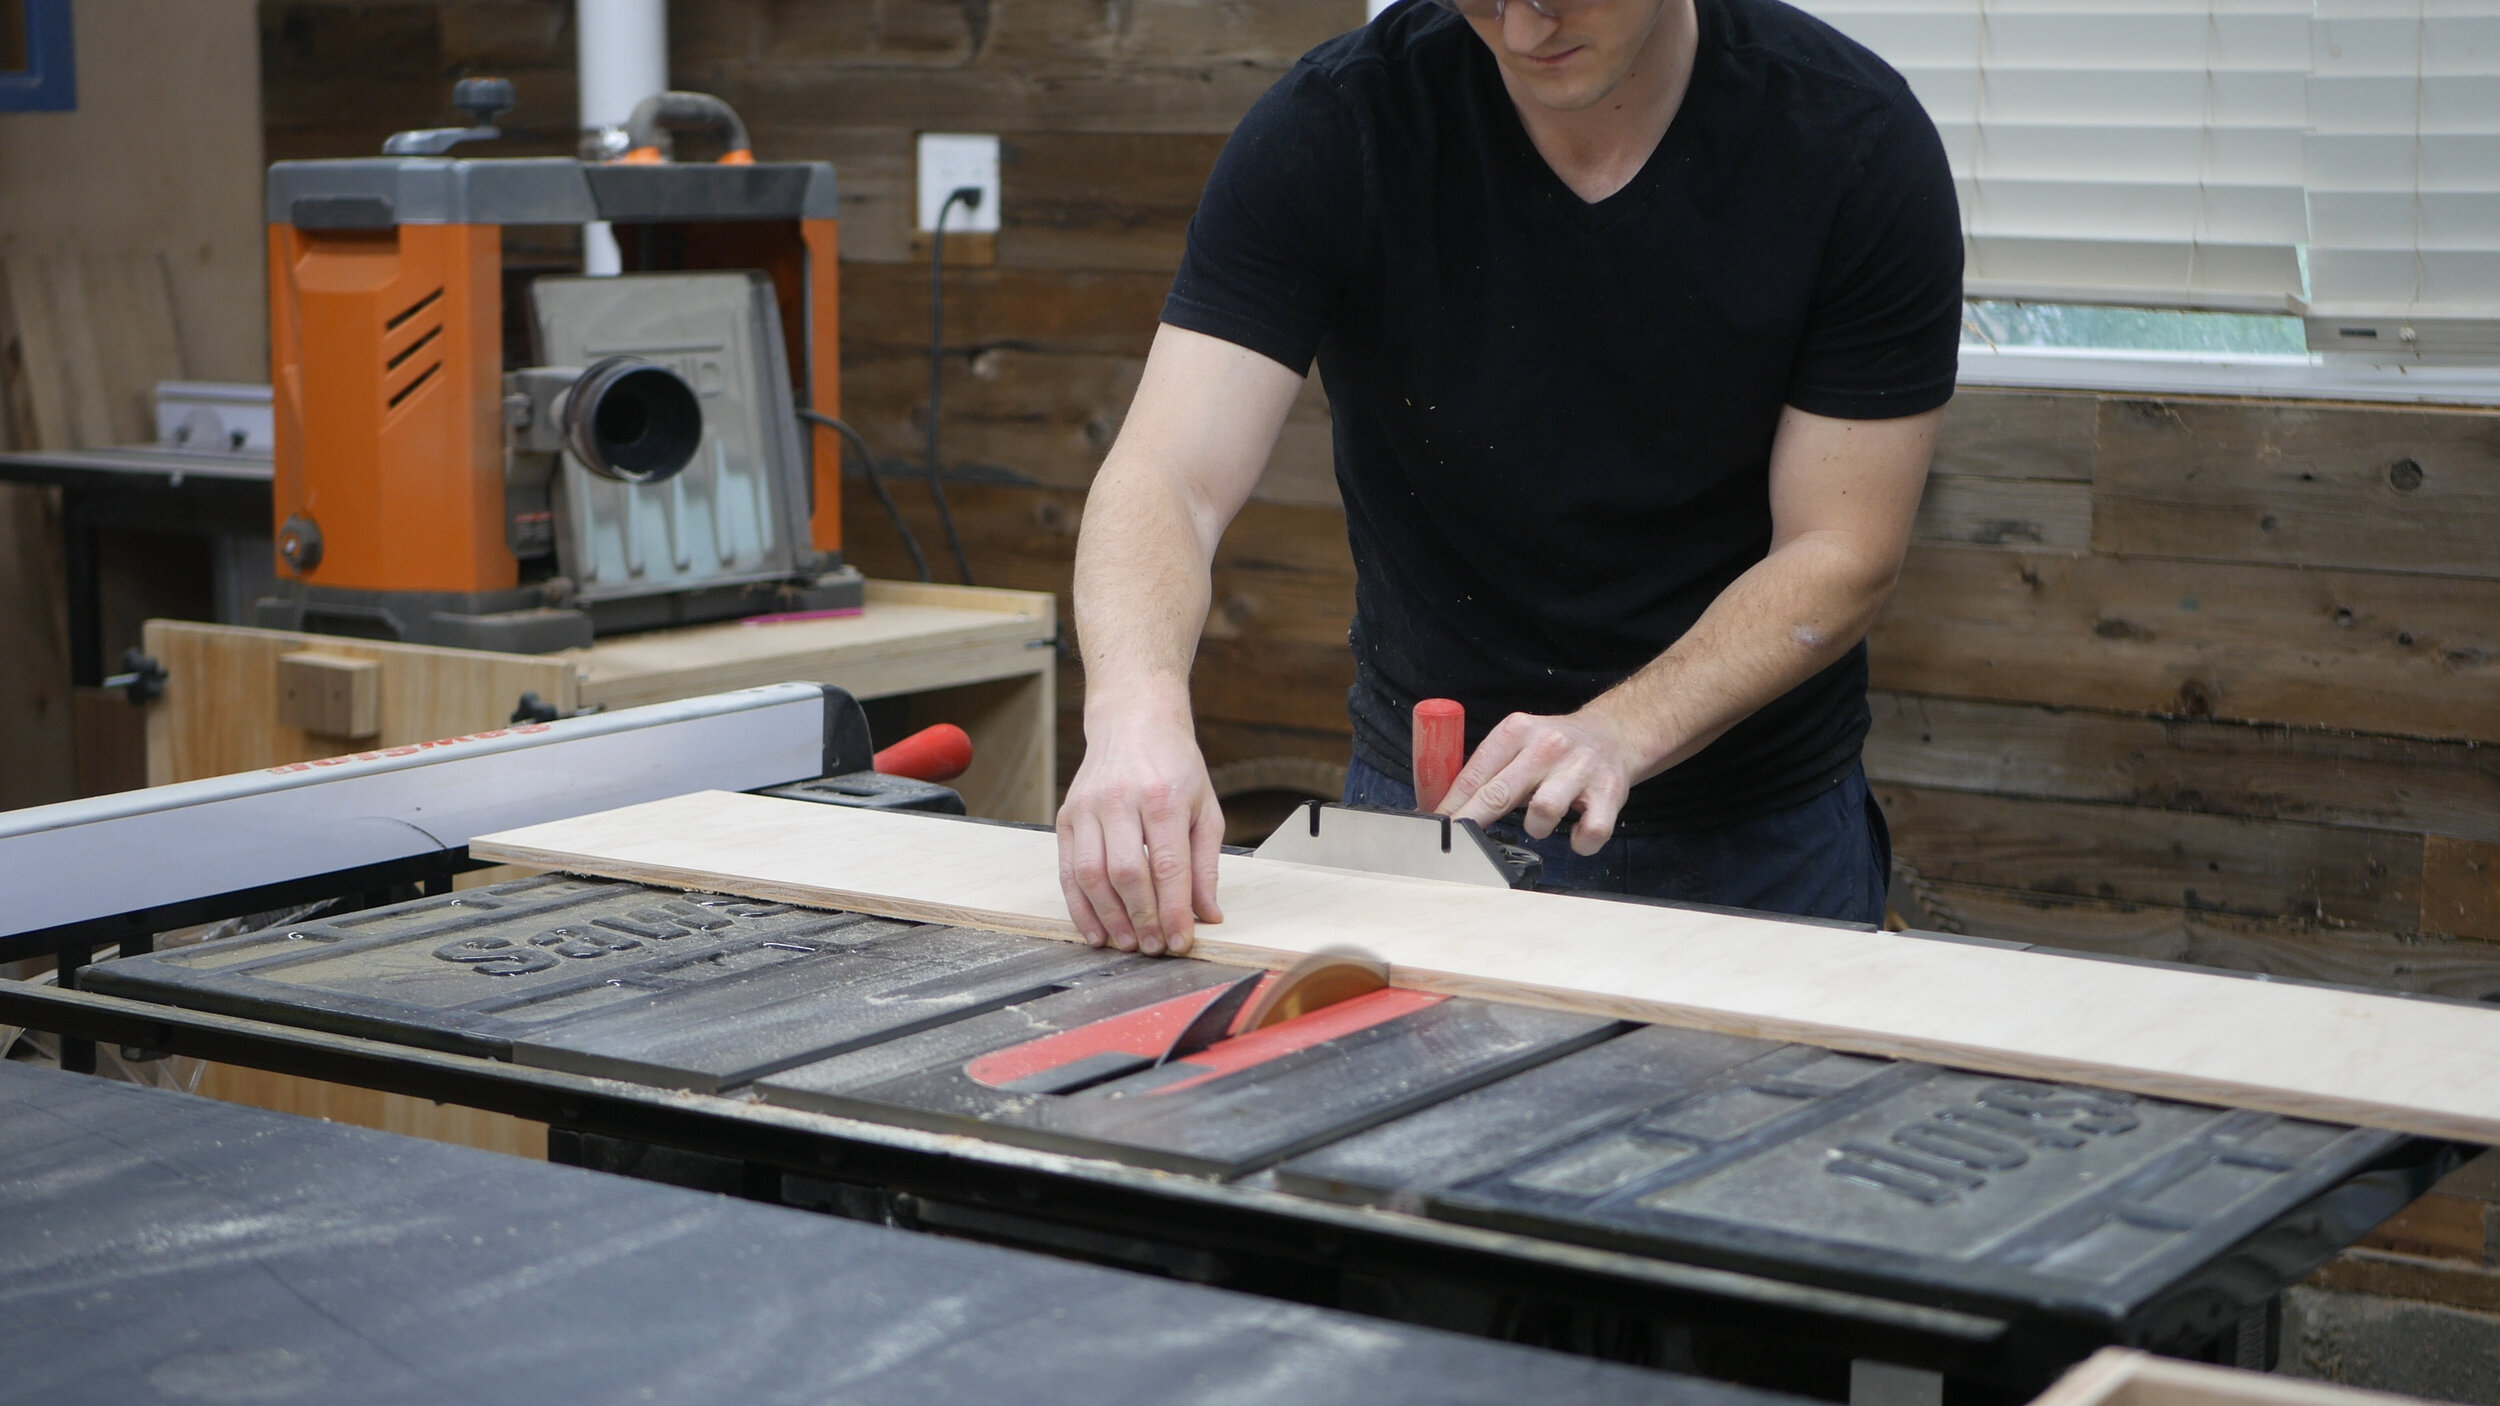
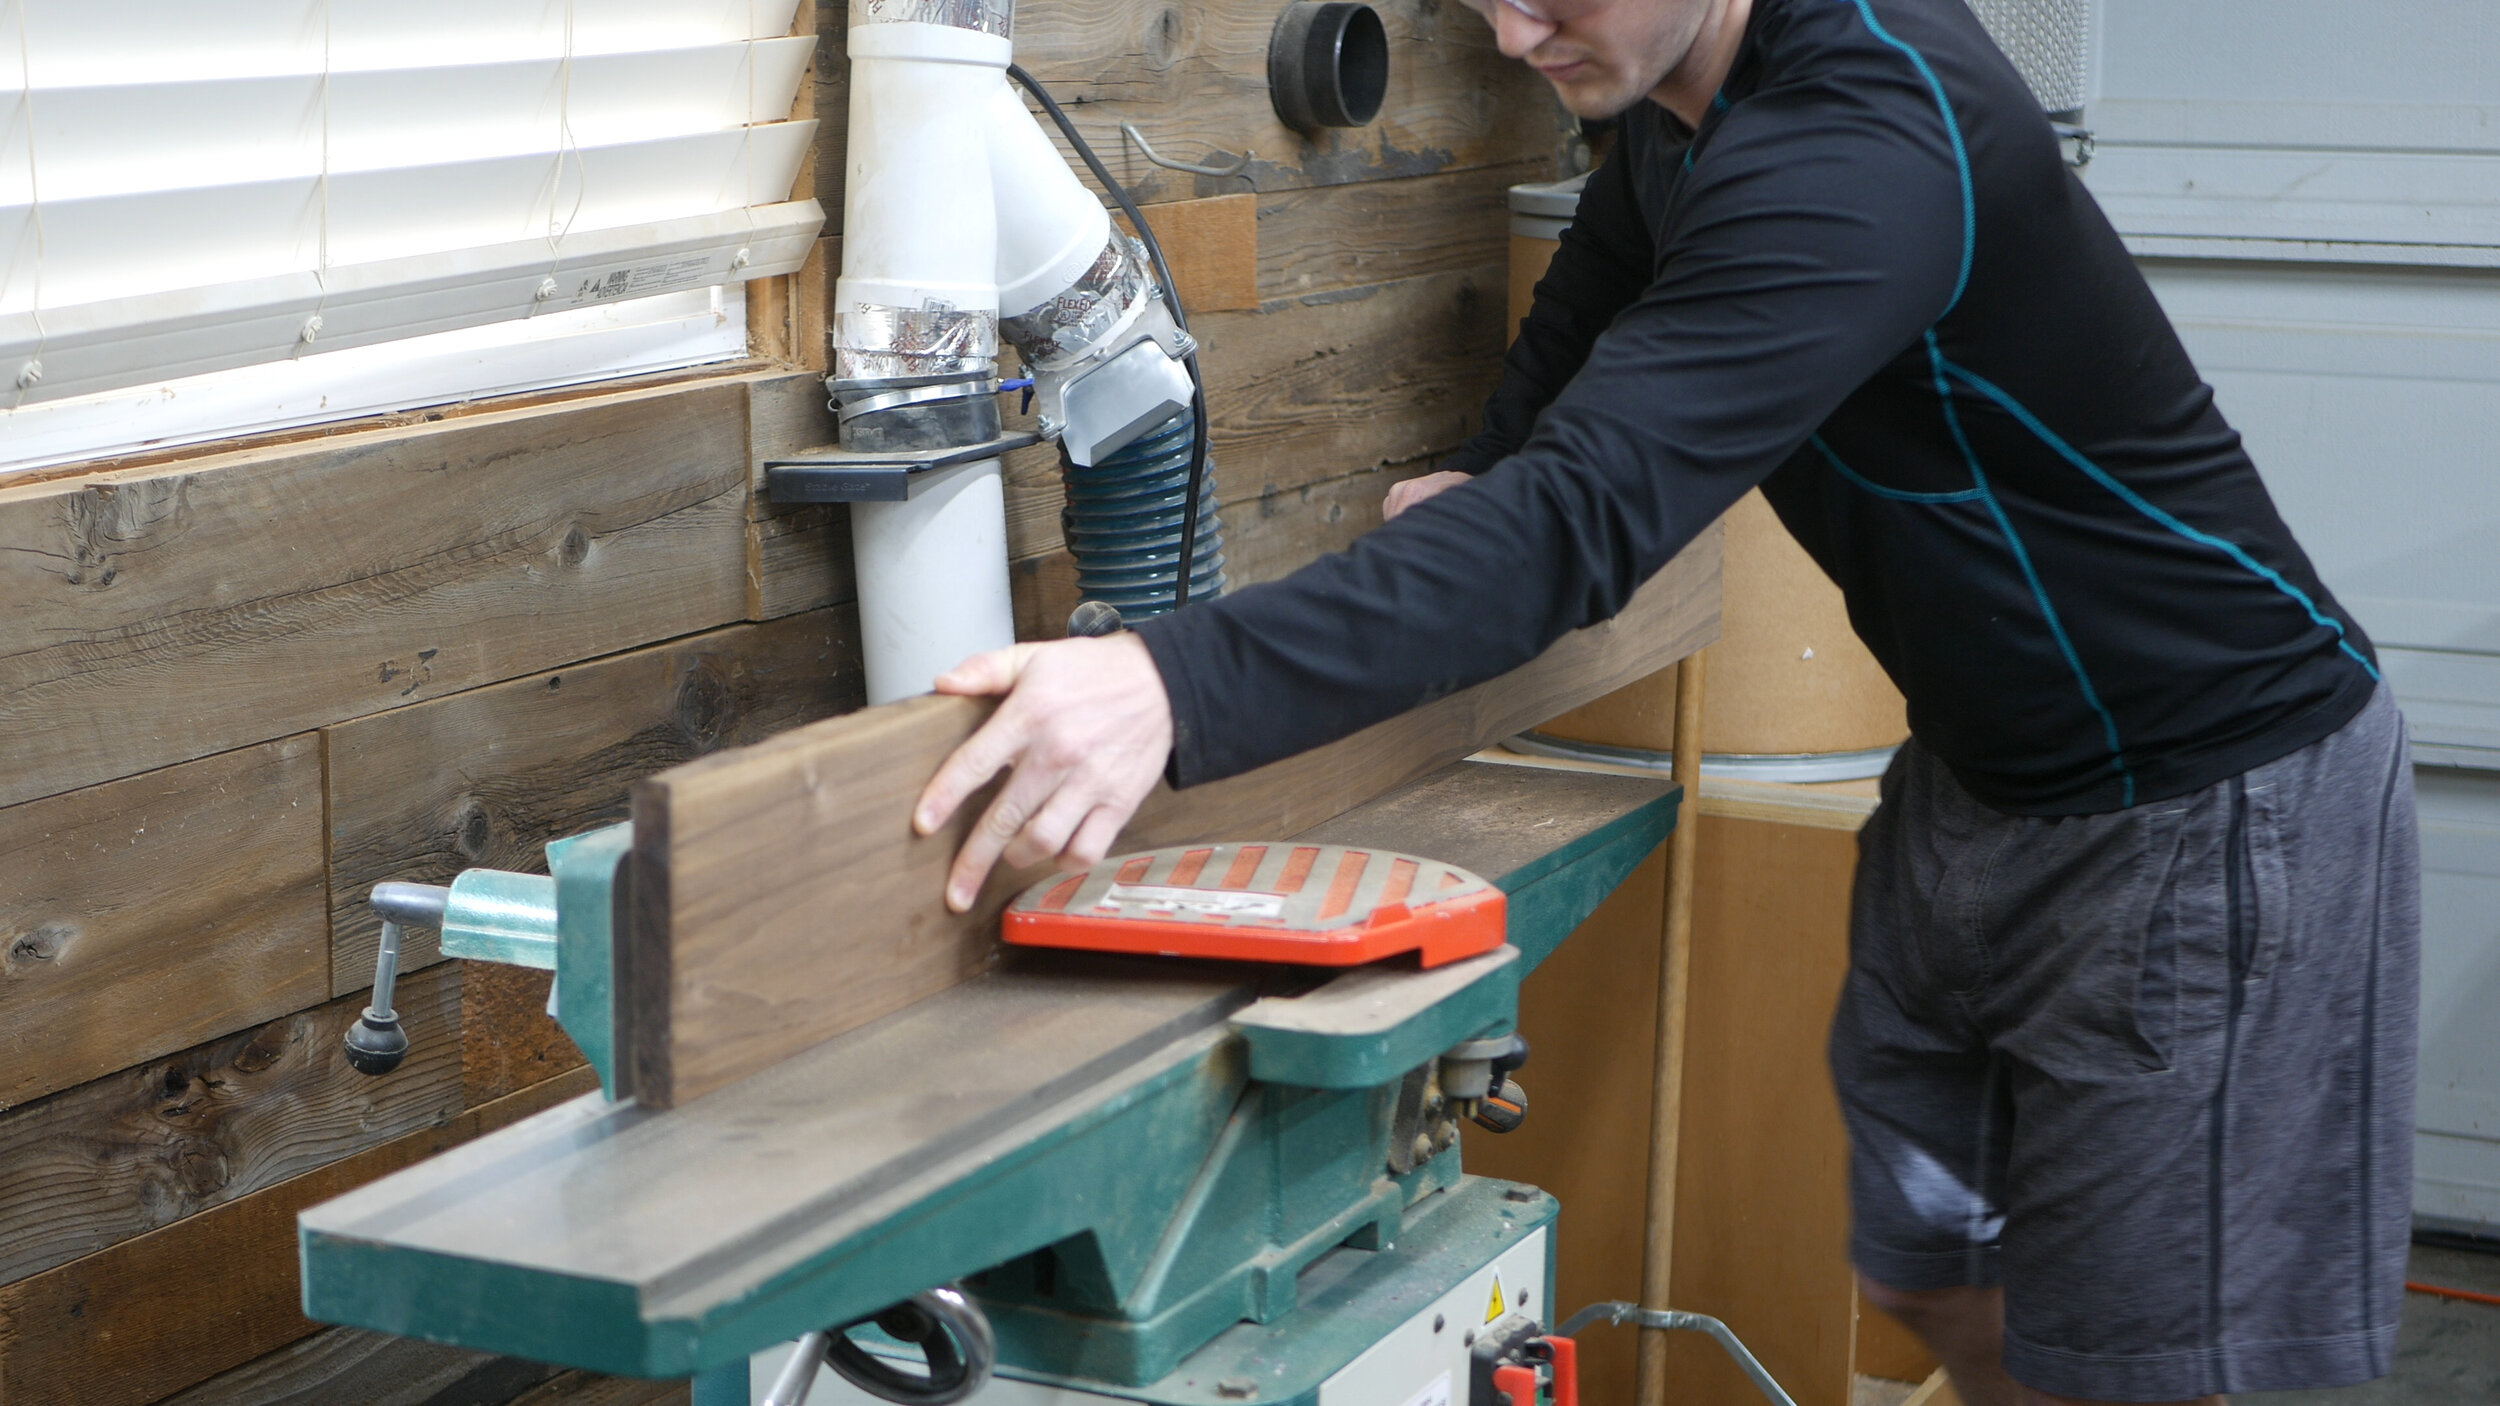
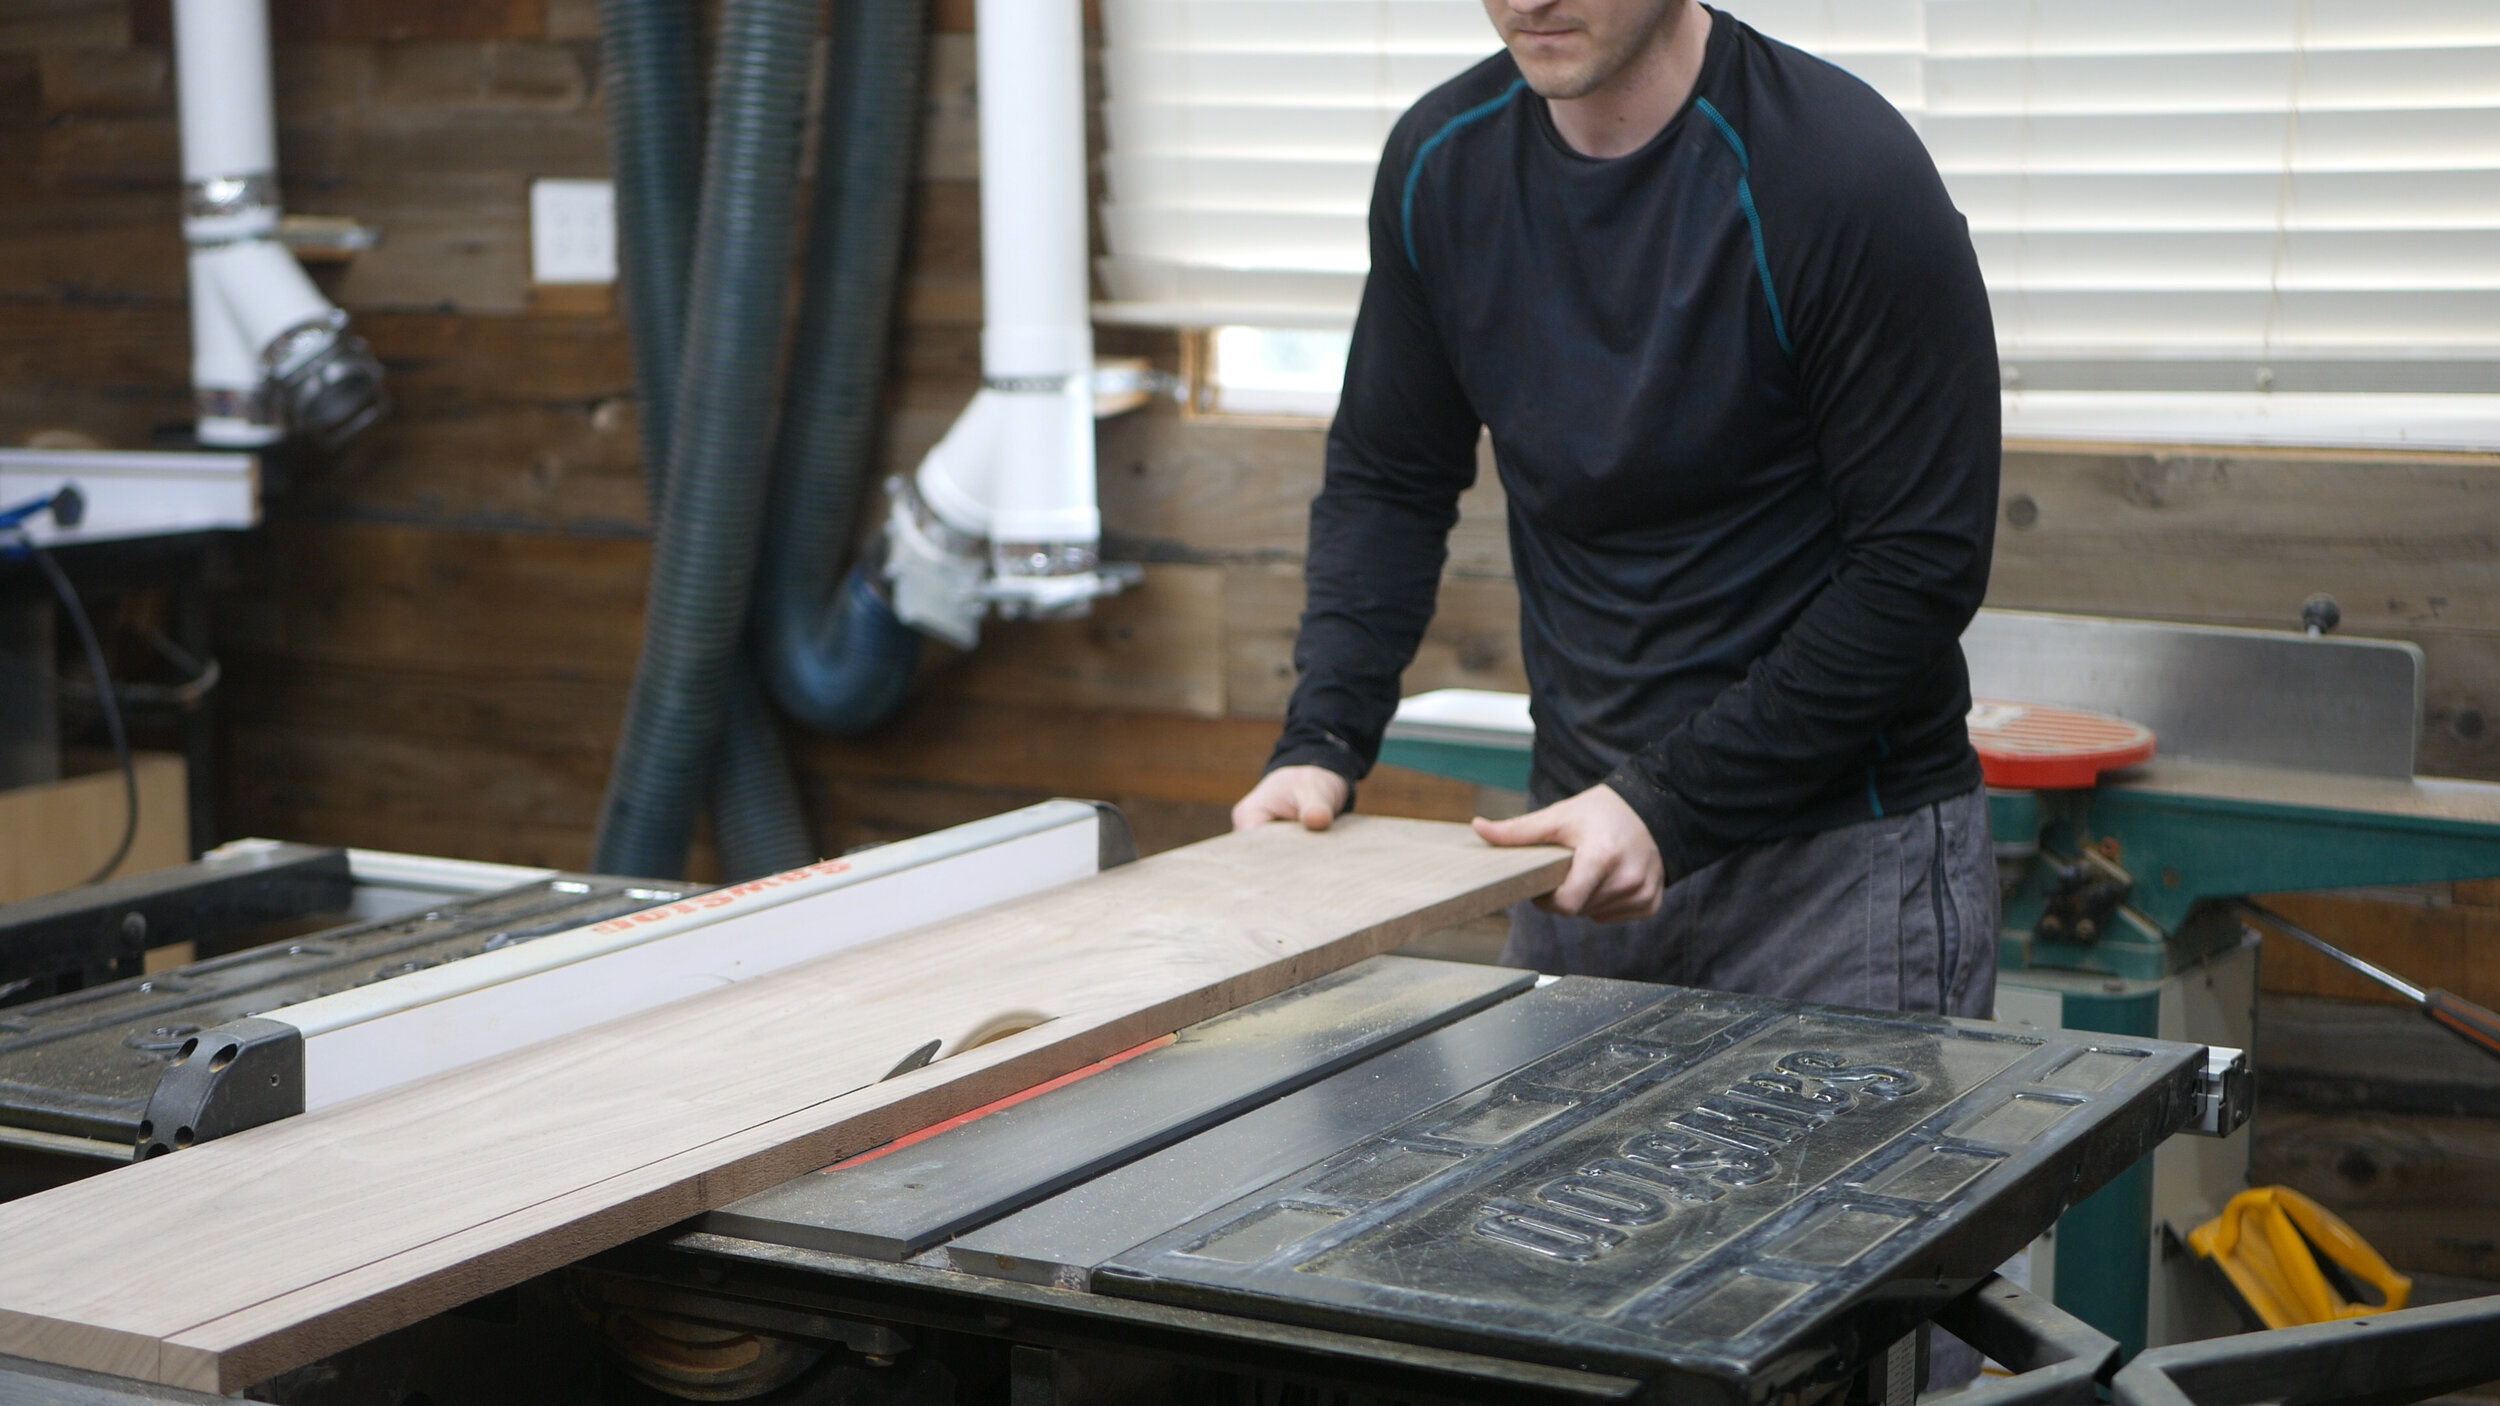
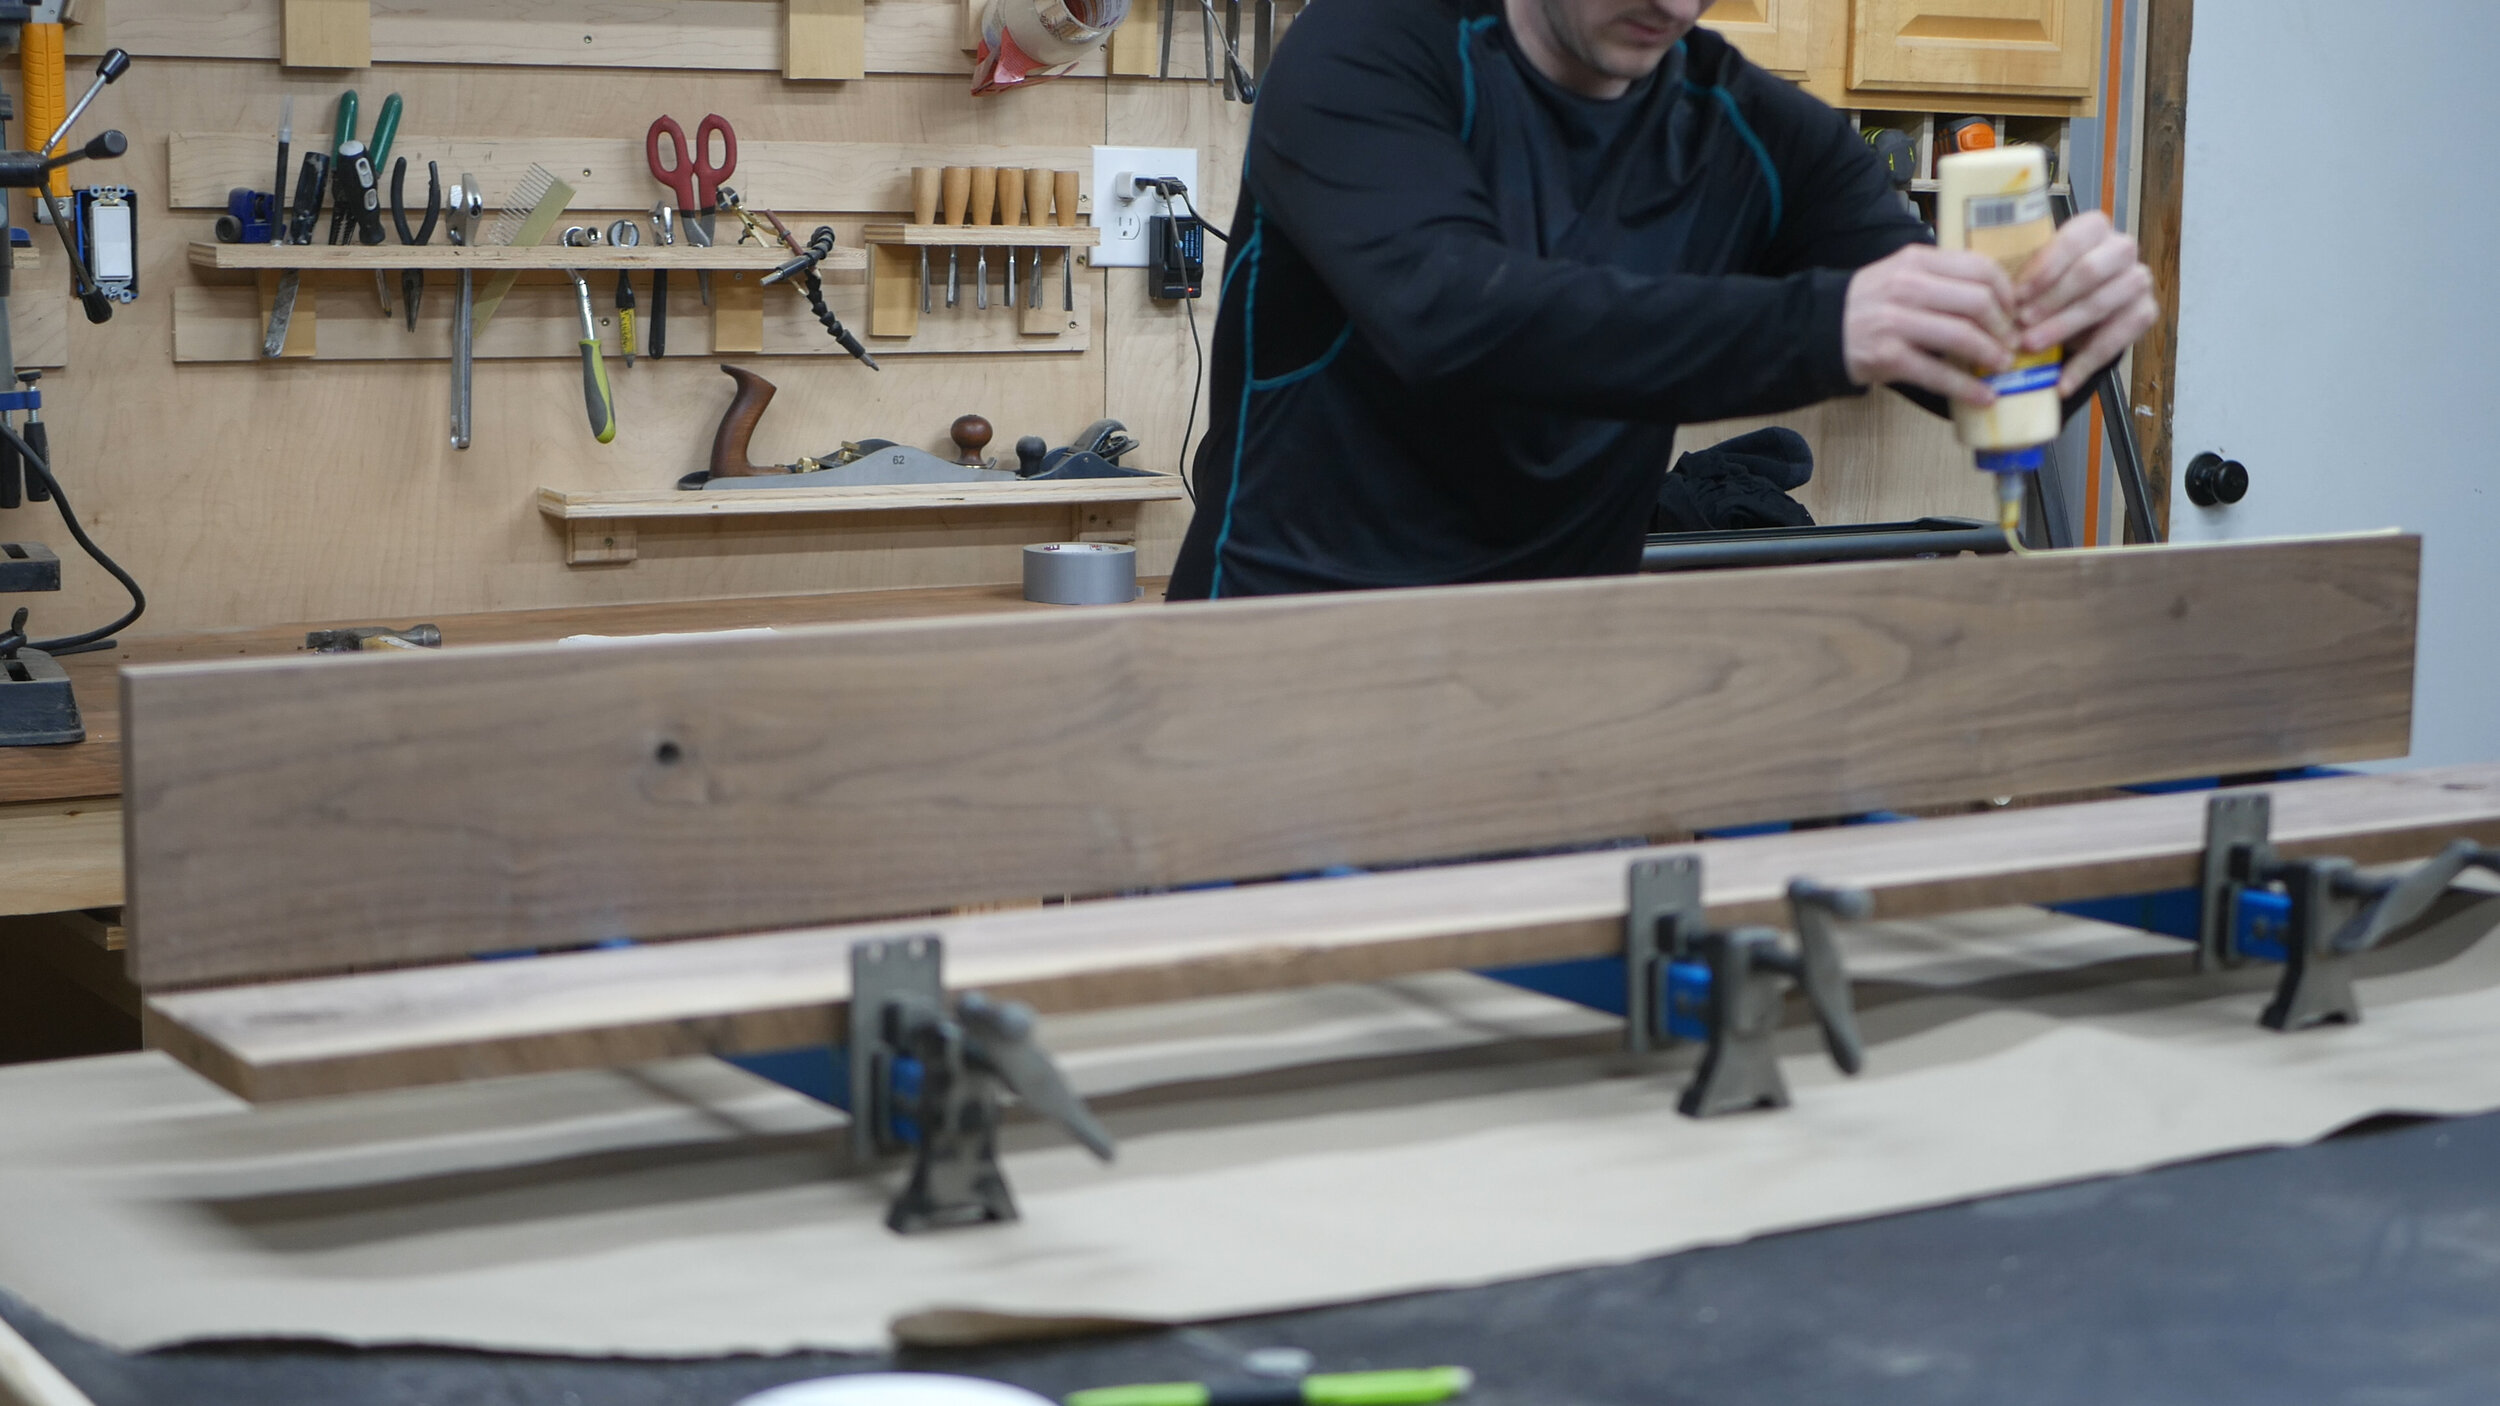
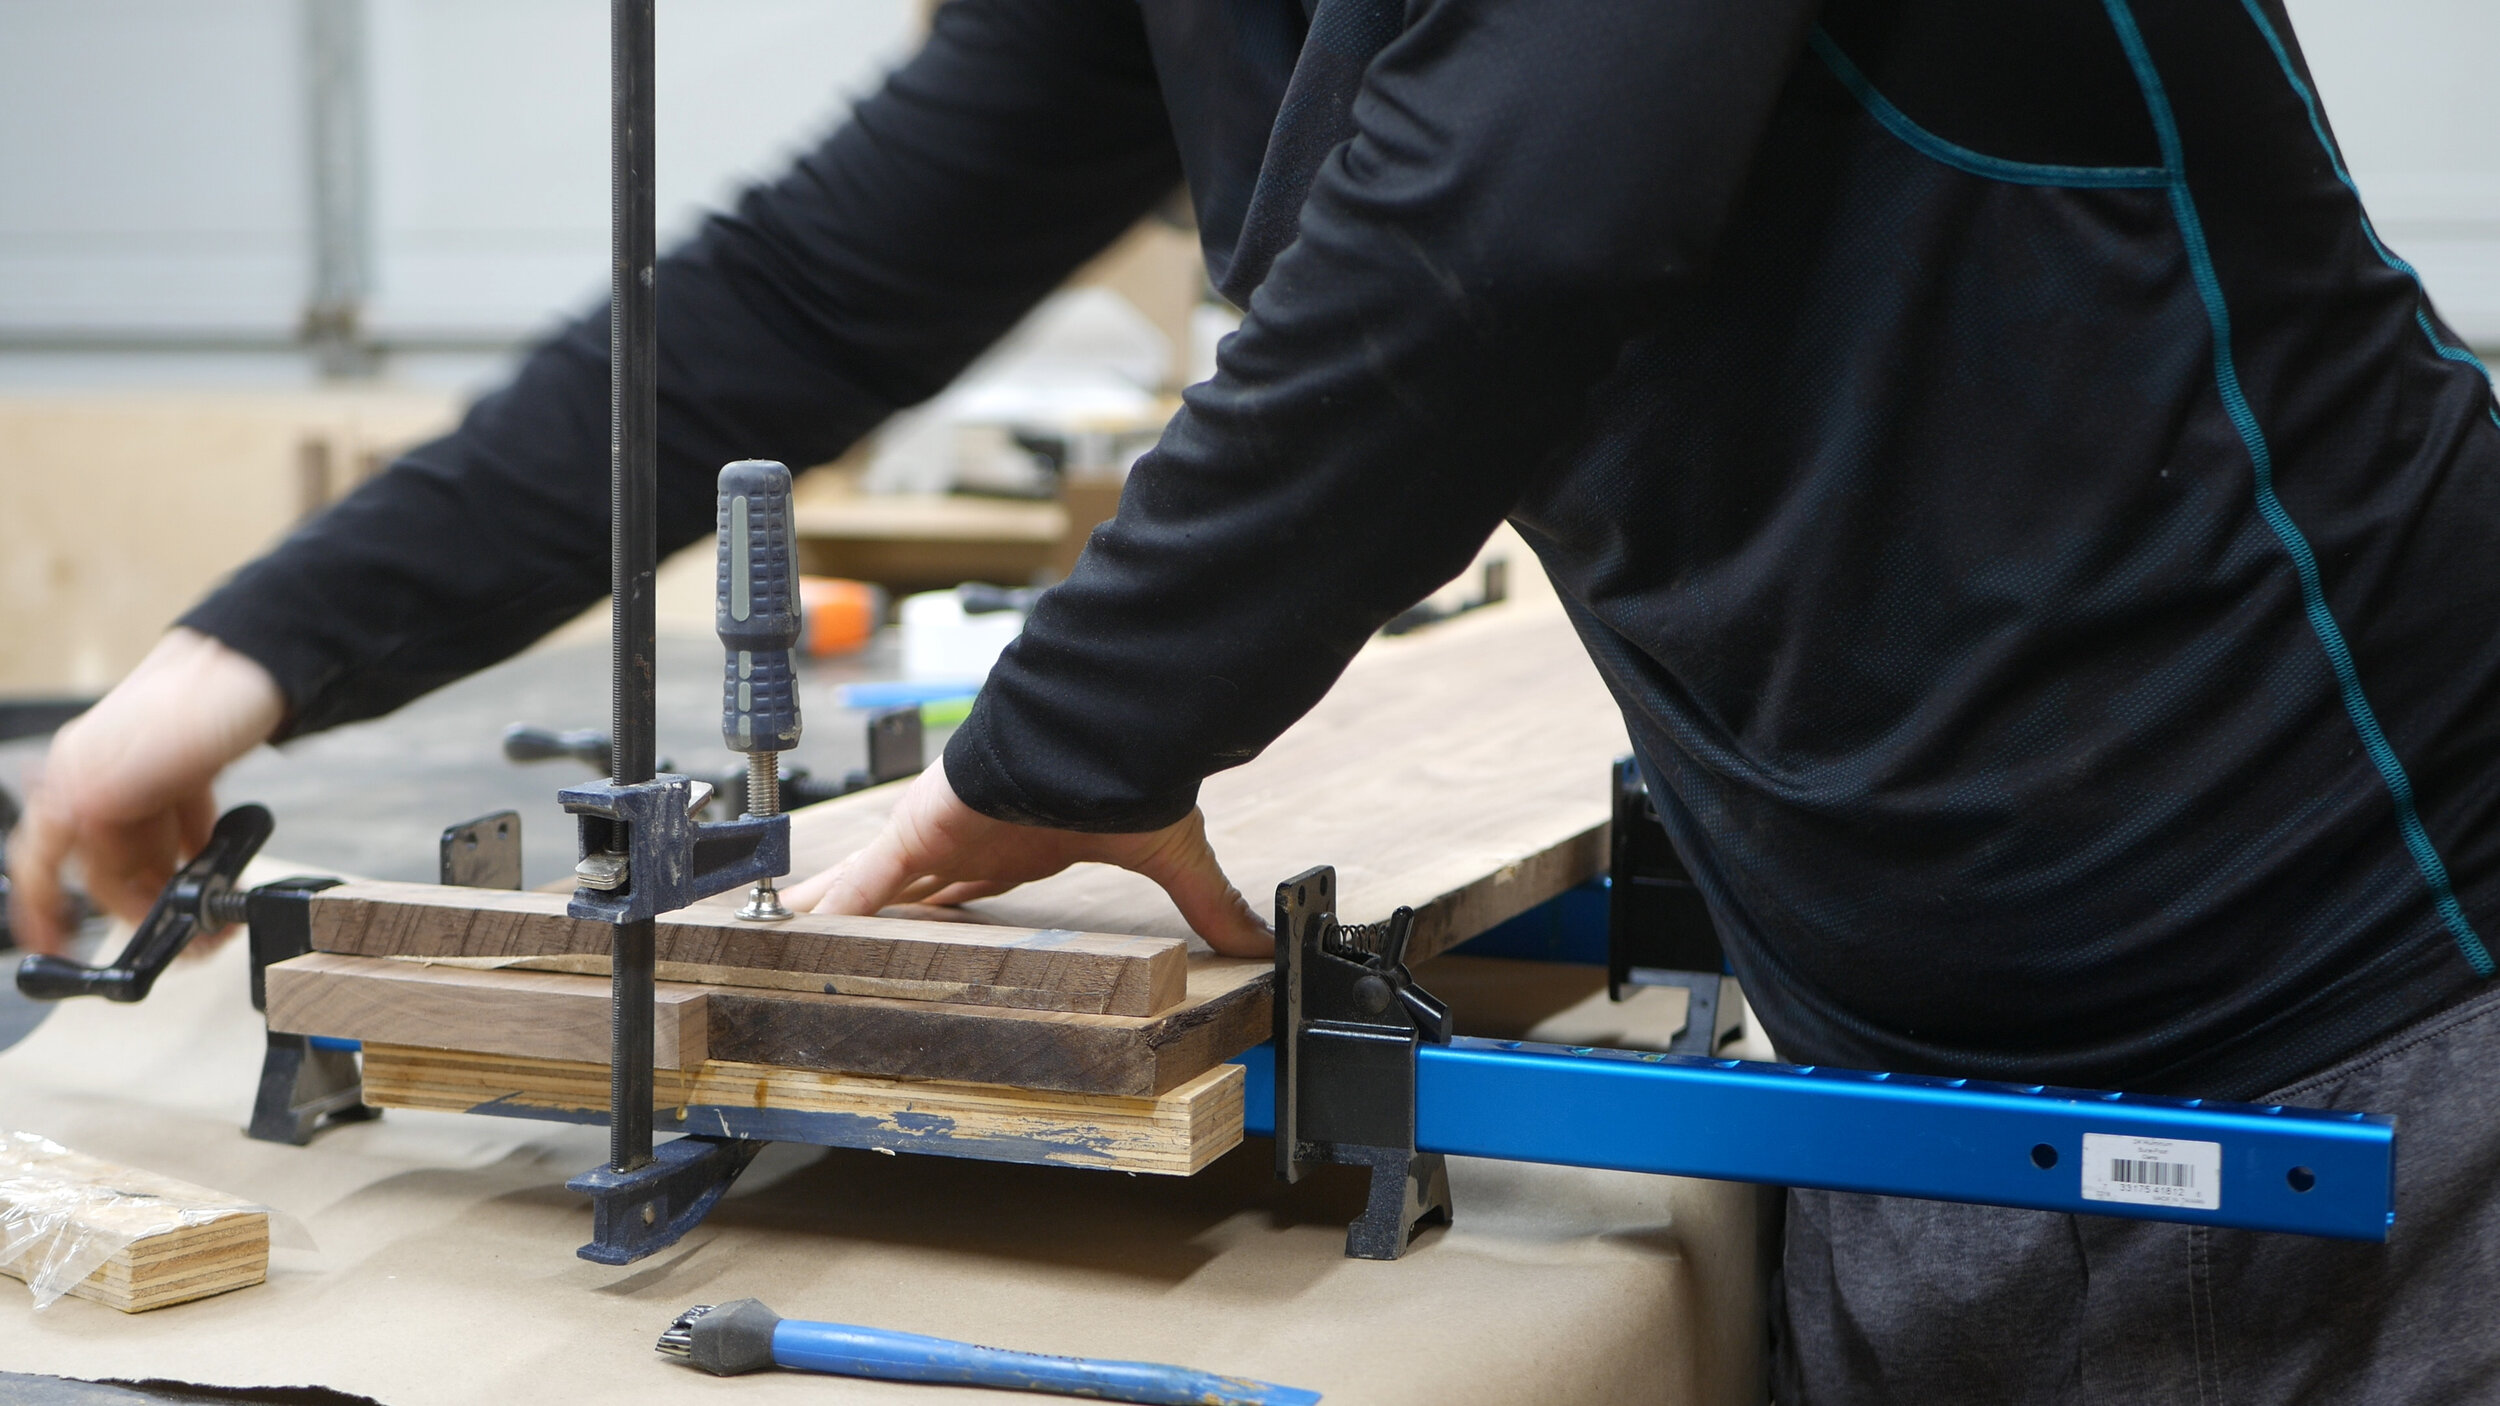
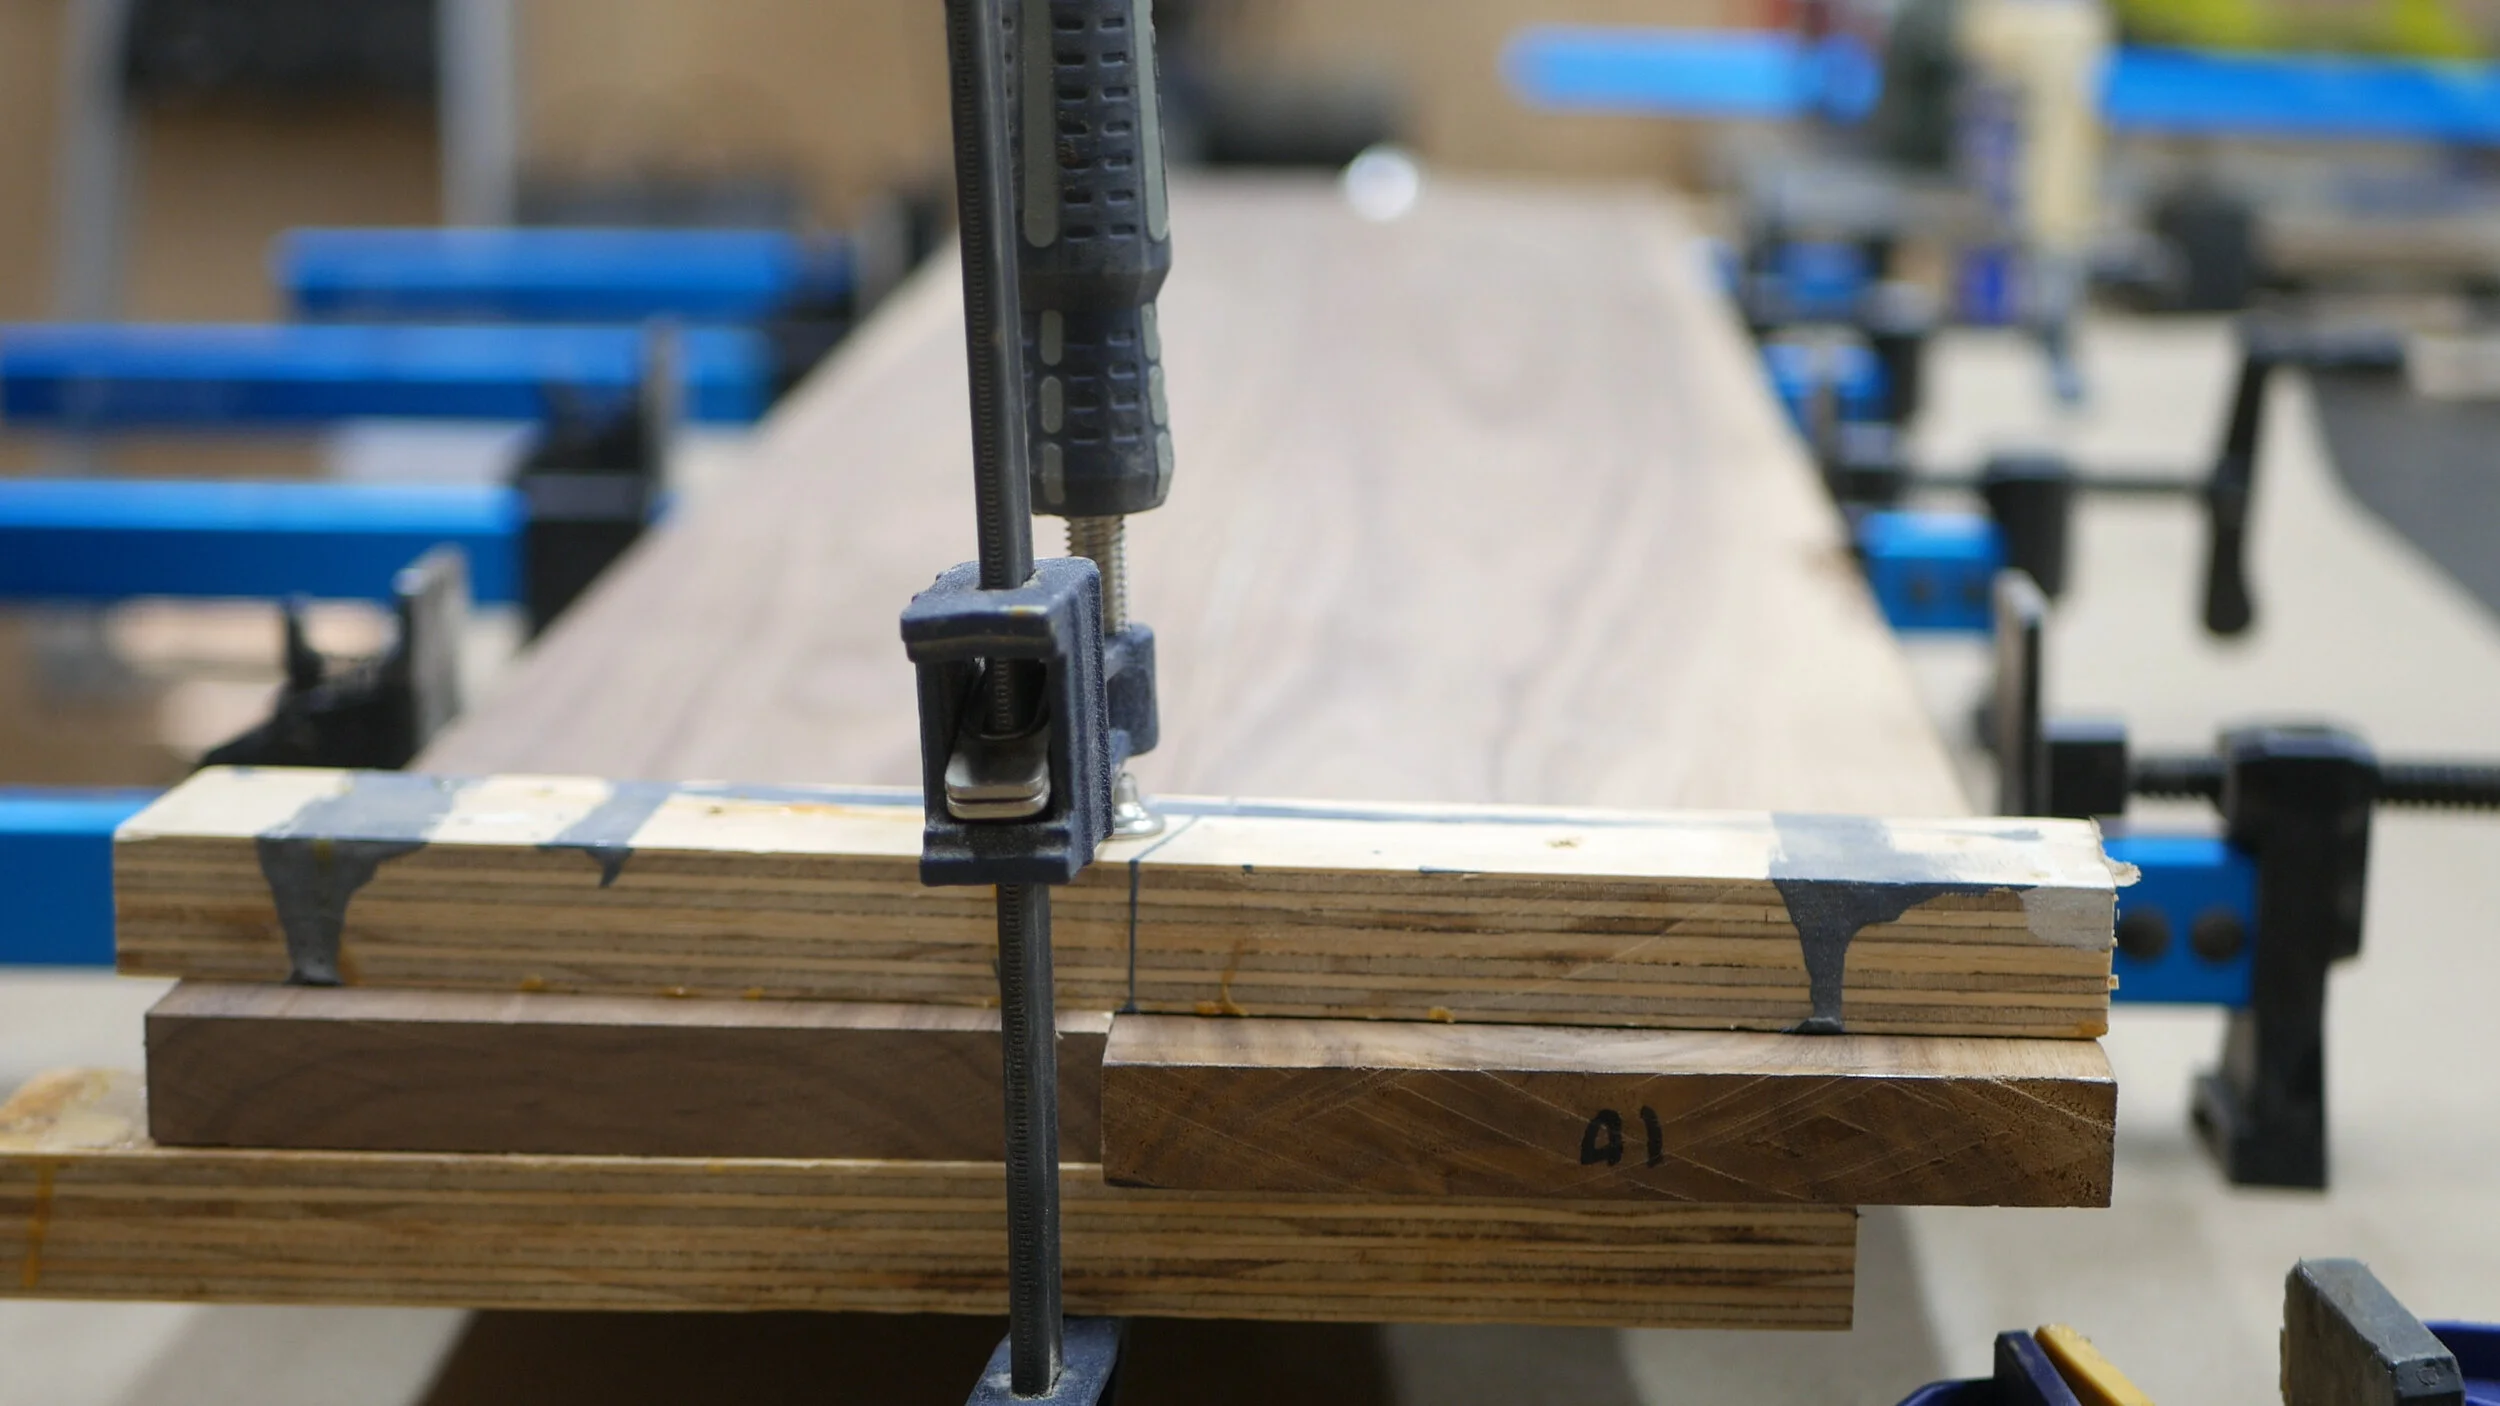
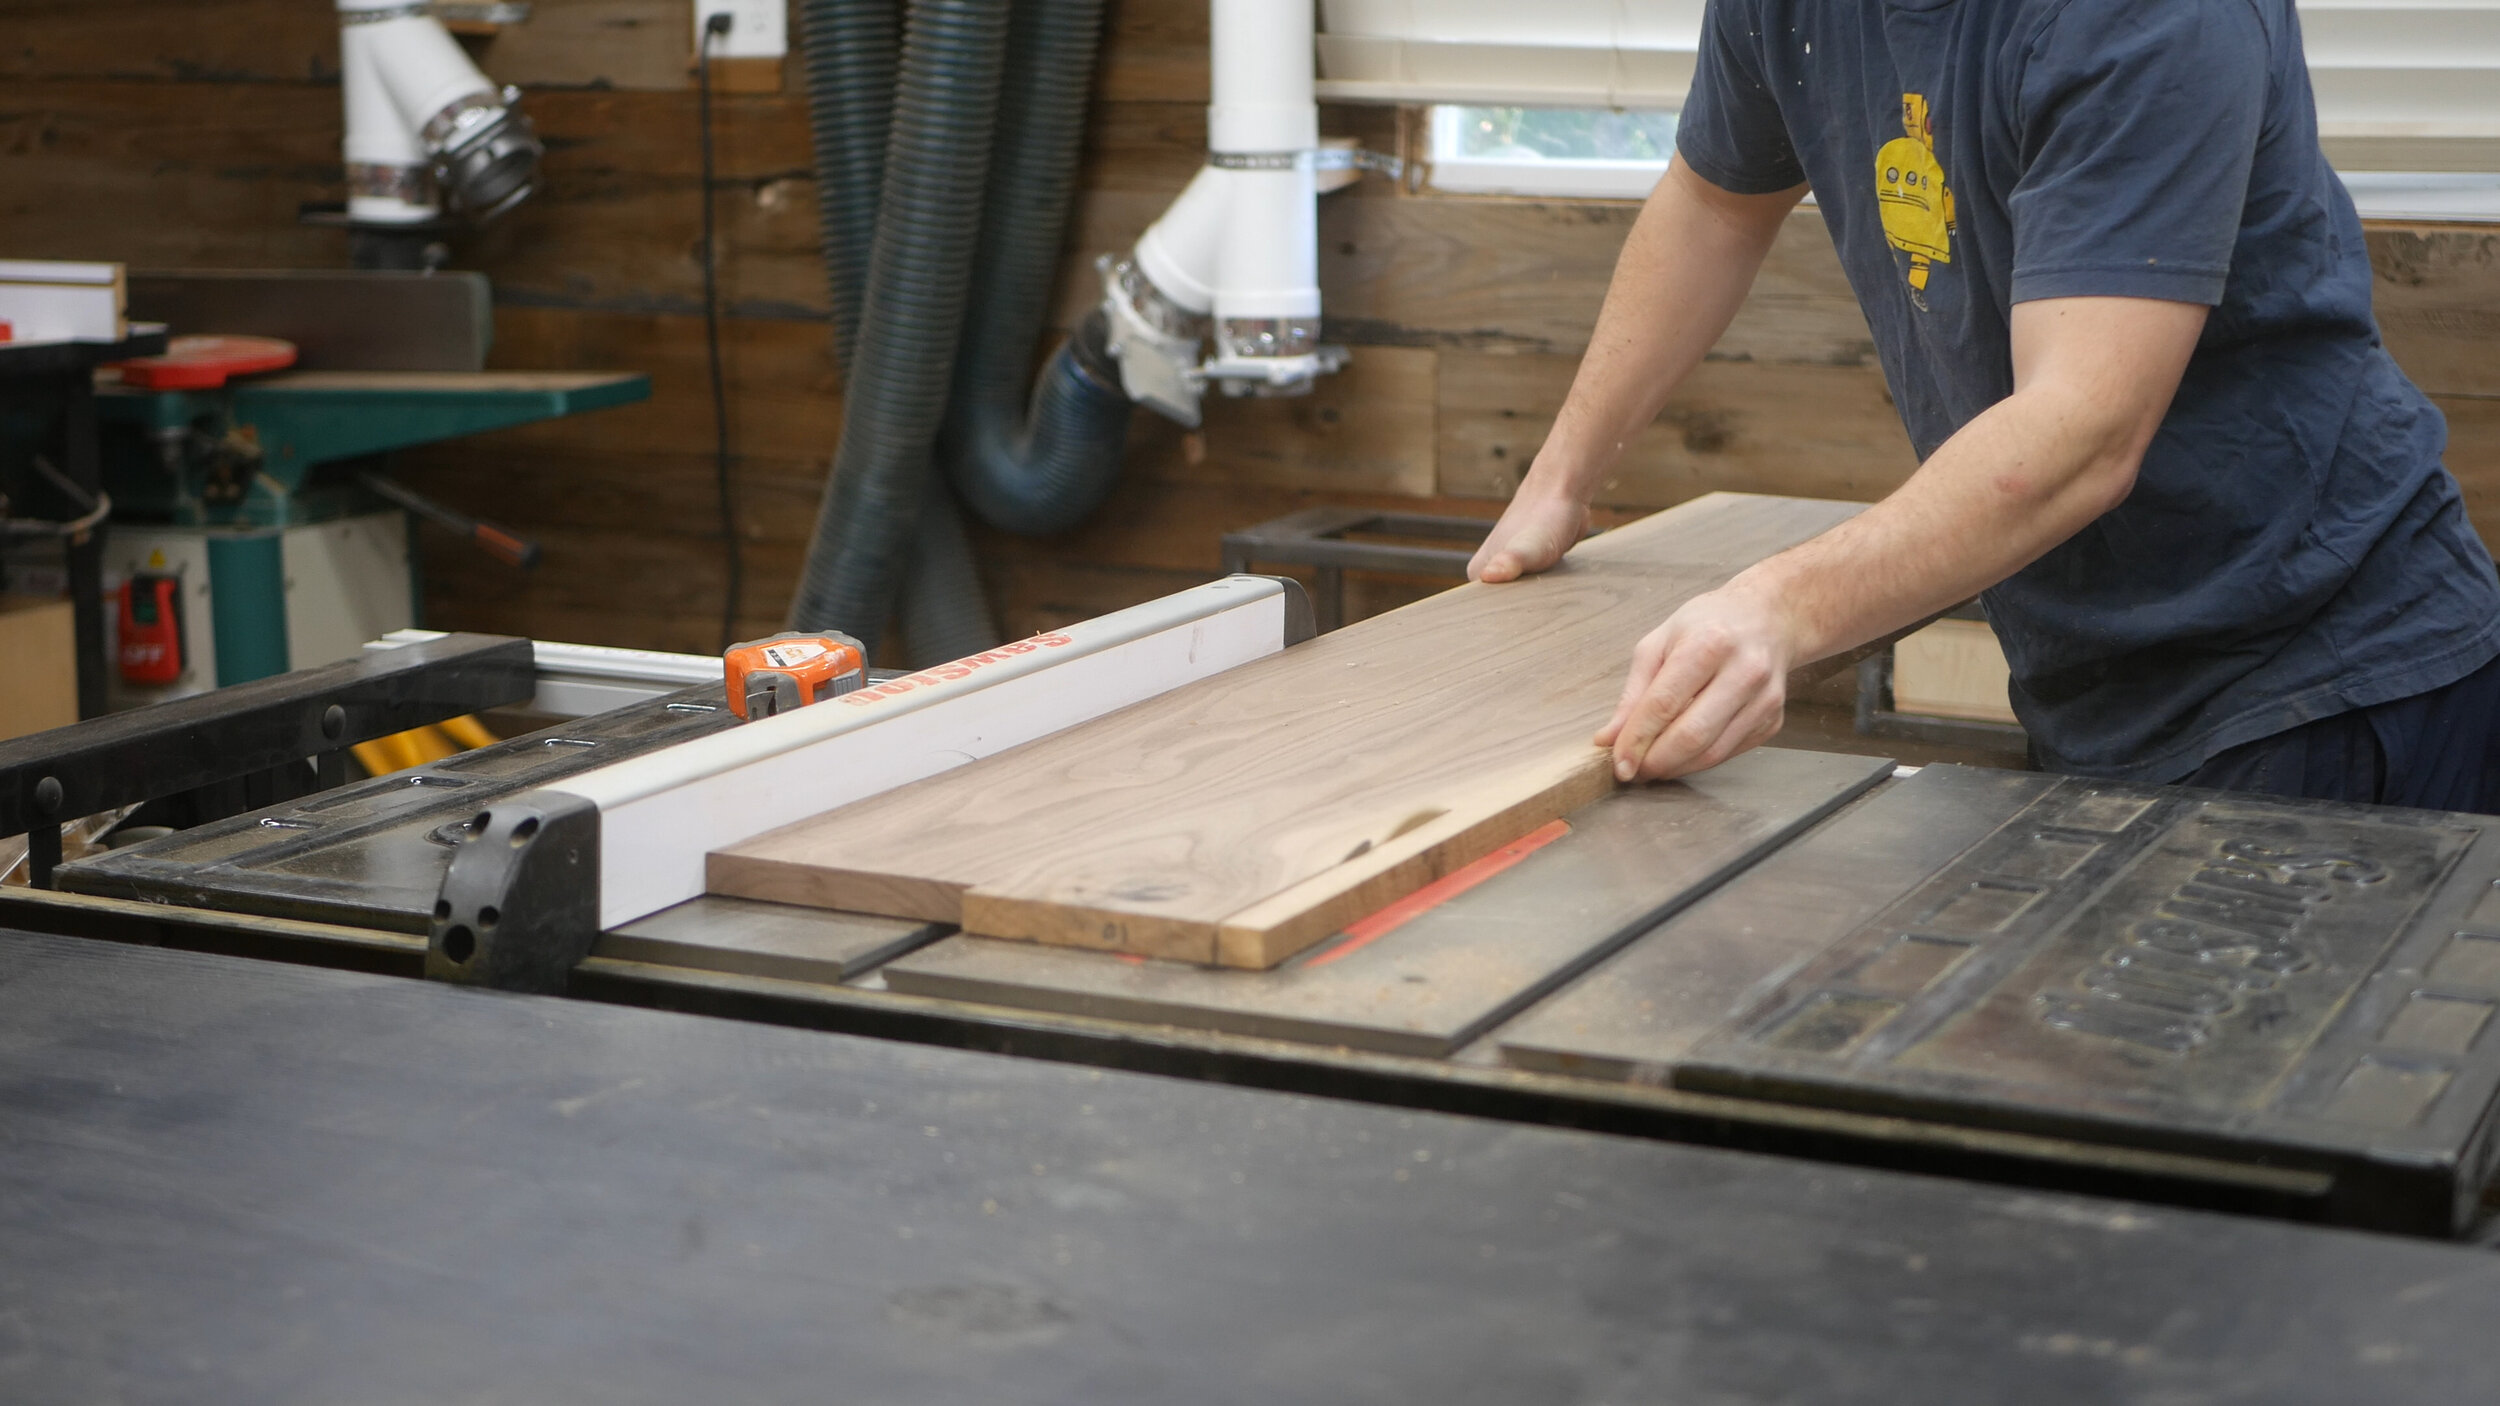
The top shelf would rest on top of the steel, the bottom shelf would sit recessed in the shelf, and the drawer front would sit recessed between the drawer area. The next set of steps involved milling the lumber to the proper size using the jointer, table saw, and miter saw, and then gluing up pieces to the right size. Use cauls to keep glue ups flat!
The final welding thing to do was add tabs to the bottom framing that would allow the bottom shelf to sit recessed in between the metal framing but still be flush with the top of the framing. I waited to do this step last as I was waiting to see the final thickness of the walnut wood. I cut a few tabs with my angle grinder after drilling holes in them, and then welded into place.


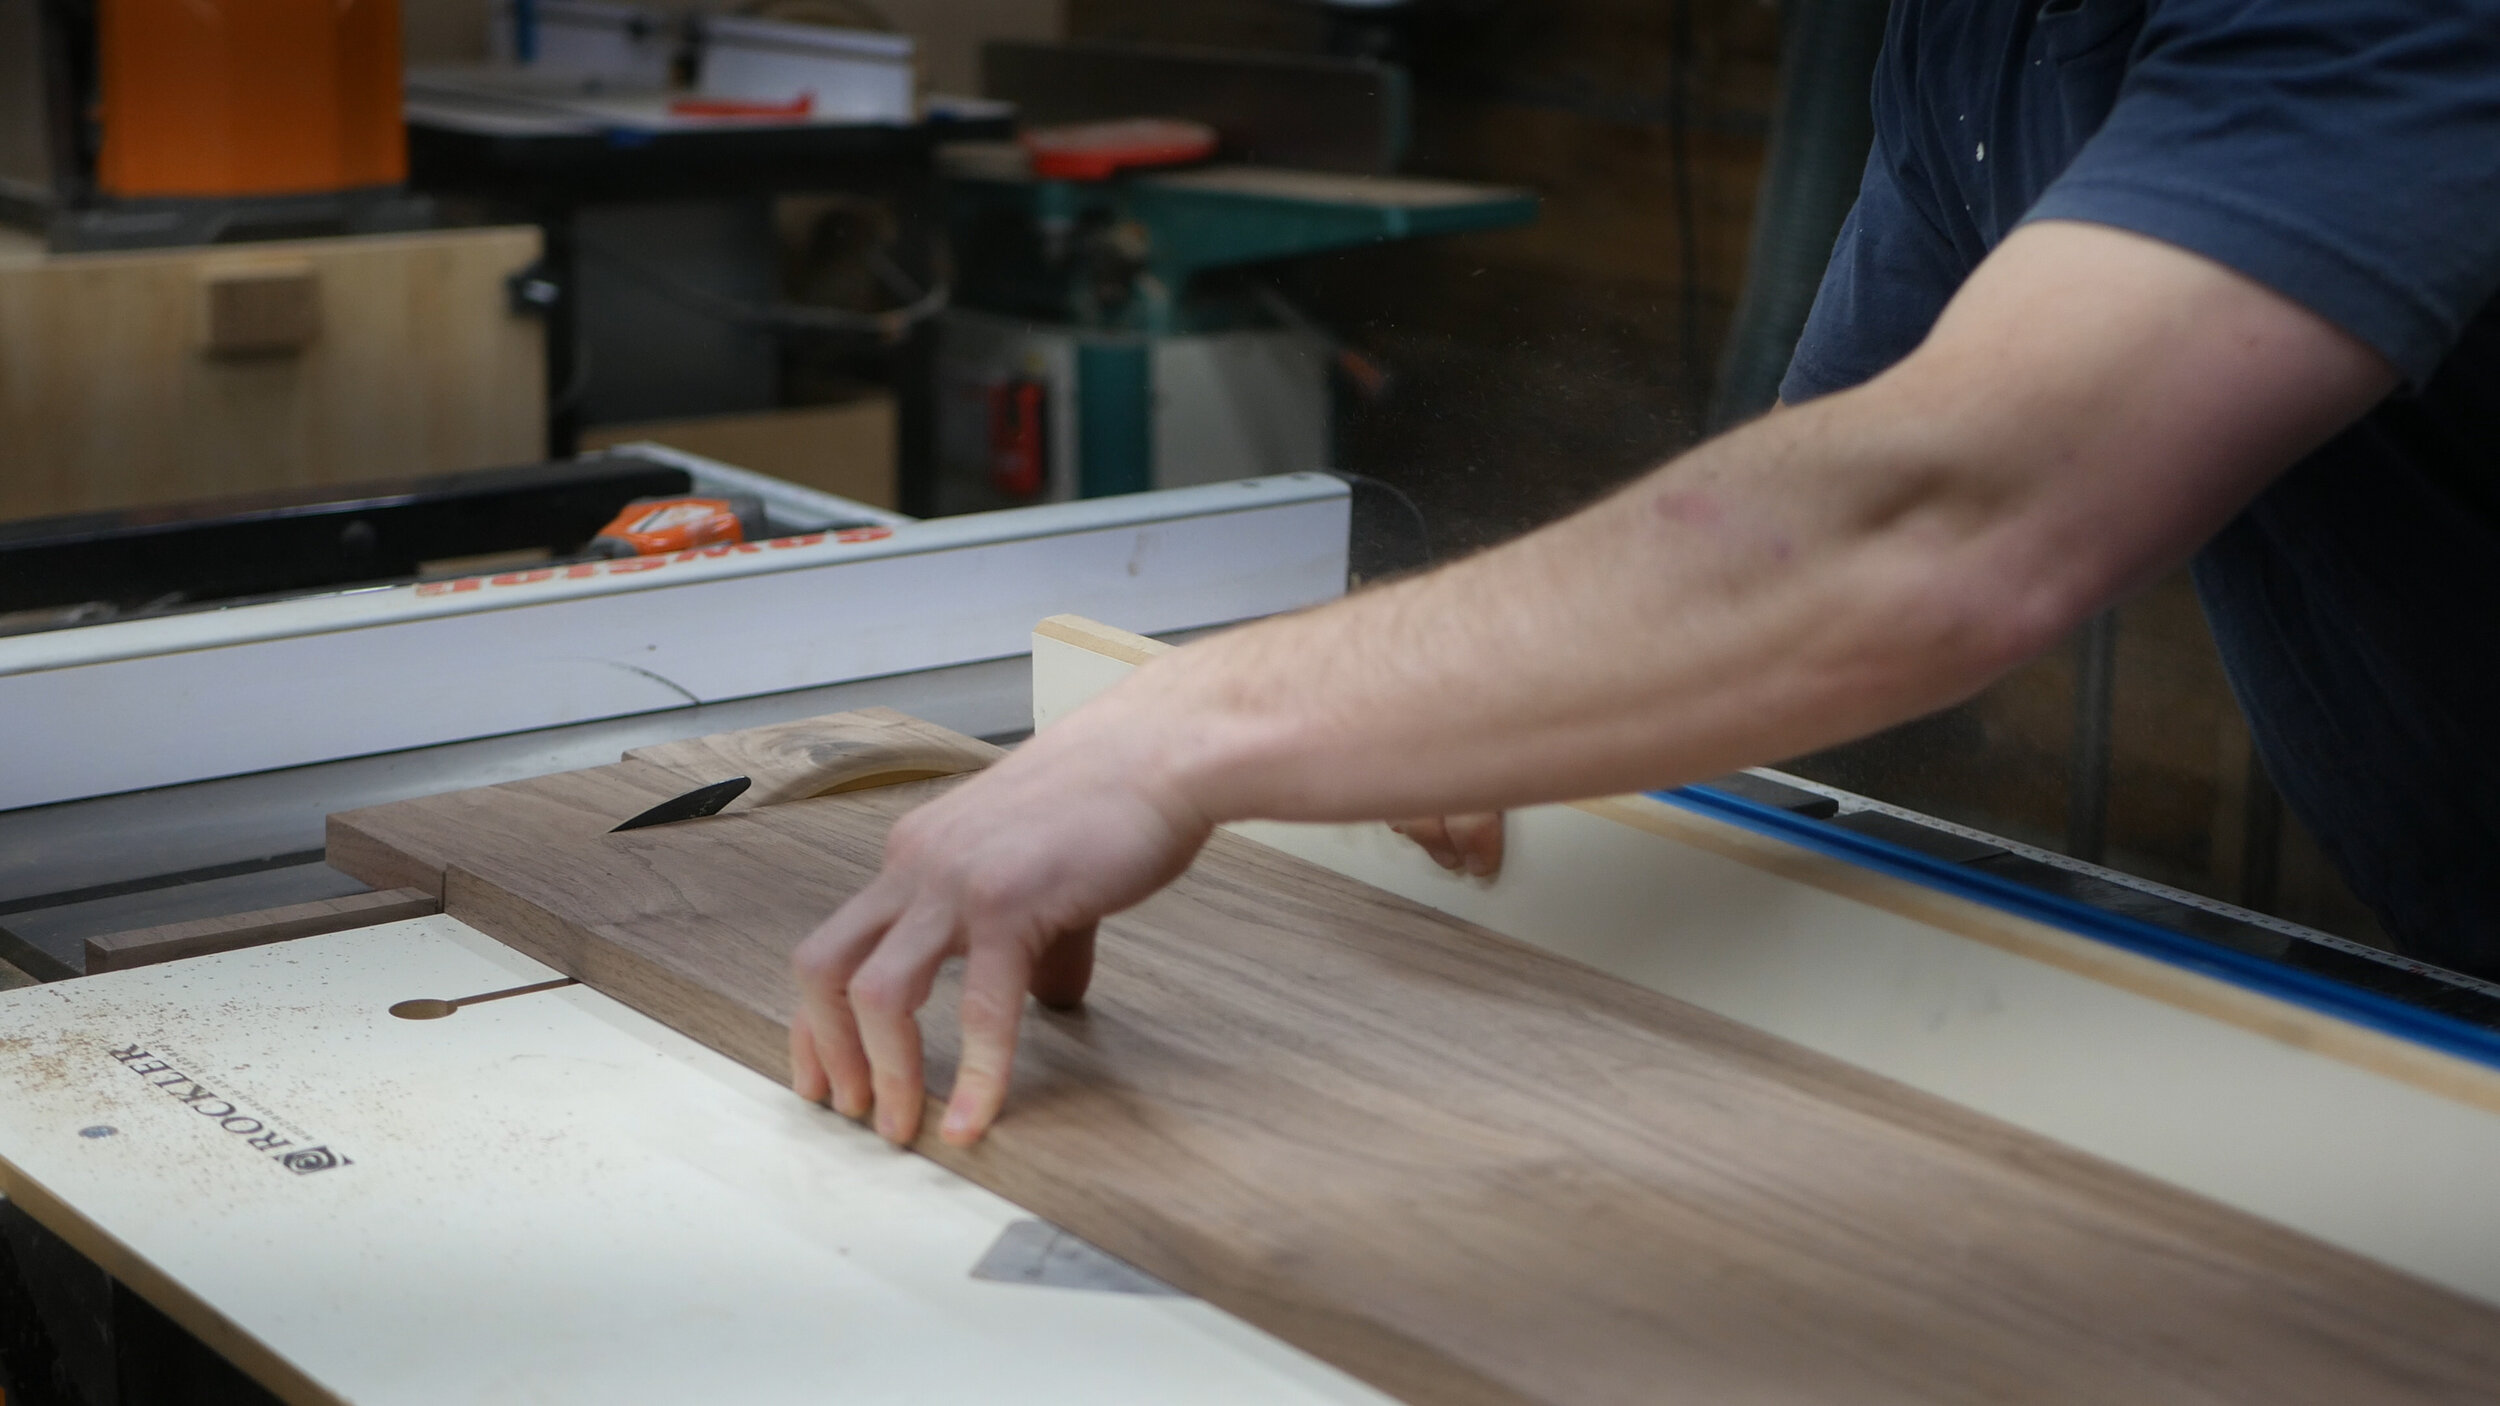
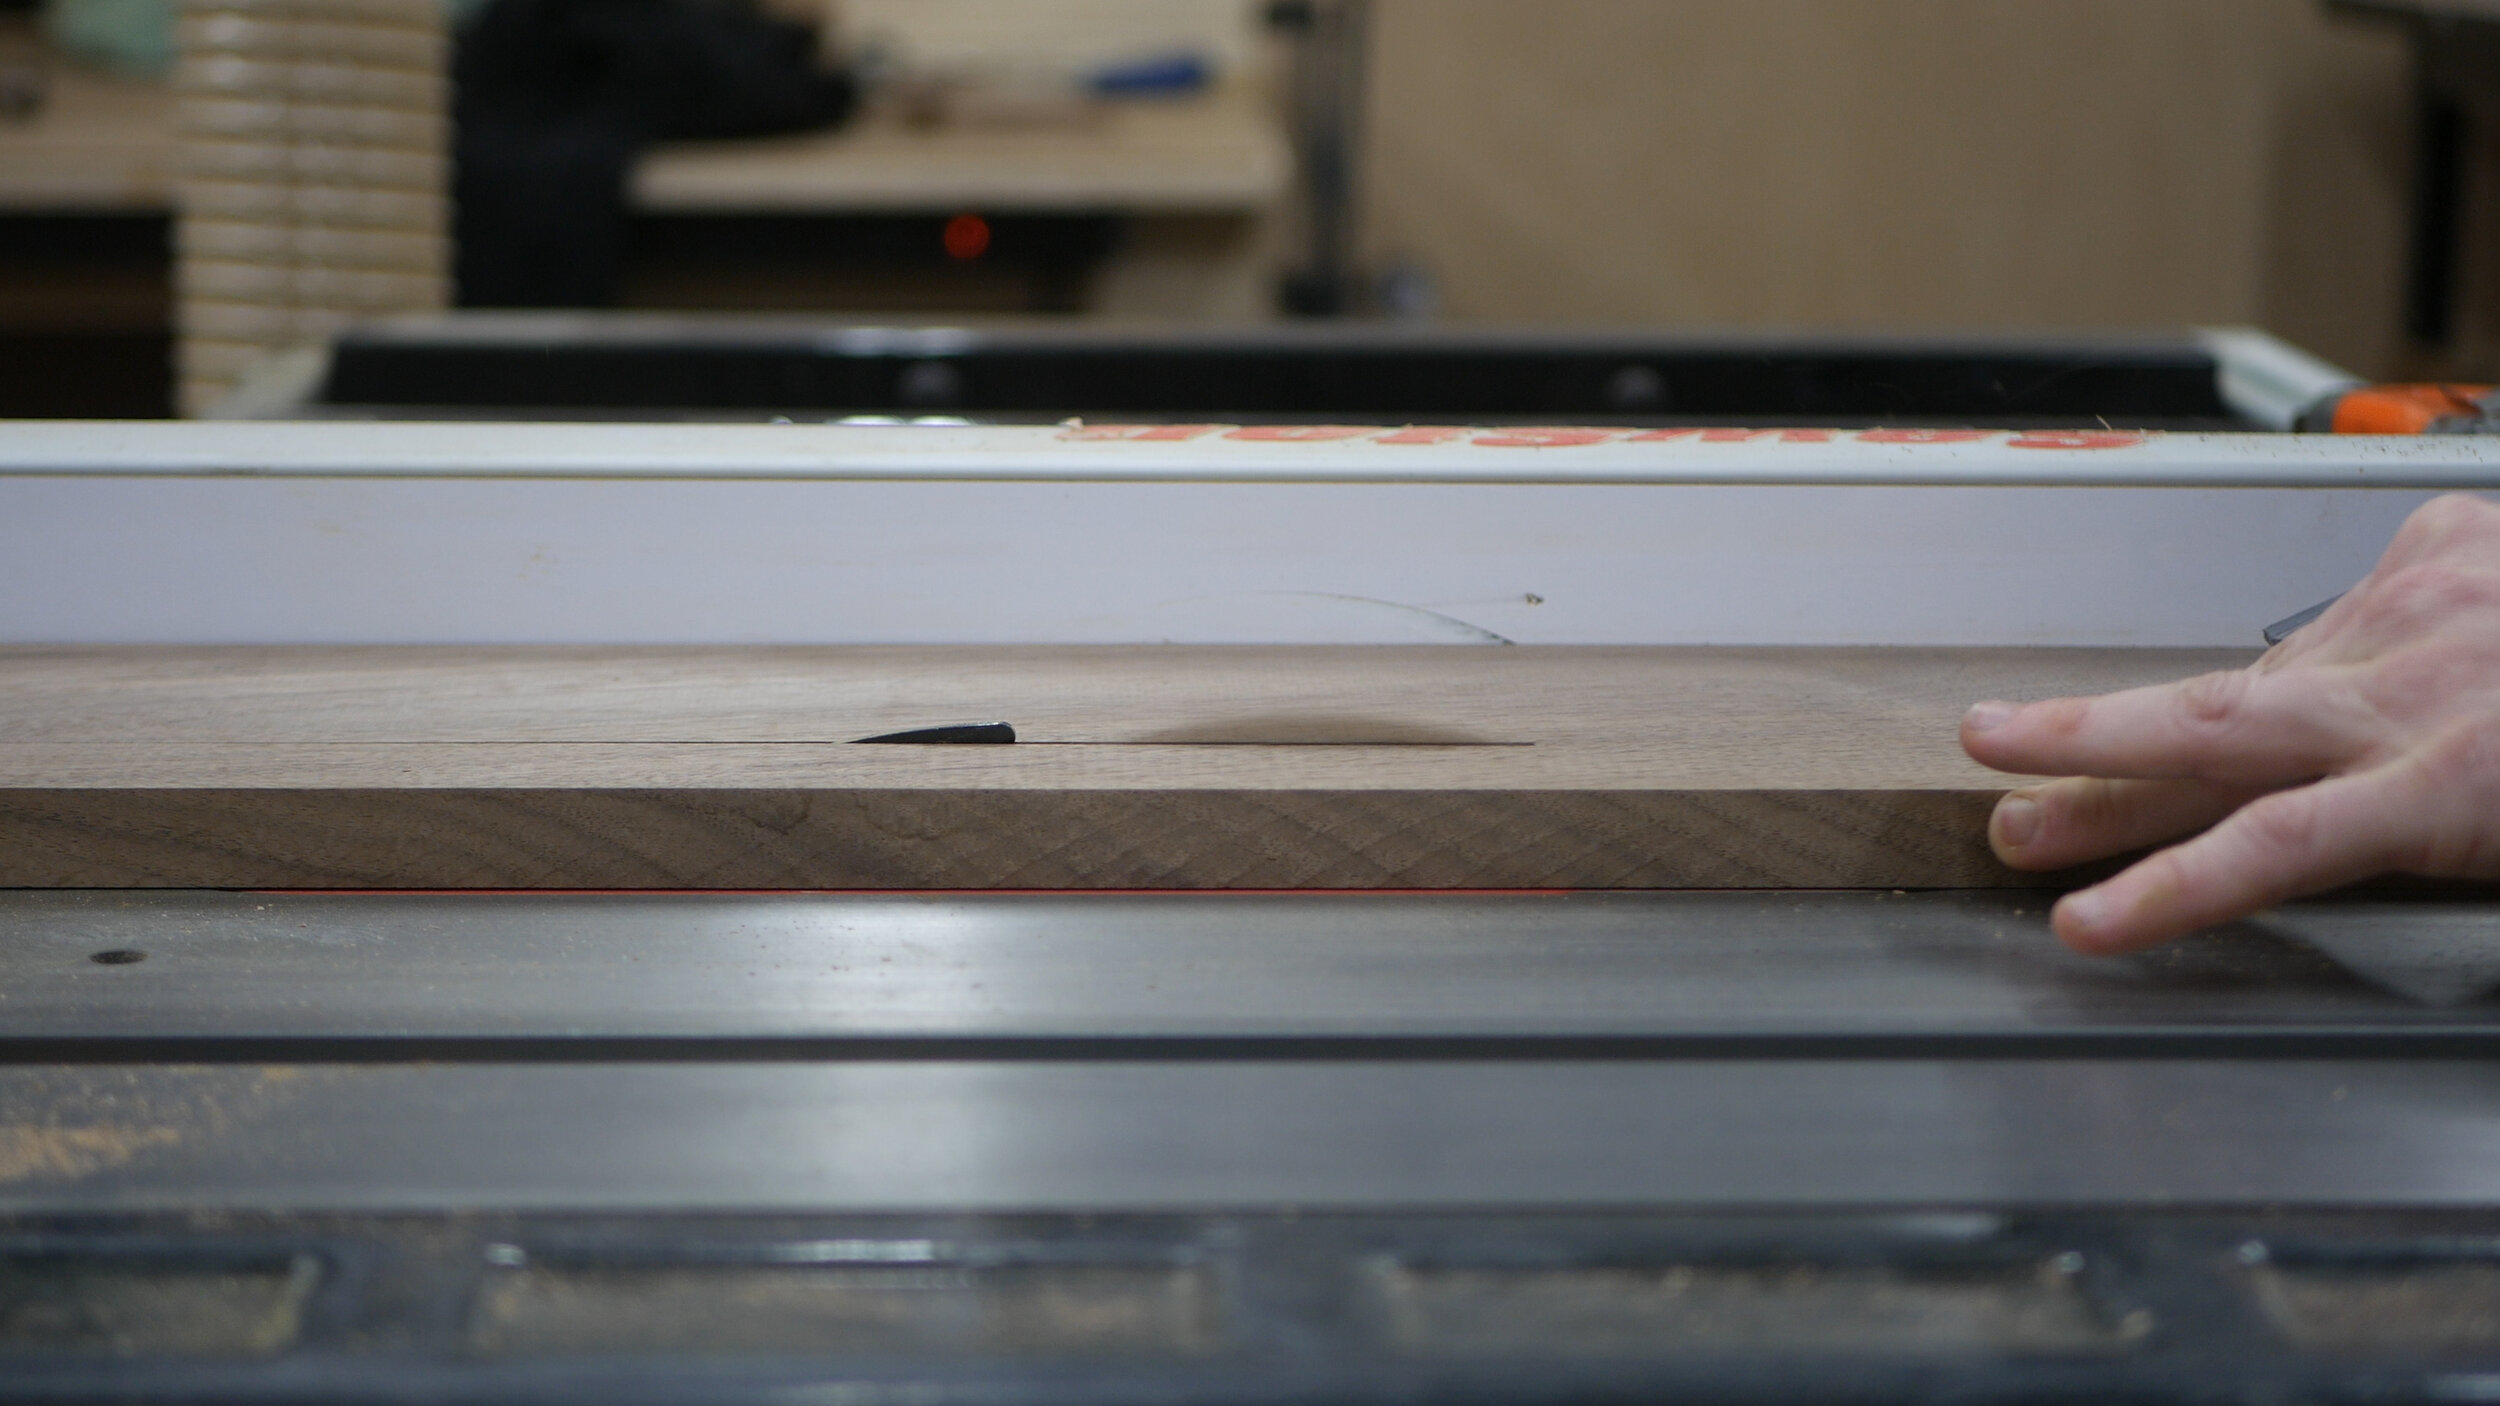


Welding is now done! Onto finishing the wood. I used some black total boat epoxy to fill a few voids in the wood once it was out of the clamps. After the epoxy cured, I planed and trimmed the material to it’s final size via the planer, table saw, and crosscut sled. I then sanded everything up to 220 grit.
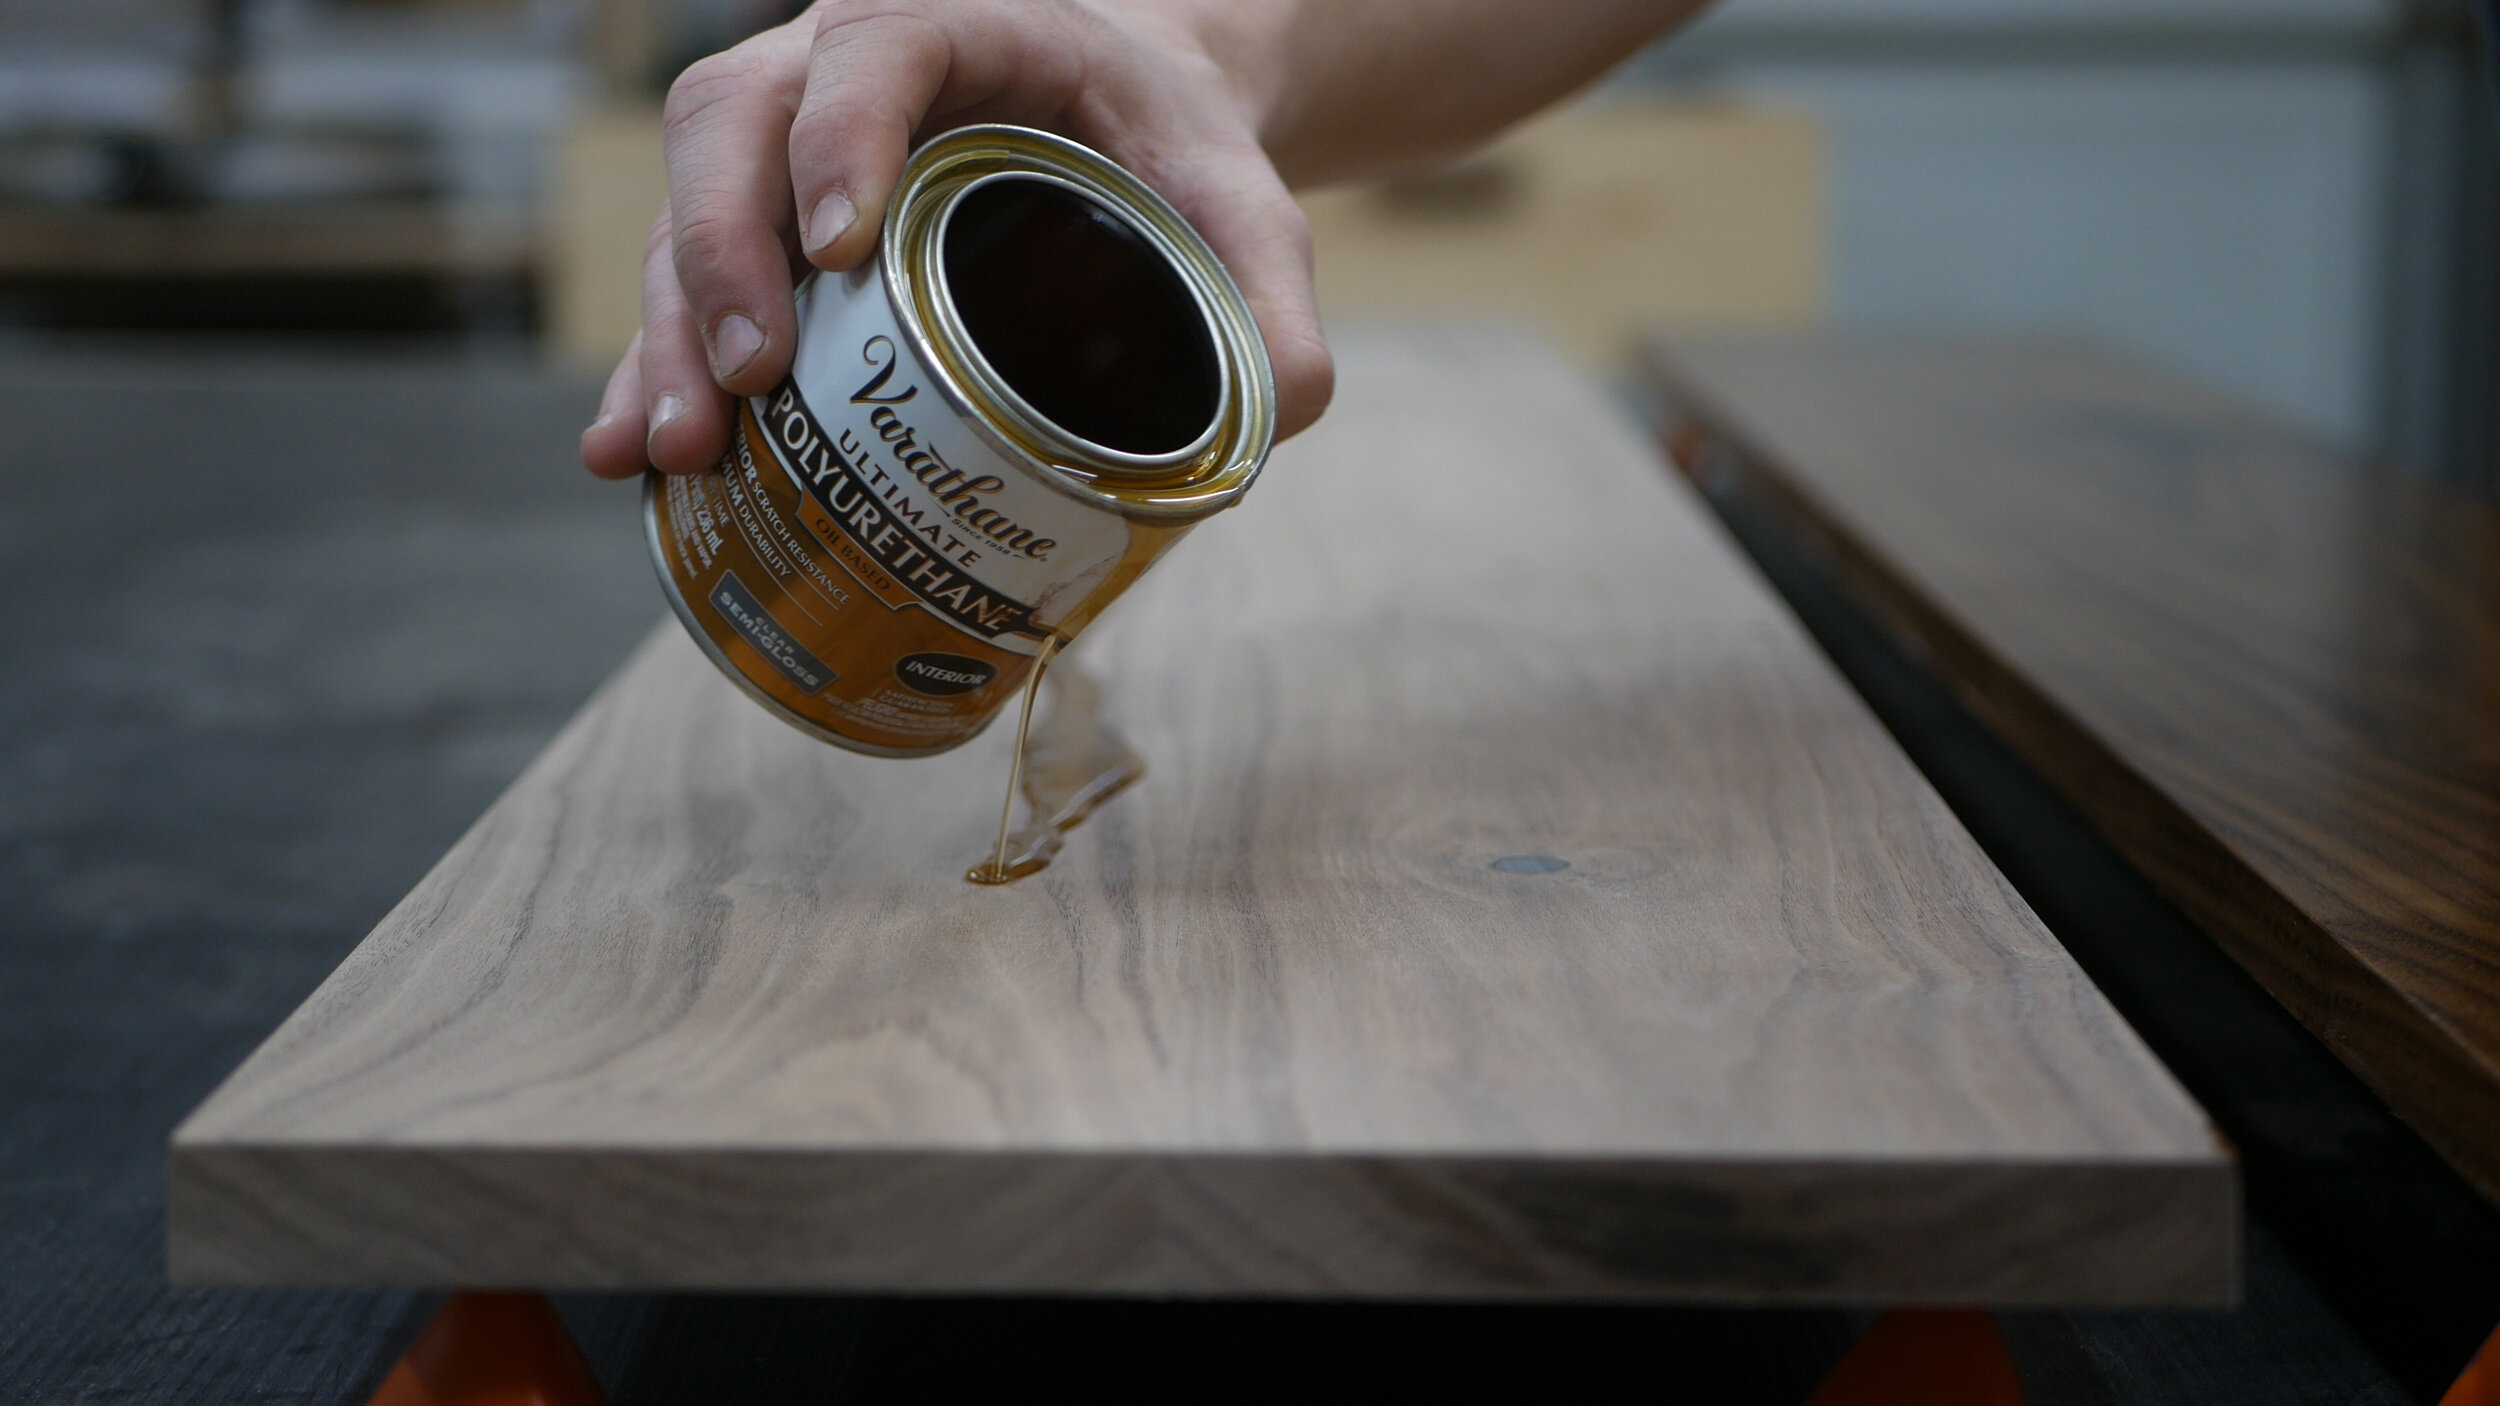
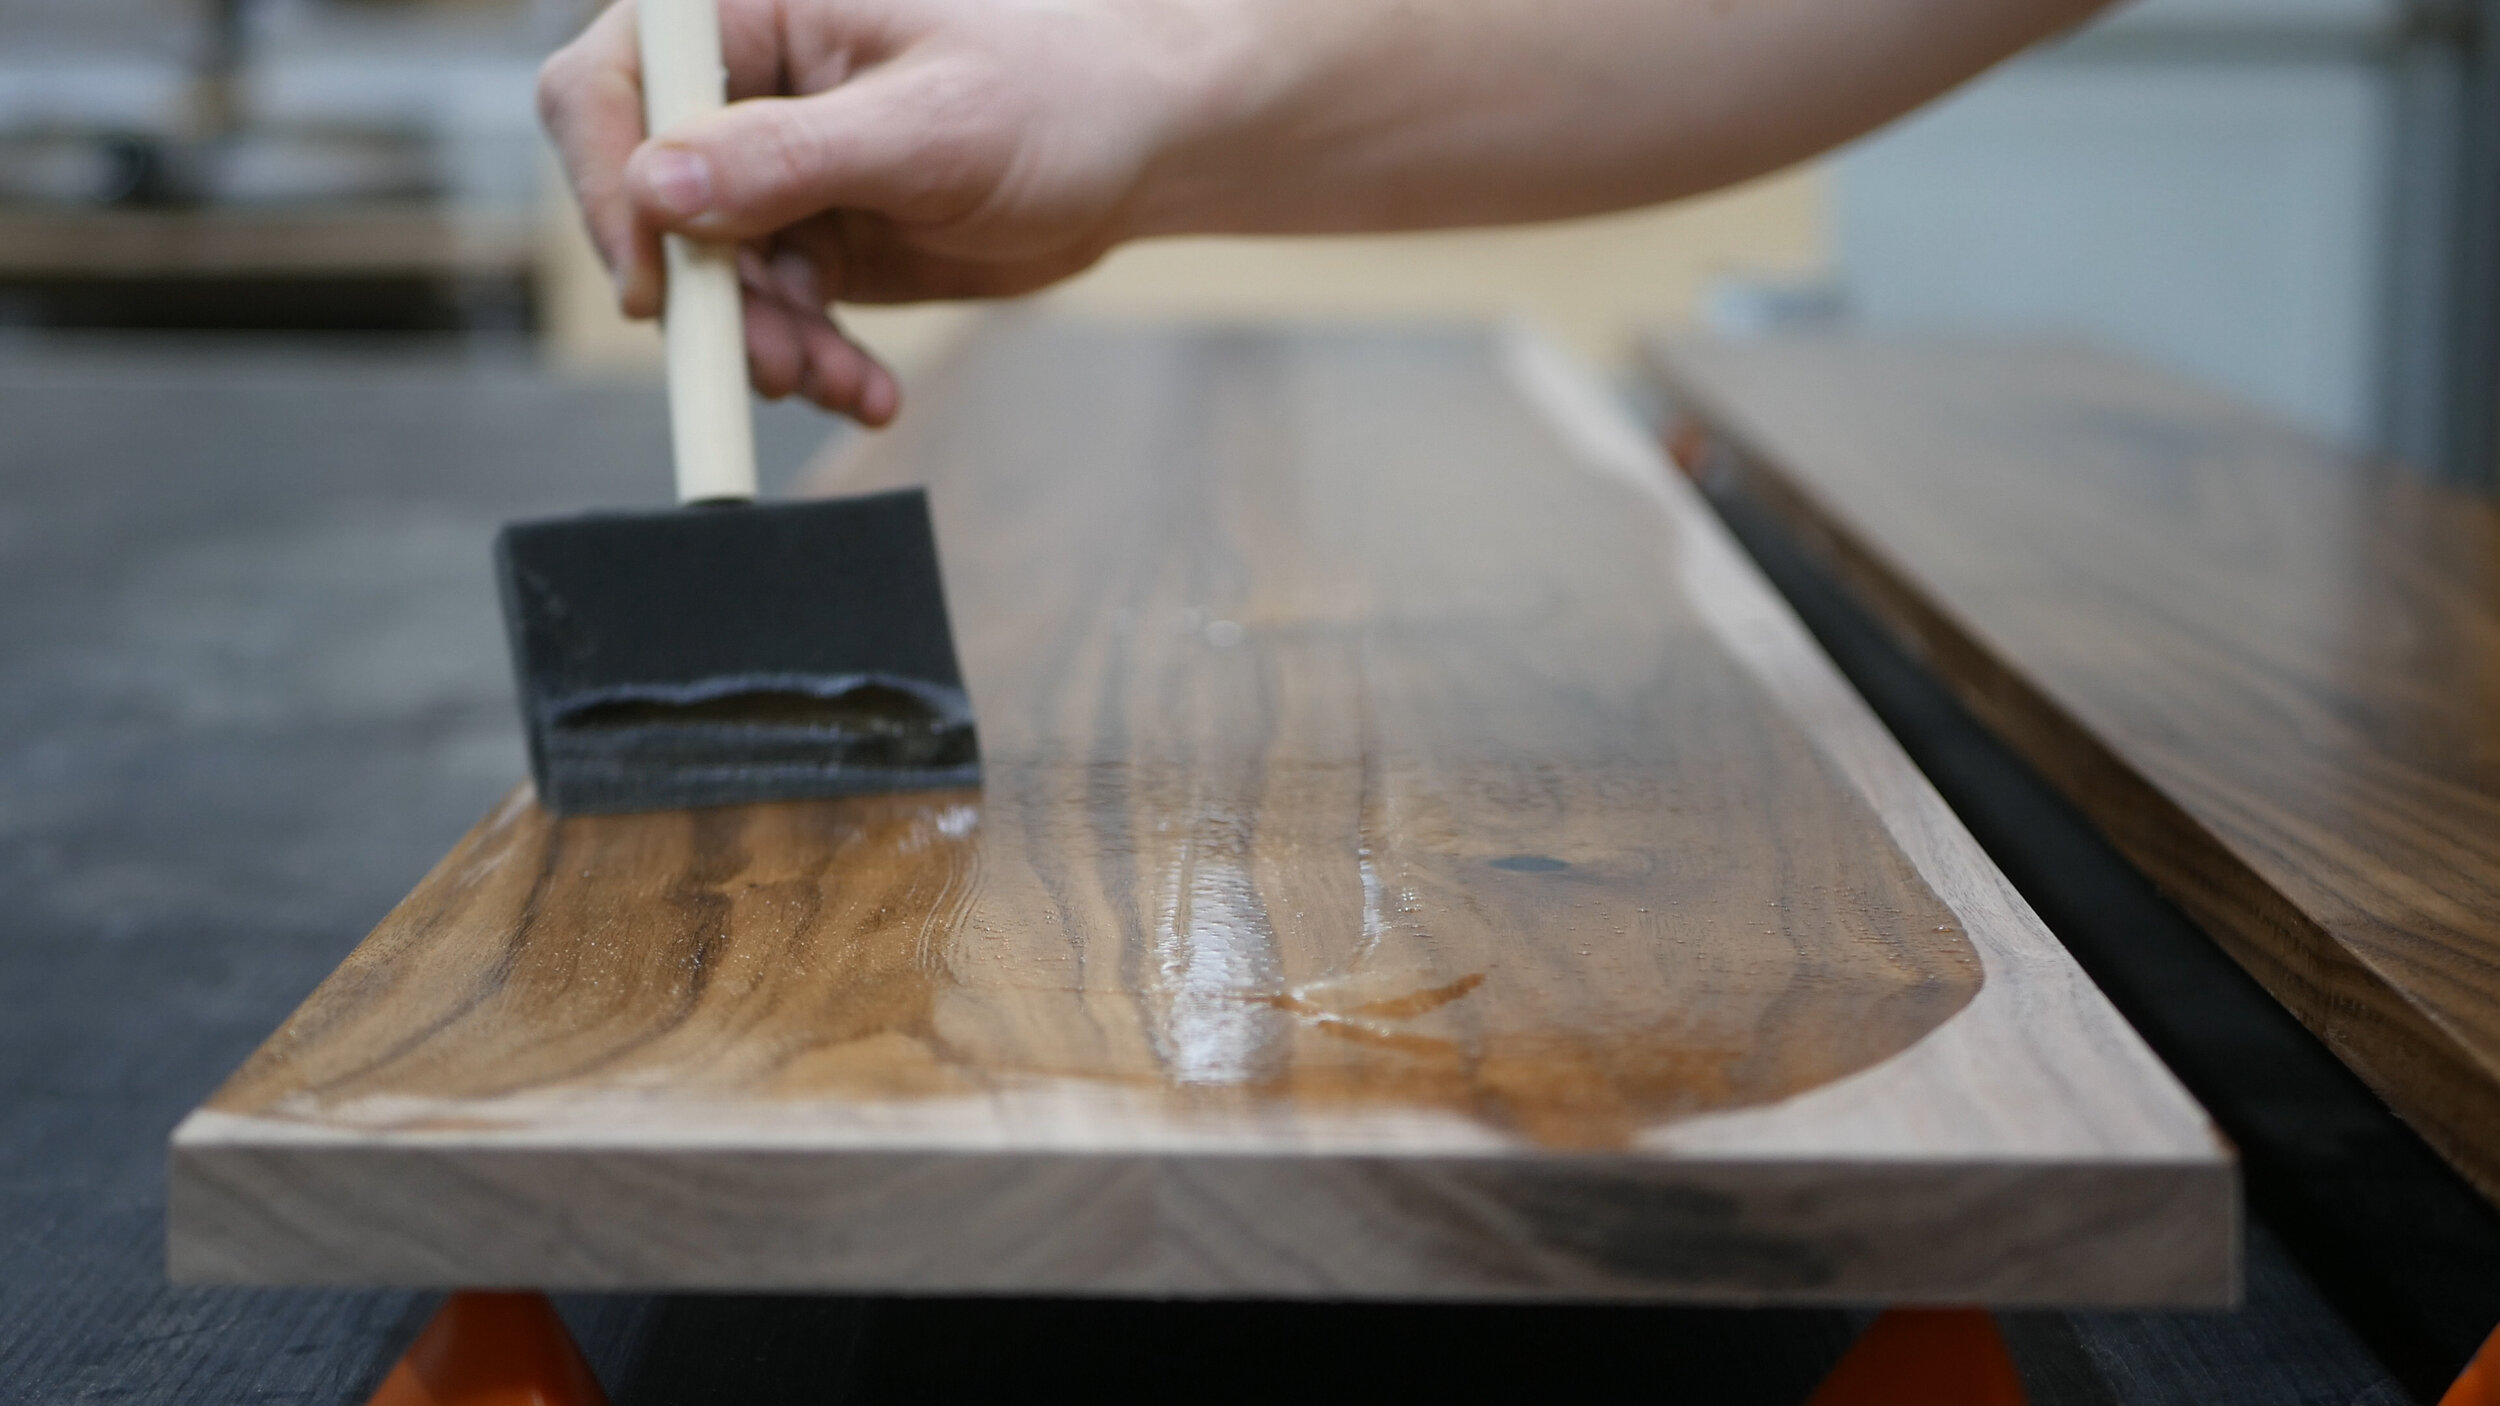
To finish the piece, I’m using a semi-glossed oil based polyurethane. I think I did three coats.
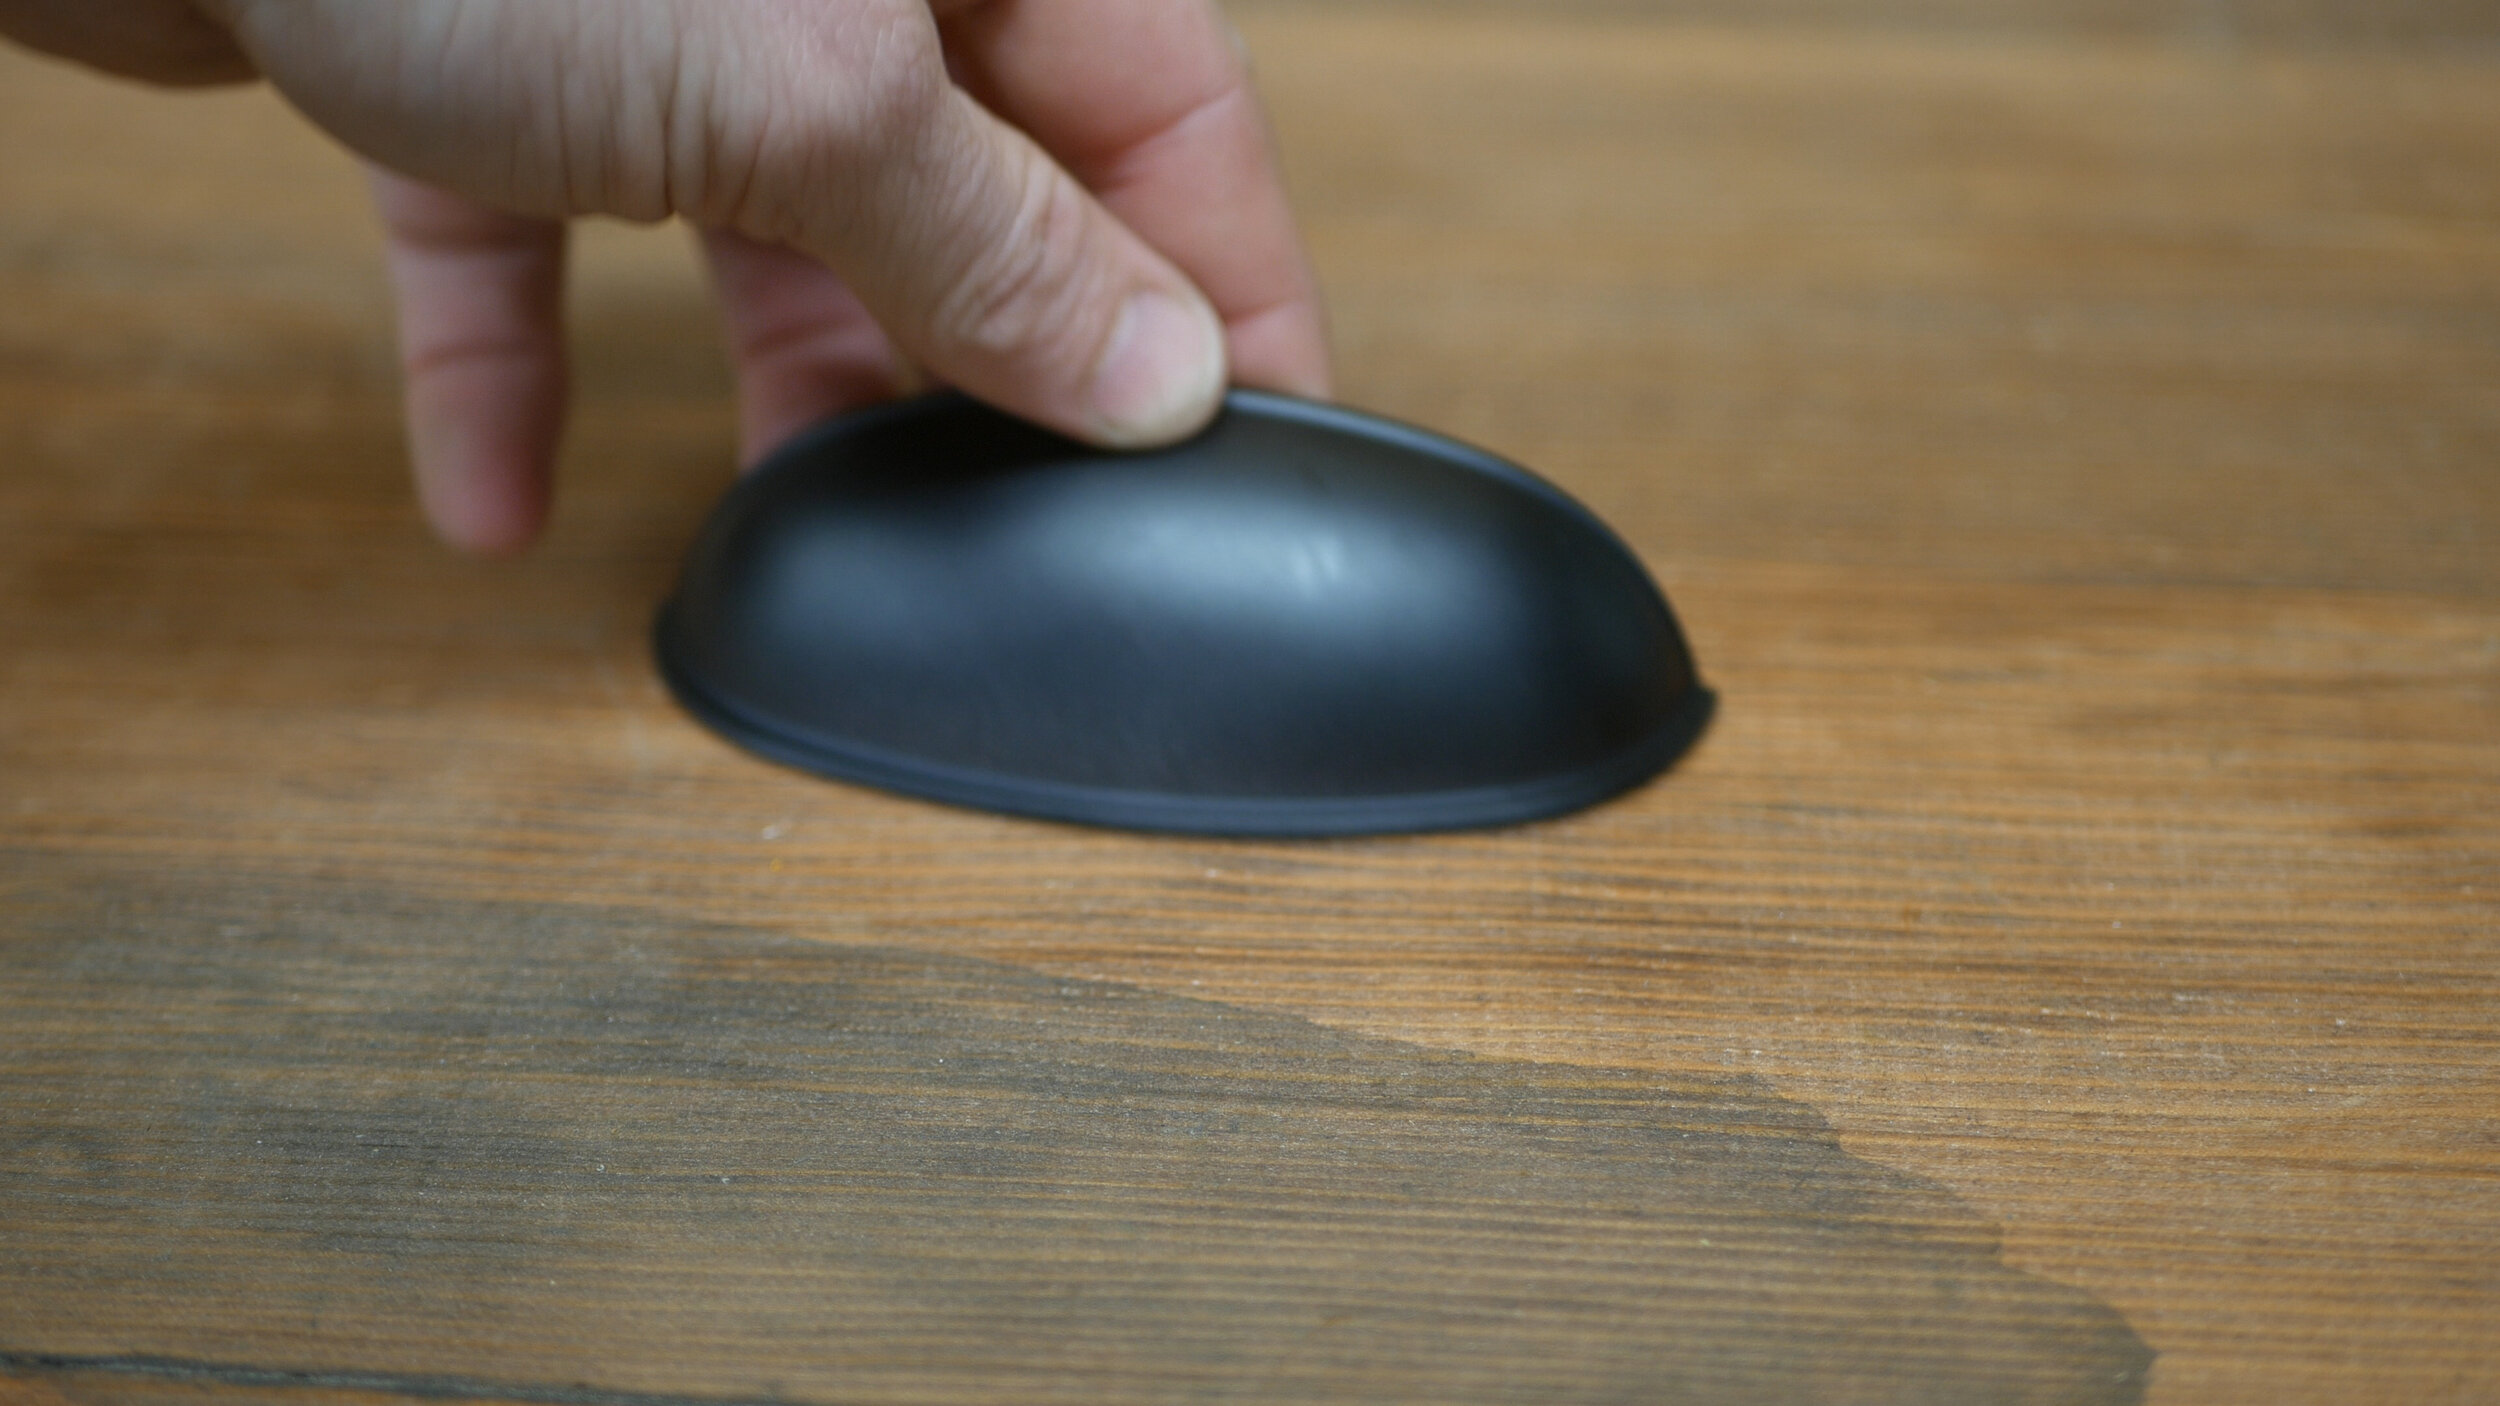
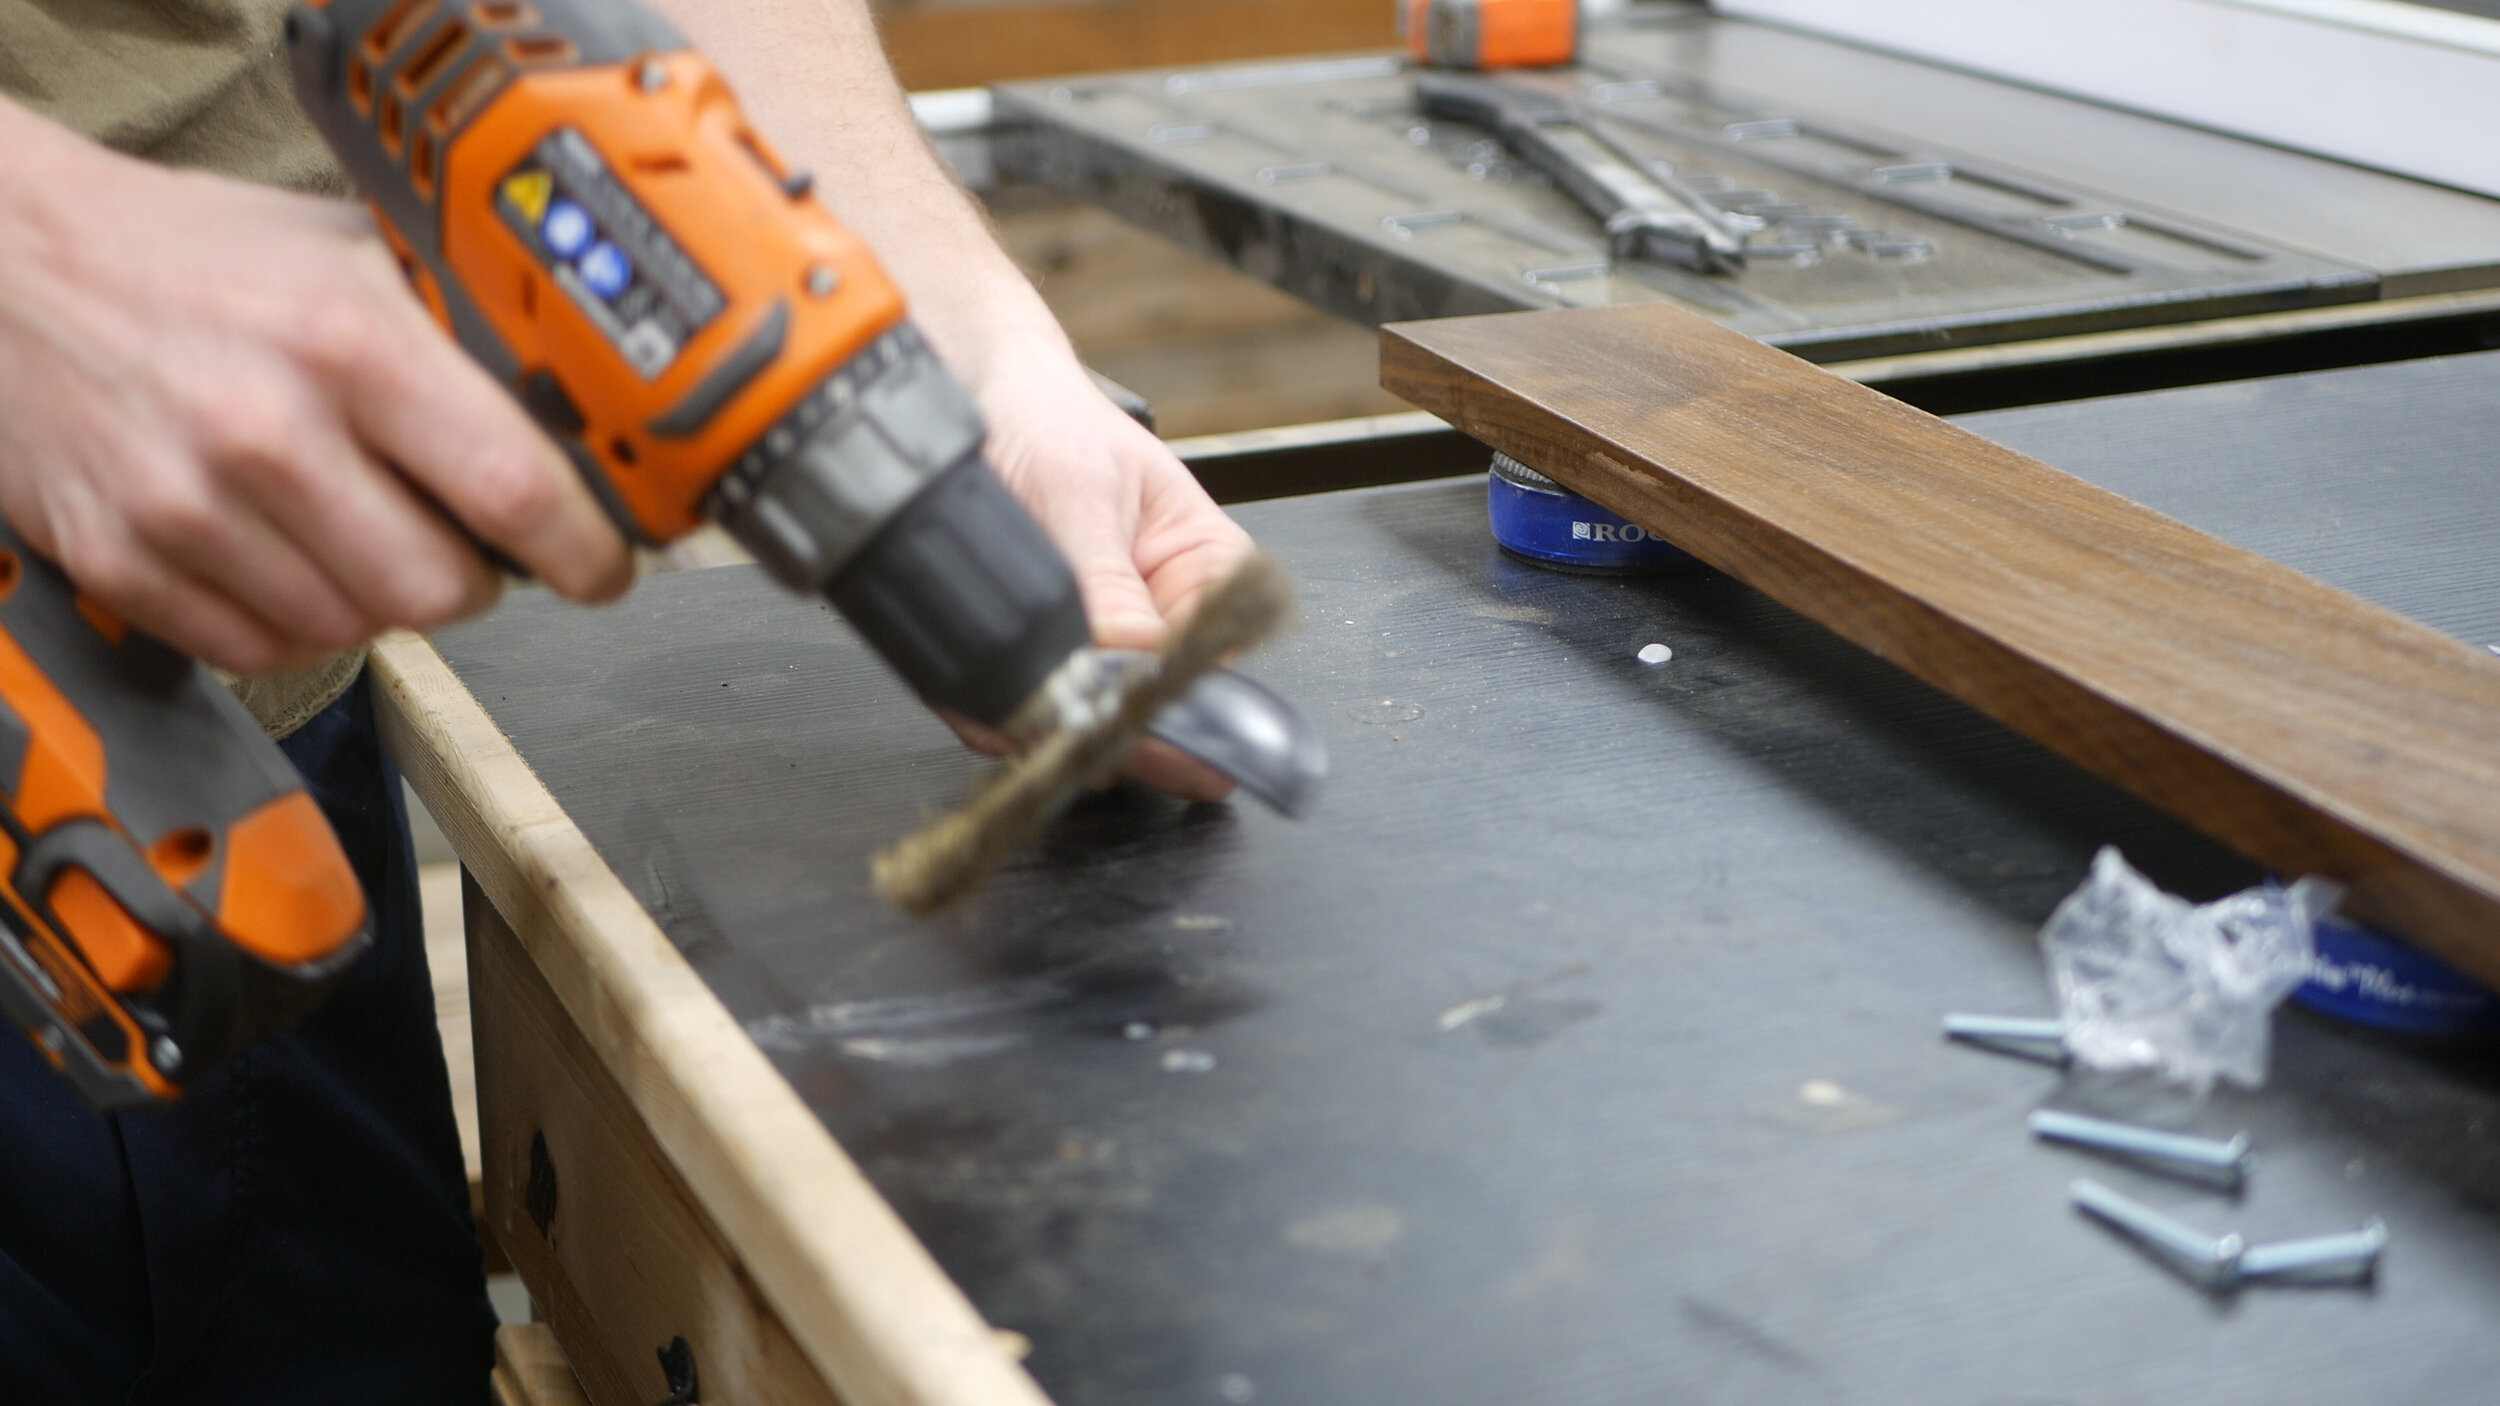
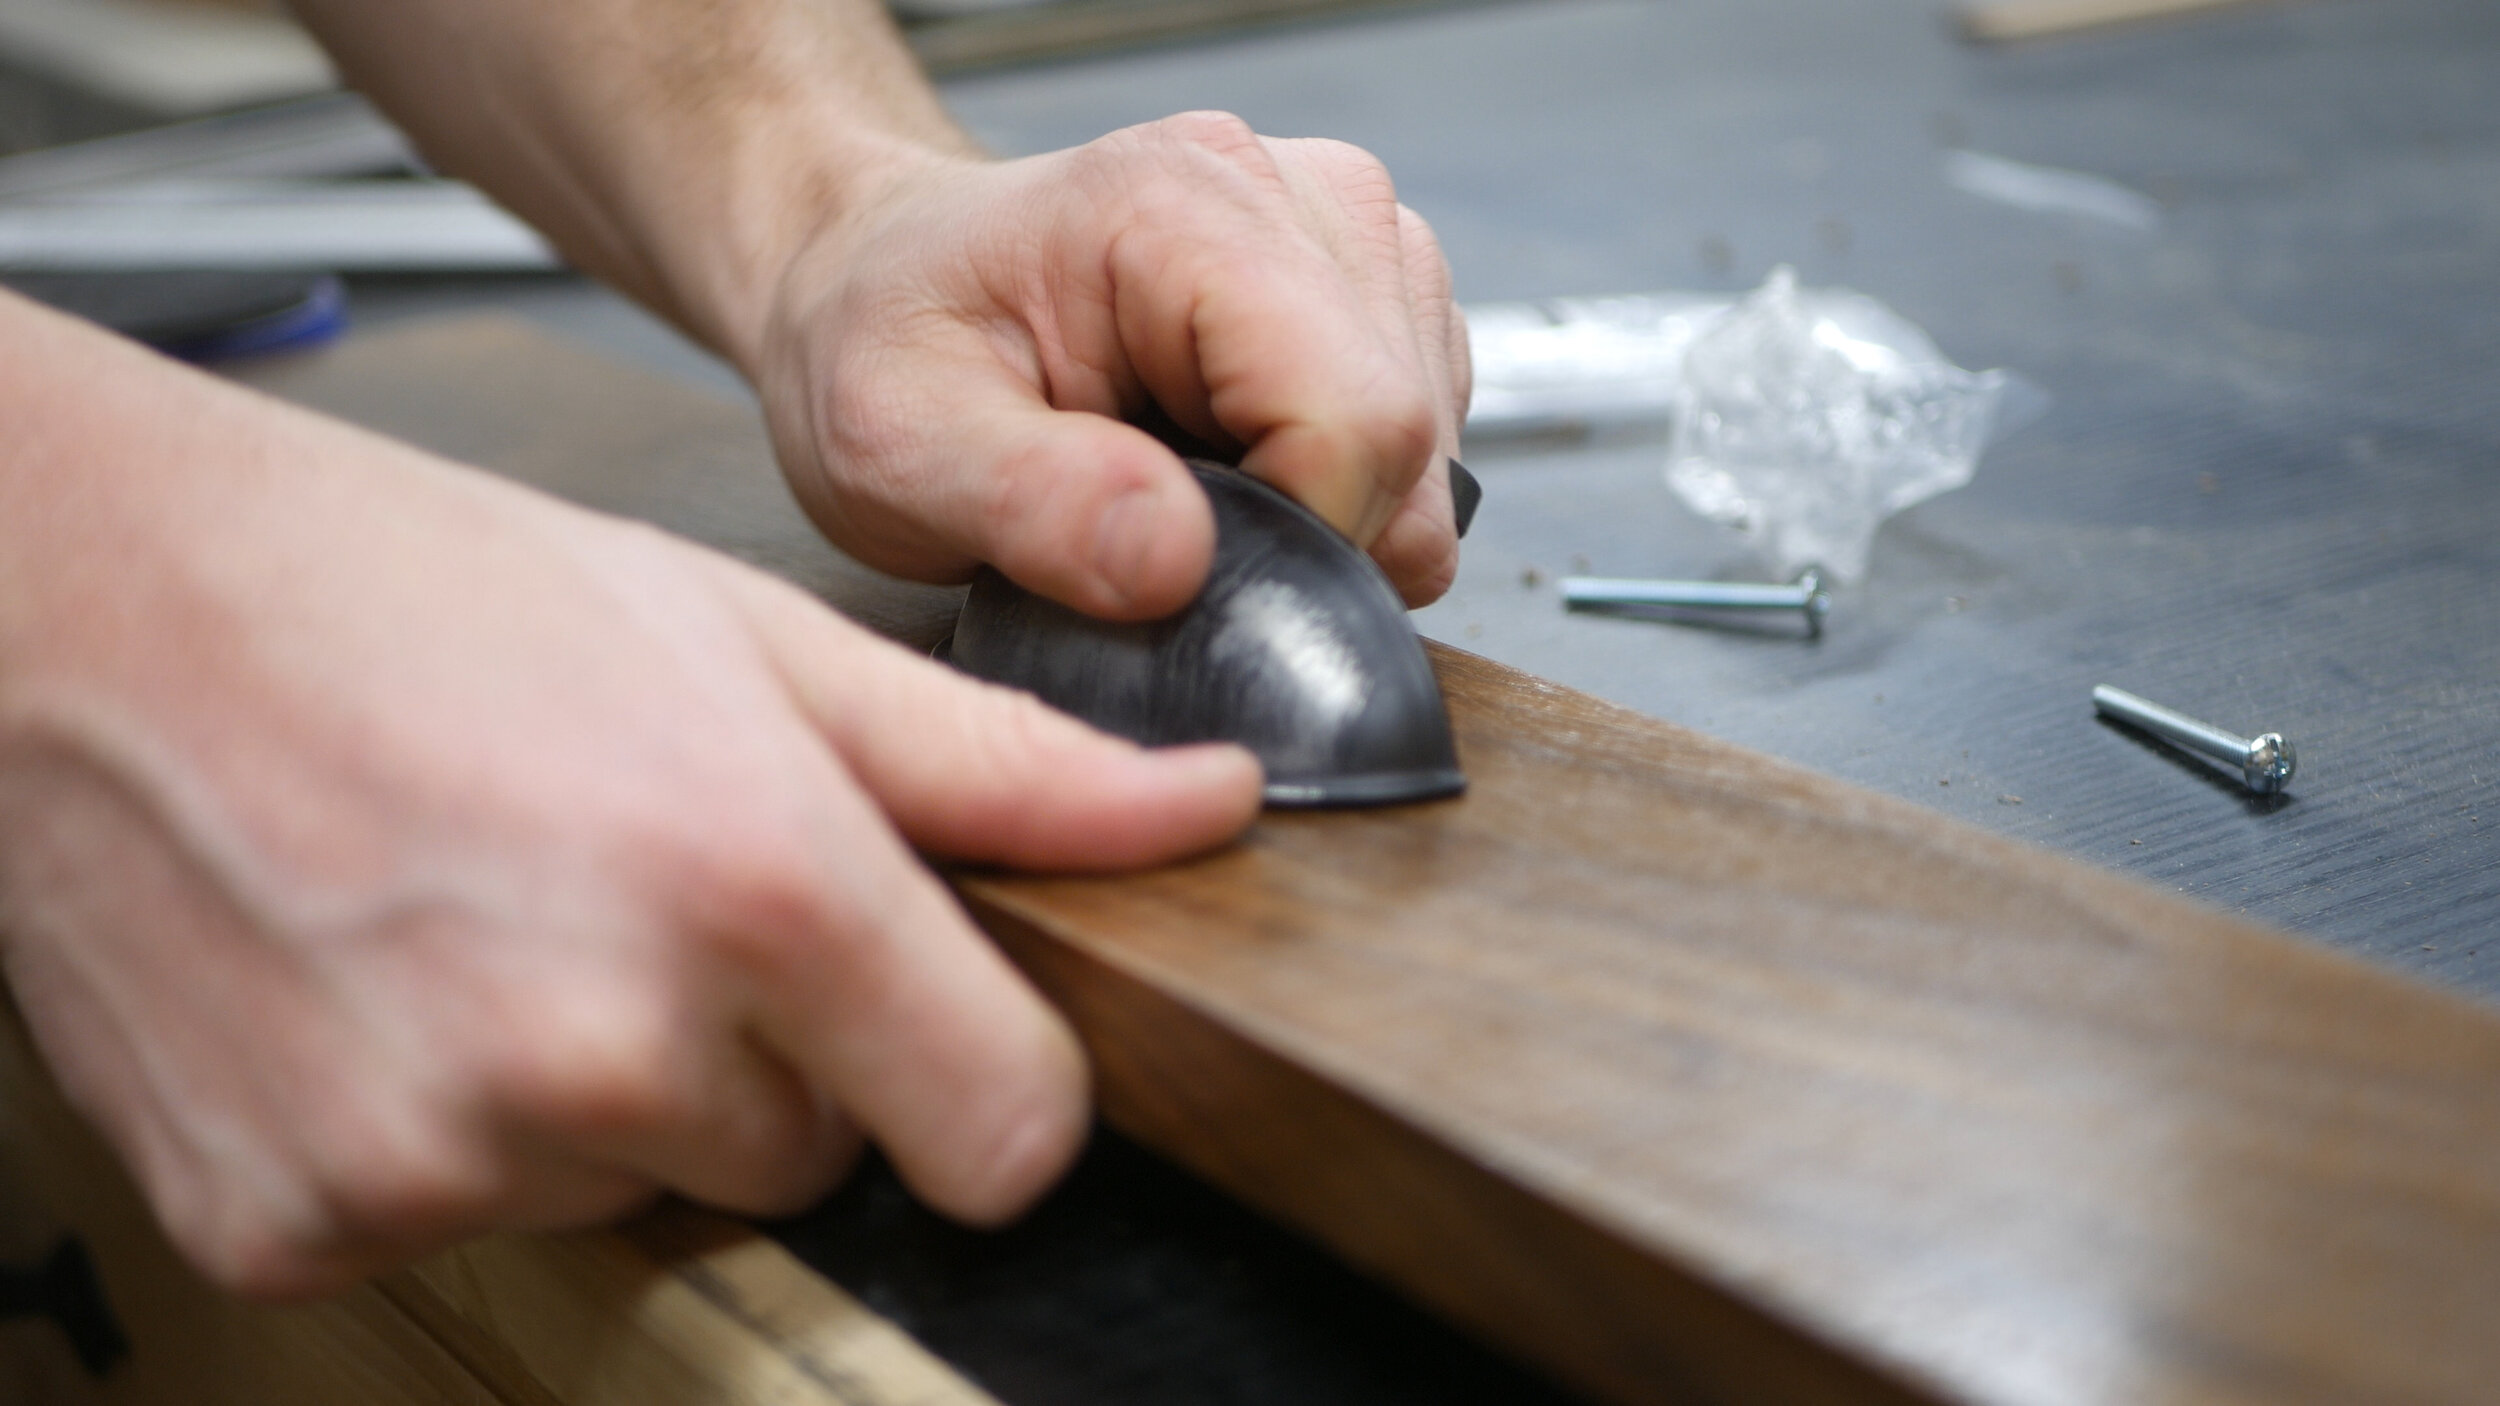
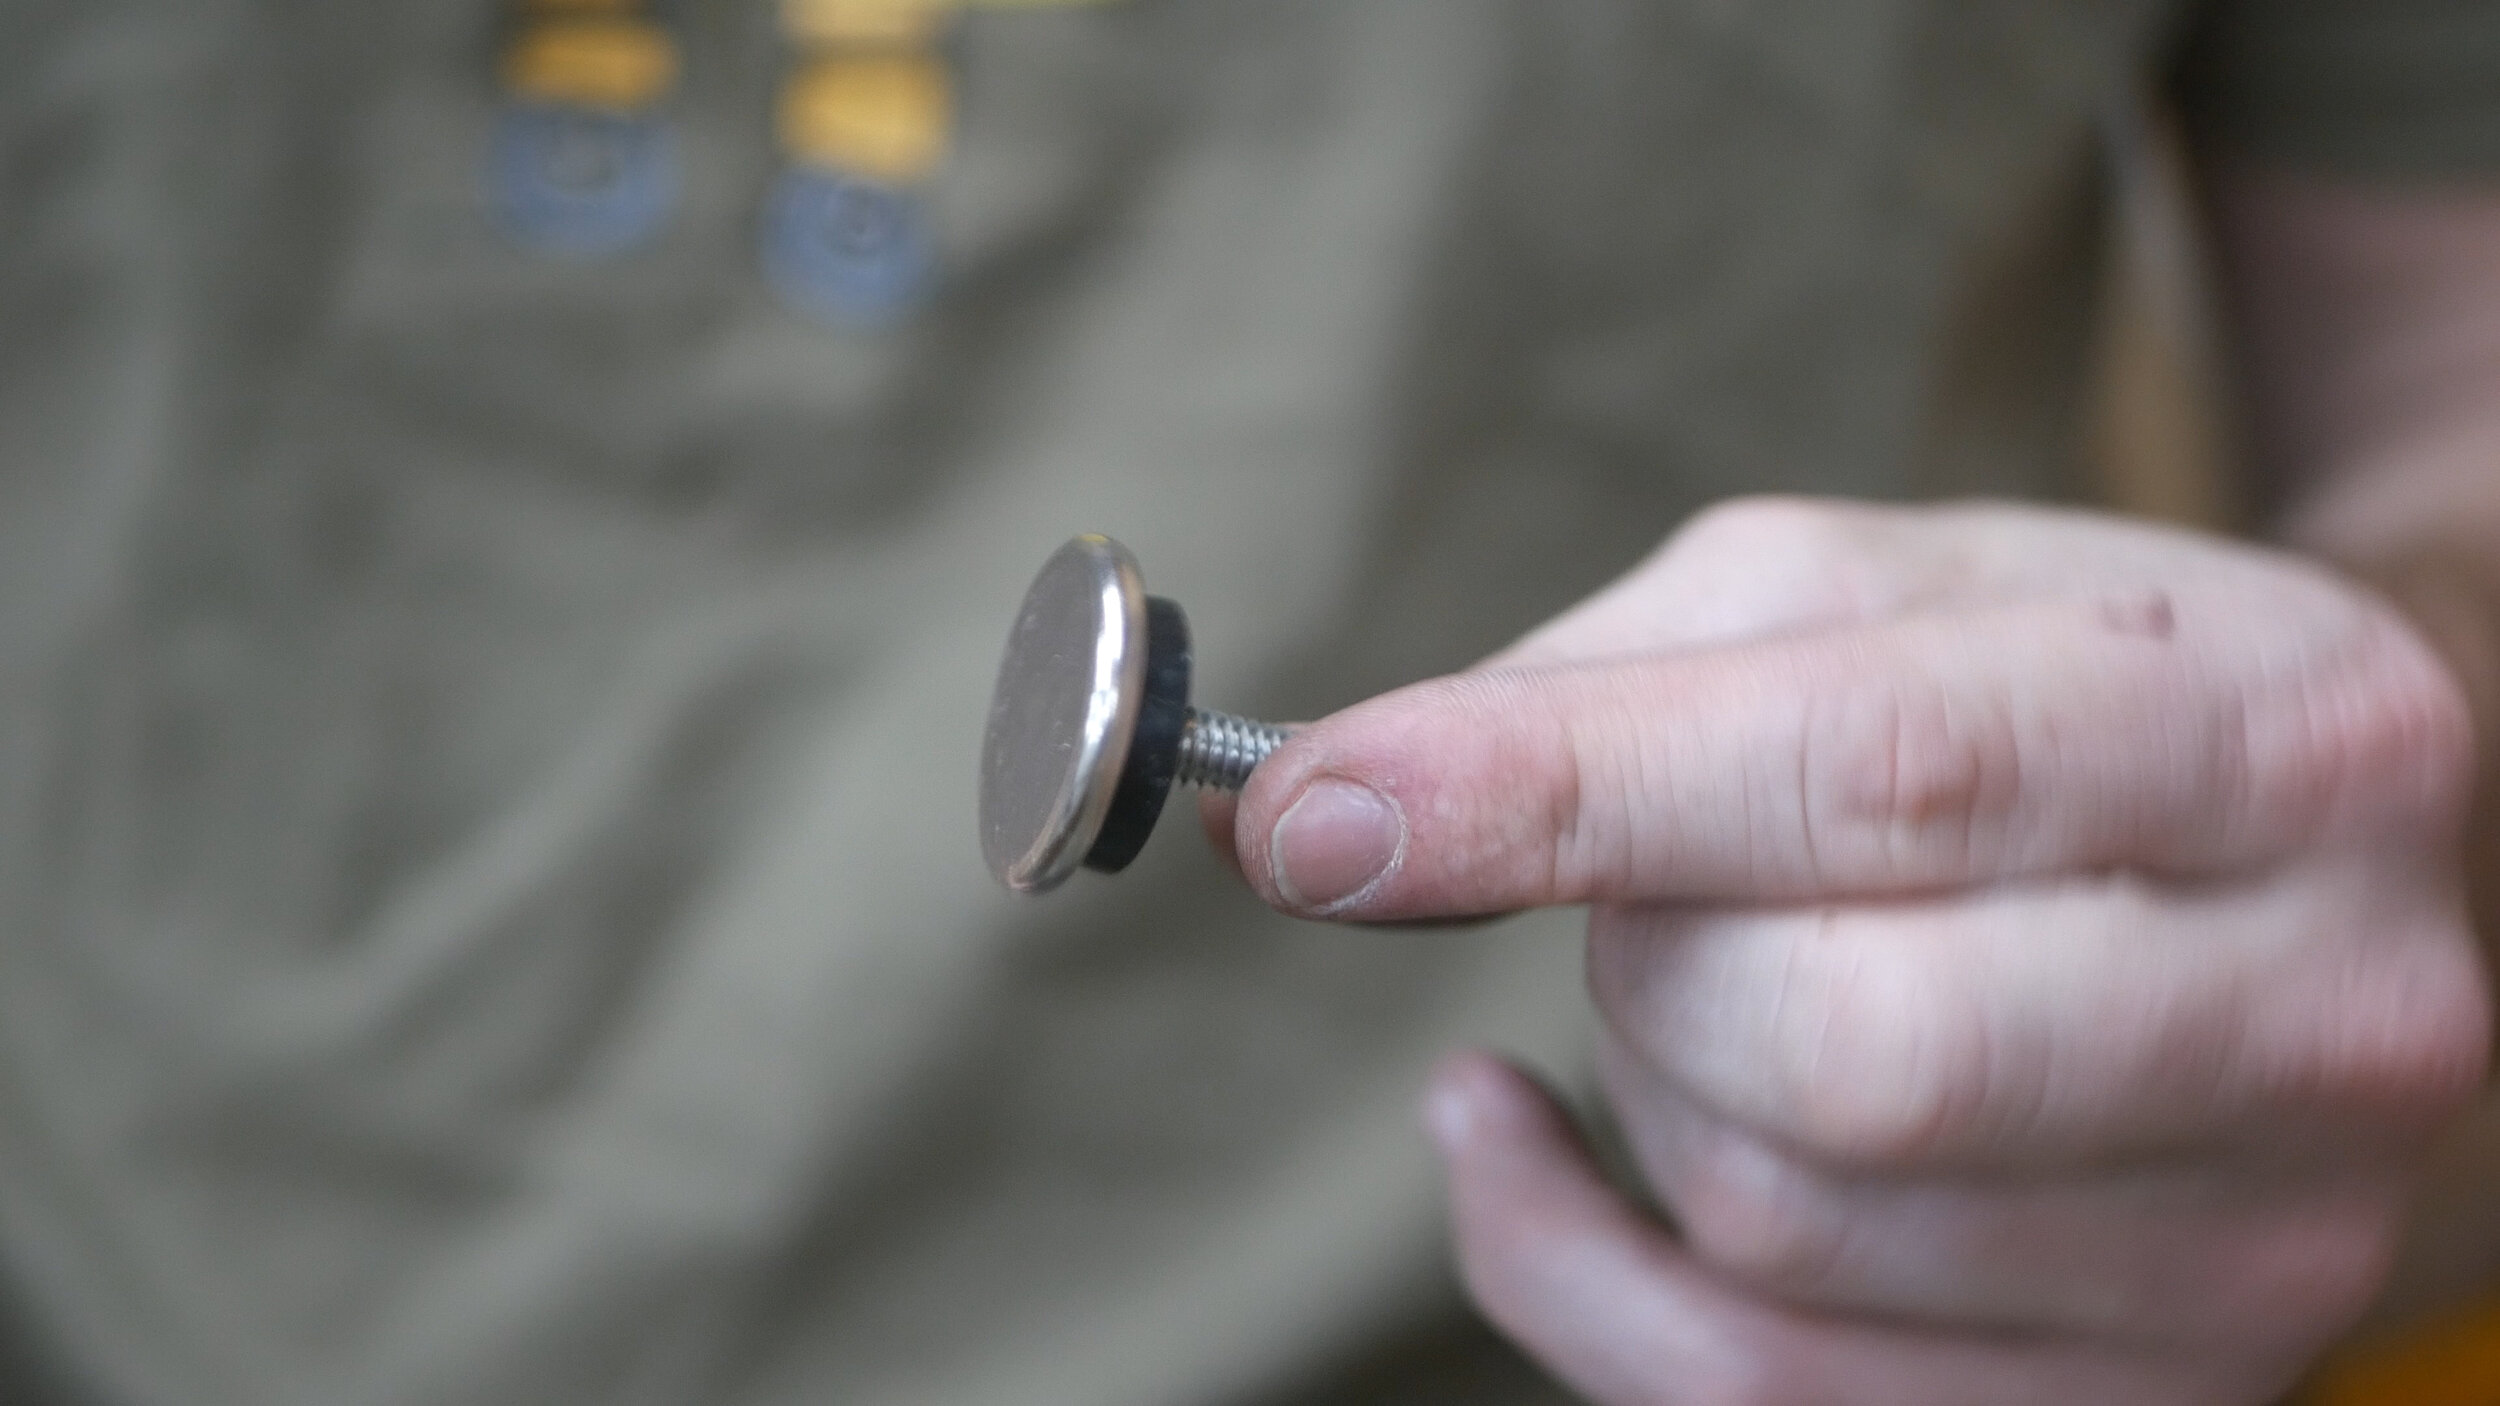
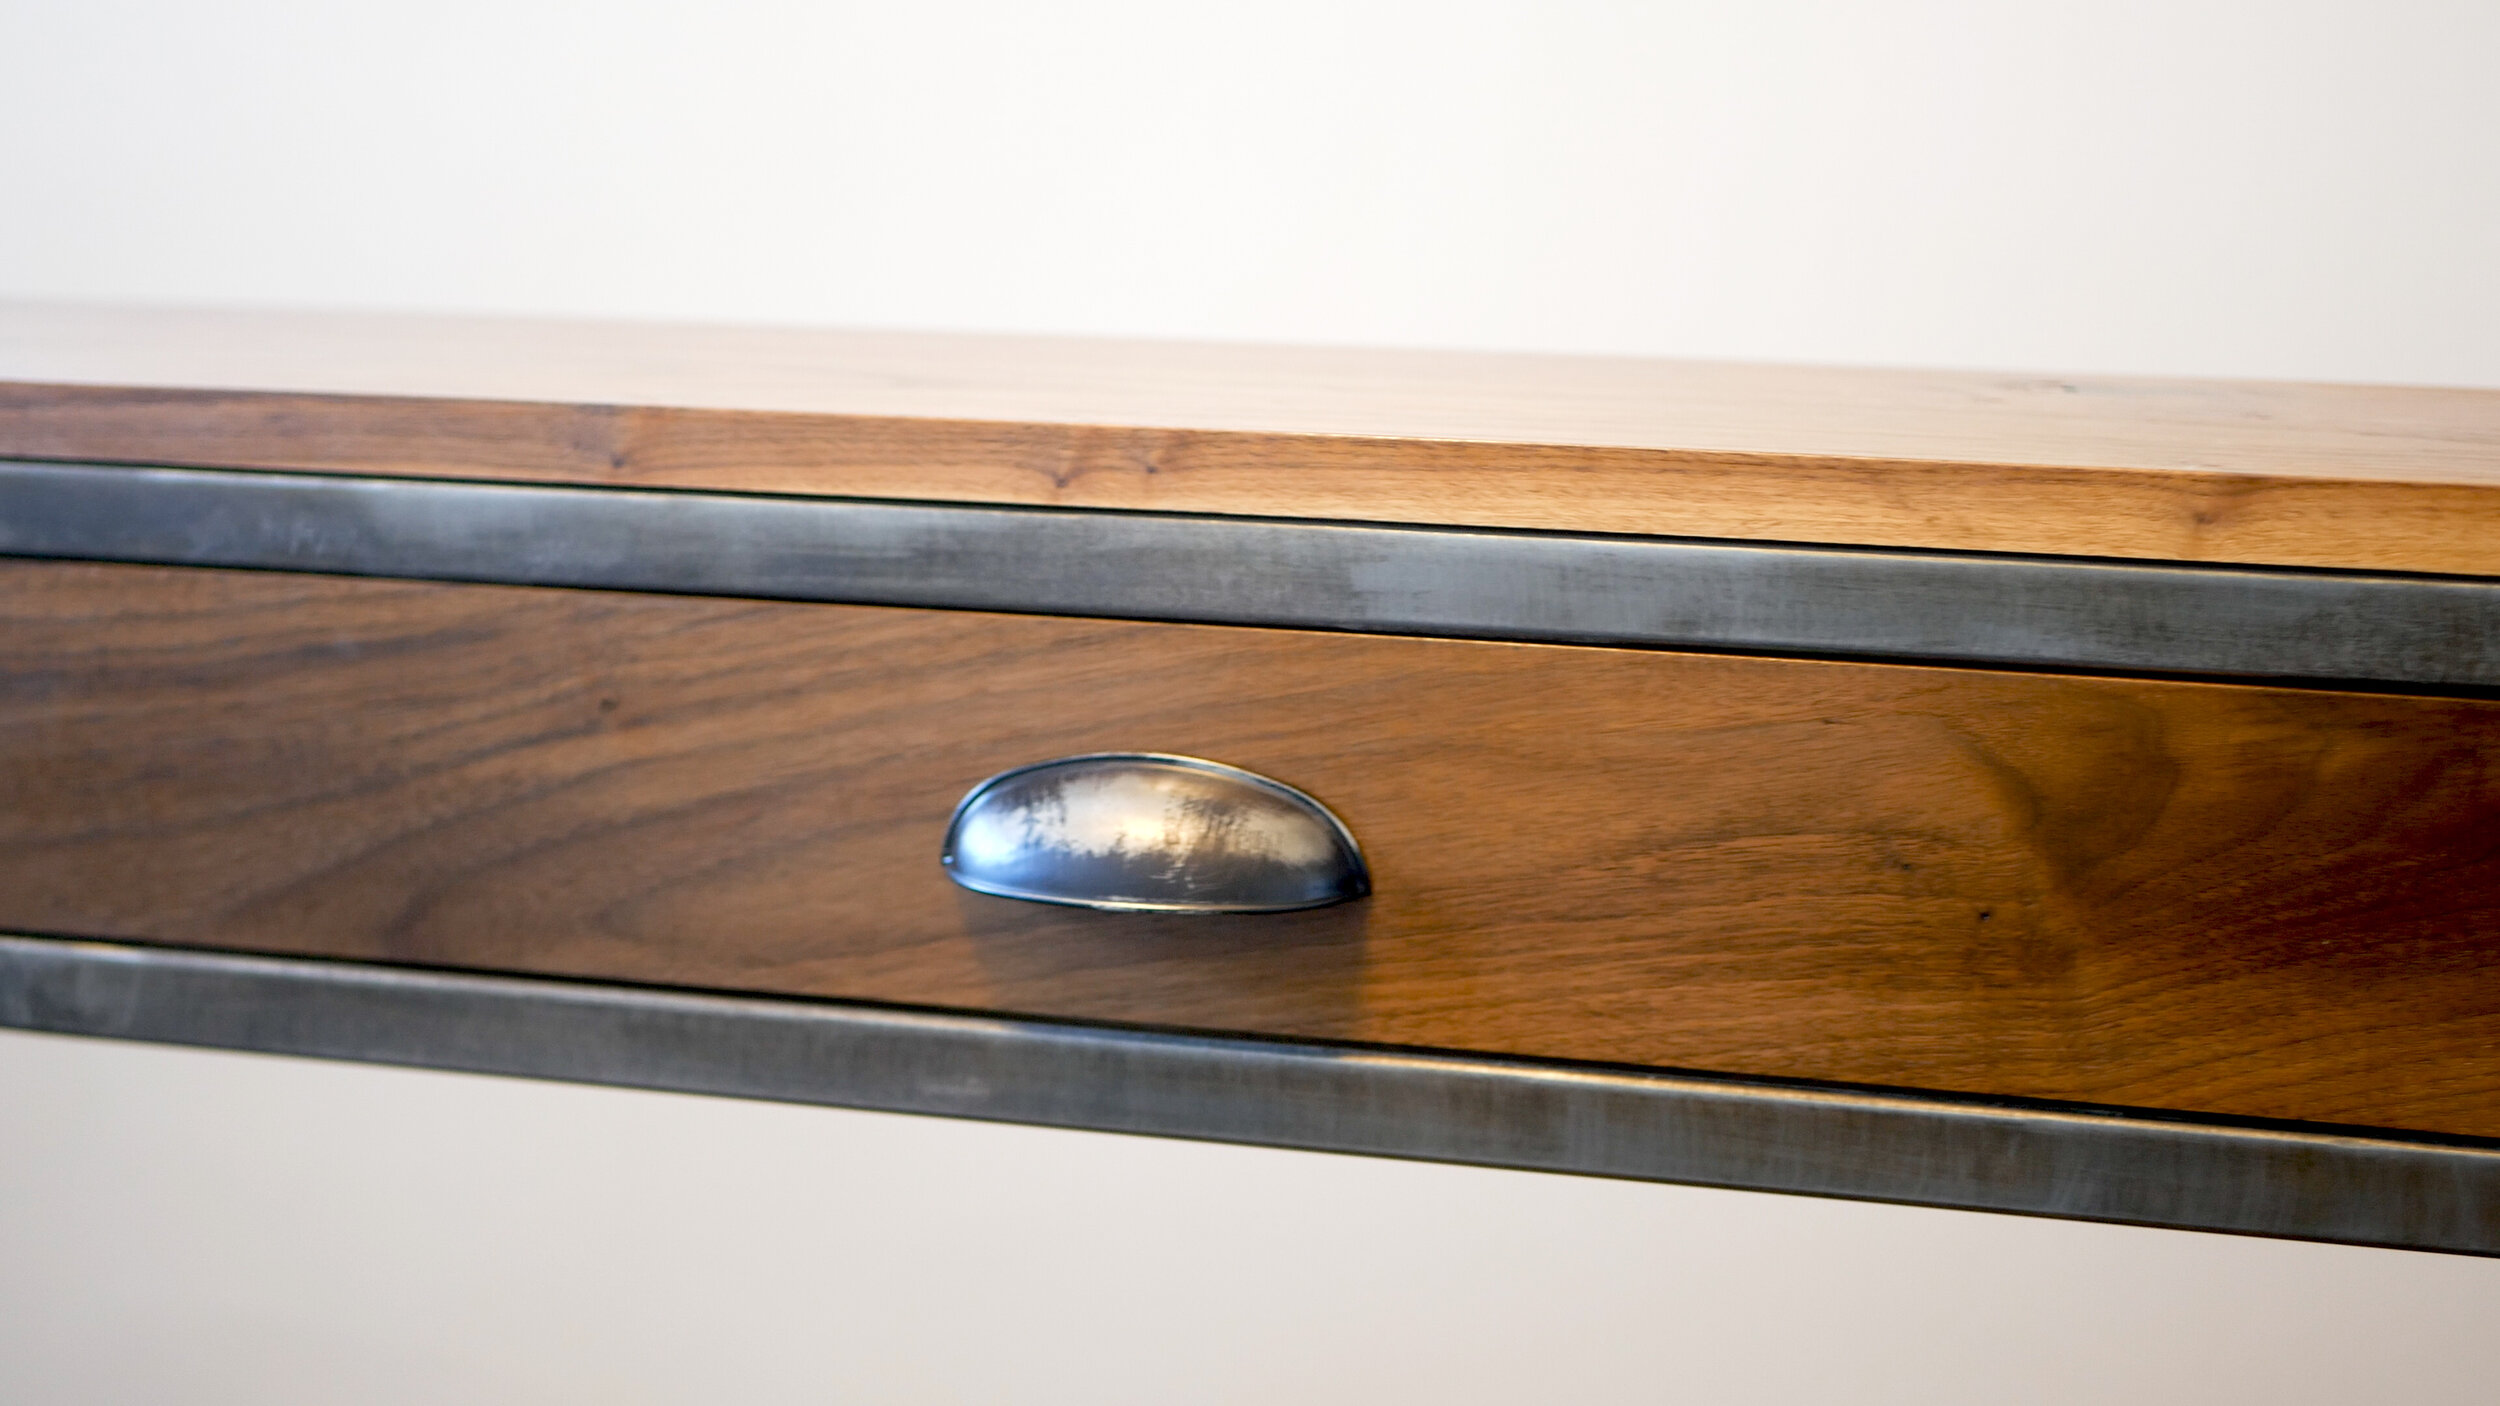
Last major step was to add a matching drawer pull and attach the drawer front. I bought this matte black pull from home depot and used a wire brush to scuff it up. I just scuffed it till I thought it matched the aesthetic.
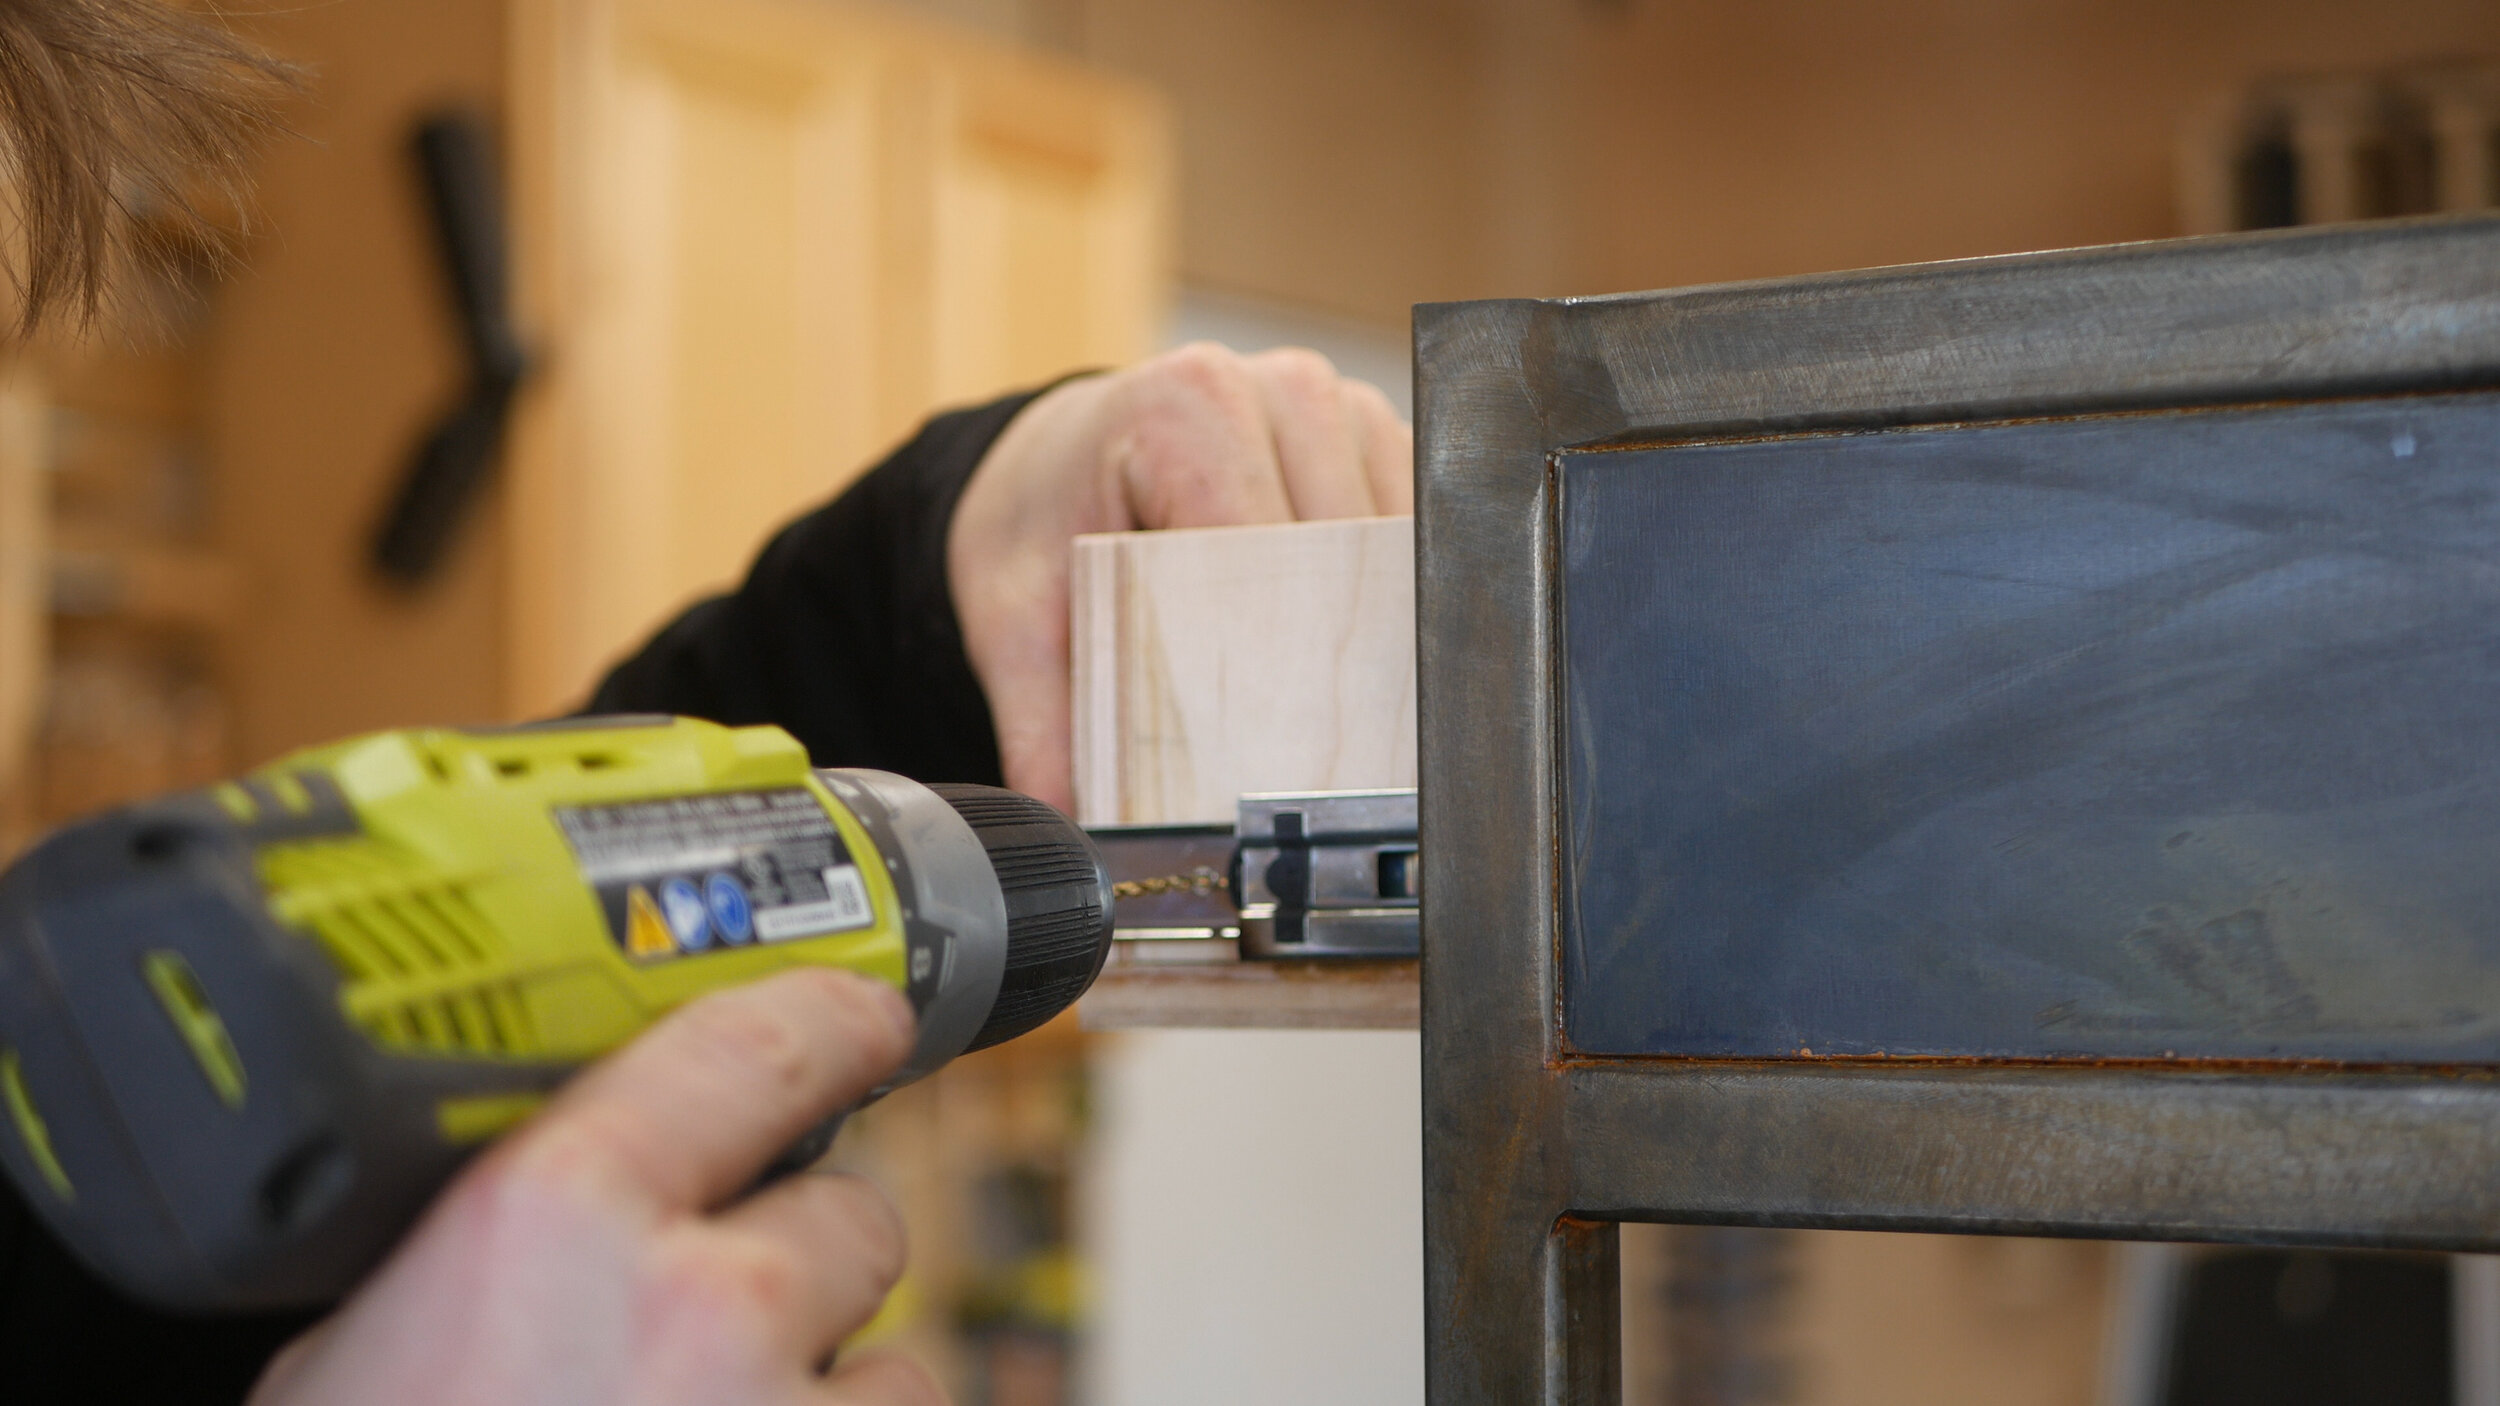
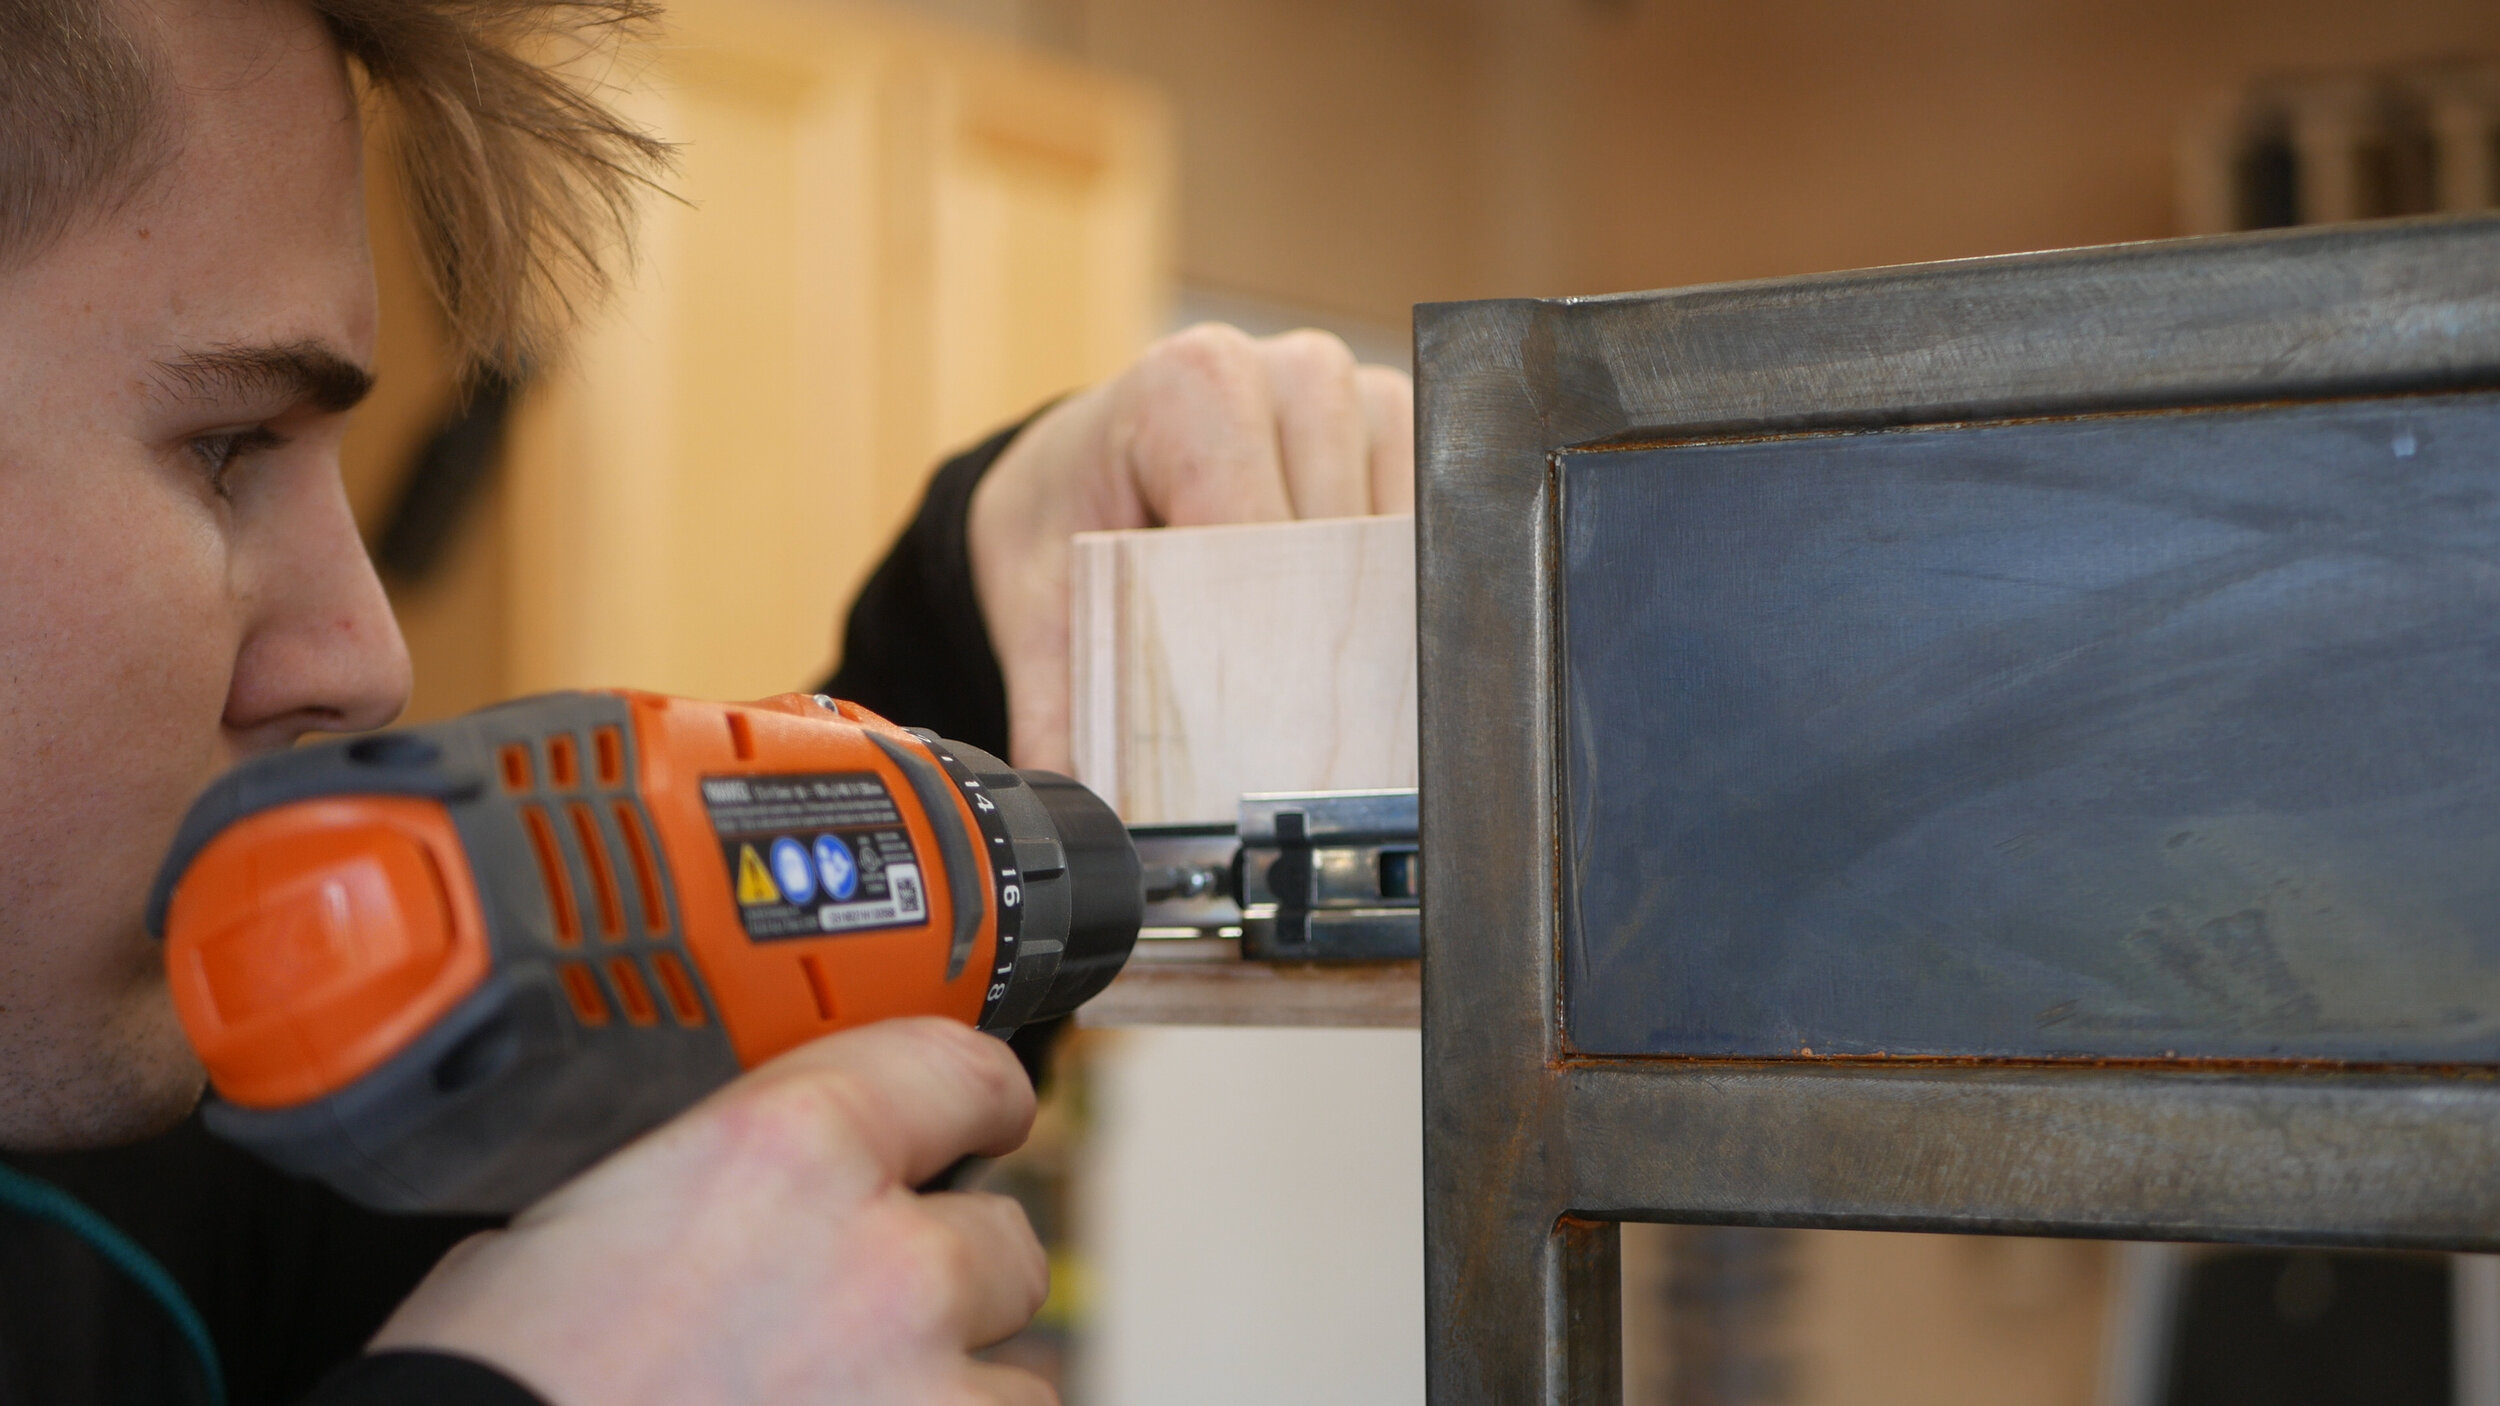
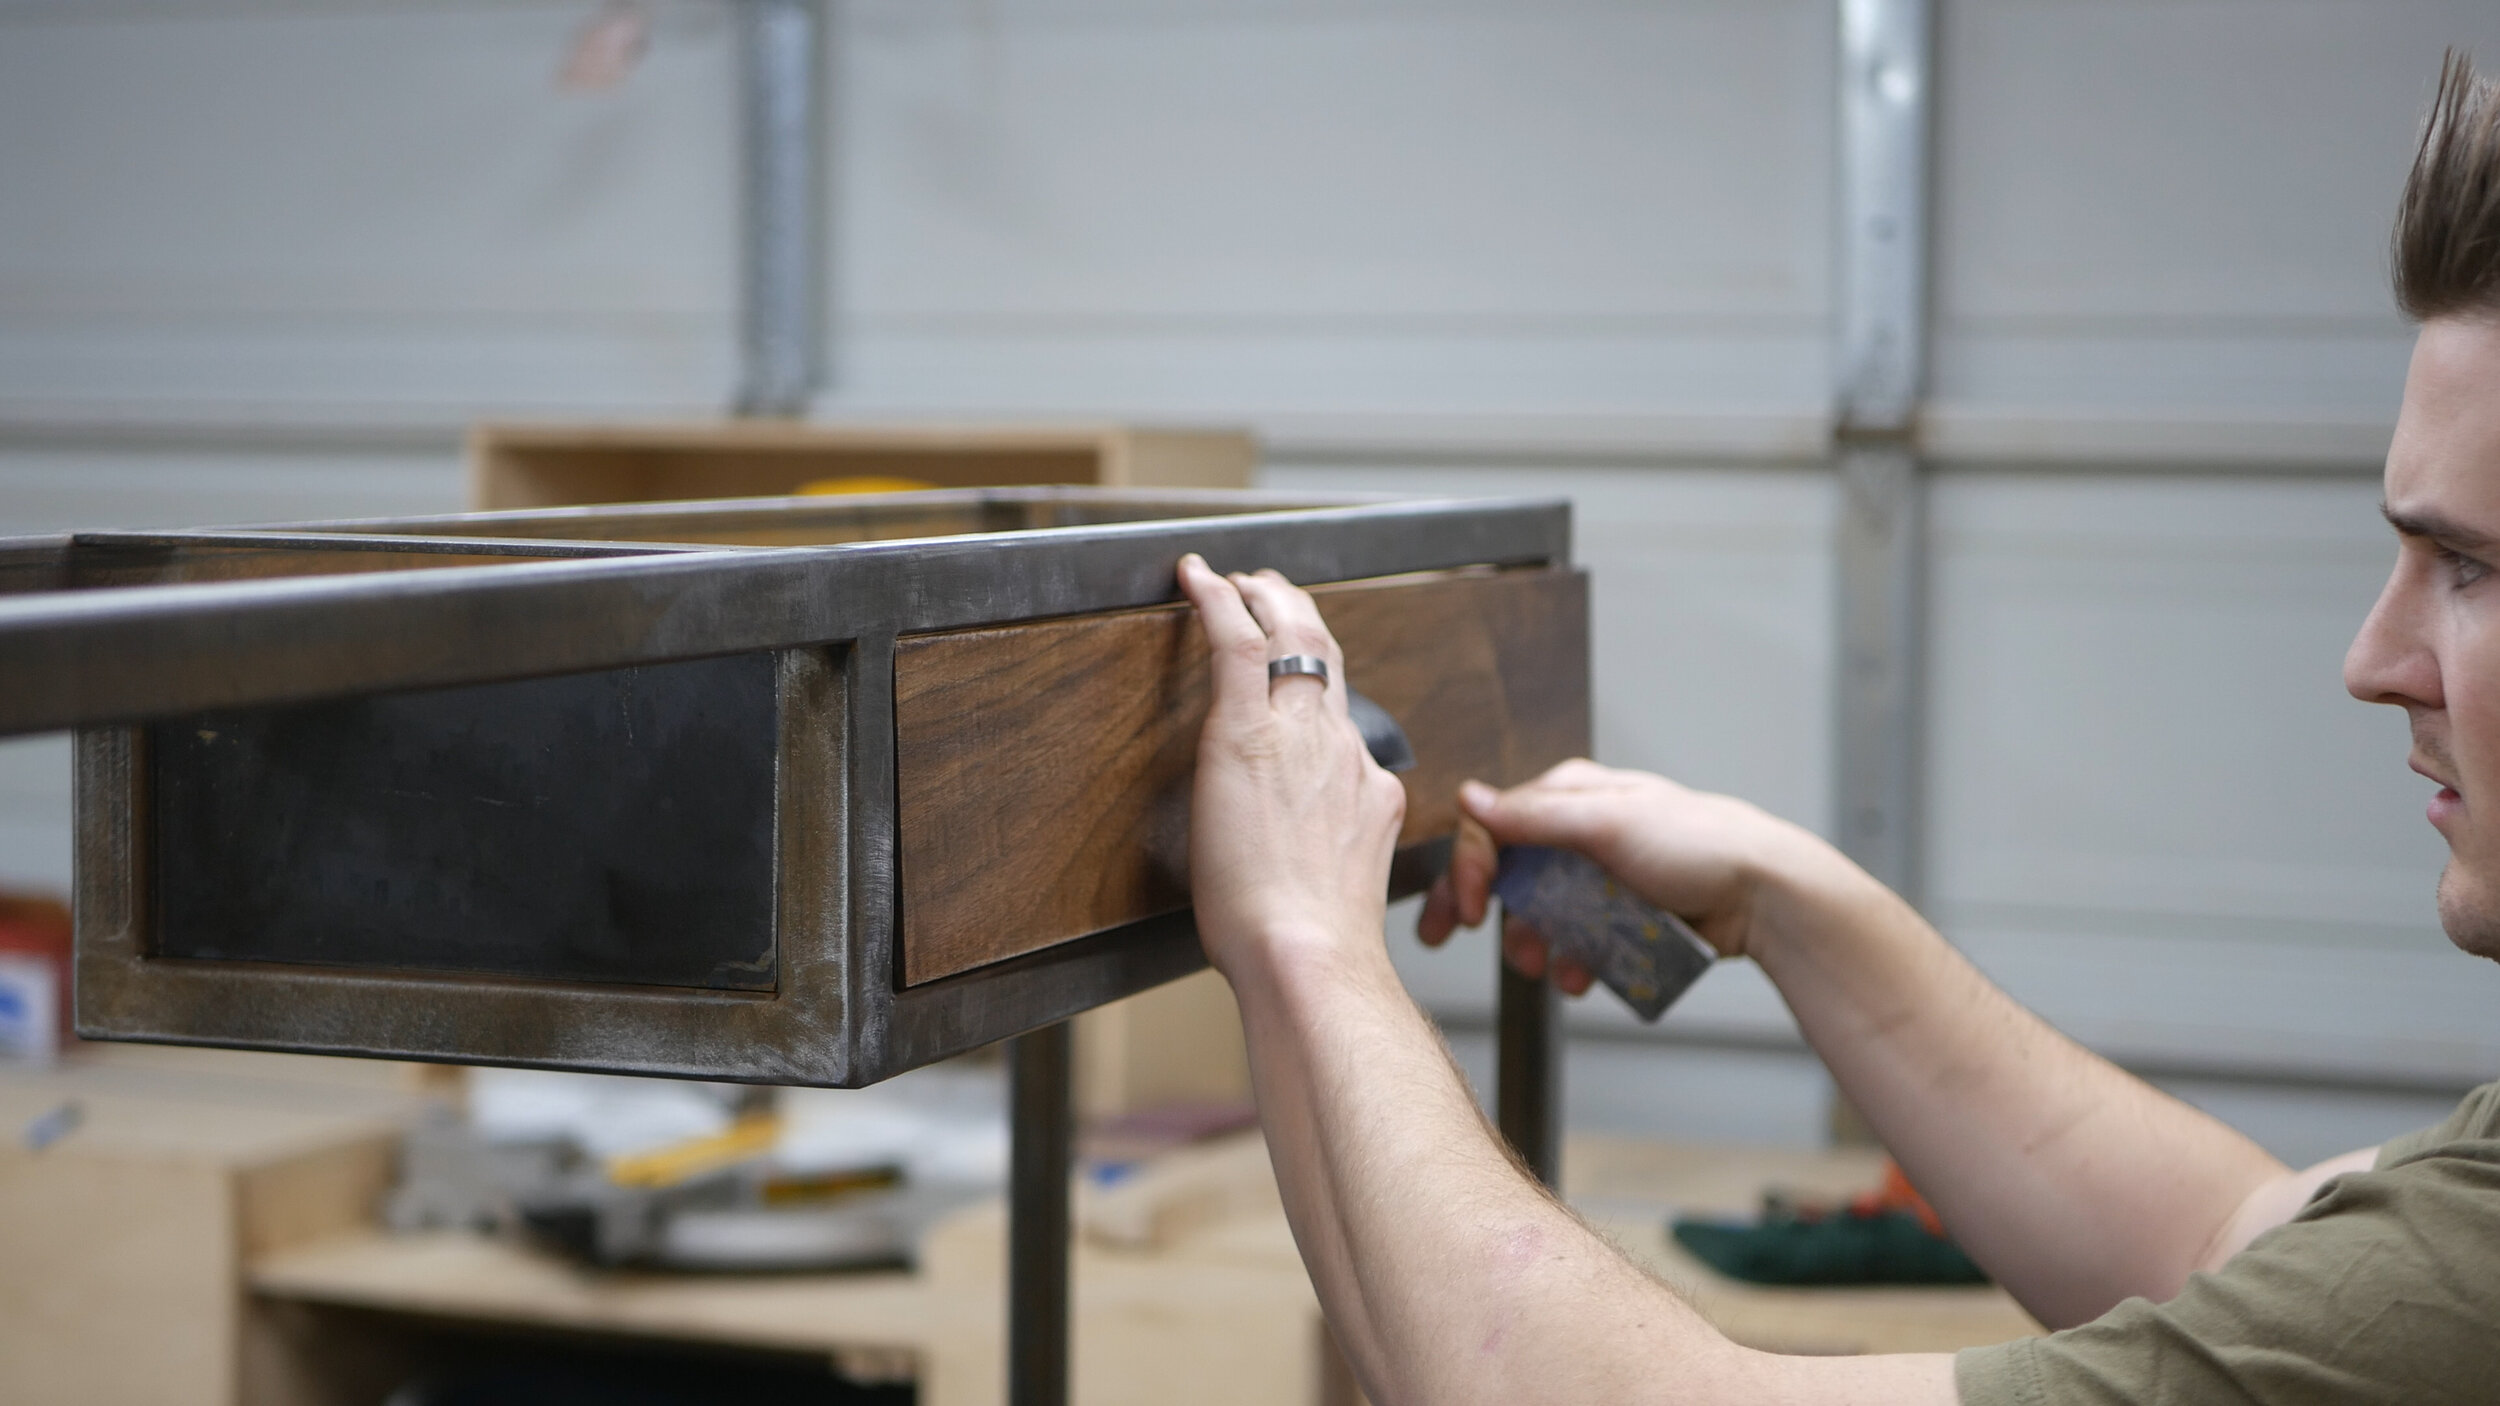
I then marked out and measured where to drill the holes in the walnut. I also ended up using a forsner bit to add a recess on the back of the pull so the screw could sit below the walnut. By hand tightening everything, I could then attach the drawer face to the drawer from the inside without having the screws that held the drawer pull bulging out and interfering with having the walnut sit flush to the drawer.
To get the drawer perfectly in between the steel - I had to go back and scribe it just slightly in the corners off camera, and I used the stacked playing card trick to find the center both horizontally and vertically.
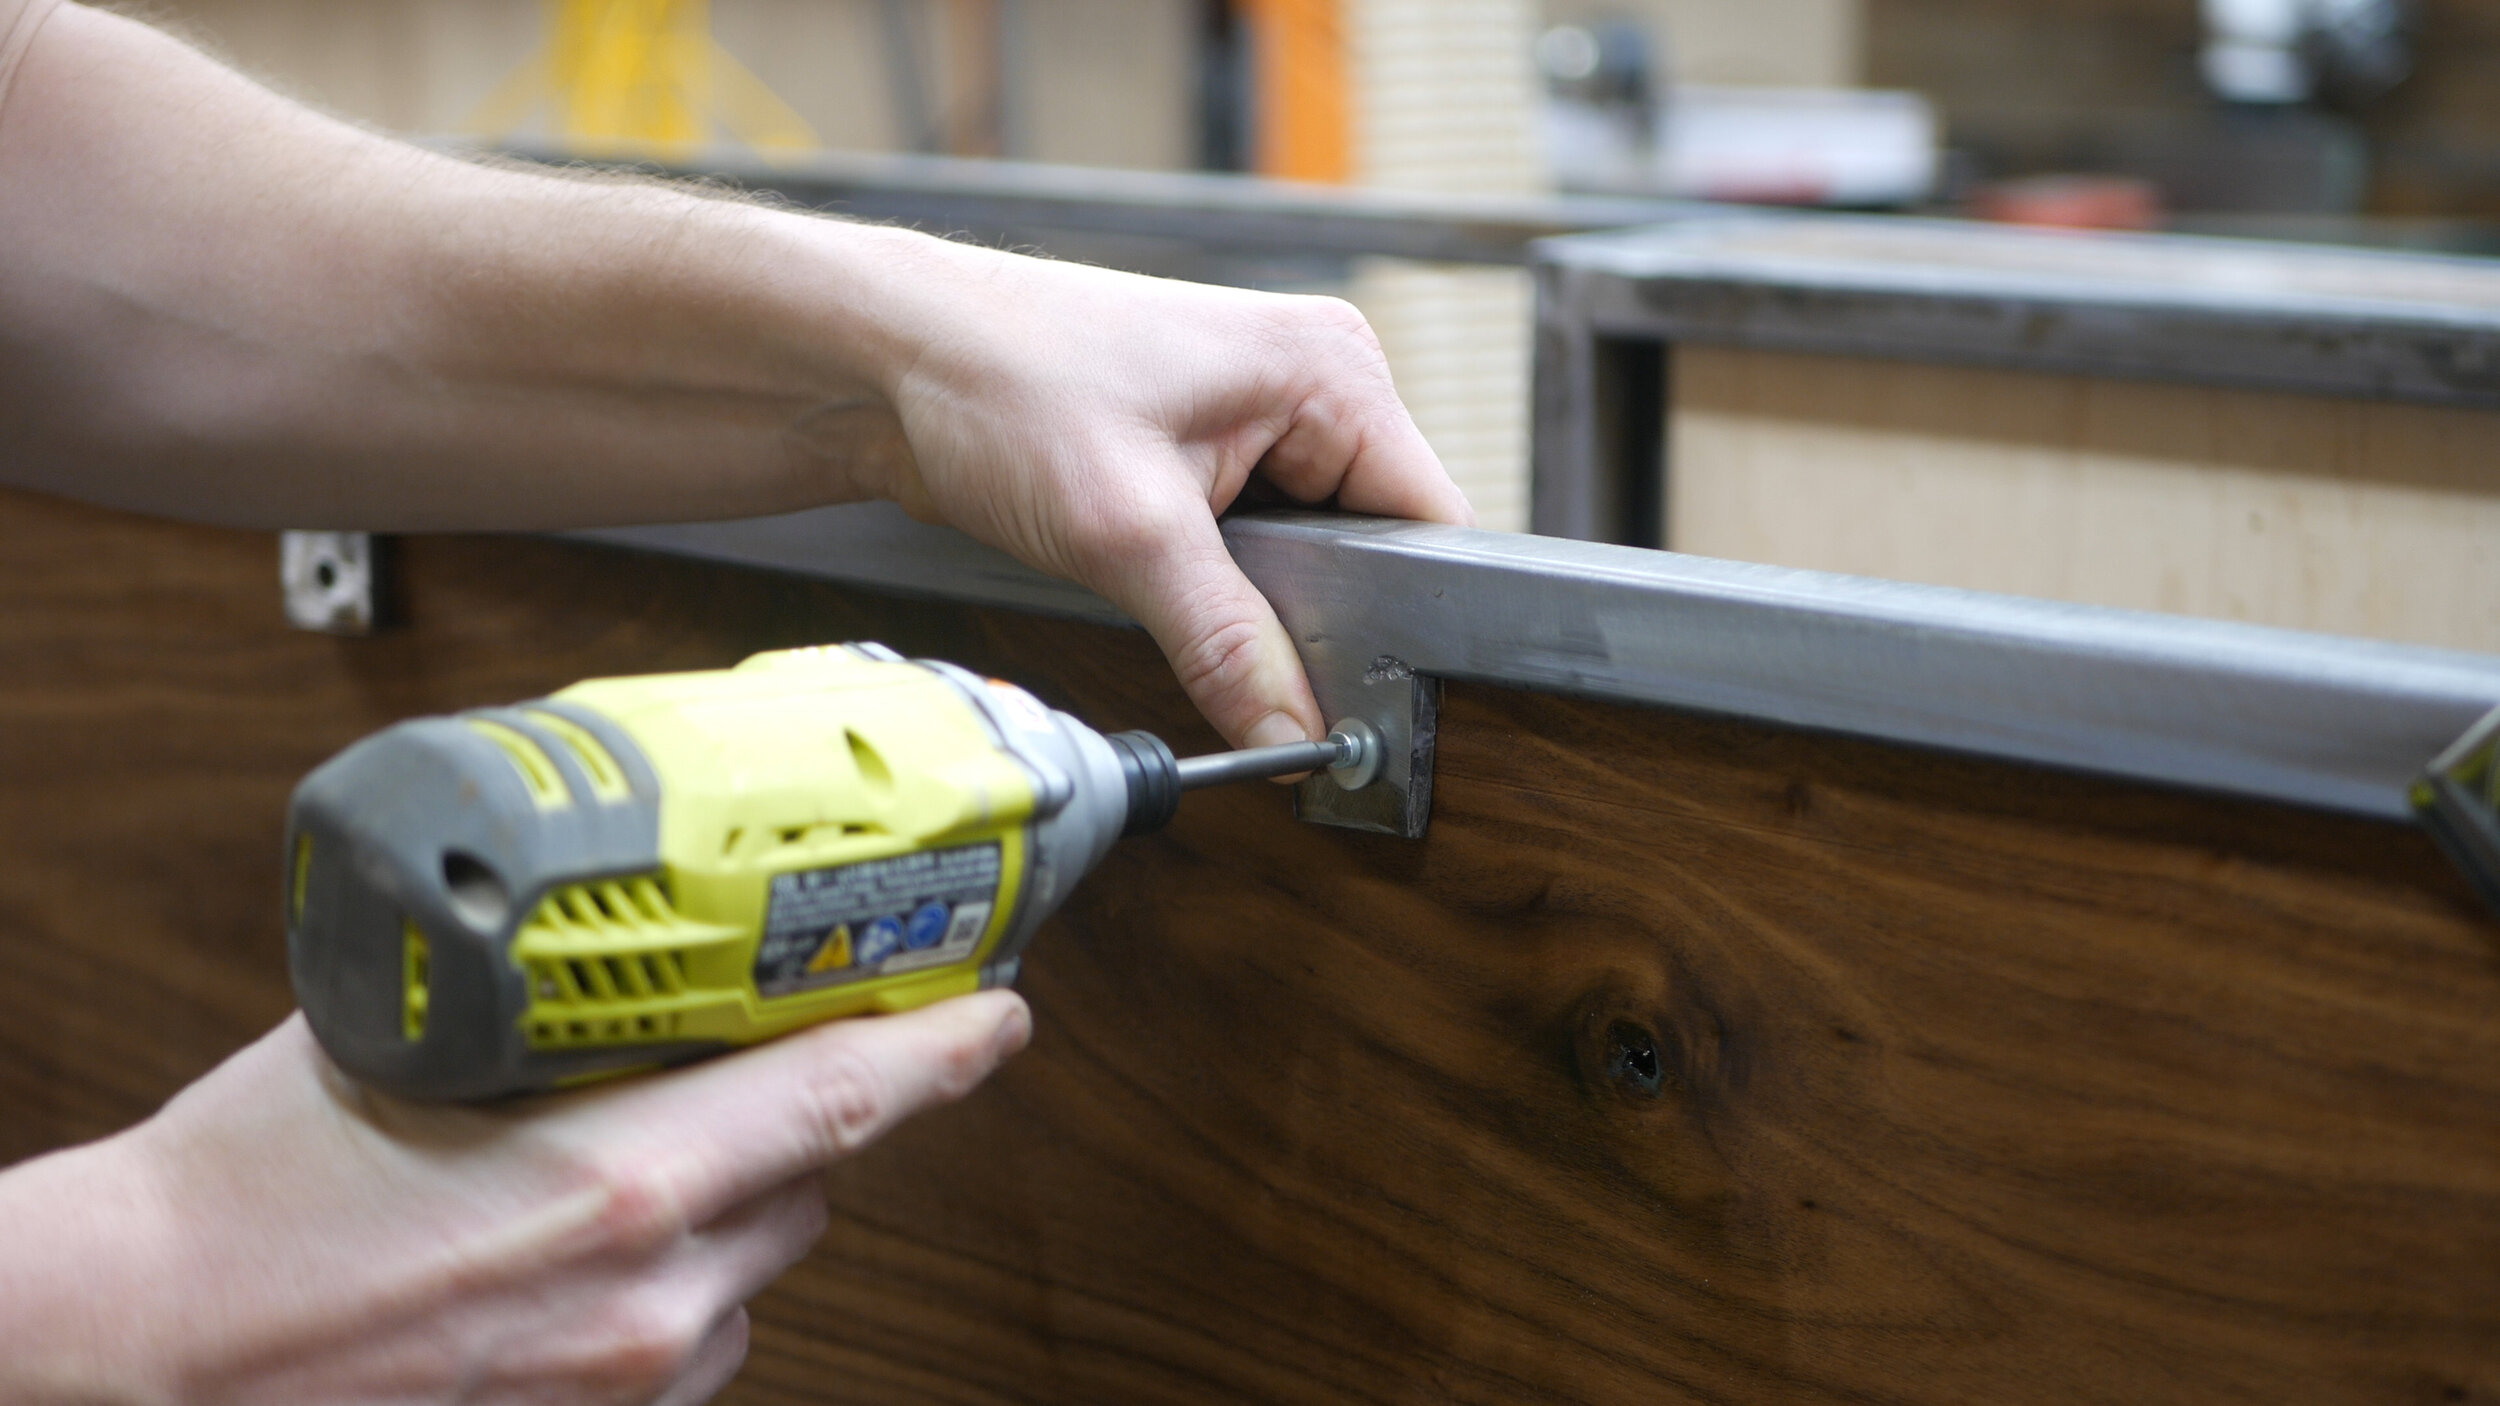
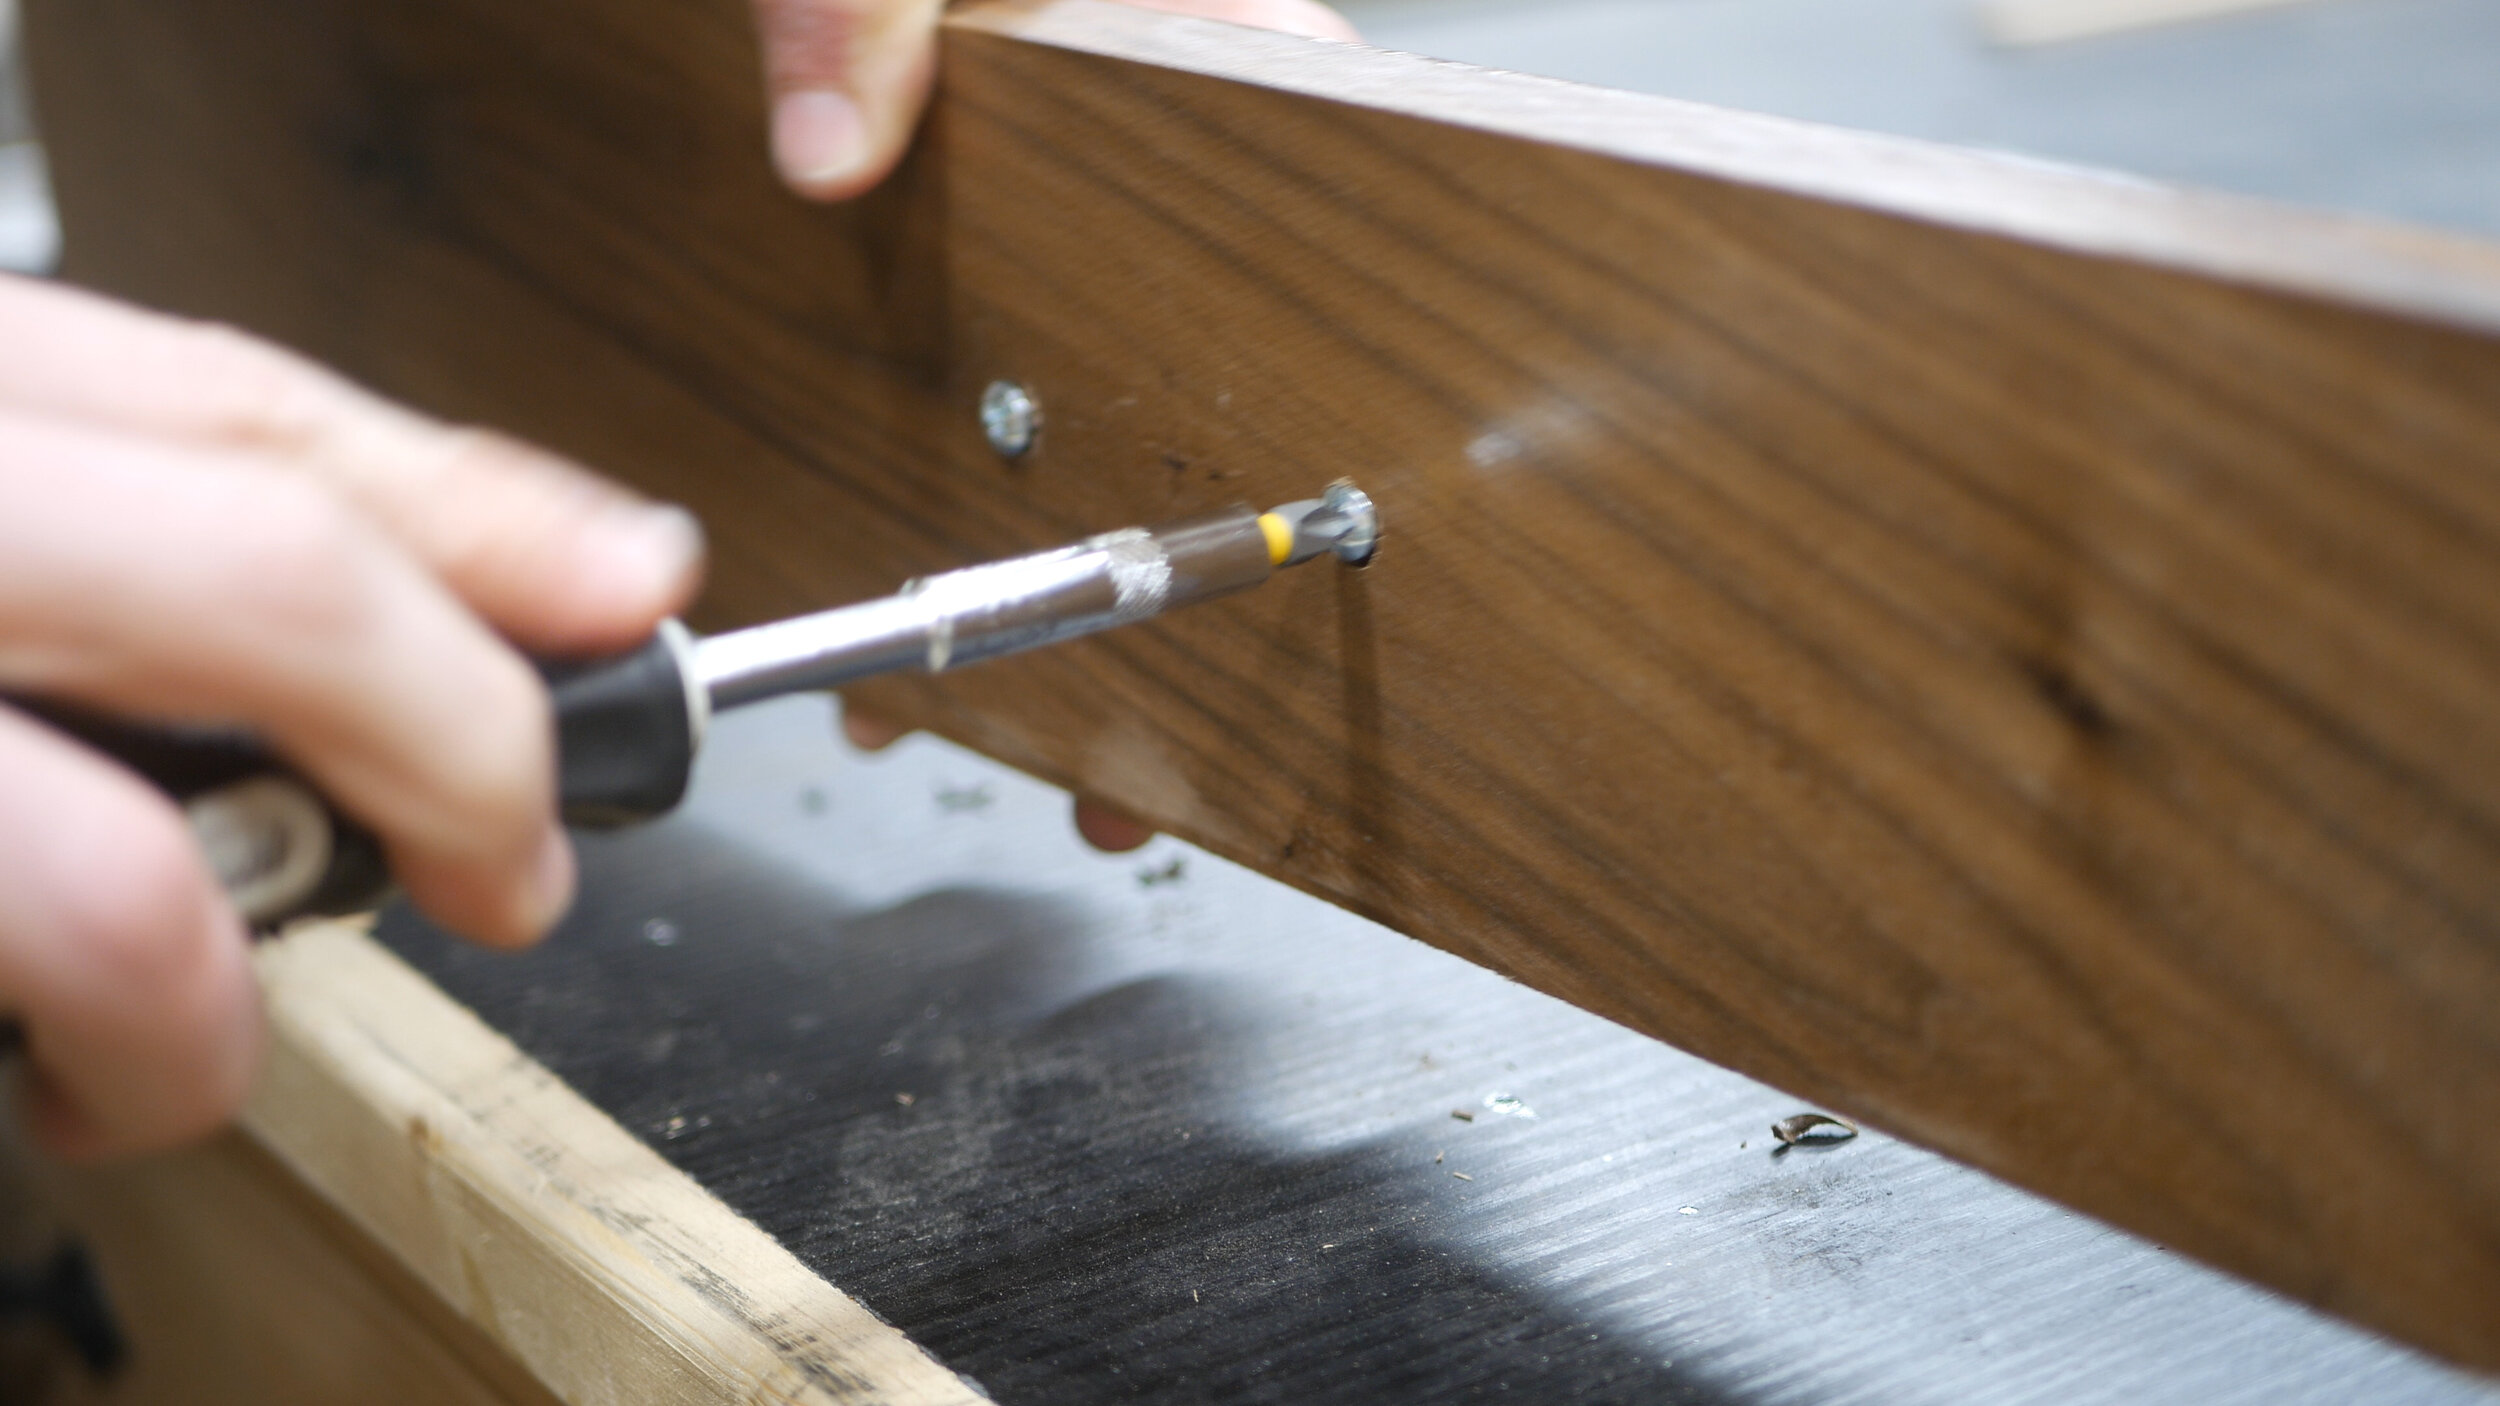
Last but not least, I could drop in the top and bottom shelve and attach using a few screws and the flat stock I had welded in place in the previous steps.
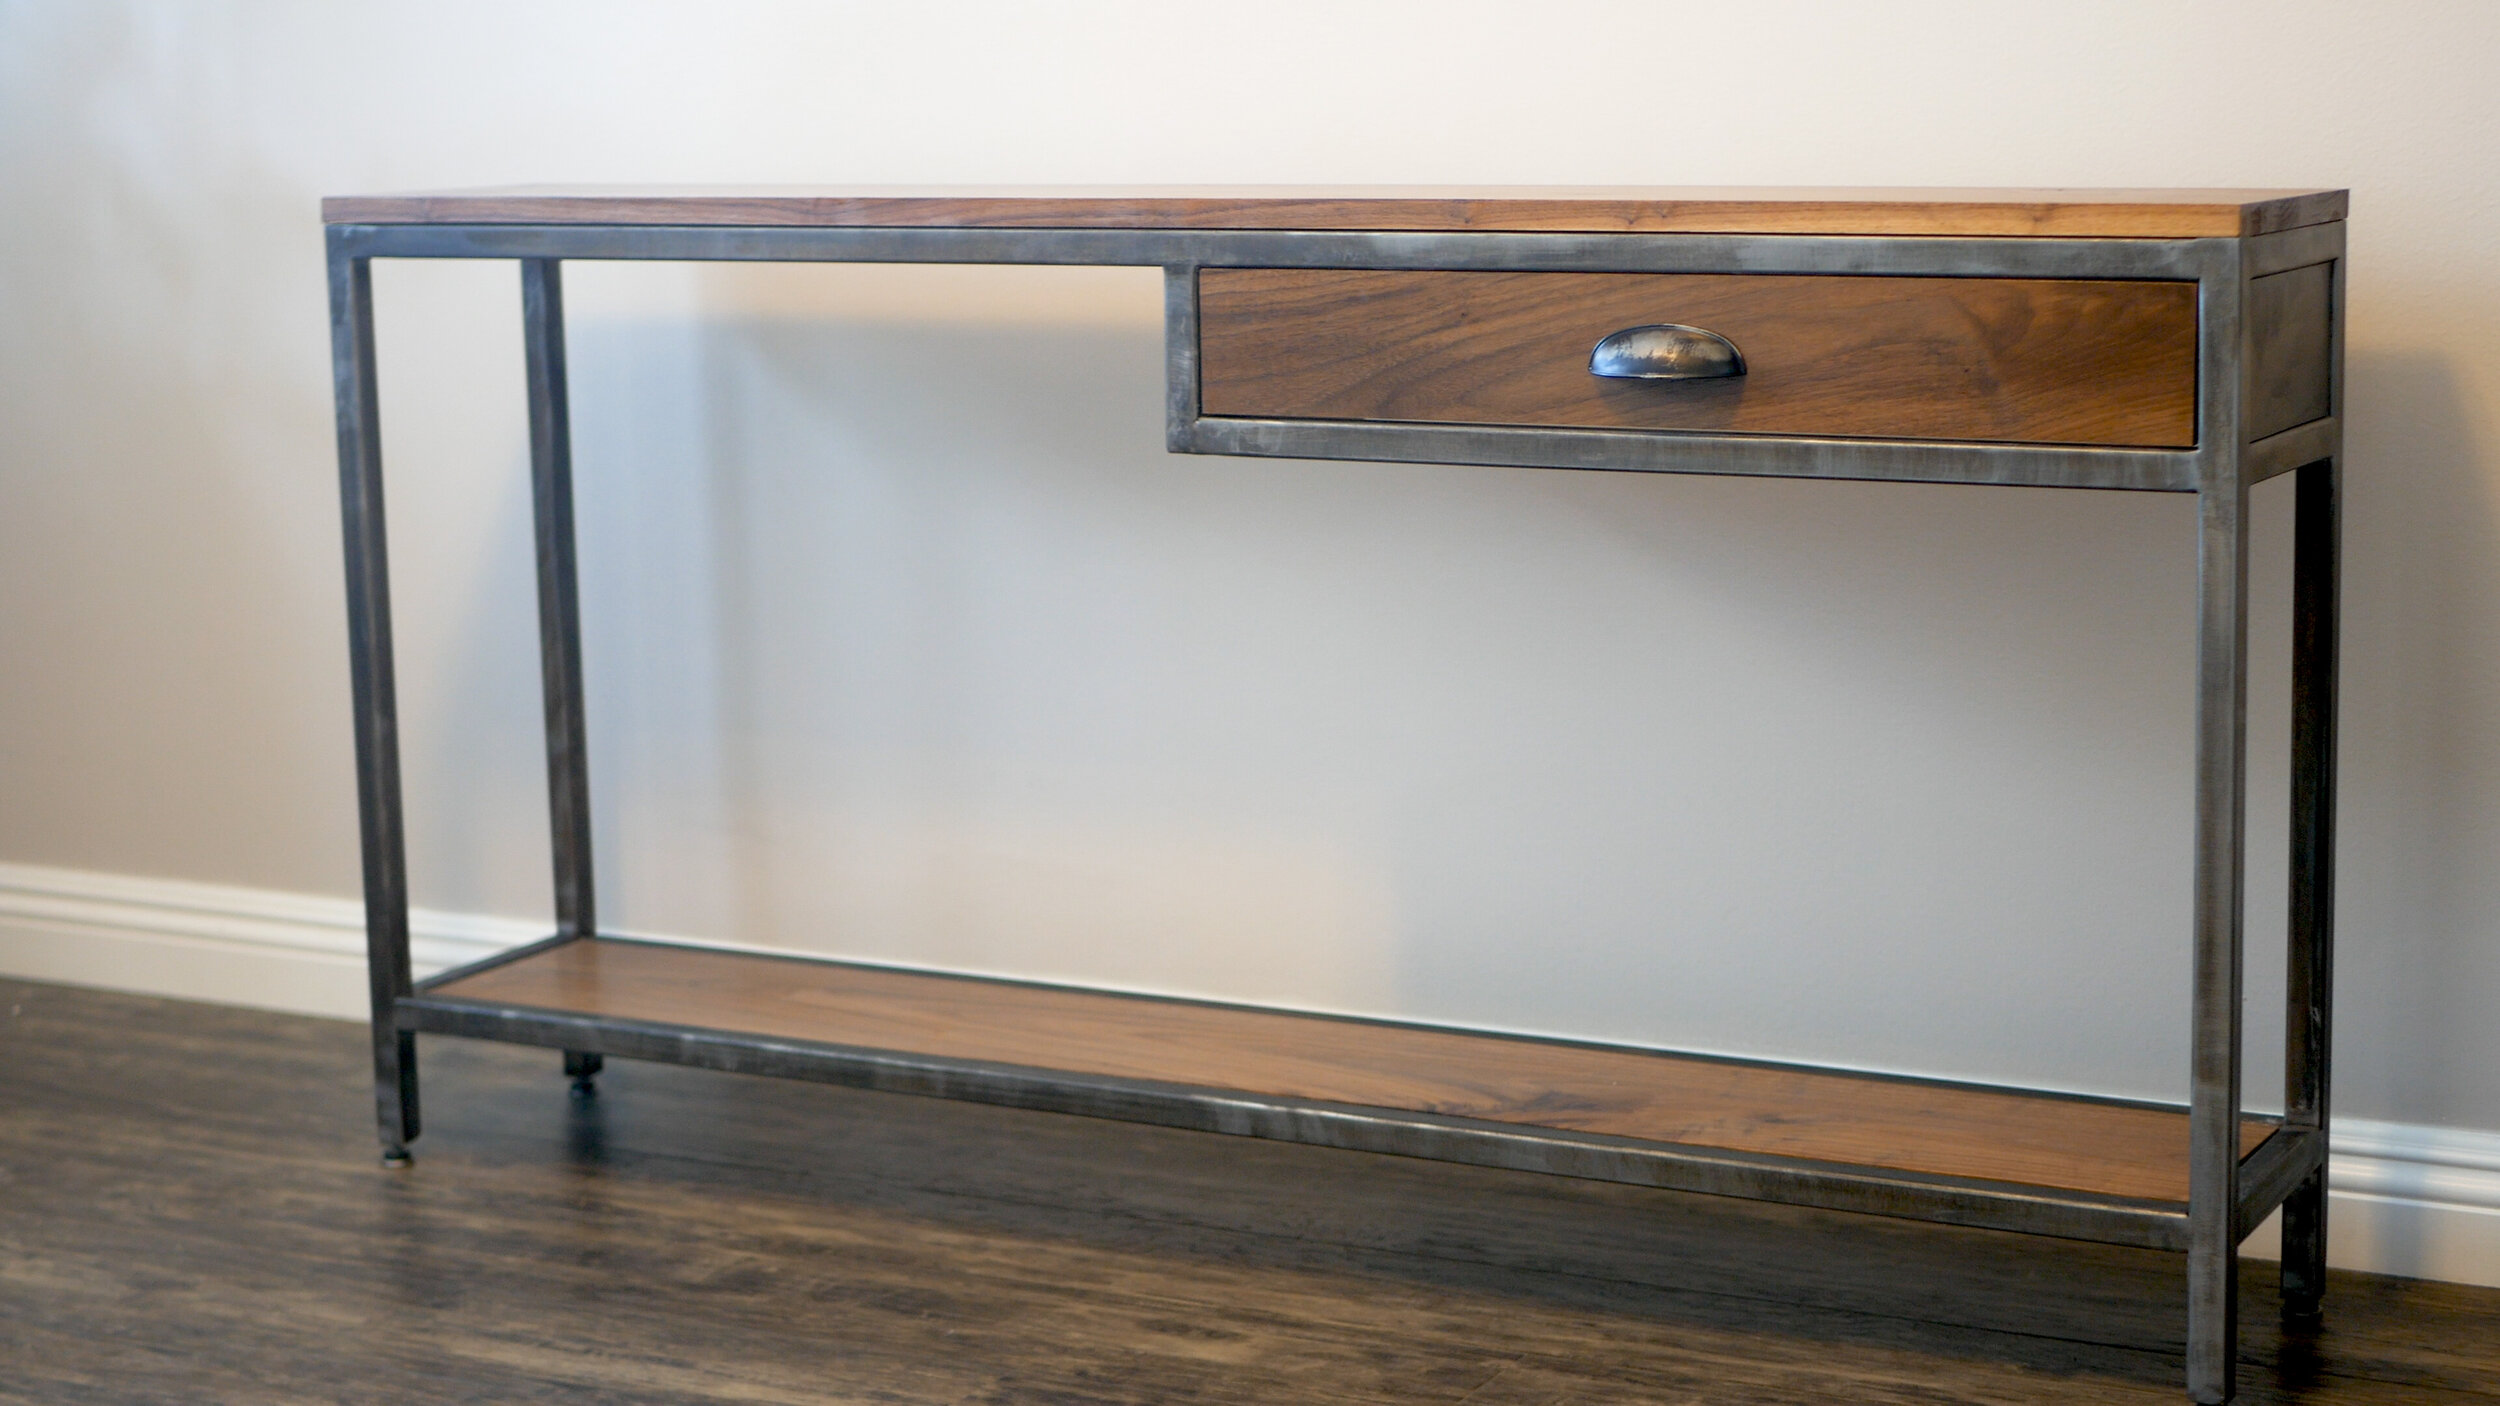

All done! Looks awesome behind our couch and is one of the first things you see when you walk in the house. It’s been great to store our backpacks and keys, and other small items that we use on a daily basis but otherwise never had a place to keep organized.
Thanks for checking out the project! Make sure you check out the video in the first step on my YT channel!
See you around!
Zach