I've recently acquired a third drill/driver set. It's incredibly convenient and efficient to have multiple sets of tools - whatever the type - so you can avoid resetting settings each time, especially once you're dialed in. Drills / Drivers are probably the most common duplicate type tool.
It was time to expand my storage solutions - I was aiming for something that could store 8 drills/drivers, expand my other frequent tool collection, and house the bulk of my chargers. Hope you like!
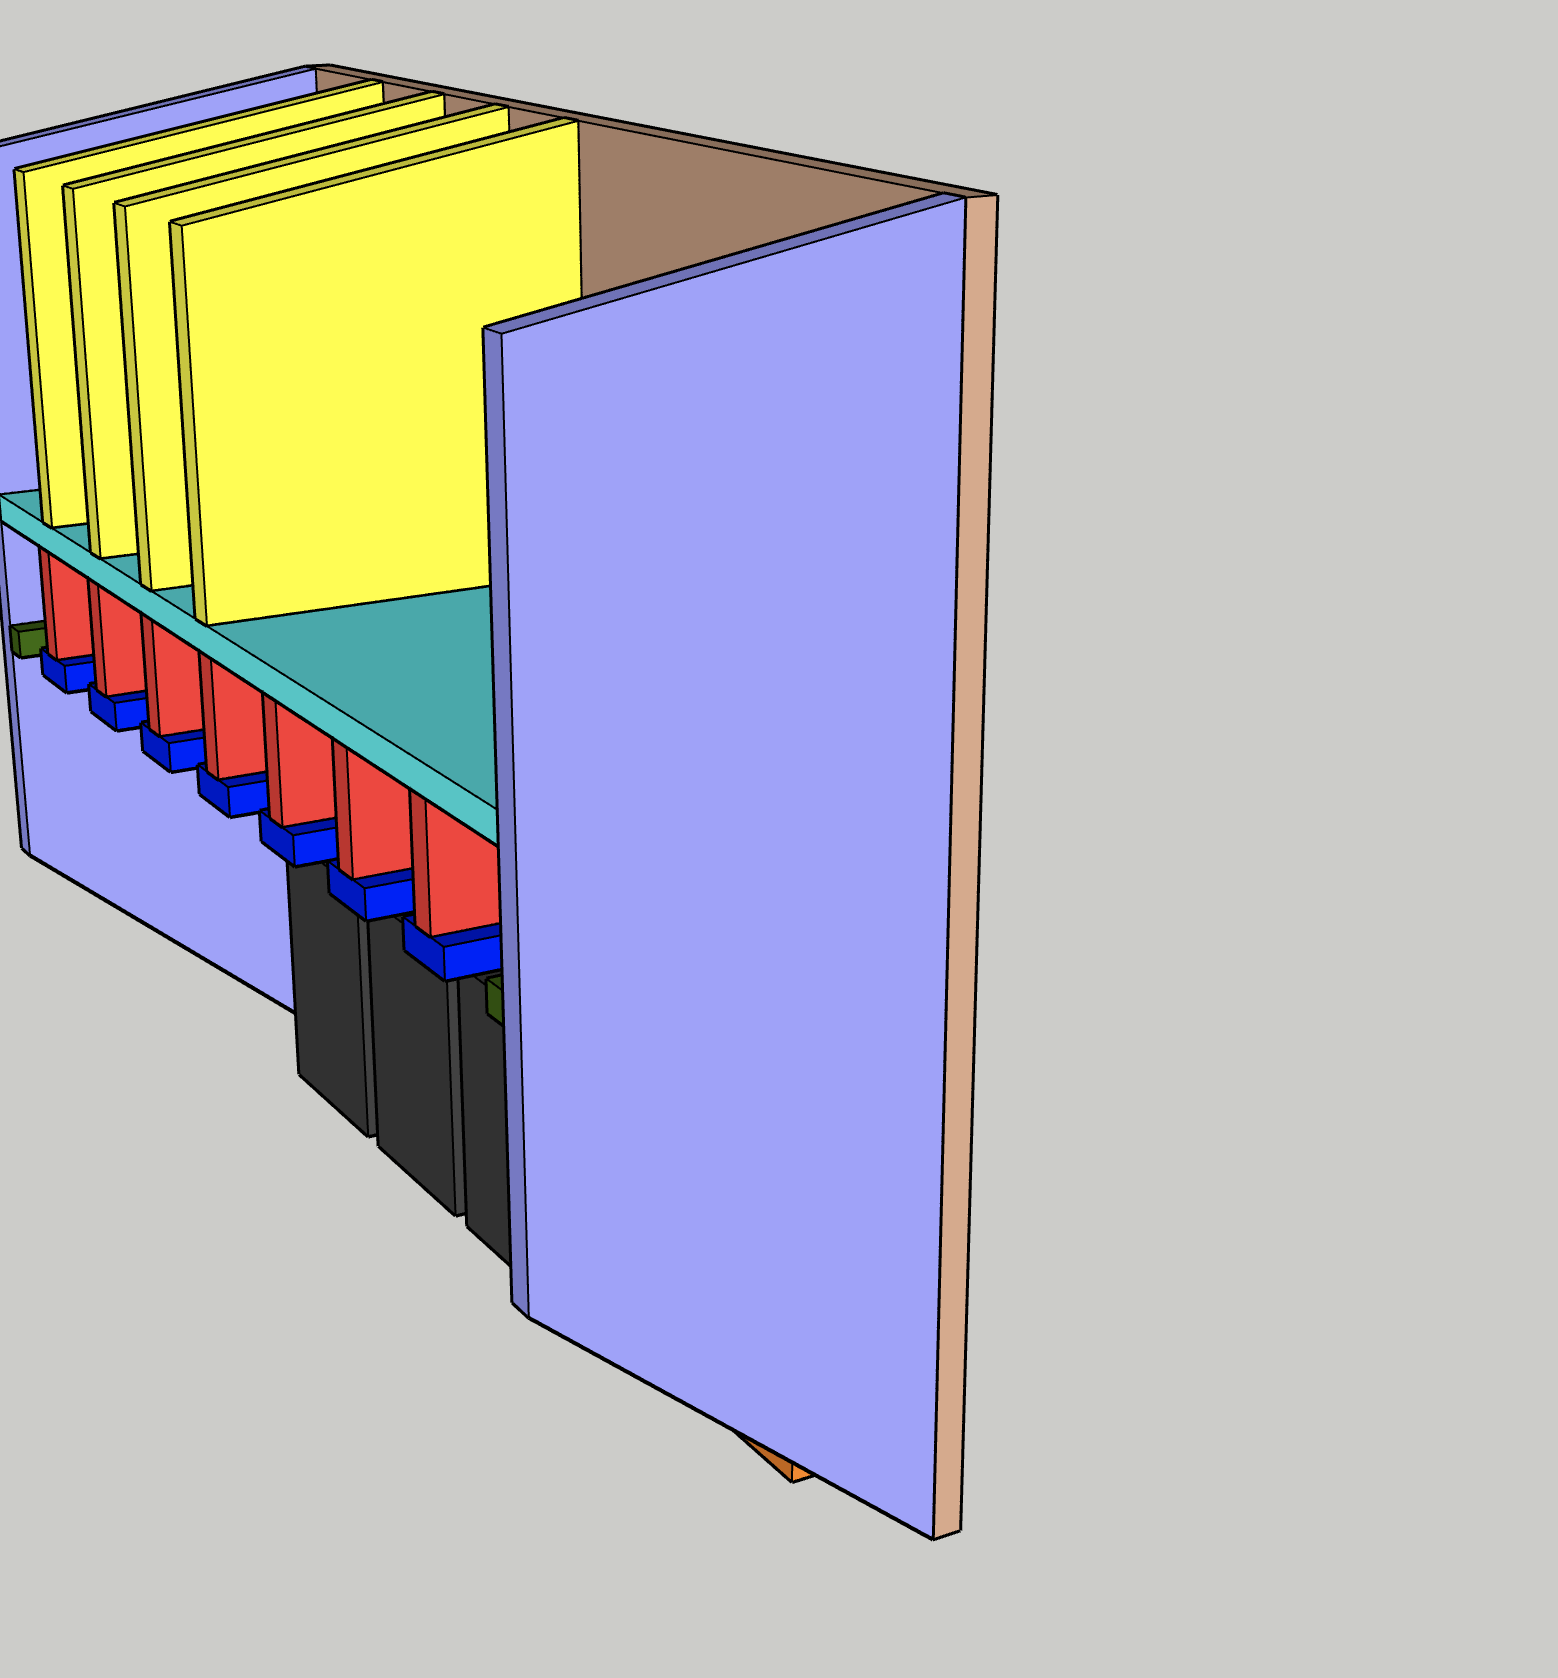
The design is relatively simple. I wanted storage for 8 drills/drivers, cubbies to store additional tools I frequently use on top + drill bits, and space to mount 5 chargers. I also wanted clean, simple storage for cables.

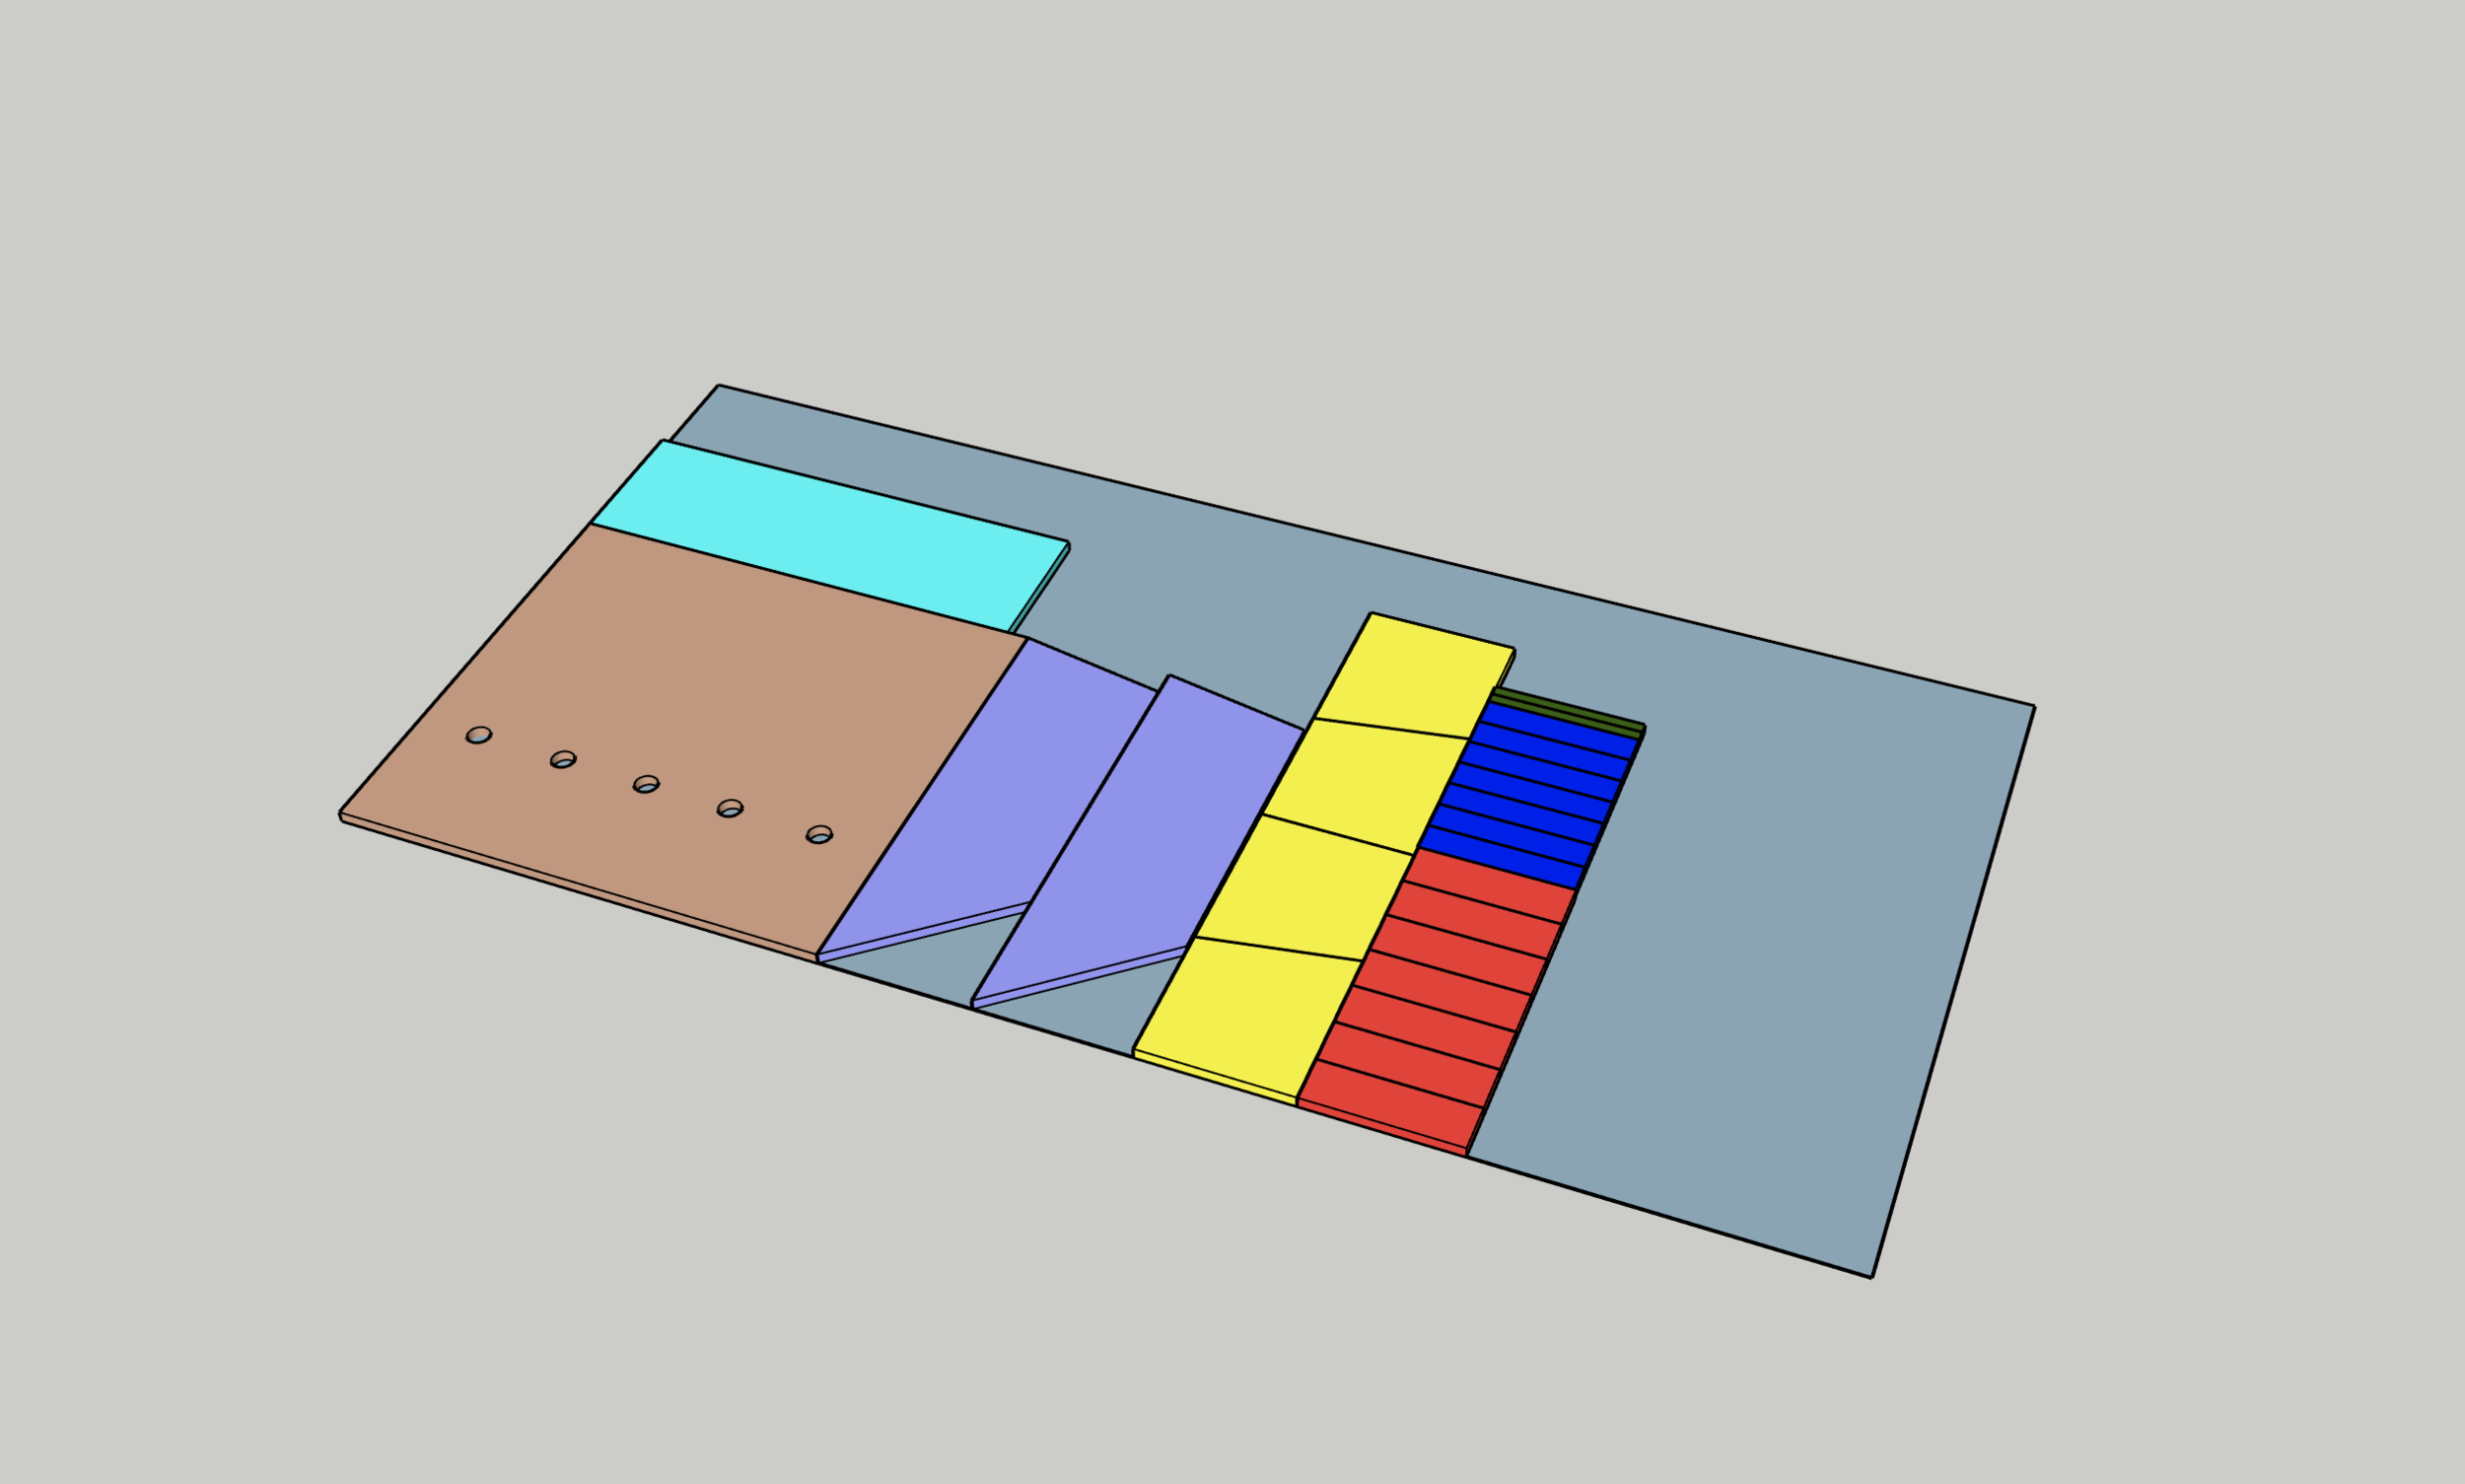
Here is a Sketchup File of the design for you to purchase incase you're looking to build something similar. The entire piece is built from less than a single sheet of 4' x 8' x 3/4" plywood:
🌳 MATERIALS
1 x 4" x 8" x 3/4" Sanded Plywood
TiteBond II Wood Glue: http://amzn.to/2peRFus
Wood Screws and Brad Nails
Power Strip (6 plugs) + Zip Ties
🗜 TOOLS
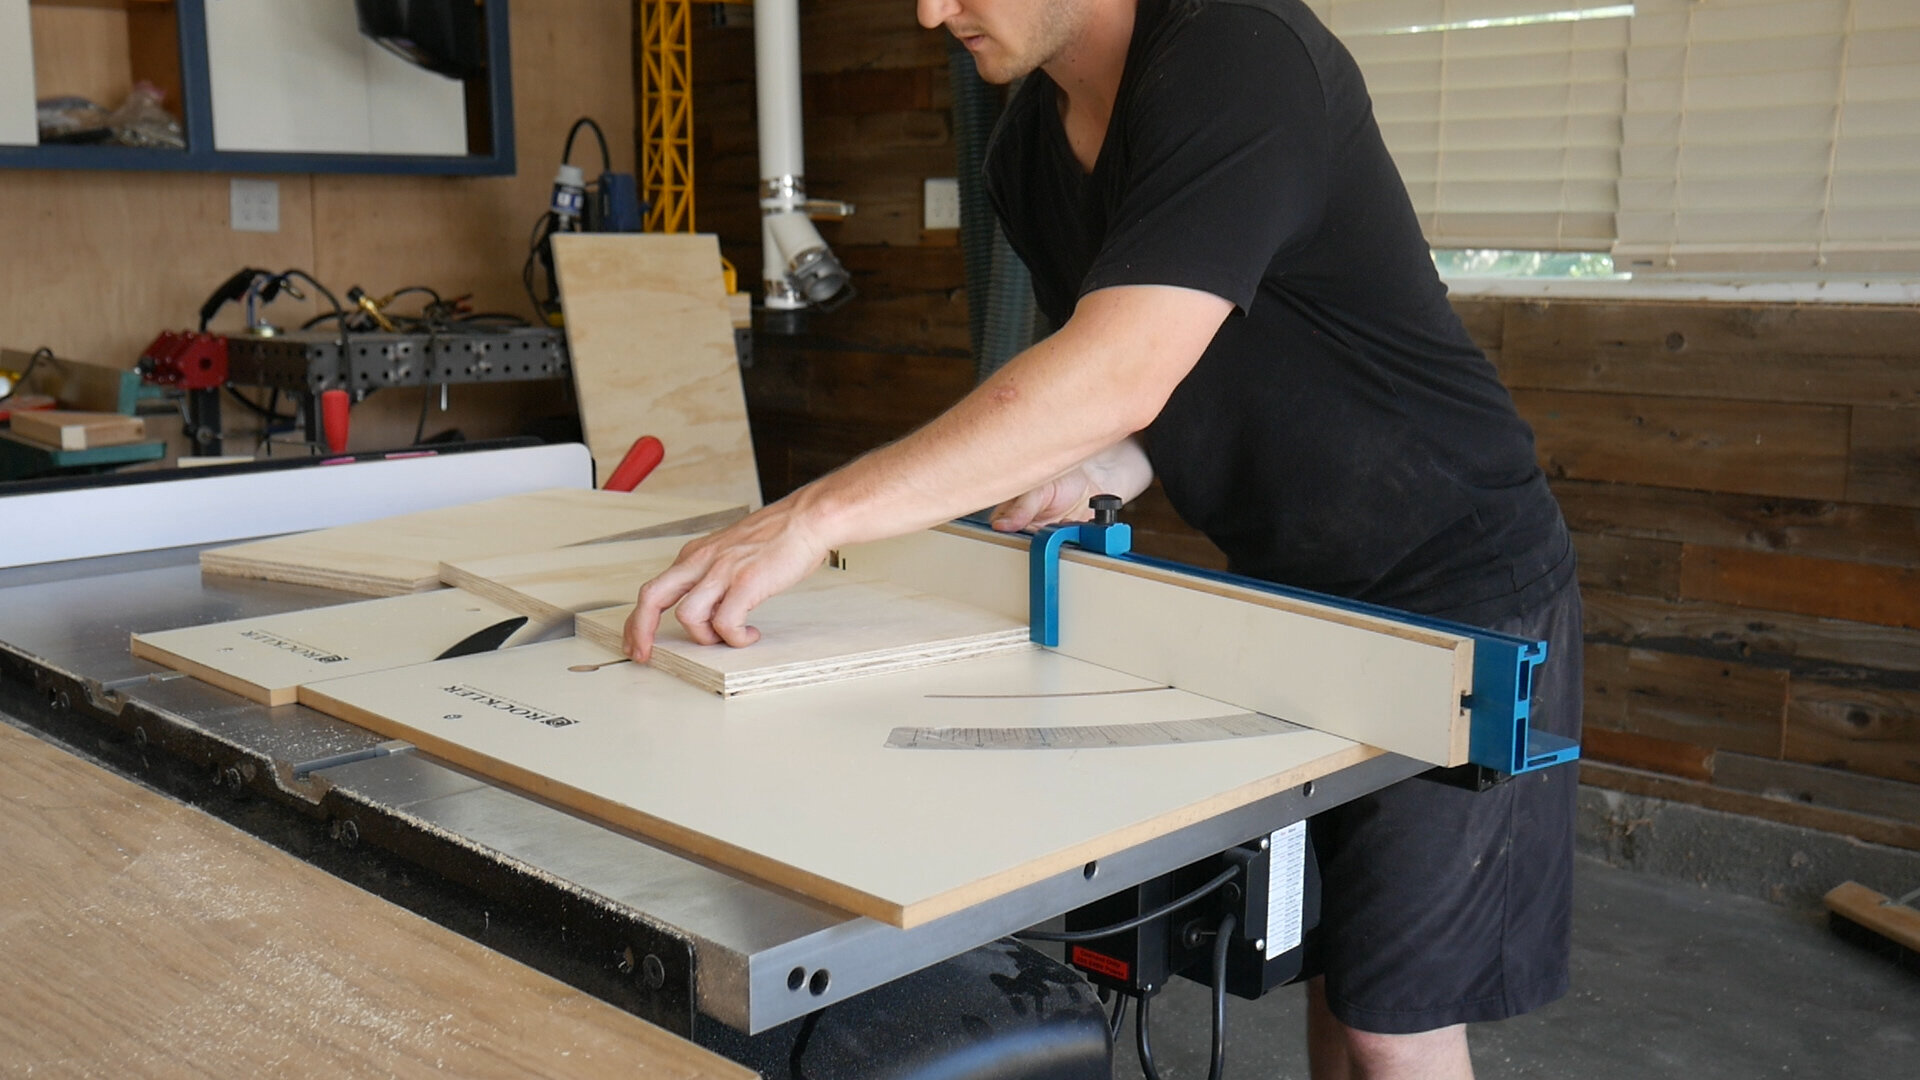
You can make all cuts for this project with a circular saw, but below is what I used:
SAWSTOP 36” 3HP PCS: https://amzn.to/3cr1dJO
ROCKLER Taper Jig: http://amzn.to/2oGYBi0
Circular Saw: http://amzn.to/2q1l5wn
Power Drill and Impact Driver: http://amzn.to/2q1l5wn
Brad Nailer: https://amzn.to/2Uz6tCI
Woodpeckers TS-24 T-Square: https://amzn.to/2AsAE9W
Forsner Bit
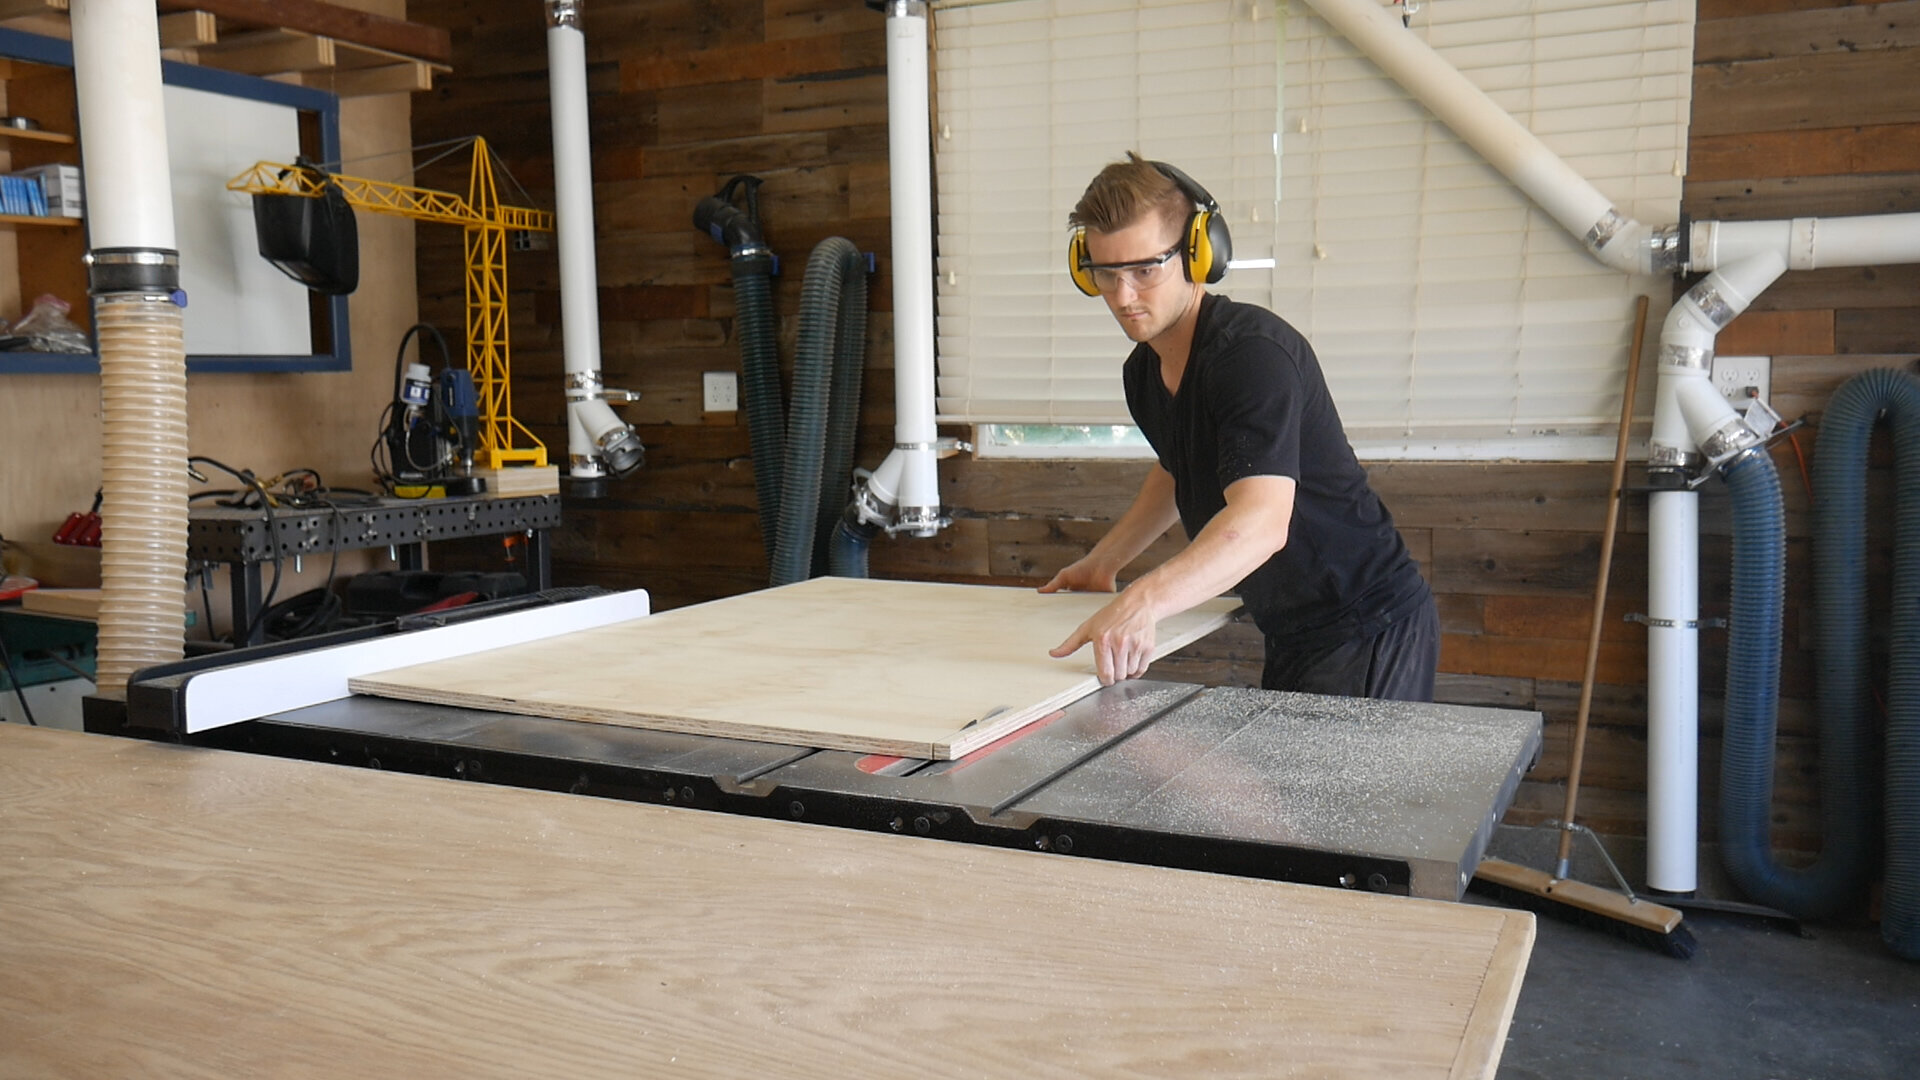
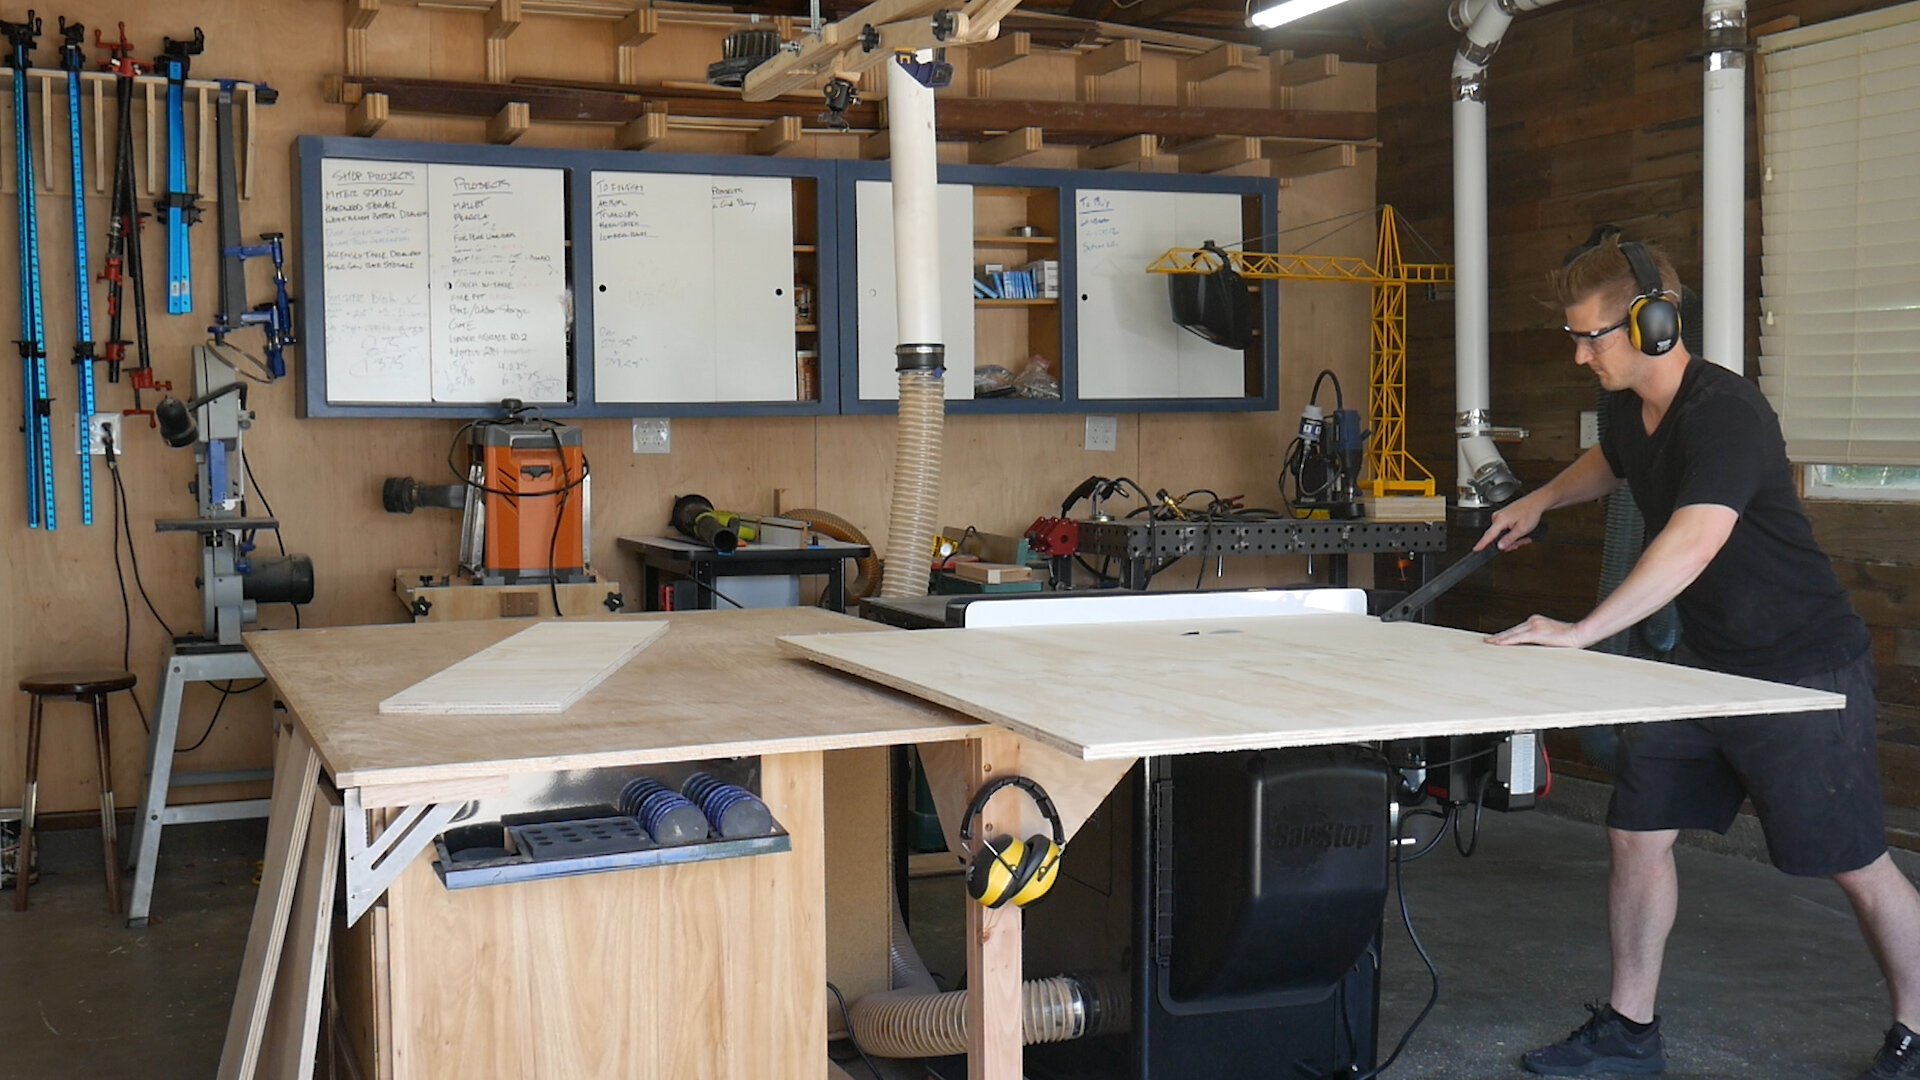
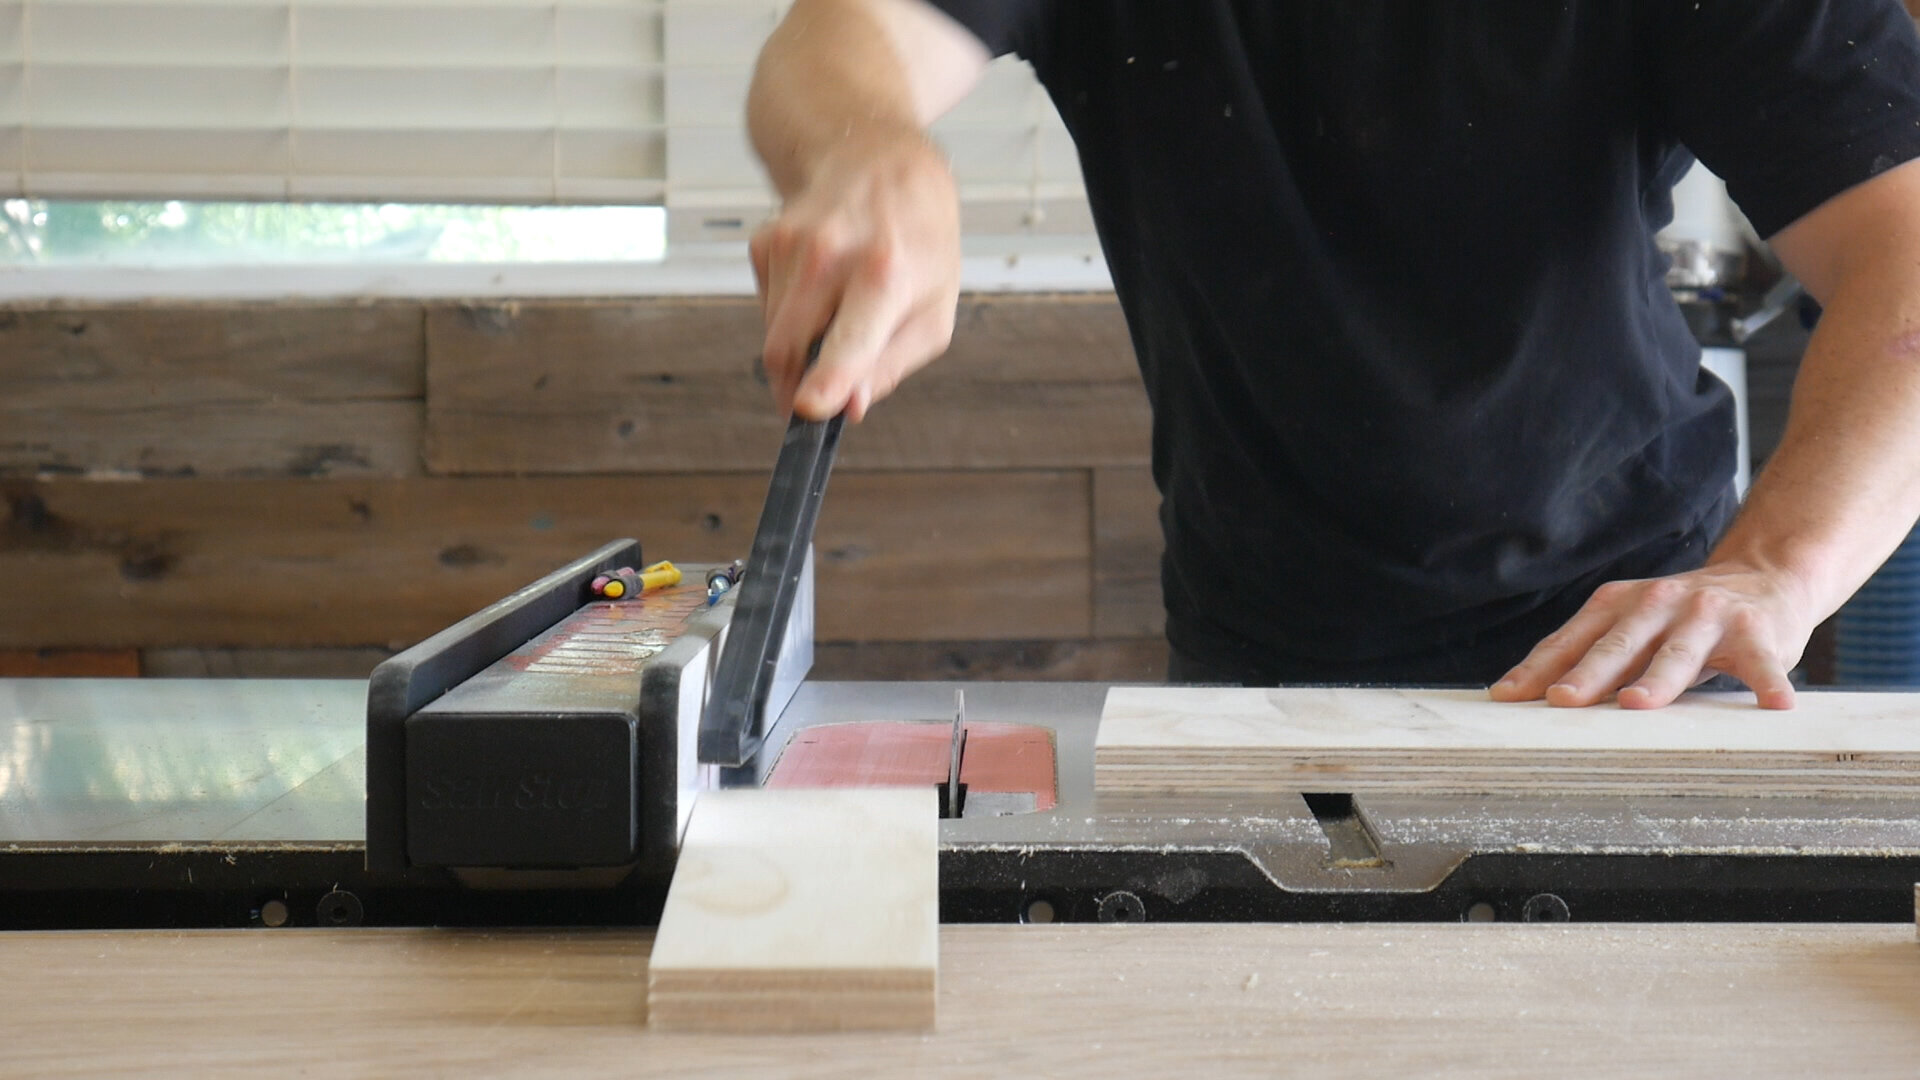
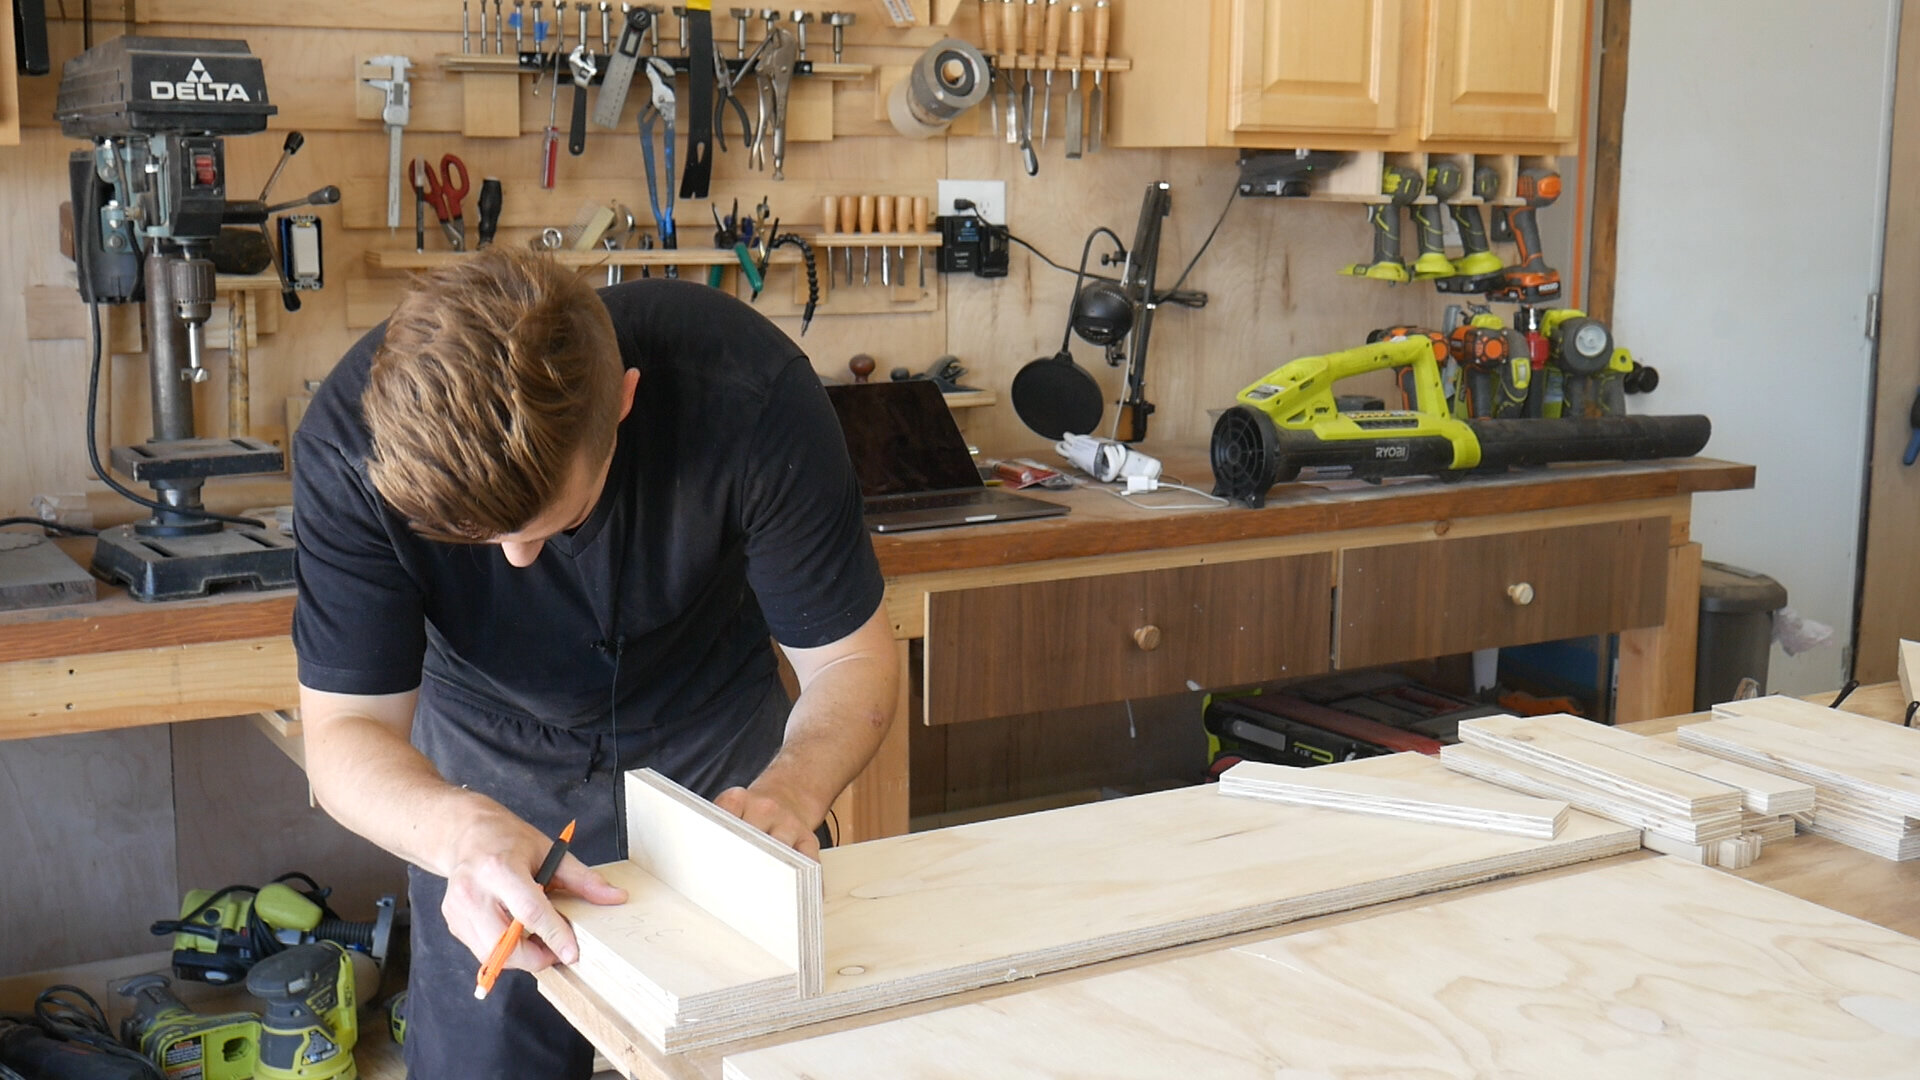
Using a combination of my circular saw and table saw, I broke down my 3/4" sheet of plywood into all of the various components that make up my build. The first photo shows how those can all be made from the one sheet.
The depth of the build is 10.5"; if I could change one thing, I'd make it a half inch deeper. Just gives it that little bit of extra wiggle room for drills with long bits.

My station fits 8 drills - if you have more horizontal space you can add more as you see fit. 8 seemed like enough for me, and if I ever get more than 8 drills/drivers, then I think I should probably look at myself internally.

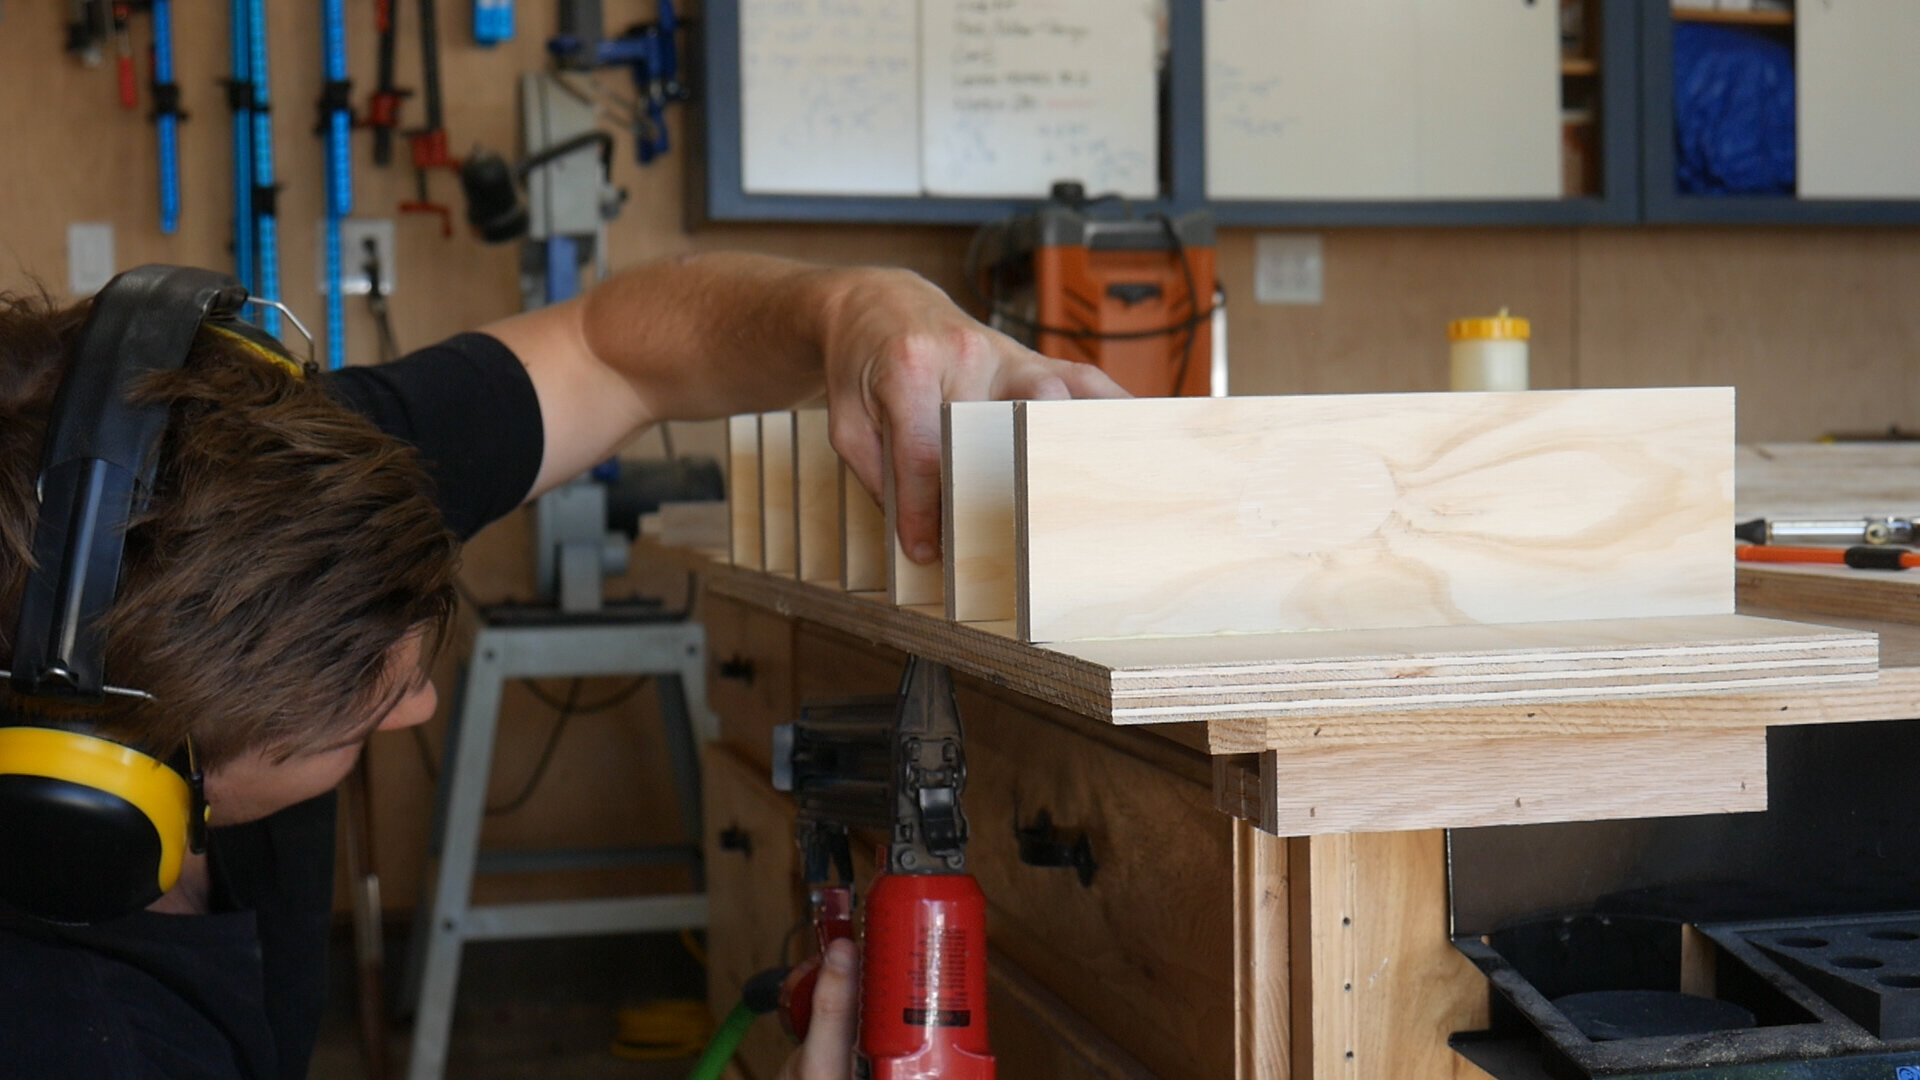
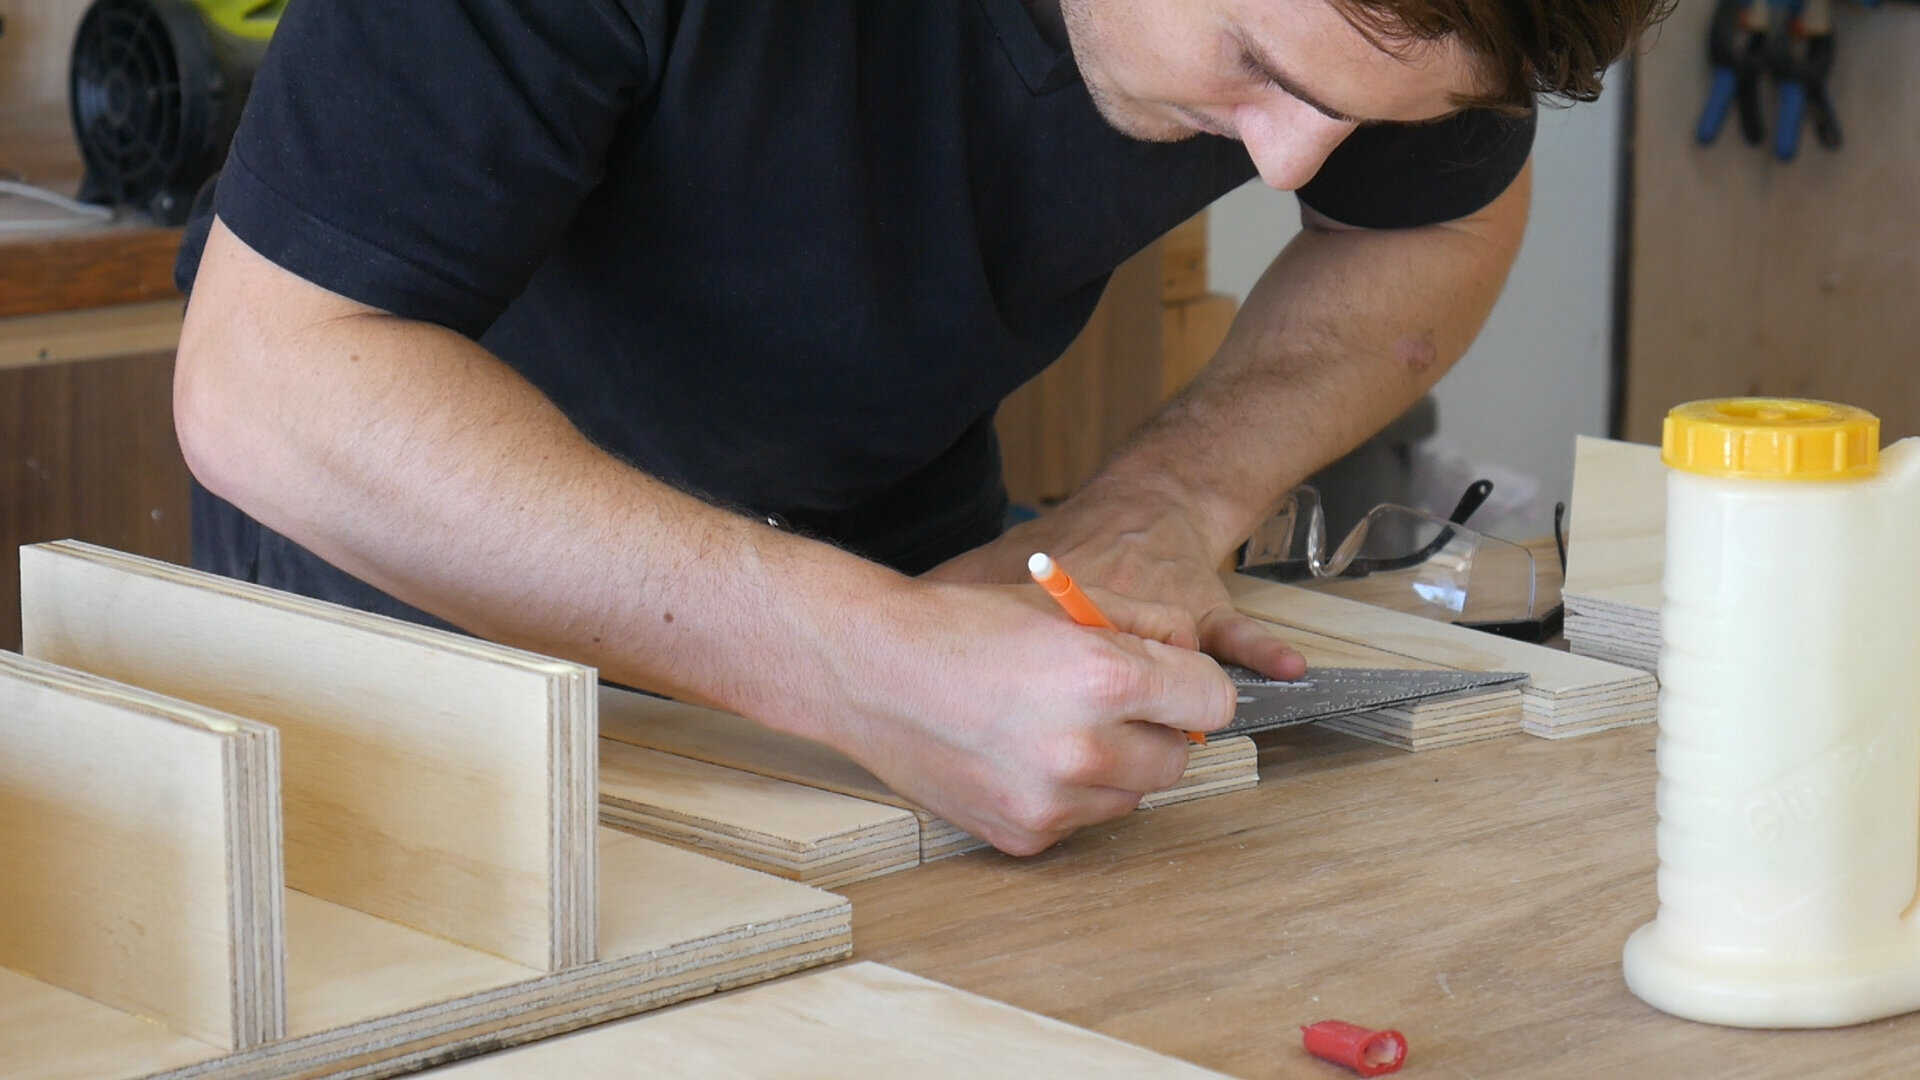
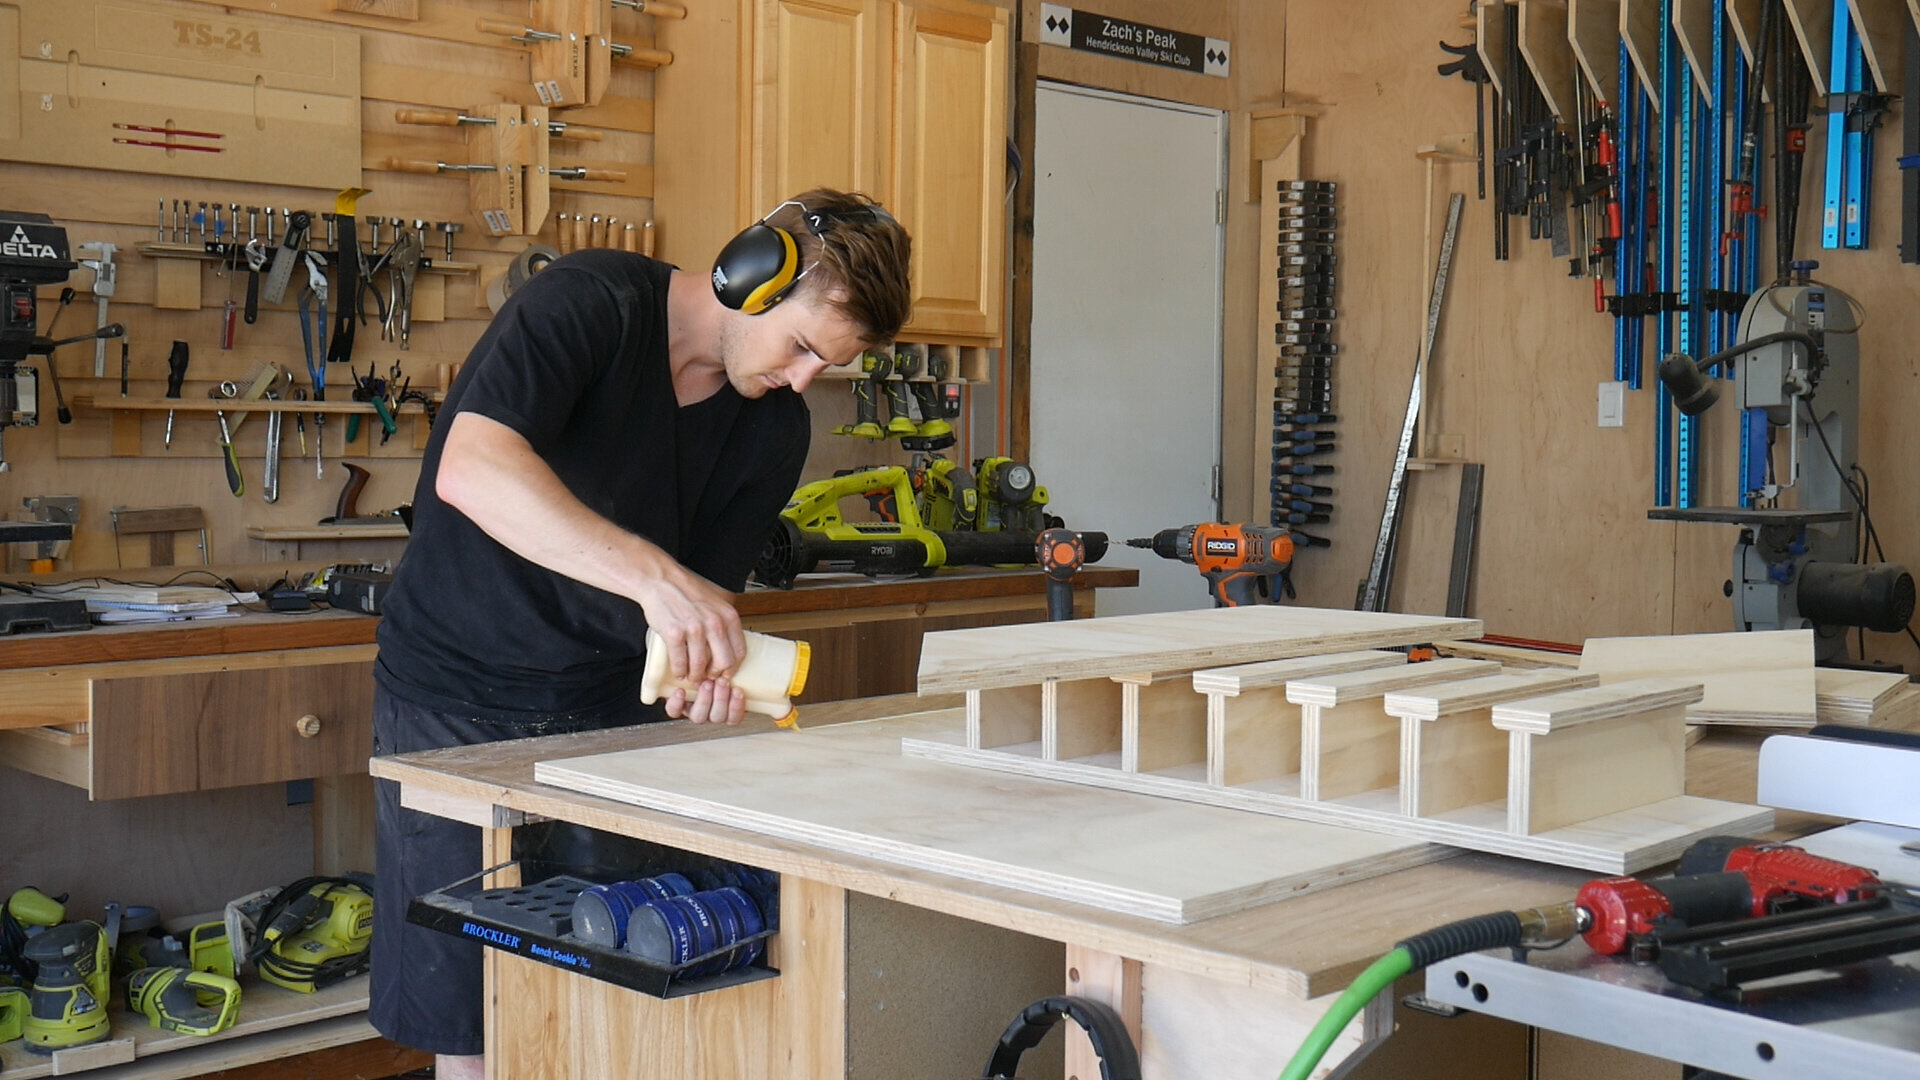
Each holder is evenly spaced, so I cut out that spacer on the table saw and used it and a single vertical support to mark out each location for the spacer. Then, using glue and brad nails, I could fasten each one into the lateral mount.
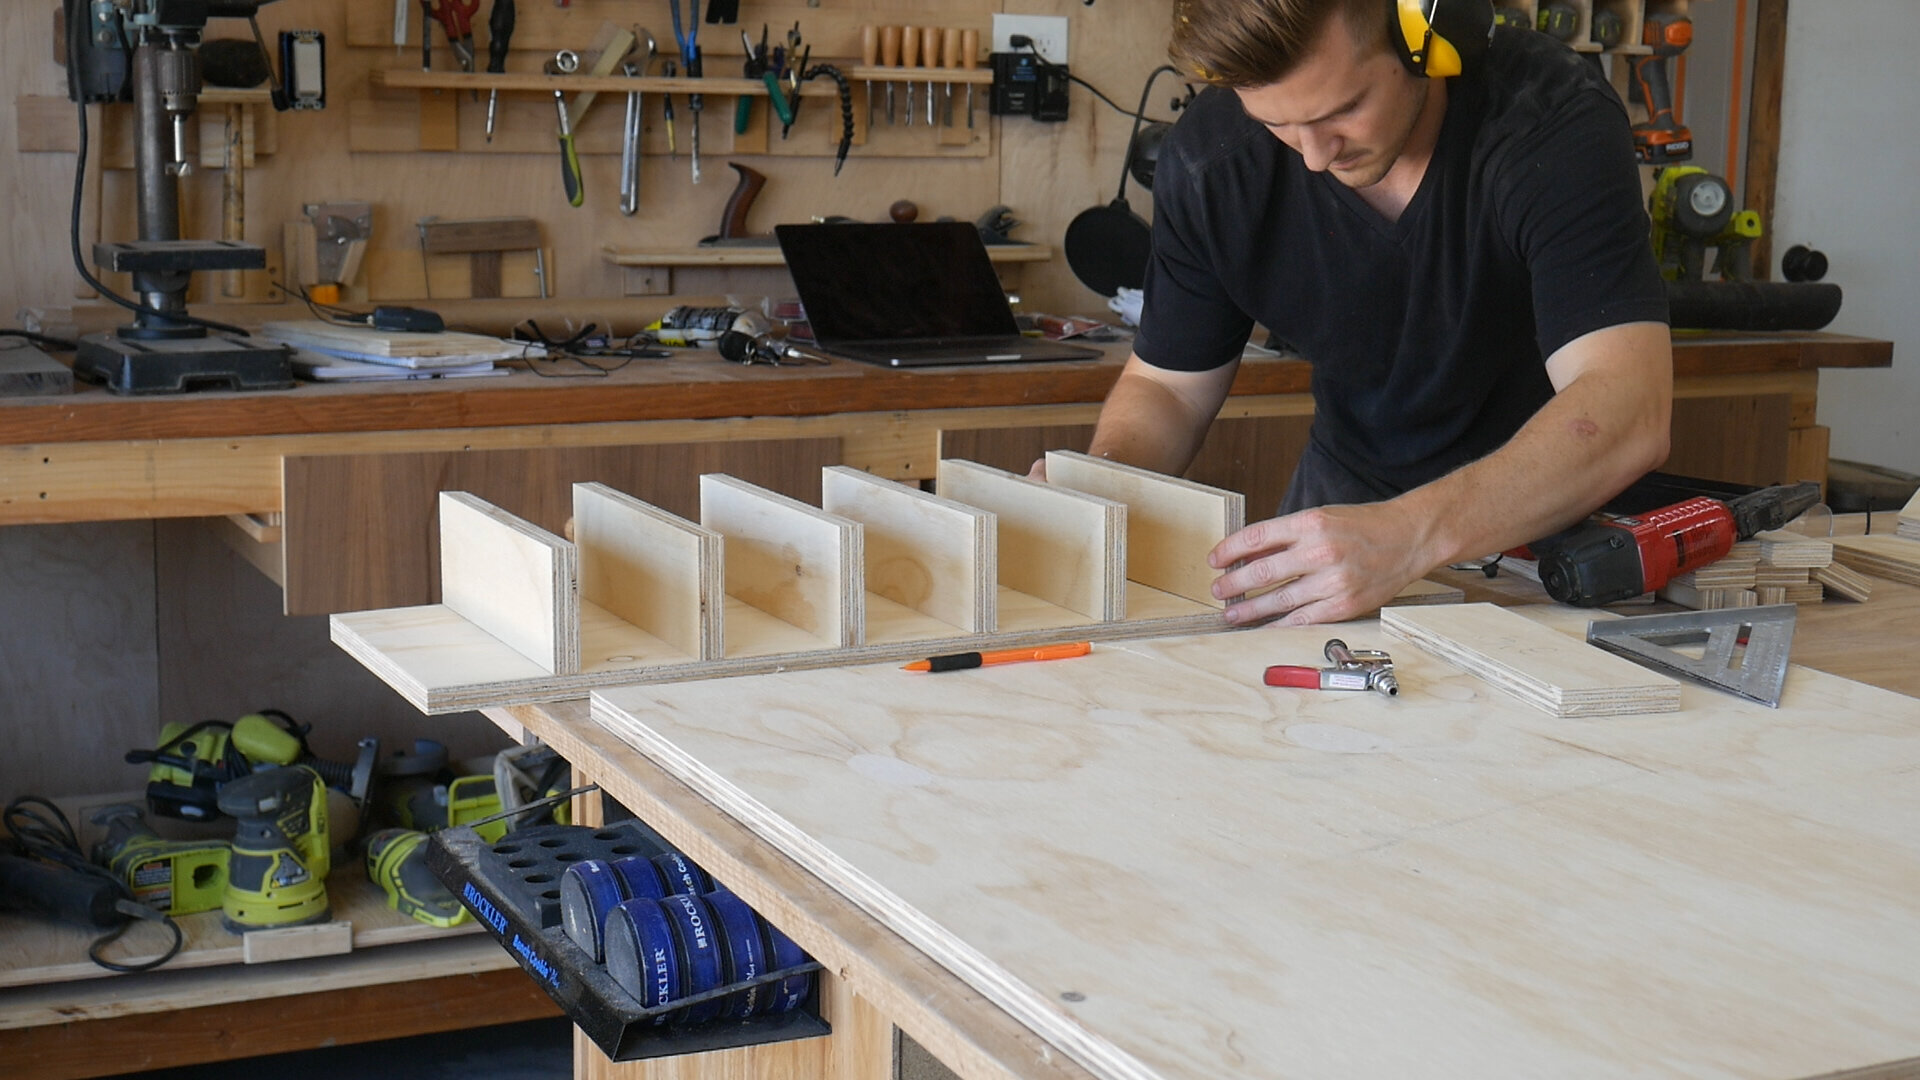
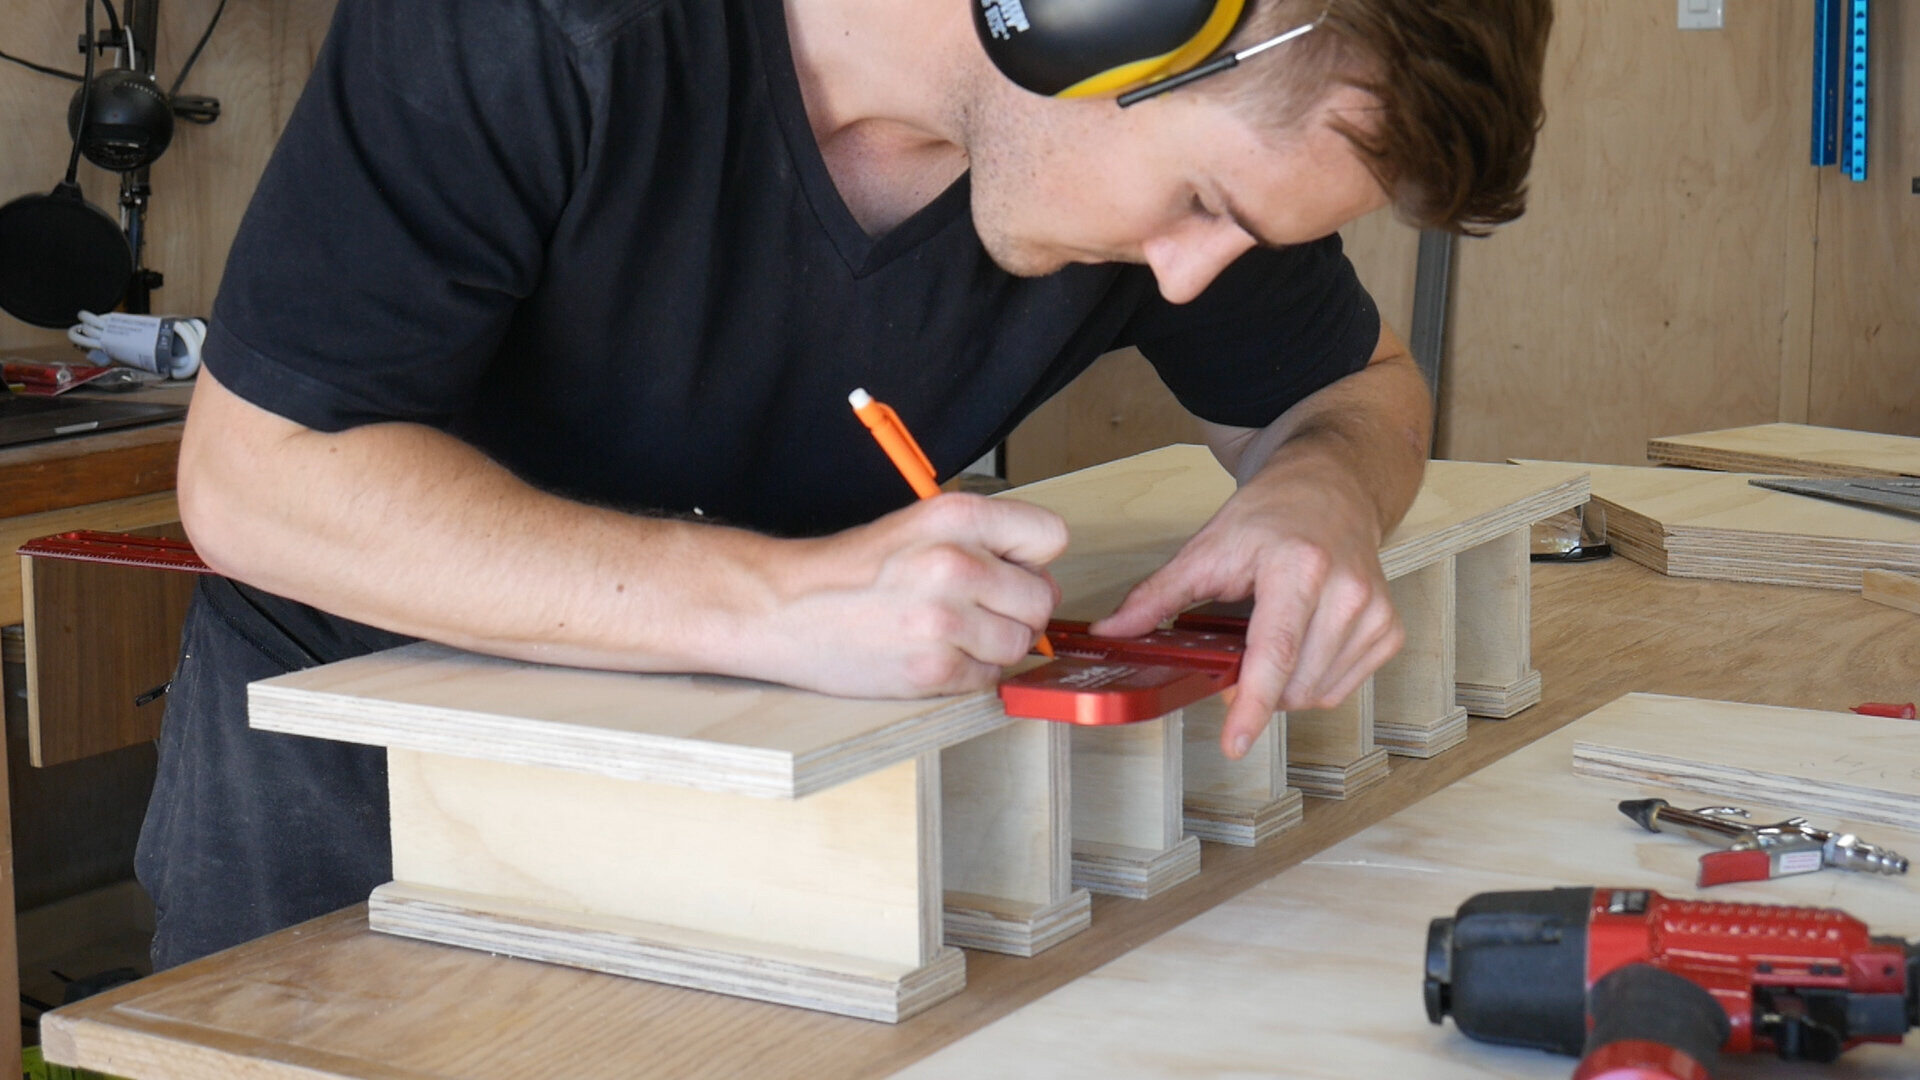
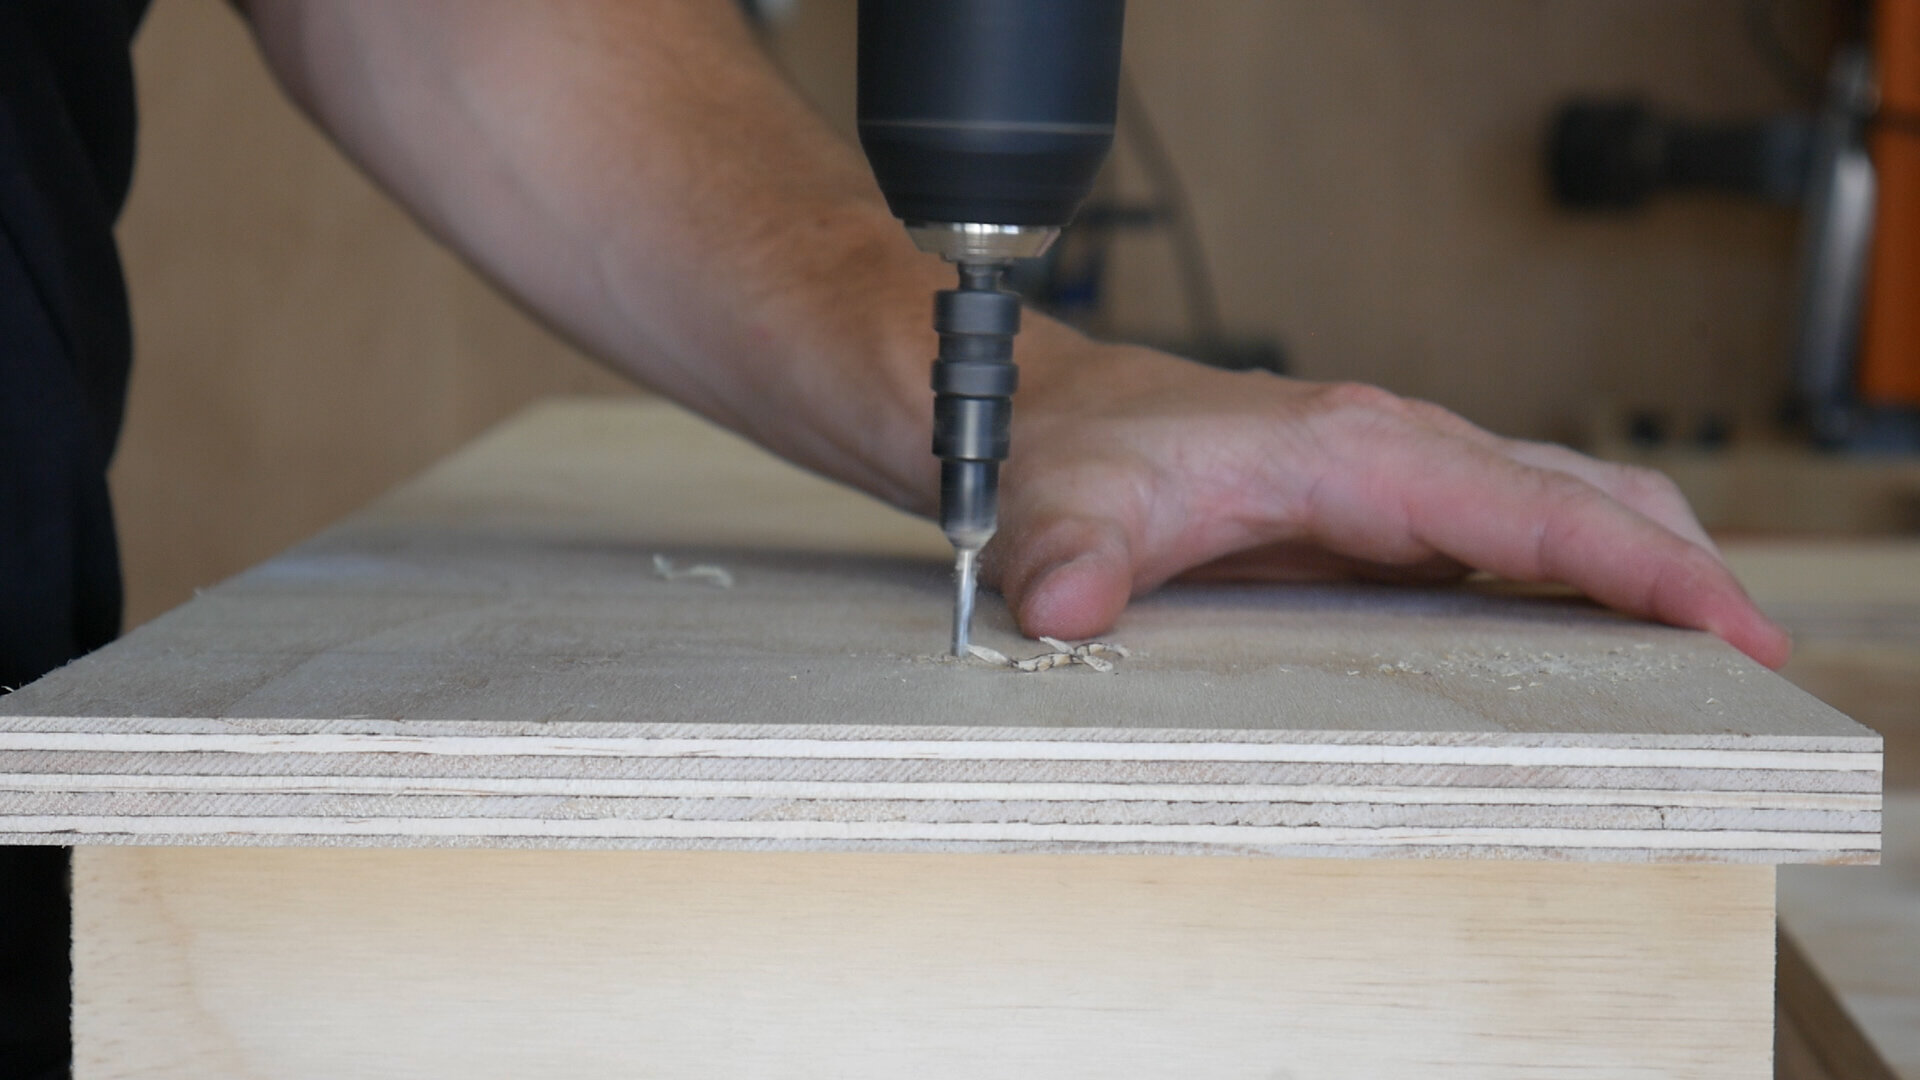
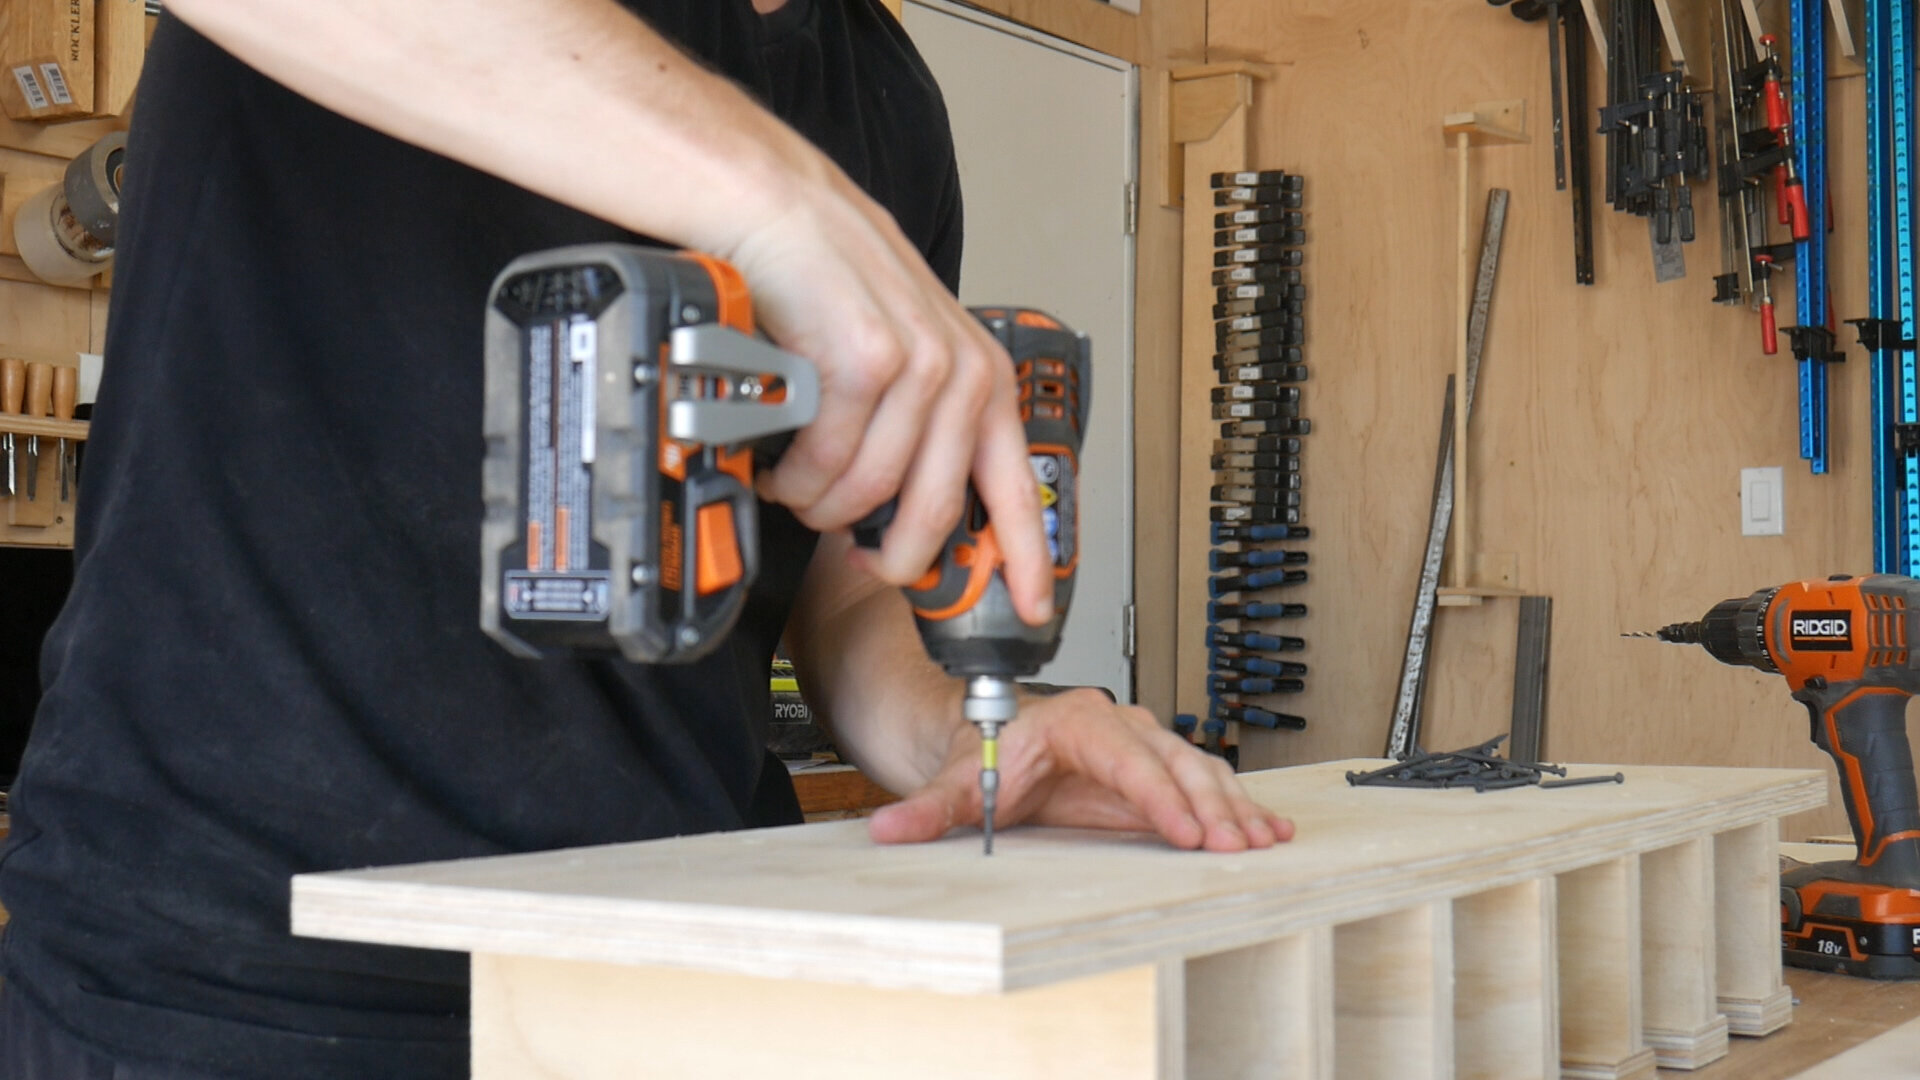
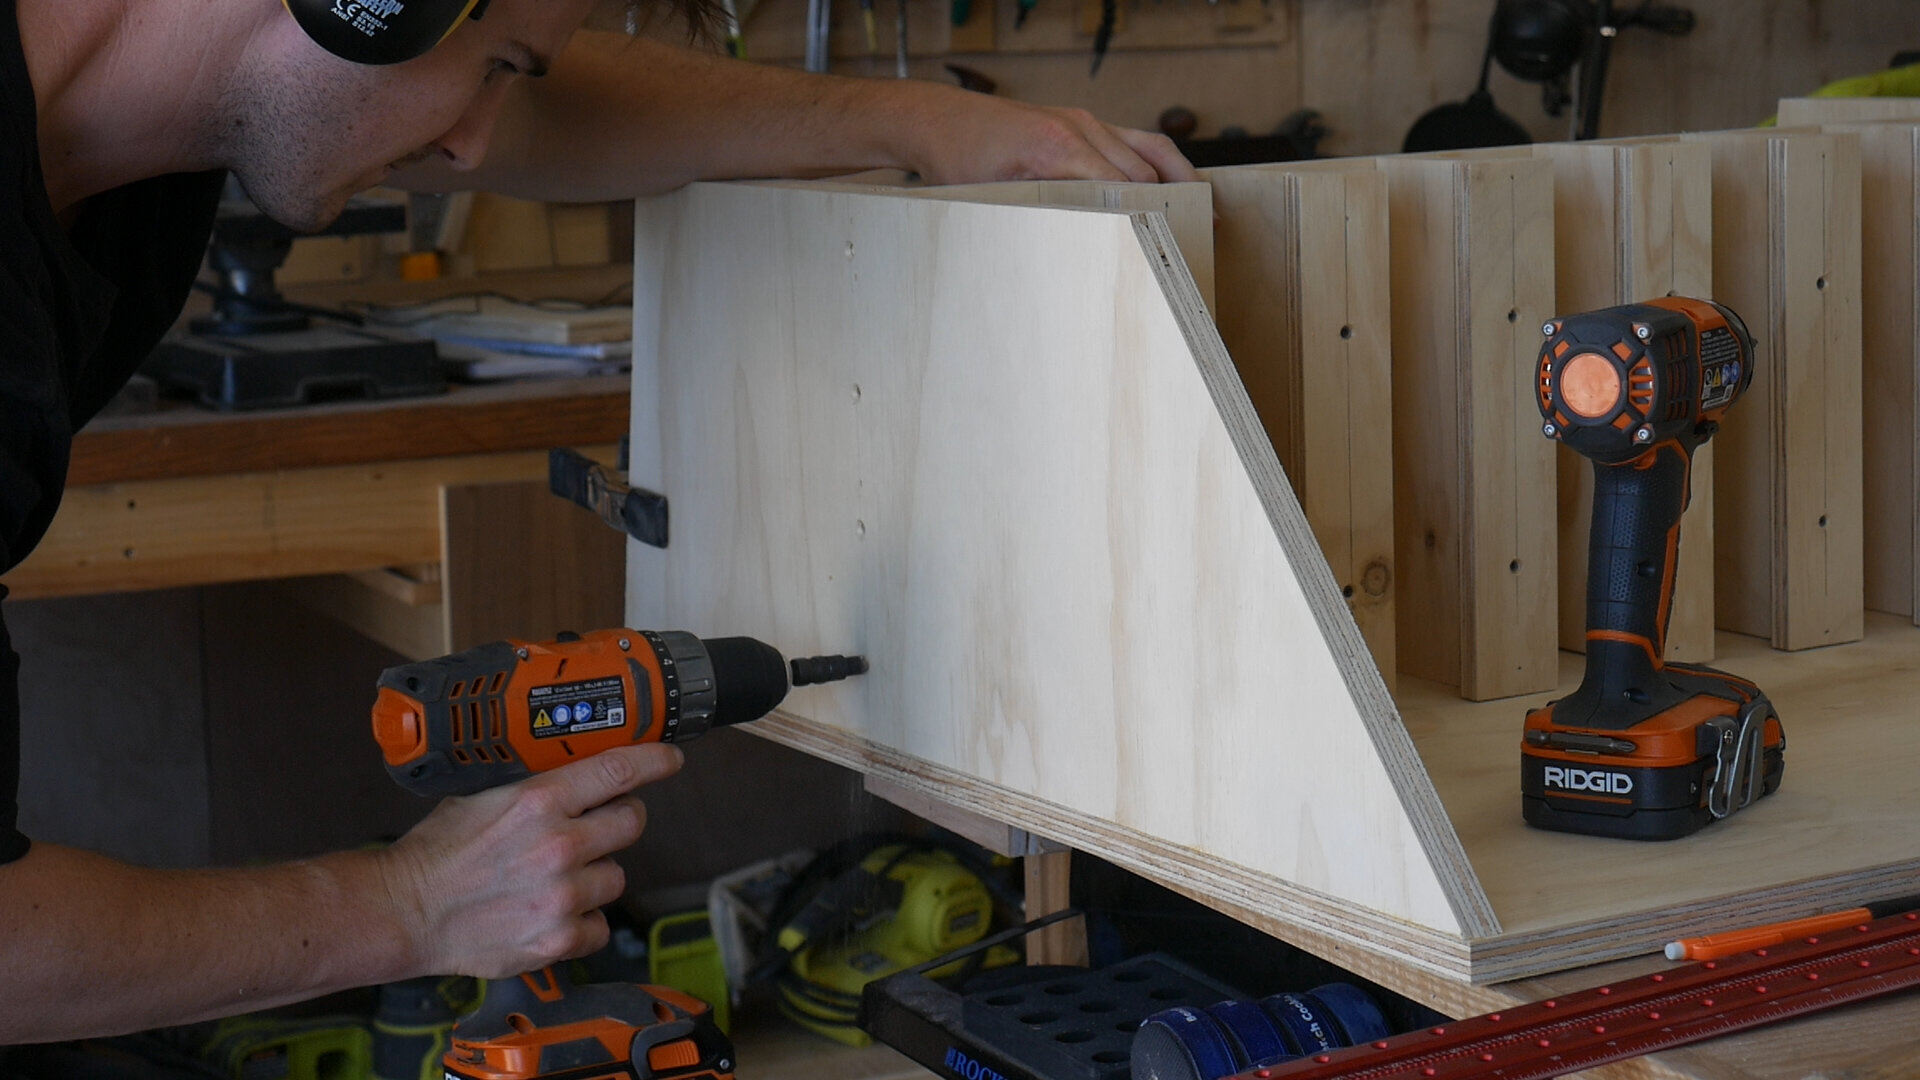
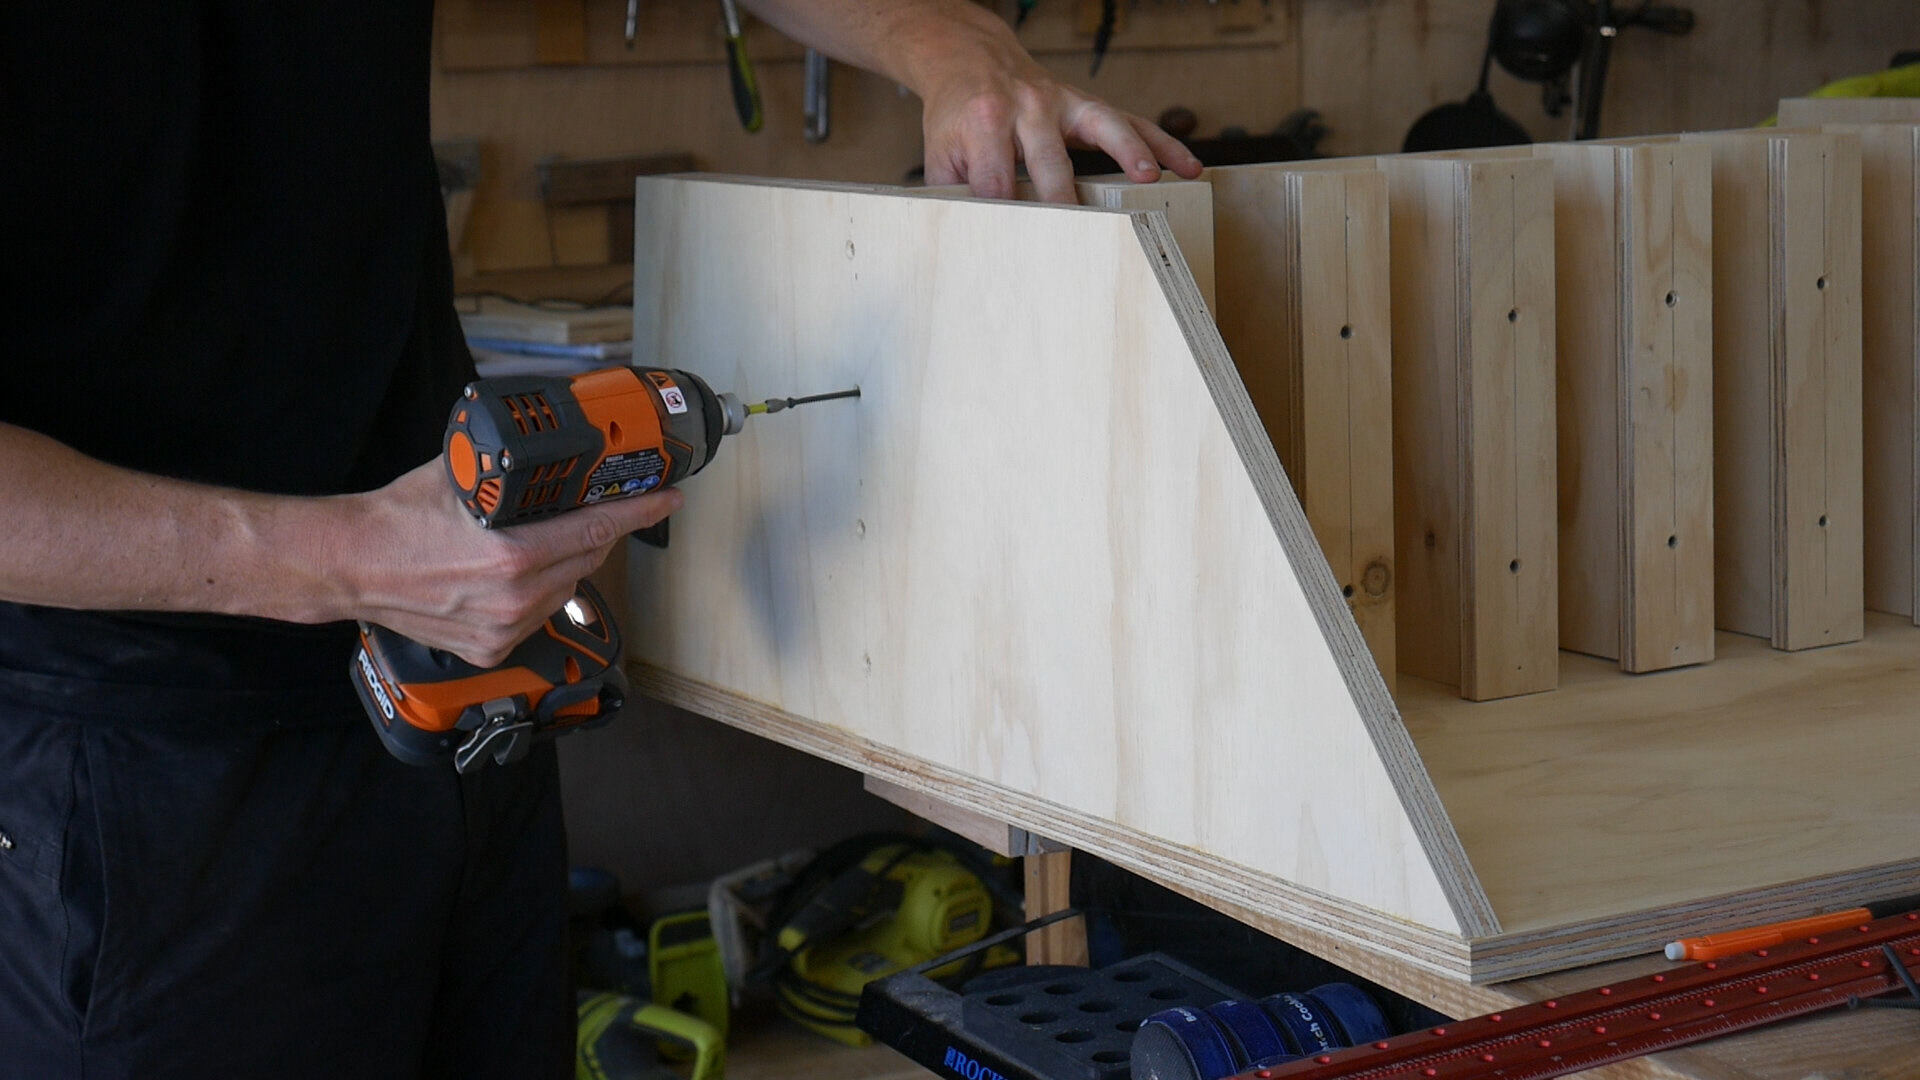
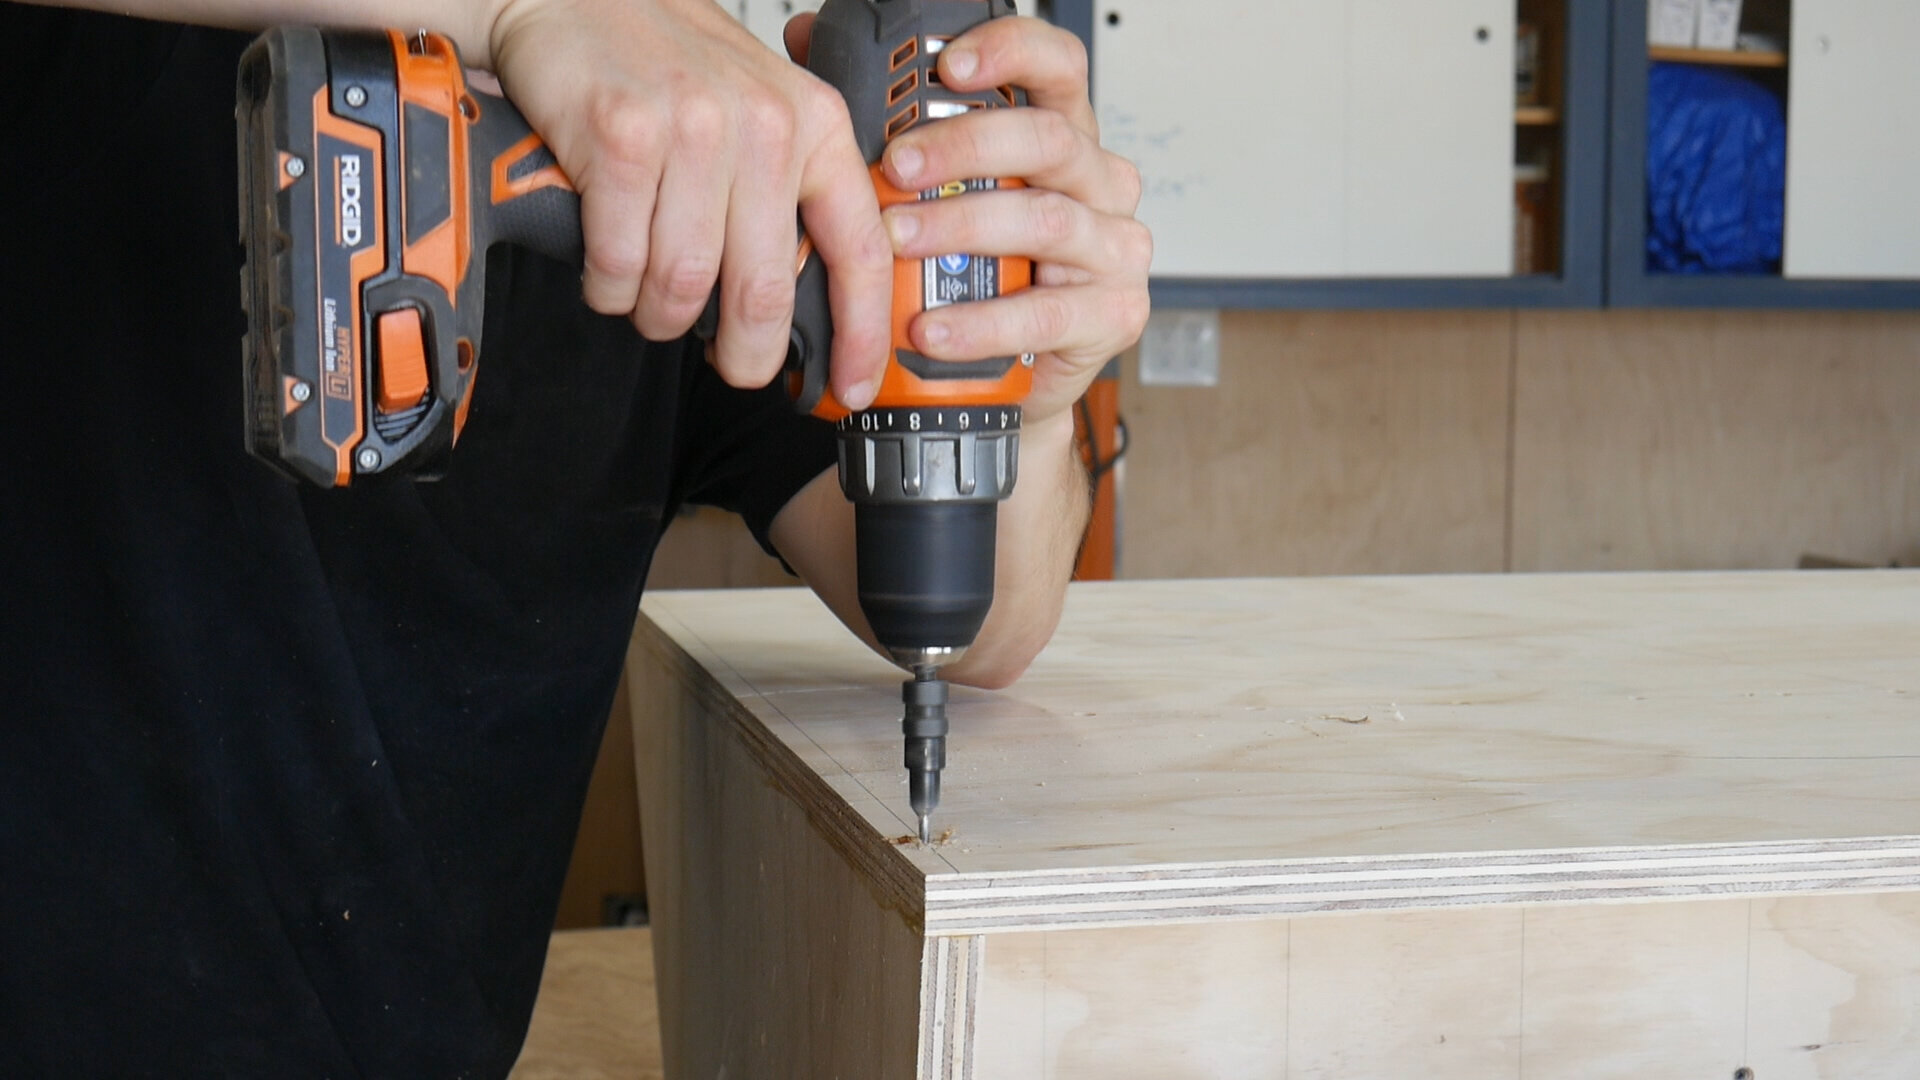
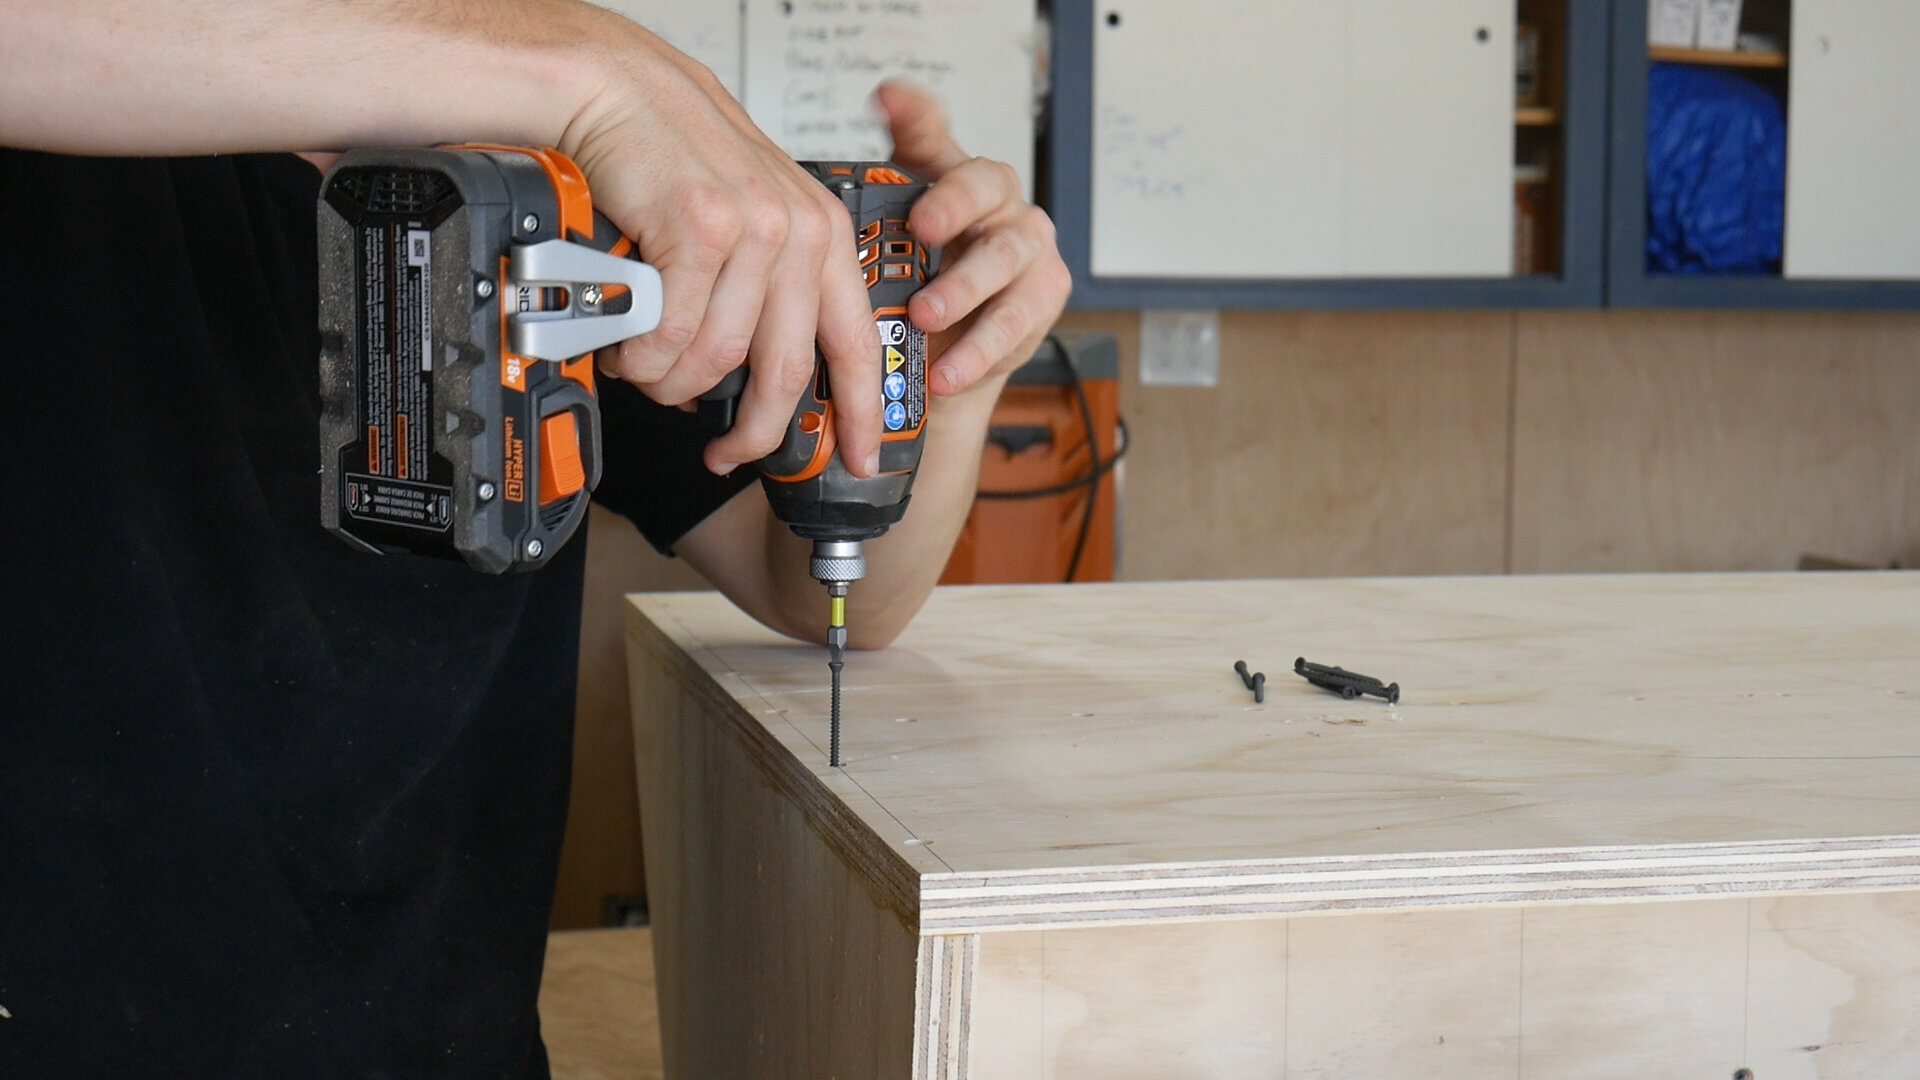
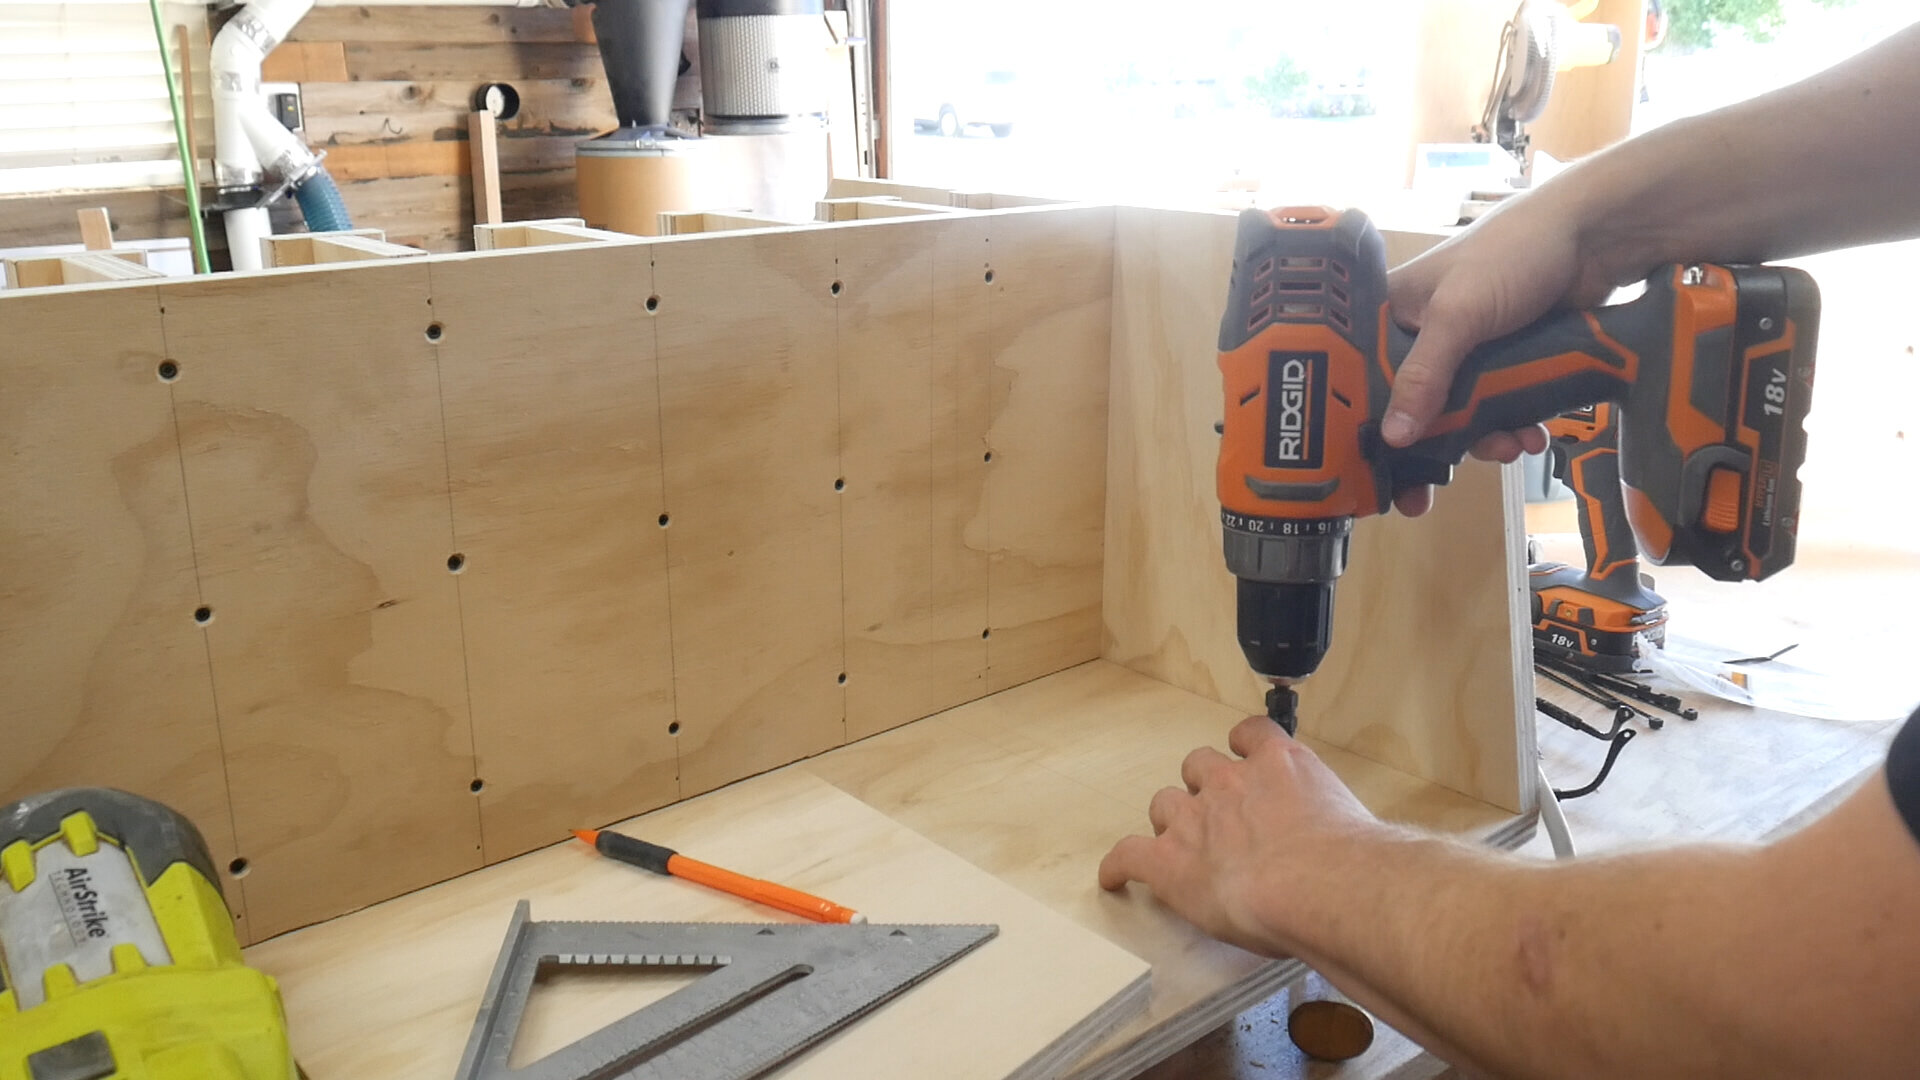
I used my T Square to mark out locations to drill out and drive in screws to make sure everything was super secure. I always pre drill when it comes to plywood.
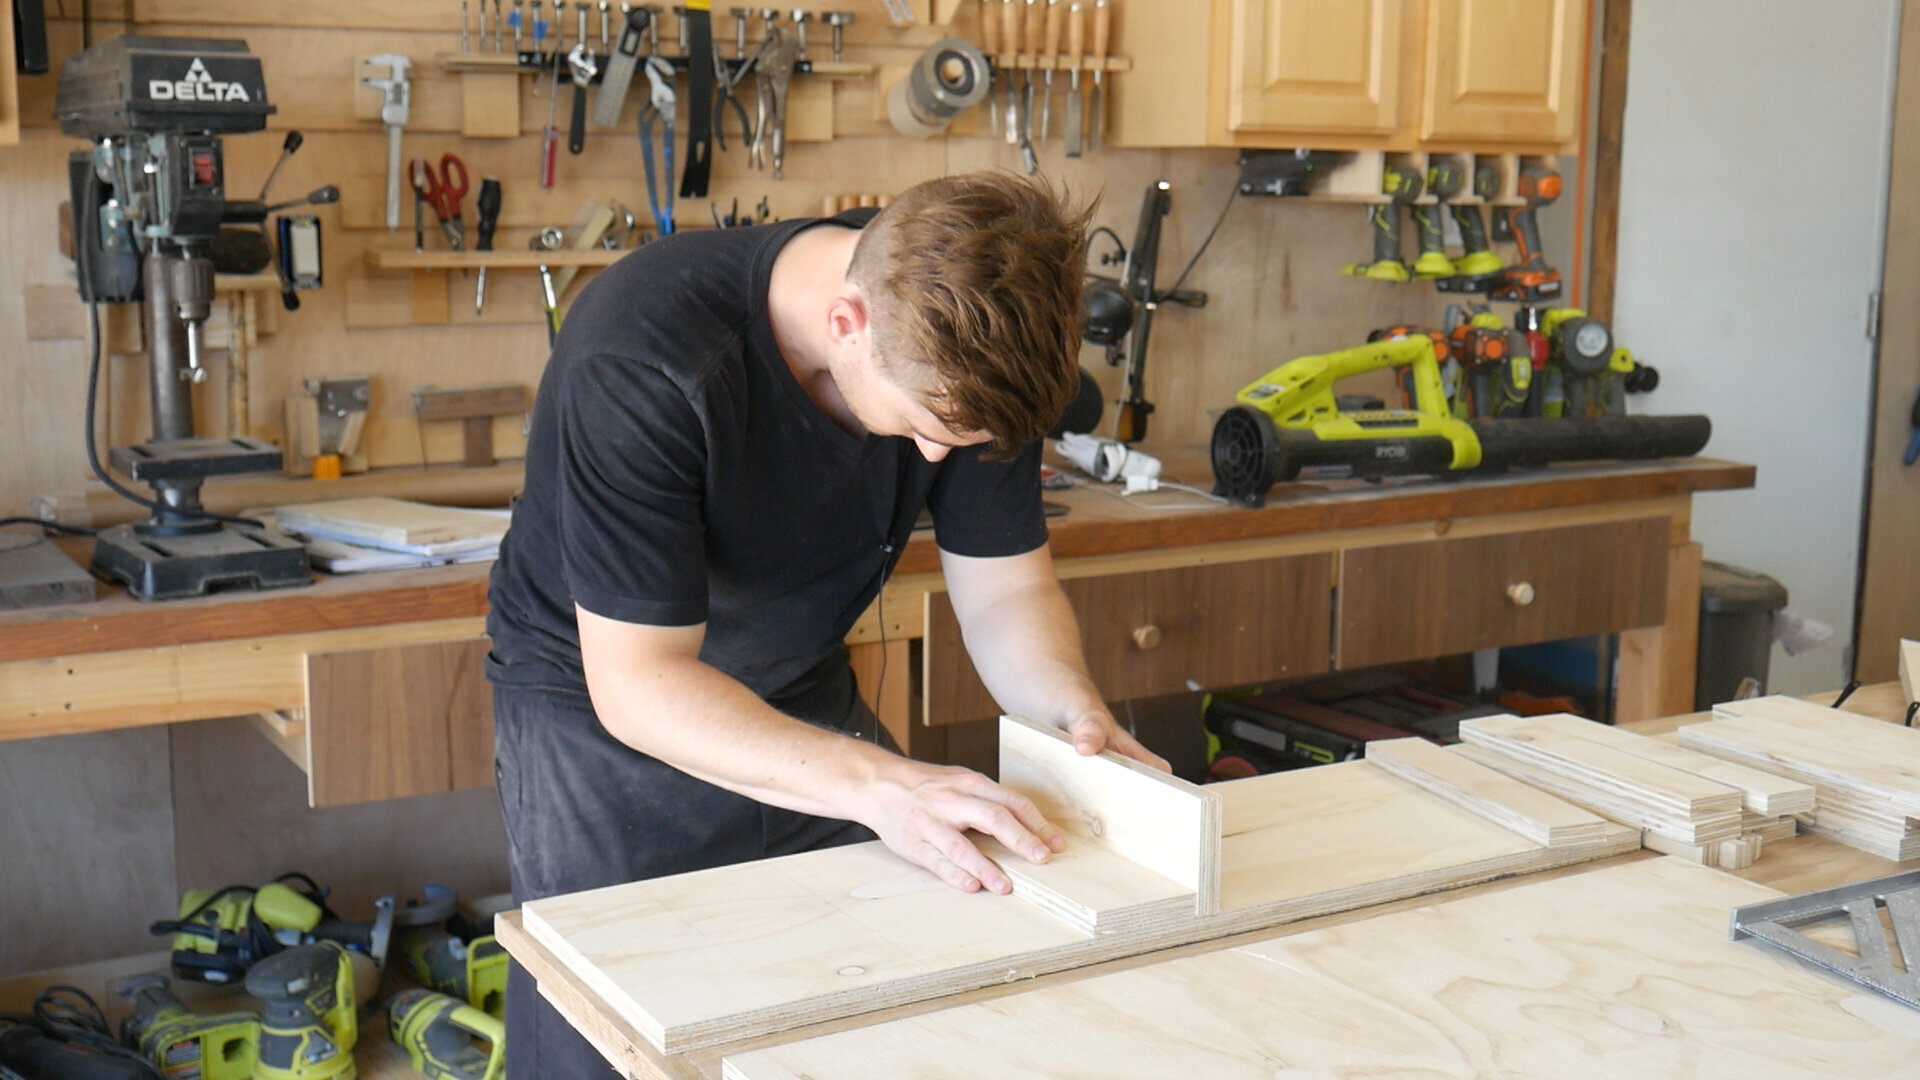
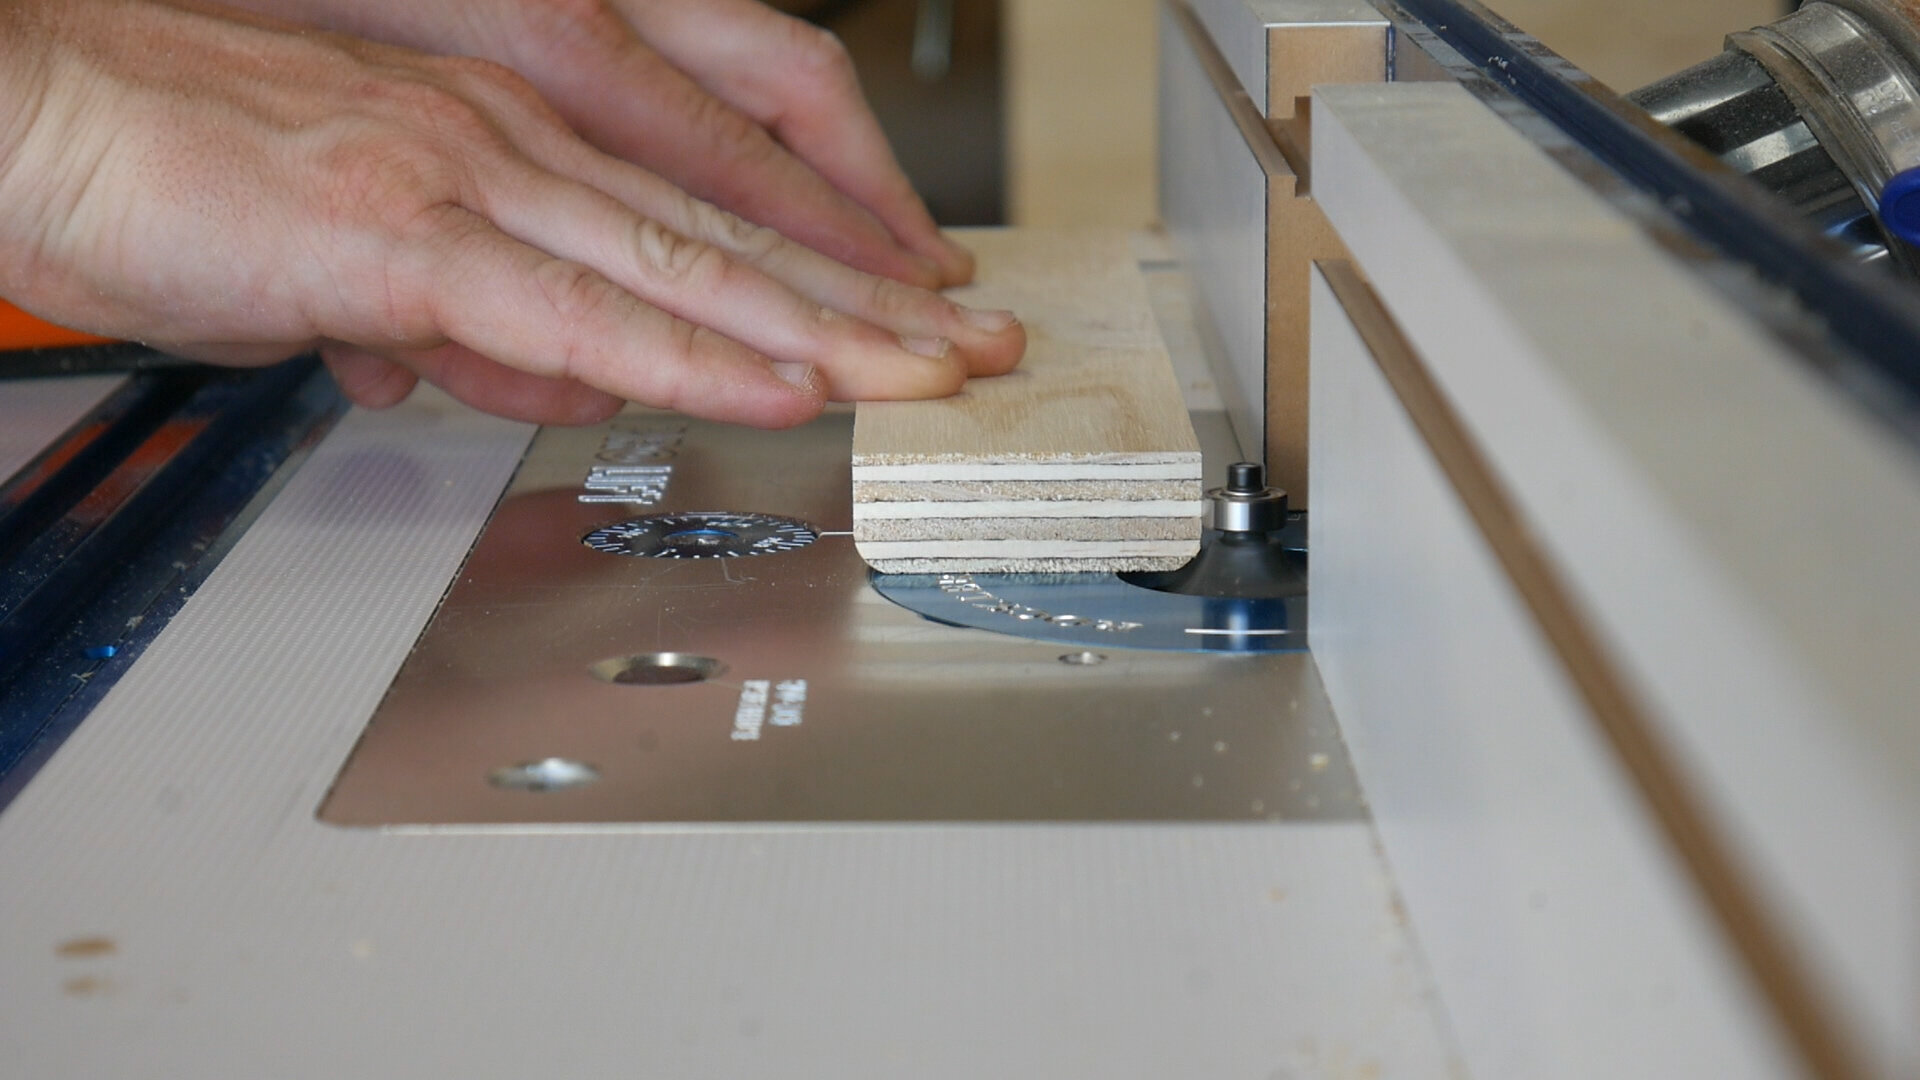
I then repeated the process with the bottom supports. Additionally, I rounded over the edge to make sliding the drills in and our easier.

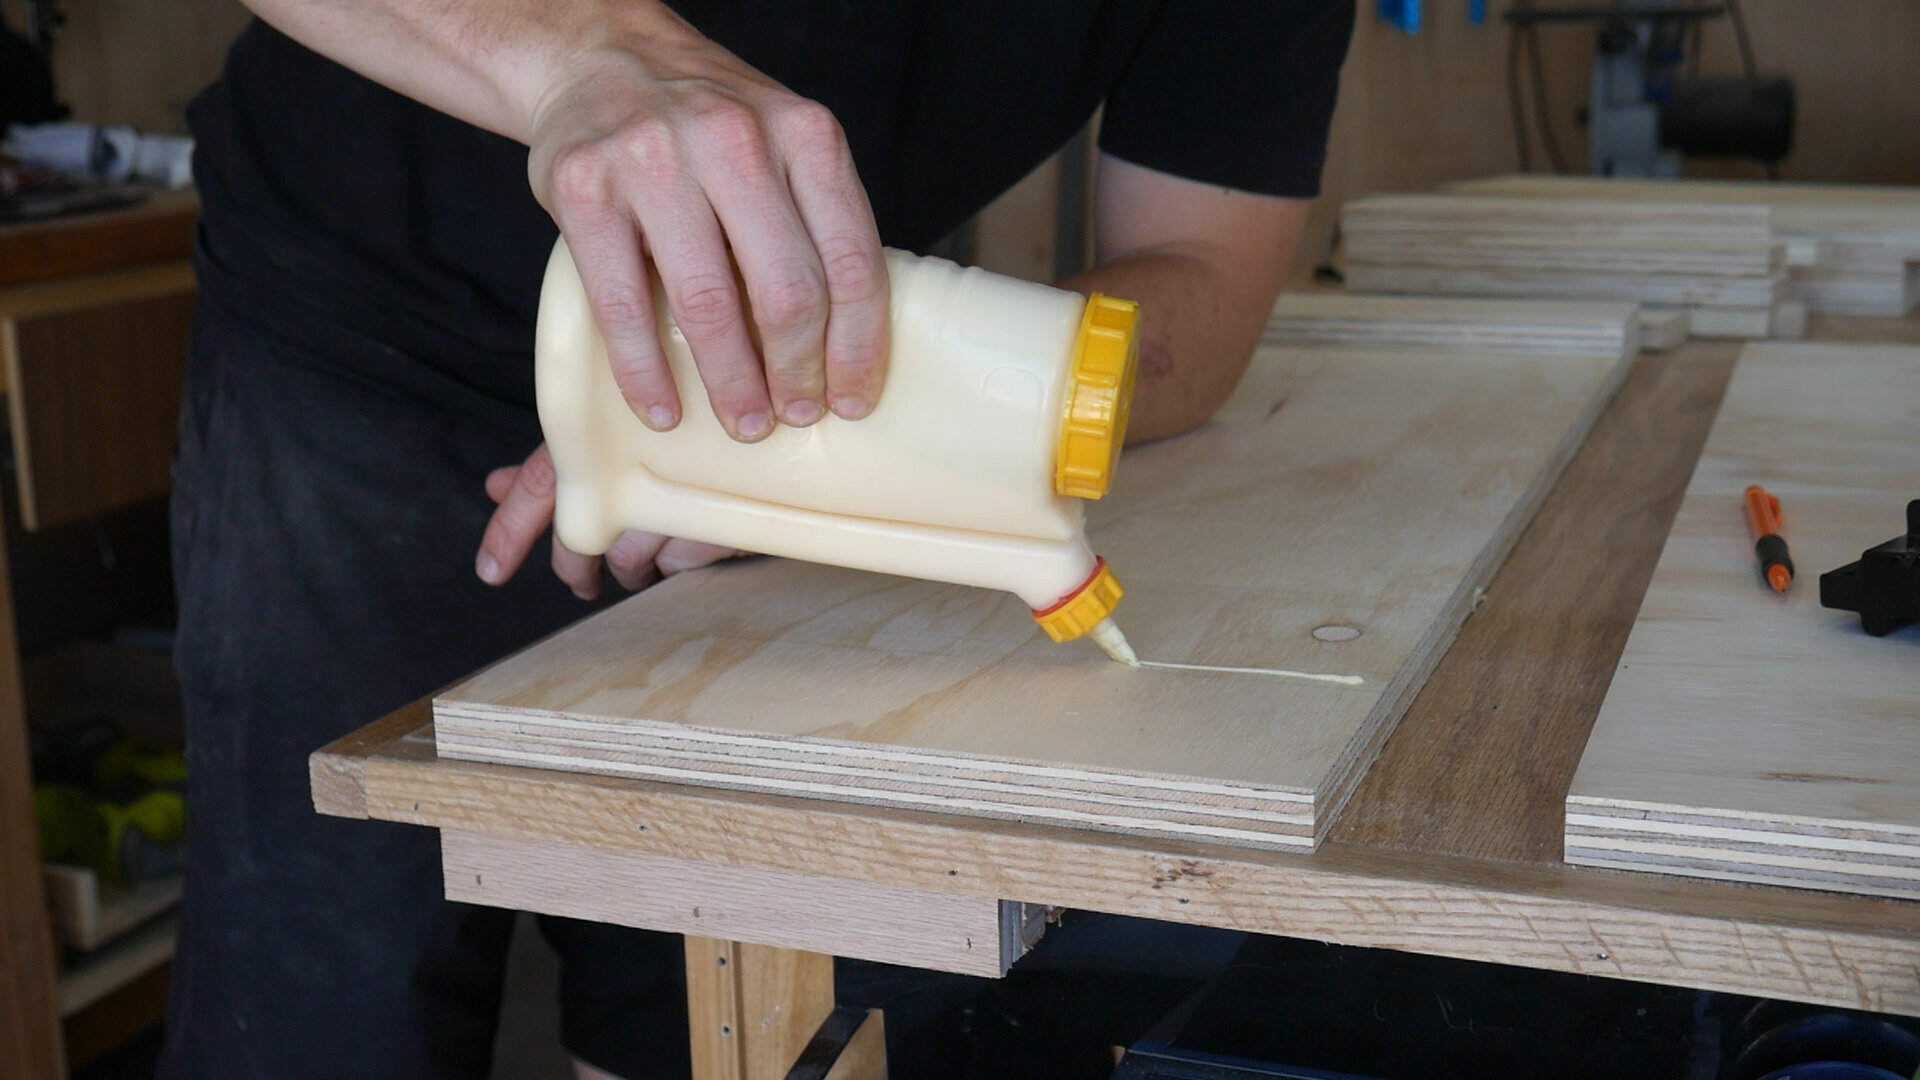
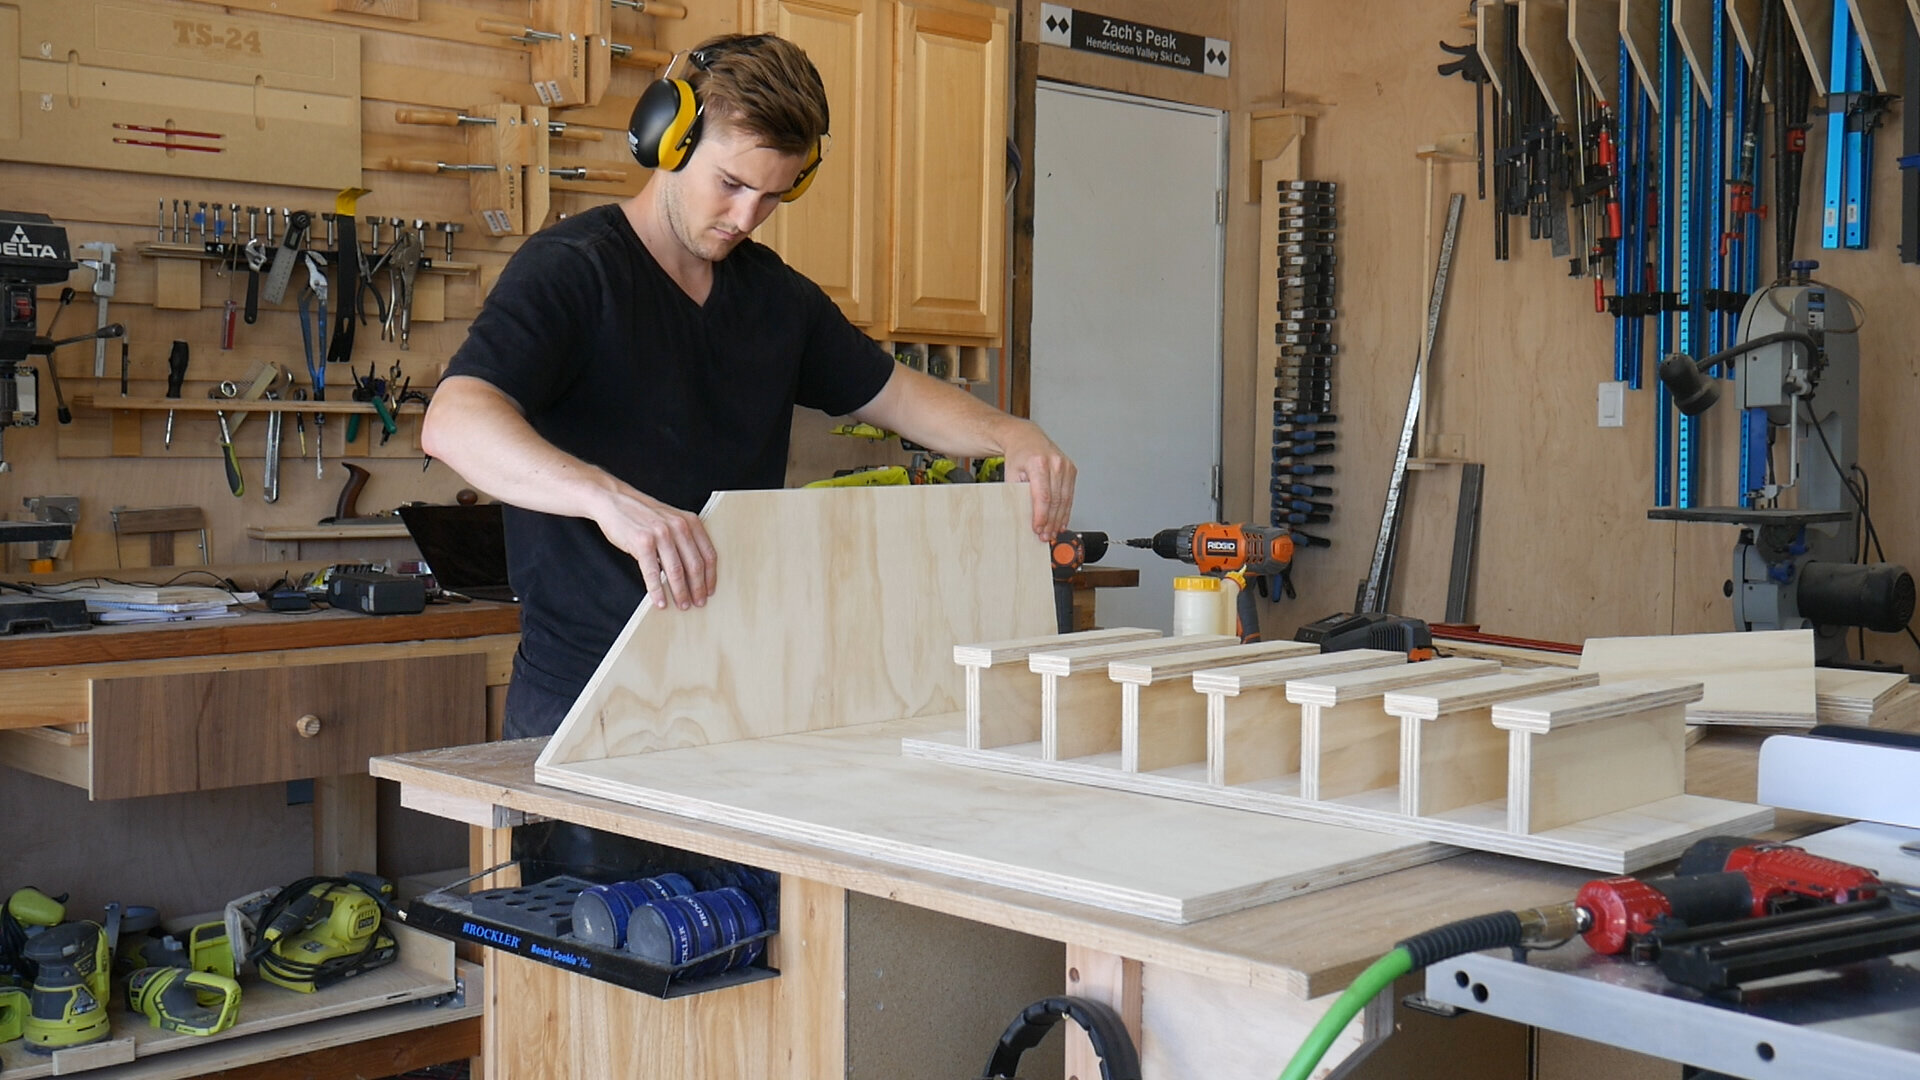
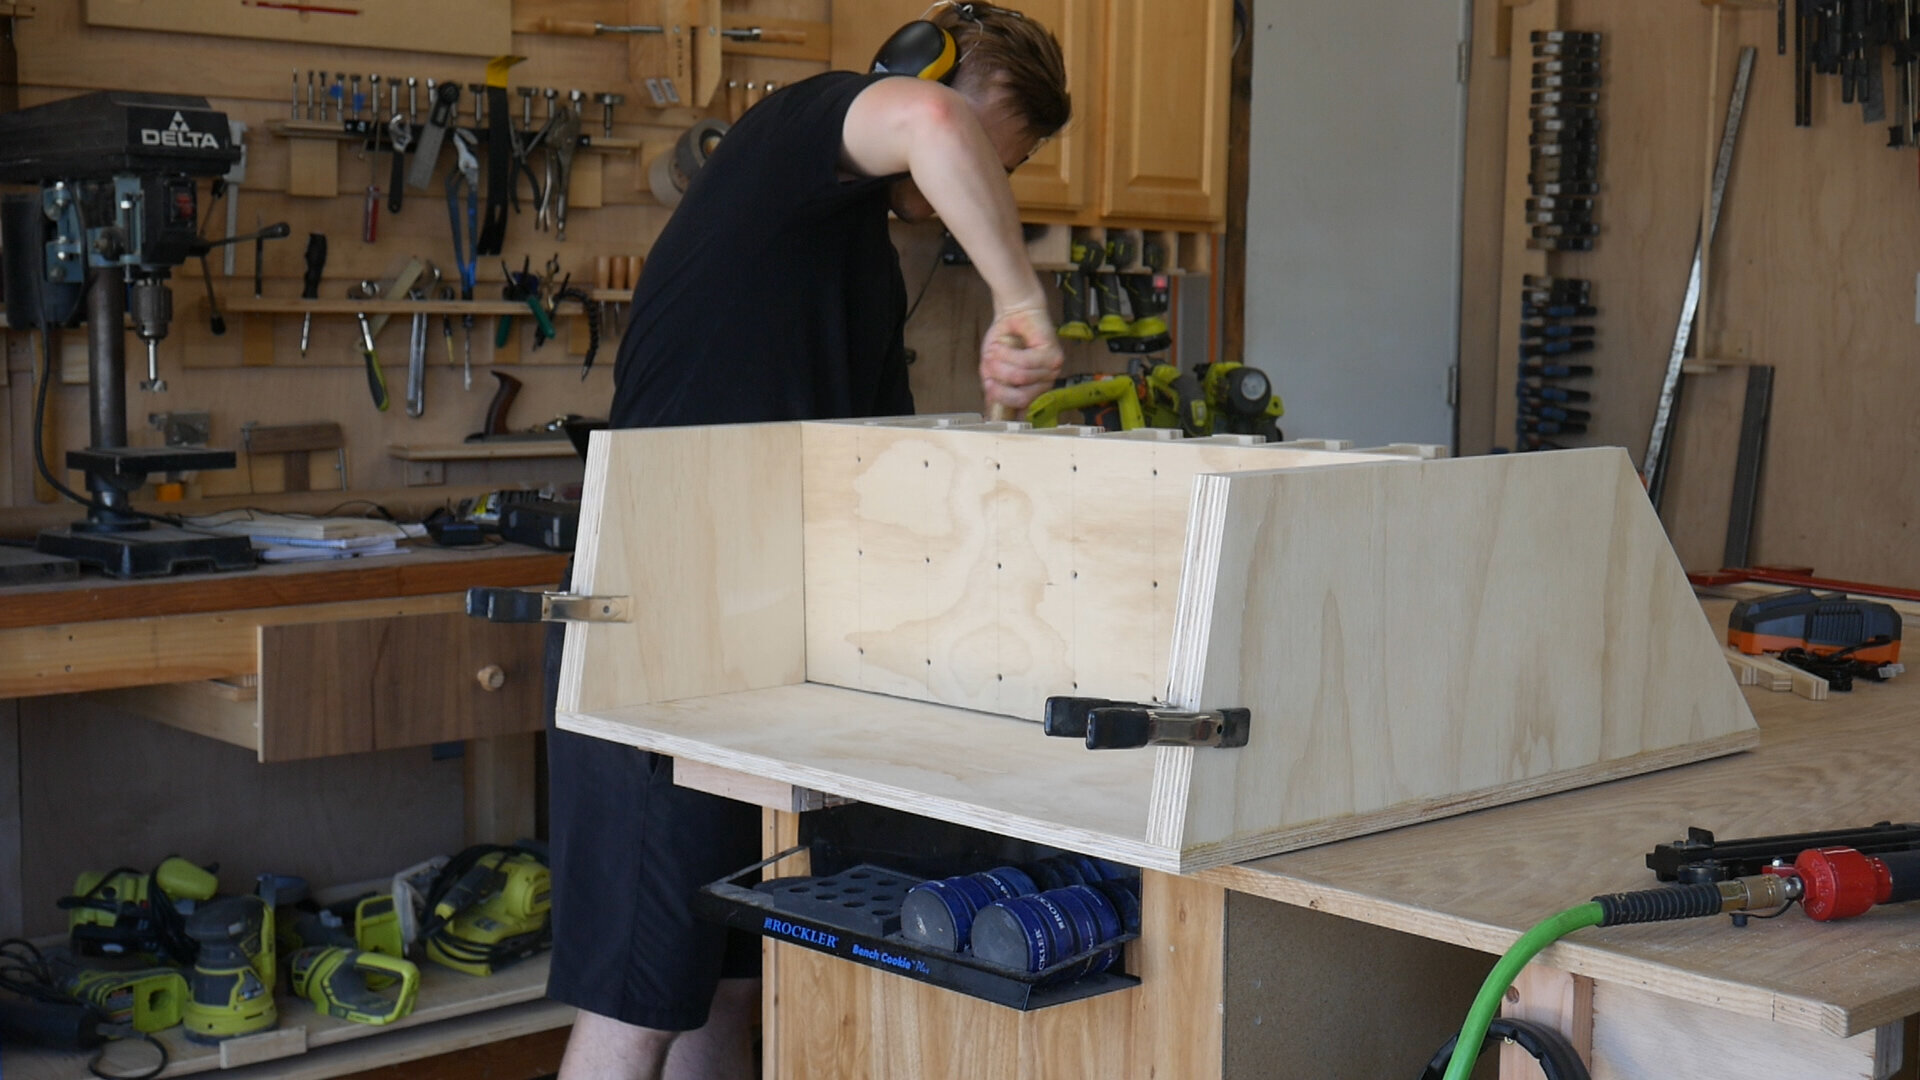
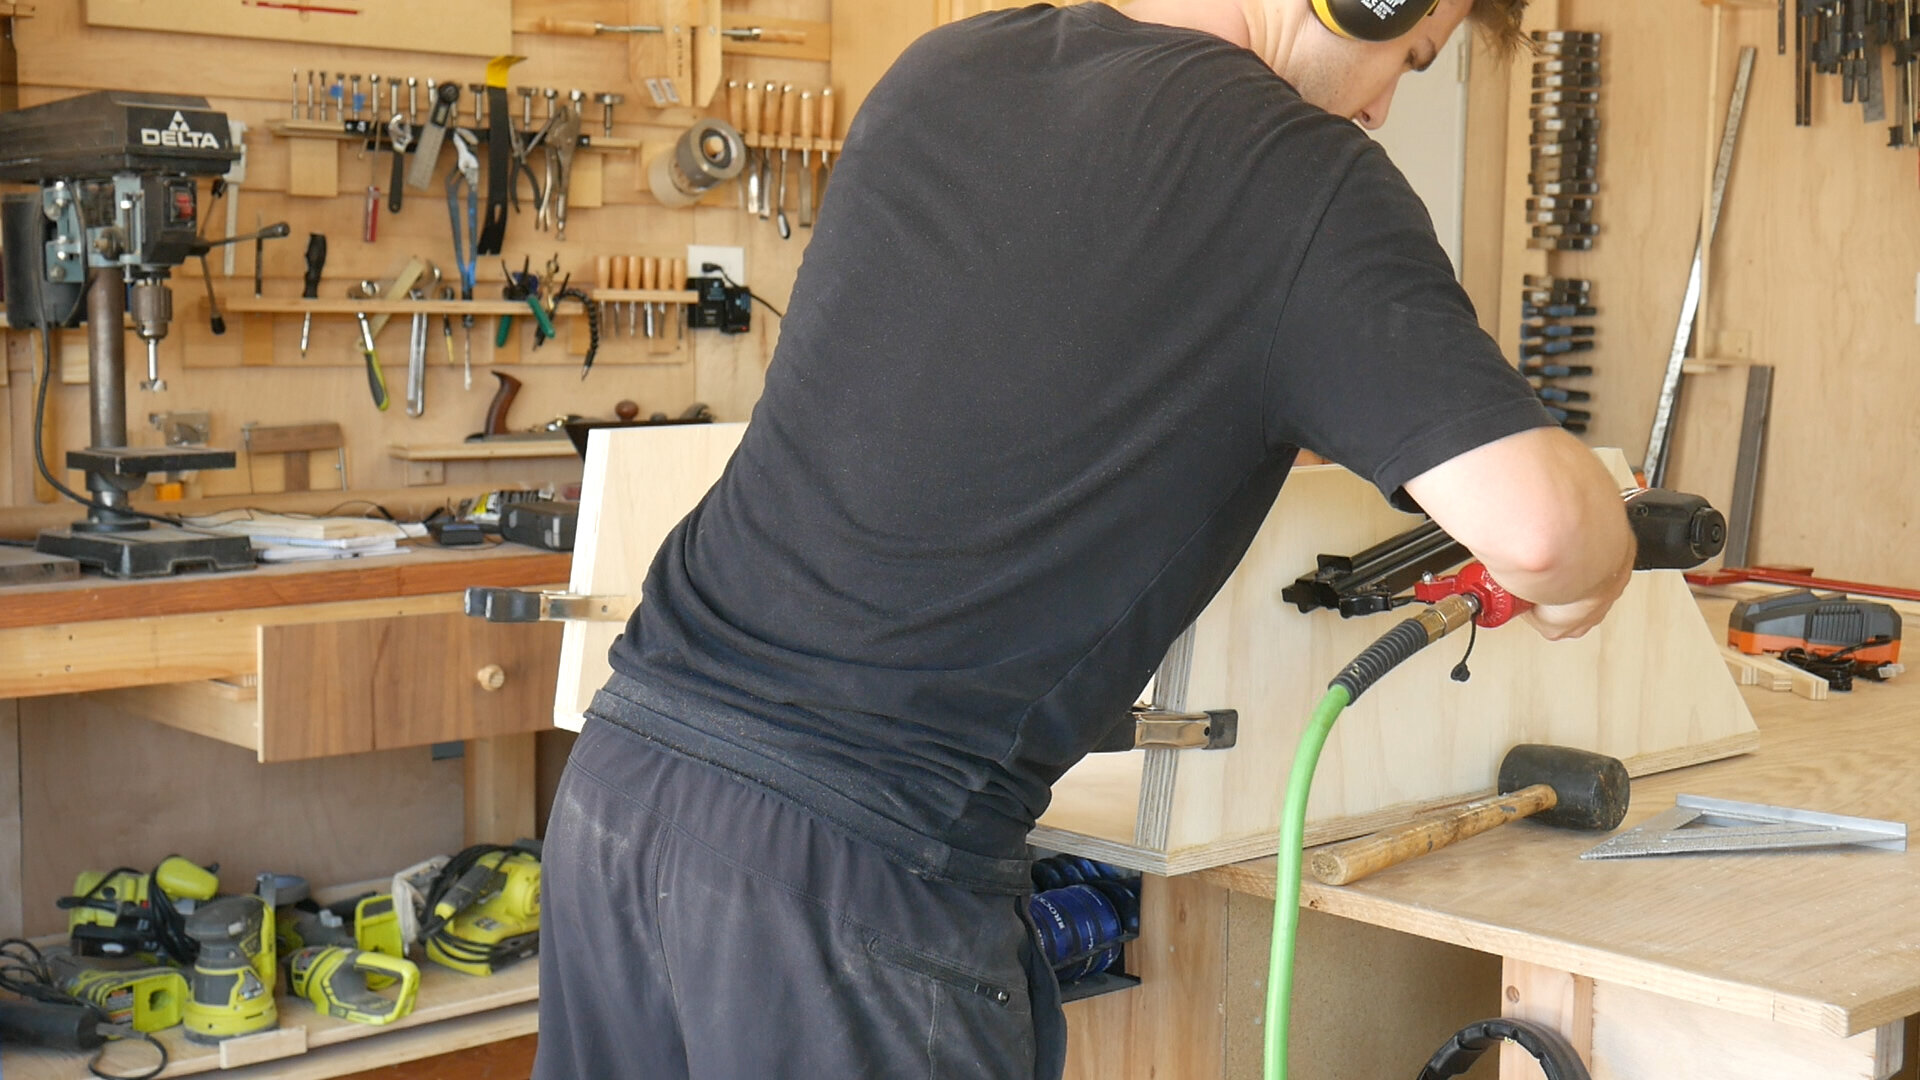
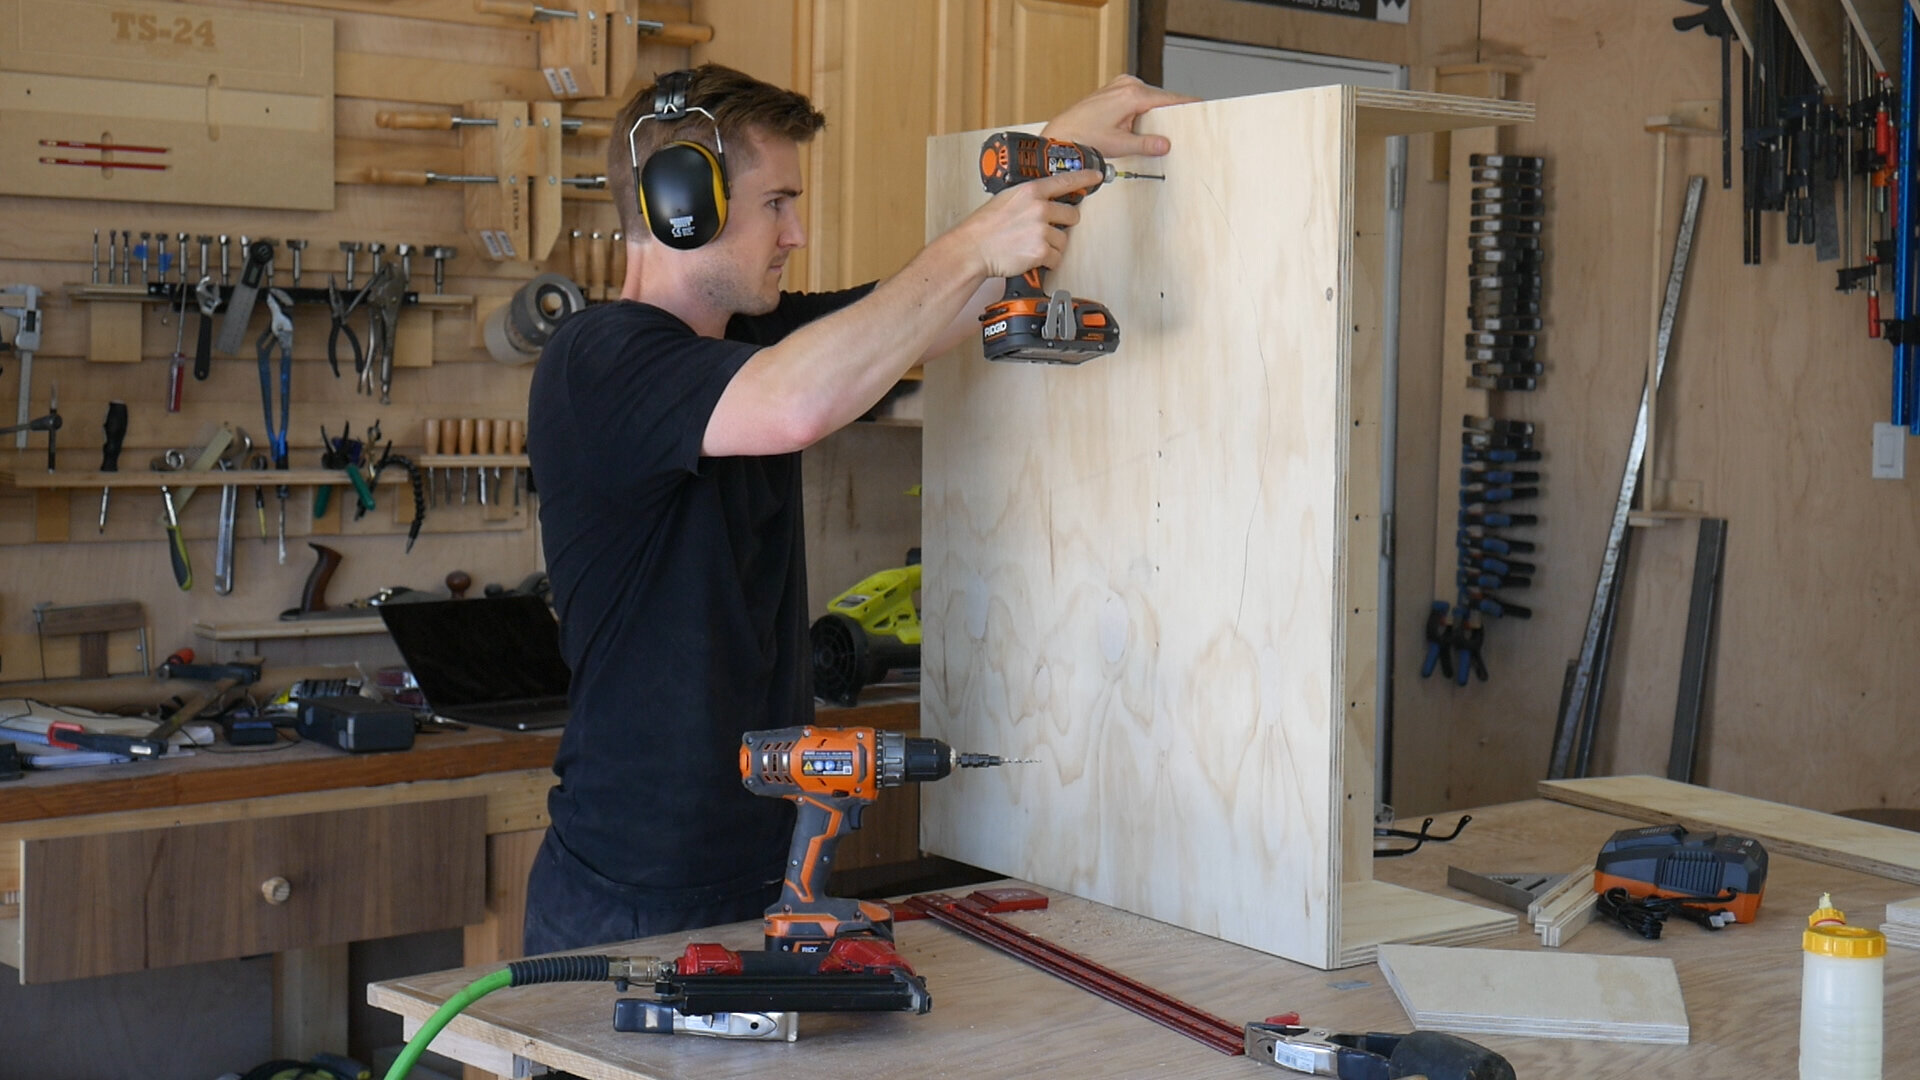
Once the drill holder was complete, I could go through the rather simple process of mounting the outside walls using glue, brad nails, and screws, followed by mounting the drill mount to the inside of it. To get even spacing and keep it level, I used the tool divider tabs I had already cut out clamped on each end.
Brad nails will secure this while the glue dries, and adding screws means that this will basically hold up forever.
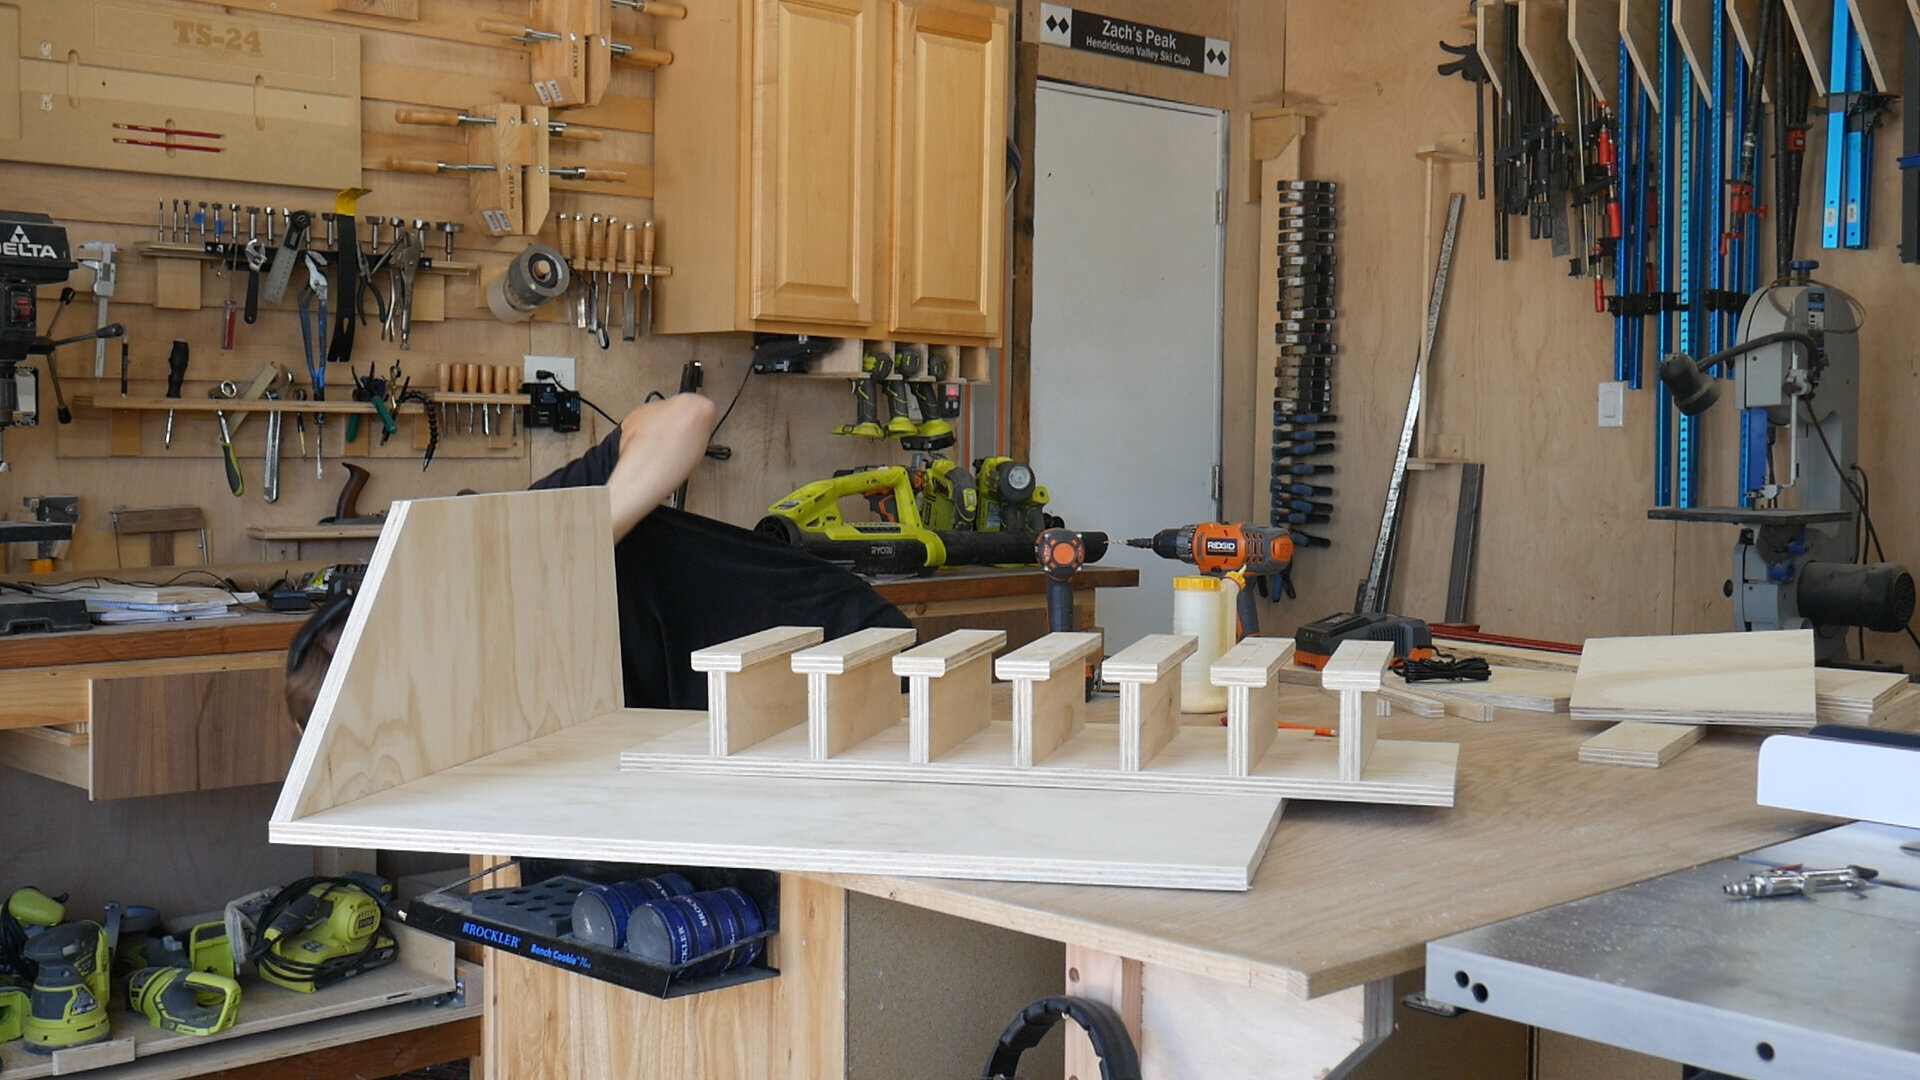
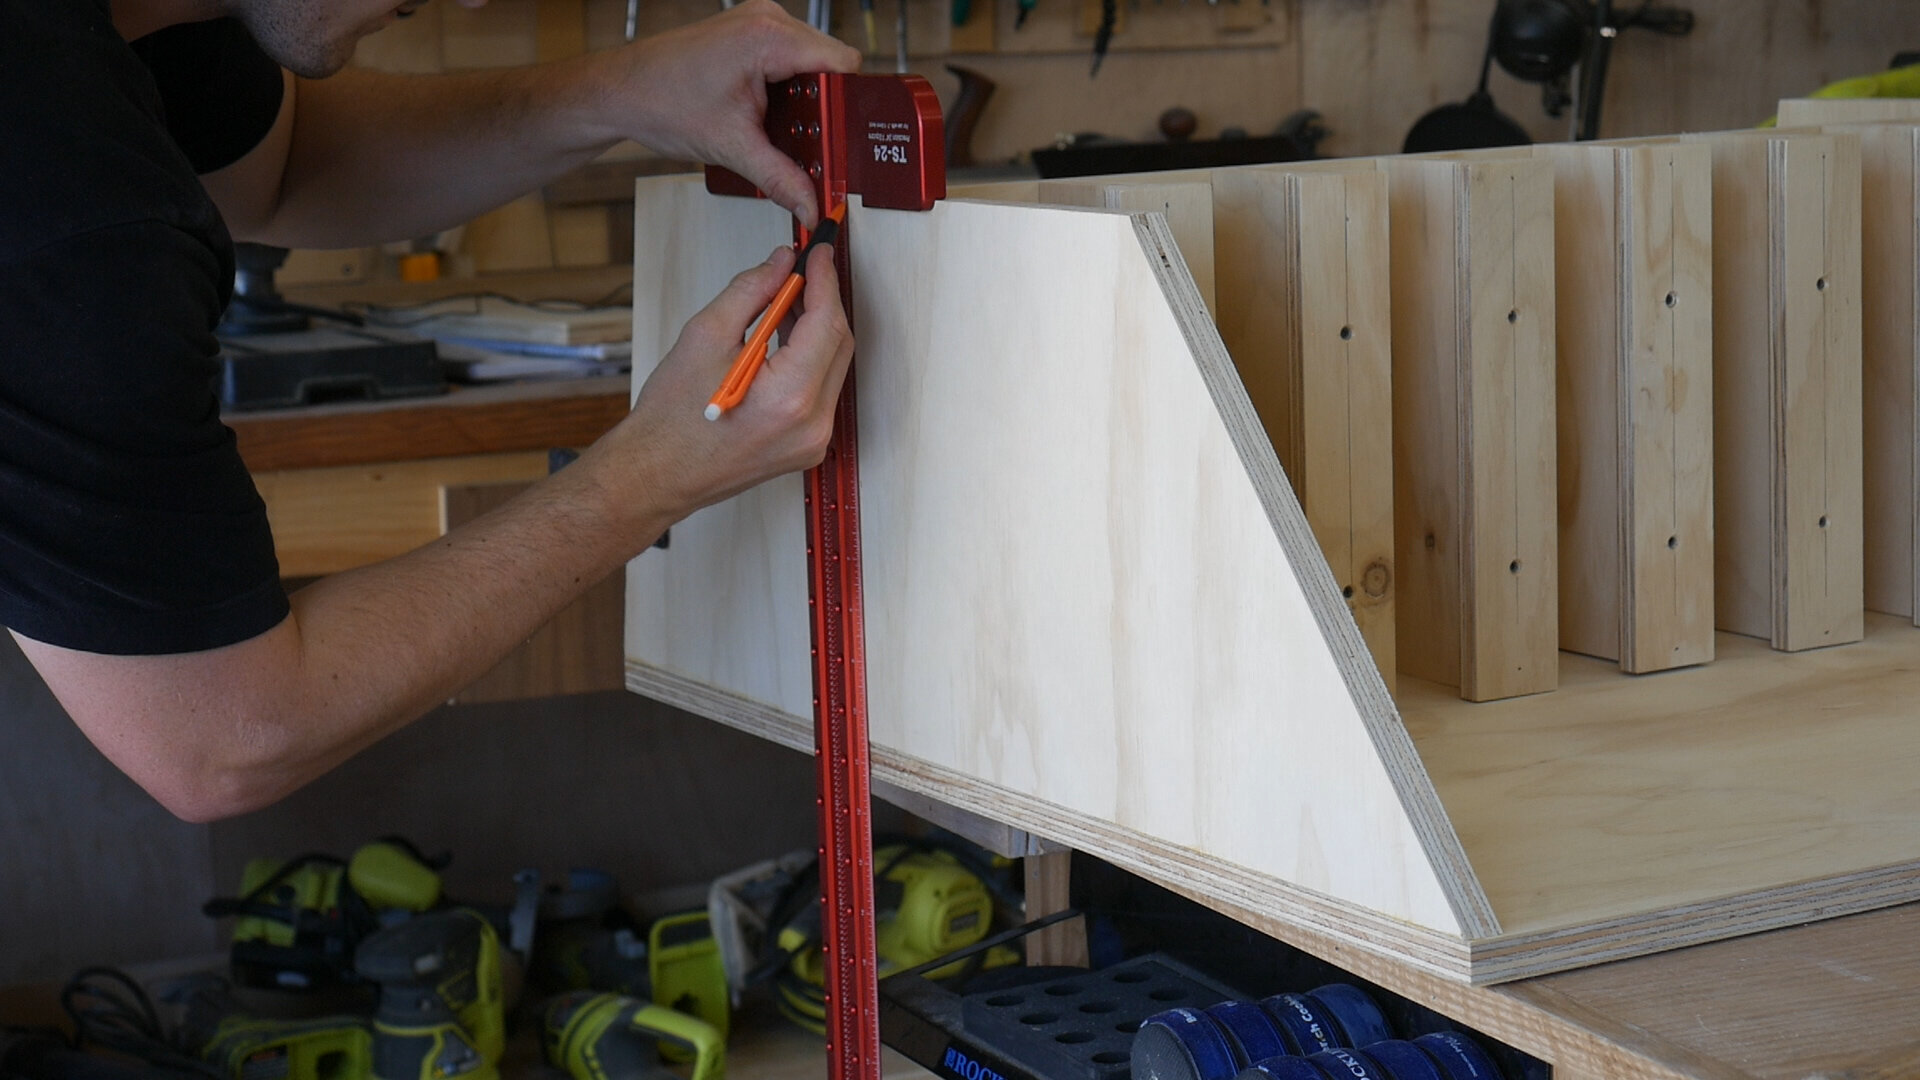
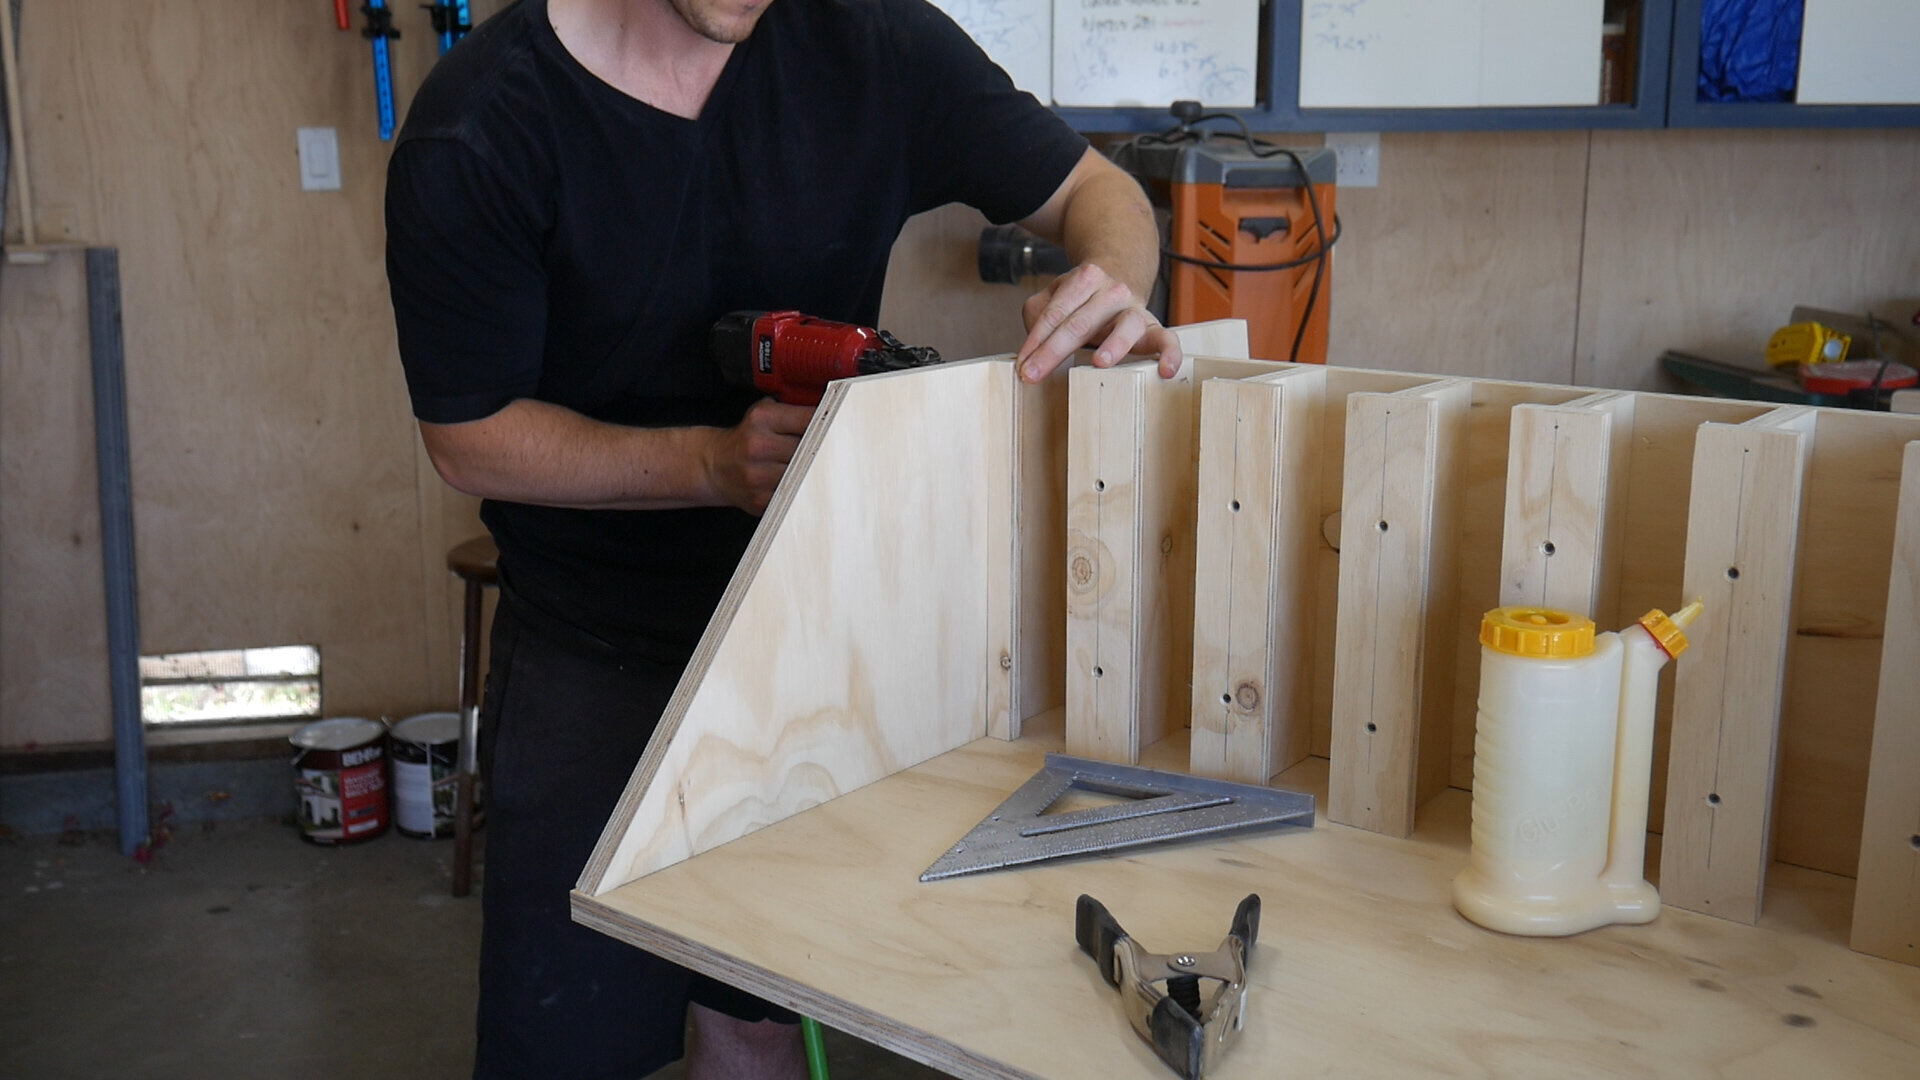
The angle of the walls is 10 degrees (top) and 30 degrees (bottom) - these were arbitrary but I thought it created a less bulky design. It also made the bottom of the mount feel less crowded.
The legs of the desk were designed to sit recessed into the desktop itself exactly one 3/4” plywood layer thick.
The outside drill pieces were separate from the larger piece we assembled earlier. They were added after the fact and secured just using glue and brad nails to the outside walls.
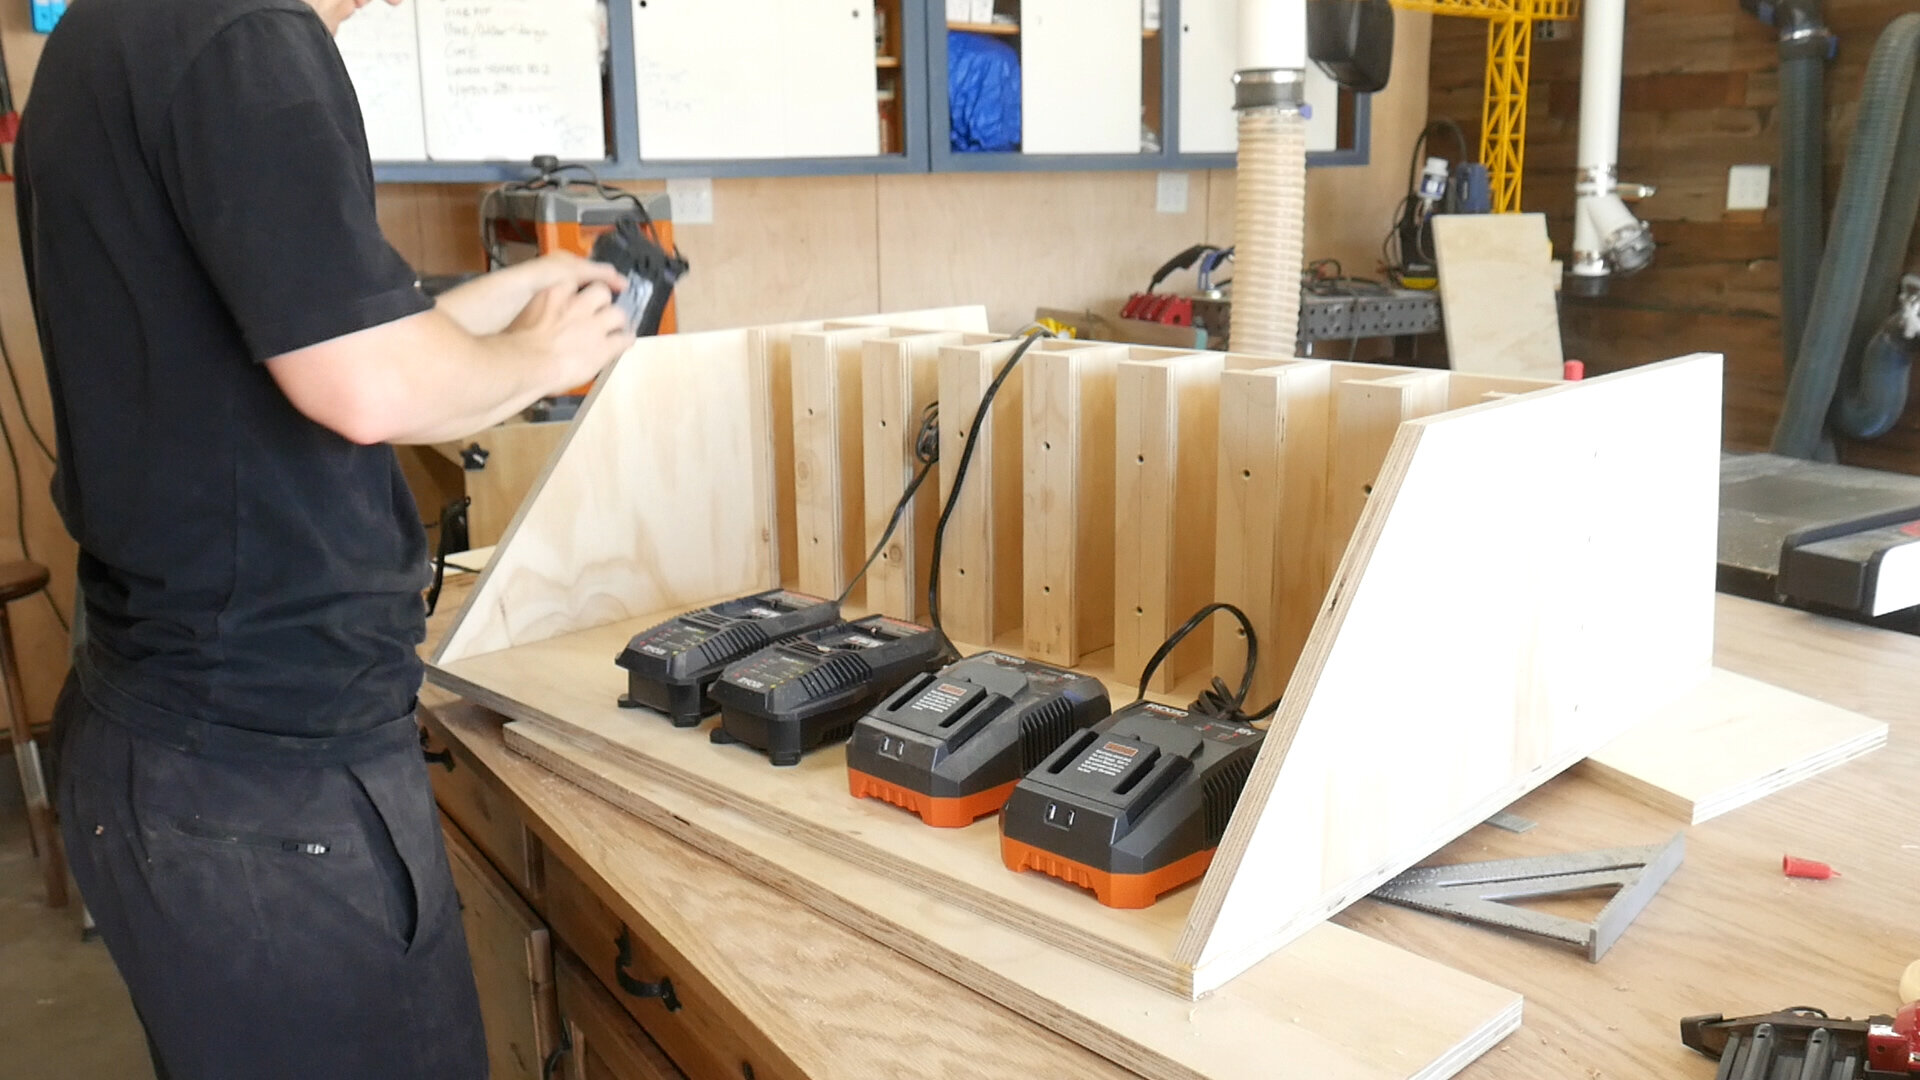

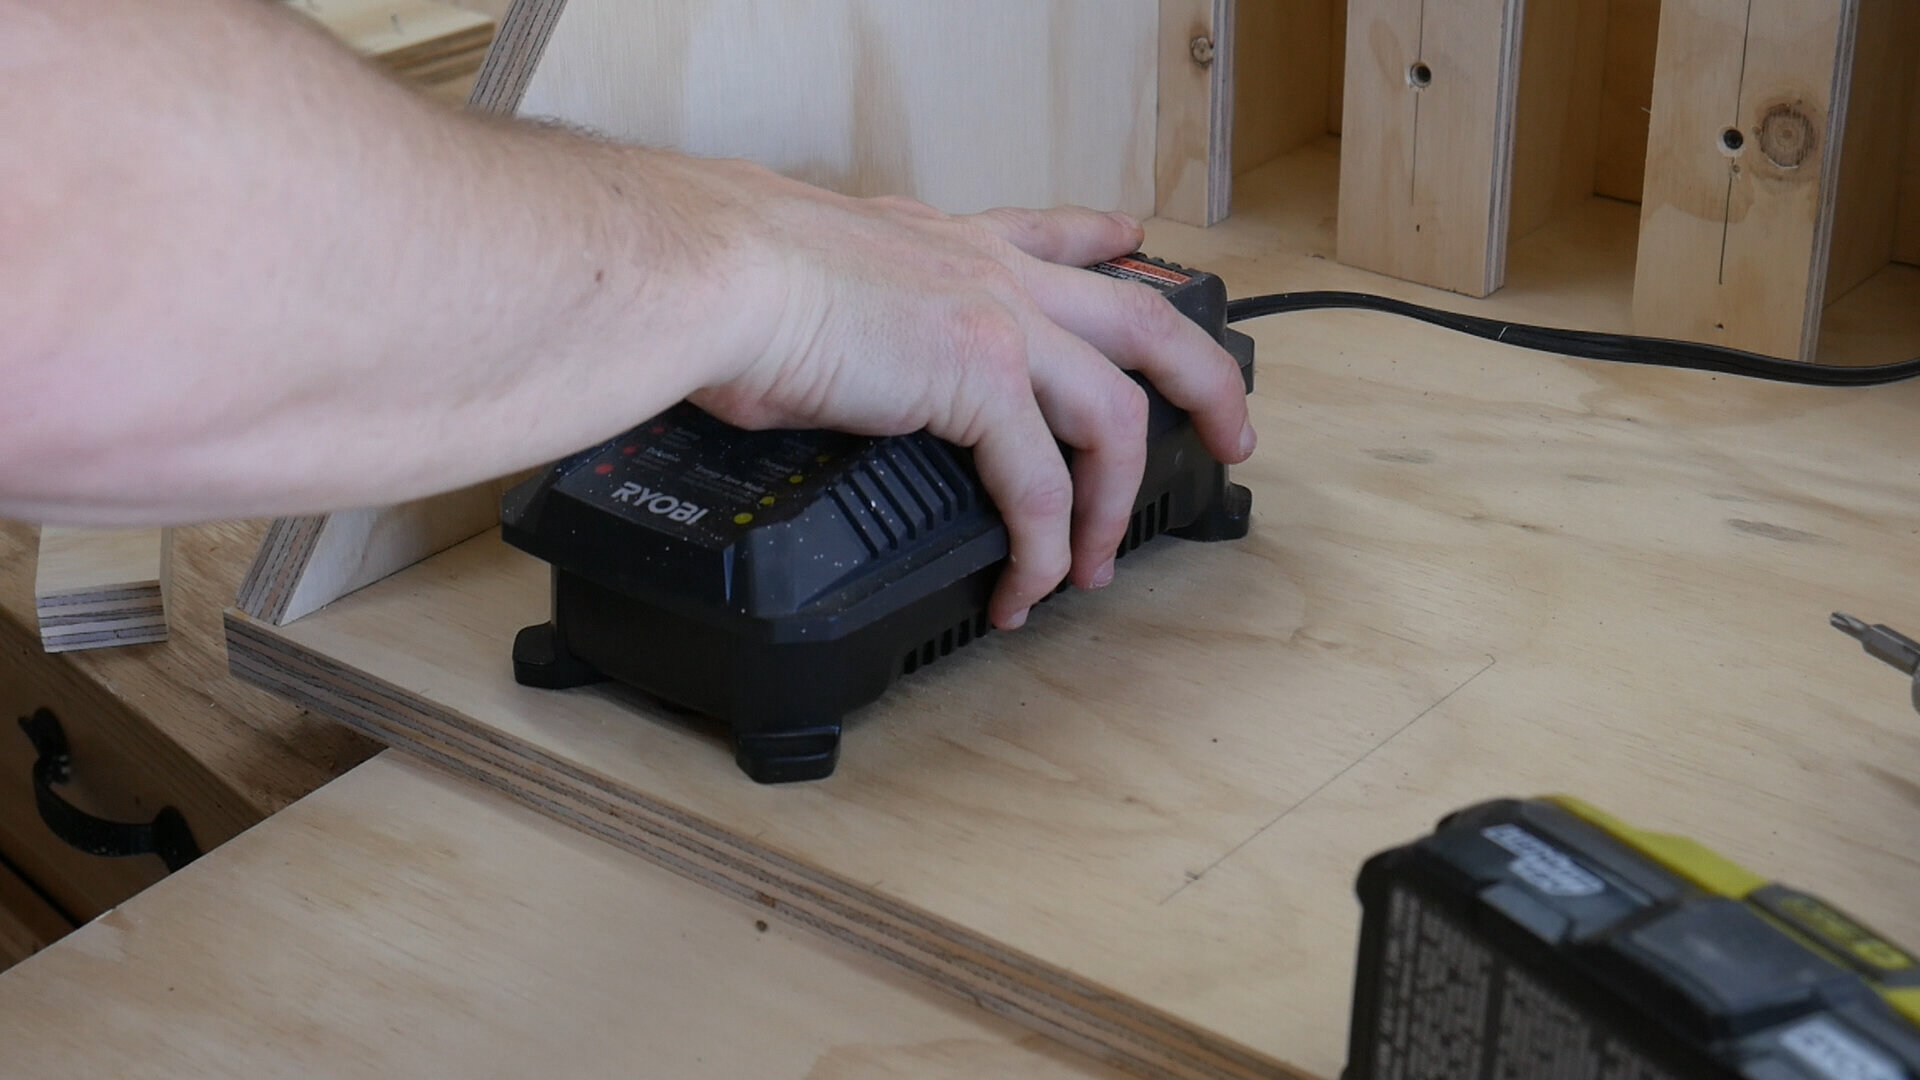
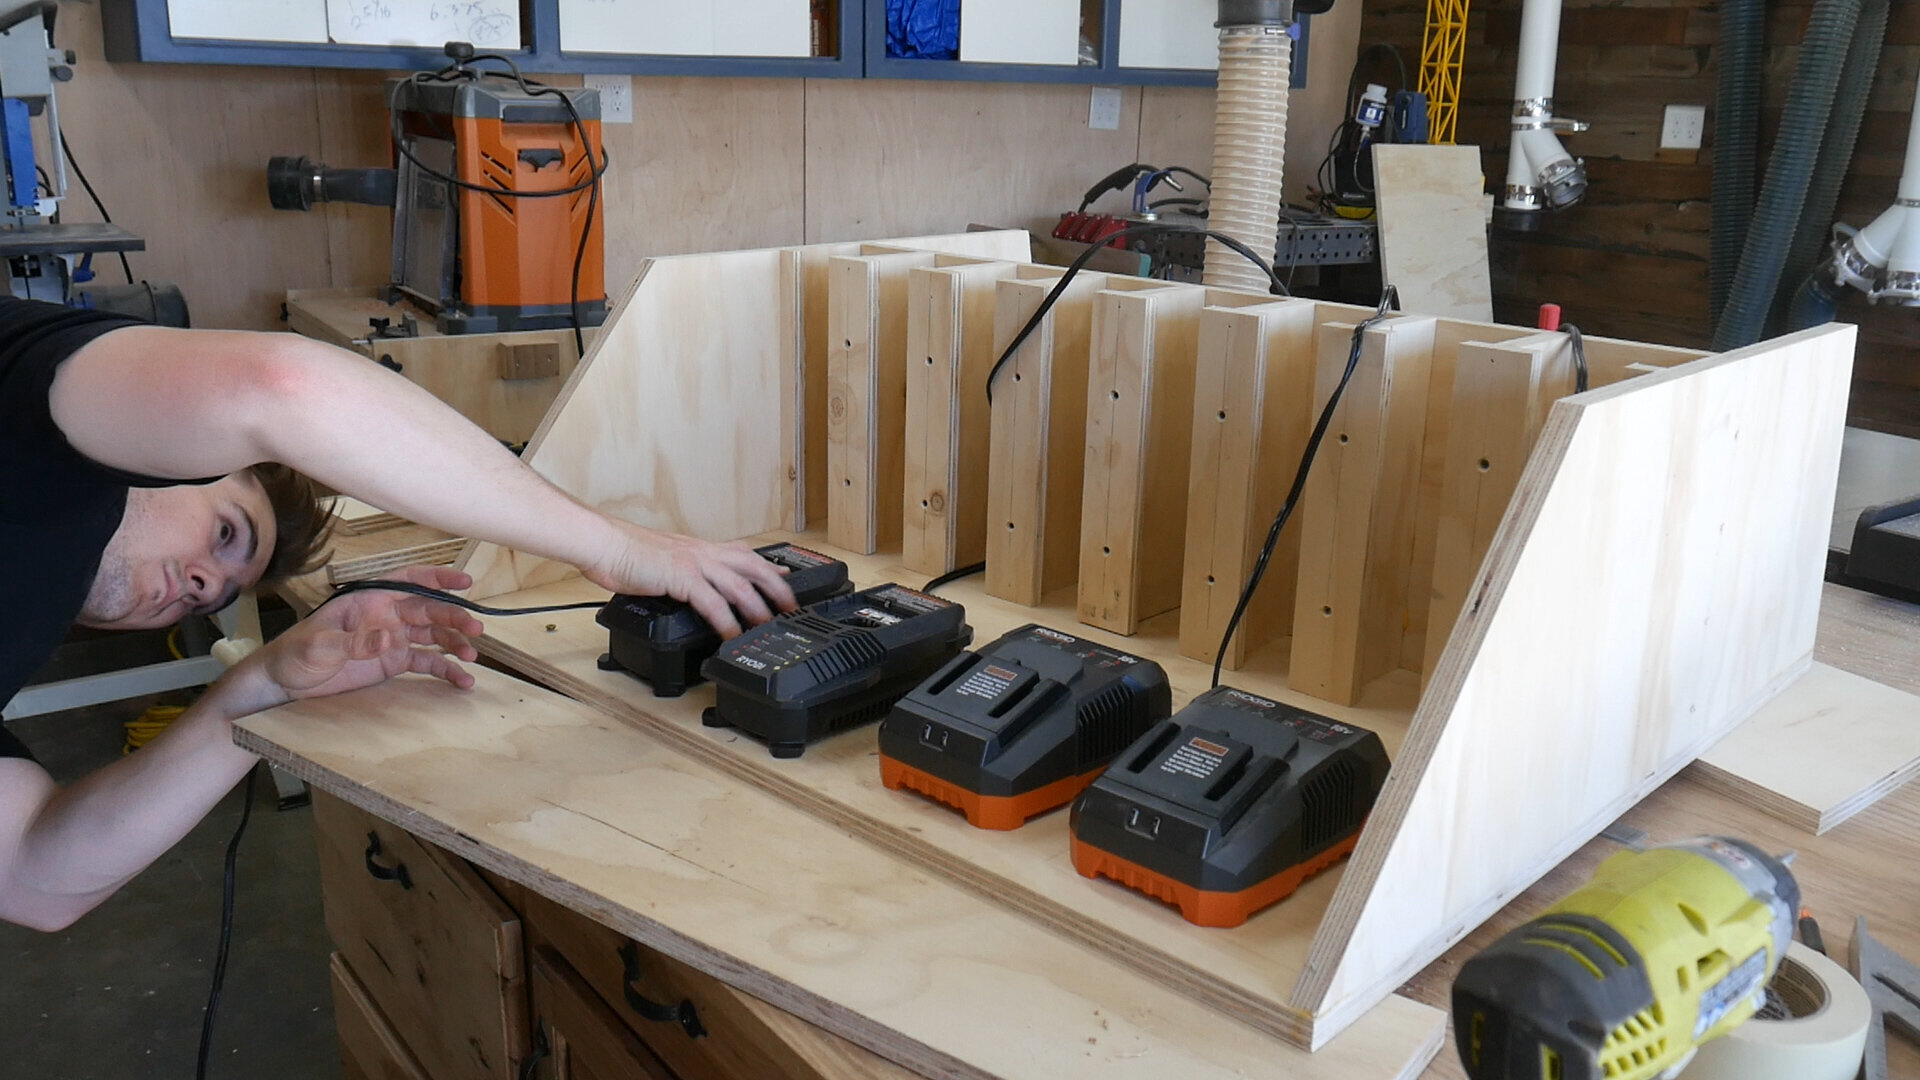
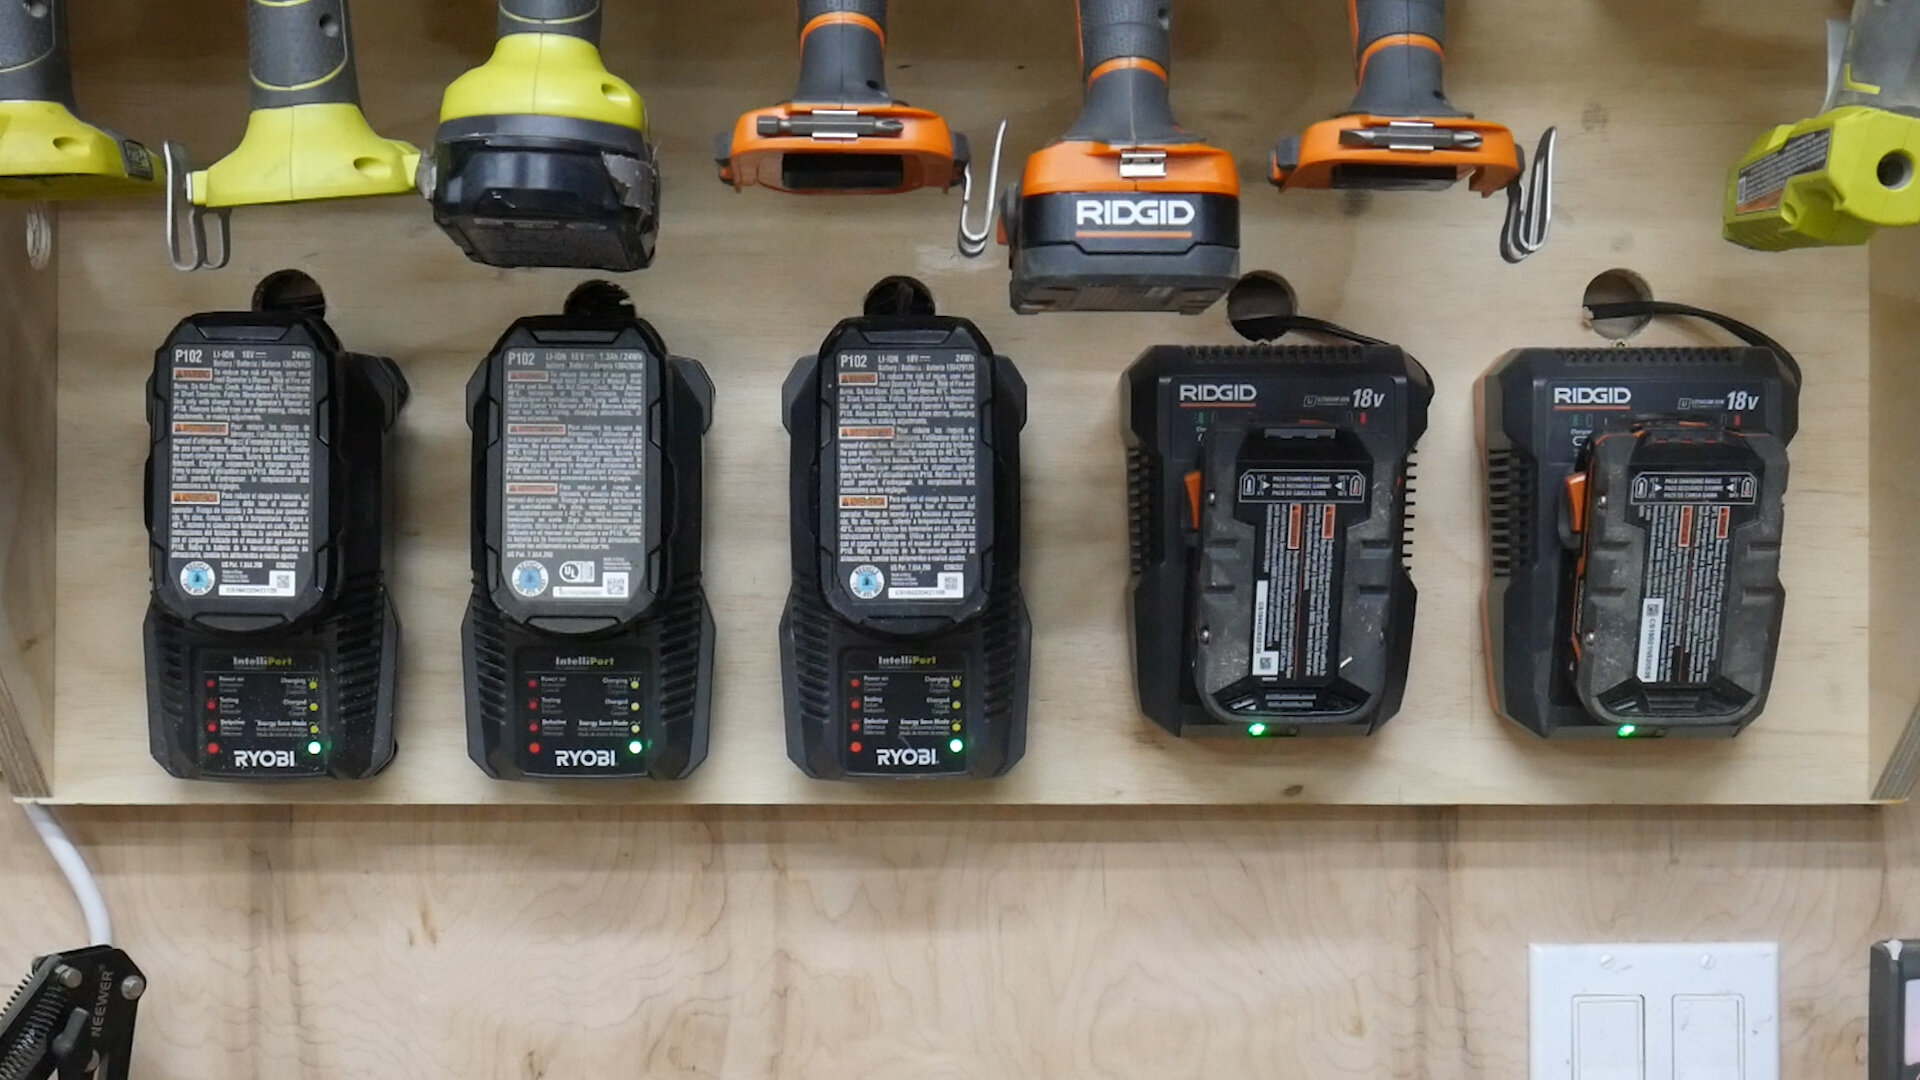
This design was big enough to mount five chargers. If you make it wider, you'll be able to increase charger storage (obviously). The Ryobi chargers and Ridgid chargers have different mount spacing.
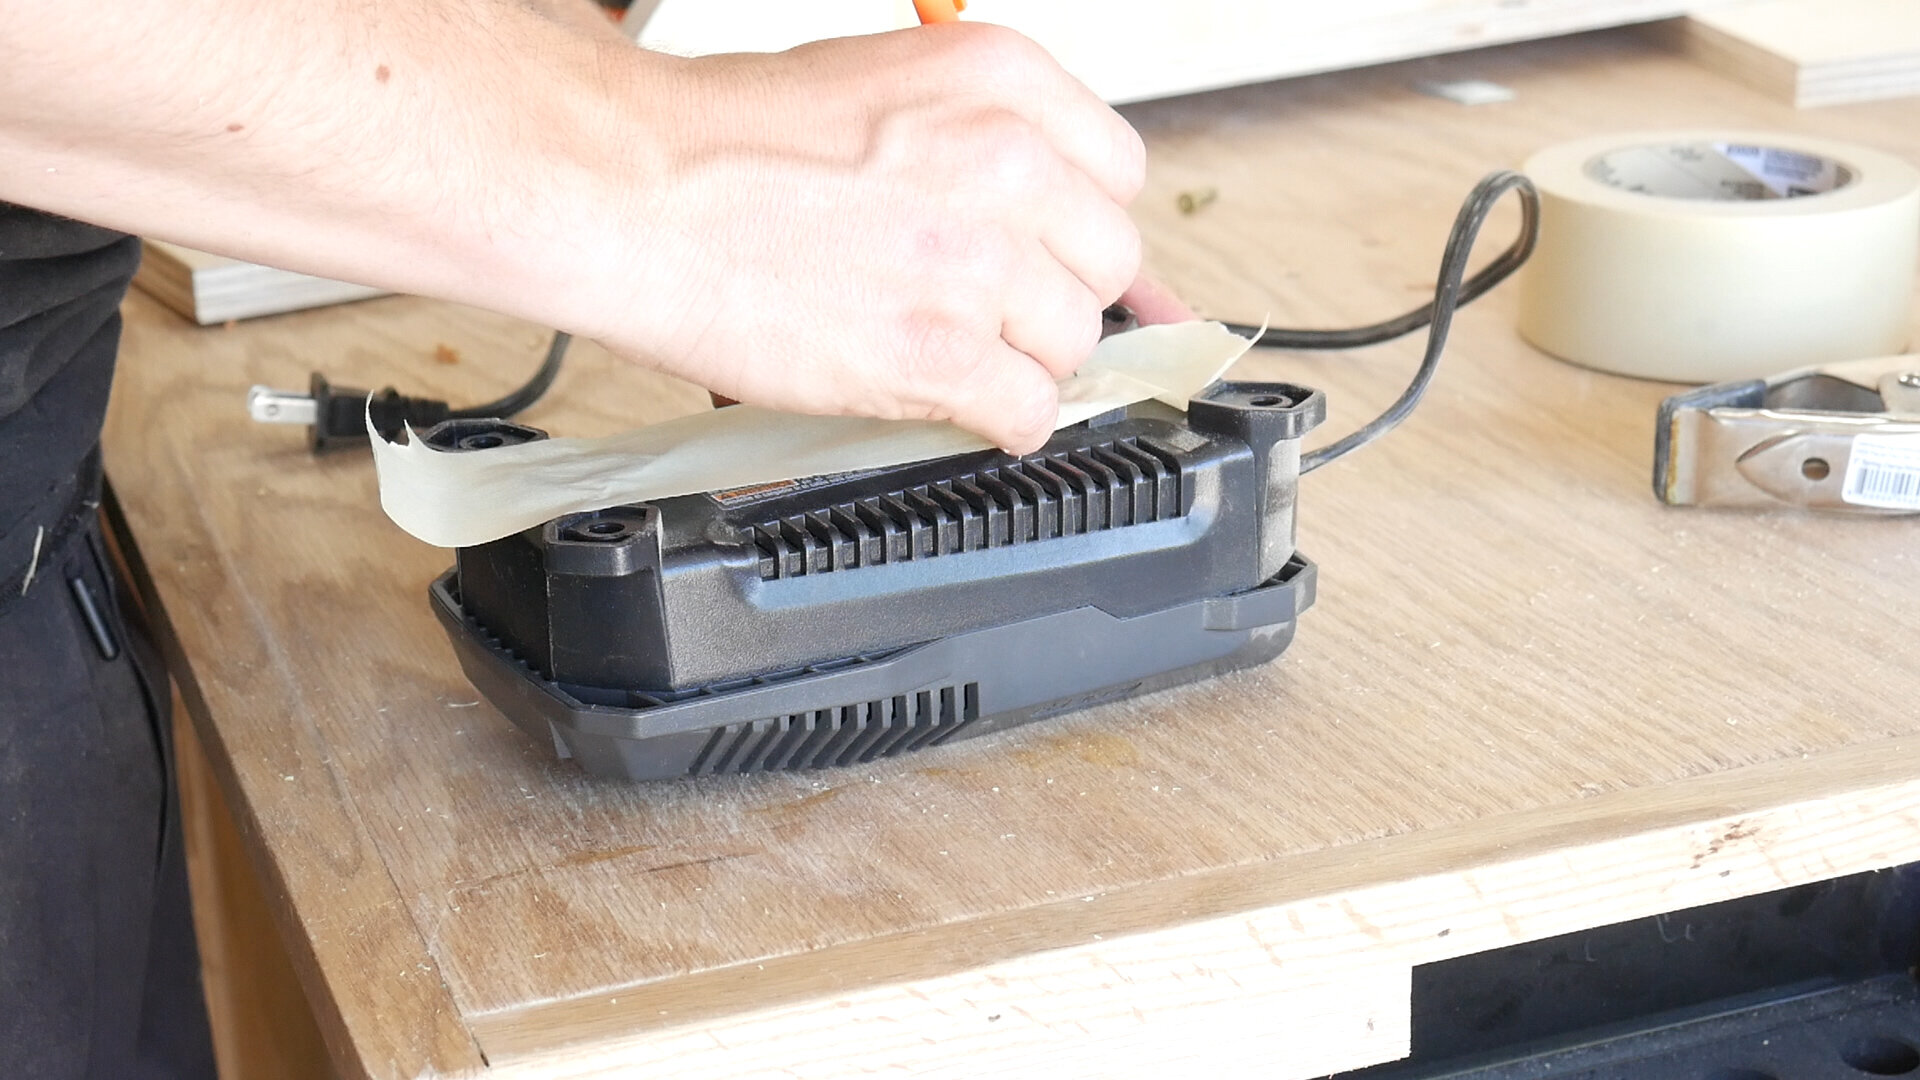
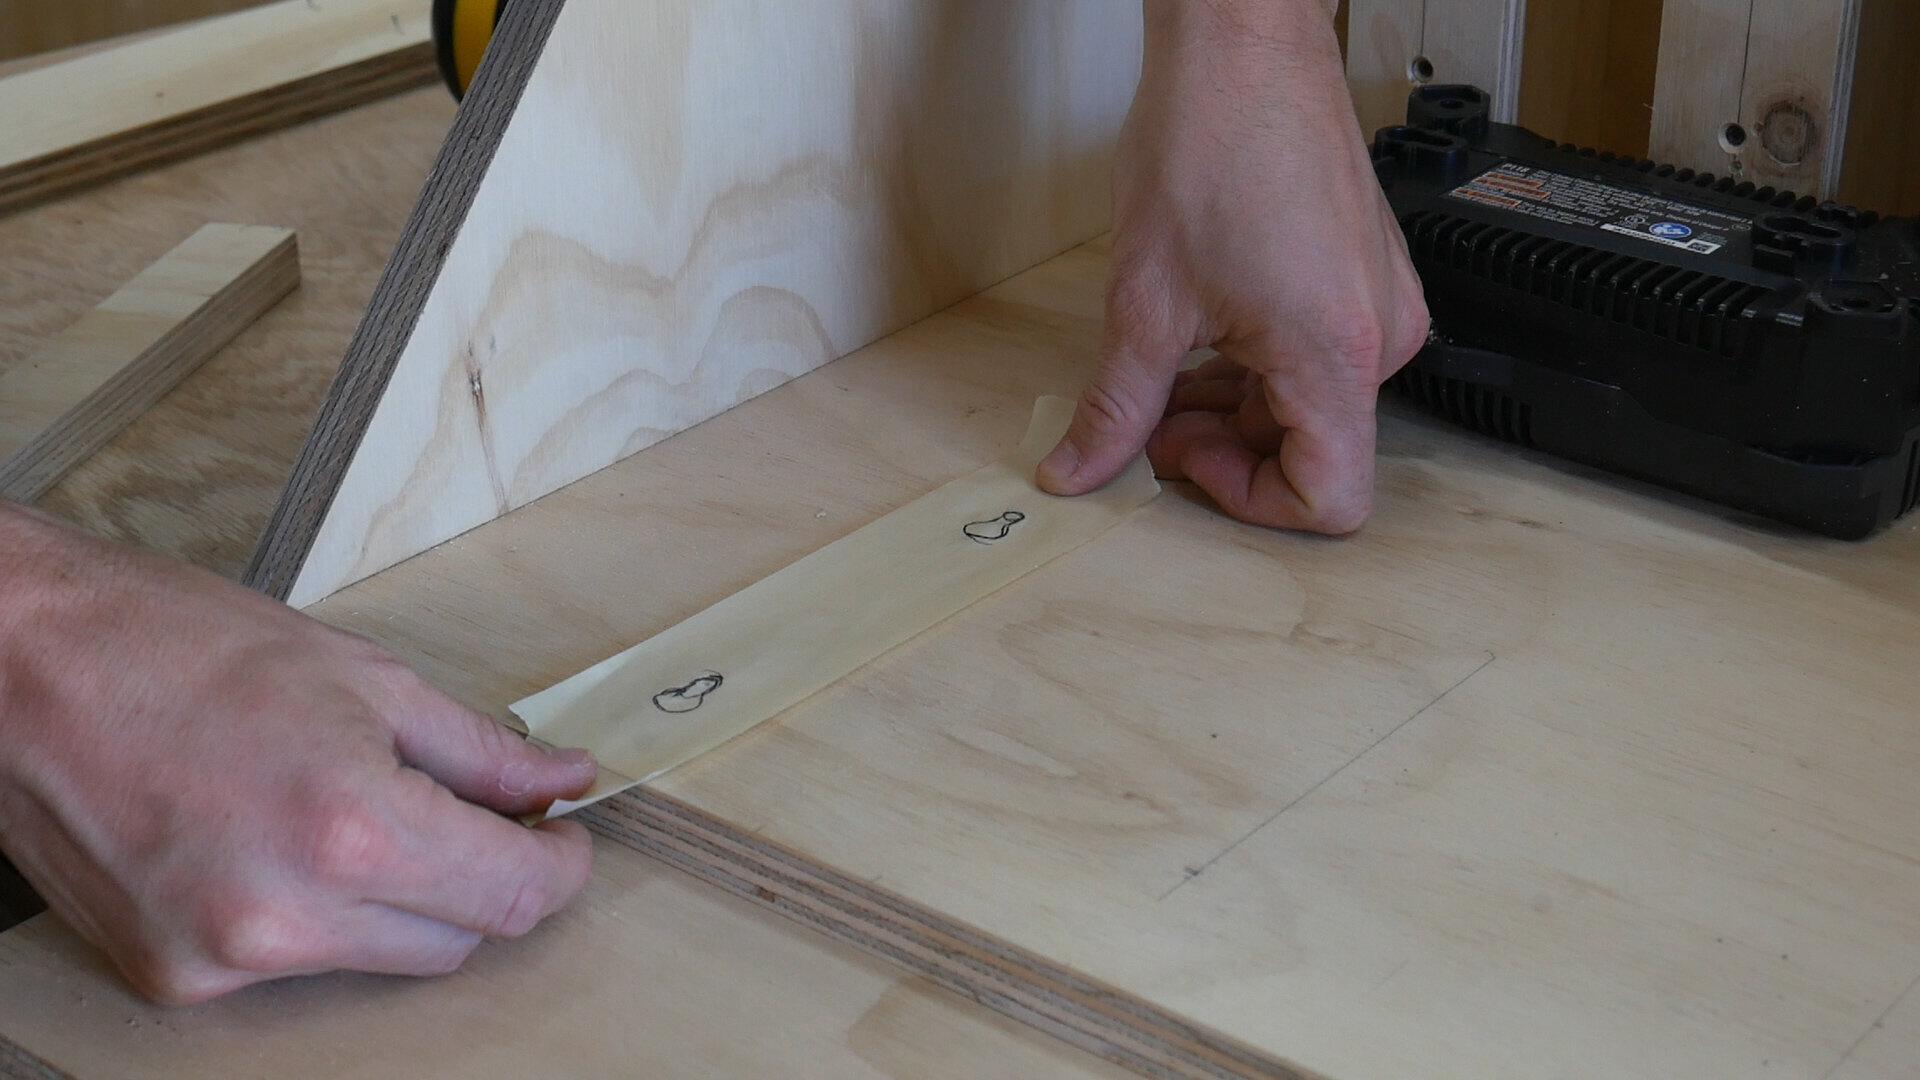
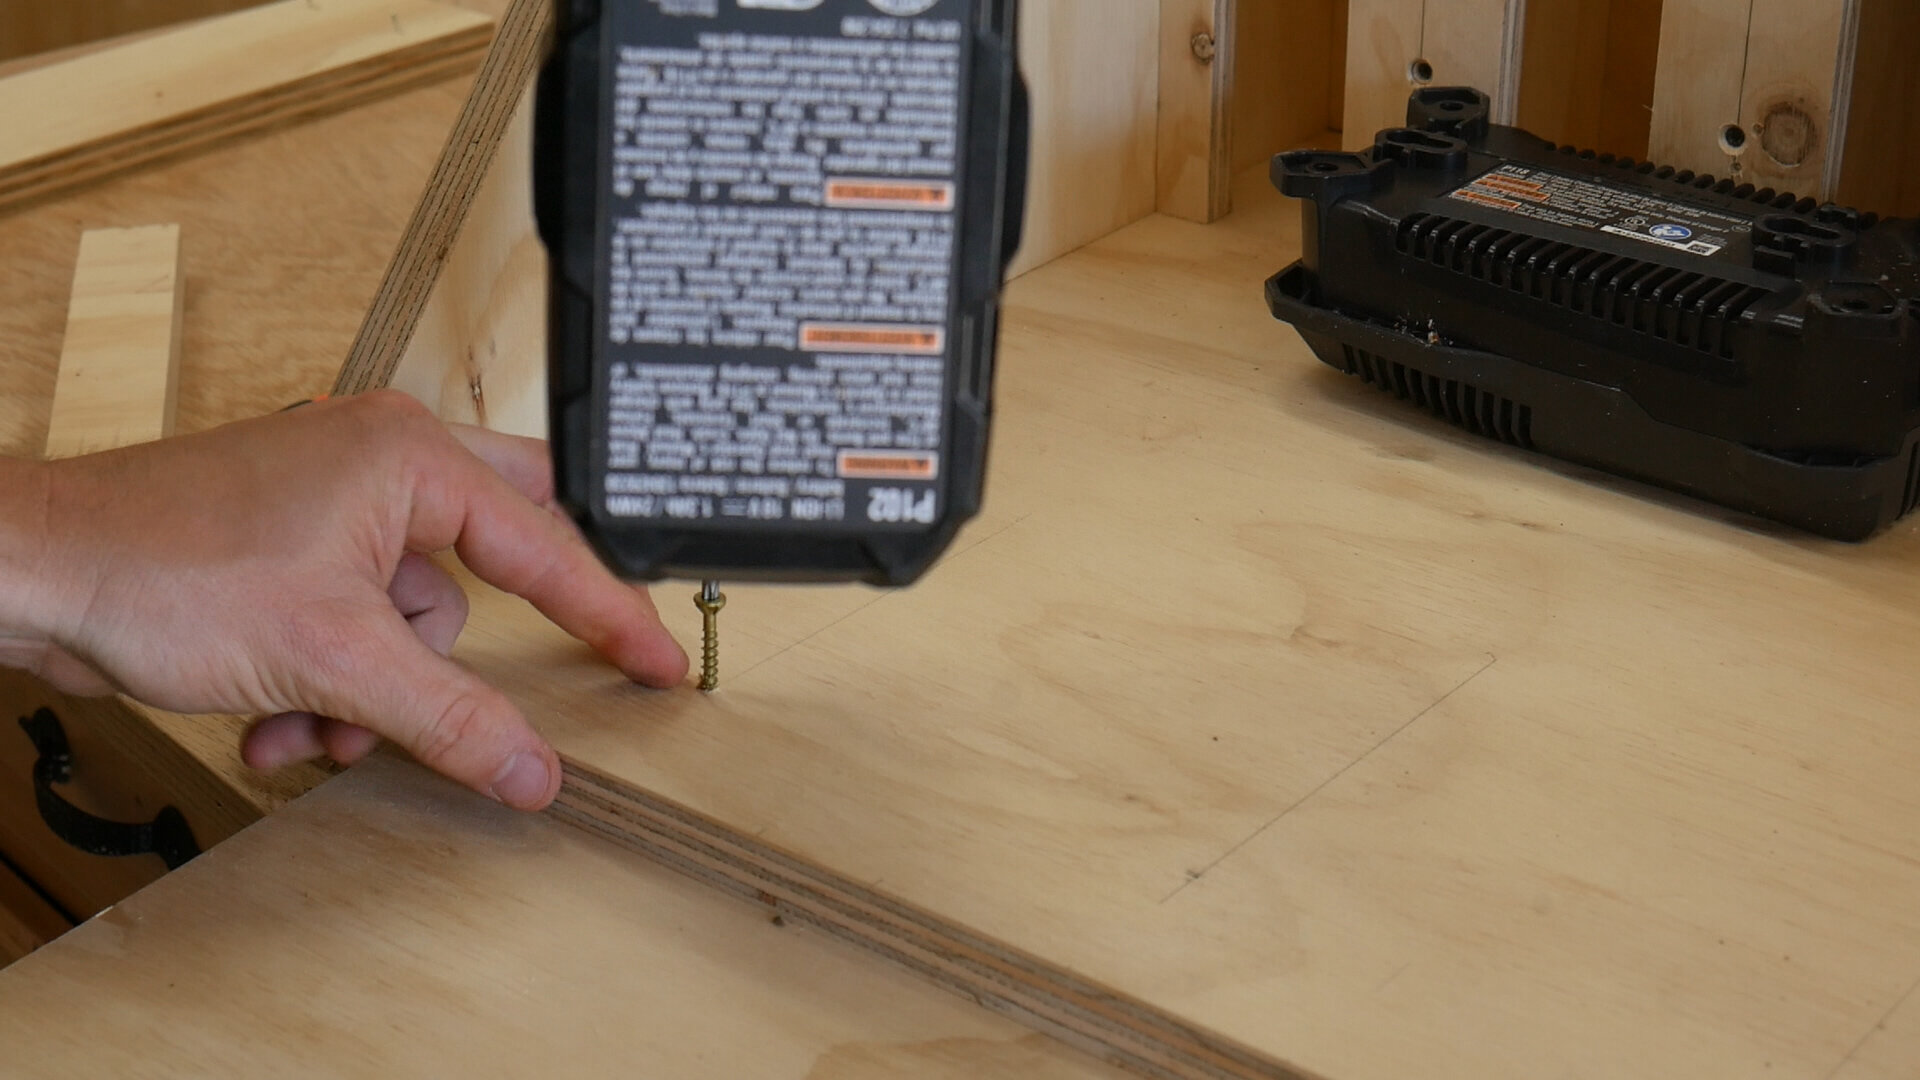
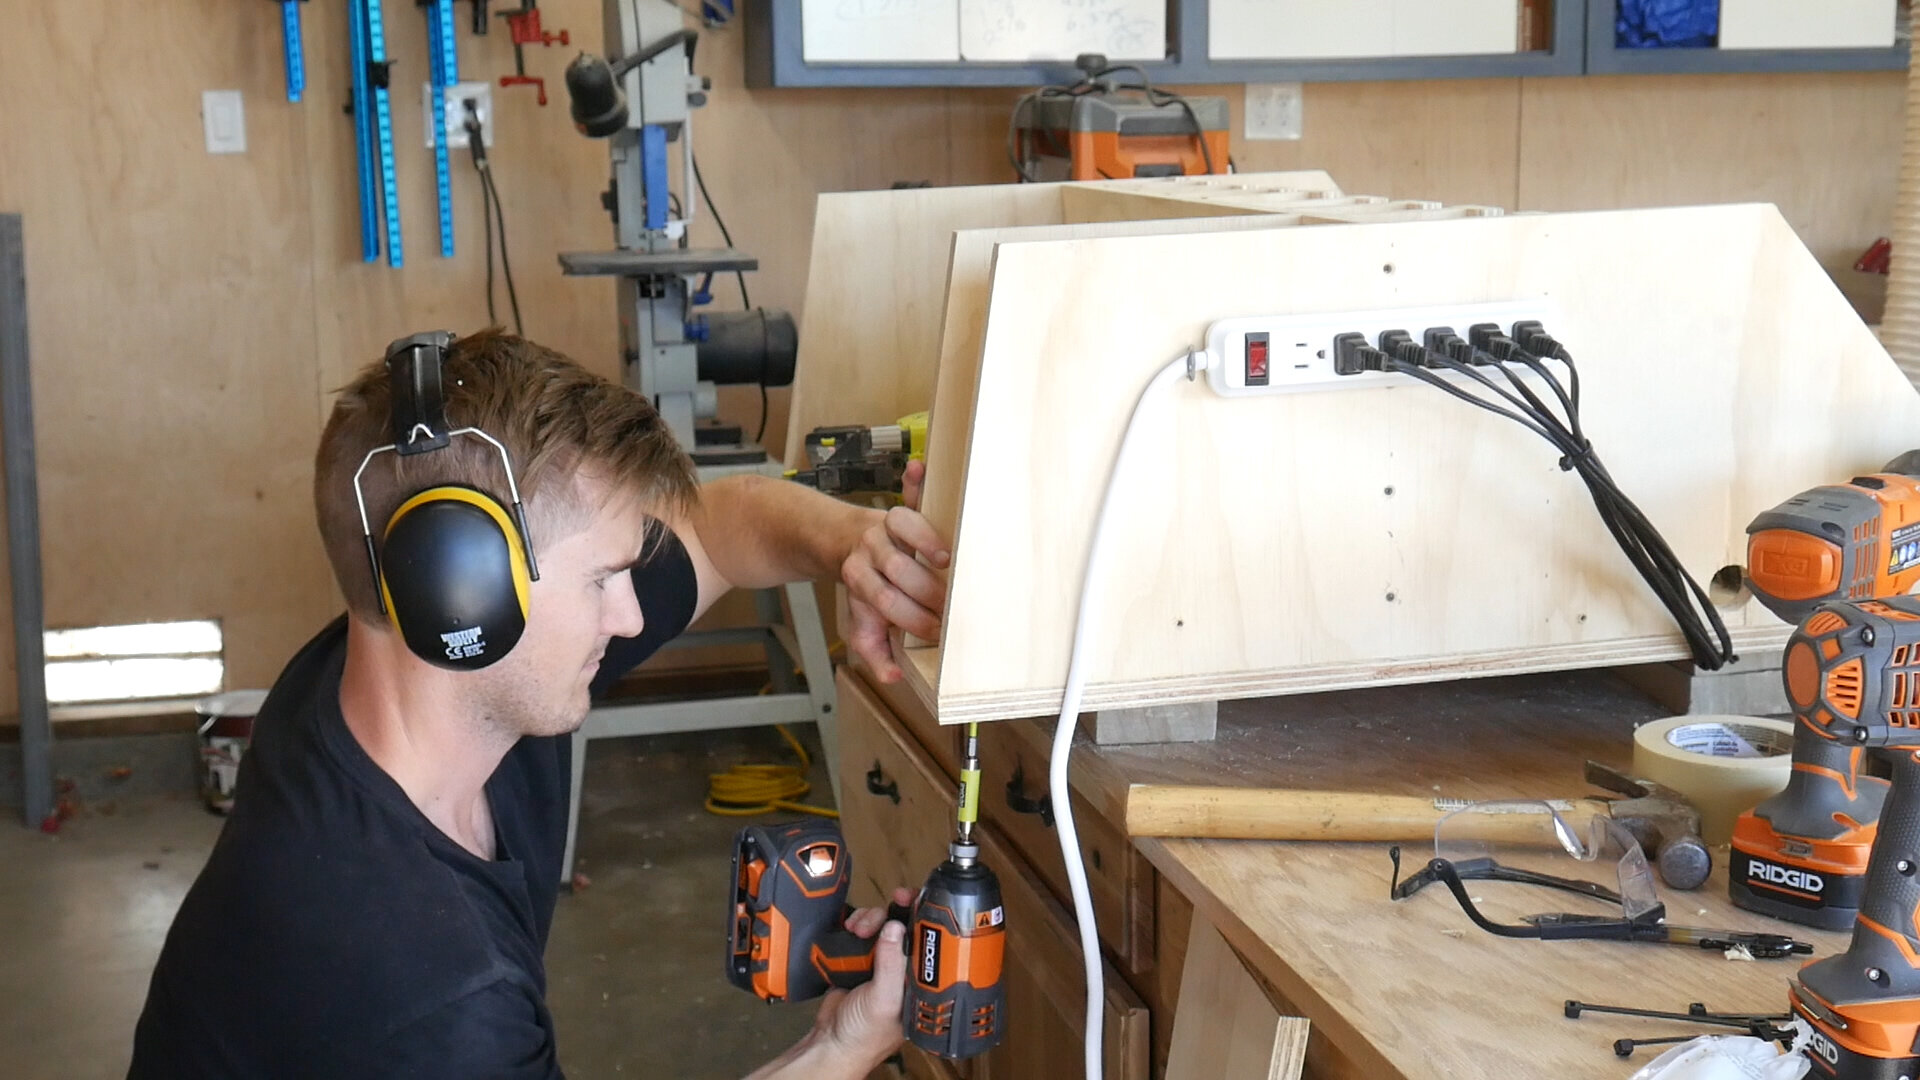
To mount them, I used a series of plywood spacers to get things evenly spaced vertically and horizontally, then used the tape trick to transfer the screw holes to the backer mount, and then drove in some screws. Lucky for me, this somehow all worked first try and things were secure and even.
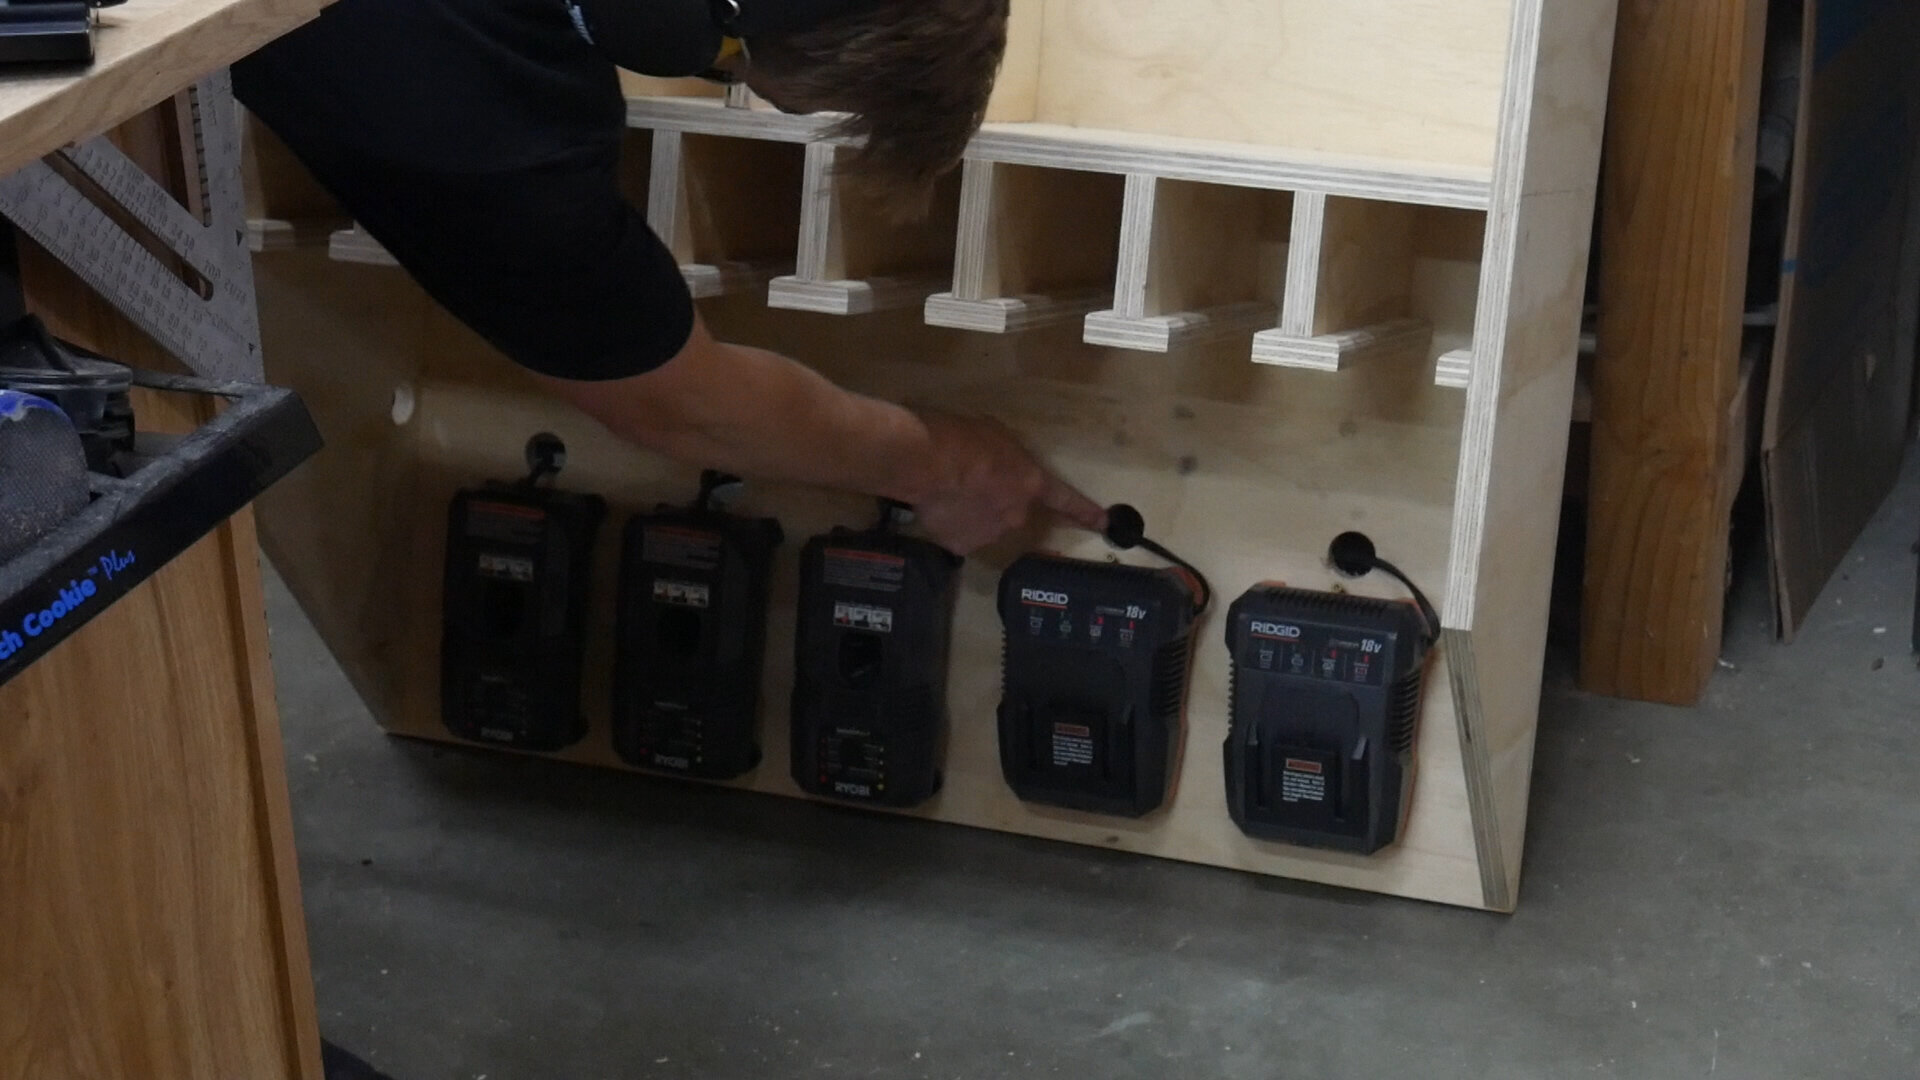
I don't show it in the video, but the last thing I did was drive in a single screw at the top end of each charger that was mounted up against the top edge - hope that makes sense. This prevents the charger from sliding up out of the key hole and thus won't come off even if you pull really hard.
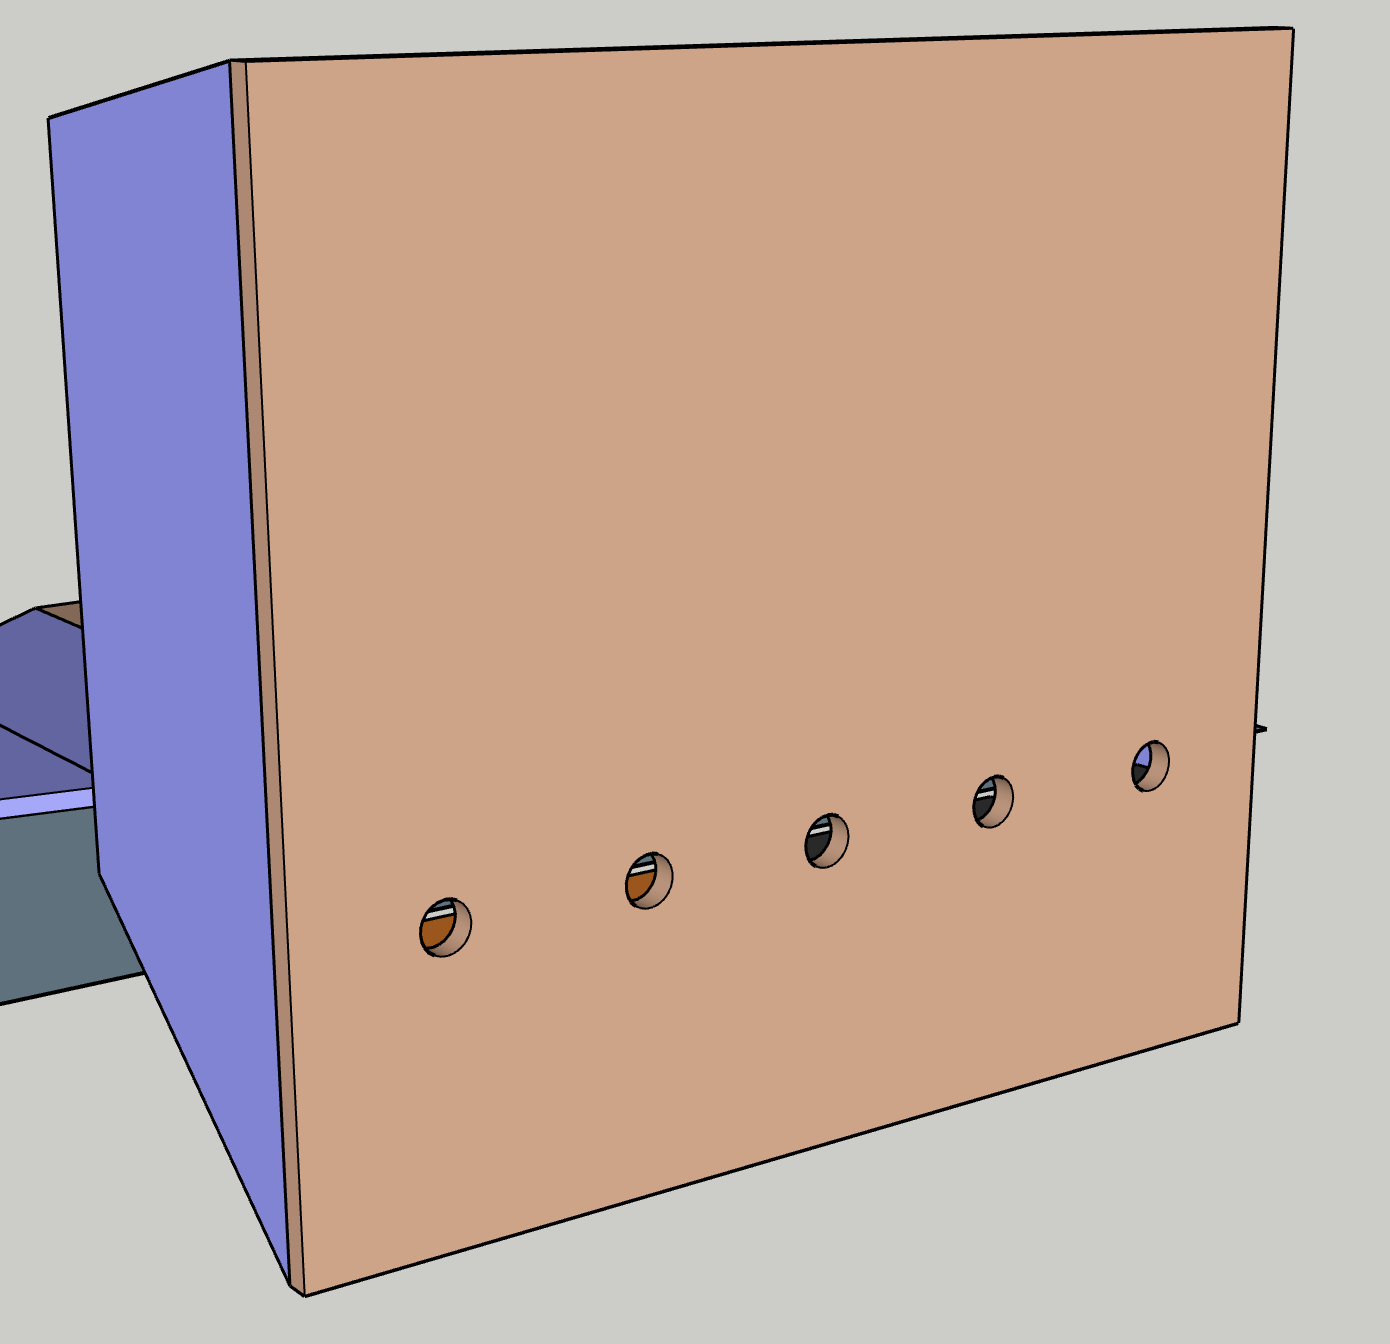
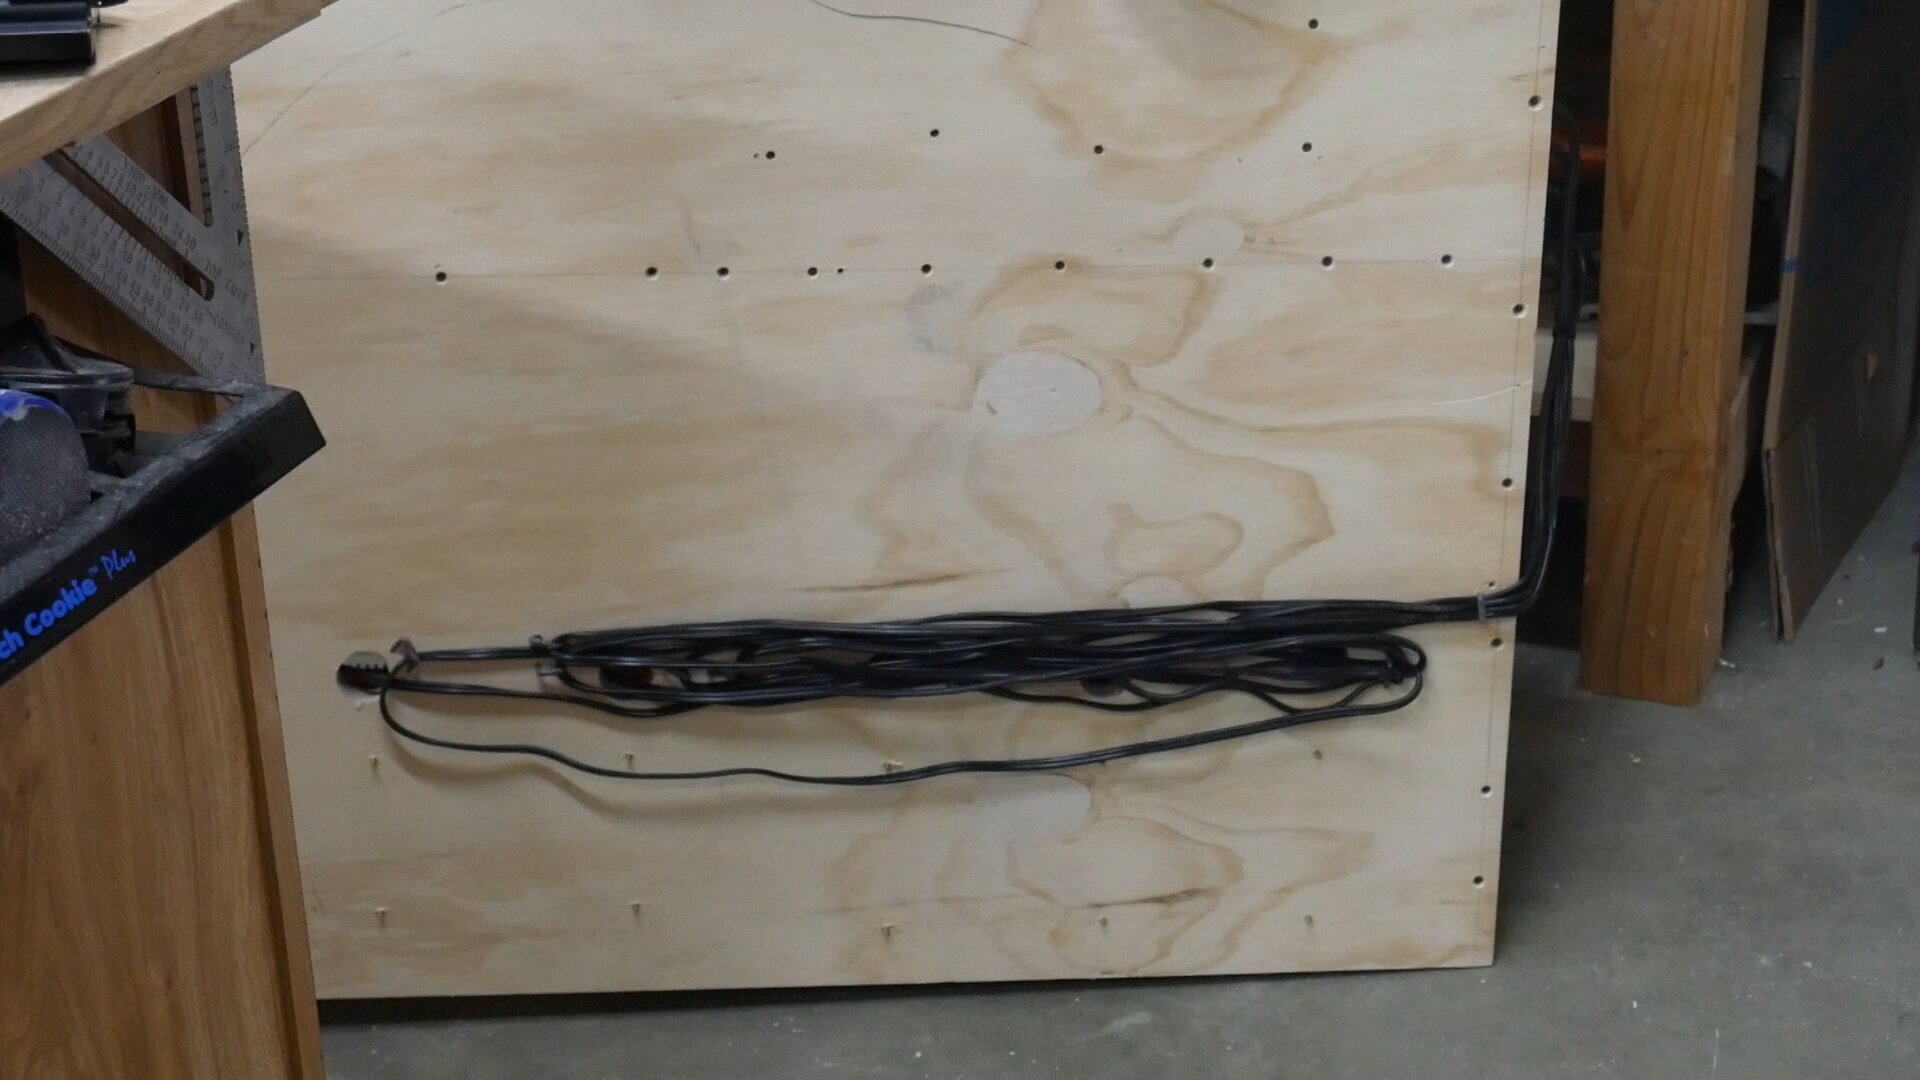

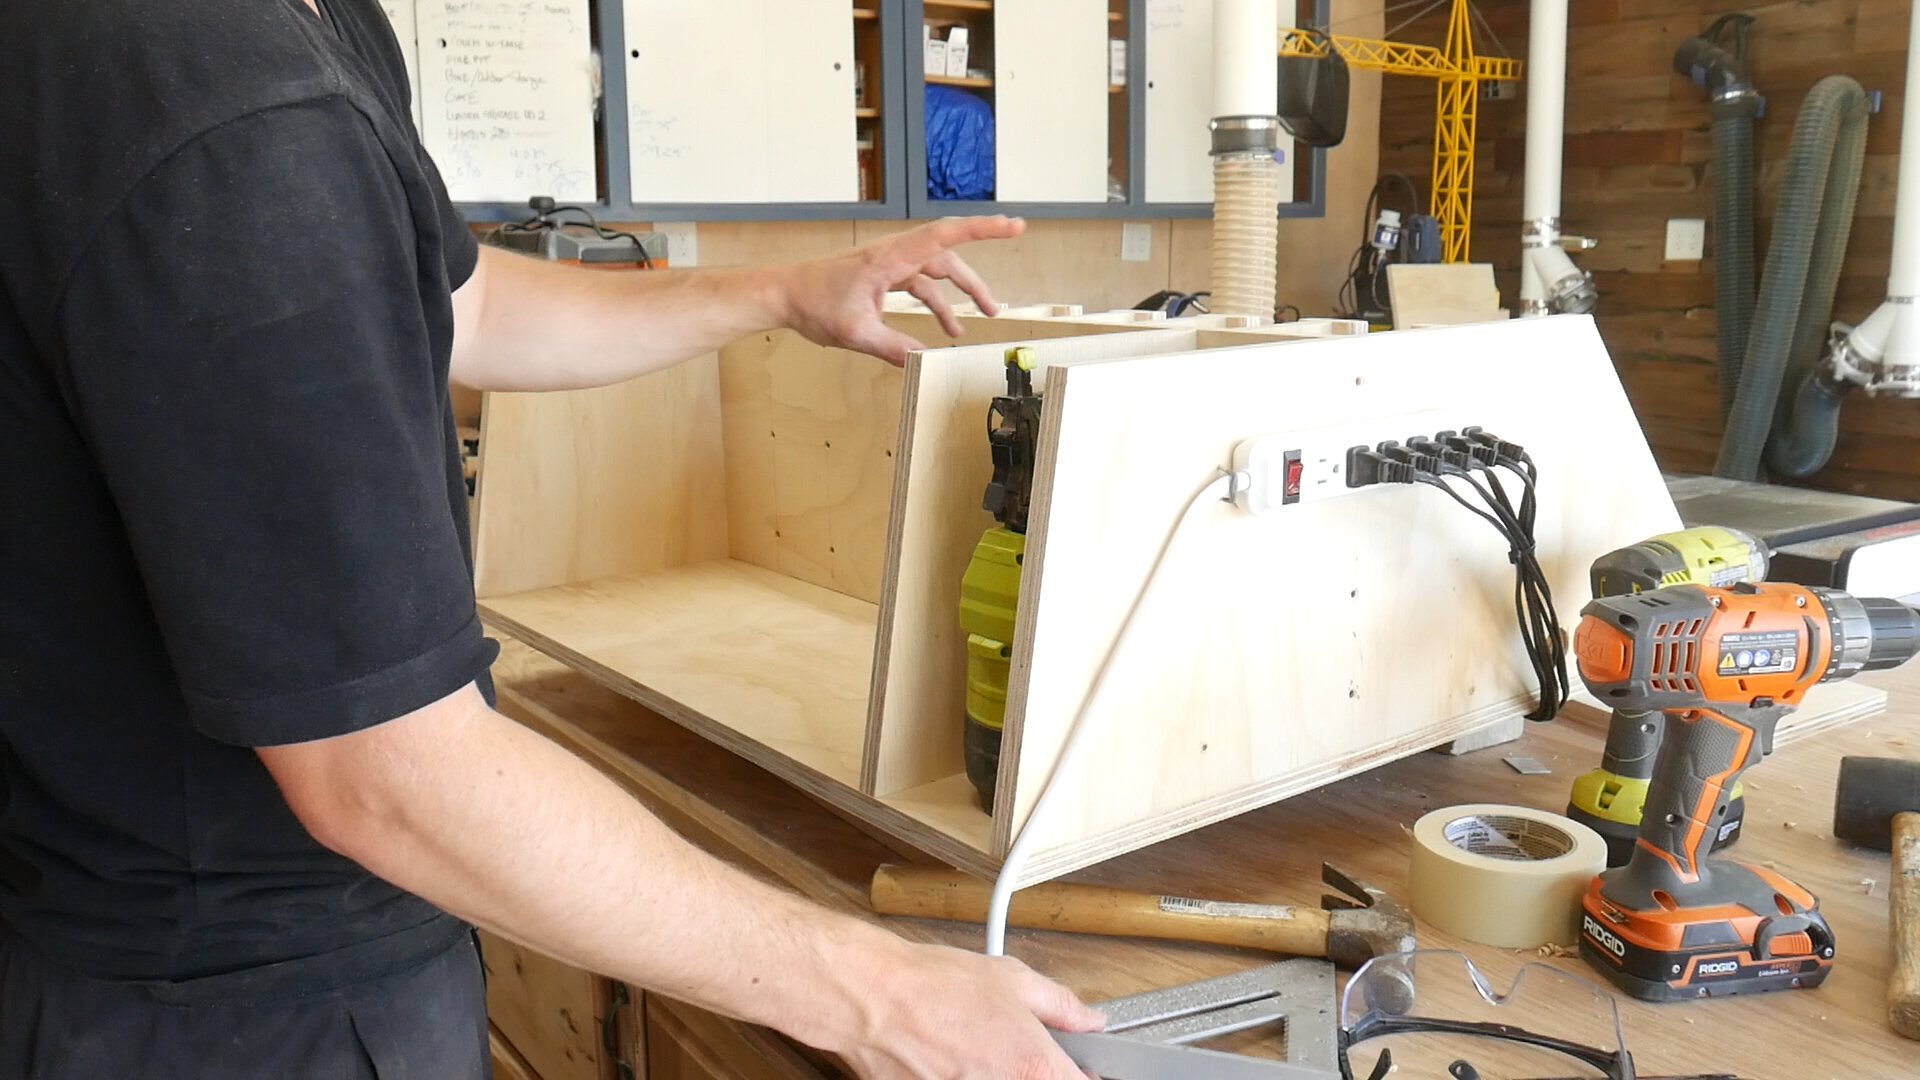
I pivoted on this step last minute and decided to mount all cables on the back of the station. This method words perfectly as I'm using a 3/4" french cleat on the back so I had extra space in the rear to store them.
To do this, I drilled a 1 1/4" hole at the top of each charger and fed the cable through. Using little nail brackets that are meant to secure wire to studs, I could then string the cables back and forth so that they could all exit one side and plug into a single power strip mounted on the side.
That power strip could then be plugged into one outlet and charge everything from a single power point.
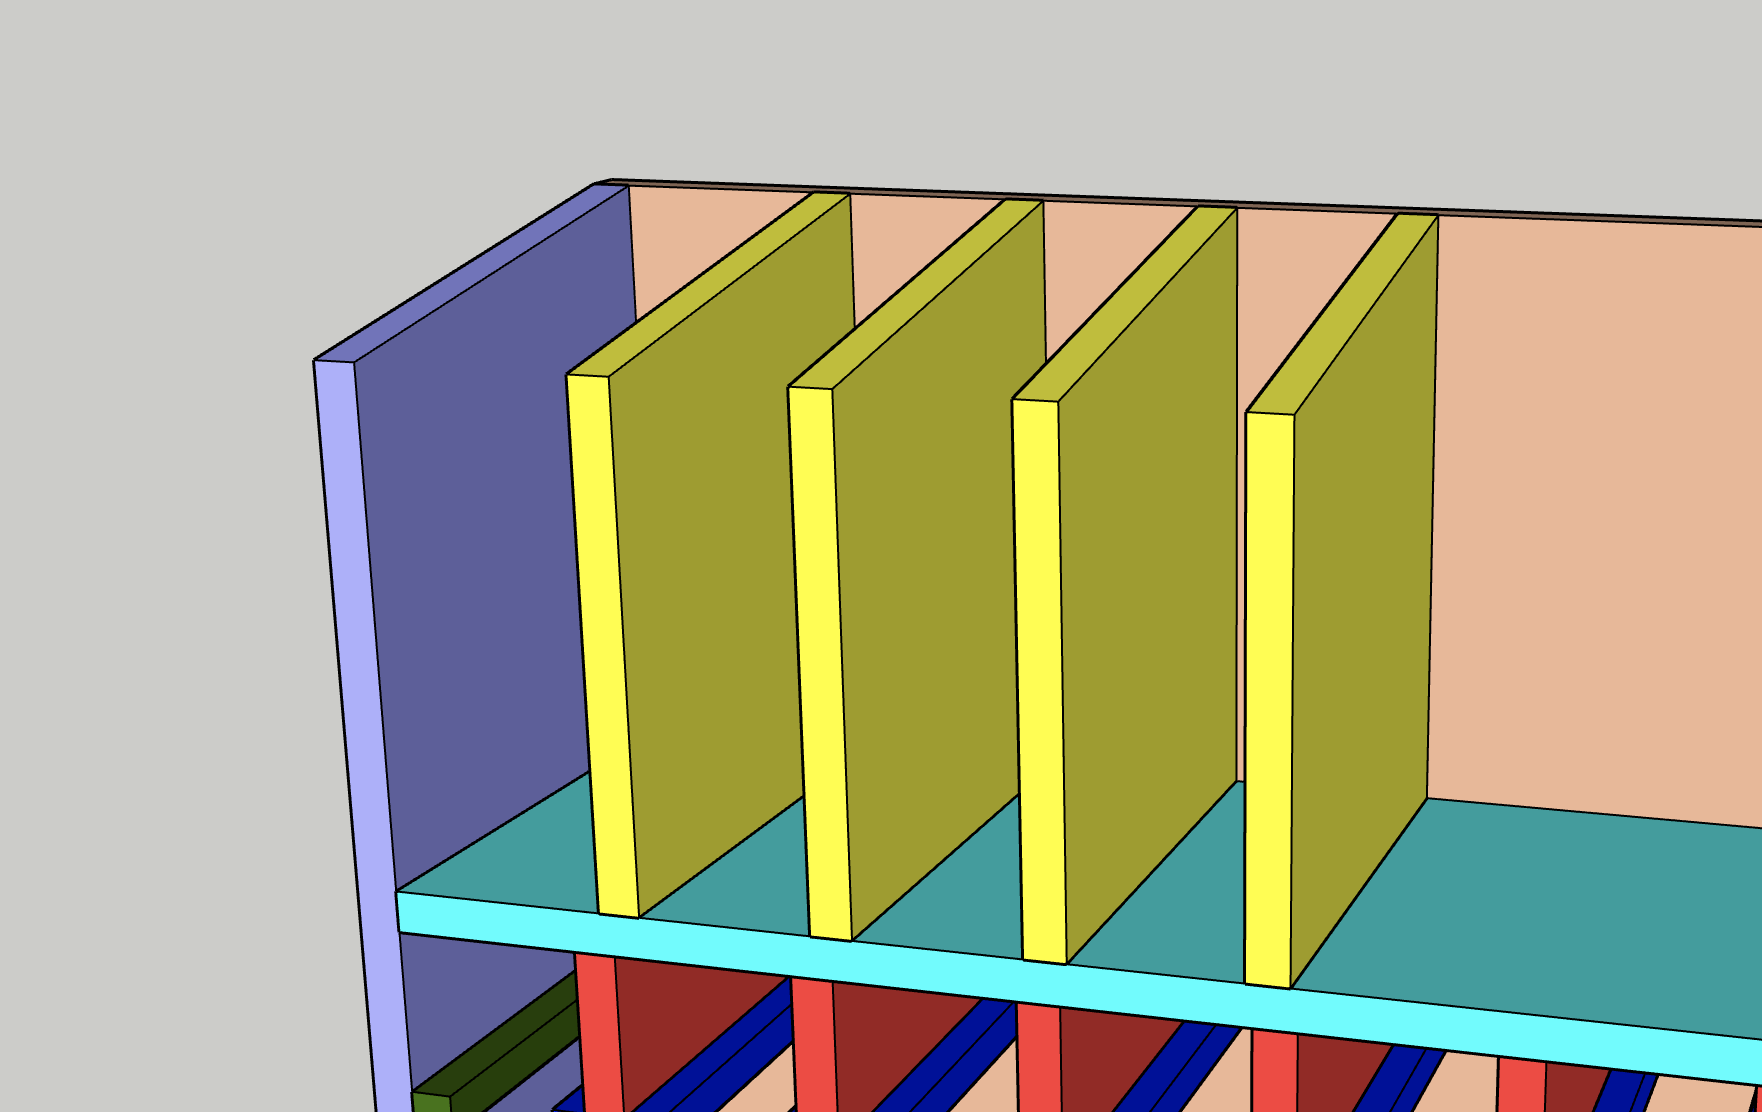
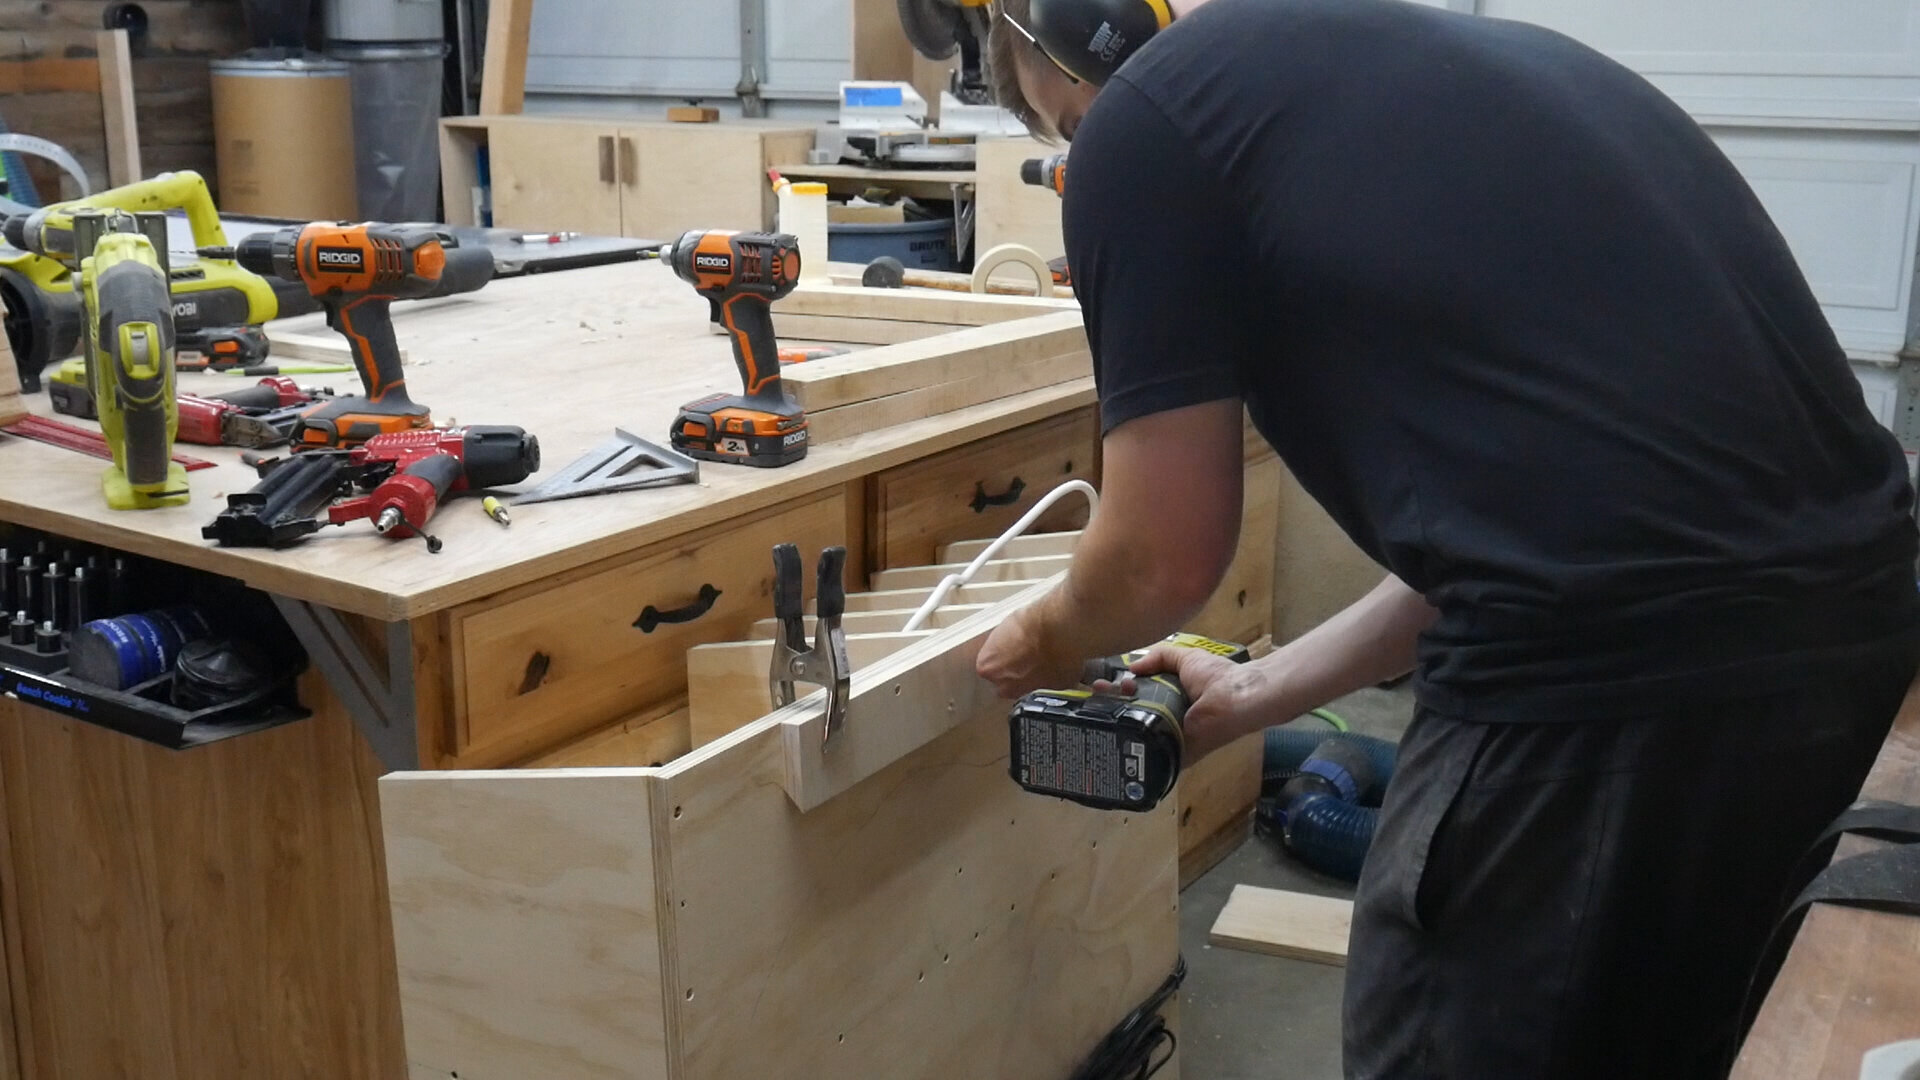
I cut four dividers for the top section - you can add more if you want more tool division space or if you make this wider. I then marked out and drilled out pilot holes where I wanted to mount each one. It was easier to drill pilot holes from the inside so that they came out on the other side of the wood - I could then add a counter sink from the new hole that popped through which would give me the proper space to feed a screw in.
The top dividers were spaced according to my tools and what I planned on storing. Feel free to customize however you want!
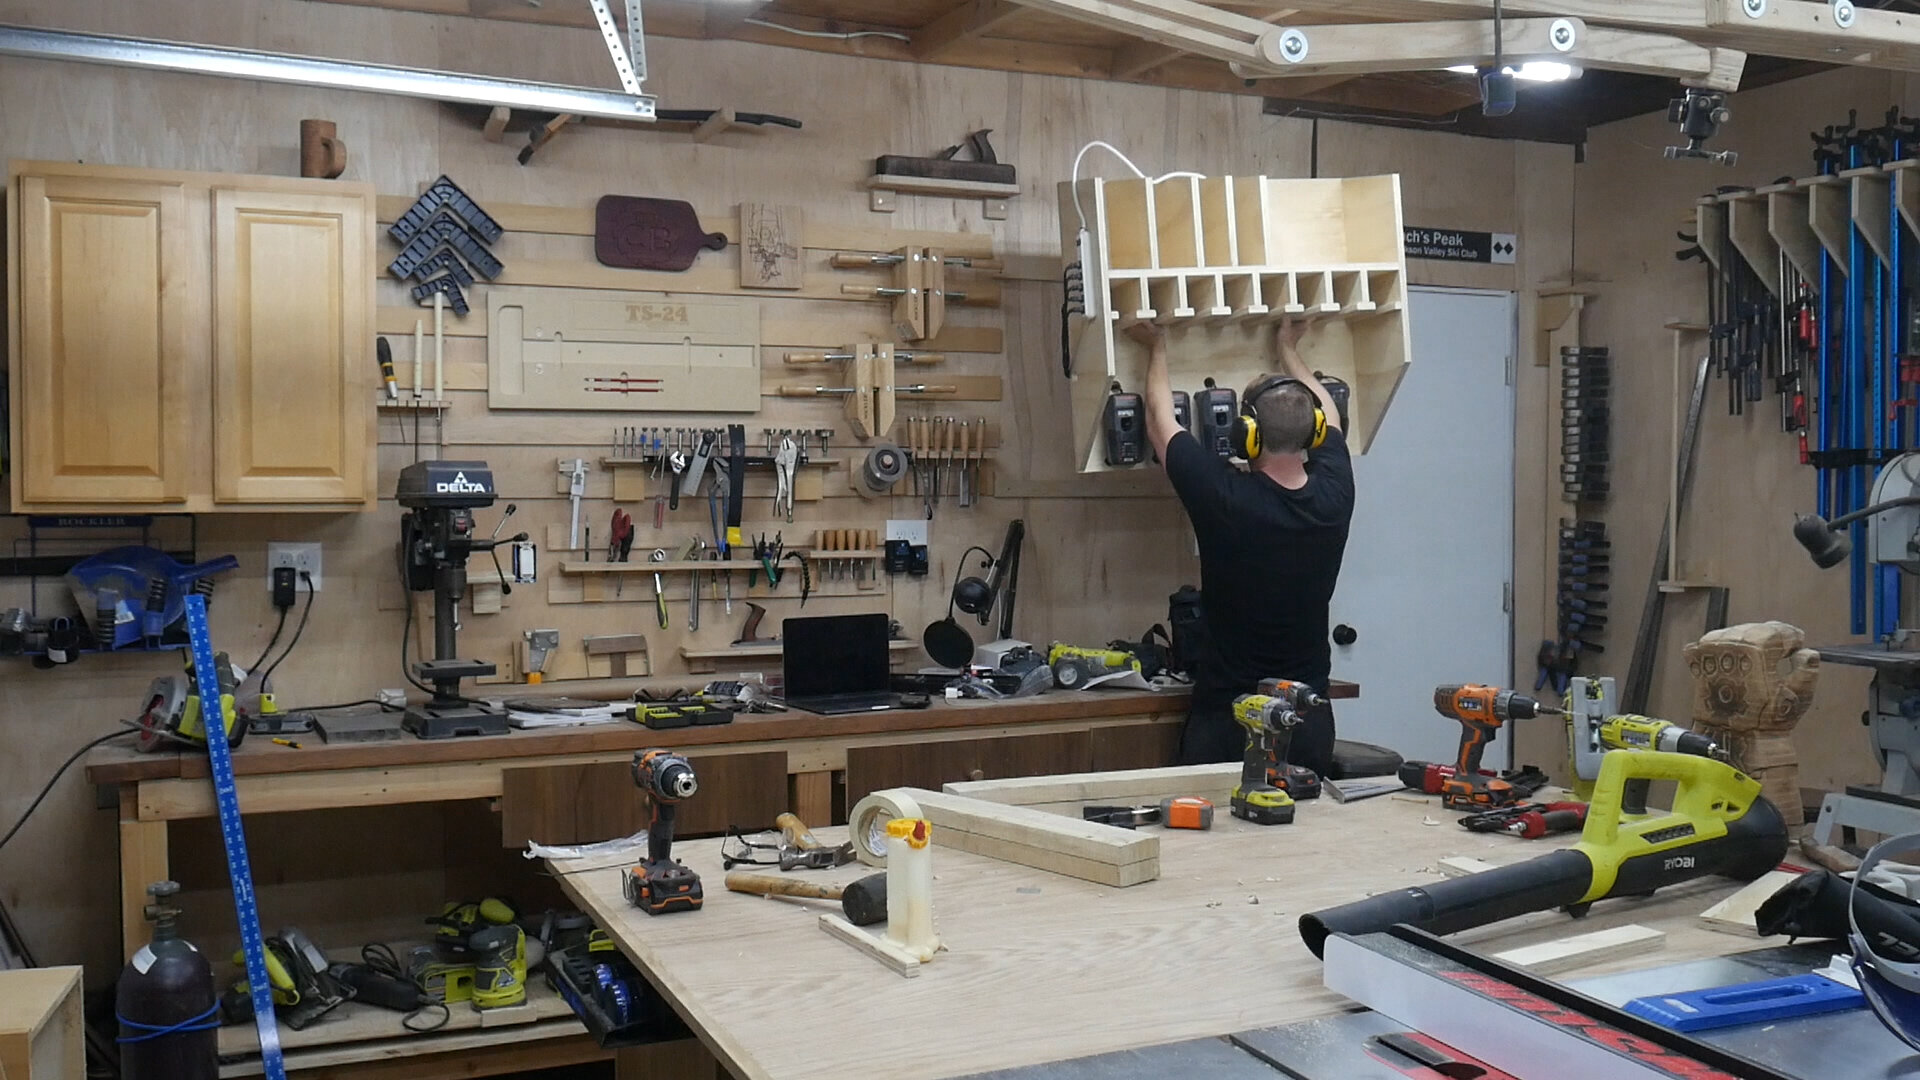
This system uses a 3/4" french cleat to mount to the wall. I highly recommend this as a tactic for mounting tool systems. It makes your whole storage systems incredibly flexible and adaptable as you expand your collection.
I previously had a cabinet hanging where this would go, so I took that down and reused the french cleat I had already cut and secured it to the back with 5 wood screws. Then, I hung it up and organized my tools. It was so satisfying! I also plugged in the power strip and it was even more satisfying to see all the batteries light up and charge at once.

At first I thought that I might have mounted everything too high. However, after using it for 5 days, I realized it was perfect. Batteries were head height, drills were head height, and it left a bunch of extra space underneath for even more future storage. Definitely recommend putting it at head height.

This last step is totally optional, but my wife has an embosser, so I thought it would be prudent and fun to label each holder so I can keep a consistent system of where all my devices go.

All done! Can’t wait to have this moving forward in the shop!
Thanks for reading!
Zach