Thanks for checking out the full article!
Please Subscribe to my Youtube Channel by clicking here for future vids!.
My full video of the build is below, followed by detailed instructions with tools, materials, and measurements!
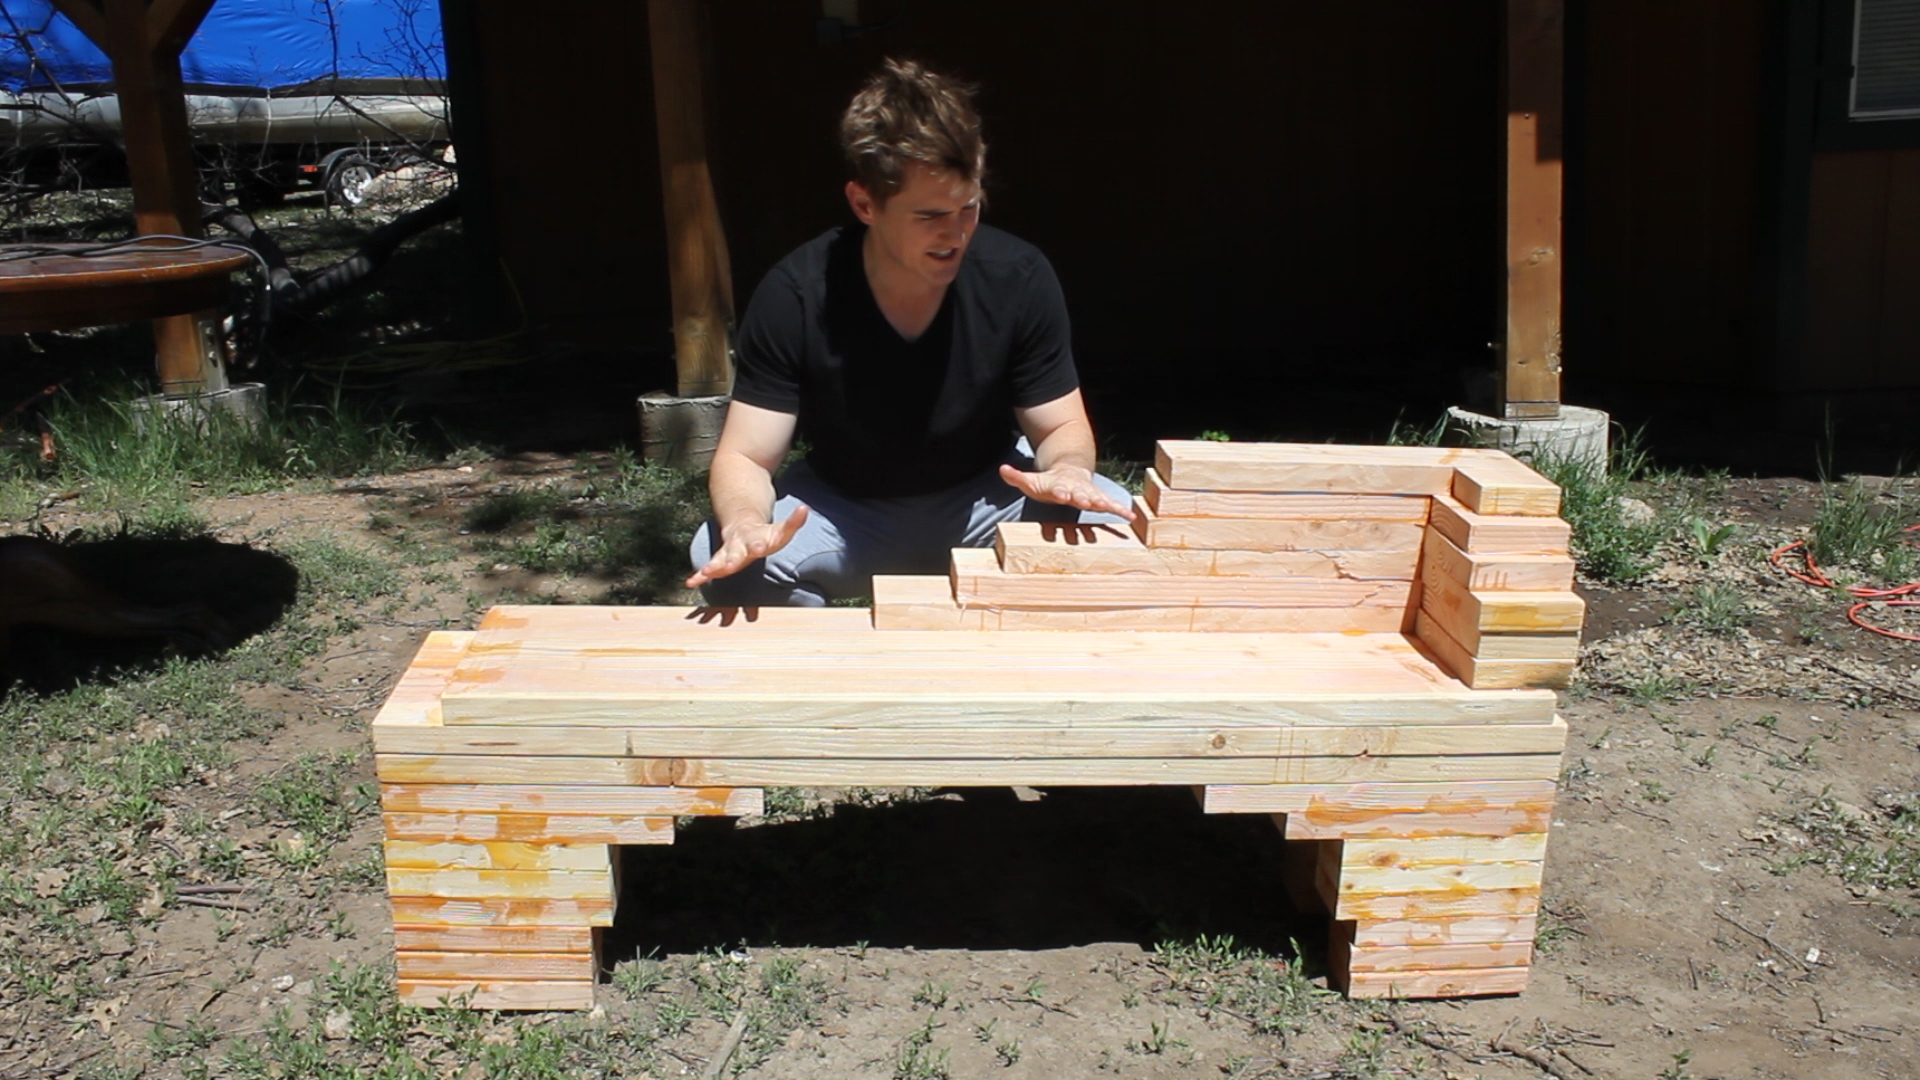
This faux box joint style is really cool in my opinion. It can be achieved with a bit of good design, focus, and precision, and has very unique results when totally finished. I had built something similar once before and learned a lot in the process, so I was excited to take on another build similar to it but with my past experience in hand.
MATERIALS
18 x 2" x 3" Framing Lumber*
2" Finish Nails (not totally necessary)
TiteBond II Wood Glue
Dark Walnut Danish Oil
Minwax Clear Finish Polyurethane
*Note - This amount of material fits my specific design / dimensions
Step 1 was just to design the whole project. Below are my designs that I worked from:

Here is a free SketchUp model for you to access the exact design of the model incase you're interested!

This is my design looking straight down from the top.
Blue cuts are the longest pieces I'd need for my project.
Pink cuts were initially measured out, but would be contingent upon the final width of the wood as the length of the pink piece + the width of the two yellow pieces would need to add up to the length of the blue piece
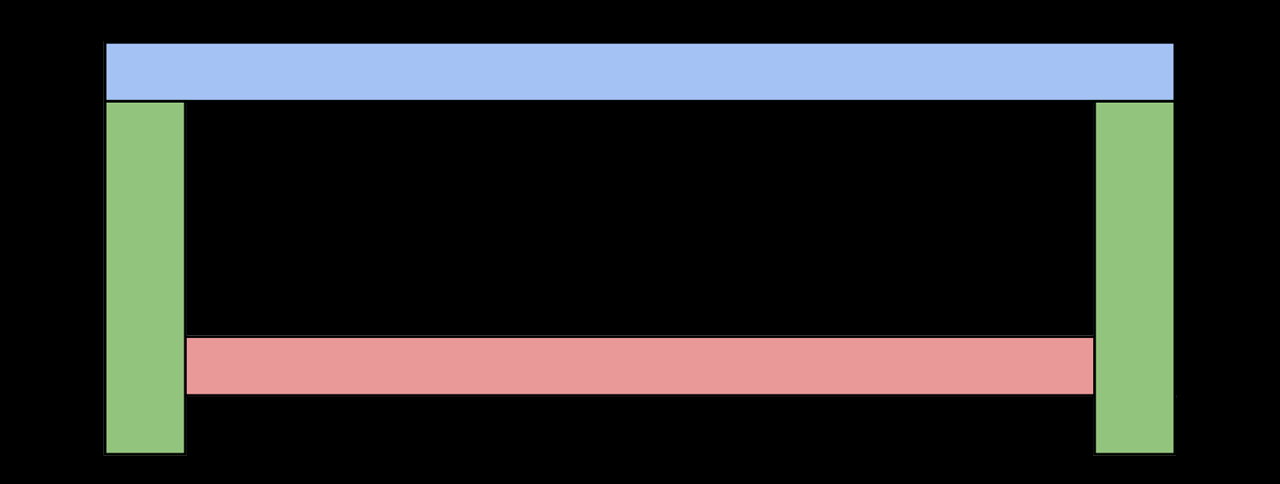
This is the side profile of the table. You can see that the green leg pieces will be shorter due to the blue pieces extending to the end of the table. The Yellow pieces (not shown here), would be the length of the green pieces + the thickness of the blue piece (if that makes sense)

This is a view from the bottom of the table. The yellow and green pieces did not have a definitive length during design (but were roughly 15 and 12.5 inches, respectively). I will give my final cuts later.

This is the same view from the bottom, but now includes the bottom shelf that I added in. The brown pieces were the length of my pink pieces + one inch as I was going to be using Dados to hold them in place. more on that later.
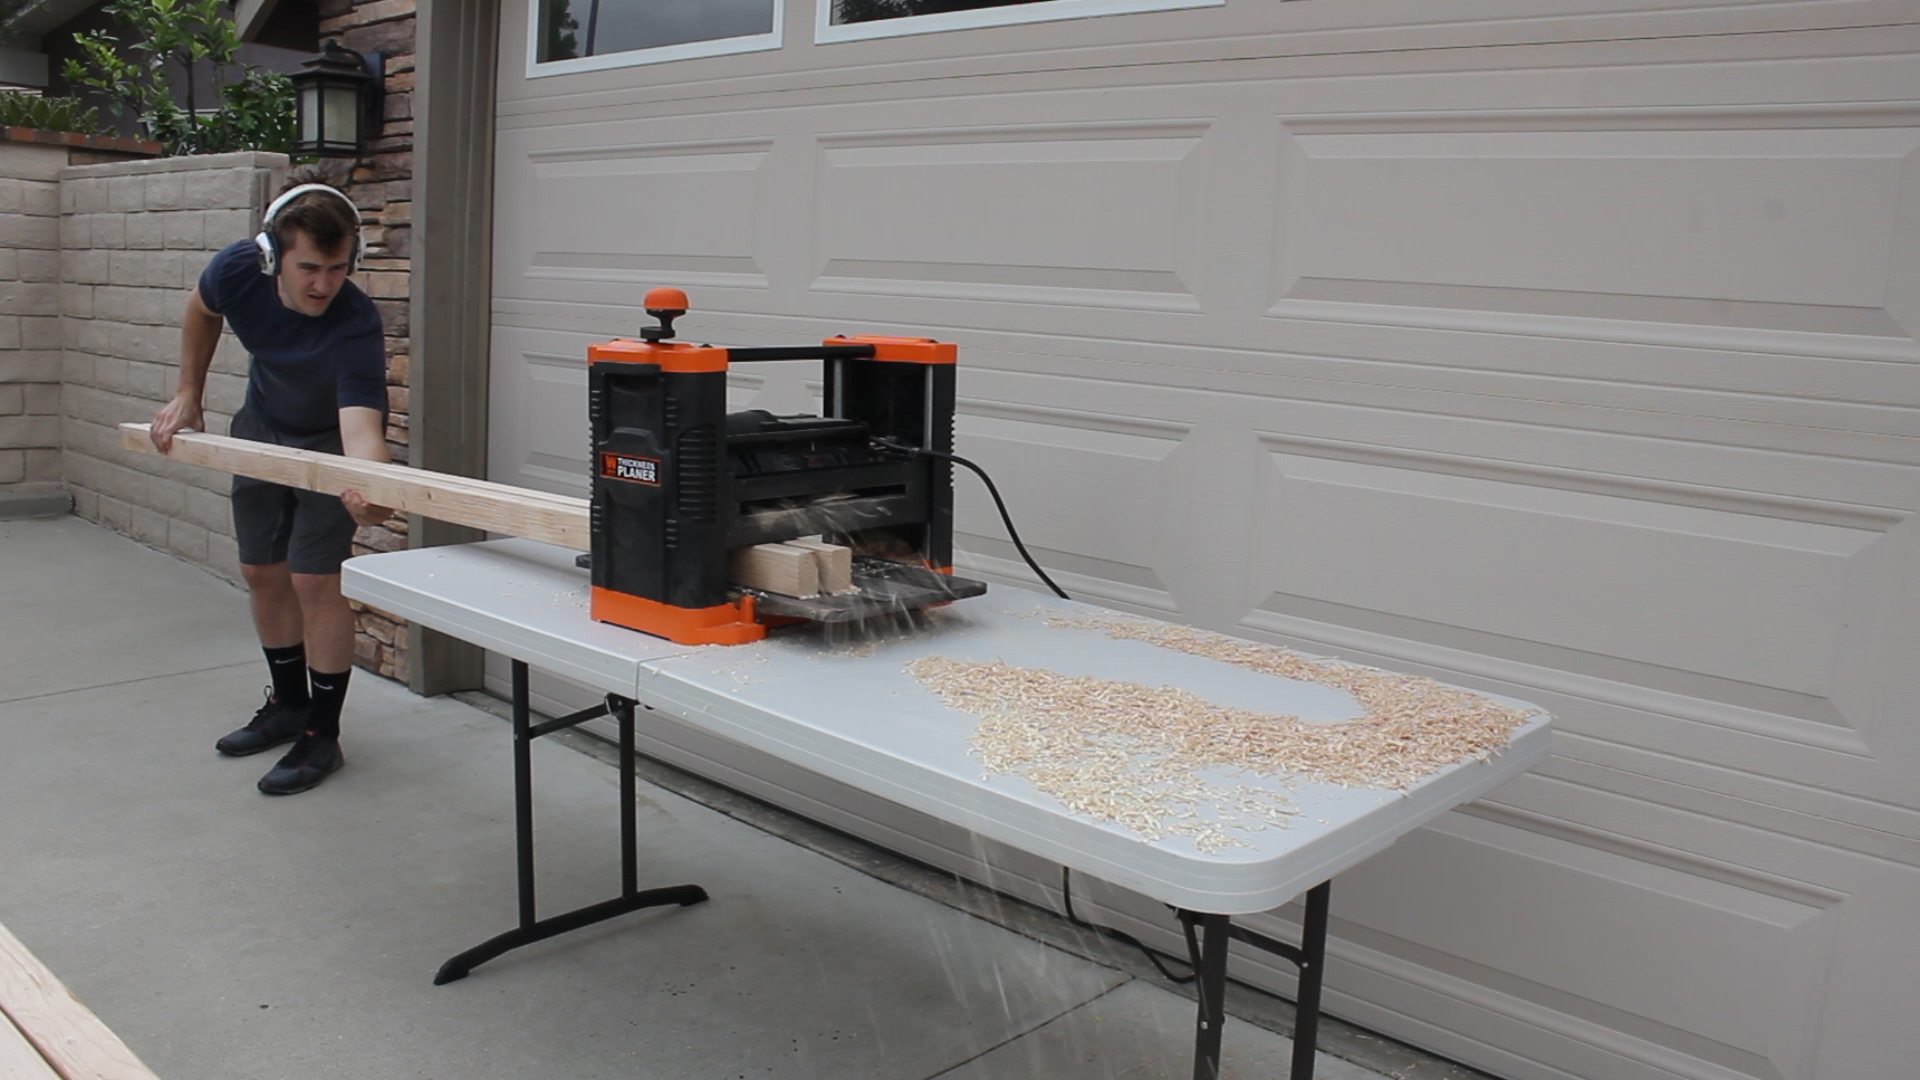
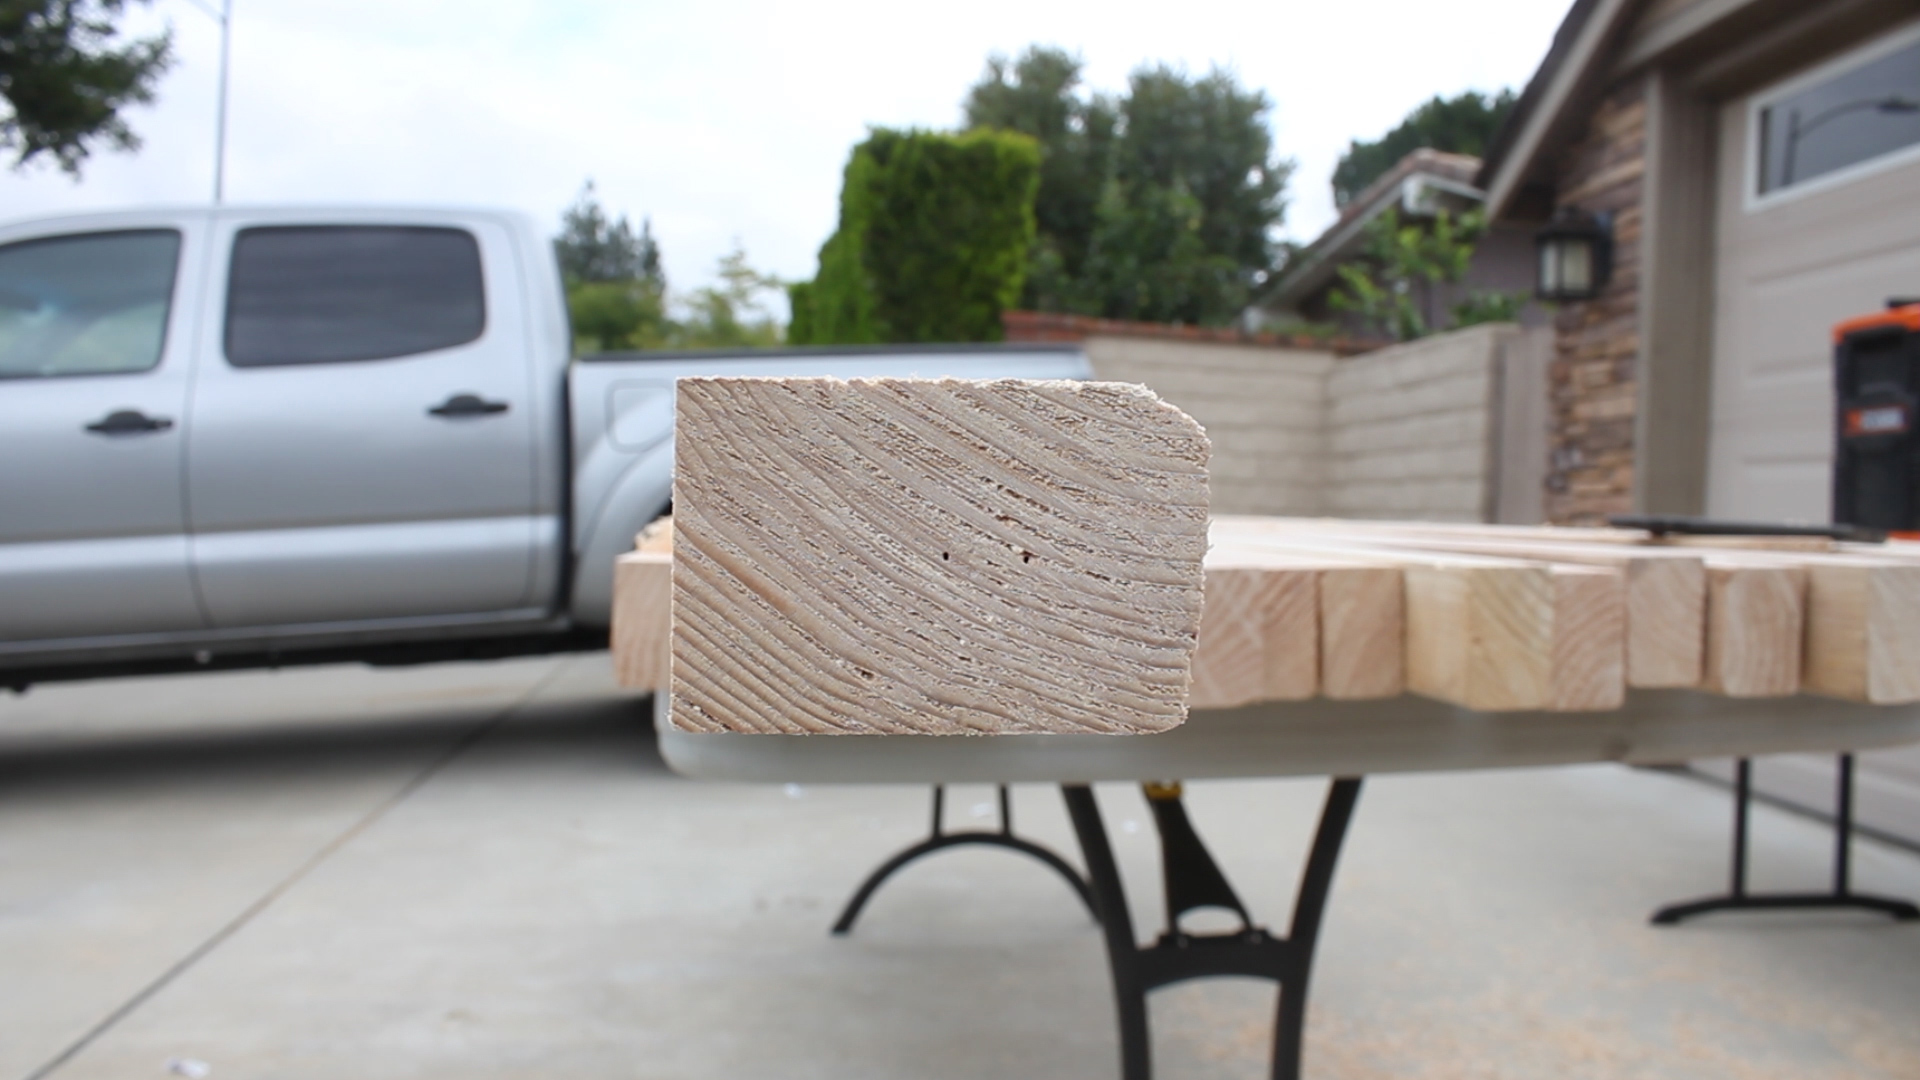
I planed all of my wood down - first to remove the rounded edges, then on each side to give clean surfaces for glue ups.
Removing the rounded edges can be done on a table saw as well, I just hate my table saw and would rather not work unsafely.
The second picture shows the difference between the square side you want and the awful rounded side it started with.
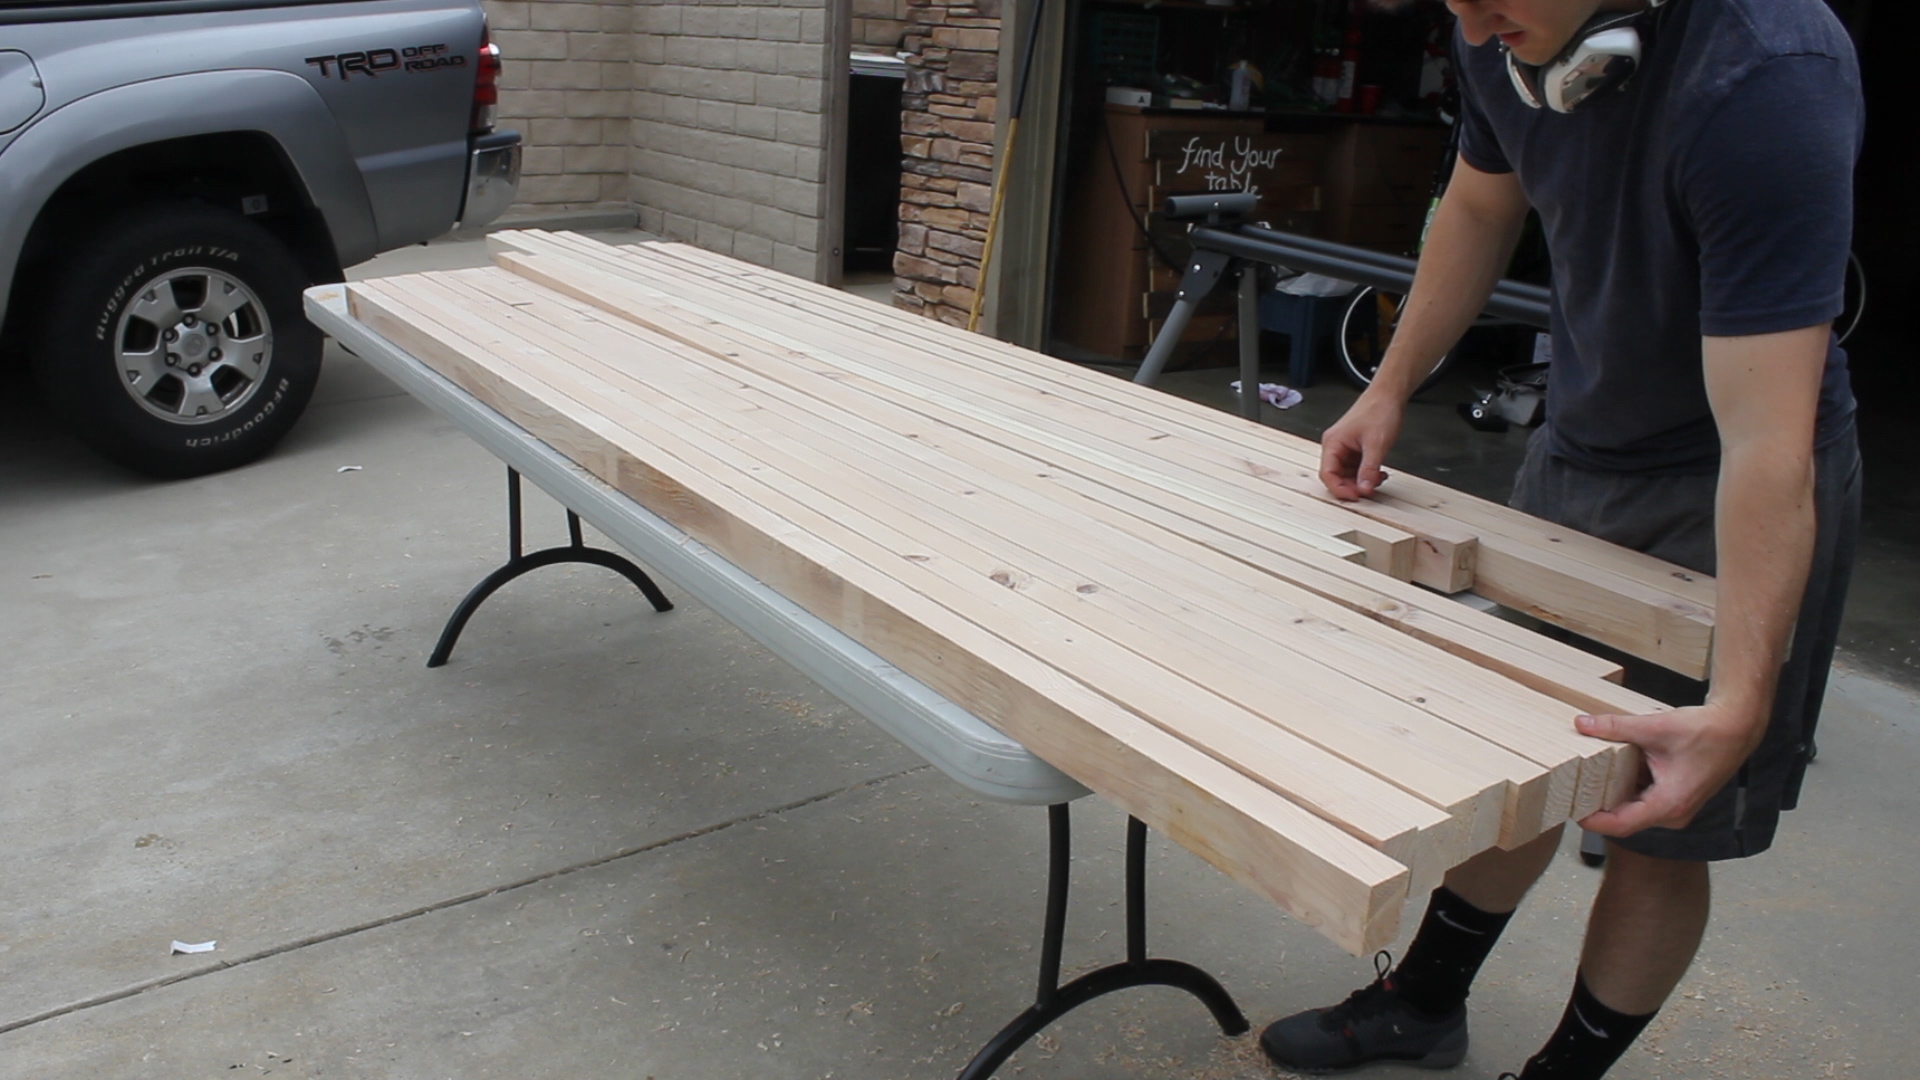
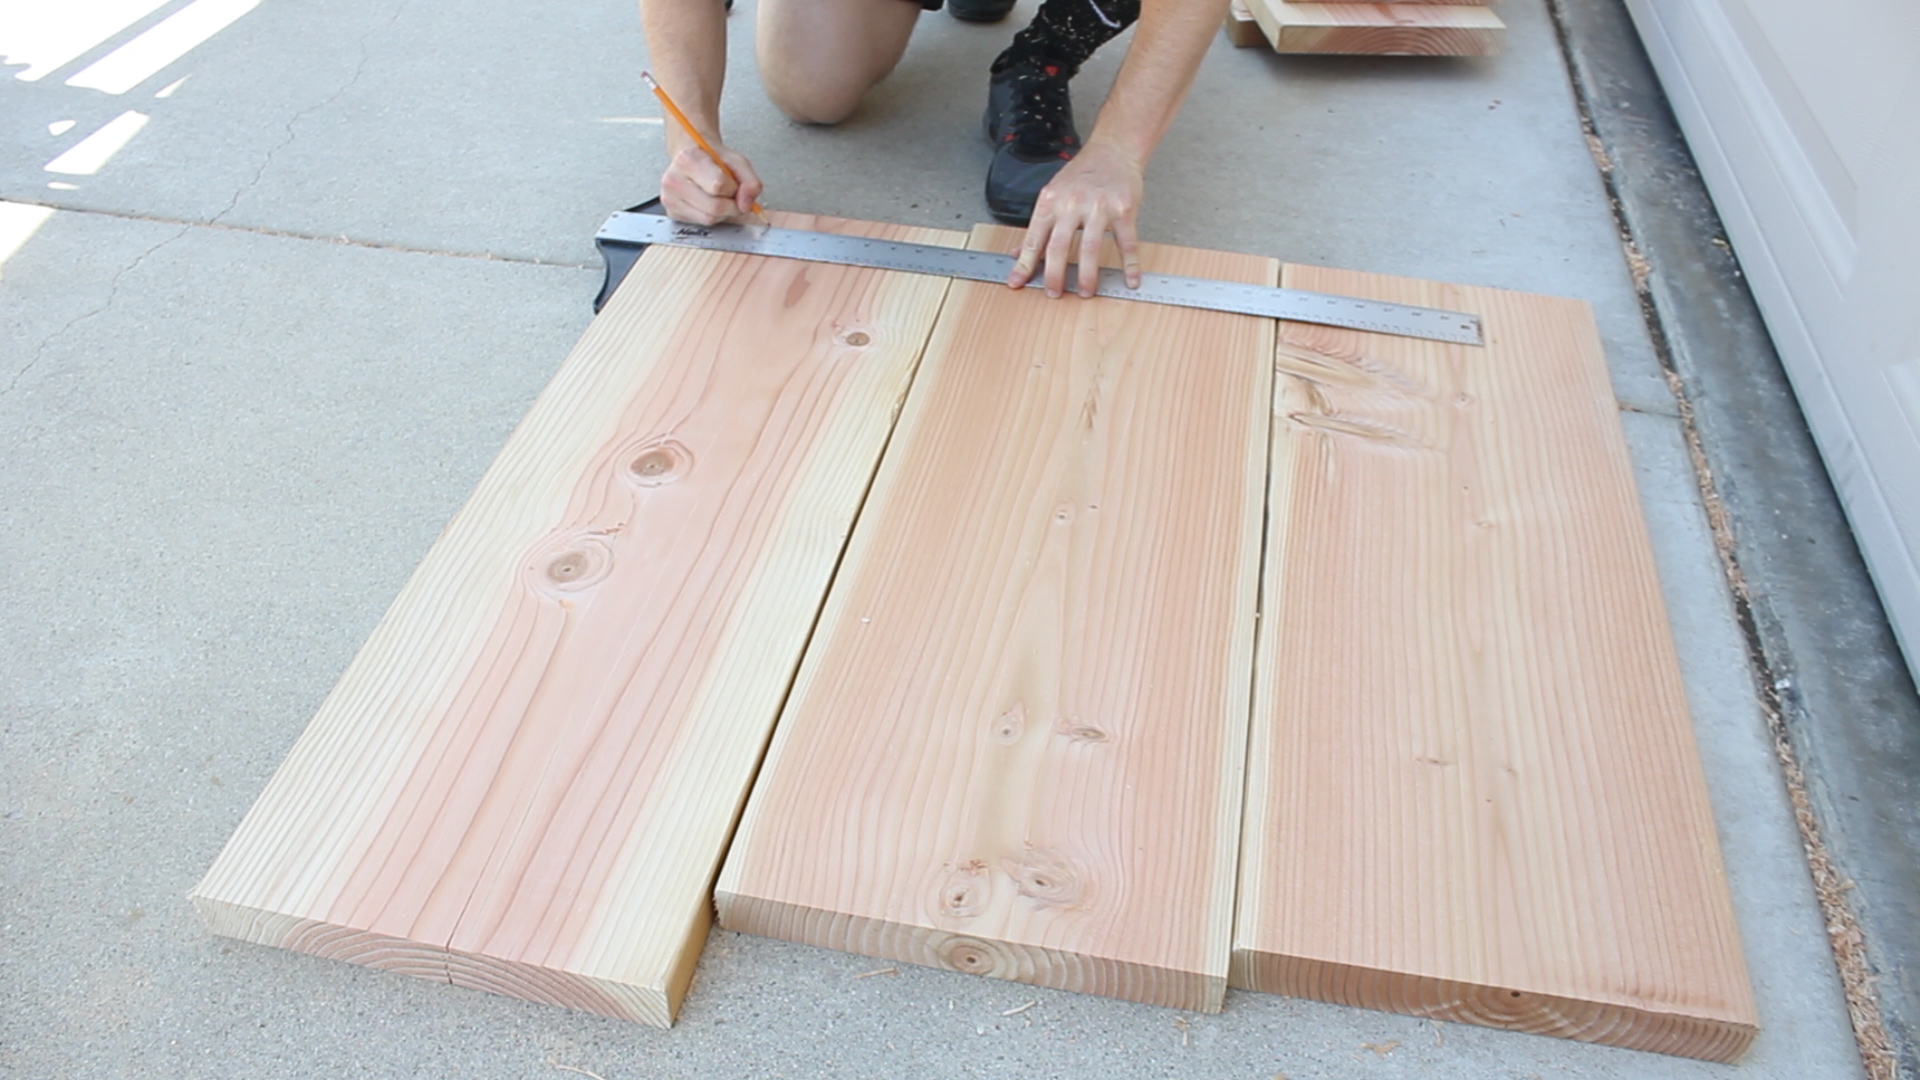
Now I was selective at the store as to the quality of materials I bought, but once I had everything planed down, I took extra time to sort my wood based on the cleanest surfaces. I chose the best looking ones to surface as my table top parts since that would be the most visible.
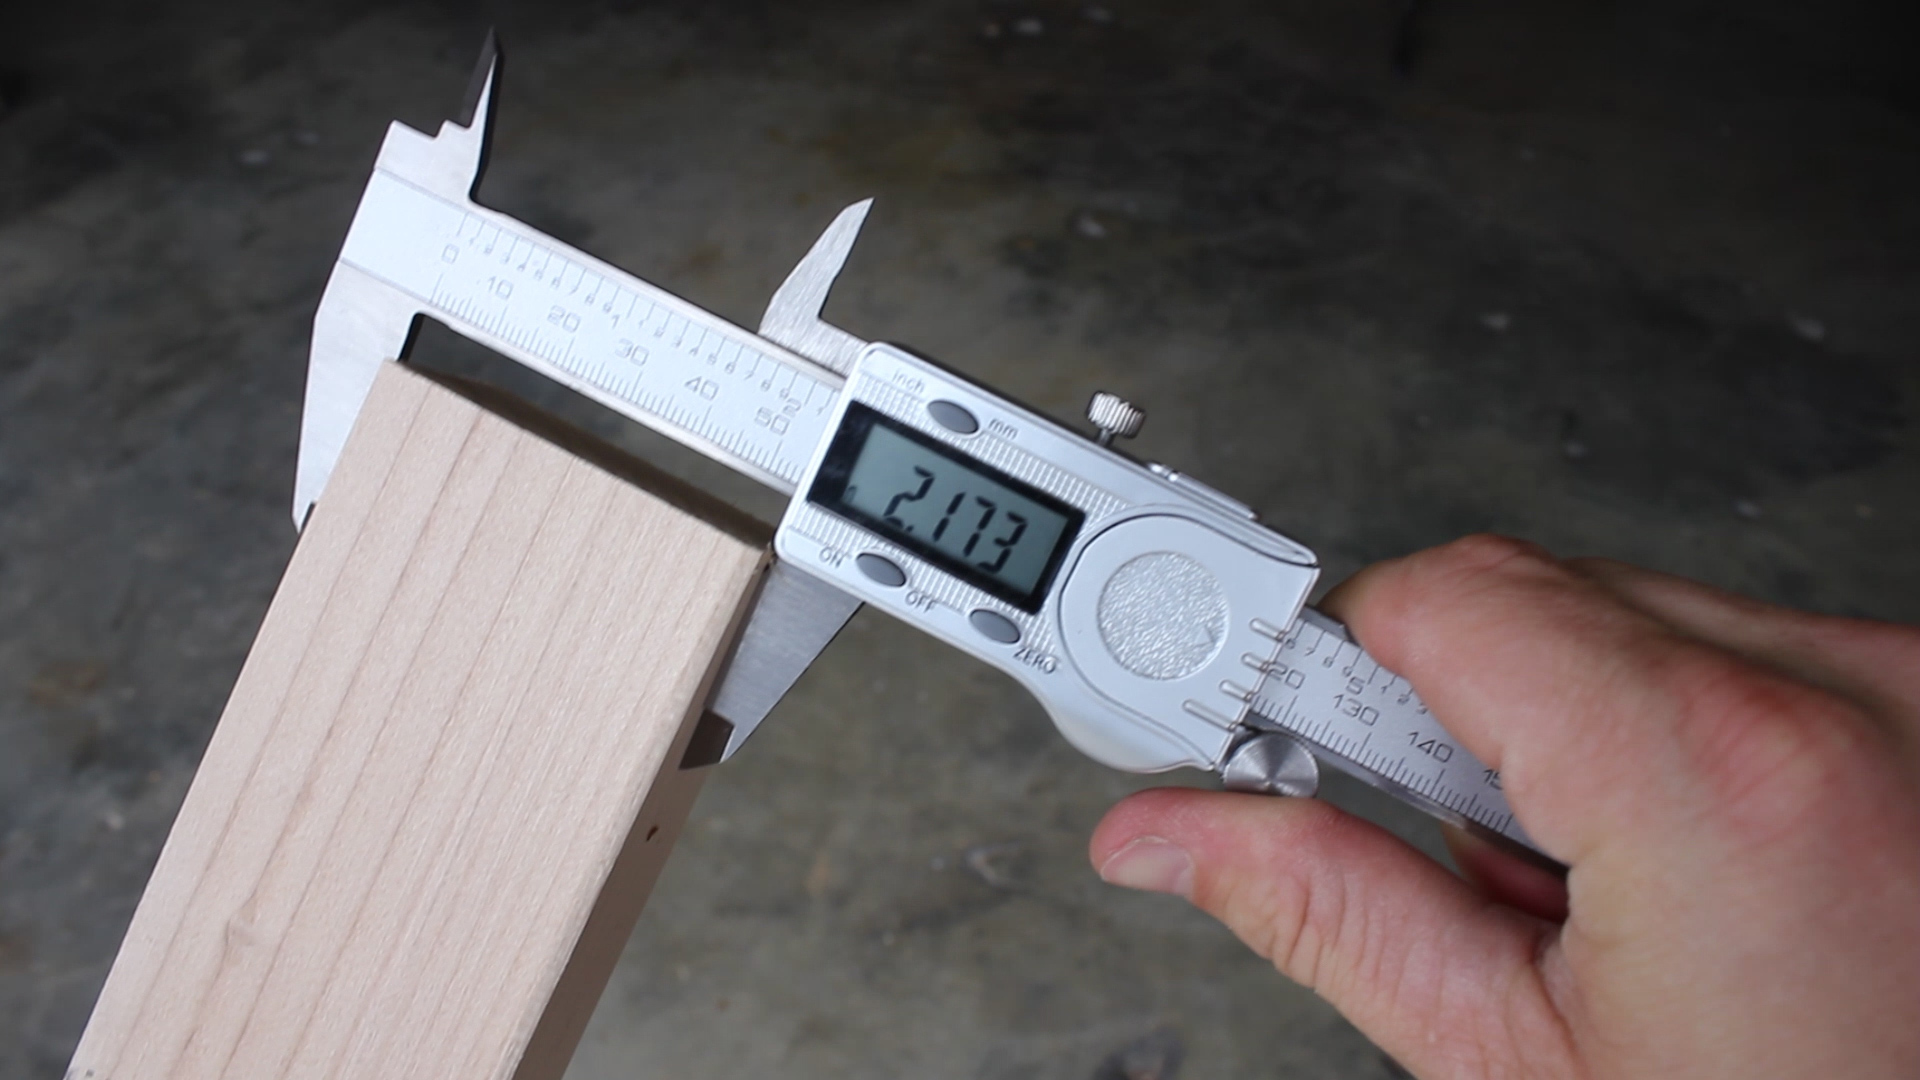
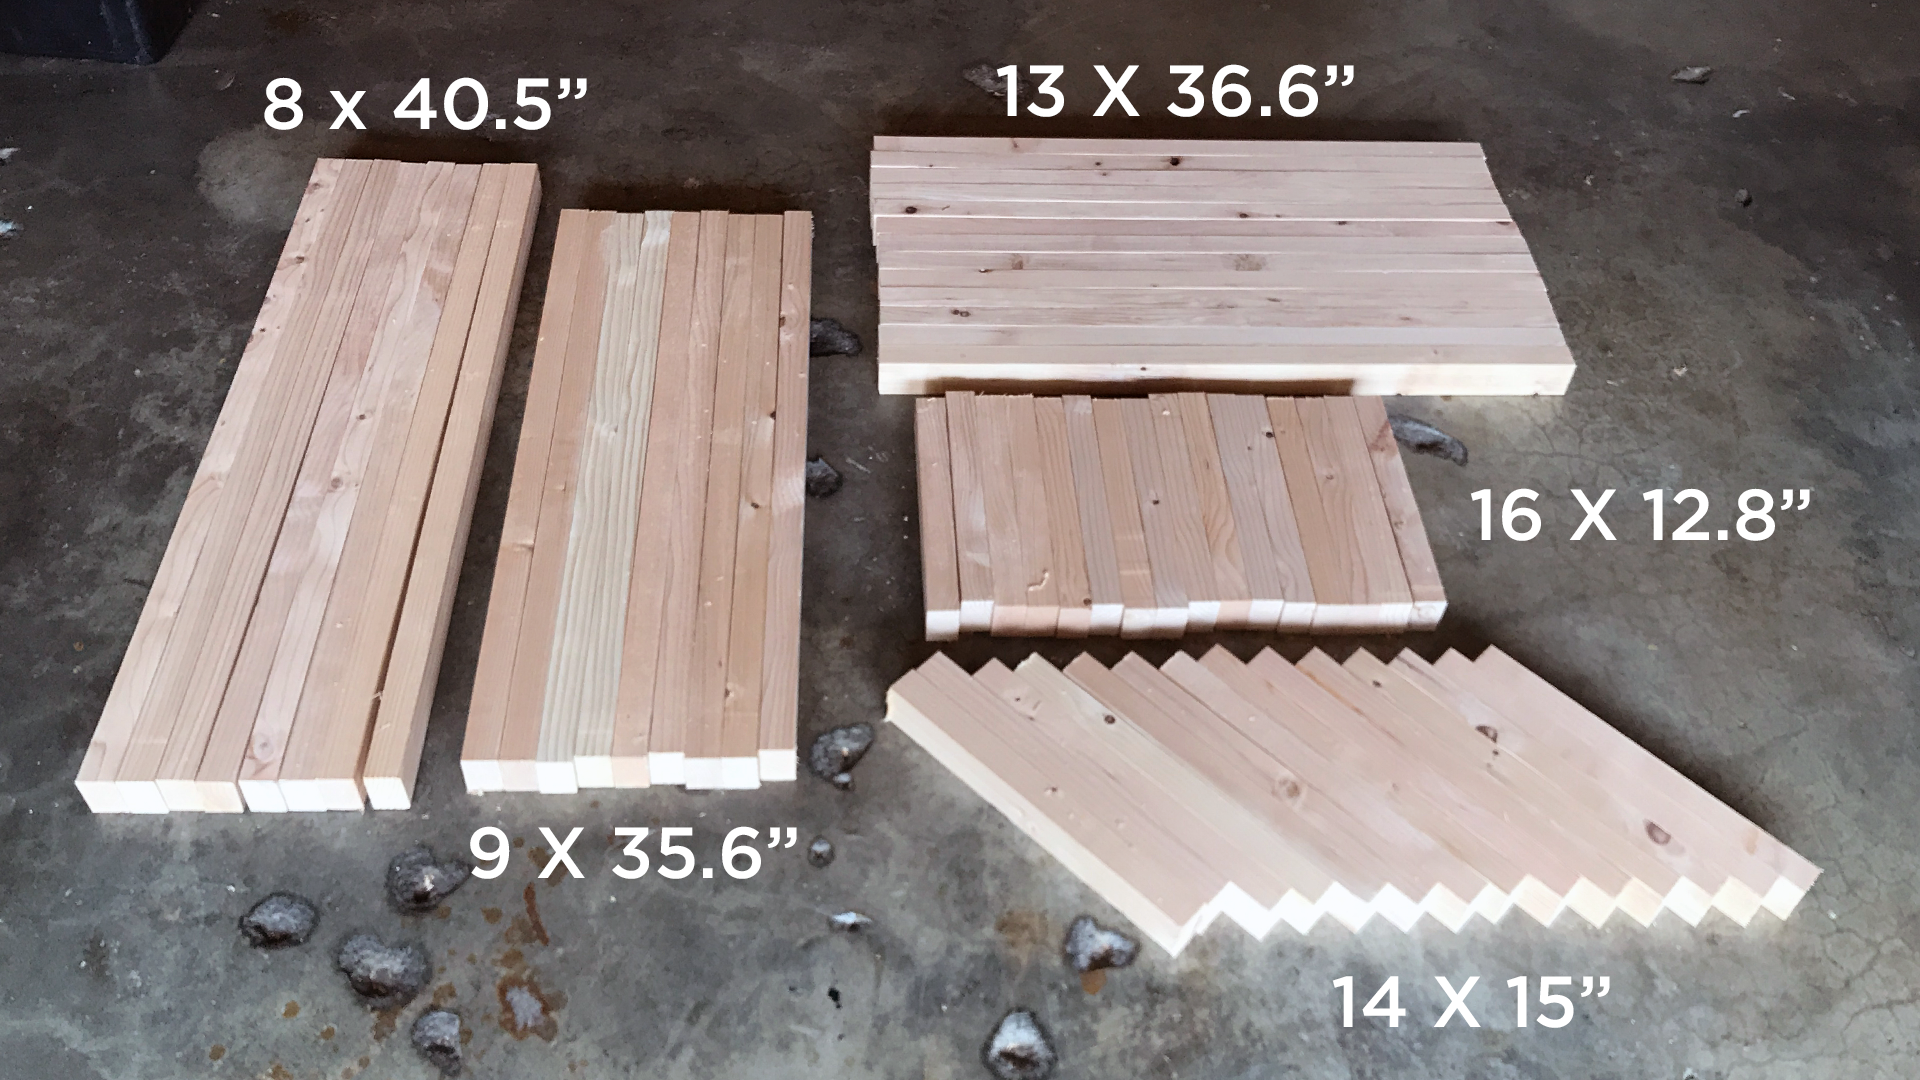
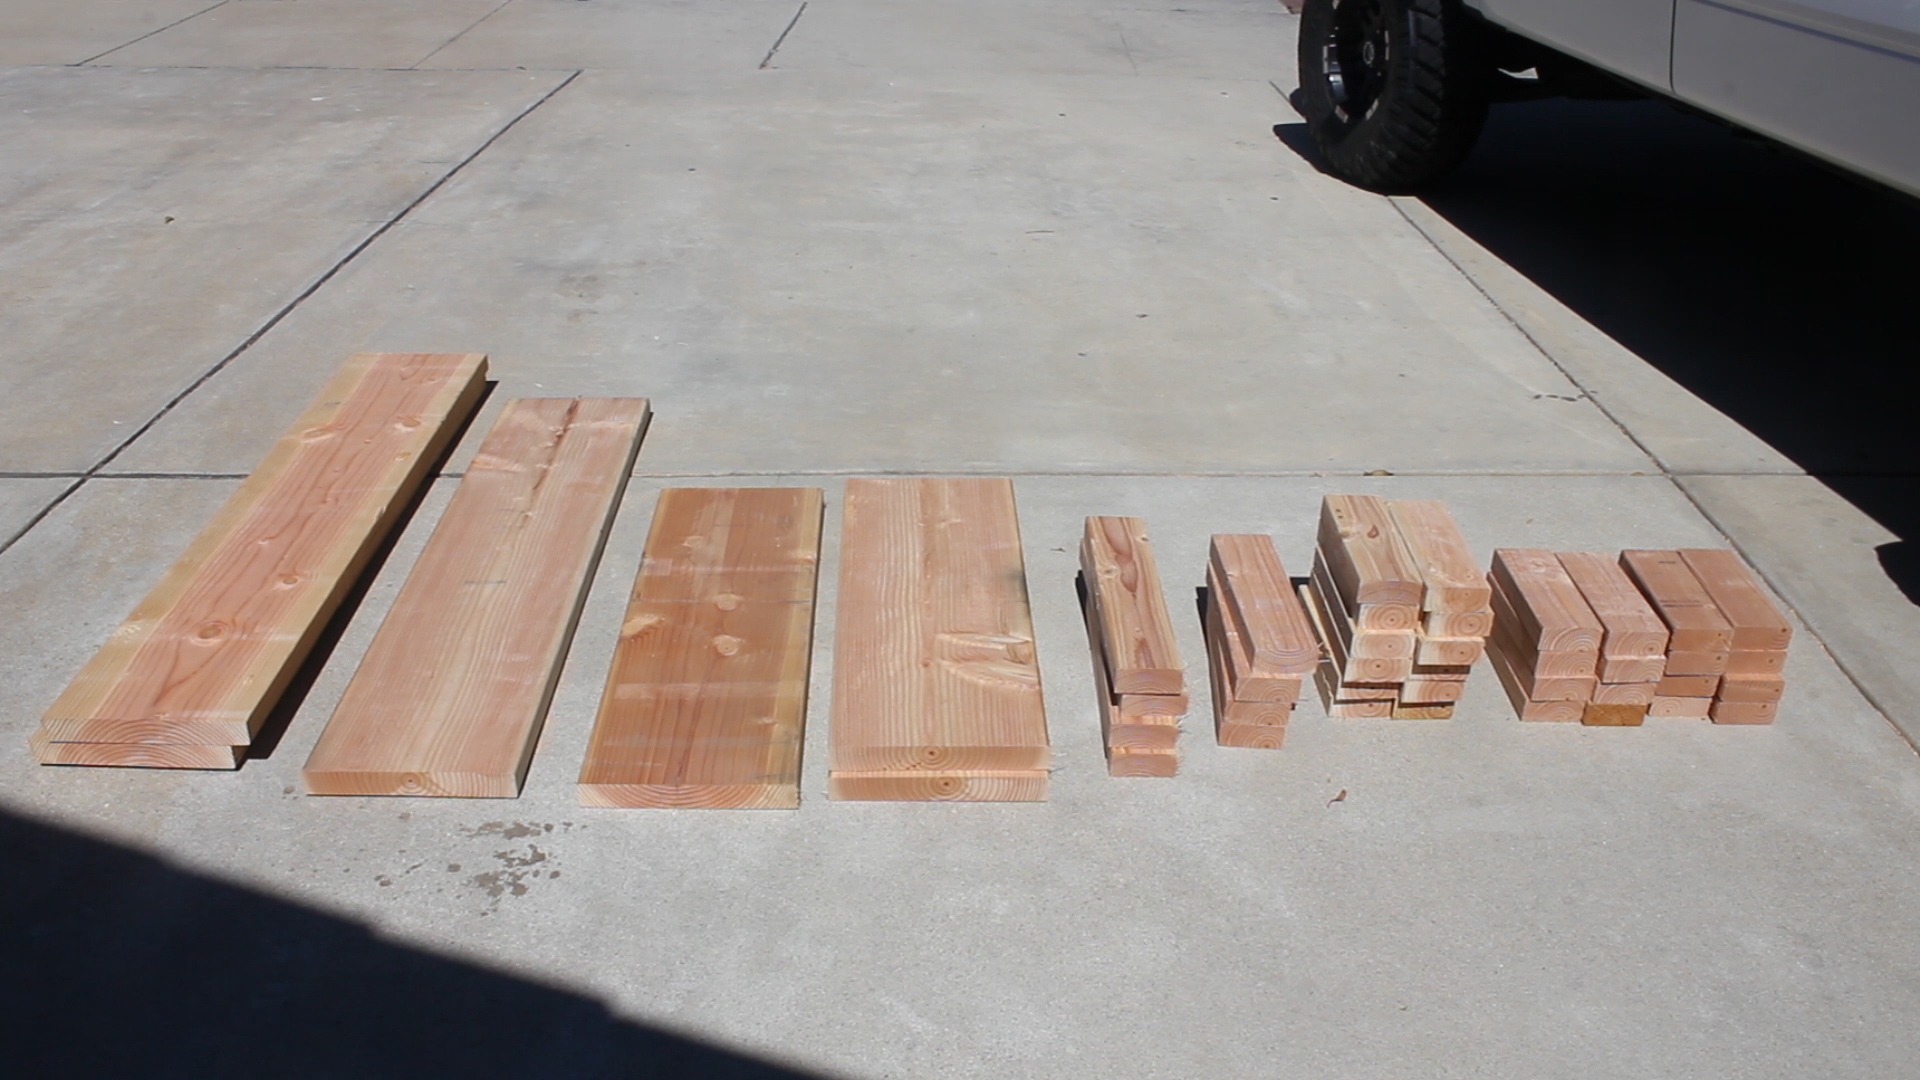
I had planed my wood down to a width of nearly 2.2" - a width I knew was uniform across the board. So in order to make box joints fit properly, I needed leg pieces that were 2.2" different in length as well as top pieces that were 2.2" difference on each side, for a total of 4.4".
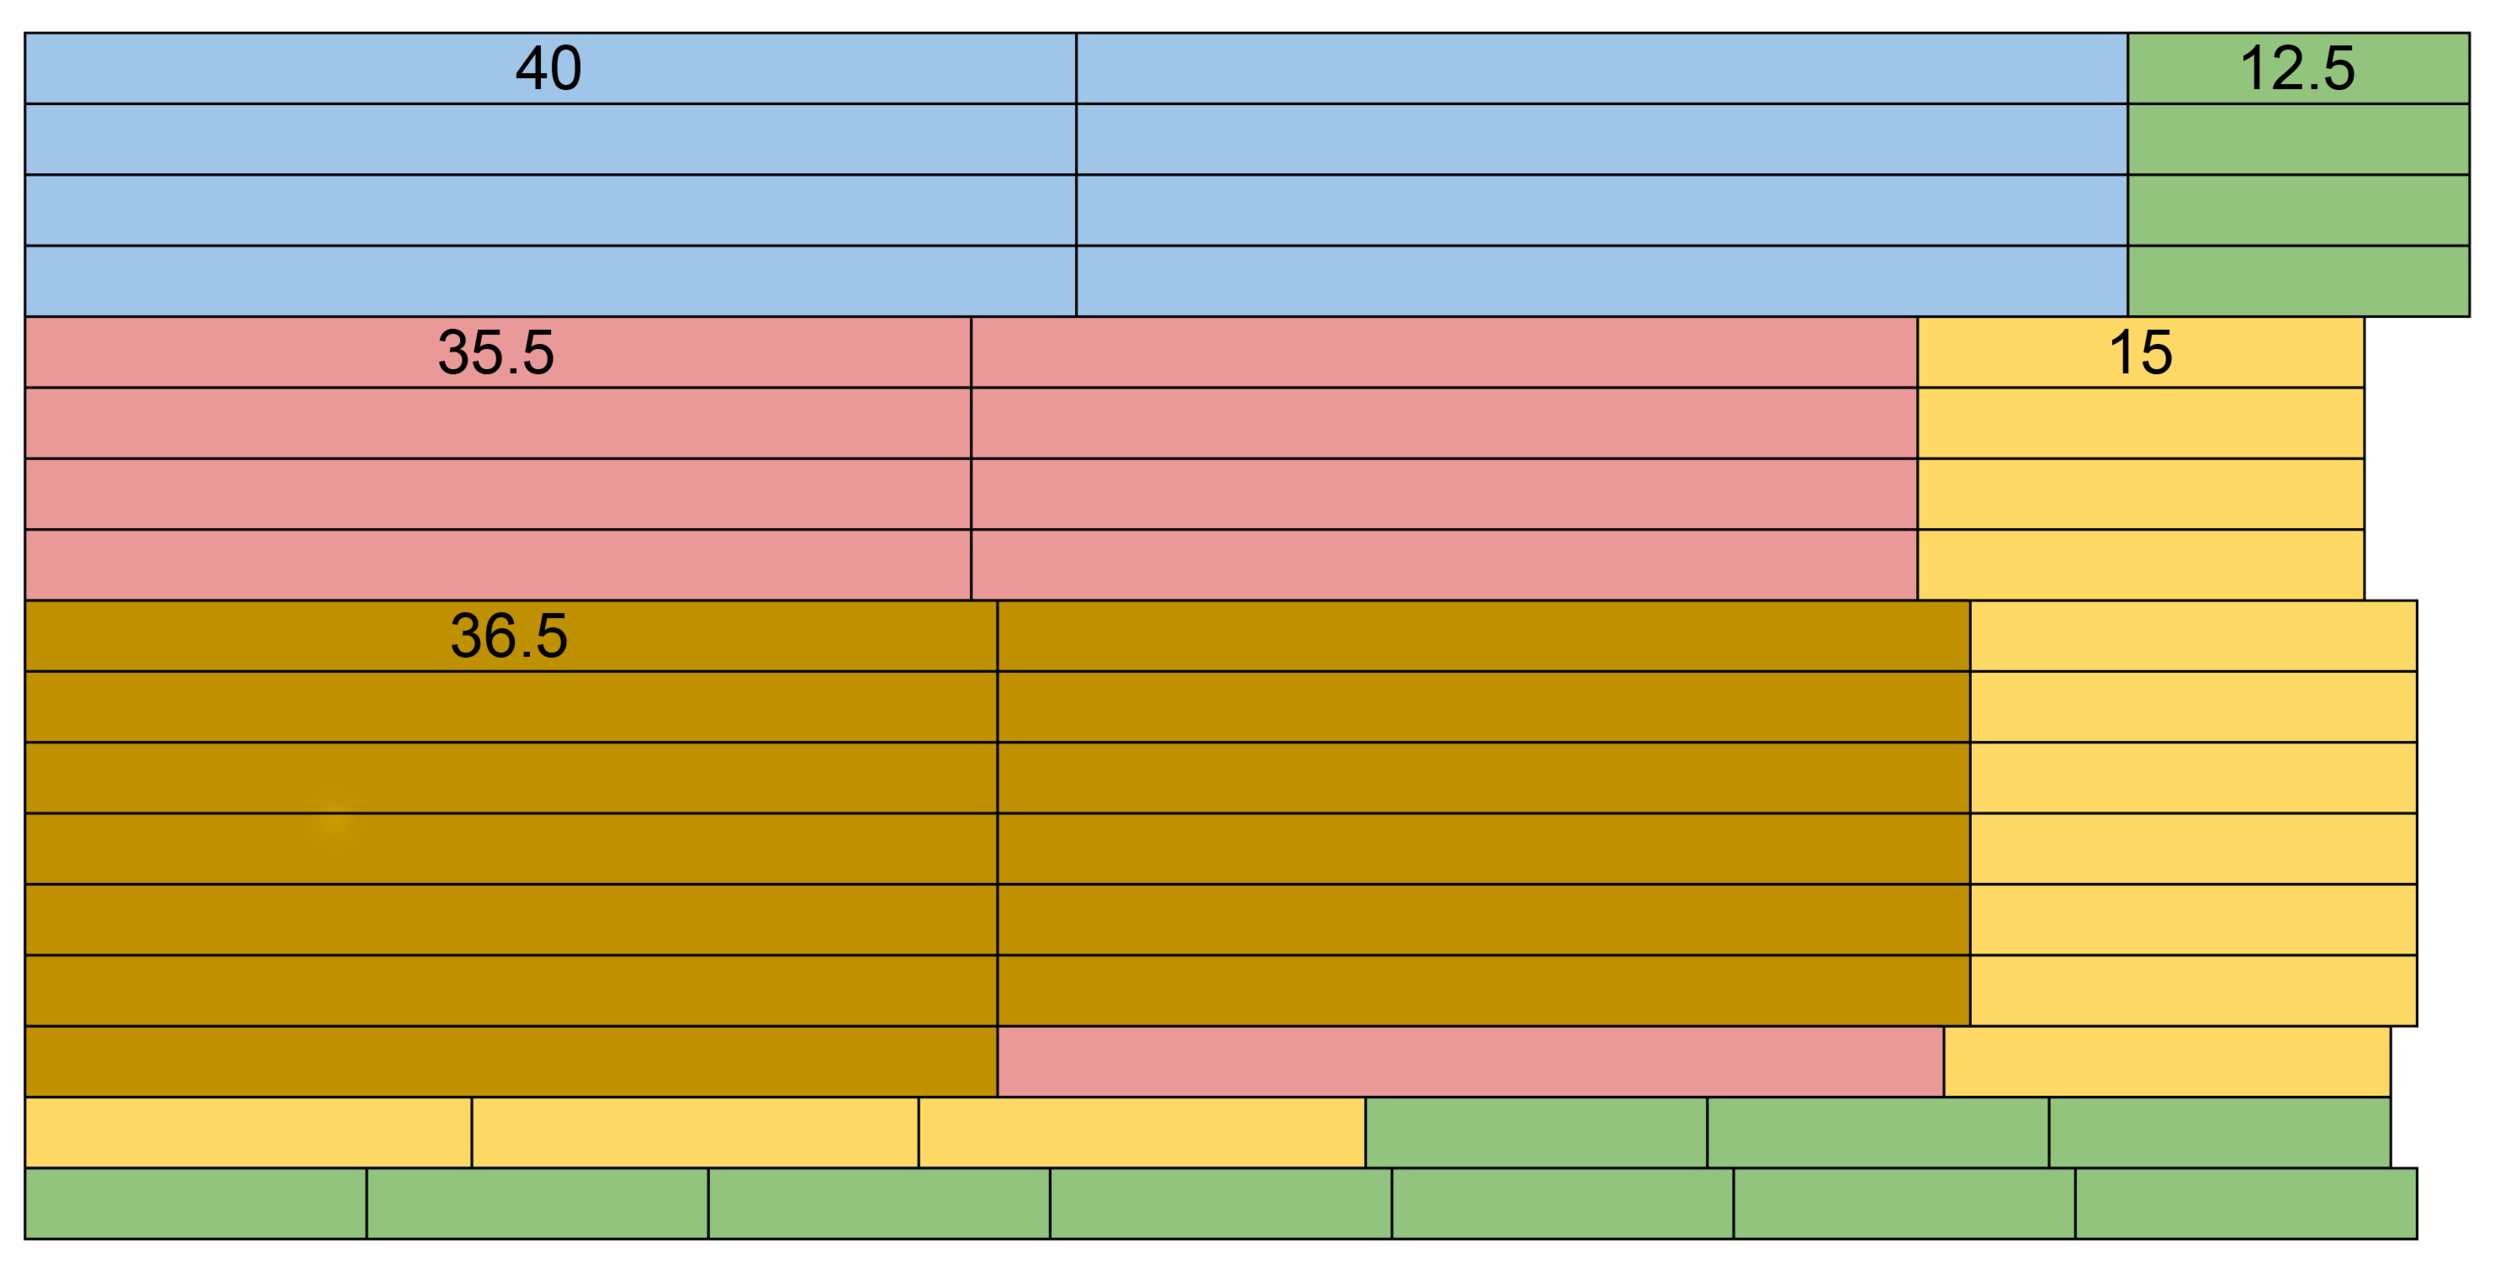
Thus, you can see my table top cuts on the left. I ended up basing my smaller cuts off of a final length of 40" (so 40-2.2-2.2 = 35.6"), as I planned on having my longer pieces a bit long so I could cut them down rather than need extra length I couldn't get.
My bottom row pieces were 1" longer than the middle width of my table so they could sit comfortably in a half inch dado on each side.
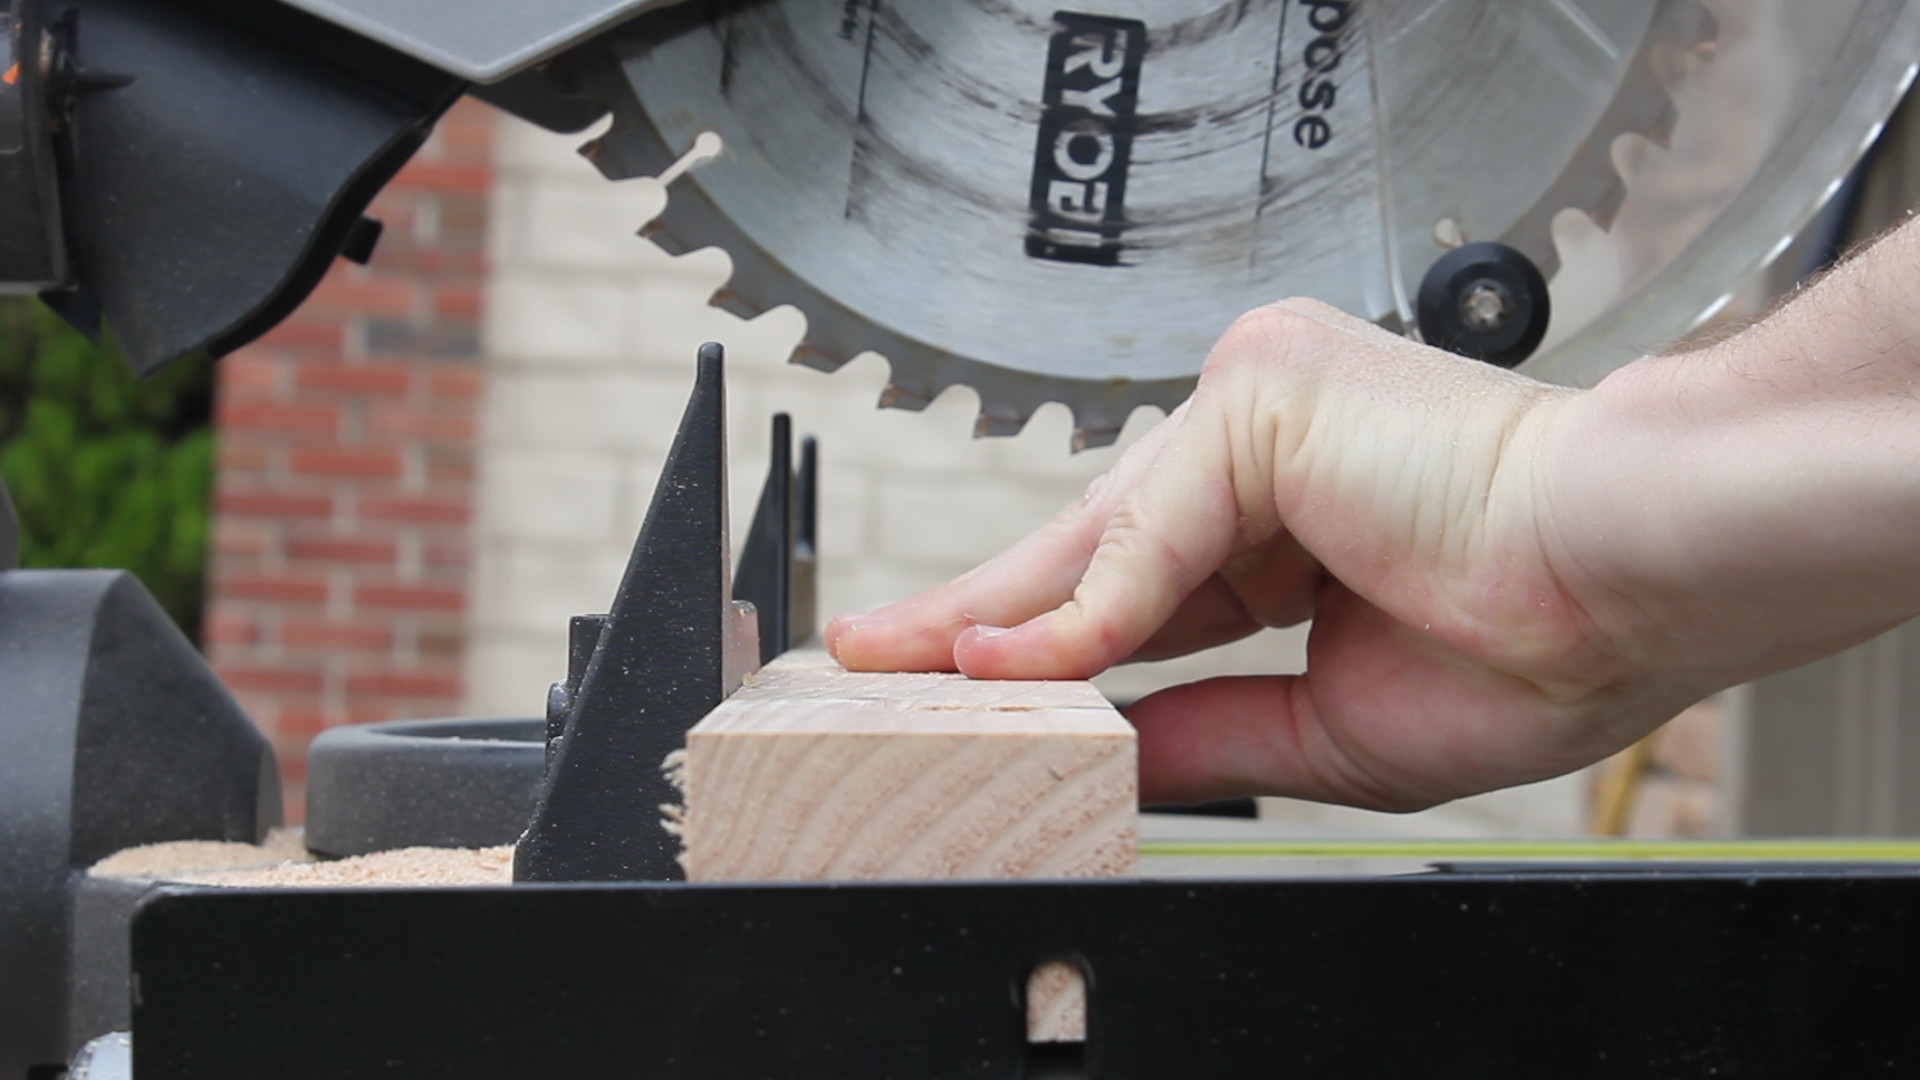
For my legs, since I went for a table height of 15", my shorter pieces needed to be 2.2' shorter than that, or 12.8" roughly. The final picture shows how I made my cuts. Now in my purchase list, I tell you to buy 18 pieces, but in reality, you can get what you need from 17, but having one back up piece is just a smart idea.
One little tip here is to cut your 12.8" pieces slightly long so that you don't end up with pieces not quite long enough to form the box joint and reach the bottom of your table. You can always plane them down later, which I chose to do, and did, and it worked great.
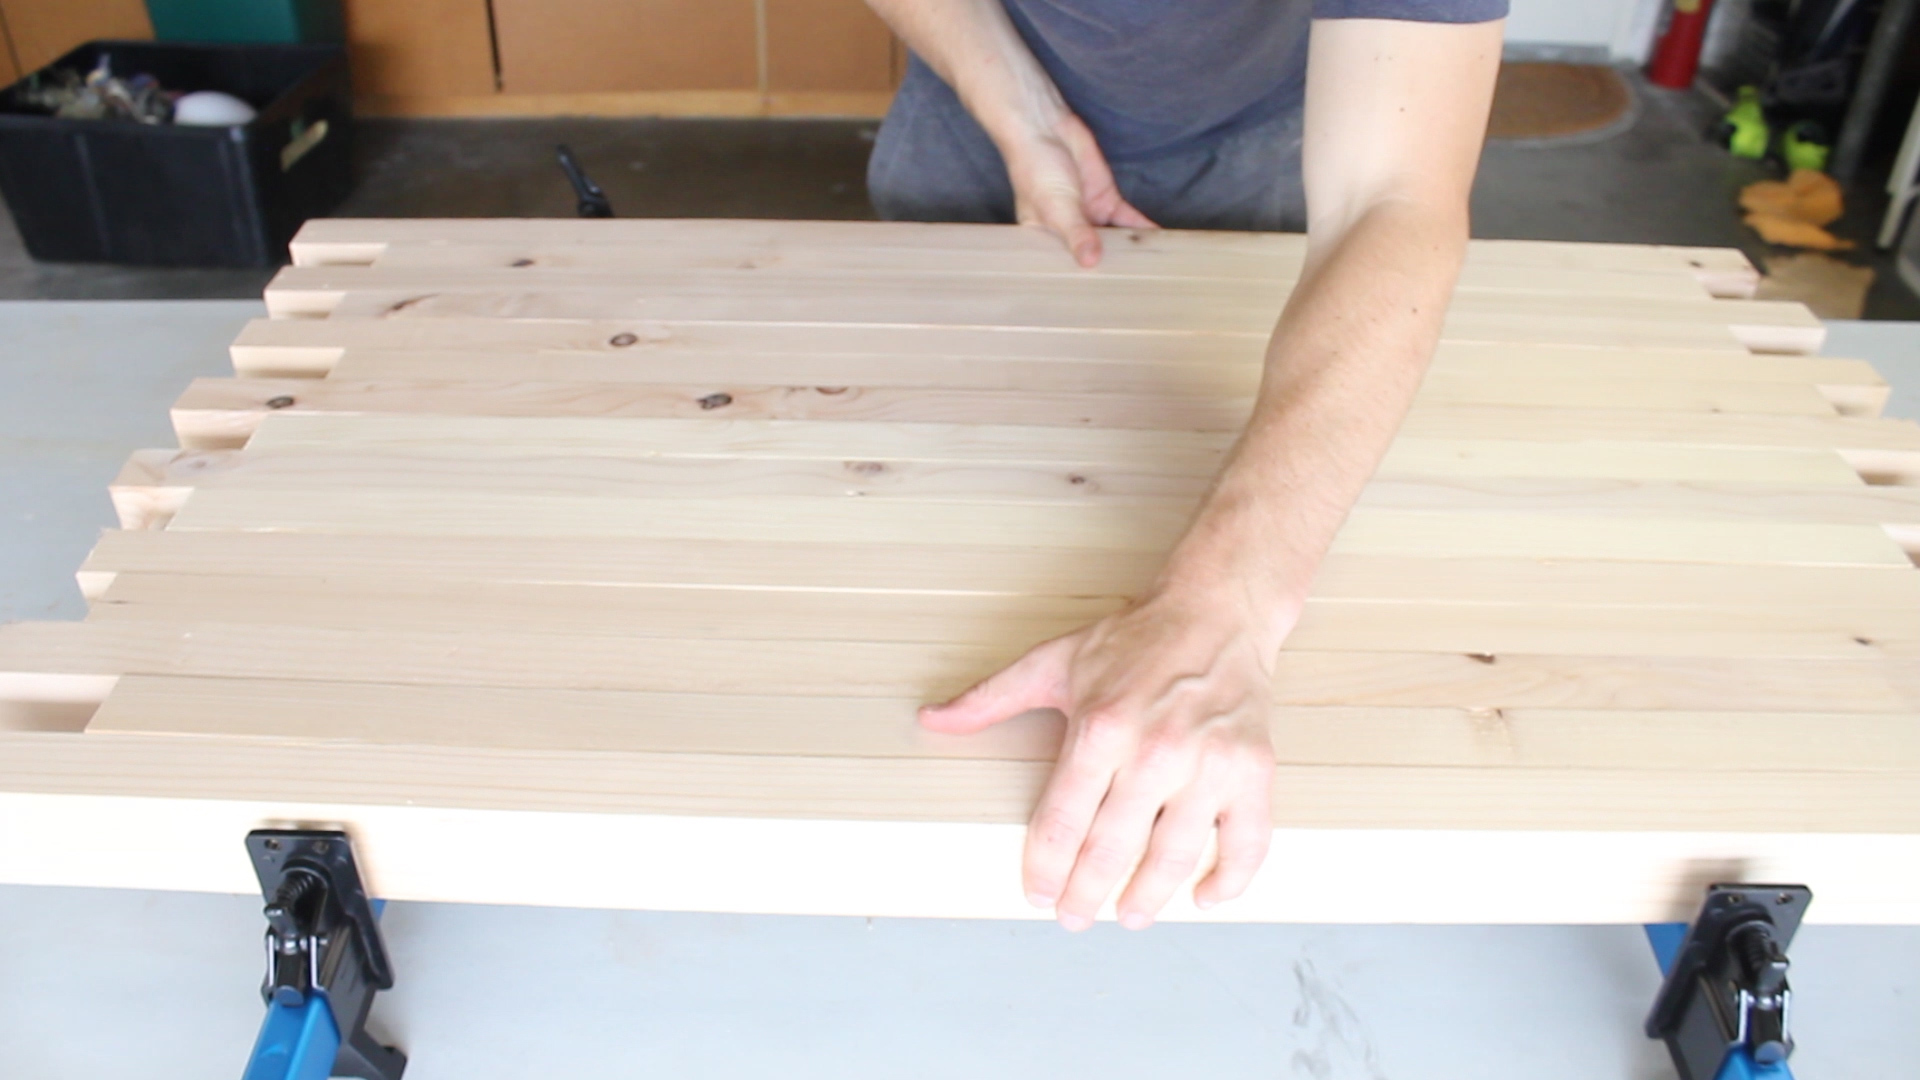
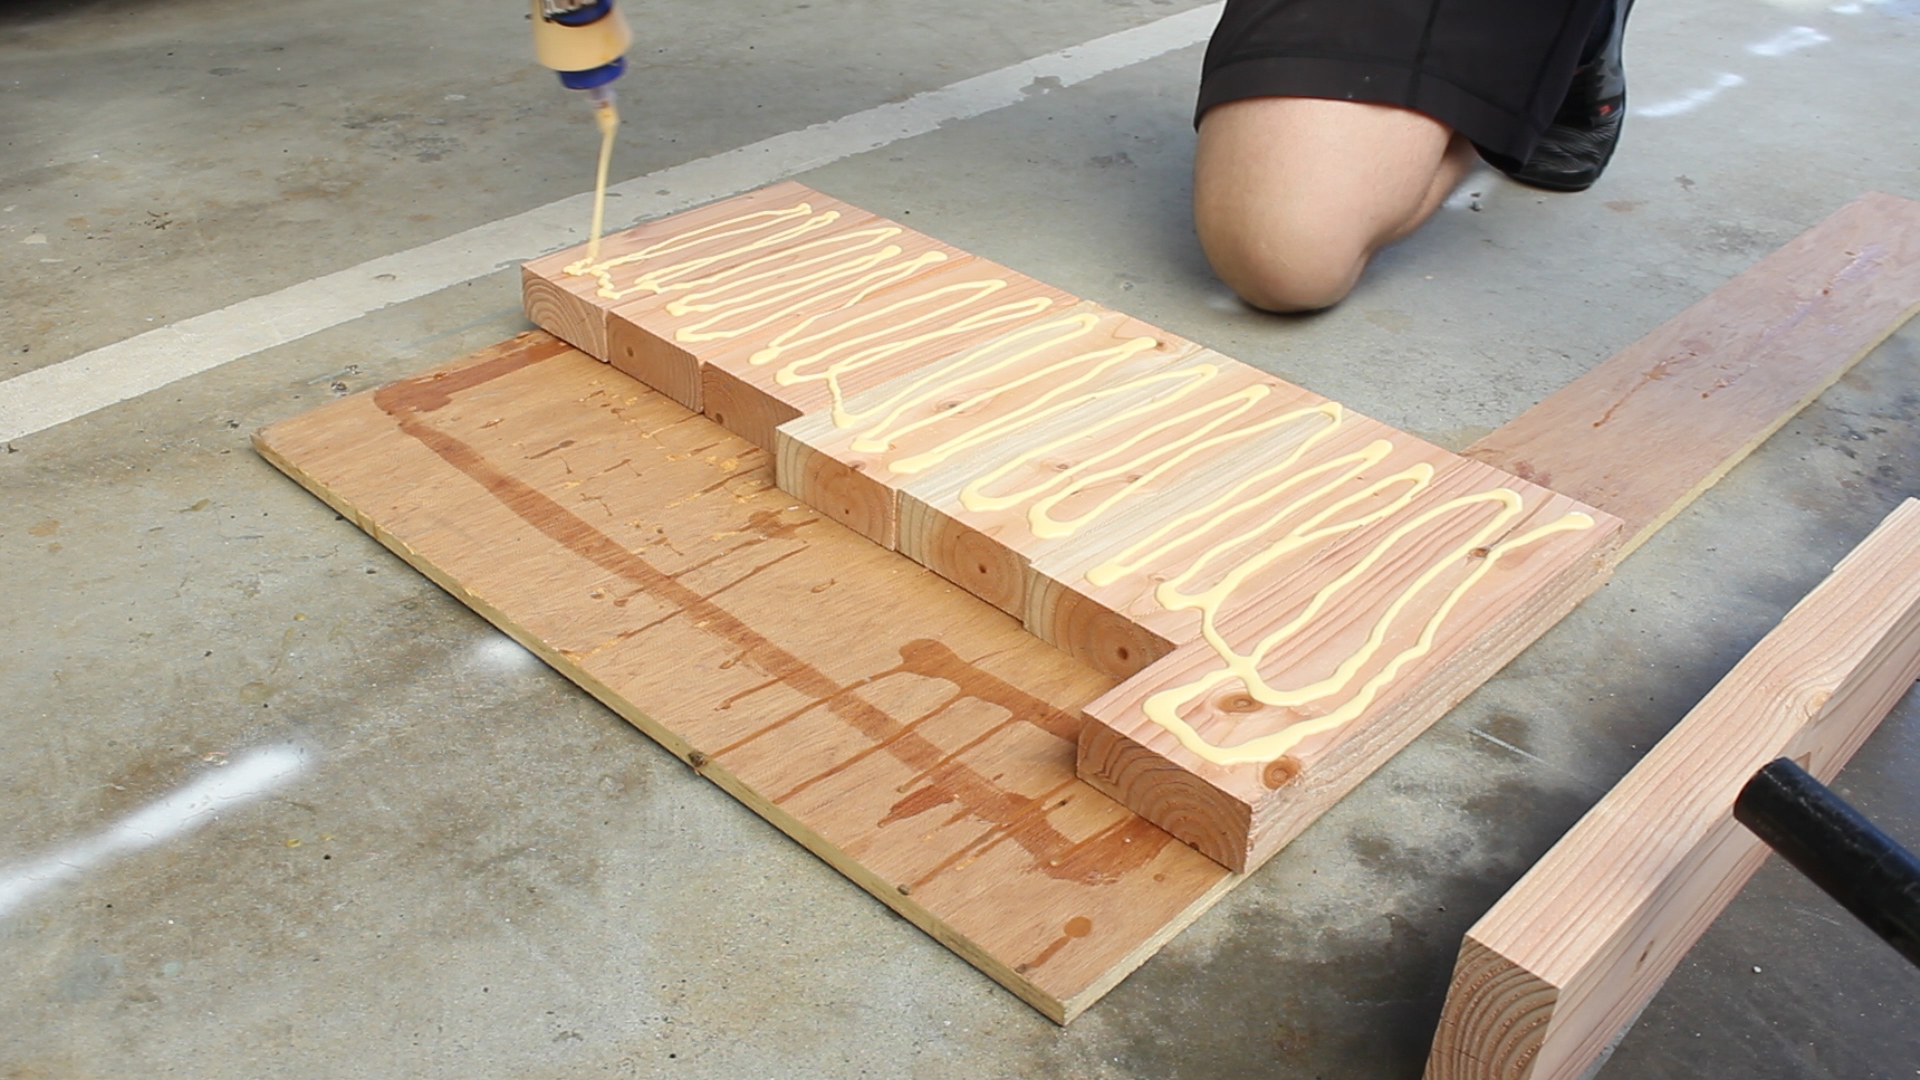
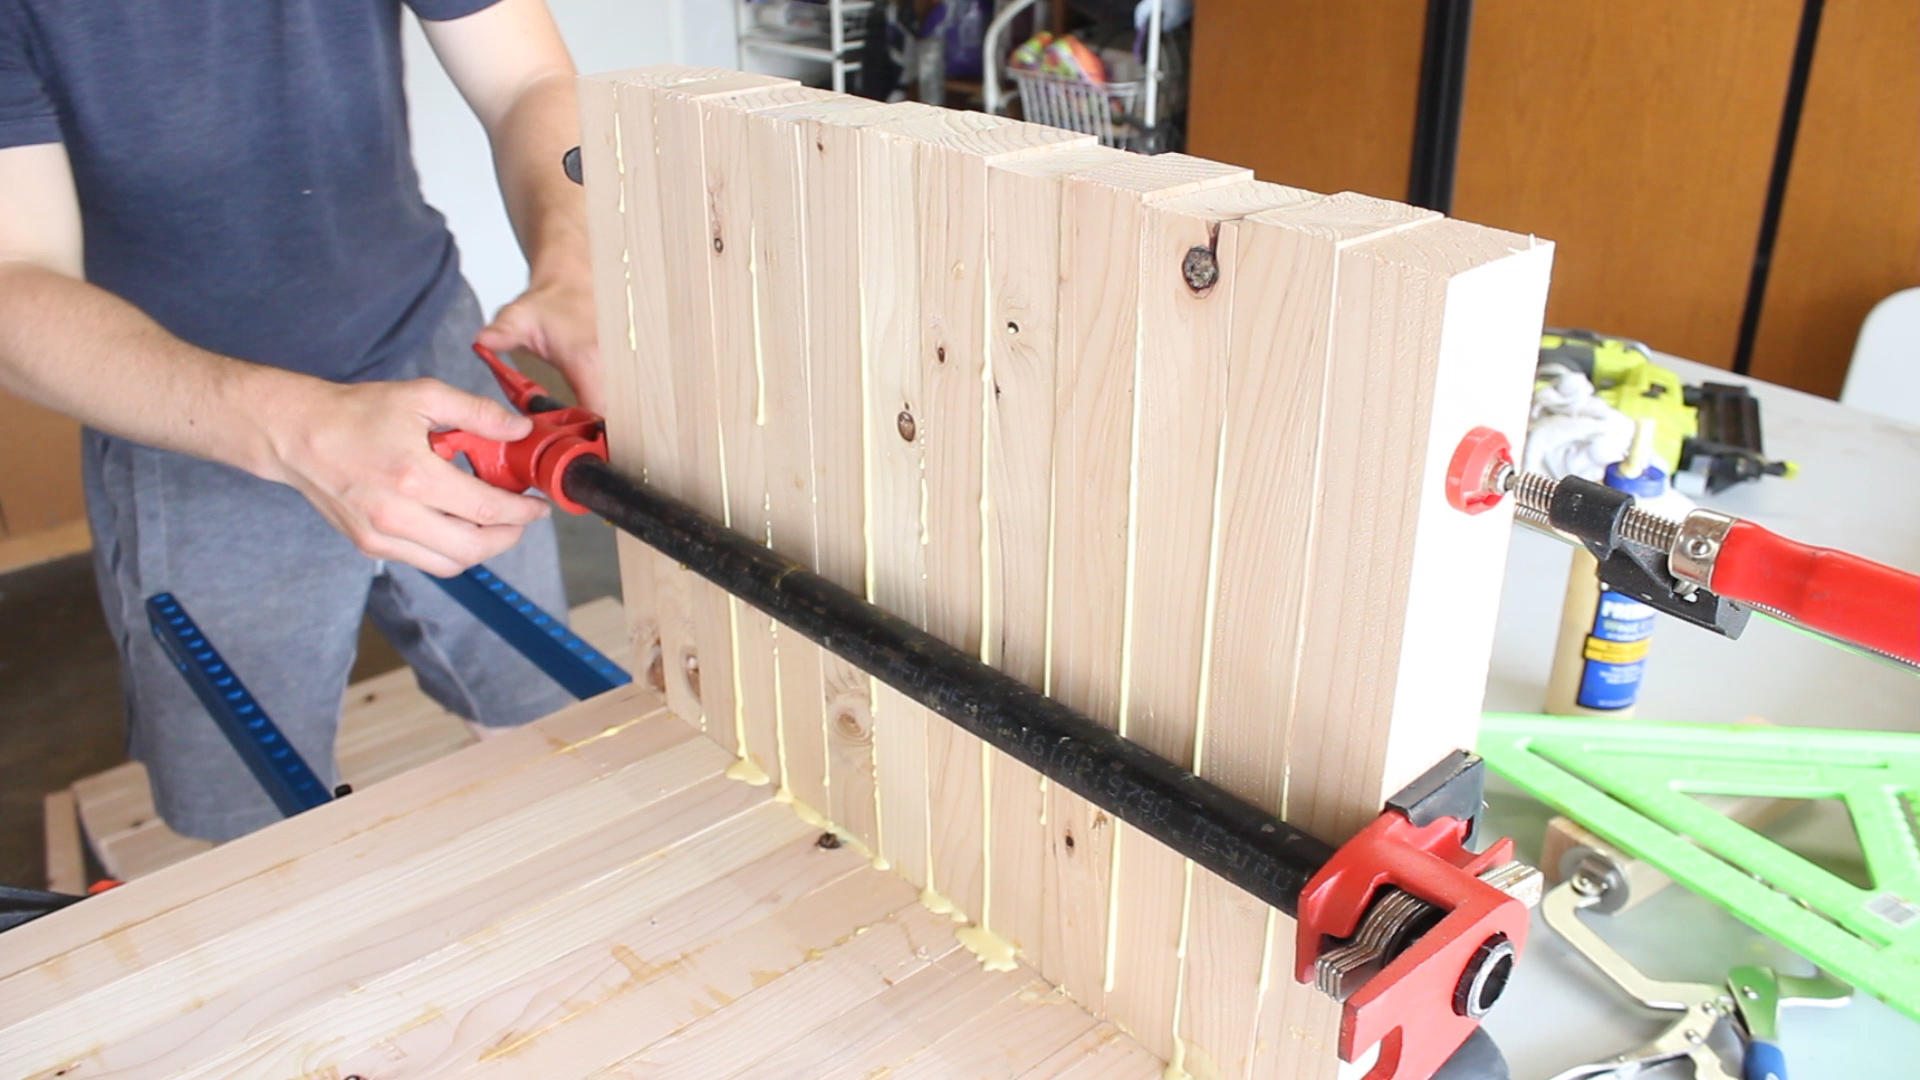
Once I had all of my cuts made, I could begin my glue ups. I did this upside down, so the final table top would be facing downwards. I alternated my pieces (photo) on top of two bar clamps and made sure the cleaner looking surface was facing downwards.
NOTE - in this first round of glue ups, you will only glue together 13/15 of your pieces for the top. You will save your two final outside blue pieces for a second round of glue ups for later as well as the corresponding green legs.
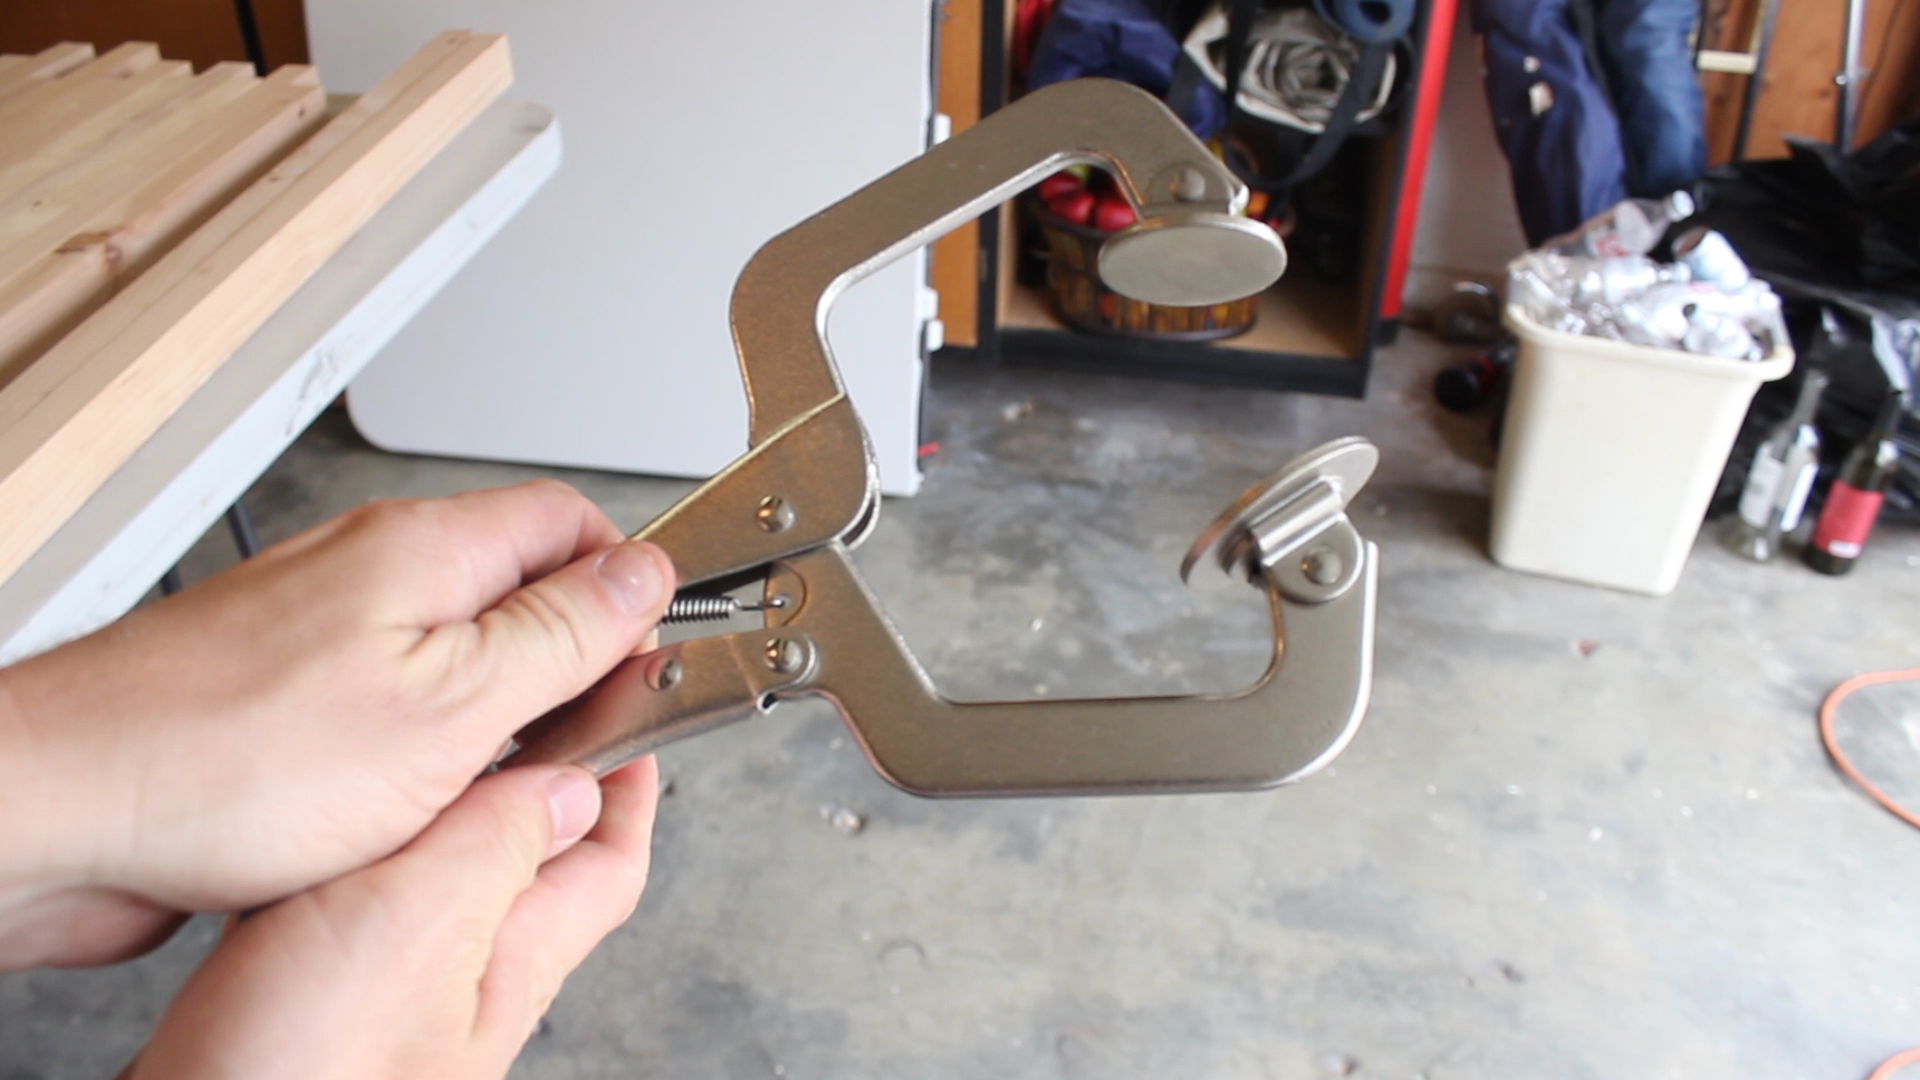
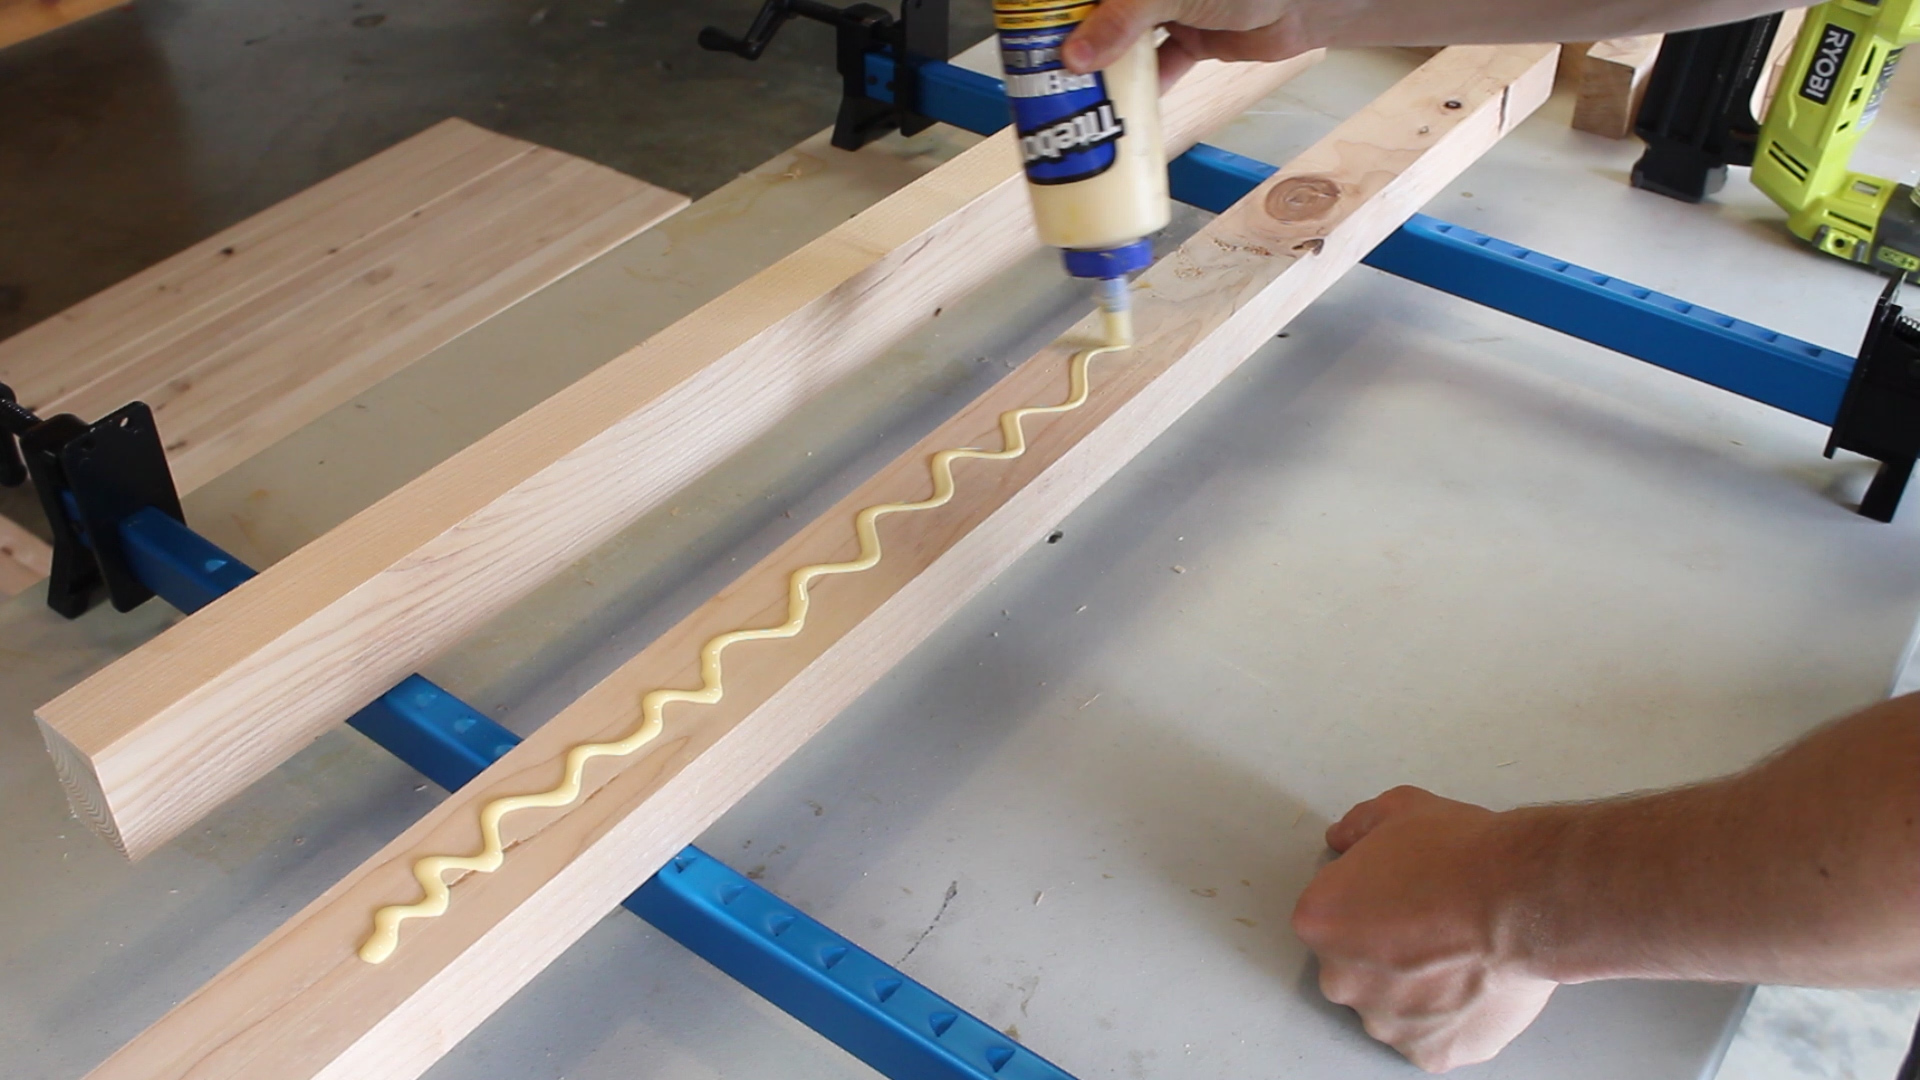
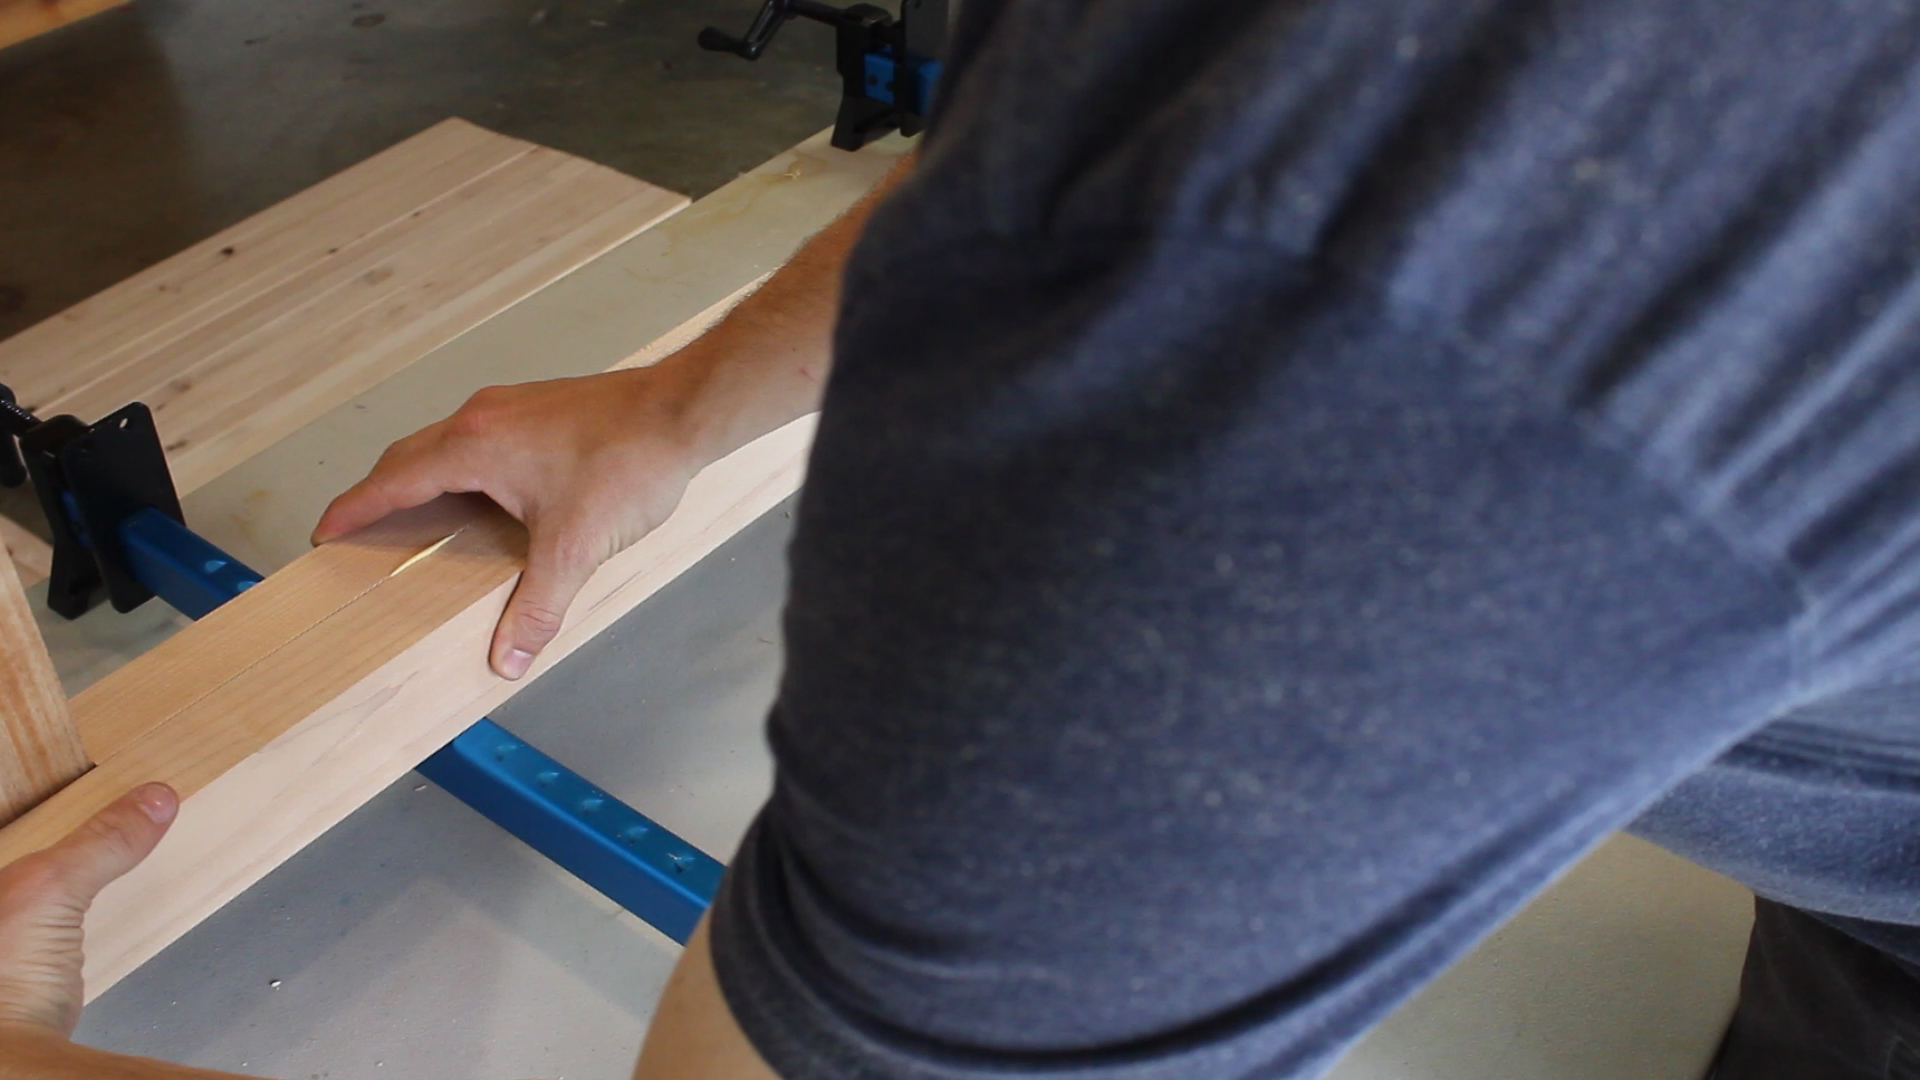
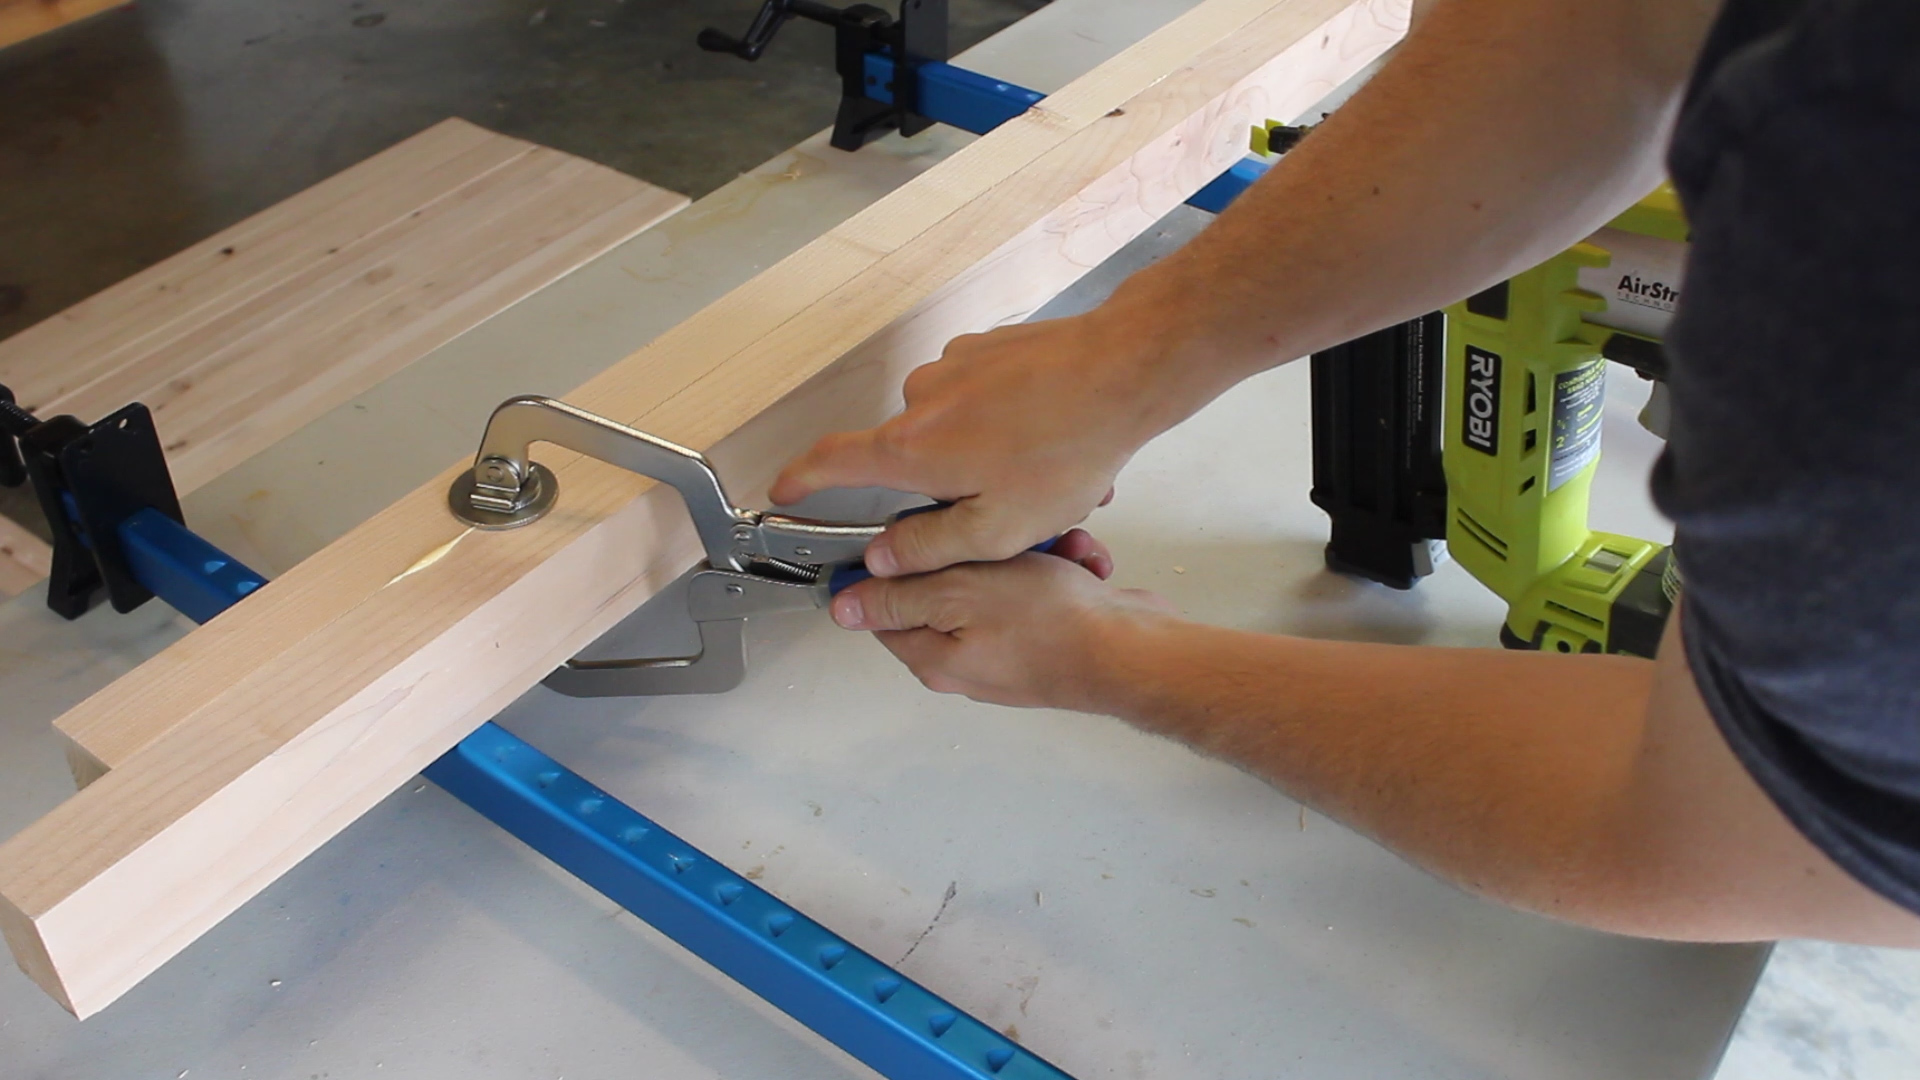
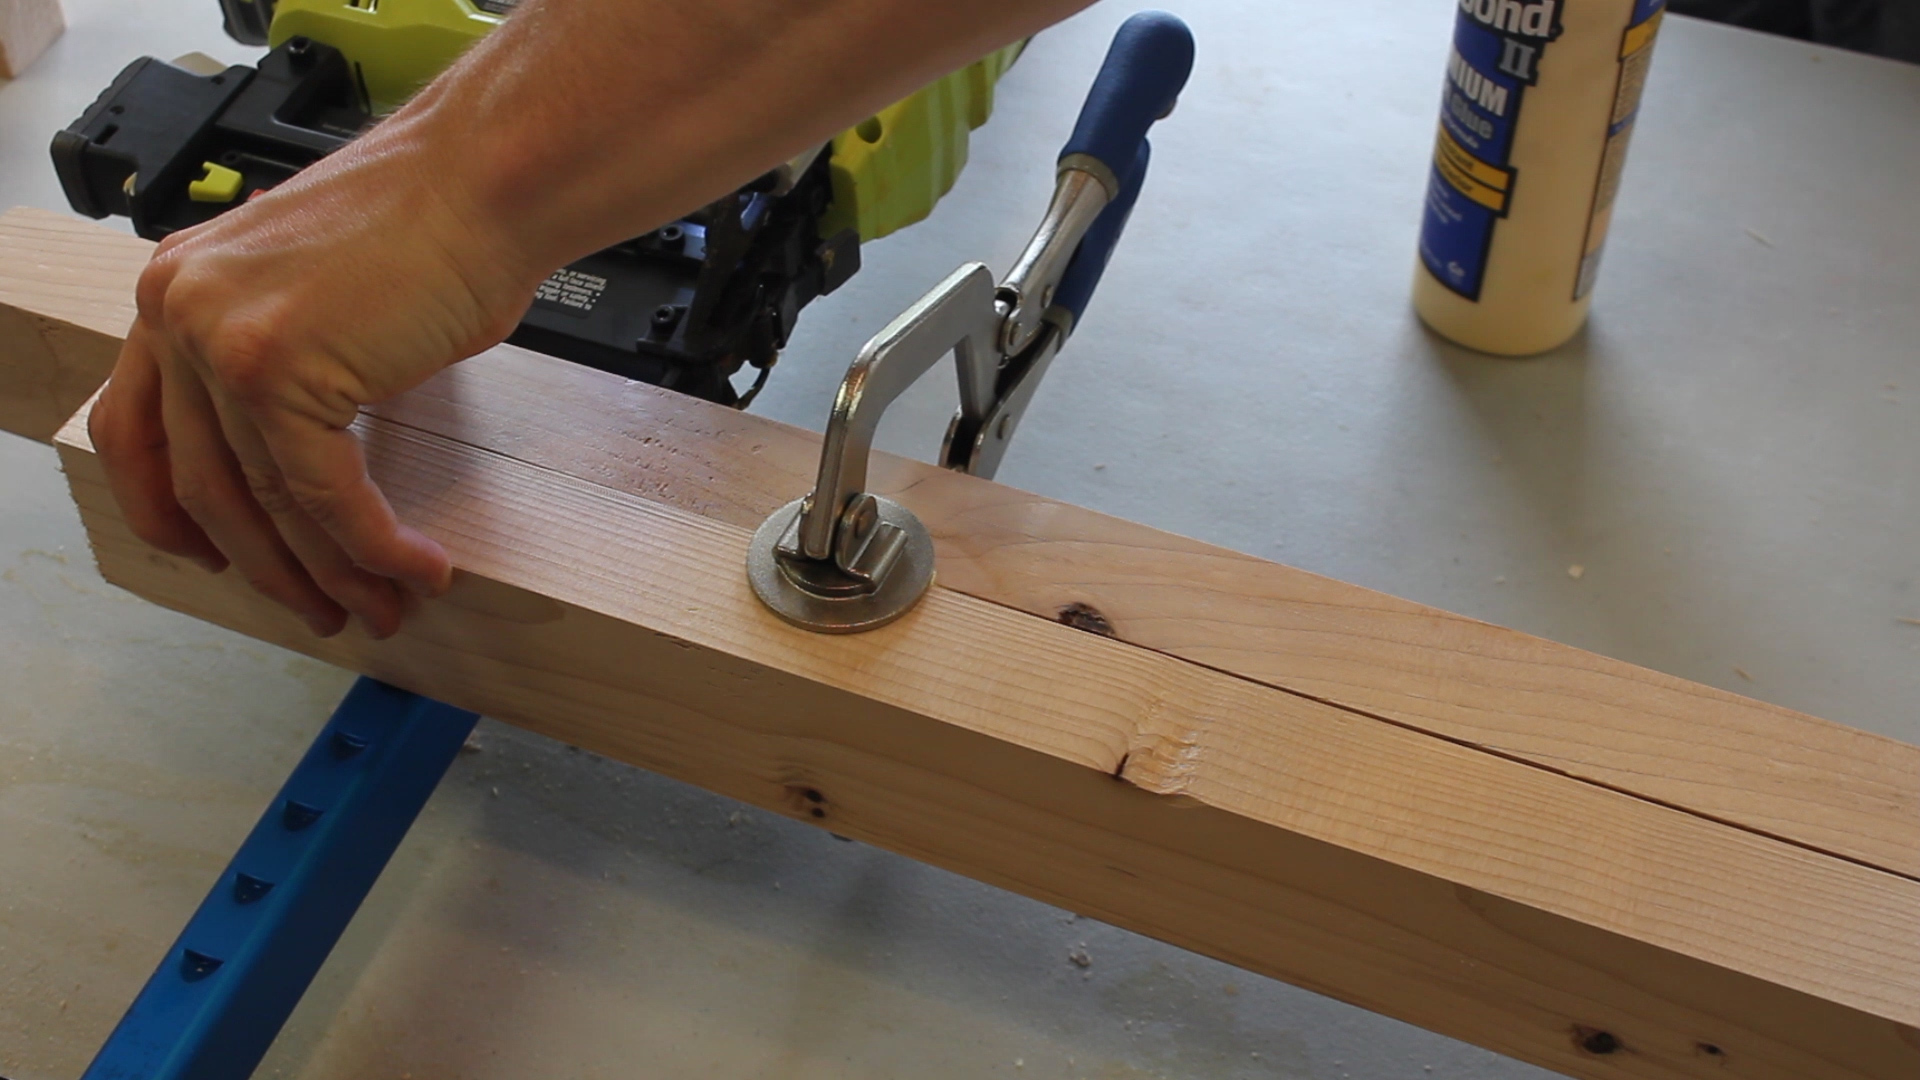
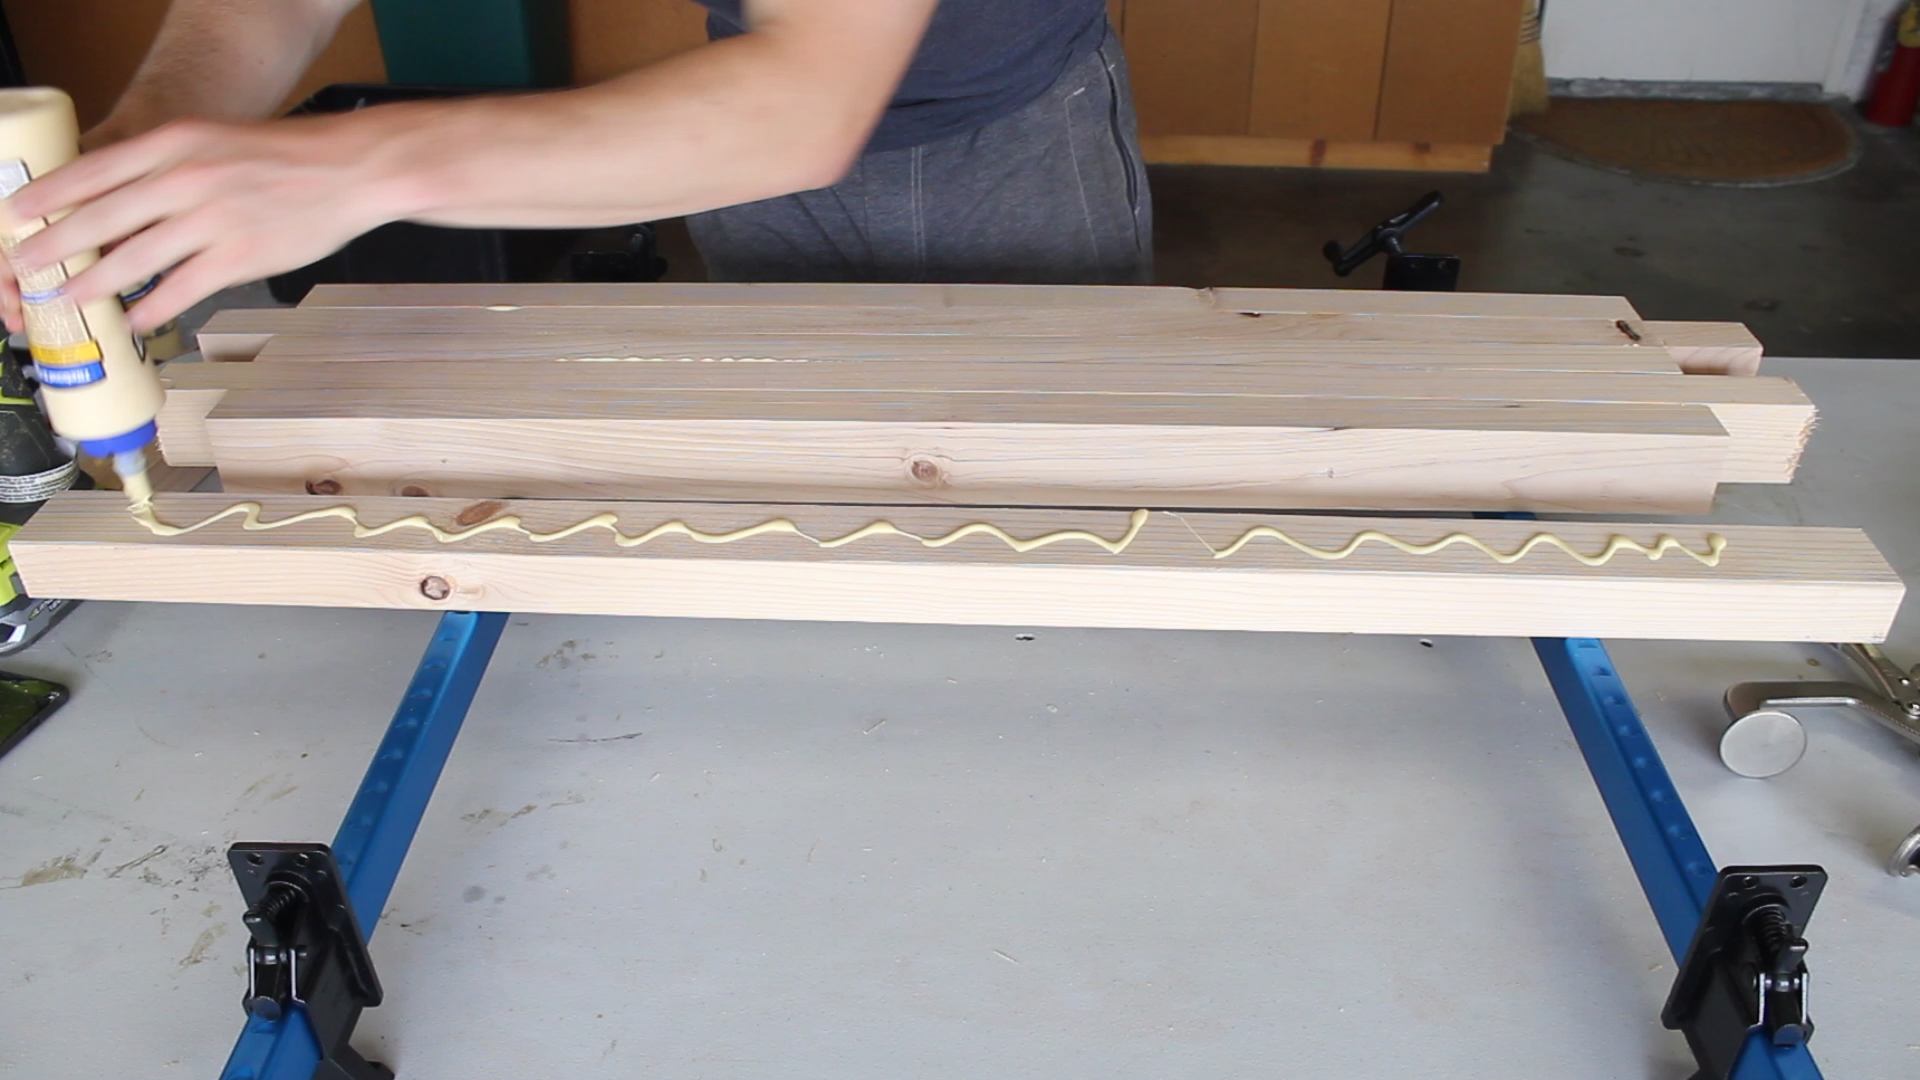
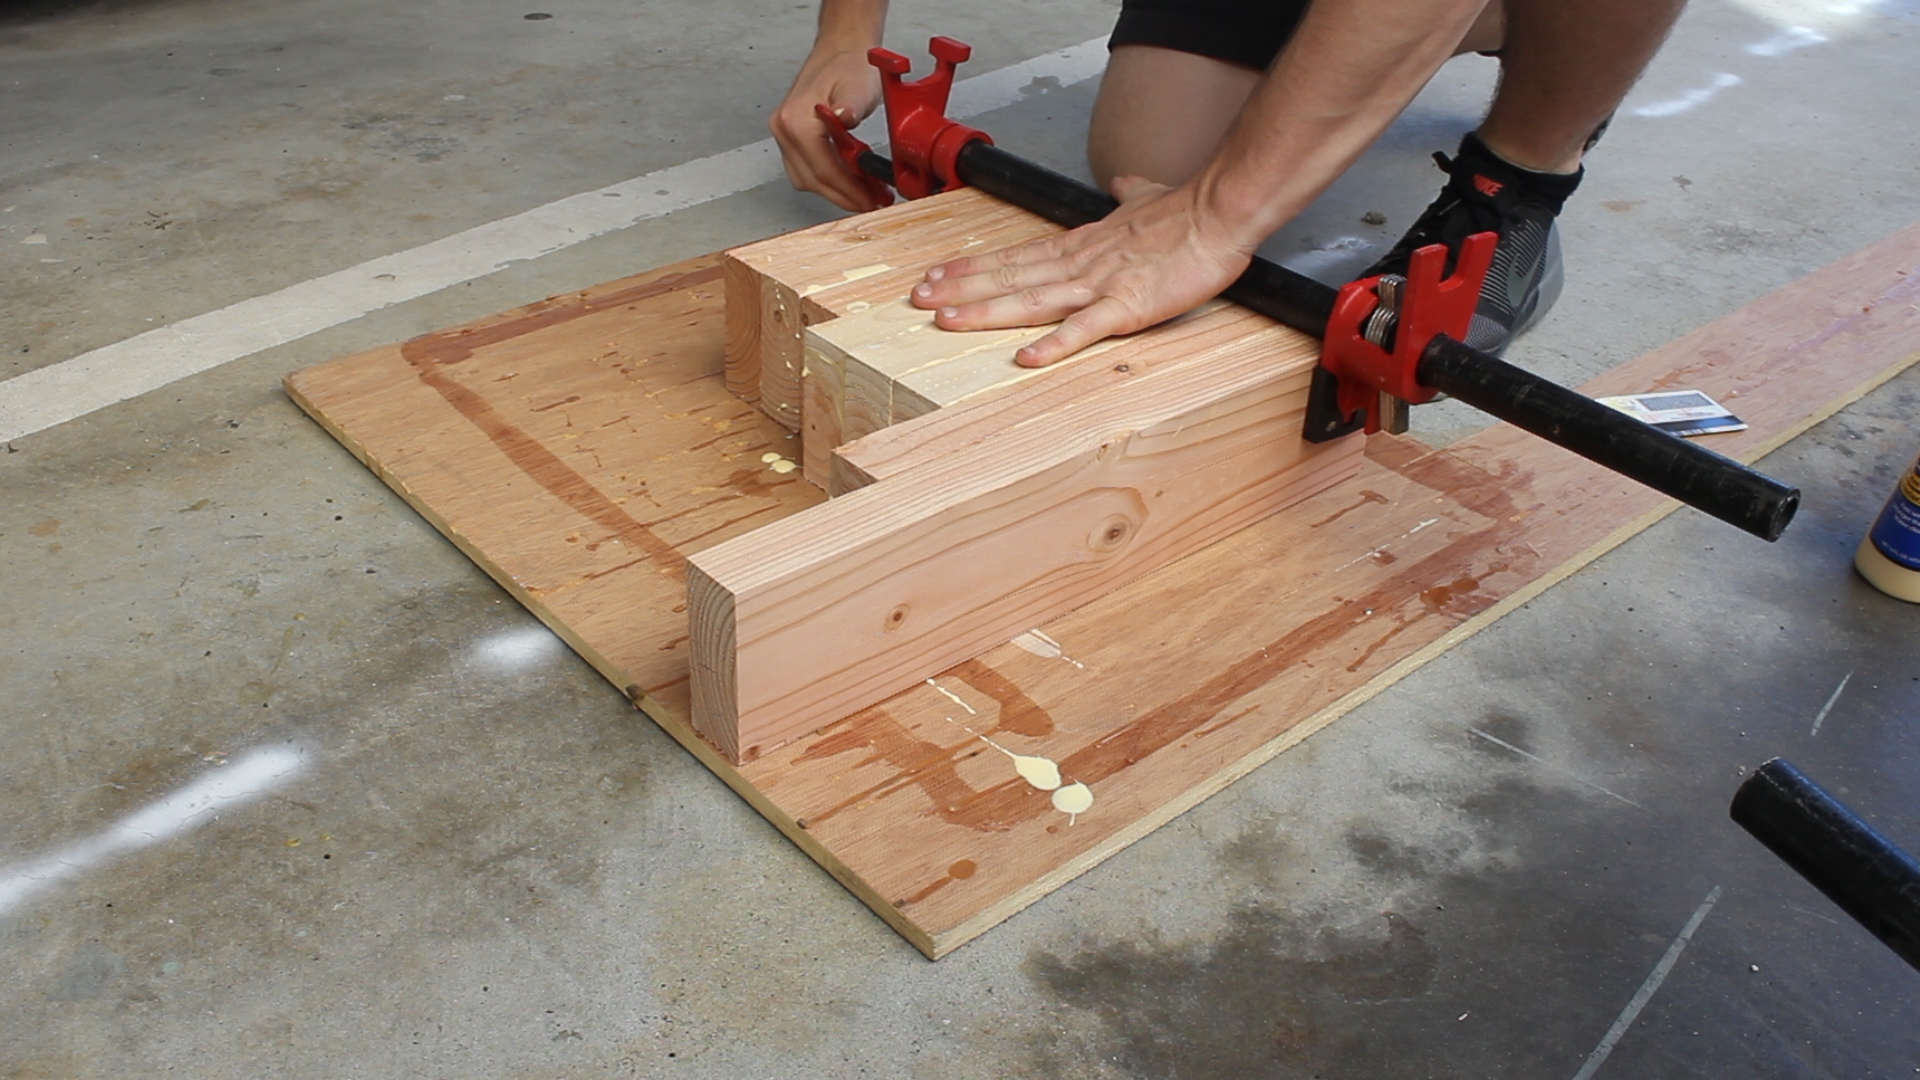
Above is a glue up trick technique I was taught. Using a Kreg Clamp (Pic 1), I could put glue on one piece, spread it out evenly, squeeze together and line up to make sure the box joint edge went out as far as teh thickness of my leg piece (pic 3), then clamp together across the two pieces to keep them flat and flush (pic 4), and then use a 2" finish nail to hold it in place (pic 5). I then could repeat this process for each piece I glued up. The result was a pretty damn flat glue up without a lot of clean up.

Clean up as much glue squeeze out as you can once you clamp up everything with a wet rag - makes the finish process so much smoother (no pun intended).
NOTE AGAIN - you'll only have 13 pieces glue up at this point (see image above).
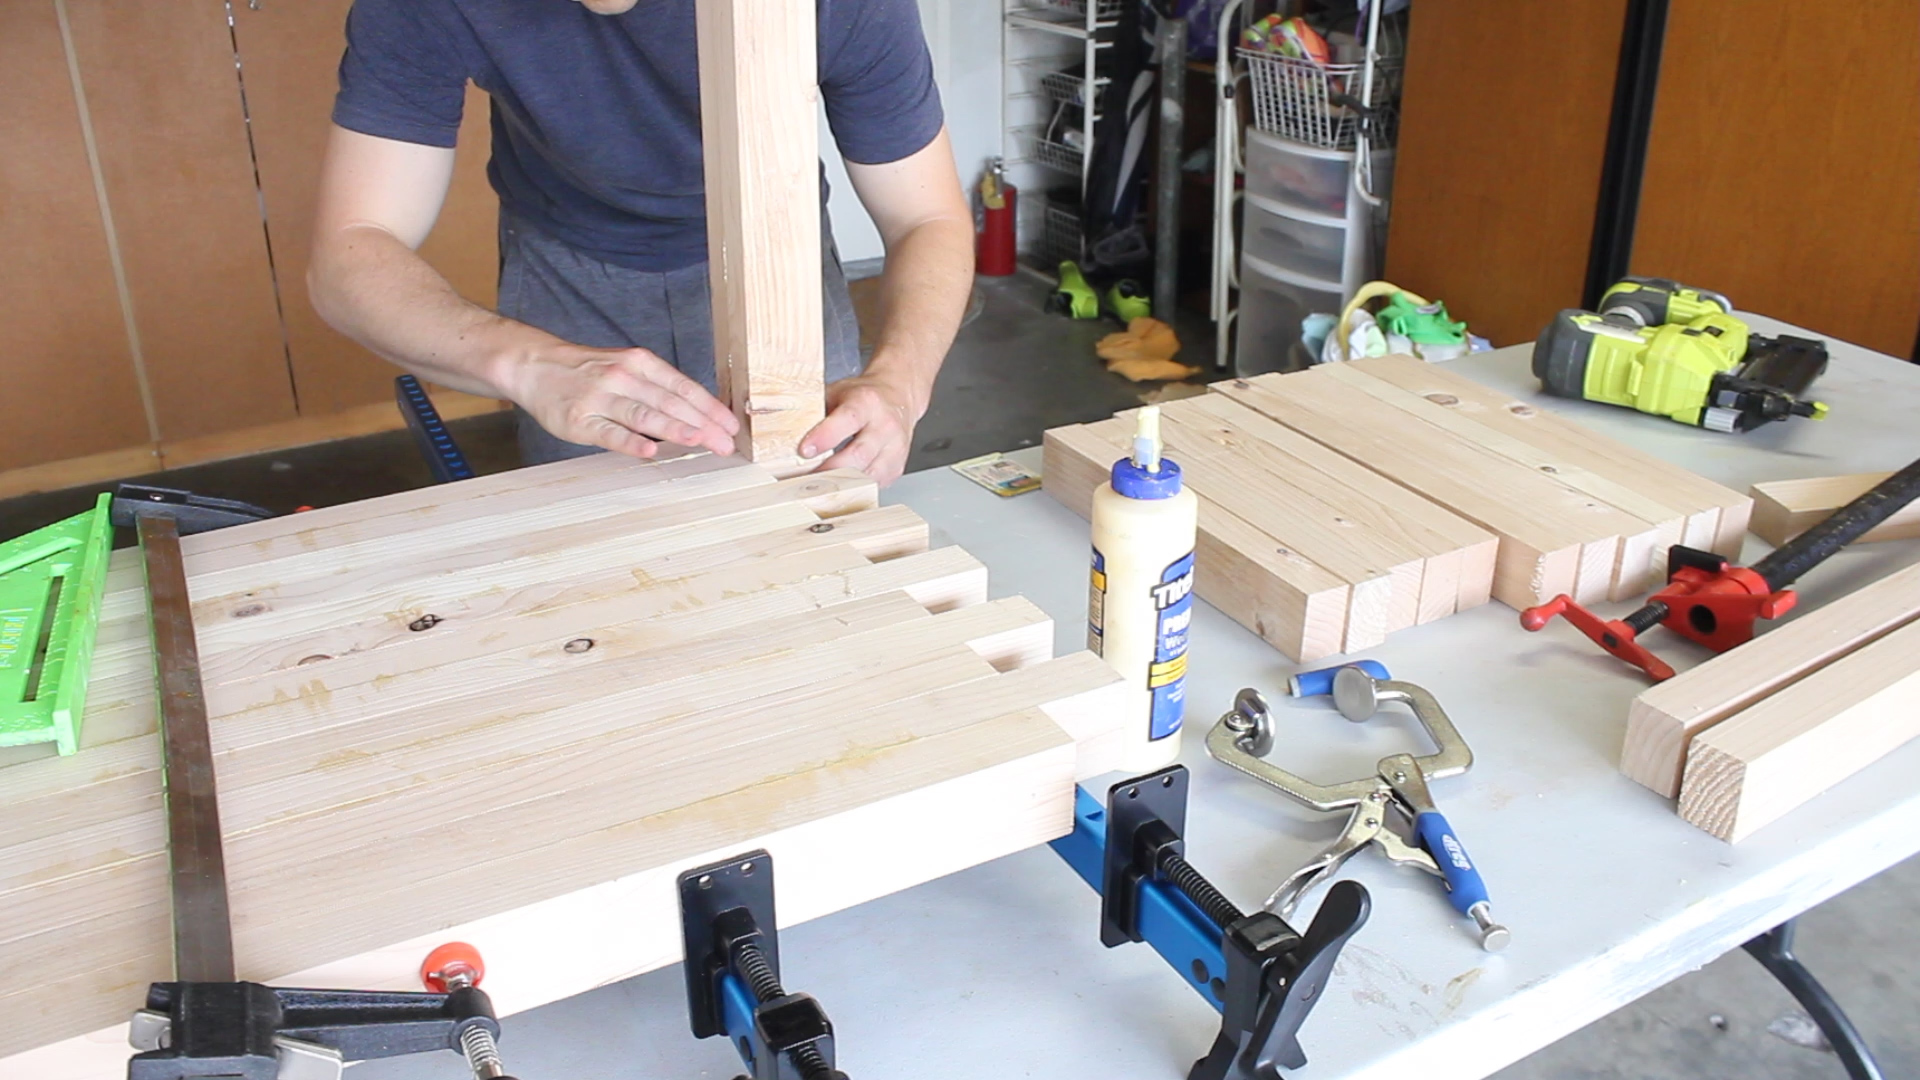

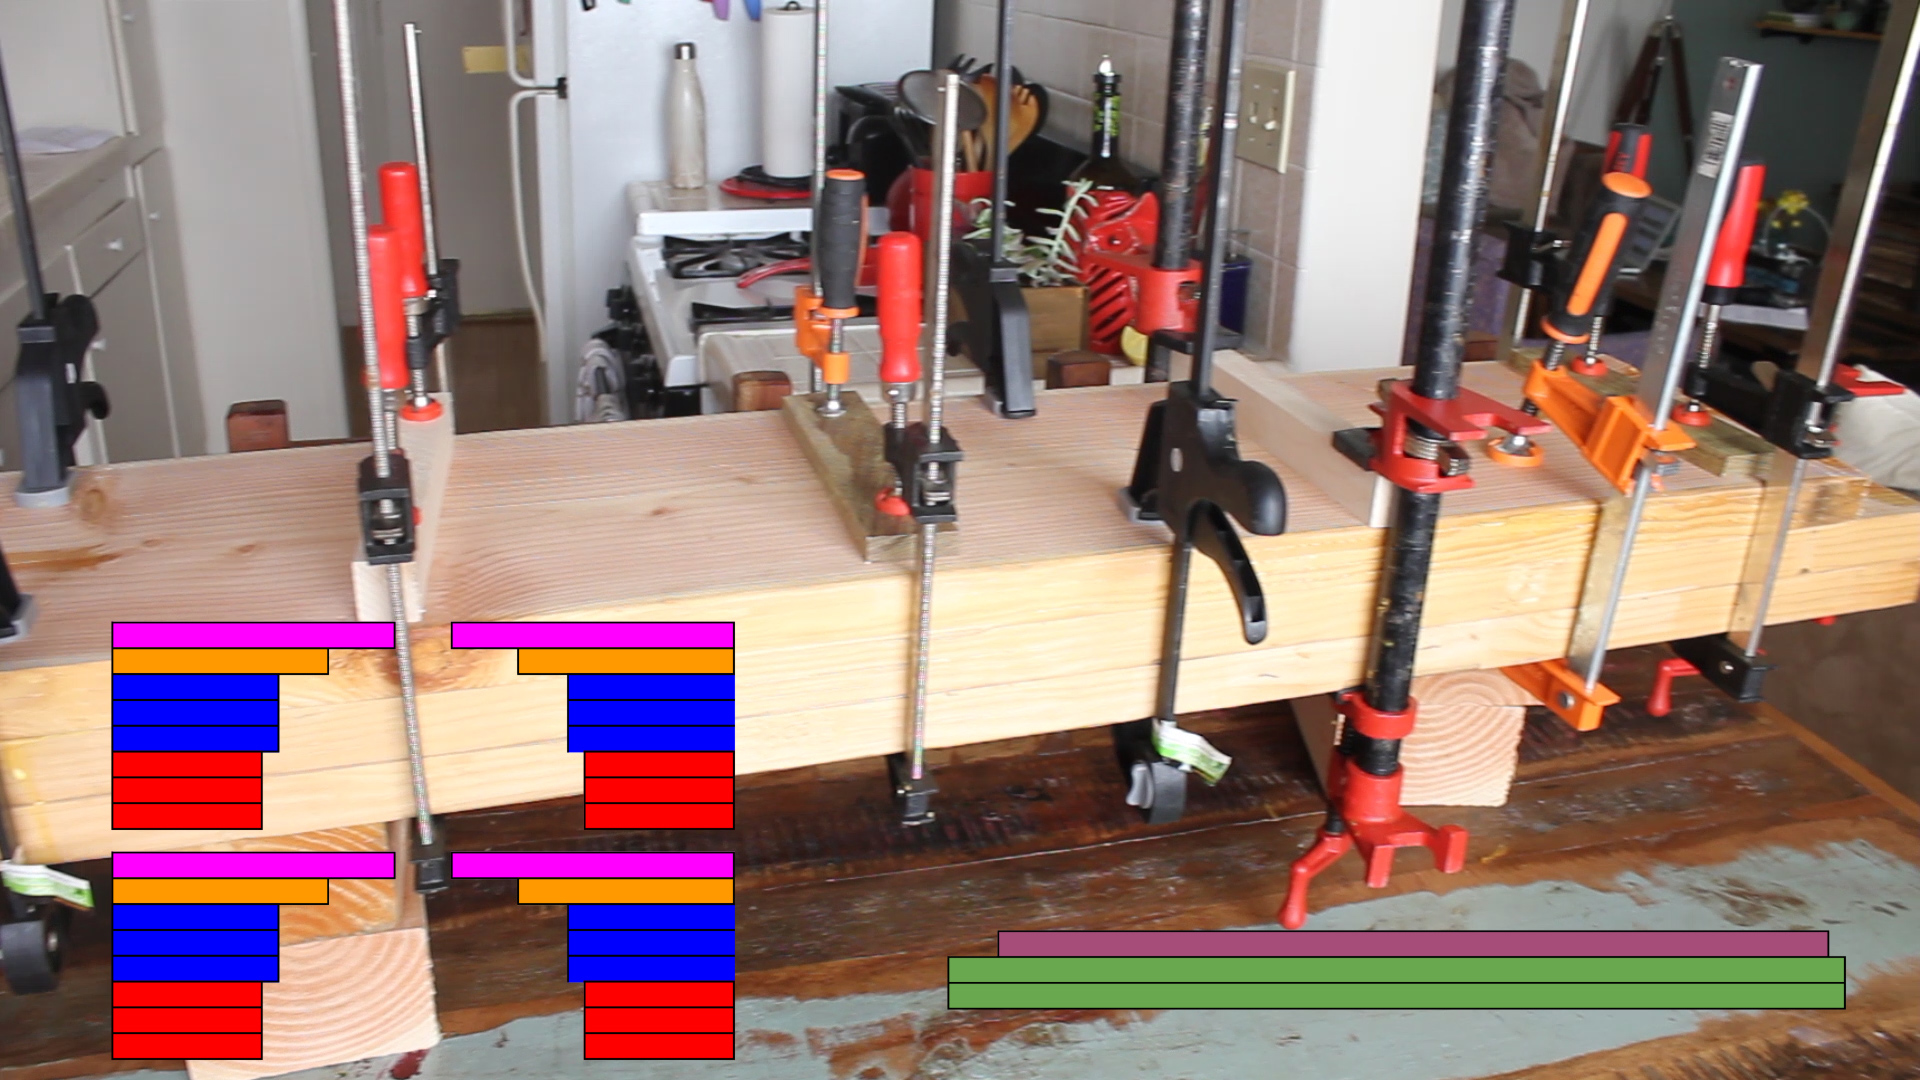
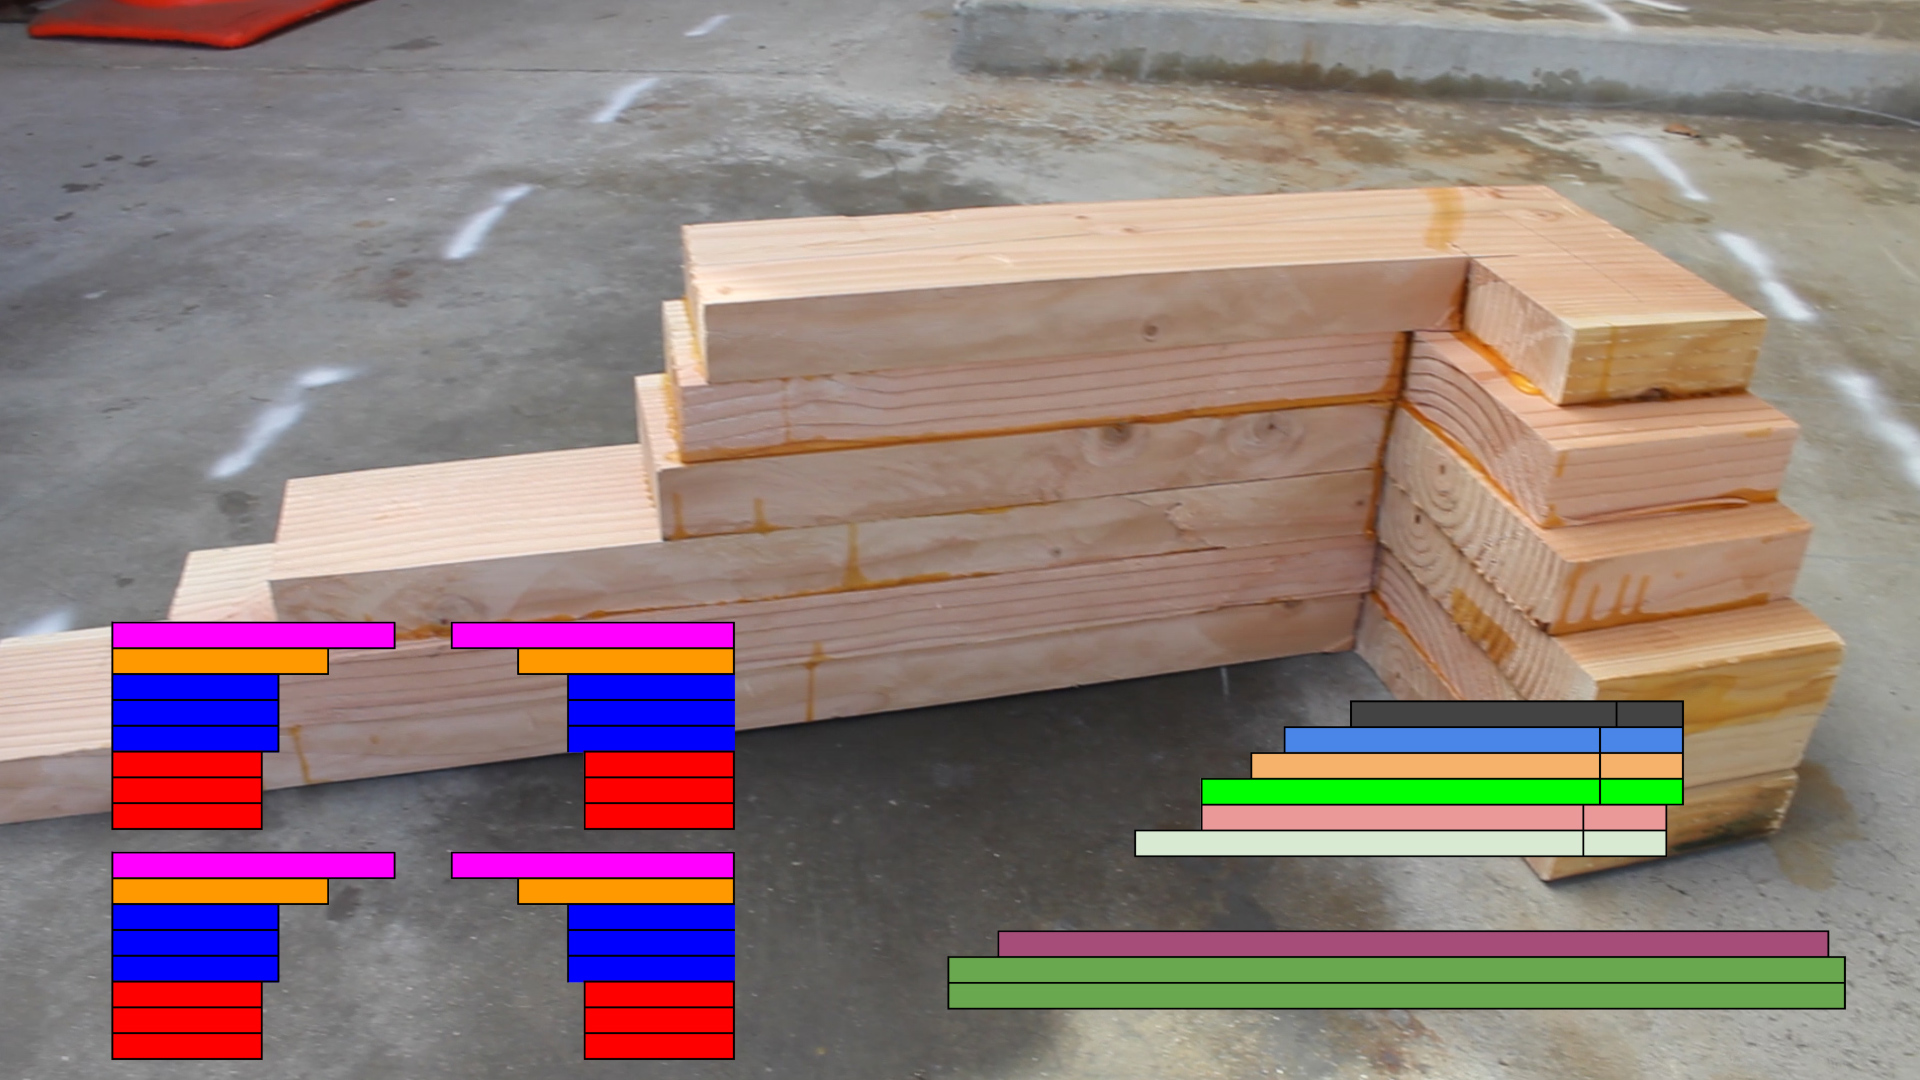
I then could repeat the process for my legs, alternating pieces (pic 1 and 2 - the alternating process should be relatively straight forward and fit tightly together), then my other side's legs (pic 3), and then finally my bottom table (pic 4). Again, clean away any glue squeeze out for easy finishing later on.
Your bottom table (pic 4) will have 13 pieces glued together as well.

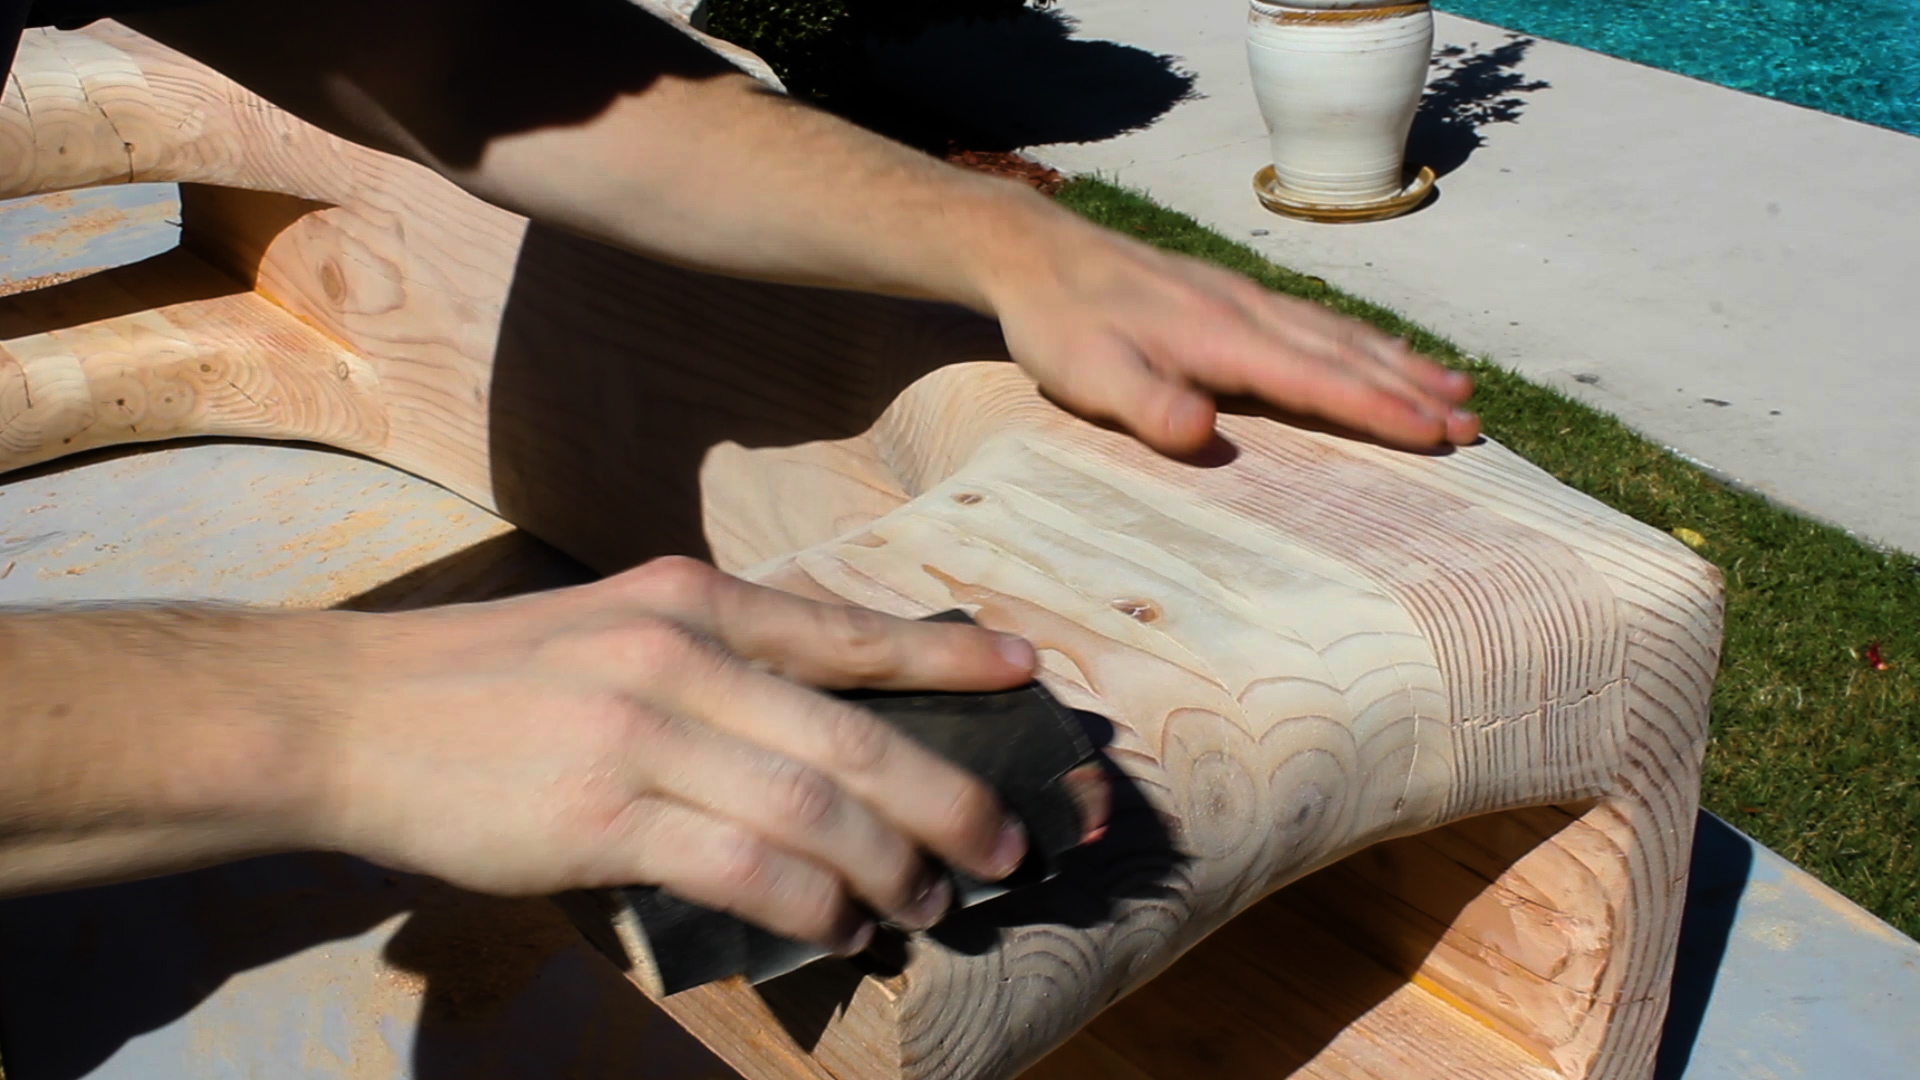
Before final assembly, I finished everything. First, I belt sanded all my surfaces using 40 grit paper which flattened everything nicely.
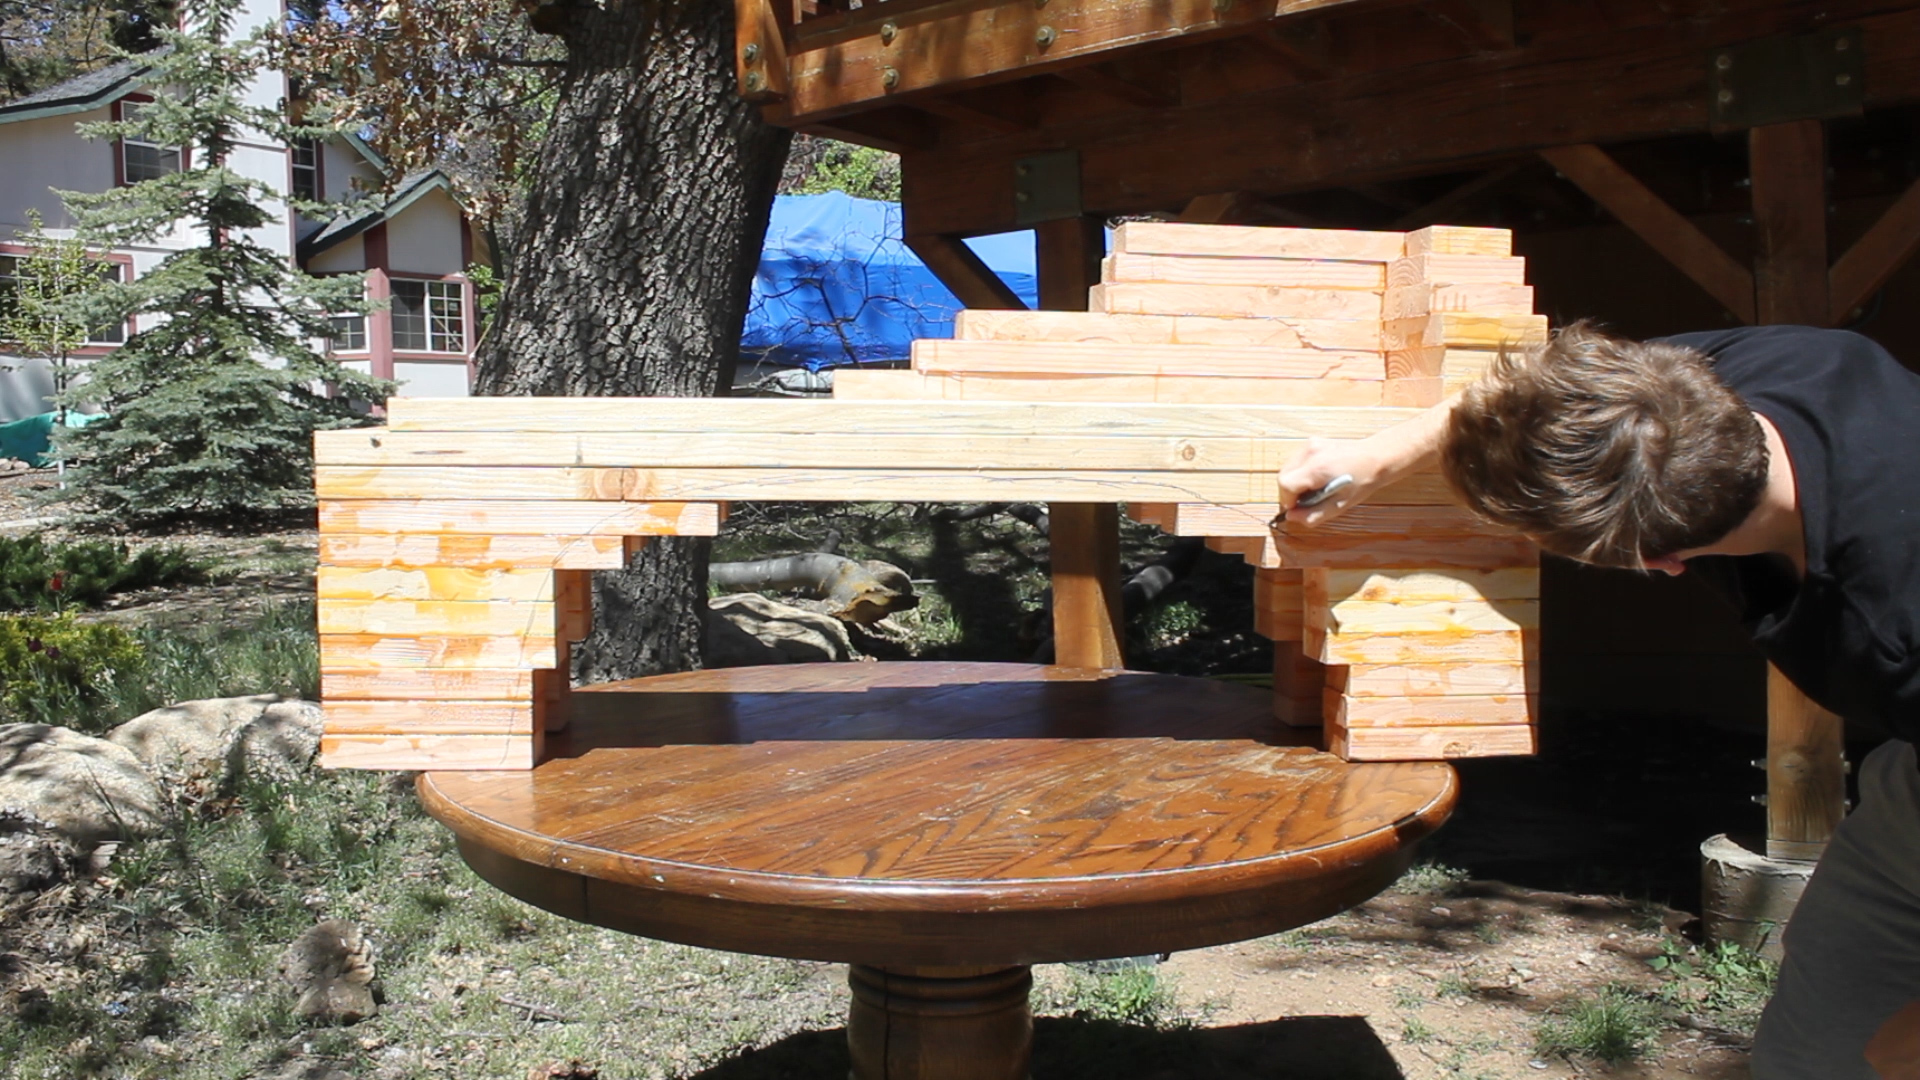
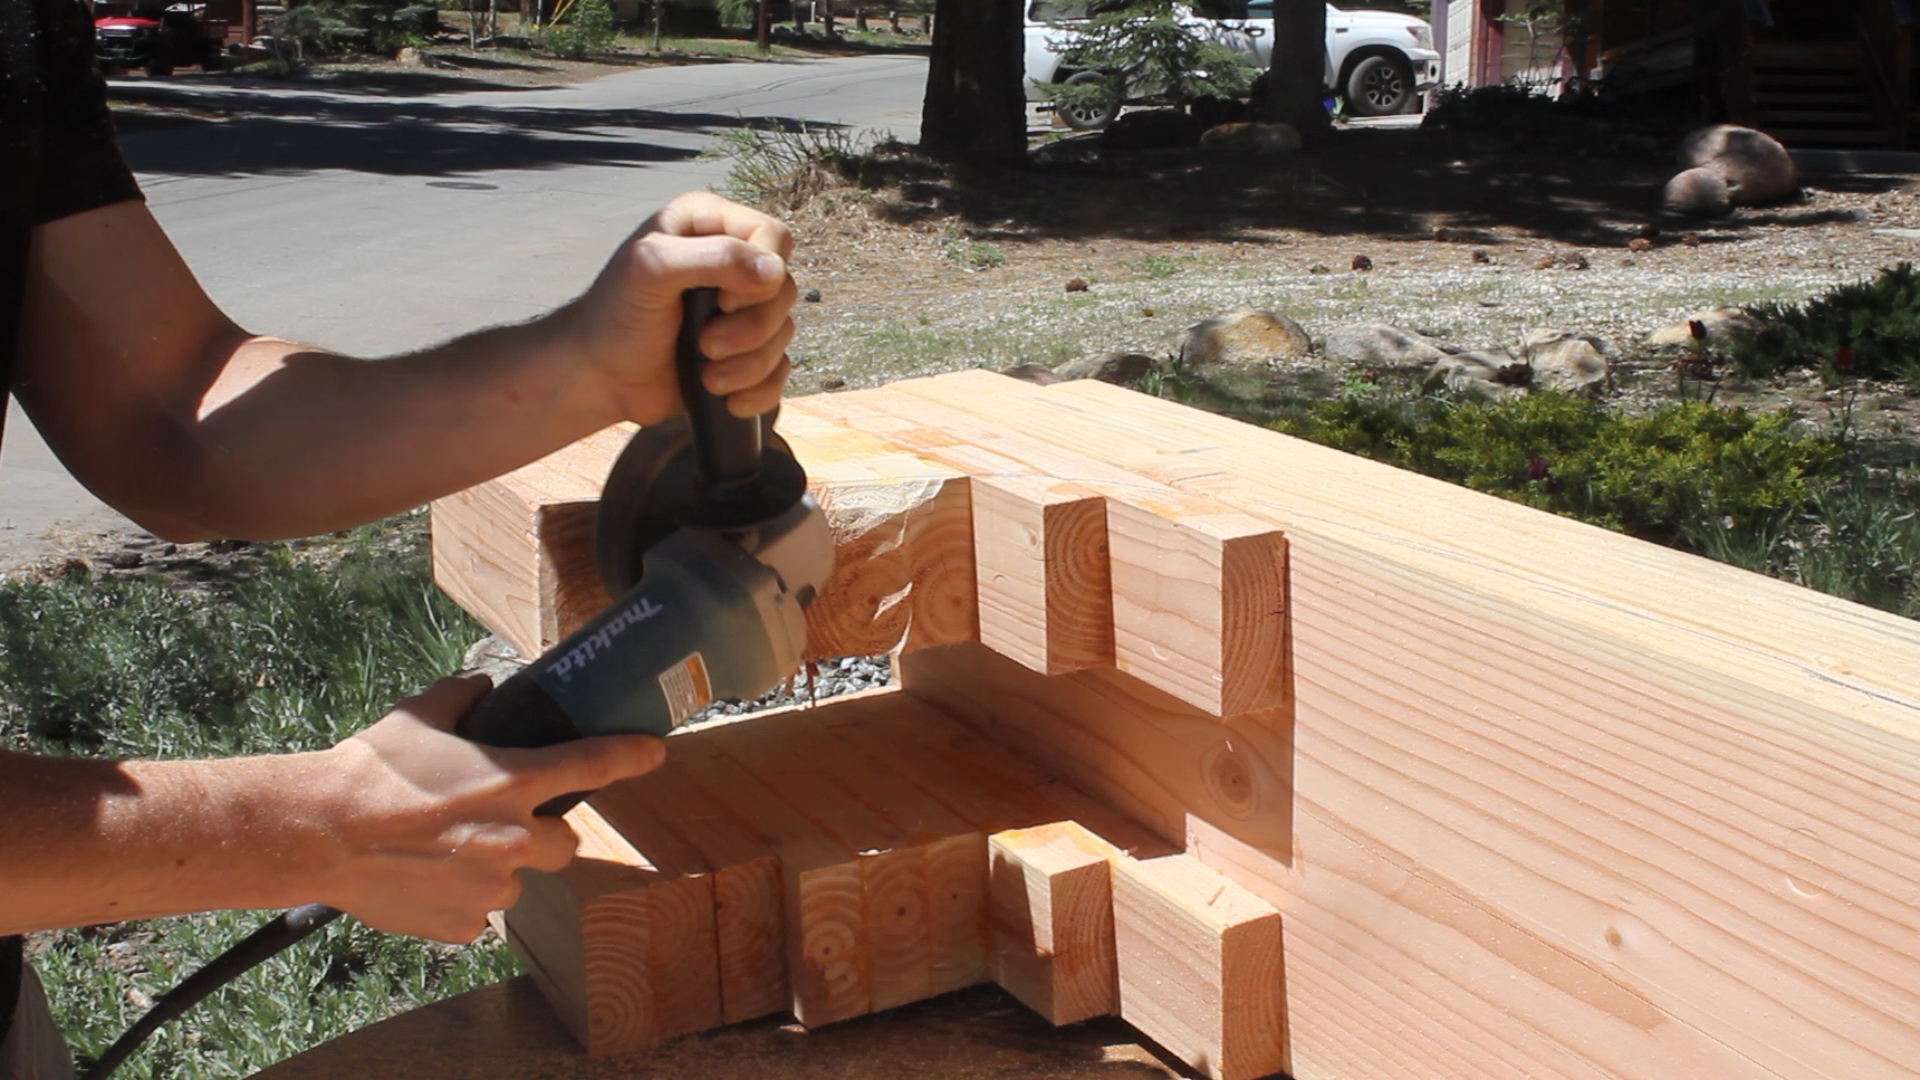
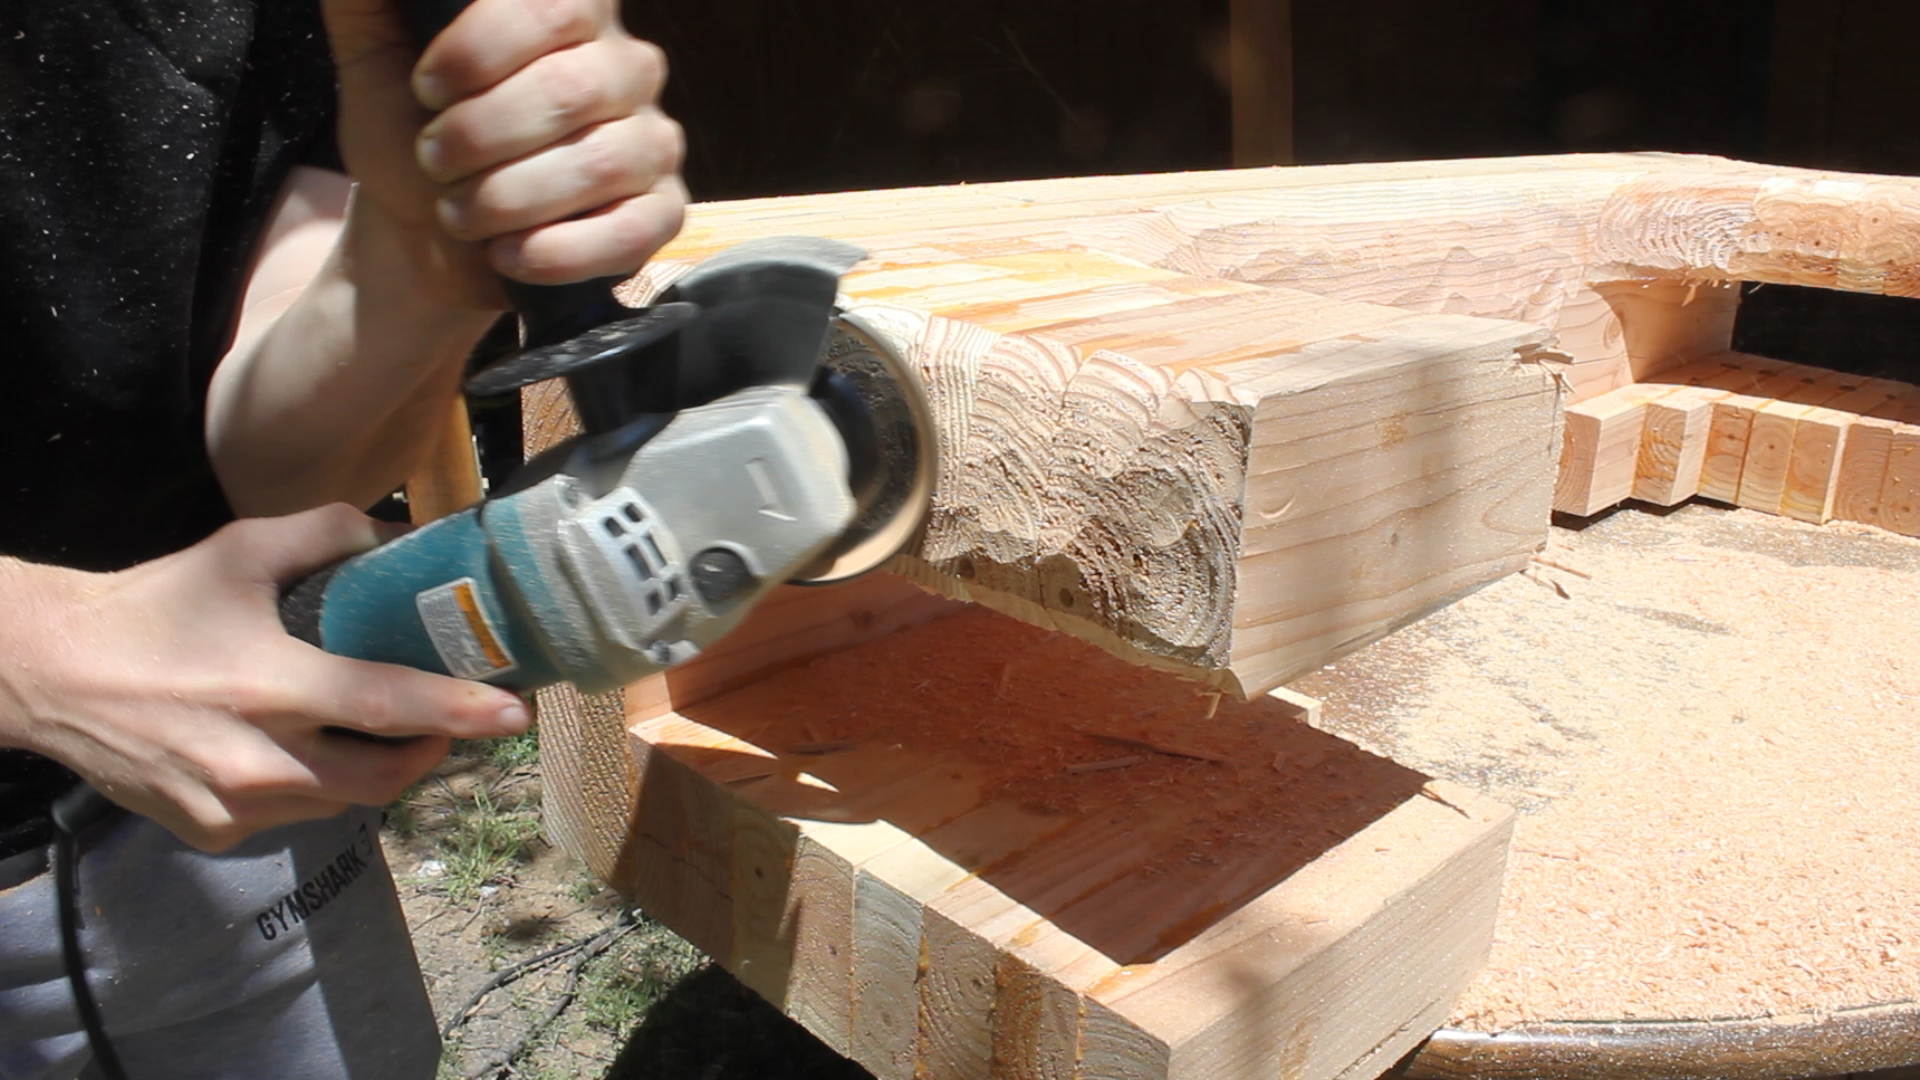
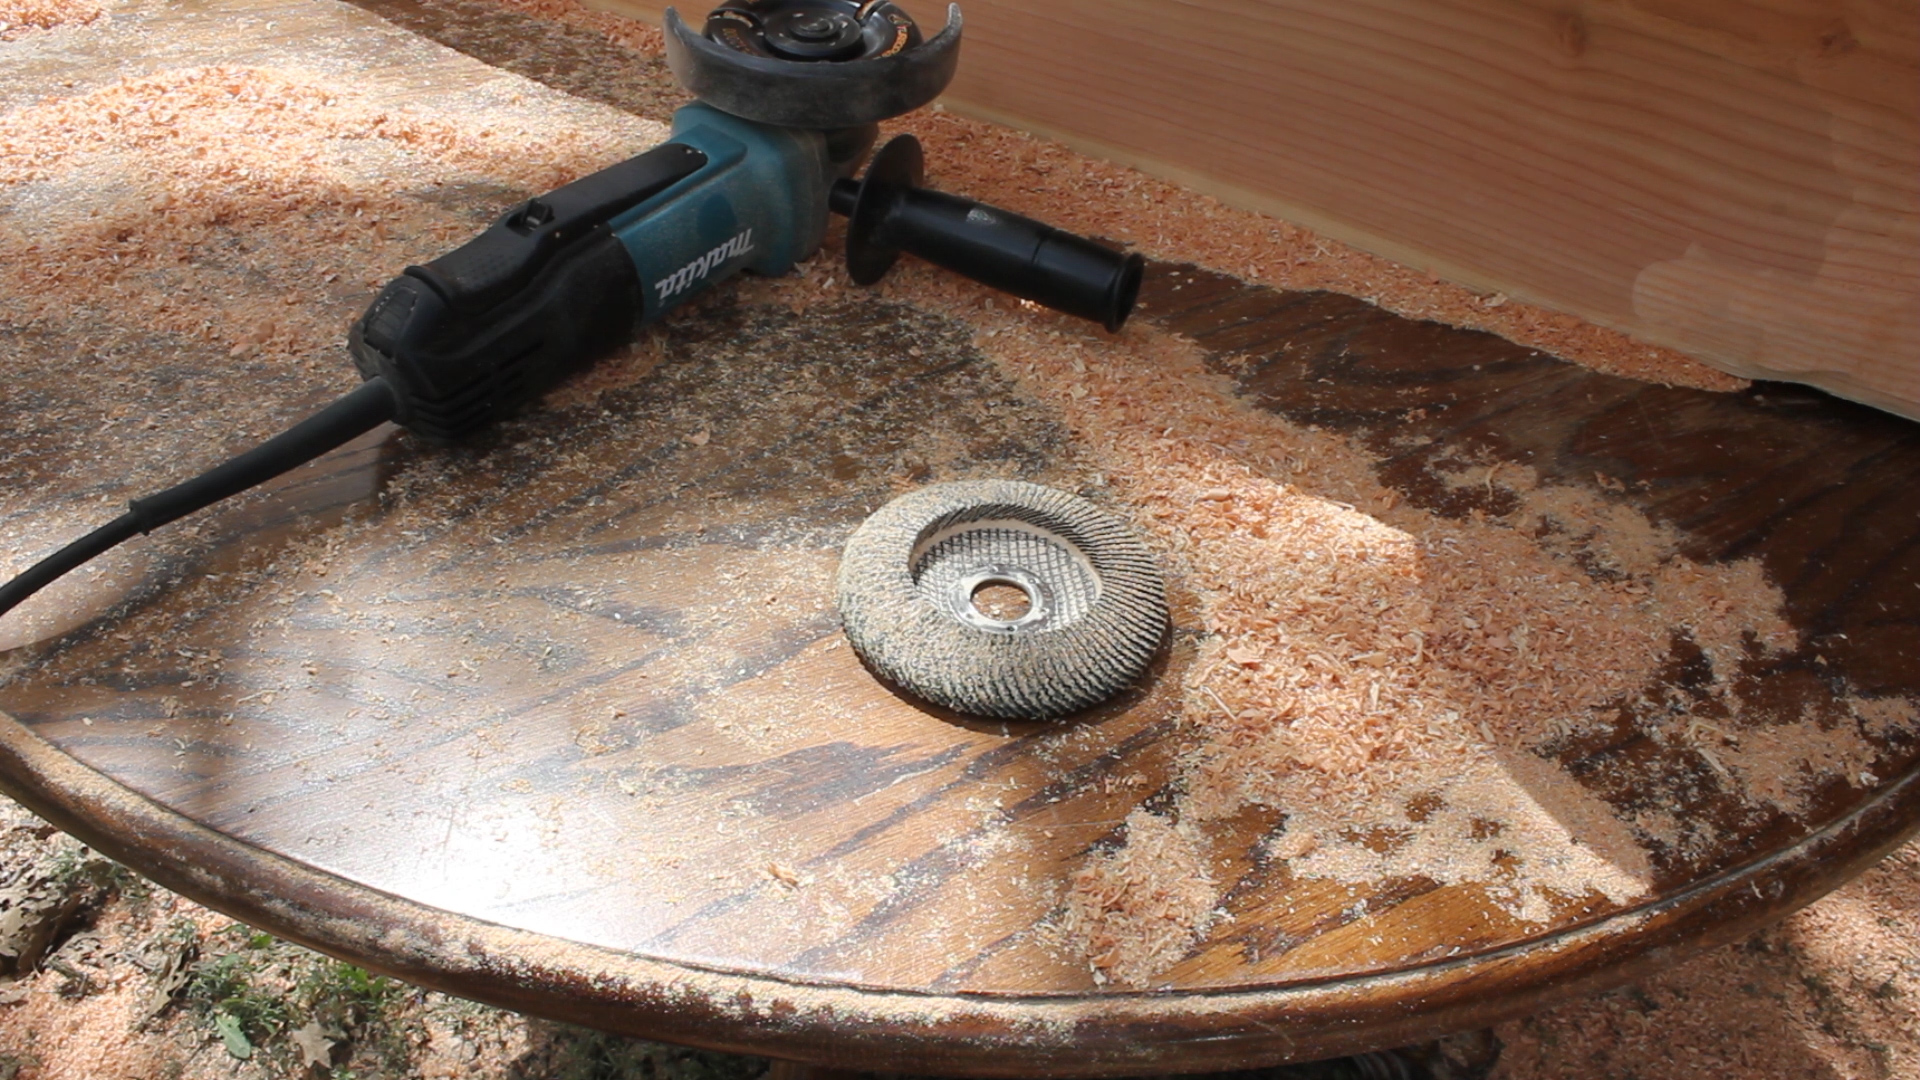
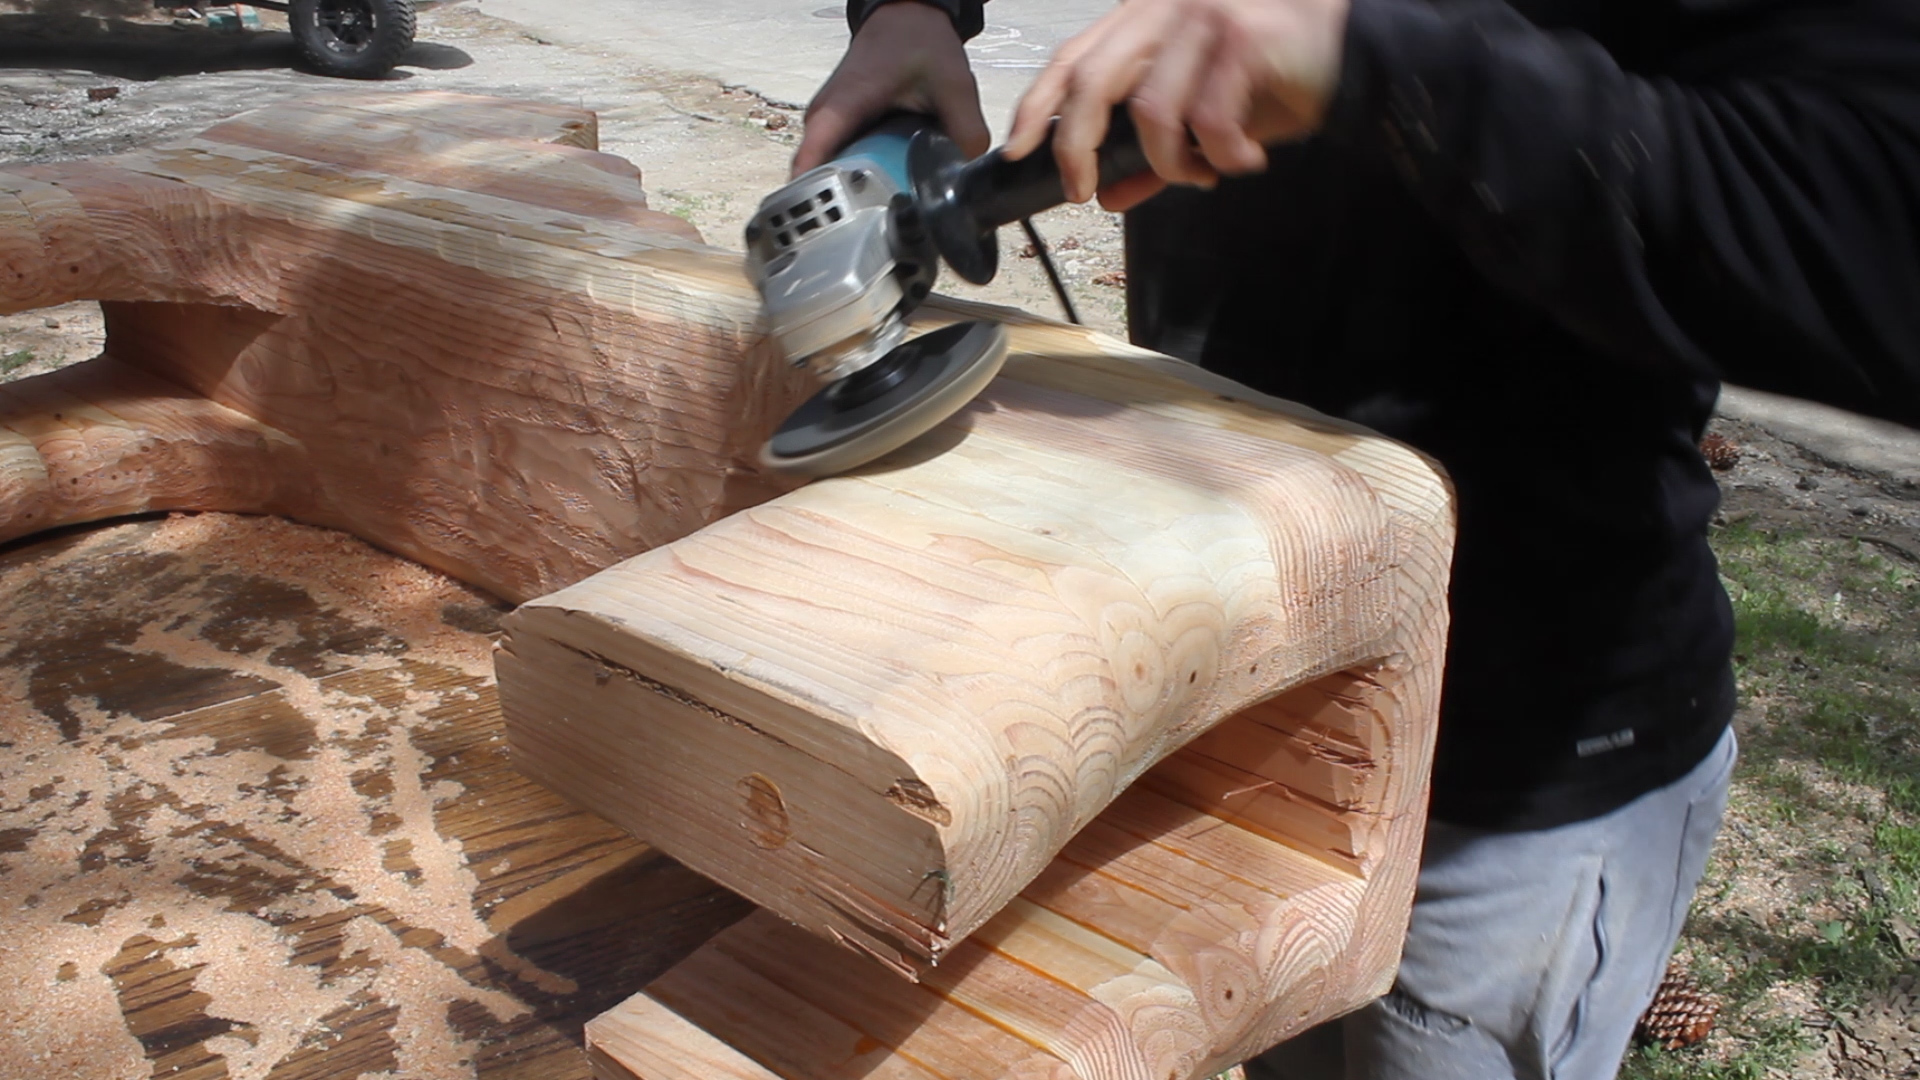
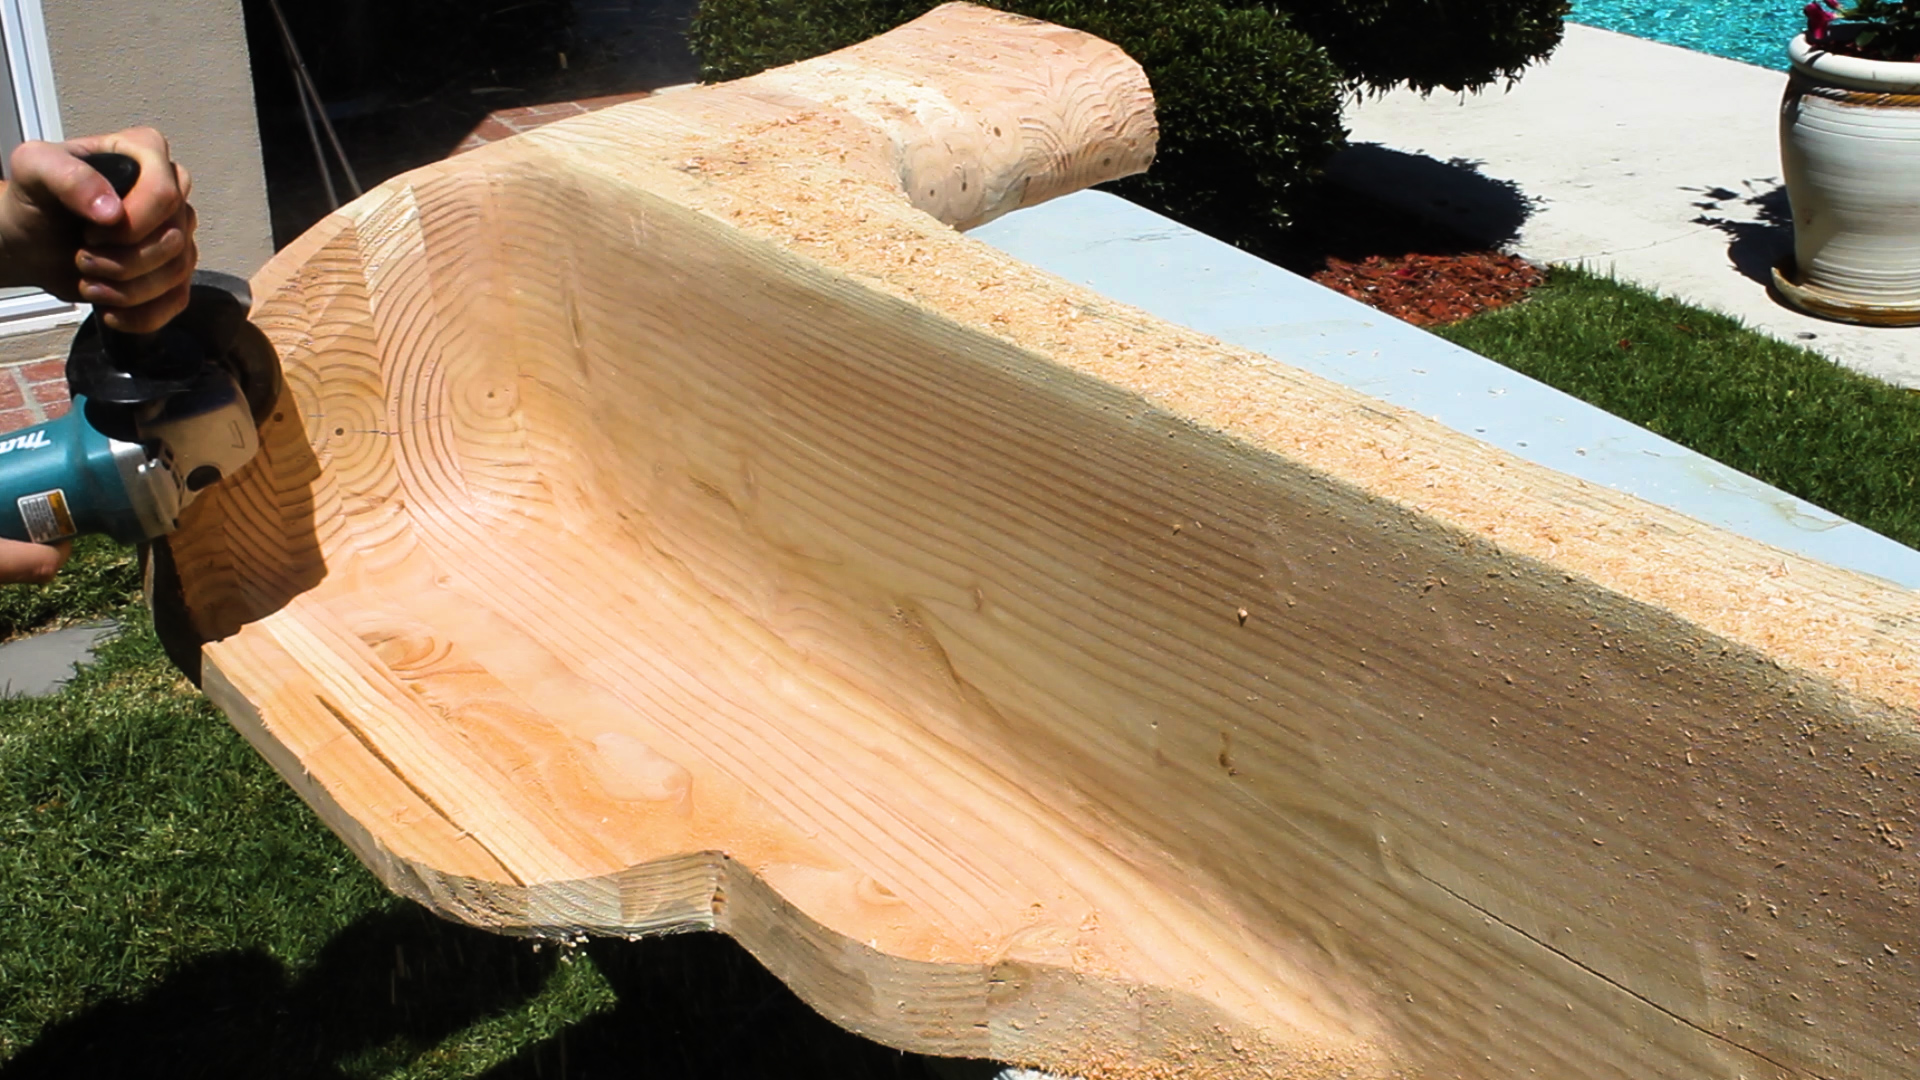
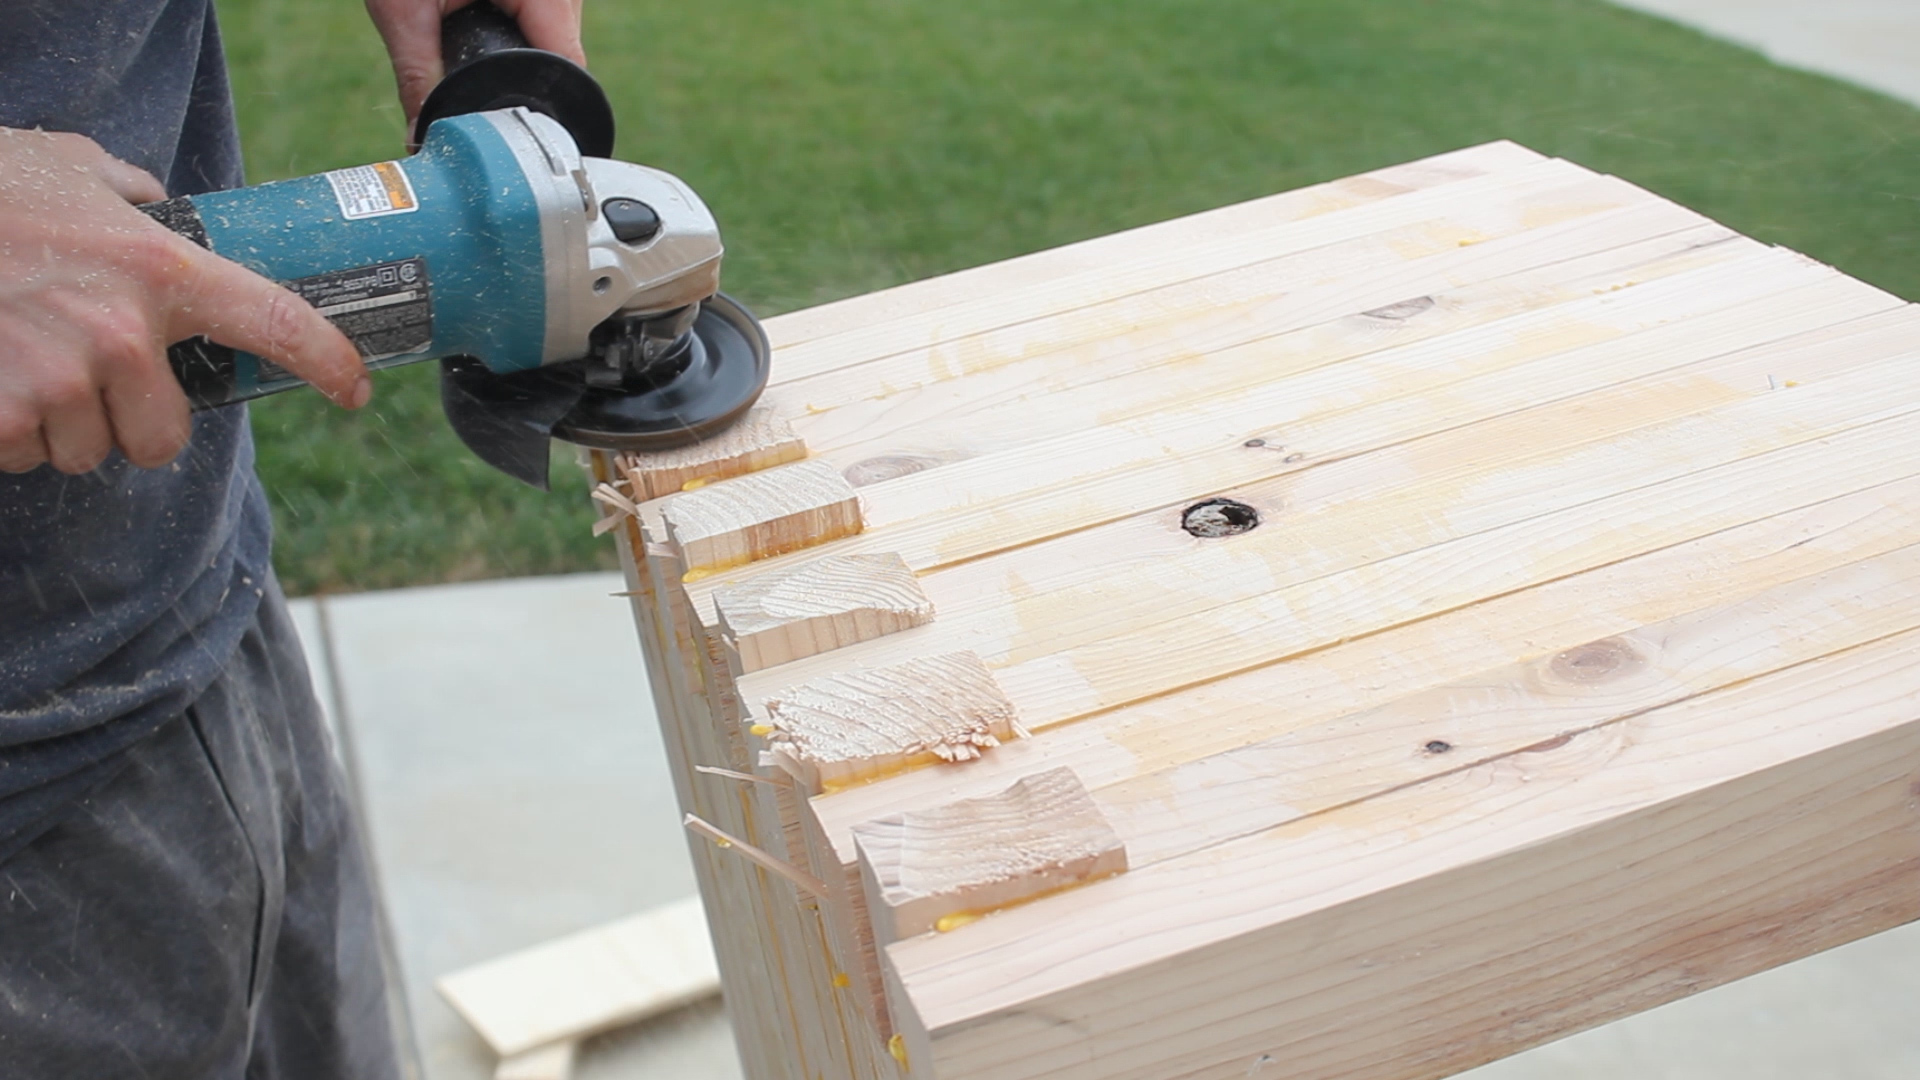
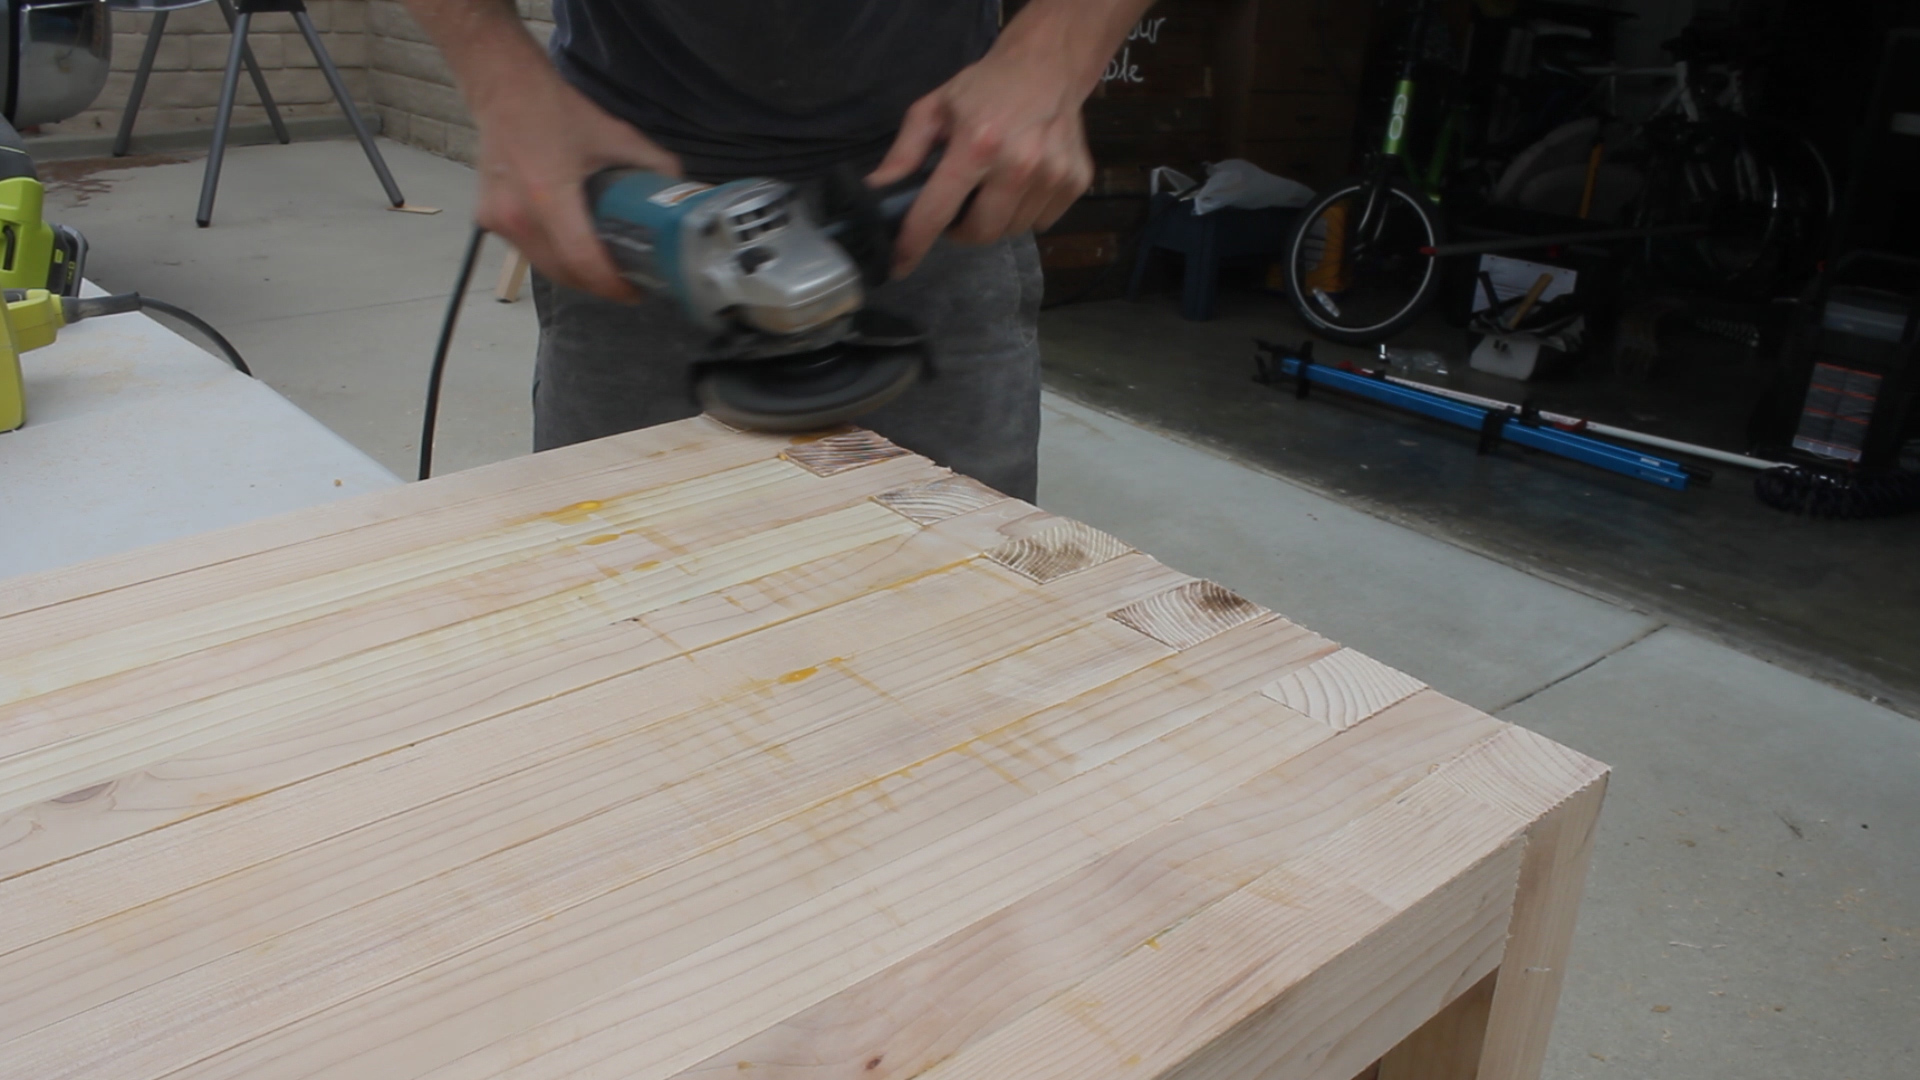
Next, in order to take down the protrusions (remember I cut my longer pieces .5" long), I used my Turboplane and a flap disk to take them down. This can also be done with a block plane, a belt sander with rough grit, a hand held electric planer, or a flush trim saw.
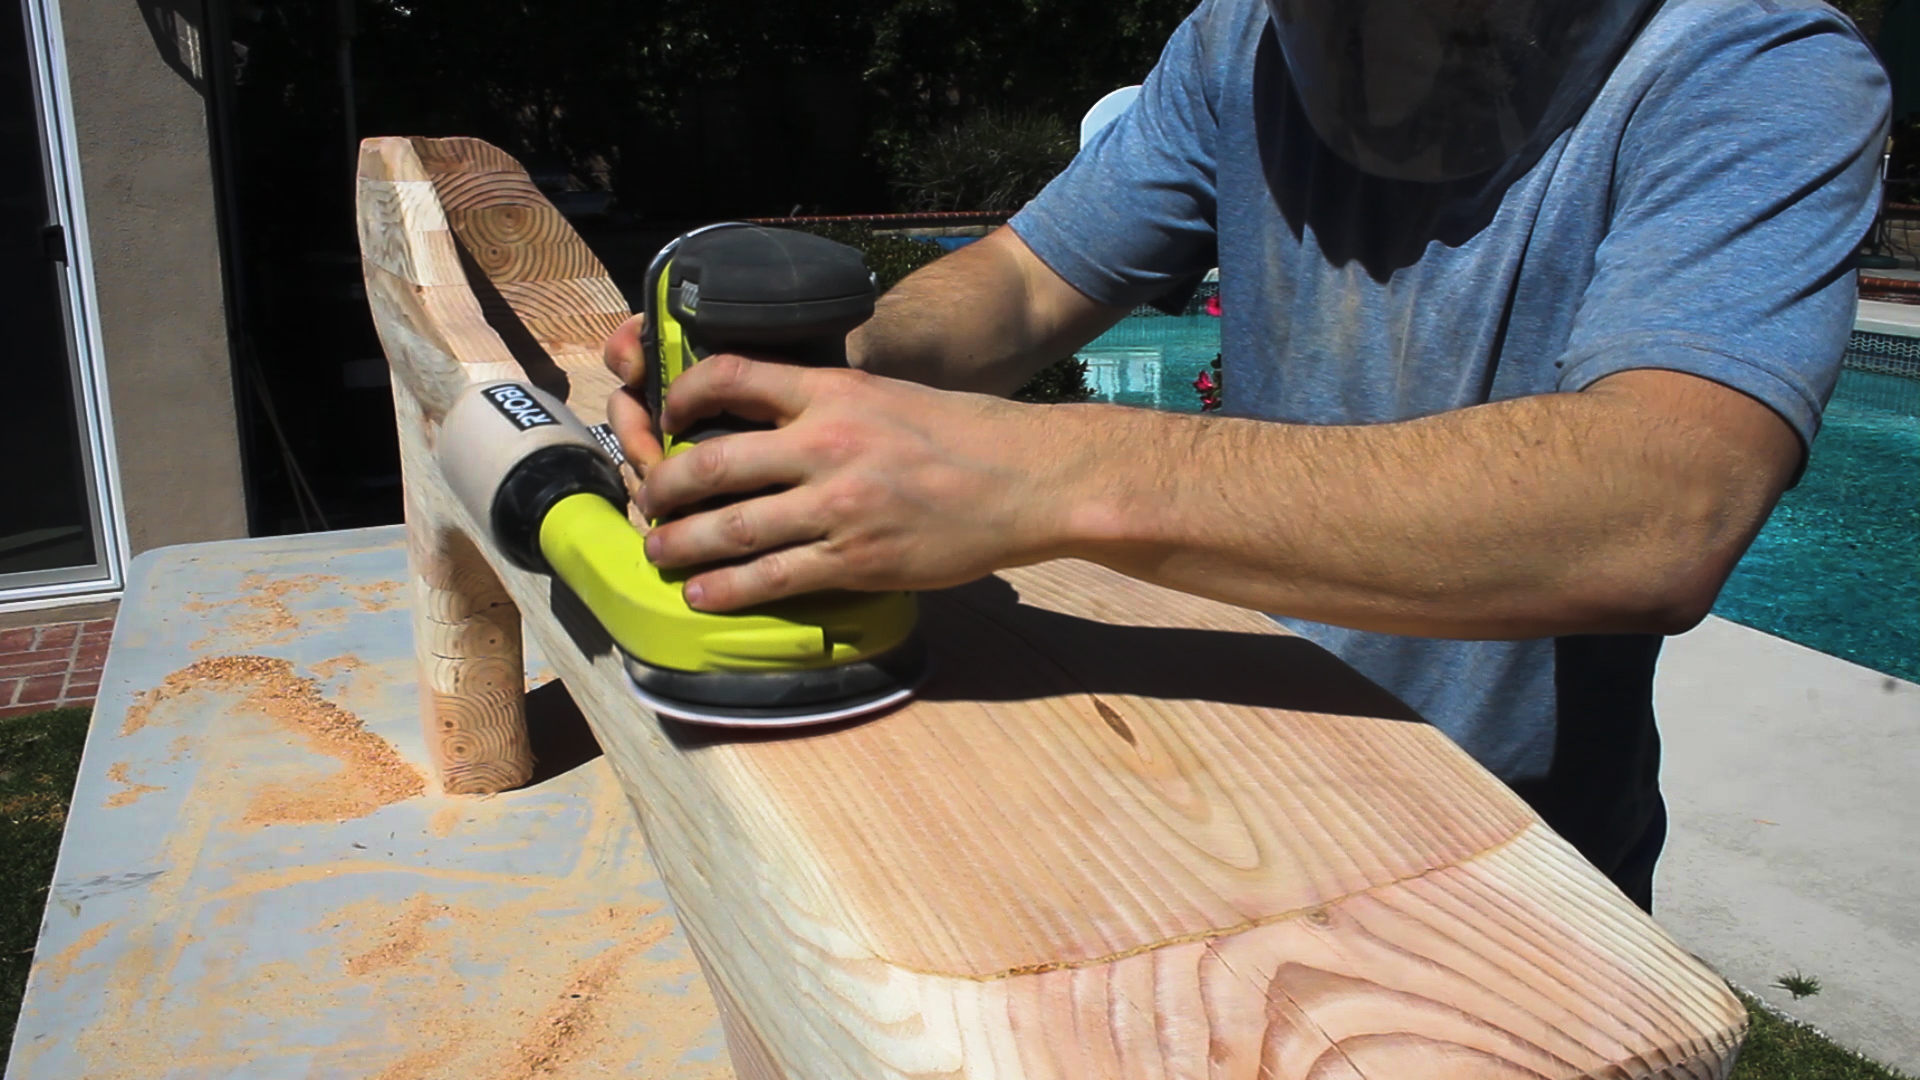
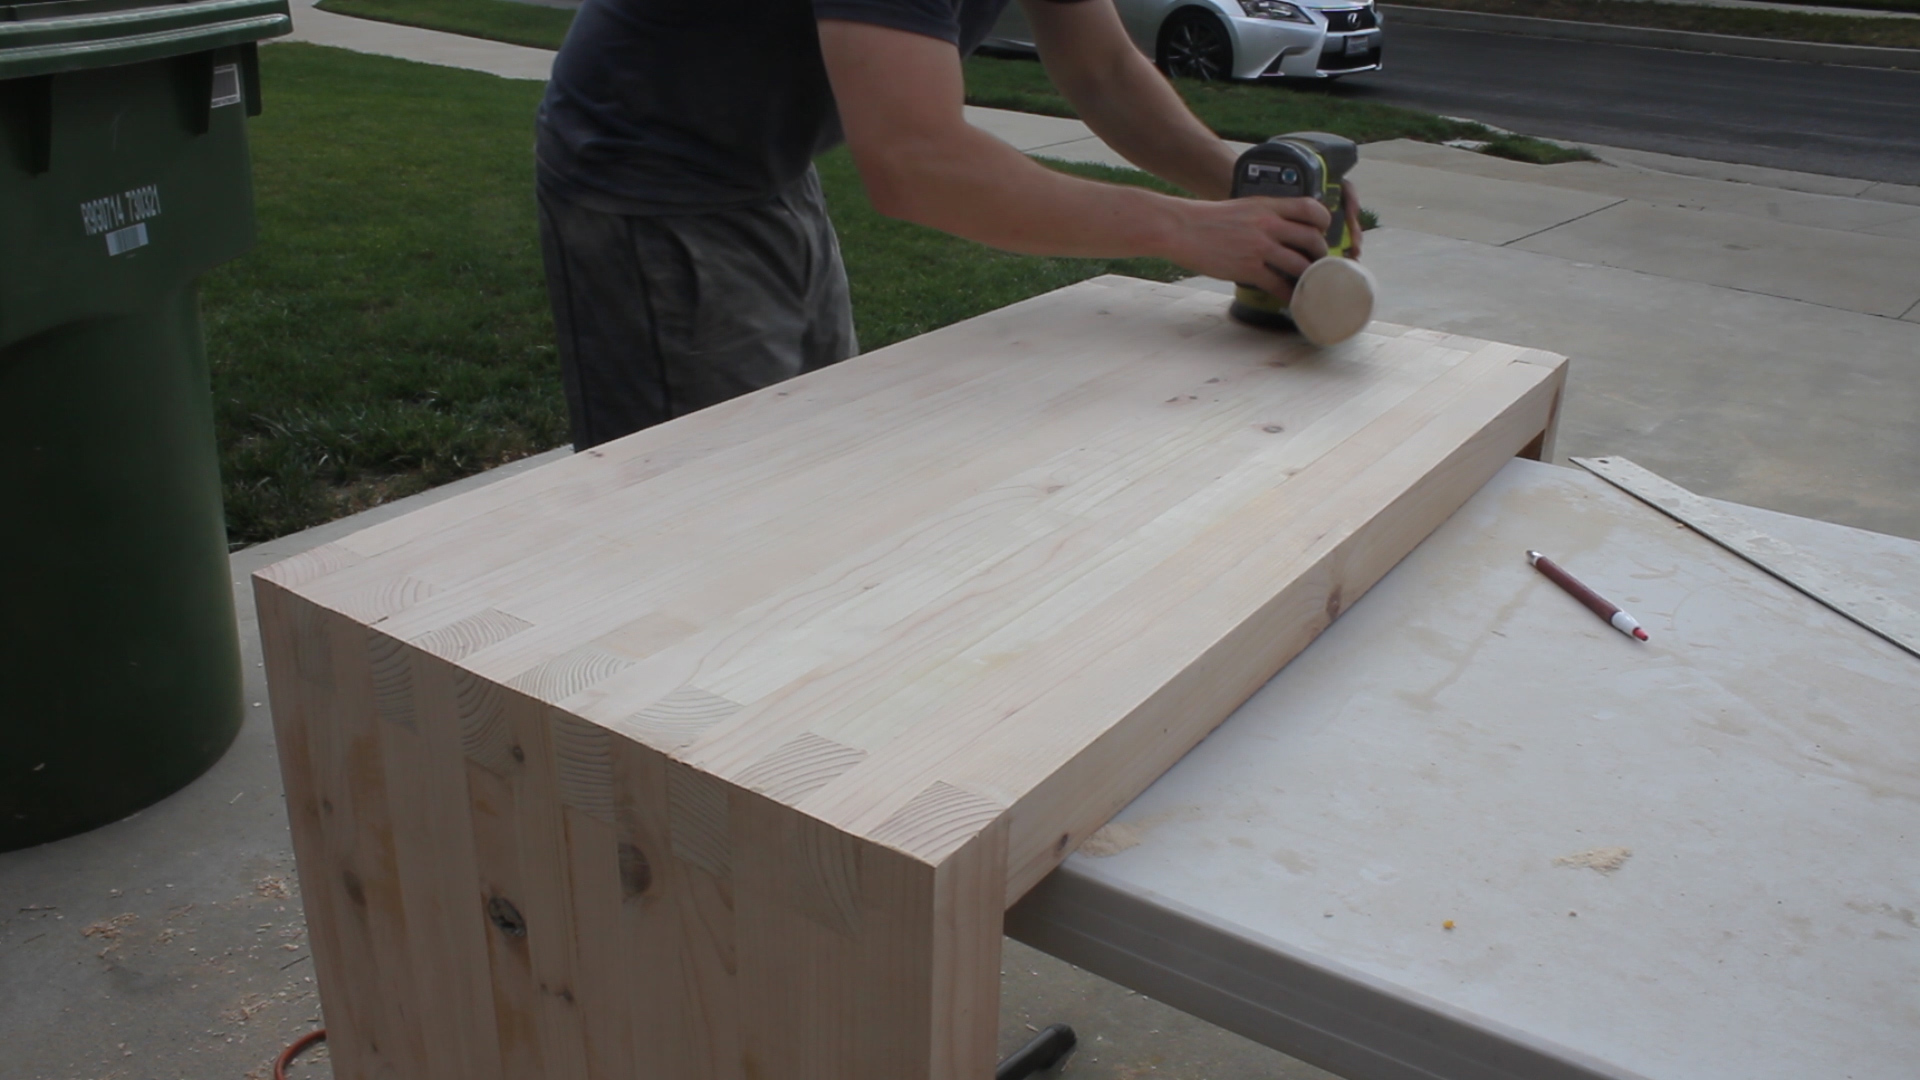
I then went over all my surfaces with 80 and 120 grit sand paper on my orbital sander. Looked great!
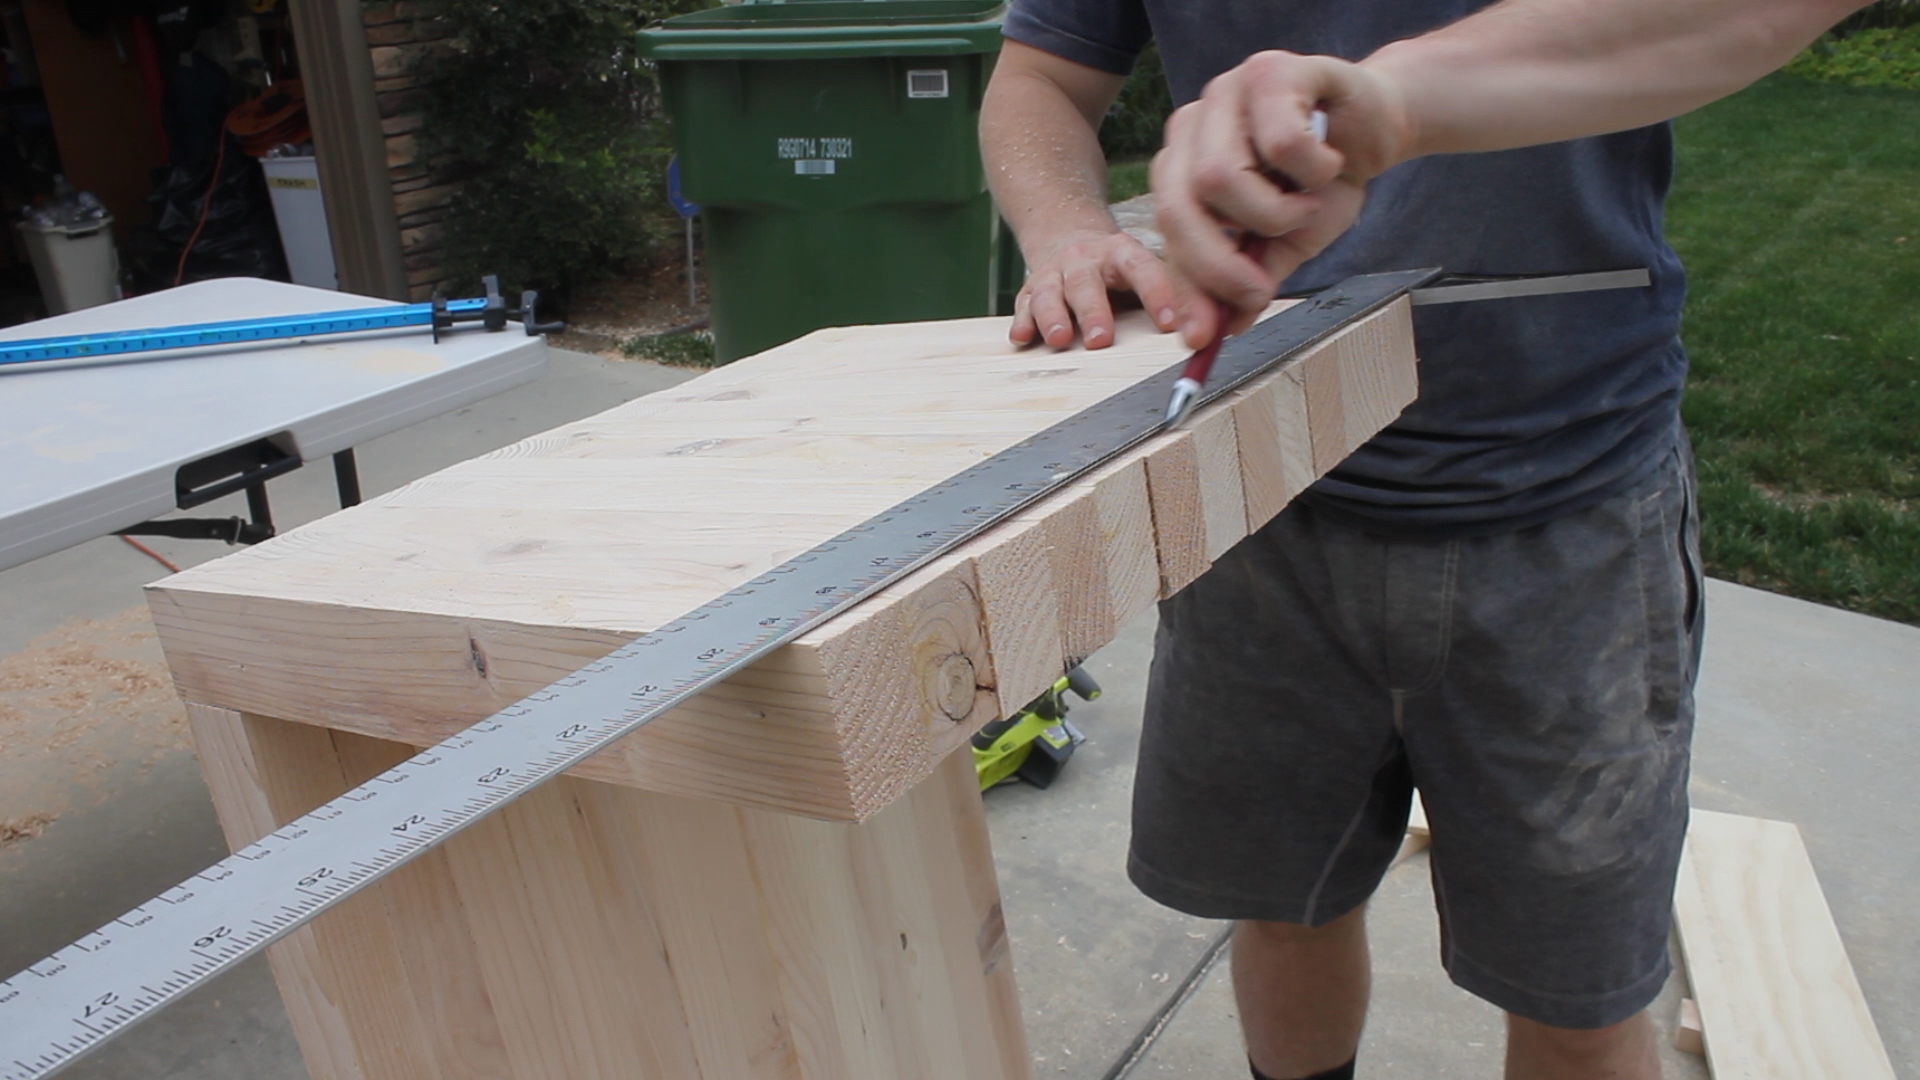
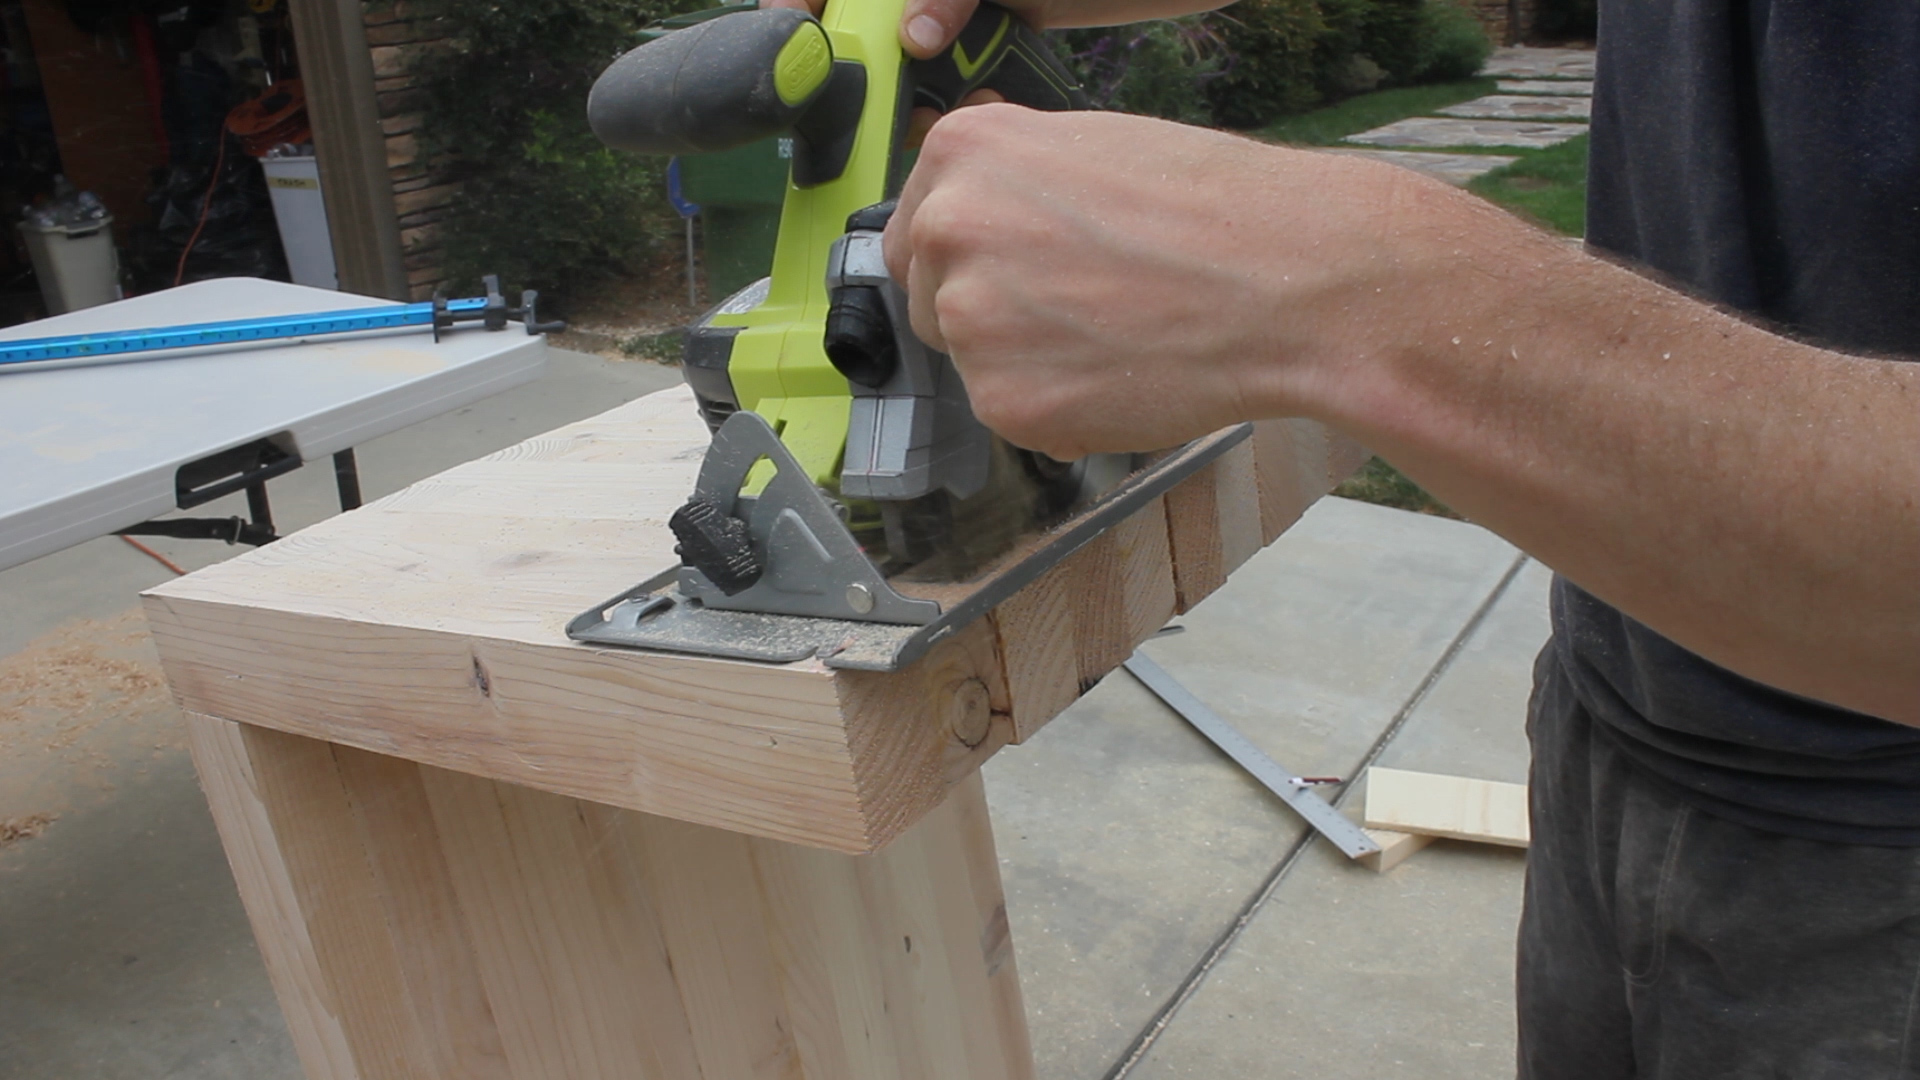
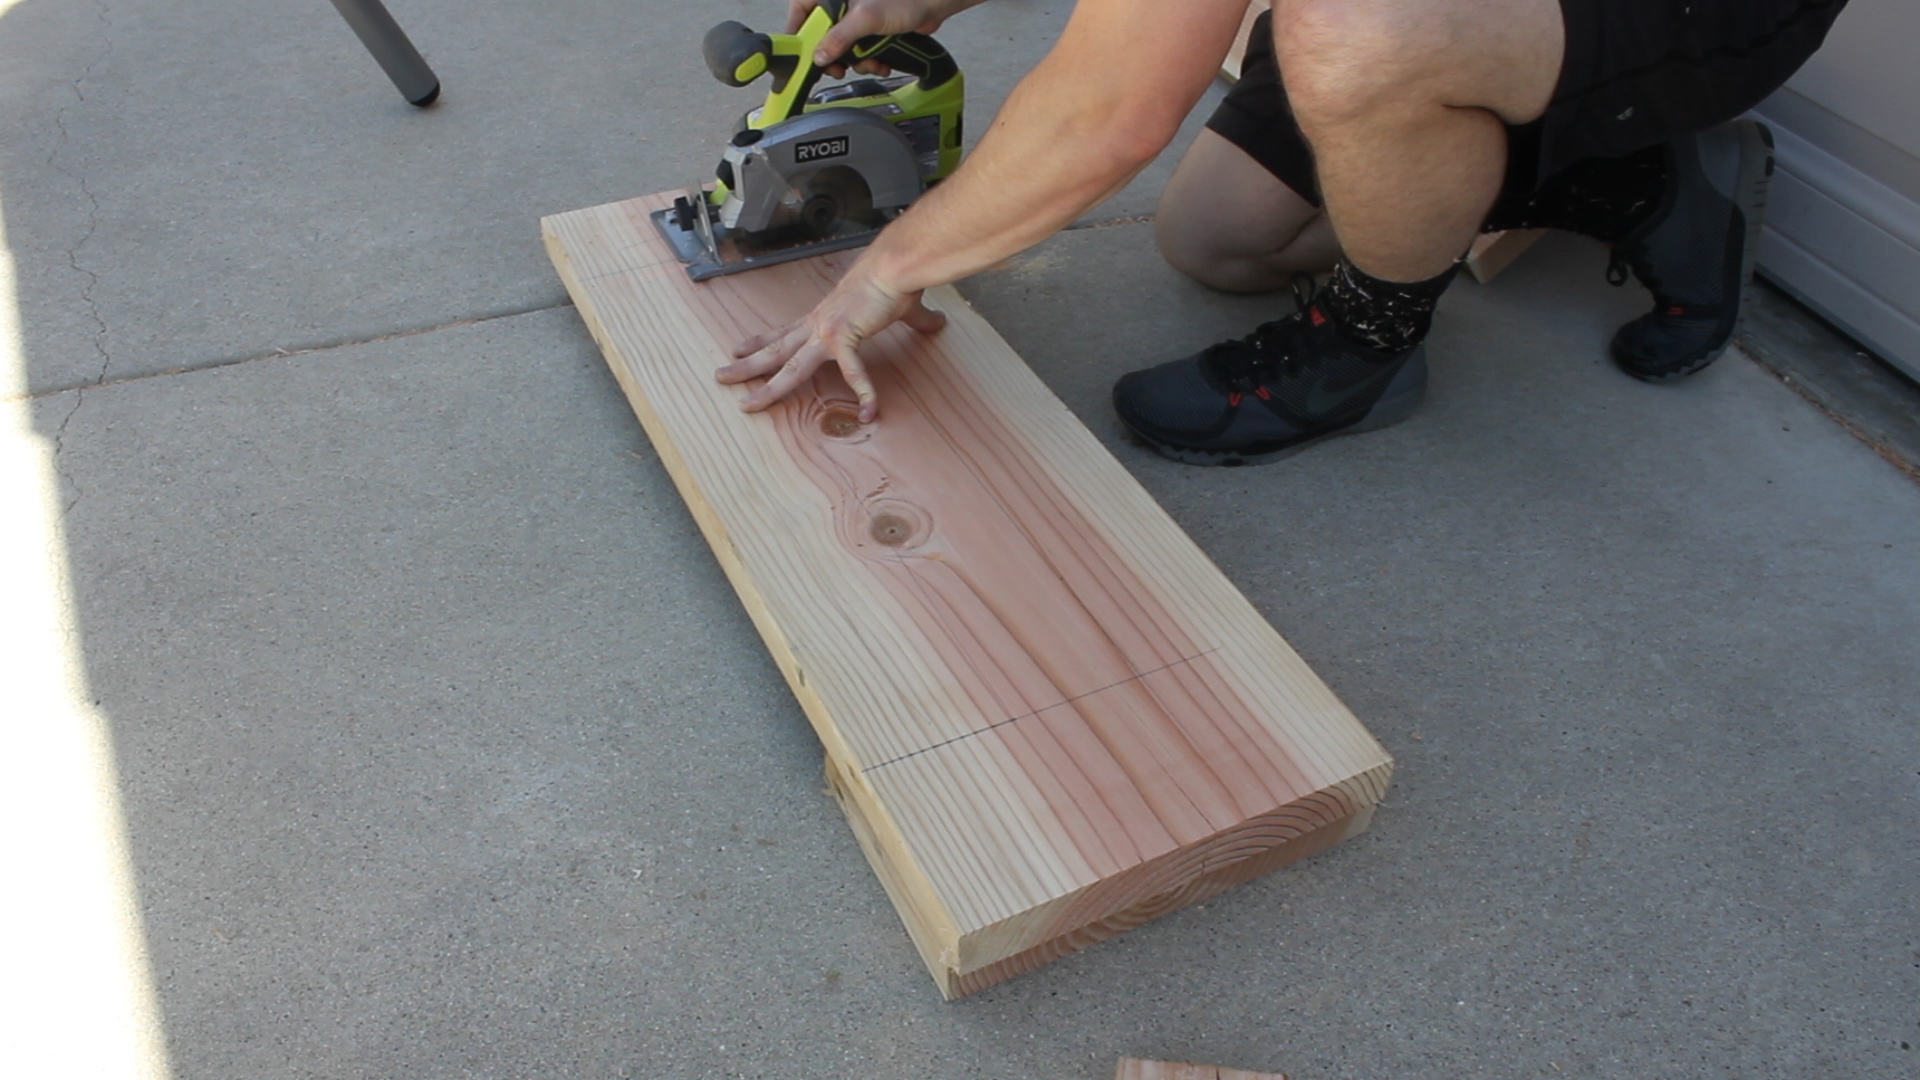
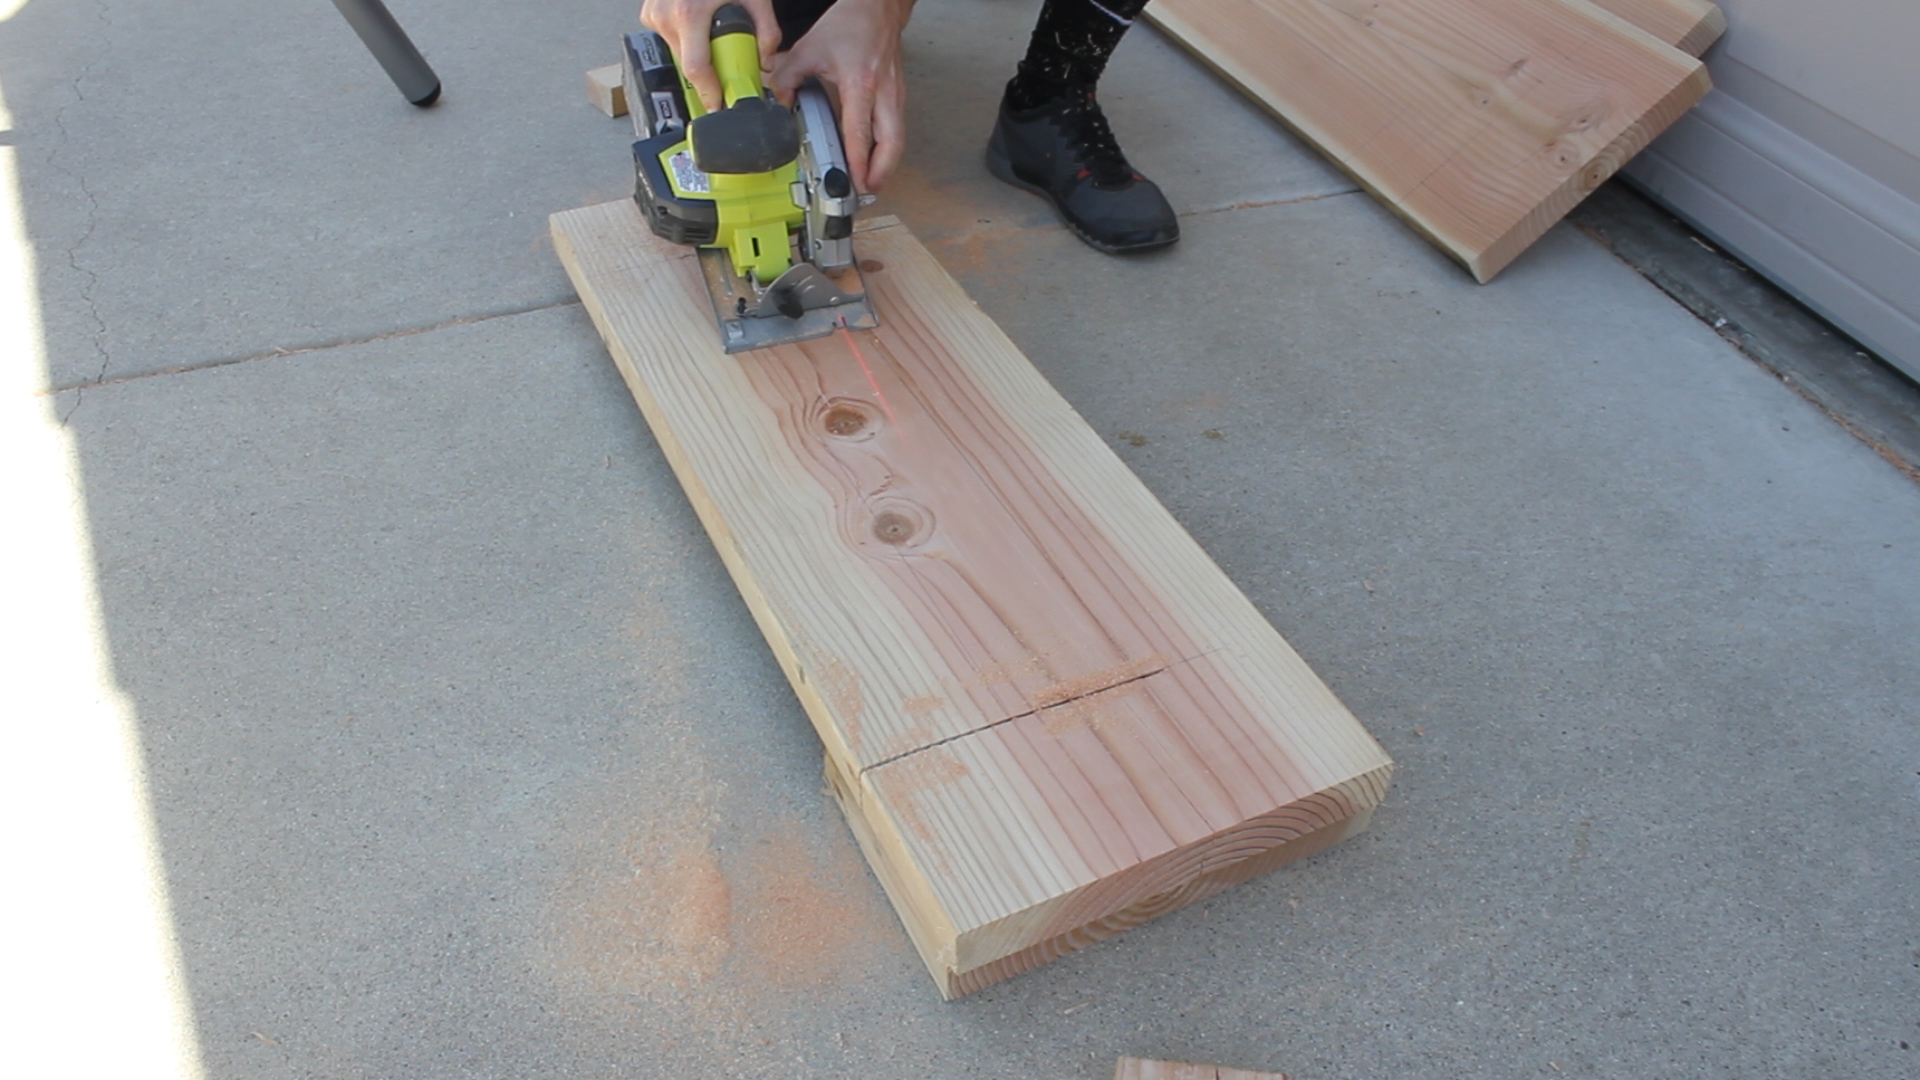
I then took the opportunity here to square up my leg bottoms using my T Square and a circular saw. My saw didn't cut all the way through, so I made one pass, flipped it over, and cut the other side. If your cut isn't perfect, a belt sander will flatten it out quickly.
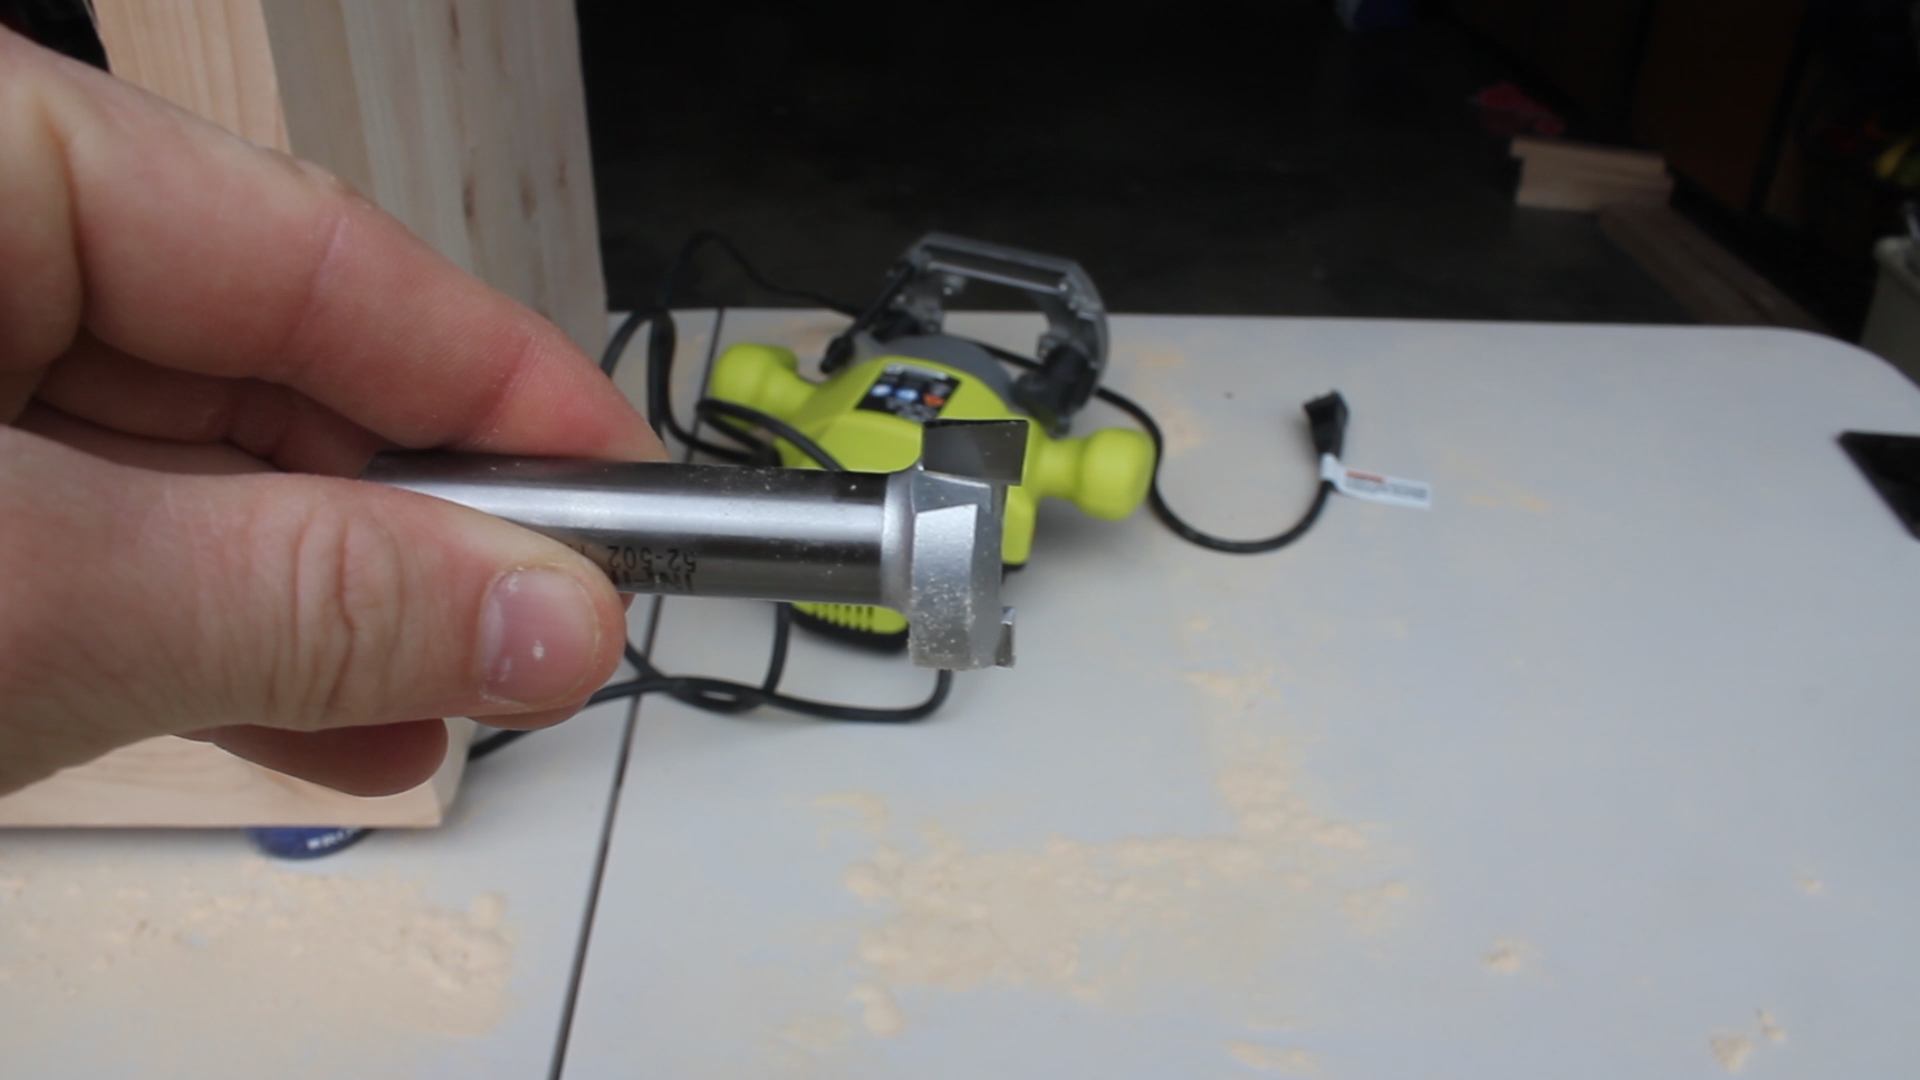


As I said before, I wanted to insert my bottom shelf using dado slots. To do this, I used a half inch dado bit (pic 1) and my plunge router.
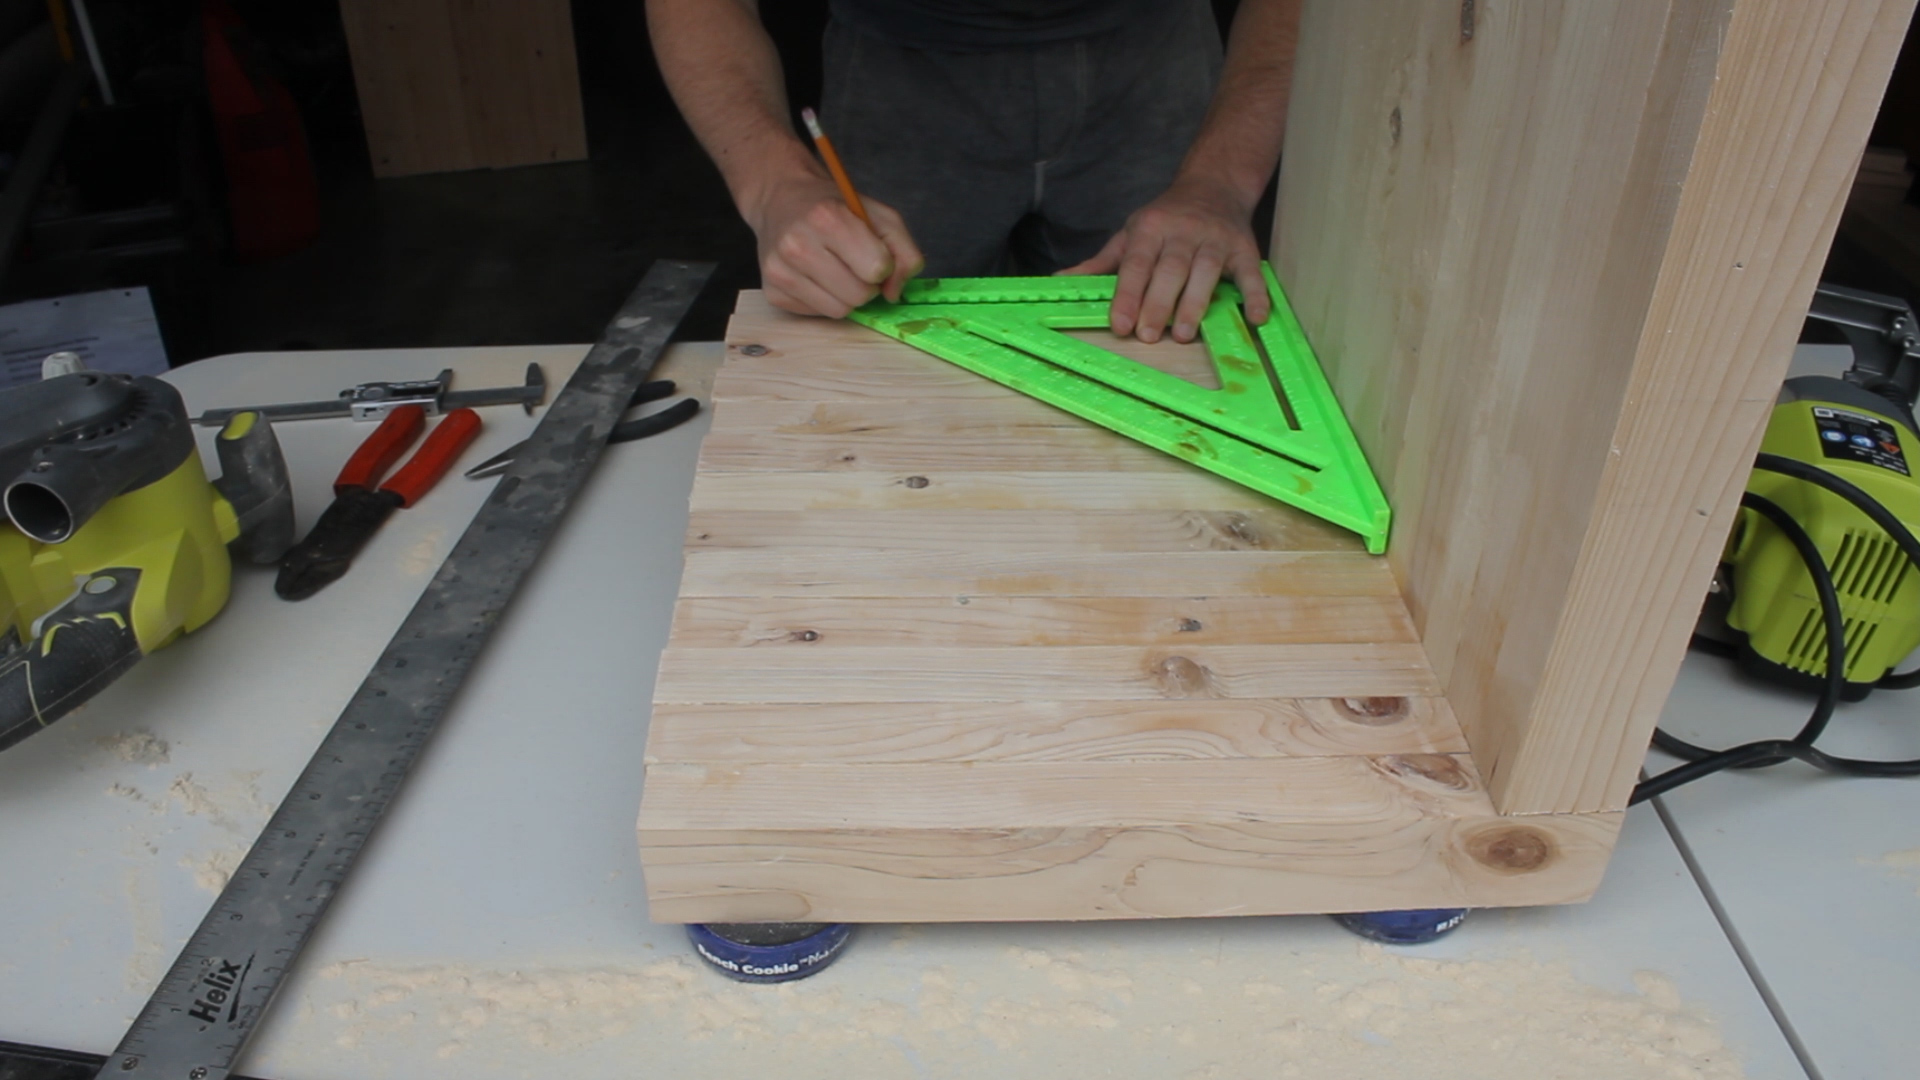
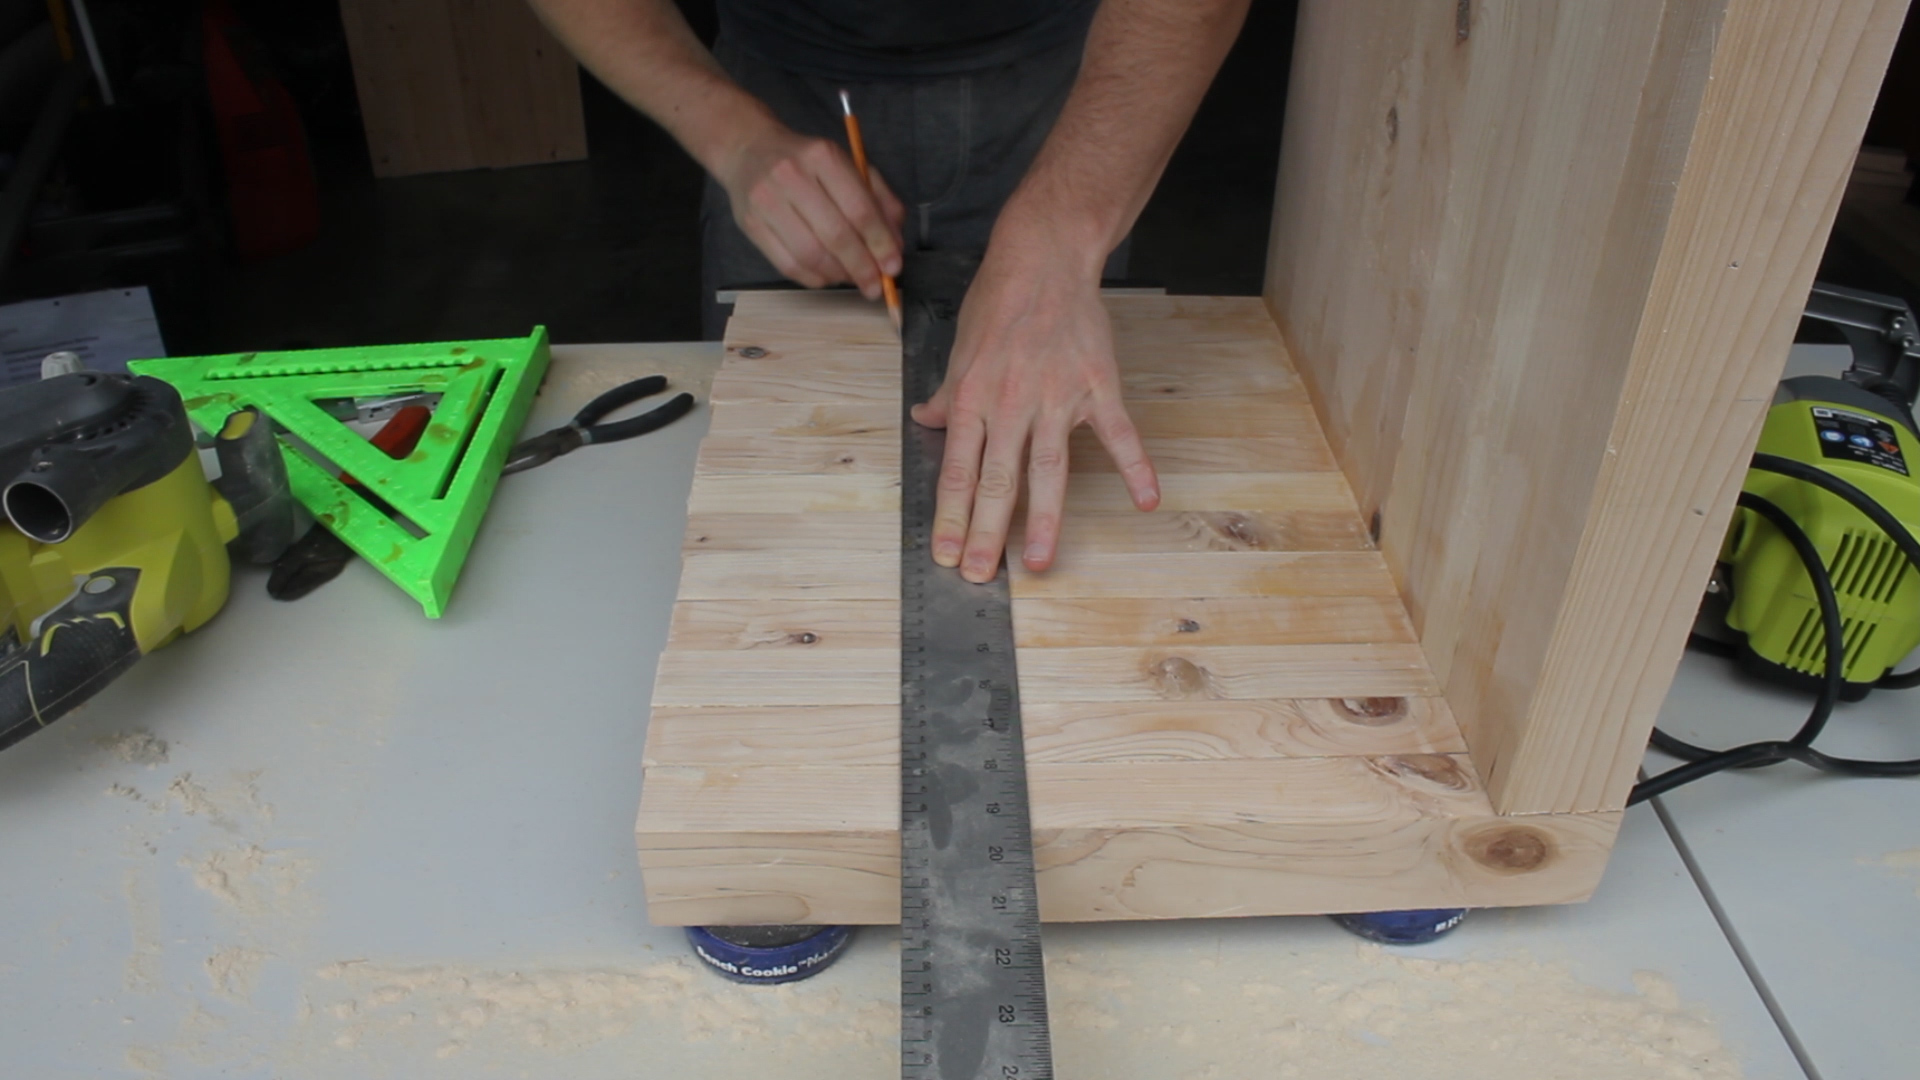
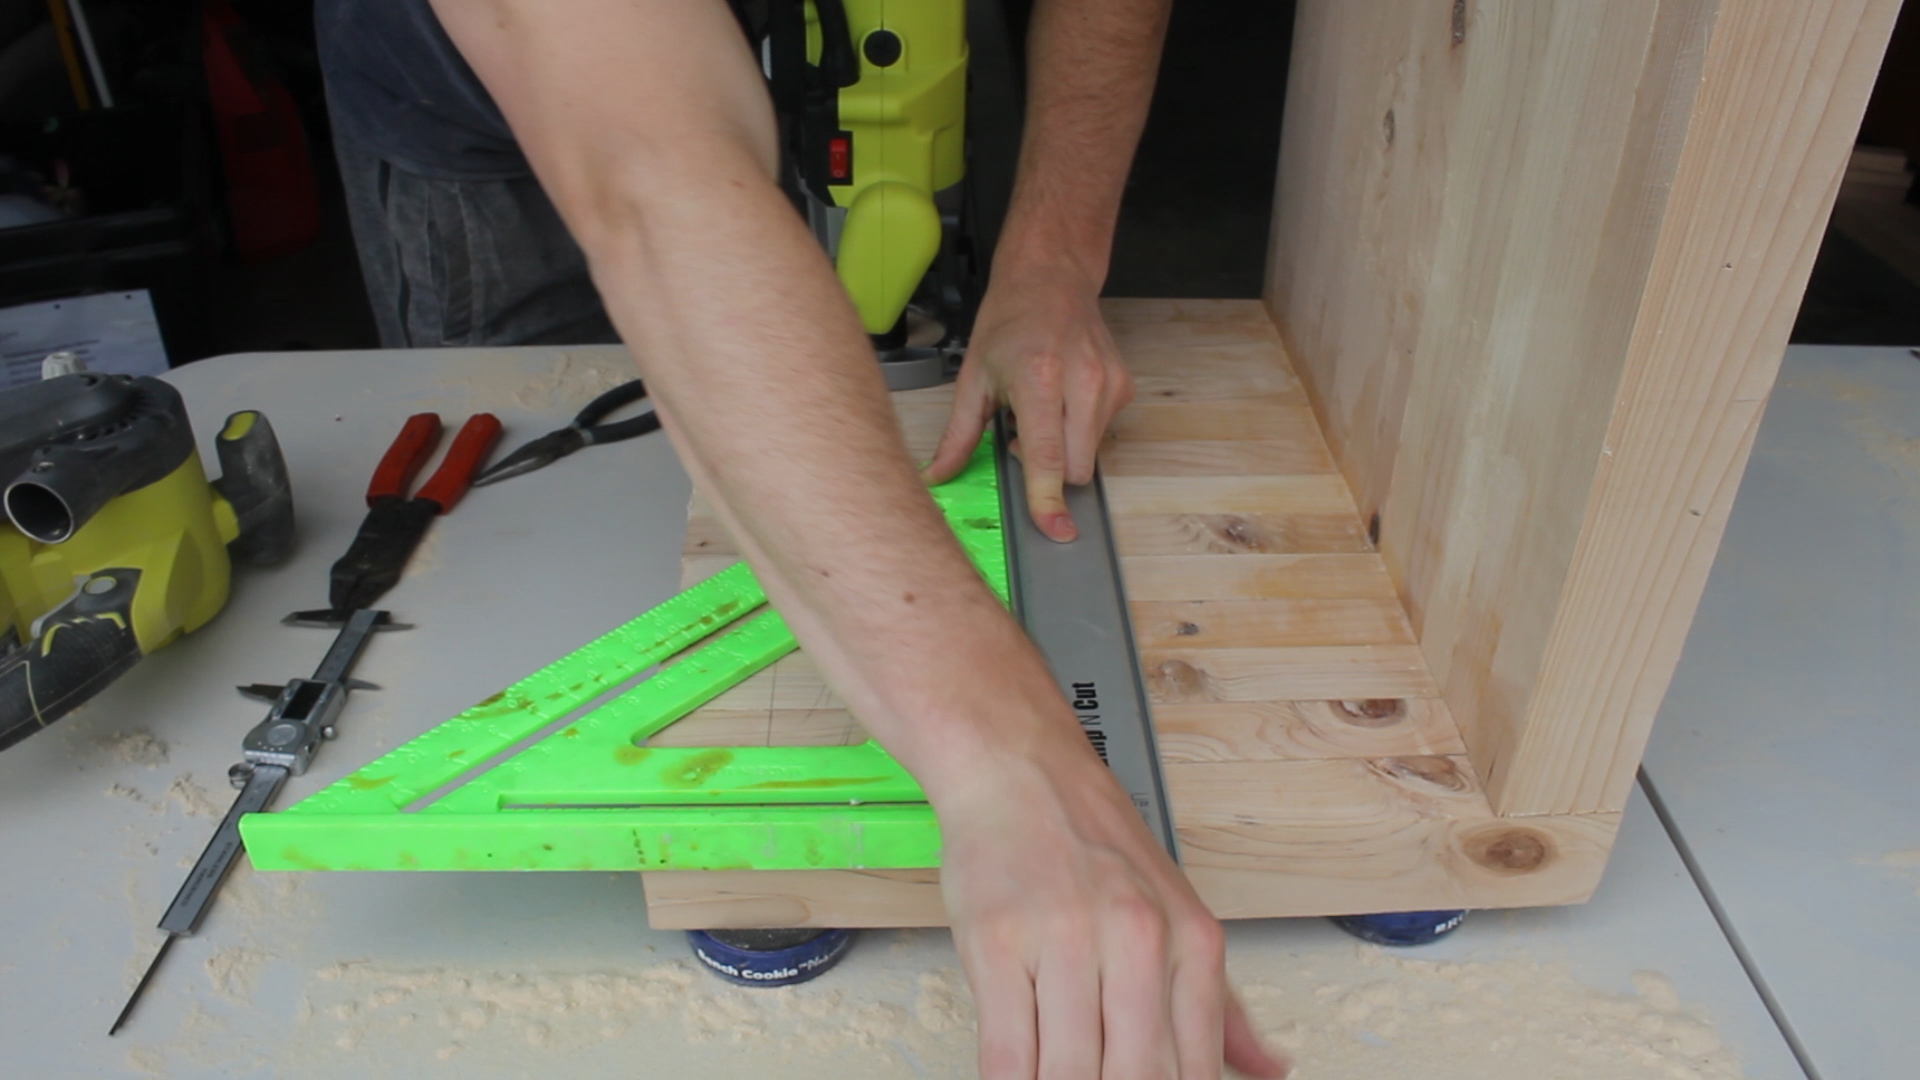
Then, I measured 9 inches down from the top on each side, then used my T Square to trace my lines (pic 2 and 3). I used the width of the wood to then trace a second line (not pictured) so I had my entire dado area marked out.
Then, using a straight edge, my rafter square, and my router, I made multiple passes to cut out my slot. Pic 5 shows it in action, and Pic 6 shows the final dado slot, which was about .625" deep). I repeated this process on each side, being very VERY precise in all of my measurements before cutting. I had never done this before and was proud of the result.
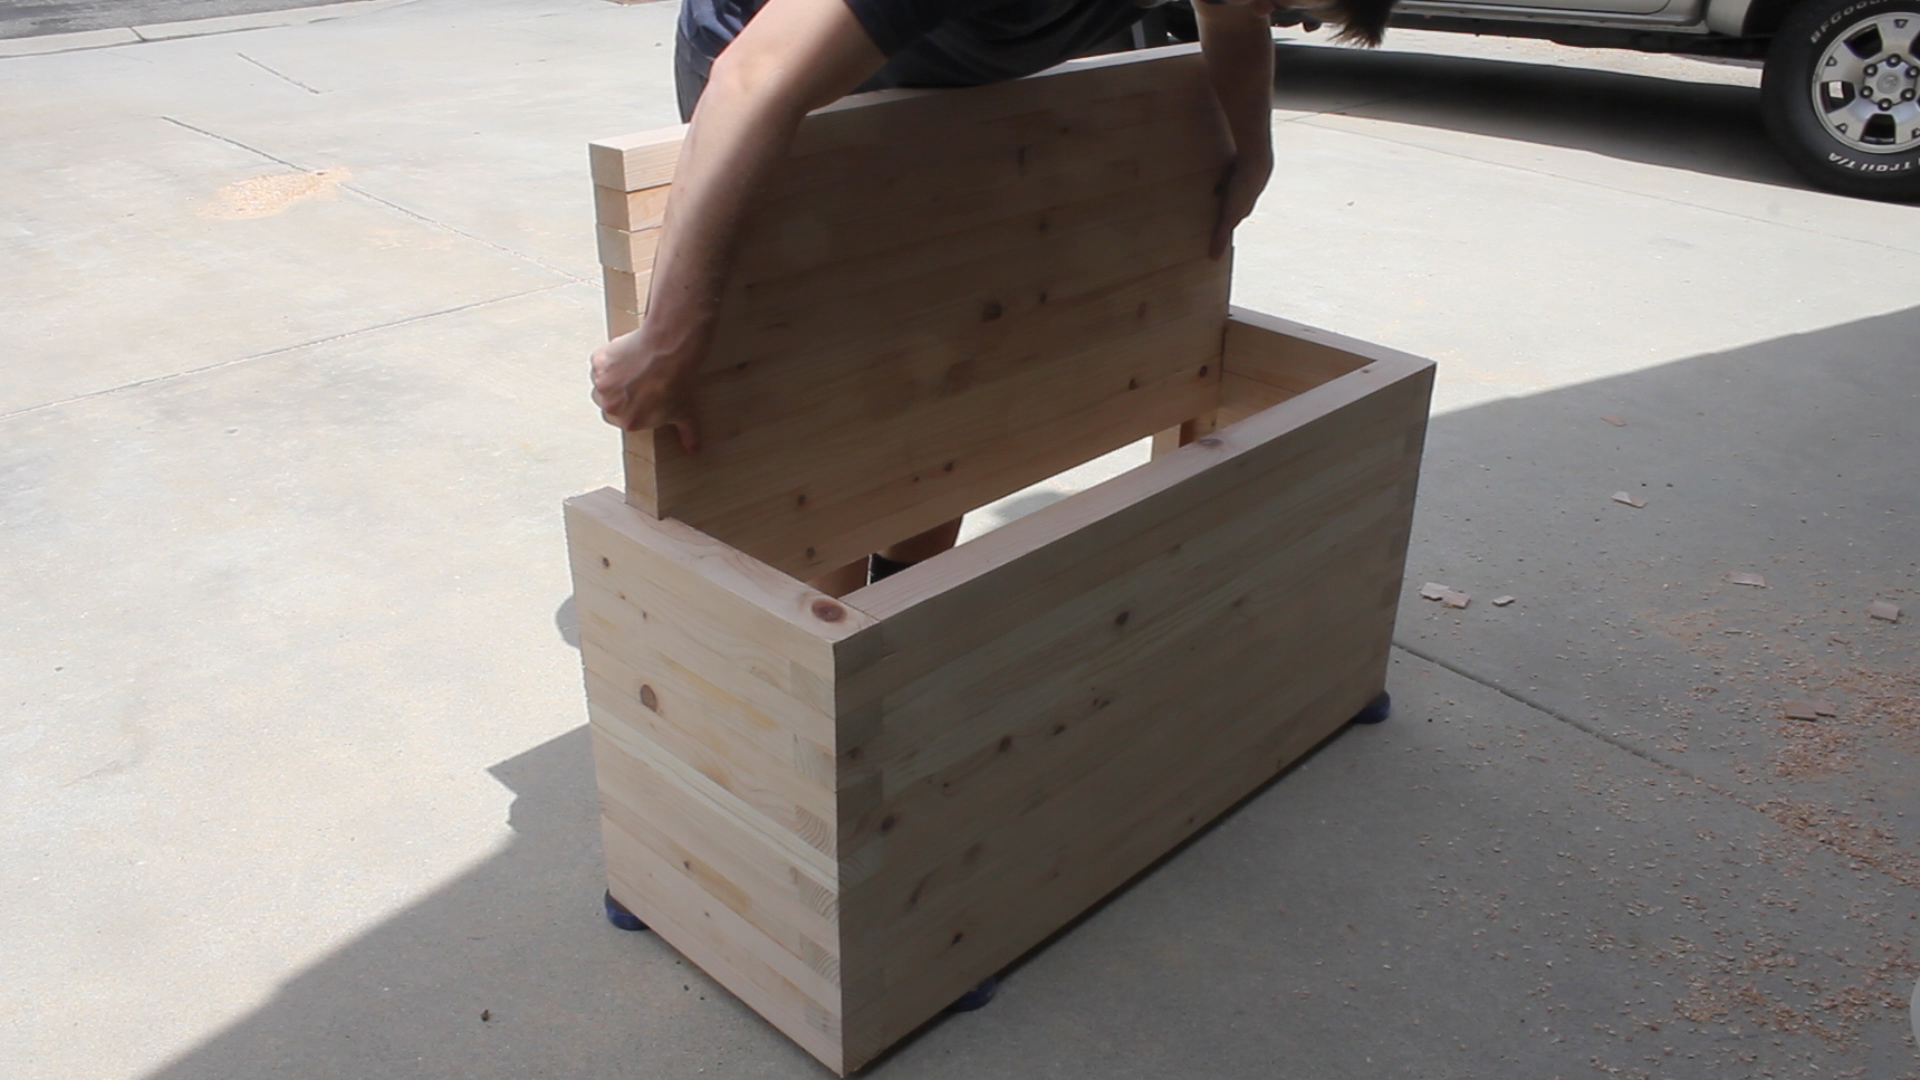
Doing a final fit! You can see that the dado is not 100% perfect. That is okay, as you'll be gluing on one outside layer on each side of the table next, which will cover up those imperfections.
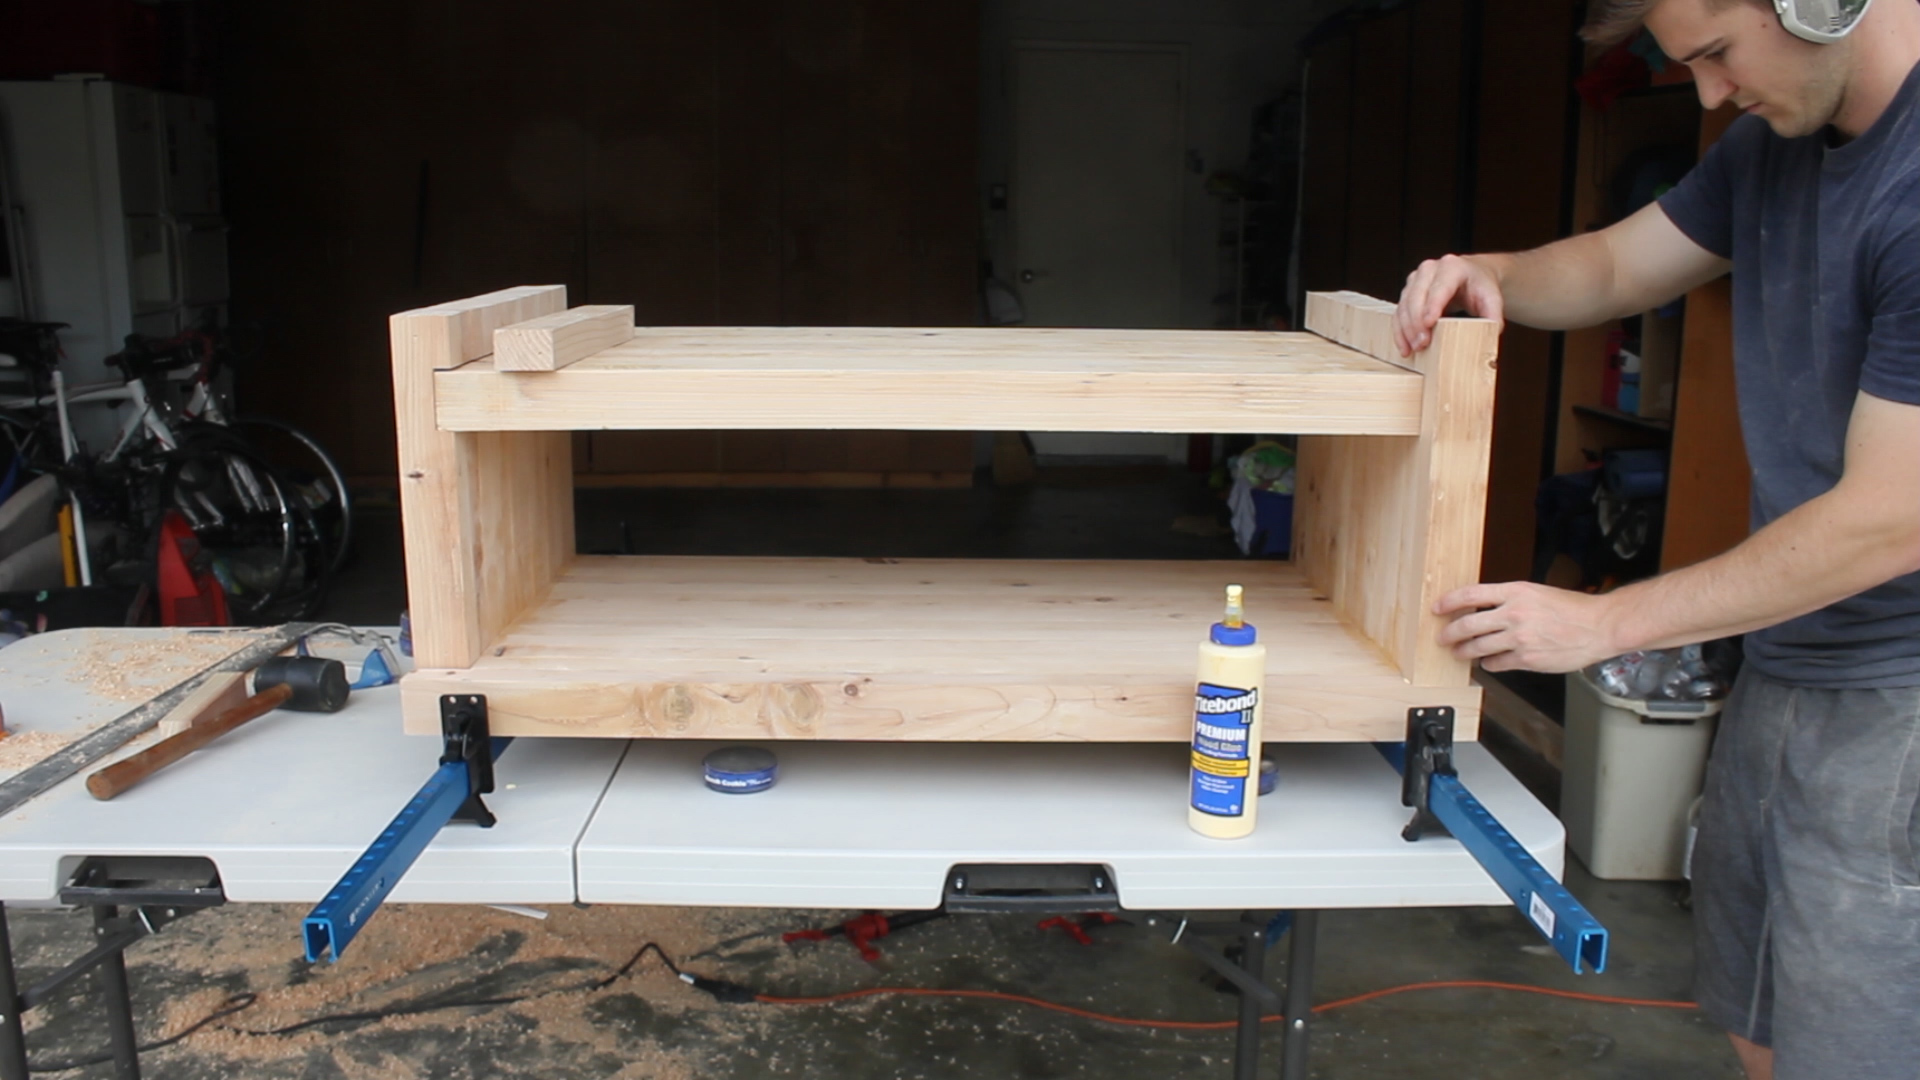
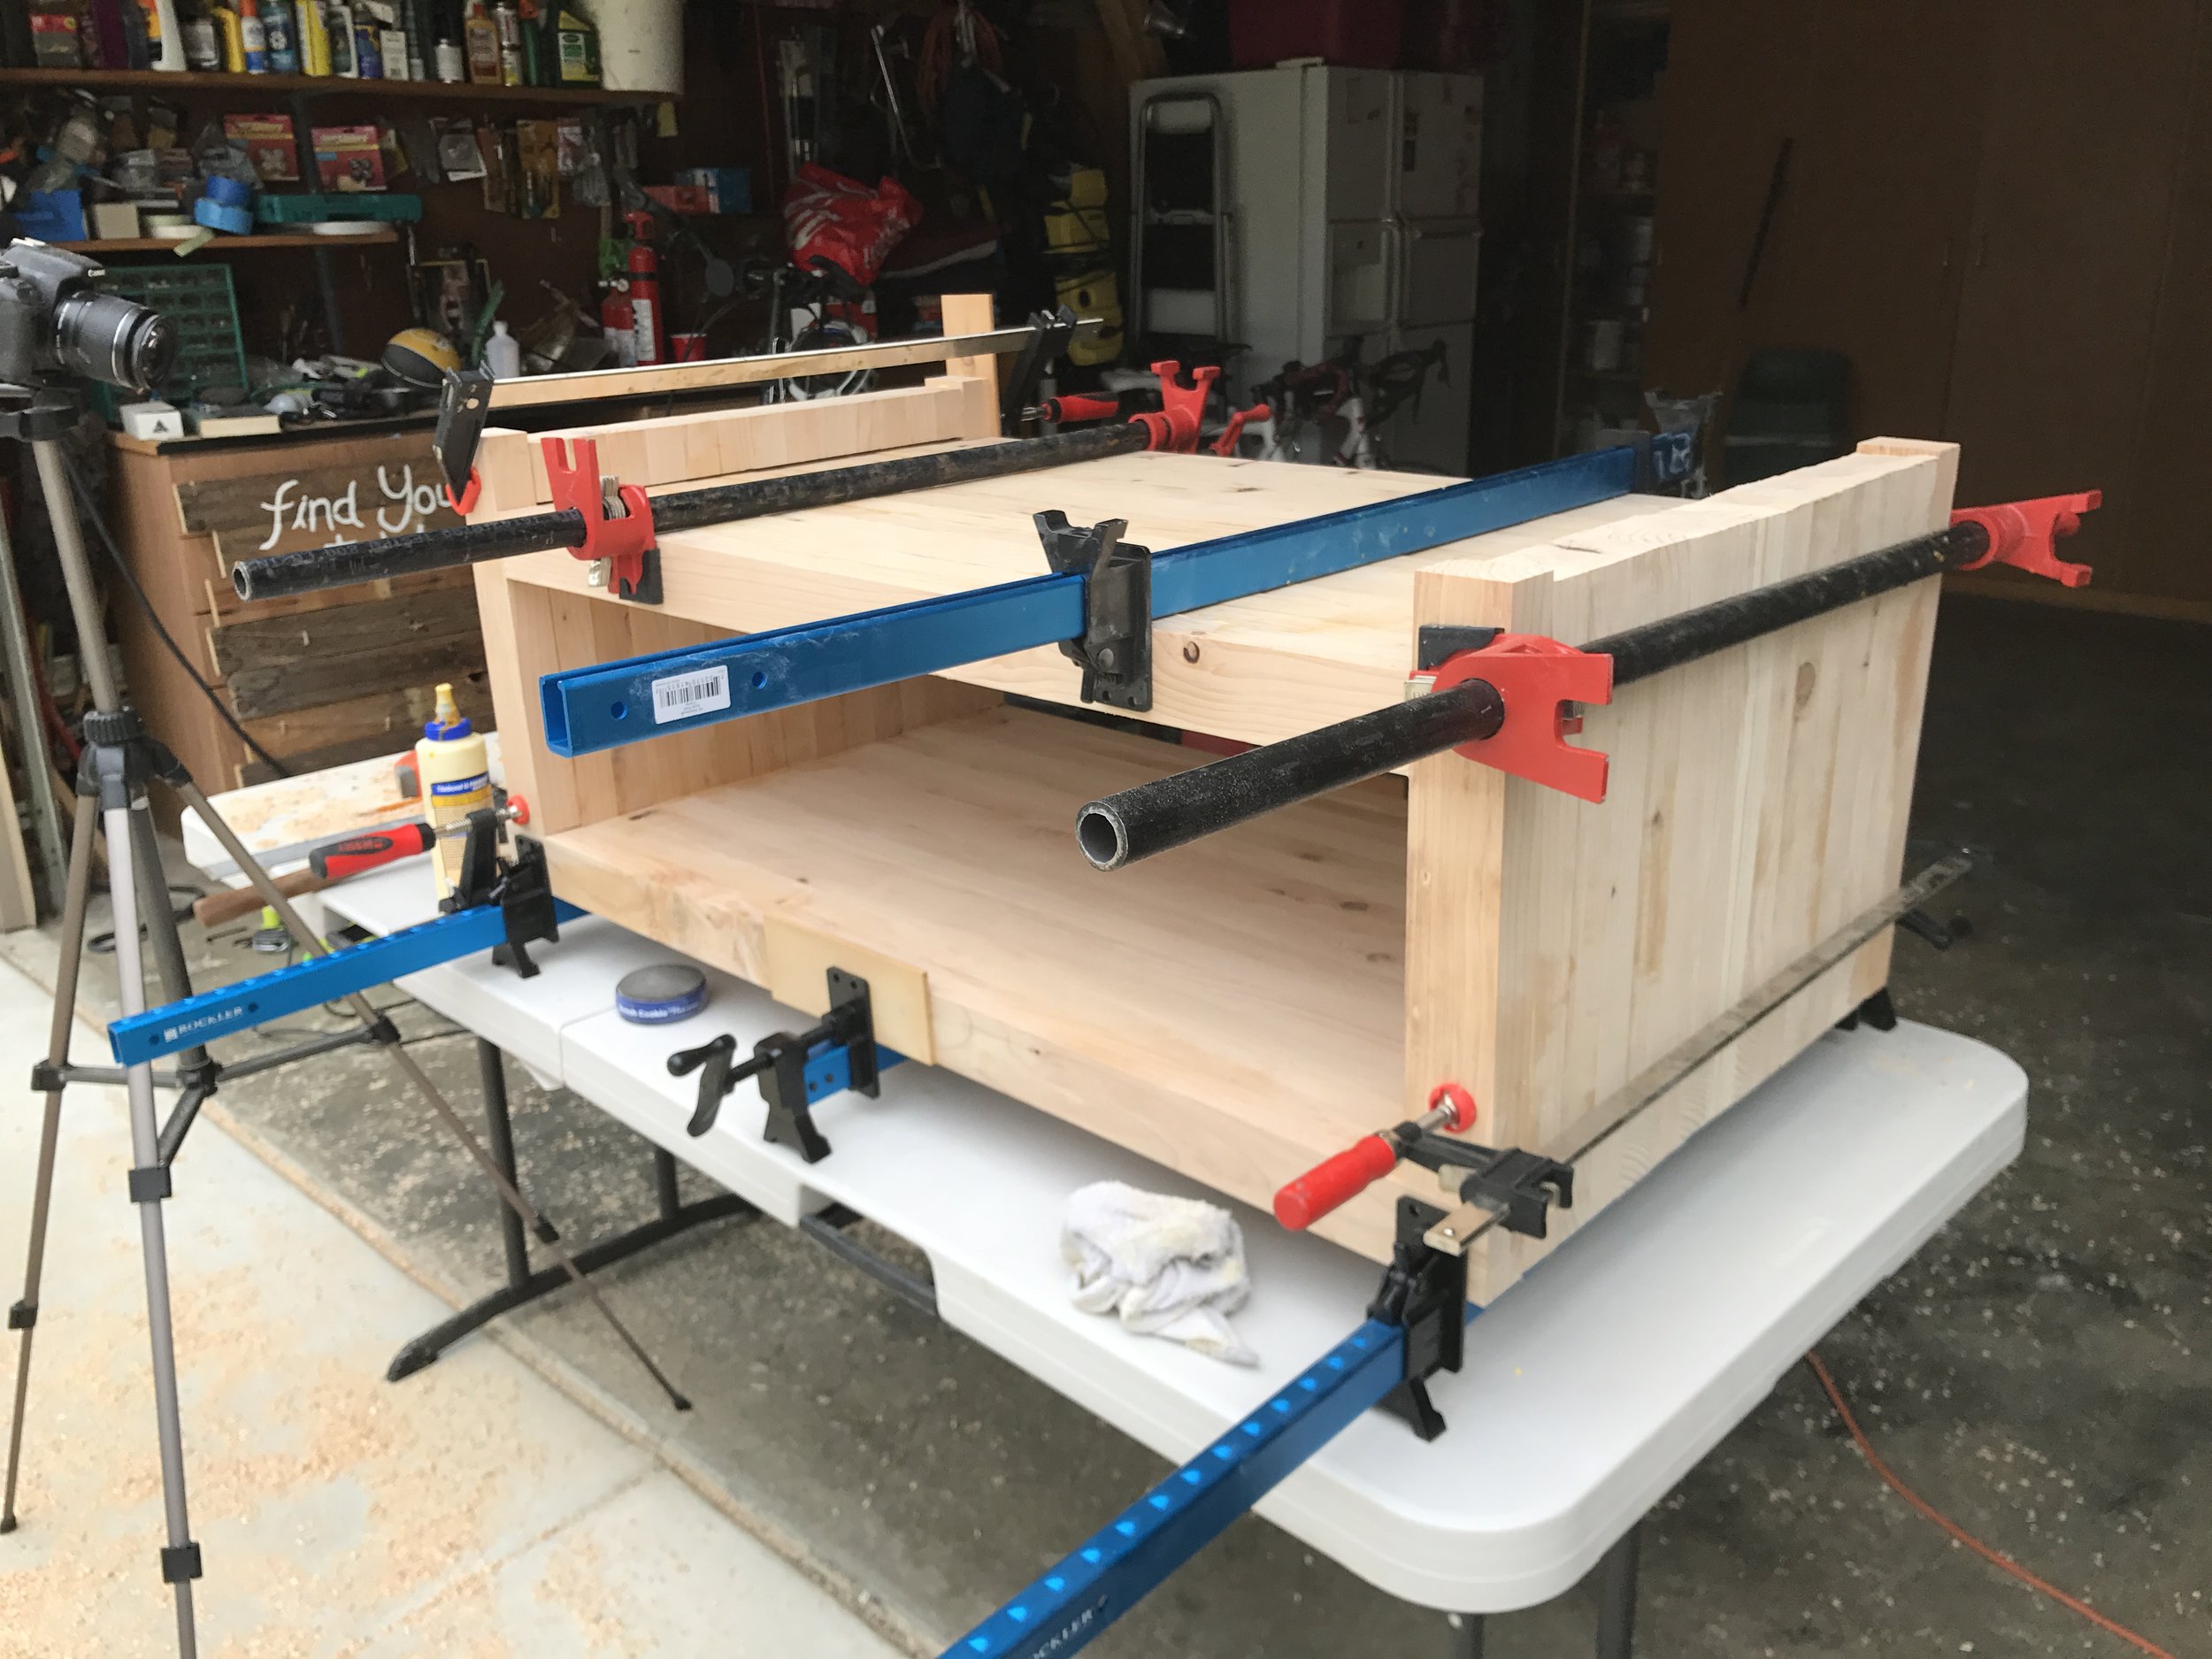
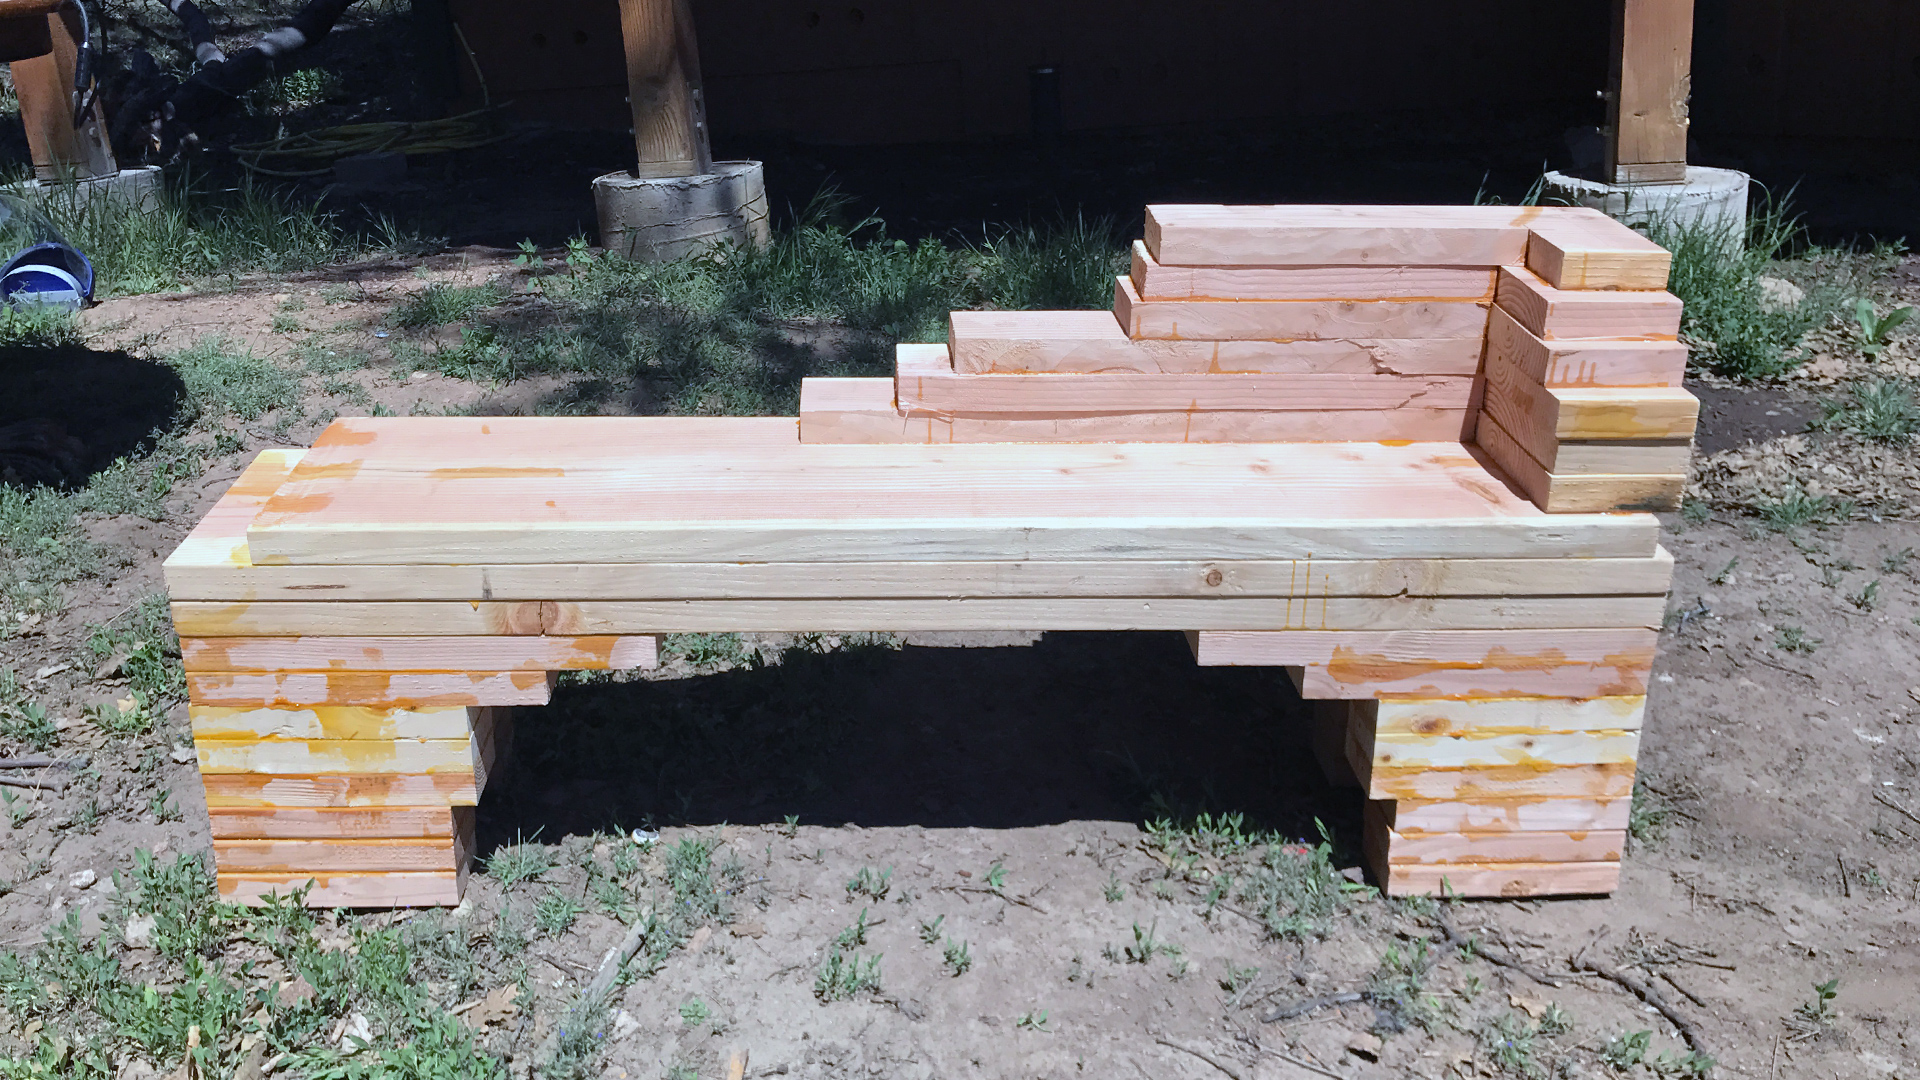
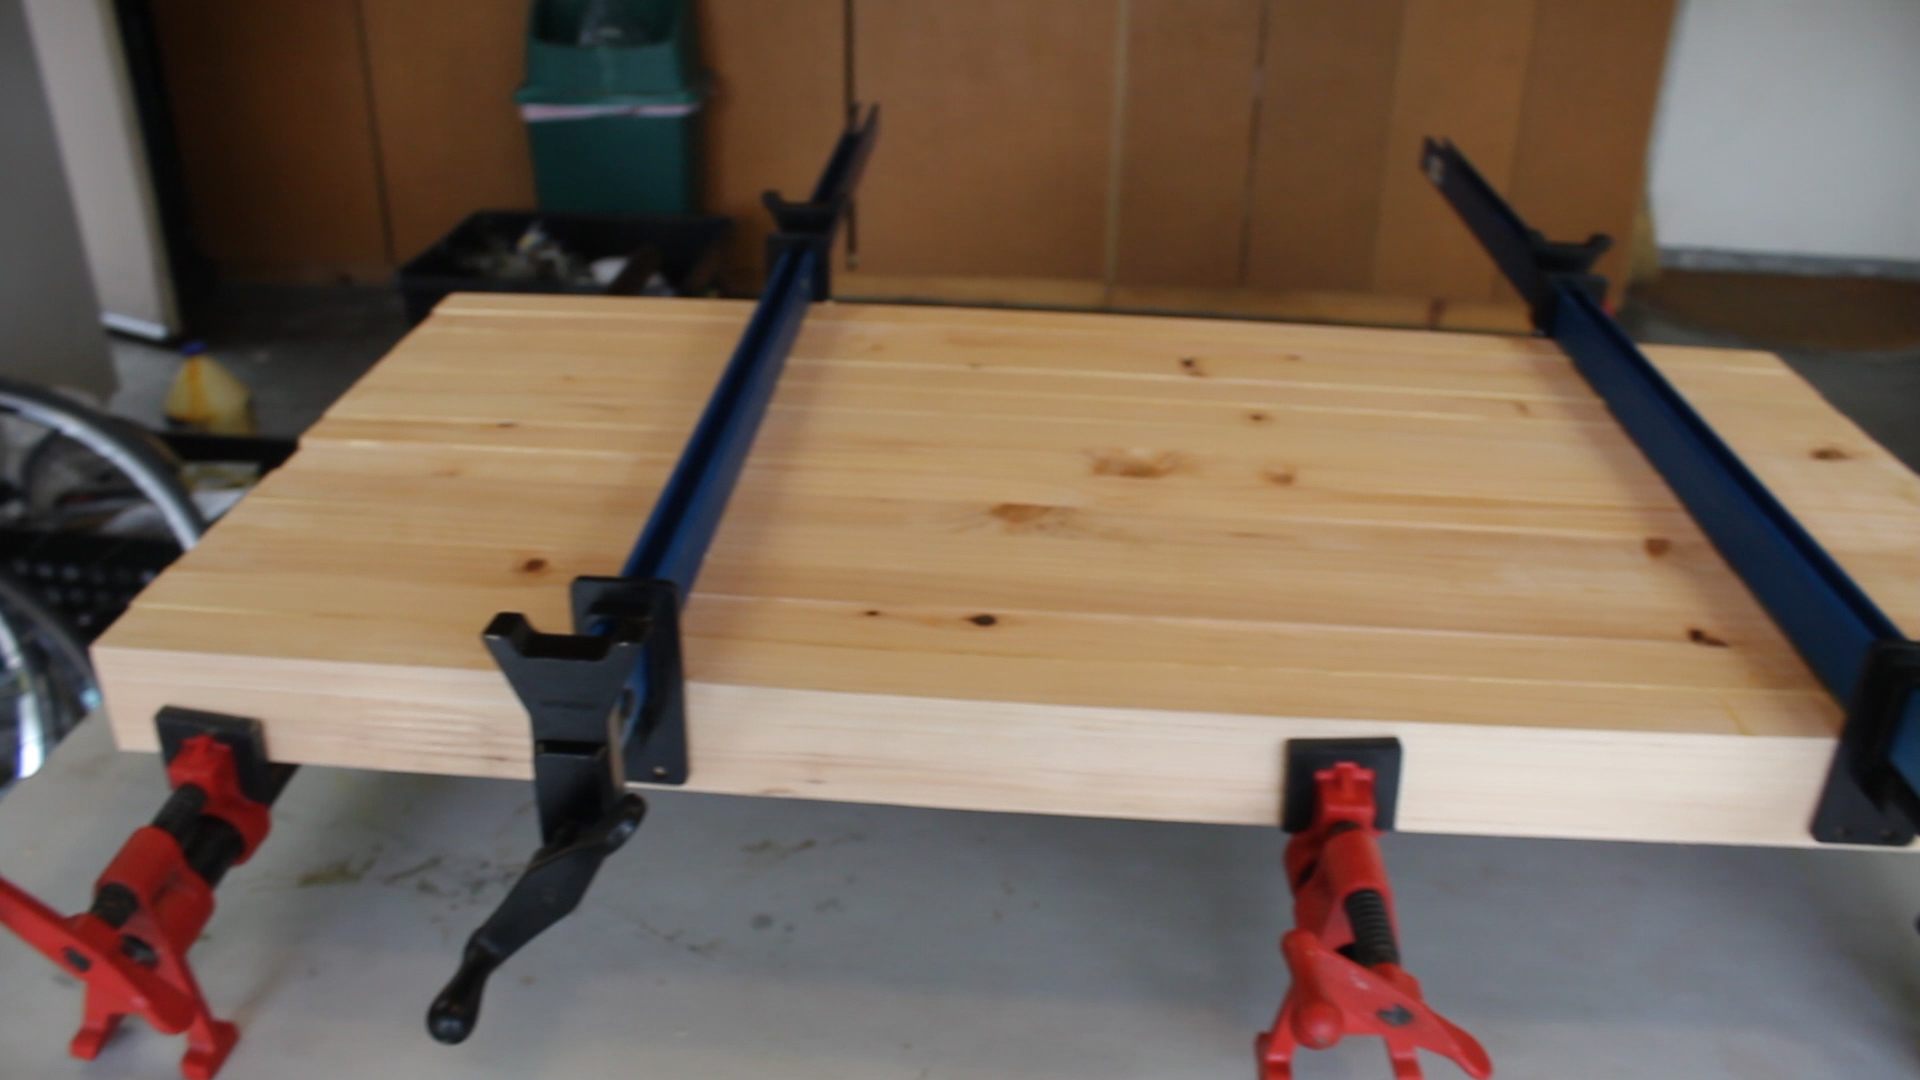
In this next glue up, as mentioned before, you'll add in your outside blue pieces (40.5" long) for the table top on each side, as well as your four green legs (15" long) on each corner. Lastly, you'll add in your final two pink pieces (35.6" long).
I didn't use finish nails here, just clamping pressure. I did, however, use little scrap pieces in certain areas so the clamps did not damage the wood from pressure (see pic 2, bottom middle clamp).
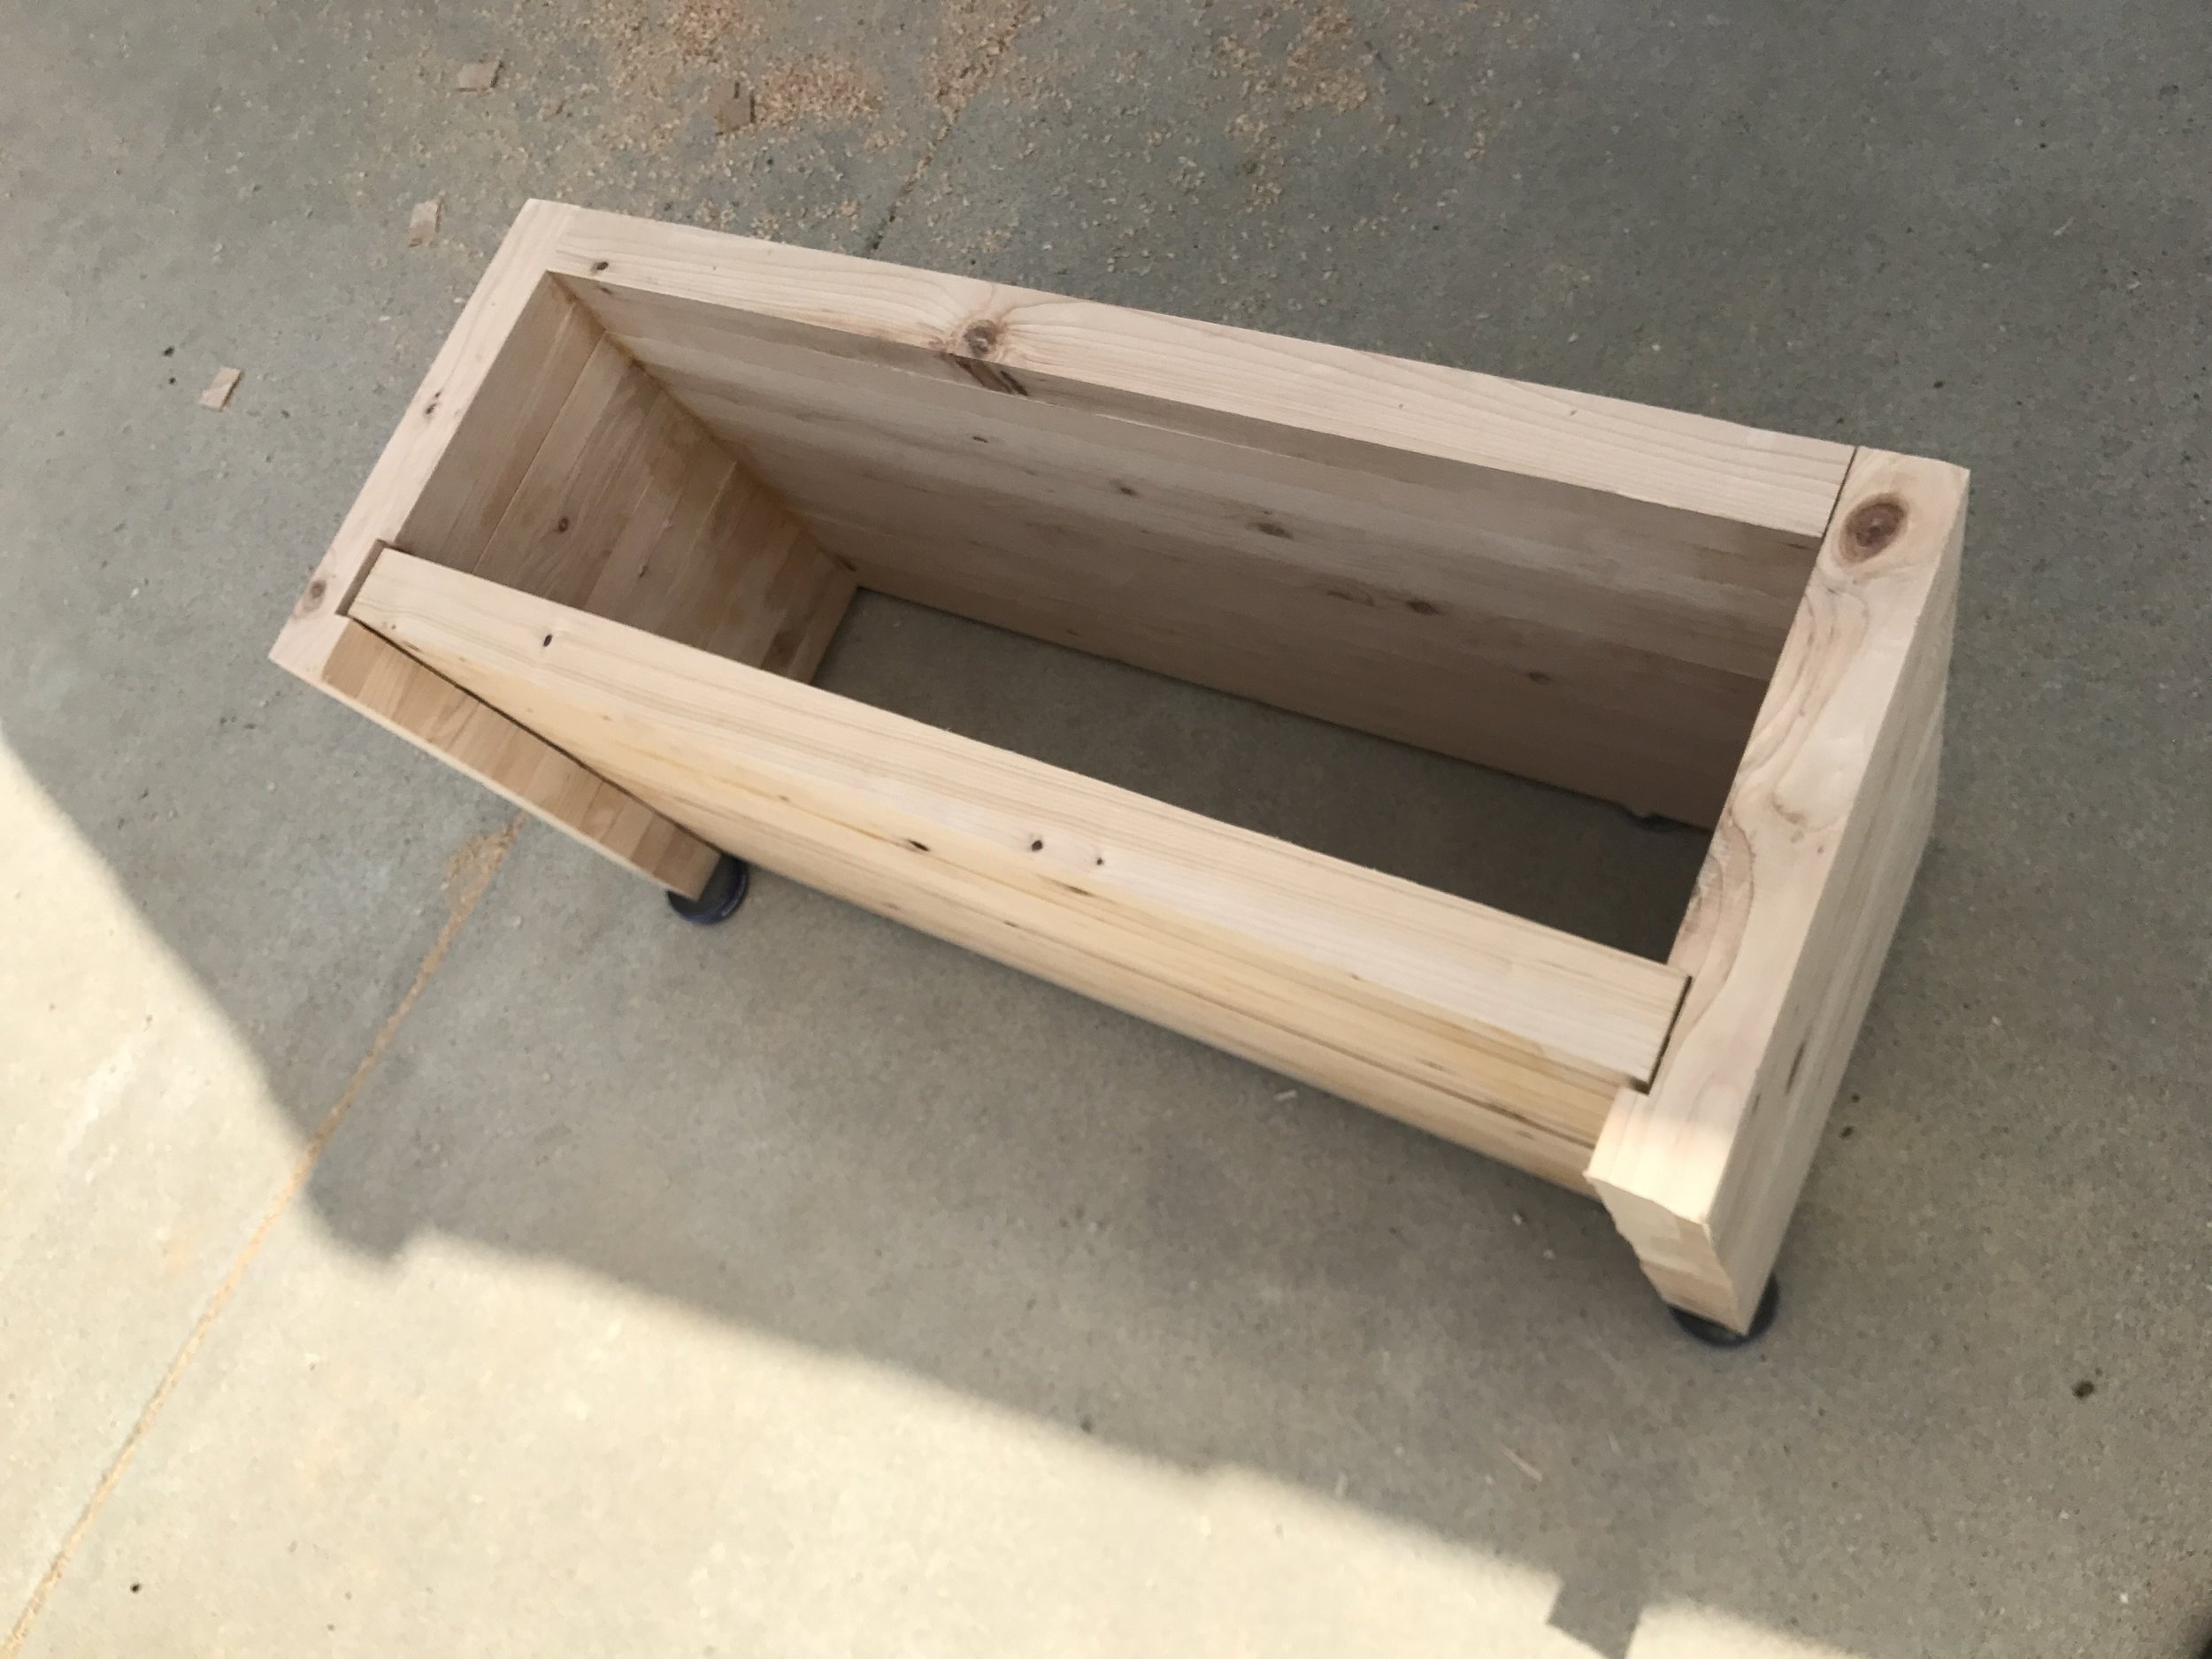
You'll also note that, as I pointed out in my cuts previously, I made my 12.8" pieces a bit long, resulting in four outside leg pieces that were slightly longer than my middle legs and made for a great little leg design unintentionally.
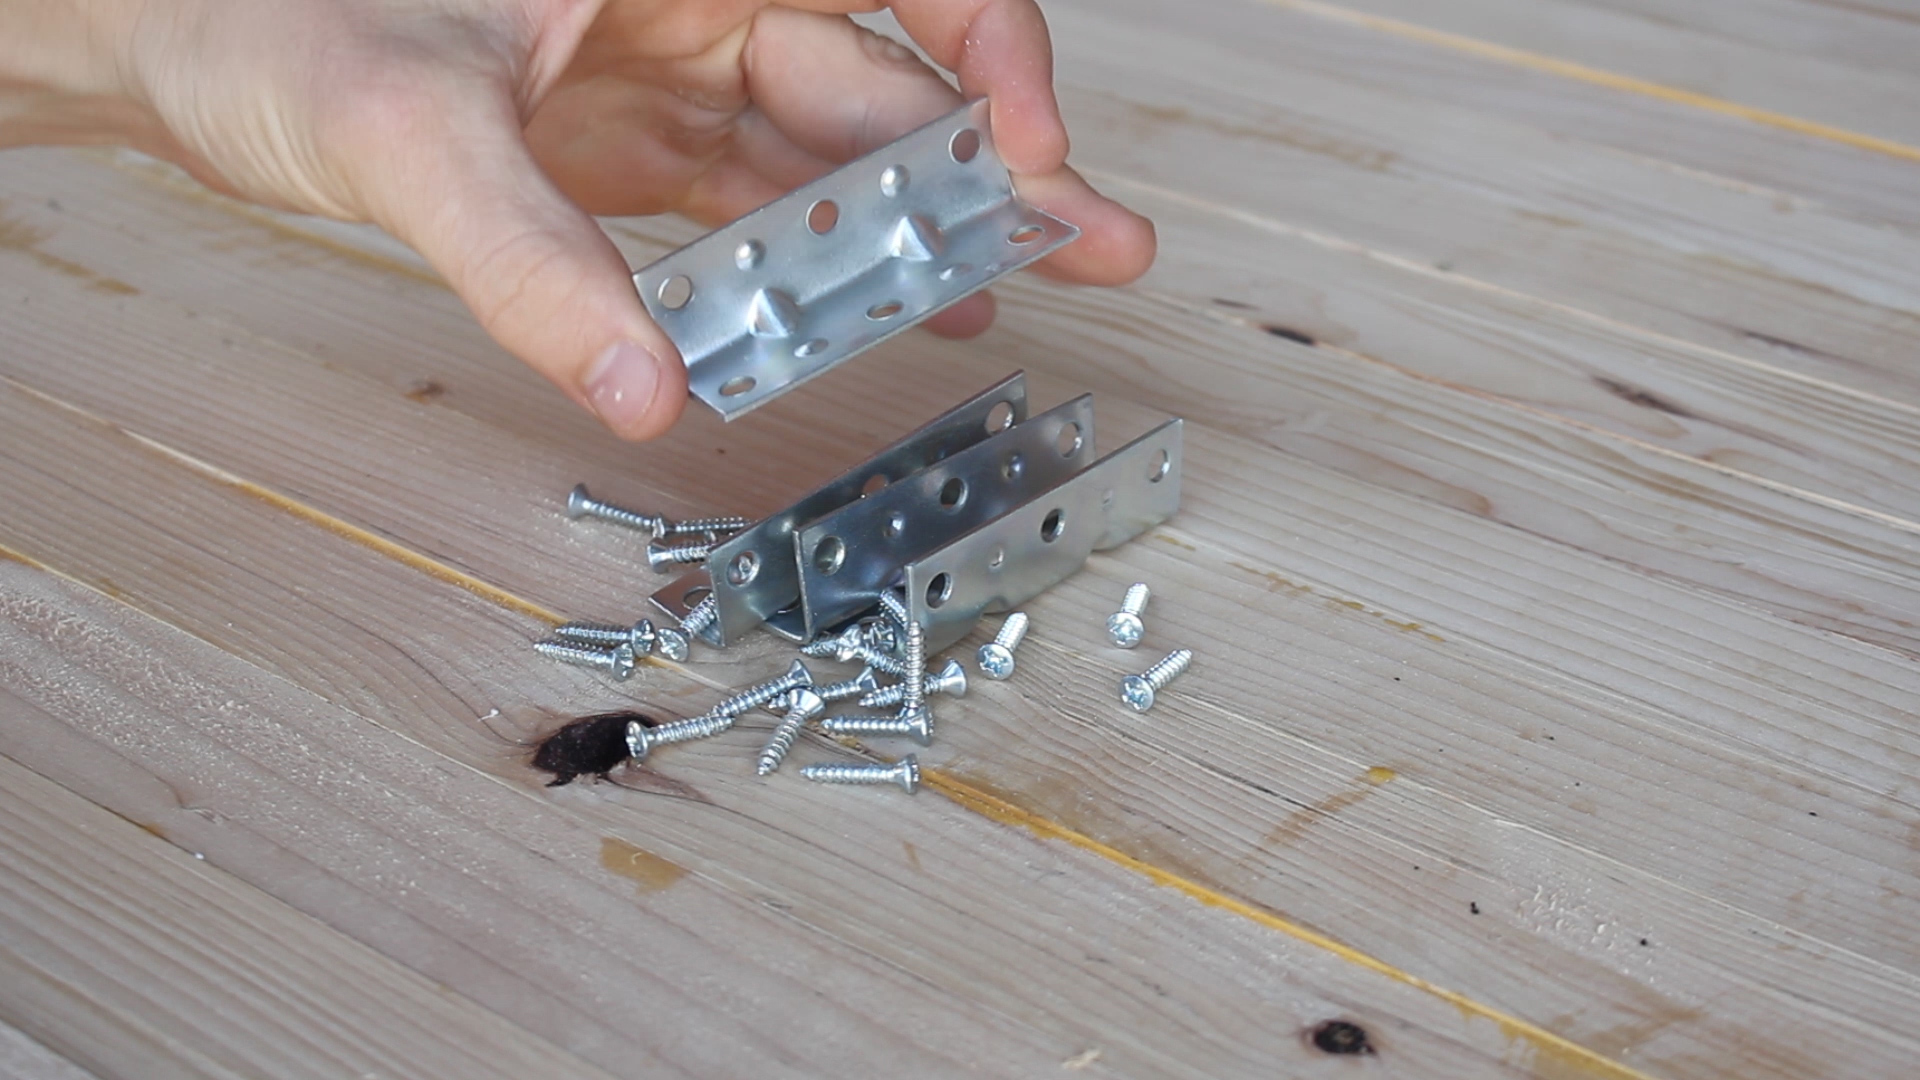
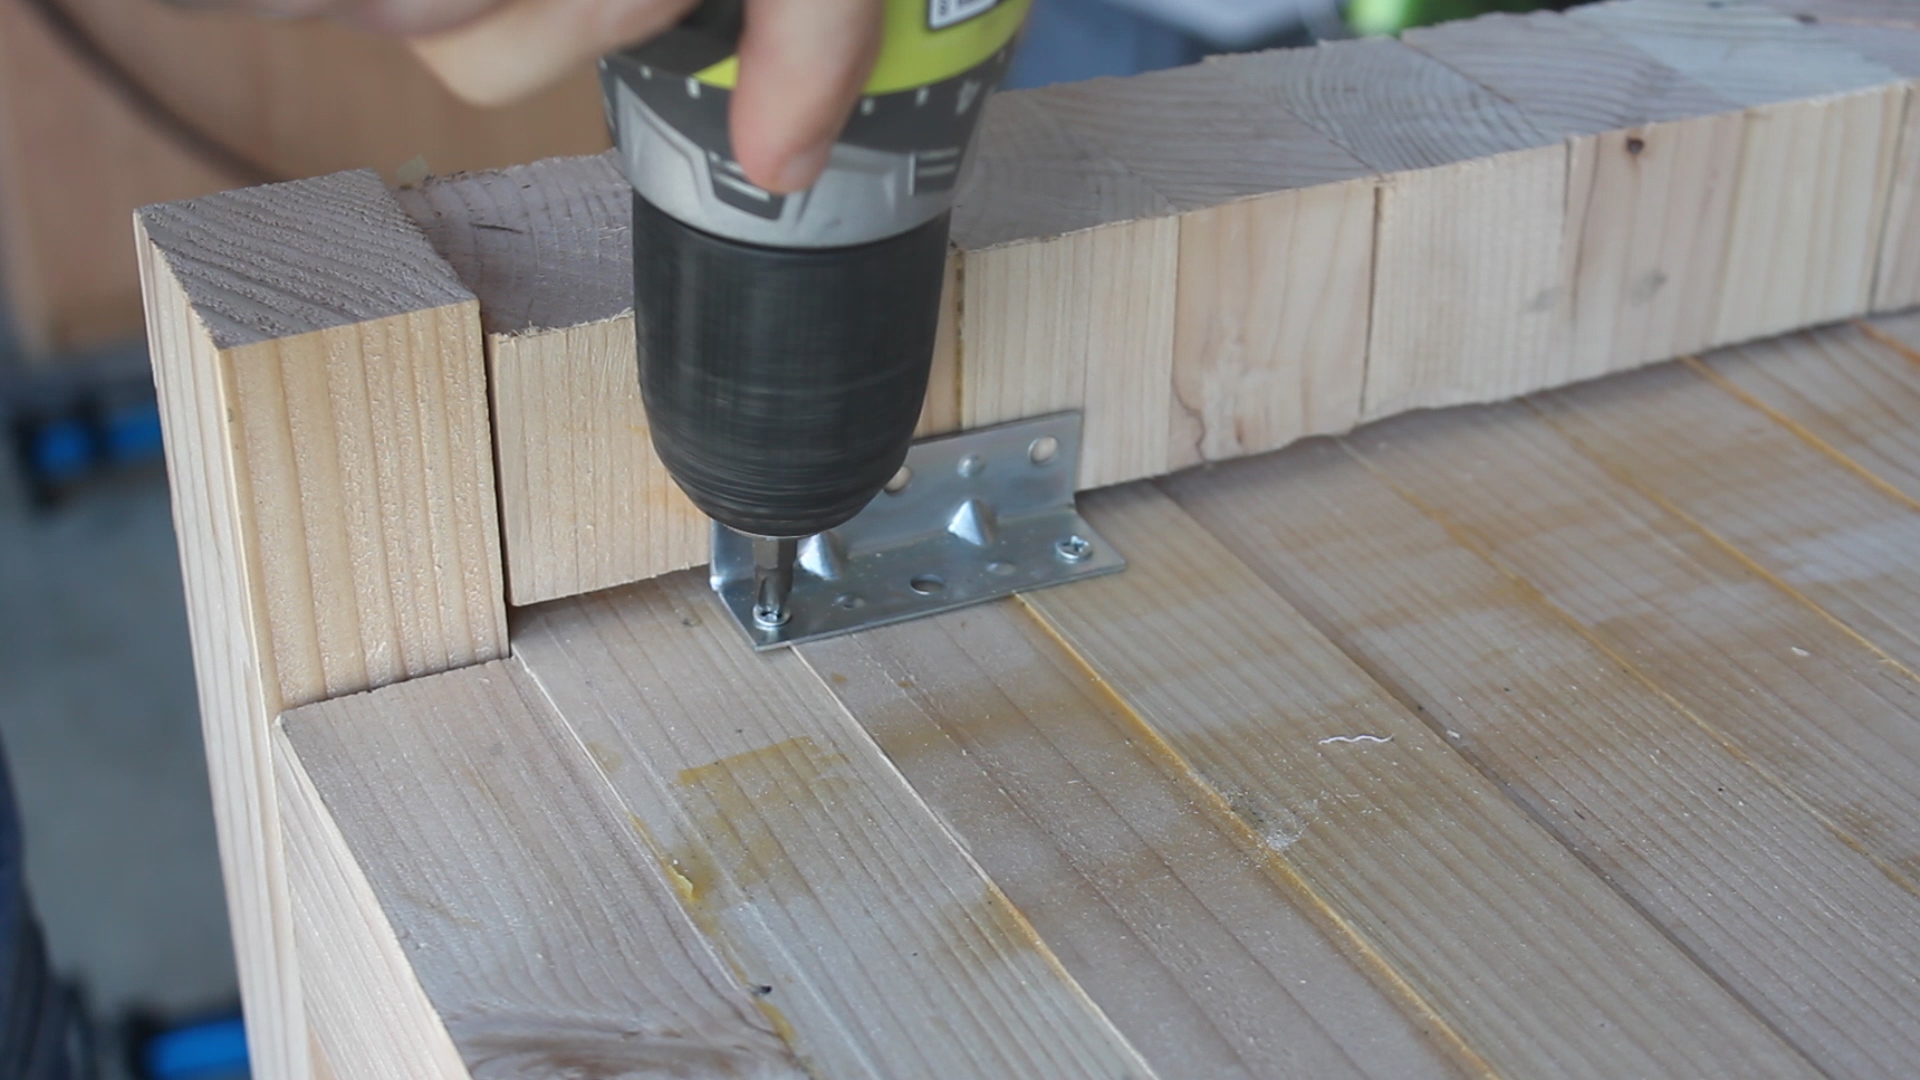
also used four small angle brackets with screws to secure the bottom shelf from the underside. This would help keep the top of the shelf flush with the top edge of the dado I had cut.
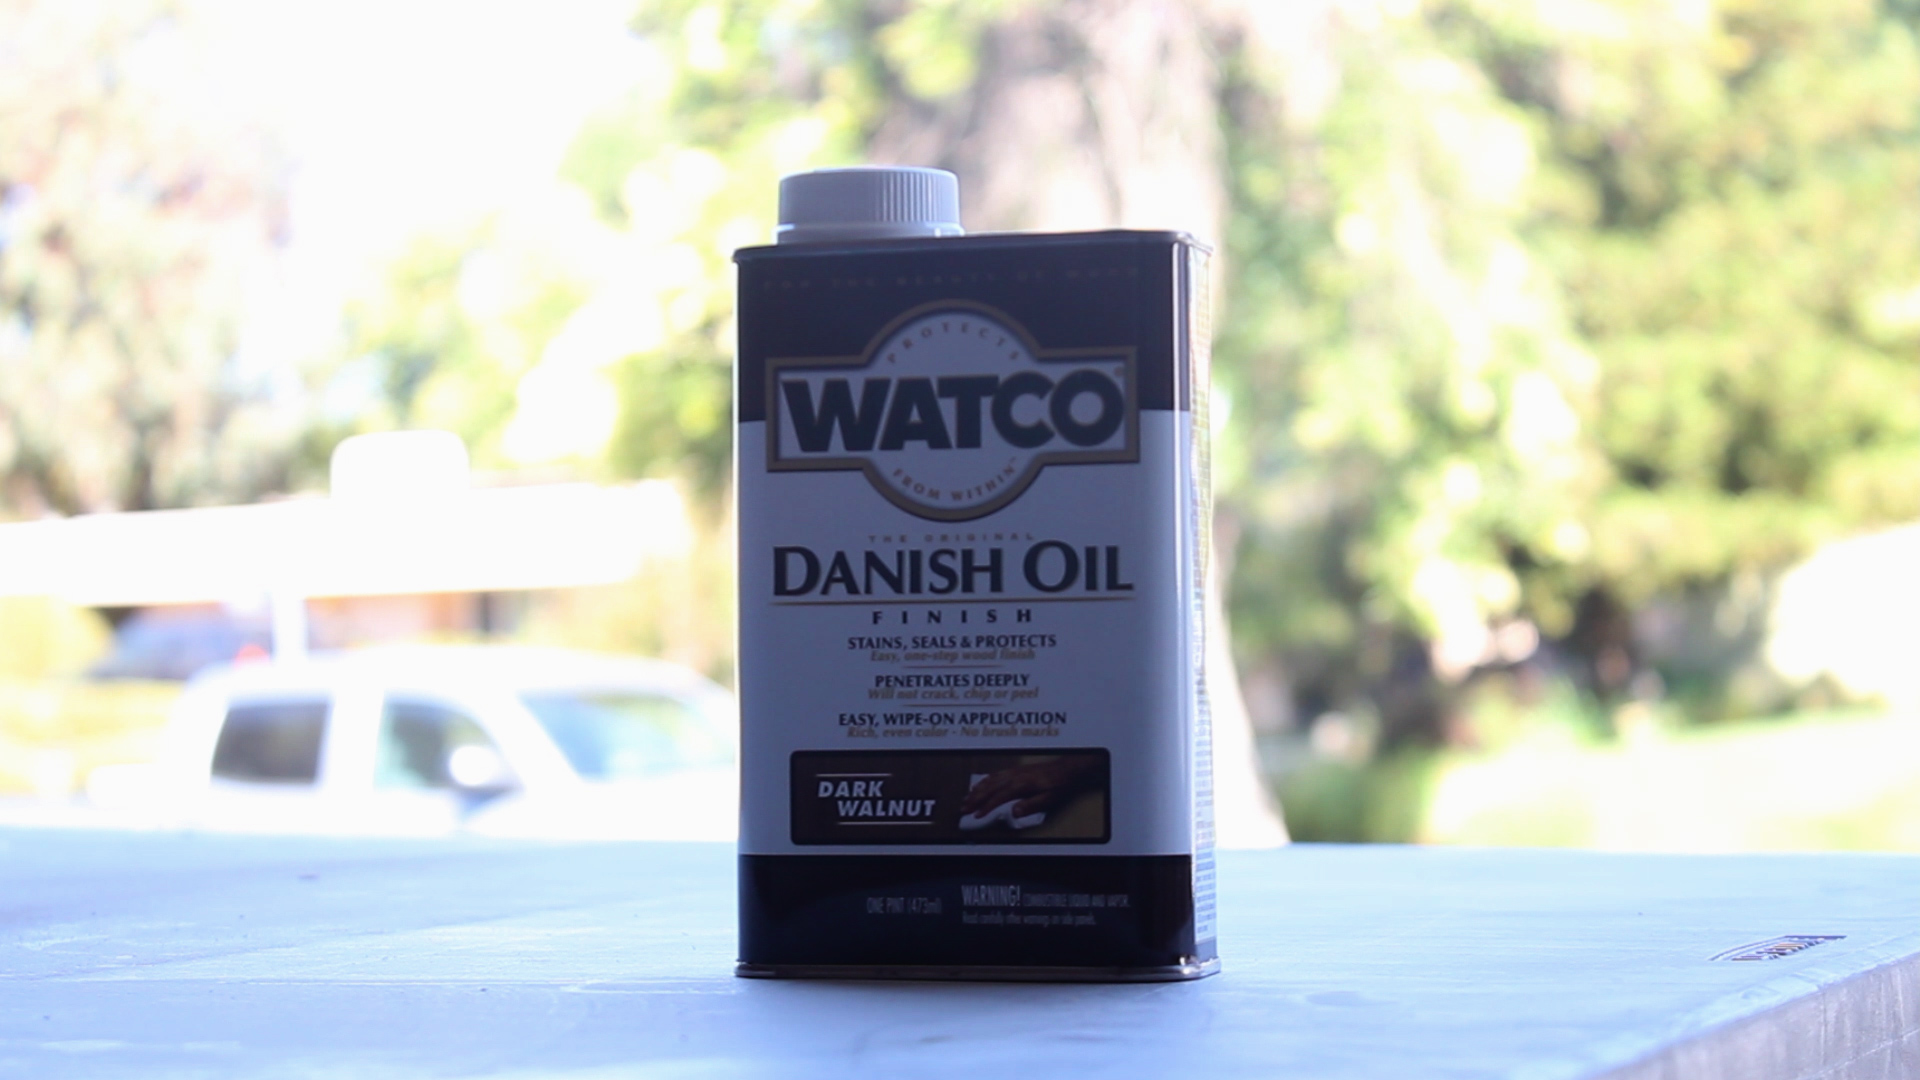

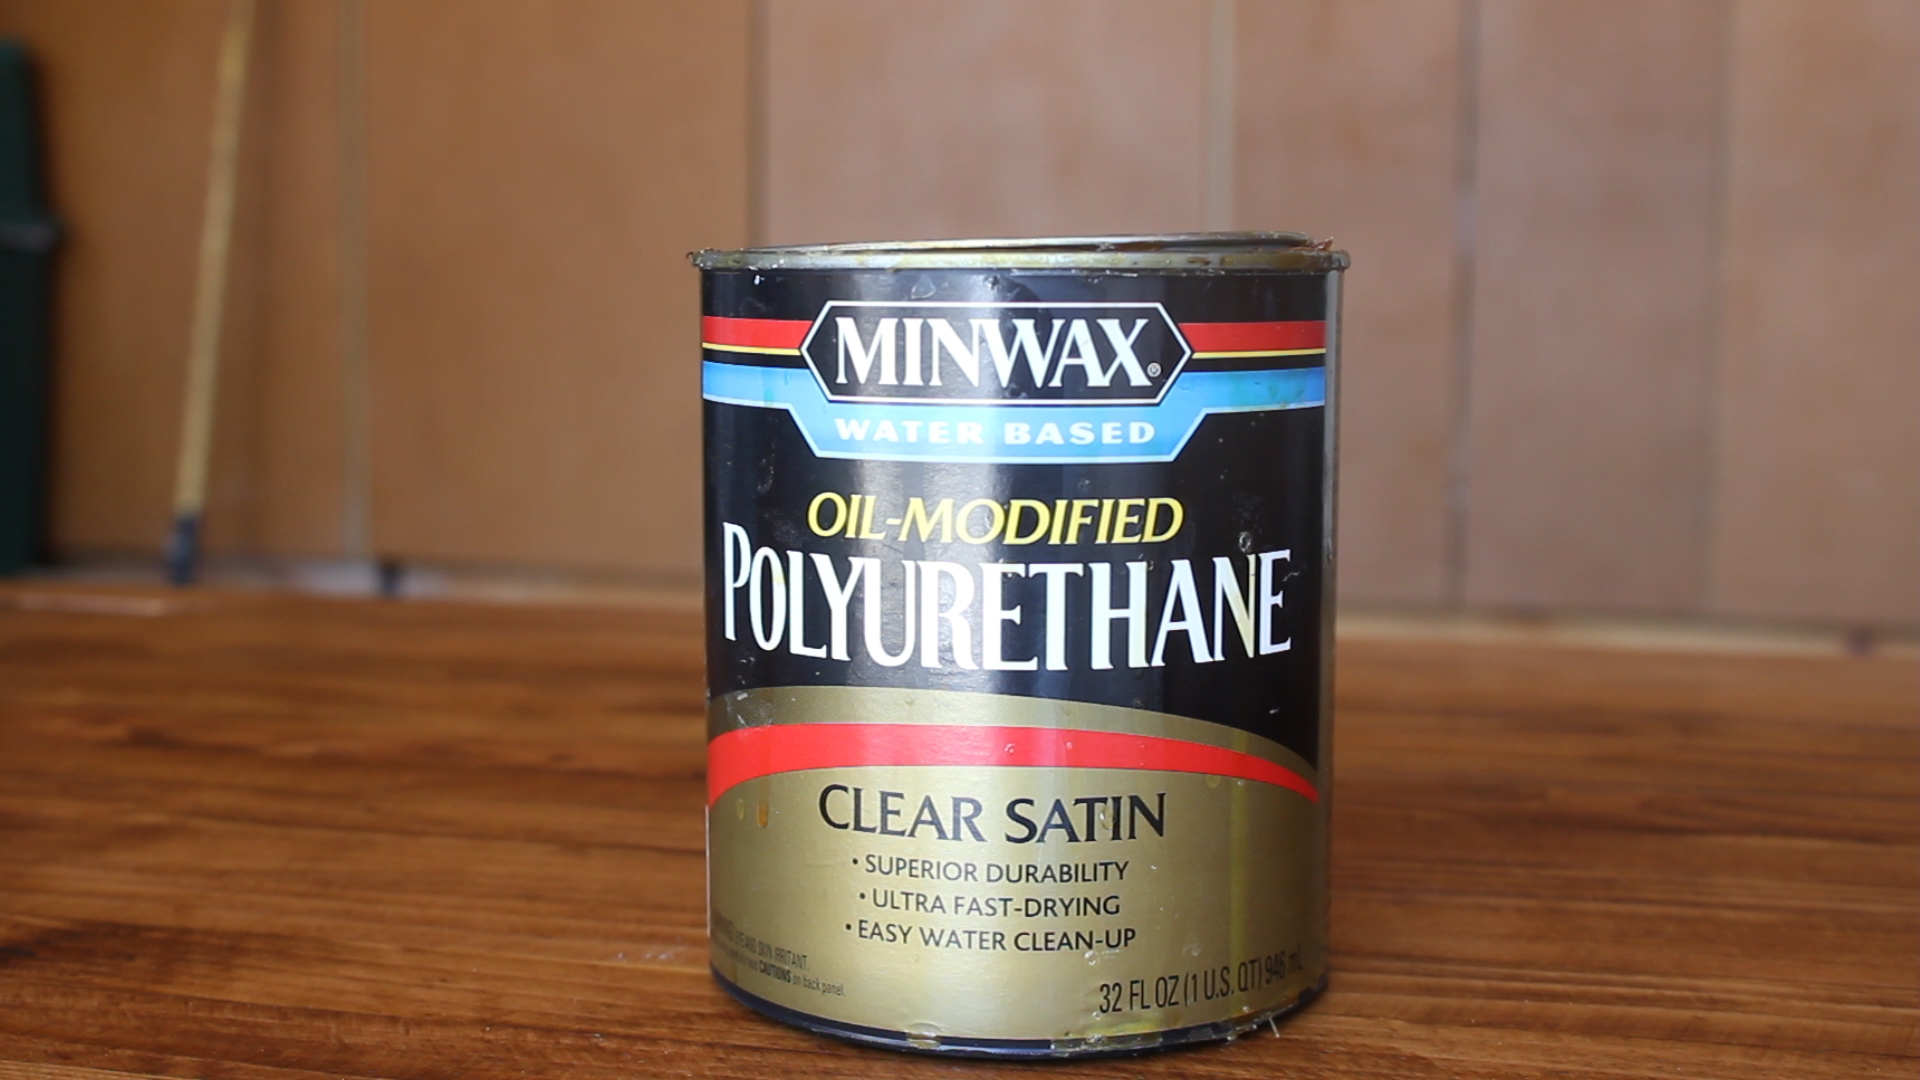
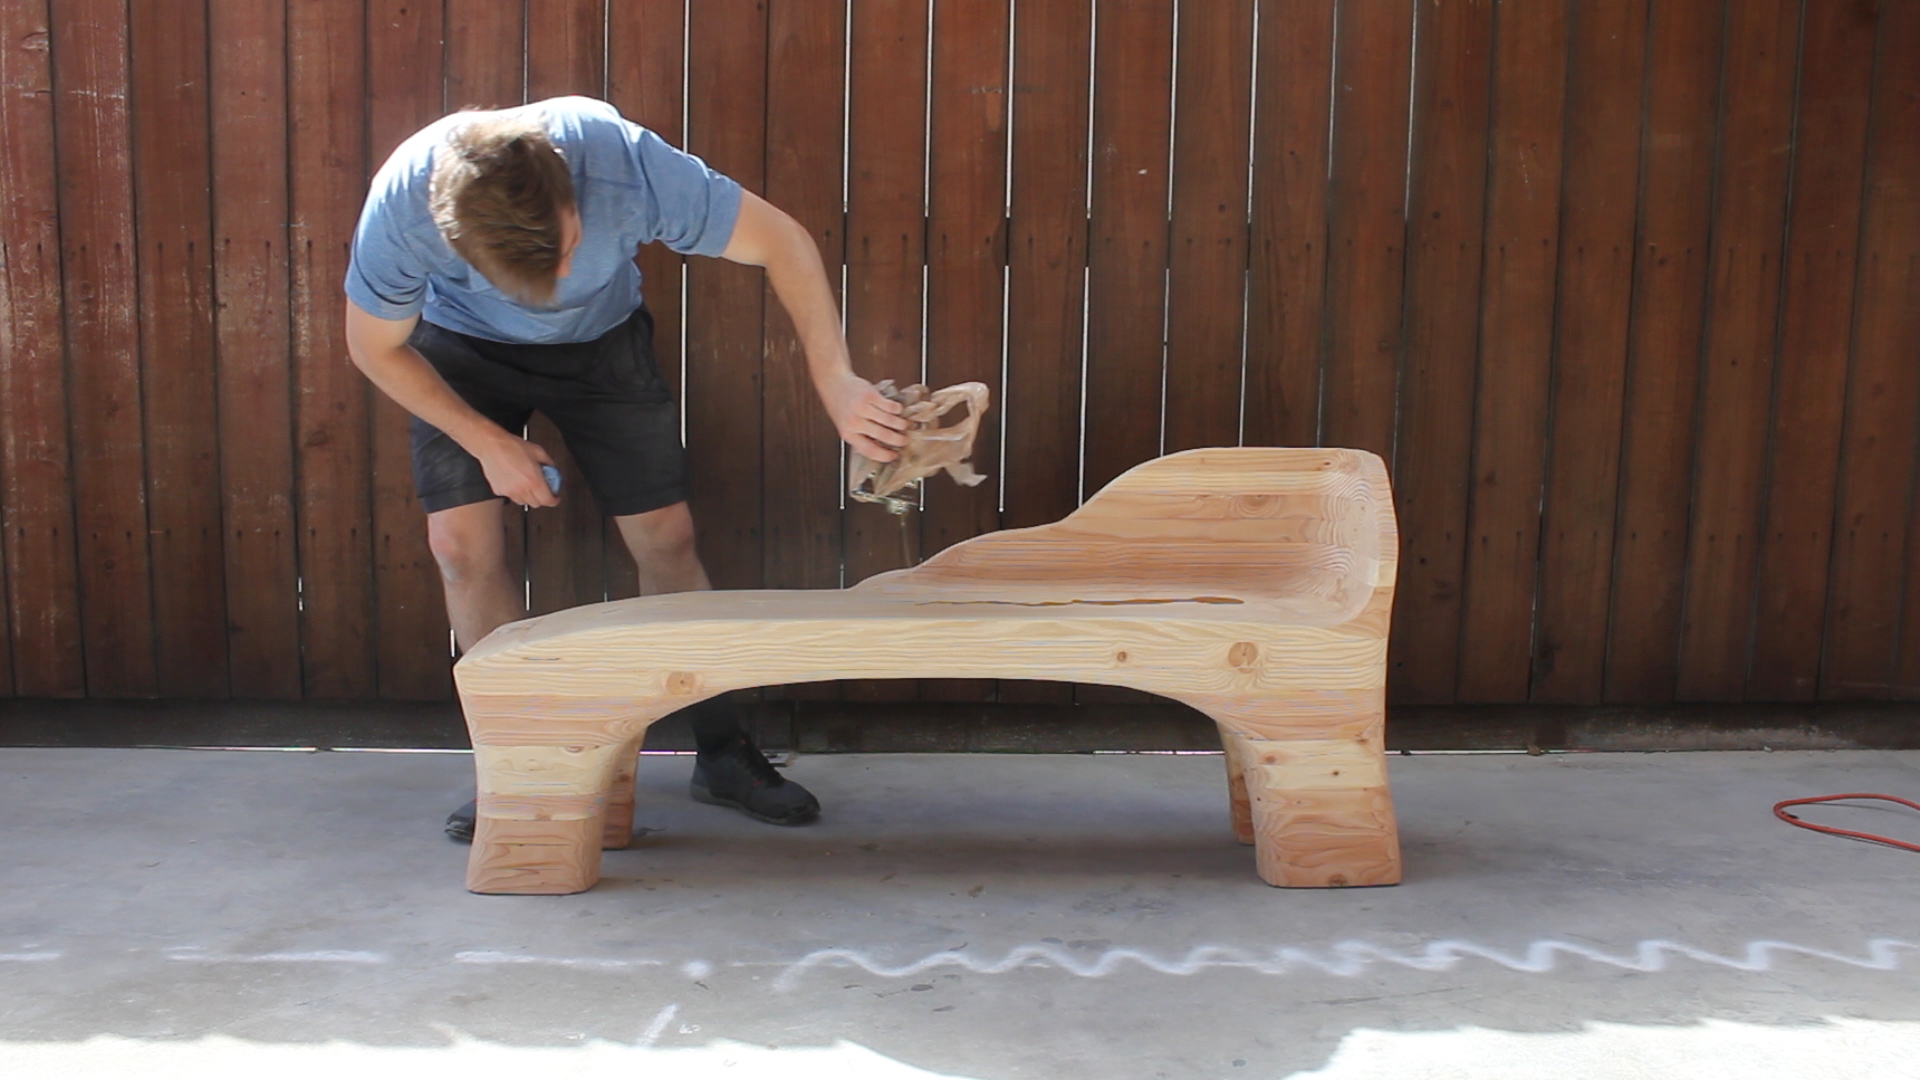
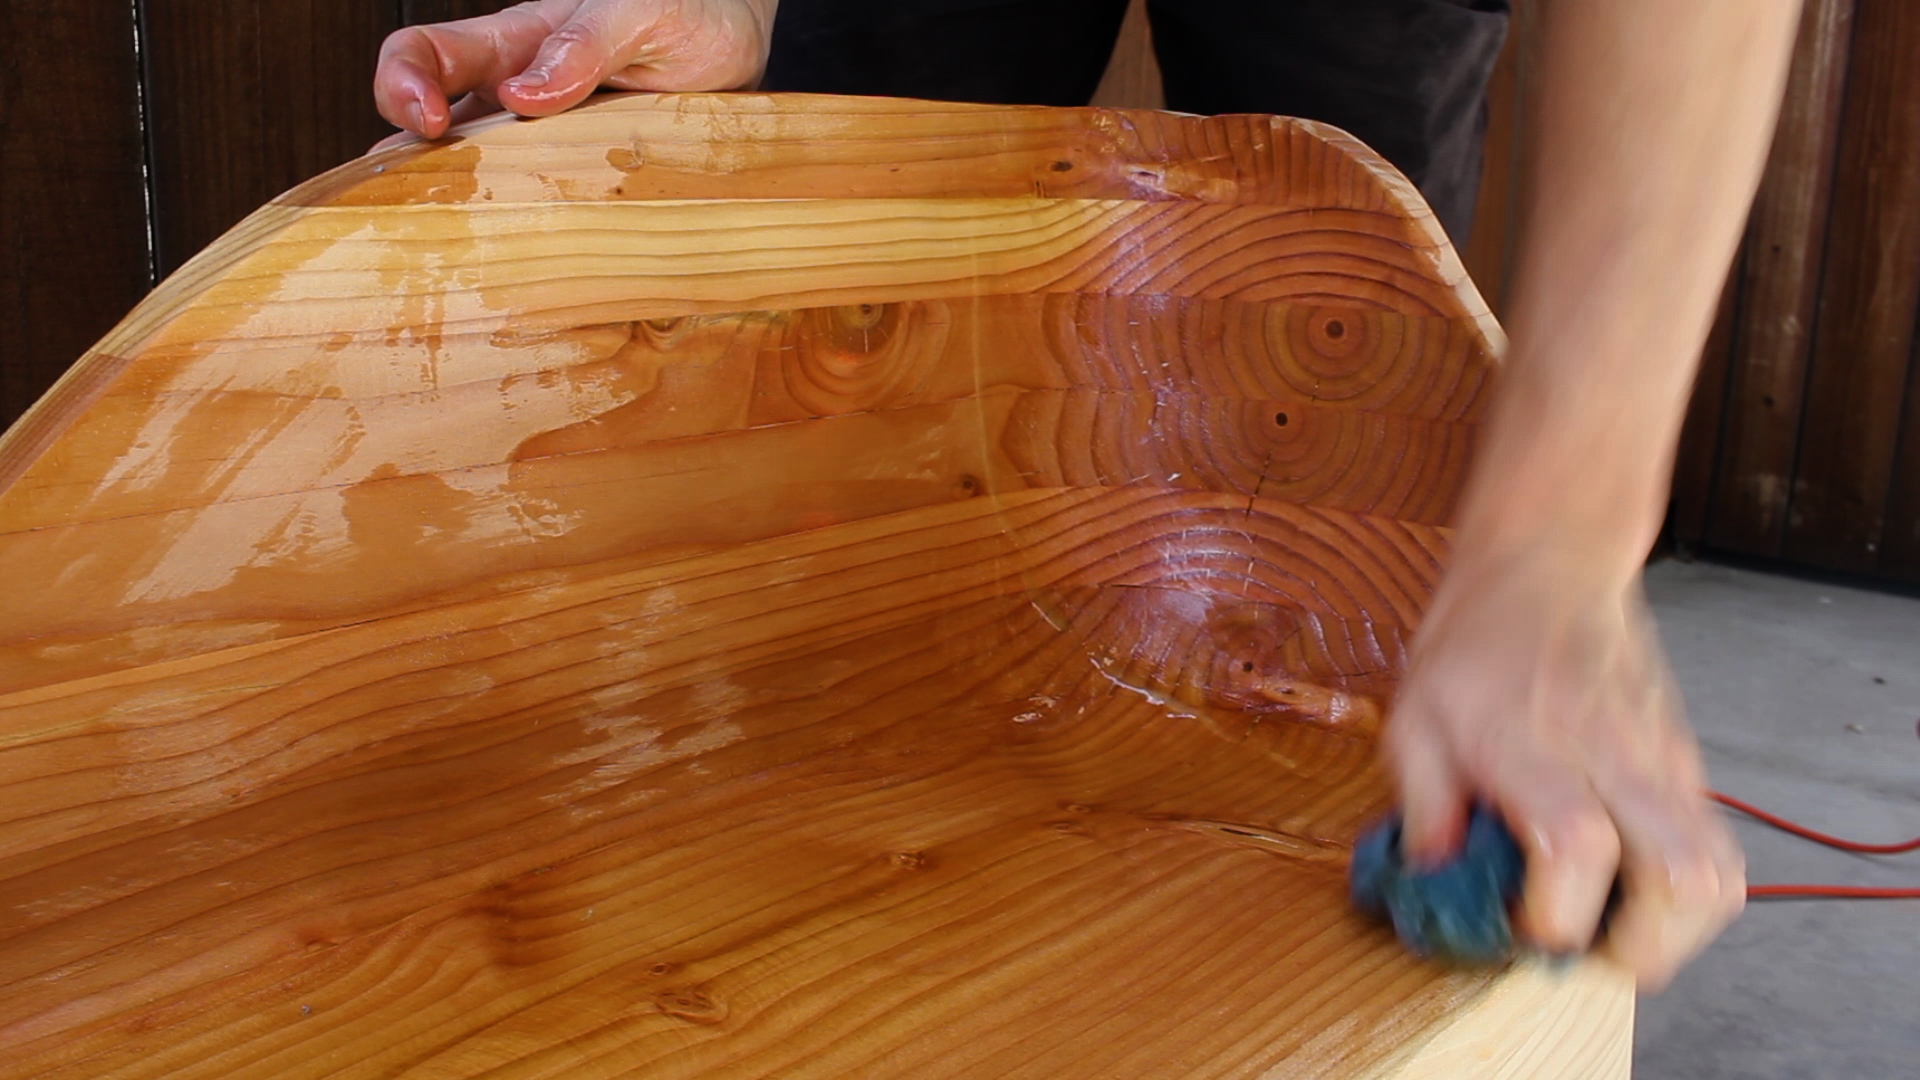
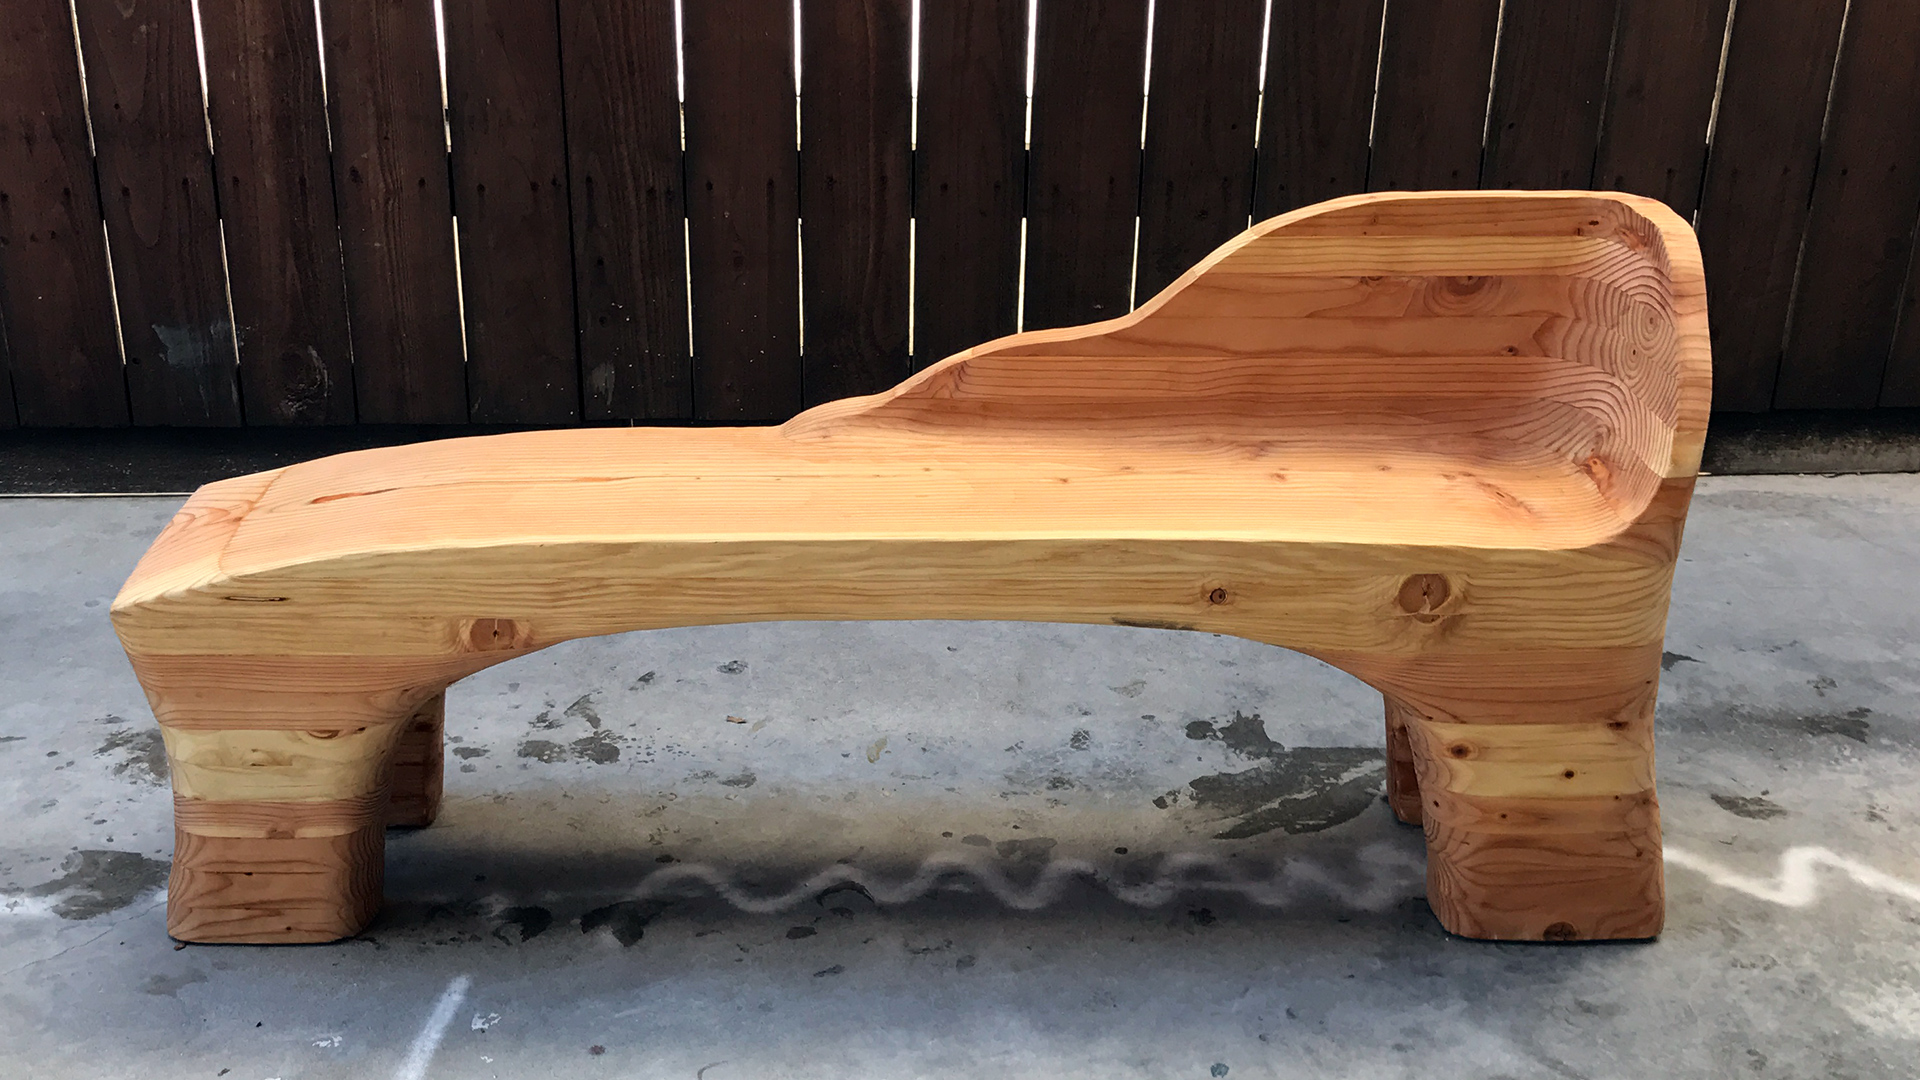
I applied two coats of Dark Walnut Danish oil 8 hours apart to stain the table. Once it had cured, I applied 4-5 coats of a clear satin polyurethane finish to all of my surfaces, making sure to let it dry thoroughly and sand in between each coat with wet 220 grit sand paper. I find using wet sandpaper with poly finishes helps contain the sanding mess.


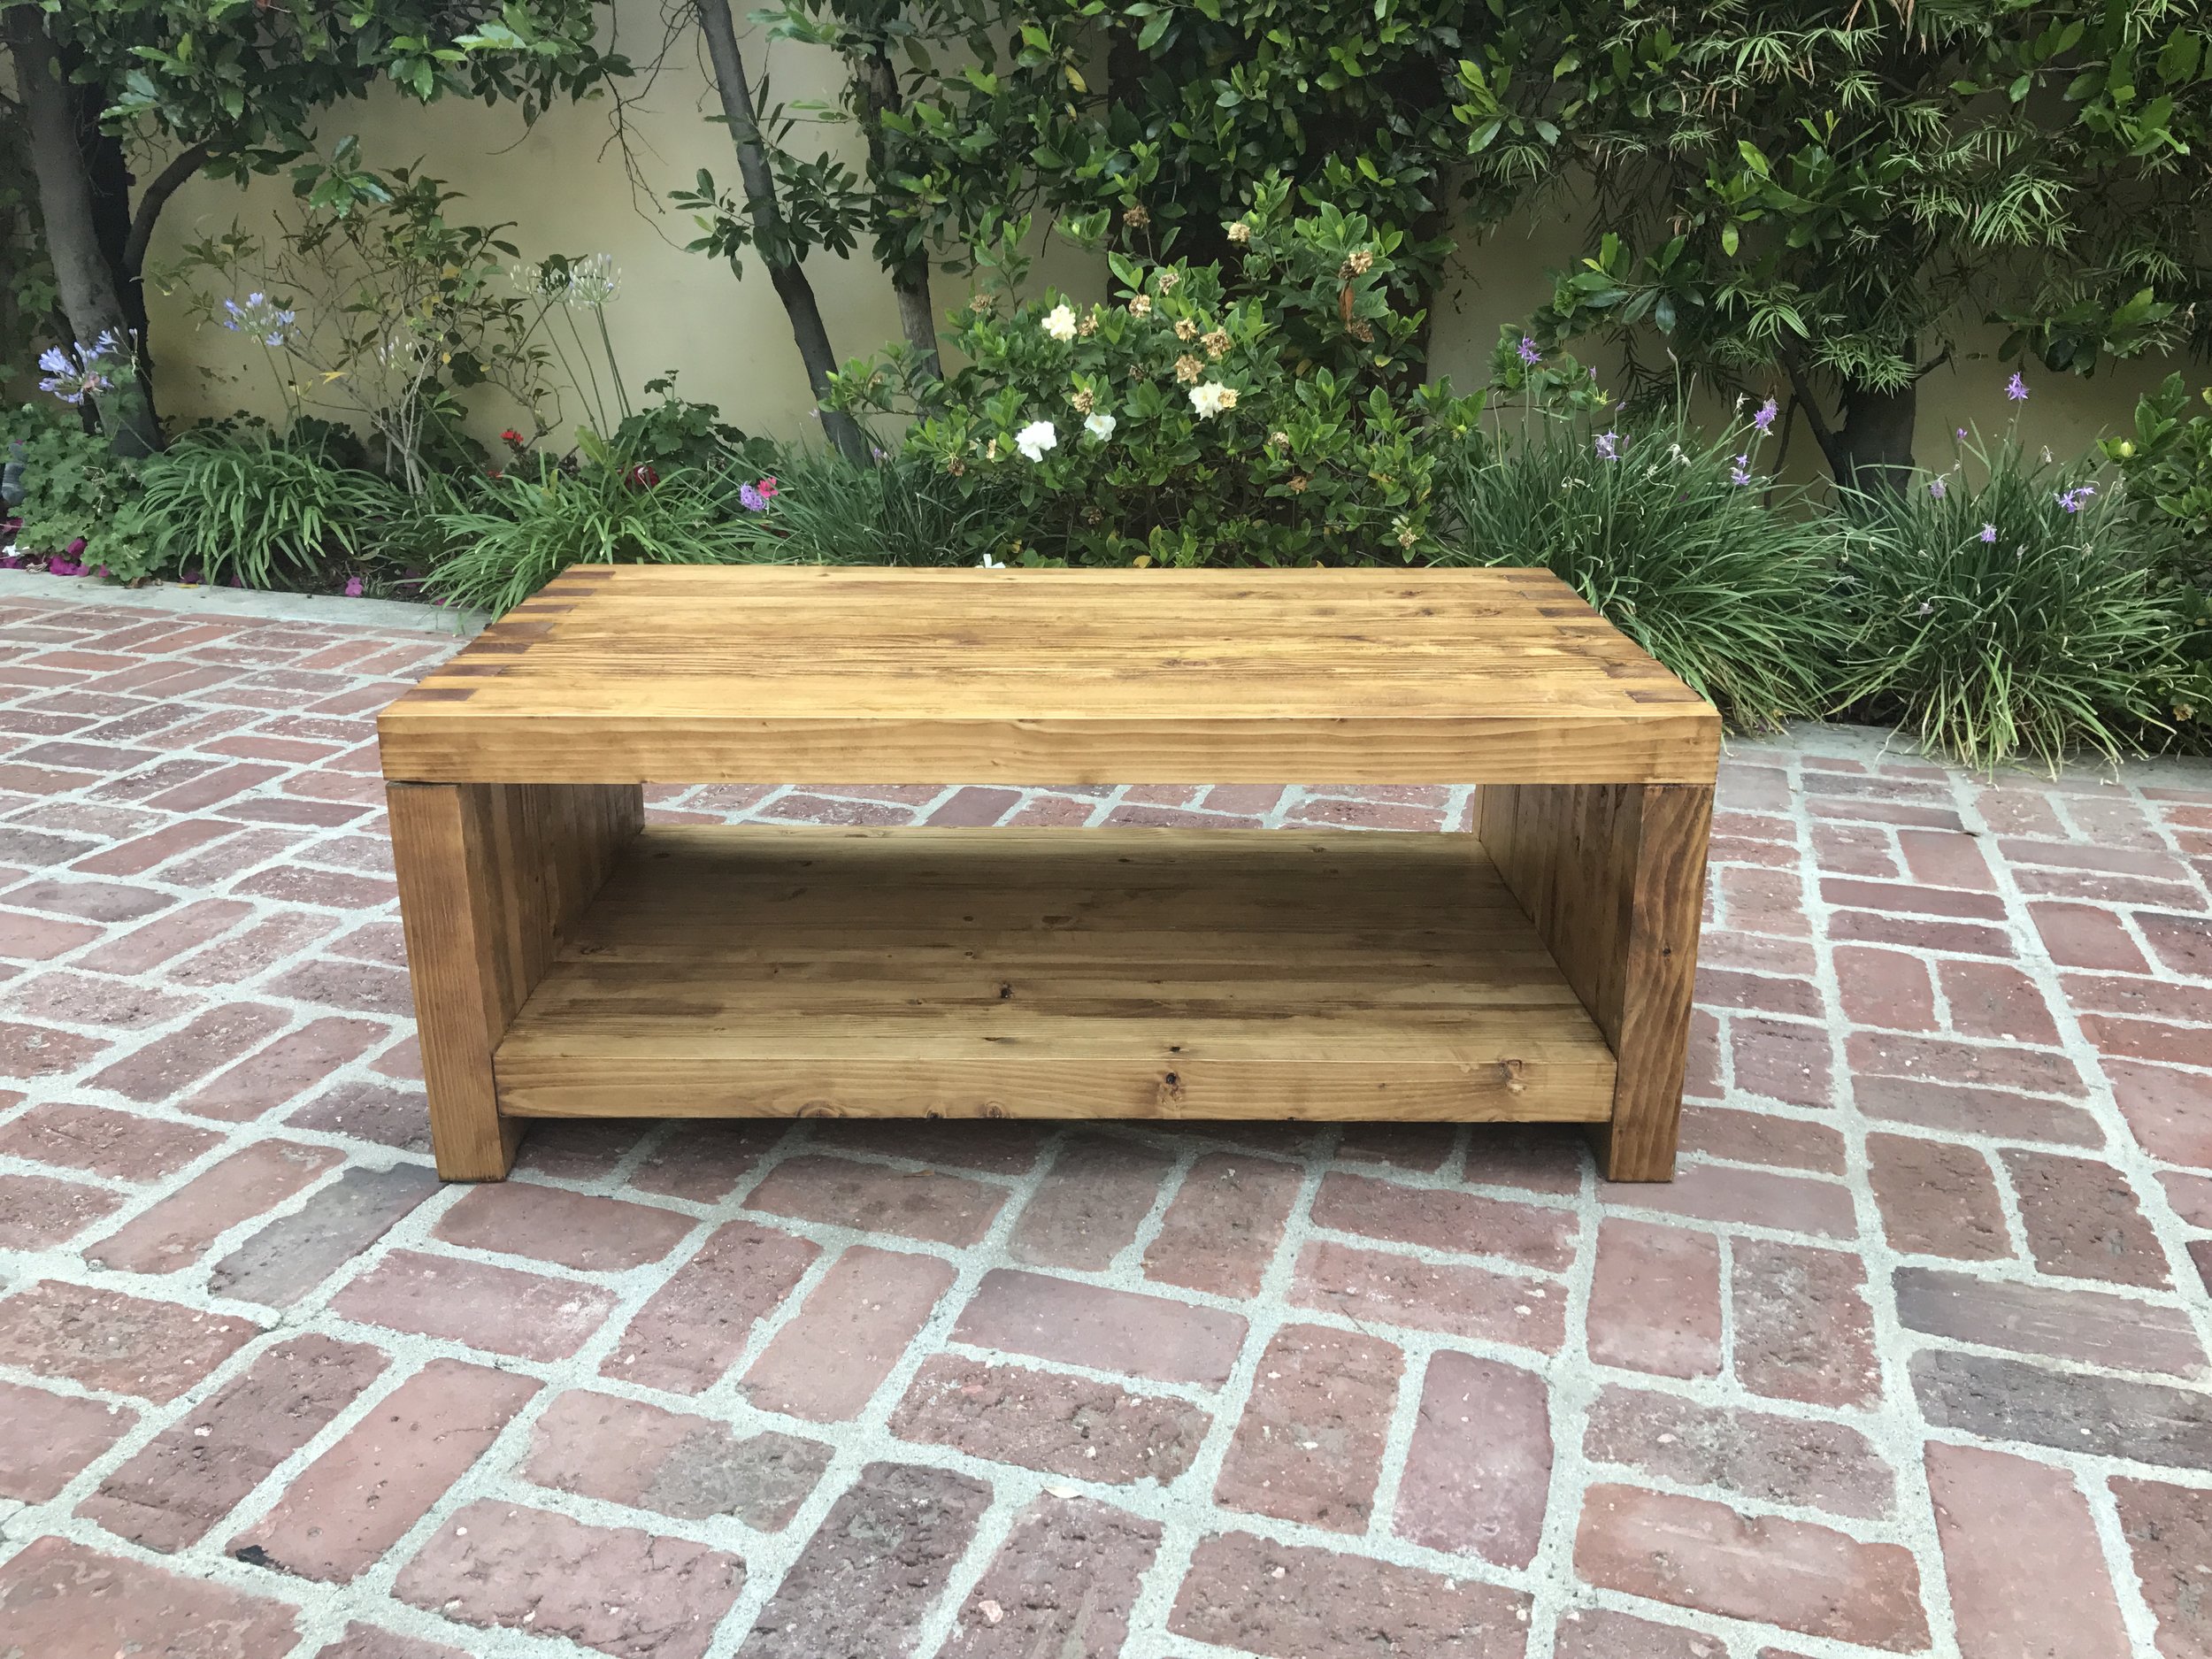
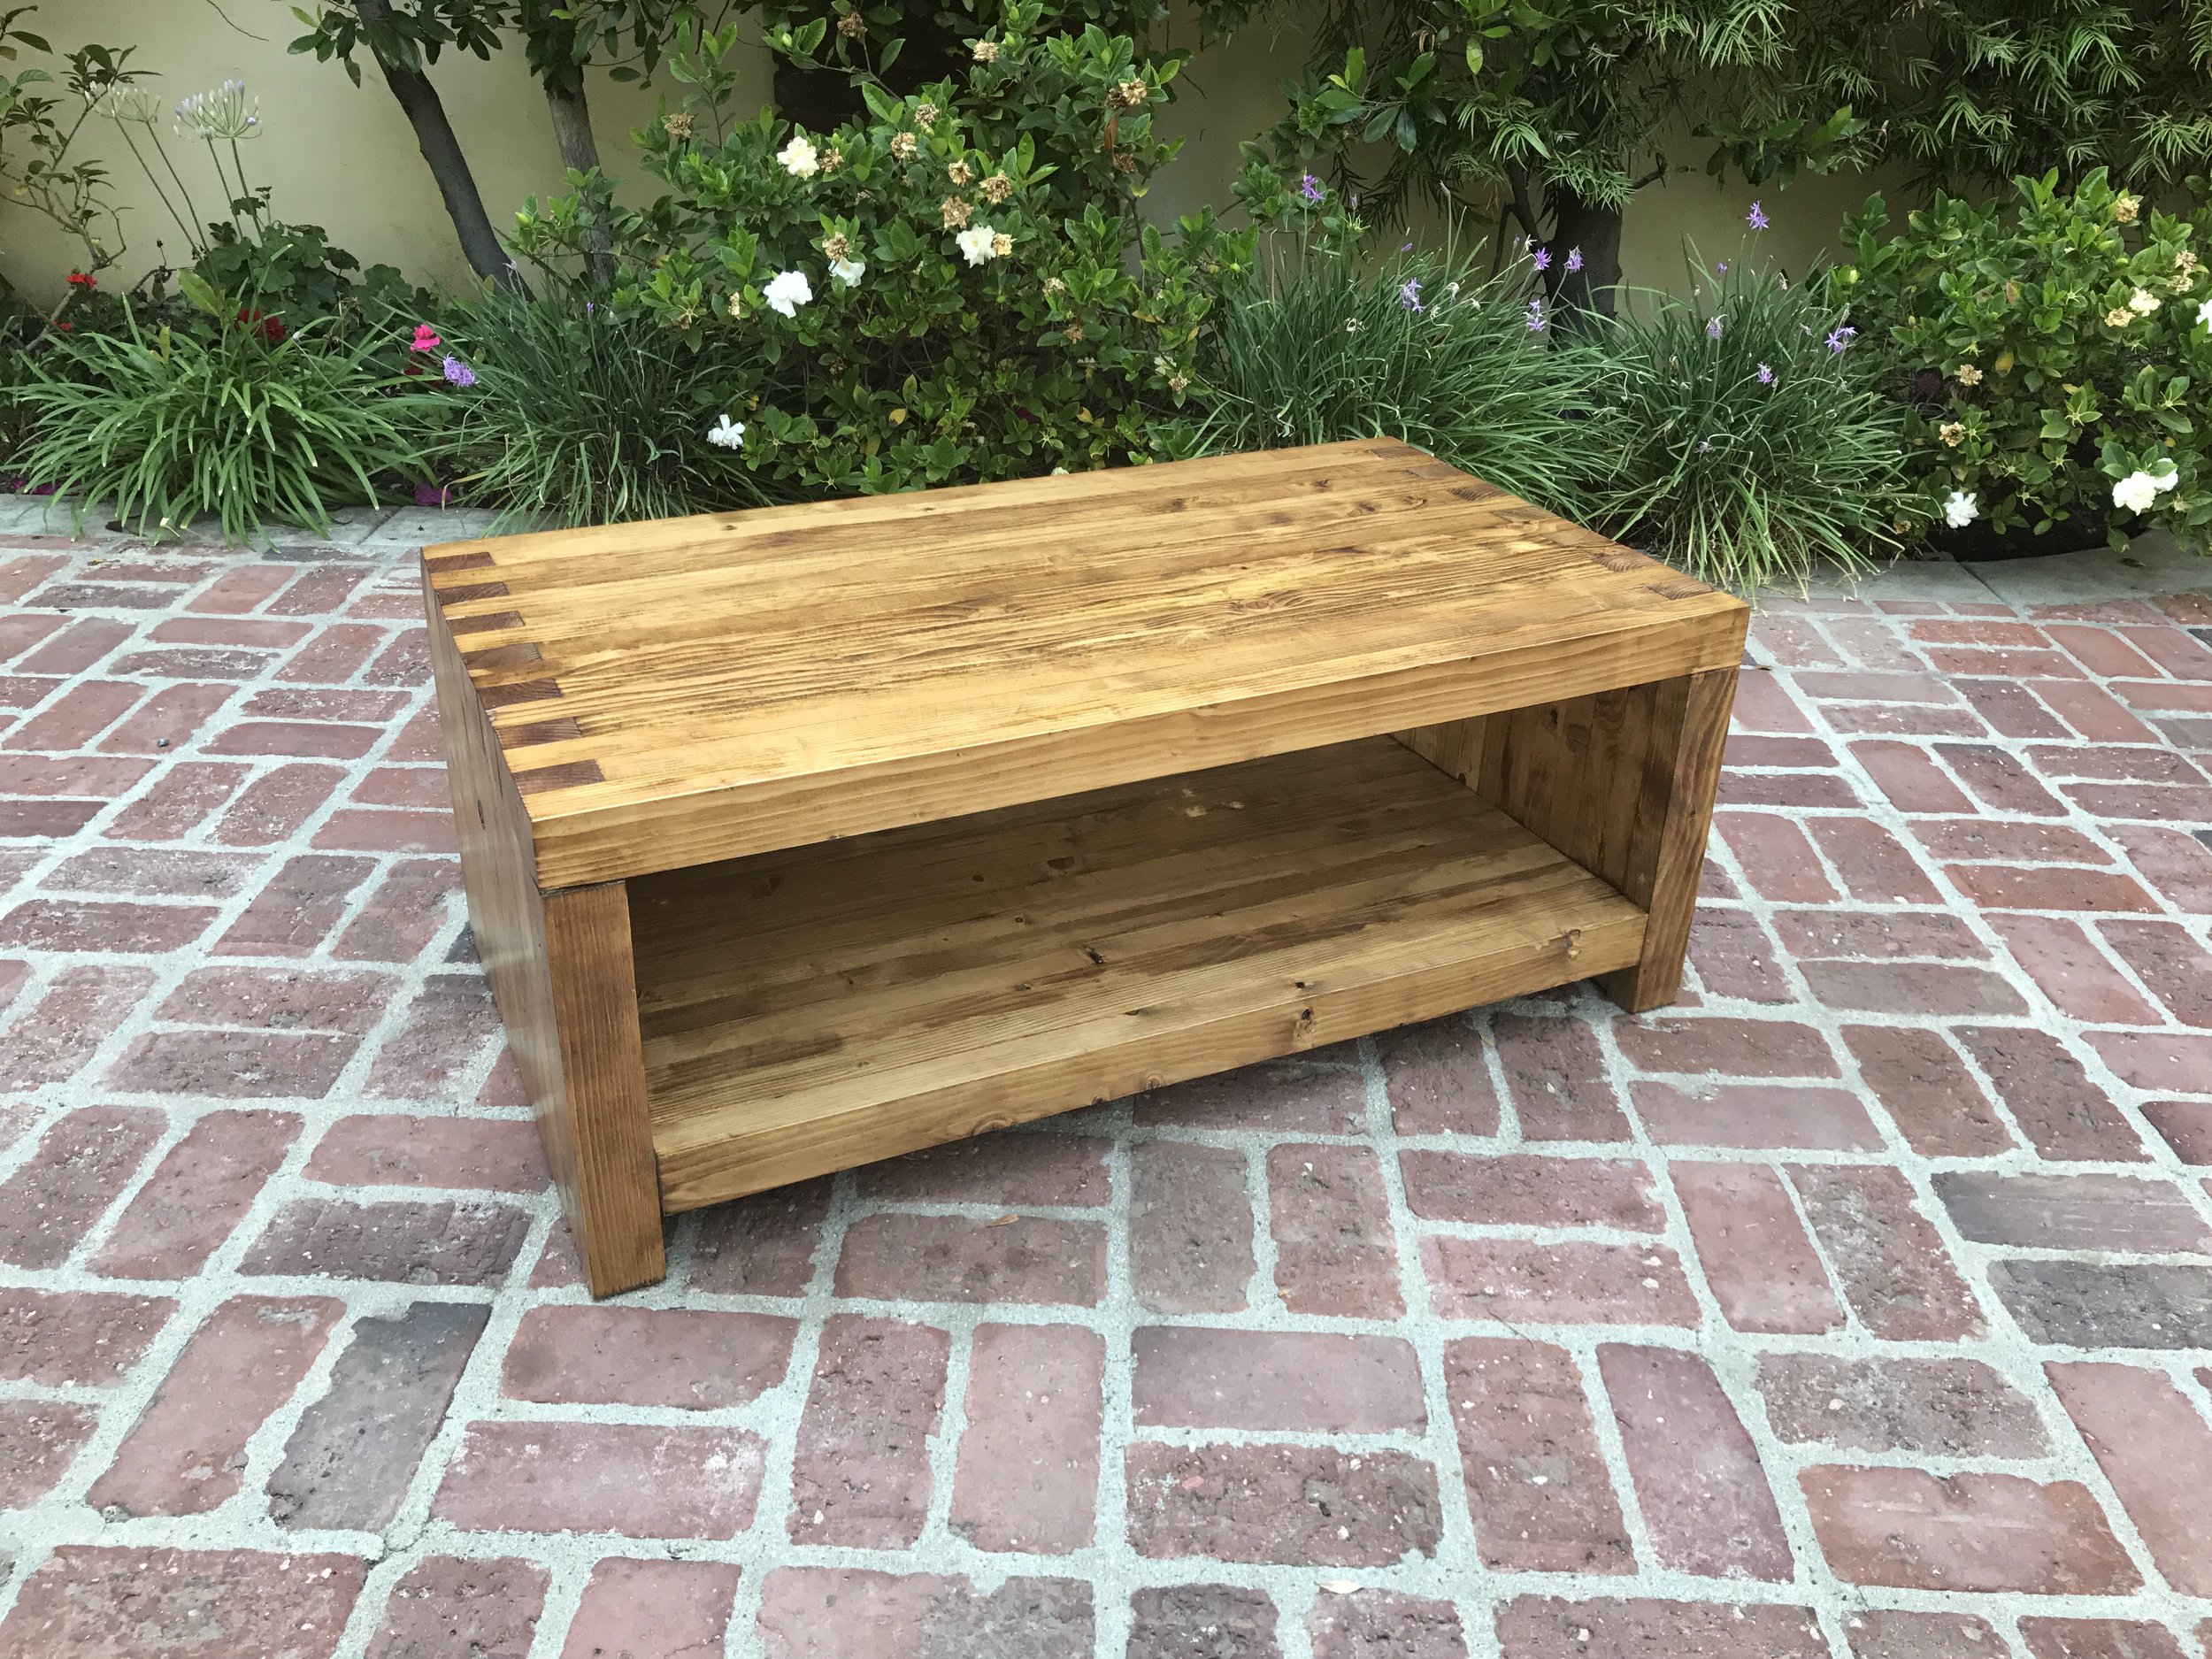
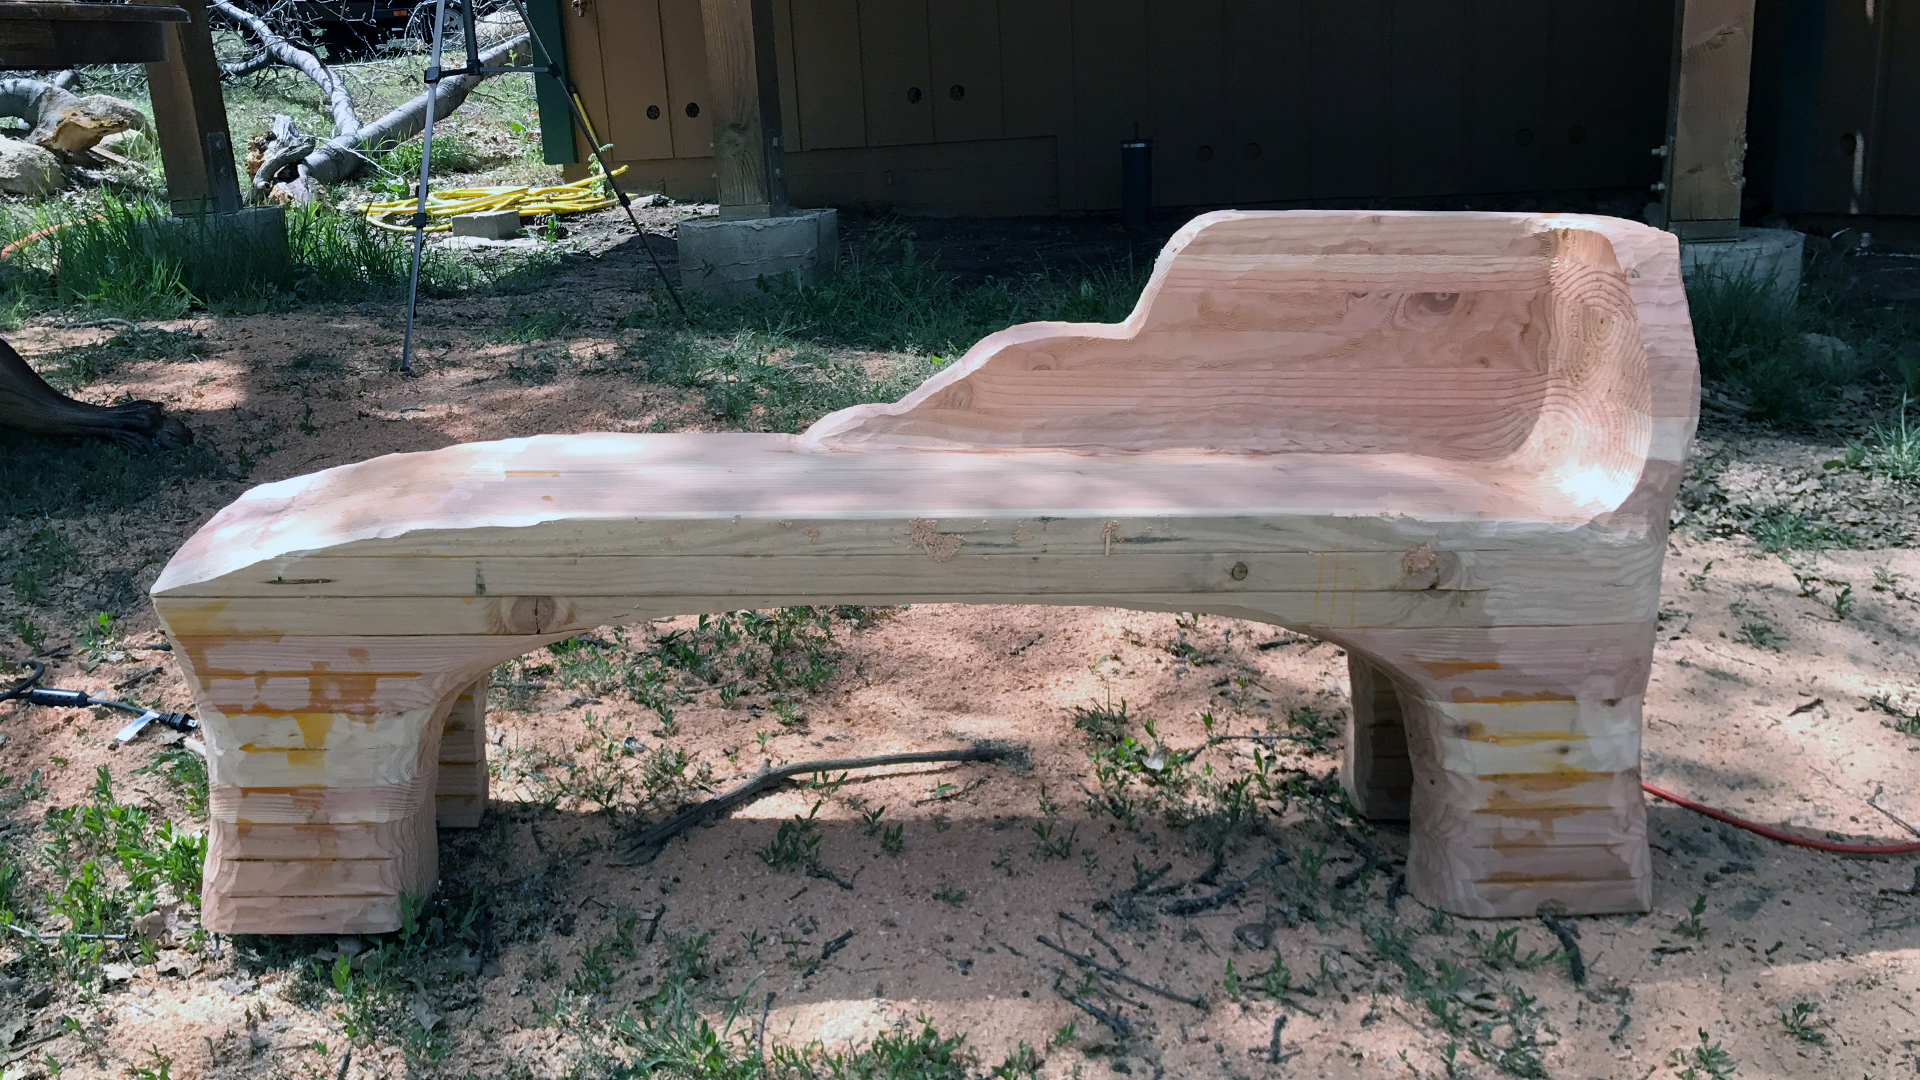
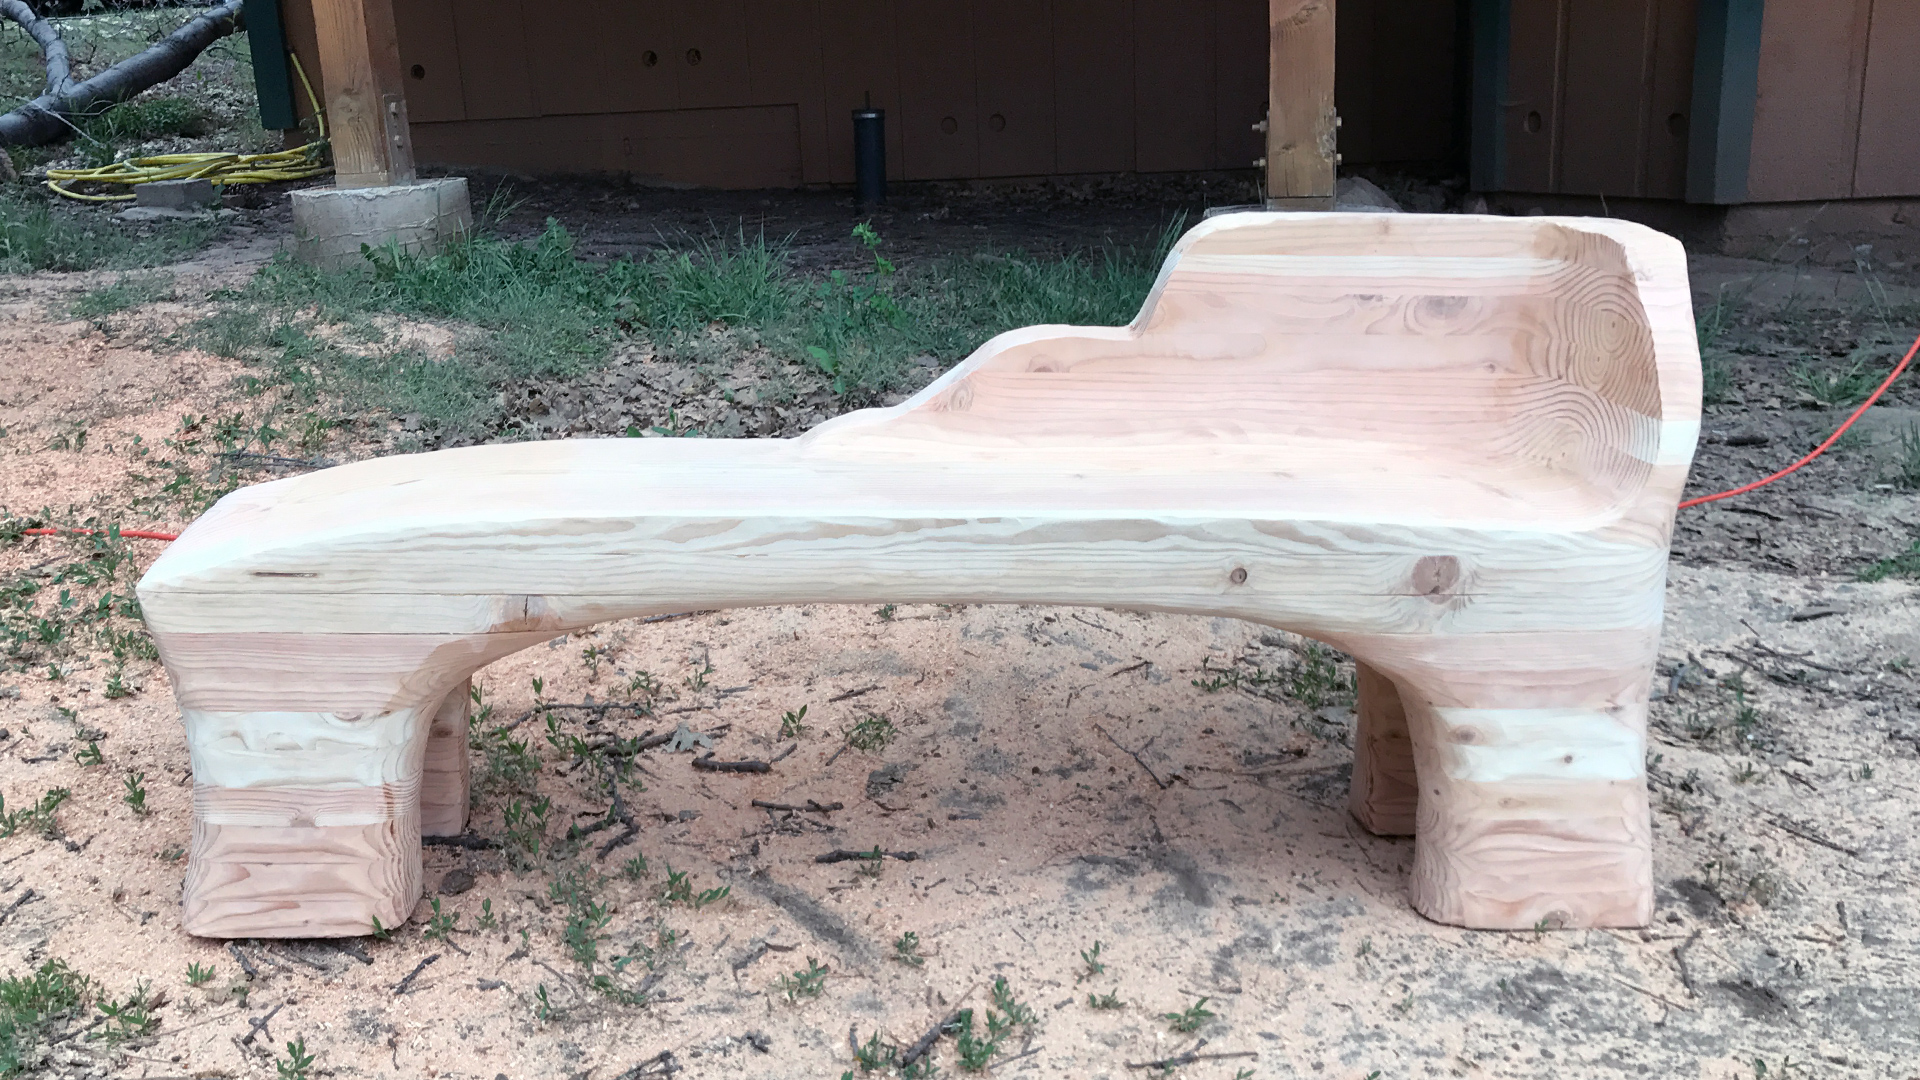
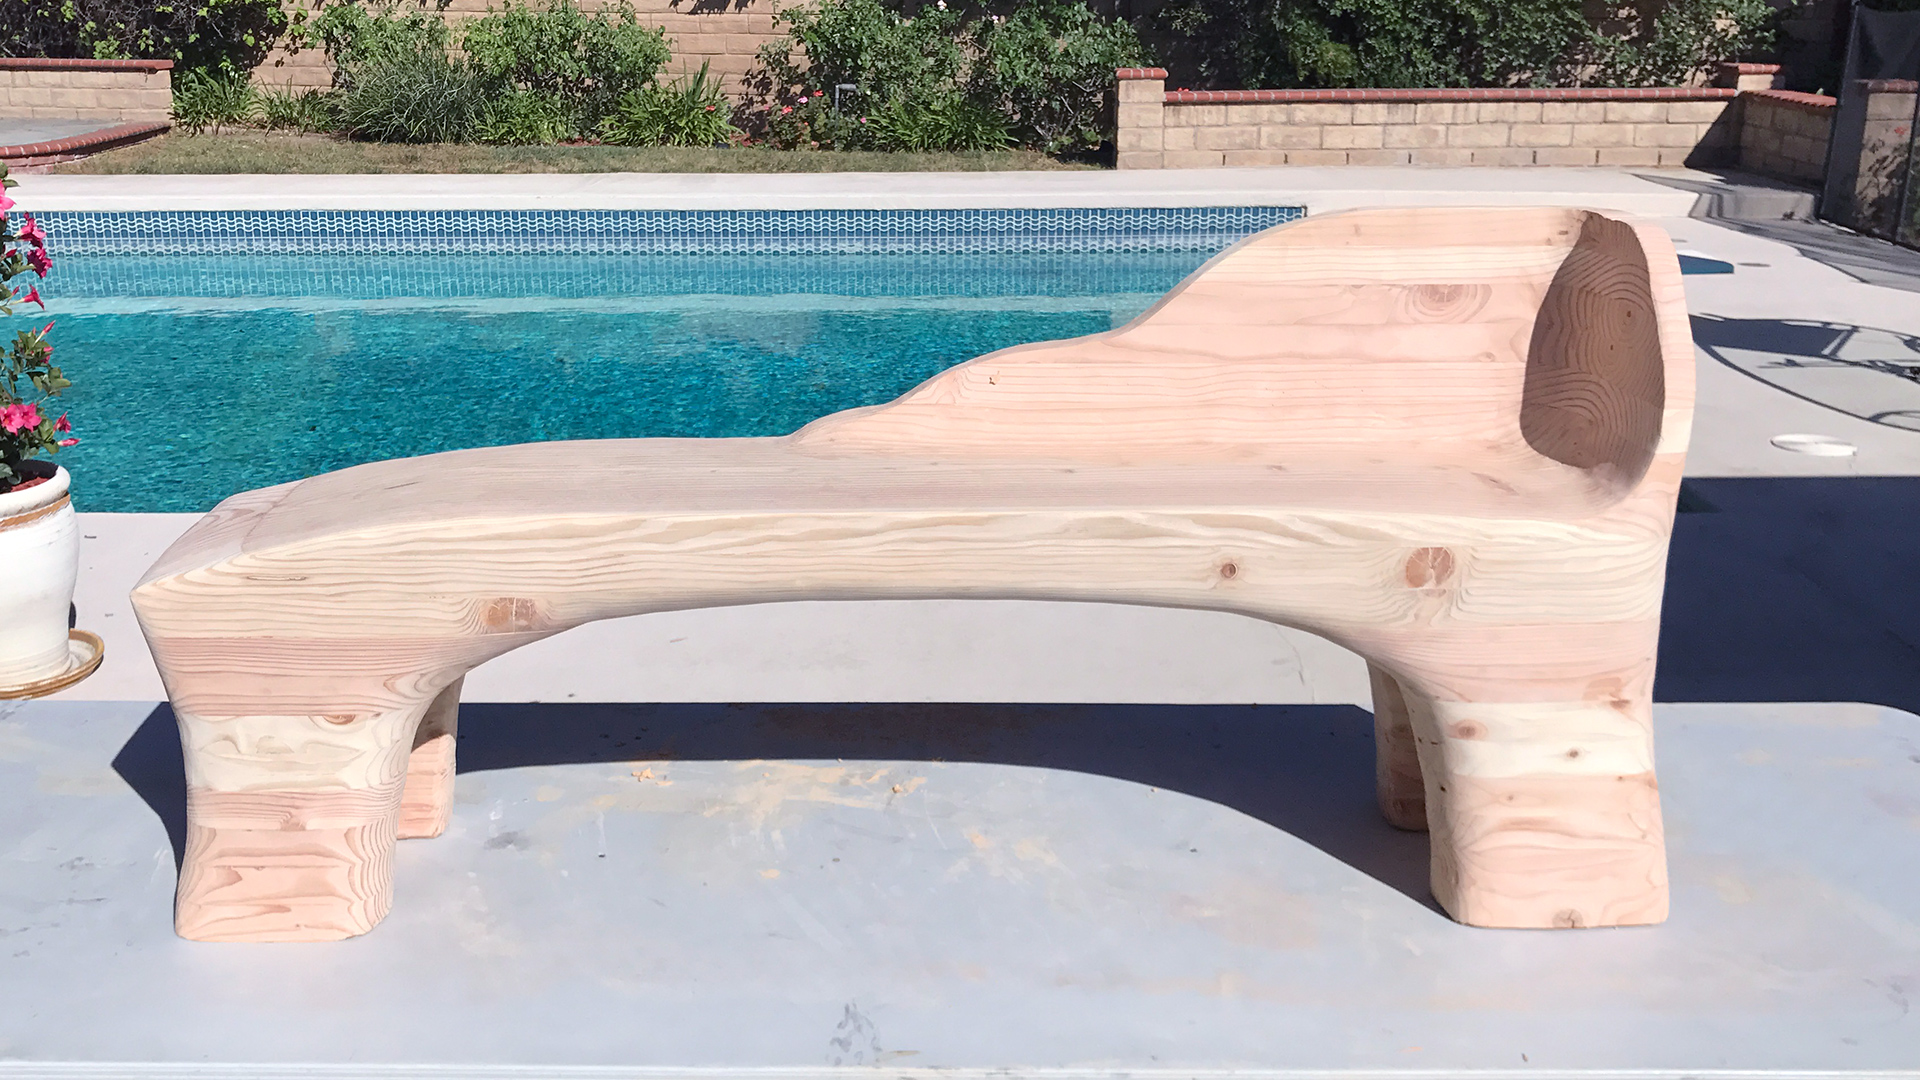
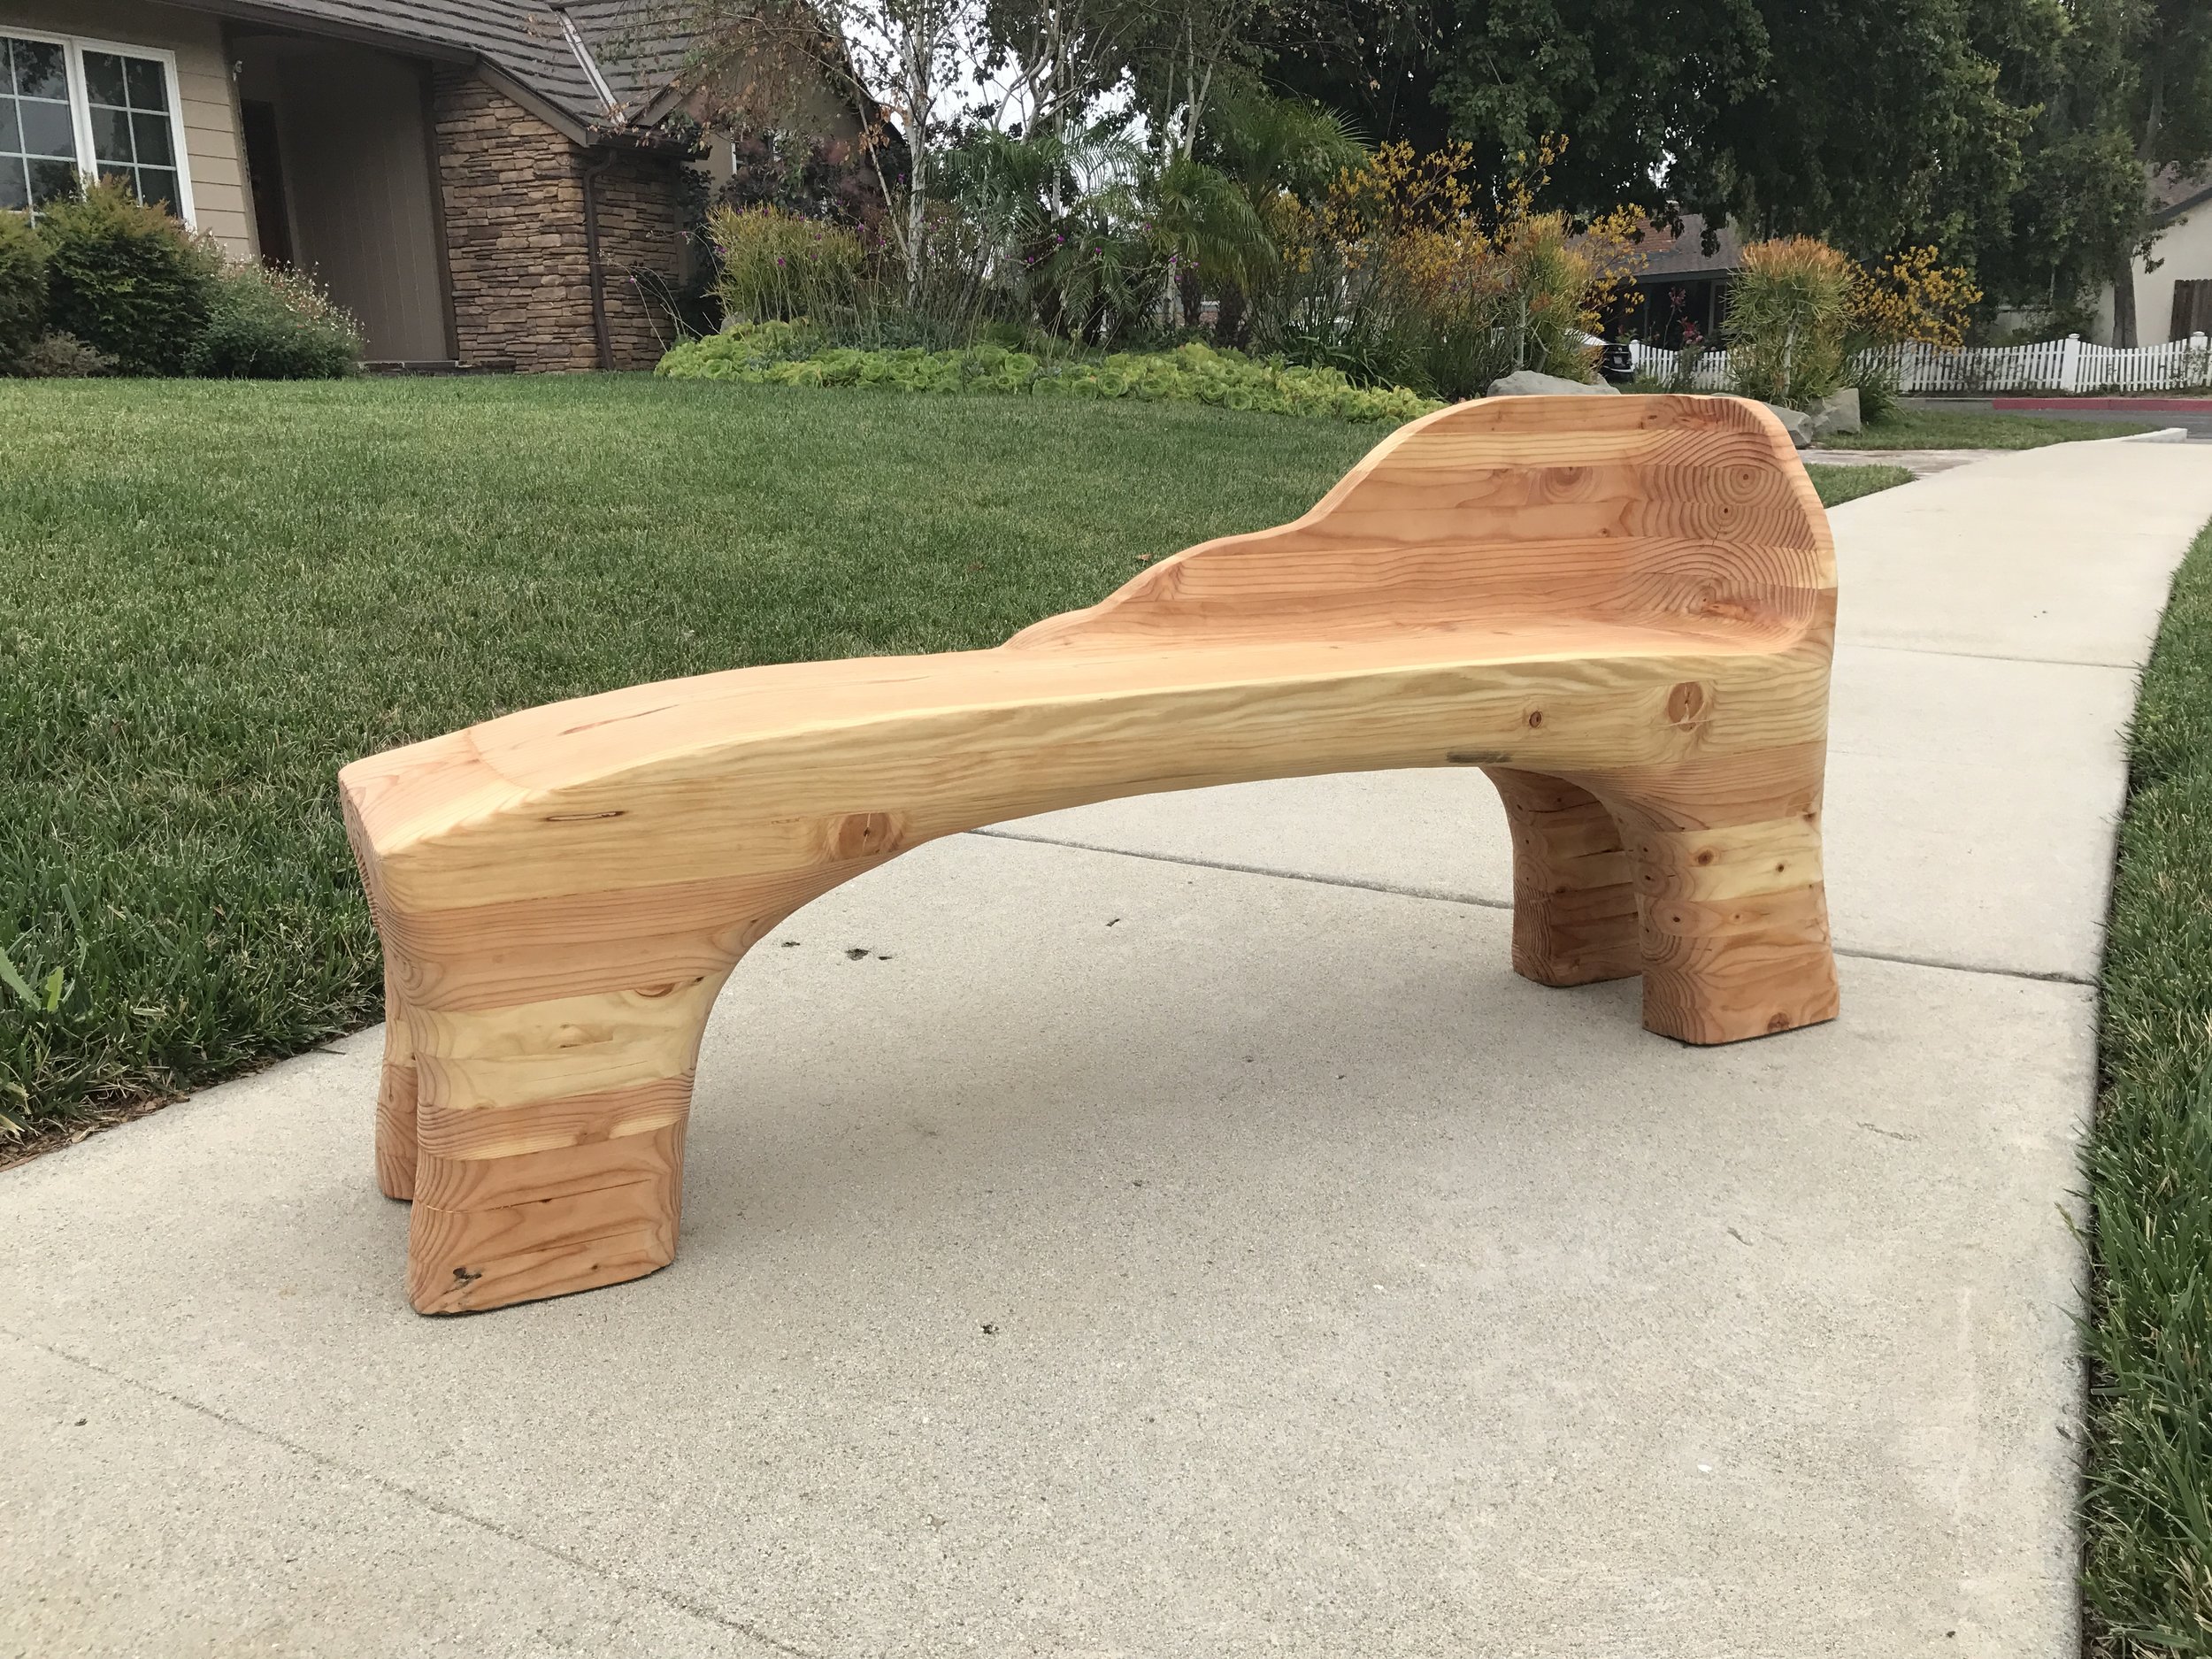
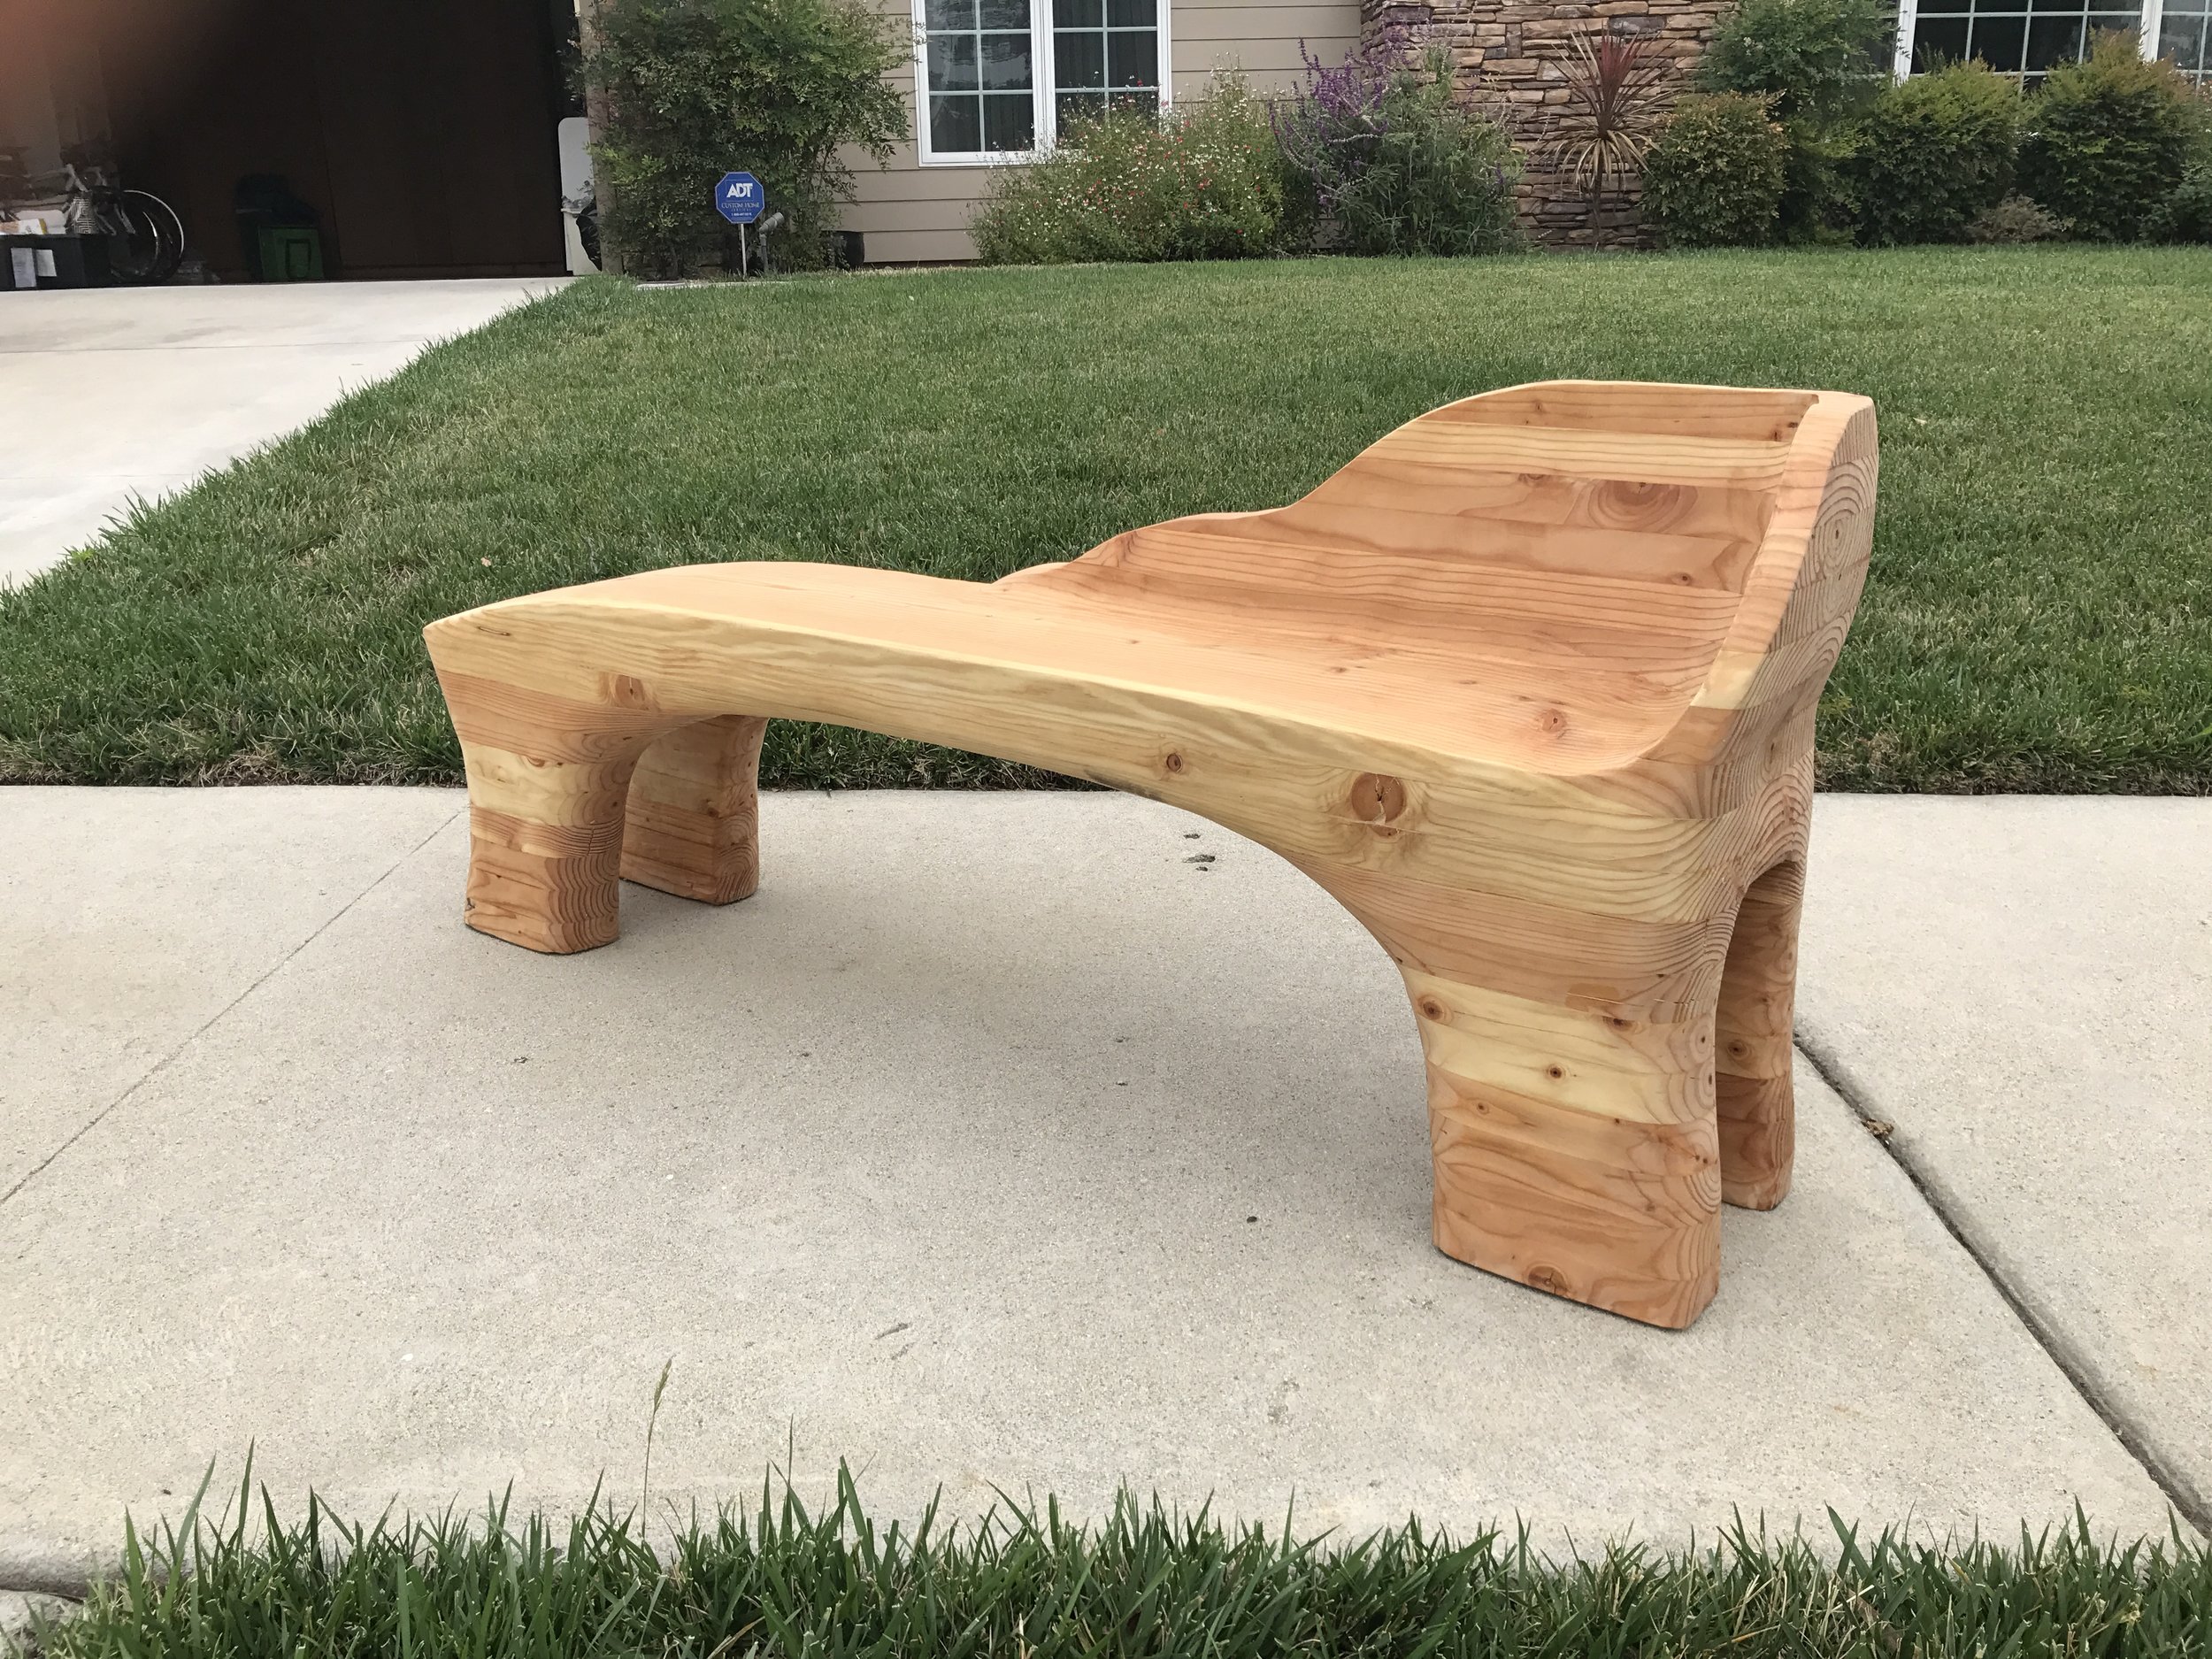
Here are some final photos of how it all came together! Pretty fun and unique looking (at least my dad told me it was).
TOOLS
RYOBI Circular Saw
RYOBI Power Drill
RYOBI 10 in. Sliding Compound Miter Saw
RYOBI Miter Saw Stand
RYOBI Cordless Orbital Sander
RYOBI Belt Sander
RYOBI Cordless Brad Nailer
RYOBI Plunge Router
RYOBI Router Set
Wen 12.5” Thickness Planer
MAKITA Paddle Switch 4.5” Angle Grinder
ARBORTECH TURBOPlane Blade
Flap Discs
Bora 50” Straight Edge Clamp Guide
BESSEY Economy 2.5” x 24” Clutch Clamps
BESSEY H Style Pipe Clamps
ROCKLER Bench Cookies
12” Rafter Square
Digital Caliper
Kreg Clamp
As always, thank you for reading! I would be so grateful if you could please subscribe to my new Youtube Channel for future projects. I put out videos every two weeks.
Cheers!
Zach